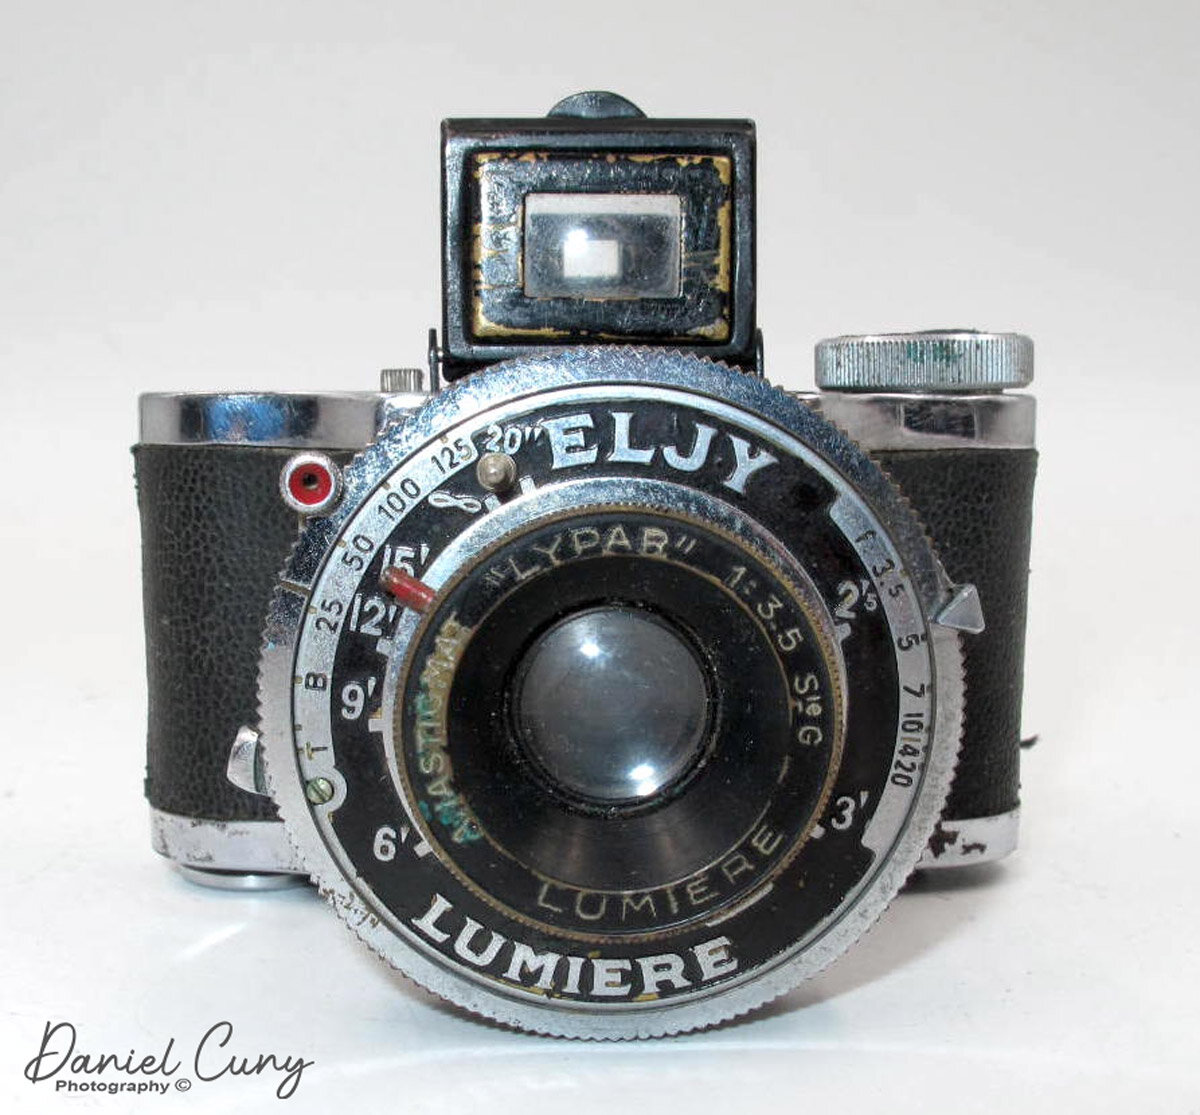
The Ontoflex is relatively new to my collection, but I knew from the moment I received this camera that it would end up on my camera collection blog just because it's such an odd yet unique camera.

I knew nothing about the camera before I saw it on an online auction. I did some quick research to understand pricing better and discovered it's a rare camera. I won the auction and got it for a reasonable price. It either wasn't working or was not in good physical shape.
It wasn't until I received the camera that I realized it was in good working condition, but it had something even more surprising and unusual. It was a 6x9 format camera with a rotating back to shoot either vertical or horizontal photos and not have to turn the camera…..WOW! My mind is blown, especially for a camera made in the 1930s.
HISTORY:

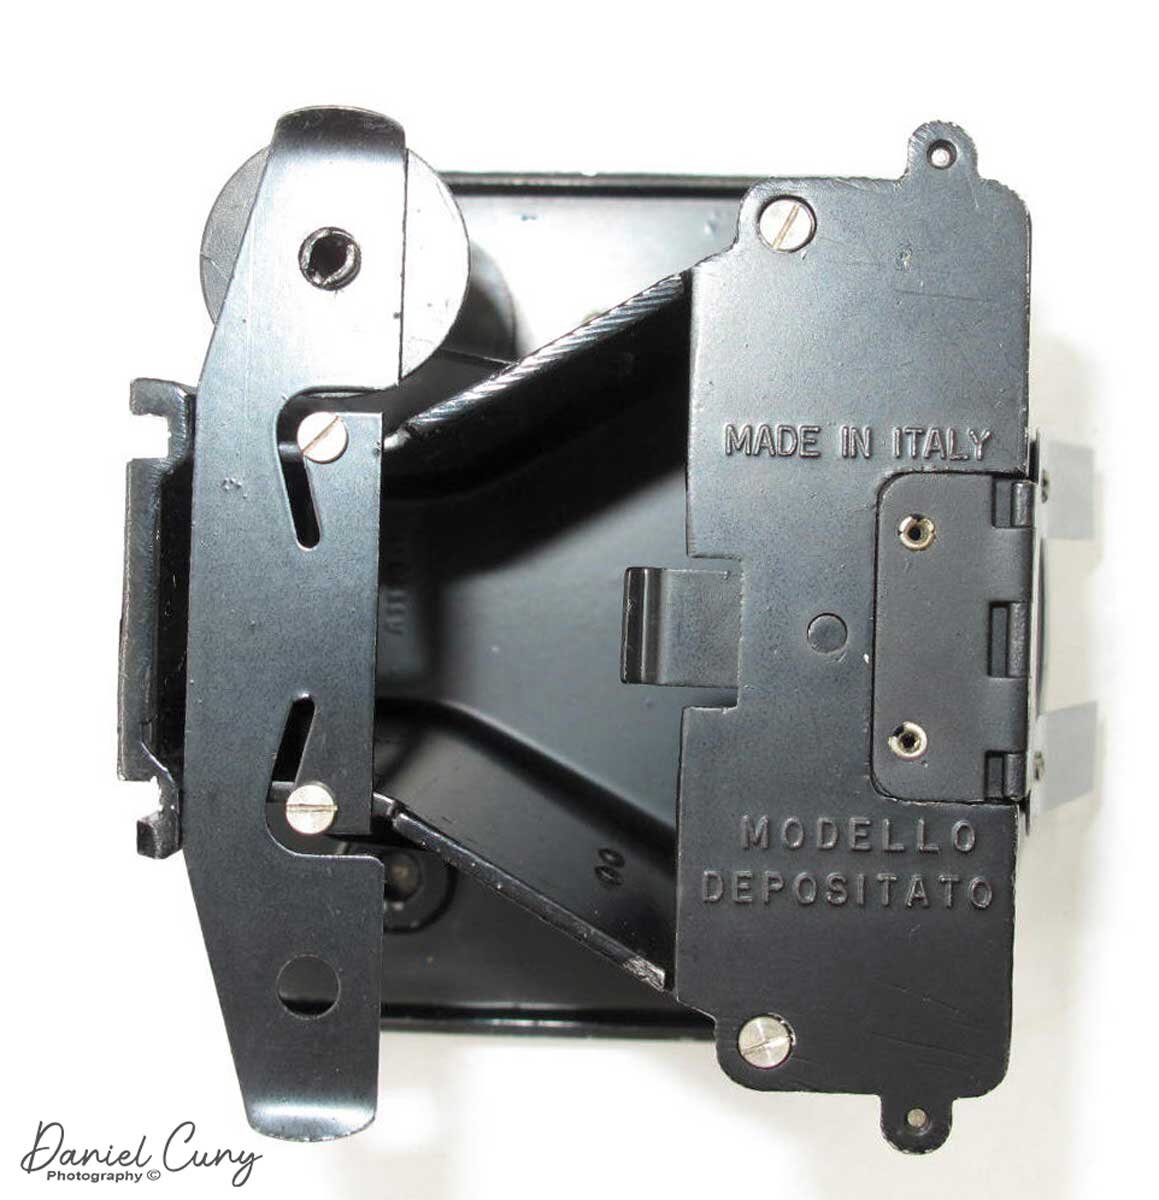
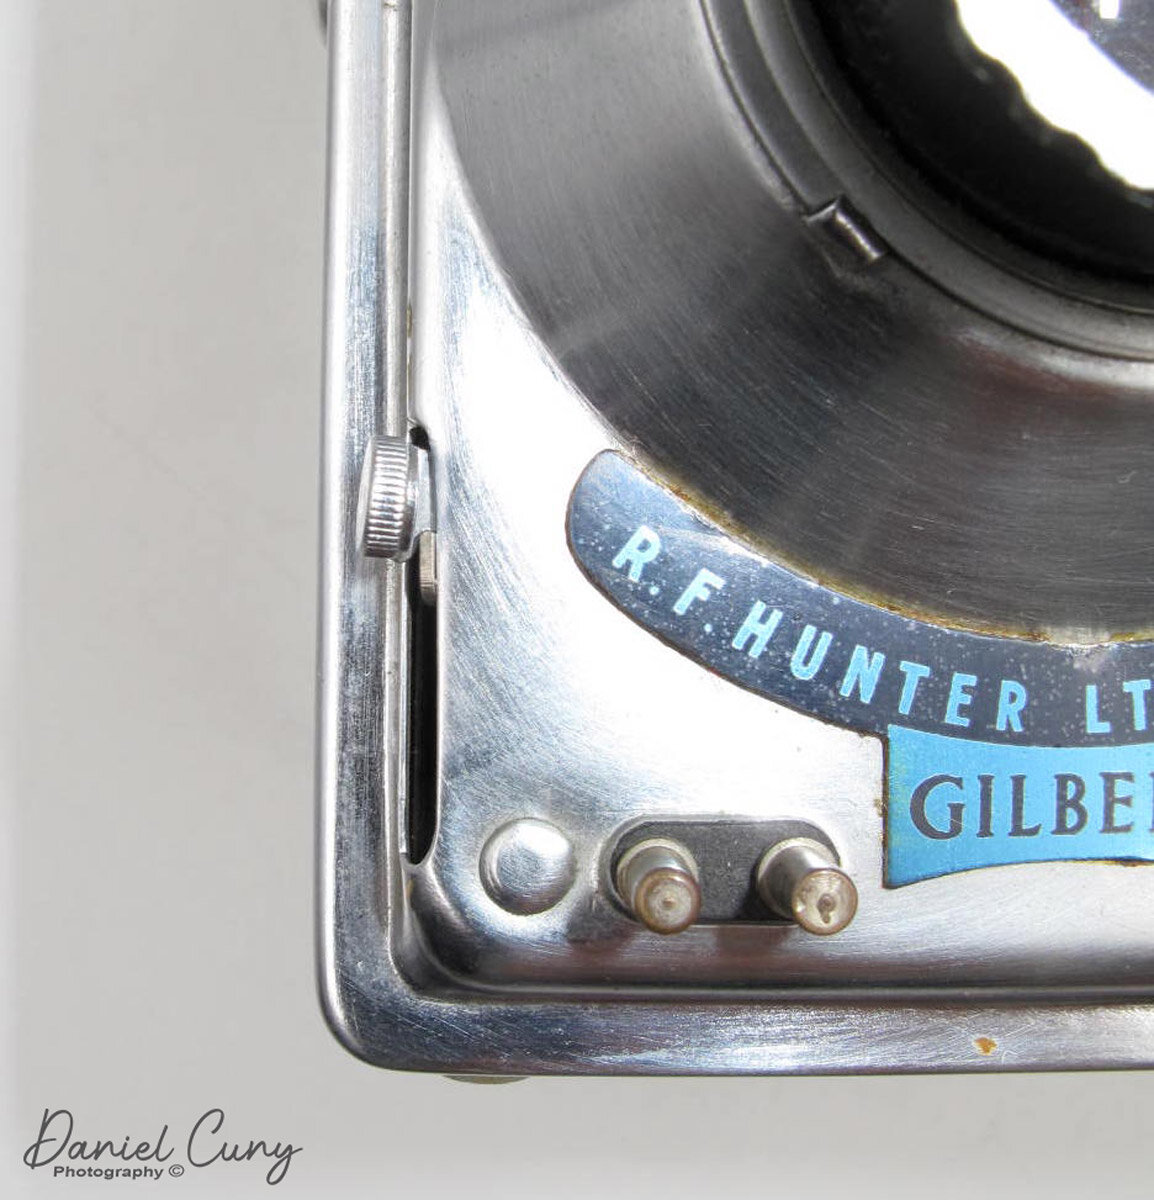
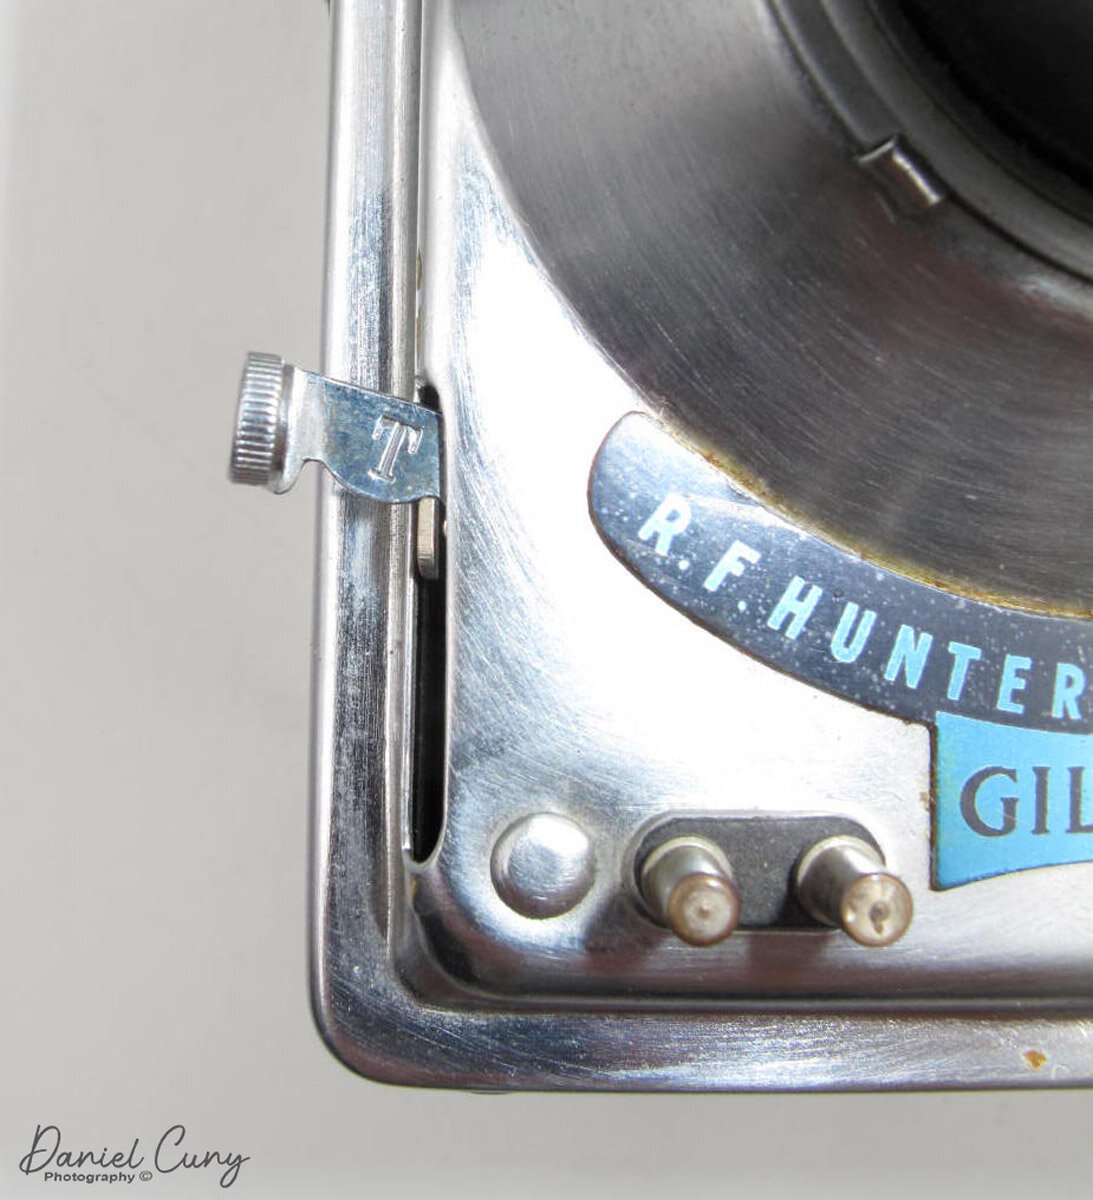
Here is the section where I tell you about the person and company that made this camera, The Cornu Co. from Paris, France. I have looked around on the internet, and there's not a lot of information regarding this company or its owner. The company existed from the early 1930s to 1946, closing just after WWII. Like Franke & Heideke, they started manufacturing stereo cameras and moved into other various cameras later. The ONTOFLEX was the only twin-lens reflex camera that I could find. During WWII, they made a reasonably inexpensive compact 35mm camera. One of them has a great name, the Weekend Bob.
THE CAMERA:
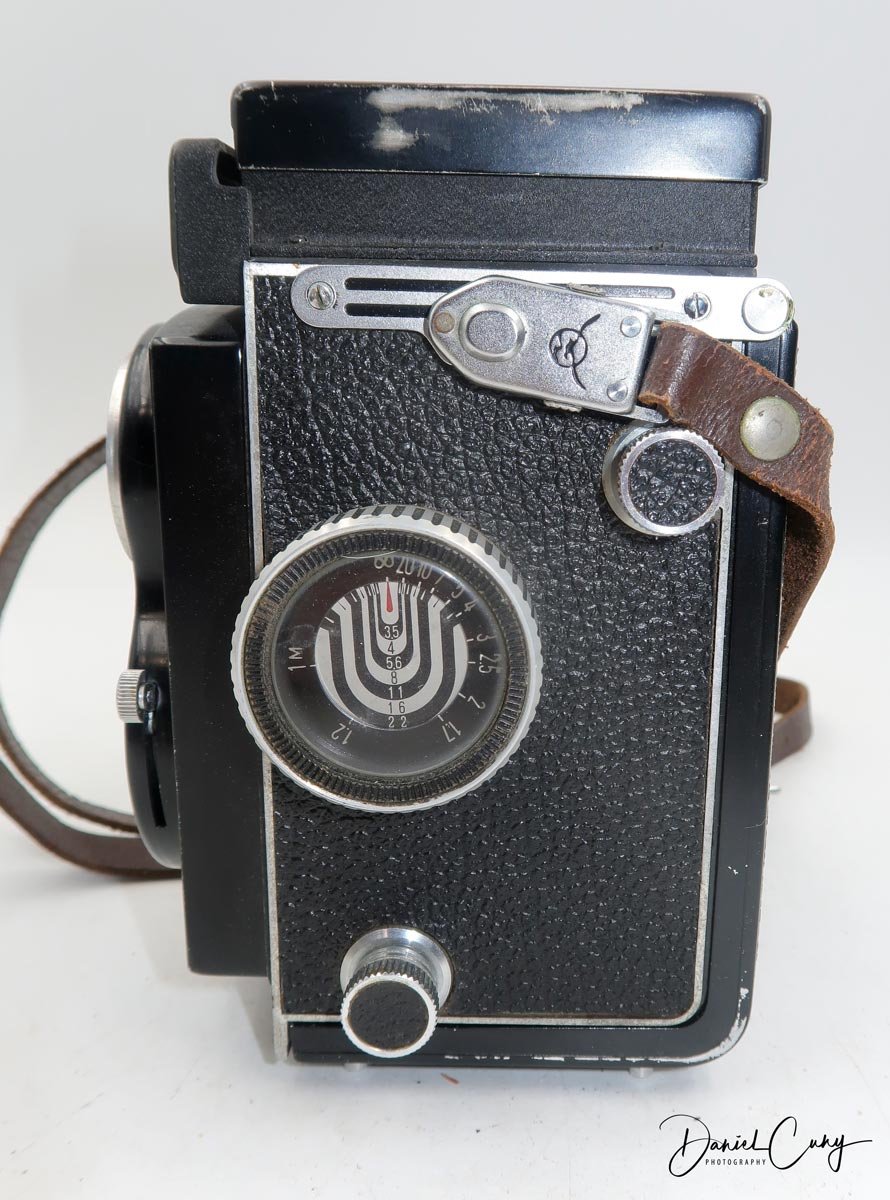
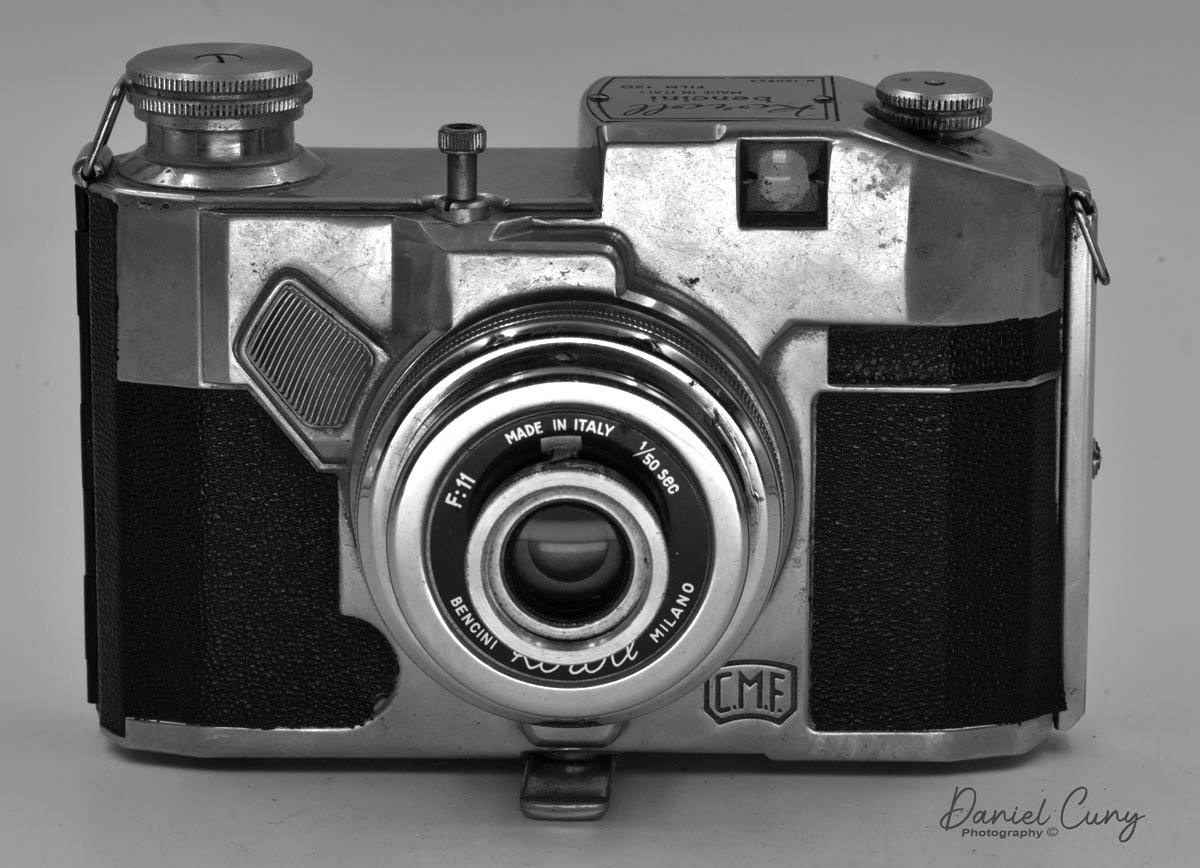
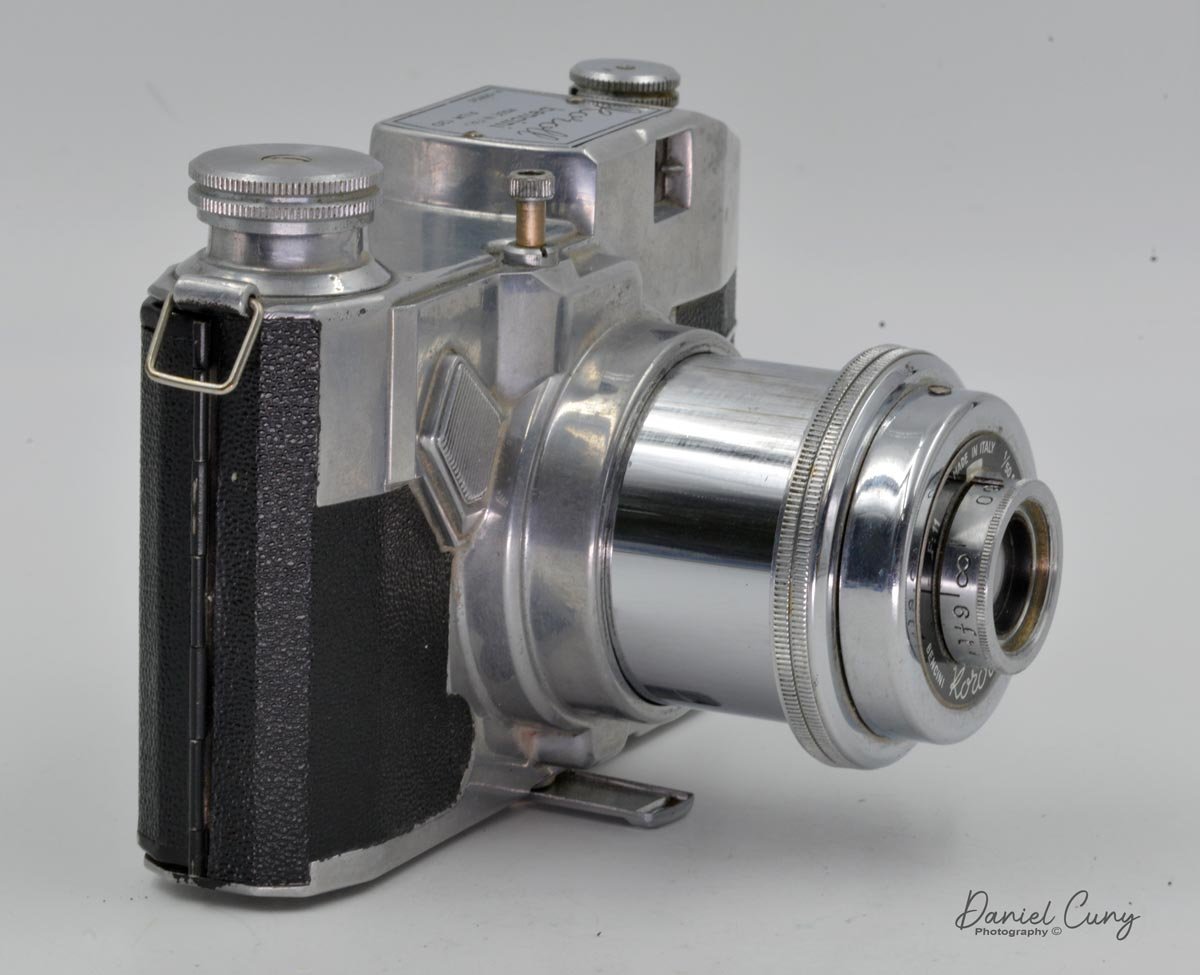
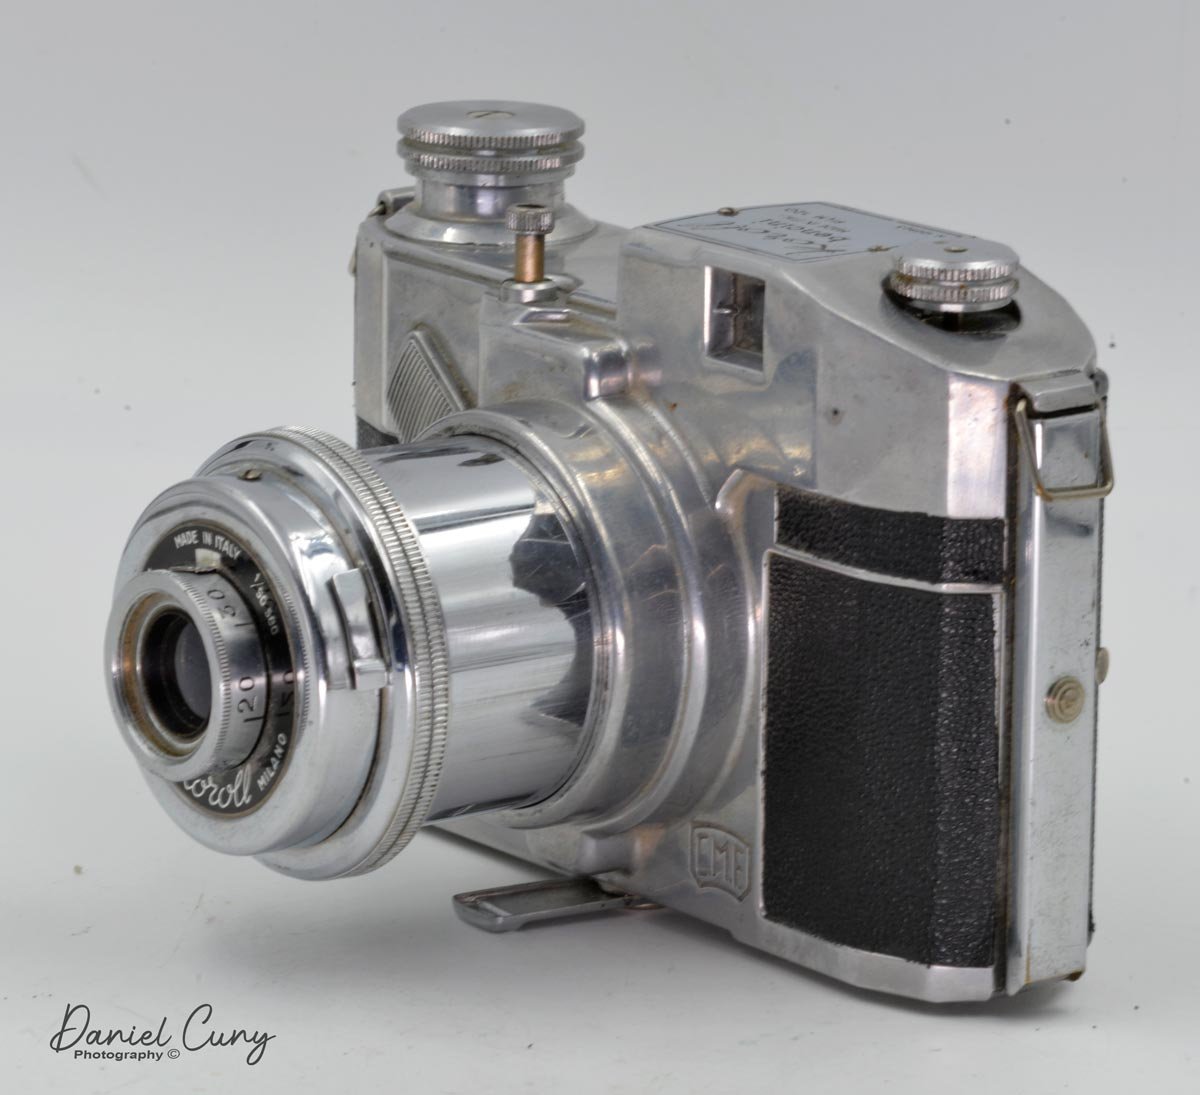
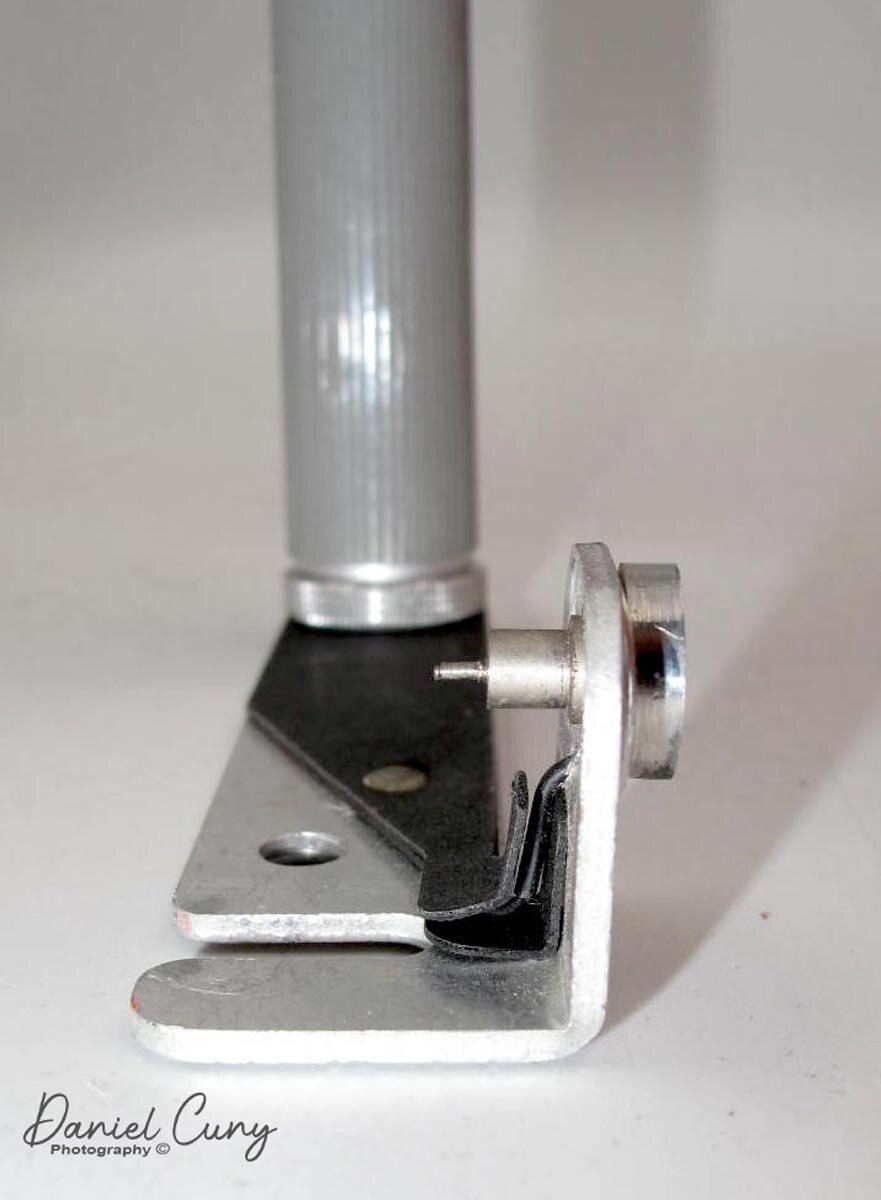
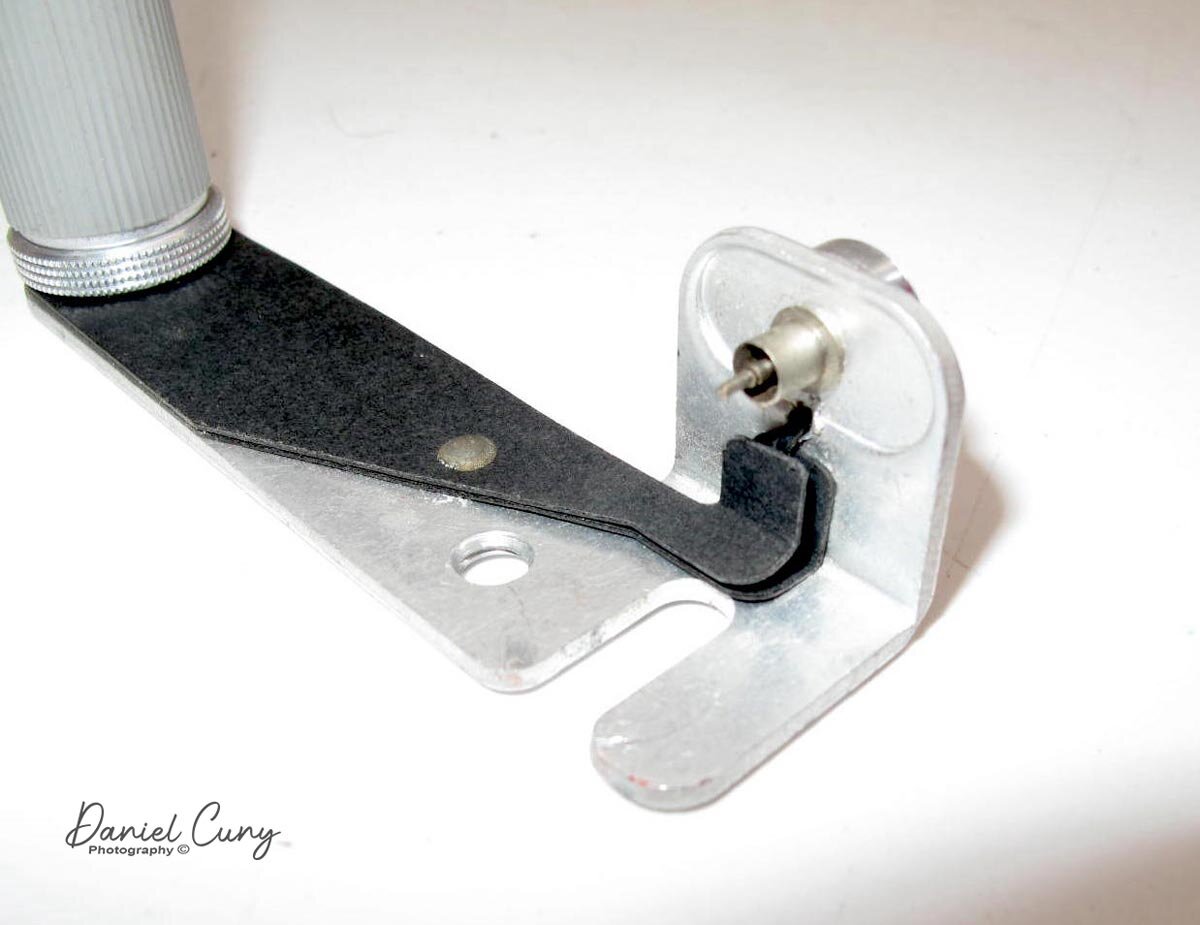
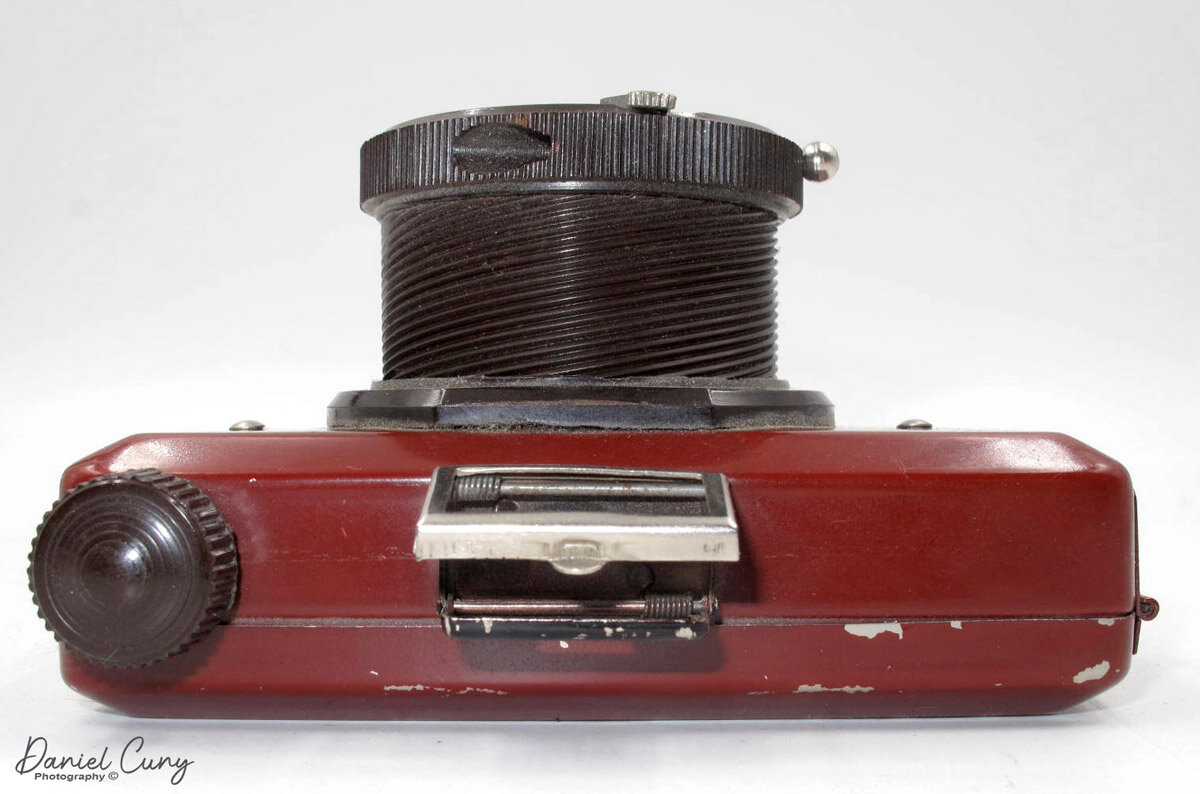
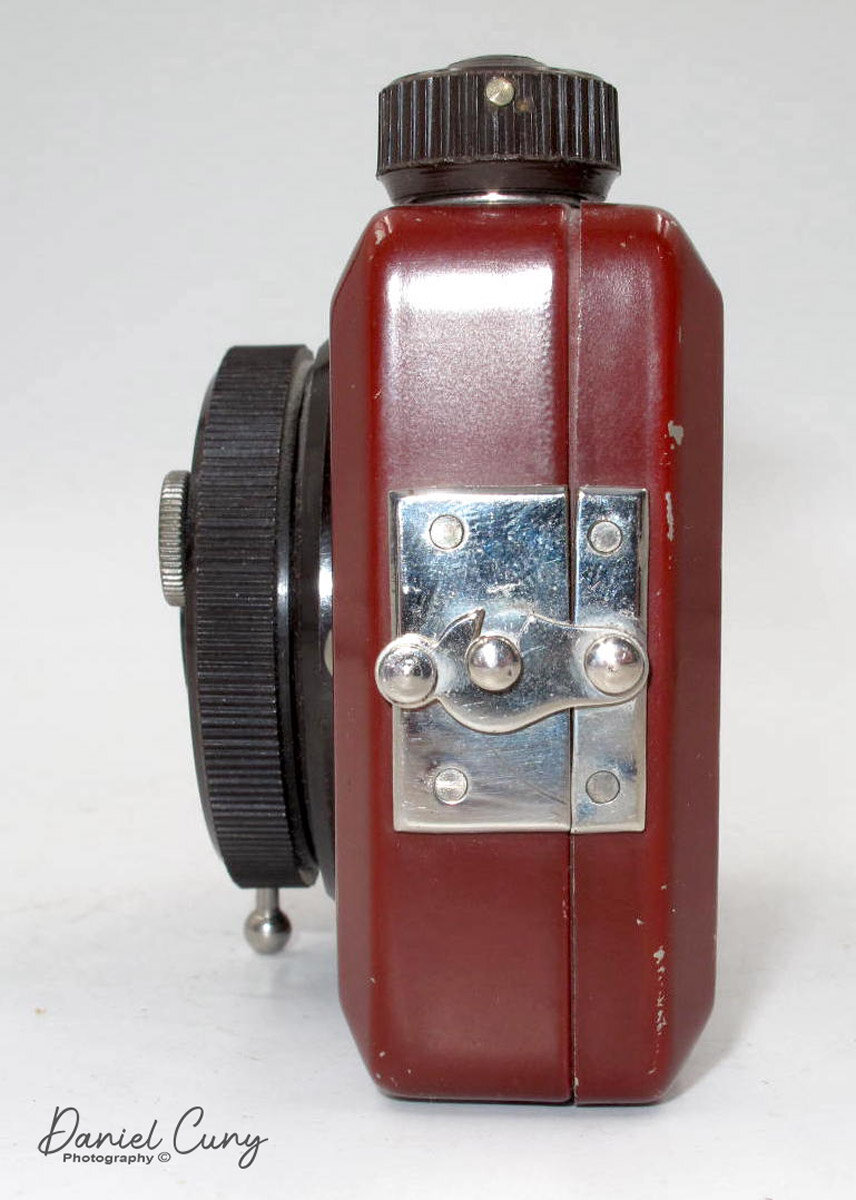
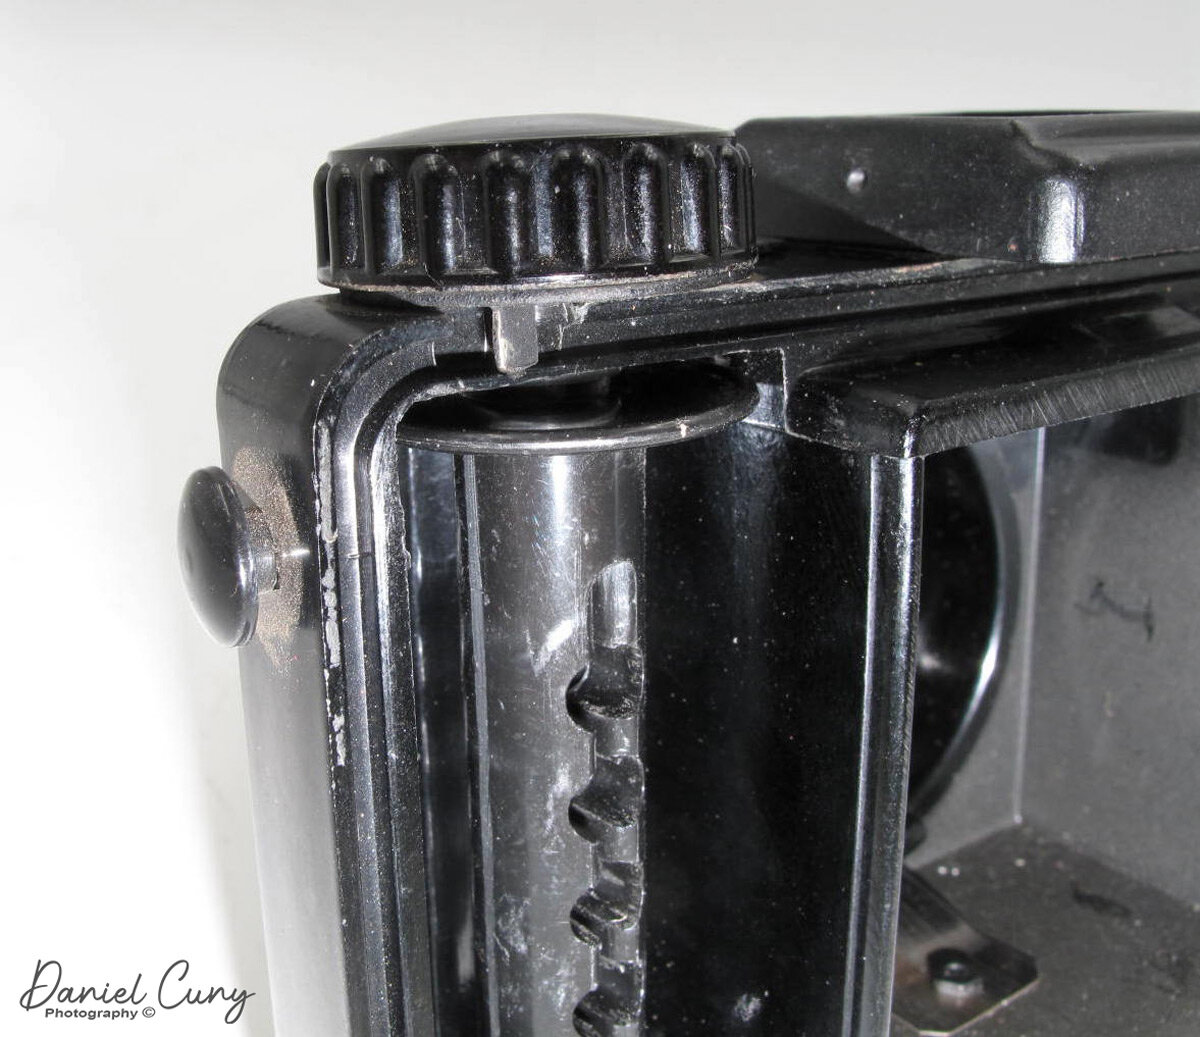
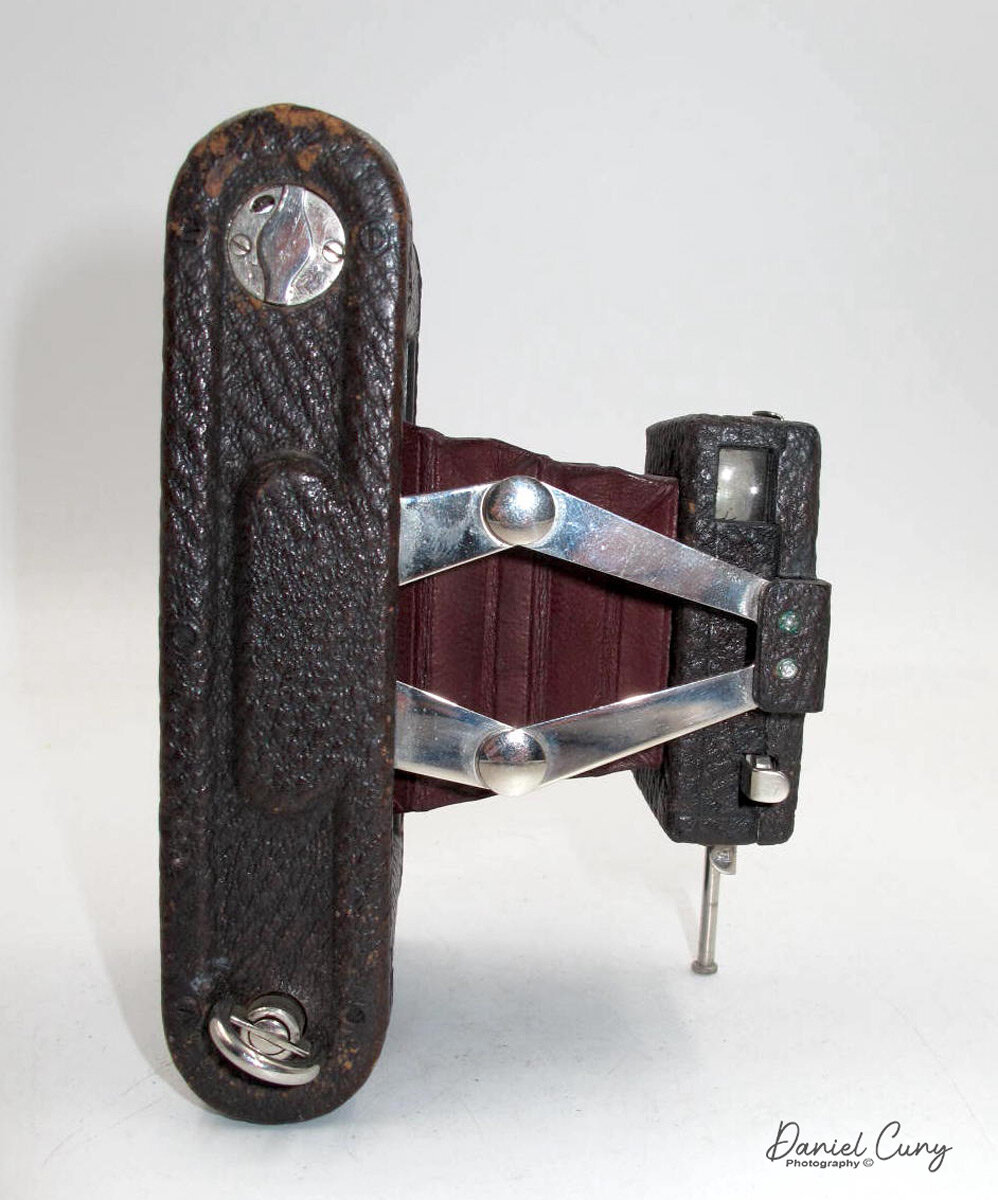
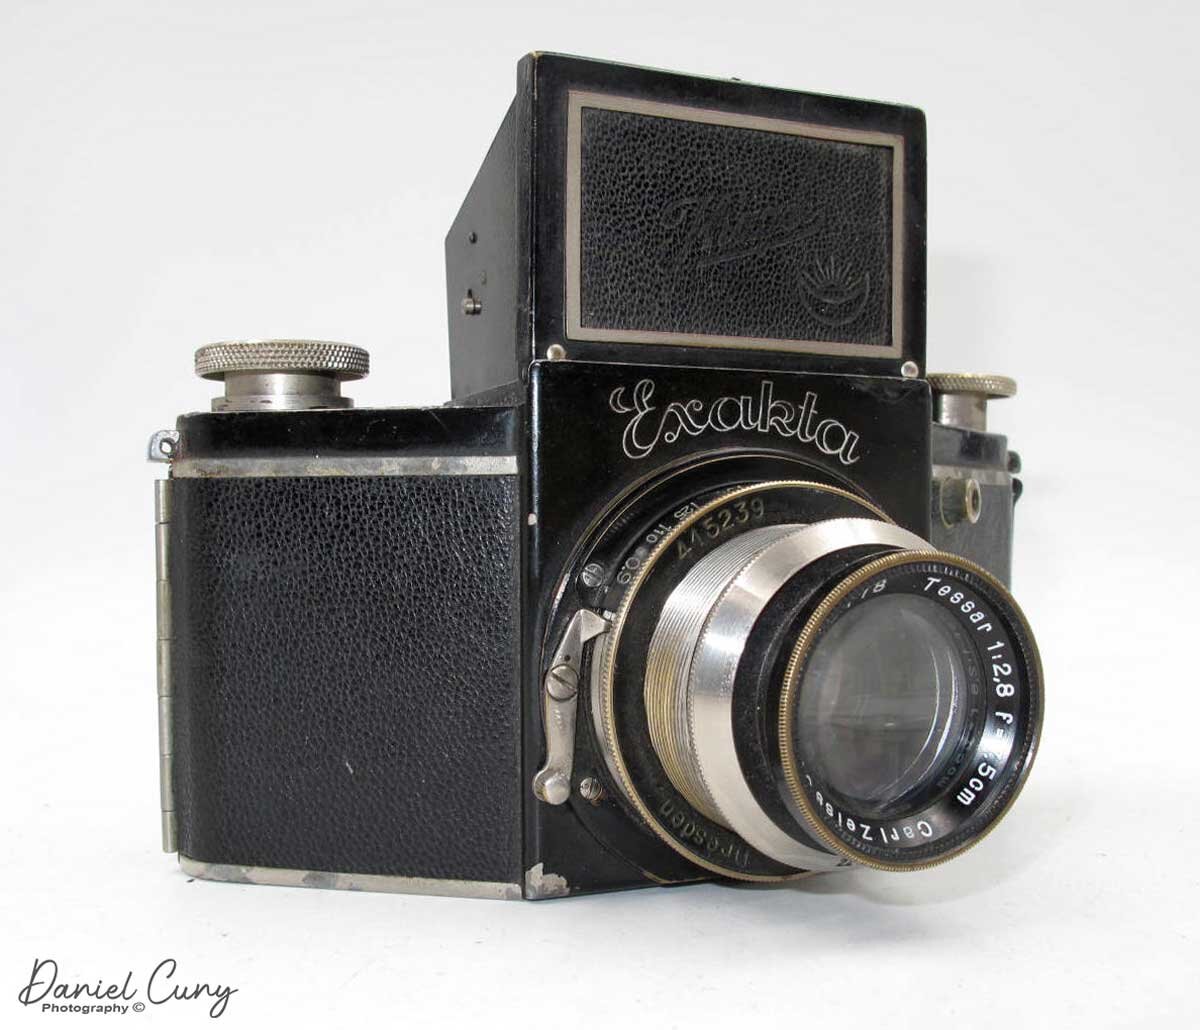
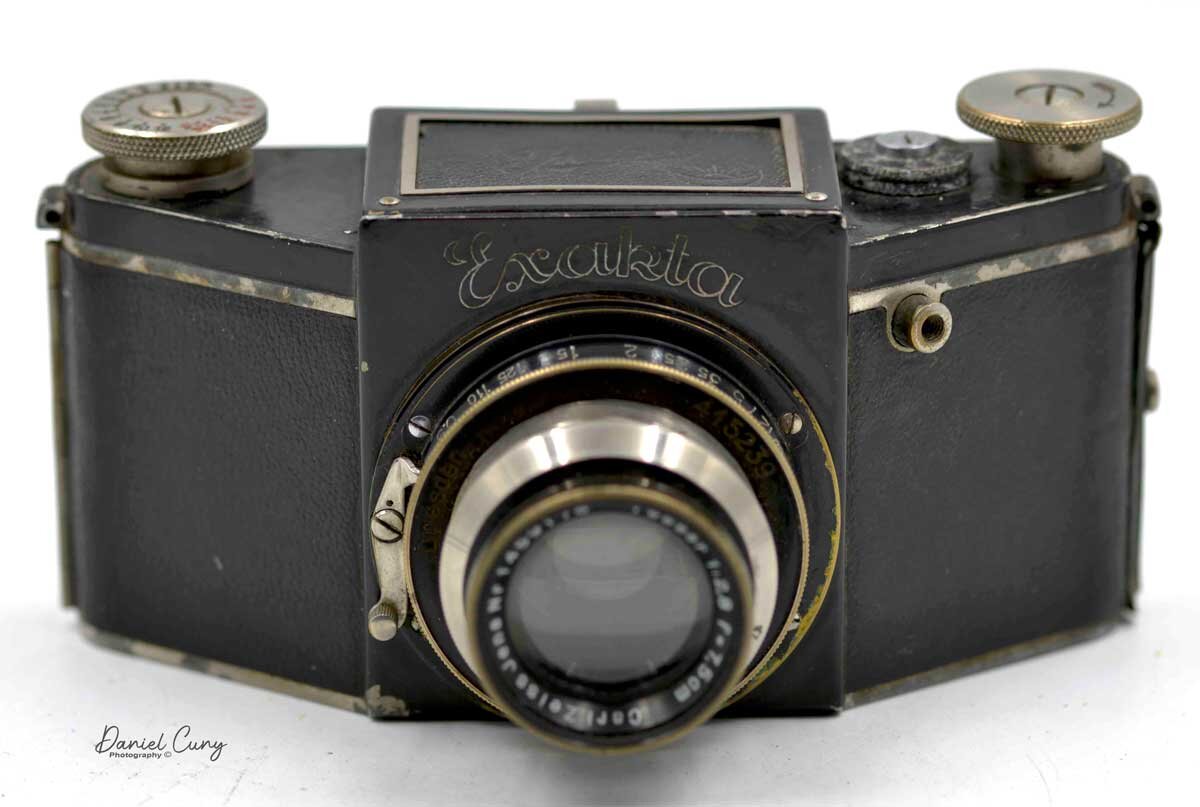
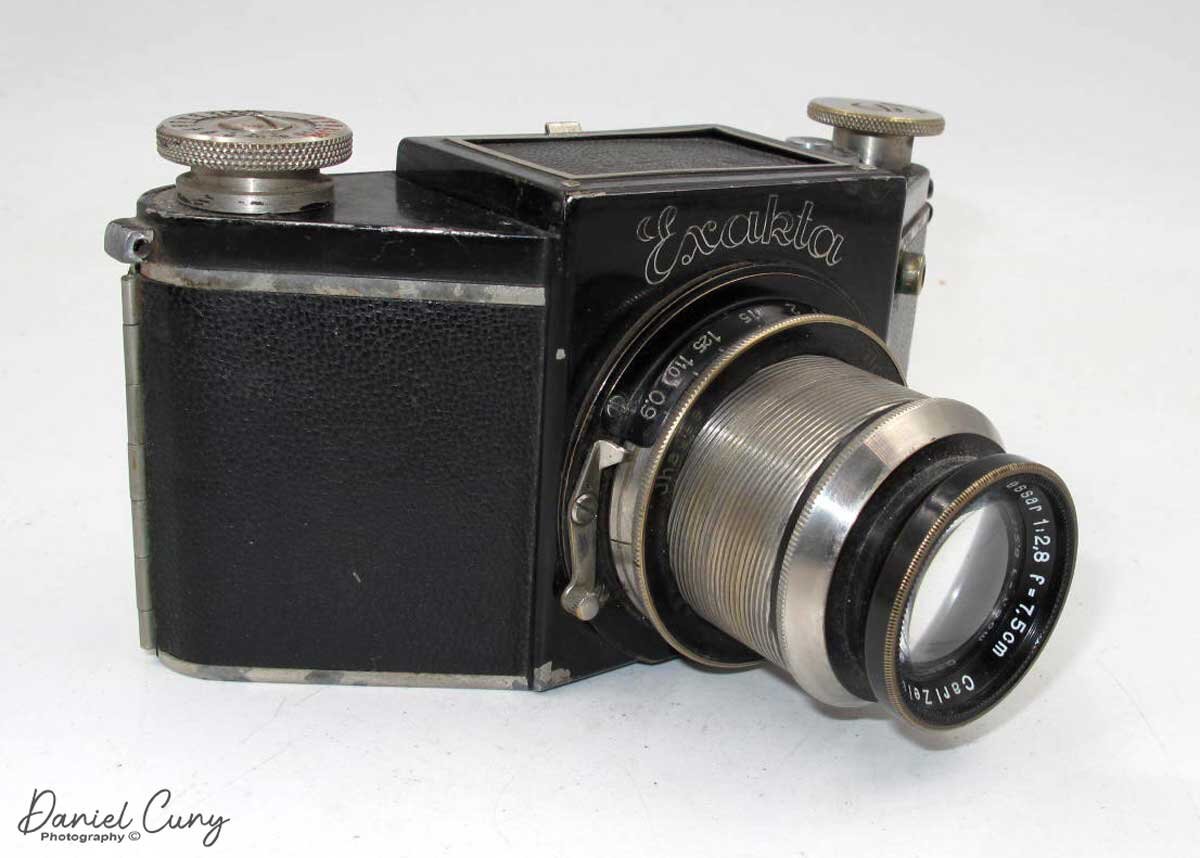
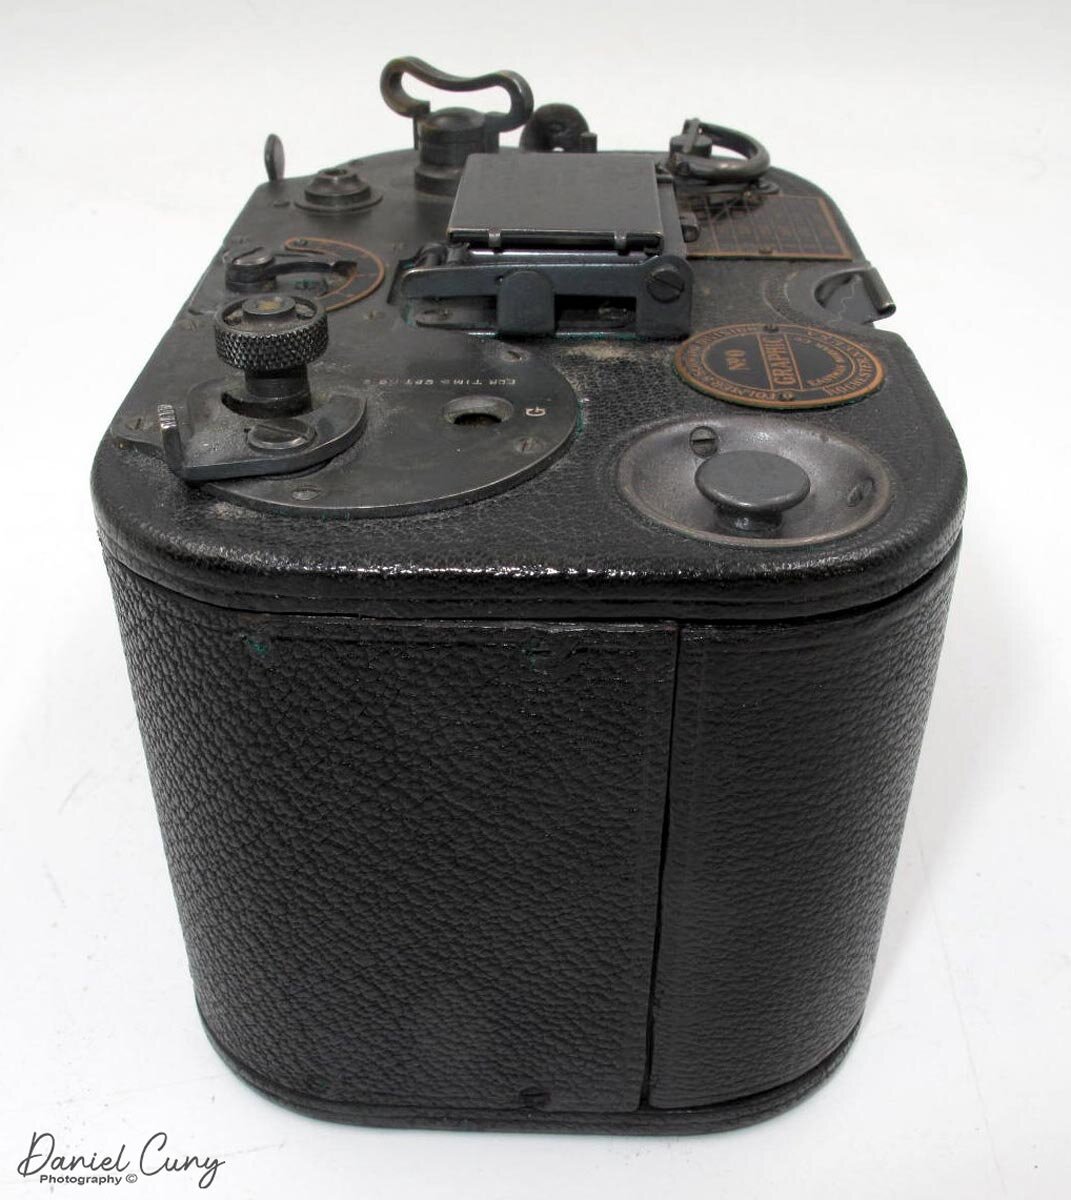
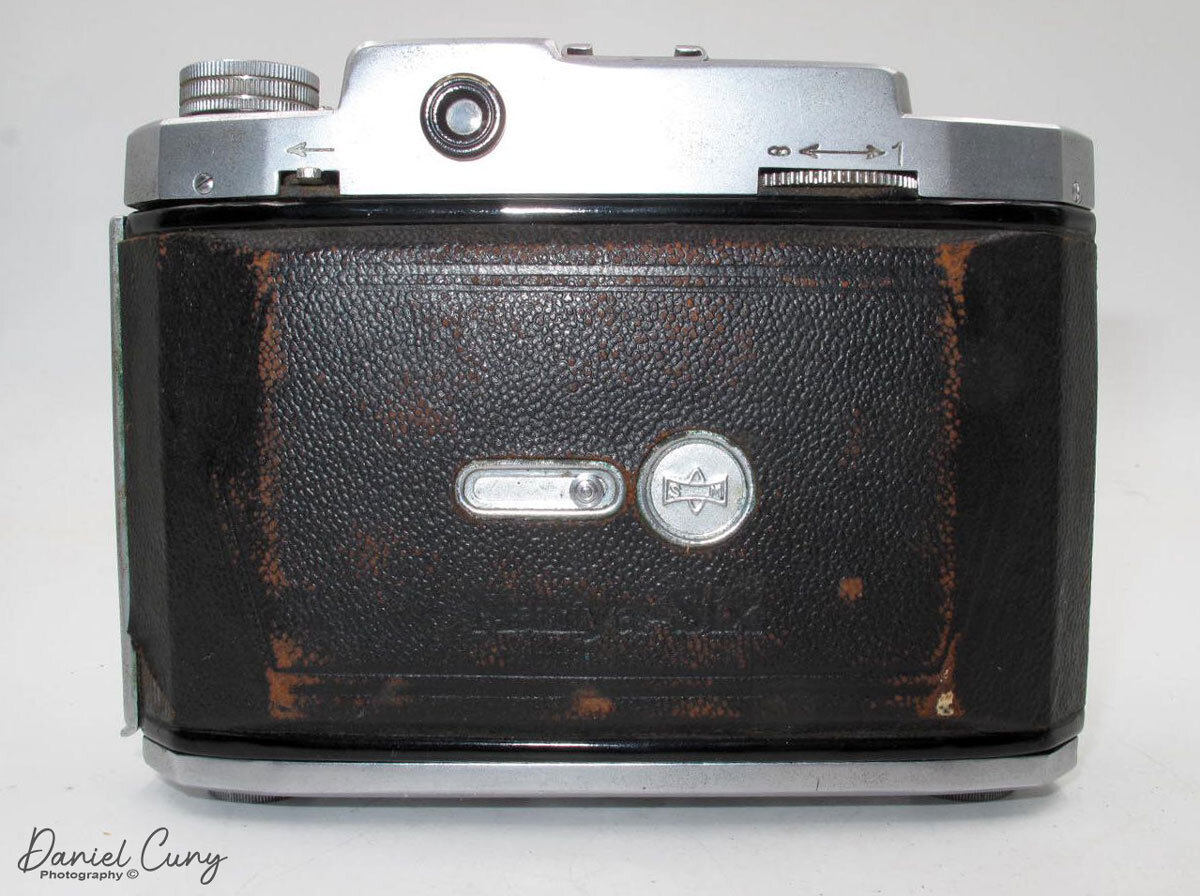
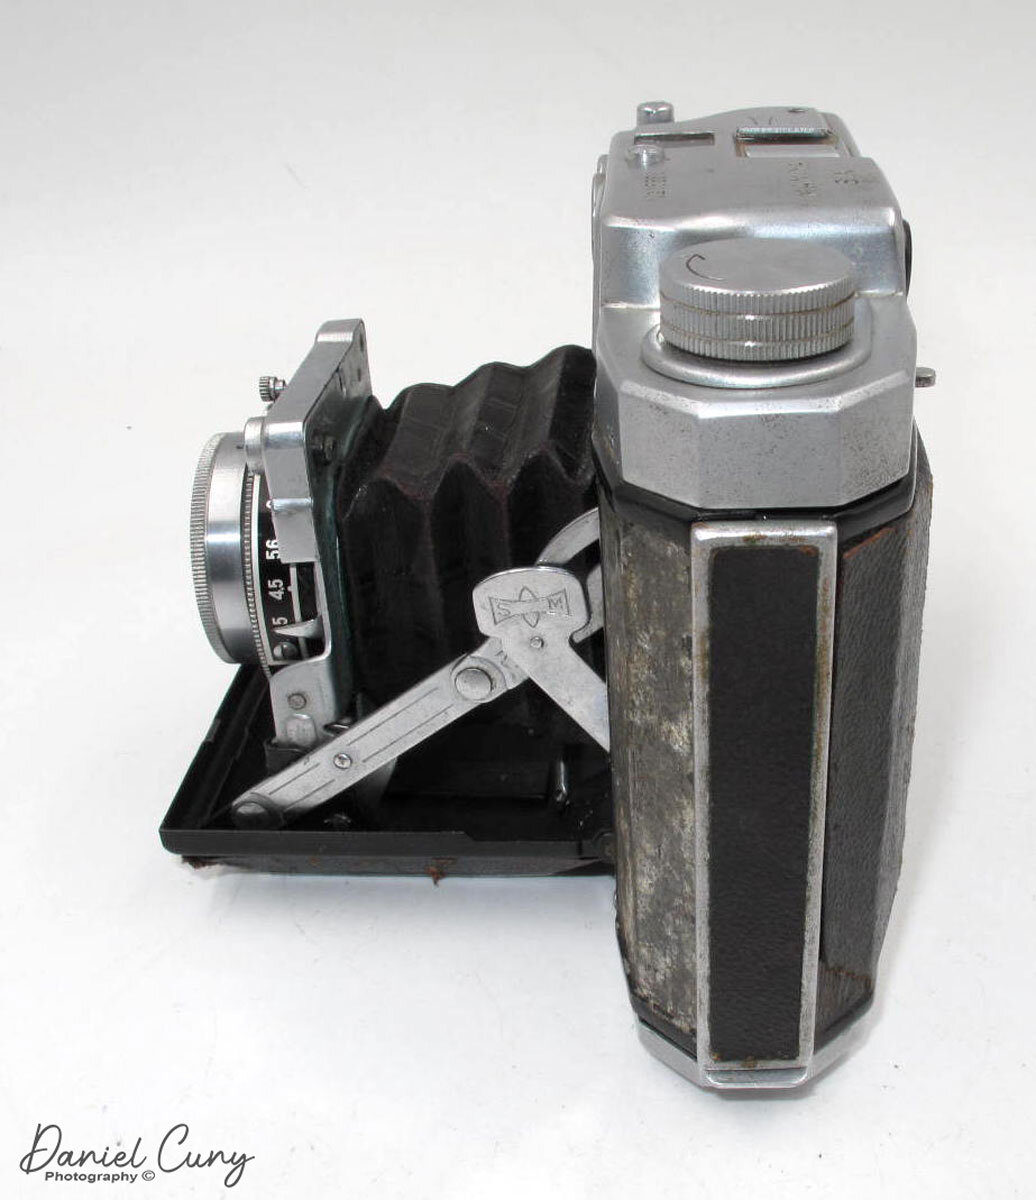
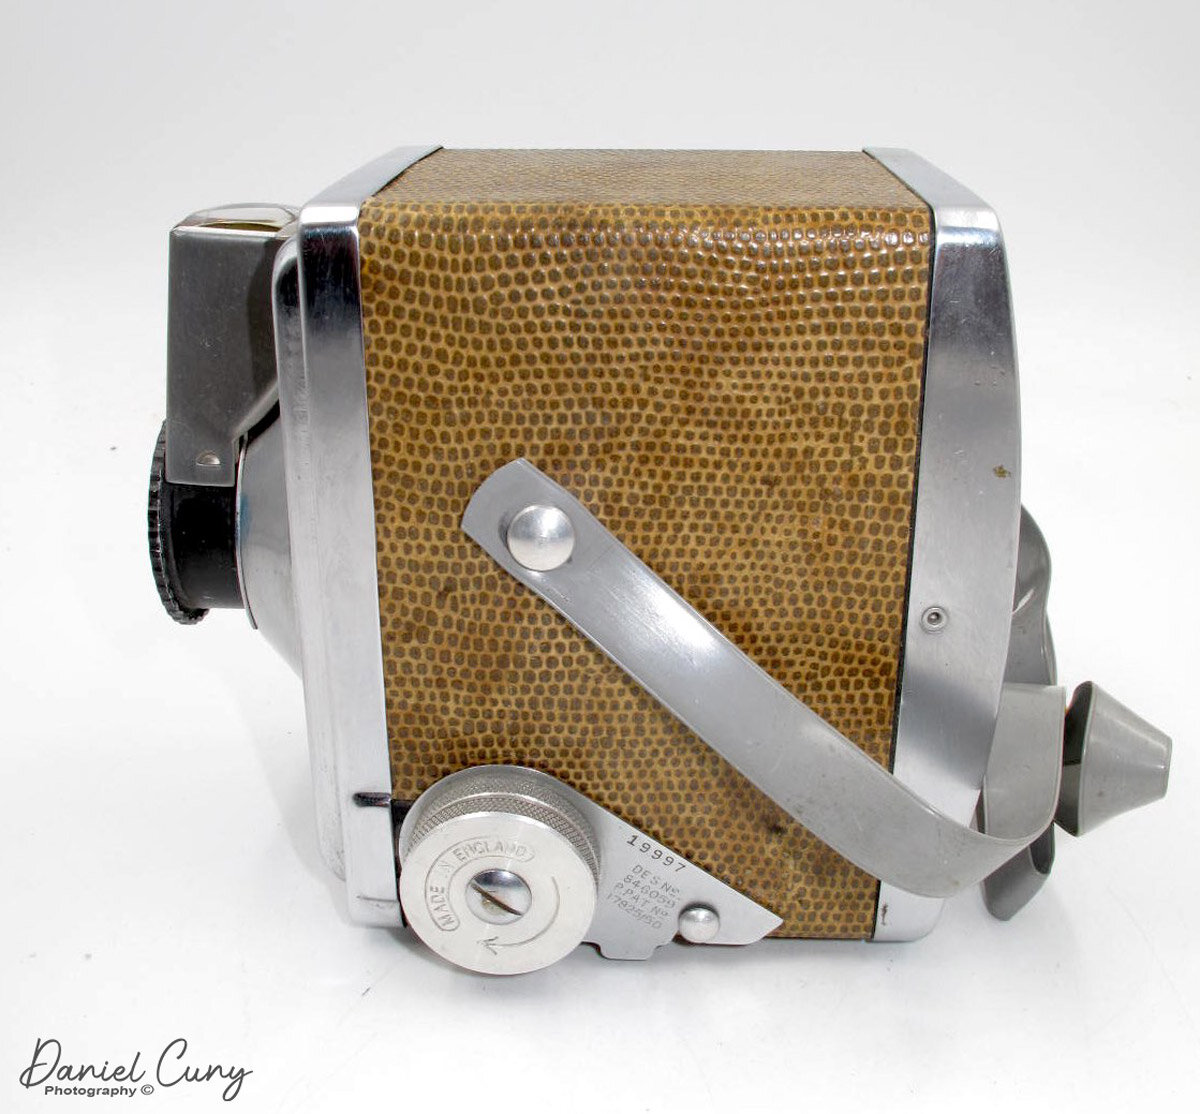
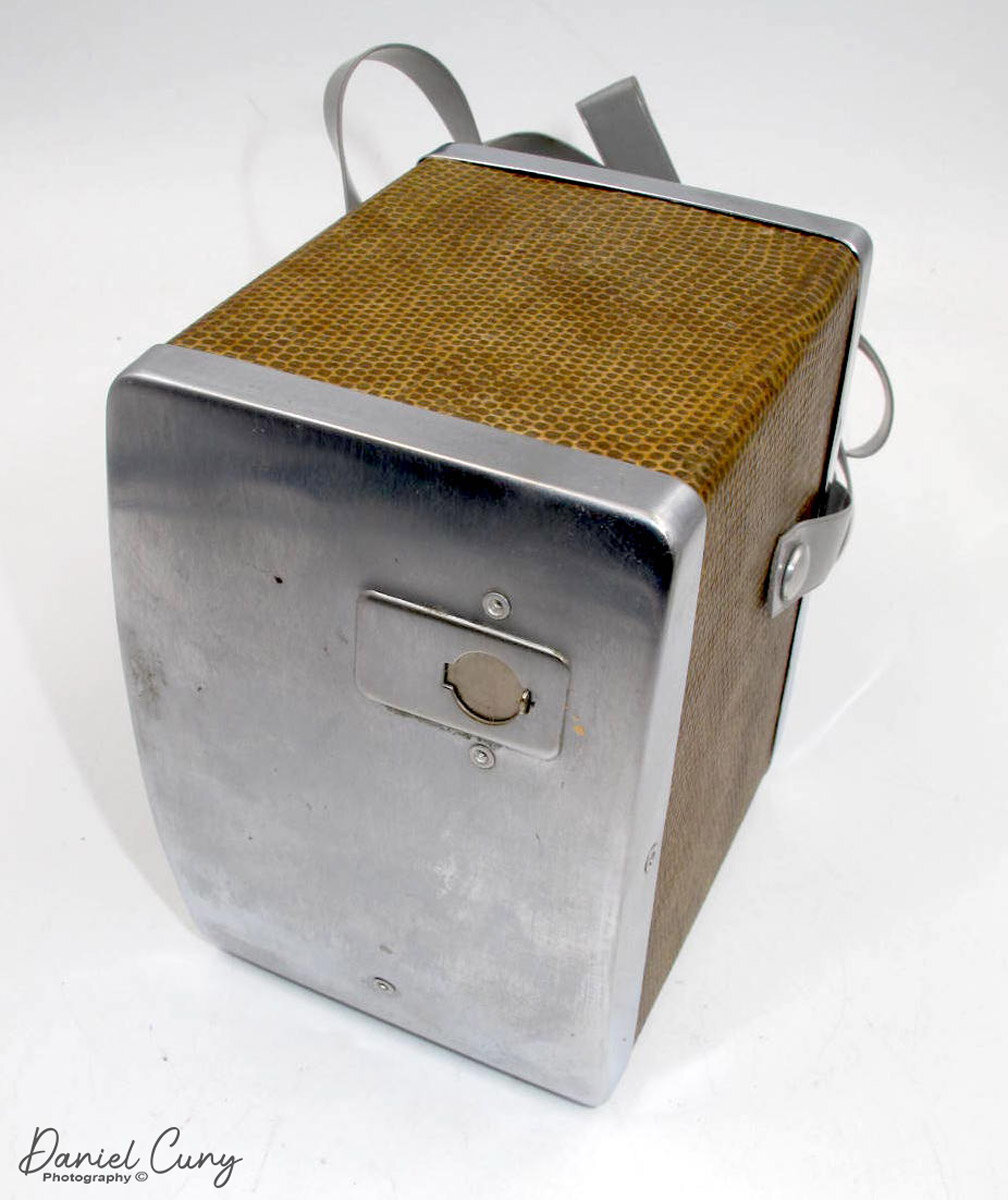
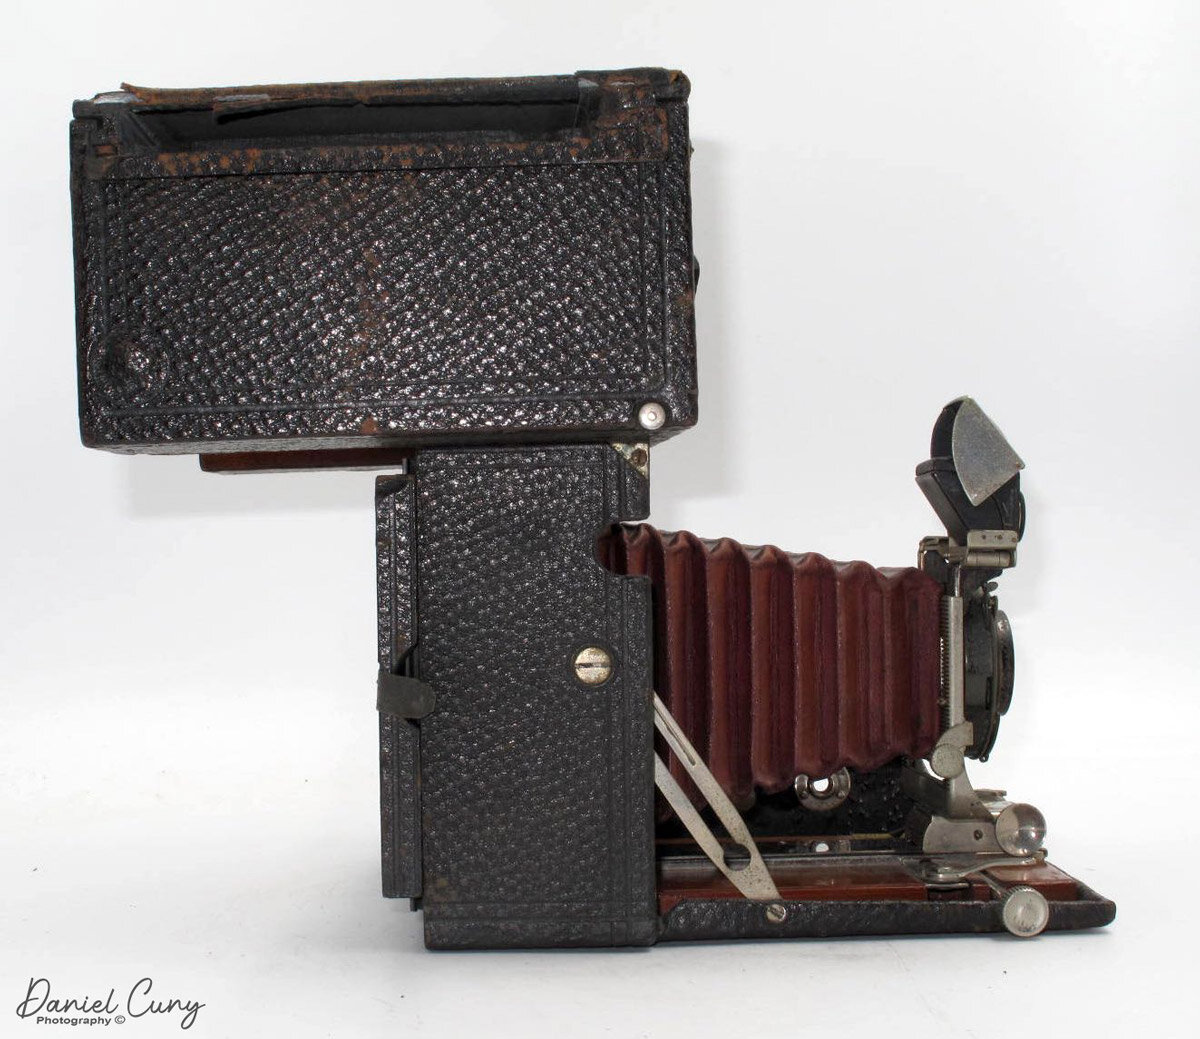
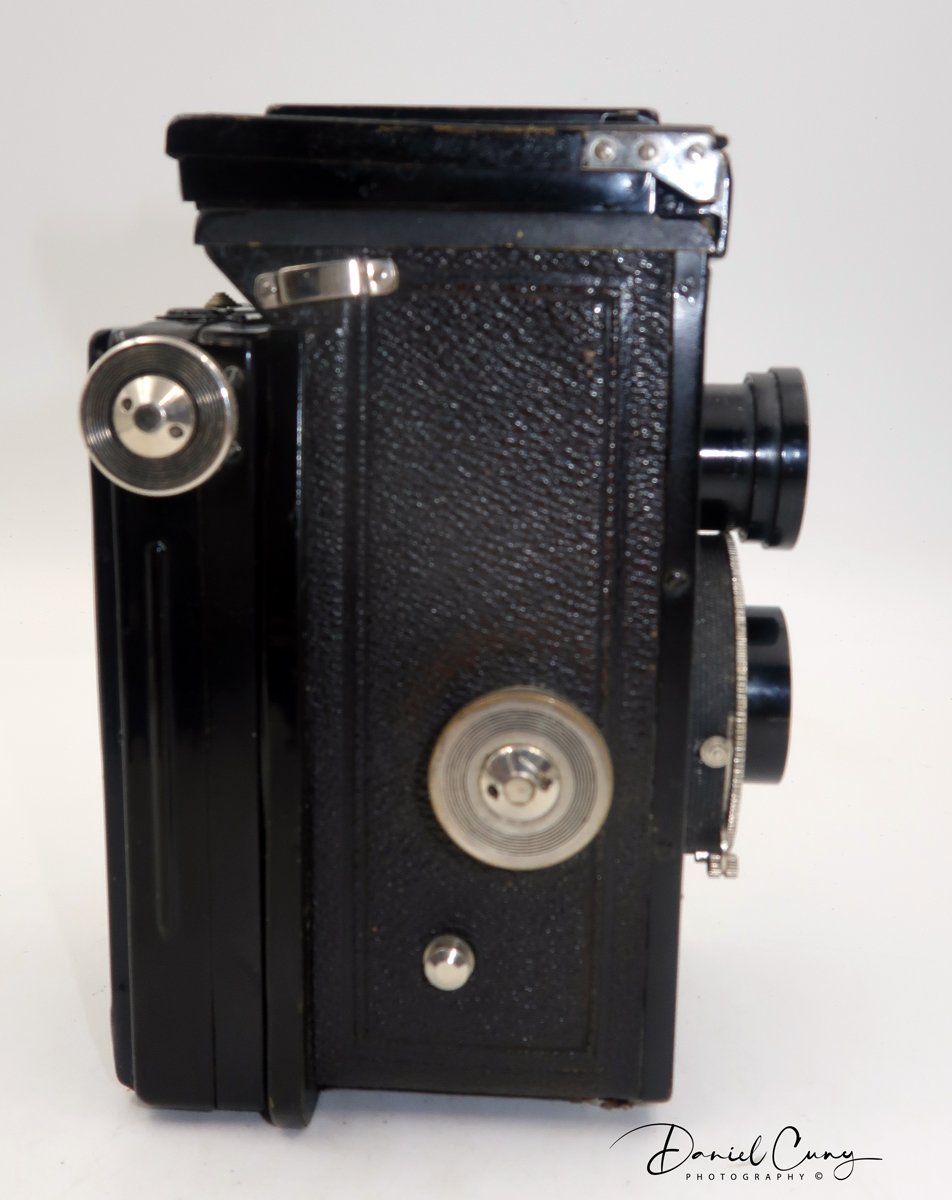
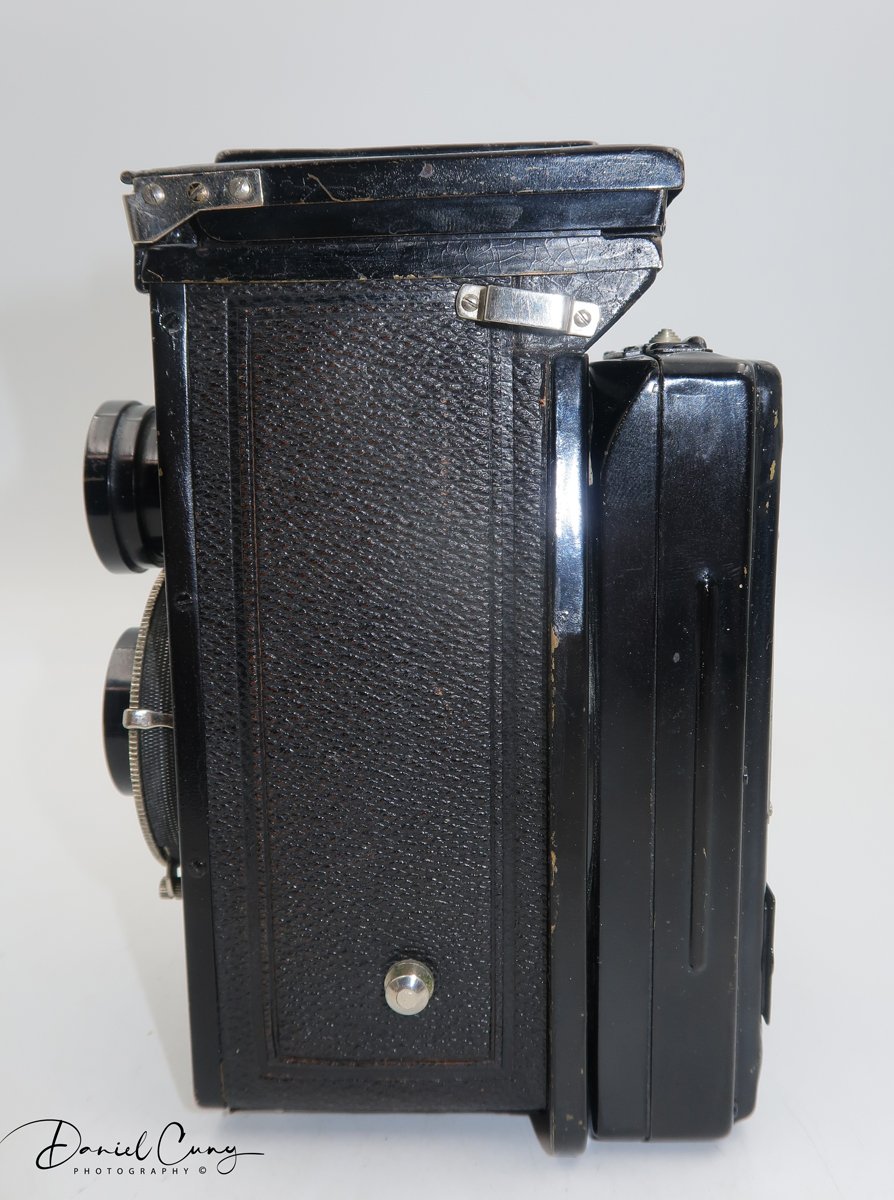
Here's the fun part about the blog: using the camera. Overall, the camera is boxier and heavier than the traditional TLR camera of the era. That's due to the extended area on the back that allows the photographer to rotate the negatives from vertical or portrait mode to horizontal or landscape mode. The camera is just under 6.5" tall x 3.5" wide x 4.5" deep, measured from the back of the film door to the front of the lens. The camera weighs just under 3 lbs. at 2 lbs. 15 oz.
The Ontoflex came in two different models and three different configurations. The Model A, which is what I have, has a fixed rotating back. The Model B has a removable back that can take film plates. You can get the camera with different lens and shutter combinations.
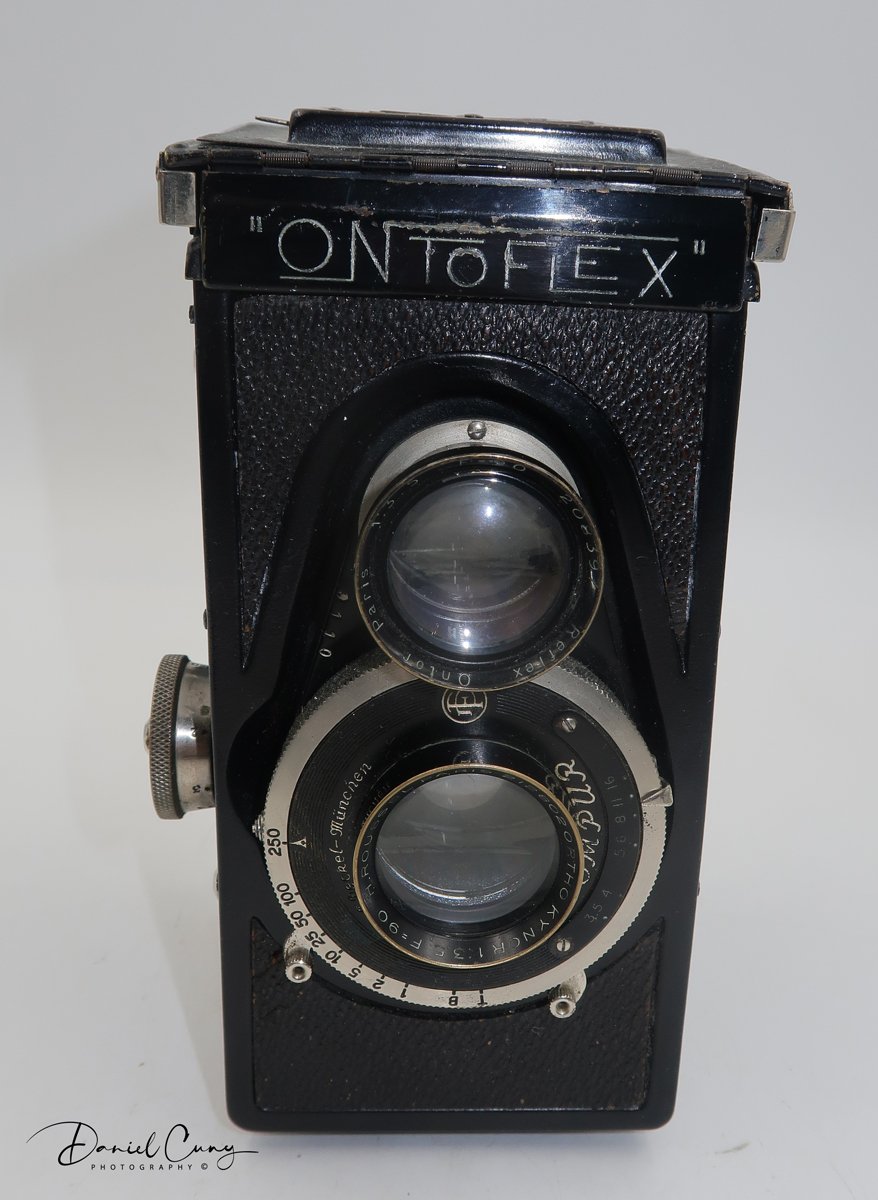
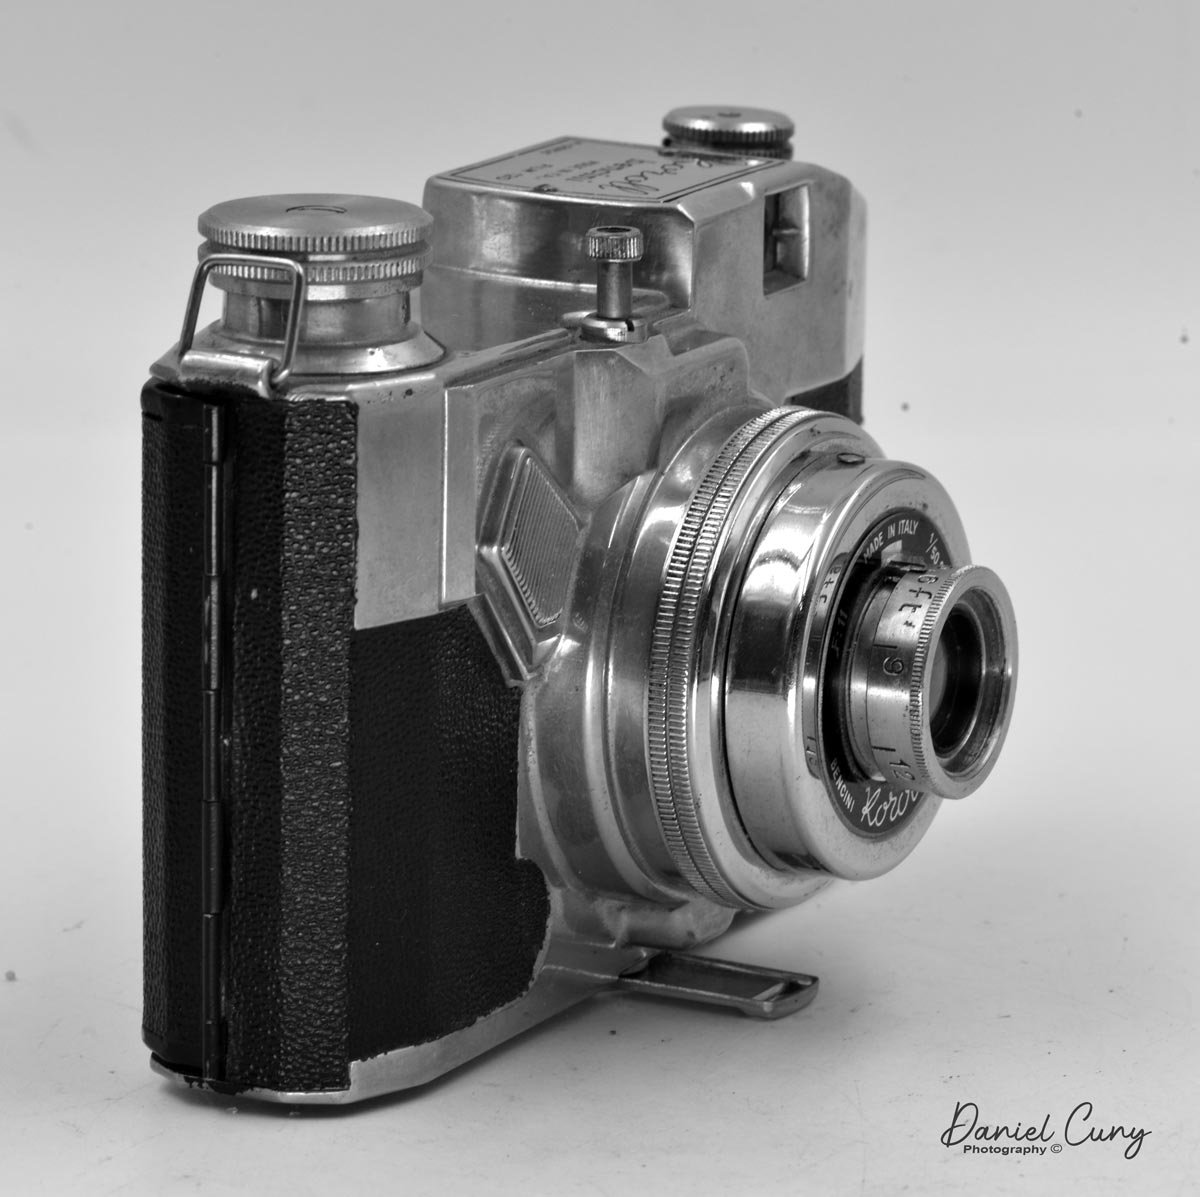
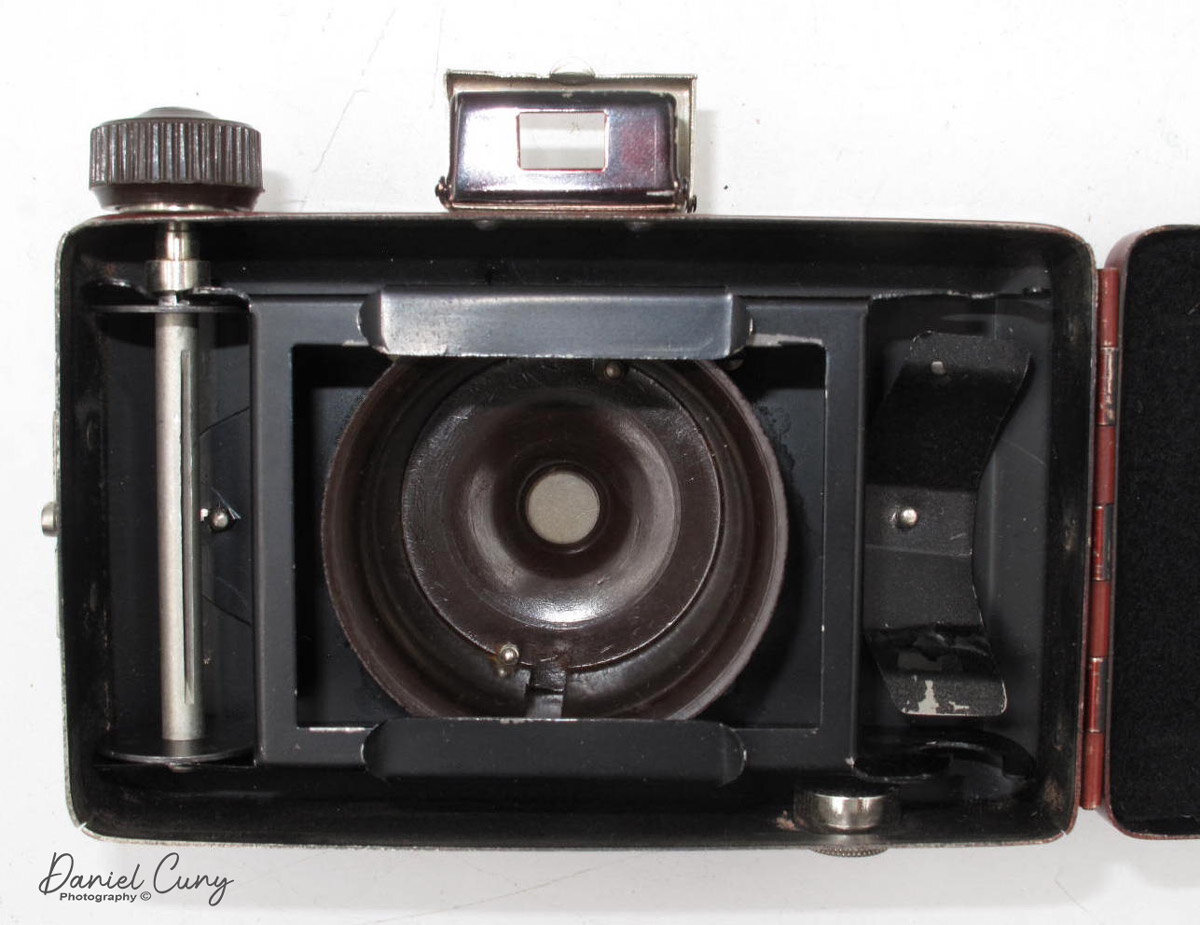
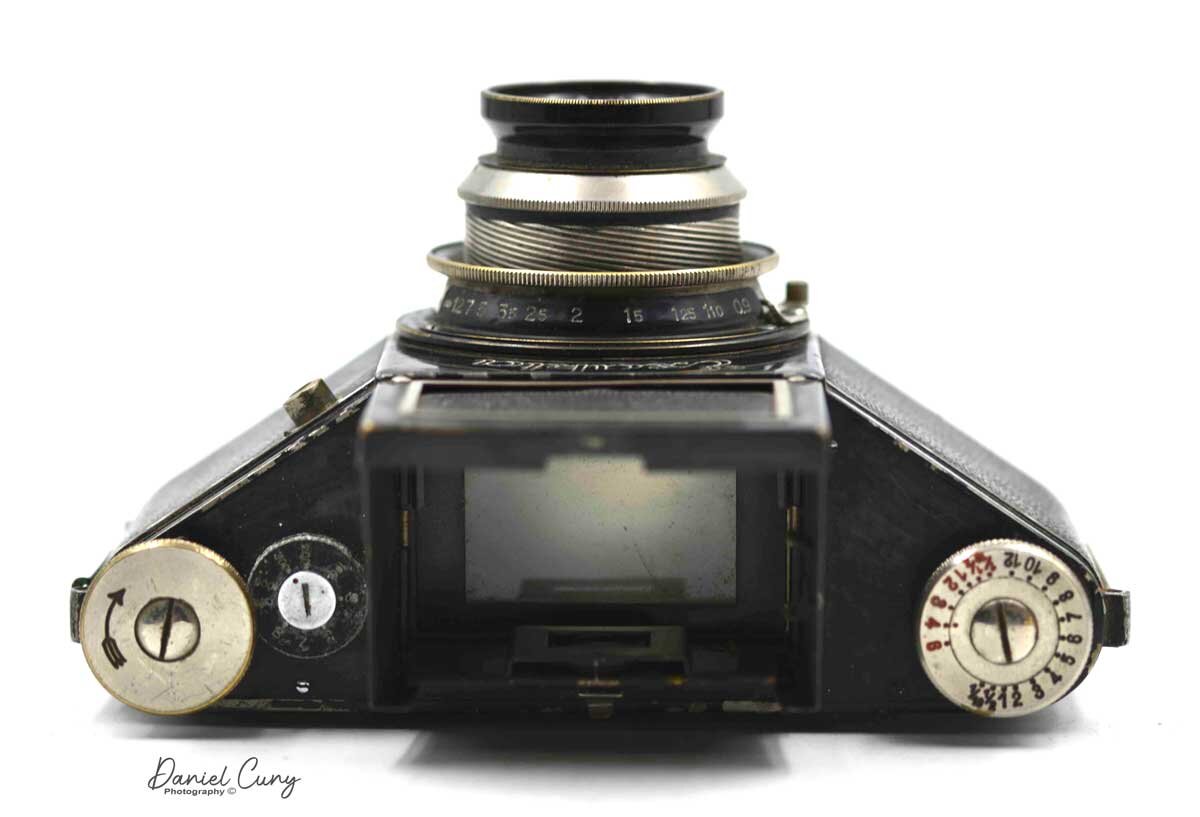
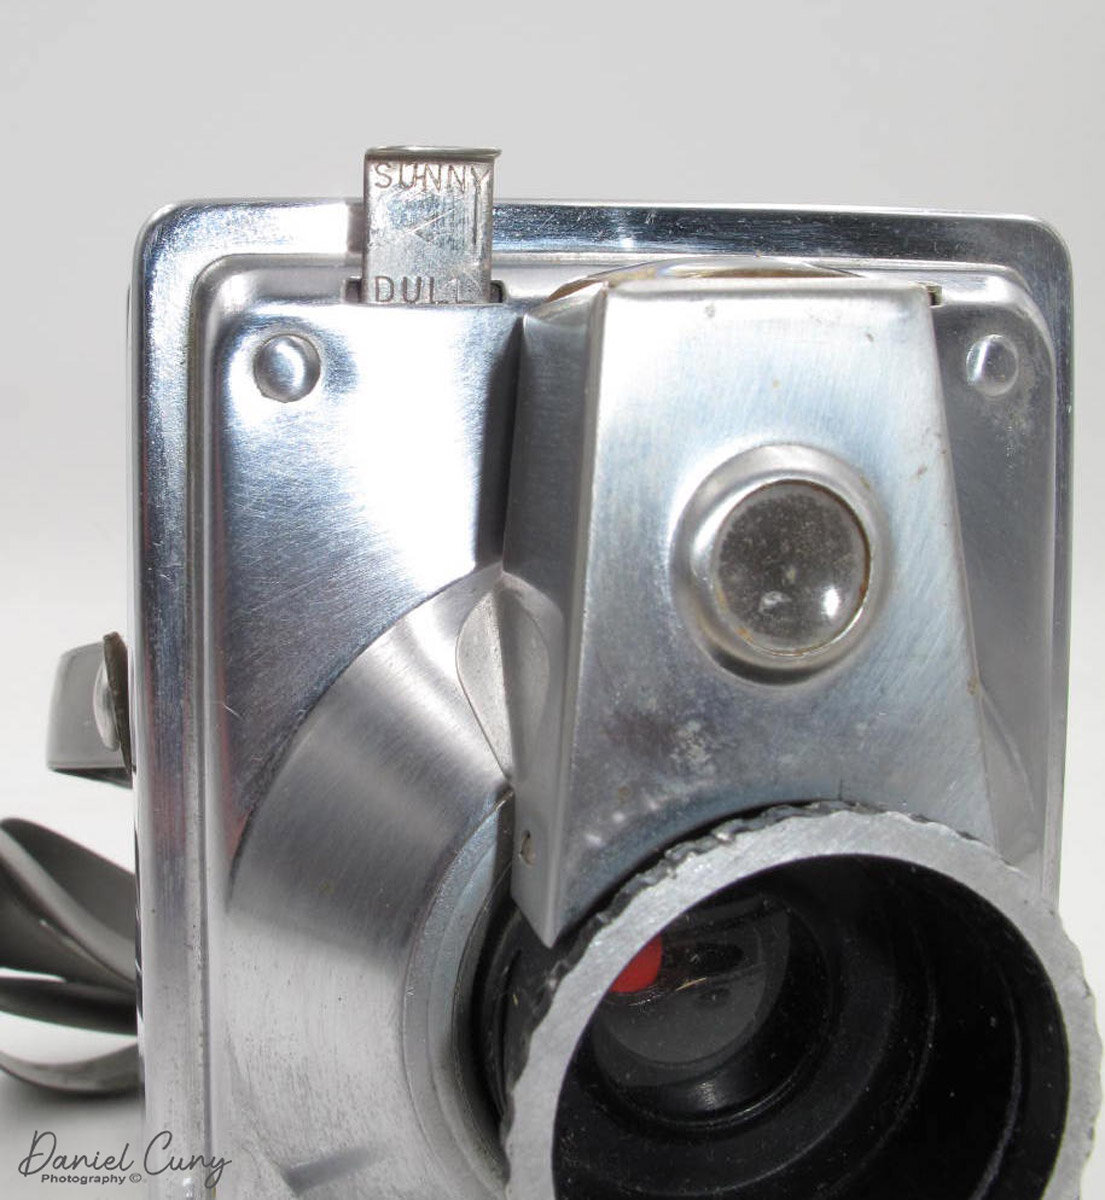
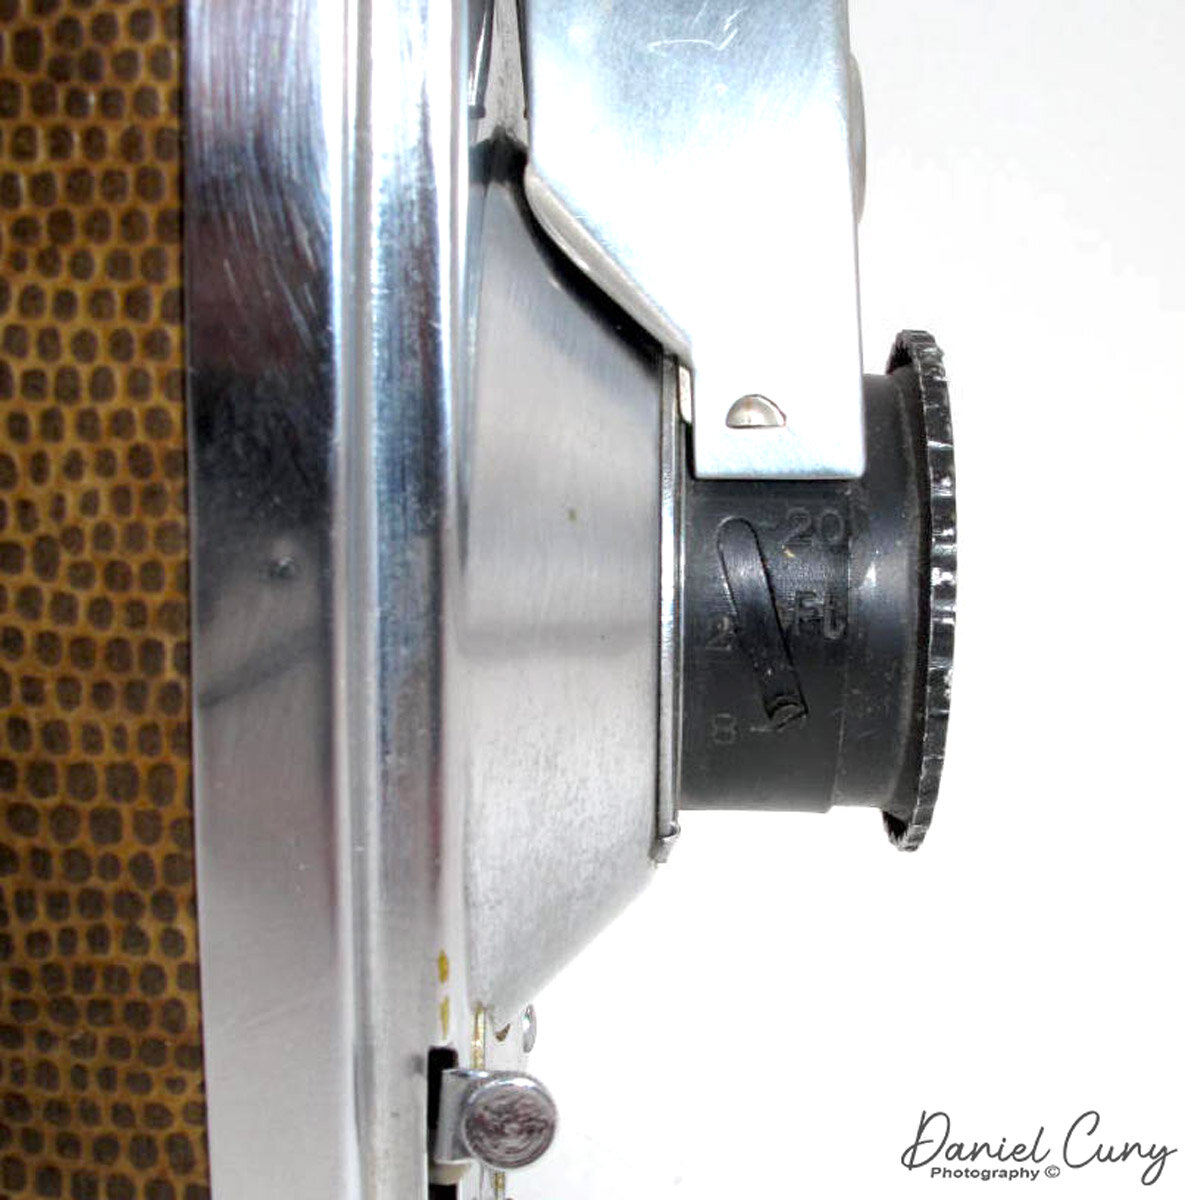
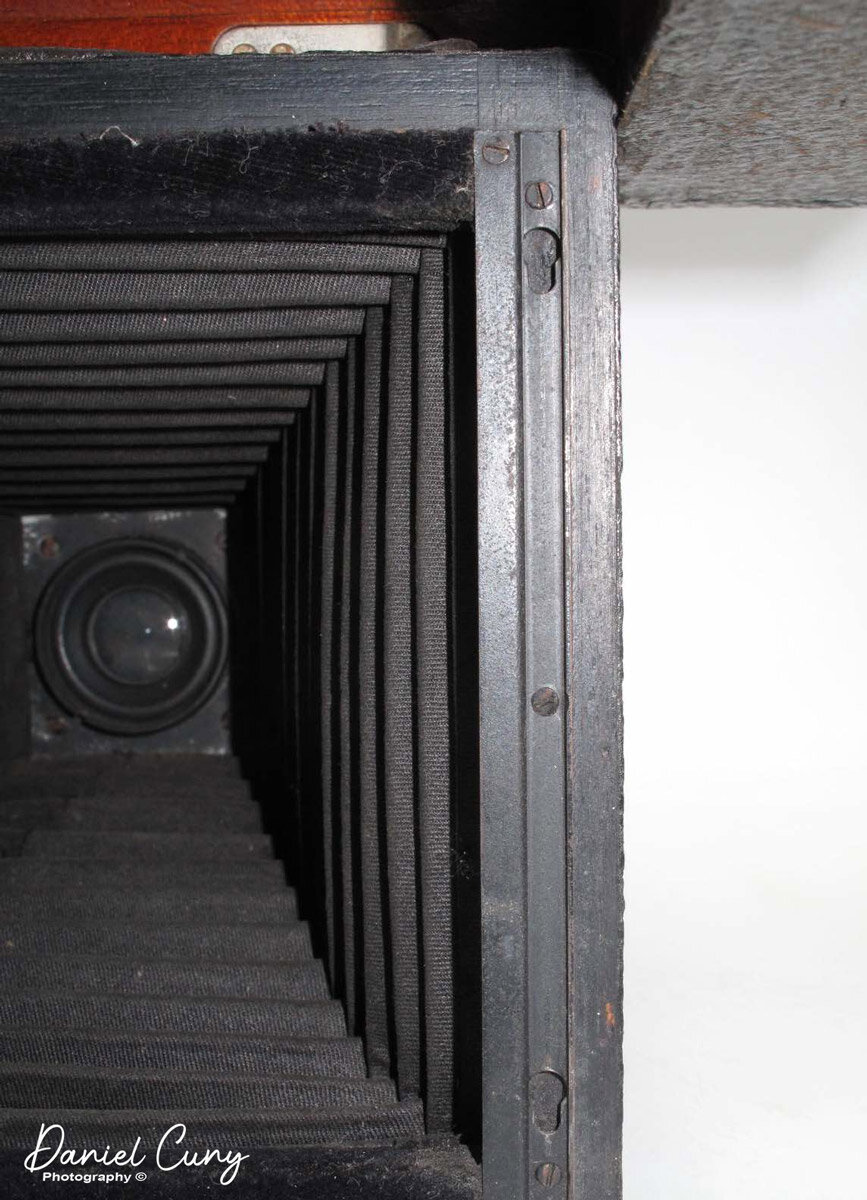
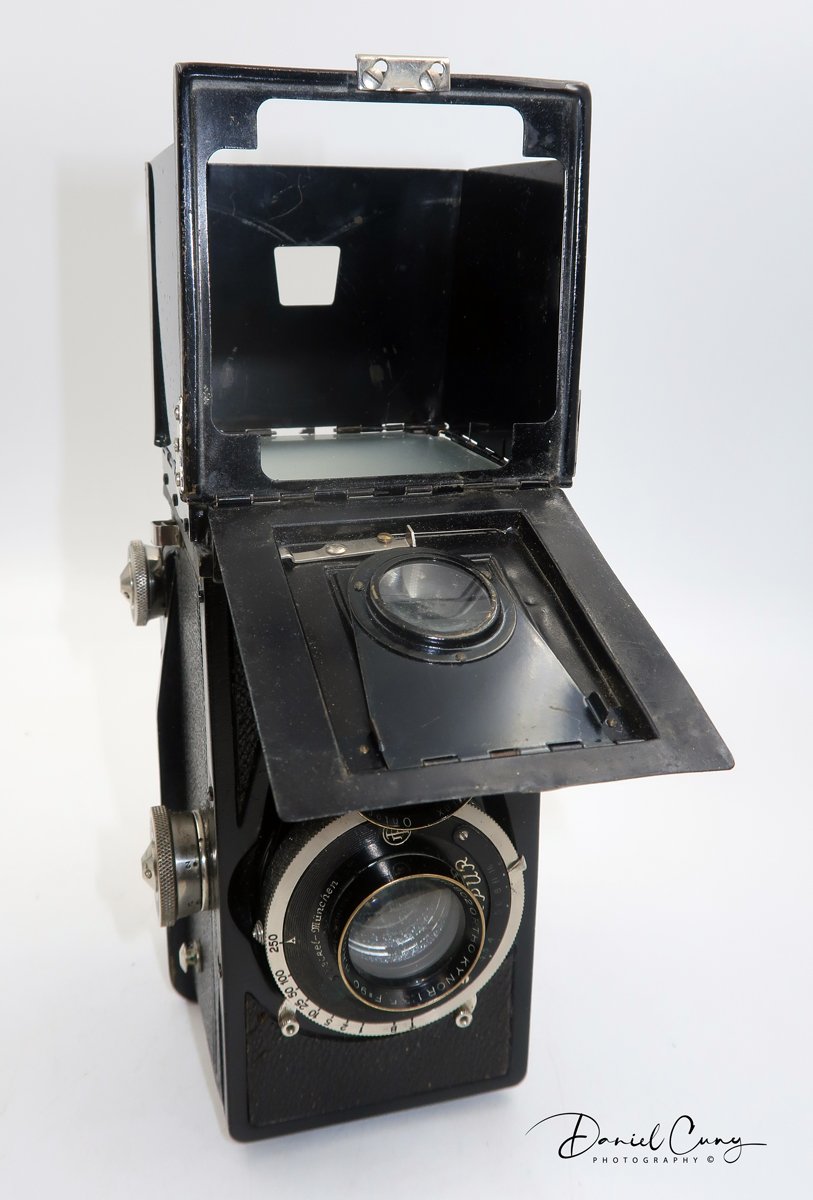
My camera has a 90mm f3.5 H. Roussel Paris, ORTHO KYNOR lens for the taking lens mounted in a Compur shutter, and a 90mm f3.5 Reflex Ontor lens for the viewing optics. The shutter only goes to 1/250 shutter speed and down to 1 sec. along with B and T for time exposures.
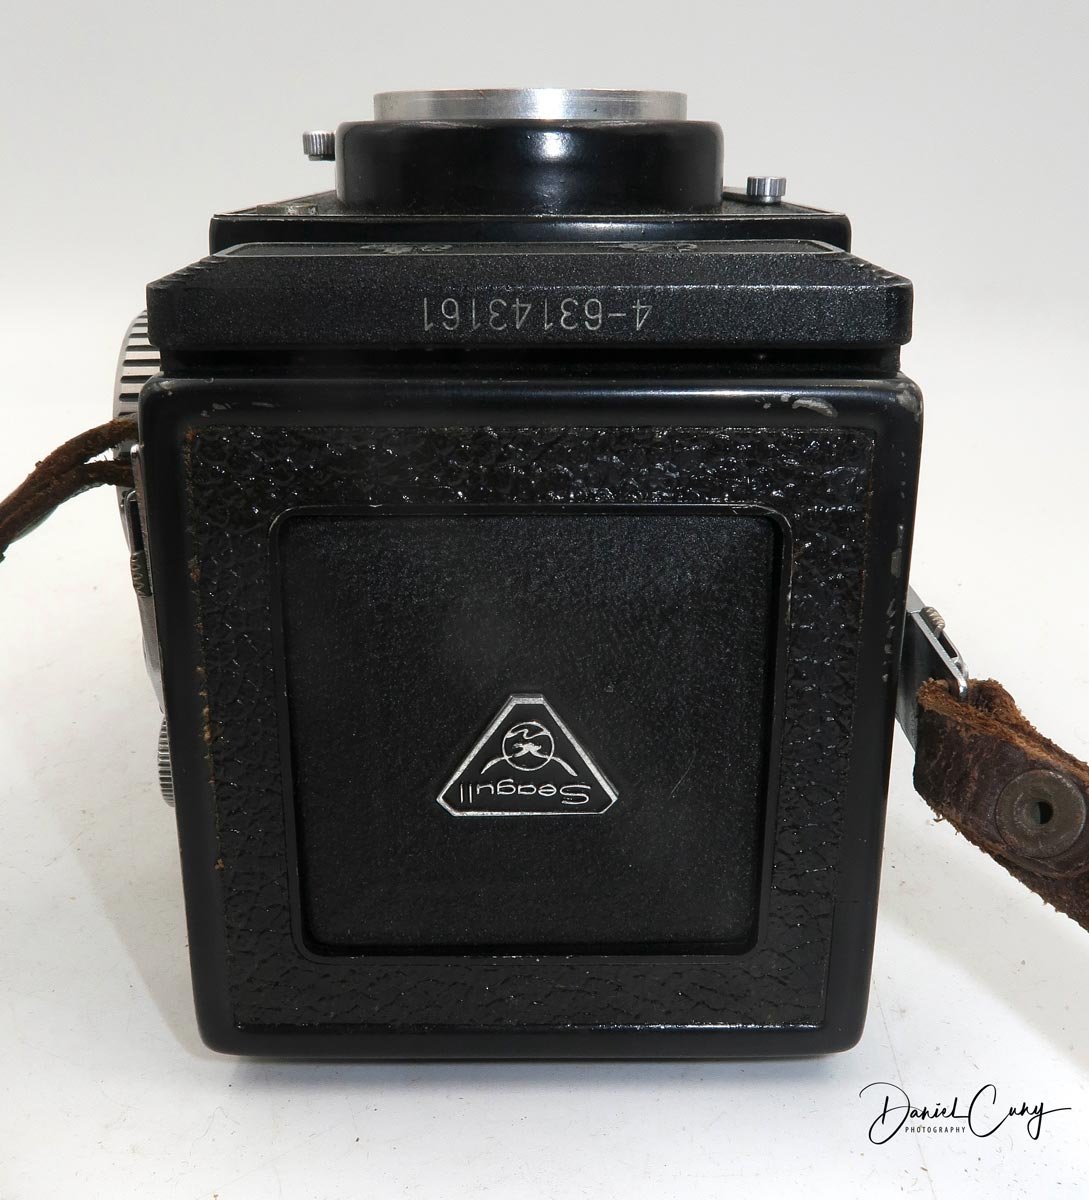
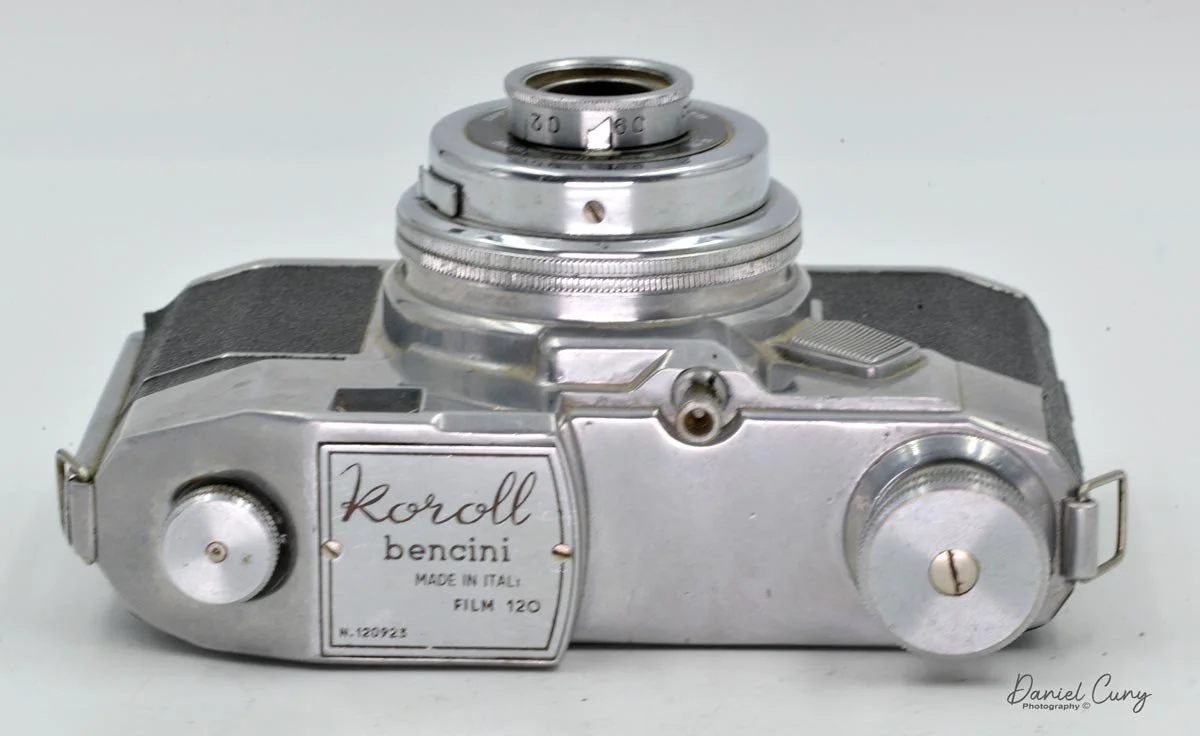
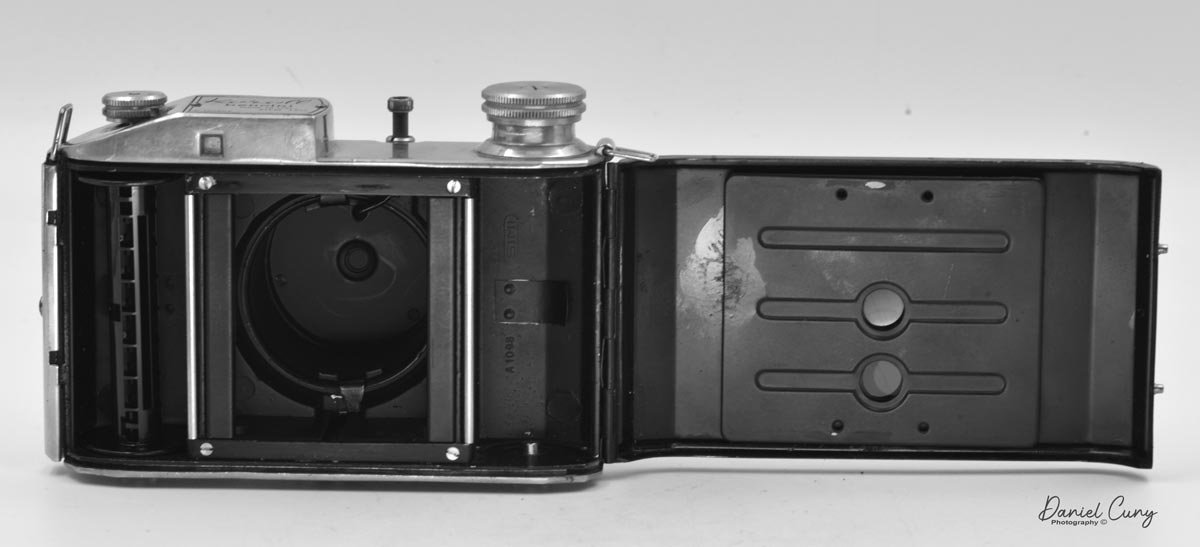
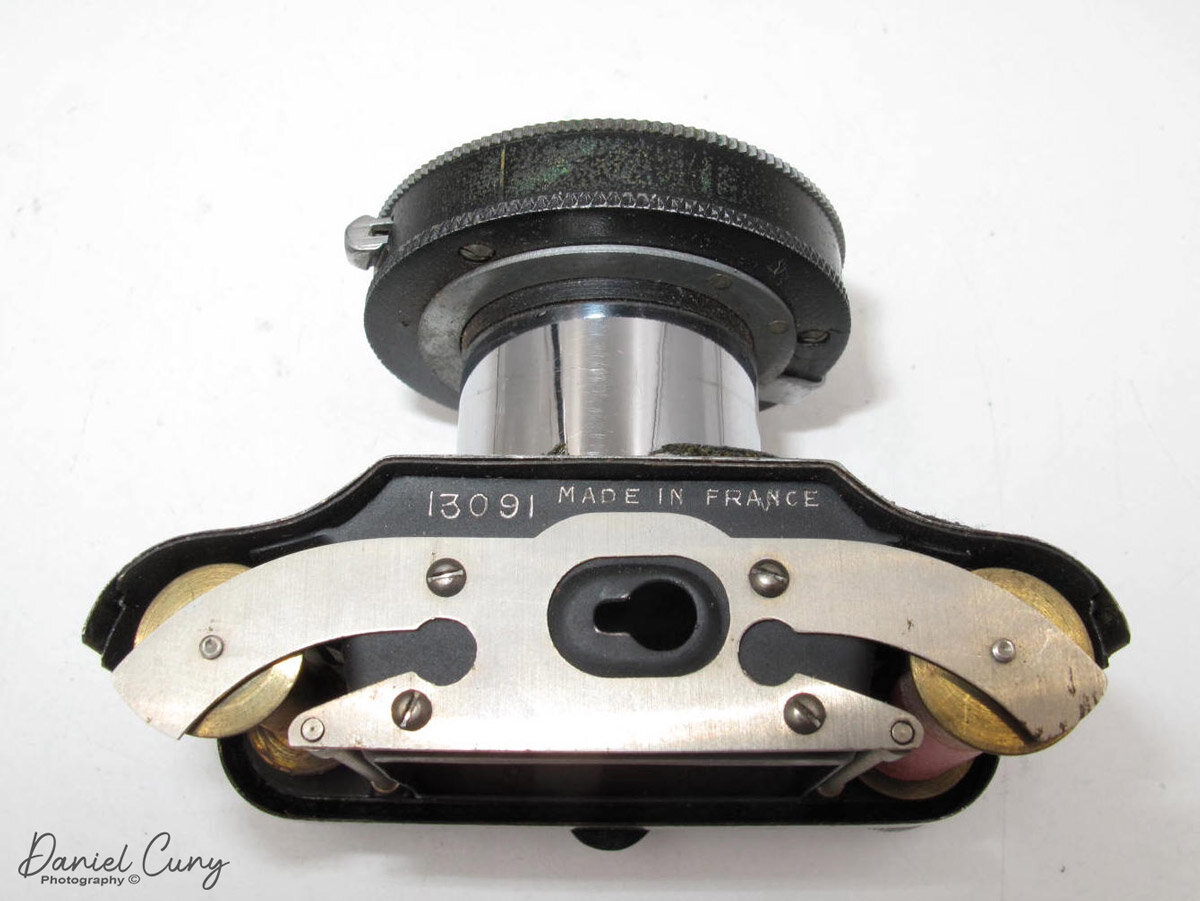
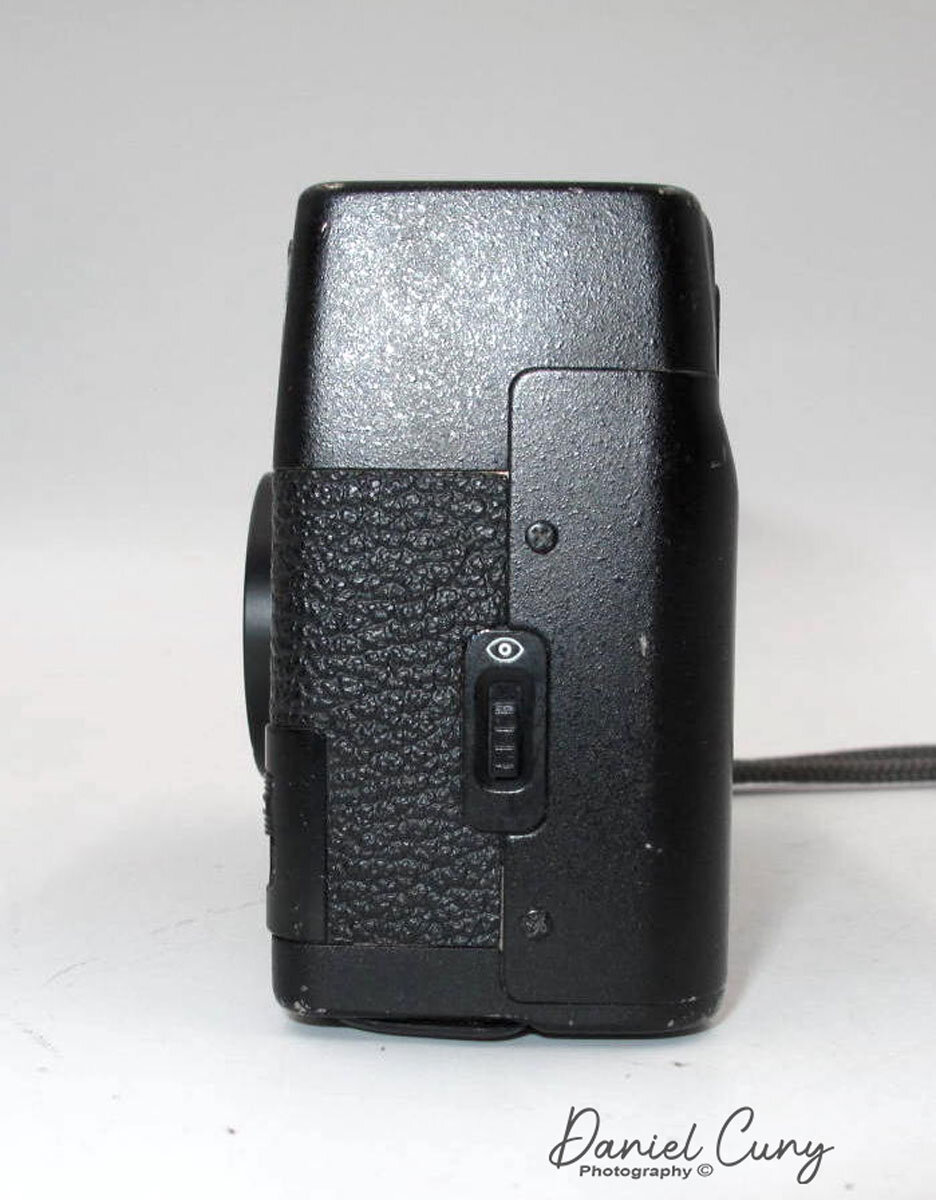
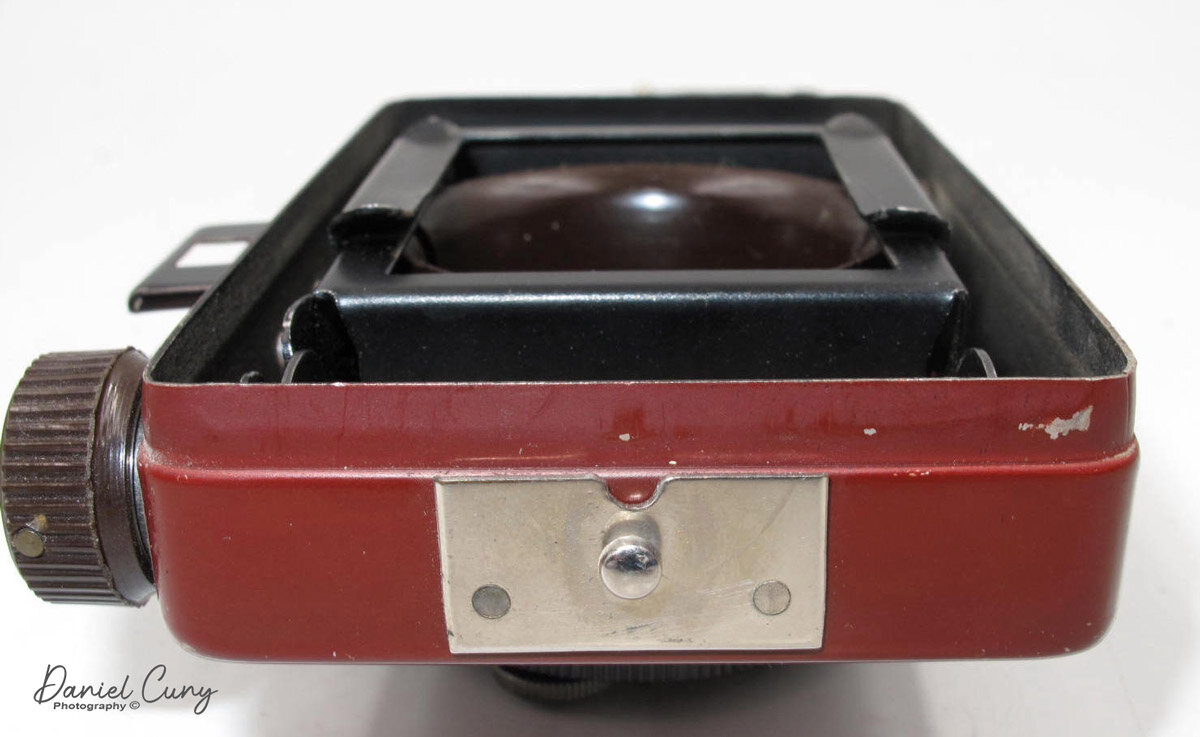
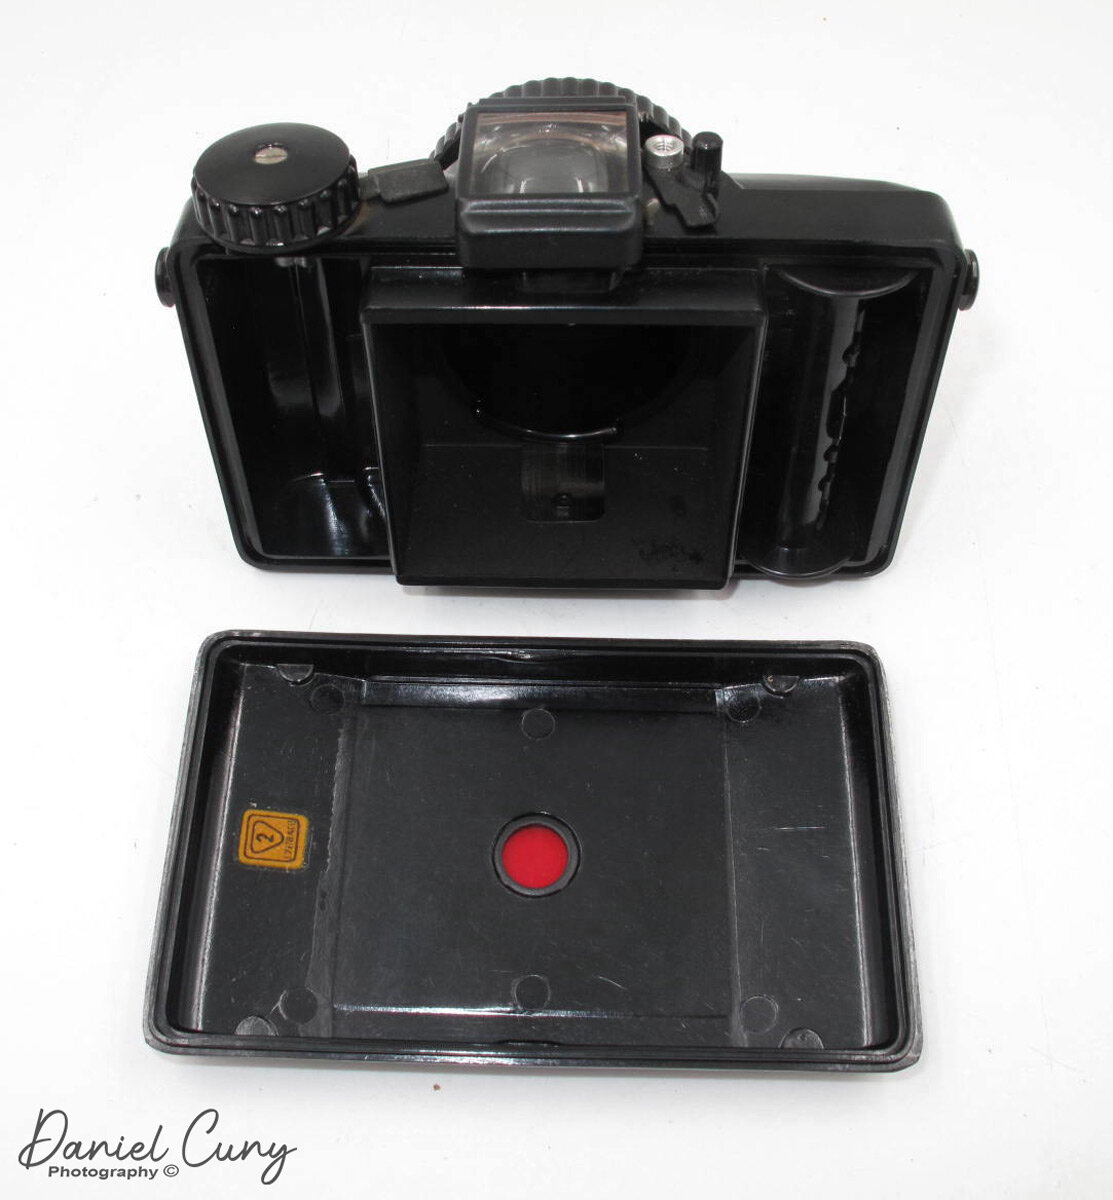
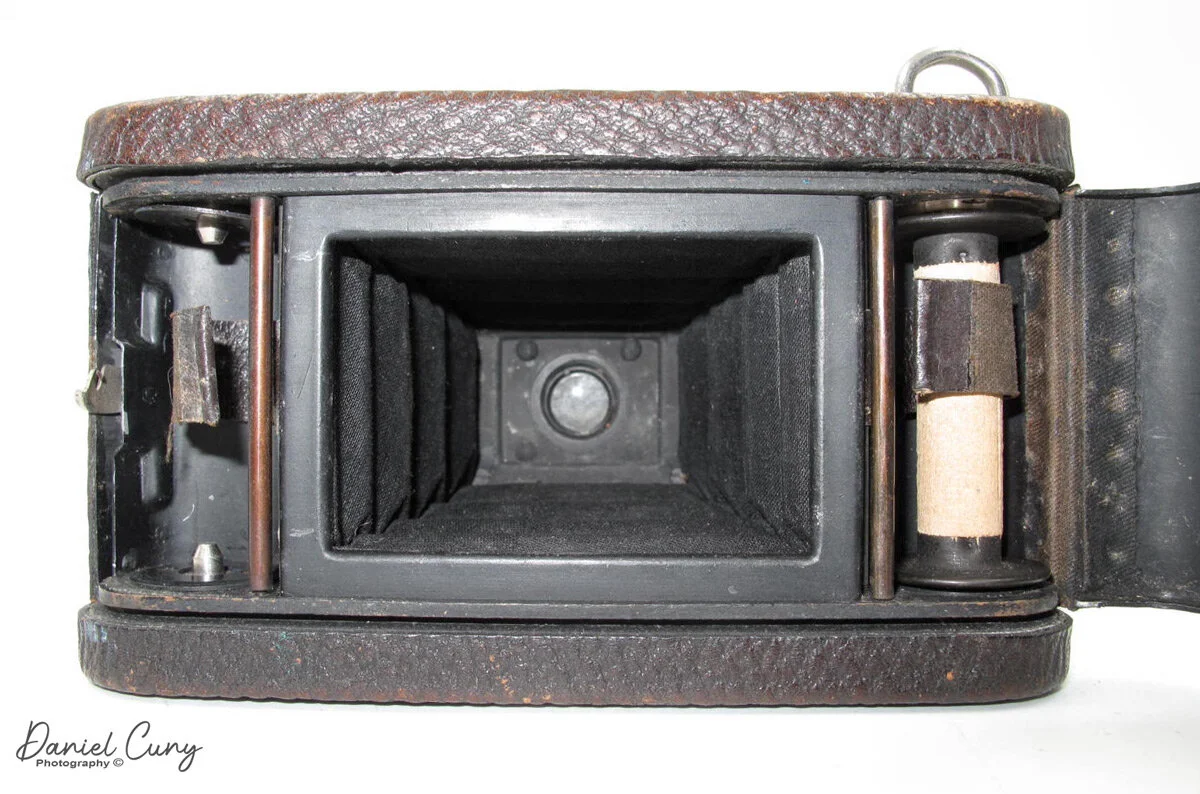
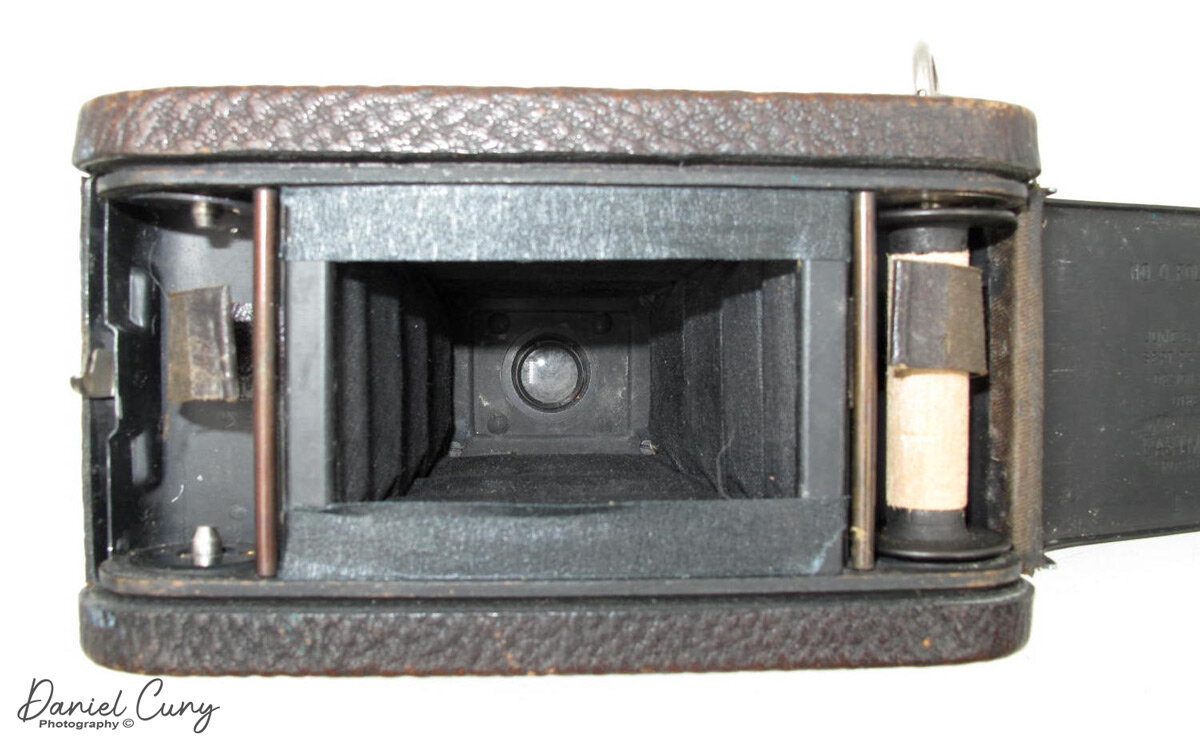
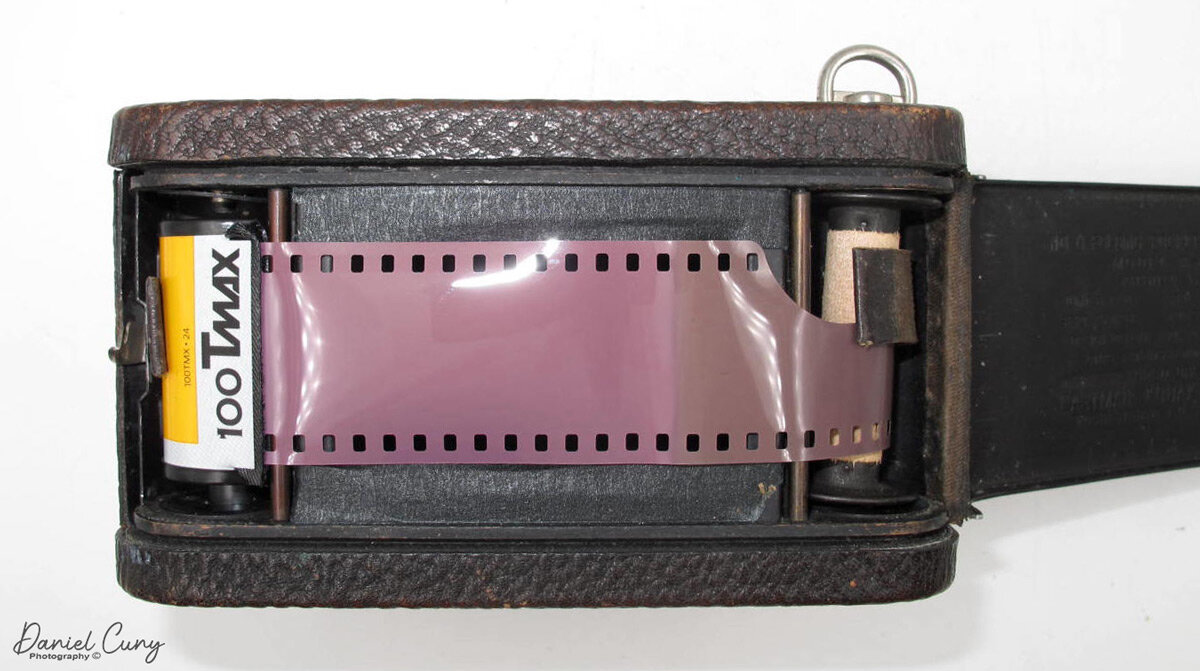
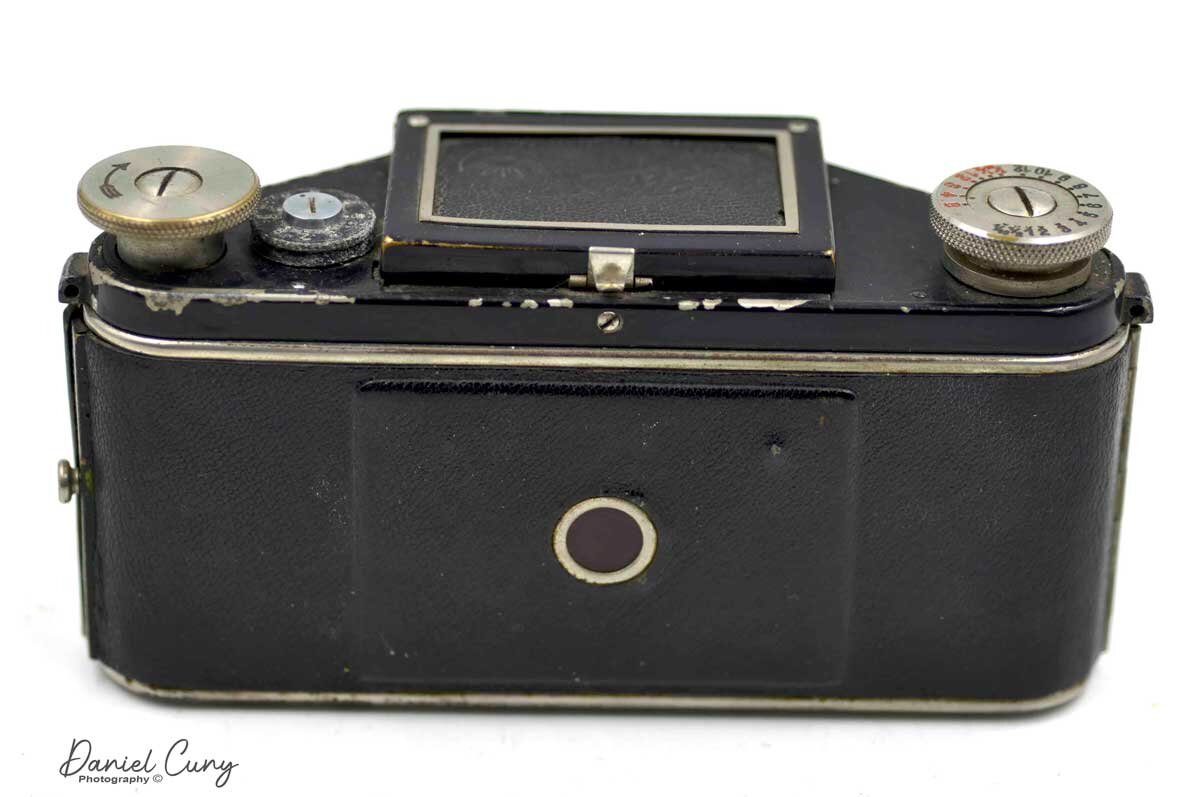
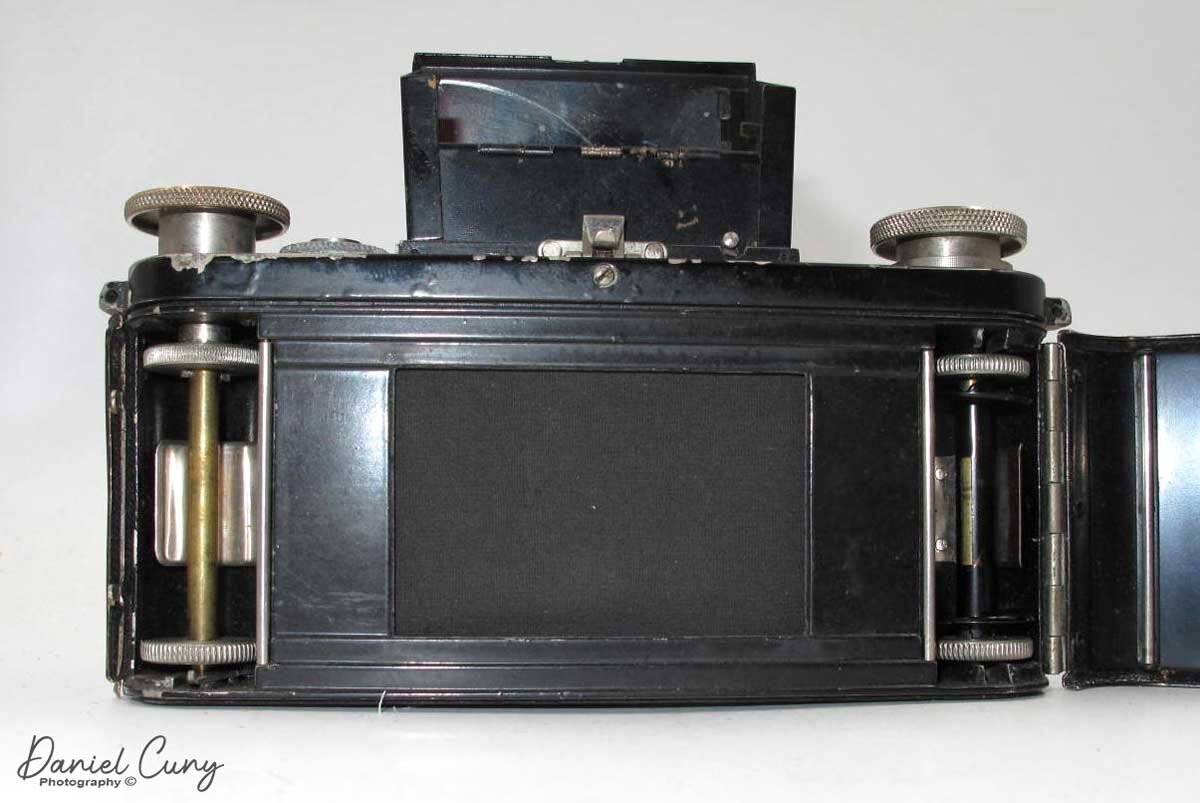
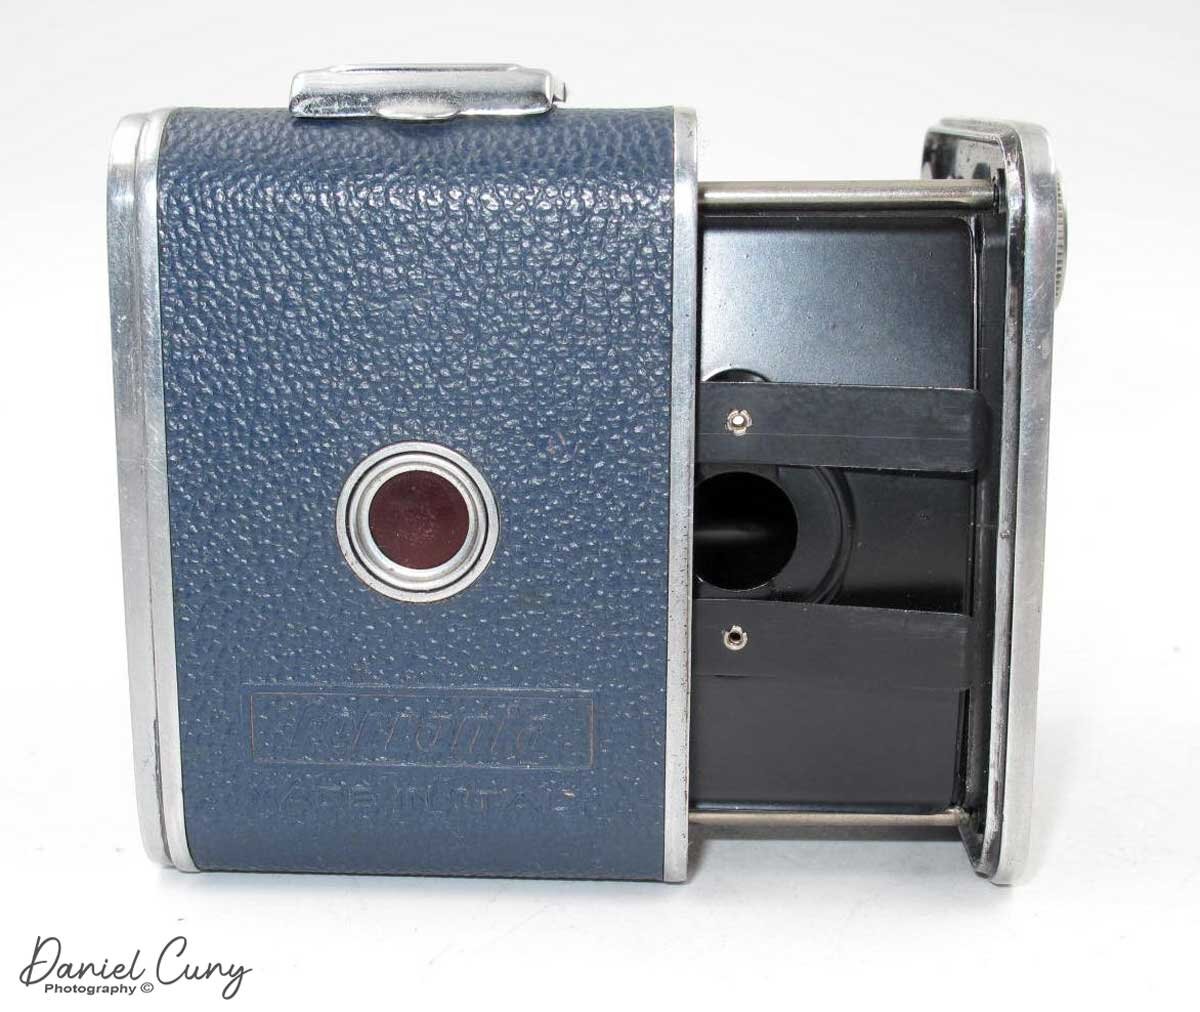
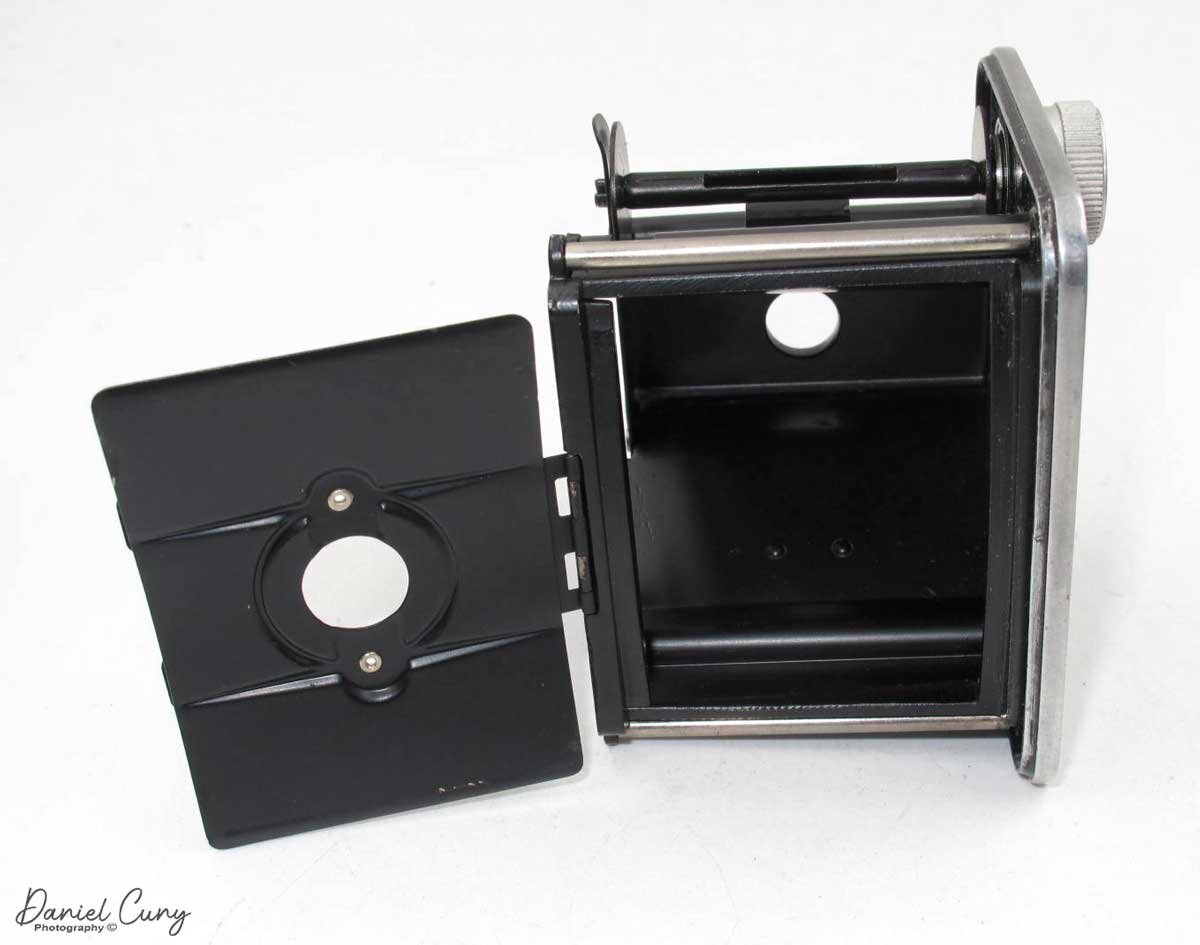
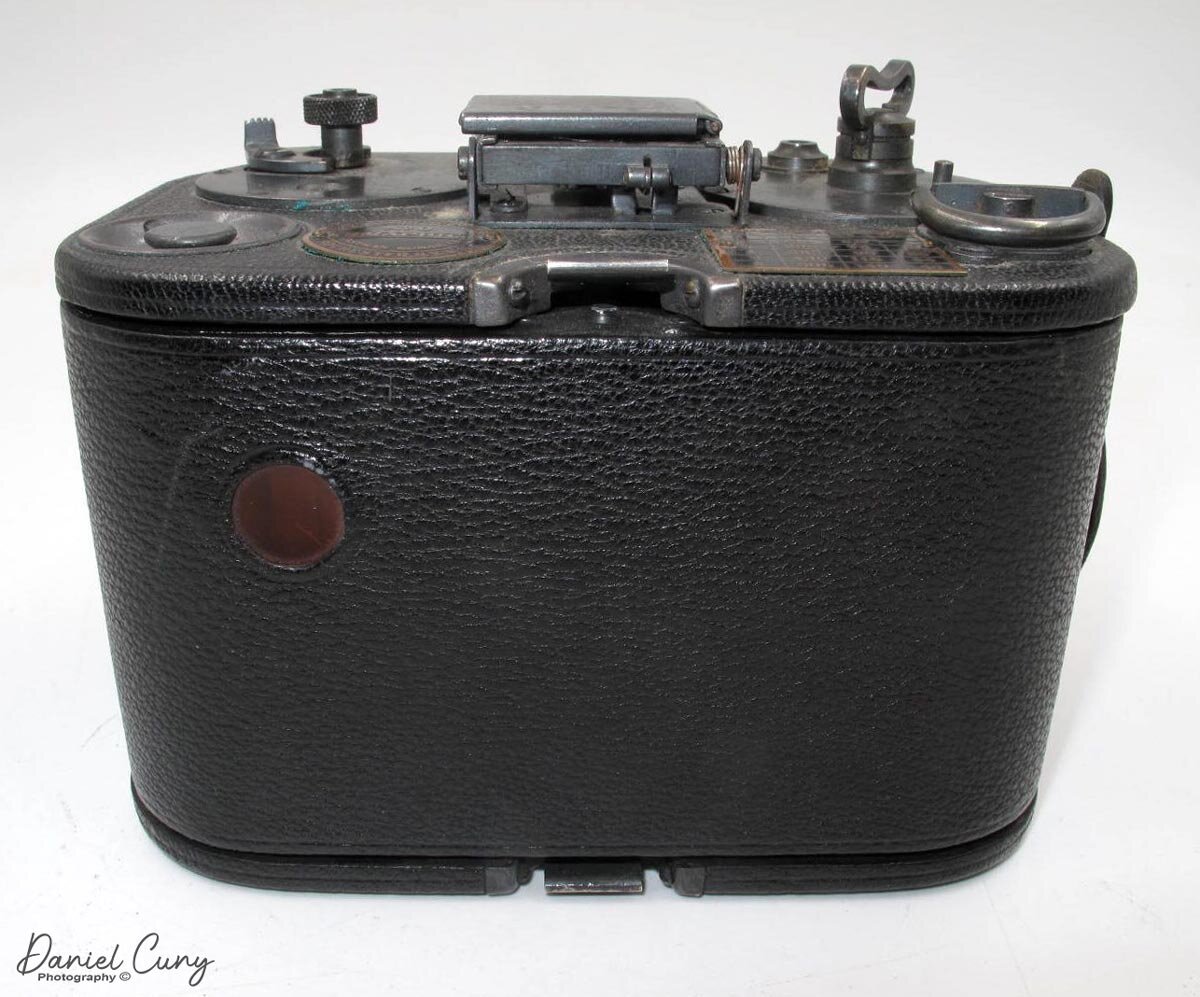
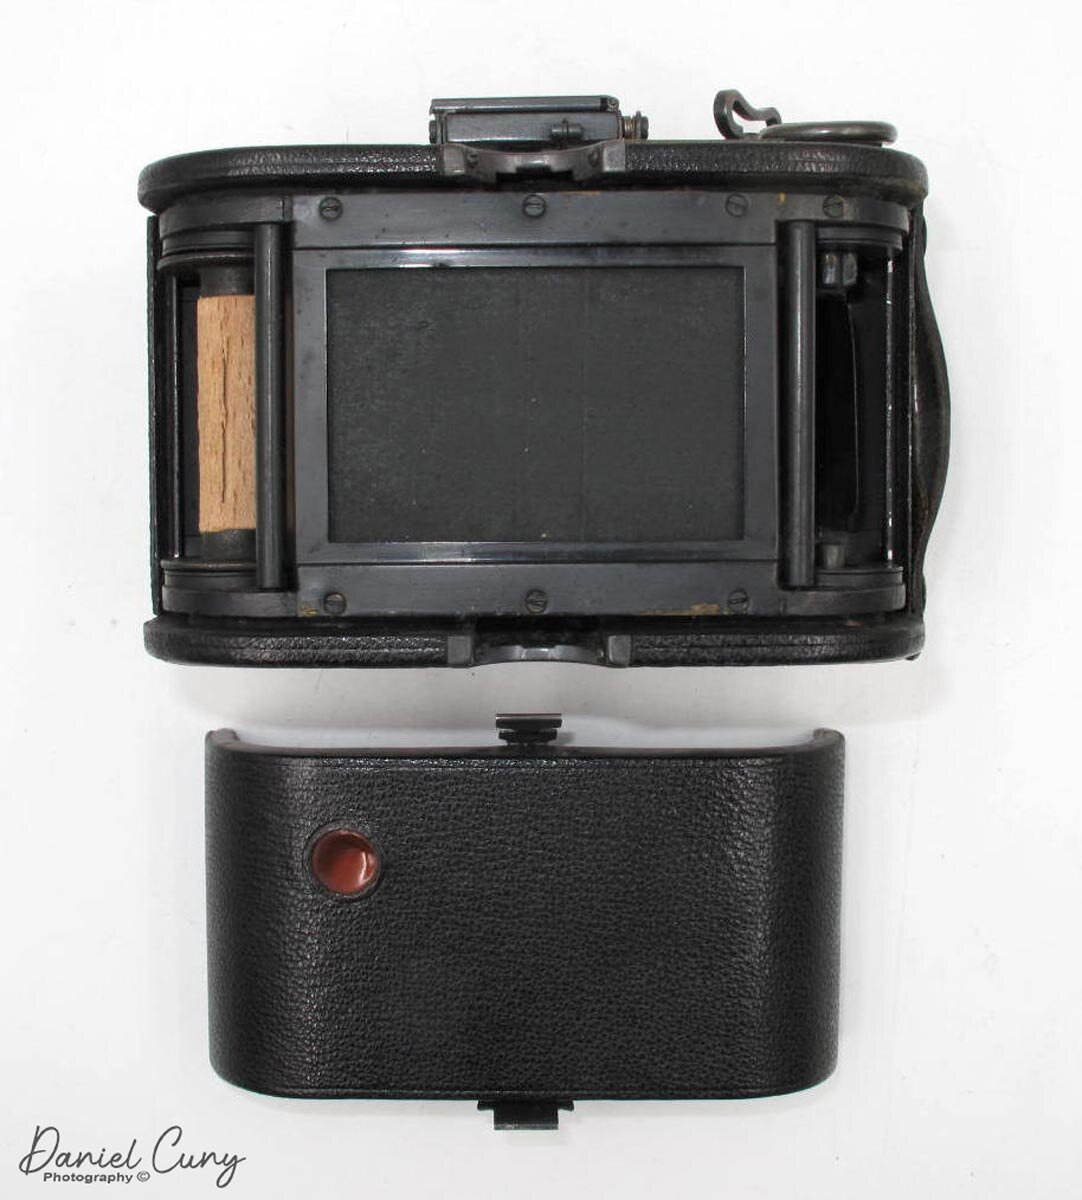
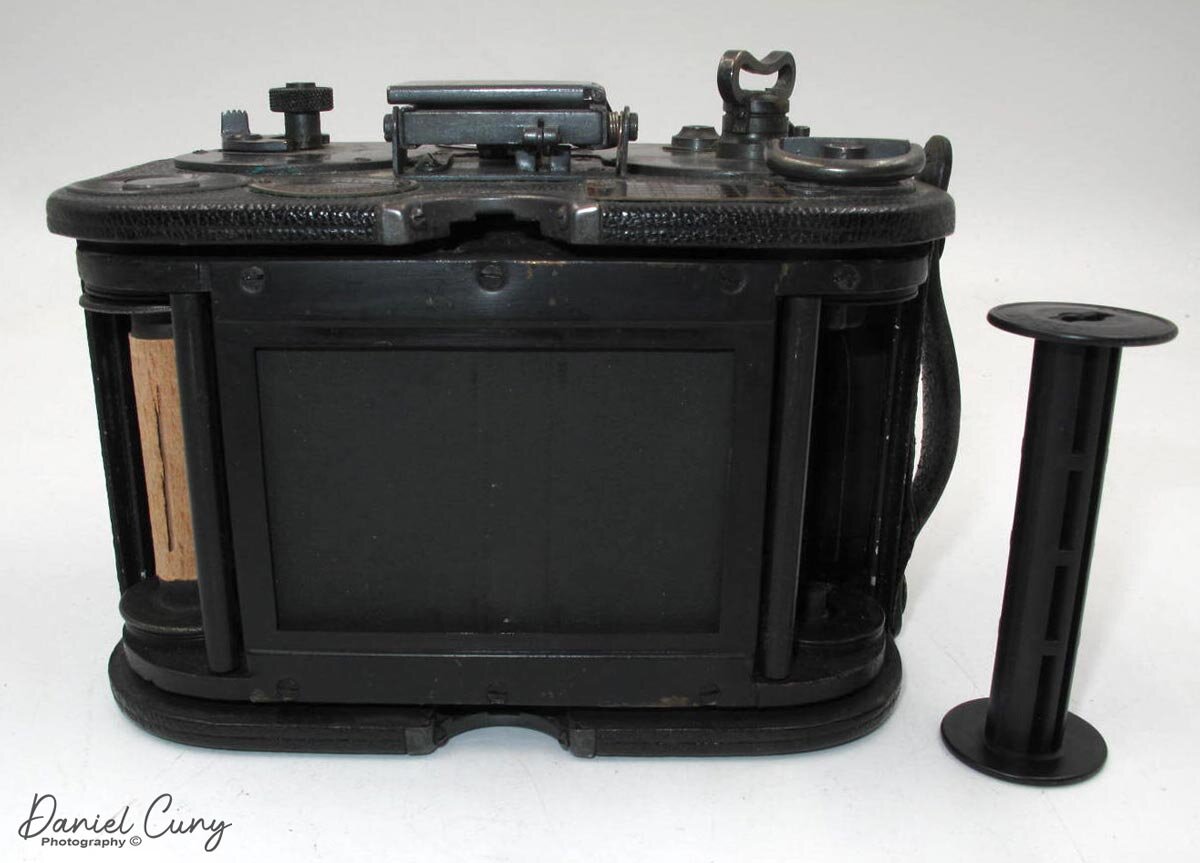
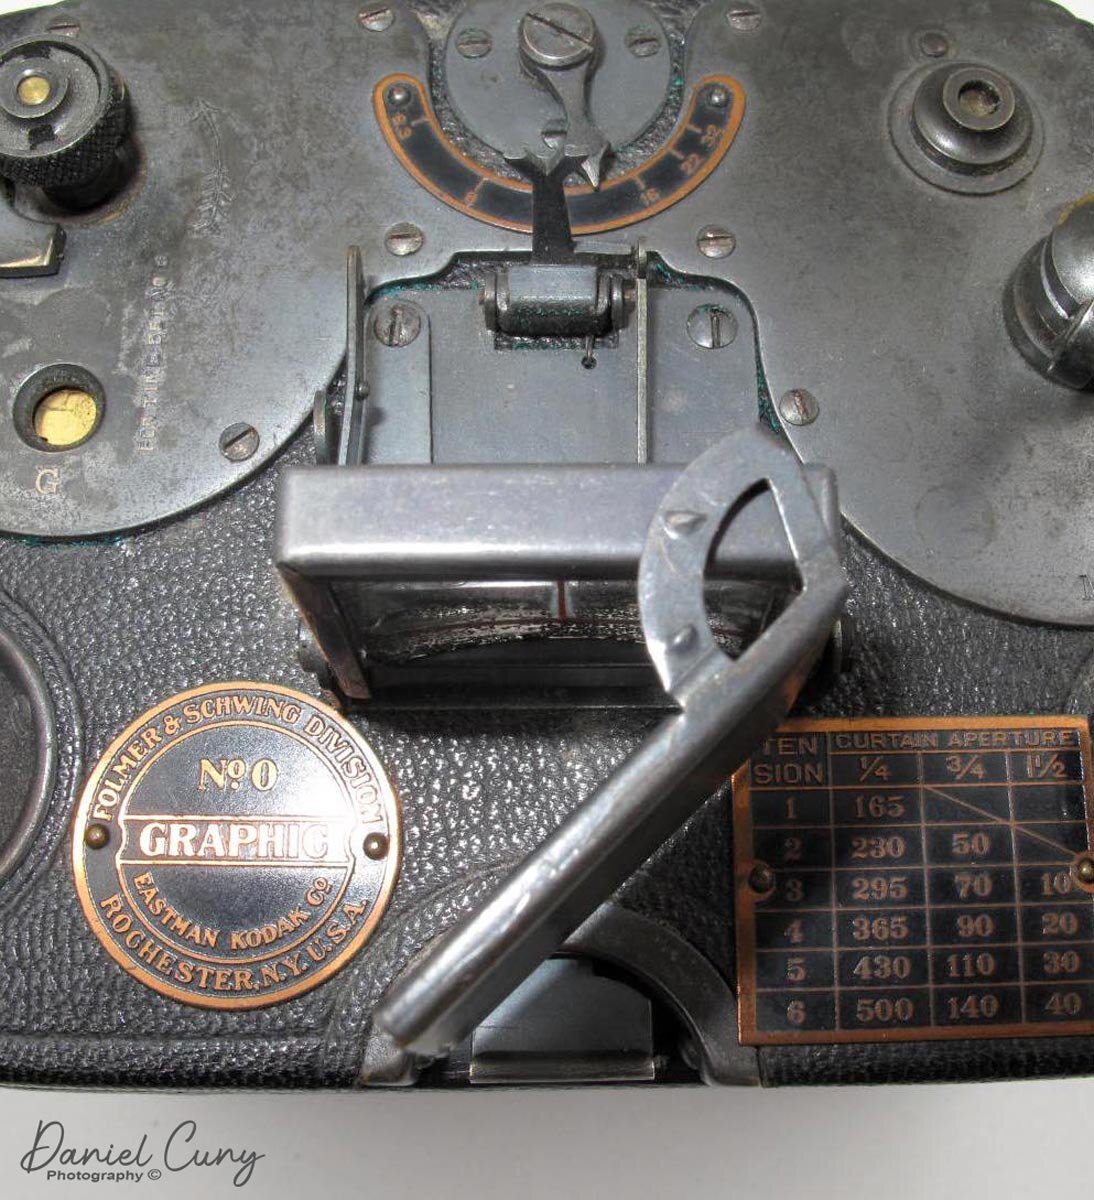
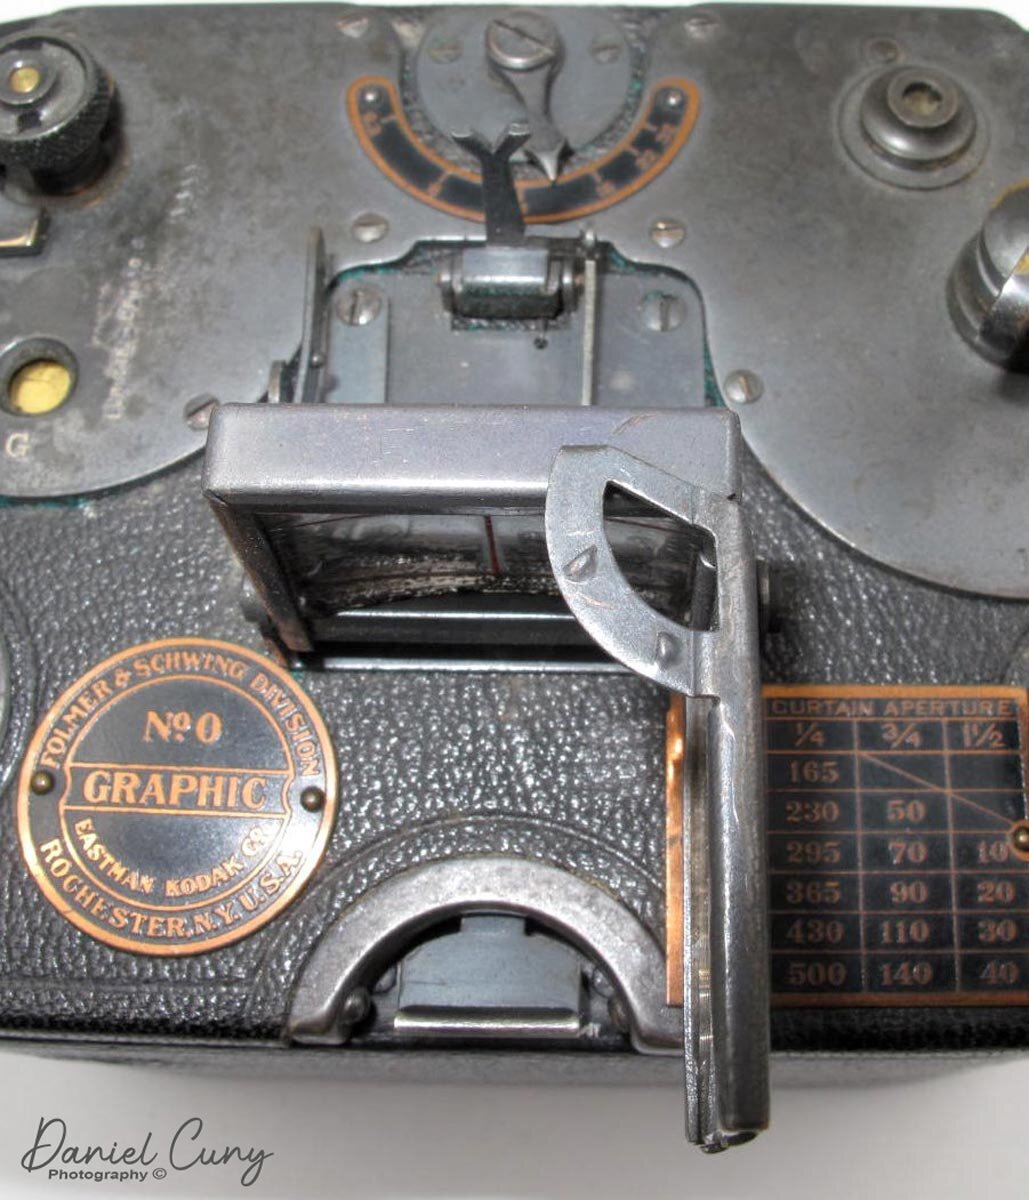
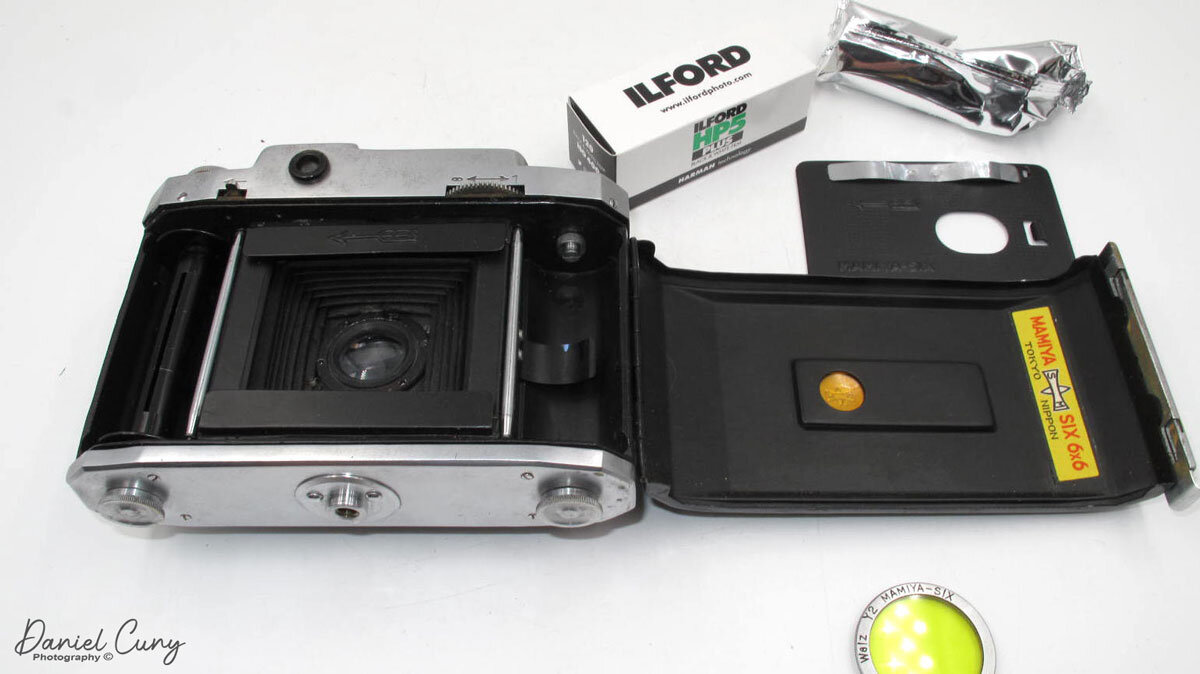
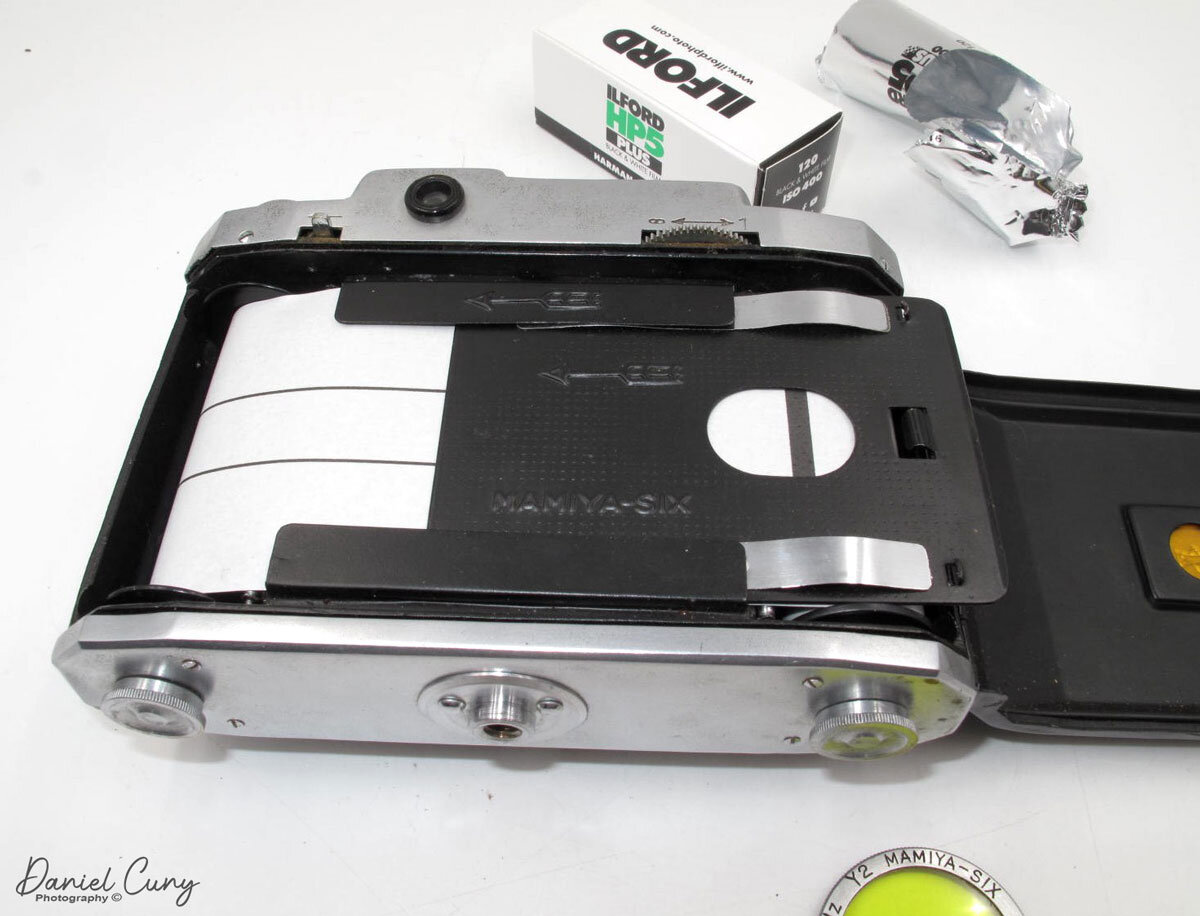
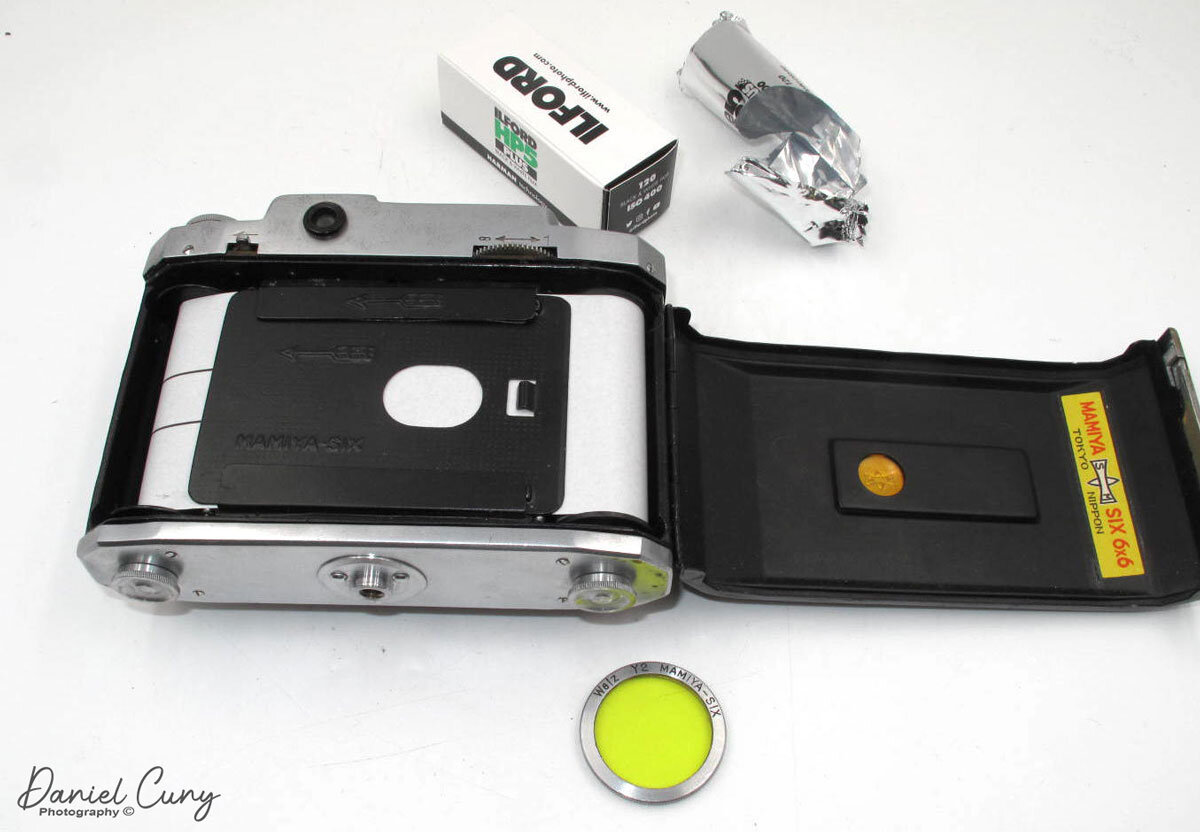
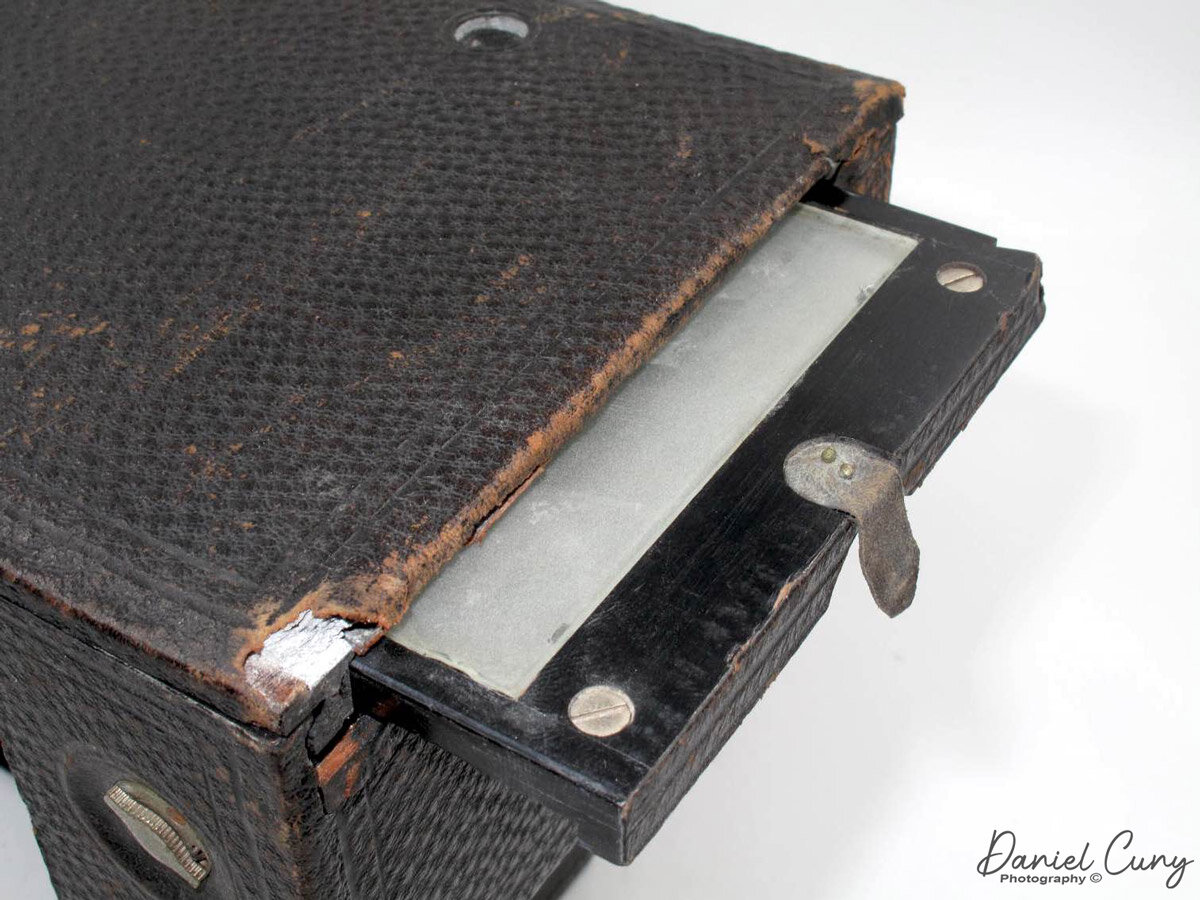
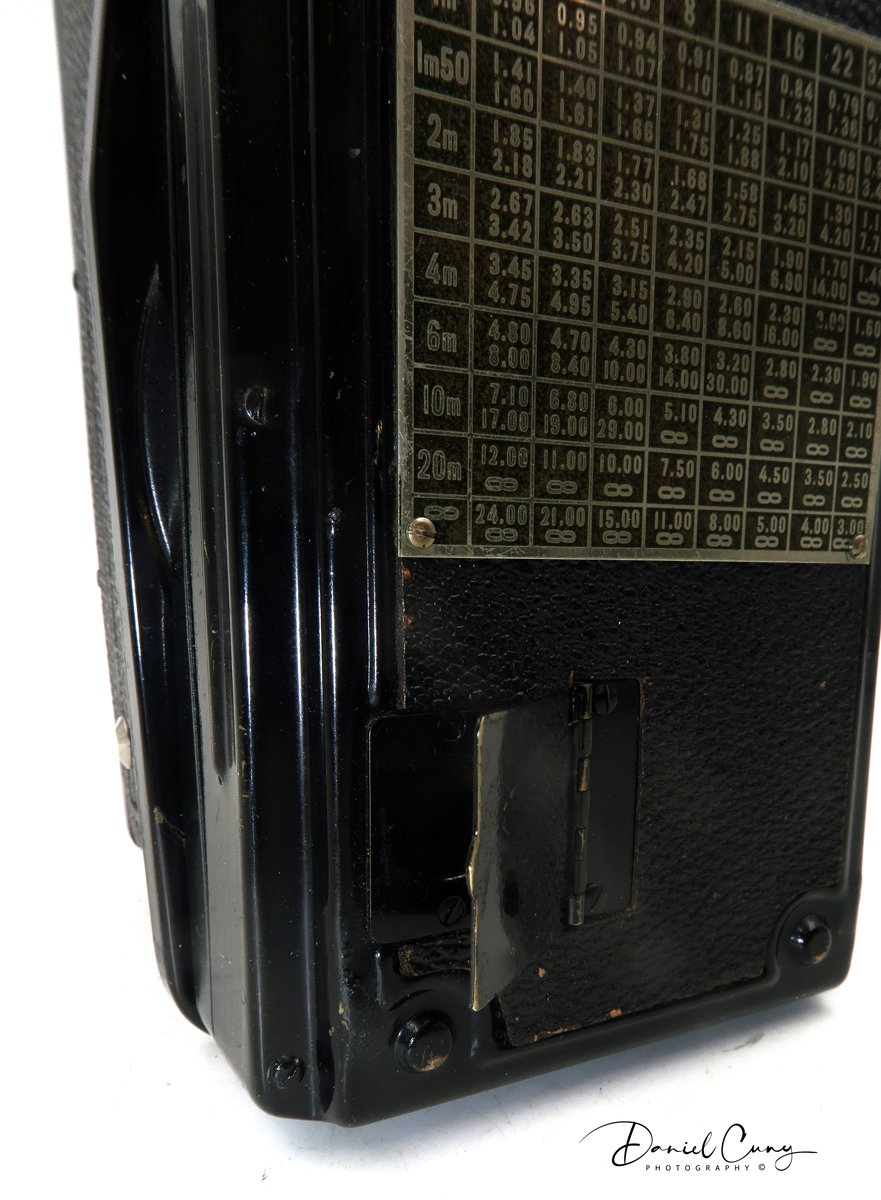
To load the camera with film, there is a switch on the top of the back, which you slide over to open the back of the camera. Like any other TLR camera, you take the empty spool from the bottom to the top and the fresh roll on the bottom. Put the film tab into the empty spool on top and wind a few times until you see the film arrow pointing sideways. Close the back and open the door on the back, exposing the red window. Then wind until you see number 1. The 6x9 format gives you 8 2 1/4" x3 1/4" negs on a roll of 120 film.


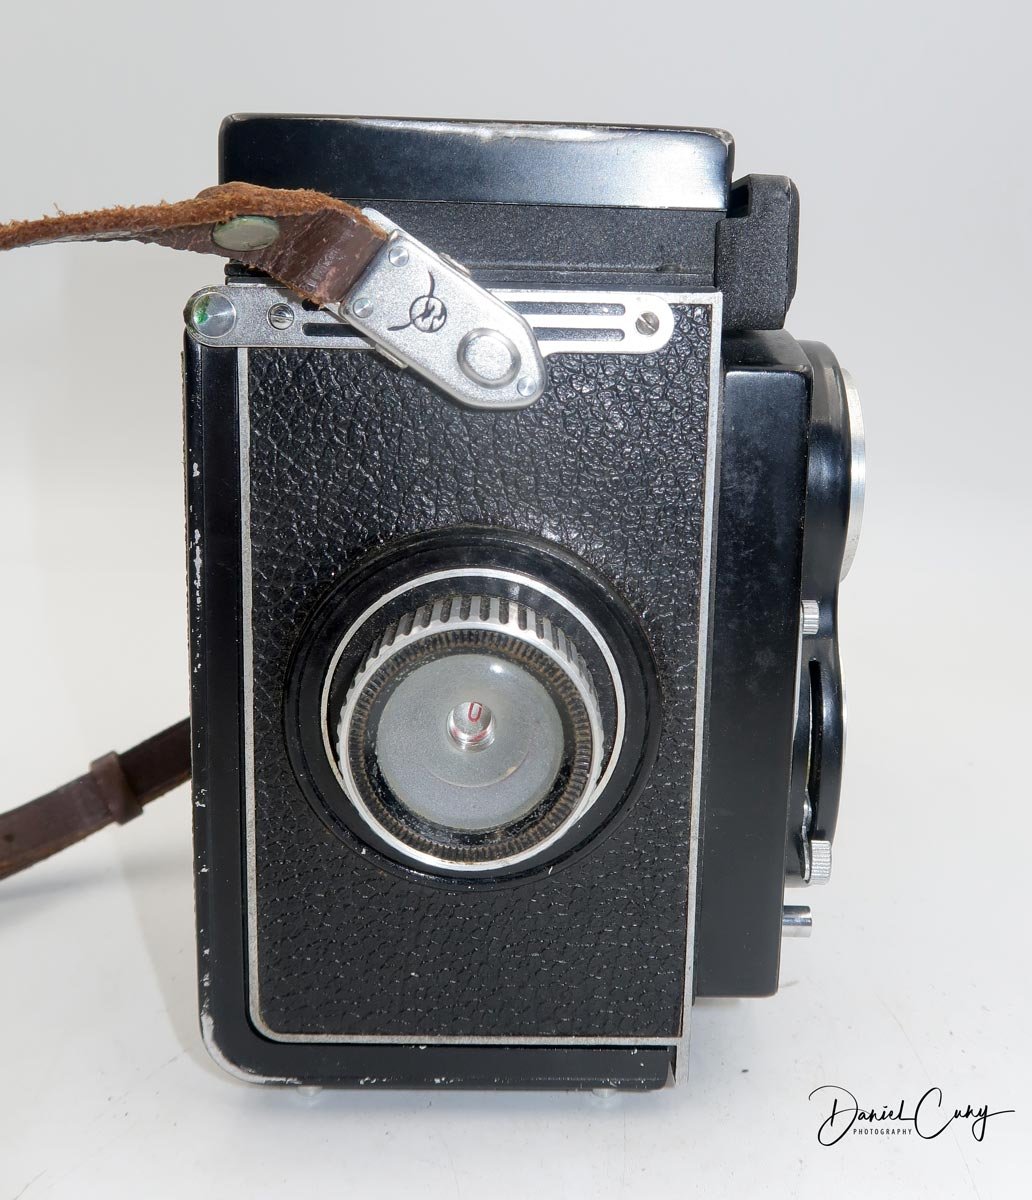
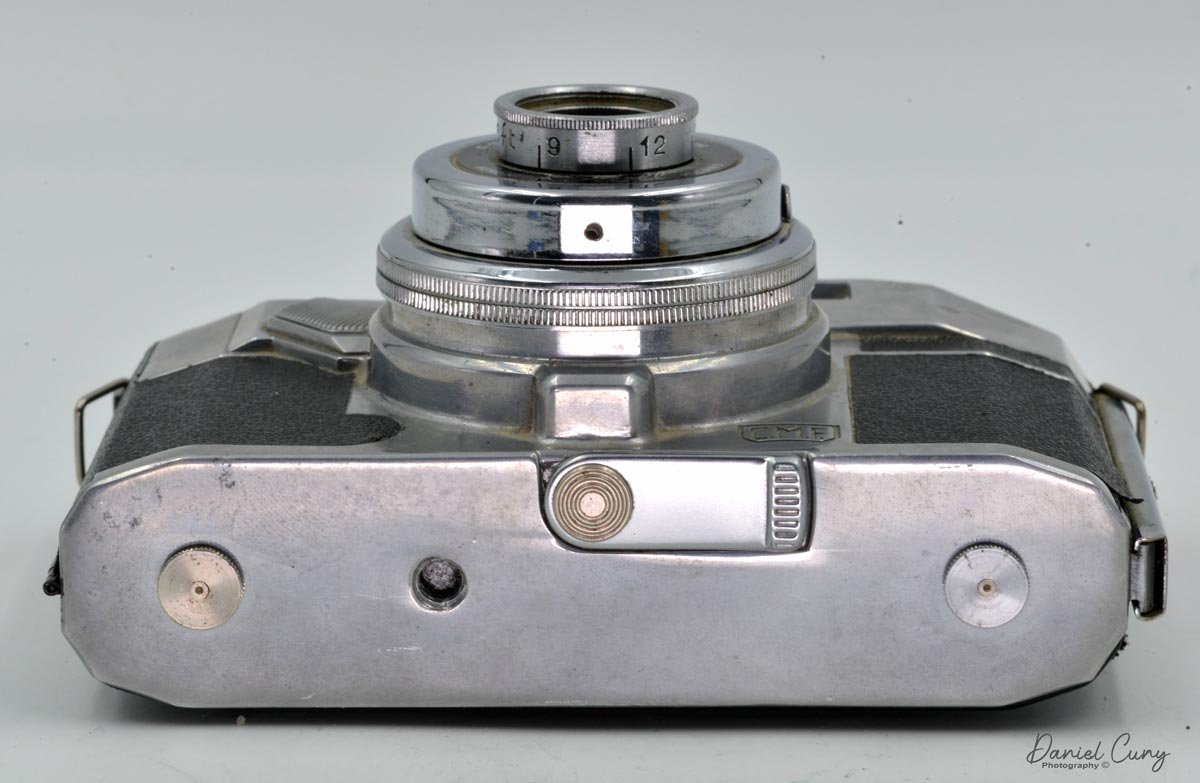
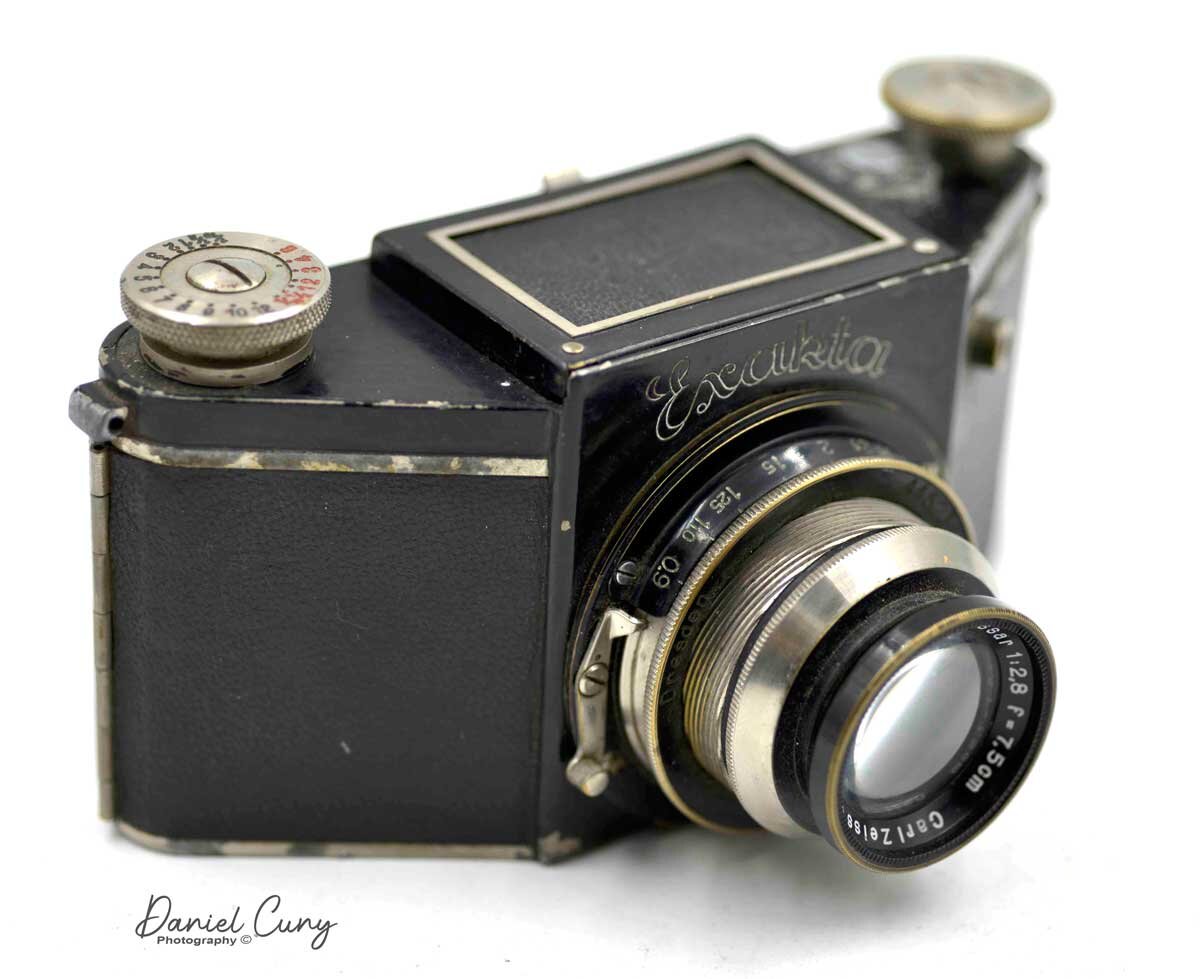
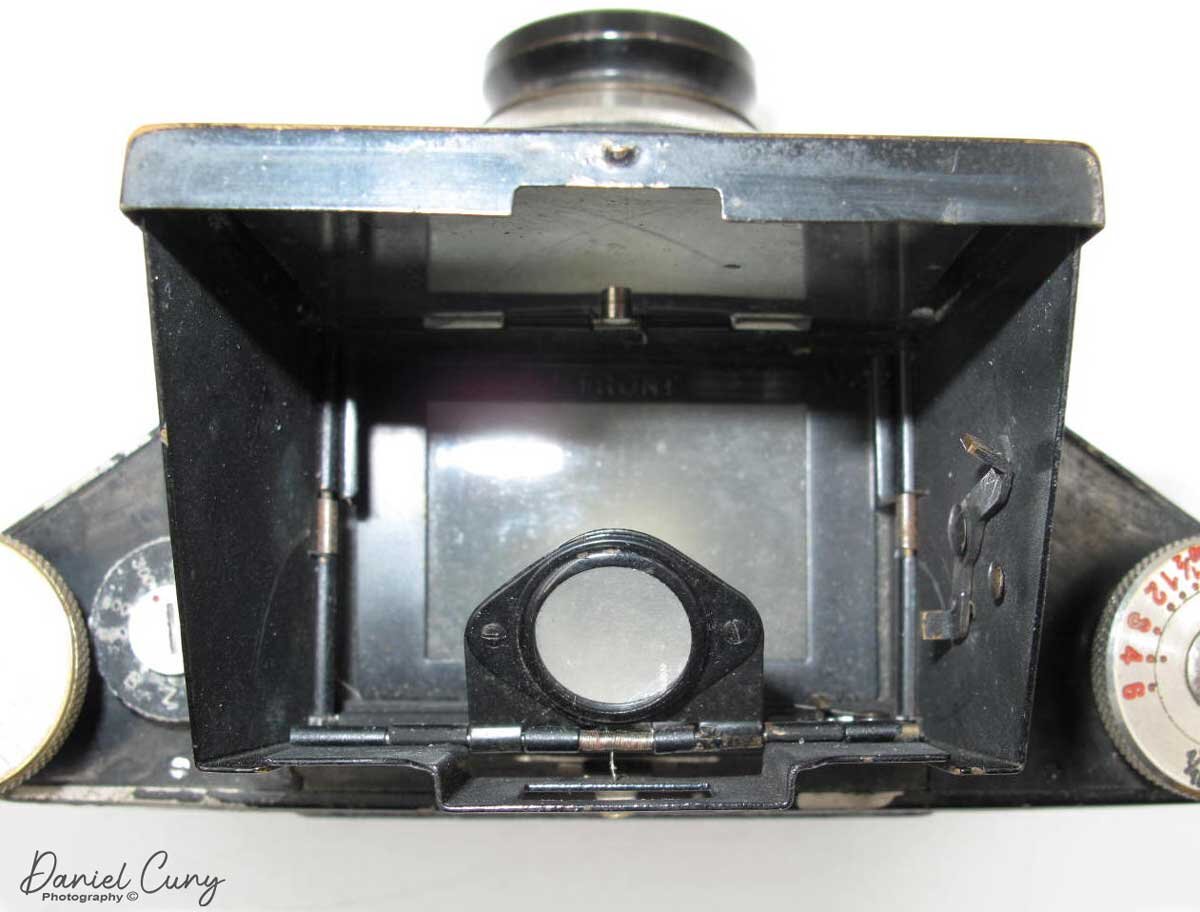
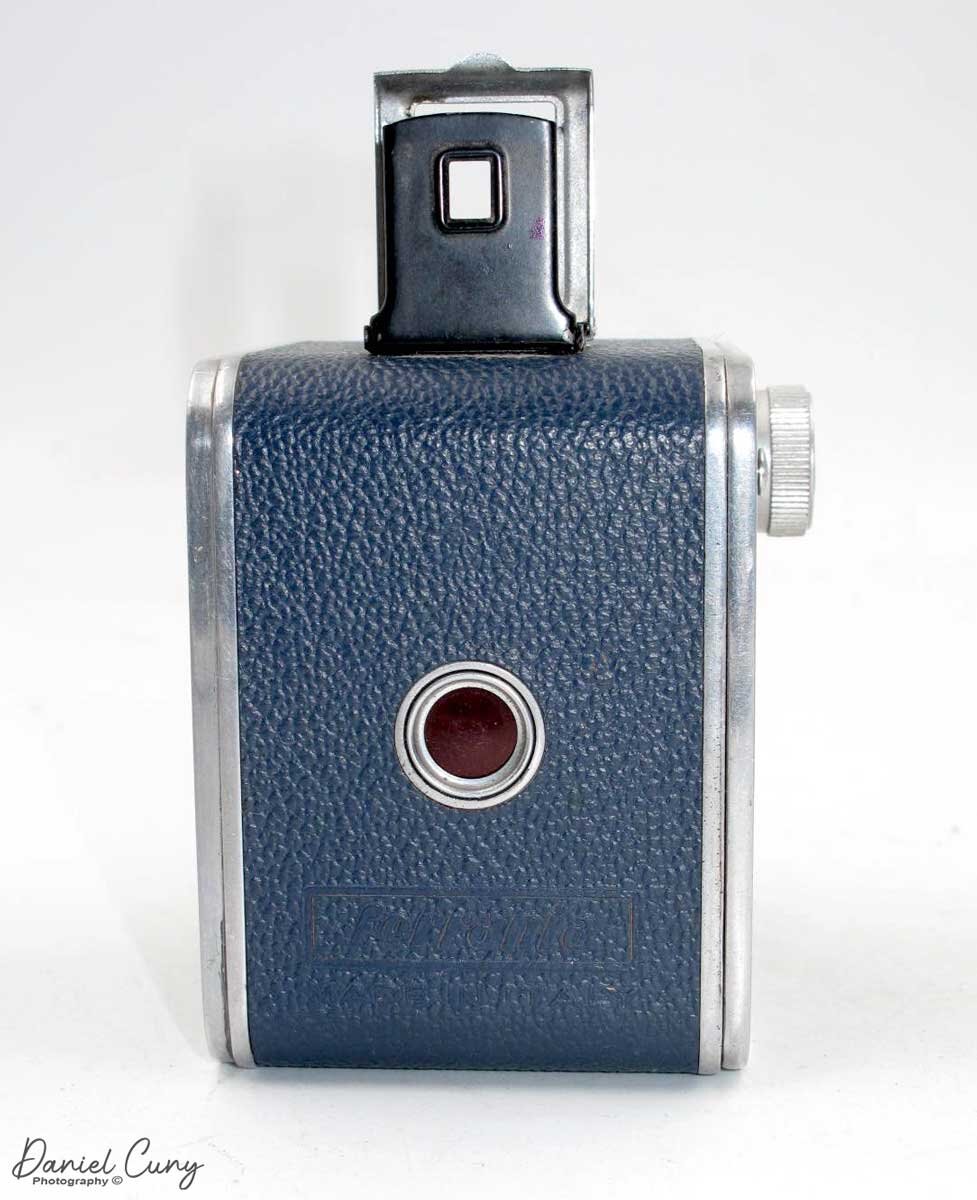
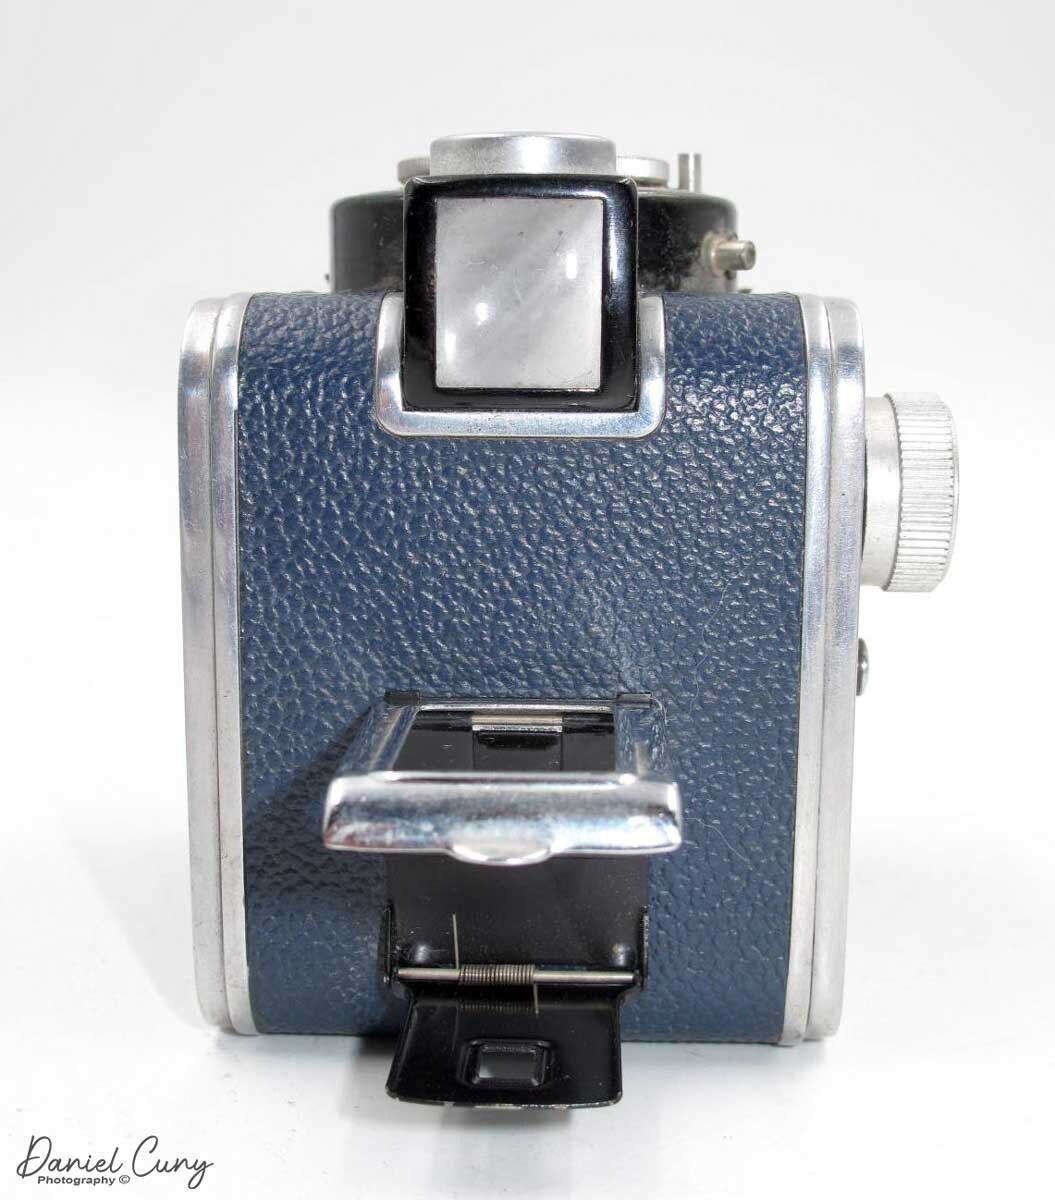
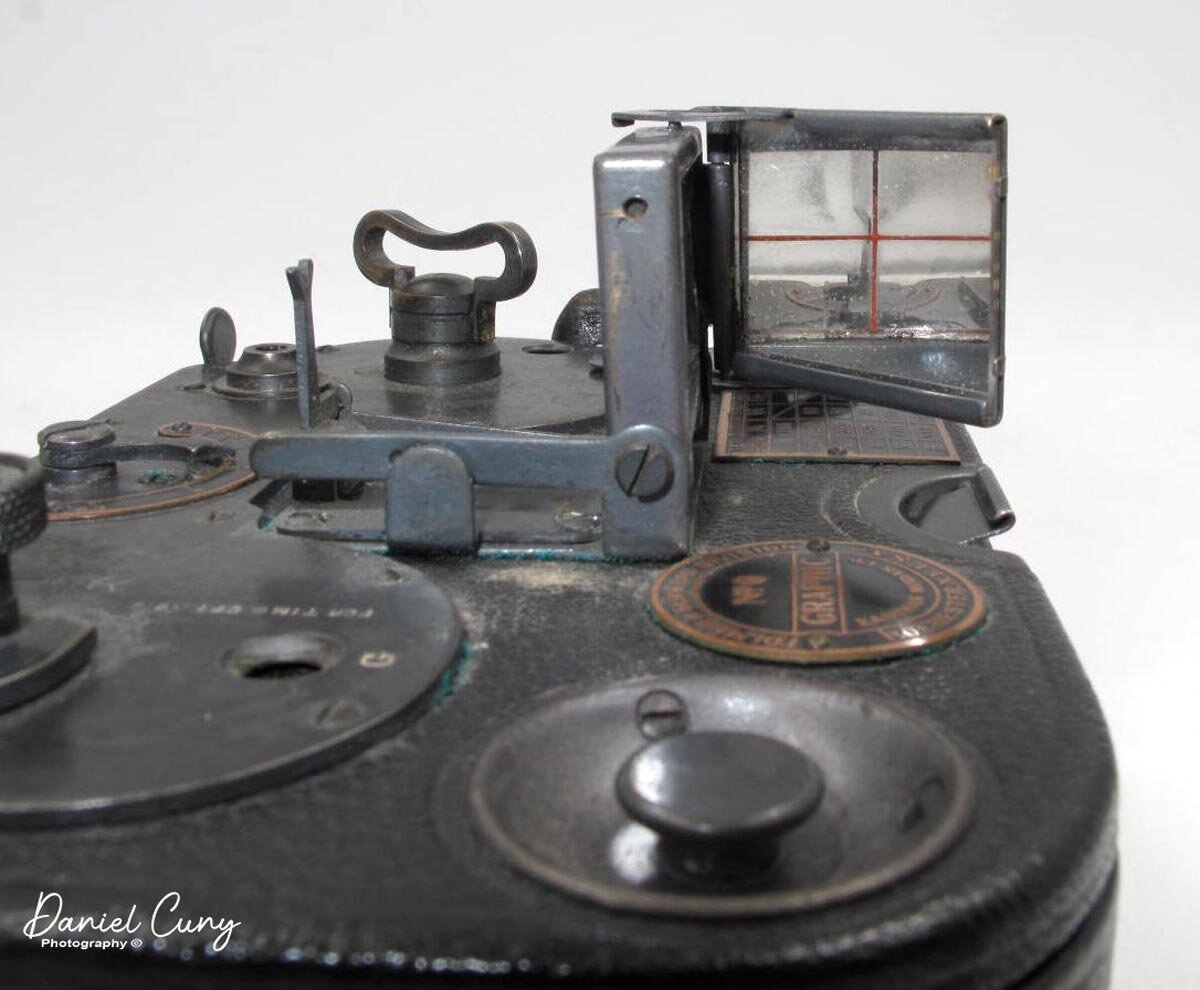
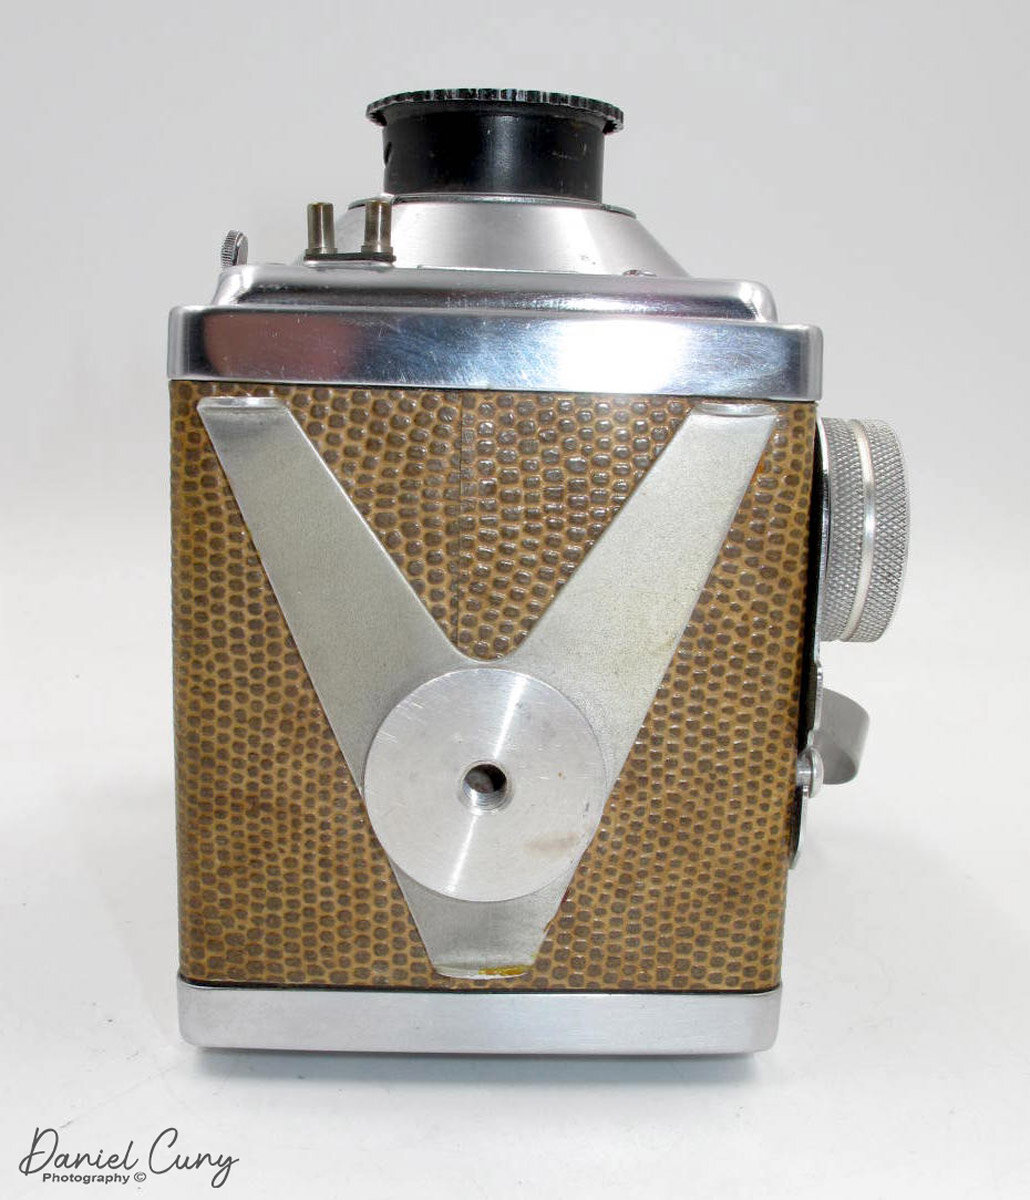
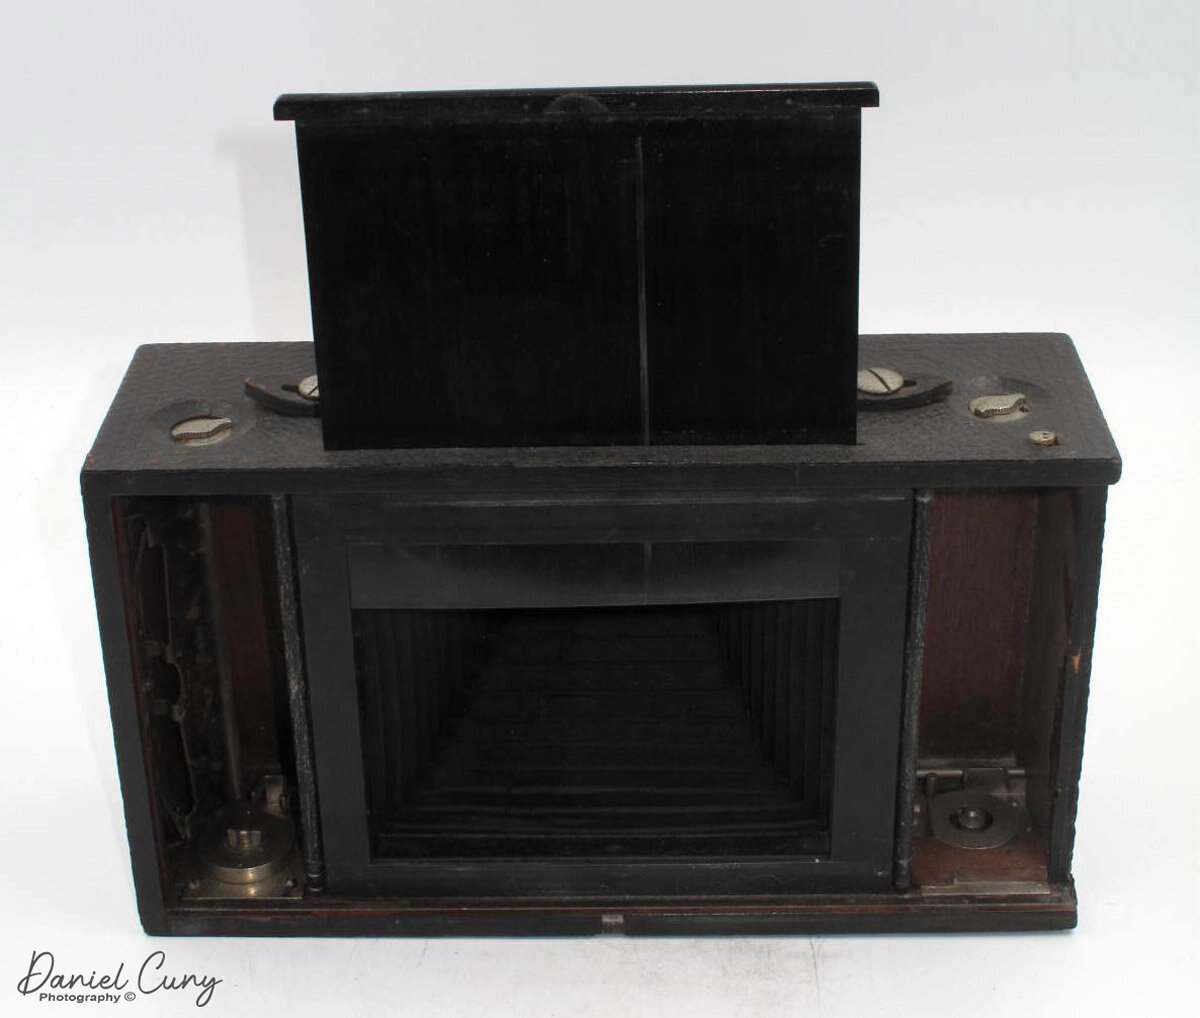
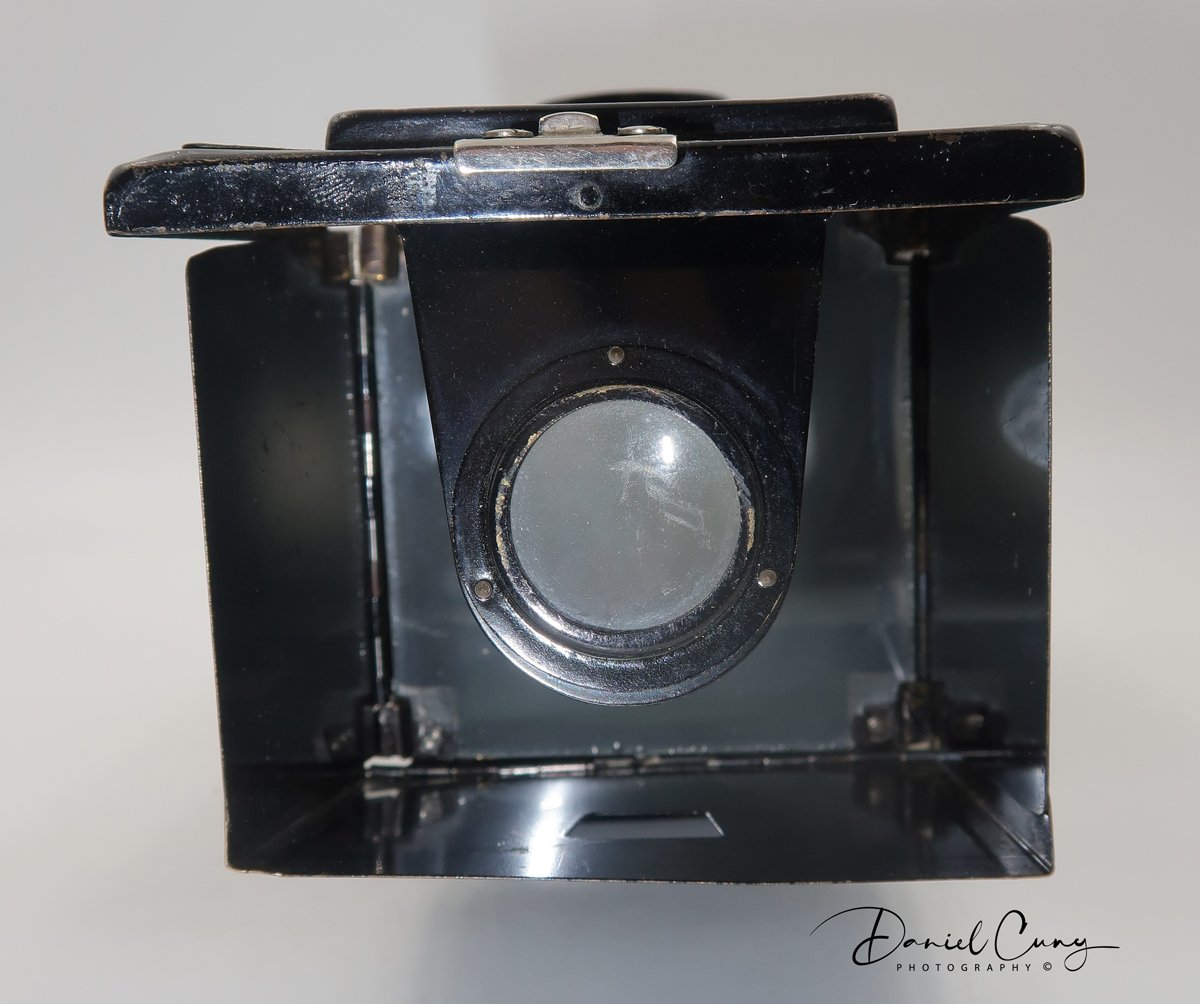
To open the viewing hood, there is a release button on the backside, which springs the viewfinder open. Looking down into the viewfinder, on the four corners are squares to identify the shooting area if you are photographing in portrait or landscape mode. The focusing screen on my camera is pretty bright, and viewing and focusing is easy. For critical focusing, there is another sliding button on the top of the viewfinder, which is now facing the subject, which releases the magnifier for critical focus.
On the very top is another sliding bar, which you can turn the viewfinder from the traditional "looking down" viewfinder to a "sports" finder. It allows you to pre-focus and use depth of field to maintain sharpness while viewing your subject more like an SLR, where you put the camera to your eye and frame your subject.

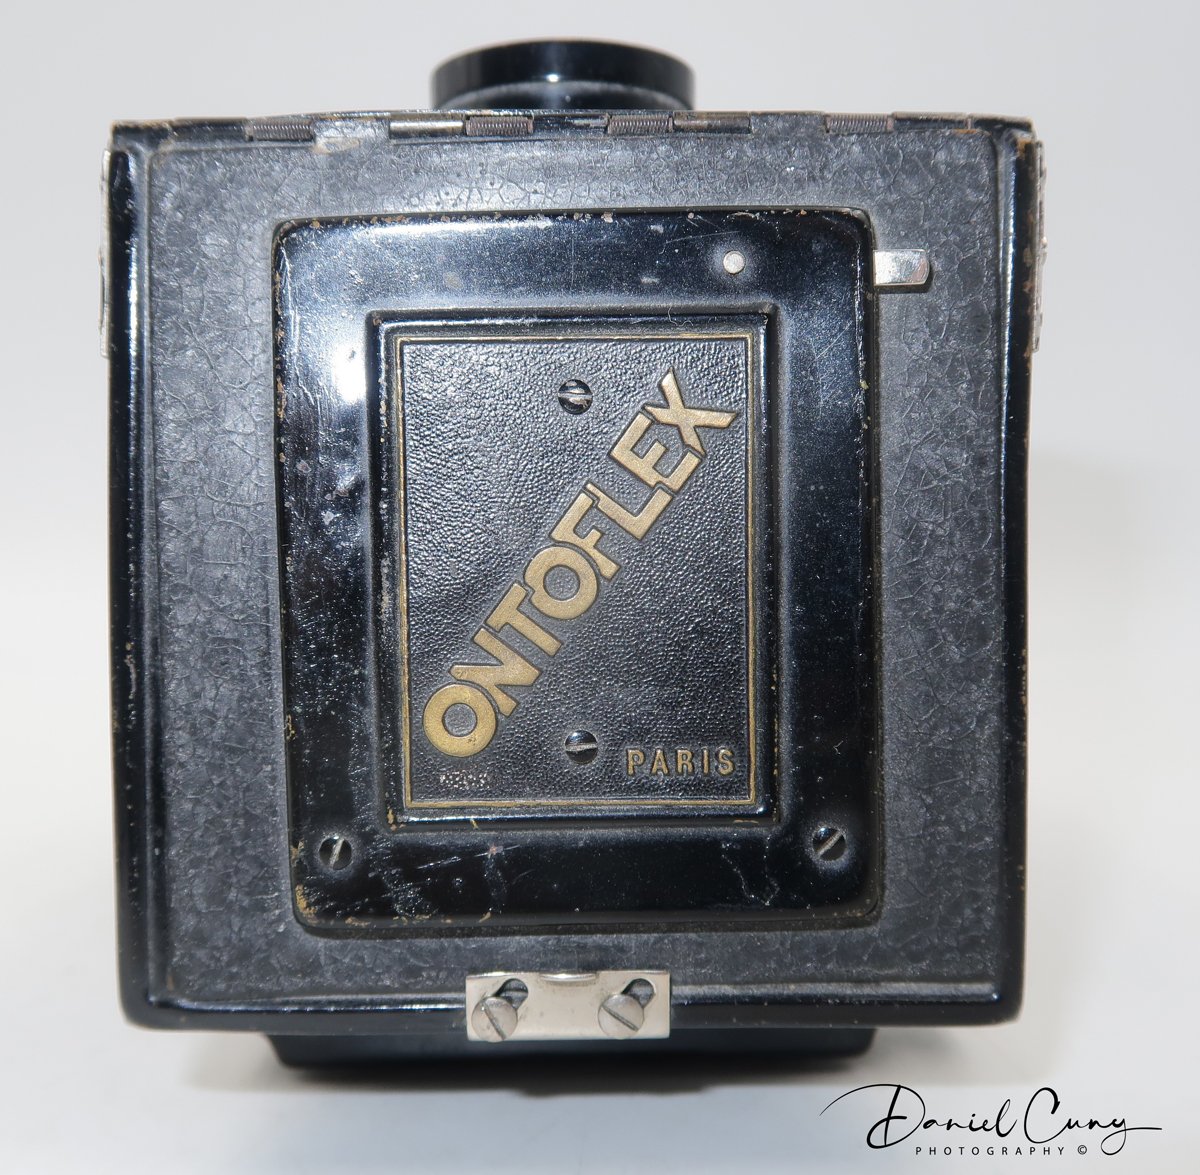
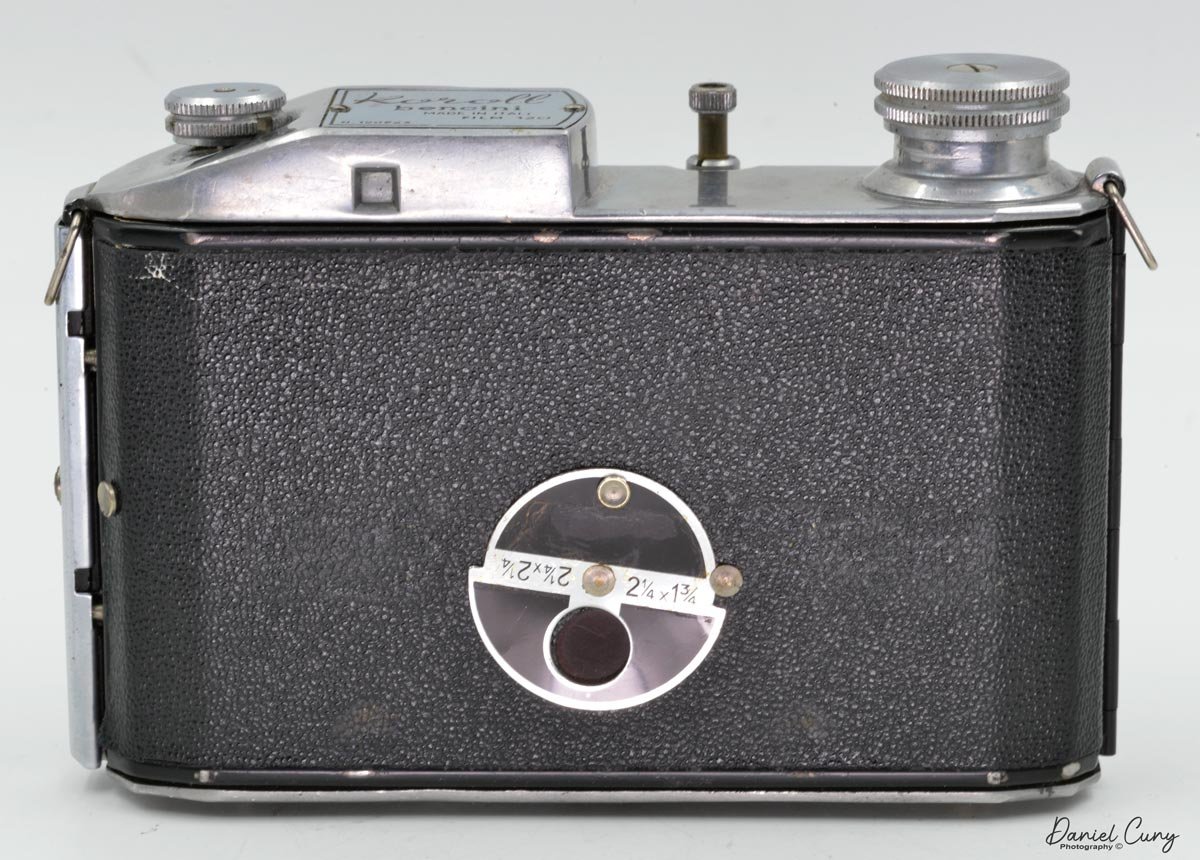
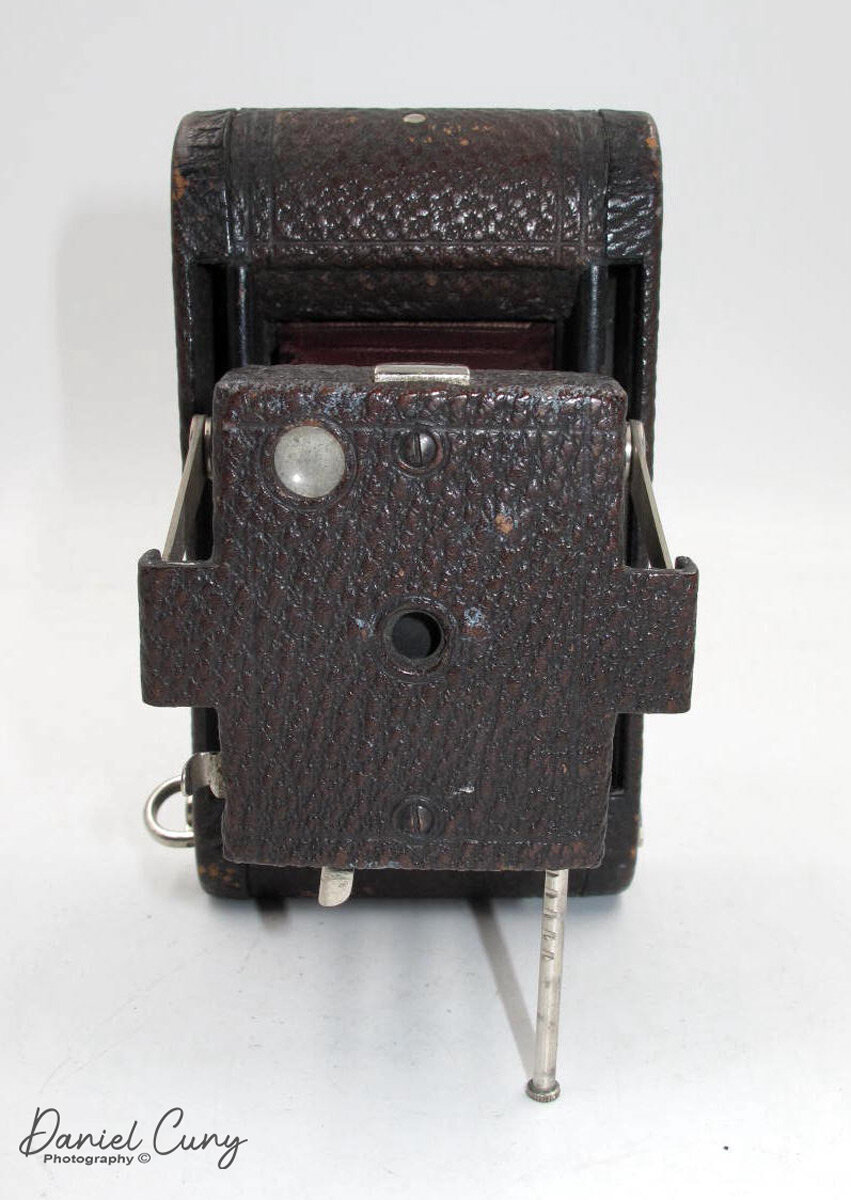
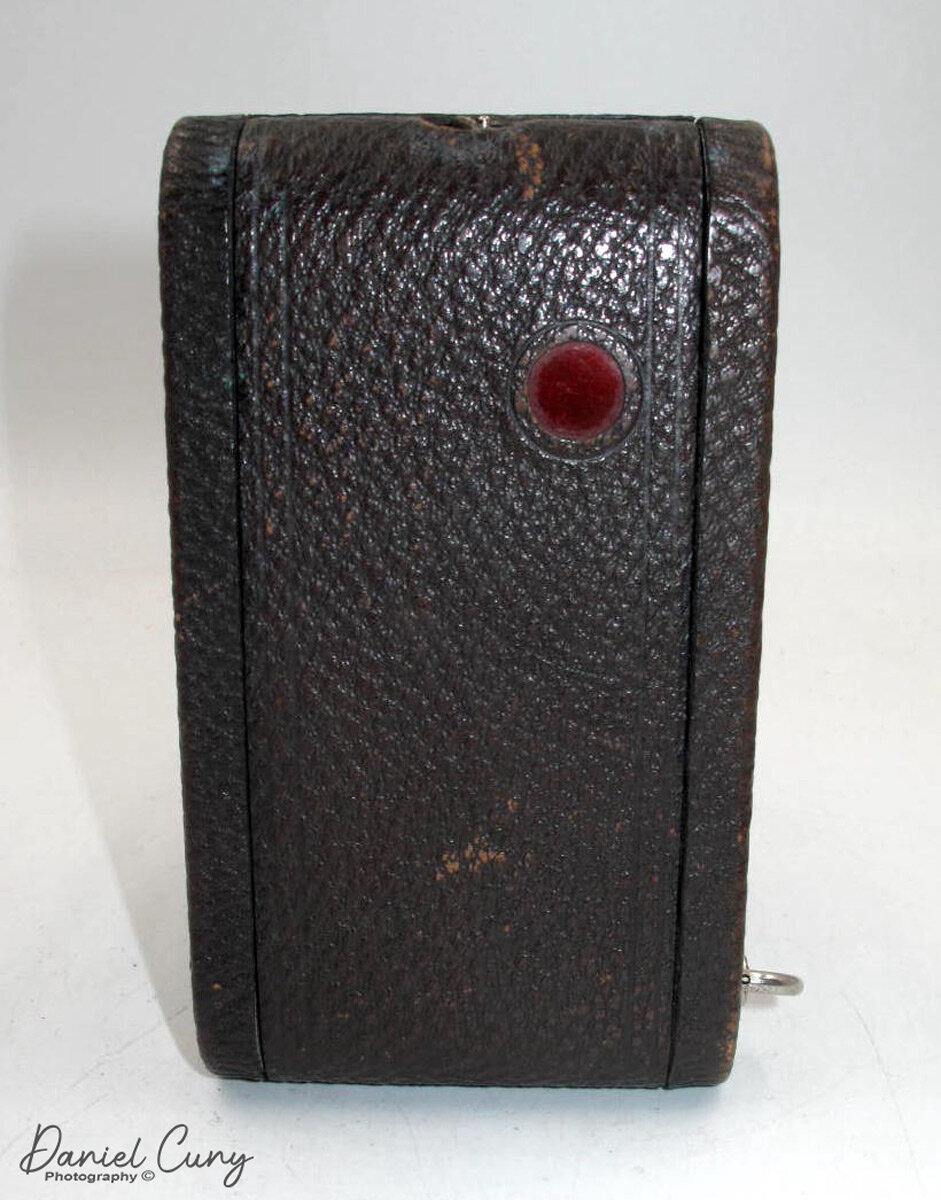
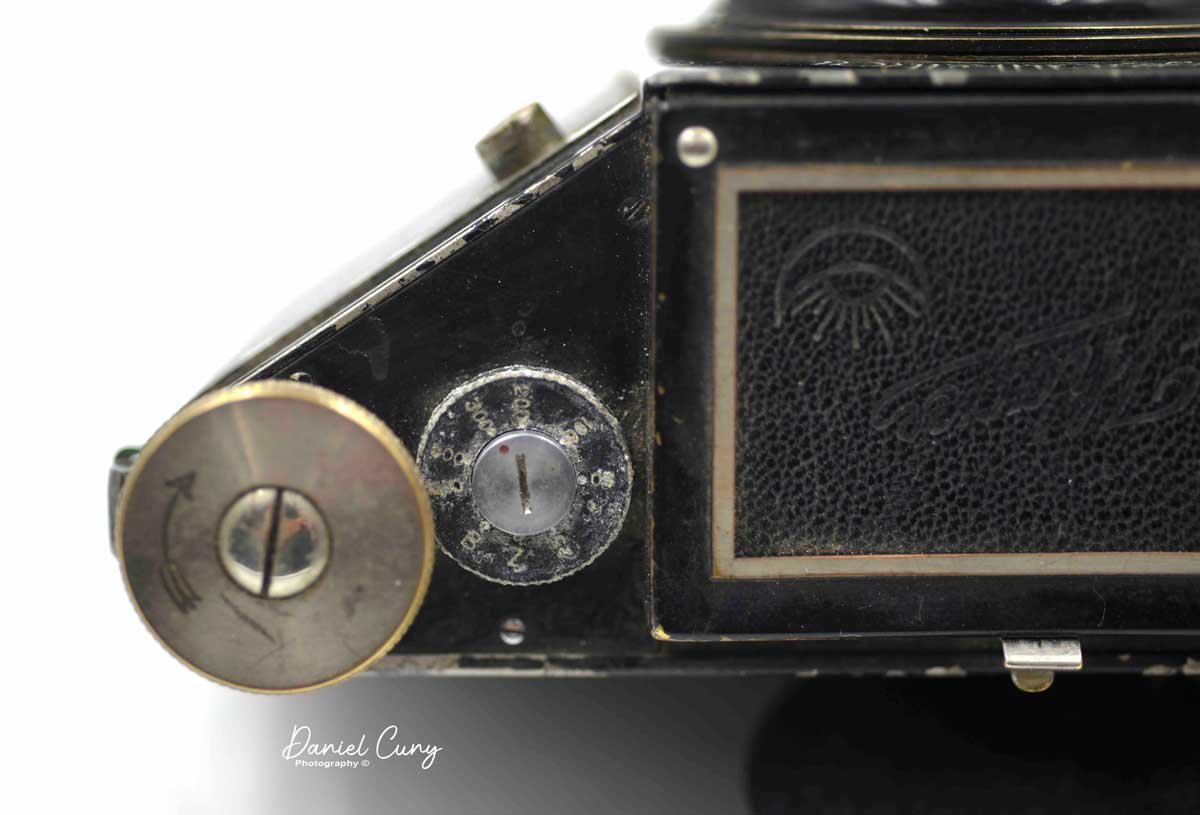
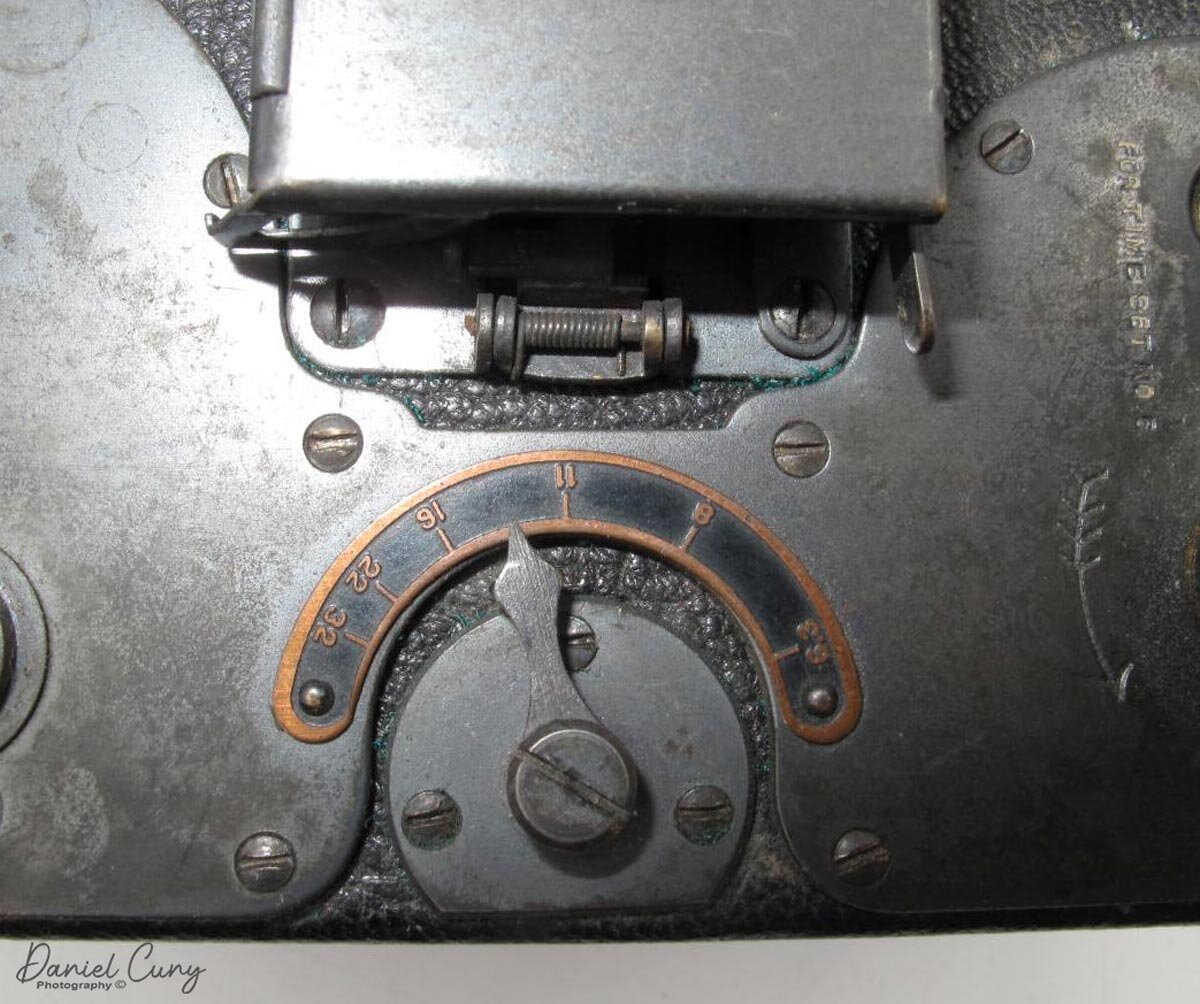
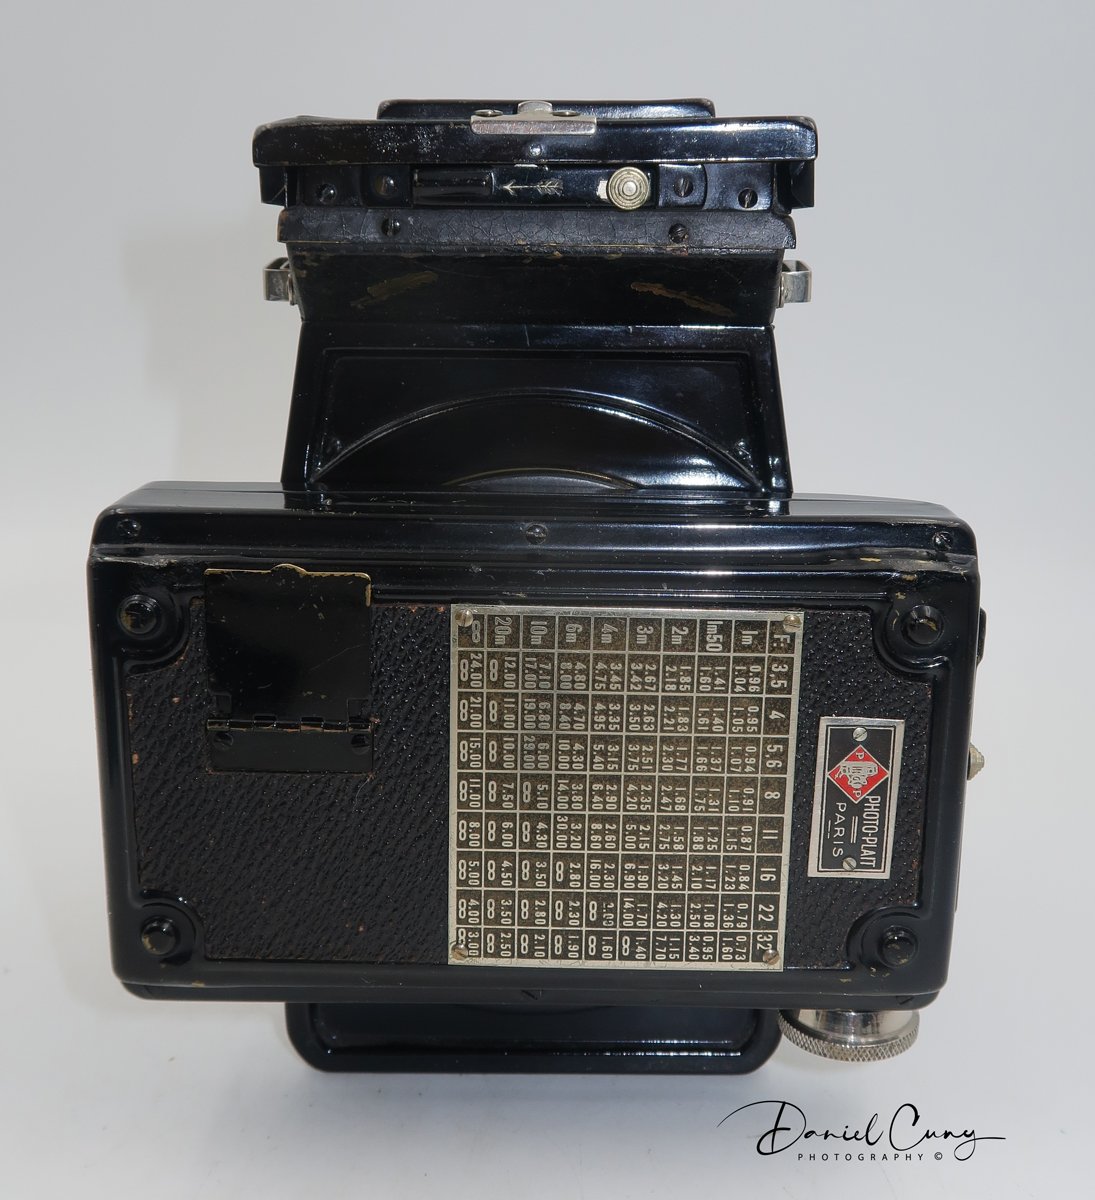
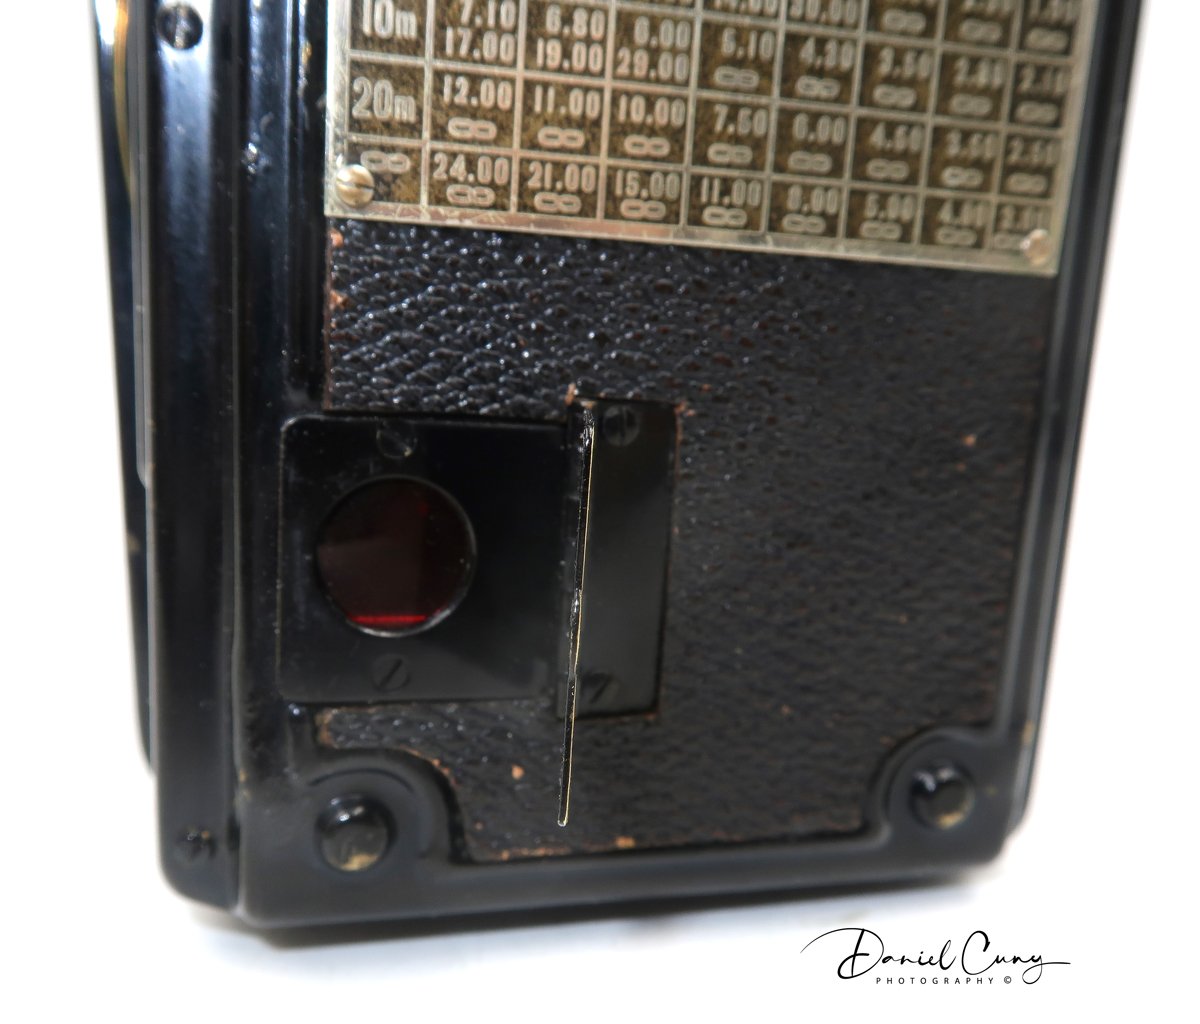
The focusing knob is on the right side of the camera. To take a photo is very simple: turn the dial to set the shutter speed and aperture on the ring around the shutter. Cock the shutter with the cocking lever, and release with the other lever. On the back of the camera is an extensive depth of field chart, but I cherish the plate attached to the back with the store that sold it, Photo-Plait Paris.
MY EXPERIENCE:
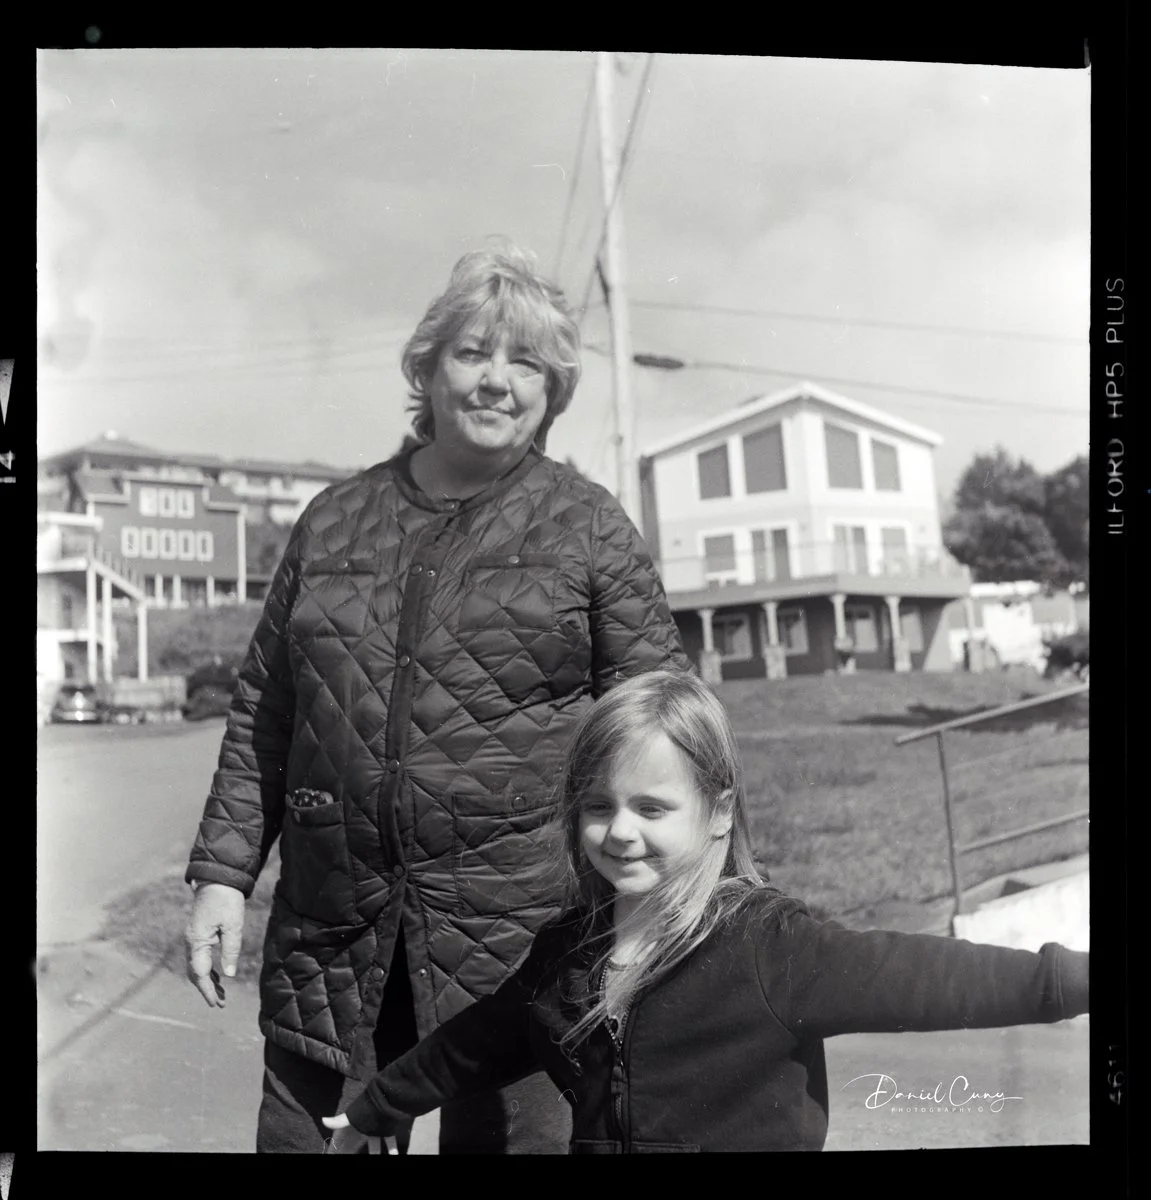
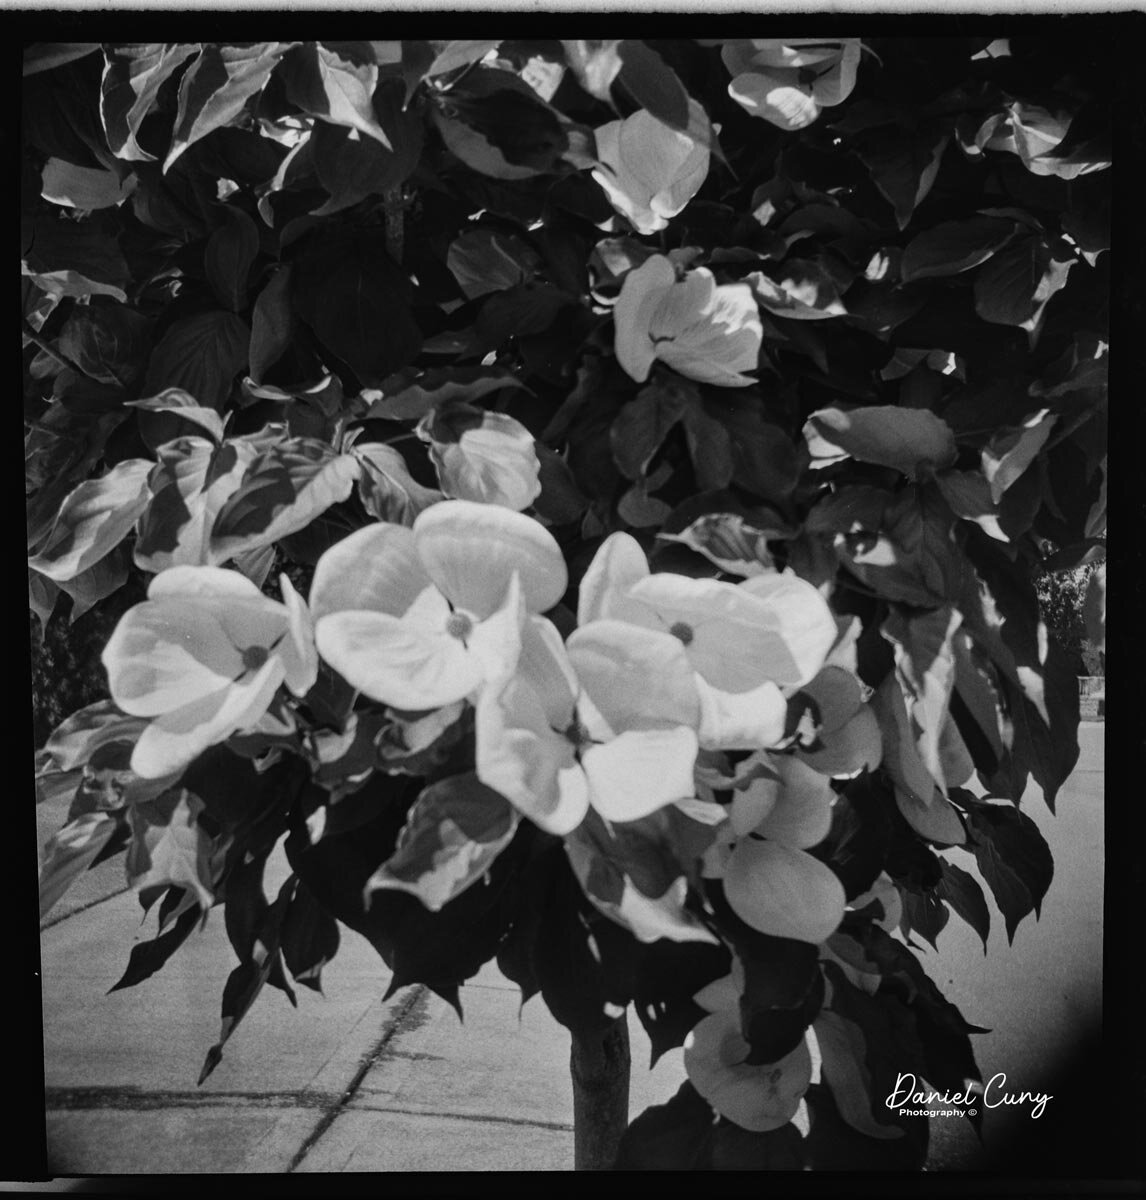
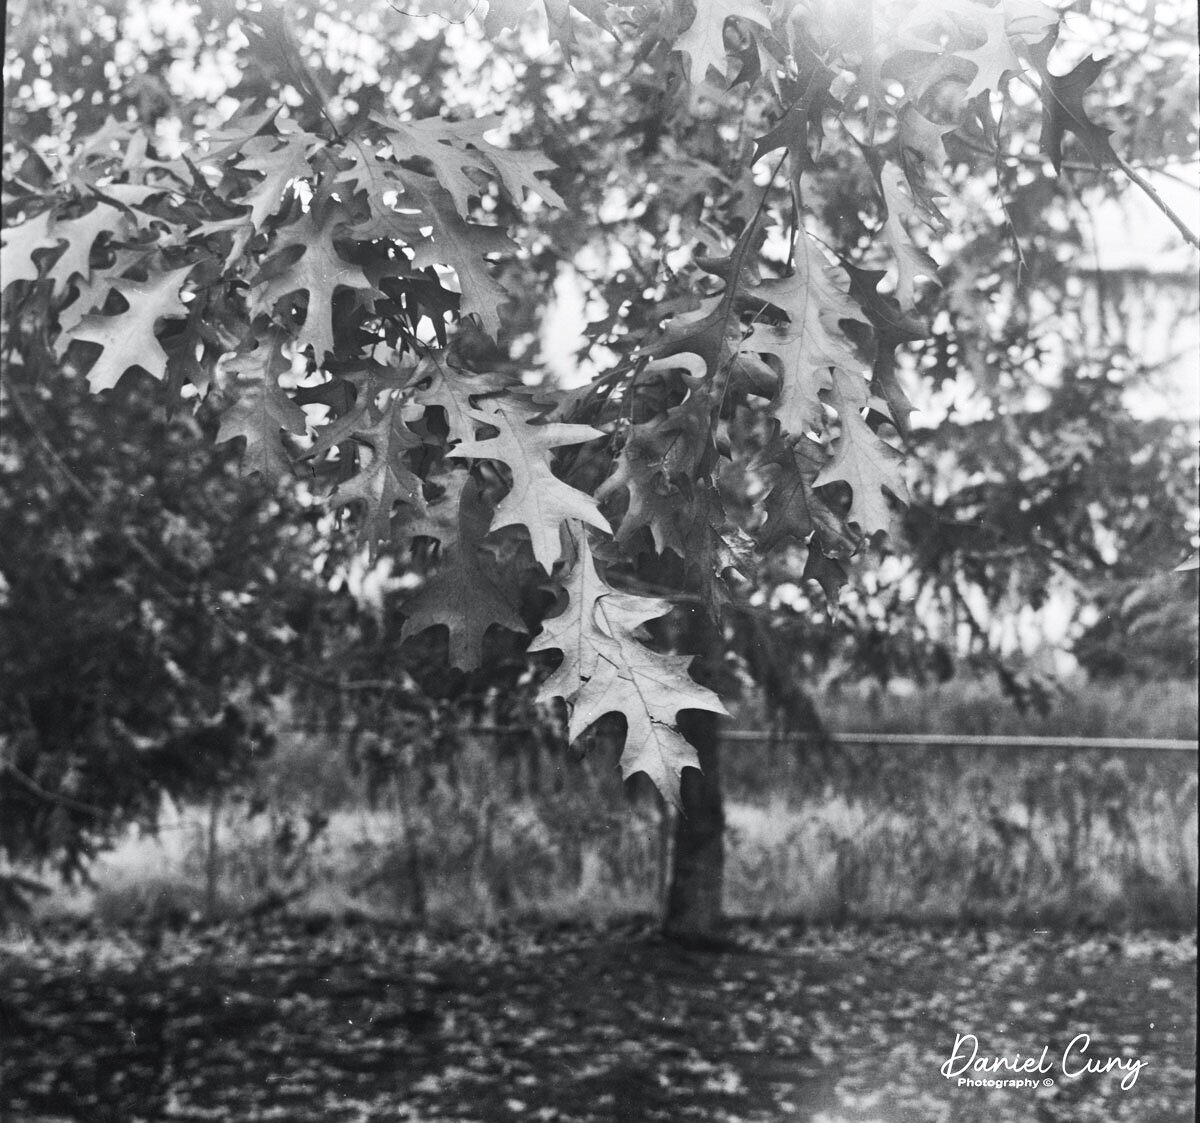
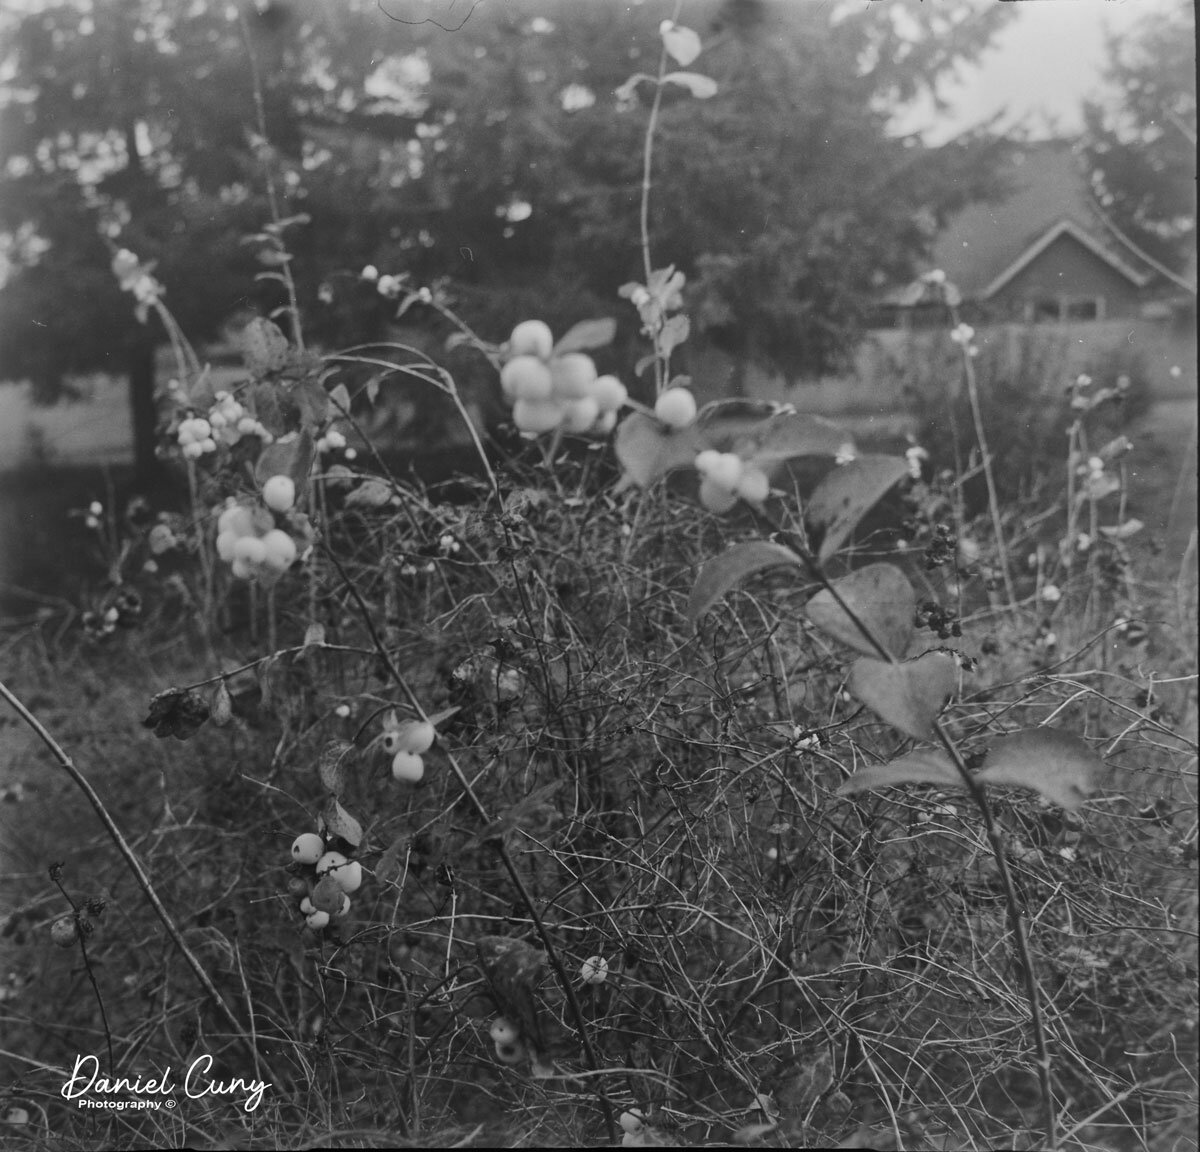
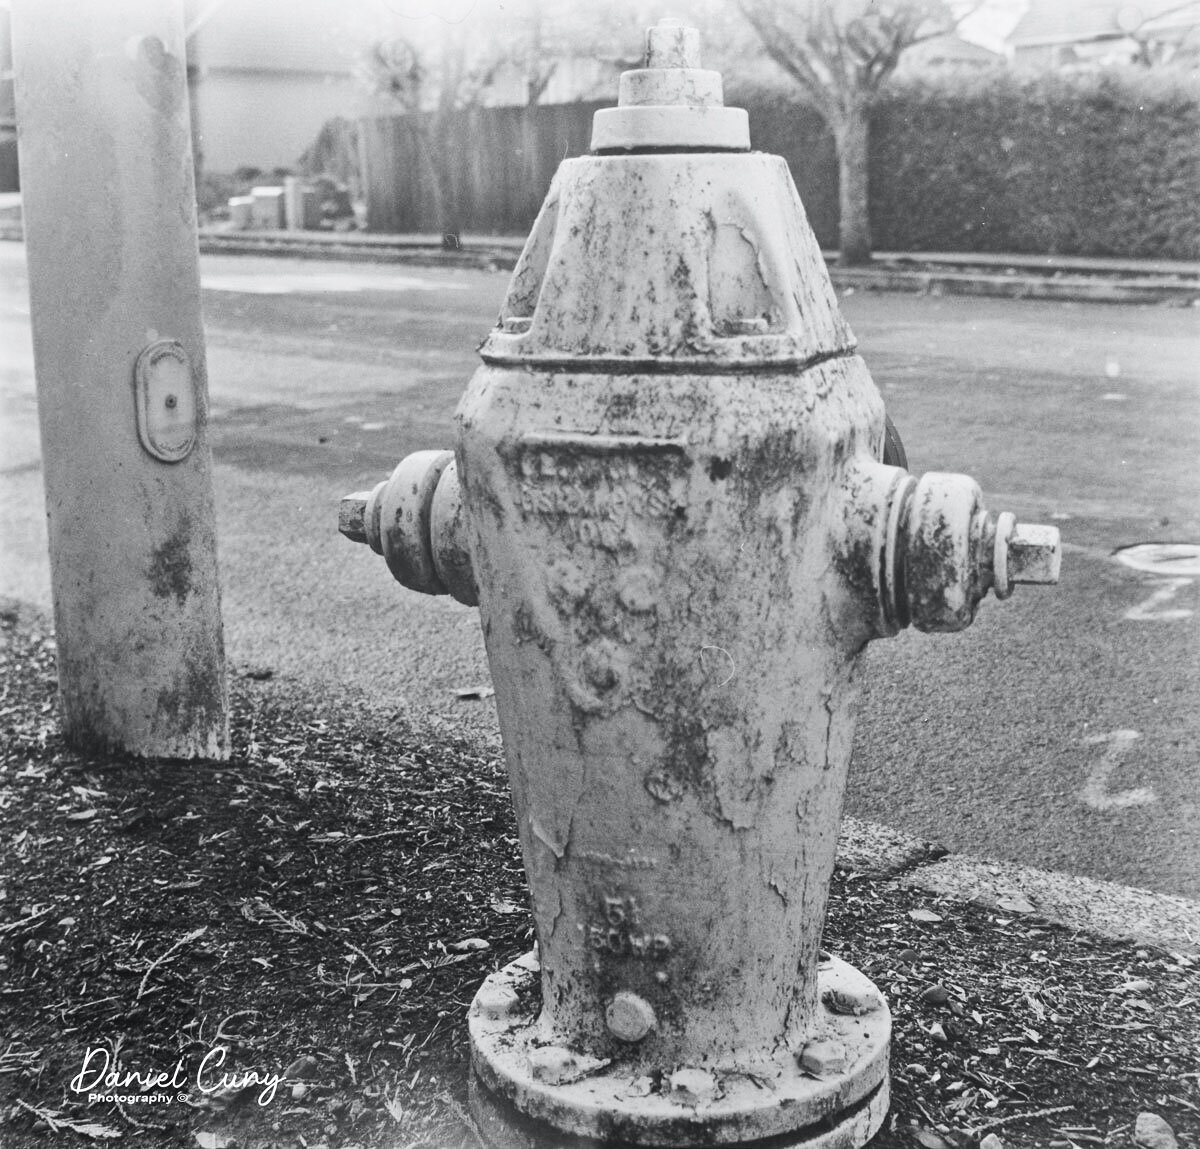
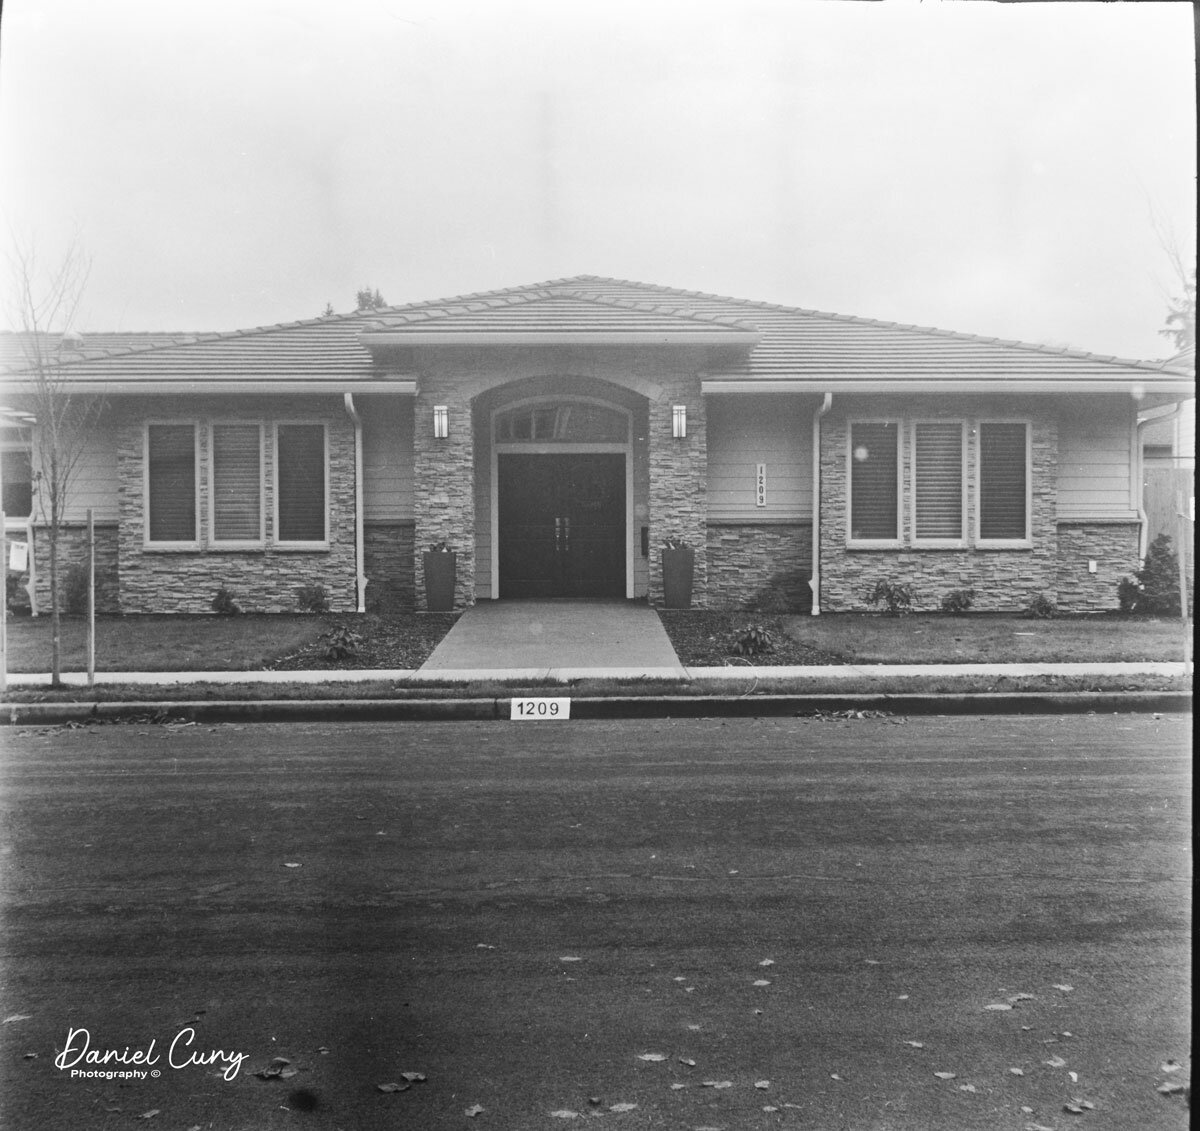
Here are some images I took walking around my neighborhood with portrait and Landscape photos from the same vantage point.


CONCLUSION:
I had fun shooting a TLR camera with a beautiful 6x9 format AND could shoot both vertical and Horizontal images by rotating the back of the camera. It is similar to the newer Mamiya RB67 and others but with a much smaller camera. What a superb camera and something I was unaware of even a few months ago. I'll use this more often, especially with the film format and the ease of vertical or horizontal shooting.
Thank you for taking some time to look over this post. Until next time, please be safe.