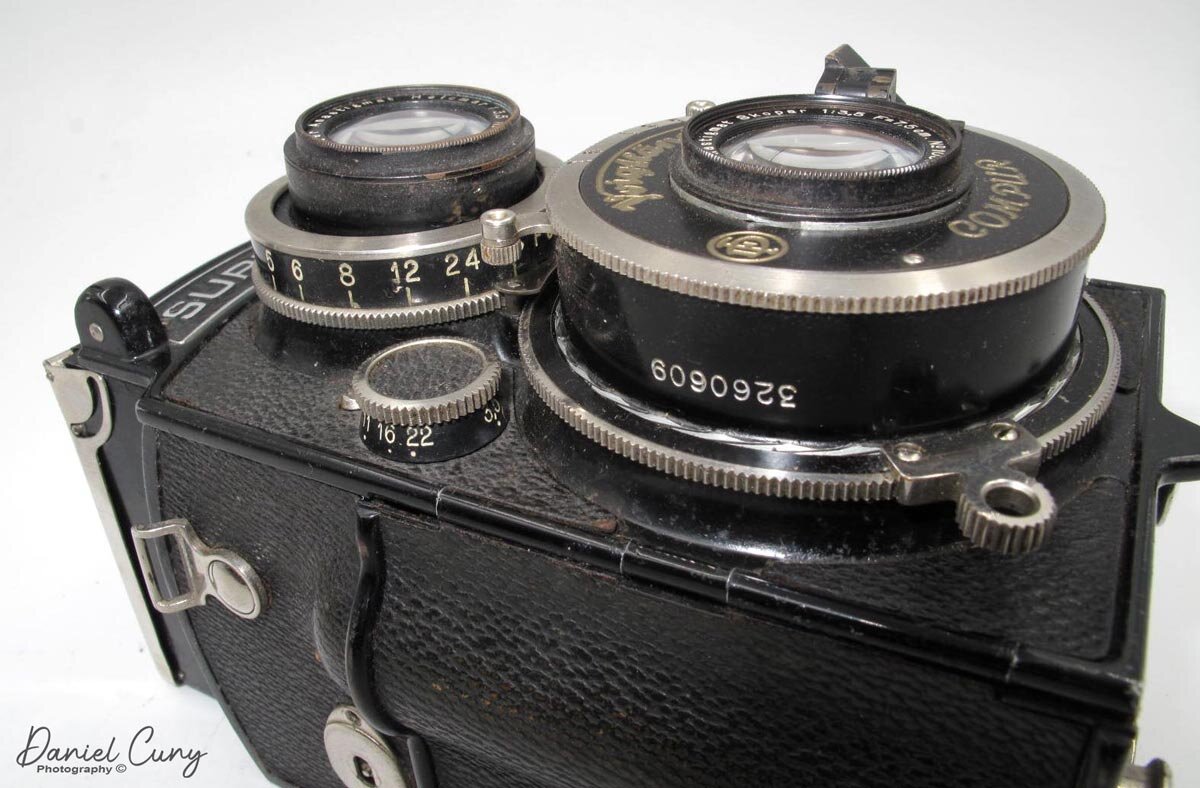
The Voigtlander Superb is a camera I owned for a short time, almost thirty years ago. At that time, I was buying and selling cameras rapidly and not using them. To me, at the time, it was more of a commodity. The Superb I owned also had a more rare lens, and someone was willing to pay me handsomely for it. At the time, with growing children, It's something I needed to do. Things have changed, and I've evolved in my appreciation for cameras.

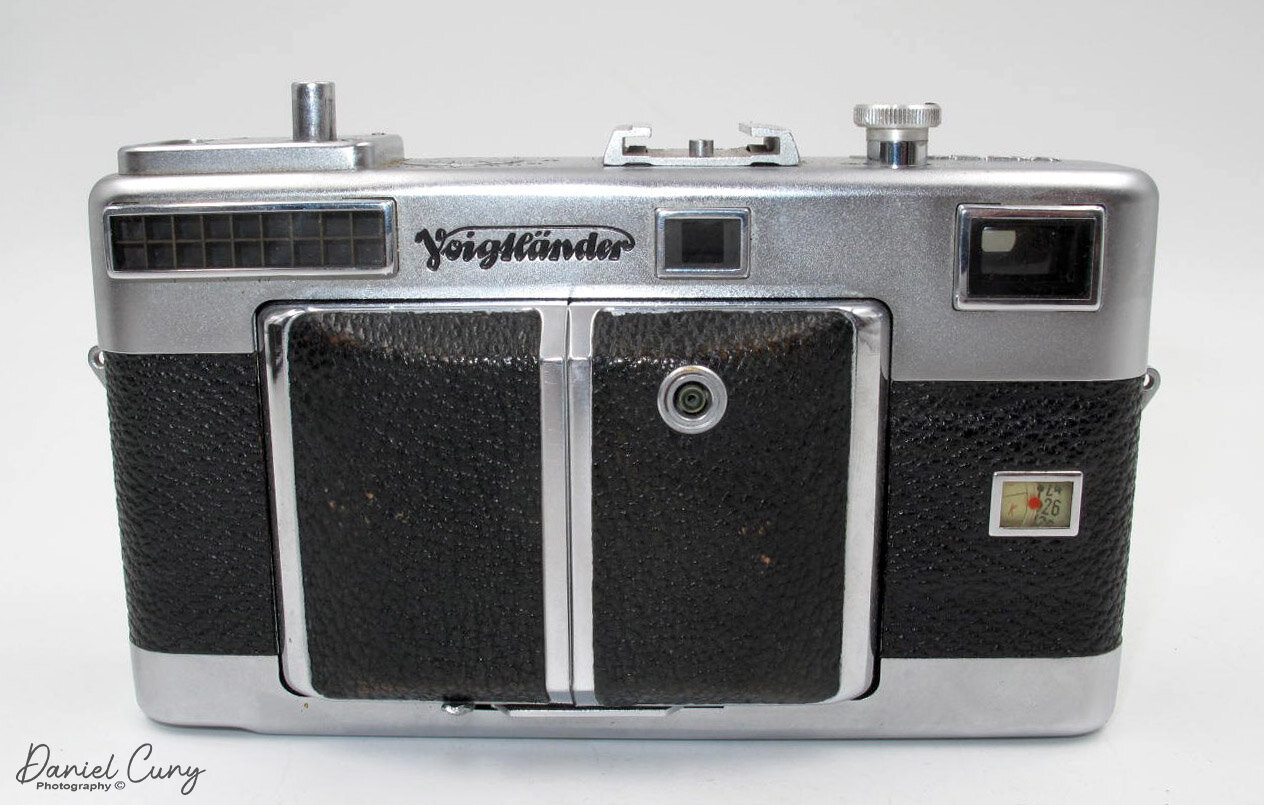
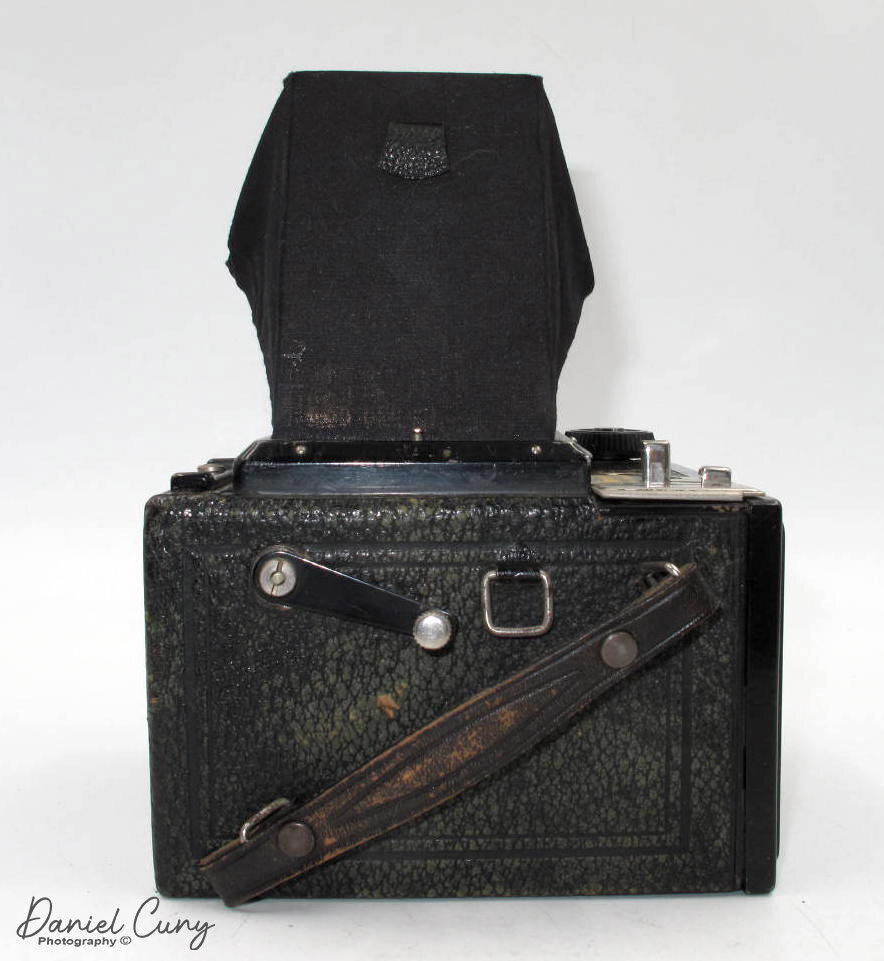
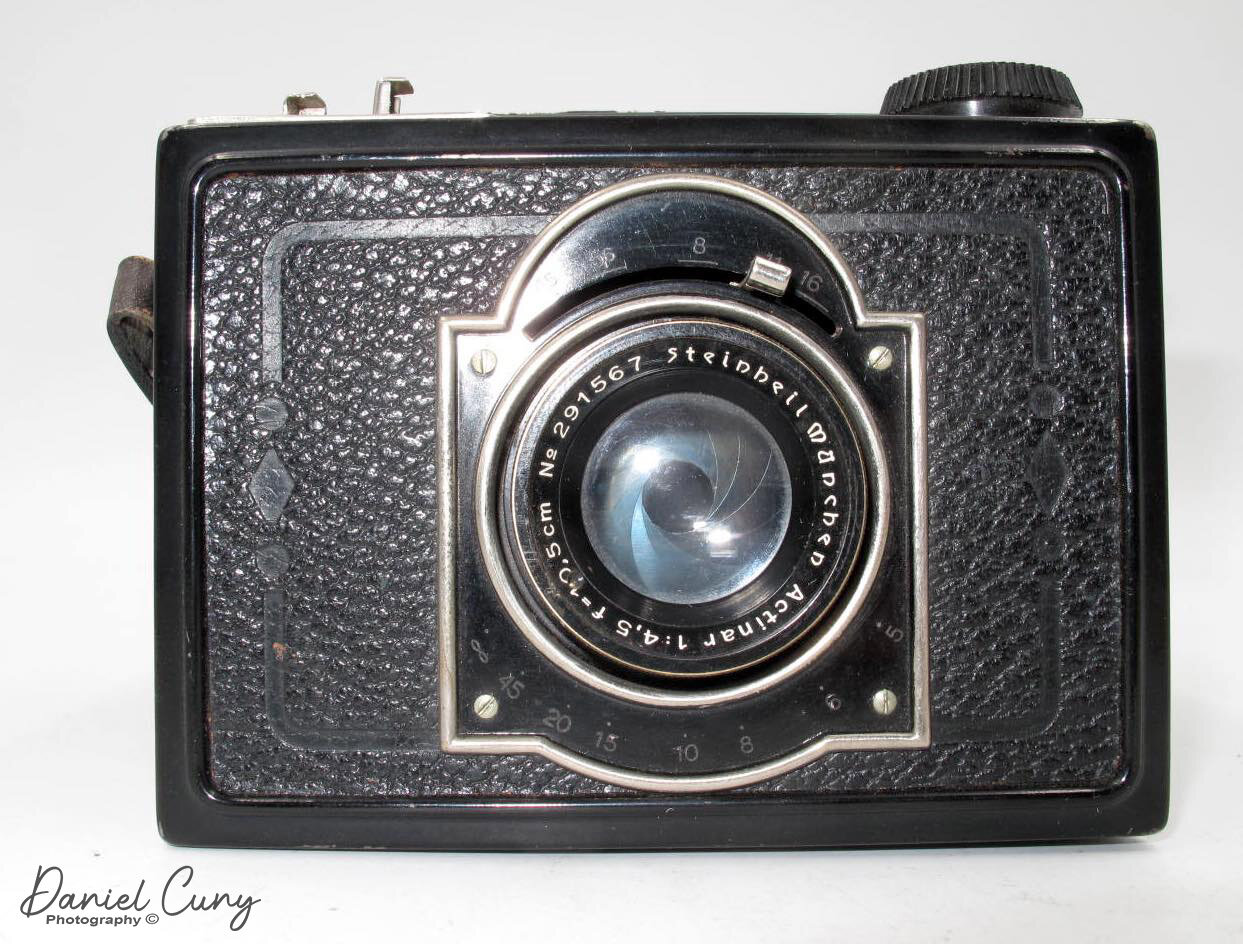
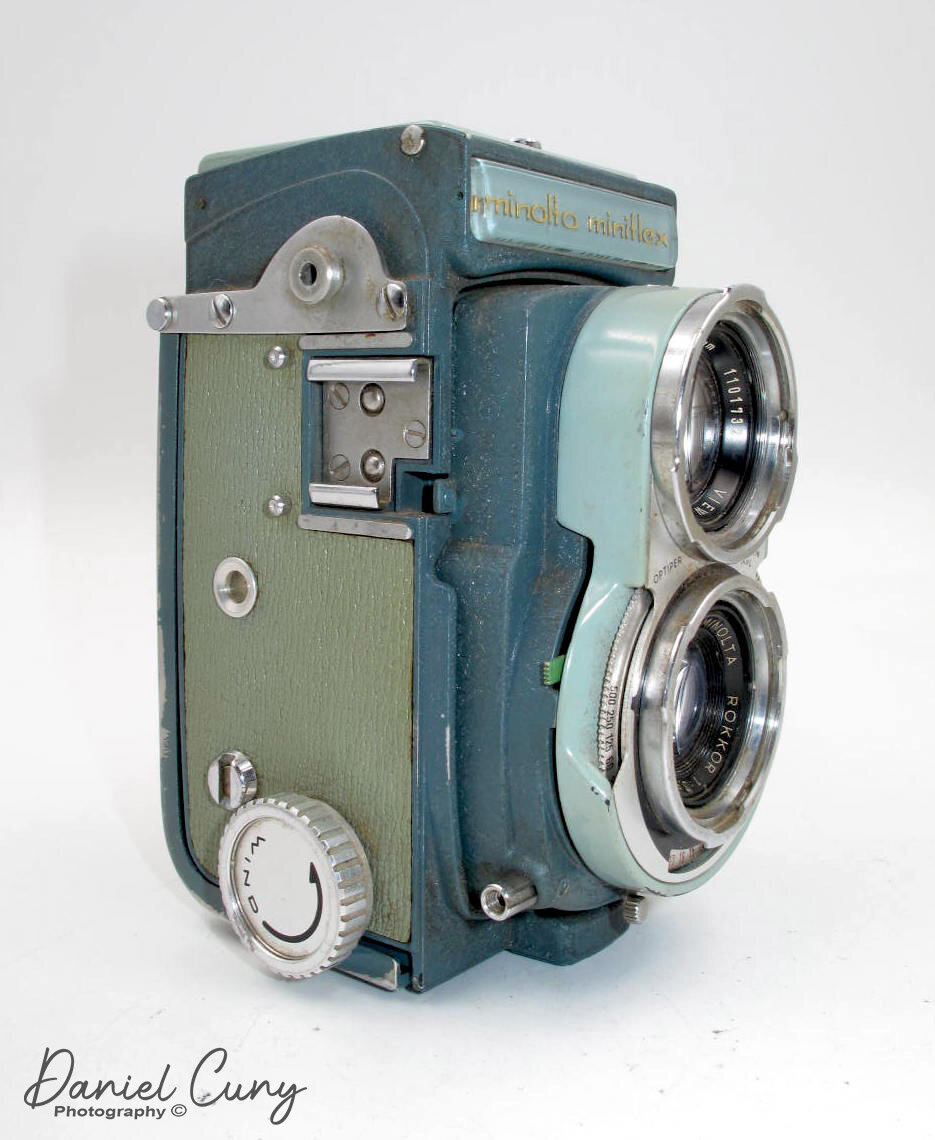
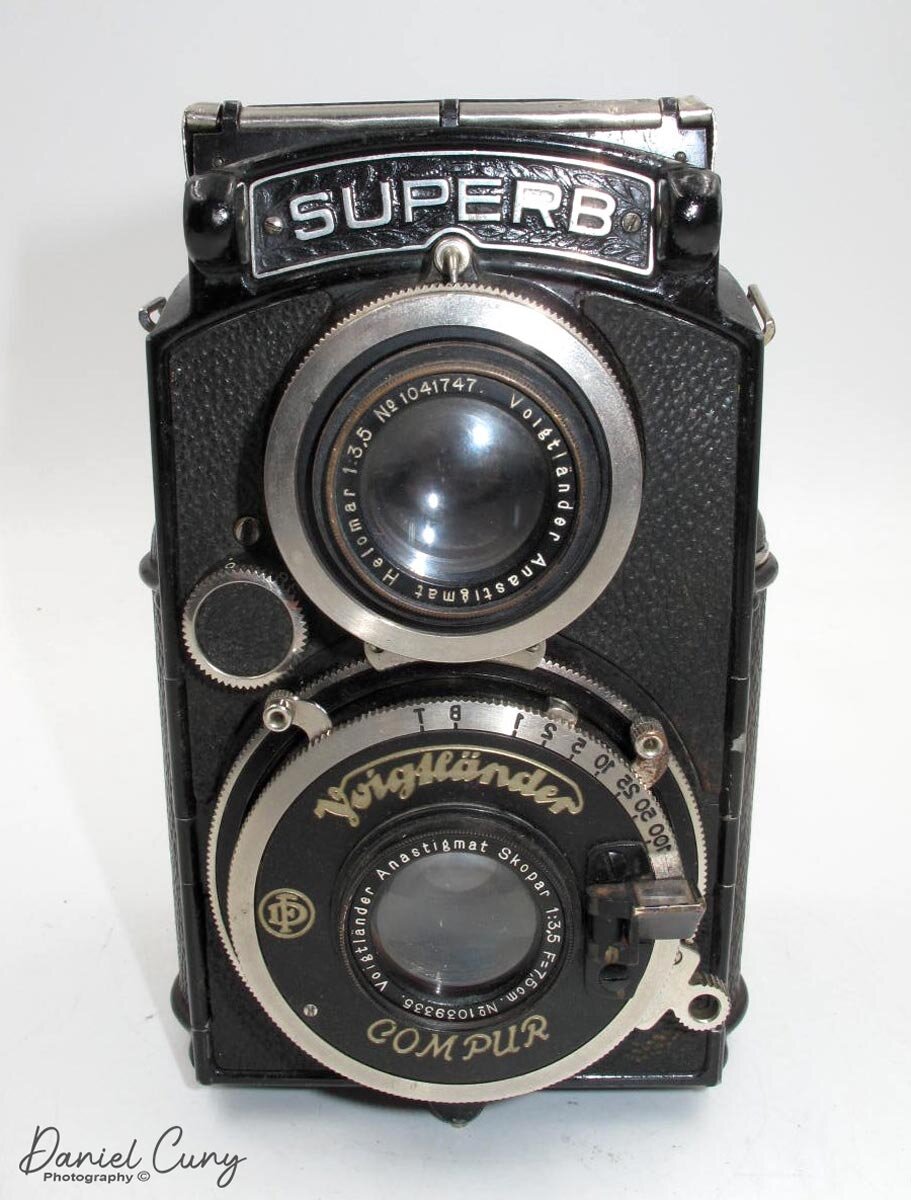
My Voigtlander Superb.
Company Background
In my post about the Voigtlander Vitessa, I made a brief history of the camera company that you can see here. The thing that amazes me about Voigtlander is how early they got into the photography industry and the names and products associated with them.
In 1839, publications introduced photography to the public; Voigtlander's optics were the first mathematically calculated optics made by mathematics professor Josef Petzval. Peter Voigtlander gave technical advice regarding these lenses, which cut down exposure times to about one minute. That was revolutionary. By 1840, they were not only producing cameras, the all-metal Voigtlander Daguerreotype camera, they also introduced the first Petzval photographic portrait lens, with a maximum F stop of F3.6, know as the fastest lens of the time.

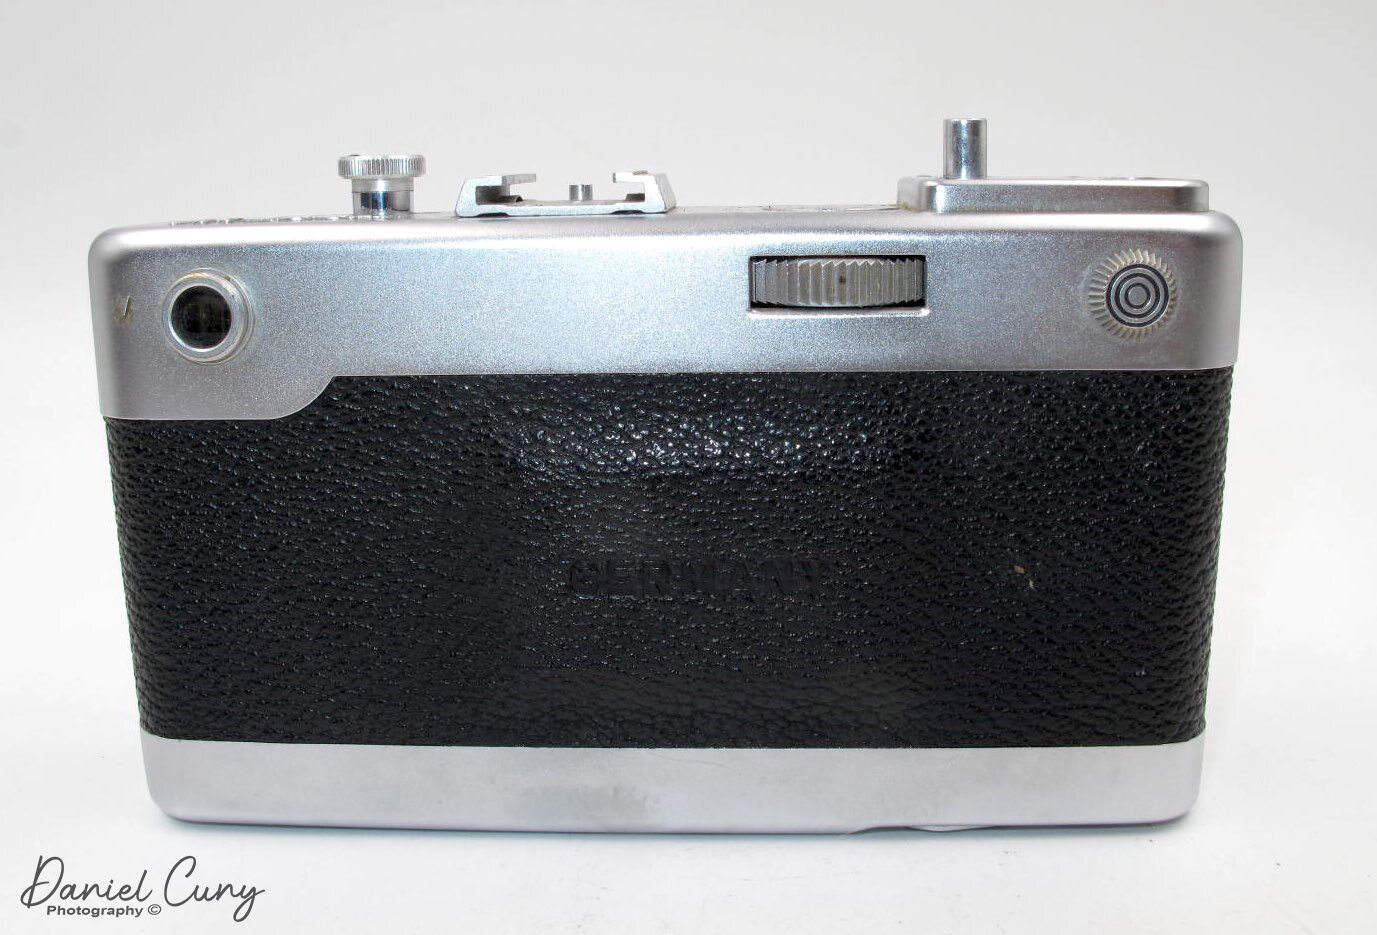
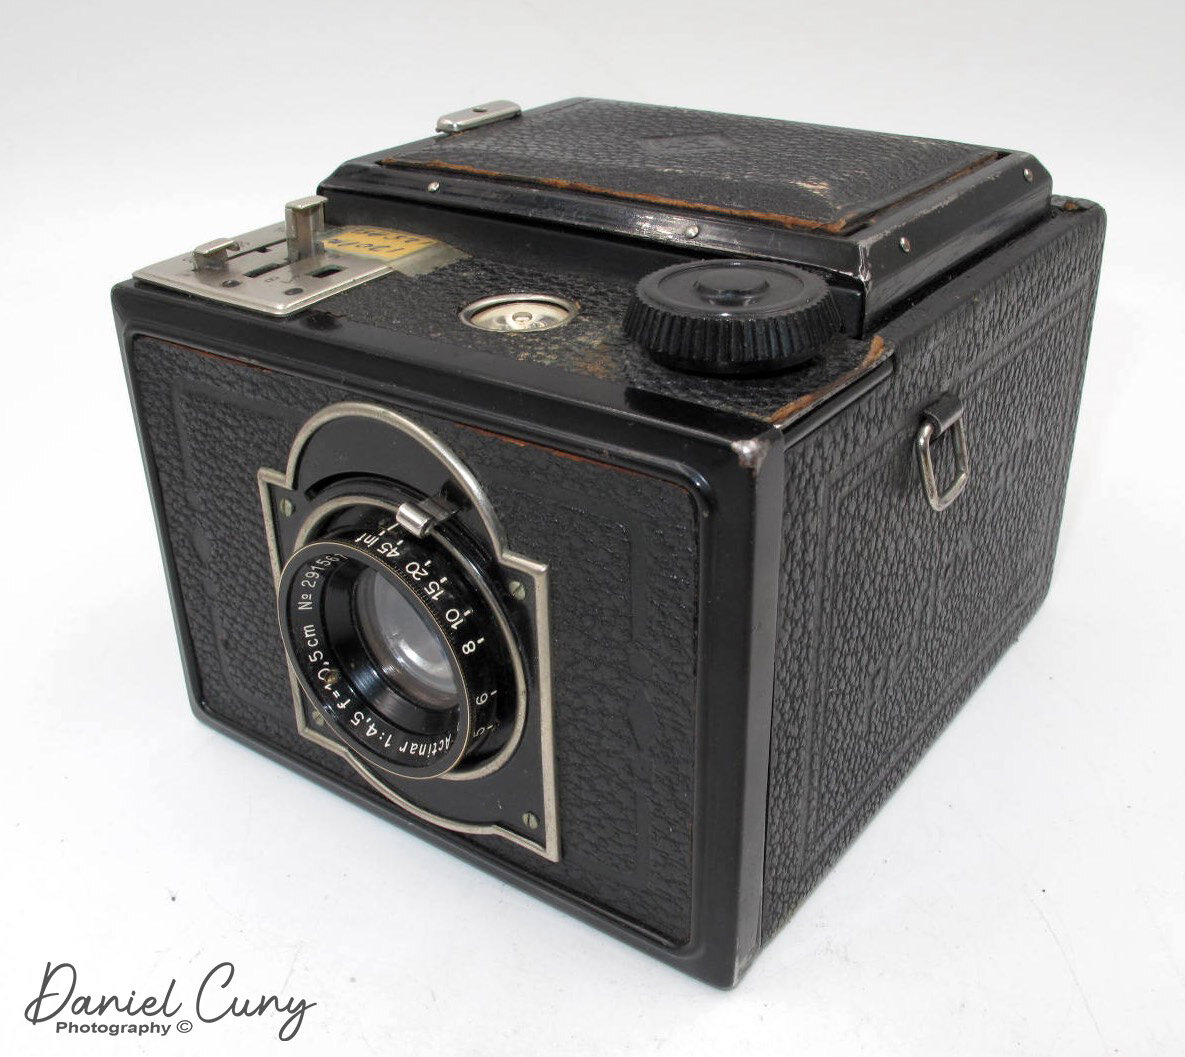
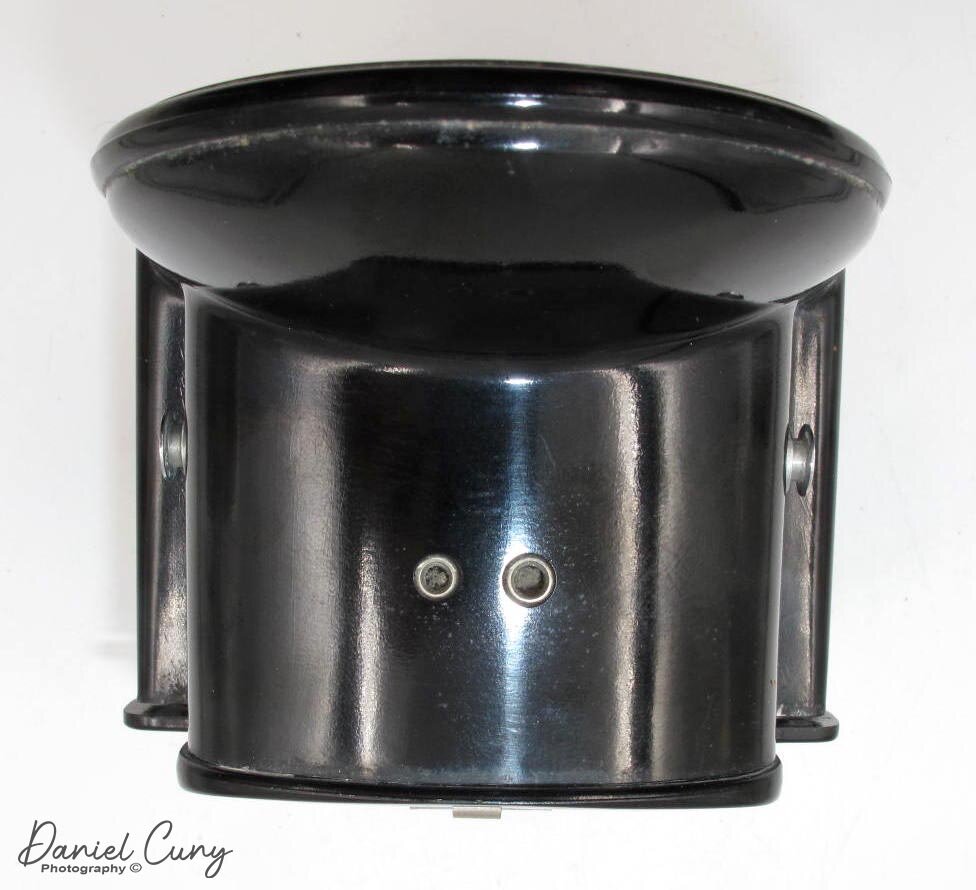
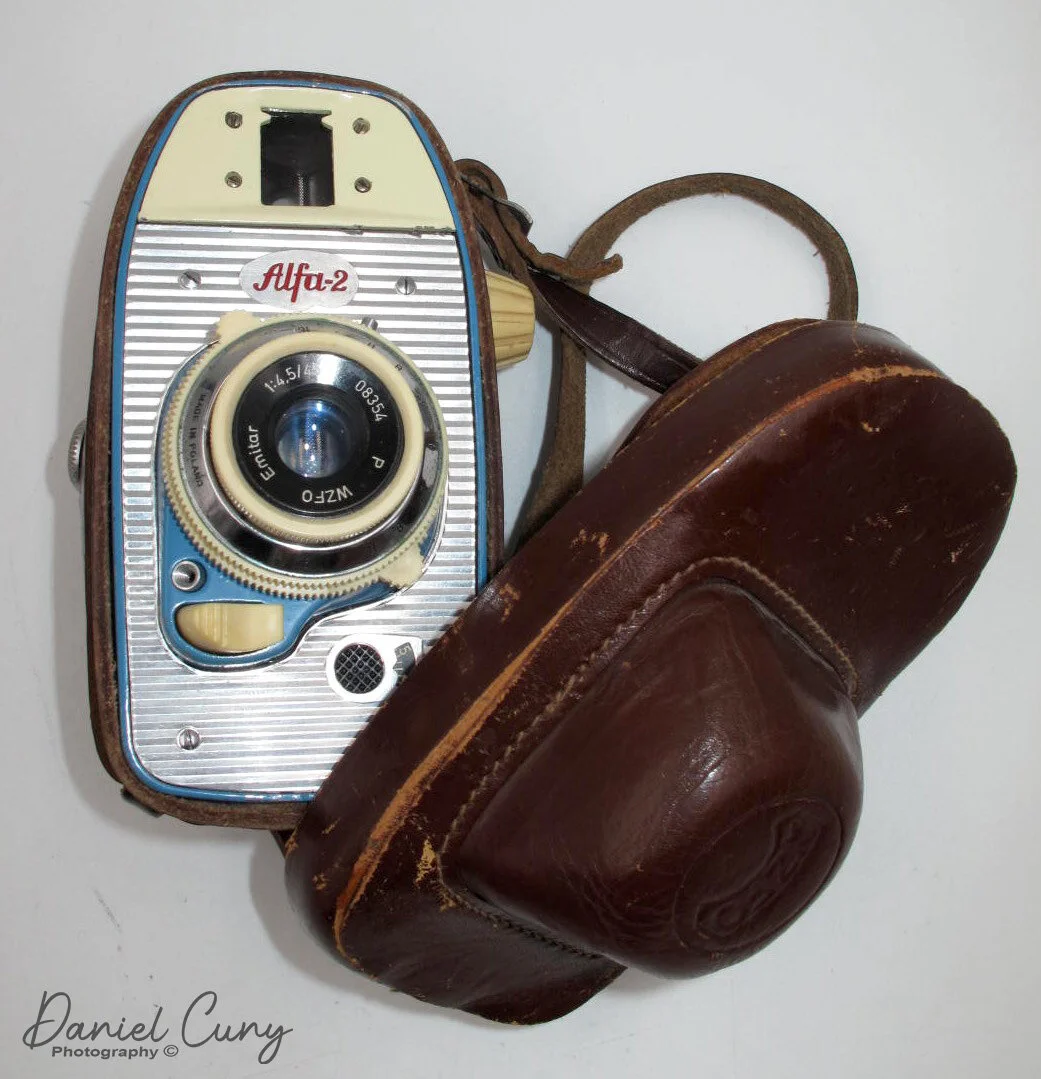
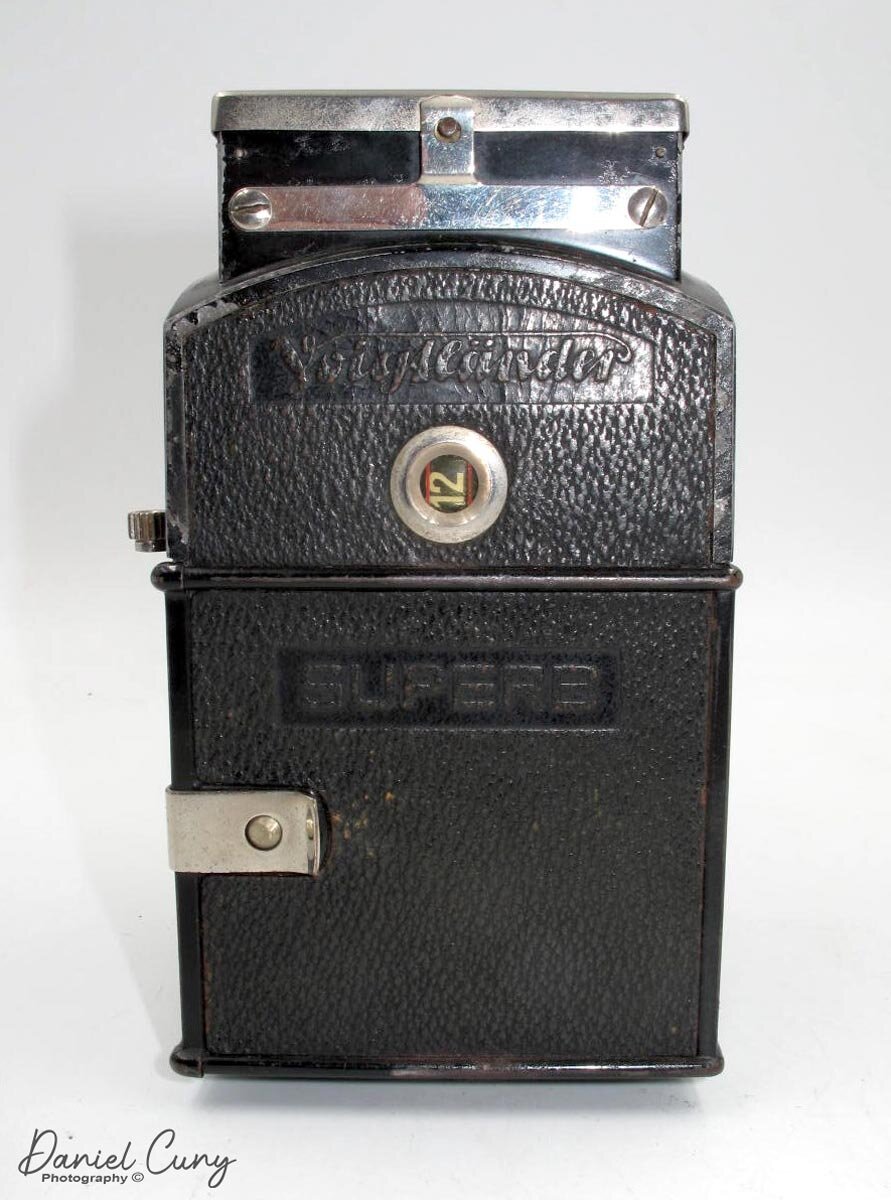
Camera and case
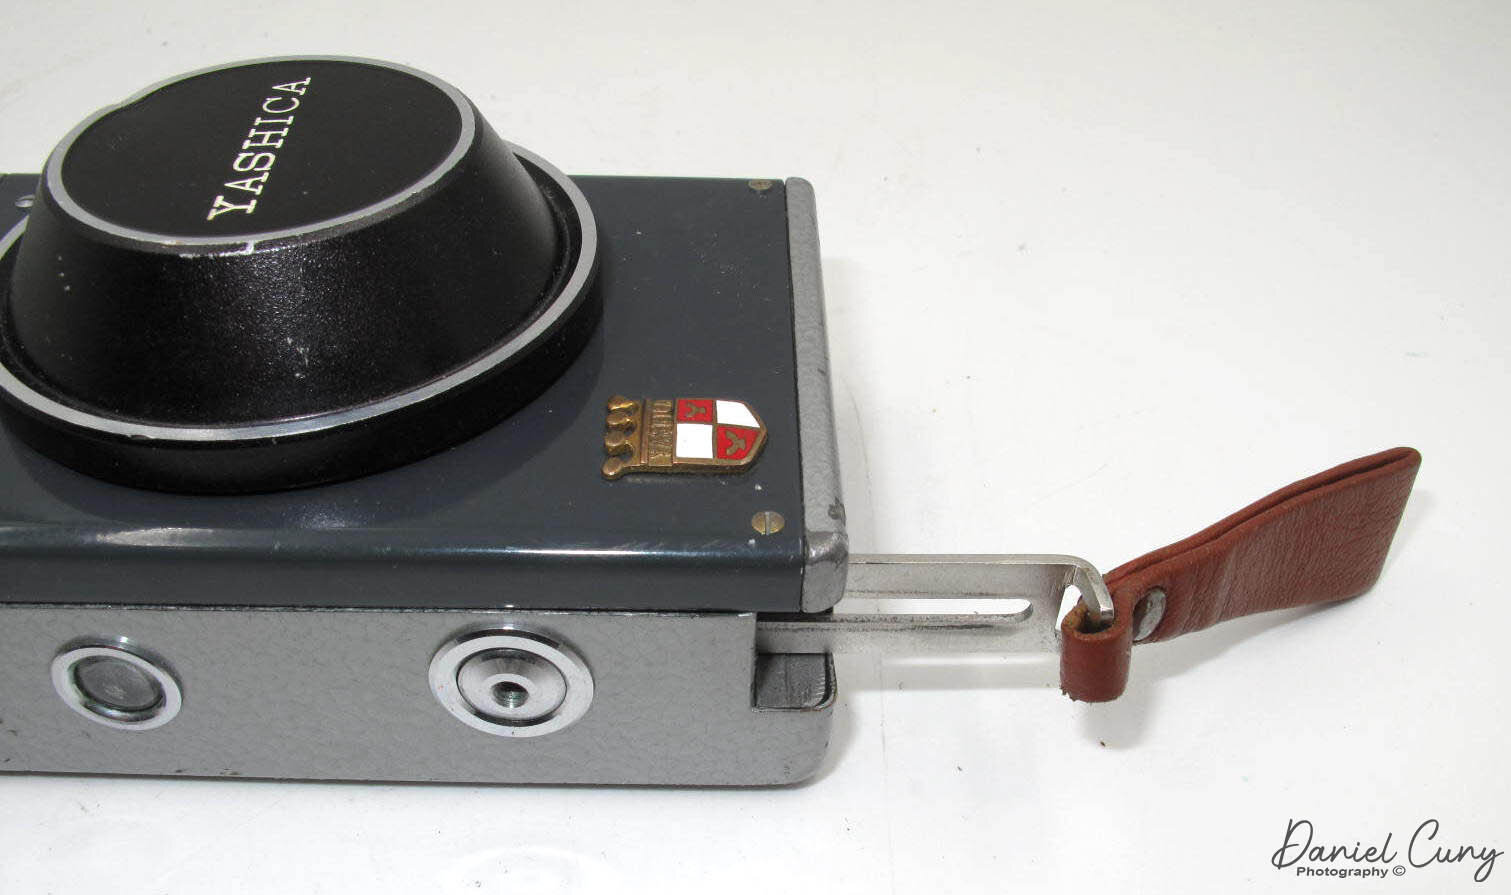
In 1923, Schering AG's photo division purchased Voigtlander, and by 1925, they started mass production of cameras and photo equipment. Voigtlander introduced such everyday items as the zoom lens, the 36–82/2.8 Zoomar in 1959, and the first 35mm compact camera with a built-in flash, the Vitrona in 1965. Voigtlander introduced the Superb model from 1933 until 1939. There weren't many modifications during that time. The early cameras had "bunny ears" as camera strap holders and the later years had a winged slot for the strap. You can see a version here, and there is an instruction manual here.
My Camera
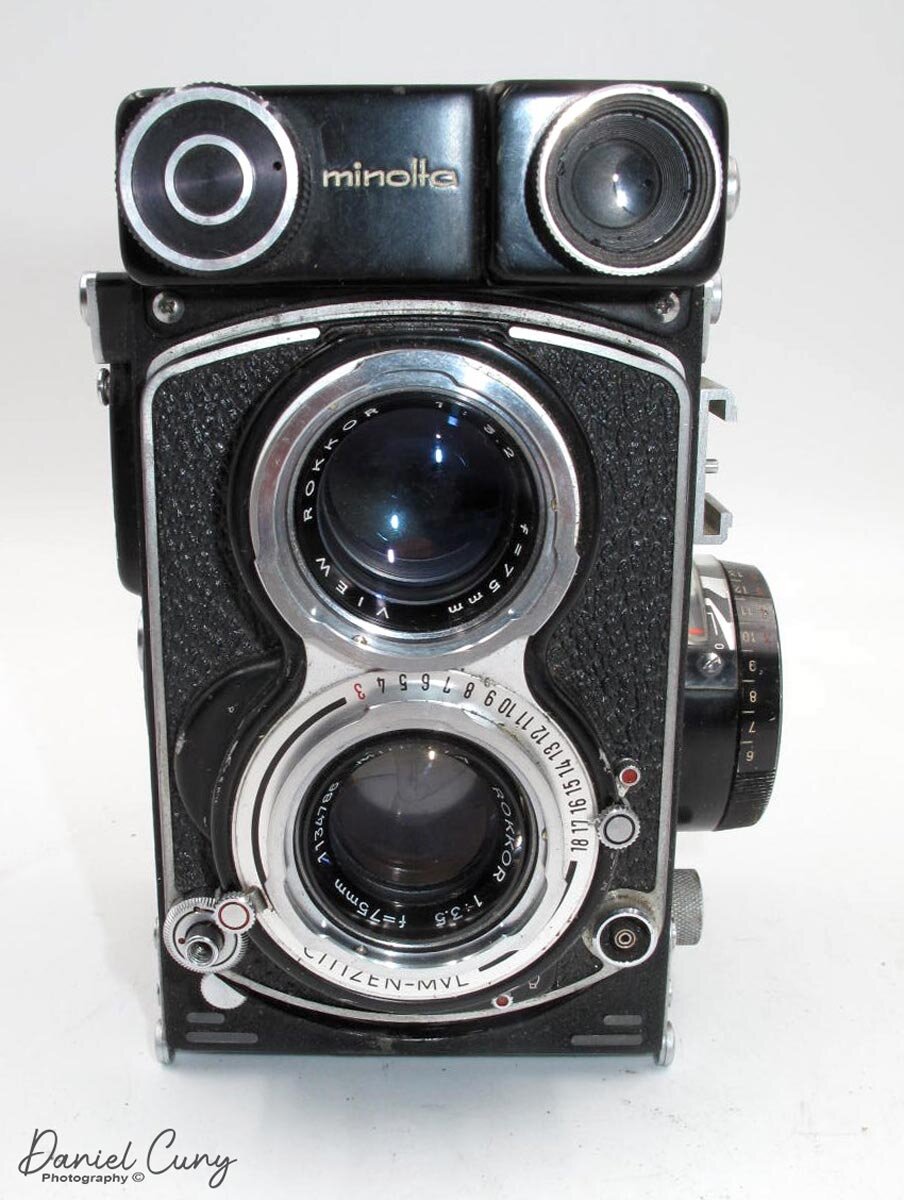
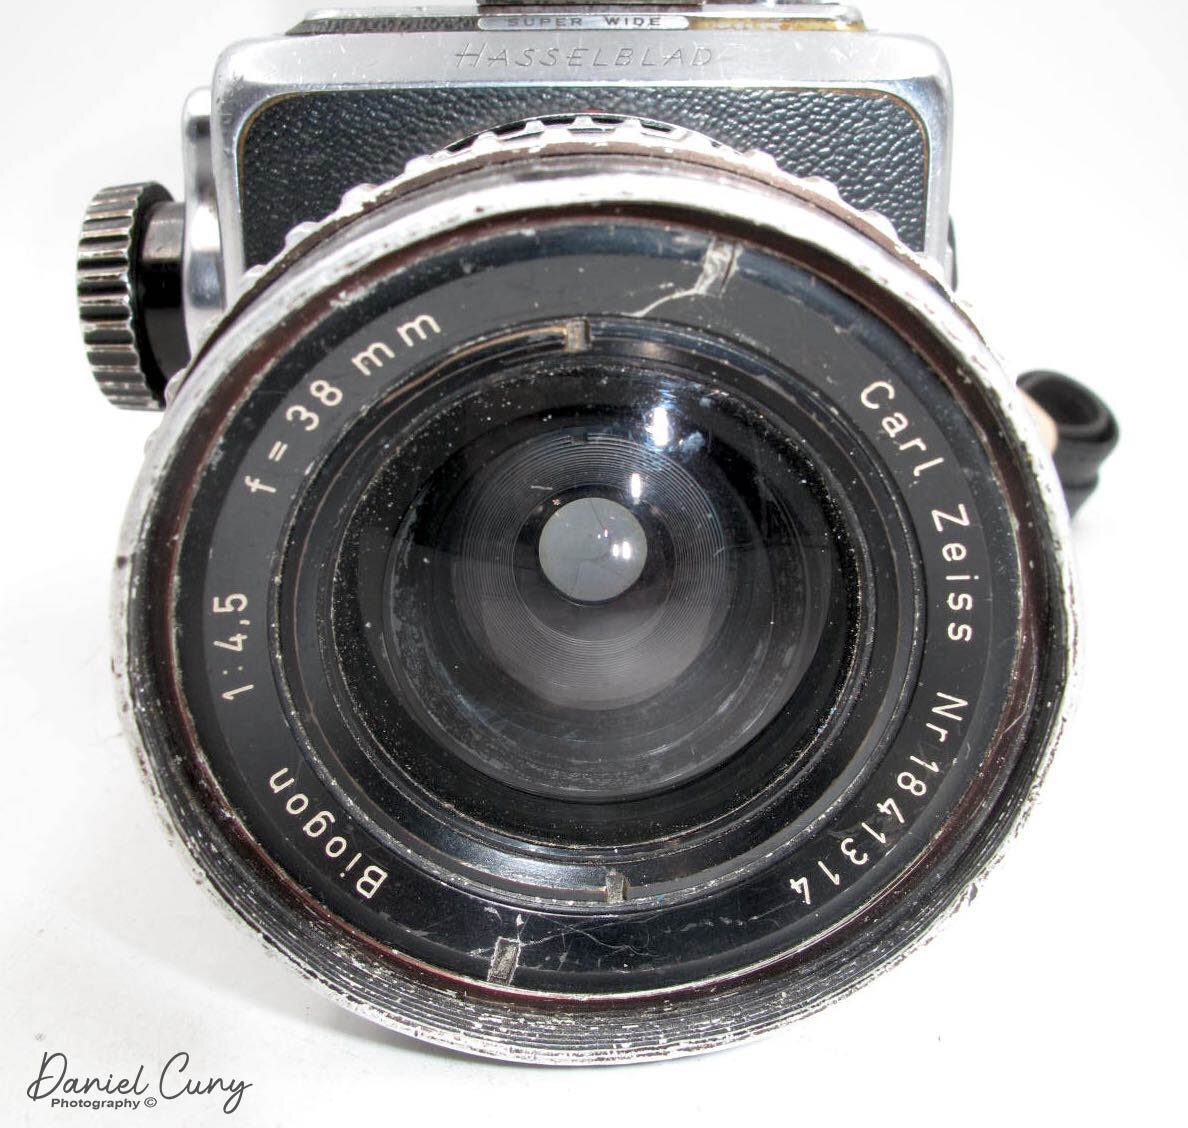
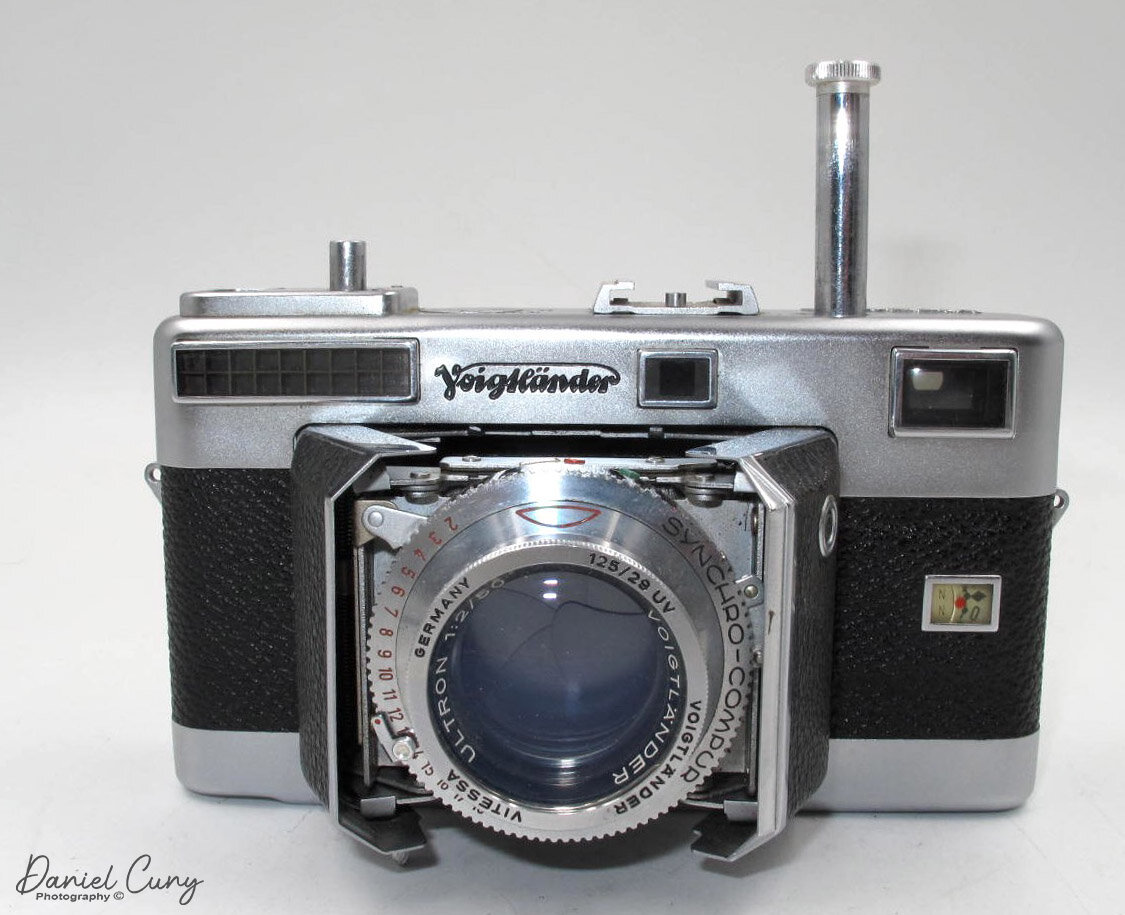
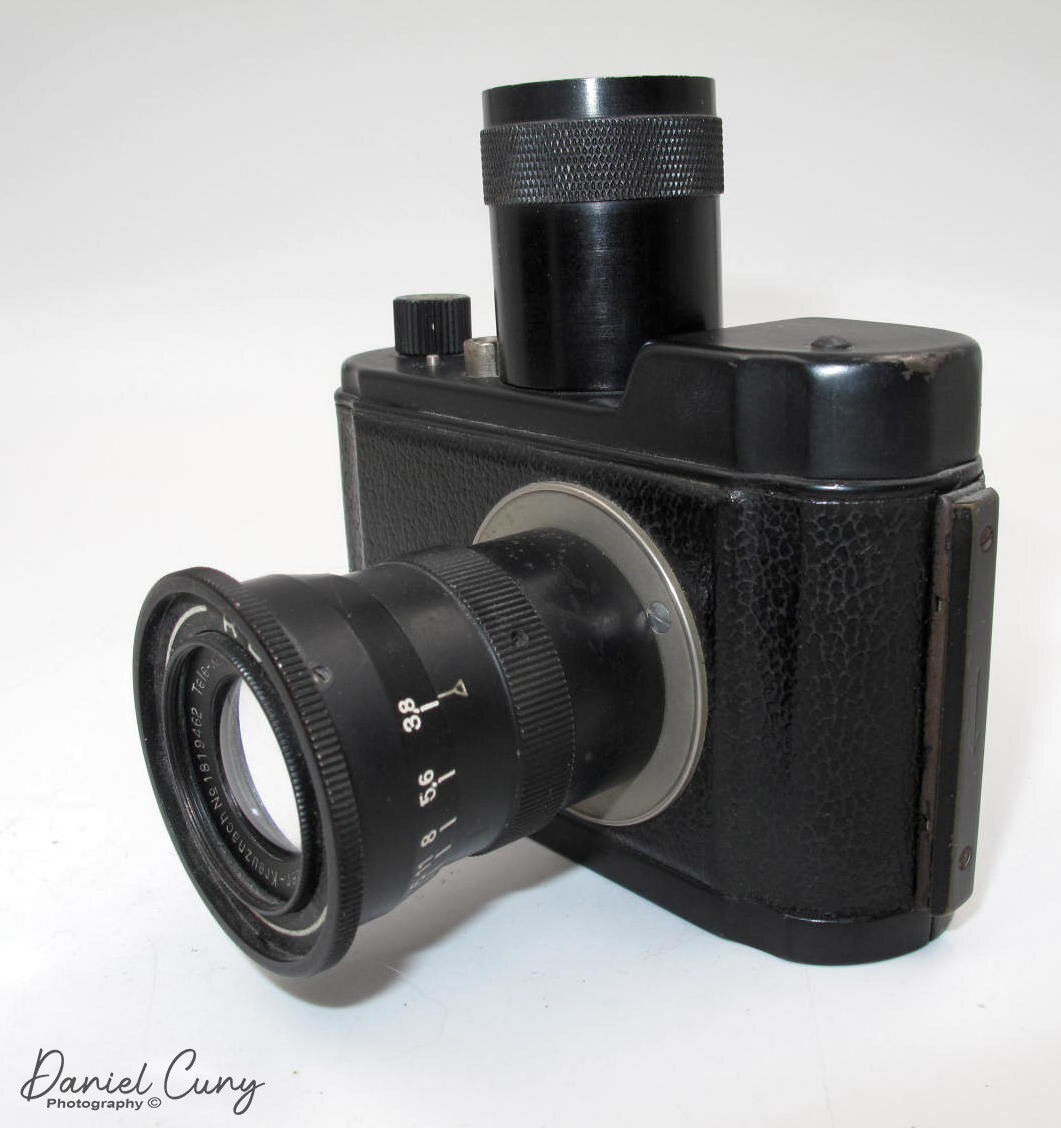
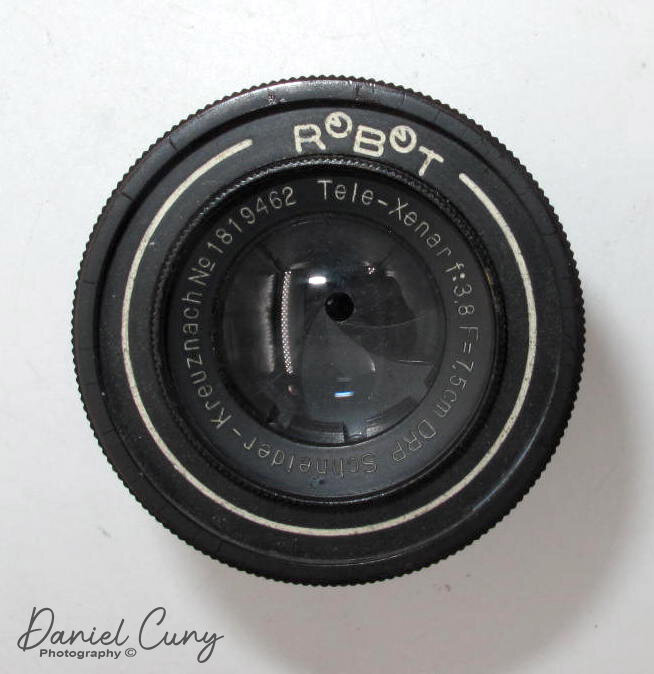
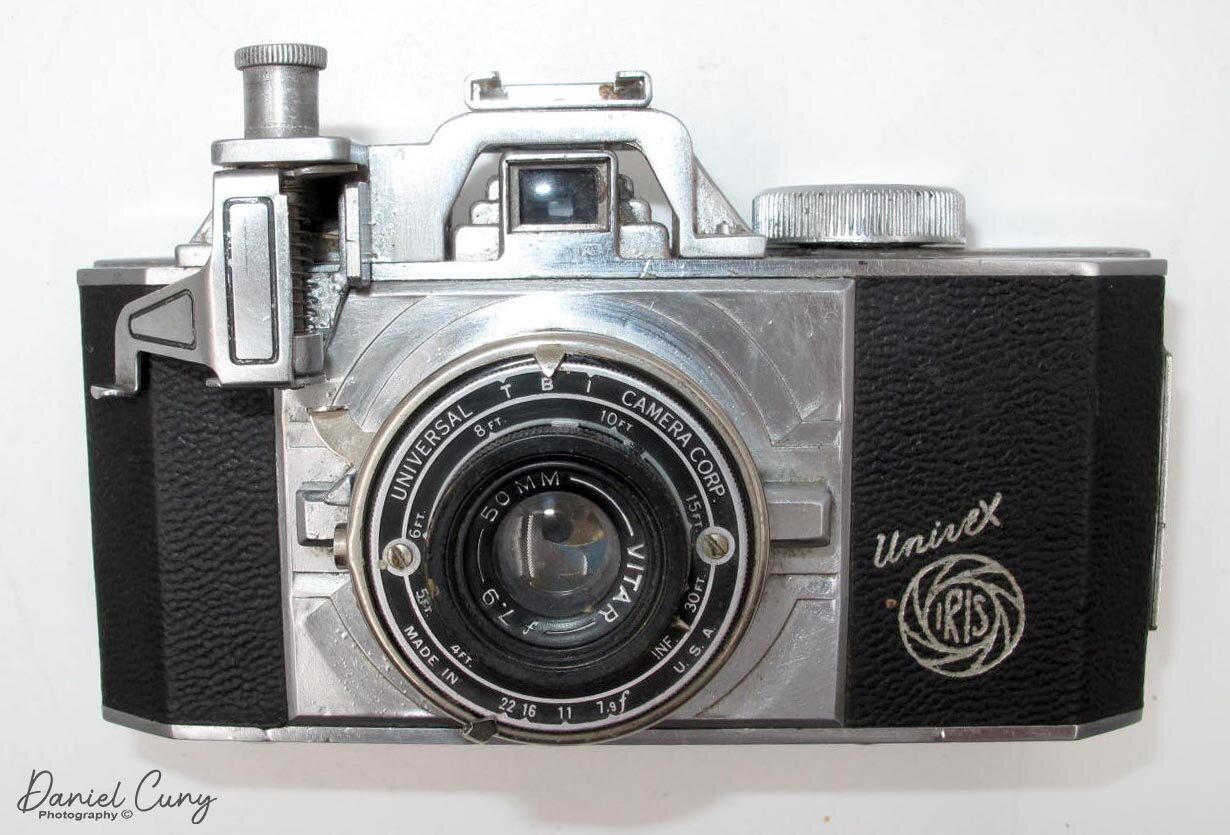
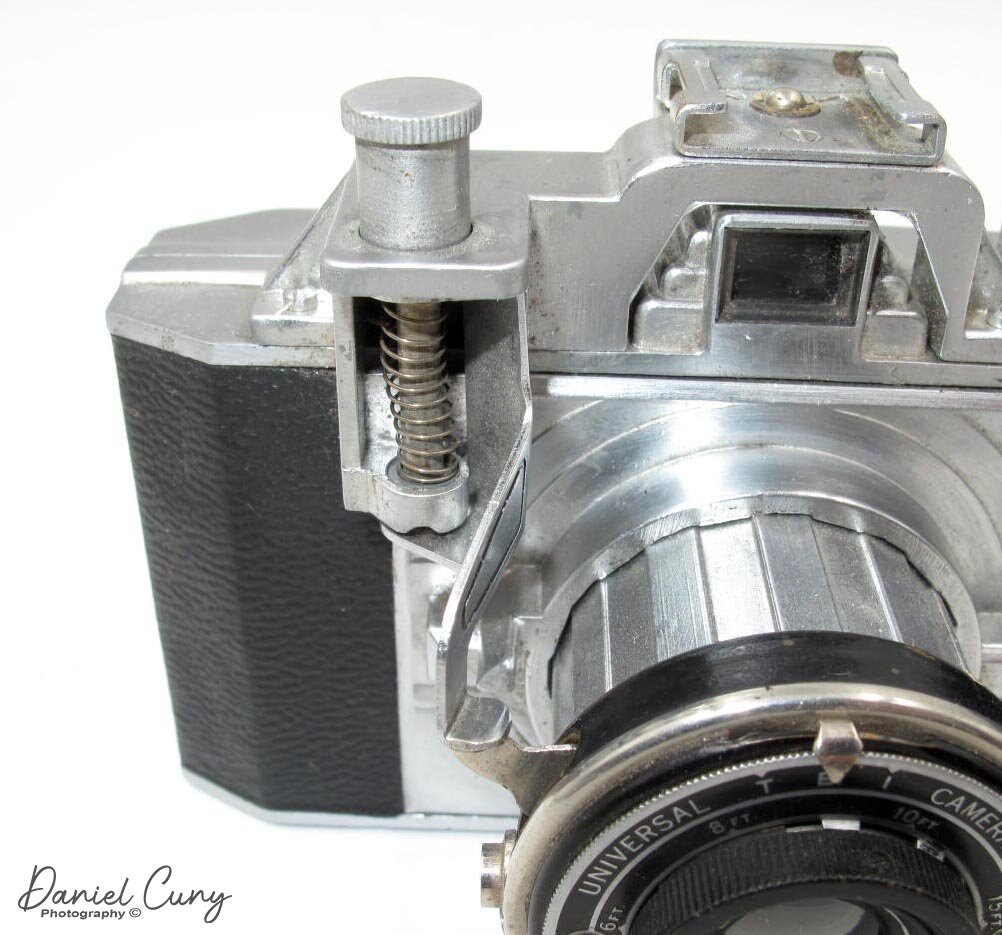
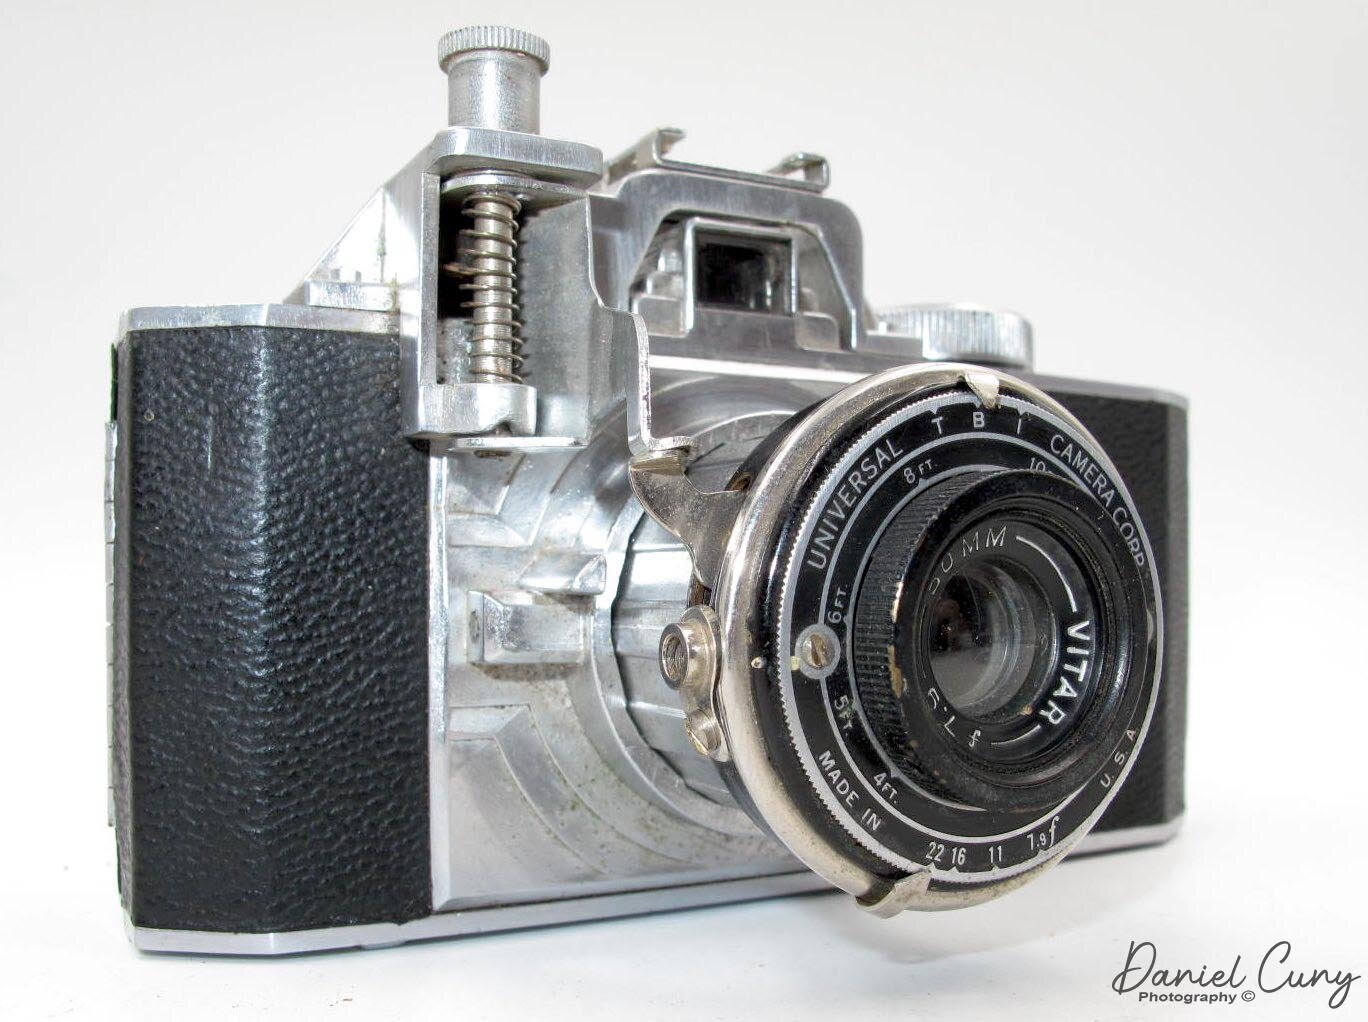
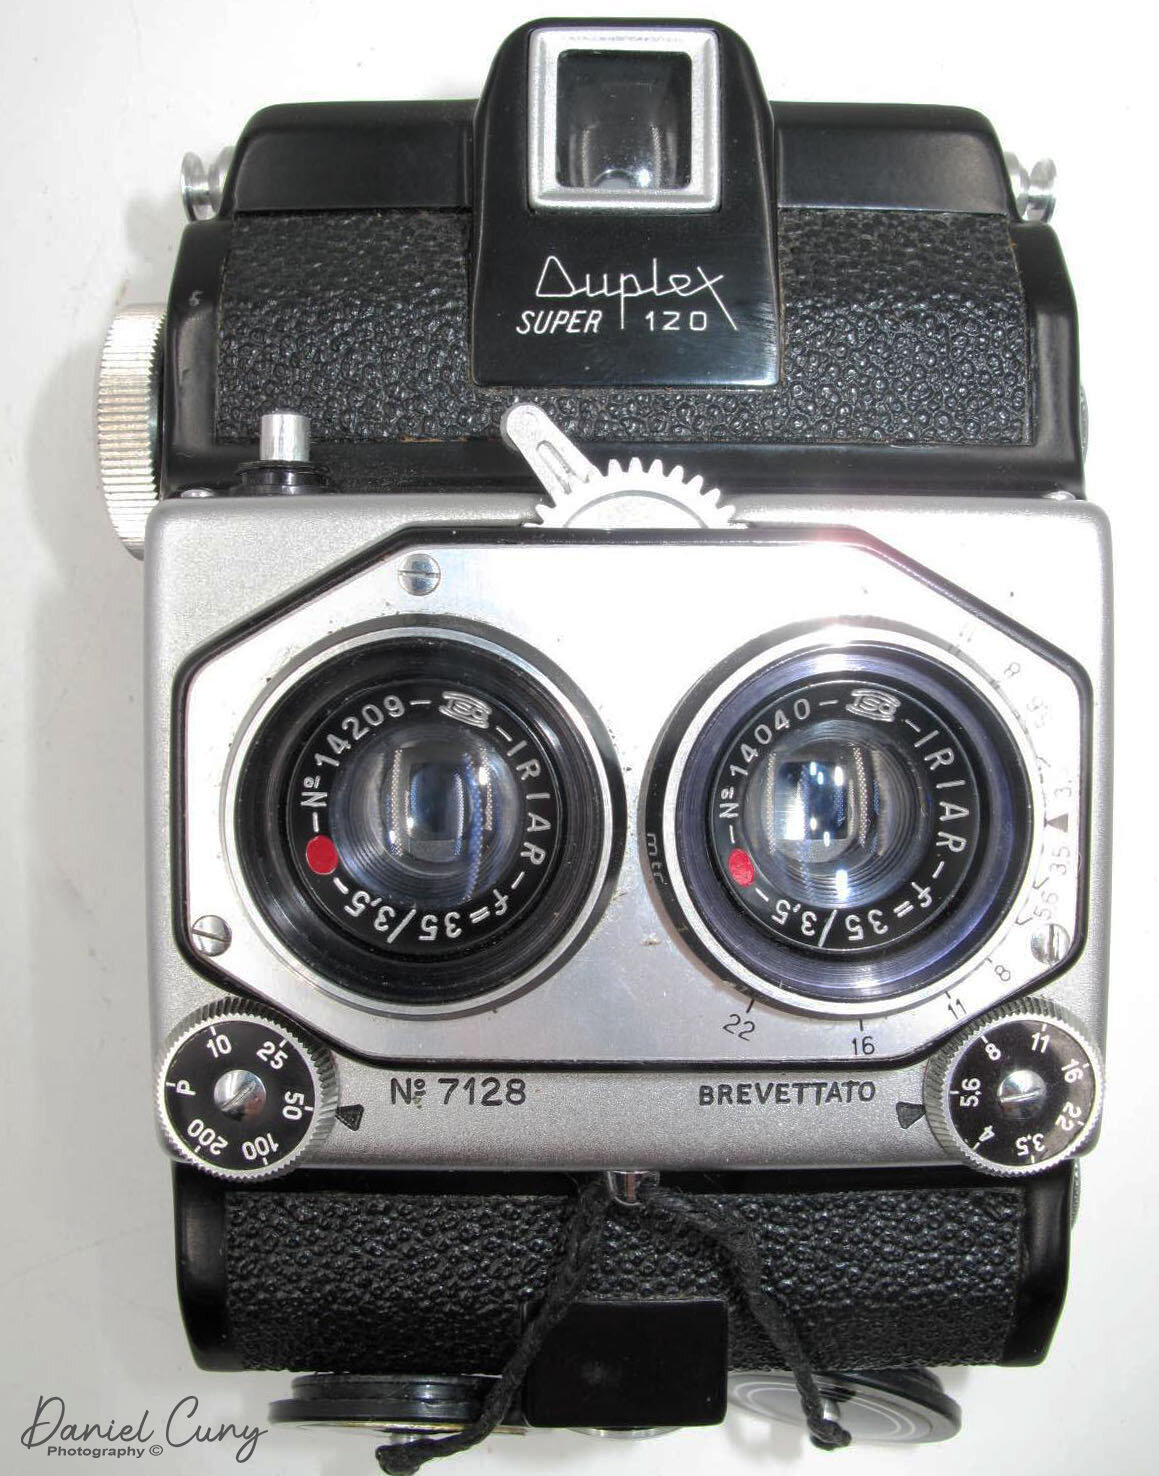
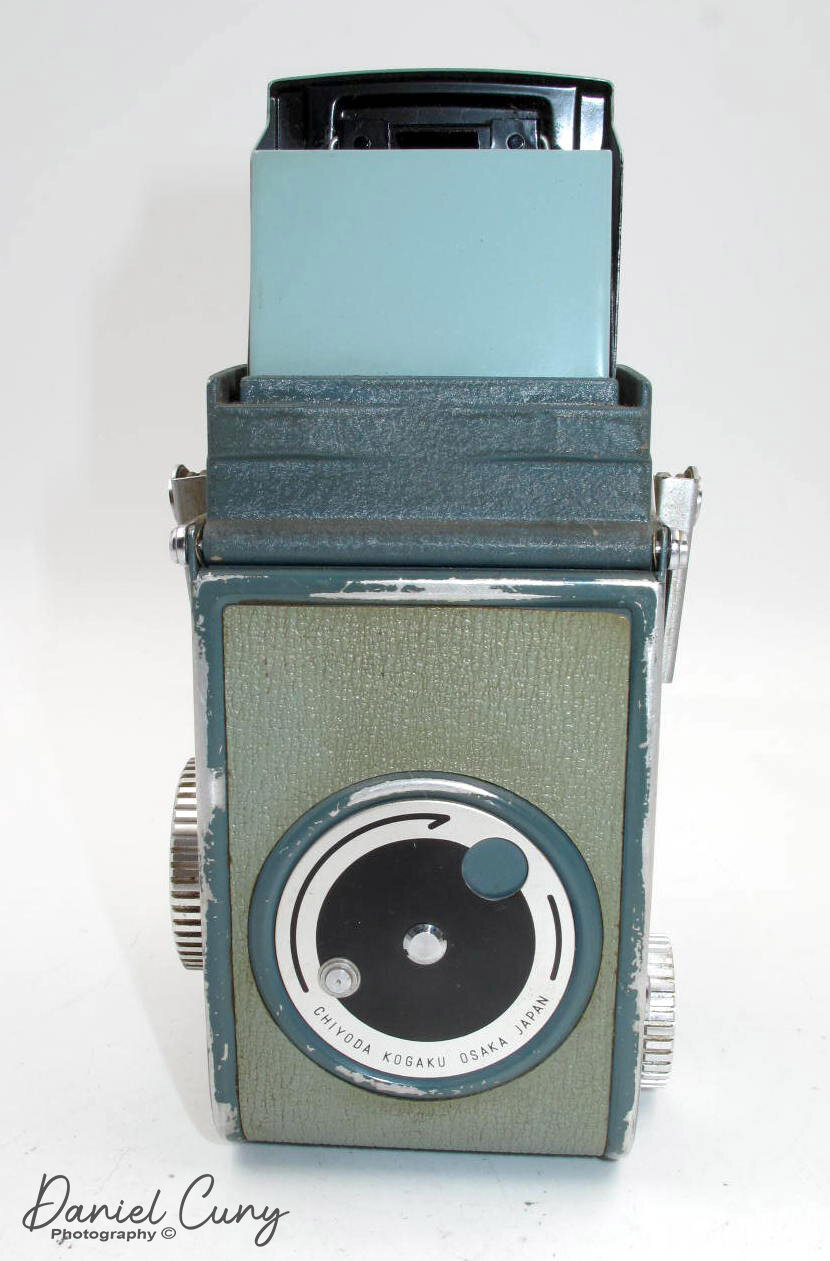
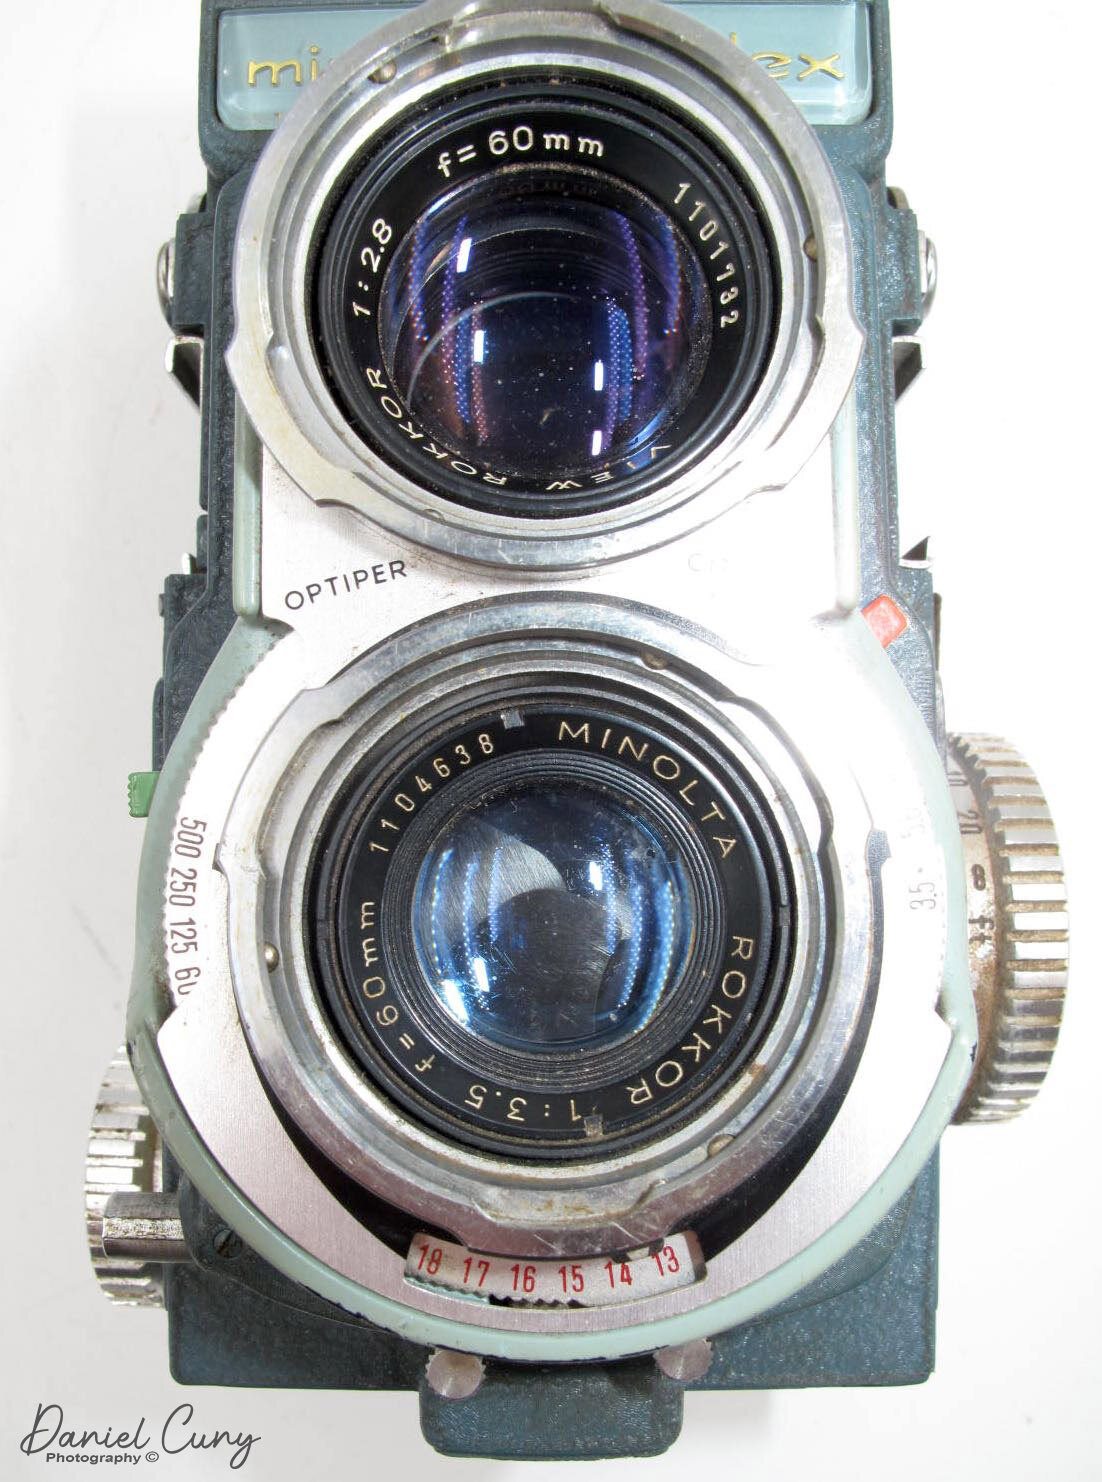
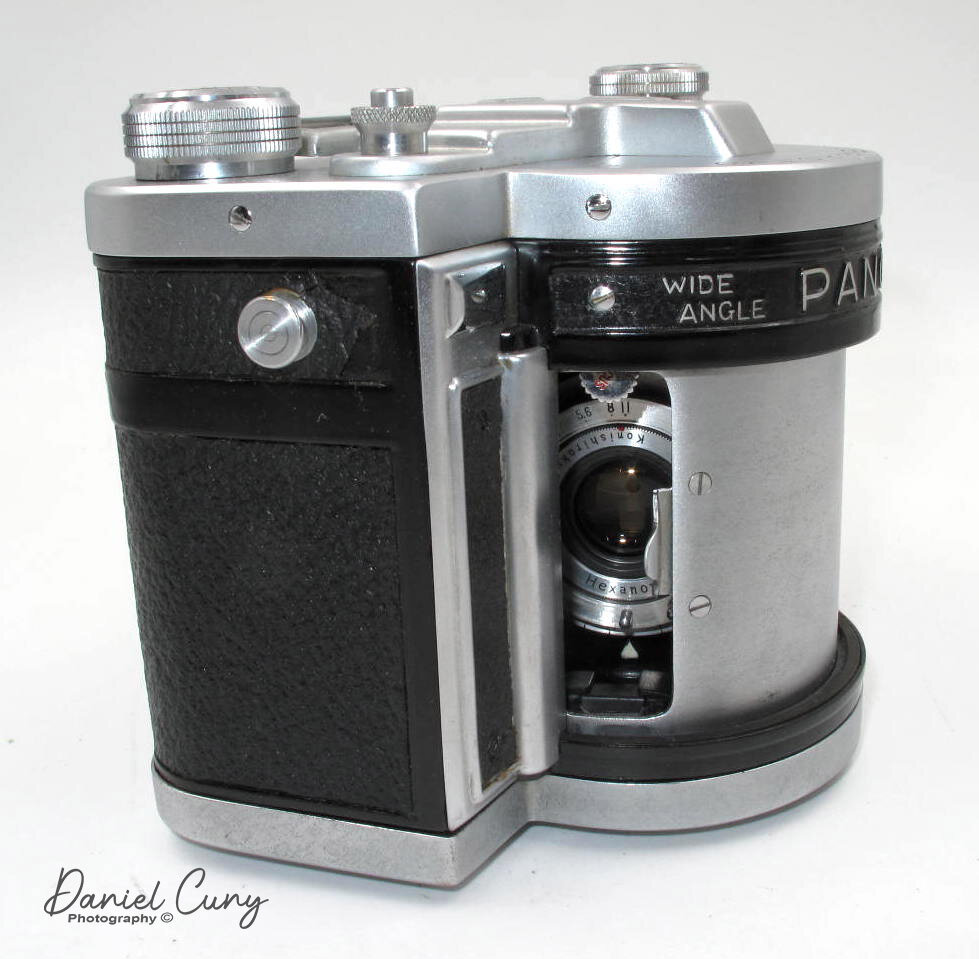
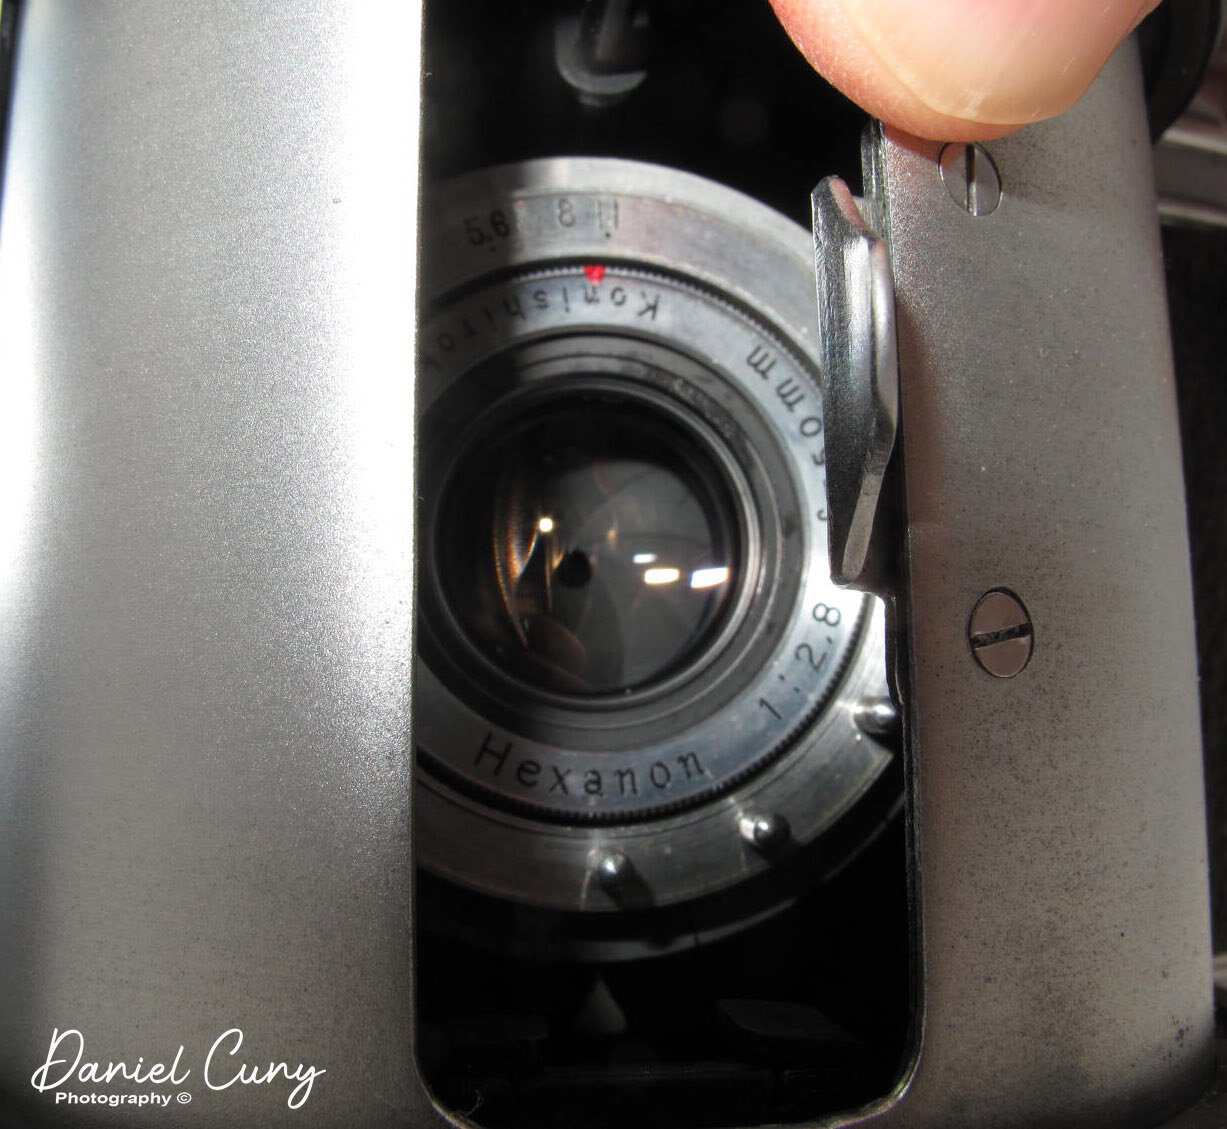
Recently, a Voigtlander Superb became available to me, and the price was fantastic, so I immediately jumped on the offer. The seller stated it was in excellent working condition and also had the original case. Voigtlander made the Superb with two different lenses. The rarer and challenging to find 7.5cm (75mm) f3.5 Heliar, the one I owned previously. The more common lens is the 7.5cm (75mm) f3.5 Skopar, which this camera had. When I received the camera, there was no mold, mildew, or fungus on the lens, and indeed the camera was in fine working condition. Now it was time to take the camera out for a spin.

Using the Camera
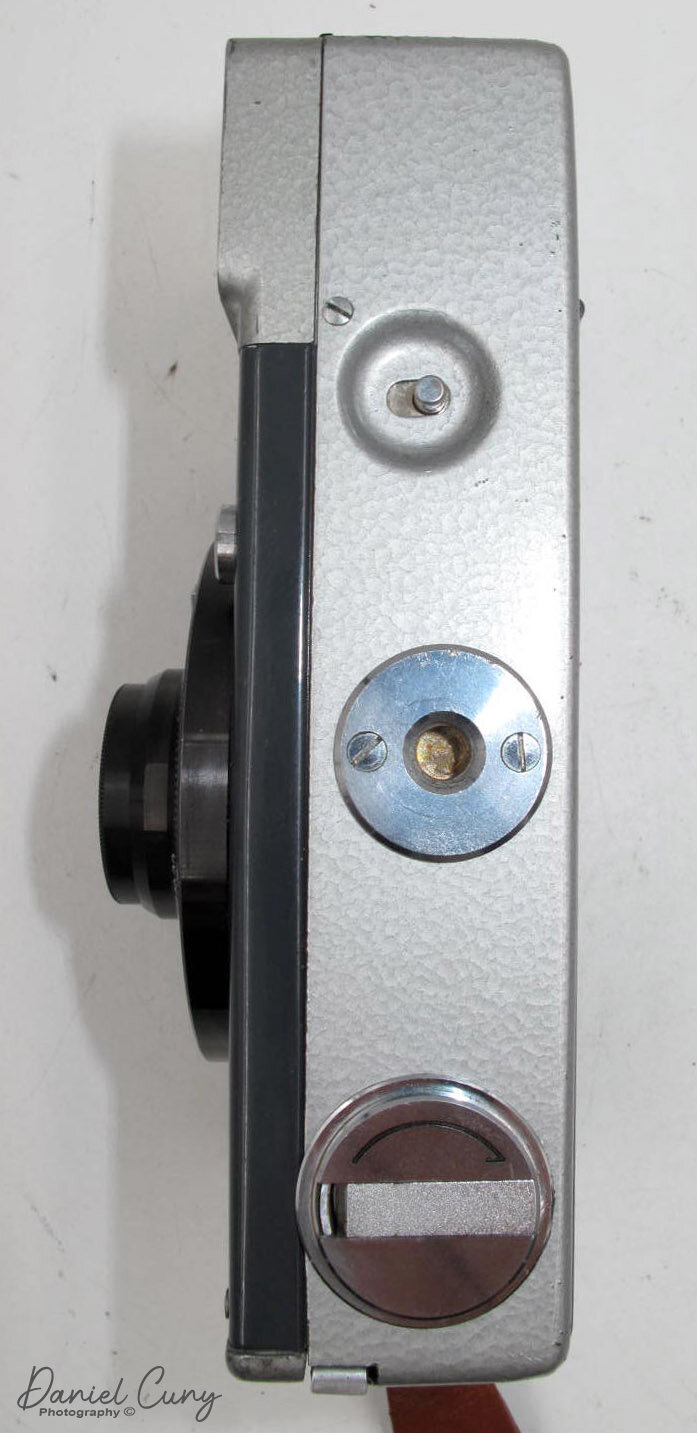
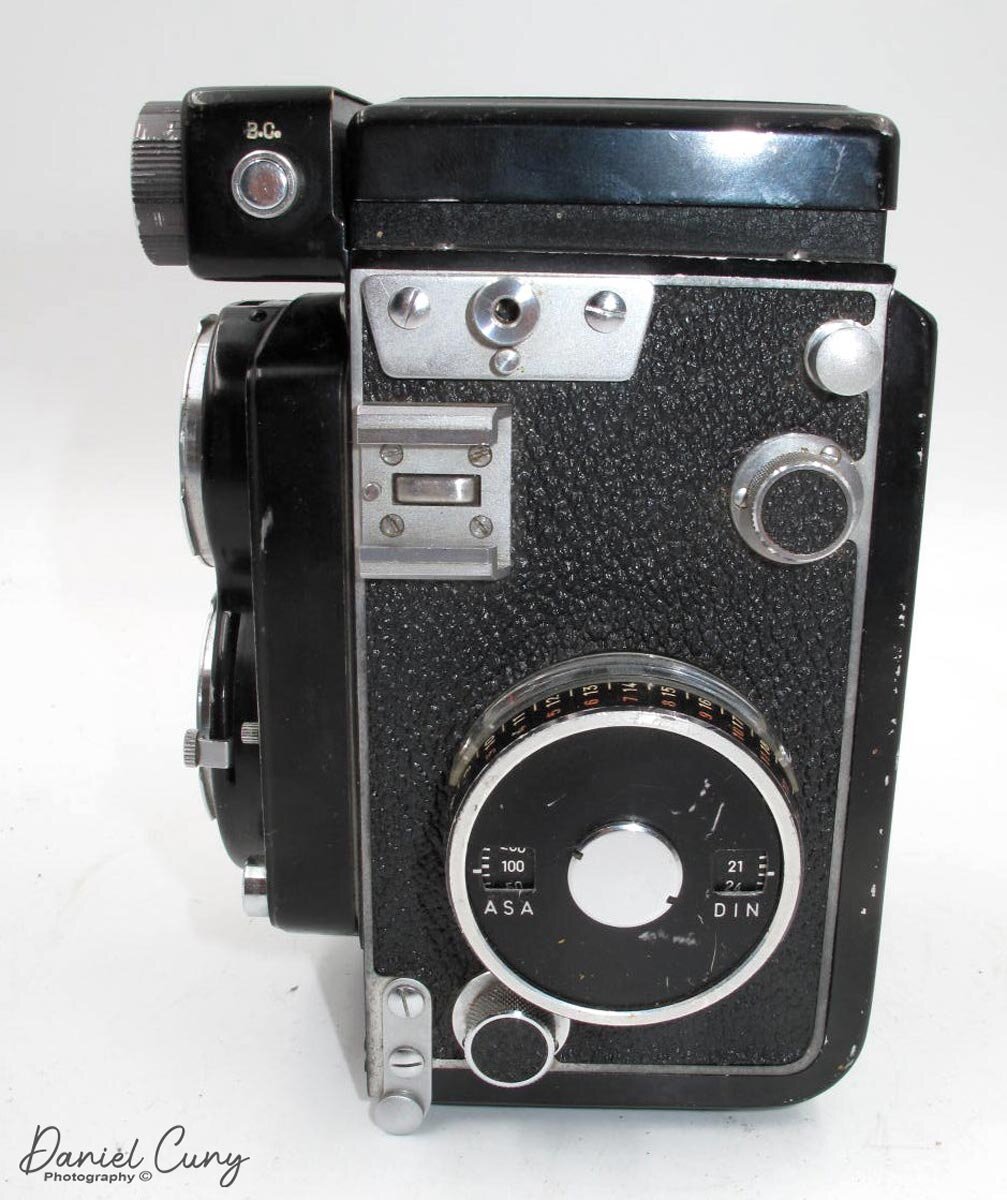
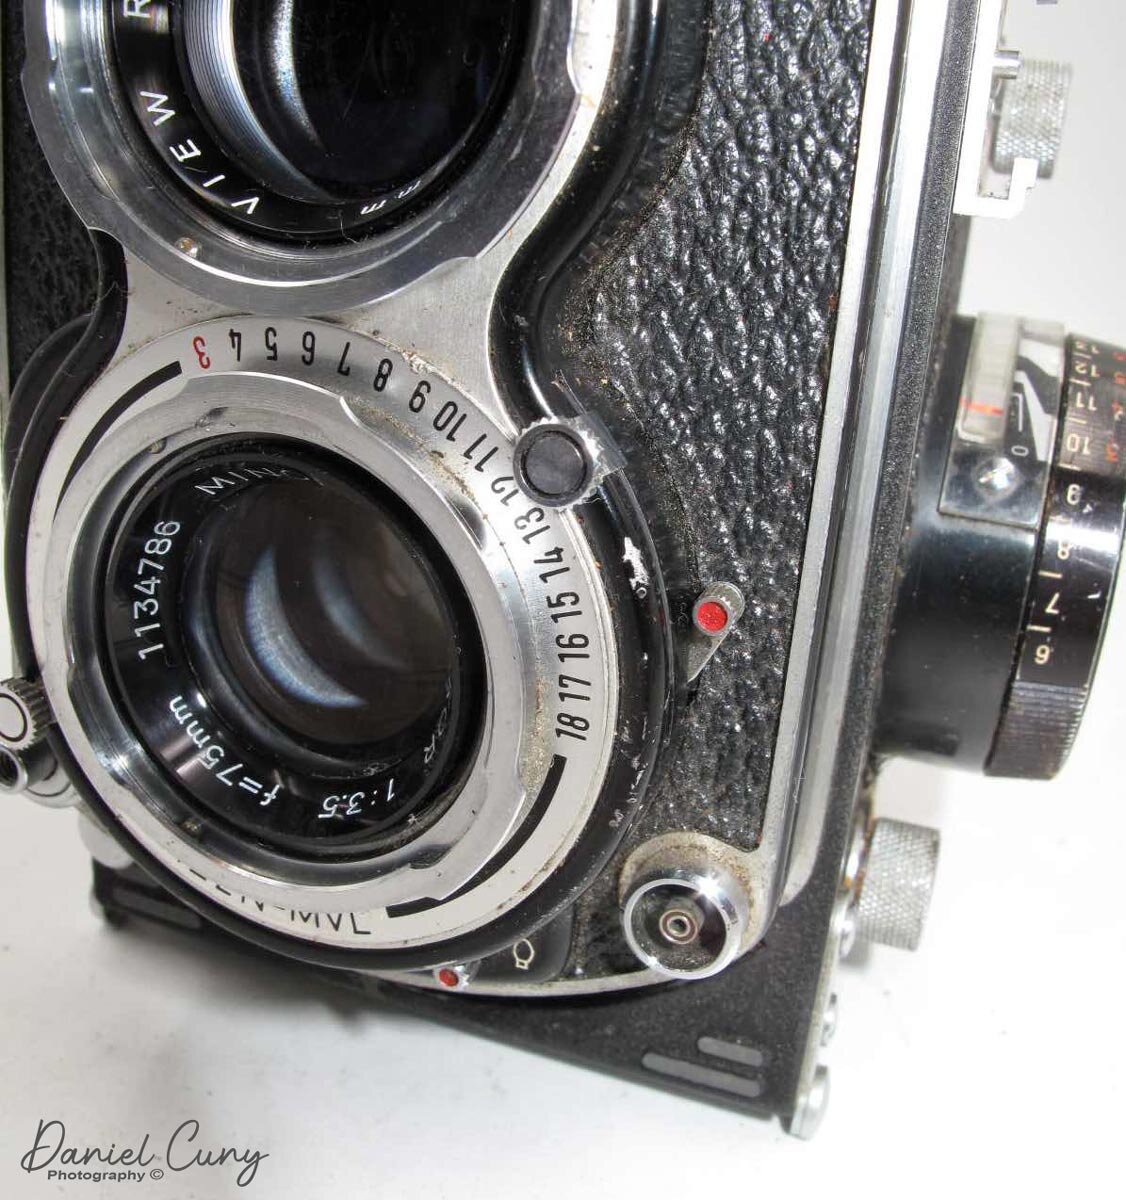
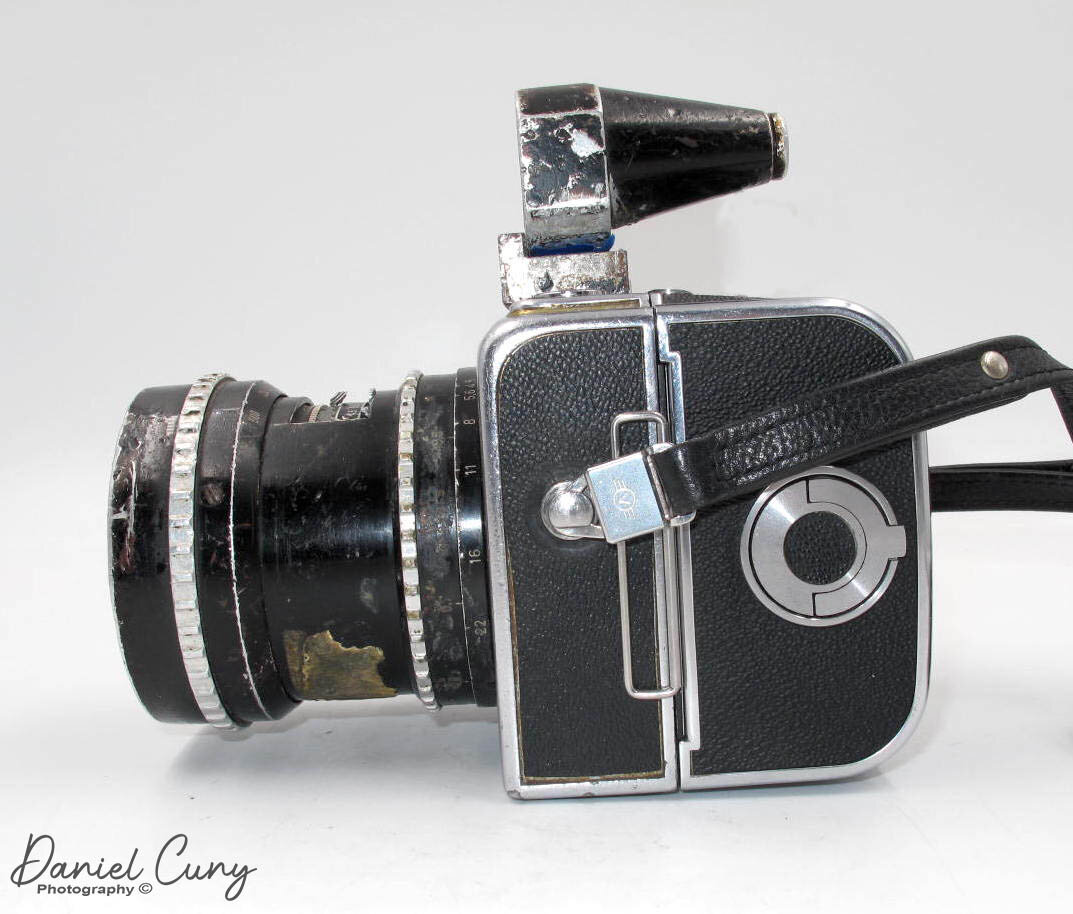
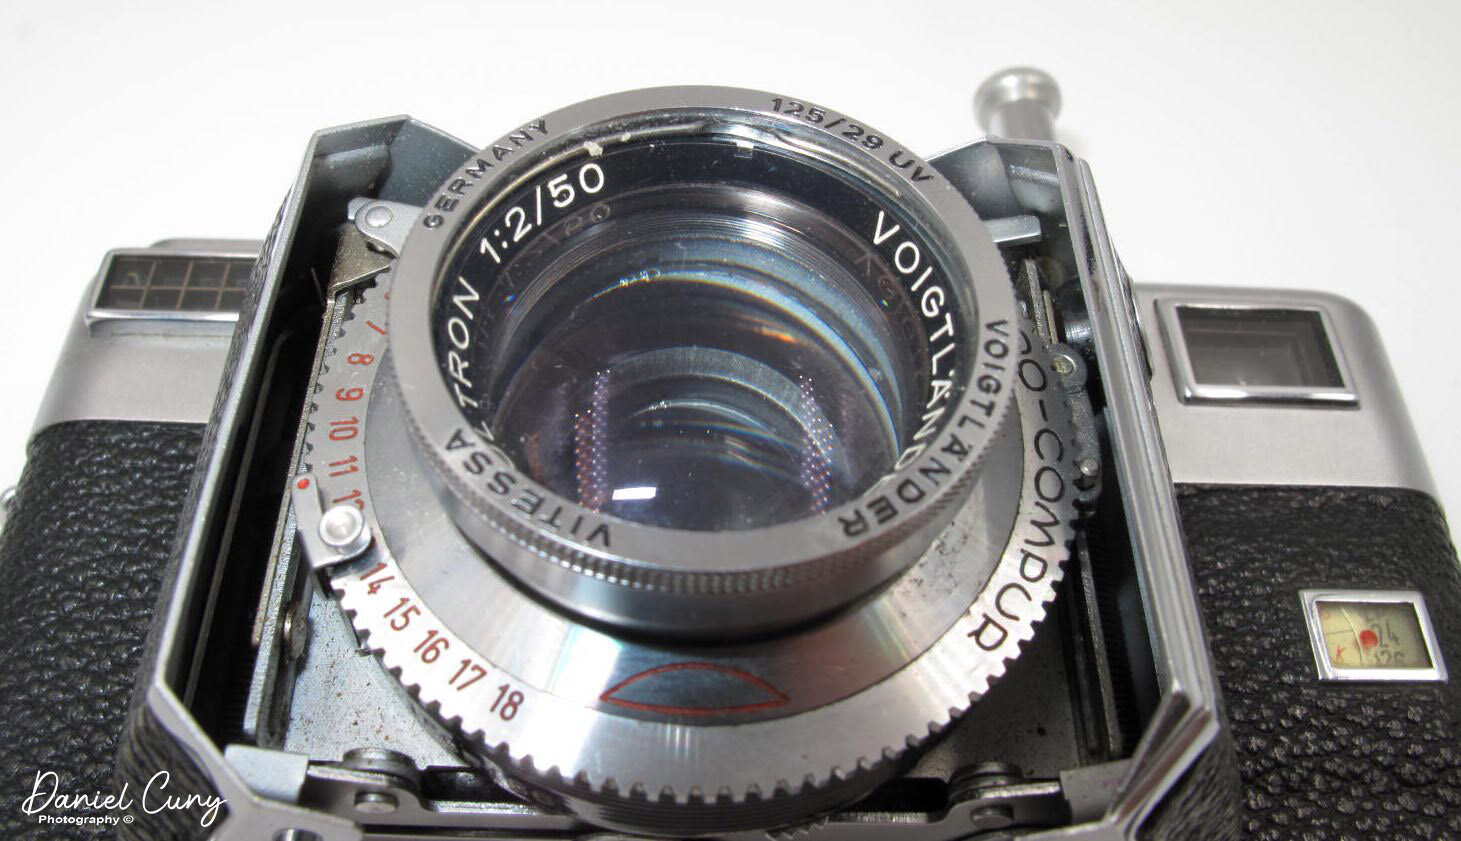
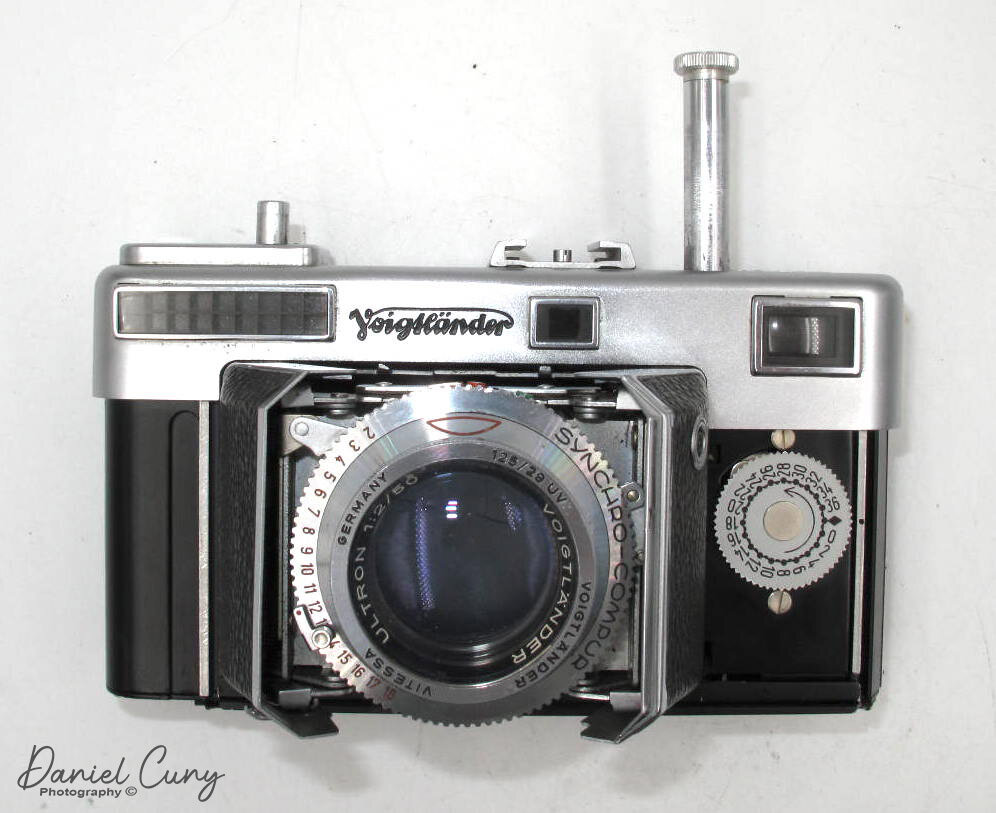
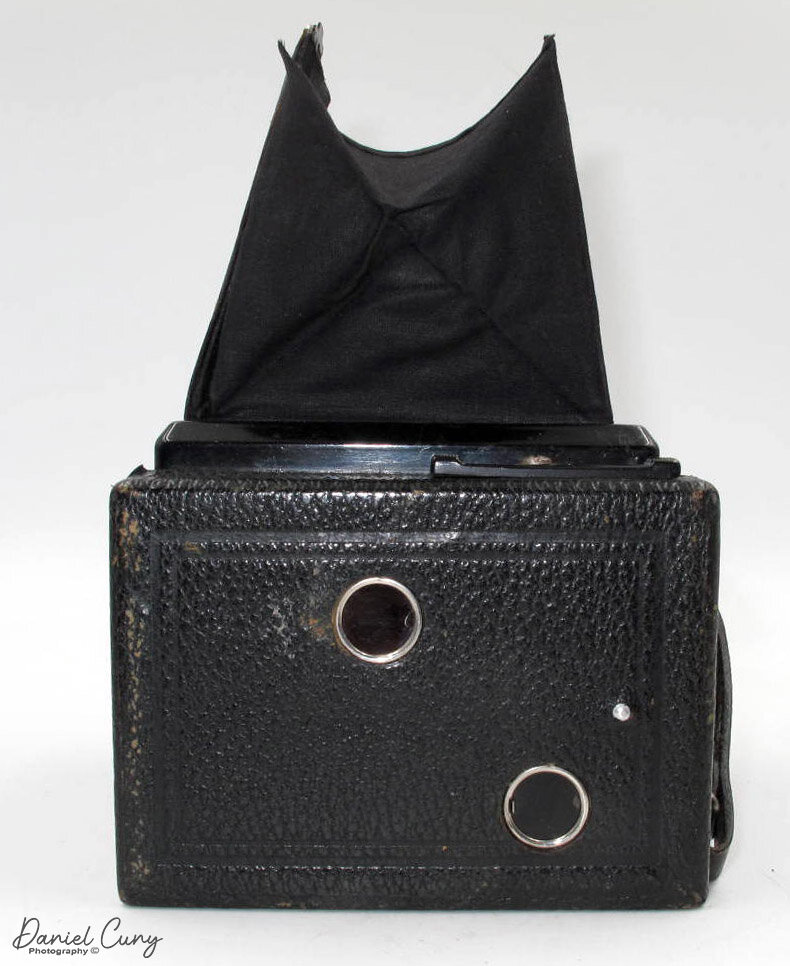
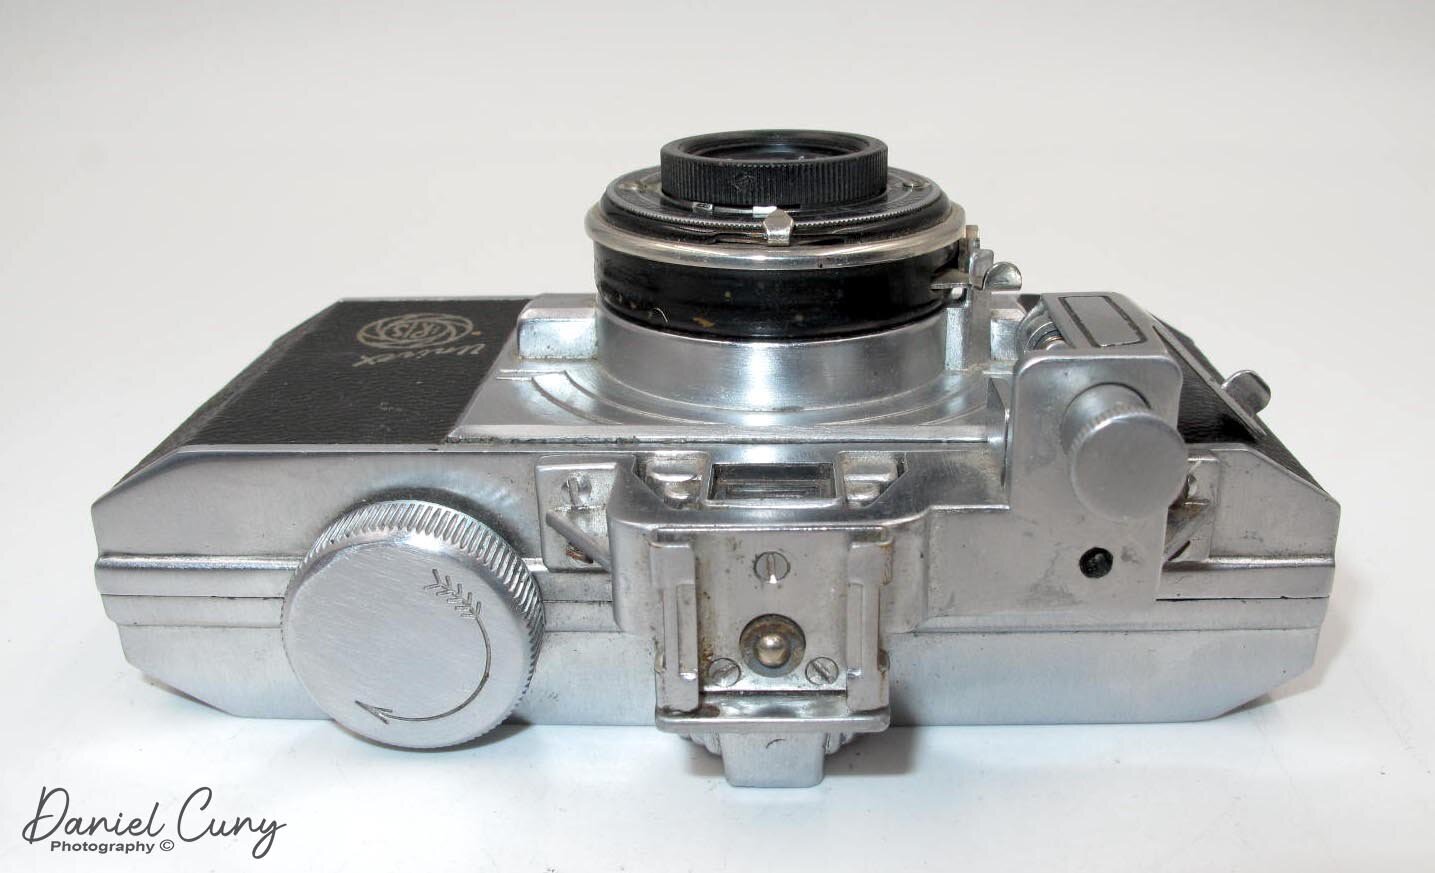
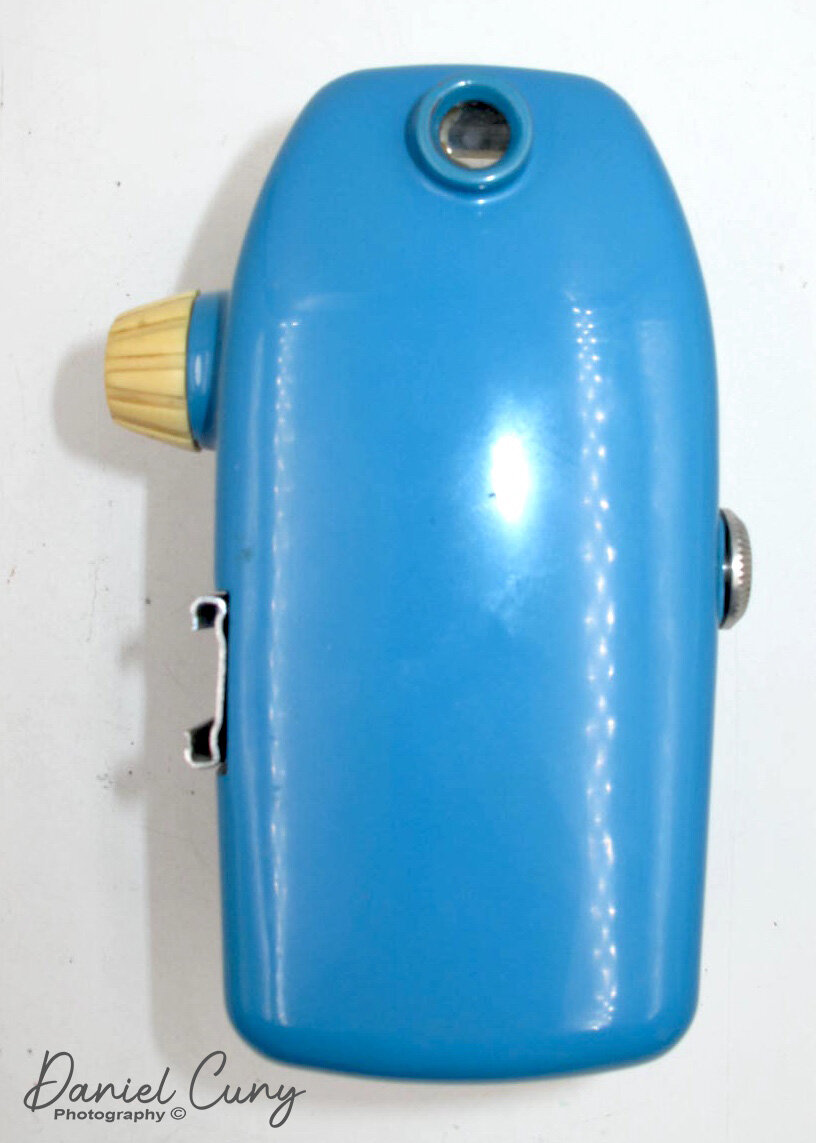
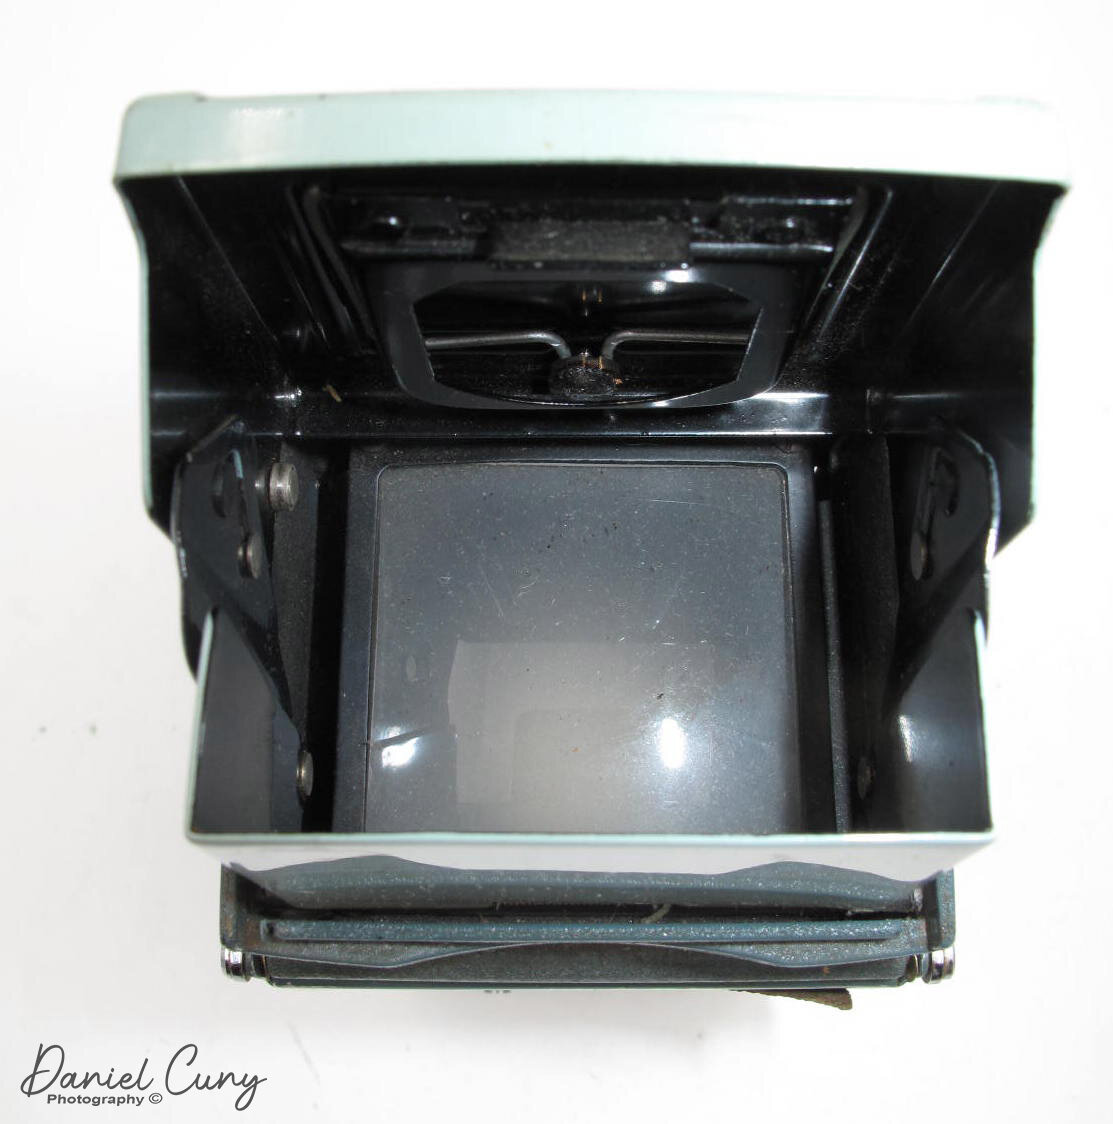
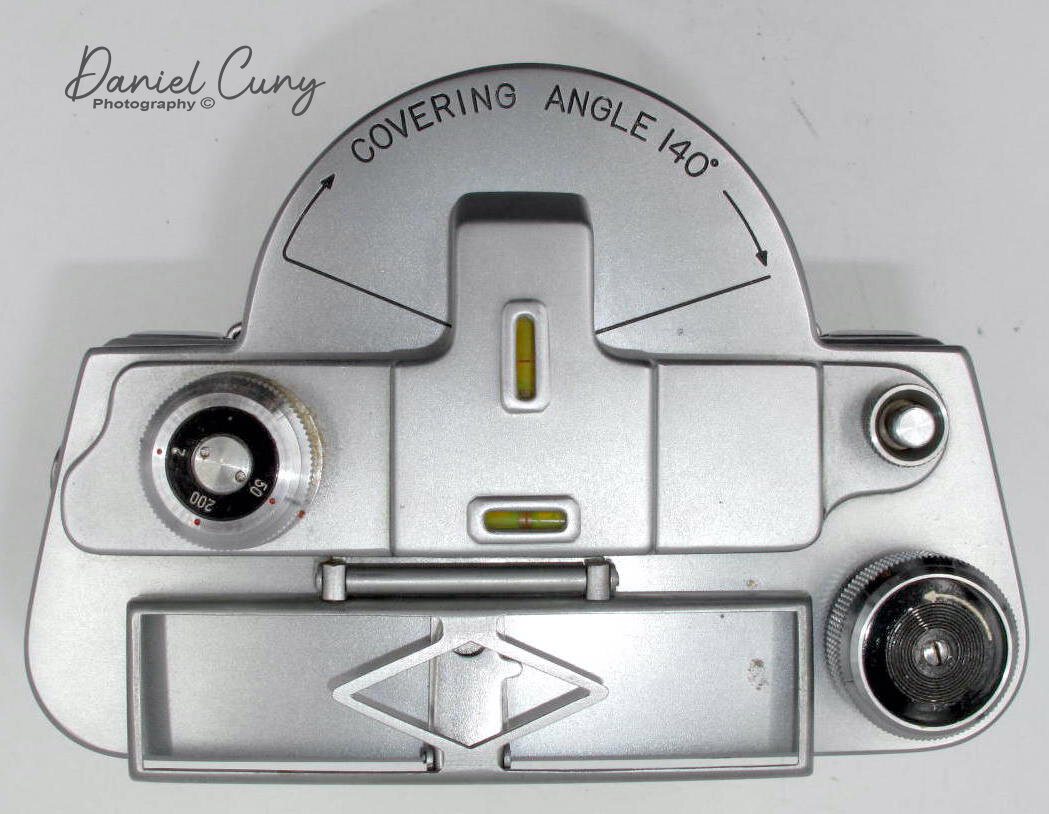
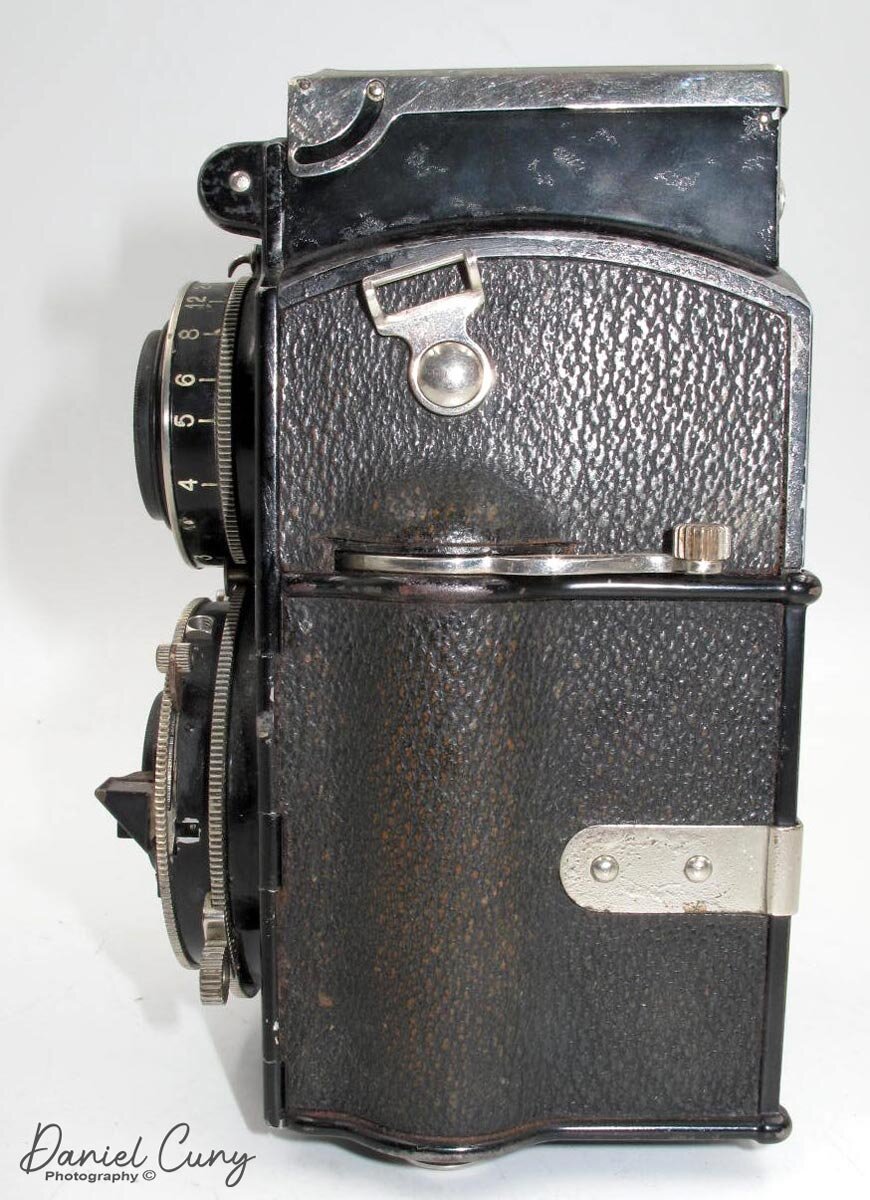
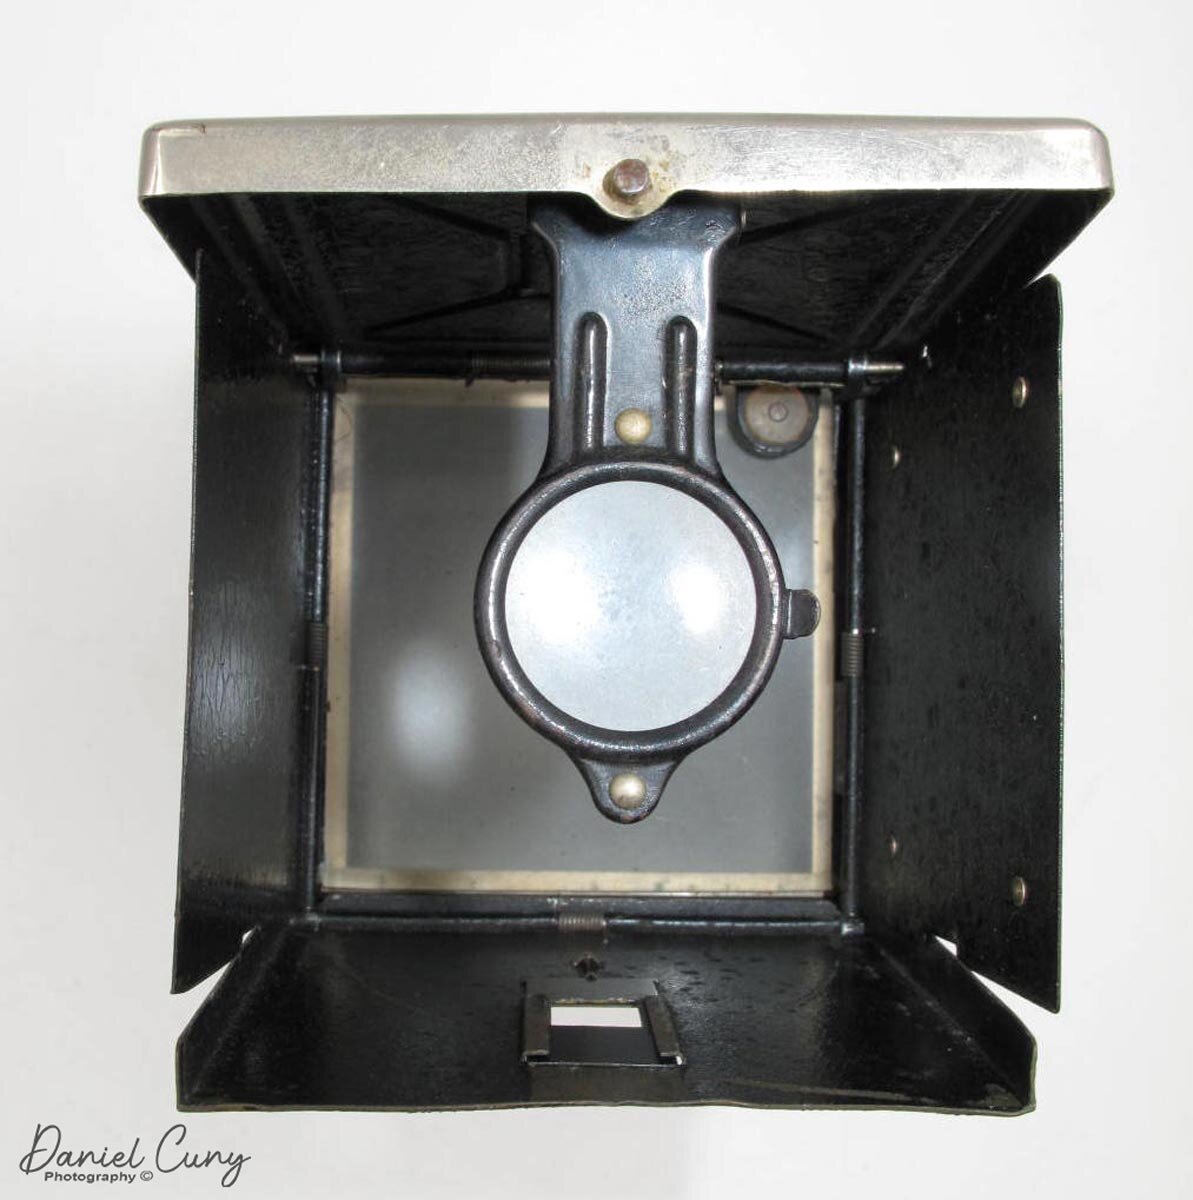
It was time to get myself familiar with the camera again. Holding the camera is very comfortable. Popping up the viewfinder, I immediately noticed there's a bubble level in the upper right-hand corner. I liked that. The magnifier is held in place by a small clip, so it doesn't pop up when you press on the front of the hood like the Rolleiflex's do. At least mine didn't. You focus the camera by sliding a bar on the bottom of the taking lens. The focusing is very similar to the Minolta Autocord. I prefer this method as opposed to the focus knob on the side of the camera. It allows me to keep my hands under the camera when focusing. The viewing lens points down when you focus closer, which corrects for parallax. That's fantastic.
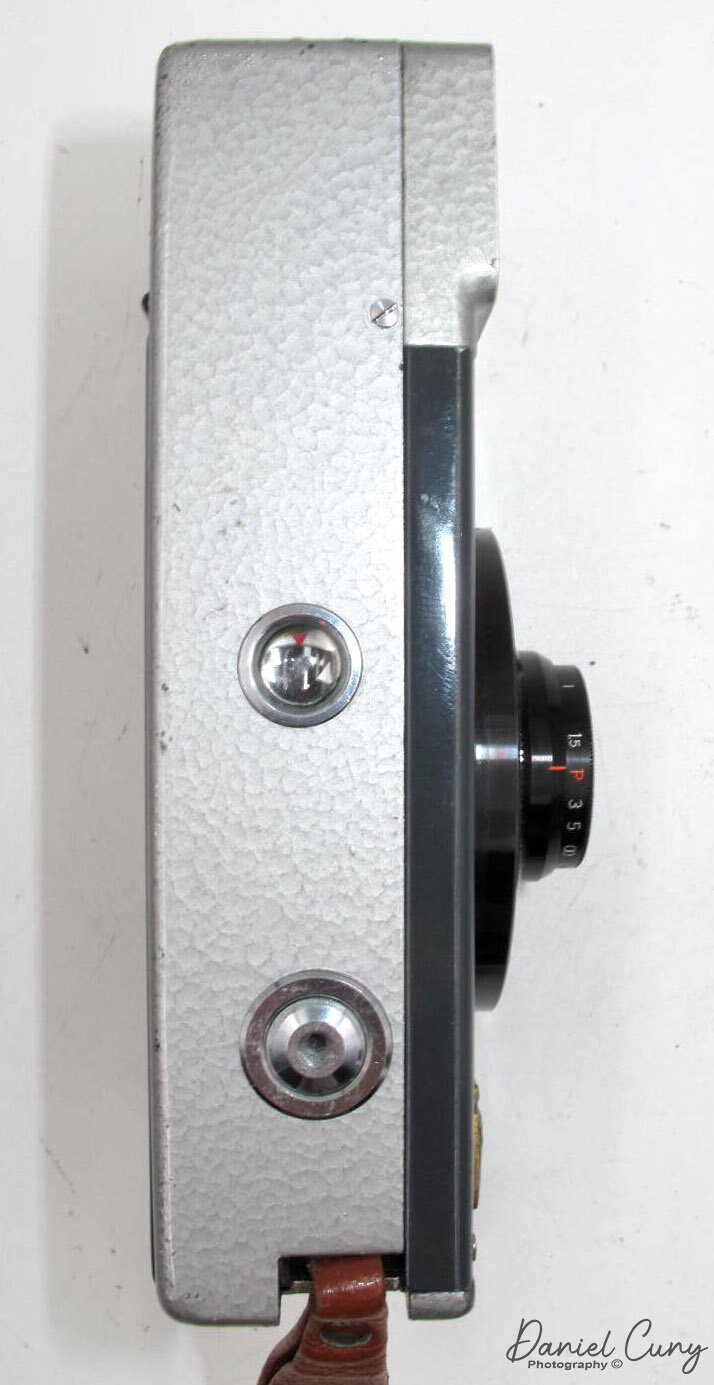
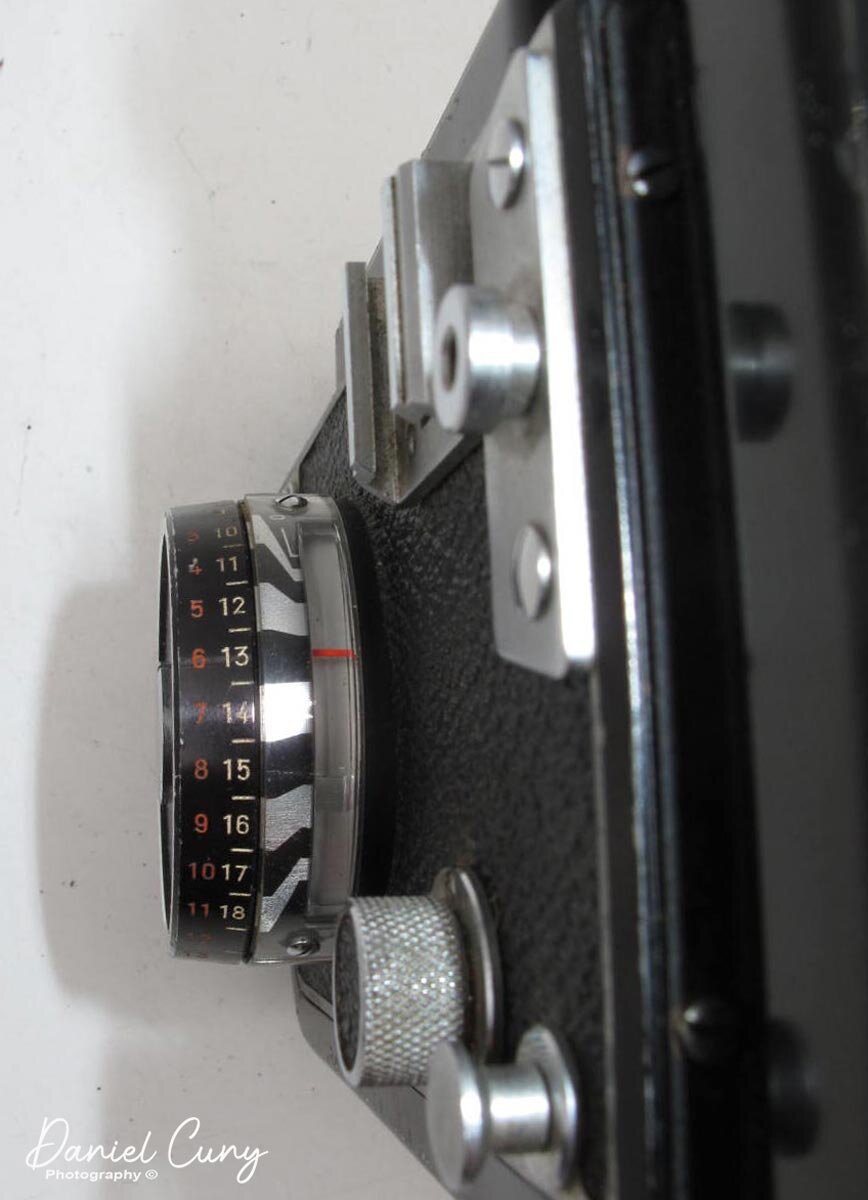
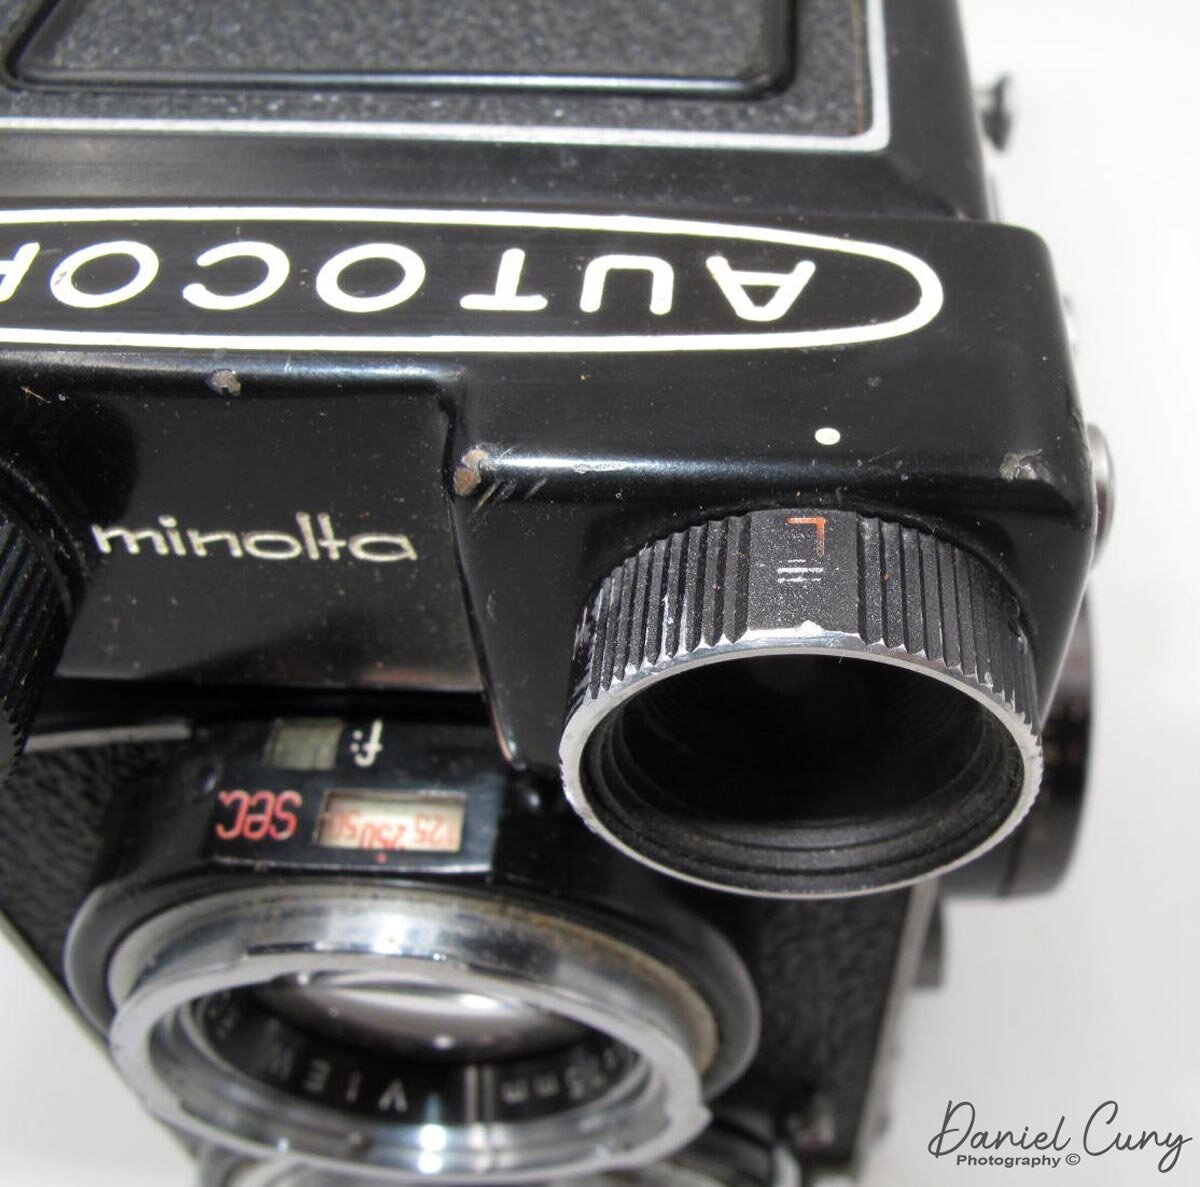
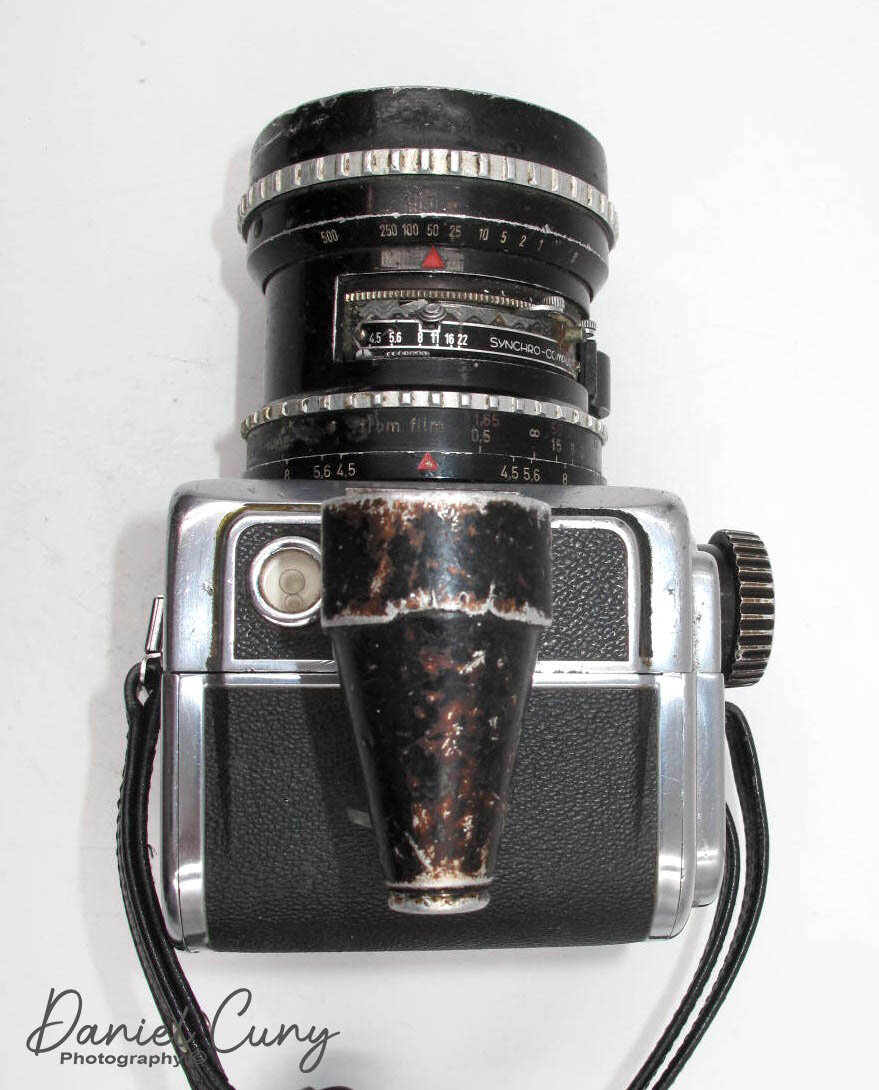
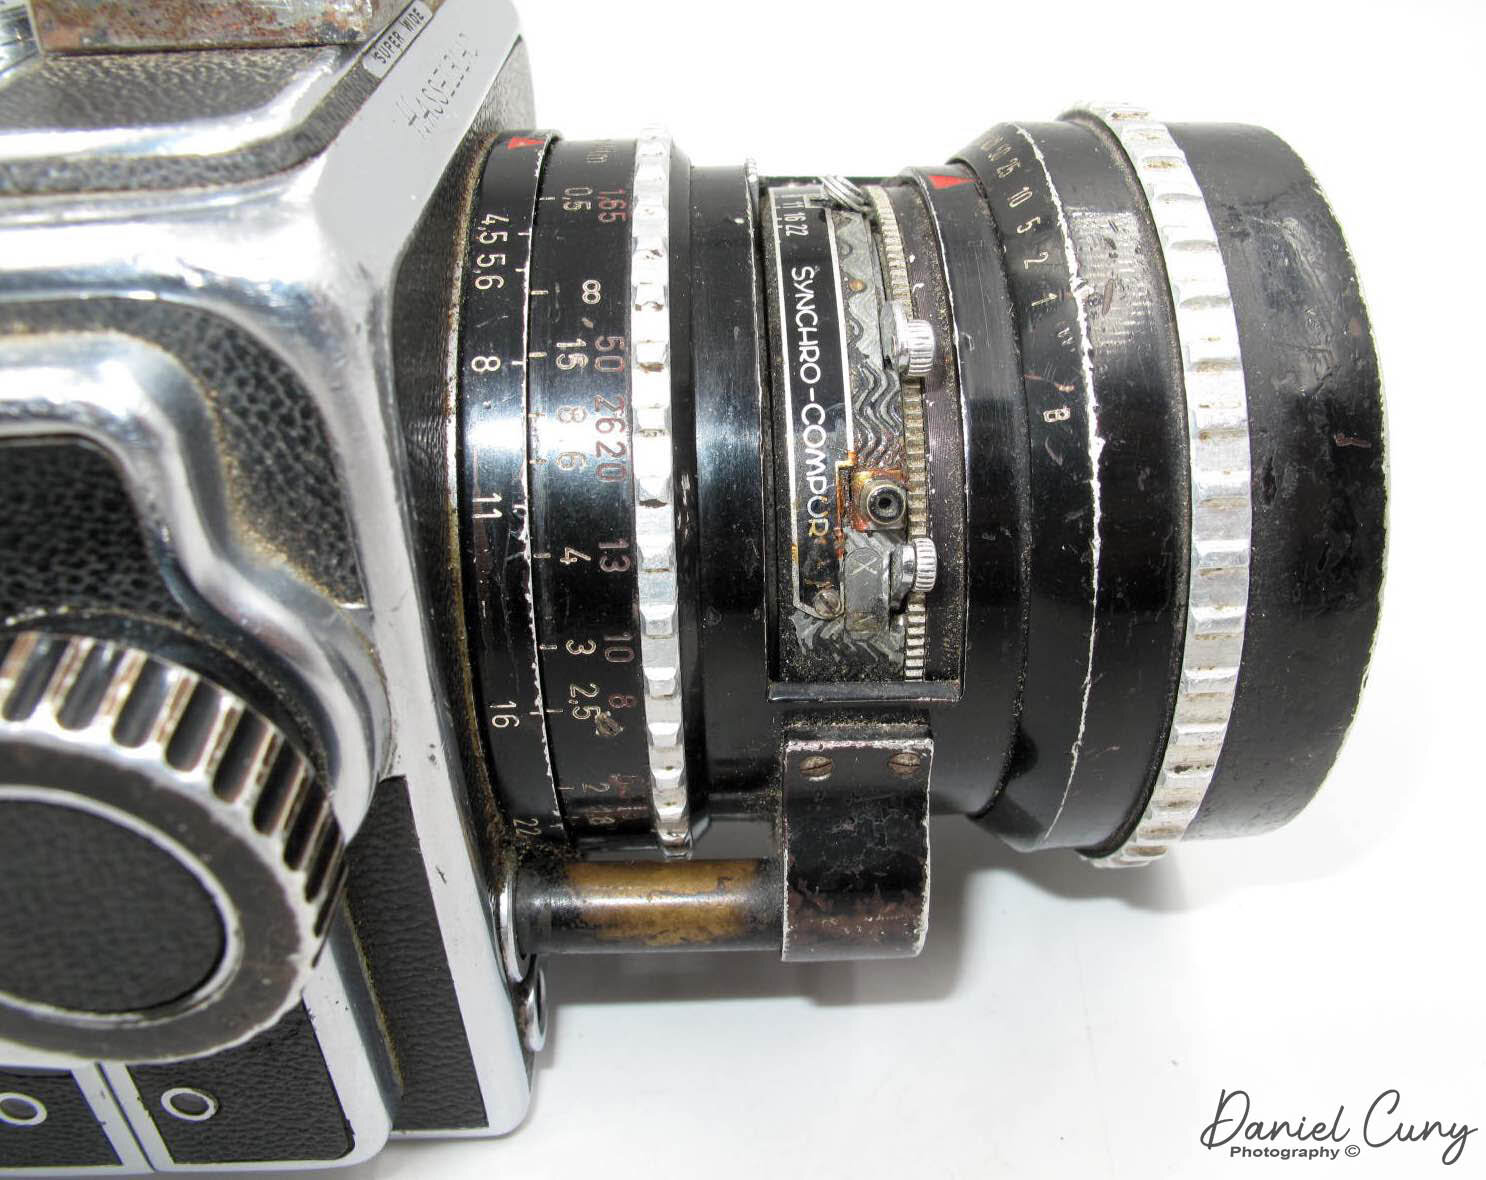
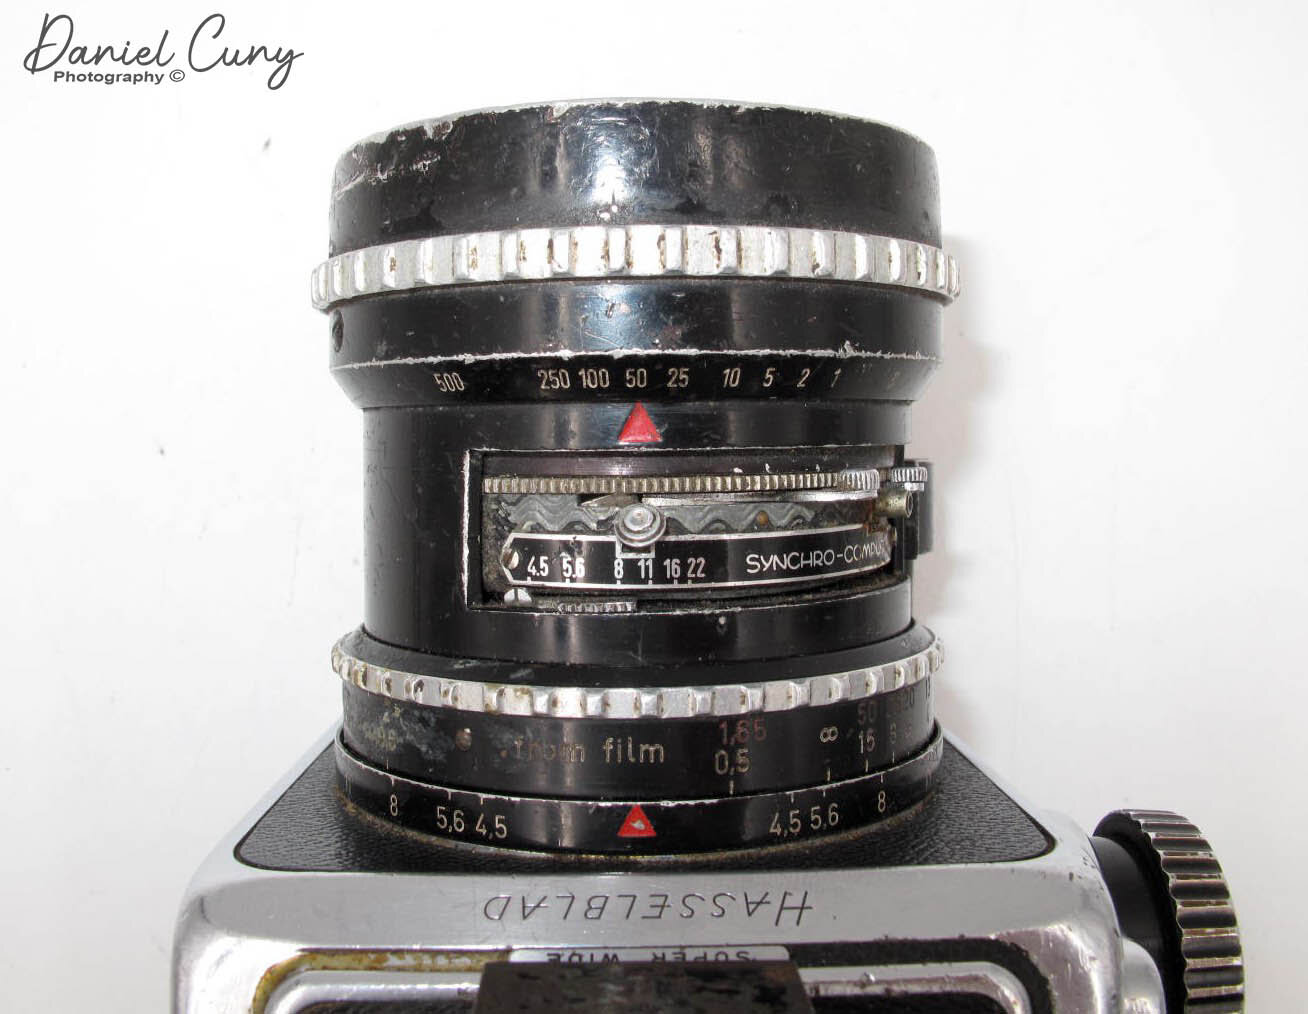
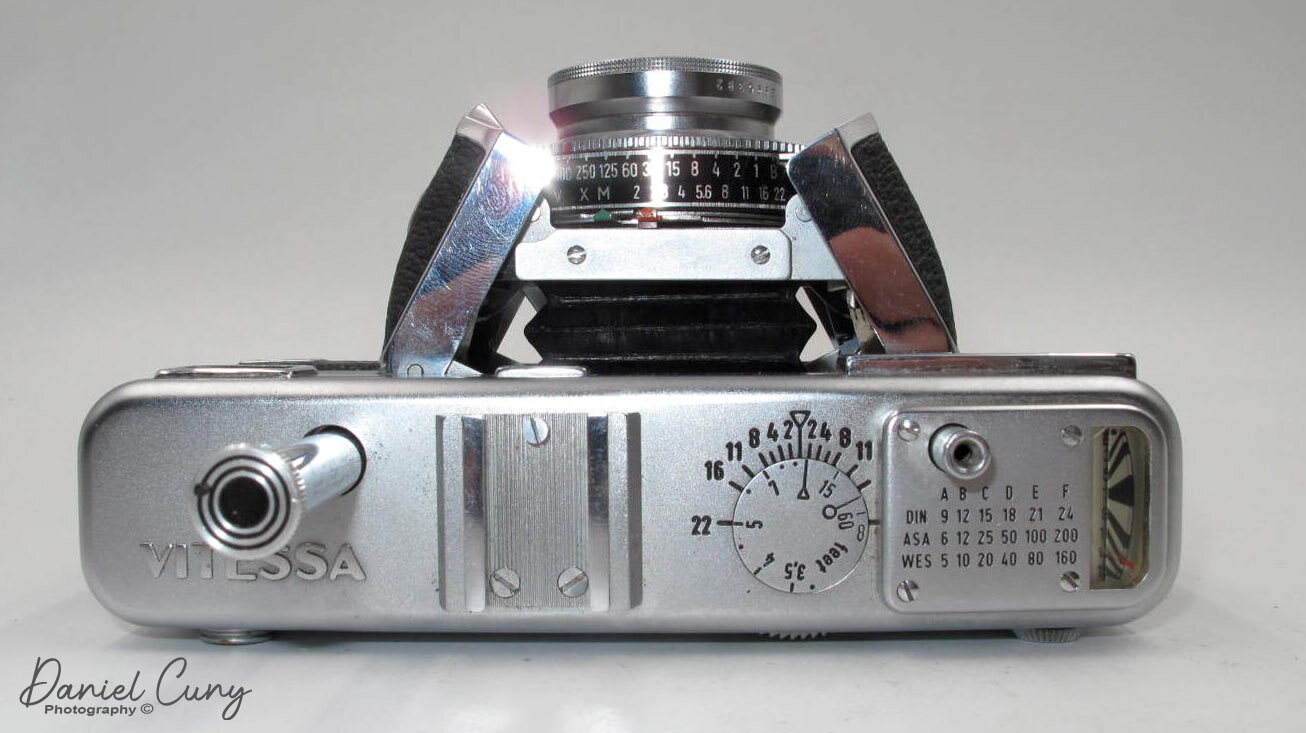
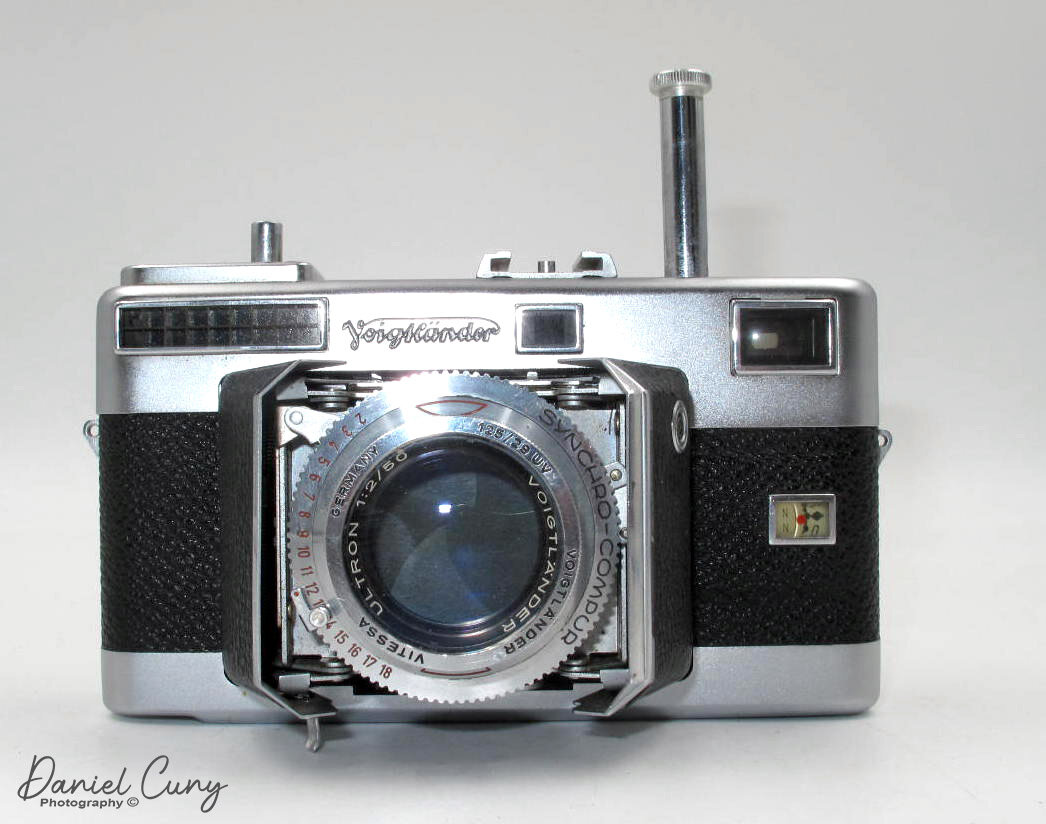
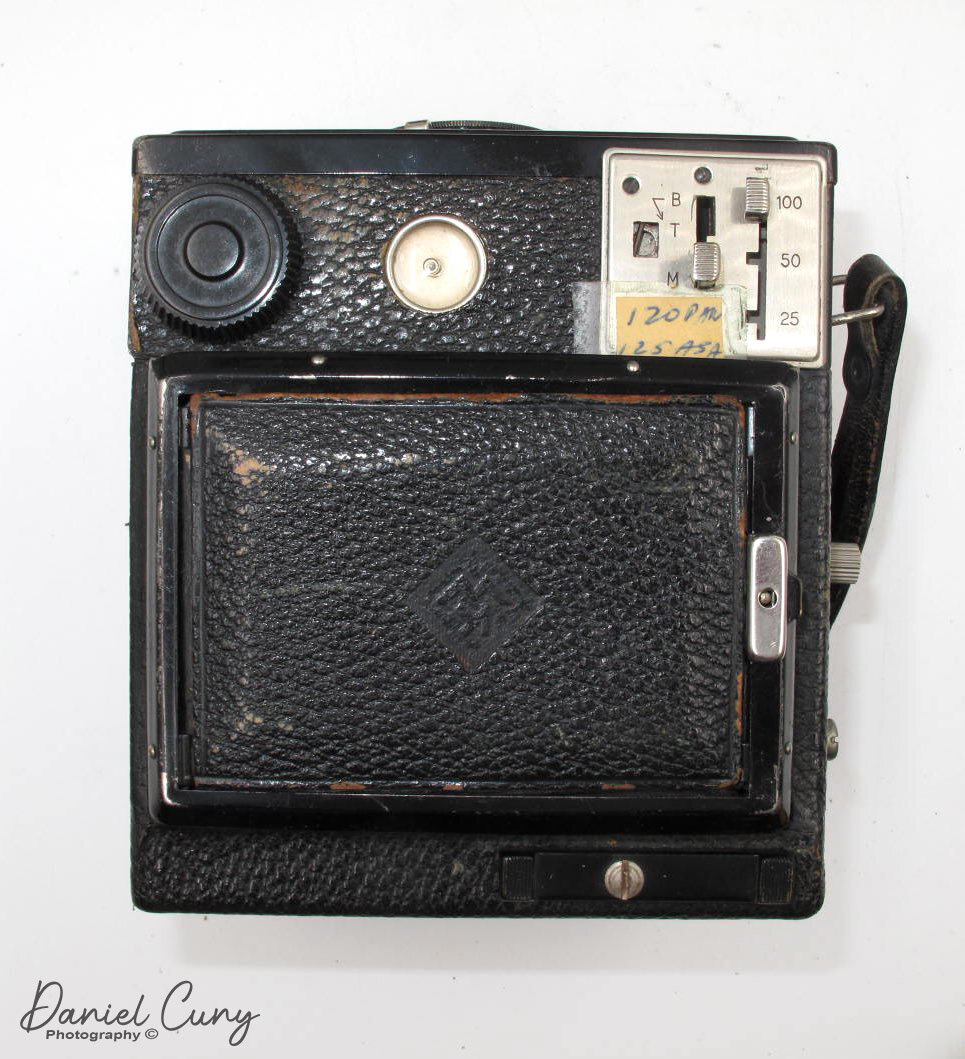
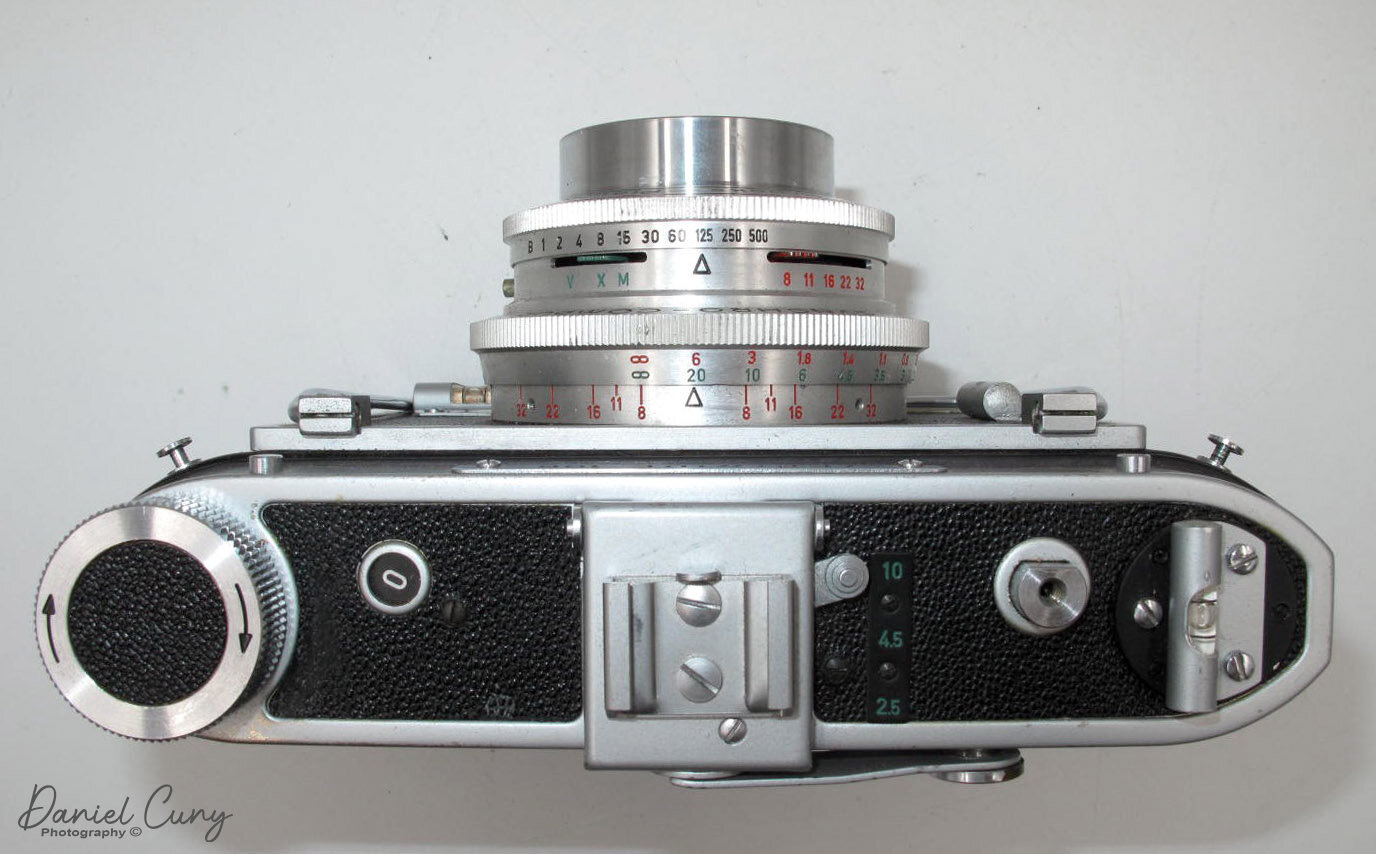
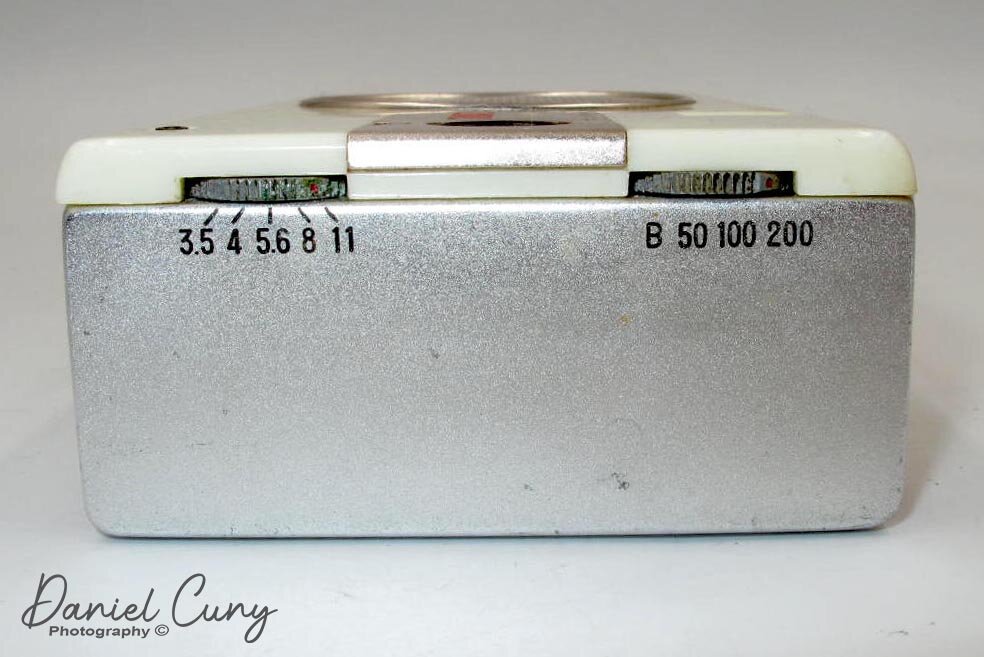
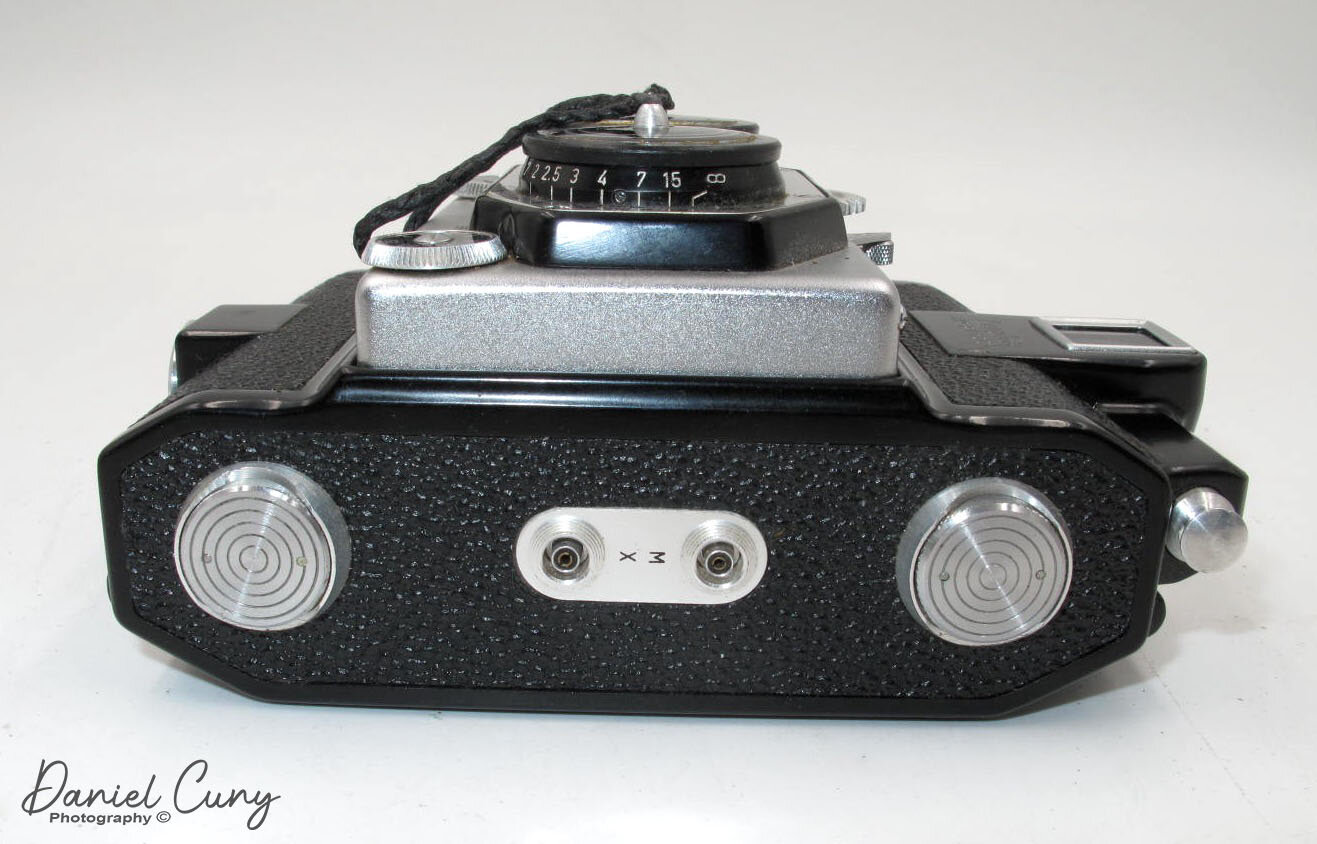
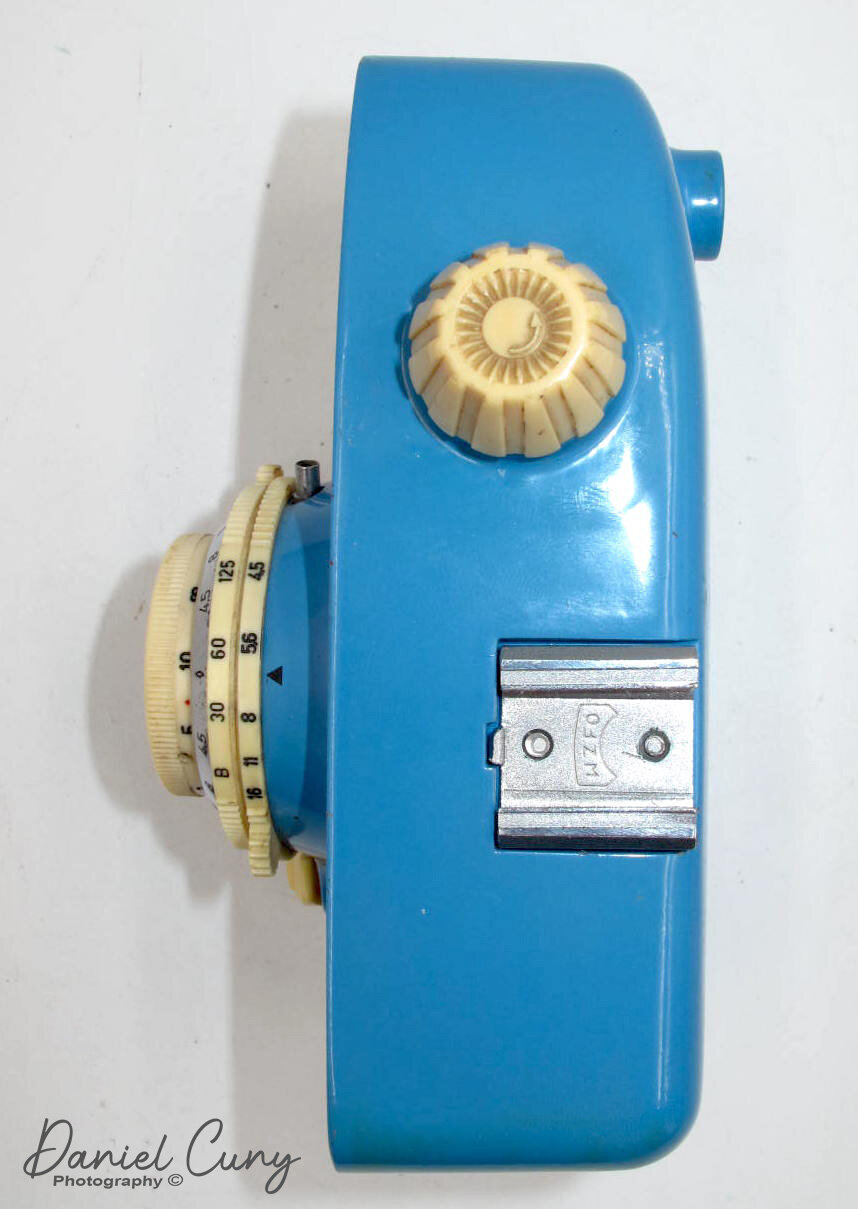
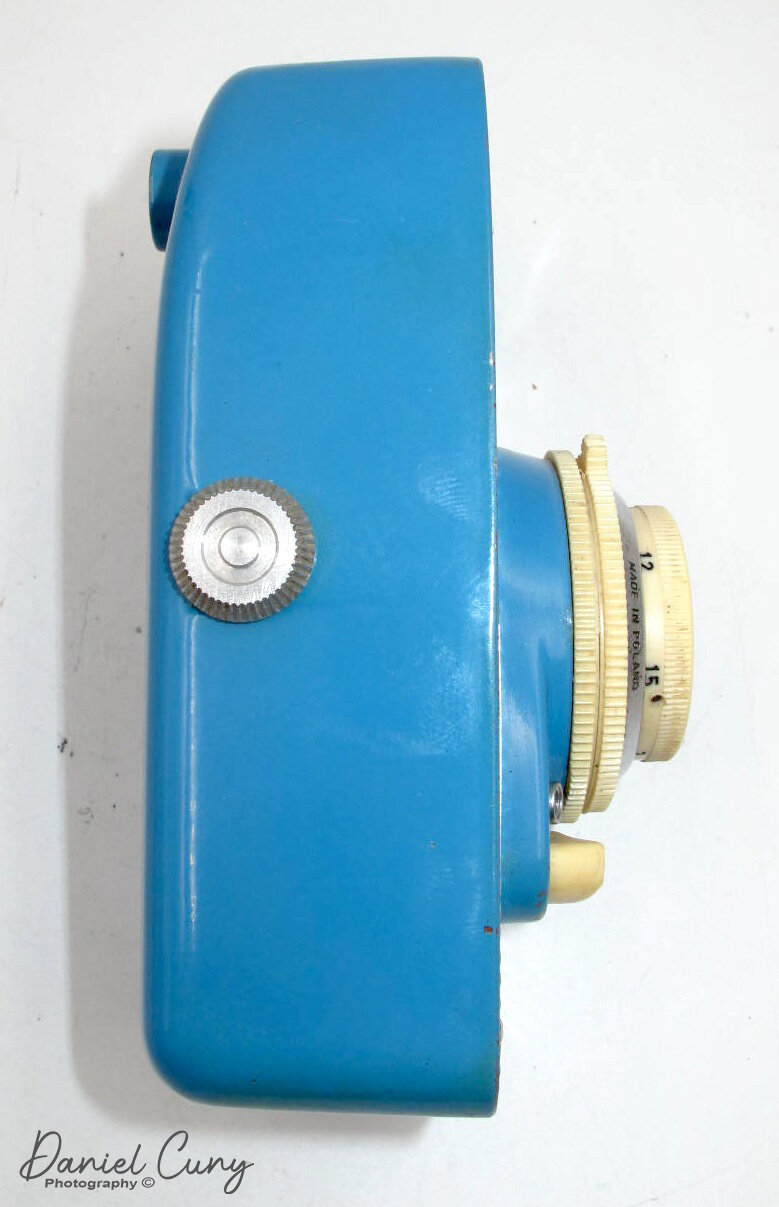
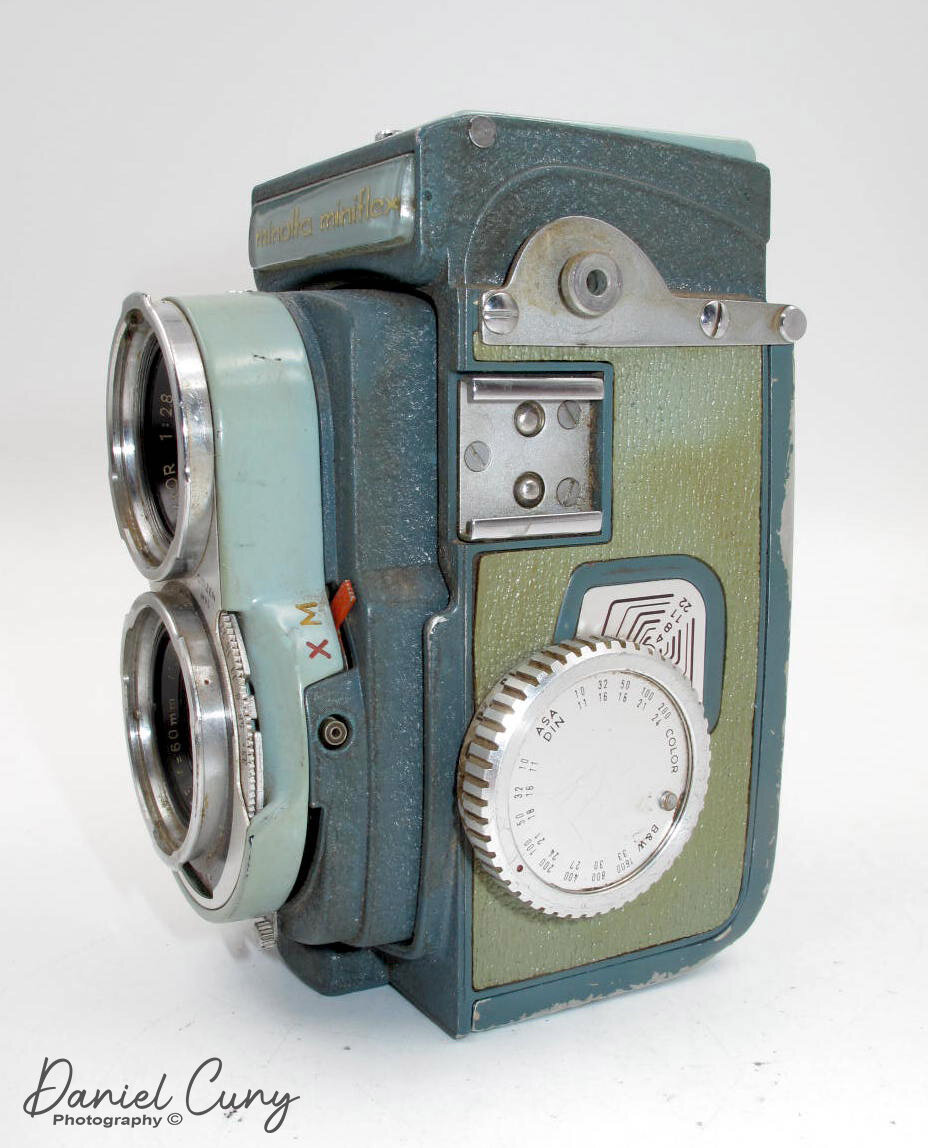
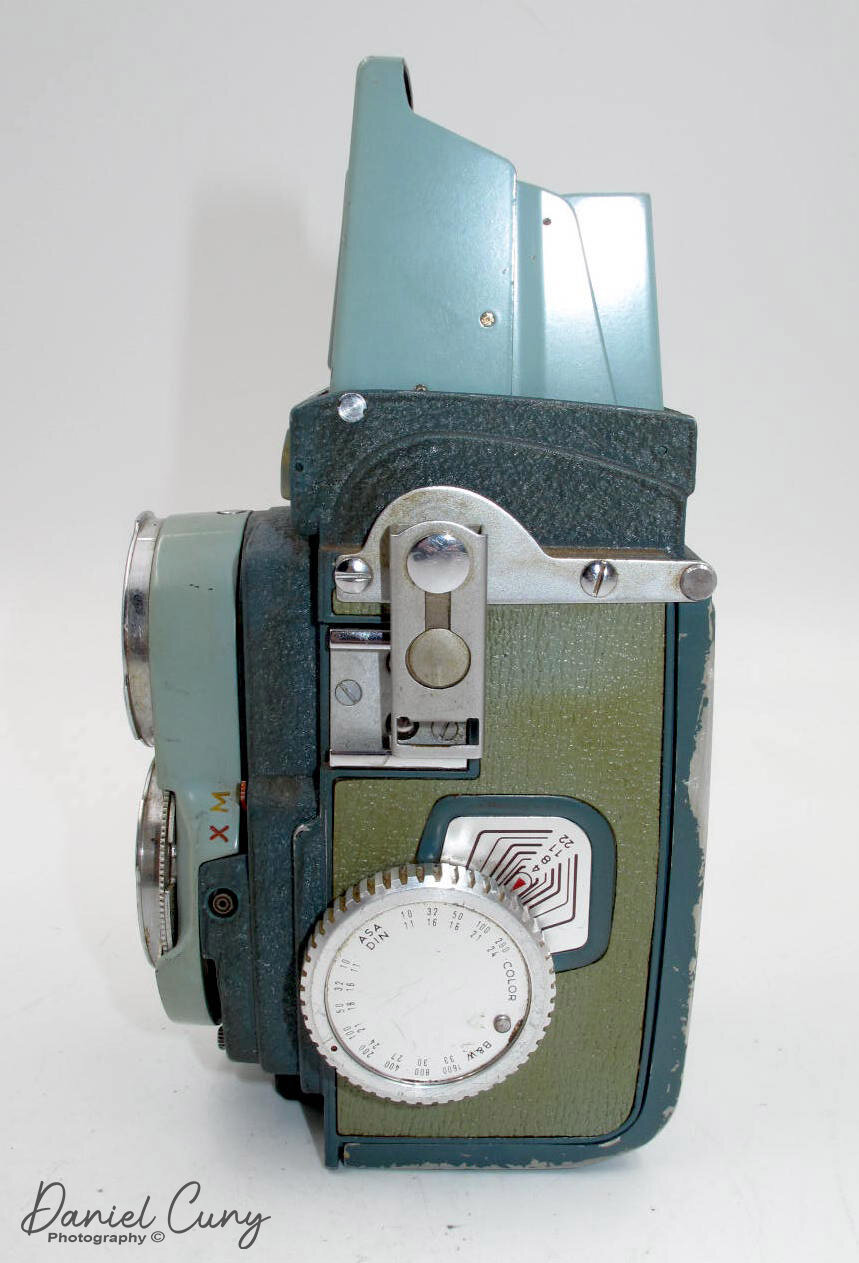
Looking at the shutter speeds around the Compur shutter, I noticed they are reverse. Then I noticed a small prism/mirror right next to the lens. Holding the camera and looking down allows you to see the shutter speed set in the window of the prism/window. That's genius. The shutter speeds go from 1/250 to 1 sec, along with 'T' and 'B.' The aperture settings are f3.5-22 and on a small dial to the right of the viewing and taking lens. When you're looking down from the top of the camera, you can see the shutter speeds and aperture settings without tilting the camera up to view them. You can easily see the focus distance, which you can see on the top of the viewing lens.
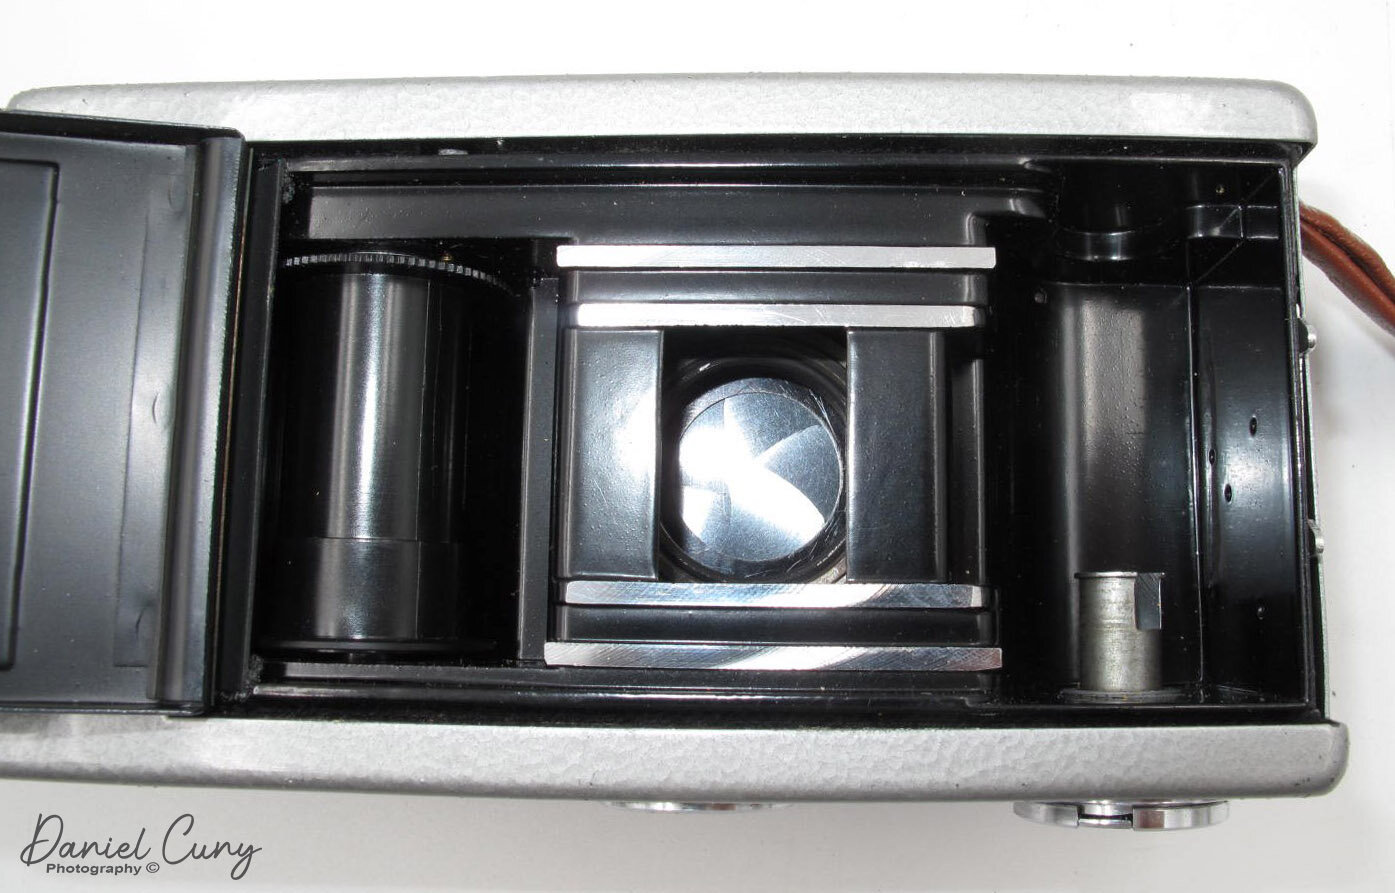
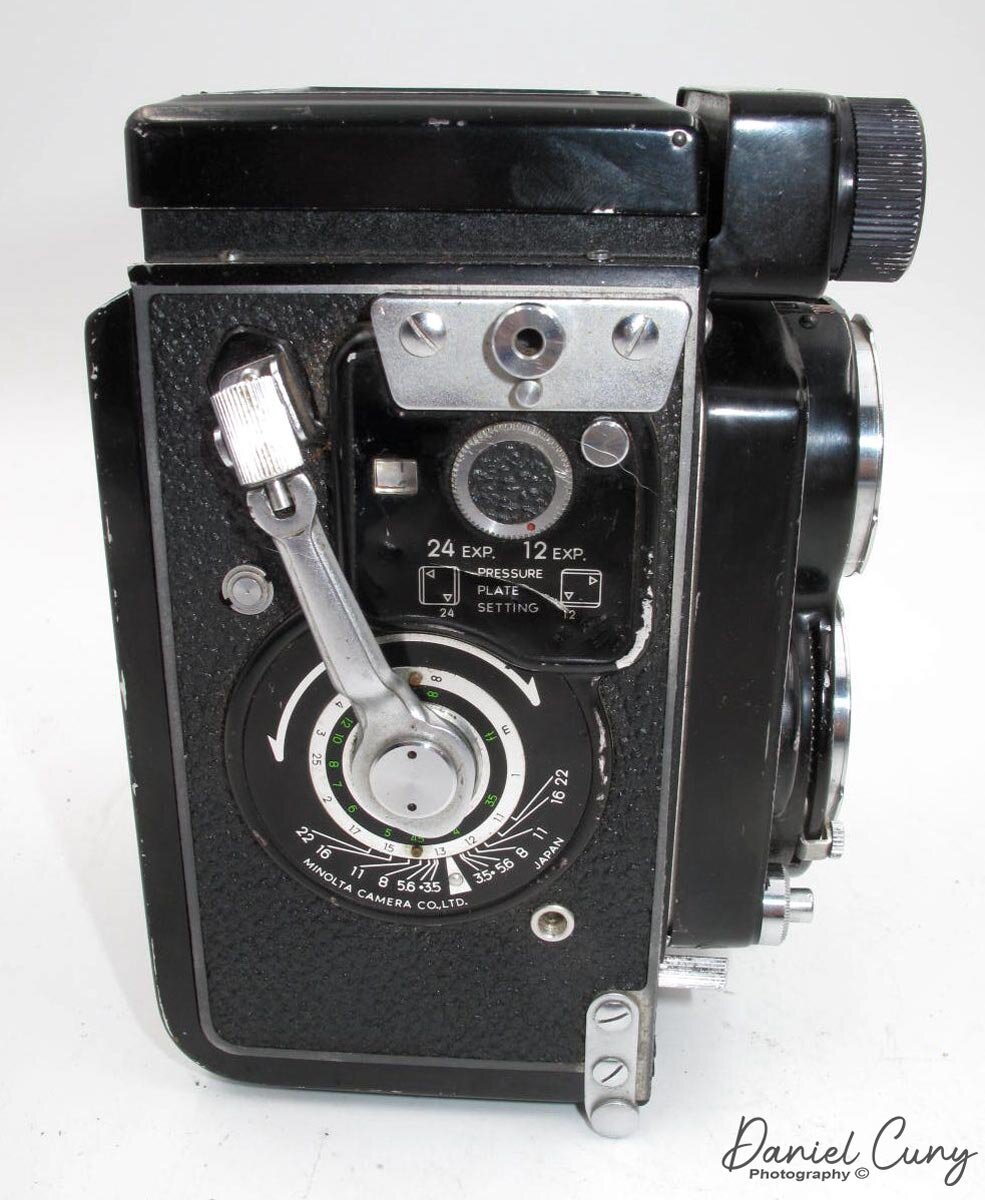
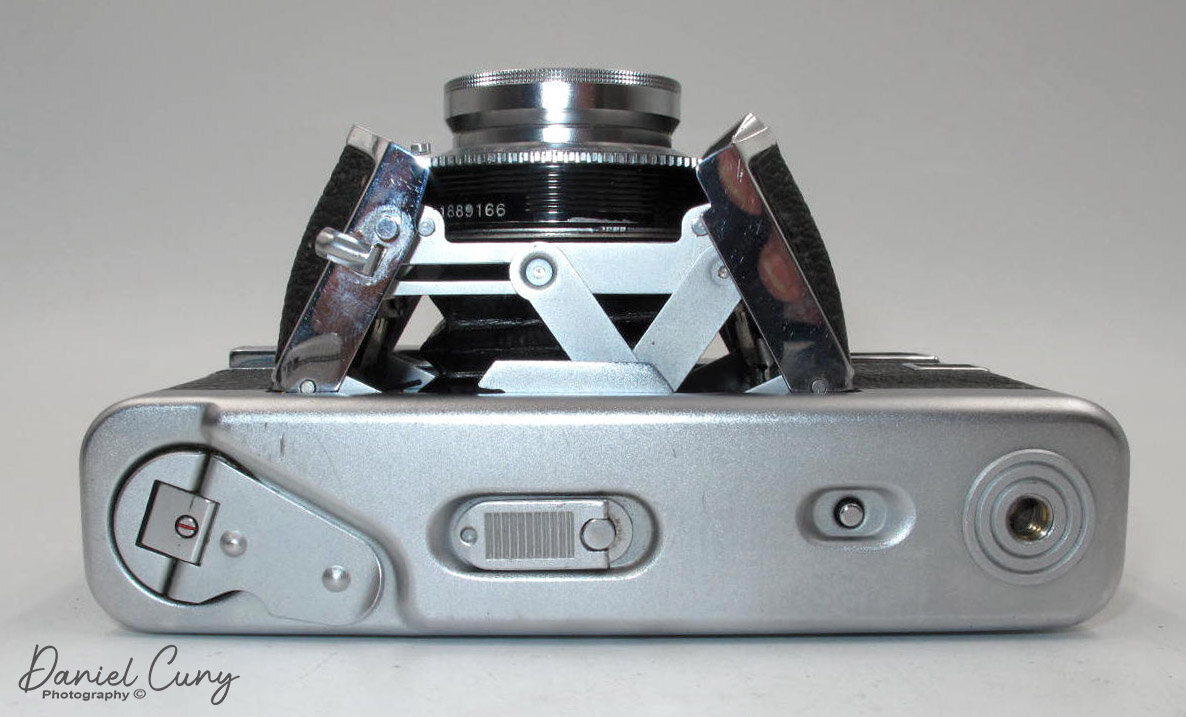
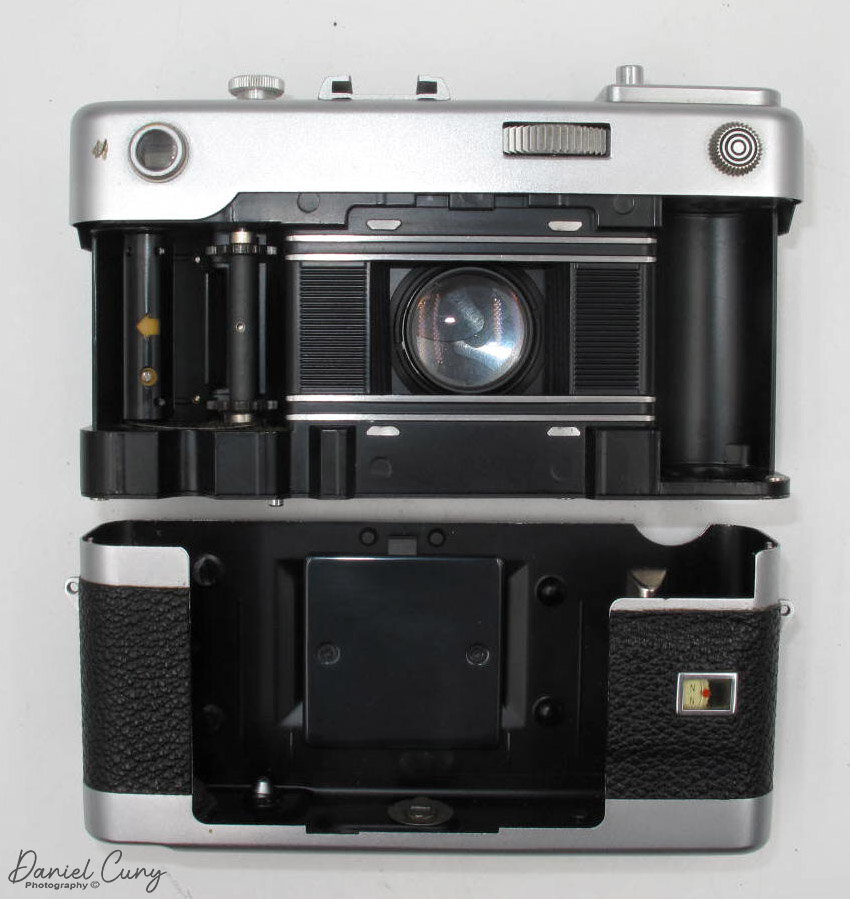
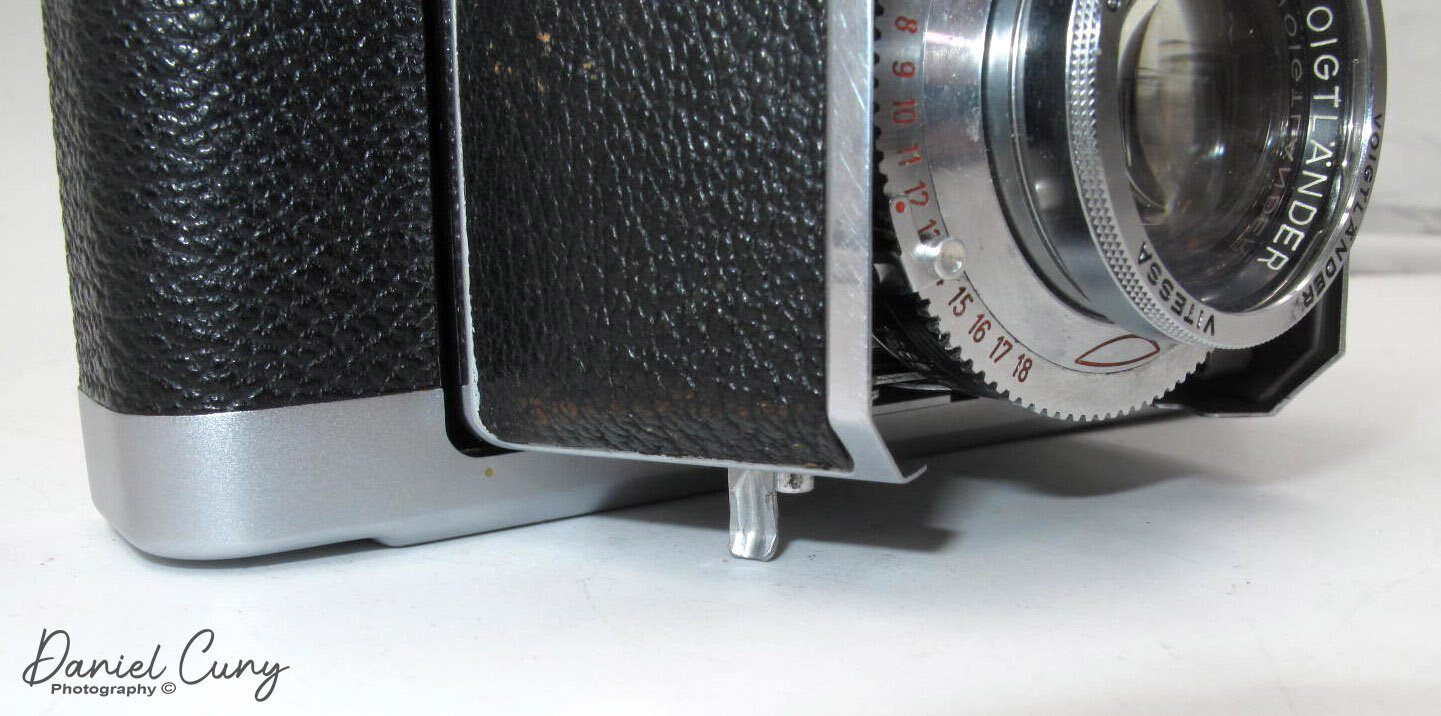
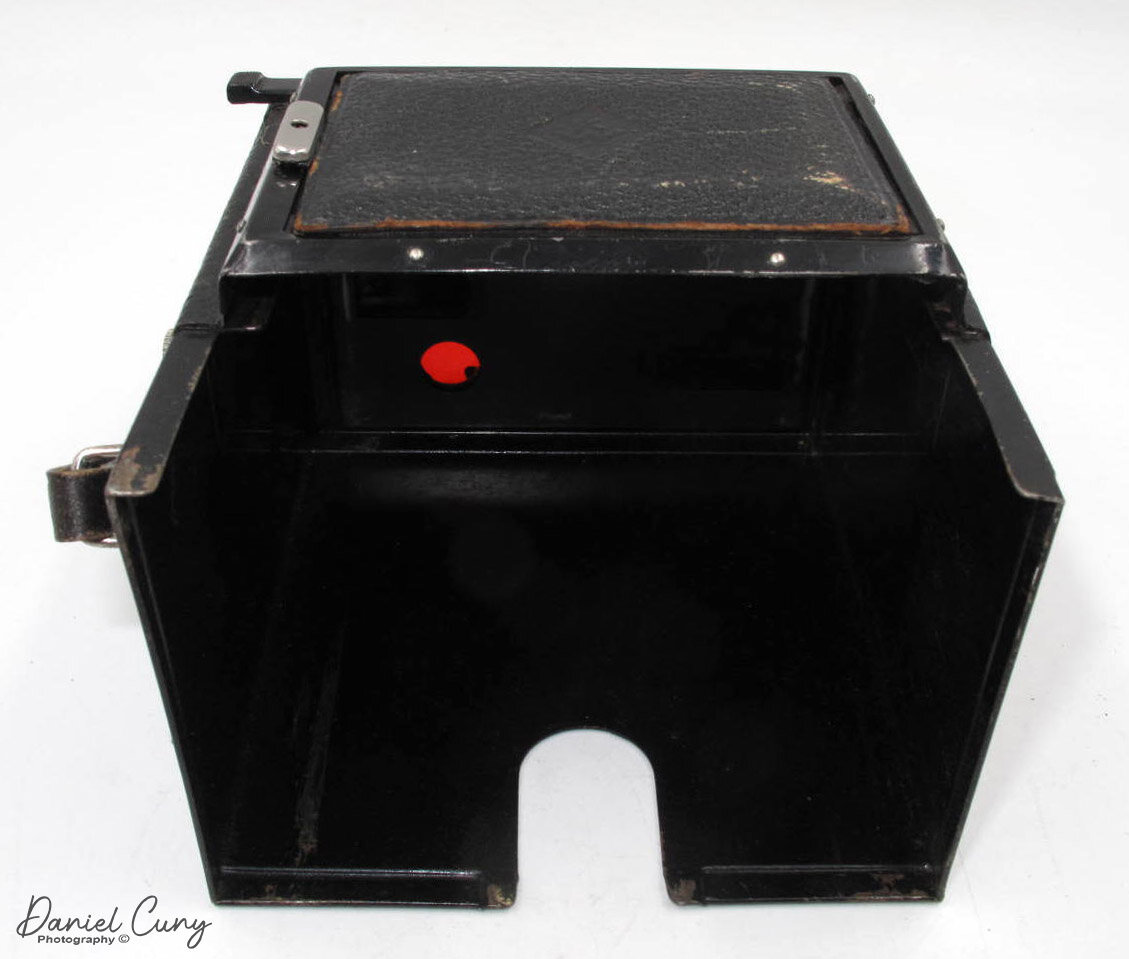
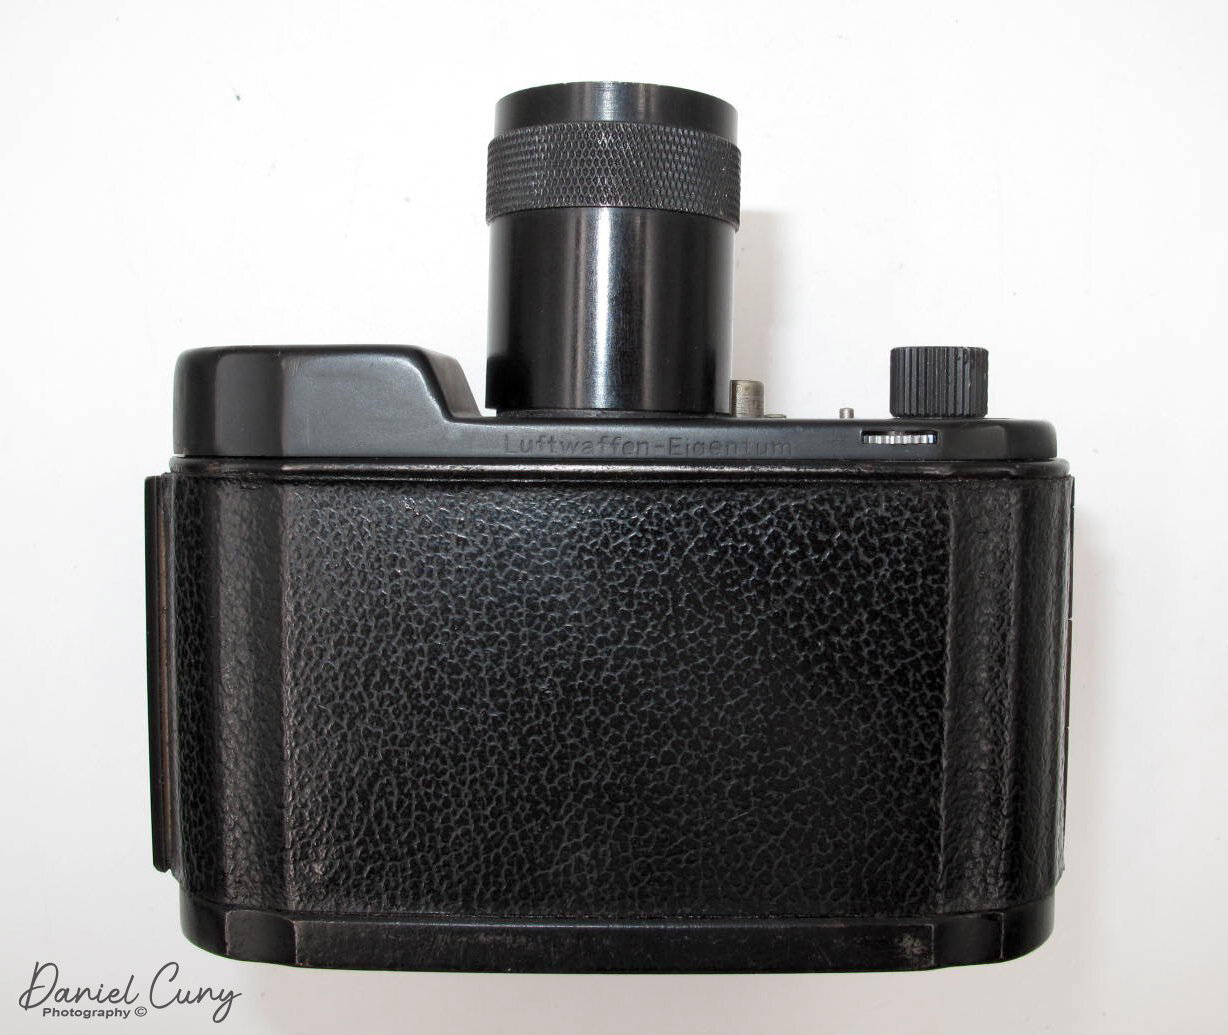
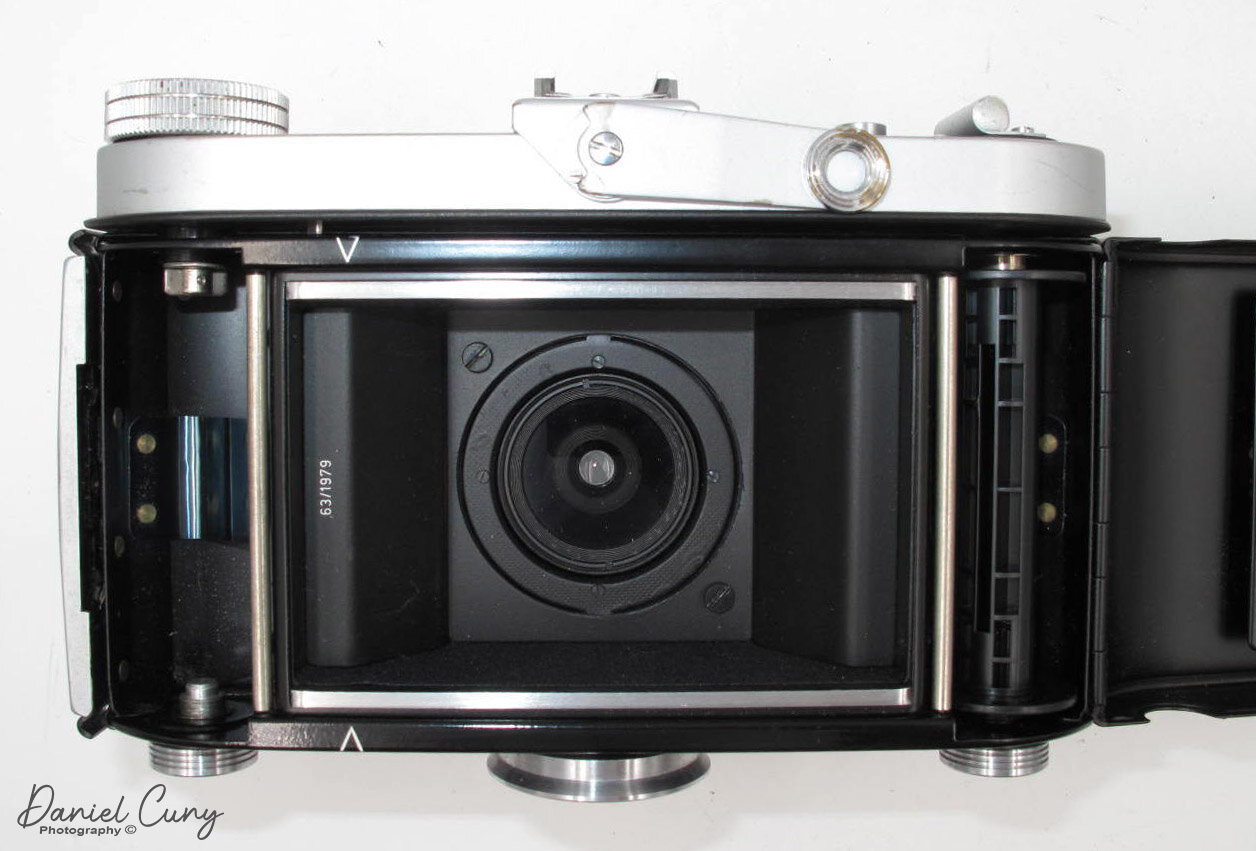
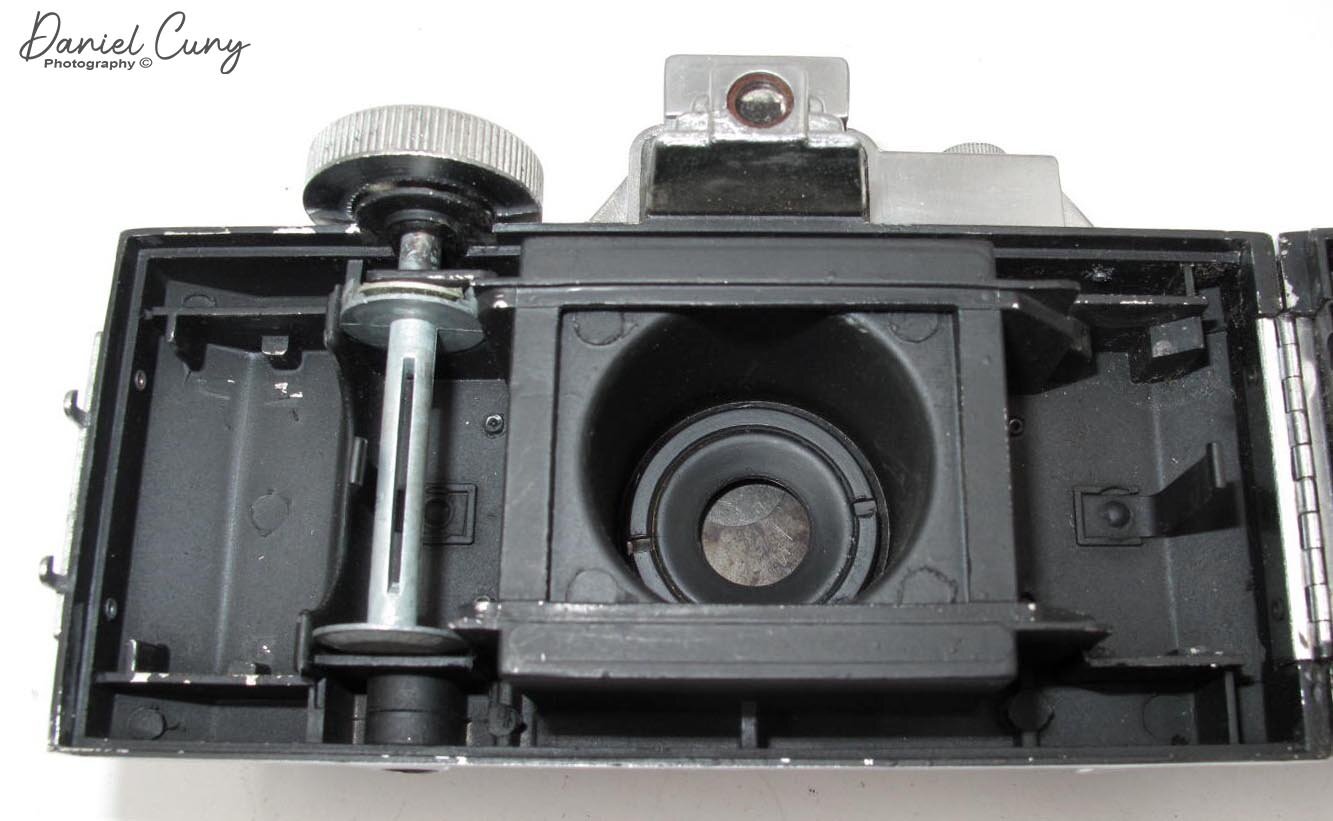
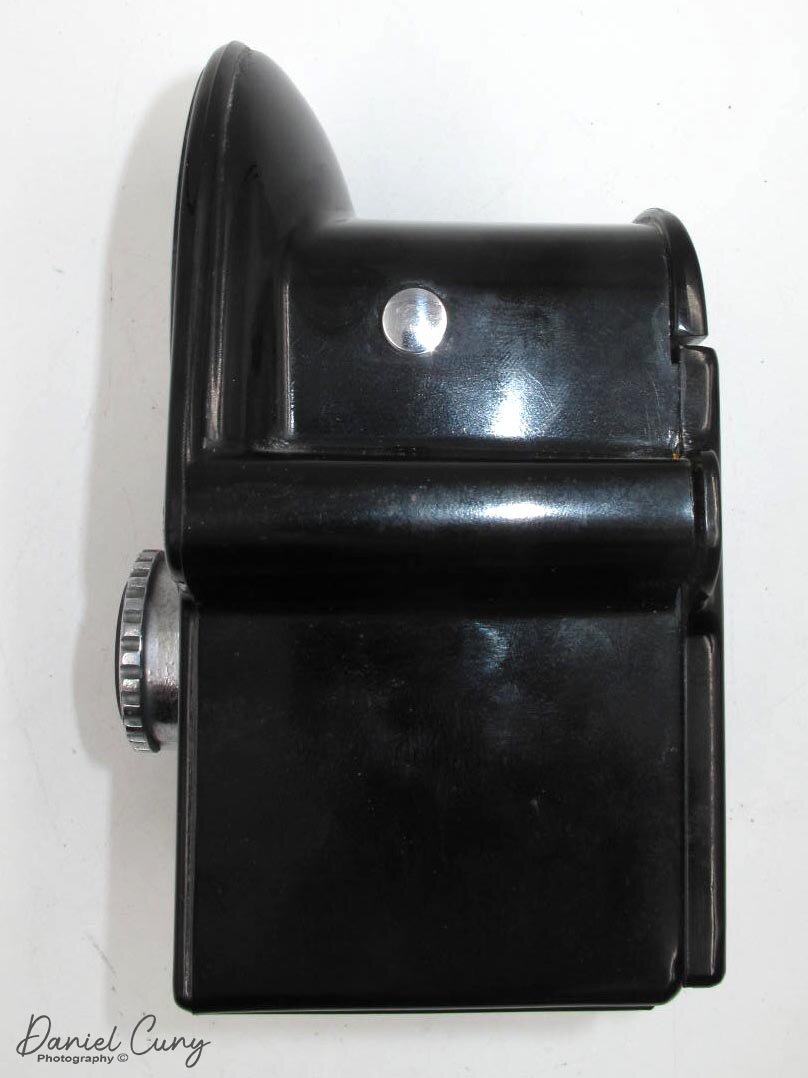
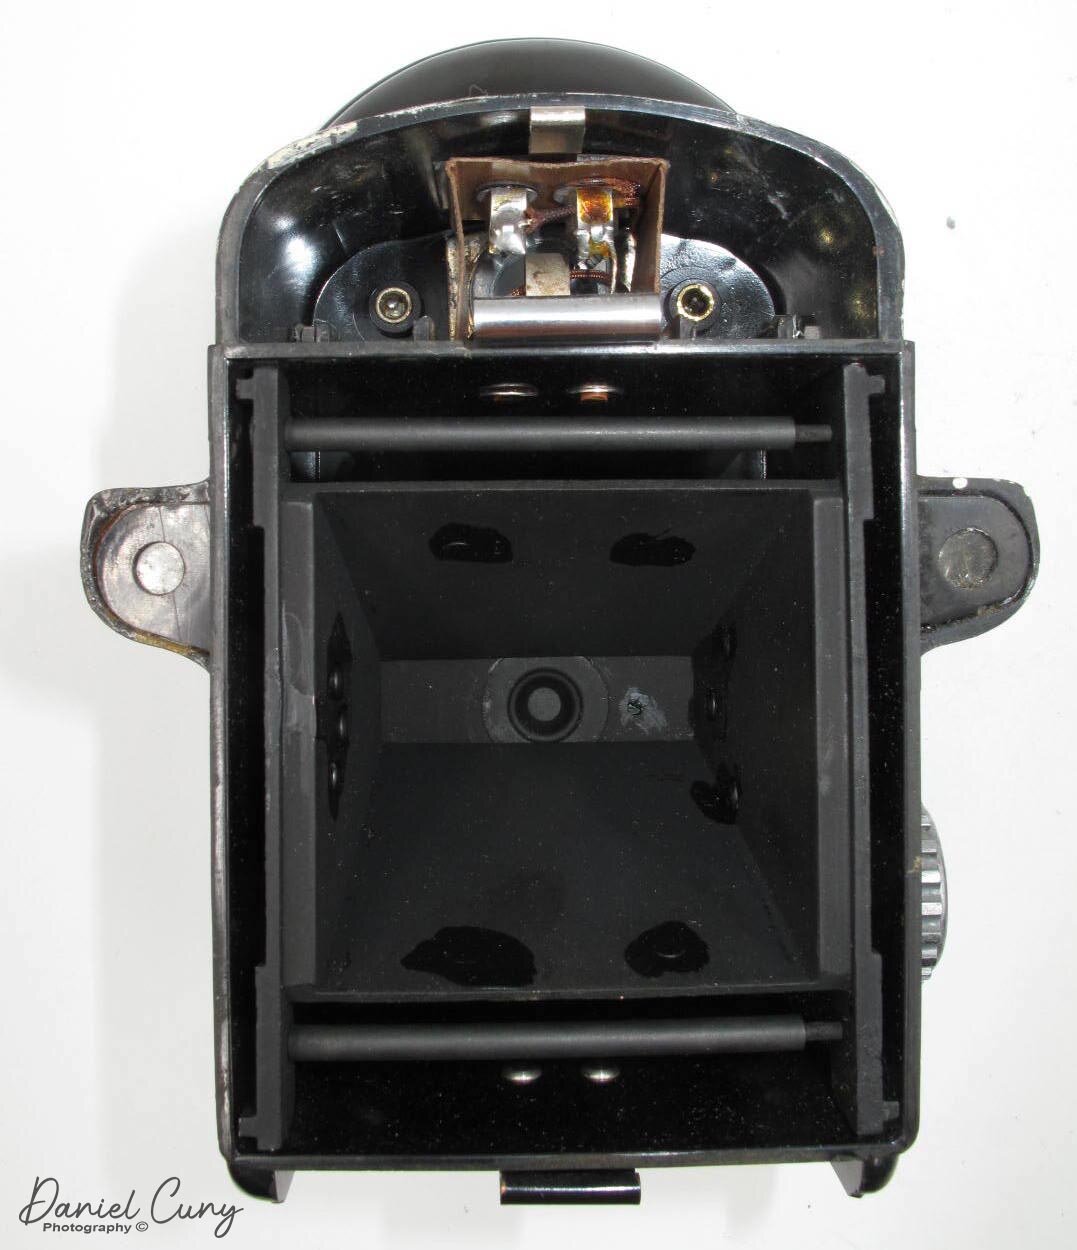
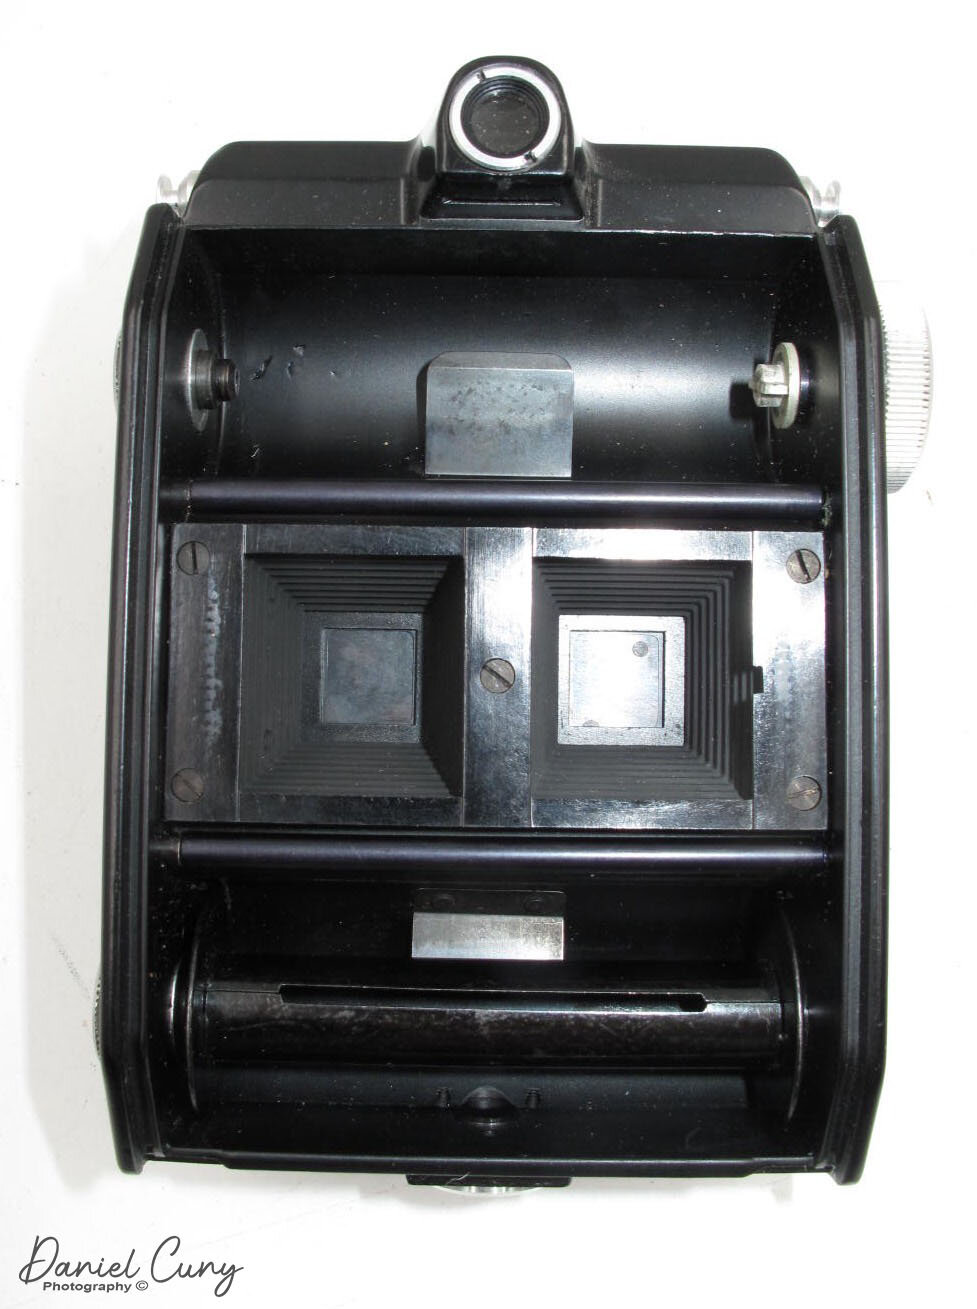
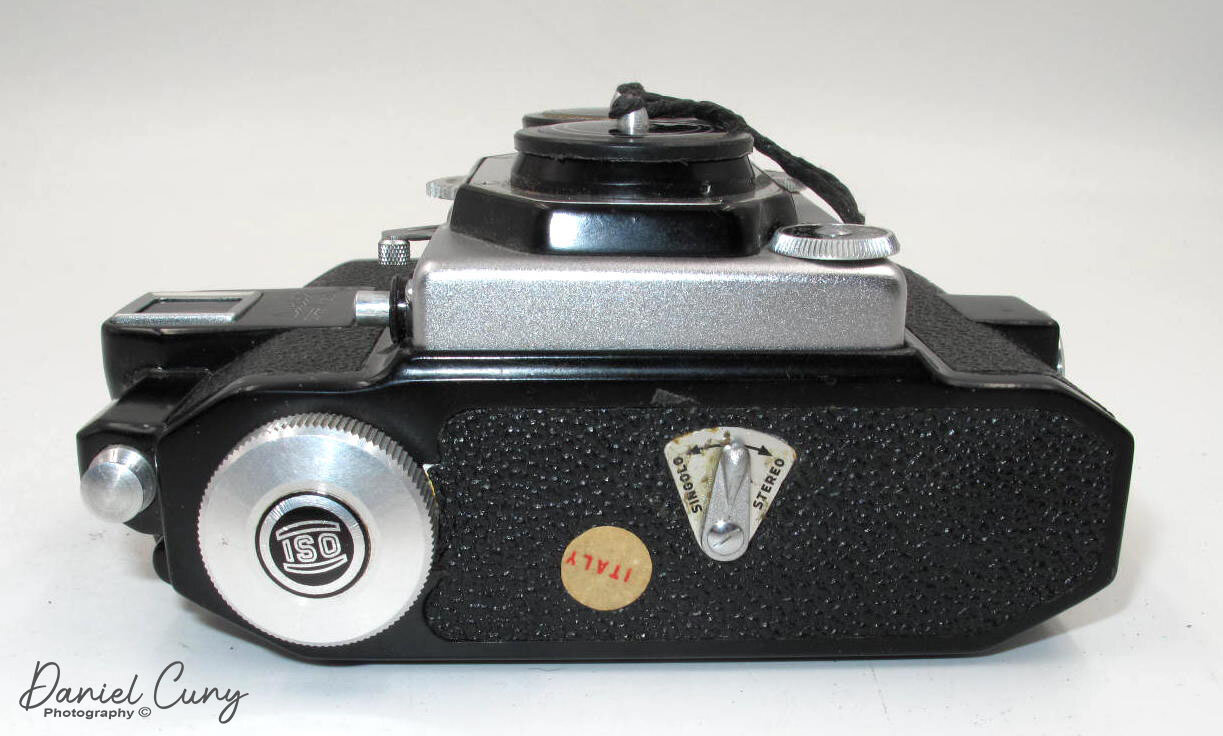
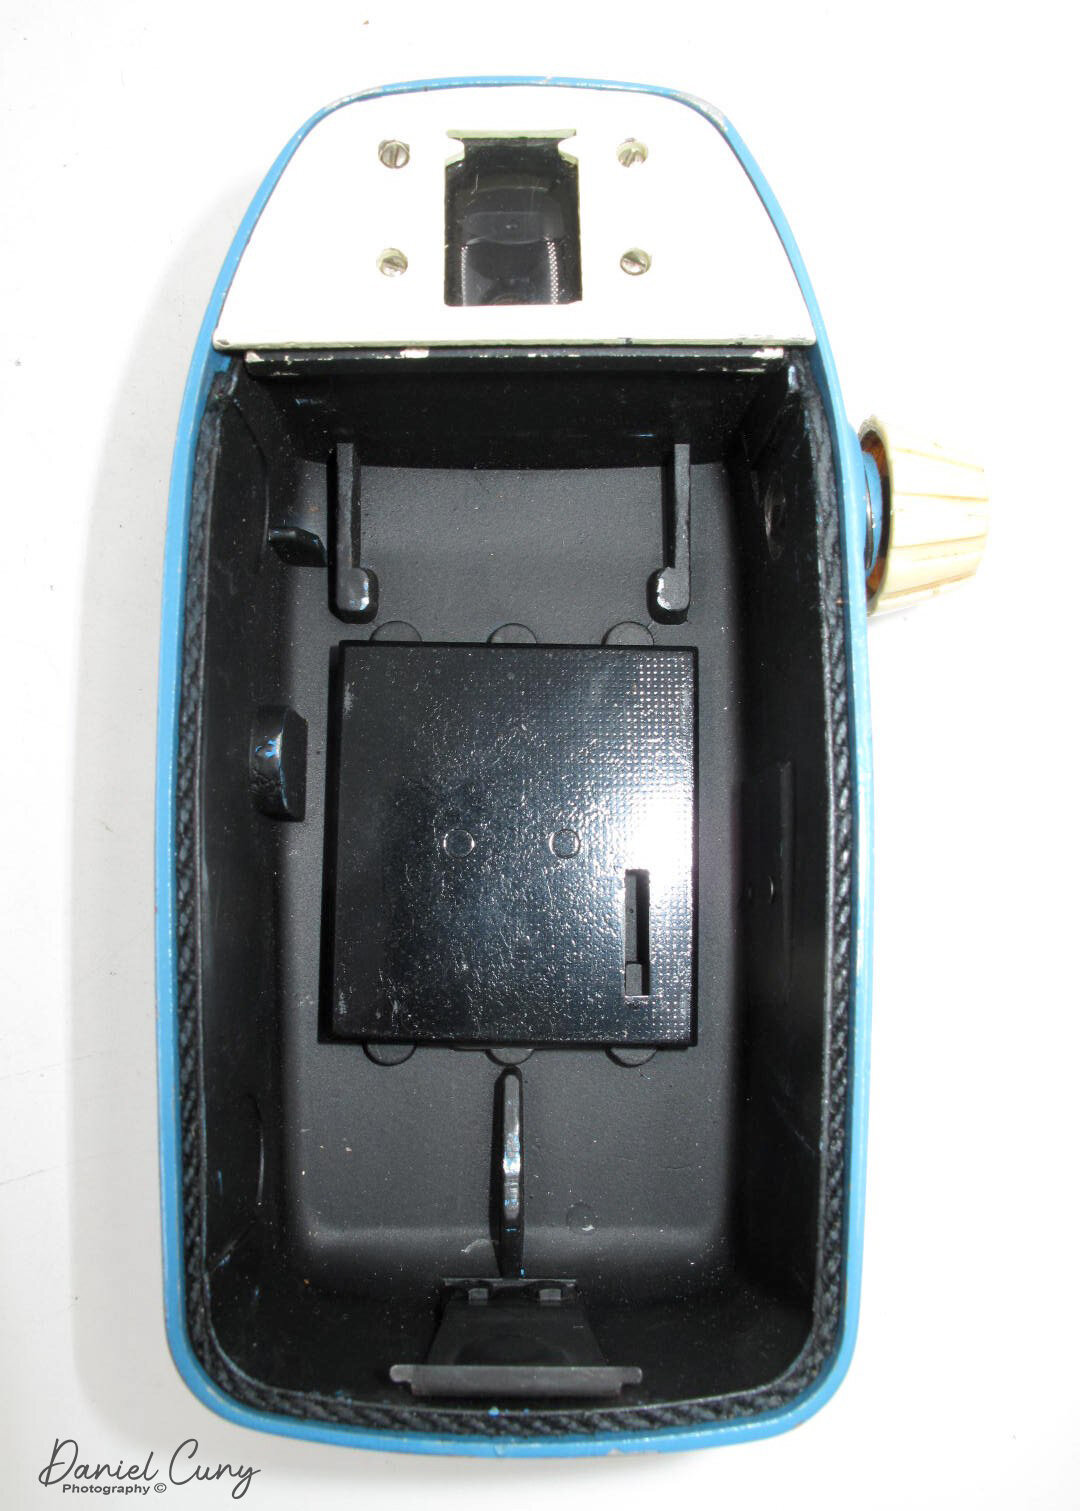
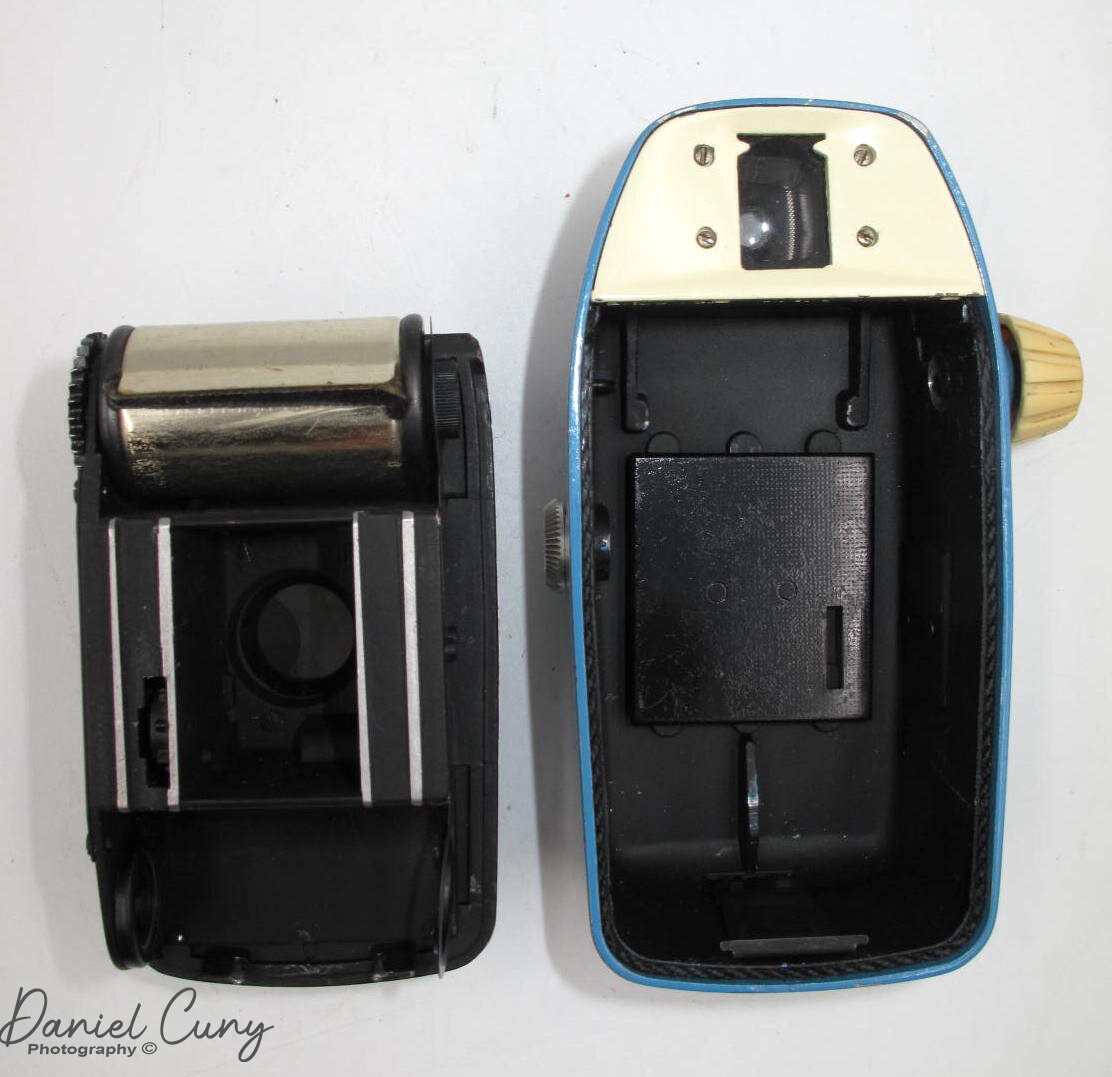
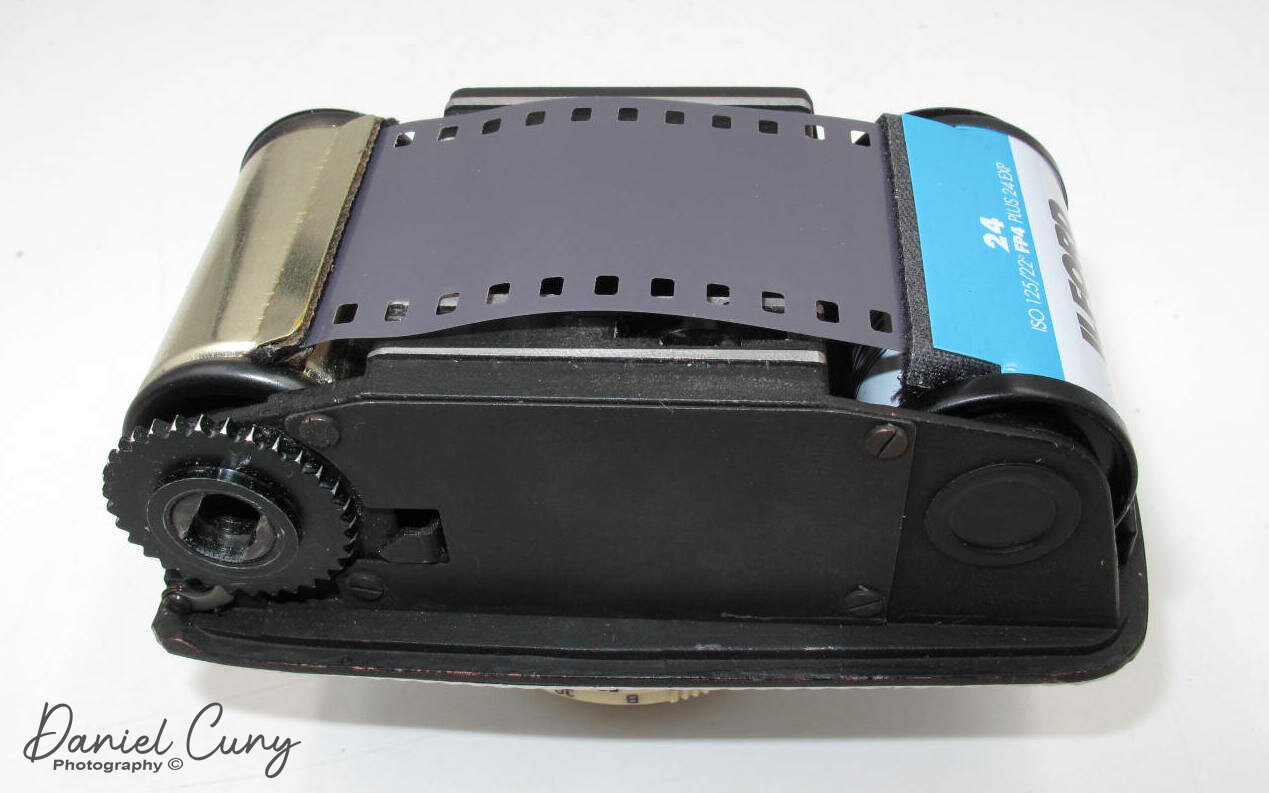
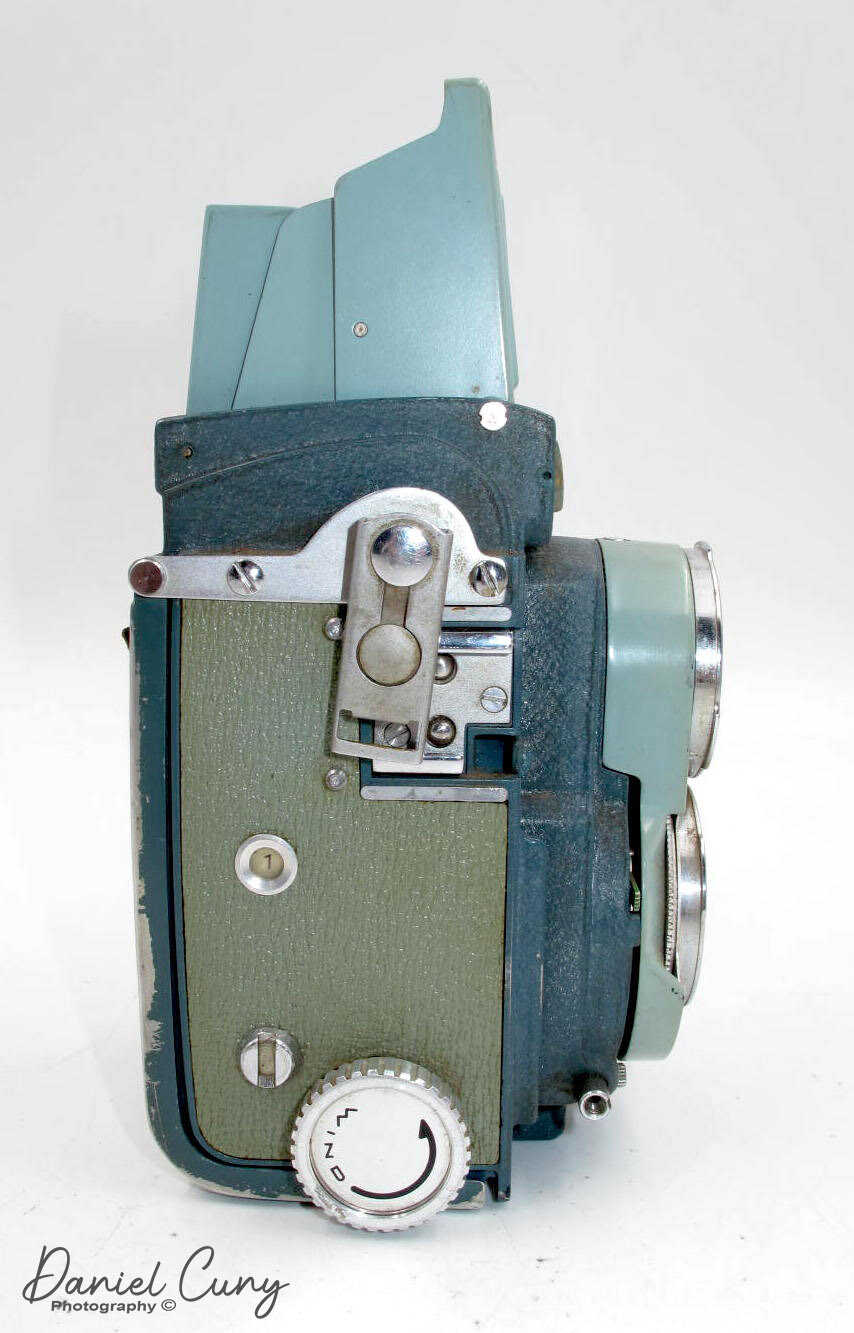
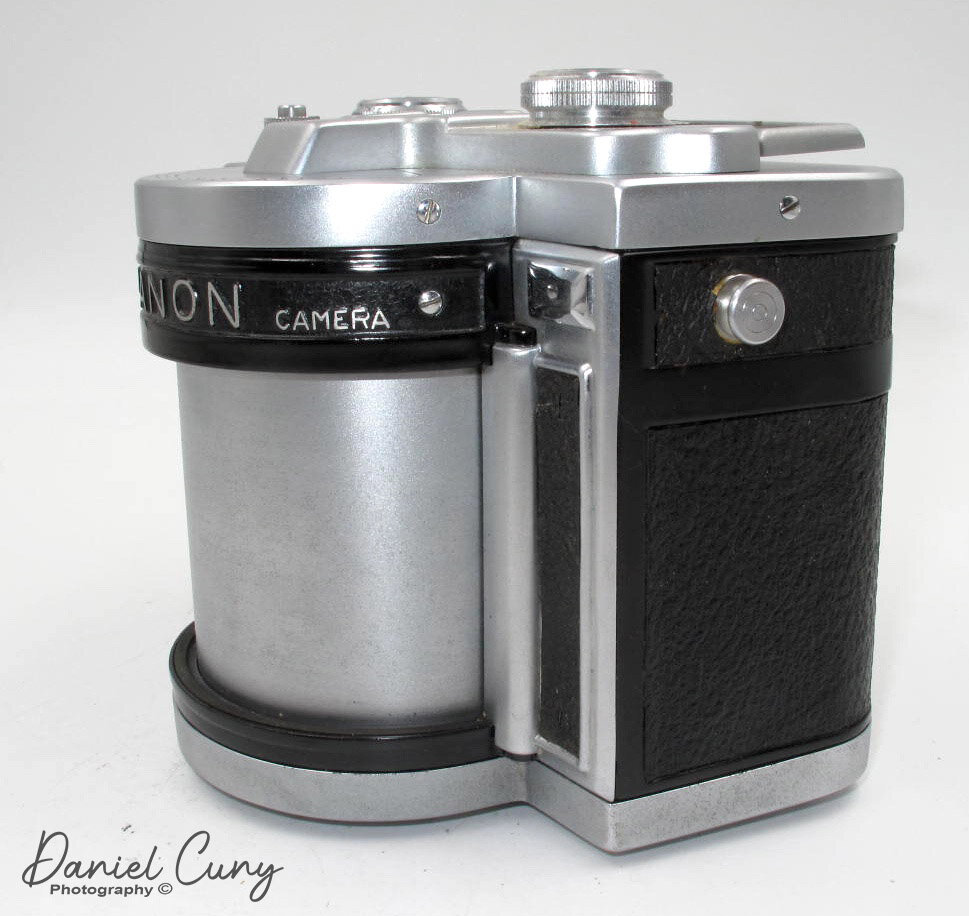
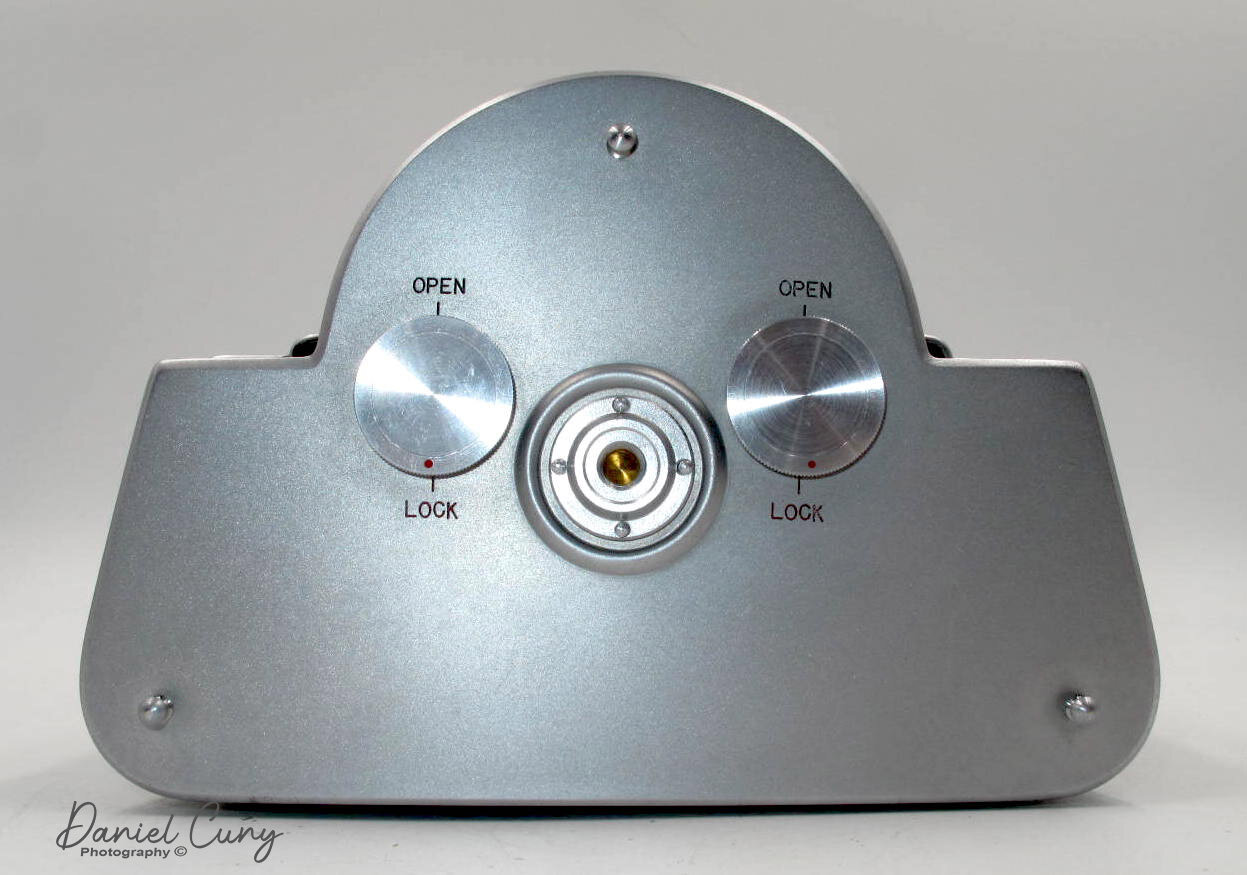
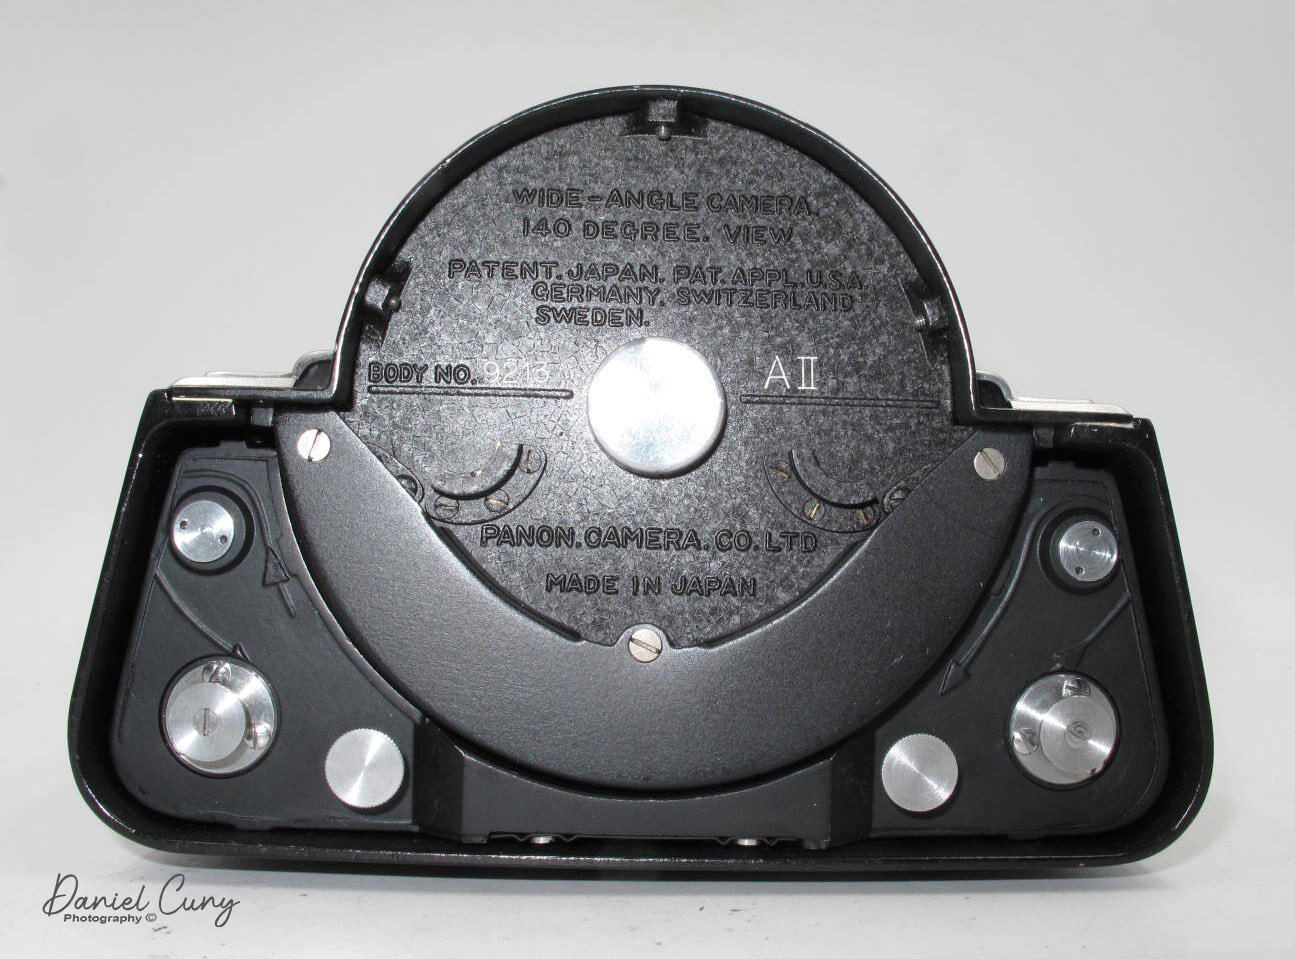
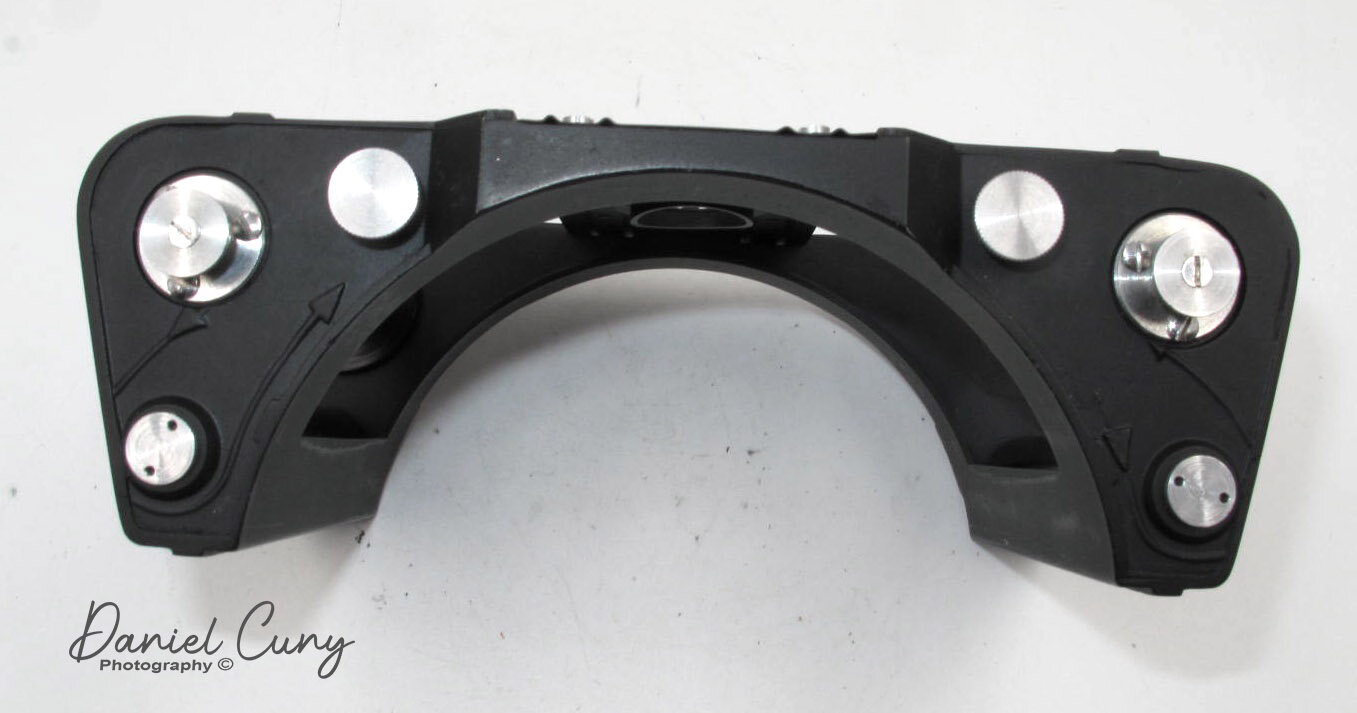
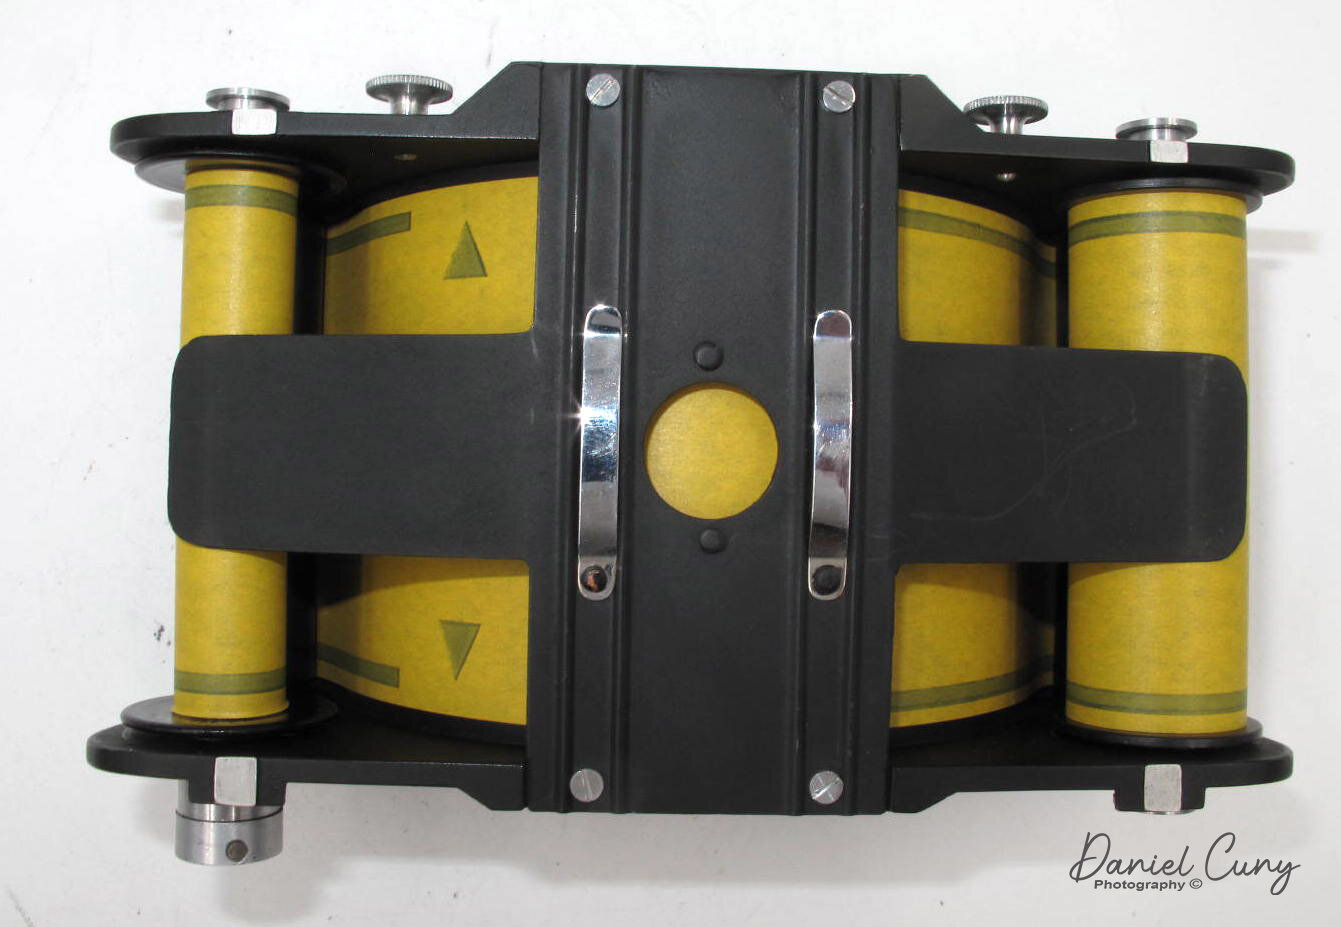
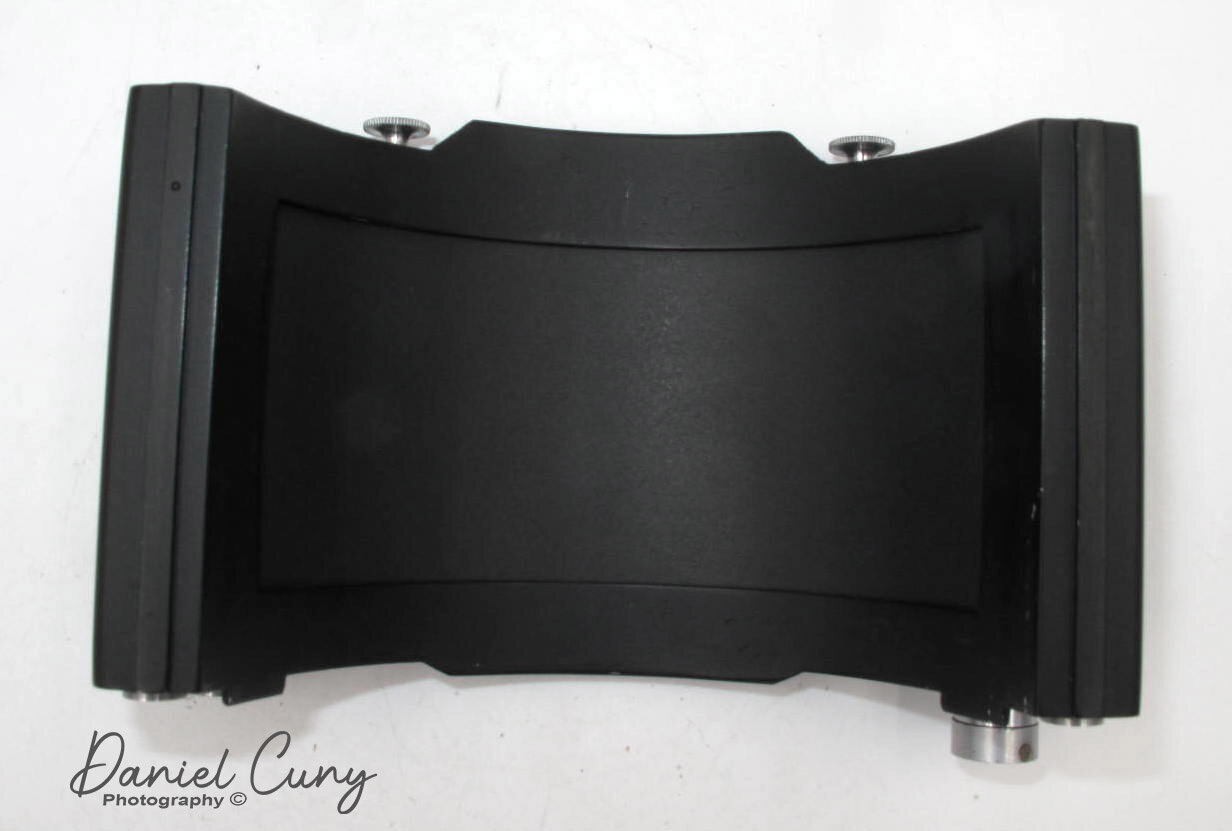
Here's where the camera gets fun, loading the film. The Voigtlander Superb has a horizontal loading and transport system. If not all other Twin Lens Reflex cameras, the majority use a vertical loading and transport system. On the left side of the camera is an angled bar that attaches to a metal nub on the back. Lifting the bar from the nub and opening it to the left exposes the take-up spool on the camera. Opening the back to the right reveals where you load the film in the camera. Put the fresh roll of film on the right, and pull the leader across the shutter area to the take-up spool on the left.

Viewing the shutter speeds.
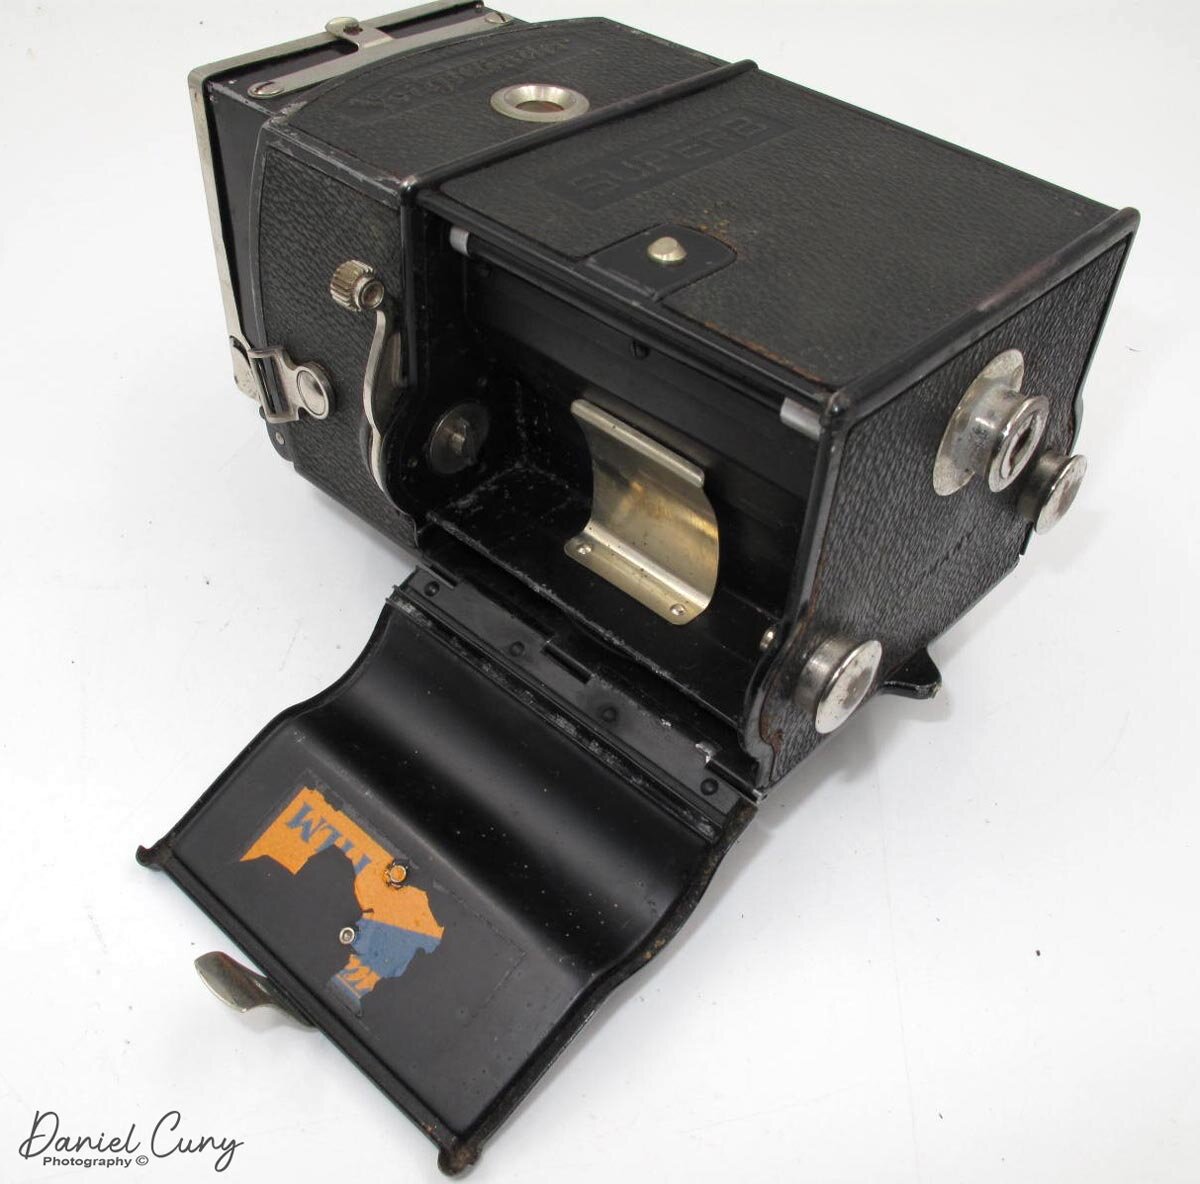
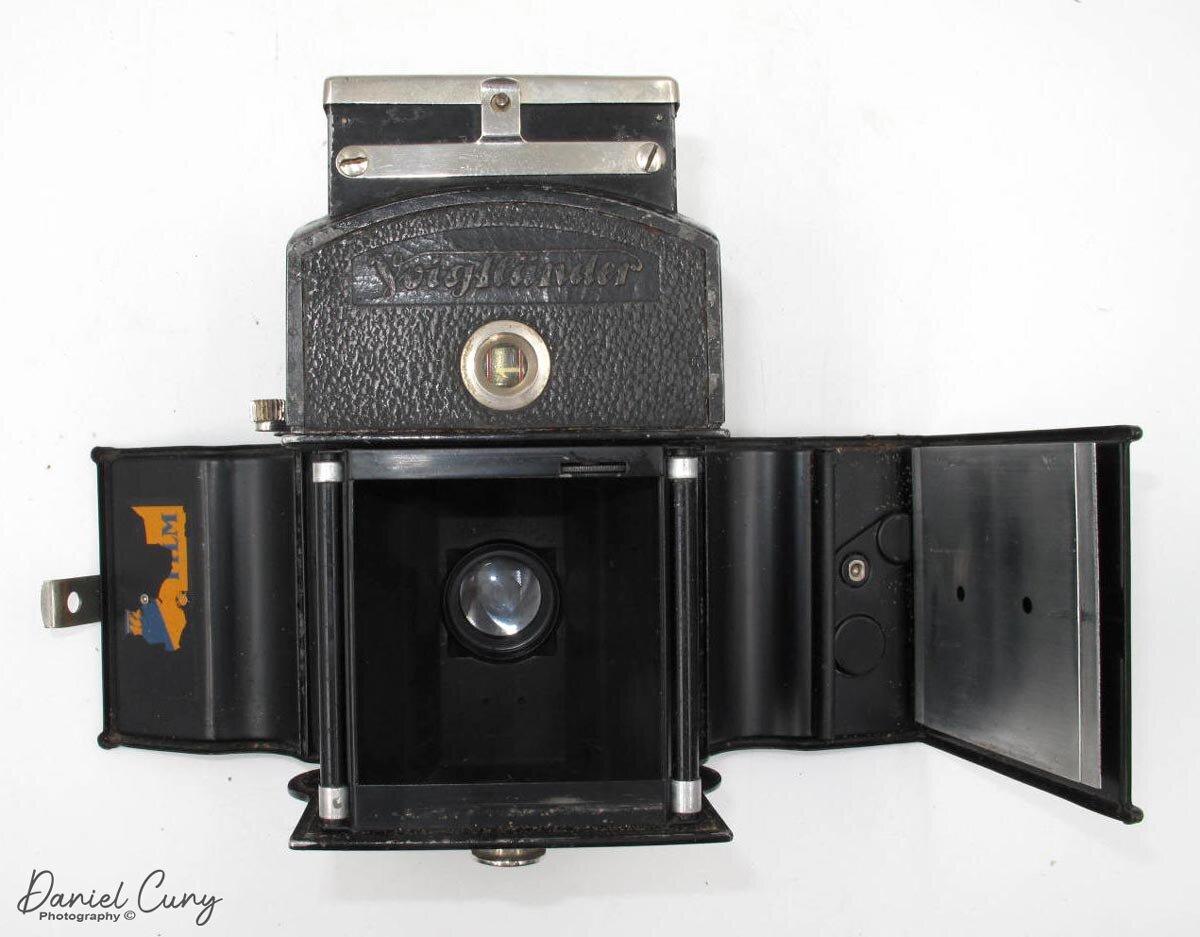
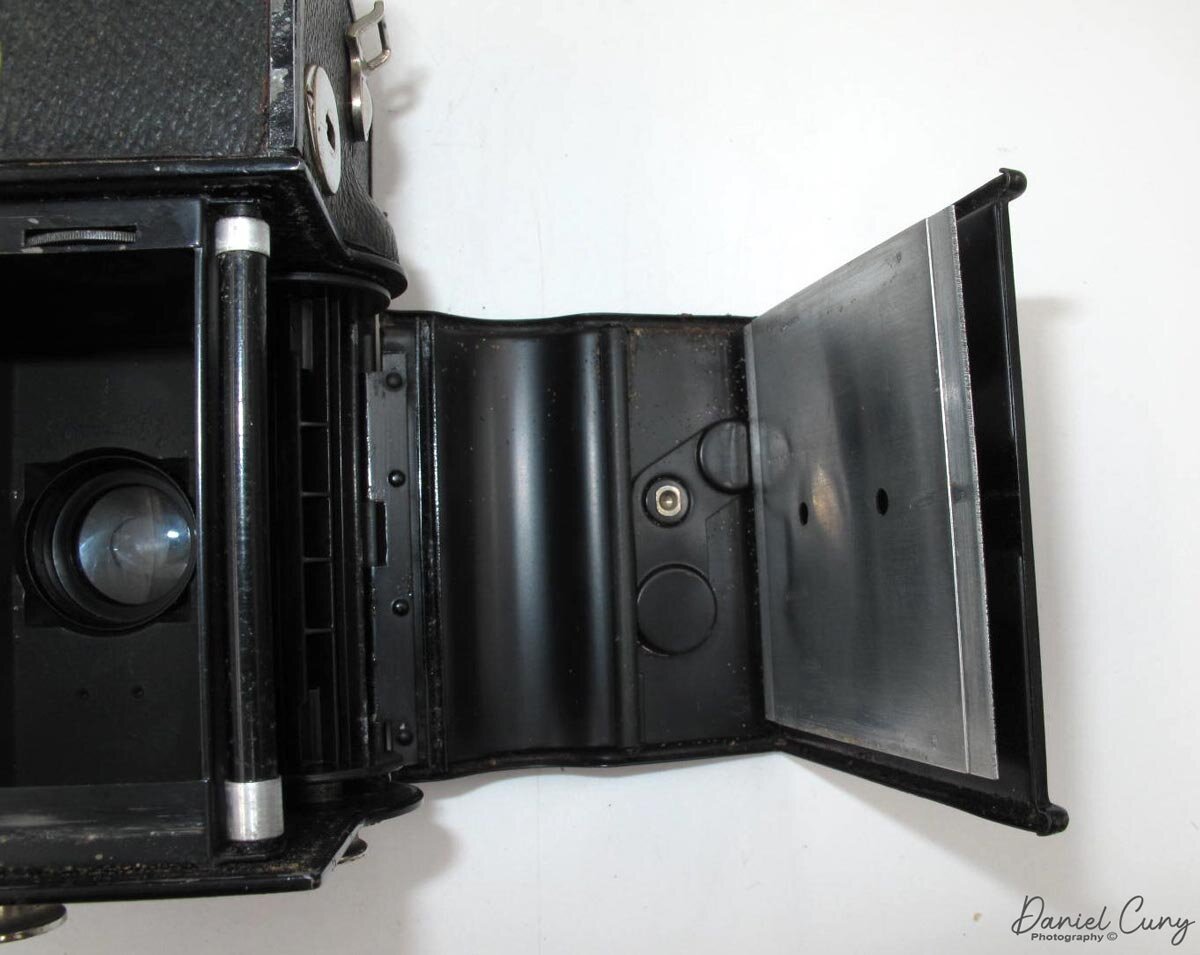
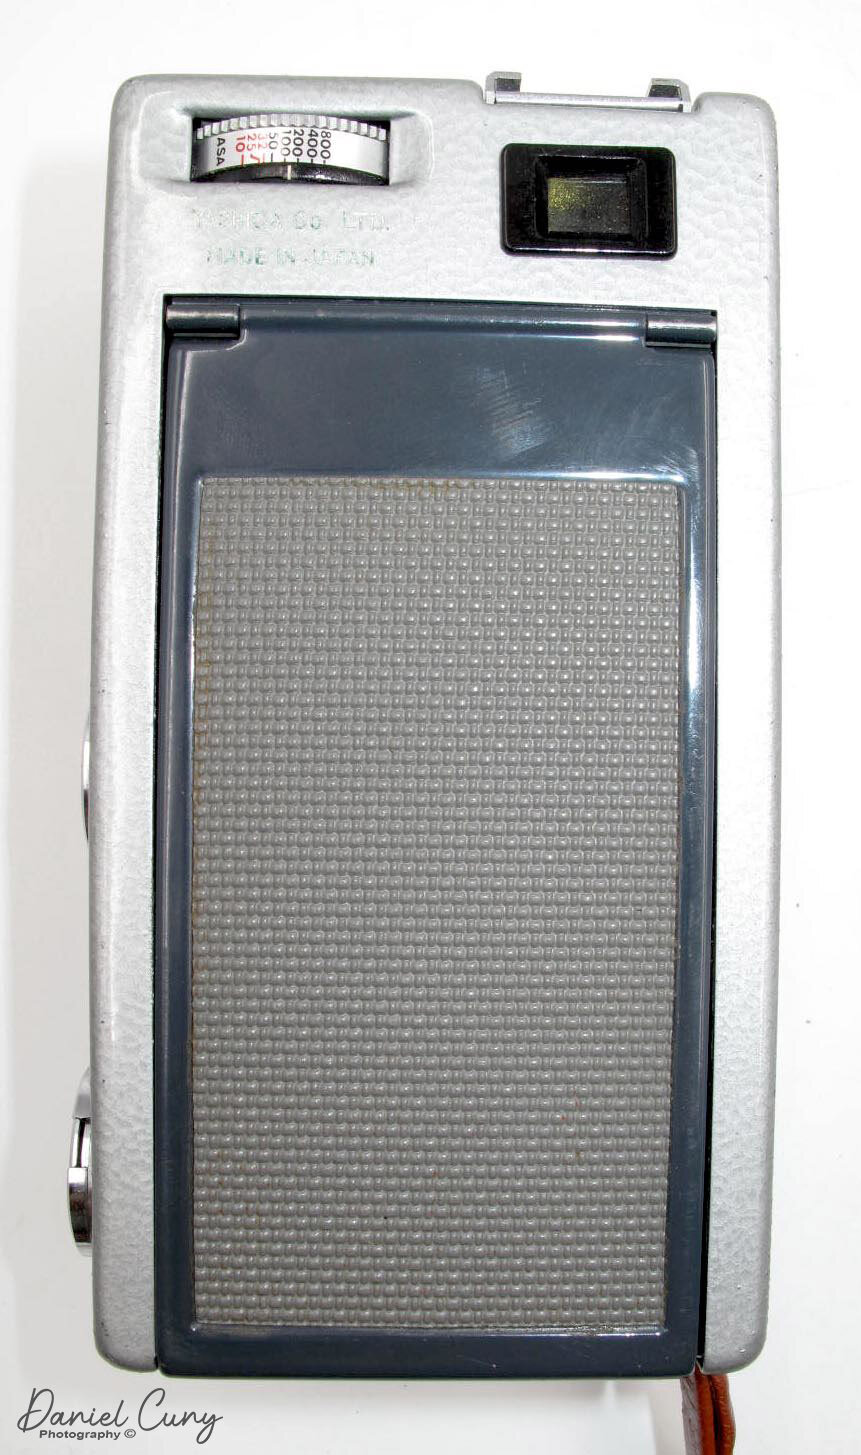
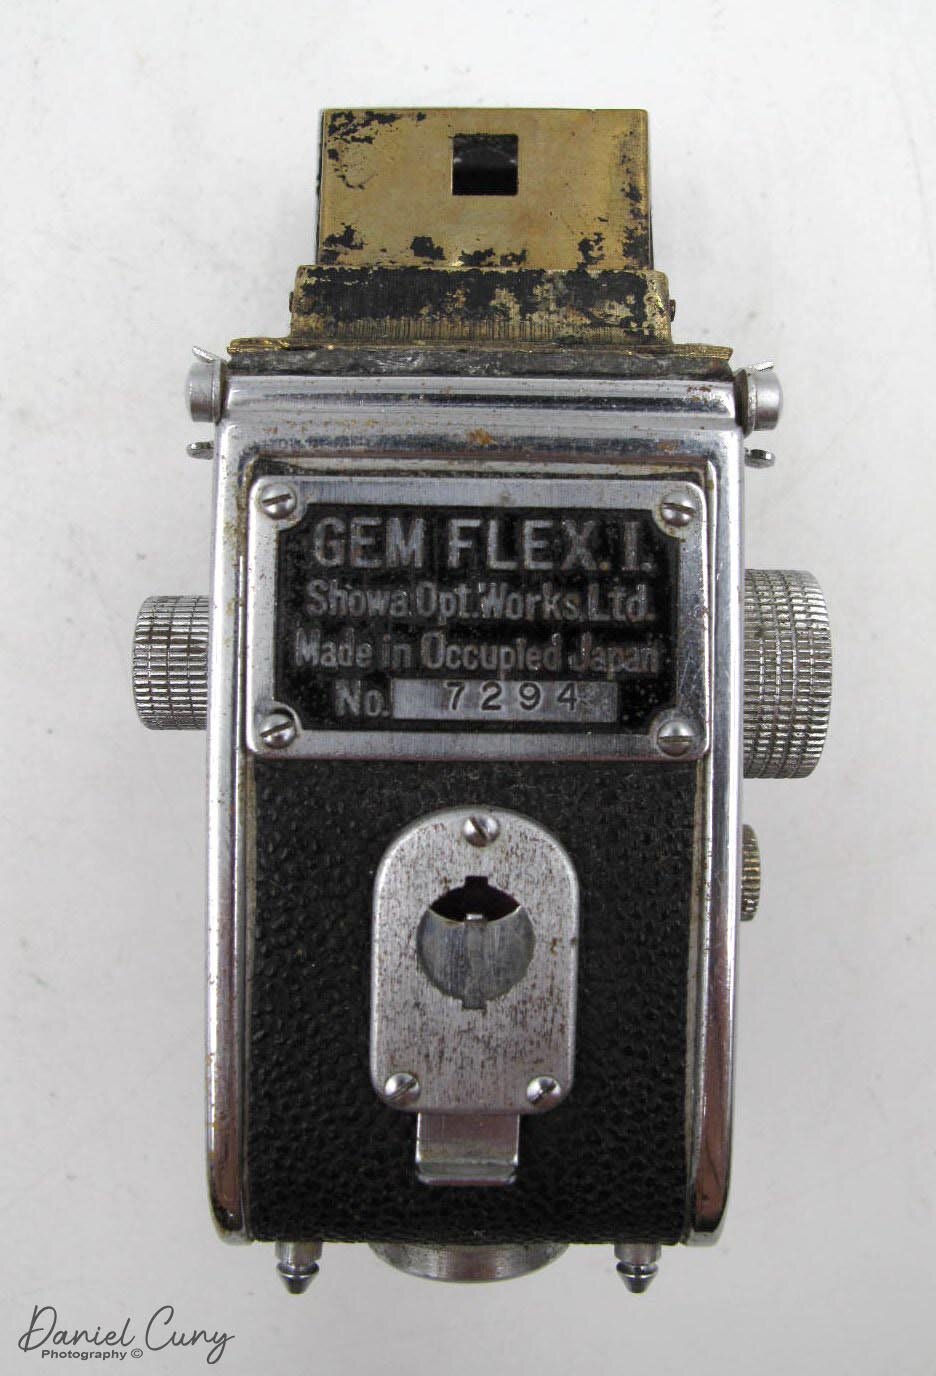
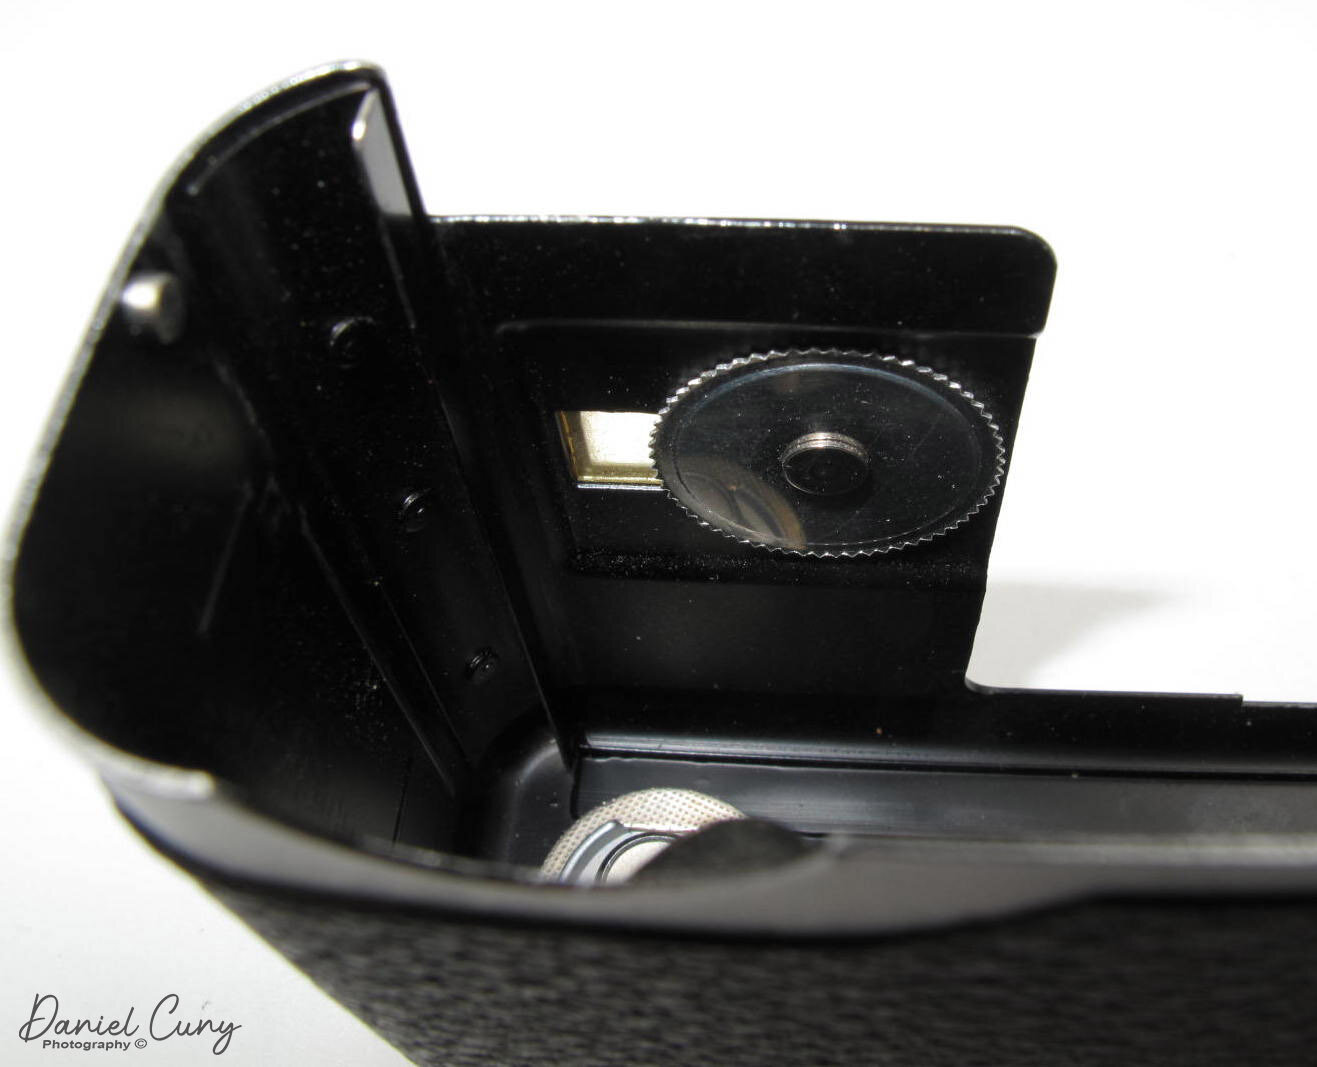
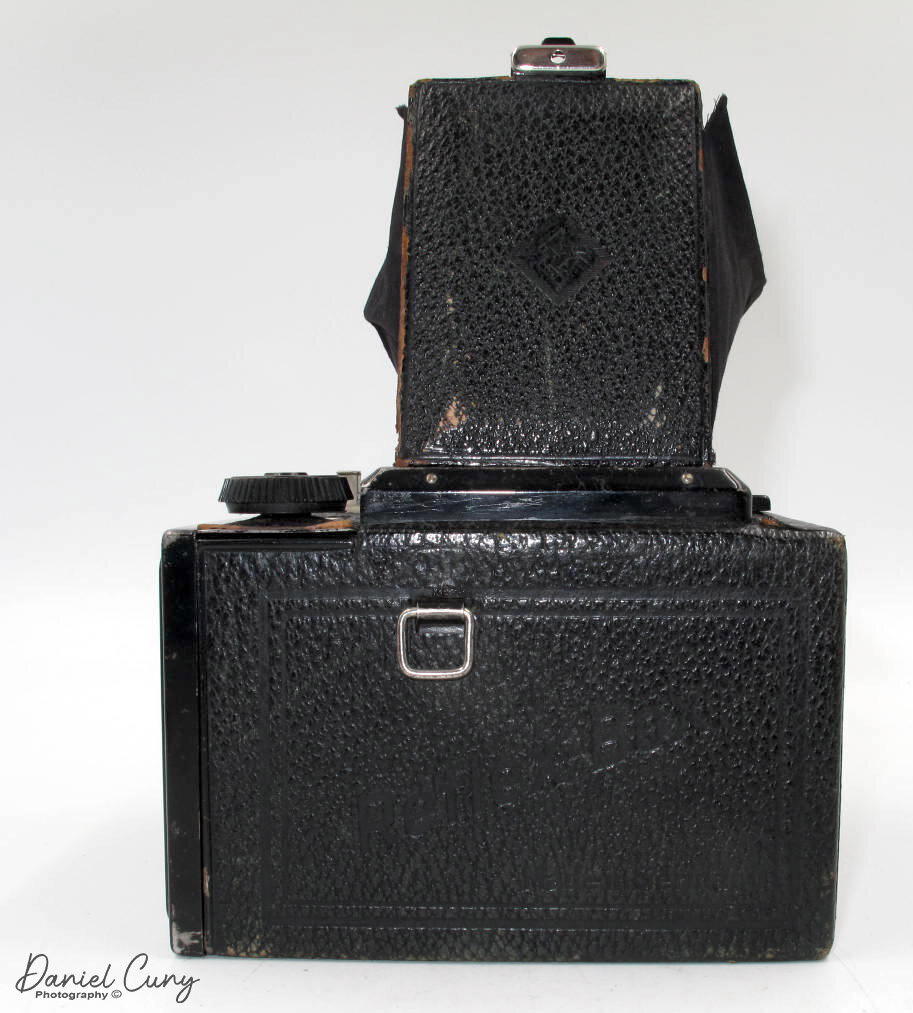
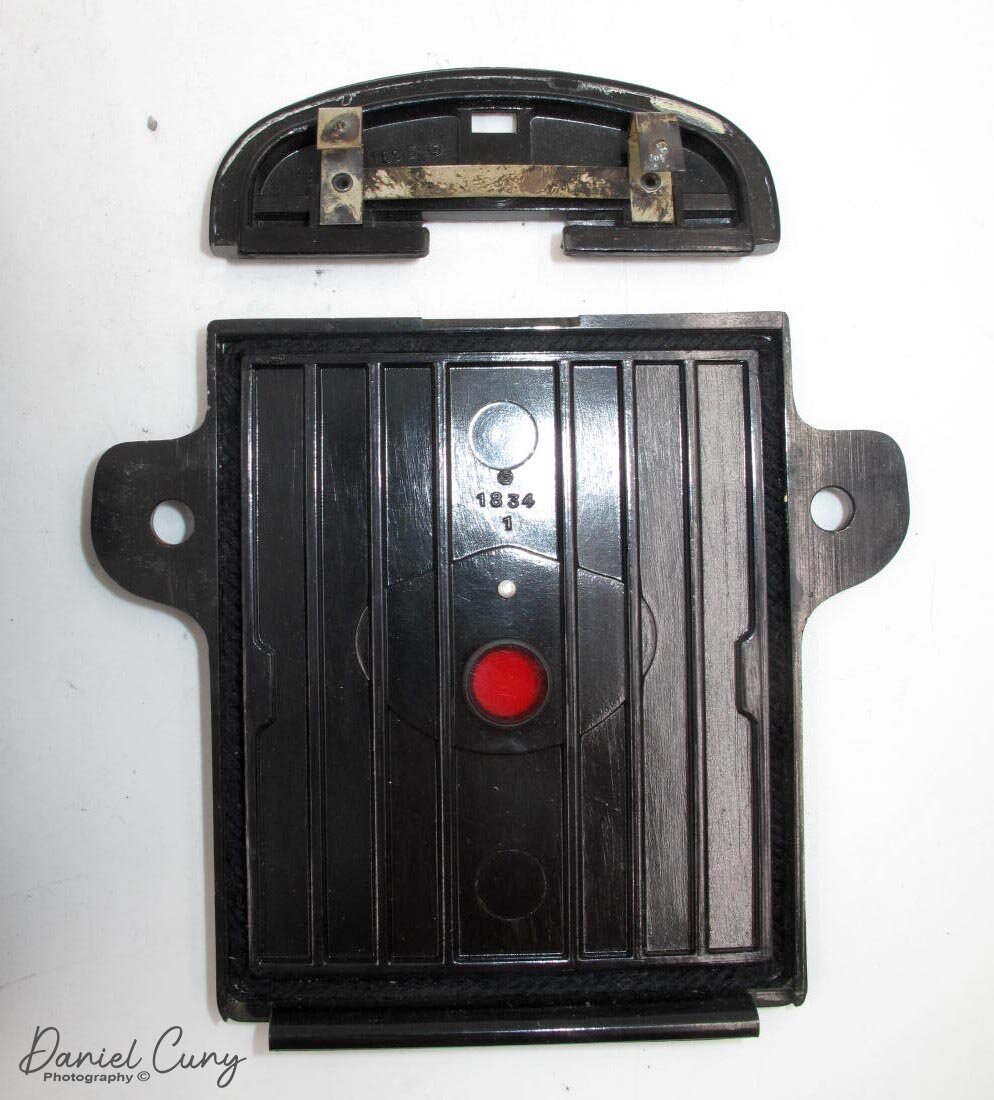
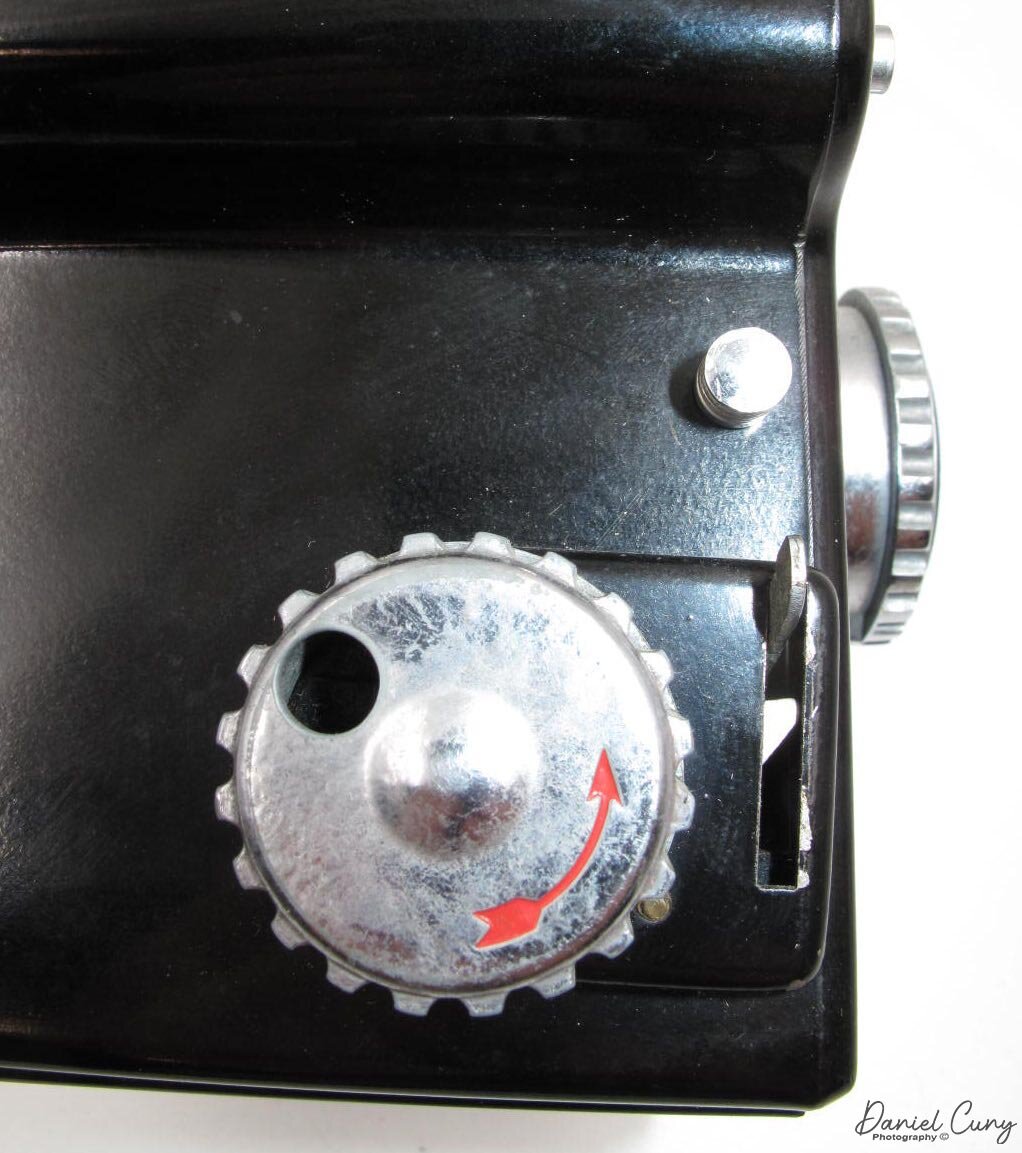
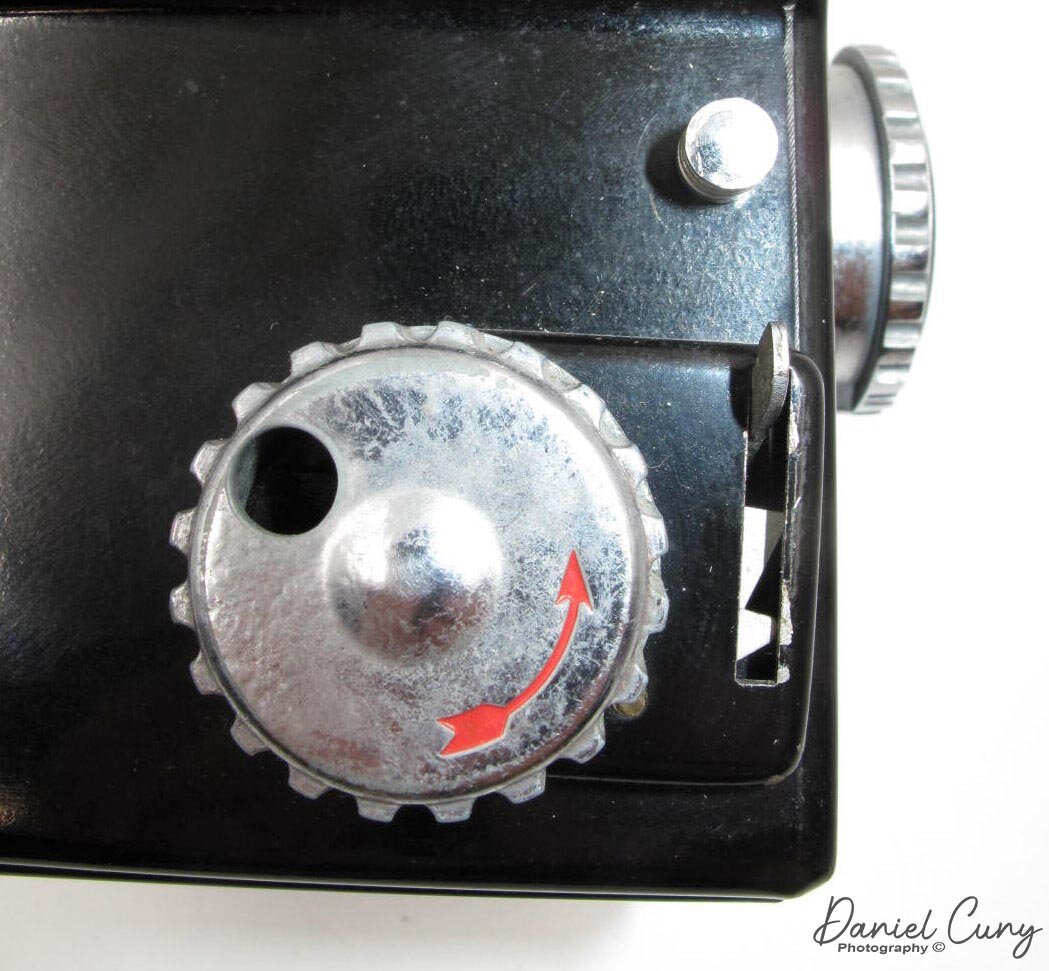
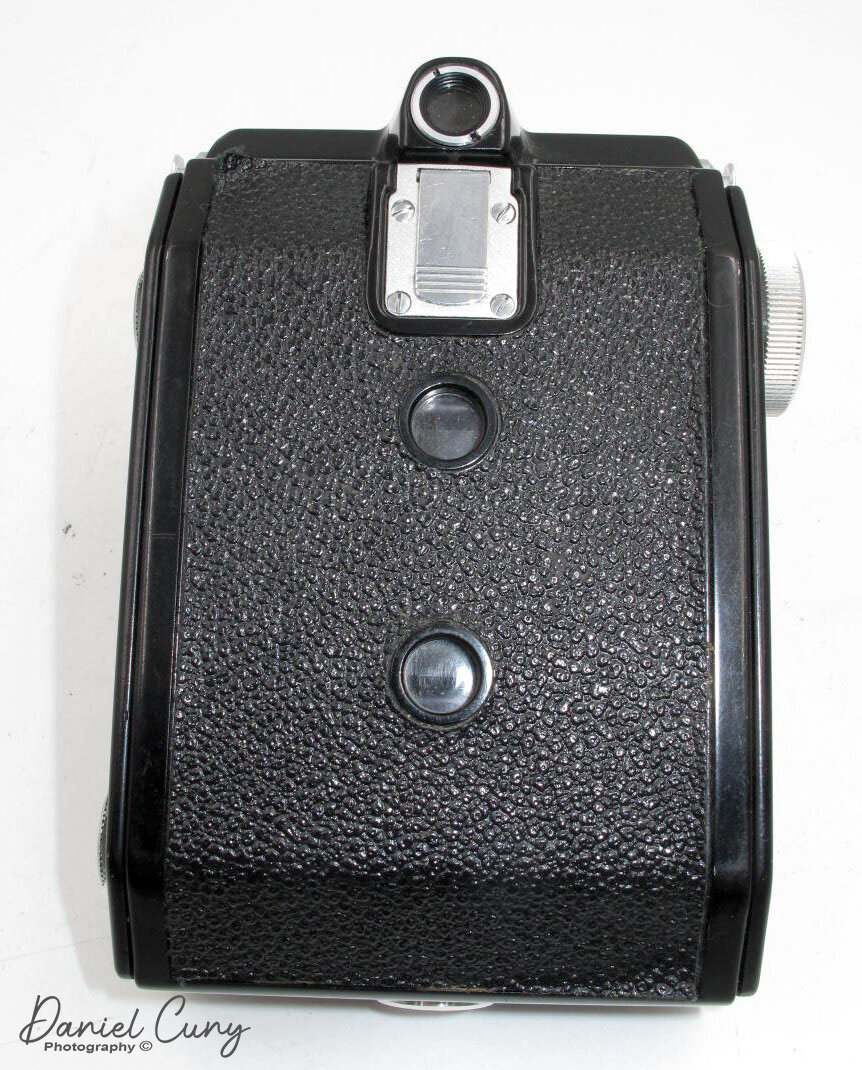
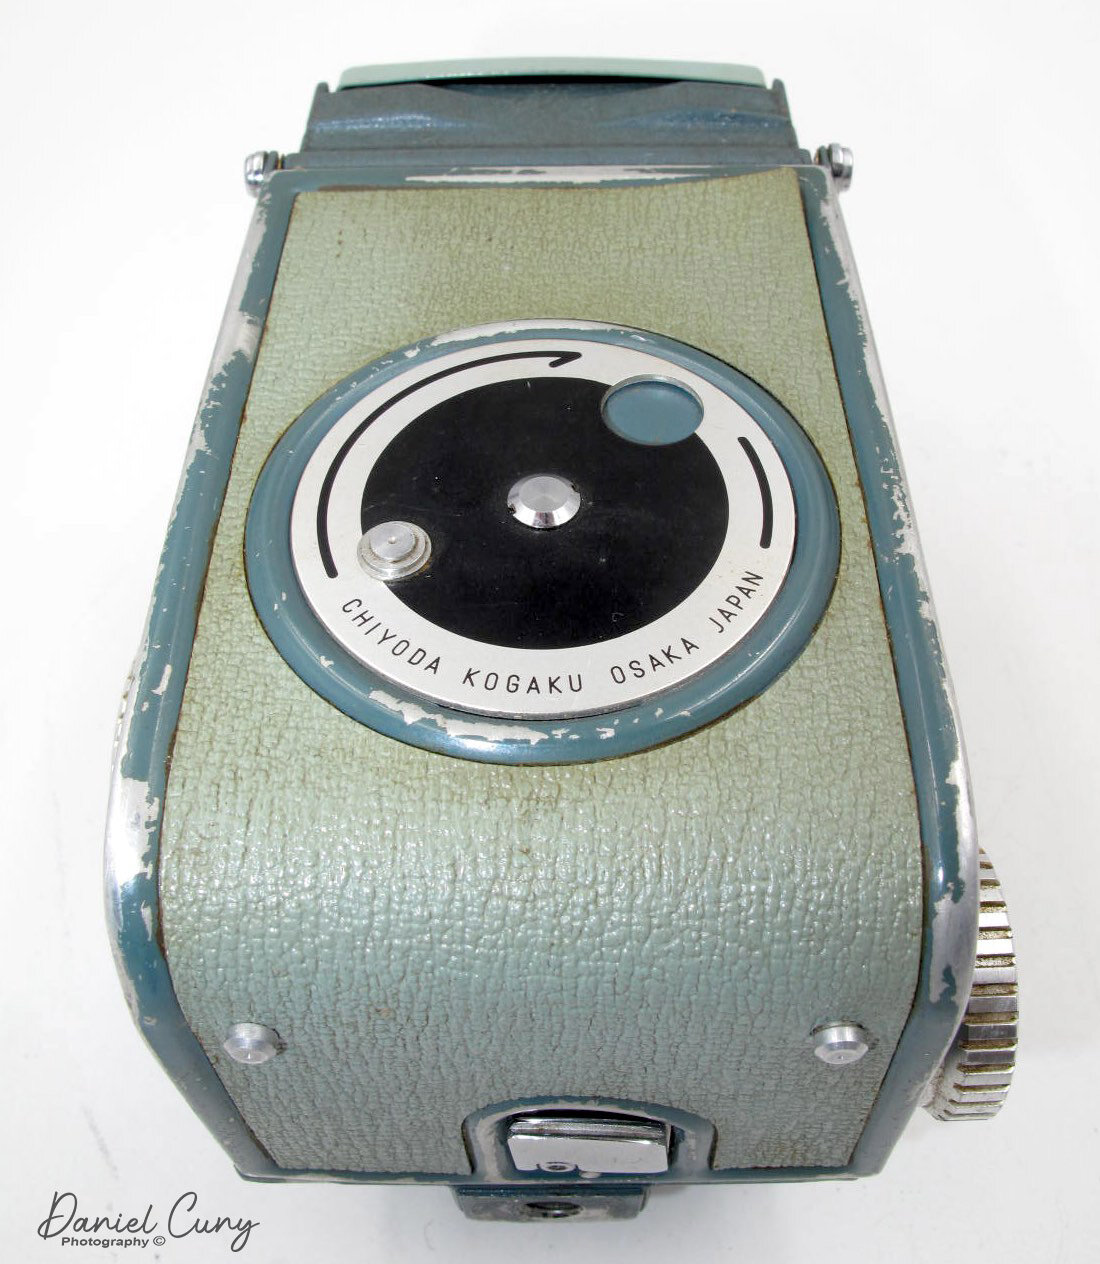
Just above the film chamber is an advance lever. Wind the lever to advance the film. Close the back. On the right side of the camera is the red window. There is an inside cover for the window. It's opened/closed by the square knob above the red window. I watch until the frame number reaches #1. Then I close the window. Above the square knob is a switch. This switch resets the frame counter, which you can see on the back of the camera. The film advance lever doesn't automatically stop at the next frame, so you need to advance it until you see the frame number which is five cranks.

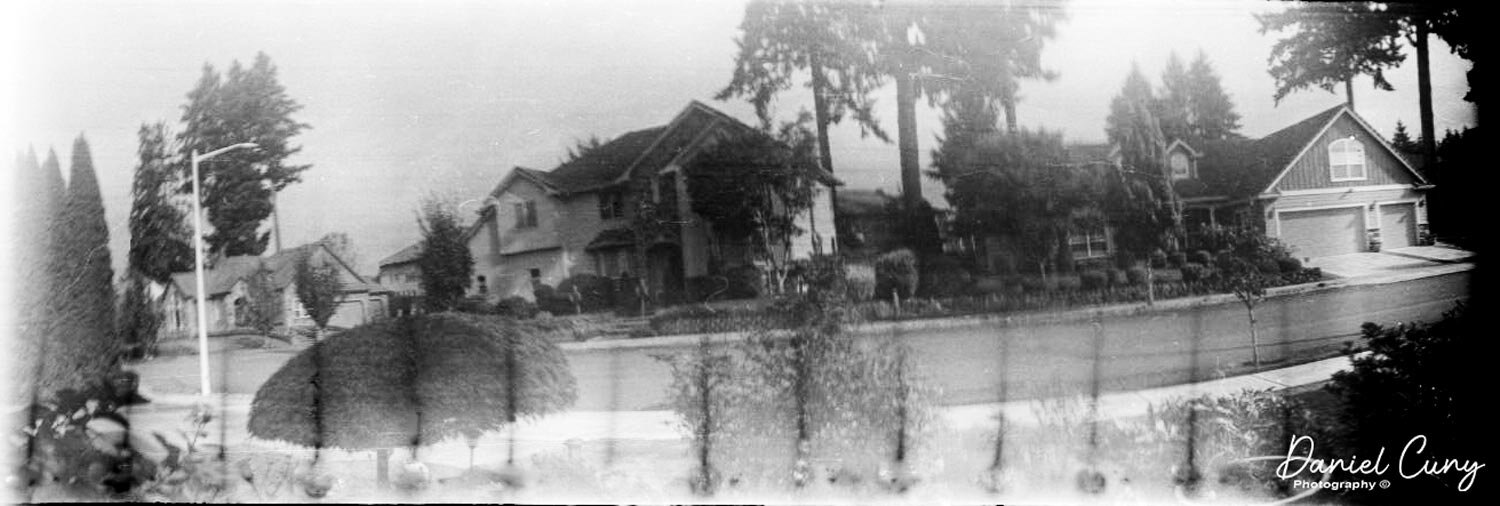
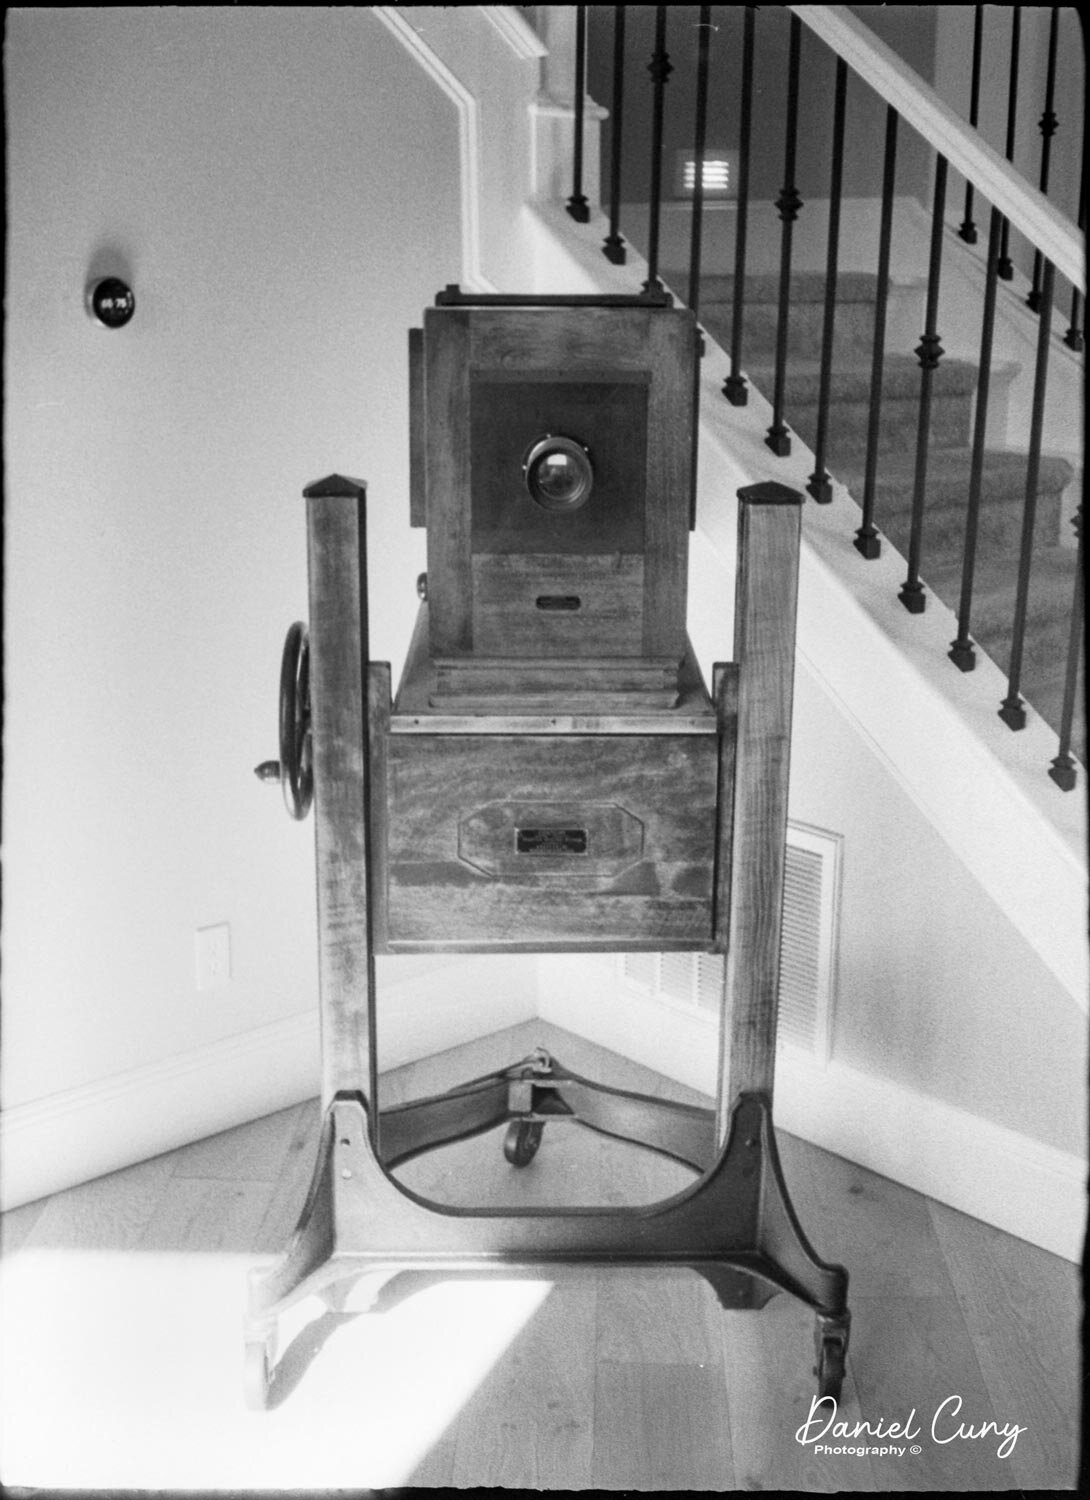
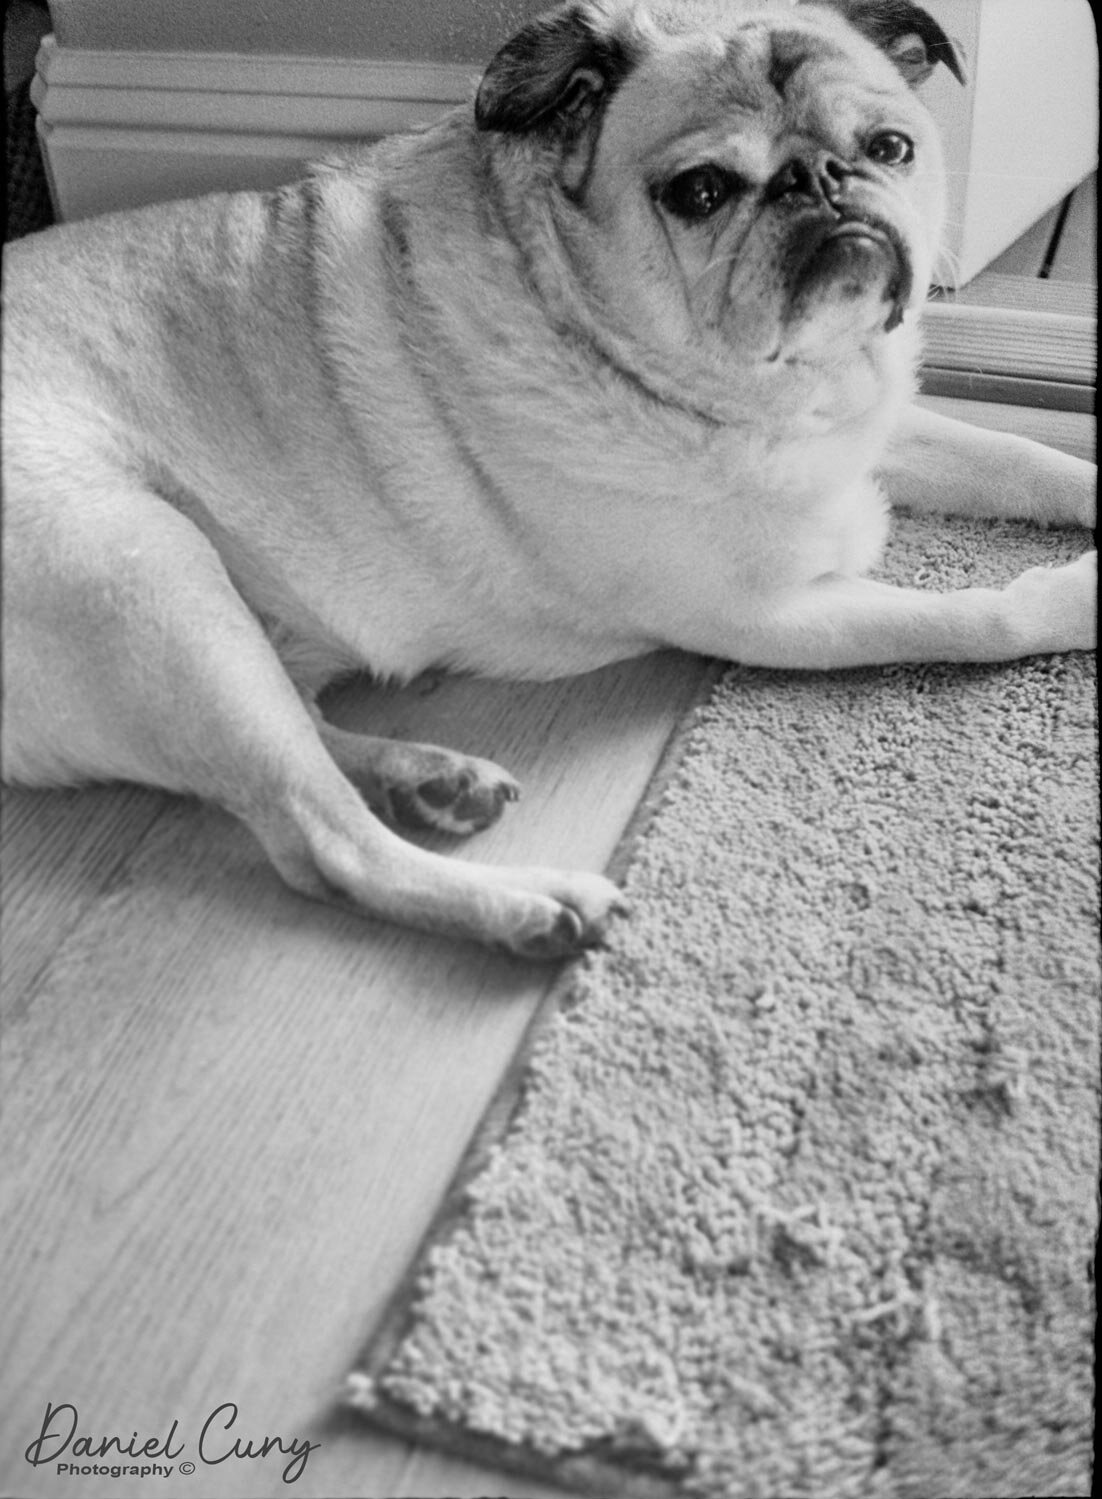
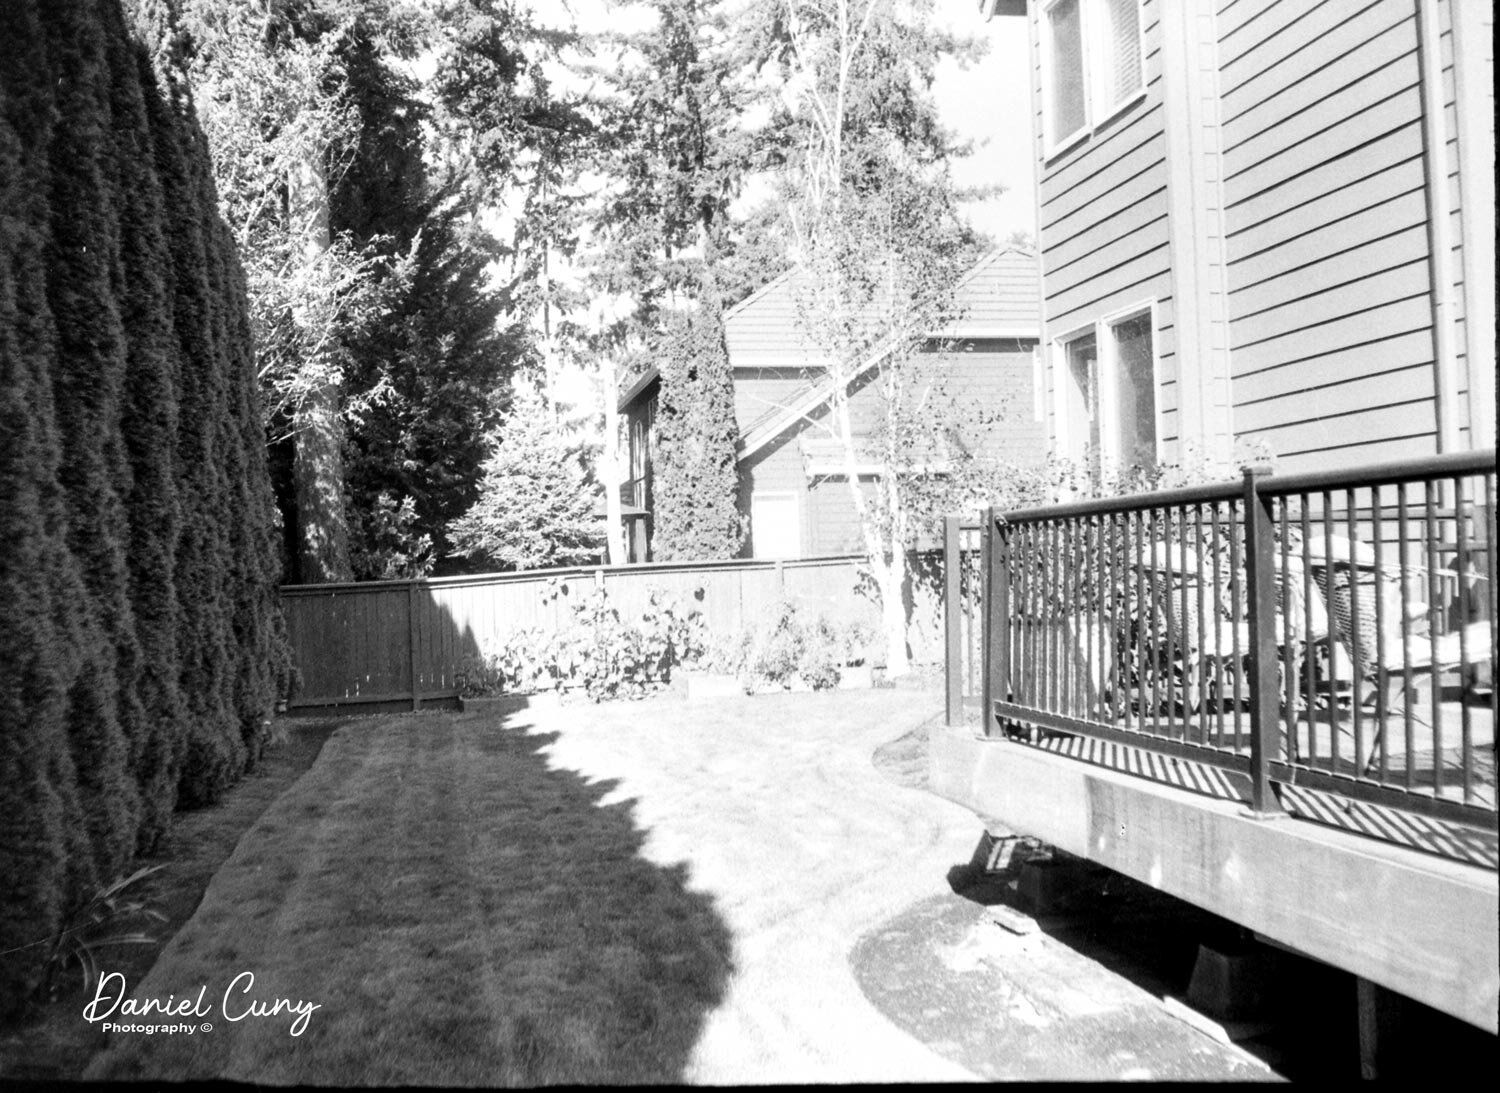
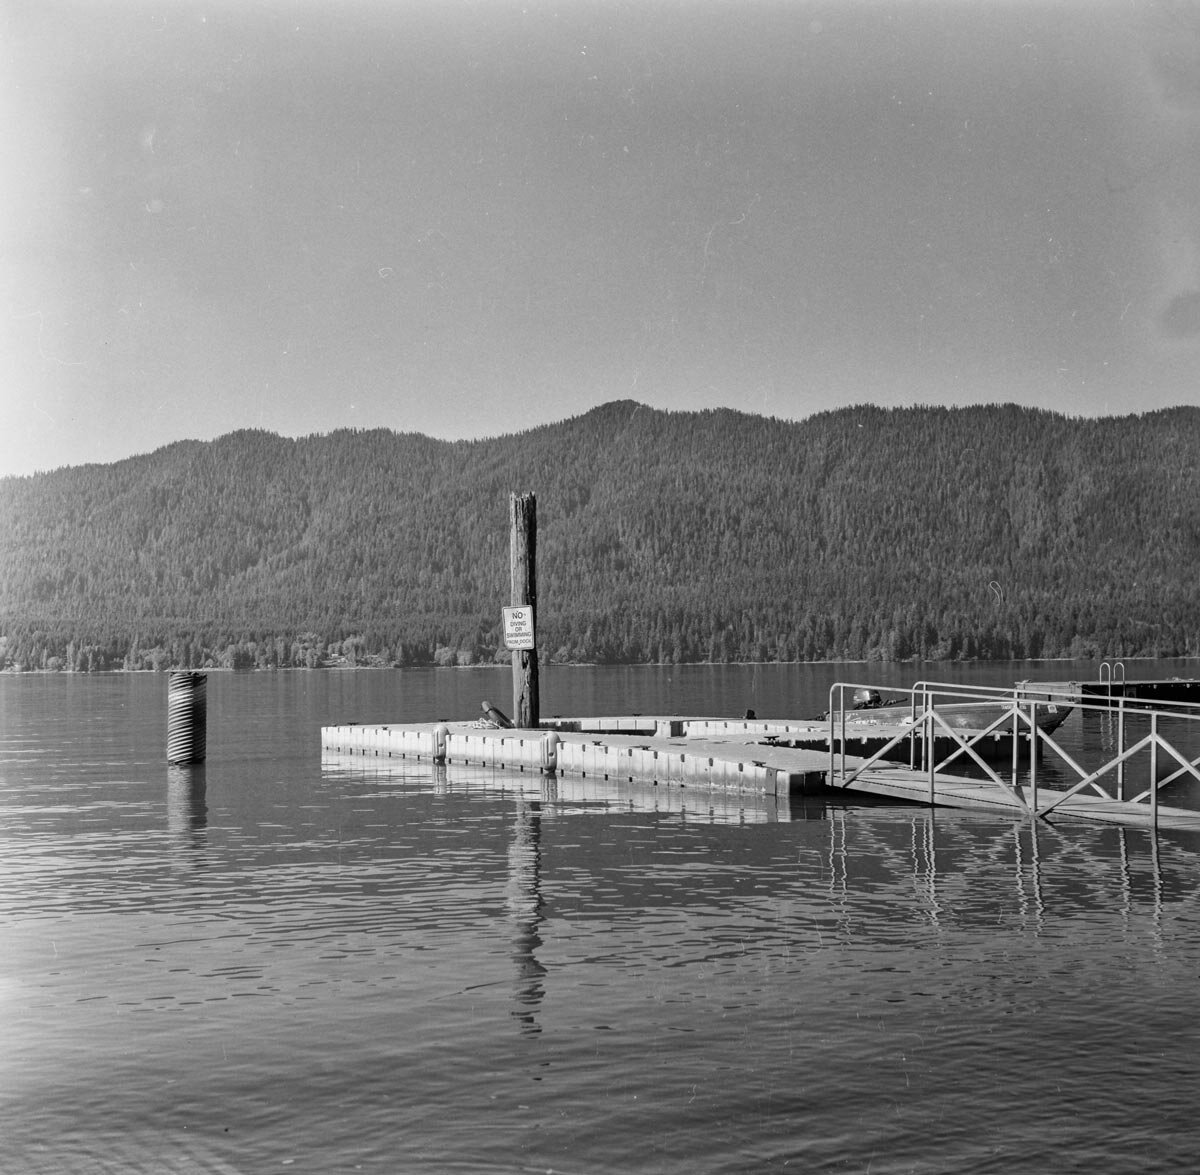
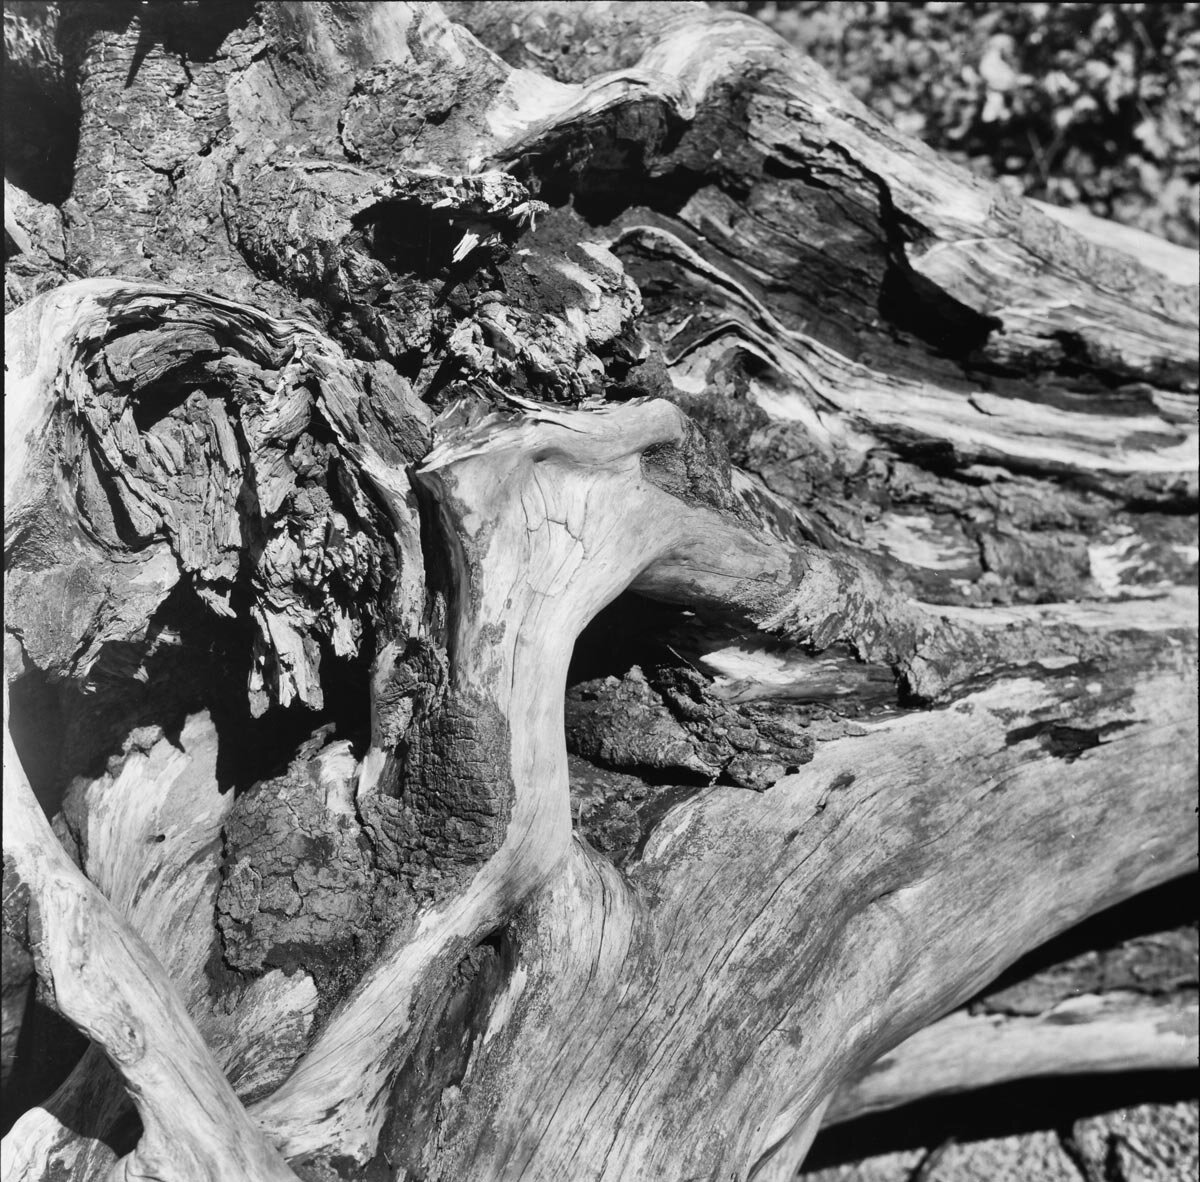
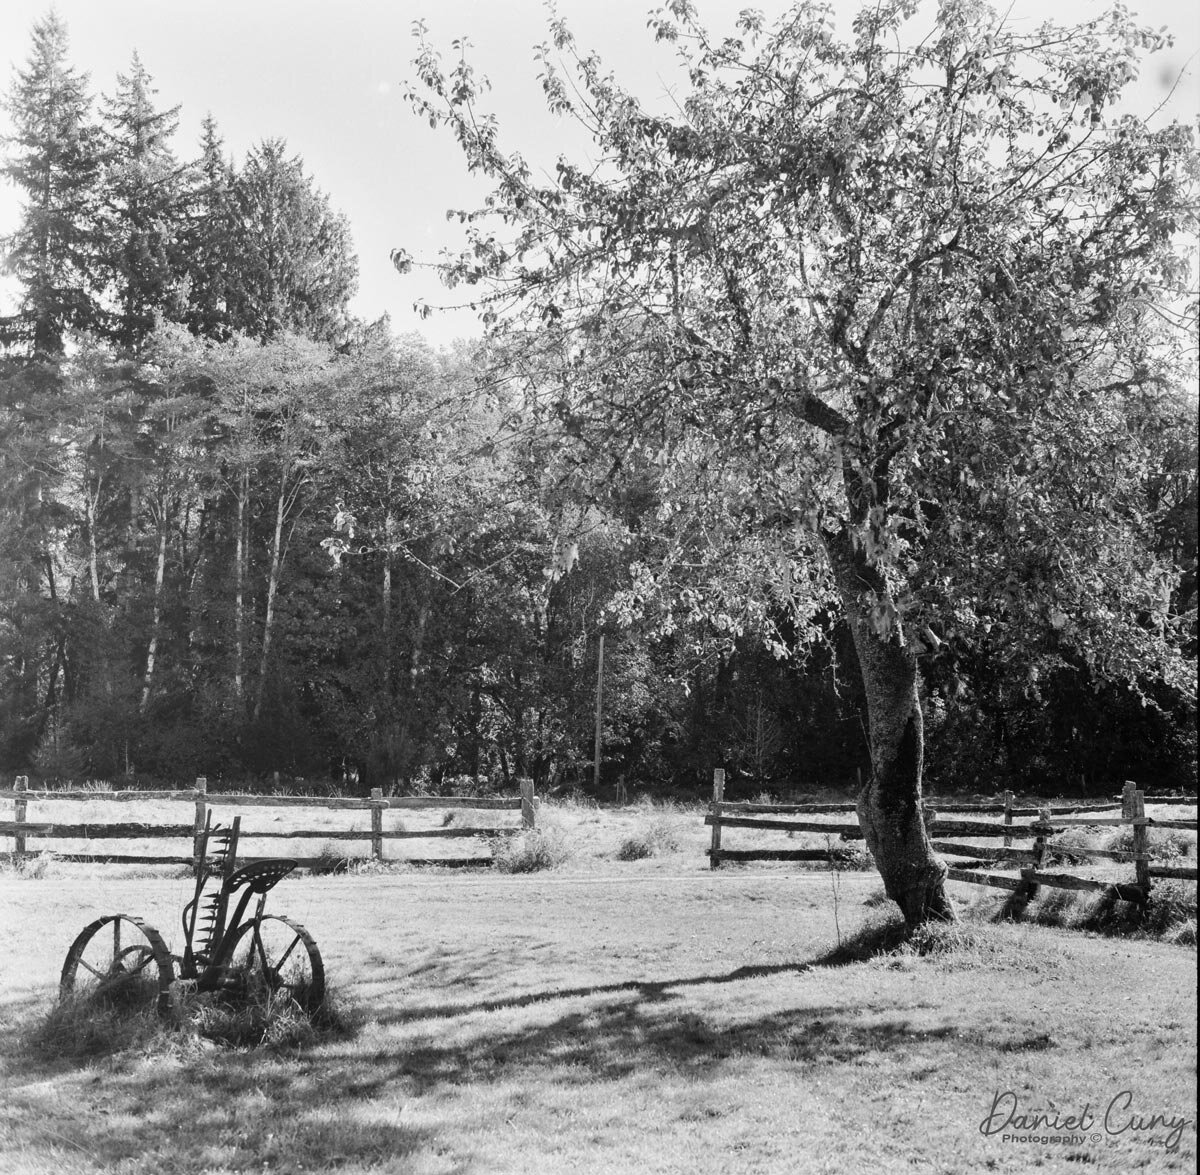
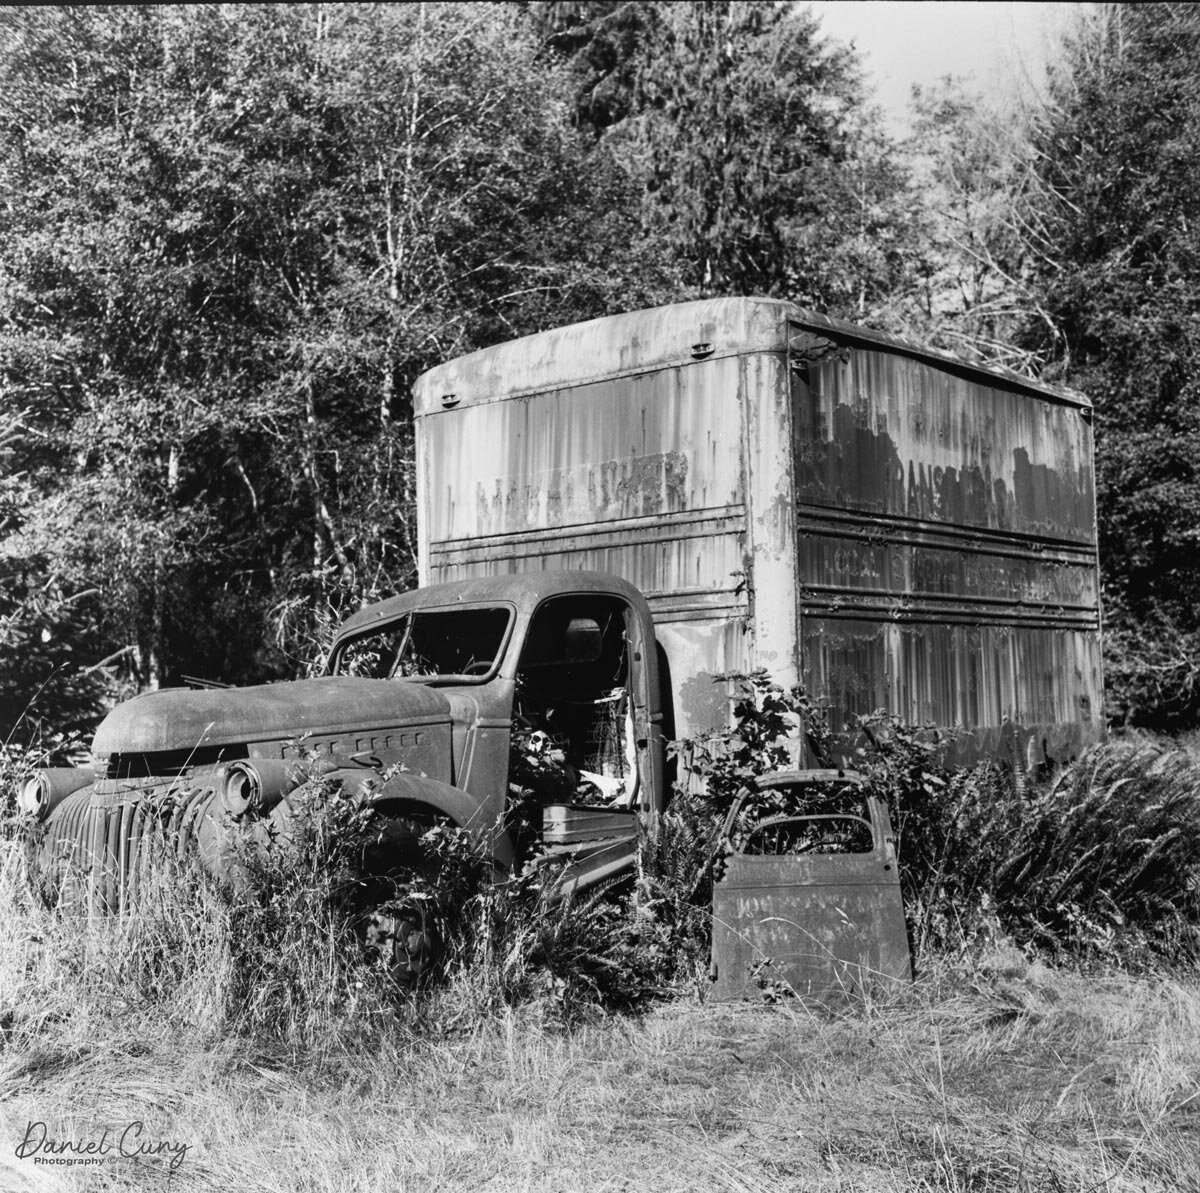
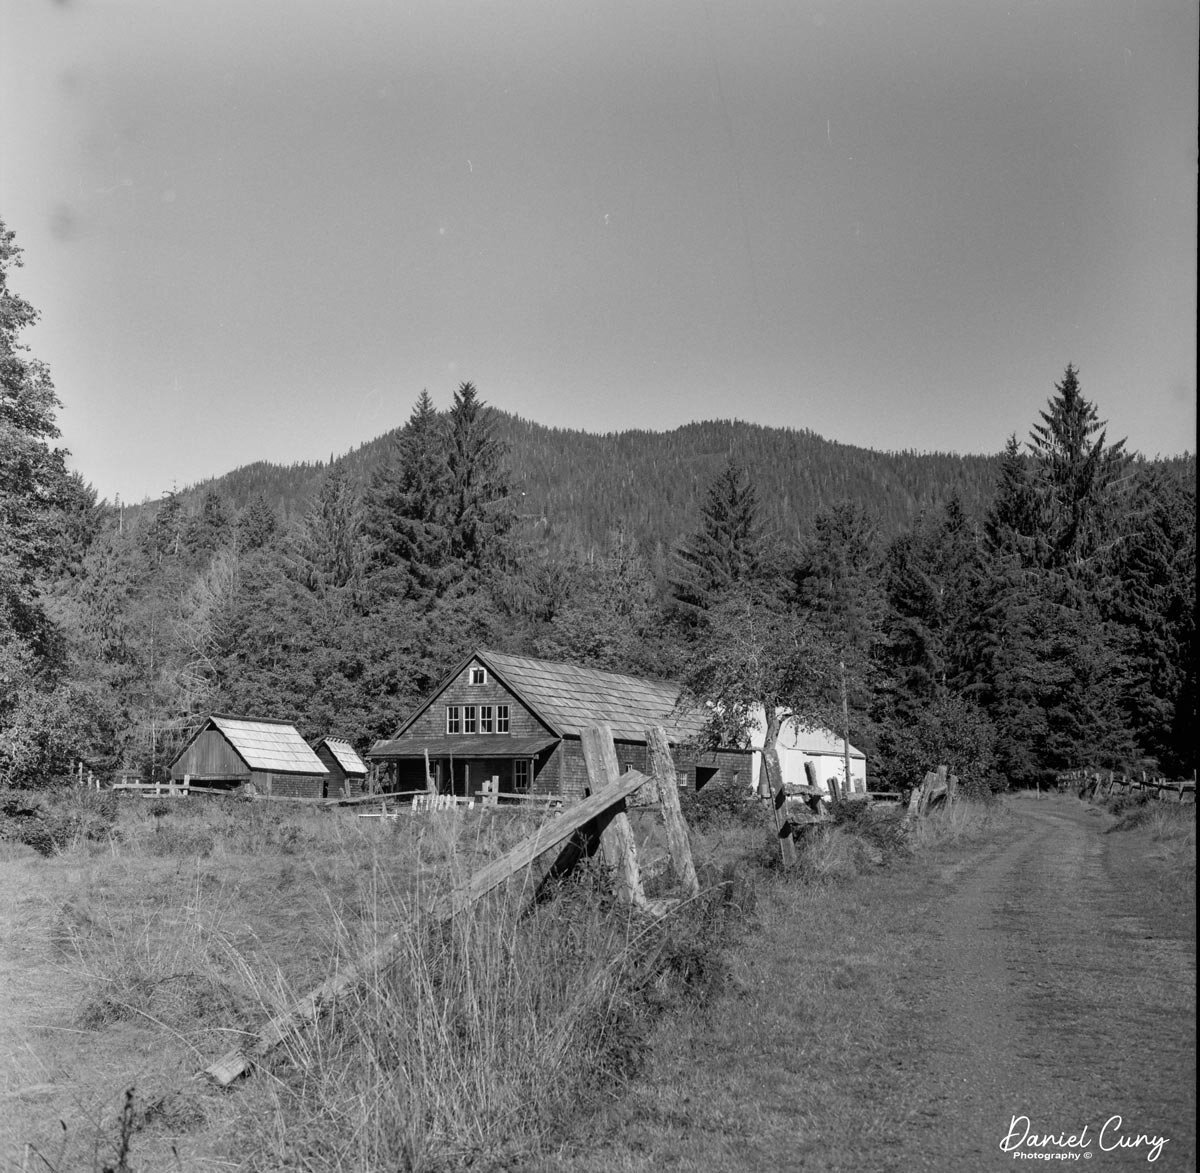
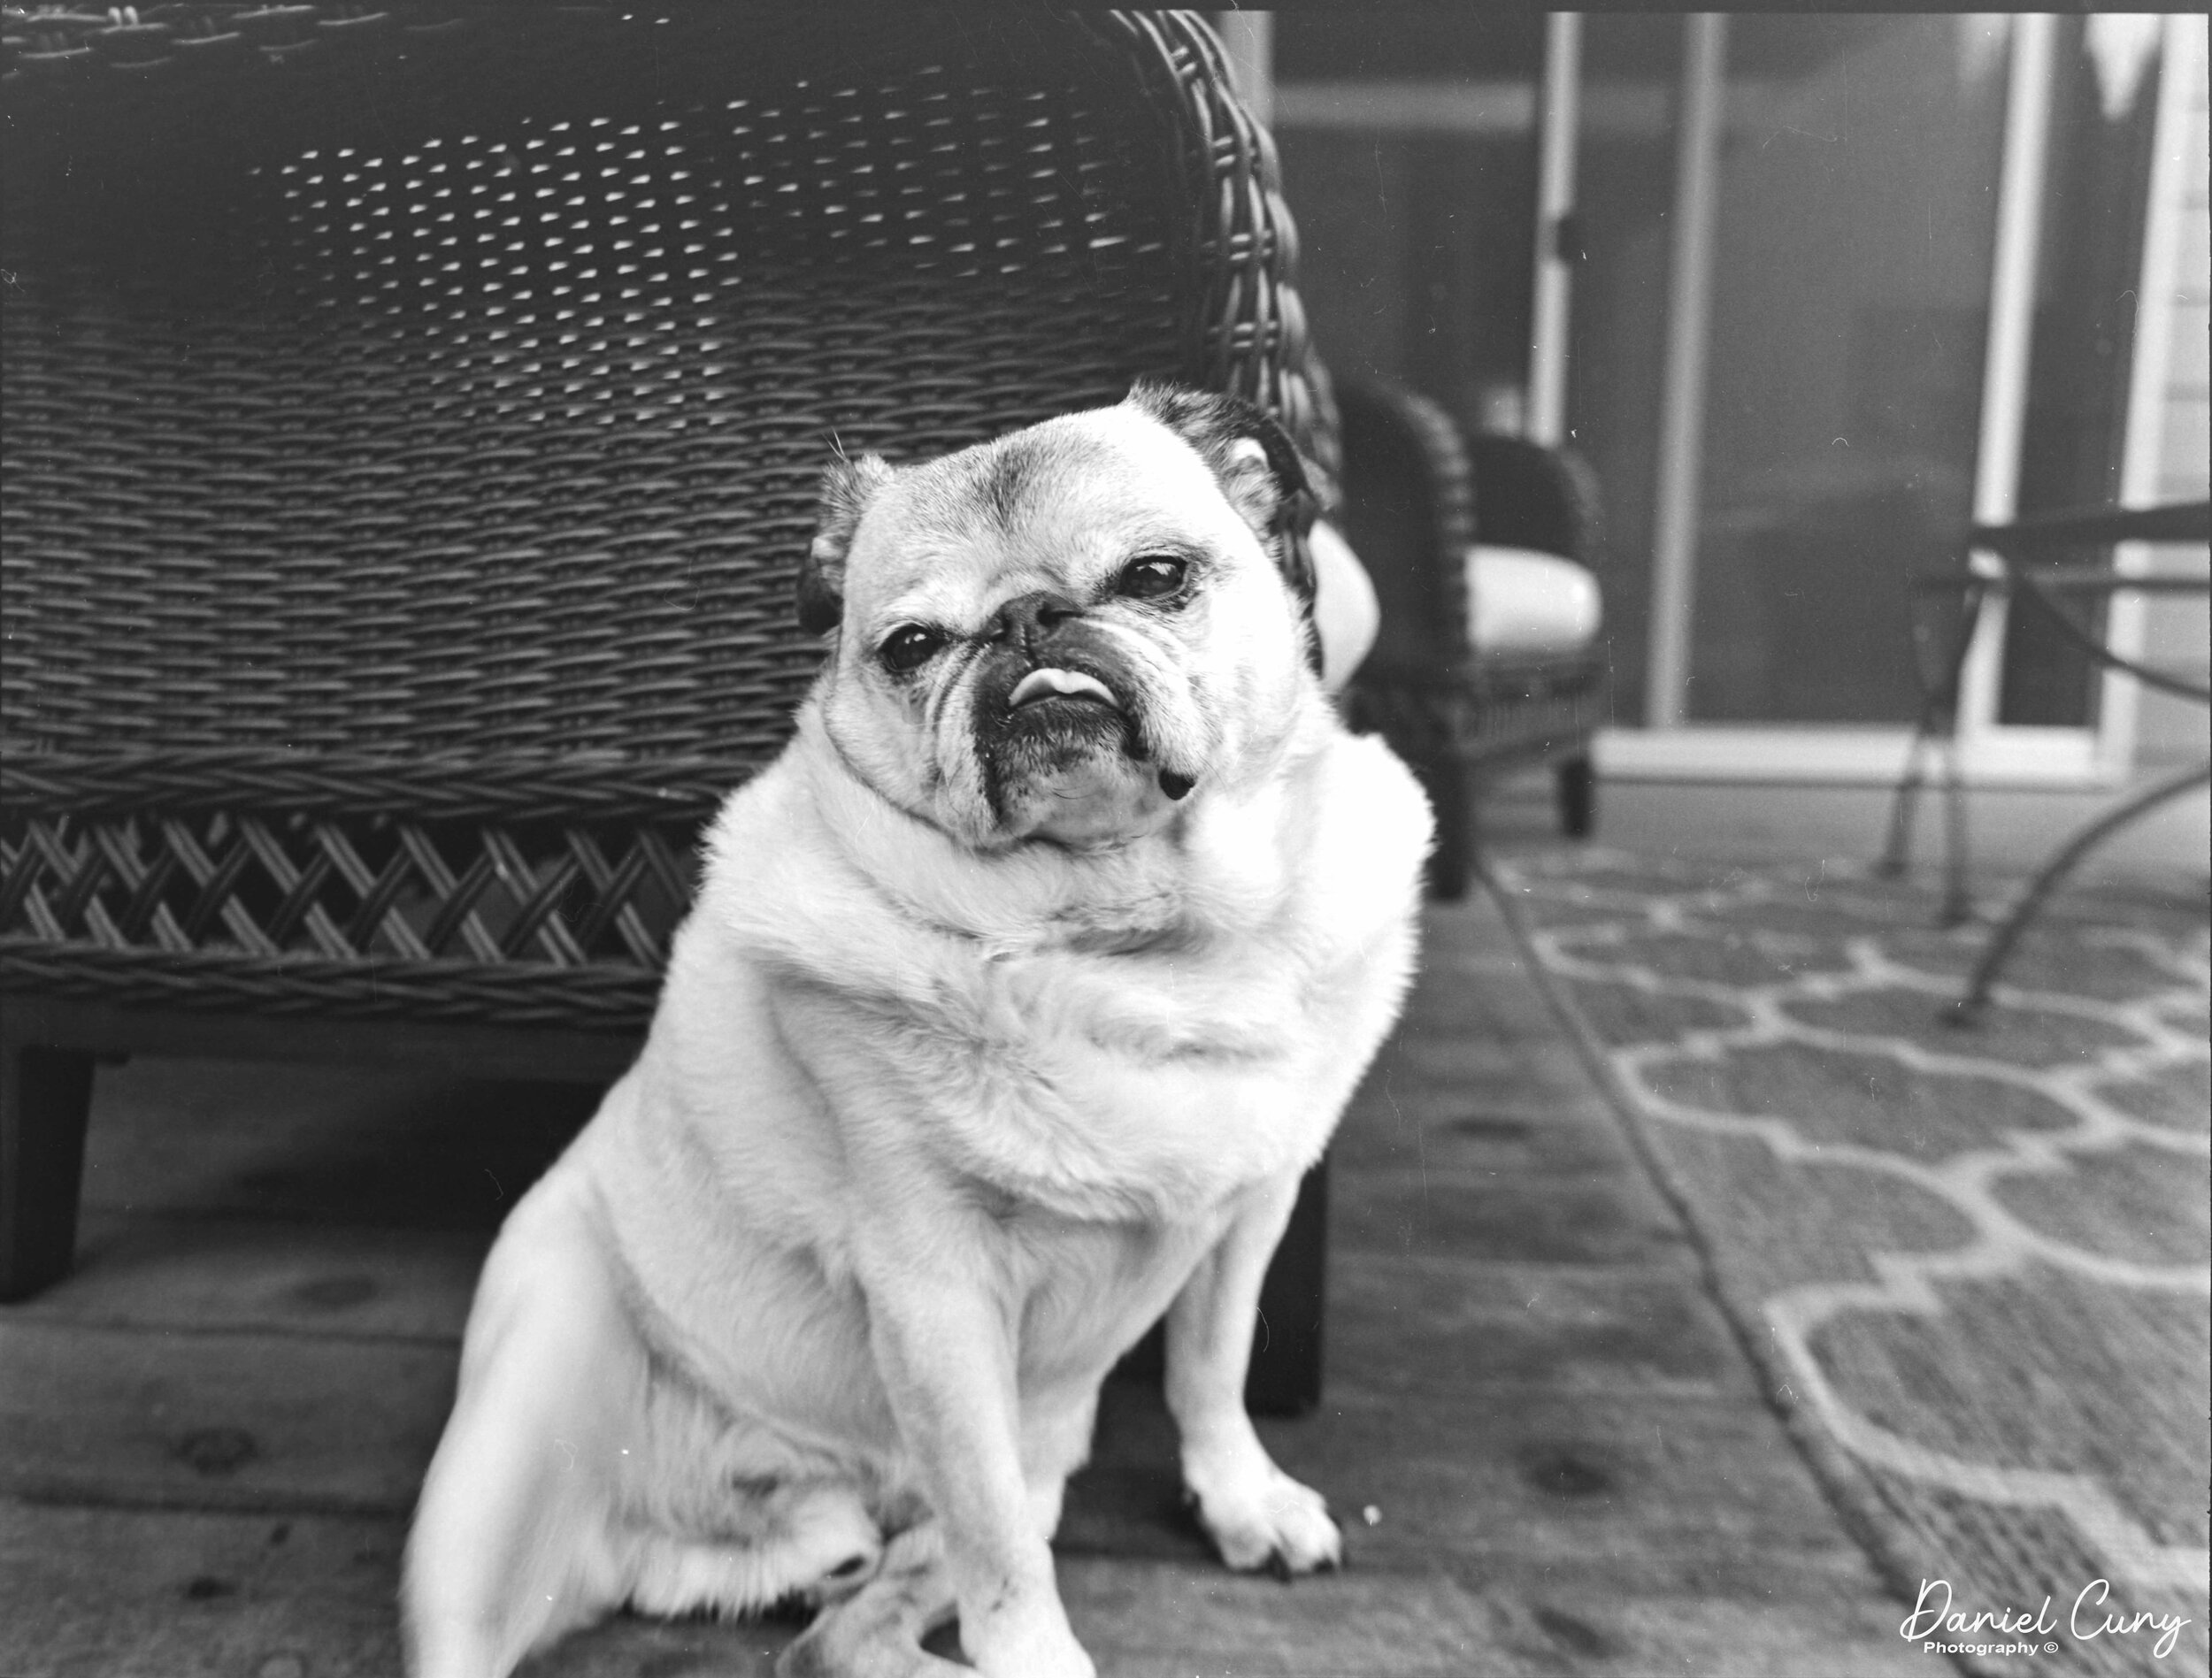
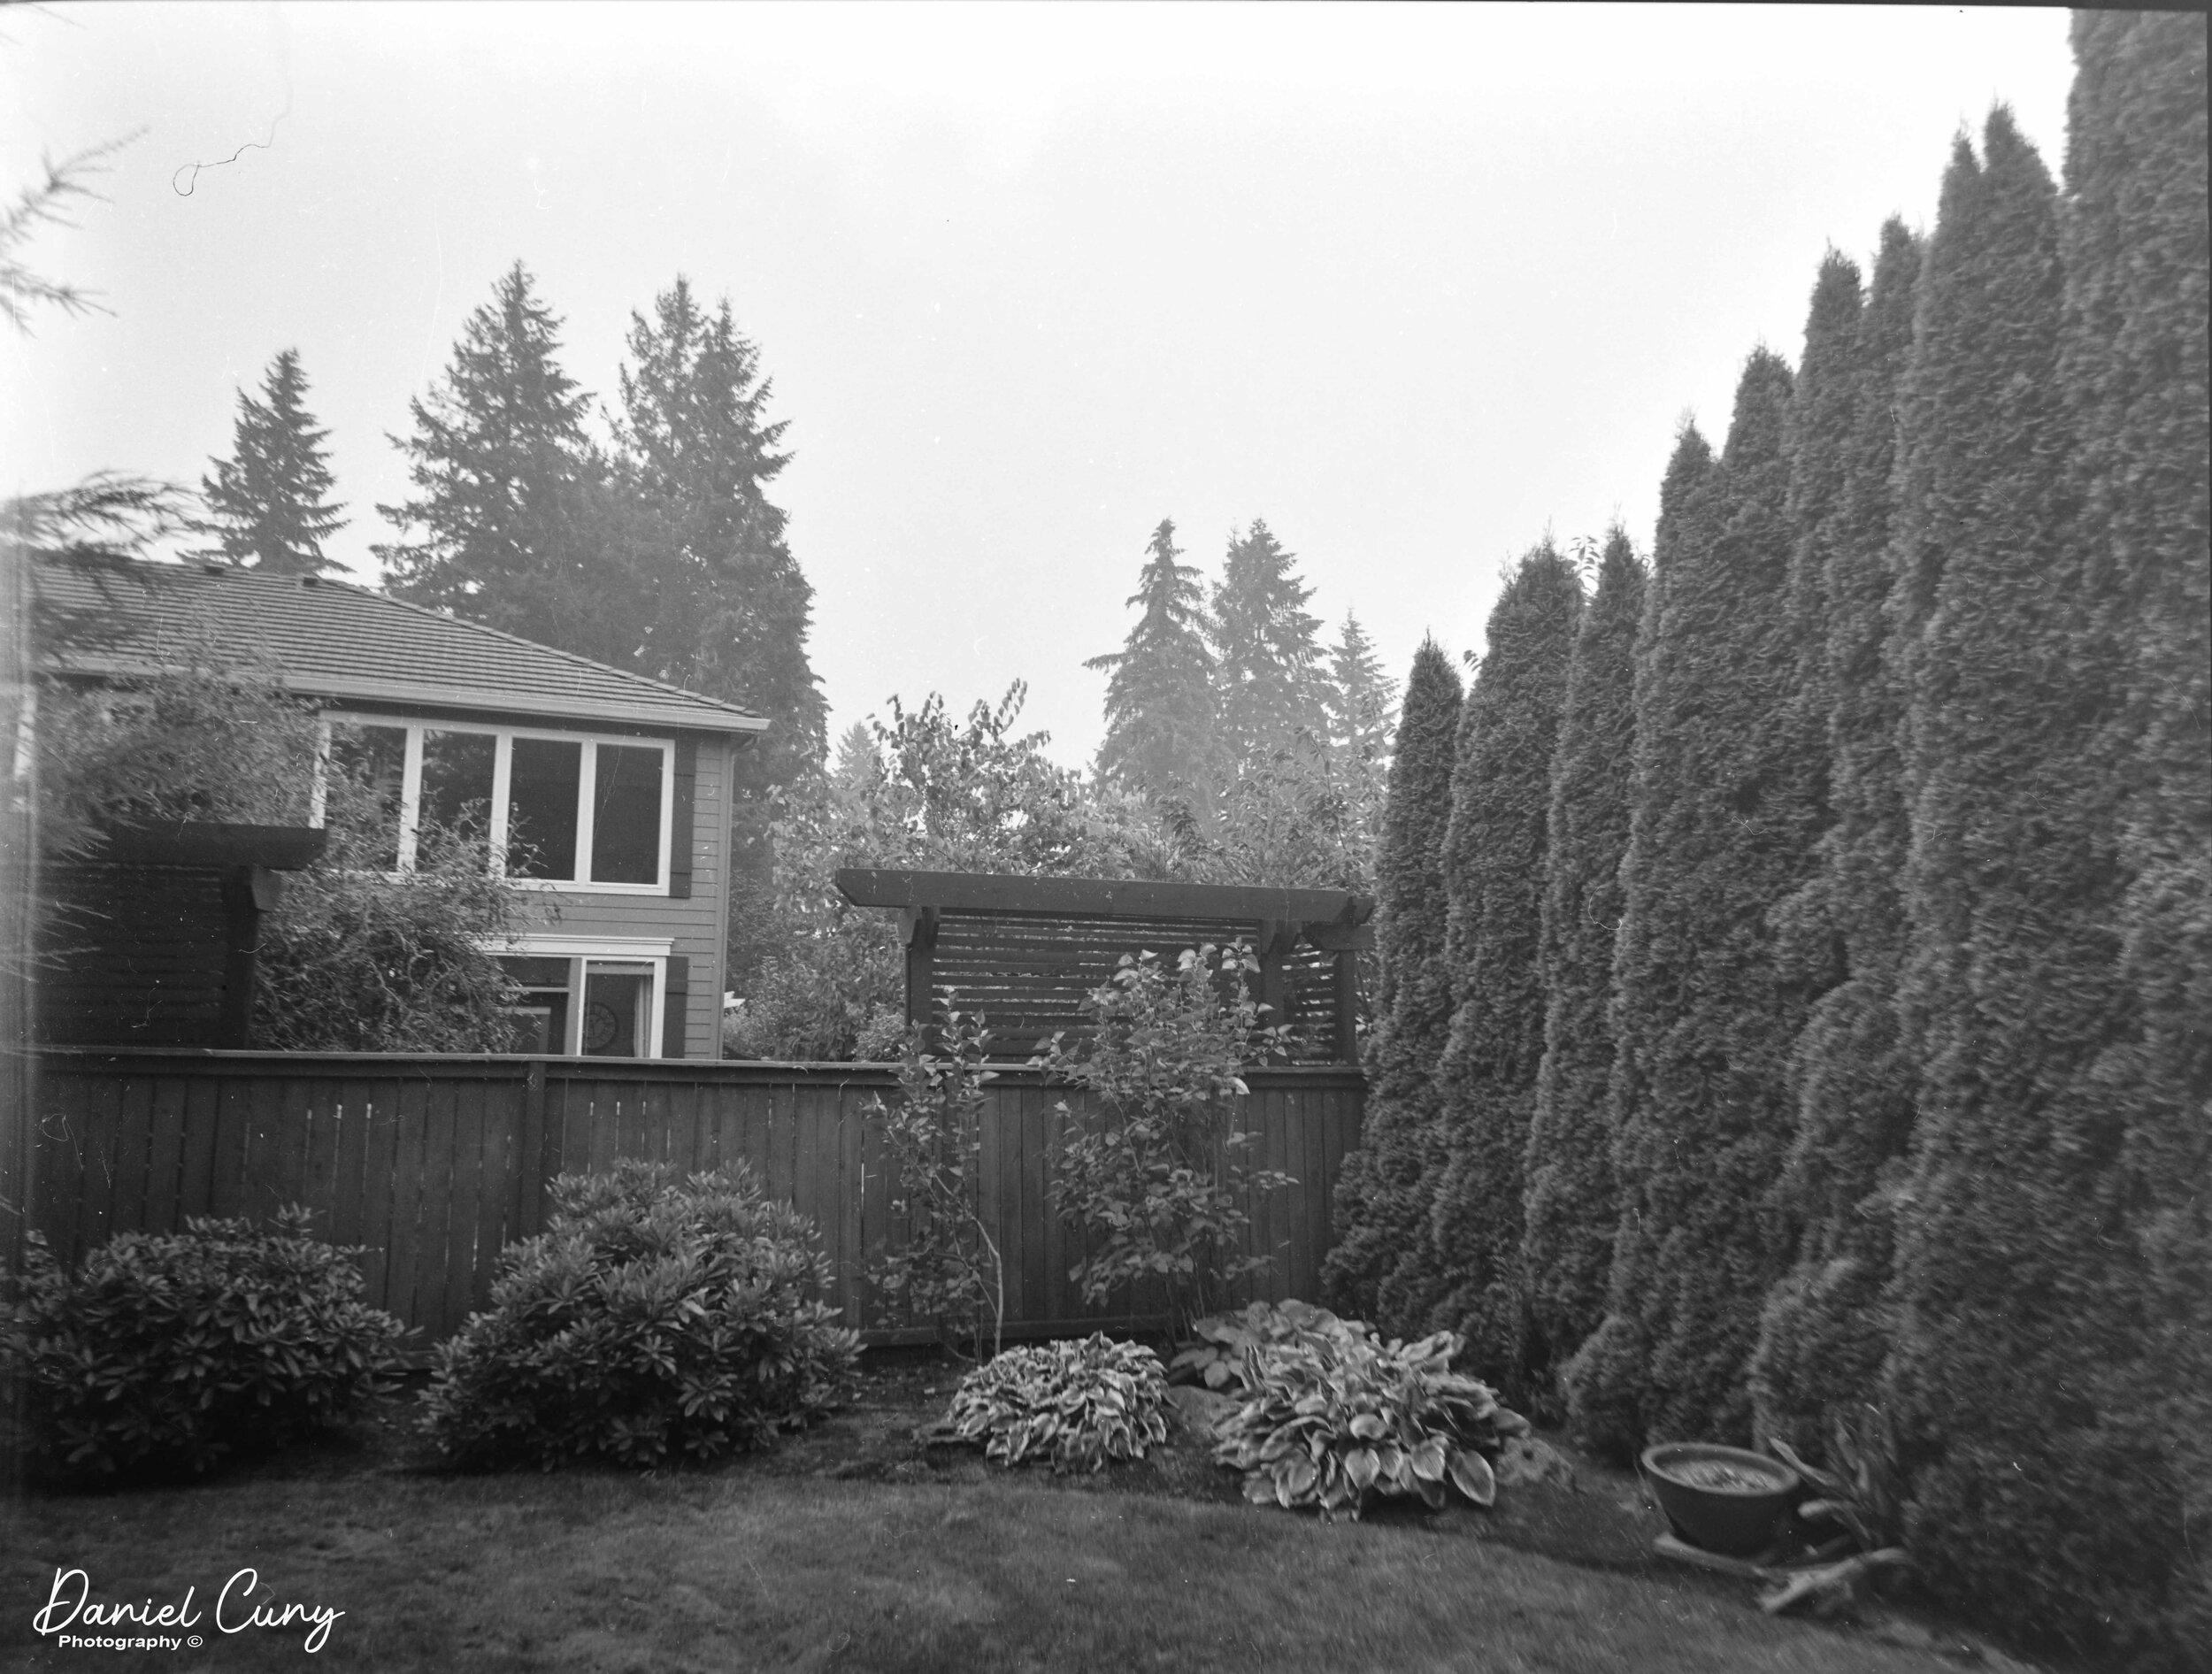
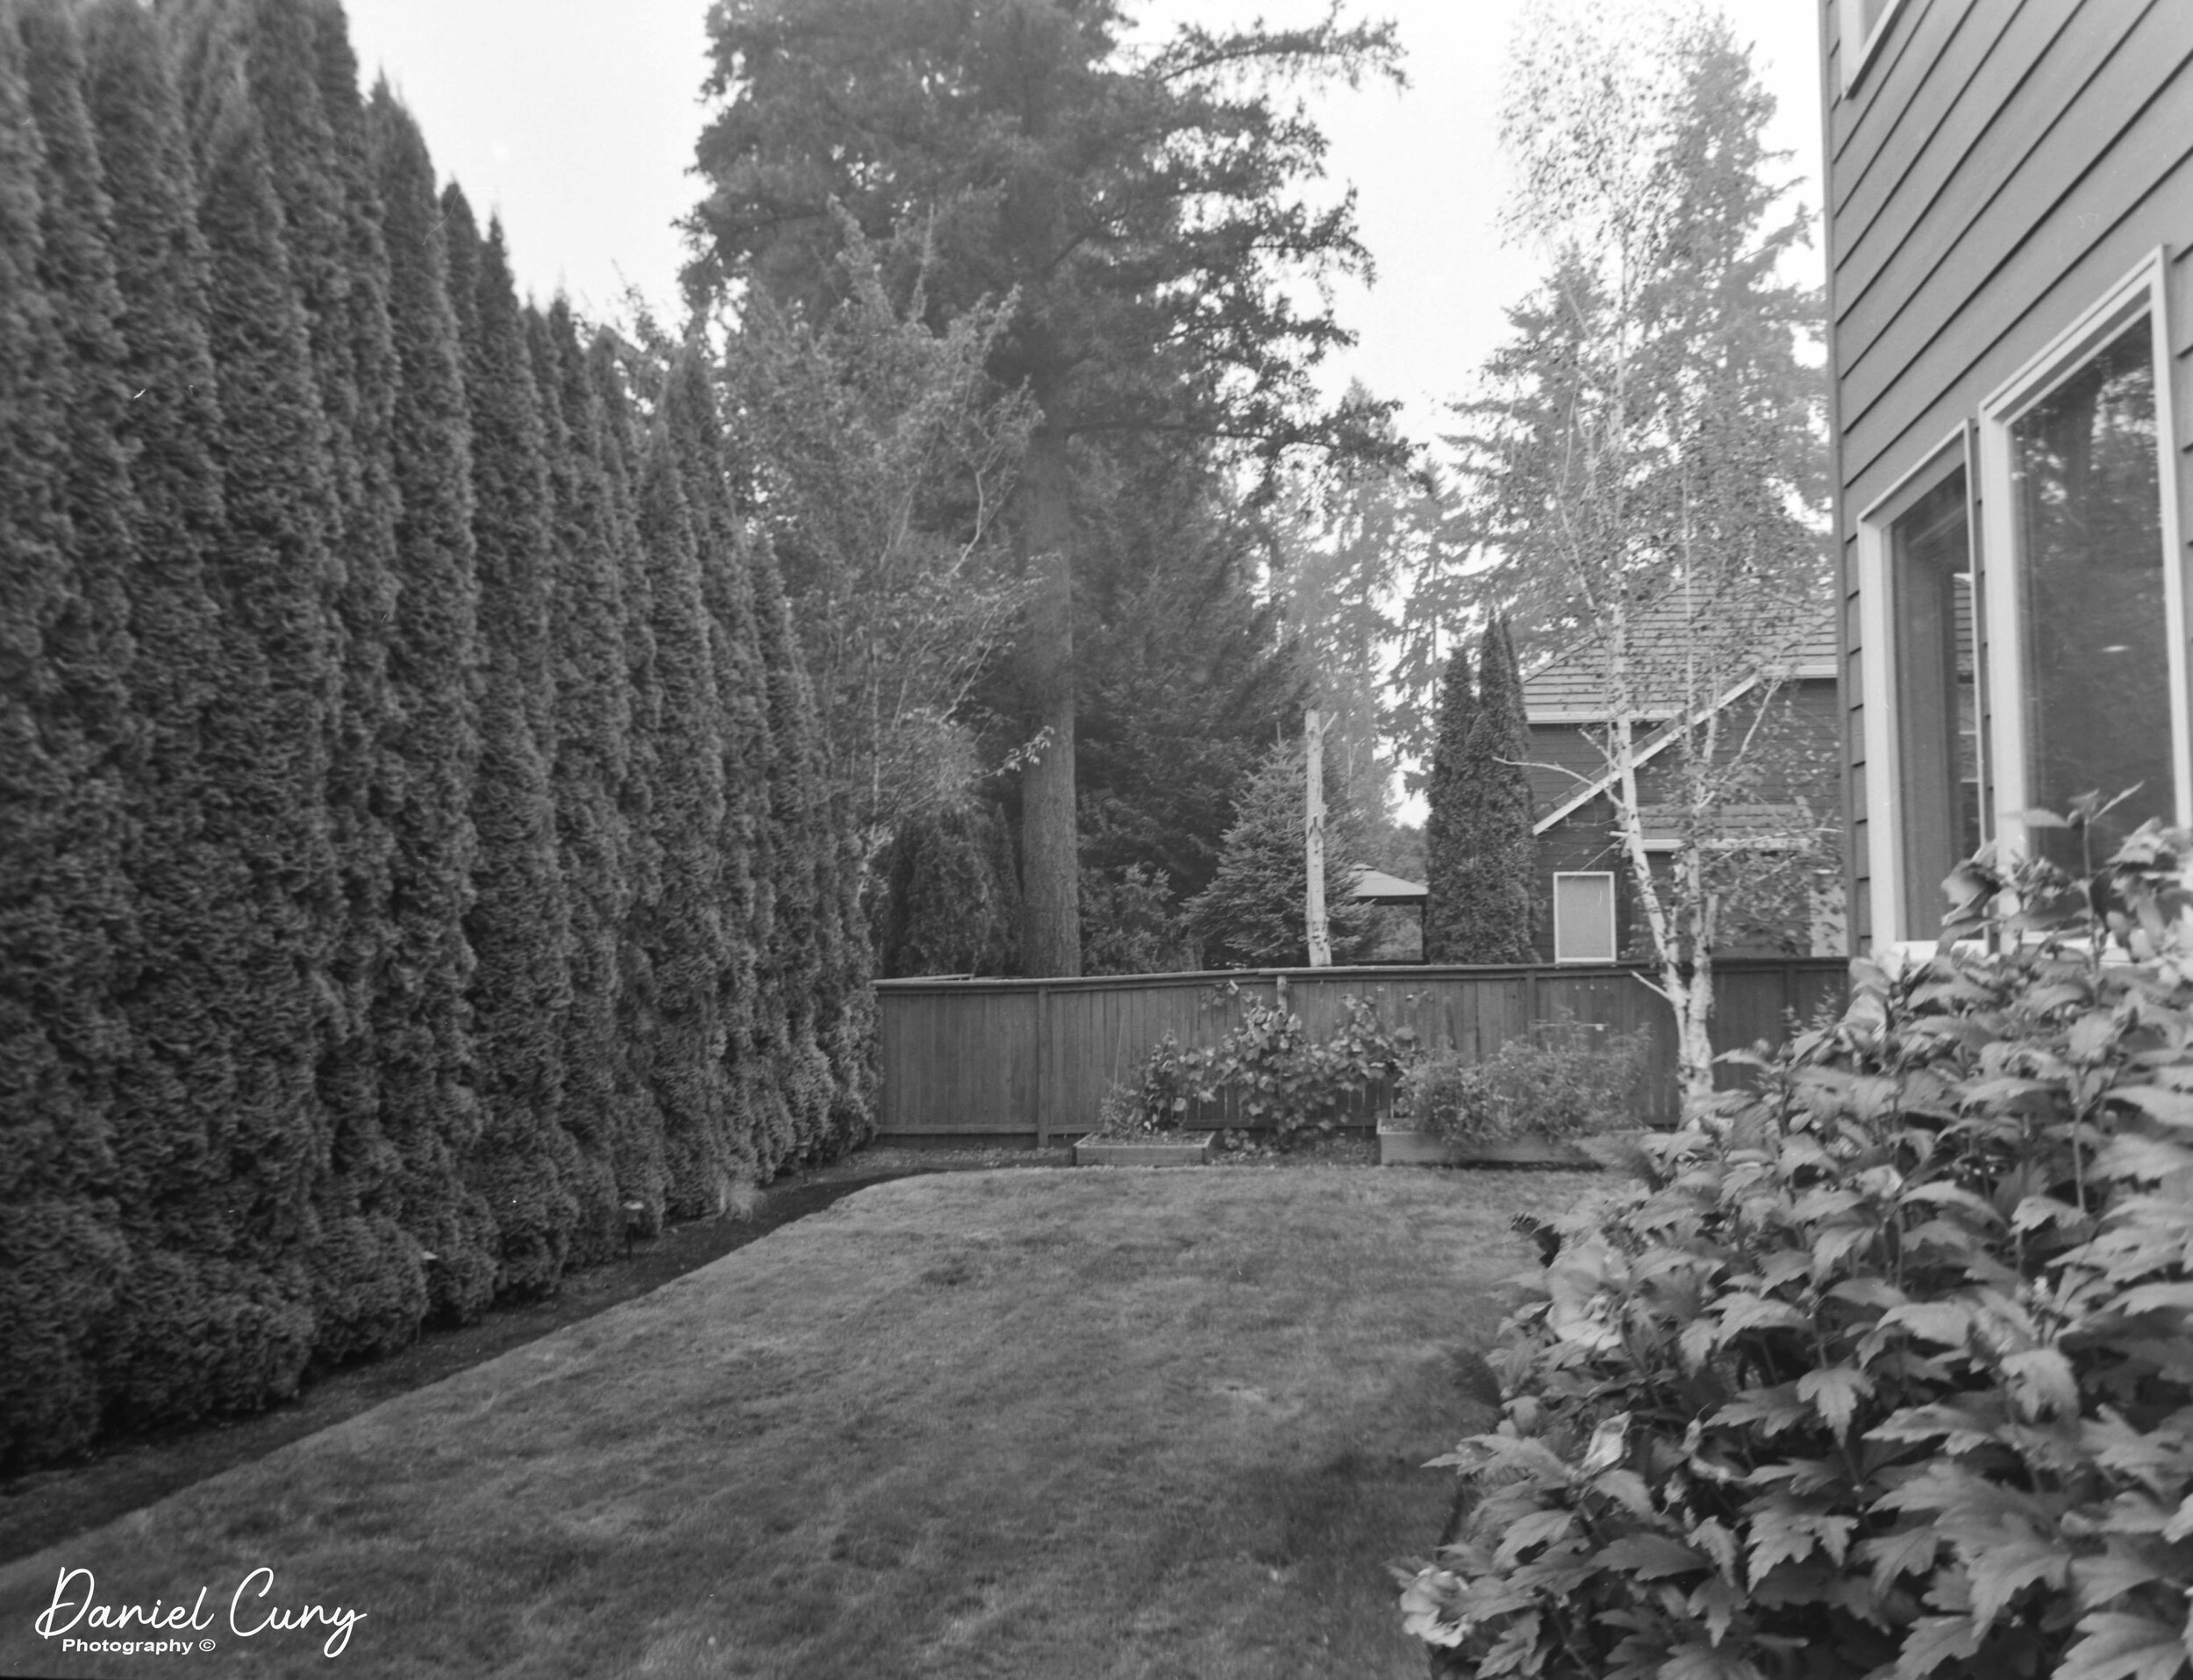
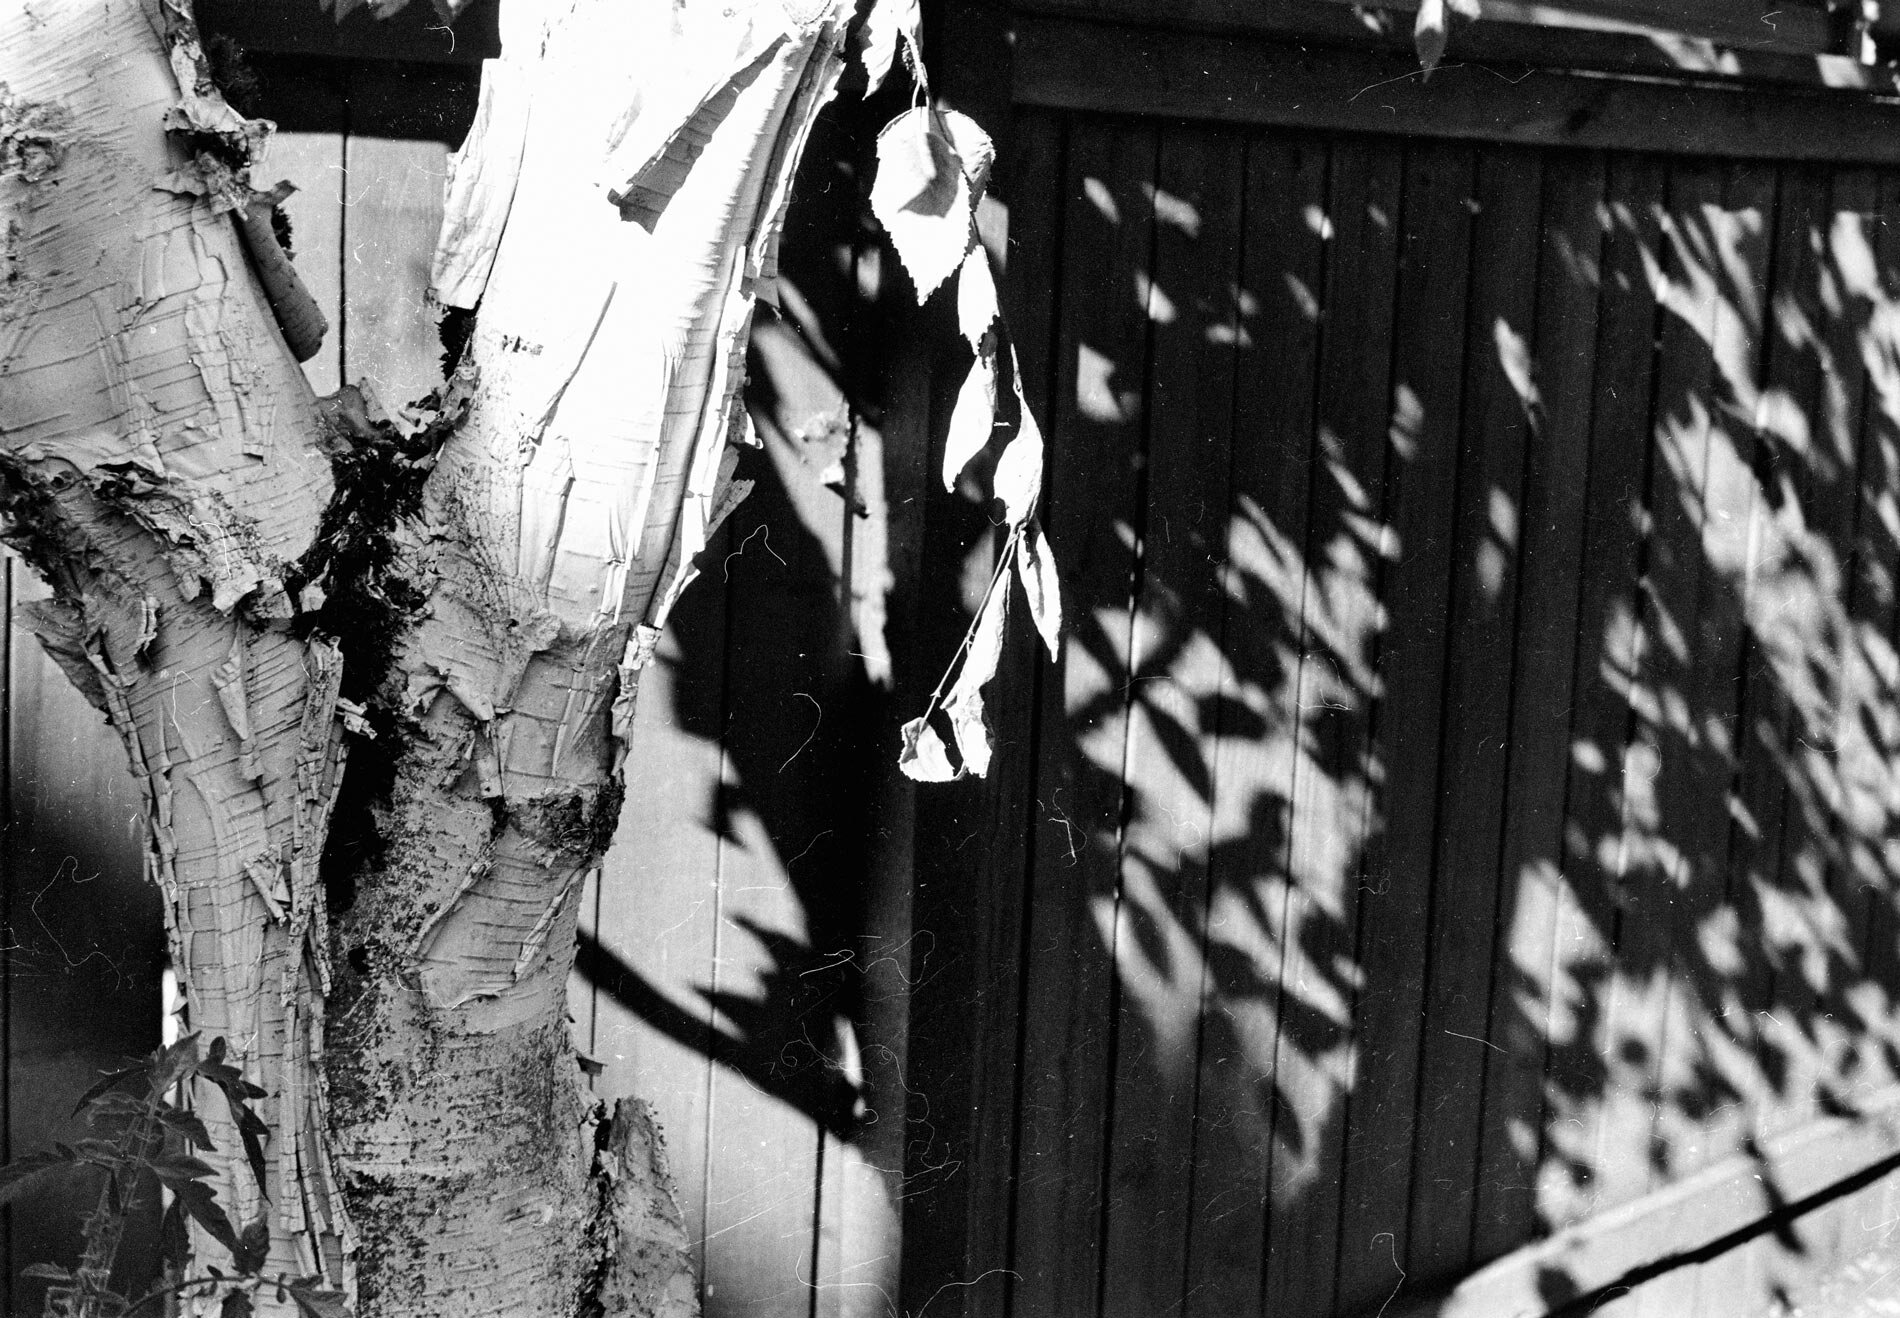
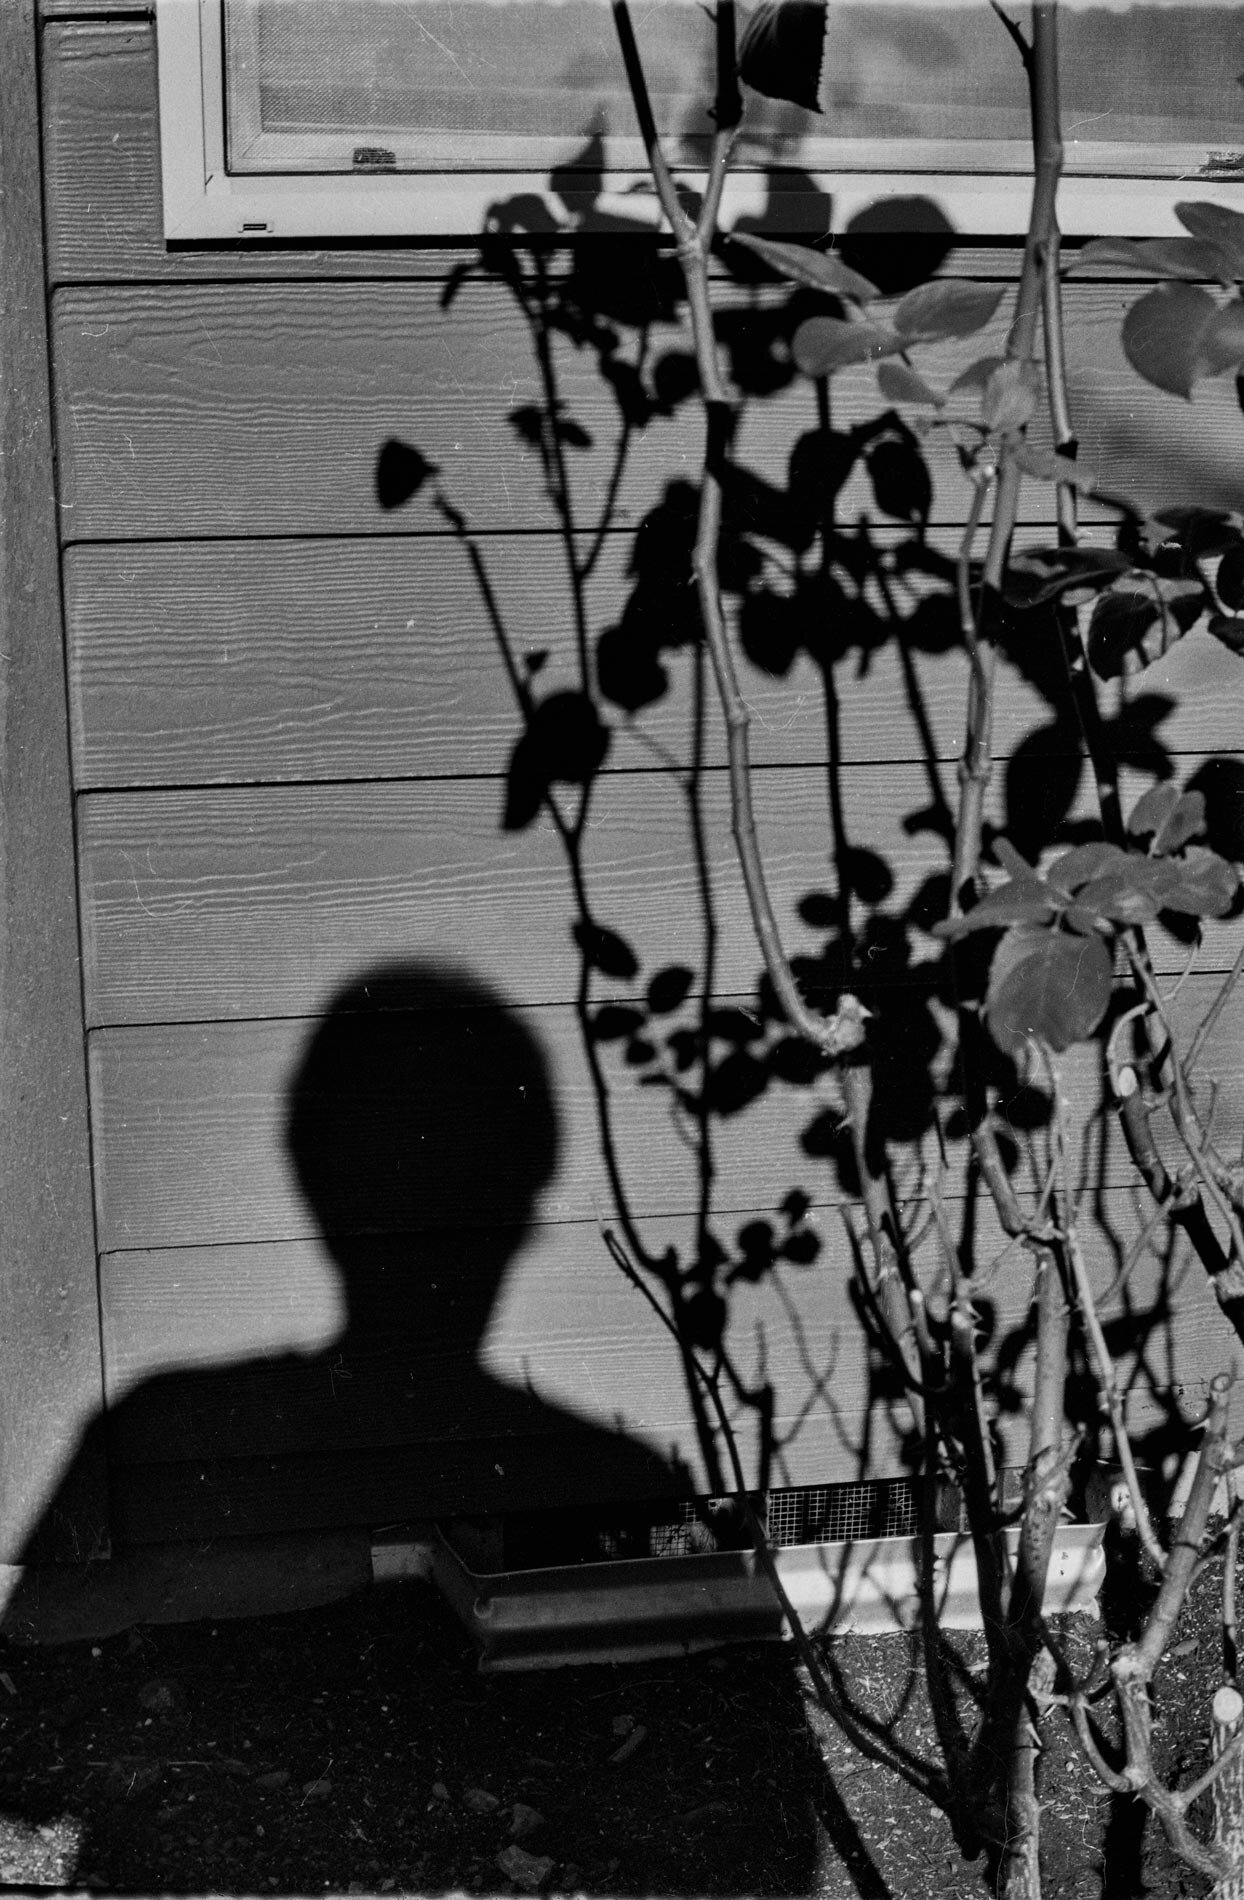
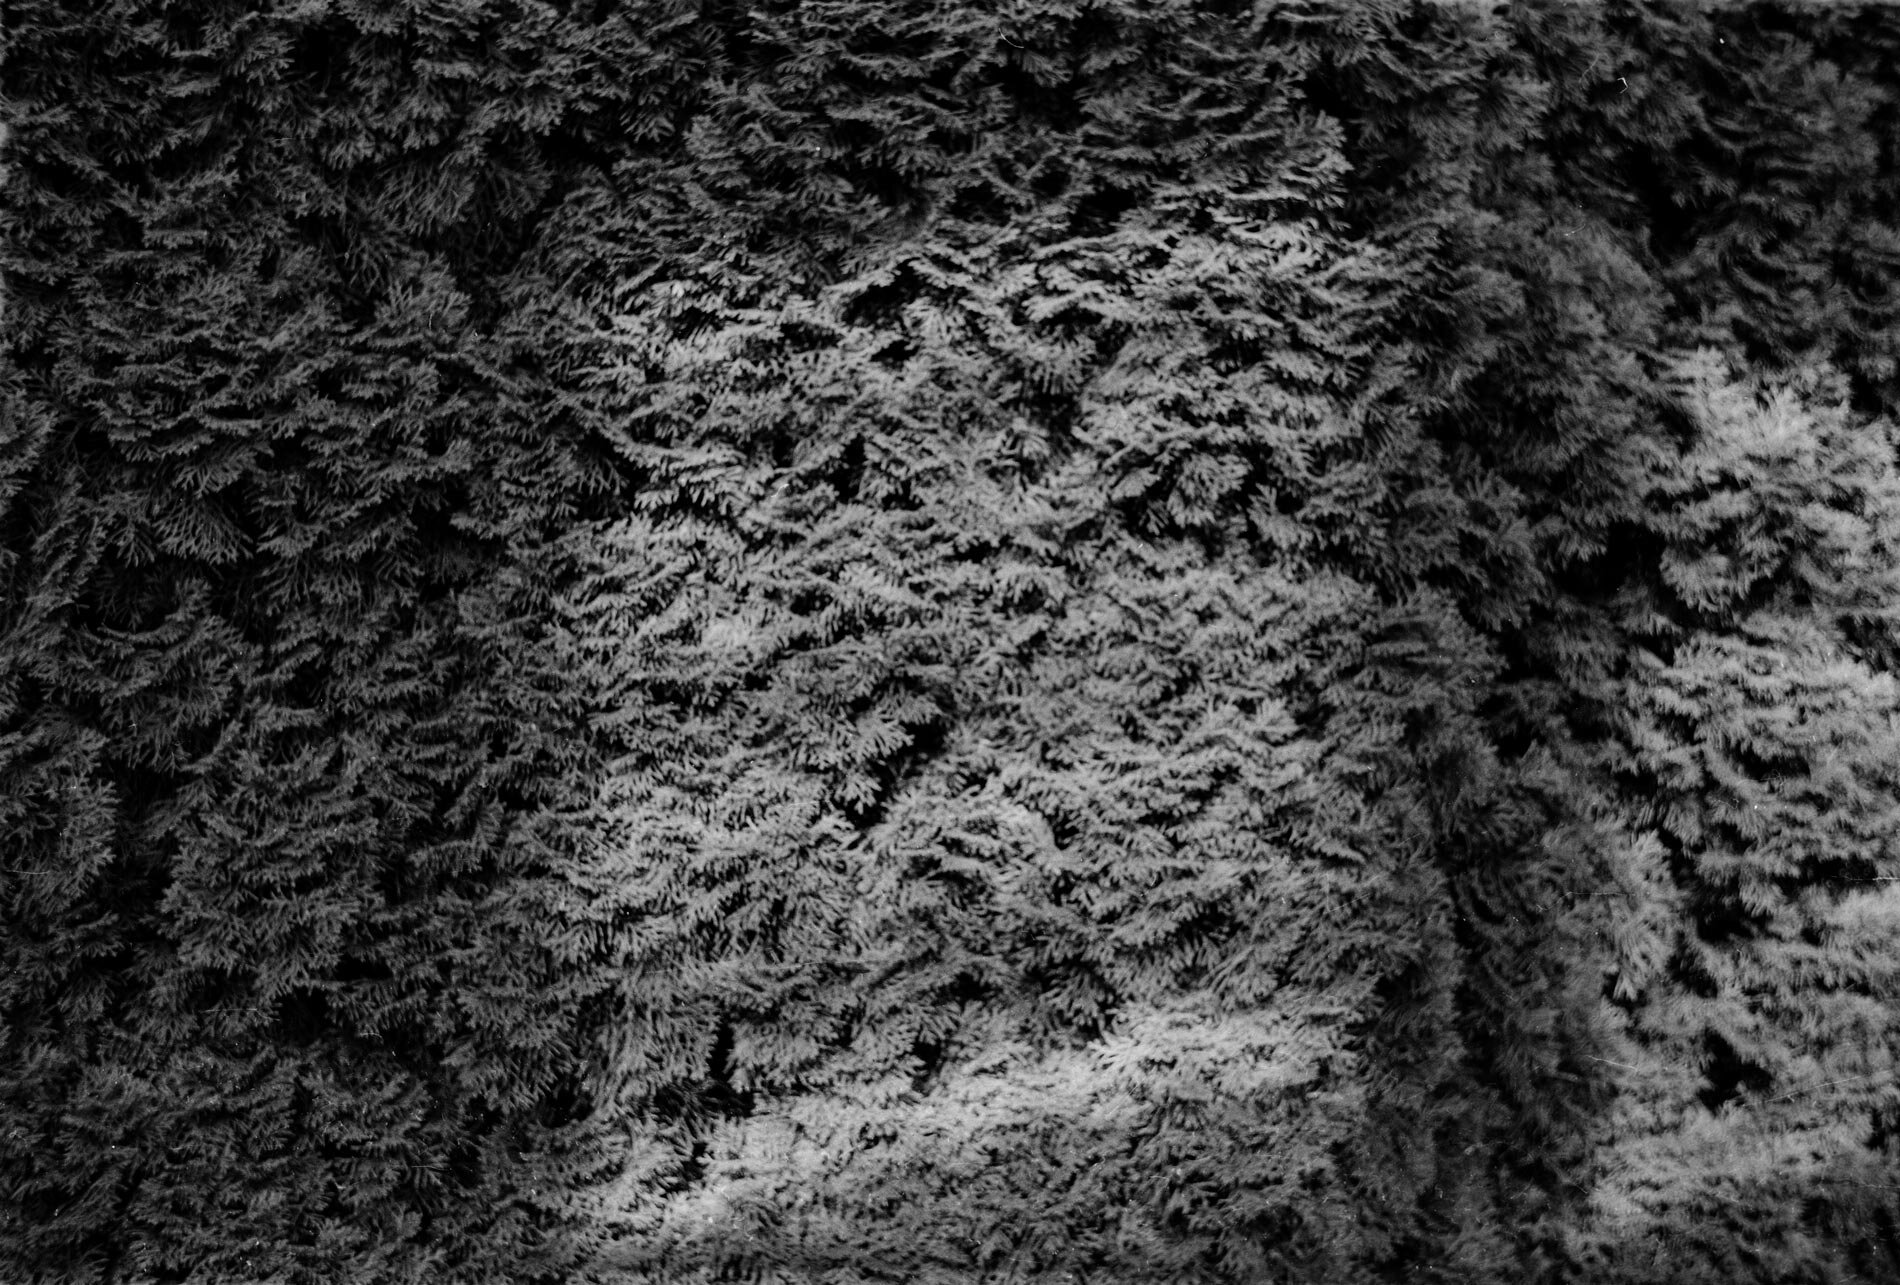
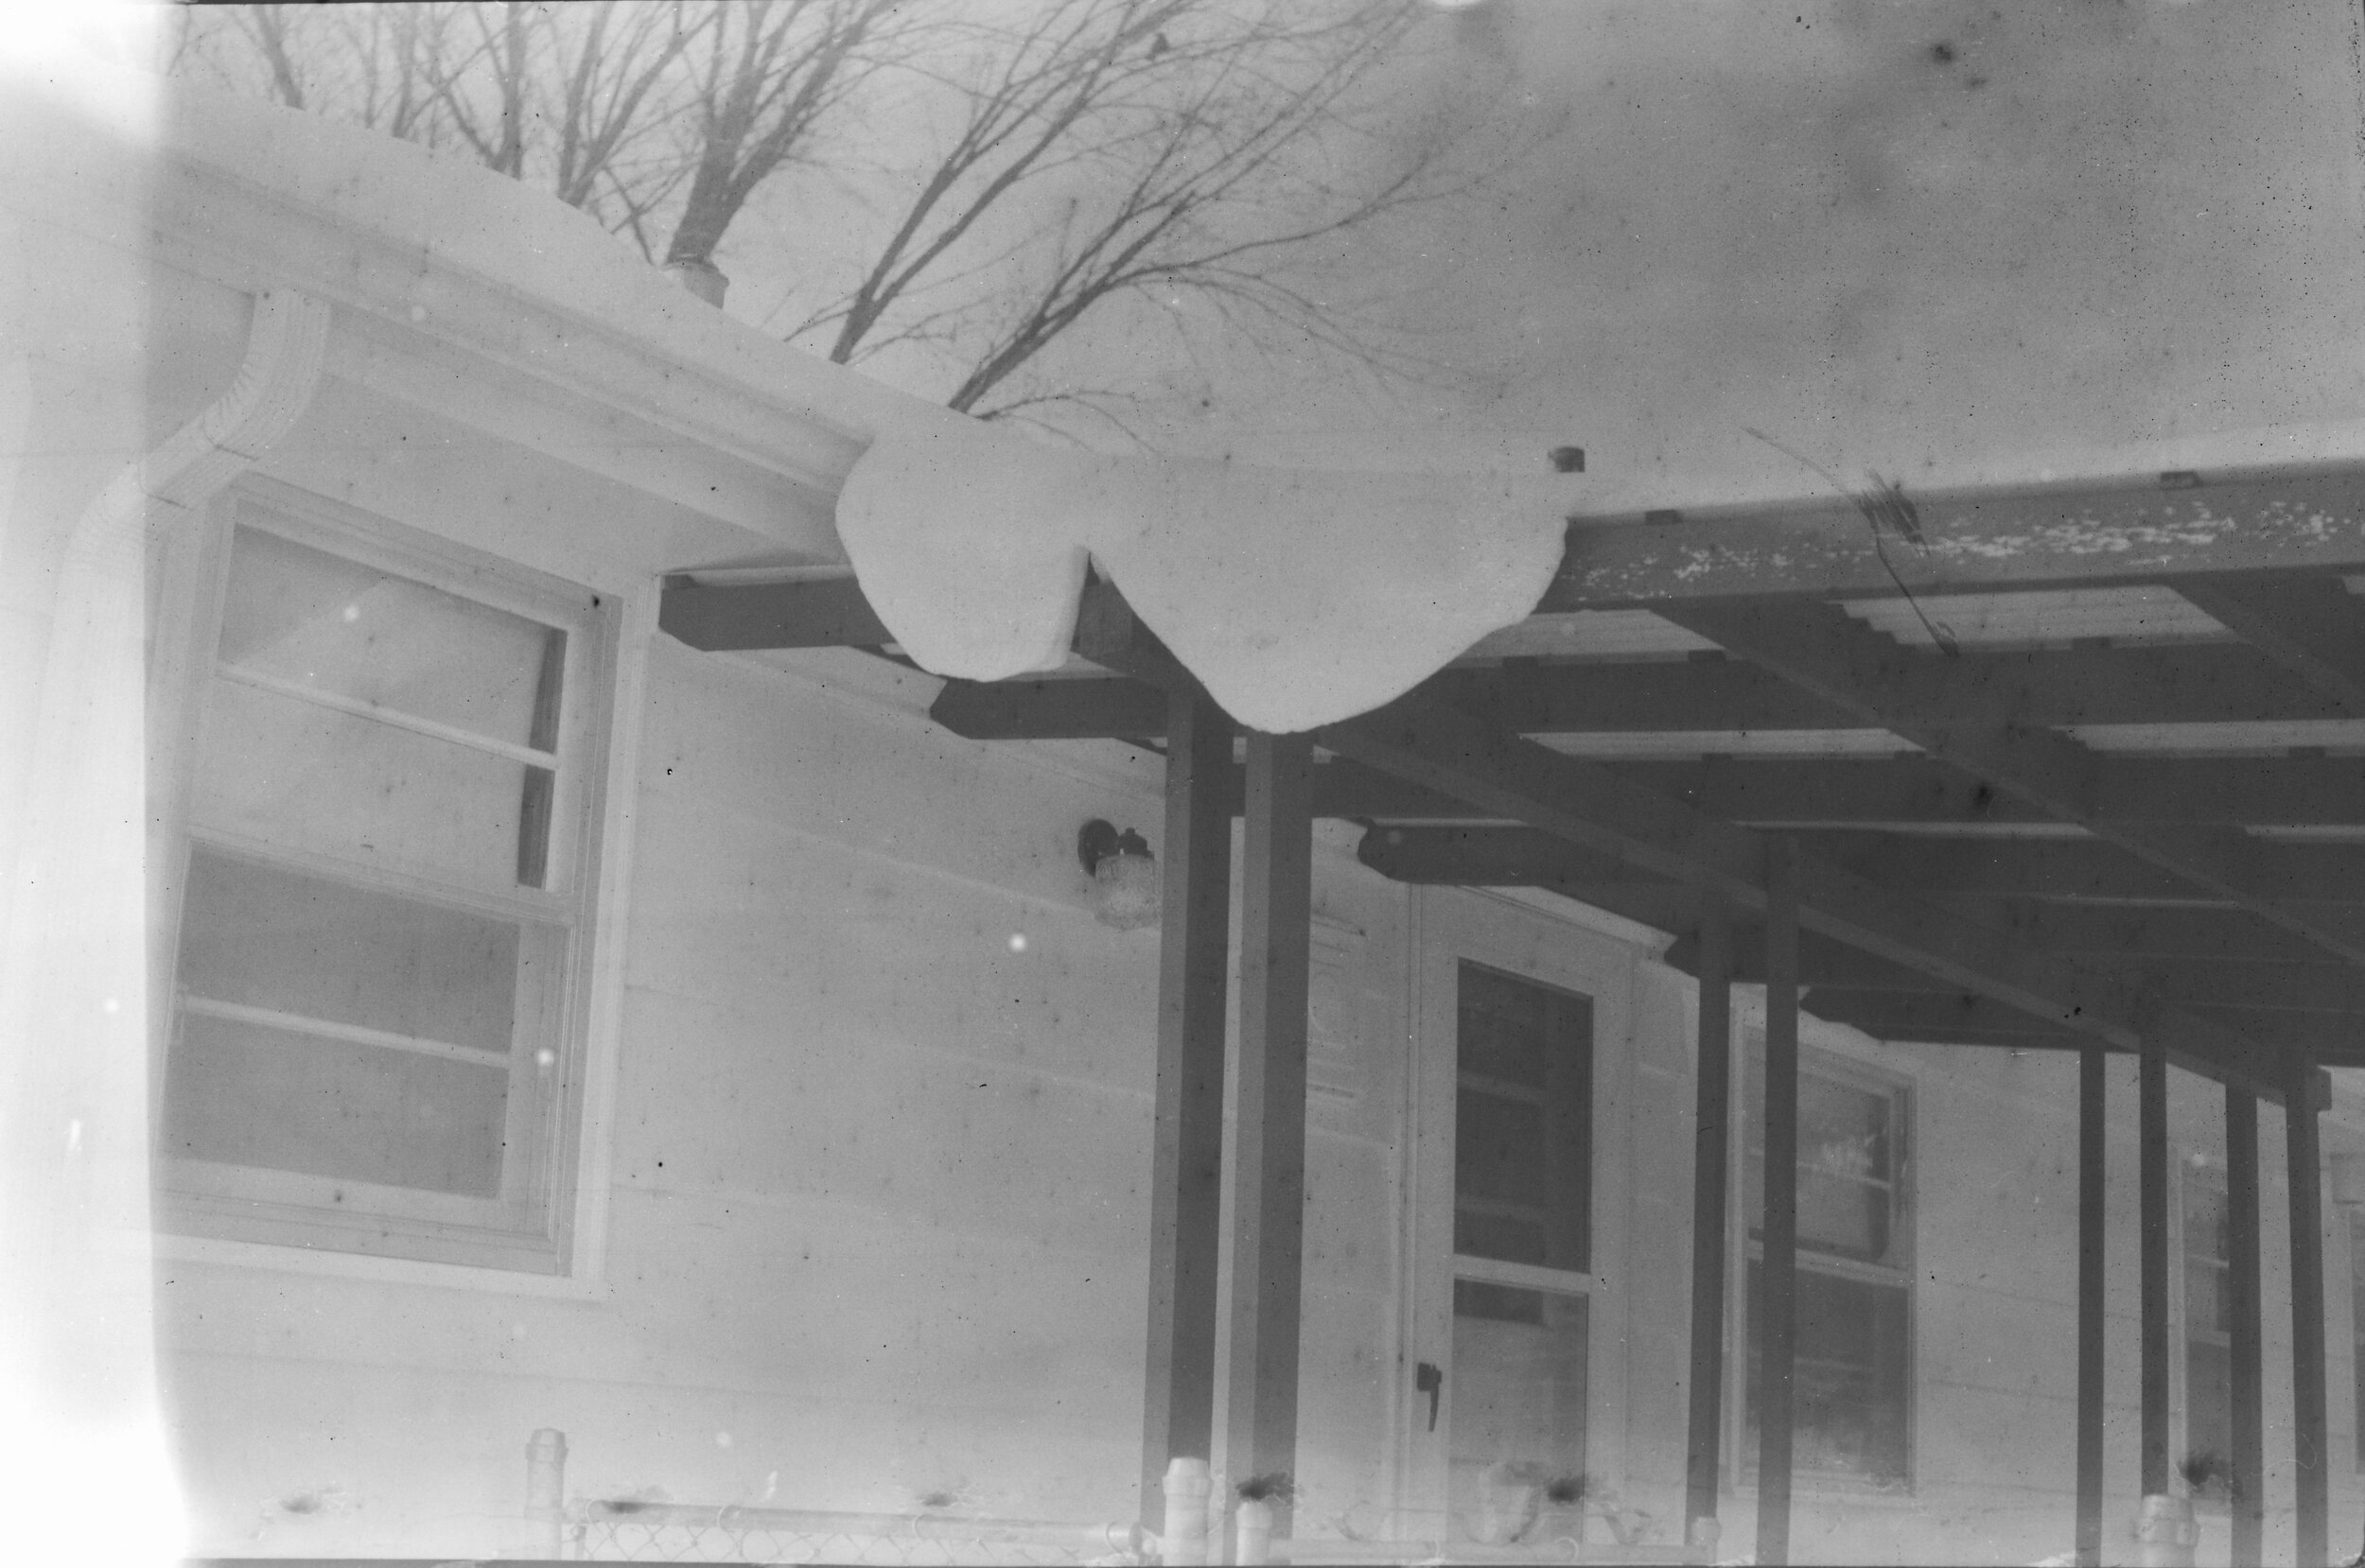
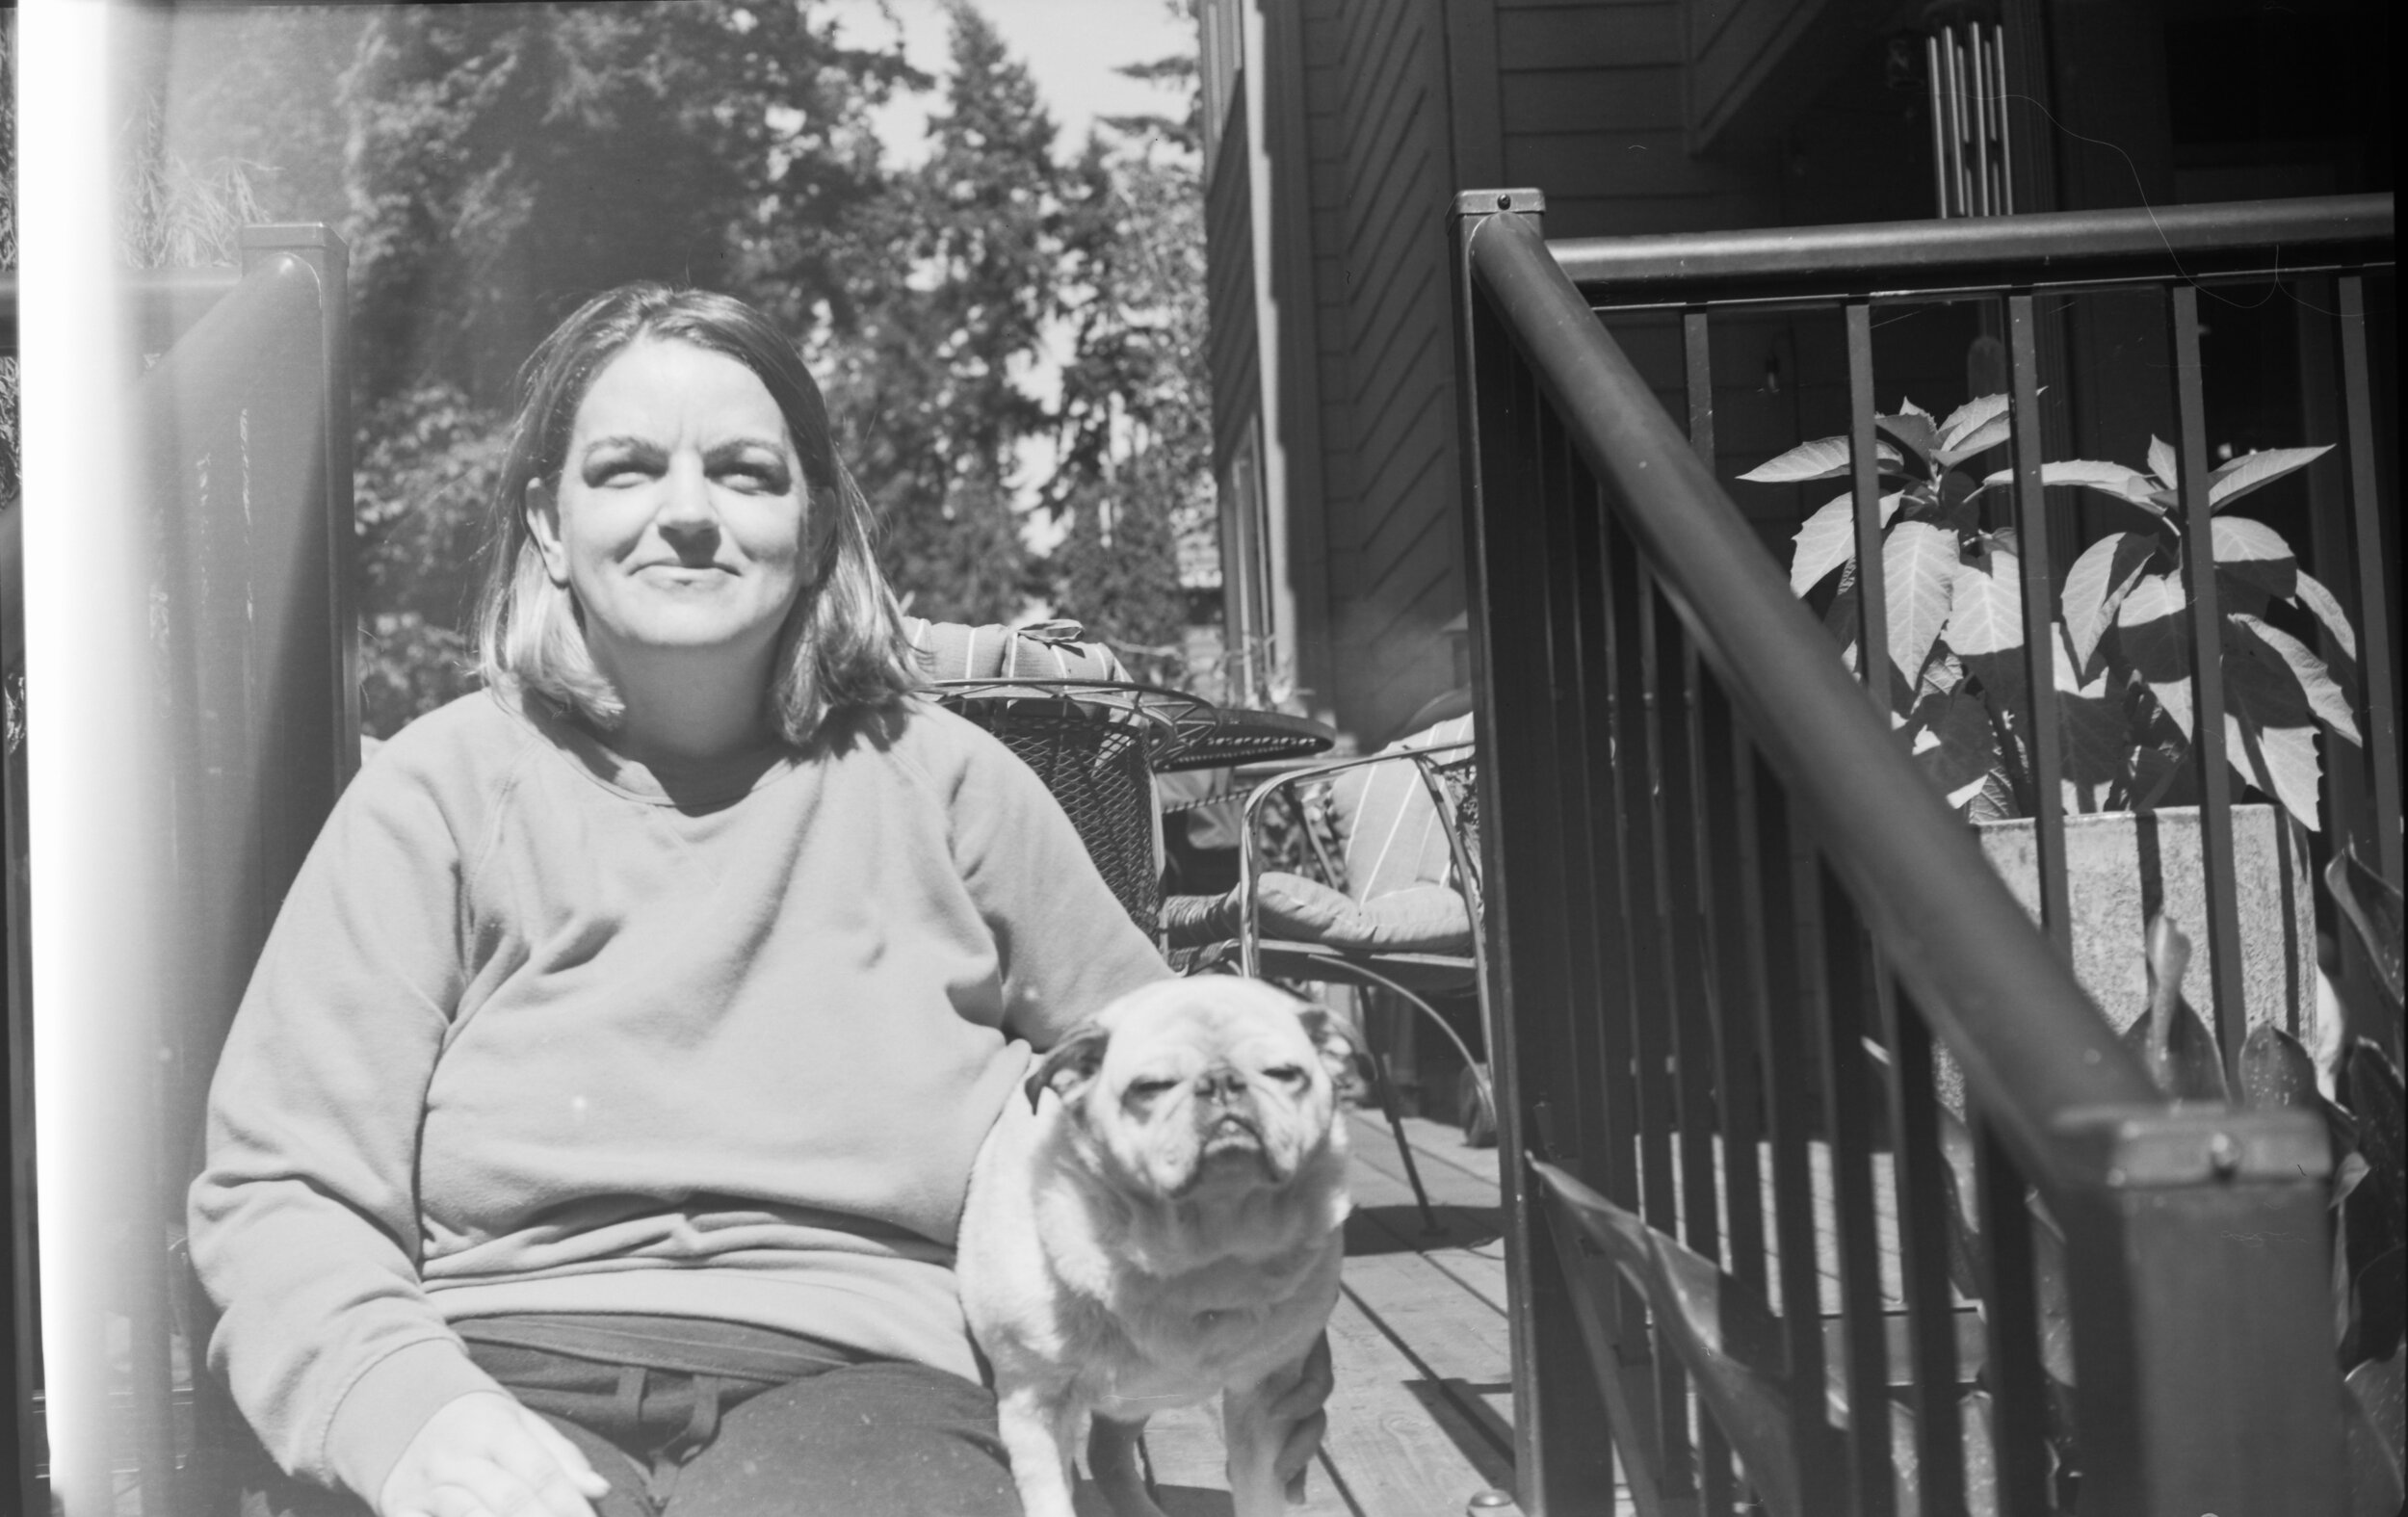
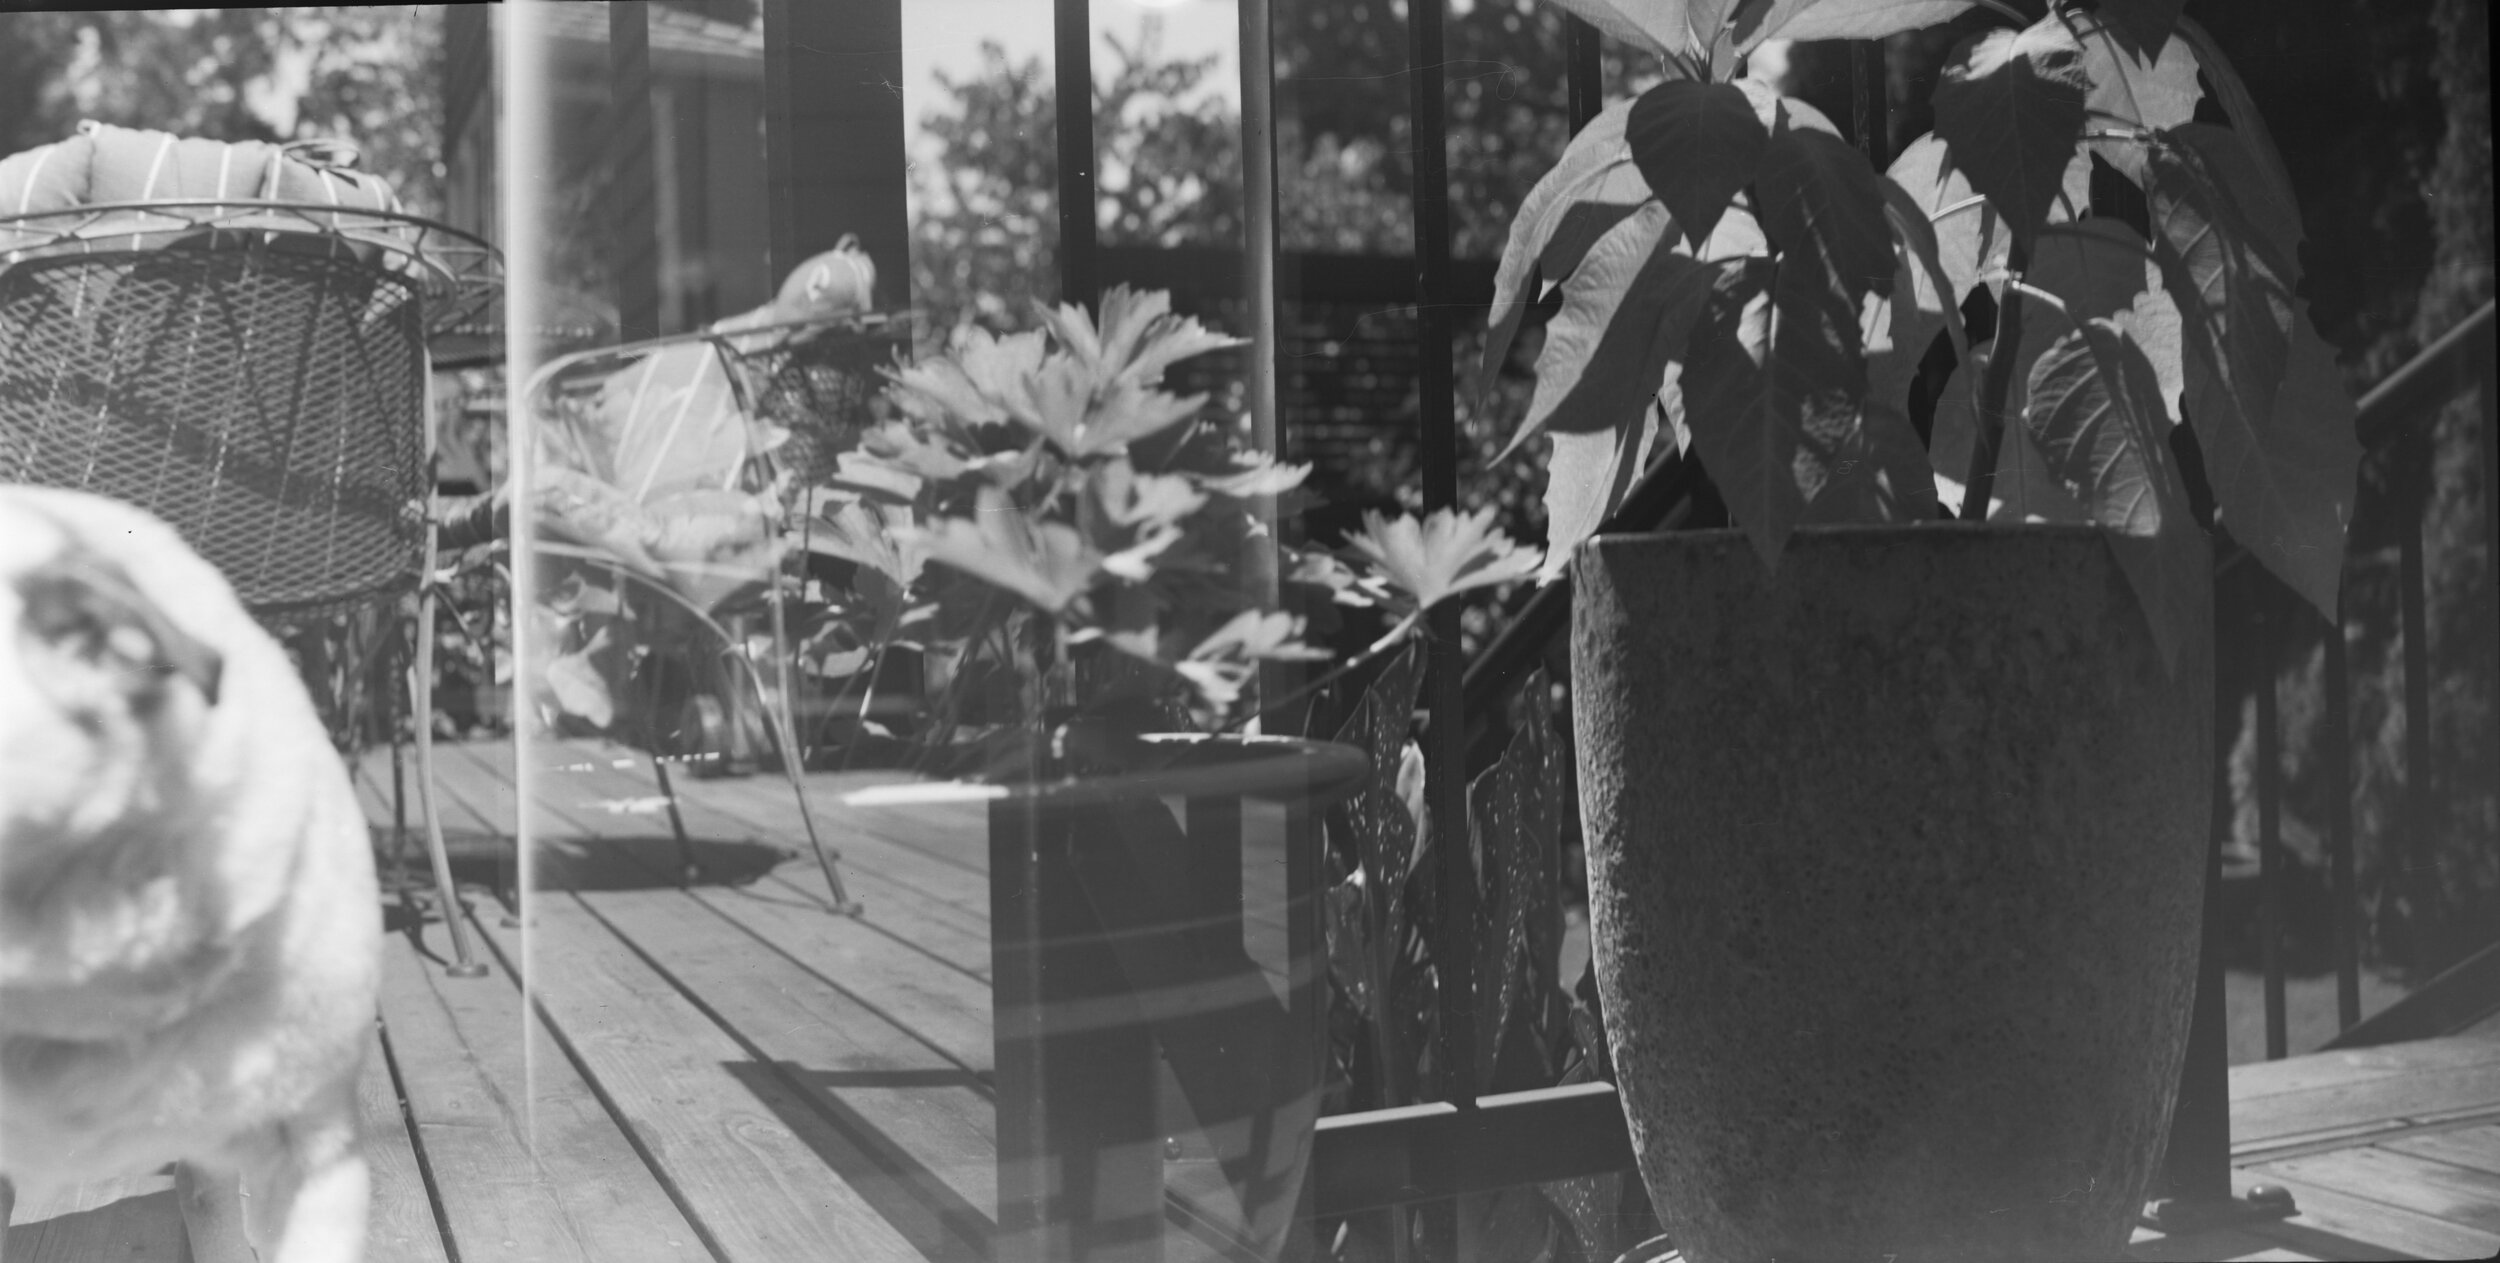
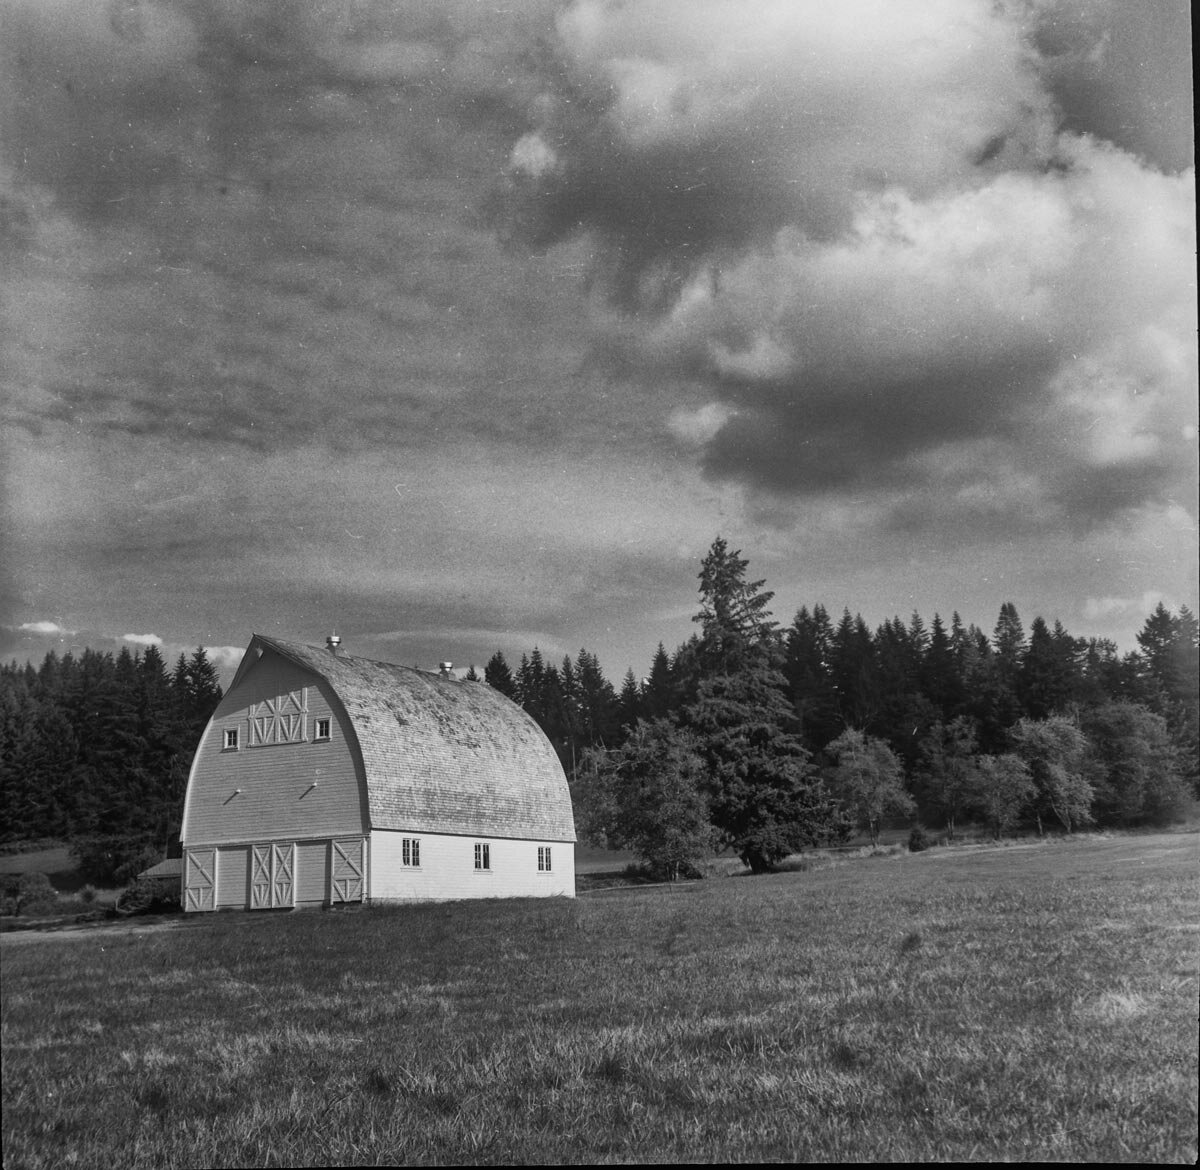
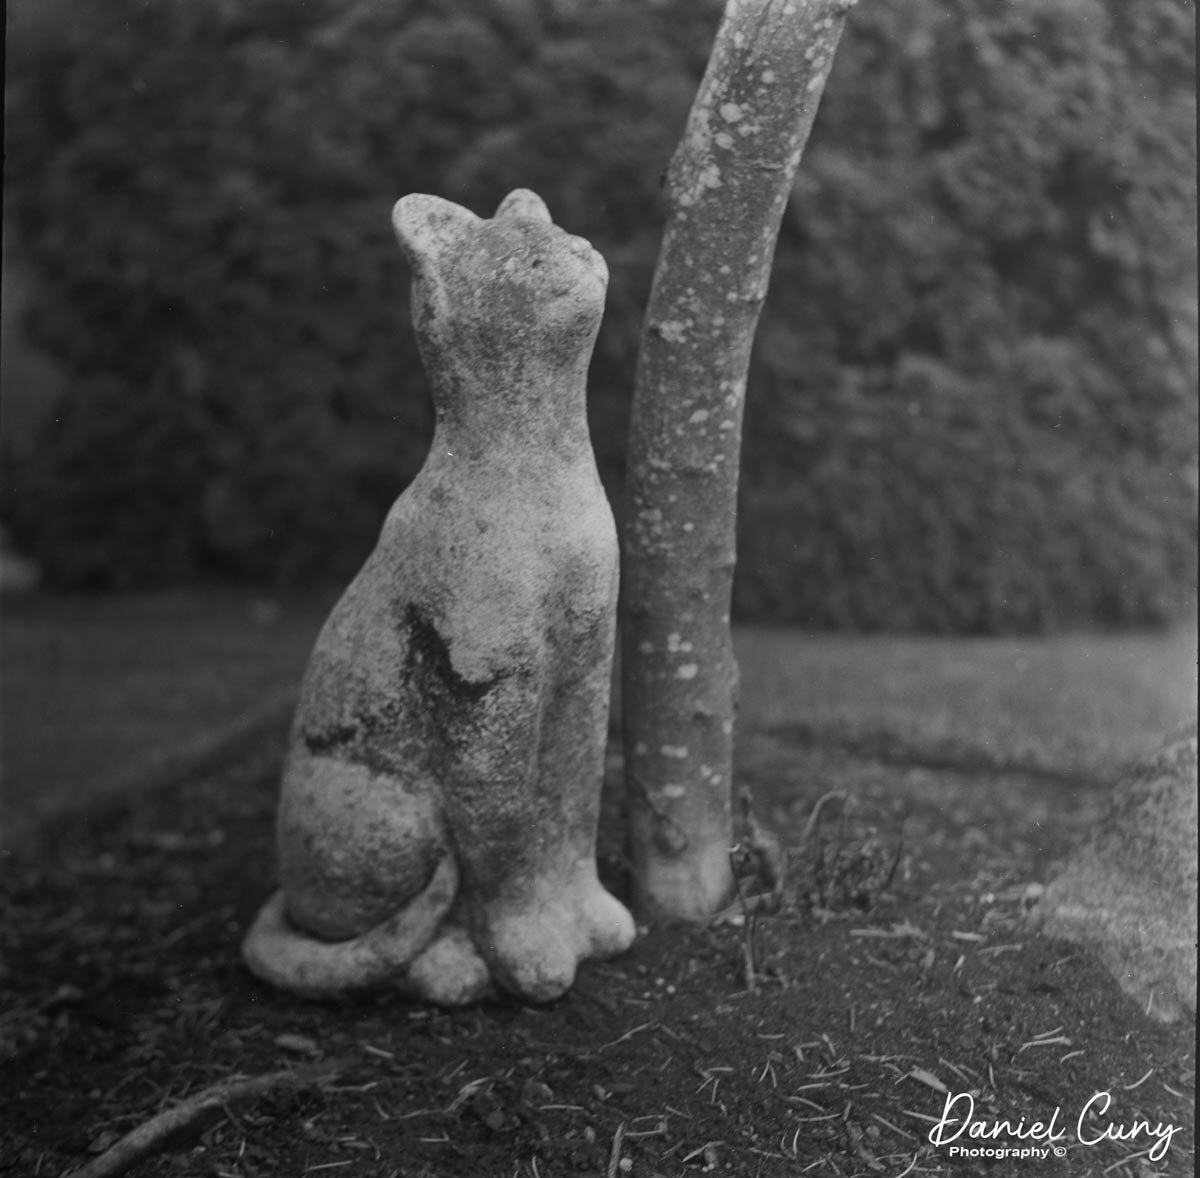
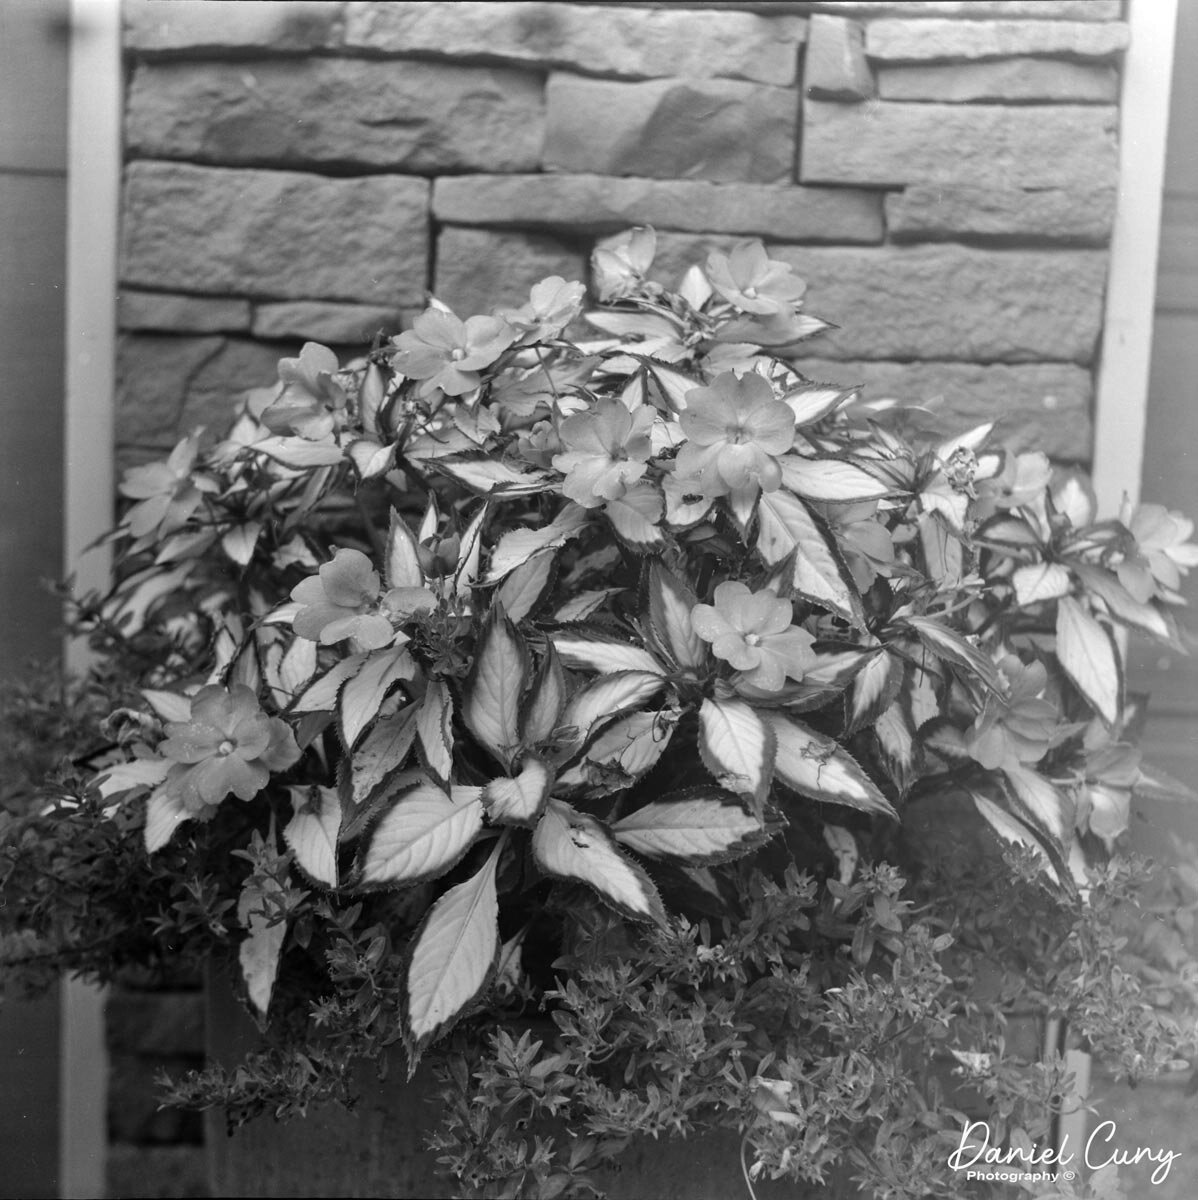
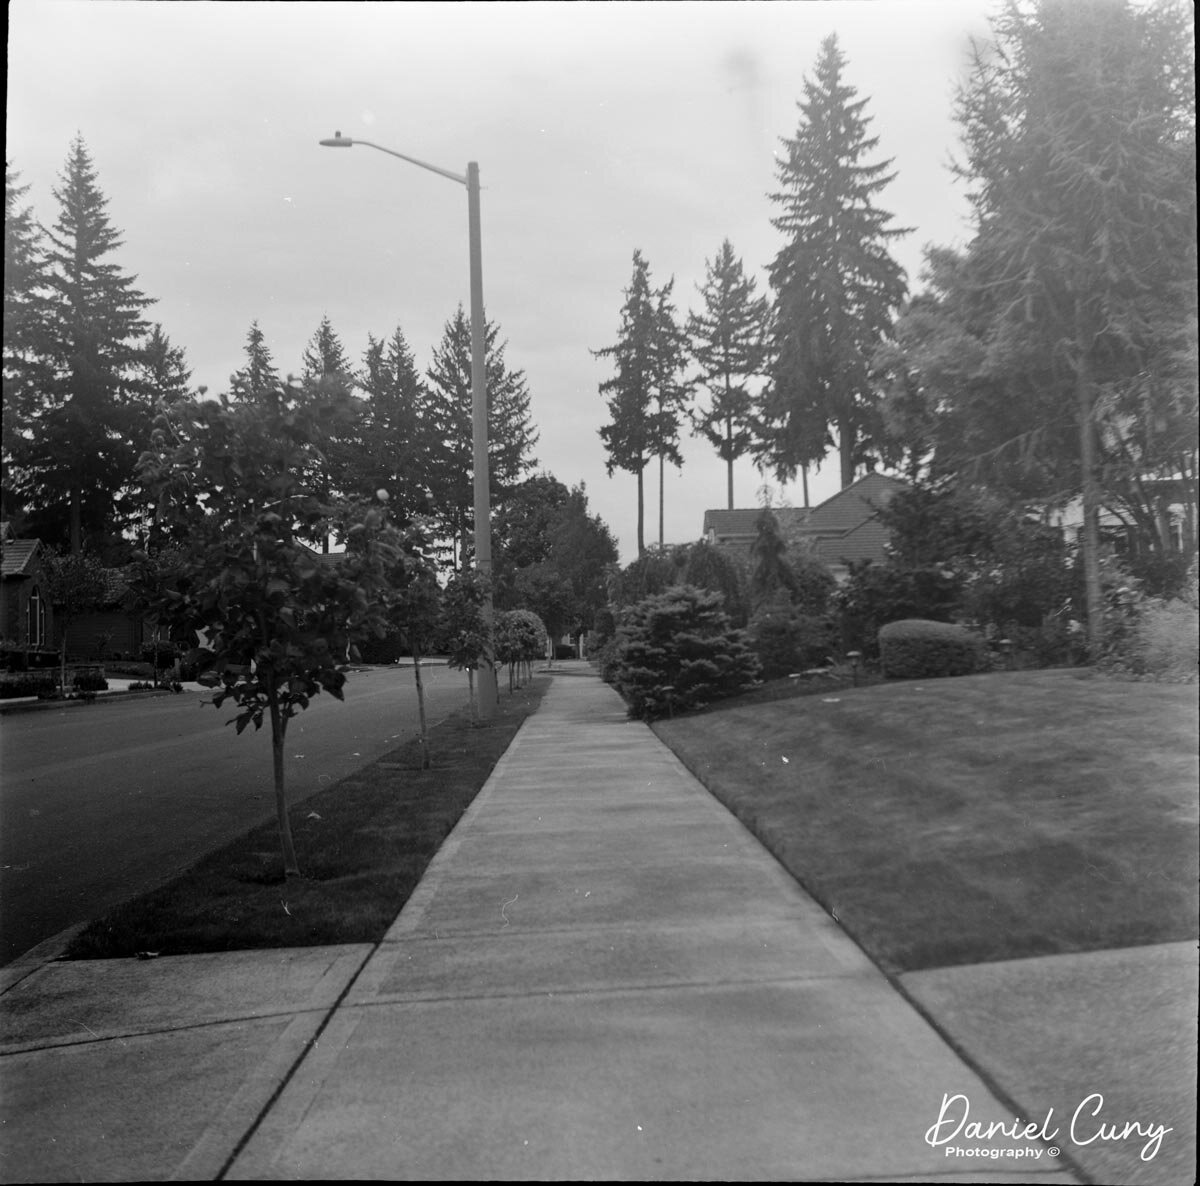
Images
I took the camera out a couple of times this week. Here are some of the images from the camera.
Conclusion.
The Voigtlander Superb is an 80-year-old gem of a camera. It's easy to load and unload. The ability to see the shutter speed and aperture settings when looking down on the camera is excellent. I enjoy the bubble level in the viewfinder, so I know my camera is level. It fits nicely in my hand and isn't too heavy. The viewfinder is just a bit dark, but nothing to deter me from using it in the future. Another oddity is when I processed the film, and the images are across the film sideways instead of running top to bottom. It just kind of surprised me, but putting the negatives in my sleeves, they work better that way. If you run across one for a reasonable price, buy it, and I don't think you'll be disappointed. A great camera.
I truly appreciate you taking the time to read my post. It does mean a lot to me. If you have comments or concerns about the article or the camera, please drop me a line. I'd love to hear from you. Until next week, please be safe.
You can subscribe to my Camera Collecting Blog below.