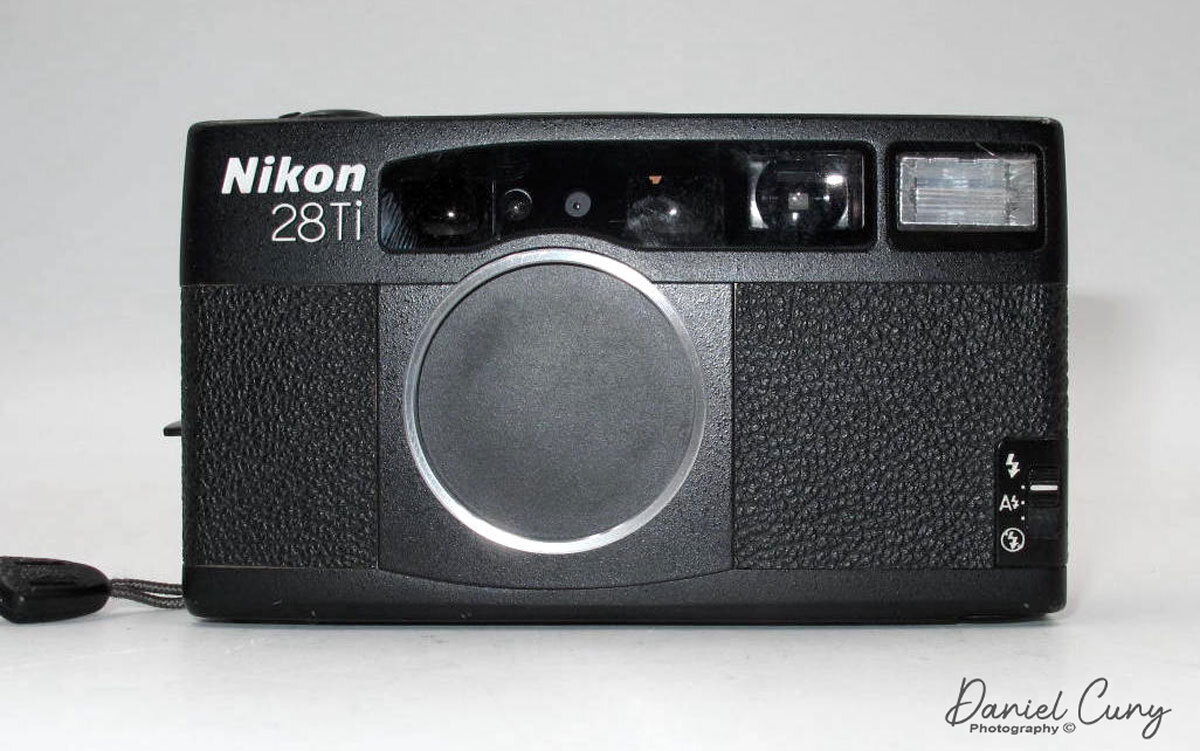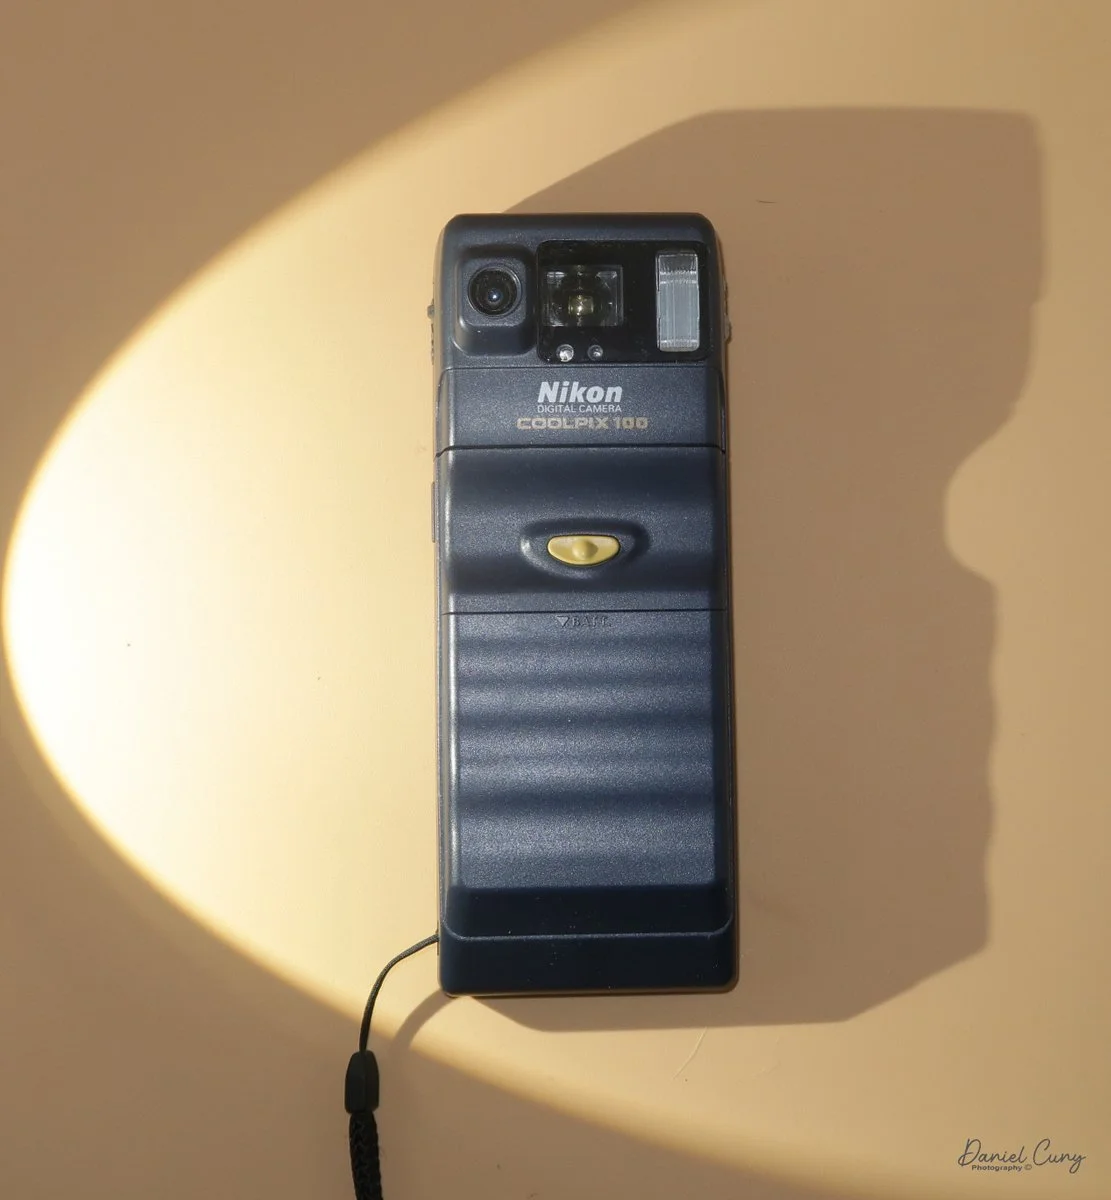
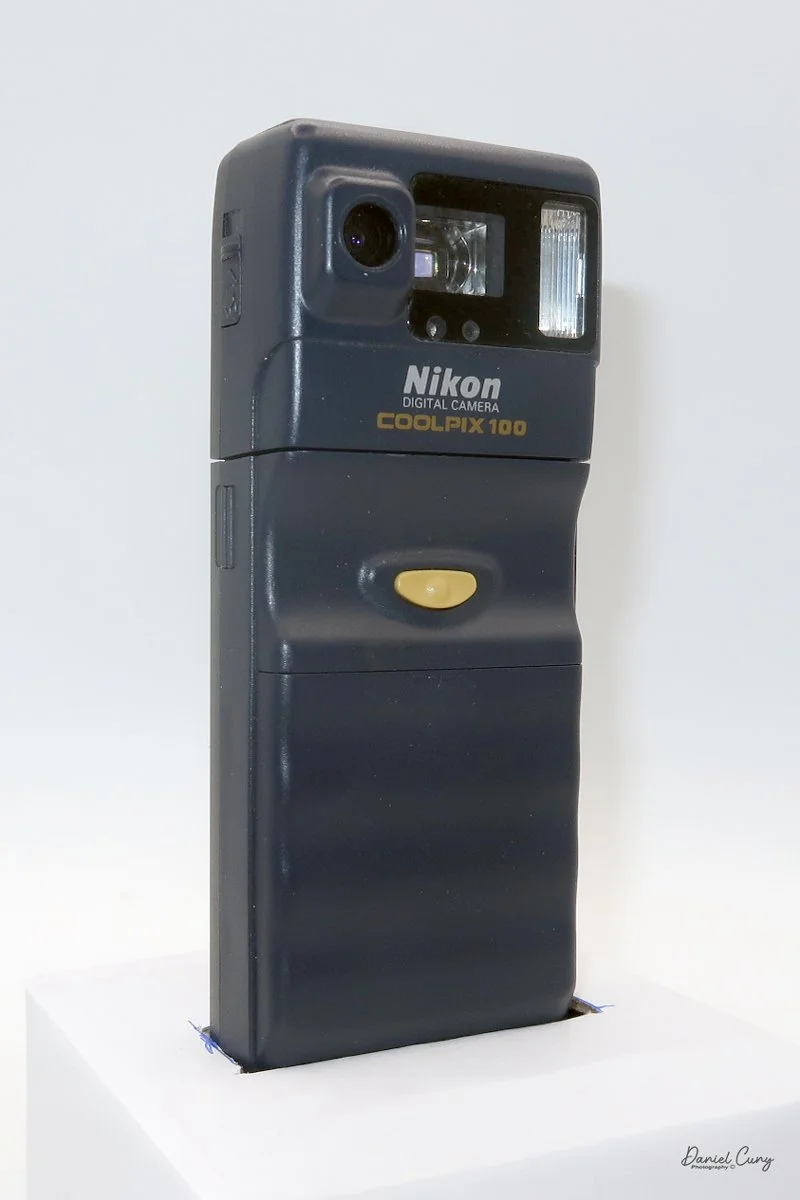
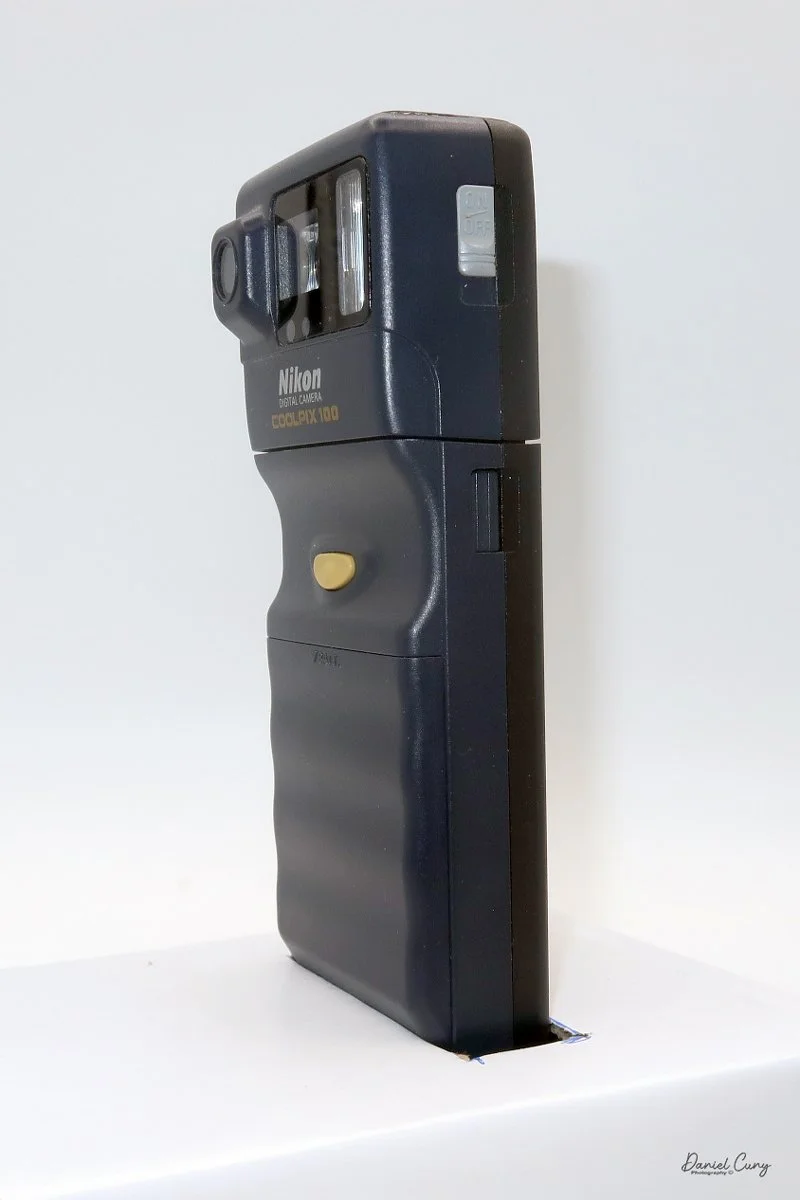
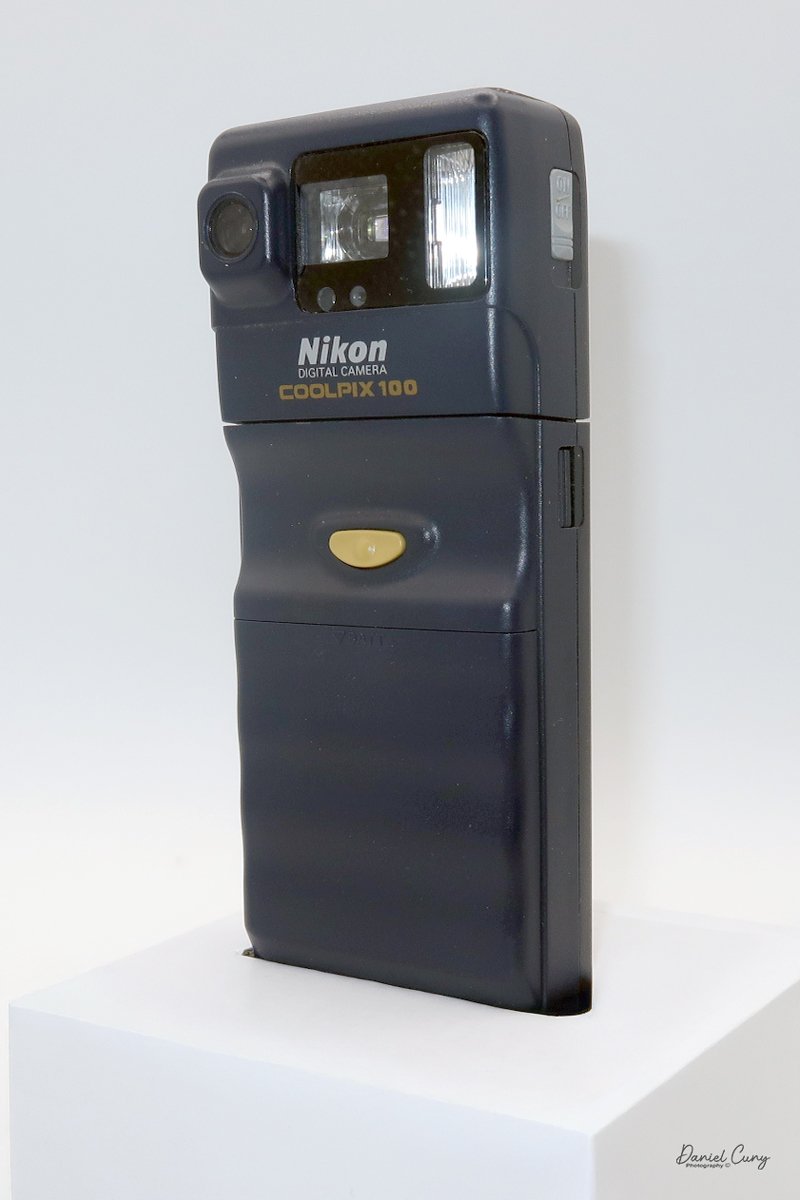
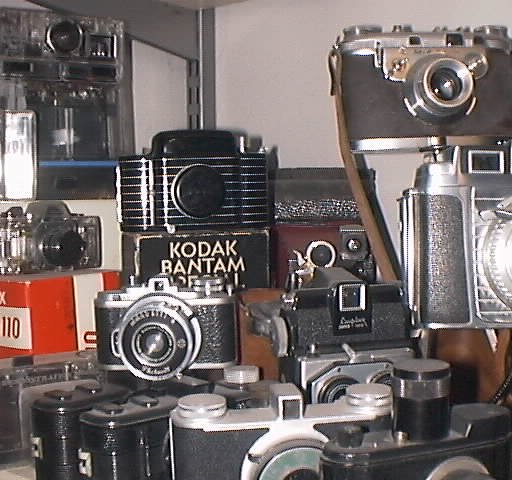
My Nikon Coolpix E100 camera.
Since this is the last entry for January, which for my blog is dedicated as "digital month, "I thought I'd write about one of the earlier digital cameras I have in my collection, the Coolpix E100, which was introduced in 1996 and released to the public in 1997. Understanding its place in digital photography history helps collectors and history buffs appreciate how far technology has come.
It was Nikon's first consumer-based digital camera, soon after Apple's QuickTake, Kodak's DC40, Casio's QV-11, and Sony's Cyber-Shot, which came out between 1994 and 1996. At the time, one of the selling points of the Coolpix E100 was that it worked easily with home computers of that era. This is where I had difficulty writing the article; let me explain.
I purchased the Nikon Coolpix E100 about 10 years ago for a reasonable price from a Nikon collector who had bought it new when it was released. At the time, he was reluctant to part with the camera since it was Nikon's first foray into consumer digital cameras. I remember receiving the camera, thinking it was very odd and quirky-looking, but it held a special place in my collection as a piece of digital photography history, and it was in good working condition from what I could tell. It also came with the original Nikon Neoprene case, with slots on the back for attaching it to a belt, making it a tangible link to the early days of digital photography.
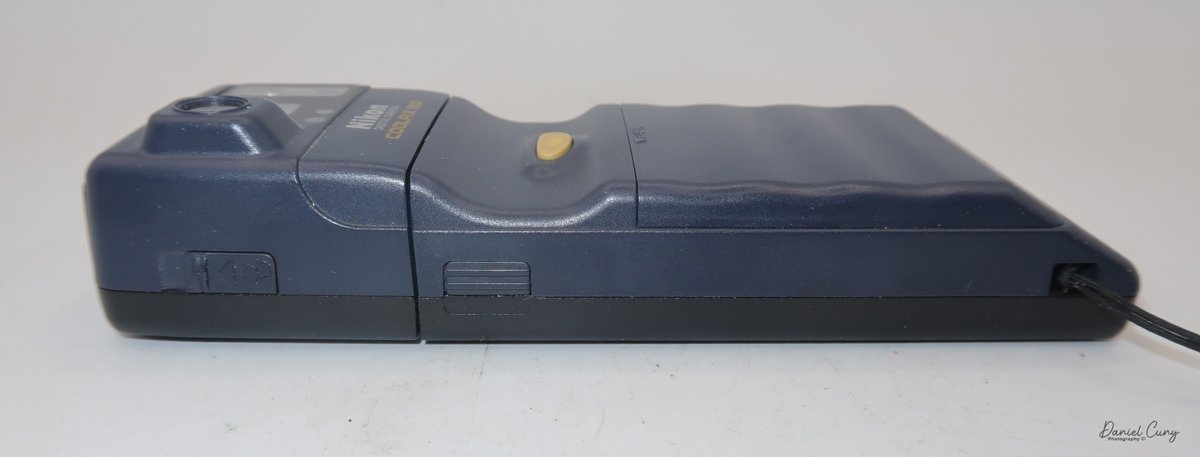
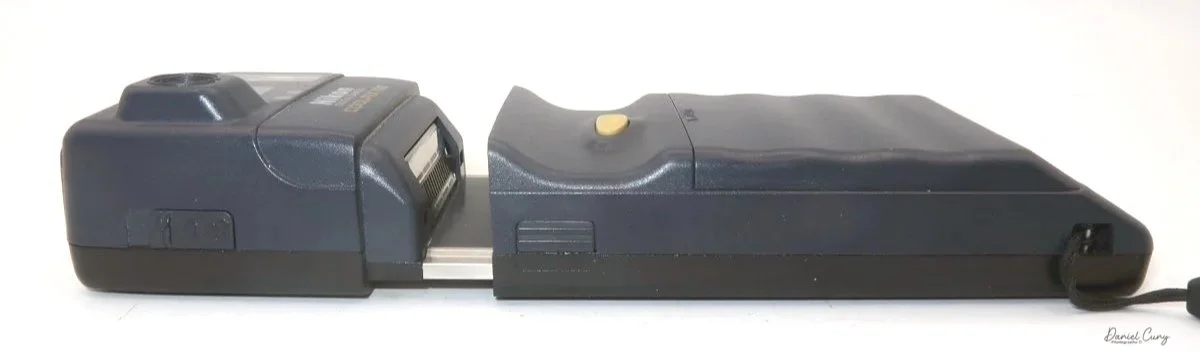
The Nikon Coolpix E100 has two specific parts: the bottom of the camera, which houses the batteries, and the top portion, or main part of the camera, which has the lens, shutter, and memory, including a built-in PCMCIA card, which at the time was new technology. I'll go into more detail about the camera below in the "My Camera" section.
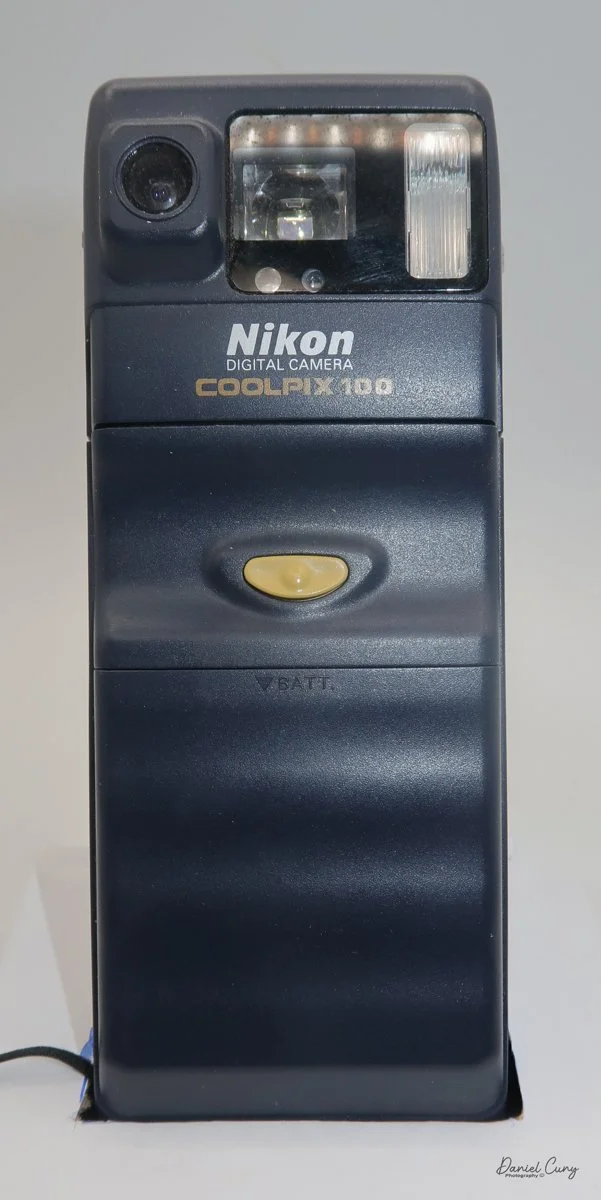
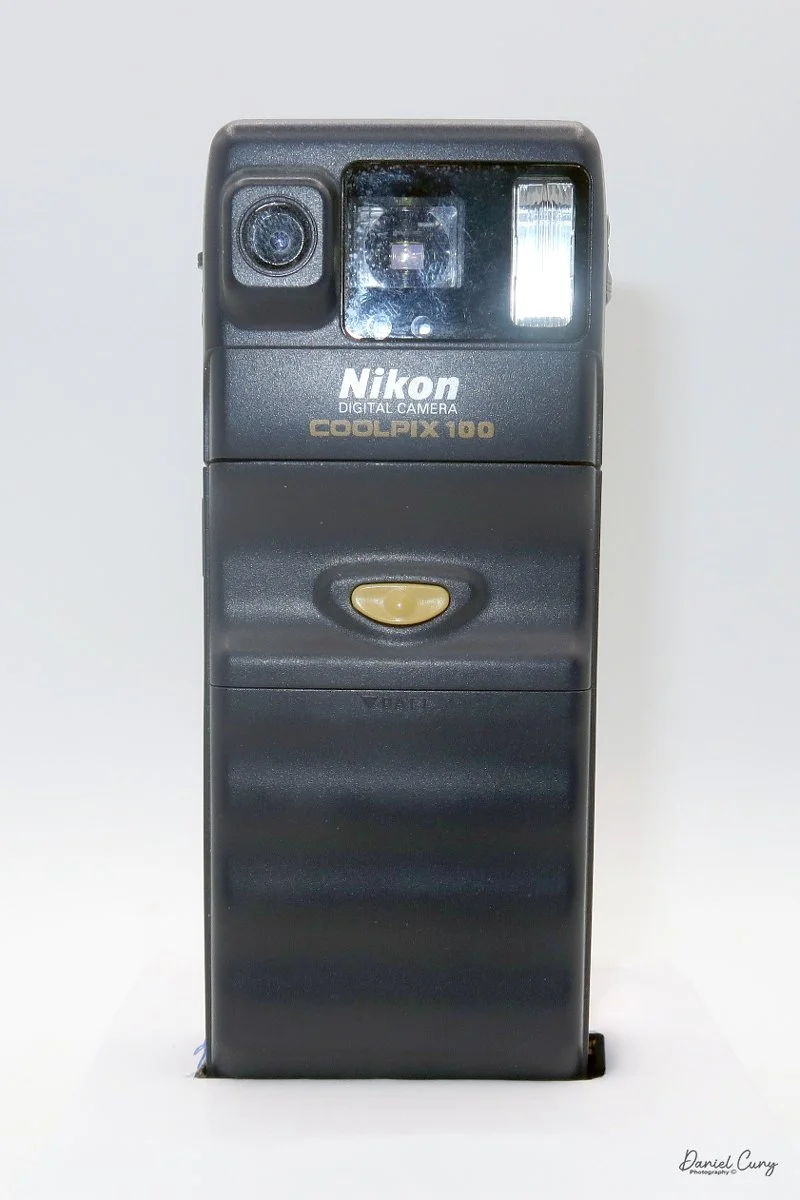
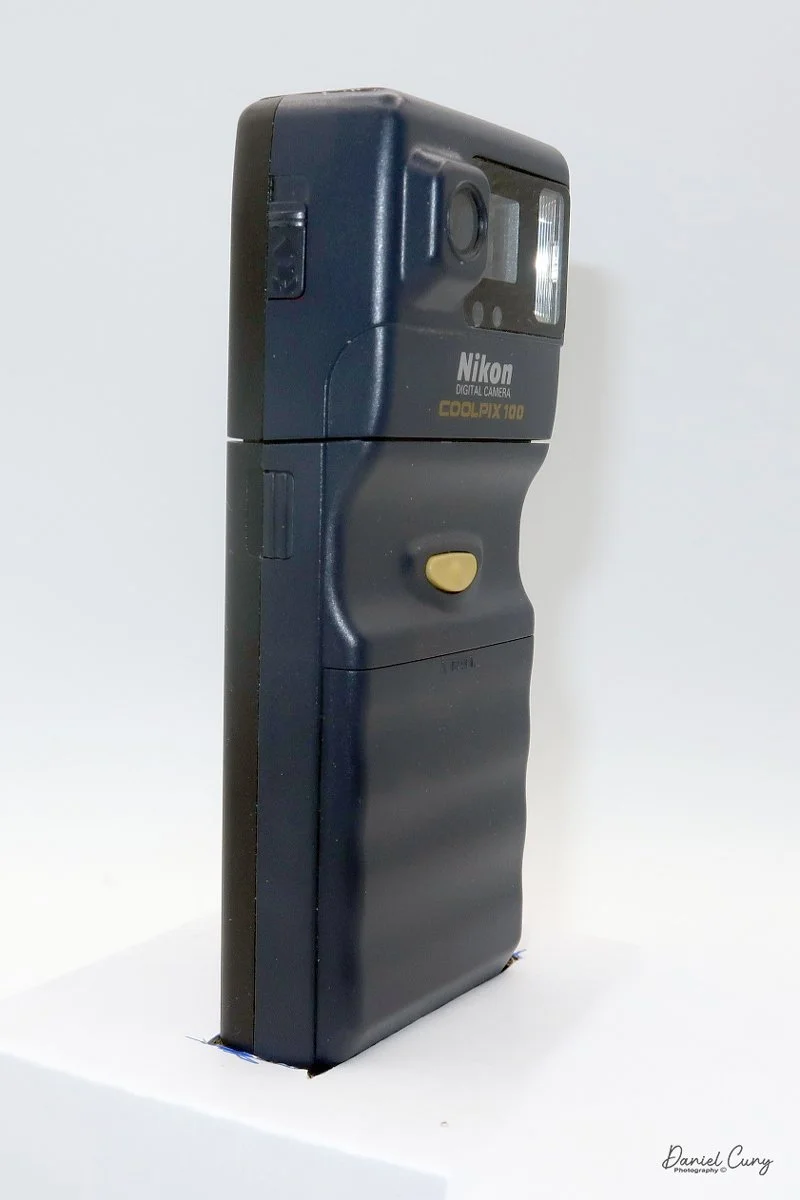
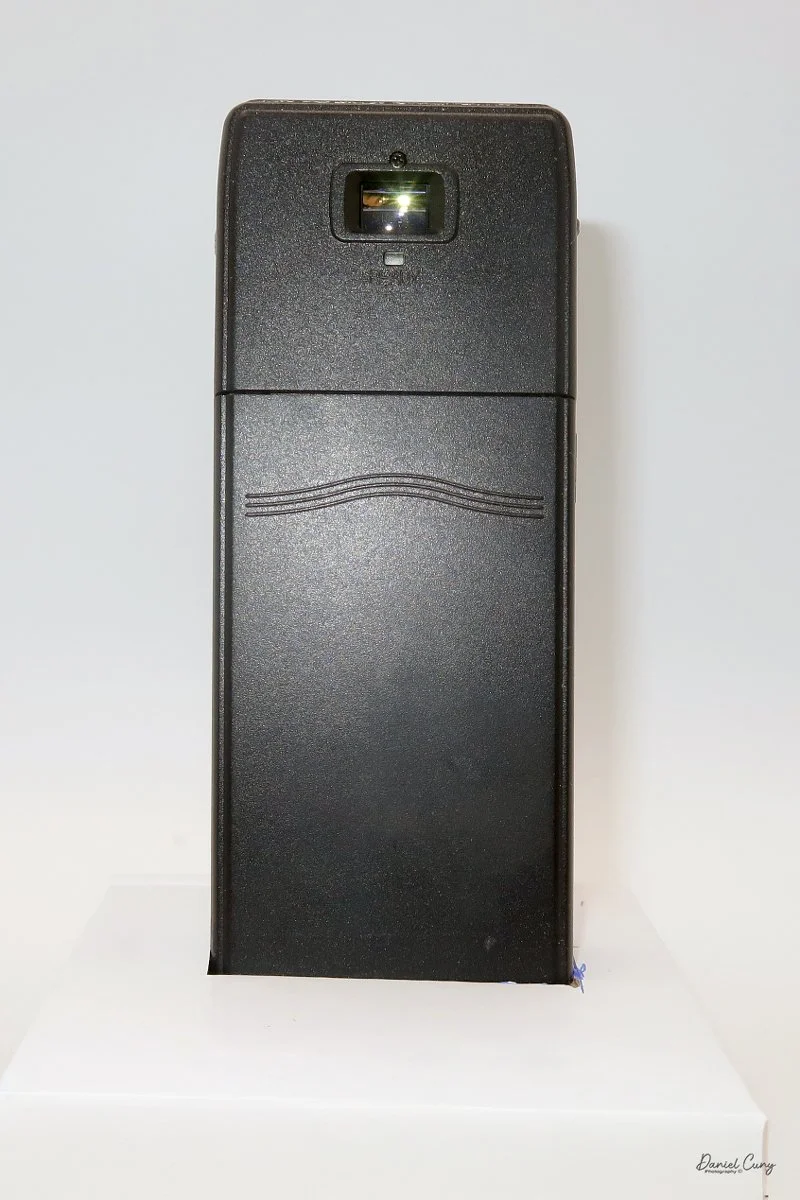
Closer view of Nikon Coolpix E100
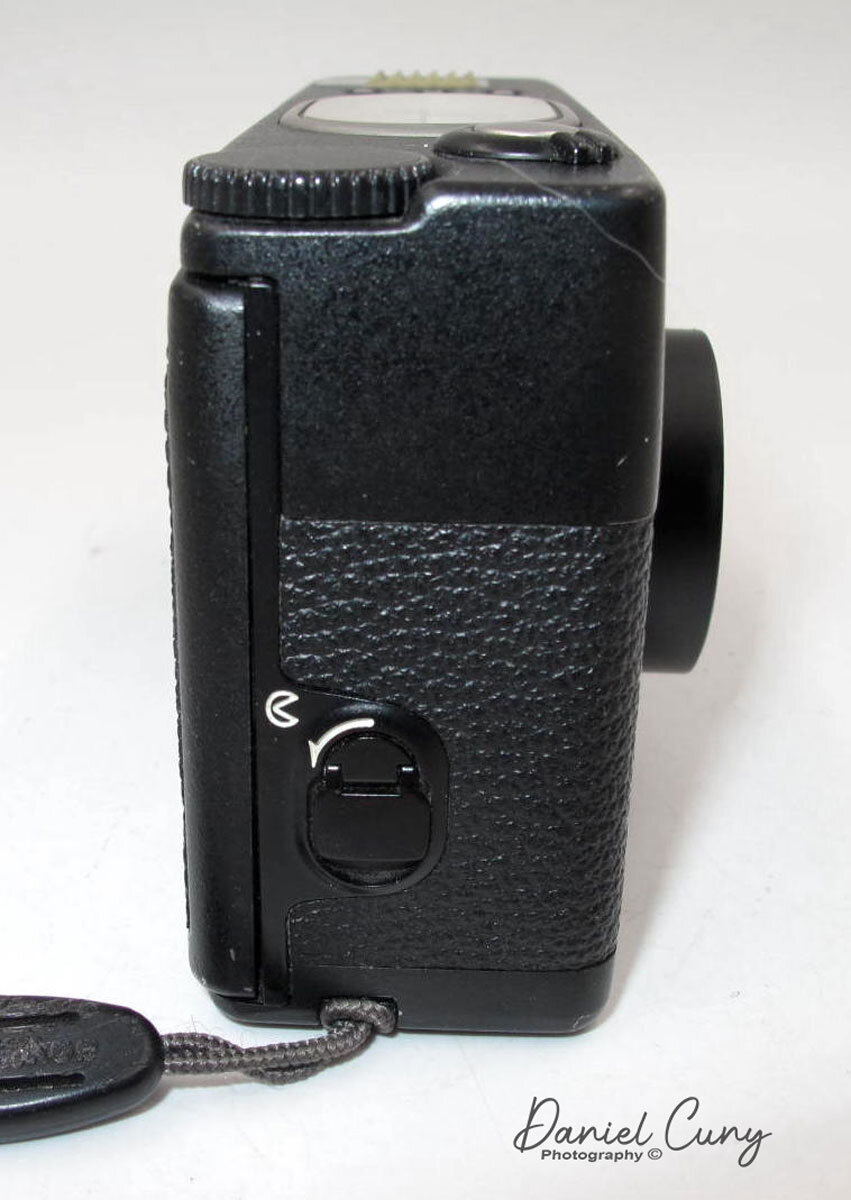
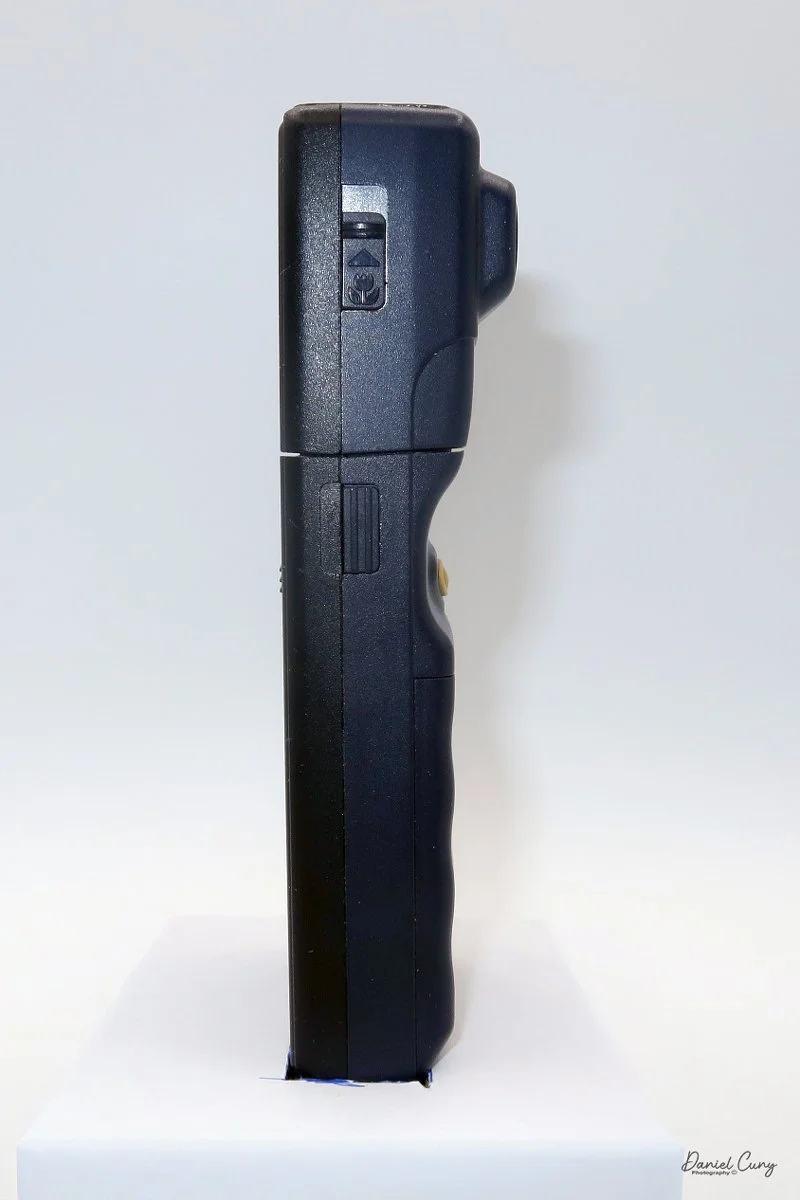
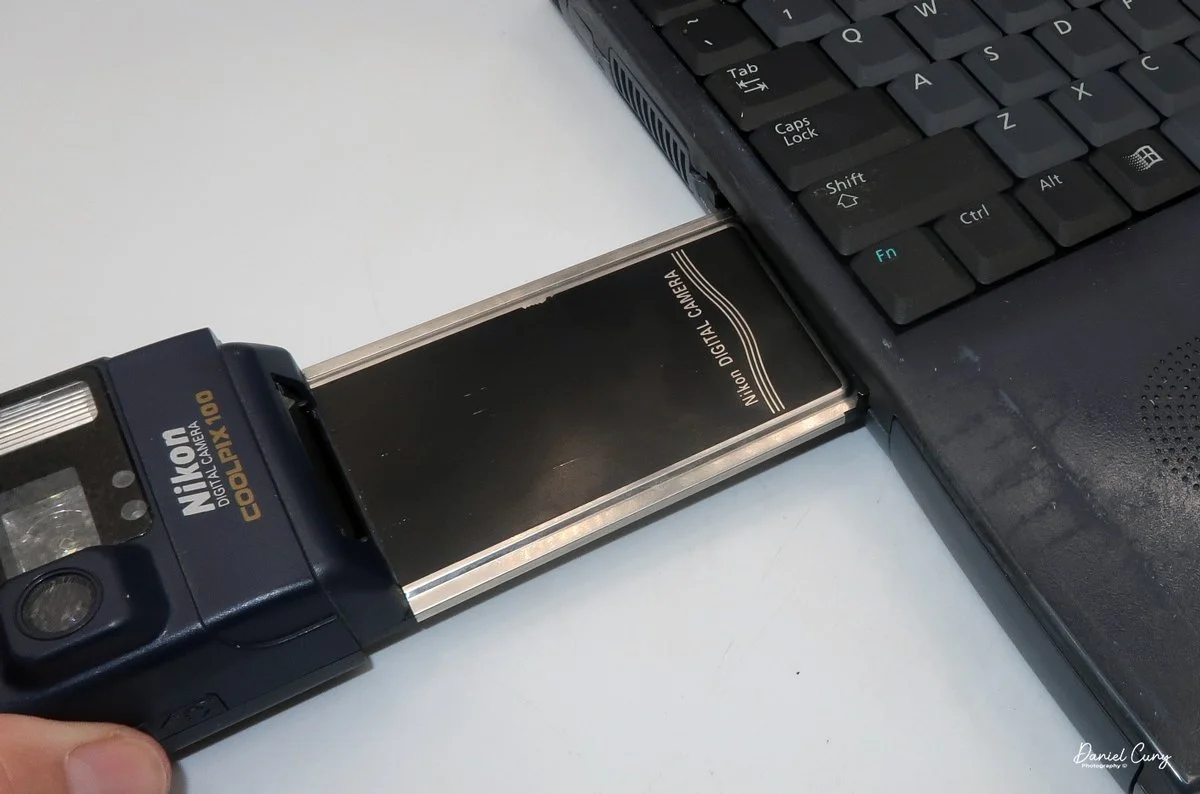
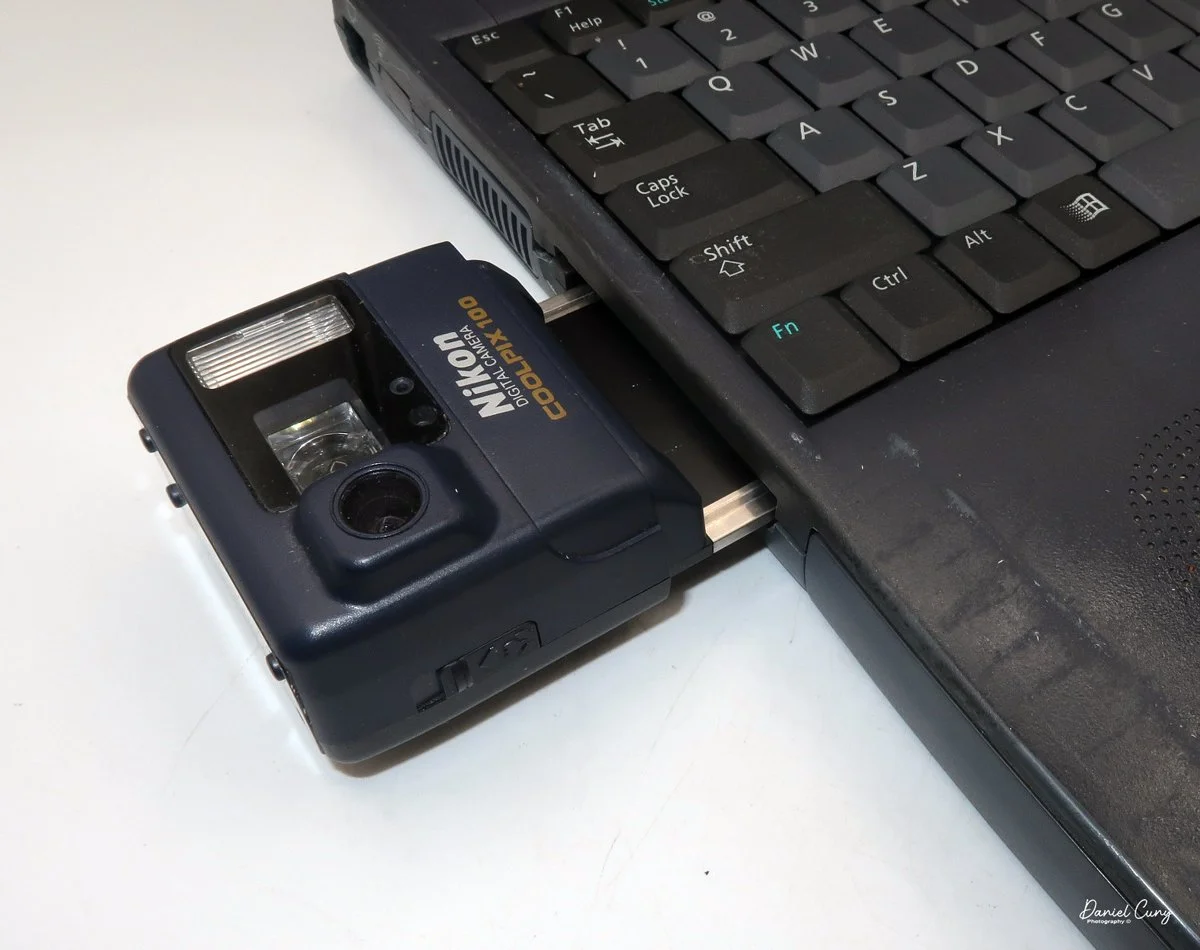
On the side of the camera are clips that you press in, and the top portion pulls out of the bottom section, allowing the photographer to insert the PCMCIA portion into the computers of the time, which had a PCMCIA slot. Since the camera powered on and showed it was taking a photo, I needed to transfer the images to my computer to view them, so I purchased a PCMCIA card reader for my Mac. Unfortunately, the PCMCIA readers only read newer PCMCIA cards with ATA, not older ones.
With my frustrations growing, I decided to visit some local used computer shops and either borrow a computer for a day or two or purchase one cheaply. None of the stores had something this old, but a good friend said he had one he'd give to me. When he showed it to me, it appeared to have a PCMCIA slot, but when I plugged it in, it wasn't as it appeared: it was an Express slot, not a PCMCIA slot, which is what I needed.
Now I was at the point where I either gave up or pursued it until I found what was needed. I was taught as a young child to have "stick-to-itiveness", so looking on eBay, I think I found what I needed, and purchased a computer, hoping it was correct, but it didn't have a power supply. I purchased a variable-voltage power supply, so when the computer arrived, I'd have a working computer with a working PCMCIA slot to download the images from.
The computer arrived, I powered it up, and to my gleeful surprise, it worked. The one other thing I needed to navigate was using a 25-year-old PC, but my PC memory bank refreshed. I slipped the PCMCIA portion of the camera into the slot, and the "camera" showed up as another disk drive, and the images were there too, WOOHOO!!!
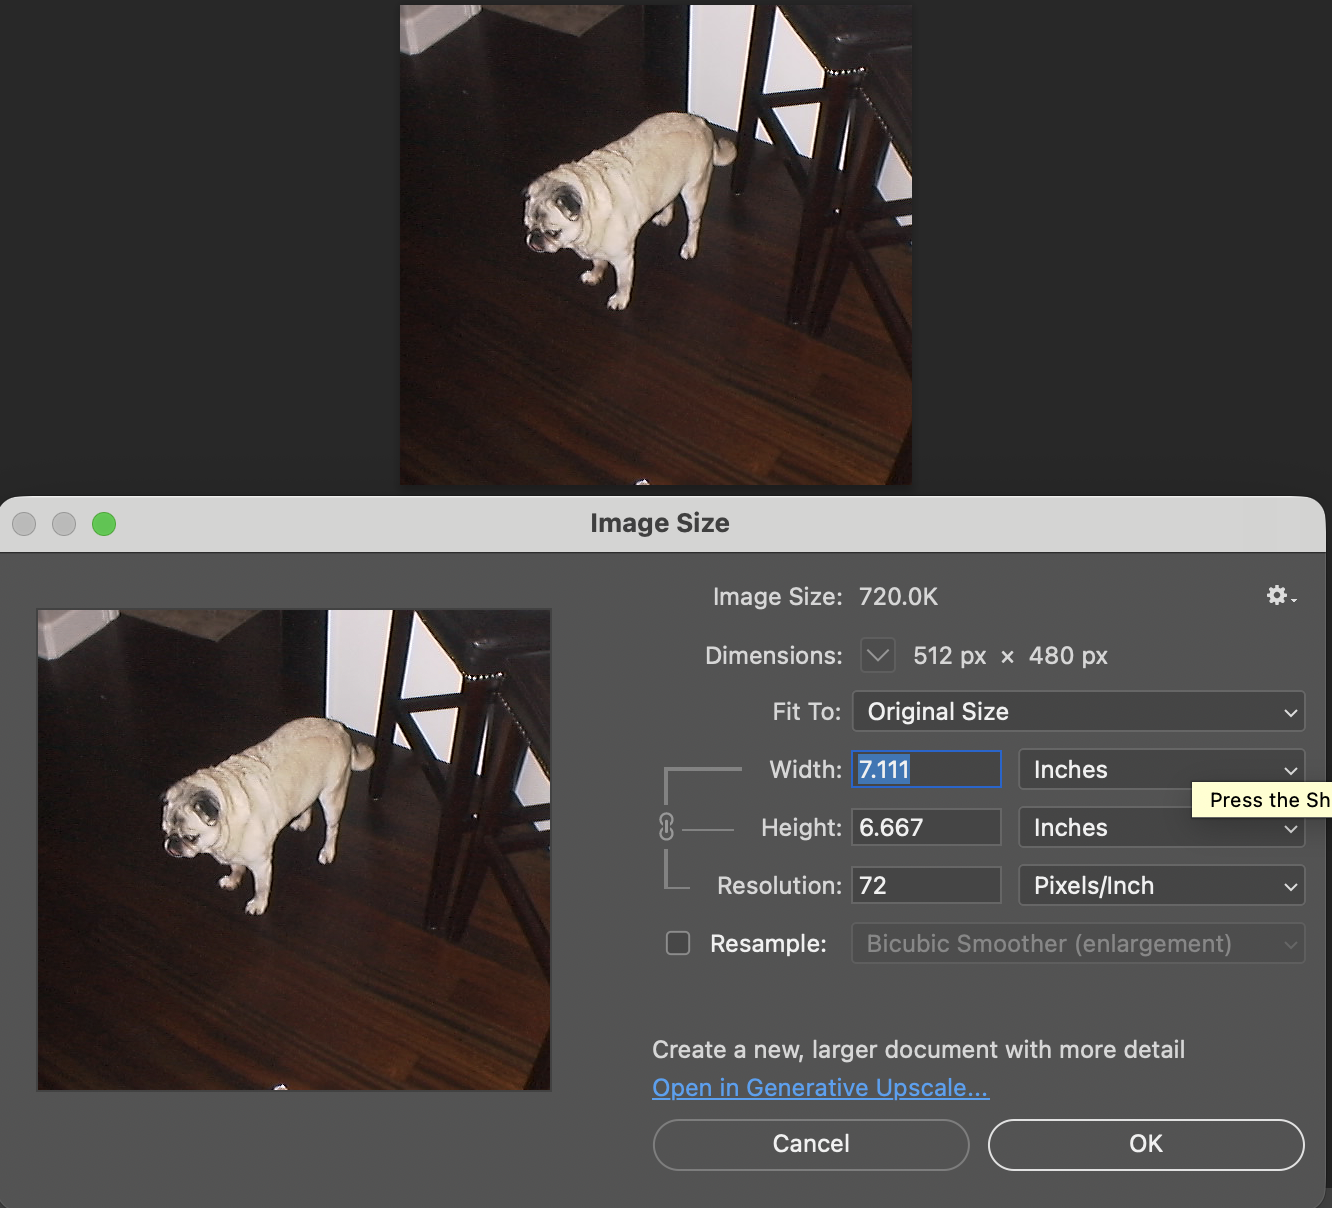
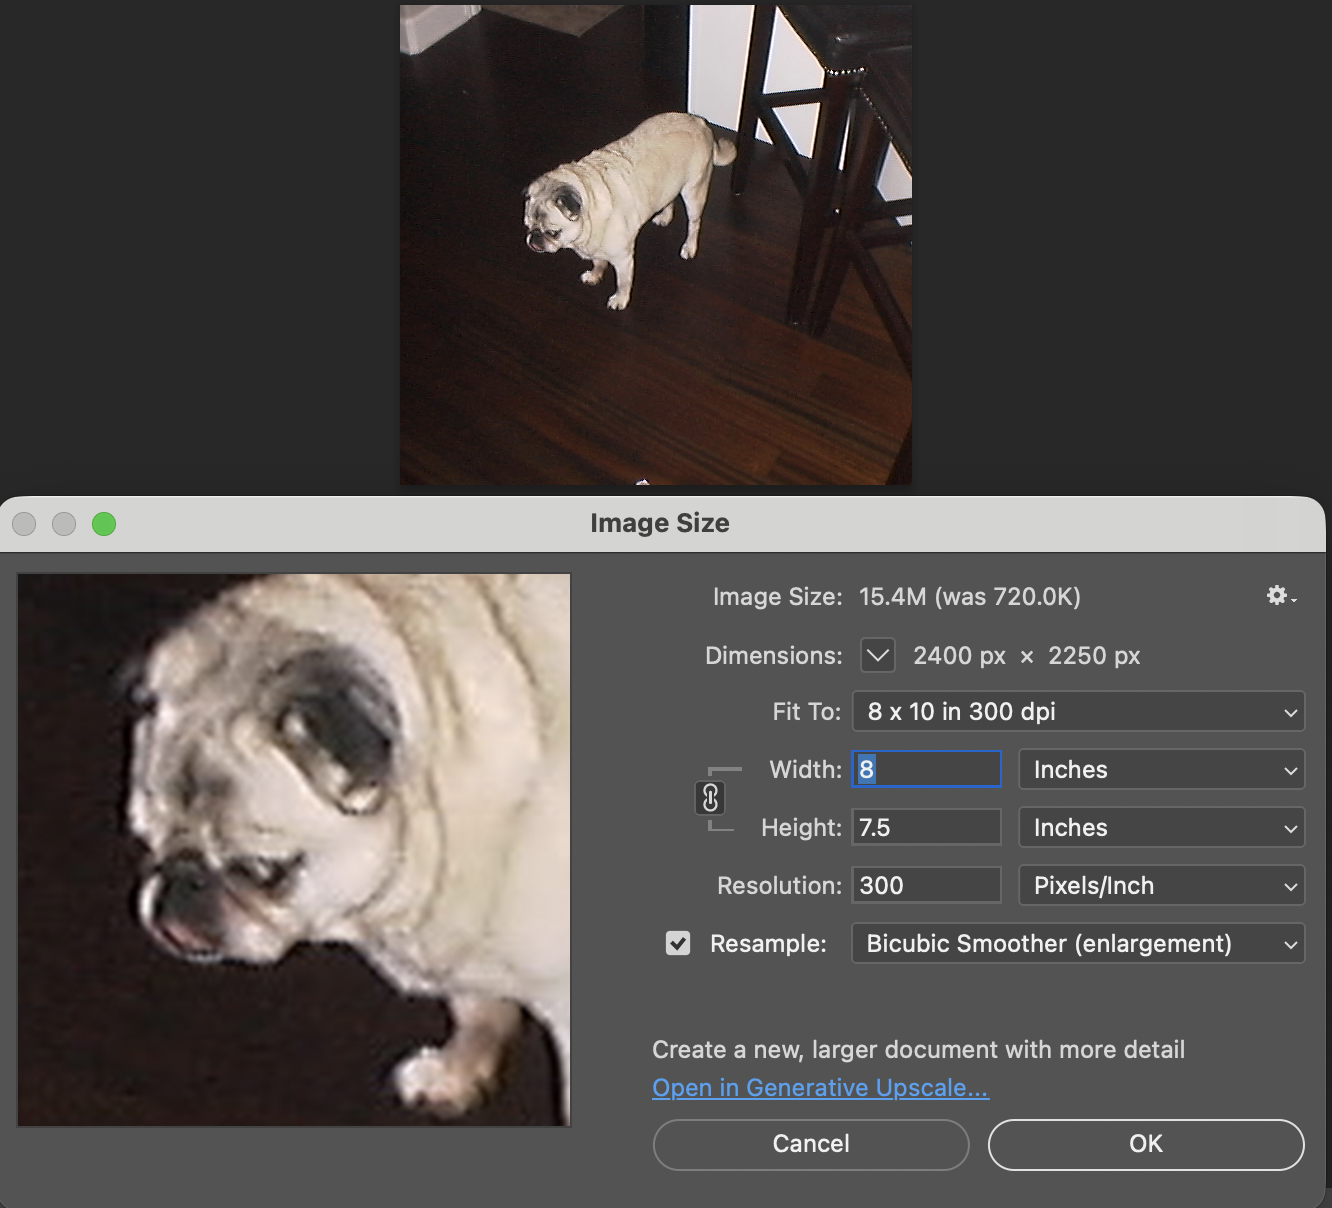
I downloaded the images onto a thumb drive so I could transfer them to my MAC to look at them, and to my surprise, these images were tiny. The largest file taken was only 49kb. All this trouble for images that are so tiny compared to what we have today.
I had initially planned to write about the Nikon Coolpix E100 as the first camera for "digital month." Still, the difficulty of finding a working computer from that era was the main reason I had to push the article off until the final week.
Nikon Digital History:
While Nikon dominated the professional film era with its "F" mount system, its digital evolution was defined by early collaborations, a brief period of playing catch-up, and eventually, the reclamation of its professional pedigree.
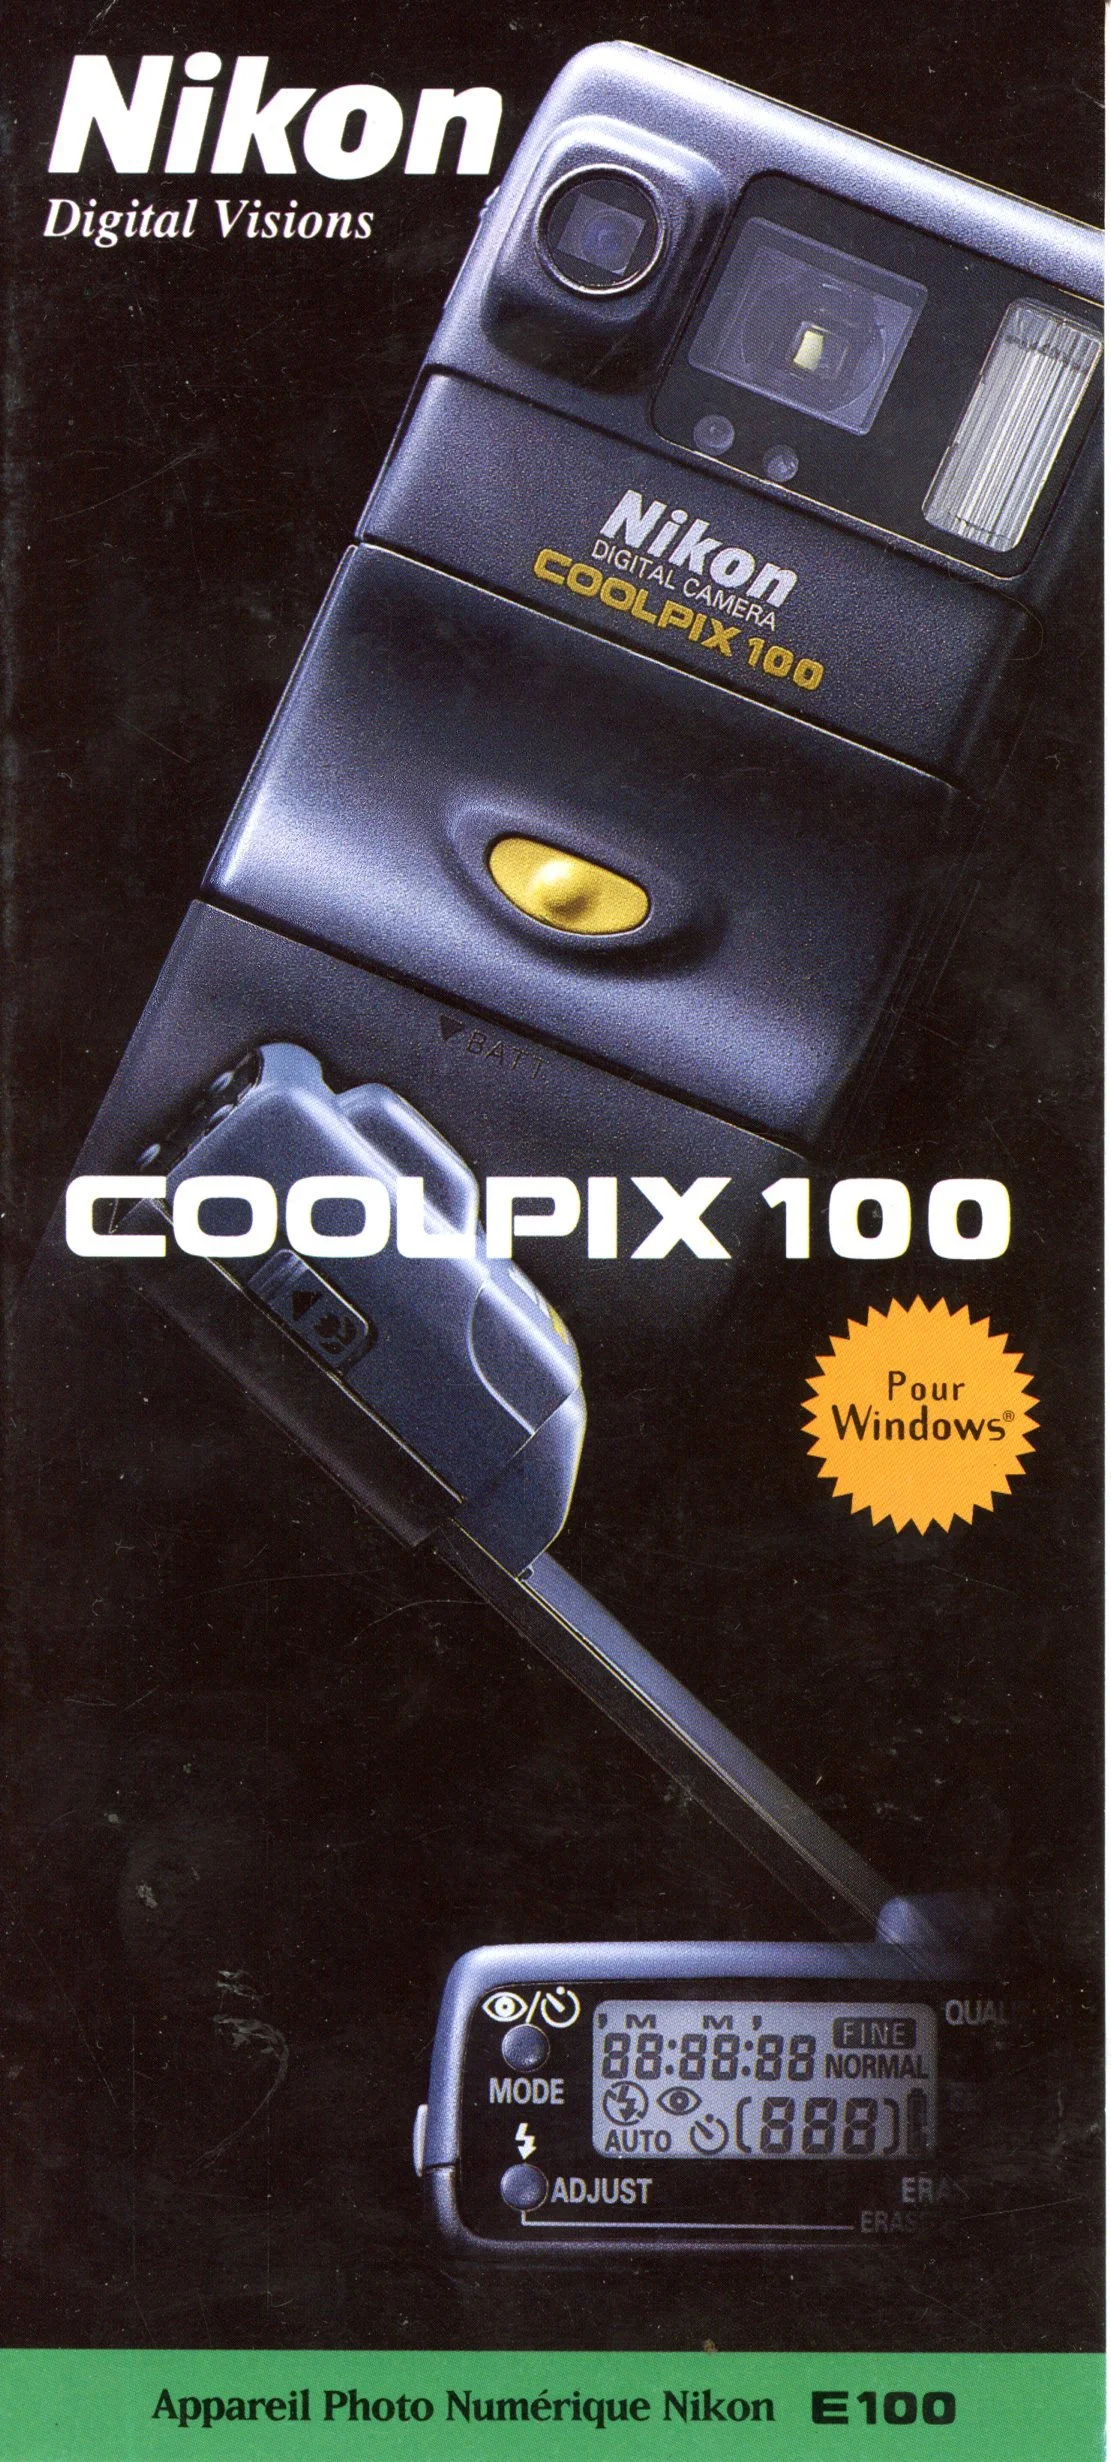
French Brochure for Nikon Coolpix E100 camera
Nikon's digital roots actually trace back to the mid-80s with "Still Video" prototypes, but the true journey began through partnerships. In the early 1990s, Nikon collaborated with Kodak to produce the DCS (Digital Camera System) series. These were essentially Nikon F3 or F5 bodies modified with massive, tethered Kodak digital backs.
In 1995, Nikon partnered with Fujifilm to create the E-series, specifically the E2 and E2s. These used a unique optical system to shrink a full-frame image onto a tiny 2/3-inch sensor, maintaining the field of view of Nikon lenses. While innovative, these were bulky and expensive, serving as a bridge to the true digital revolution.
The Coolpix E100 was Nikon's attempt to bring its optical expertise to the burgeoning consumer electronics space. It was a pocketable (by 1997 standards) silver-bodied camera that signaled a major shift in Nikon's business strategy: making digital technology accessible to everyday users.
What made the E100 particularly significant in Nikon's history was its storage and connectivity. It utilized PCMCIA (PC Card) Type II cards. At a time when many competitors were struggling with slow serial cables or proprietary storage, the E100's card could be plugged directly into a laptop's PC card slot. This allowed for (then) rapid image transfers, a workflow convenience that Nikon would continue to prioritize in its later professional lines.
Everything changed in 1999 with the release of the Nikon D1. Before the D1, professional digital cameras cost upwards of $20,000. Nikon shocked the industry by releasing a fully integrated digital SLR for under $6,000. It used the D5's film-body ergonomics and featured a 2.7-megapixel APS-C (DX-format) sensor. This camera proved that digital was no longer a specialized tool for news agencies—it was the future of professional photography.
As the industry shifted toward mirrorless technology, Nikon launched the Z-mount system in 2018 with the Z6 and Z7. The new mount featured a much larger diameter and a shorter flange distance, allowing for optical designs that were physically impossible on the old F-mount. This culminated in the Z9 (2021), a flagship that famously ditched the mechanical shutter entirely, signaling Nikon's total commitment to a digital-first, mirrorless future.
My Camera:
The Nikon Coolpix E100 is a long, slim camera, measuring 6" long by 2 3/8" wide by 1 3/8" deep from the front of the lens to the rear of the camera, and weighs 5.8 ounces without the four "AA" batteries which power the camera. The camera has a 6.2mm (equivalent to a 52mm on 35mm film) F/4 fixed focus lens, along with macro capability which can focus between 5.5 "-9".
The camera has a 1/3" CCD chip with 330,000 square pixels (0.33 megapixel) with a maximum resolution of 512x480 dots, which writes to an internal 1 mb PCMCIA card in the body of the camera. The Nikon Coolpix E100 has a shutter speed range of 1/45 to 1/10,000 on a charge-coupled device (CCD) electronic shutter. I found the Nikon Coolpix E100 manual on the Nikon website.
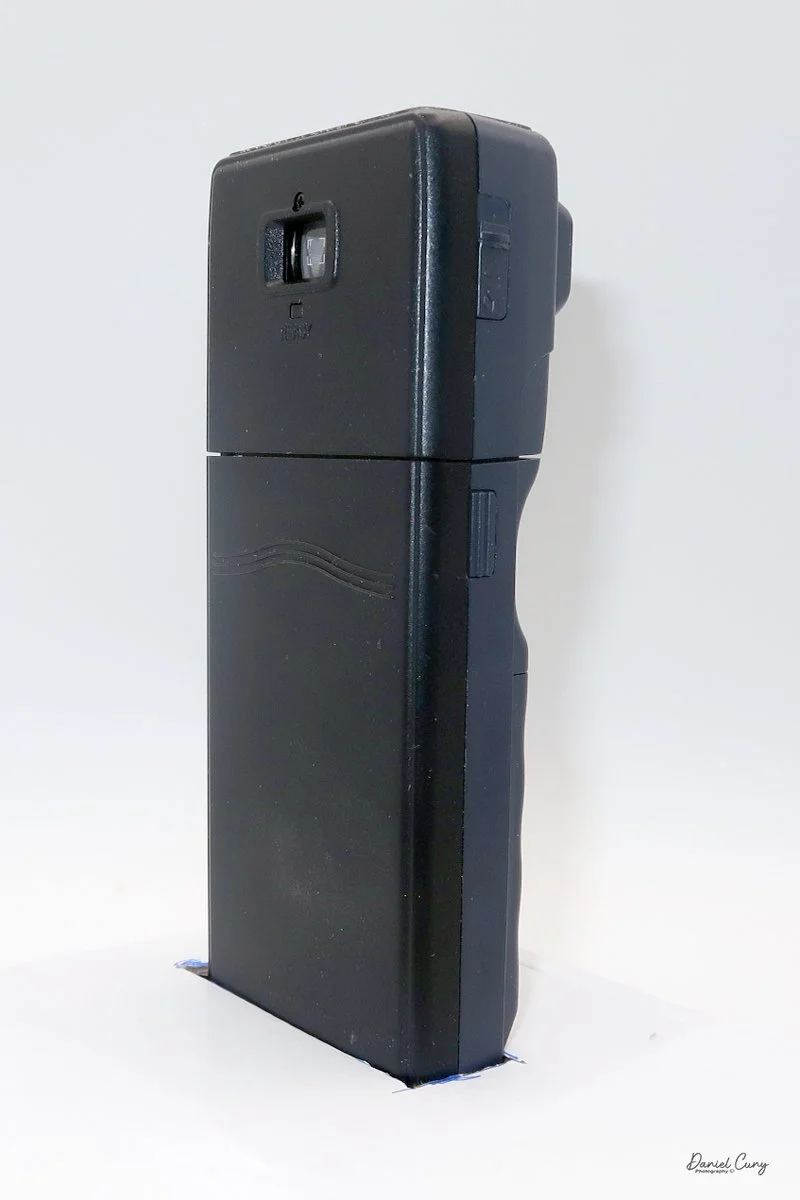
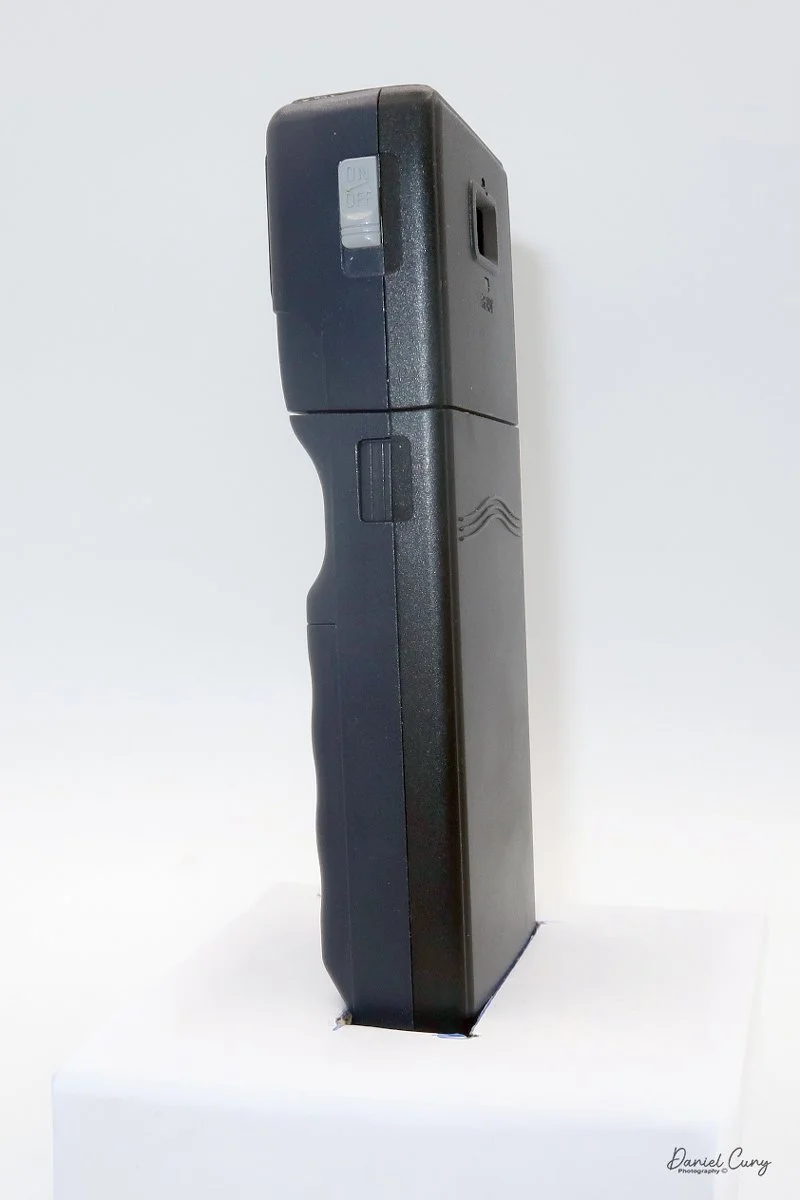
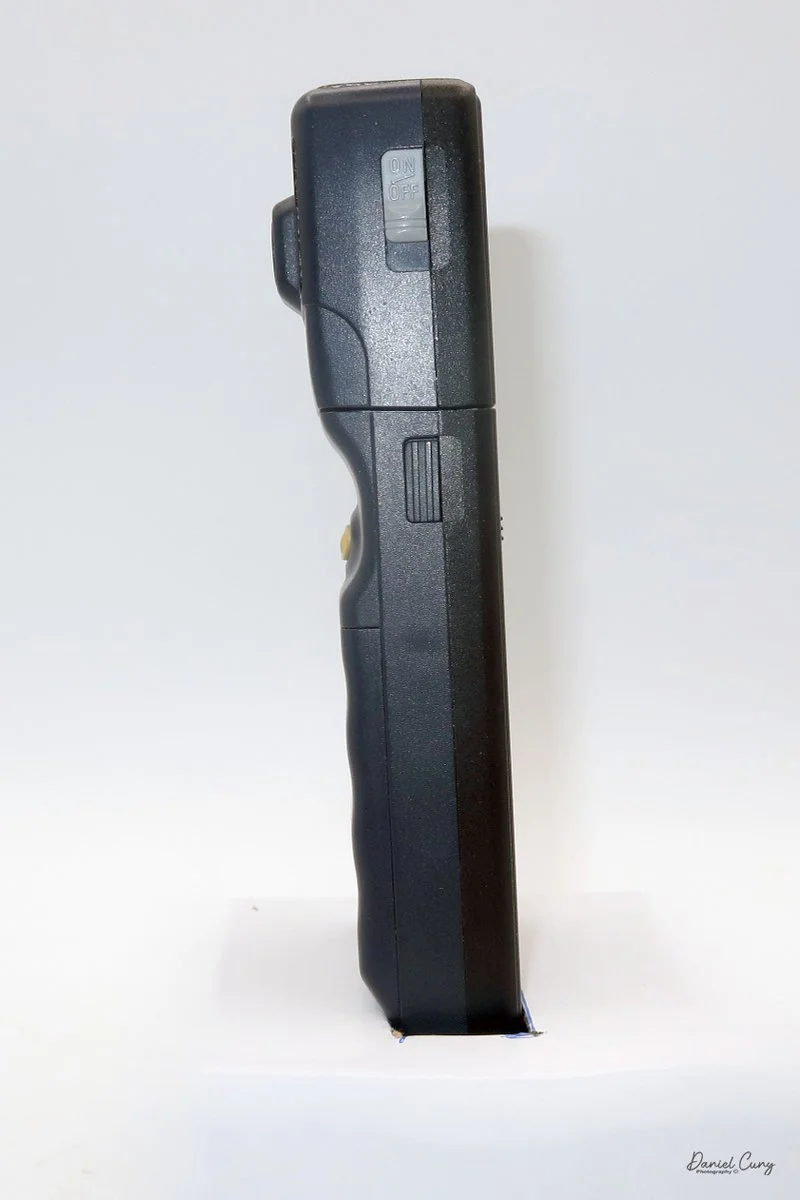
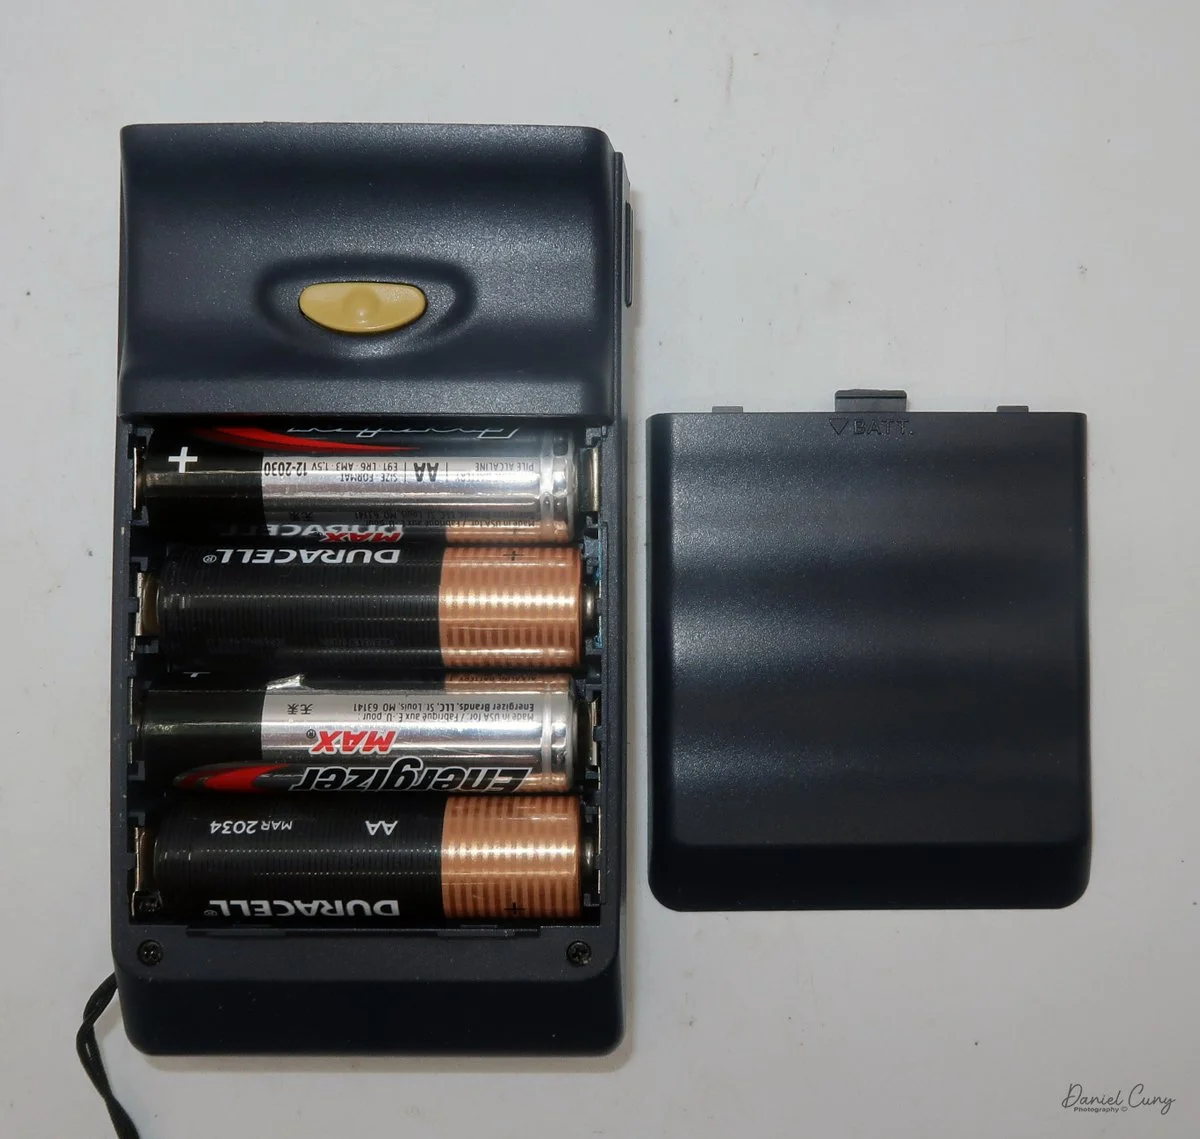
One of the more interesting features of the camera is that, as mentioned previously, it separates into two sections. By pressing two buttons on the side of the camera, the top portion, which houses the memory card, lens, shutter system, flash, etc., separates from the lower portion, which holds the shutter release and the four "AA" batteries that power the camera. To add the batteries, the front of the battery cover has rows you slide down to show where the batteries are placed.

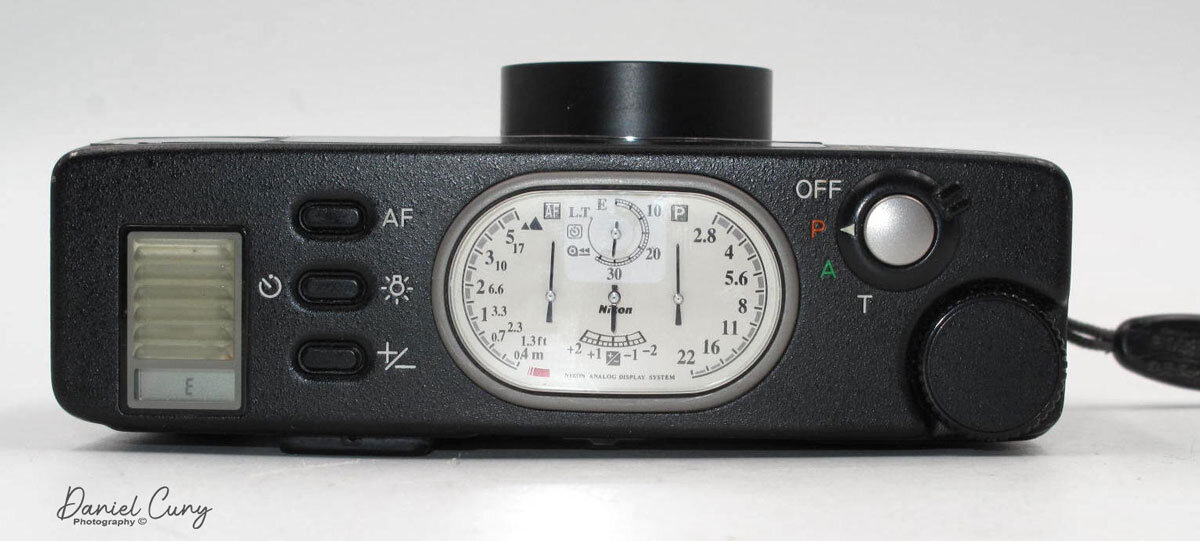
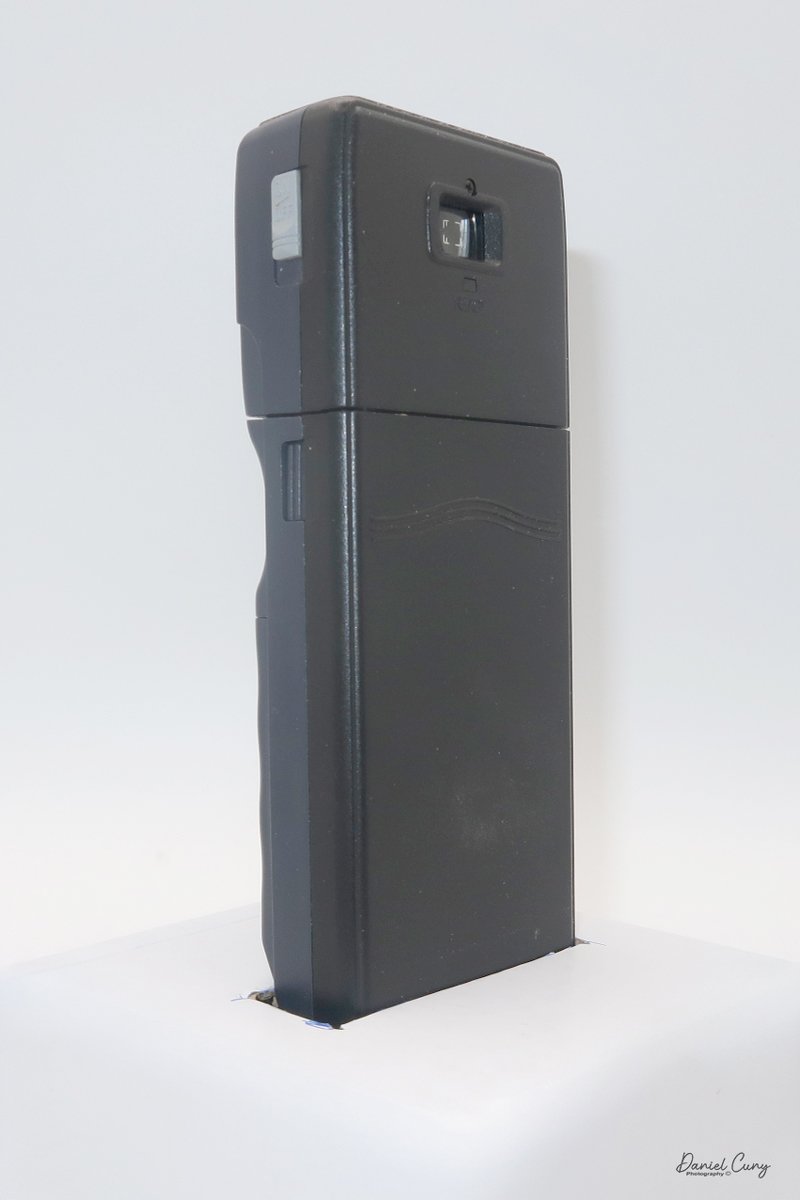
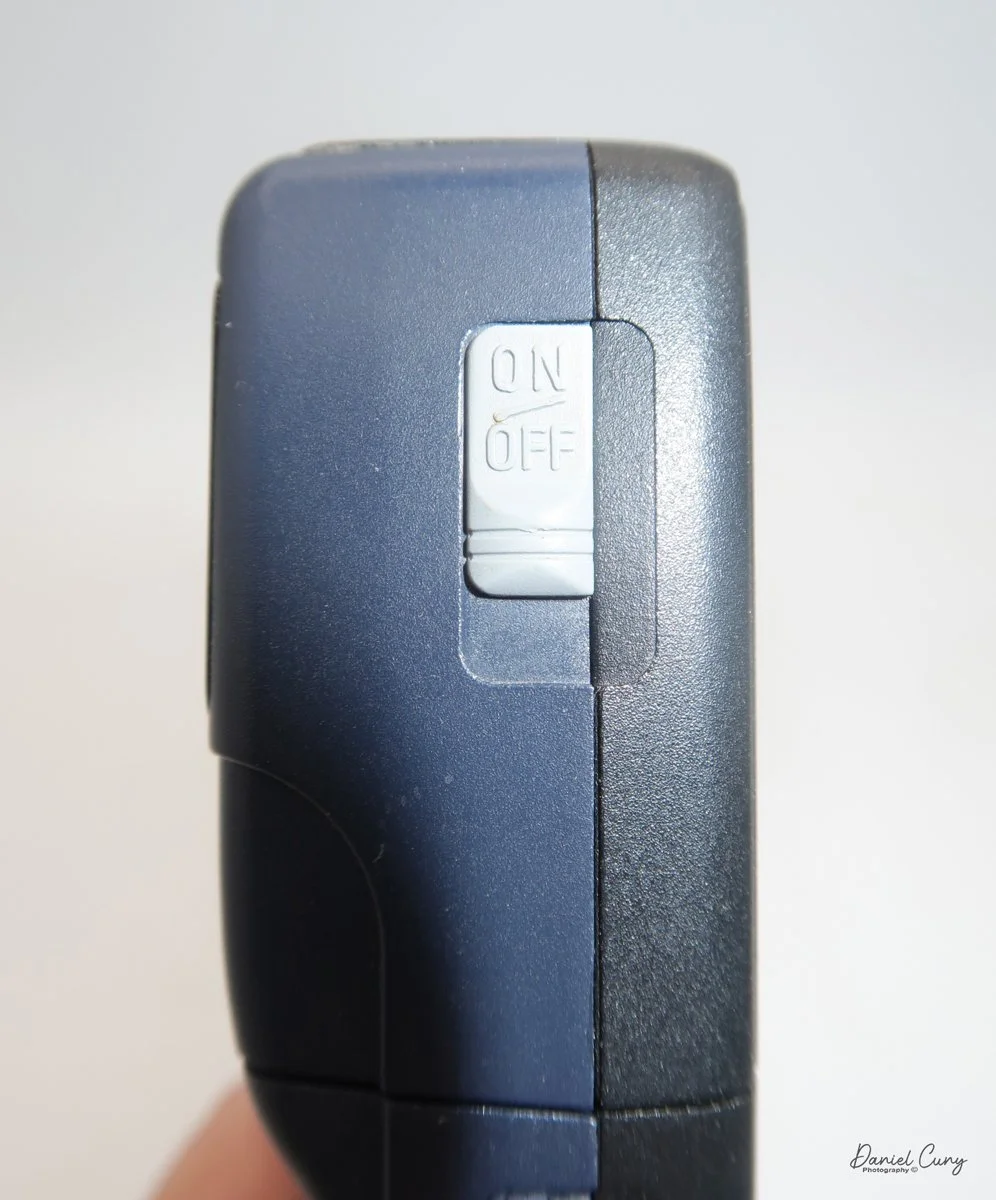
Looking at the top of the camera, on the left side is the On/Off switch, which you press down to activate or deactivate the camera's power. Once the camera is "on", at the very top is a small LCD screen that lets the photographer choose different functions.
The first function you can set on the camera is the Date and time function. If you hold the "Quality" button while turning the camera "on" on the LCD, you can see the M/D/Y functions, and pressing the "Mode" button lets you set and change the different settings. Once the Date is set, you can use the same function to turn off the camera, then back on while holding the "Quality" button to do the same for the time function.
In the top left is a "Mode" button that lets the photographer pick 10 sec. self-timer on the camera, along with red-eye reduction. Below the "Mode" is the thunderbolt for flash settings. These settings are On, Off, or Auto.
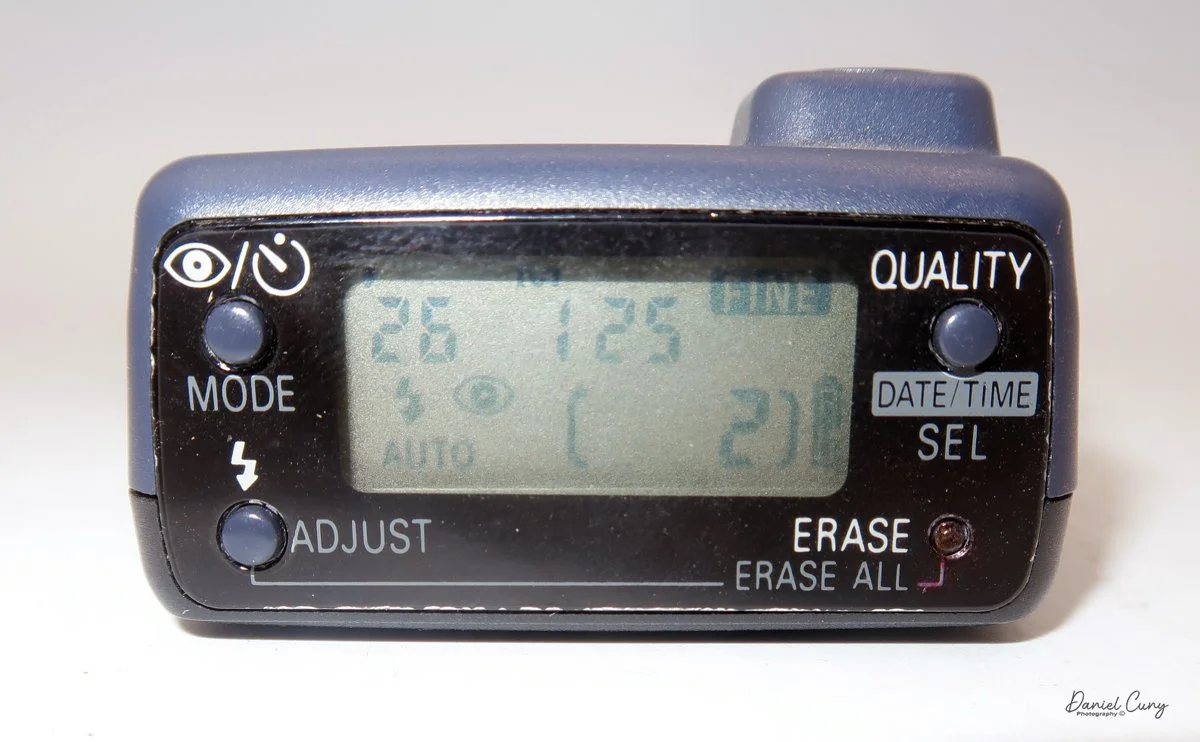
In the upper-right corner of the LCD is the "Quality" button, which you can set to "Fine" or "Normal". On the empty PCMCIA card, Normal mode allows you to take 36 images, and Fine mode allows 18 before the card is full. There is also an "Erase" button in the lower-right corner that lets you delete the last photo taken.
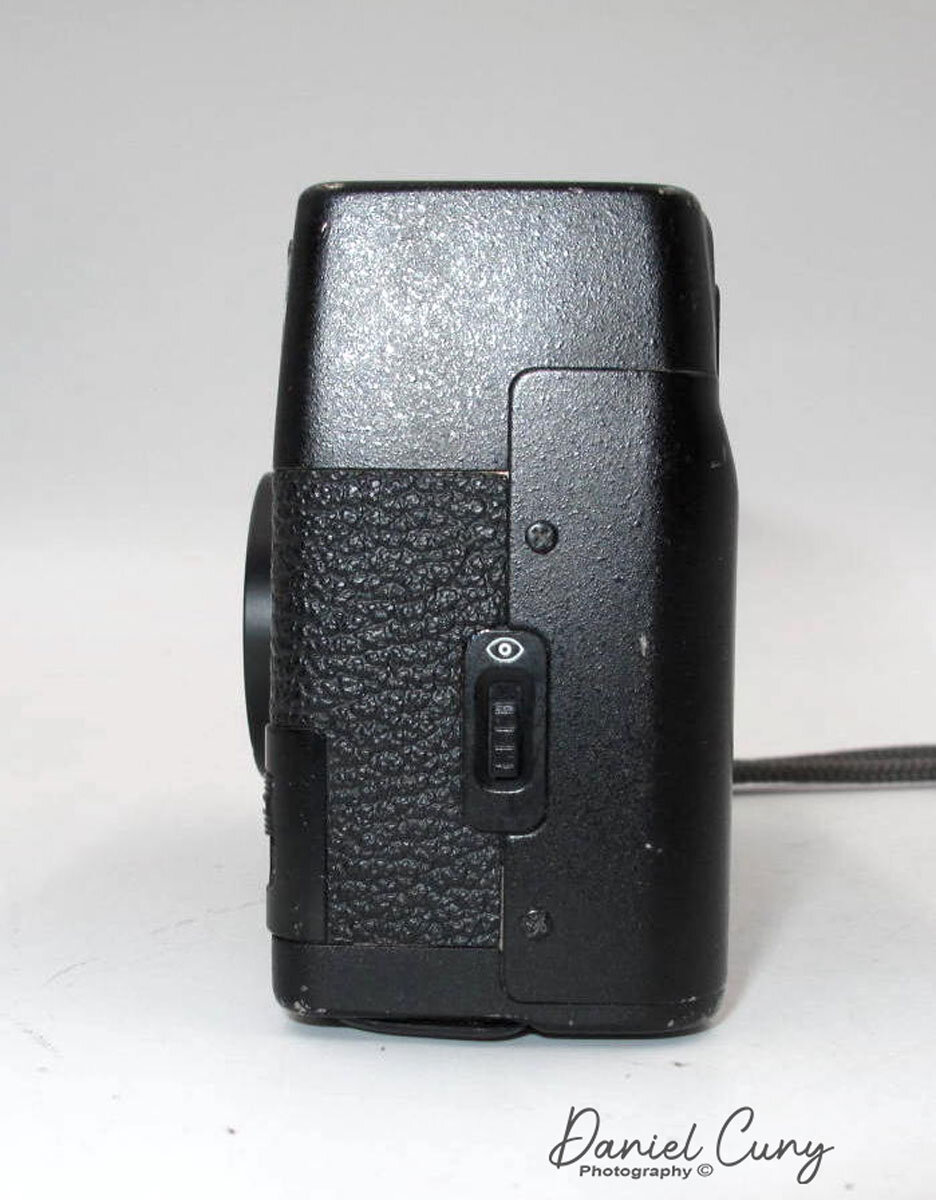
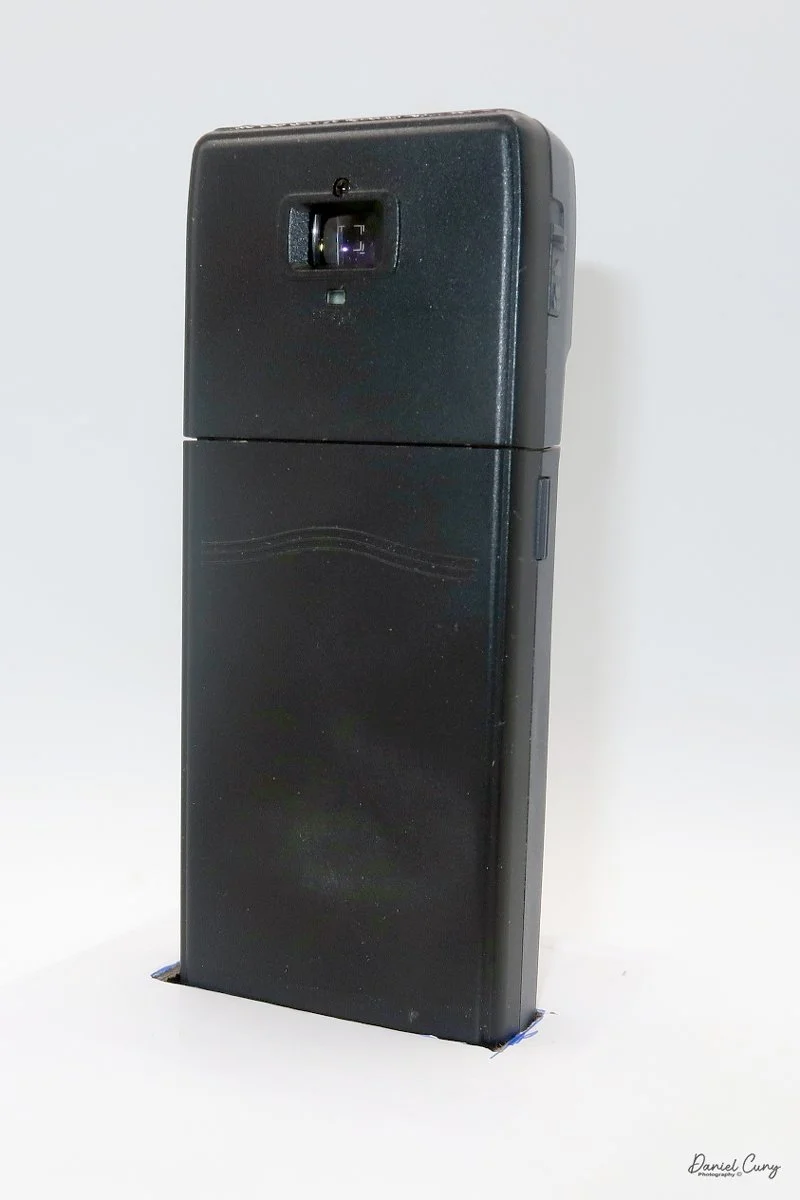
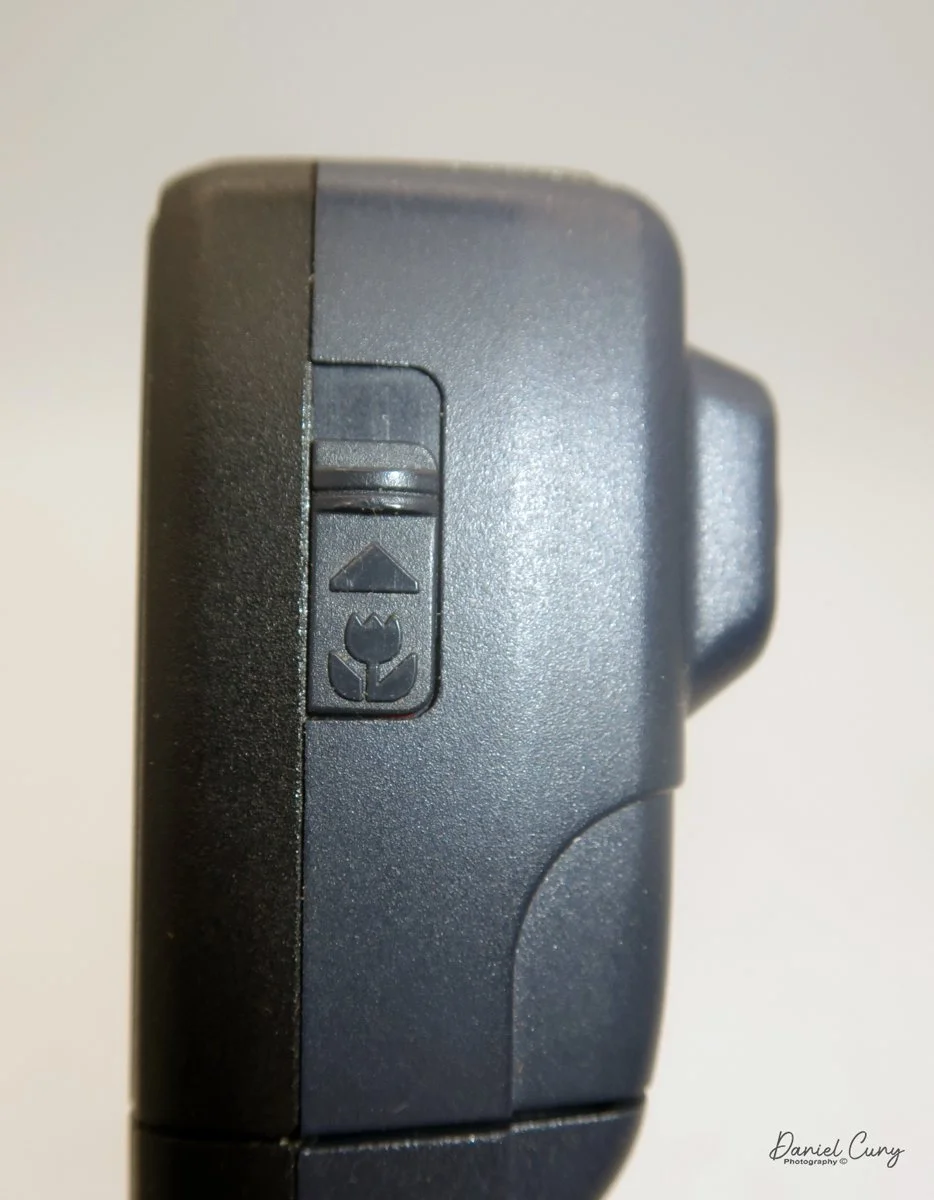
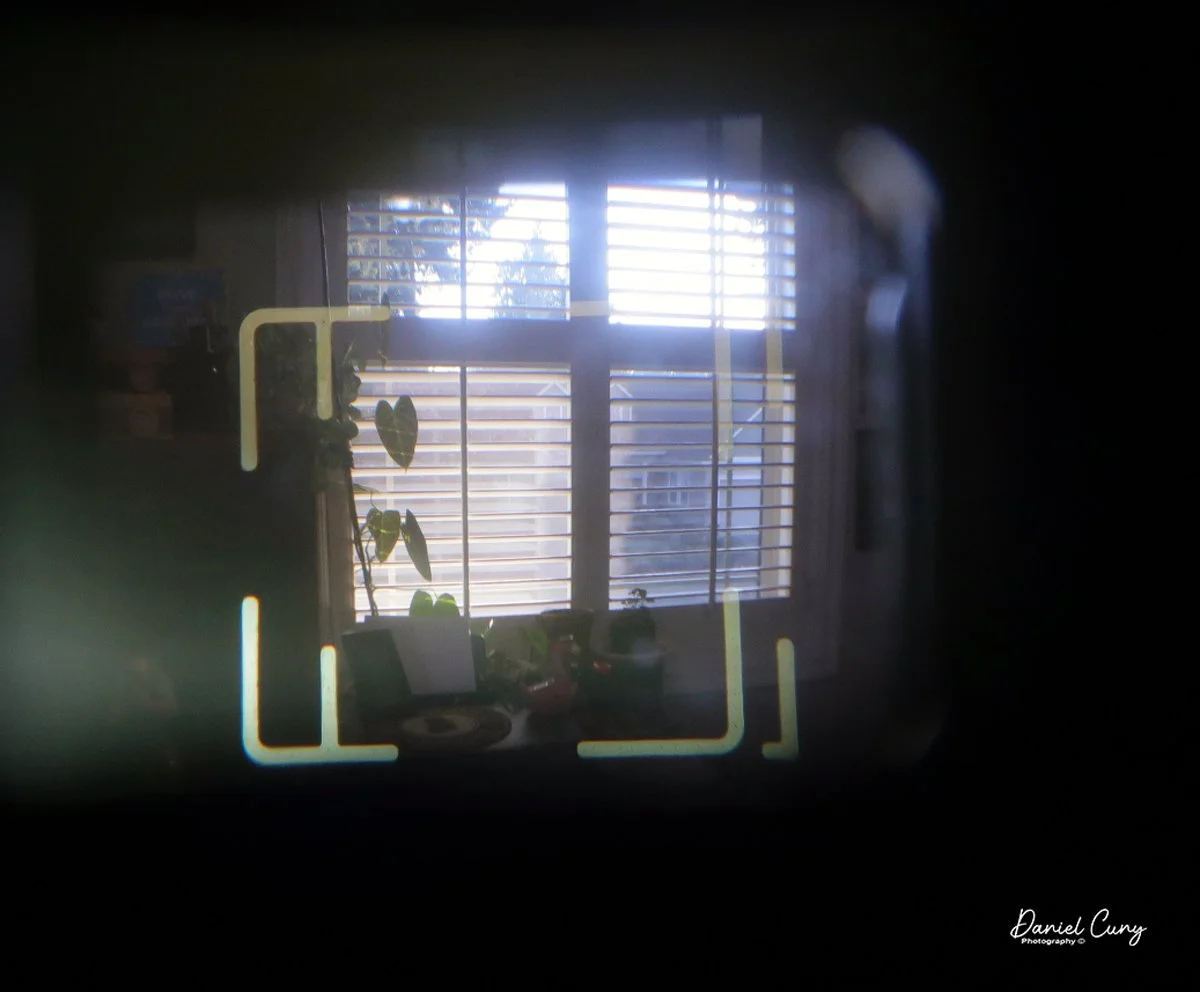
On the back side of the camera is the viewfinder. Looking inside the viewfinder, there are outer lines used for the normal settings, and internal lines for when you're shooting in "macro" mode. Under the viewfinder is a "ready" light that turns green when you depress the shutter button halfway, indicating that the camera's light meter and flash are ready for you to take a photo. On the right side of the camera is a switch to switch the camera to "macro" shooting mode.
Once you've taken the photos and want to see them, you'll need to separate the camera and slide the PCMCIA card into your computer. Make sure you press the card firmly into the slot so the computer recognizes it as a new drive, and the images appear on it. From there, you can view them in your favorite imaging software, as they are saved in JPG format.
My Images:
I went around and took both Normal and Fine images around my office. The quality of the images compared to today's is poor, as you can see in the posted images and in Photoshop screenshots showing image sizes and resolution.


Conclusion:
Holding the camera vertically and having the shutter release on the front make it simple to use, and looking through the viewfinder to frame your photo is easy because the frame lines are bright and easy to see.
I'm certainly happy to have this camera in my collection, as it's an odd and quirky example of early Nikon consumer-based cameras. The most frustrating part was the hassle of having to look at the poor-quality images the camera produces.
The one positive thing that came out of this process is that I now have a working PC from the late 1990s, and I did get to see the images the camera produces. It may be time to invest in other early digital cameras, as they might be the next goldmine for collectors, and I'll have a working computer that people can use to see their images, too.
Thank you for taking some time to hear about my escapades in procuring a computer to view the images the Nikon Coolpix E100 produced. I hope you learned a bit about the camera in the process.
Here's a link to my other Camera Reviews.
I also have an online eBay store, Cuny's Cameras and Photo, where I sell the cameras I've reviewed, along with other camera oddities. If you find something you like, send me a note, and I'm happy to offer a discount.
Until next week, please be safe.