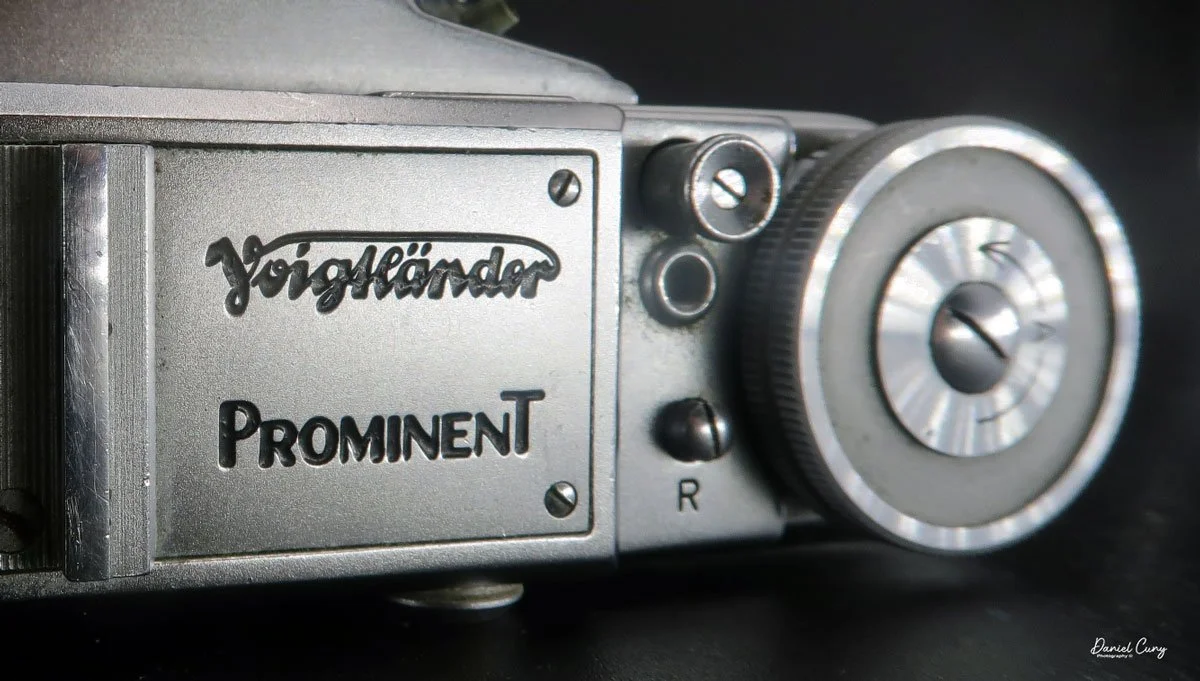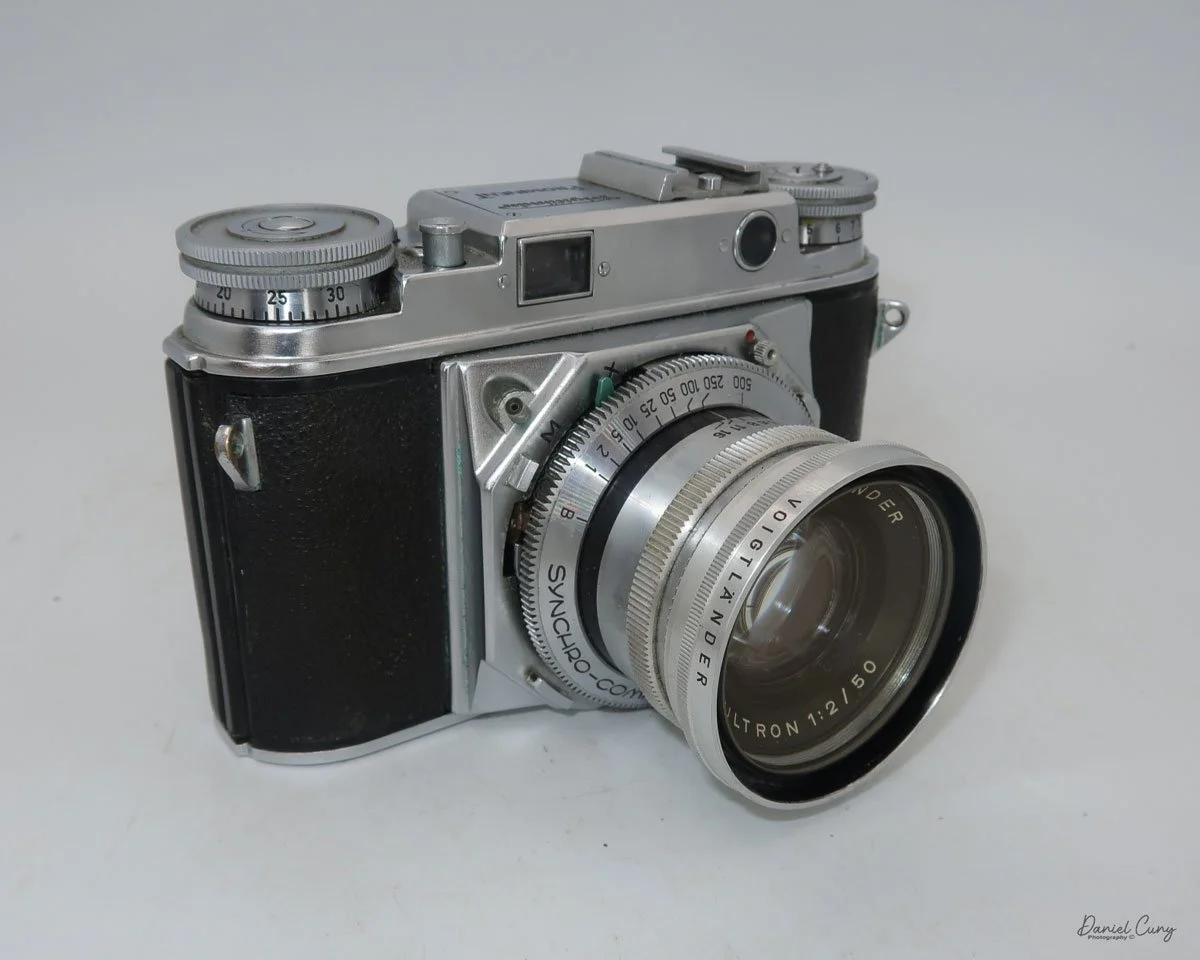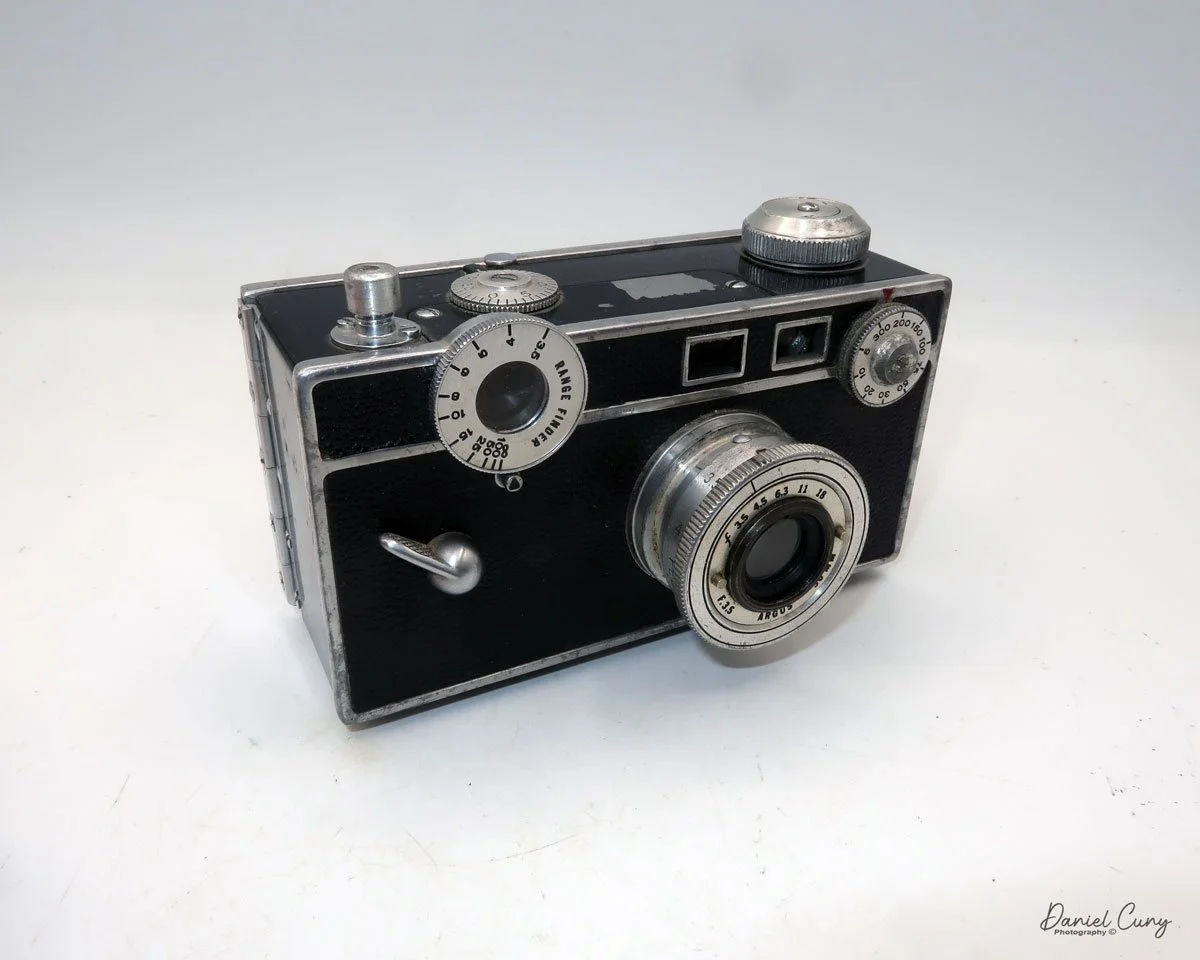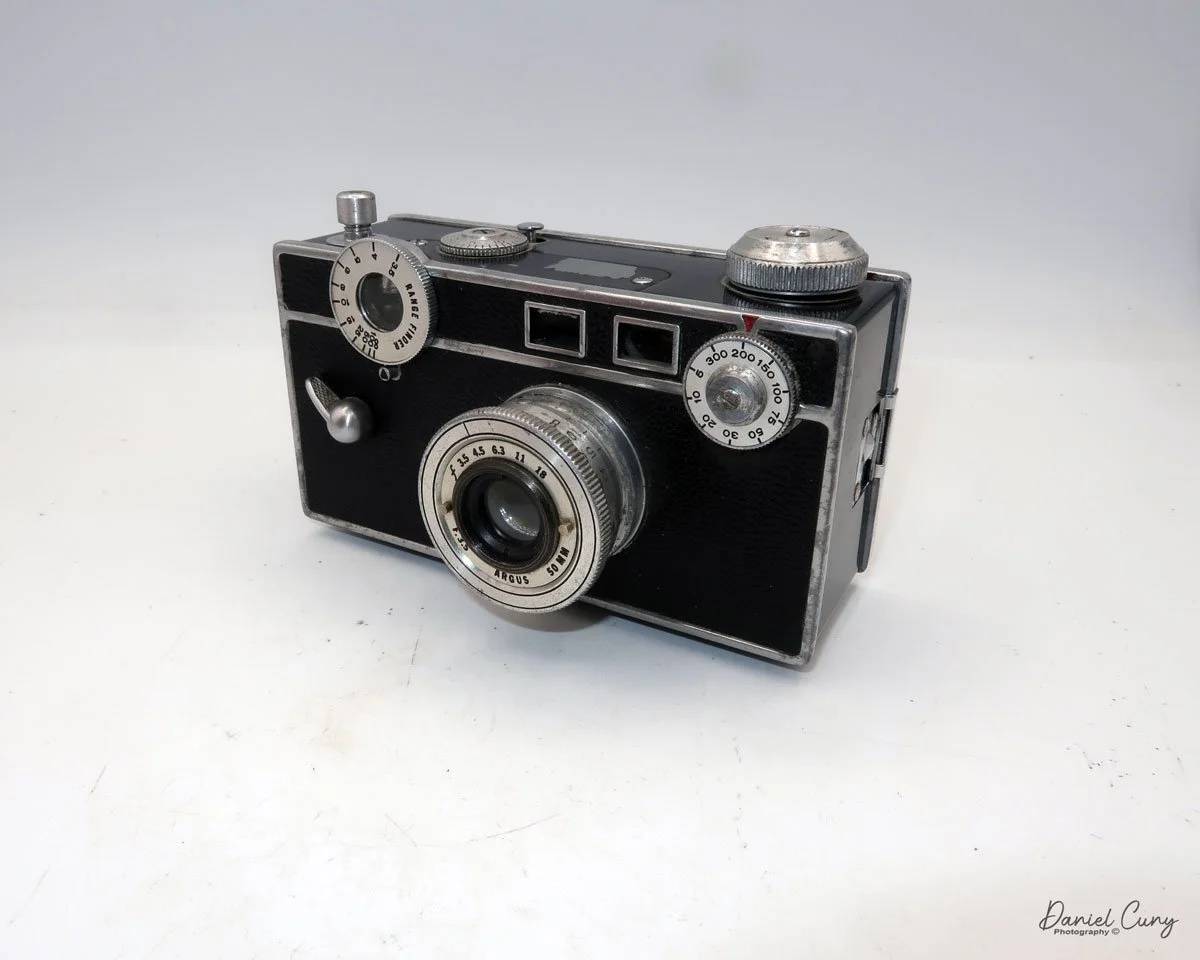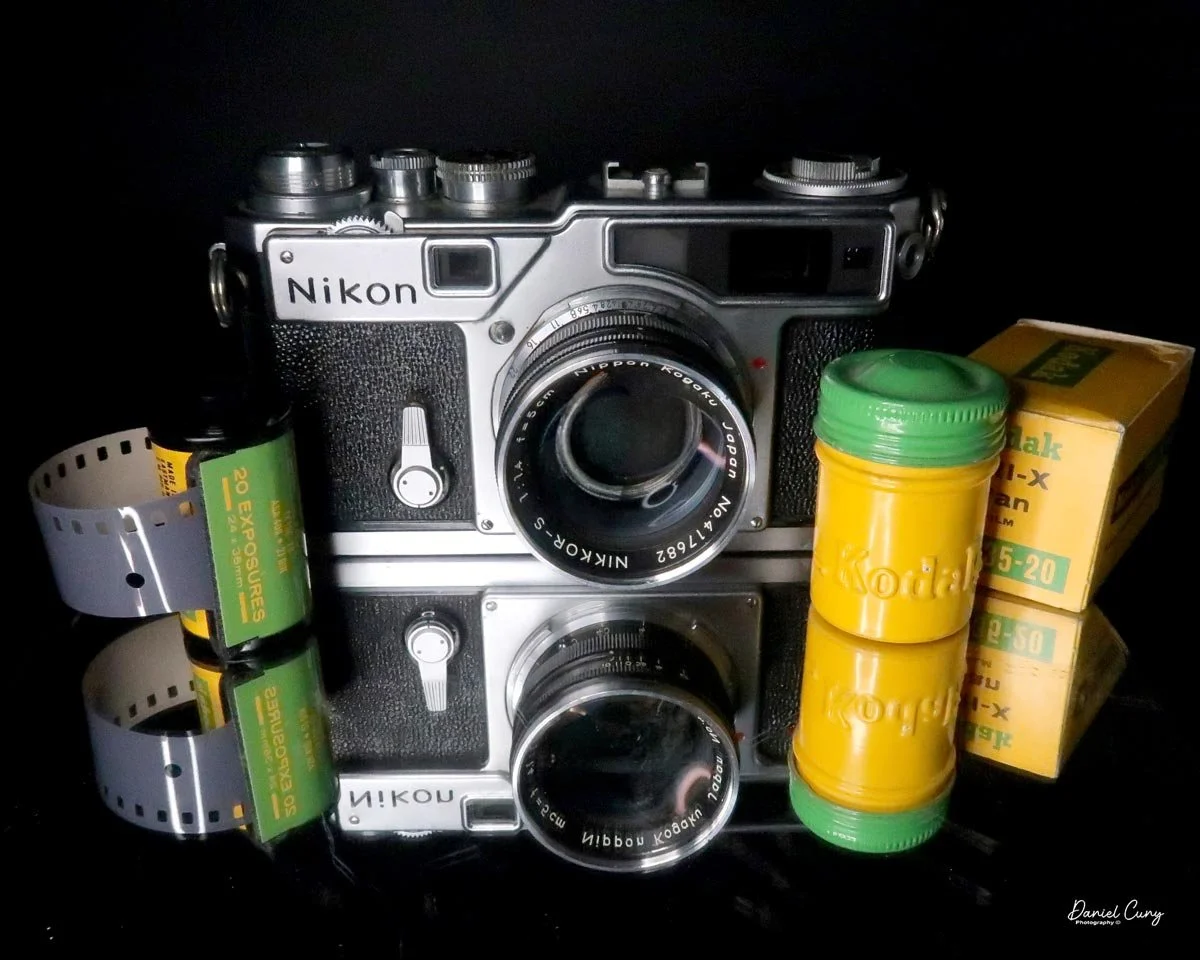
My Nikon SP camera
As a Nikon photographer since my early career—starting with Nikkormat cameras and moving on to the Nikon F series in the early 1970s—the early Nikon rangefinder cameras have always intrigued me. I view them not necessarily as "shooting" cameras, but more from a collector's perspective.
I believe this is due to how I learned photography. Having grown up with SLR cameras, I feel more comfortable with a larger, brighter viewfinder. I always found it difficult to focus a rangefinder-style camera, especially in darker, low-light situations. Finding the yellow area to bring into focus was always a challenge for me. However, as I became more accustomed to them, I learned to look for someone's eye, the edge of a leaf, or any sharp contrast to bring the two images into one.
When you shoot with a rangefinder-style camera, you (or at least I do) really appreciate its quieter shutter system. You only hear the low click of the camera's shutter opening and closing, without a mirror clunking up and down during the exposure. This can be extremely helpful, especially when photographing someone in a quiet setting. I learned this the hard way when I was photographing a musician in a small, café-style venue. My SLR was way too noisy, and some of the audience actually shushed me. It was very embarrassing, to say the least!
Another advantage of the rangefinder style is its compactness. Because these cameras lack a mirror system, they are considerably smaller, less bulky, and lighter. This goes for their lenses, too. Their compact nature allows a photographer to either pack more gear into the space normally reserved for an SLR, or use a smaller bag—saving your shoulders and back from the strain of a large, heavy system.
I was lucky when I found my Nikon SP. While I already owned several different Nikon rangefinders at the time—mainly earlier models like the S and S2—the SP was always out of reach due to the financial responsibilities of raising a family and owning a home.
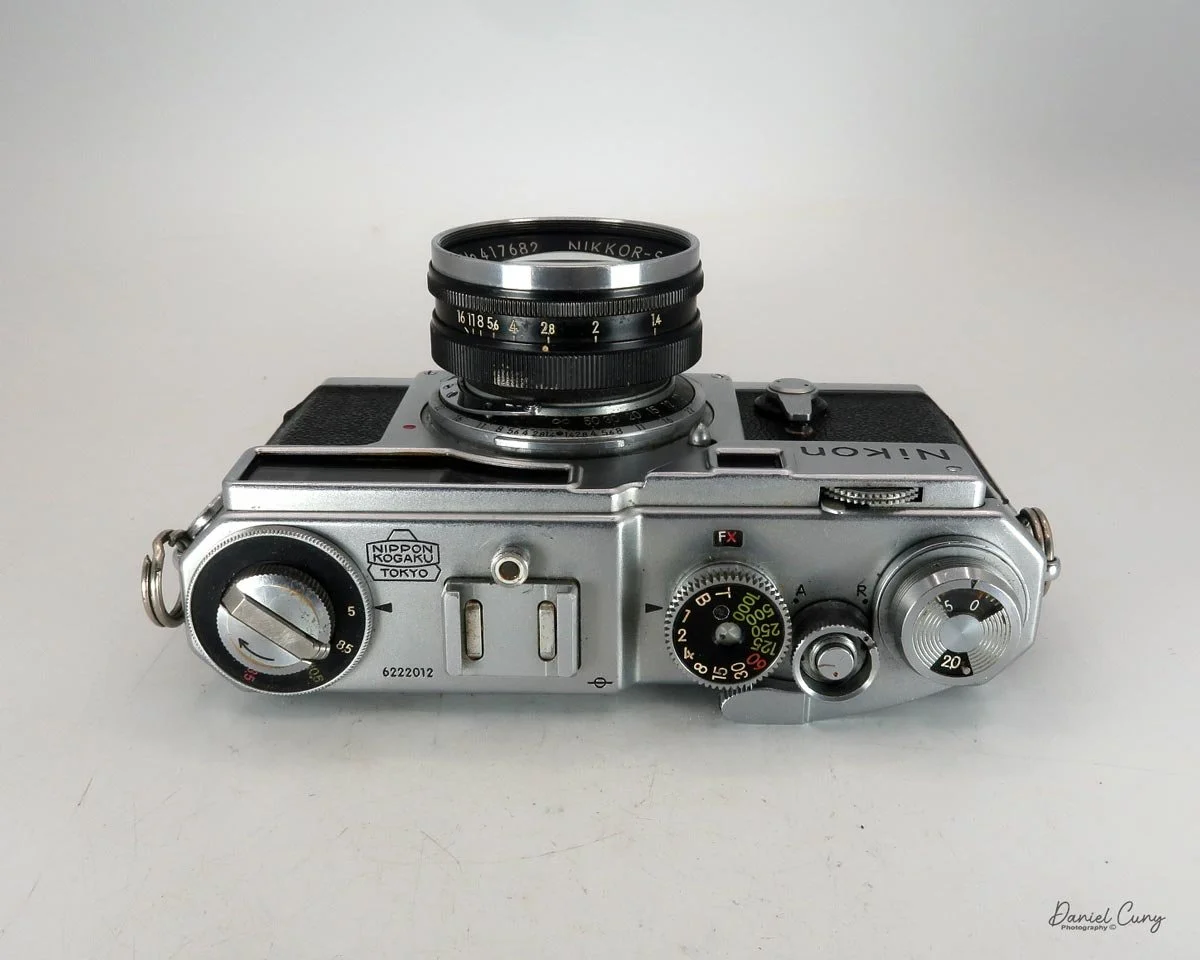
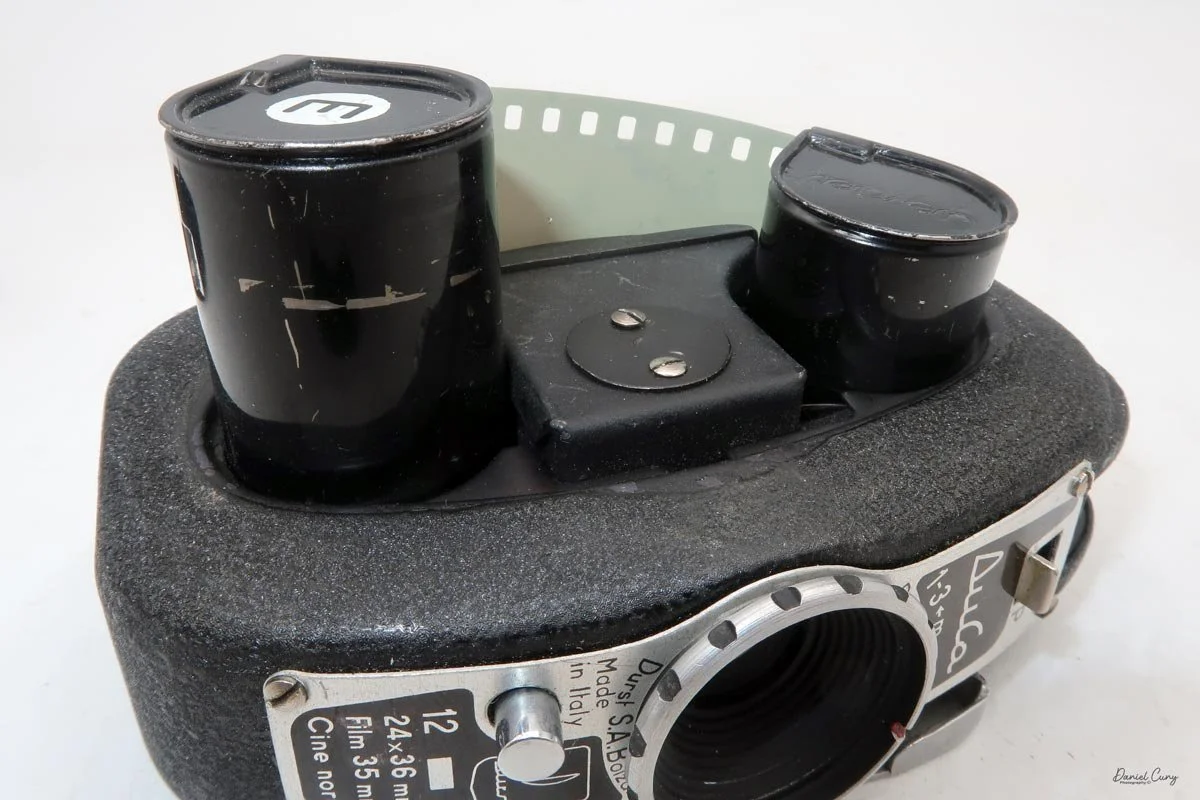
Top view of the Nikon SP camera
After several years, with a bit more financial freedom, I found a Nikon SP in great working condition. The shutter appeared to have been serviced, and while the camera had its normal slight scratches and small dings, it was selling for a great price. I pulled the trigger and purchased it, hoping to shoot with it more often.
When the Nikon SP arrived, it was in exactly the condition I expected from the photos. The lens was very clean and even included a protective filter from a different manufacturer, which had done a great job keeping the glass free of scratches. The camera felt incredibly comfortable in my hands, especially after holding so many Nikon SLRs over the years. Now, it was just a matter of reacquainting myself with the rangefinder and the dual viewfinder—which I knew might be a challenge following my recent eye surgery.
The surgery has made me more of a "left-eyed" shooter, as the sharpness in my right eye had been failing for years. While the procedure helped, my vision isn't quite what it was 20 or 30 years ago. It's not a big deal; it just means getting used to bringing the camera up to my left eye after using my right for so long. At the very least, my images have been sharper ever since I made the switch.
I really enjoy taking my Nikon SP out for a spin a few times a year. In fact, I'm somewhat shocked I haven't written about it before now! During the week, I often brainstorm which camera to feature in my next blog. Last week, the SP popped into my head, and I felt there was no better time to write about one of my absolute favorites.
History
Nikon's rangefinder cameras began as a postwar effort by Nippon Kogaku to enter the 35mm market. They quickly became the foundation of the brand's reputation for precision optics and rugged construction. The original Nikon, later called the Nikon I, was approved in 1946, manufactured starting in 1948, and sold later that year. It used a Contax-inspired mount and a compact rangefinder body that looked unlike anything else coming out of Japan at the time.
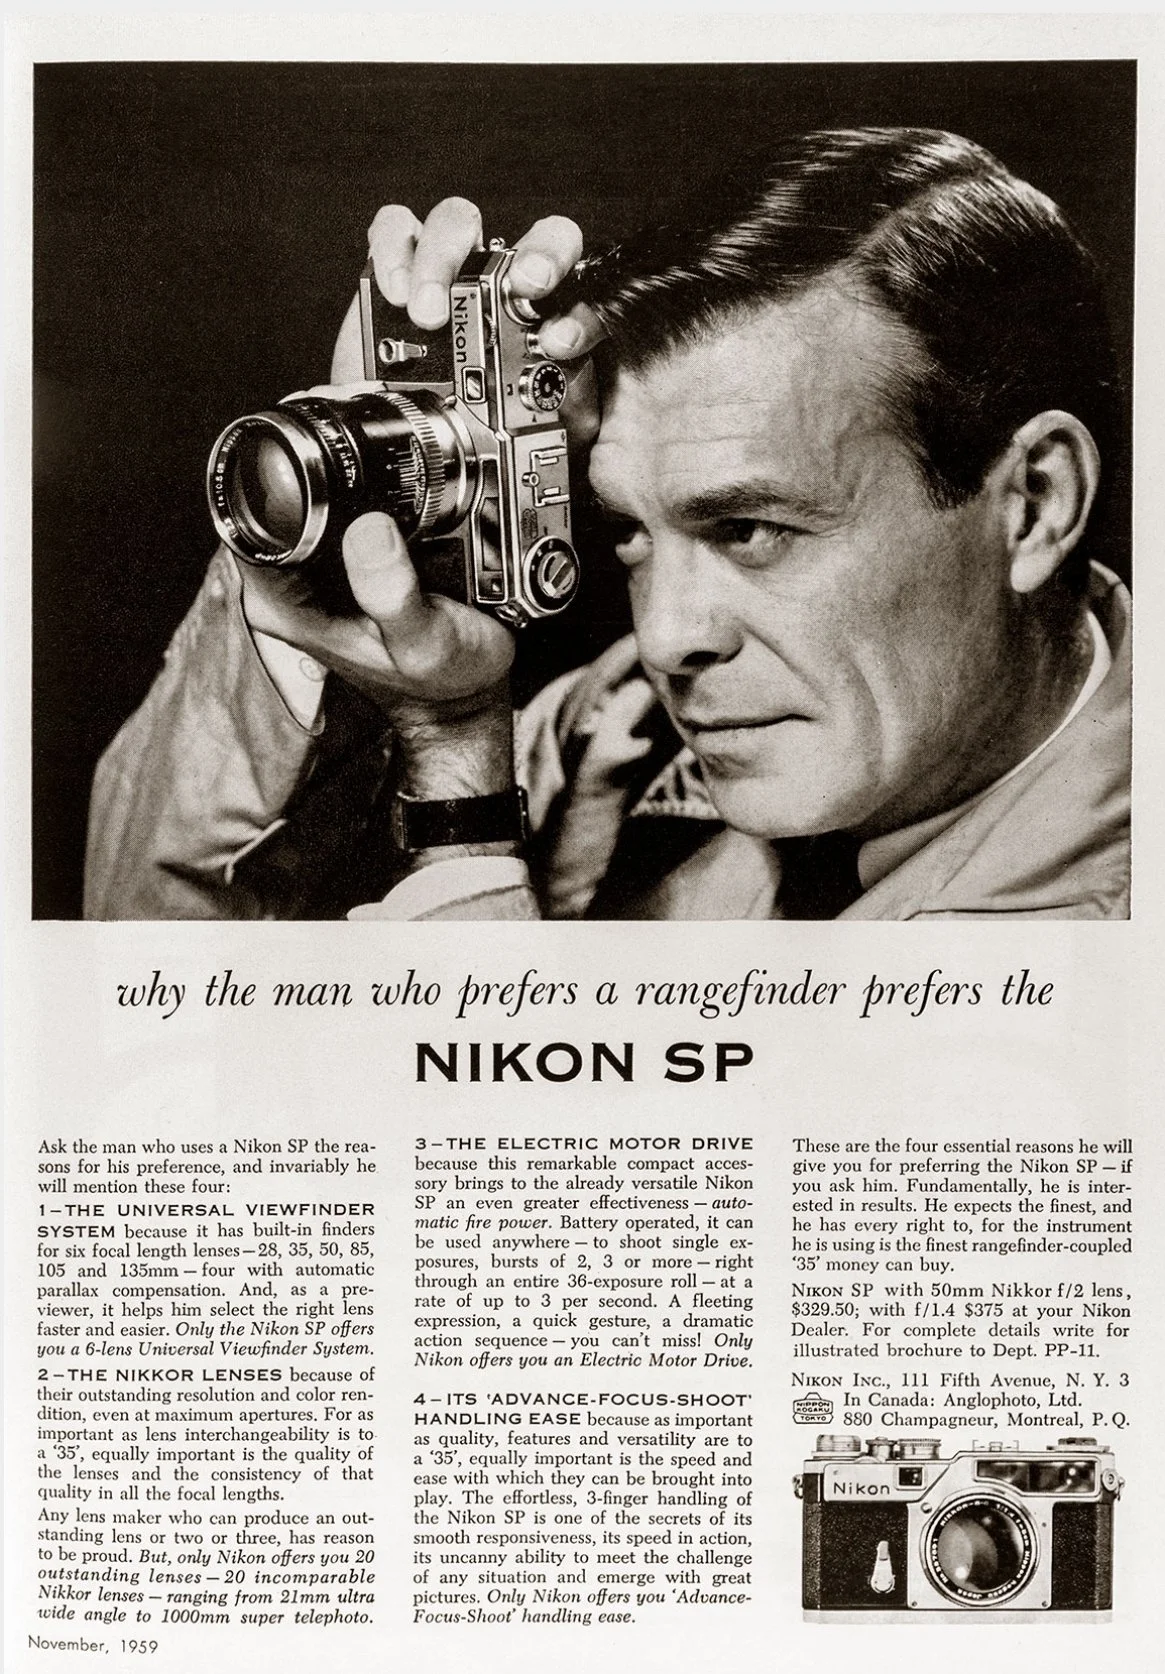
Advertisment for Nikon SP camera
A key early turning point came with the Nikon M in 1949. Nikon had originally used a 24 x 32mm frame size, but export concerns pushed the company to revise the film gate and related mechanics. This created the M with a 24 x 34mm format that was more acceptable in overseas markets. That change helped Nikon gain traction outside Japan, especially as American photographers began to notice the quality of Nikkor lenses in the early 1950s.
The 1951 Nikon S was the model that broadened Nikon's presence in the West, establishing the company as a serious contender in professional photography. Nikon kept refining the line throughout the 1950s with the S2, S3, S4, and SP, gradually improving usability and standardizing the full 24 x 36mm frame from the S2 onward. The SP, in particular, became one of the most admired Nikon rangefinders because of its advanced finder system and professional ambitions.
What made these cameras historically important was not only the bodies themselves but also the Nikkor lenses mounted on them. Reports from photographers and magazines such as Life helped spread the idea that Japanese lenses could rival or surpass the best German optics, which was a major shift in postwar camera culture. Nikon rangefinders also became associated with news and documentary work, building credibility before the company moved into reflex cameras.
By the late 1950s, Nikon had already used lessons from its rangefinders to shape the 1959 Nikon F, and rangefinder production soon faded as SLRs took over the professional market. Today, Nikon rangefinders are prized by collectors for their place in camera history, their engineering, and their role in Nikon's rise from a strictly optical manufacturer to a global photographic powerhouse.
My Camera
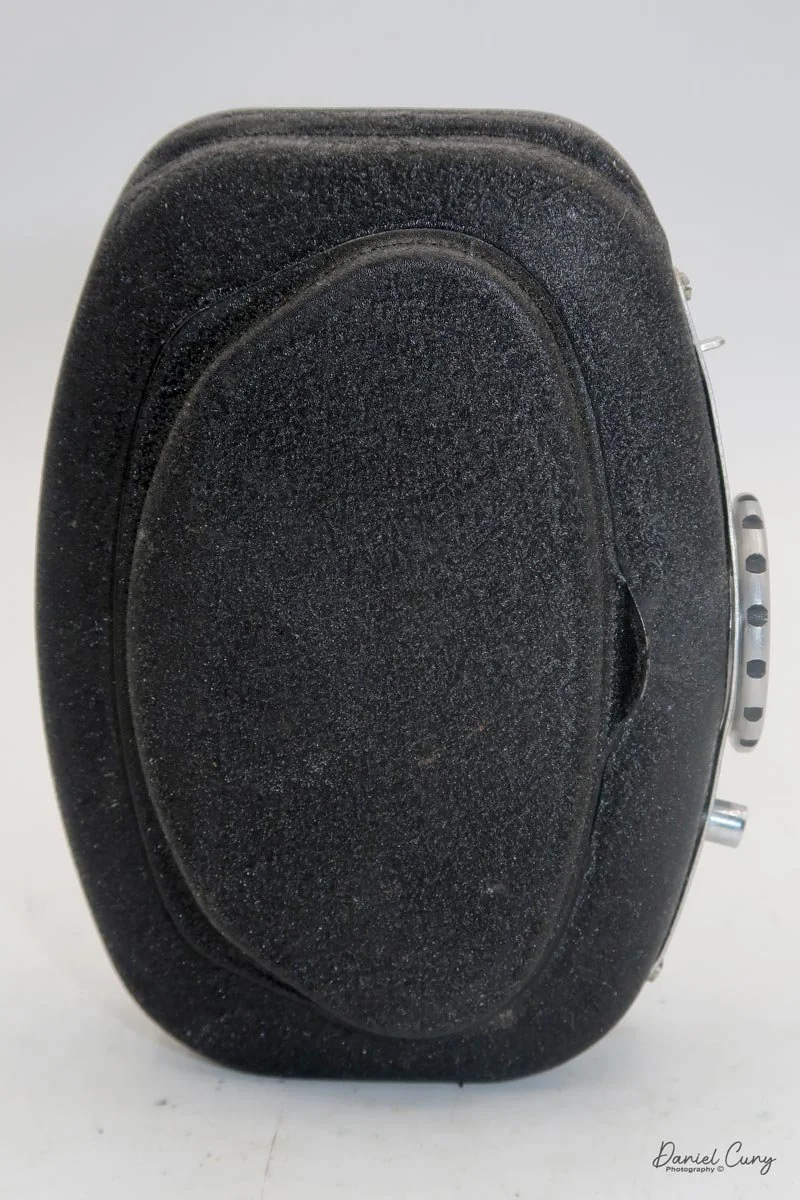
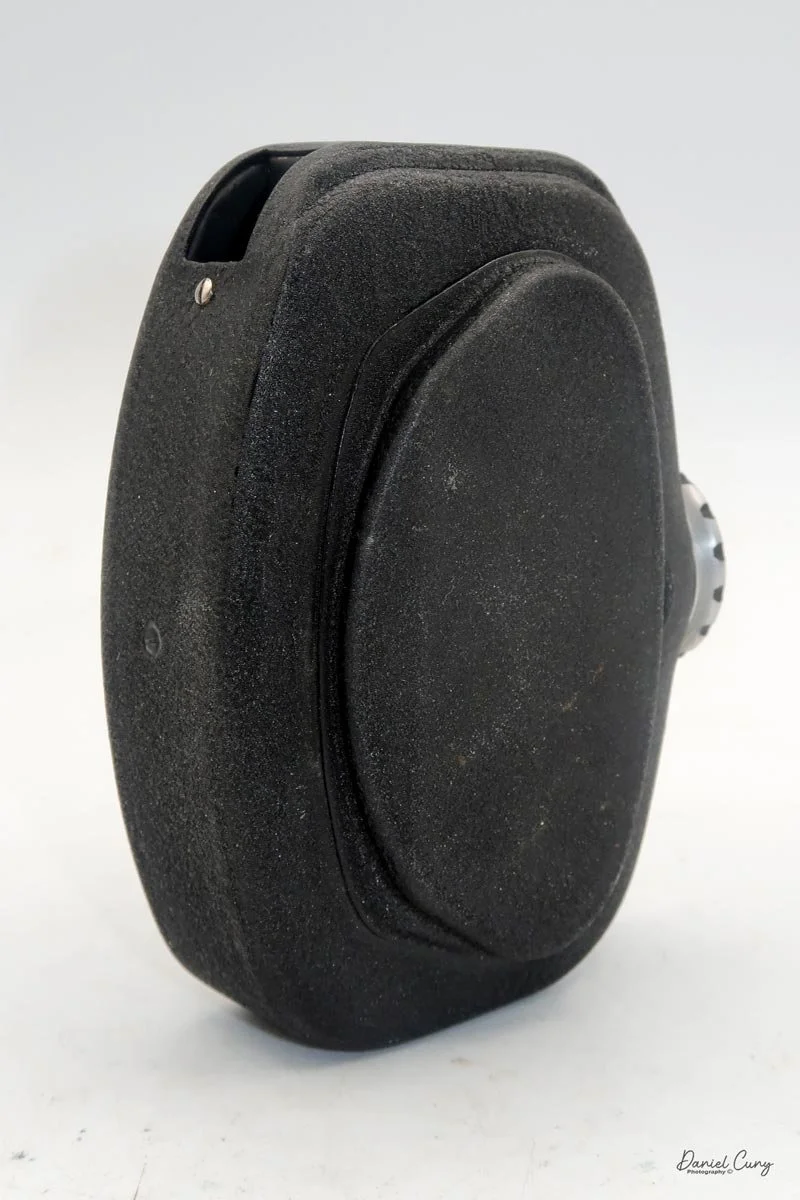
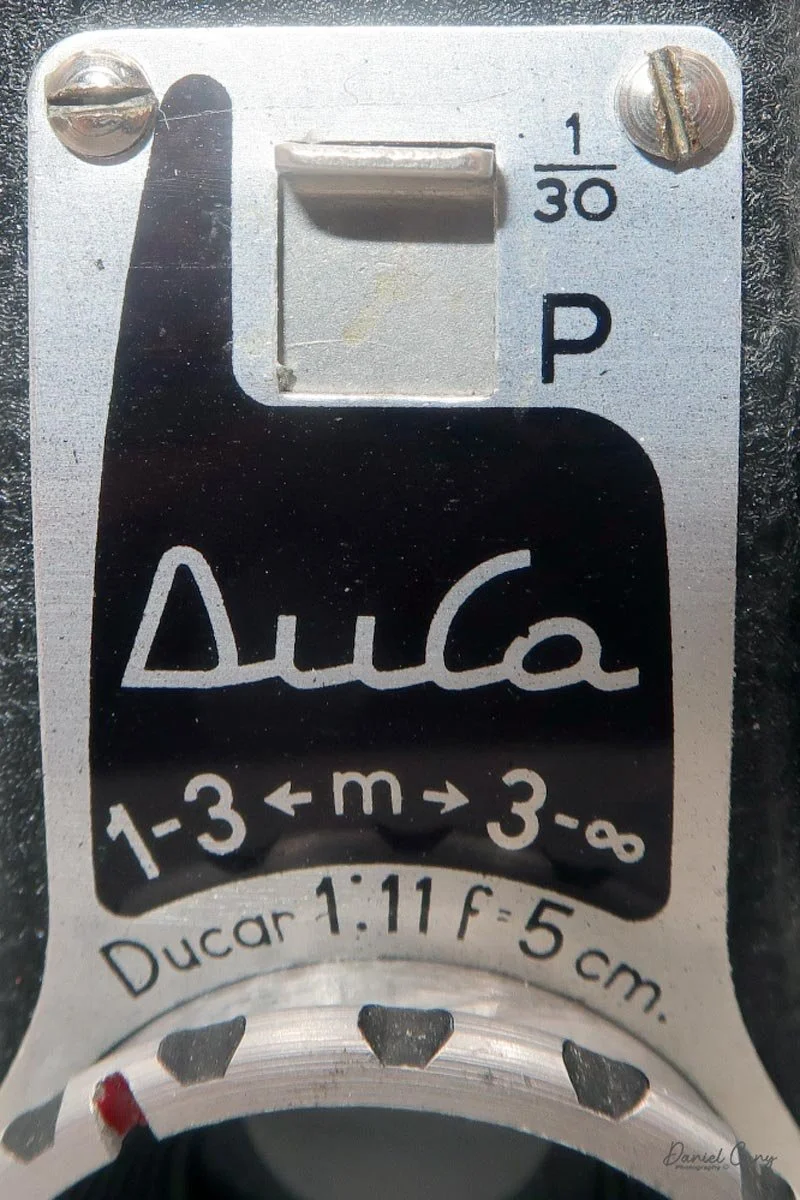
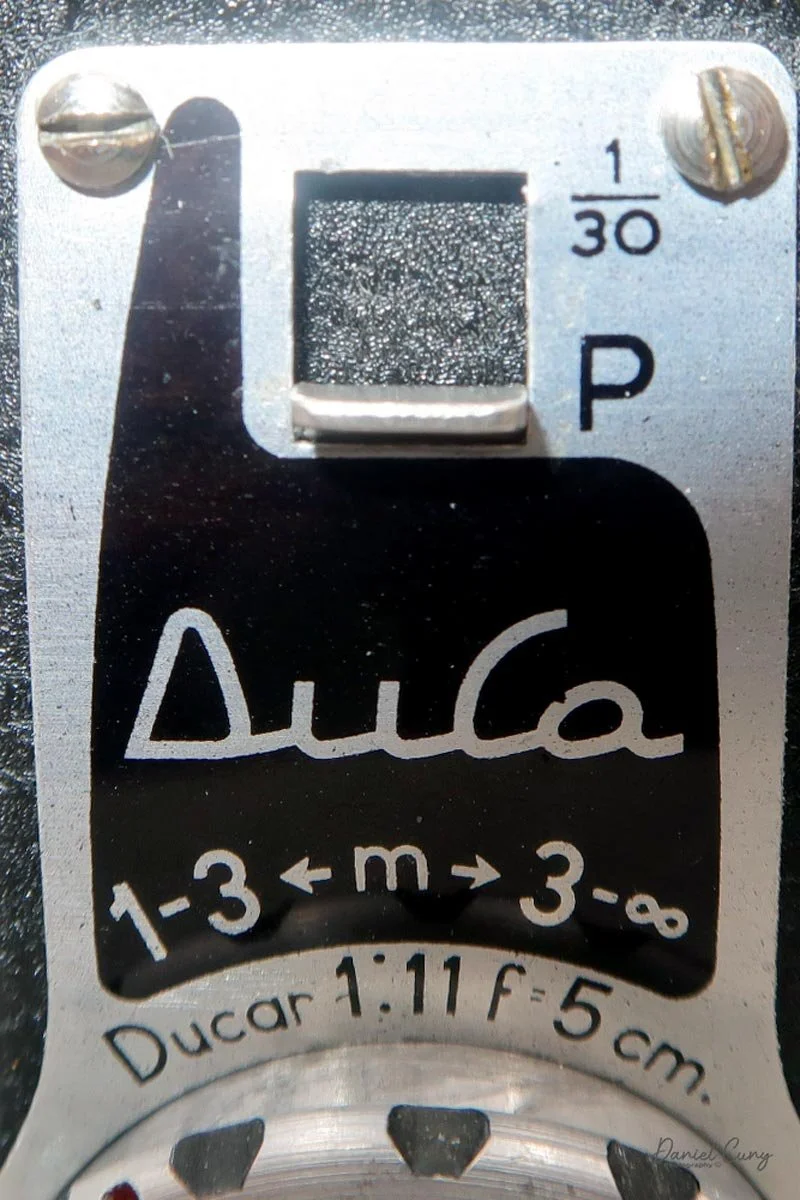
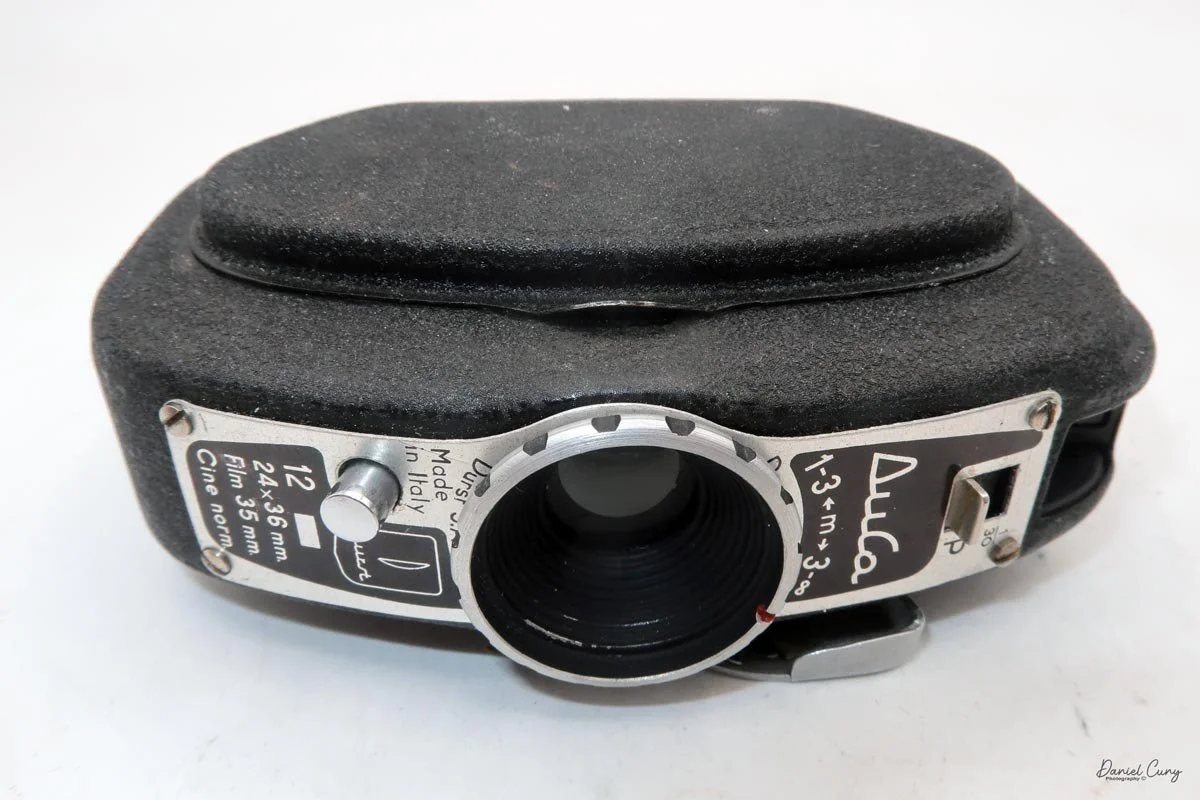
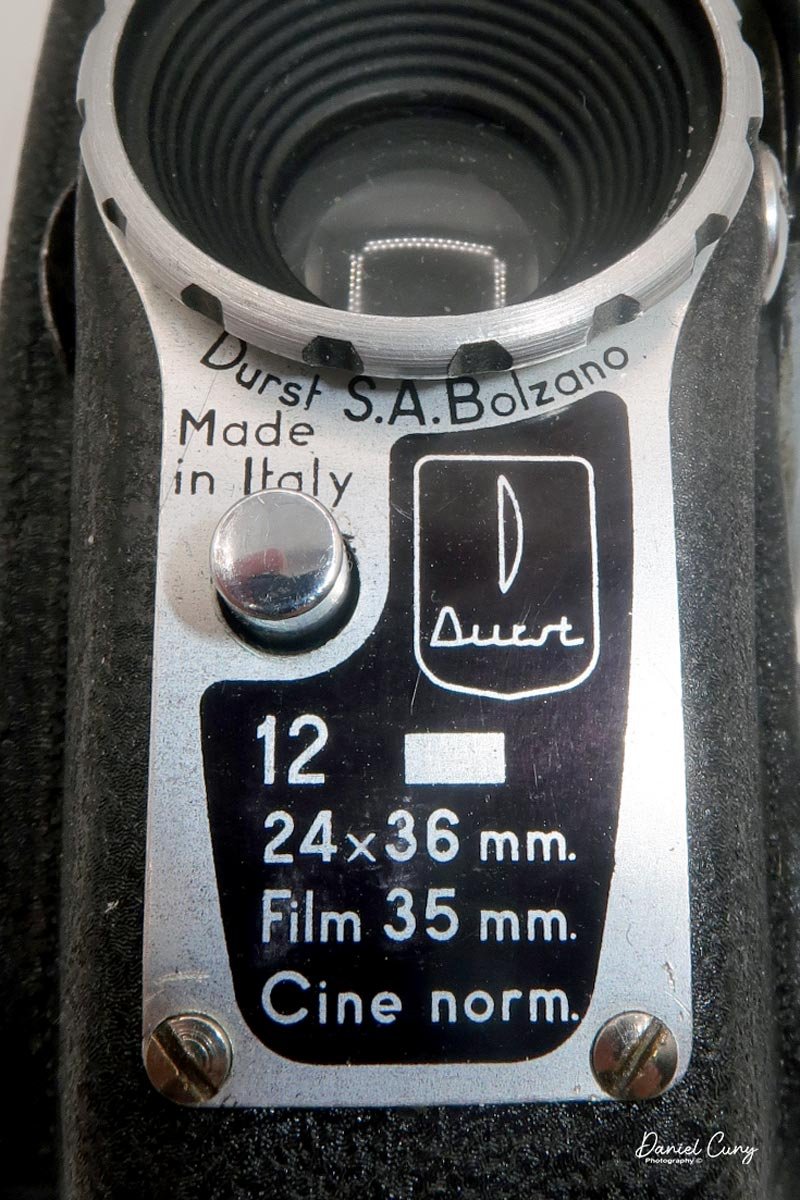
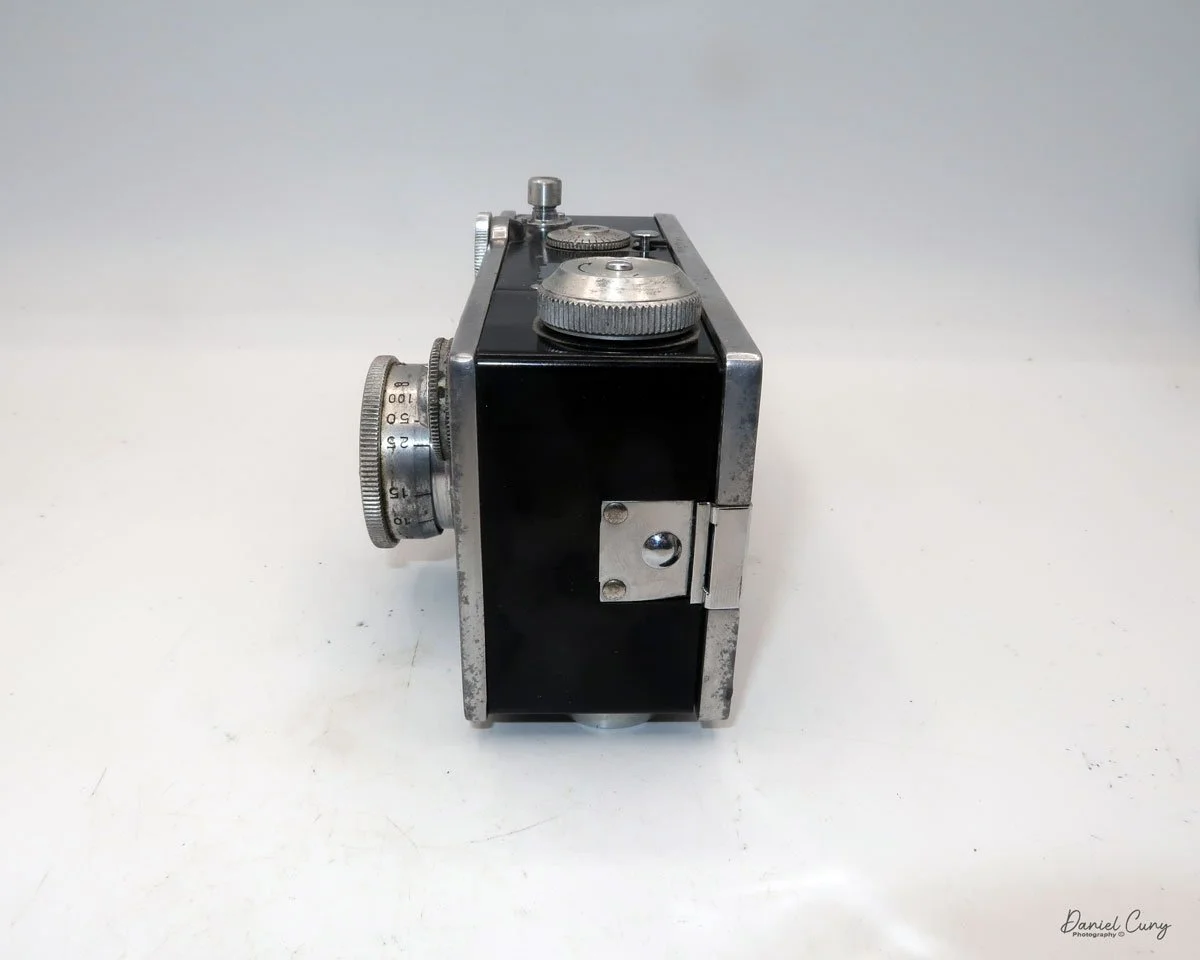
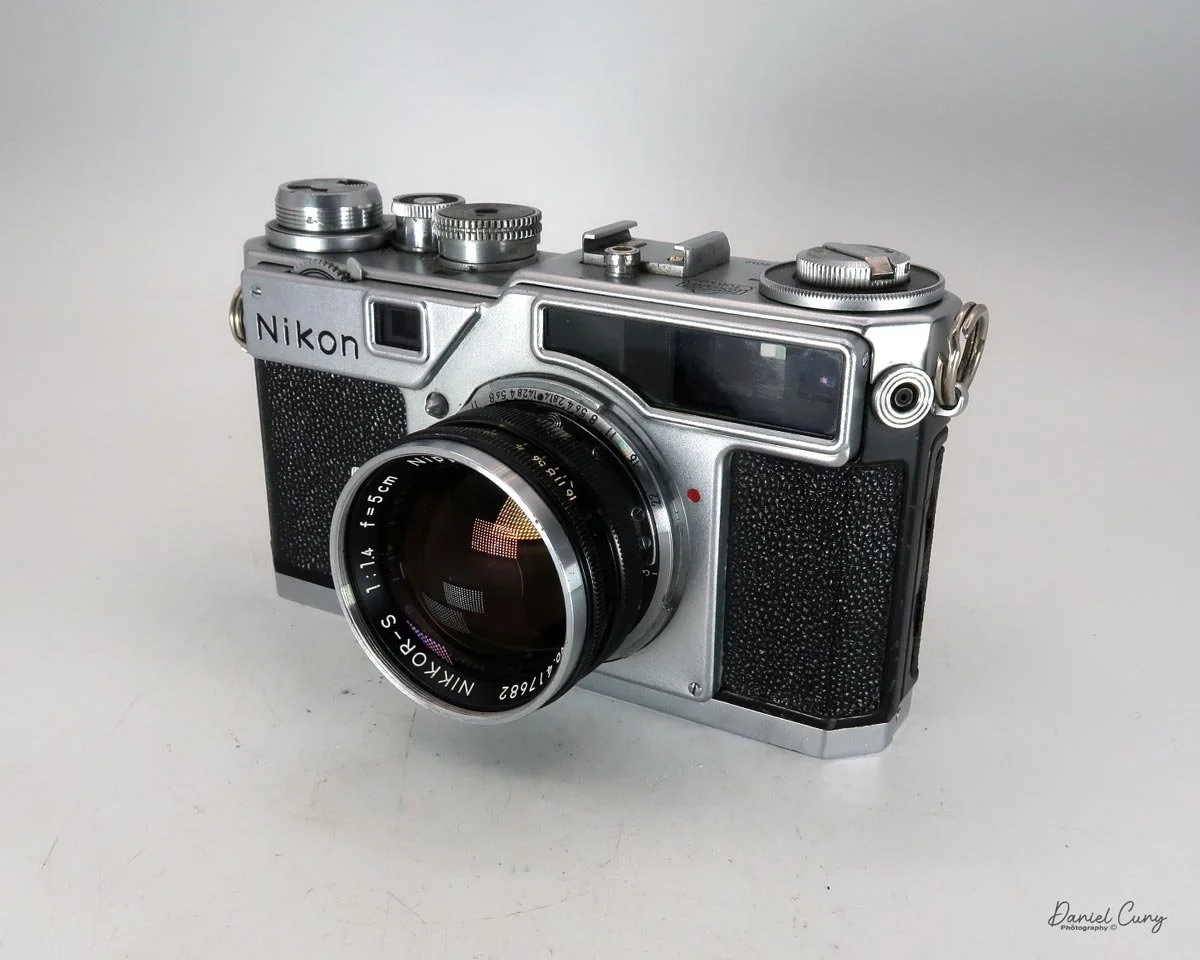
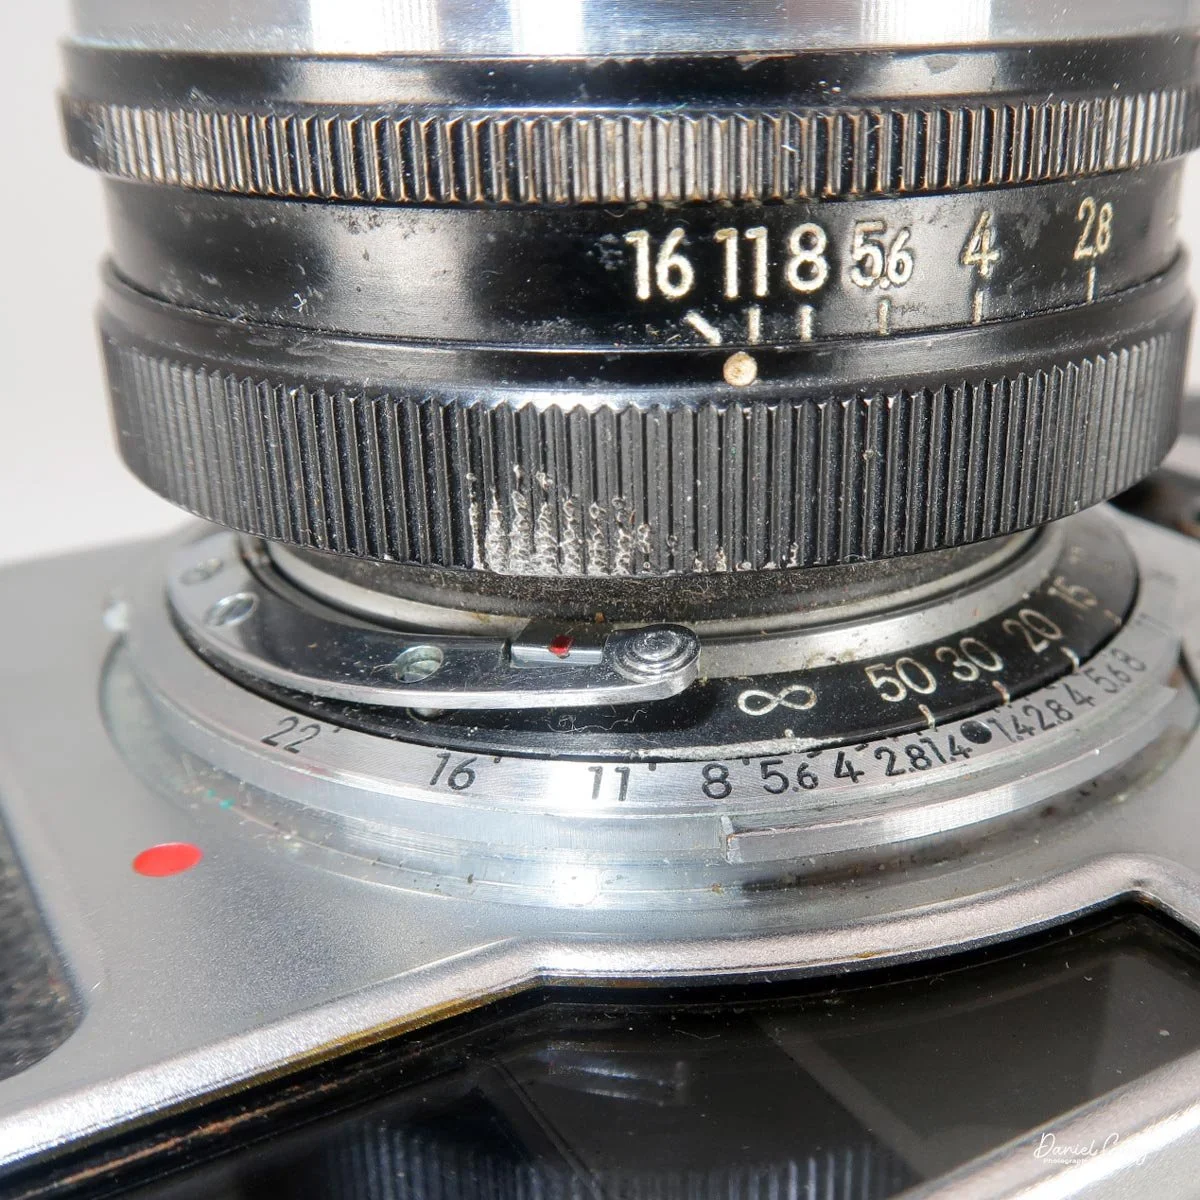
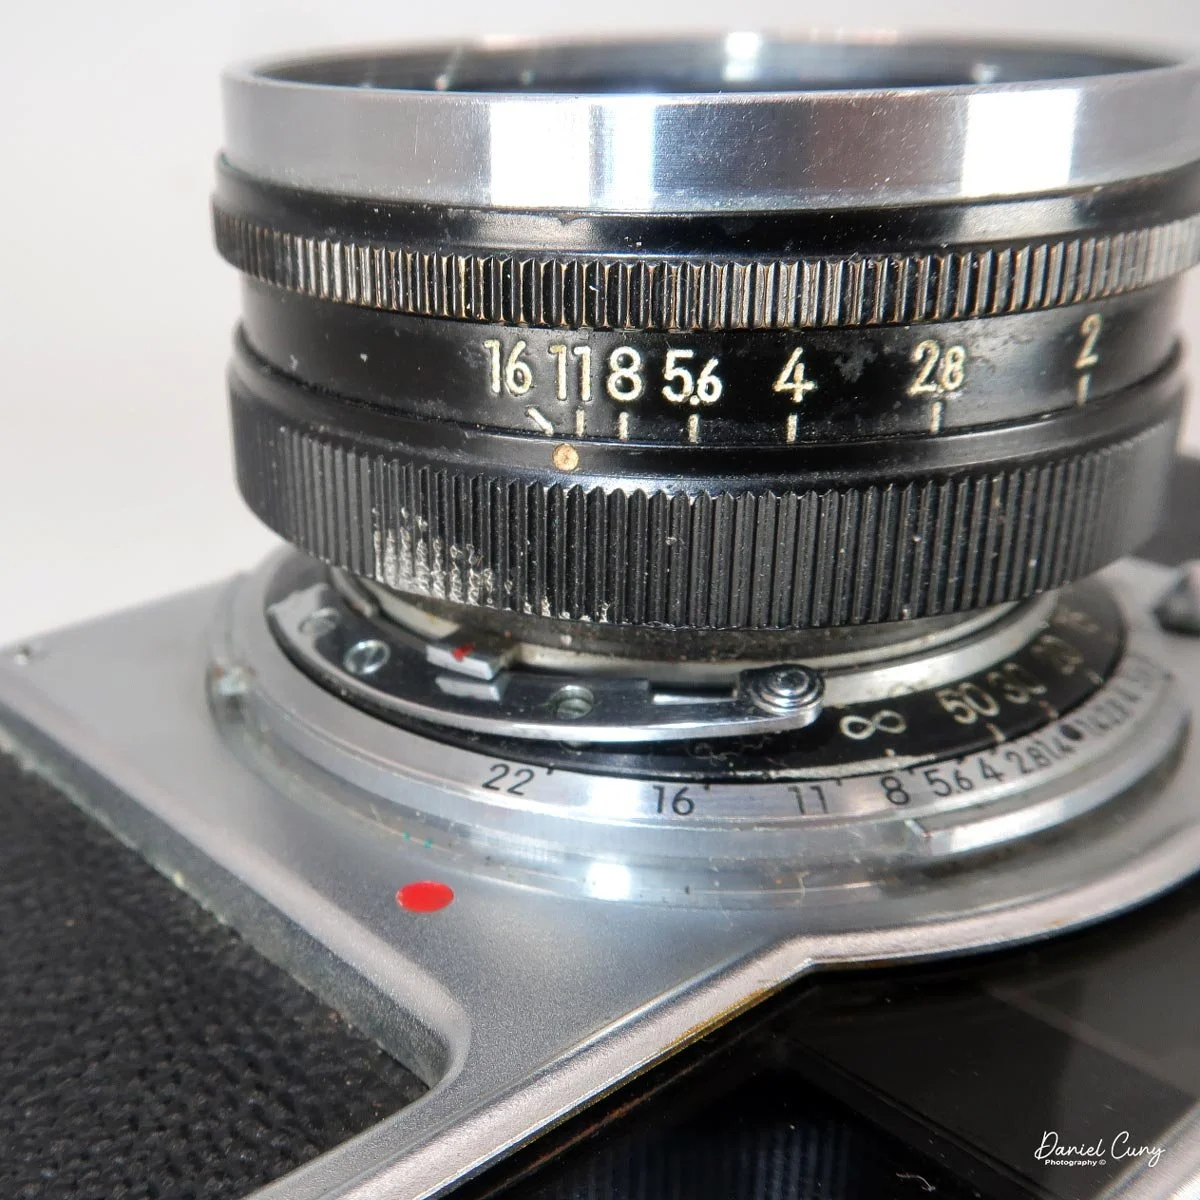
When I received the Nikon SP, it came with the bottom portion of its leather case, though I chose not to include it in the blog photos. My Nikon SP is serial #6222012. The camera measures 5.5" wide (including the strap lugs) by 3.25" tall and 2.5" deep. It's paired with a Nippon Kogaku Nikkor-S 5cm f/1.4 lens, serial #417682. The lens also features a chrome Kenko UV filter specifically made for the Nikkor 1.4, which is stamped directly on the filter ring (not pictured). To adjust the aperture, you turn the ring on the front of the lens.
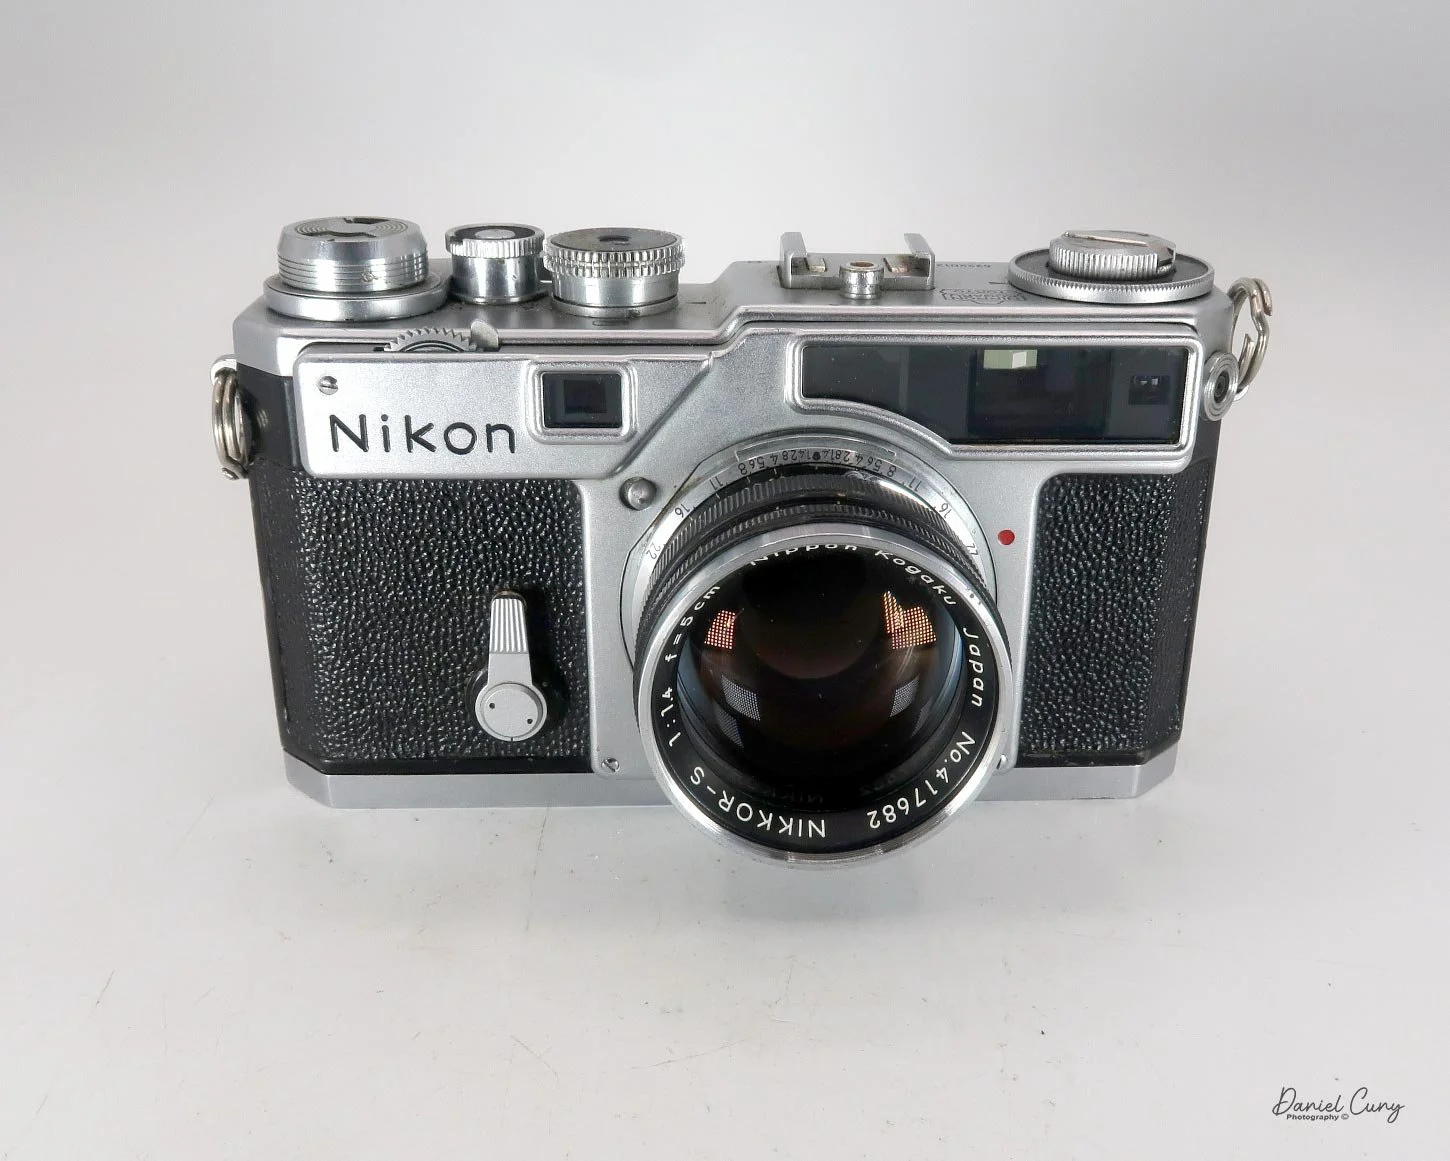
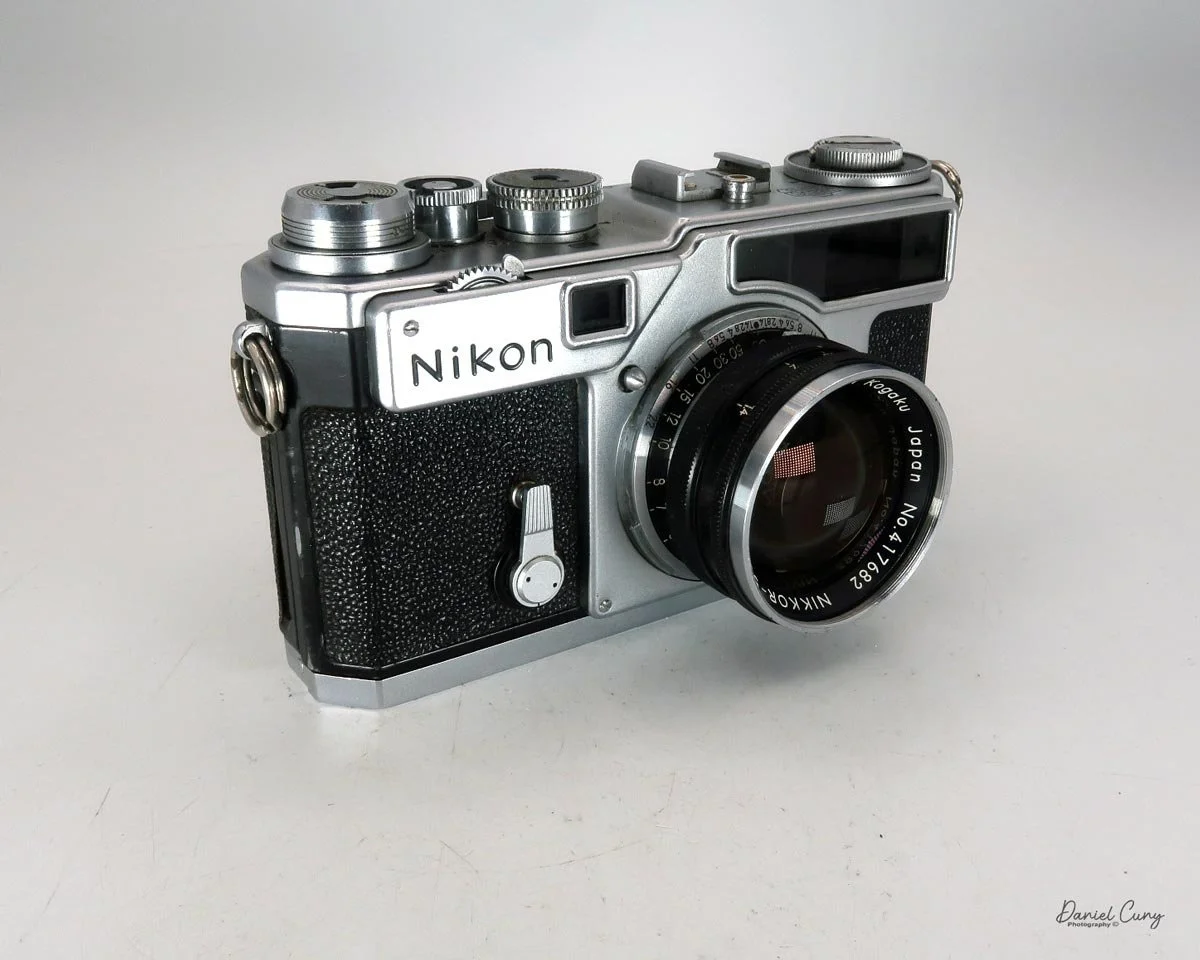


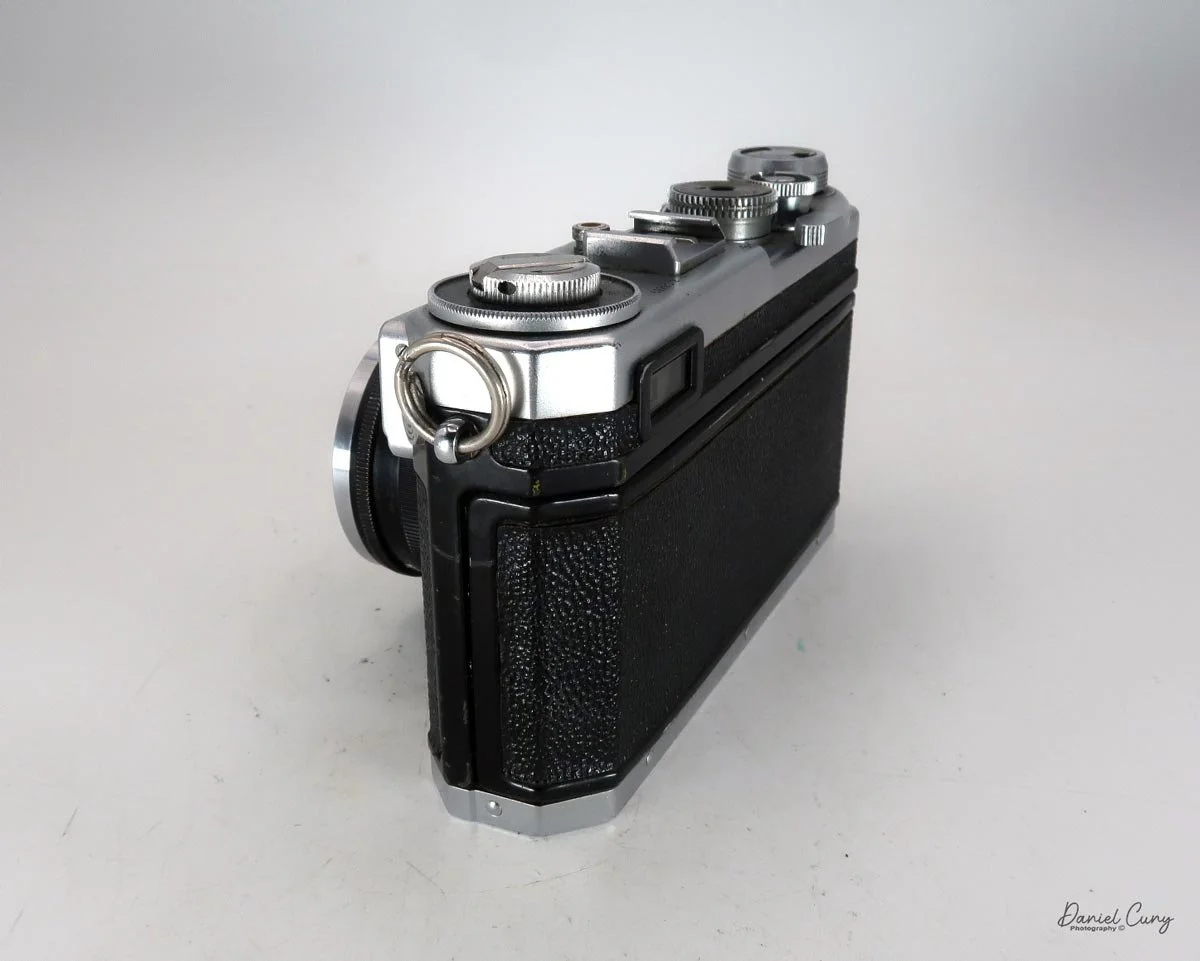


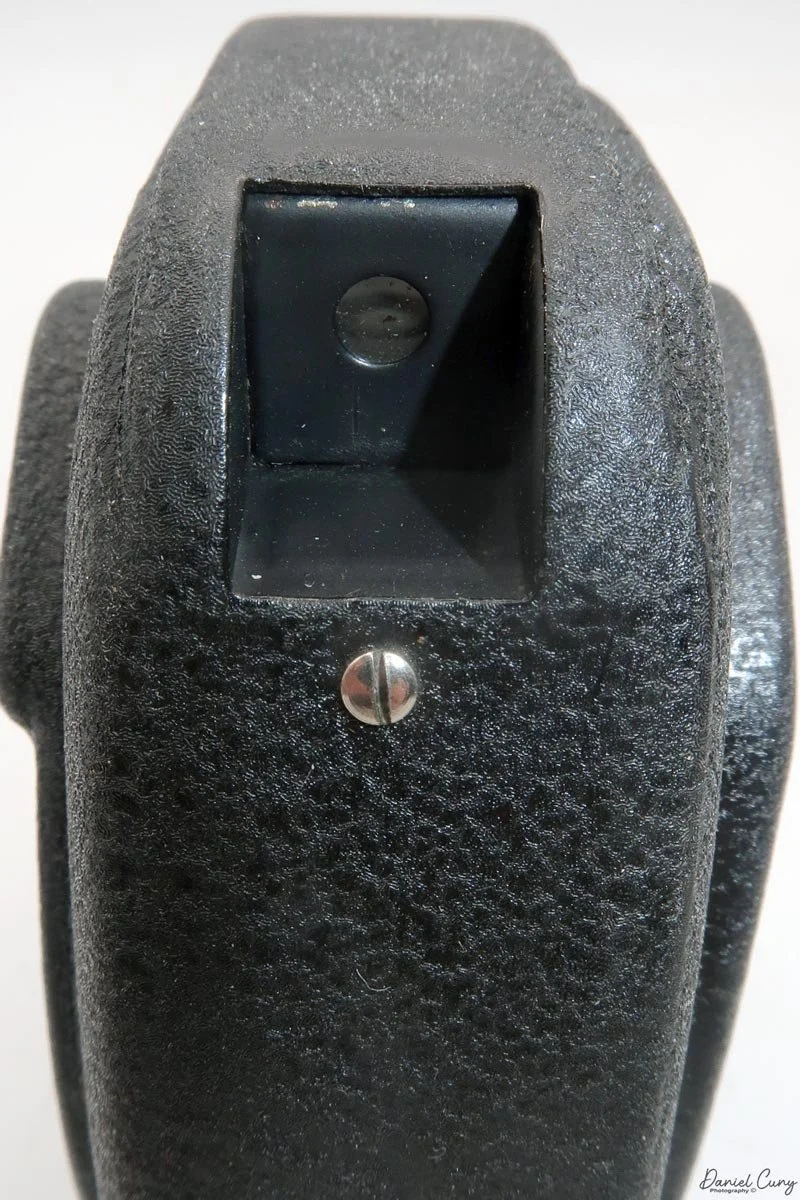
On the front of the camera body is the self-timer—the SP was actually the first model Nikon equipped with this feature. You pull down the lever and press the small button behind it to activate the 10-second delay.
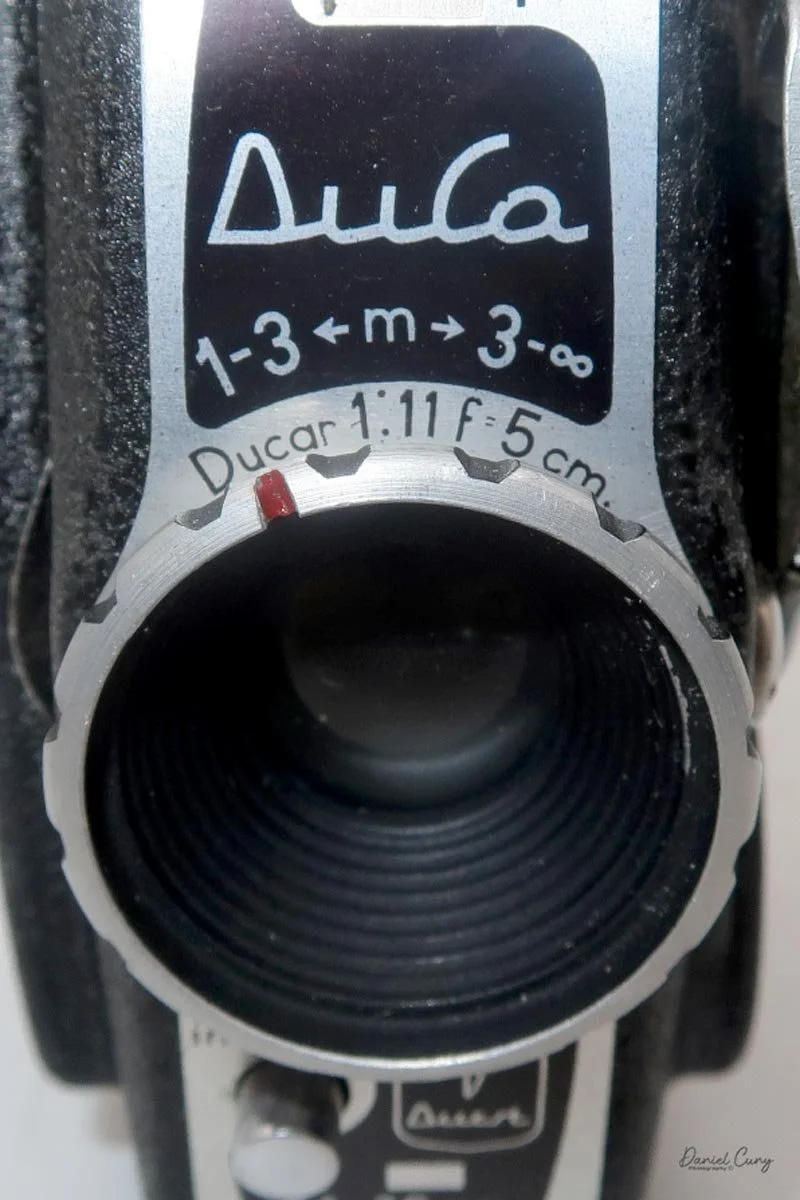
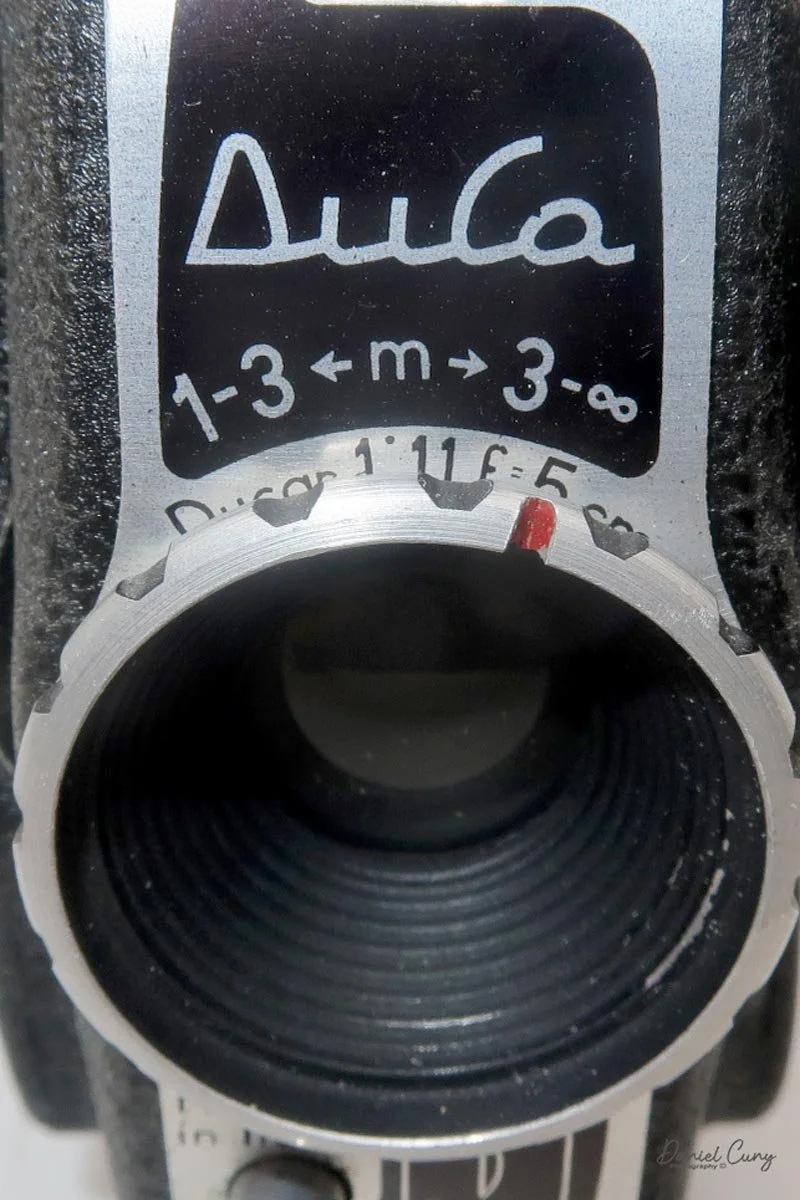
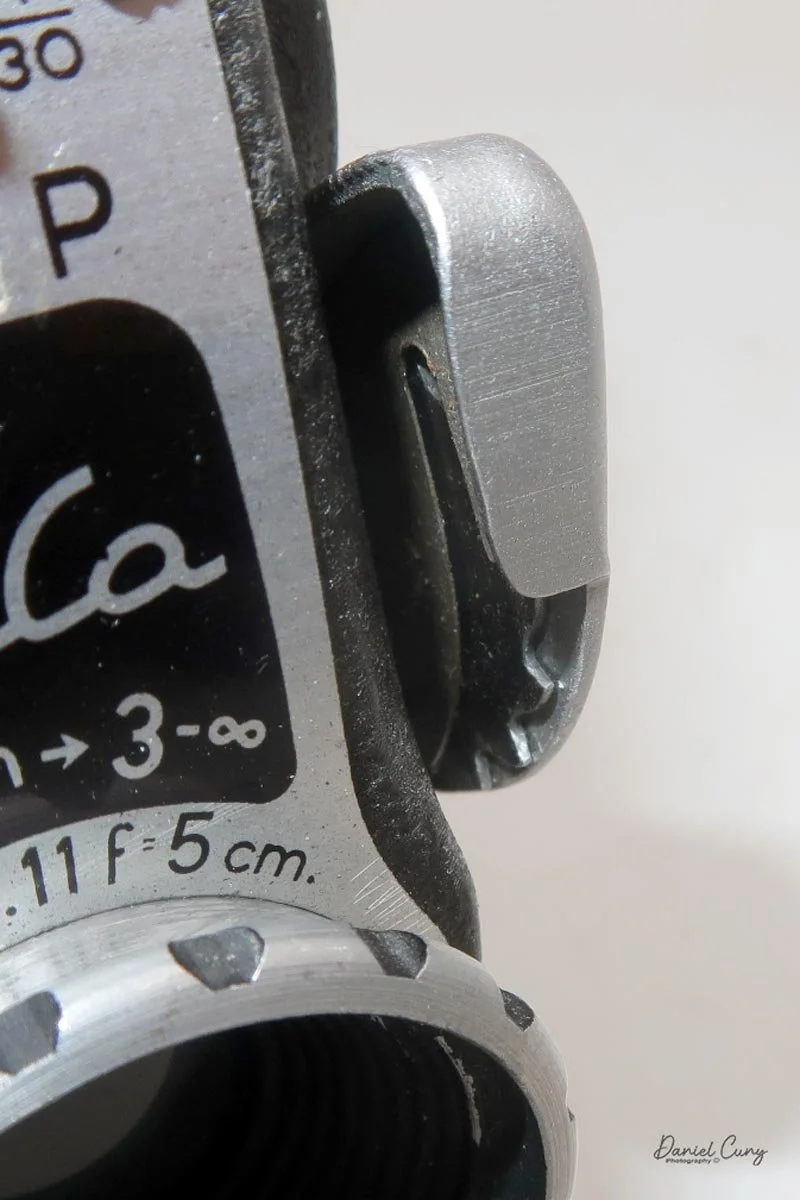
To remove the lens, locate the small lever just behind the focus ring. Press it in toward the camera body, which allows the lens to be twisted and removed—exactly like the Contax system. To reattach a lens, match the red dot and small tab on the lens to the red dot on the camera body, then turn clockwise until it locks securely into place.
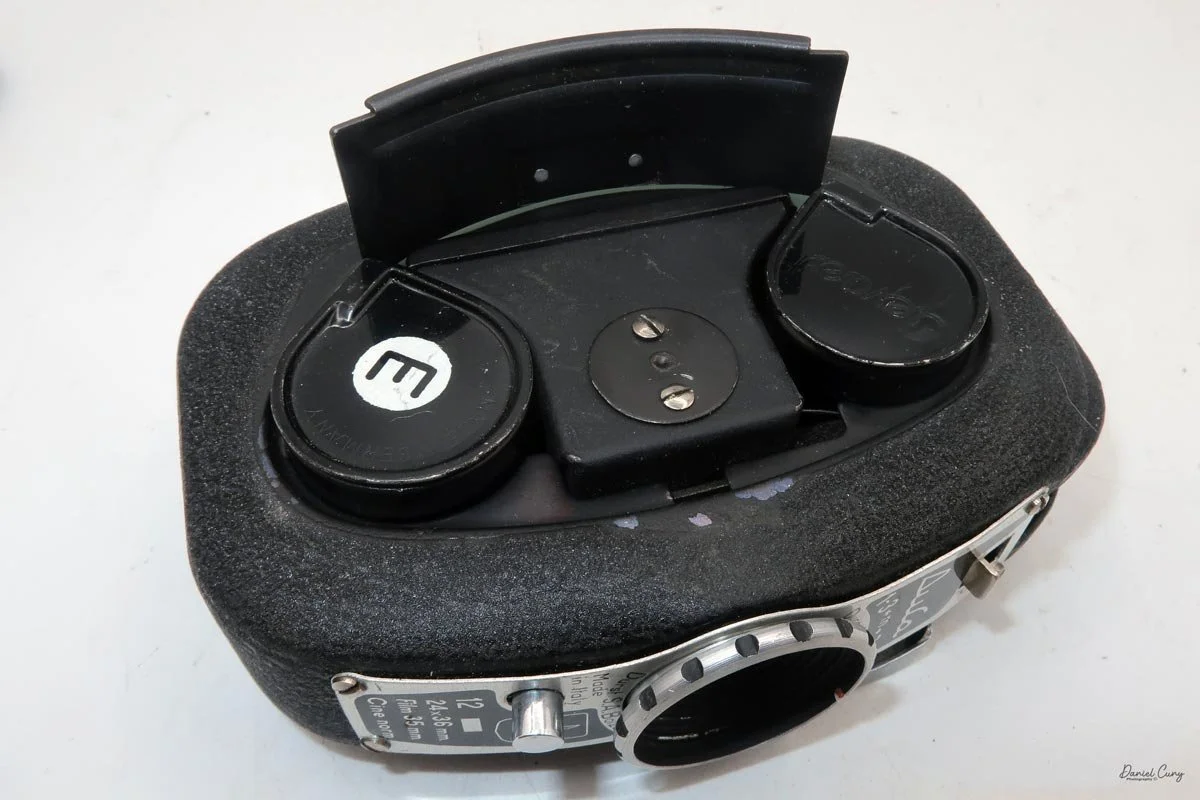
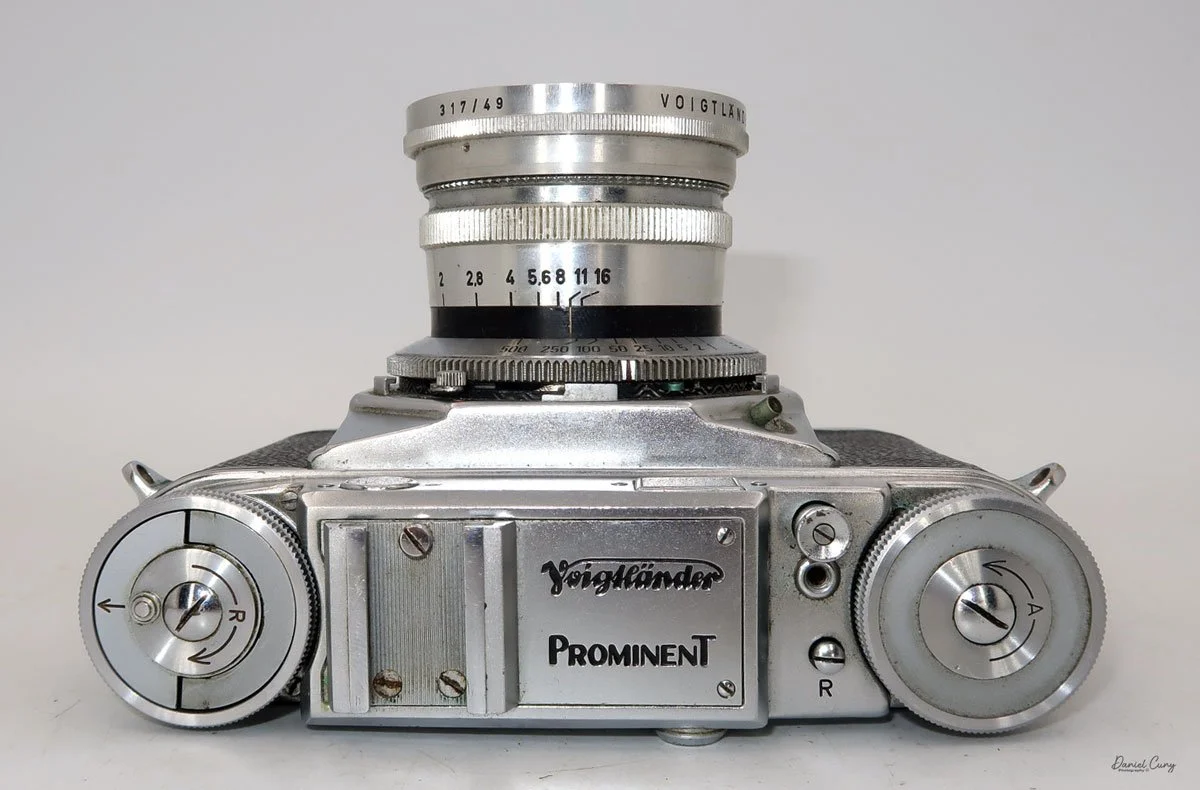
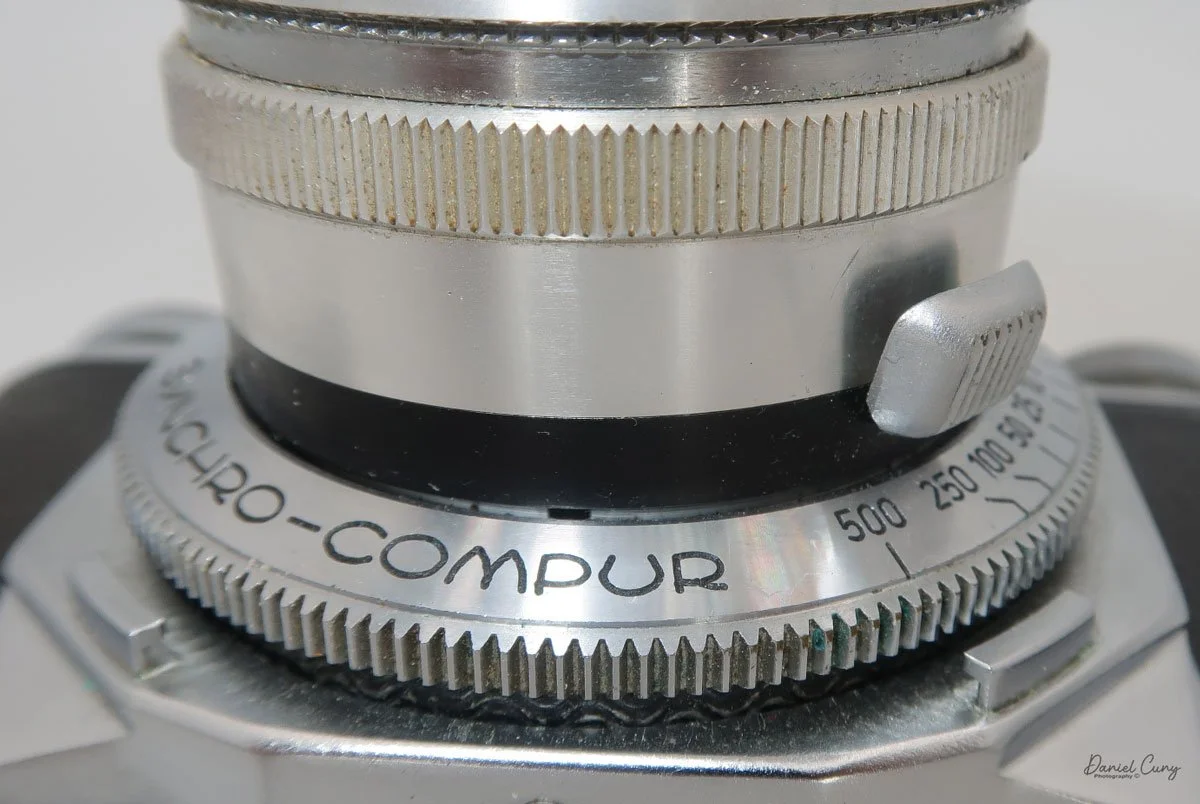
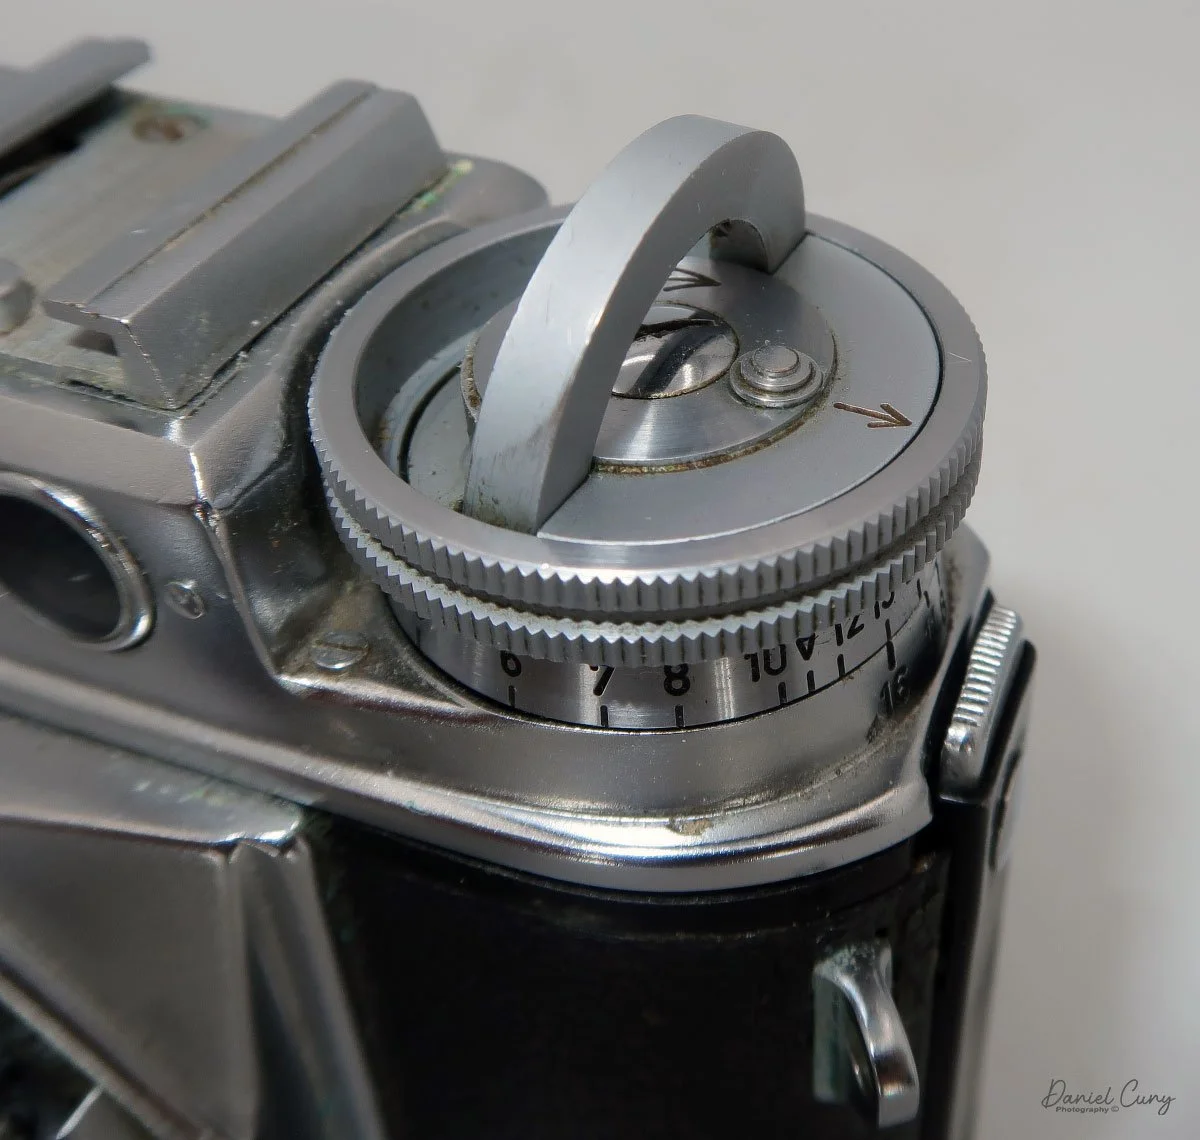
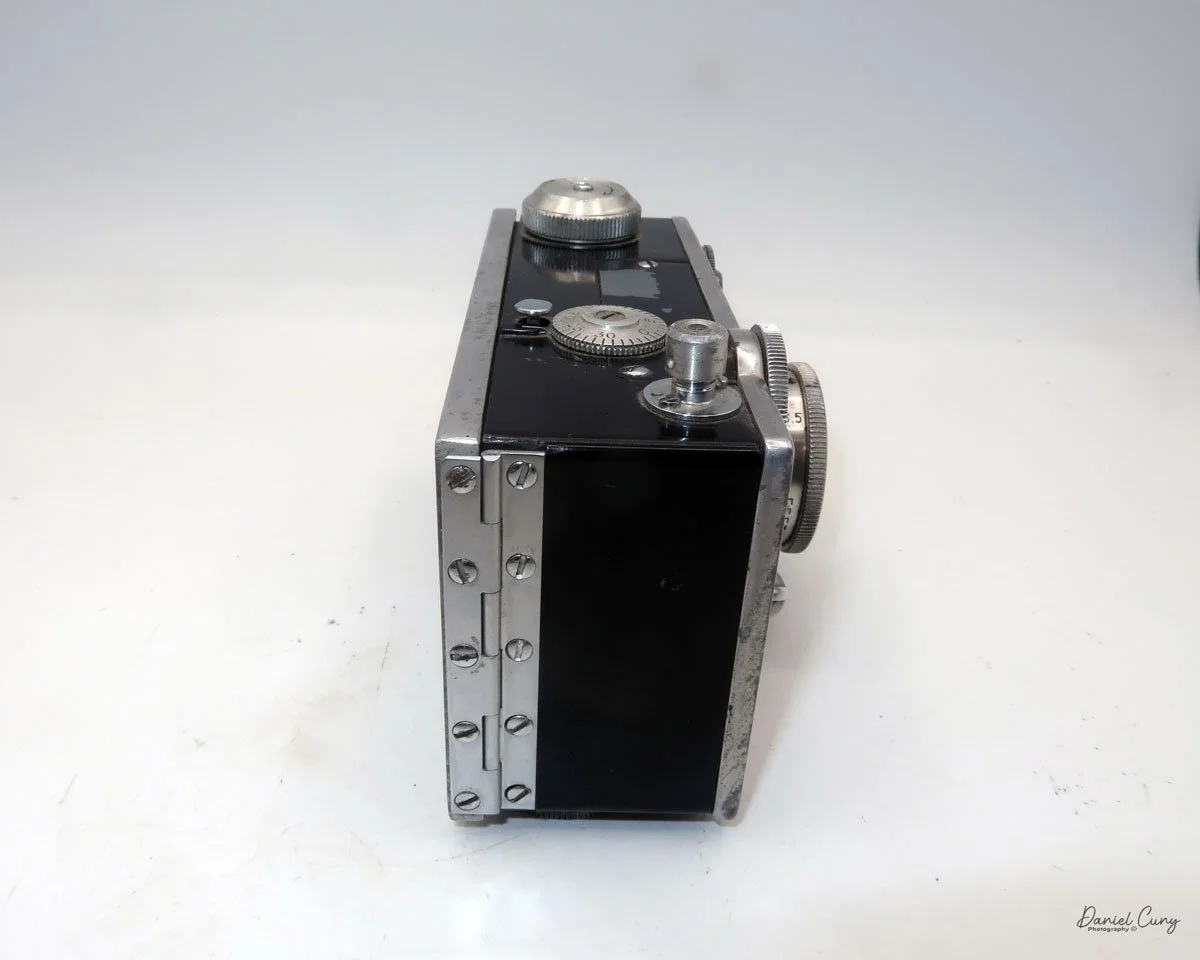
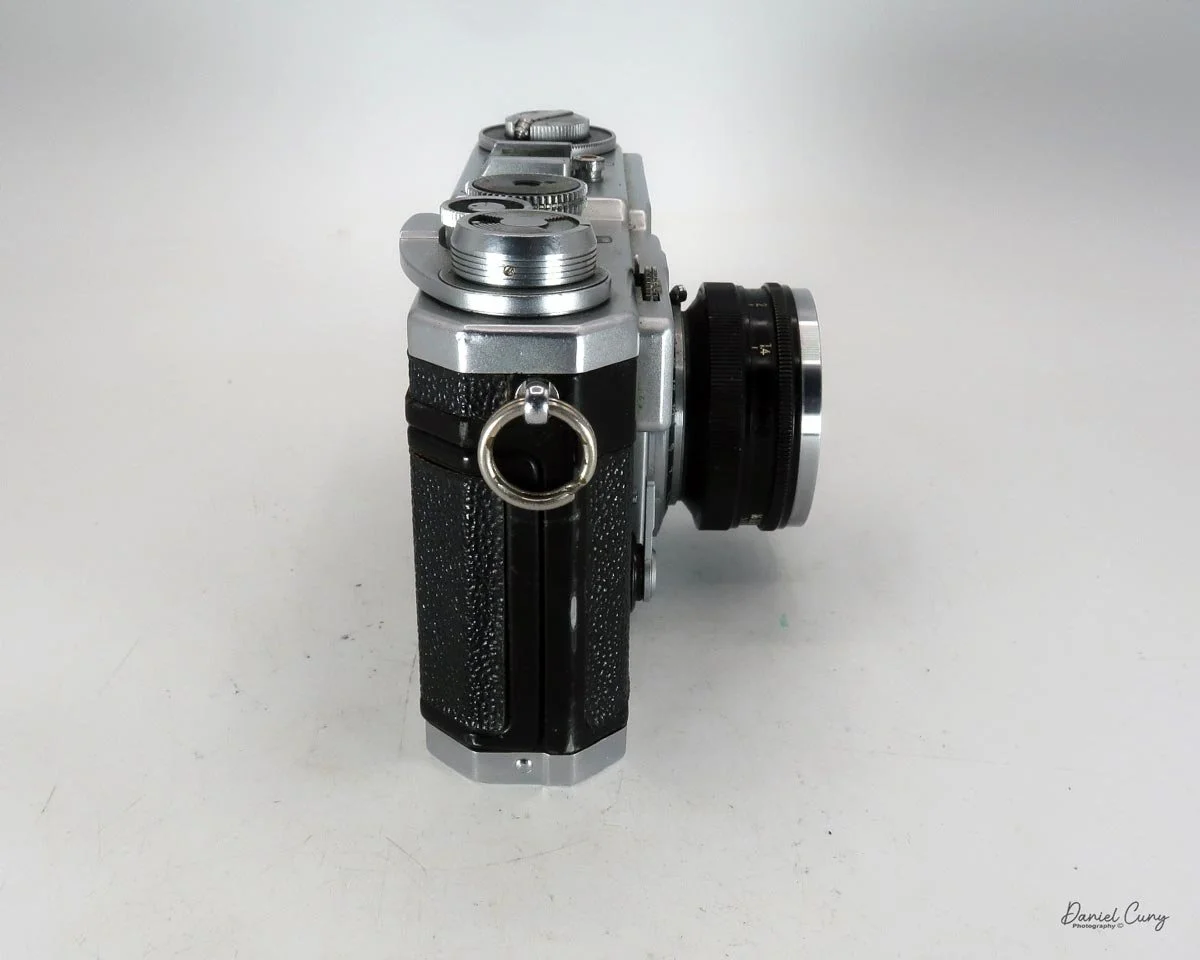
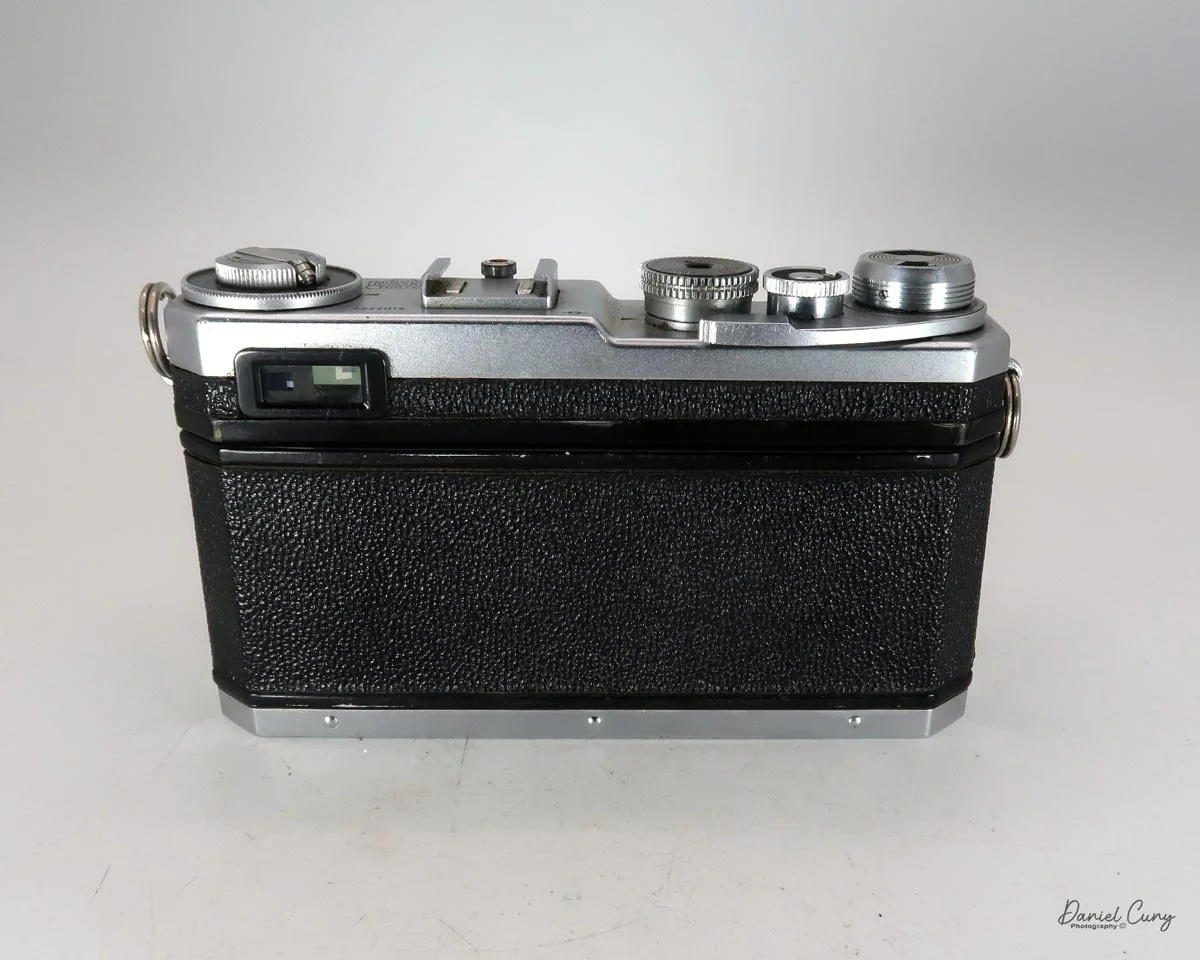
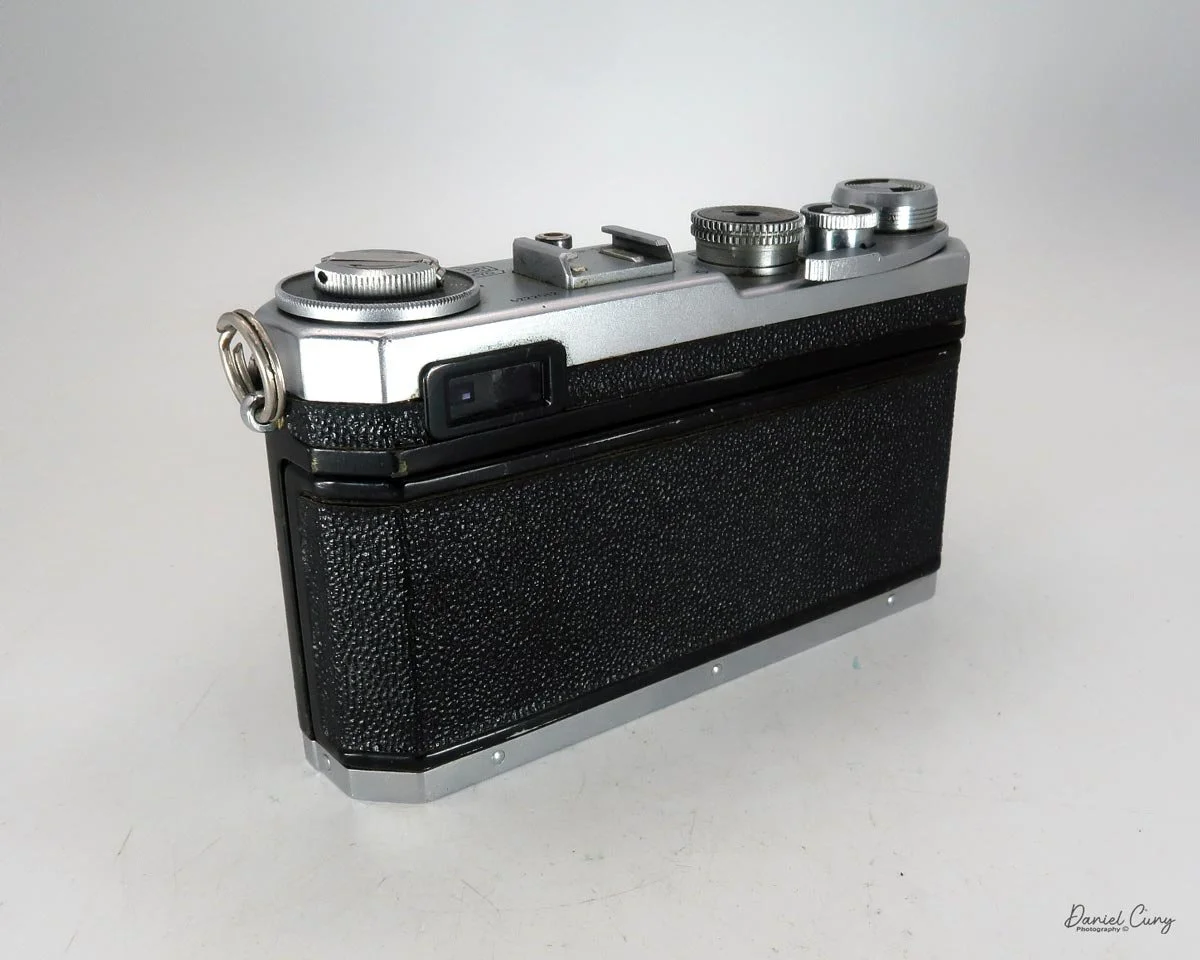
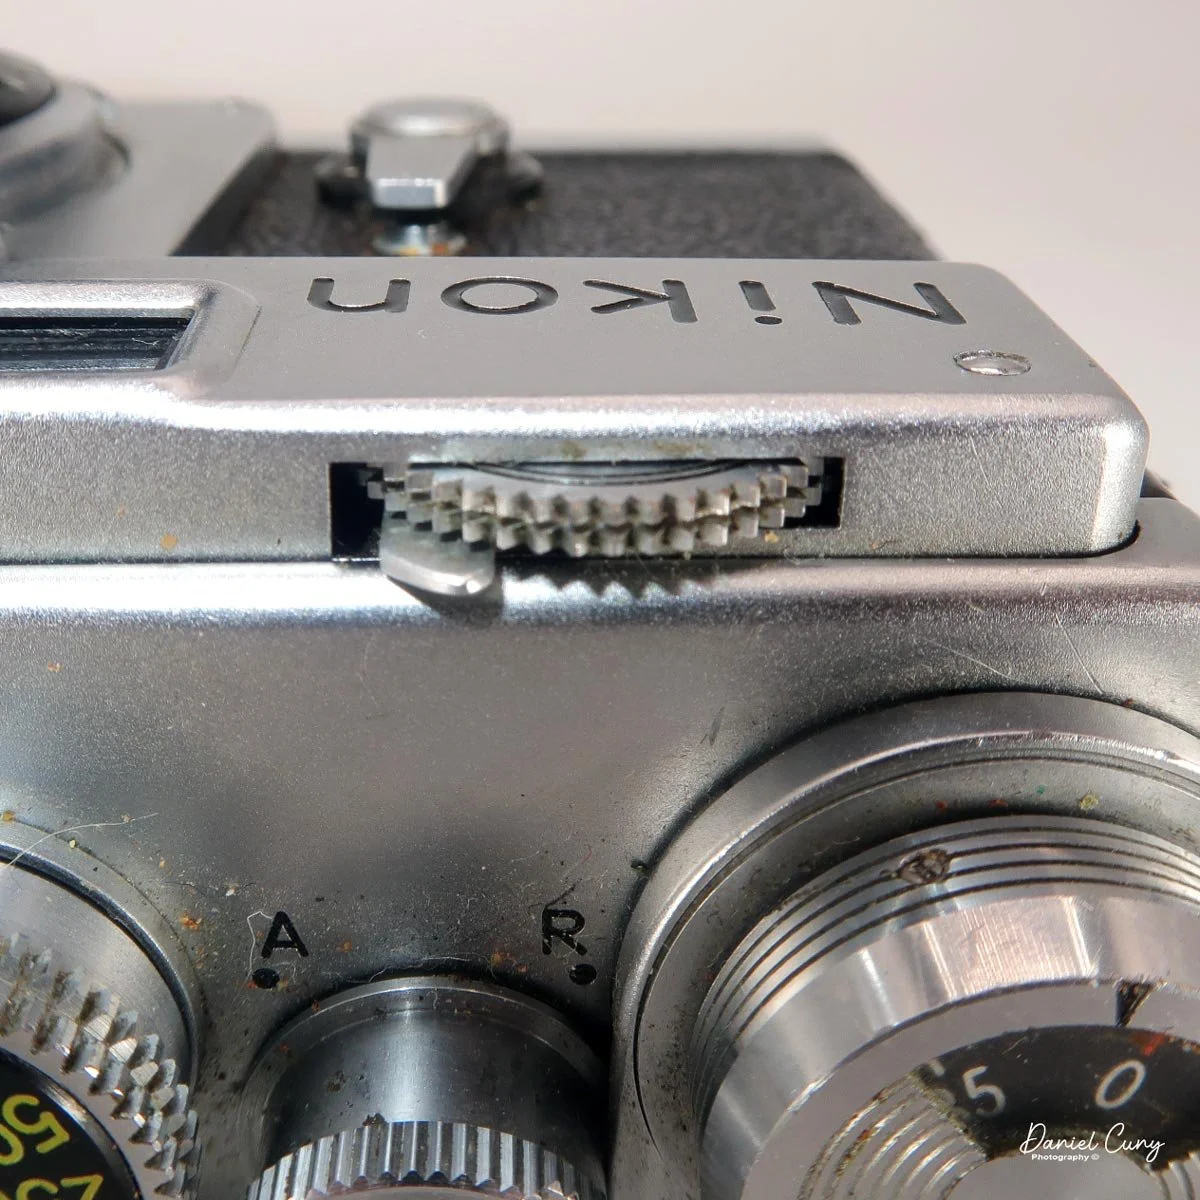
Looking at the top plate, the Nikon SP closely resembles the later Nikon F, except for a wheel on the far left. This wheel adjusts the viewfinder frame lines depending on the focal length of the lens you're using. The settings cover 5cm, 8.5cm, 10.5cm, and 13.5cm lenses. Nestled inside this collar is the film rewind crank. (I'll touch more on the viewfinder a bit later in the article.)
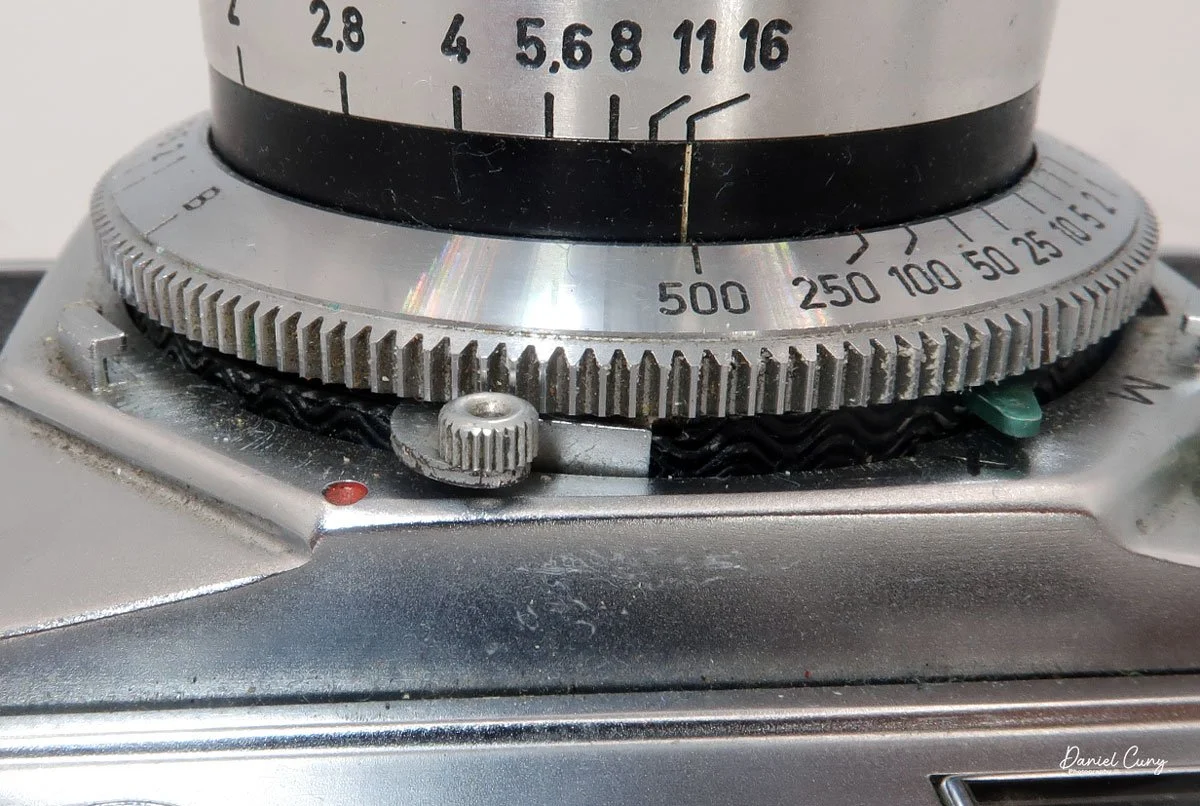
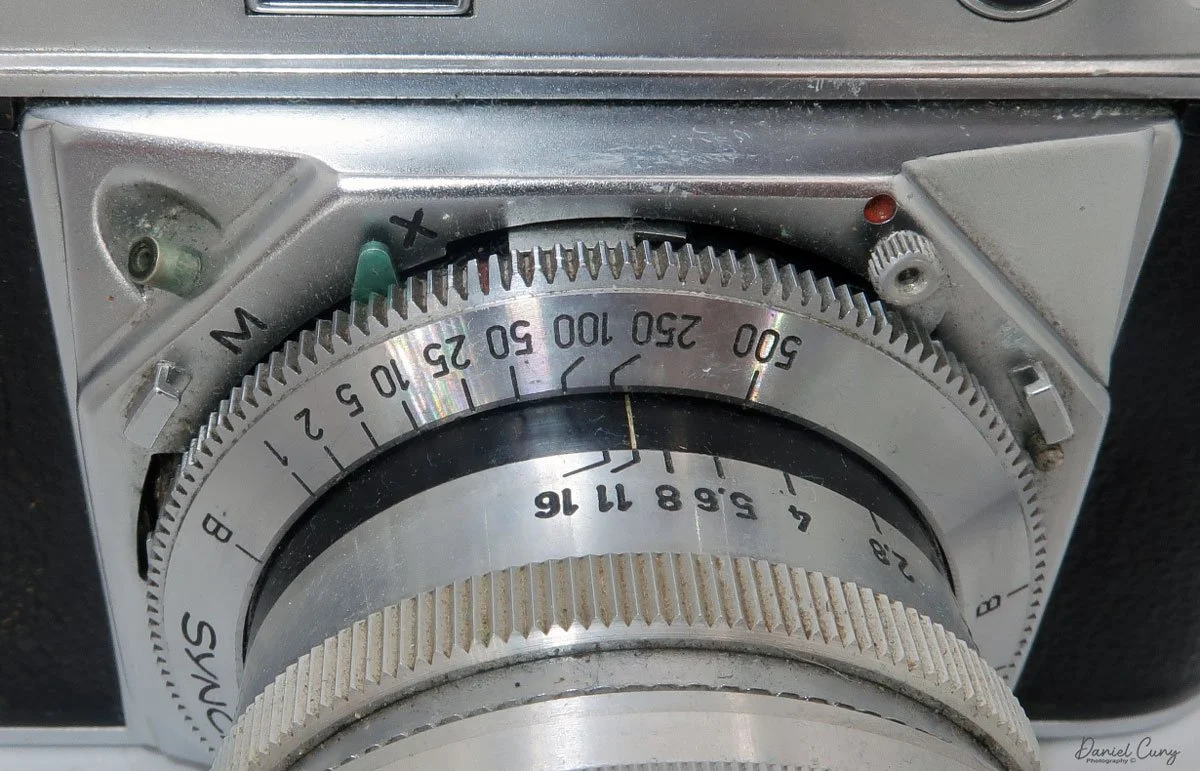
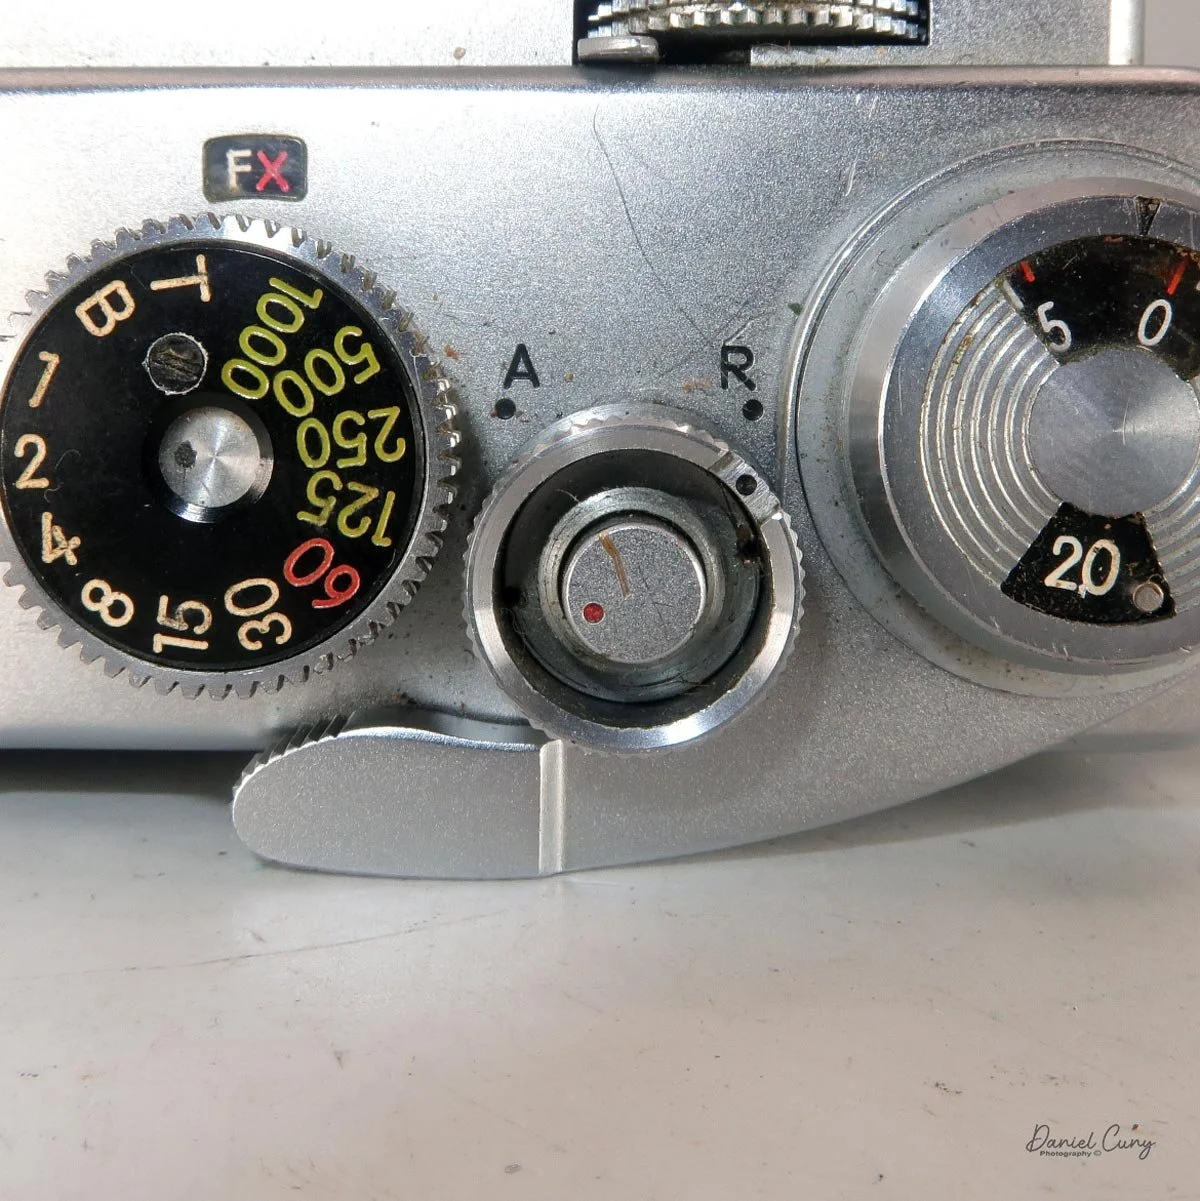
Next to the viewfinder selector wheel is the accessory shoe for a flash, and to the right of that sits the very familiar shutter speed dial. It offers speeds ranging from 1 second to 1/1000th of a second, along with "B" (Bulb) and "T" (Time) settings. Lifting the outer ring on the shutter speed selector adjusts the flash synchronization: "FX" is for standard electronic flash, while the white dot, red dot, and white "F" settings are for syncing various types of vintage flash bulbs.


To the right of the shutter speed dial is the shutter release button. As with many Nikon F cameras, this button features a red dot. Because the release is directly geared into the transport system—which drives the film from the cassette to the take-up spool—this red dot rotates as you advance the film (though it will turn even if the camera is empty). Around the shutter release is another collar with a black dot. During standard shooting, it should point to "A" (Advance). Turning this collar to "R" (Rewind) releases the camera's drive gear, allowing you to wind the film back into the cassette without tearing the sprockets.
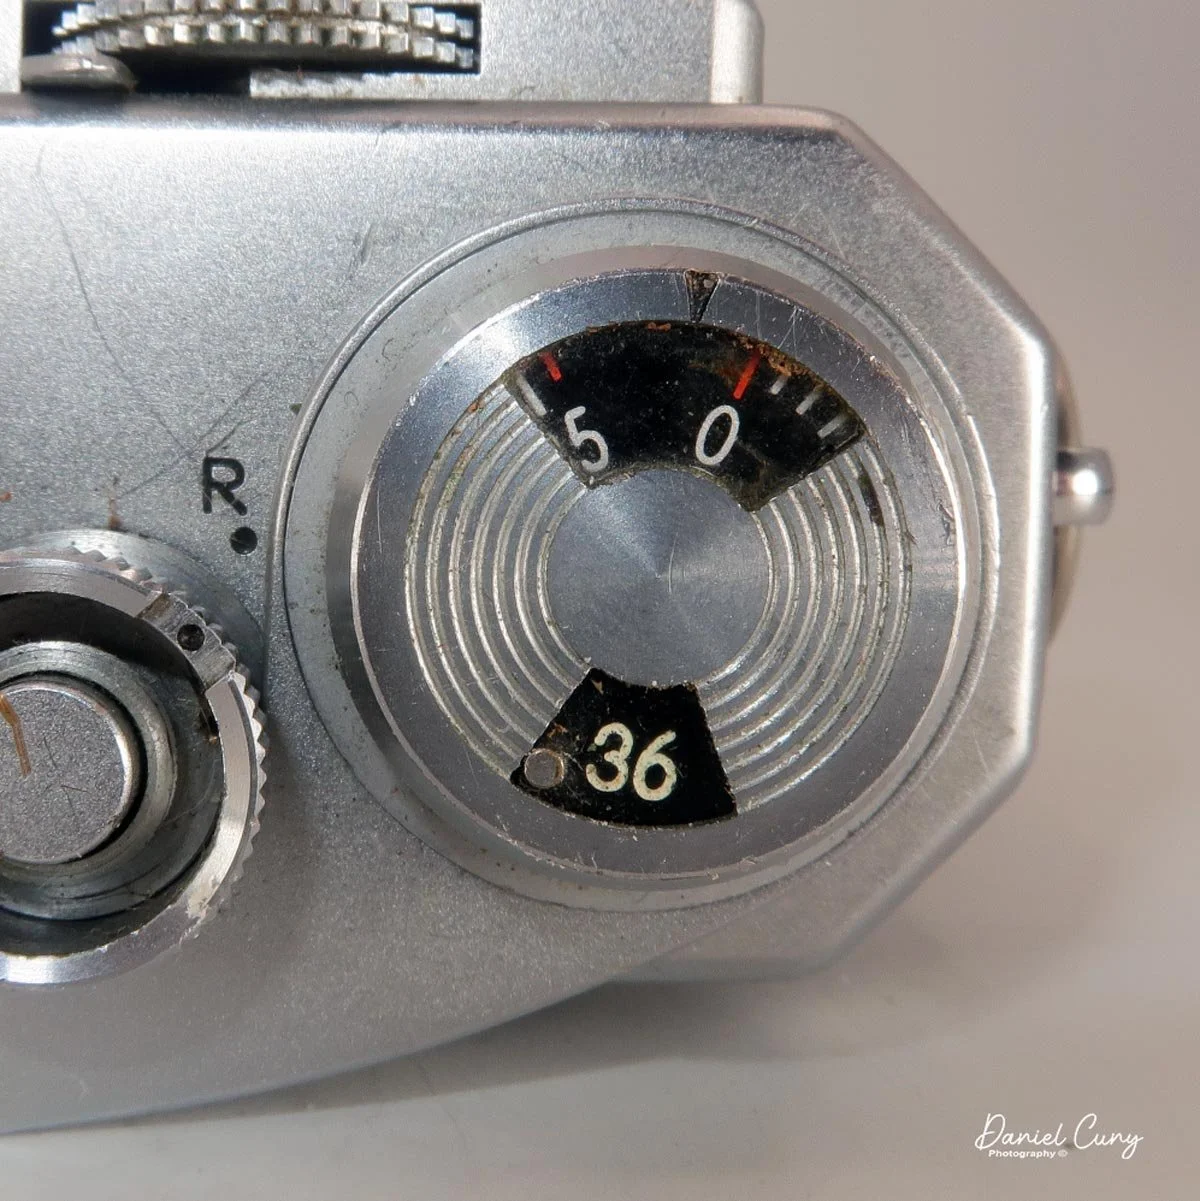
On the far right of the top plate sits the film advance lever, which features two small windows. The forward window is your frame counter, indicating which exposure you're on. The rear window acts as a reminder for whether you loaded a 20- or 36-exposure roll, set by flipping a small tab from one side to the other. And yes, for those wondering—it wasn't until the early 1980s that film manufacturers started producing 24-exposure rolls; before then, 20-exposure rolls were the standard short option!
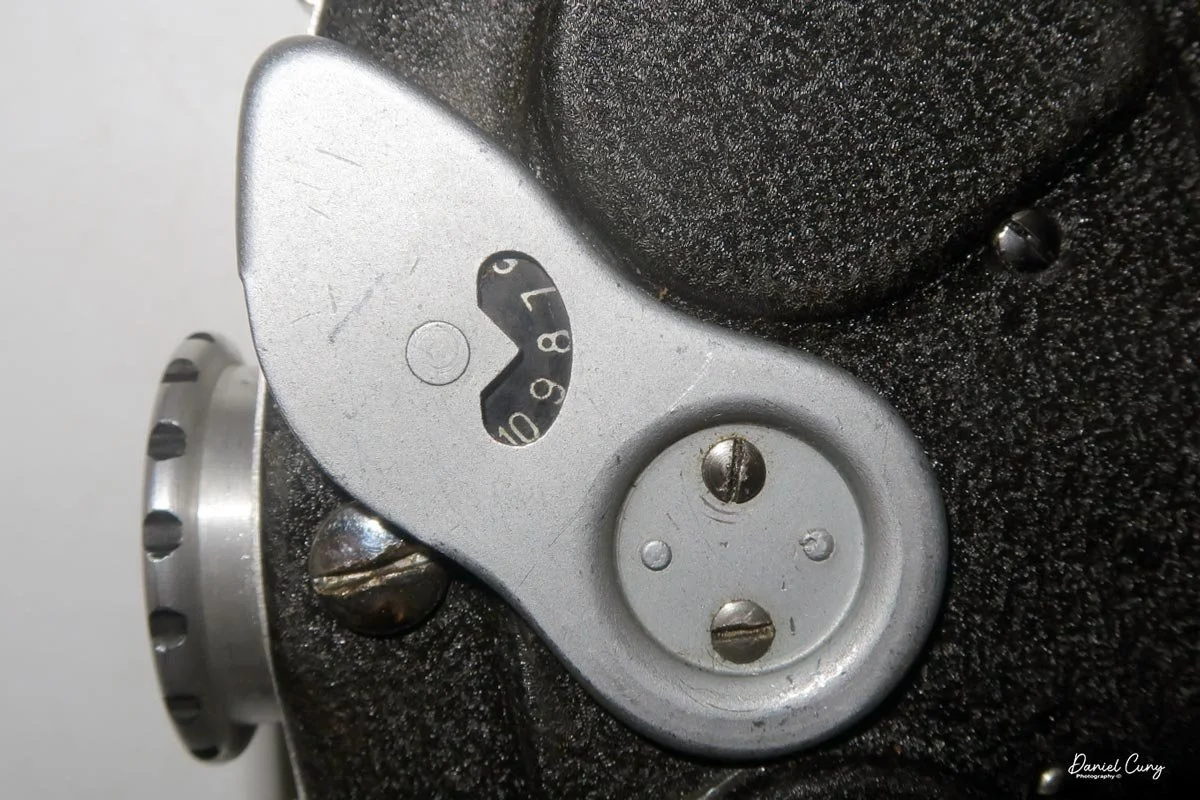
At the very front of the top plate, on the right side, is the camera's focusing wheel. You can focus the lens using this wheel, a mechanism borrowed directly from the Contax system that inspired these cameras. When the lens is set to infinity, it locks into position. To unlock it, press down on the small tab just behind the focusing wheel. This frees up the wheel, allowing you to dial in your focus. Once unlocked, you also have the option to focus normally by turning the lens barrel, if you prefer.
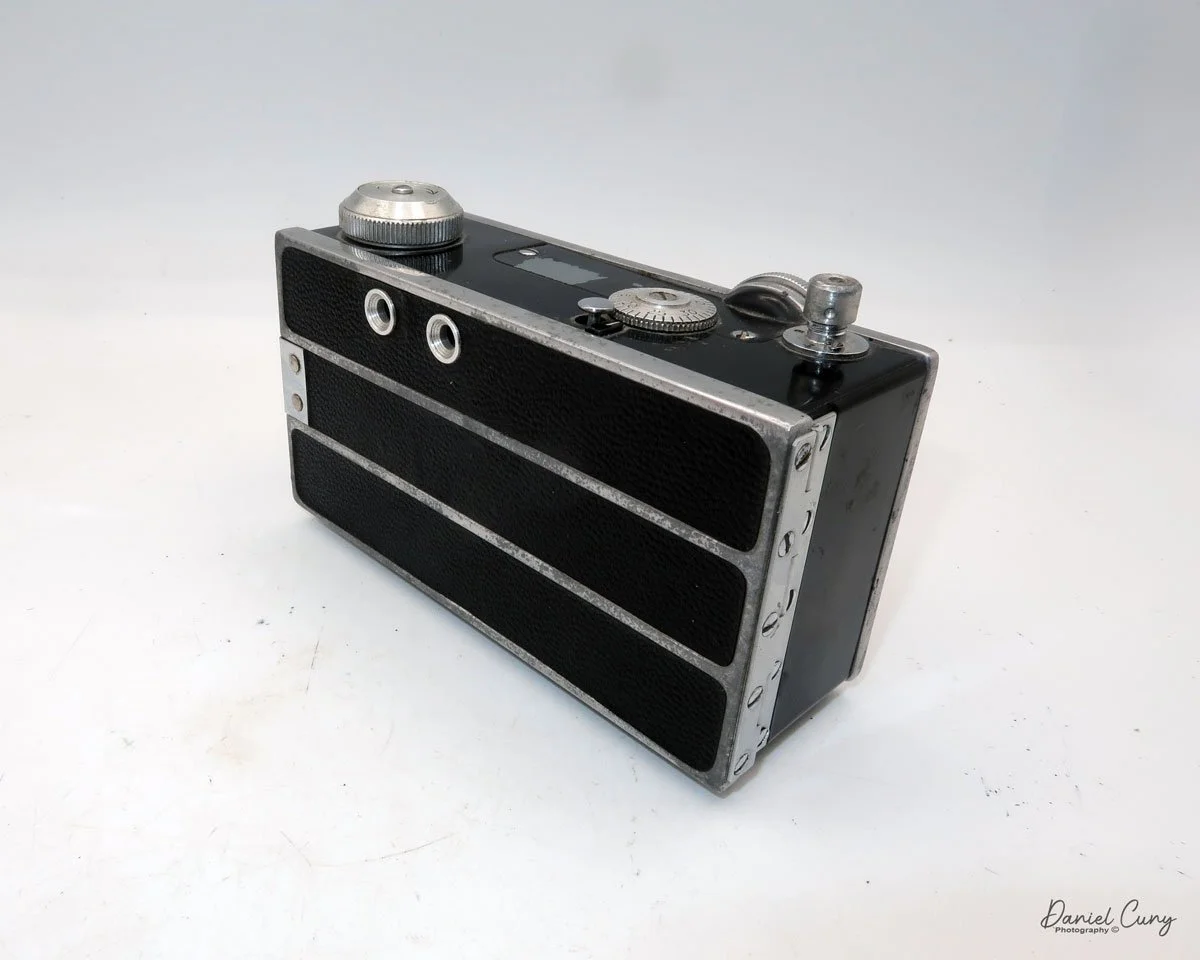
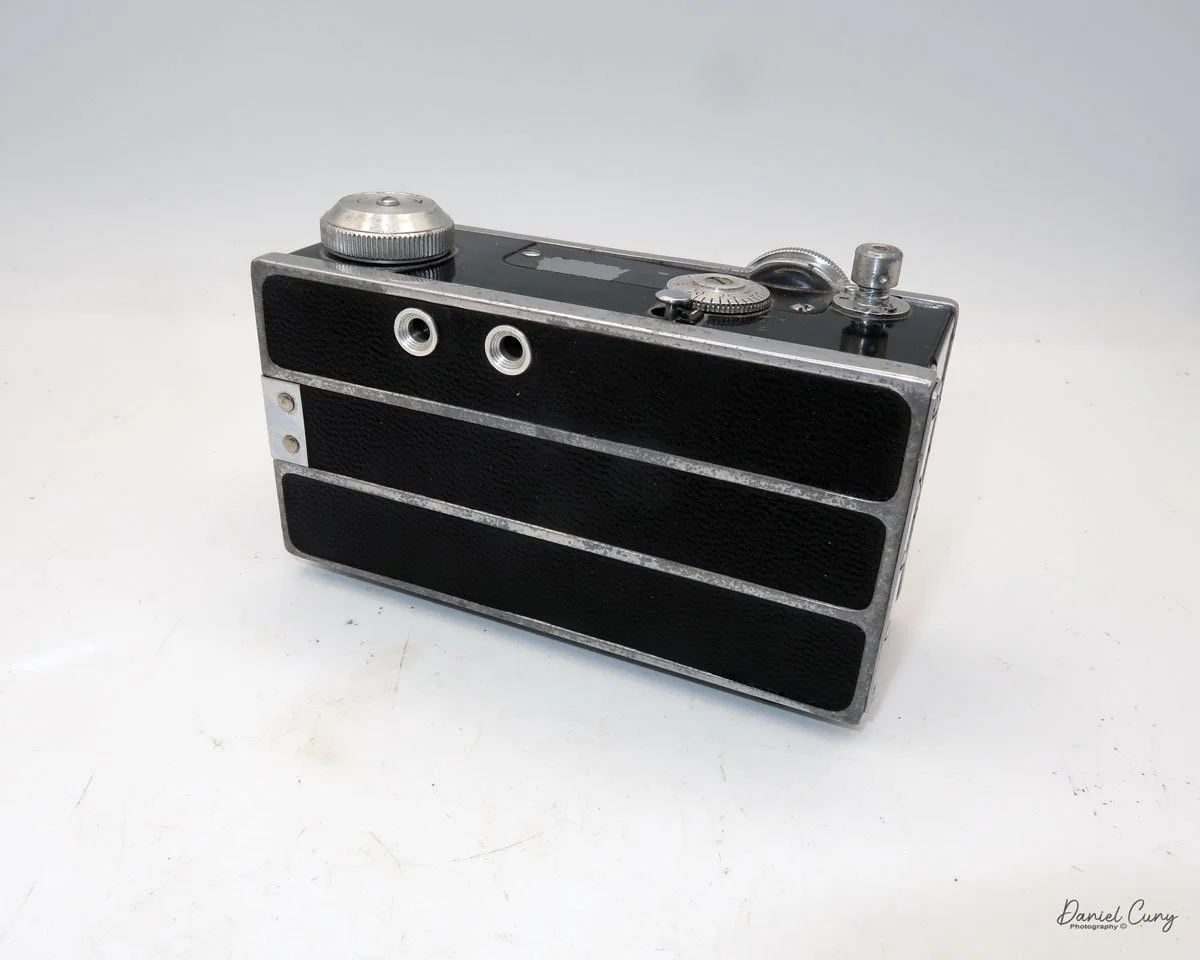
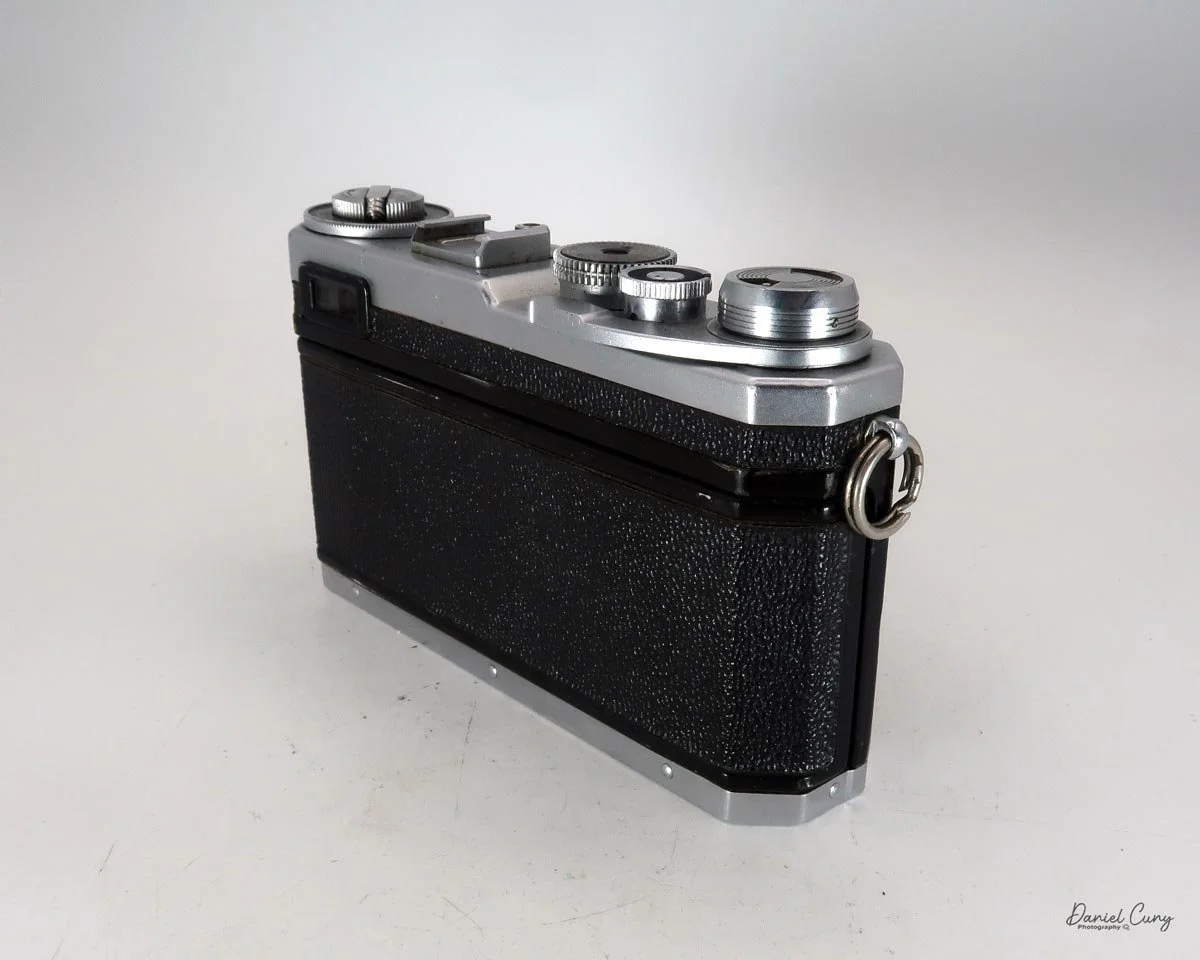
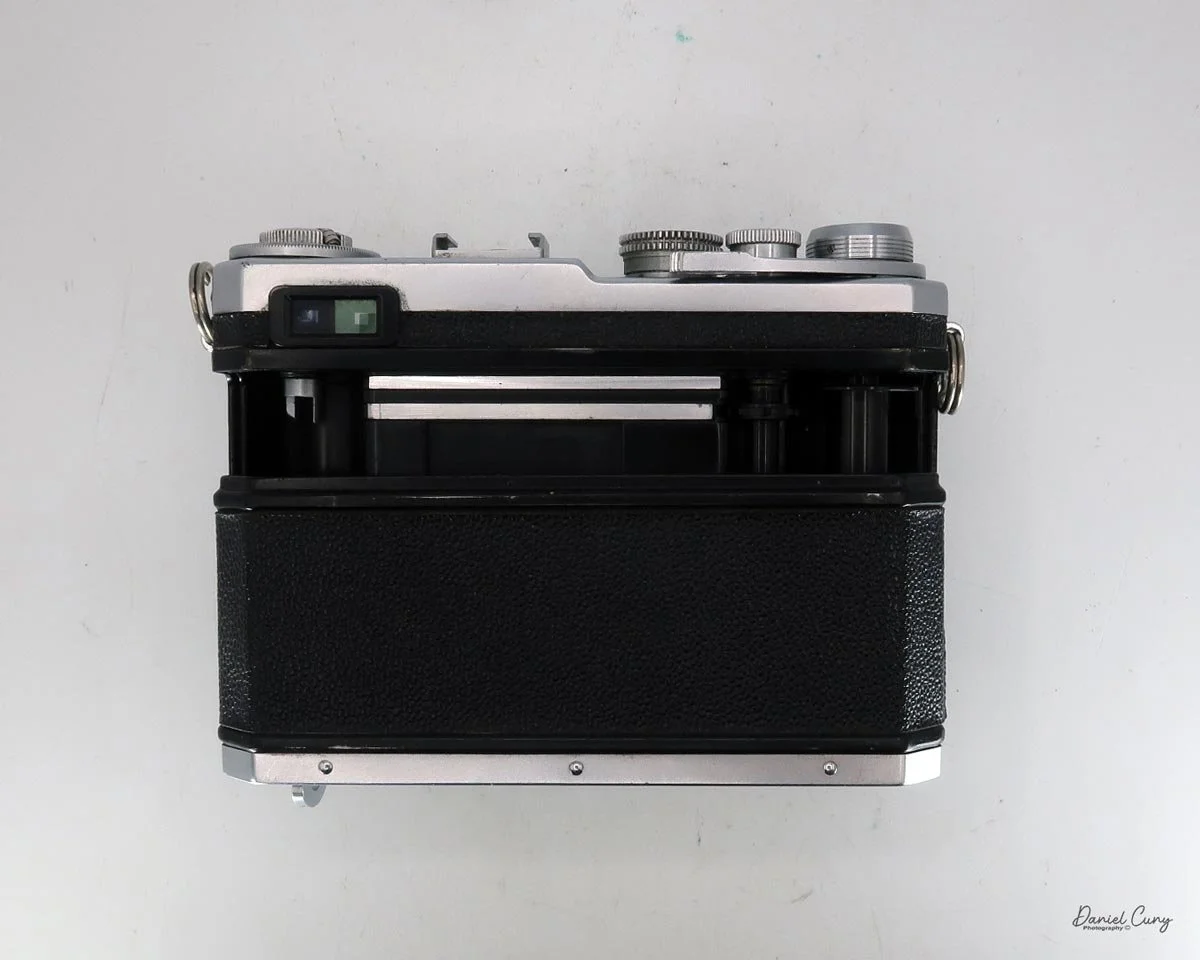
The upper left side of the camera back houses the SP's famous dual viewfinders. The finder on the right is the standard rangefinder for the lenses mentioned earlier: 5cm, 8.5cm, 10.5cm, and 13.5cm. As you turn the collar around the rewind crank, different bright lines appear in this window. Each frame line is added as you select a longer focal length, with the 13.5cm lines appearing in red to match the marking on the collar. Brilliantly, these frame lines are parallax-corrected as you focus closer to your subject.

The viewfinder on the left is a bit smaller and is dedicated to 2.8cm and 3.5cm wide-angle lenses, featuring black frame lines for each. While Nikon also manufactured ultra-wide 2.5cm and 2.1cm lenses at the time, as well as telephotos longer than 13.5cm, those required separate accessory finders that slid into the shoe on top of the camera.
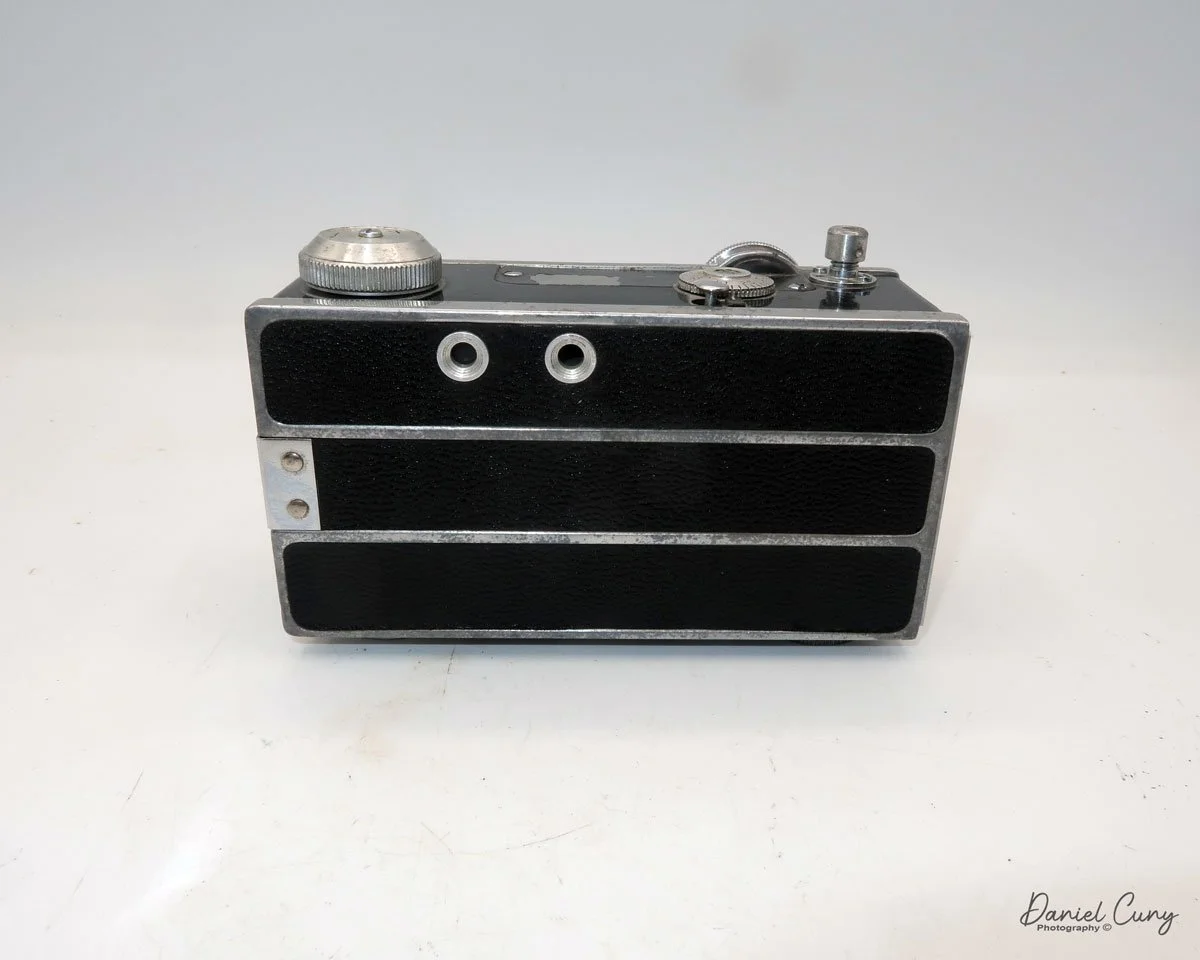
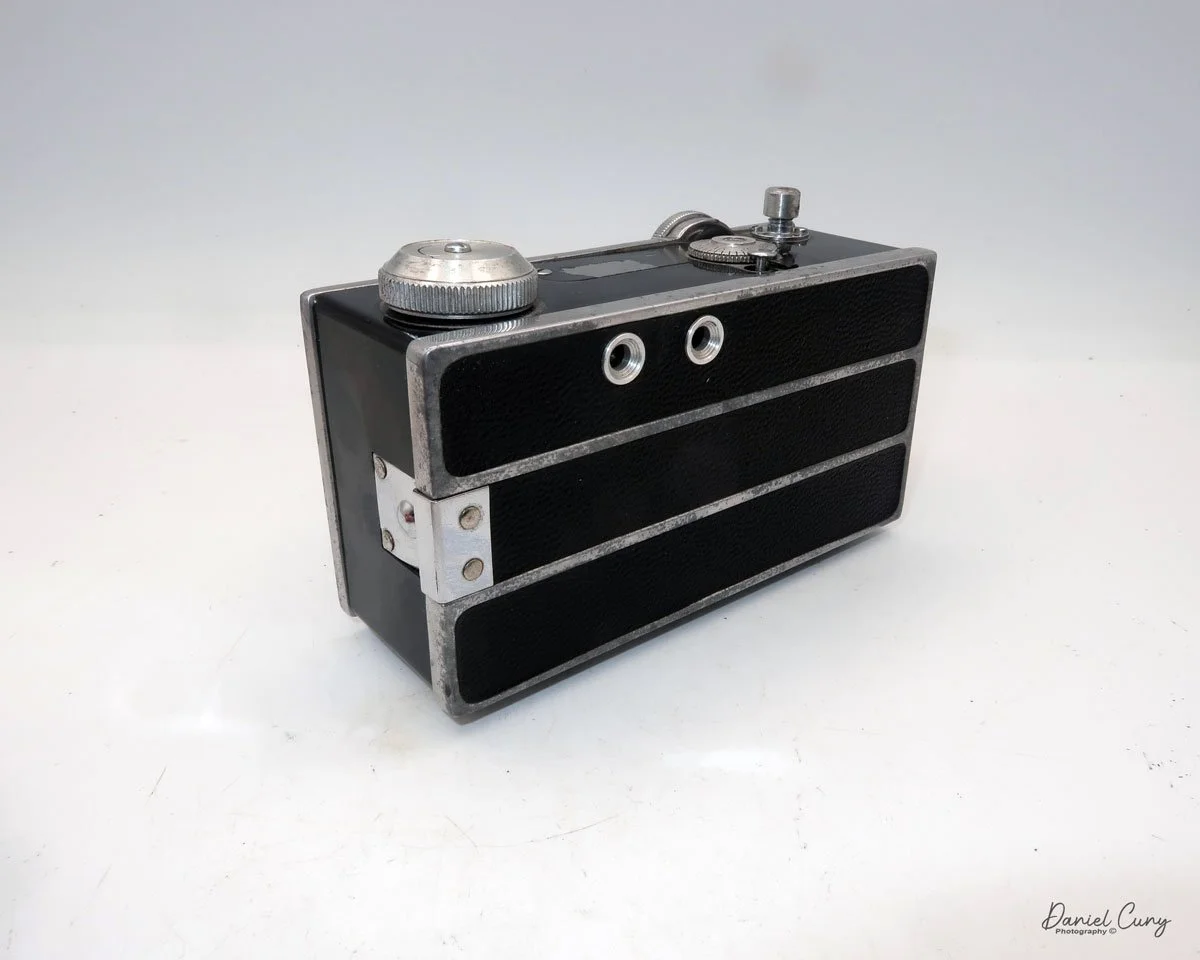
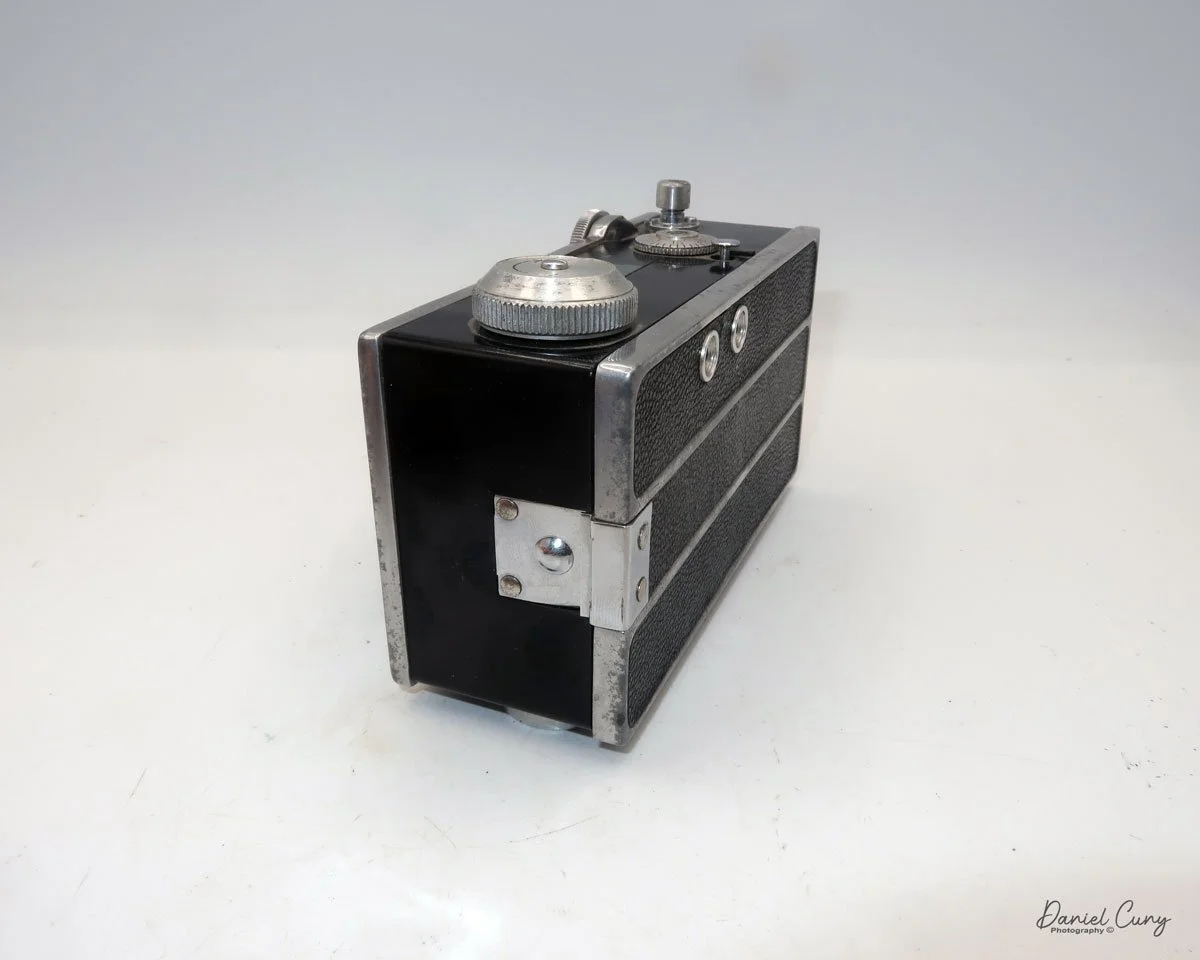
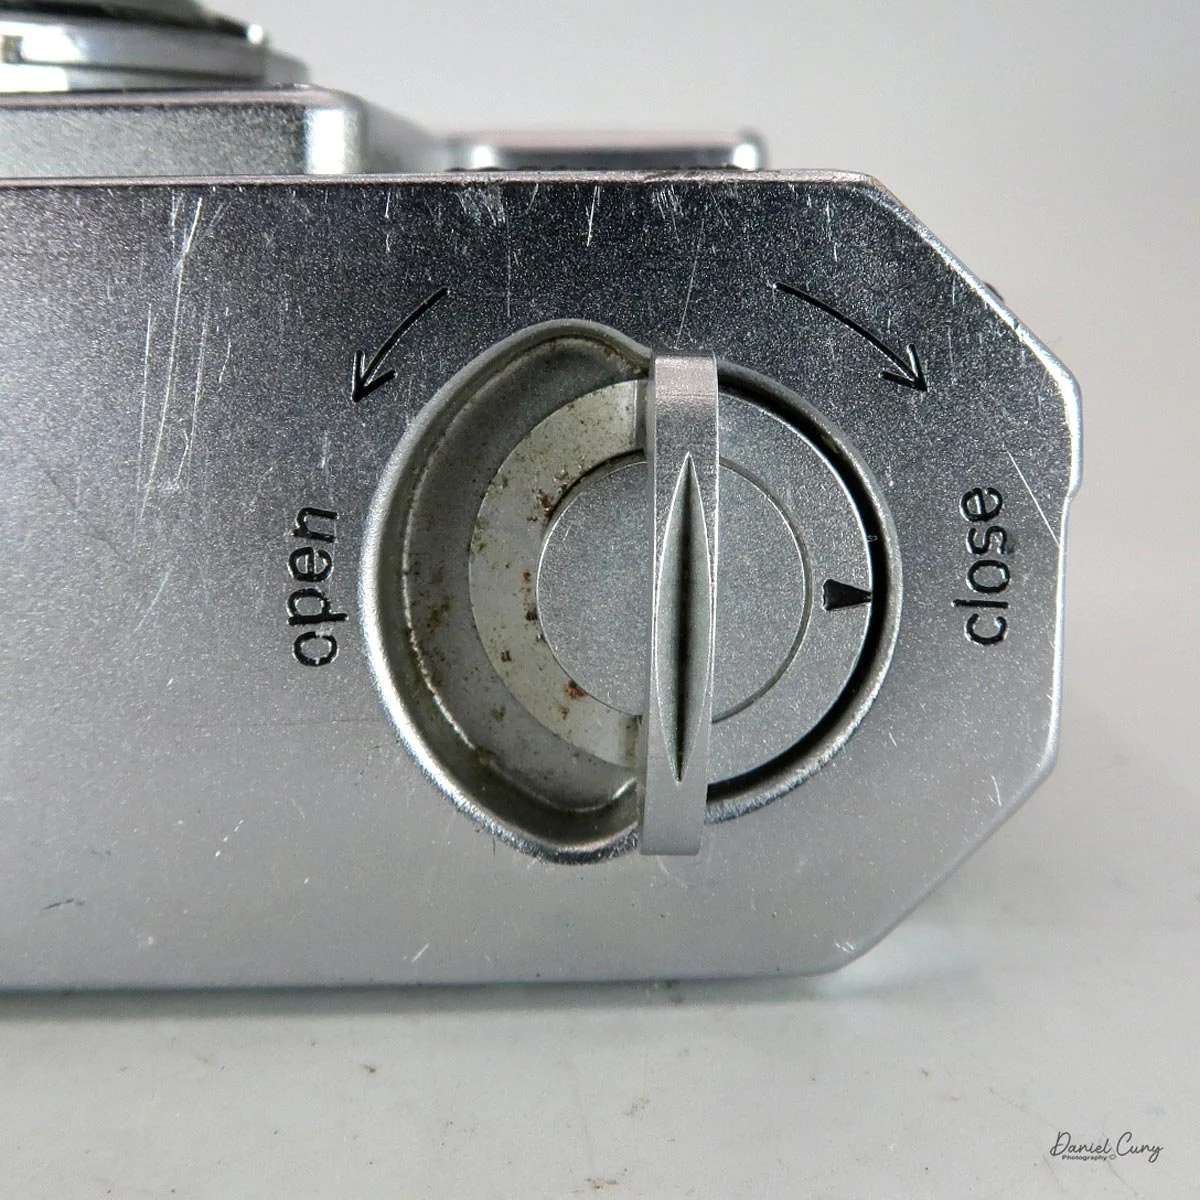
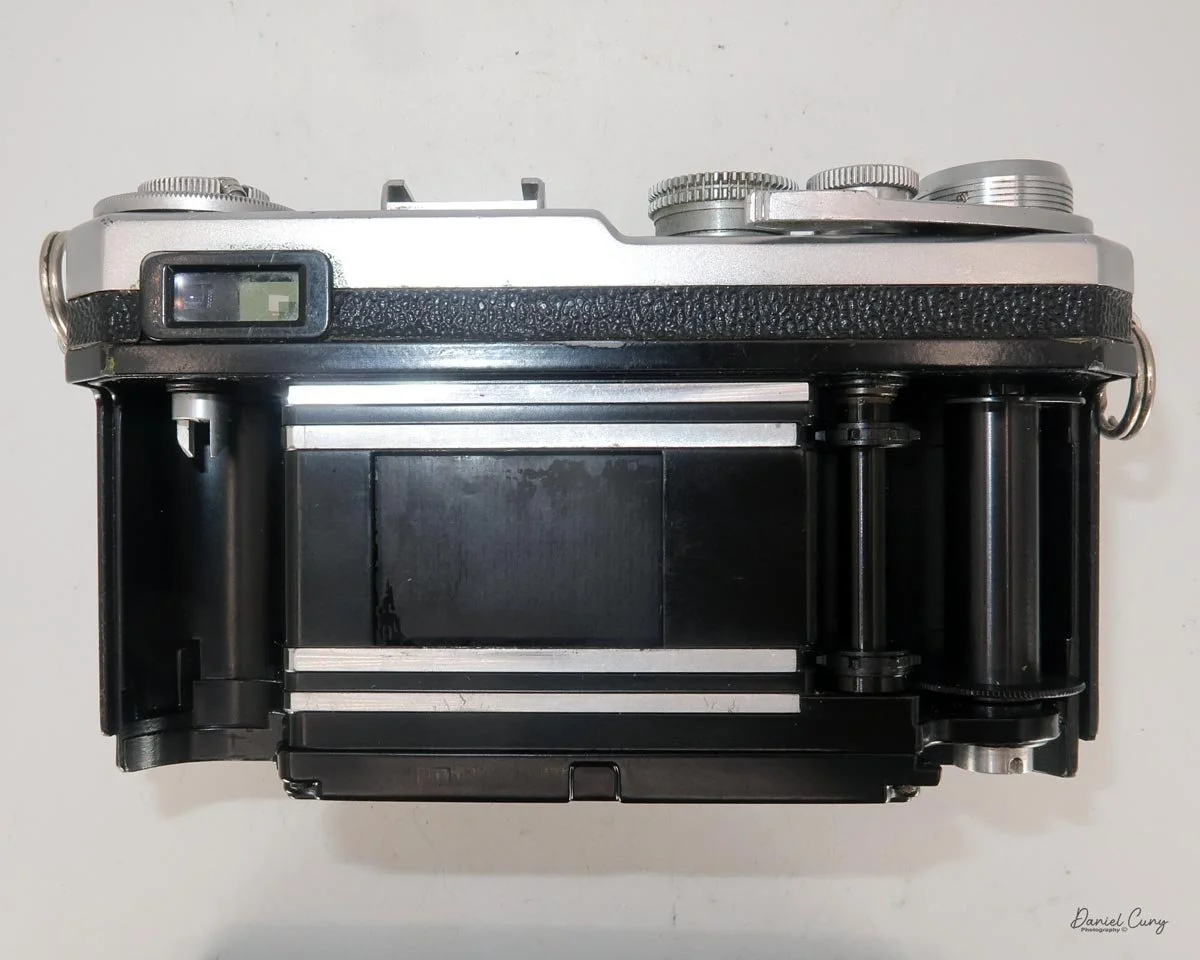
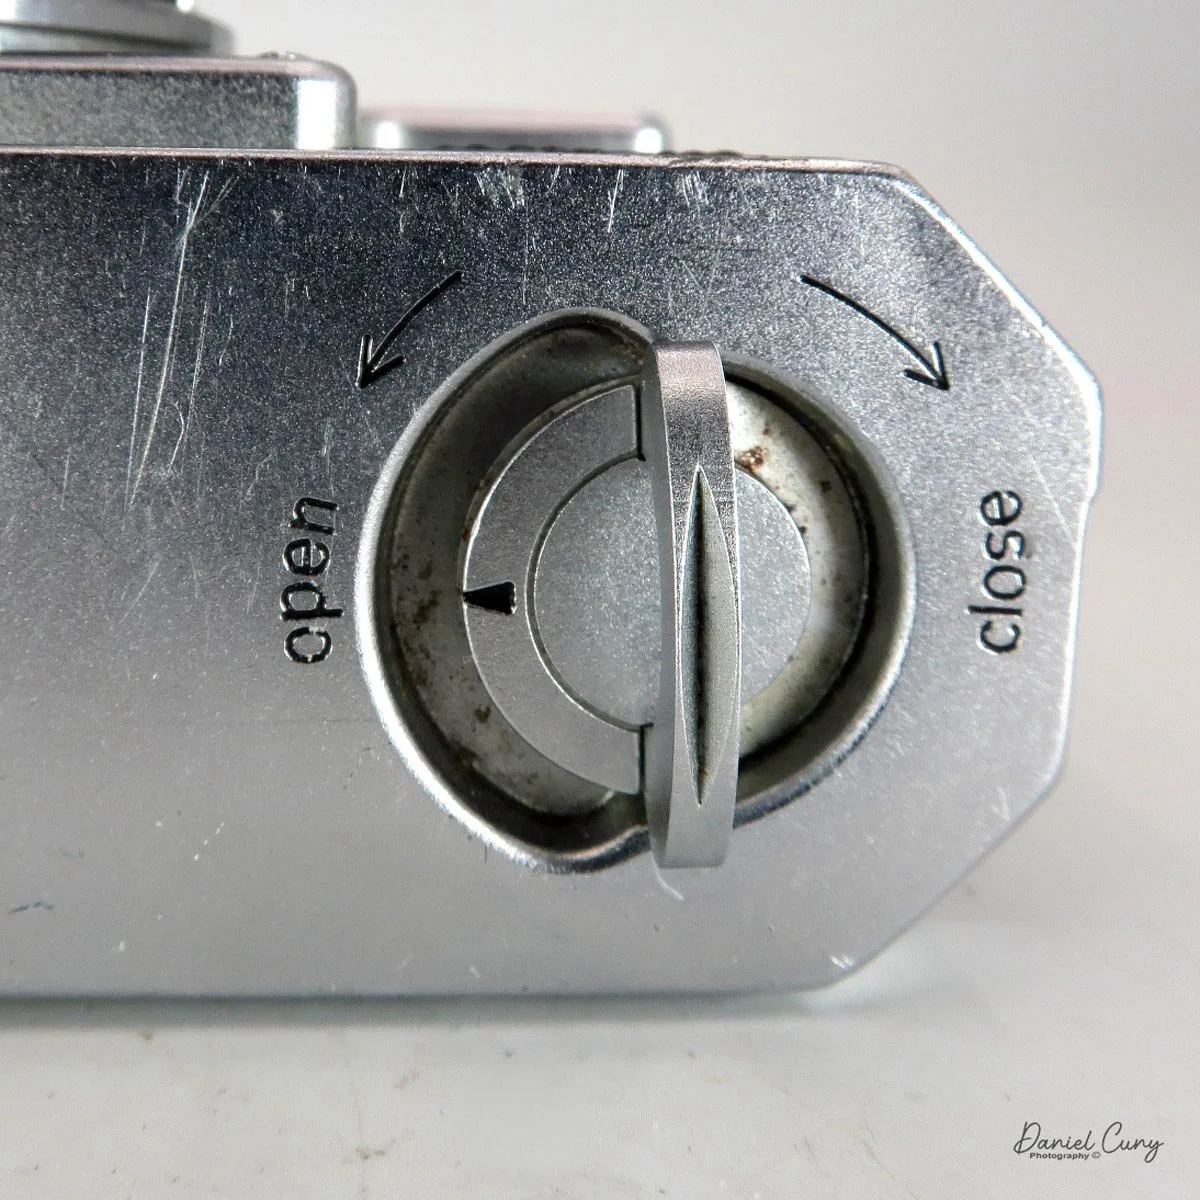
On the bottom of the camera is the locking lever used to remove the back for film loading. Turn the dial from "Close" to "Open," and the entire back slides down along its tracks to expose the film chamber. (This design is shared across all Nikon rangefinder and Nikon F bodies.) After loading your film like any standard 35mm camera, align the back on the rails, slide it up into place, and lock it tight. At this point, you're ready to shoot! The bottom plate also houses a standard tripod socket and an ASA reminder dial. (For younger shooters, ASA was the predecessor to ISO and uses the same sensitivity scale.)
My Results
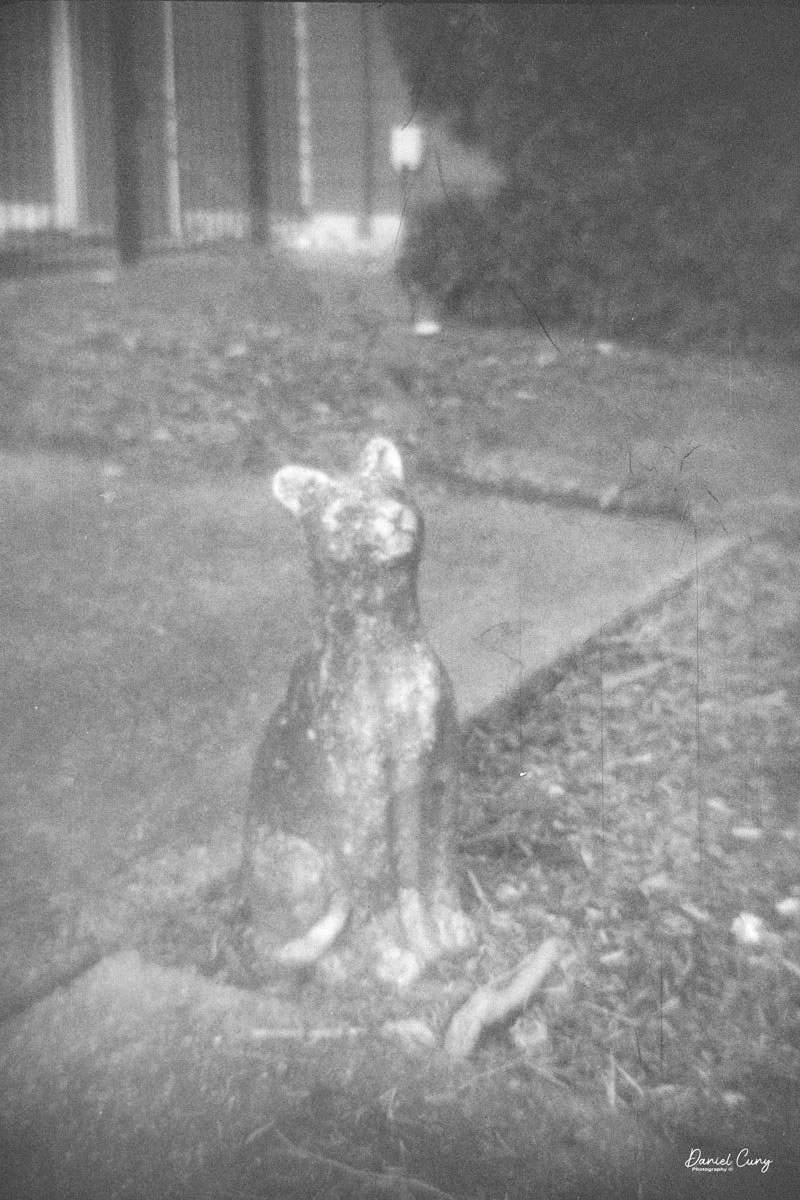
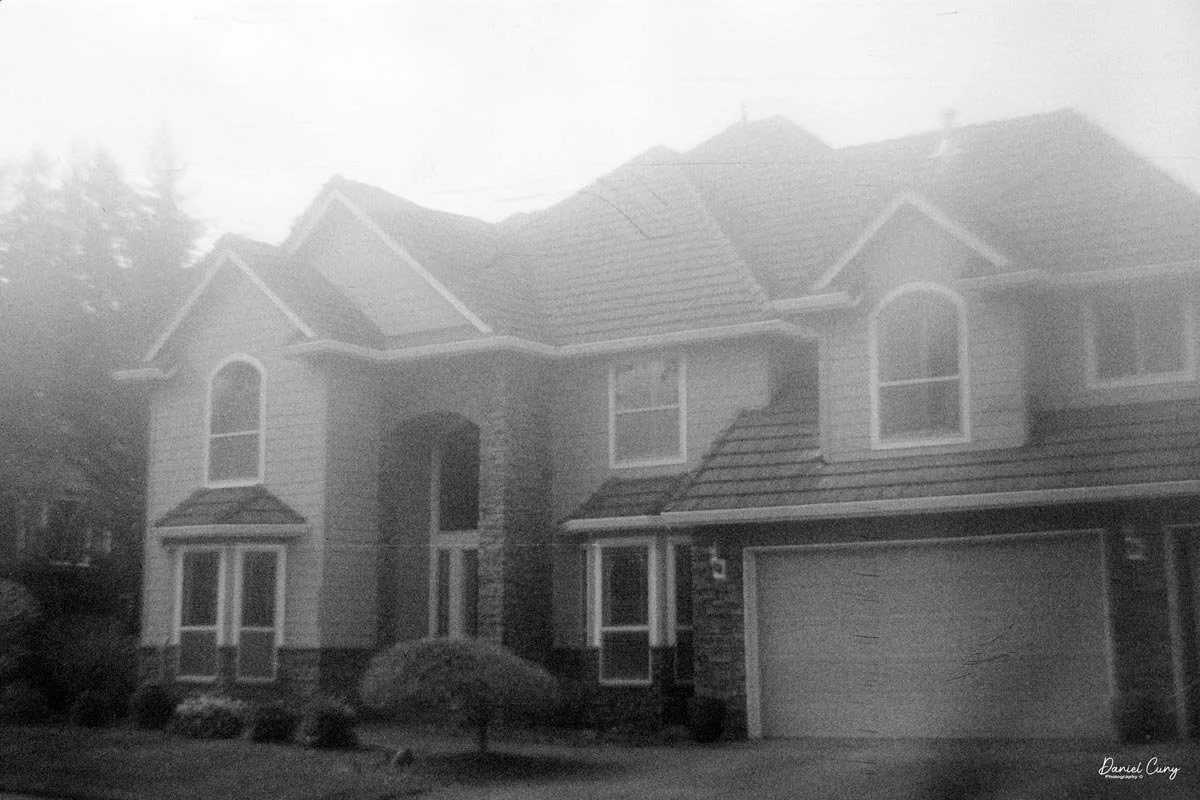
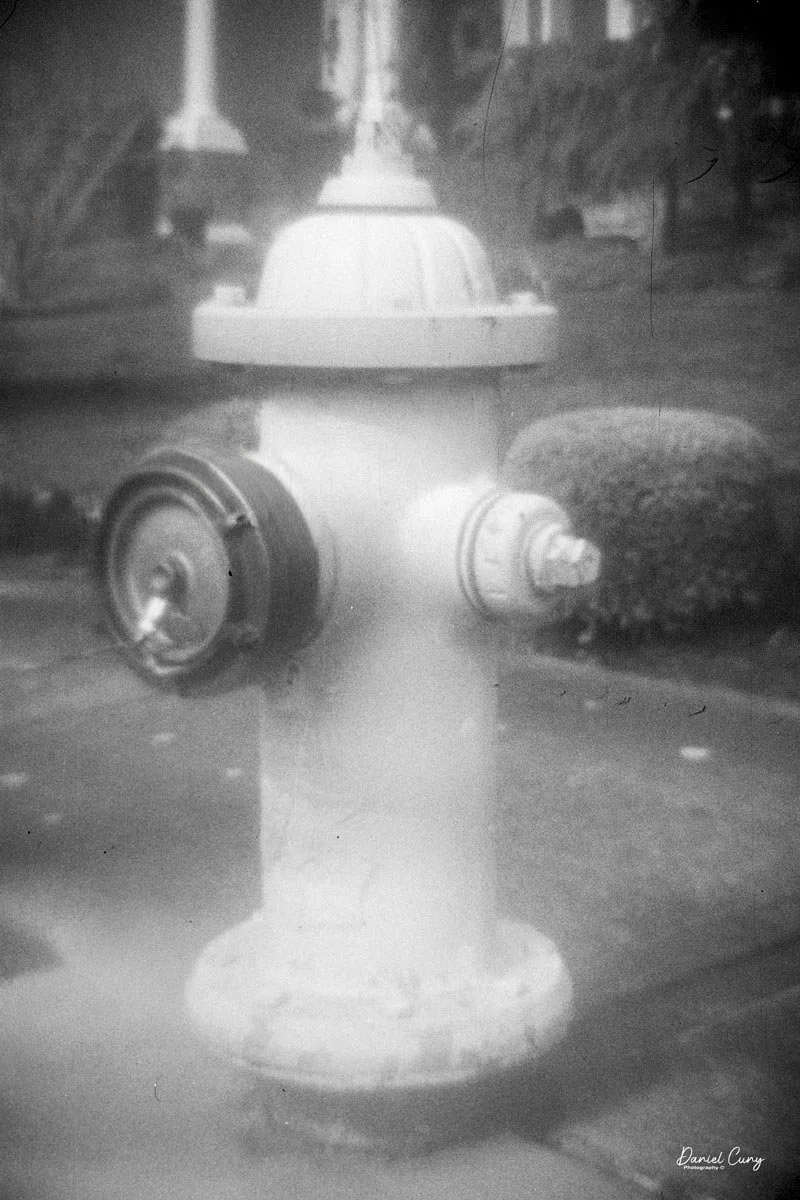
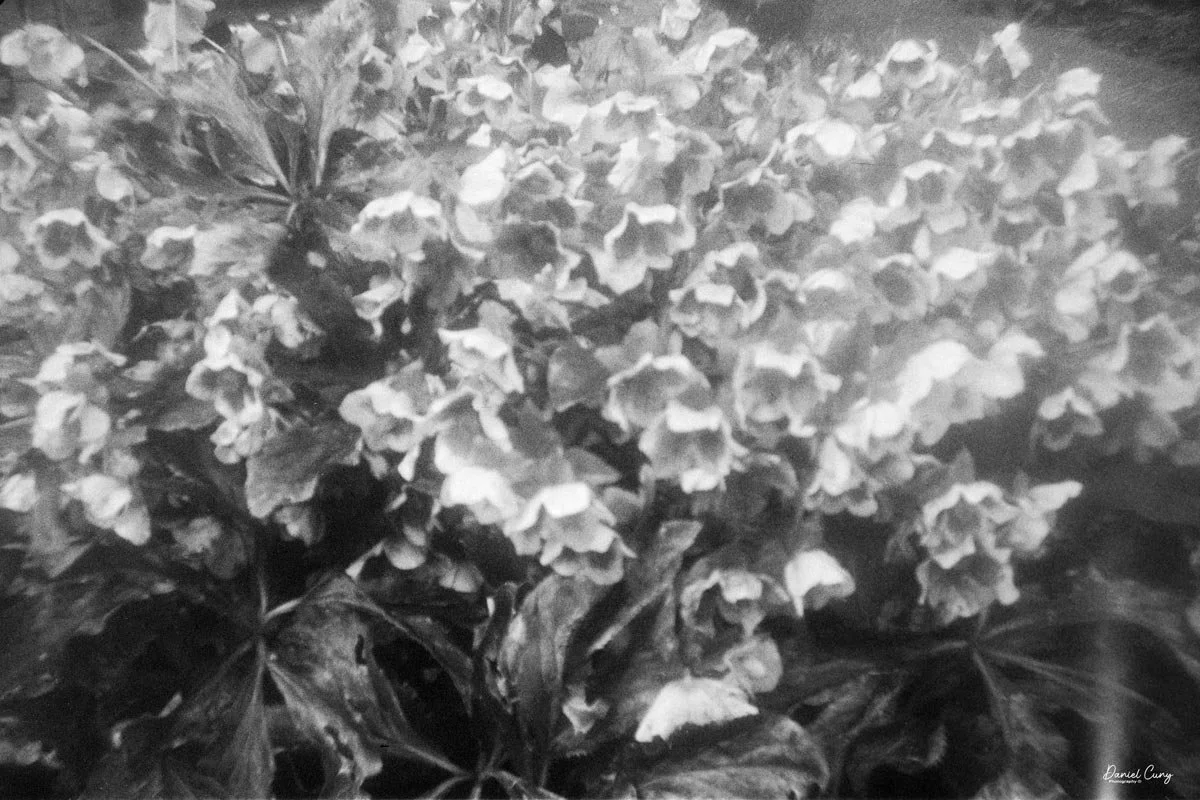
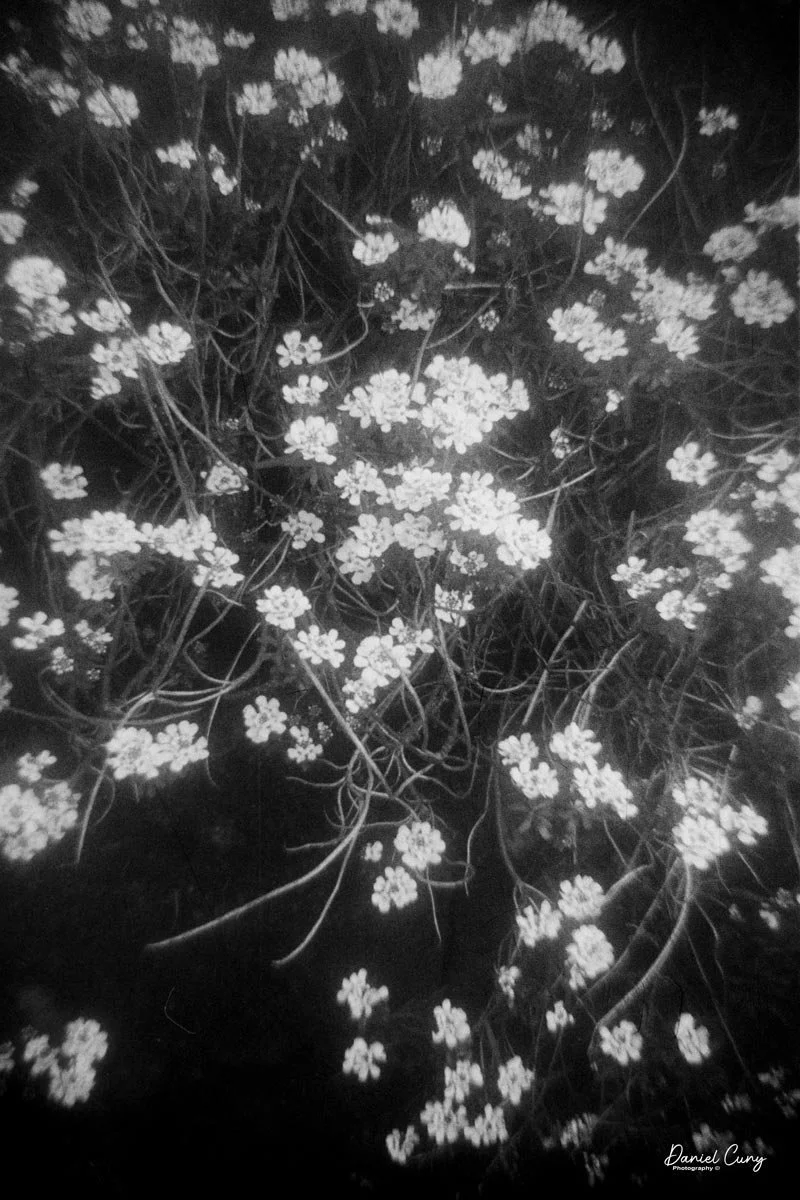
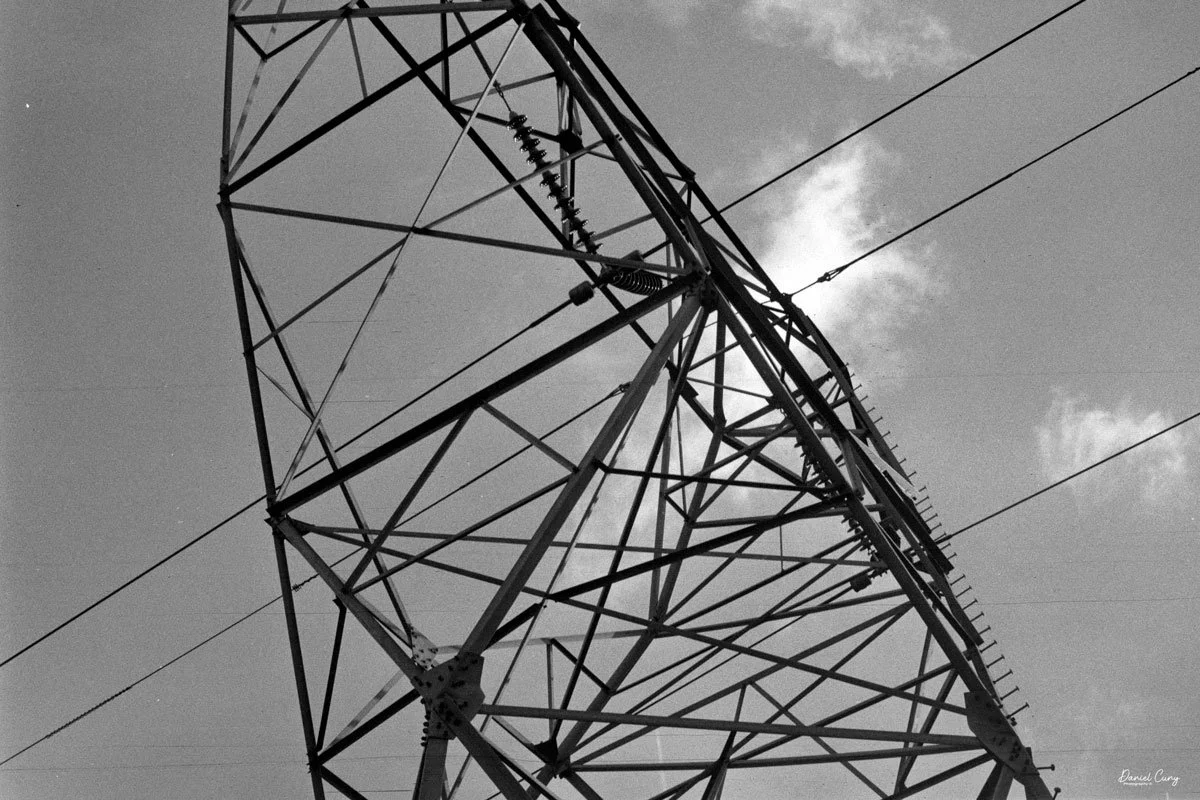
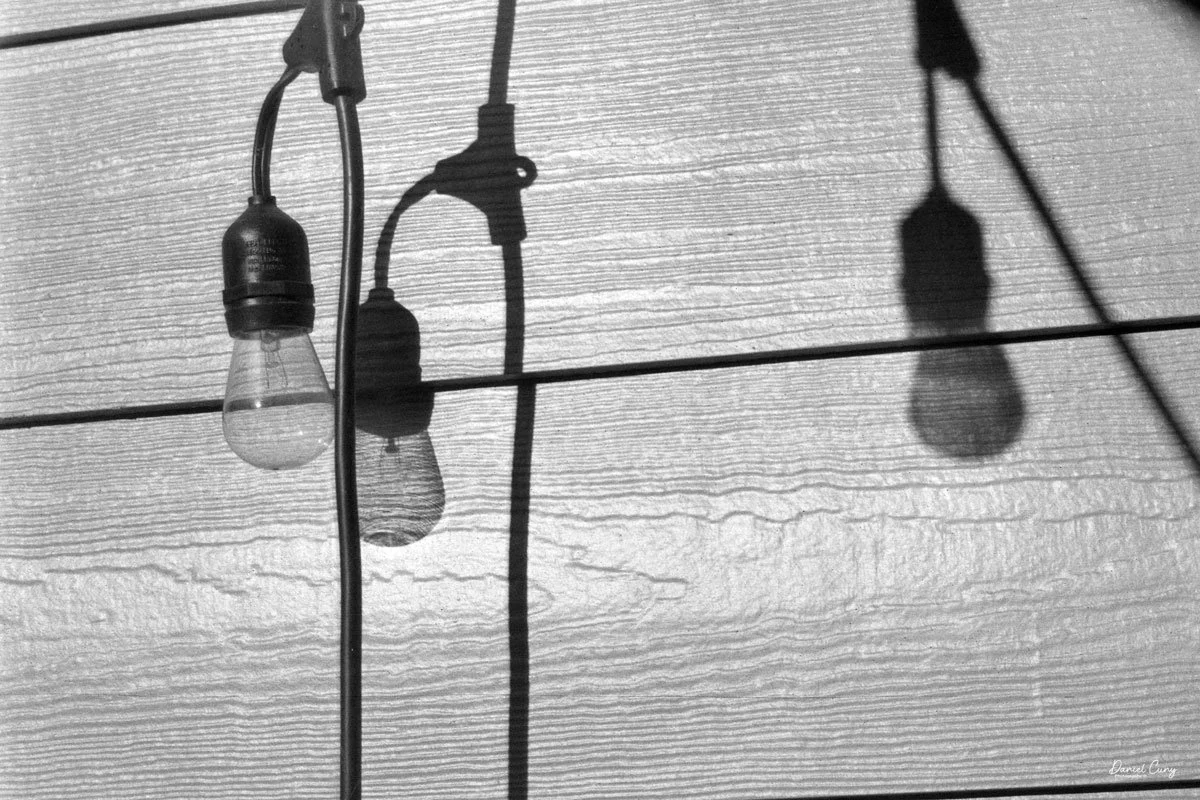
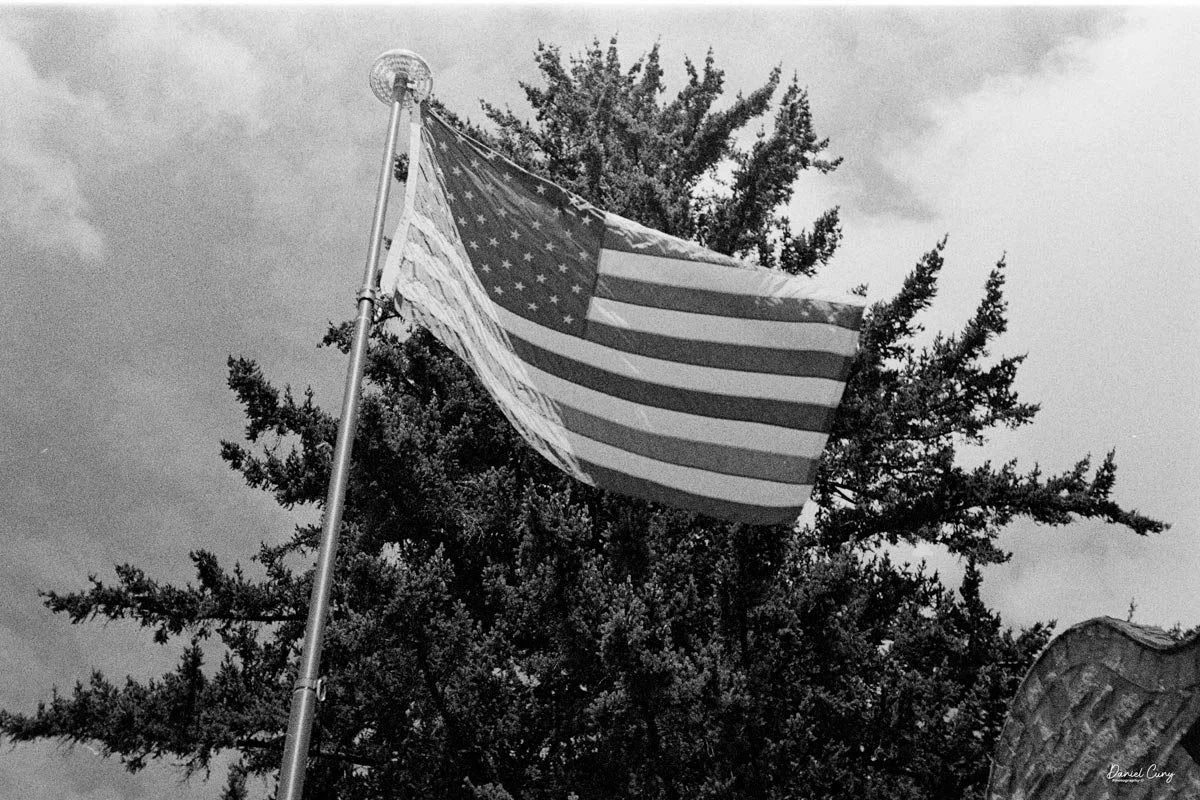
I didn't have much 35mm black-and-white film left in my fridge after our last vacation, but I did find an expired roll of Kodak Tri-X from 1970. I figured it would be the perfect roll to load into the Nikon SP for a spin around the neighborhood.
Here are the results from my walk:


Conclusion
Even though I've shot with this camera in the past, I still get a thrill every time I take it out. It has a wonderful, comfortable feel in the hand—especially for someone who has been a dedicated Nikon user for so many years. The rangefinder is bright, and both the focusing and film transport are incredibly smooth. Overall, the camera worked like a charm.
The images turned out beautifully sharp, and I loved the aesthetic of shooting such an old roll of Tri-X. I had forgotten how grainy—in a good way—that film can be. I even processed it in Rodinal, which normally retains a bit more of a "fine grain" structure, but the classic Tri-X texture pushed through anyway, and I really enjoyed the results.
Thank you for taking the time to read about the Nikon SP. As the first true model in Nikon's line of "professional" cameras, it laid the groundwork for why the brand became so beloved by working photographers around the world.
Here are some of my other Camera Reviews.
Check out my Cuny's Camera Collection YouTube channel, where I am putting together video overviews of the cameras I write about. Be sure to subscribe and like the channel, too!
Cuny's Cameras and Photos is my online eBay store, where you will find some of the cameras I have reviewed, along with a wide range of other cameras, lenses, and items from my collection that I am thinning out.
Until next week, please be safe.