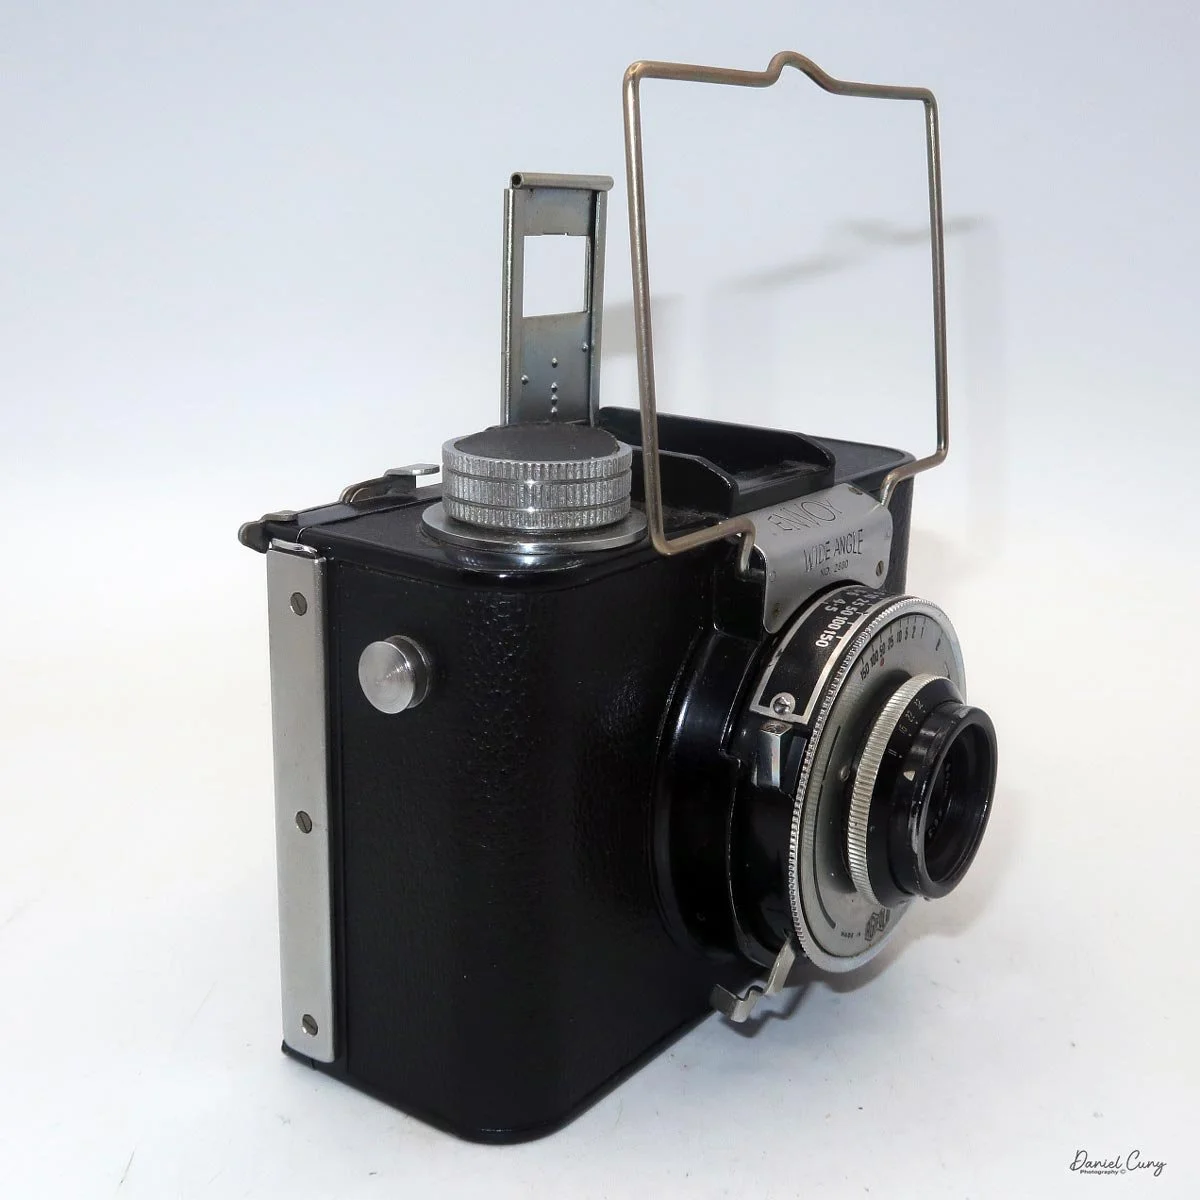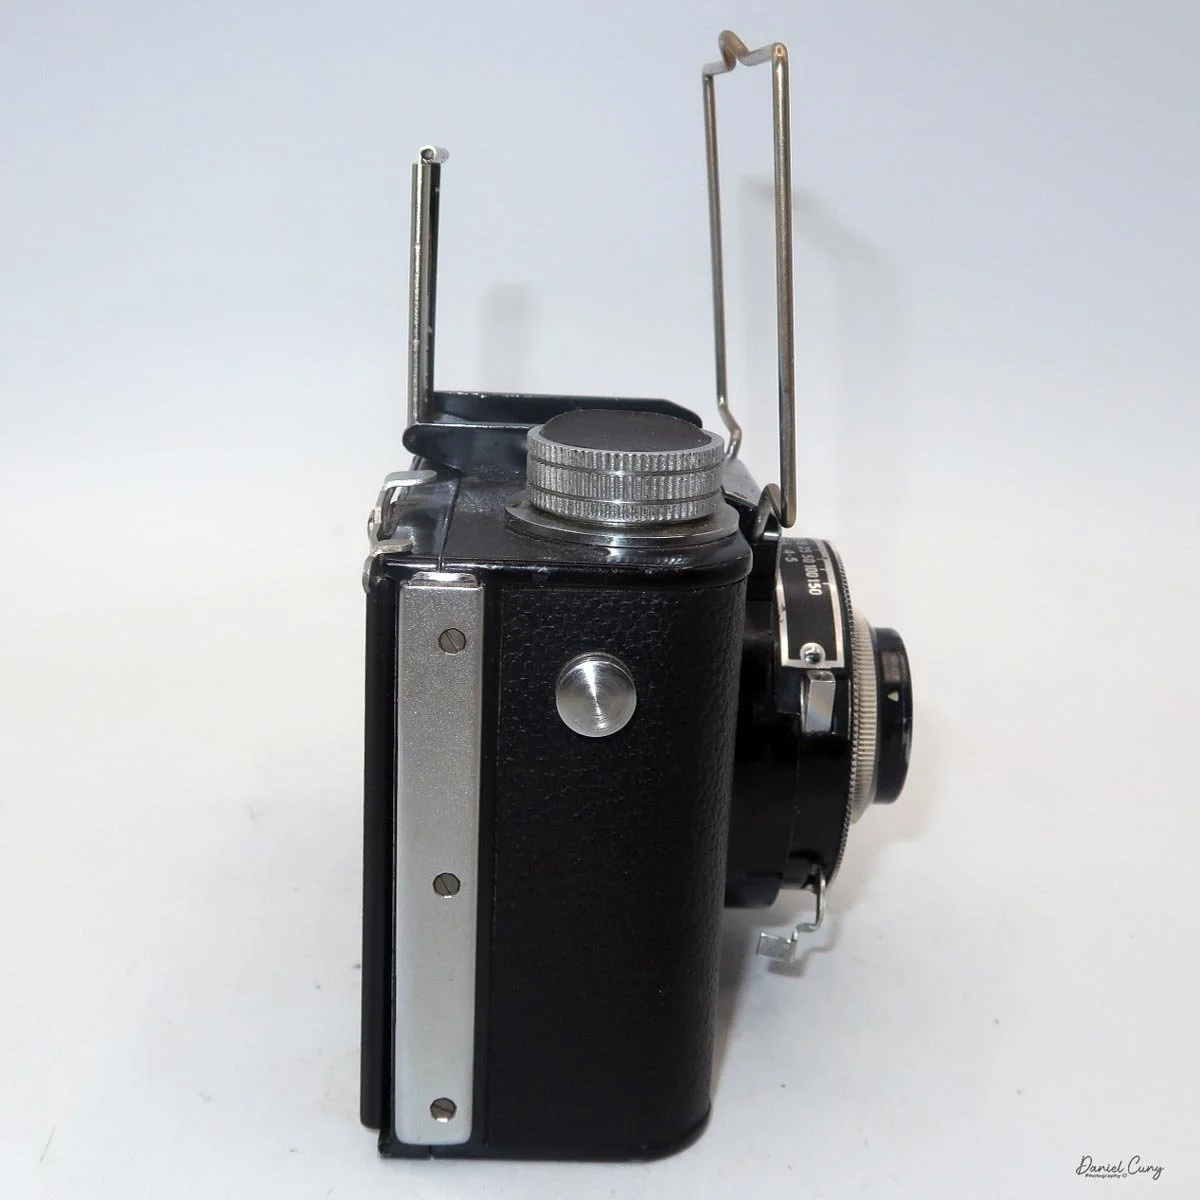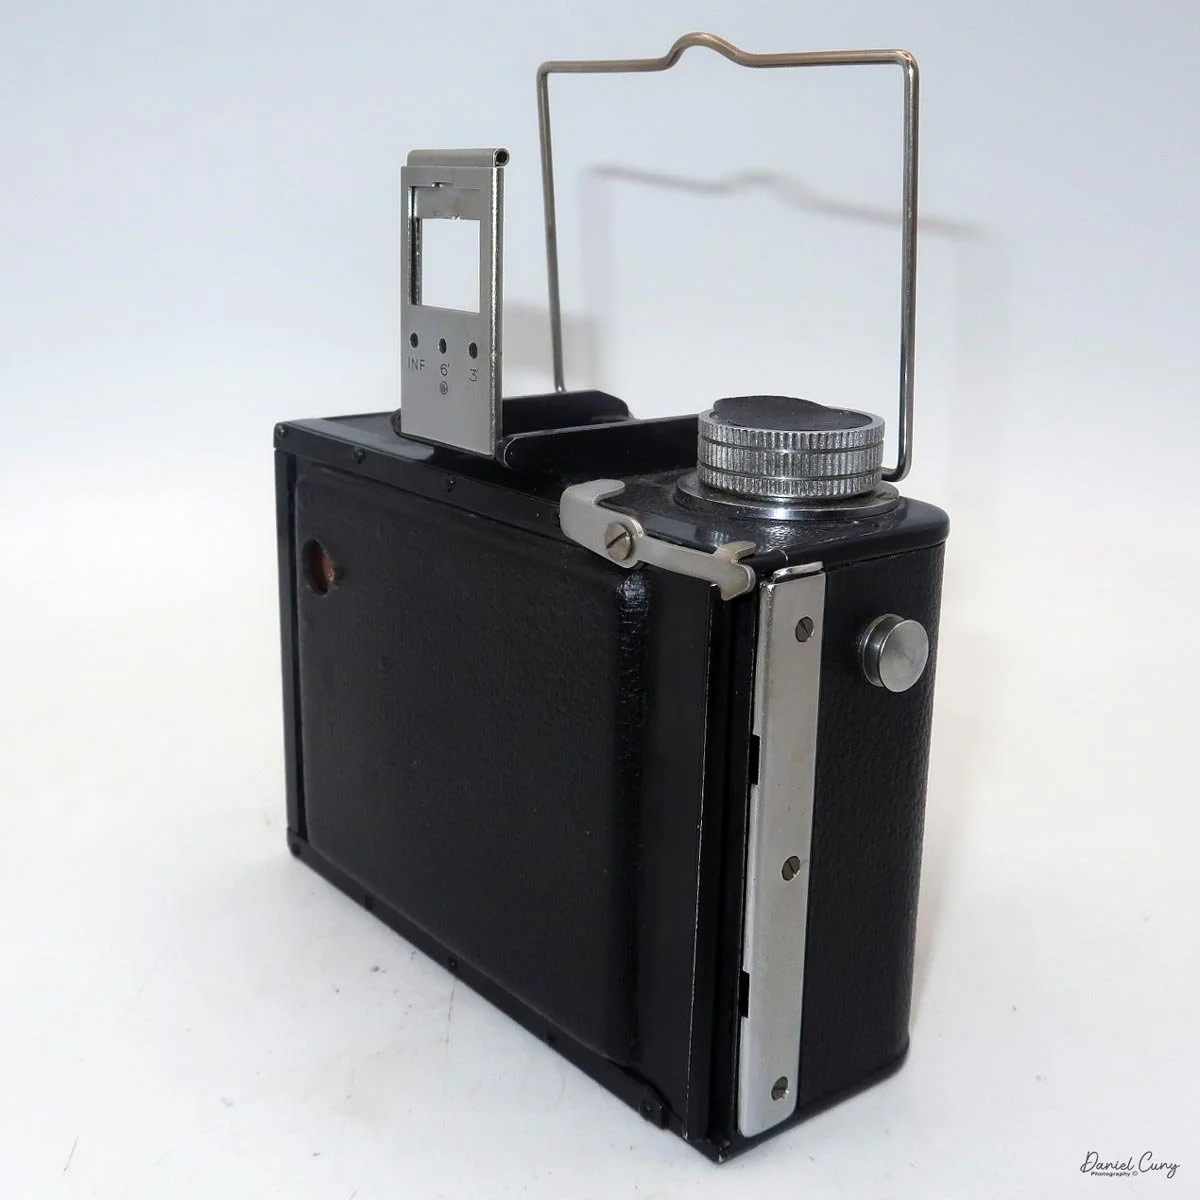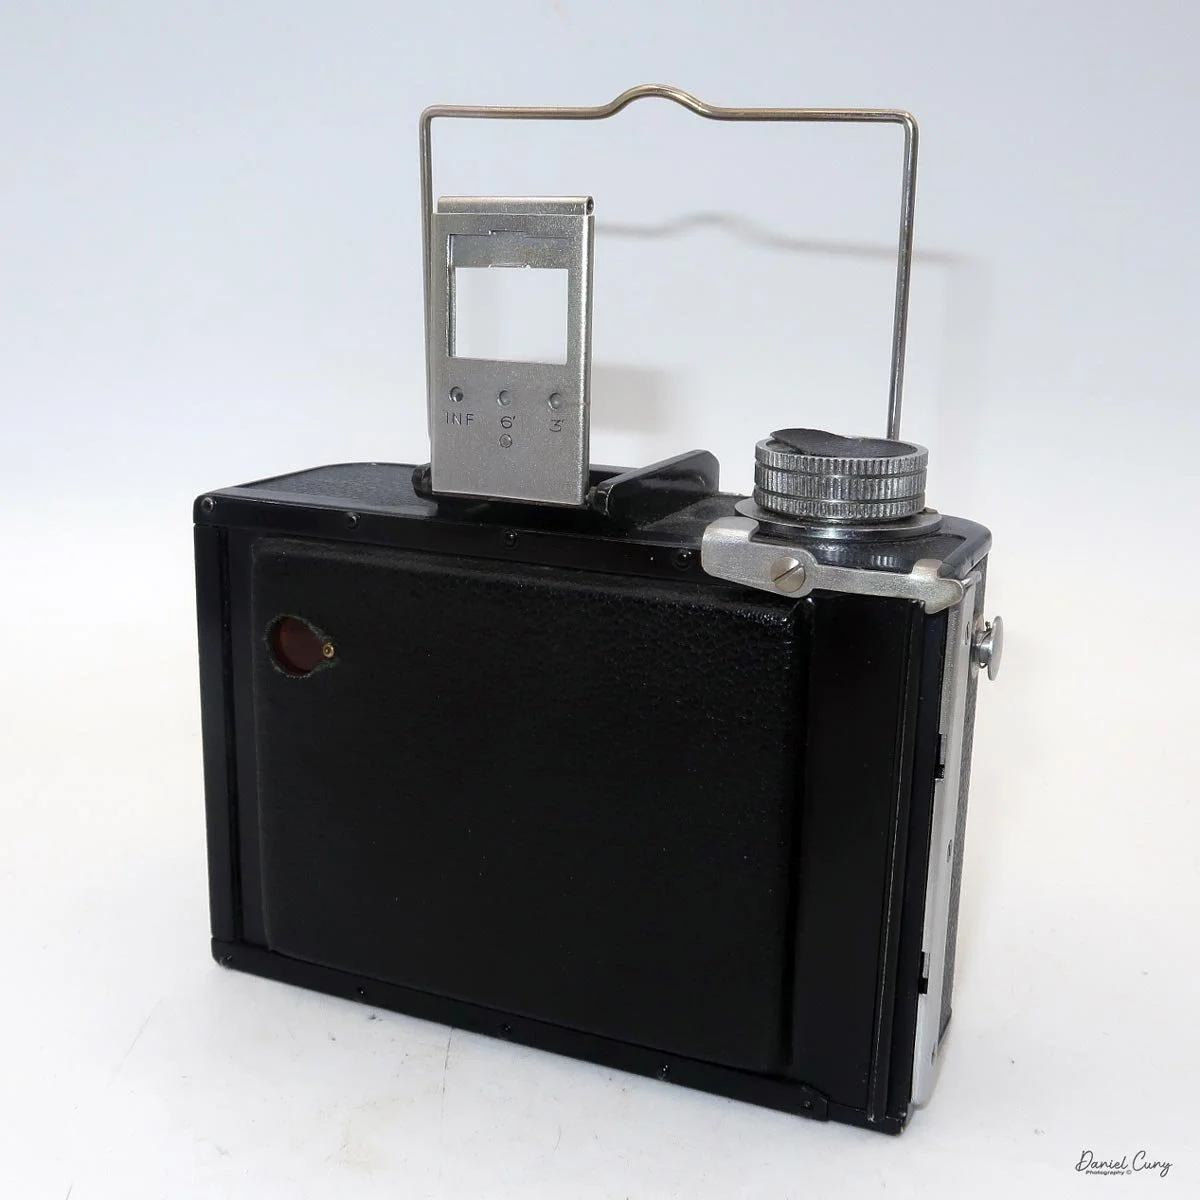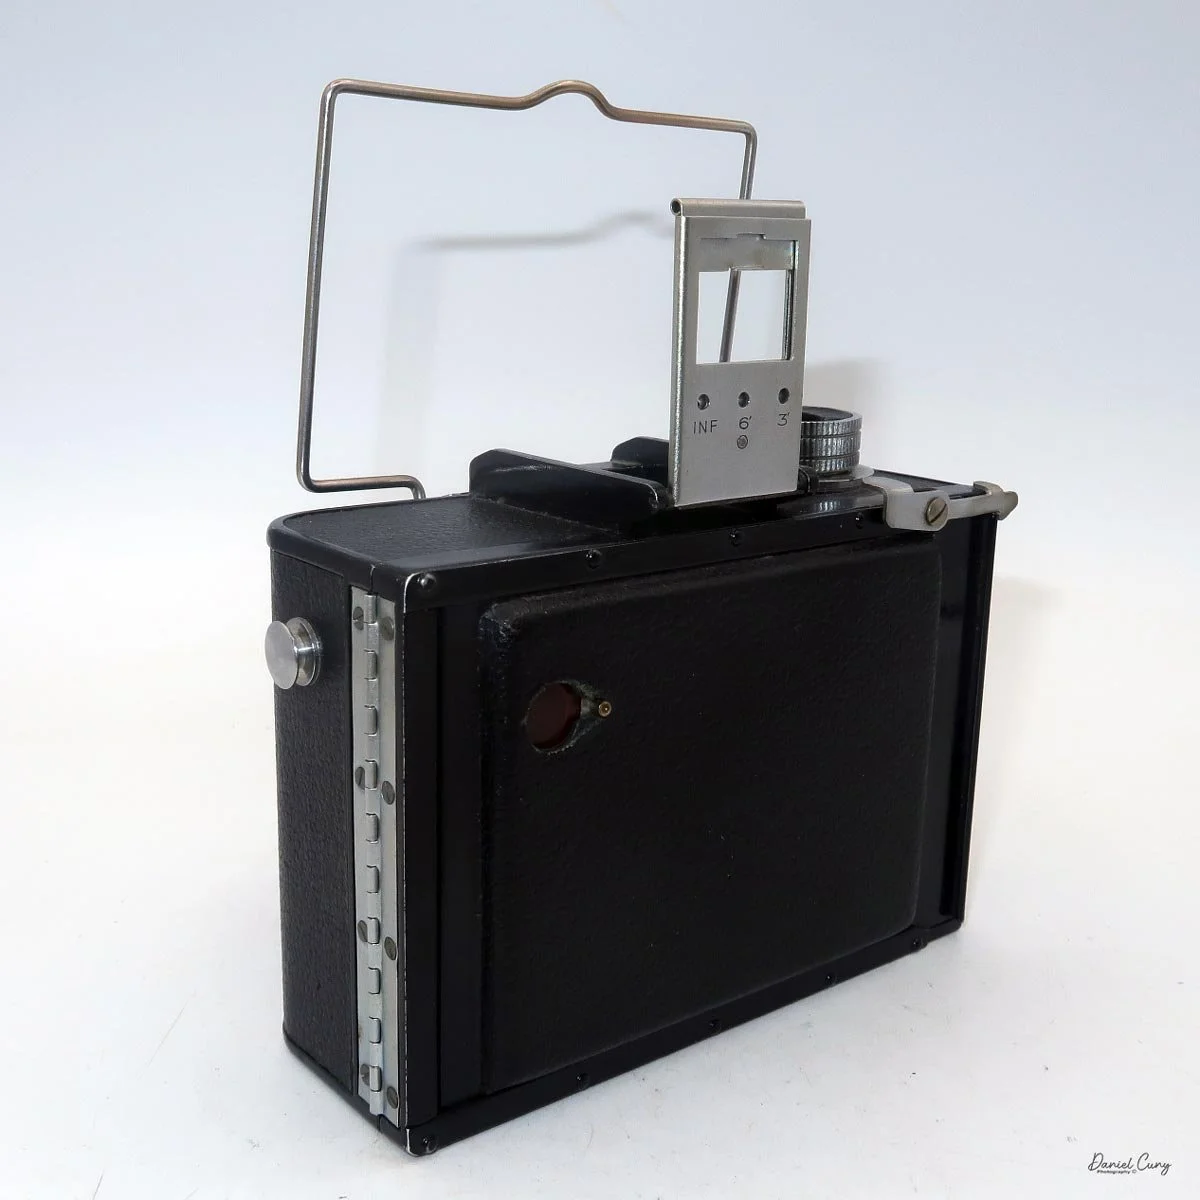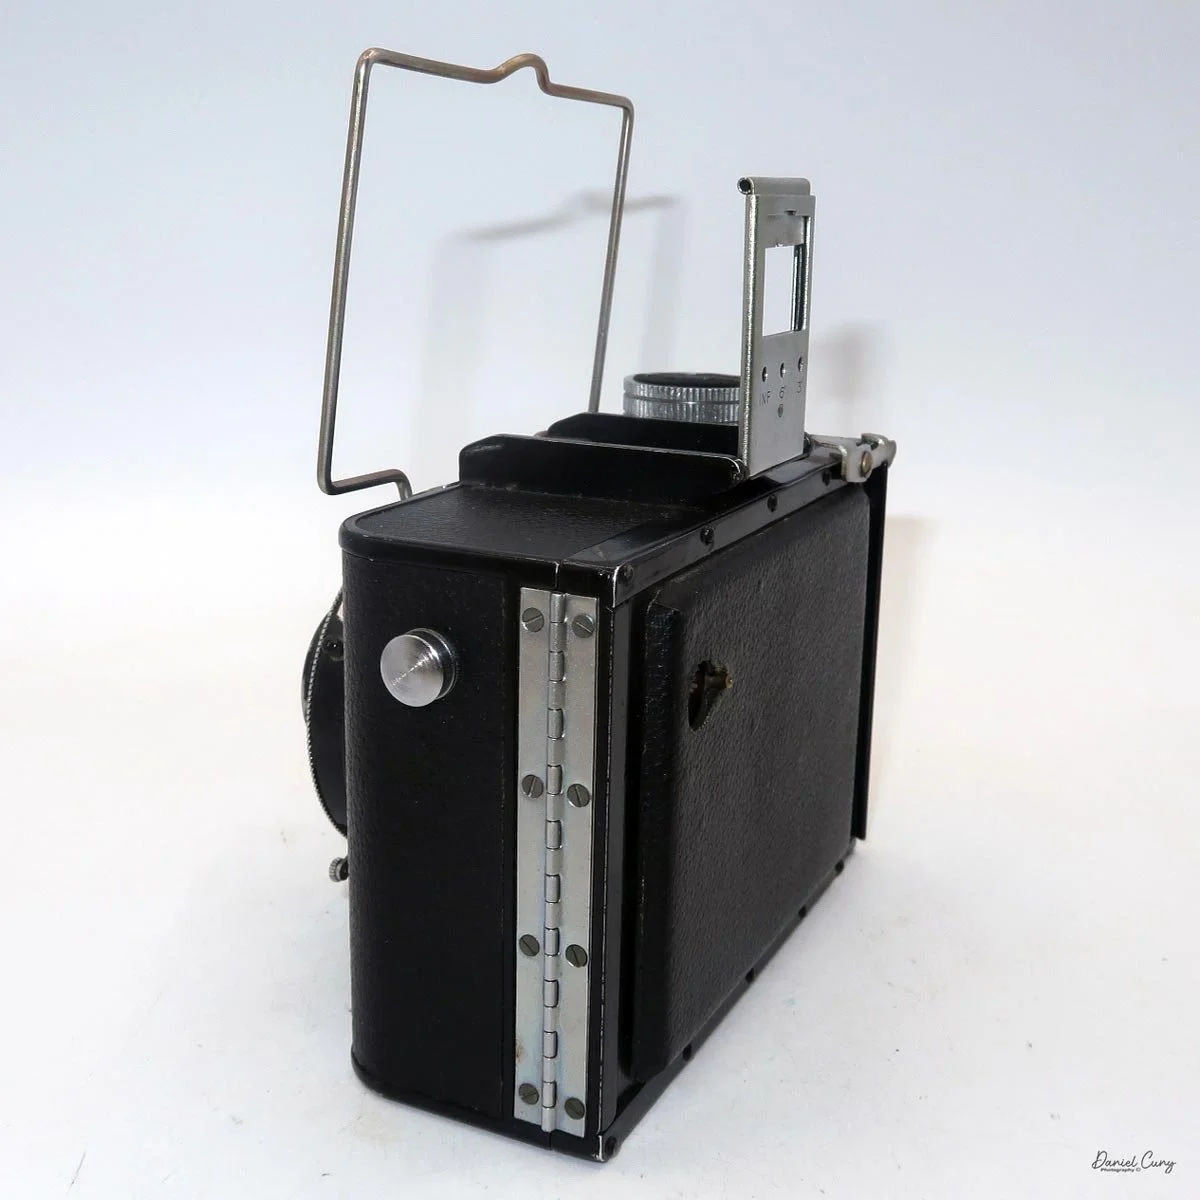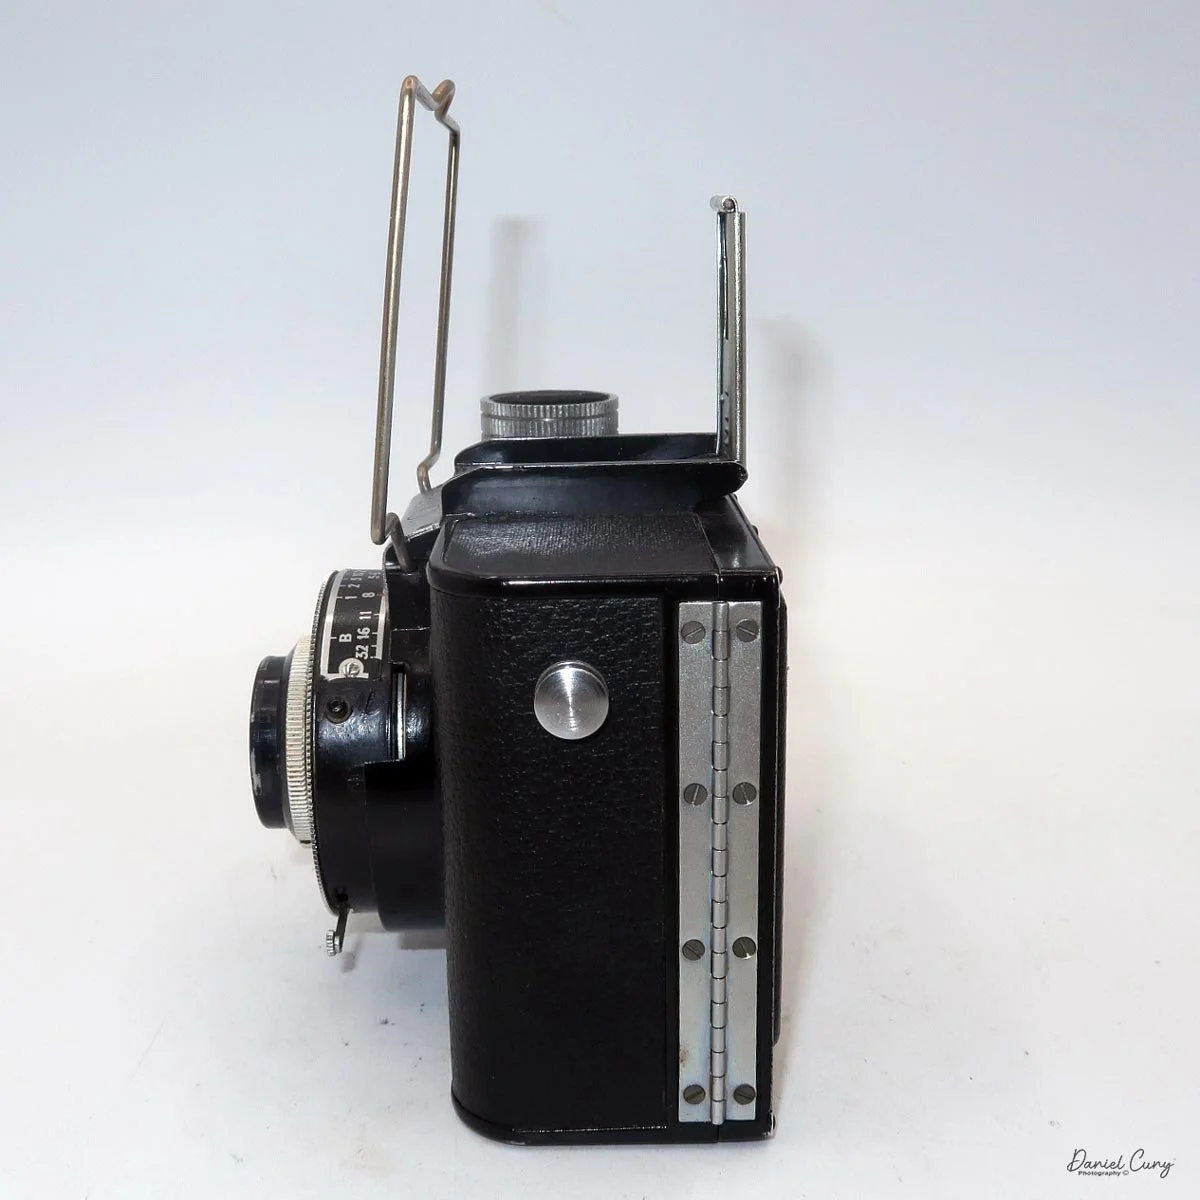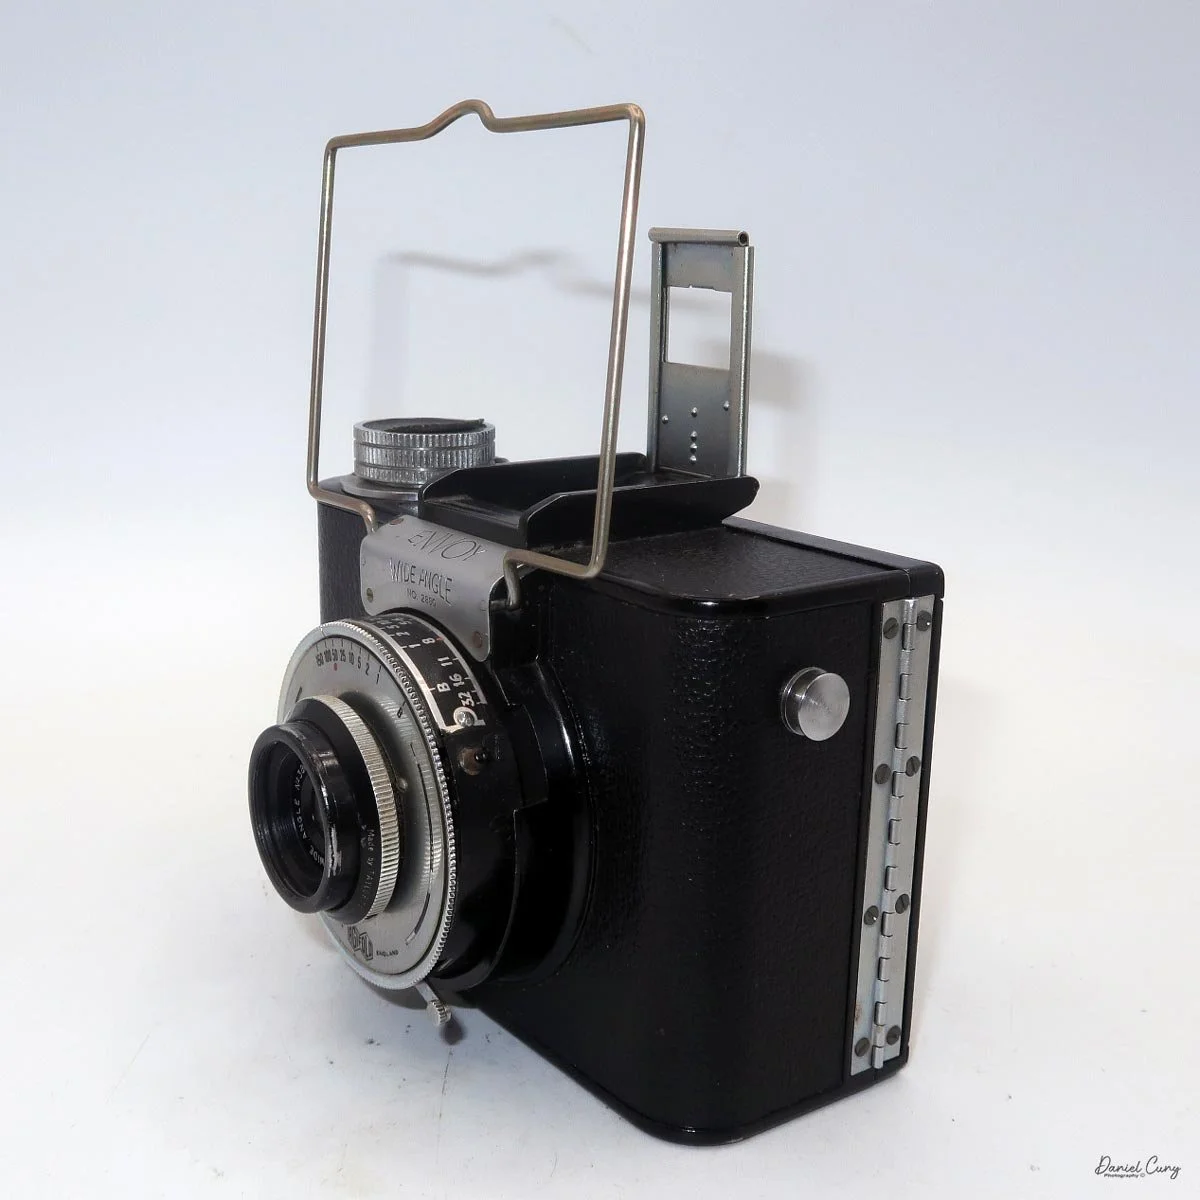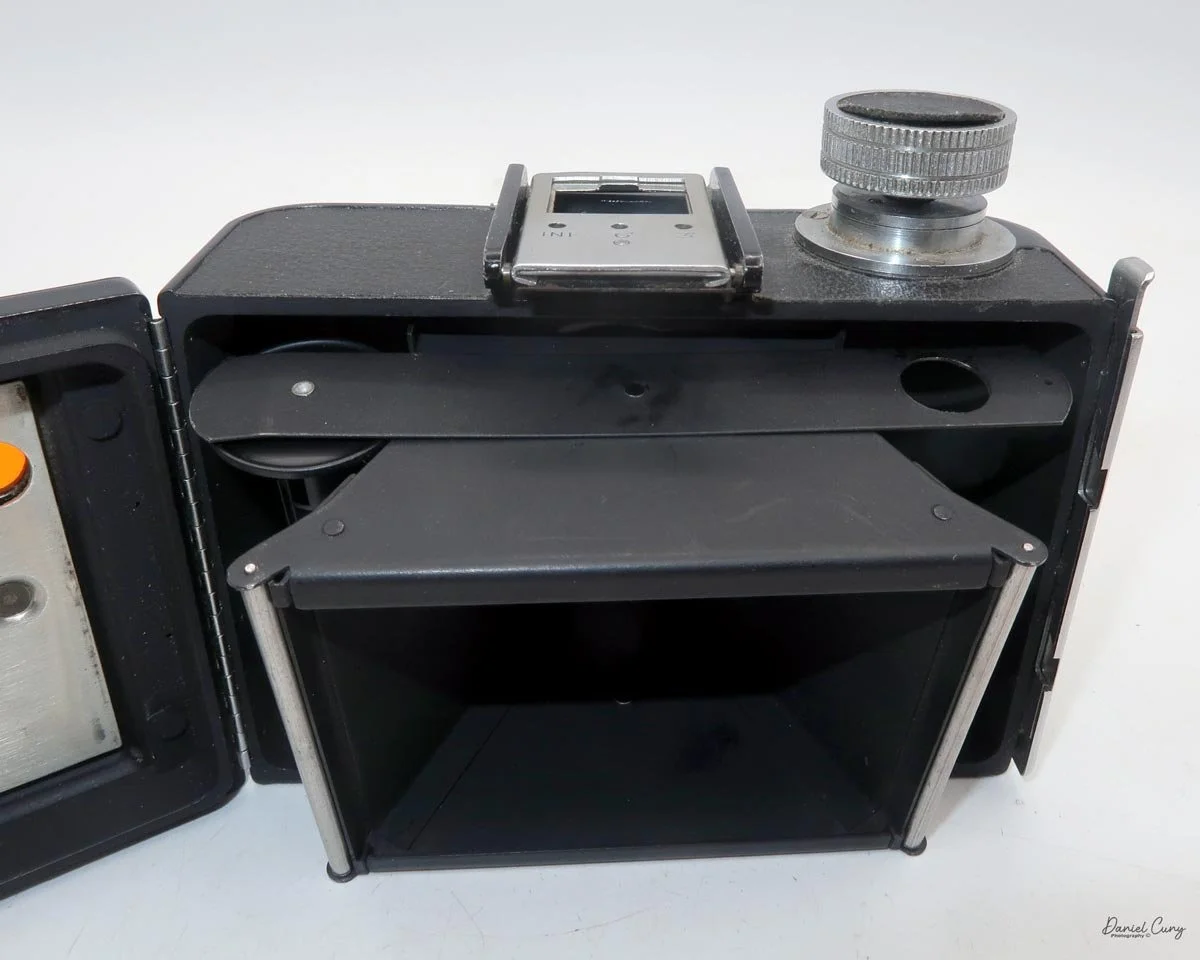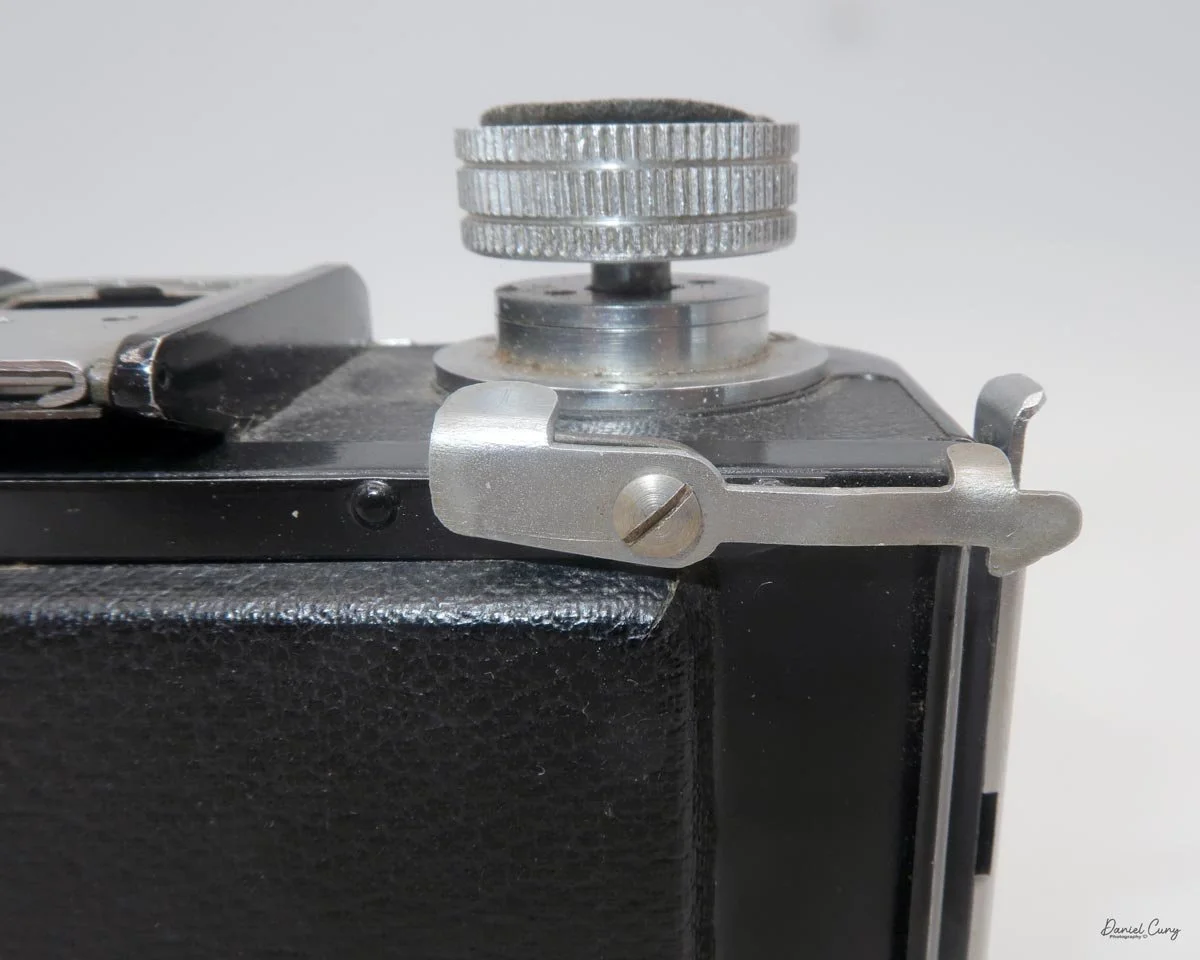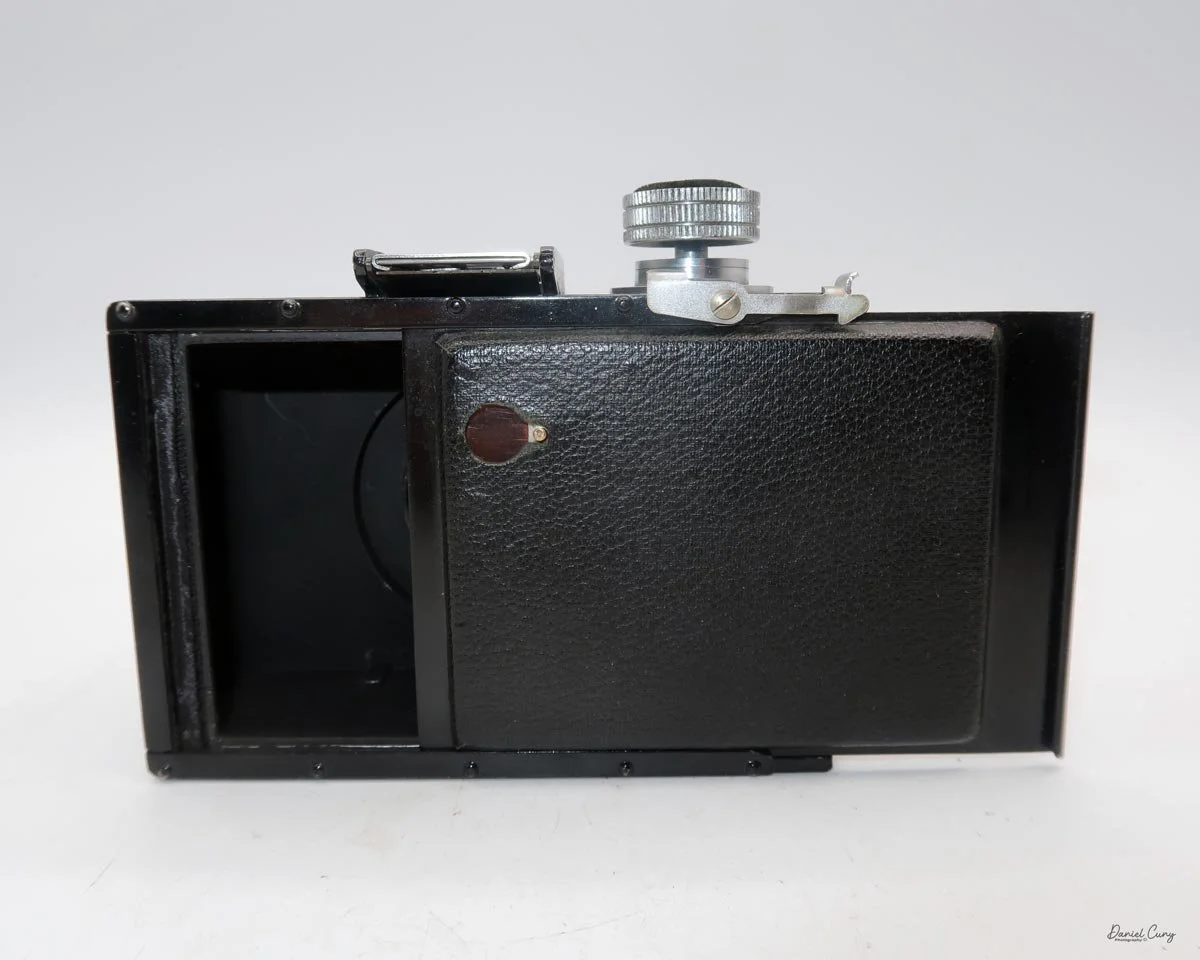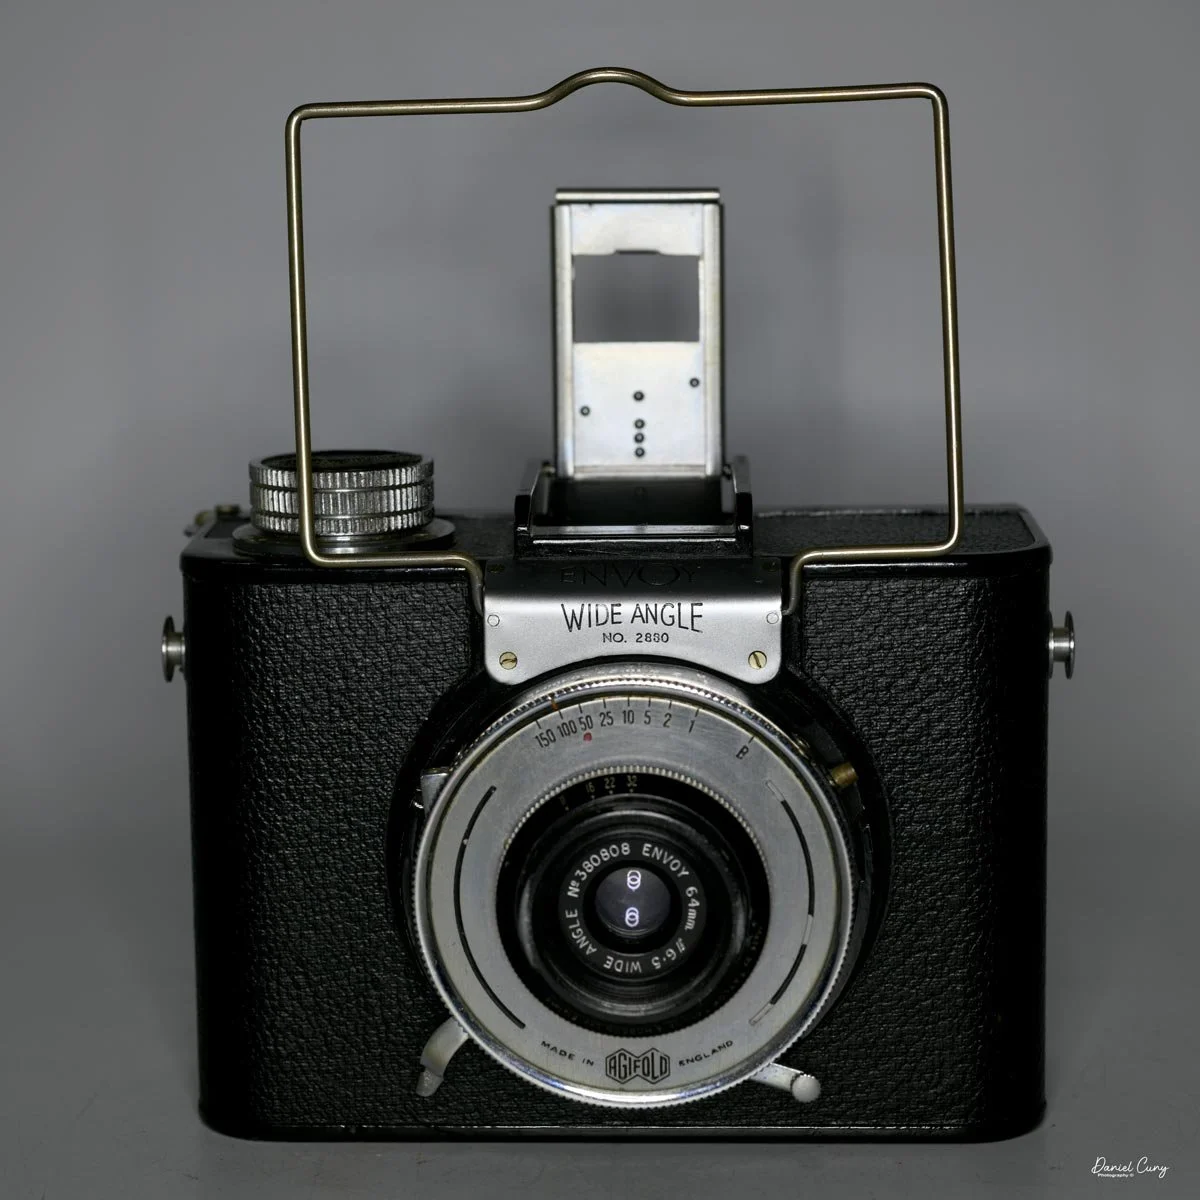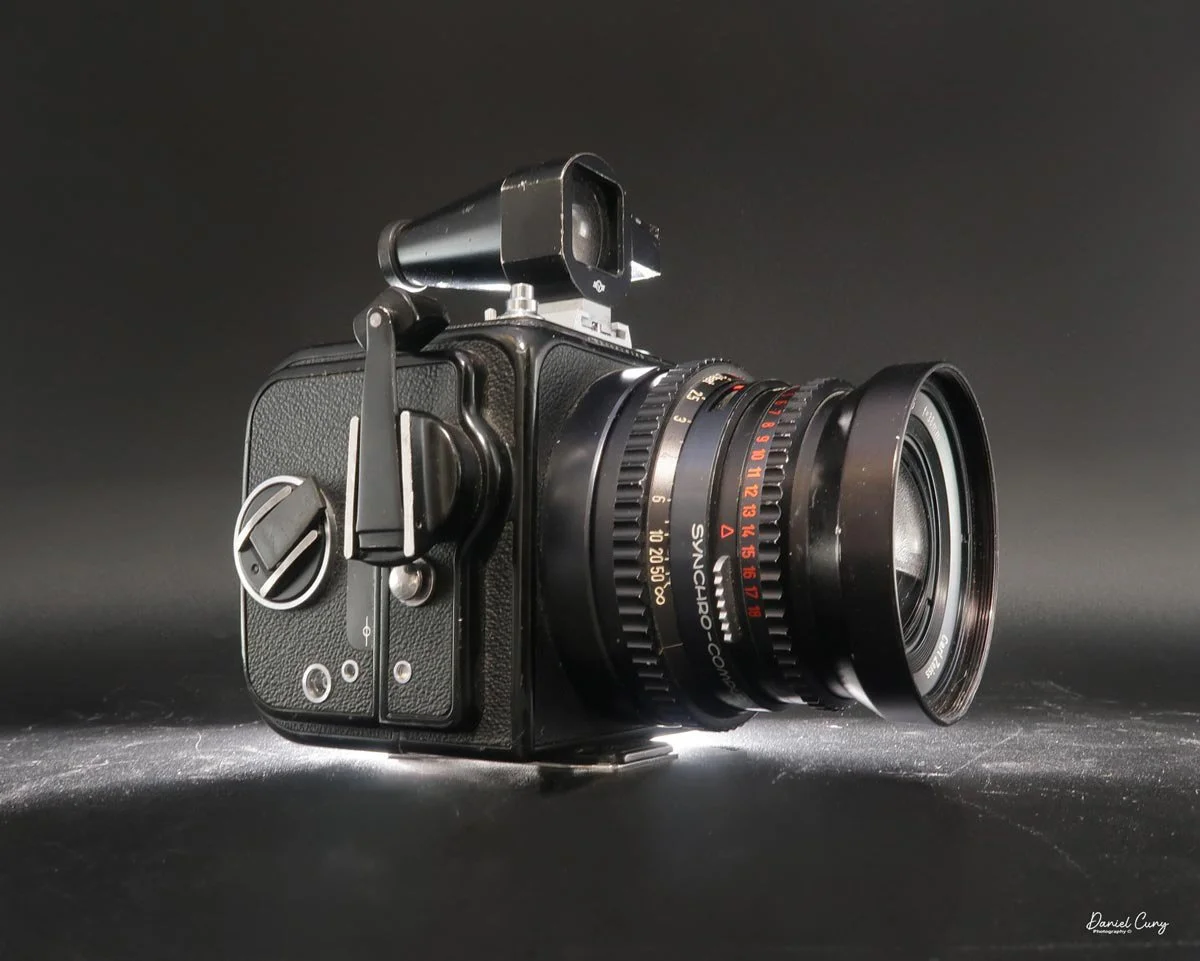
My Hasselblad Super Wide C camera.
Having spent over fifty years working in the photo industry, I have always felt that Hasselblad cameras exist at a level close to nirvana. When discussing gear with professionals, Hasselblad cameras were consistently at the top of the conversation. Pros absolutely loved these medium-format cameras.
I would see them being used in television commercials, on professional photo shoots, and in movies and magazines. I got to know many of the sales representatives and repair technicians over the years, and they were always incredibly professional, which perfectly reflected how the brand was represented.
Knowing my love for colored, unusual, and panoramic cameras, it's no surprise that wide-angle cameras are right near the top of my list as well. The more I can capture in a photo, the better. Taking in wide-open vistas and getting as much into the frame as possible has always been a favorite of mine.
When I first started this blog, I did a post on the early version of the Hasselblad Super Wide, which I had purchased at a very reasonable price because it featured a crudely modified viewfinder. It was glued to a block of metal and screwed into the accessory shoe mount! The good news was that the shutter worked beautifully, and the lens was clean.
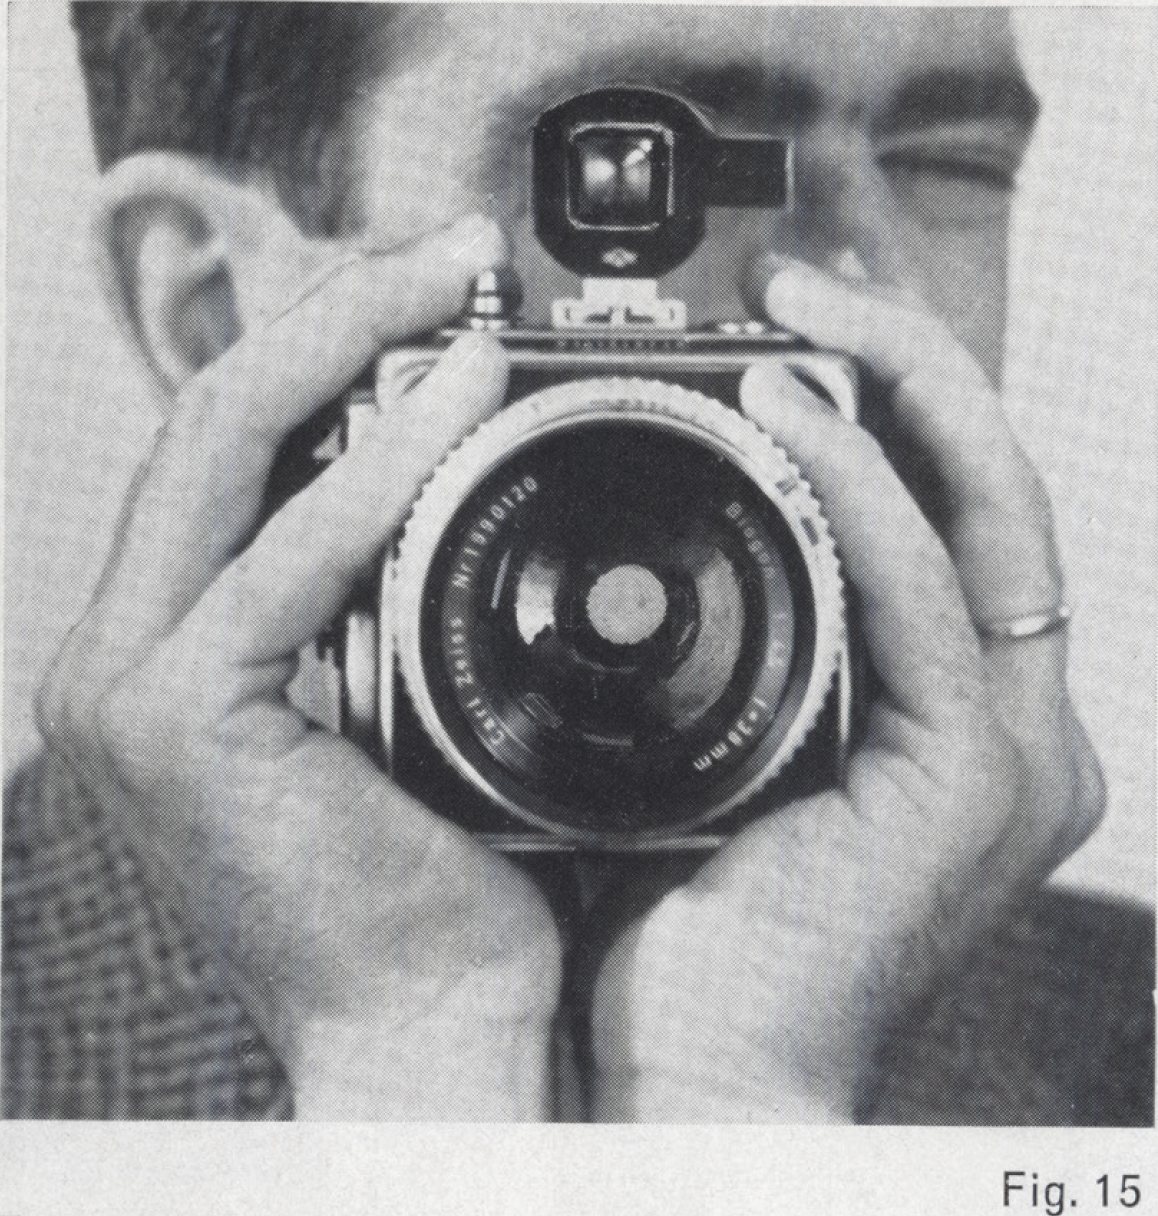
Image from Hasselblad’s Super Wide C Manual.
The Super Wide, produced between 1956 and 1959, was one of the first cameras to feature Hasselblad's legendary Carl Zeiss 38mm f/4.5 Biogon lens. (It was actually introduced a couple of years earlier, in 1954, when Hasselblad debuted the Supreme Wide with that fantastic wide-angle lens).
Years before I retired from the photo industry in 2024, I purchased a beautiful, black-body Hasselblad Super Wide C (SWC) with a Hasselblad A12 film back. The body was in stellar condition. The back had a few scuffs, but the price was right—especially for the time. I was thrilled to add another wide-angle camera to my collection, particularly one boasting such fantastic optics.
Next to the phenomenal lens, my second favorite thing about this camera is its compactness. It's a very thin body. According to the instruction manual, when handholding it, you should hold it similar to a movie camera: cradled in the palms of your hands with your fingers wrapped around the top to trip the shutter easily.
Initially, this felt a bit awkward to me, but the more I shoot with it, the more comfortable it becomes. Changing positions after setting the focus and shutter/aperture combination can be slightly cumbersome. Still, I genuinely believe the camera is much more stable in my hands when held this way.
History
The Hasselblad brand is synonymous with modular medium-format photography, but its most unique and enduring legacy lies outside that modularity: the ultra-wide, fixed-lens cameras. The story begins in 1954 with the introduction of the Supreme Wide Angle (SWA). Victor Hasselblad realized that adapting an extreme wide-angle lens to his reflex mirror cameras was optically compromised due to the flange distance required for the mirror box. The solution was radical yet elegant: eliminate the mirror.
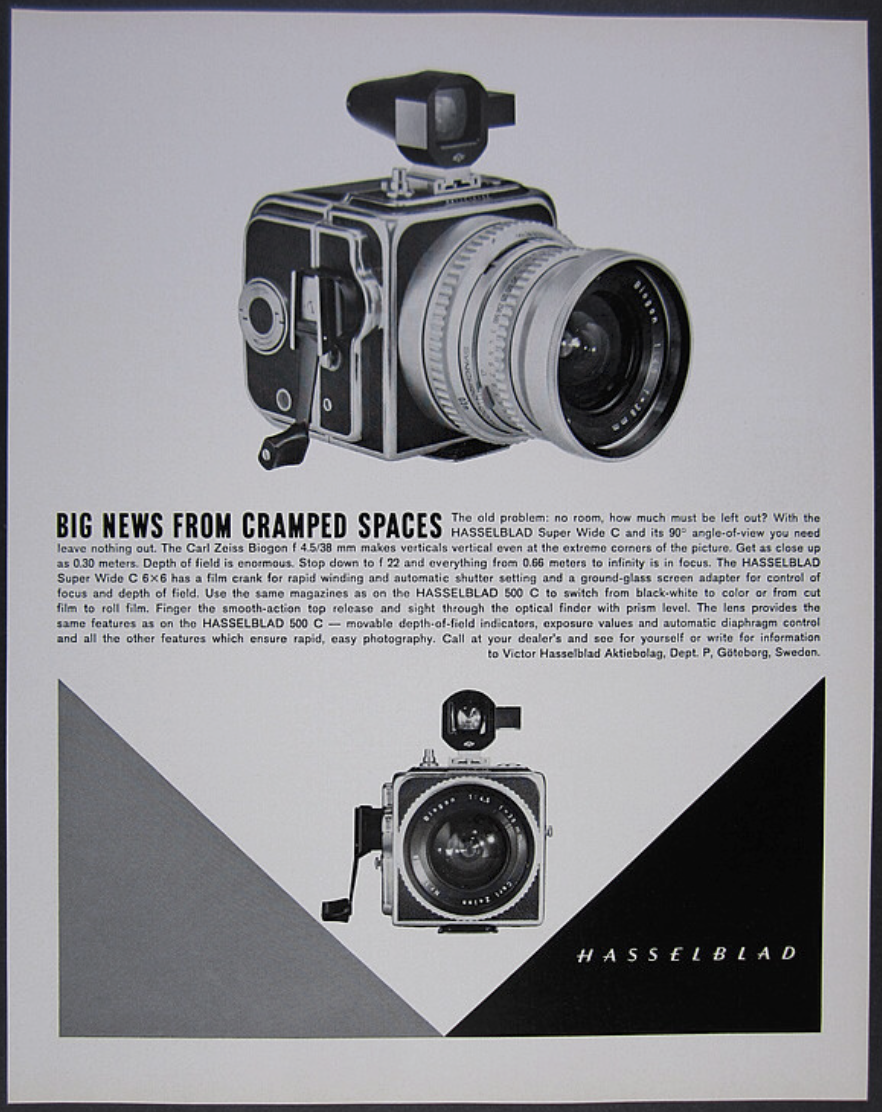
Hasselblad Super Wide C advertisment
The SWA was built around the legendary Carl Zeiss 38mm f/4.5 Biogon lens, an optical masterpiece offering a 90-degree angle of view with virtually zero rectilinear distortion. By mounting this lens onto a shallow body that accepted standard Hasselblad film magazines, photographers gained unparalleled optical performance in a compact form. The camera was briefly renamed the Supreme Wide (SW) in 1955 before evolving into its most famous iteration.
In 1959, Hasselblad released the SWC (Supreme Wide Camera). The SWC shifted the shutter release from the lens barrel to the top of the camera body, vastly improving ergonomics and stability. It utilized the new Synchro-Compur shutter, synchronizing with electronic flash at all speeds up to 1/500th of a second. For decades, the SWC remained the gold standard for architectural, landscape, and interior photographers who demanded medium-format resolution without the bulk of a large-format view camera. In 1980, the SWC/M was introduced, featuring a modified viewfinder and the ability to accept Polaroid backs.
As lens technology and manufacturing evolved, so did this iconic lineage, eventually transitioning into the 900 series. The 903 SWC, introduced in 1988, replaced the older SWC/M. While structurally similar, it featured an updated Zeiss 38mm Biogon lens with advanced anti-reflective T* multi-coating, significantly improving contrast and flare resistance. The final chapter arrived in 2001 with the 905 SWC. Because the environmentally hazardous glass types used in the original Biogon design were phased out, Zeiss reformulated the 38mm f/4.5 lens using eco-friendly glass, designating it as a CFi lens.
Despite the rise of digital sensors, the Hasselblad 900 series and its SWC predecessors remain highly coveted by film photographers. They stand today as a testament to bold, purpose-driven camera design, proving that intentionally removing features, like the bulky reflex mirror, can directly result in an uncompromising, highly specialized photographic tool that consistently produces images of breathtaking optical clarity and unmatched visual scope. These cameras truly represent a unique pinnacle of mid-century optical engineering.
My Camera
My Hasselblad Super Wide C camera is 6 inches long (including the A12 film back) by 3.75 inches tall without the viewfinder mounted on the accessory shoe, and 5.5 inches tall with the viewfinder on top. It measures 4 inches wide. If you measure just the camera body alone without the film back, it is just under 4 inches long with the lens focused to infinity. The camera weighs 2 pounds, 14.4 ounces with the film back and viewfinder attached.
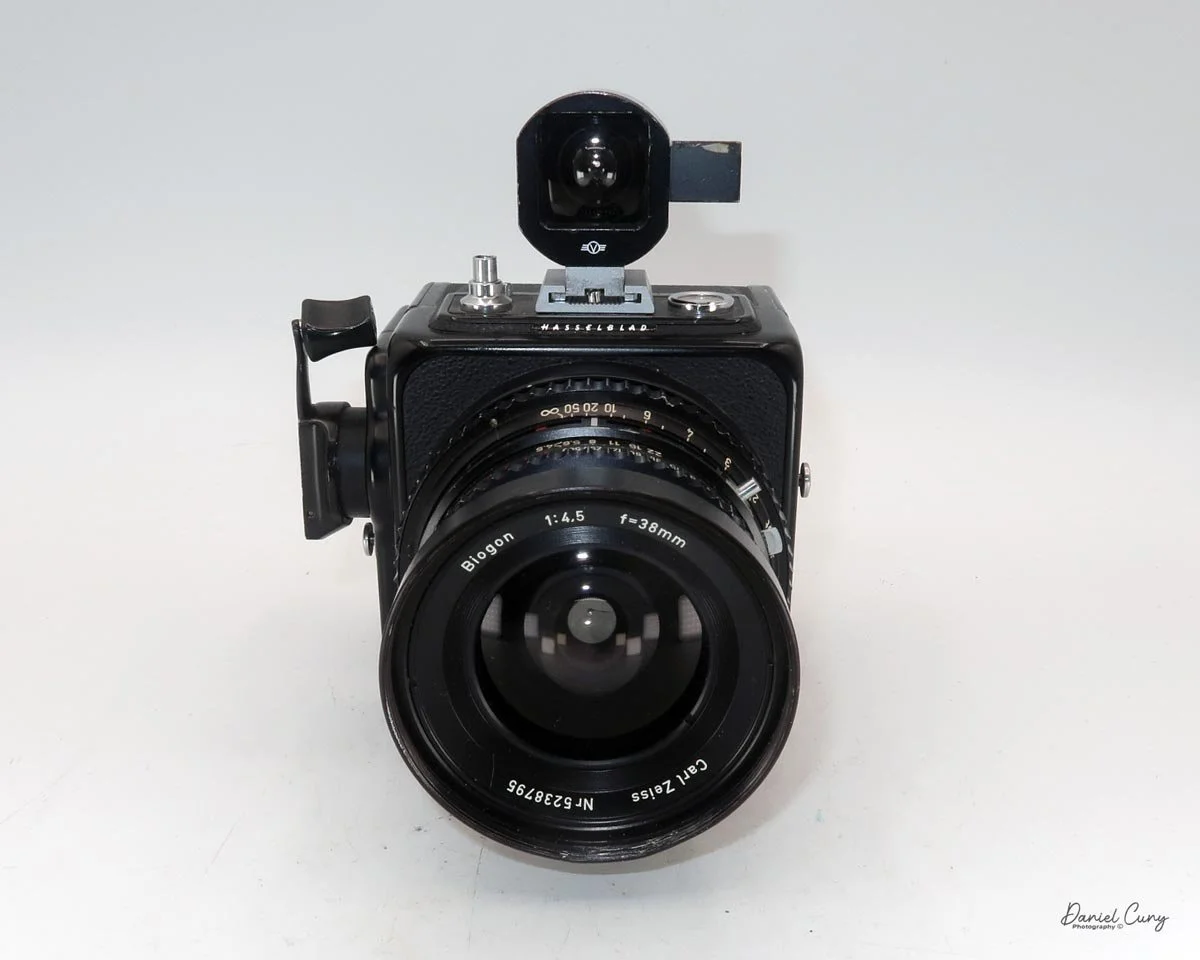
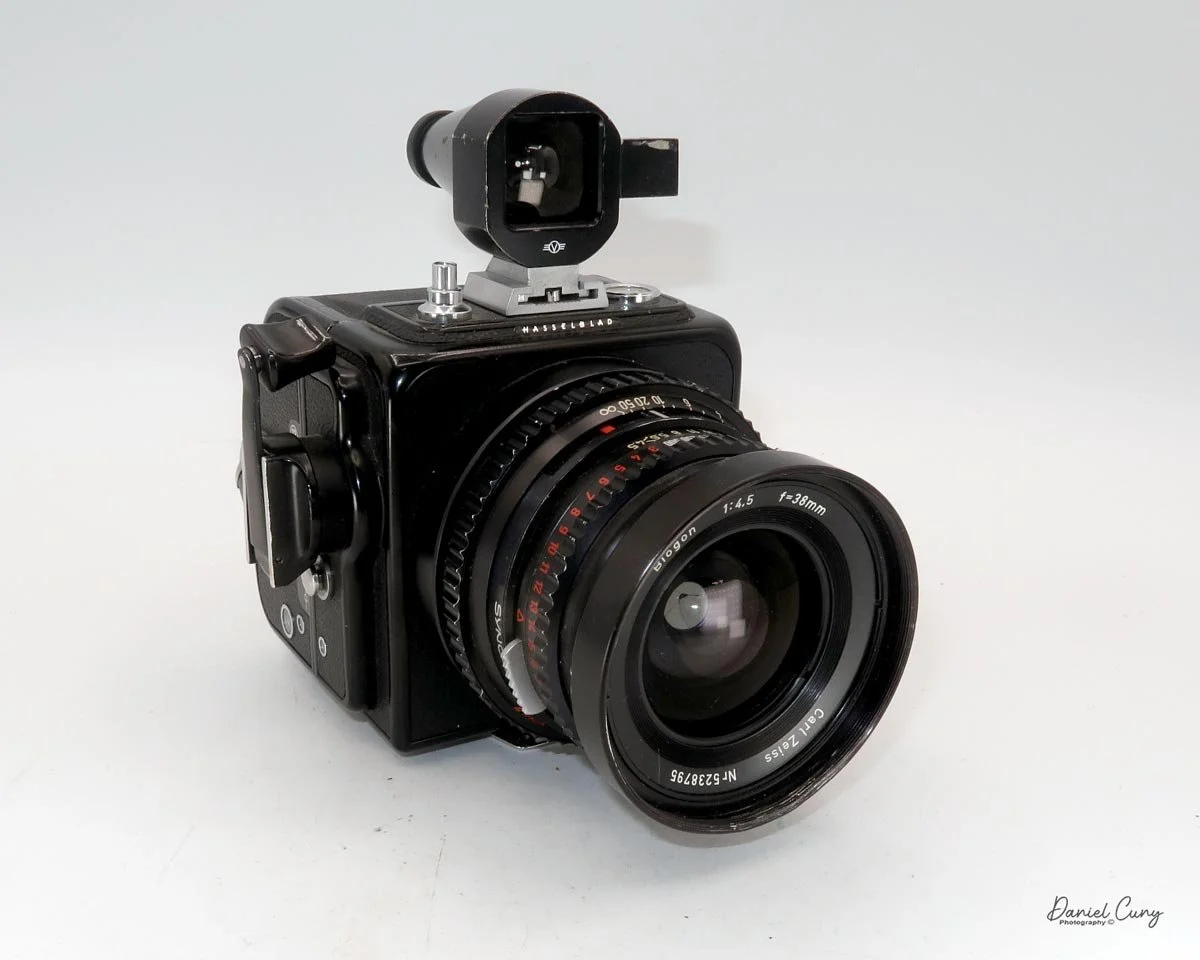
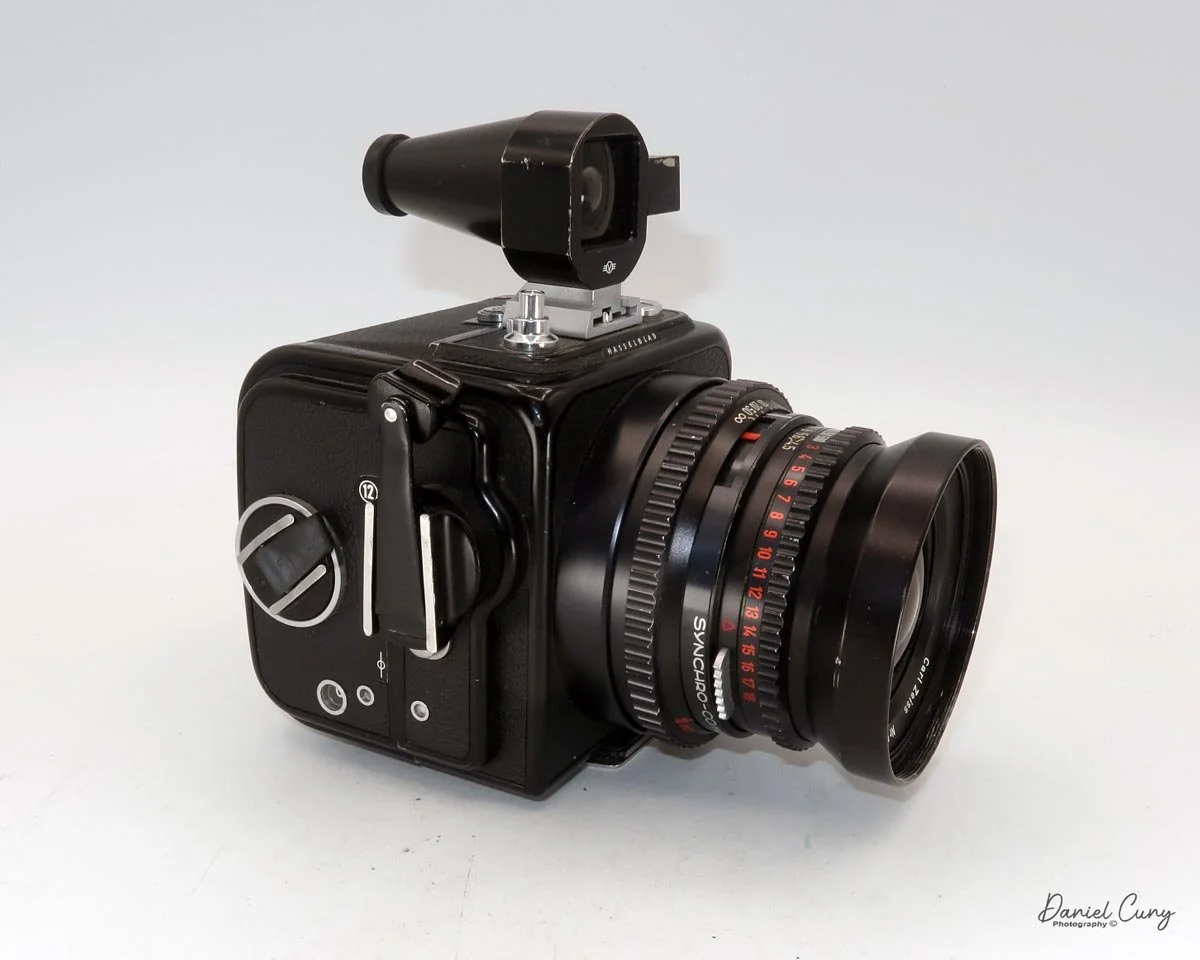
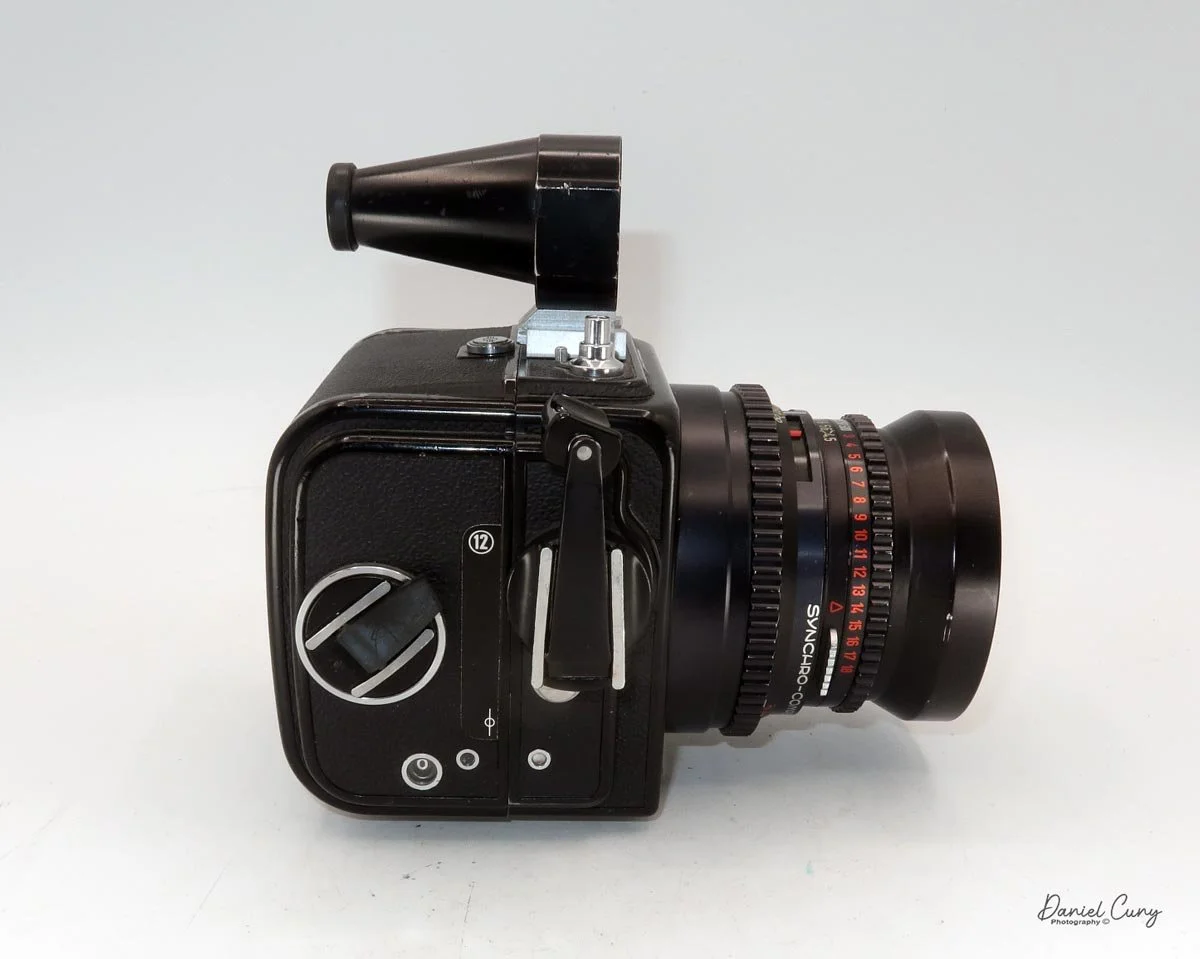
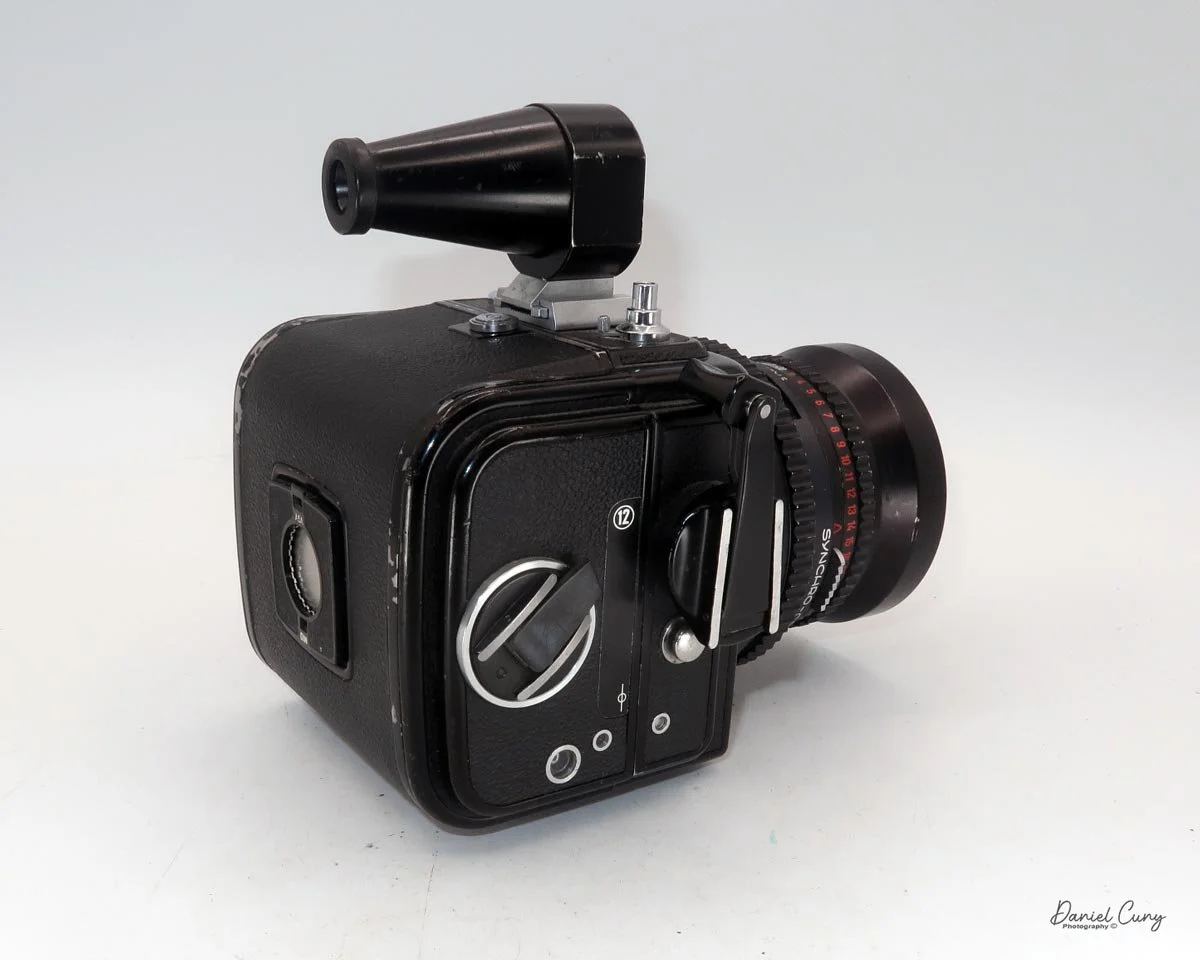
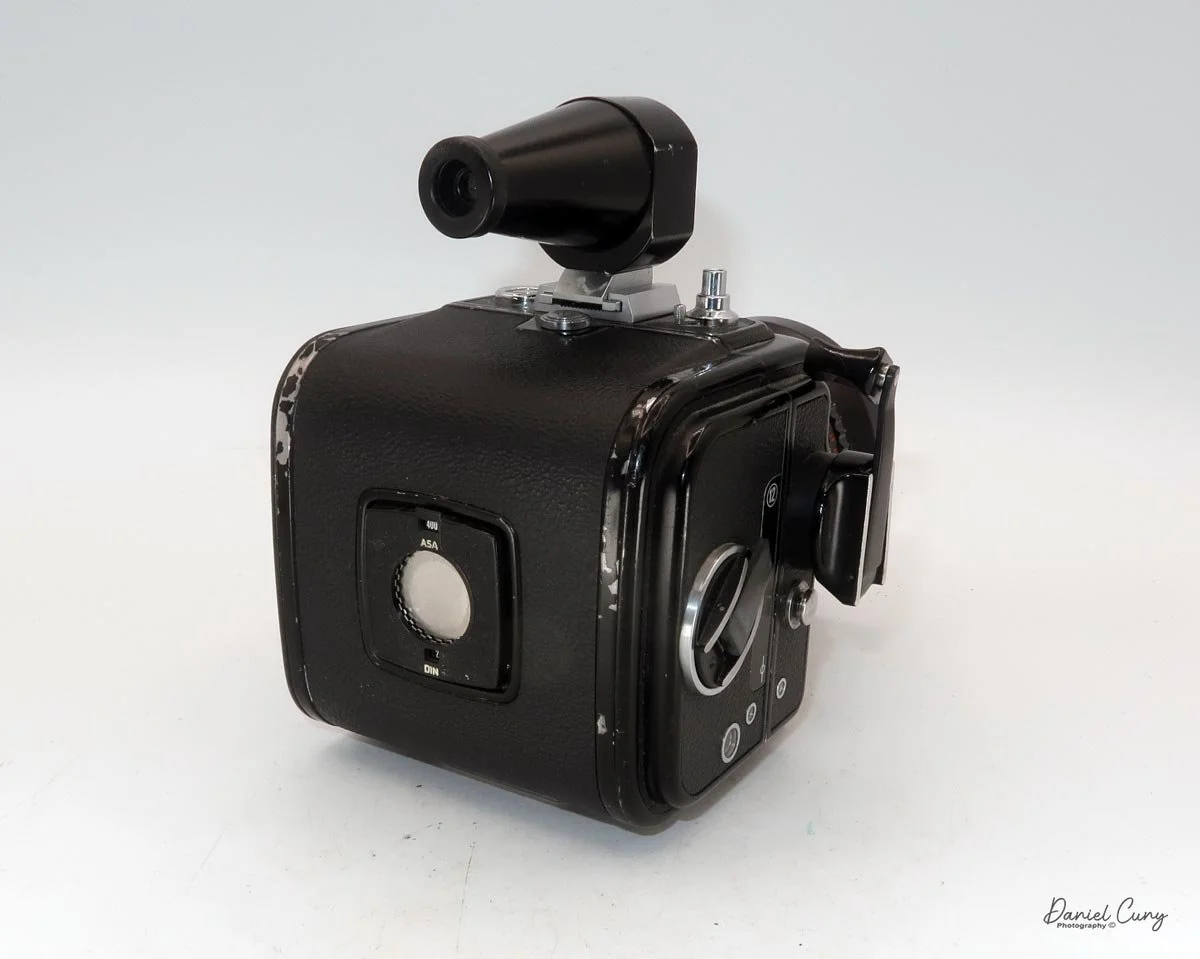
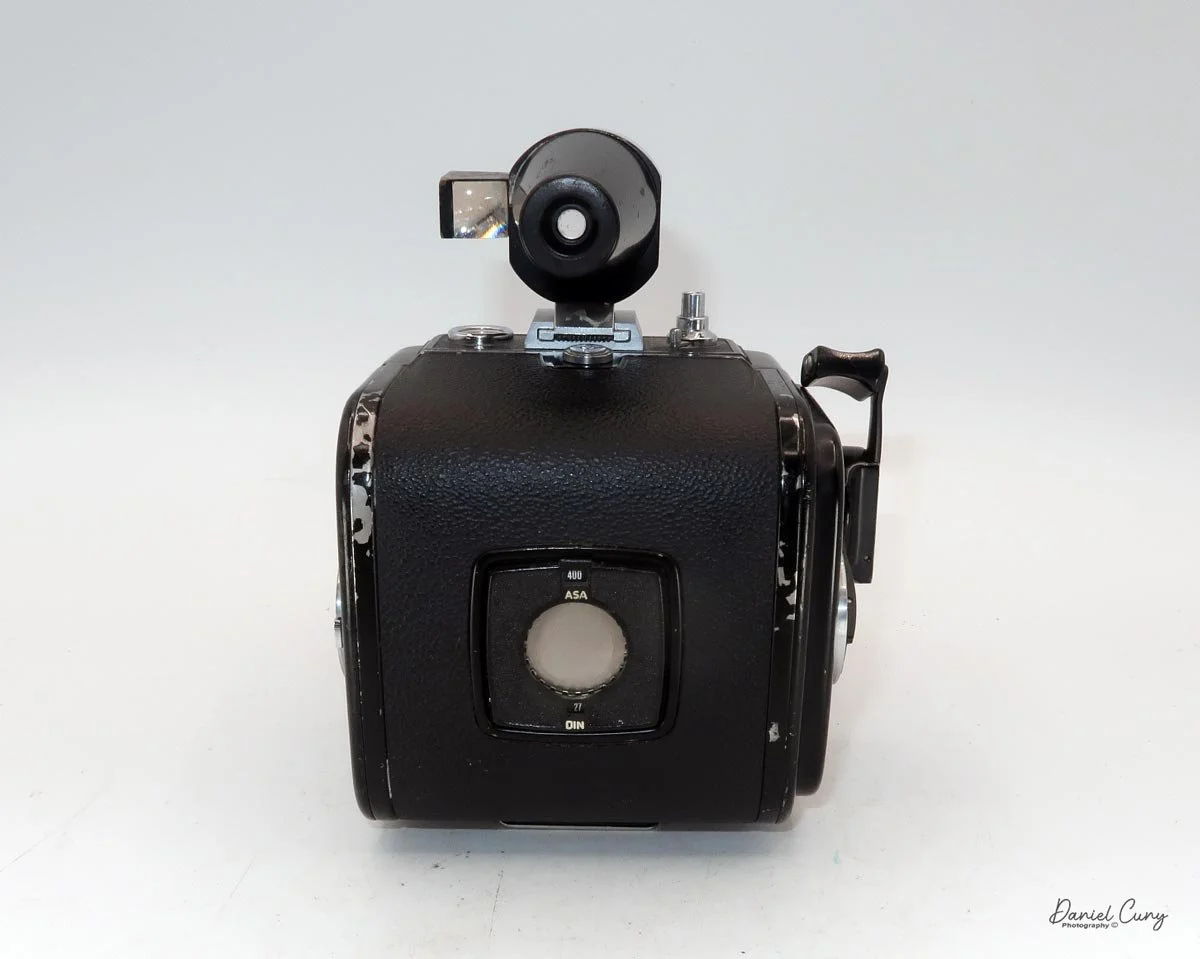
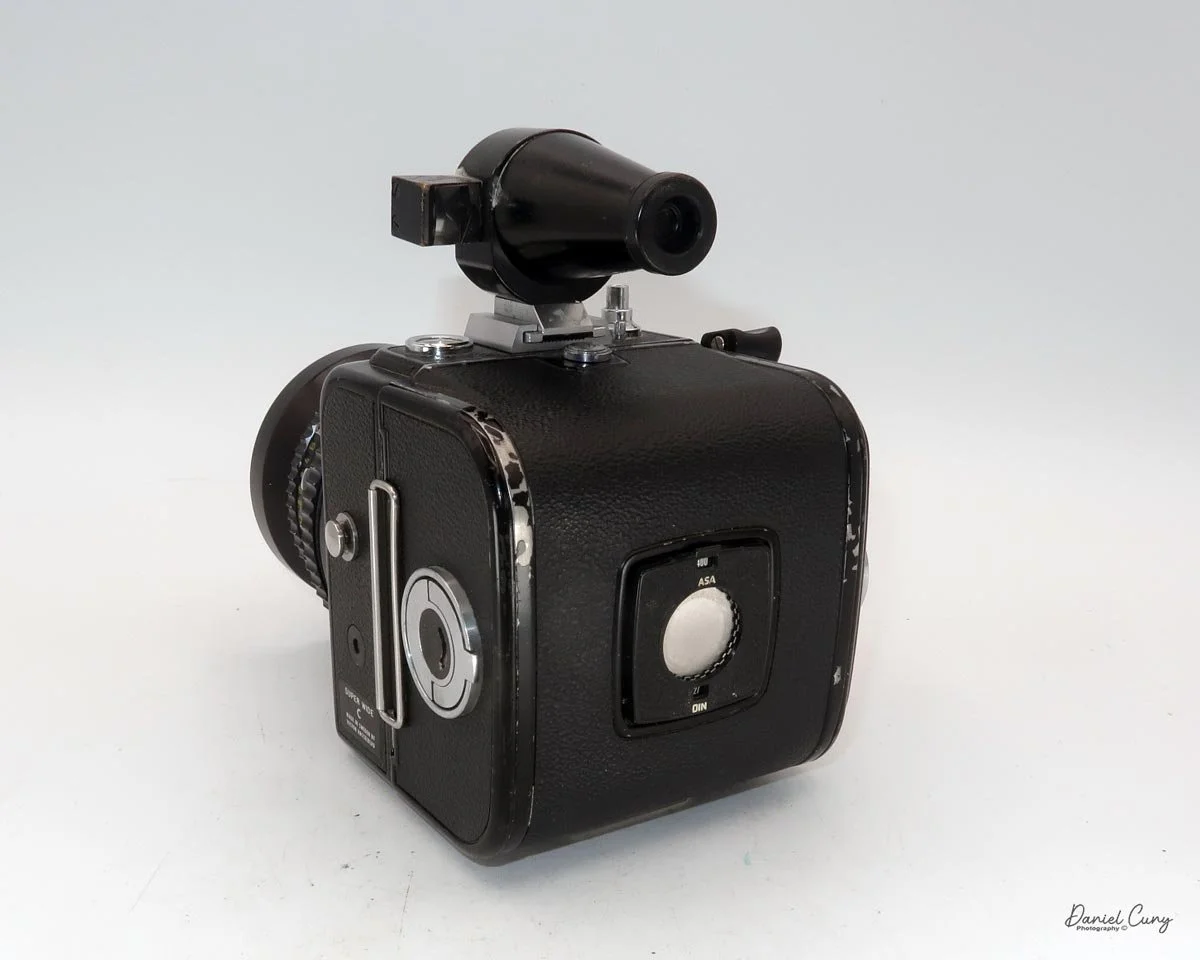
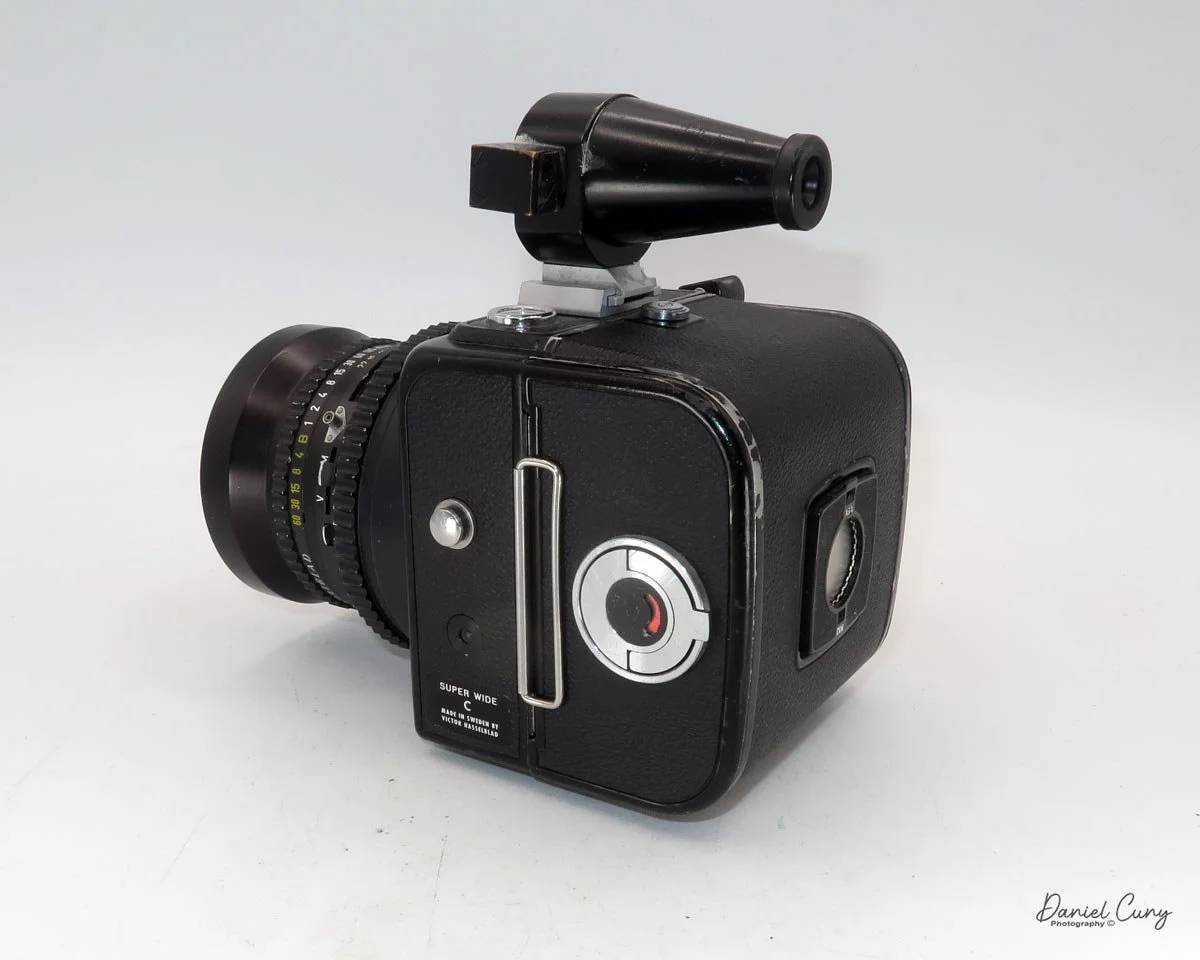
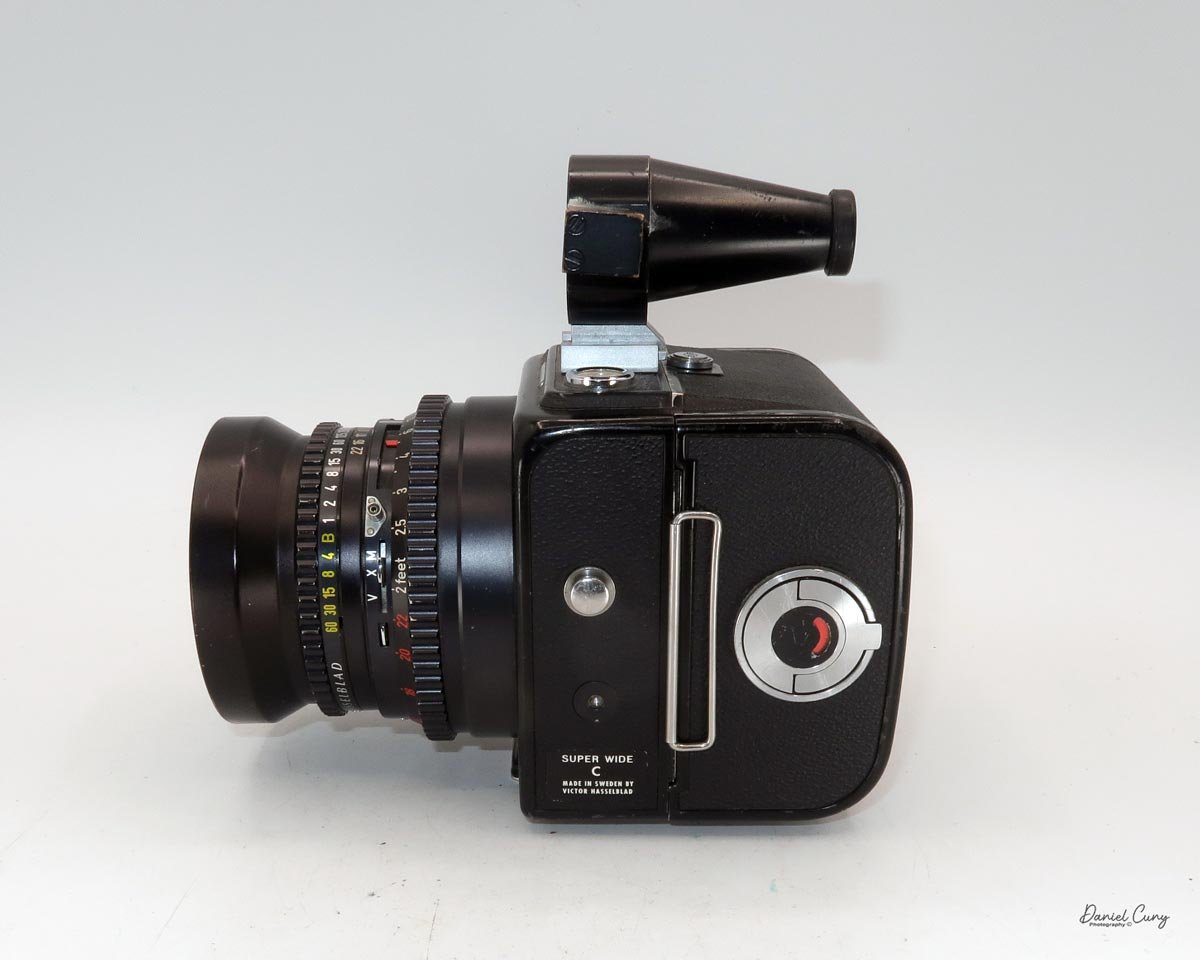
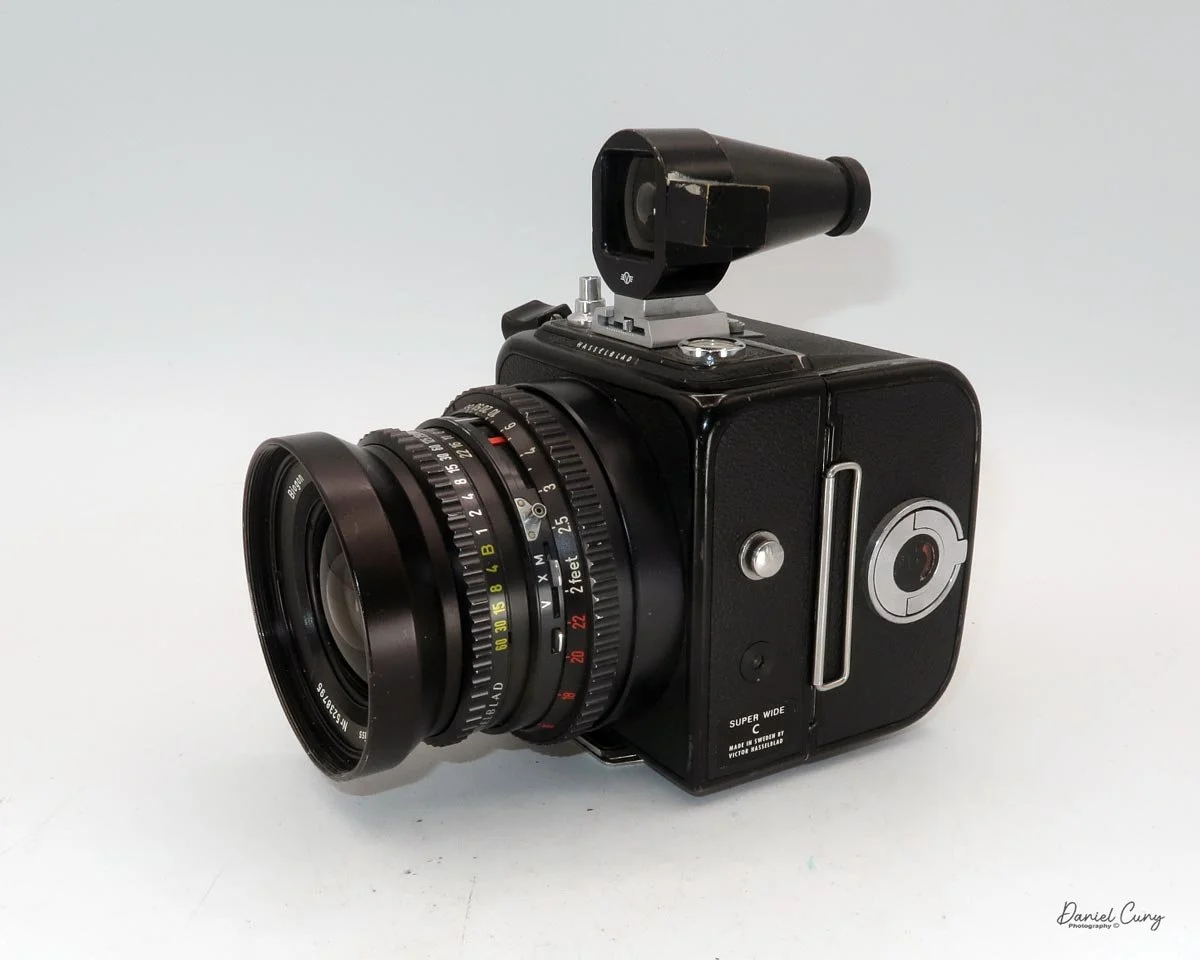
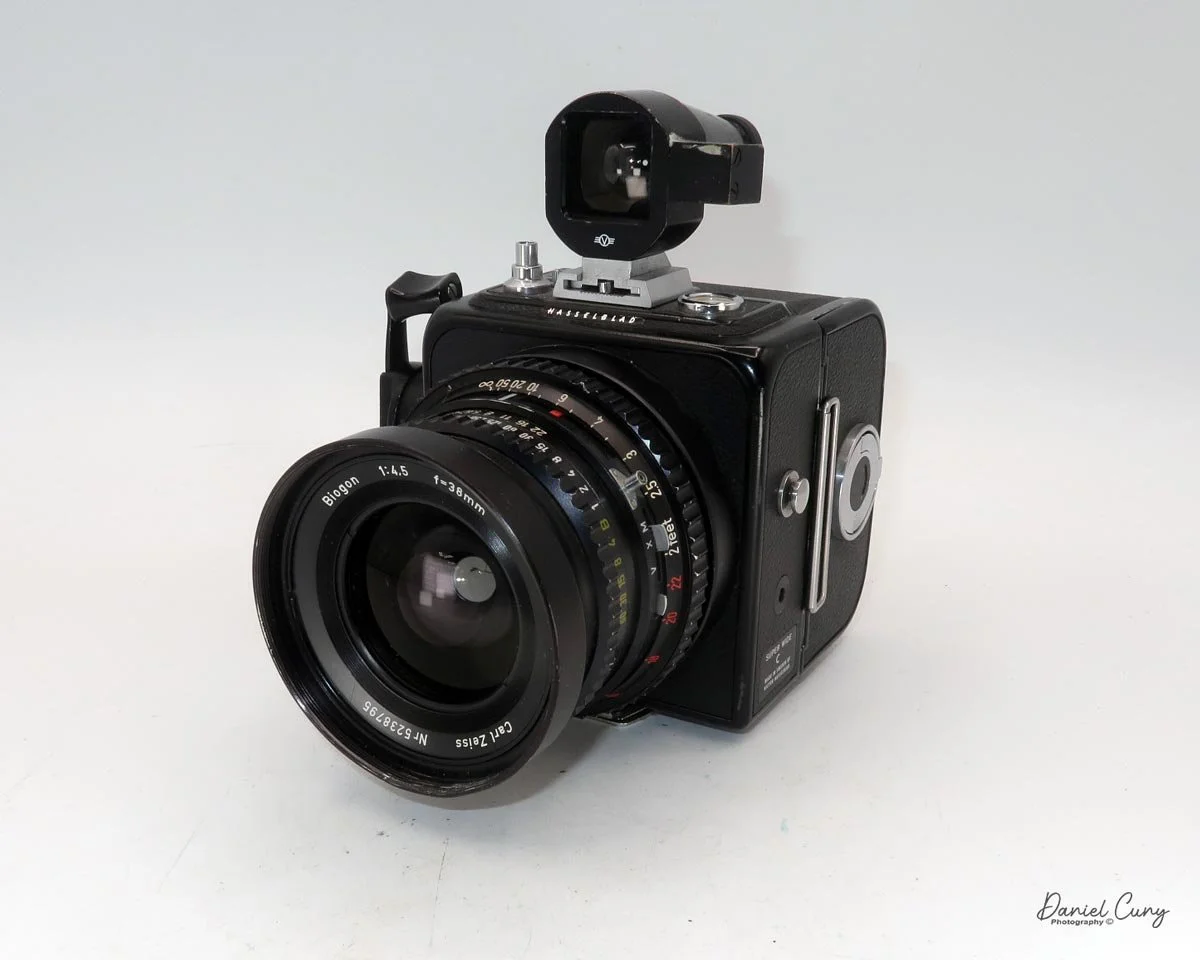
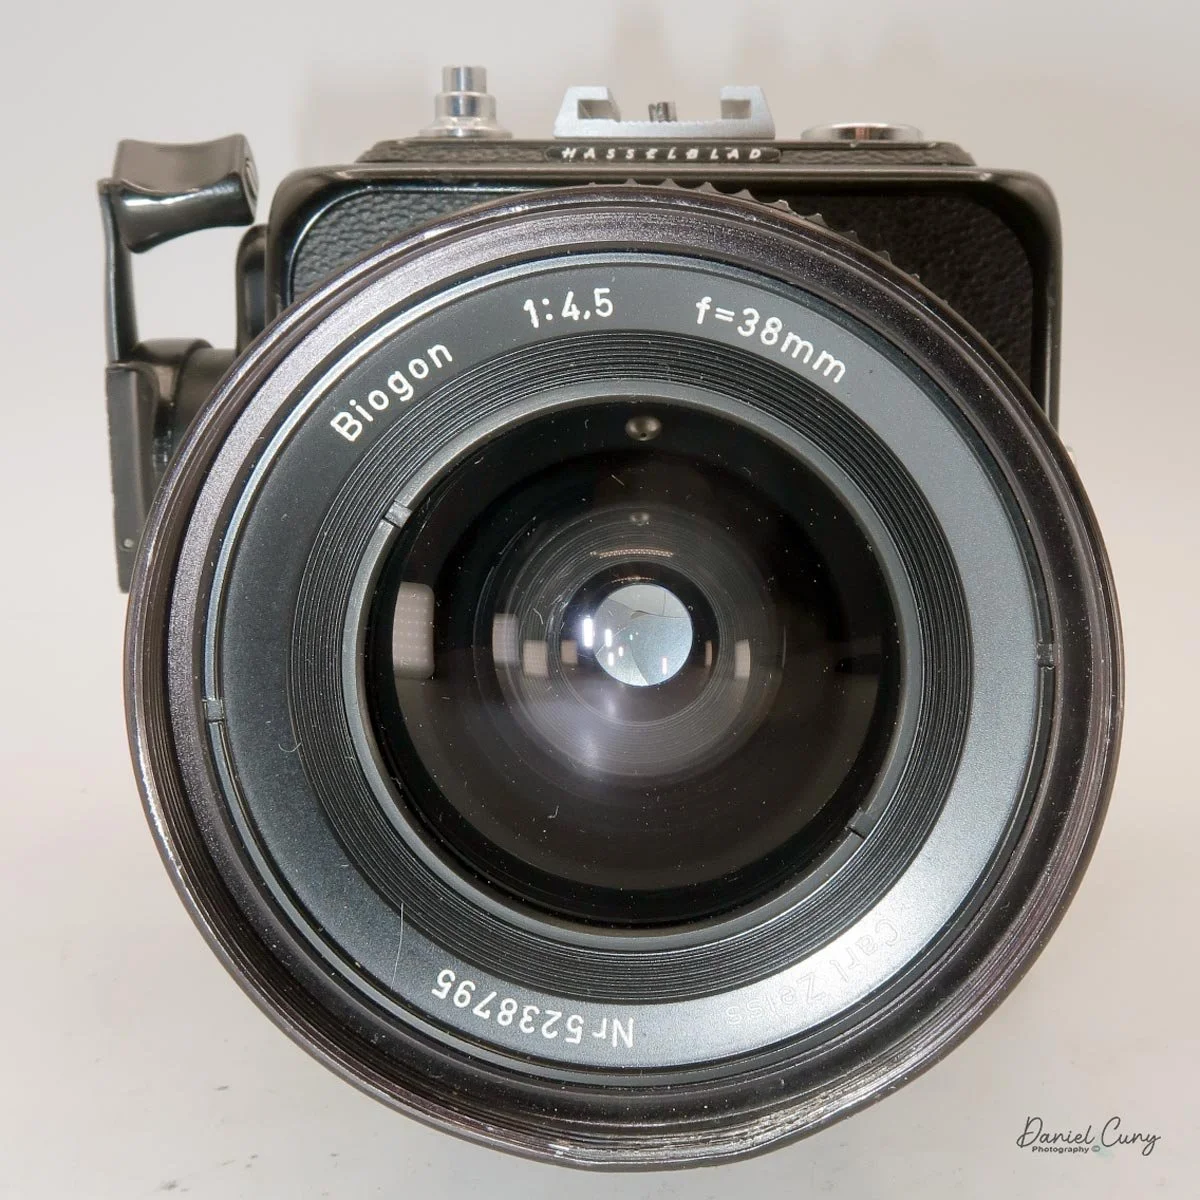
The camera features a Carl Zeiss Biogon 38mm f/4.5 lens in a Synchro-Compur shutter. This superb wide-angle lens has a 91-degree angle of view with very minimal distortion. The Synchro-Compur shutter offers speeds ranging from 1/500 of a second down to a maximum 60-second exposure, along with a "B" mode for longer exposures if needed.
Another feature I love about the Hasselblad system is how setting the shutter speeds and aperture gives you a "locked-in "EV" (Exposure Value) system. The shutter speeds are set via a knurled ring on the outside portion of the lens, but the speed is limited by where the aperture ring is currently set. If you need a higher or lower shutter speed, you have to change the aperture ring to achieve it.
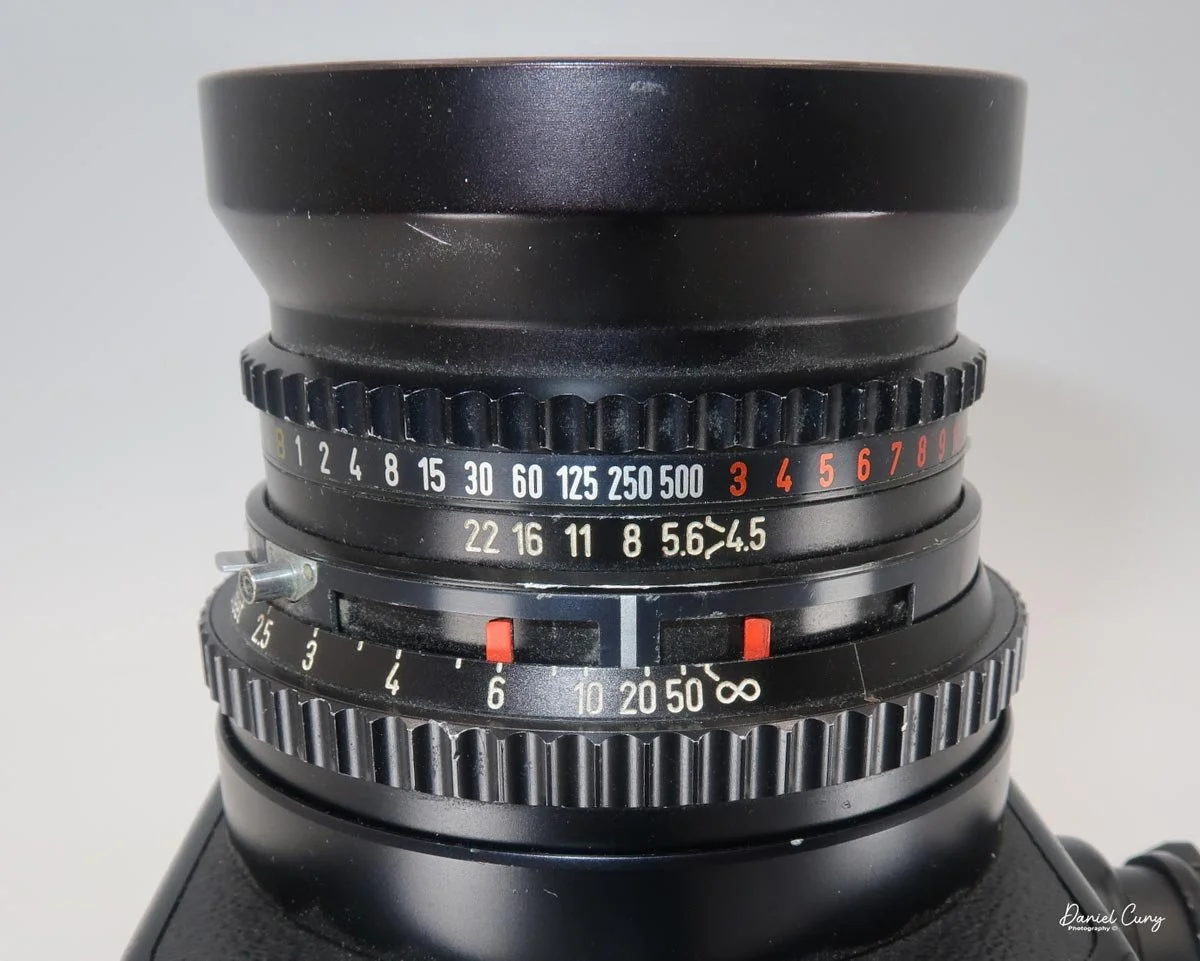
To change the aperture, you pull back on a small silver tab on the side of the aperture ring, then slide it up or down to adjust your shutter speed. Because Hasselblad uses an EV system, the exposure value is "locked" when you set your combination. This is wonderful because once you are locked in, changing the shutter speed automatically shifts the aperture value, maintaining the proper exposure you originally metered for.
You'll also notice two red bars on either side of the focus line on the lens barrel. These move in or out when you change the EV setting, corresponding to your focused distance. They provide a quick visual of the depth of field you'll have based on the shutter speed and aperture combination you've chosen.
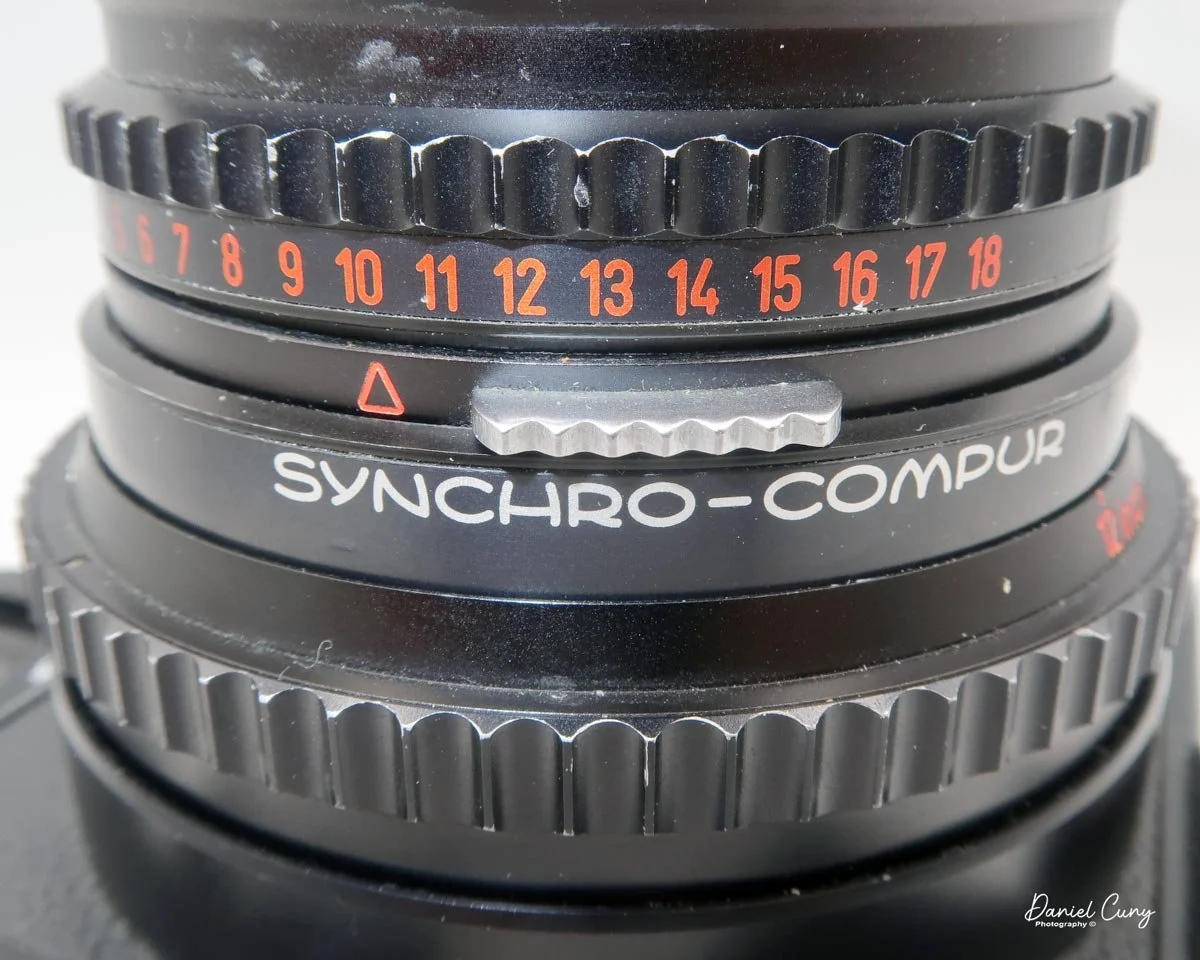
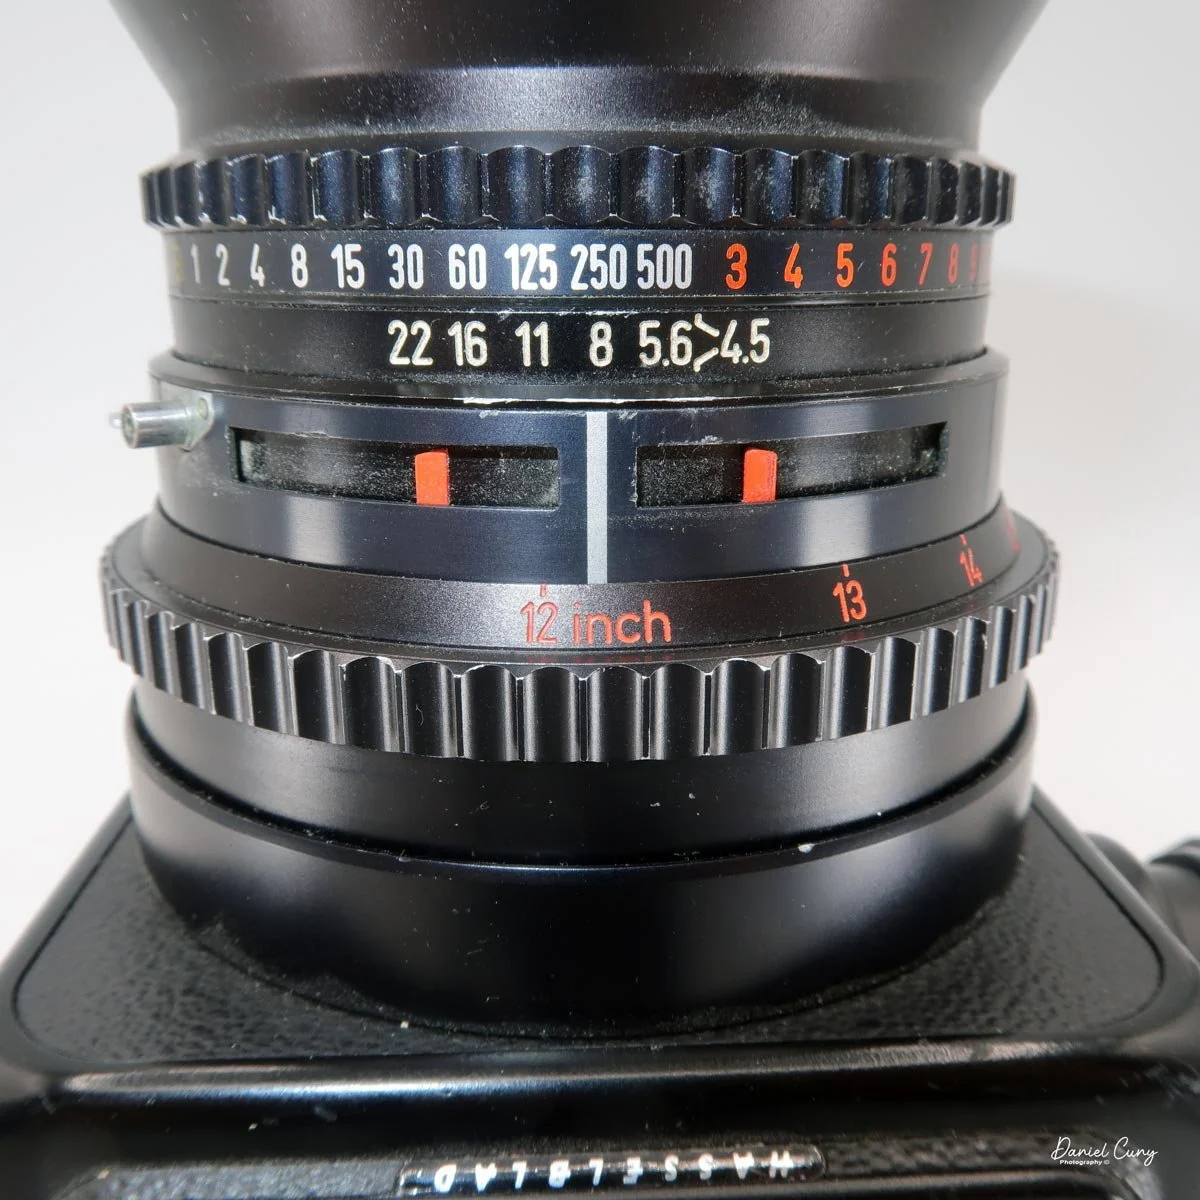
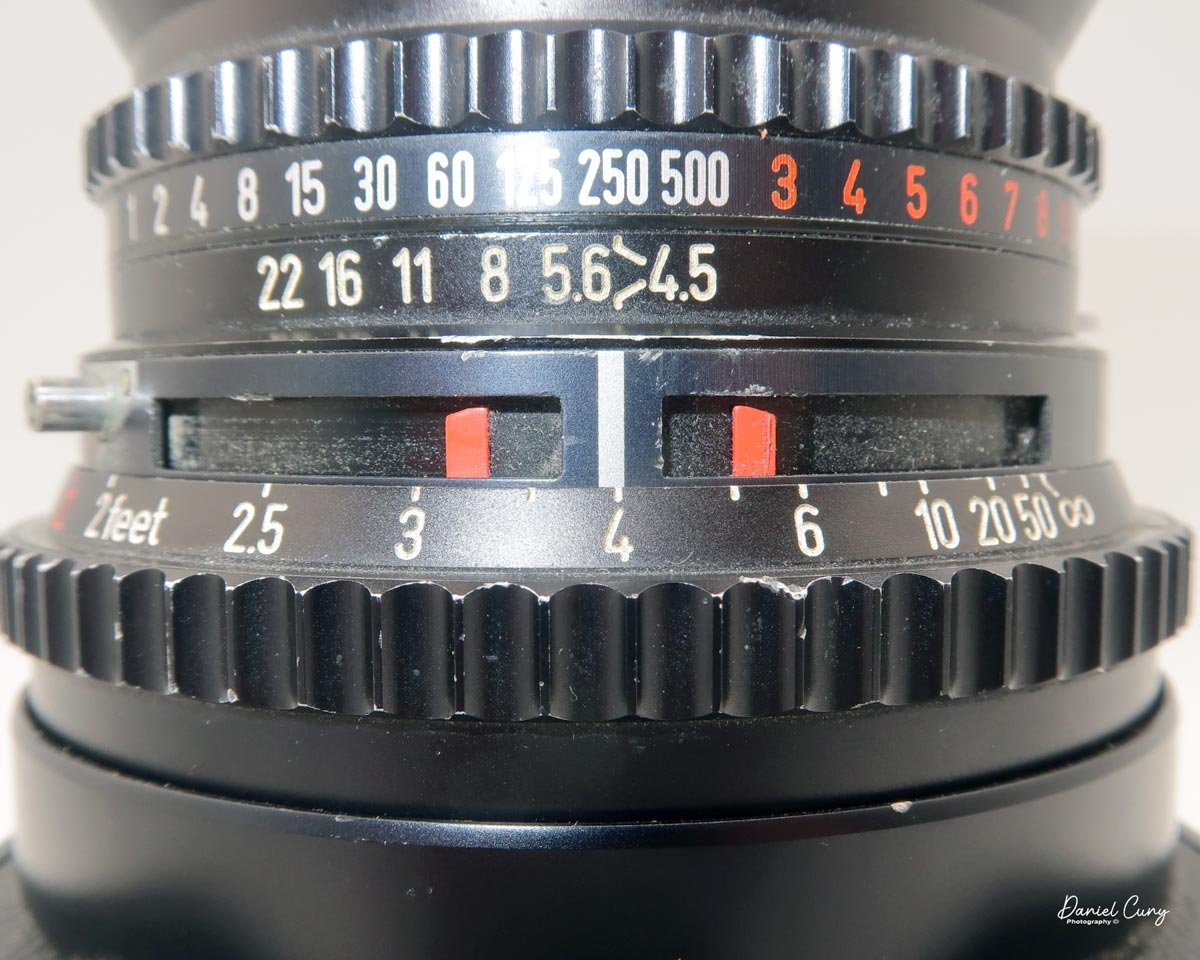
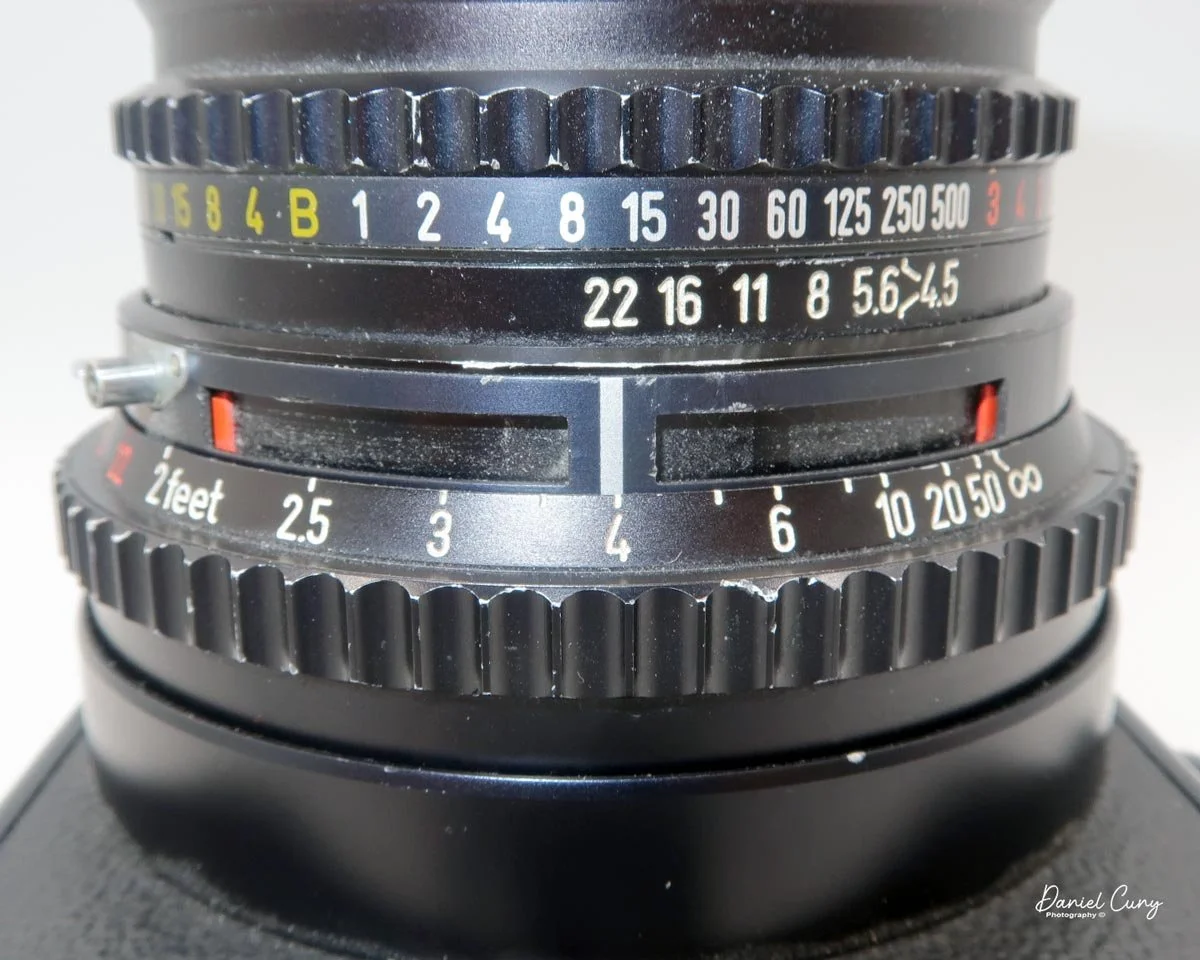
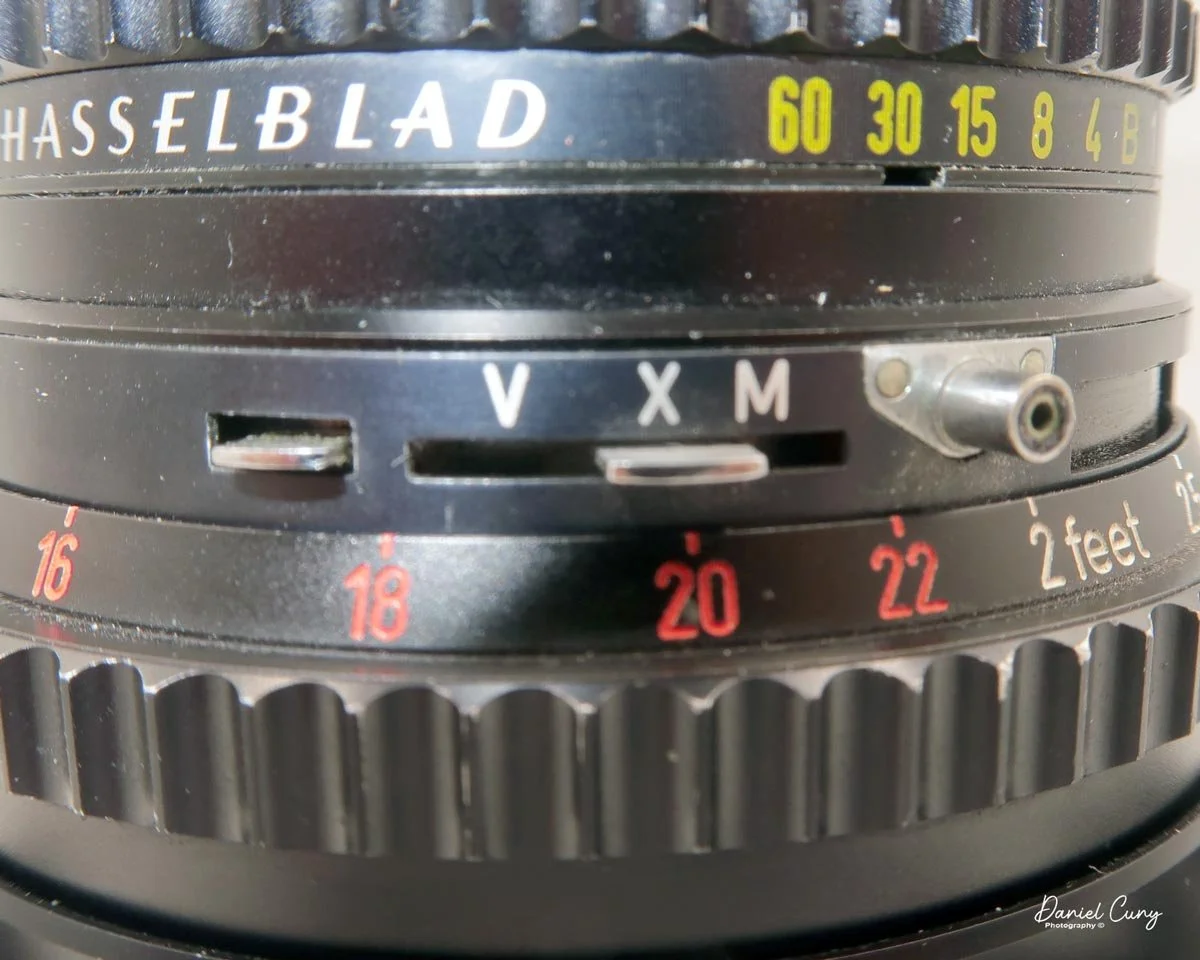
On the left side of the lens is a switch that sets the flash sync type: "M" for bulb, "X" for electronic flash, and "V" for an 8.5-second self-timer. To set the camera to the "V" position, you must press a small button just under the setting before the switch will move. After the self-timer fires, the switch automatically returns to the "X" position. Just above this switch is the PC sync terminal where you connect your flash cable, as this camera does not have a hot shoe.
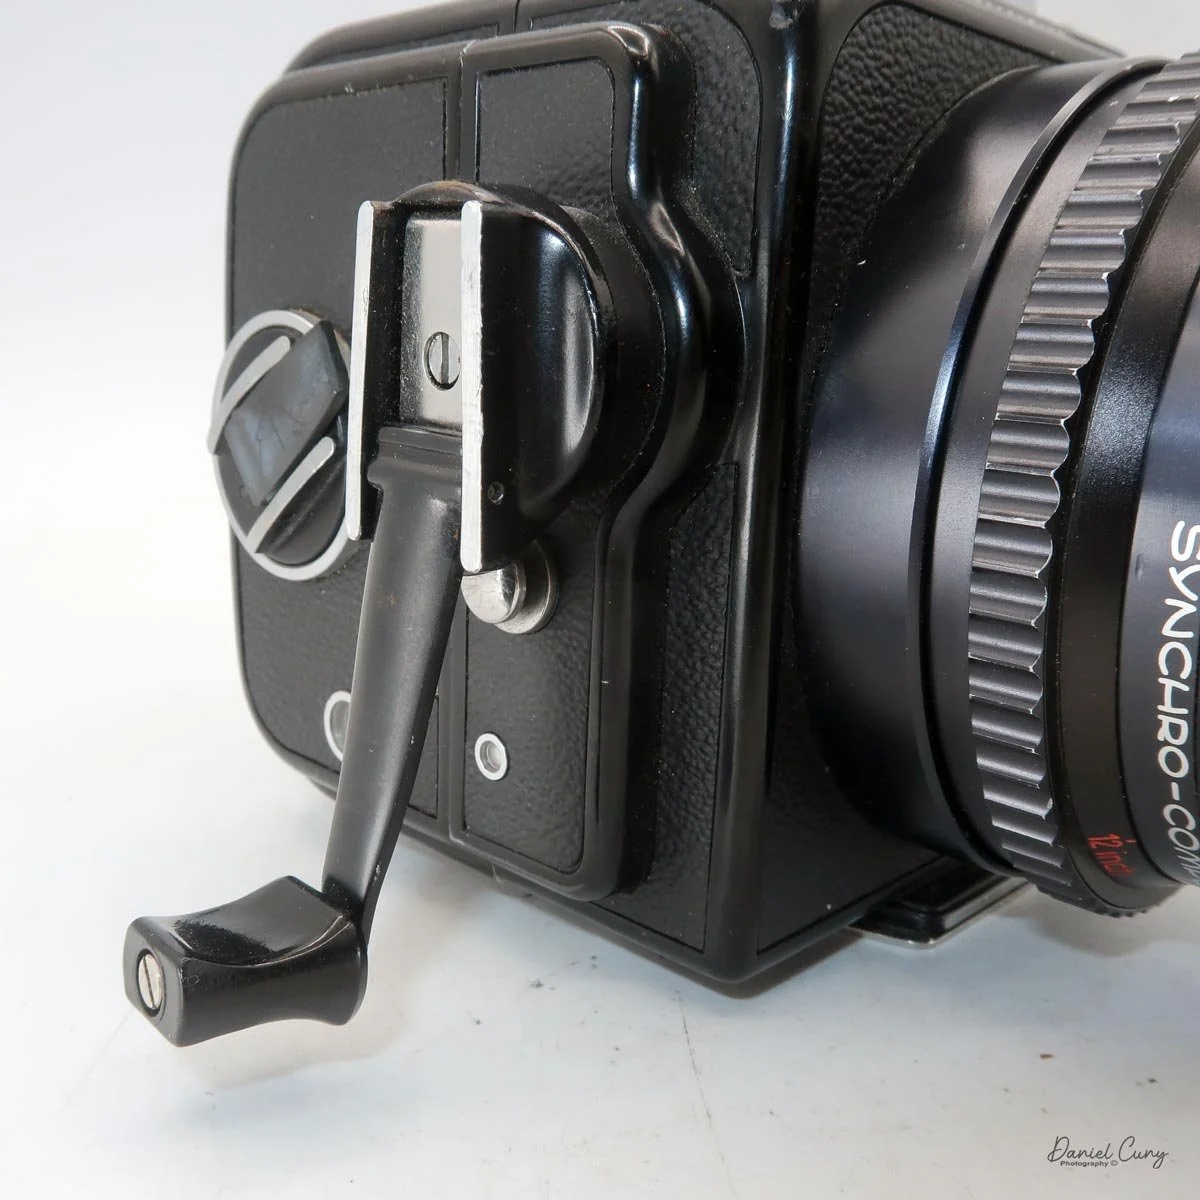
On the right side of the body sits the winding lever. Just under it is a small status window. If the window is white, the camera is cocked and ready for the next exposure. If it is red, the camera needs to be wound.
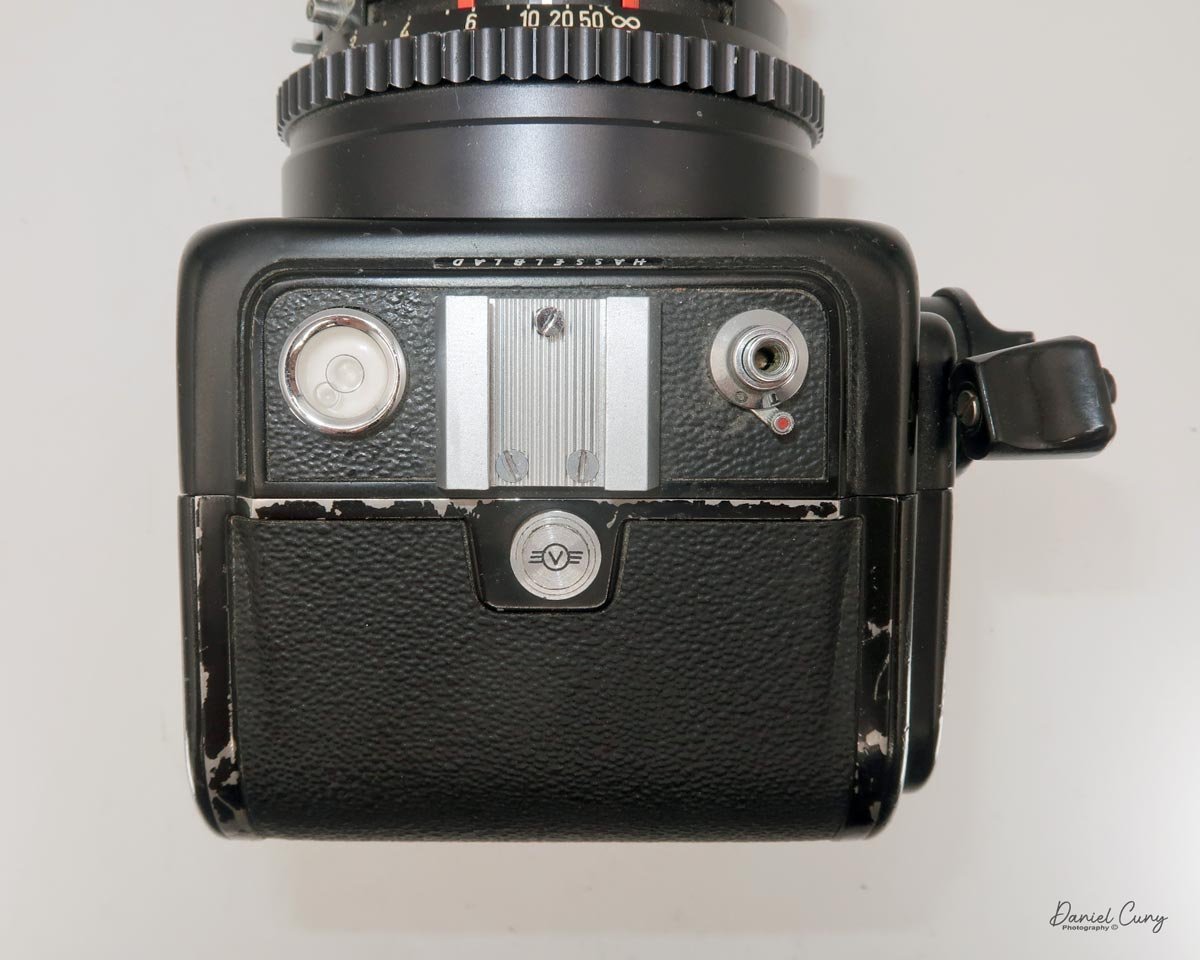
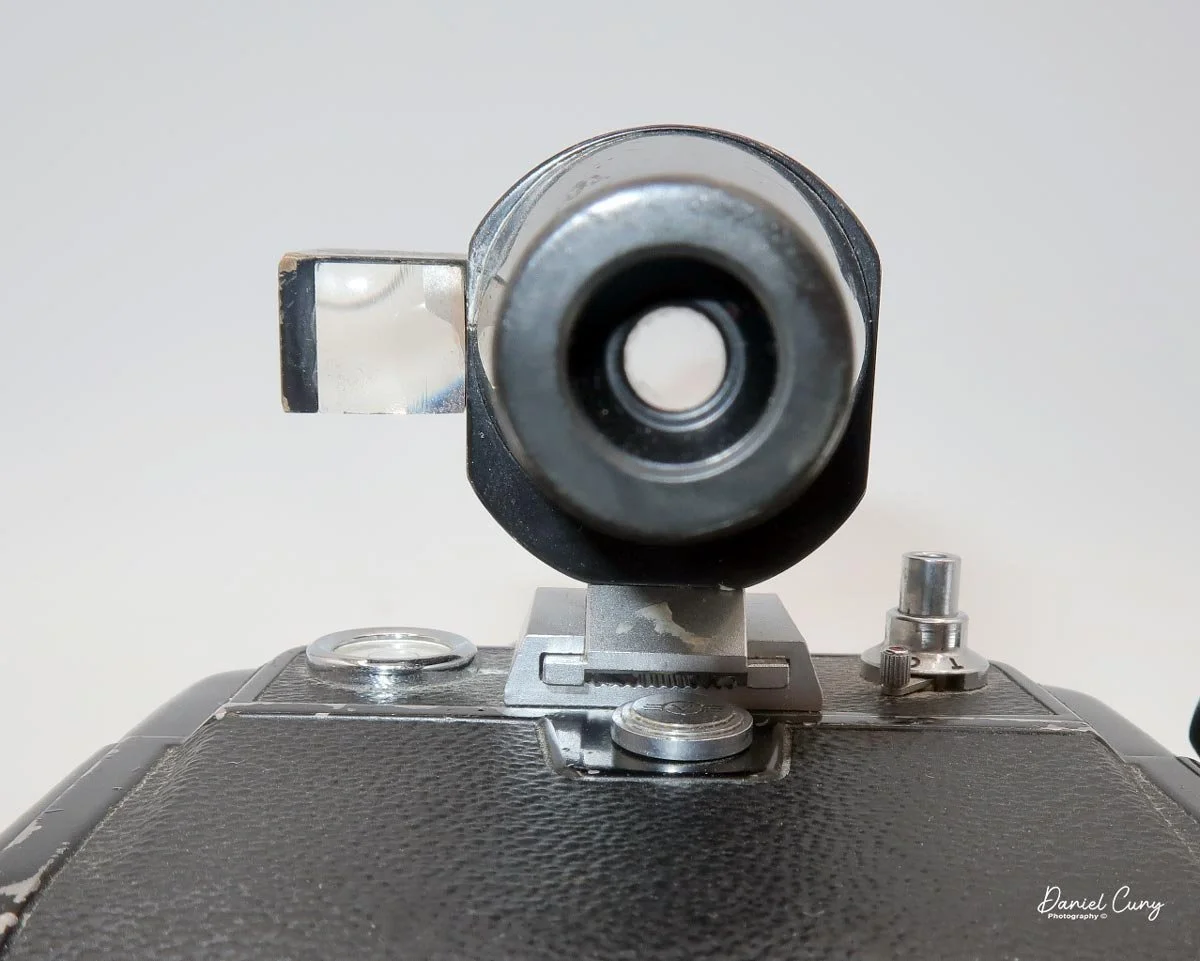
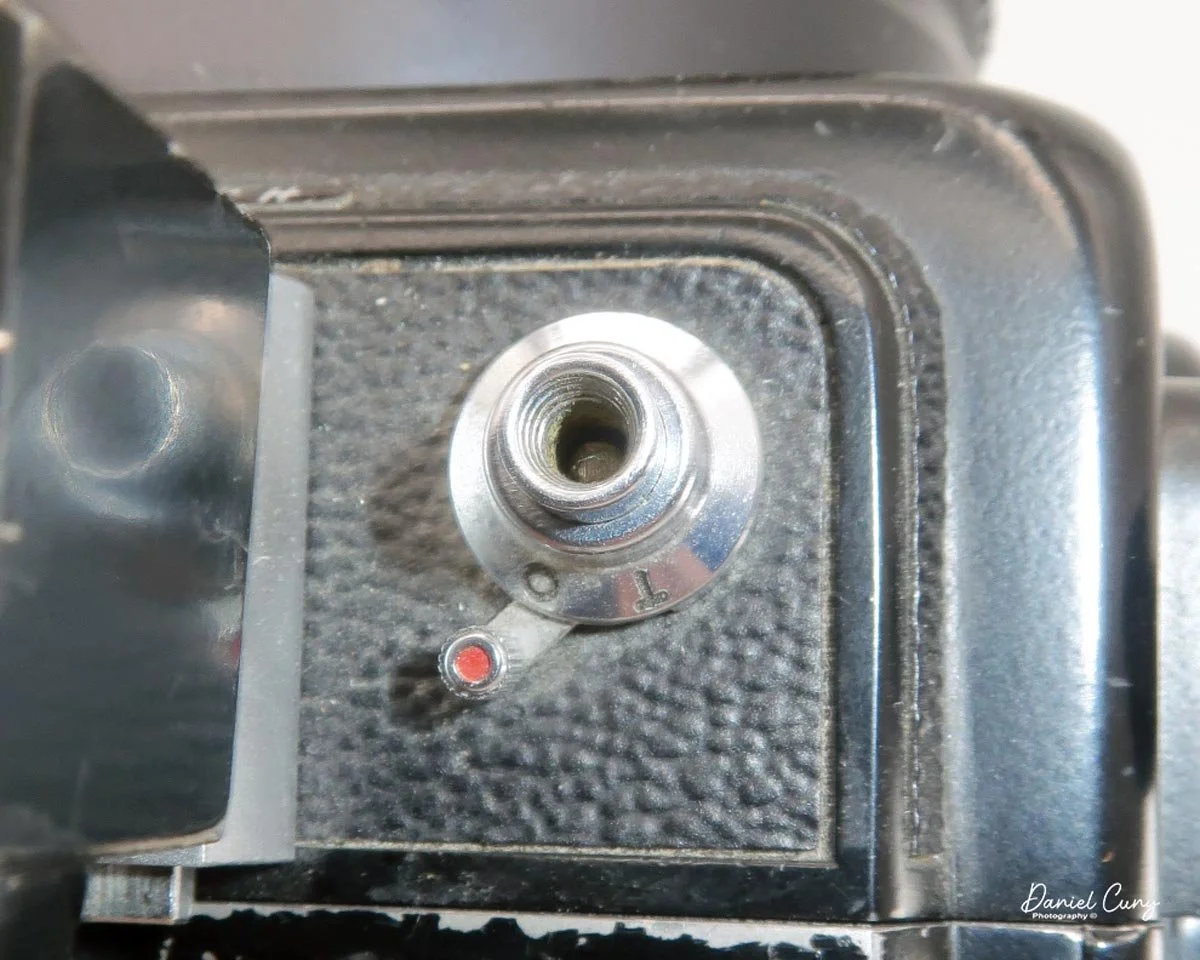
On top of the camera, there is a bubble level just to the left of the cold shoe (which houses the optical viewfinder). To the right of the cold shoe is the shutter release. The shutter release features a small switch behind it to lock or unlock the button, preventing accidental exposures.
The optical viewfinder is fantastic and highly functional. One of my absolute favorite parts of the finder is the small prism on the left side. This prism (or optical mirror) is placed directly over the camera's bubble level. When framing a photo through the viewfinder, it's incredibly easy to glance over and ensure the bubble is centered. This guarantees your camera is plumb with the horizon and perfectly straight.
Both sides of the camera body feature lugs for attaching a leather carrying strap.
Loading the Film
The film back is removed by sliding the round button on the top of the back, tipping it away from the camera body, and lifting it off. The film back features a chrome dark slide that fits into a thin slot on the left side. Note: The dark slide must be inserted before the camera will allow you to remove the back, and it must be removed before you can fire the shutter.
Here is the step-by-step process for loading film:
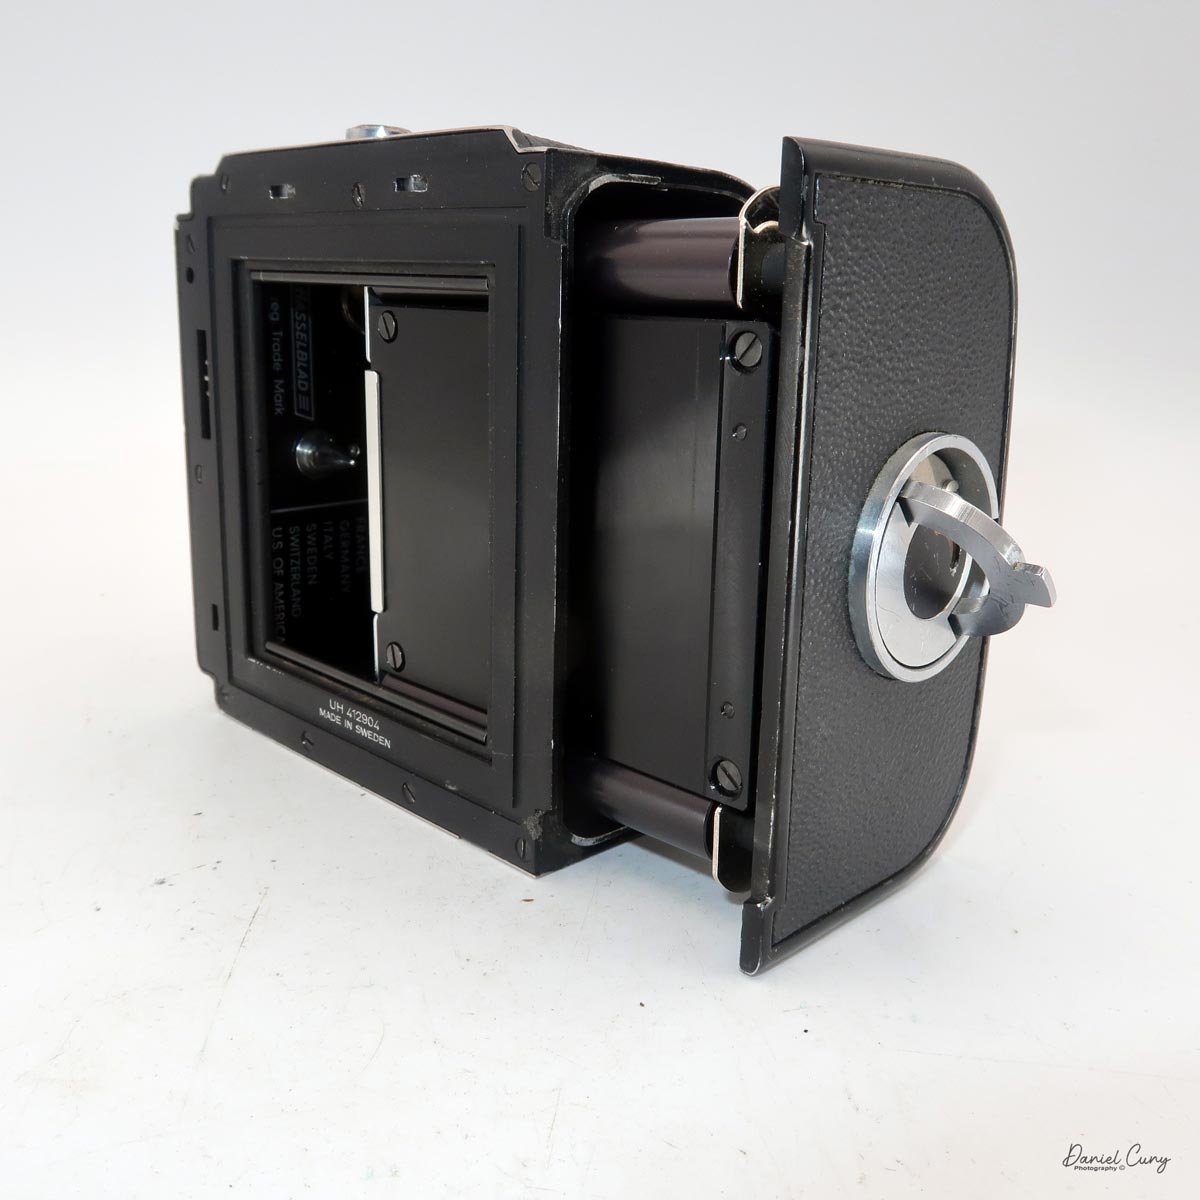
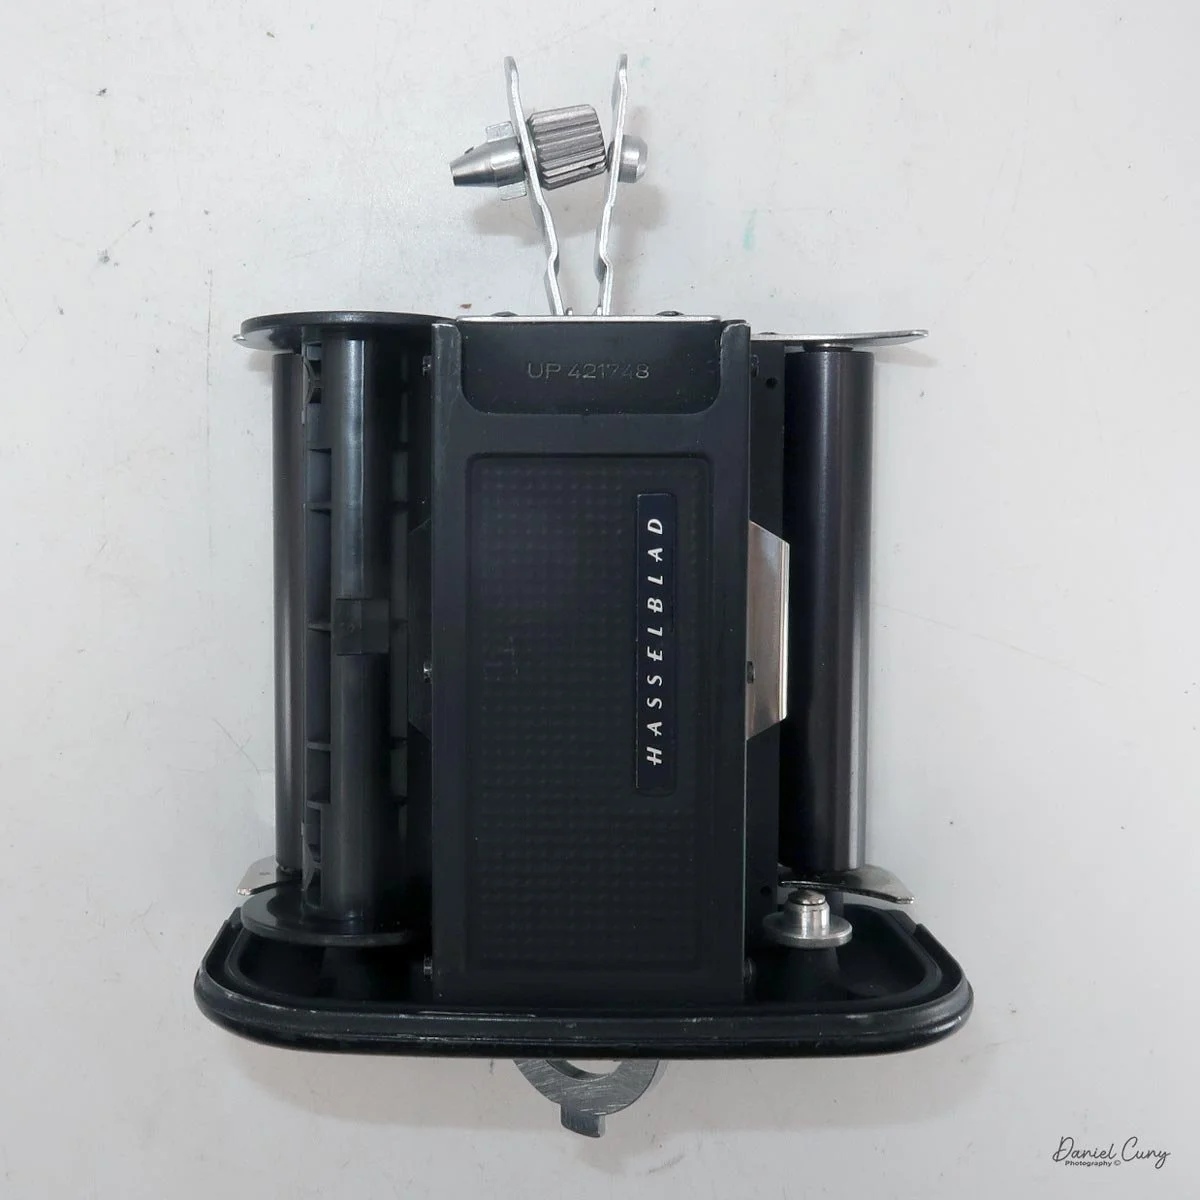
Remove the Film Chamber: On the left side of the film back, turn the latch to unlock and pull the film chamber out.
Prep the Spools: Lift the film holders on the chamber to make loading easier. Place your empty take-up spool on the side with the small knurled handle, then close the holder to secure it.
Load the Fresh Film: Place your fresh roll of 120 film into the opposite side and pull down the arm to lock it in place.
Thread the Leader: Draw the film leader across the silver pressure plate. Turn the latch that unlocks the chamber so the small retaining ledge lifts up; slip the edge of the film under it.
Secure and Wind: Insert the leader tab into the take-up spool slot. Turn the knurled knob on top to begin taking up the slack. Continue winding until the "Start" arrows on the film paper align with the designated mark.
Reinsert the Chamber: Turn the locking knob back so the loaded chamber can slide back into the housing, then lock it firmly into place.
Advance to Frame 1: MAKE SURE your dark slide is inserted! Use the winding crank on the right side of the film back, cranking it until it physically stops. You will now see the number "1" in the small circular window beneath the crank.
Attach to the Camera: Place the two small slots on the bottom of the film back onto the two hooks on the lower rear of the camera body. Tilt the back upward until it clicks into the latches. You may need to slide the top locking button over slightly to ensure it is fully secure.
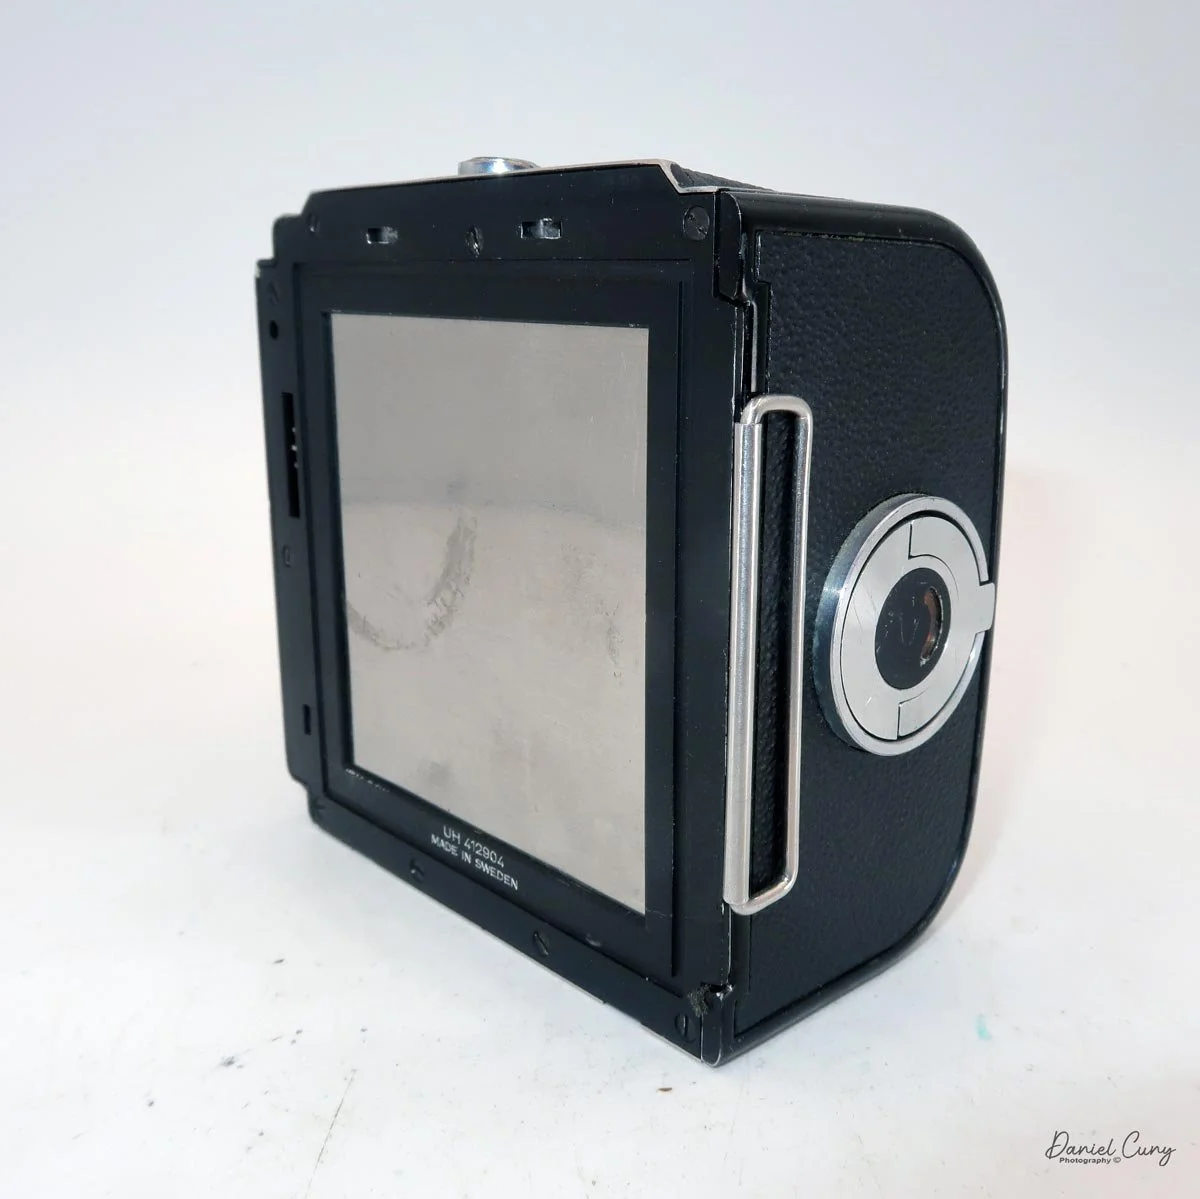
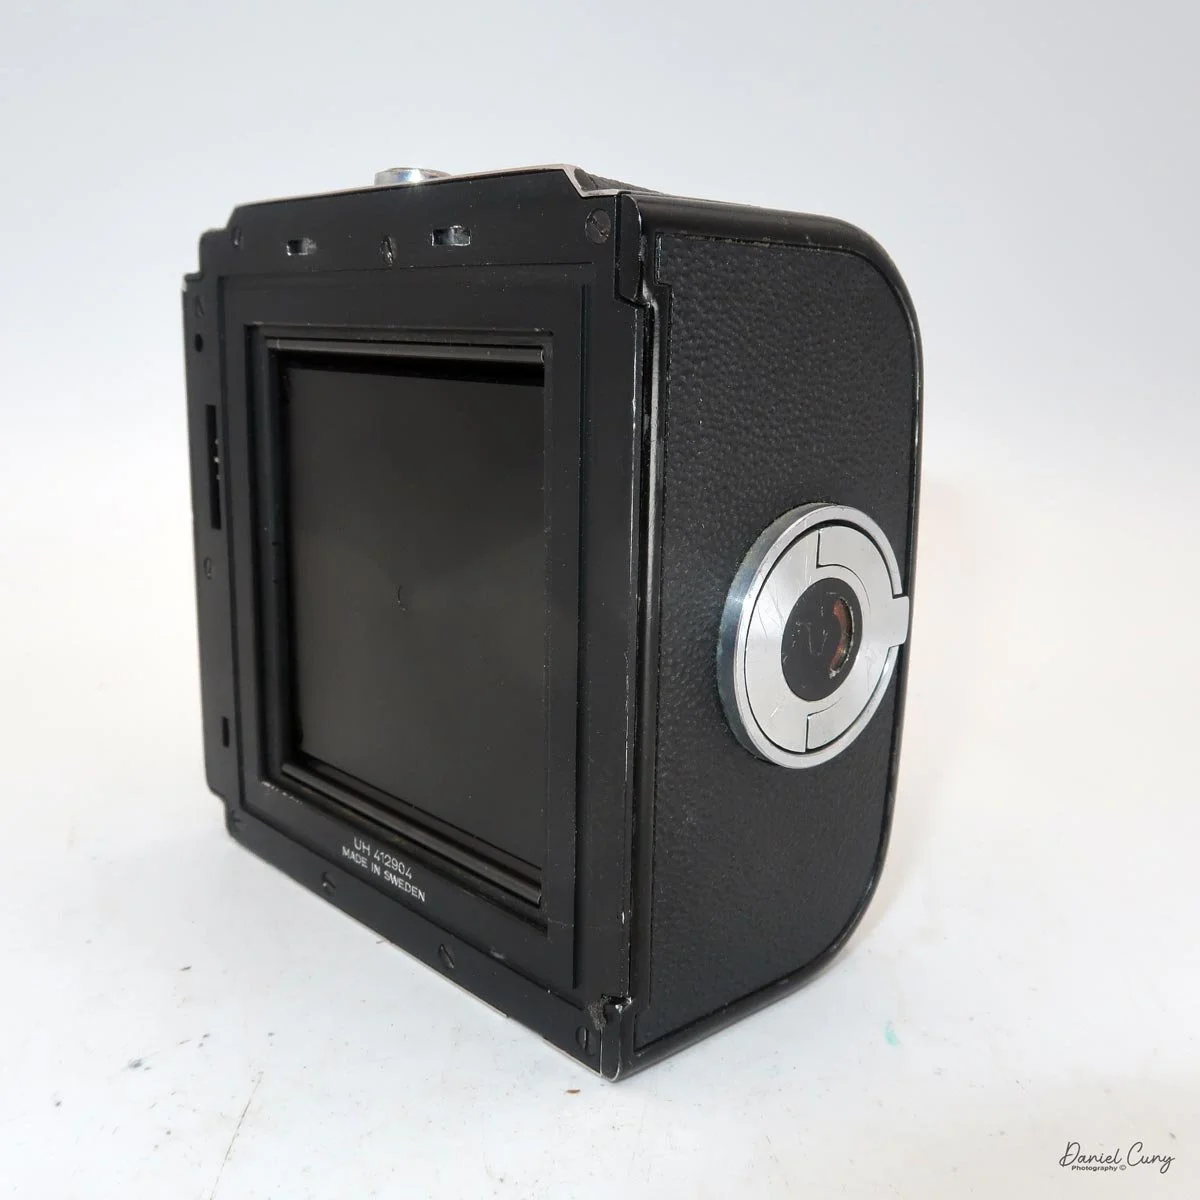
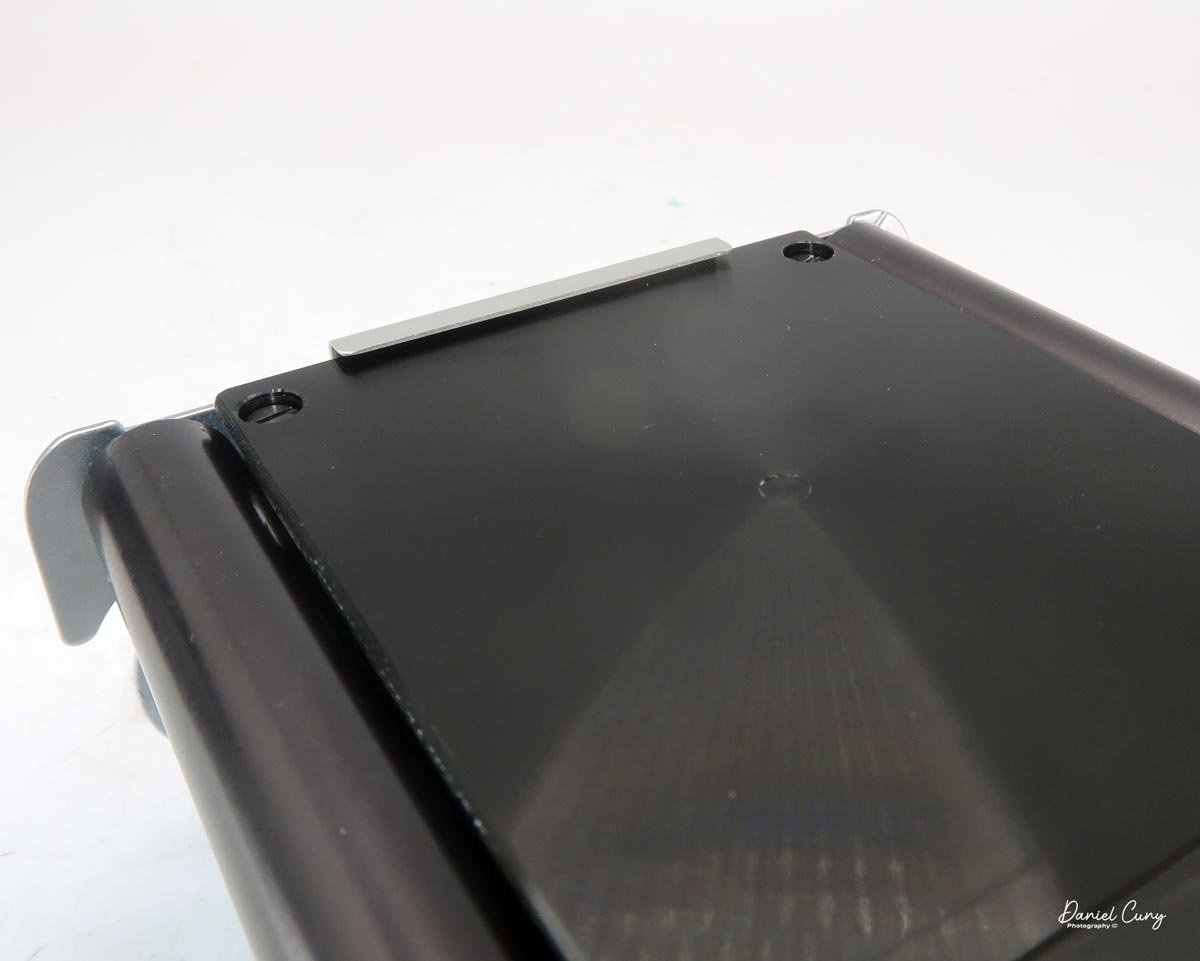
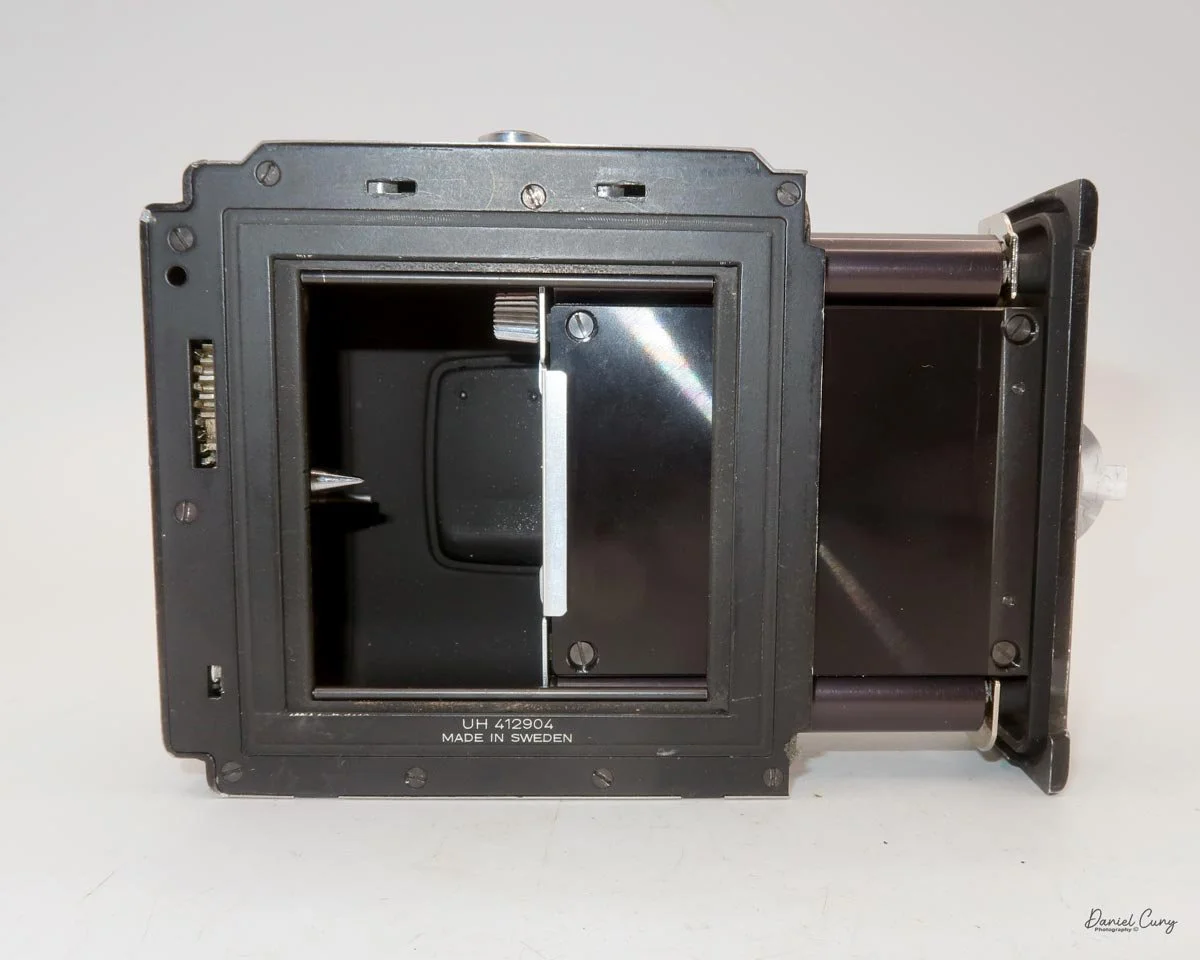
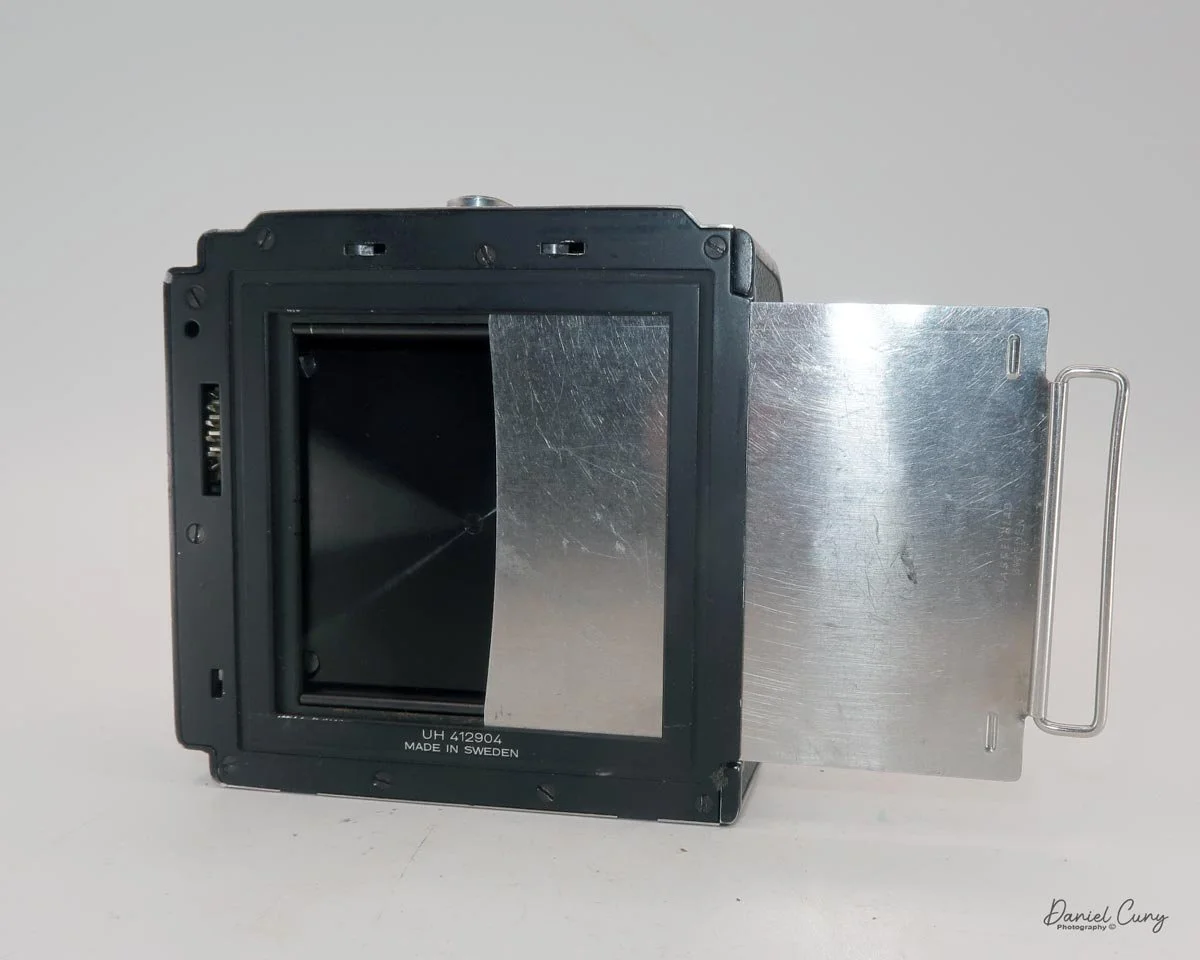
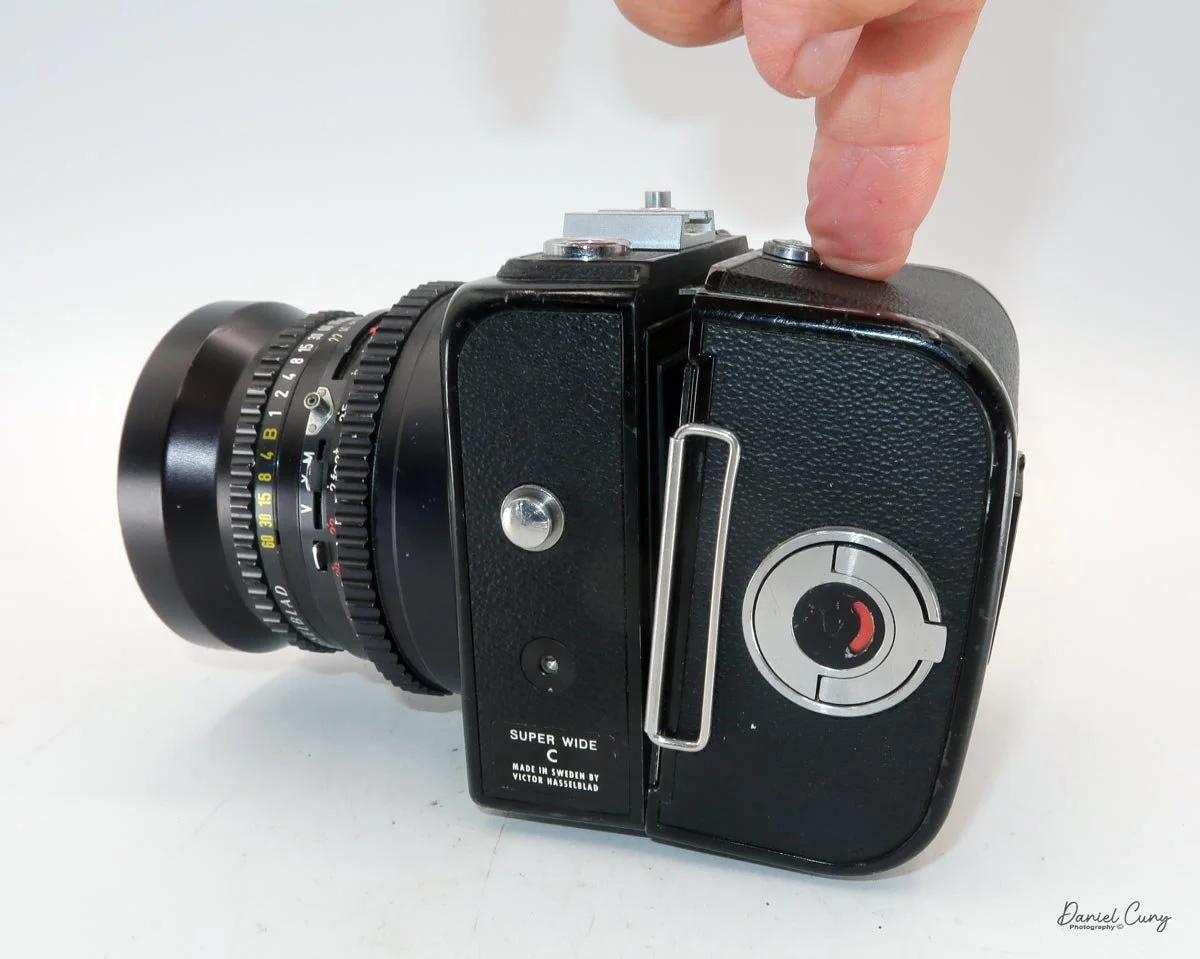
You'll also notice a small status window to the right of the frame counter. When the film is ready for exposure, this window is white. After taking a photo, it turns red, signaling that the film needs to be advanced. The winding lever on the camera body handles everything in one motion—it cocks the shutter and advances the film to the next frame. Once wound, both the camera body and film back windows will turn back to white, and the frame counter will advance.
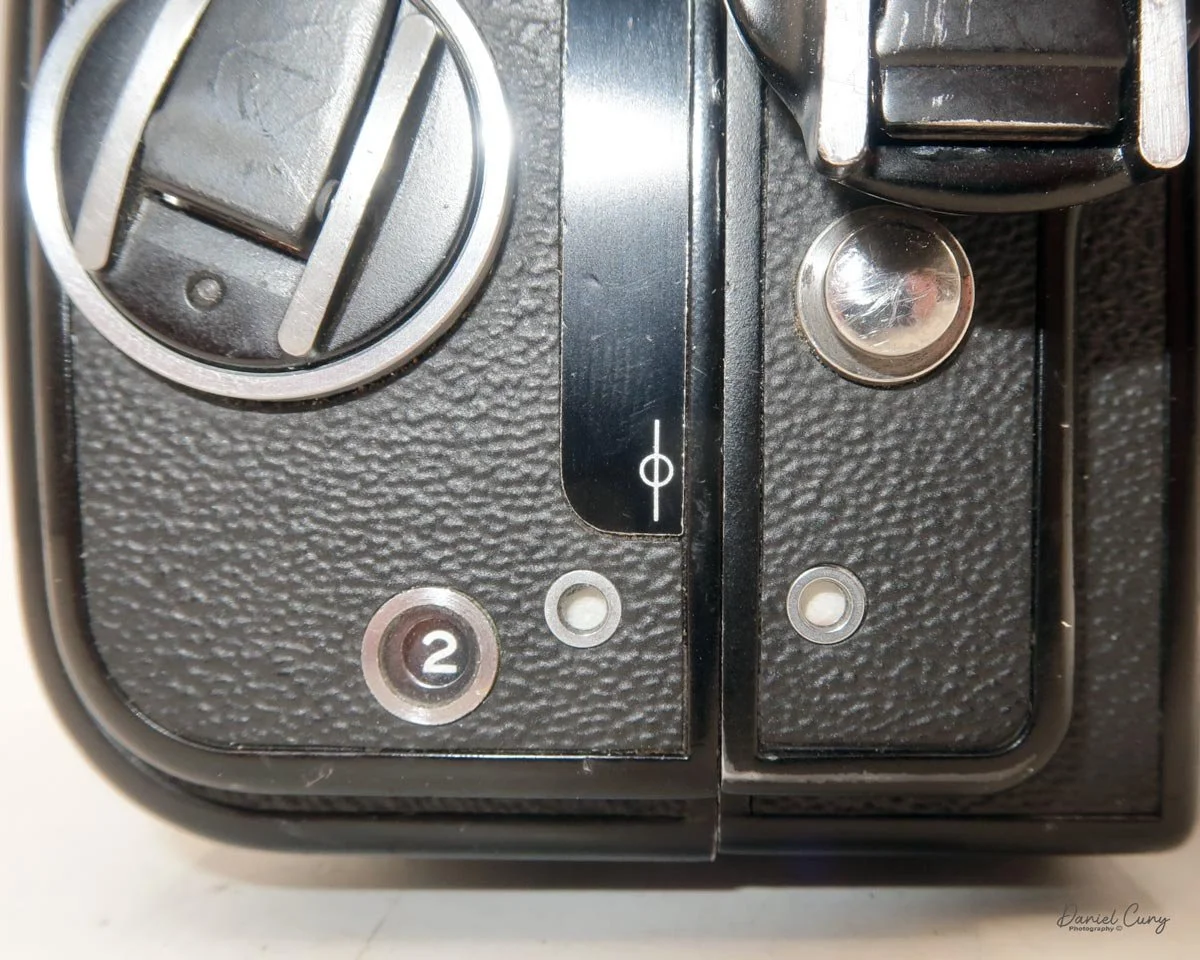
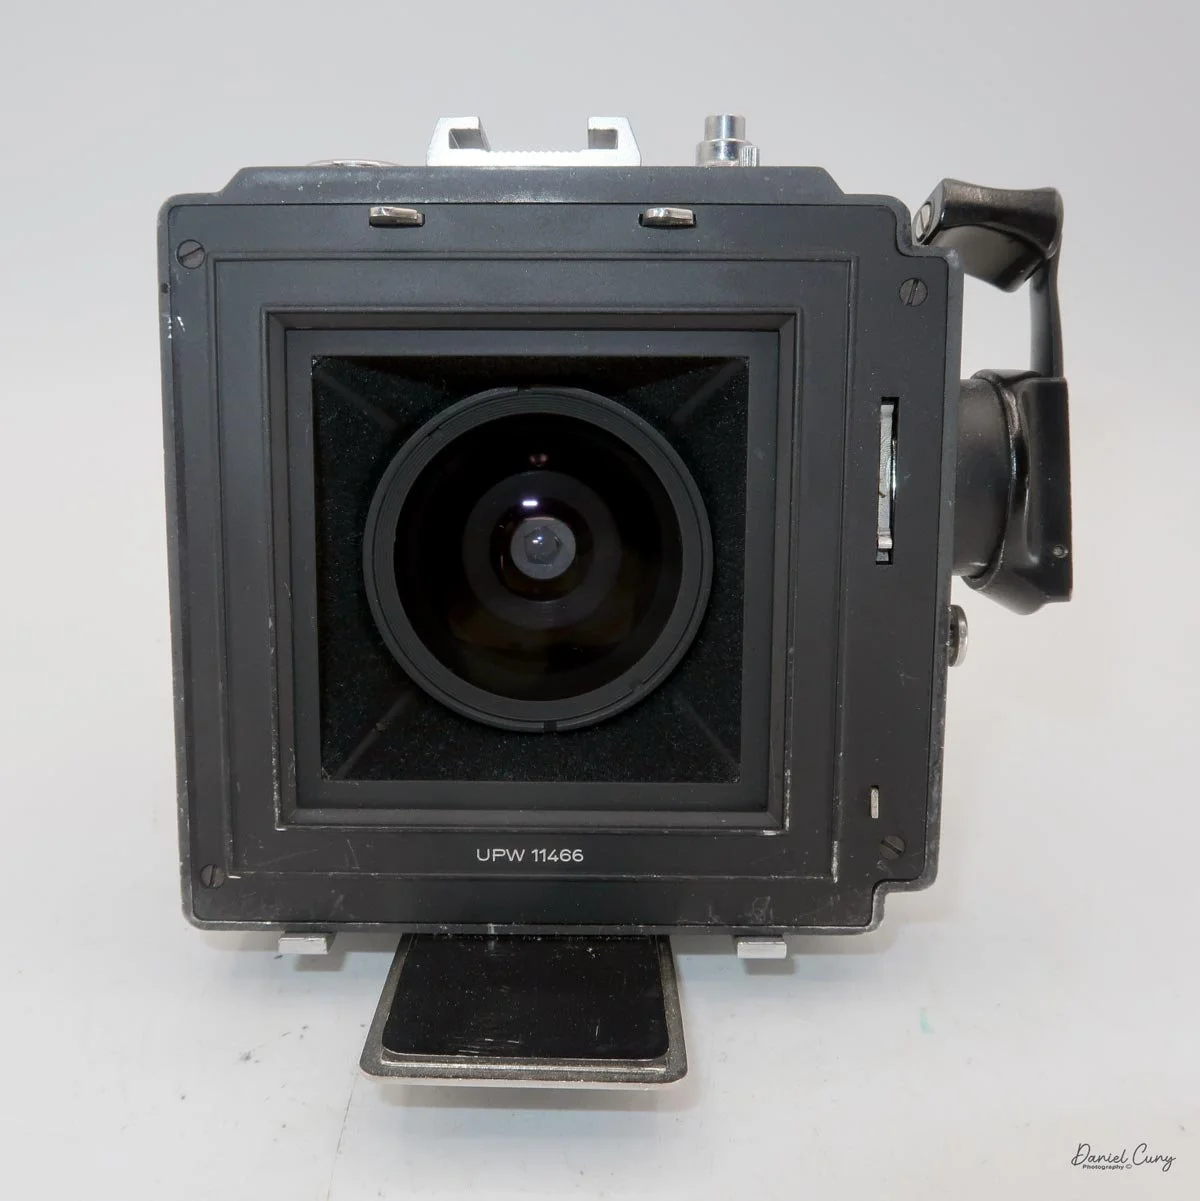
Now that we have film loaded and the back attached, let's go out, take some photos, and see how the camera performs!
Hasselblad Super Wide C (SWC) Overview Video
My Results
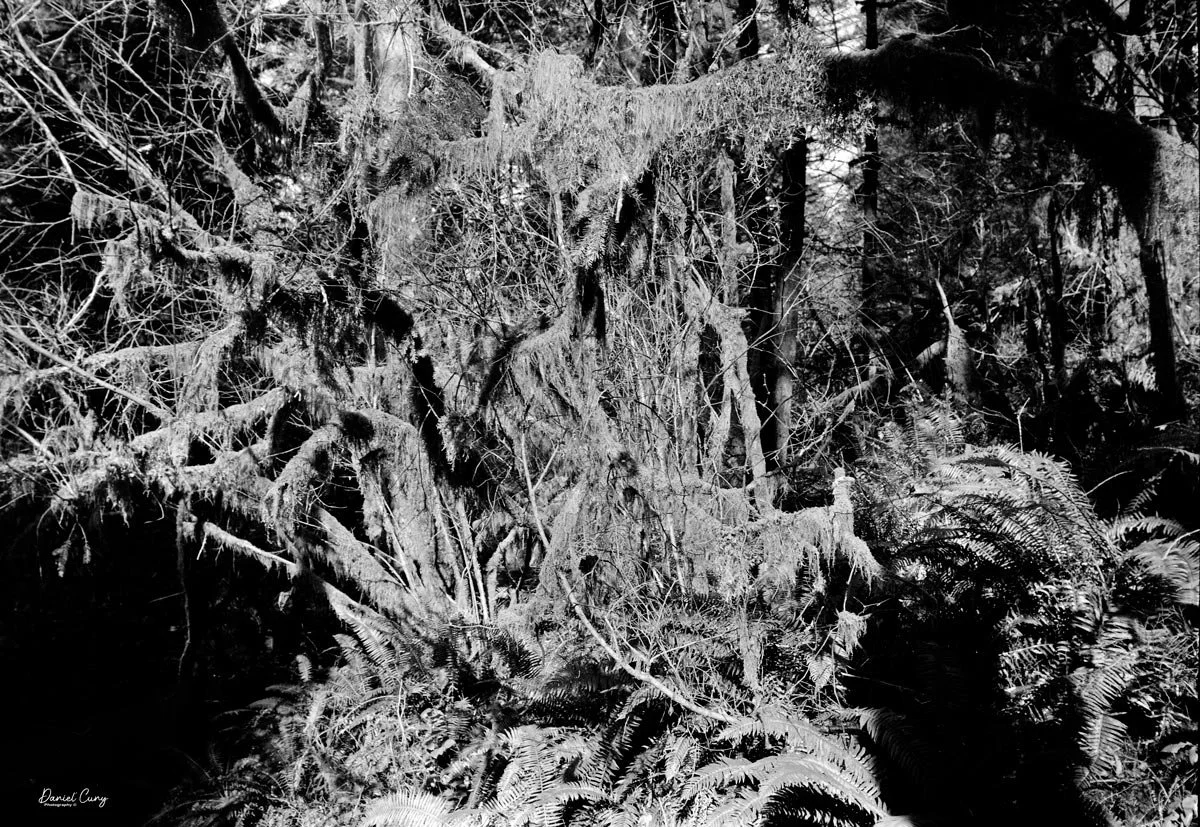
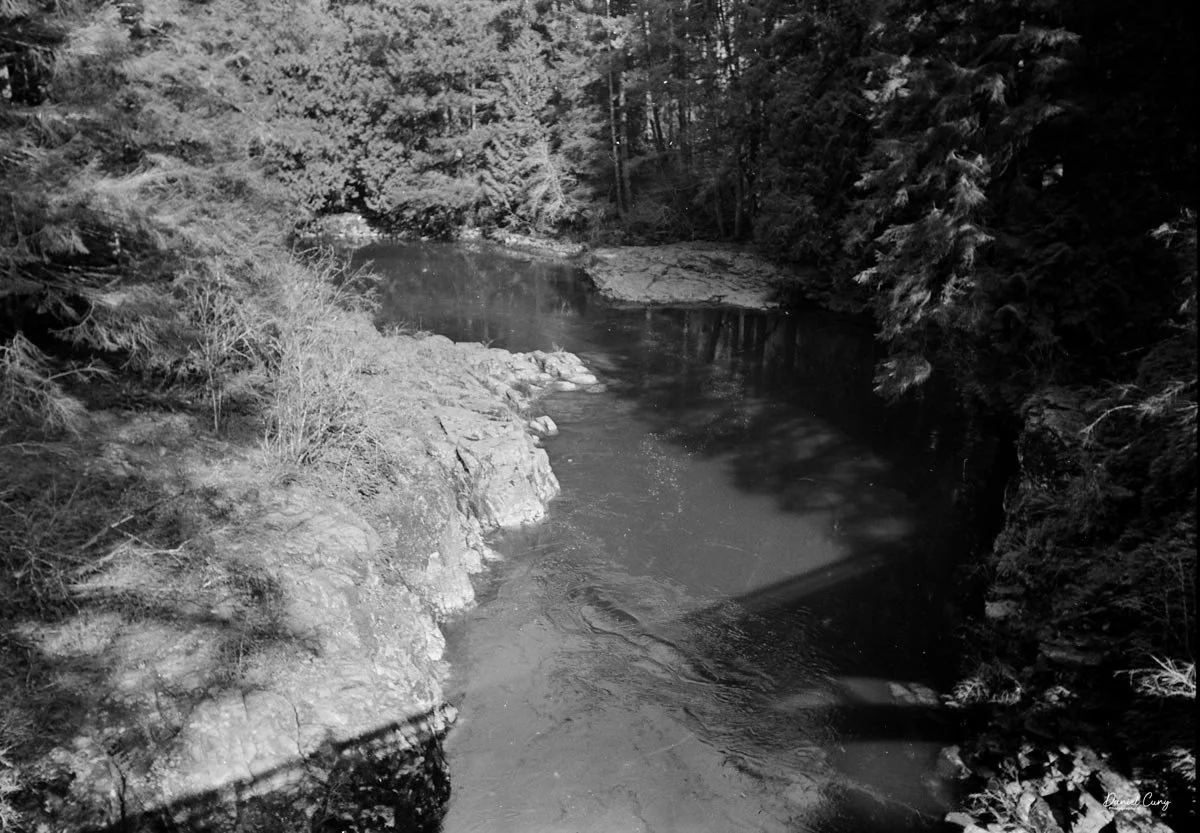
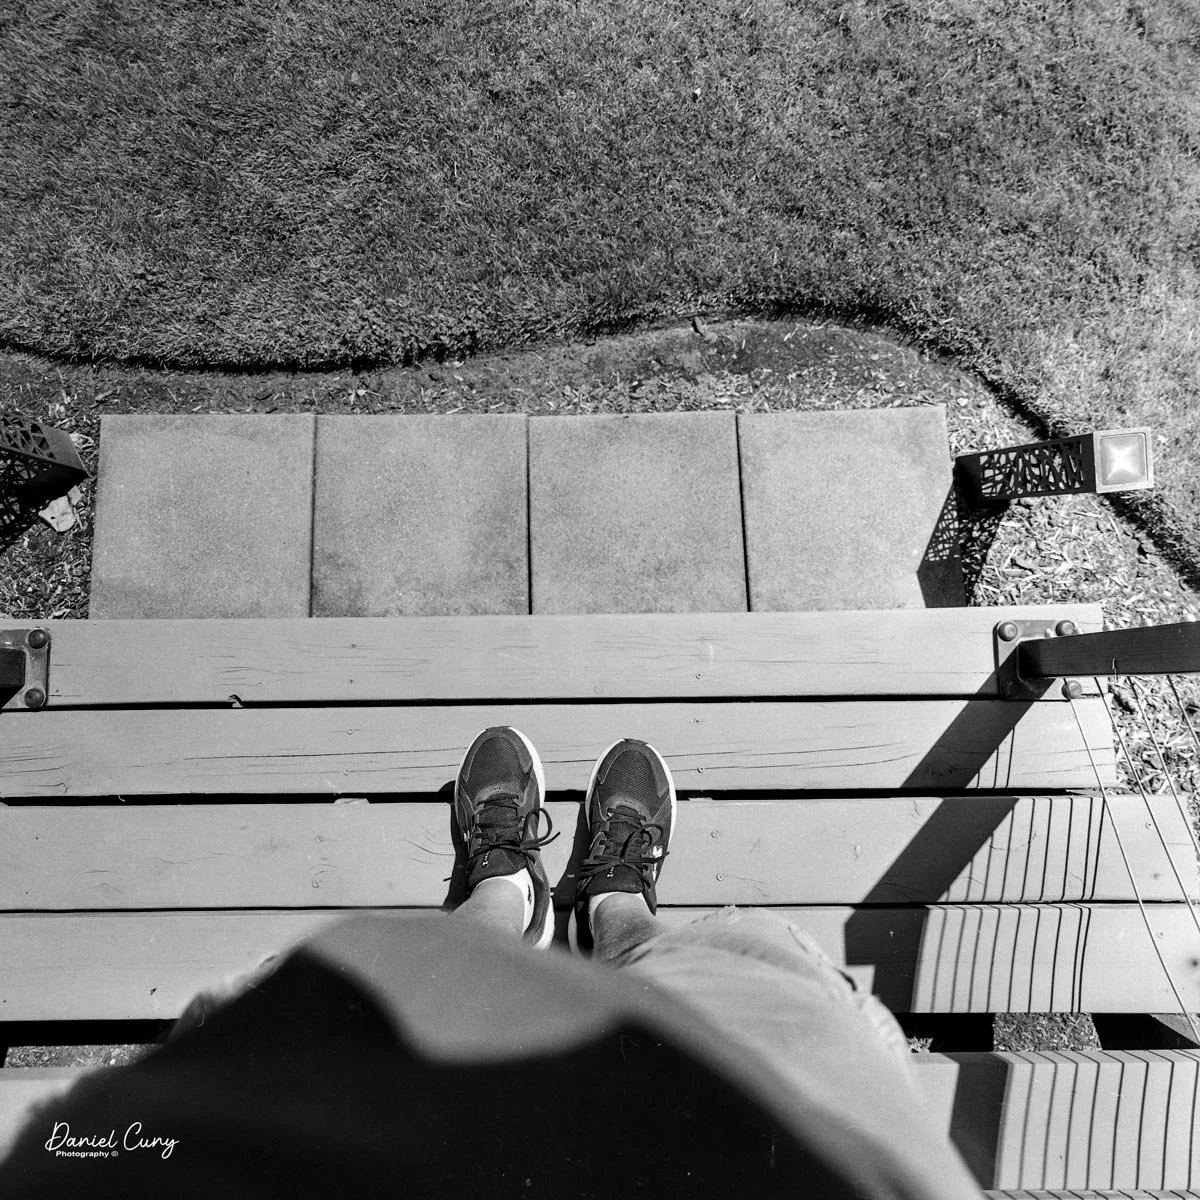
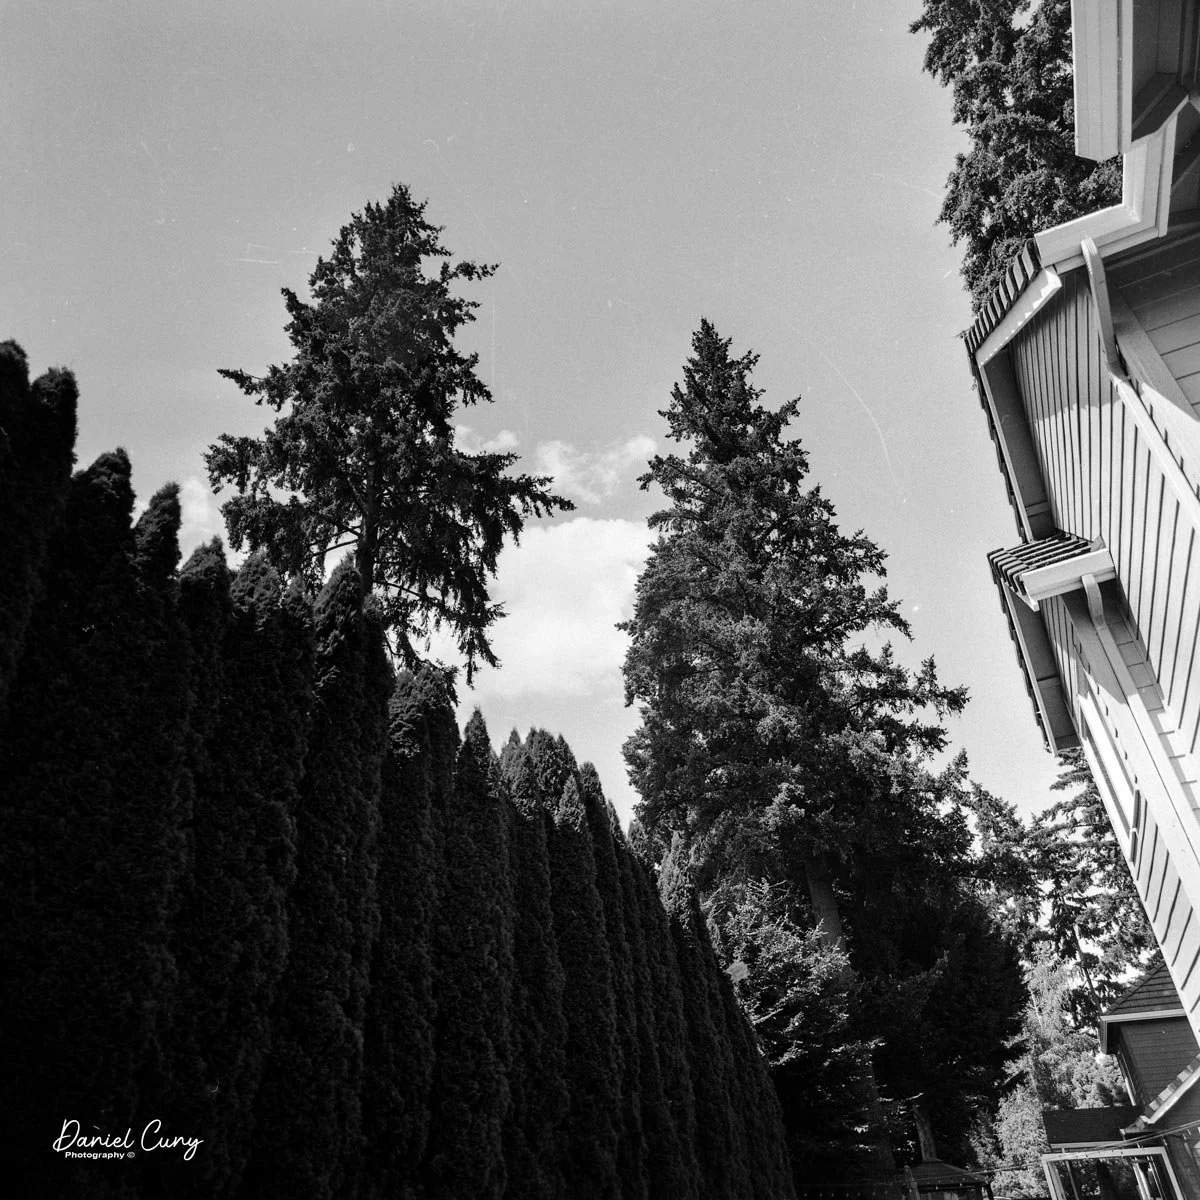
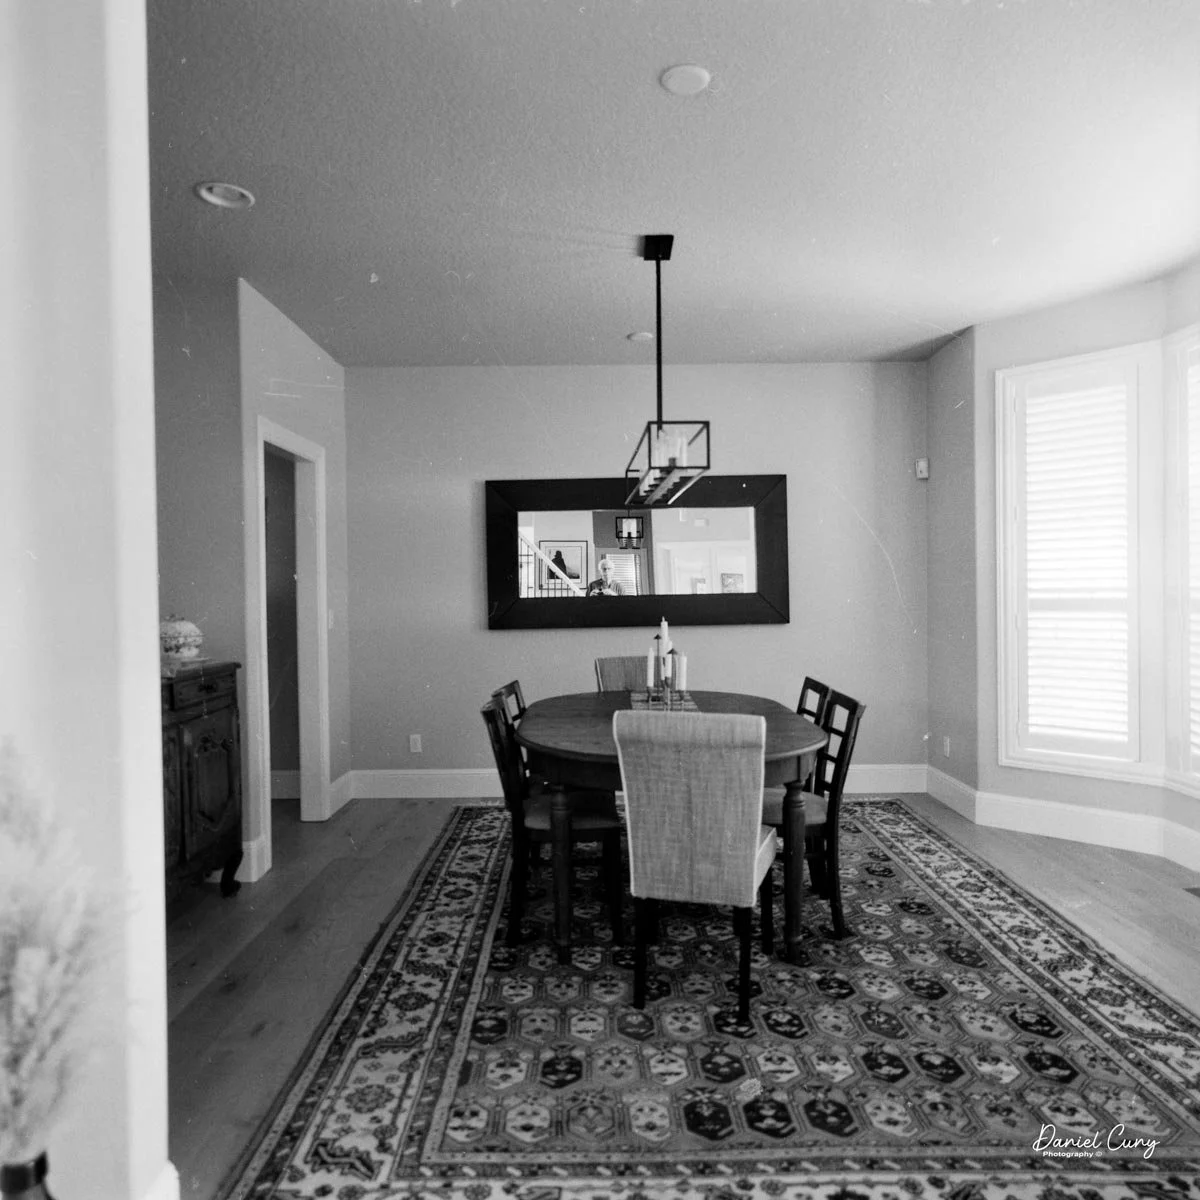
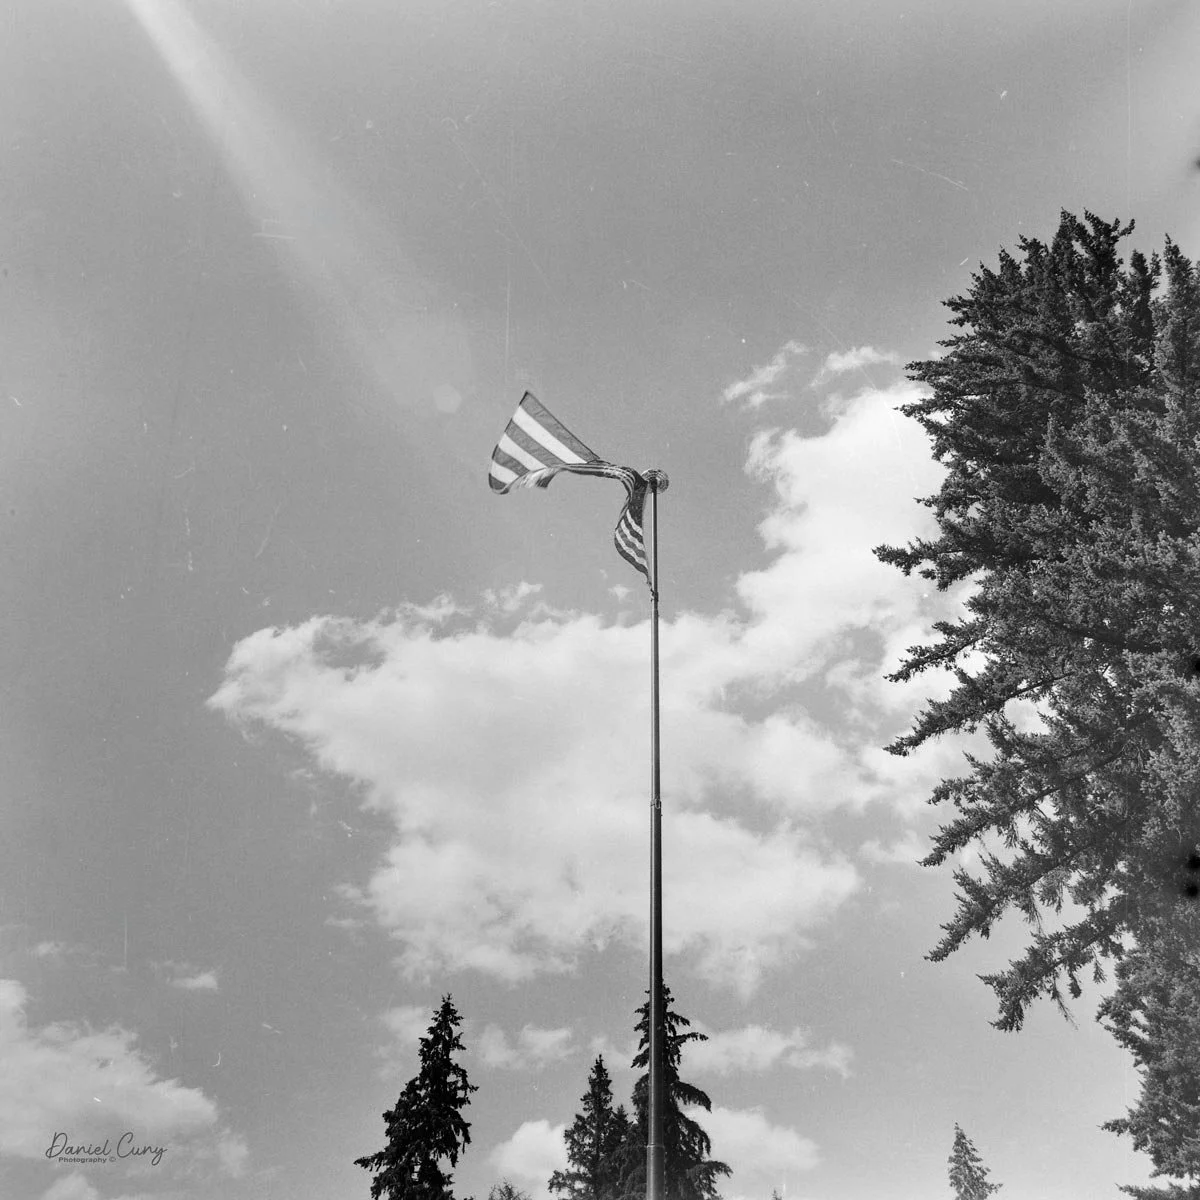
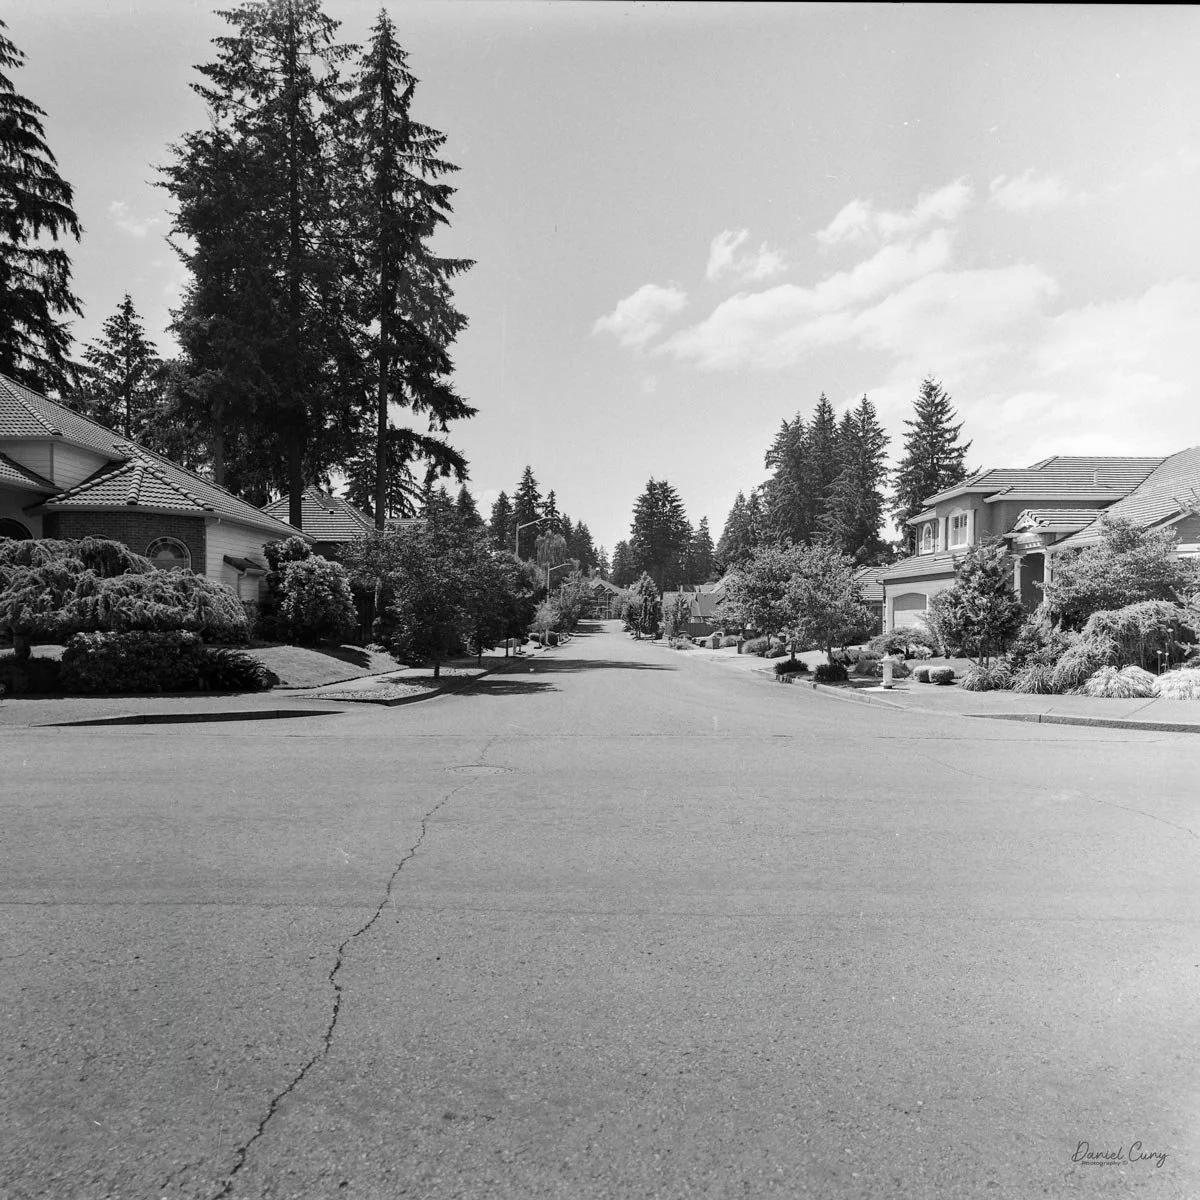
Here are some of the results from my walk around the neighborhood.
Conclusion
WOW!!! What a fun camera to use. I really need to take this one out more often!
There were some fantastic images taken on this walk, though I did have a few duds where I forgot to change the focus—that was definitely operator error rather than a camera malfunction.
The lens is REALLY sharp and wonderfully wide. The viewfinder is highly accurate for framing the subject, and I absolutely LOVED the prism mirror that let me keep an eye on the bubble level.
Thank you for taking the time to learn about this incredible mid-century Hasselblad film camera.
Here are some of my other Camera Reviews.
Check out my Cuny's Camera Collection YouTube channel, where I am putting together video overviews of the cameras I write about. Be sure to subscribe and like the channel, too!
Cuny's Cameras and Photos is my online eBay store, where you will find some of the cameras I have reviewed, along with a wide range of other cameras, lenses, and items from my collection that I am thinning out.
Until next week, please be safe.