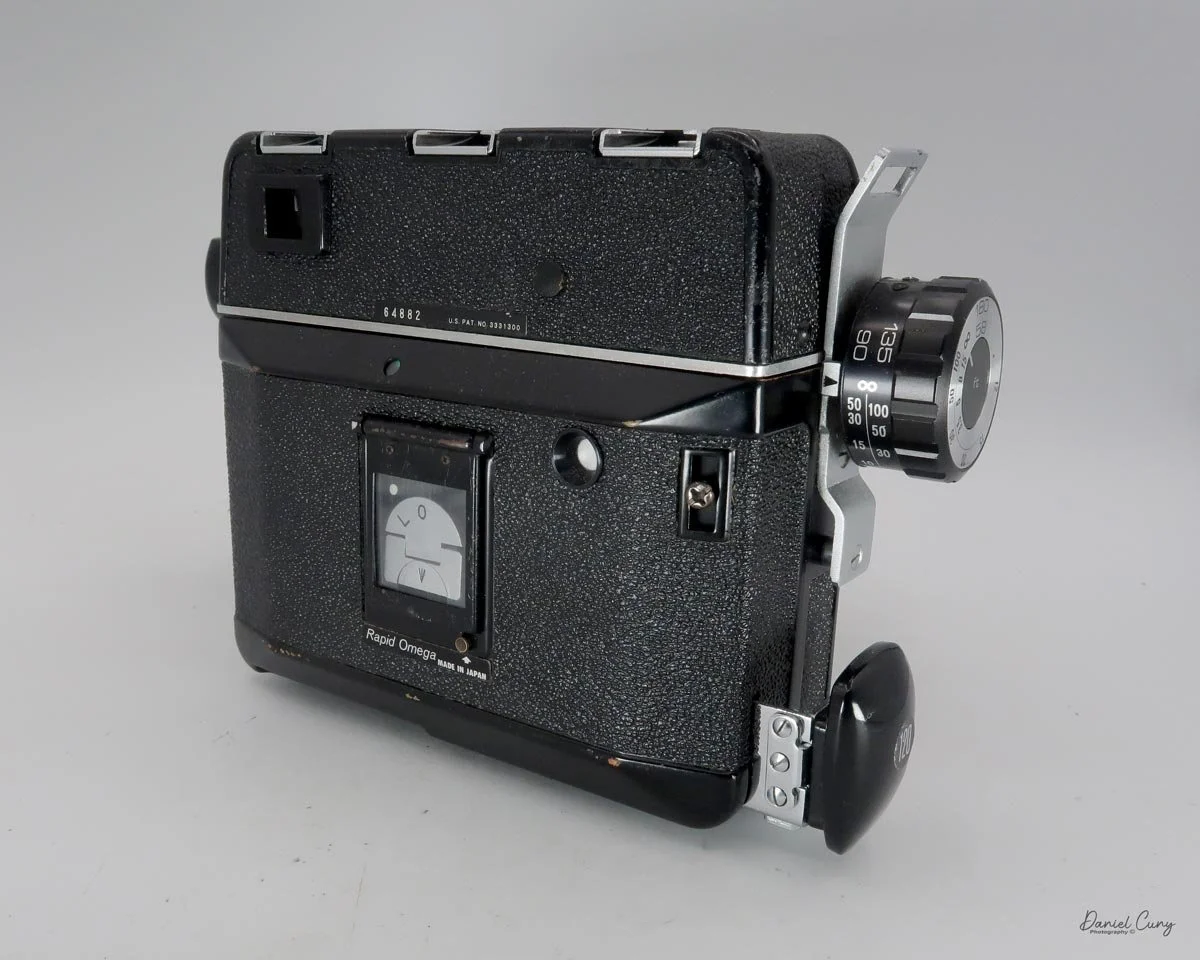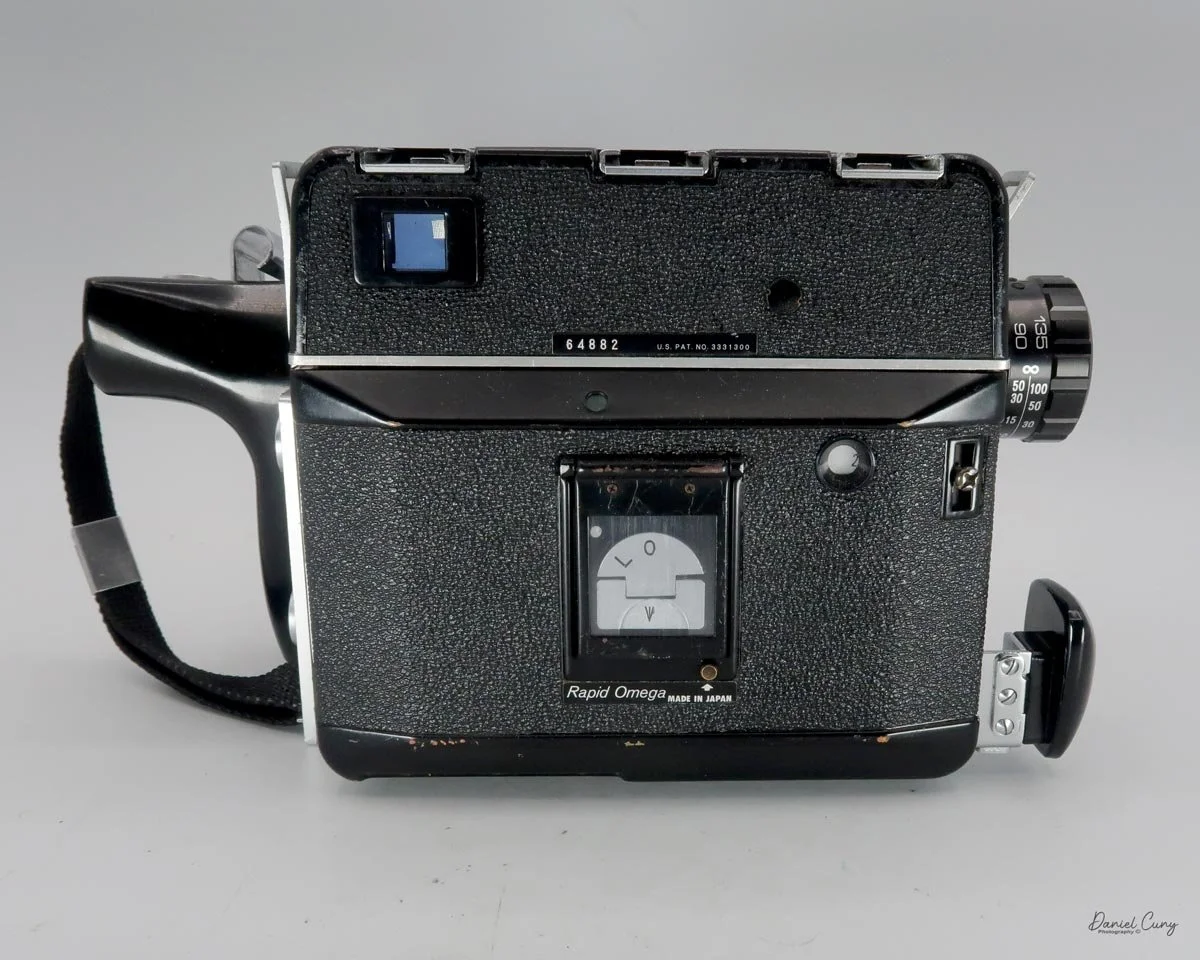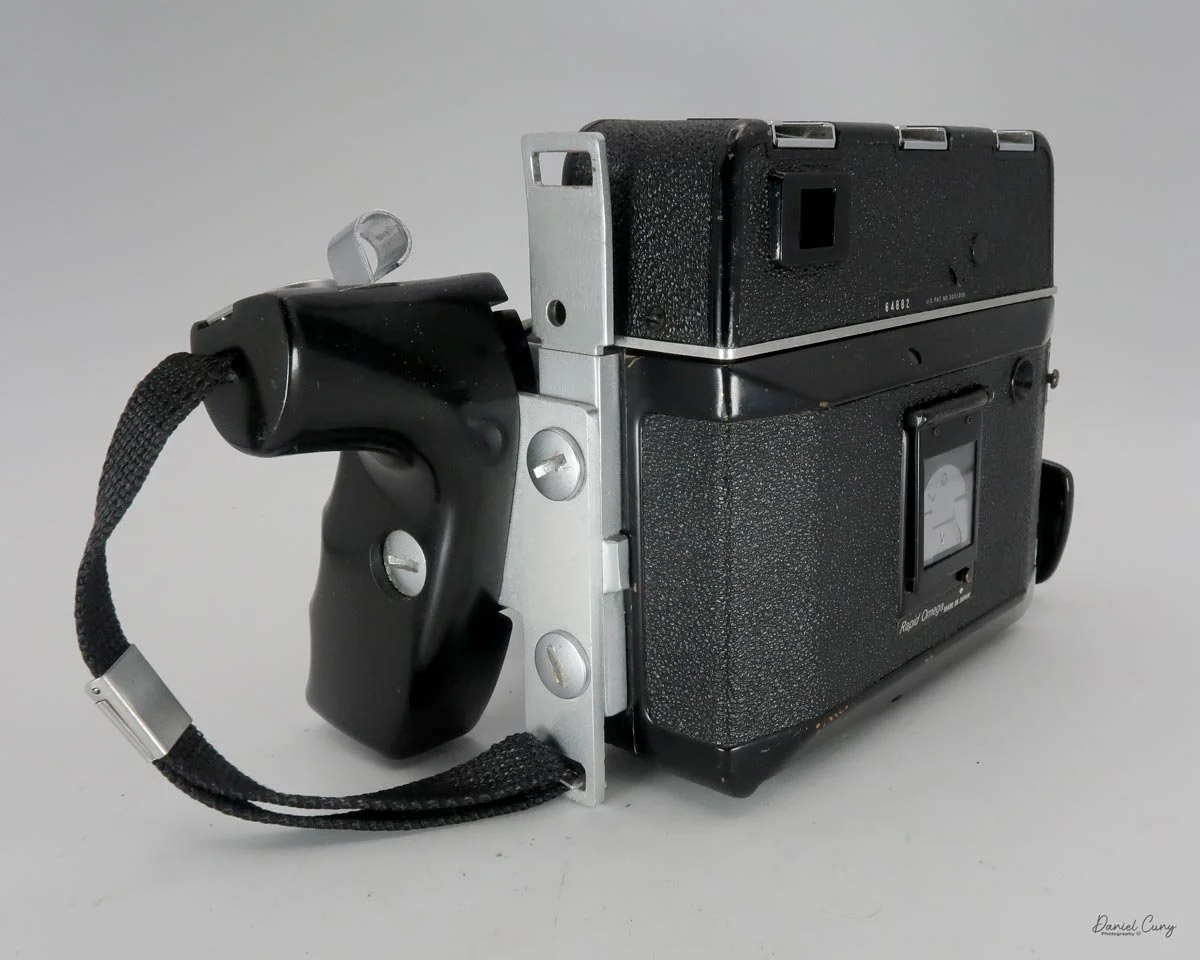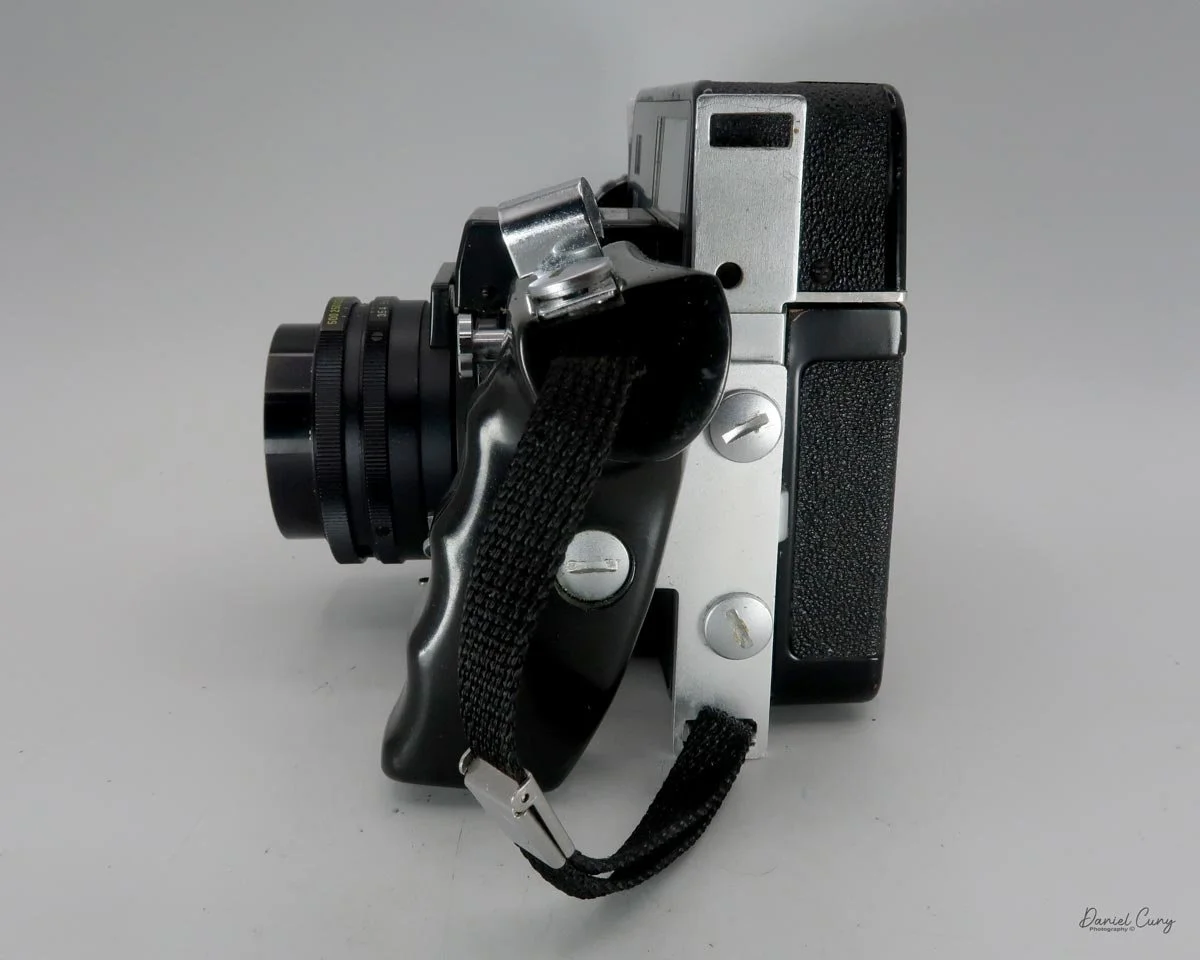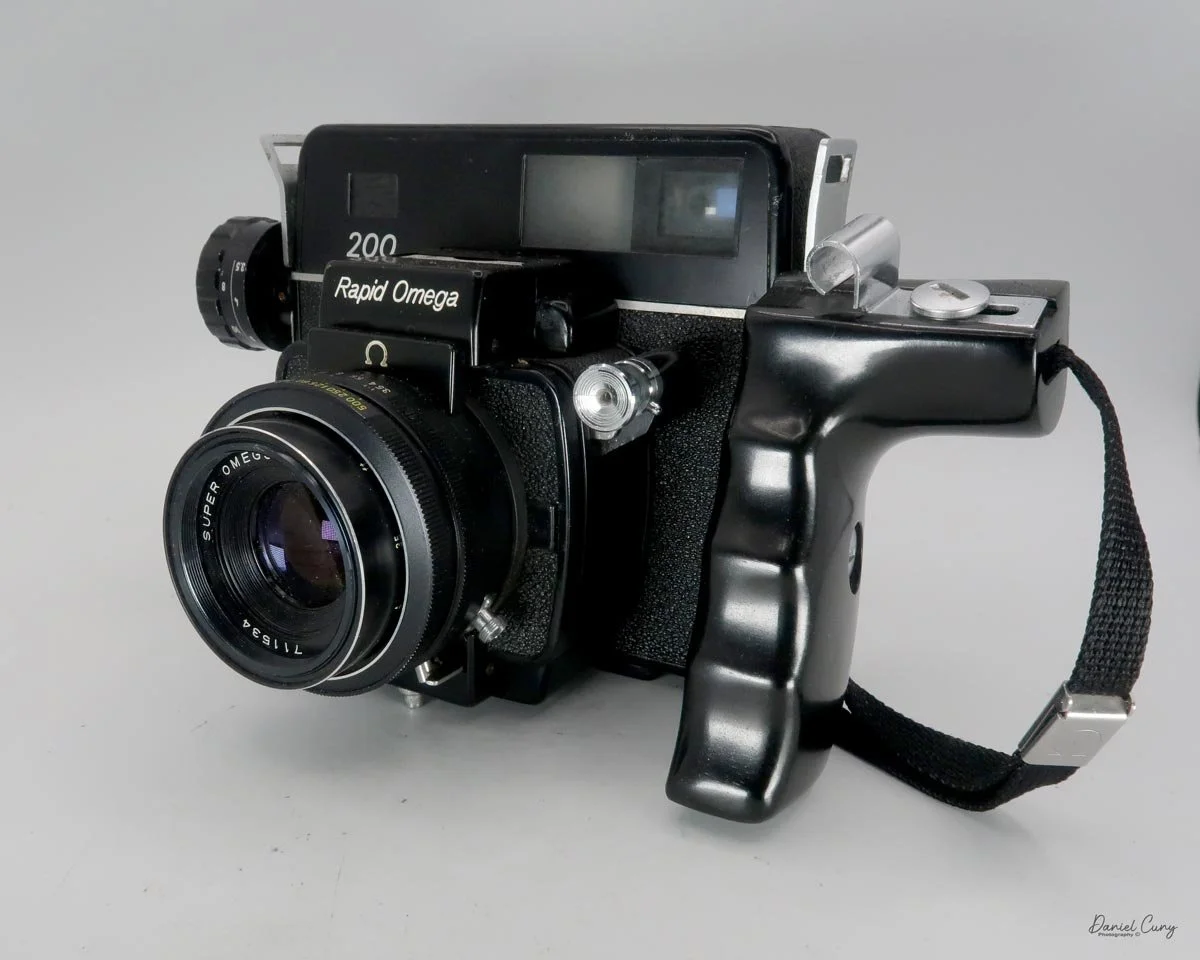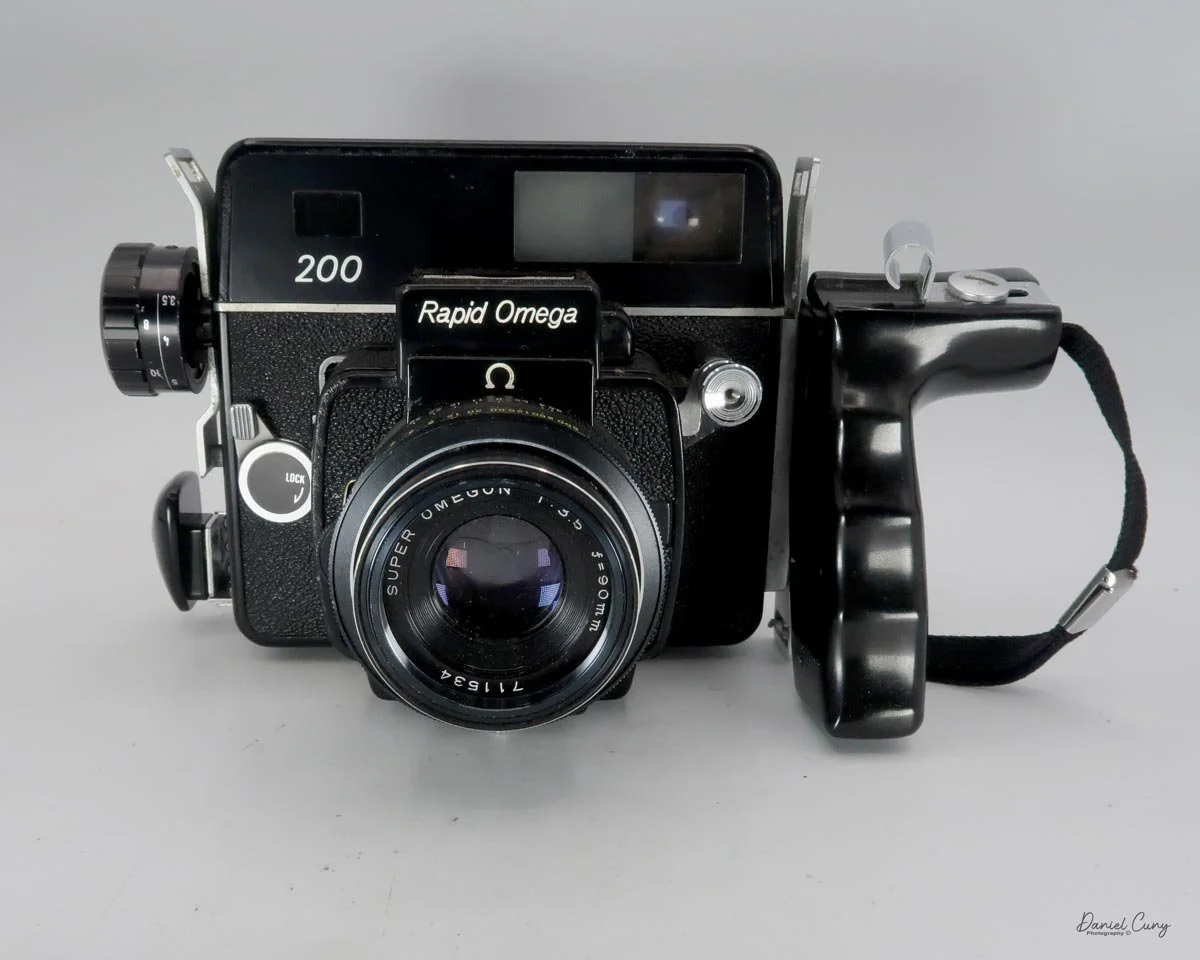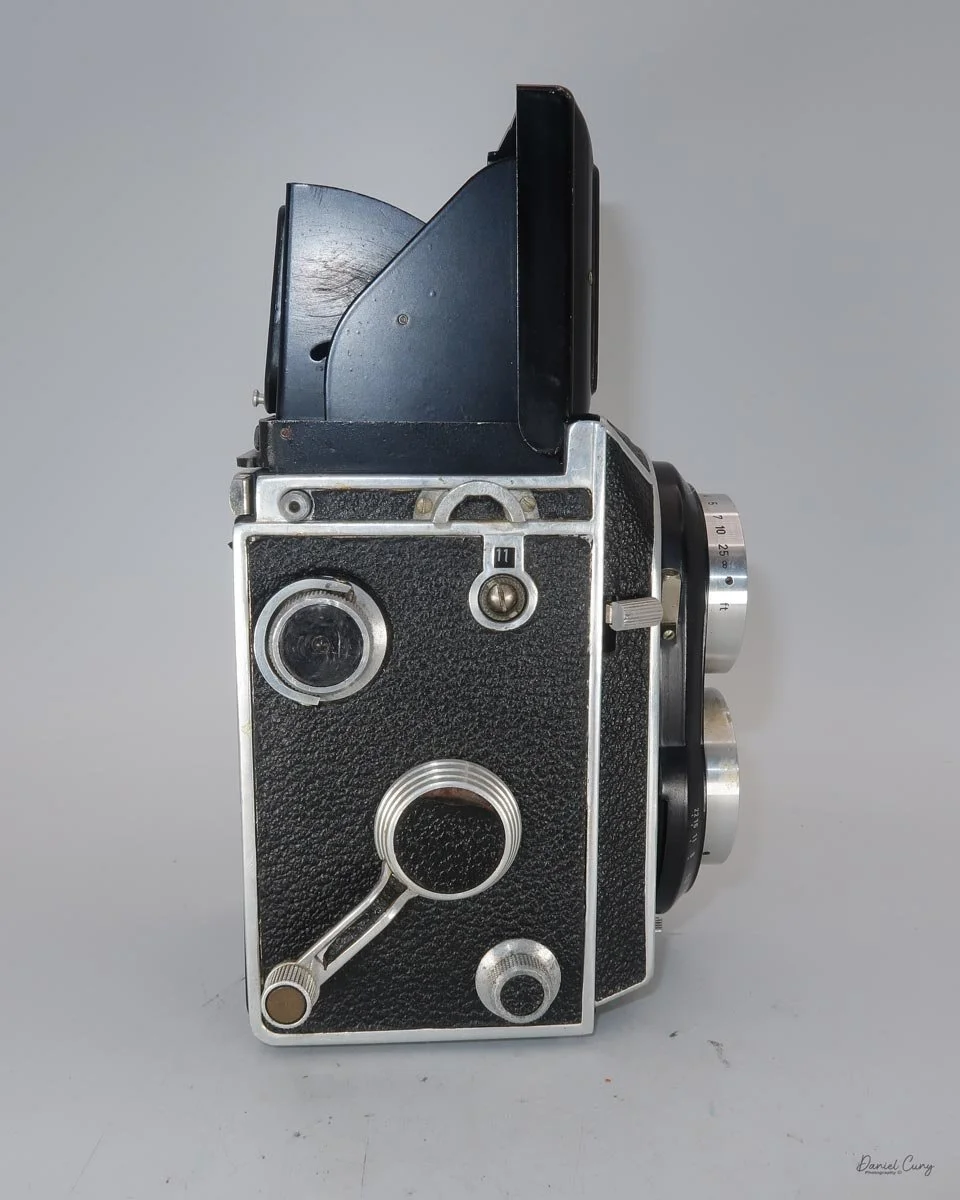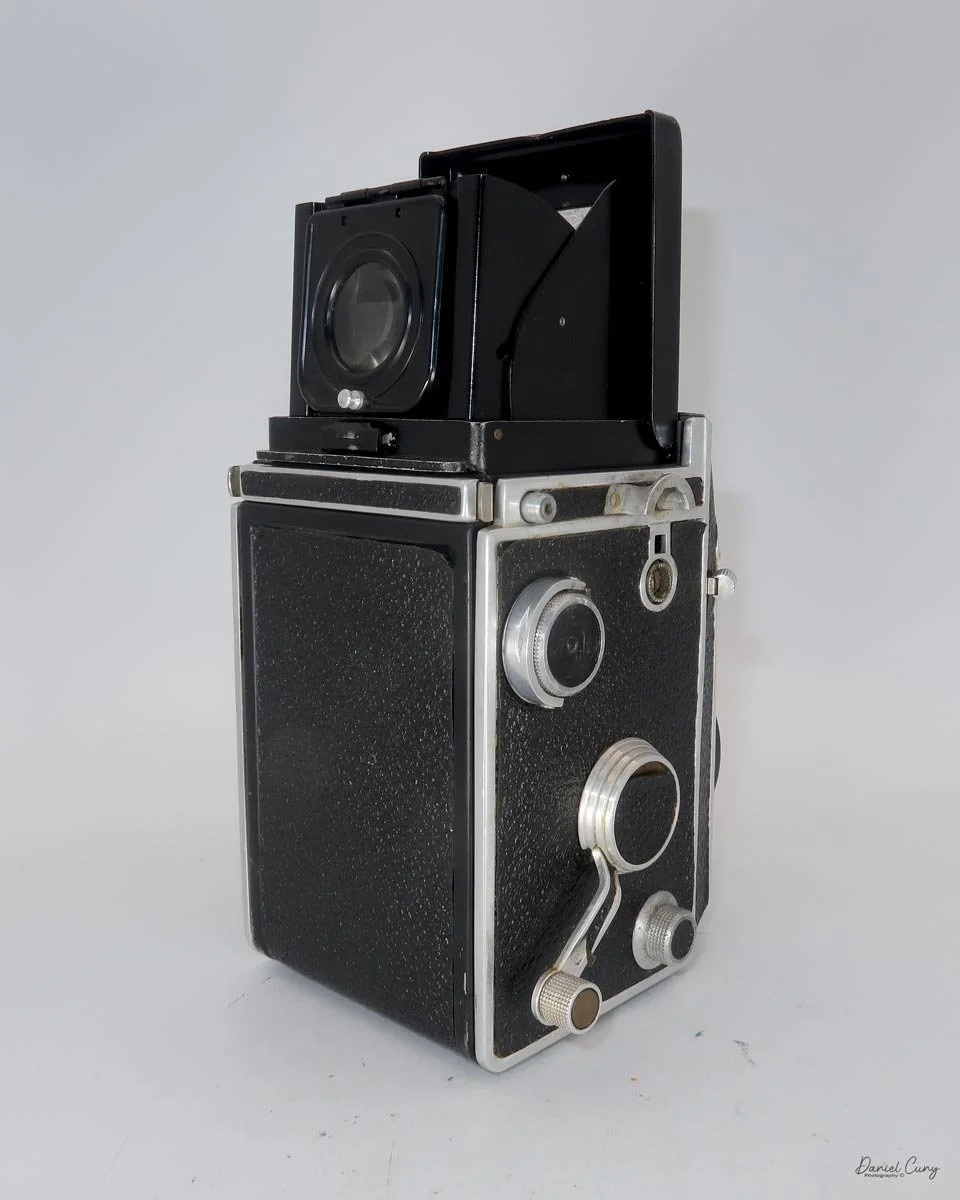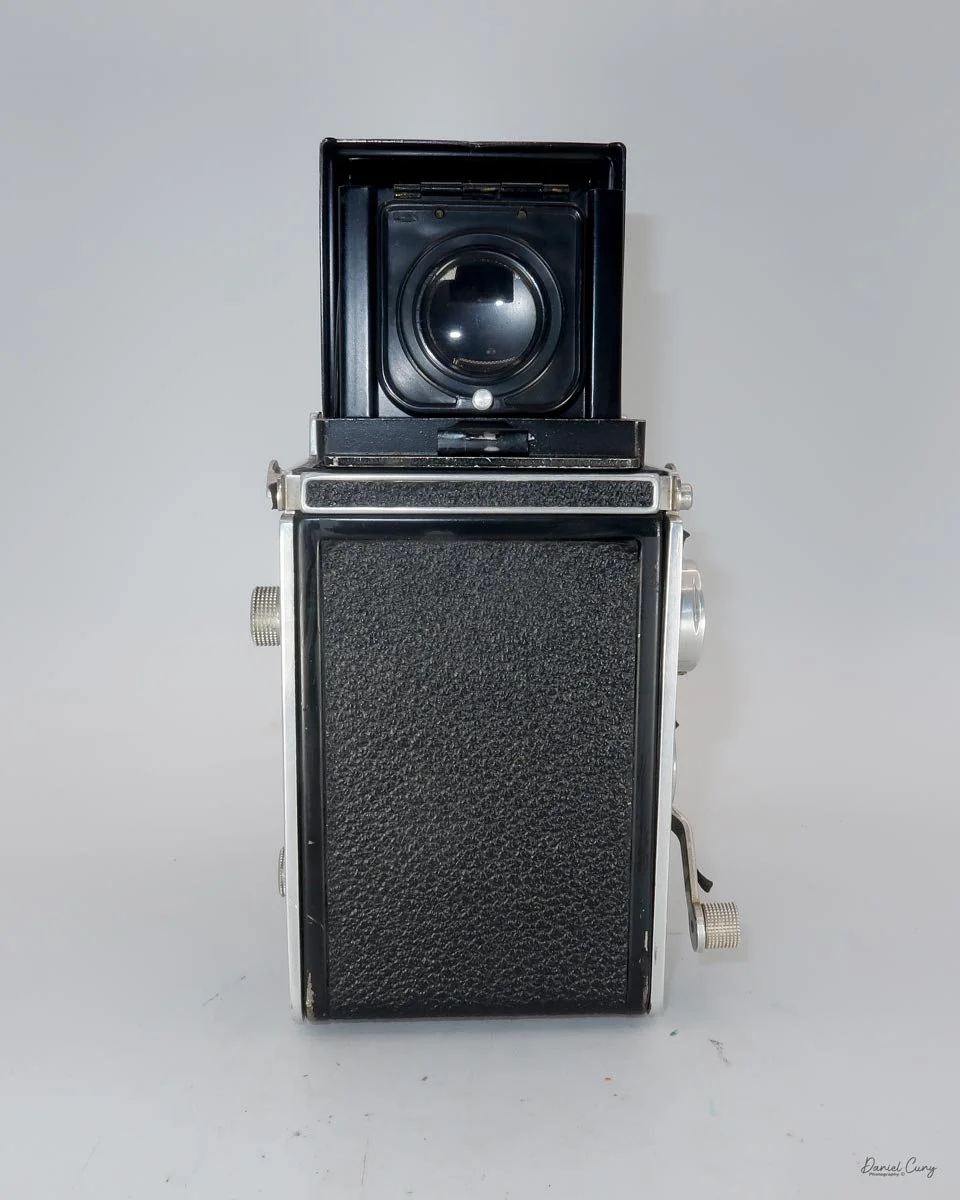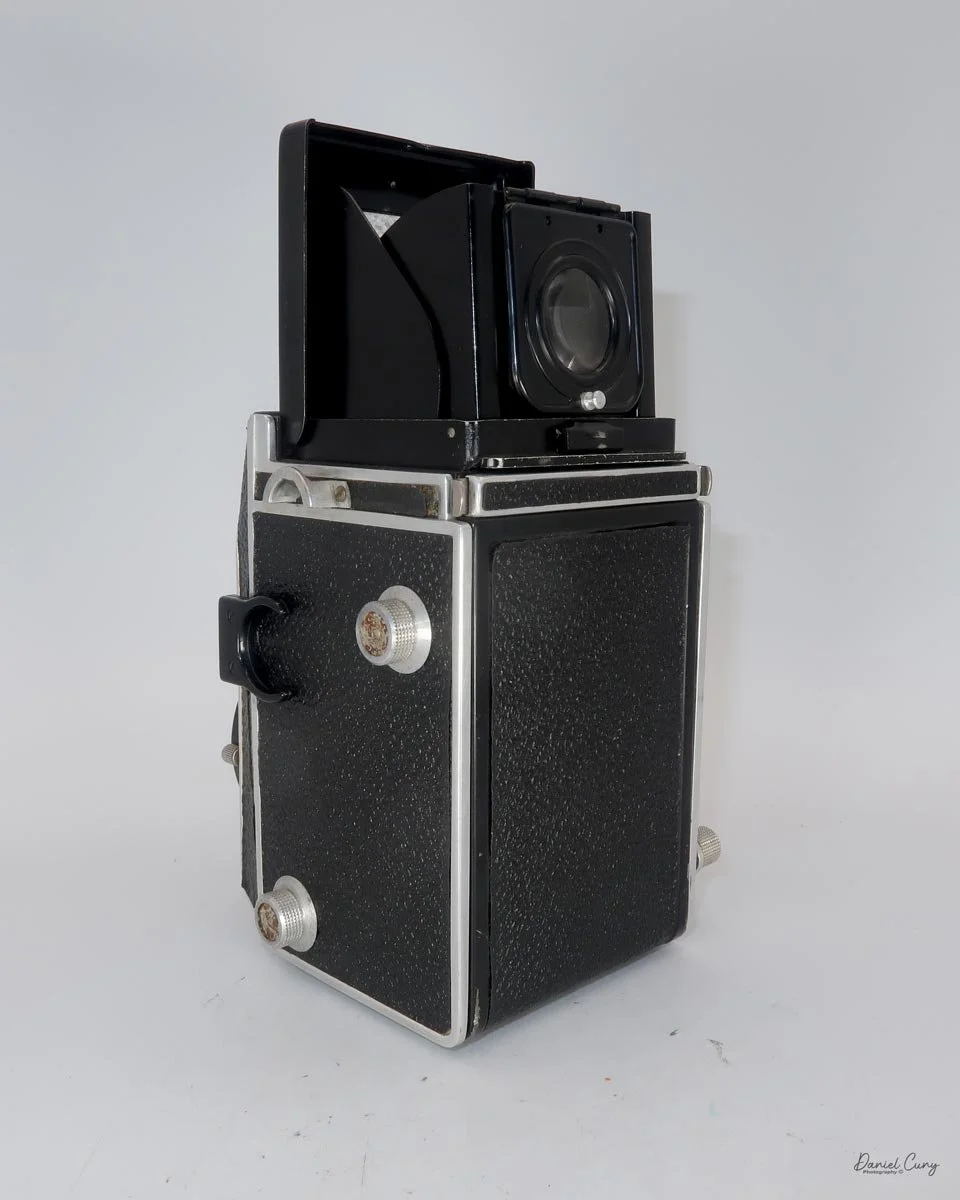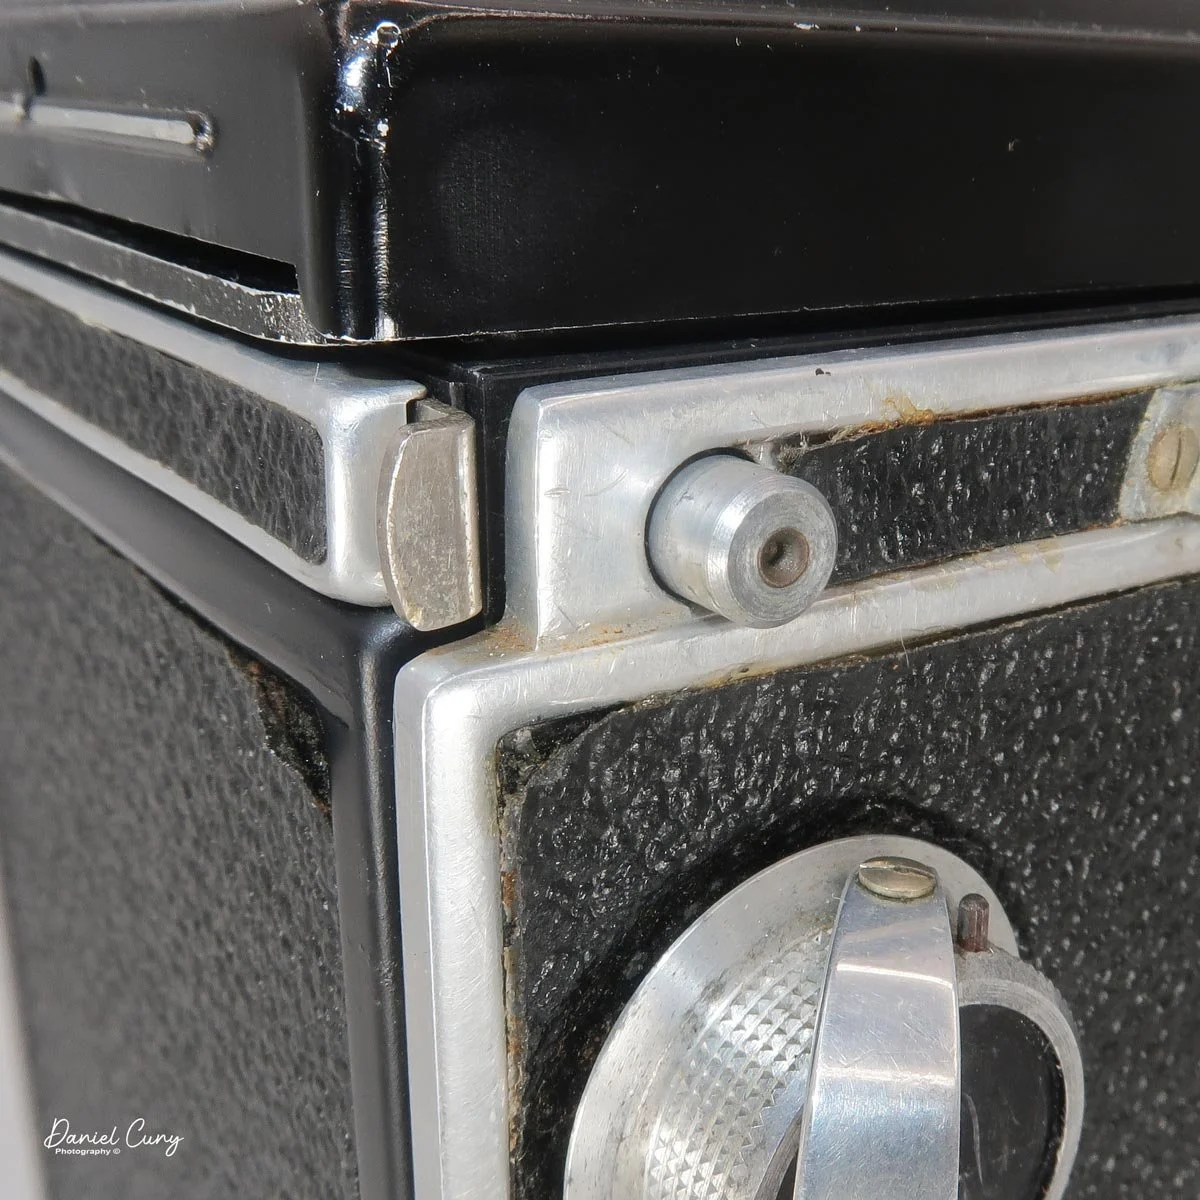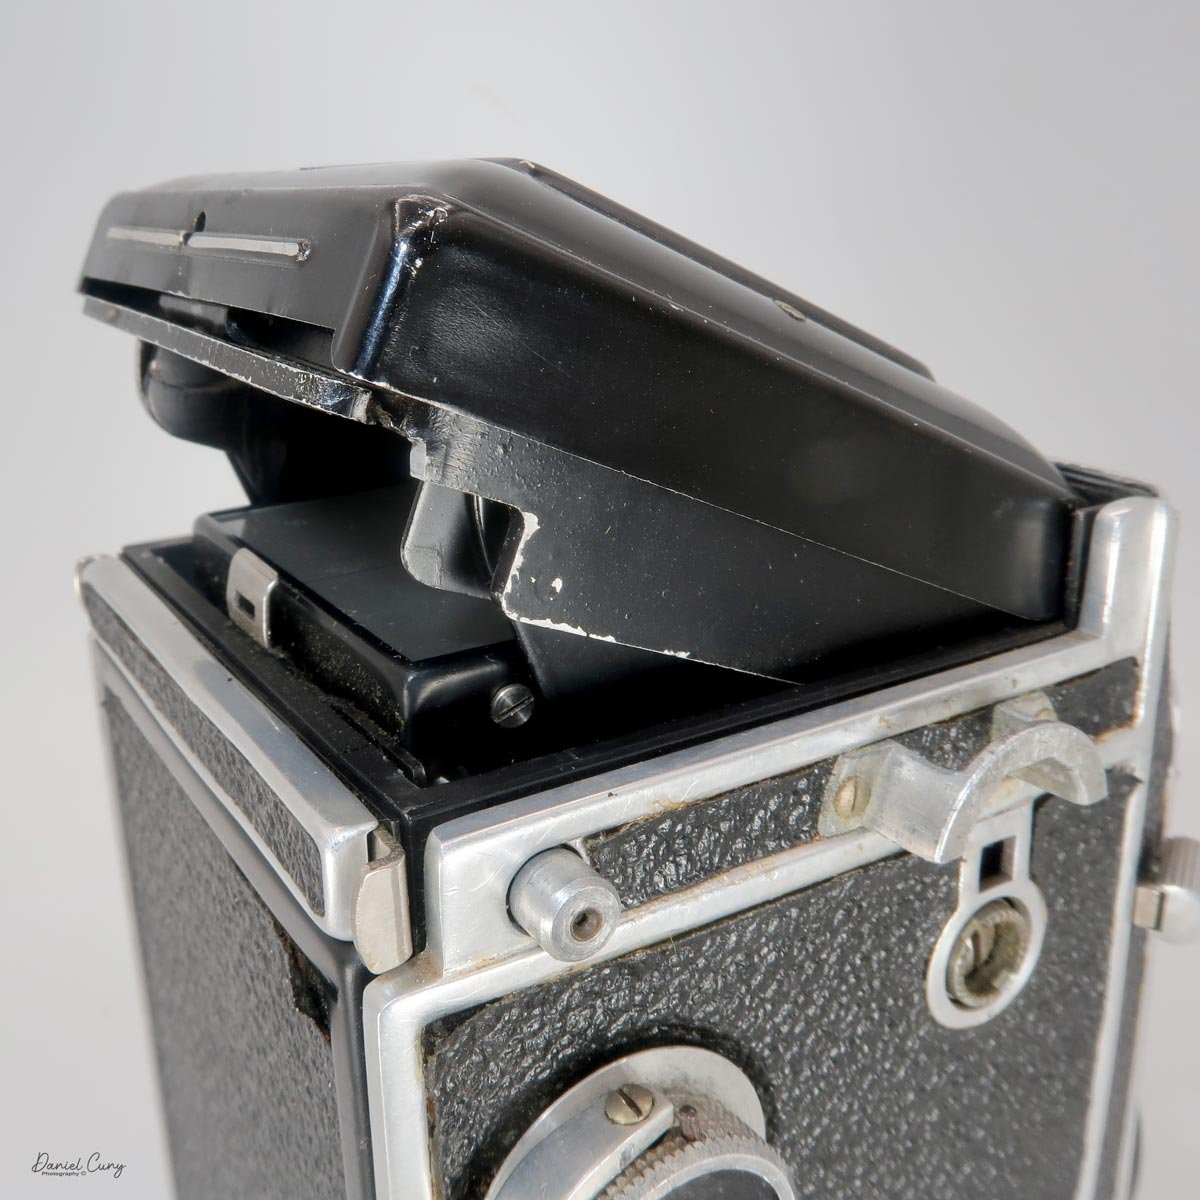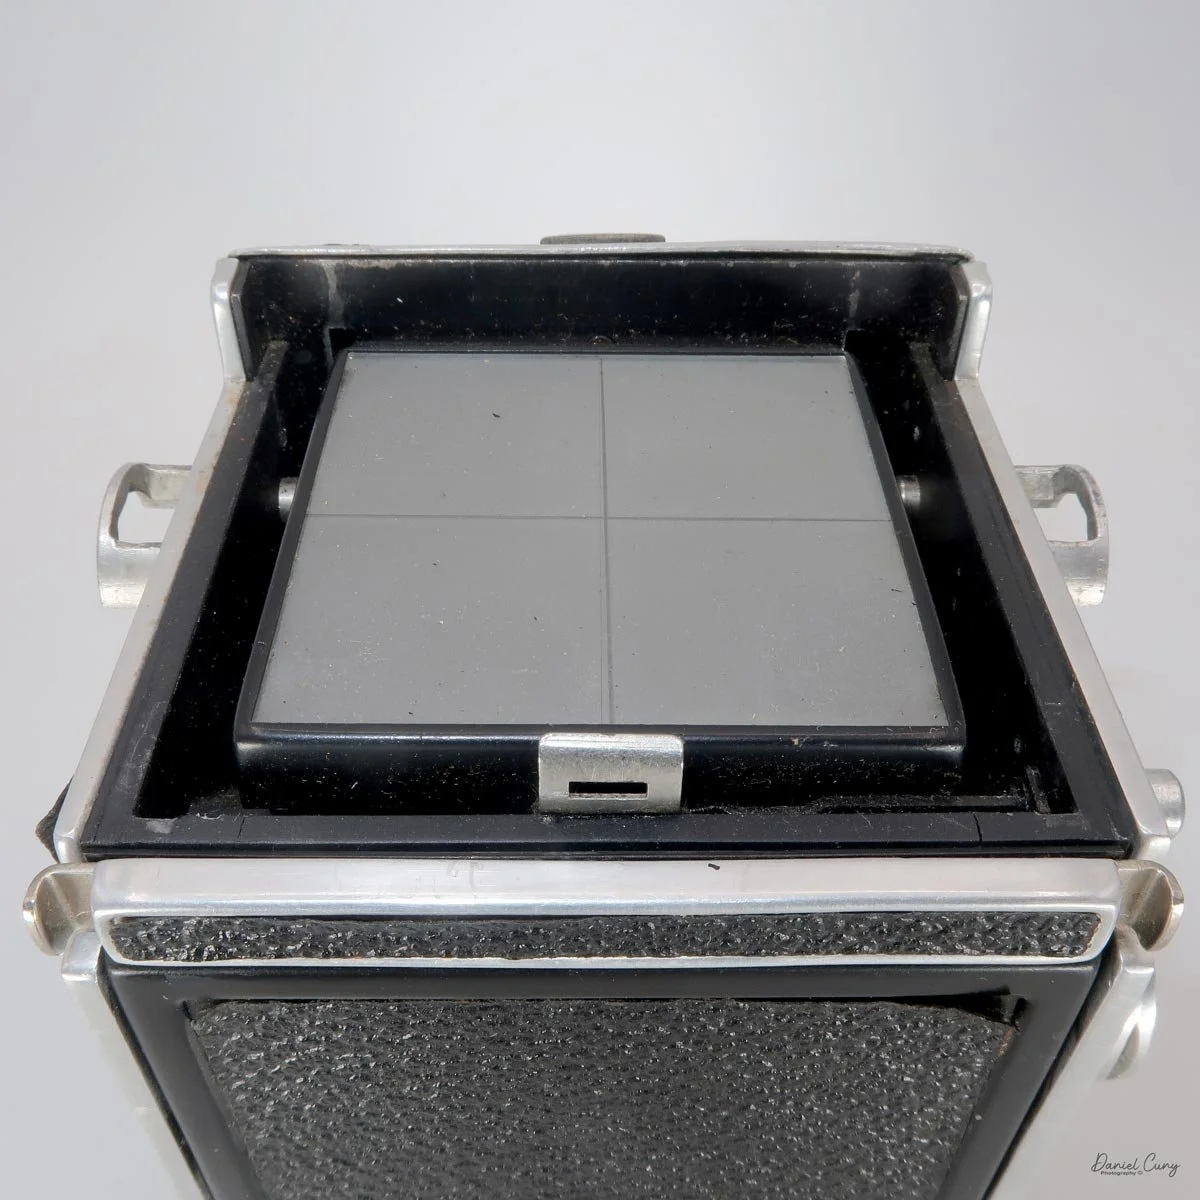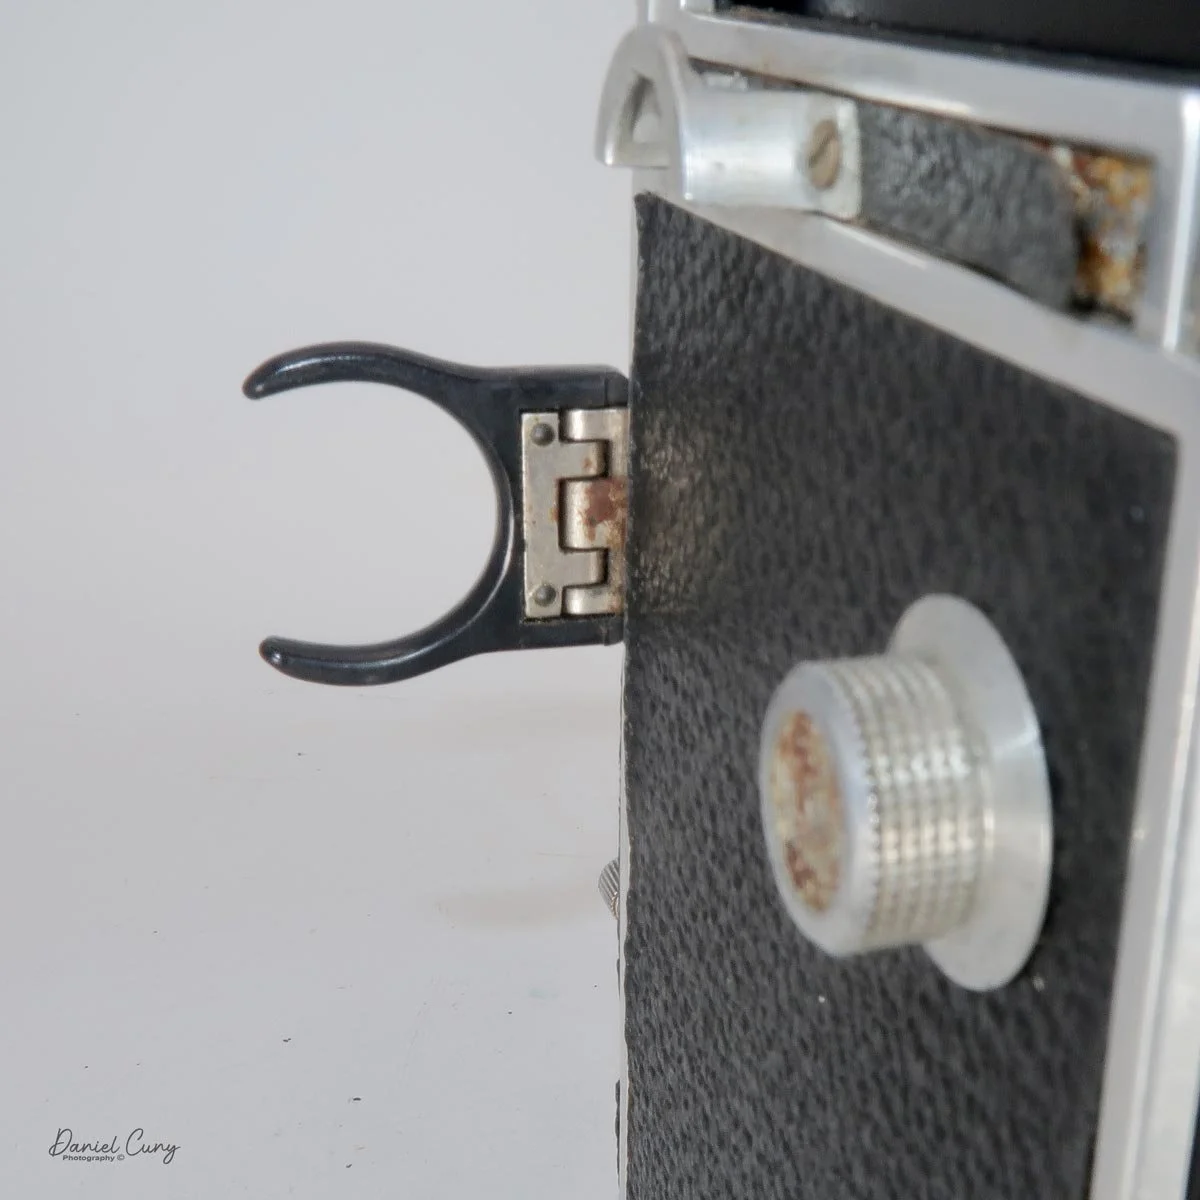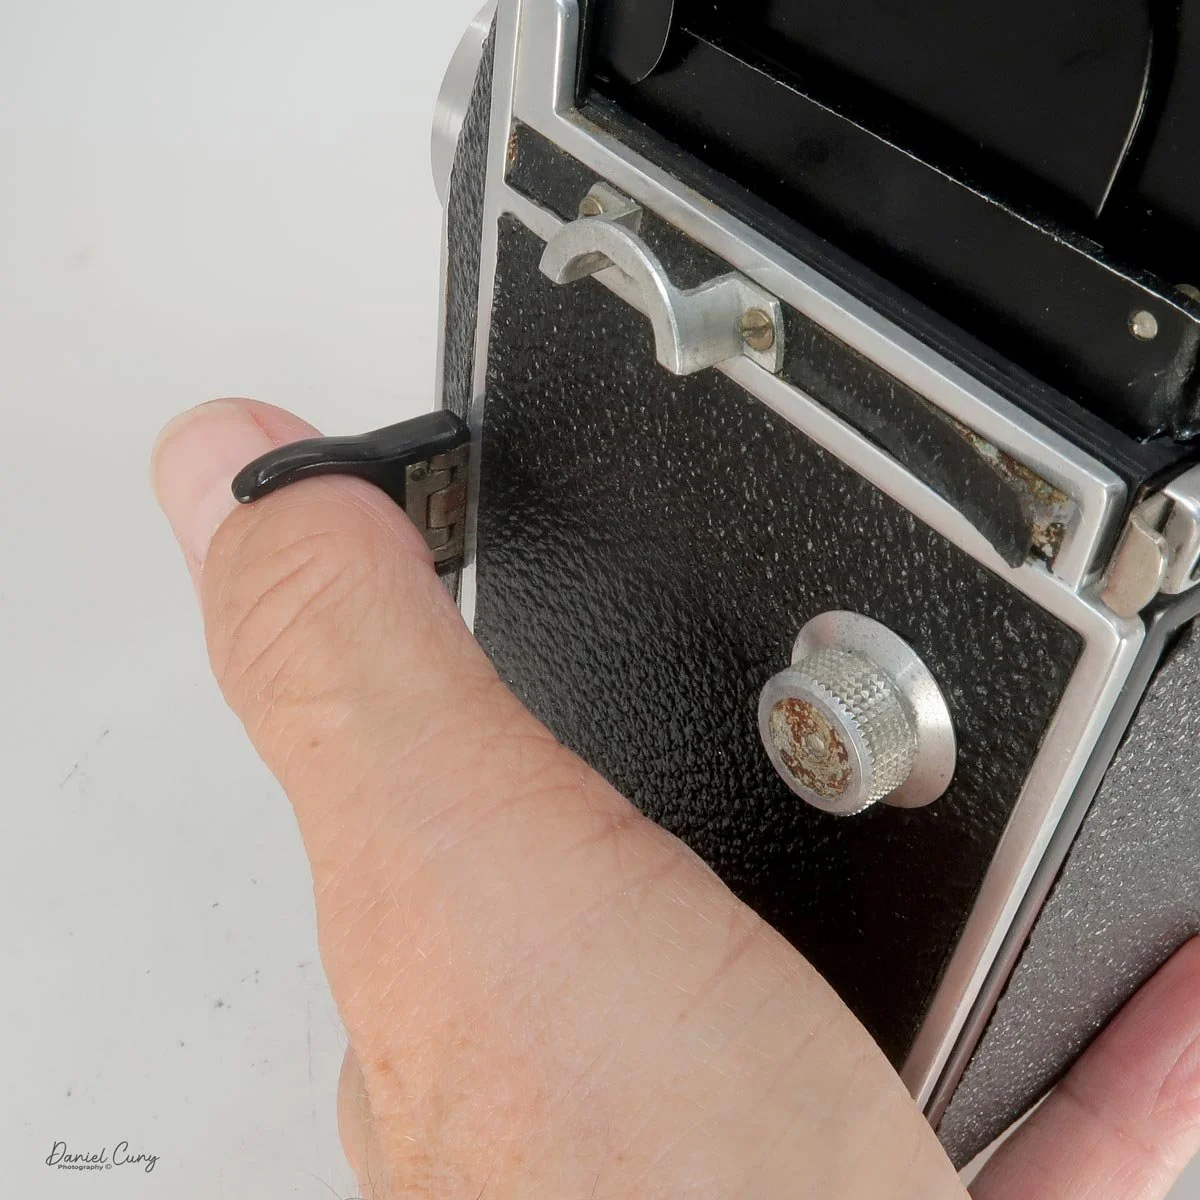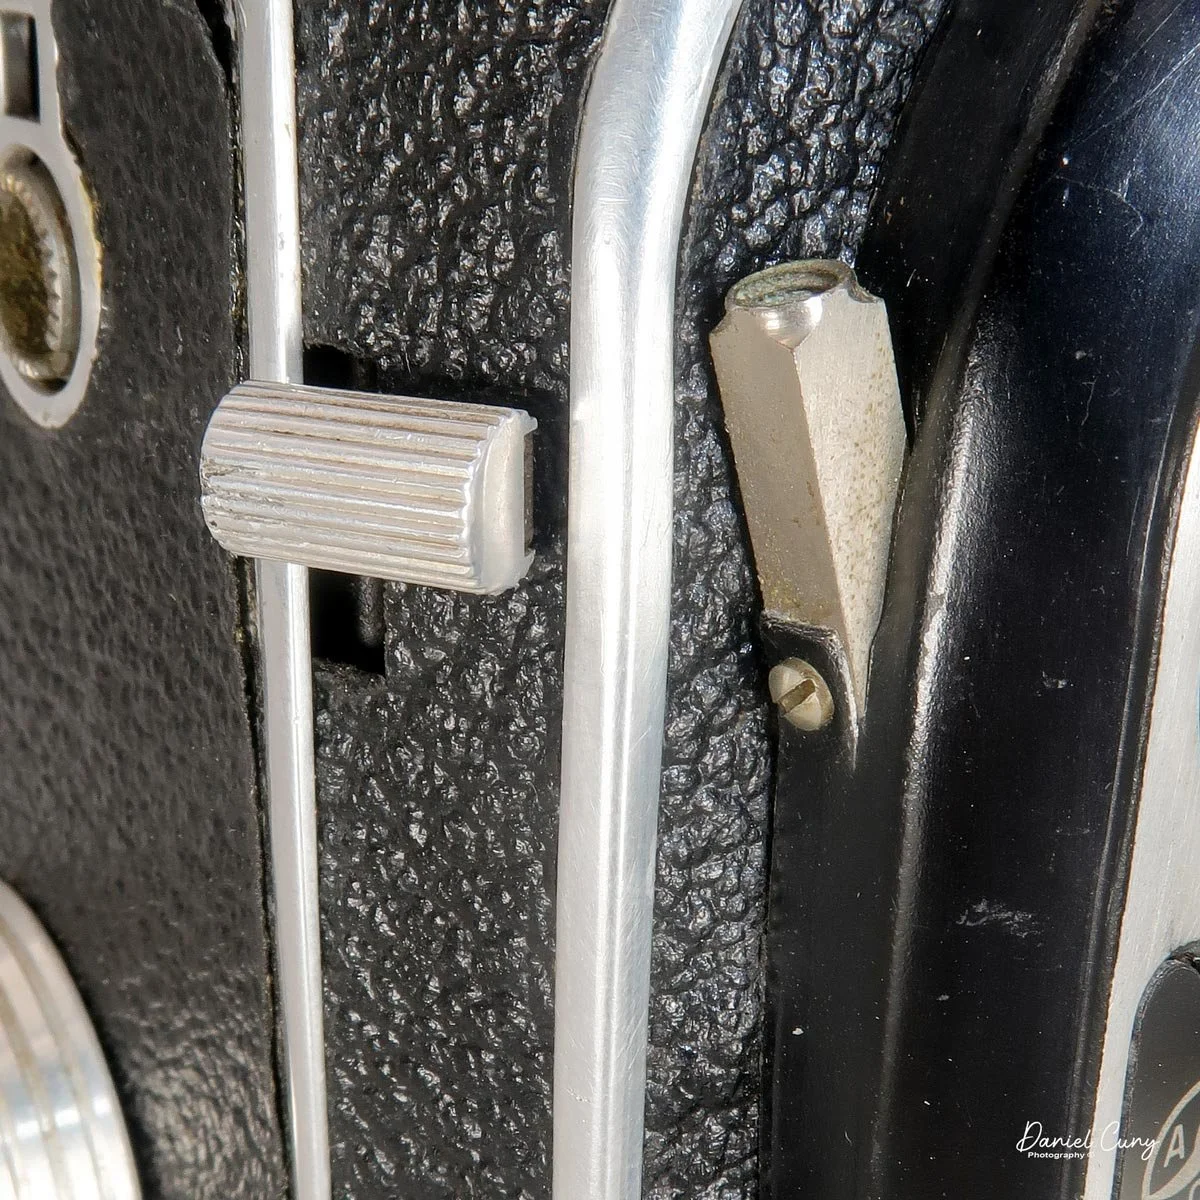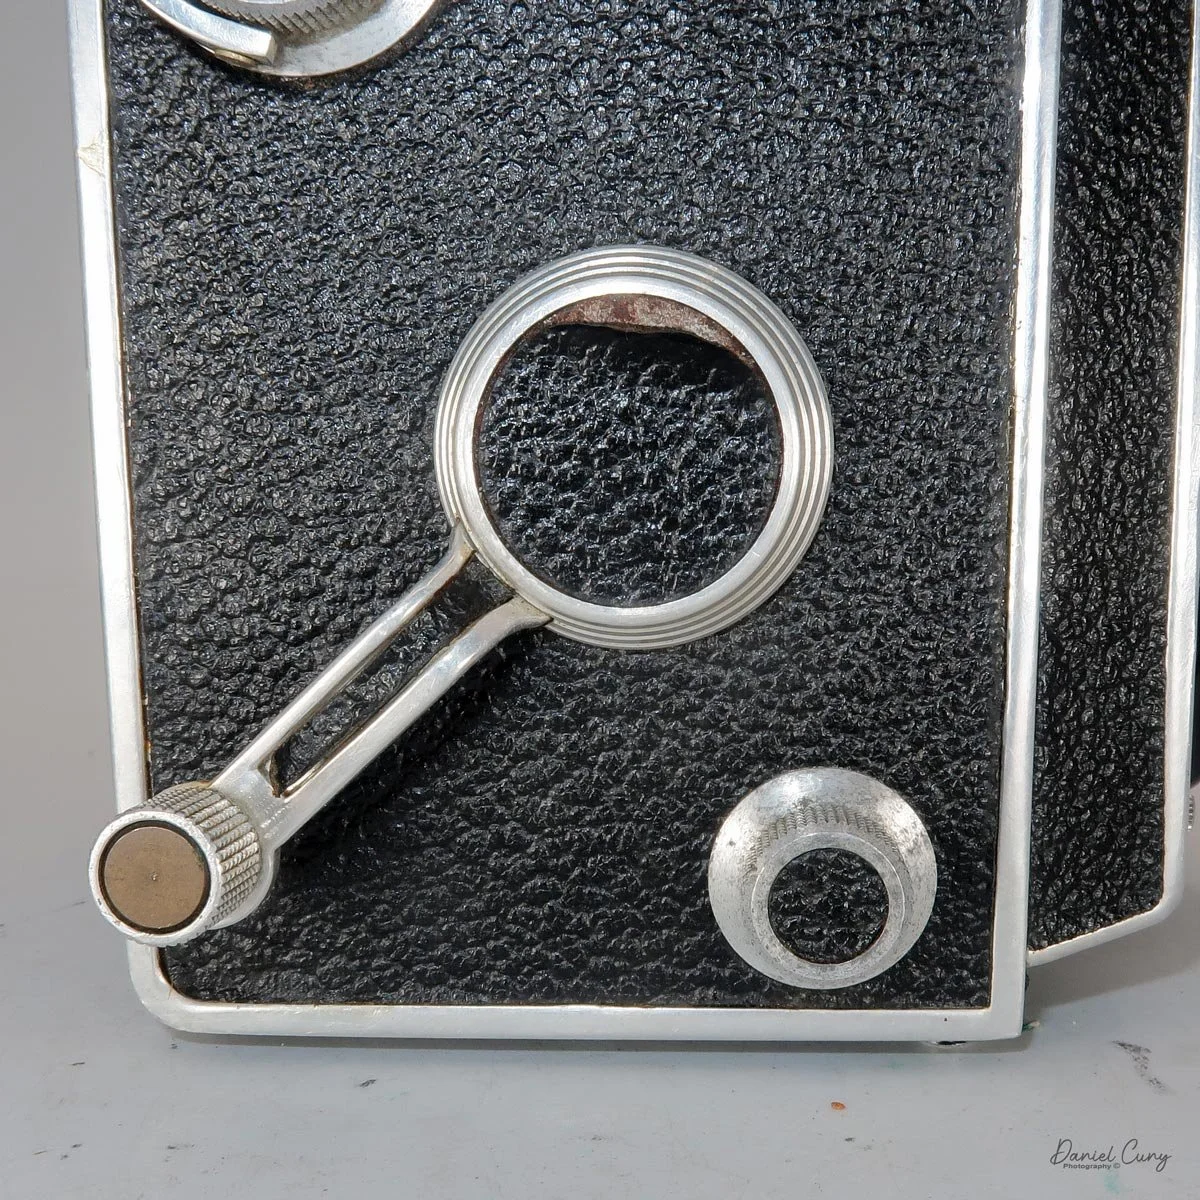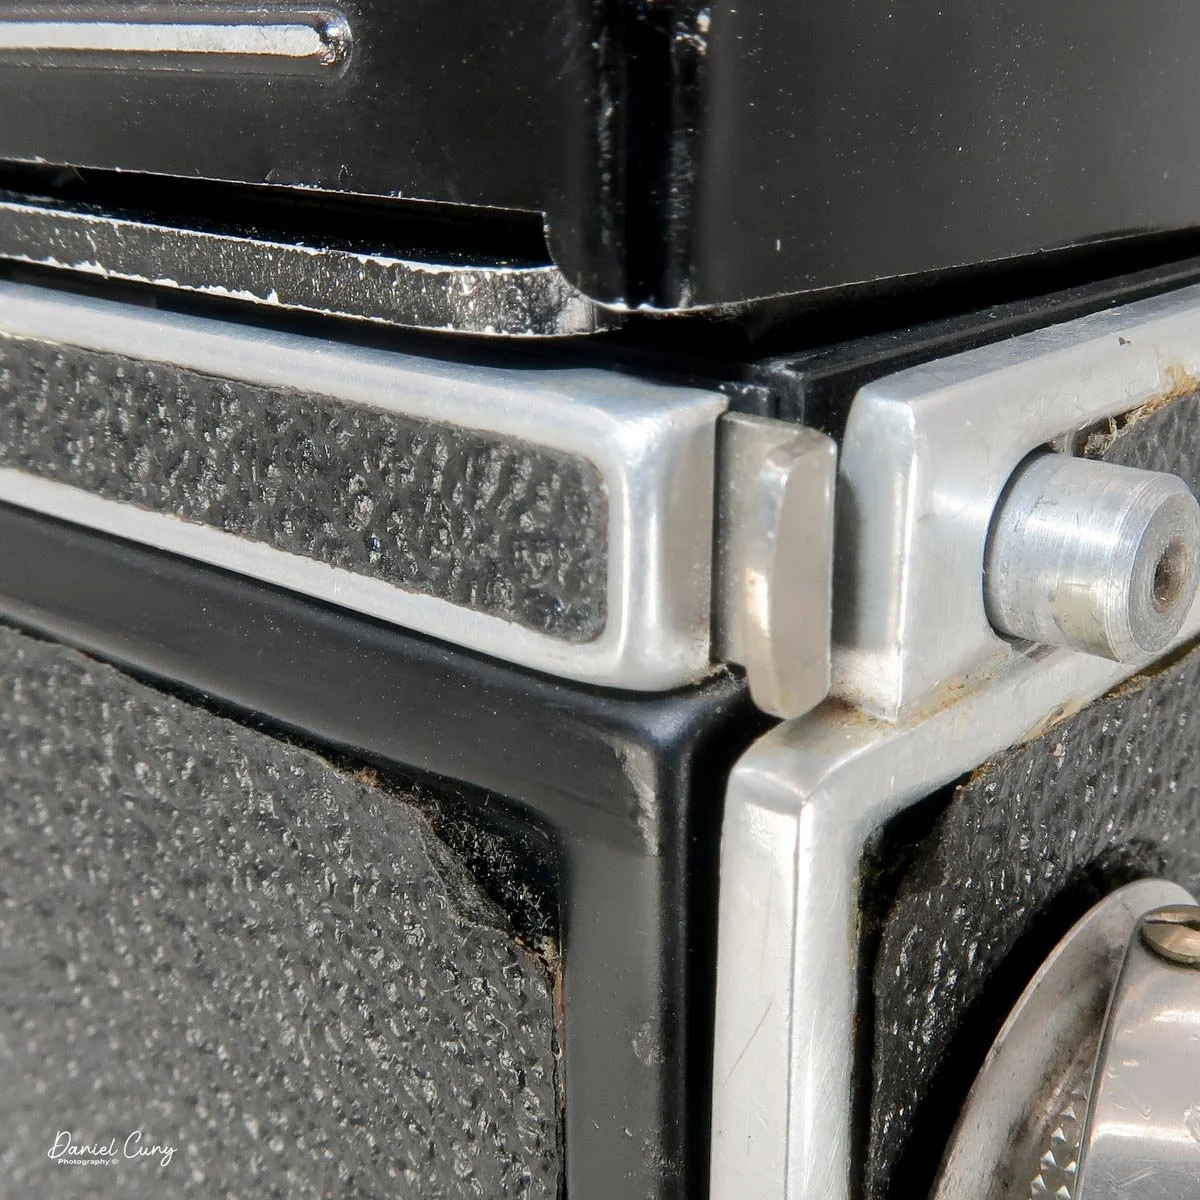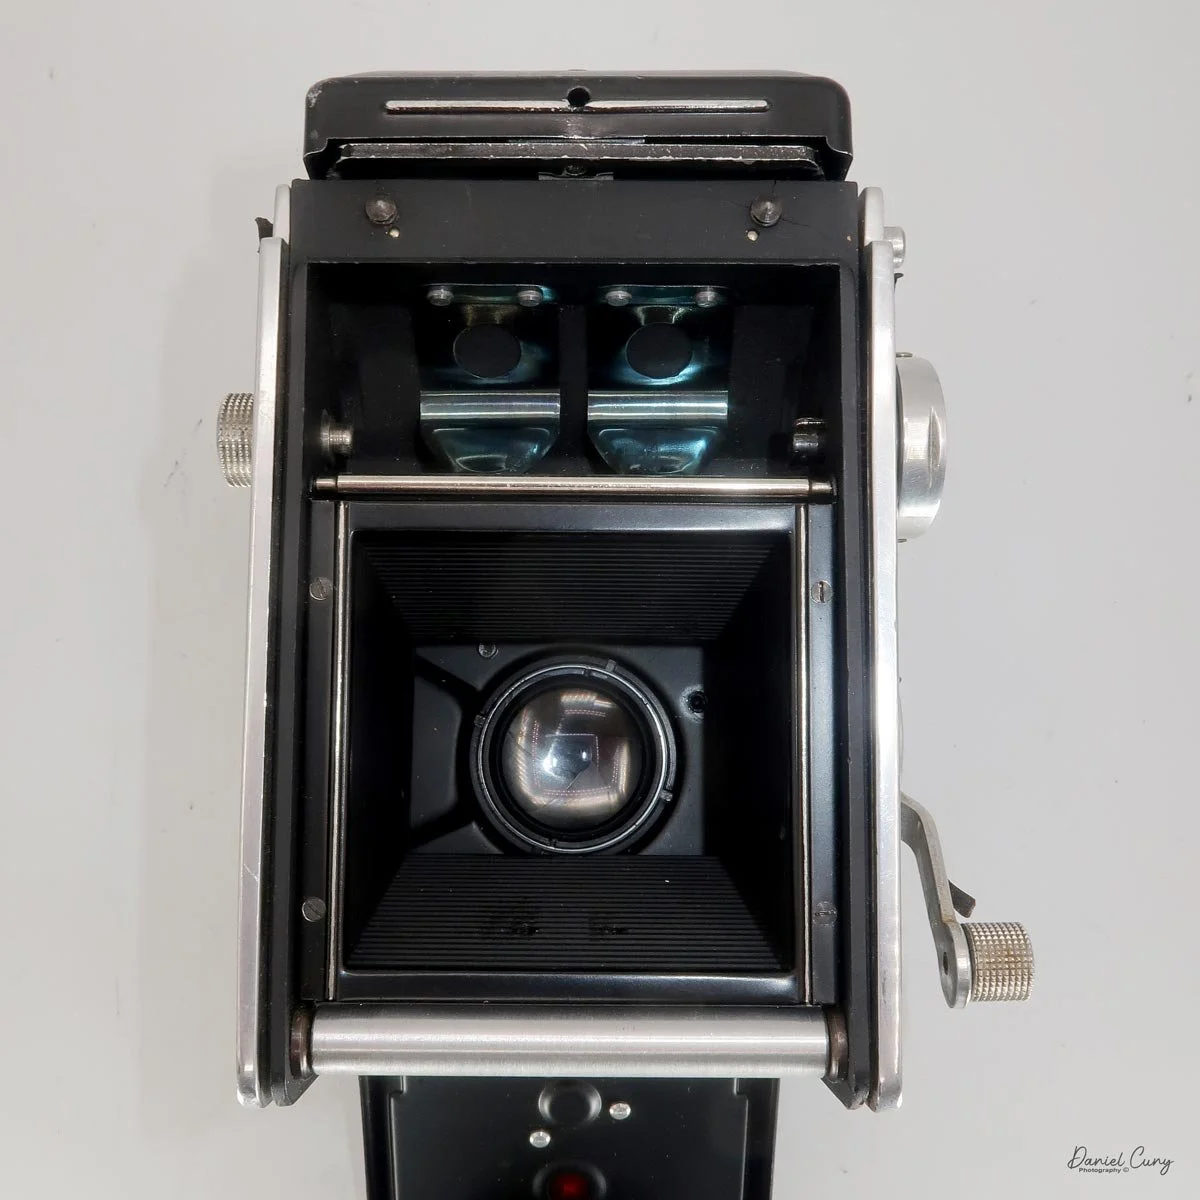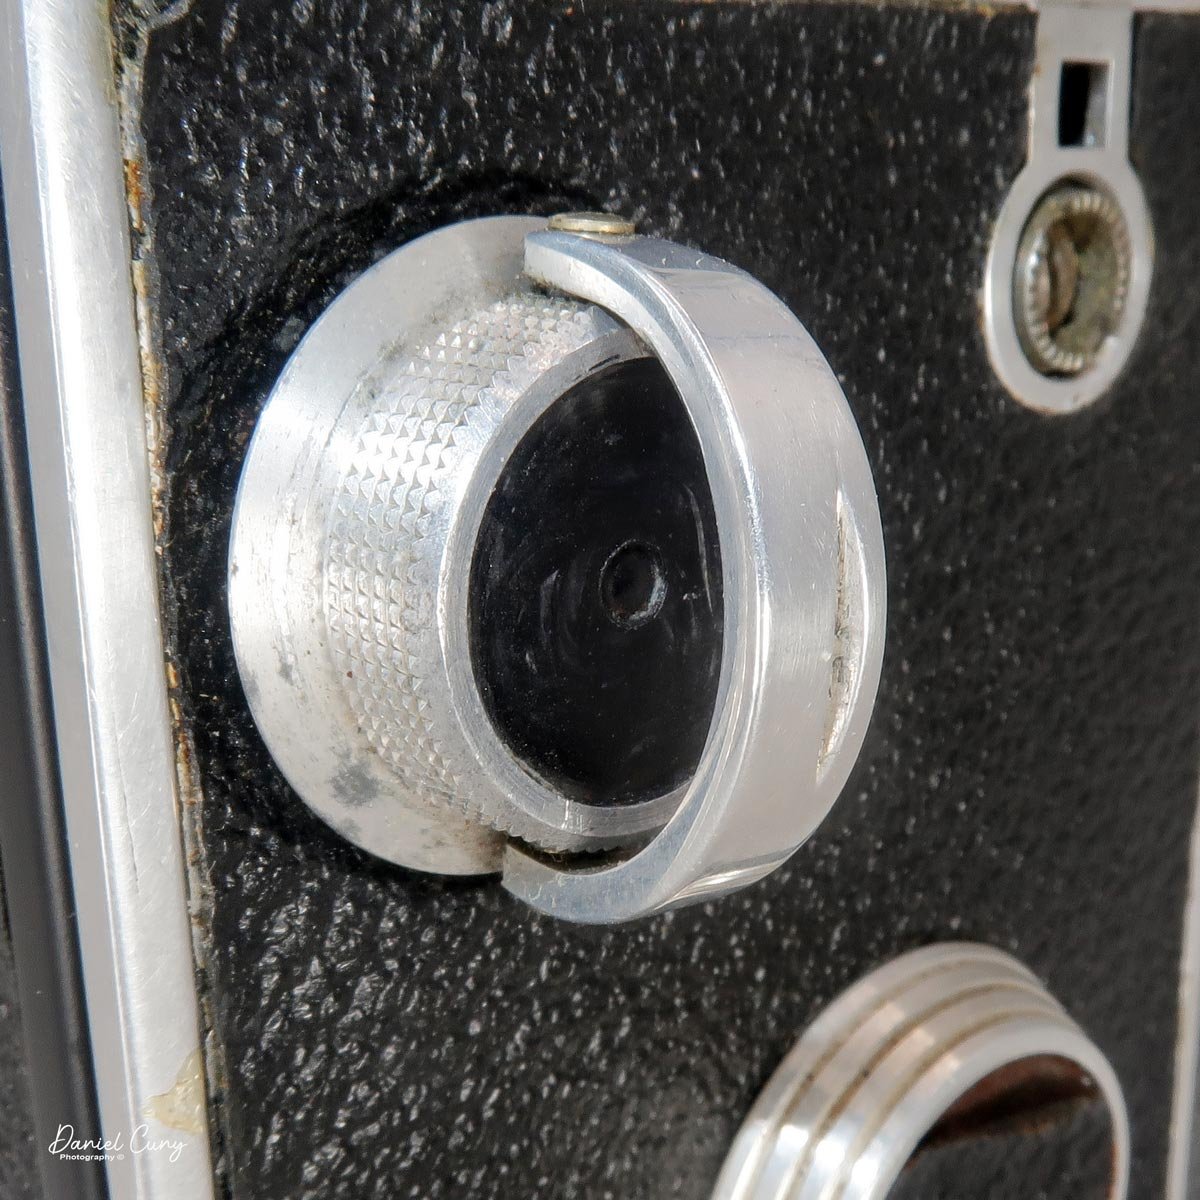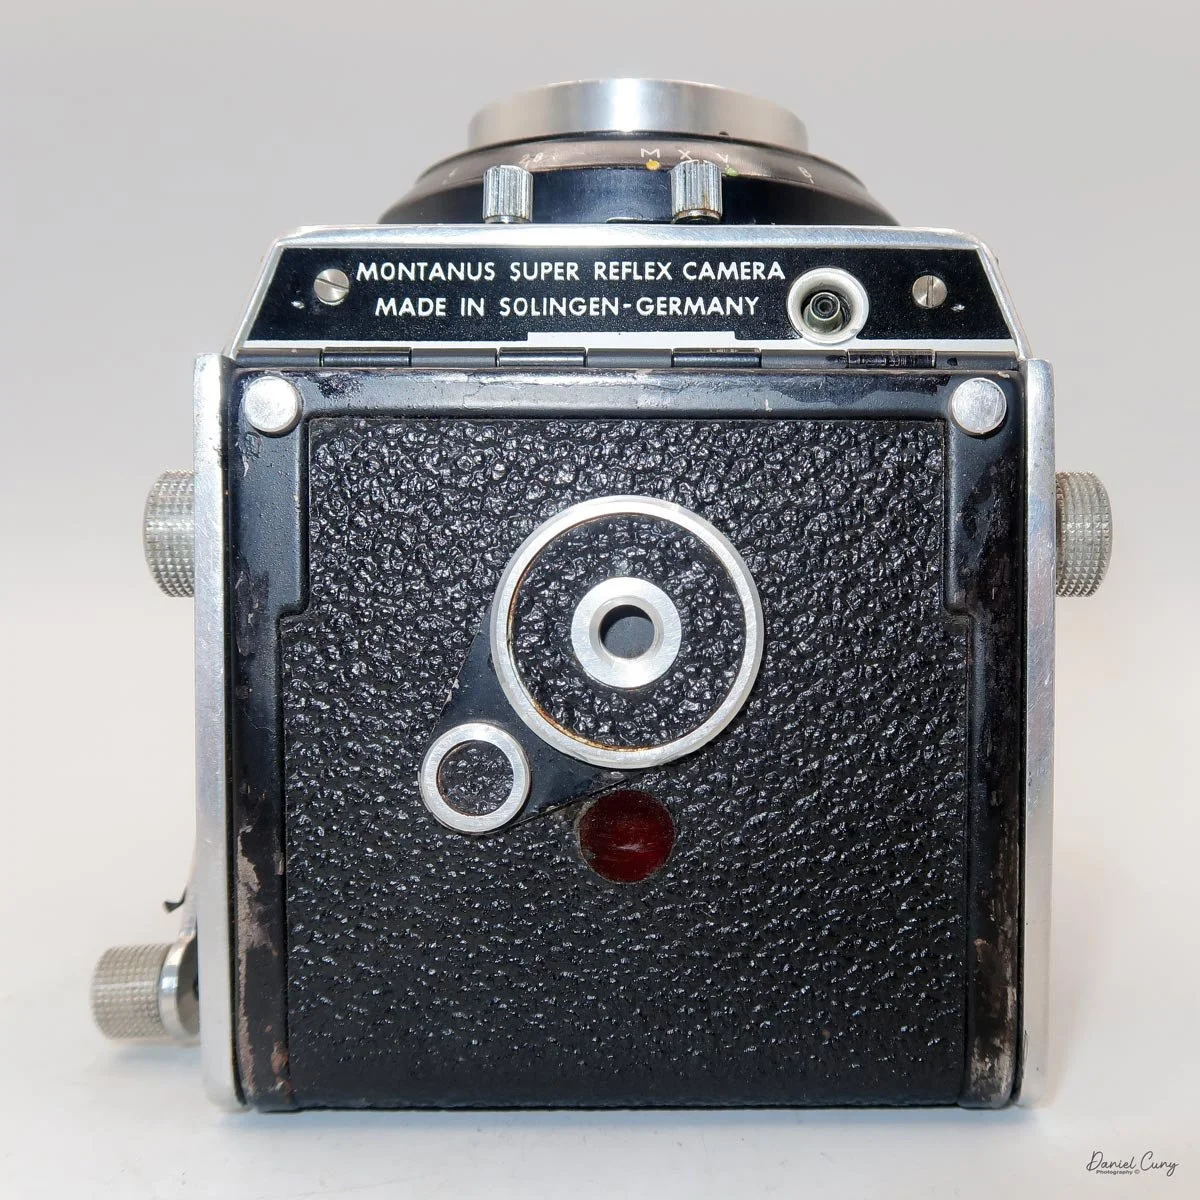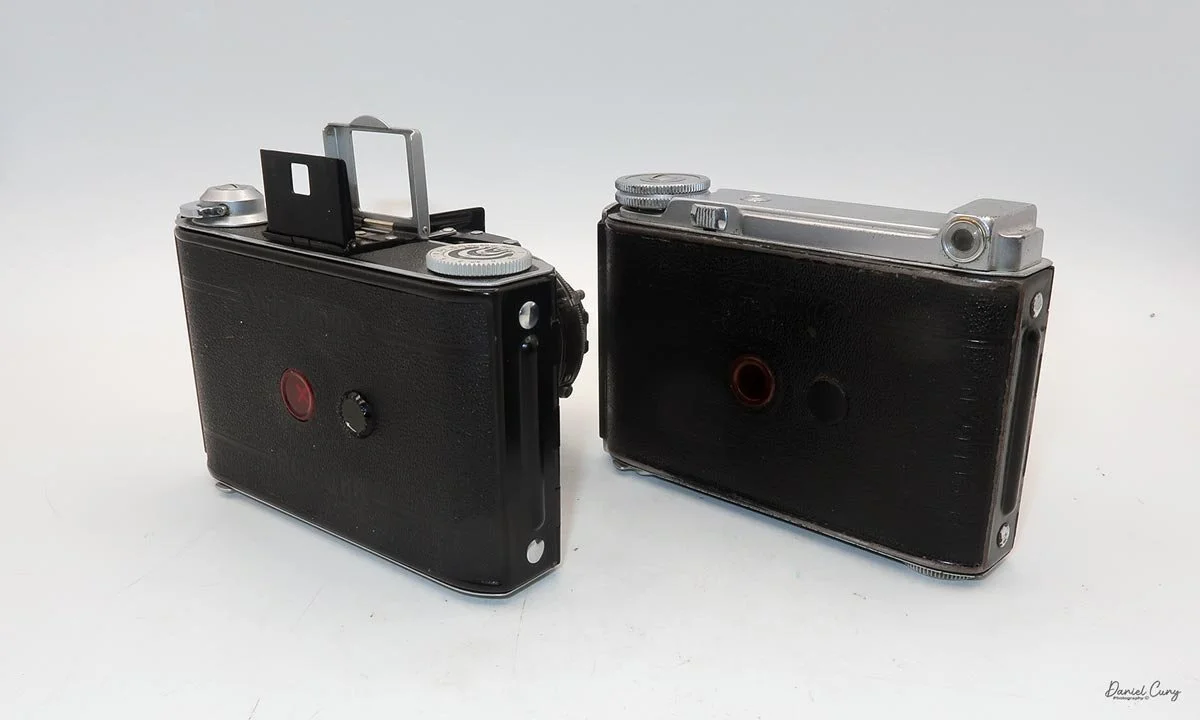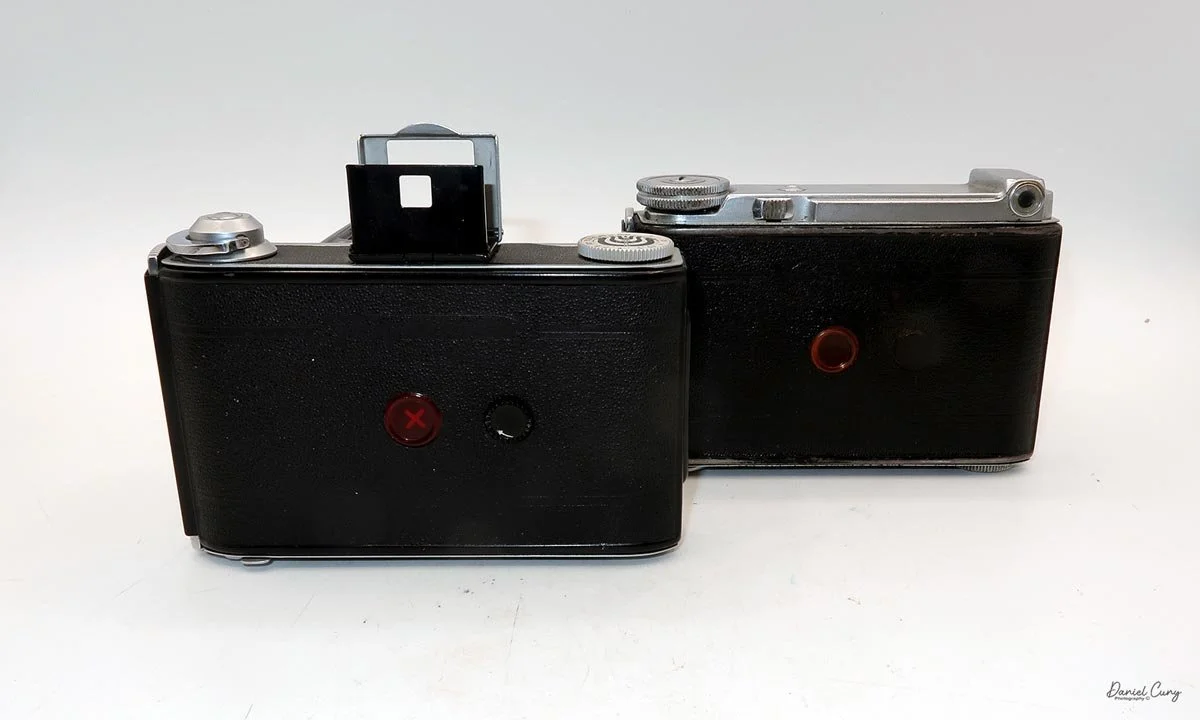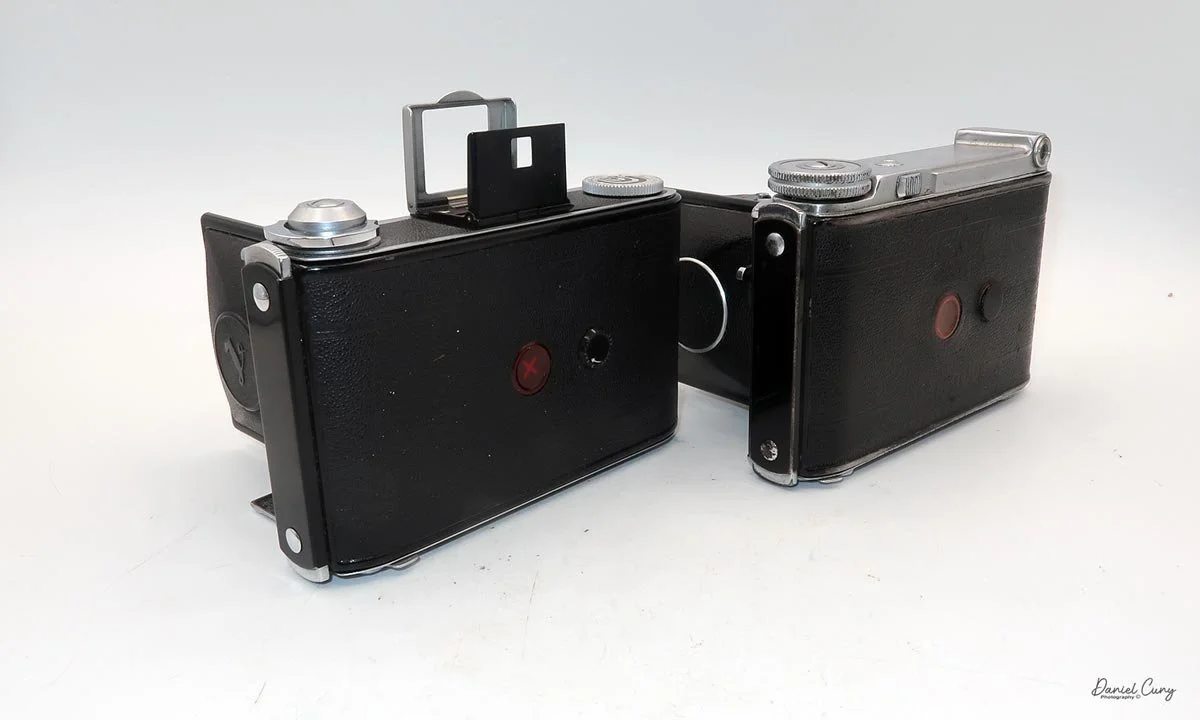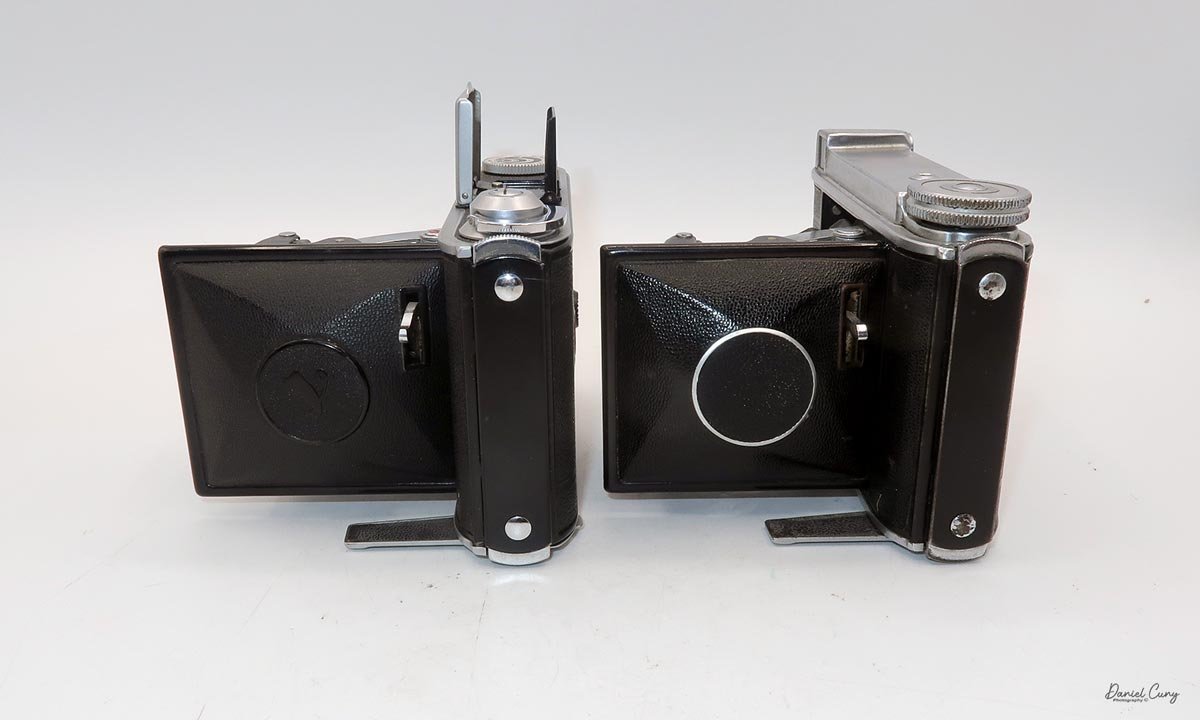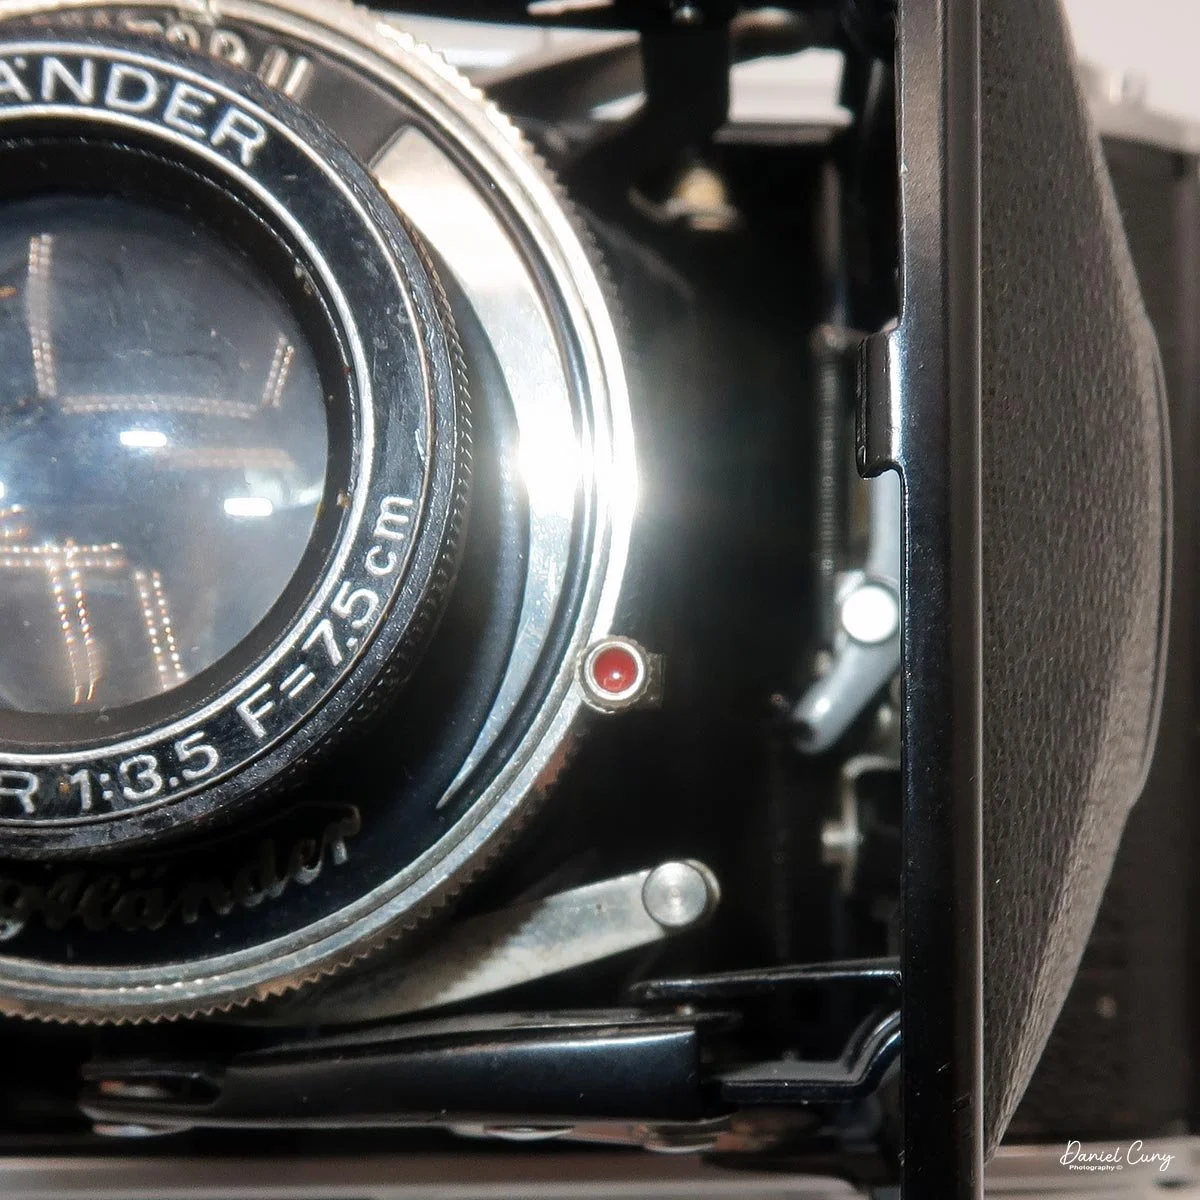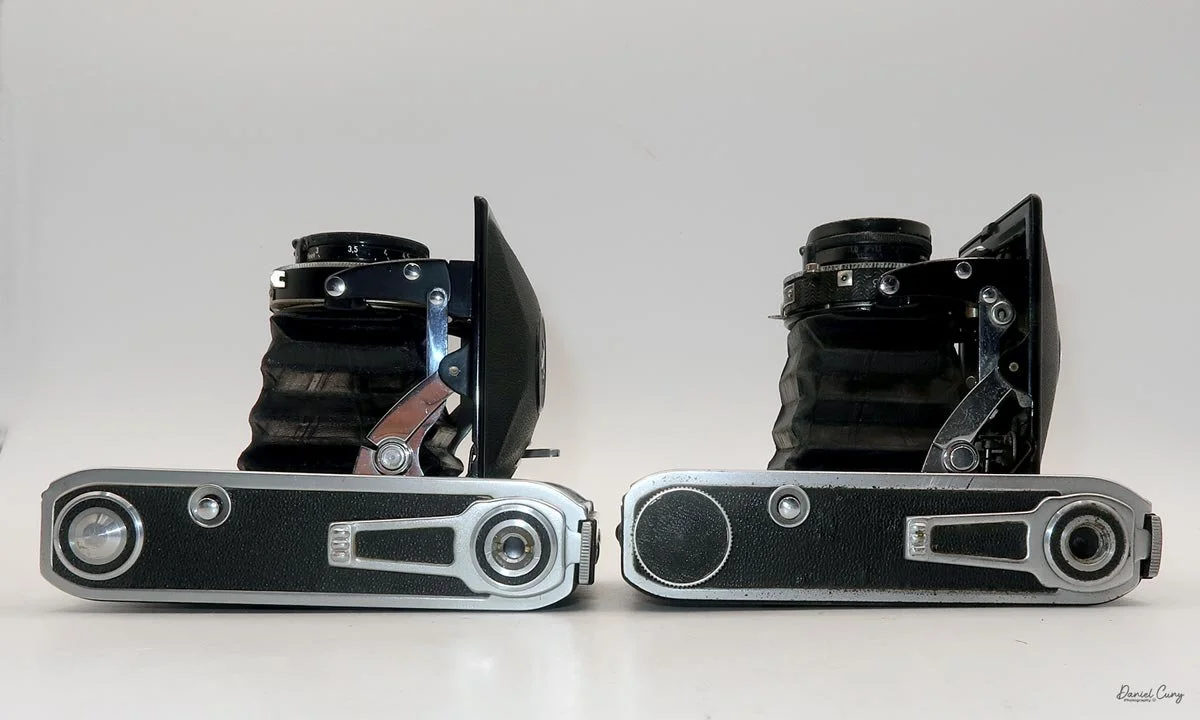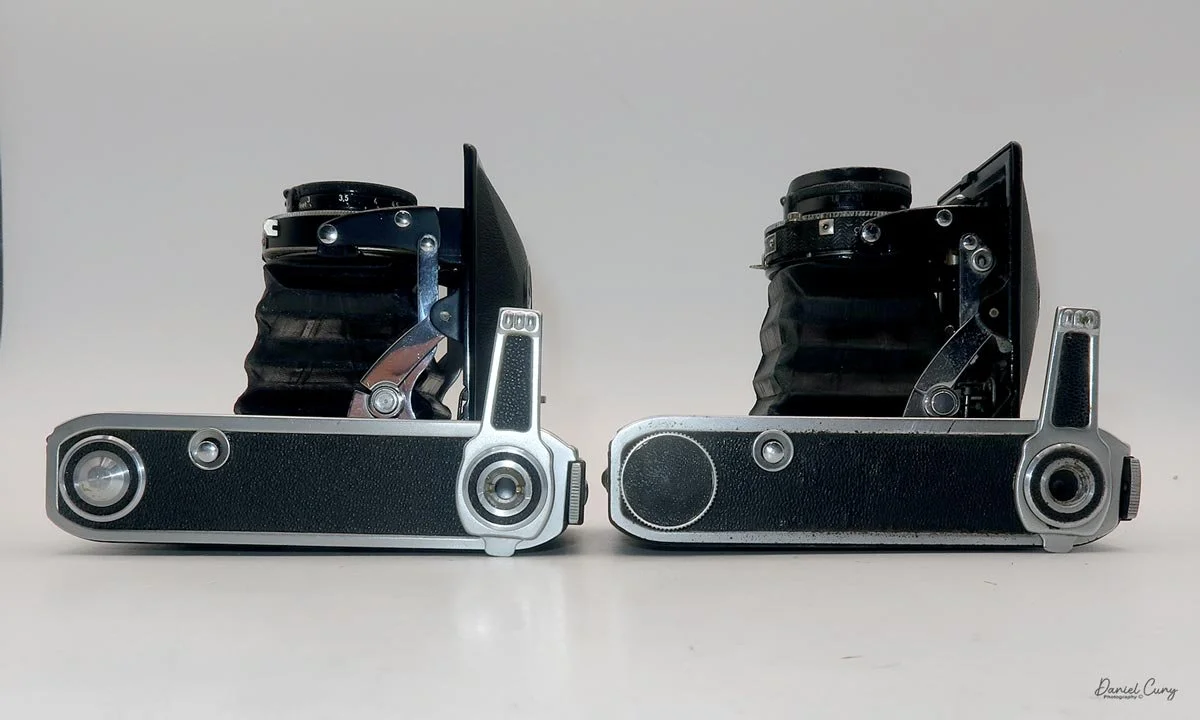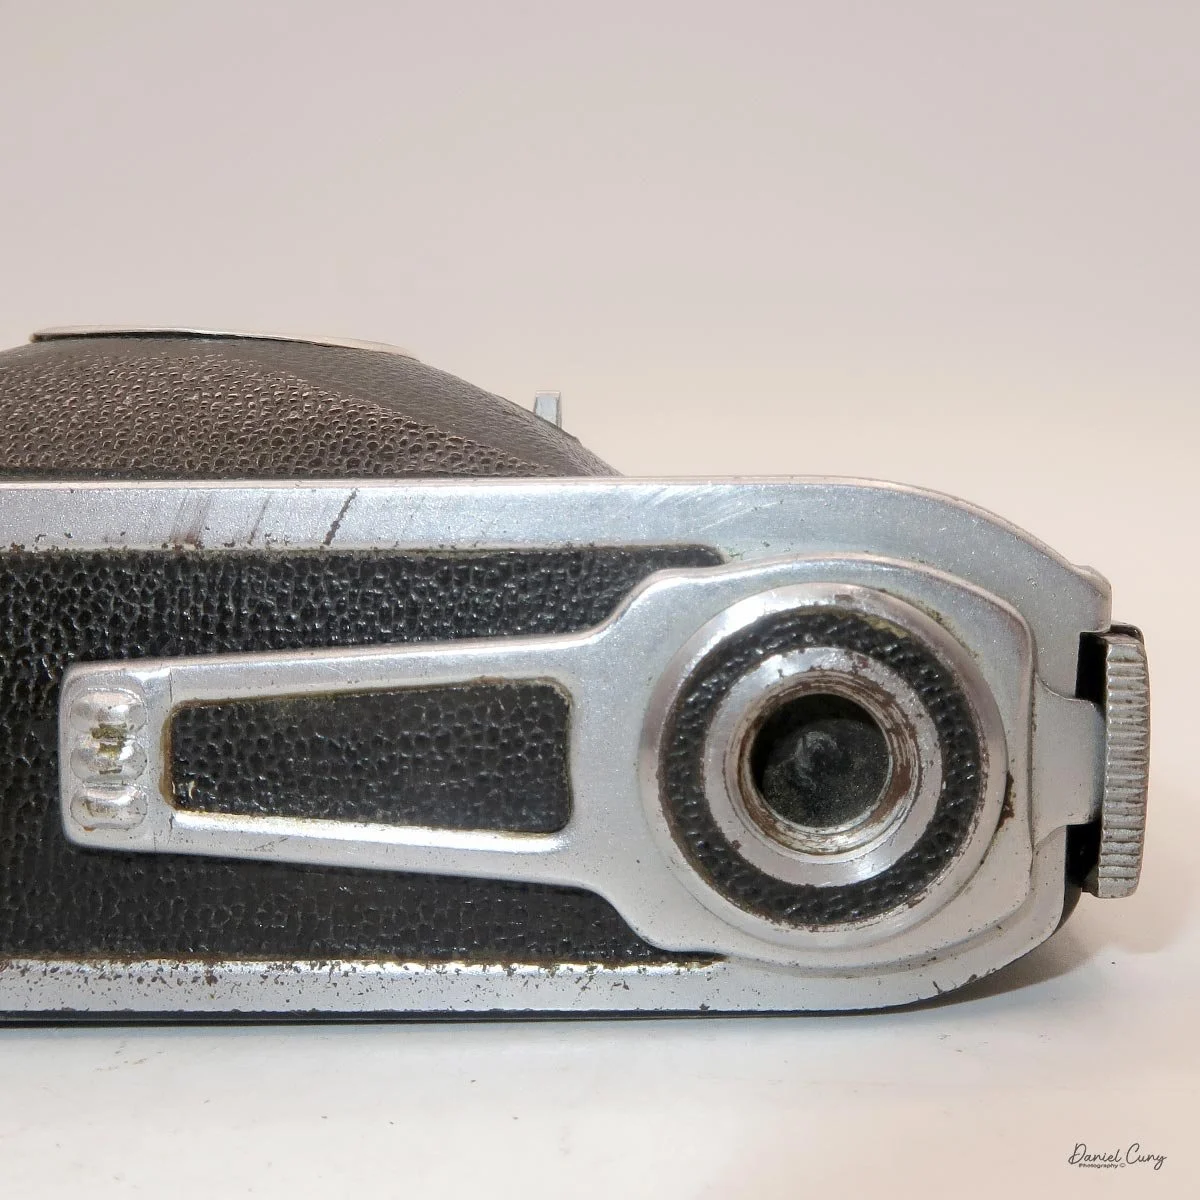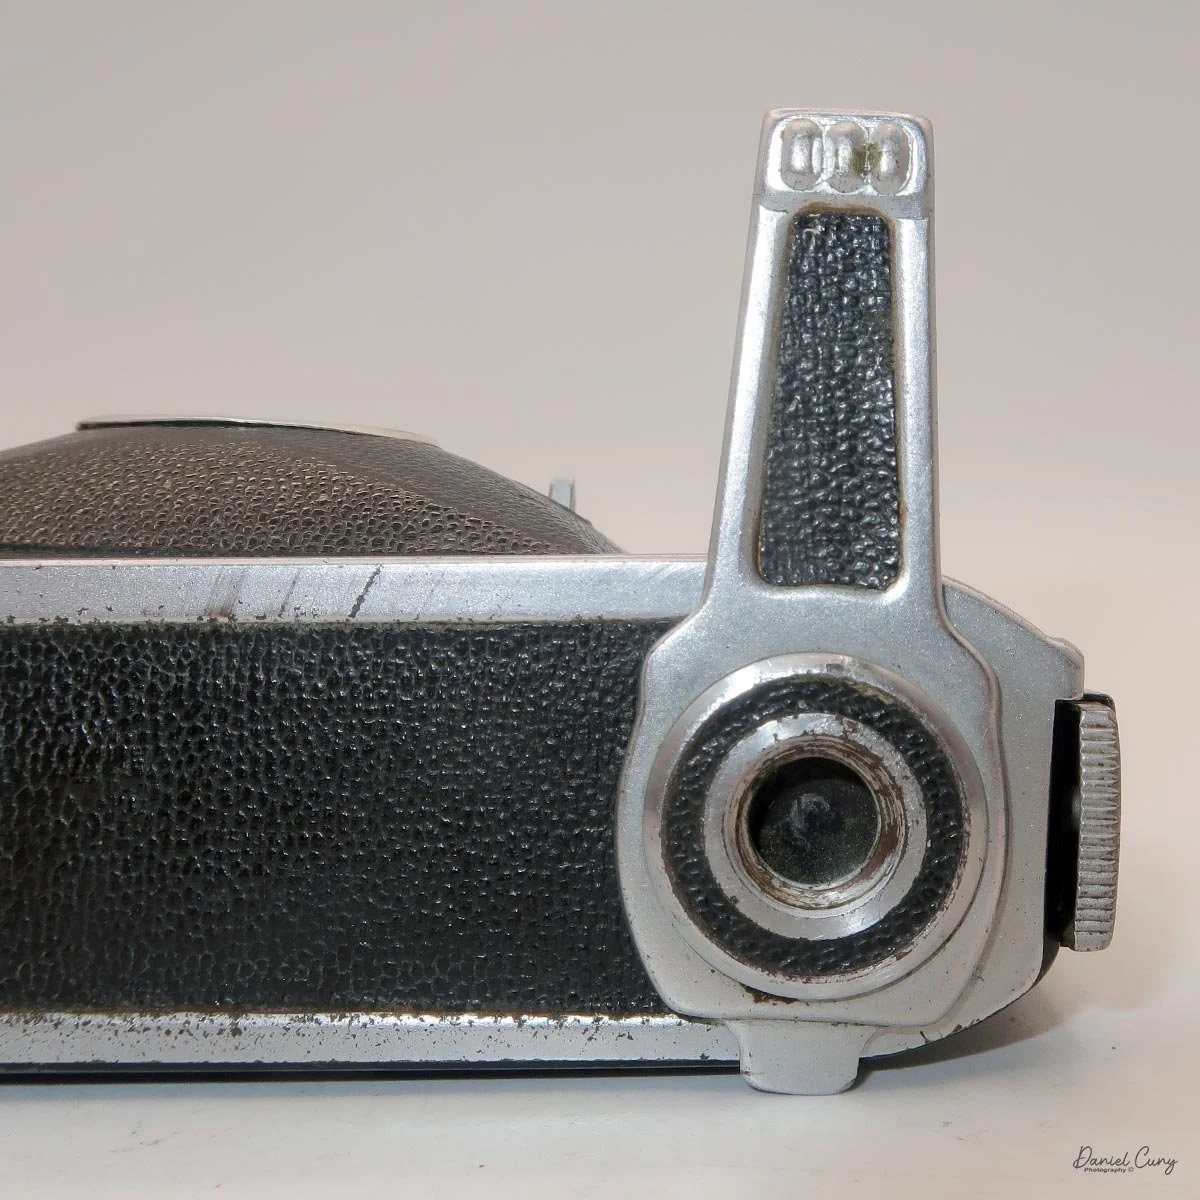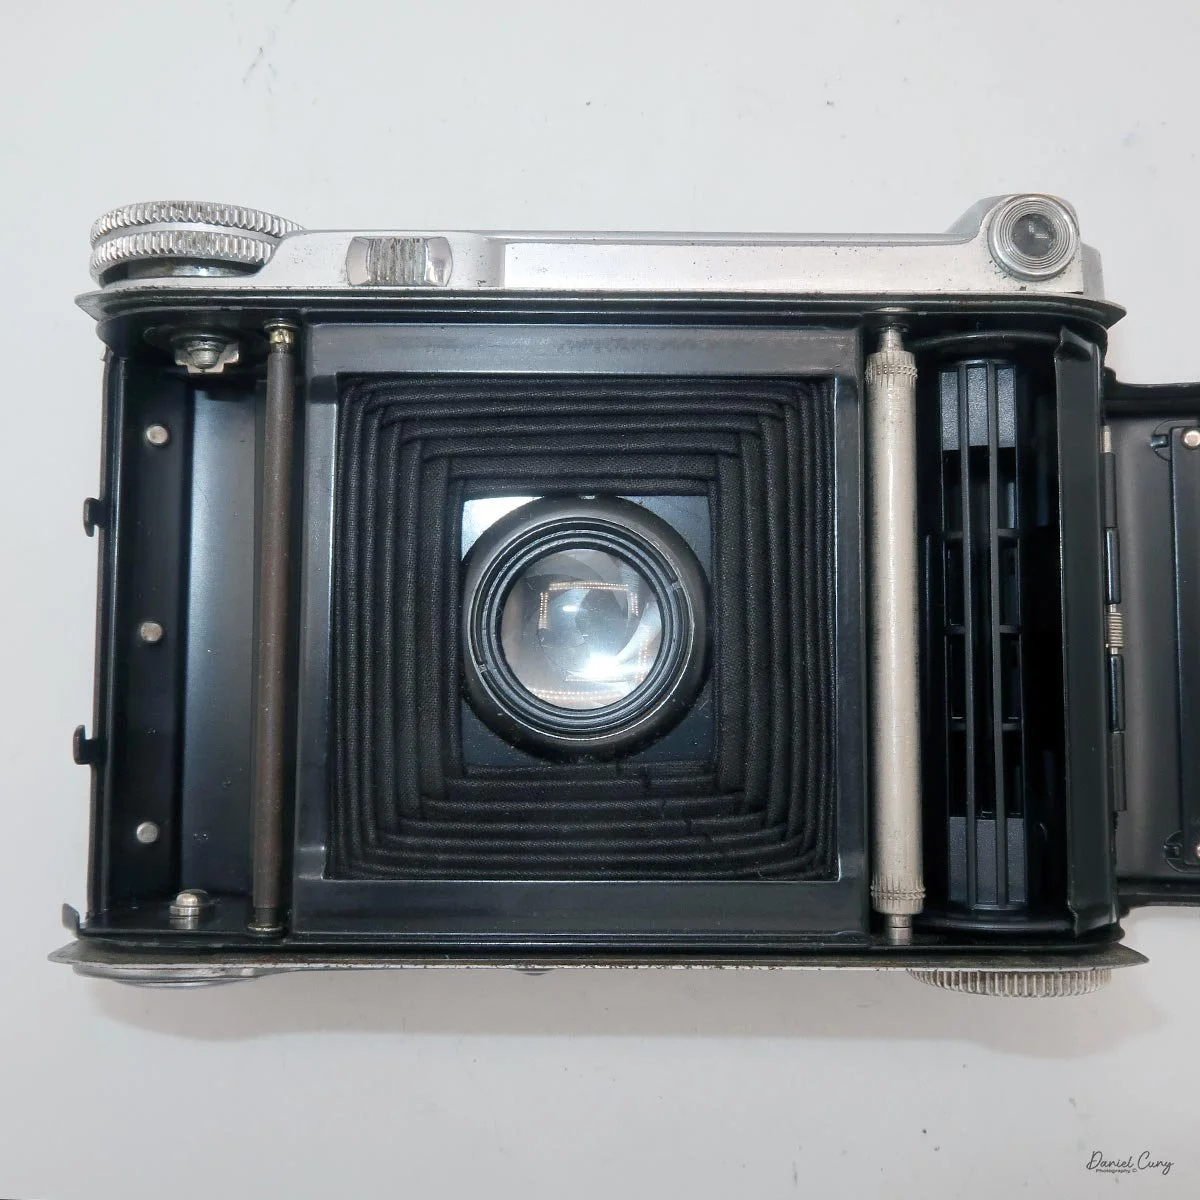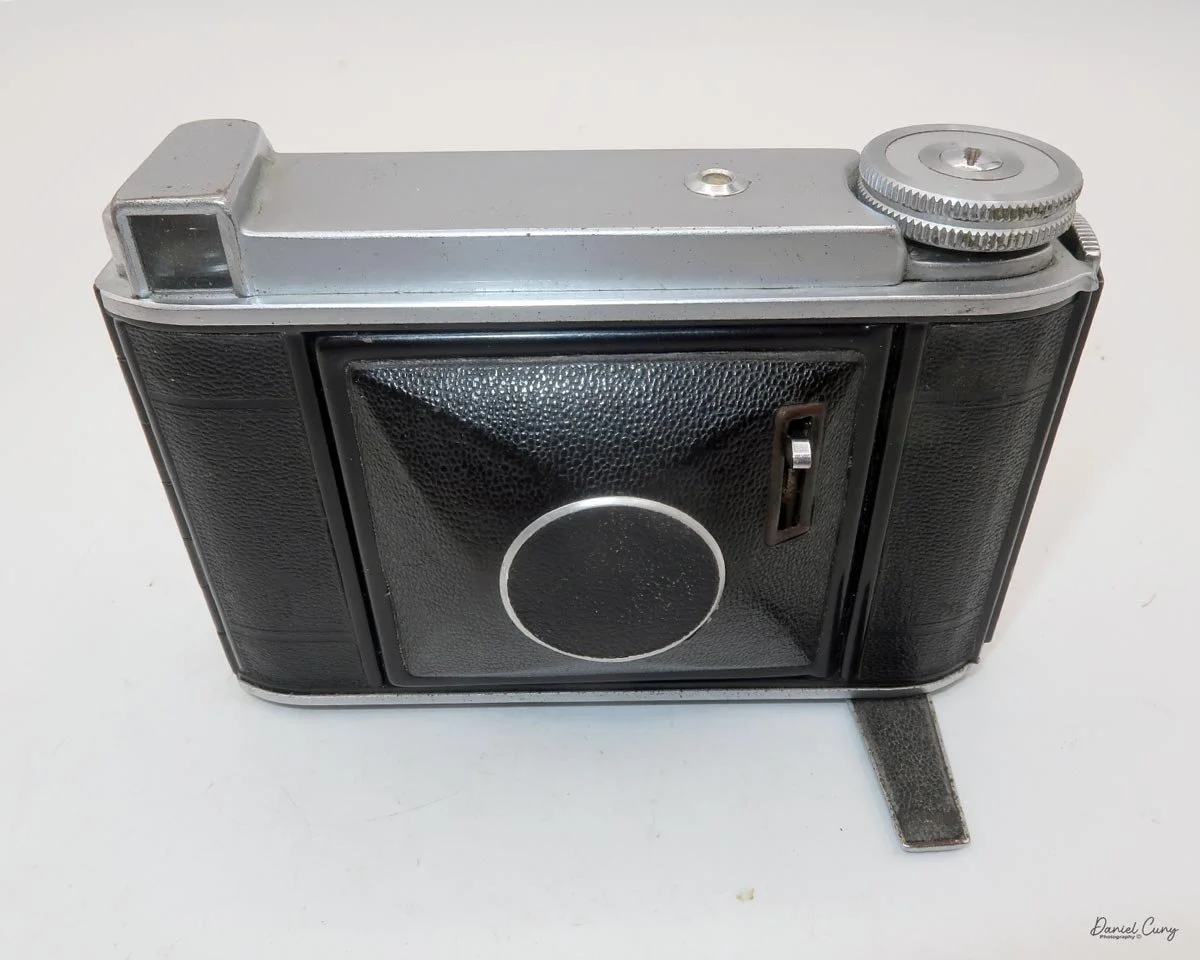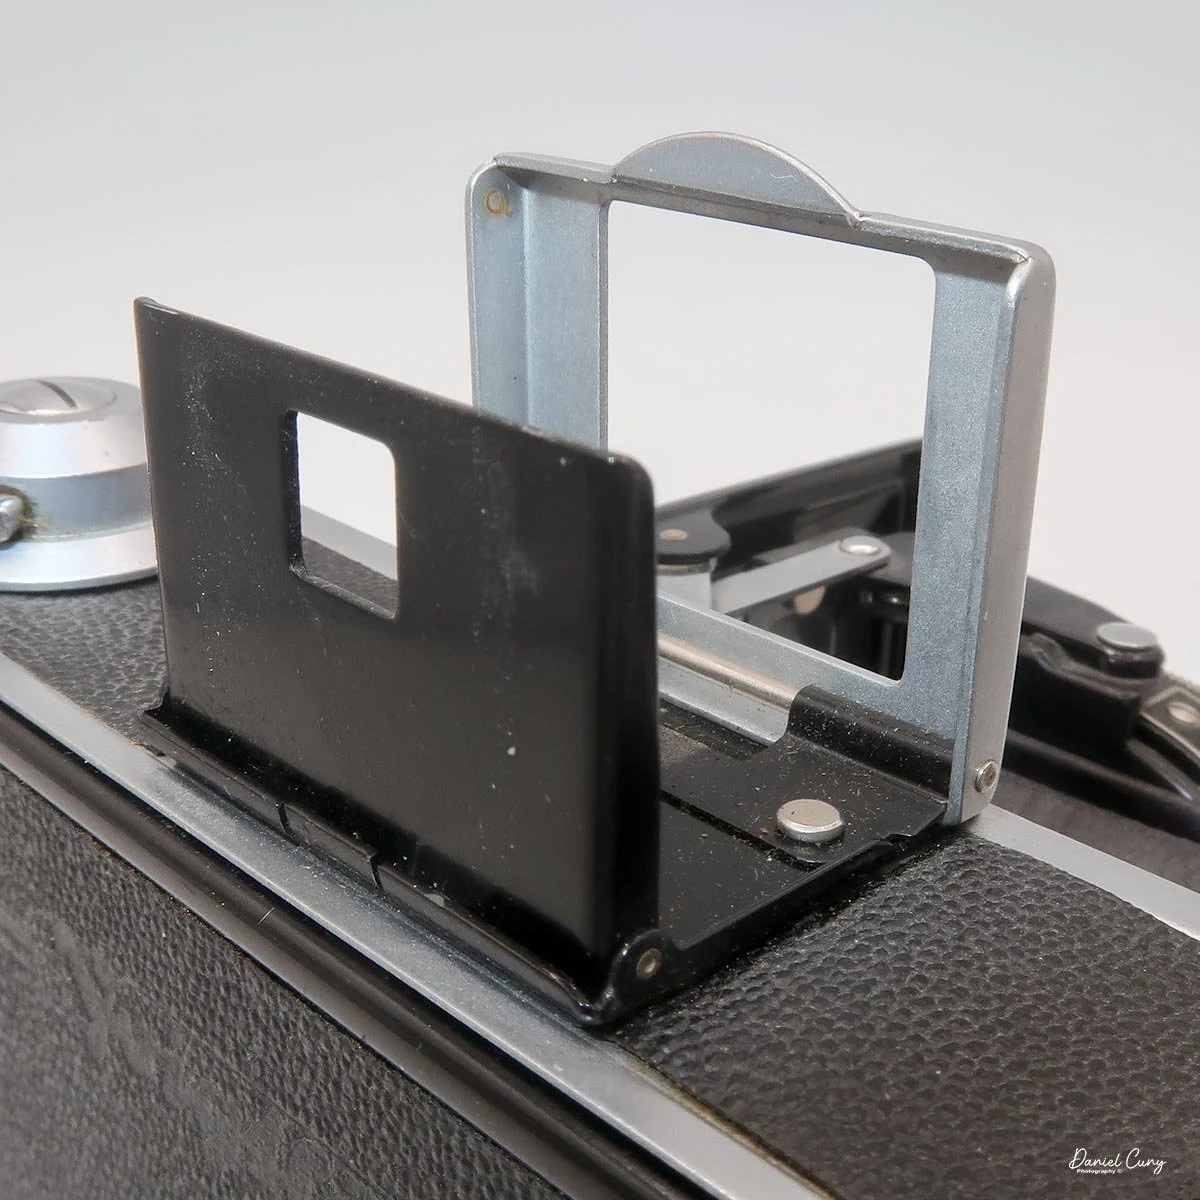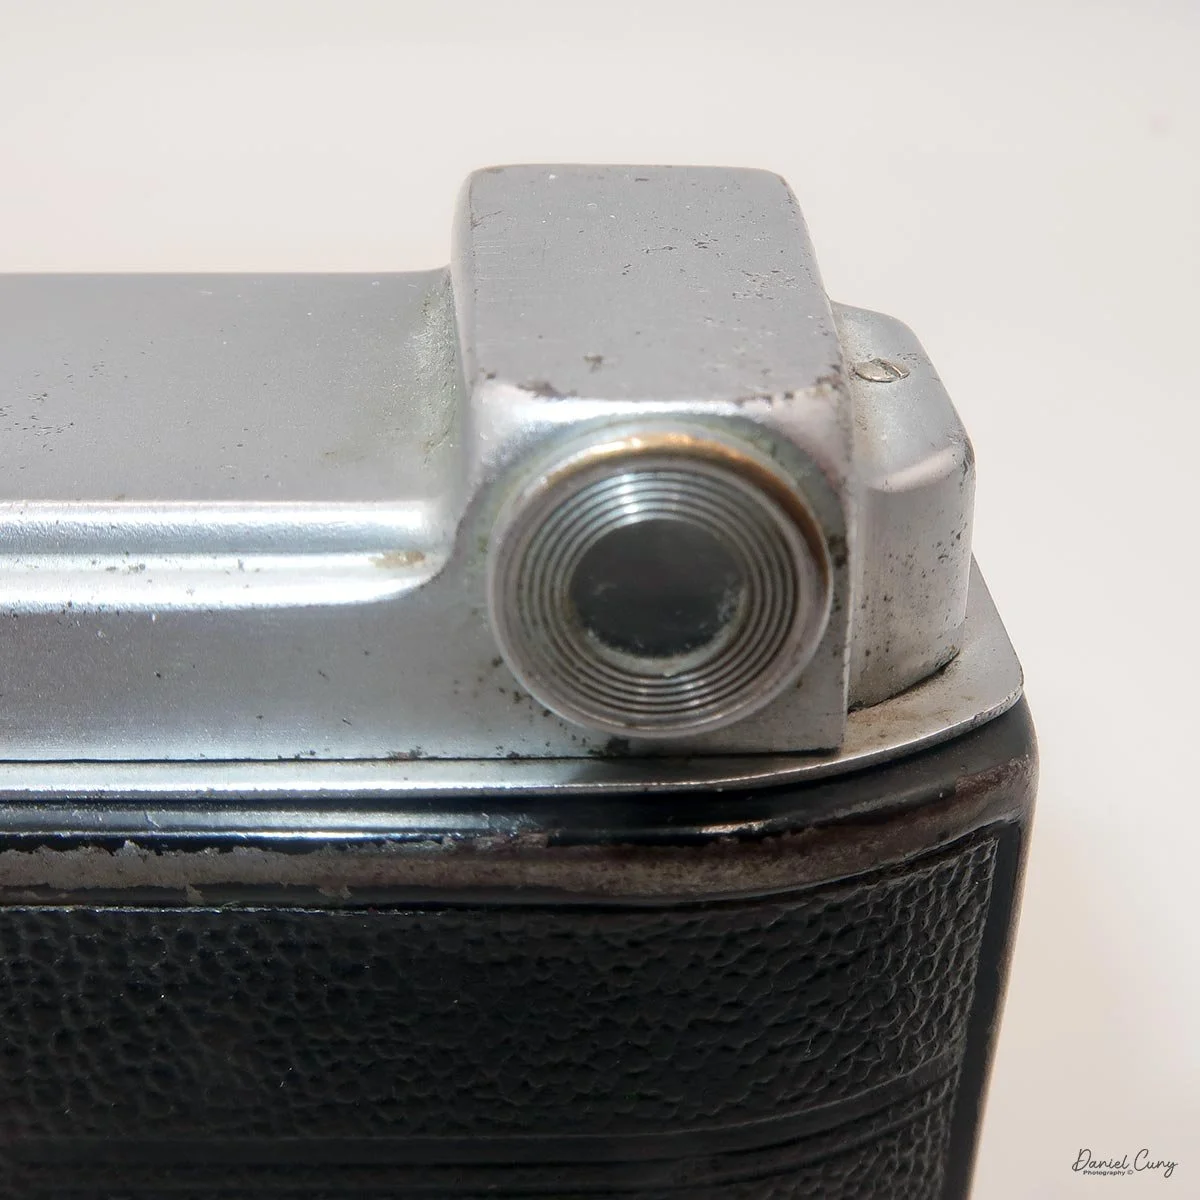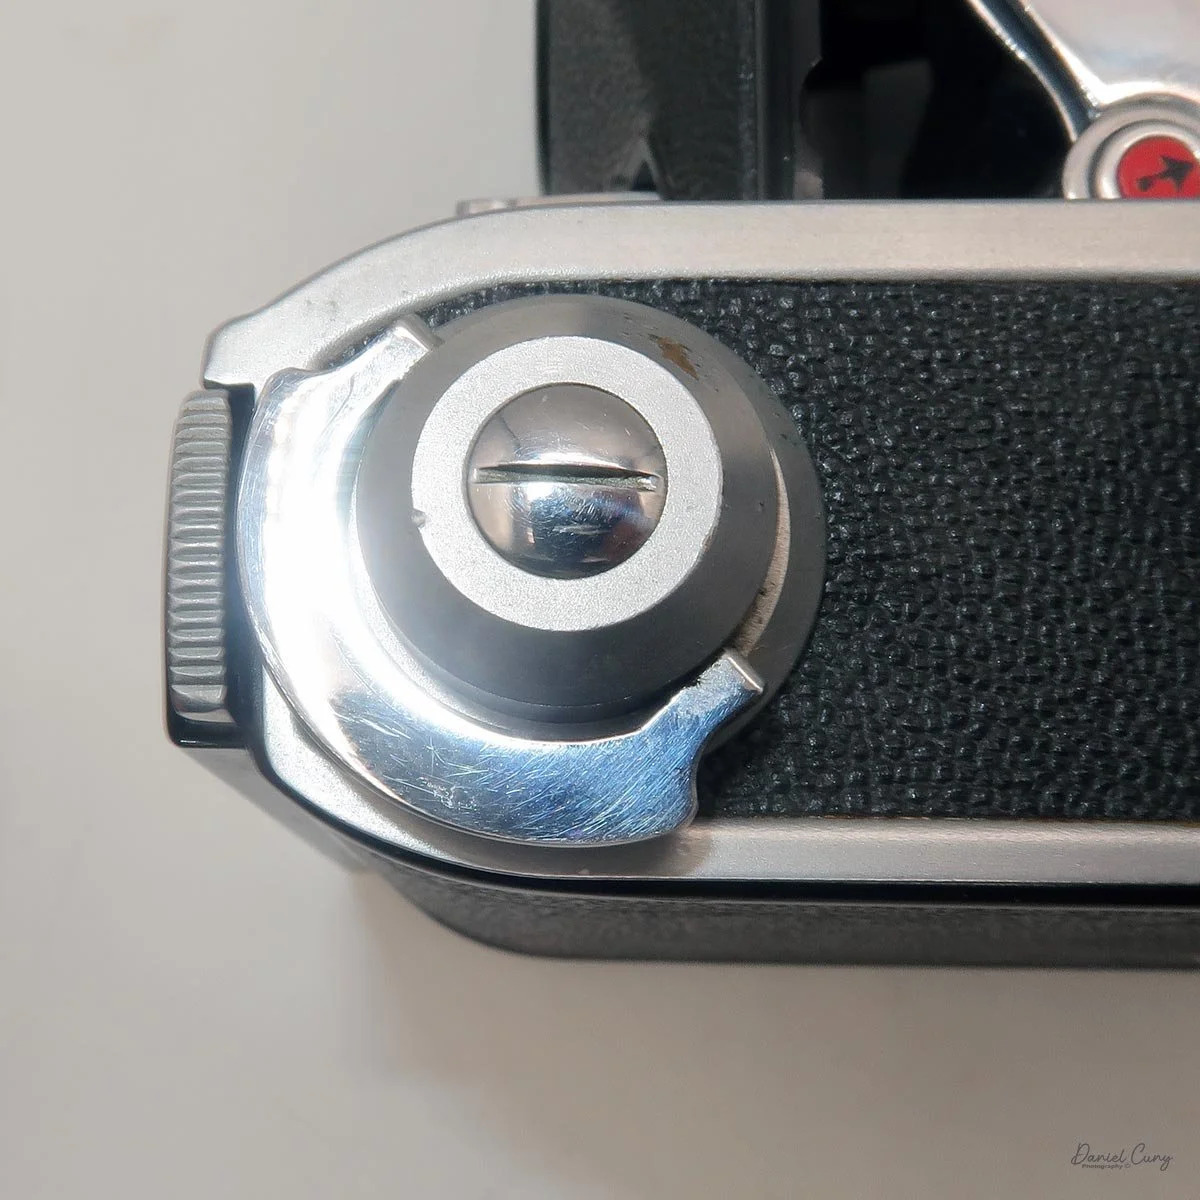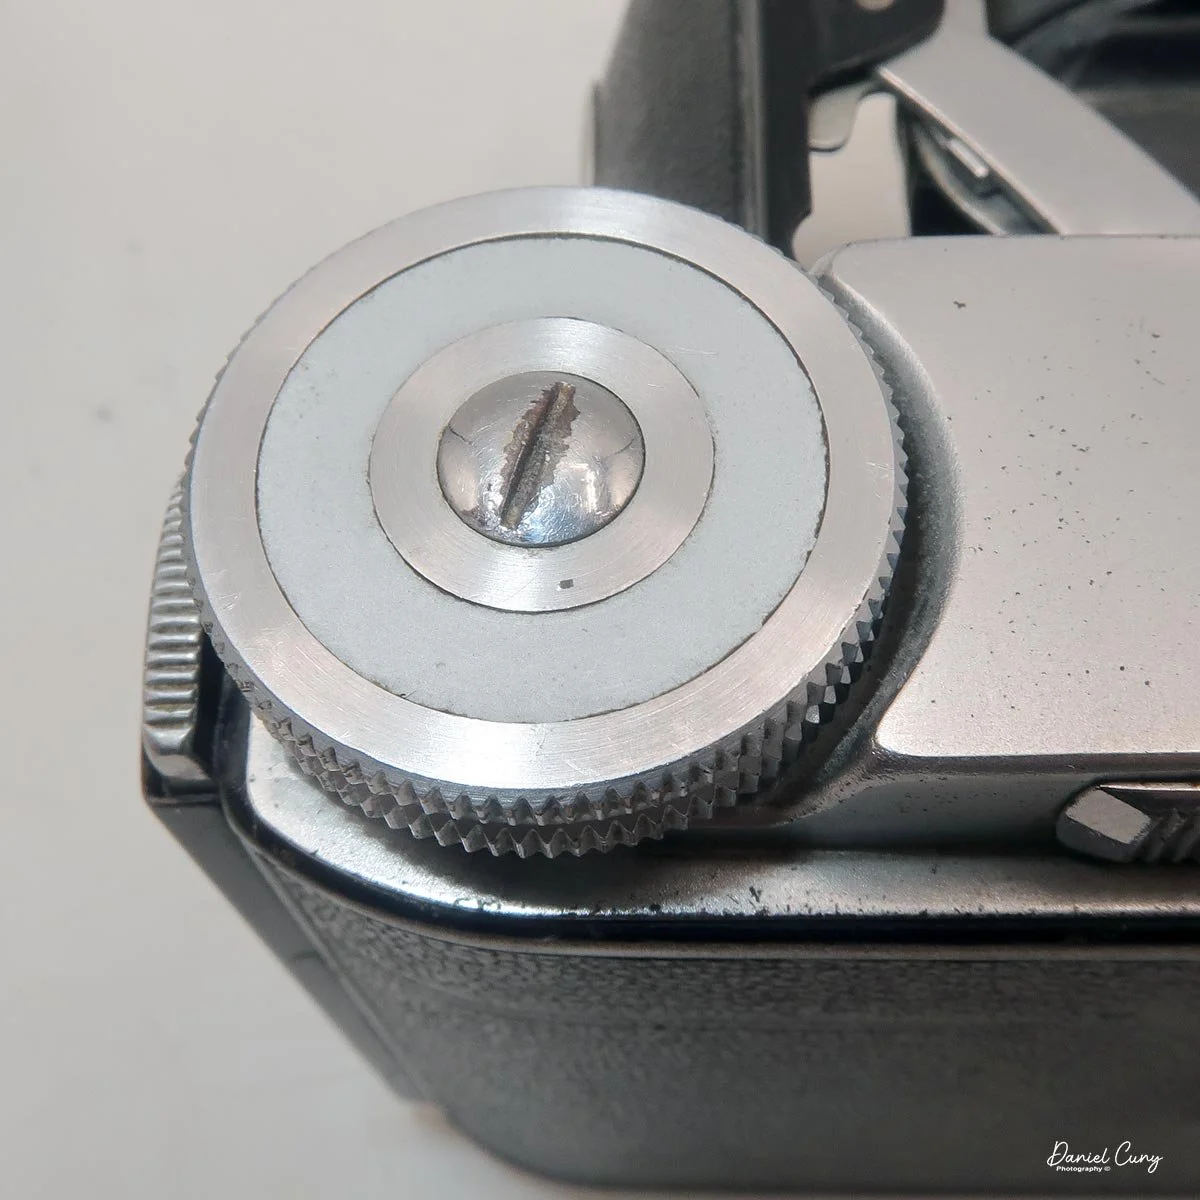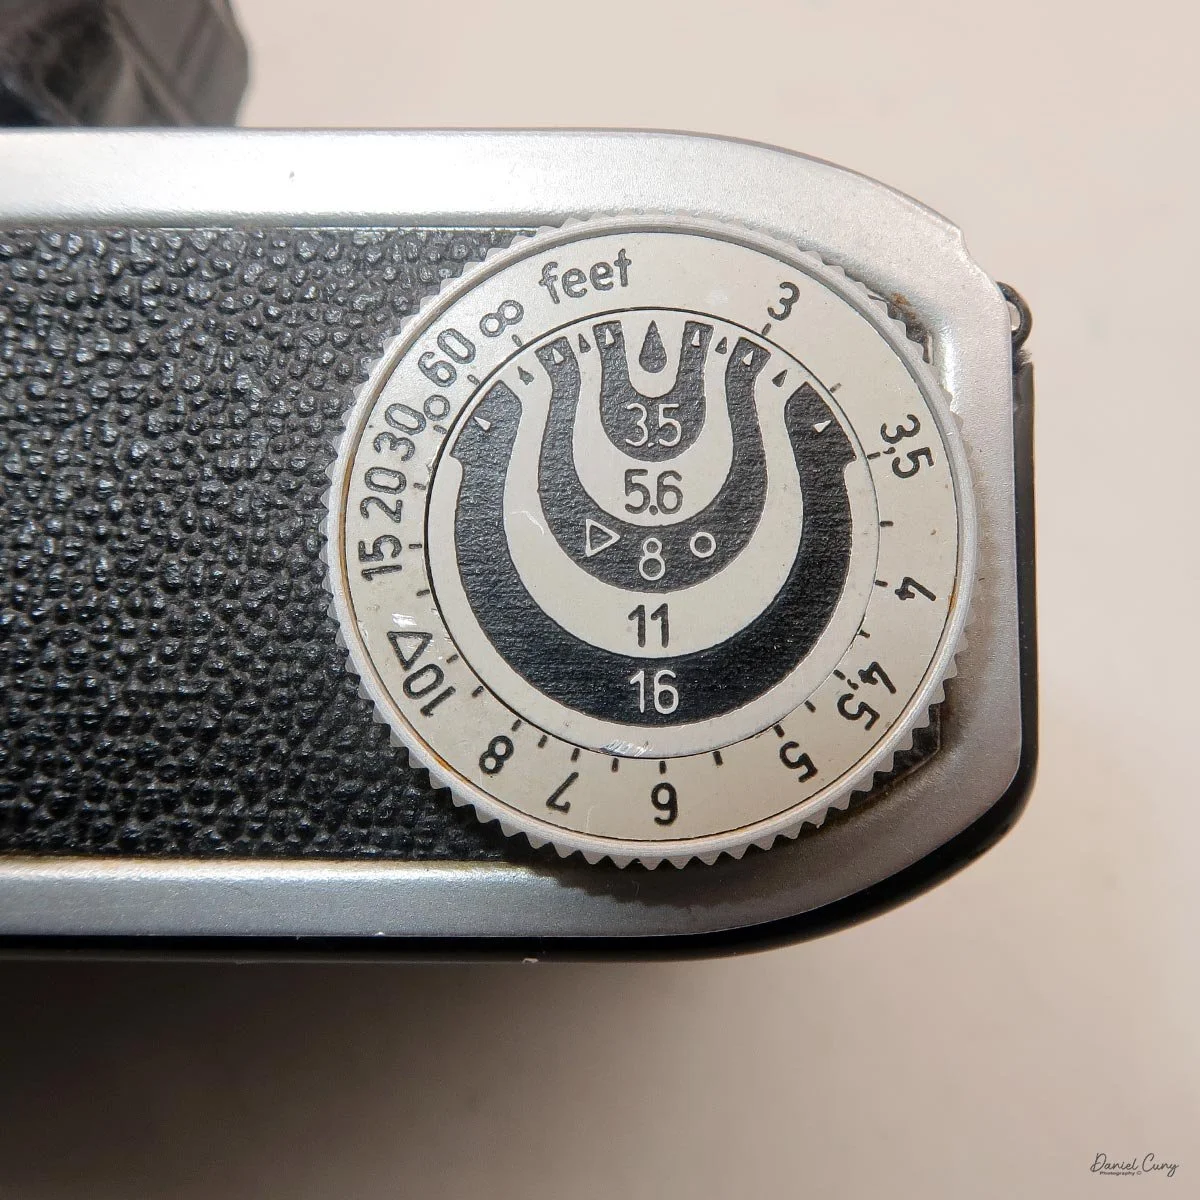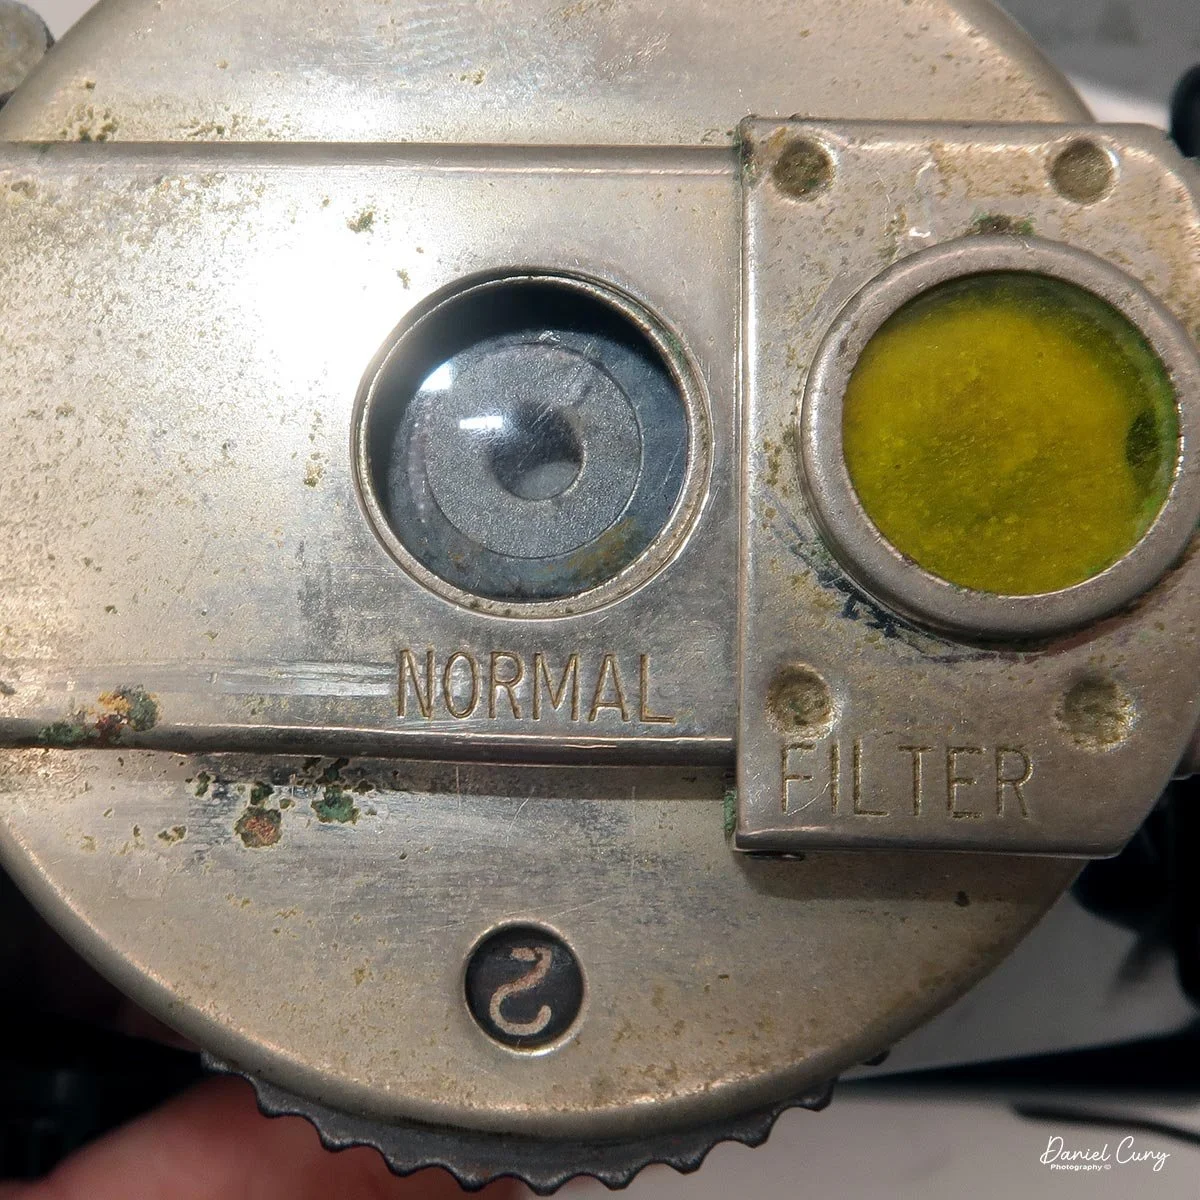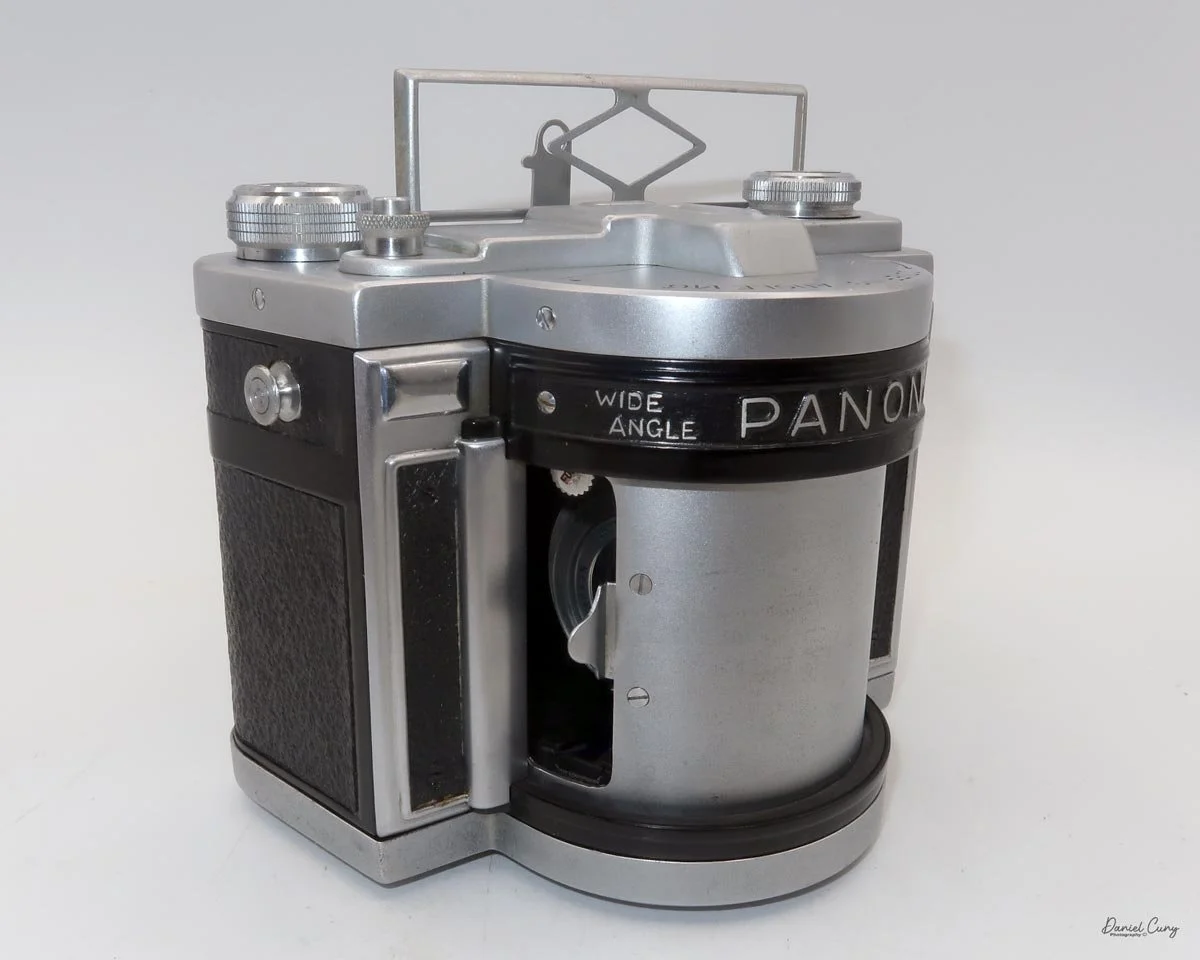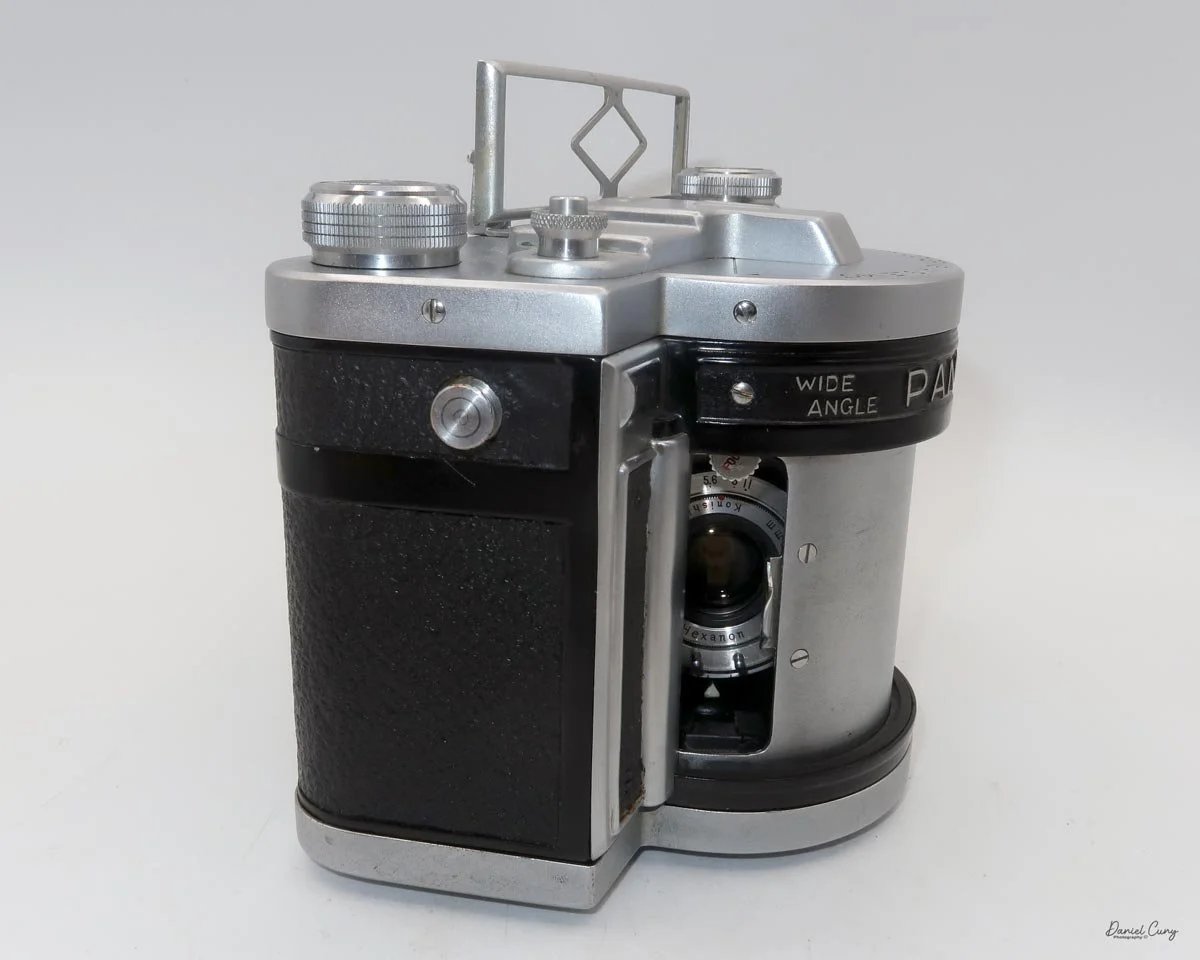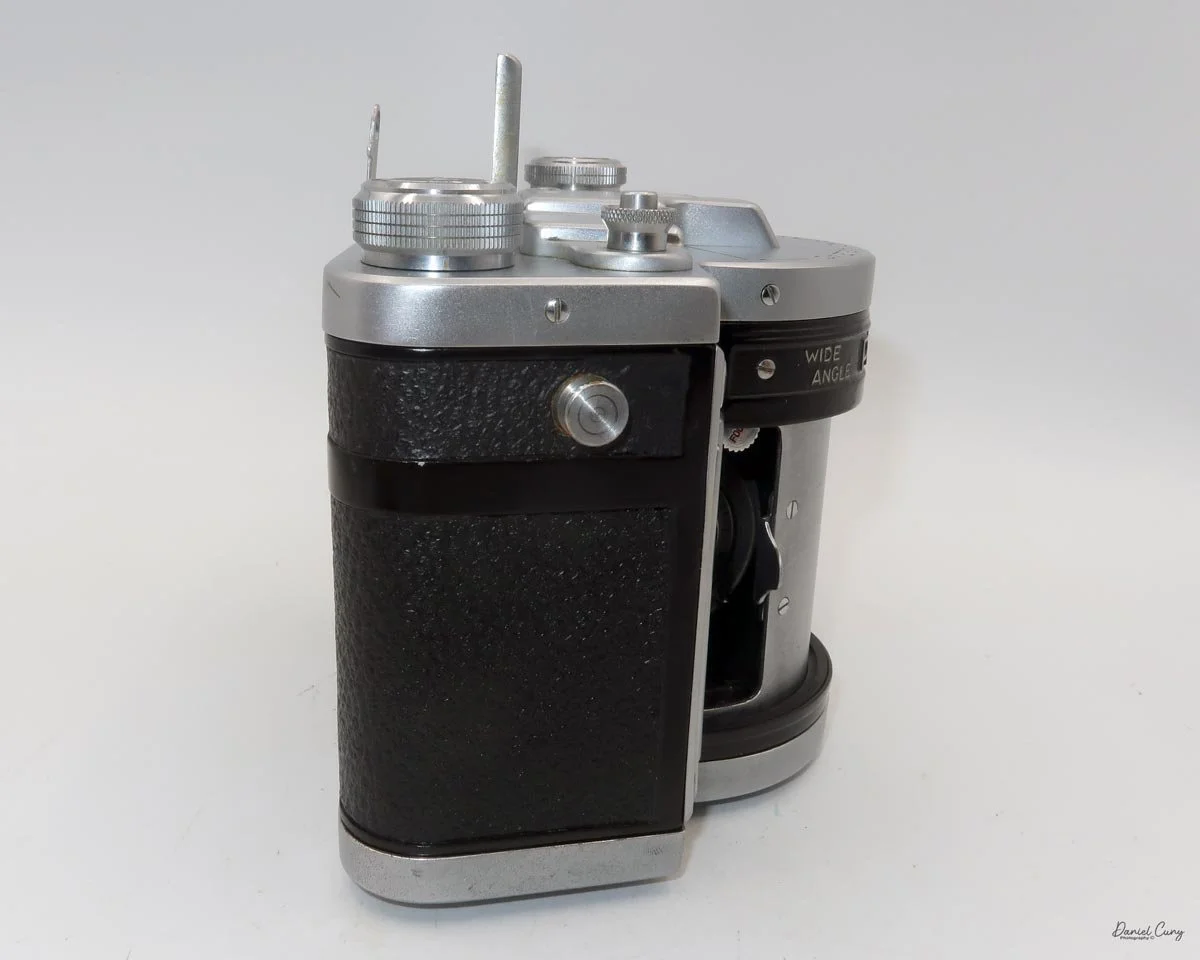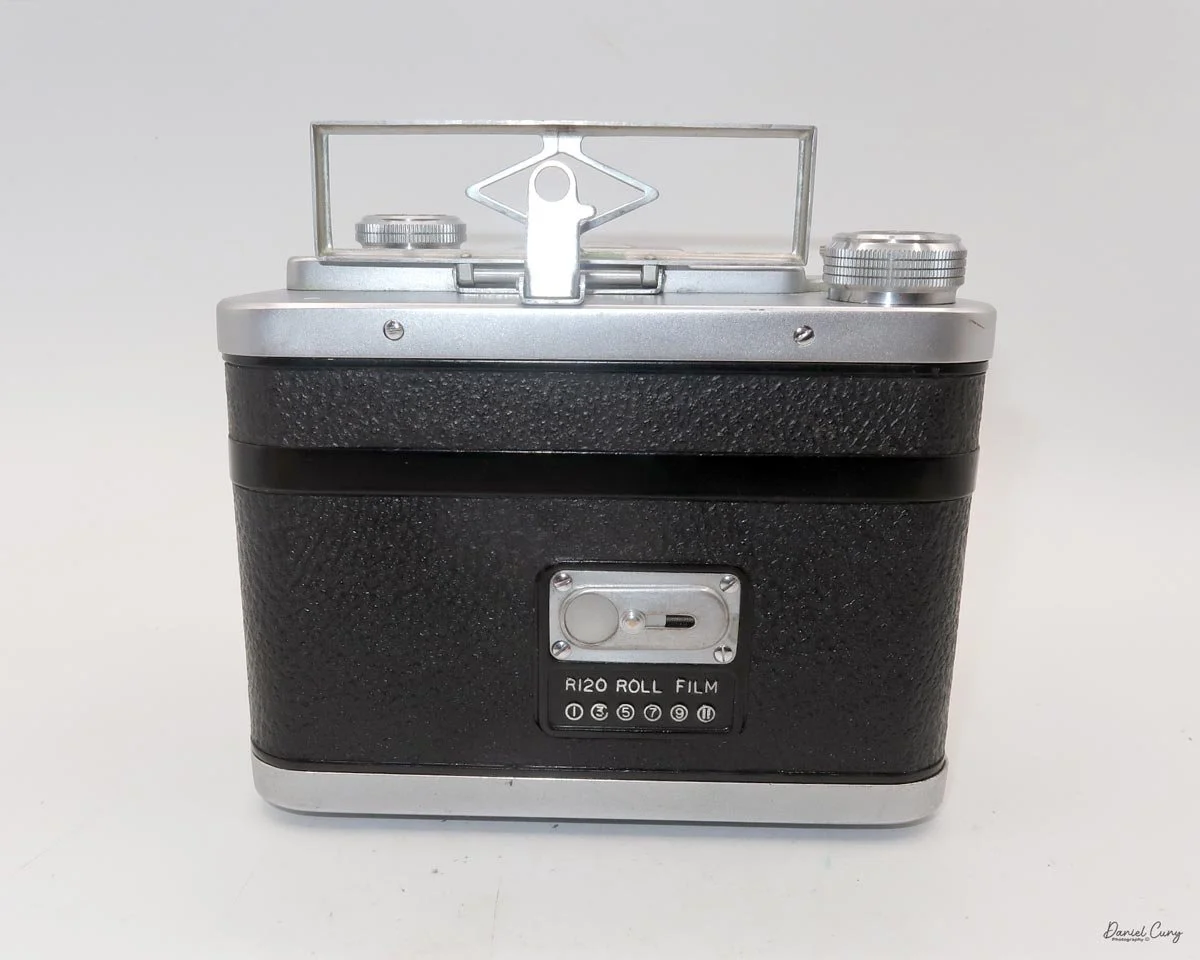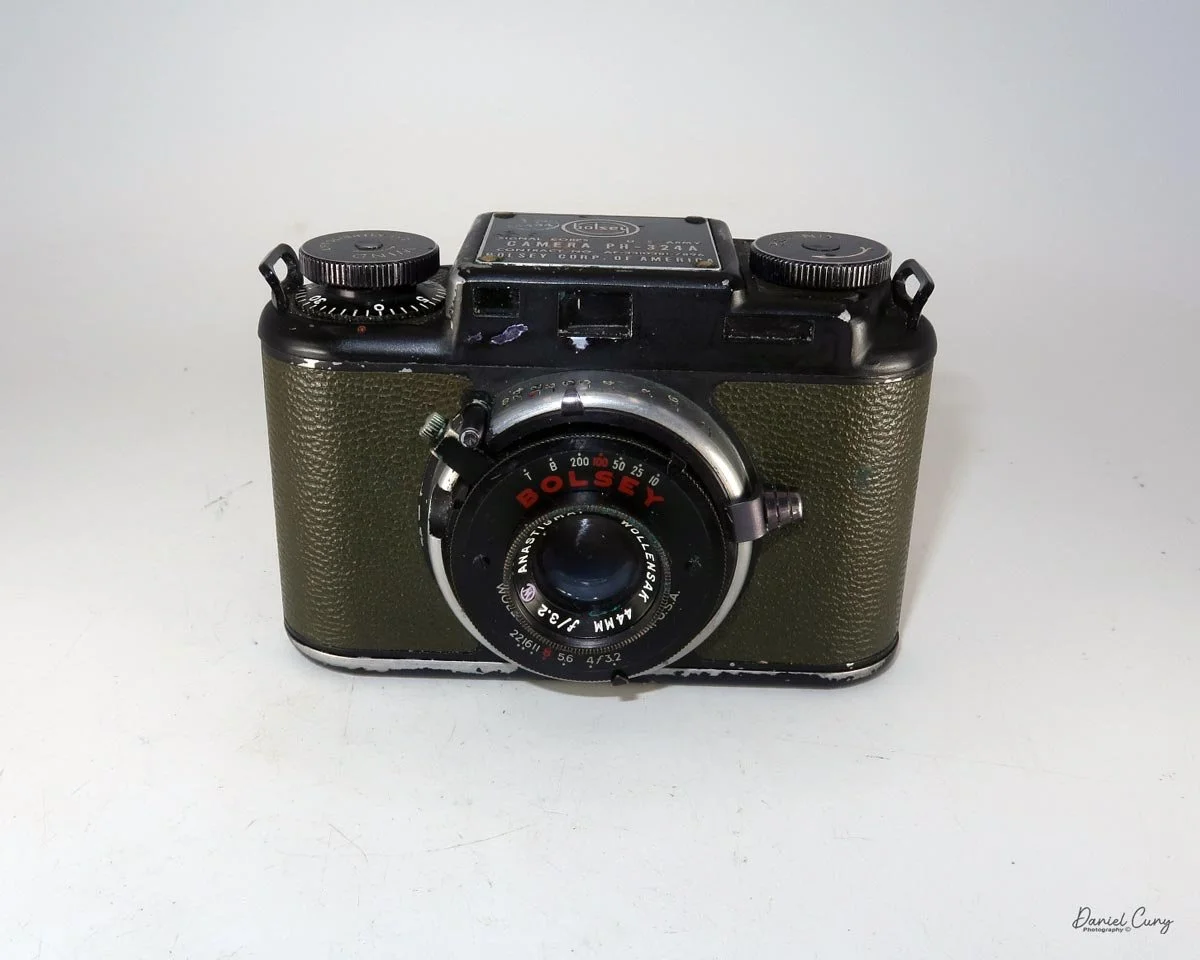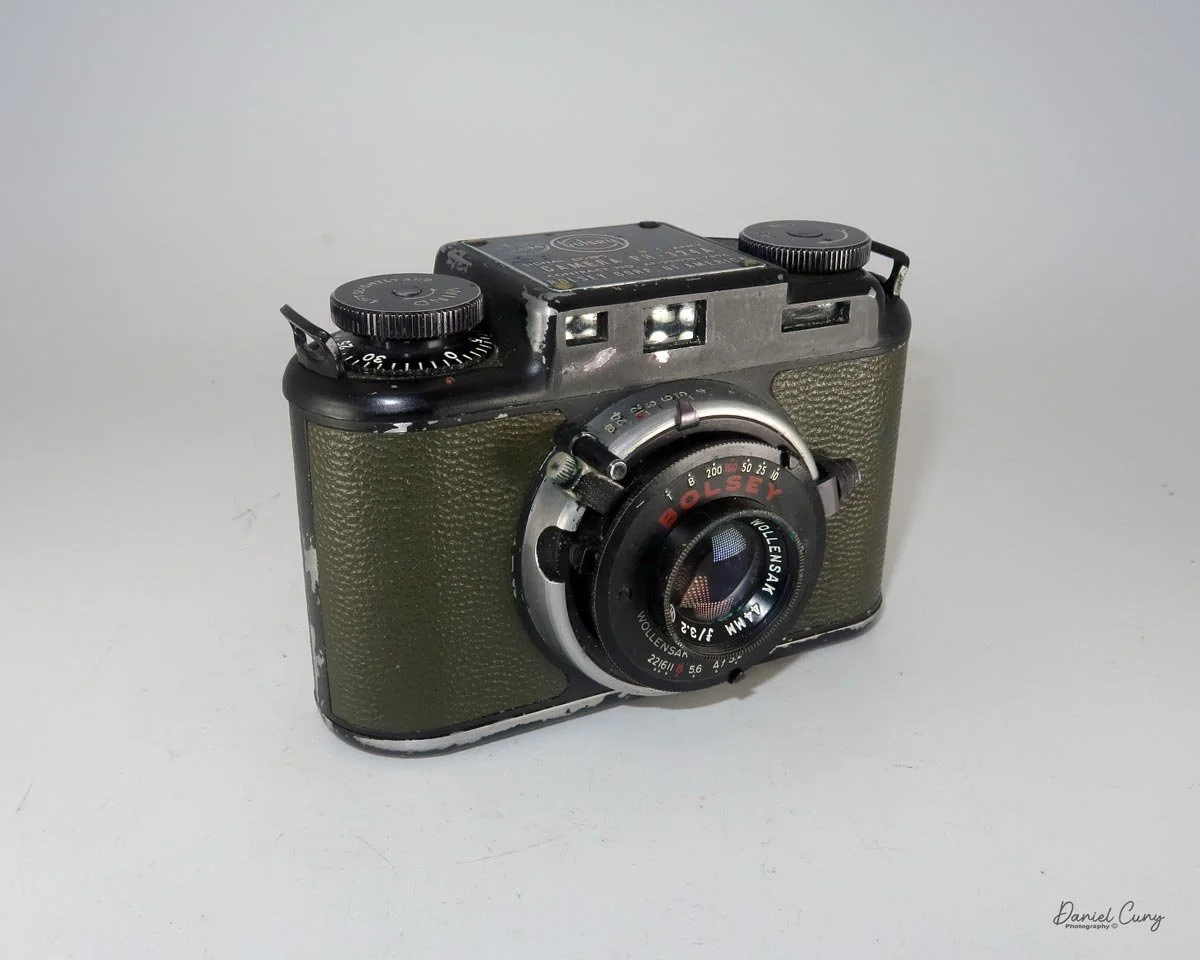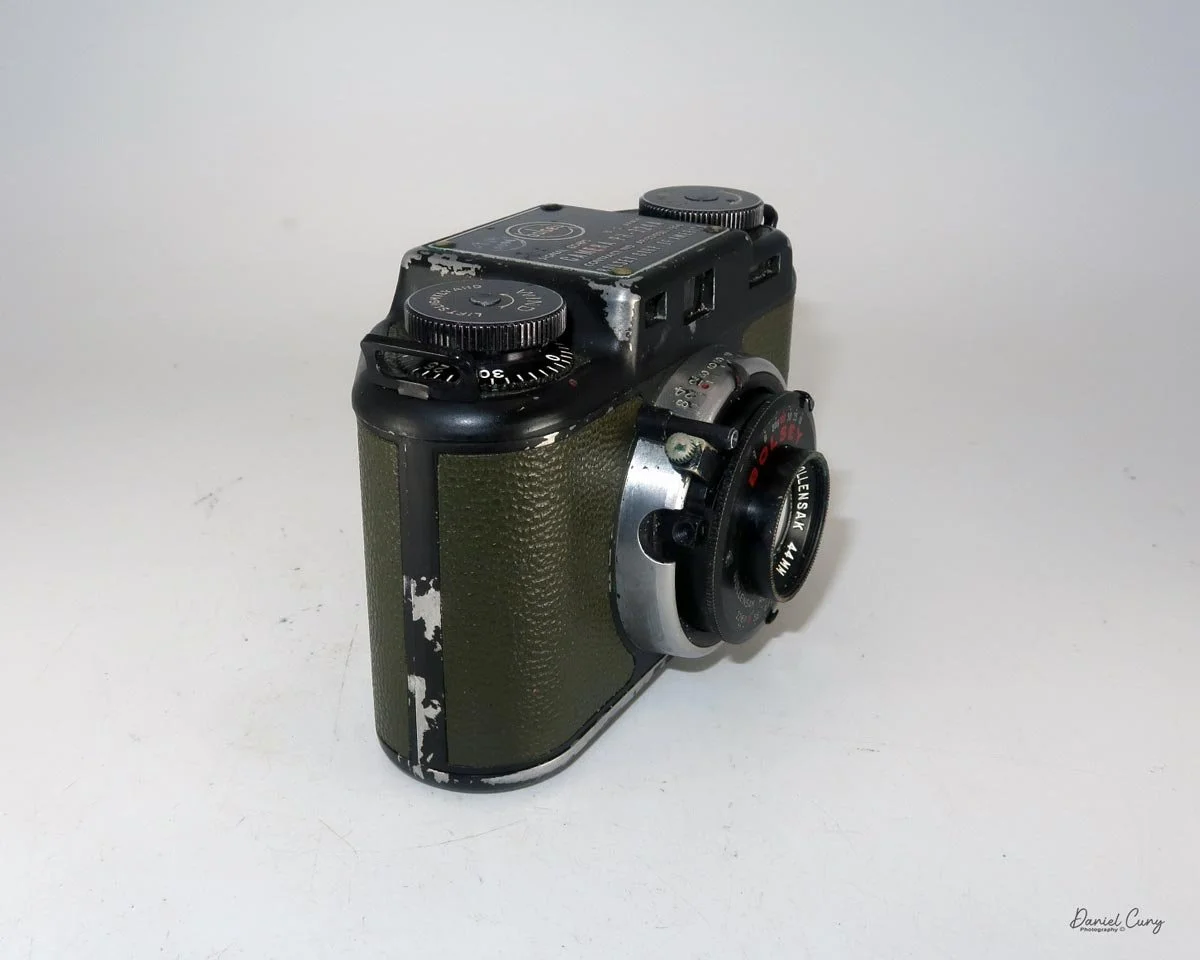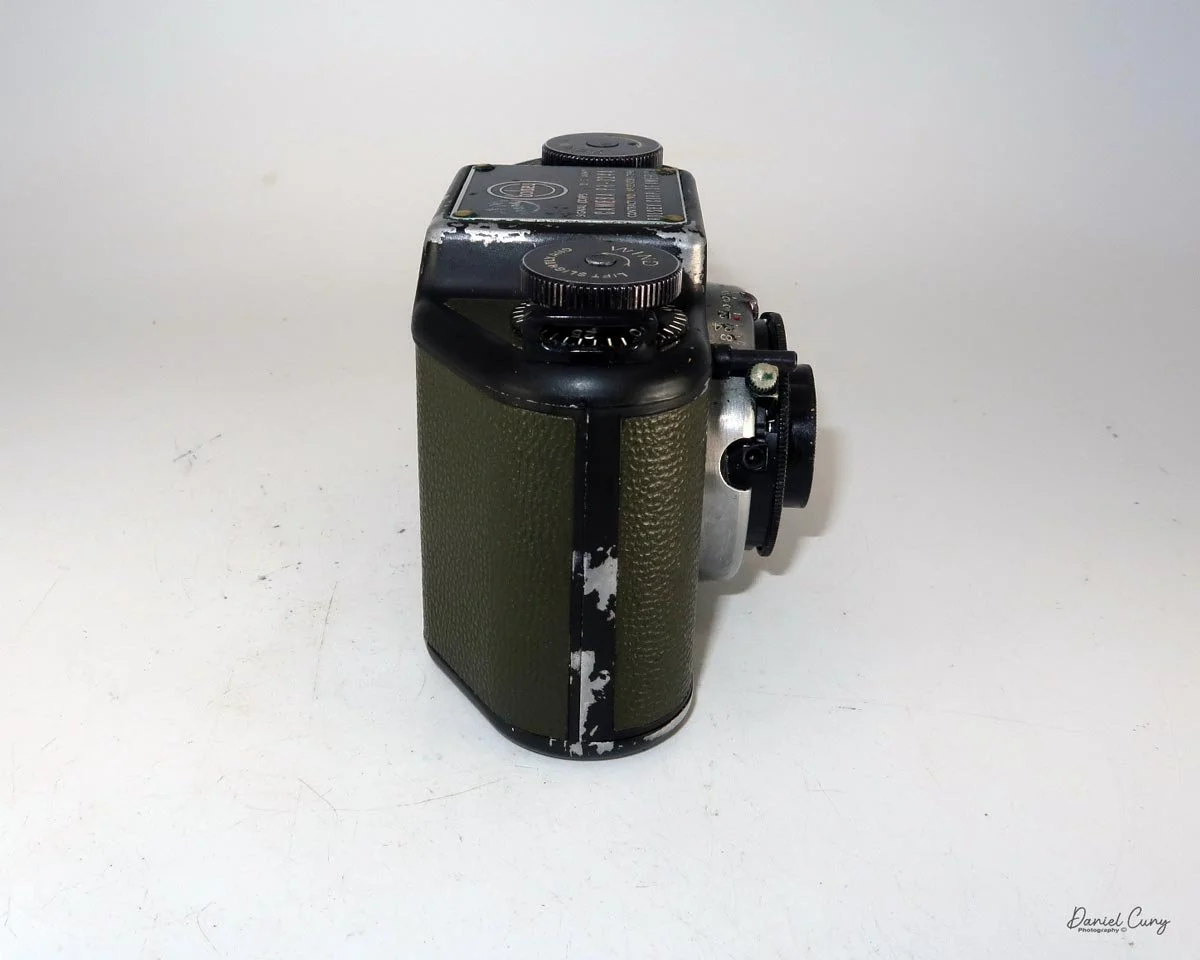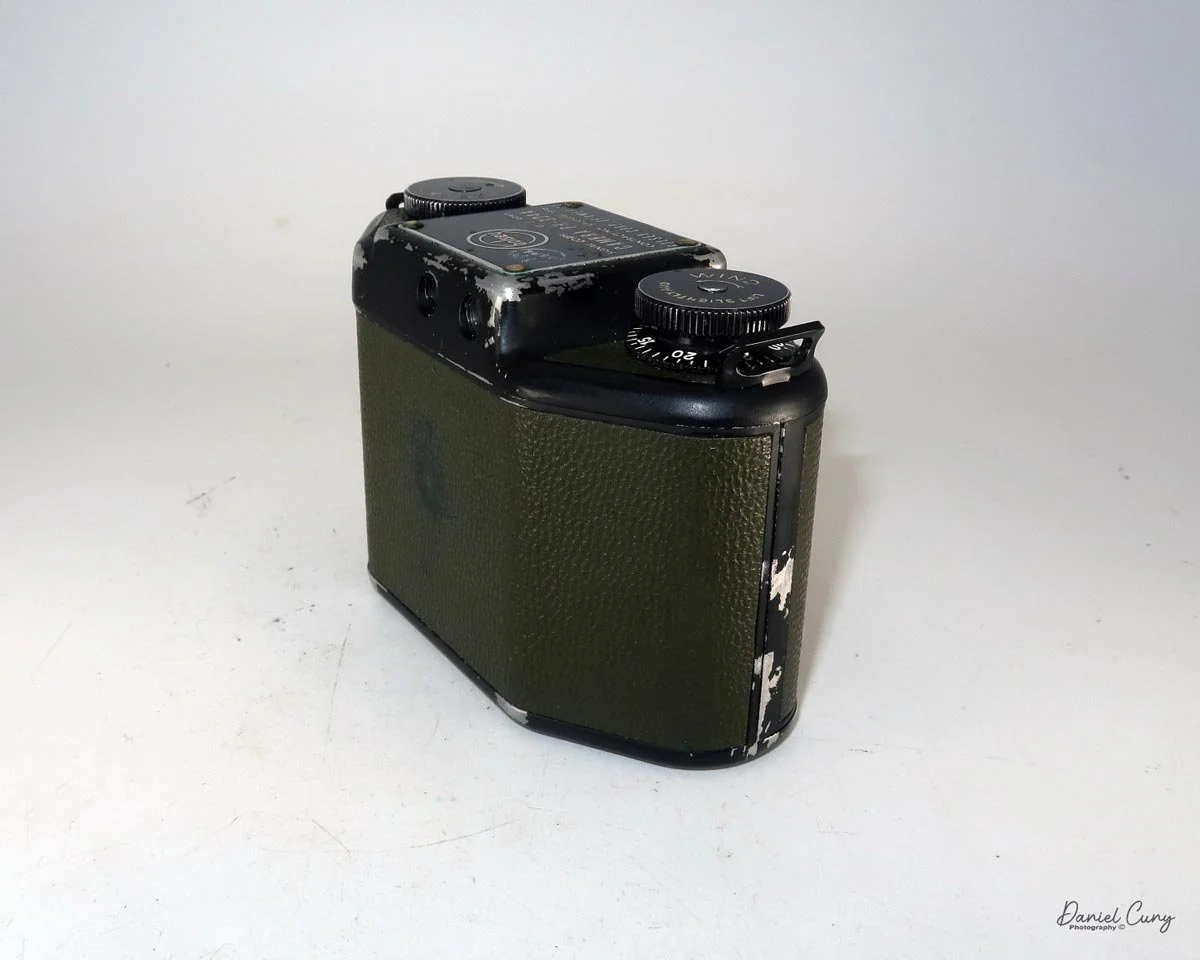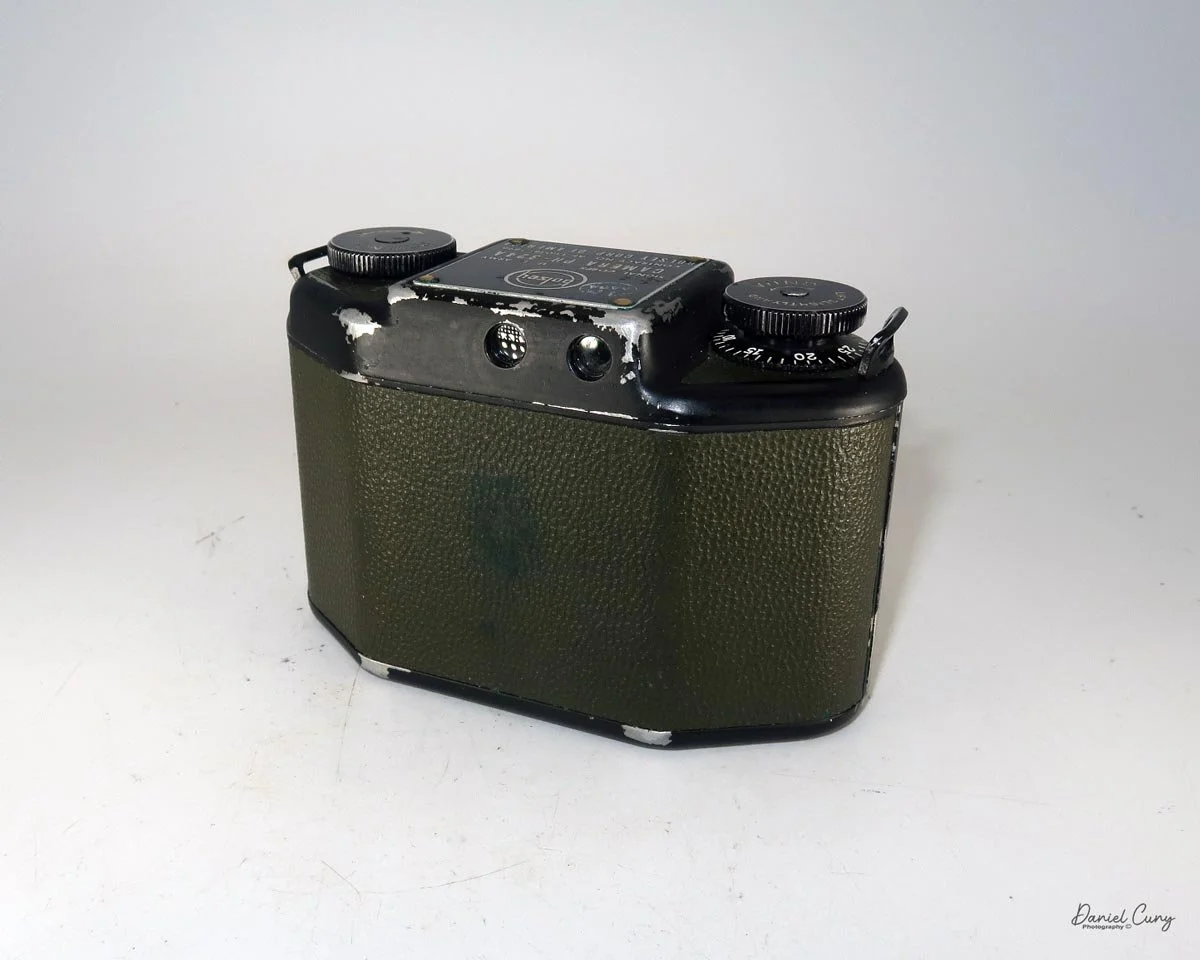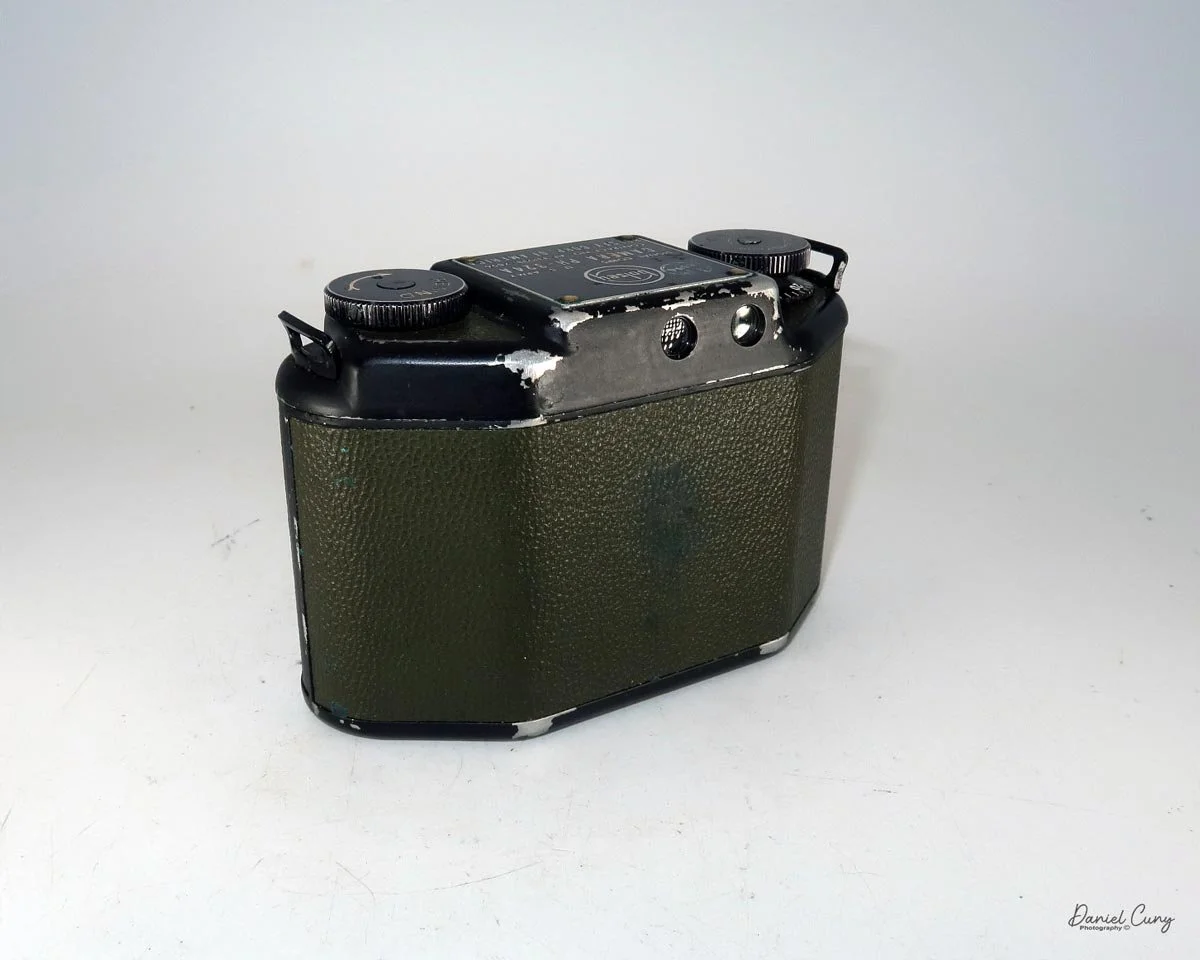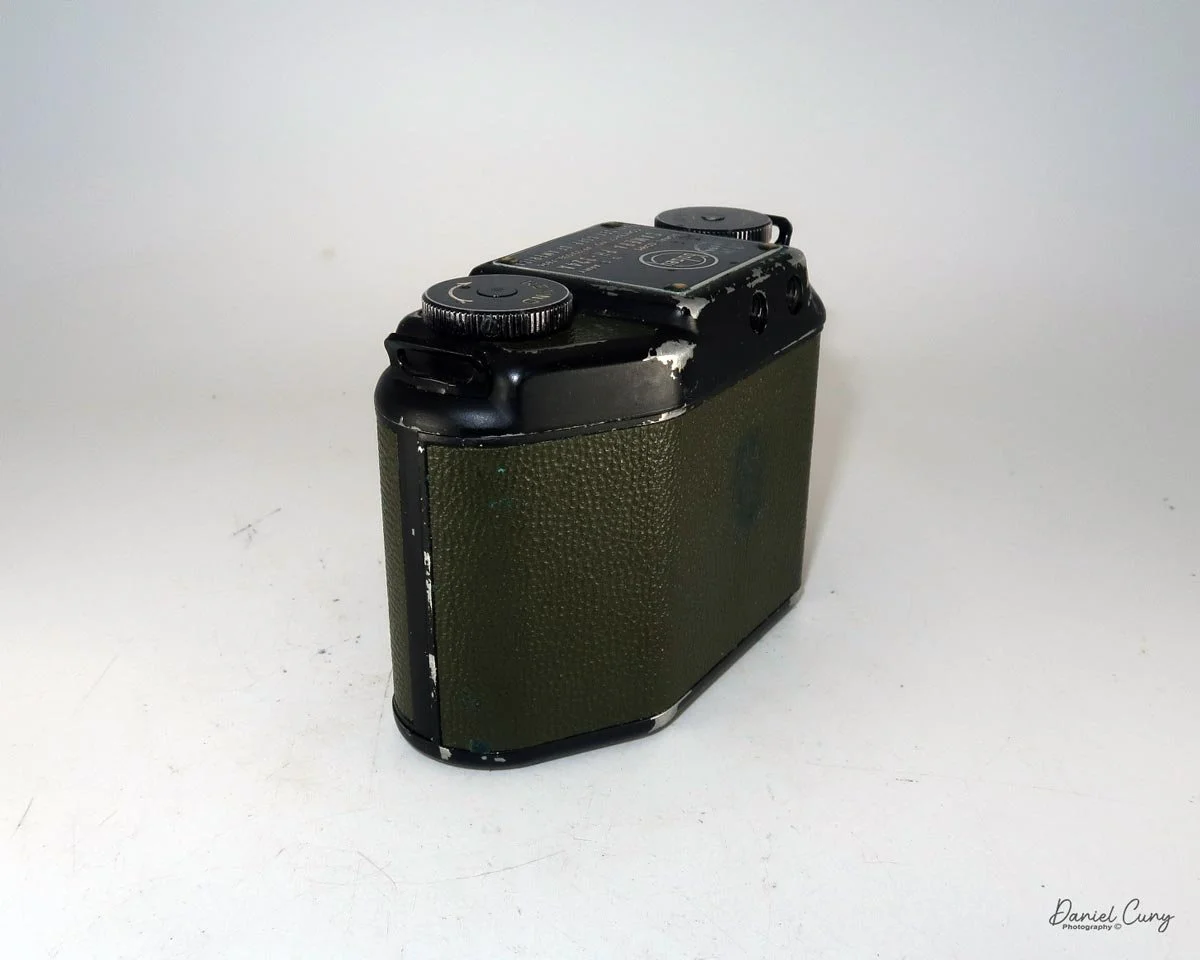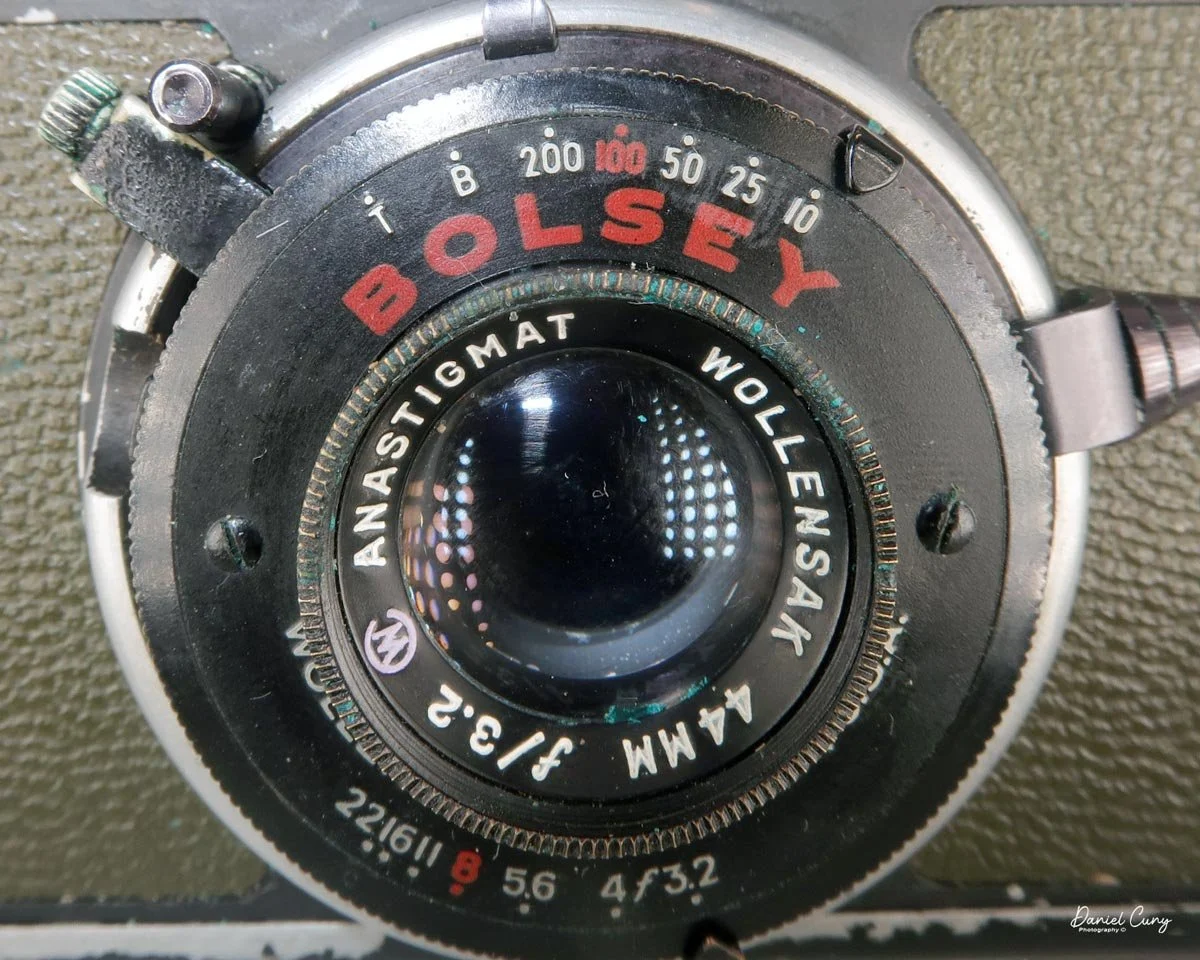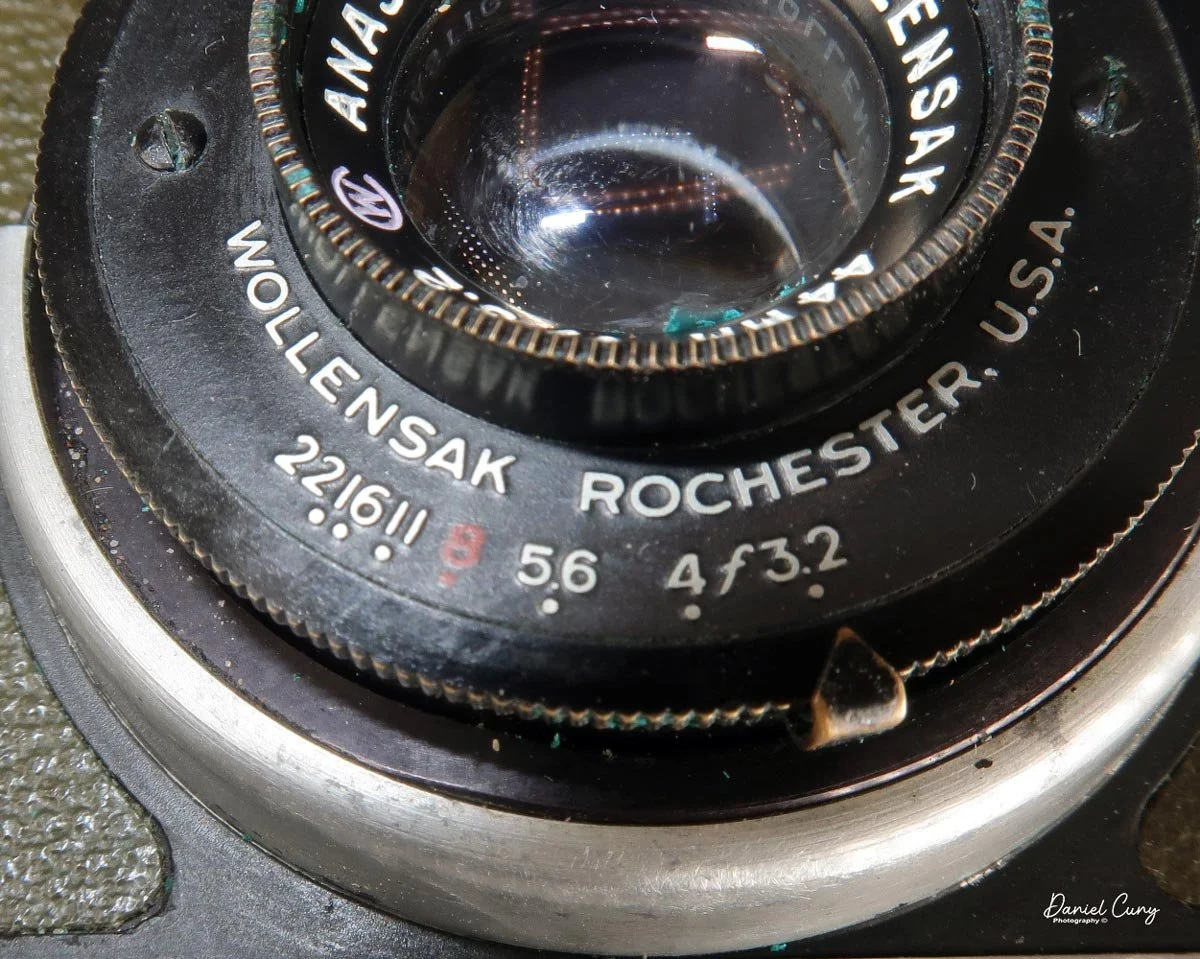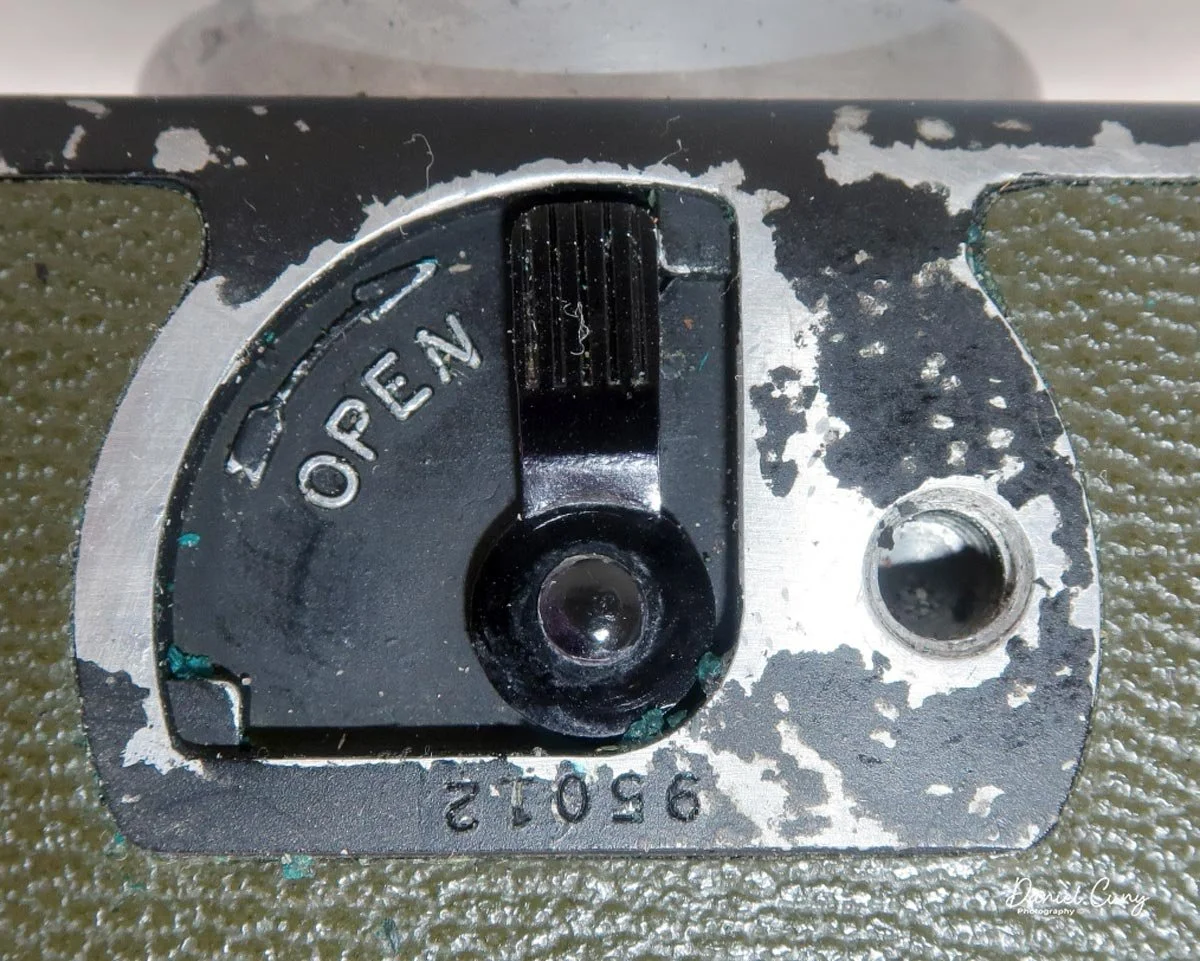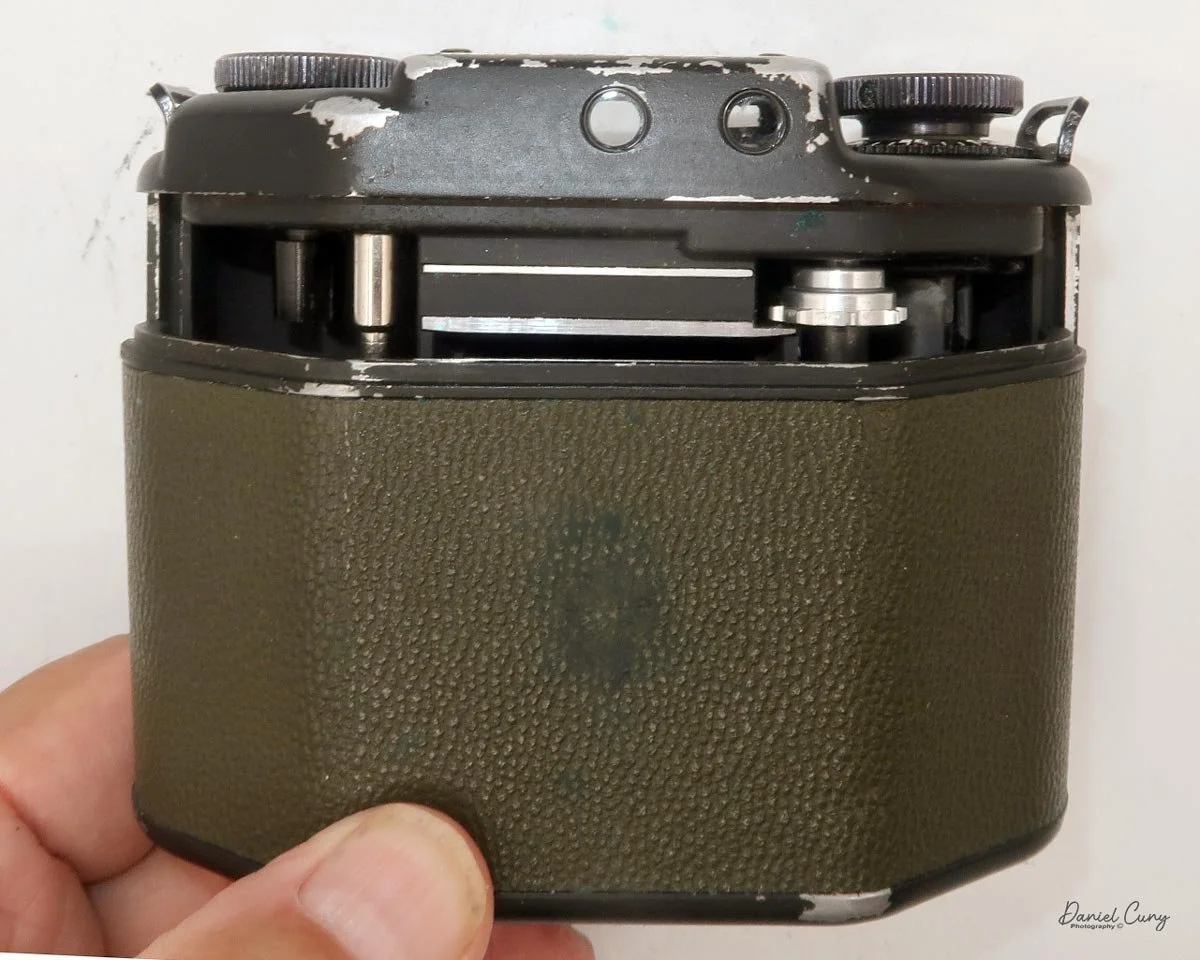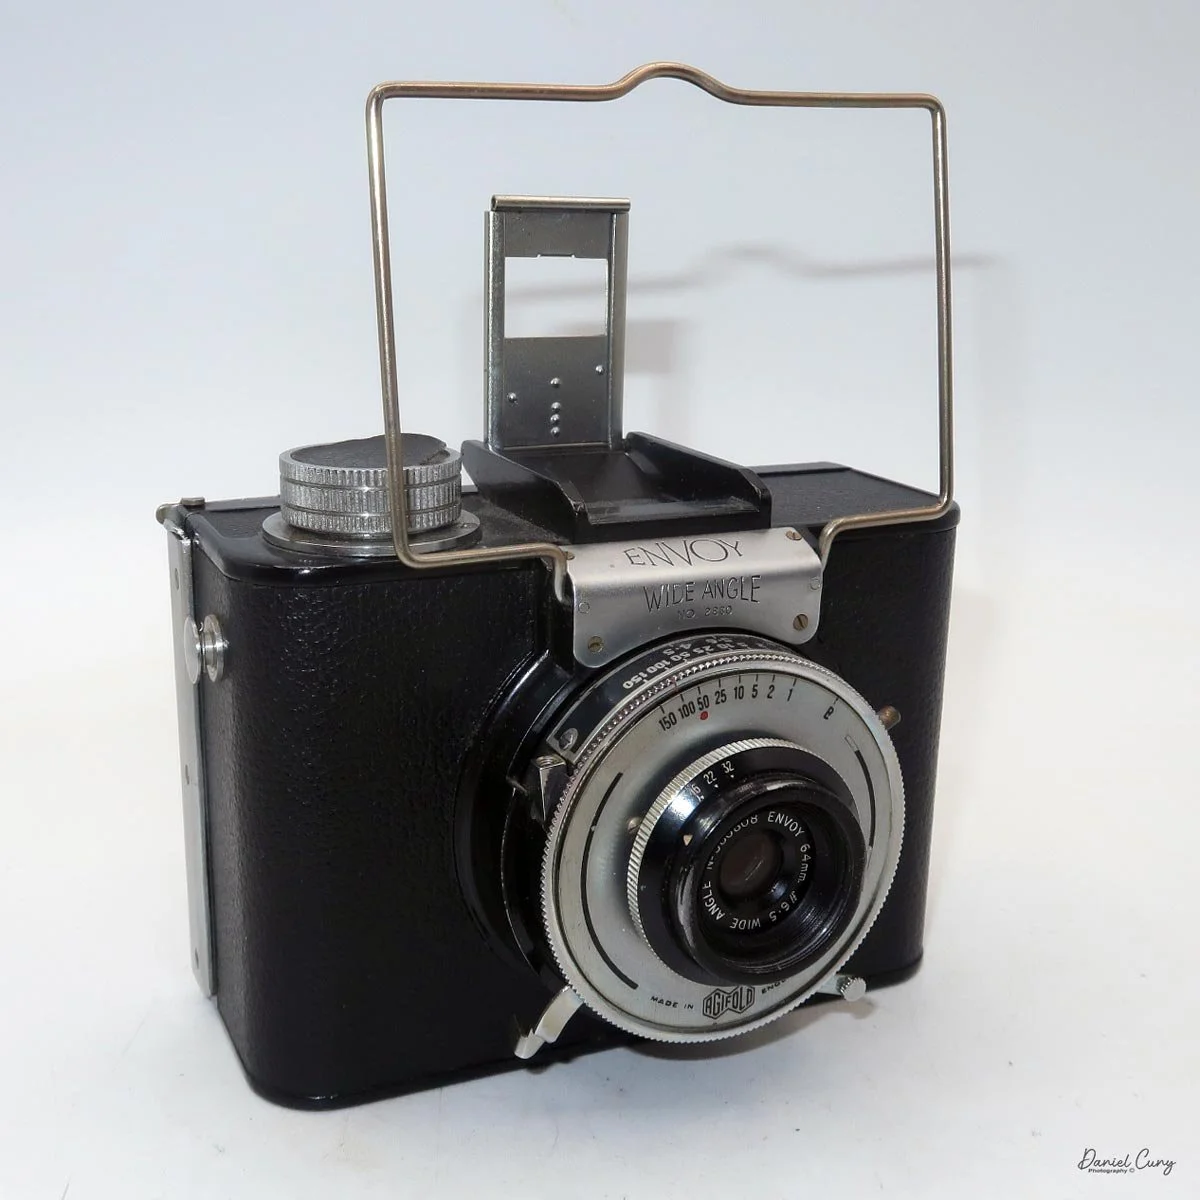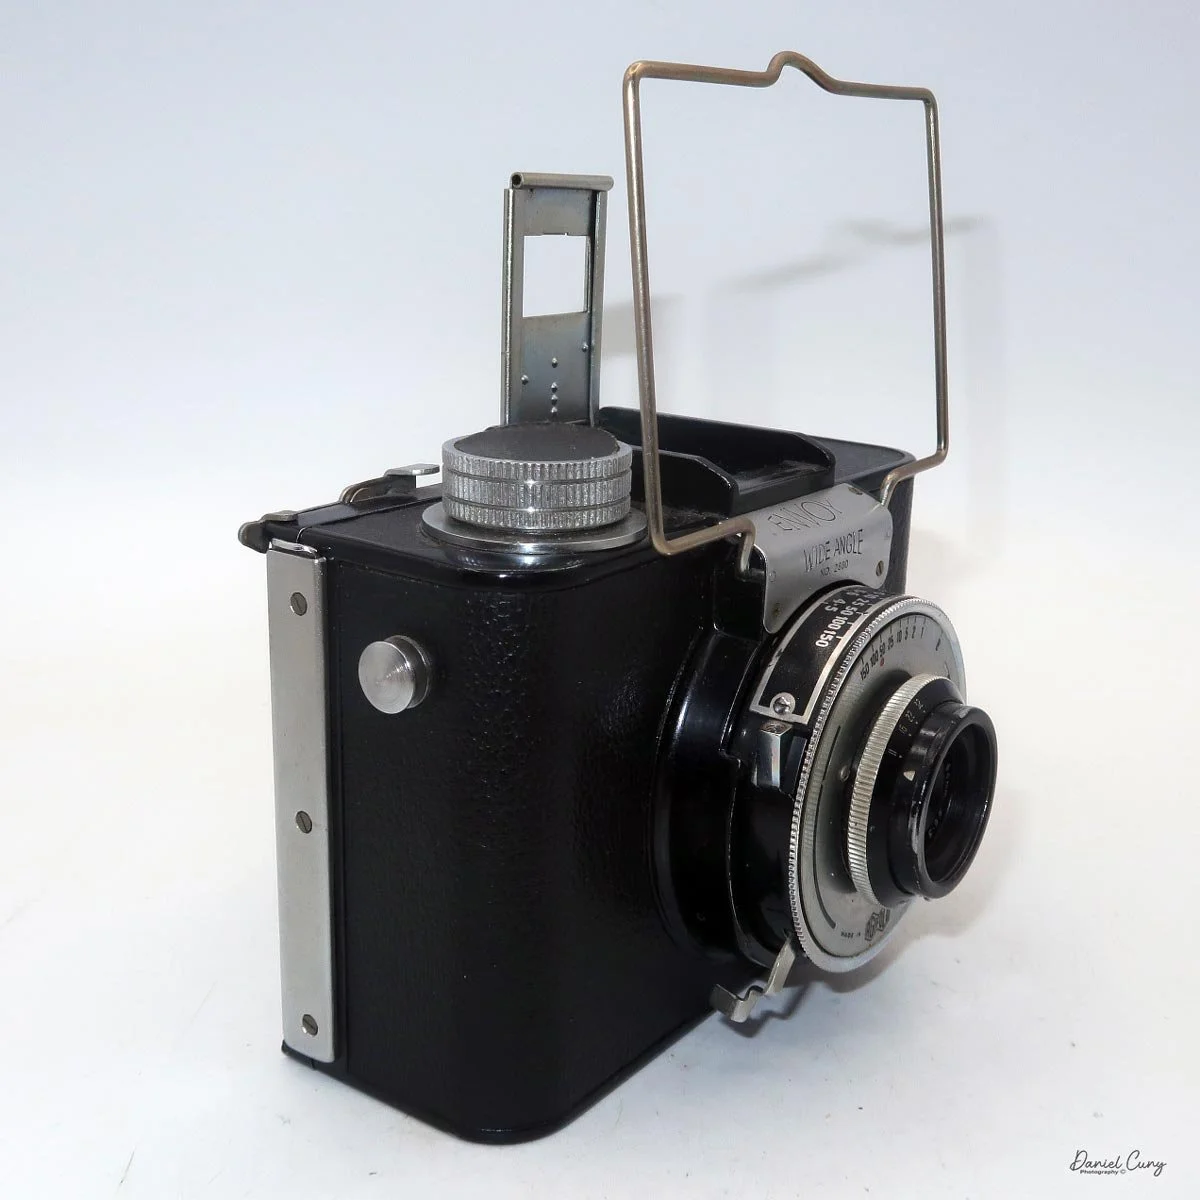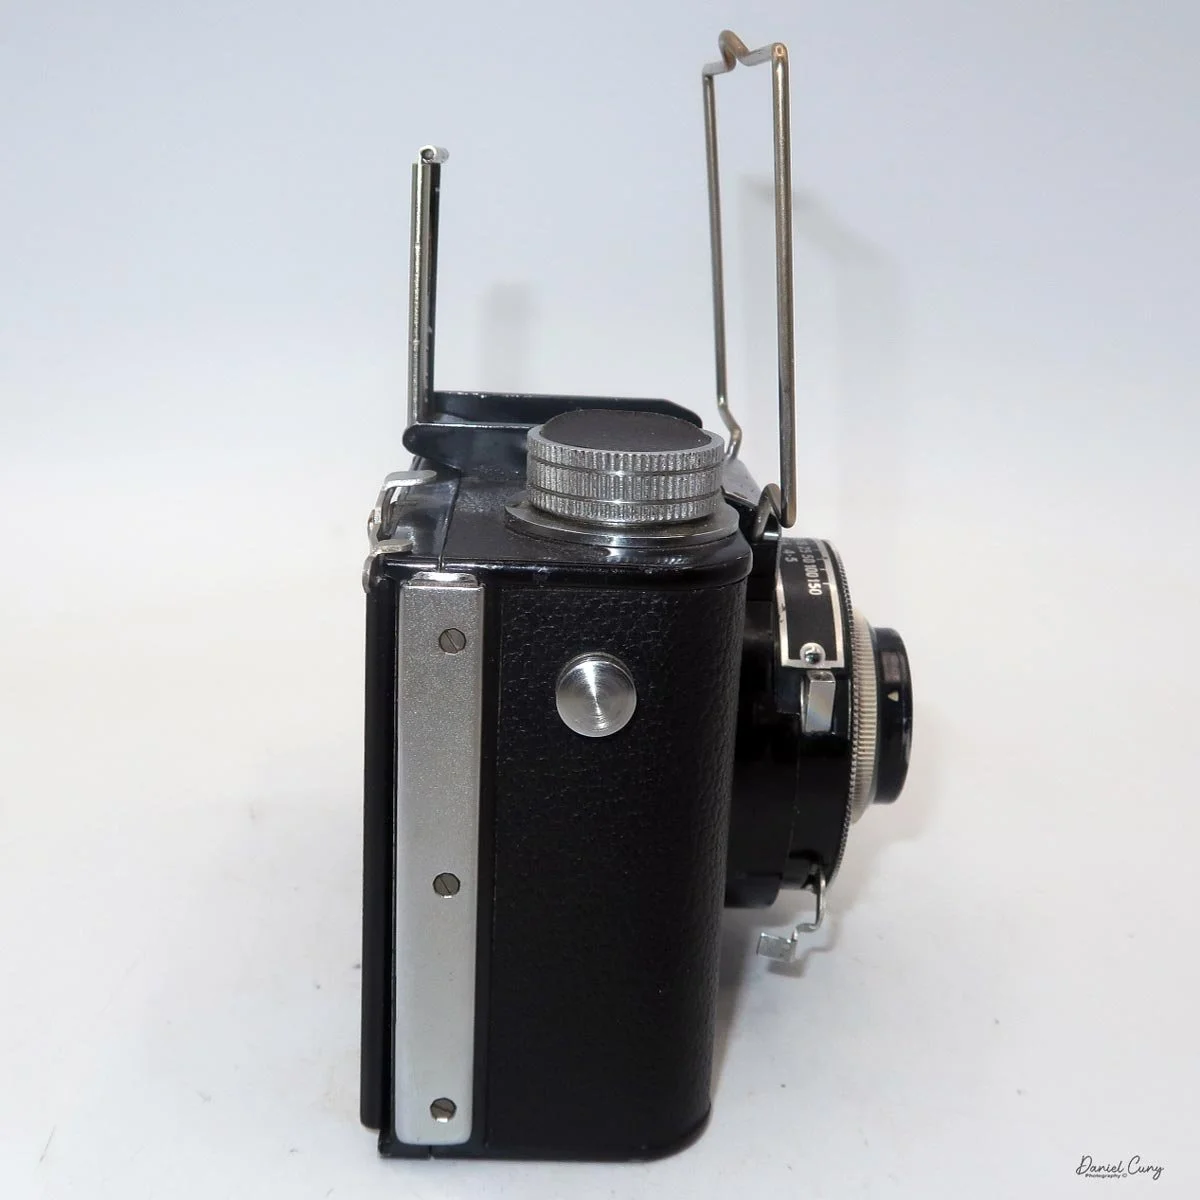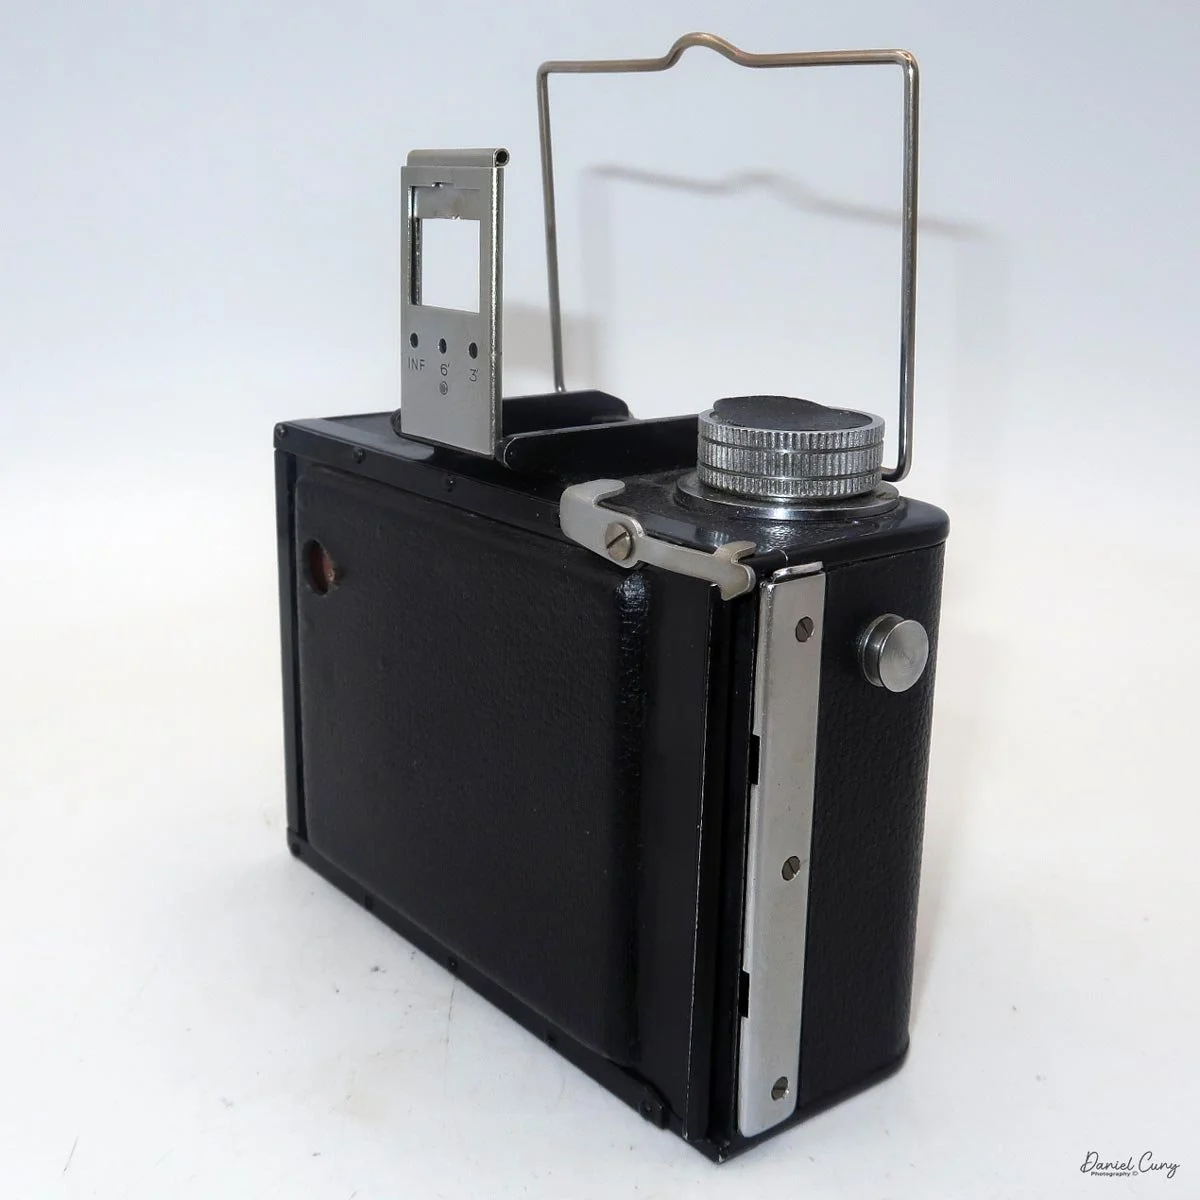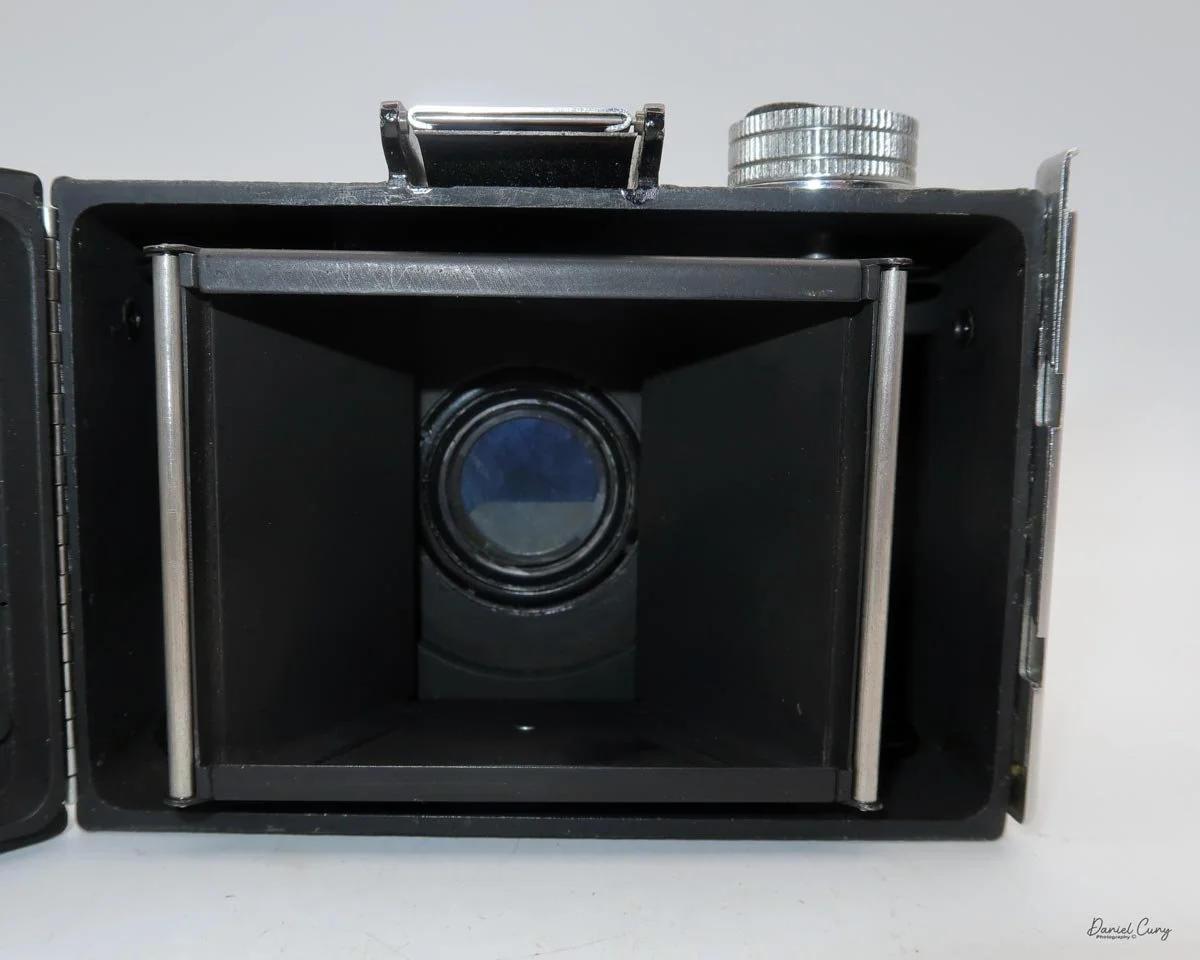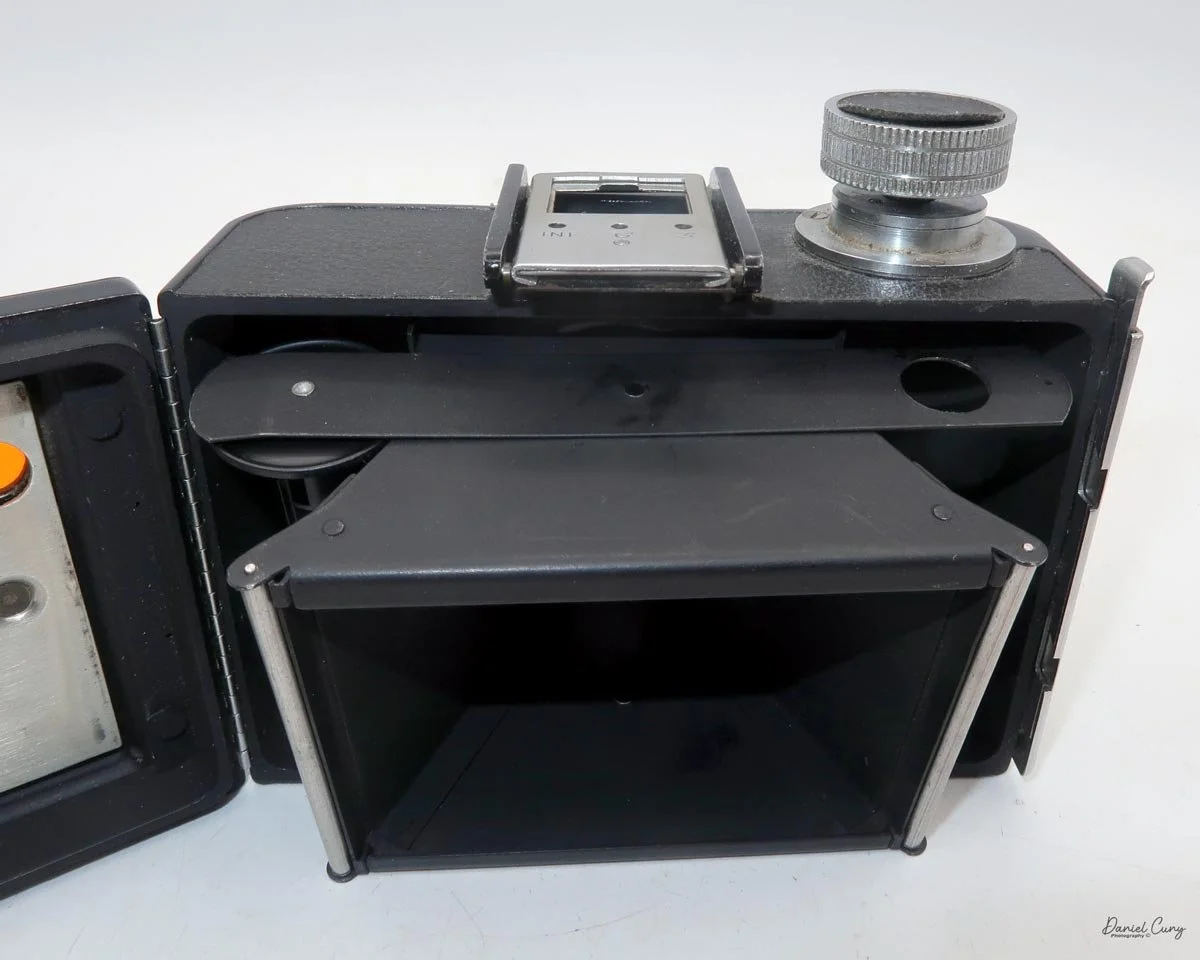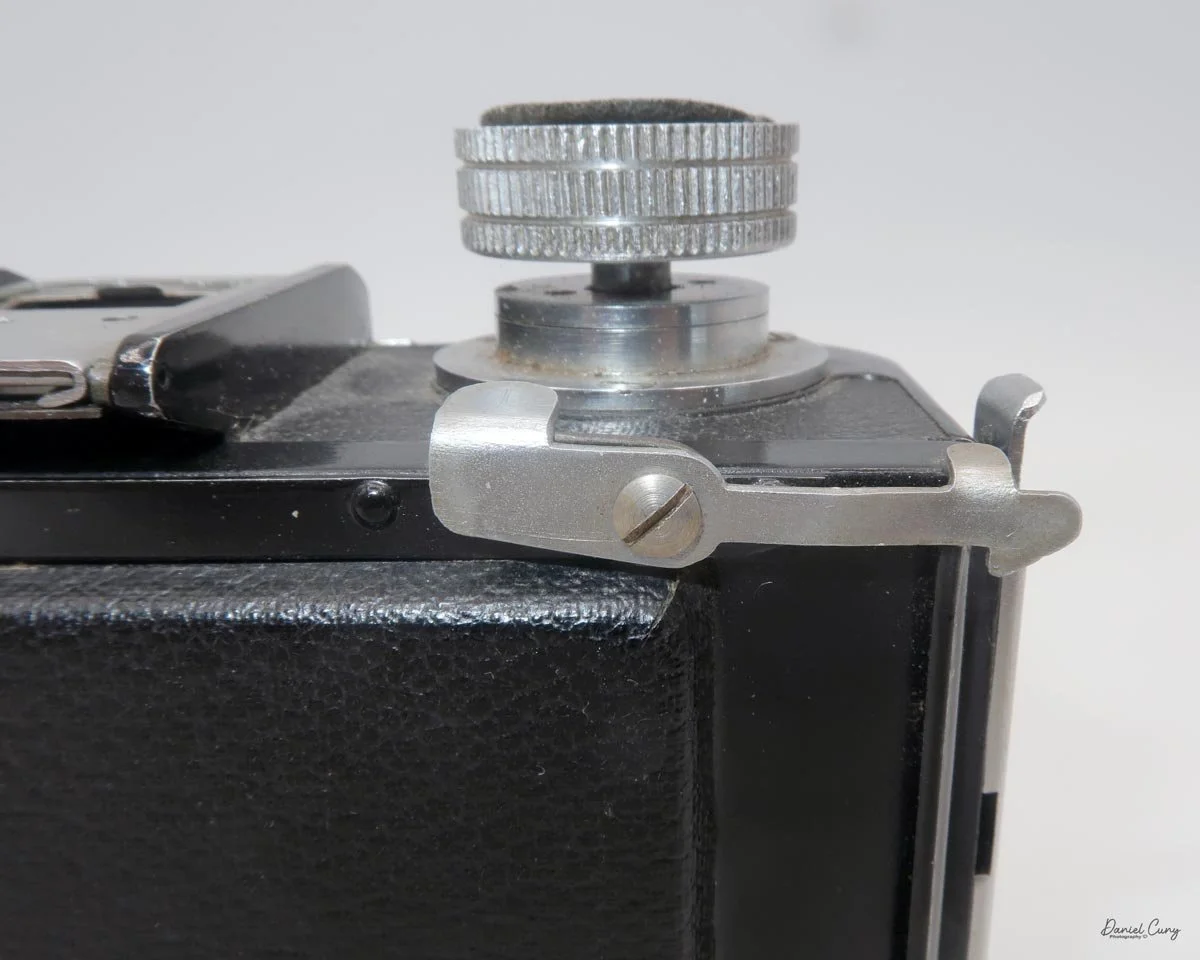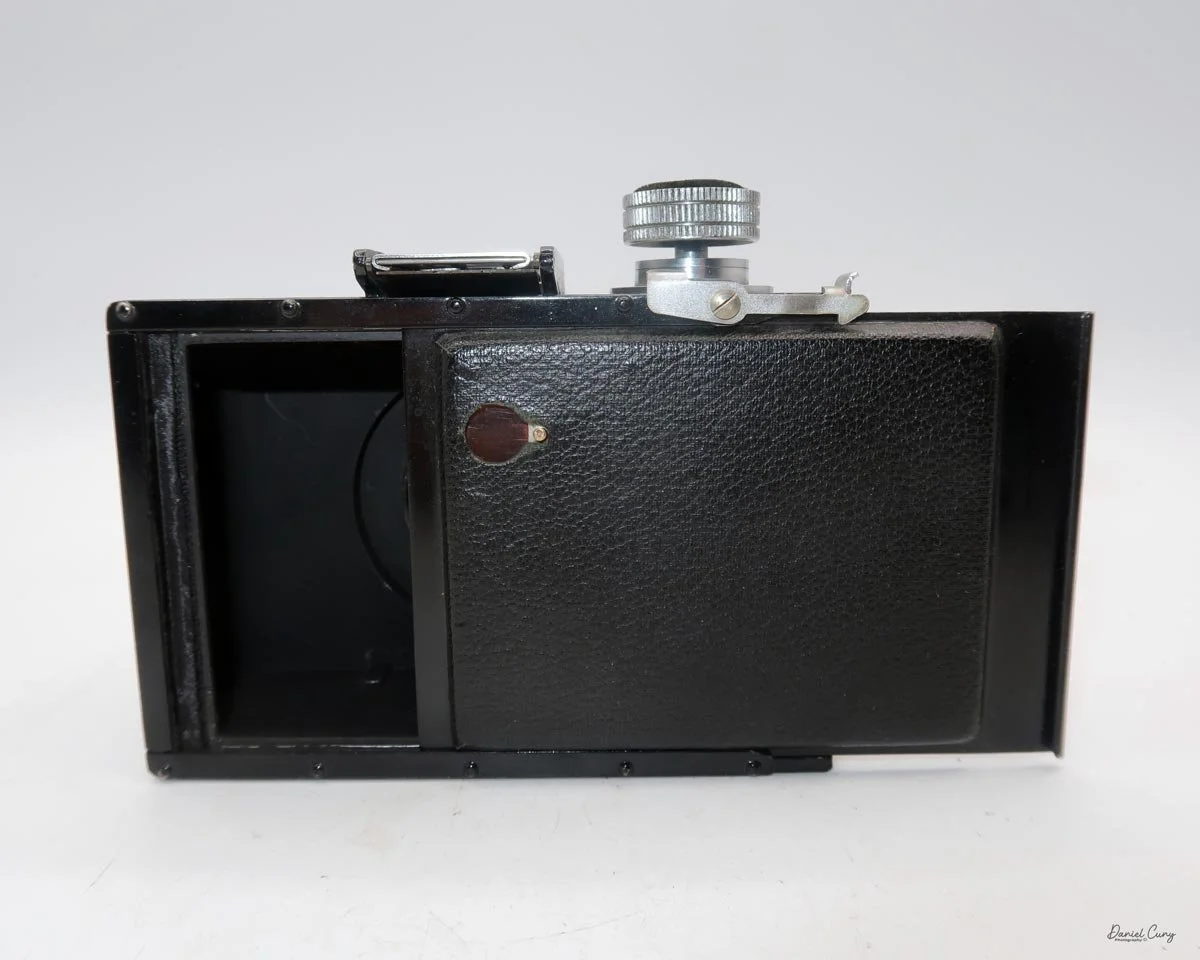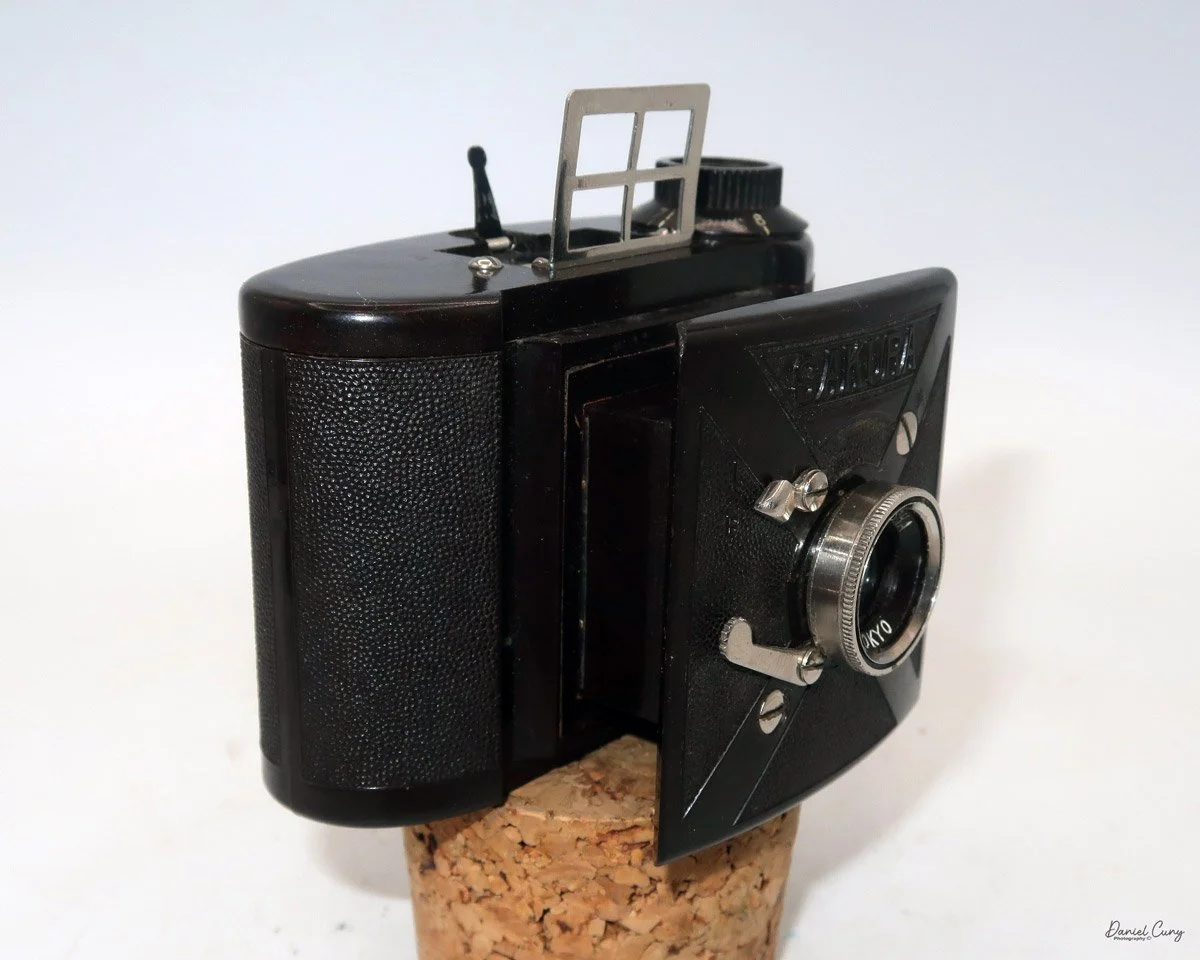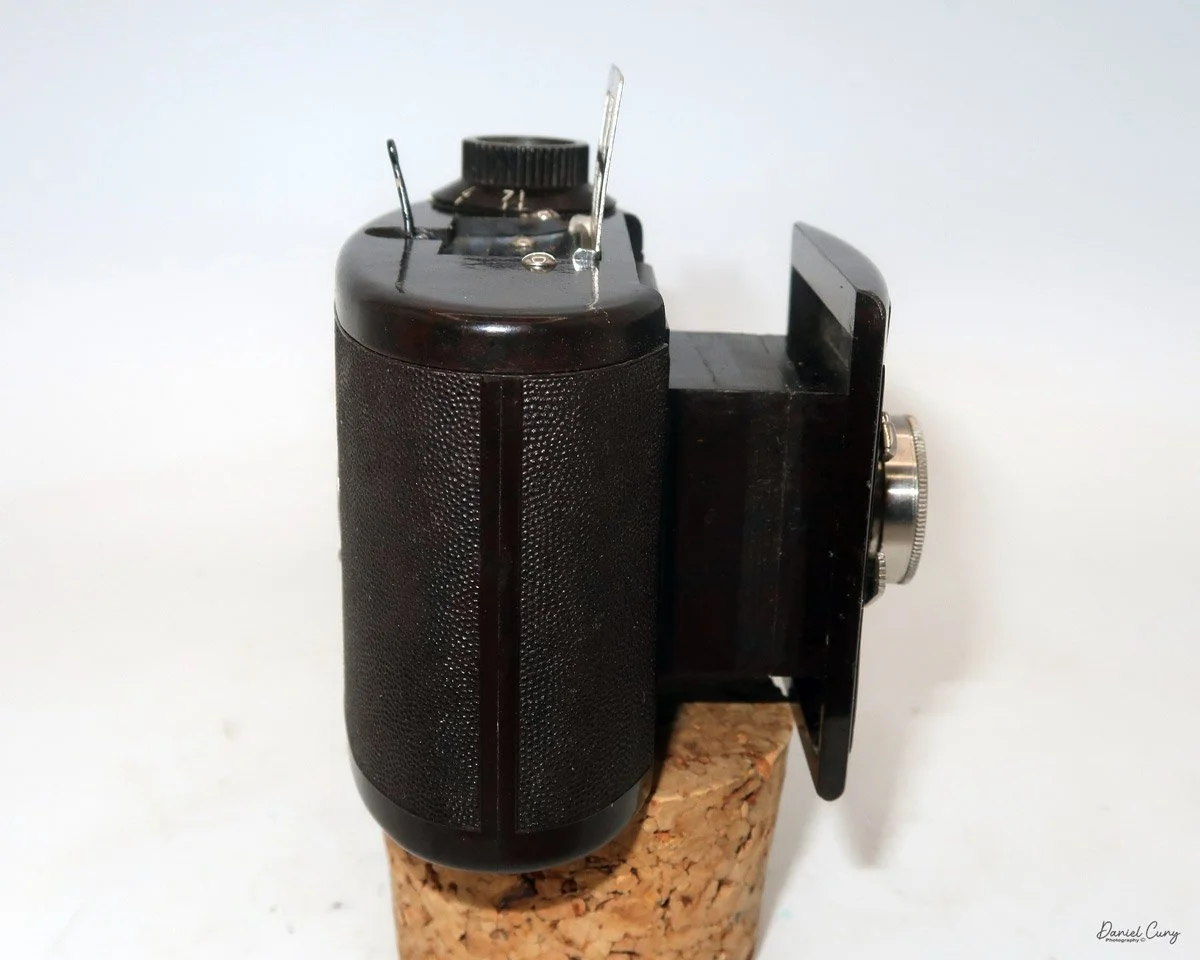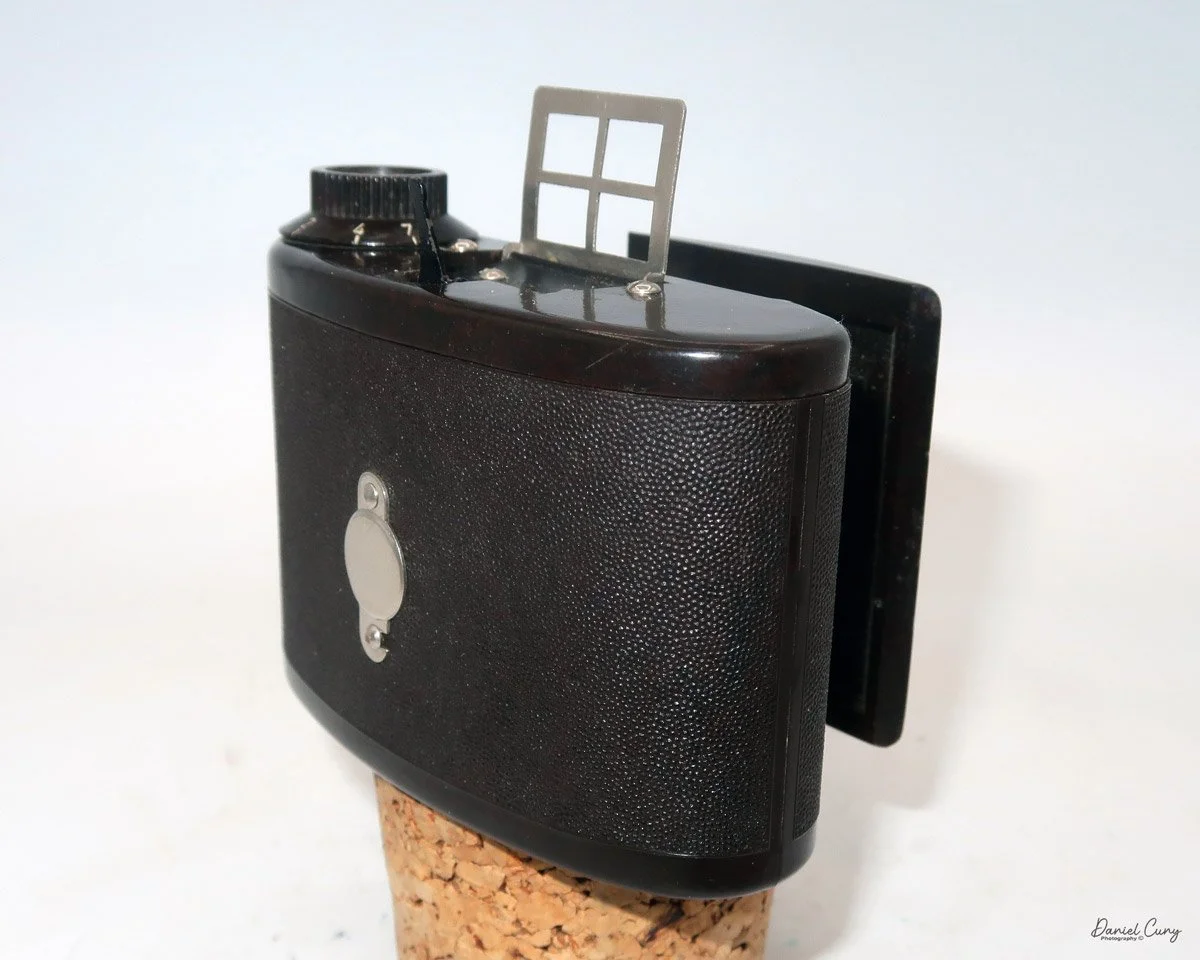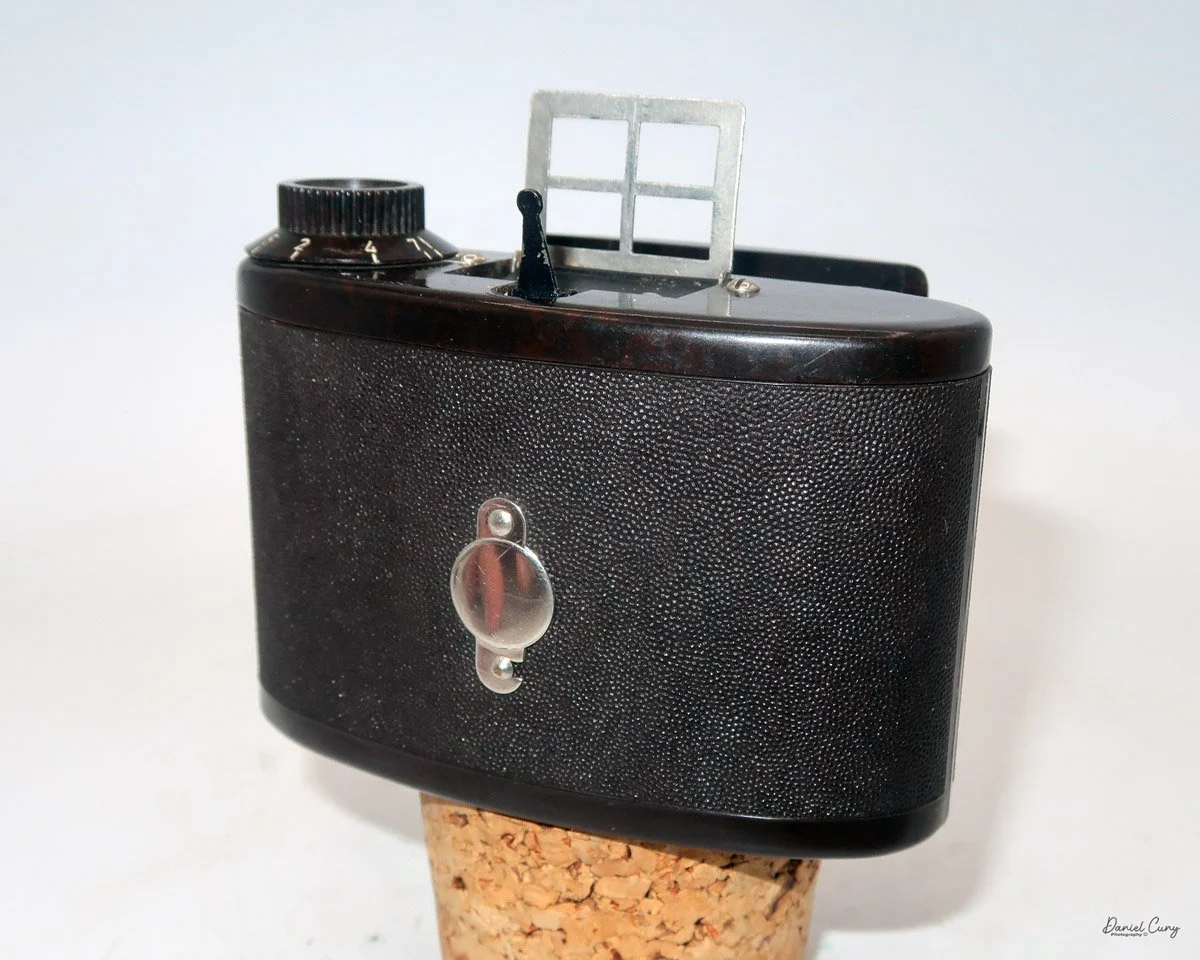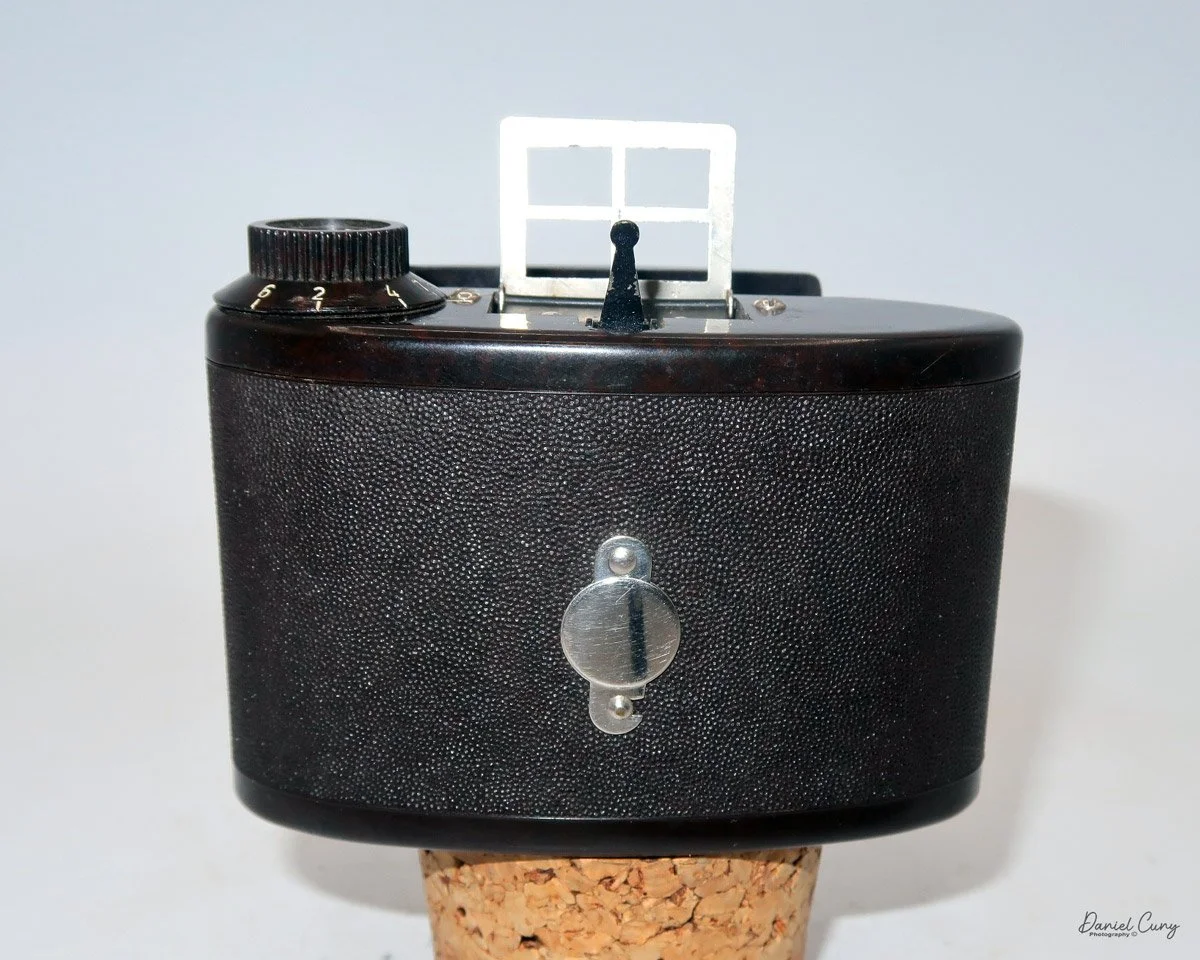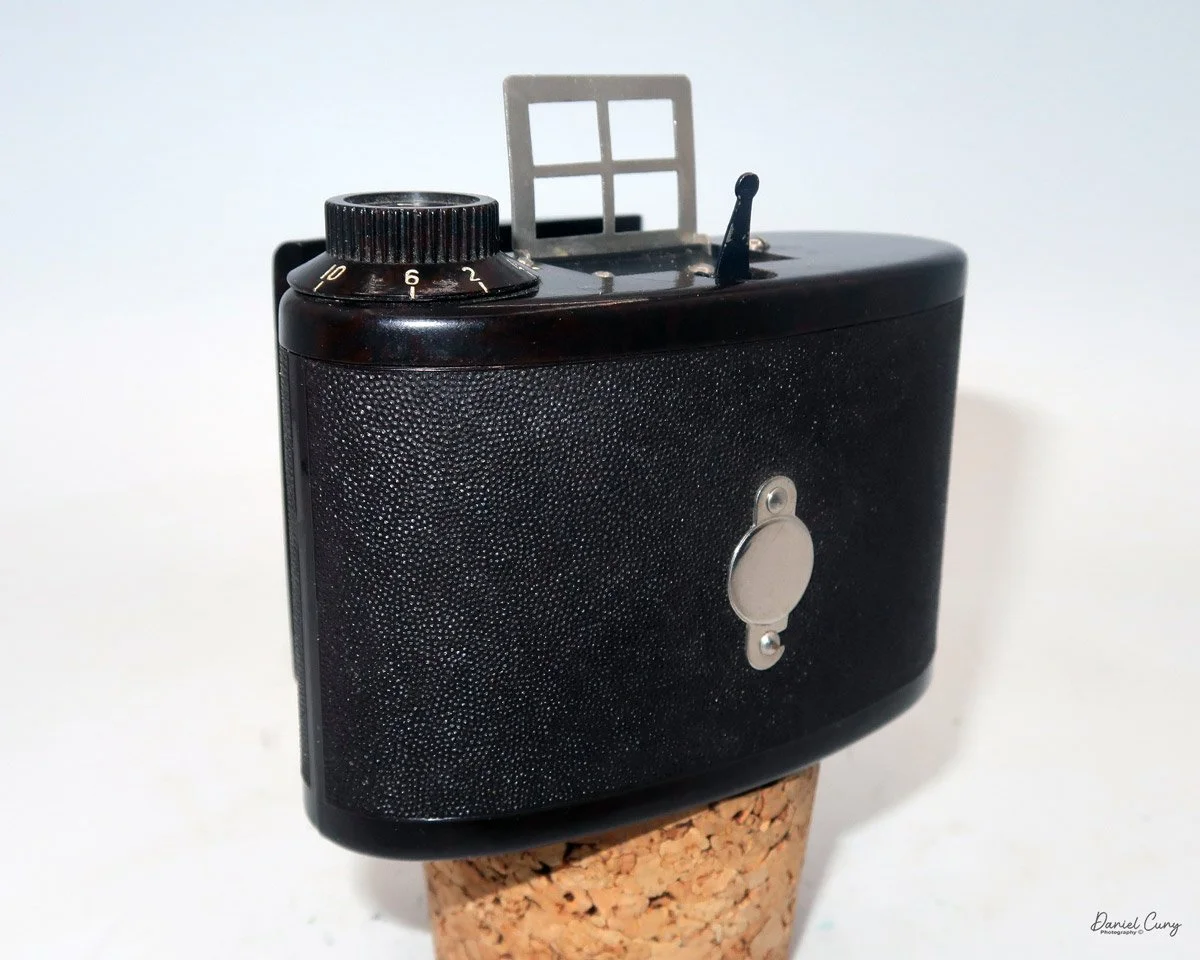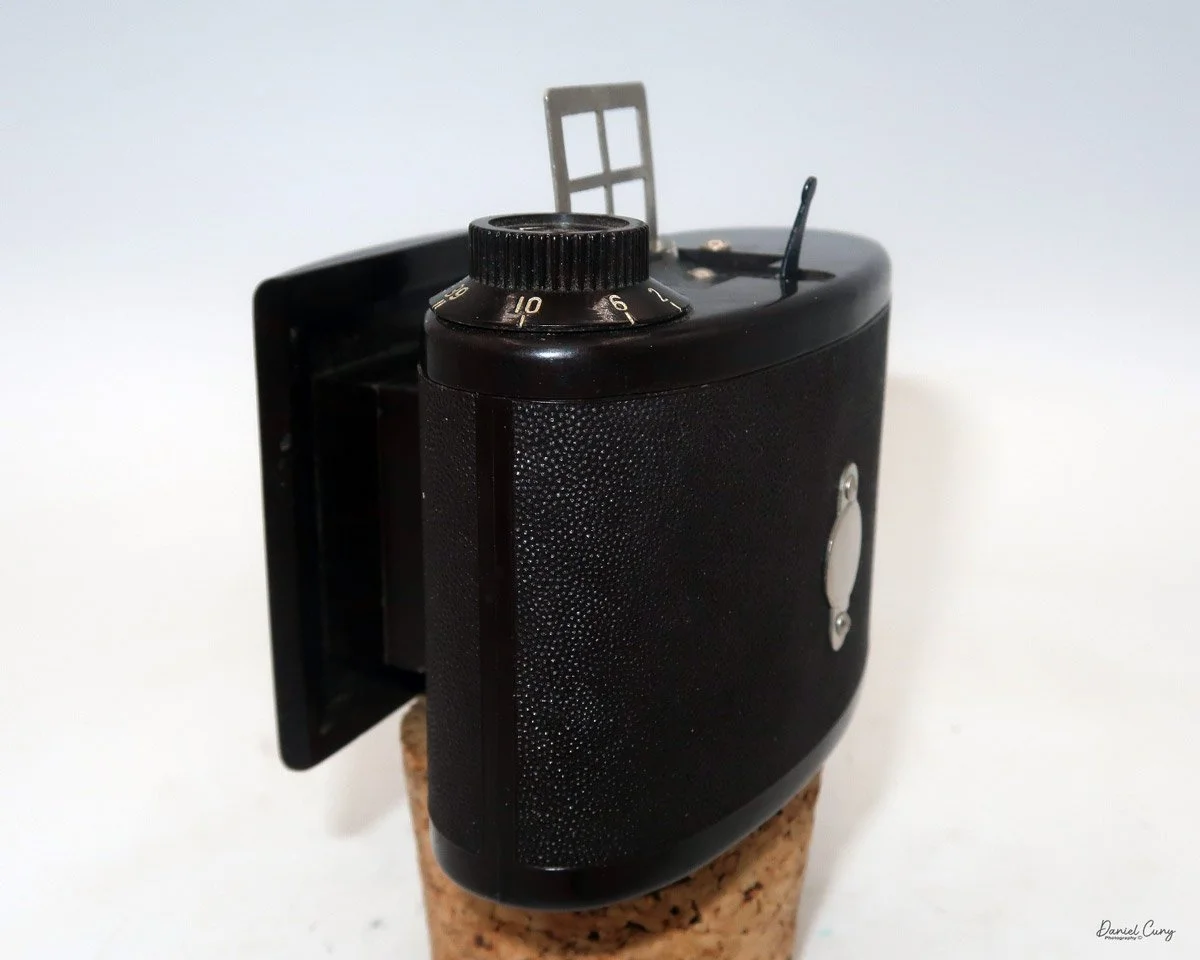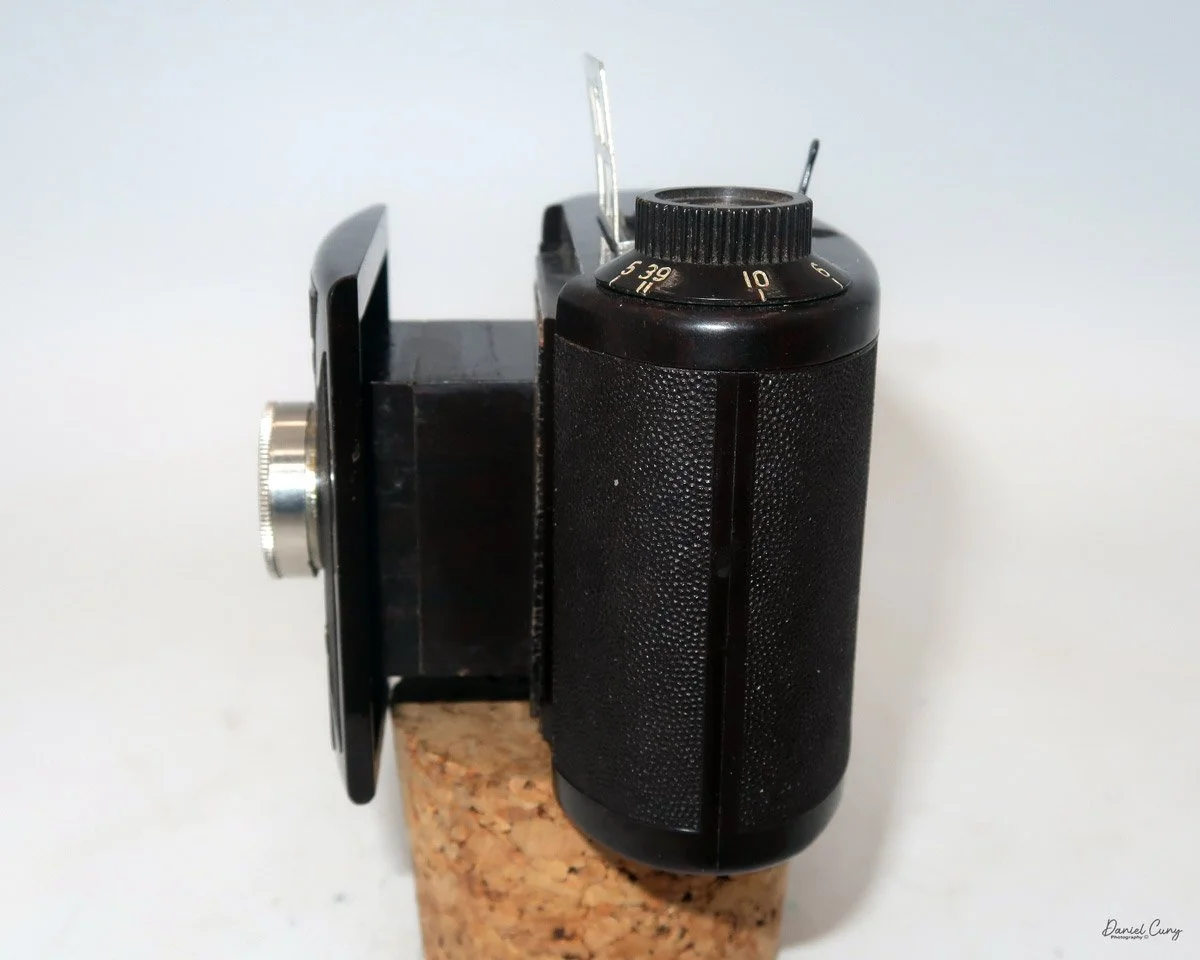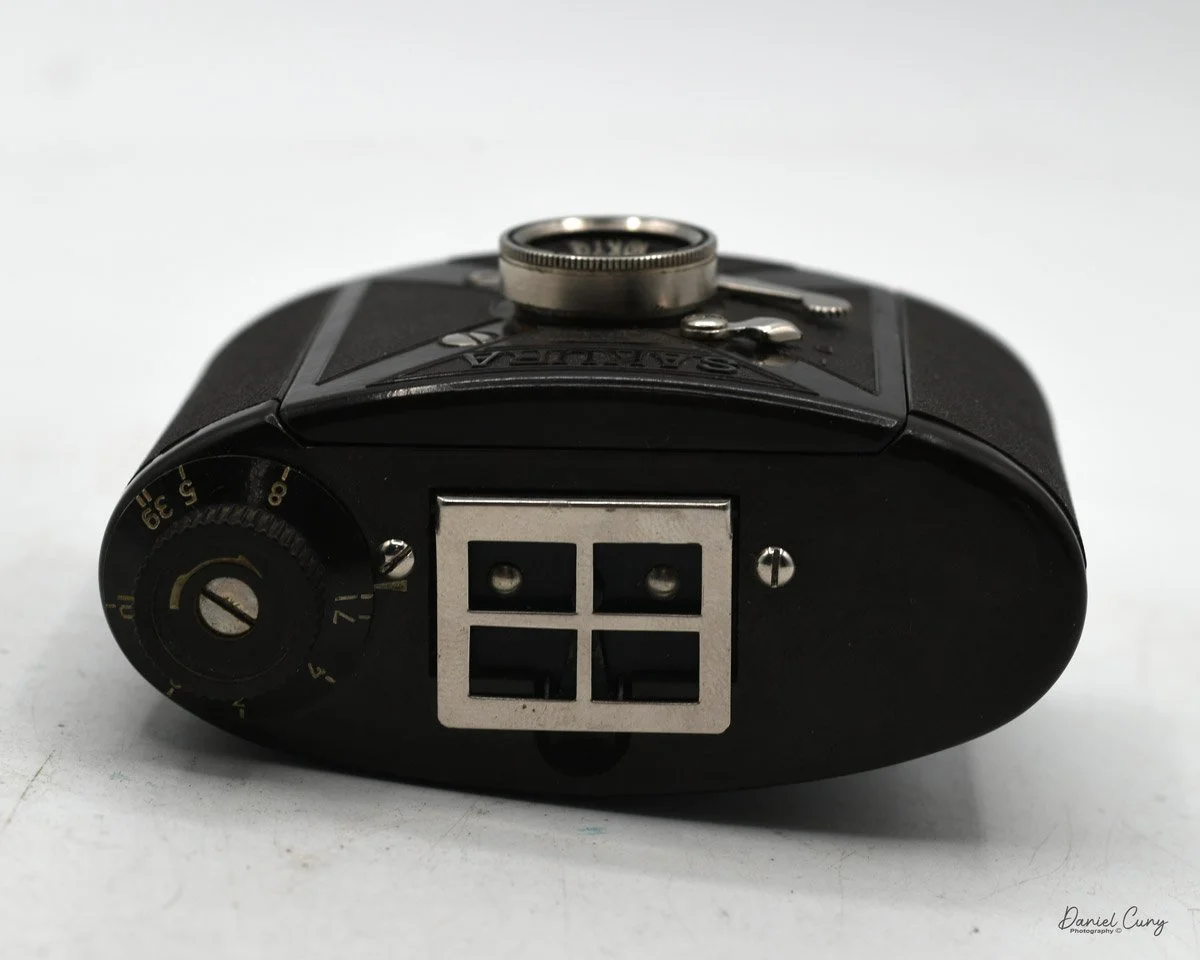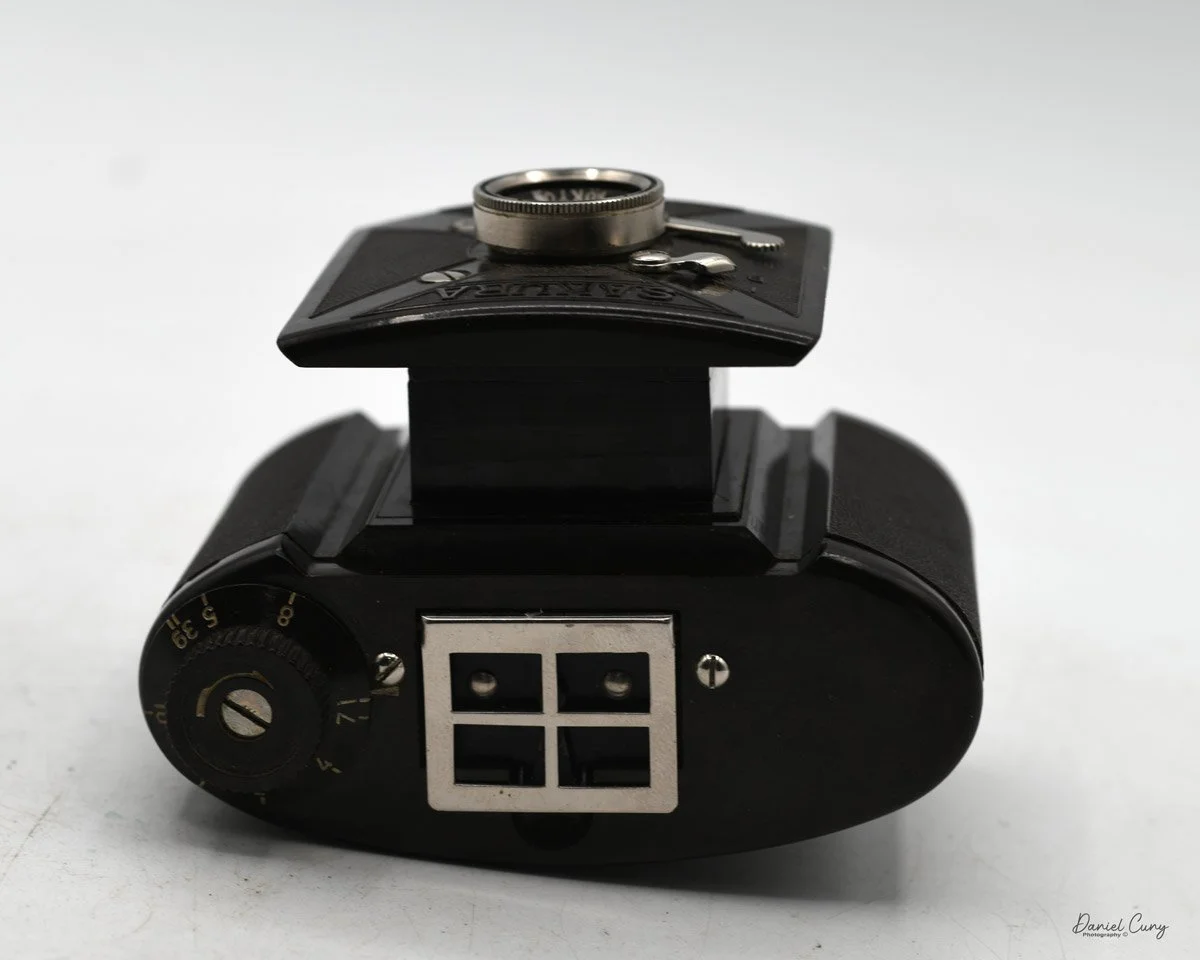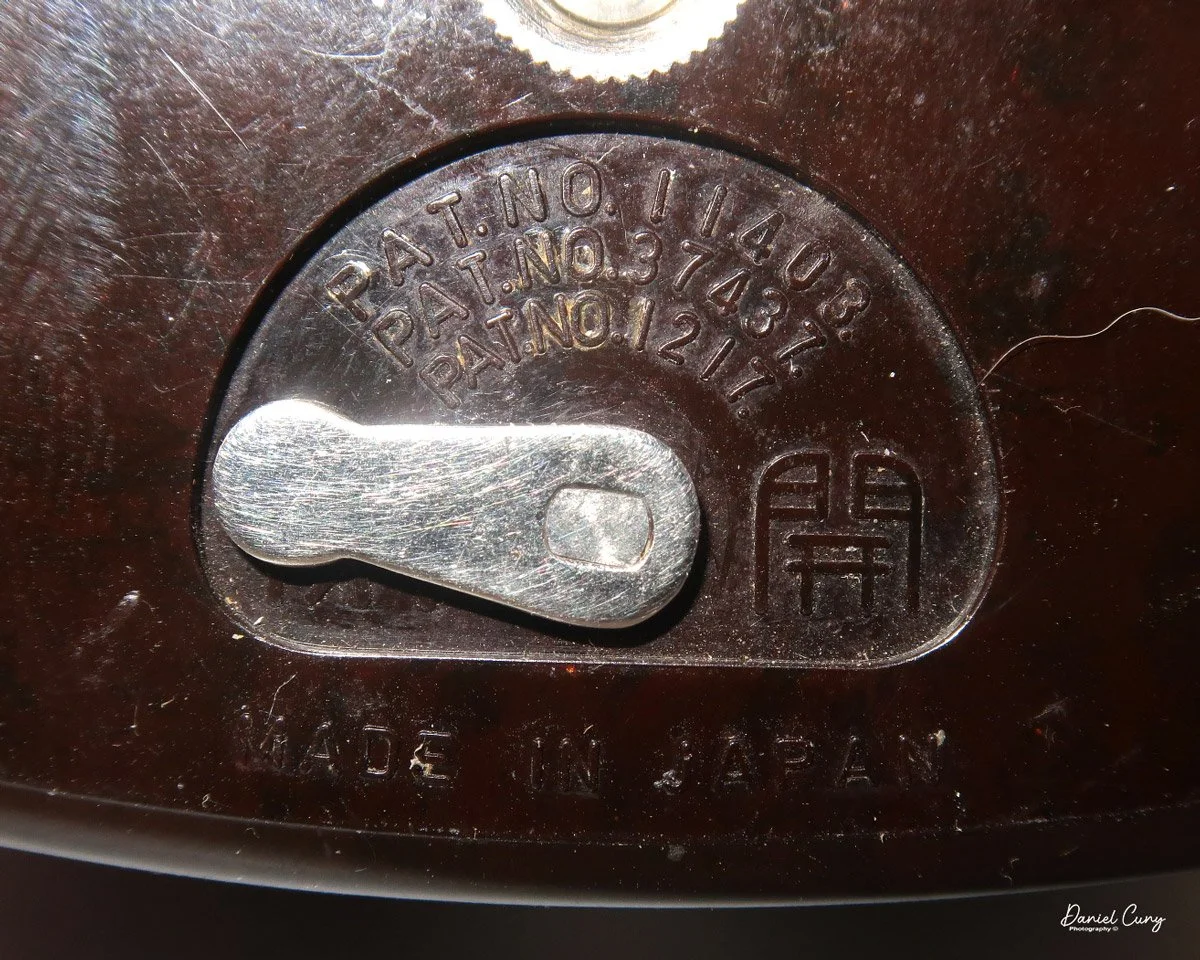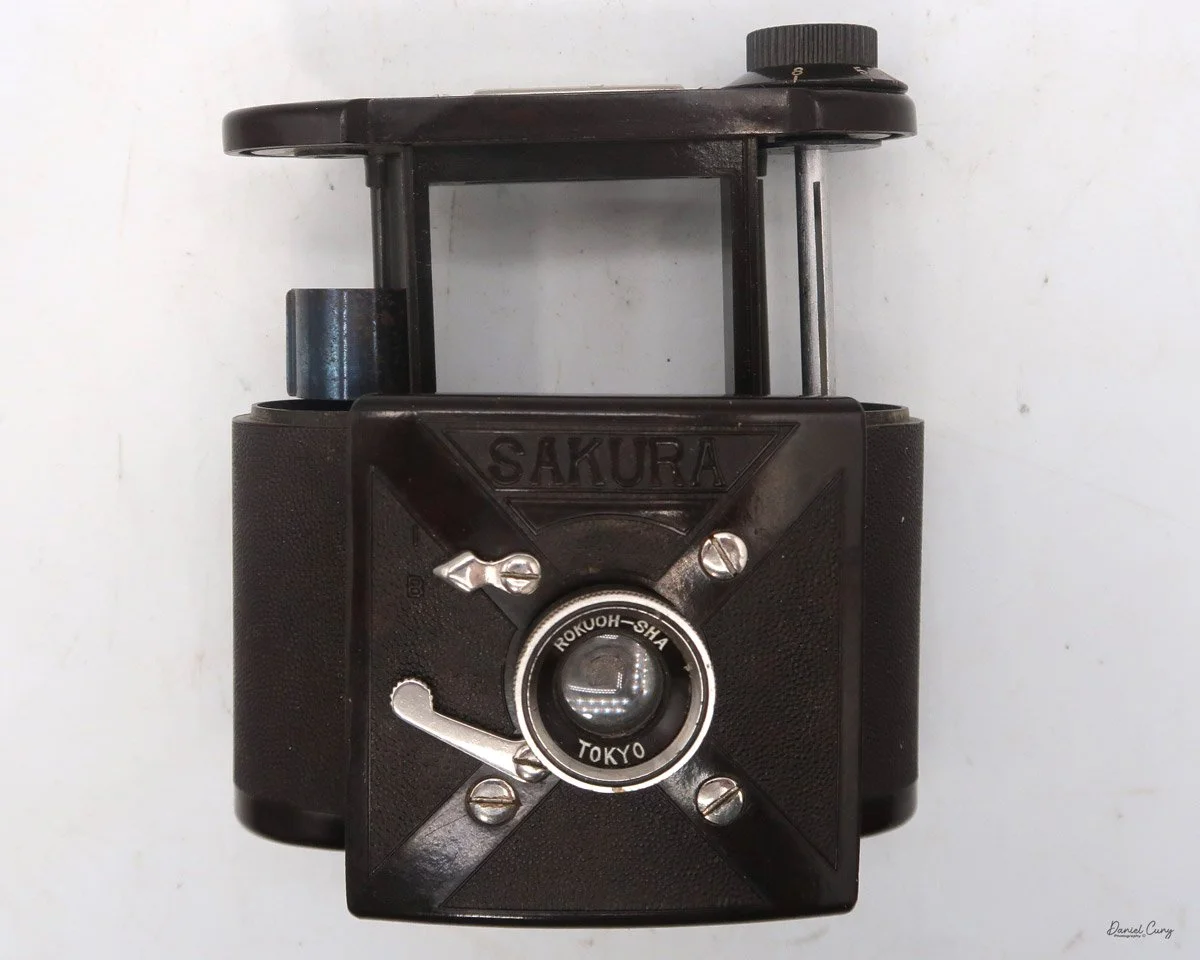
Rapid Omega 200 camera

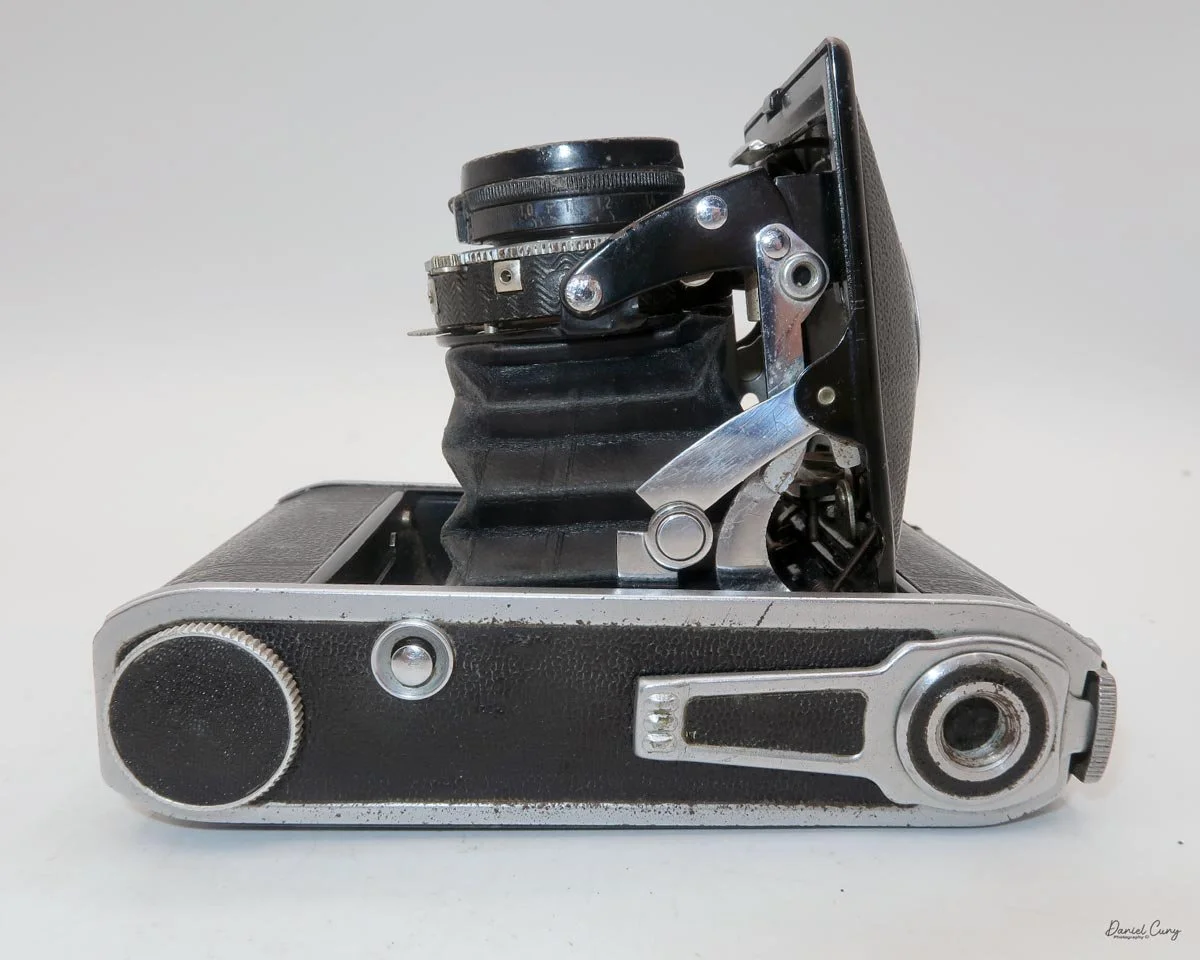
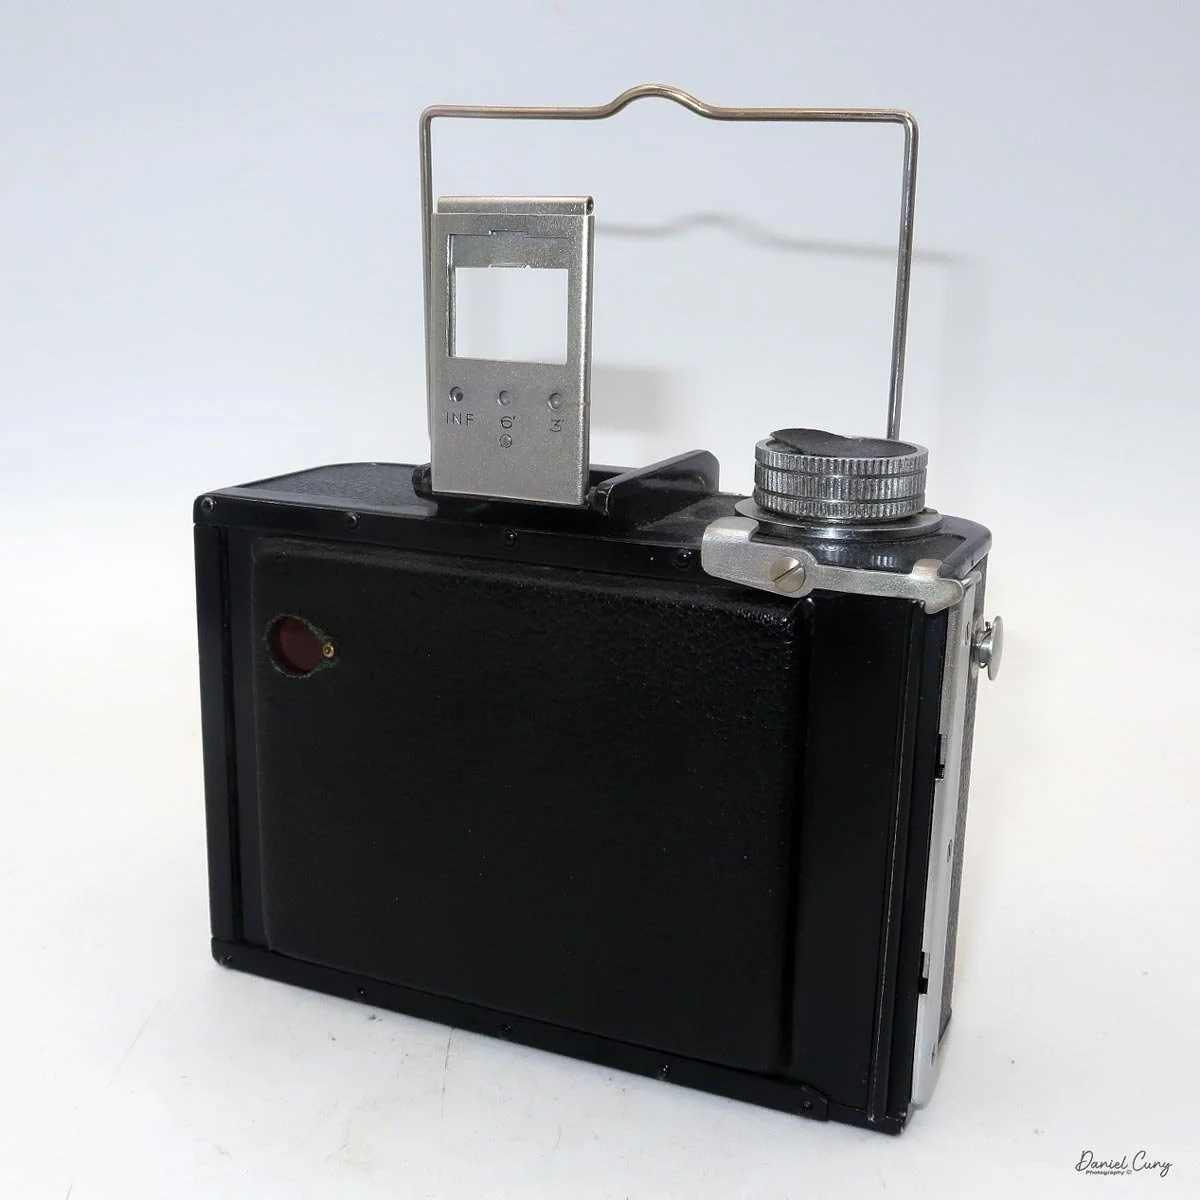
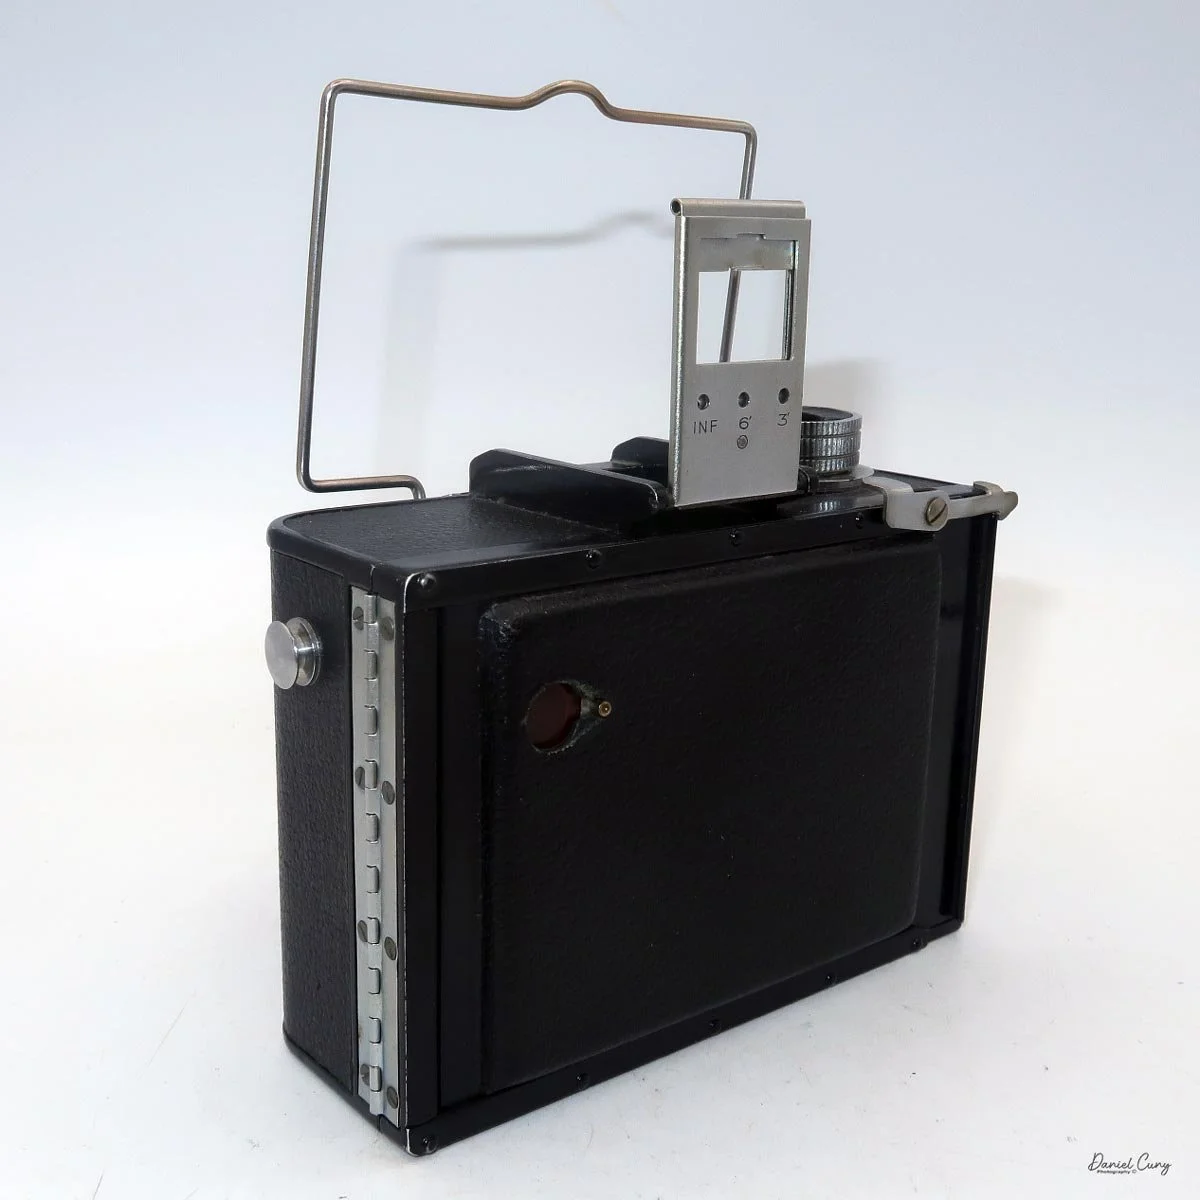
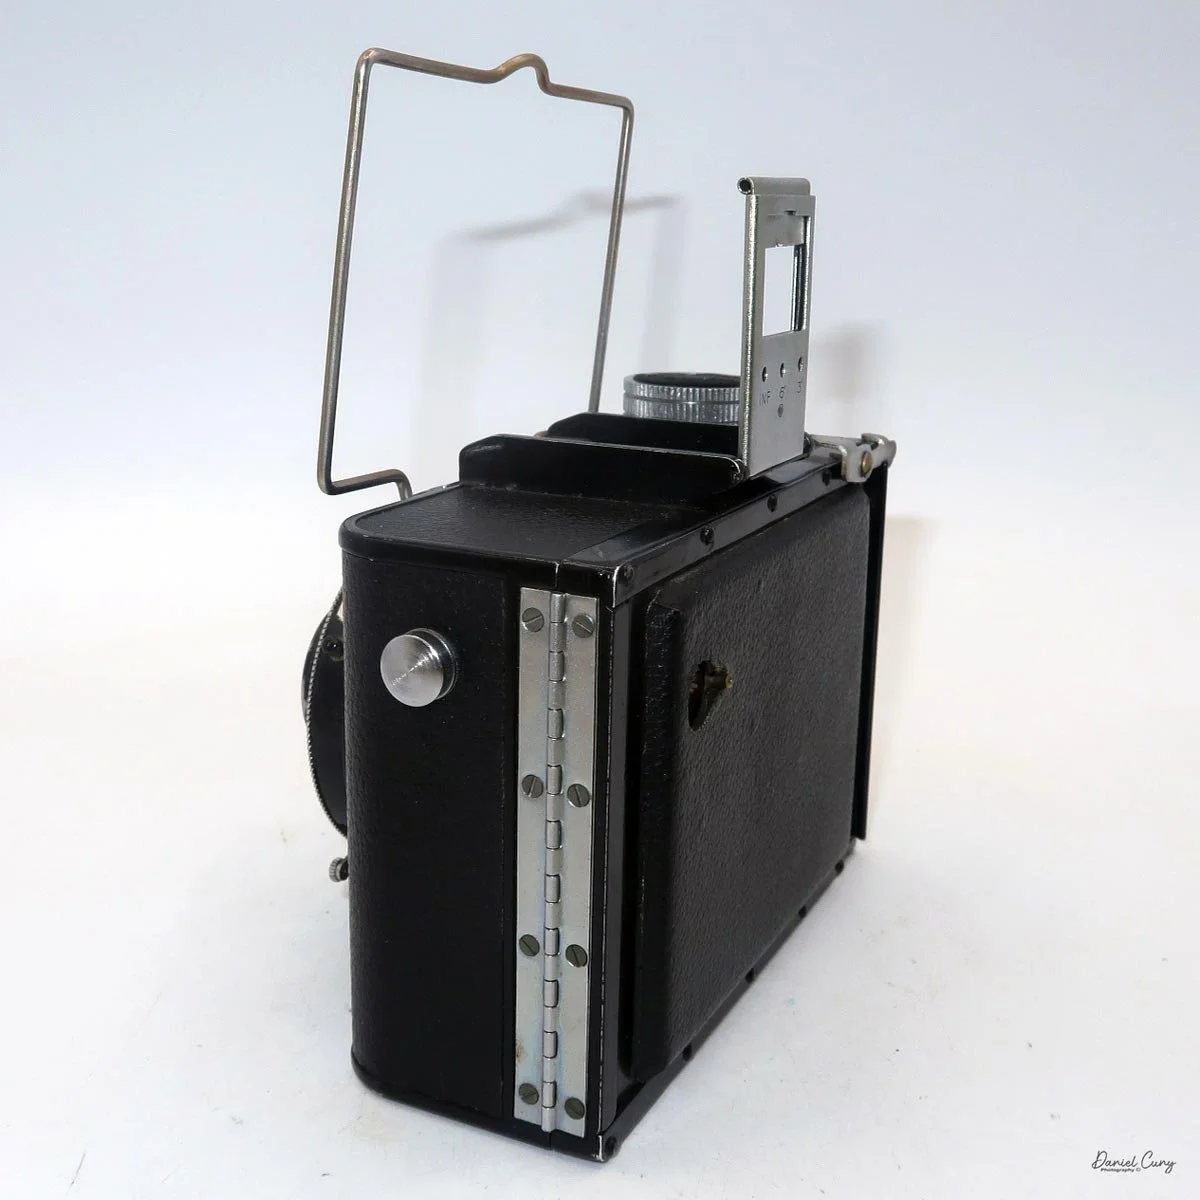
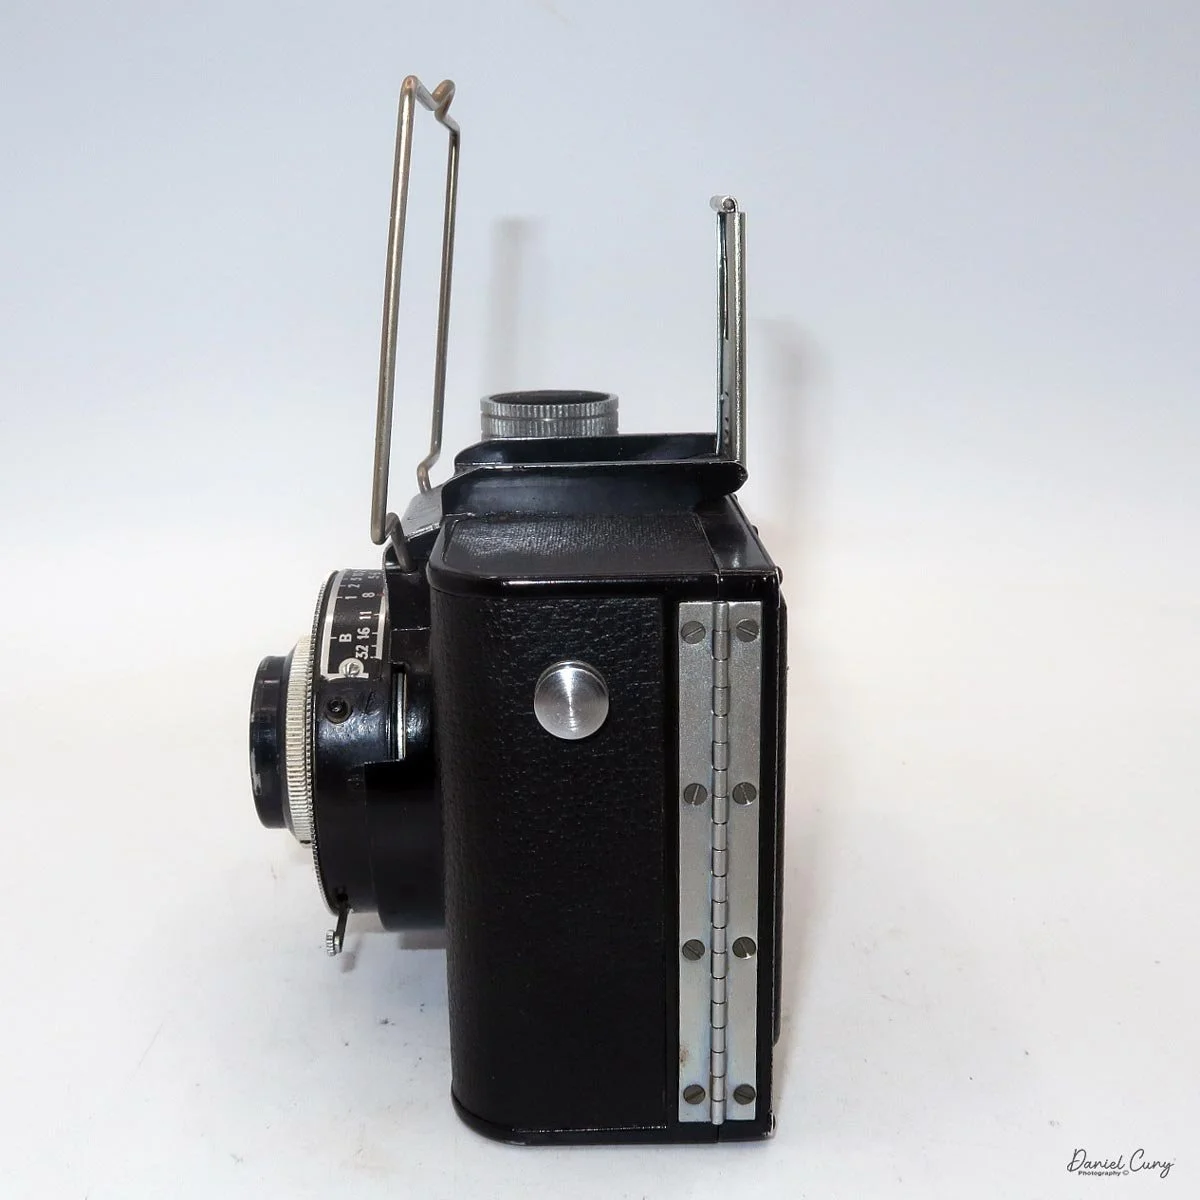
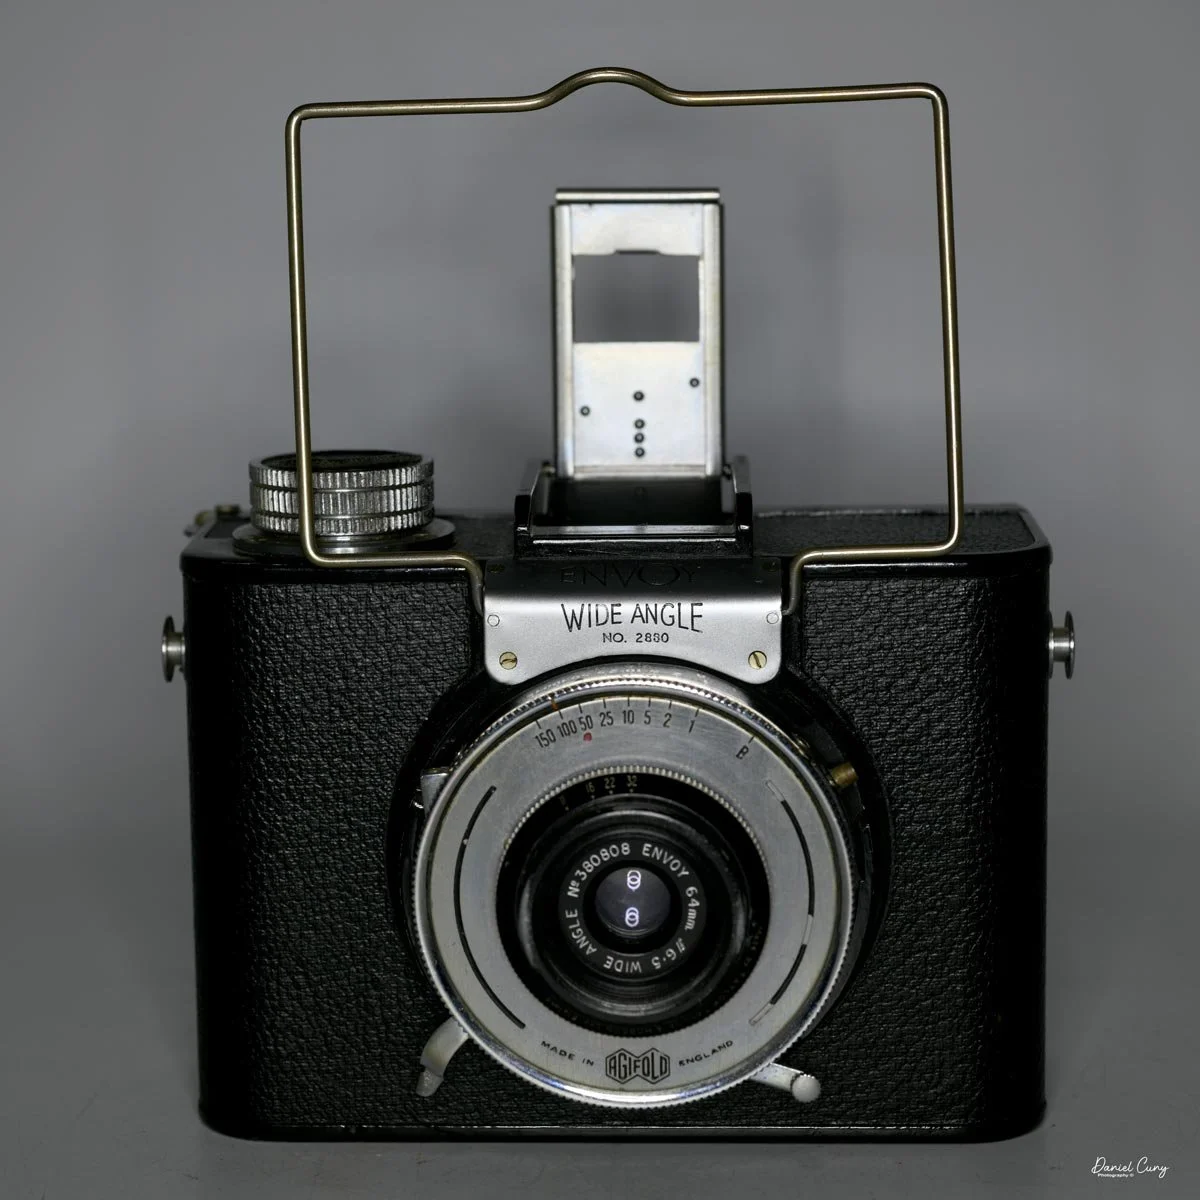
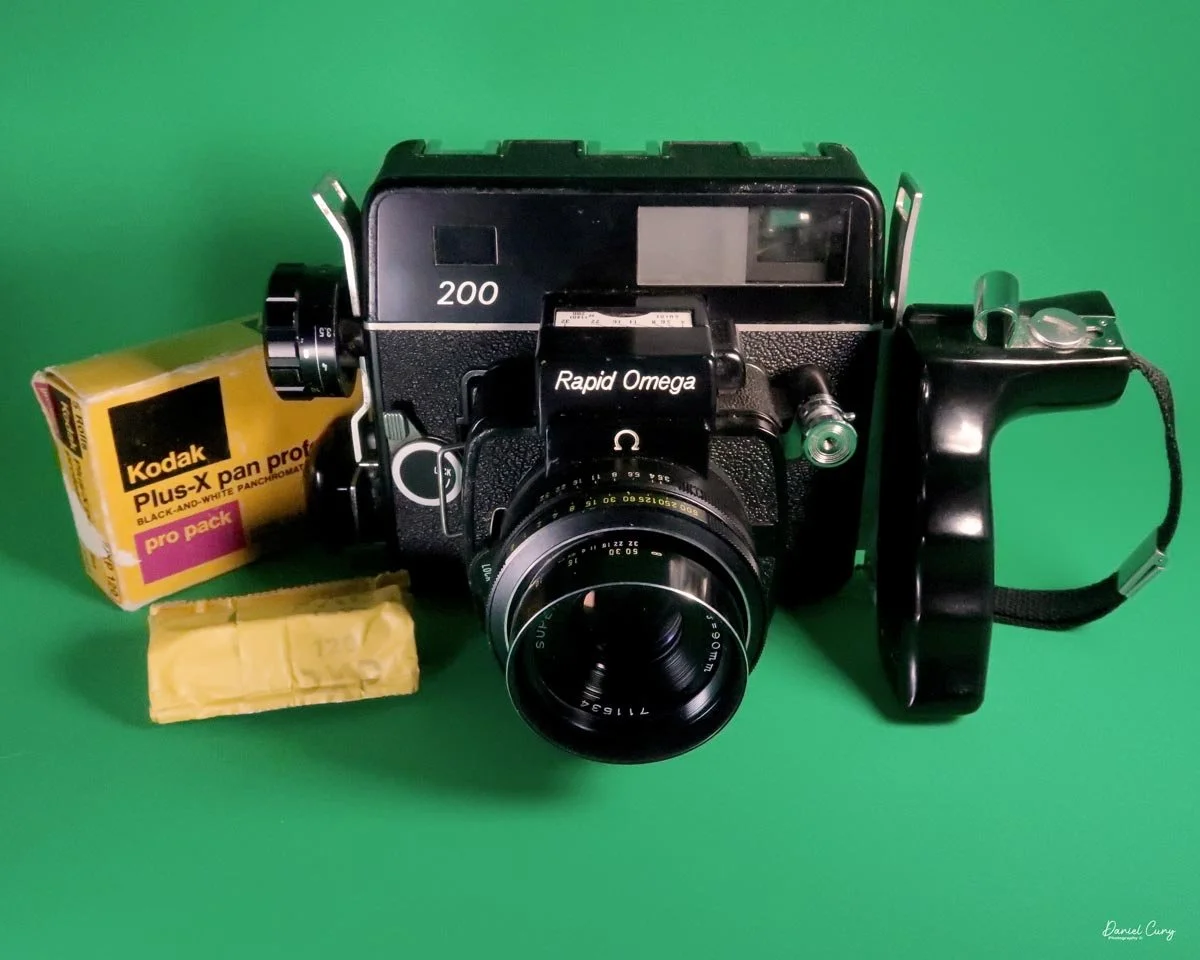
My Rapid Omega 200 camera.

The last time I owned a Rapid Omega was many years ago. Still, when I saw one online with an extra back for a very reasonable price, I was interested but skeptical that the camera might have issues, which is somewhat common for a camera 50 years old or older.

The price was too good to pass up, and if the camera was bad or the lens had issues, I could always resell it for parts and still make a bit on the deal. I pulled the trigger and bought the camera, and when it arrived, it was in much better condition than expected.

The shutter fired, and the lens and backs were in good, clean condition. The rangefinder was bright, clean, and accurate. I kept thinking there must be something wrong with the camera. Still, until I put film in the camera, the only thing that was wrong with the camera was the operator, which I'm embarrassed to say.

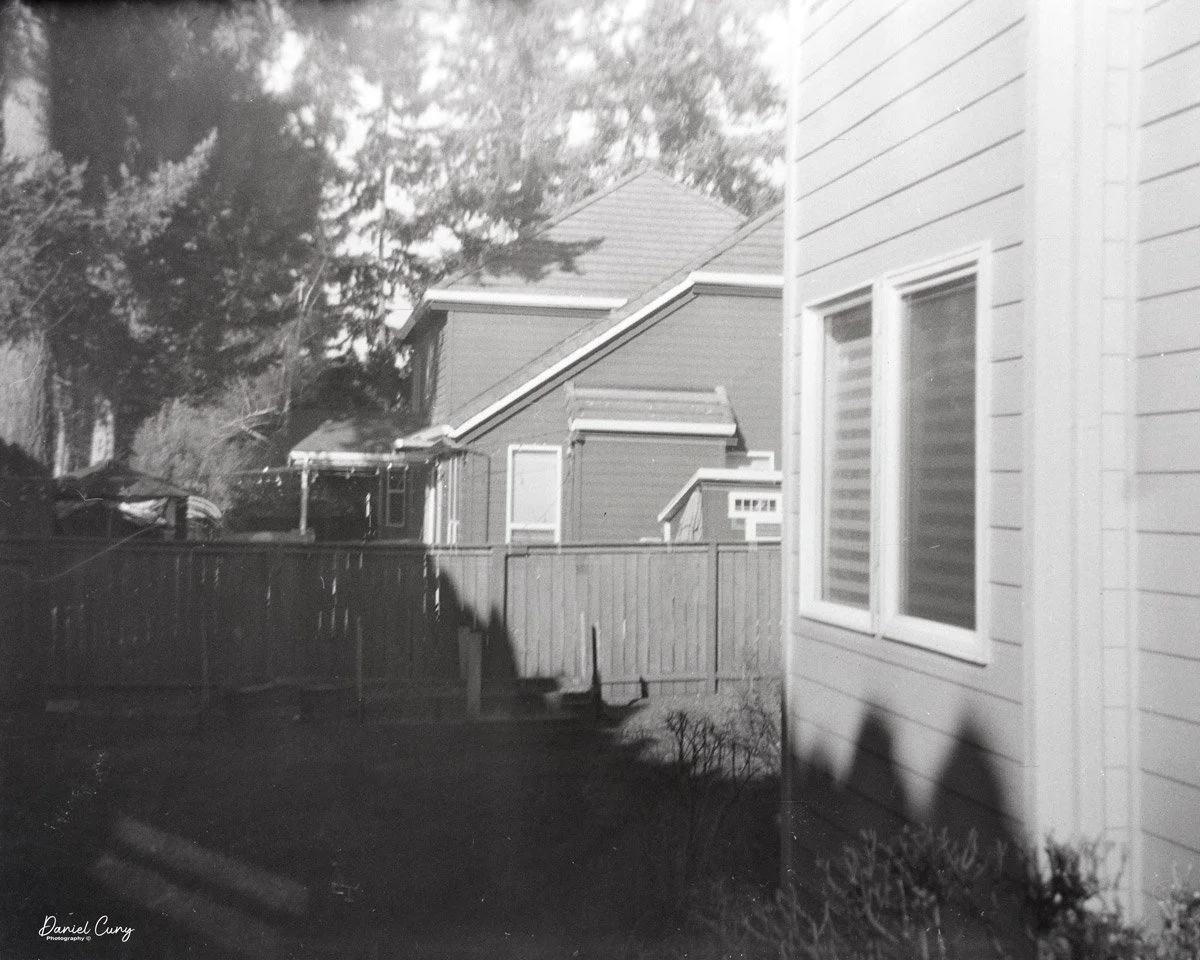
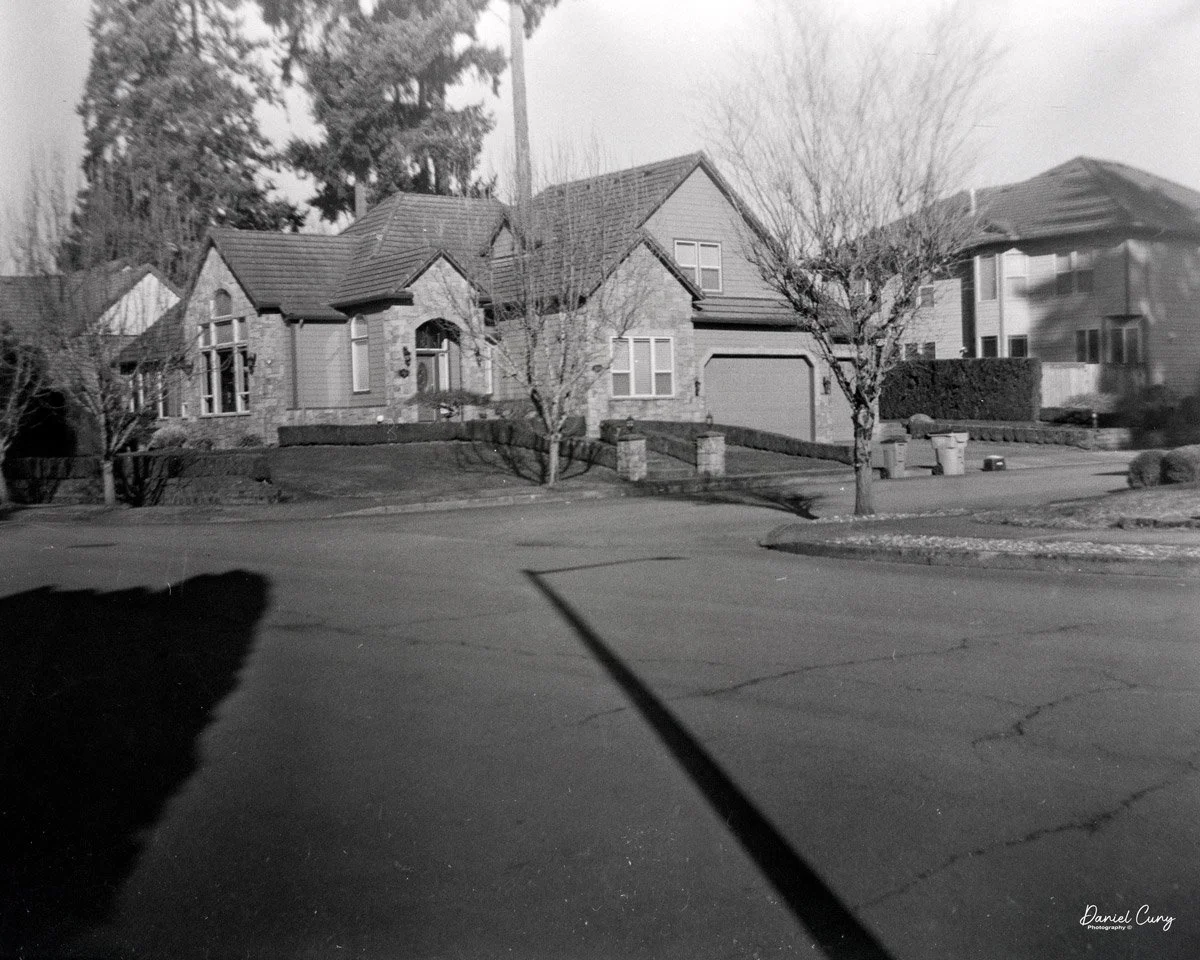
It's been 3 months since I bought the camera, and my initial intention was to shoot and write about it. Now it was time to put the camera through its paces, so I took the back off, opened it, and loaded film into one of the film backs. I put the back onto the camera body. I walked through the neighborhood, taking photos of the usual items I shoot when I take a camera out, so readers can reference similar items if they want to compare.

I can still remember thinking, as I took the photos, how much I liked the camera. The rangefinder was bright and easy to focus, bringing the two images into one, and they seemed so large. The whole time, I thought these images would be nice, and the camera handled so well. What a wonderful camera; it also took 6x7cm images, similar to the Mamiya RB67 or the Honeywell/Asahi 67 cameras, which seemed more awkward to shoot.

I got home, took the film out of the camera, and loaded the film into my film processing tank. At this point, I was filled with anticipation and excitement to see how the camera handled the different items I photographed. After I cleared the fixer from the tank and started the wash cycle, I always take a peek at a few of the last images to make sure there were images on the film.

To my amazement, the film was totally clear, but I could still see the rebate numbers. What happened? No light was reaching any of the images I took, yet I knew the shutter was opening and closing.
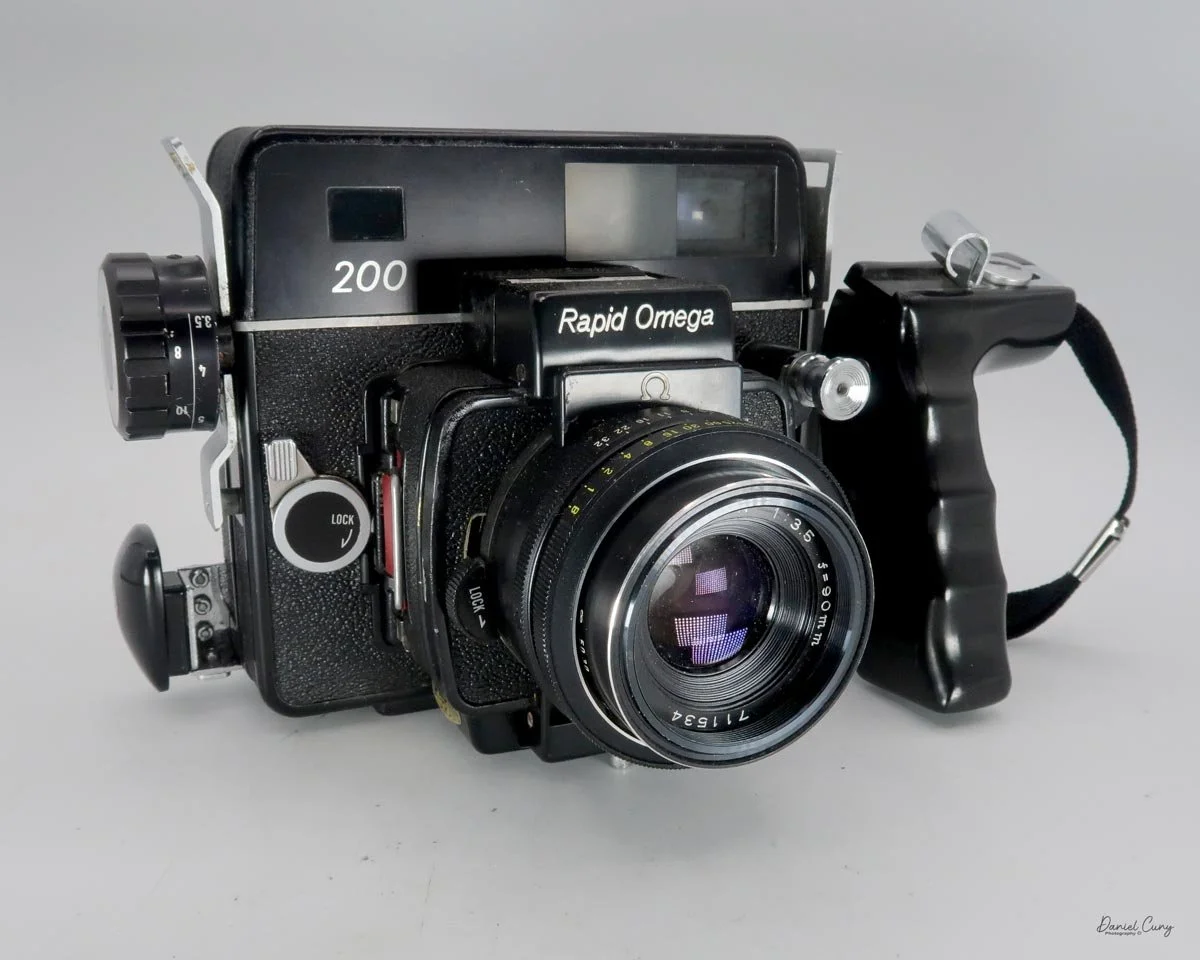
I looked at the camera, puzzled. As I twisted the camera around to look at all the different parts, I noticed the dark slide on the film back was in the holder, and my thought went to, "I forgot to remove the dark slide before taking photos." What a rookie mistake, but at least I know that won't happen again.

No, that wouldn't happen again, but something just as idiotic will.

Throwing the newly processed and blank film in the trash, I proceeded to load the film back again with another roll of film, putting the back on the camera body, and NOW, taking the dark slide from the back, I proceeded to walk the same path as I did about an hour earlier, taking the same approximate images as I did before, as they were fresh in my mind.

As I walked back to the house to process the second roll of film I shot within about an hour of the first, I looked down at the camera. I did something even more embarrassing than the first time. I forgot to take the lens cap off before shooting another 10 images.

OH MY GOD!!!! What an idiot, is all I kept thinking.

I guess the good news is I didn't spend the time and effort processing this new blank roll of film. So at this point I guess I could have taken the film into my dark bag and re-rolled it back onto a blank spool. Still, I was so frustrated and mad at myself that I decided to take the rest of the day off and do something else before I loaded another roll of film into the camera and tried for the third time.

The next day, the sun was shining, so I put the third roll of film into the film back, attached it to the camera body, double-checking that 1) I took the dark slide out from the film back, and 2) I took the lens cap off and put it in my pocket for safekeeping. Retracing most of my steps, and with a new calmness to my photography, I took the roll of film knowing full well that these images would turn out in wonderful condition.

After processing the third roll of film and looking at a few images before doing a full wash on the negatives, I saw the results. I breathed a sigh of relief, knowing the camera worked well and that the previous issues were operator malfunctions.

I now fully understand why other cameras have 'foolproof' methods built in—a dark slide that's supposed to lock the shutter so you can't take a photo with it still in place. The second error could happen with many different cameras, especially rangefinder cameras where you're not looking through the lens. Well, at least the images turned out well, and from looking at the images below, the camera did a wonderful job.

History:

The Rapid Omega 200 is one of those cameras that looks like it was built to survive a war. It's a big, heavy 6x7 rangefinder, and it's the last in a line that started in 1954.

The story starts with the Simmon Brothers in New York. They were known for their darkroom enlargers, and in 1954 they built the Omega 120, a 6x7 rangefinder with a fixed 90mm f/3.5 lens. It was designed to work fast — a press camera, really — and the film was advanced by pulling and pushing a metal strip on the back of the camera. That pull-push advance is where the "Rapid" in the name comes from.
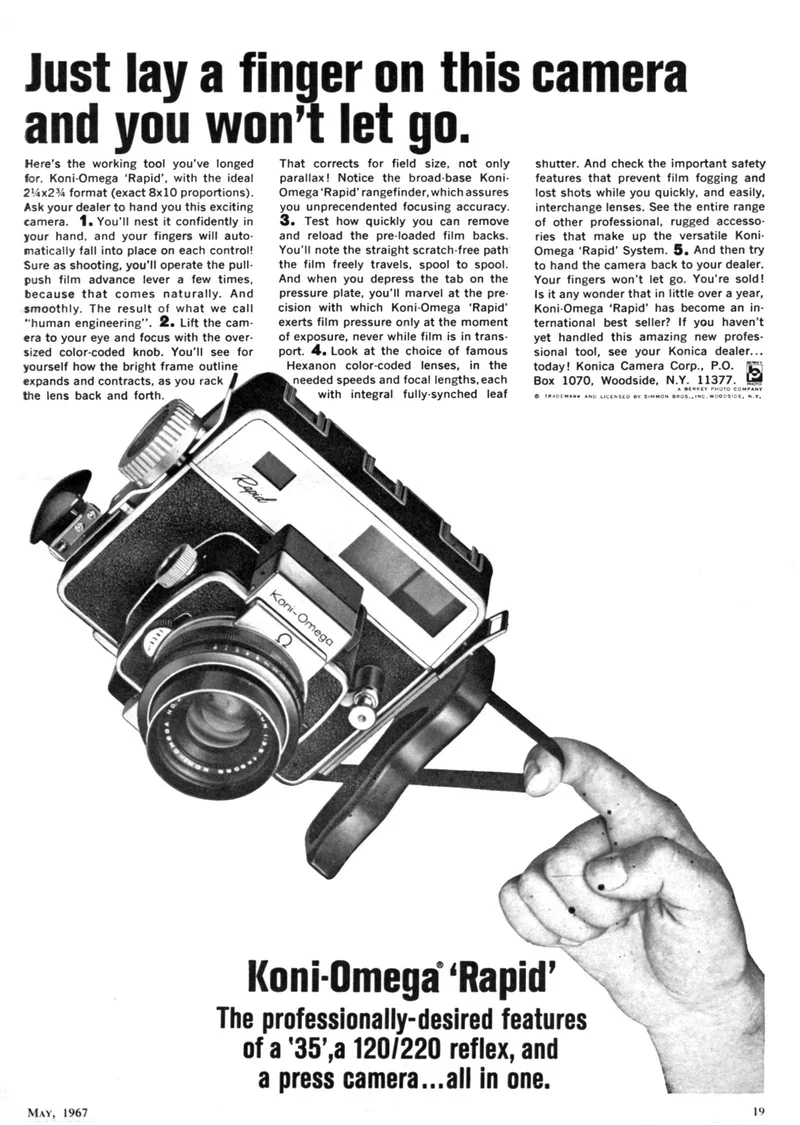
An advertisment for an earlier Koni-Omega Rapid camera from 1967

Simmon merged into Berkey Photo in 1961, and not long after, the design was licensed to Konica in Japan. Konica built the line as the Koni-Omega, starting with the Rapid in 1964 — sold in Japan as the Konica Press — and the Rapid M followed in 1968 with interchangeable film magazines, so you could change film mid-roll. The lenses were Hexanons: a 90mm f/3.5 standard, a 58mm wide-angle, a 135mm, and a 180mm, all with leaf shutters up to 1/500.

In the mid-1970s, Mamiya took over production in the same factory, and the cameras came out in an all-black finish under the Rapid Omega name. The Rapid Omega 100 and 200 arrived in 1975, and the 200 was the top of the line—the Rapid M, with an interchangeable magazine and dark slide for swapping film mid-roll. The 100 couldn't do that, since its magazine front was fixed to the body.

The 200 shoots 6x7 on 120 film: ten shots per roll, or twenty on 220. It has a coupled rangefinder with automatic parallax compensation, framelines for the 90, 135, and 180mm lenses, and the wide angles need an external finder. The standard lens by then was called the Super Omegon 90mm f/3.5. The whole camera weighs about four and a half pounds with the normal lens — built like a tank.

Wedding photographers loved these cameras in the 1970s because they were fast. You could shoot candid after candid, and the lenses were first-rate. But by the late 1970s, 35mm cameras and 120 SLRs were taking over, and the press camera was on its way out. Production ended in 1981.

That's what I like about the Rapid Omega 200. It was the last of the true press cameras — big, heavy, and built to work fast.

My Camera:

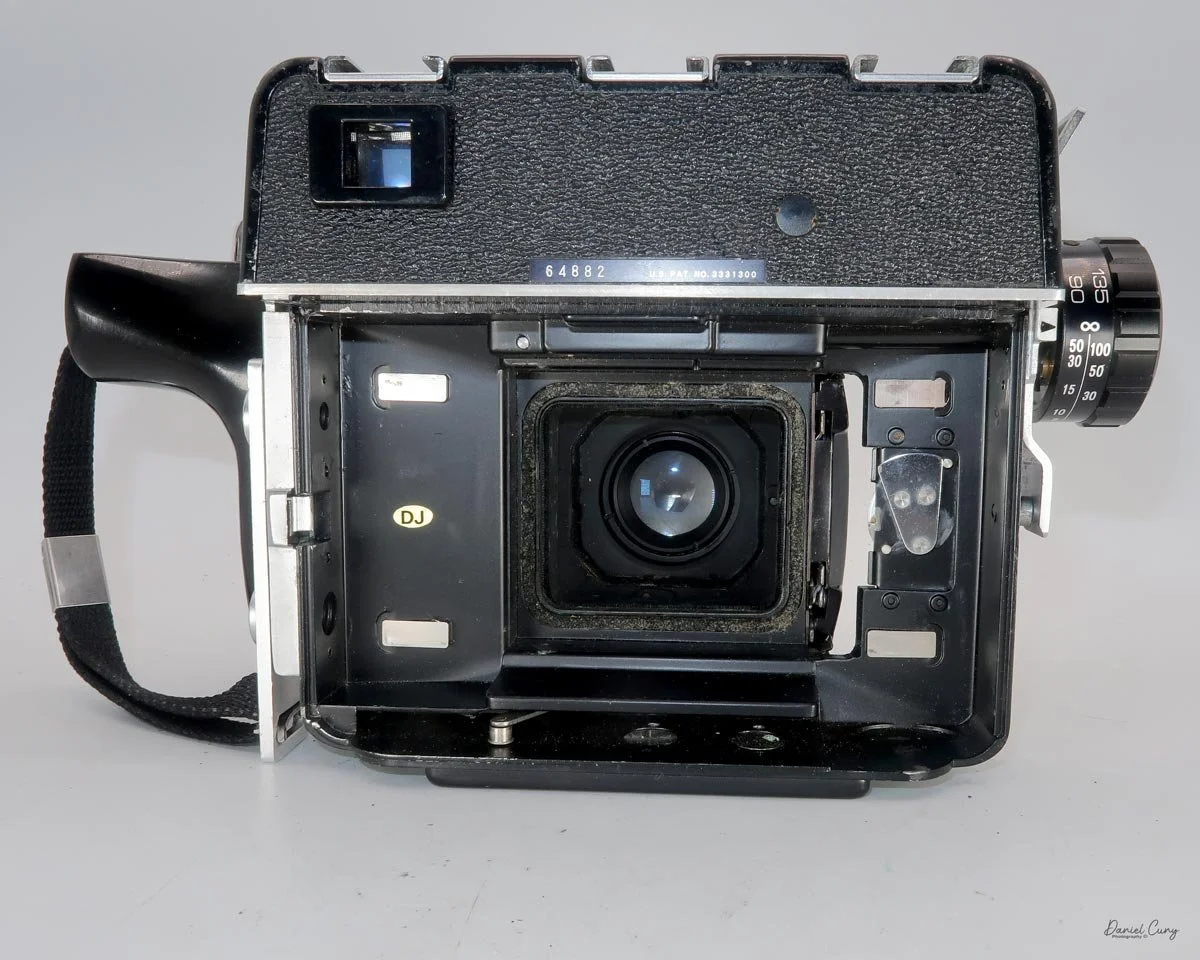
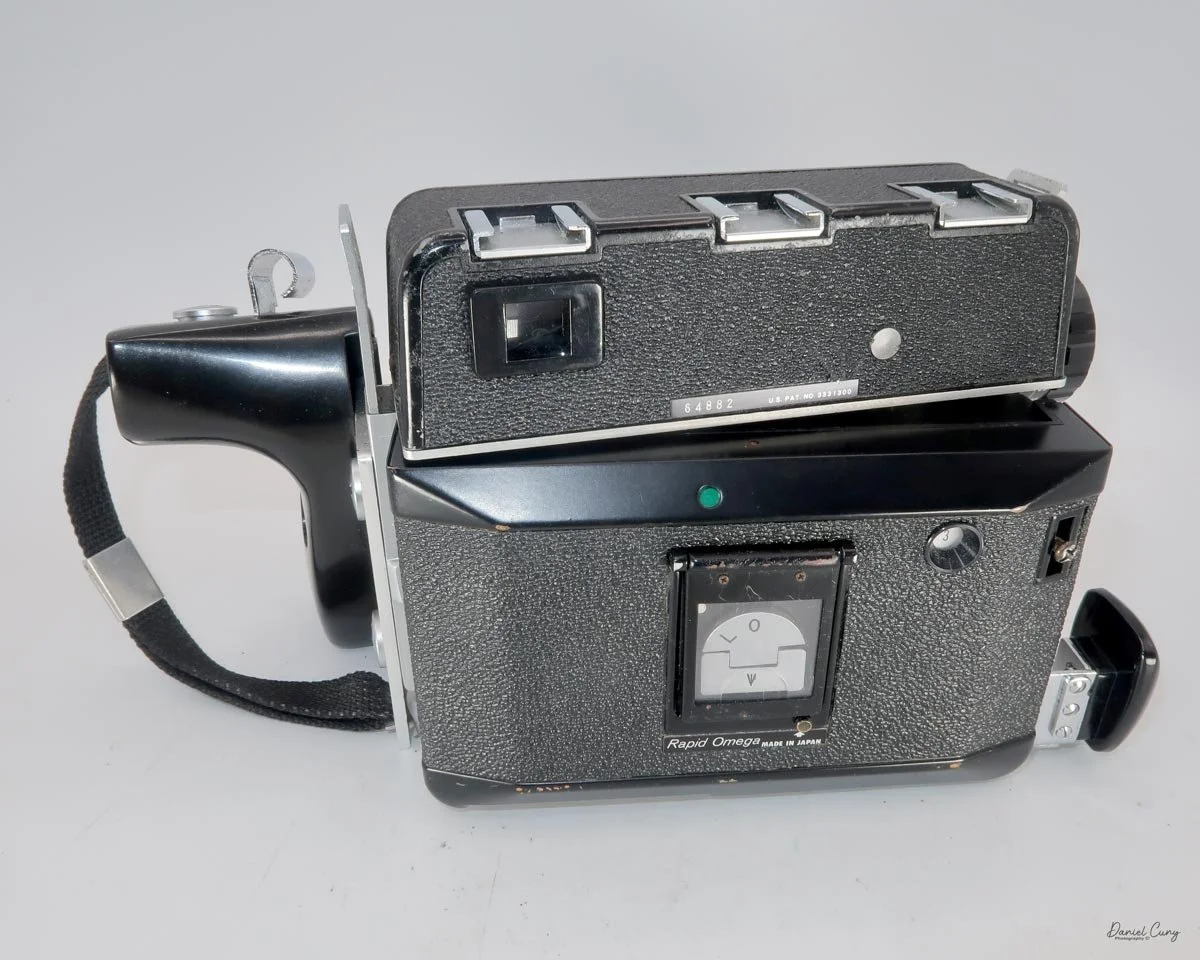
The Rapid Omega 200 is 10" wide with the accessory handgrip and the winding mechanism on the film back, and 5.5" tall and 6" deep when the 90mm lens is focused at infinity. My camera body serial # is 64882, and the 120 film back serial # is 115744. A 220 film back was also available for this camera.
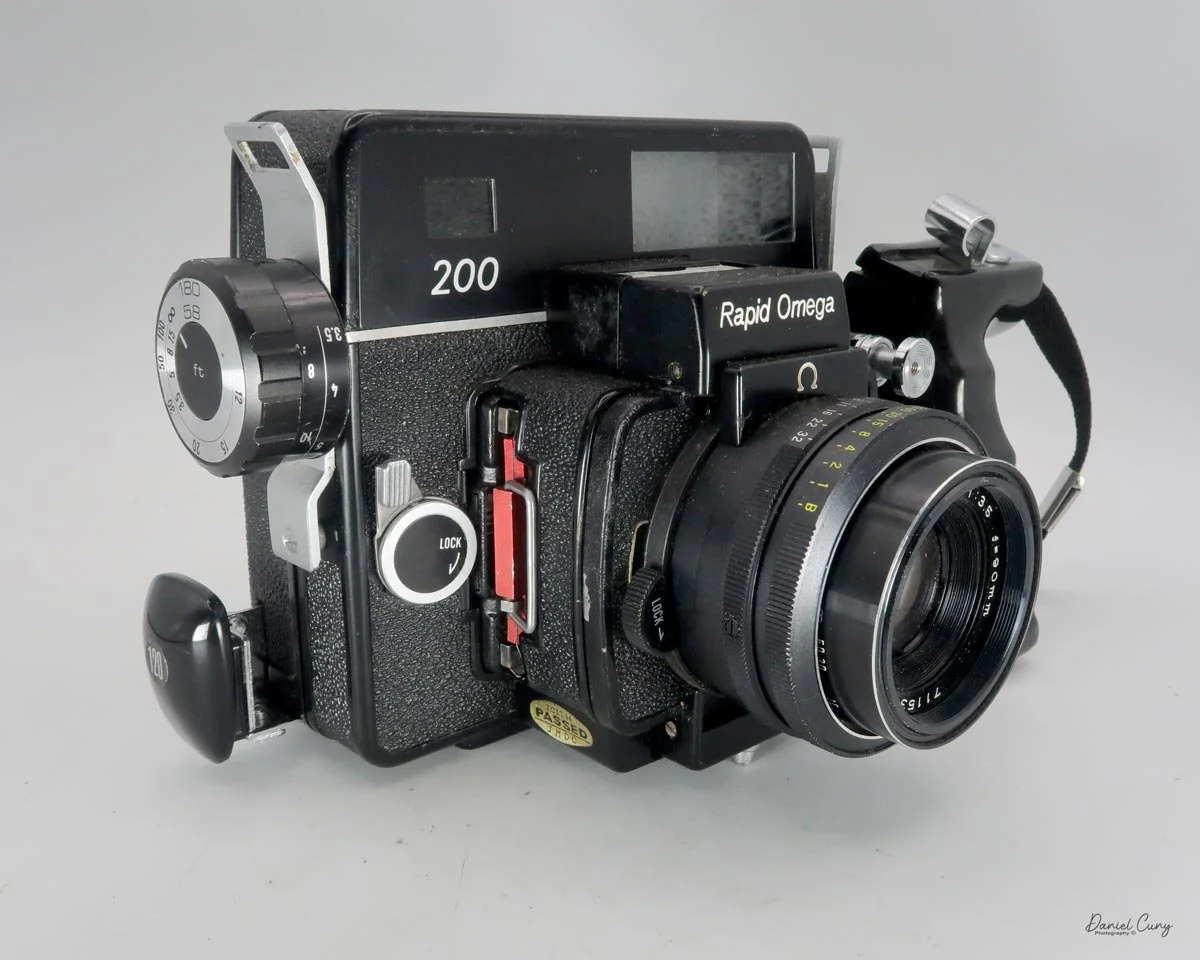
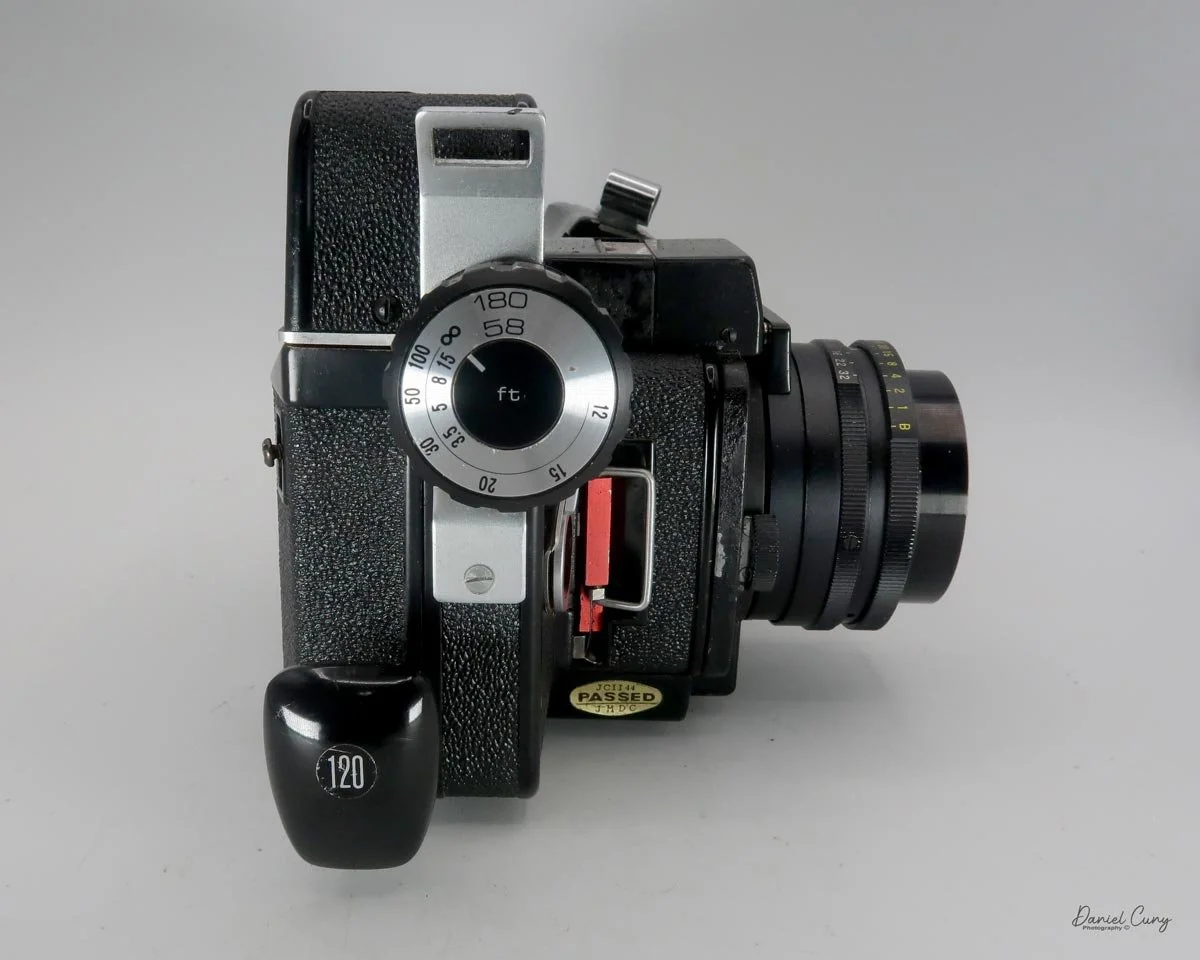
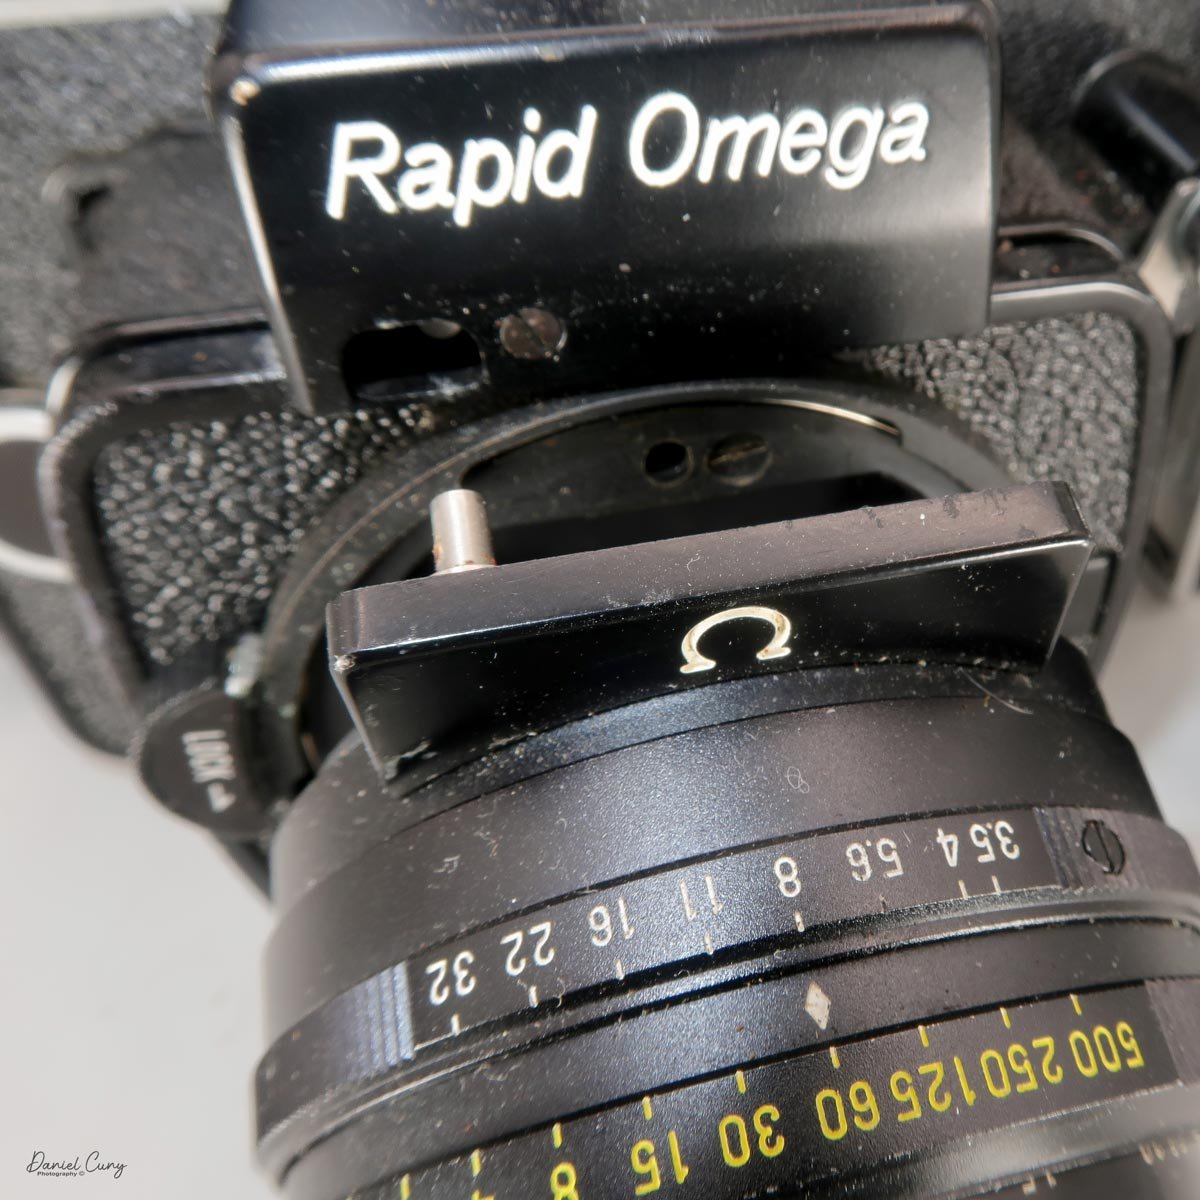
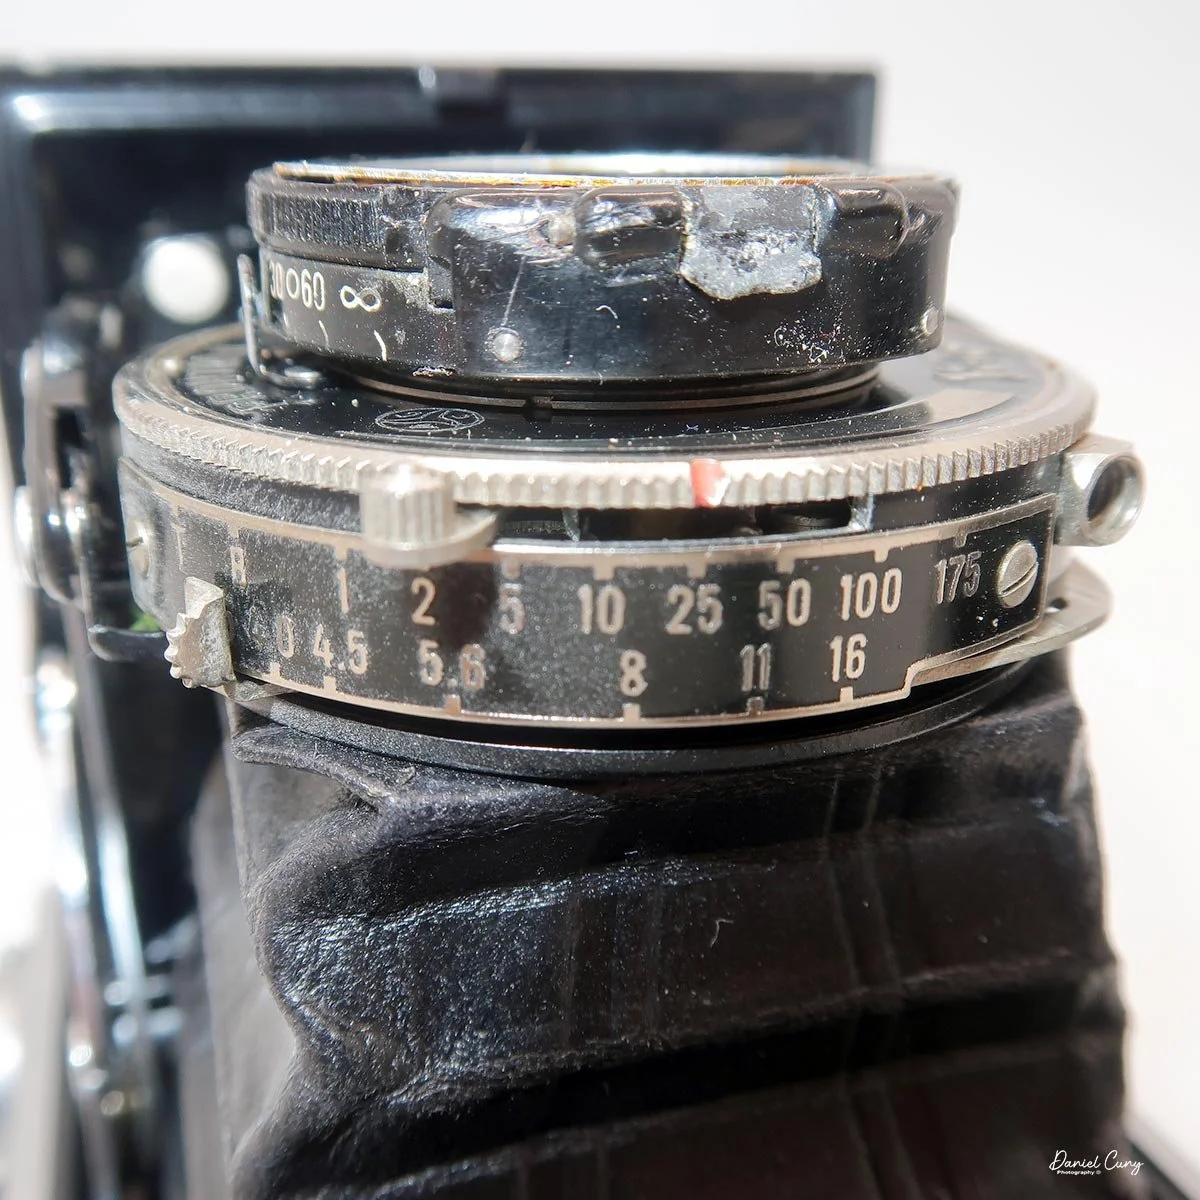
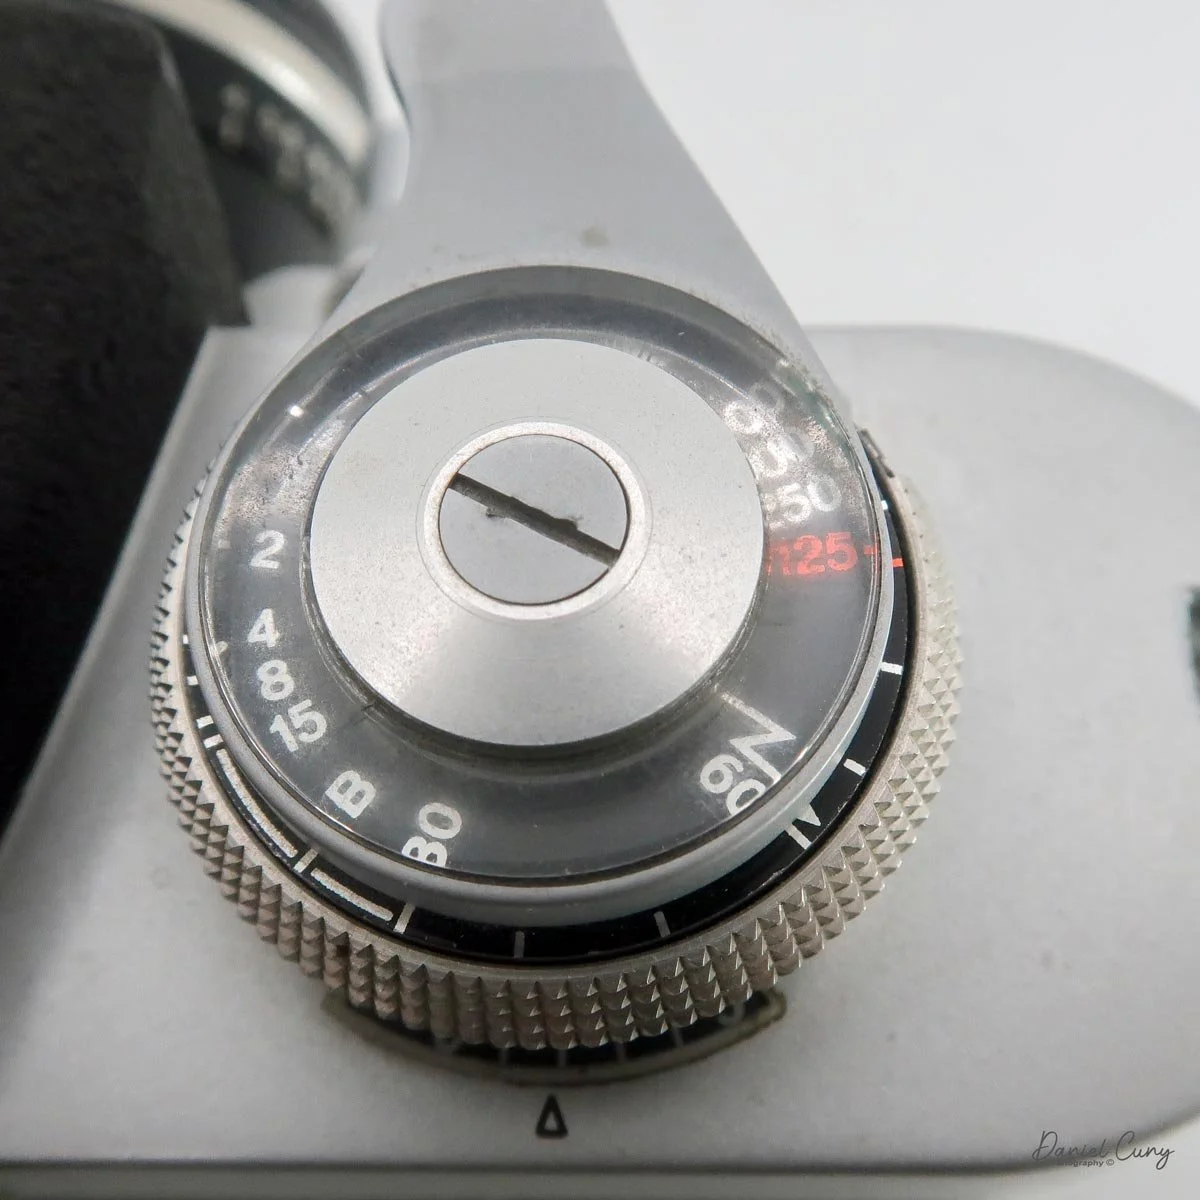
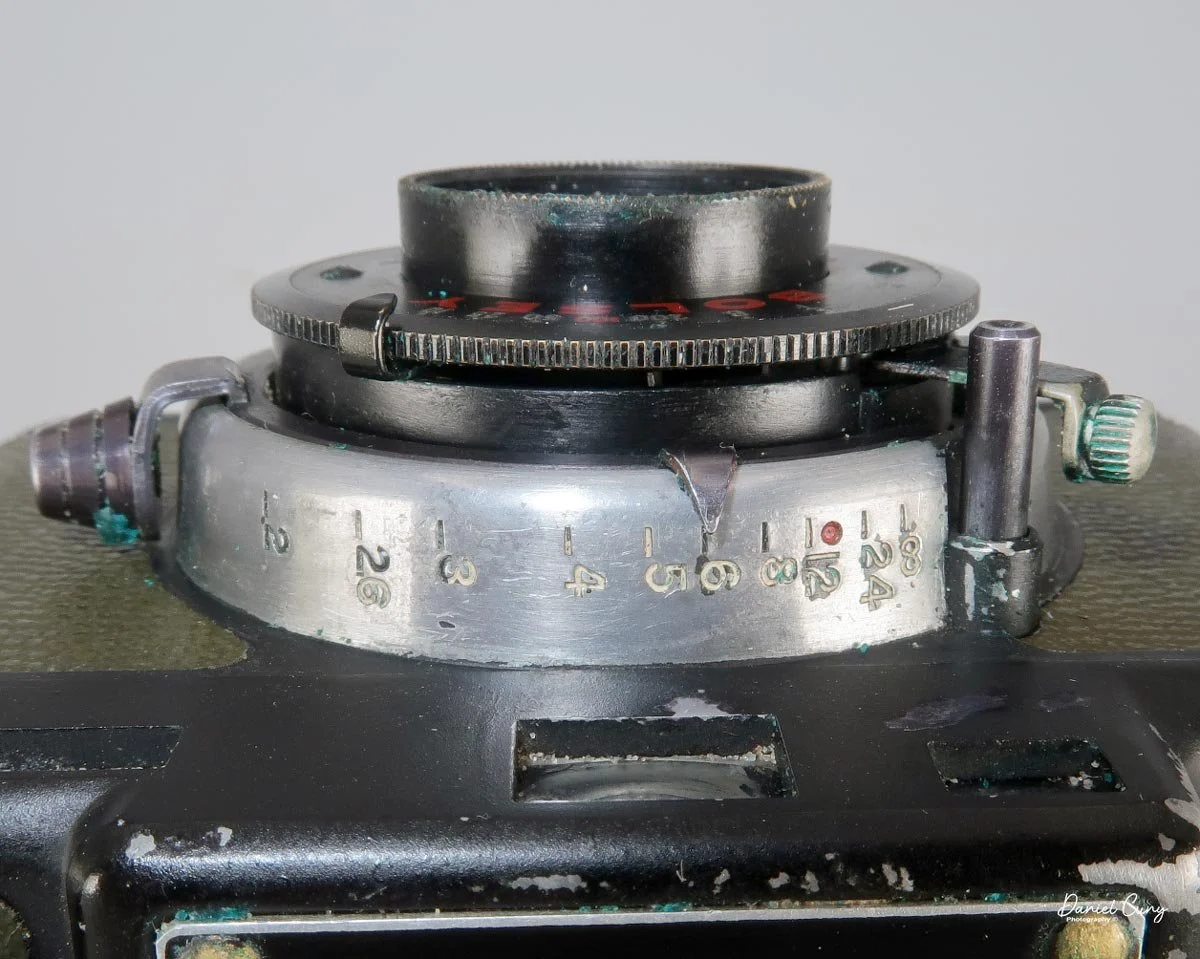
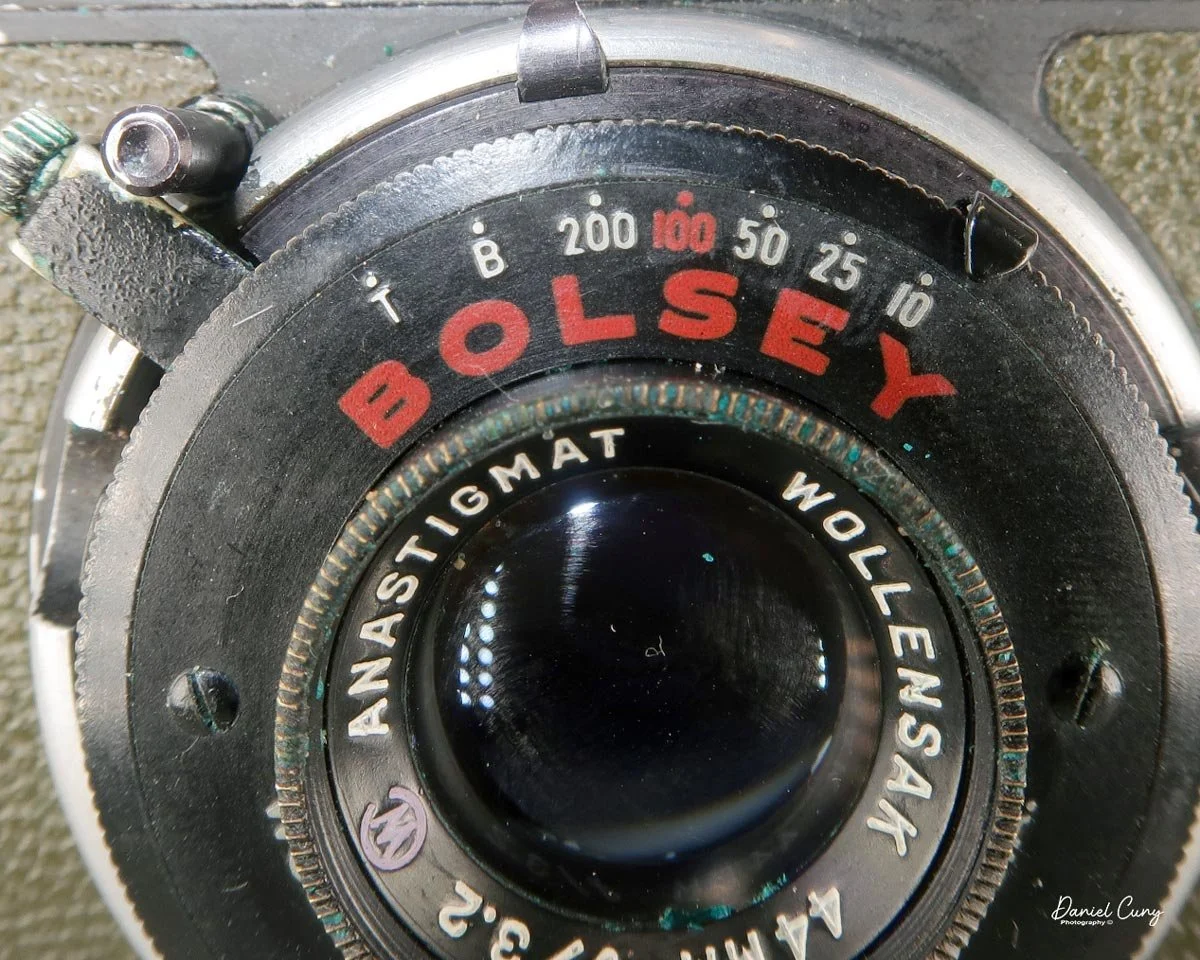
The camera has a Super Omegon 90mm f/3.5 lens, serial #711534, with an internal leaf shutter and shutter speeds ranging from 1 sec. to 1/500, along with "B". The aperture range is from F/3.5-22. Both the shutter speed and aperture settings are done by individual rings located at the end of the lens. The lens also has a pull-out hood that, when pulled out, reveals the depth-of-field scale, but you need to set the distance manually by turning the ring to the desired distance.

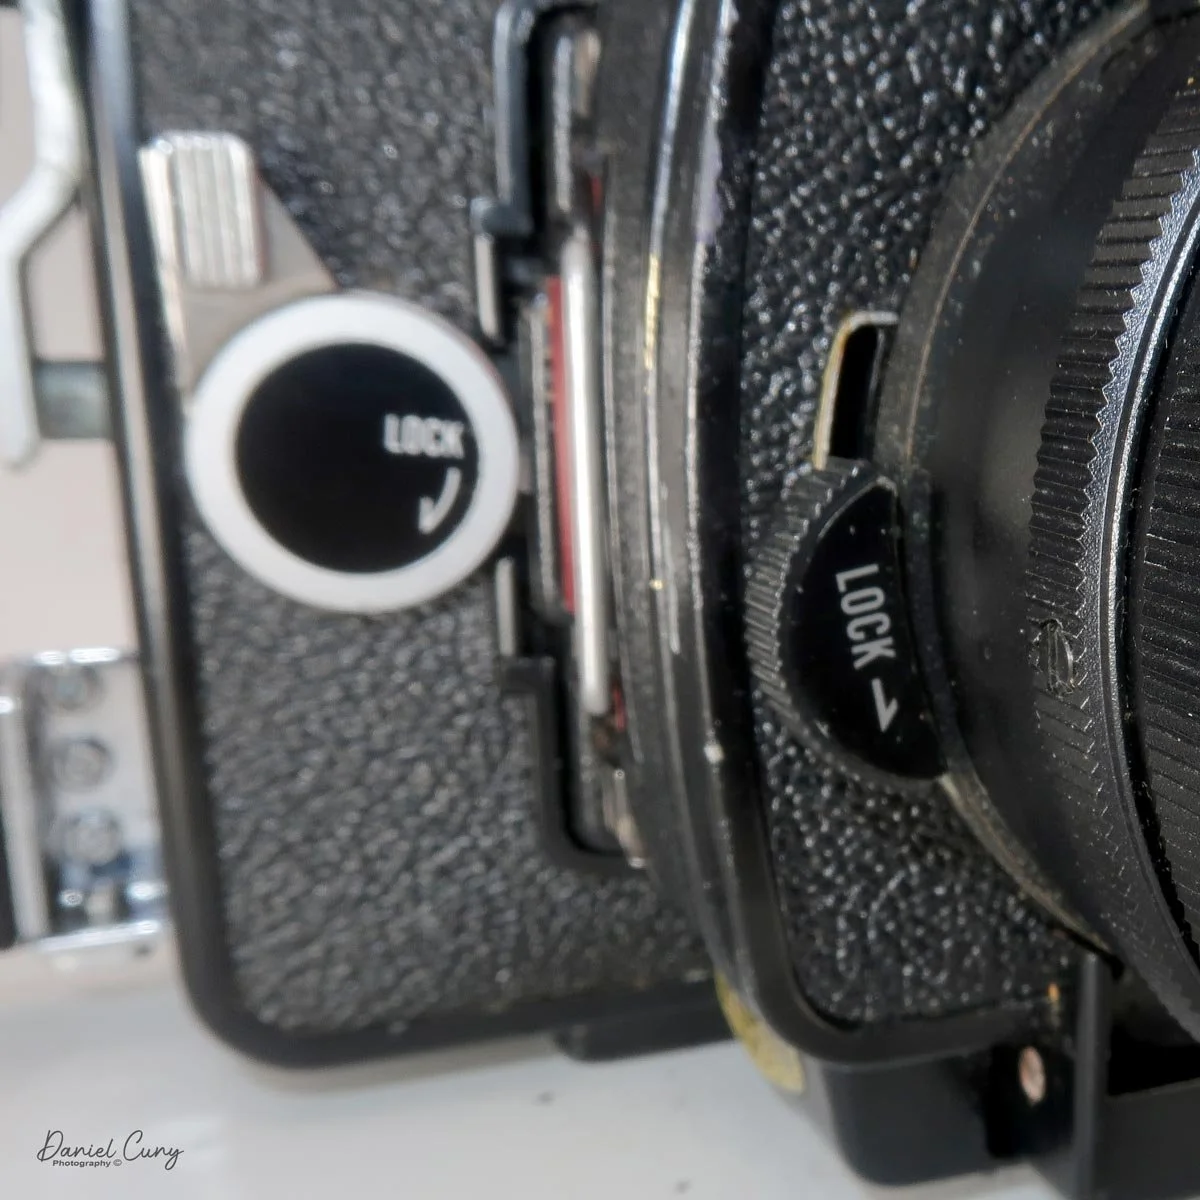
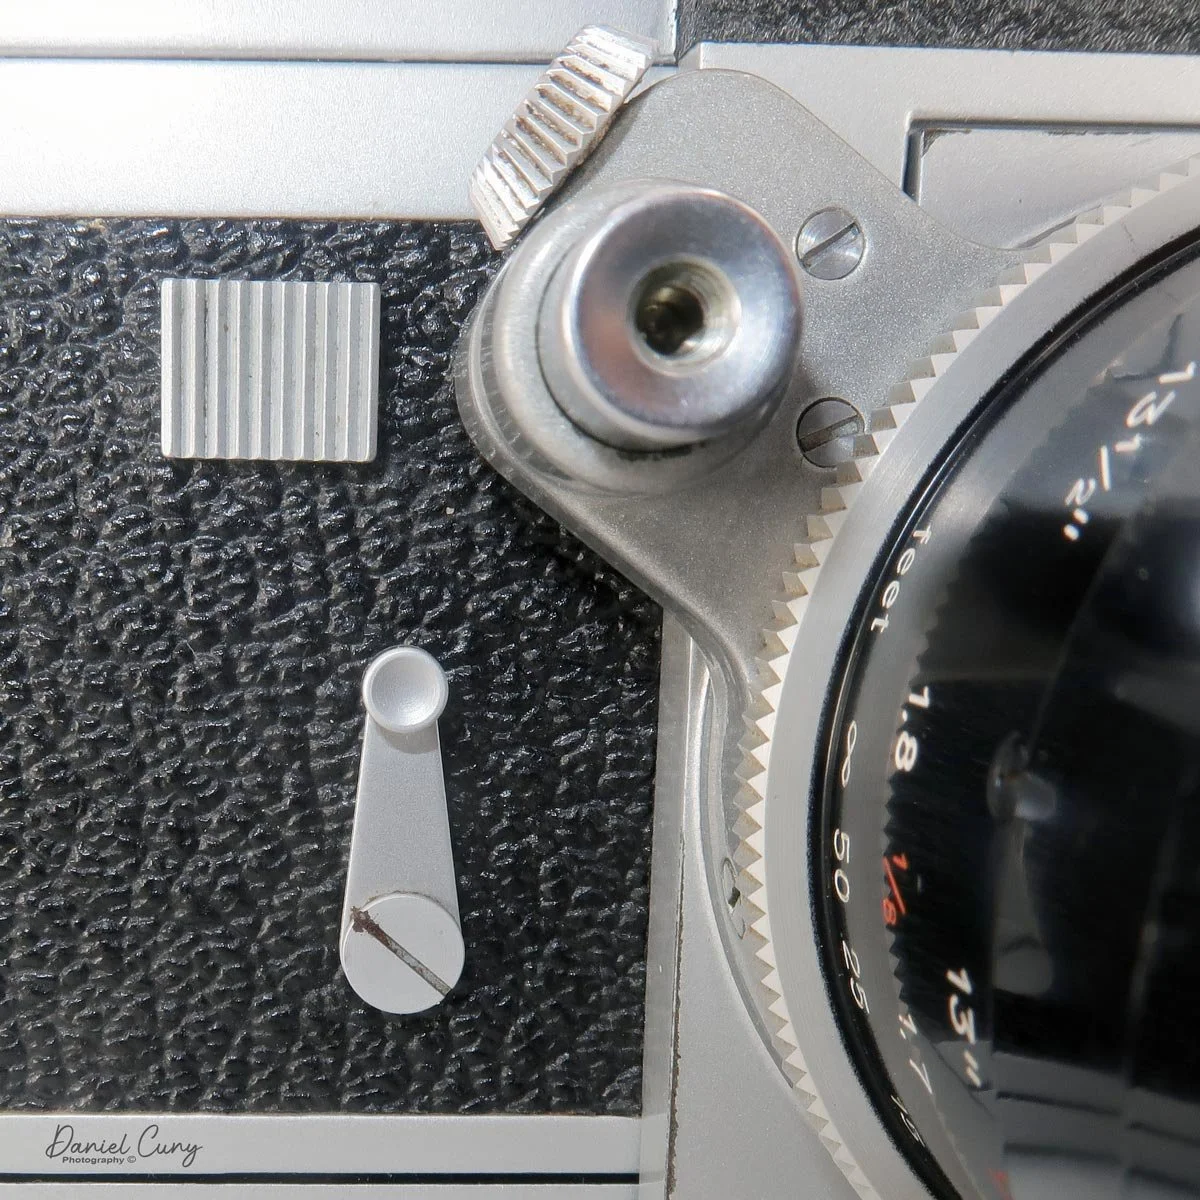
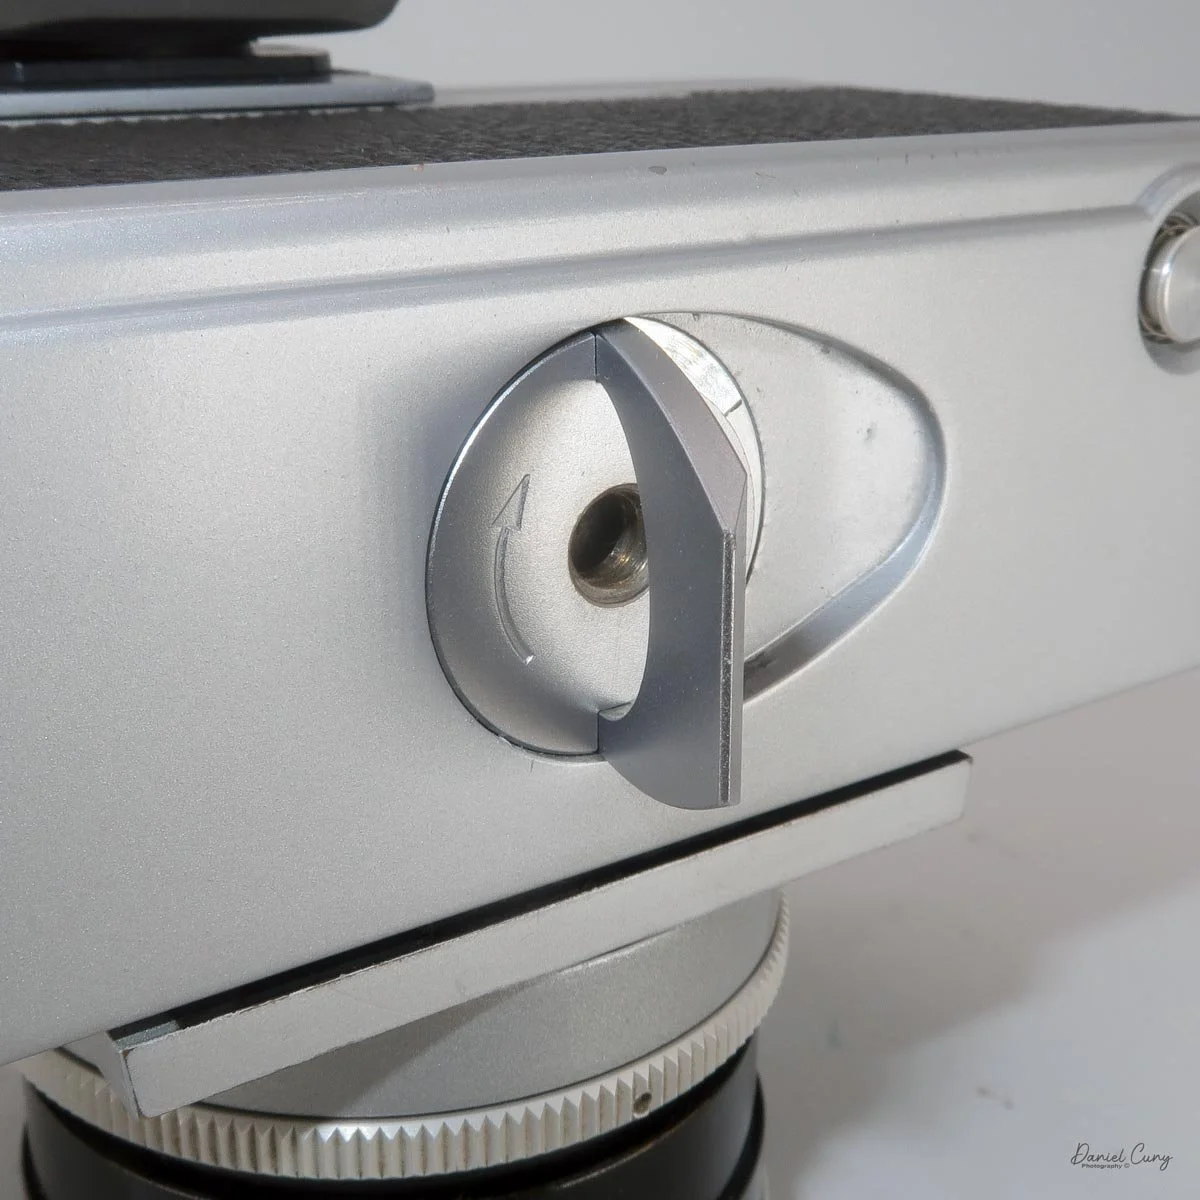
To remove the lens from the camera body, there is a black lever on the lower right side of the camera body with "lock" written on it; turning it opposite the "lock" arrows unlocks the lens and allows you to change lenses. This camera had 4 lenses: 58mm, 90mm, 135mm, and 180mm. To put the lens onto the camera body, make sure the squared area on the lens, which has a pin on the inside, fits into the hole just under the "Rapid Omega" nameplate, and turn the locking lever in the direction of the "lock" arrow until you hear a slight "click". The lens is now attached to the camera body.
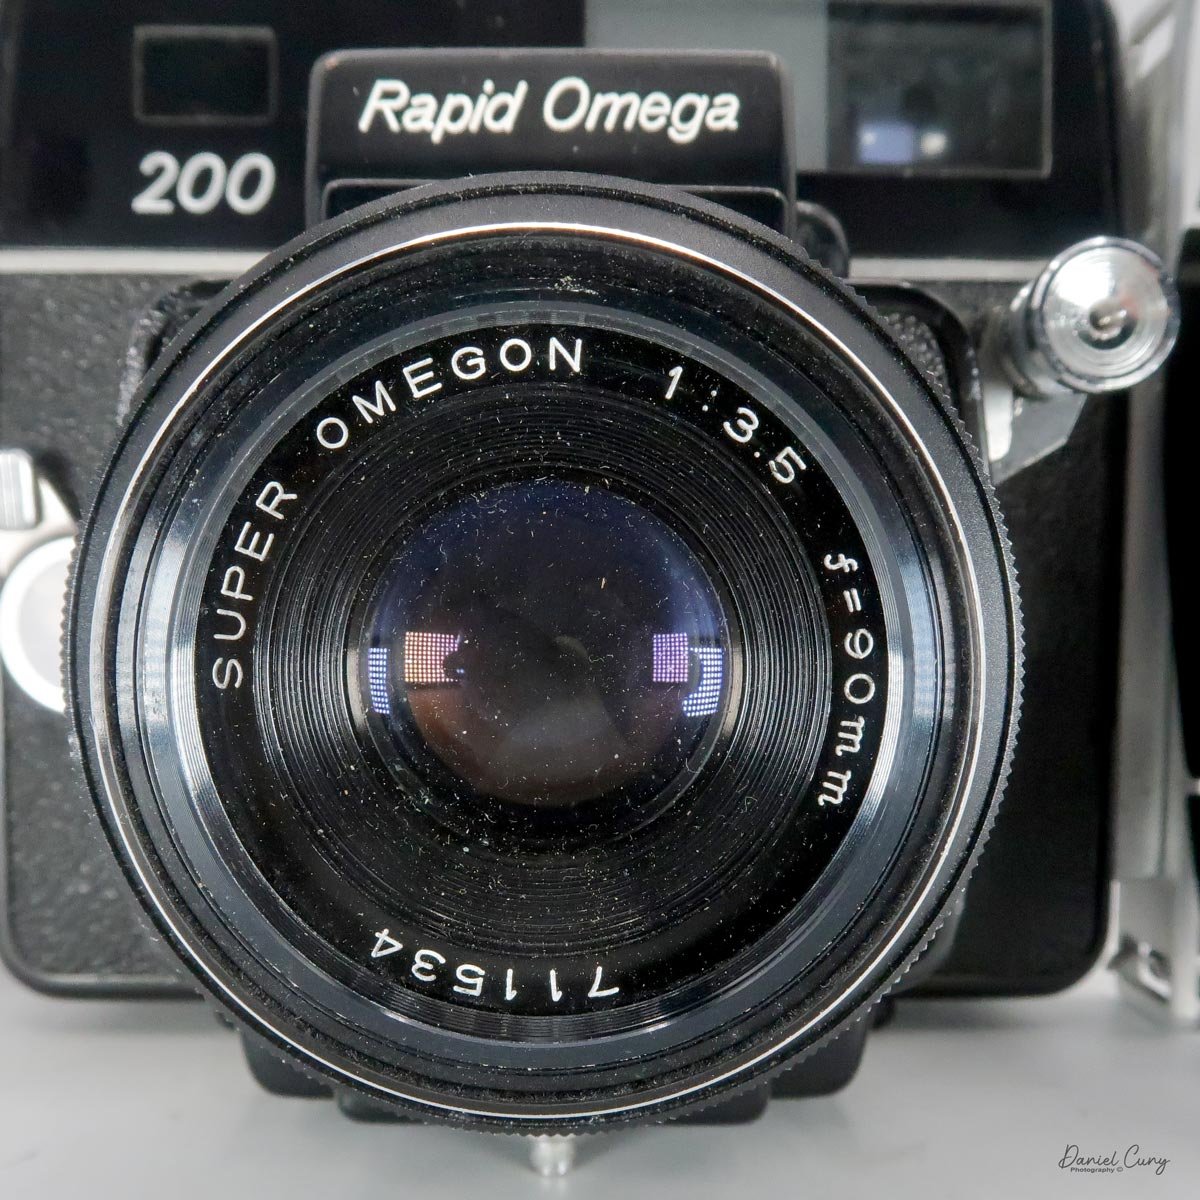
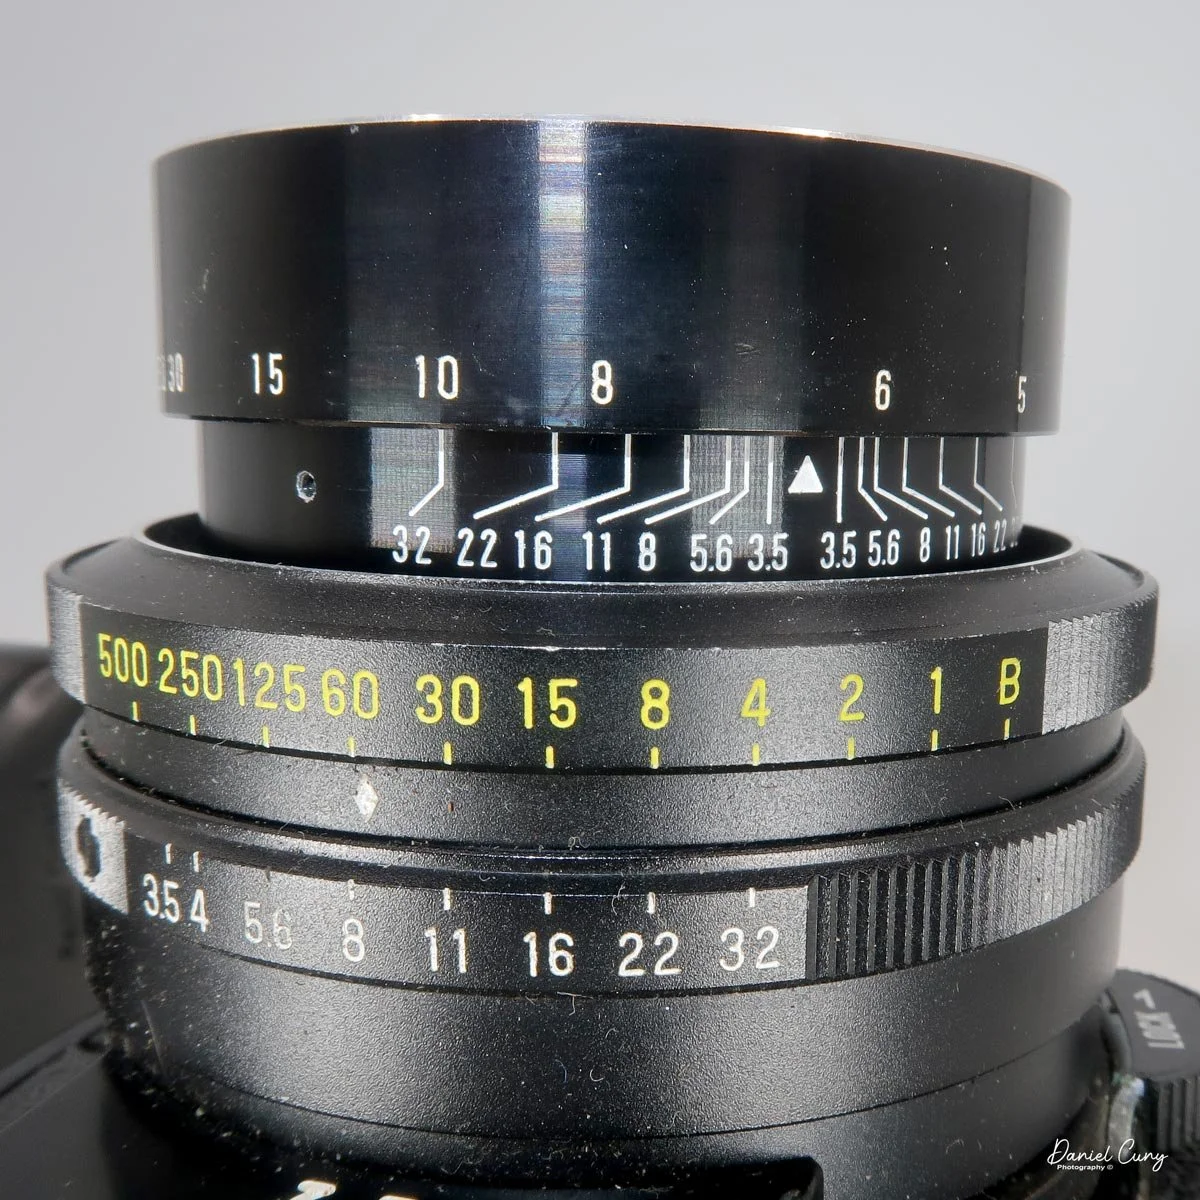
The camera, lens, and film back make for a somewhat big, bulky setup. Still, with the accessory handgrip and left-side hand strap, it becomes manageable and easy to use. The grip has a cable release. Still, for me it's just as easy to press the shutter release on the upper left side of the camera body without it, so I don't attach it to the grip when I'm using the camera.

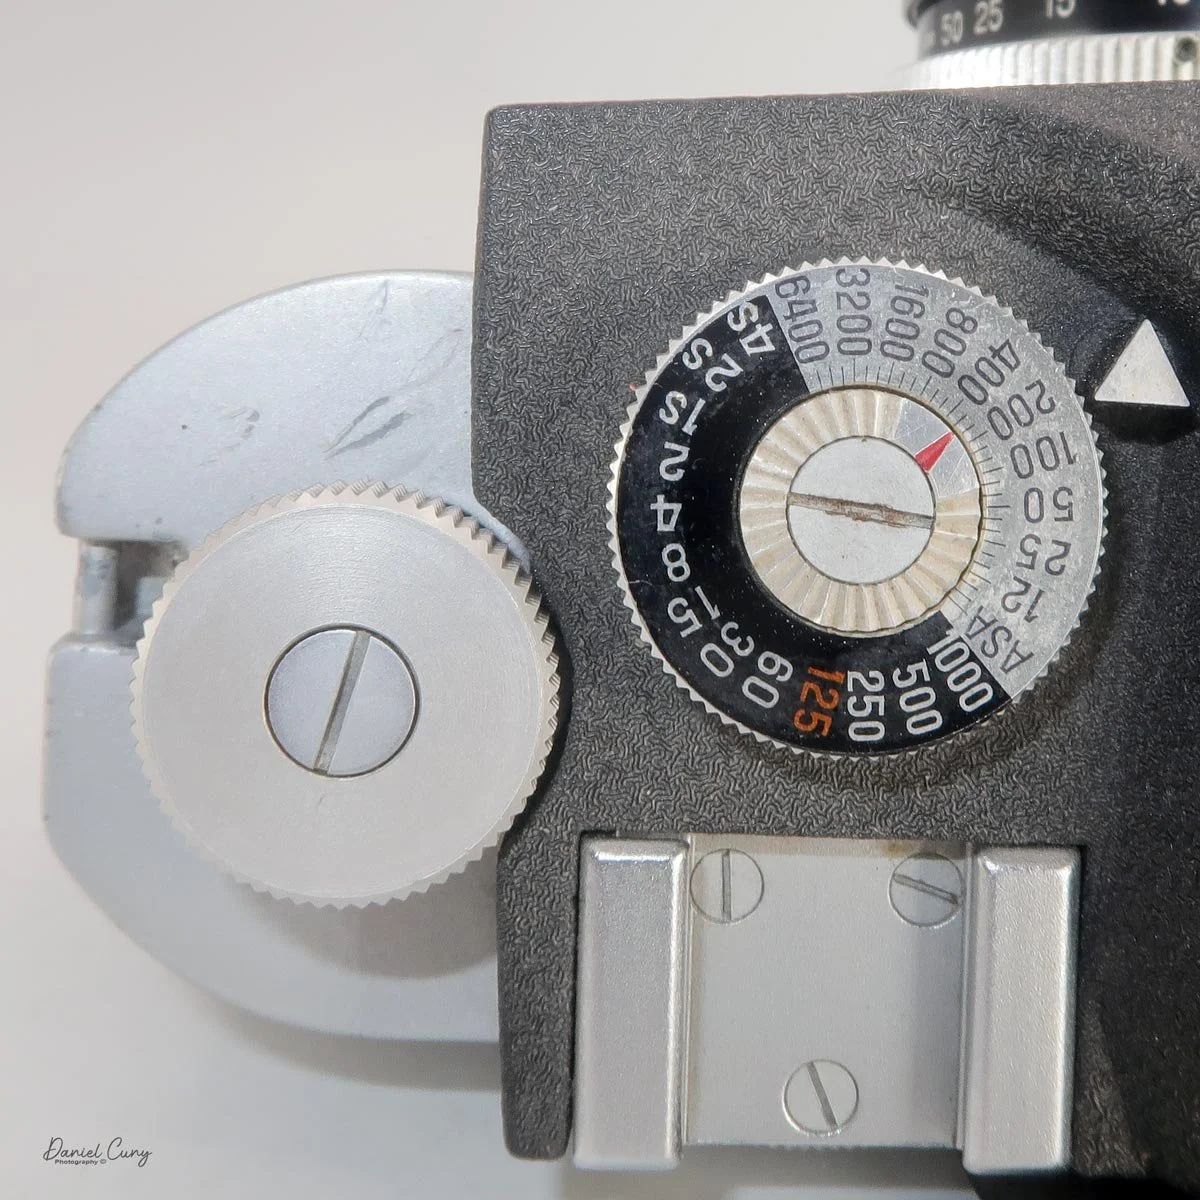
There are three (I don't know why three) accessory shoes on the top of the camera. Looking at the Rapid Omega 200 manual (Thank you, Mike Butkus), there seems to be only 1 accessory finder, a sports finder, as the viewfinder on the camera has lines for the other lenses available for framing purposes. I find this a bit odd.

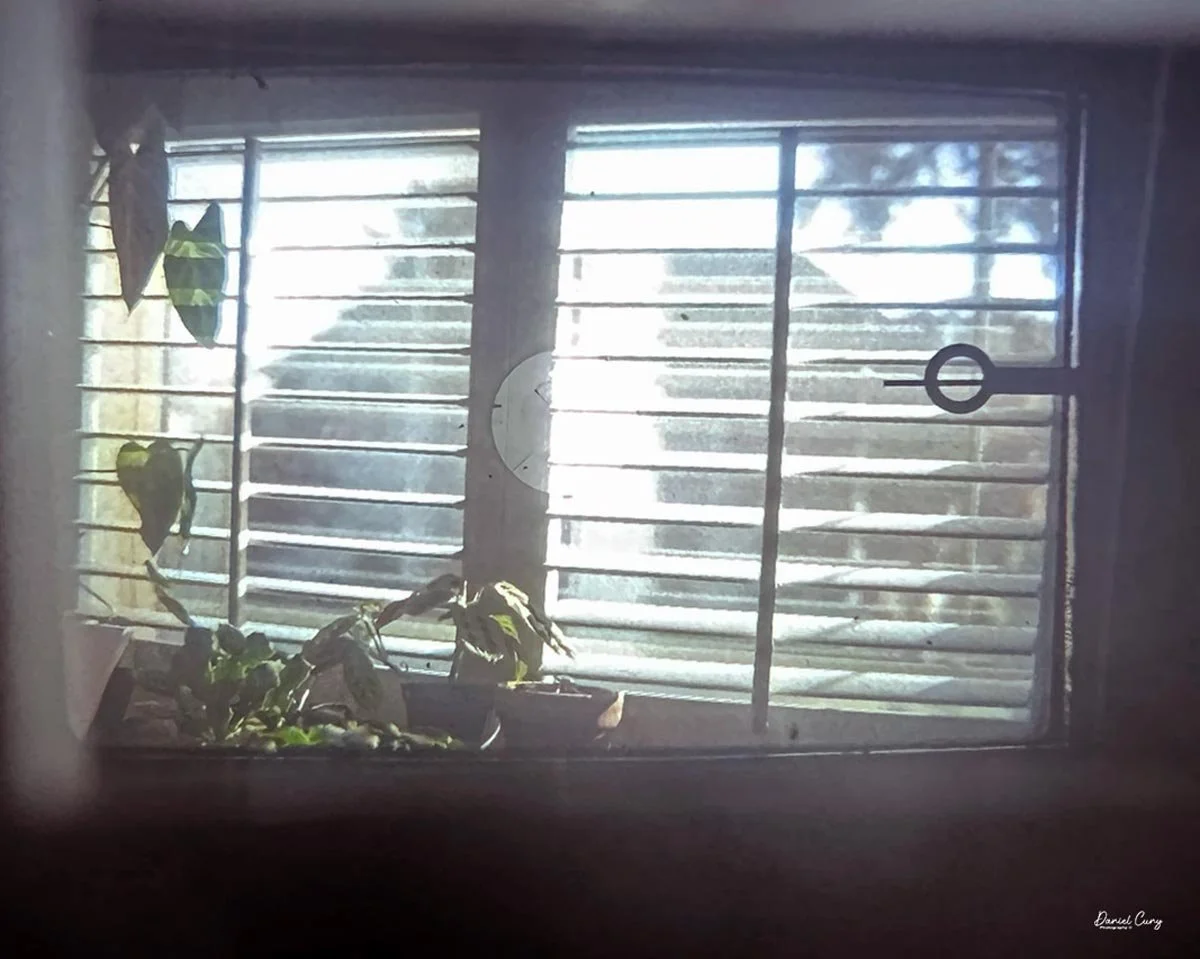
You focus the Rapid Omega with a bright, large rangefinder in the upper-left corner on the back of the camera. A large focus knob on the right side of the camera lets you turn the two images together in the rangefinder. It was easy to hold the camera in my left hand and focus with my right, making the camera very balanced and easy to handle. The rangefinder is parallax-corrected too, so the closer you focus, the more "true" it is to the image you'll get on the film.
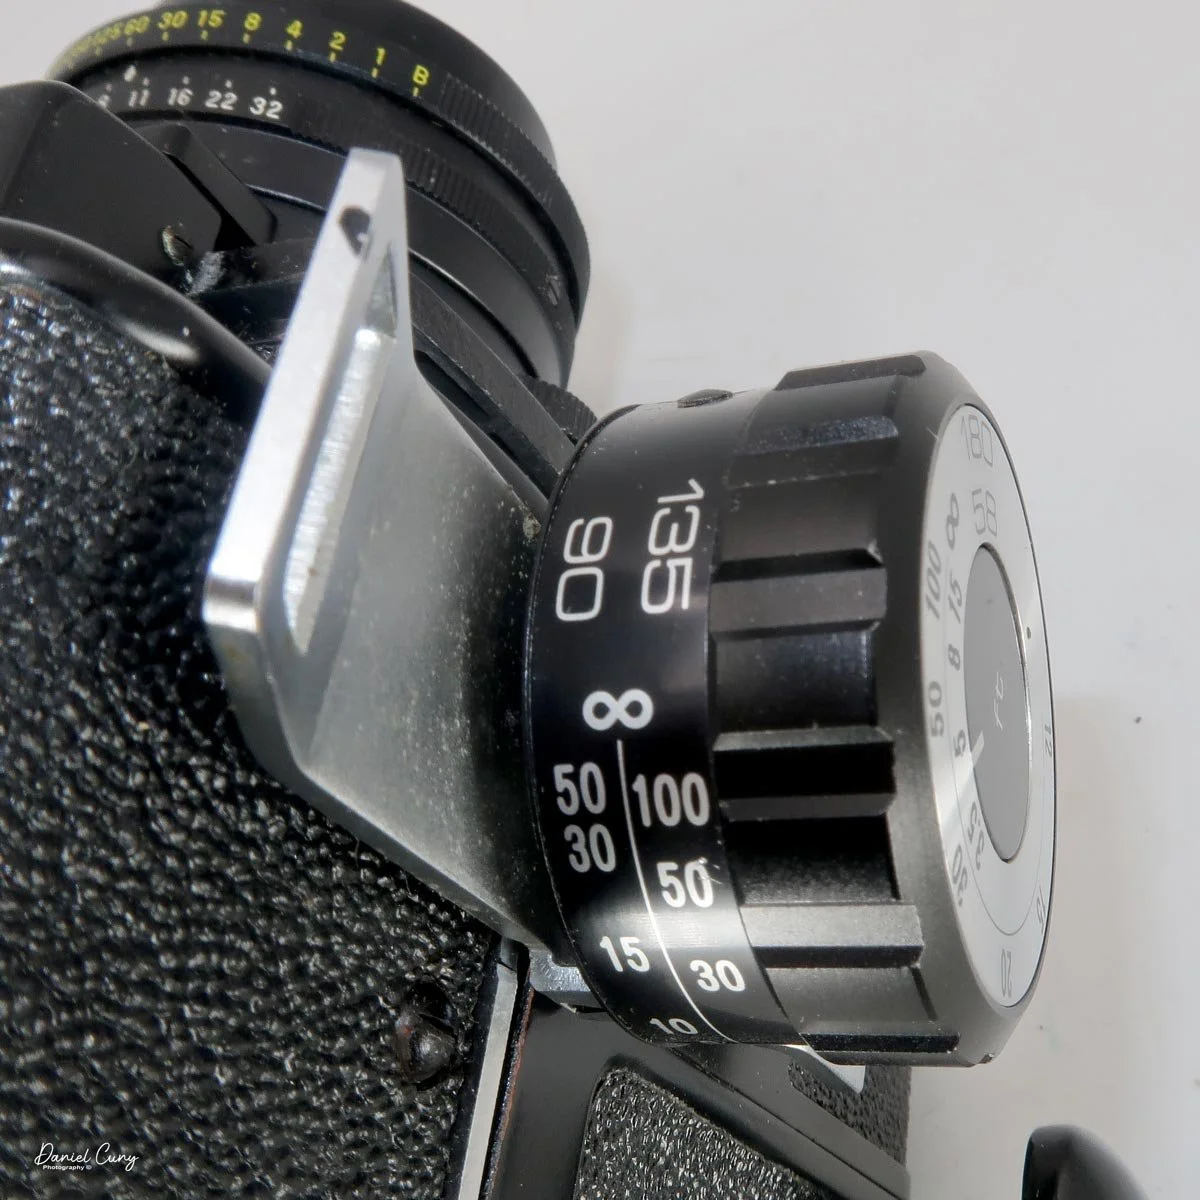
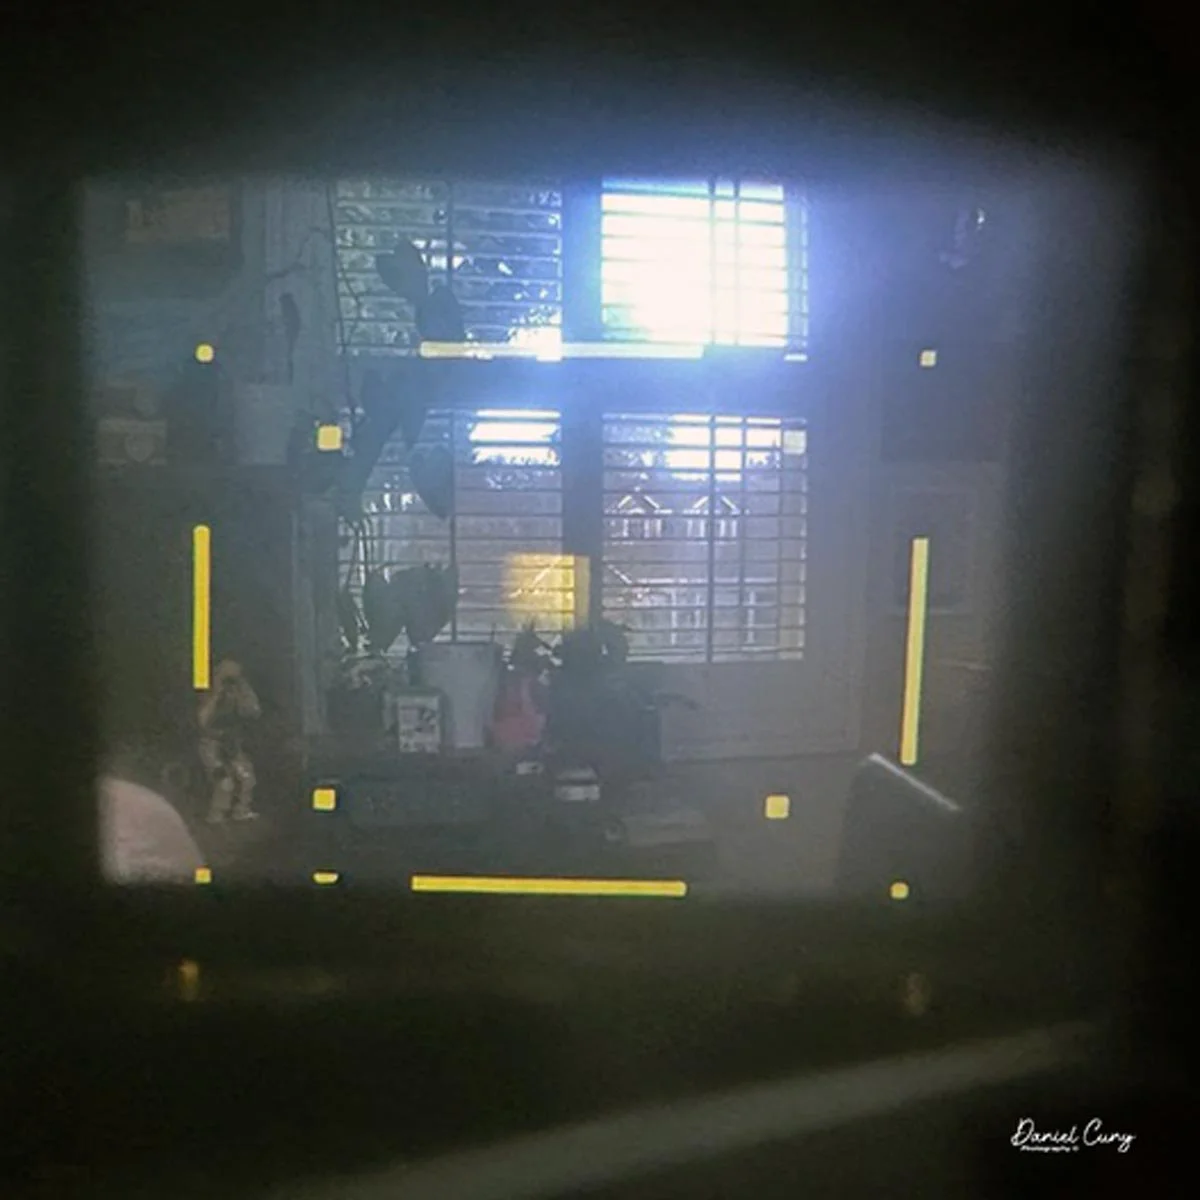
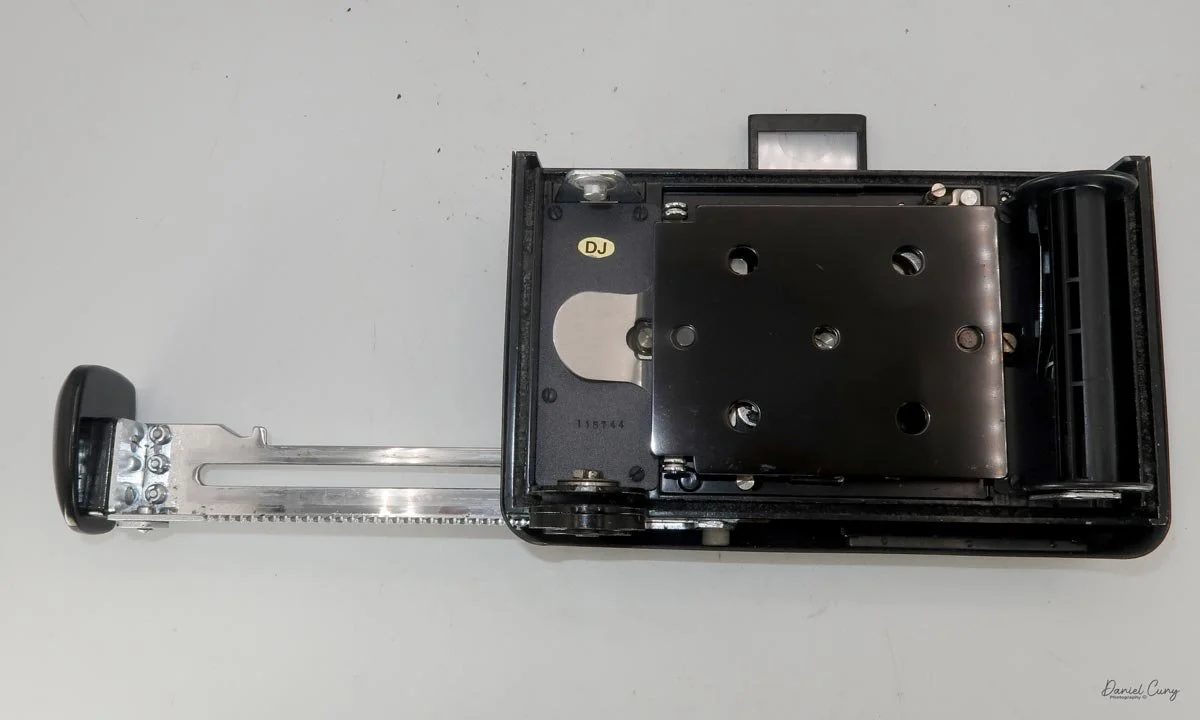
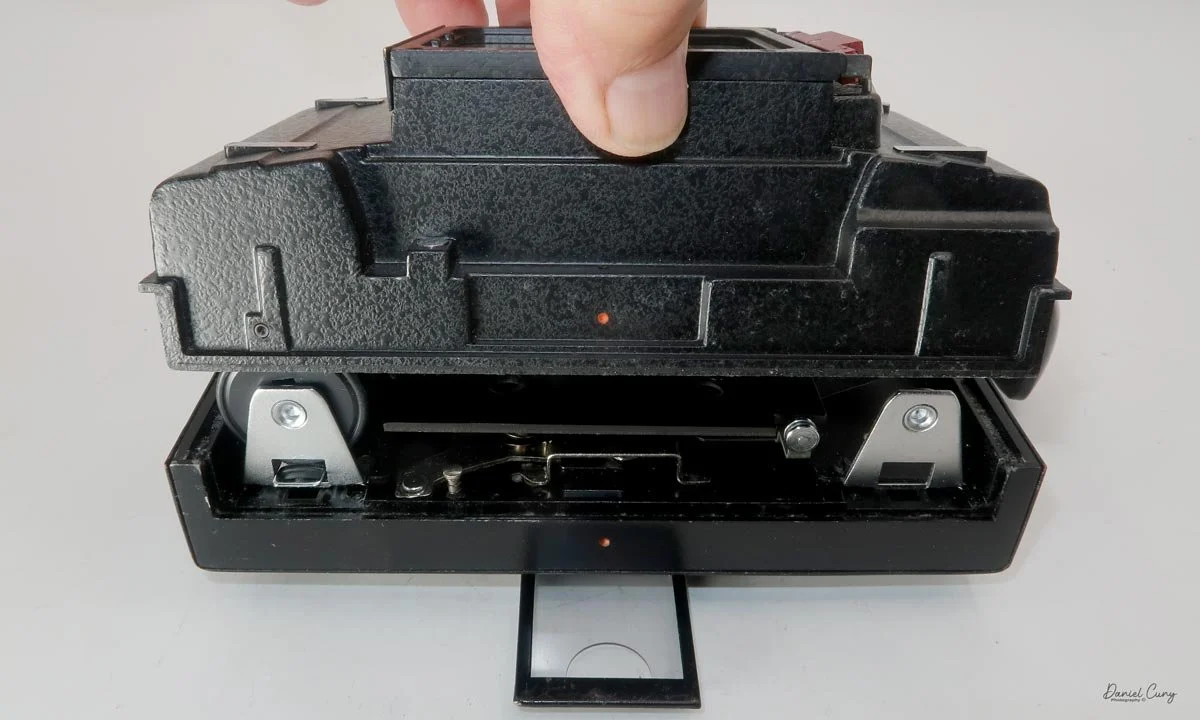
To take the film back off the camera, the chrome " lock " lever behind the lens is a "lock" lever on the camera body. Slide the lever counterclockwise with the thumb lever, making sure the dark slide is in the film back, and the film back will disengage from the camera body. Remove the back from the camera.
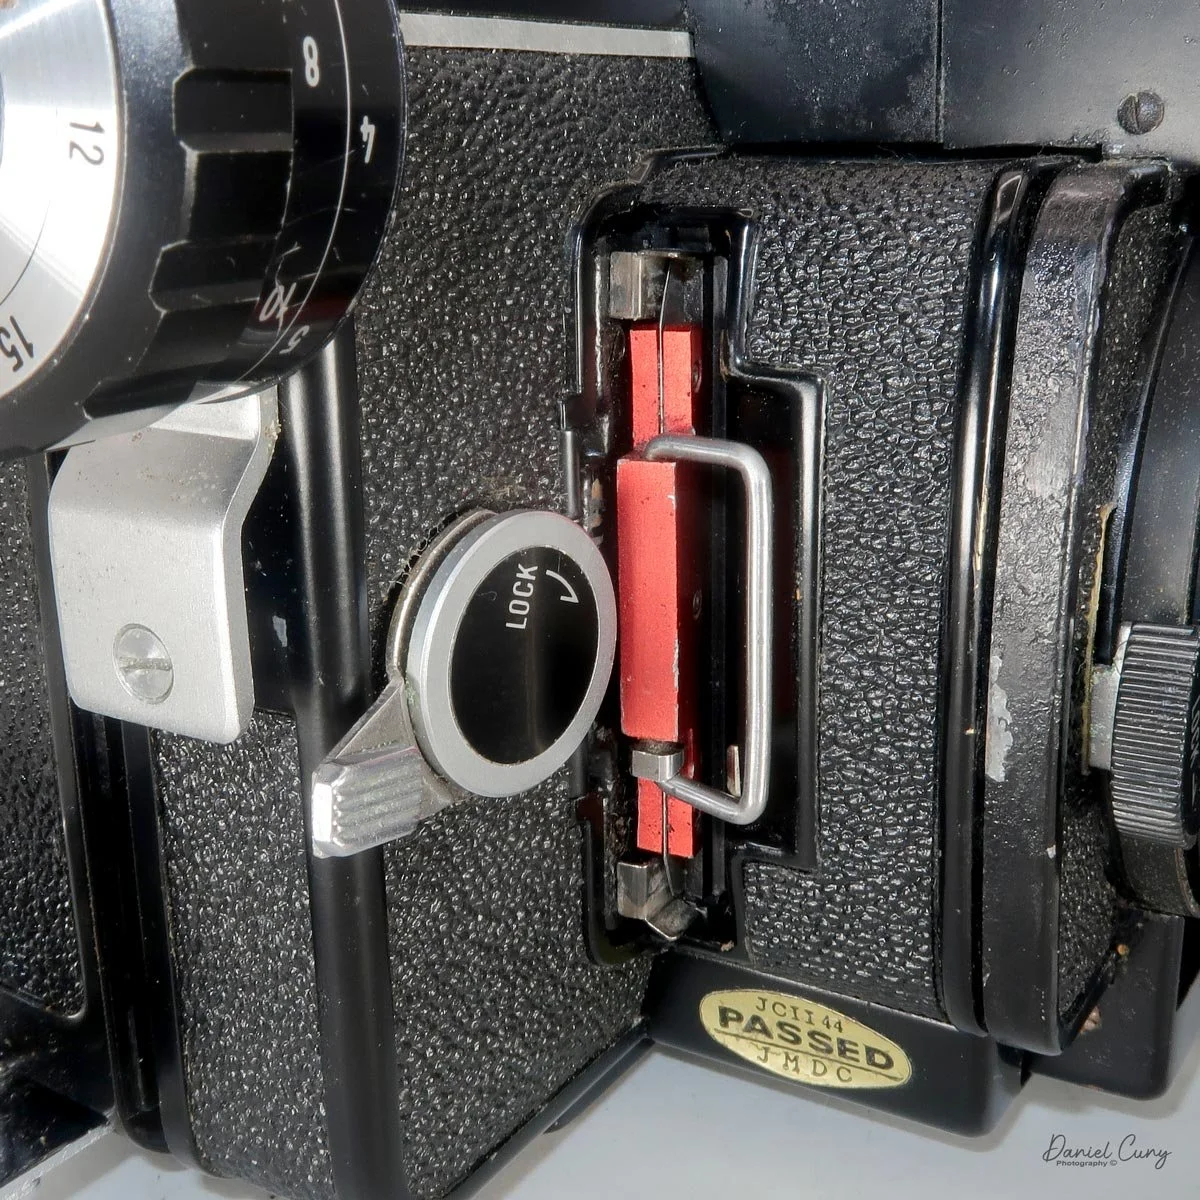
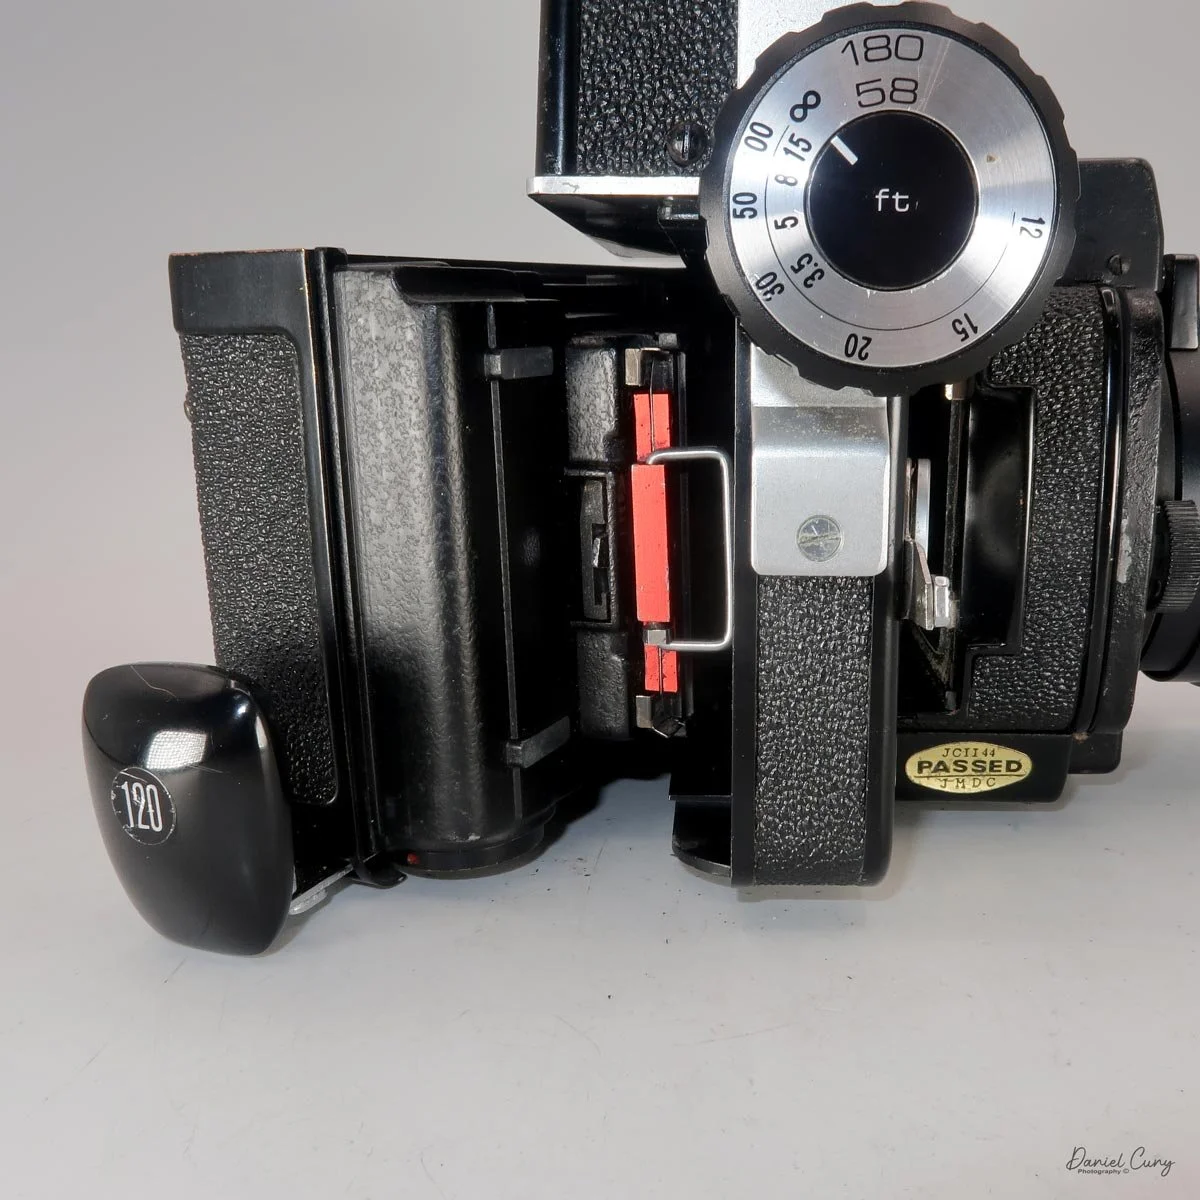
Here's the proper film loading on the Rapid Omega 200 camera:

1. Set the counter to LOAD. The frame counter should read LOAD. If it doesn't, pull the film transport knob all the way out and back in until it does. If the transport is locked at 10 (end of a 120 roll), push up on the film transport release while working the knob until LOAD appears.

2. Open the film back. Press the film-type tab holder release so the holder springs open. Lift the key on the film back lock and turn it until "O" lines up with the white dot.

3. Lift the back off. Don't pull on the key — hold the back in your left hand and lift it out by its sides.

4. Move the empty spool to the take-up side. Push slightly up on the upper feed spindle to free the empty spool, then place it on the take-up spindles, making sure the key on the lower take-up spindle engages the spool's keyway. Rotate it with your thumb until the long slot faces the feed spindles.

5. Load the fresh roll. Place it on the feed spindles with the seal unbroken, oriented so the black inner face of the leader faces you when unrolled. Break the seal and remove it.

6. Thread the leader. Unroll enough paper leader to slip the end into the take-up spool slot, then rotate the take-up spool with your thumb to take up the slack.

7. Wind to the start mark. Press lightly on the film roll with one thumb while rotating the take-up spool with the other. Keep the film perfectly centered and taut, and keep winding until the start arrows on the backing paper line up with the red film start mark on the take-up spindle, near the transport knob.

8. Seat the back. Make sure the back lock is still at "O", then lower the back gently into the magazine — don't force it.

9. Lock it. Turn the back lock key to "L", fold it flat, and close the film-type tab holder. Then pull gently on the sides of the back to confirm it's locked in.

10. Advance to frame 1. Pull the transport knob fully out and back in — one green dot appears in the counter. Repeat: two green dots on the next stroke, then "1" on the third. That's the first frame, ready to shoot.
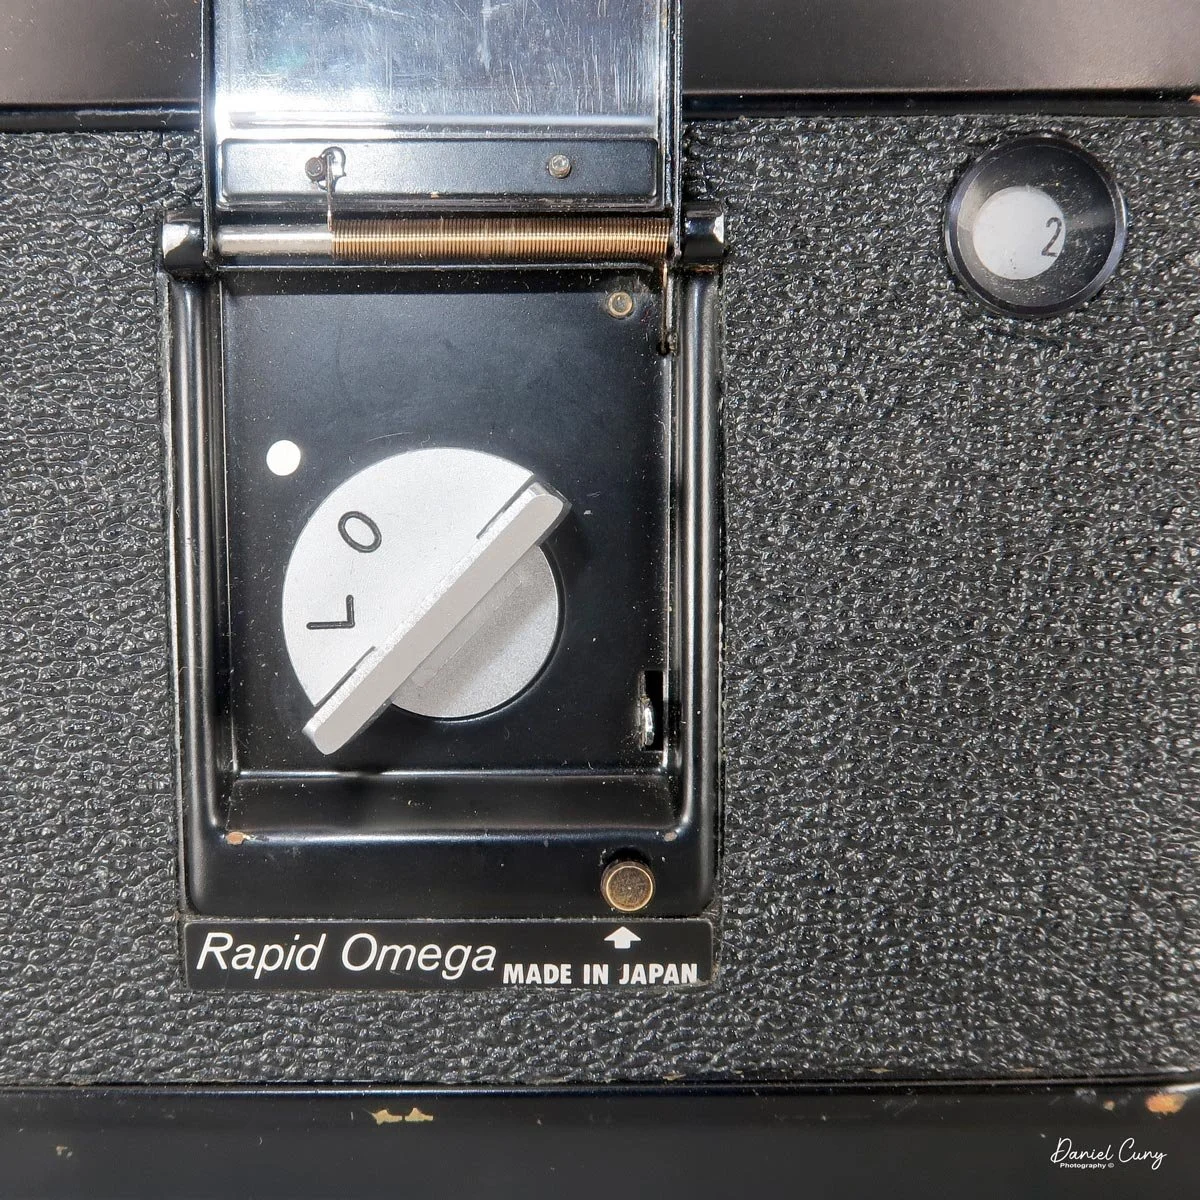
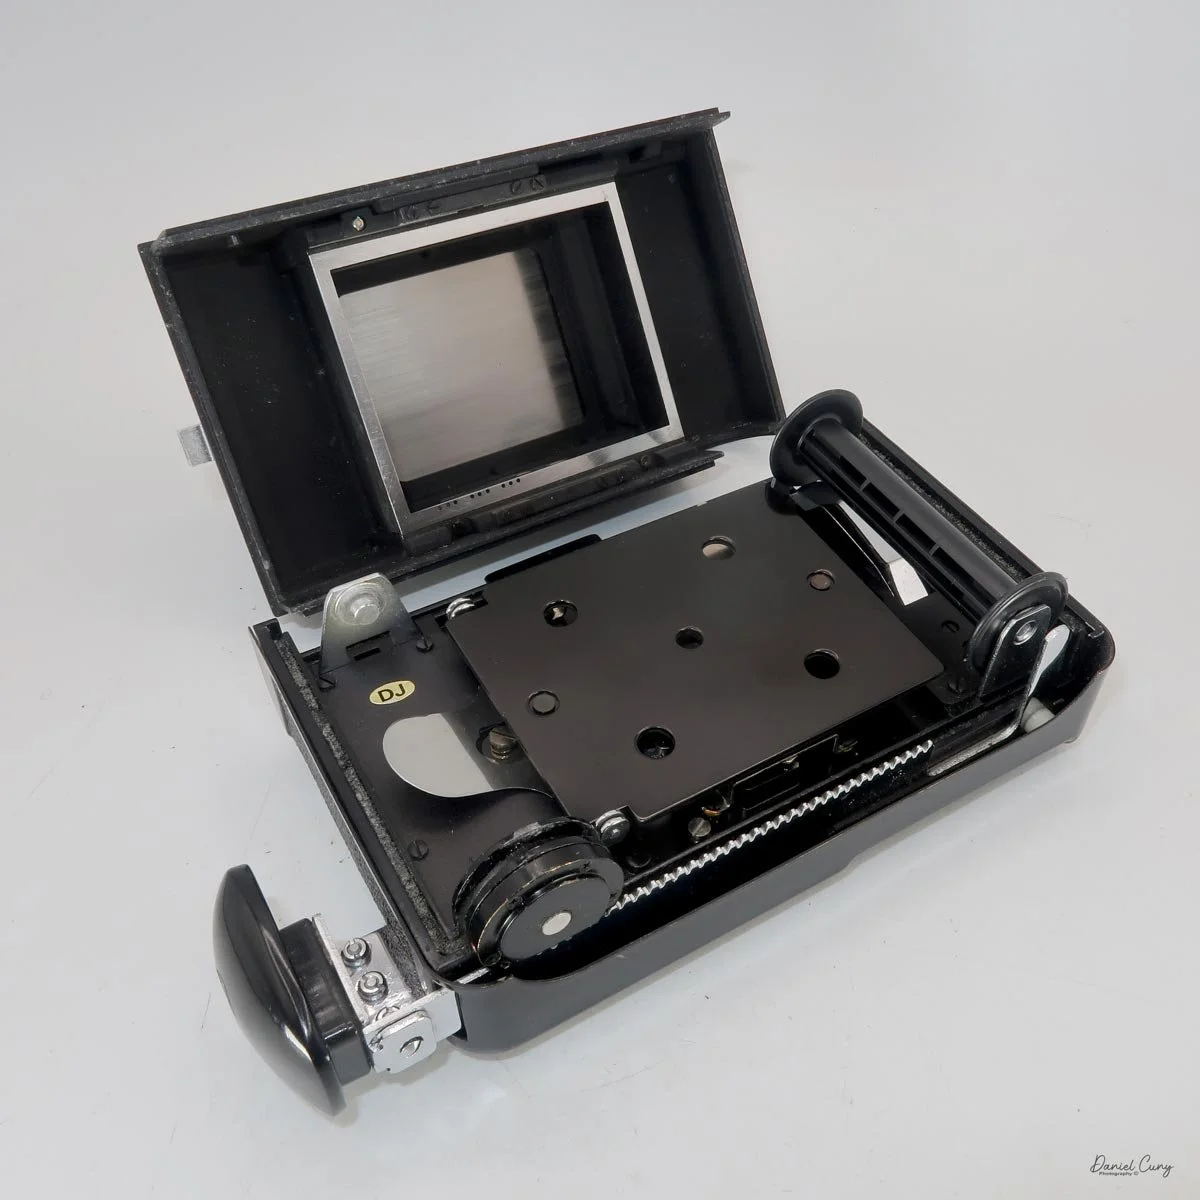
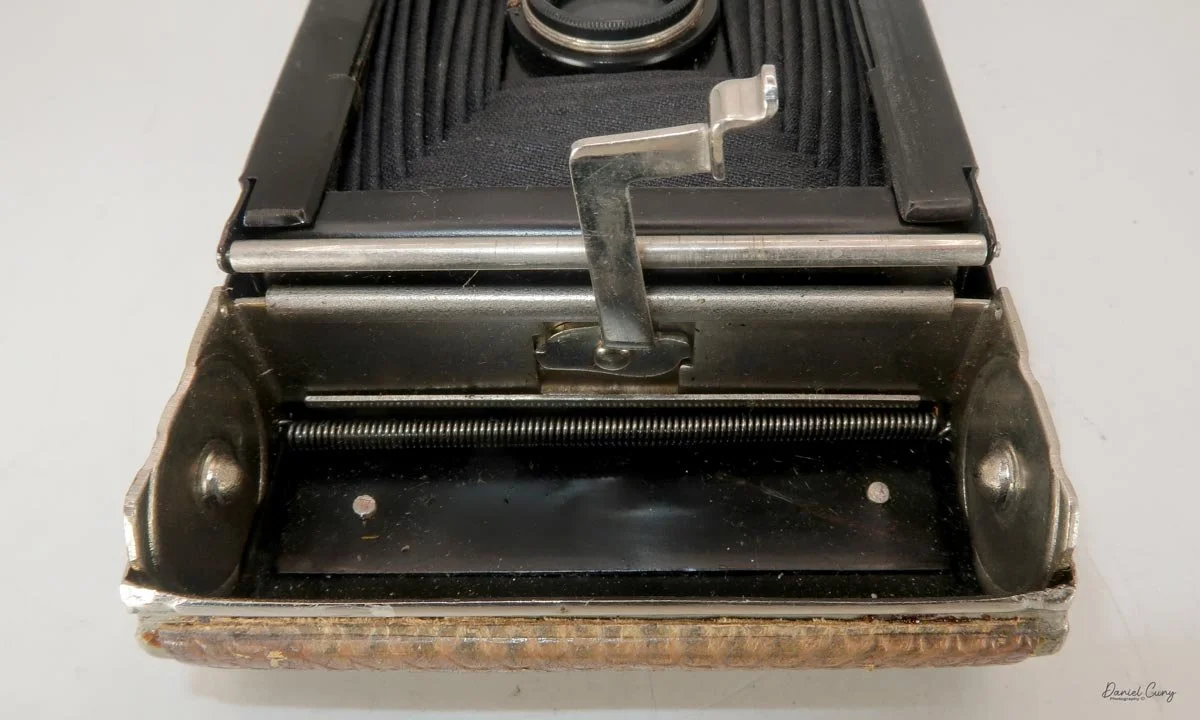
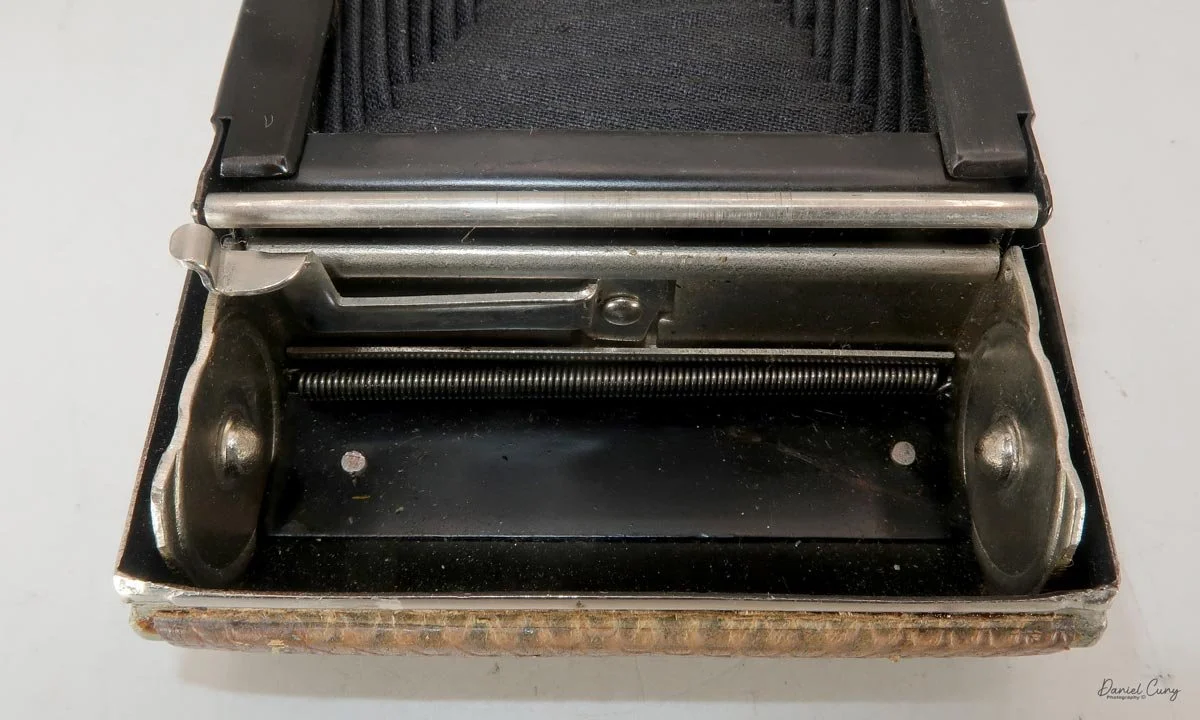
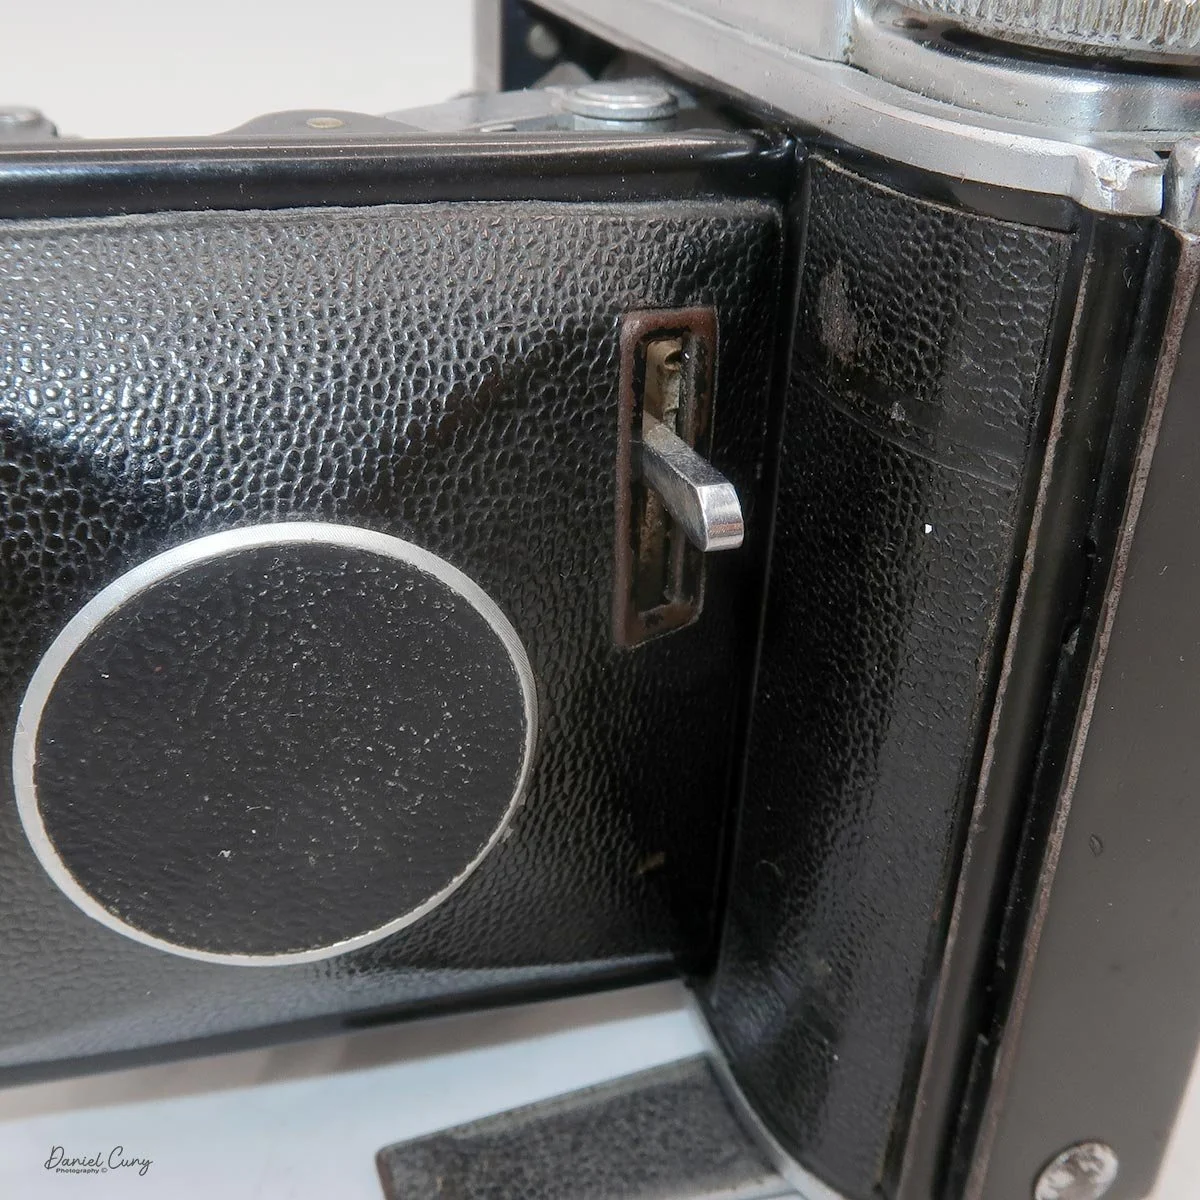
Putting the film back is a bit tricky, as you need to make sure the small tab on the dark slide is pointing outwards when you reattach it to the camera body. If the tab isn't facing outwards, the back won't seat properly onto the camera body, and you cannot lock it back on.

Once attached and after you've taken a photo, I like the film advance lever. Sliding the large knob in and out of the film back is smooth. It's easy to use, albeit unconventional compared to other camera transport systems.

I got rather proficient at loading the camera, especially since I went through two rolls of film before I finally put in a roll that produced images.

Embed Block
Enter a valid embed URL or code.

My Results:

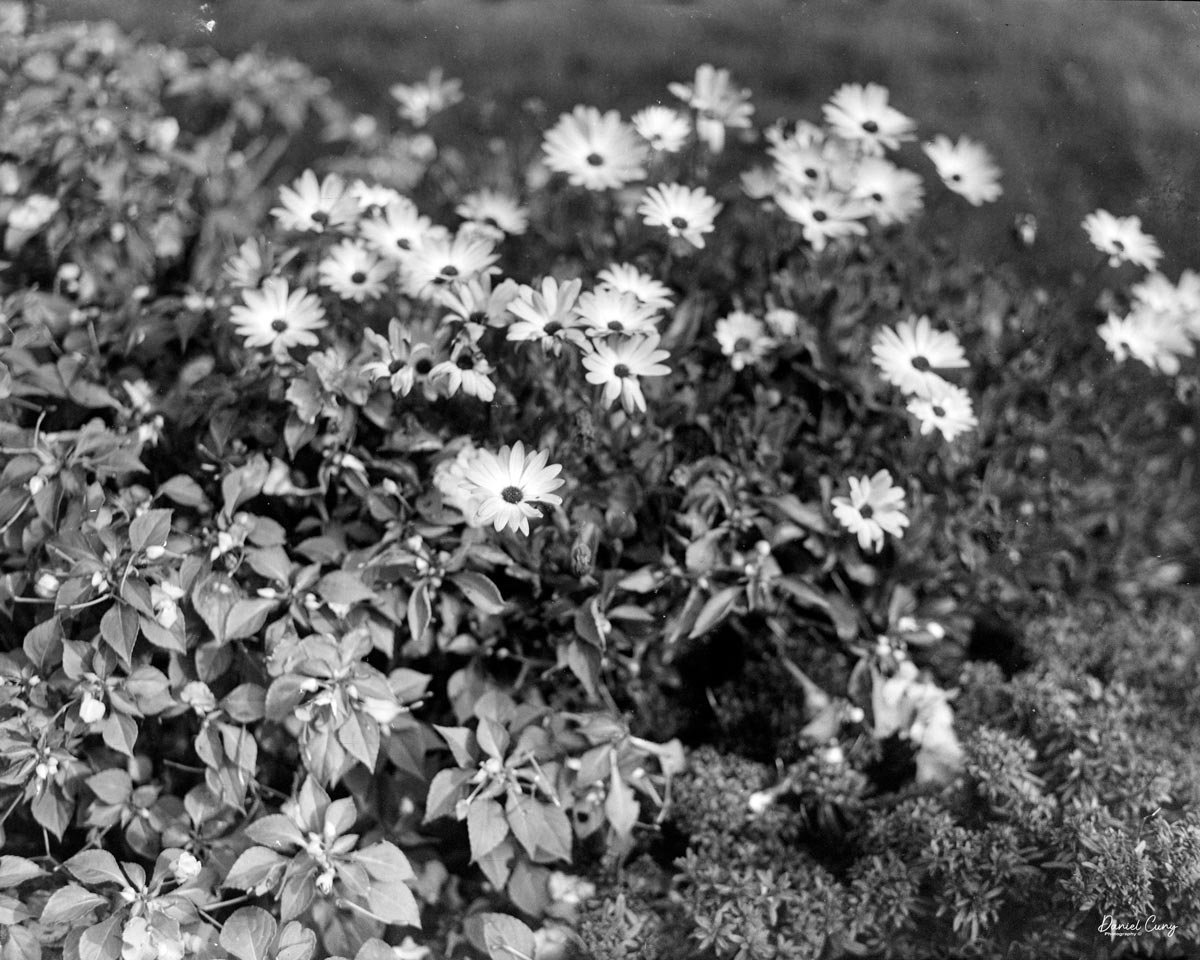
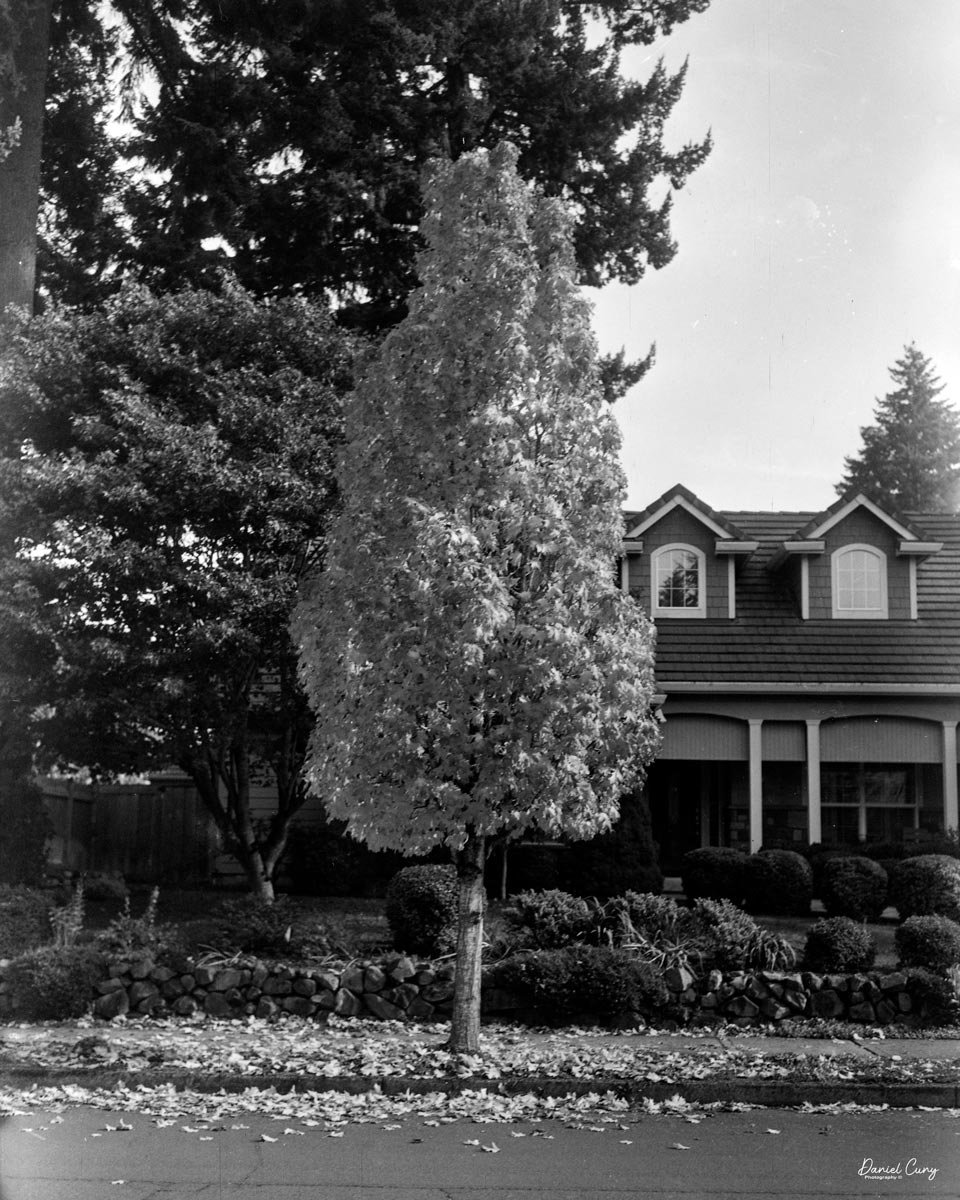
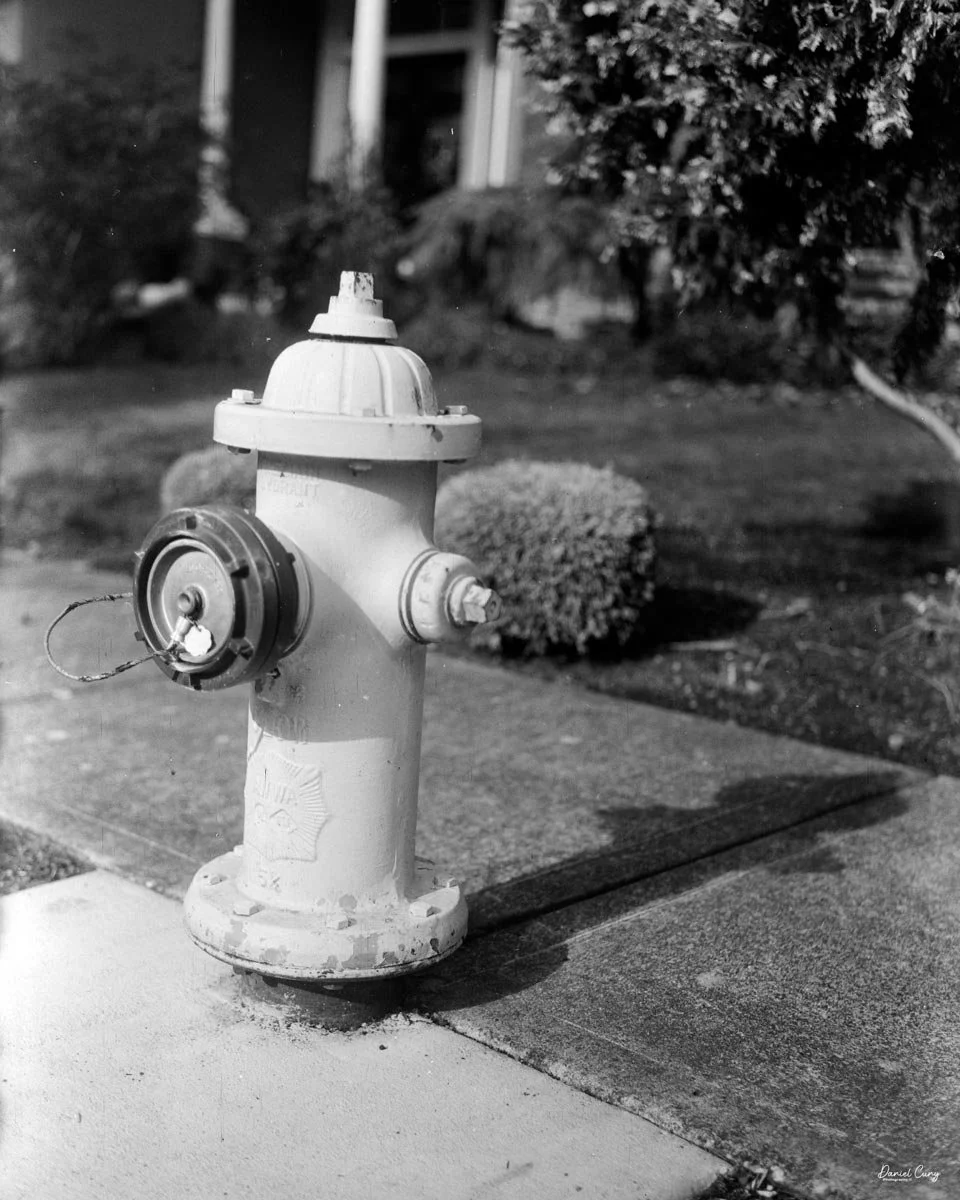
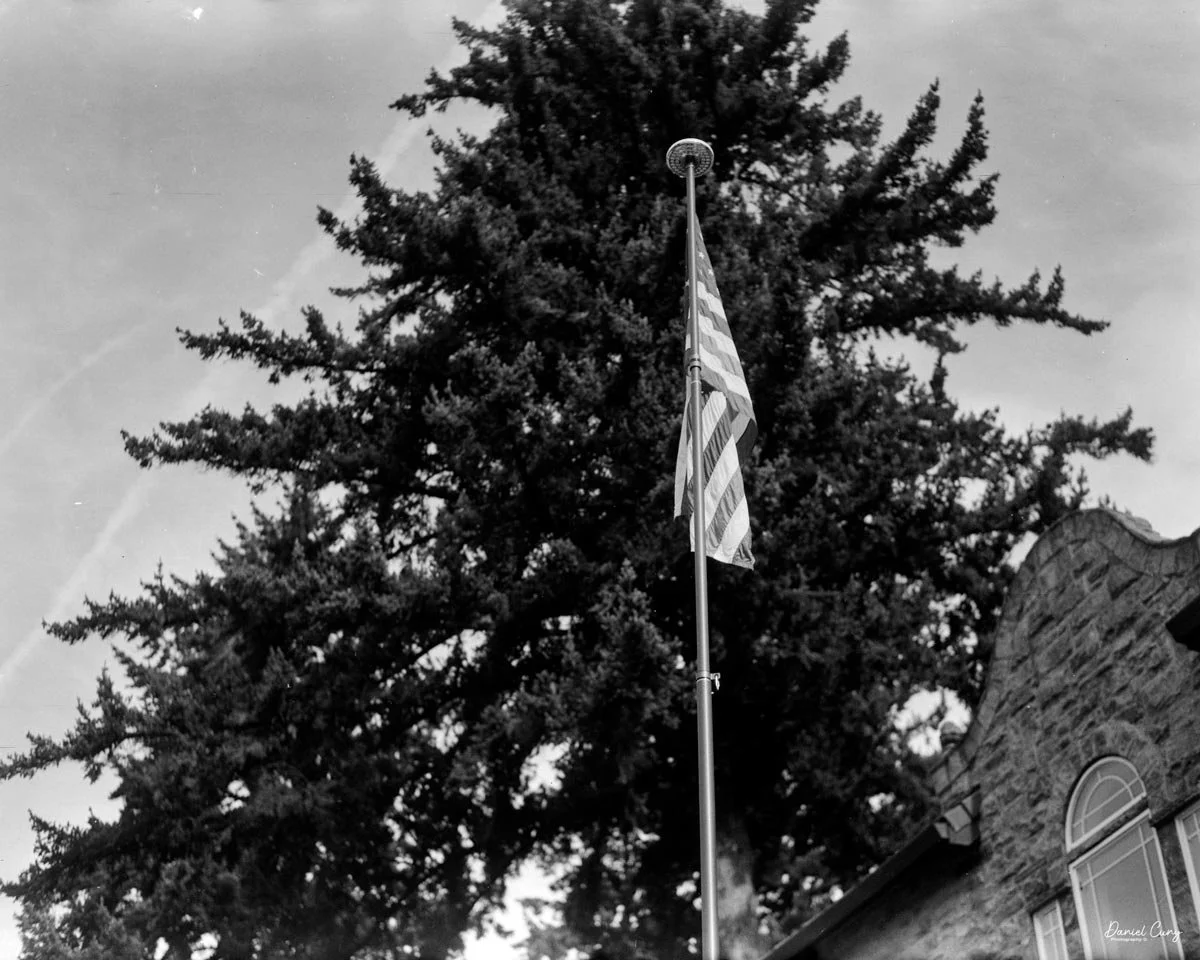
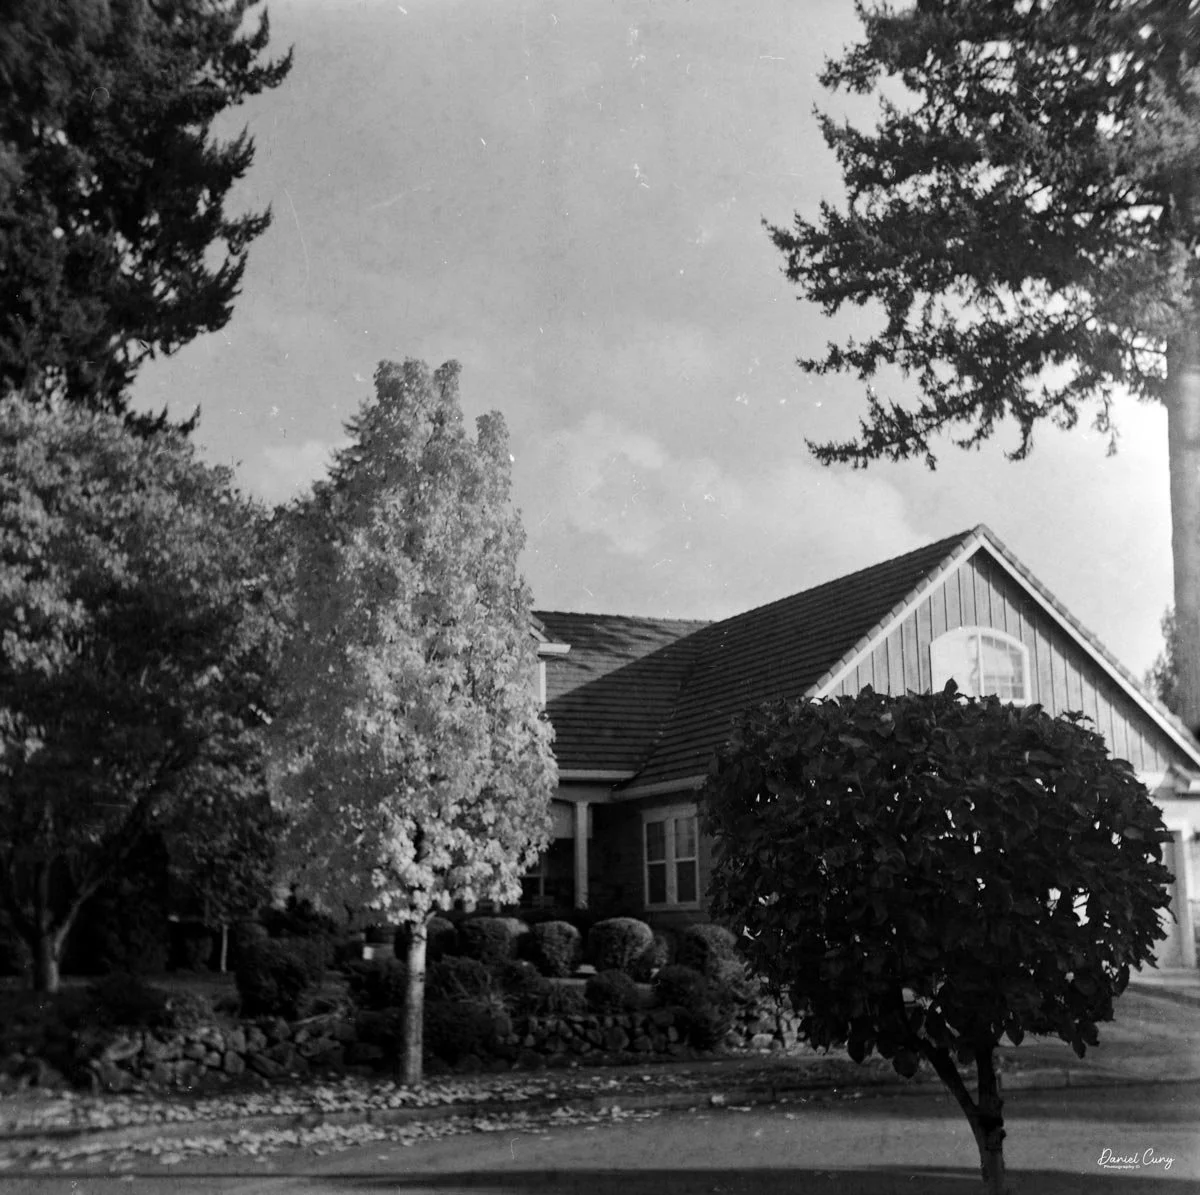
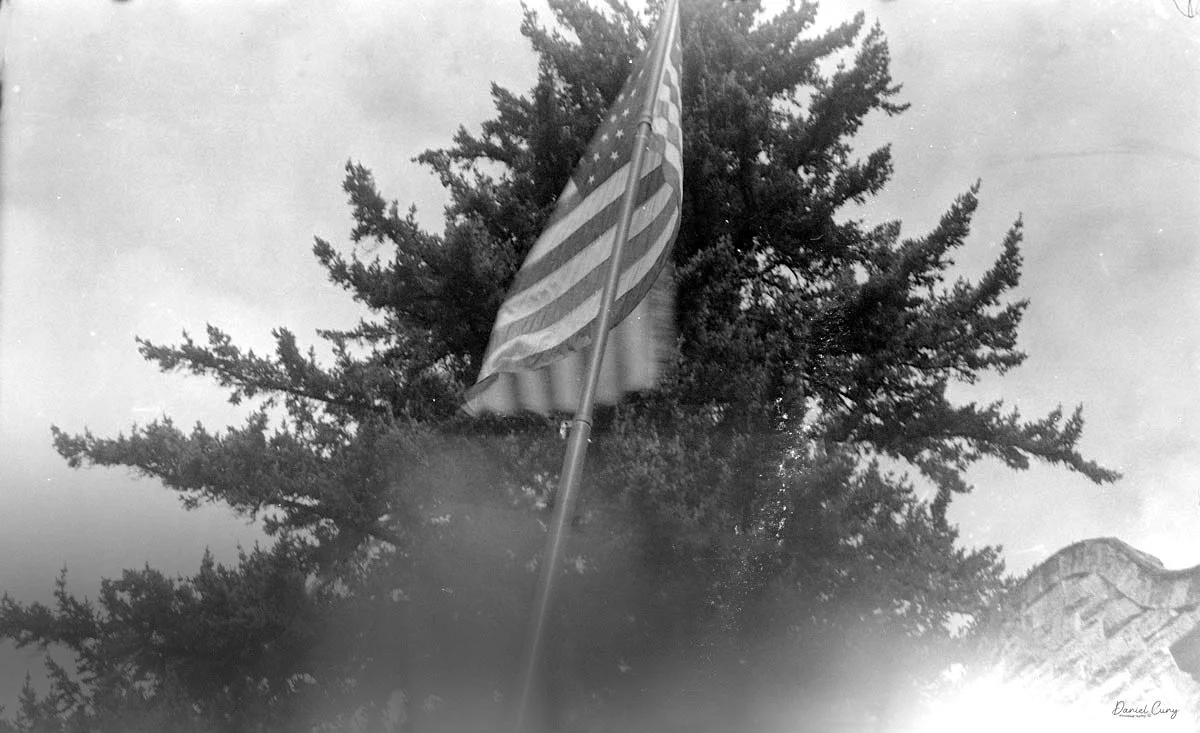
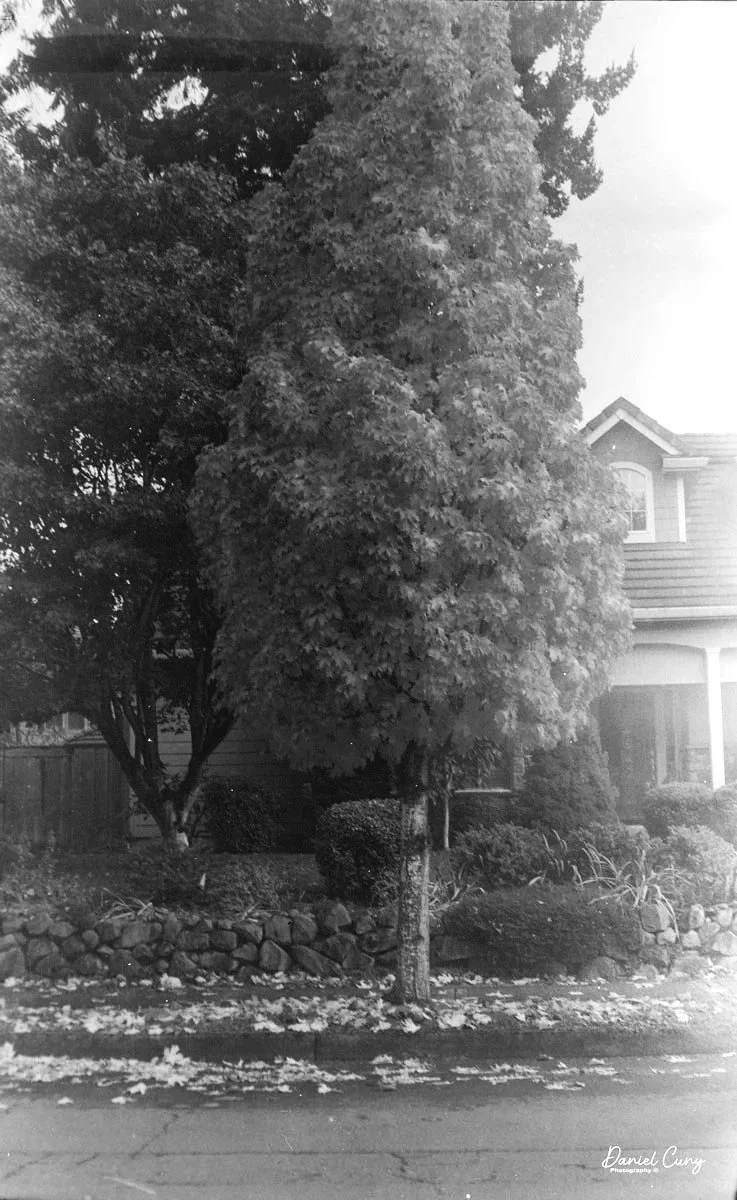
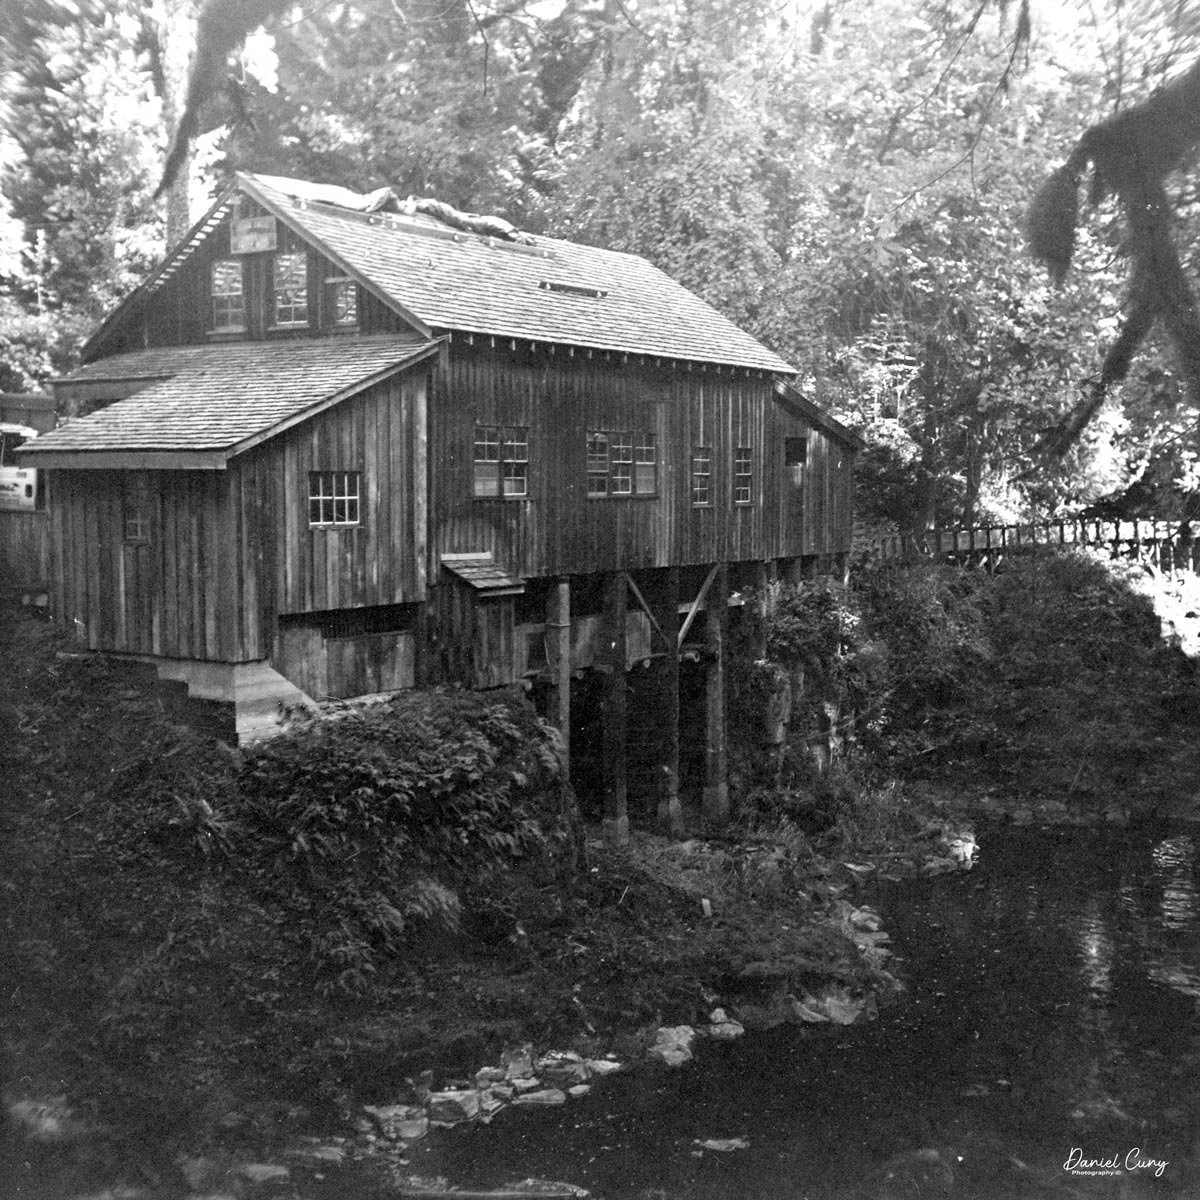
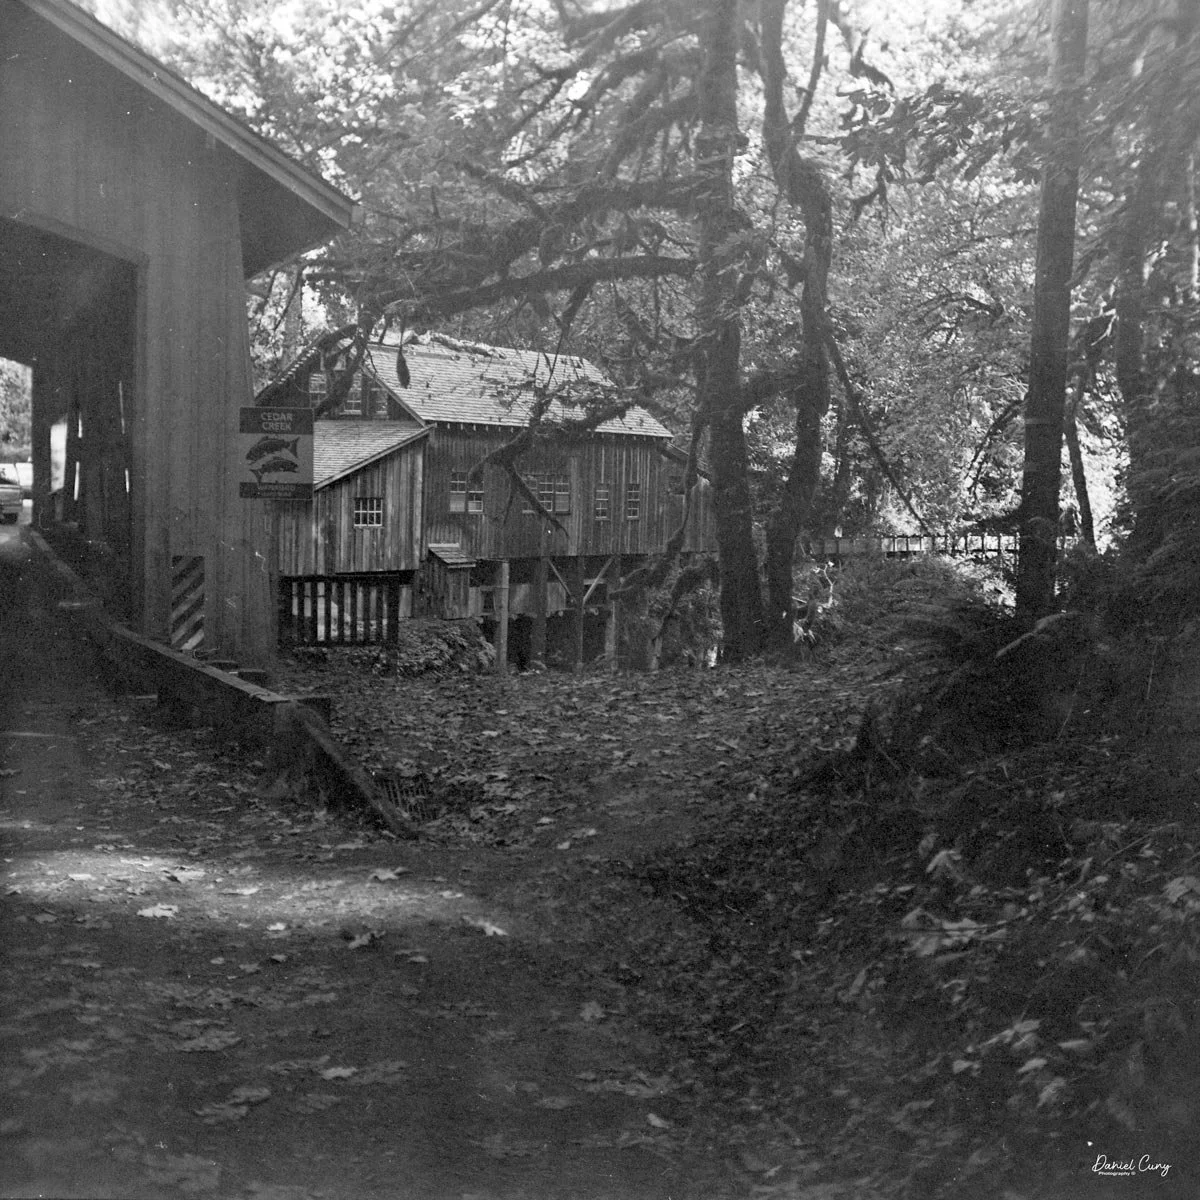
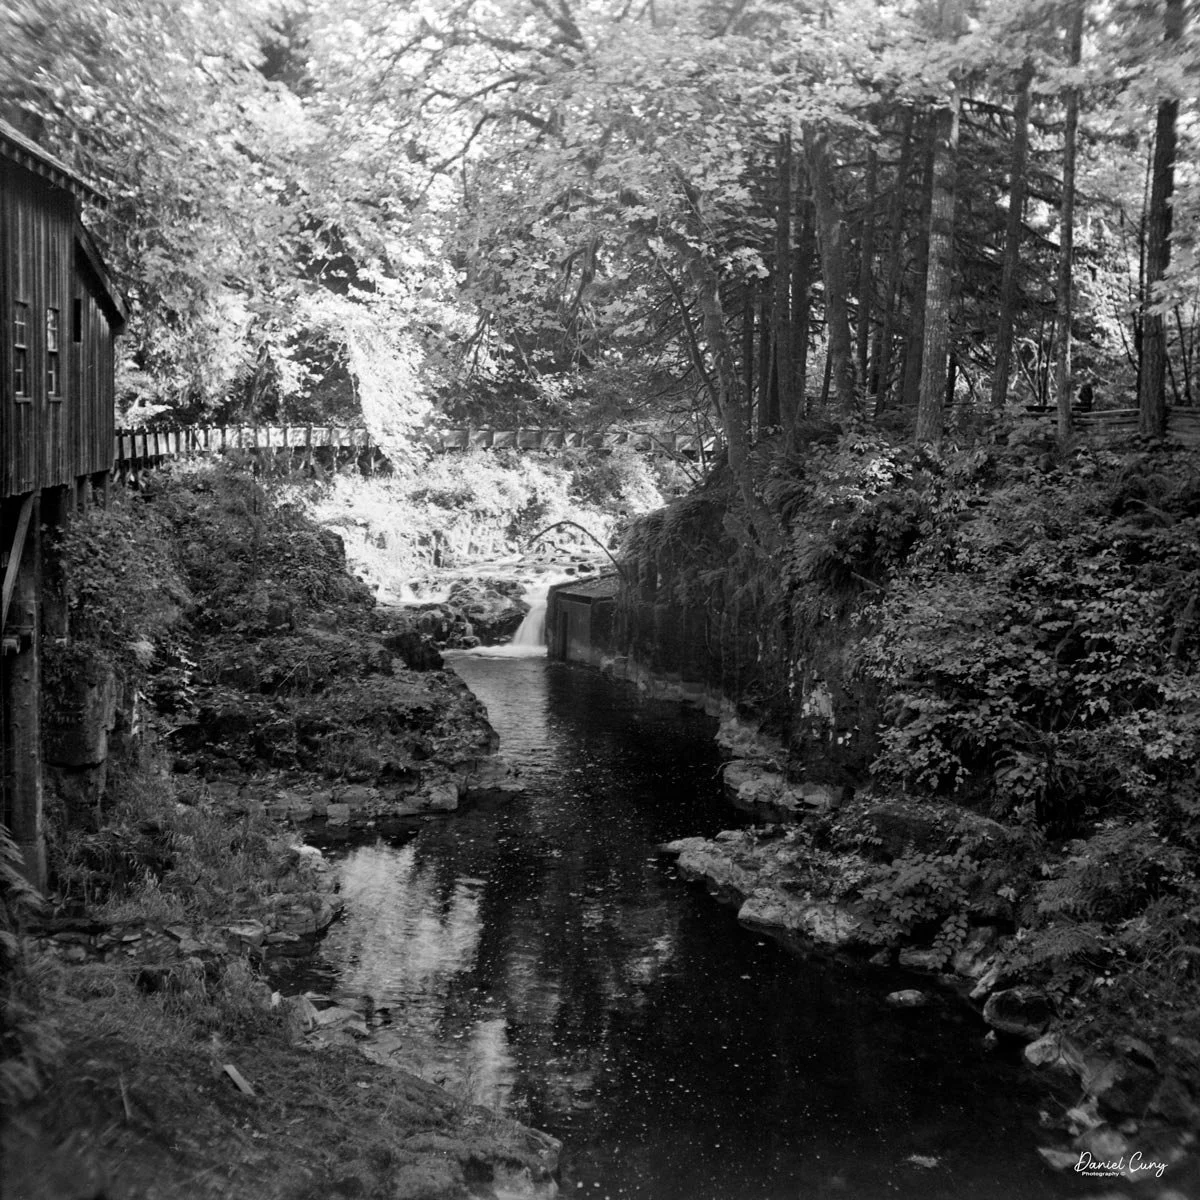
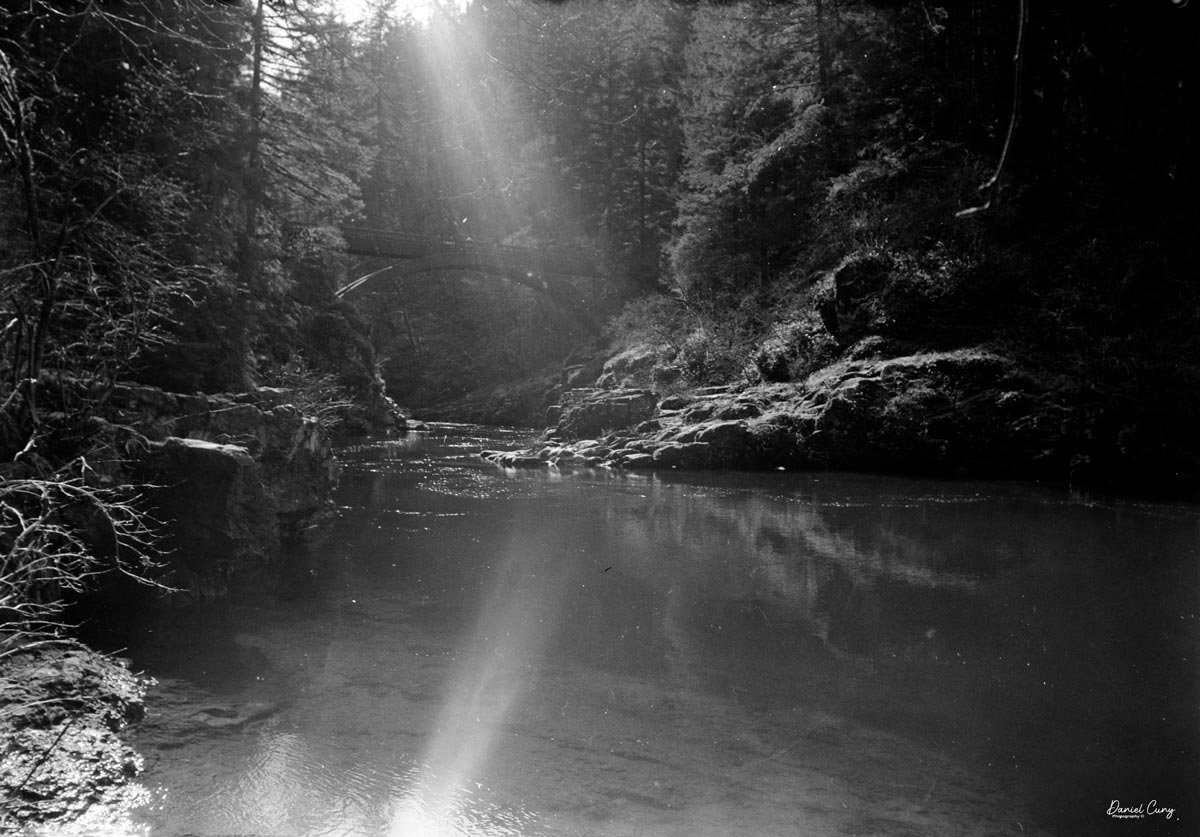
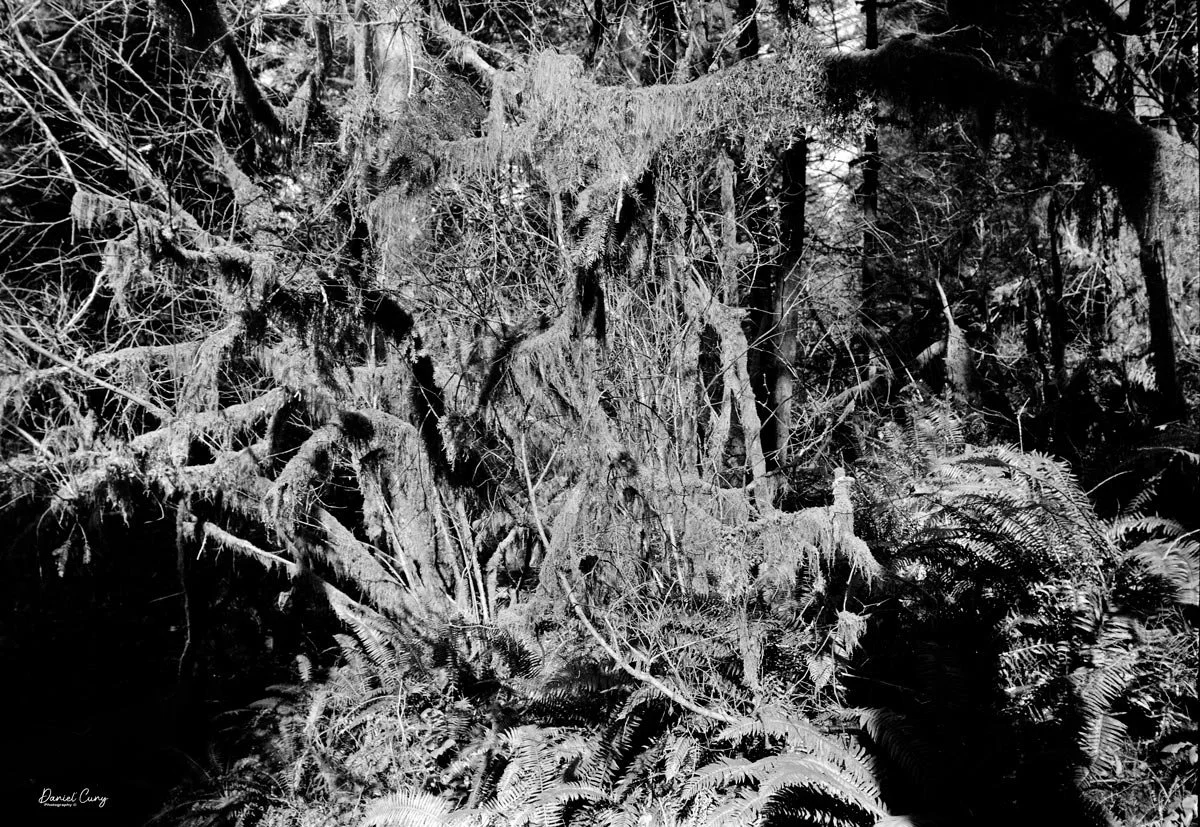
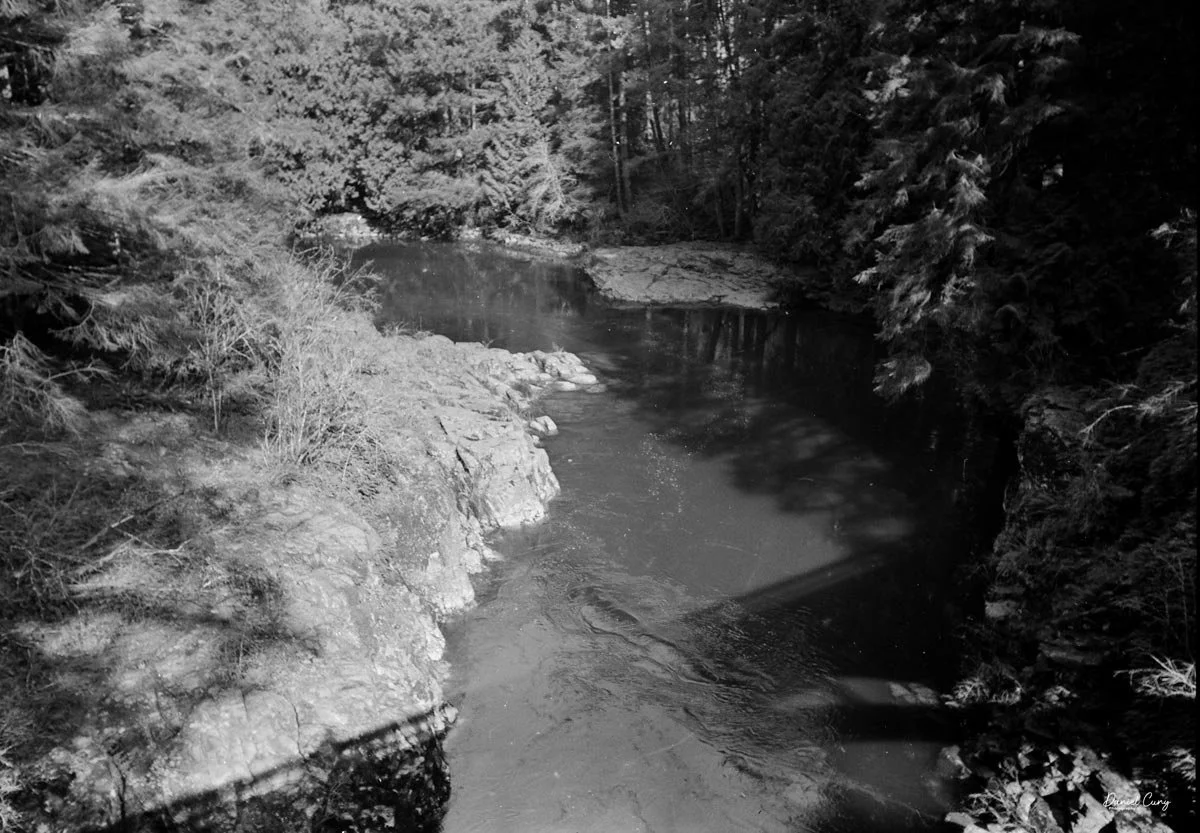
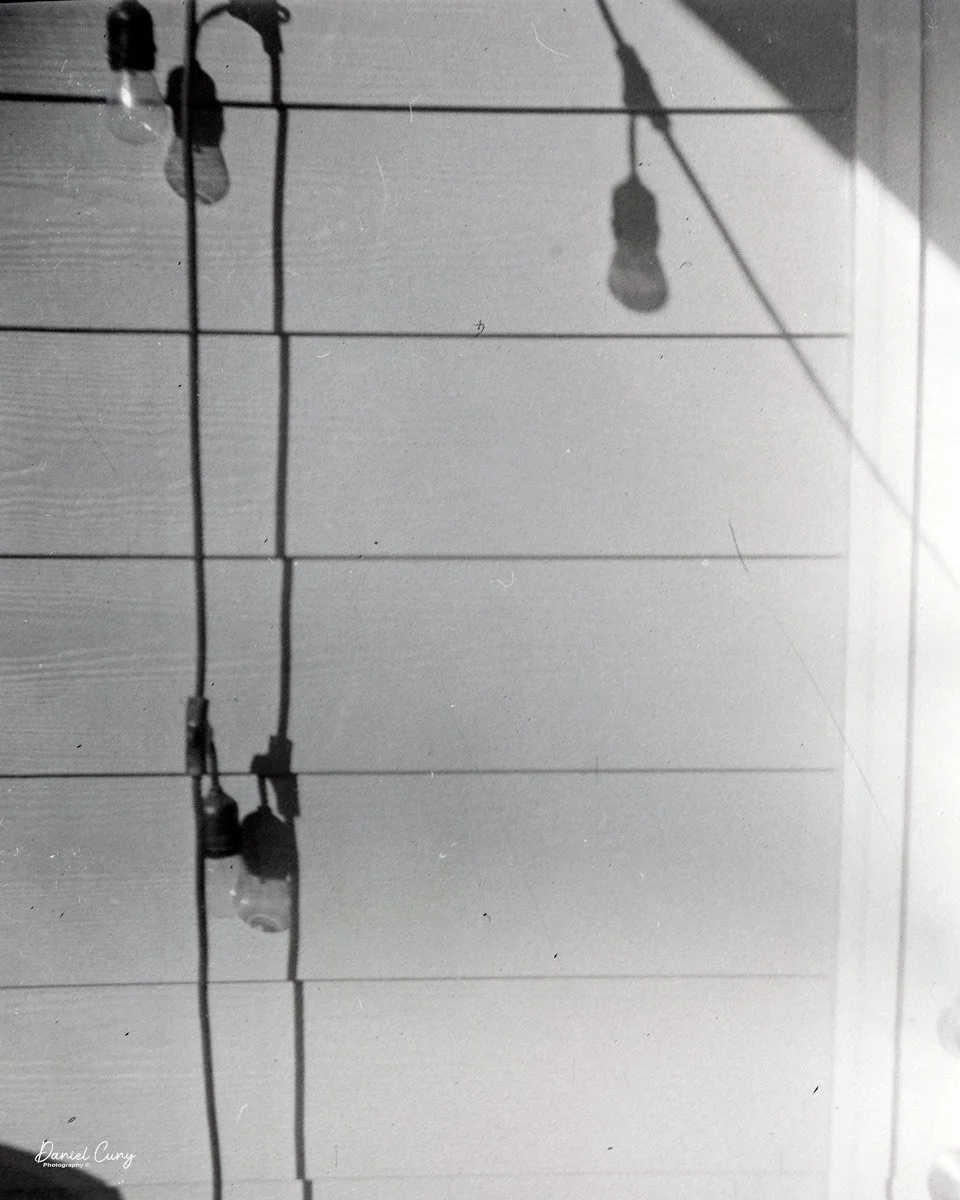
Well, finally. After my mishaps with the camera, and again, all operator malfunctions, I finally got images from the third roll I put through the camera, and they were better than I expected. The camera did a wonderful job.

Here, have a look at the images I took with the third roll of film I put through the camera.
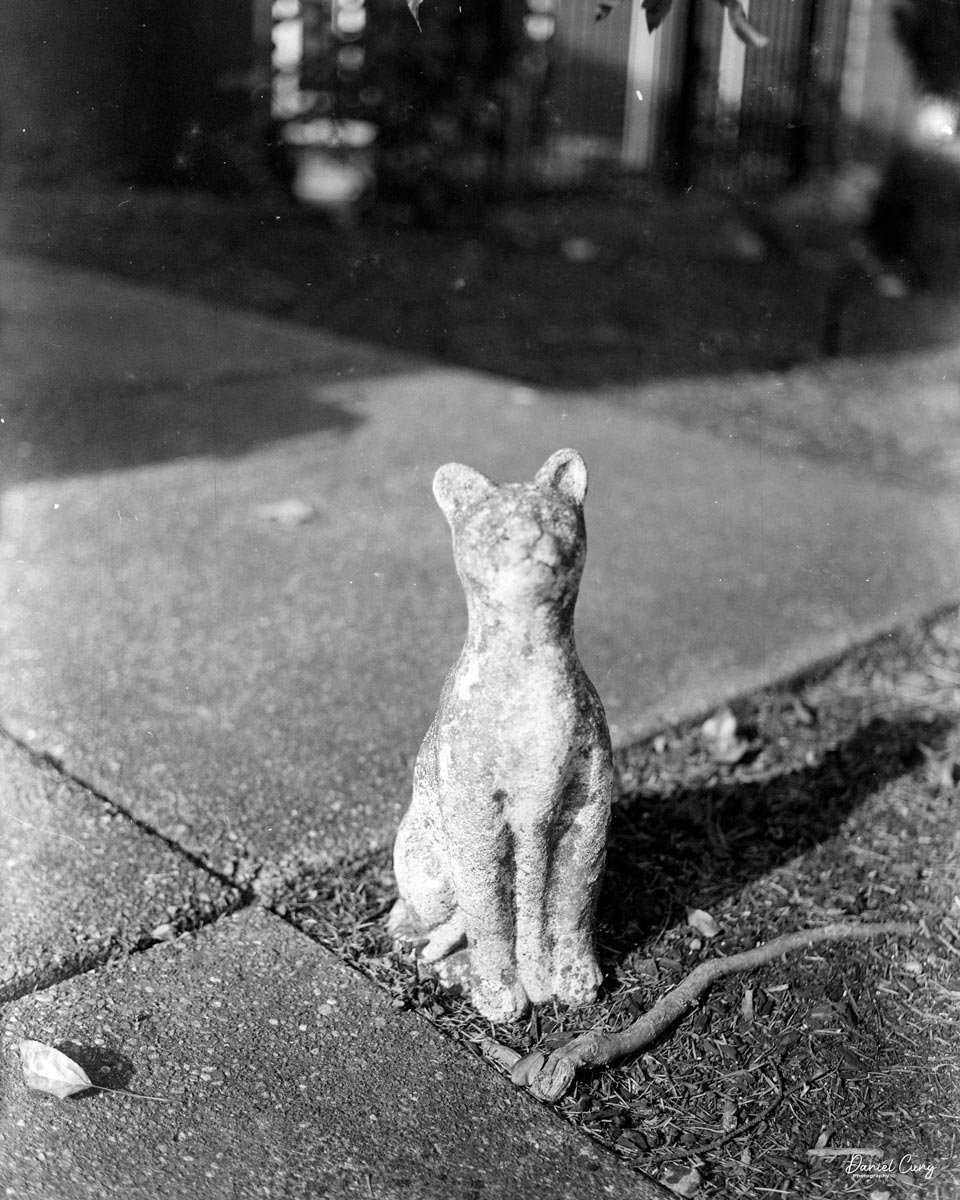
Conclusion:

The camera did a wonderful job. It was well balanced, the focus was bright and easy to use, and once I finally got images, they were sharp, well composed — just a wonderful camera to use.

There were some items that were a bit difficult. The dark slide is a bit difficult to remove once the film back is attached to the camera. It was difficult for me to grab onto the dark slide tab and pull it out, and making sure the pull tab on the dark slide was pointing forward when attaching it to the camera body was a bit frustrating at first, but once I figured it out, it was OK.

While the camera has its quirks, as all cameras do, once I figured out my shortcomings with the camera, I enjoyed it. I'm unsure if I'll be keeping this camera in my collection, as you'll most likely see the camera on my eBay store in the not-so-distant future, as I originally purchased it for my blog and fully intended to sell it once I do write about it.

Thank you for taking the time to read about the Rapid Omega 200 camera that I recently added to my collection.

Are you interested in other vintage gear? Here are some of my other Camera Reviews.

Check out my Cuny's Camera Collection YouTube channel, where I am putting together video overviews of the cameras I write about. Be sure to subscribe and like the channel, too!

Cuny's Cameras and Photos is my online eBay store, where you will find some of the cameras I have reviewed, along with a wide range of other cameras, lenses, and items from my collection that I am thinning out.

Until next week, please be safe.
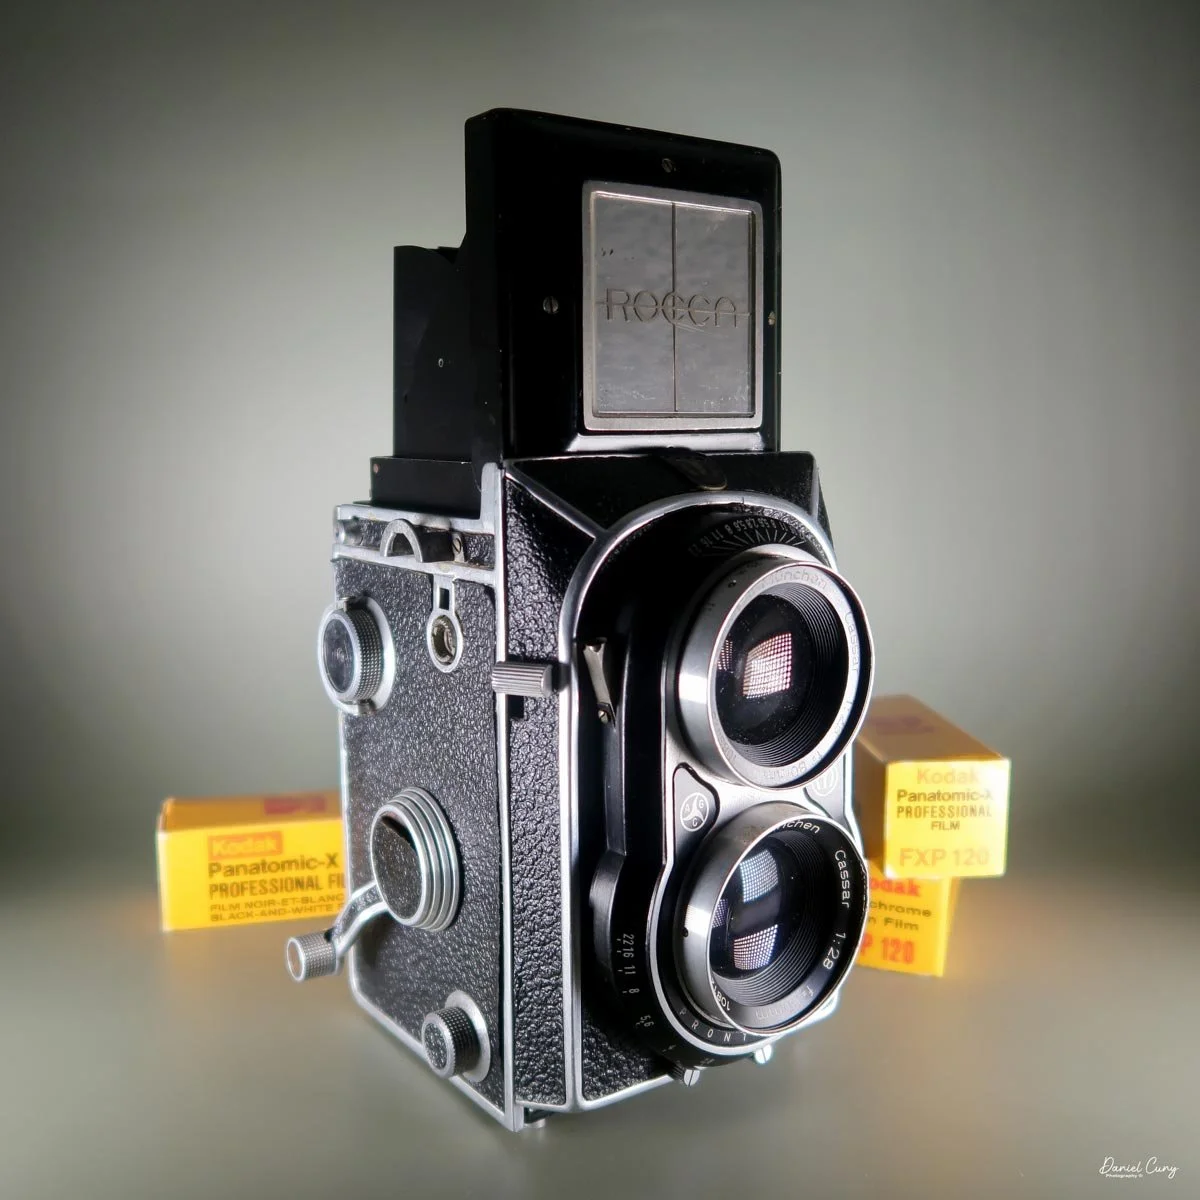
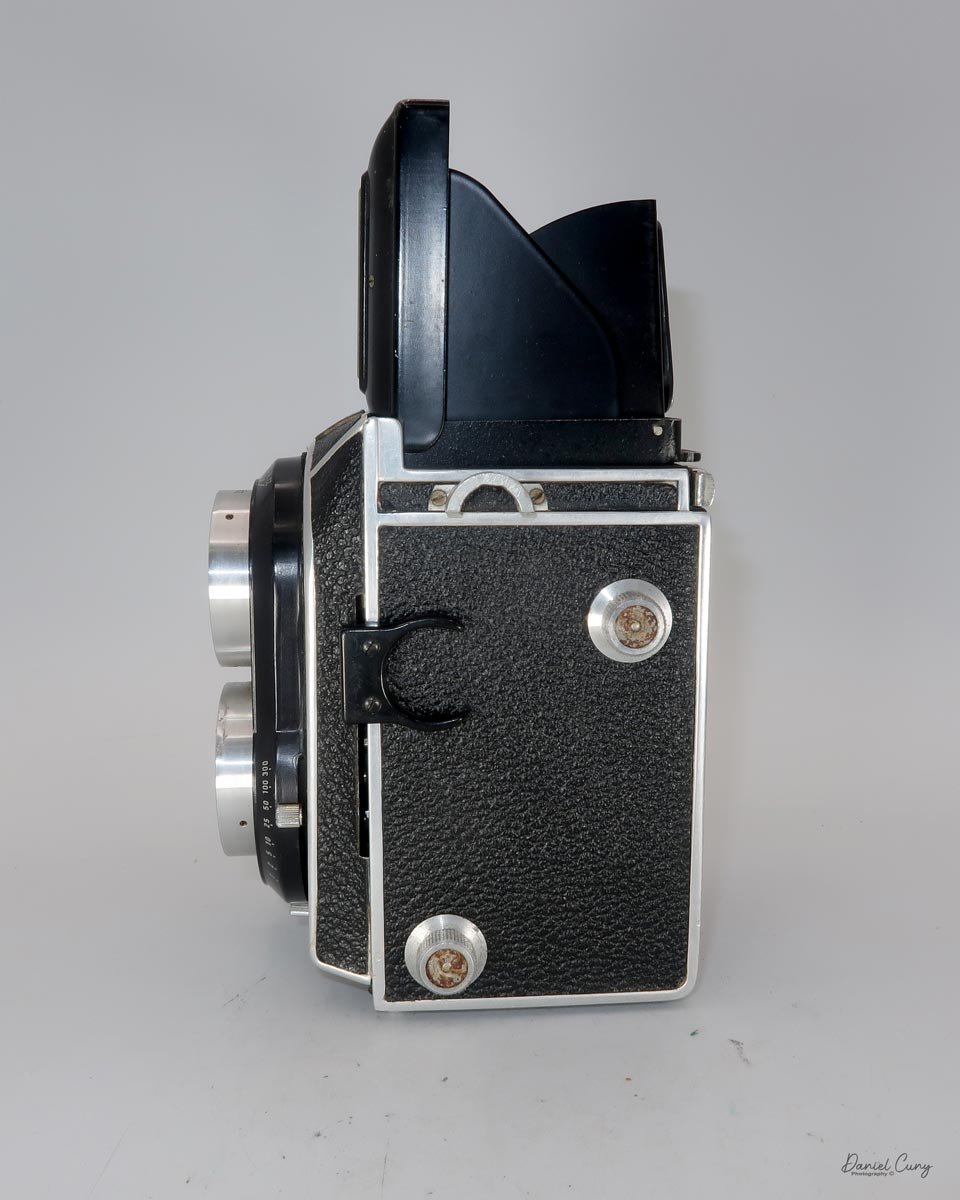
Rocca Super Reflex camera

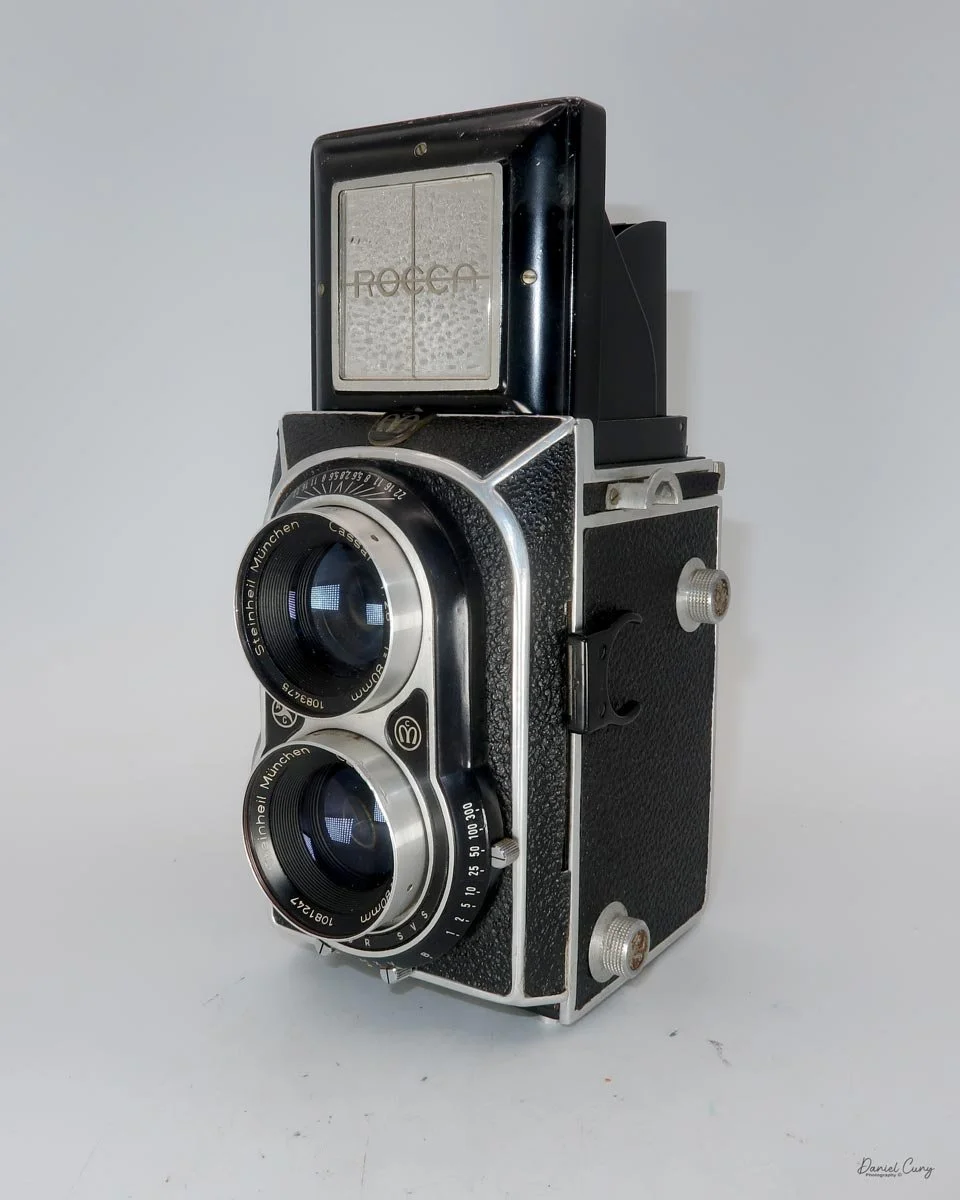
My Rocca Super Reflex camera, made by Montanus Kamerafabrik

I truly don't know what drew me to this camera, other than its look. The enlarged, angular area around the two lenses, along with the thin viewfinder area, gives the camera a different look from other twin-lens cameras.

We're so used to the "standard" twin-lens camera, with the nameplate over the top viewing lens, which also houses the light chimney that pops up, allowing the photographer to frame and focus on his subject.

Looking through McKeown's camera guide, I have seen photos of this and similar Montanus and Rocca cameras in the past, and I've always considered them classy, high-priced cameras.

While looking at a somewhat recent online auction, I came across the Rocca Super Reflex camera. It wasn't described by name, other than as a vintage camera. I was immediately drawn to it and figured I'd put in a modest bid. With my fingers crossed, I just so happened to win the camera.

Without doing much research before bidding, I let my somewhat modest knowledge of odd and irregular cameras do the bidding for me and hoped it was in good working order.

I guess what I'm saying is that the camera's look and my assumption that it was expensive overcame my pre-bidding research, but I liked the camera's look. I also know it's not as popular as the Rolleiflex, Yashica Mat, or other better-known twin-lens cameras.

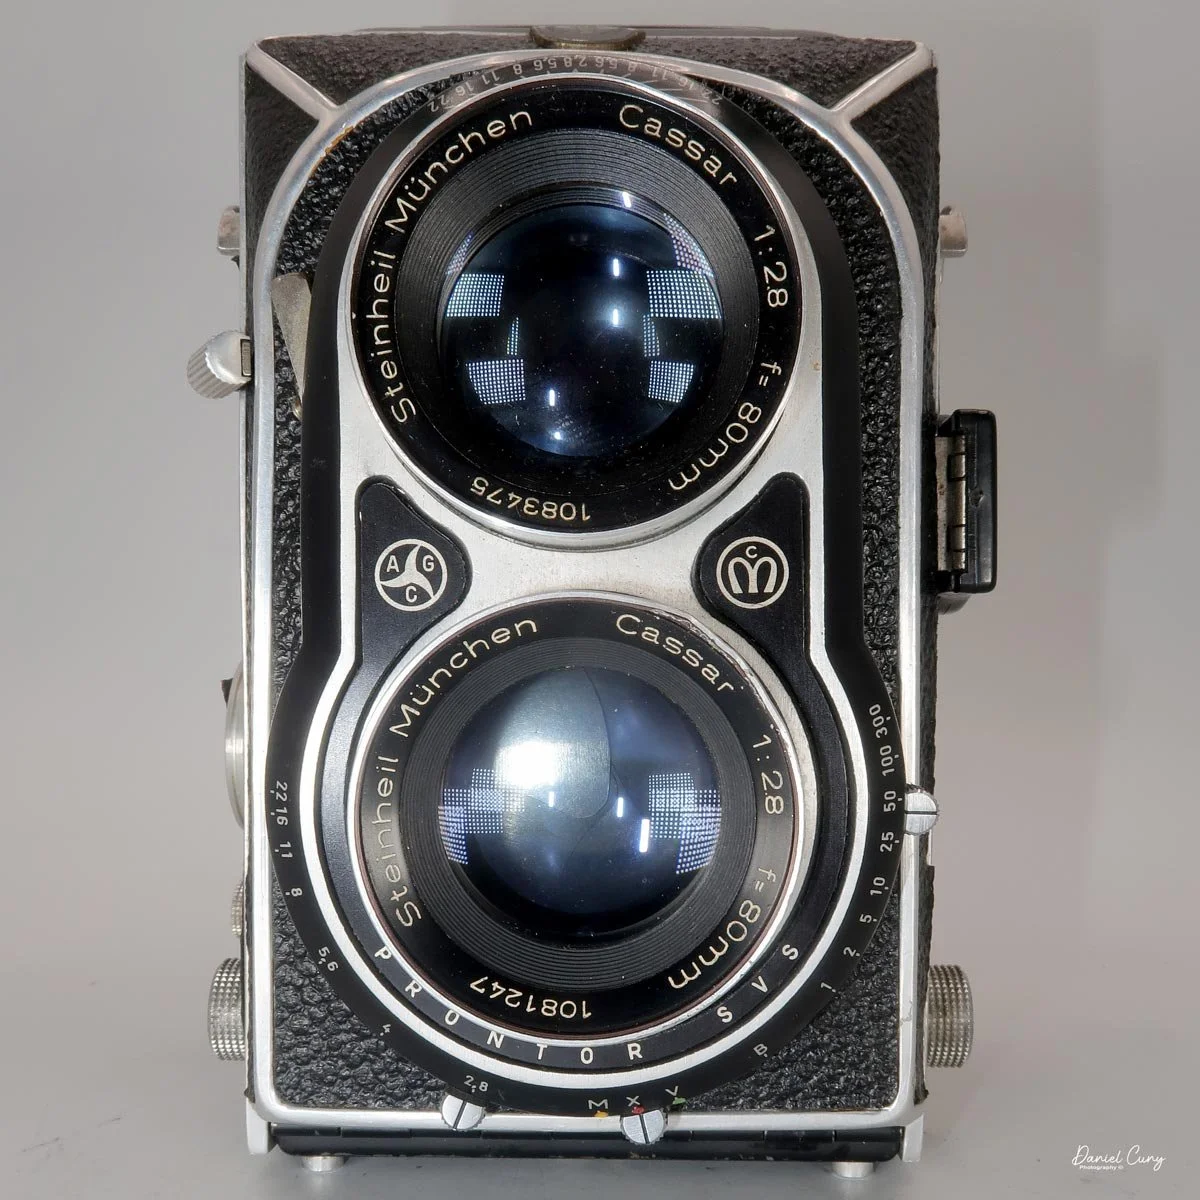
Front view of the Rocca Super Reflex camera

When I received the camera, I knew very little about how it worked. Like many cameras I'm unfamiliar with, I do my normal routine: twisting knobs, pressing buttons, cocking what may or may not be the shutter system, and opening and closing light chimneys or camera backs to get a general feel for the camera.

Opening up the back of the camera and looking at the loading area, everything seemed pretty normal. The one thing I did notice was a knob with a handle in the take-up spool area that let you wind the film to the start area before closing the back. I'd never seen that on a twin-lens camera before.

The camera felt good and pretty solid, so I figured I'd put a roll of film in and take a walk through the neighborhood. As I walked through the neighborhood taking photos, I realized I was shooting all the images on one frame, because the little knob I used to load the film into the camera wasn't turning as I expected as the film advanced. I felt like a real dope for not noticing this sooner.

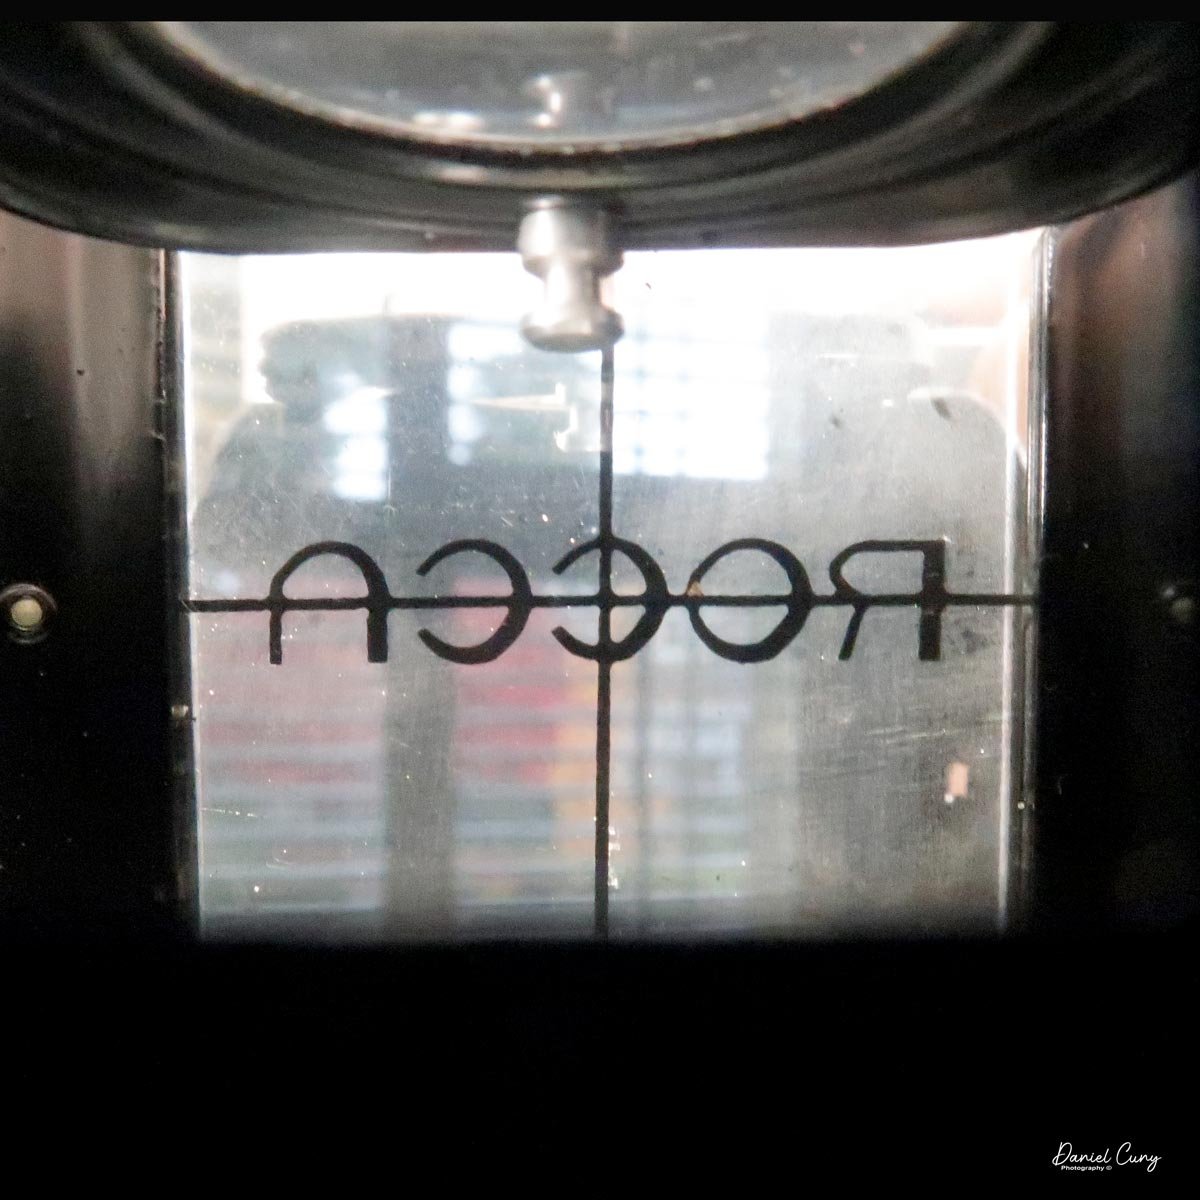
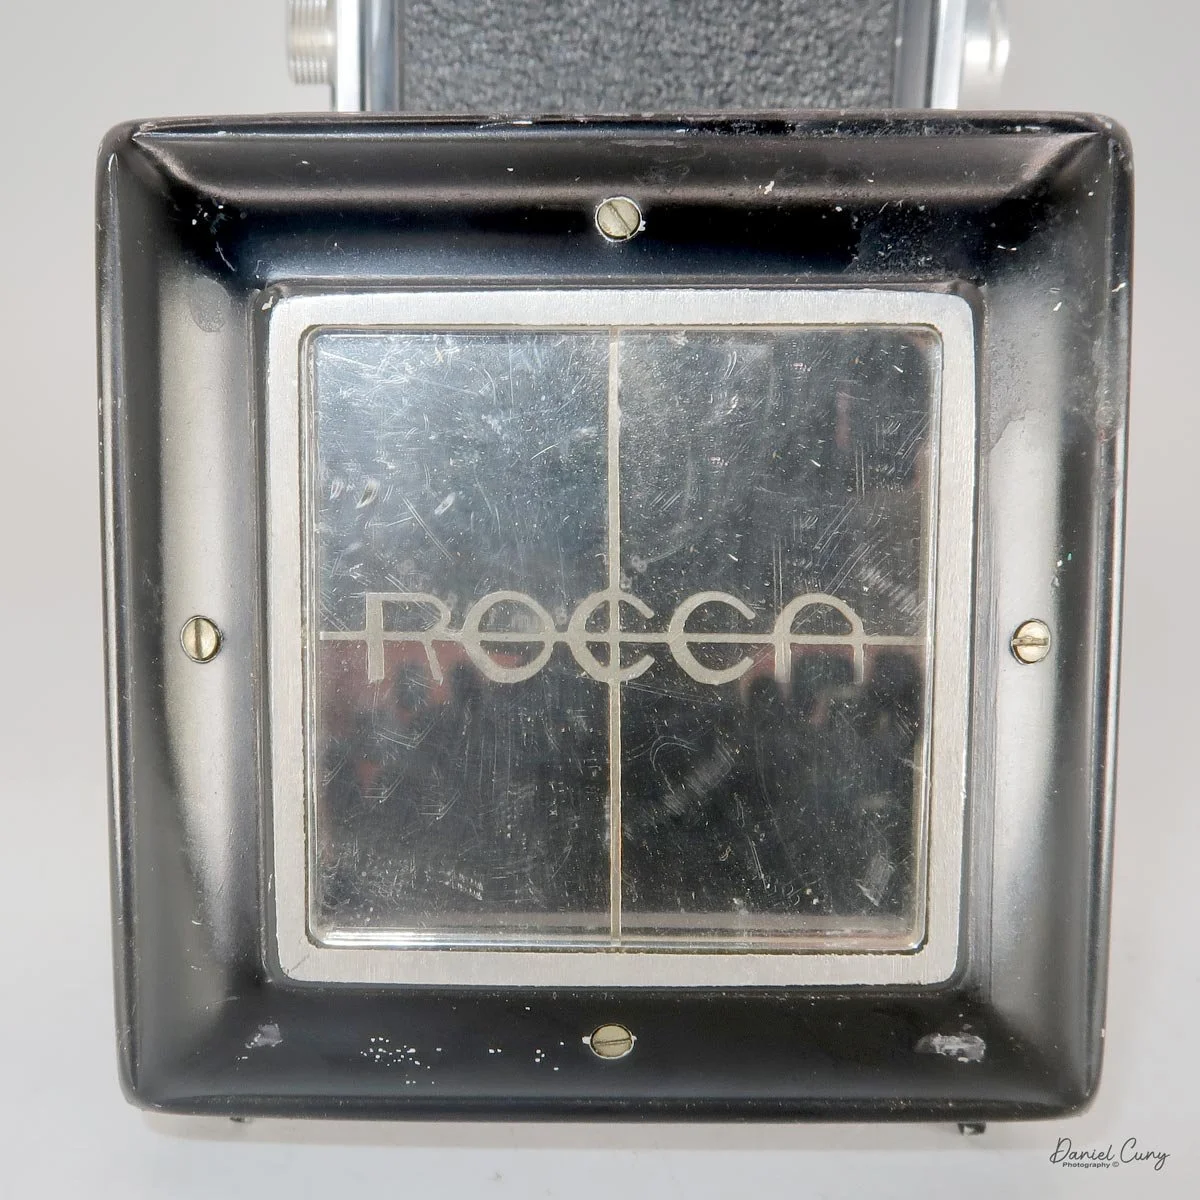
Rocca name on mirrored viewfinder

At this point, and not wanting to waste another roll of film, I figured I should probably read the manual. I did look on Mike Butkus's website for a manual. Unfortunately, the only manual he had was in German, and it's for a slightly different camera. Still, I'm pretty confident the loading is the same.

I took out my phone and, using Google Translate as I was looking at the manual on my computer, I figured out the proper way of loading the camera. It was a bit trickier than most cameras, and I'll go over the procedure below when I describe the camera's functions.

Once the film was loaded and I saw it moving in the camera, I realized it's a really fun camera to use. For one specific item, the focus mechanism is FANTASTIC.

The History of Montanus Cameras

Montanus is one of those camera names you don't hear much. A small German company that made cameras for only about ten years — and it came at the whole thing from an angle nobody else did: plastic.

Founded in the 1920s in Solingen, Germany, the company made horn products before moving into resins and plastics. In the early 1950s, Herbert Potthoff applied those plastics techniques to camera production as Montanus Kamerafabrik, Potthoff & Co. in Solingen-Ohligs.

Montanus molded the bodies themselves from plastic and bought in the lenses and shutters—Rodenstock, Enna, Staeble, and Steiner lenses; Gauthier and Prontor shutters. Most cameras then were metal, and metal was heavy. A molded plastic body was light and cheap to make.

Their best-known camera was the 1952 Plascaflex, a twin-lens reflex — plastic Rolleiflex, more or less. It was a 6x6 camera on 120 film, sold in a few versions, including one in the UK under the Amplion name.

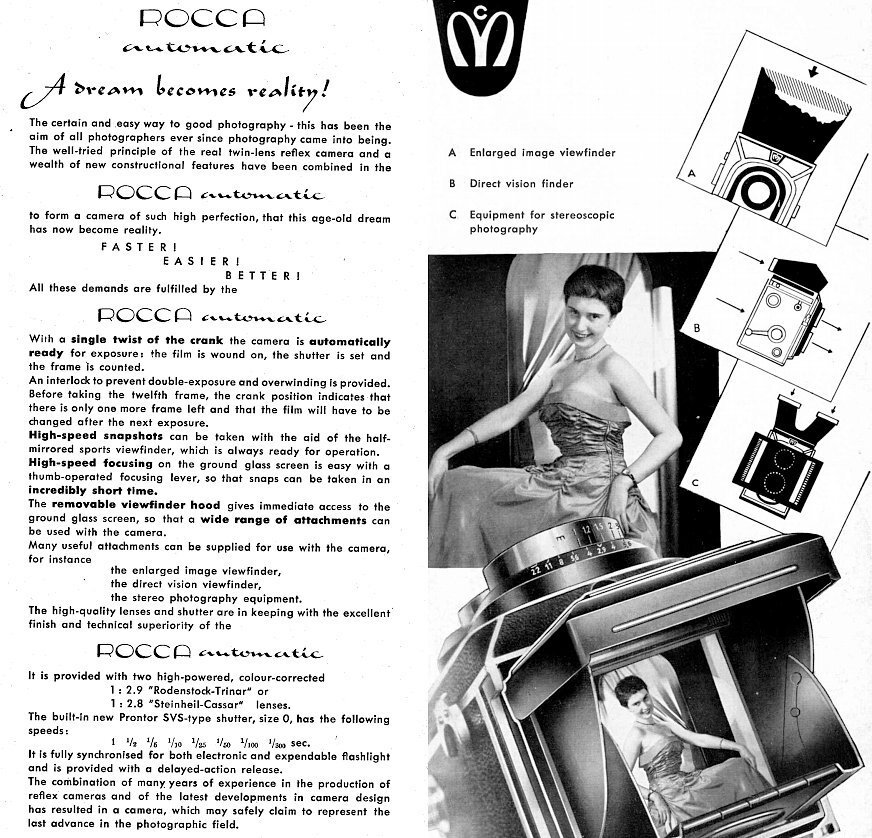
Advertisment for Rocca Automatic camera in 1954.

Montanus really tried to move up with the Rocca name. The Rocca Automatic came out in 1954, and the Rocca Super Reflex followed in 1955; both were proper, modern-looking twin-lens reflexes. They had a film-advance crank, automatic shutter cocking, a removable viewing hood, and fast f/2.8 lenses— the Rodenstock Trinar 80mm f/2.8 on the Super Reflex.

It was a poor man's Rolleiflex, and I mean that as a compliment. It didn't have the build quality of a Rolleiflex, and the taking lens was a triplet, not a Planar or a Xenotar, but it did a lot of the same tricks. In the USA it sold in 1956 for $100 — rebranded as the Edixa 6x6 by Wirgin — about a quarter of what a Rolleiflex cost, and still cheaper than a Rolleicord. It didn't sell very well, probably because nobody had heard of Montanus, and Rocca TLRs are rare to find today.

Later in the 1950s, the Rocca name moved to 35mm. The Rocca 35 came out in 1958, a neat little viewfinder camera with a fixed Enna 45mm f/2.8 lens and a Prontor shutter. Here's the part I like: some Rocca 35s look like they have a light meter on top, but what you're looking at is really just a Sunny 16 exposure calculator built into the top plate. A real meter — a Bewi Automat — could be fitted later as an upgrade. Still, in 1959 it added 40% to the camera's price, so you can see why they sold the basic version. The Rocca LK came with the meter fitted, the Rocca L without it, and the Familia and Rocca-matic followed in 1959.

They hired technicians from Dresden, over in East Germany. But it wasn't enough. By the early 1960s, the Japanese cameras were coming in fast, and a small company in Solingen couldn't keep up. Montanus stopped producing cameras around 1960. The company itself kept going until 1978, but the cameras were done.

That's what I like about Montanus. A small company with a clever idea, and for a few years it worked.

My Camera.

There are many unique and interesting things about this camera that I'd like to share. To start, my Rocca Super Reflex is 5.5" tall with the light chimney closed, 7.25" with it open, 4.25" wide including the winding lever, and 4.25" deep.

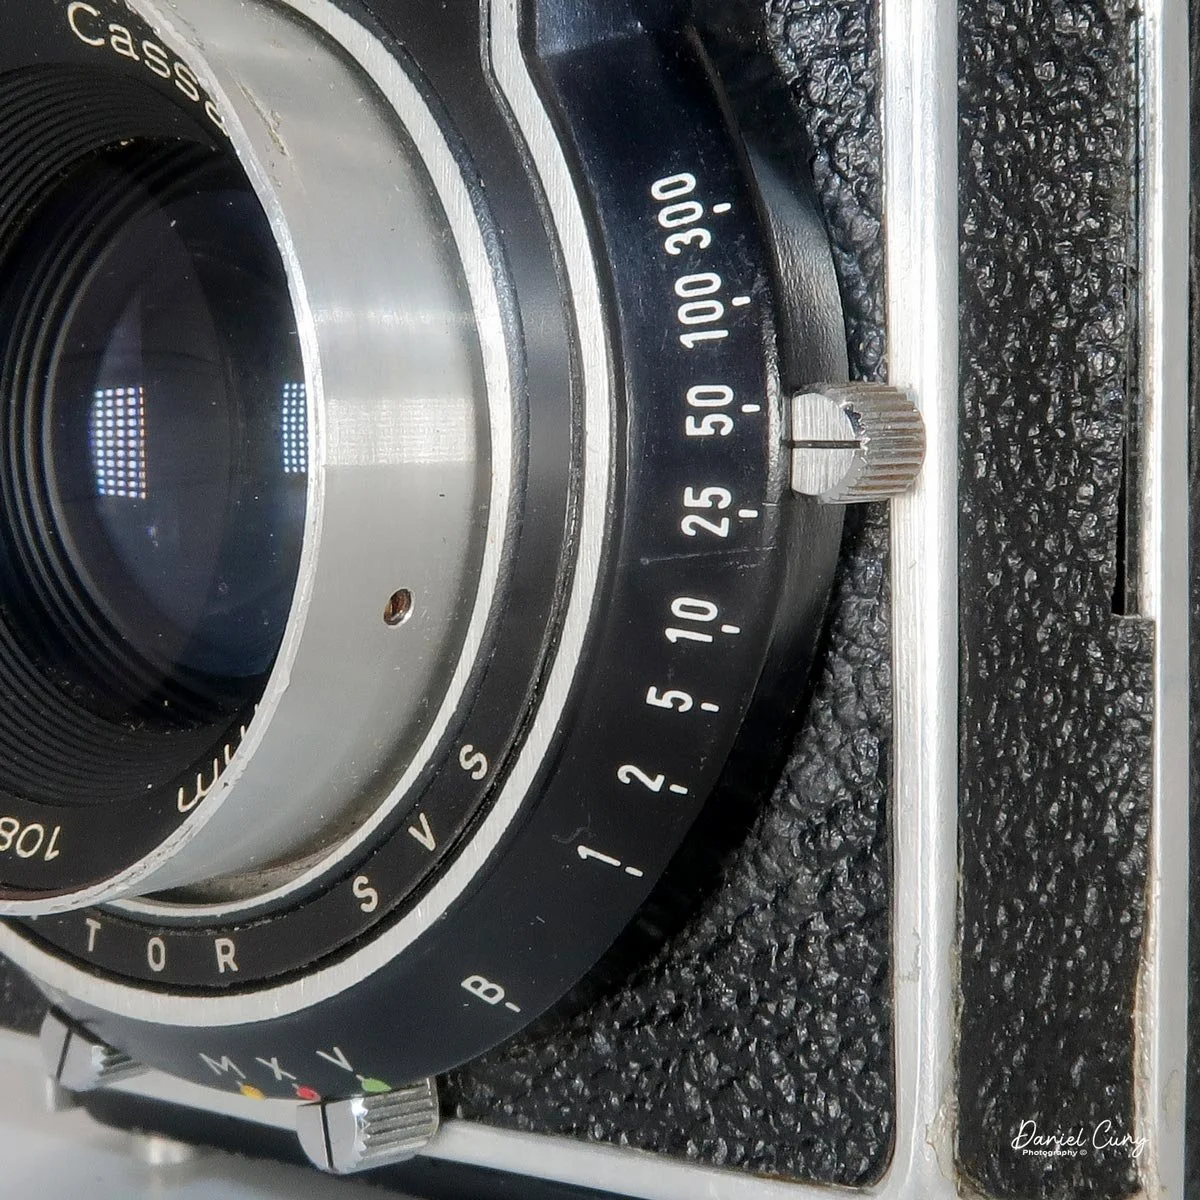
The camera weighs 2 pounds 3.6 ounces without film. My camera has a Steinheil Munchen Cassar 80mm f/2.8 lens for both the viewing and taking lenses, with a Prontor SVS shutter offering shutter speeds from 1/300 to 1 sec., including "B". The shutter speeds are set via a sliding lever under and on the left side of the taking lens.

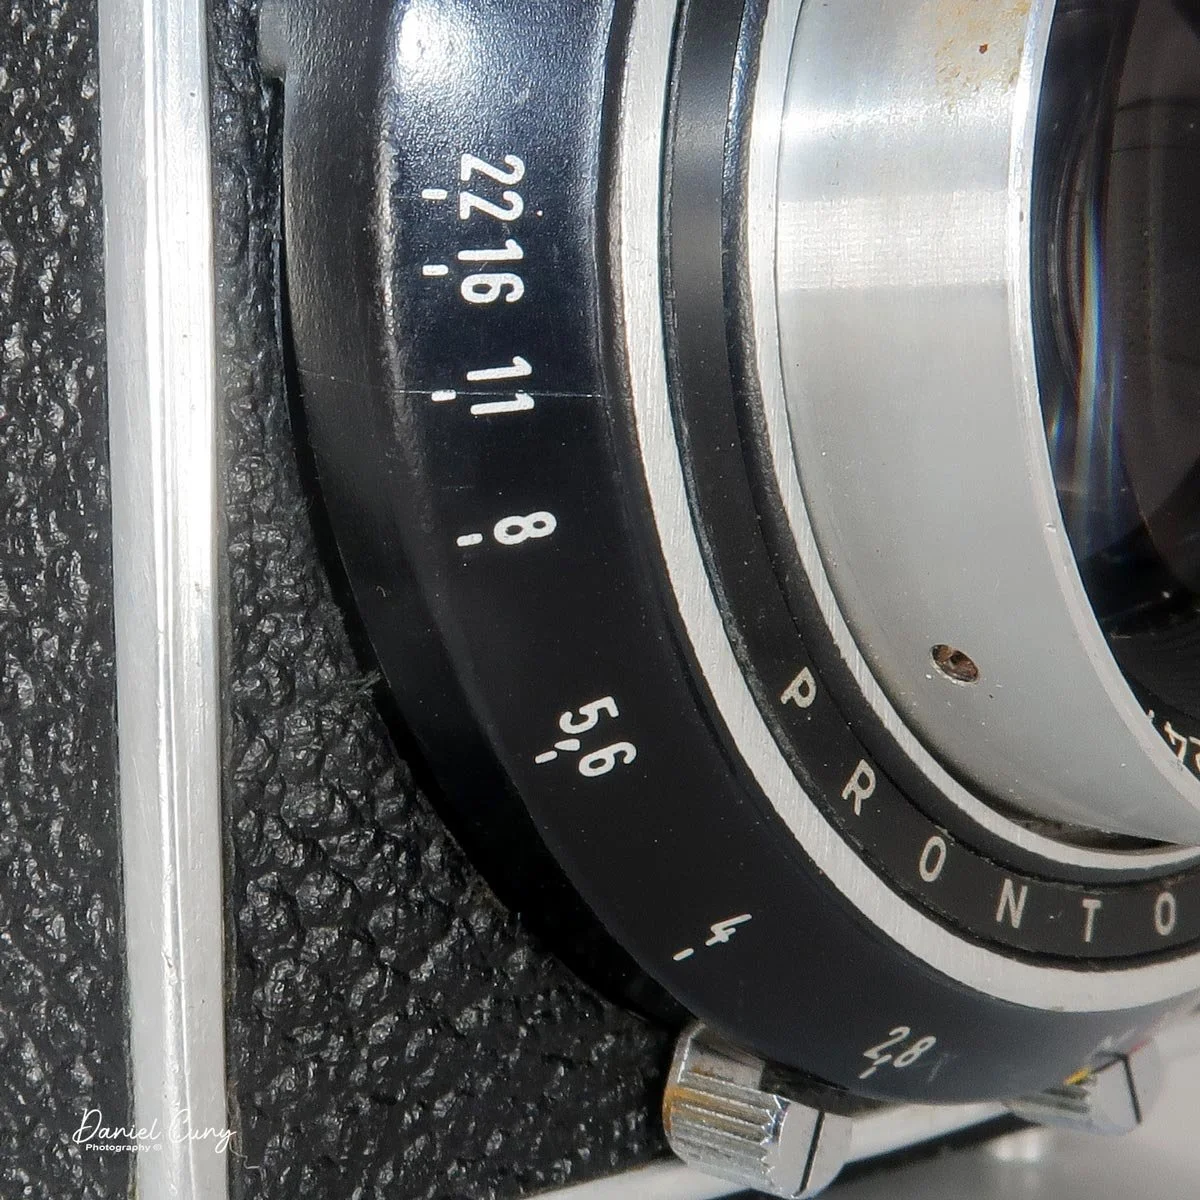
Aperture settings range from f/2.8 to f/22 and are set via a sliding lever under and to the right of the taking lens. Between the shutter speed and aperture-selecting levers are the flash sync and self-timer settings.

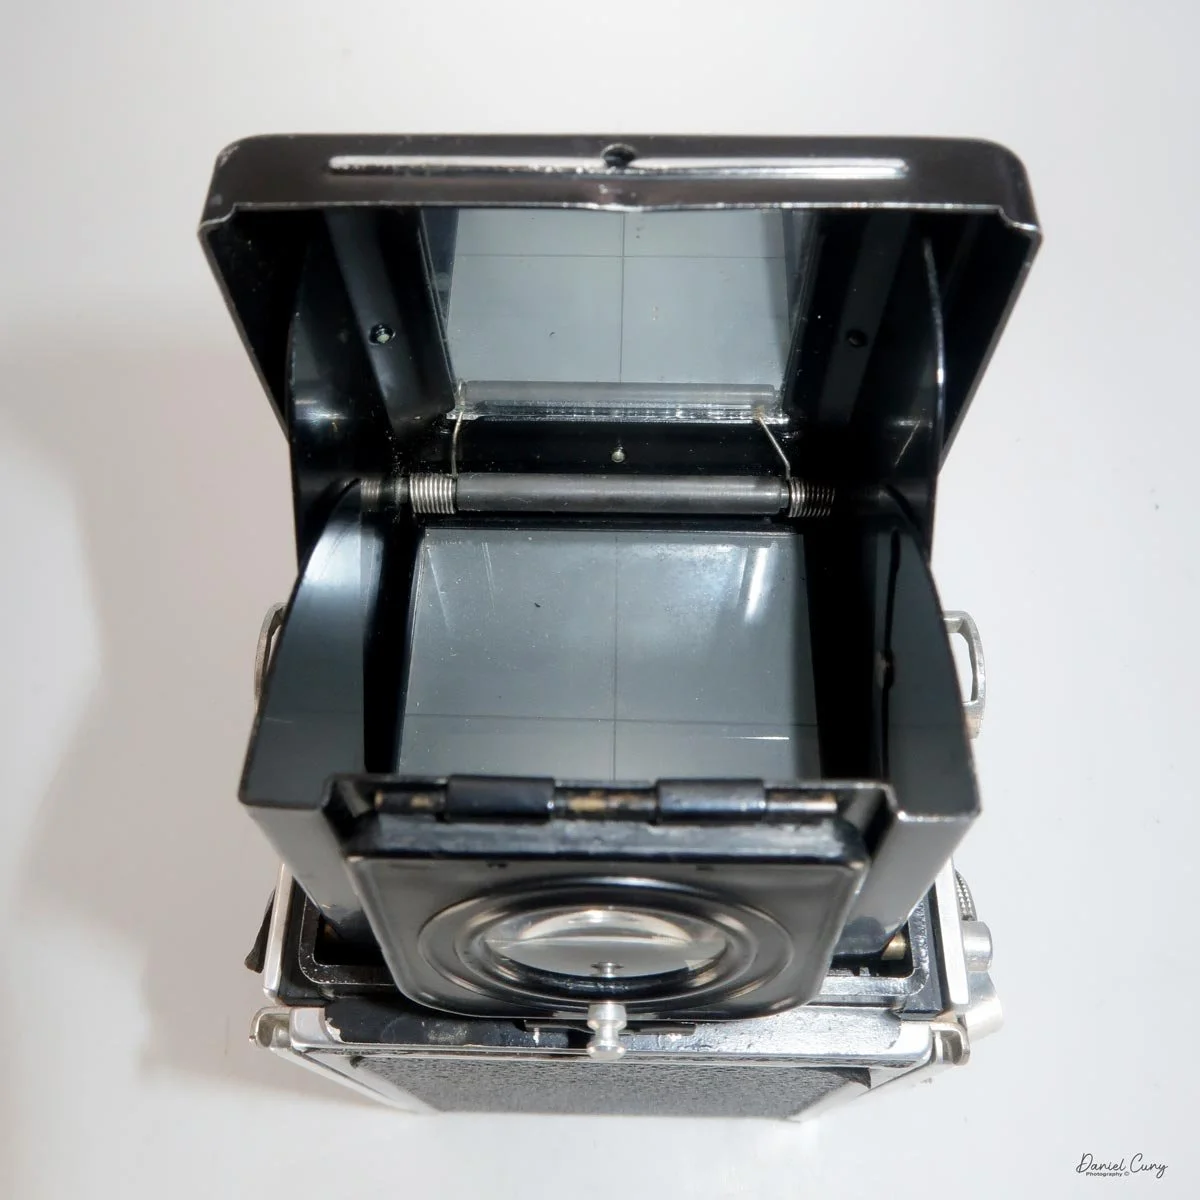
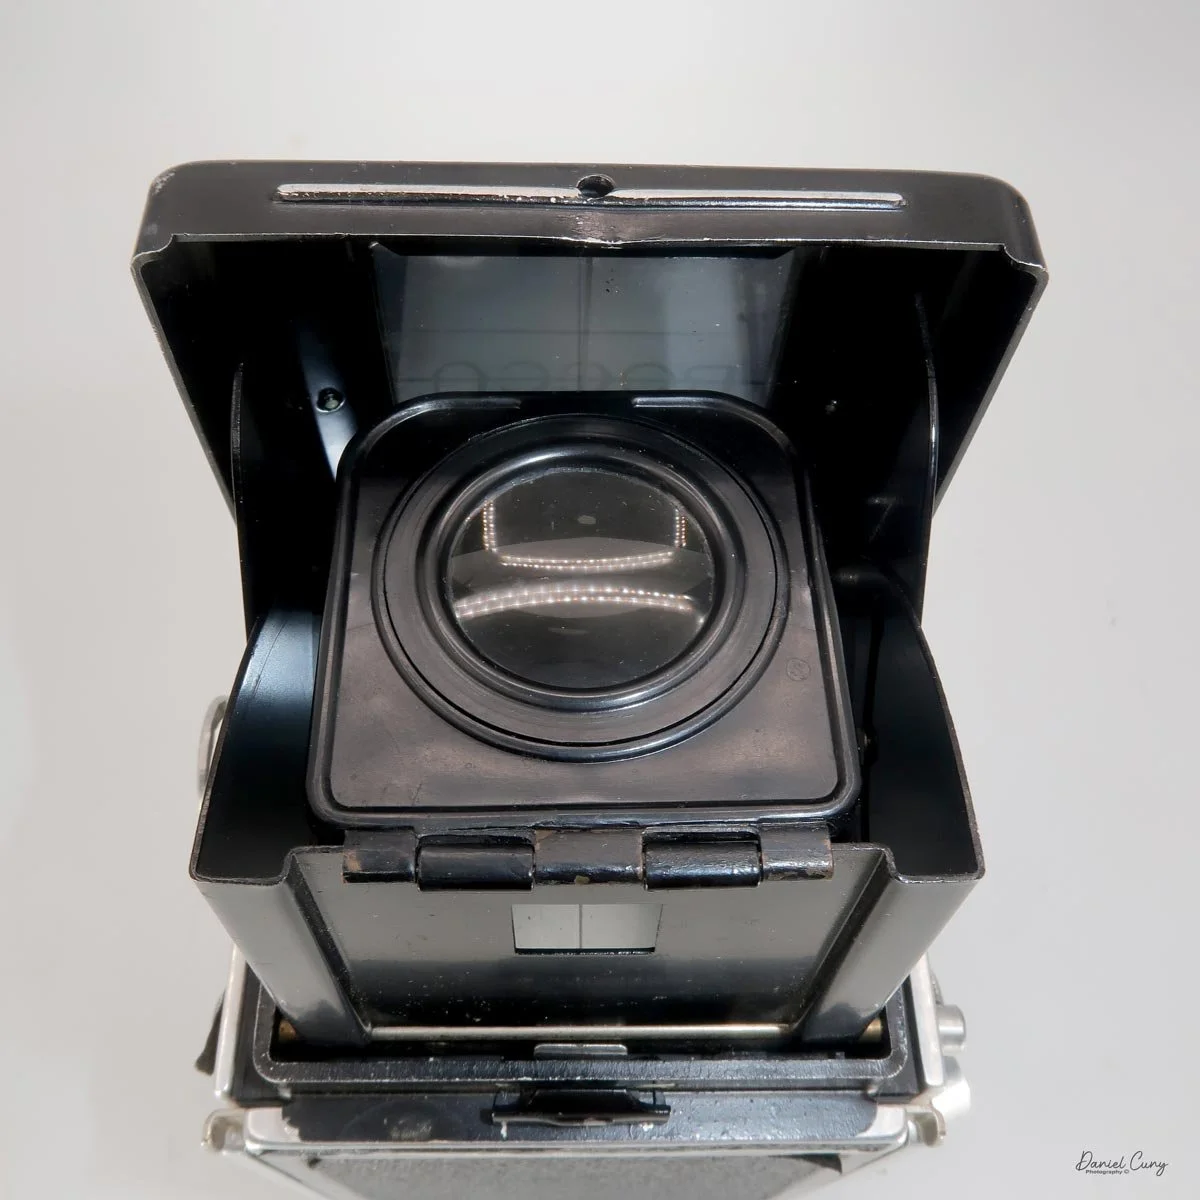
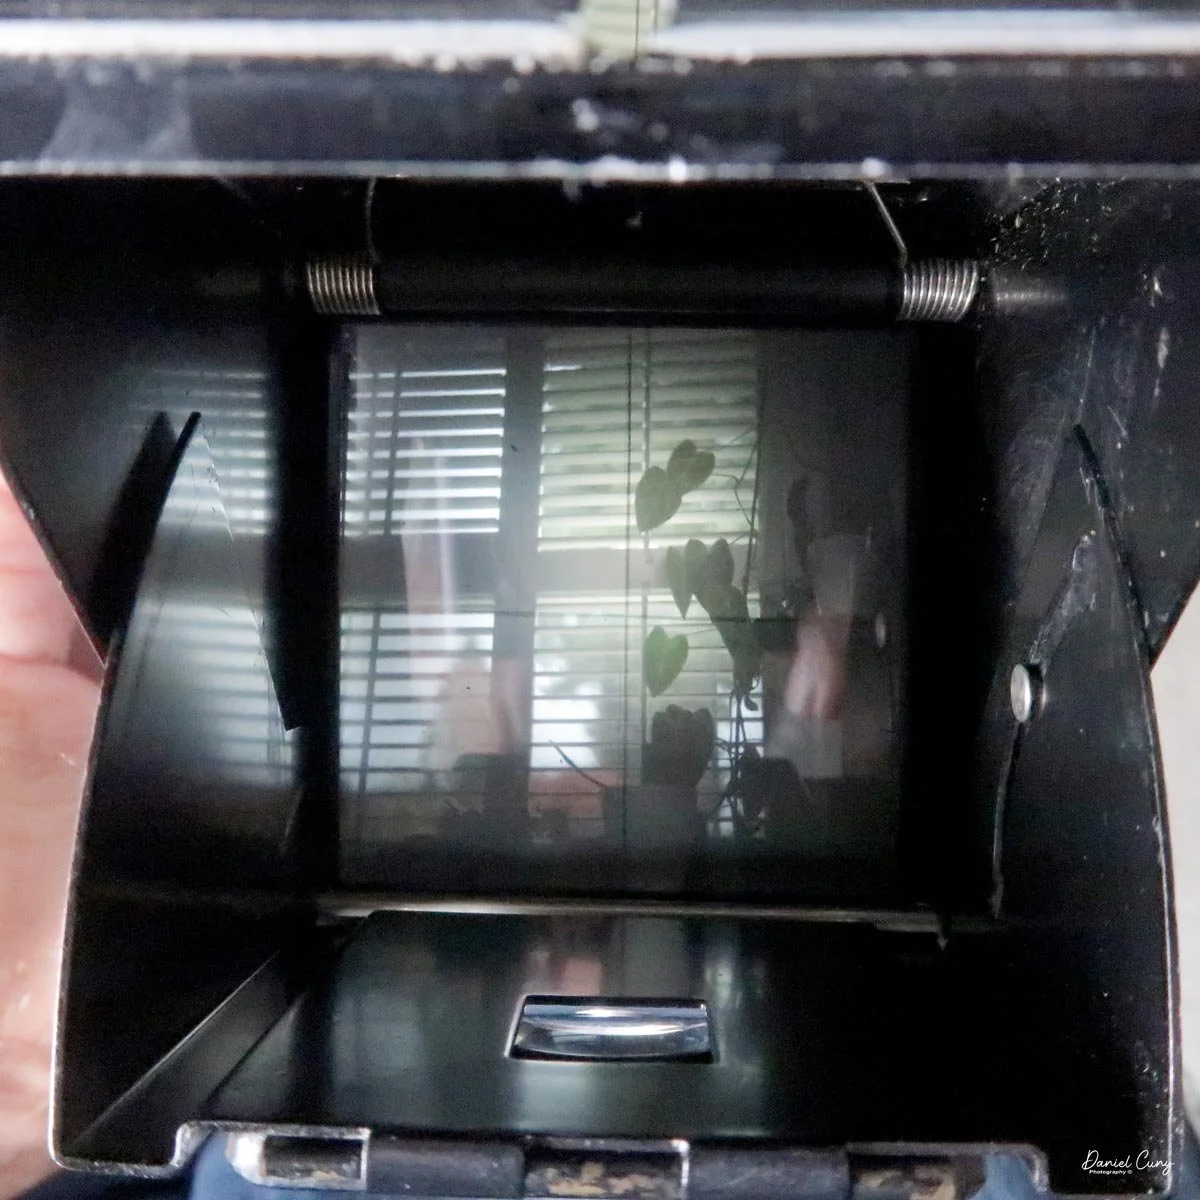
The light chimney is opened by pulling up the rear of the chimney, exposing a bright focus screen. The magnifying glass is flipped over the rear of the light chimney and over the focus screen. One unique feature of the Rocca Super Reflex is the "half" mirrored sports finder, which is viewed from the rear of the light chimney.

The light chimney can be removed via a button on the top, rear of the camera body on the right side. There were accessory finders for the camera: one with an enlarged viewing area and a stereo viewfinder. You can also use the camera without the light chimney or direct vision finder. The light chimney is easily attached to the camera.

The most useful item, and one I'd love to see on all other twin-lens cameras, is their very unique "high speed" focus system, which is FANTASTIC to use. It consists of a vertical slider on the left side of the camera, which pulls out with a circular grip you put your thumb in while holding the camera. You then slide your thumb up or down to focus on your subject. It is incredibly fast and accurate. The more I used it, the more hooked I got.

Even resting the camera in your left hand, with your thumb in the focus guide and your right hand on the side, made focusing smooth and easy. The shutter release is on the right side, making focusing and taking photos very easy.

Also on the right side of the camera is another unique feature: the winding and cocking lever. You do it all with a single turn of the winding lever. No shutter to cock, no winding backward to cock the shutter; it's all in one motion. Advance your film and the camera is cocked and ready to shoot.

To open the back to load the camera with film, slide the top bar on either side of the hinged back, and the film door will pop open.

I didn't learn the proper way to load the camera until I wasted a roll of film, then went back and read the German version of the Rocca Automatic camera on Mike Butkus's website. There were a couple of steps I didn't realize the first time I loaded it that are extremely important. They're unlike those on any other twin-lens camera. Let me go over the process.

  1. Open the back of the camera to expose the film chamber. On the rear of the camera, on the right side, is a winding knob with a lift-out handle. This will wind the film in the film chamber without having to wind the film advance. This lever has three positions. All the way in, then slightly out when you lift the handle away from the knob; pulling the knob out allows you to load film into the film chamber.

  2. Put the take-up spool into the top area of the film chamber by lifting the knob out with the handle, then press the handle knob in to engage the take-up spool.

  3. Place the fresh roll in the bottom portion.

  4. Bring the leader to the take-up spool and thread it into the take-up spool slot.

  5. Wind the handle until you see the "start" arrow on the film's paper backing.

  6. Close the back of the camera, making sure the opening bar is slid to the left to lock the back.

  7. On the bottom of the camera is a red window covered by a disk attached to the tripod socket.

  8. Open the disk and wind the film until you see the number 1 in the red window.

  9. VERY IMPORTANT: Press in the winding knob all the way into the camera body. Reset the frame counter to #1, which is in front of the film winding knob.

  10. Take your first photo, and advance the film advance/cocking lever. At this point, you'll notice the film-winding knob turns as you cock the shutter, so you know the film is moving inside the camera.

On my first roll of film in the Rocca Super Reflex camera, I didn't wind to the #1 on the bottom window, or press in the winding knob, so my film never engaged with the transport. I took all the images on one frame.

My Images:

Now that I have the film loaded properly, let's take a walk through the neighborhood and see what this camera can do.

Here are some of the images from the walk through the neighborhood.

Conclusion:

Well, the camera did a good job. I REALLY liked how the camera focused with the thumb control. It was very fast and accurate, and the more I used it, the more I liked it.

The focus control on the camera is something I'd love to see on other cameras. Still, since there is autofocus now, and no one is making a medium-format film camera, especially a twin-lens version, I seriously doubt it'll be adopted into new cameras.

The camera loading was a bit peculiar, but the winding knob with the handle was great. Once I understood the three positions it offered, it was quick and easy. The winding knob with handle is a great way to load the camera.

In the long run, I really enjoyed shooting with it. This camera offered so many unique features, but given the competition when it was made in the 1950s, it's easy to see why other companies did much better and lasted longer.

I'm happy to have experienced this wonderful, unique camera and look forward to shooting with it in the future.

Thank you for taking the time to read about the Rocca Super Reflex camera that I recently added to my collection.

Are you interested in other vintage gear? Here are some of my other Camera Reviews.

Check out my Cuny's Camera Collection YouTube channel, where I am putting together video overviews of the cameras I write about. Be sure to subscribe and like the channel, too!

Cuny's Cameras and Photos is my online eBay store, where you will find some of the cameras I have reviewed, along with a wide range of other cameras, lenses, and items from my collection that I am thinning out.

Until next week, please be safe.
Lumiere Nada Luxe camera

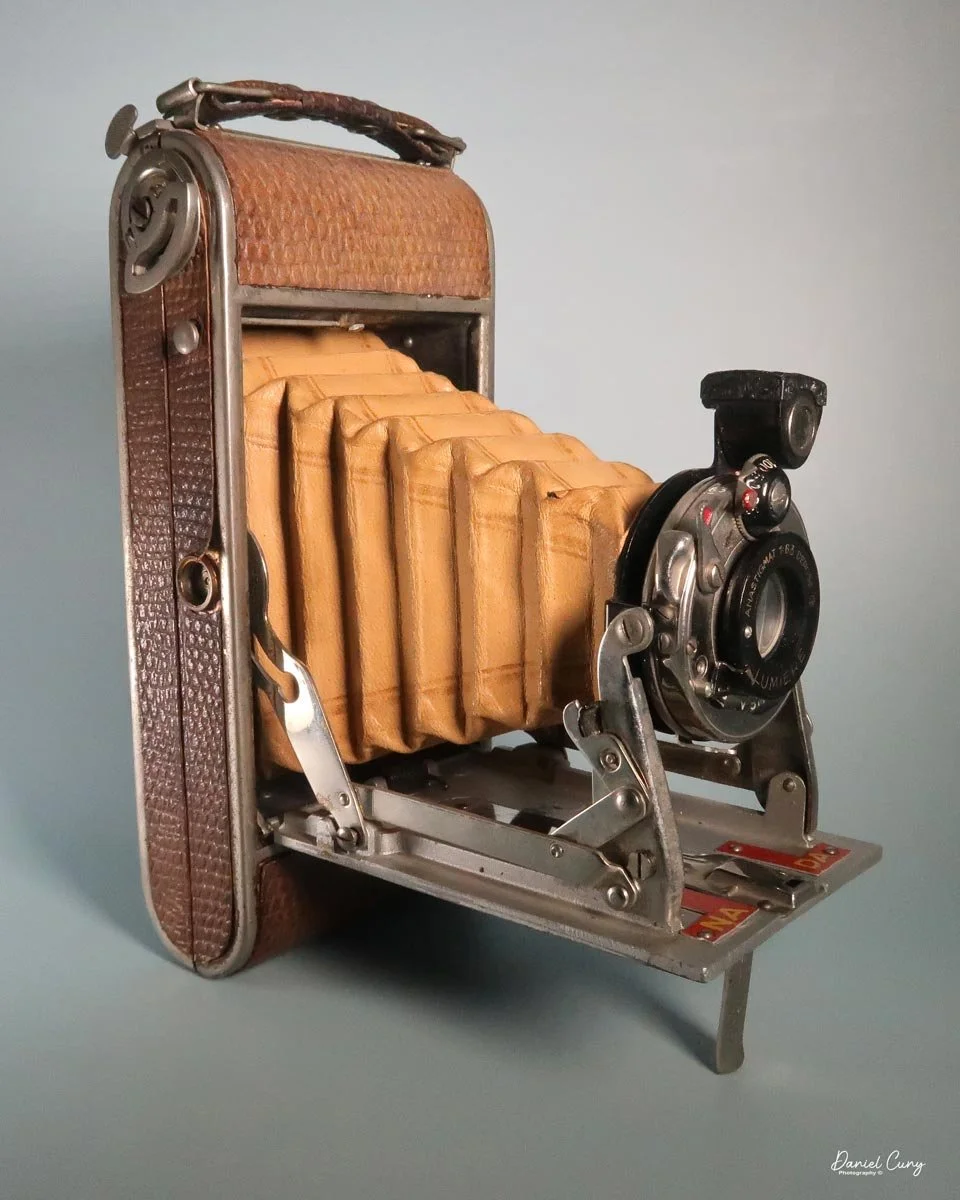
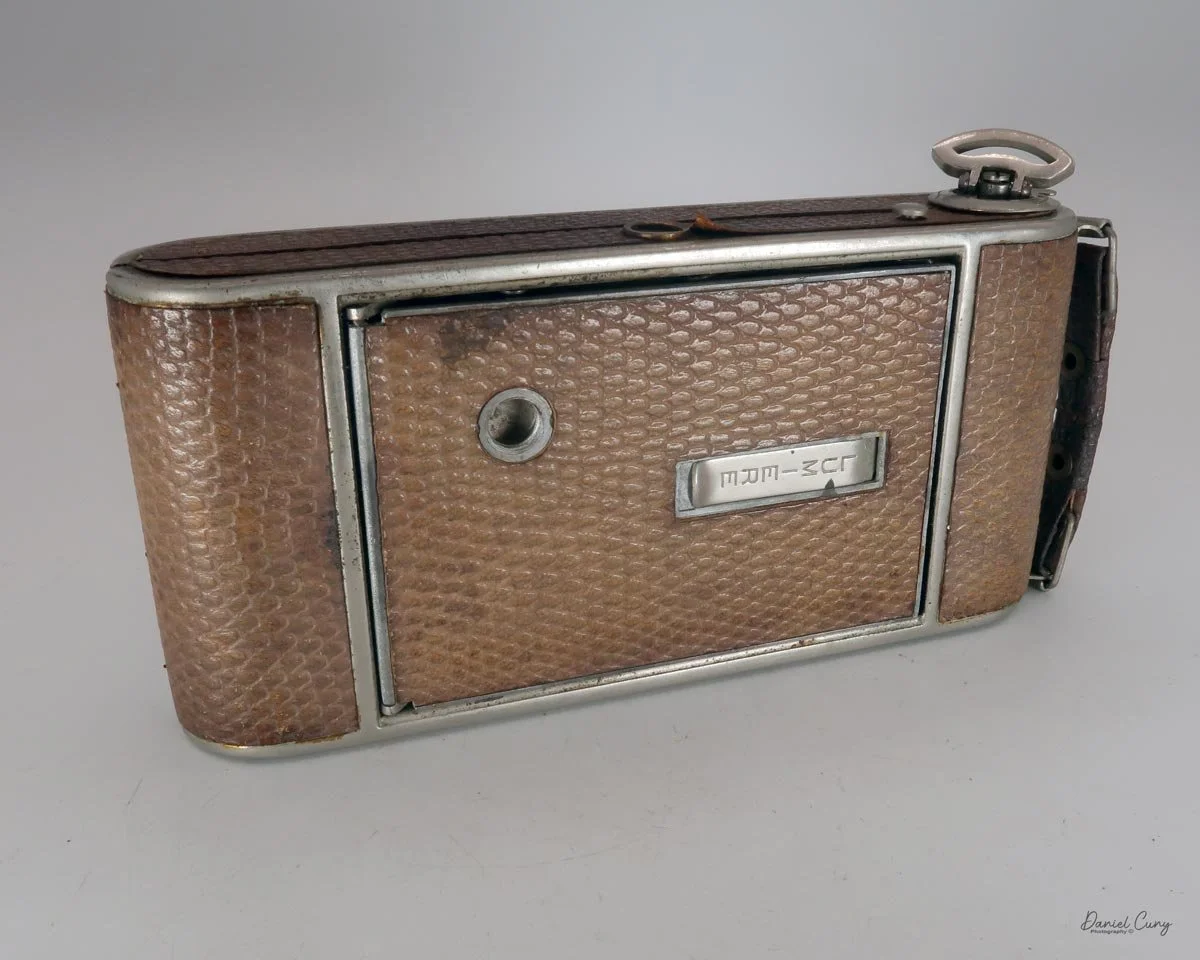
My Lumiere Nada Luxe camera

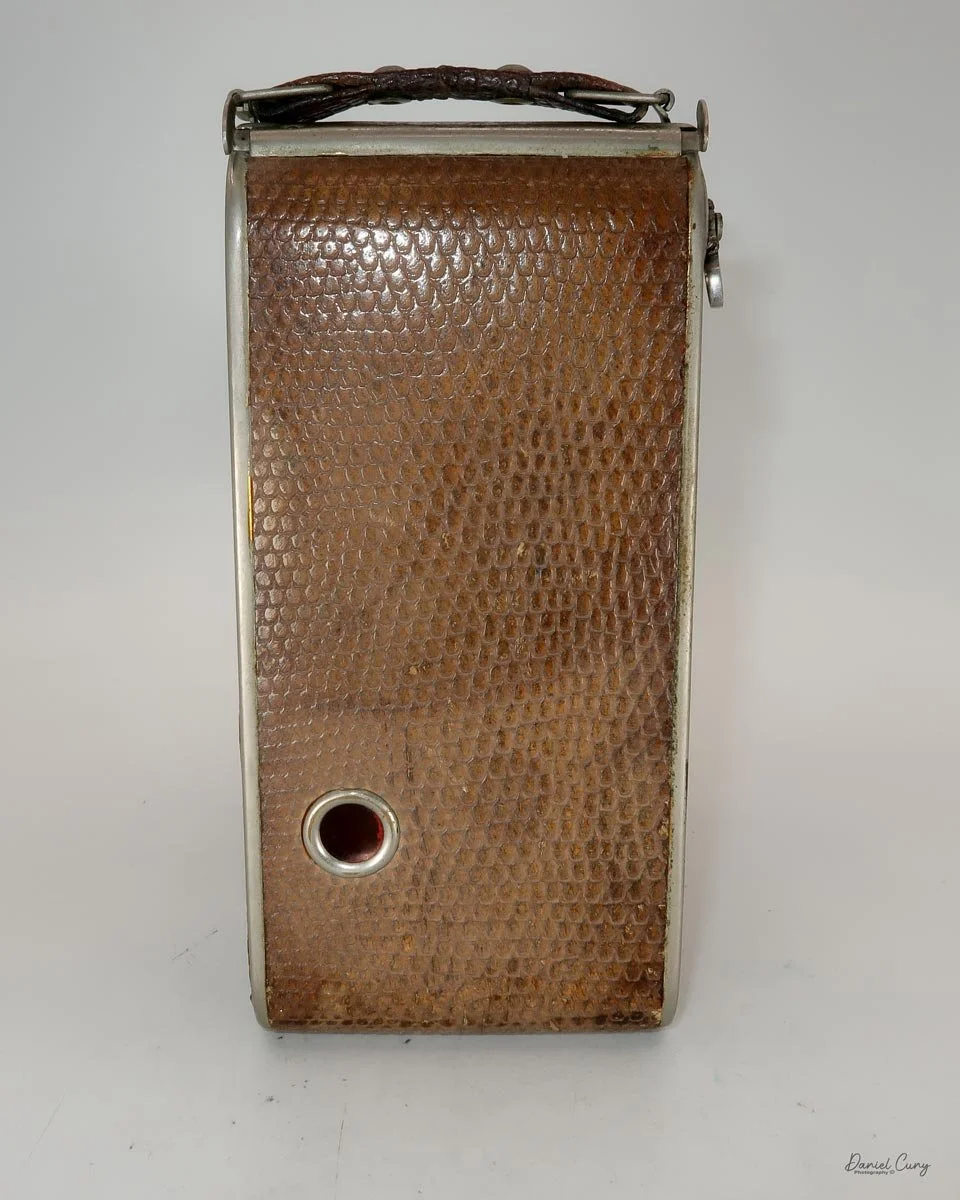
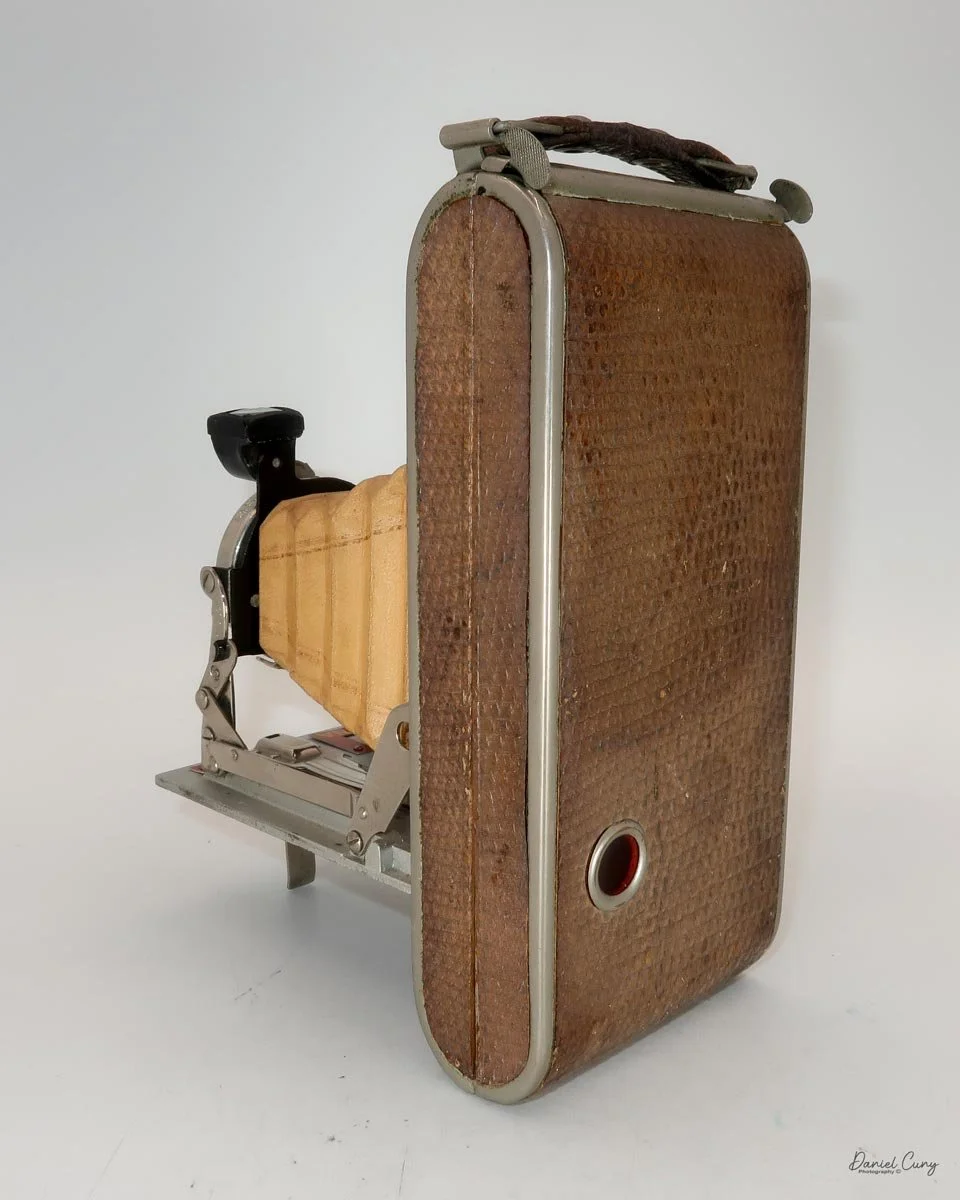
As I was looking through the cameras on some of the shelves I display them on, I saw tucked away in a corner a tan, reptile-covered top section of a folding camera I had put there a couple of years ago and completely forgotten about.

It was a camera I had purchased at the Vernaison market, one of the Paris flea markets, on our last trip there. I had full intentions of using and writing about it. Still, with my feeble mind and my attention deficit disorder kicking in, I'm sure some other camera caught my eye, and I wrote about it instead.

Funny how you remember silly things. I still remember seeing the camera in this one person's stall, who had assembled many other beautiful and interesting cameras. Given my love for colorful and unusual cameras, it wasn't out of the ordinary for me to find this wonderful, tan, reptile-covered camera in the back of one of his showcases.

I didn't want to call over the stall owner until I had looked at what else he had in the showcase, so after a few minutes of finding 3-4 other items I wanted to look at, I summoned him over and asked to look at a few pieces.

His English was a little better than my French, so we relied on simple sign language and pieced a few words together so I could ask about some of the objects he had on display. The gentleman had good taste, and he was extremely patient with my mispronouncing certain French words. He just smiled and nodded.

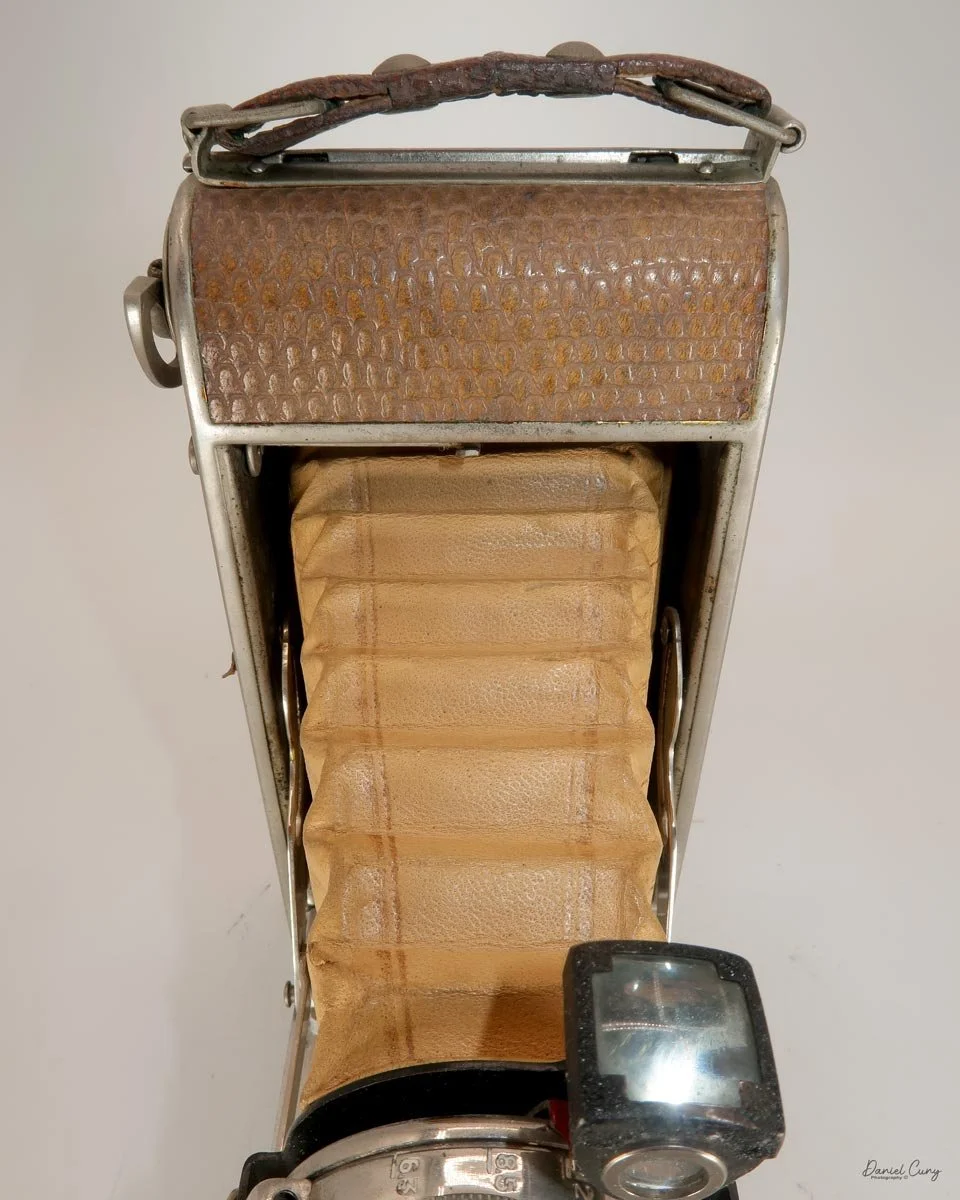
Reptile or snakeskin on the Lumiere Nada Luxe camera

But after many minutes of rudimentary signing, pointing, and using Google Translate to ask and answer questions, there were 2-3 items we agreed on a price for, and one of them was the reptile-covered Lumiere Nada Luxe camera, which was in good, clean, and working condition.

I really enjoy going to the Paris flea markets; well, I enjoy pretty much any flea market. To me, the fun of collecting is the treasure hunt. Whether you're at an estate sale, flea market, or antique store, you just never know what you're going to find. When all the cards line up, and you find the item you've been looking for—or just something that catches your eye in the moment—discuss the price with the seller and come away with a bargain, that's the fun of it.

Getting back to the Lumiere Nada Luxe camera I found on my shelf, it put a big smile on my face to think back to the Paris flea market. I pulled the camera from the shelf and opened it up, then clicked the shutter to make sure I could run some film through it.

It was cleaner than I remembered, and the shutter worked well. I also didn't see any light leaks in the bellows, so now was as good a time as any to put a roll of film into the camera, take a walk through the neighborhood, and see what this gorgeous camera, made in the 1930s, almost 100 years ago, could produce.

A Brief History of Lumière Cameras

The name Lumière means "light" in French, and no camera company ever lived up to its name quite like this one. Antoine Lumière founded the firm in 1860 in Besançon as a portrait painter turned photographer. When the Franco-Prussian War threatened France's eastern border in 1870, Antoine moved his family to Lyon and set up a workshop making glass photographic plates.

The firm's real success came from Antoine's sons, Auguste and Louis. Louis, still a teenager, improved the new dry plate emulsion and produced what the firm sold as "Étiquette Bleue," or Blue Label, plates in 1882. A large factory followed in 1883, and by the mid-1890s Lumière was running the biggest photographic factory in Europe. The sons formally took over the business in 1893.

Two years later, the brothers changed the world again. Working with their chief engineer Charles Moisson, they built the Cinématographe. This single machine could record, develop, and project moving pictures. Its first public screening, in Paris on December 28, 1895, is widely considered the birth of cinema. The brothers saw it as little more than a curiosity and moved on.

Their next breakthrough was color. Patented in 1903 and released in 1907, the Autochrome Lumière process coated a glass plate with microscopic potato starch grains dyed red, green, and blue, acting as a color filter over a black-and-white emulsion. It was the first practical color photography process, and it stayed the standard for color work for more than thirty years.

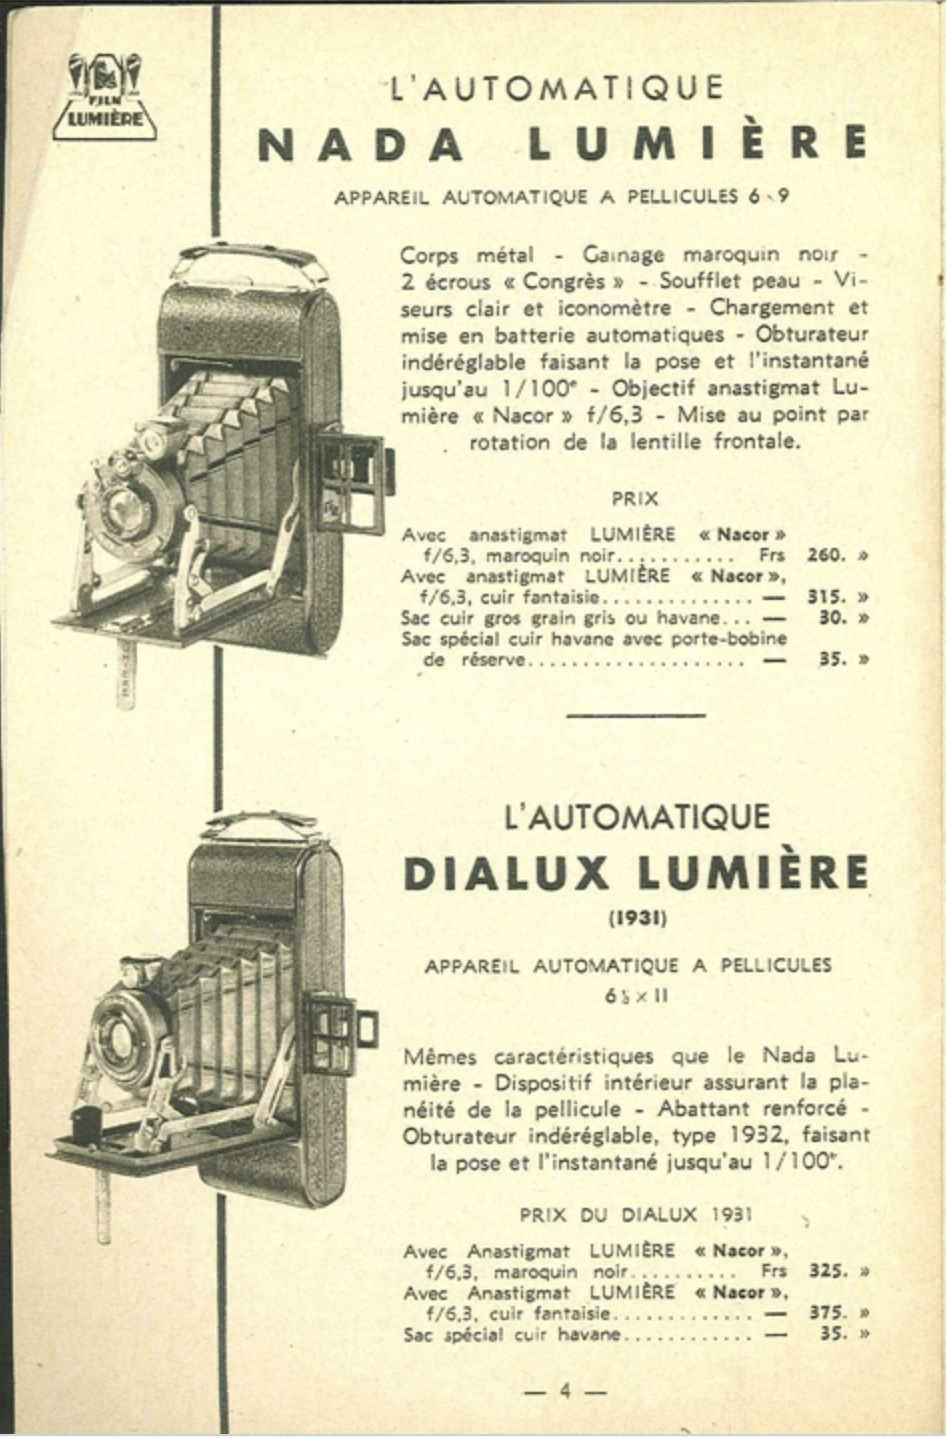
Cameras came later, almost as a side business. Lumière's first was an oddity: the Périphote of 1901, a panoramic camera with a rotating lens sweeping around a film-lined cylindrical drum. A serious camera line arrived in the 1920s, starting with the folding stereo Sterelux. The 1930s brought the cameras collectors know best: the Lumirex line of 6x9 folding cameras, the tiny, collapsible-viewfinder Eljy cameras, and the Scoutbox line of box cameras. The Second World War shut down the assembly lines.

Lumière kept making cameras after the war, but the company never regained its old scale. In 1961, the Swiss chemical firm Ciba absorbed it, and in 1982 the company became Ilford France. Cameras sold under the Lumière name around 1970 were not made by the company at all. For collectors, Lumière cameras are a charming corner of French camera making. Still, the firm's true legacy is bigger than any camera: it gave us the movies, and it gave us color.

My Camera:

This beautiful Lumiere Nada Luxe camera is not your ordinary self-erecting 6x9cm format folding camera; it has special, truly "luxe" features.

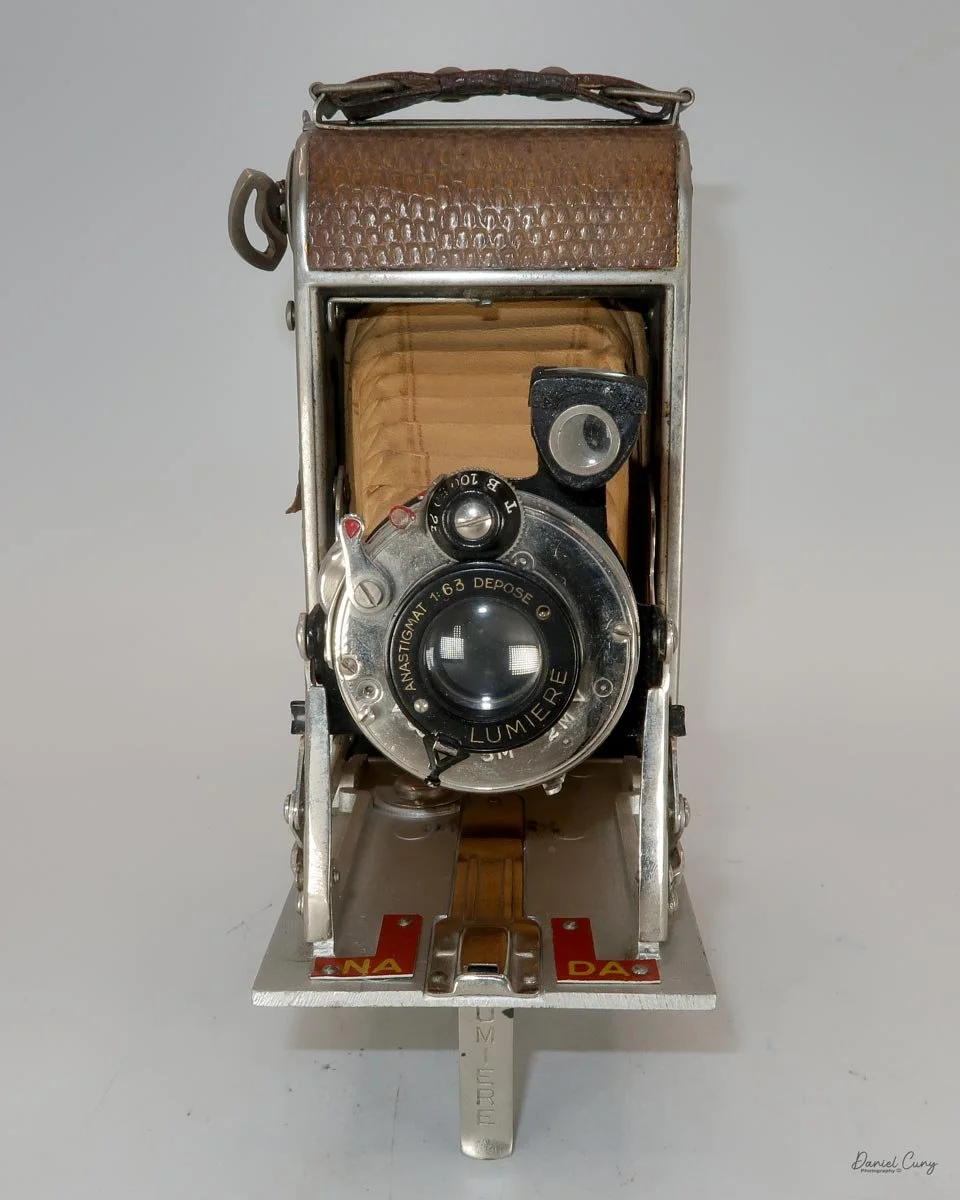
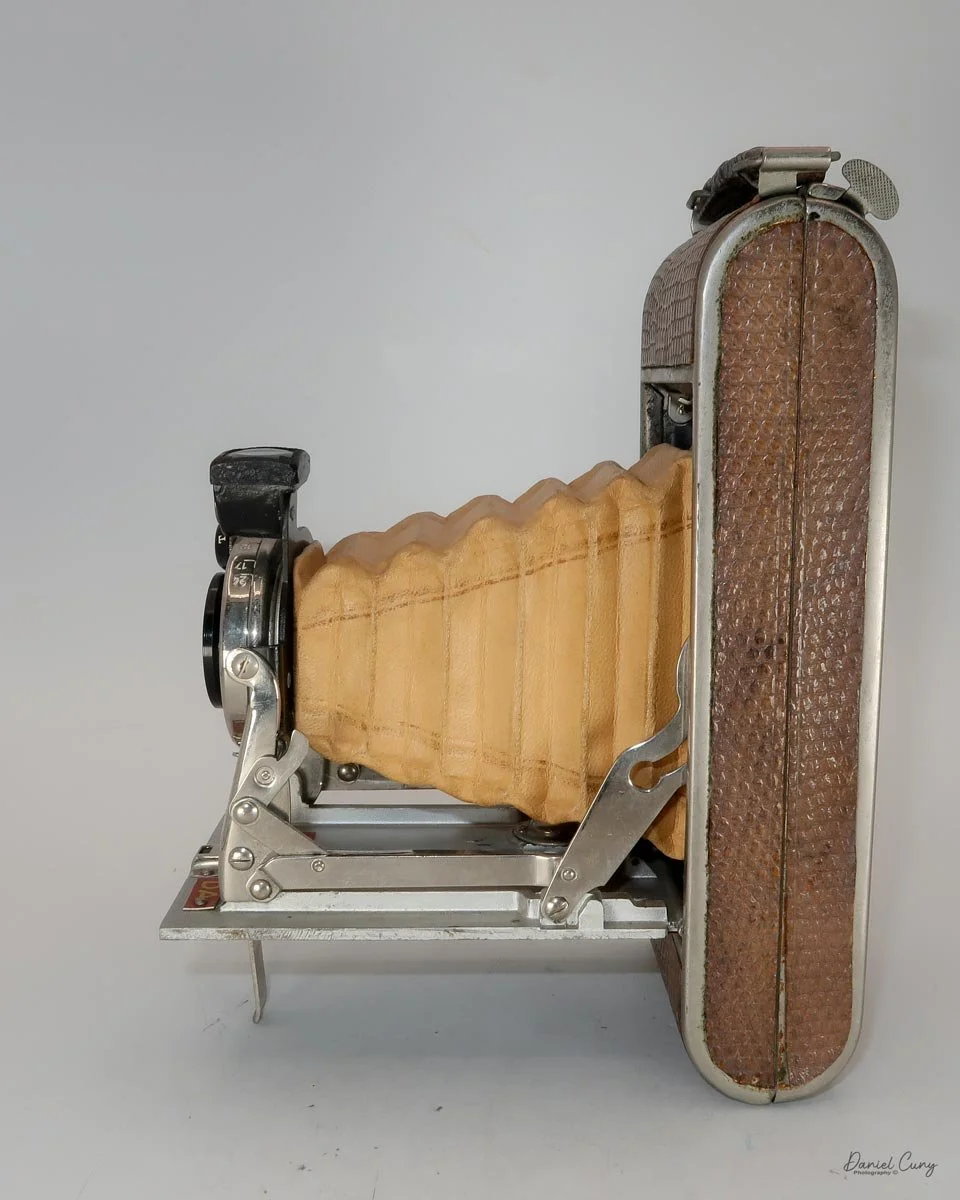
To open the camera, press the silver button just under the camera's film winding lever, and the camera pops open. Then pull the lens platform down, and the lens is erect in the camera.

The camera measures 7" long by 3-3/8" wide and 1-3/8" deep with the lens closed, and 5.25" deep with the lens open and the camera in the "taking" position. The camera weighs 1 pound, 4.4 ounces without film loaded.

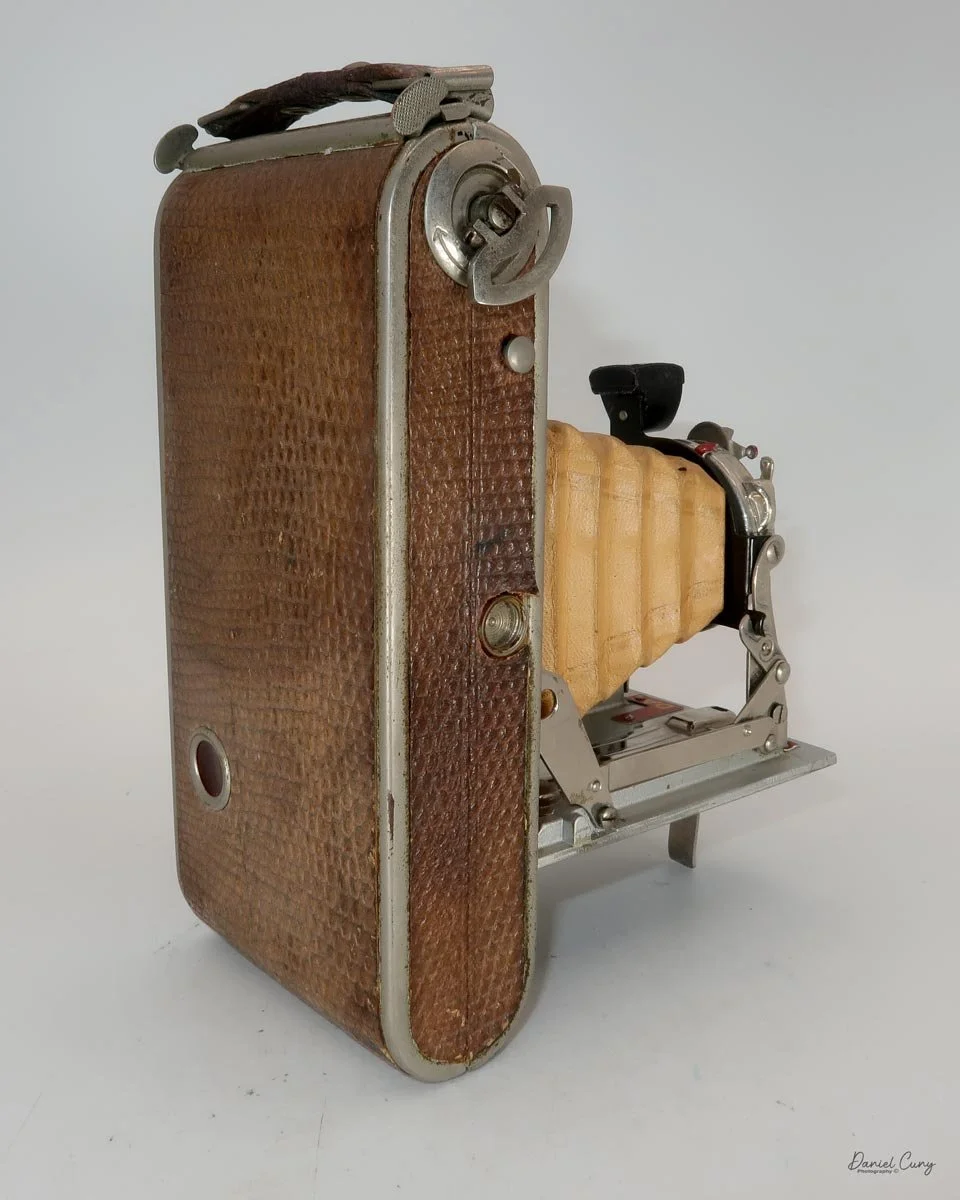
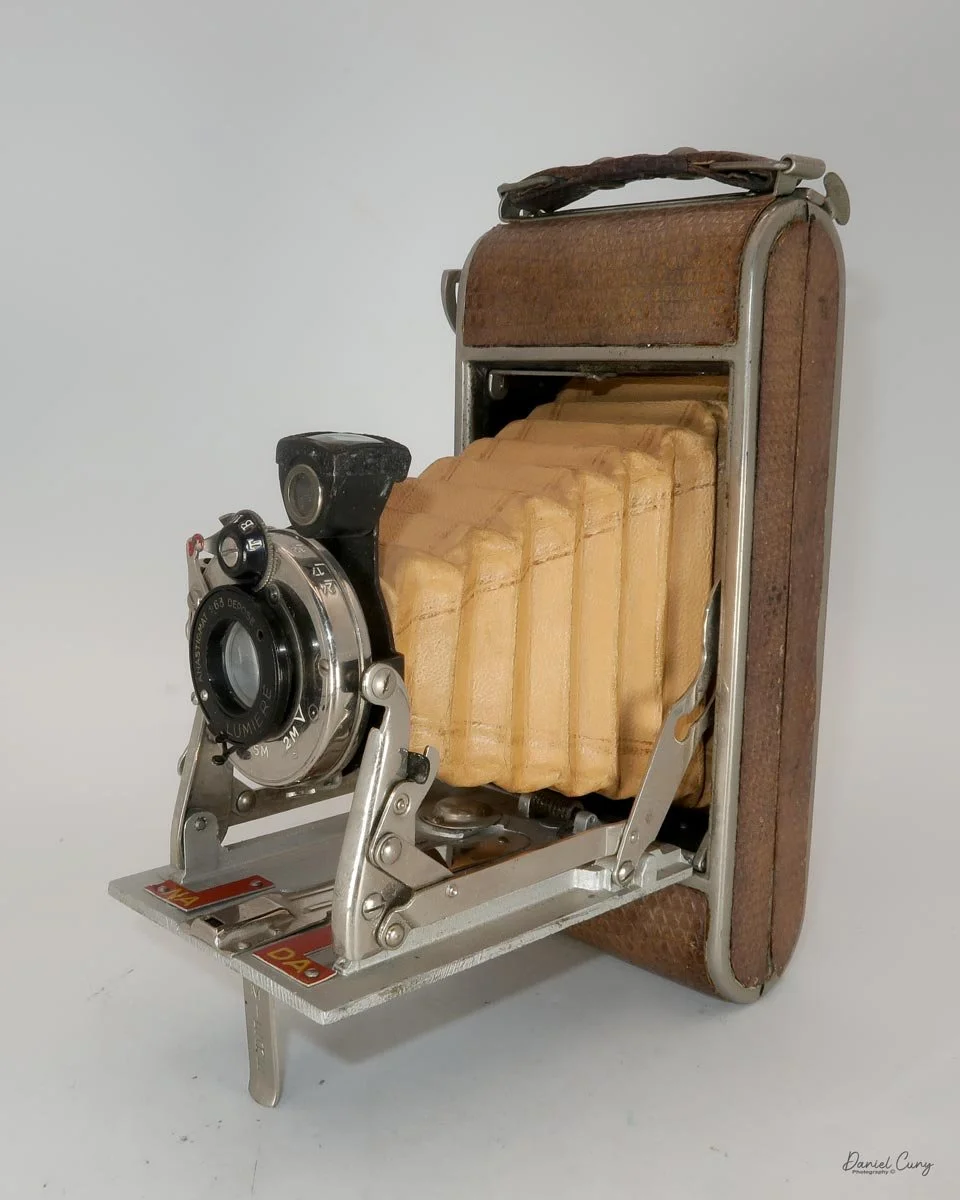
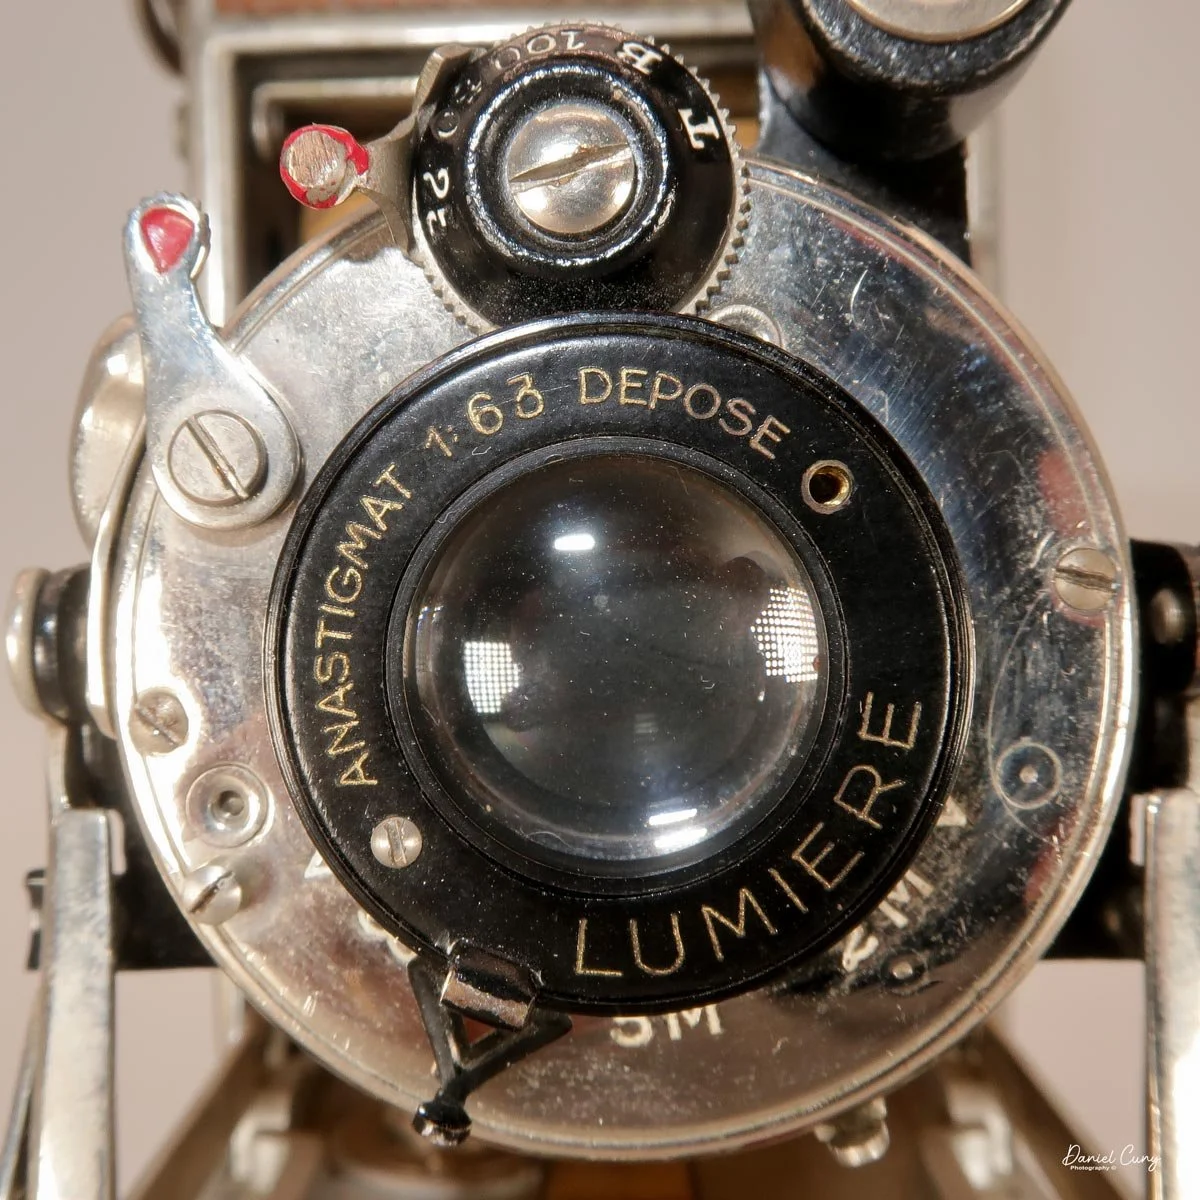
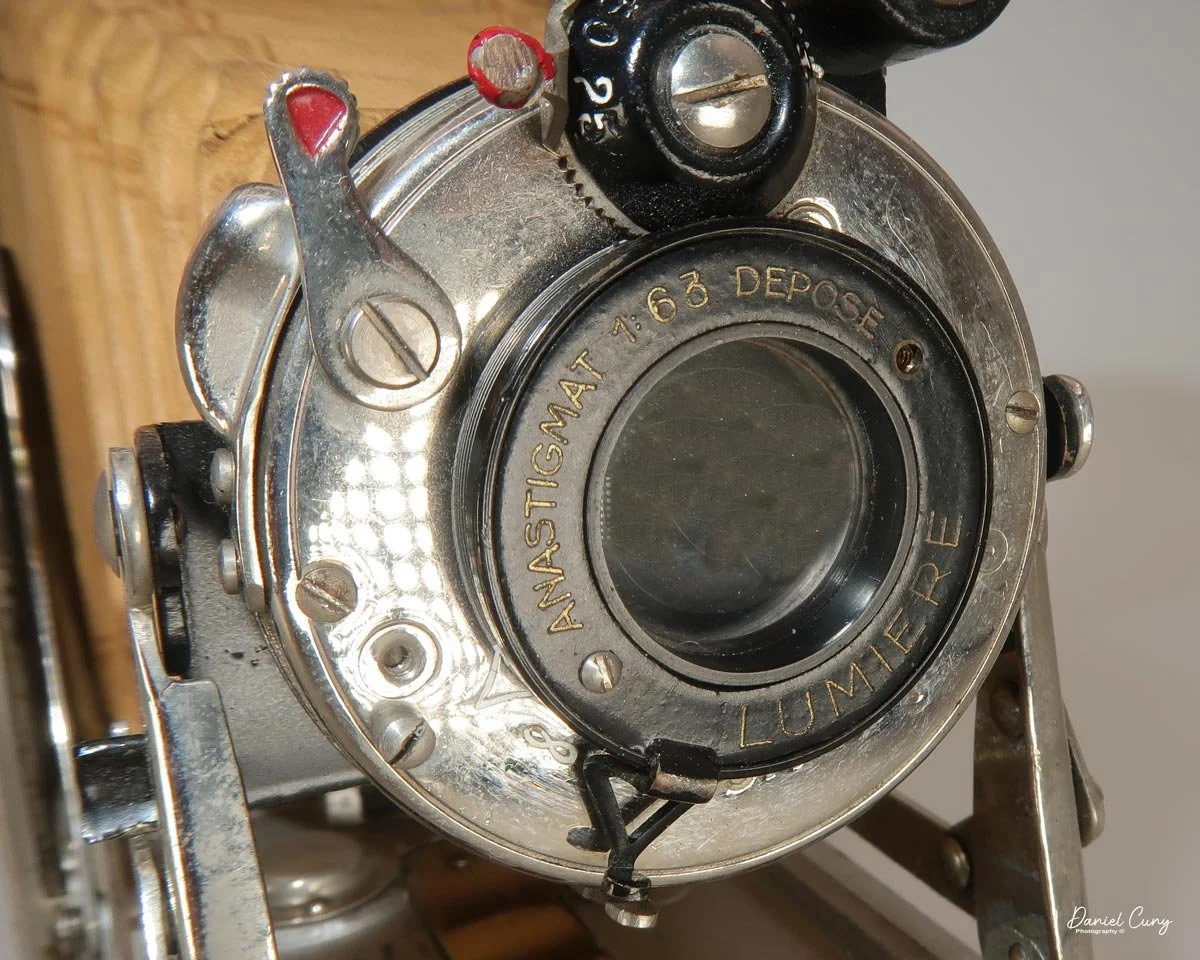
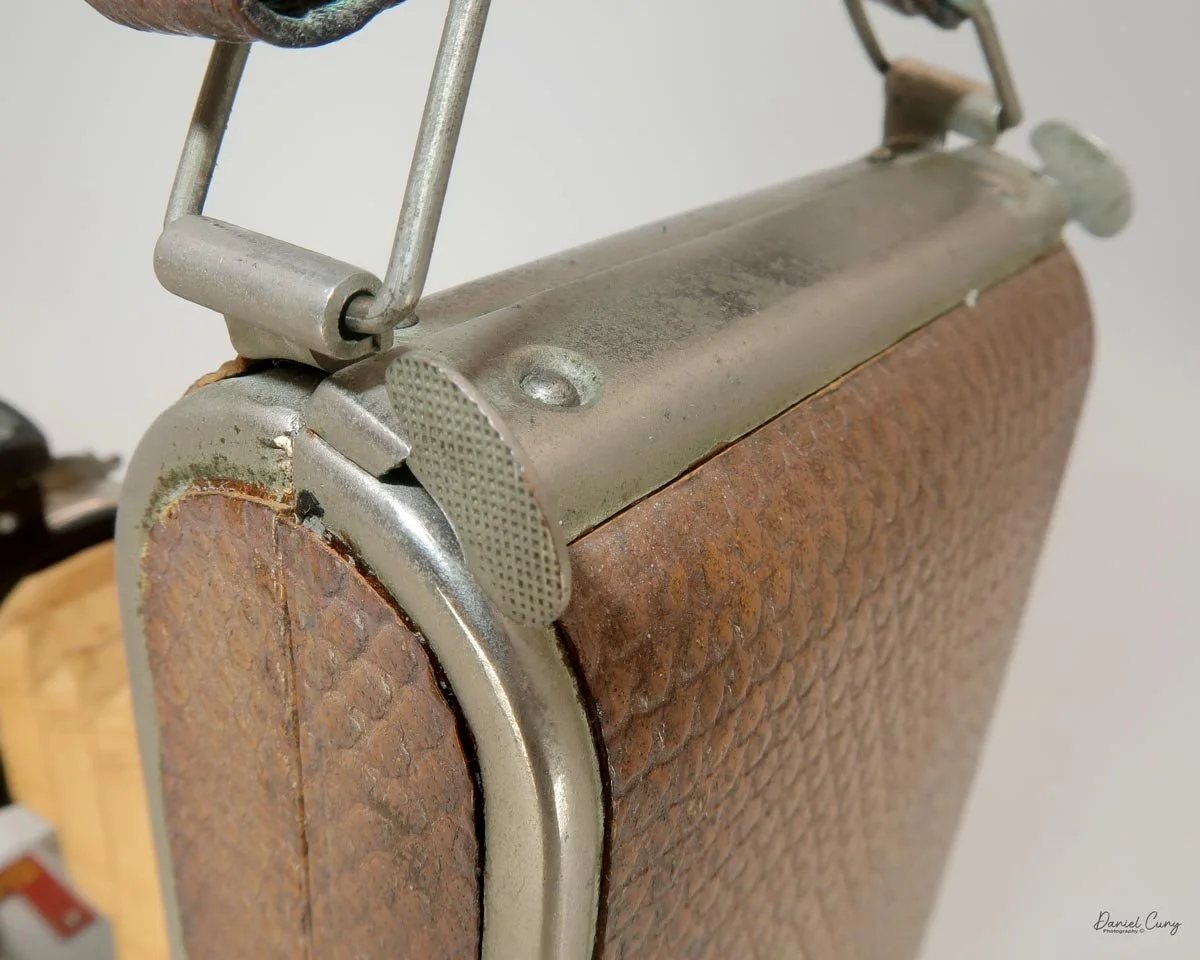
The Lumiere Nada Luxe camera is covered in what I guess is beautifully tanned snakeskin, with a wonderful subtle tan bellows which makes the chrome on the lens board shimmer. The camera has a Lumiere Depose Anastigmat f/6.3 lens.

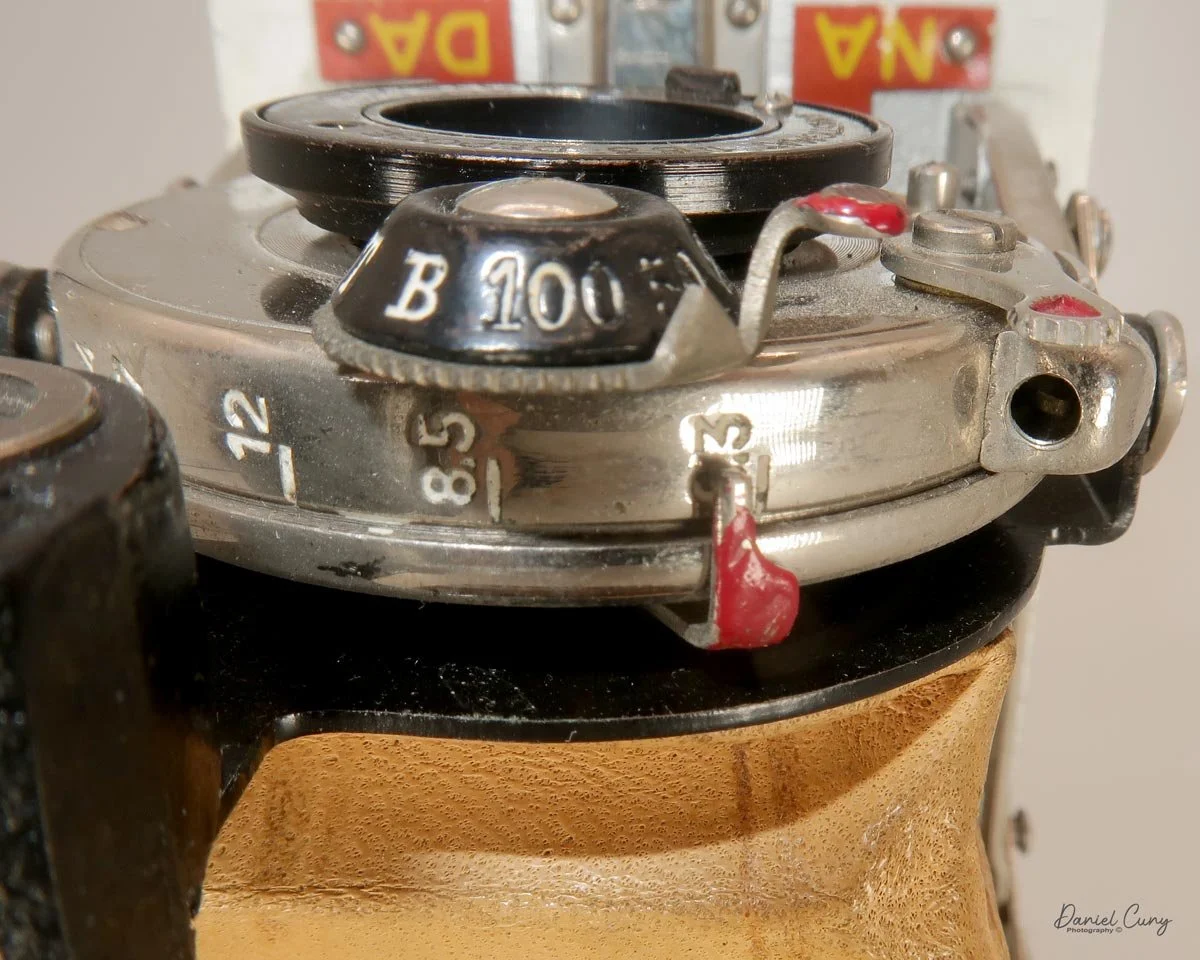
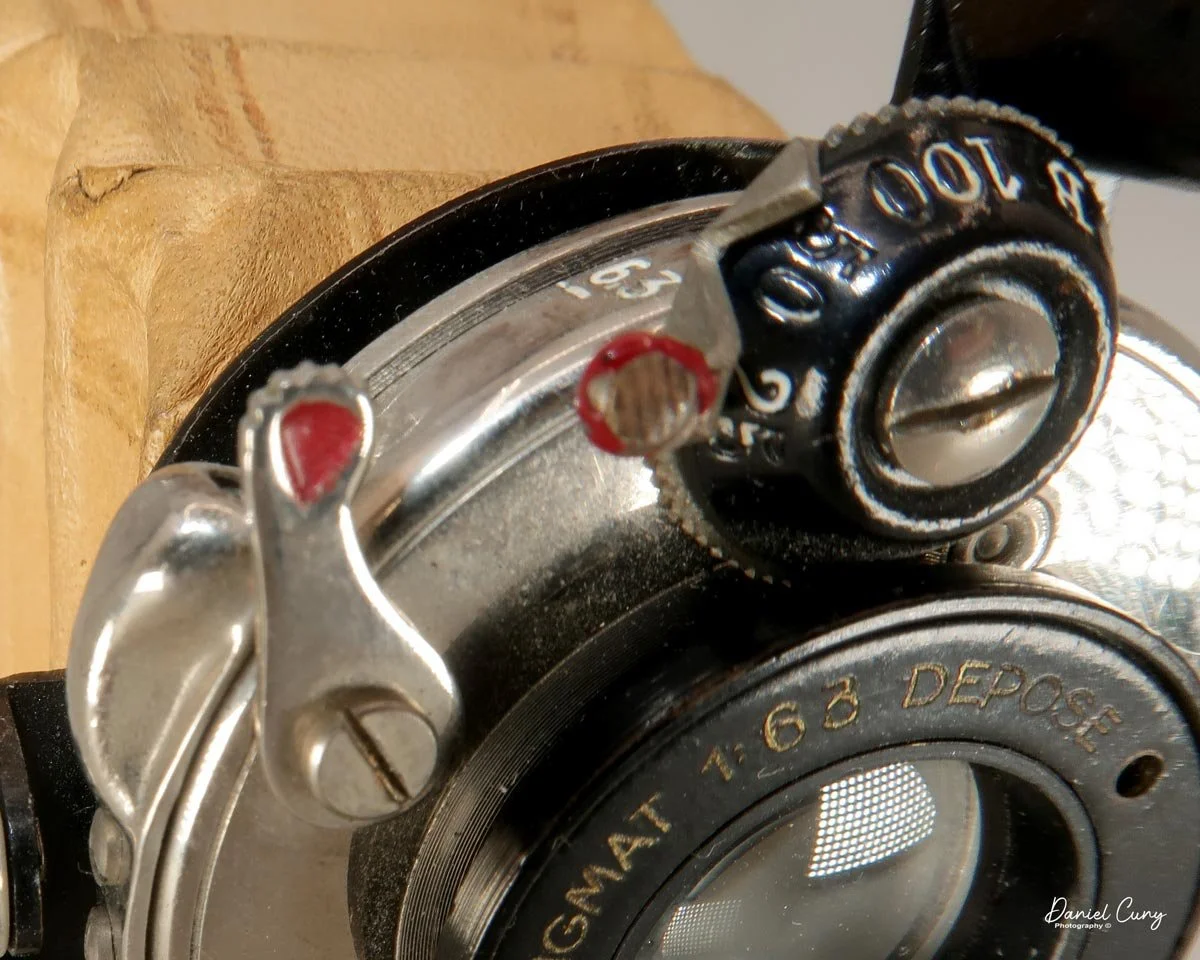
Looking under the lens, there is a triangle that points to the focus points under the lens: 2 m for portraits, then 5m for groups, and finally infinity for scenic shots. Above the lens are the shutter speeds: 1/100, 1/50, and 1/25, along with "B" and "T" for timed exposures. Above the shutter speeds is a sliding bar you move to set the proper shutter speed.

The camera incorporates interesting aperture settings. I haven't come across these in my years of collecting cameras. The aperture settings are f/6.3, 8.5, 12, 17, and 24. You set these with another slider under the lens, with a red pointer indicating the selected aperture.

On the far right side of the camera, as you hold it, is the shutter release with a red dot. All the important features, like shutter speed, aperture, and the shutter release, have red accents, which give the camera another "deluxe" look.

Just above the aperture settings is a black brilliant viewfinder, which turns for either vertical or horizontal photographs. Having the brilliant viewfinder, along with the black on the lens and shutter speed dial, adds real contrast against the shiny chrome lens board.

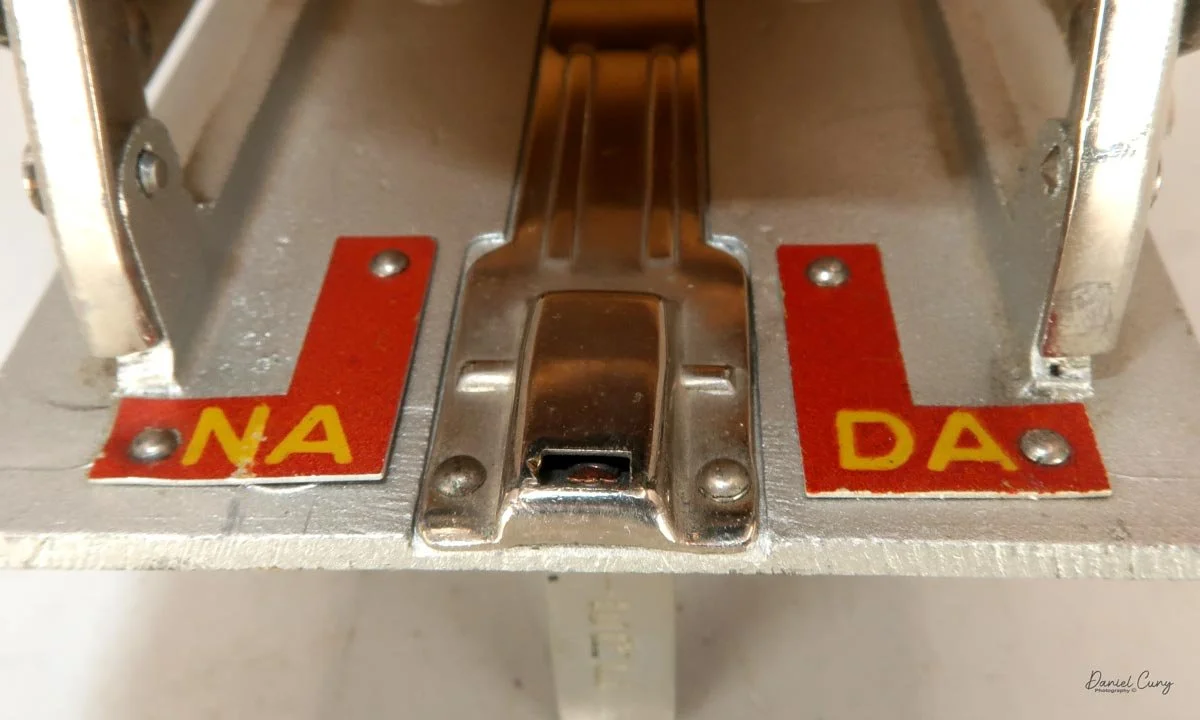
Just under the lens are two right-angled red metal pieces riveted to the lens platform, each bearing two letters of the camera's name on either side of the center lens rail: NA on the left and DA on the right (NADA). It's been written that the name is an ode to the early French photographer, Nadar, but I'm leery of this.

To open the back of the camera to load film, press together the two clips just behind the camera's handle; this lets you pull the back away from the camera body and off the camera, exposing the film chamber.

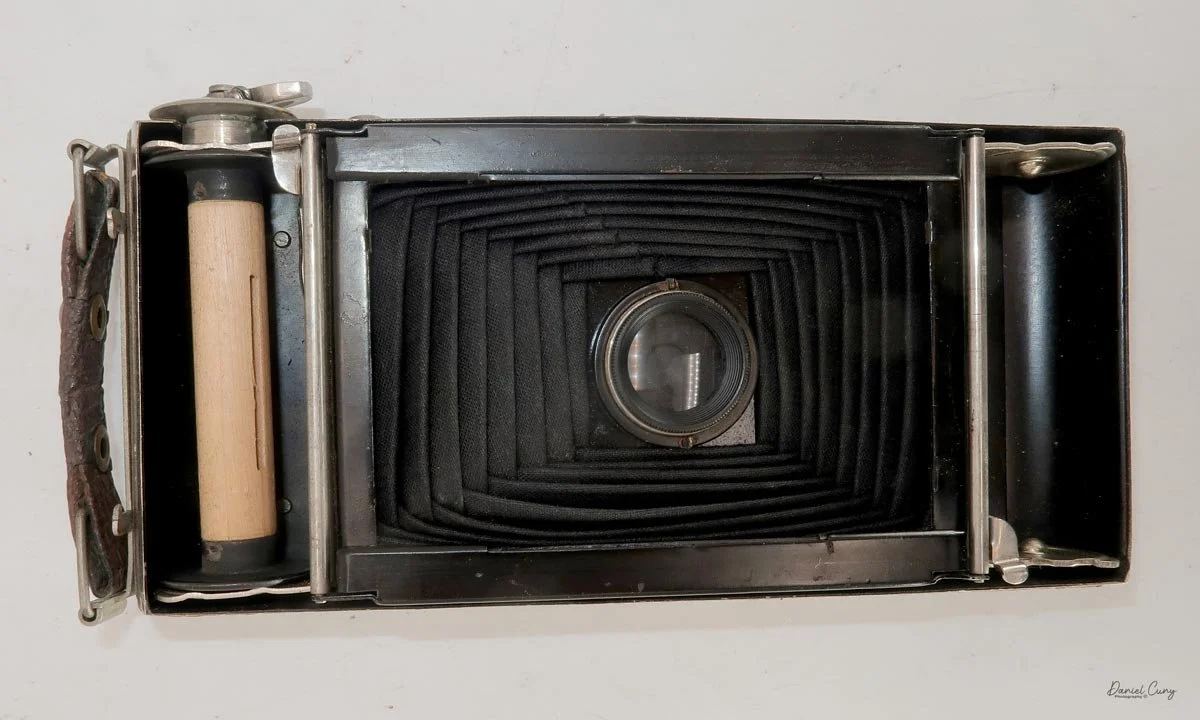
This next item is something I wish all folding cameras had. On both ends of the camera's film chamber, where you put the new roll of film, or just the take-up spool, is a lever which spreads the two prongs, or the one prong and winding crank, apart, allowing you to drop the new roll of film or the take-up spool into the proper chamber. Then press the lever back, and it holds the film spool in place. This was the easiest and most convenient method used for putting a roll of film into a camera. Something so simple, yet it works extremely well.

Once the film and take-up spool are in place, load the film as you would in any roll-film camera, then put the back onto the camera body and make sure it's latched. Wind the film to frame 1 as you look through the red window on the back of the camera. At this point, you're ready to take photos.

My Results:

With a roll of film loaded, I took my usual stroll through the neighborhood, photographing interesting subjects to see how the camera would perform.

Here are the results I received with the Lumiere Nada Luxe camera.

Conclusion:

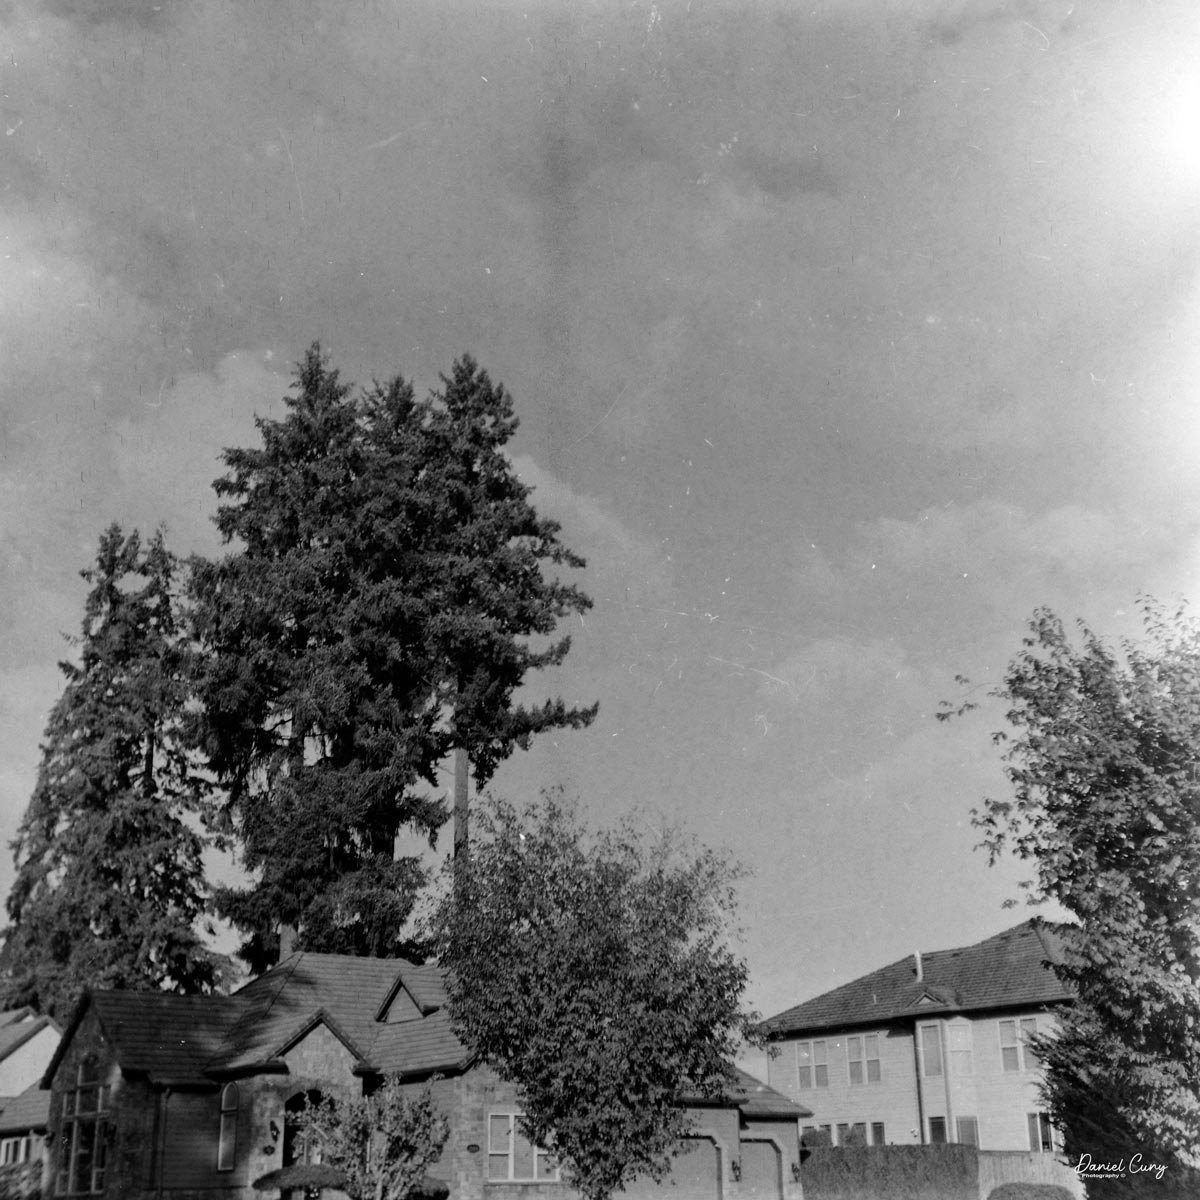
The images have a very "dreamy" look, which I enjoy. The focus was OK, not great, but that's to be expected, especially using a zone, guesstimate focus system.

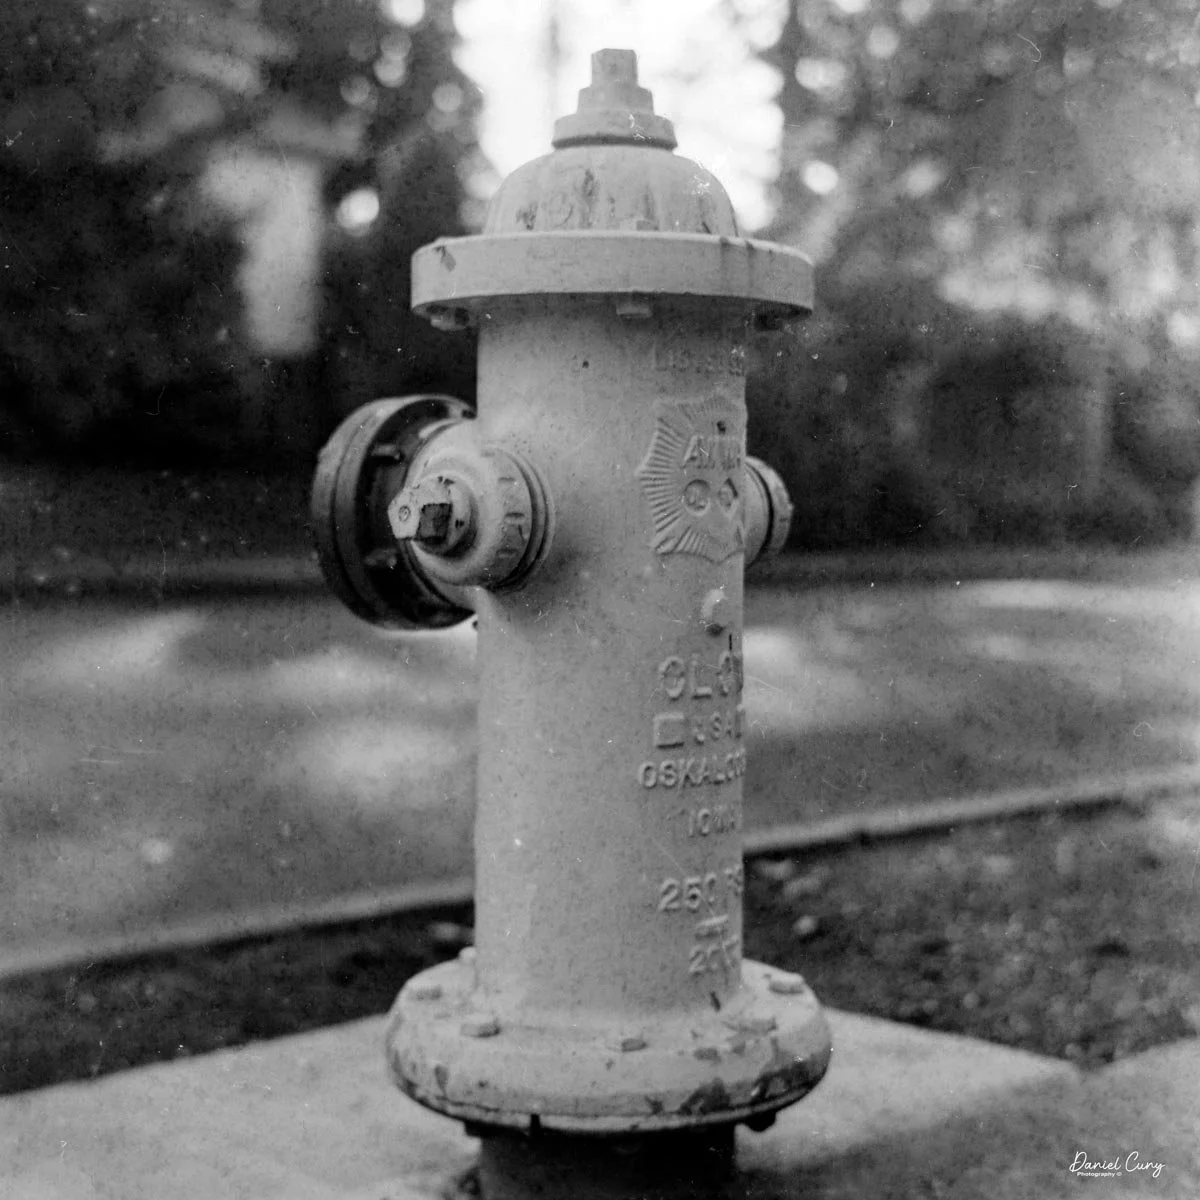
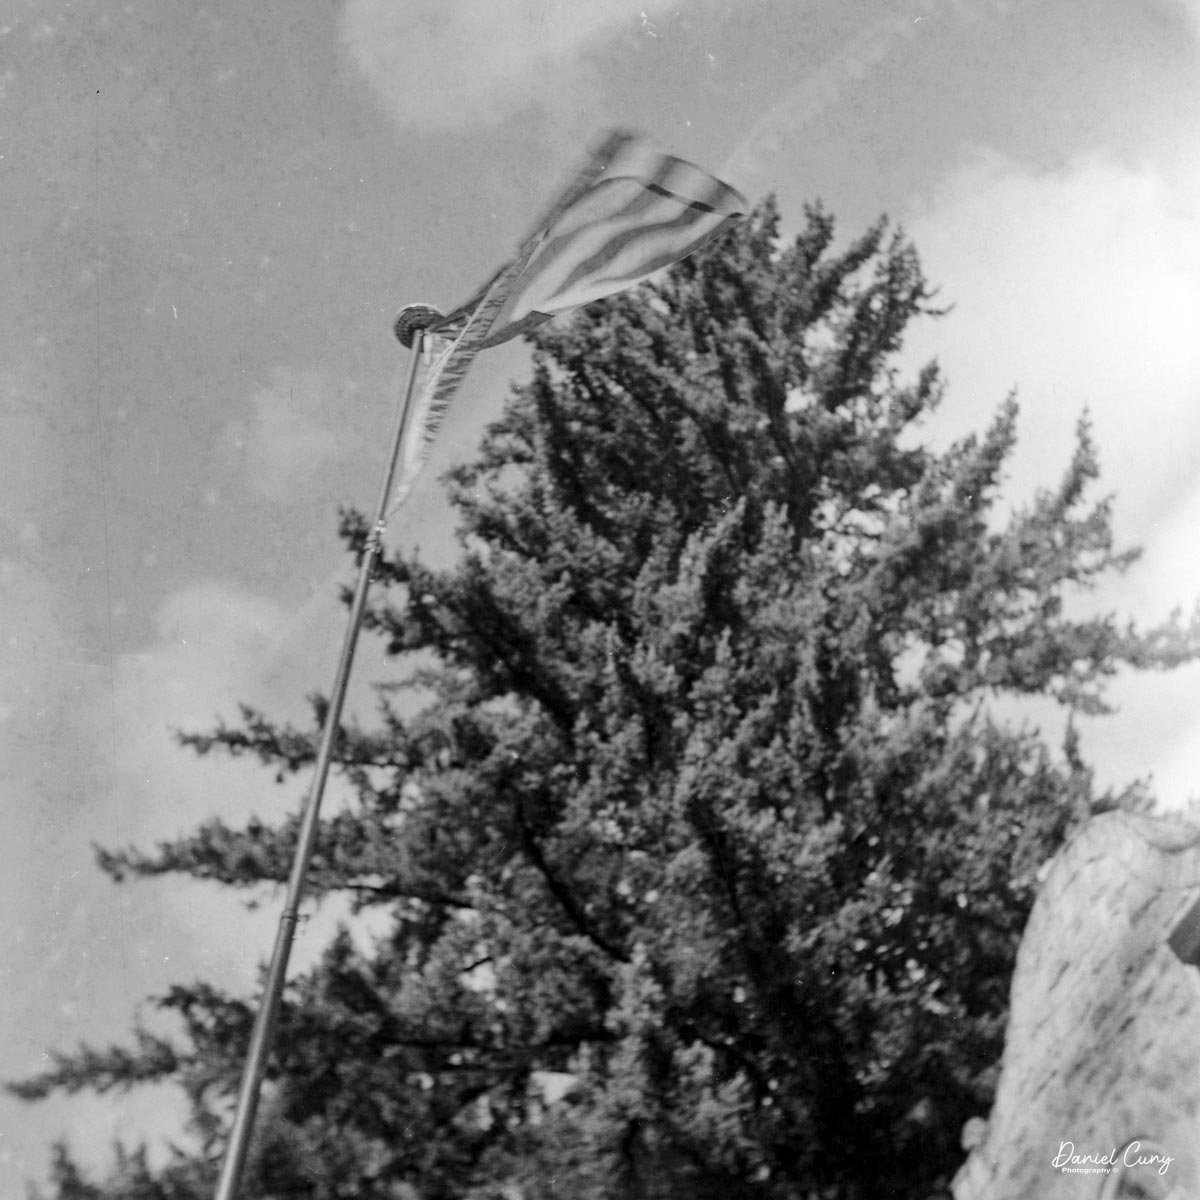
I really liked the photo of the flag and fire hydrant, as they have an image quality that I enjoy, something similar to the old photos from this era by Stieglitz, Steichen, or others, with a very soft, dreamy appearance.

Thank you for taking the time to read about the Lumiere Nada Luxe camera I recently added to my collection.

Are you interested in other vintage gear? Here are some of my other Camera Reviews.

Check out my Cuny's Camera Collection YouTube channel, where I am putting together video overviews of the cameras I write about. Be sure to subscribe and like the channel, too!

Cuny's Cameras and Photos is my online eBay store, where you will find some of the cameras I have reviewed, along with a wide range of other cameras, lenses, and items from my collection that I am thinning out.

Until next week, please be safe.
Voigtländer Bessa 66 cameras

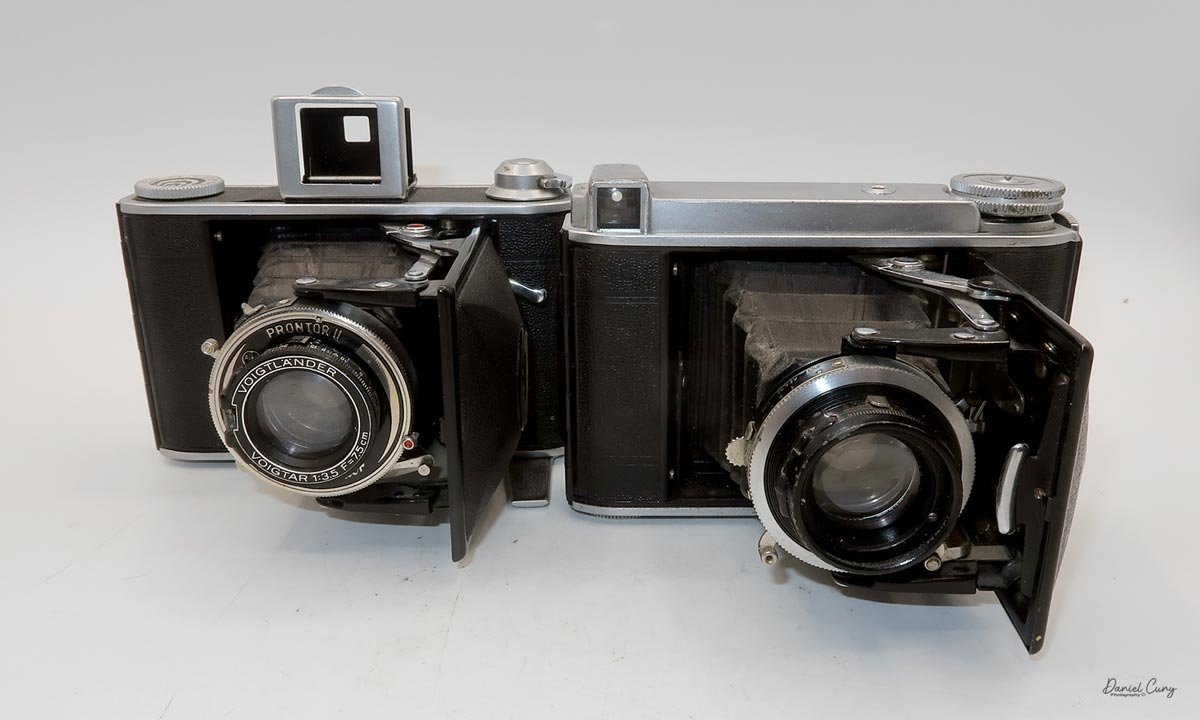
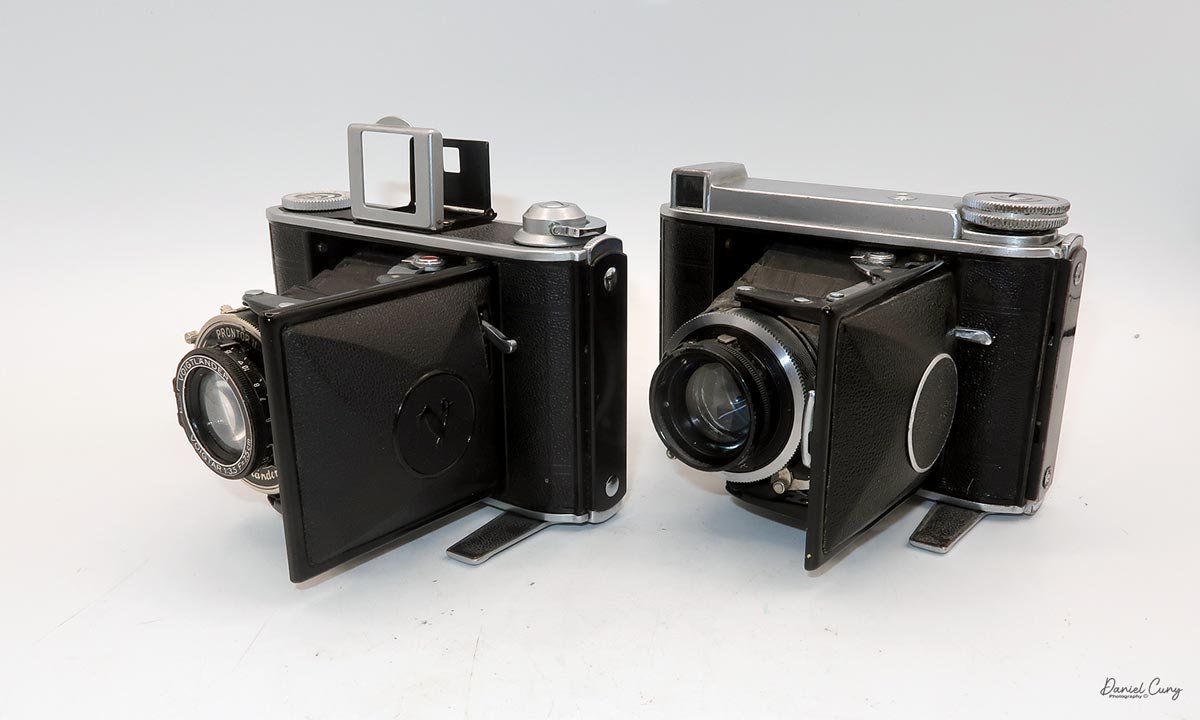
My two Bessa 66 cameras

It's interesting how you can notice some cameras and miss others at the same time.

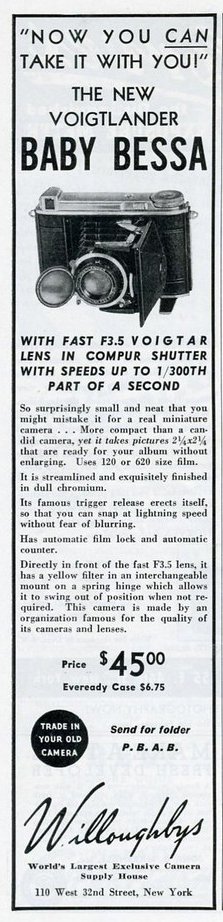
While I've owned a Voigtländer Bessa in the past, I picked up the smaller Baby Bessa, or Bessa 66, from a collection in Las Vegas about a month ago. I dismissed the camera as I thought it was a similar-looking Voigtländer Vito, a much different 35mm camera than the Bessa 66, which is a compact, medium format 6x6cm camera.

There were actually three similar-looking cameras in the group I had set aside because I had mistaken them for Voigtländer Vito cameras, but after popping the fronts open, I was surprised to see longer bellows and shutters.

As I turned over the camera, I then noticed the embossed BESSA 66 on the back of the camera, and realized that the camera was slightly bigger than the Vito cameras I've had in the past. I was going on merely the appearance of the camera's shape, which is similar. It's the domed front of the camera that houses the lens that is similar on many of the Voigtländer cameras.

After I gathered the three similar cameras for a thorough check-out, I mistakenly thought they were different. Still, I found out two were Bessa 66 cameras and the third was a more refined Perkeo I. At this point, I figured it would be fun to write about the two Bessa 66 cameras and put the Perkeo away for another day.

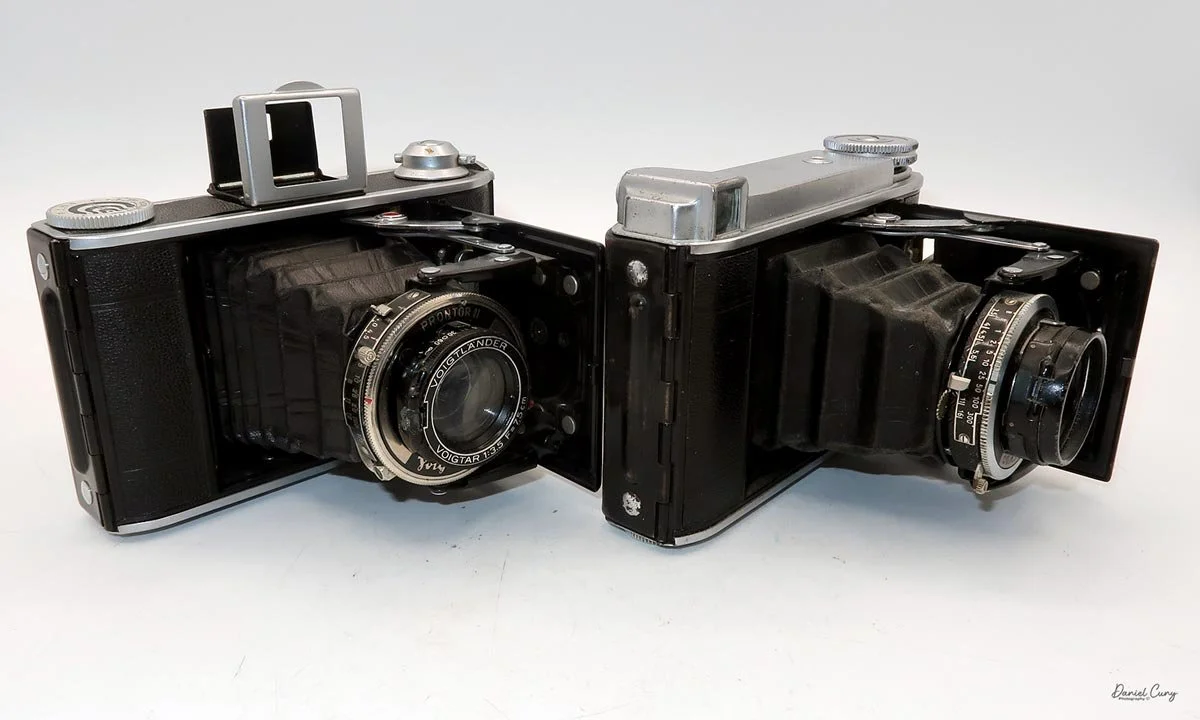
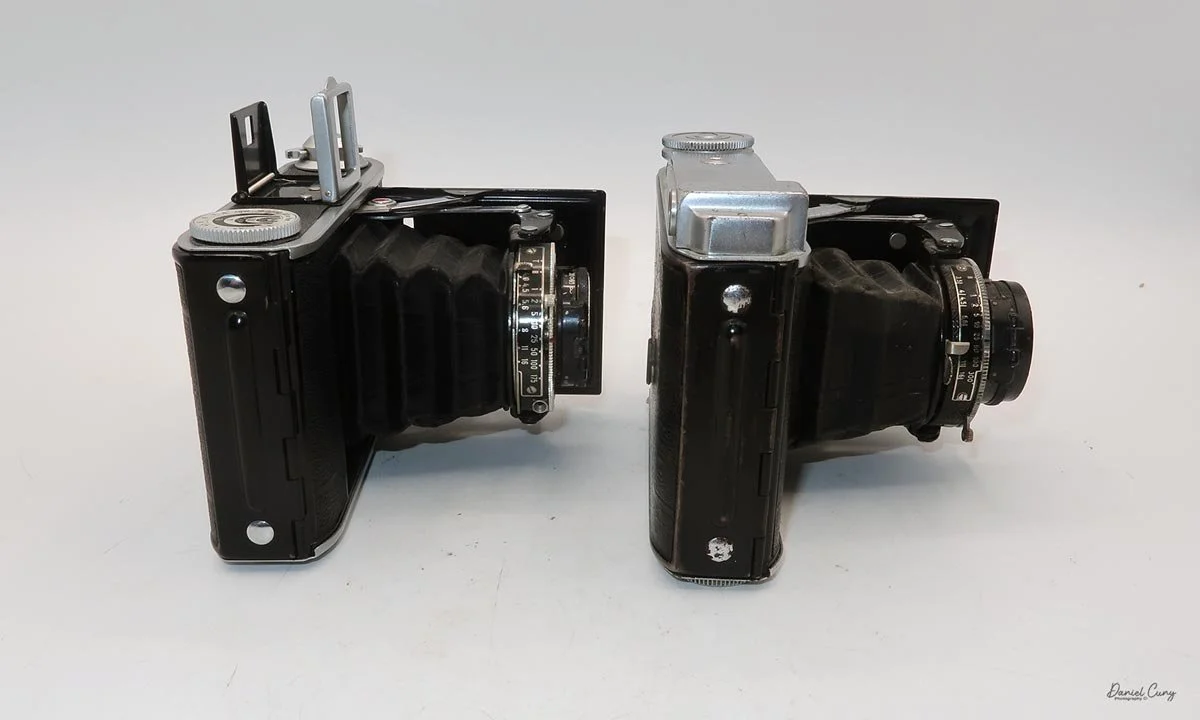
There were a couple of differences I noticed right away about the two Bessa 66 cameras. The main difference was the viewfinder on top of the cameras. One had a fold-out, pop-up finder, more like a sports finder. In contrast, the other has an optical finder incorporated into the top of the camera.

The second thing I noticed was that the film-advance knobs differed between the two cameras. One has a lift-up handle to advance the film, while the other has a more robust wheel, which makes advancing the film easier.

Bessa 66 Standard (top), and Bessa 66 Deluxe (bottom)

Looking online at the differences between the two cameras, one is an earlier "Standard" version with the pop-up finder and handle advance. In contrast, the later camera, which some people call the "Deluxe" version, has an optical viewfinder and a round film-advance knob.

The only other thing I noticed looking at the cameras from the outside is that the Deluxe camera has a bigger and sturdier knob on the bottom where the new roll of film is placed, which resembles the winding knob on top, as opposed to a slightly different one on the "Standard" version. These knobs don't affect how the camera operates, since neither pulls out to let the fresh roll into the film chamber. Still, I'll get into loading the camera later in the post.

At this point, I'm impressed with the Bessa 66 cameras, as I am with many of the Voigtländer cameras. They feel very similar to other folding 6x6cm cameras from this timeframe, like the Zeiss Ikontas made before WWII, in size and artistry, along with other Japanese cameras like the Mamiya Six and Mizuho Six.

The larger film format makes them terrific travel cameras. They are small and compact, have wonderful lenses, shoot 6x6 (or, in some cases, 6x4.5 or 6x7), and fit in your pocket for easy transport.

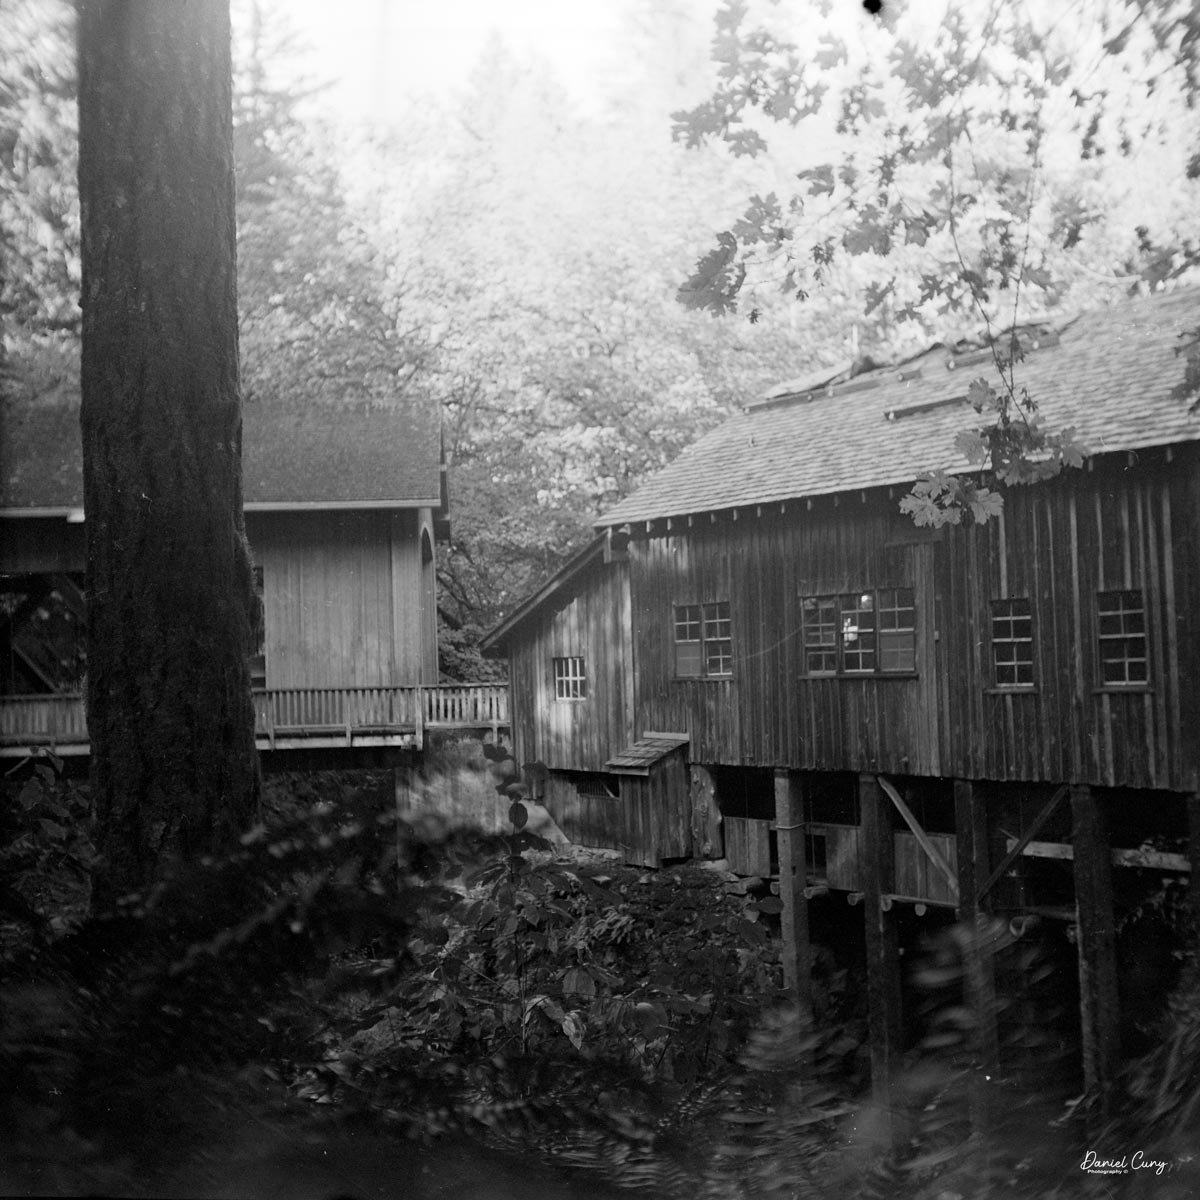
My wife wanted to go to a local Grist Mill, which is about 30 minutes from our house. So I loaded a roll of outdated Plus-X film into the Bessa 66 Deluxe, and off we went to see how the camera performed.

History: The Voigtländer Bessa Cameras

Voigtländer is the oldest name in photography. Johann Christoph Voigtländer founded the firm in Vienna in 1756, making optical instruments long before photography existed, and the company opened its Braunschweig, Germany, branch in 1849. By the time the Bessa arrived, Voigtländer had already been building cameras for nearly a century.

Bessa 66 advertisment

The Bessa line began in 1929 with a folding rollfilm camera that was clever in a very practical way: it was a dual-format camera, taking both 6x9 and 4.5x6 pictures on standard 120 film. A photographer could shoot large negatives or twice as many smaller ones by changing the mask. In 1935, Voigtländer added a coupled rangefinder version, the Bessa Rangefinder, and the line became one of Germany's best-known folding camera families.

The cameras most collectors mean by "Baby Bessa" came out in 1938. These were the single-format Bessa 46 and Bessa 66, smaller companions to the big Bessa. The Bessa 46 shot sixteen 4.5x6 frames on a roll of 120, while the Bessa 66 shot twelve square 6x6 frames. Both were self-erecting folders: press a button on the baseplate and the front springs open, ready to shoot. Focusing was by guesswork, using a scale on the lens, and neither Baby Bessa was ever sold with a coupled rangefinder.

Like most German cameras of the period, the Baby Bessas came in a wide range of lens and shutter combinations, which is part of what makes collecting them fun. Entry-level models carried the three-element Voigtar or Vaskar. Better models got the four-element Skopar or the famous five-element Heliar, usually with a Compur or Prontor shutter. Early models had a folding frame finder; later ones got a proper optical viewfinder on the top plate, along with a film counter, a depth-of-field calculator, and a hinged yellow filter.

Production was interrupted by the Second World War, and after the war only the Bessa 66 came back, since the 4.5x6 format was already covered by the regular Bessa. Post-war Bessa 66 cameras came with coated lenses, a Vaskar version selling in America for $49.50 and a Color-Skopar version for $64.50. In 1950 the little folder was reborn under the older Perkeo name, and the Perkeo E of 1954 finally added a rangefinder the Baby Bessa never had. The line ended around 1955, shortly after the Carl Zeiss Foundation acquired Voigtländer.

The big Bessa lived on a little longer as the Bessa I and Bessa II of 1950, and the Bessa name itself would return decades later on Cosina's rangefinder cameras. But the Baby Bessa remains the line's sweet spot: a genuinely pocketable 120 folder, built by the oldest camera maker in the business, that still shoots beautifully today.

My Cameras

The two Voigtländer Bessa 66 cameras are virtually the same size, with the Deluxe slightly taller because of the optical viewfinder. I'll mainly talk about the Deluxe version, as it's the camera I put film in and shot with. The camera is 3.5" tall by 5" wide, and 1.75" deep with the lens closed and 4" deep with the lens extended. The camera weighs 1 pound, 2 ounces without film loaded.

My Bessa 66 Deluxe version has a few issues. One of the nice things about the pre-war Bessa 66 versions is that it has a flip-up yellow, or contrast, filter for black-and-white film. Unfortunately, the glass part of the filter is gone on the camera I have. It also looks like the ring around the lens with the lens name, focal length, and maximum aperture is missing from my Deluxe camera but is on the Standard camera. So I'm not sure if the Deluxe camera has the four-element Skopar or the famous five-element Heliar lens.

The lenses on either of the Bessa 66 cameras are manual, meaning there is no rangefinder for focus, so you'll have to manually guess the distance to your subject and turn the lens to that "guessed" distance, then take your photo.

The pre-war Bessa 66 cameras had the hinged filter, which was not fitted to the post-war cameras. Because the filter was fragile, many cameras had it broken off through use. On the Standard camera I have, it looks like the filter has been broken off the camera.

To open the camera to expose the lens and shutter, which is on a black bellows, press the chrome button on the bottom of the camera; the lens/shutter then pops out.

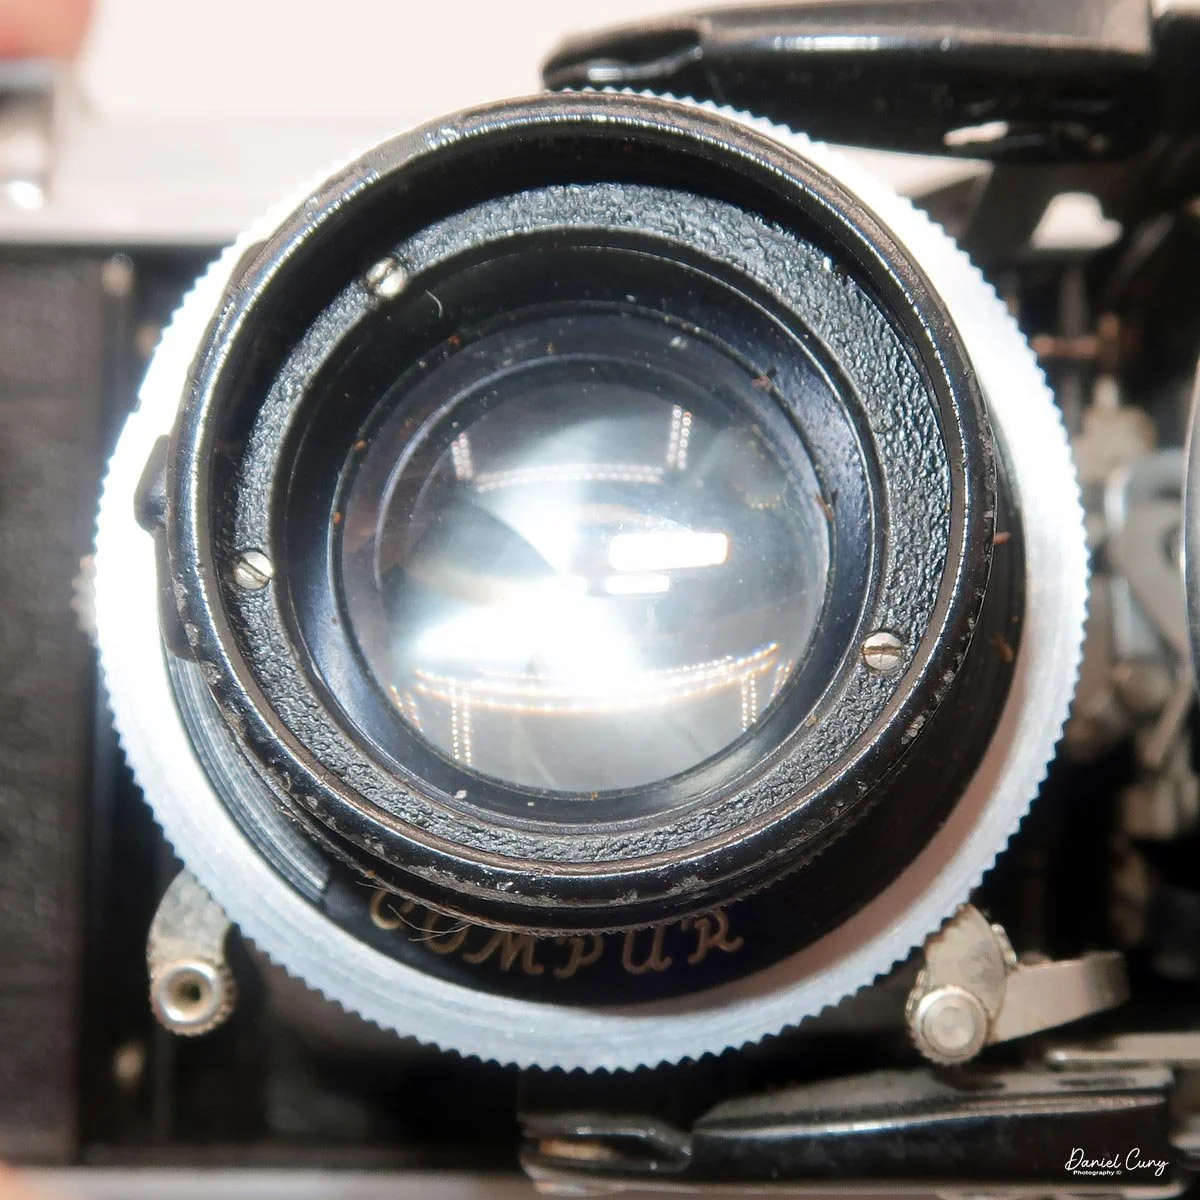
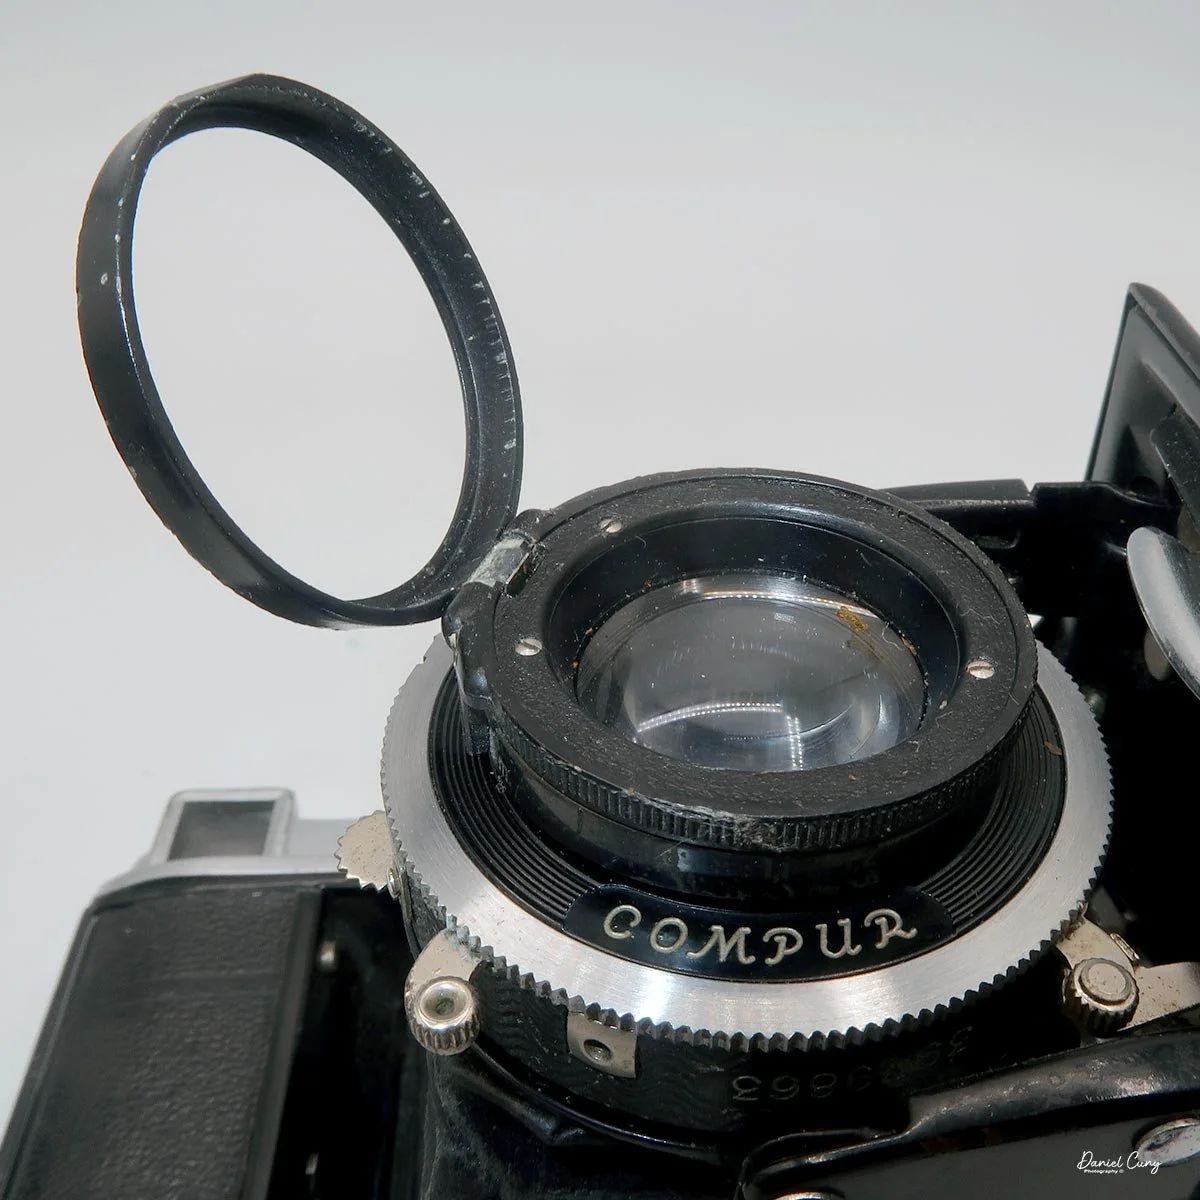
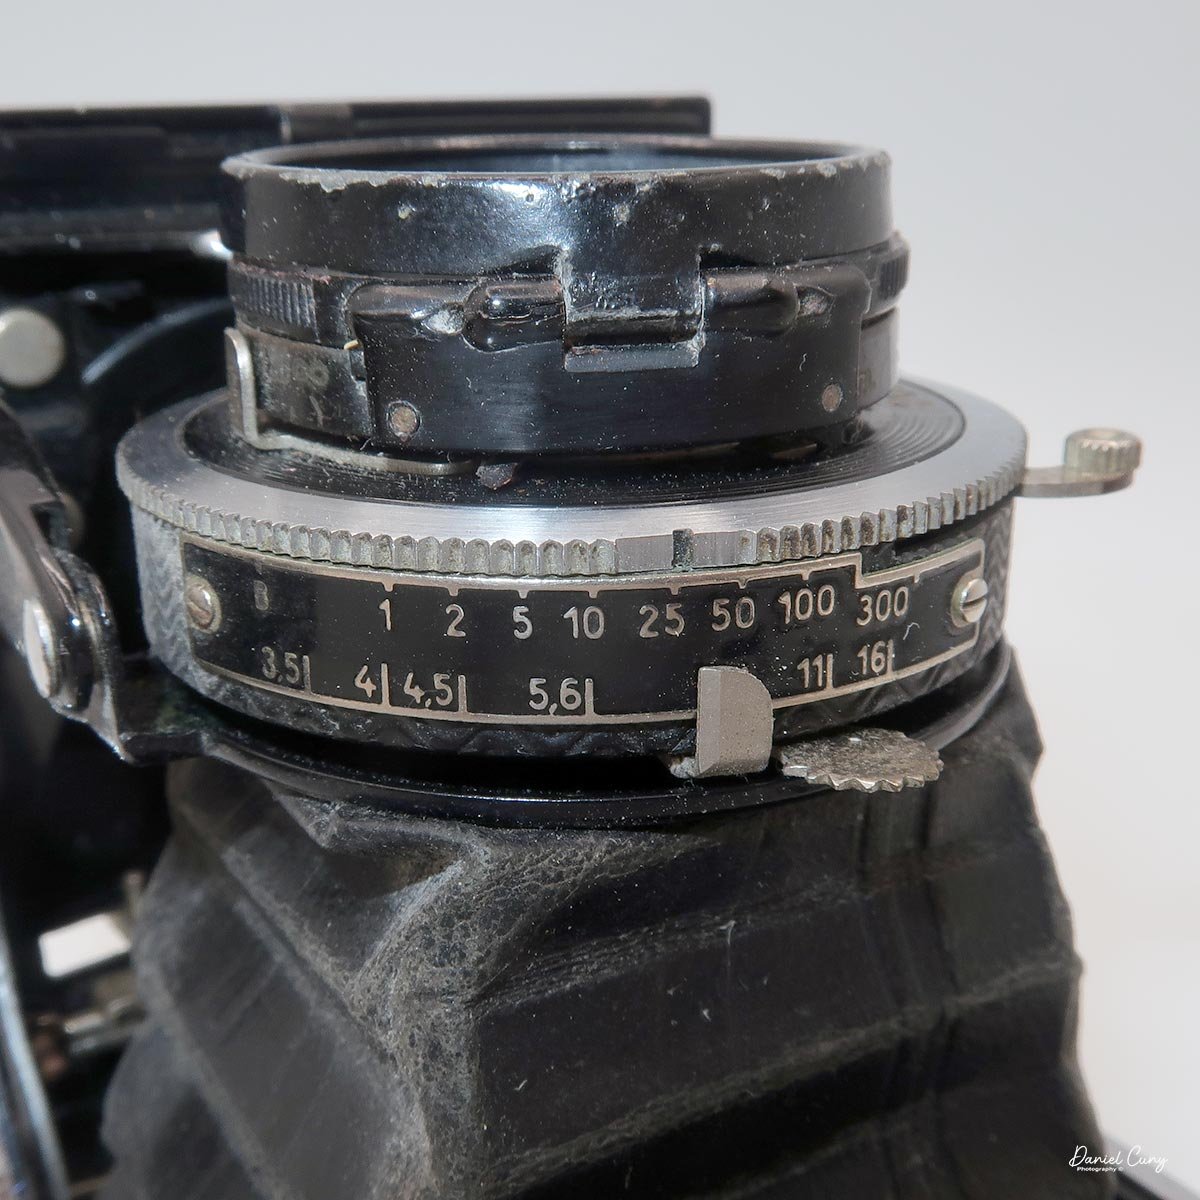
My Deluxe camera has a Compur shutter with shutter speeds from 1/300 to 1 second, plus B for timed exposures. The Standard camera has a Prontor II shutter, which offers shutter speeds from 1/175 to 1 second and "B" for timed exposures. Both cameras have maximum apertures of f/3.5 and go to f/16.

Once the camera is opened, the shutter speeds can be changed by turning the outer ring around the shutter. A red dot points towards the desired shutter speed. The aperture is set via a sliding lever which will point to the desired aperture setting. You cock the shutter by pulling back the cocking lever on the right side of the shutter.

Both the Standard and the Deluxe Bessa 66 release the shutter by the shutter release that is incorporated into the lens door, which trips the shutter via linkage inside the lens door. You'll need to get used to this shutter release, as it's an uncommon place for one.

To close the lens/shutter back into the camera, pull out the hinged locking Standard on either side of the Standard camera; the camera starts to collapse, then press in the front door to close it.

The Deluxe camera closes a bit differently. In the front, just below the lens, press in the chrome bar to release the locked hinge holding the lens rigid; then press in the lens door to close it. Both are similar, but the Deluxe camera is simpler and more of a nicety, which makes closing it easier.

To open the back of the camera to load film, slide the chrome-and-black foot on the bottom of the camera. This foot has two features. One keeps the back locked, as one end slides under the bottom latch needed to open the film back. This prevents anyone from pressing the bars together to open the film back. The other feature, and the more useful one, is that sliding the leg out creates a base that keeps the camera upright and prevents the front from tipping forward onto the lens.

Once the foot is in the out position, press the two bars together on the film door to open the back. At this point, load film into the Bessa as you would any 120 film camera: thread the lead into the take-up spool, wind until you see the start arrows, then close the back of the camera.

Both the Deluxe and Standard cameras have a red window on the back to wind until you see the next frame number. These windows also have a cover you can open or close via a small black knob next to it. When closed, the window shows an "X" so you know it's closed.

The Deluxe camera has a "Semi-Automatic Film Advance system," as described in Mike Butkus's manual and his other incredible camera manuals. The camera has a switch on the back and a frame counter on top.

Here's how the film advance works on the Deluxe camera:

  • -- On the back and front of the camera, just under the top, next to the film winding knob, are two sliding latches. If the frame counter on top doesn't show 0, slide these latches to the left and right, back and front in turn until the frame counter shows 0.

  • -- On the back of the camera is a red window that will show an X. To the right of it is a flat serrated wheel of equal diameter.

  • -- Open the red window by turning the wheel 90 degrees clockwise. Turn the winding knob until the number 1 appears in the red window.

  • -- Turn the wheel back to close the red window.

  • -- Looking at the top of the camera, slide the latch on the back to the left. The frame counter on top will show 1. The camera is now ready to take the first picture.

  • -- To advance the film, slide the latch on the front to the right. The frame counter will show 2. Turn the winding knob until it stops. Take the second picture. Repeat until the counter shows 12 and take the last picture. Slide the front latch one more time until the counter shows 0, then turn the knob until the film is completely wound.

My Results:

Here are a few of the frames I took while my wife and I visited the Grist Mill, which is beautiful this time of year.

Conclusion:

I've always been a big fan of Voigtländer cameras. To have one that is both medium format and pocket-sized, with sharp lenses, is a real bonus and makes it one of my favorites. The only thing that would make it better would be rangefinder focus. That's what makes cameras like the Zeiss Super Ikontas and other Japanese cameras like the Mamiya Six or Konica Pearl so desirable.

Thank you for taking the time to read about the Bessa 66 cameras I recently added to my collection.

Are you interested in other vintage gear? Here are some of my other Camera Reviews.

Check out my Cuny's Camera Collection YouTube channel, where I am putting together video overviews of the cameras I write about. Be sure to subscribe and like the channel, too!

Cuny's Cameras and Photos is my online eBay store, where you will find some of the cameras I have reviewed, along with a wide range of other cameras, lenses, and items from my collection that I am thinning out.

Until next week, please be safe.
Dover No. 620-A camera

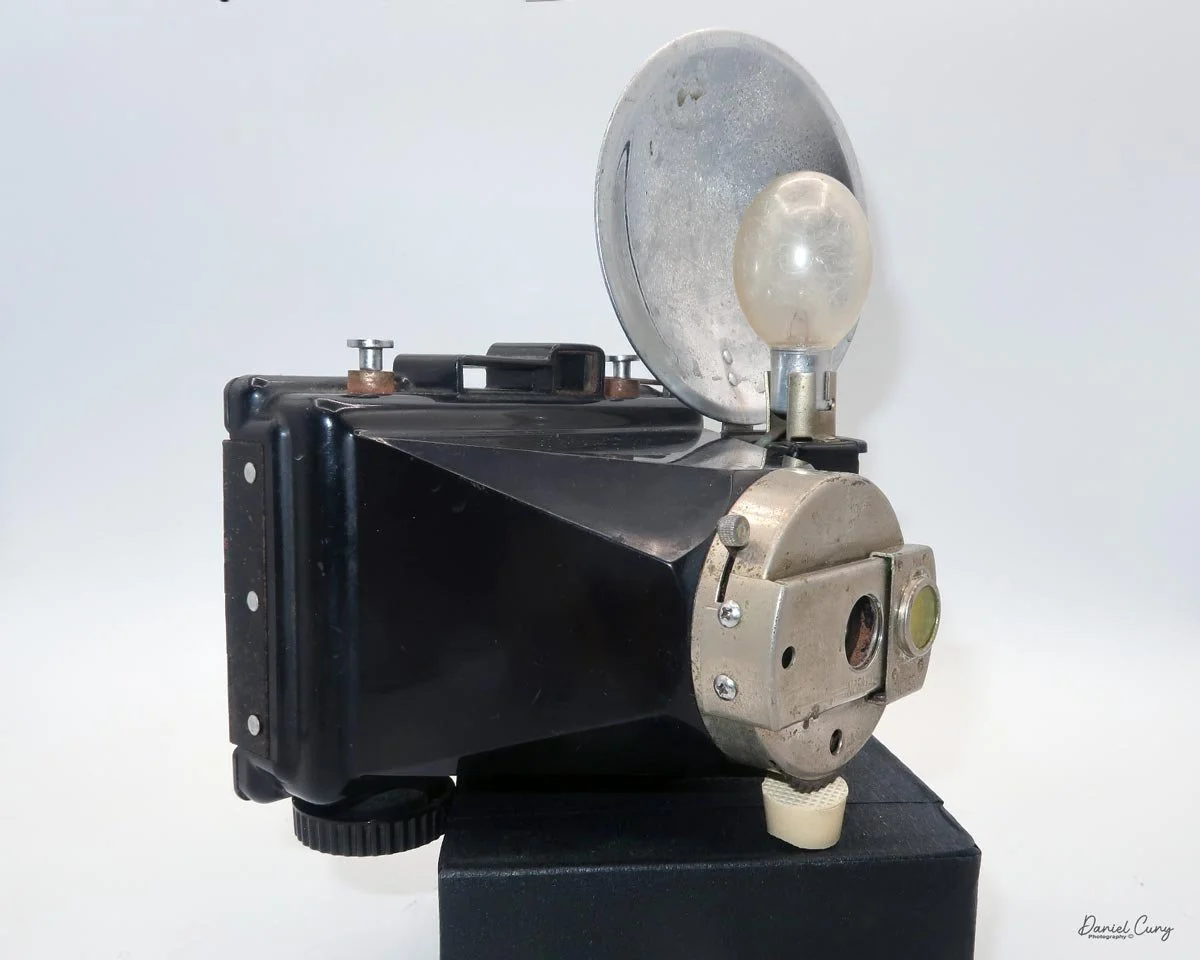
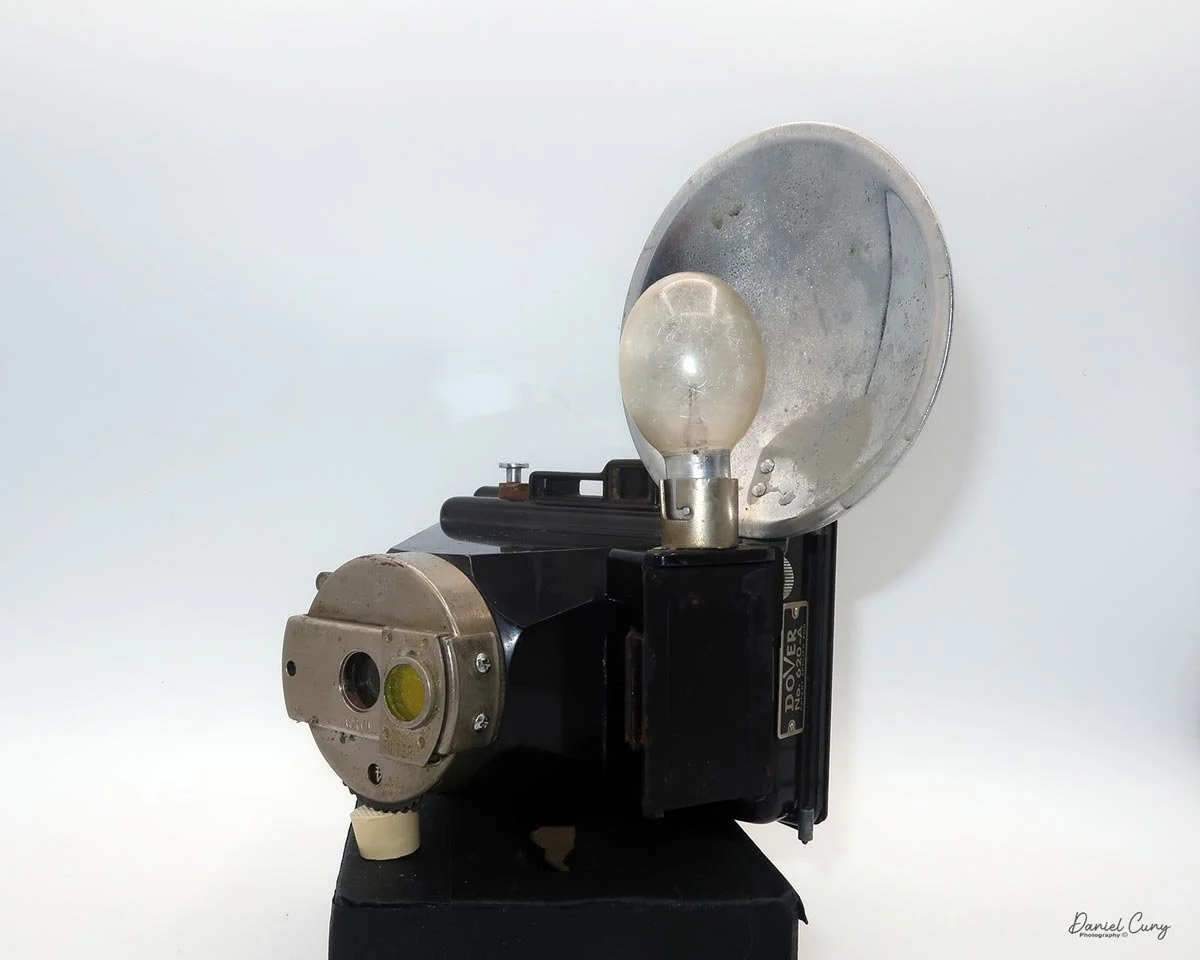
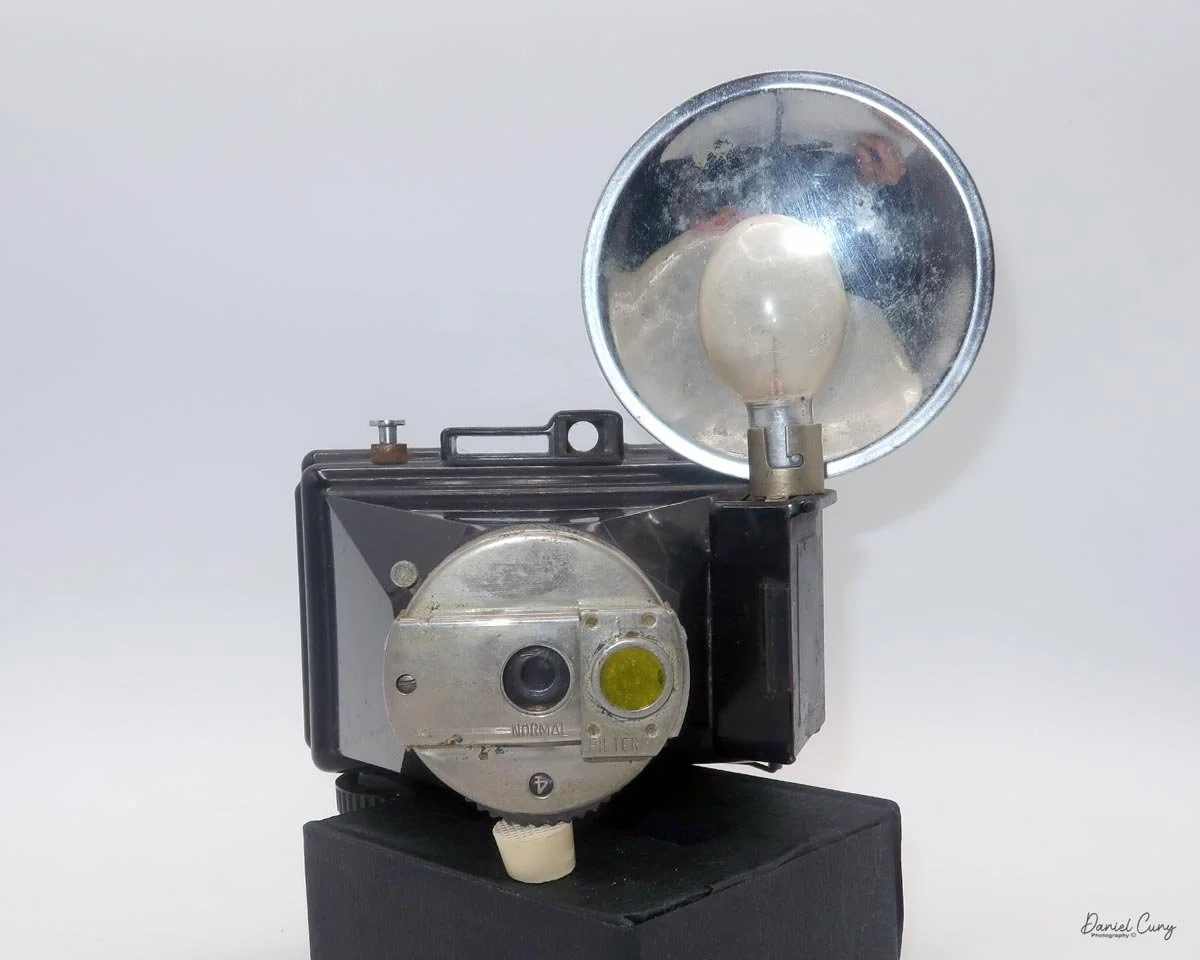
My Dover No. 620-A camera

It's always the odd and unusual cameras that grab my attention.

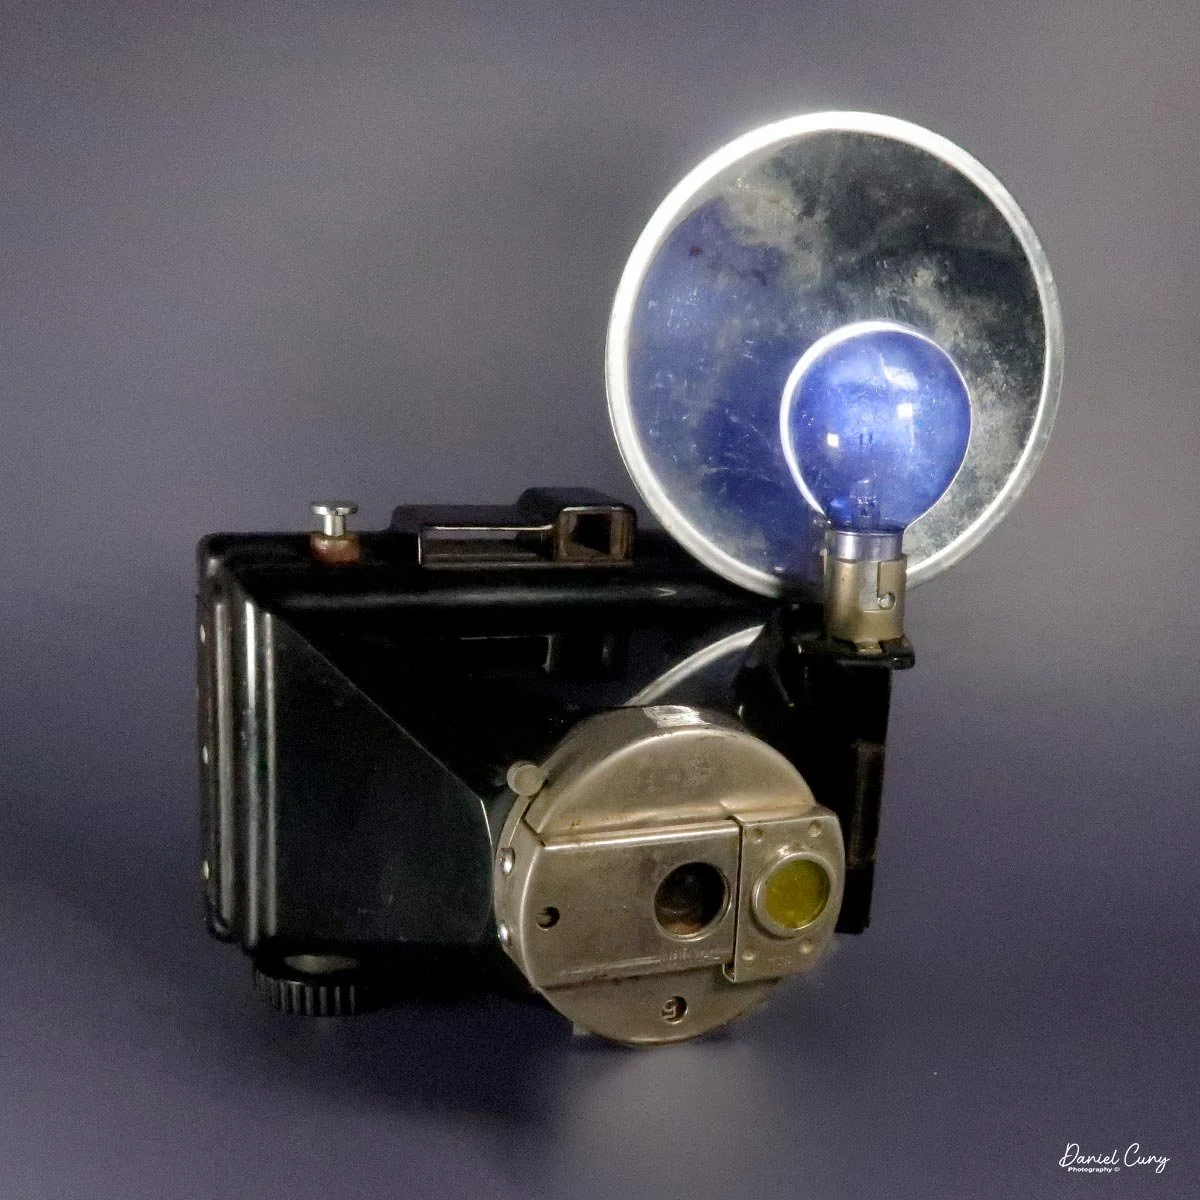
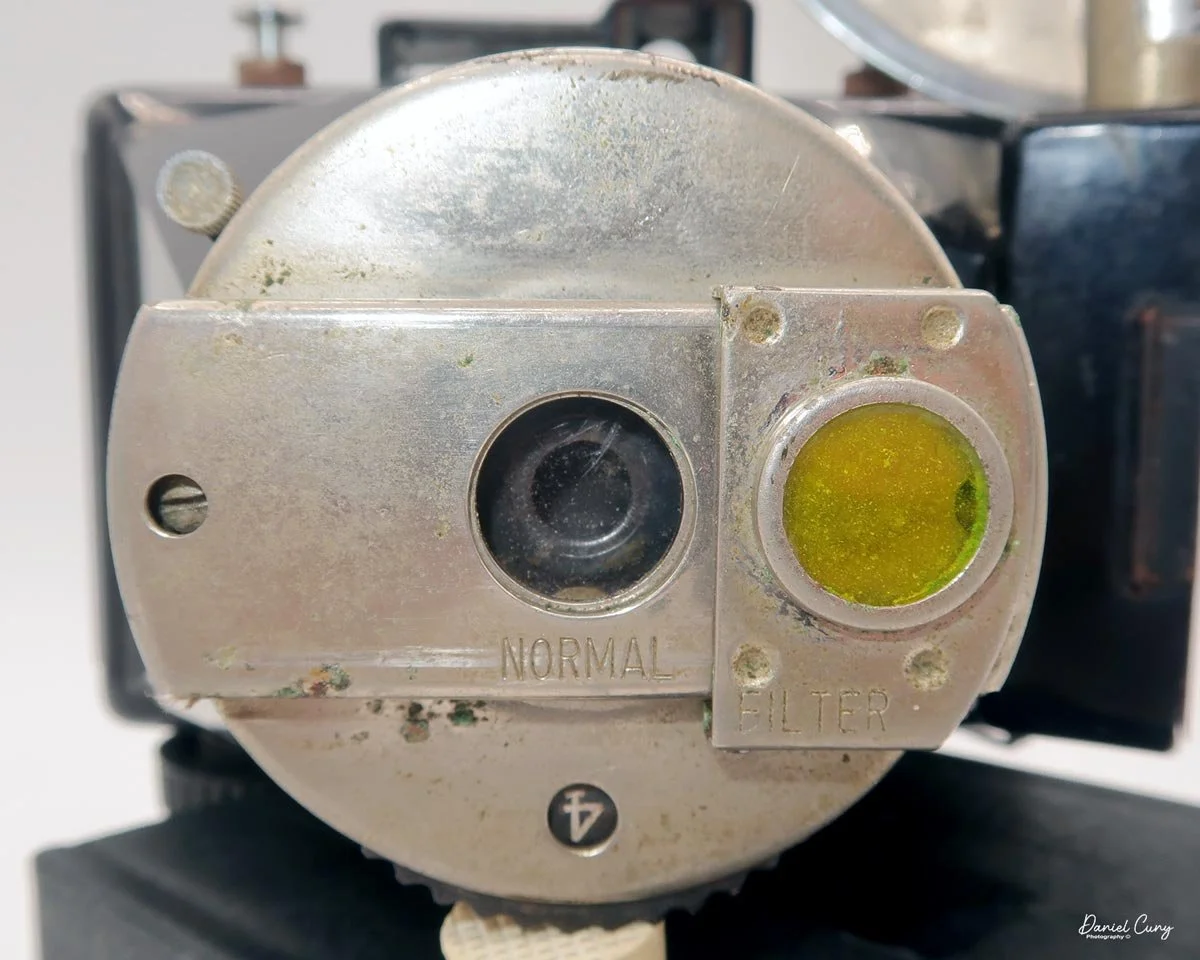
As I was looking through some online auctions, I saw a camera that really caught my eye. It wasn't your typical 35mm SLR, rangefinder, or even a twin-lens camera, but a triangular-shaped Bakelite camera with a large flash reflector. The feature that really made me give the camera some thought was the very large exposure guide on the rear of the camera, along with the sliding yellow filter on the lens.

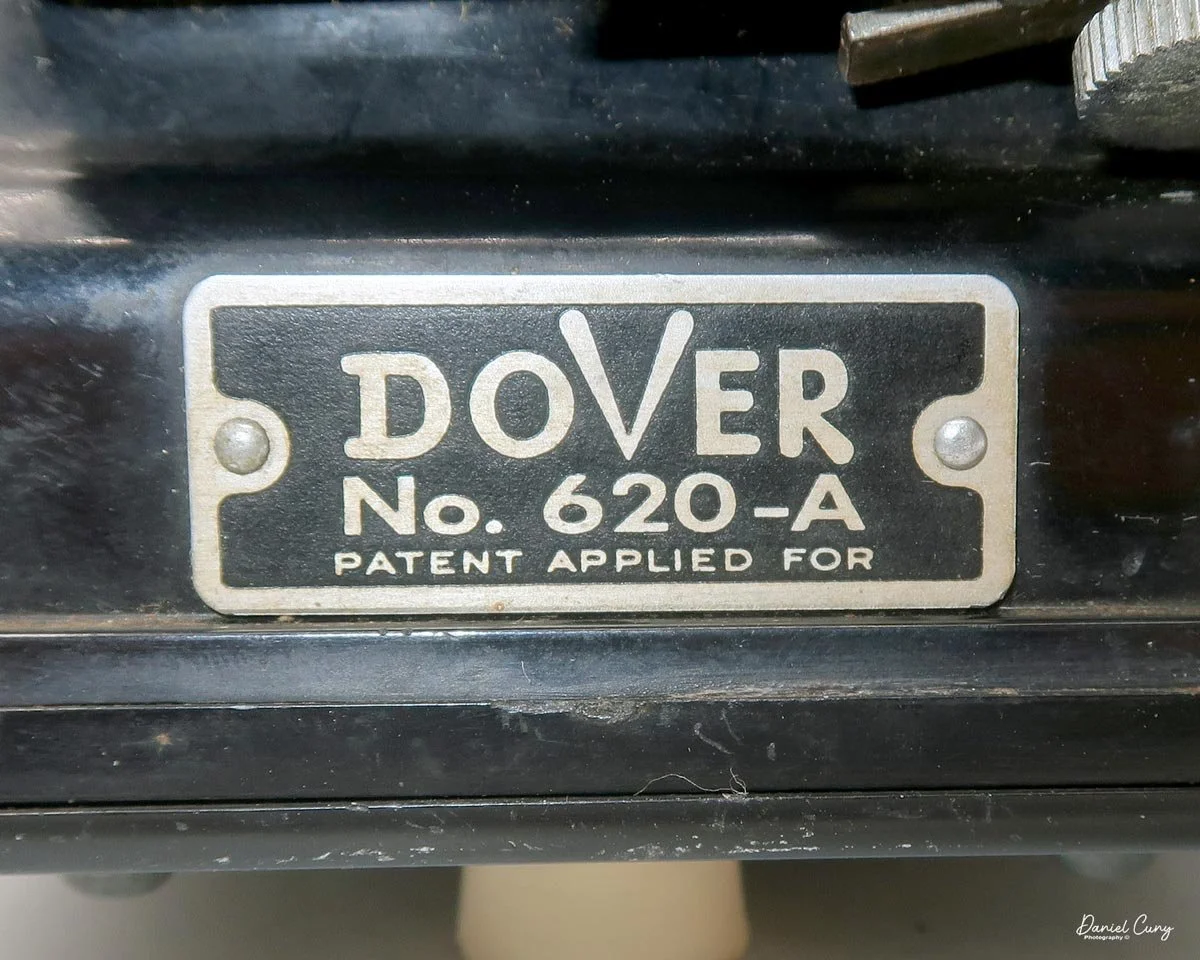
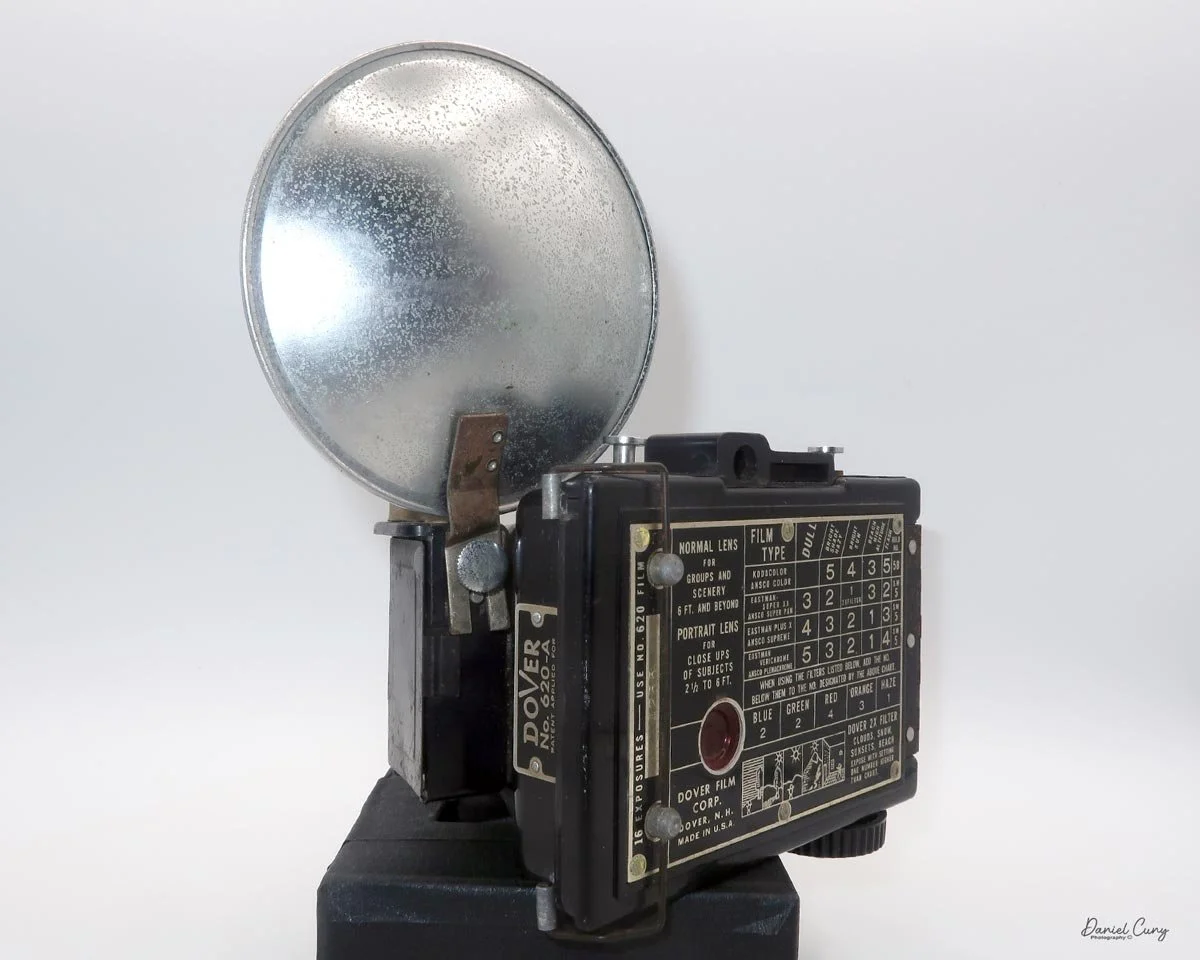
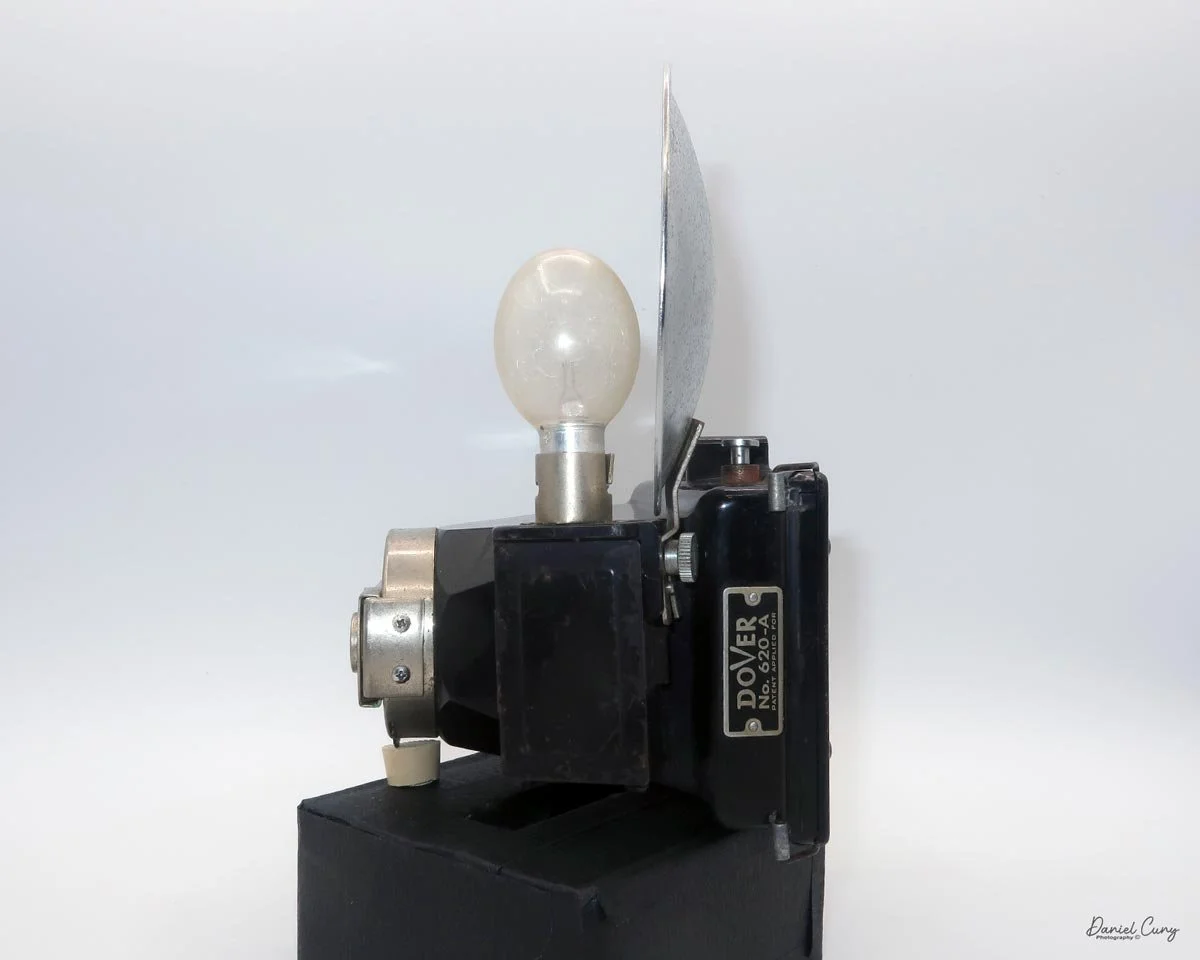
As I was scanning the photos of the camera online, I saw "Dover No. 620-A" on the side of the camera. It's a camera I was not aware of, which is somewhat odd given the amount of time I've spent scanning McKeown's Camera Guide.

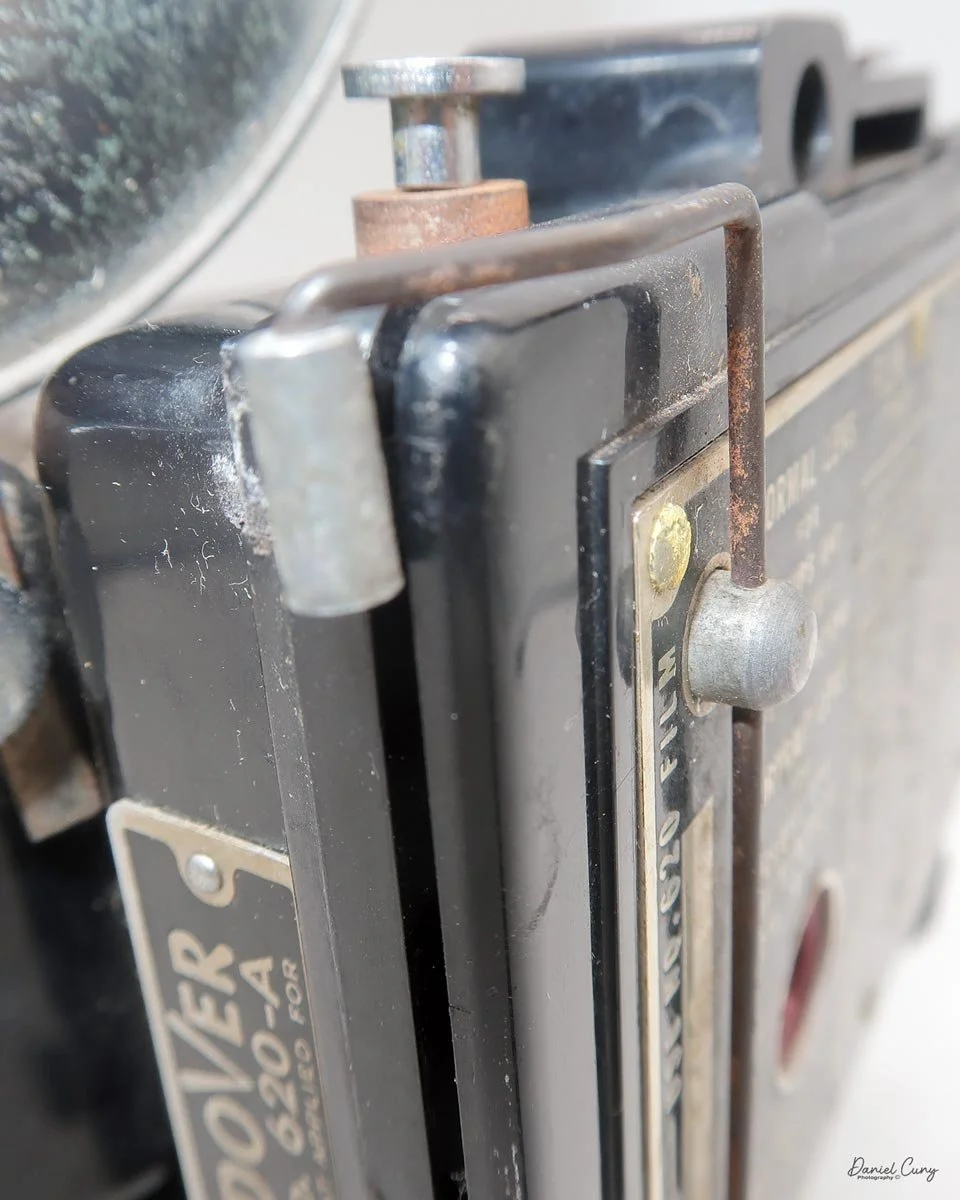
Nameplate on the camera

At this point, I picked up the camera bible (McKeown's Camera Guide) to see what they had on the camera. They had a short description linking it to the Speed-O-Matic, which is a camera I'd read about a long time ago, but I didn't remember much about it until I refreshed my memory looking through the guide.

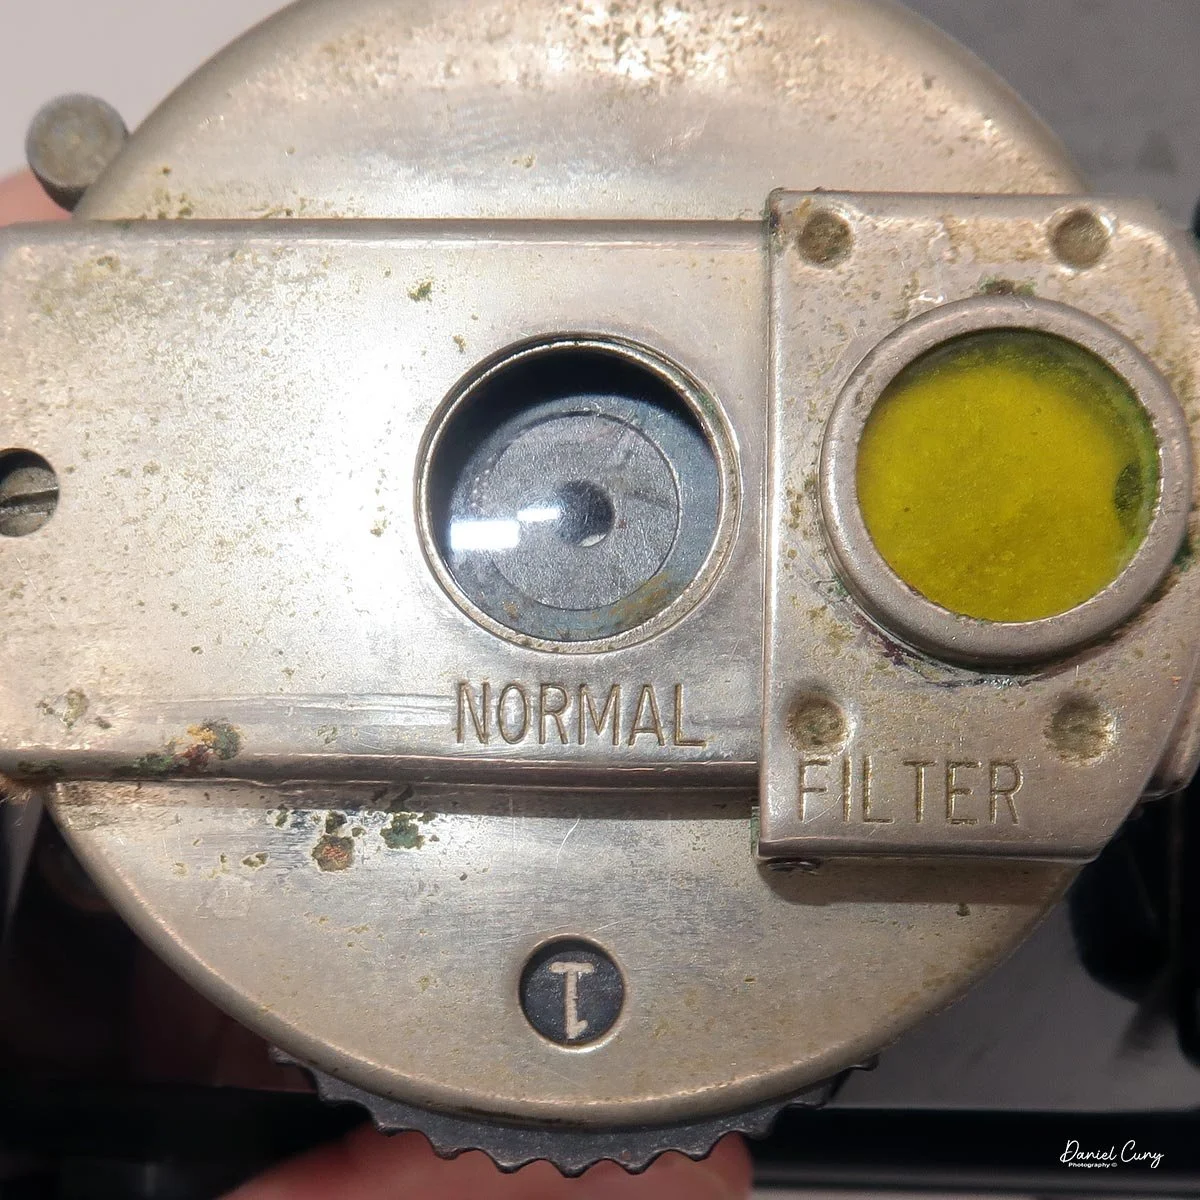
I also did some online research, which offered up identical information, along with a few more images of the camera. The photos showed the yellow filter on one side of the lens along with a second filter (Portrait) on the other side. Unfortunately, the camera I saw online only had the yellow filter.

The price of the camera online was very low, so I thought it might be fun to pull the trigger, purchase the camera, and write about it for one of my blog posts. I did see others on eBay and other places, but at the time, none of them had the flash reflector, the flash battery compartment wasn't as nice, and the price, even with shipping, was more than the one I saw online.

History:

The Dover 620-A is one of those cameras that's interesting for all the wrong reasons. It's a big, heavy chunk of black Bakelite with chrome trim, made around 1950 by the Dover Film Corp. — a company you've probably never heard of, and for good reason. The 620-A shoots 16 exposures of 4.5x6cm on 620 film, with a Somco f/9 meniscus lens, five rotary disc stops, a single-speed shutter, and a built-in flash. Its one genuinely clever feature is a pair of little filters — portrait and skylight — mounted right on the lens that slide across it. The operating instructions are even riveted onto the back, in case you lose the manual.

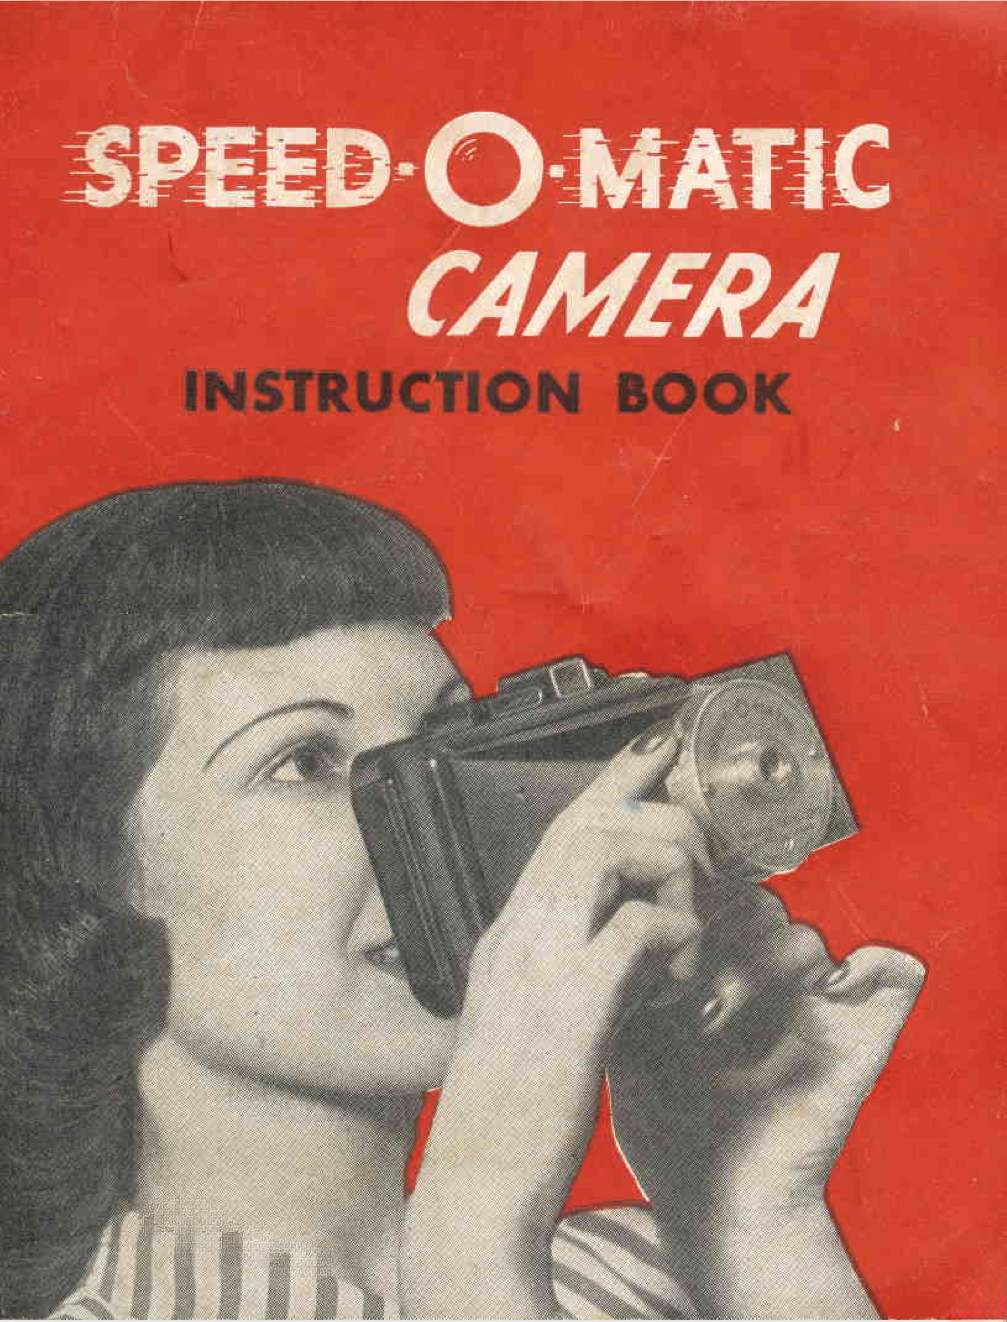
Cover from the Speed-O Matic camera

But the real story starts a few years earlier, with a camera called the Speed-O-Matic. Made around 1947-48 by the Speed-O-Matic Corp., it was an "instant" camera from before instant was easy: it shot direct-positive paper in a film pack, twelve 2x3-inch shots, and then you developed the paper yourself in a tank that came with the camera. Meniscus lens, single-speed shutter, extinction meter. Simple in theory, clunky in practice — you were essentially running a darkroom in a box.

The timing couldn't have been worse. Polaroid's Land camera debuted in 1948 and showed the world what instant photography was supposed to feel like. The Speed-O-Matic's shoot-paper-then-develop-it-yourself routine was a dead-on-arrival flop. The camera flopped, but the tooling survived.

That's where Dover Film Corp. comes in. Rather than design a camera from scratch, Dover took the Speed-O-Matic body molds and modified them for conventional roll film — and the Dover 620-A was born. Same bulky body, now a plain snapshot camera for standard 620 film. One curious footnote: the George Eastman Museum holds a Speed-O-Matic in its collection — camera, developing tank, film kit, and original box — a gift from the Eastman Kodak Company. Kodak kept an eye on the competition, even the competition that couldn't sell.

So the 620-A is a second act built on a failure: an instant camera that couldn't compete with Polaroid, reborn as a conventional snapshot camera by a company that saw value in molds nobody else wanted. And for the record, there probably wasn't ever a model B.

The Camera:

The camera is a very odd duck, measuring 5" wide by 4.5" deep and 7.5" tall from the bottom of the film winding knob to the top of the flash reflector. The Dover 620-A weighs just under one pound, at 15.5 ounces.

There's really nothing much to the camera itself. On the front of the camera is the lens, and on my camera the sliding yellow filter is on the right side — the portrait filter that should be on the left is missing.

Just below the lens is a rotary disk numbered 1 to 5; rotate it and the aperture in the lens changes. The number 1 is the widest opening and the number 5 is the smallest. The shutter release is above the lens at the 11 o'clock position. There is only one shutter speed, and that appears to be approximately 1/60.

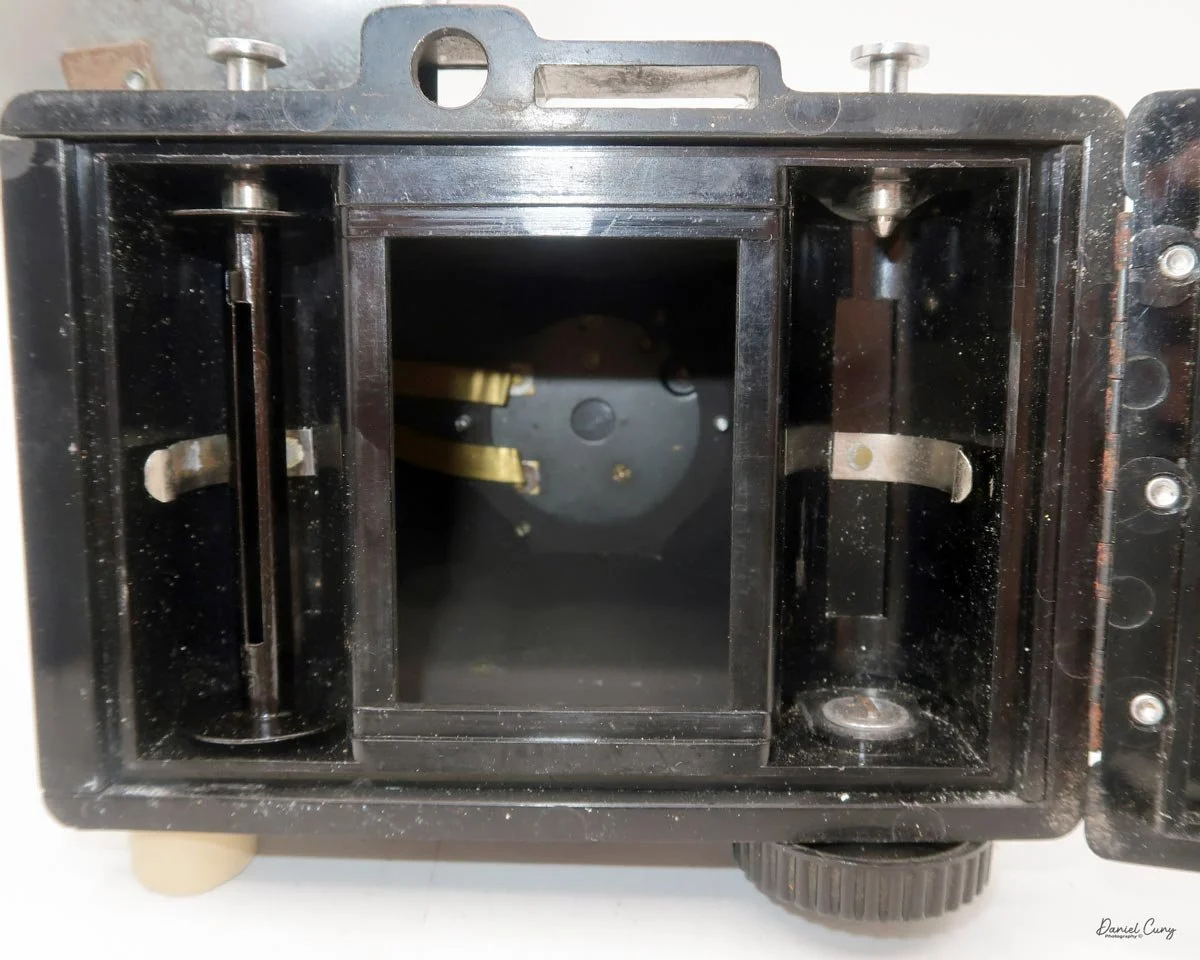
The Dover No. 620-A produces 16 images on a roll of 620 film. The film back is held onto the front of the camera by two clips — one on top, one on the bottom — hinged on the back of the camera.

Once you unhinge the top and bottom clips and open the back, you load it like any roll-film camera: the take-up spool on the left side, the fresh roll of film on the right.

The take-up knob on the bottom of the camera is much larger than on many other cameras, but on the bright side, it makes winding from one frame to the next very easy. On the negative side, the camera doesn't sit straight when you set it down on a counter or table — the size of the knob made photographing the camera more difficult.

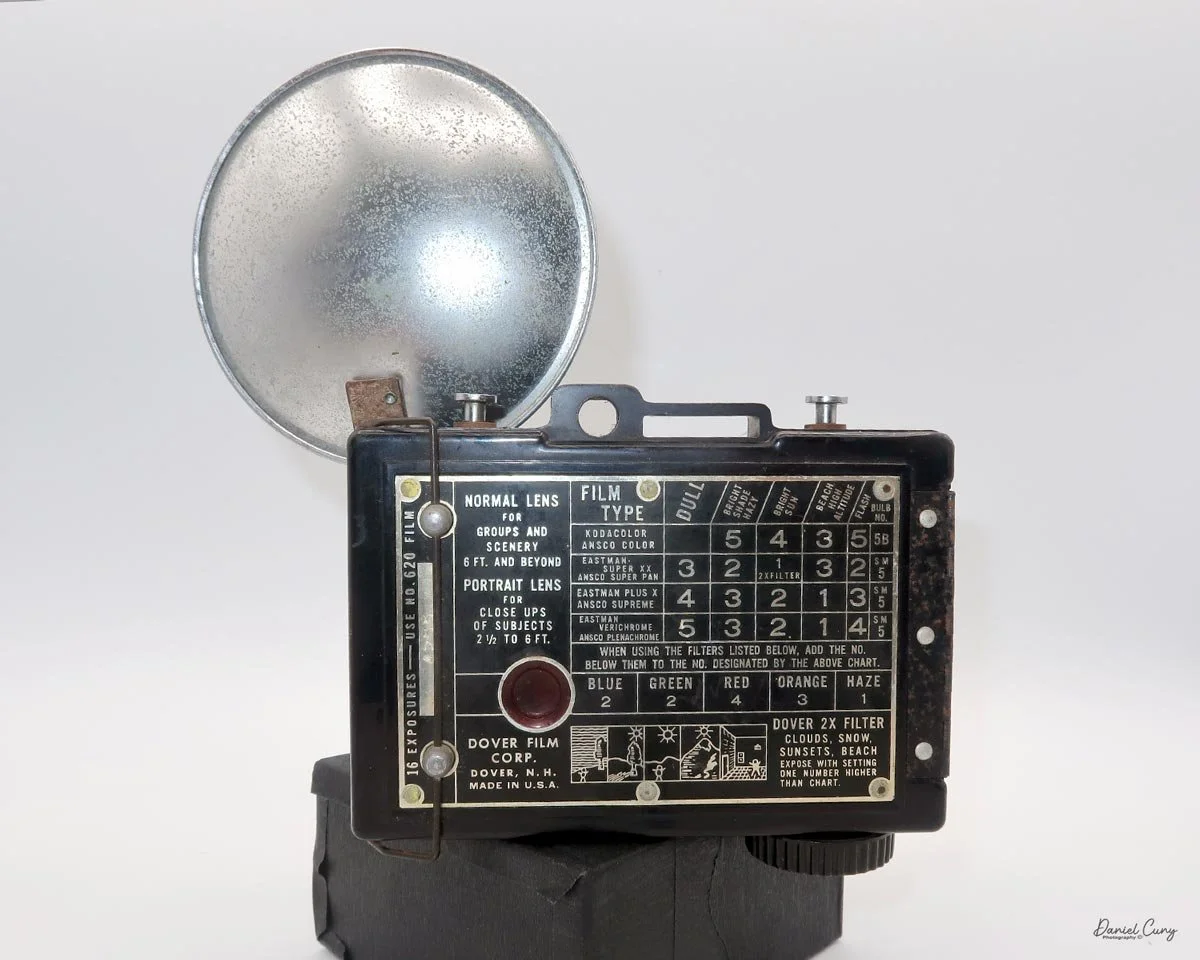
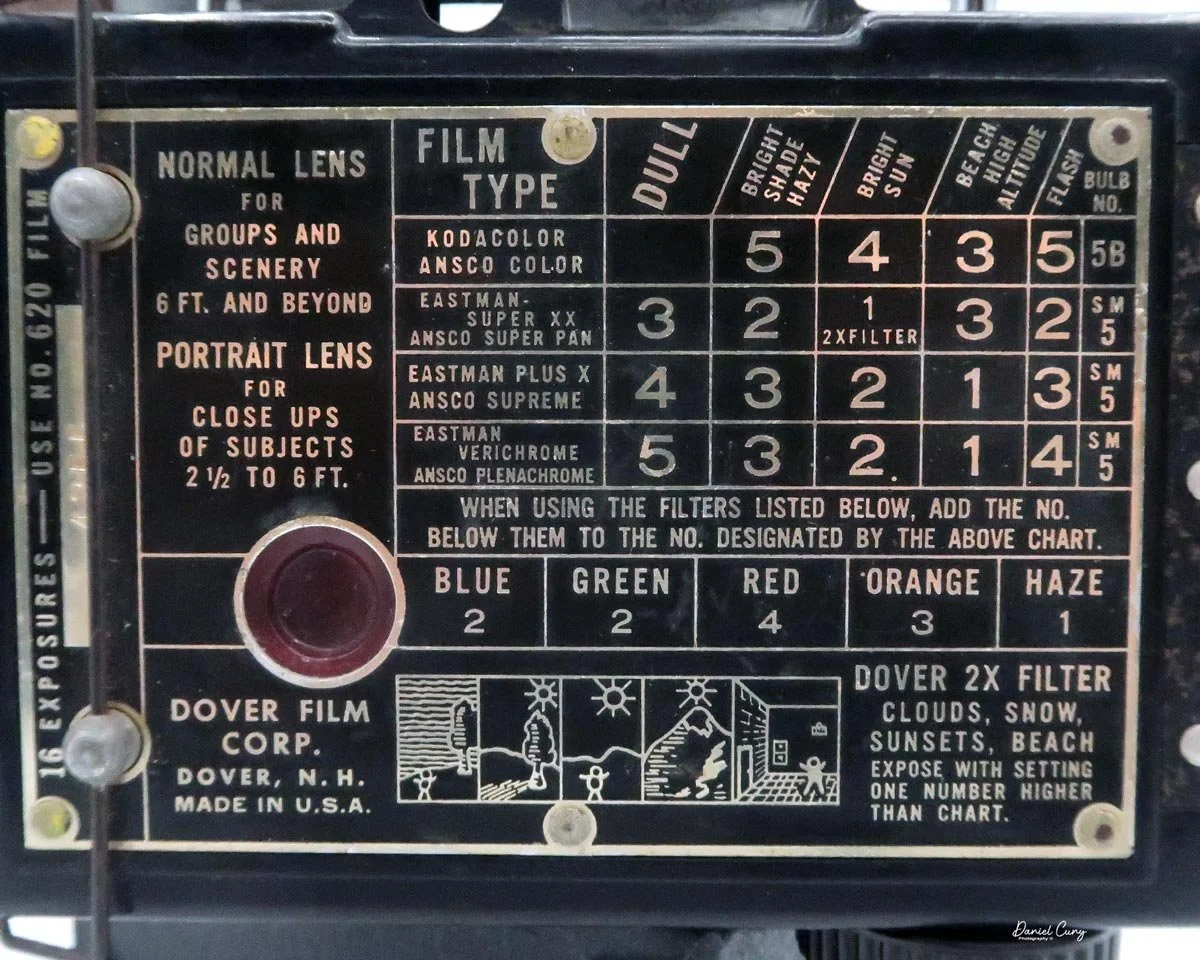
To me, the bright side of the camera is the exposure guide on the back, which fills up the entire back door. It's easy to read, and it has more information than a camera this simple would ever expect a photographer to know.

Exposure guide on the back of the Dover No. 620-A camera.

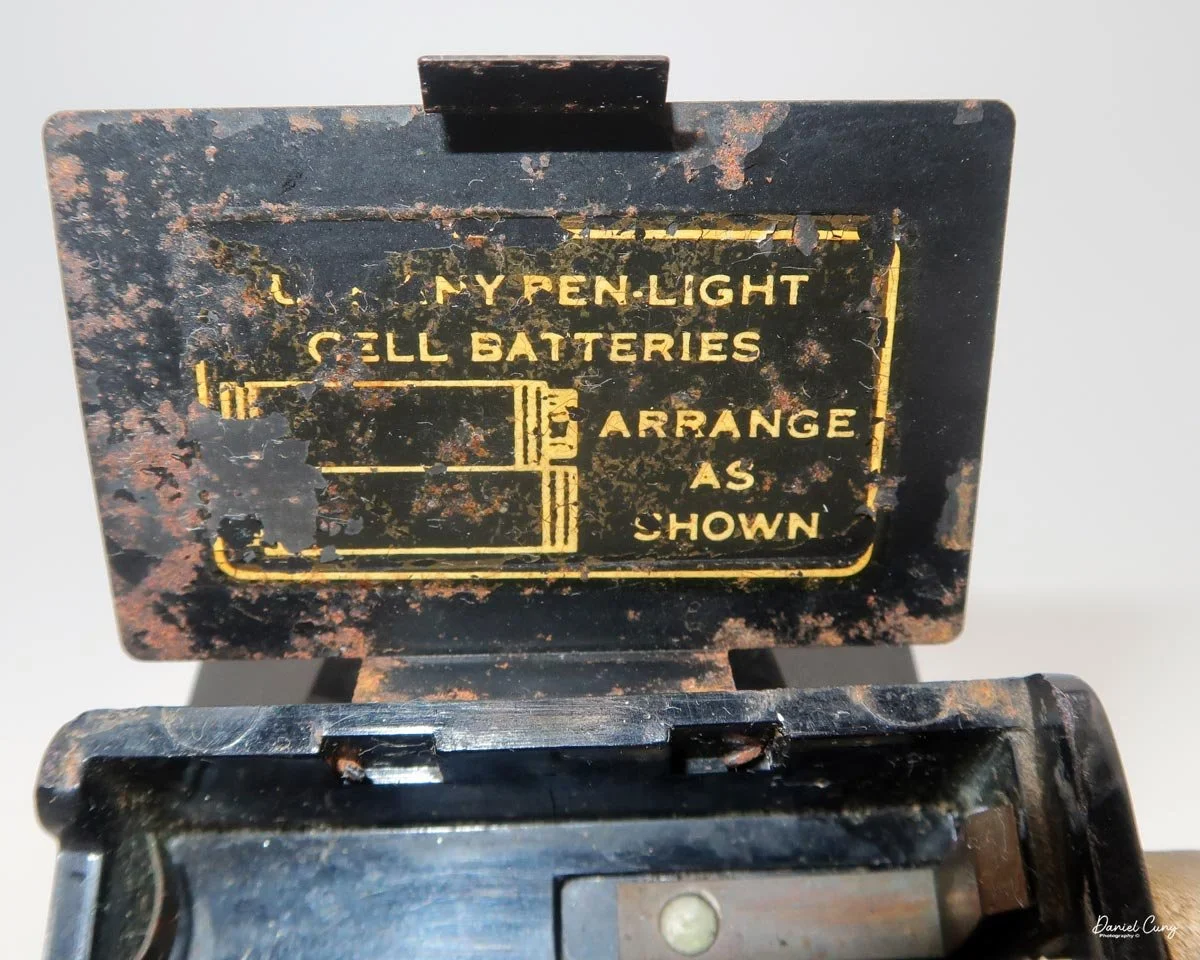
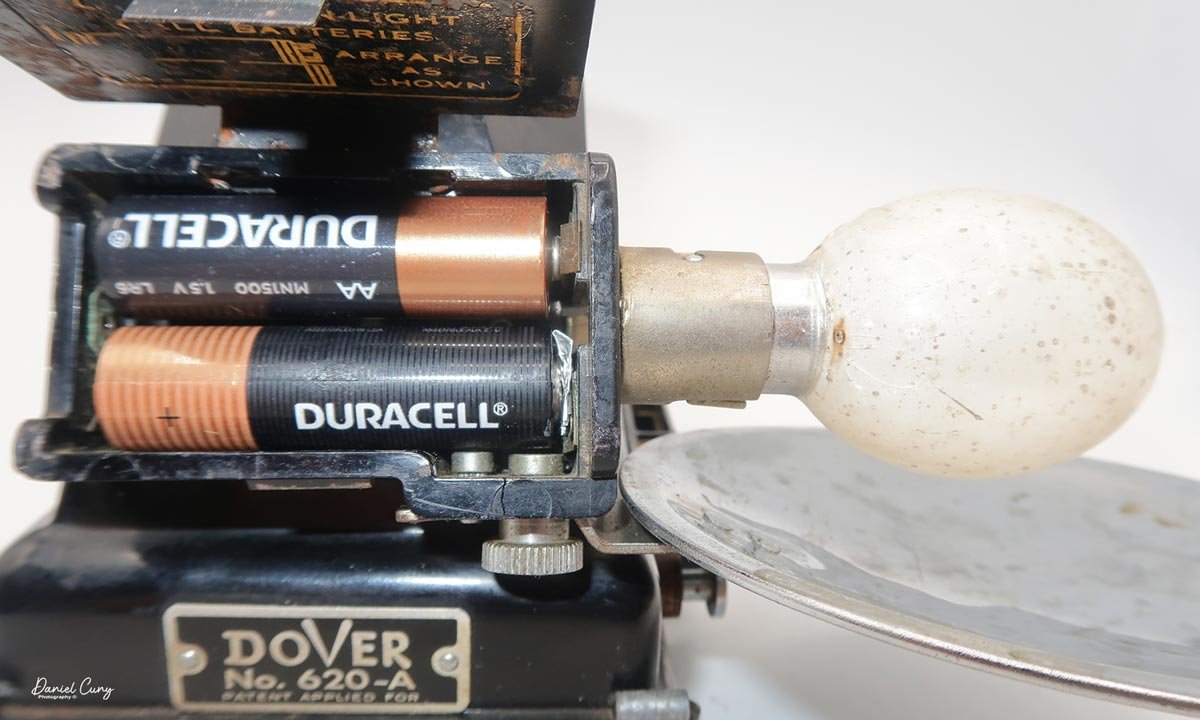
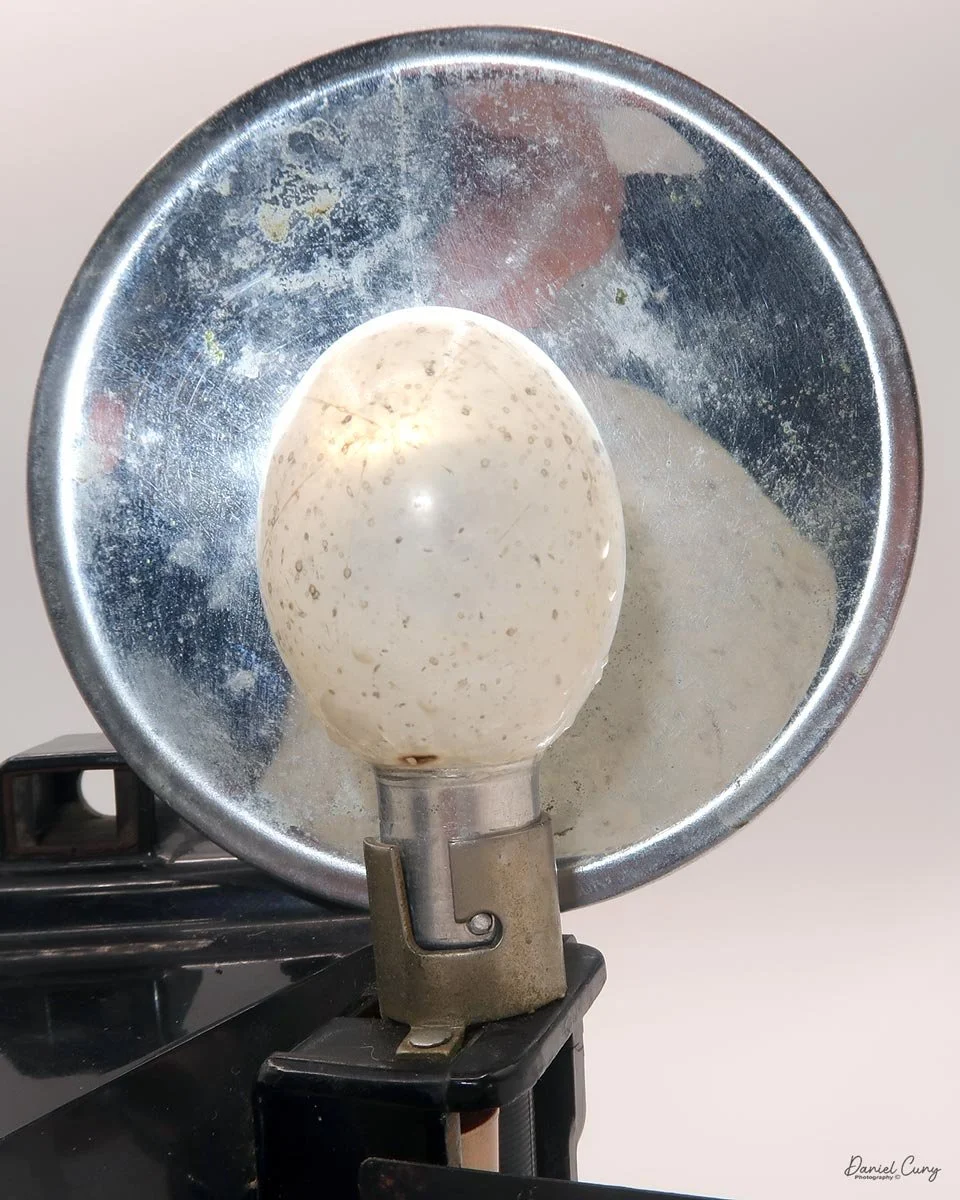
On the left side of the camera is the flash, which takes either a type 22 clear bulb (for black & white film) or a 22B for color film. The battery compartment seemed pretty clean, so I put in 2 fresh AA batteries, but no flash. At this point, I scuffed up the contacts and put a fresh type 22 bulb in the holder, and success — the flash worked. I forgot how bright flash bulbs were until you accidentally look at one when the flash goes off. YIKES.

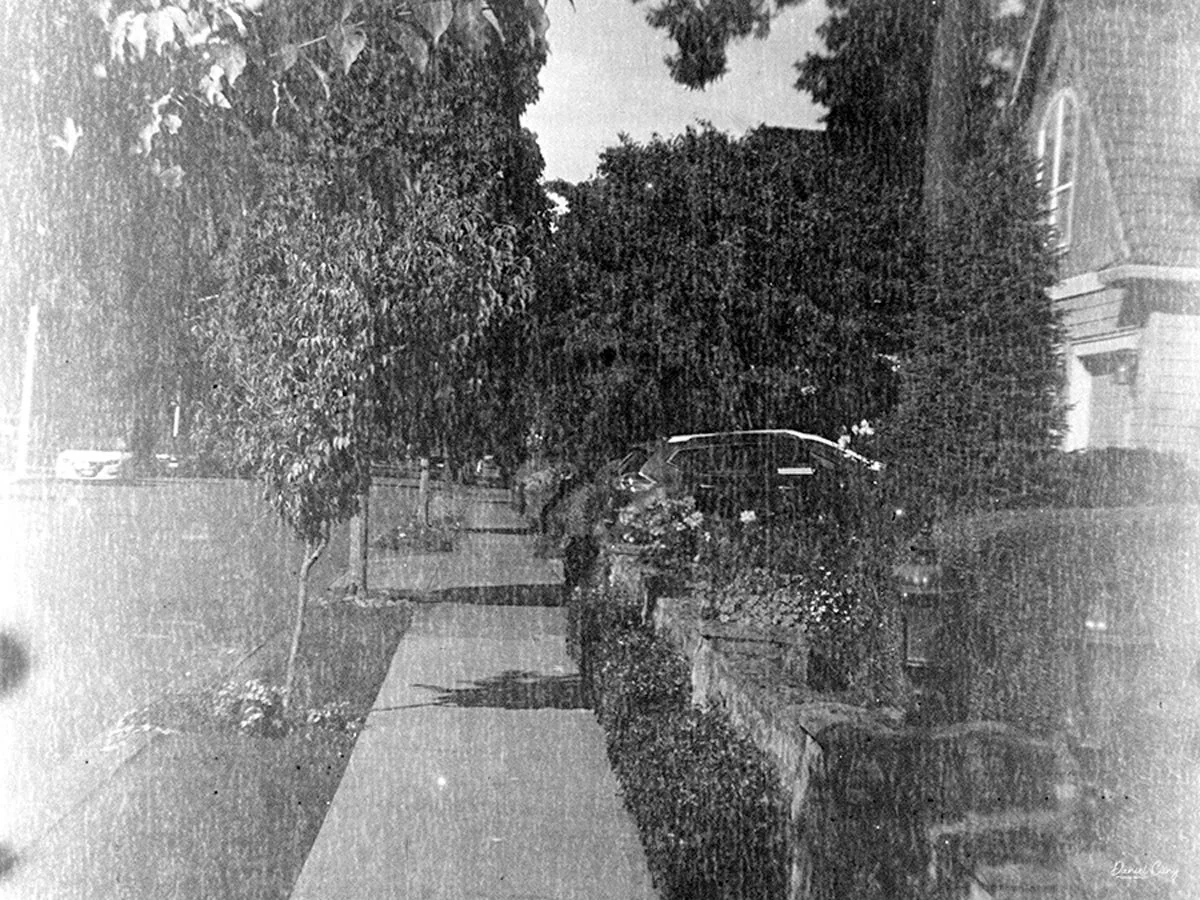
With a working camera, I wanted to put it through its paces and see what it could produce in terms of images. Unfortunately, the only film I had was from the 1950s, and not in very good condition. Anxious and unwilling to wait, I popped a roll in the camera and walked through the neighborhood, taking some images with the Dover No. 620-A.

 My Results:

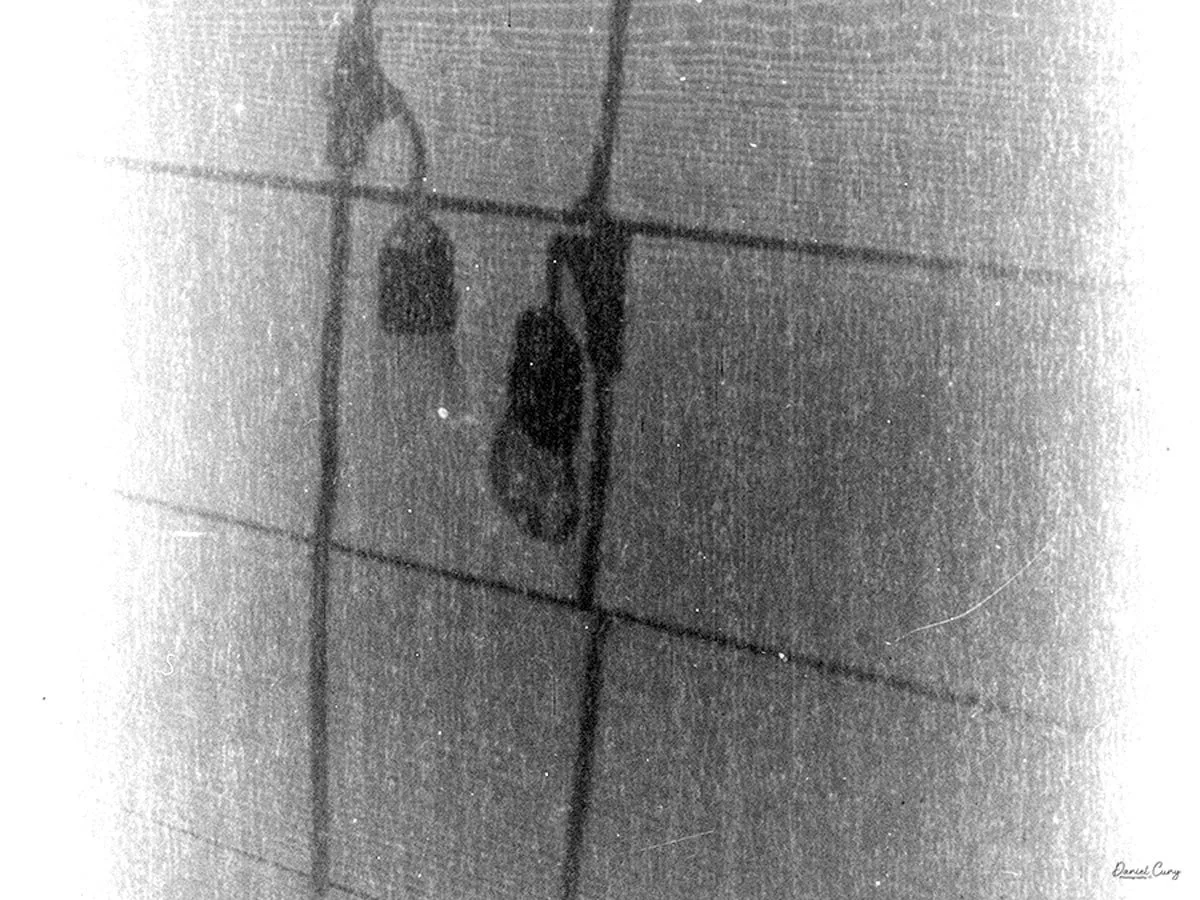
Well, the camera performed as it should, and I should have waited to get fresher film, because the exposures from the very outdated film were off, and due to the film's age, the images have an unusual texture from what I can only presume is a breakdown of the emulsion.

Conclusion:

While the photos didn't turn out as I hoped, the camera was fun to use and, other than the odd and extraordinarily large winding knob on the bottom, it's a relatively rare camera for the collection.

Thank you for taking the time to read this updated review of the Dover 620-A camera!

Are you interested in other vintage gear? Be sure to check out some of my other Camera Reviews.

Check out my Cuny's Camera Collection YouTube channel, where I'm putting together video overviews of the cameras I write about. Be sure to subscribe and like the channel, too!

Cuny's Cameras and Photos is my online eBay store, where you'll find some of the cameras I've reviewed, along with a wide range of other cameras, lenses, and gear from my personal collection that I am thinning out.

Until next week, please be safe!

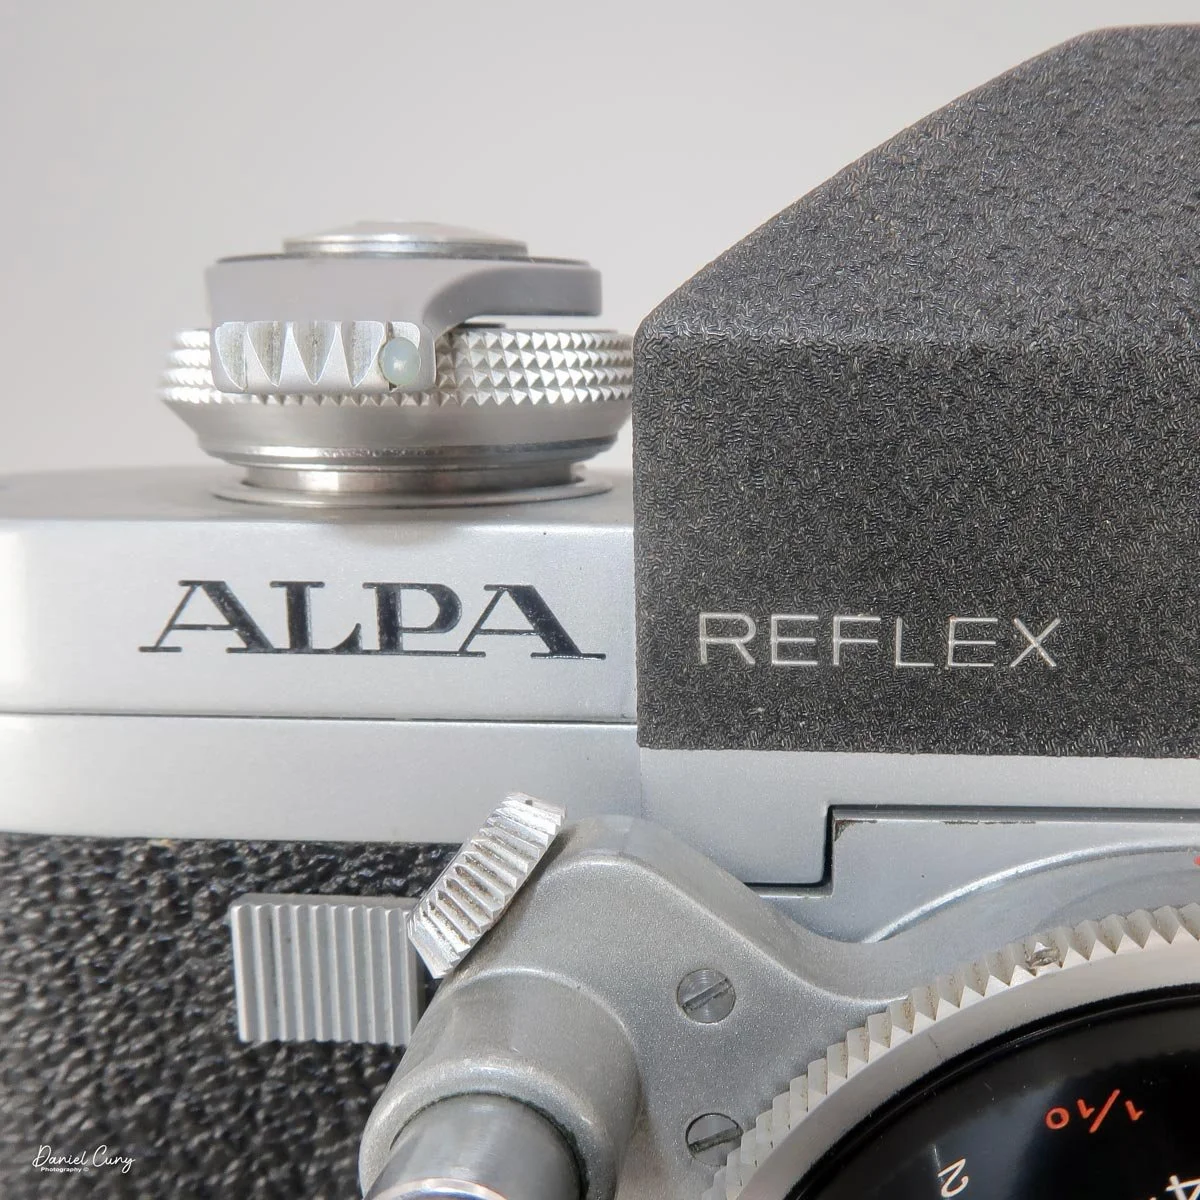
Alpa Reflex 9d camera

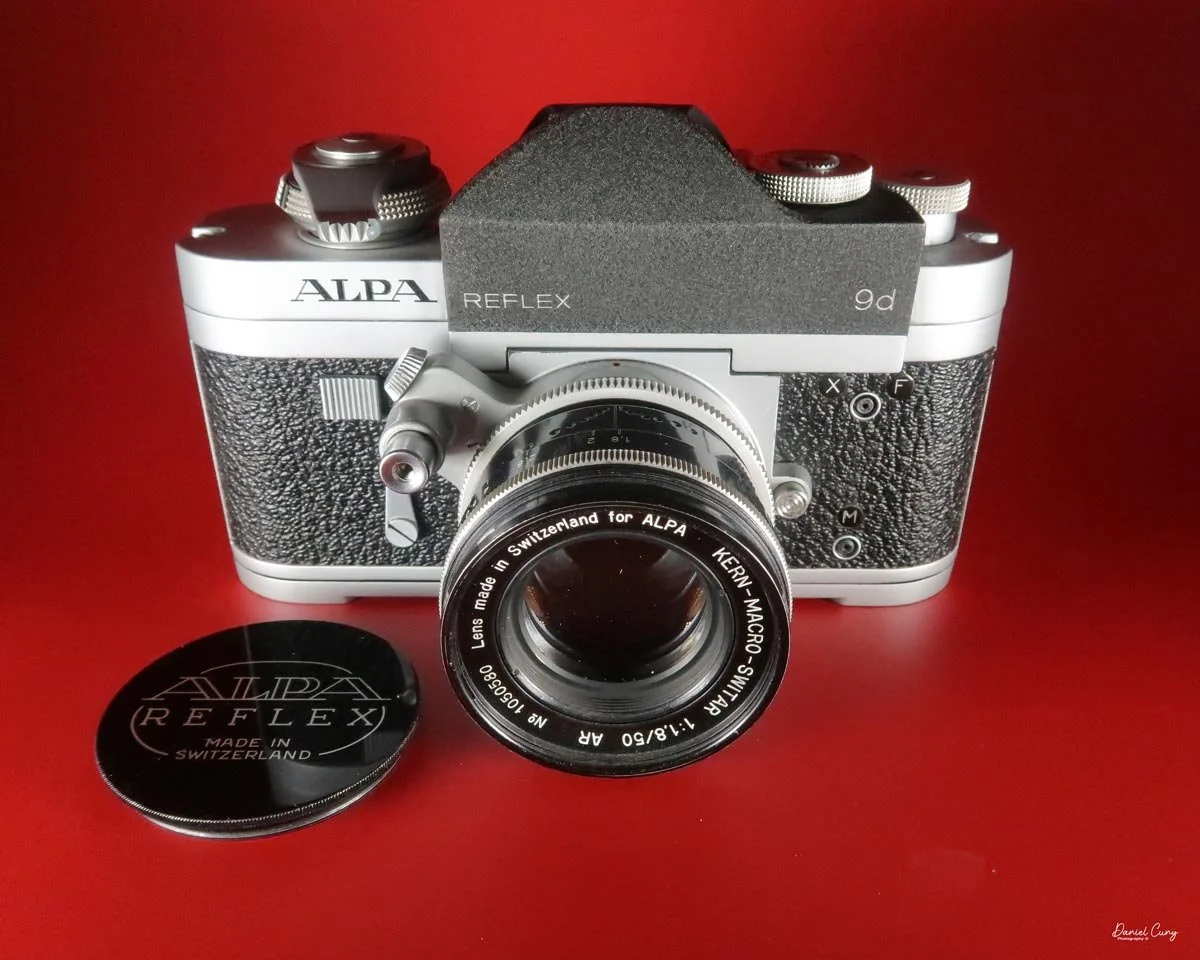
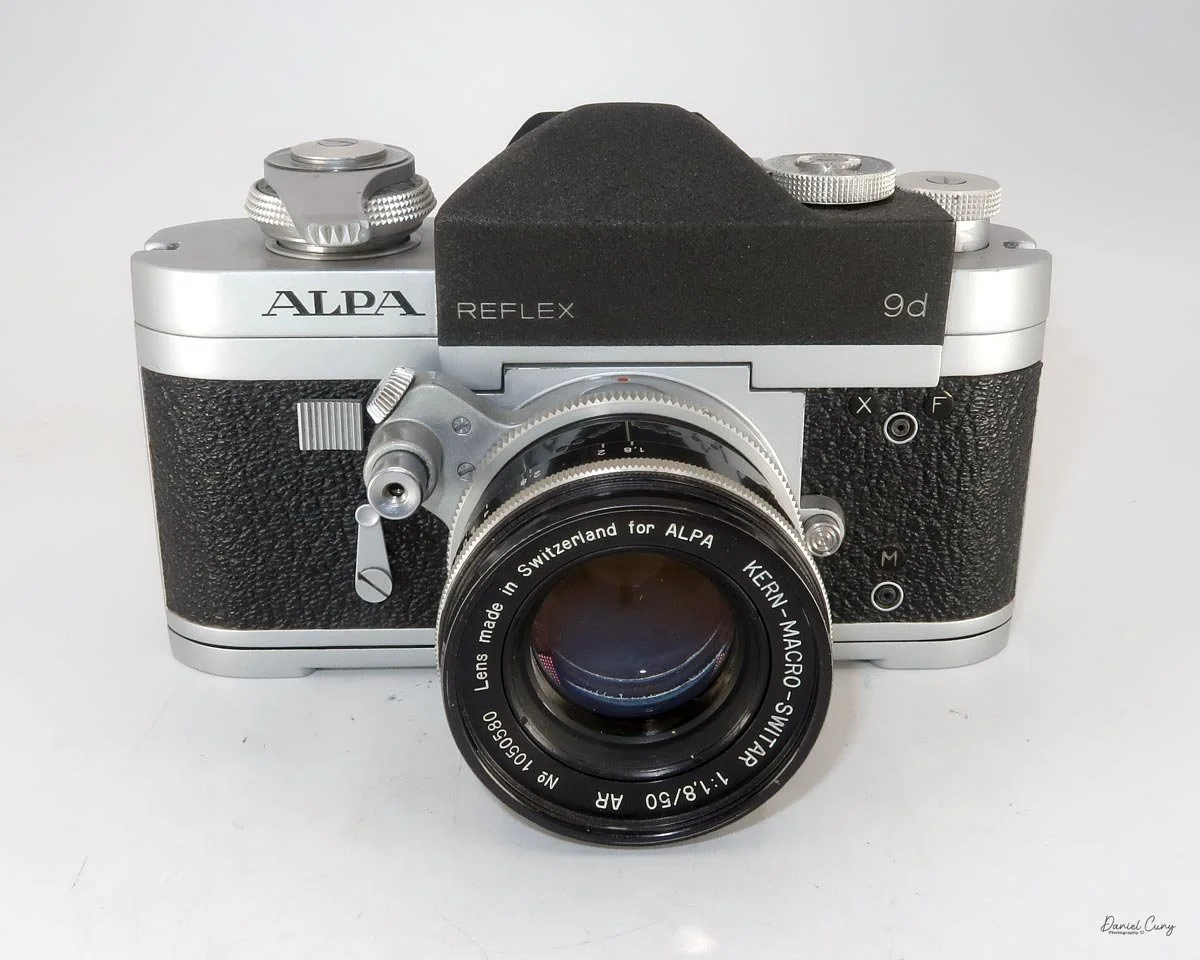
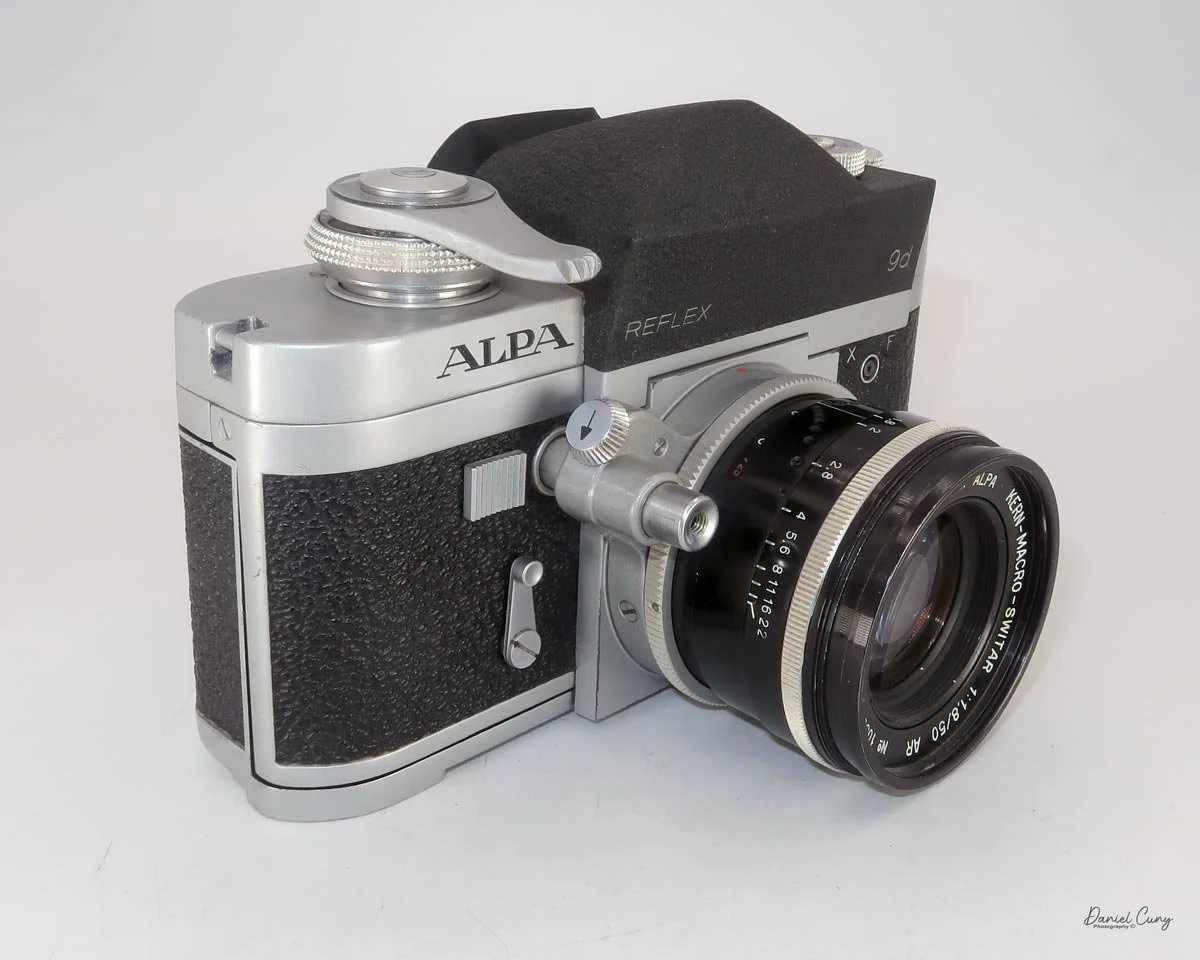
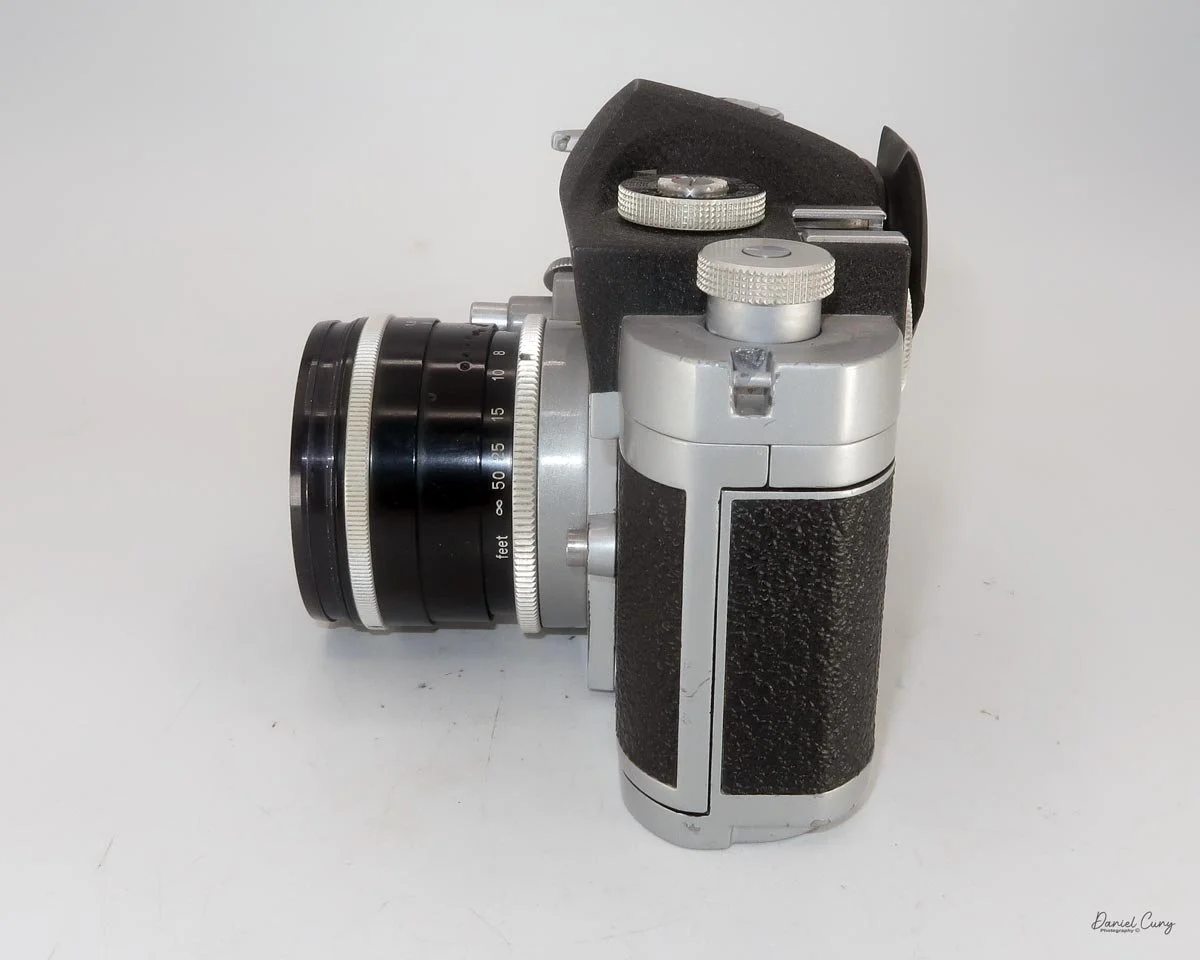
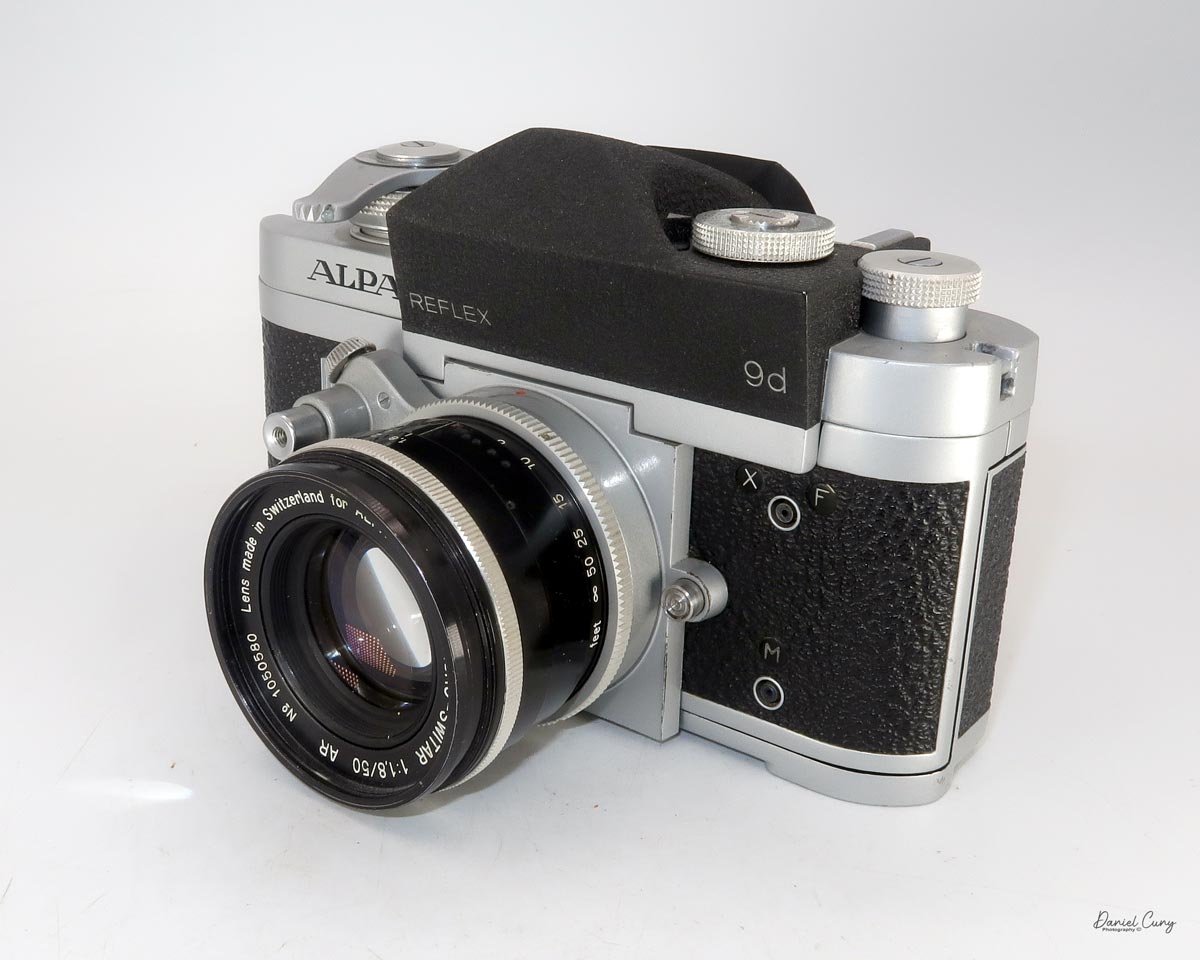
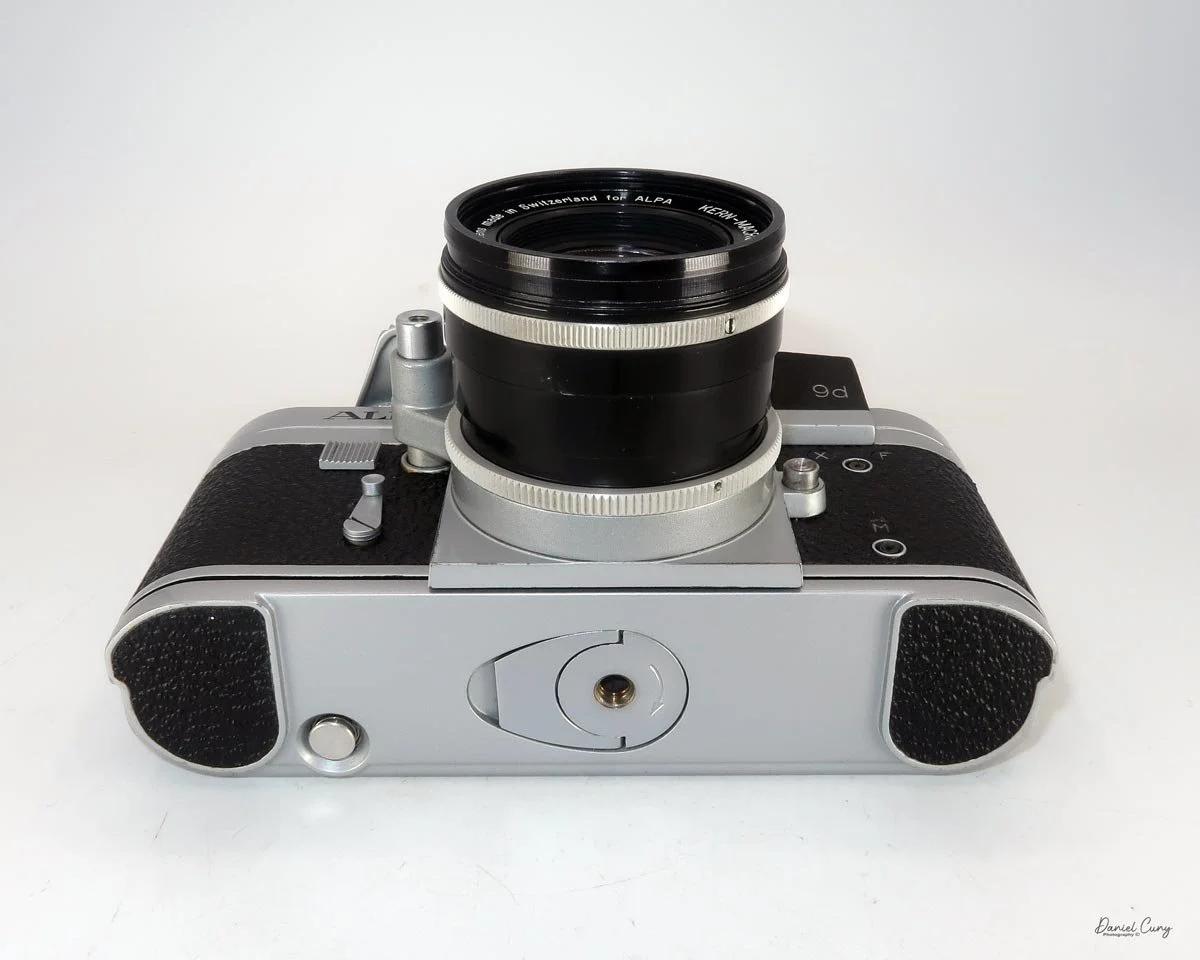
My Alpa Reflex 9d with Kern Macro Switar 50mm f/1.8 lens

A few months ago, I received a message from a friend of mine who lives in Las Vegas. She told me that one of her neighbors' husbands had passed away a while ago, and his wife was looking to sell his camera collection.

She had already gone through her usual friends, family, and other acquaintances to see if anyone was interested in the cameras, with the usual response of "no." My friend told her that he knew someone who might be interested, and that's when I started receiving messages asking if I would like to see what she had.

Of course, I said yes.

I'm always looking to buy and sell cameras, as well as keep certain cameras for special occasions, so I asked my friend to take some photos and send them to me.

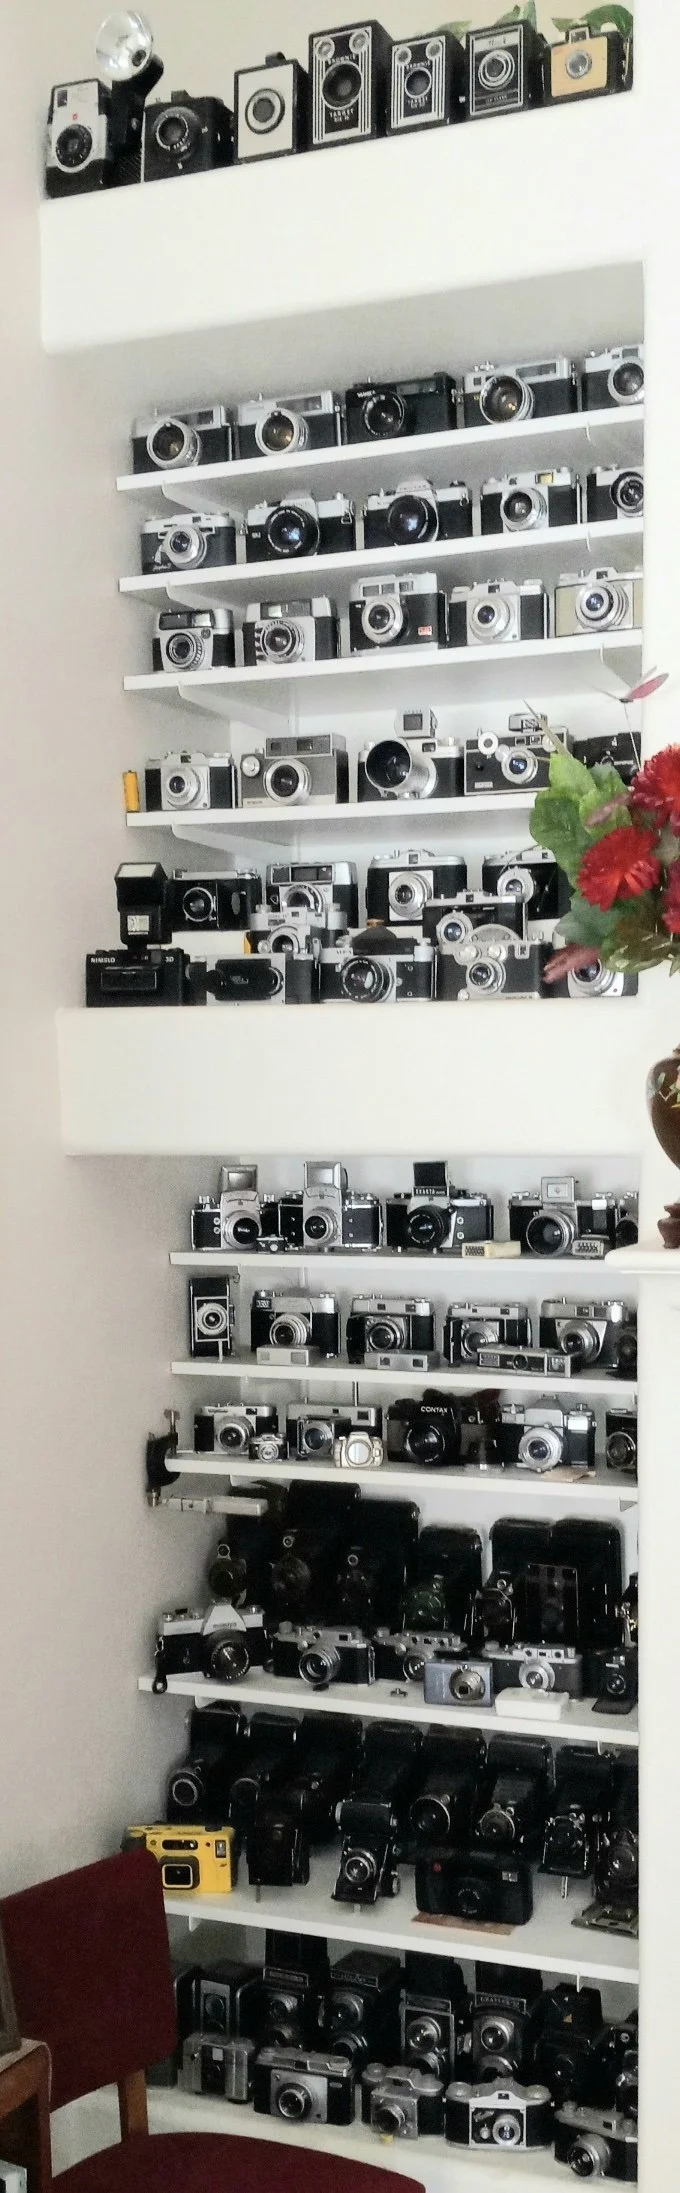
When the photos arrived, I wasn't expecting what I saw. This wasn't just a few cameras sitting in a closet. There was an entire wall of cameras next to the fireplace, neatly stacked on shelves. Doing a rough count, there appeared to be around 100 cameras.

There were plenty of very common cameras that I wasn't particularly interested in, but there were also quite a few really nice ones. In the photos I spotted a Leica IIIb, a Canon rangefinder, a Voigtländer Vitessa, a couple of Exaktas, a Fed I, and one camera that really caught my eye—the Alpa Reflex 9d.

Photo of the camera collection purchased.

I asked if she would be willing to sell just the cameras I was interested in, which amounted to around 25 to 30 cameras. Unfortunately, it was an "all or nothing" sale. She wanted all of the cameras out of her house to make some room, which I could certainly understand.

There was just one problem.

I live in Washington State, and the cameras were in Las Vegas. Shipping nearly 100 cameras would be expensive, and packing that many cameras would be a tremendous amount of work. Since the woman selling the collection was elderly, I also didn't think it was reasonable to expect her to pack and ship everything.

Fortunately, my wife and I were already planning a road trip.

We were going to drive down the Oregon coast to visit family, continue to the San Francisco Bay Area, where we had lived about 10 years ago, and then head to Southern California to visit my sister-in-law. If I could add another four-hour drive from Southern California to Las Vegas, I could pick up the cameras myself.

We agreed on a price, and my friend told me the cameras were in tip-top shape. The seller also agreed to wait until mid-September for me to make the trip.

That worked out perfectly.

While we were in San Francisco, we timed our visit to coincide with the monthly Alameda Point Antique Faire, held on the first Sunday of each month. Naturally, I couldn't be that close and not go. I came away with some great camera and photography-related items.

From San Francisco, we headed to Southern California, stayed with my sister-in-law for a few days, and then made the drive to Las Vegas.

Since we were traveling by car, I had plenty of room for the cameras. I brought a large spare suitcase and plenty of packing material so I could safely transport everything home.

Even though I had agreed to purchase the entire collection, I had already made it clear that I didn't want all of the cameras. I estimated that I would donate about 40 percent of them to Goodwill because they really didn't have much value. The seller told me that whatever I didn't want, I could simply box up because she had a young friend interested in photography who would love to have them.

When we arrived at her house, it was great to finally meet the person I had been talking with on the phone and emailing for quite some time. She was very happy that I had made the trip to pick everything up.

We sat and talked for a while, and then I got to work.

I put the cameras I wanted into the bubble bags I had brought and carefully packed them into the large suitcase. The cameras I wasn't keeping went into two separate boxes, which I carried into her garage.

Then, when I went to close the suitcase, it hit me.

This was going to be heavy.

Very heavy.

Fortunately, it wasn't completely unmanageable, and I was able to get the suitcase into the back of my car. But I'd estimate that it was very close to 100 pounds.

That was essentially what my wife and I had been doing for the previous three weeks—driving, visiting family, going to antique shows, and finally hauling a nearly 100-pound suitcase full of cameras home from Las Vegas.

We returned from the trip about a week ago, and I've now started sorting through the cameras we purchased, listing some of them in my Cuny's Cameras and Photos eBay store and preparing others for a camera show in Seattle on Saturday, October 3, 2026.

Of all the cameras in that collection, however, there was one I was particularly anxious to get my hands on.

The Alpa Reflex 9d.

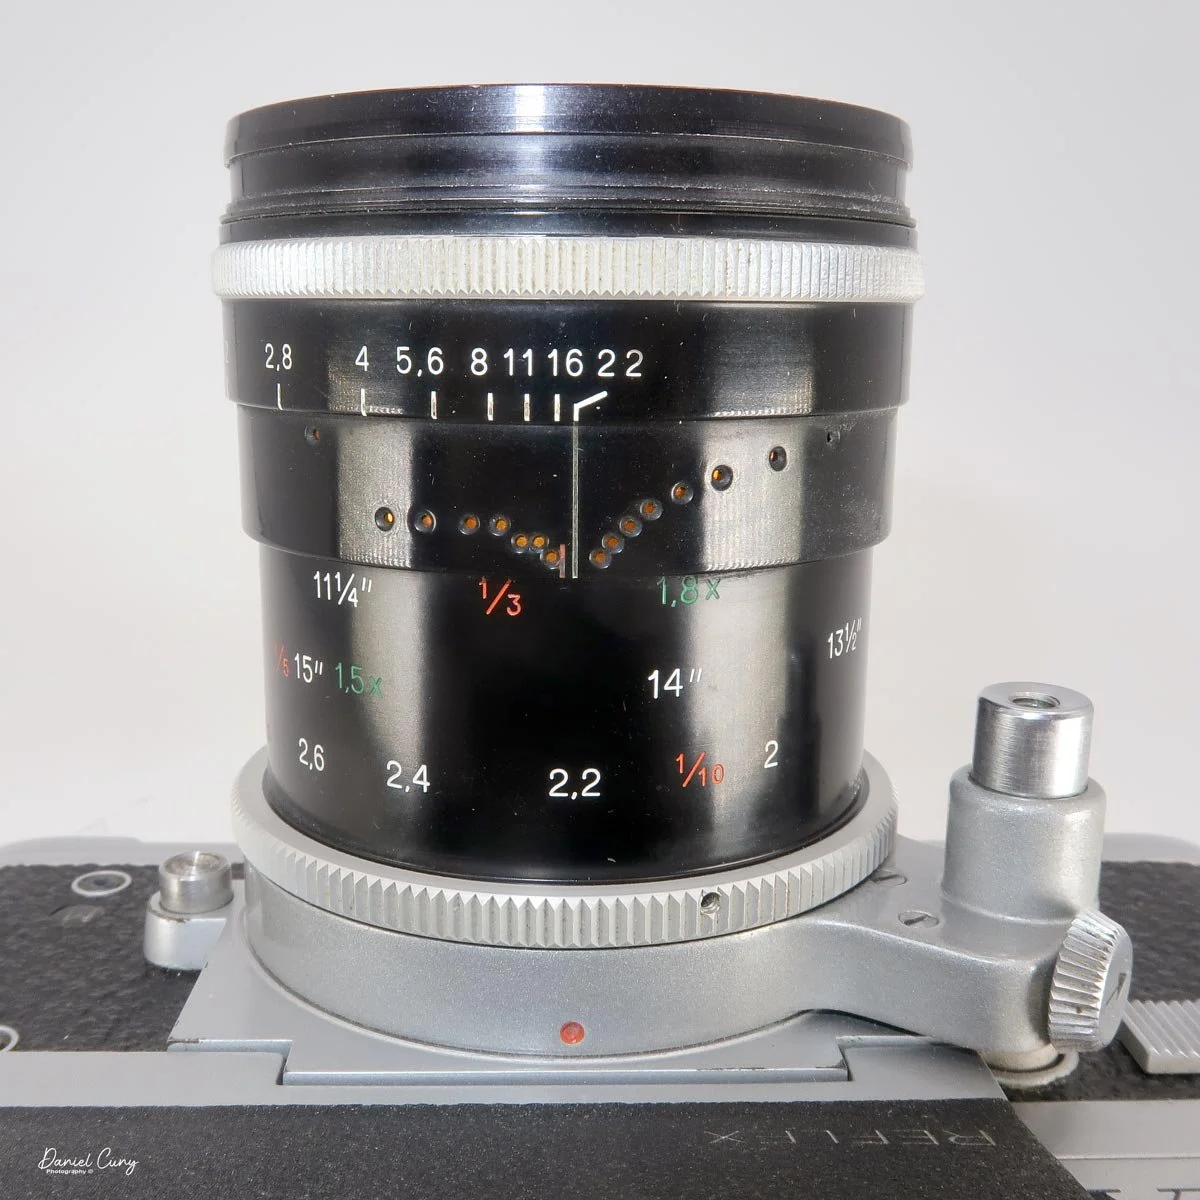
And fortunately, it came with what may be an even more interesting piece of the package—the Kern Macro Switar 50mm f/1.8 lens.

After unpacking everything, the first thing I did was inspect the Alpa to make sure it was in as good a condition as my friend had described. I also checked the lens to make sure the glass was clean and clear.

Everything looked good.

So I loaded a roll of film into the Alpa, grabbed the camera, and headed out into the neighborhood to see what this vintage Swiss camera and lens could do.

History

Alpa cameras occupy a special place in the history of 35mm photography. Made in Switzerland, Alpa cameras were never mass-market products. Instead, they were precision instruments designed for photographers and collectors who appreciated exceptional mechanical construction, innovative designs, and meticulous craftsmanship.

The company's roots go back to Pignons S.A. in Ballaigues, Switzerland. In 1944, the company introduced the Alpa Reflex, designed by Jacques Bolsky. It was an unusual 35mm SLR that combined a compact body with a distinctive internal mechanism.

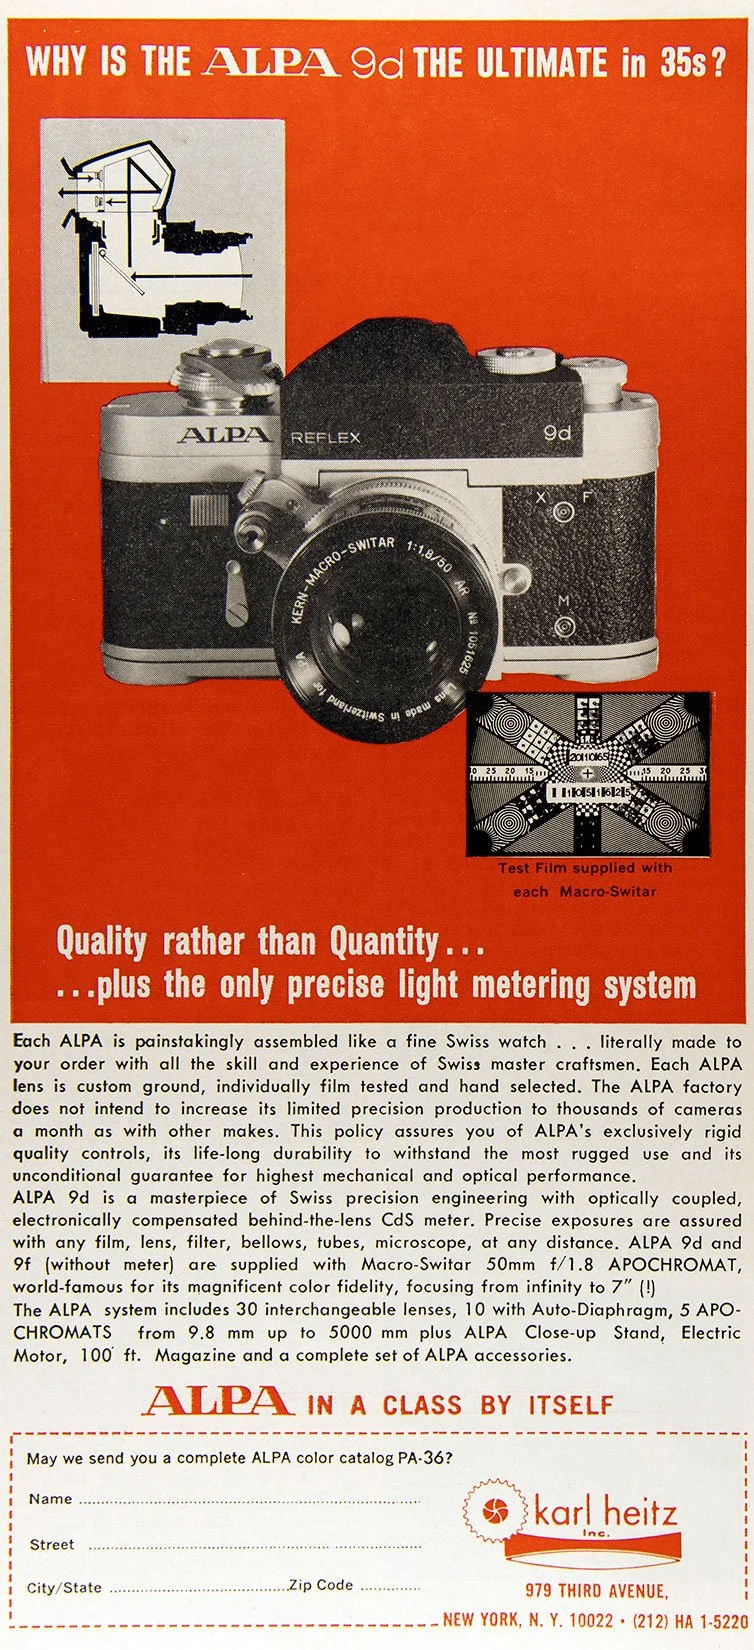
Alpa Reflex 9d advertisment.

From the beginning, Alpa cameras were different from the mainstream.

During the late 1940s and 1950s, Alpa developed a series of increasingly sophisticated 35mm SLRs. Models such as the Alpa-Standard, Alpa-Reflex, Alpa-6, and Alpa-7 helped establish the company's reputation for precision and quality.

Alpa cameras were considerably more expensive than many of the mainstream 35mm cameras being produced by manufacturers such as Leica, Nikon, Canon, and Pentax. Their relatively low production numbers and Swiss construction gave them an almost bespoke character.

One of the important developments in the Alpa story came with the Alpa 9d, introduced in the early 1960s. It incorporated a through-the-lens metering system while retaining the unusual mechanical design that made Alpa cameras so distinctive.

The Alpa 10d and later Alpa 11 series continued this tradition. Prestigious lens manufacturers supplied optics for Alpa cameras, including Schneider-Kreuznach, Kern Aarau, and Angénieux.

Perhaps the most famous Alpa cameras are the 9, 10, and 11 series, along with the later Alpa 12 cameras. Their precision construction, interchangeable lenses, and unusual operating characteristics made them particularly attractive to professional and specialist photographers.

The Alpa 11si, introduced during the 1970s, represented one of the final major developments of the original Alpa tradition. Its compact body, sophisticated metering, and exceptional build quality made it one of the most interesting Swiss 35mm SLRs of its era.

Despite the company's reputation, producing highly specialized cameras in relatively small numbers made it difficult for Alpa to remain profitable. Pignons S.A. eventually ceased camera production in 1990, bringing the original Alpa 35mm era to an end.

Today, Alpa 35mm cameras are highly regarded by collectors. Their limited production, distinctive engineering, unusual lens systems, and Swiss craftsmanship make them fascinating examples of high-end mechanical 35mm photography.

For collectors, an Alpa isn't simply another vintage SLR. It represents a uniquely Swiss interpretation of what a precision camera could be.

The Camera

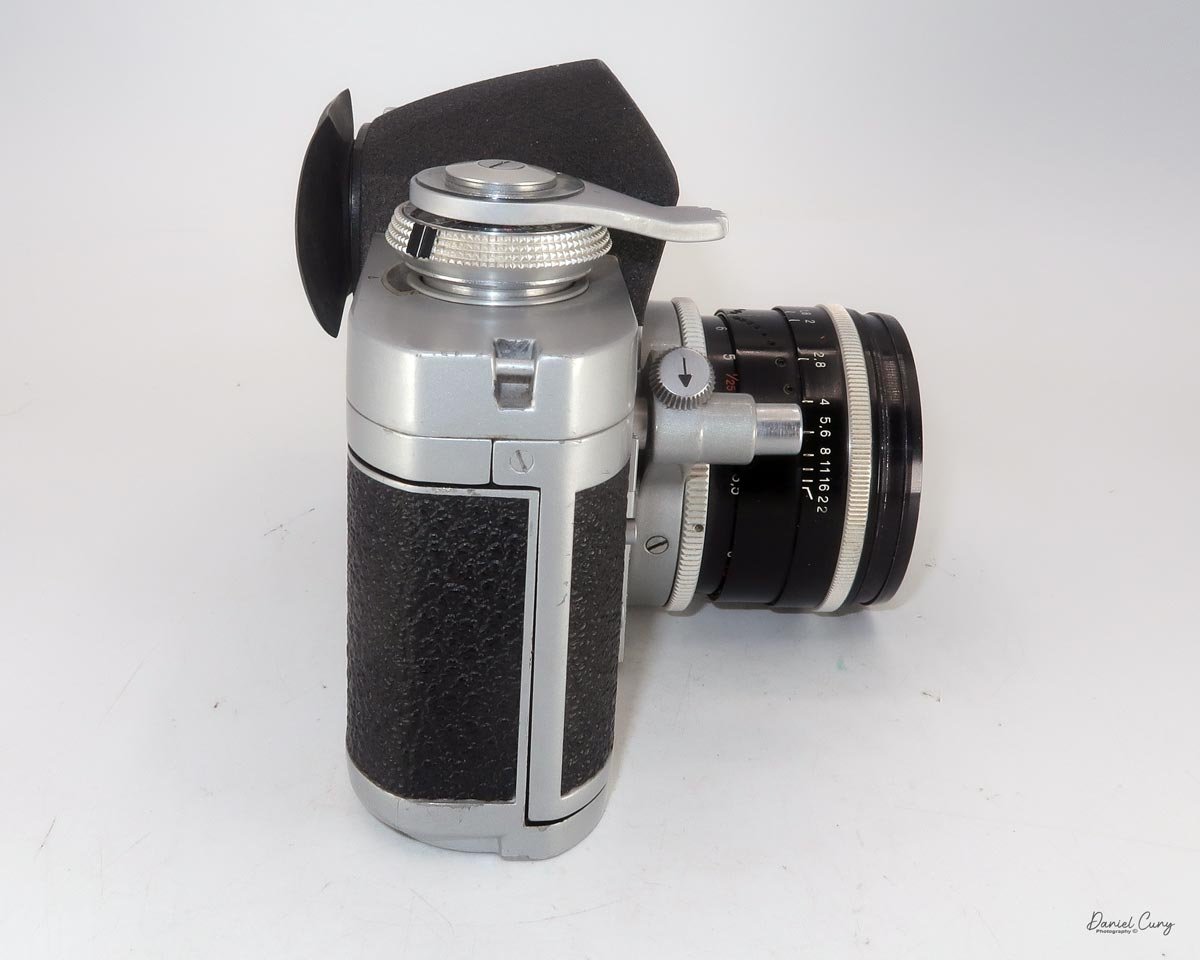
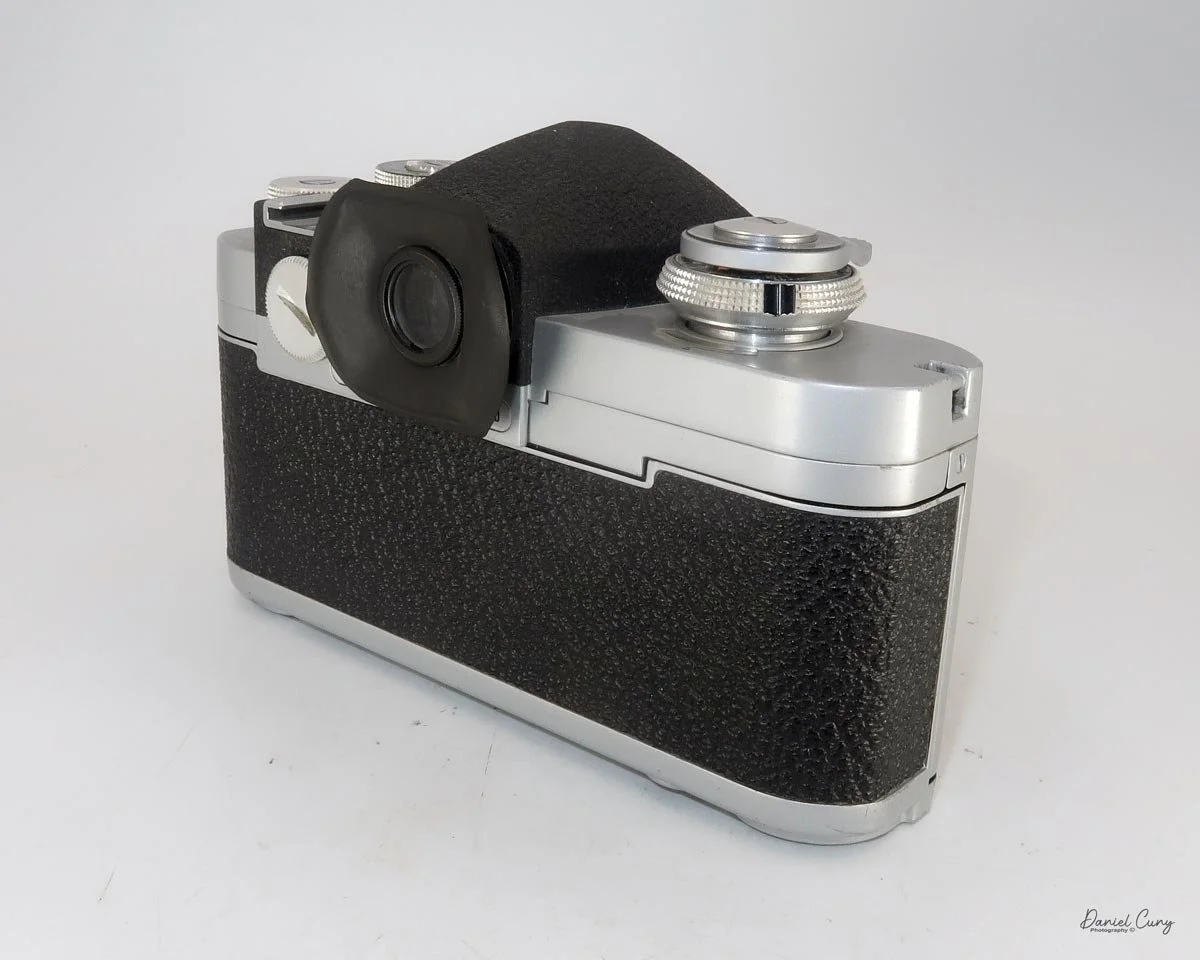
The Alpa Reflex 9d is a hefty, extremely solid camera. With the Kern Macro Switar 50mm f/1.8 lens mounted and focused to infinity, it measures approximately 6 inches wide, 4 inches tall, and 3.5 inches deep. At the lens's closest focusing distance, the overall depth increases to about 4.5 inches.

The camera and lens together weigh 2 pounds, 3.5 ounces.

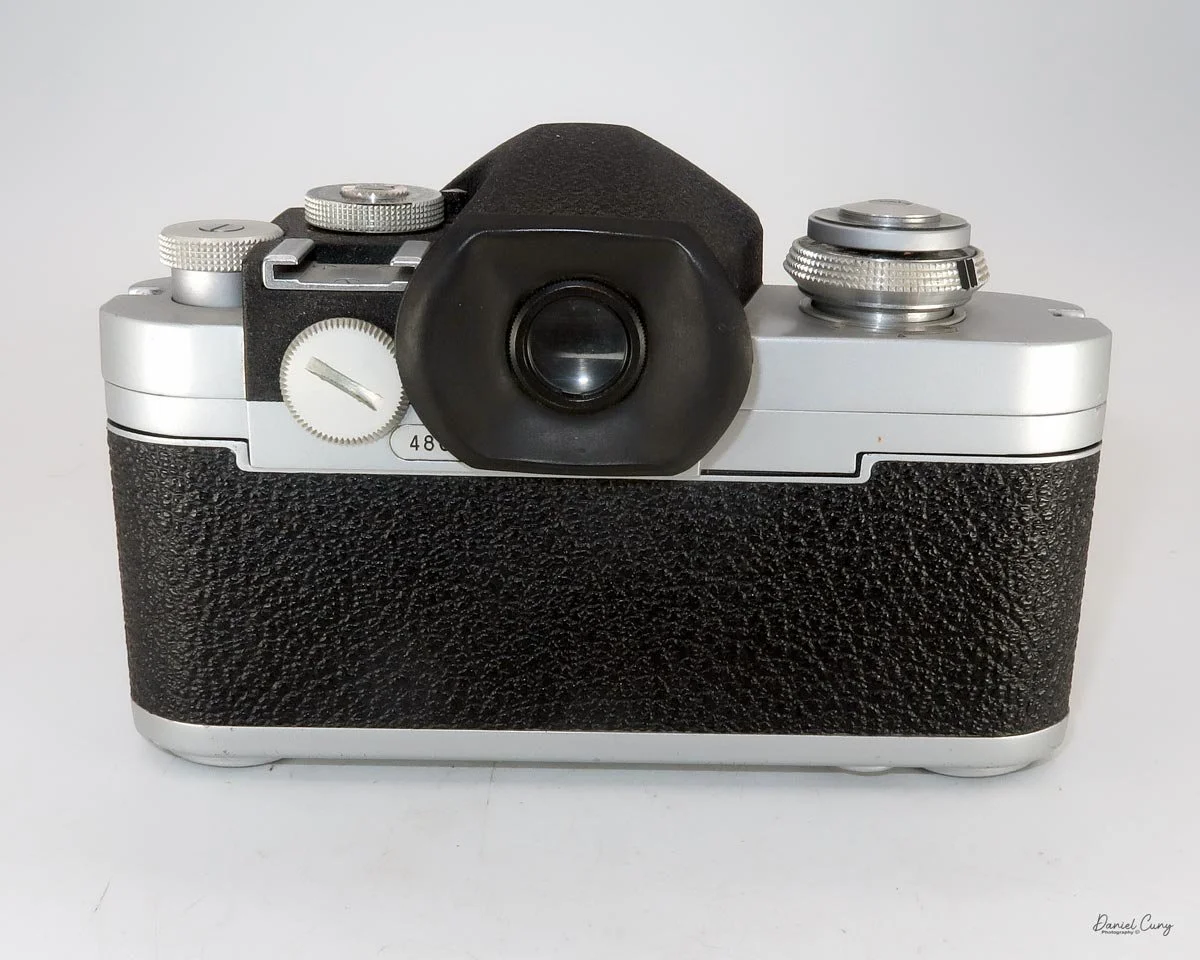
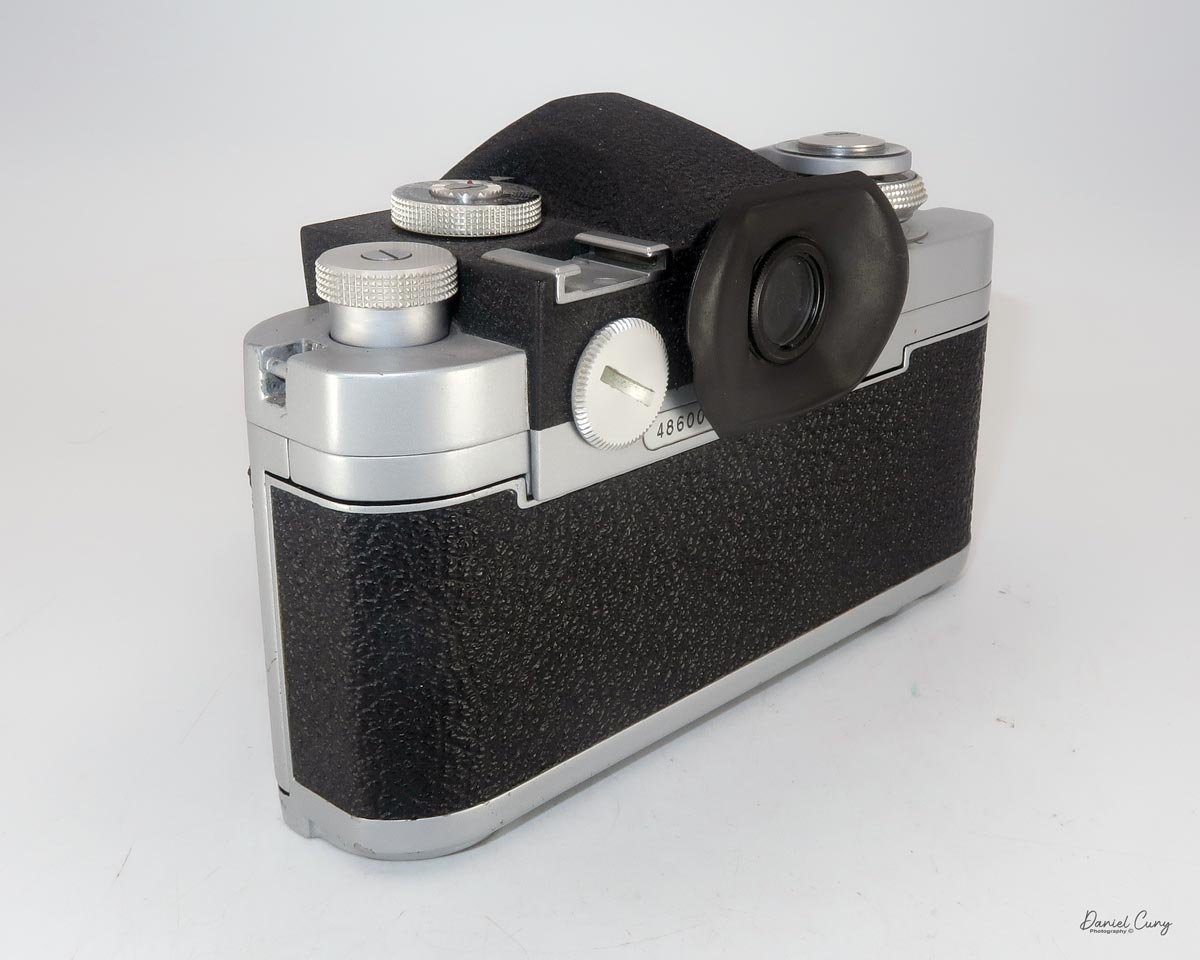
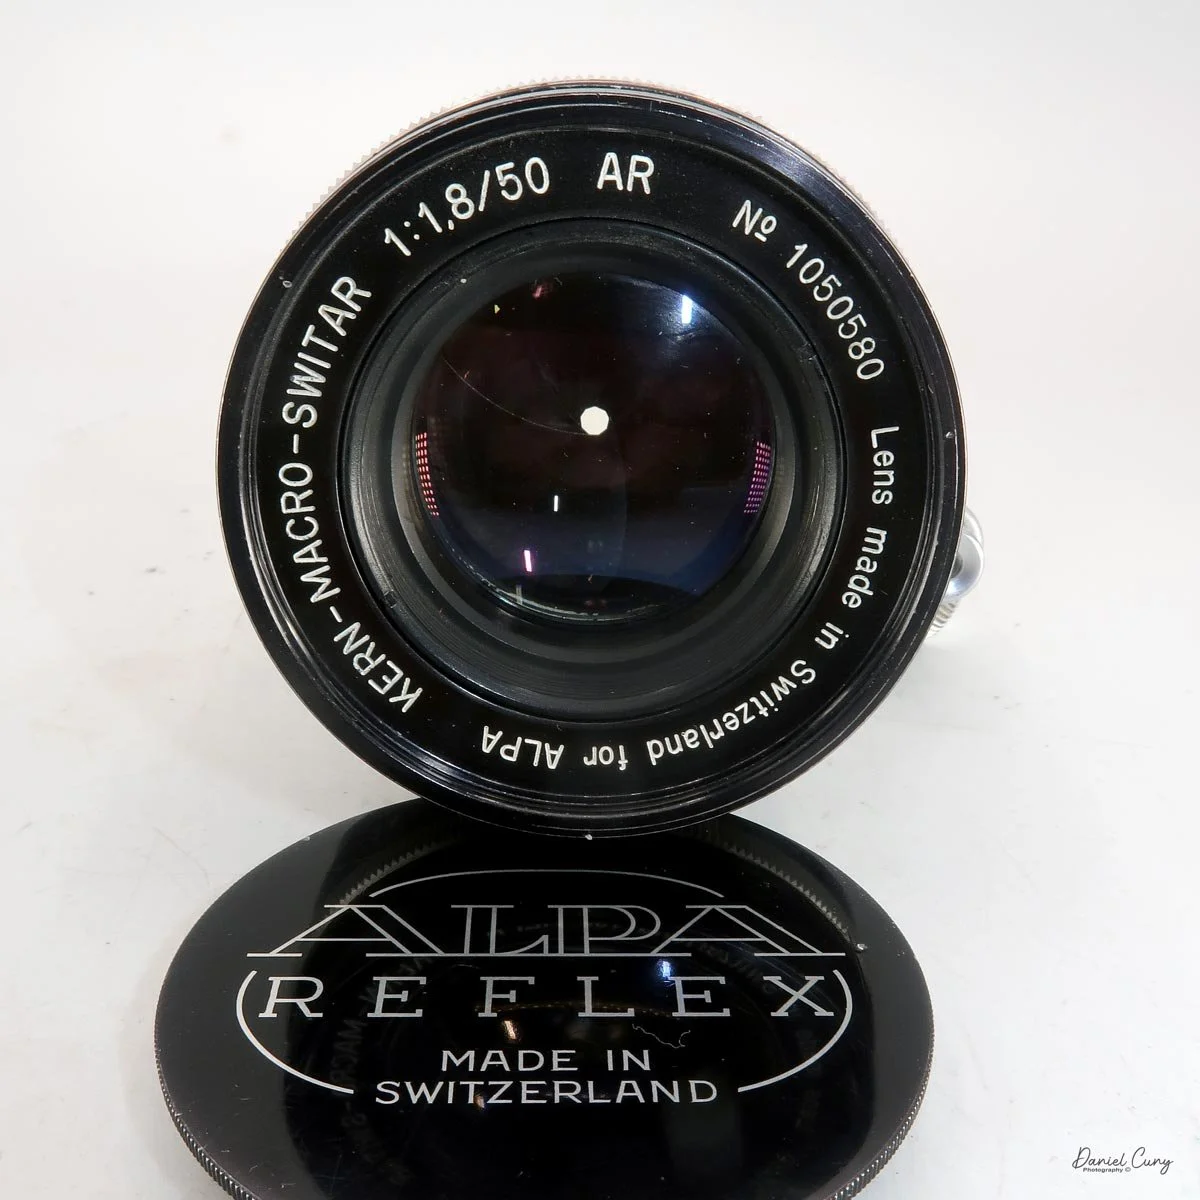
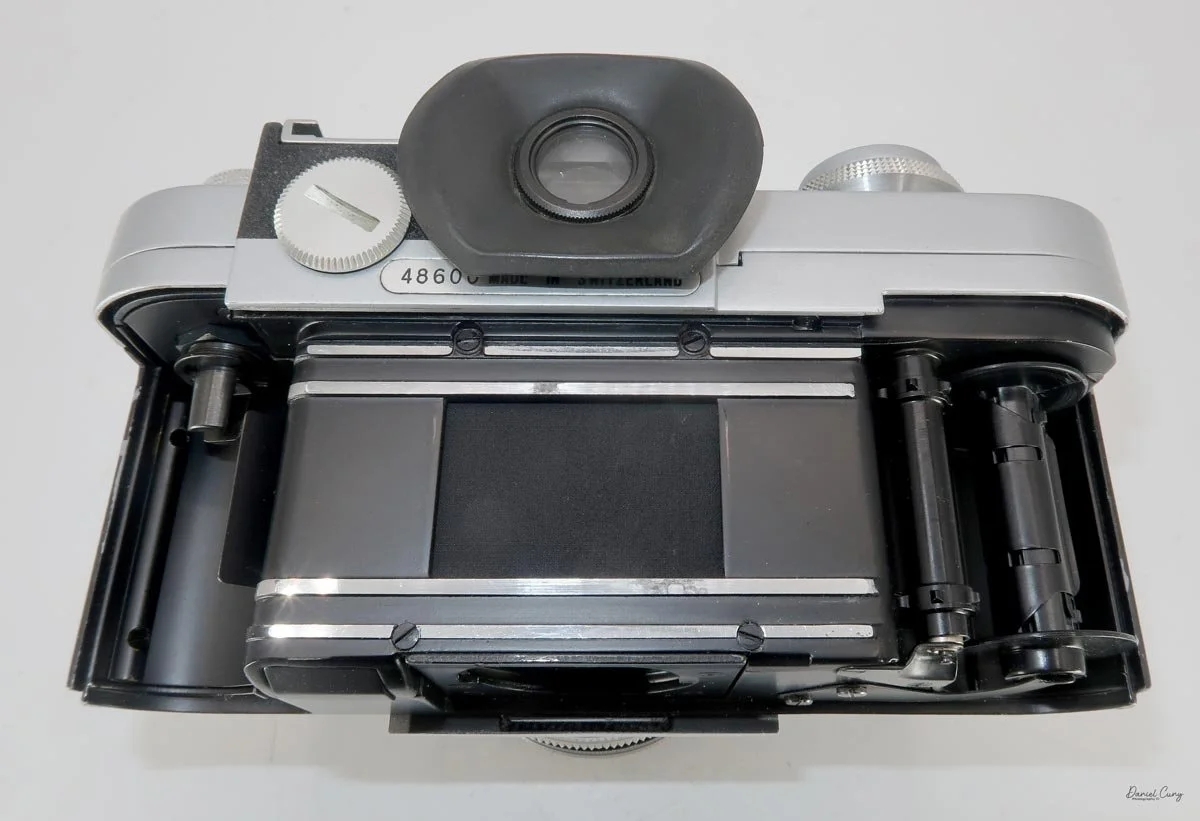
The body serial number is 48600, while the Kern lens has serial number 1050580.

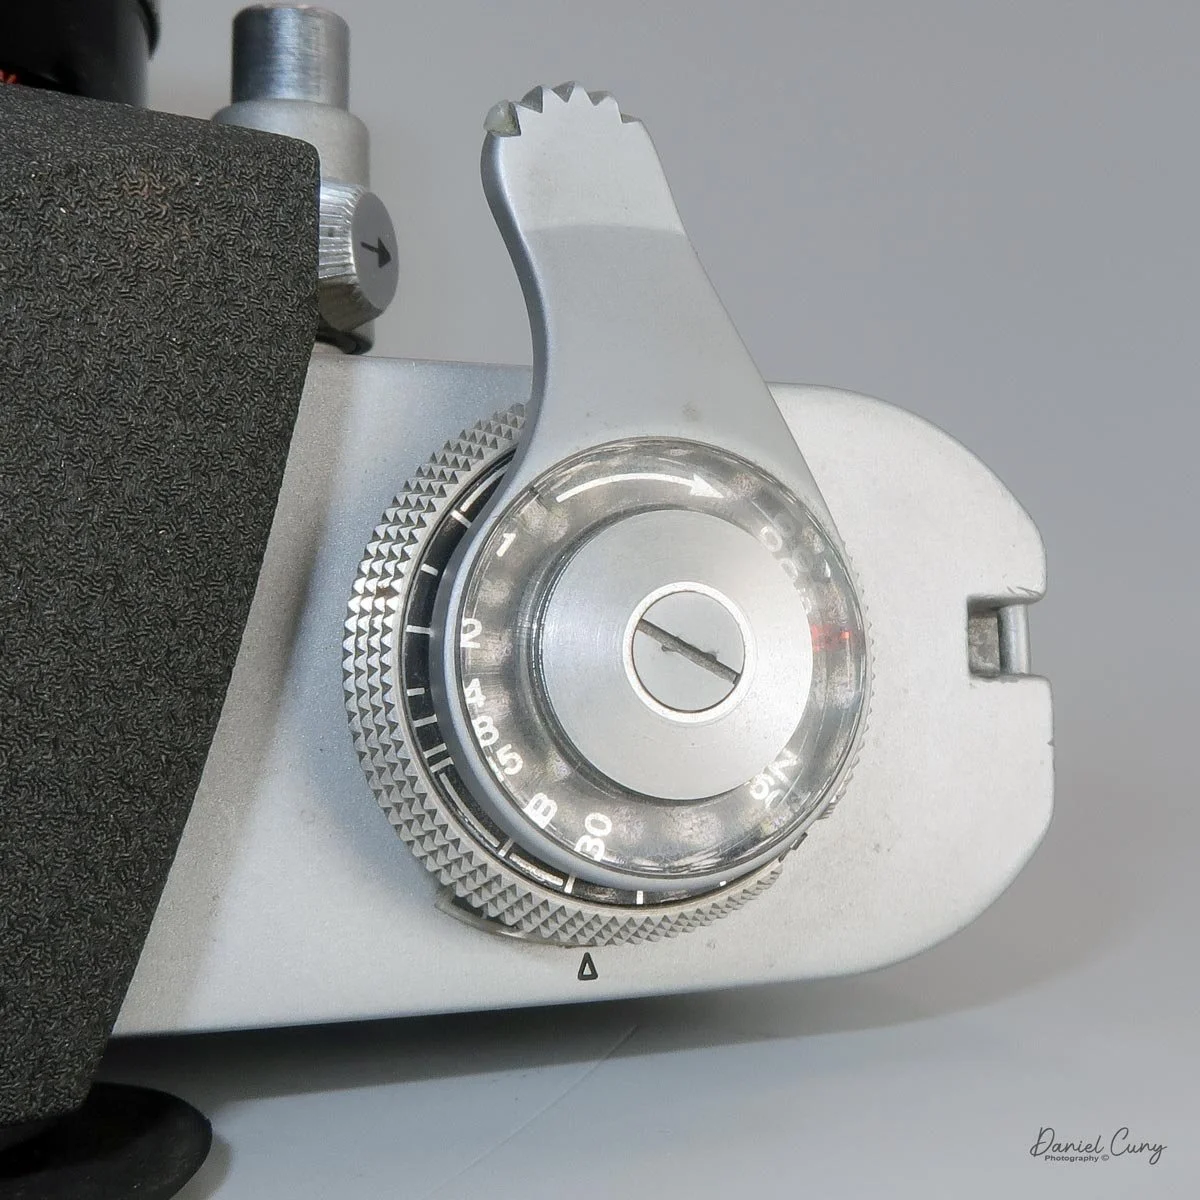
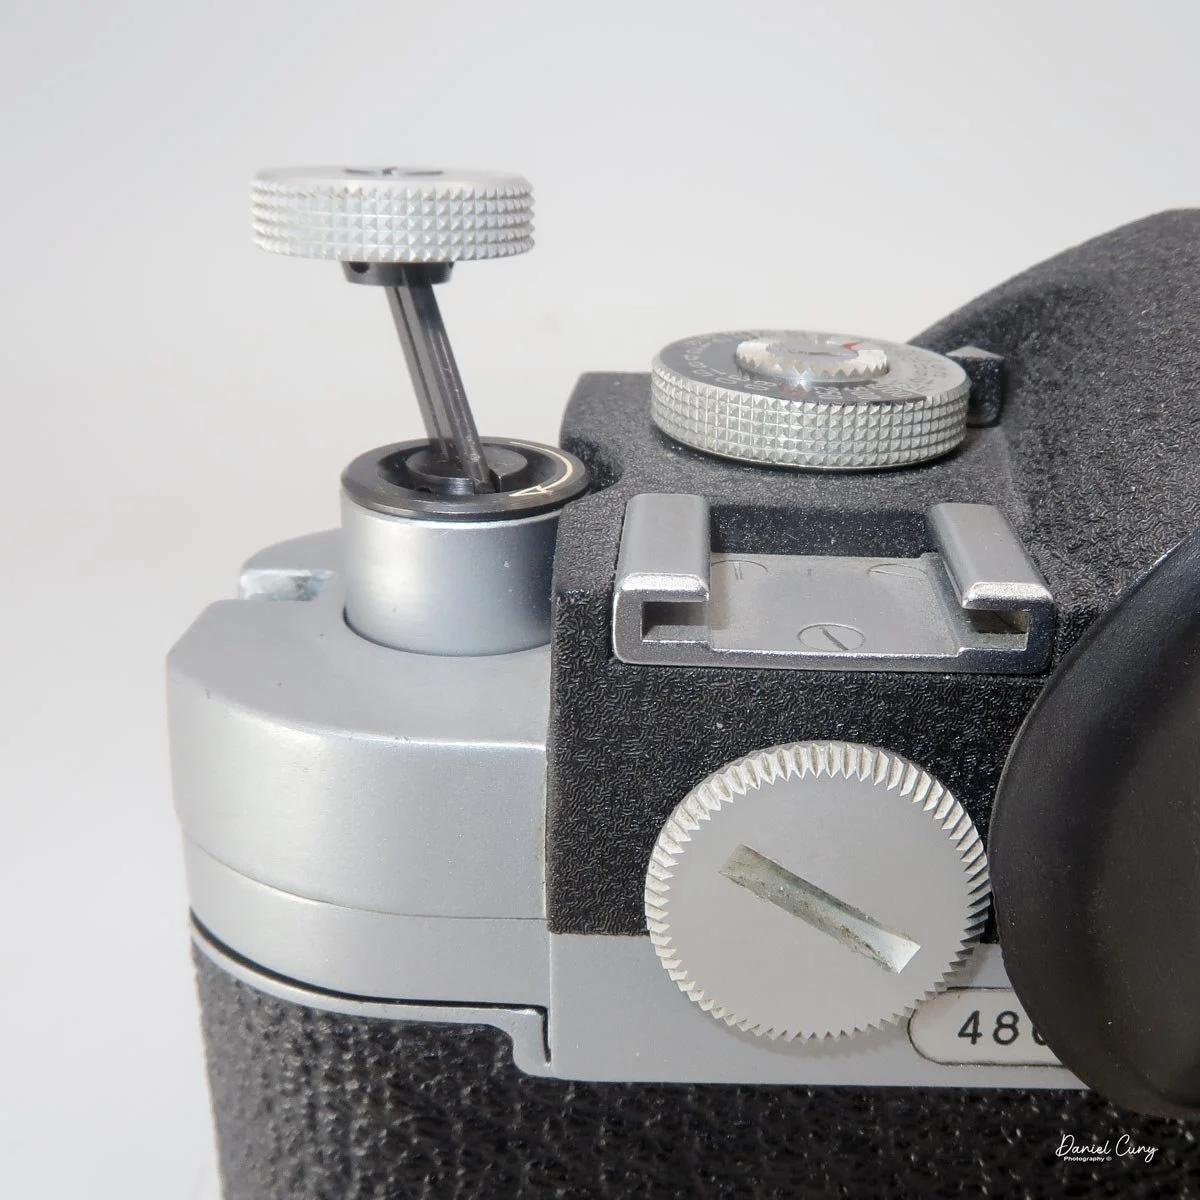
It took me a little while to get used to how this camera operates. The film does advance normally, but the winding lever is reversed from almost every other camera I've ever used.

Instead of using your thumb to push the film advance lever to the side, you grab the lever with your forefinger and pull it back to advance the film to the next frame.

It's one of those things that feels strange at first simply because I'm so accustomed to cameras working the opposite way.

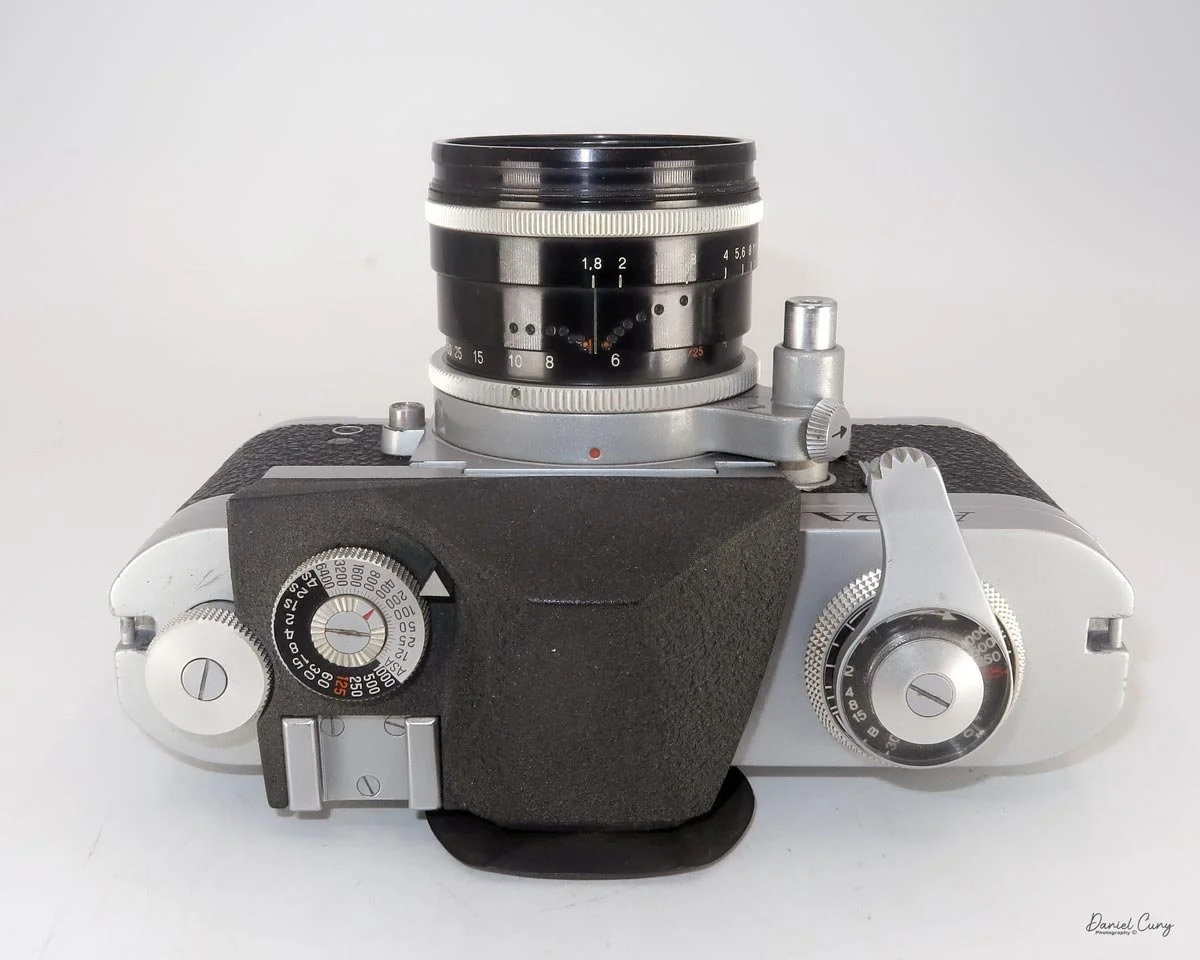
Under the film advance lever is the shutter-speed control, which provides speeds from 1/1000 second down to 1 second, with a flash synchronization speed of 1/60 second.

Changing the shutter speed is also a little different. Pull down on the collar and rotate the ring to the desired shutter speed, indicated by a white line on the collar.

The camera can also make exposures longer than one second. By setting the shutter-speed dial to 1 second and rotating the collar, you can select exposures of up to 4 seconds.

The Meter

The Alpa Reflex 9d has a built-in light meter, with the battery compartment located on the back of the camera next to the viewfinder eyepiece.

The meter uses a match-needle system. Looking through the viewfinder, you see a needle with a circle on its end and another floating needle. The idea is to adjust the shutter speed or aperture until the two needles line up.

To activate the meter, you slightly depress the shutter release on the front of the camera. A lock next to the shutter release prevents you from accidentally firing the shutter while metering.

Unfortunately, the meter in my Alpa isn't working. The needle doesn't move when I depress the shutter release or change the shutter speed and aperture.

That's not a huge problem for me, however, since I normally carry a handheld meter anyway.

The ASA setting is controlled by a dial on top of the camera. If you prefer to select the aperture first, the meter system can tell you what shutter speed to use for the available light.

It took me a little while to understand the system, and I'll admit that it isn't the most intuitive metering arrangement I've used.

But once you understand what Alpa was trying to accomplish, it makes sense.

Other Controls

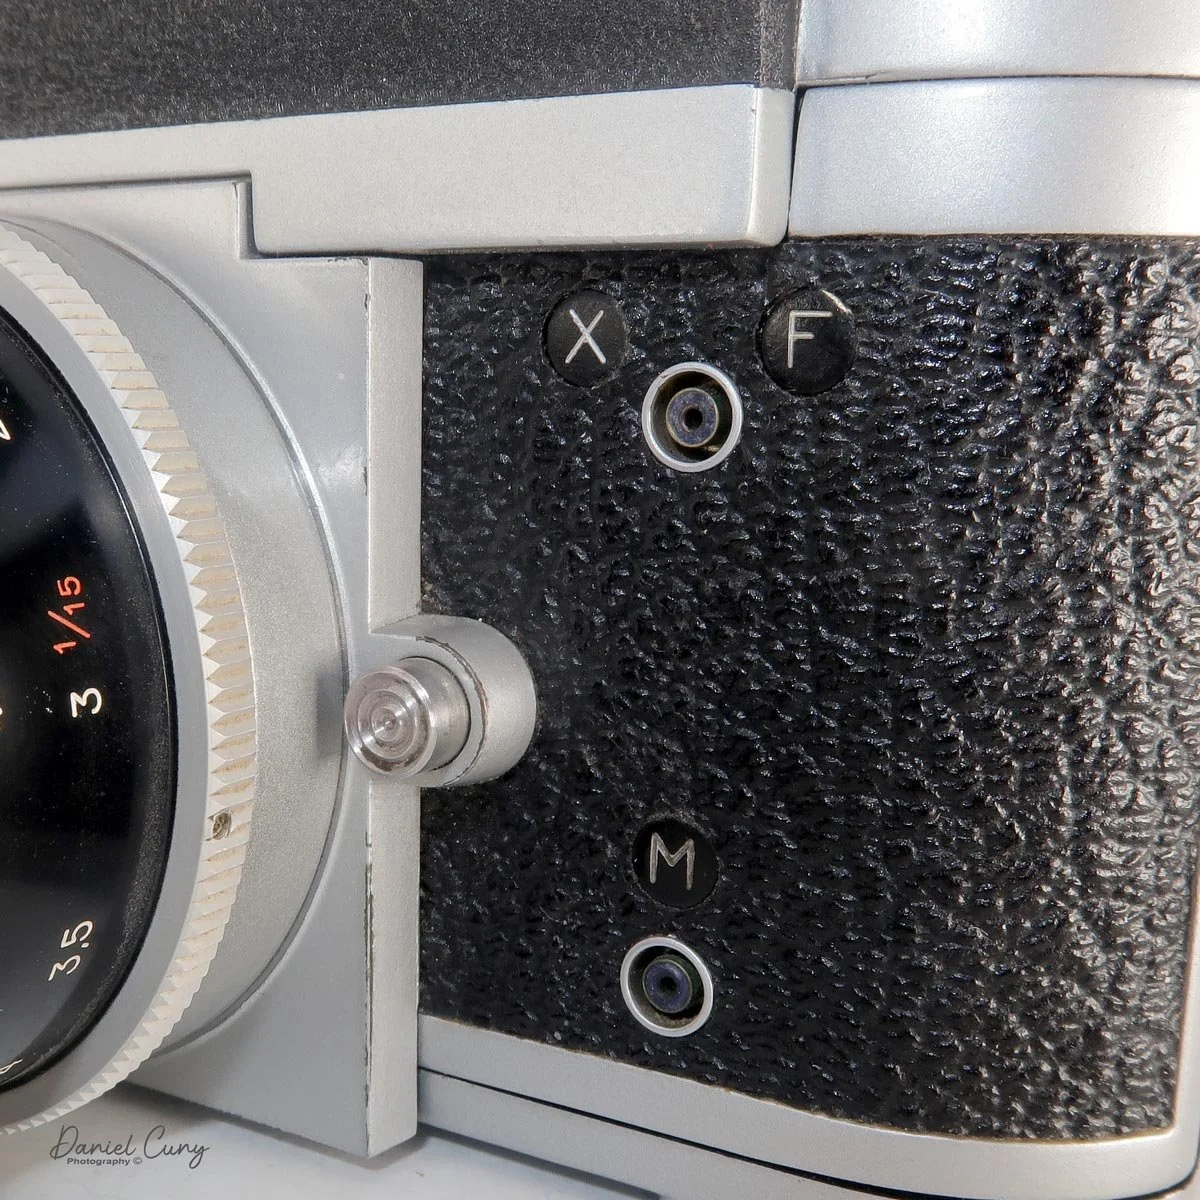
On the left front of the camera body is a square block that locks and unlocks the shutter and meter system. Moving it to the left unlocks the system, while moving it toward the lens locks it.

Below this is the self-timer, which provides a delay of up to approximately 20 seconds.

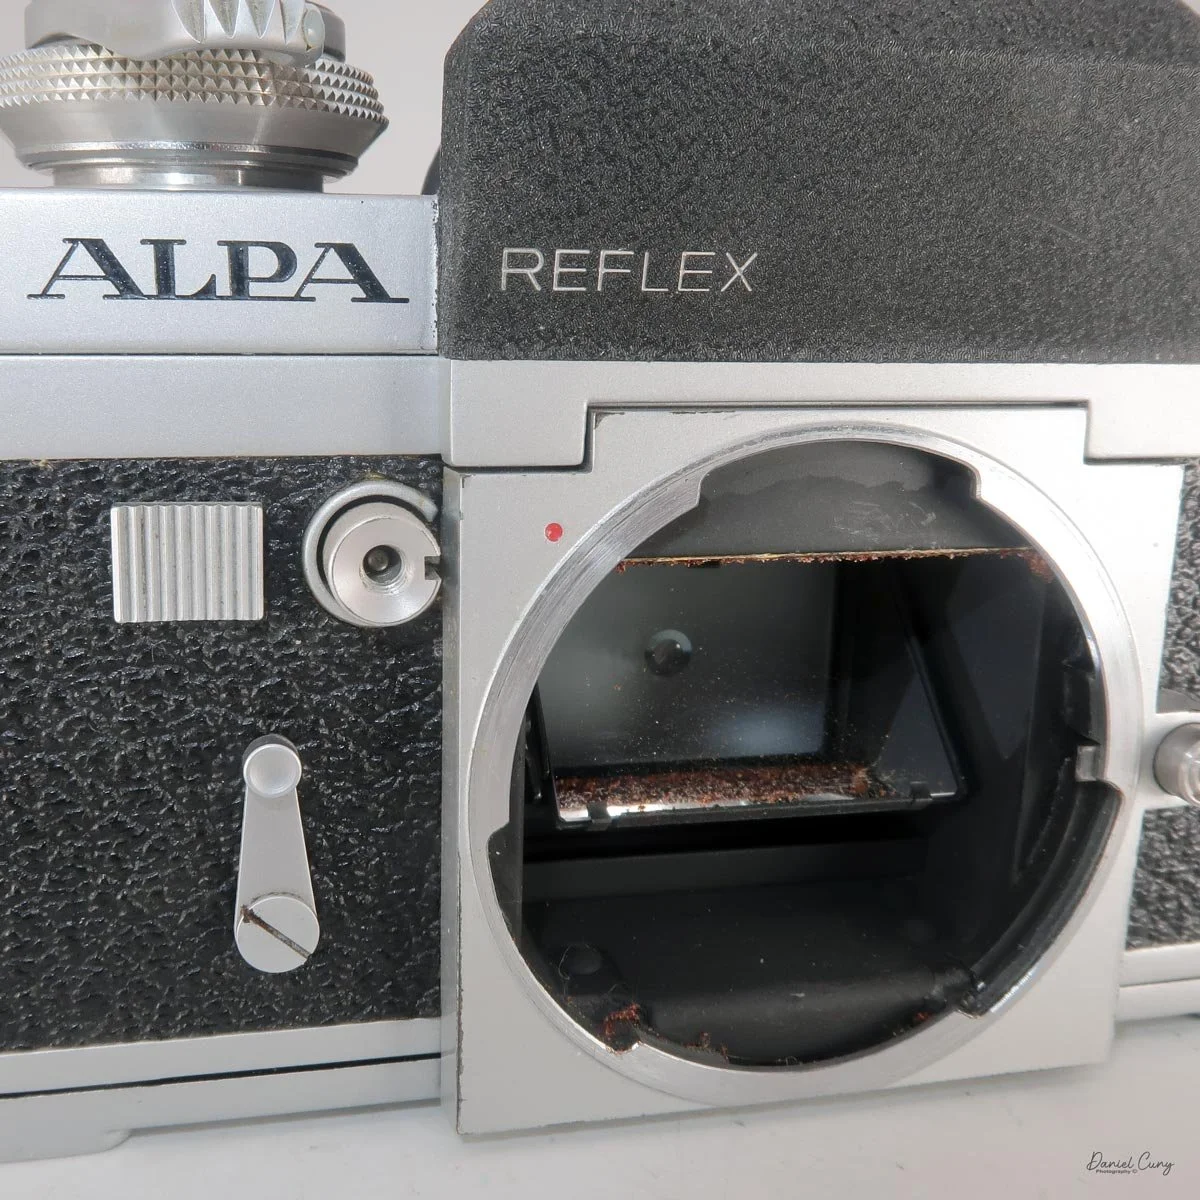
On the right side of the body are the flash synchronization terminals and the lens-release button.

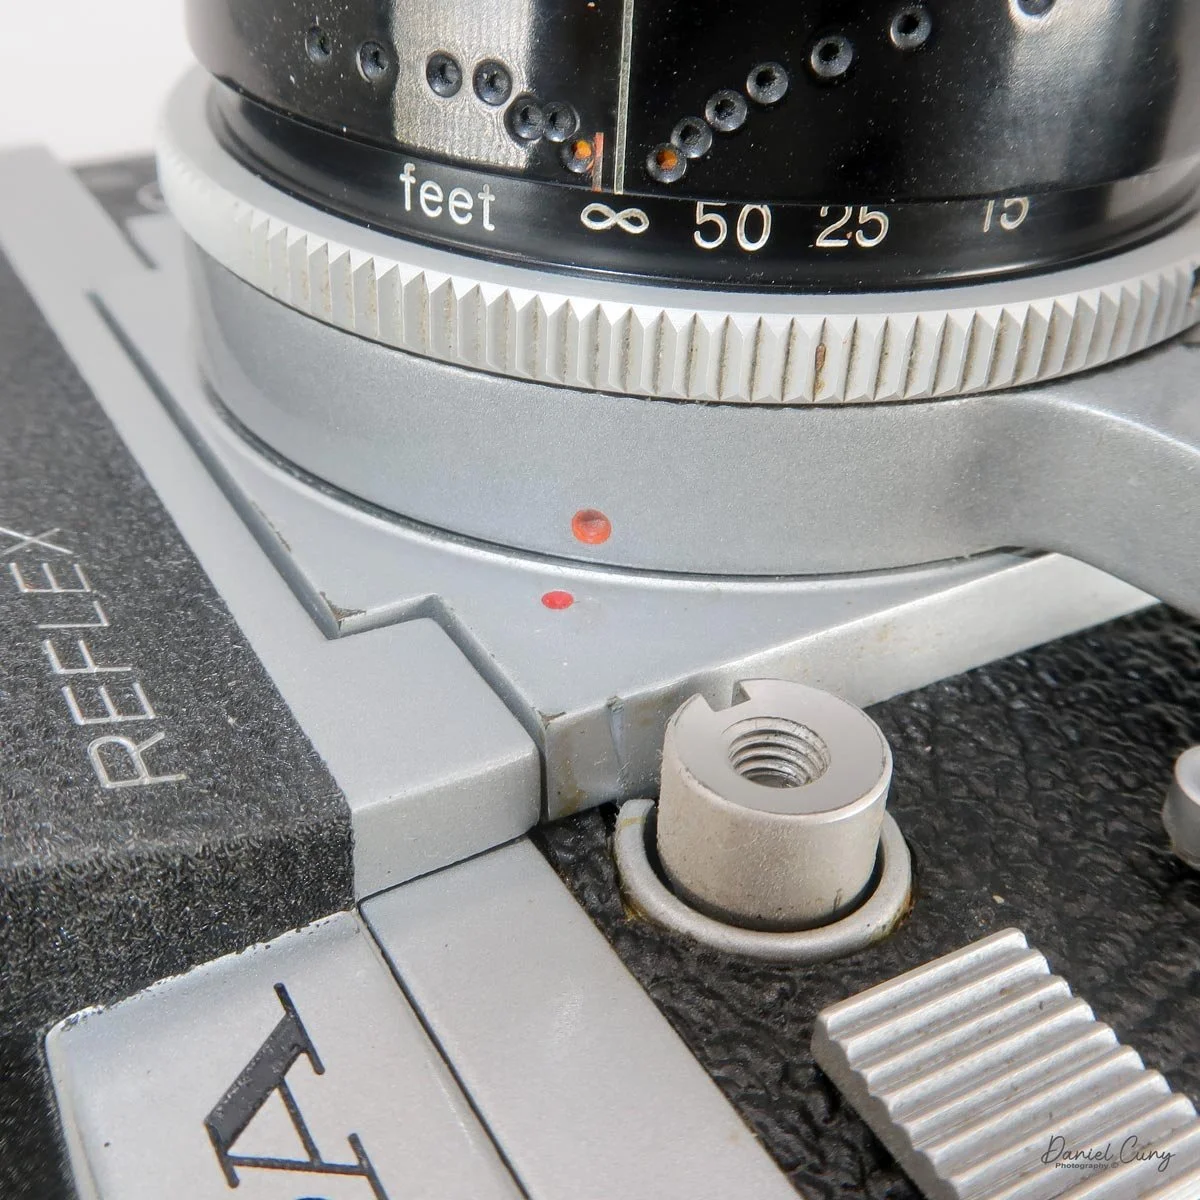
Removing the lens is straightforward. Press the lens-release button and rotate the lens counterclockwise. To install a lens, line up the two red dots—one on the camera body and one on the lens—and rotate the lens clockwise until it clicks into place.

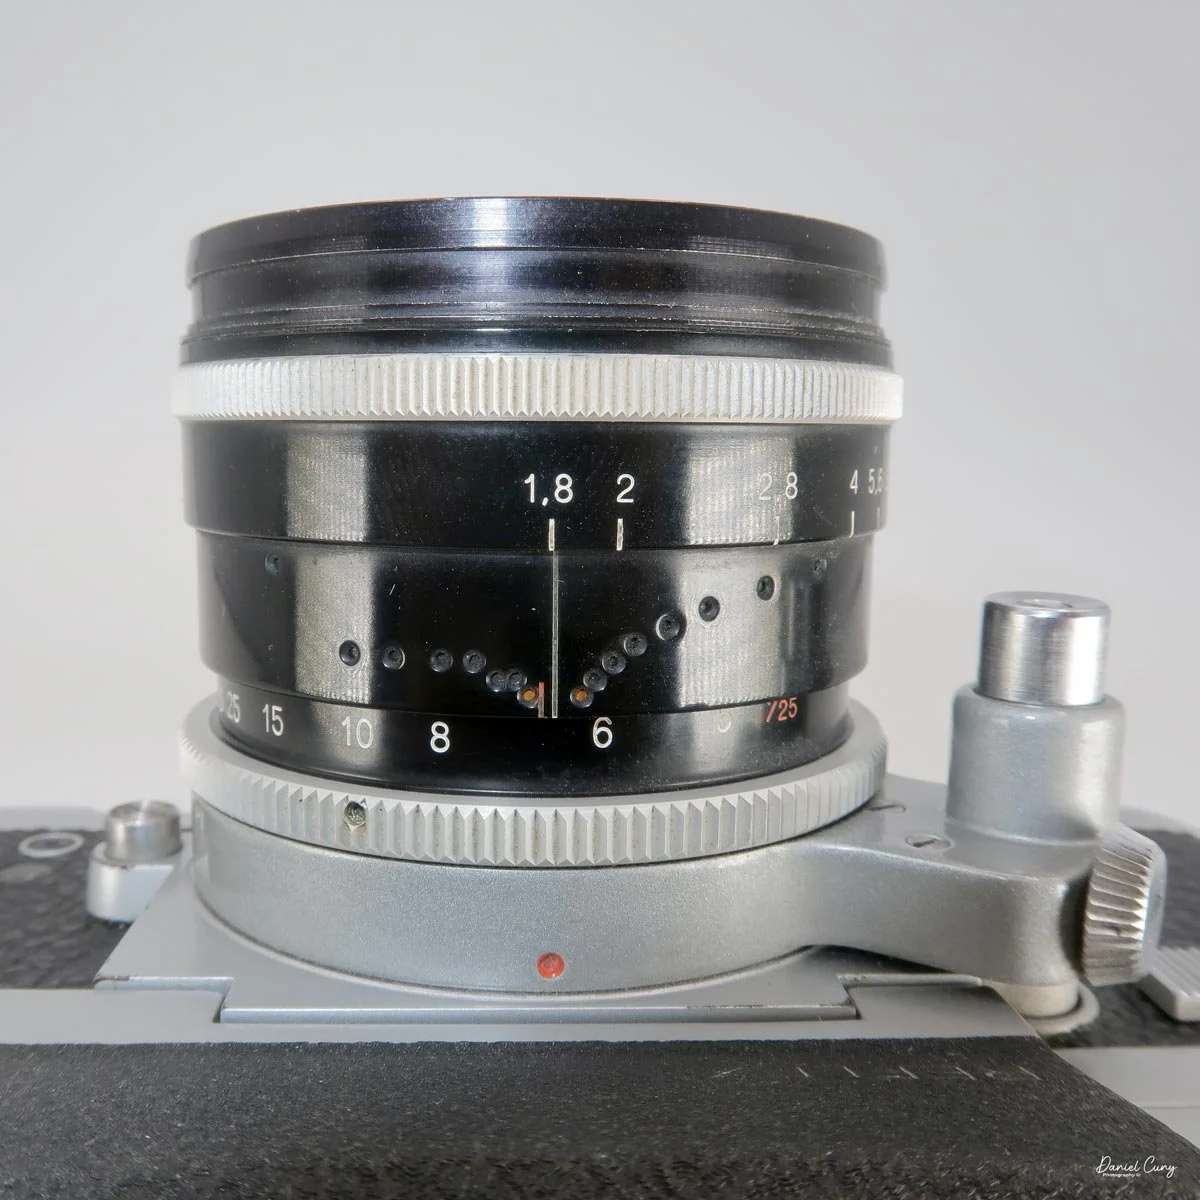
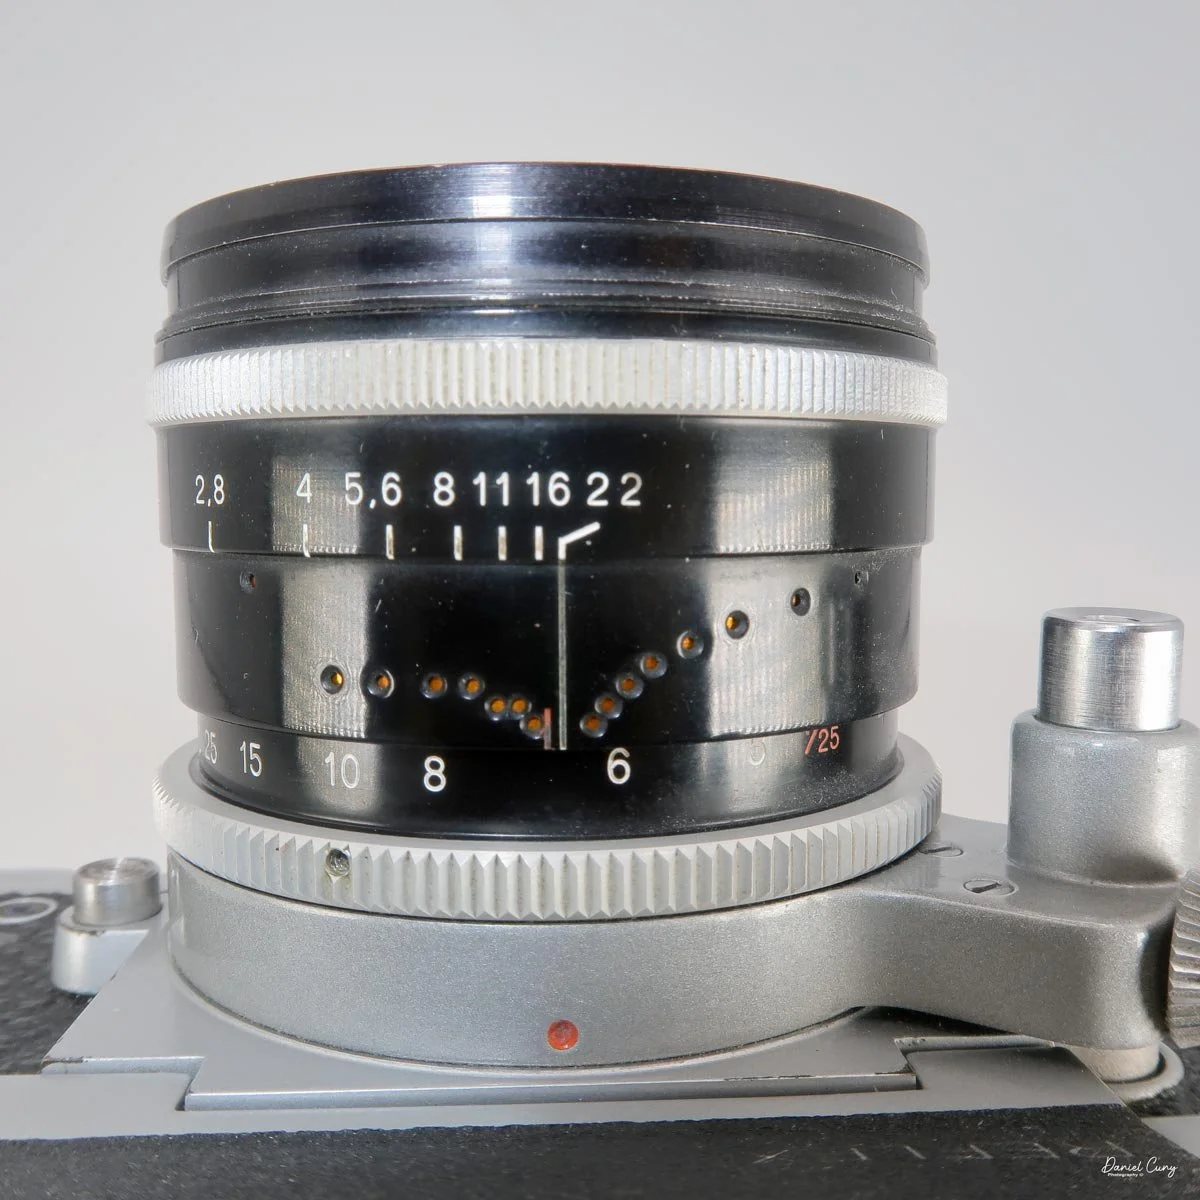
The Kern Macro Switar 50mm f/1.8 lens

The Kern Macro Switar 50mm f/1.8 is a pretty wonderful lens.

It focuses from about 11 inches to infinity, making it much more versatile than a typical 50mm lens. The focusing ring is toward the rear of the lens, while the aperture ring is toward the front and provides settings from f/1.8 through f/22.

The lens also has a distinctive automatic/manual control on the shutter-release shaft.

In the automatic position, the lens stays at maximum aperture while focusing and only stops down to the selected aperture when you release the shutter. In the manual position, the lens stops down as you change the aperture.

This makes the lens particularly nice to use when you're trying to focus accurately at close distances.

The depth-of-field scale is also unusual, using a series of colored dots to indicate depth of field at the various apertures.

Looking through the viewfinder, the focusing screen has a 45-degree slanted split-image rangefinder in the center, surrounded by a fine ground-glass circle and a matte focusing area.

The meter needles are visible on the right side of the viewfinder.

Loading Film

Loading film is a little different from most 35mm SLRs I've used.

To open the camera, turn the large handle on the bottom in the direction indicated by the arrow and slide the back off the camera.

Once the back is removed, loading the film is fairly straightforward. Load the film as you would in most 35mm cameras, making sure the film travels across the shutter before replacing the back and locking it into position.

I then pull up the rewind knob and turn it several times to take up any slack in the film. When I advance to the first frame, the rewind knob should rotate, confirming that the film is advancing properly.

When the roll is finished, press the rewind button on the bottom of the camera, pull up the rewind crank, and rewind the film into the cassette.

Then you're ready for another roll.

My Results

After loading the film and taking the Alpa out into the neighborhood, I was finally able to see what the camera and, more importantly, the Kern Macro Switar 50mm f/1.8 could do.


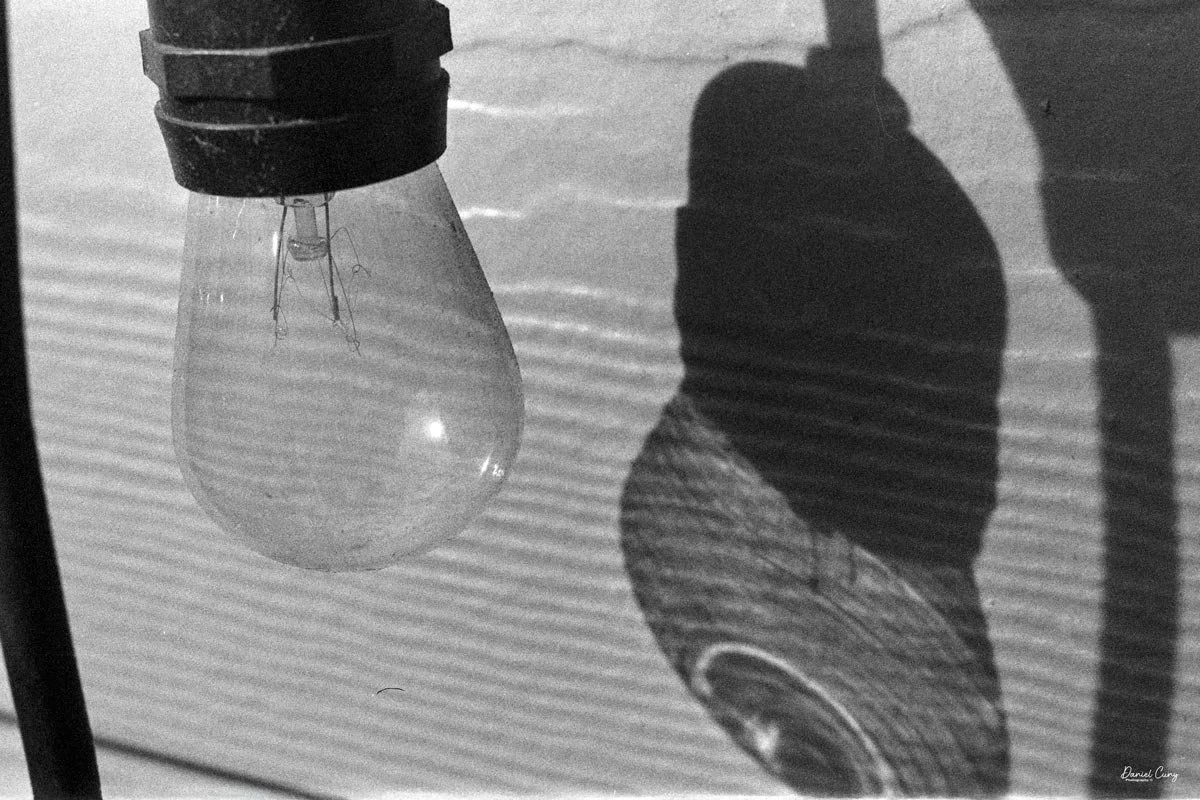
I shot these images on expired 6/70 Kodak Plus-X film, developed in Rodinal.

The results were exactly what I was hoping to see from this lens.

Conclusion

It took me some time to get used to the film transport system. After using cameras for roughly 60 years, I'm pretty accustomed to advancing film by pushing a lever with my thumb. Pulling the Alpa's lever toward me with my forefinger just feels backwards.

After using it for a while, though, it stopped feeling strange. It was simply different.

The Alpa Reflex 9d is also a very solid camera. You can feel the quality when you're holding it. This isn't a lightweight camera designed to disappear into a bag. It's a precision instrument, and it feels like one.

The advanced features took me some time to understand, and the shutter-speed controls aren't as quick to operate as I'm used to. But I don't think the Alpa was really designed for someone who wanted to shoot quickly.

This is a camera for taking your time.

For me, the real star of this particular combination is the Kern Macro Switar 50mm f/1.8 lens.

The lens is spectacular.

I love the close-focusing capability, and the images have a very creamy look while still retaining excellent sharpness. That's difficult to describe until you actually see the photographs, but I really enjoyed the results.

I wish the built-in meter worked, but that wasn't going to stop me from using the camera. I'm reasonably good at estimating exposure, and when I want to be more precise, I can always use my Sekonic L-308 meter.

So, was the Alpa Reflex 9d worth the four-hour drive from Southern California to Las Vegas?

For me, absolutely.

Actually, when I think about it, the Alpa was worth quite a bit more than the drive. It was one of those cameras in the collection that I saw in a photograph and immediately thought, "I want that one."

And after putting a roll of film through it, I'm glad I did.

Are you interested in other cameras? Check out some of my other Camera Reviews.

Also, check out my Cuny's Camera Collection YouTube channel, where I'm putting together video overviews of the cameras I write about. Be sure to subscribe and like the channel!

You can also visit Cuny's Cameras and Photos, my online eBay store, where you'll find some of the cameras I've reviewed, along with a wide range of other cameras, lenses, and photography items from my collection that I'm thinning out.

Until next week, please be safe.

Panon 120 Panoramic Camera-Update

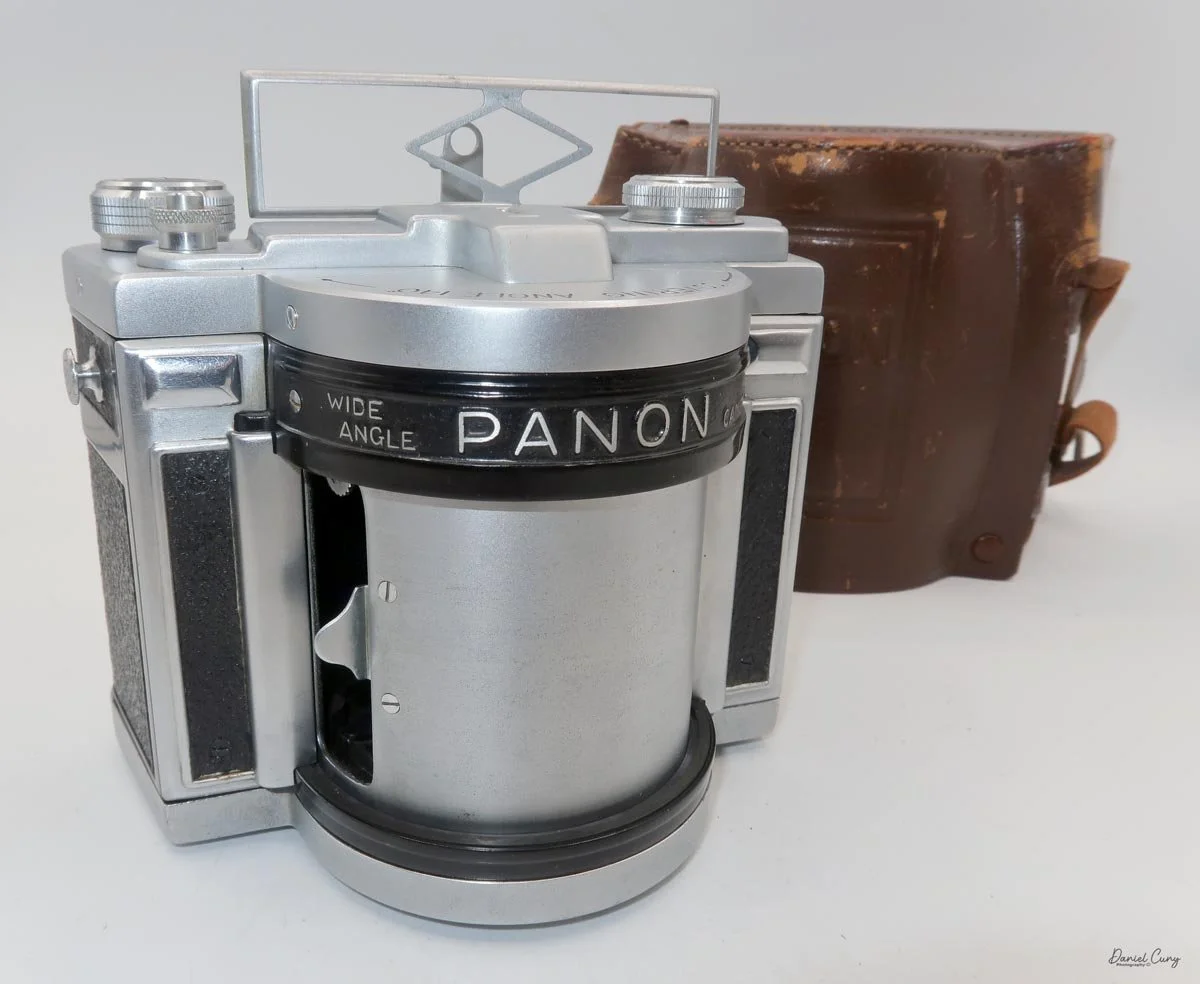
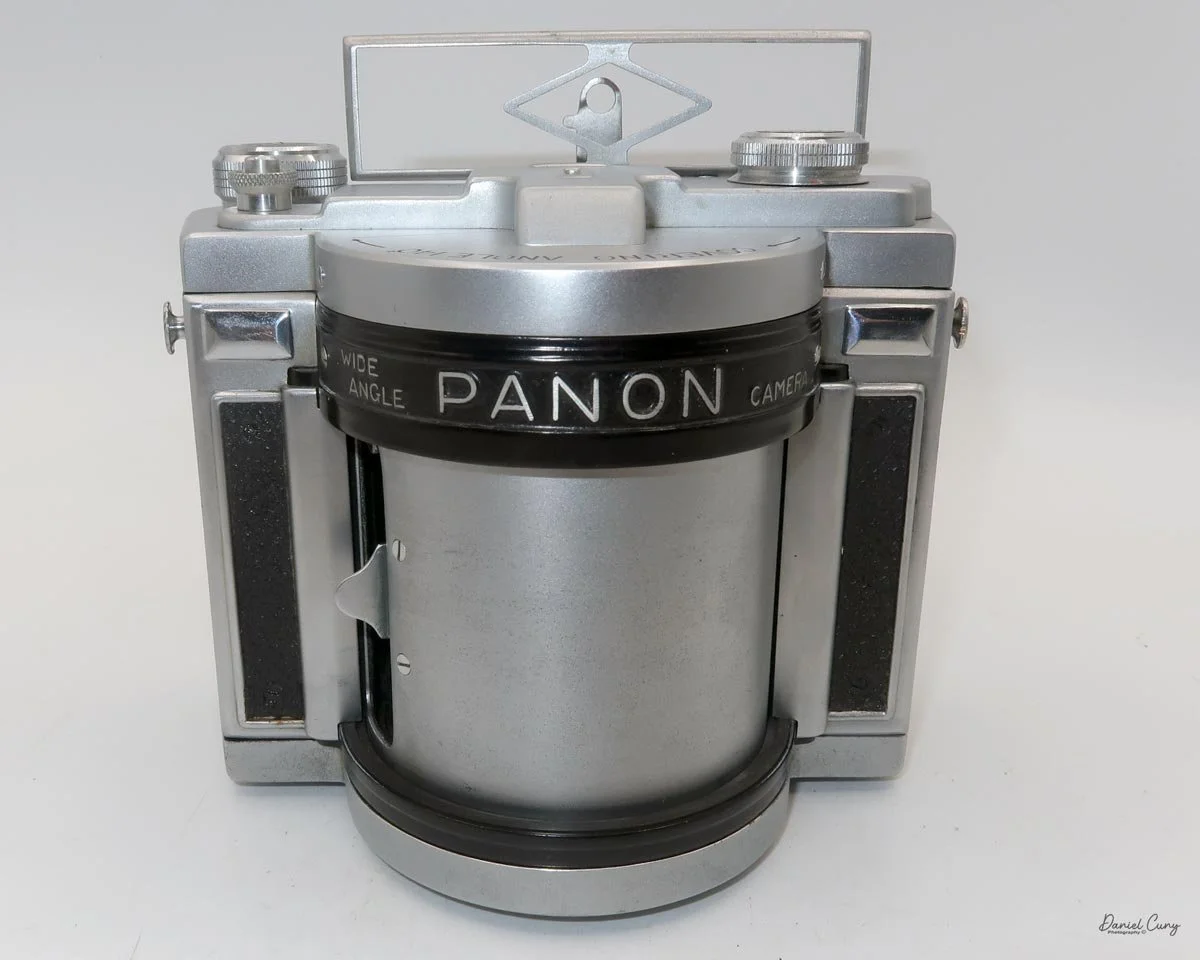
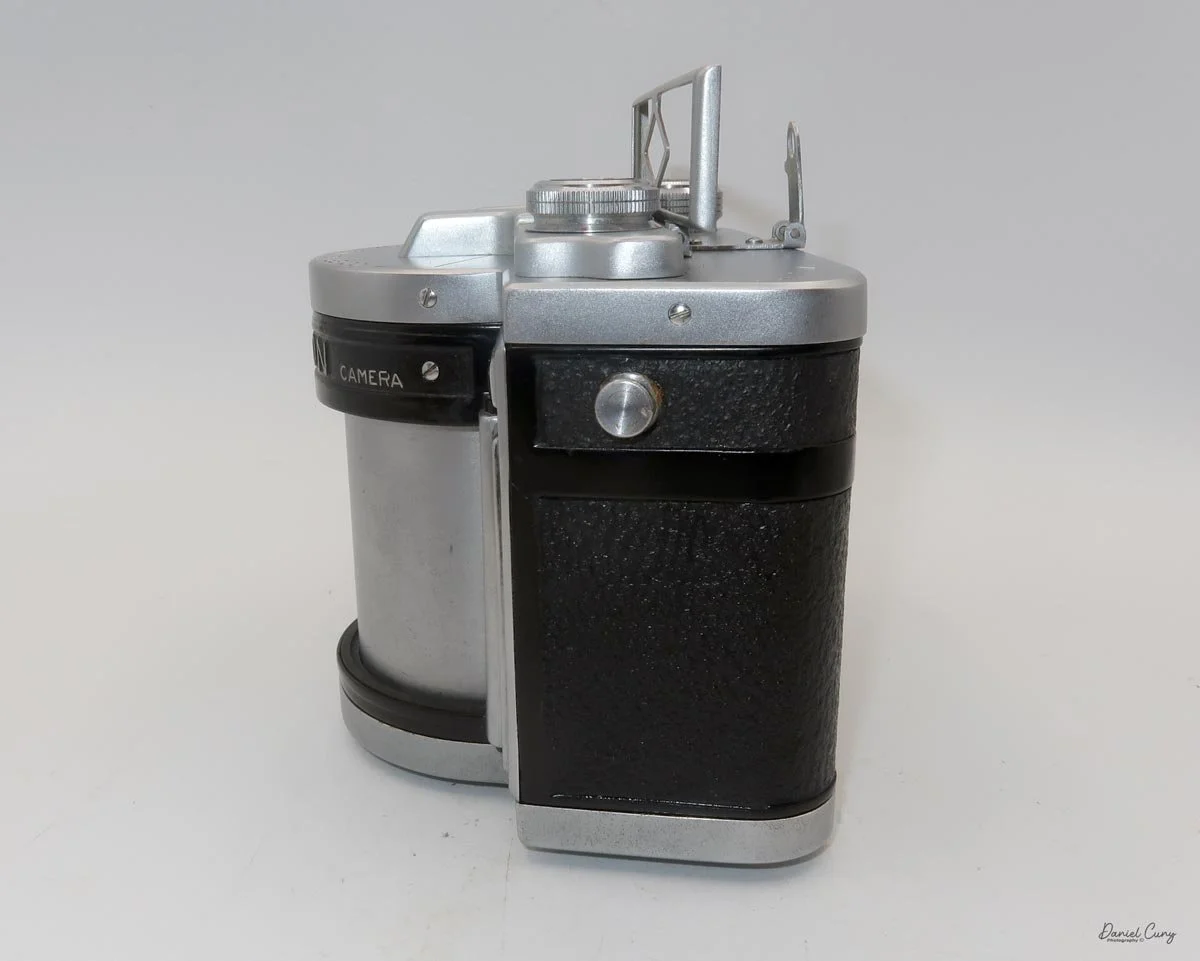
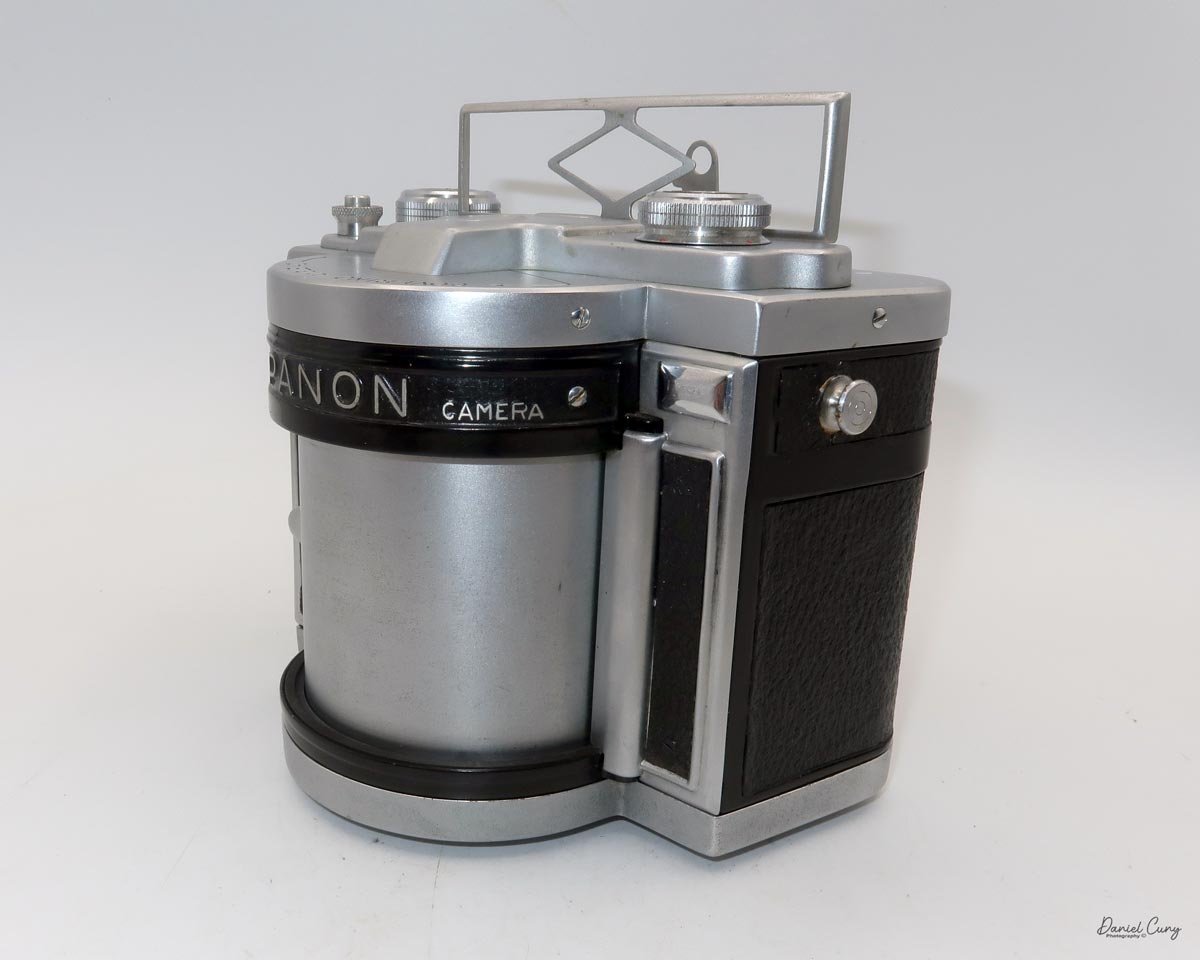
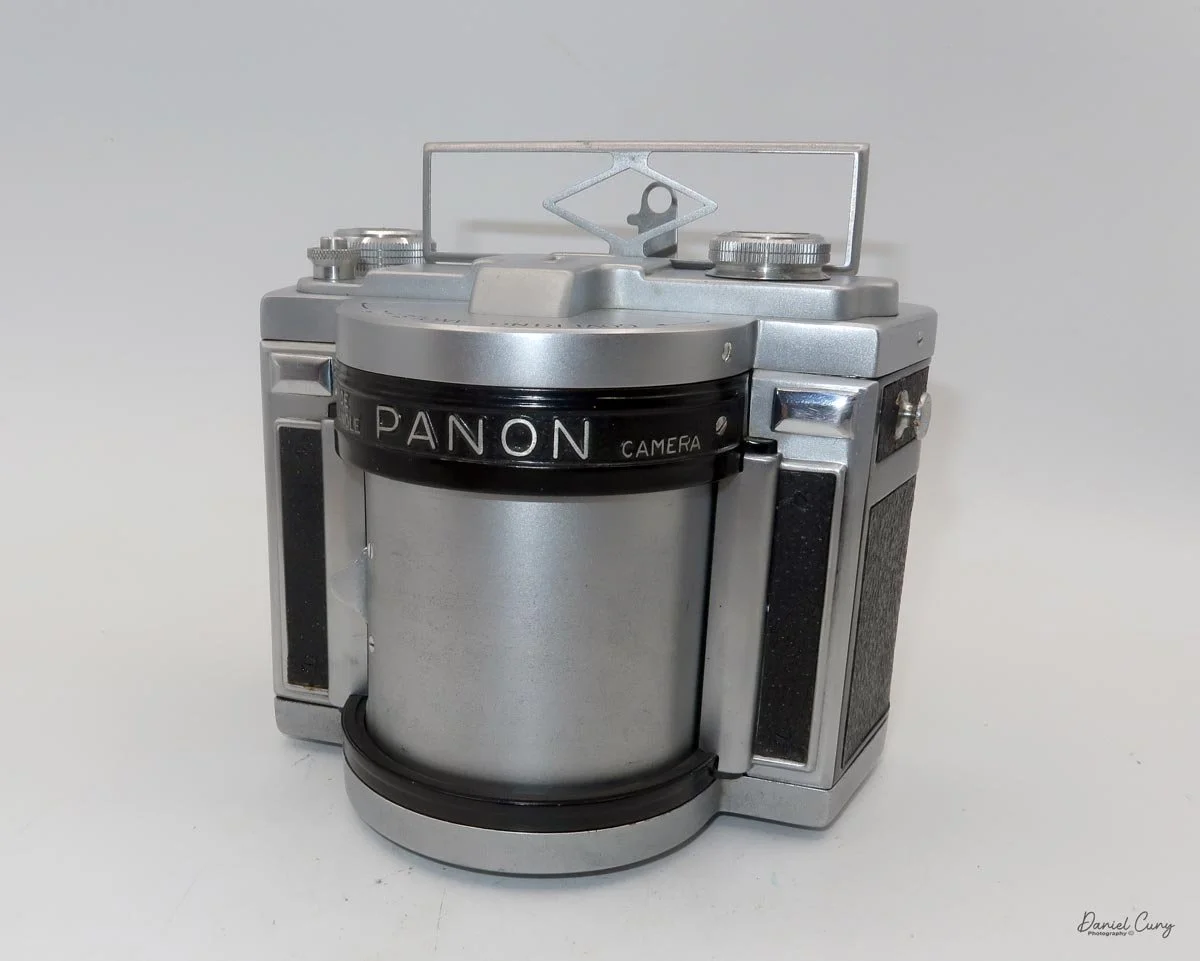
My Panon 120 camera with case.

It's interesting how cameras can just stop working, especially when they haven't been used for a while. I wanted to do an update on the Panon 120 camera post I wrote a few years ago. It's a camera I really enjoy shooting with due to the panoramic format and its ability to use 120 film as opposed to 35mm.

 I'm updating my blog post for two main reasons. First, when I initially planned to go to Japan for camera shopping, I wanted to take the Panon 120 with me. But when I picked it up after about a year of not using it, the camera wouldn't fire.

 I sent the camera off to Precision Camera Works in Austin, TX—they did a wonderful job overhauling my Widelux F7, so I wanted them to do the same for the Panon 120. To my surprise, the lead technician at Precision hurt his hand and the repair took longer than anticipated, but they were kind enough to get my camera back to me right before my trip. The camera is now in outstanding condition, so one of the reasons for this blog update was to take some fresh photos to update the website.

 The second reason for the update happened while I was browsing an online auction. In one of the photos, I spotted what appeared to be a Panon lens assembly resting on its side, along with a box of parts in a separate image. There were a few large-format lenses in the lot as well, so I took a gamble, put in a bid I thought was fair, and to my surprise, I won the auction.

 When the package arrived, the "parts" Panon 120 seemed surprisingly complete. The lens assembly was in what appeared to be good condition. The body, back, and film loading cartridge were all intact with no damage, and the gearing system looked solid. I sent another note to Precision to ask for a quote on getting what appeared to be a 90 to 95% complete camera up and running.

 After a few weeks, I received a note from Precision stating that the camera was going to require much more than their standard overhaul service. While I was still interested in getting it put together into a working model, they explained that they would need to charge by the hour, bringing the total cost higher than I was willing to spend.

 With that said, I'm planning on listing the parts camera on my eBay store soon. I'm hoping to find someone willing to take their time, put the pieces together, and end up with a wonderful Panon 120 to use or sell.

A Quirky Strap Dilemma

Another oddity of the Panon 120 is that the strap lugs are larger than those on a Mamiya, Hasselblad, or Rollei, making it very difficult to find a strap that fits. I've tried about seven or eight different standard straps that clip onto camera lugs, but they were all too small. Because of this, I've resorted to using a guitar strap.

 The issue with the guitar strap—and this is just my own insecurity—is the lingering thought that the camera might slip out of the strap and fall to the ground. I know this is completely irrational and very unlikely to happen, especially since guitars are often more expensive than many cameras, and I shouldn't worry about it. But hey, that's just how my brain works!

My Camera

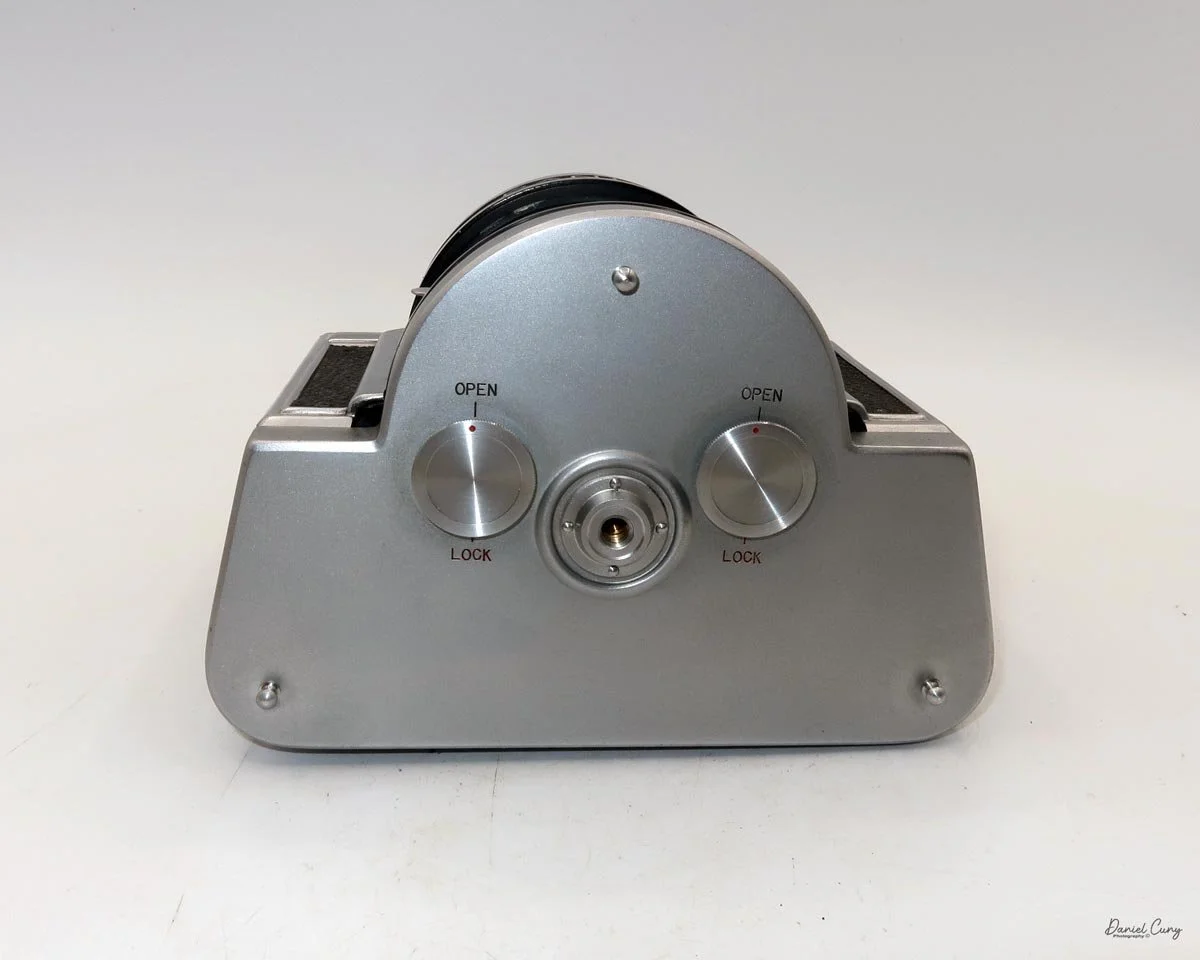
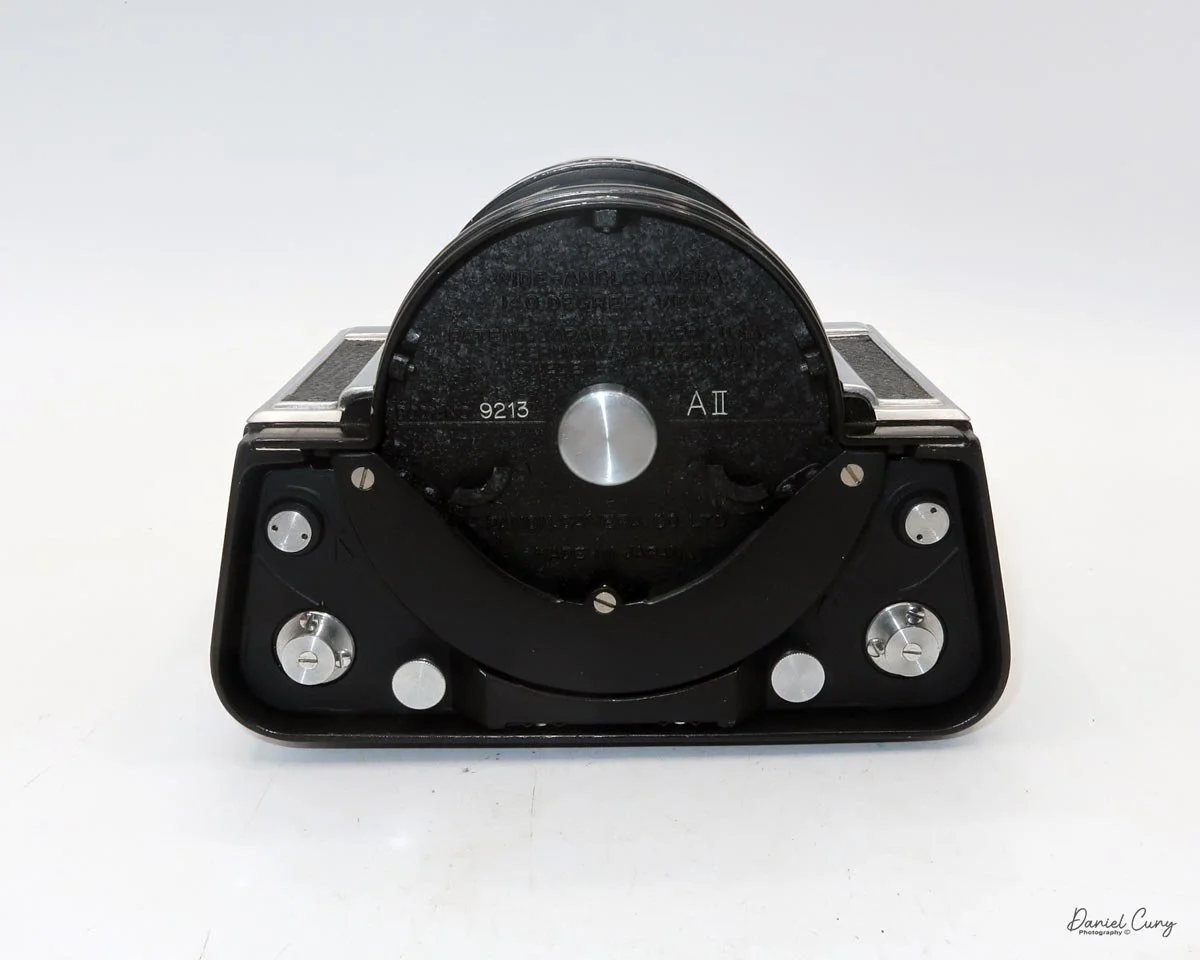
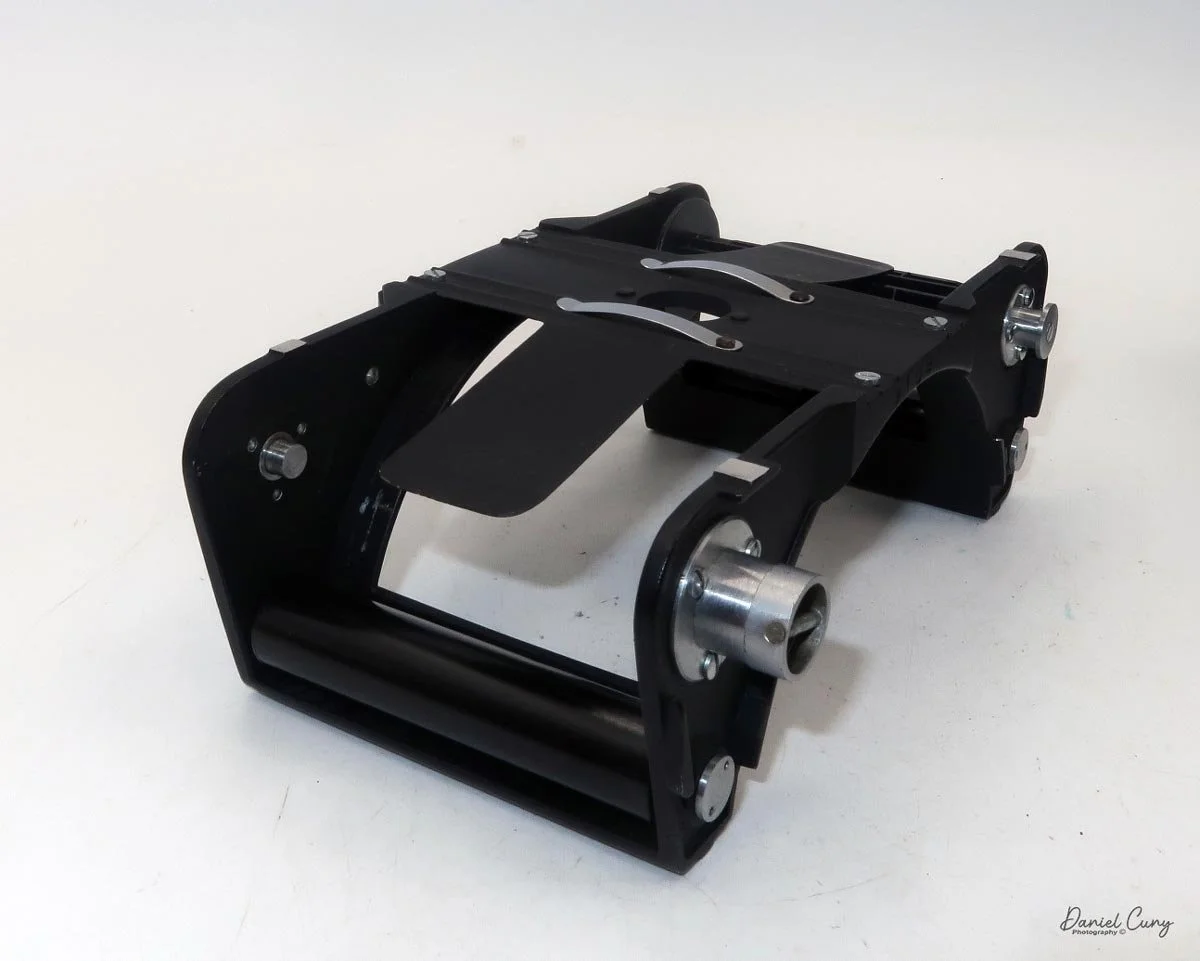
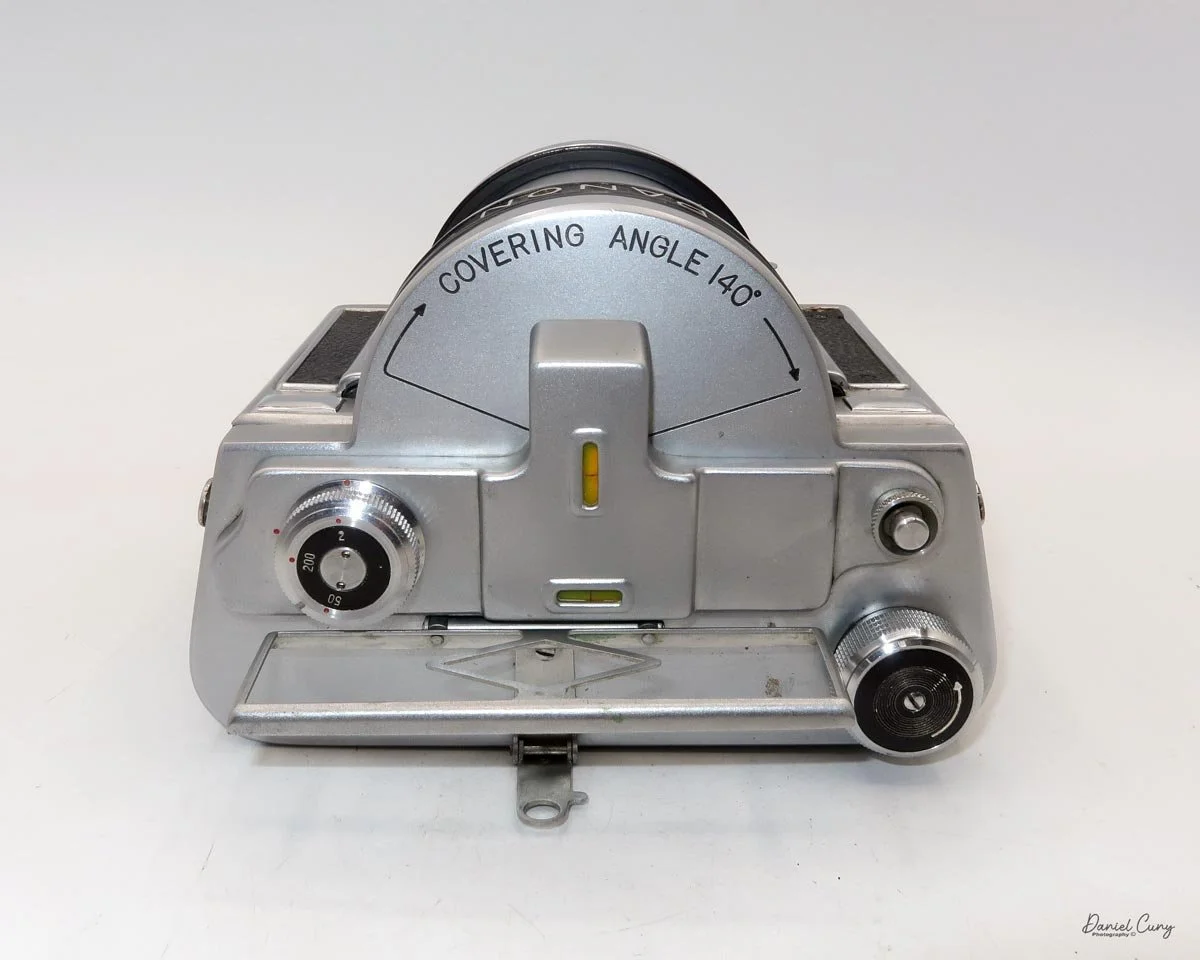
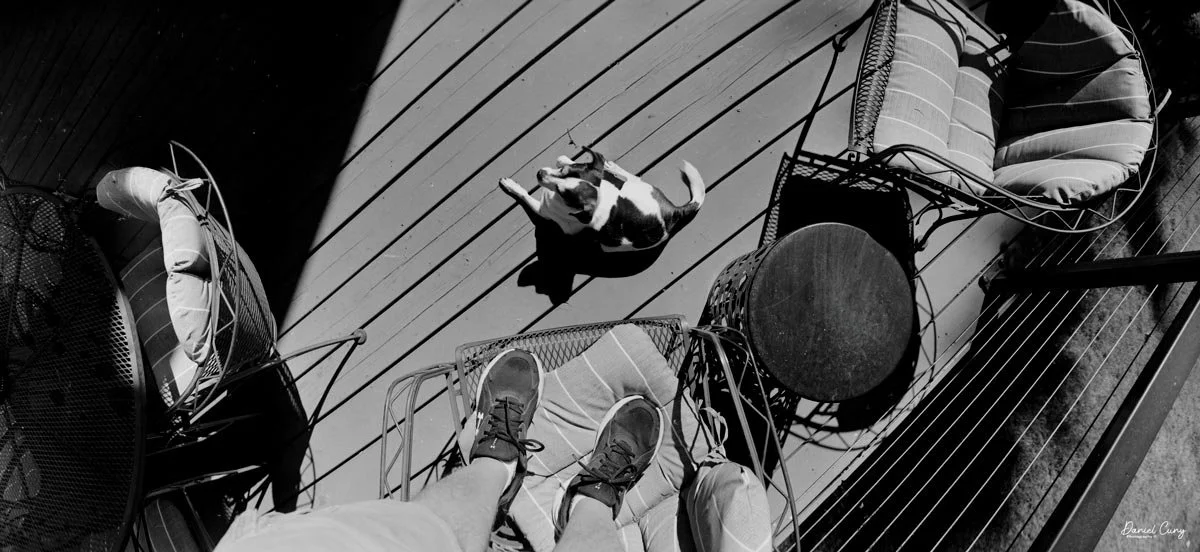
The Panon 120 camera is a beast in size and weight. The camera measures 4.75” tall by 6” wide at the widest part the rear) by 4.25” deep, and weighs a whopping 4 pounds 2 ounces without film or the fitted leather case. The camera produces a whopping 6x14 negative due to the curved film plane and rotating lens.

Unlike the Widelux camera which rotates the lens and cock the shutter when you advance the film, the Panon 120 you need to manually pull the lens from one side to the other to cock the shutter. That’s what the pull area on the side of the lens is for.

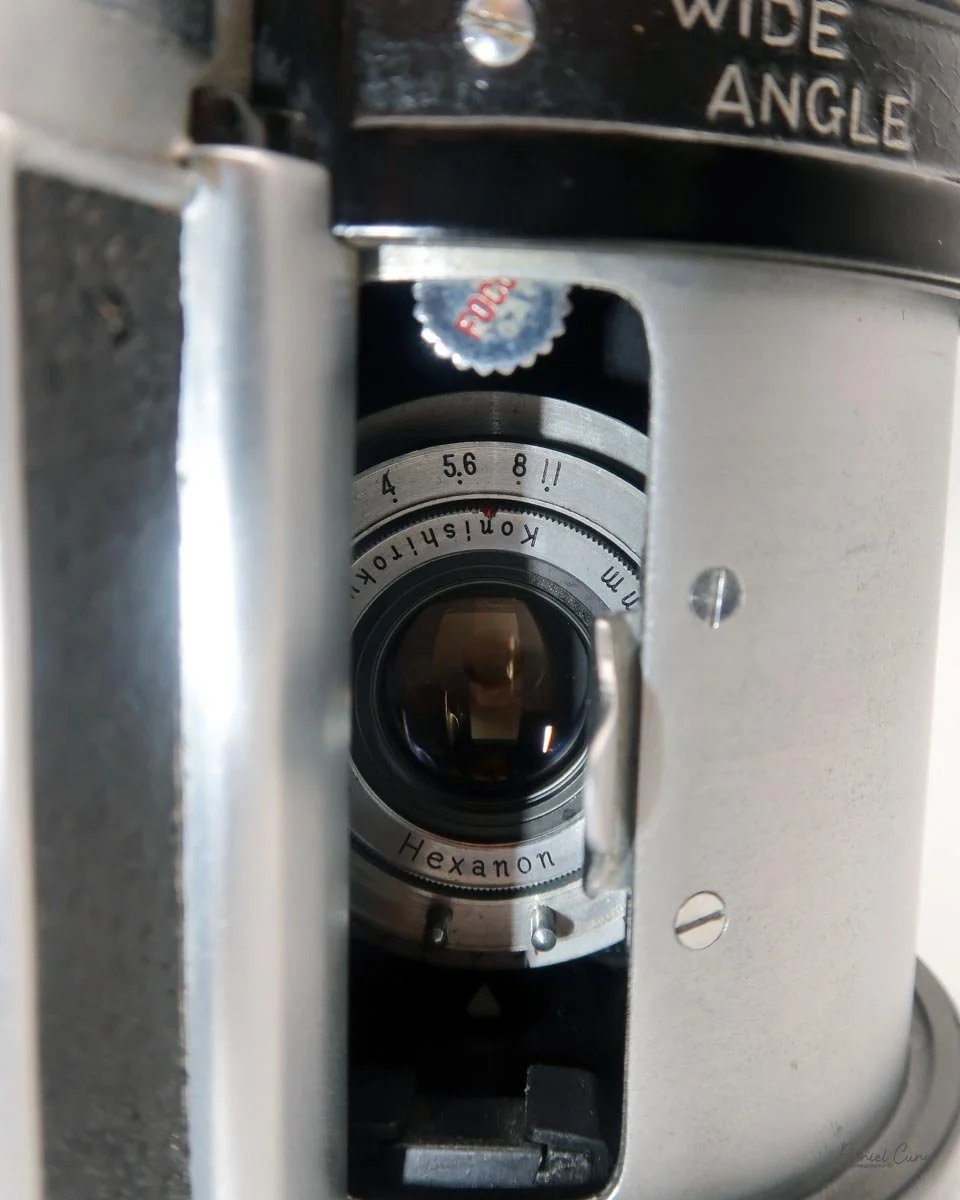
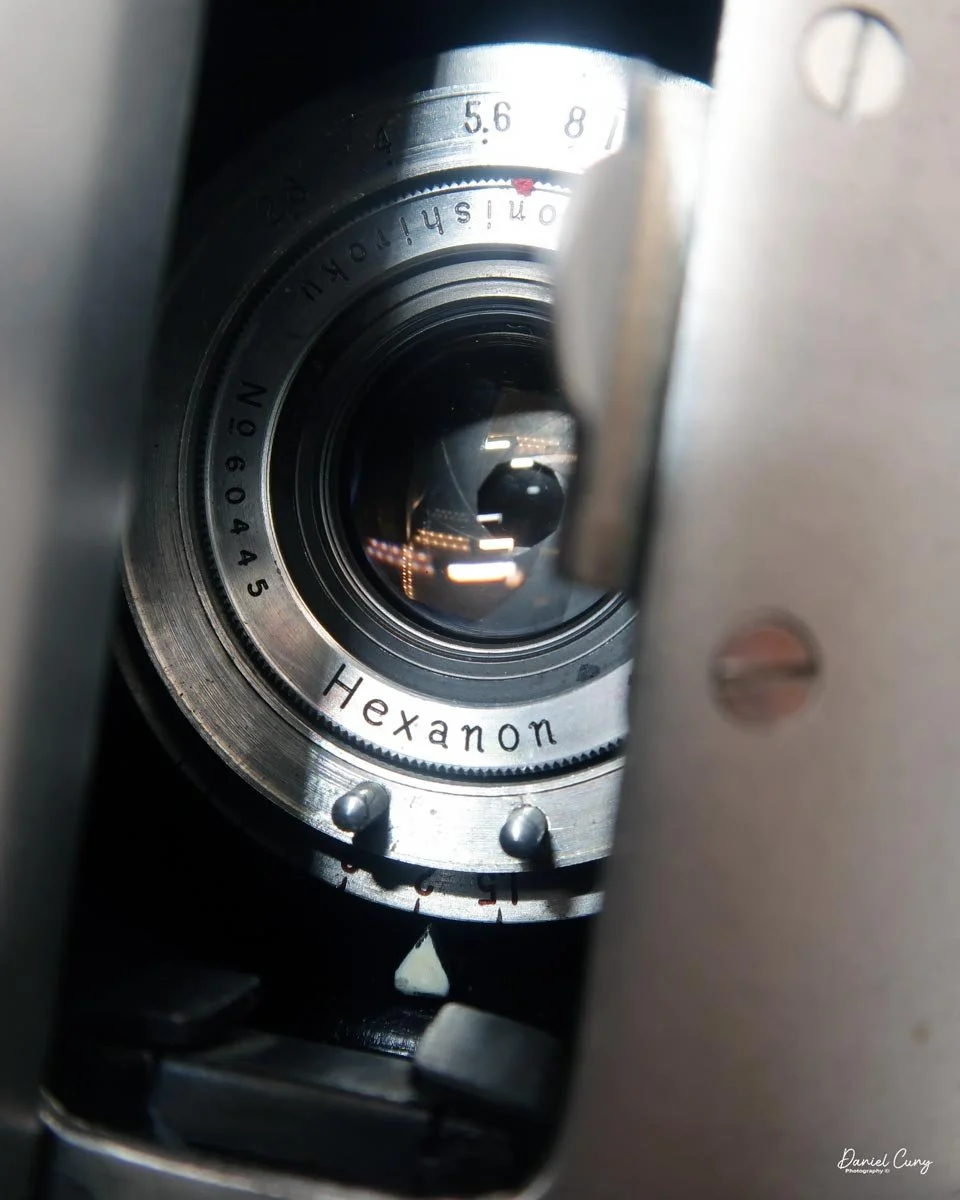
The lens on the Panon 120 is a 50mm f/2.8 Konishiroku Hexanon (Konica) lens with aperture settings from F/2.8 to f/11. You set the aperture manually by sliding a lever inside the lens chamber to the desired setting.

Focusing is done manually too on the Panon 120 camera. On top of the lens chamber is a wheel with “focus” written on it. Turn the wheel and look at the lens to find the distance to your subject.

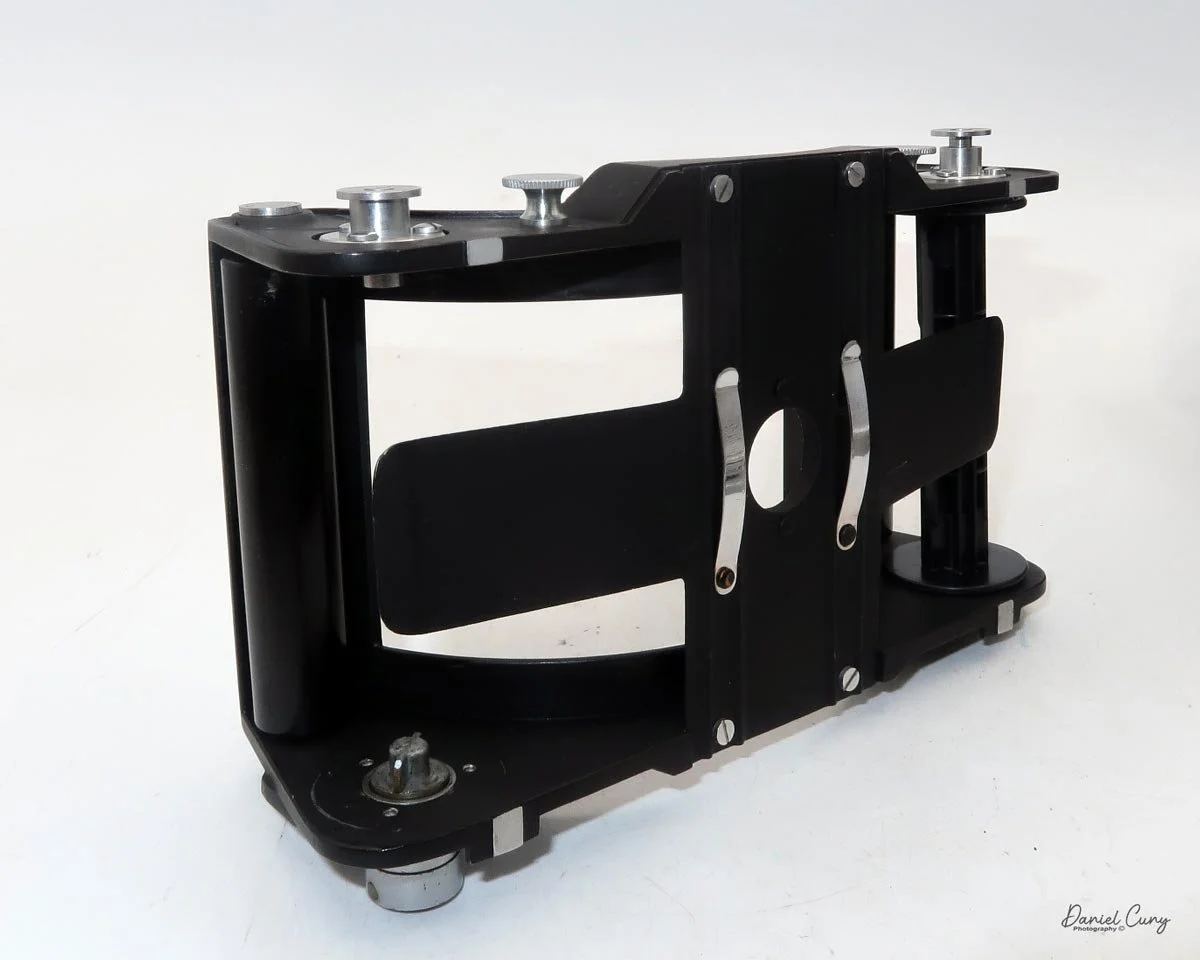
Loading the film is done by removing the bottom of the camera by unlocking two wheels on the bottom, then sliding out the film holder which is curved to match the rotating lens.

The hardest part of loading the film is making sure the film is behind the curved wall, then placing the film insert back into the camera the right way. If the insert is backwards, the winding wheel sticks up and the film door cannot be placed back onto the camera. Just reverse the insert, and the film will fit properly.

There are onle 3 shutter speeds on the Panon 120, 1/200, 1/50 and 1/2. The shutter speeds are set by turning a wheel on the top of the camera. Also on the top of the camera are two bubble levels, one for vertical, and one for horizontal. The flip up viewfinder is alo on the top of the camera.

Top view of the Panon 120 camera

My Results

Now that I've had the camera serviced, I loaded up a fresh roll of 120 film and walked through the neighborhood to take some photos for the blog.

 Here are some of the recent photos taken with the Panon 120.

Conclusion

I have a real internal conflict with this camera. On one hand, I love that it's essentially a medium-format version of the Widelux (which is my go-to camera that I shoot with around 90% of the time). On the other hand, the sheer size and weight of the Panon always give me second thoughts about taking it out.

 There are things I just need to resolve in my head so I can start using the Panon 120 more often. Beyond the size and weight, the main operational differences are having to manually focus the Panon 120 (whereas the Widelux is fixed-focus), dealing with different shutter speeds, and having to manually set the lens before firing the shutter, unlike the Widelux, which cocks the shutter automatically when you advance the film.

 Thank you for taking the time to read this updated review of the Panon 120 camera!

Are you interested in other vintage gear? Be sure to check out some of my other Camera Reviews.

 Check out my Cuny's Camera Collection YouTube channel, where I'm putting together video overviews of the cameras I write about. Be sure to subscribe and like the channel, too!

 Cuny's Cameras and Photos is my online eBay store, where you'll find some of the cameras I've reviewed, along with a wide range of other cameras, lenses, and gear from my personal collection that I am thinning out.

 Until next week, please be safe!

Bolsey PH-324A Camera, 35 Model B Special & B3

Composition of my Bolsey 35 B Special, PH-324A and B3 cameras

I've always been a fan of Bolsey cameras, as I've written about them in the past. Many of their models have a highly unusual appearance. Their 35mm cameras look somewhat bulbous from the top, with an odd three-sided removable back door. Yet, they seem to fit in the hand nicely thanks to their quirky form factor.

I've owned many Bolsey cameras over my collecting career, from the twin-lens Bolsey-Flex Trio and Bolsey 8 (both still and movie cameras) to the oddly shaped twin-lens 35mm Bolsey C model. But today I'm writing about their more common 35mm rangefinders—with the fun exception that they come in different colors.

One thing I've noticed is that the red logo Bolsey button on top of the camera is usually missing. I'd guess more than half the ones I've seen have lost this red button, likely popping off at some point in the camera's life. I've had some with and some without, so I generally look for and purchase them with the button intact, unless it's a truly "special" camera.

All three cameras I'm looking at today are based on the Bolsey B in terms of shape and most features. Due to my love for colored cameras, I couldn't resist putting this trio together—mainly for the fun of photographing them side-by-side and seeing what I could come up with for my lead photo.

The Bolsey "Special" is the oldest in my collection, and I purchased it online off eBay many years ago. The thought of adding a red Bolsey to the shelf was a huge plus for me. When I received it and saw it was in great physical shape, I was thrilled. Finding out the shutter and transport actually worked was just the frosting on the cake.

However, it wasn't until I finally pulled it off the shelf, loaded it up, processed the film, and saw the results that I realized there was a major flaw (see the images in the "Results" area). While the rangefinder worked as it should and the pressure plate was intact, the images were incredibly out of focus. I guess one of the lens elements is missing, or something is so out of whack that it ruins the focus. The back looks perfectly fine, so I'm at a loss.

After some research, I learned that some Bolsey "Special" cameras were made for microscopes and scientific purposes. Maybe this lens was specifically calibrated for extreme close-up work? But then again, the rangefinder worked perfectly for distance. It's a mystery.

I bought the second camera, the Bolsey B3, at an antique store in a neighboring town about three years ago. I was walking through the basement section when I came across a booth with a few cameras, and there sat this grey B3. The chrome was tarnished, and the shutter was stuck open, but the top was clean, and it was grey—a color I hadn't seen on a Bolsey before. The price was only a few dollars, so even though the shutter wasn't working, I figured it would make a fantastic display piece alongside my other Bolseys.

The newest Bolsey to join my collection is the PH-324A. This military camera was made for, and used by, the U.S. Signal Corps. This olive-drab camera features a stark black finish and a bold red "Bolsey" on the faceplate. It was part of a lot I bought at an auction house a few months ago.

While I always enjoy finding different colored versions of cameras, the stigma of a "military" model didn't initially excite me. That's possibly because the high prices they usually command typically turn me off—and keep them out of my budget! But the striking black finish on this one really won me over.

After processing the disappointing roll from the Bolsey Special, I loaded some film into the PH-324A and took it outside for a spin. Thankfully, this roll turned out much better, which you can see in the "Results" section below.

History:

The history of Bolsey cameras is inextricably linked to the brilliant and prolific mind of its founder, Jacques Bolsey. Born Yakob Bogopolsky in Kiev in 1895, he first made his mark on the photographic world in Switzerland during the 1920s. There, he designed the legendary Bolex 16mm motion picture camera, a revolutionary piece of equipment that helped democratize filmmaking for generations of operators. He also laid the mechanical groundwork for the Swiss Alpa-Reflex 35mm camera in the late 1930s before emigrating to the United States to escape the onset of World War II.

Bolsey Advertisment

During the war, Bolsey worked extensively with the U.S. government, designing durable, high-precision combat cameras for both aerial and ground photography. When peacetime arrived, he leveraged this military engineering experience to enter the booming consumer market. In 1947, he founded the Bolsey Corporation of America in New York and introduced his first major consumer camera, the Bolsey Model B.

The Bolsey Model B was a compact 35mm rangefinder featuring a distinctively heavy, cast-aluminum body. It possessed a uniquely rugged feel—a direct byproduct of Bolsey's wartime designs. Equipped with a fixed Wollensak Anastigmat 44mm f/3.2 lens and a split-image rangefinder, the Model B was both mechanically capable and affordable for the post-war middle class.

The company quickly iterated on this early success. The subsequent Model B2 added double-exposure prevention, while the exceptionally quirky Model C, introduced around 1950, stands out as one of Bolsey's most eccentric designs. The Bolsey C was an unusual hybrid: it functioned as a standard 35mm rangefinder but also integrated a twin-lens reflex (TLR) viewfinder on the top of the body. This let photographers look down into a ground-glass screen to focus, offering an alternative to the traditional eye-level viewfinder.

Later models, like the Bolsey B22 and the Jubilee (introduced in 1953 and 1955, respectively), featured a proprietary "Set-O-Matic" system. This mechanical innovation coupled aperture control directly to the focus mechanism, removing the mathematical guesswork from early flash photography.

Despite their mechanical durability and innovative features, Bolsey cameras suffered from inconsistent quality control in their external finishes. The metal plating on many camera bodies tended to deteriorate or pit quickly. By 1956, facing intense competition from domestic manufacturers like Kodak, as well as highly sophisticated new imports from Japan and Germany, Bolsey ceased camera production and sold his business interests to the Wittnauer Watch Company.

Jacques Bolsey passed away in 1962. Today, his legacy survives not only in the revered Bolex cinema cameras but also in the quirky, durable Bolsey 35mm rangefinders that remain fascinating artifacts of mid-century photographic engineering.

My Camera:

For this section, I'll focus on the PH-324A. The red "Special" is very similar to the PH-324A, while the Bolsey B3 is different mechanically and has some aesthetic differences, too.

The Bolsey 35mm models are sturdy and compact, coming in at 4.25" across, 2.5" tall, and 2.5" deep, weighing 14.9 ounces without film. My camera has a Wollensak 44mm f/3.2 Anastigmat lens, and the serial number on my PH-324A is 95012.

Looking along the top, you'll find just the rewind knob on the left. The middle of the PH-324A features the information plate with the Bolsey logo, reading: "Signal Corps. U.S. Army, Camera PH-324A," along with the contract name and "Bolsey Corp. of America." On the top right is the winding knob to advance the film. There's a helpful arrow indicating the turning direction, along with the instruction to "Lift slightly and Wind." Right below the winding lever is the frame counter.

Top view of the Bolsey PH-324A camera

On the back of the camera are two holes for the viewfinder. The left is the standard finder used to frame your image, and the right is a split-image rangefinder used for focusing. For me, they are a little difficult to use, but I think that's because of the eye surgery I had over a year ago and simply getting more accustomed to using my left eye to focus.

Moving to the front, the viewfinders are at the top. Down by the lens, you focus by sliding a large tab on the left side (as you hold the camera). On the PH-324A, there is a red dot and a slight indent just past the 12-foot mark. This is designed for hyperfocal focusing. Similar to how an Instamatic works, if you set the camera's focus to this point and use a small aperture in normal sunny conditions, your depth of field will keep everything from approximately 5 feet to infinity in sharp focus.

Above the lens are the shutter speeds, which range from 1/200 down to 1/10, along with "B" for Bulb and "T" for timed exposures. The 1/100 shutter speed is printed in red. You turn the outer knurled ring to select your desired speed.

Below the lens are the aperture settings, ranging from f/3.2 to f/22. Set these by sliding the small arrow to match your lighting conditions. The f/8 mark is also printed in red. When you set the camera to 1/100, f/8, and focus on the red dot (around 15 feet), the camera is extremely easy to operate because all the primary settings are color-coded in red.

The shutter release is located around the lens assembly in the ten o'clock position. Just press it down to fire the shutter.

The bottom of the camera has the film door release. Flip the lever to "open," then slide the back off to expose the loading area. From there, you load it as you would any standard 35mm camera.

After taking a photo, you must follow the instructions engraved on the film advance knob. I didn't notice this when I first loaded the camera. The winding gears felt stuck, and I actually tore some of the sprockets right off the film. To advance the film properly,  lift the winding knob slightly, then start turning.

Lifting the knob releases the internal lock on the advance gear, allowing you to wind to the next frame. Without lifting it, you'll tear the sprocket holes just like I did before consulting the manual. When it's time to rewind the film into the cassette, there is no release button for the drive gears. You wind the rewind knob in the direction of the arrow, and the film pulls smoothly back into the cassette.

Results:

Loading up some expired Plus-X film from 1976 (which is still great film, by the way), I took a walk through my neighborhood and captured several of my usual test views.

Here are a couple of the images taken with the red "Special." The final few—and much sharper—images are from the PH-324A, which did a considerably better job!

Conclusion:

The Bolseys are incredibly fun cameras to shoot with and remain some of my favorites in my collection. They are even more fun to use once you read the instructions and learn how to advance the film without tearing the sprocket holes!

The focus was surprisingly easy to nail, even for an old guy using his left eye. The viewfinder was clear, the shutter speeds seemed accurate, and the lens was sharp, producing some genuinely nice images despite the larger grain structure of the vintage Plus-X film.

Thank you for taking the time to read about some of the Bolsey cameras from my collection.

Overall, my experience with these cameras was very positive. While a slightly larger finder window would be nice, I do love shooting with a compact camera every once in a while. I've always felt that Bolsey cameras were well-built, quirky, and an absolute joy to use.

Are you interested in other vintage gear? Here are some of my other Camera Reviews.

Check out my Cuny's Camera Collection YouTube channel, where I am putting together video overviews of the cameras I write about. Be sure to subscribe and like the channel, too!

Cuny's Cameras and Photos is my online eBay store, where you will find some of the cameras I have reviewed, along with a wide range of other cameras, lenses, and items from my collection that I am thinning out.

Until next week, please be safe.
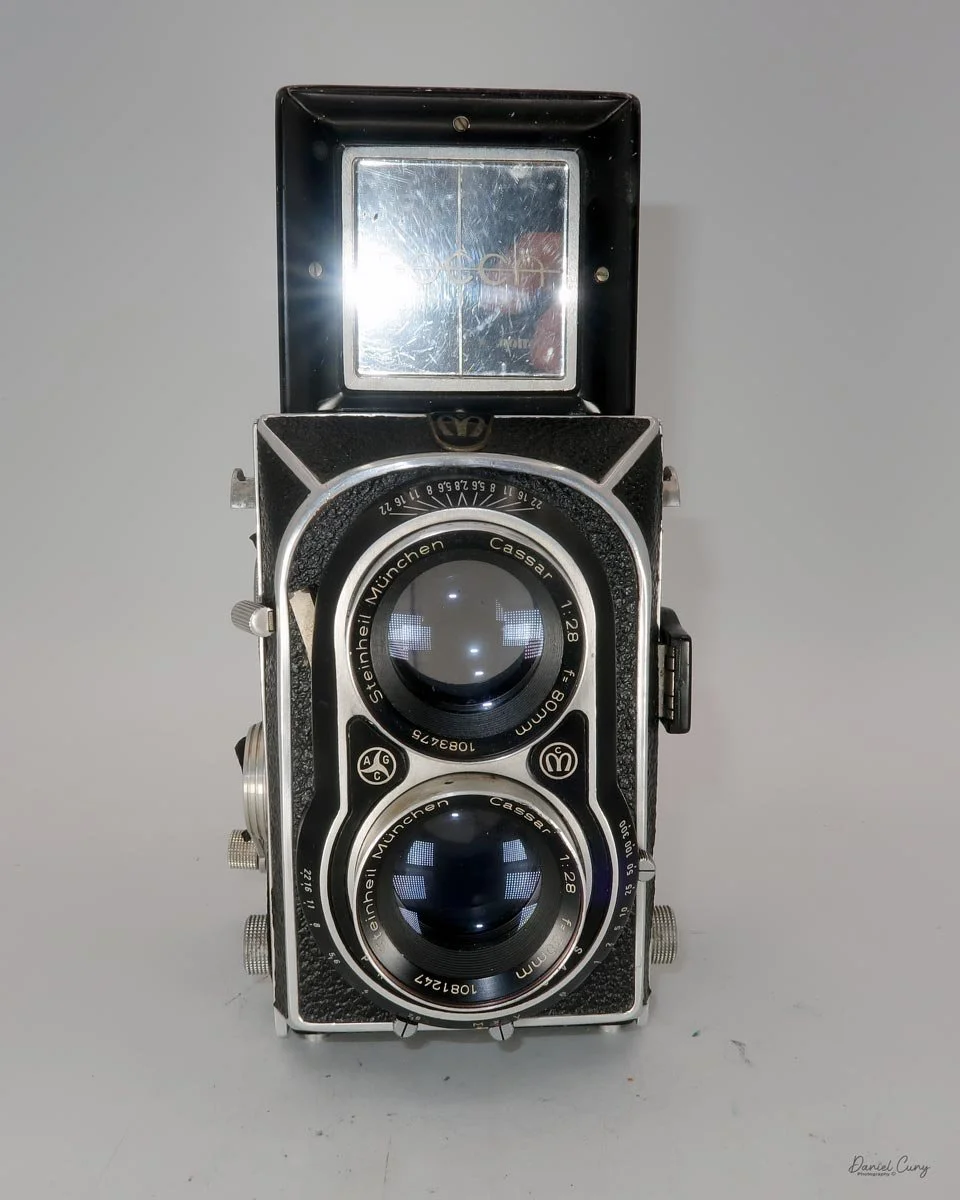
Envoy Wide Angle camera

My Envoy Wide Angle camera

I’ve always been drawn to anything panoramic—cameras, negatives, even yard‑long prints. I love images that feel like the way I actually see: scanning the edges, noticing subjects on the periphery, wanting just a little more in the frame.

 That’s why I’m so fond of cameras that may not be truly panoramic, but still give a generous wide‑angle view. I enjoy classic street and fashion work—Diane Arbus, Elliott Erwitt, Henri Cartier‑Bresson, Richard Avedon, Herb Ritts, Irving Penn—I can happily look at their photos all day long. But when it comes to scenic images, even with masters like Ansel Adams and Edward Weston, a part of me is always wondering what’s just outside the edge of the frame.

 So when I went hunting for a camera to feature in this week’s camera‑collecting blog, the Envoy Wide Angle was sitting there on one of my shelves, quietly staring back at me. It isn’t famous, it isn’t flashy, but it’s a small English wide‑angle box that happens to see the world a lot like I do.

 My friend, fellow camera blogger, and co‑host of the Camerosity podcast, Mike Eckman, wrote an excellent review of the Envoy Wide Angle a while back, so I deliberately let some time pass after his piece. Now that the dust has settled, it felt like the right moment to pull my Envoy down, load some film, and see what I could add to the conversation.

Brief History of Ilford:

 While often synonymous with high-quality black-and-white film, Ilford Ltd. holds a distinct and fascinating place in the history of camera manufacturing. Founded in 1879 by Alfred Hugh Harman in Ilford, England, the company initially focused on dry plates. However, as the photographic medium evolved, Ilford expanded into the hardware that would utilize their world-class emulsions.

 Ilford's foray into cameras began in the late 19th century with specialized plate cameras. By the early 1900s, they introduced models like the Ilford Falling Plate camera. These were designed to be robust and reliable, catering to a growing market of serious amateur photographers. As roll film began to dominate, Ilford transitioned, ensuring its hardware remained a perfect vessel for its advancing film technology.

 The post-WWII era marked Ilford's most ambitious period in camera design. Two models, in particular, stand out to collectors and historians:

  • The Ilford Witness (1953): A legendary 35mm rangefinder that is now a rare prize for collectors. It featured a unique interrupted screw mount and was designed to compete with the likes of Leica and Contax. Though technically brilliant, its high production costs led to a very limited run.

  • The Ilford Advocate (1949): Instantly recognizable by its ivory-white stove-enamel finish, the Advocate was a 35mm camera designed to stay cool under the sun (ideal for tropical climates). Its distinct aesthetic and reliable performance made it a mid-century icon.

 By the 1960s, Ilford pivoted toward the mass market, collaborating with manufacturers like SND (West Germany) to produce the Ilford Sportsman series. These were affordable, user-friendly 35mm cameras that brought the Ilford name into households across the UK and Europe.

Today, while Ilford's focus has returned to its roots in chemistry and paper, the "Ilford" badge on a vintage camera remains a symbol of British engineering and a golden era of silver halide photography.

My Camera

The Envoy Wide Angle is a deceptively simple, very boxy camera that shoots big 6×9 images on either 120 or 620 roll film, or on plates with a removable back. It measures roughly 5 inches wide by about 3.75 inches tall and 3.5 inches deep, and it has the solid, brick‑like feel you’d expect from a mid‑century British box. Controls are straightforward: shutter speeds from about 1/150 to 1 second plus B, set by rotating the ring around the shutter until the red dot aligns with your chosen speed.

On my example, the shutter unit is from Agilux (Agifold), who also produced their own cameras in the late 1940s and 1950s. The cocking lever sits around the 5 o’clock position on the front, while the shutter release is down at about 7 o’clock. It’s not an ergonomic marvel by modern standards, but after a couple of frames your fingers know where to go.

The Envoy’s party trick is the lens: a 64mm f/6.5 Taylor, Taylor & Hobson wide‑angle, a 4‑element design covering an angle of about 82 degrees, roughly equivalent to a 25–28mm lens on 35mm. For what is otherwise a plain, fixed‑focus box, that’s an unusually ambitious piece of glass. Held level, distortion is minimal, and the lens has a reputation for being impressively sharp, especially stopped down.

Although the lens opens to f/6.5, the manual is clear that this full opening is only for focusing on the optional ground‑glass screen when using plates. In normal use on roll film, the working apertures start at about f/11 and go down to f/32; f/16 will satisfy most situations, and f/22 is where the lens is said to give its best coverage and performance. There is no focusing mechanism at all—sharpness comes purely from depth of field, with approximate ranges as follows:

  • f/11: 10 ft to 60 ft

  • f/16: 6 ft to 400 ft

  • f/22: 4 ft to infinity

  • f/32: 30 in to infinity

 In other words, once you’ve set a sensible aperture for the light, the Envoy behaves like a very refined point‑and‑shoot: you concentrate on framing, and the lens quietly takes care of focus.

Using the Finder and Framing:

 The Envoy doesn’t give you an optical viewfinder in the usual sense. Instead, you flip up a rectangular sports finder on the front and a matching chrome frame on the back, then look through and do your best to line things up. The rear frame has a little slider for 3 ft, 6 ft, and infinity, but in practice those settings don’t seem to change much—the framing is more of an approximation than a precision instrument.

When using the Envoy Wide Angle camera, I treated it like a loose, intuitive framing aid. I composed a bit wider than I might with a “normal” camera, knowing I could afford to include extra space in those big negatives. Between the generous depth of field and the easy loading of 120 roll film, the camera encourages you to work simply: point, estimate, and trust the lens.

To open the back of the camera to load film, on the right side is a top slider that pulls up, and the film back will open for roll film. On the back of the camera, when using roll film, there is an insert. Pull up the winding wheel, and the film insert is removable. Pull out the insert and load the roll of film as you would any 120 or 620 film. Put the insert back into the camera's body, press down the winding wheel to engage the film's notches at the end, close the back, and make sure it's fully closed and locked. On the back of the camera is a sliding cover for the red window, which you use to wind the film and note the frame number. Wind the film until you reach the number 1, and you're now ready to take your first photo.

 A Morning at Moulton Falls:

 Once I pulled the Envoy Wide Angle off the shelf, I did what any curious wide‑angle fan would do: I loaded a roll of 120 and took it somewhere with space to breathe. My wife and I, along with our grand‑dog Bean, headed up to Moulton Falls in Washington, about 15 miles from home. It was a sunny day, but we went out early, while the sun was still low and brushing the trees and river with softer light.

 Knowing the Envoy really comes into its own at smaller apertures—f/16, f/22, even f/32—I chose 400‑speed film to give myself some flexibility in the forest shade and along the river. With a fixed‑focus lens, the only “decisions” you really make are shutter speed and aperture, so I quickly settled into that mindset: pick a stop for the depth of field I wanted, set a reasonable shutter speed, and let the camera do the rest.

Front view of Envoy Wide Angle, No. 2880.

 Moulton Falls is one of those places that suits a wide‑angle view: the arched bridge, the rocky river, the trees crowding the edges of the frame. It’s exactly the sort of scene where I’m always wishing I could see “just a bit more” to the left and right, and the Envoy happily obliged, giving me big, expansive 6×9 negatives from a very compact box.

My Results:

 Back from the walk, I was pleasantly surprised by what came out of that first roll. For a camera with no focusing mechanism at all, the Envoy’s lens is very sharp, with good contrast and a pleasing tonality across the 6×9 frame. Stopped down, the corners hold up better than you’d expect from a mid‑century wide‑angle box, and distortion is minimal as long as you keep the camera level.

 The 400‑speed film paired well with the slower shutter speeds and small apertures I was using under the trees and near the water. Scenes that could easily have turned muddy or soft came out crisp, with plenty of detail in the rocks, foliage, and bridge structure. For a “simple” camera, the negatives have a surprisingly modern look once scanned.

Final Thoughts:

 For something that looks like a straightforward box, the Envoy Wide Angle turns out to be a very capable wide‑angle 6×9 machine. The lens is sharp, contrasty, and handles scenery with confidence, as long as you respect its need to be stopped down. The fixed focus and sports finder mean it will never be a precision tool in the modern sense, but that’s part of its charm.

 This one is a keeper in my collection, both for its compact size and for the quality of the images it produces. I’d happily put it in the same conversation as the Brooks Plaubel Veri‑Wide, a fun, wide‑angle medium-format option, with the Envoy winning on simplicity and portability. If you enjoy wide‑angle cameras and can live with fixed focus and a guessy finder, it’s well worth tracking one down and adding it to your group of “user” cameras.

 I’d love to hear your thoughts—if you have an Envoy Wide Angle or another fixed‑focus wide‑angle medium-format camera you enjoy, let me know how you use it and what you like about it.​

 Here's a link to my other Camera Reviews.

 Cuny's Cameras and Photos is my online eBay store where I sell some of the cameras I've reviewed, along with lenses, and other odd photo items. Please stop by and browse around. I list my items with a "make offer" option, so if you see something you like, make a fair offer, and I'll most likely accept. Let me know you saw my blog.

 Until next week, please be safe.
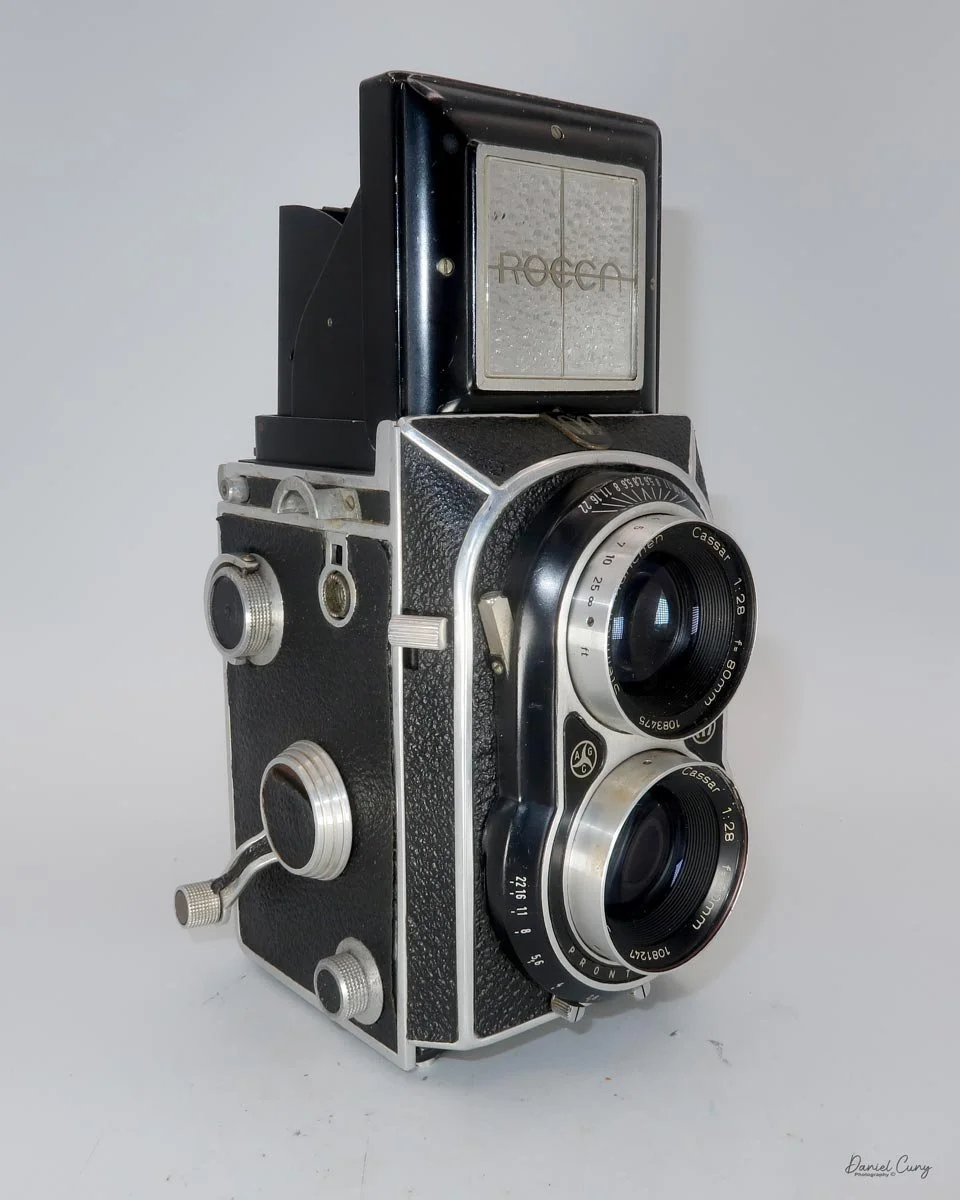
Sakura Bakelite camera

The 1930s Sakura Bakelite: A pocket-sized piece of Japanese history with a surprisingly modern 'X' design.

Looking through my camera collection, I wanted to find something more unusual to write about this week. When I picked up the Sakura camera in its case, I didn't think much about it until I opened the camera's case and saw the writing inside. 
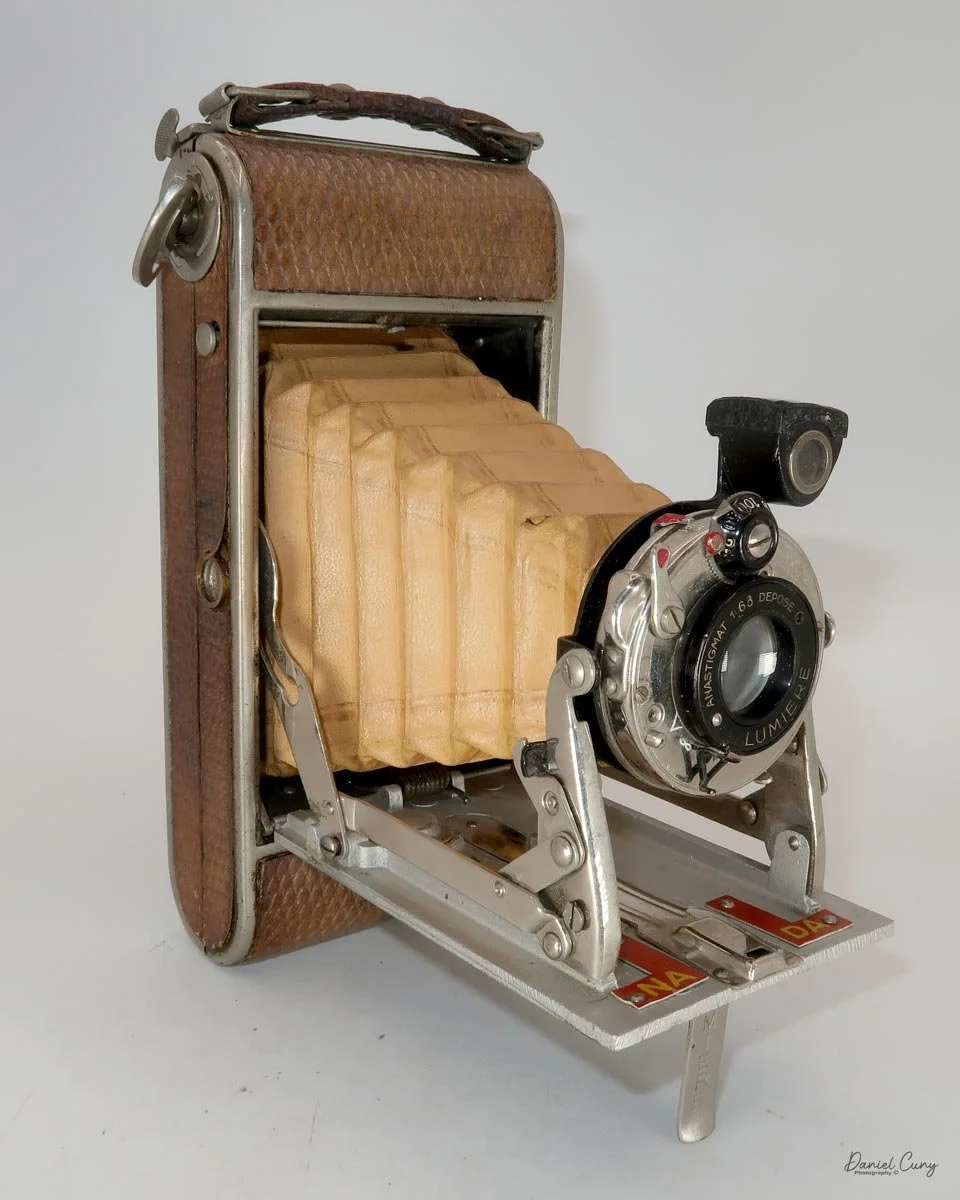
 The writing said, "K. Kitayama" along the bottom, and "kin" on the right and kizyun" on the left, so my immediate thought was to try and do some research to see if I could find the ancestors of the camera, or possibly even the owner of the camera. 
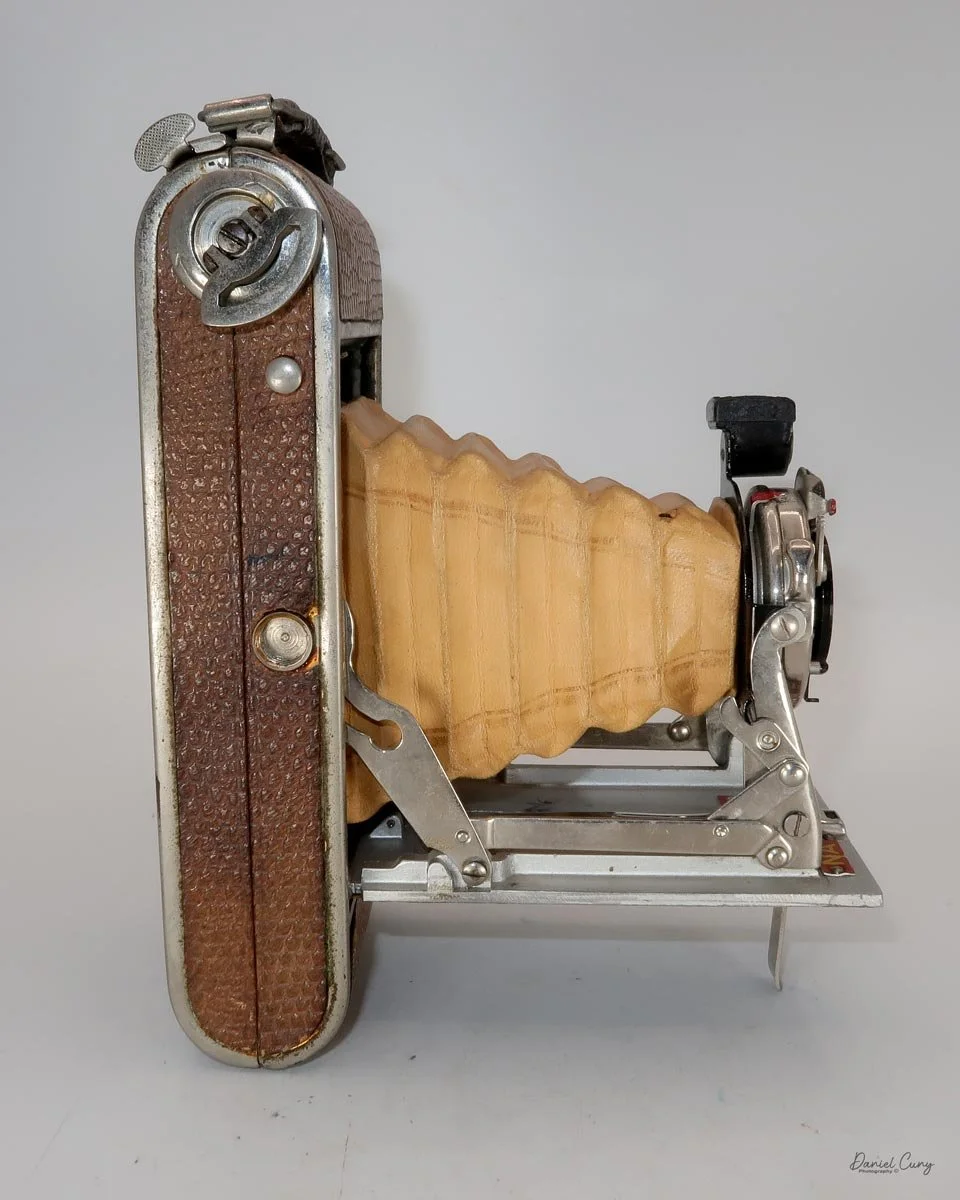
 Since the camera was released in Japan in 1937, I imagined the original owner might still be alive, but the chances are slim. Also, since the lettering was in English and not Japanese, the camera was brought to the US by the owner, but when? 

 Looking more closely at the case, there is a red stamp on the inside top. It appears to be in Japanese, but it's pretty faded; there's also a number "74" that is pretty visible in the lower right corner. So, did the camera enter the US in 1974 when the owner brought it here from Japan, and was it stamped by customs or the Japanese government before leaving?

 Also, when I took the camera out of the case to inspect it for this week's blog, on the back wall of the case is a signature written in ink that appears to be a name starting with K. and Kizyun? I tried many different Google searches for different spellings. While I find these things fascinating, my chances of finding the original owner, or possibly some family members, are very slim. Still, my passion for finding the original owner remains. 

Have you ever found a piece of gear with a name inscribed on it? I'd love to hear your detective stories in the comments.

 Now that I've spent way too many hours going down the rabbit hole trying to find out who the camera belonged to, let me tell you more about the camera itself.

My Sakura Bakelite camera

 The Sakura (Bakelite) camera is an odd, oval-shaped model made by Konishiroku in the late 1930s. Konishiroku was the original company that became Konica. While the Sakura camera is a very basic model that I'll describe below, I understand it's rather rare.
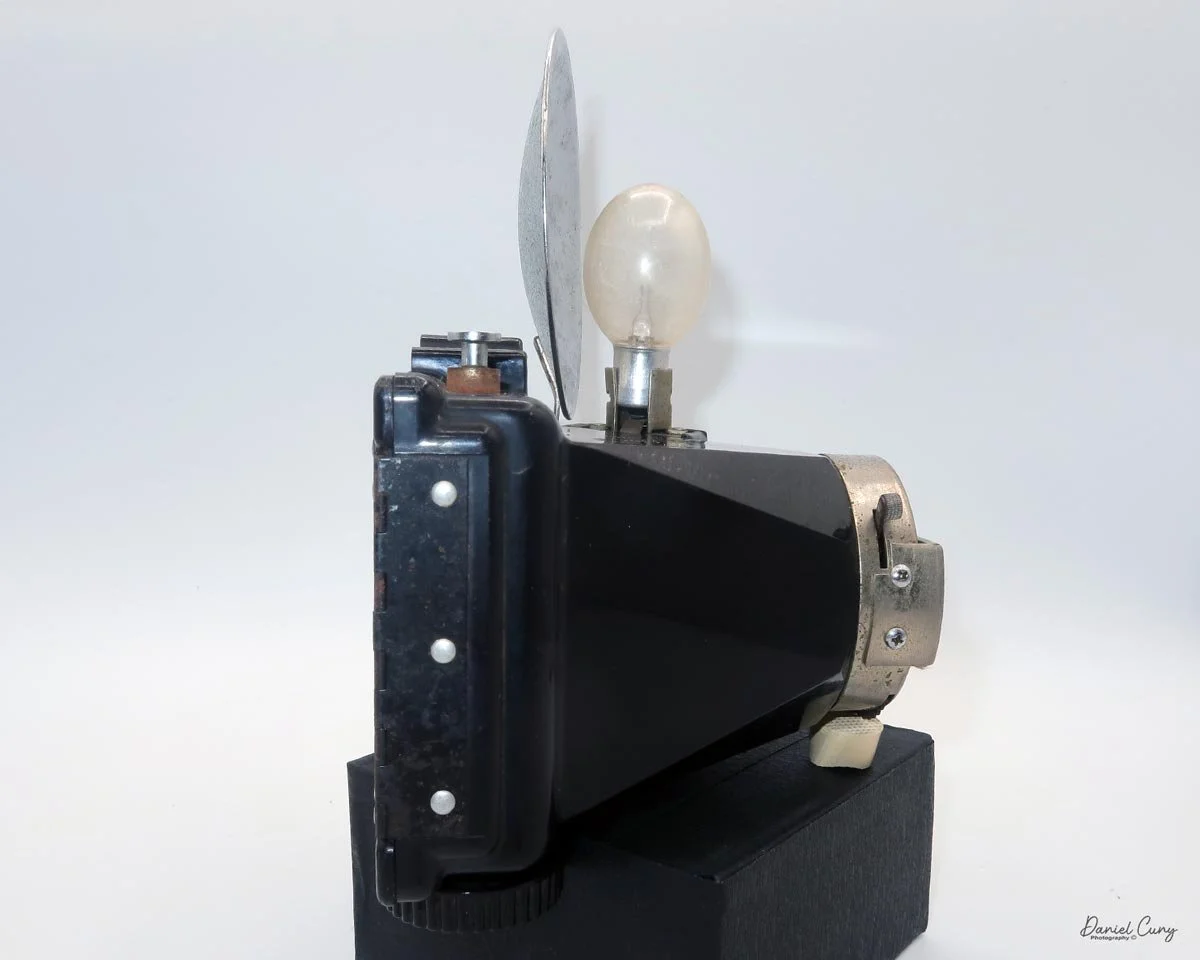
 Sakura, meaning "Cherry" in Japanese, was a short-lived brand produced by Konishiroku during the 1930s. Their most popular items were a series of 3 different, beautifully colored, Sakura Box cameras. One of the cameras used 127-sized film for its 4x6.5cm format. In contrast, their larger cameras were 4.6x6cm or 6x9cm format cameras on 120 film. These cameras are also very collectible and rare items.
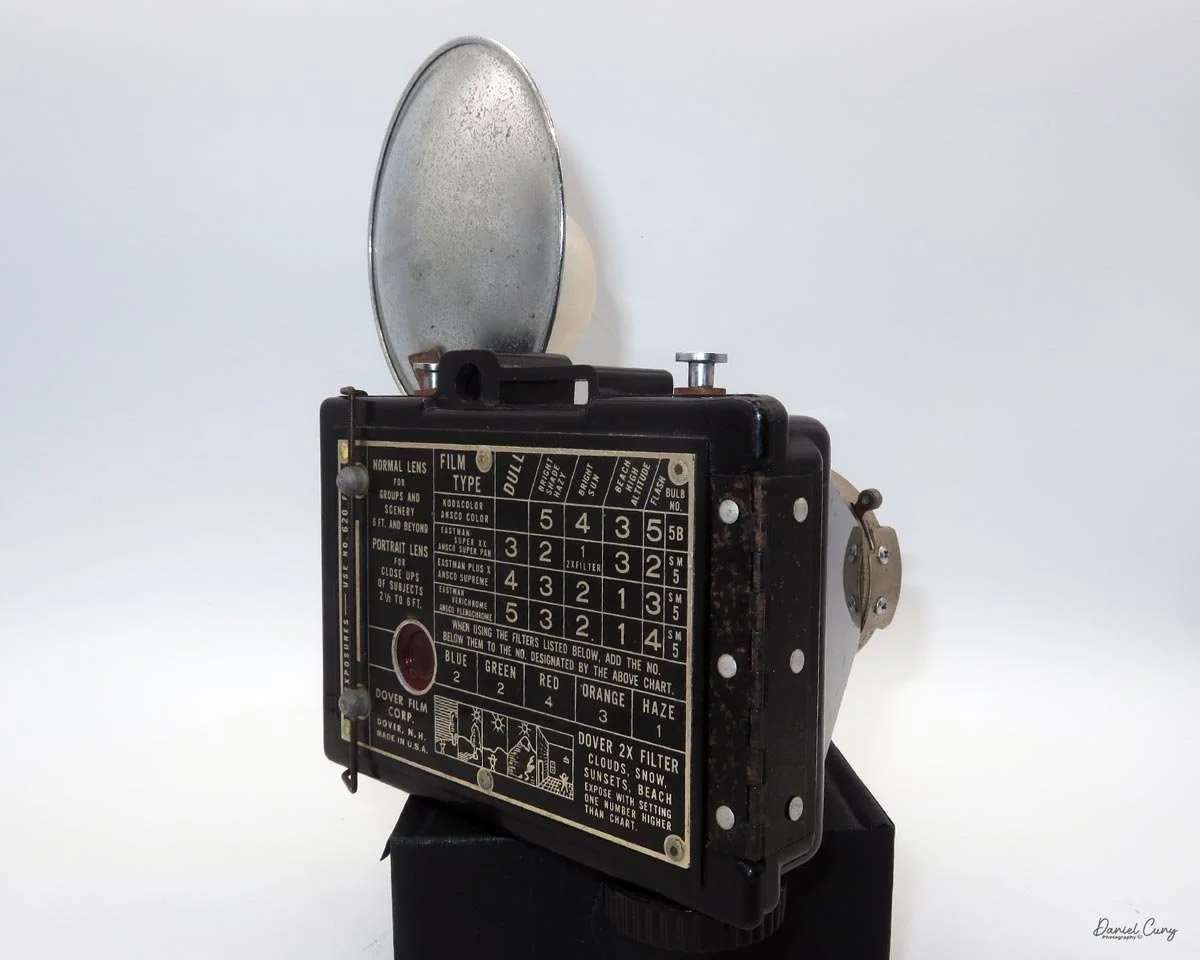
 

Konishiroku Before World War II:


The story of Konishiroku (the predecessor to Konica) is essentially the birth of the Japanese photographic industry. Long before it became a global imaging giant, the company began in 1873 when Rokusaburo Sugiura began selling photographic and lithographic materials at Konishiya Rokuemon, a traditional pharmacy in Tokyo.

Ad for Sakura camera from Camera-Wiki

 By 1876, Sugiura moved the photographic department to a dedicated shop called Konishi Honten. This move was visionary; at the time, photography was a fledgling Western import, yet Sugiura foresaw its cultural and commercial potential in Meiji-era Japan.

 In the late 19th century, Japan relied almost entirely on imported cameras and chemicals from Europe and America. Konishi Honten sought to change this. In 1902, the company established the Rokuoh-sha factory in Tokyo, marking a pivotal shift from a mere retailer to a pioneer manufacturer.

Just one year later, in 1903, they released the Cherry Portable Camera. This was Japan's first brand-name camera, a simple box-type unit that democratized photography for the Japanese public, much like the Kodak Brownie did in the West.

 Throughout the 1920s and 1930s, the company refined its engineering to compete with high-end German imports. Several key milestones defined this pre-war era:


  • The Pearlette (1925): Based on the Vest Pocket Kodak, this folding camera became an icon in Japan, remaining in production in various forms for decades.

  • The Lily and Idea series: These cameras showed Konishiroku's ability to produce sophisticated folding and plate cameras that appealed to serious amateurs and professionals.

  • Establishment of the "Konishiroku" name: In 1921, the company reorganized as a partnership, and by 1936, it was incorporated as Konishiroku Honten Co., Ltd.

 By the mid-1930s, Konishiroku was not just making camera bodies; it was a master of the entire "imaging chain." They produced Sakura brand cameras, film, and photographic paper. In 1935, they began developing their own high-quality lenses under the Hexar name.

 As the 1930s drew to a close, the Japanese government began consolidating the industry for the war effort. Konishiroku's precision manufacturing was increasingly diverted toward military optics, such as aerial cameras and rangefinders. However, the foundation they built—combining retail savvy with deep technical manufacturing—ensured that when the "Konica" brand eventually debuted in the post-war era, it was backed by over 70 years of institutional expertise.

My Camera:

 My Sakura Bakelite camera is an odd, oval-shaped camera with a pull-out front lens used for taking photos, and it retracts when it's in its case for transport. It's only 3.75" wide by 2.75" tall, including the film winding knob, and 2" deep with the lens retracted or 3" with the lens extended. It only weighs 6.1 ounces without film in the camera.

The camera is a rich, dark brown Bakelite with slight mottling and a grainy finish, giving it a nice texture. SAKURA is molded in Bakelite at the top of the pull-out lens area. There is a smooth "X" shape on the faceplate as well, with the lens centered at the "X"'s intersection. 

X design and controls on the face of the Sakura camera

The Sakura camera is extremely basic. Its fixed-focus Rokuoh-Sha Tokyo lens and lack of adjustable apertures make it simple to use, making it ideal for casual photography or quick snapshots. The shutter settings are either "I" for instant or "B" for bulb, used for timed exposures. The shutter is set by a chrome arrow pointing to the desired setting. The shutter release is just below the shutter setting. It is a longer, curved lever, emphasizing its straightforward design for beginners or vintage enthusiasts interested in minimalistic cameras.

On top of the Sakura camera is a chrome pull-up viewfinder in the front, along with a pop-up pointer in the rear, which you use to center your subject before taking the photo. Also, at the top of the camera is the film winding knob, which has an unusual numbering system. The idea is that you start at number 1, then turn the nob to number 2, which is the proper amount of length to get the film to the next frame. I didn't use this method, but used the red window on the back of the camera to find the frame numbers. The red window also features a sliding chrome cover that opens or closes as needed.

At the bottom of the camera is a tripod socket for timed exposures. However, there is no cable release socket, as is generally used for this. Also at the bottom is a lever that locks or unlocks the film chamber, allowing it to be removed from the camera for loading or unloading film. Once the chamber is unlocked, the film chamber lifts up from the top of the camera, but this can only be done when the lens is extended; otherwise, the lens blocks the chamber in the camera body. Once the lens is extended, the film chamber extends from the top of the camera, and you can load film to take photos. Once loaded, slide the film chamber back into the camera body, lock it into place, set the frame counter to 1, and you're ready to snap some photos.

My Results:

 I took two rolls of film with the Sakura camera because the first roll turned out so poorly. It didn't dawn on me that a couple of things happened when shooting the first roll. The first thing I noticed was that I forgot to pull the lens out of the camera body while shooting, but only for the first 1-2 photos, which resulted in some pretty unusual, very out-of-focus images. 

 The second thing that happened was when I was shooting the first roll, I was pulling the shutter speed lever in place of the shutter release, then when I found the shutter release, the shutter speed was set to "B", so all of these images were blurry from motion, as well as overexposed.

 So I loaded a second roll after seeing the disaster from my first roll, and #1 made sure the lens was extended, and #2, I put my finger on the shutter release lever before framing the photo so I wouldn't accidentally pull the shutter settings from "I" to "B". The second roll turned out much better than the first, and while I'm embarrassed by the first, I needed to share my experience with the camera.

 Once I figured out the mistakes, the images actually turned out very nicely.

Conclusion:

 The Sakura was fun to shoot with, but the frustration of the first roll must have befuddled the original users, too. Putting the shutter control on the top of the shutter release made for an interesting, but frustrating, experience. If the company had switched the shutter release with the shutter controller, the experience could have been better. At least switching the "B" and "I" settings would have been helpful.

 Still, I enjoyed using the Sakura bakelite camera. There's still something gnawing at me: who and where, and the story behind this little, oddly shaped Bakelite camera that's approaching 90 years old.

Quick question: Have you ever found a piece of gear with a name inscribed on it? I'd love to hear your detective stories in the comments.

 Thank you for learning about this wonderful and rare Japanese camera, made just before World War II.

 Here is a list of my other CAMERA REVIEWS, with links.

 Cuny's Cameras & Photos is my online eBay store where I sell many of the cameras I've reviewed, along with other photos and camera accessories.

 Until next week, please be safe.