Gomag Holly Camera

My Gomag Holly Camera

As I declared February as 'Box Camera' month, I found myself gazing at the camera collection on the shelf above my desk. Tucked away in the back corner was a hidden gem, the Gomag Holly camera, a treasure I had forgotten about until I reached my hand back there. The joy of rediscovering this unique piece of history was overwhelming, and it brought back a flood of memories.

 Looking back at my records, I purchased this camera in late 2010 or early 2011 from an online auction with a few other box-style cameras. What intrigued me about this camera was its unique design, with two viewfinders built into one camera, and its ability to set both shutter speeds and aperture, which was unusual for a simple box-style camera. The rarity of the Gomag Holly camera added to its allure, making it a prized possession in my collection. 

 Another thing I liked about the Gomag Holly camera was the rounded corners, which gave it a less industrial look and a more refined appearance—something you'll want to pick up and use. When I picked up the camera to start writing about it, I heard something rattling around in it. My initial thought was that the camera wouldn't be usable. Still, I opened the camera and found one of the film transport rollers lying in the back of the camera.

 When I initially purchased the camera, I can't remember if I noticed that three of the sockets that hold the two rollers on the back of the camera, which prevent the film from scraping across the film plane, were missing. If I remember correctly, I didn't think much of it then because I thought, "I'd never really put the camera to use," as it was mainly for the show in my collection. That was until recently when I viewed the camera and wanted to write about it for my weekly blog post.

The Company:

I've done exhausting searches on the web. I cannot find anything about this camera or its manufacturer. I did come across an article from the Photographic History Society of Canada named The Holly and the Ivy that did a very short article about this camera, and in the article, they state the camera was made by Allgäuer Kamerwerkstatte Gomag, which roughly translates to (Allgäuer) a region in southern Germany, (Kamerwerkstatte) Camera Workshop, (Gomag), which is my guess of the company that produced the camera. They were located in Pfonten, Germany.

Holly camera logo

The only other information I can find about this camera comes from McKeown's Camera Guide from 2005-2006 on Pg. 361, which states there were actually two versions of the camera. The first version was from Gomag and had "HOLLY" embossed above the lens in 1950. Then, the company was purchased by Dr. Riemerschmid & Co., and the later version without the embossed name and with different lenses and shutters was shown at Photokina the same year but was not released until 1952. According to the McKeowns' Guide, the earlier Gomag version has Emylar or Gomar lenses, and the later Riemerschmid has the Rictar lens. They also state that the last version has "Riemerschmid & Co. Munchen" around the shutter face. Still, my camera doesn't have that, so there must be different versions, or I didn't bother with this camera.

 I've looked at several websites about camera manufacturers but cannot find any information about them. If you're reading this and do have information, please write to me and let me know. I'd love to add that information as an update when I have it.

 The one thing that I enjoyed reading the article on the camera was that the camera they were writing about was red. Now, that excited me, as I'd love to have a red version of the camera. The thought of owning a rare and unique red Gomag Holly camera keeps me hunting for the odd and unusual cameras. There may be a red version somewhere that they won't appreciate and will let me purchase for a reasonable price. My fingers are crossed.

My Camera:

My Gomag Holly camera is a bakelite camera that measures 4.25" tall, including the viewfinder in the collapsed position, by 3.5" wide, including the winding knob, by 4" deep, and it weighs 11.3 oz. The Gomag Holly camera has an 80mm f3.5 Rictar lens; mine has serial number 1886T. The camera has three different shutter speeds: 1/200, 1/50, 1/25, and "B" for timed exposures. The shutter speeds are set by sliding a ring around until you get the black pointer pointing to the desired speed. There is a small knob on the shutter speed ring that makes moving the shutter speed dial easier. You'll need to cock the shutter t, which is above the shutter speed setting ring and is pulled in the counterclockwise motion to cock the shutter. The shutter release is in the upper right-hand corner as you hold the camera to fire. There is a flash PC outlet on the other side of the shutter release, which I find somewhat odd, especially for a box-style camera.

 When  I first picked up the camera for this blog post and started to fire the shutter, I noticed that the shutter was lagging. It would fire, but the speeds seemed very slow. One thing I learned early on was to "exercise" shutters, so I spent the next ten minutes cocking and firing the shutter, which seemed to work well. After just a few minutes, the 1/200 was working as it should, and all the shutter speeds seemed to spring back to life and were firing at what sounded like the correct speed.

 The aperture setting ranges from F3.5 to F16. It is set under the lens, indicated by a silver pointer indicating which aperture is being set. The focus on the lens ranges from 1 meter to Infinity. It is stated on the top of the camera by a black triangle, along with the depth of field scale on either side of the focus mark.

A dial on the side of the camera is turned counterclockwise to open the back to open the camera. A small red dot on the dial points forward when the camera is locked and to the rear of the camera when it is unlocked, and the camera body can pull away from the lens to load the film.

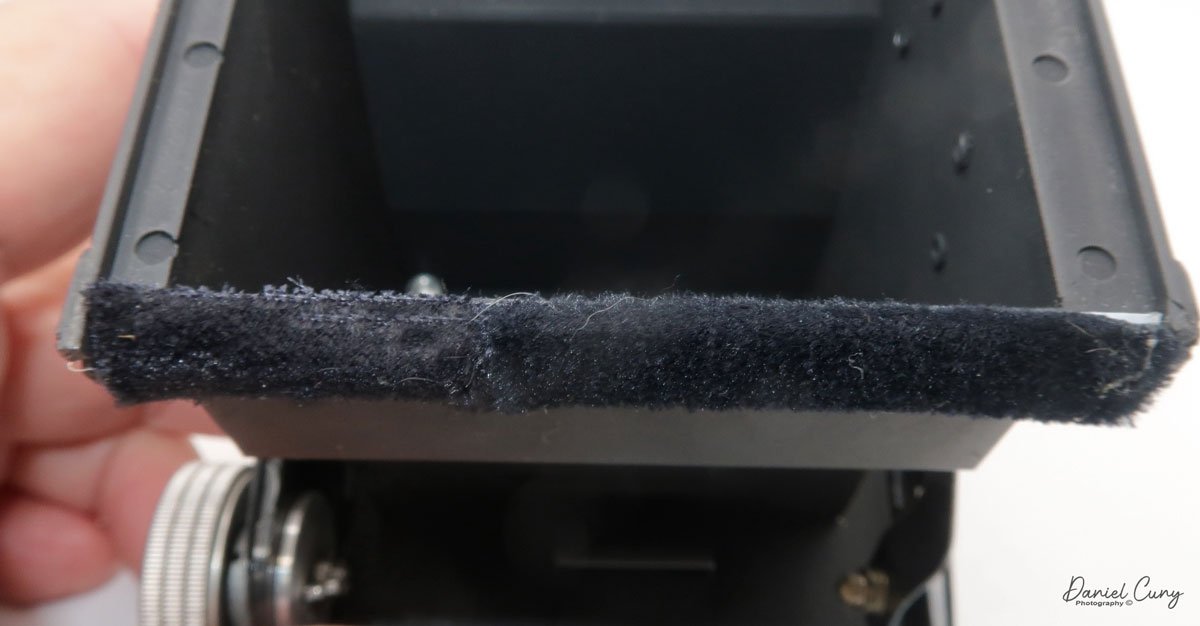
Since my camera was missing the two rollers that the film rolls across during transport, I didn't want the roll of film to drag across the shutter, causing scuffs and possible static on the film during transport from frame to frame. I wanted to add felt to the sides of the film opening to decrease the possibility of scratches. I didn't have felt in my bag of tools, etc., but I did have some very old and expired rolls of 35mm film, which I use as test rolls. I thought these canisters were made of felt material, so I took the canisters apart and peeled the felt from them. Unfortunately, the felt on the 35mm canisters is too short, so I needed a couple to cobble together.

Once I took the back off the camera and pulled the felt off the 35mm canisters, I did have some excellent double-sided tape, which I cut into strips and placed on the top and side of the film opening. After that, I cut the felt from the film canisters into lengths that would fit onto the back of the film area, and since I needed two to cover the area, I staggered them on different sides of the film chamber. I probably didn't need to stagger them, but in my mind, it was the right thing to do.

 Once the film was in place, I let them adhere for a few minutes. I took an Exakto knife and trimmed any excess from the film area so I didn't have straggler hairs from the felt hanging over the film chamber. I wanted a clean edge between frames. Once I had that done, I loaded the camera with a roll of 100 ISO/ASA film into the camera. I proceeded to advance the film until I saw the "start" on the film backing. I put the film back onto the camera body and locked the back in place, then proceeded to wind to my first frame, looking through the closable window on the back of the camera.

On top of the camera are the viewfinders. There are actually two on this camera. In the back of the collapsed viewfinder is a small ridge. You pull back, and the "sport" finder pops up. You can pull up a smaller glass finder within the more extensive sports finder. A round glass lens is on the bottom of the rear portion of the sports finder. When the glass finder is pulled up, you can view your subject through the rear glass lens, which looks clever for a simple box-style camera and does a fantastic job when viewing through. To collapse the glass finder, push it down, and a clip will hold it into place. Then, you can close the "sport" finder's back portion and the larger front folds to keep them in place. It is a straightforward but valuable addition to the camera.

My Results:

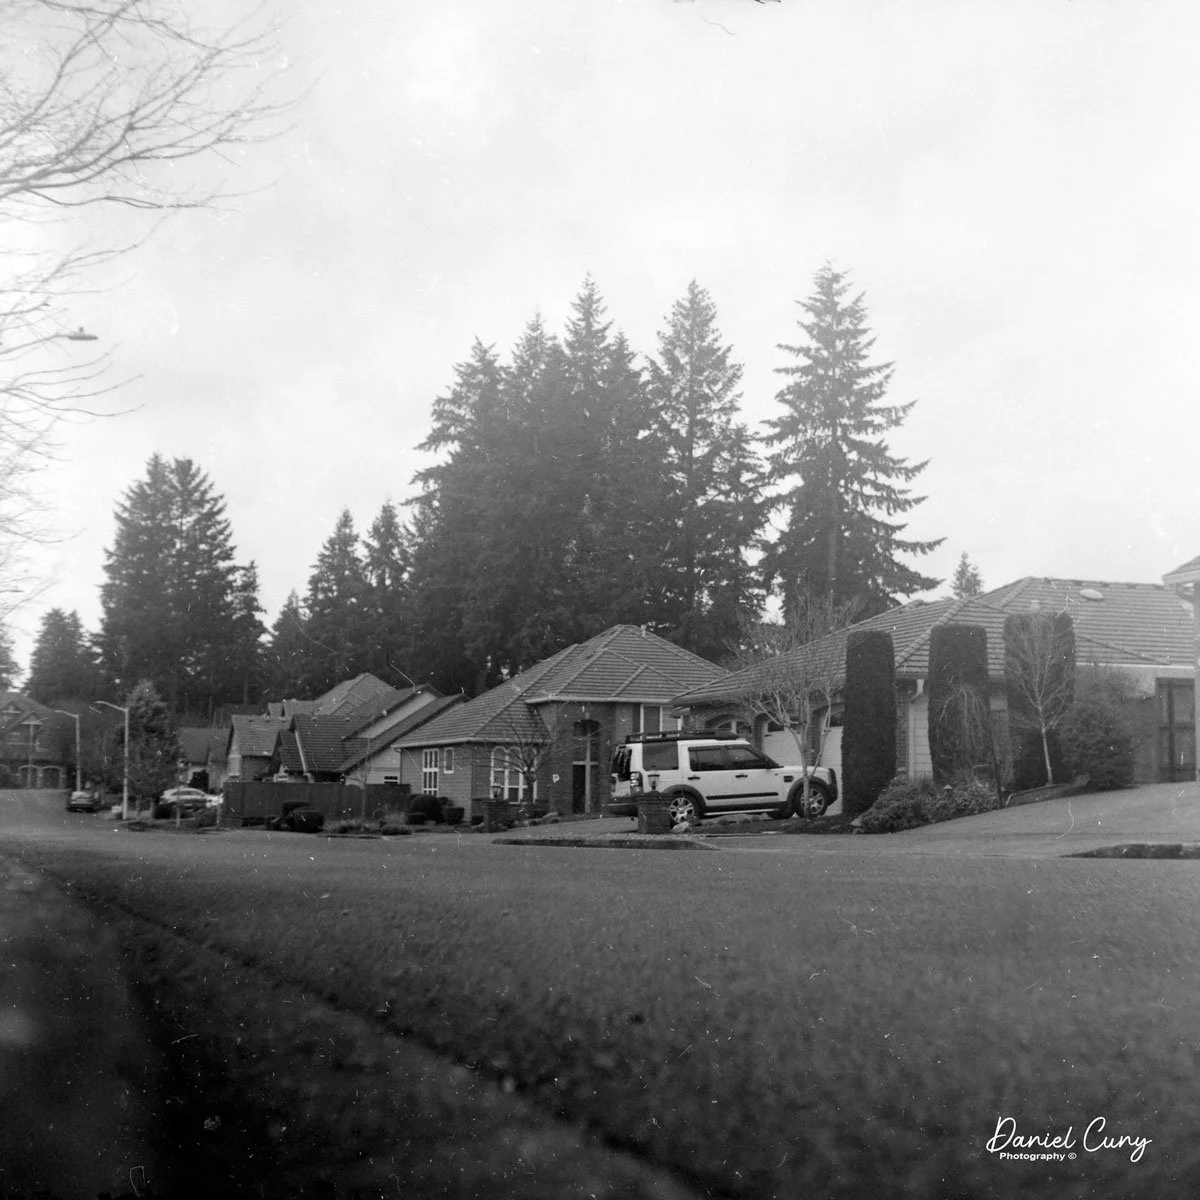
Now that I have the camera loaded with film, it's time to walk through the neighborhood and see what results I can get from it. Since the camera has a "B" setting, I wanted to see how it would do on some longer exposures, especially since, living in the Northwest, we don't get much sun between November and March.

 Here are some of the results I achieved with the Gomag Holly Camera.

Conclusion:

The camera did an outstanding job. The images were sharp, well-exposed, and very good for a relatively simple box-style camera. The camera was very fun to use, and I had a fun time getting the camera in the proper shooting condition. The felt on the back of the film chamber worked well, especially since the two film rollers were missing. I'll need to get a small swatch of felt to keep in my bag of tricks in case I need to do the same to another camera I come across. If I go to sell the camera, I can always take the tape off along with the felt and have the camera back in the condition in which I purchased it.

 Thank you for taking a few minutes from your busy schedule to read about a very unknown but fantastic camera.

 Until next week, please be safe.


Marchand Fischer Baby Camera

Whenever my wife and I visit a foreign city, I check to see if the town or a surrounding city has a Flea Market to check out the local market of used and collectible cameras. This spring, my wife and I returned to Paris, which has a robust and large Flea Market area that thrives on the weekends. 


The Flea Market, which comprises smallish stalls selling goods from carpets to antiques and almost anything imaginable, was a used camera store. It was not in the flea market but on one of the main roads surrounding the markets. Looking around the camera store, I noticed that the shop owner had many great cameras, but one that caught my eye was the Fischer Baby camera made by Marchand.


The Company:

I don't have much to say here, as I've searched the Internet and cannot find out much about this company. It's most likely because they were a small French company in Charbonnieres, France, after WWII. They produced a minimal amount of toyish cameras in the 1950s sold in toy stores. Due to their build quality, which I'll get into more when I explain the camera below, they were poorly received and, therefore, went out of business.

 If you or anyone who reads this post knows anything about Marchand Co., which produced these cameras, I'd love to know, and I will update the blog post with that information.

The Camera:

There are a few items that drew me to this camera. The faceplate is typical, but it does have a 6 on one side of the lens and 9 on the other. My first thought was that it was a fascinating film format. I'm a real enthusiast of anything panoramic, so this was the first light bulb in my head. Then, when I got closer to the camera and picked it up, the bulbous size and extremely light weight of the camera were pretty fascinating. It has almost a circular look and feel to the camera. Being someone who enjoys panoramic cameras and images, the 6x9 format made this very intriguing.


The camera is straightforward and similar to a Box-style camera but even simpler as there is no aperture setting and only two shutter speeds. The Fischer Baby has a very simple shutter with a bulb setting  "P" for time exposures and an "I" setting for instant. The camera's shutter, at least on my camera, "clicks" when you press the shutter button down, which exposes the film, but it does the same thing when you pull the shutter button up to what most people would think it to be the starting position. The shutter speed is about 1/80th sec, and possibly even slower.

Another fascinating point about the camera is how thin the plastic is. It doesn't have a lot of "heft" to it, and it's pretty light—the camera loads like any other simple point-and-shoot style camera from the late 1940s to mid-1950s. There's a red window on the back of the camera so you know when you're at the next frame to take a photo. The transport continues, but you can wind past the next frame if you're not careful.

 The Baby Fischer has no frills in its design. Two clips on the side of the camera keep the front of the camera attached to the back of the camera. There is no locking mechanism, and the clips could open easily, exposing the photos already taken. My camera is missing its strap because one of the eyelets has broken off, which I'd guess is pretty standard due to its build quality.

The Results:

My first impression was that this camera takes 120 film. When I went to load the film, the 120 roll was too big, so I thought this must be a 620 film camera. Its re-spooling capability allows you to re-spool 120 films onto a 620 reel. I found an empty 620 film spool and a 120 roll of T-Max film, put them into my dark bag, and re-spooled the film.

 I had never done this before, and when I took the film out of the dark bag, it looked OK. It was not professionally done, but it was my first time doing so. After loading the film into the camera, I took photos with my second spare 620 spool.

 The results showed that my re-spooling wasn't perfect. In fact, it was poor, as there was some light leakage coming from the end of the spool where the film wasn't tight enough. Other than the light leaks, the results were pretty good.

The Conclusion:

After walking around my backyard and in front, too, the camera could have been better to work with. The viewfinder was challenging to look through and not precisely in its proportions. The winding was OK; you can see the film advance and frame numbers in the red window on the back. Since there wasn't a strap on my camera, I had to carry it, which wasn't uncomfortable, but I was always thinking about not dropping it. I'm glad I did a post on this camera and have already picked the camera for my next post, which will be on the Exakta 66 camera.

 Thank you for reading this post. I appreciate your time. Until the next post, please be safe and well.


Konishiroku Snappy Camera

It's been a few weeks since I wrote my last camera collecting blog post because I've started a new position. Now that I feel comfortable in the new job, I think it's time to write about some of my cameras. I love the new responsibilities, the company I'm working for again. I also think I have my nose above water and can take on other enjoyable tasks such as writing about one of my passions: cameras within my collection

My Konishiroku Snappy Camera

My Konishiroku Snappy Camera

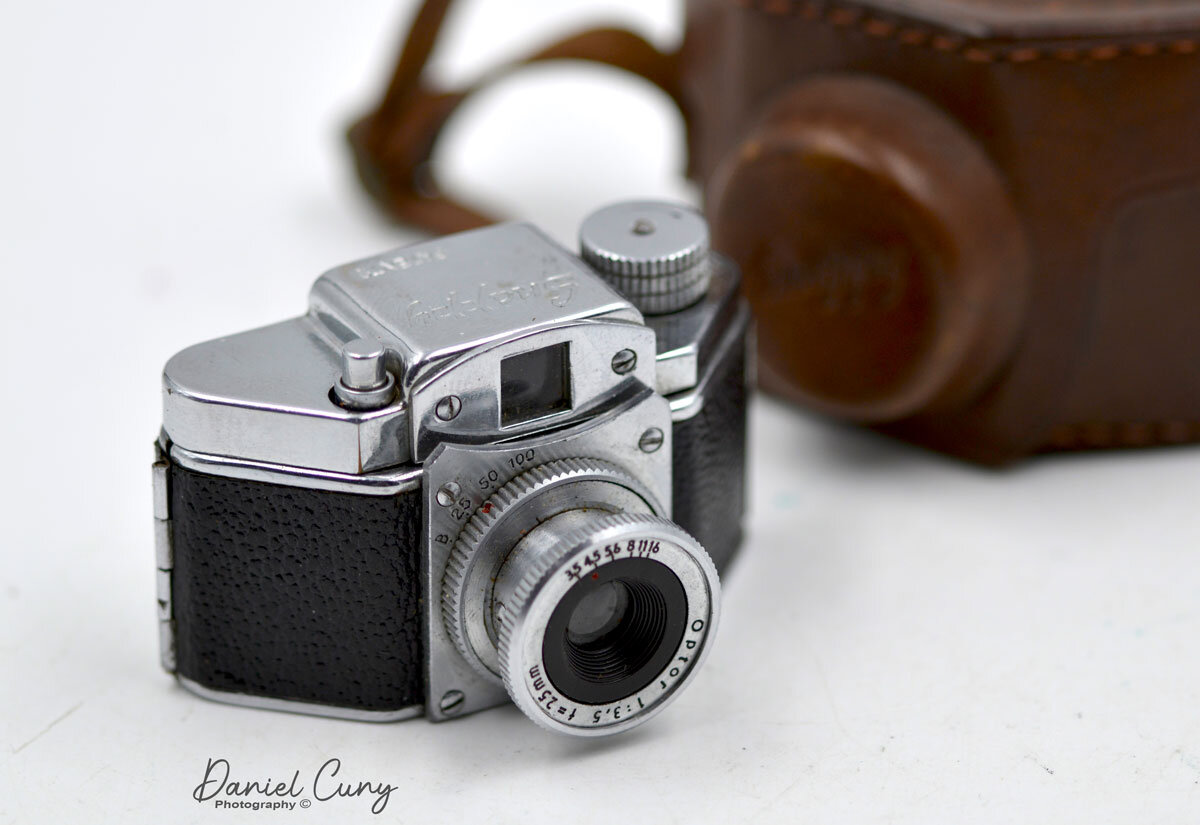
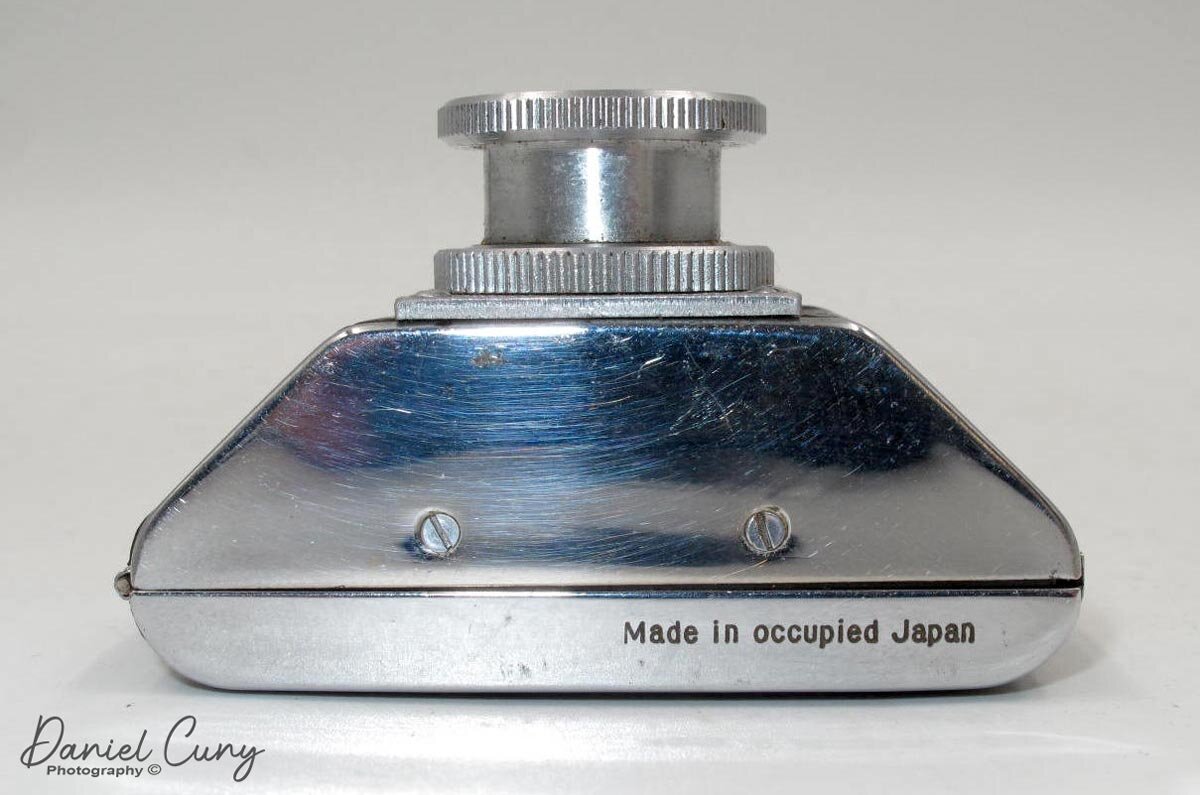
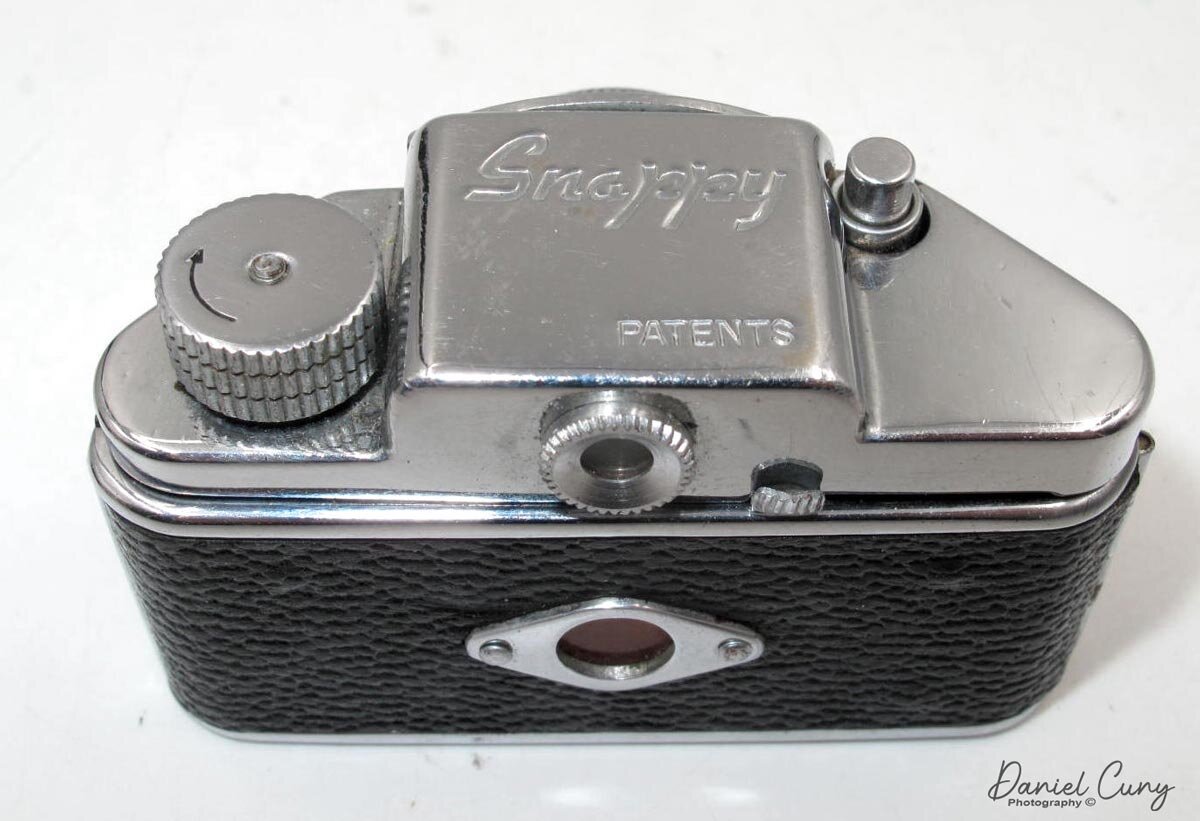
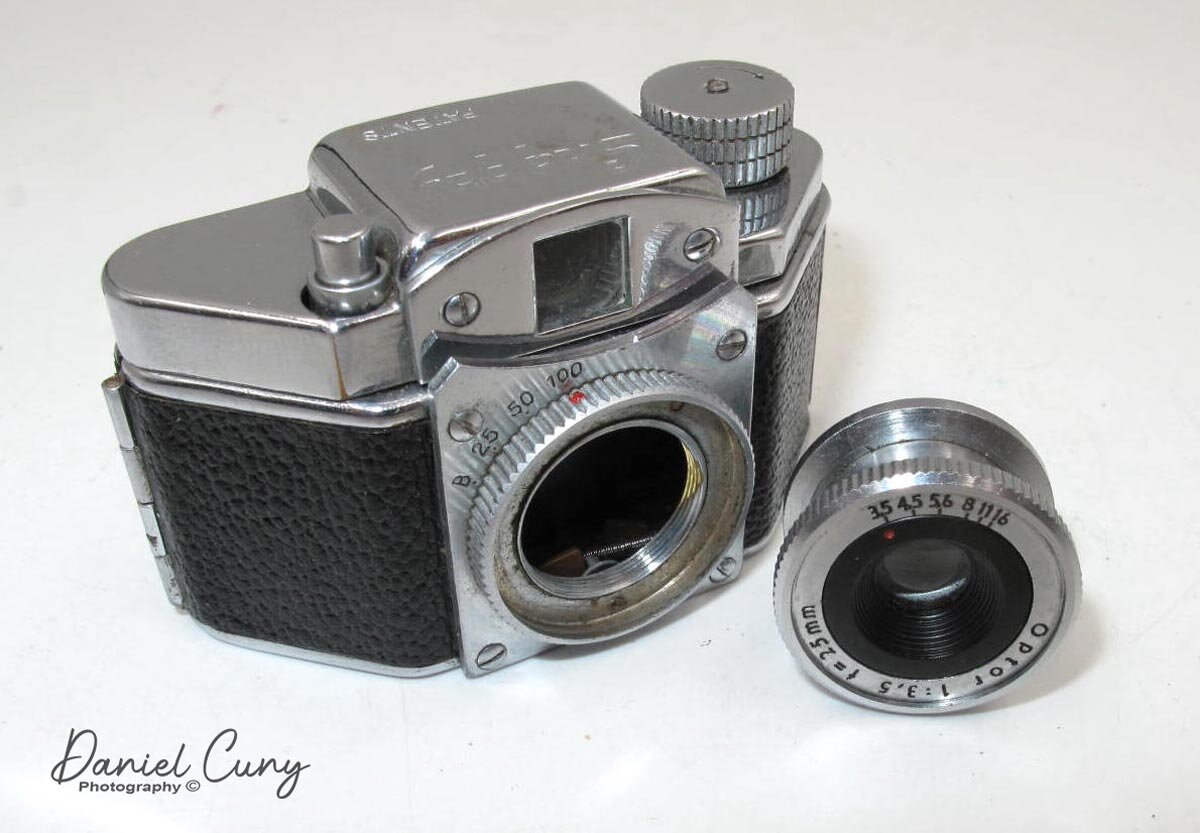
Looking over the cameras above my desk, I came across this small and what I believe is an underappreciated gem of a camera. So, in this week's blog post, I wanted to write about the Konishiroku Kogaku Snappy camera. A camera is exceptionally well built, especially for a subminiature-style camera coming out of Japan just after WWII.

Company History

Konishiroku is one of the oldest photographic companies coming out of Japan, even older than Kodak. The company traces back to 1873 when a pharmacist, Rokusaburo Sugiura, started selling photographic items out of the largest pharmacy in Toyoko that he owned. In 1878, Rokusaburo gave the original shop to his younger brother and launched a new shop, Konishi Honten, in Tokyo's Nihonbashi district.

In 1882, Konishi began to produce photography-related materials in Japan. In 1902, Konishi started to sell the Cherrimportedy Portable Camera, the first Japanese-built camera made for the public. In 1921, Konishi named his son Konishi Honten to succeed in the family business. The company turned into Konishiroku Honten, later Konishiroku, an abbreviation of their names Konishi Rokuemon.

 After WWII, Konishiroku was well known for its Konica brand of cameras, which they released the Konica I camera in 1948. Later in 1965, Konica produced the first auto-exposure SLR camera, the Konica Autoreflex. In 2003, they merged with Minolta and exited the photo market in 2006. they are now more recognized in the copier business.

The Camera

The Konishiroku Snappy was designed, developed, and sold in 1949. According to sources, the Snappy original design was in spring, with the first model released in August 1949. They were somewhat popular and sold approximately 40,000 units.

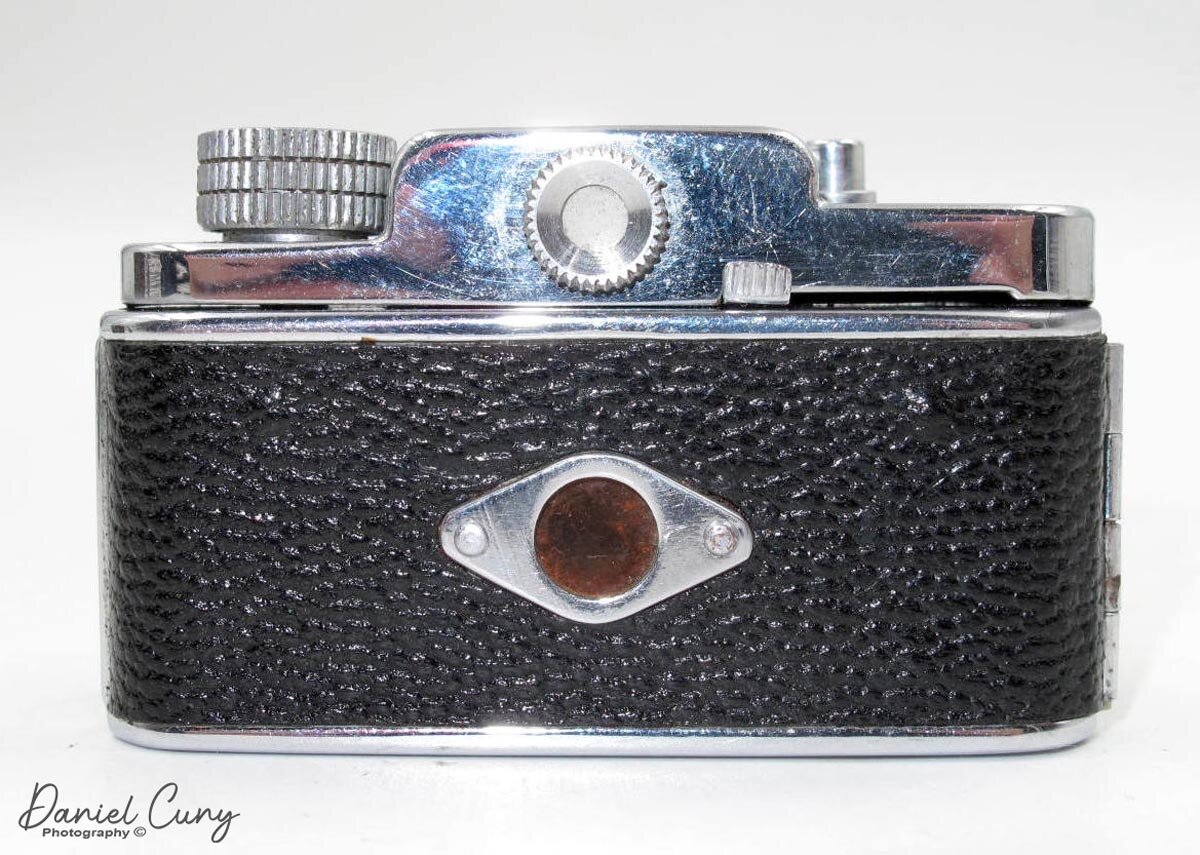
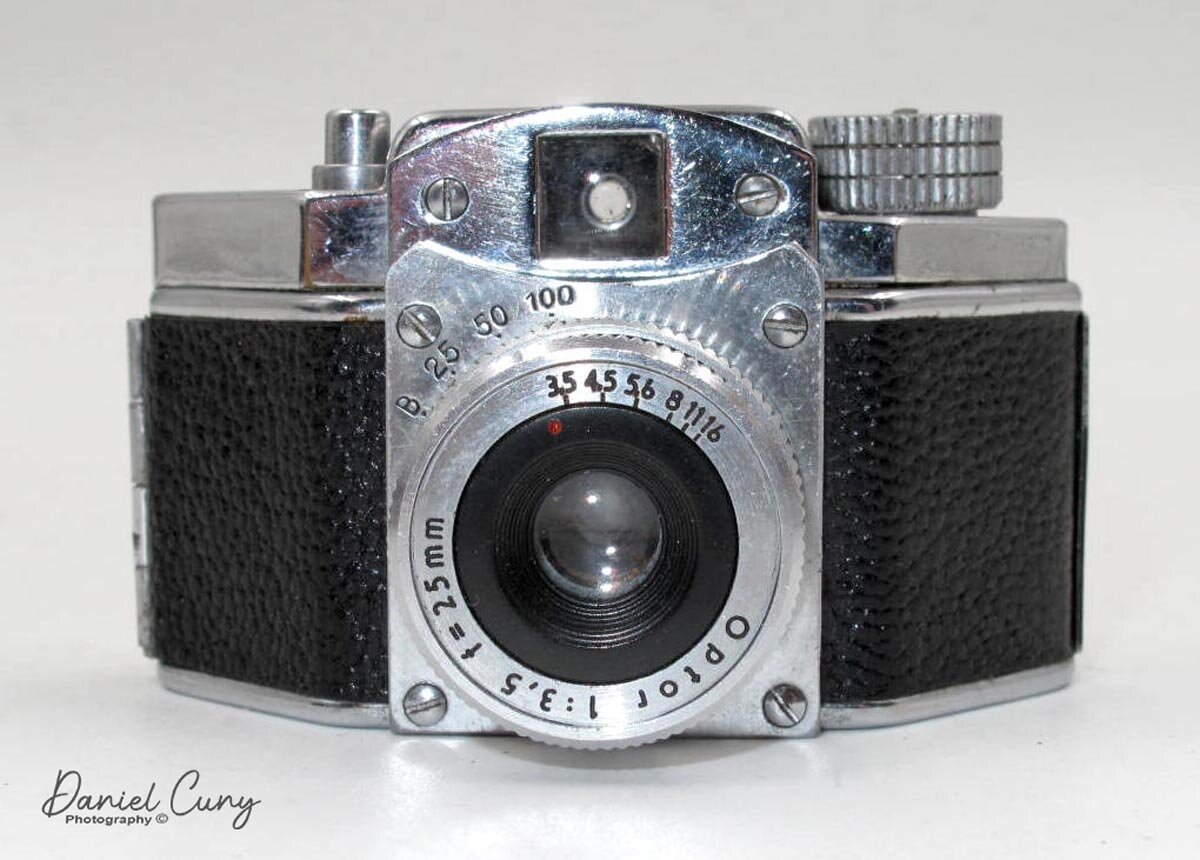
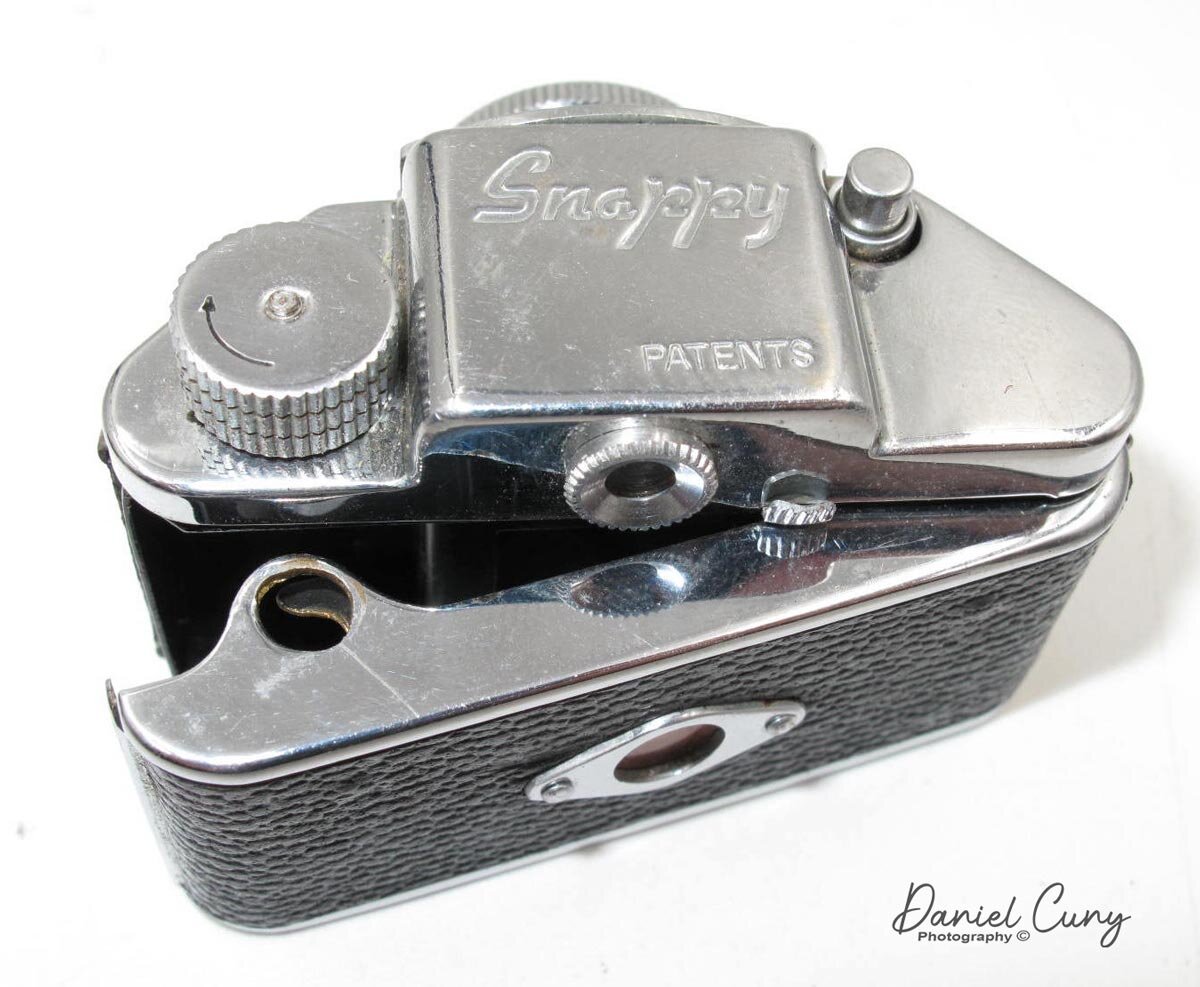
The camera has a trapezoidal-shaped camera that incorporates items seen in 35mm cameras of its time. The camera is a "system" with other lenses and accessories. In form, it reminds me of the VP Exakta, model B, which I wrote about in an earlier post, only considerably smaller. The camera measures 2.5" wide by 1 5/8" deep and 1.5" tall and weighs 5 oz. with a very sturdy and well-built leather case.

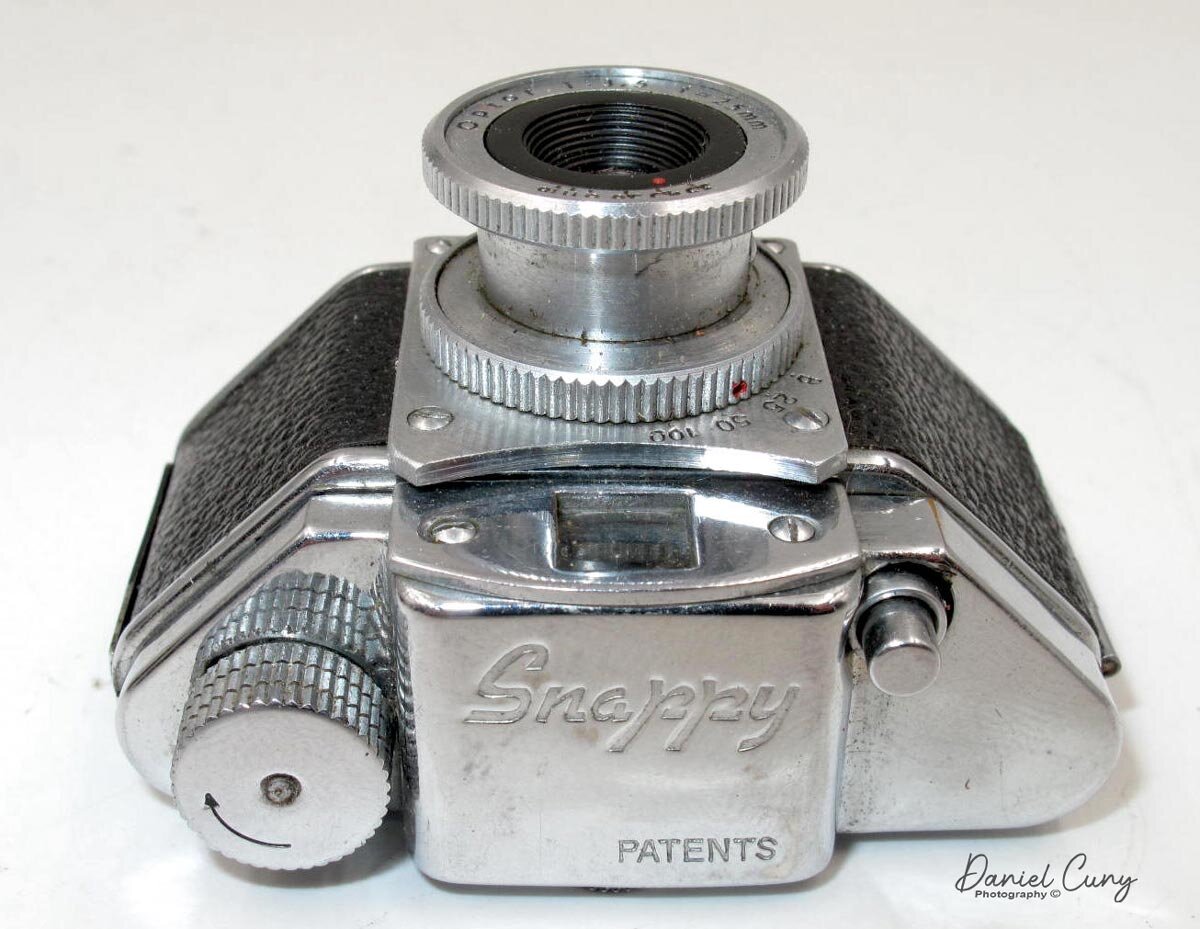
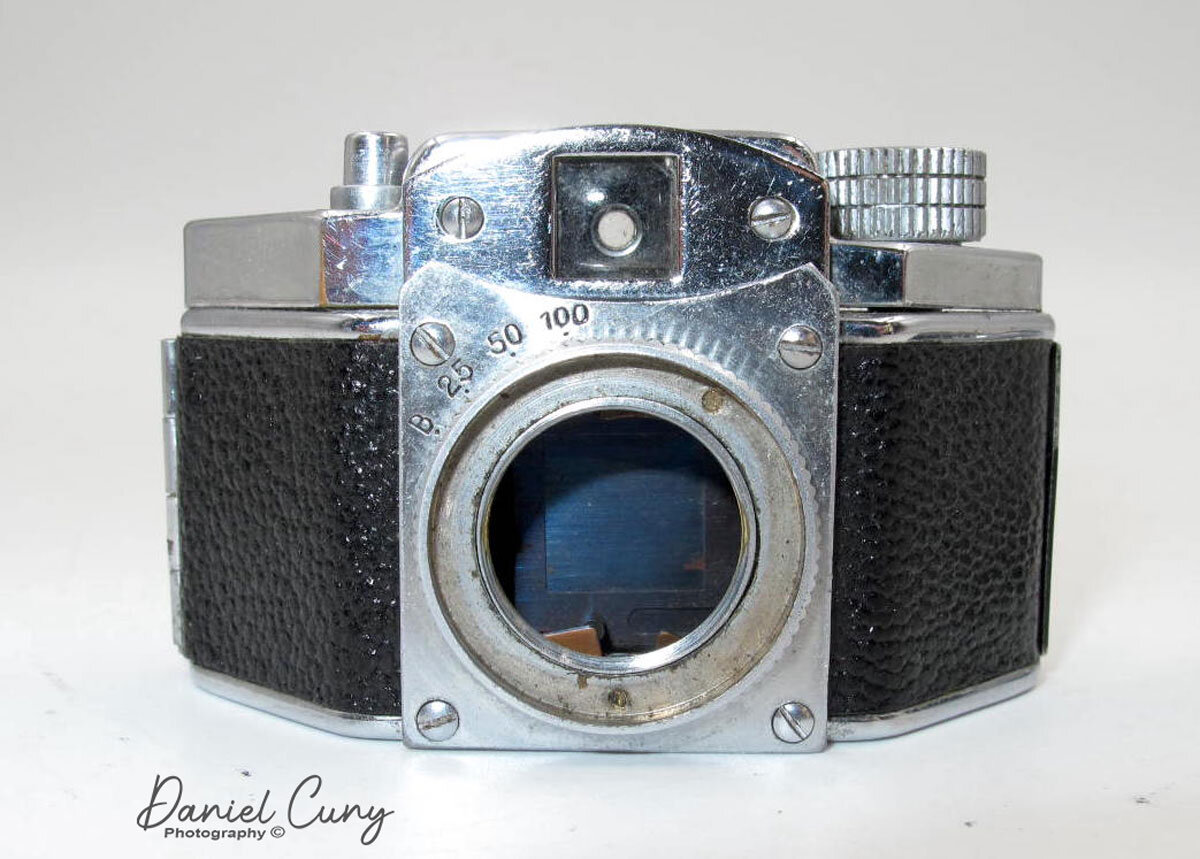
 Another item the camera has is a pull-up rewind knob that allows you to open the back. There are integrated shutter speeds of "B," 25, 50, 100. The lens is an Option 25mm f3.5 lens that allows the photographer to set aperture settings between f3.5-16 by turning the lens's outer ring. You would think this operation would focus the lens, but the lens is a fixed focus, and you're changing the aperture settings.

The camera has a horizontal running guillotine shutter tripped by the shutter release on the top of the camera. The winding leaver on the back of the camera advances the film and cocks the shutter.

 When you lift the rewind knob and swing the door open as you would a 35mm camera, you see there are rill film reels in the camera. The camera shoots 14x14mm square images on the 17.5 paper-backed roll film, which was popular in the "Hit" style cameras, but the Snappy film was much better quality.

The System

The lenses on the Snappy are also interchangeable, and they unscrew from the camera body. There is a Cherry 40mm f5.6 telephoto lens which also comes with an auxiliary frame that fits the front viewfinder window. Other accessories for the Snappy camera are Close up lens, which fits over the standard 25mm Optor lens, hoods and filters, tripod adapter, and the sturdy brown leather case with strap. The Snappy came in a kit with all the accessories in one red and black presentation box.

Conclusion

The Snappy is an excellent camera and a camera that I enjoy having in my collections. Having researched the camera, I'll need to hunt down the other accessories for the camera, especially the telephoto lens and filters. Maybe it's time to see if I can find the whole kit. Now that would be the crowning gem.

 Thank you for taking time from your busy schedule to read my blog post. I'll do my best to do this every other week, time permitting. Until next time, please be safe.
Petal Camera

In my early days of collecting, I was never a real huge fan of the smaller subminiature cameras, mainly since most of them were the lesser quality cameras, or as I called them, "carnival camera" like the Hit camera. Then there was the other end. The 007 spy style camera was coming from Minox. As I grew in my camera maturity, coming across cameras like the Minolta or Yashica 16mm camera gave me an appreciation of some of these cameras' quality and quality.

My Round Petal camera

My Round Petal camera

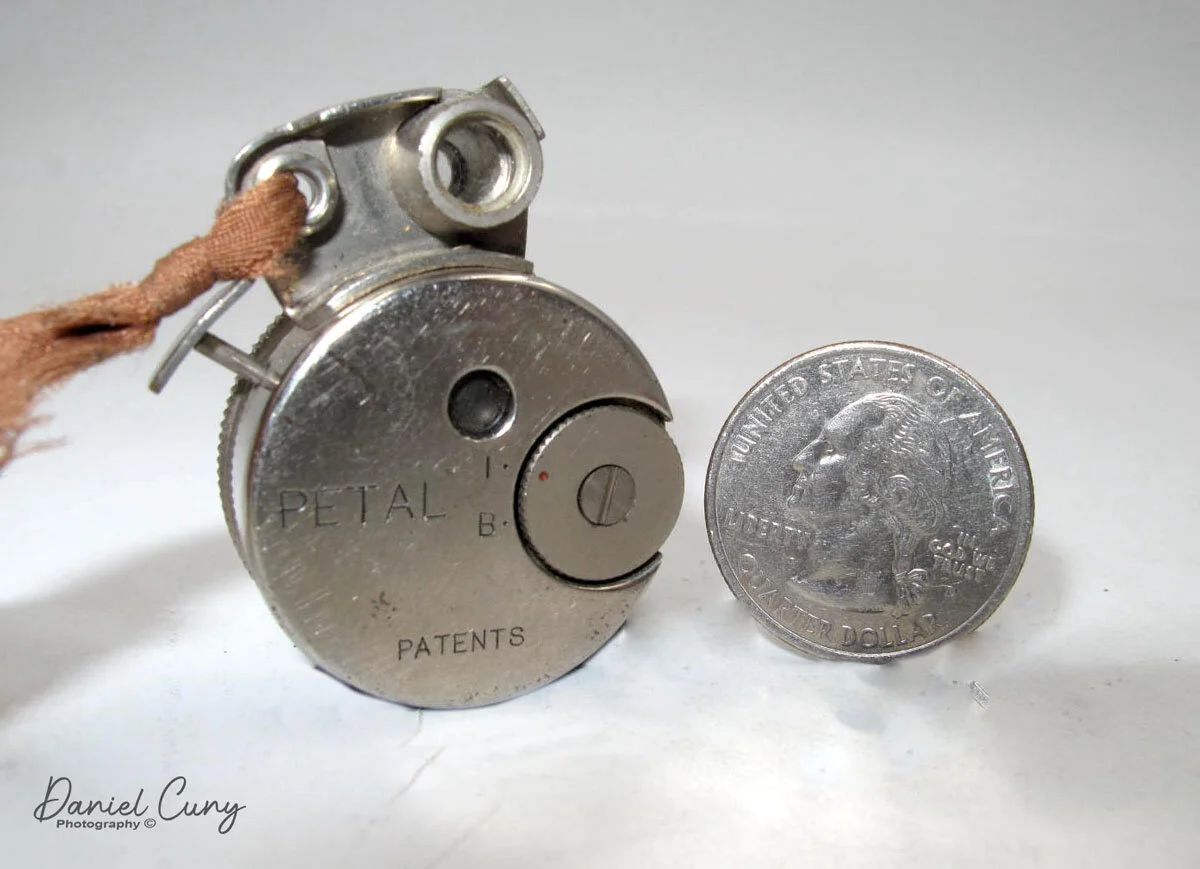
For this week's camera blog post, I wanted to go back to one of the subminiature cameras I have in my collection. The Petal camera has always intrigued me since it's the smallest of the small non-medical cameras made according to Guinness World Records. As far as cameras go, this one is tiny and just a little larger than a quarter in the US or a 2 Euro coin. The St. Peter Optical Company made the Petal camera, whose Japanese name was Sei-Petero Kōgaku, in 1948. According to some, I've seen some references where it stated its introduction in 1947. The first US advertising of the camera was in U. S. Camera in February 1949, which you can see here.

The Camera:

The Petal camera comes in two different styles, with an even rarer third version named the Evarax A. The two primary Petal camera are either a round-faced camera, which is what I own, or a second model with an octagonal shaped face. The Evarax A camera is an octagonal shaped face camera with a more elaborate etching on the faceplate. The Petal camera is only 1.25" across by 1.75" tall by 5/8" deep and weighs 2.2oz. The camera has a 12mm f5.6 lens, placed in the upper middle on the front of the camera. There are two shutter speeds, either "B" for time exposures or "I" for instant, which is 1/25th of a second, controlled by a wheel on the camera's front.

My Petal camera compared to a U.S. Quarter.

My Petal camera compared to a U.S. Quarter.

On the top of the camera is an optical viewfinder, and to the right of the viewfinder is the shutter trigger lever. Along the top of the optical viewfinder is a lever that can be mover over the trigger arm to lock it so you cannot take a photo when you don't want an accidental image taken. The shutter release lever pushes a plunger down into the camera, which trips the shutter. On the camera side is a knurled ring that you rotate to advance the film to the next exposures. To the side of the knurled ring, number 1 to 6 with indents stops the ring at the next photo.

Loading the Camera:

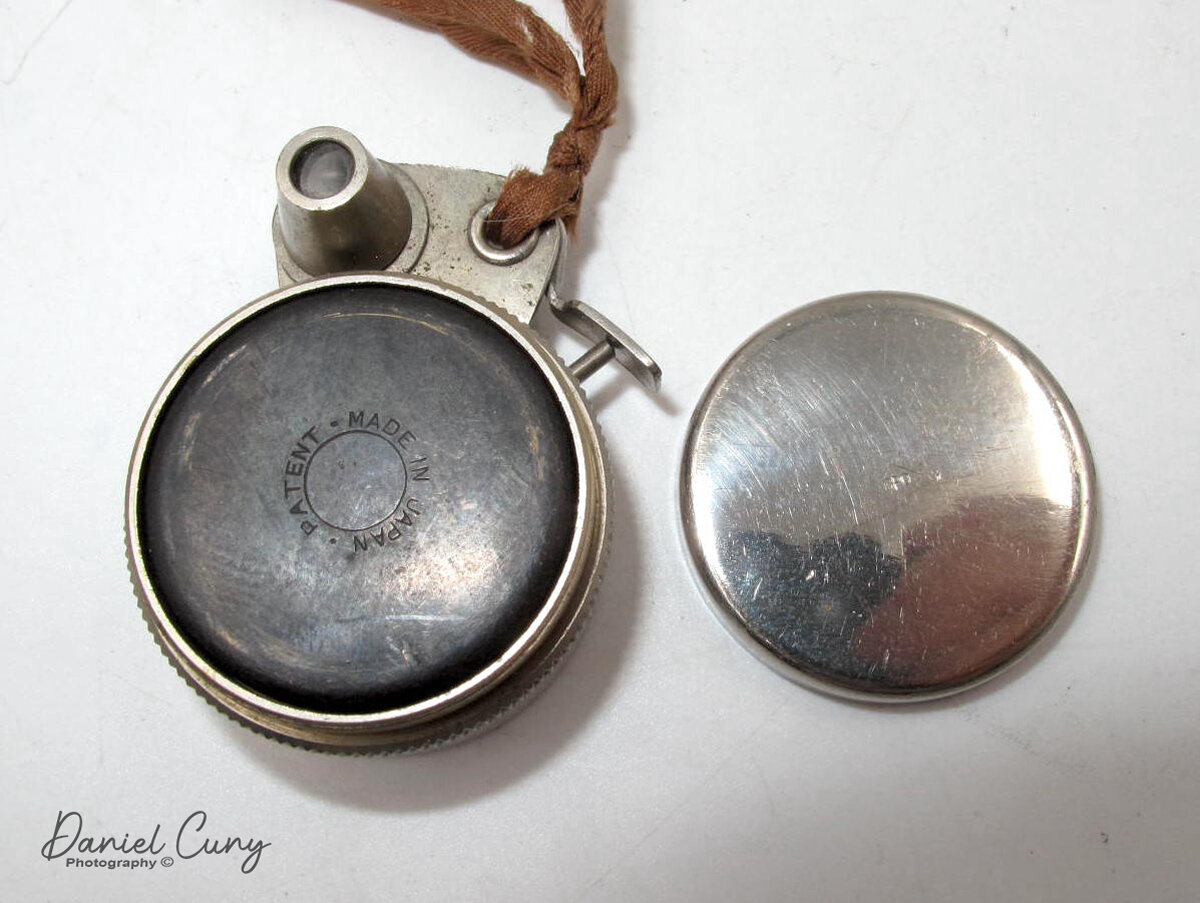
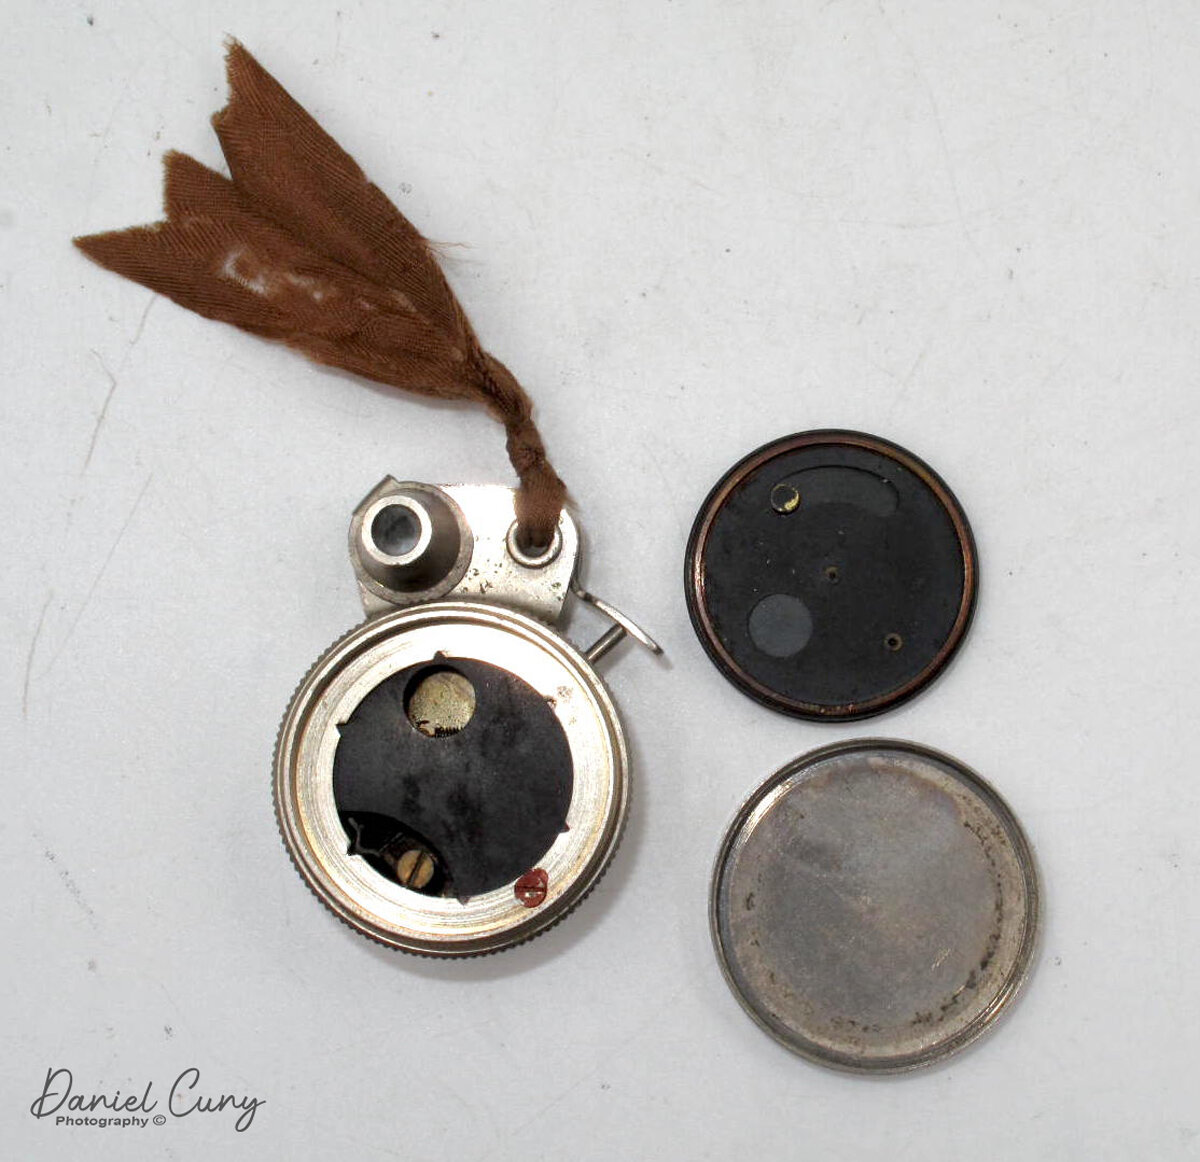
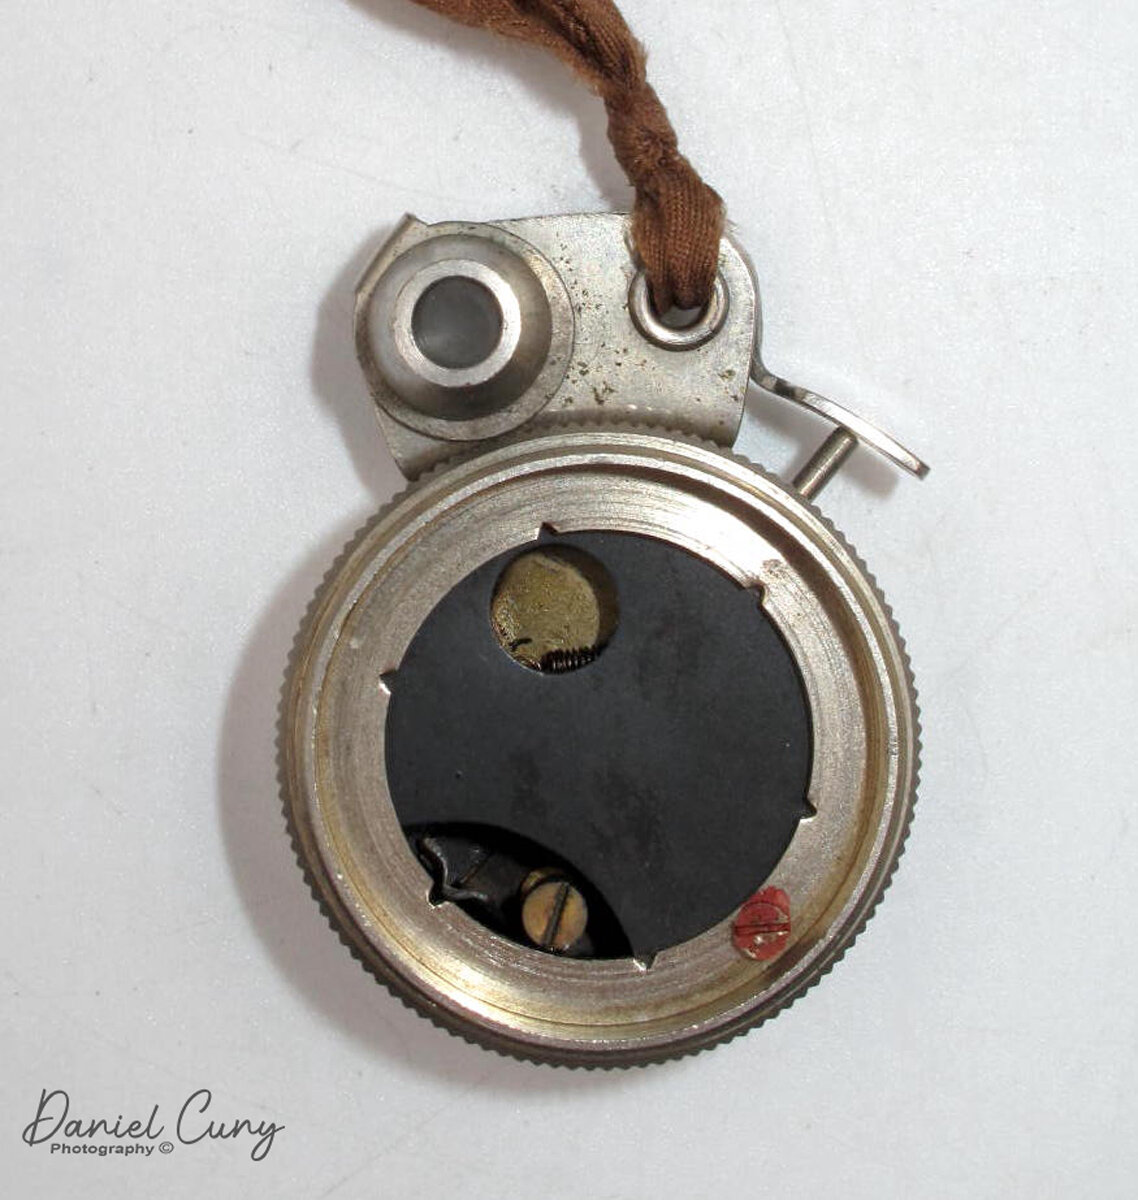
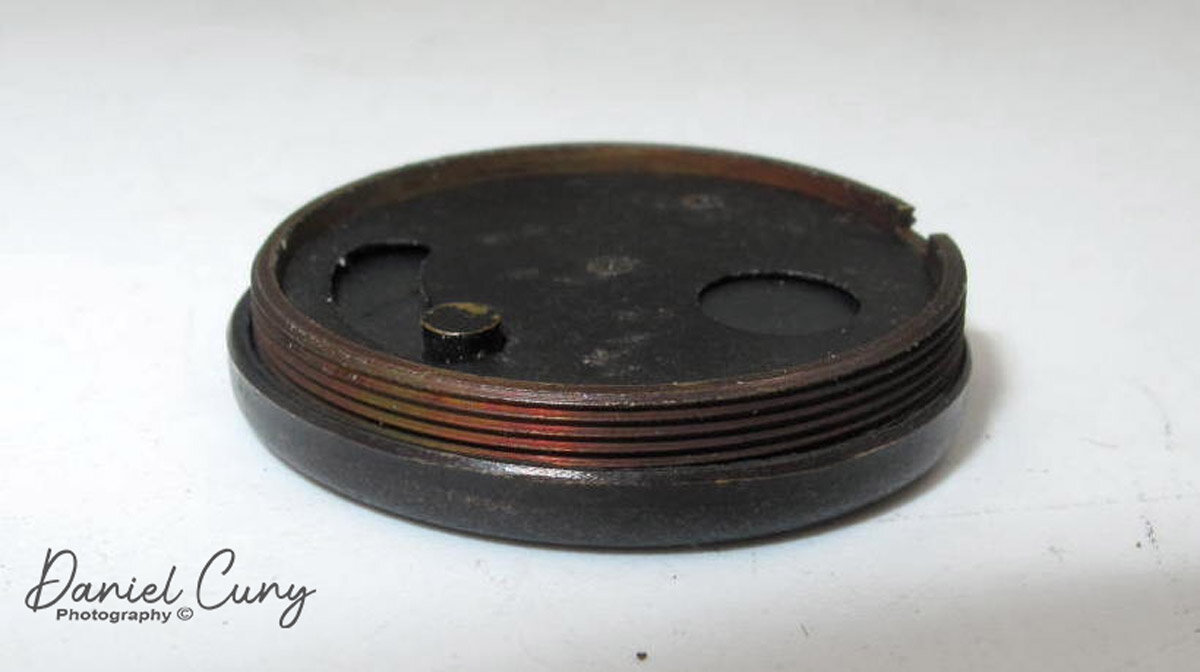
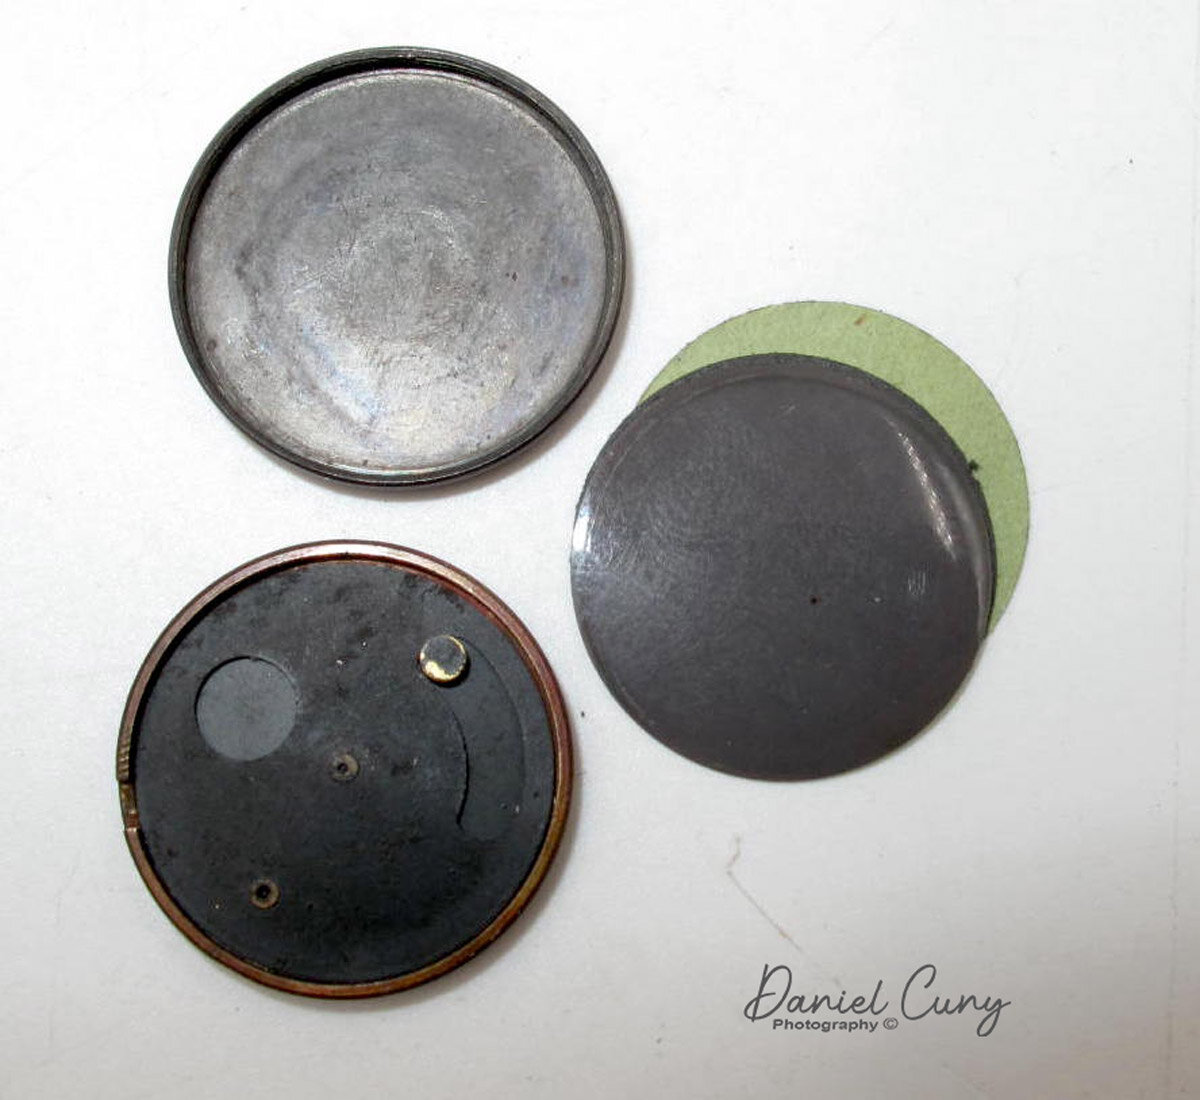
It took me some time to figure out how to get to the film chamber. After playing for about 15 minutes or so, I noticed that the back of the camera. The camera back can be unscrewed to get to the film cassette. Once the back is off, it exposes the film cassette. Once that's removed, you can see the shutter mechanism and the inside of the camera itself.

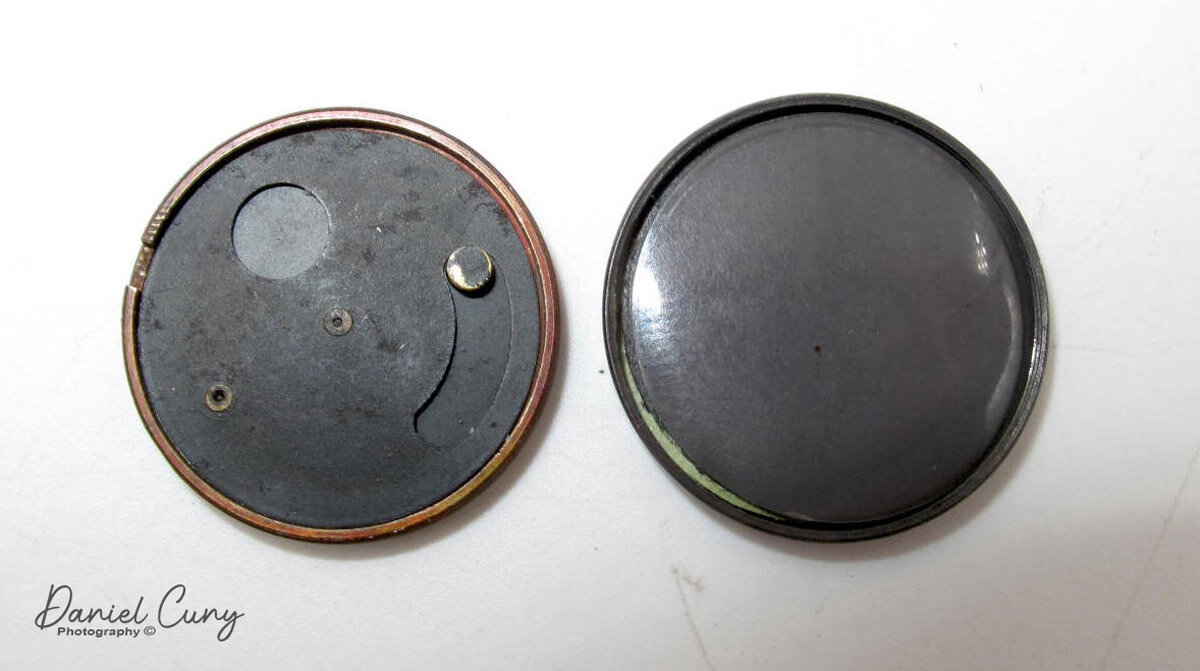
Unthreaded the back off the Petal camera. You can also see the exposure counter.

Unthreaded the back off the Petal camera. You can also see the exposure counter.

The film came in preloaded discs with 6-6mm images on each film cassette. The film cassette holds the film. To get to the film, the cassette needs to be unscrewed too. The original Petal film was a panchromatic film, which needed to be loaded in complete darkness. Many people used orthochromatic film like that can be loaded and unloaded under a red safelight, which doesn't affect the film. A film cutter allowed the Petal camera owners to cut 35mm film to use in the film cassettes.

Once the film is in the cassette and back into the camera, you thread the back onto the camera. You need to rotate the back portion of the camera one to two revolutions clockwise until the #1 is next to the exposure indicator. Doing this opens the film window on the film cassette and allows light to get to the film once the shutter is triggered.

Exposure counter on the Petal camera.

Exposure counter on the Petal camera.

After you took the six exposures, the exposure counter is at number six to unload the film. You need to turn the number counter clockwise two numbers to number 4, closing the film window and allowing the photographer to unscrew the back and take out the film cassette for processing.

Conclusion:

The Petal camera is a lot more sophisticated of a camera than I first thought when I purchased it many years ago. It's very well built and a prized camera to own for the "spy" photographers. Extremely small, very well made, and a beloved camera in my collection. The shutter on my camera is inoperable. It would be fun to cut some film and take it out for a spin.

 If you have questions or comments about this camera or any others in my collection, I'd love to hear from you. Thank you for taking a few minutes from your day to read about this fun camera. Until next week, please be safe.