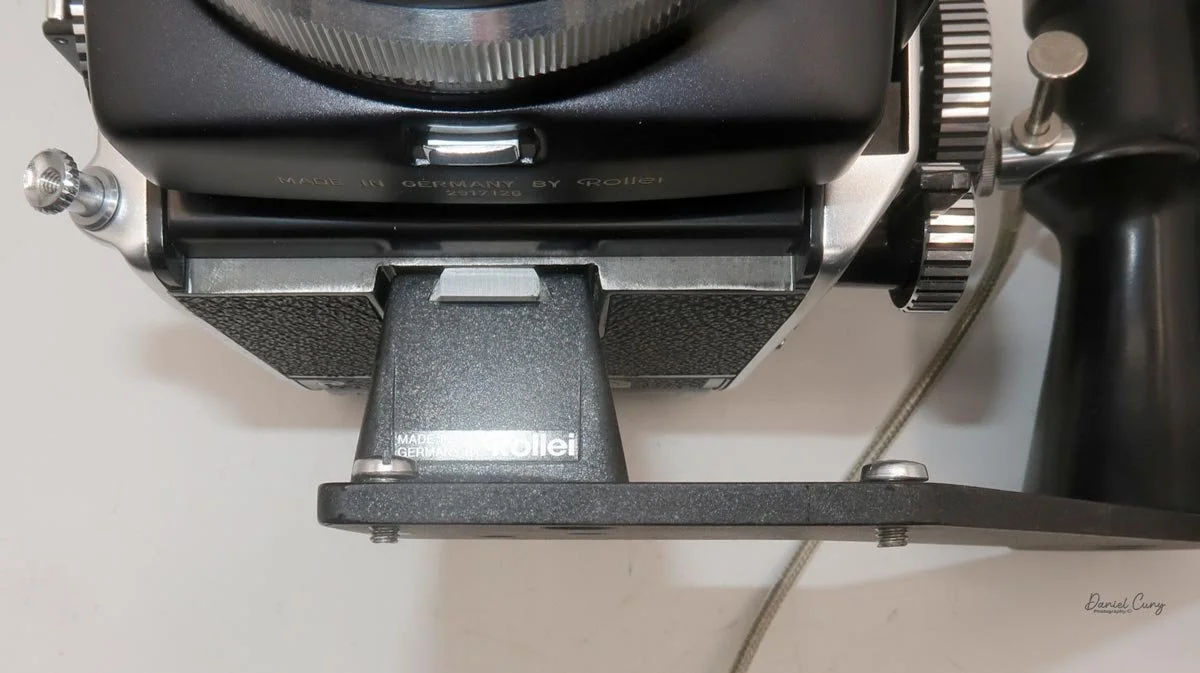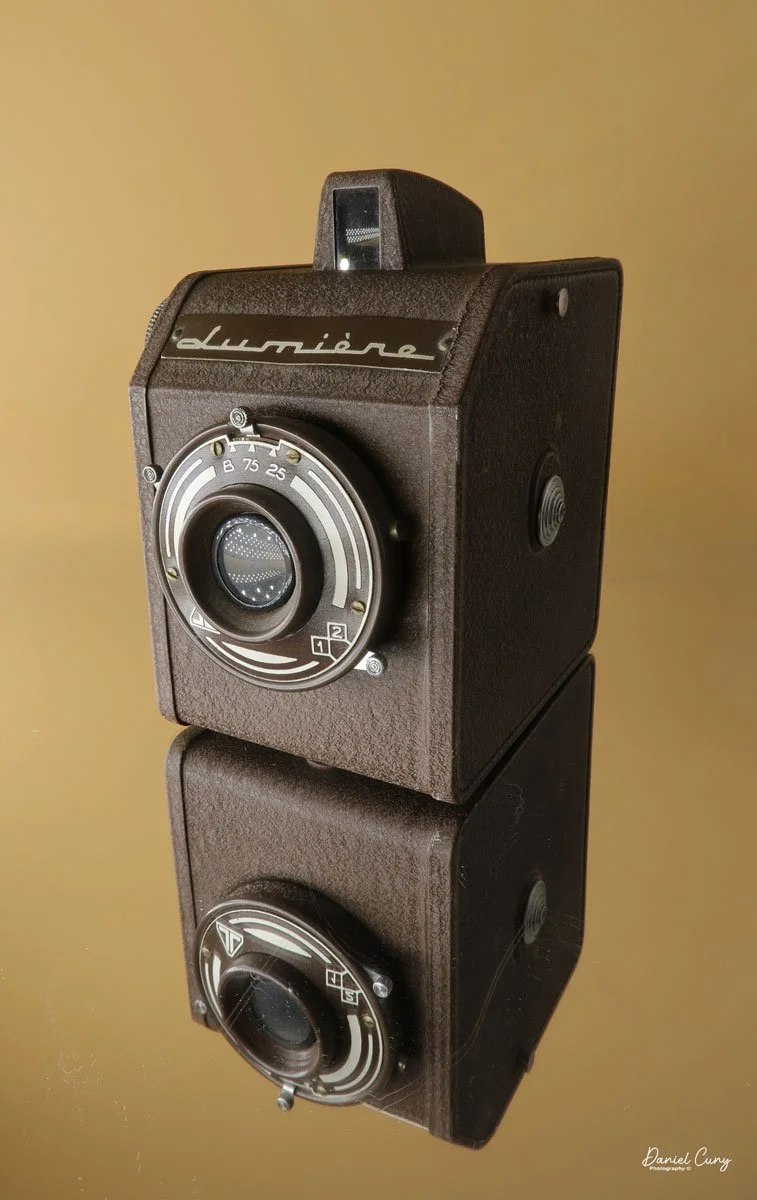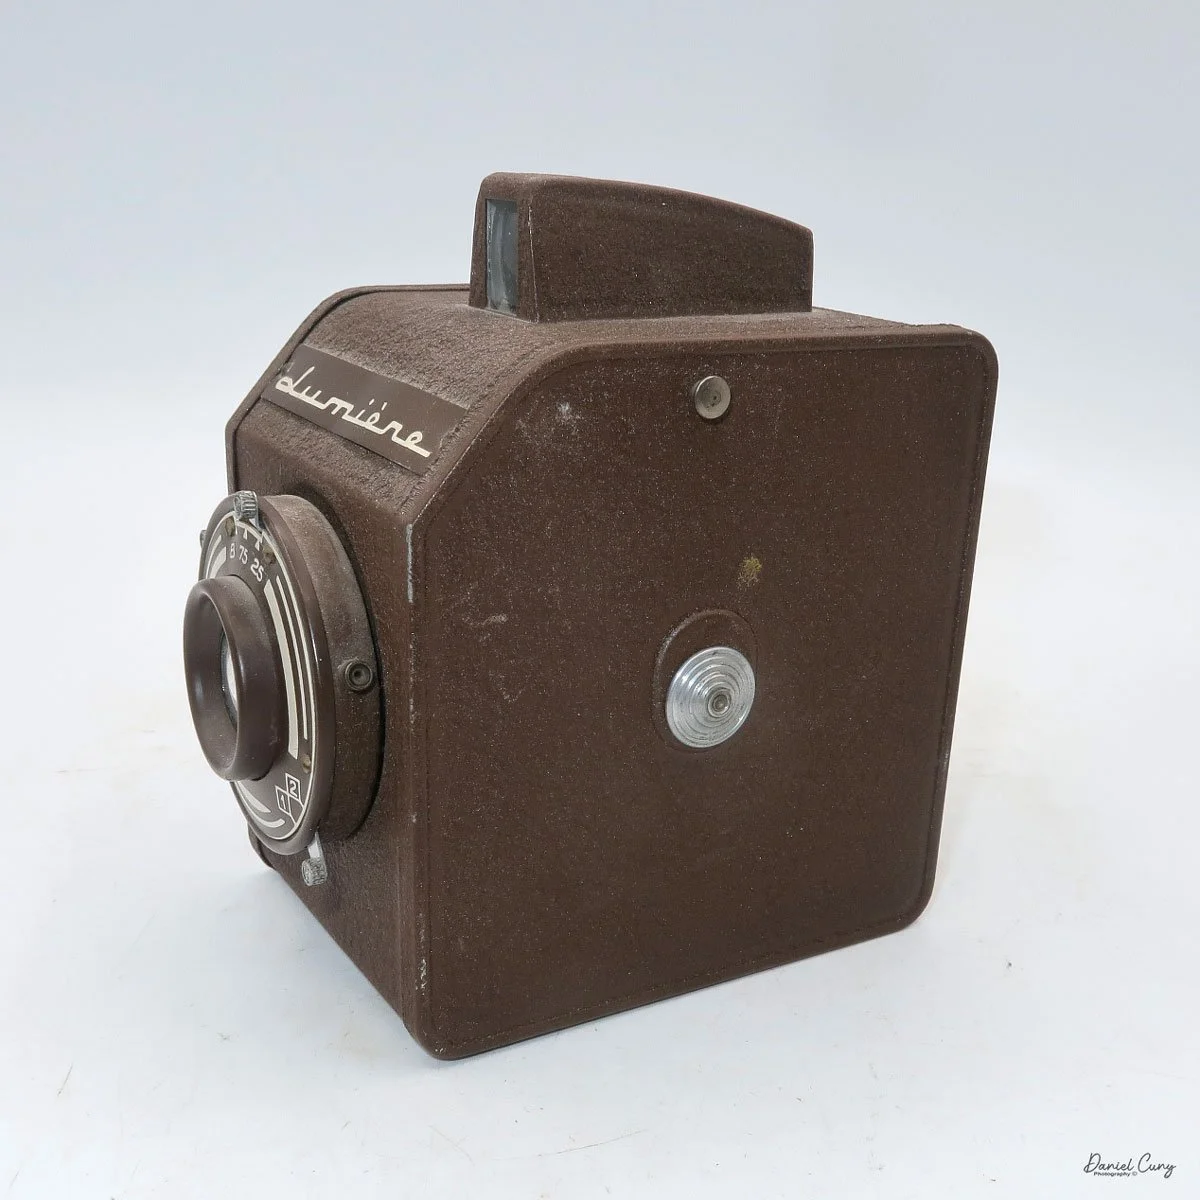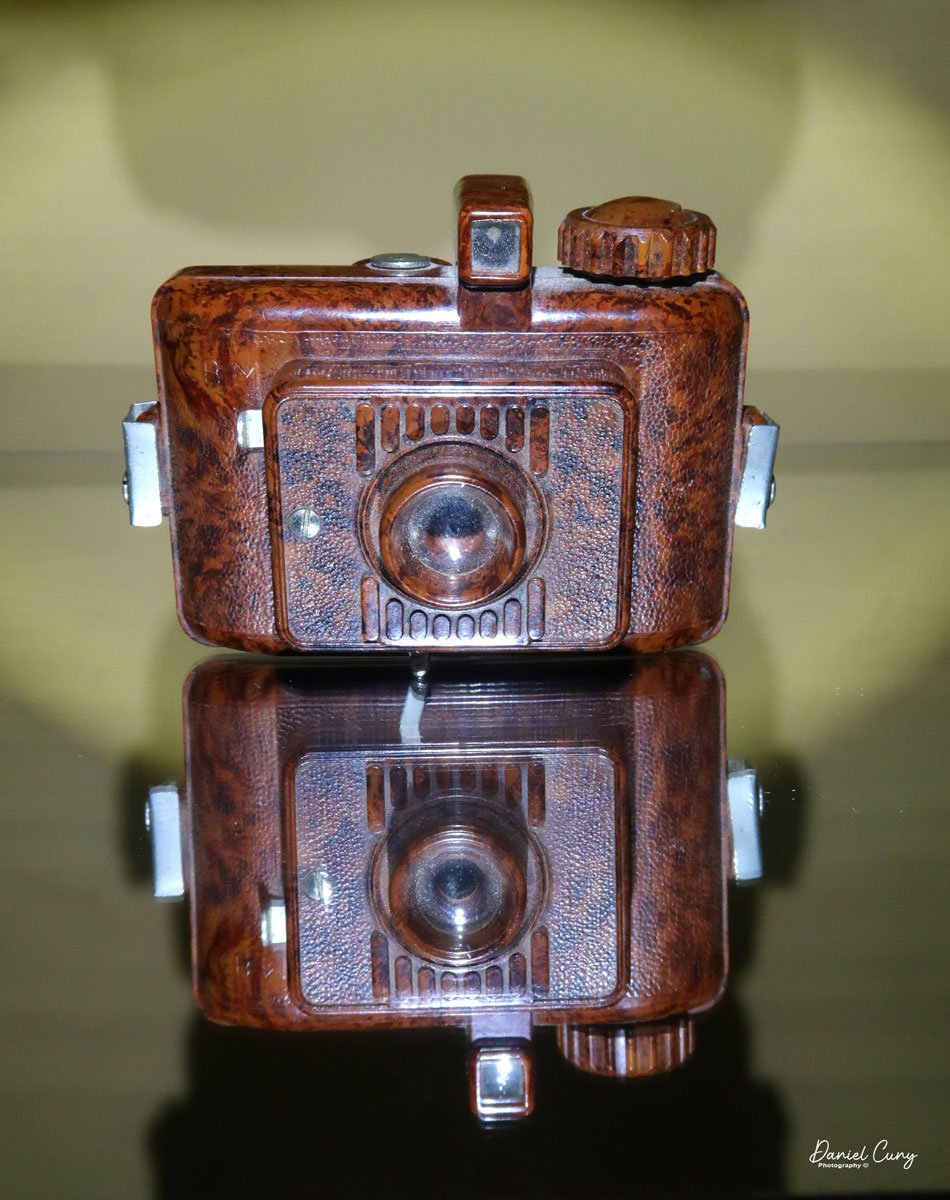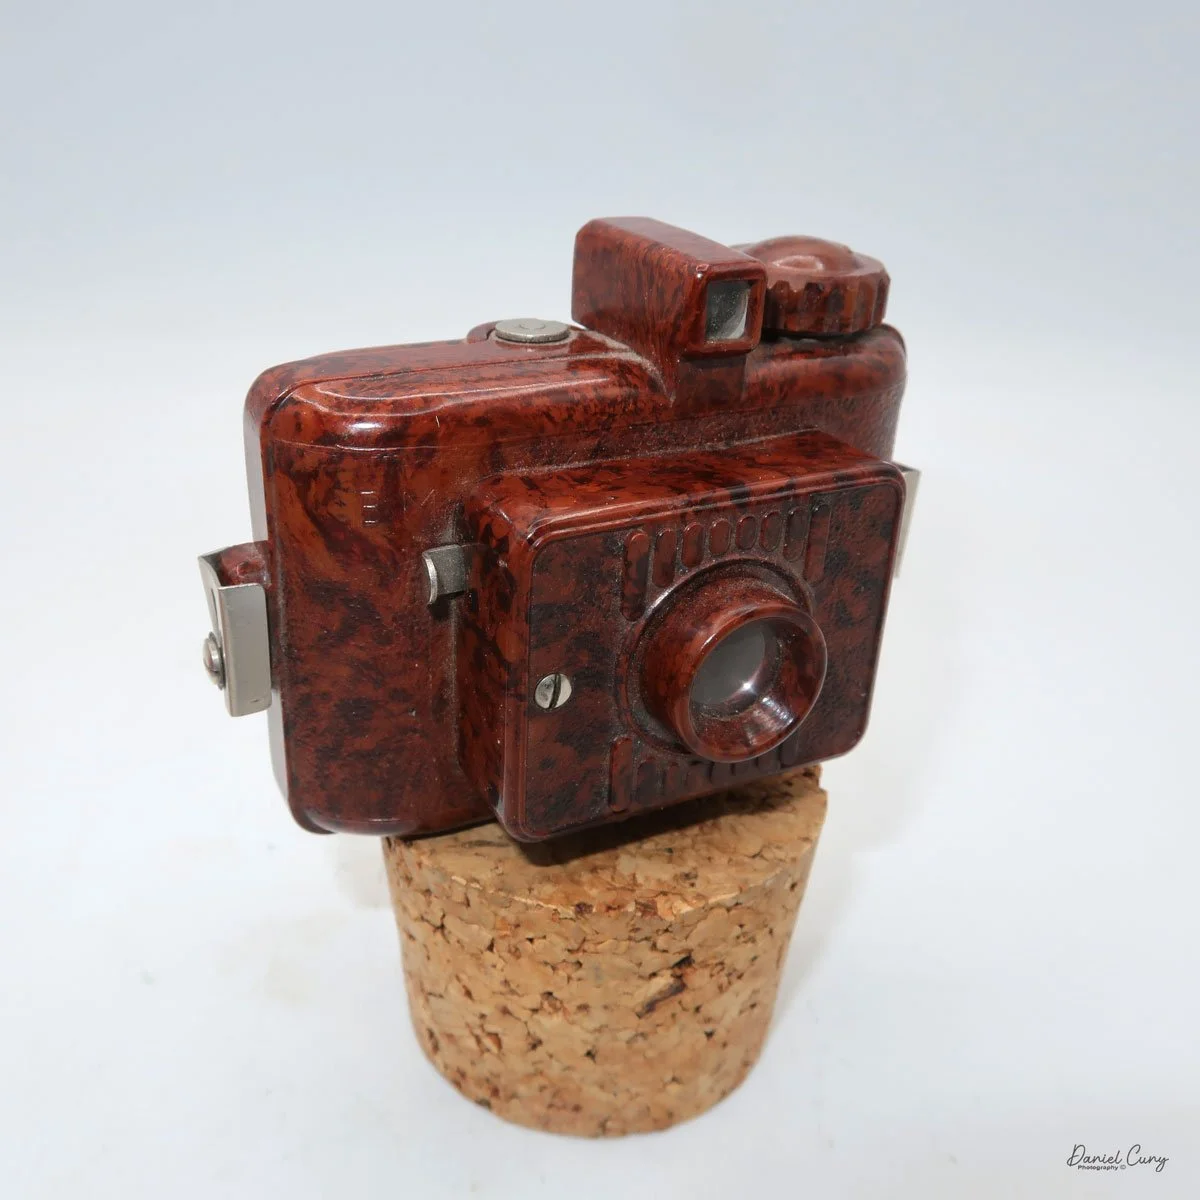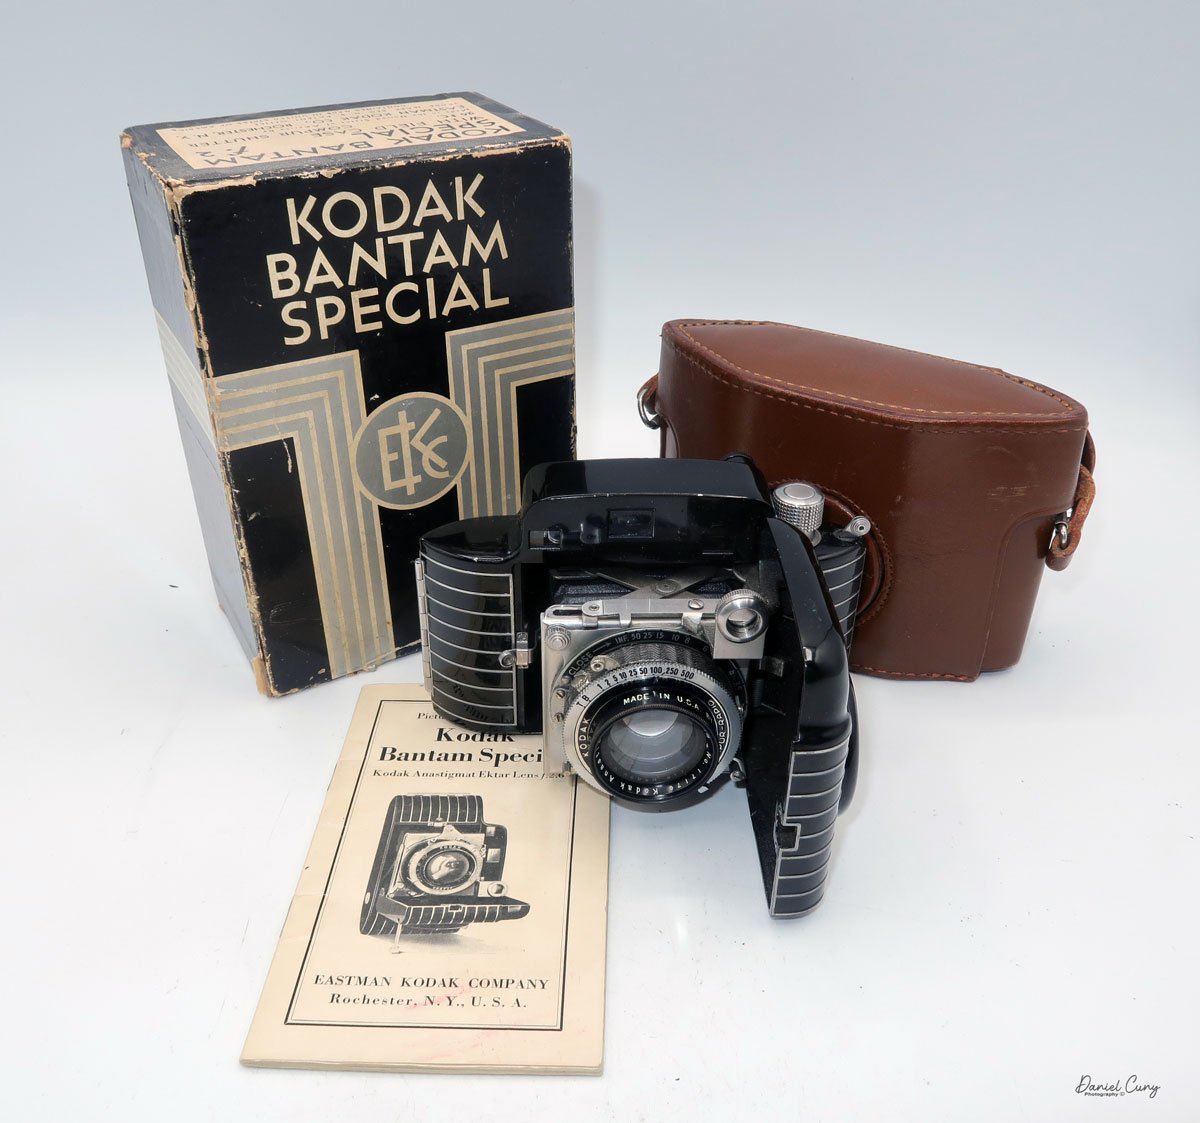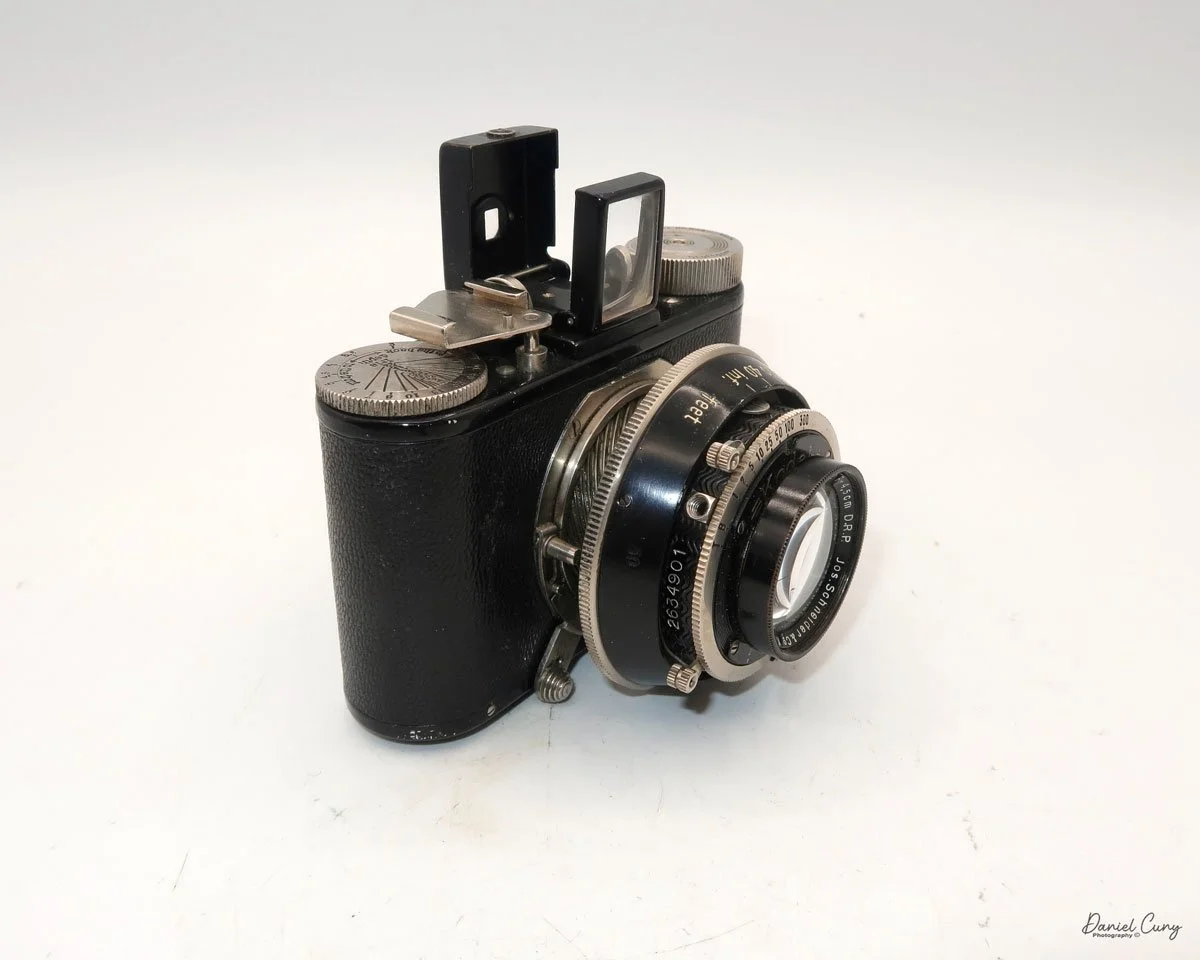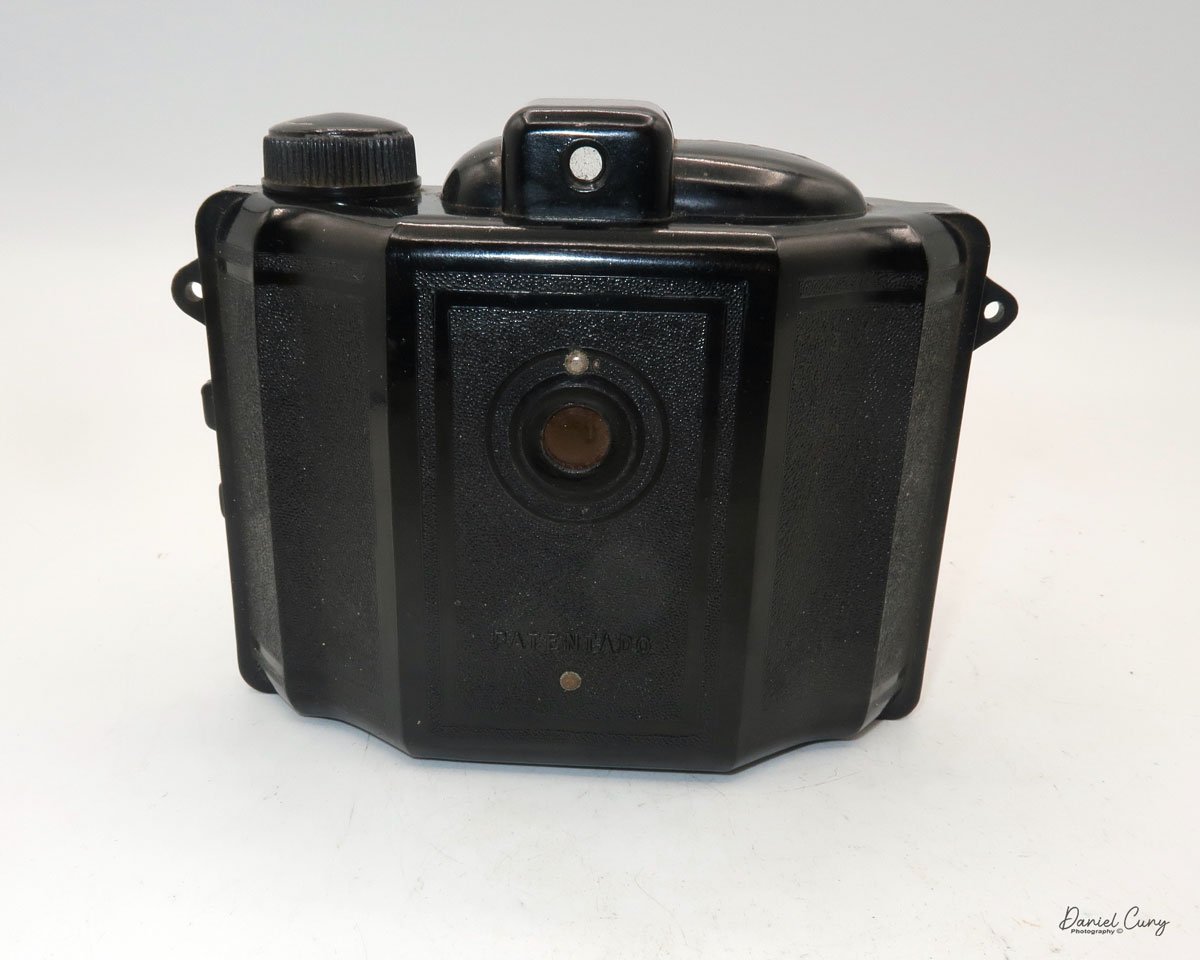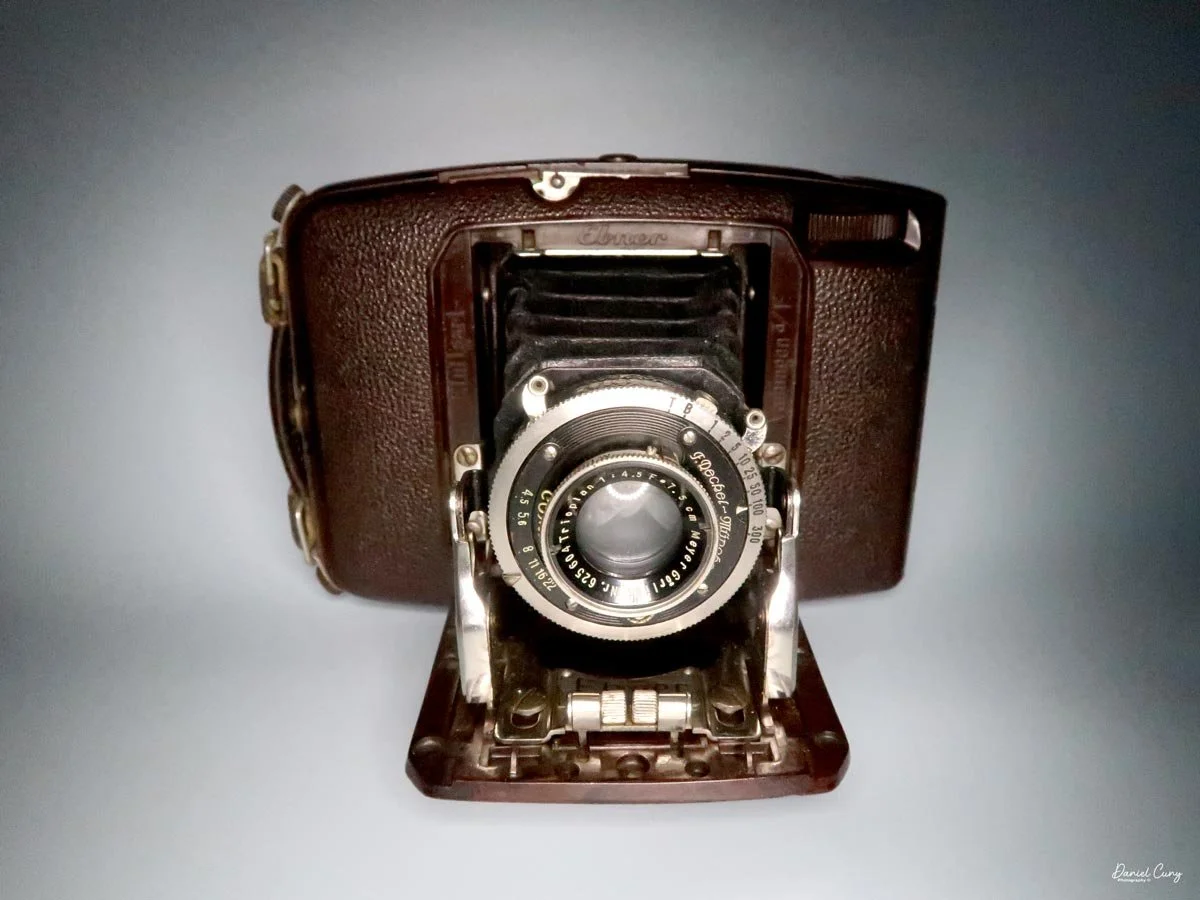
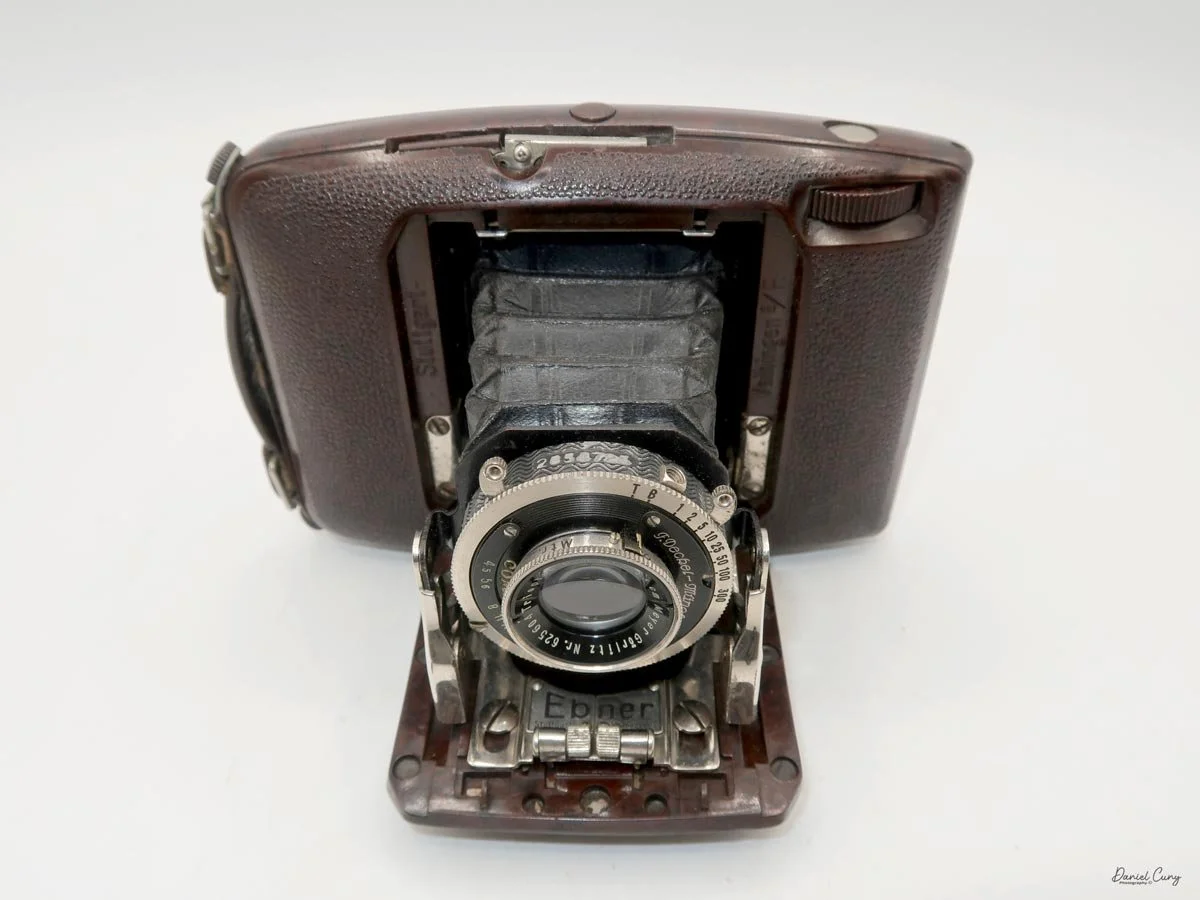
My Ebner 6x4.5cm camera
During my trip to Tokyo, Japan, a couple of weeks ago, I was in Kitamura's flagship store, looking at their "bargain" cameras, which in itself is a treasure trove of used cameras, when I spotted a brown Bakelite camera sitting on one of their shelves. The camera was a "folding" style camera. Still, I had never seen a camera like it, so immediately I wanted to see it, and with any luck, take it home with me, provided the price wasn't outrageous. I scanned the camera price and converted it from Yen to US dollars; it wasn't outrageous, so I wanted to see it and learn more.
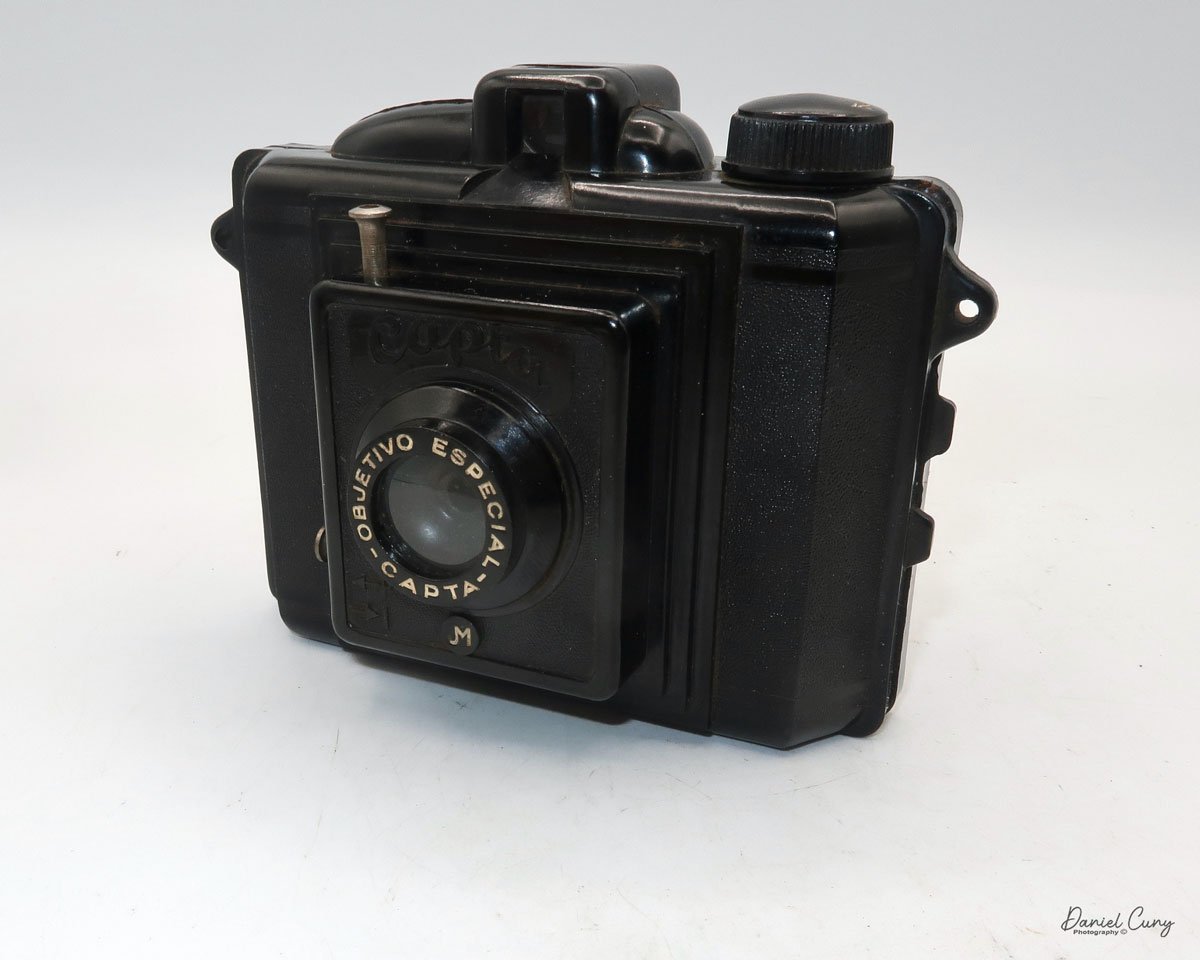
The things that caught my eye at first was the beautiful, rich brown color, the wonderful pebbled texture of the body, and the very sleek design. To me, the camera just sang to me in its design. Since my eyes almost always go to anything "colored" when I look at cameras, it reminded me of the Coronet Vogue. Then, scanning the shelf below, they also found the Coronet Vogue. which I had seen in a few different flea markets in both Paris and London, but the asking price was always too high (in my opinion) for the camera, so I passed them up.
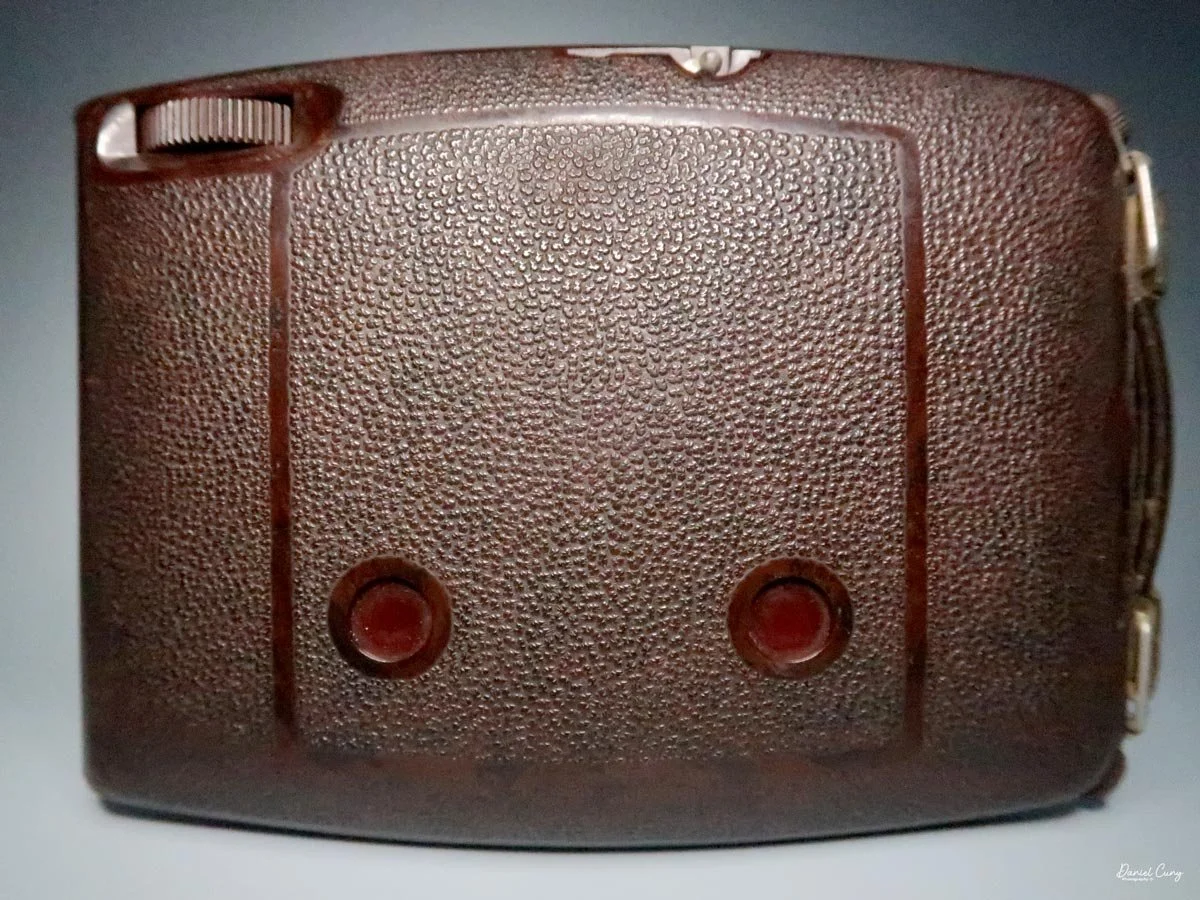
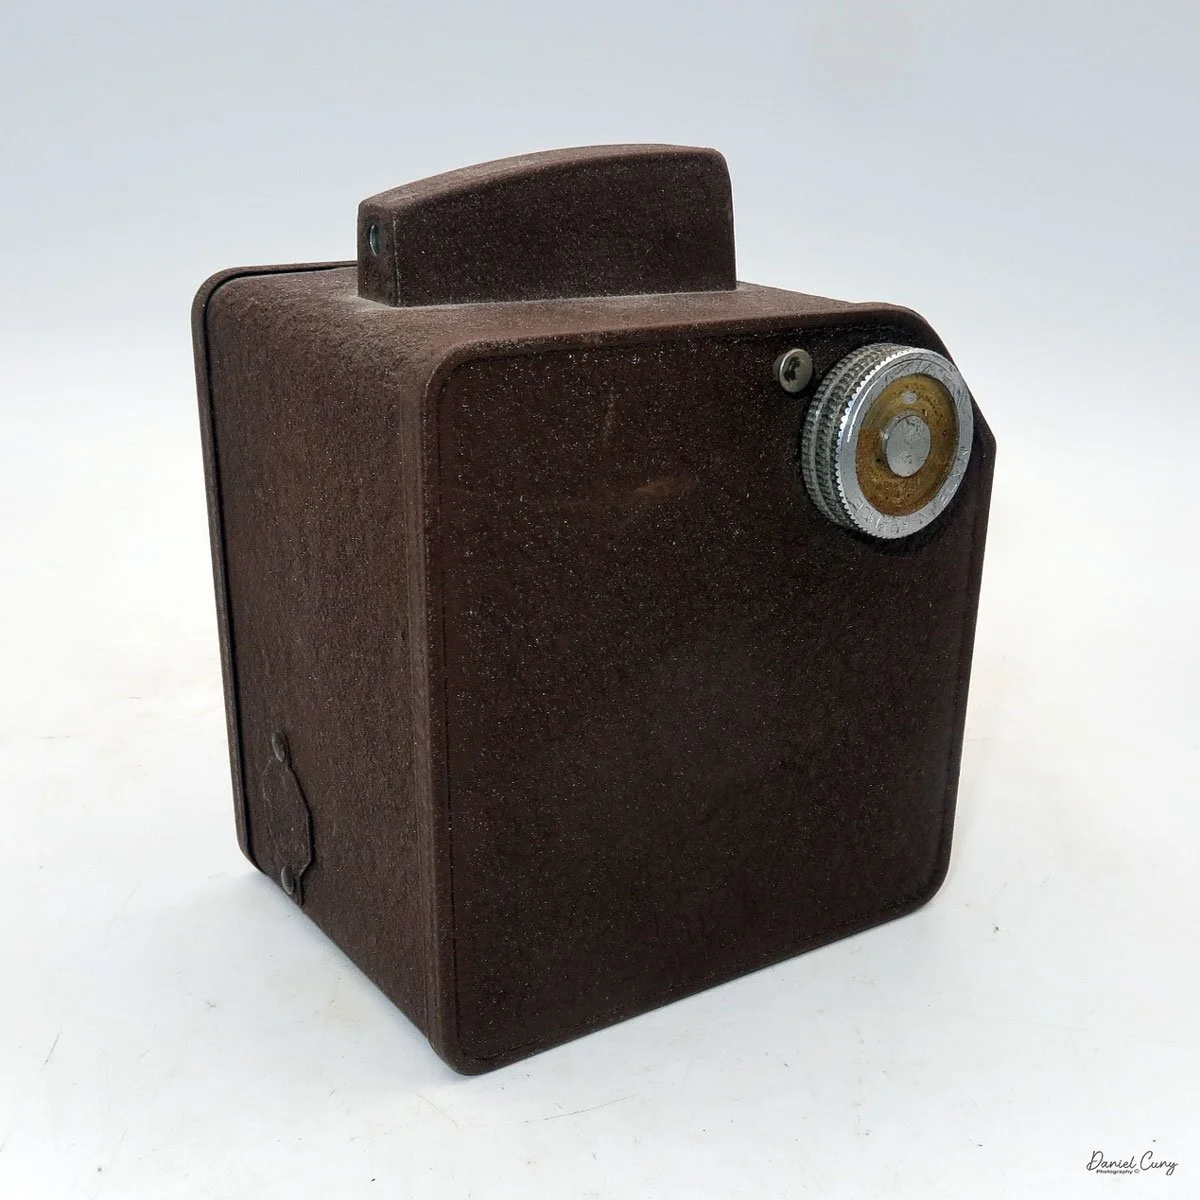
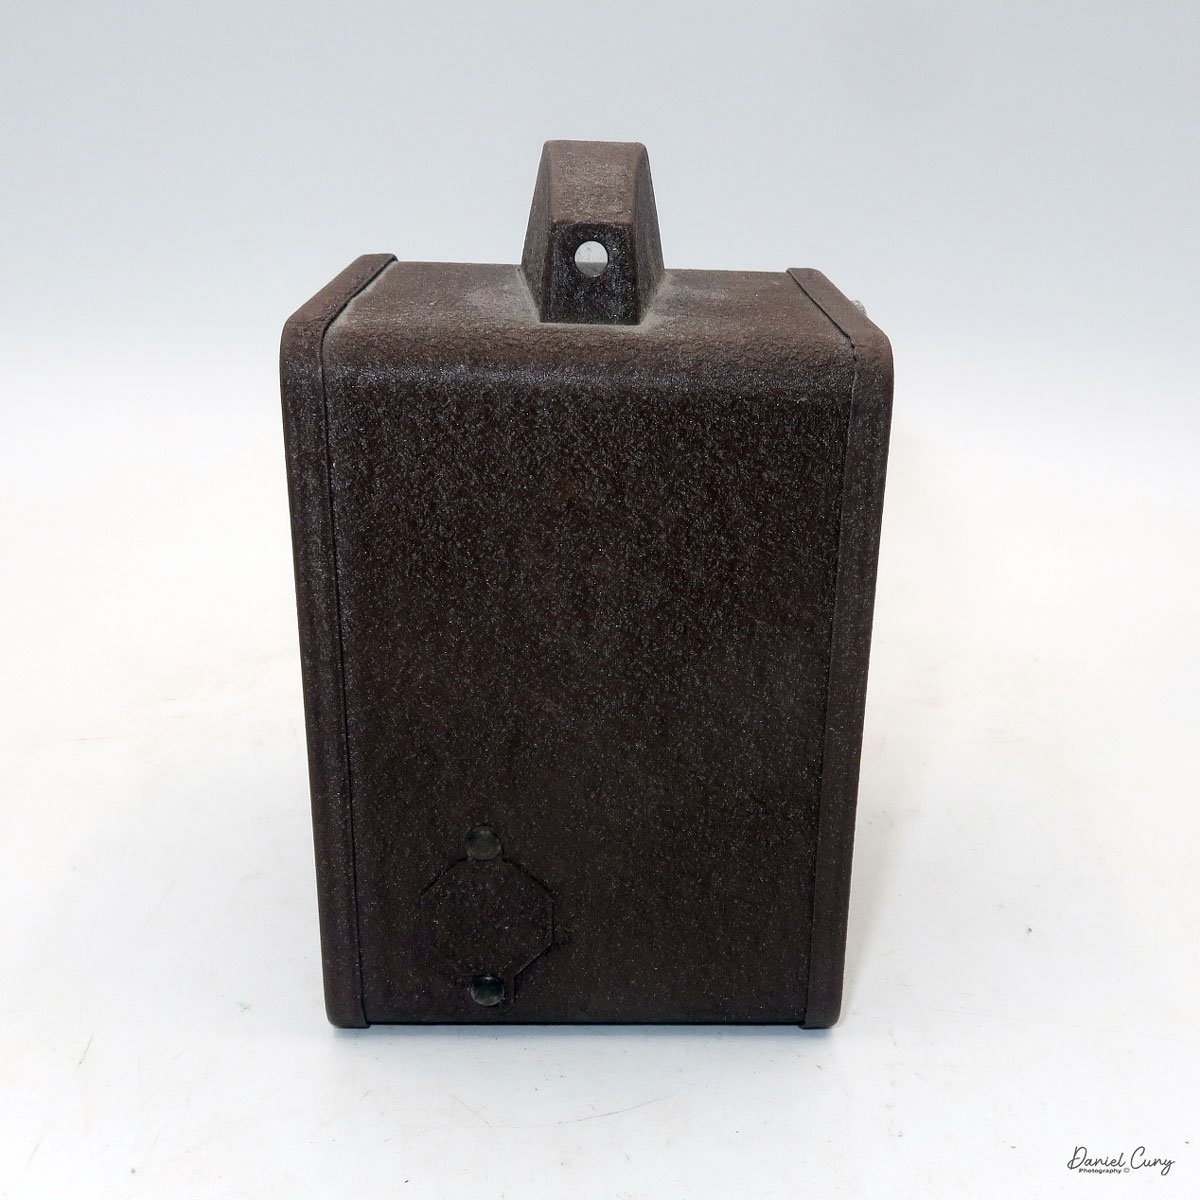
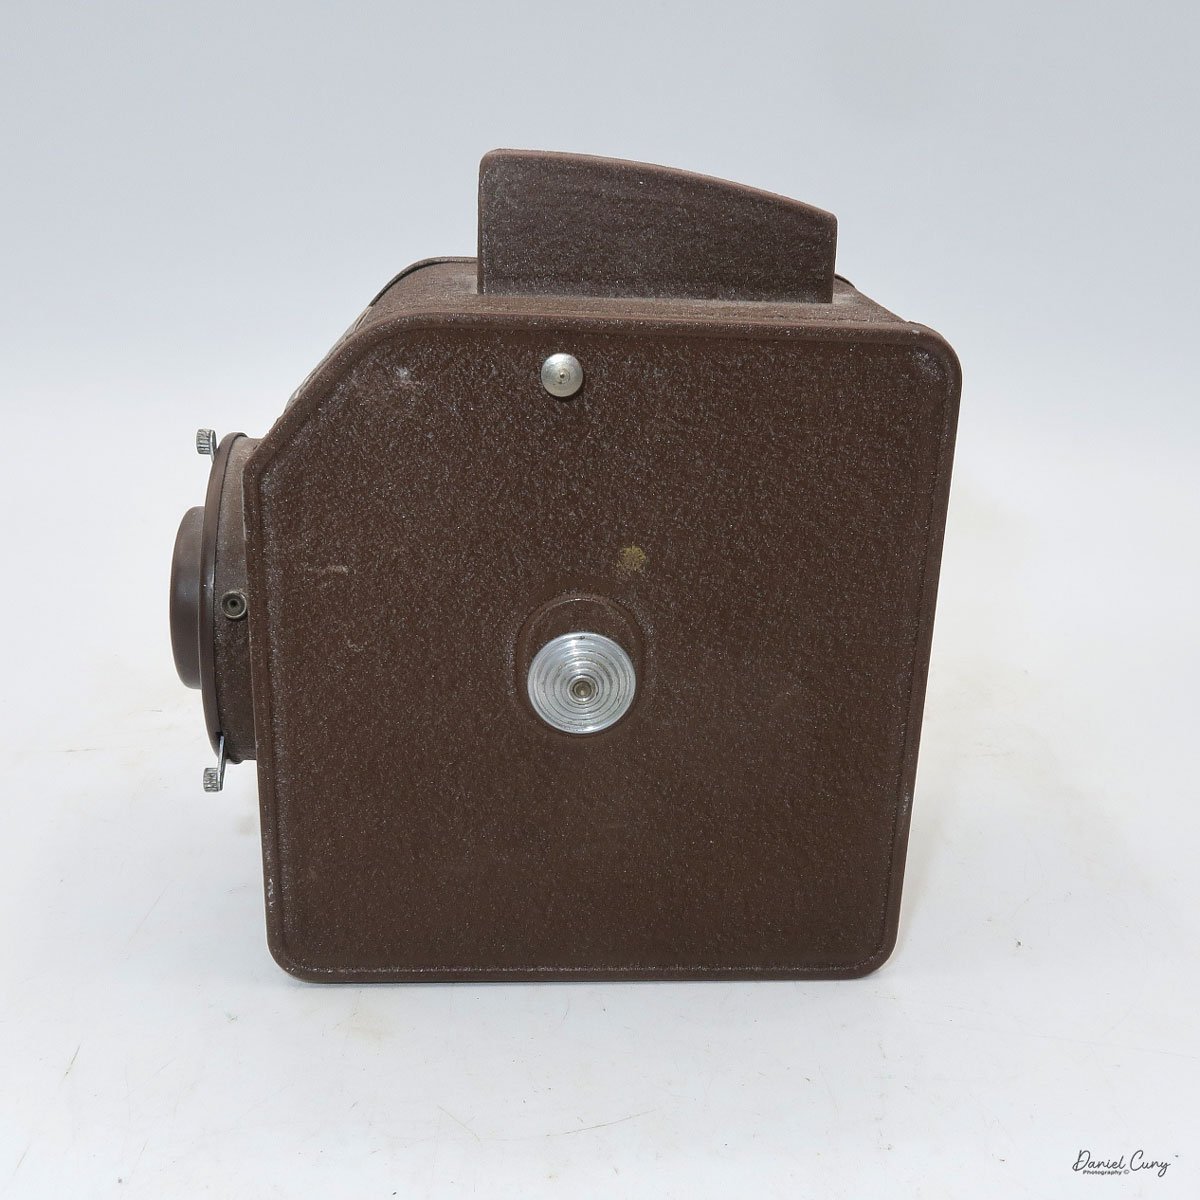
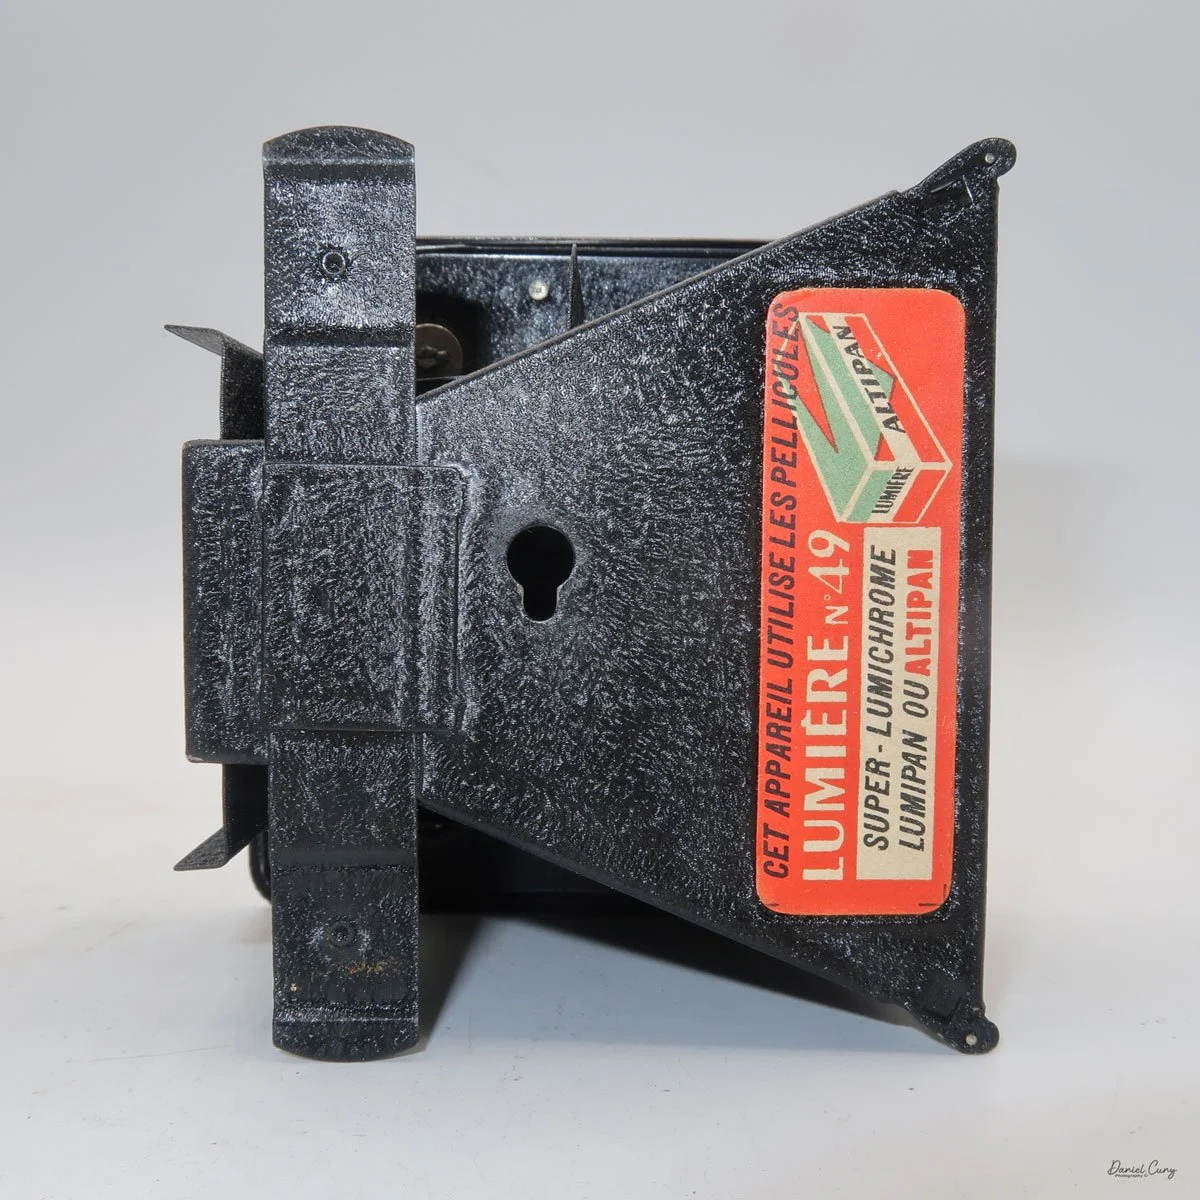
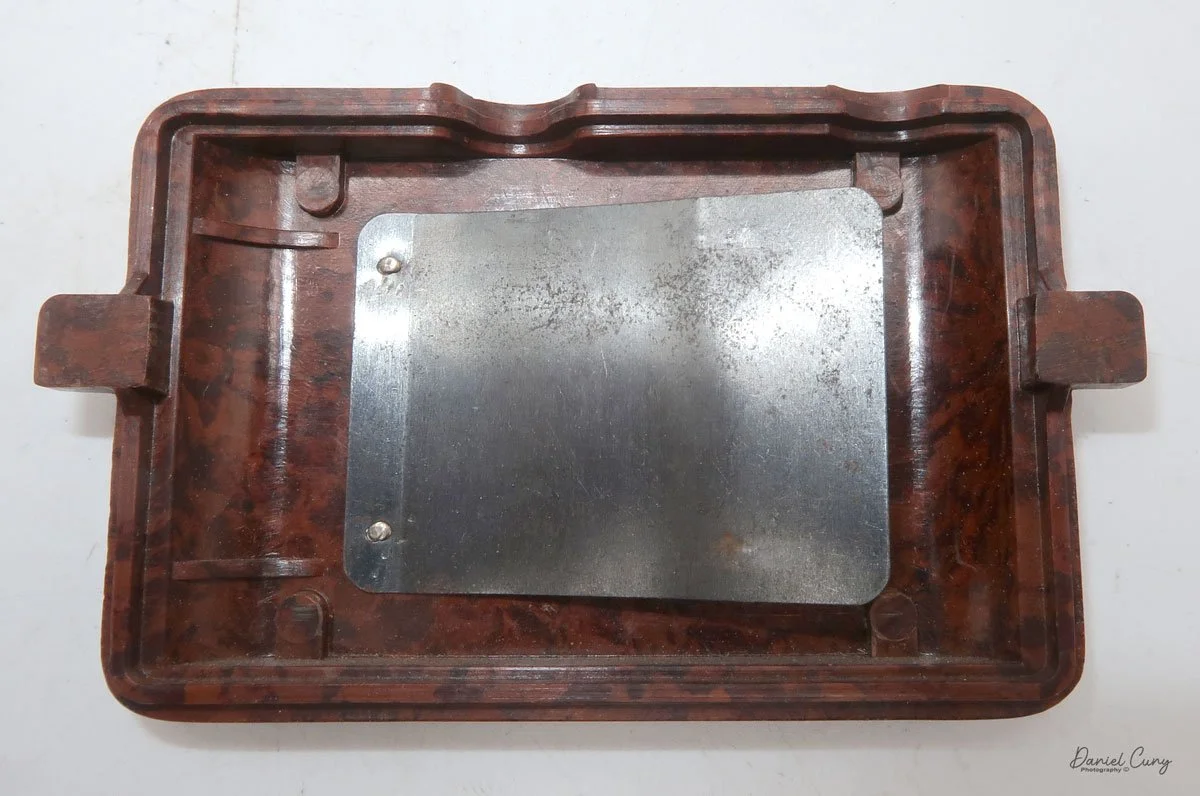
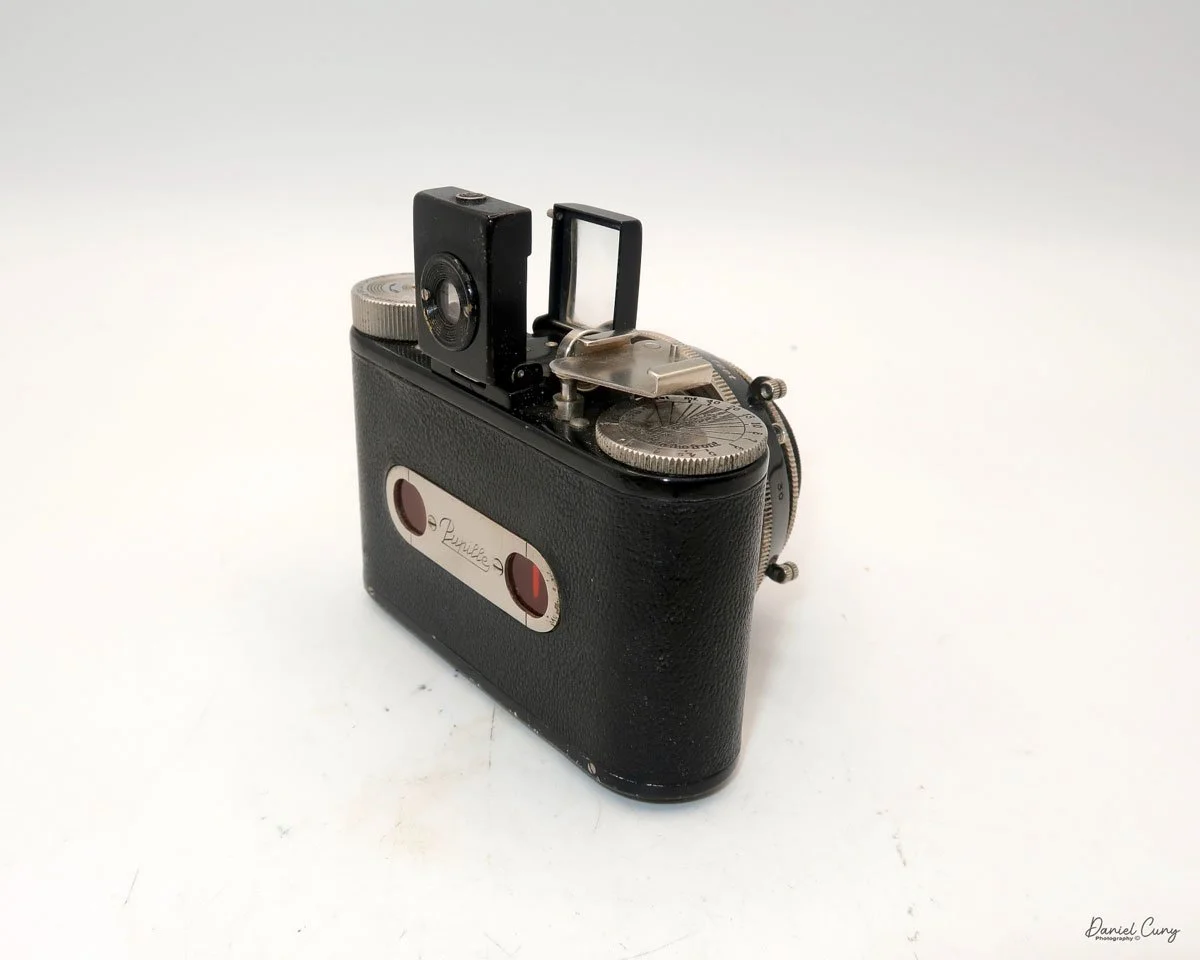
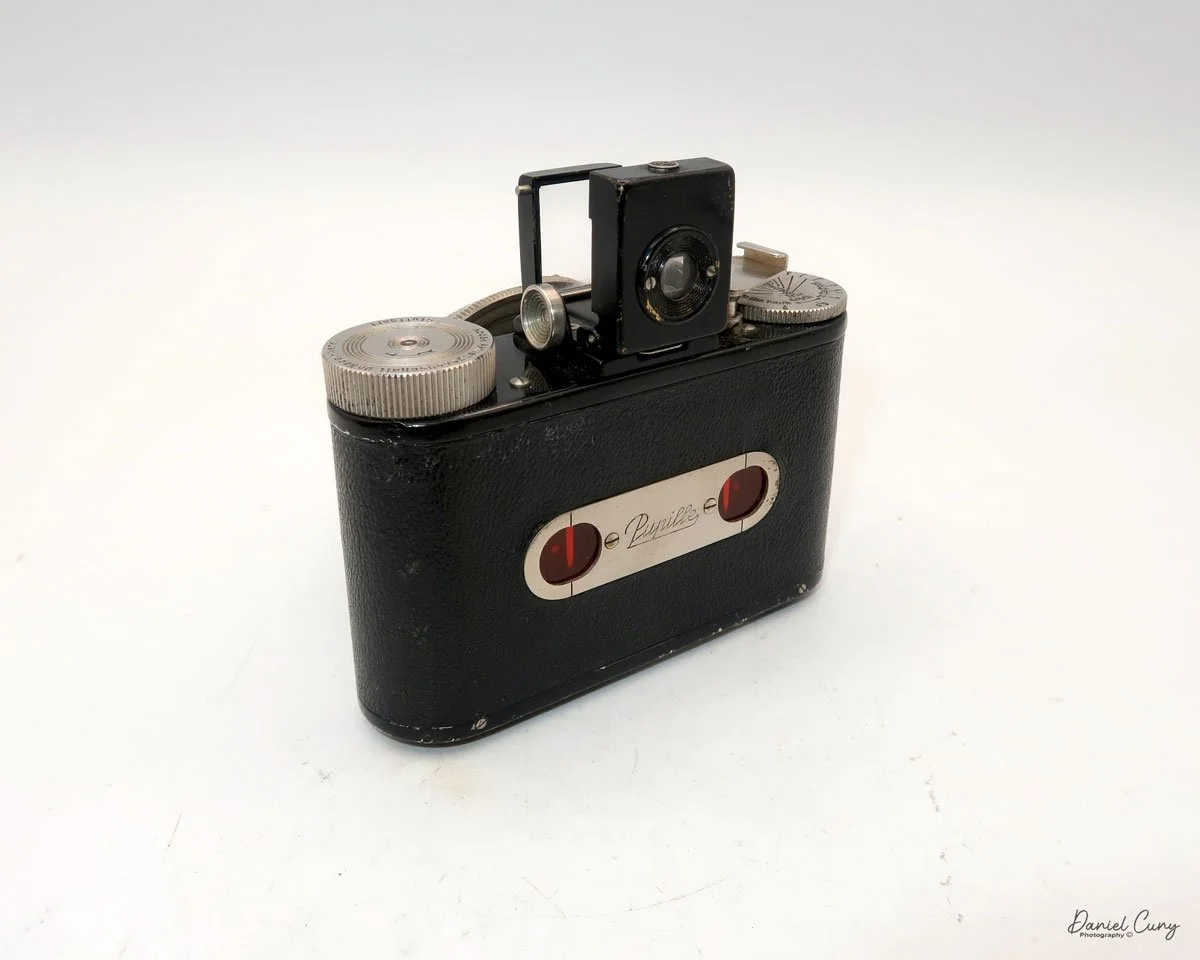
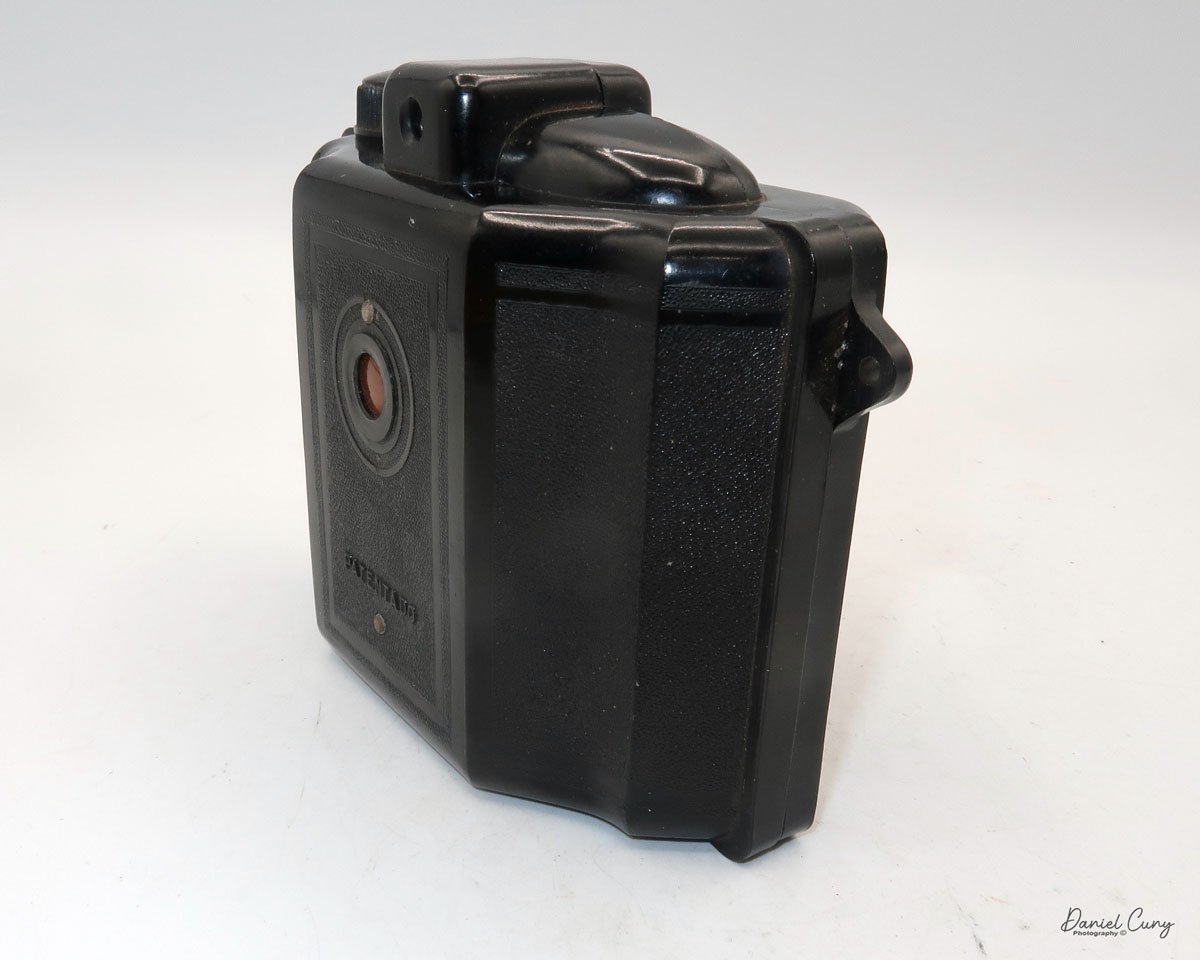
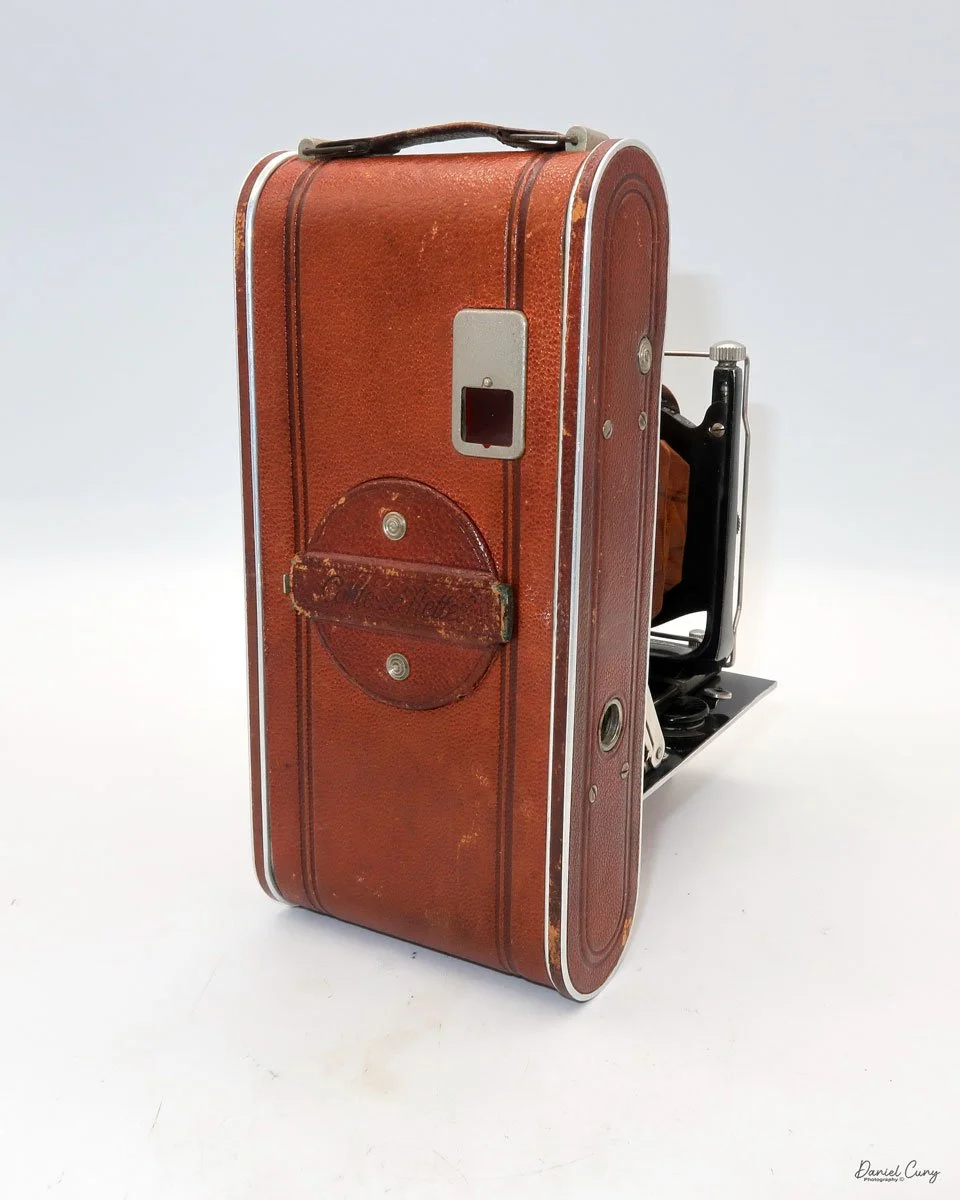
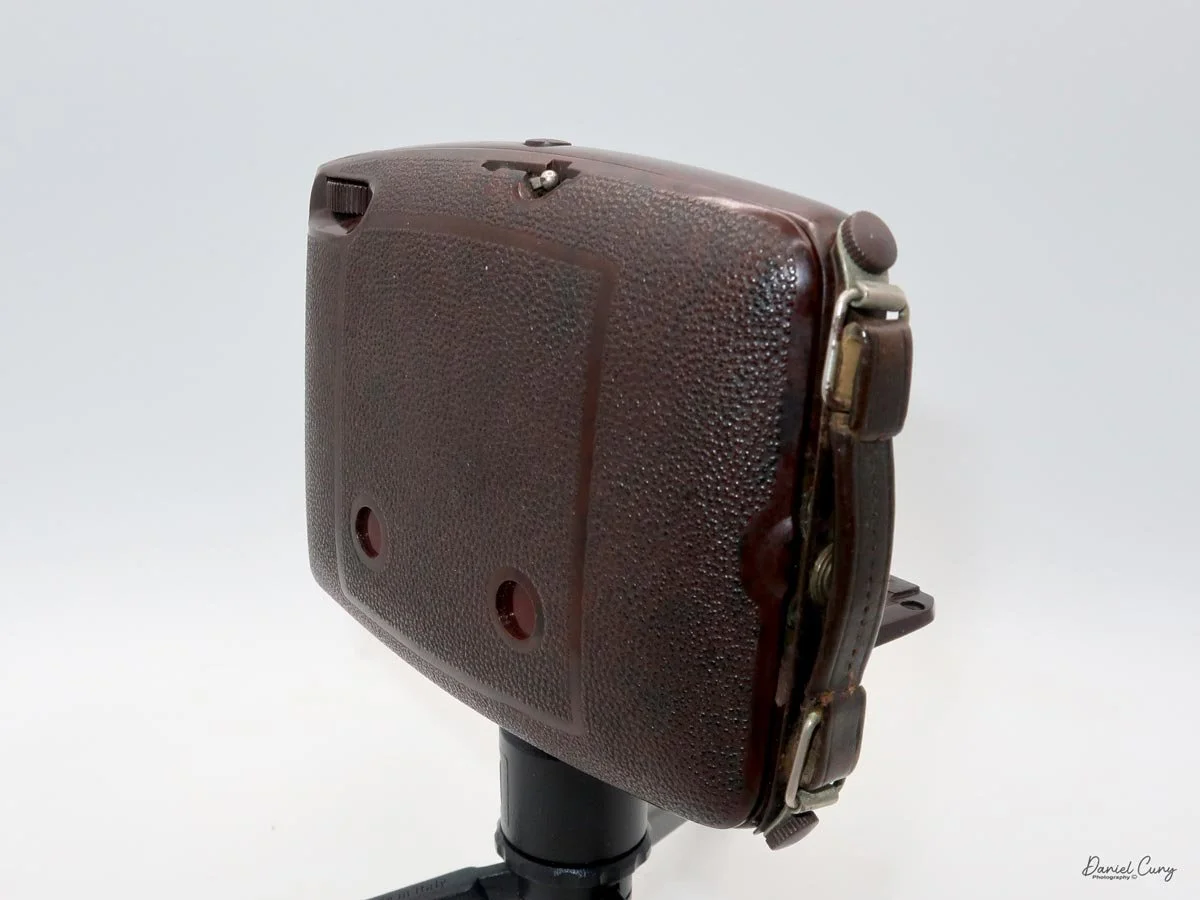
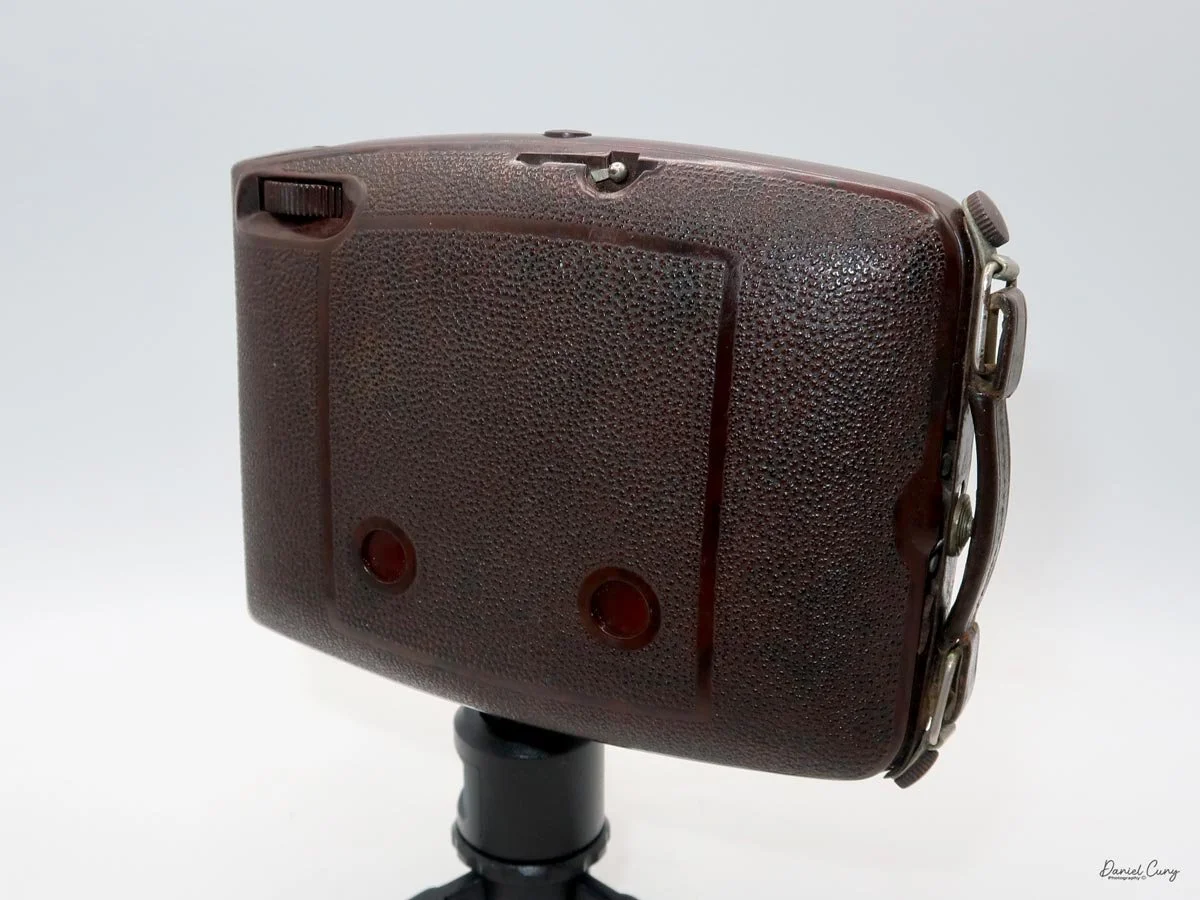
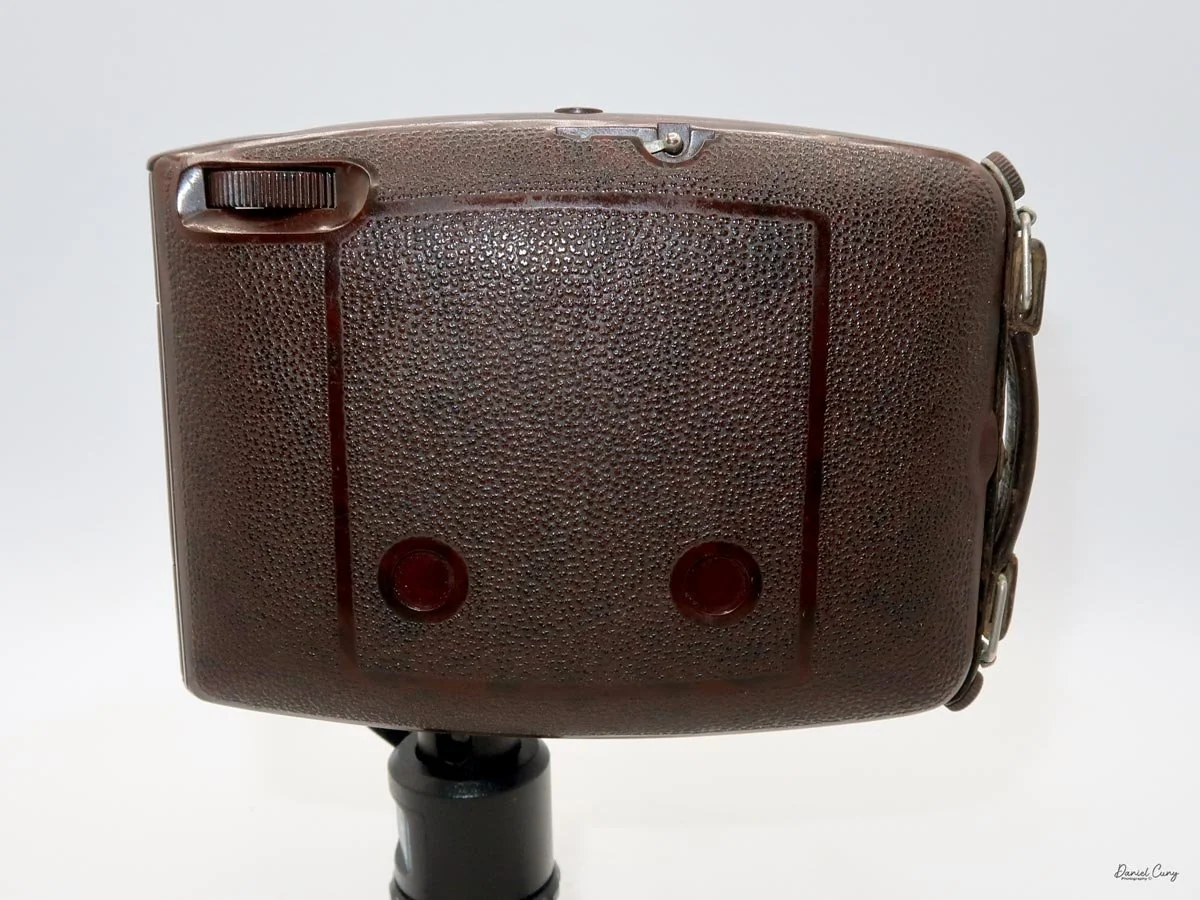
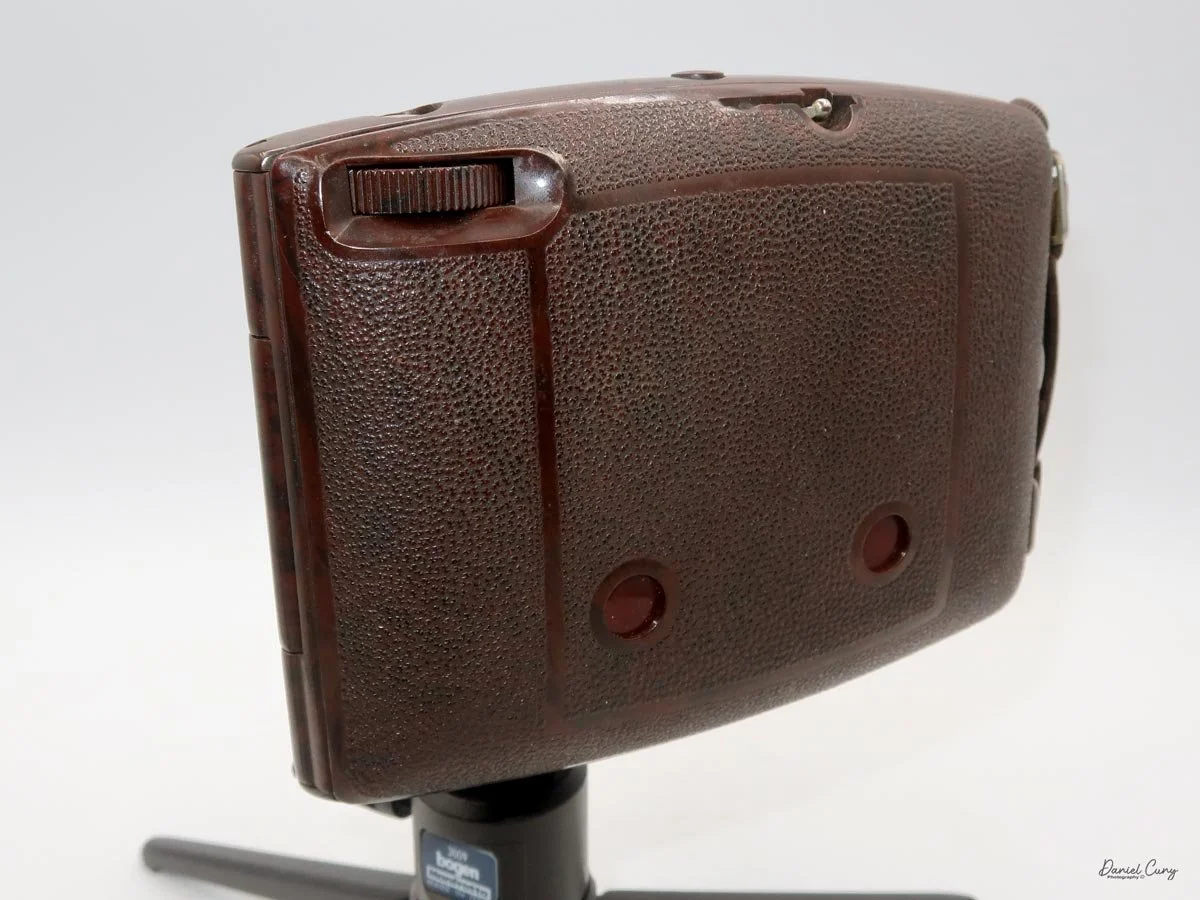
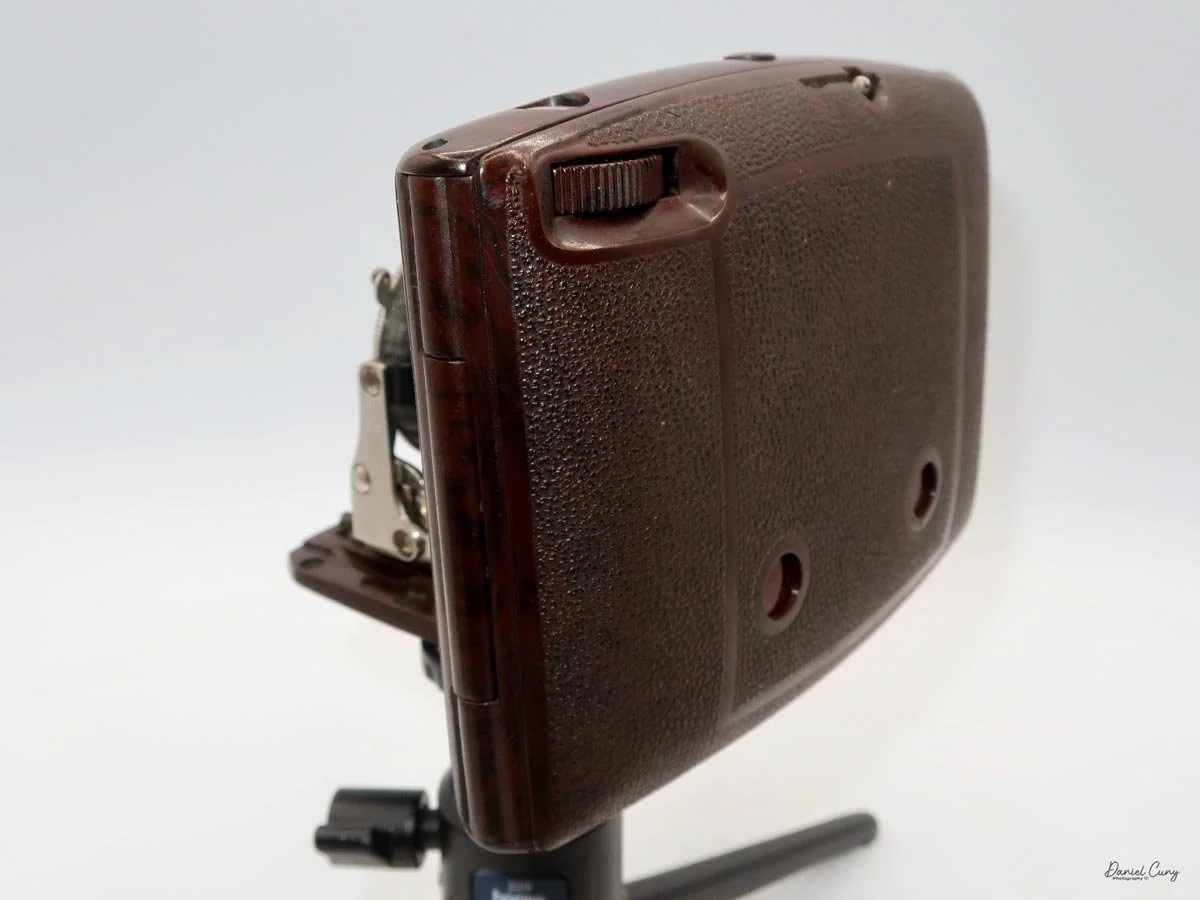
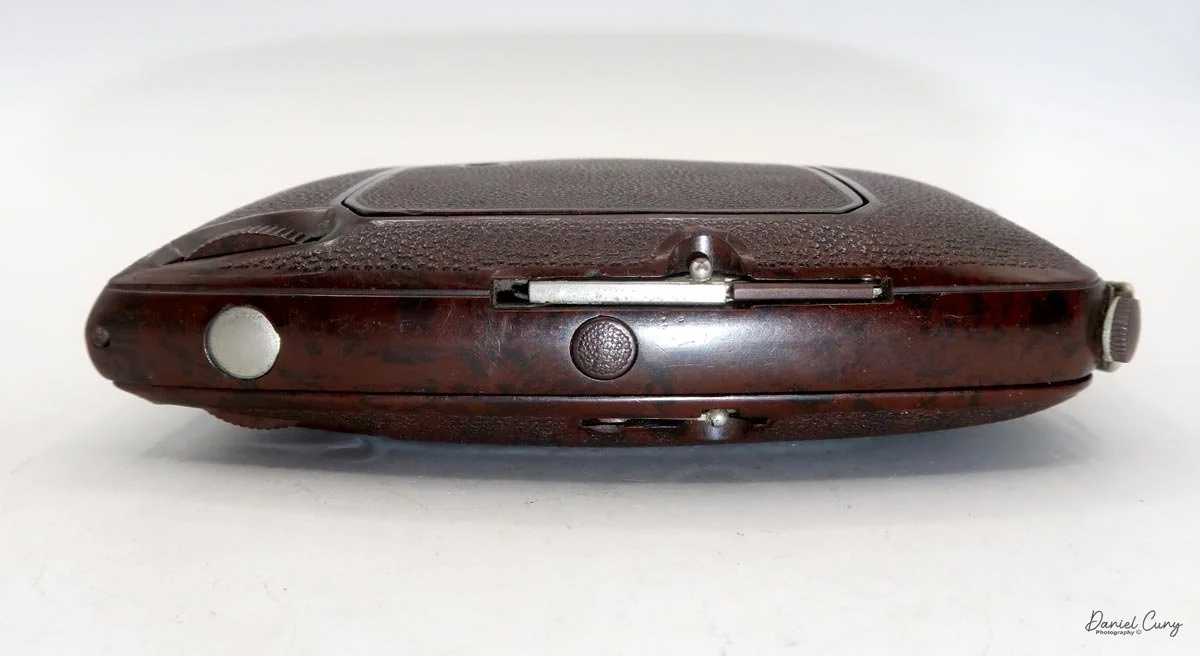
Back side with beautiful pebble finish on the Ebner camera
At this point in my camera search, there were 3-4 cameras I wanted to look at, so I went up to one of the salespeople on the floor and showed them the items I was interested in. Very patiently, he pulled the 4 items from the shelves and placed them on a camera mat on one of the glass display cases in the shop.
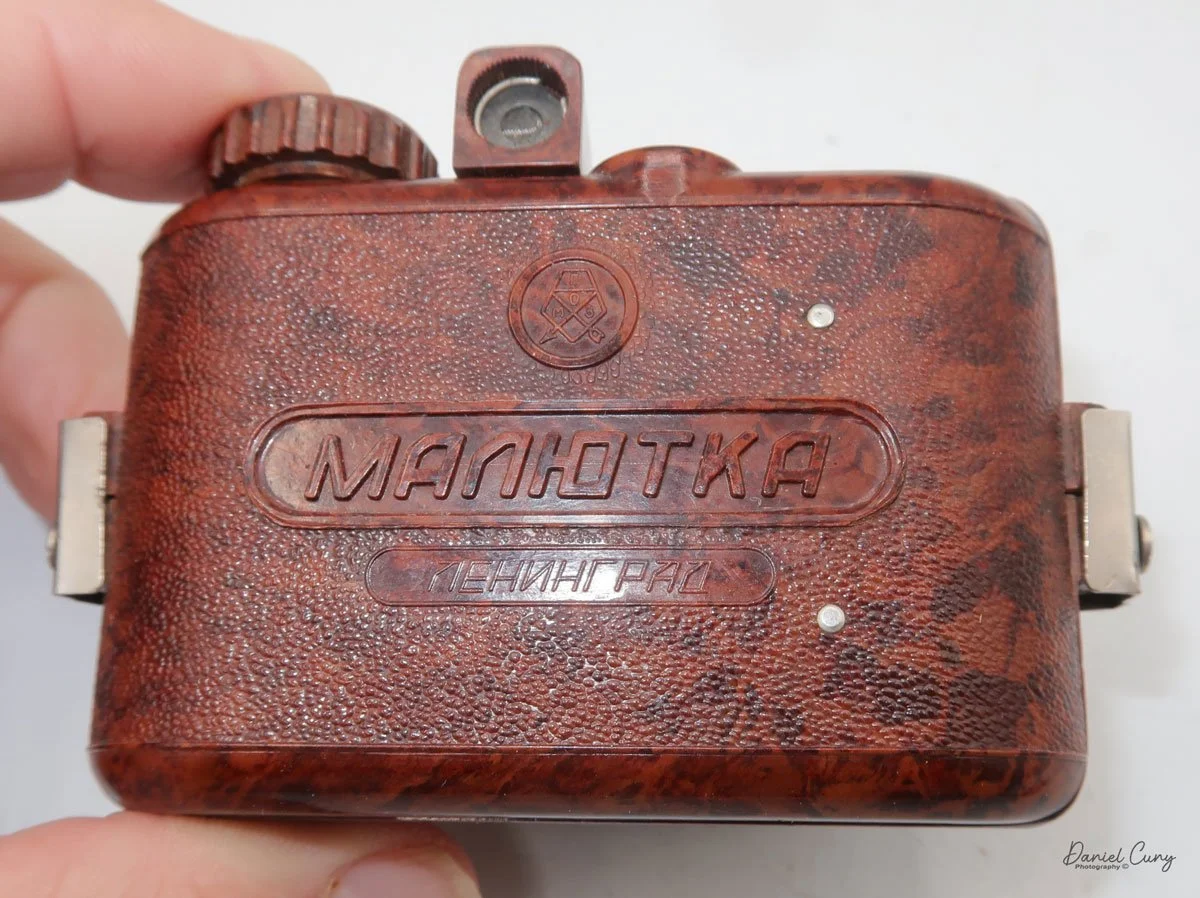
Opening the Ebner camera first, I hadn't seen it before and don't recall it in McKeown's Camera Guide. I don't have the few hundred thousand cameras memorized. It wasn't until I opened the back of the camera and noticed the name "Ebner" that I realized the camera's brand. It still hadn't jogged my memory or sounded familiar.
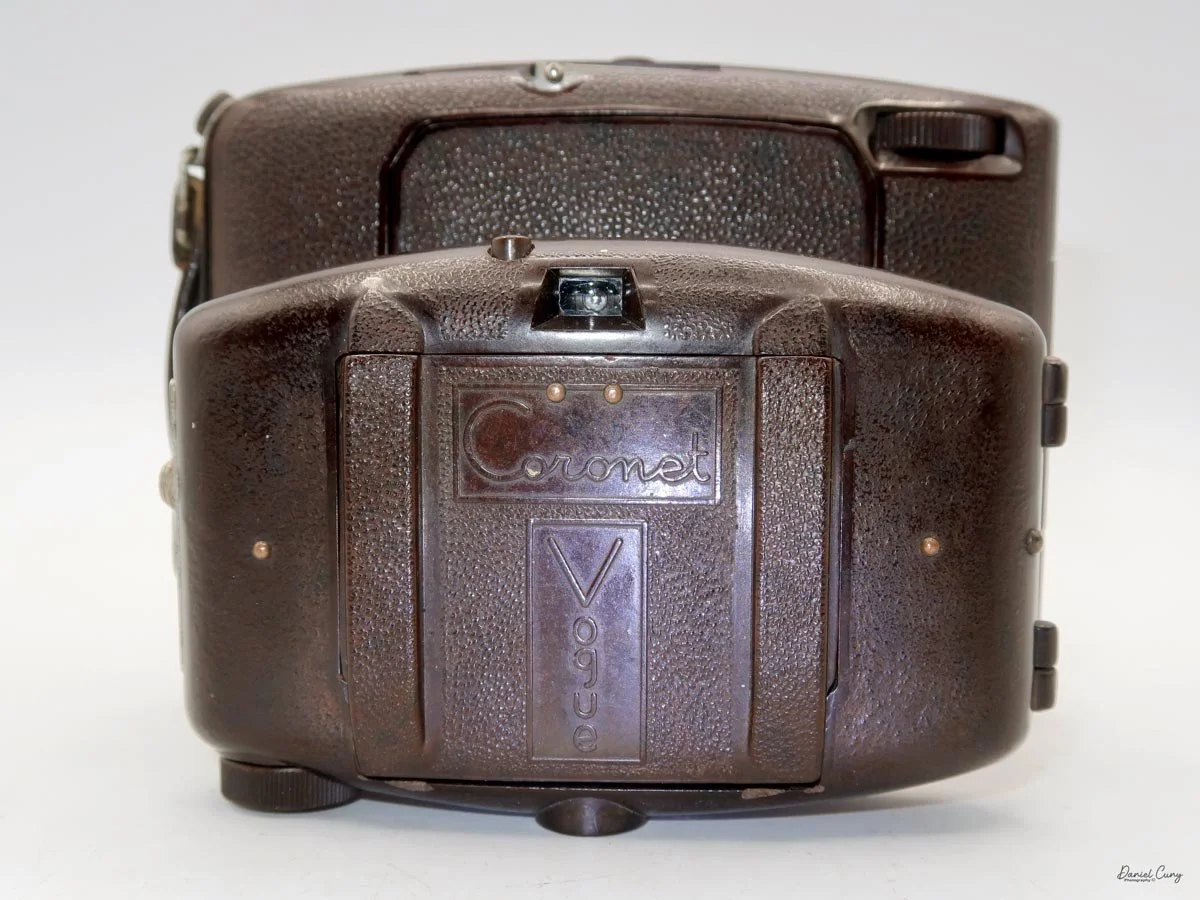
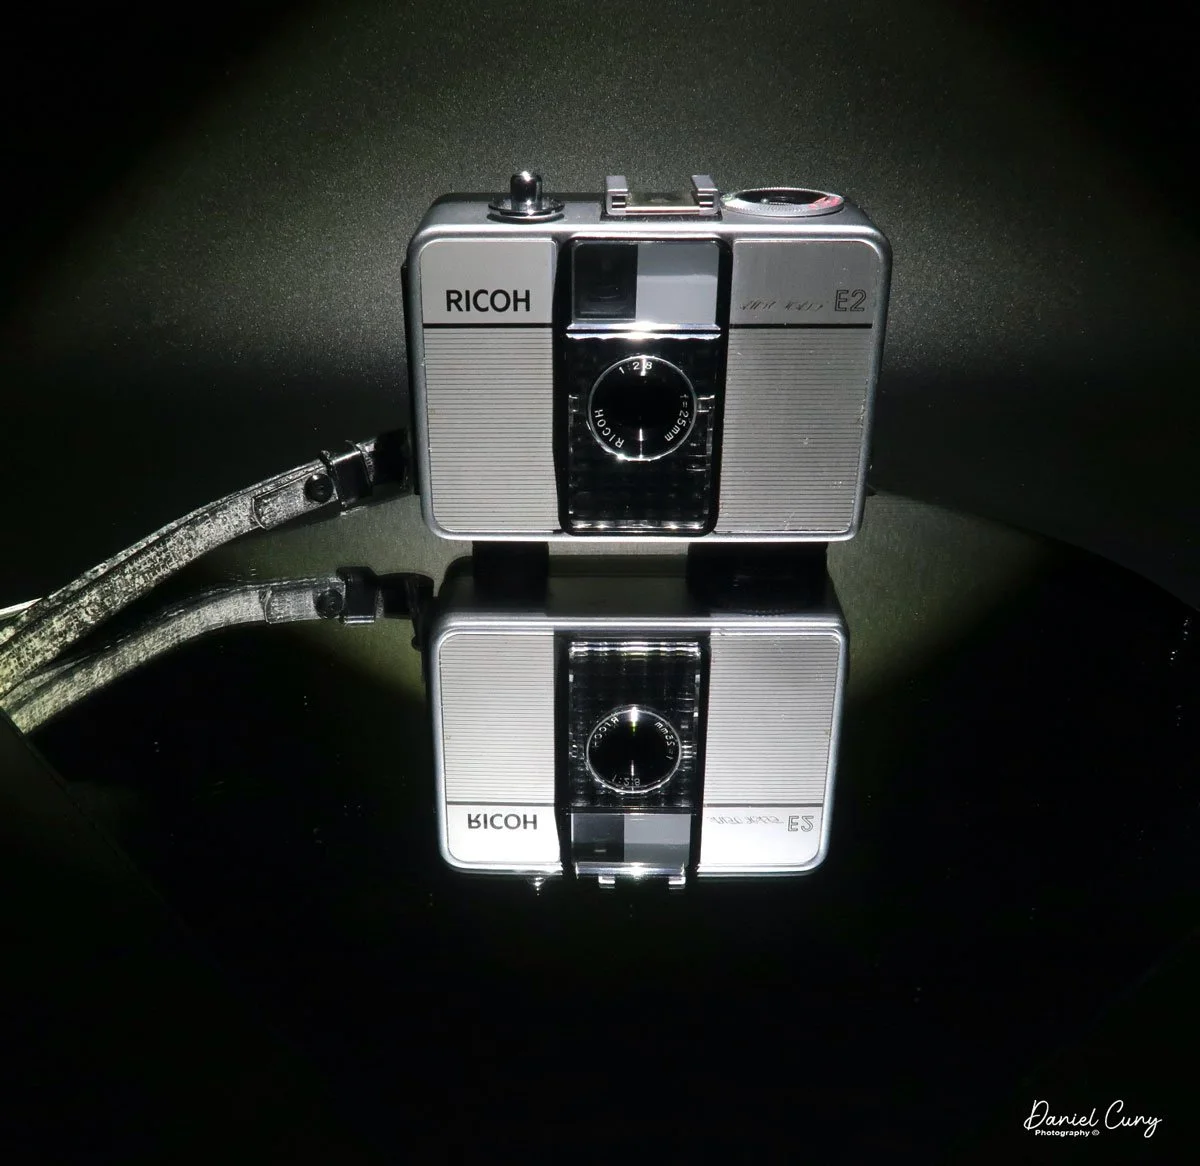
Similarities of the Ebner and Coronet Vogue cameras.
As I looked over the camera, the shutter worked, the aperture slid around the lens and changed size, and the lens was fairly clean. It didn't have mold, mildew, or fungus as I shone a penlight through the lens, and I didn't see pinholes in the bellows, so all in all, the camera was a "keeper" to me.
The Coronet Vogue camera had some issues. It had a replacement black bellows rather than the original brown matching bellows, and the side struts of the camera didn't work properly. But the camera was inexpensive, and the shutter worked, so I believe at some point later this year I will write about it. To me, the similarity in the design and style of both the Ebner and Coronet Vogue cameras is striking.
The similarities make sense to me, especially since Ebner stopped producing cameras in 1935. Still, other camera companies, like Pontiac and Gallus, produced very similar cameras with the same sleek design. I'm confident that since the Coronet Vogue was introduced in 1936, they recognized that this sleek, Bakelite camera design would benefit their sales, and they produced it.
History:
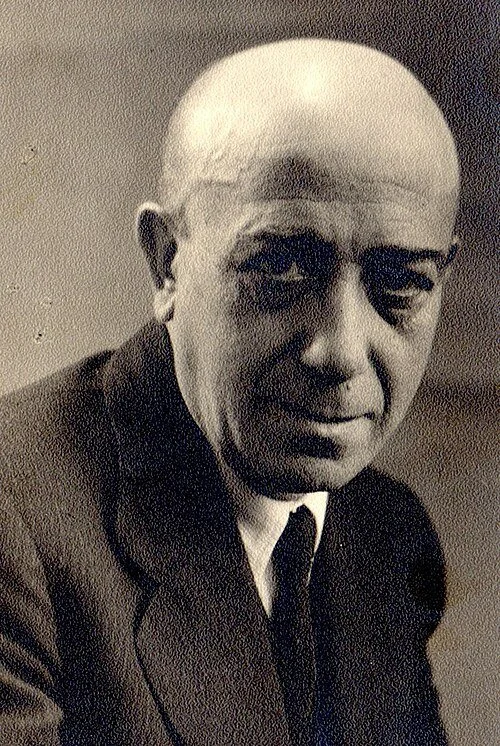
Albert Ebner & Co. was a small but interesting German manufacturer that moved from audio and electrical products into cameras during the early 1930s. Albert Ebner, born in 1891 in Bad Cannstatt, had already founded earlier companies before his name became associated with the camera firm that collectors remember today.
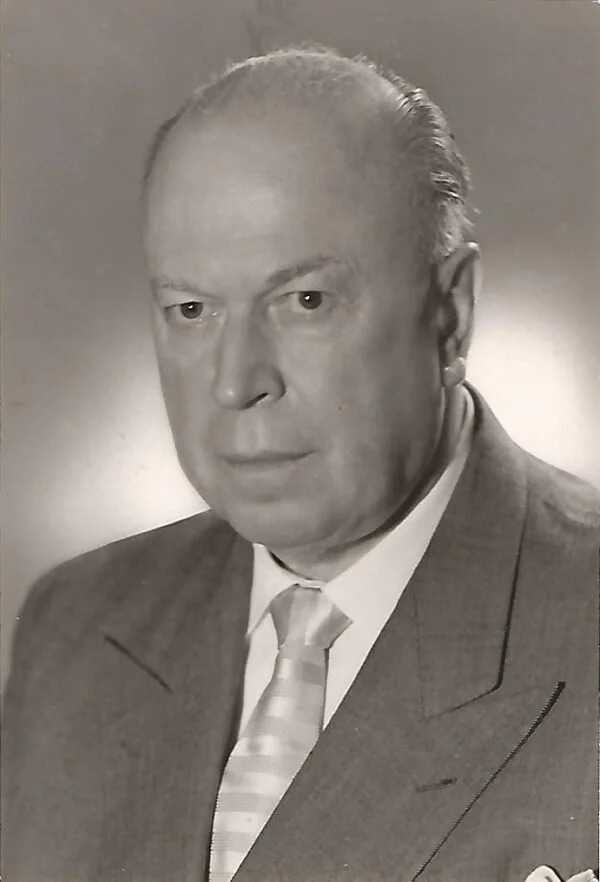
Portrait of Albert Ebner
The company's background was in turntable motors, gramophone parts, and related household electrical goods. After earlier business setbacks and reorganizations, Ebner returned to Bad Cannstatt and formed a new Albert Ebner & Co., often abbreviated AECO, which broadened into vacuum cleaners, fans, and other electrical products before experimenting with cameras.
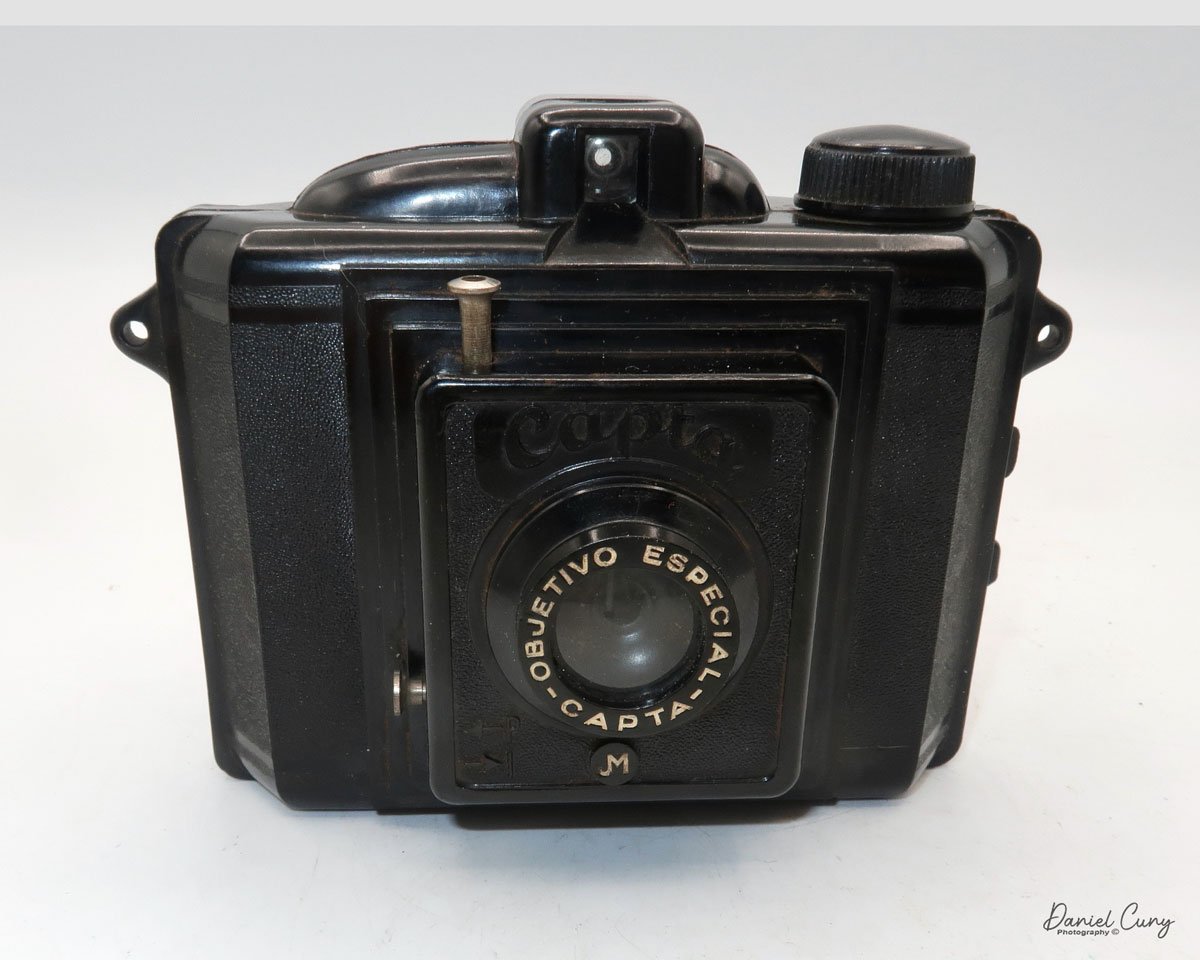
Ebner's camera output was very limited. The firm produced only two folding models: a 6x9 cm camera on 120 film and a smaller 4.5x6 cm model on Kodak 620 film, both made around 1933 to 1935. These cameras had no special model names beyond their image size, which makes them especially plain in naming but distinctive in construction.
What set them apart was their design. Both cameras used a marbled brown Bakelite body, a material associated with the radio and record-player industries, and they paired that shell with a Compur leaf shutter and lenses from makers such as Meyer-Gorlitz. That gives the Ebner cameras a streamlined Art Deco look that feels more industrially designed than mass-market consumer.
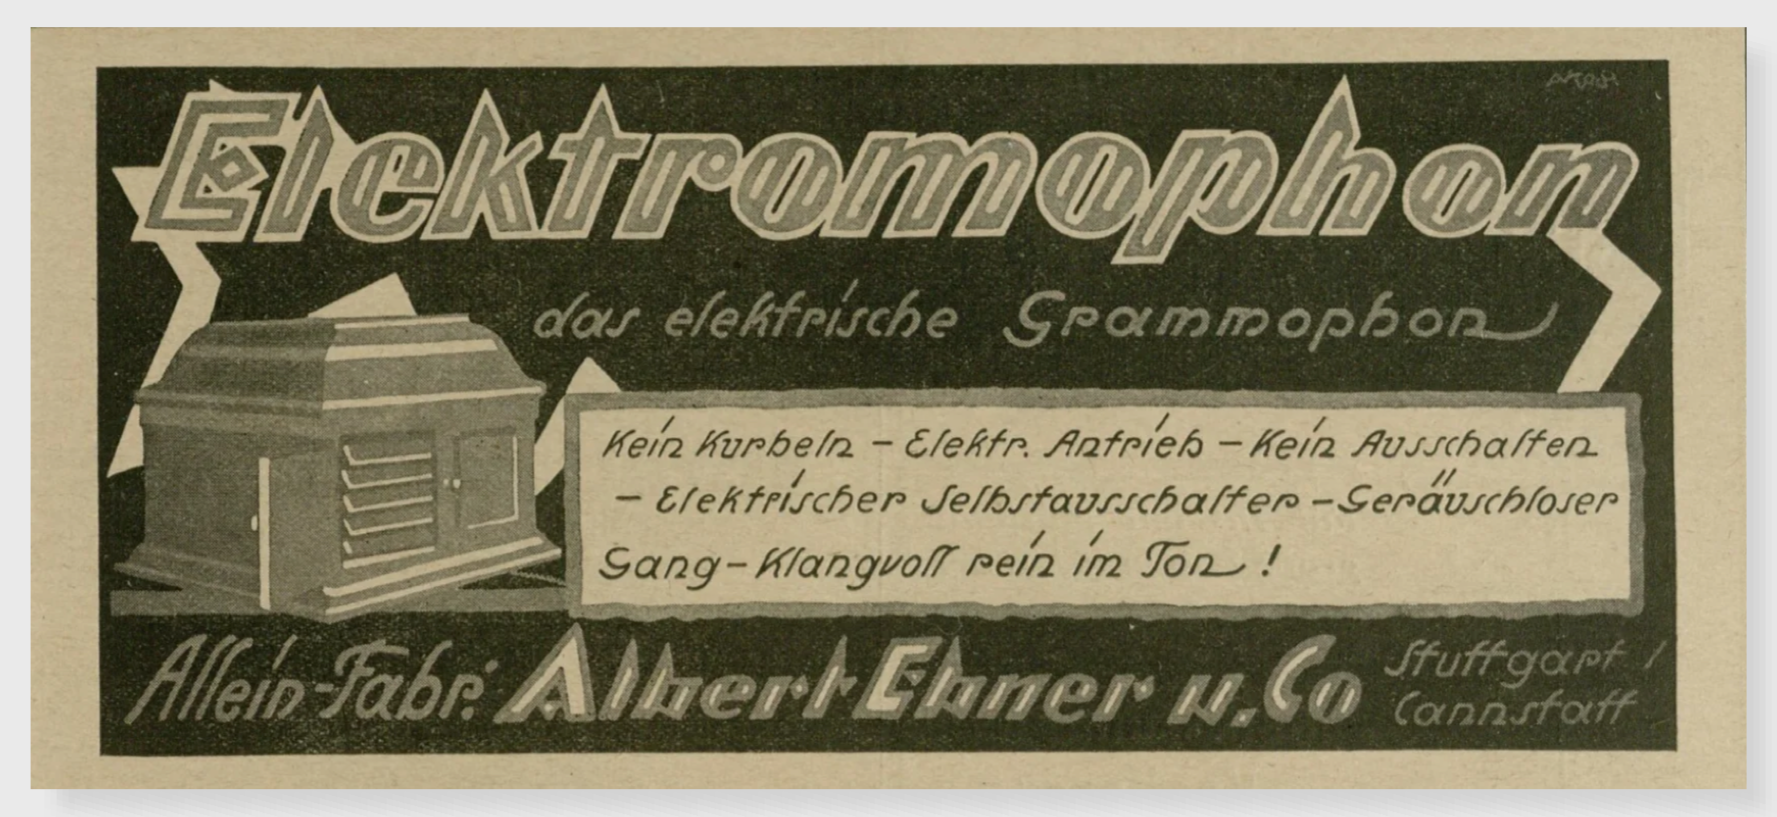
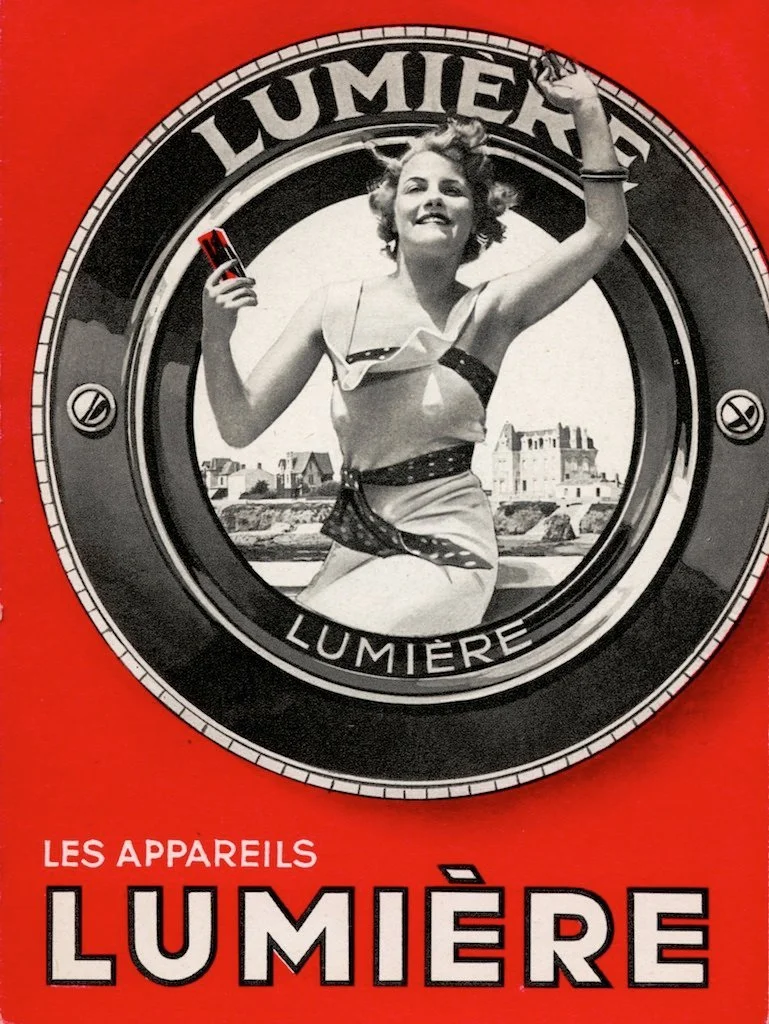
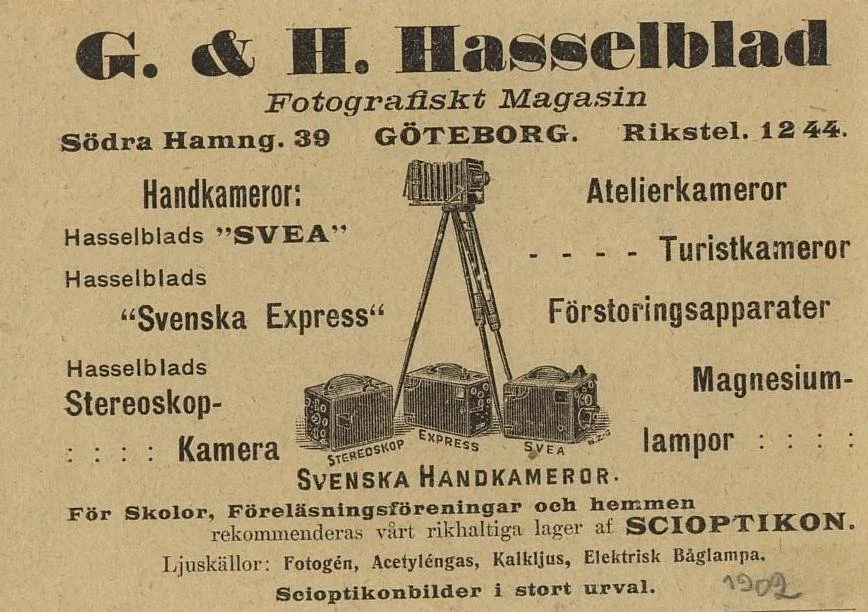
German advertising.
The larger 6x9 version used standard 120 film, while the 4.5x6 version used 620 film, an unusual choice for a German maker of the time. Collectors also note that the cameras were sold mostly in Germany and that production was brief, with the company apparently ending camera manufacture by 1935. Because so few were made, surviving examples are relatively scarce today.
Ebner's camera venture did not last long. Still, it fits a broader pattern of early 20th-century firms adapting existing expertise in Bakelite and mechanical assembly to camera production. After the camera period ended, Albert Ebner's business life continued in audio through the later Perpetuum-Ebner merger. In contrast, the cameras remained a short-lived sideline that now attracts collectors and historians.
My Camera:
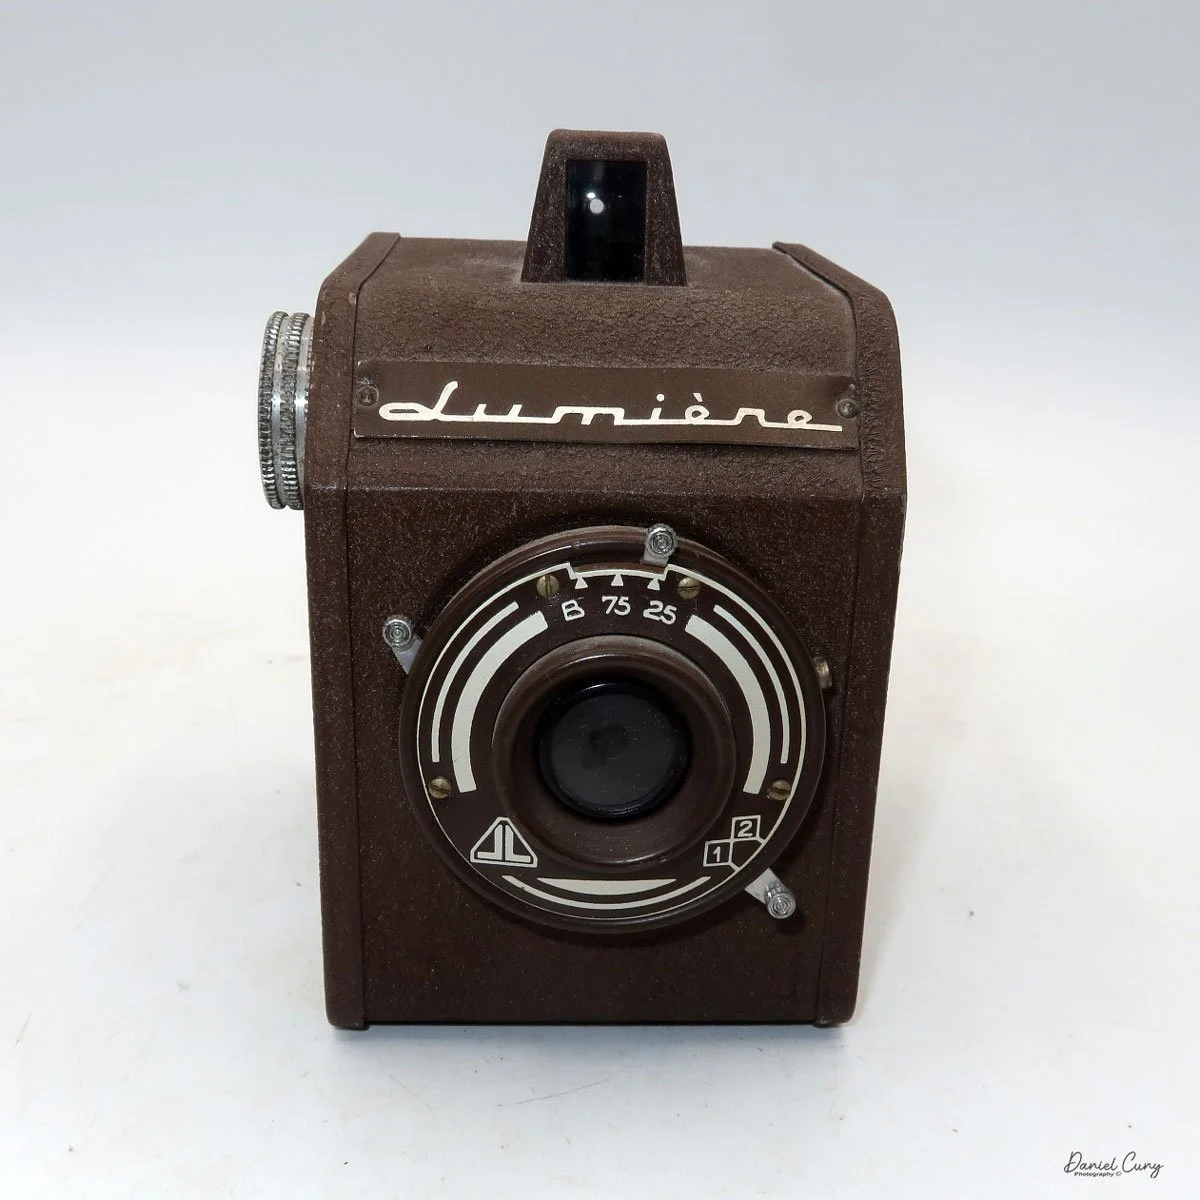
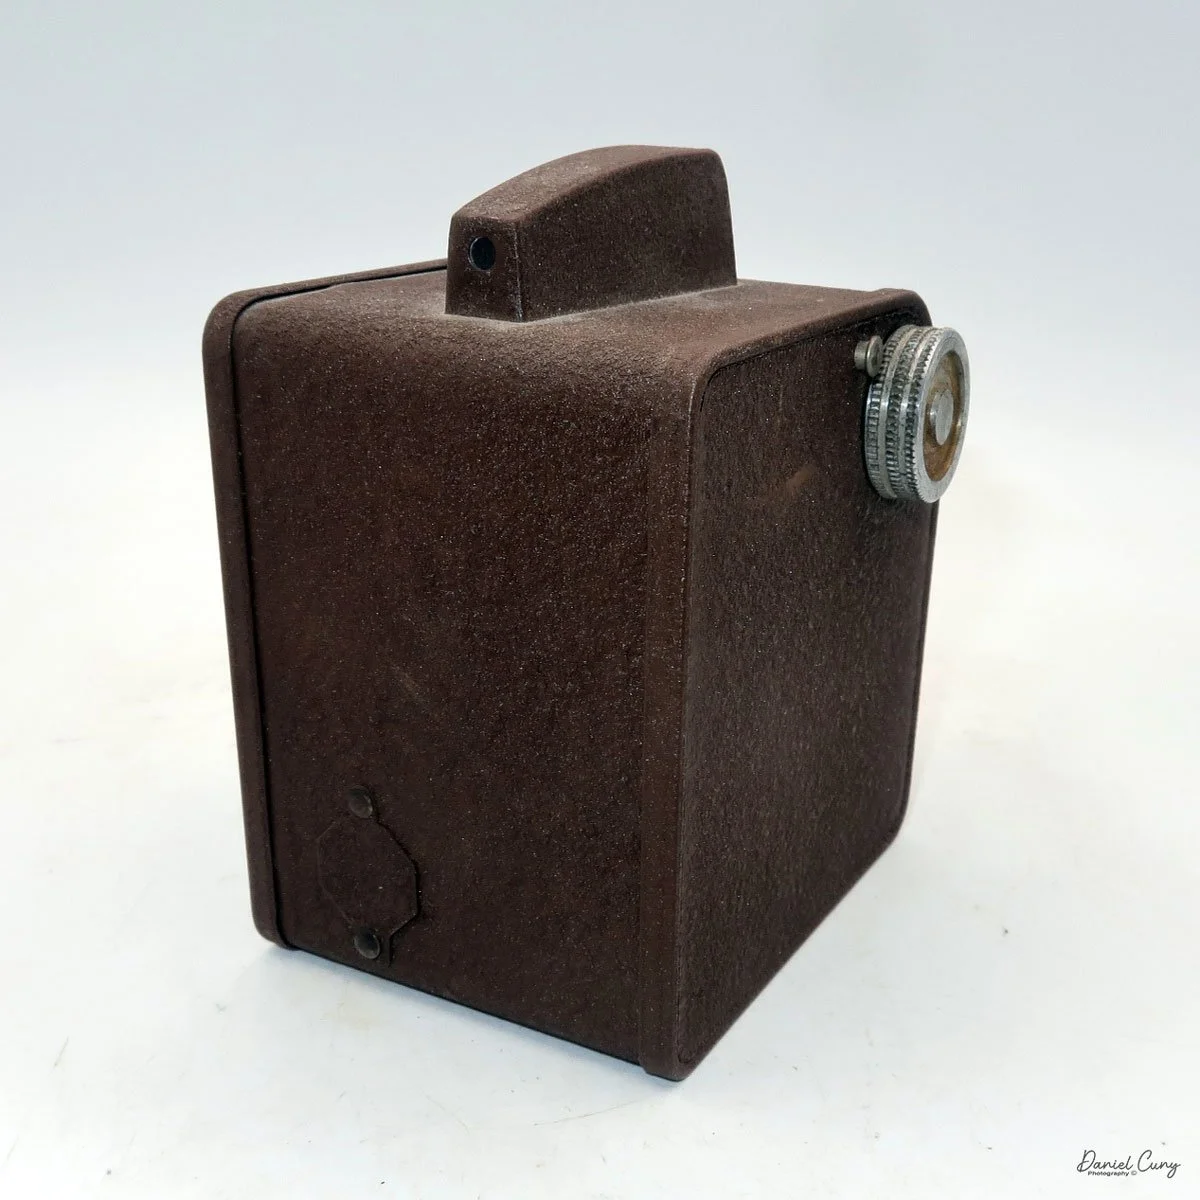
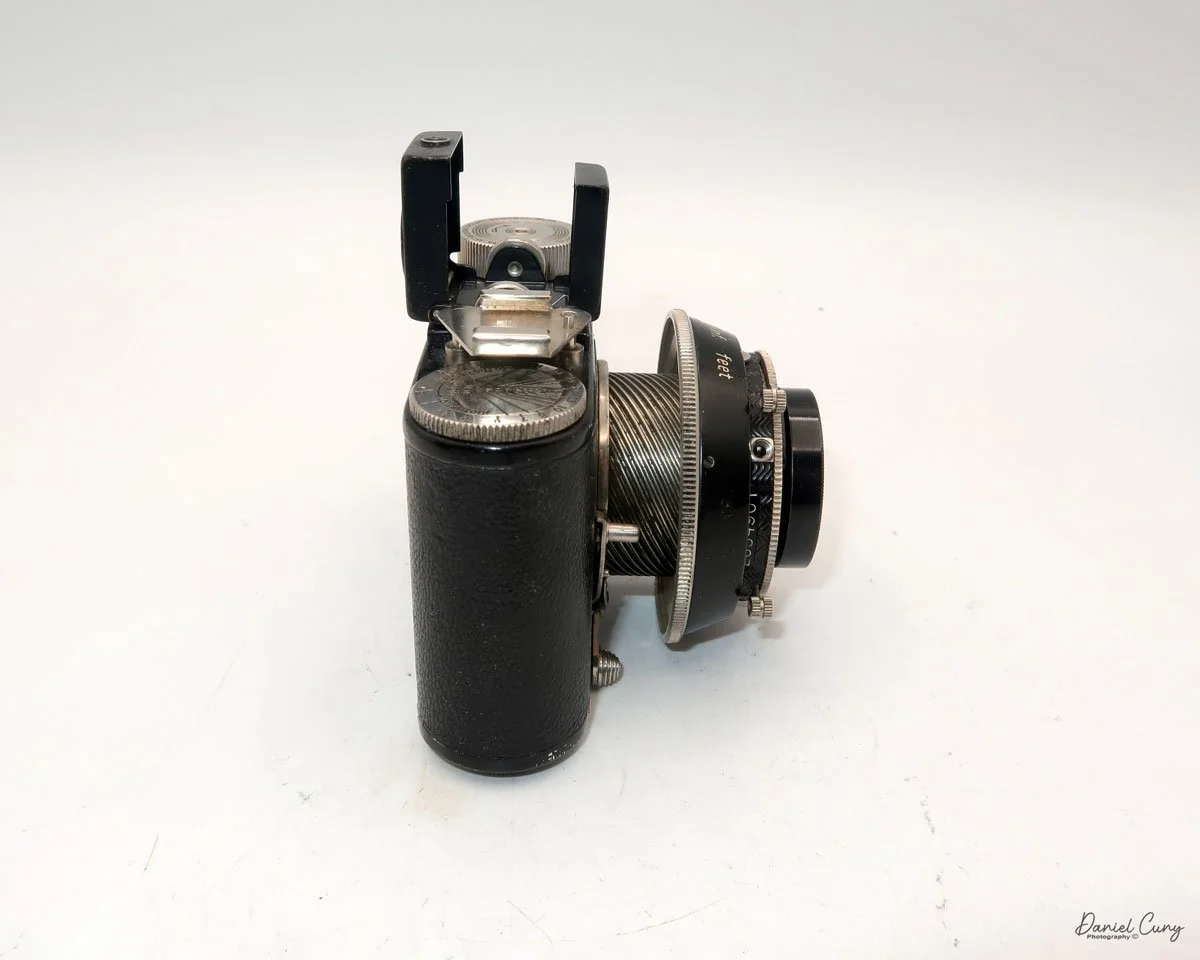
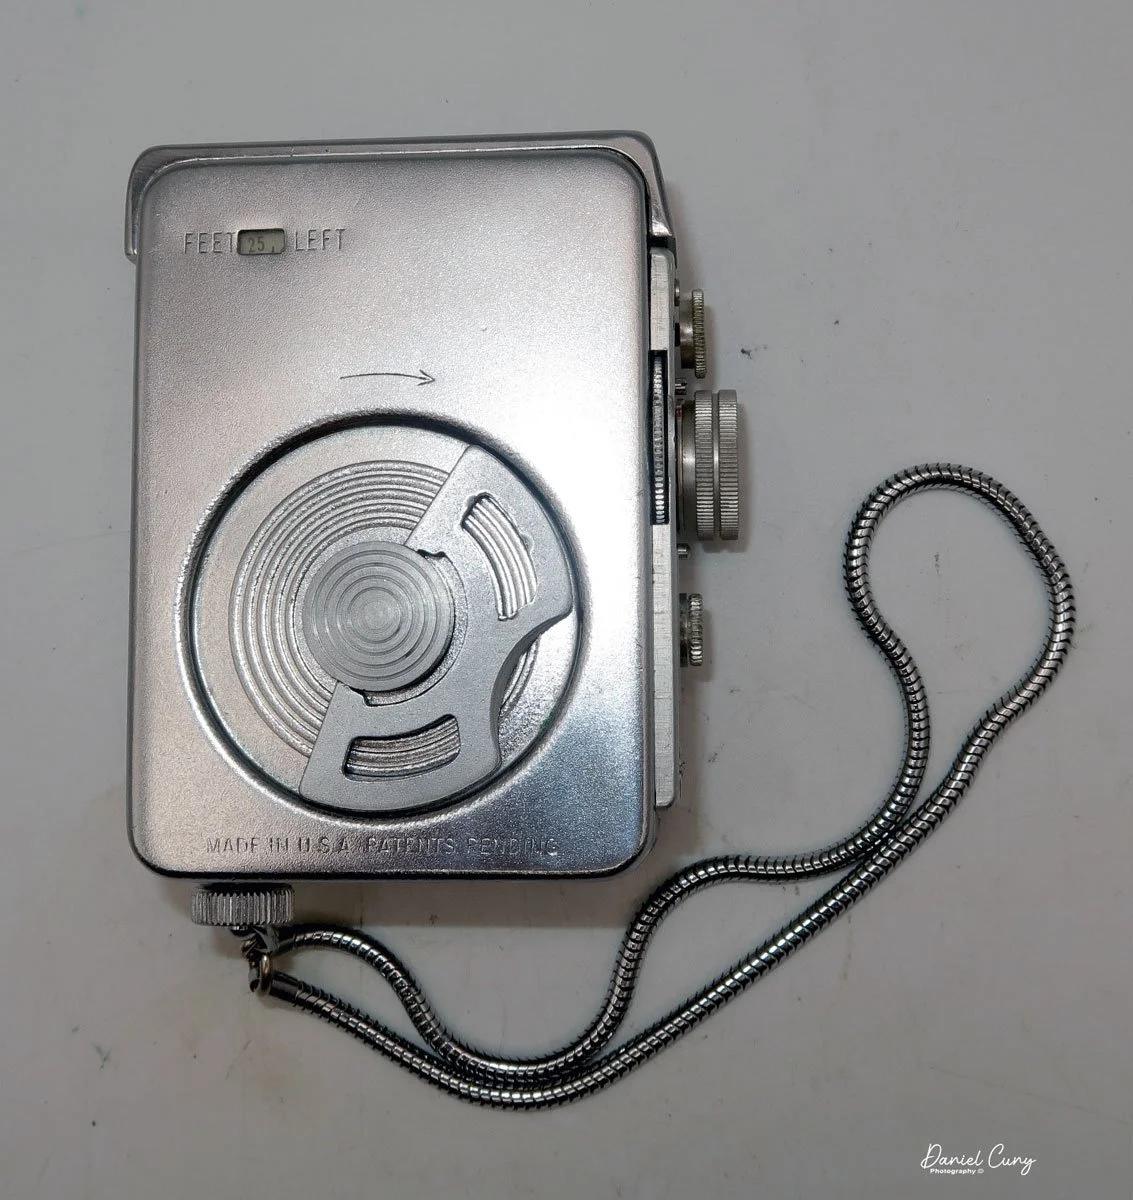
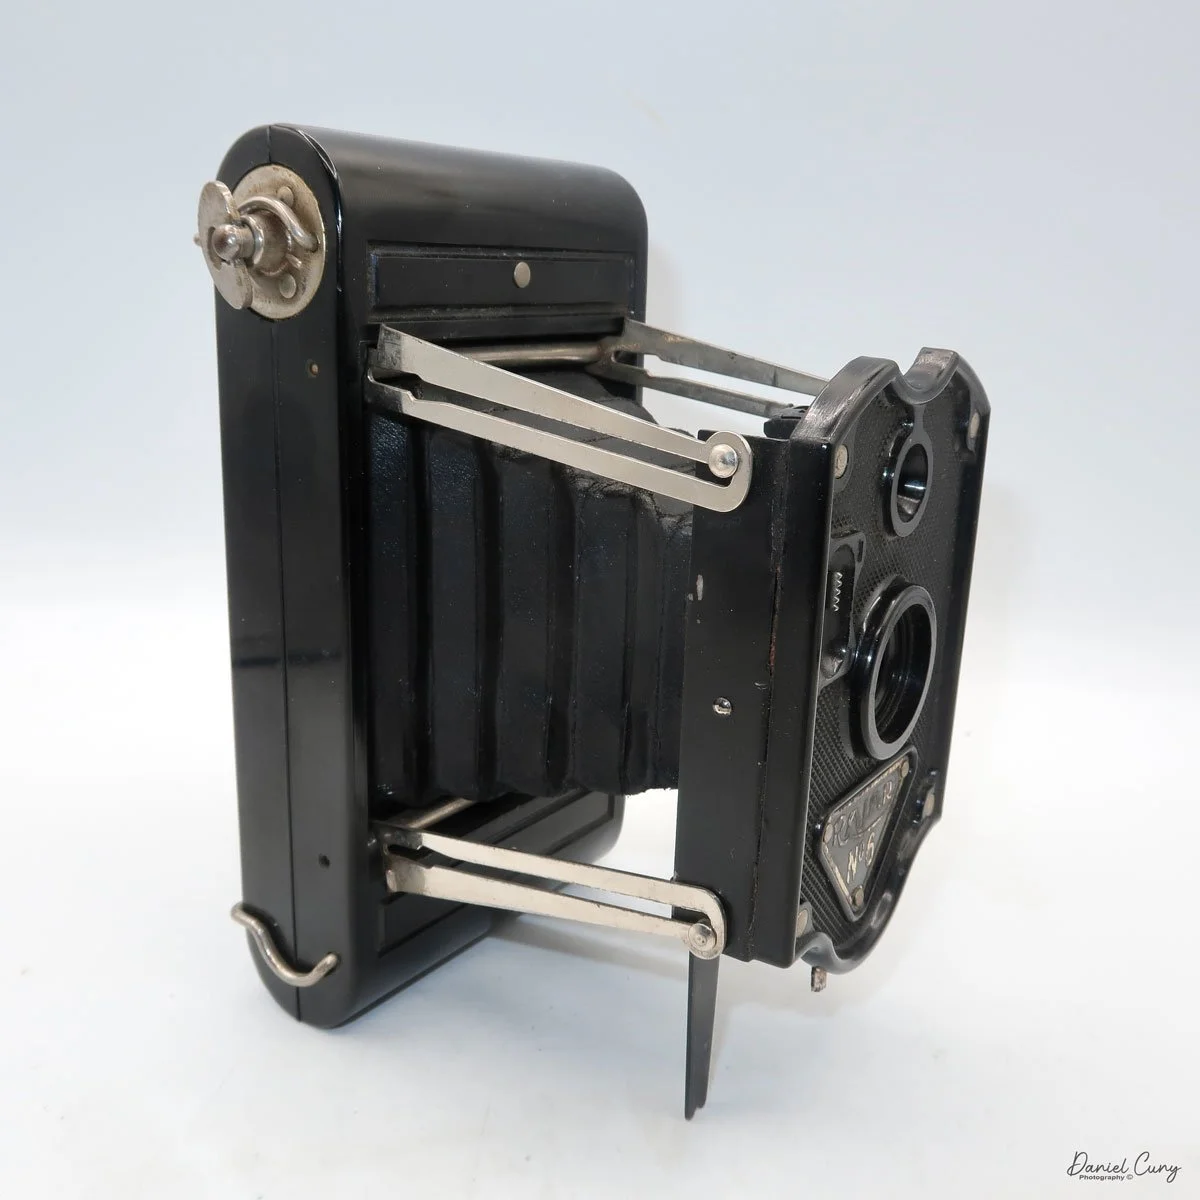
My Ebner 6x4.5cm camera is 4.25" tall with the retractable viewfinder down, and 5" tall with the viewfinder in the upright, viewing position. It's also 5.5 wide and 1.25" deep with the lens retracted, and 4" with the lens extended and in the normal taking position. The camera weighs 1 pound 0.7 ounces without film loaded inside.
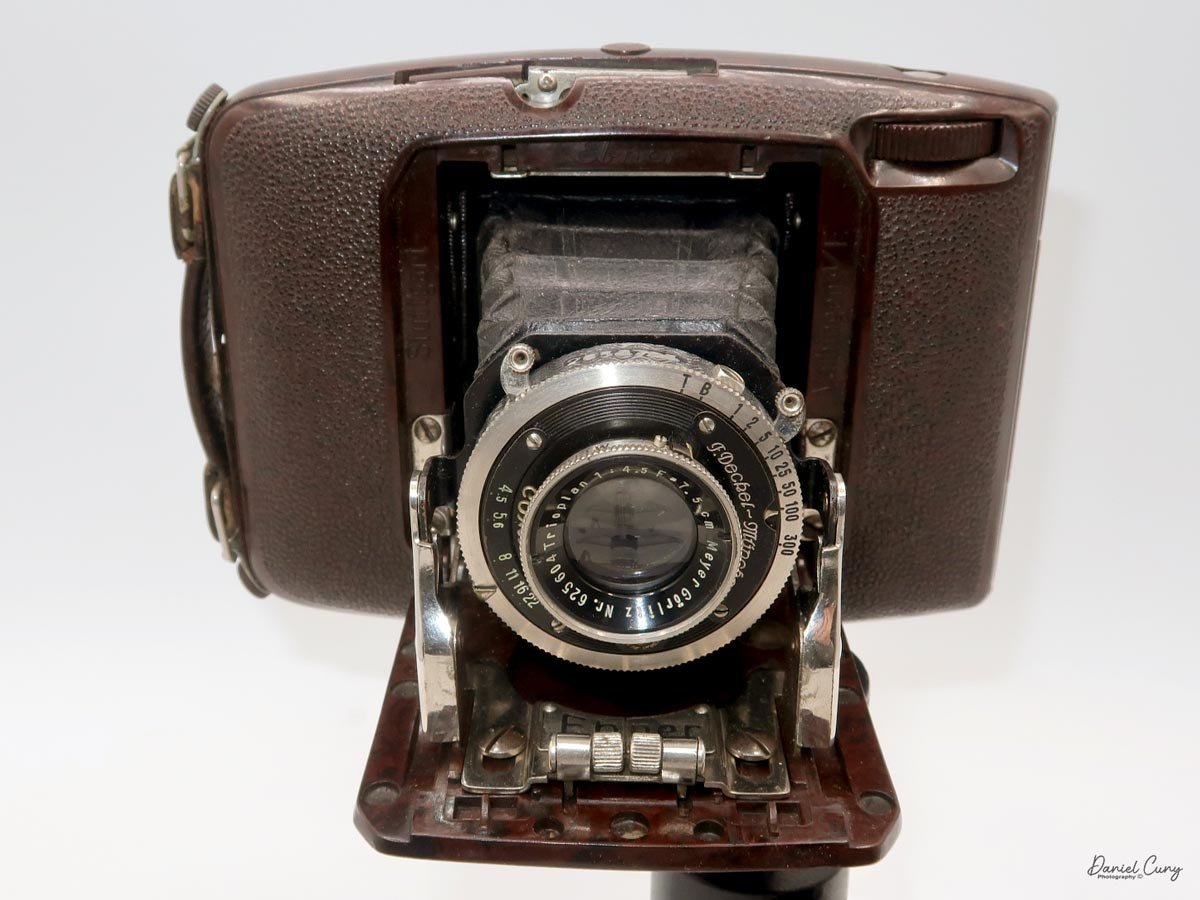
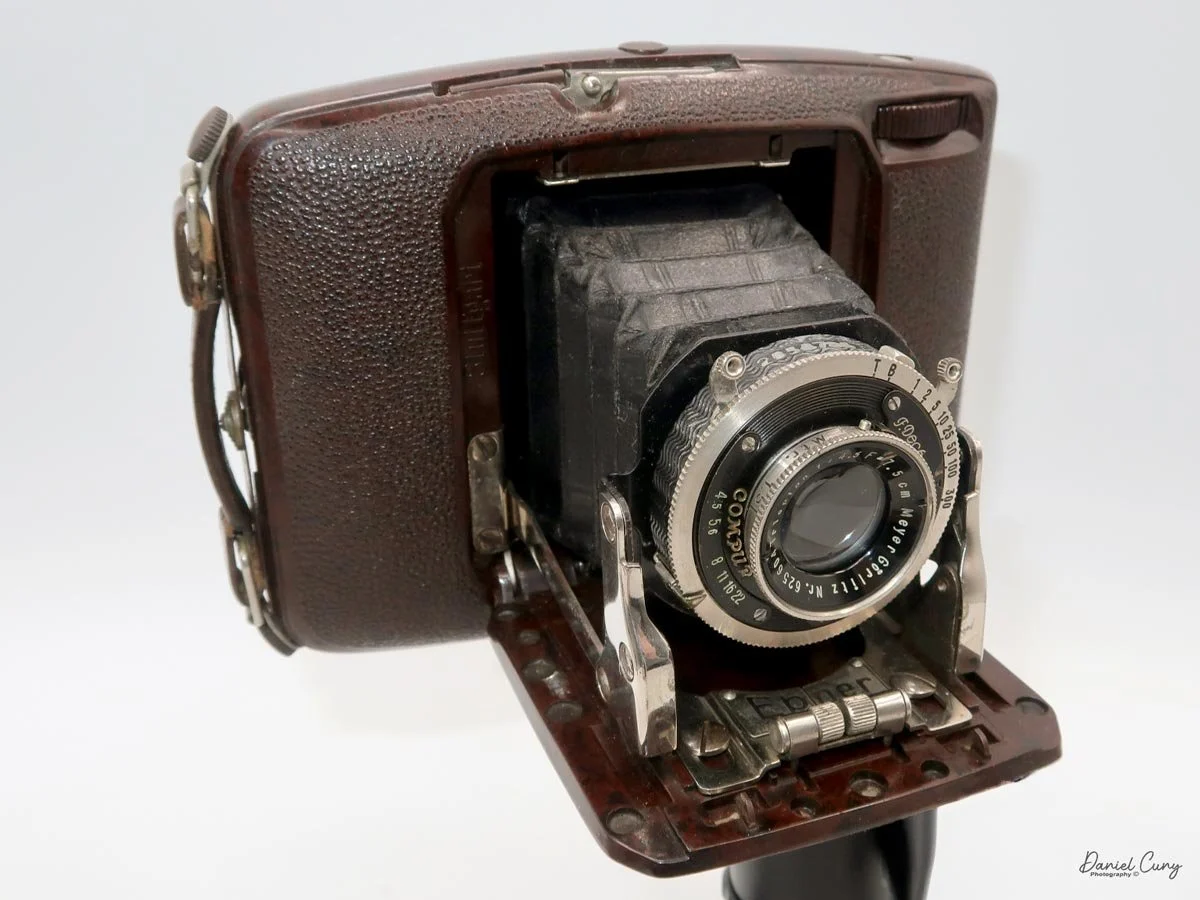
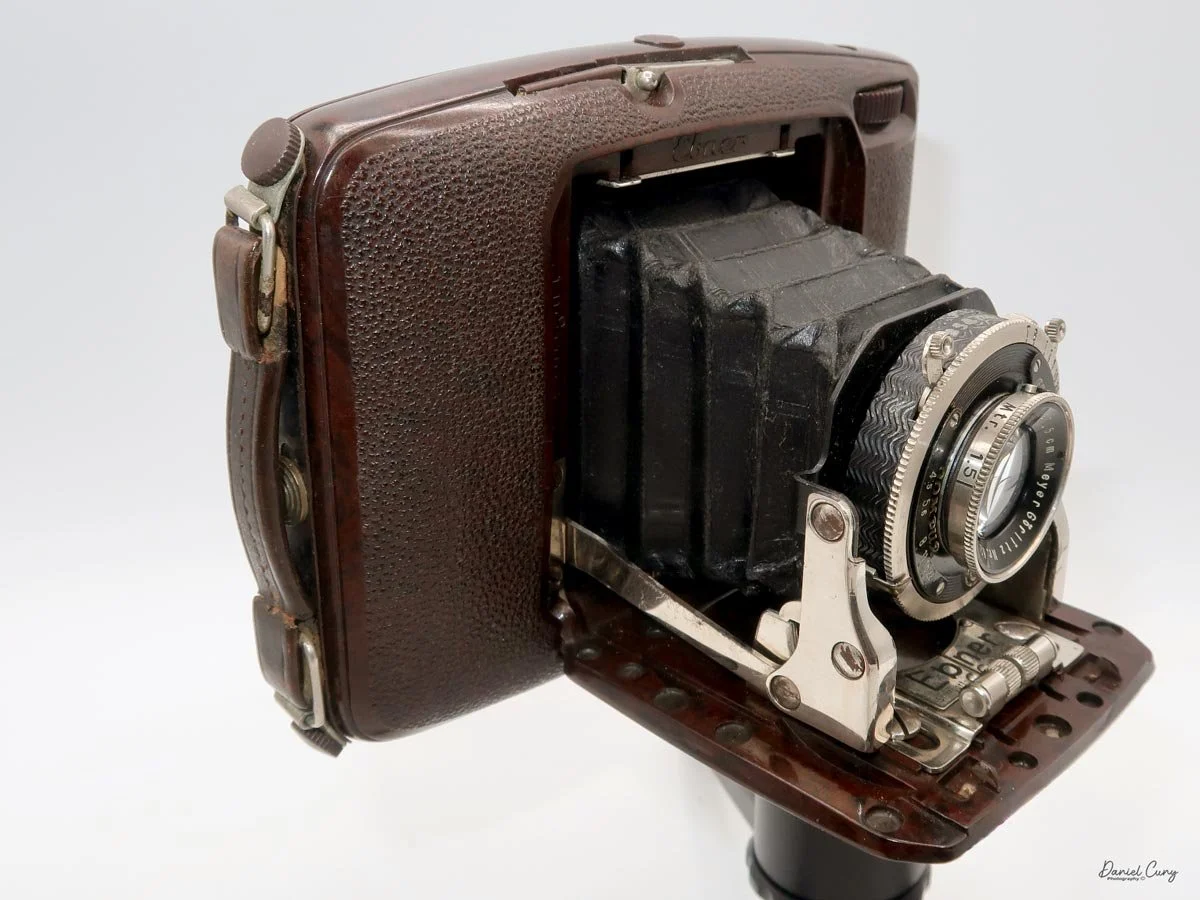
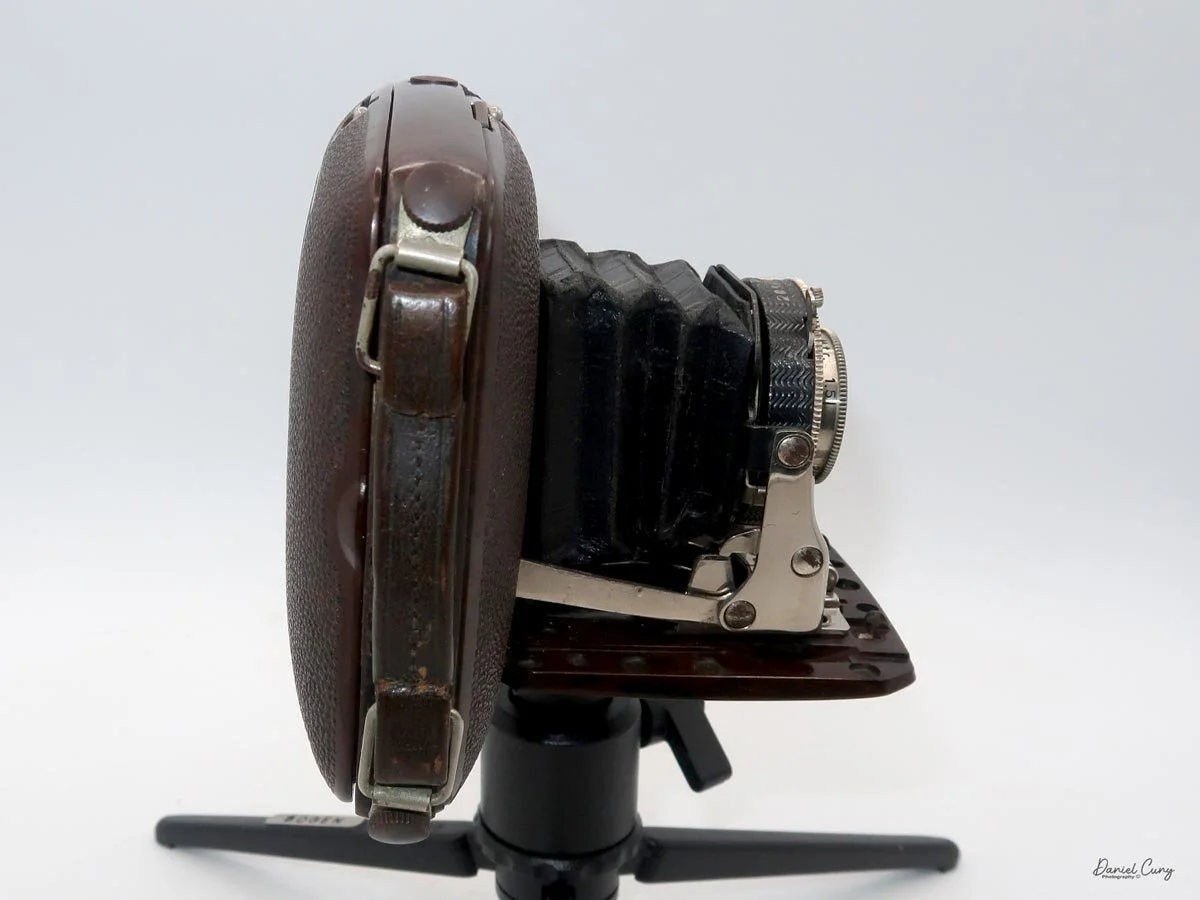
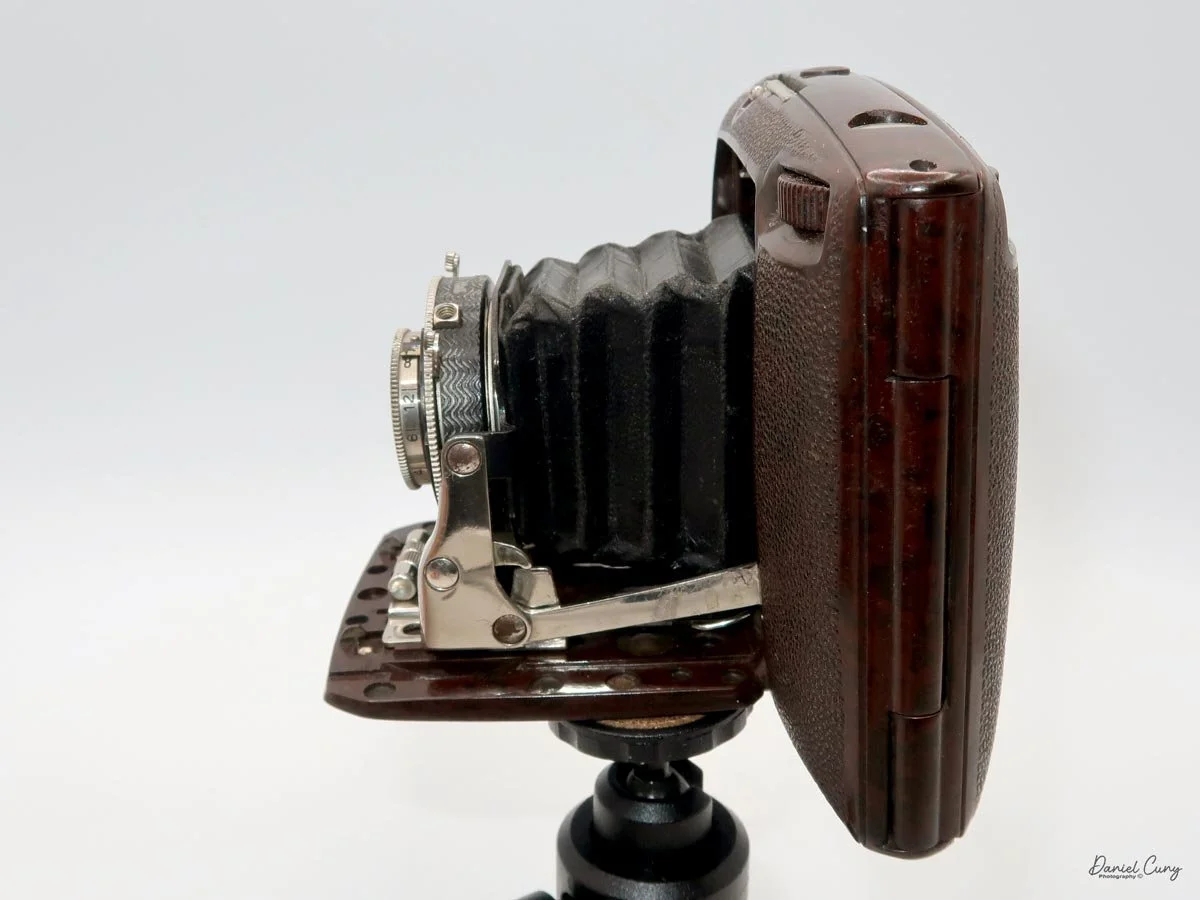
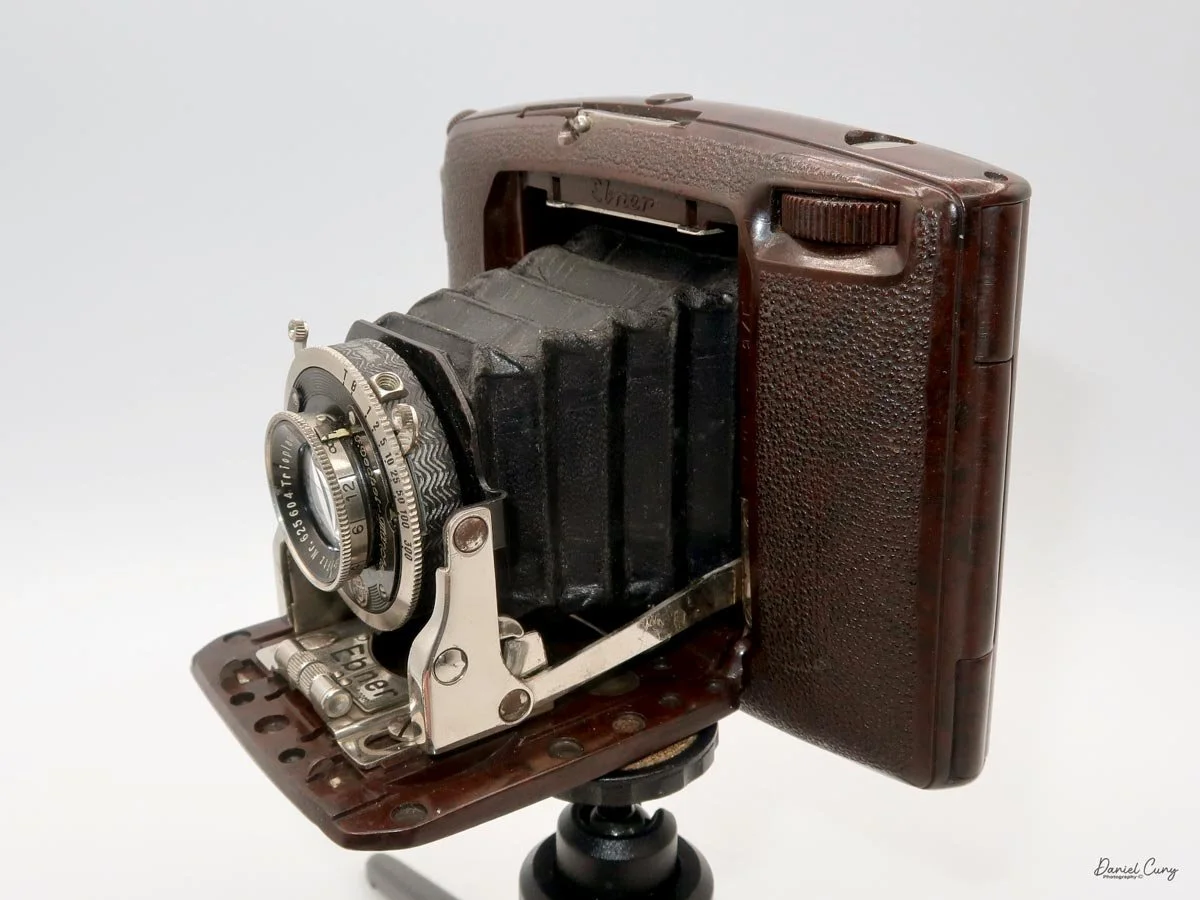
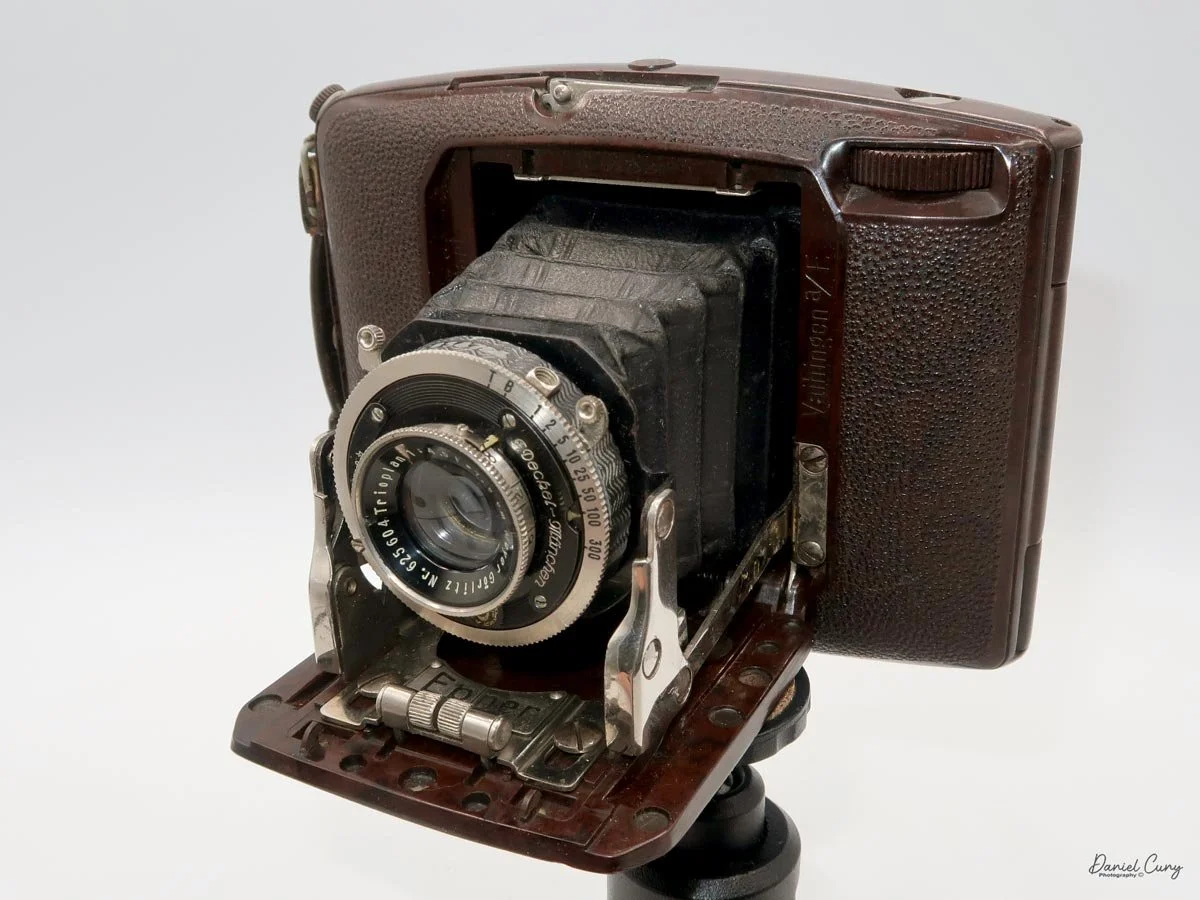
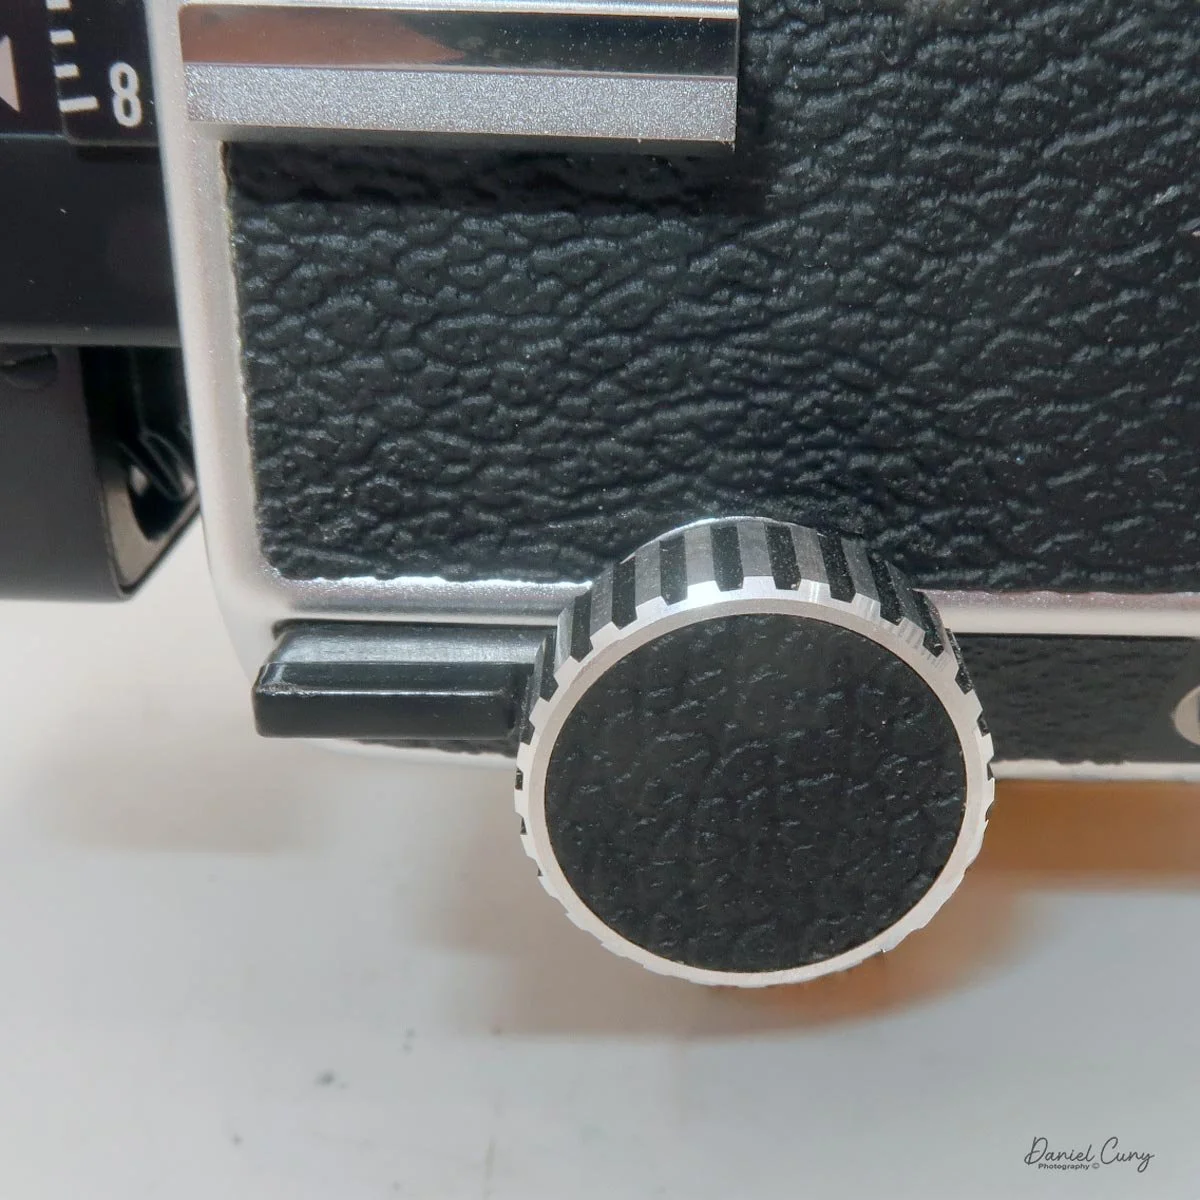
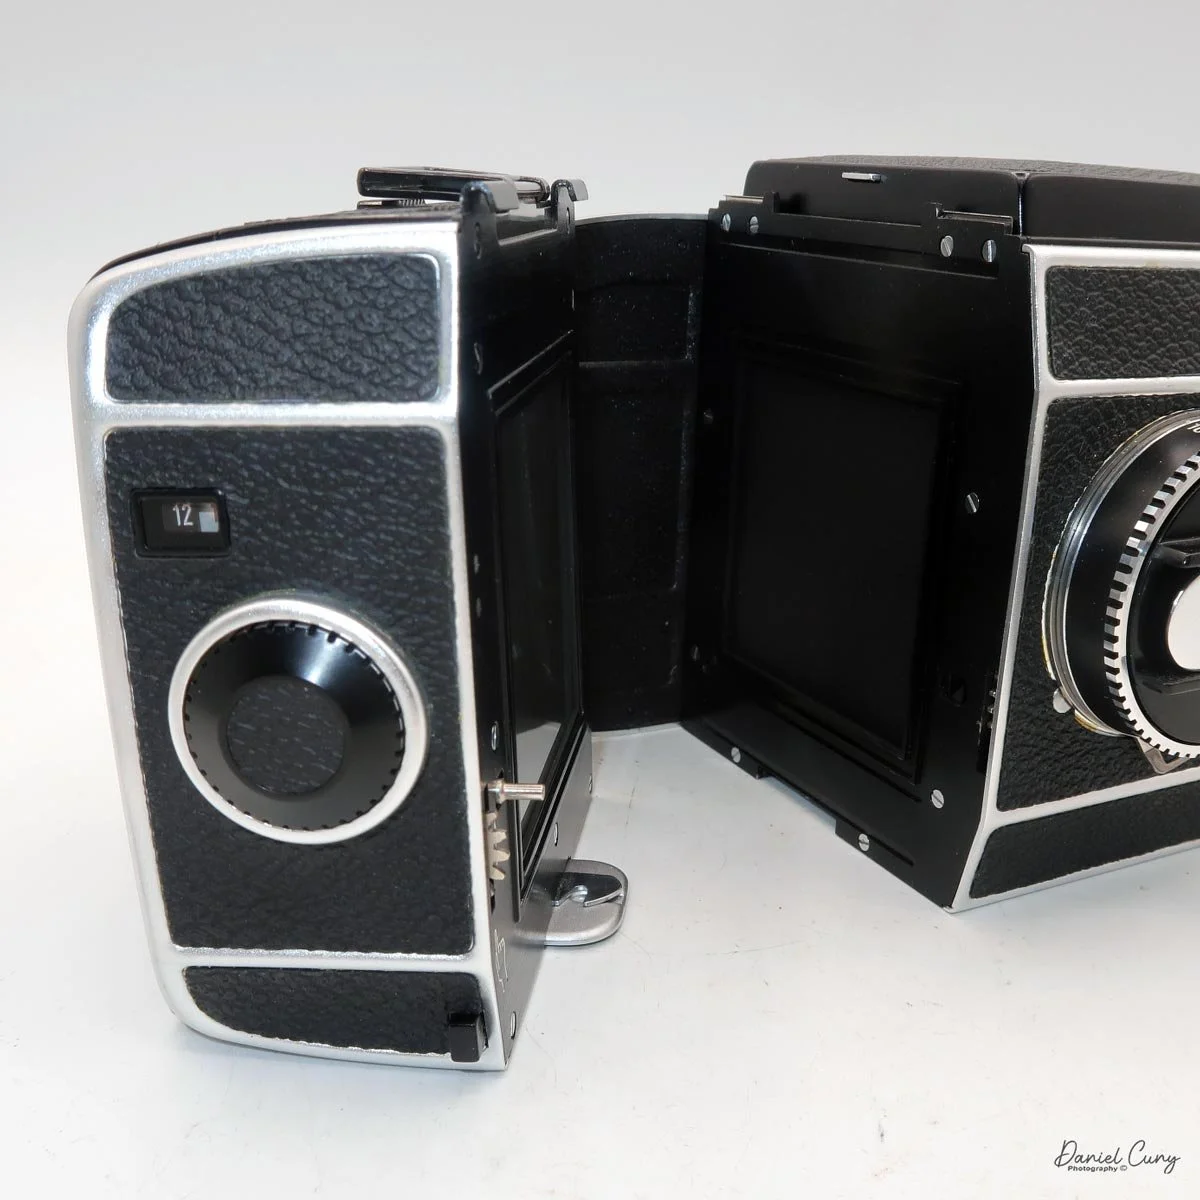
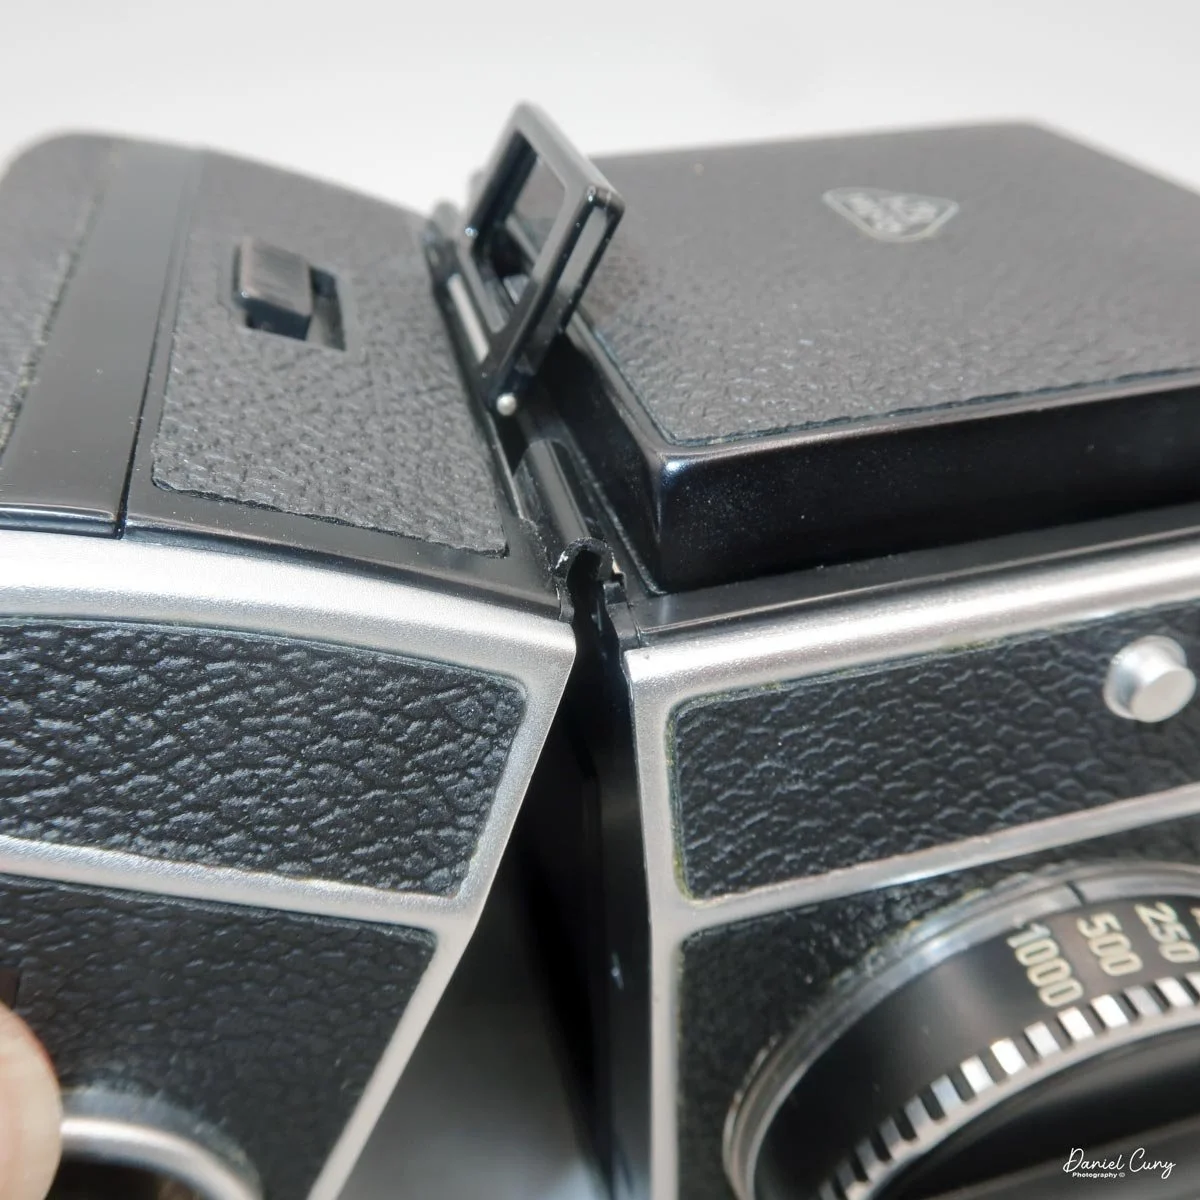
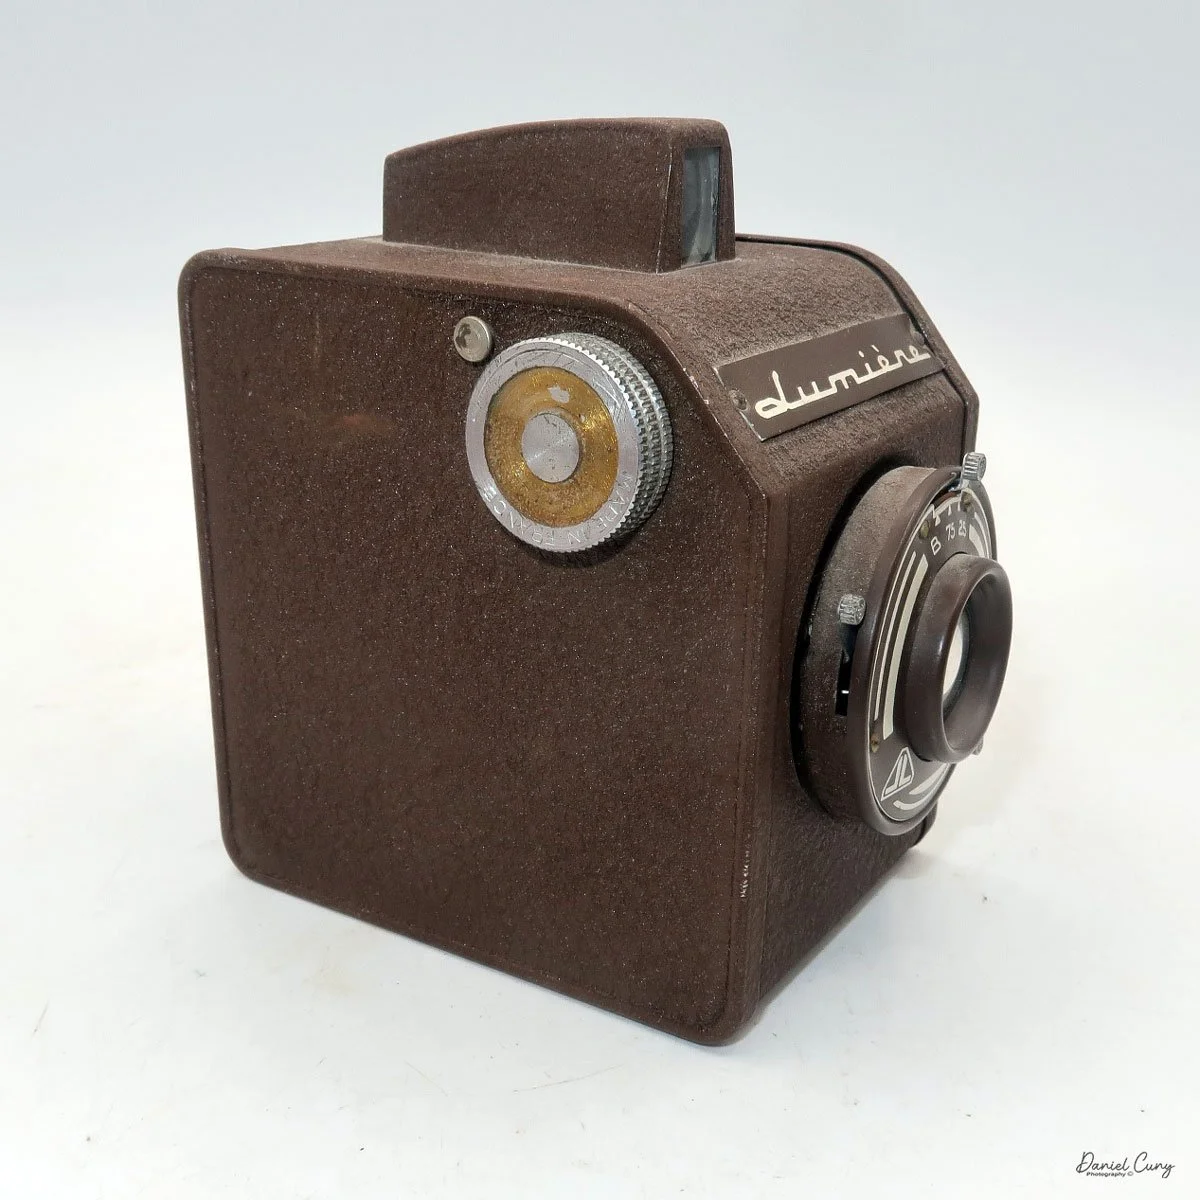
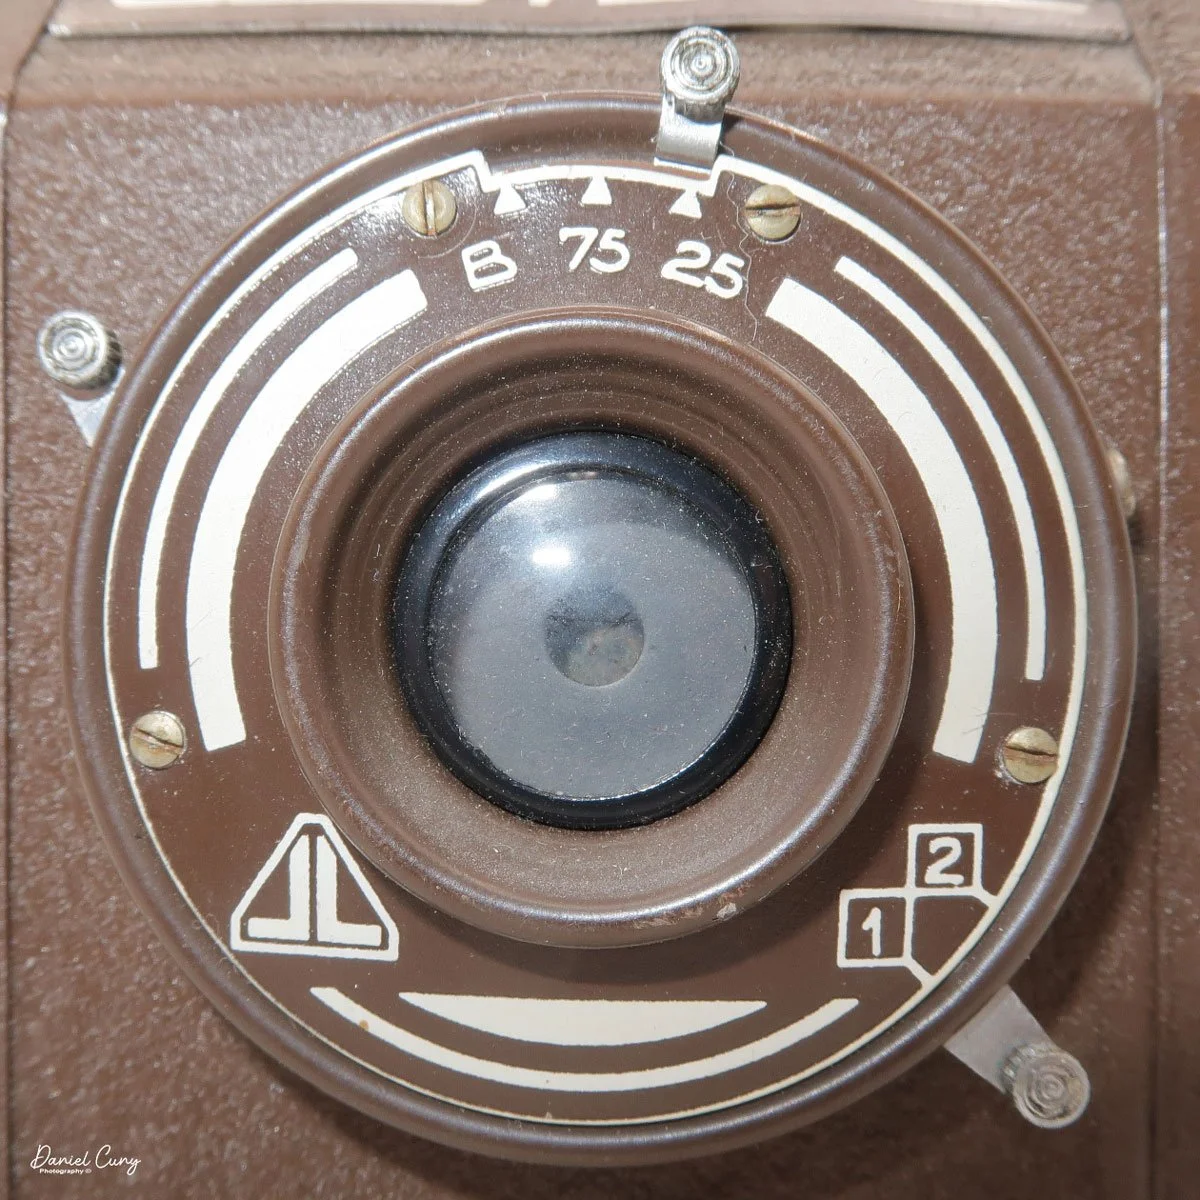
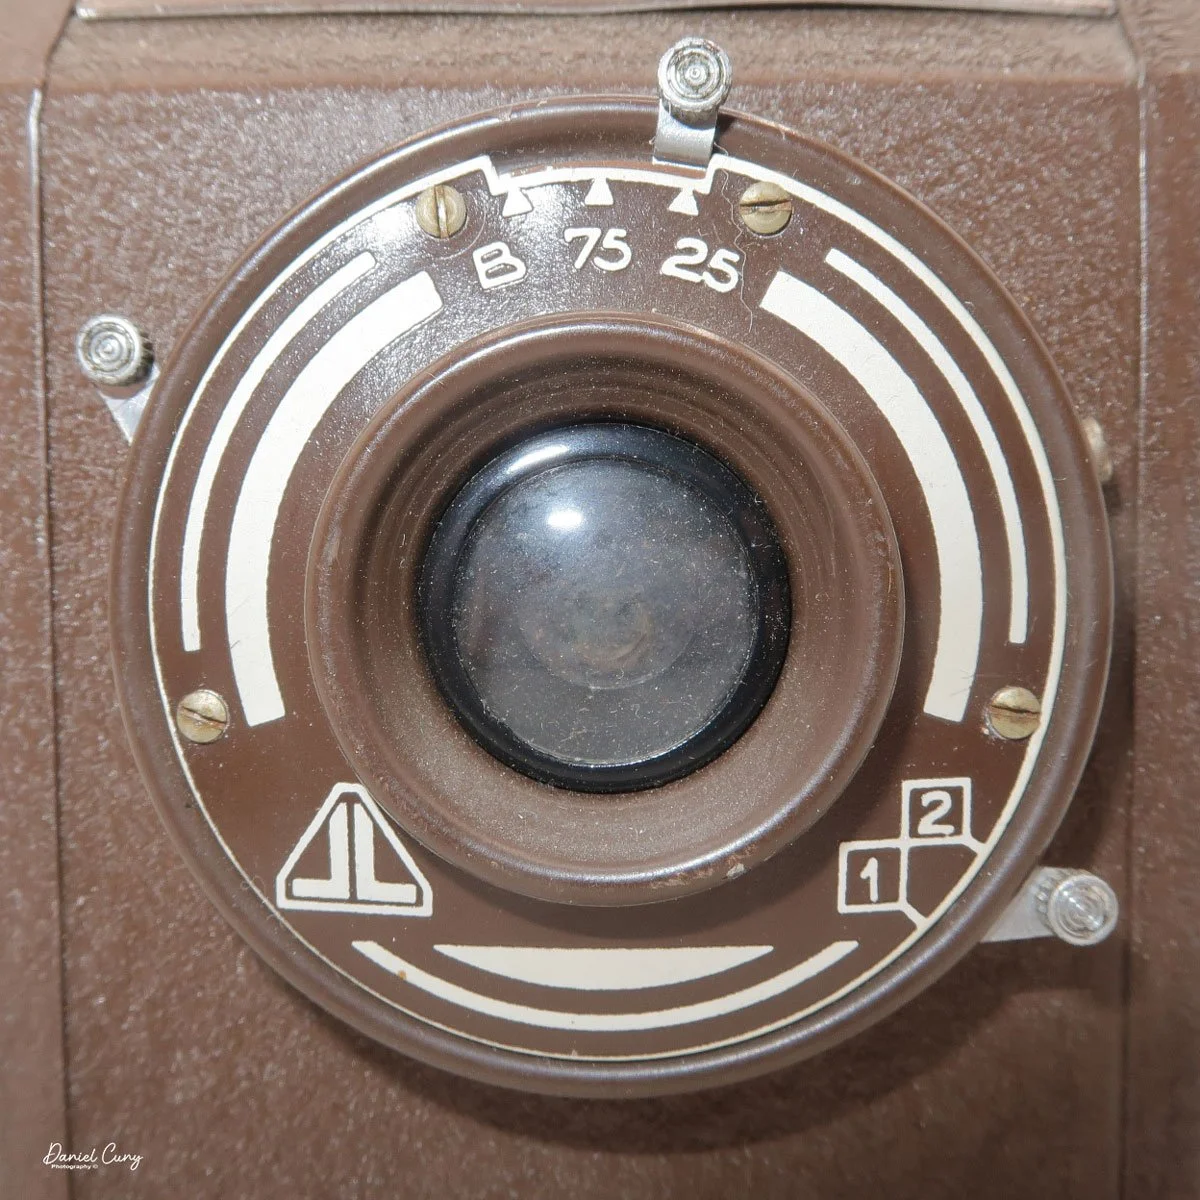
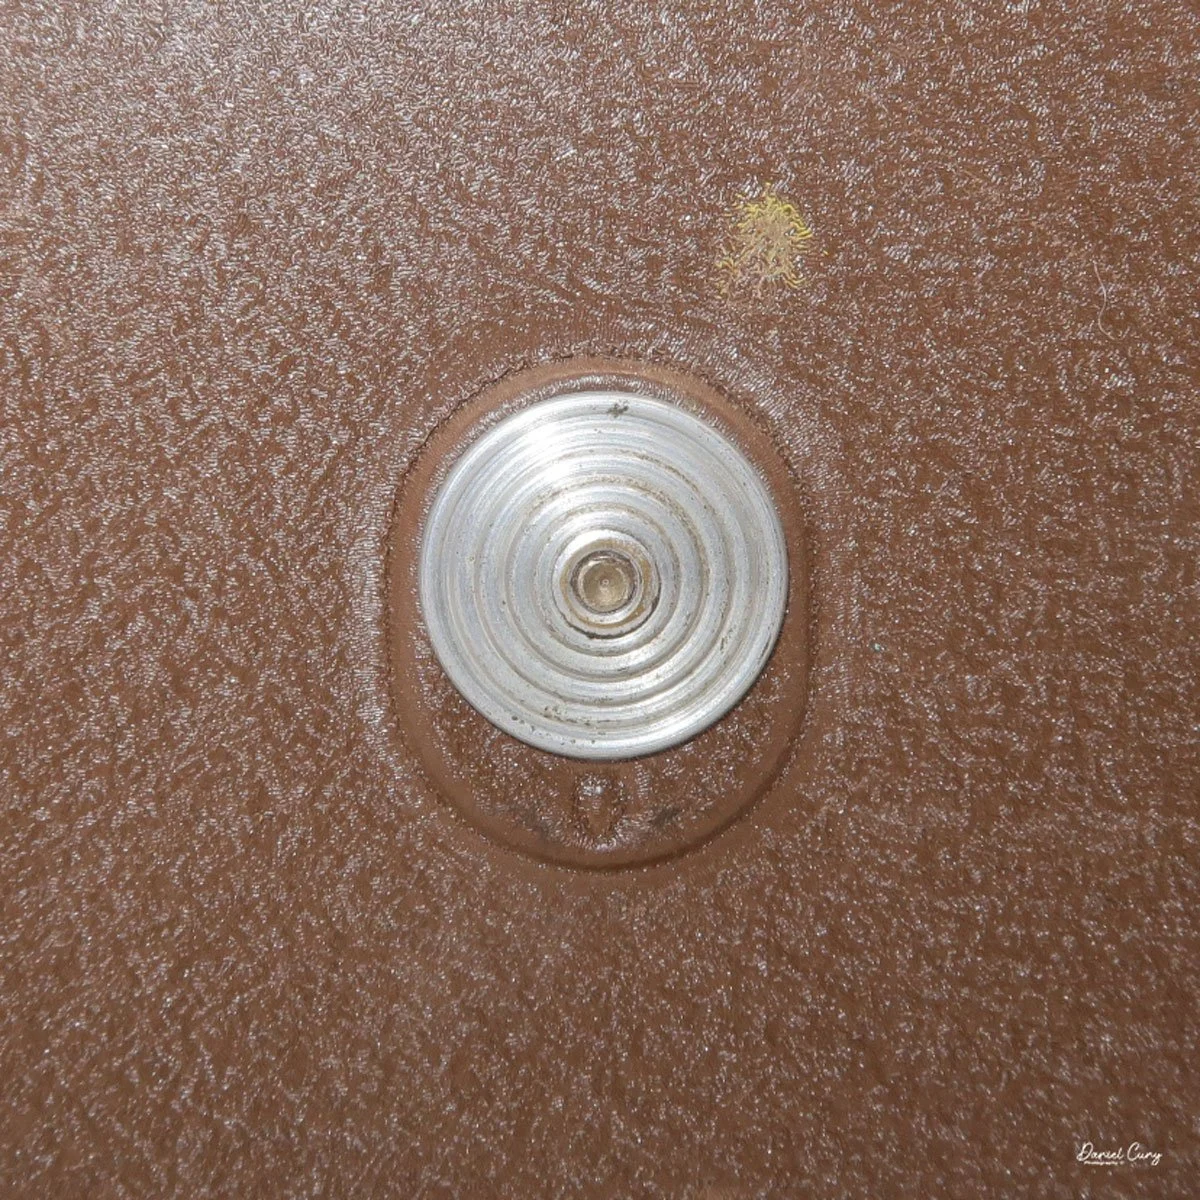
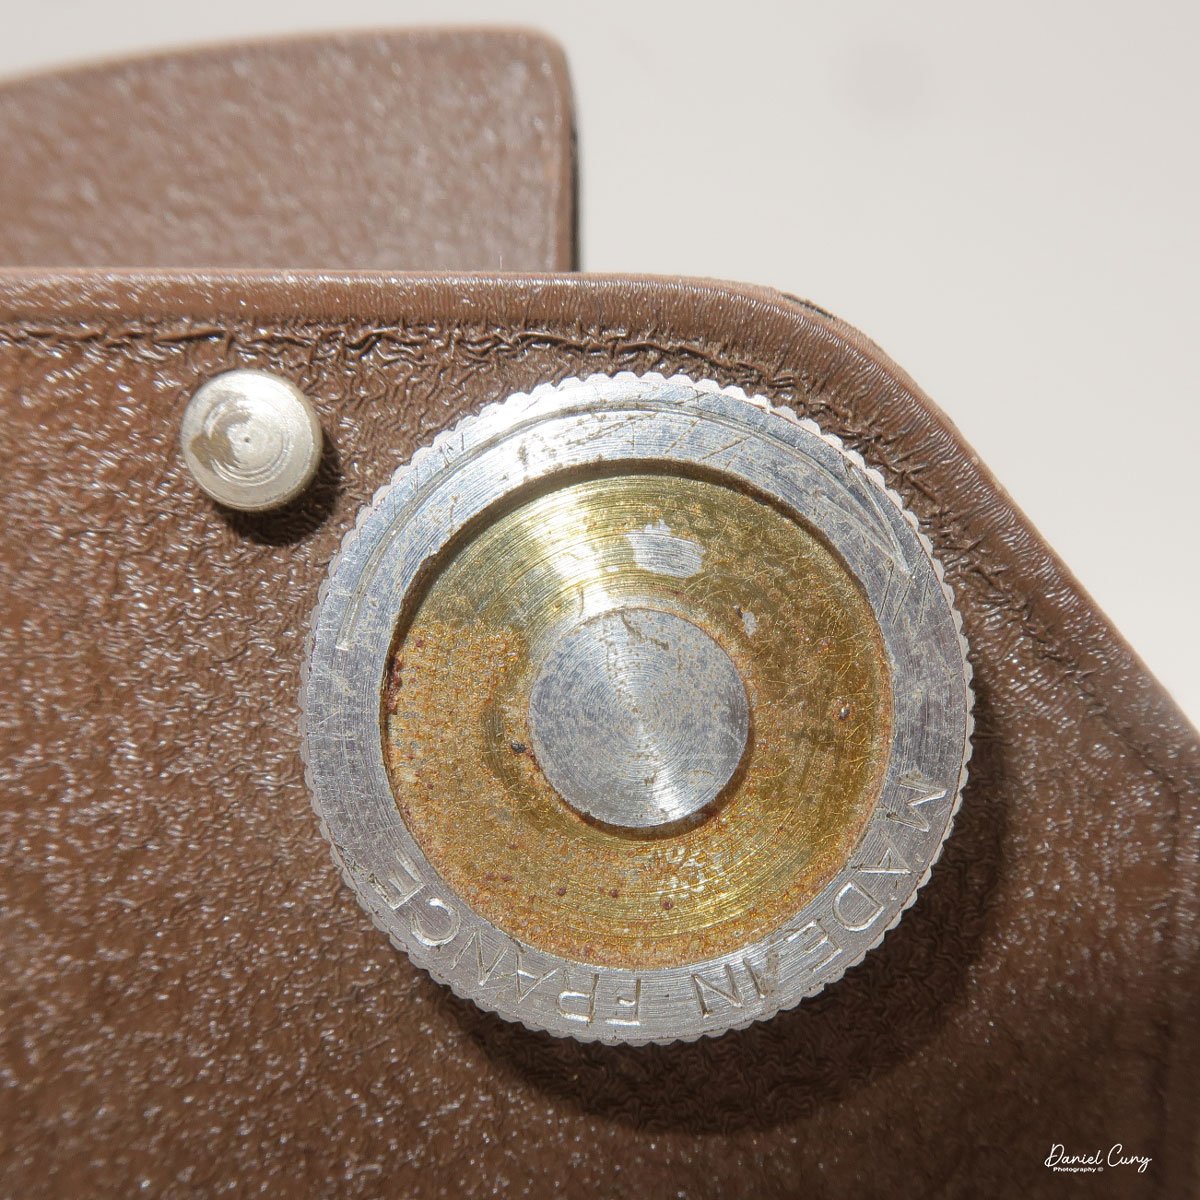
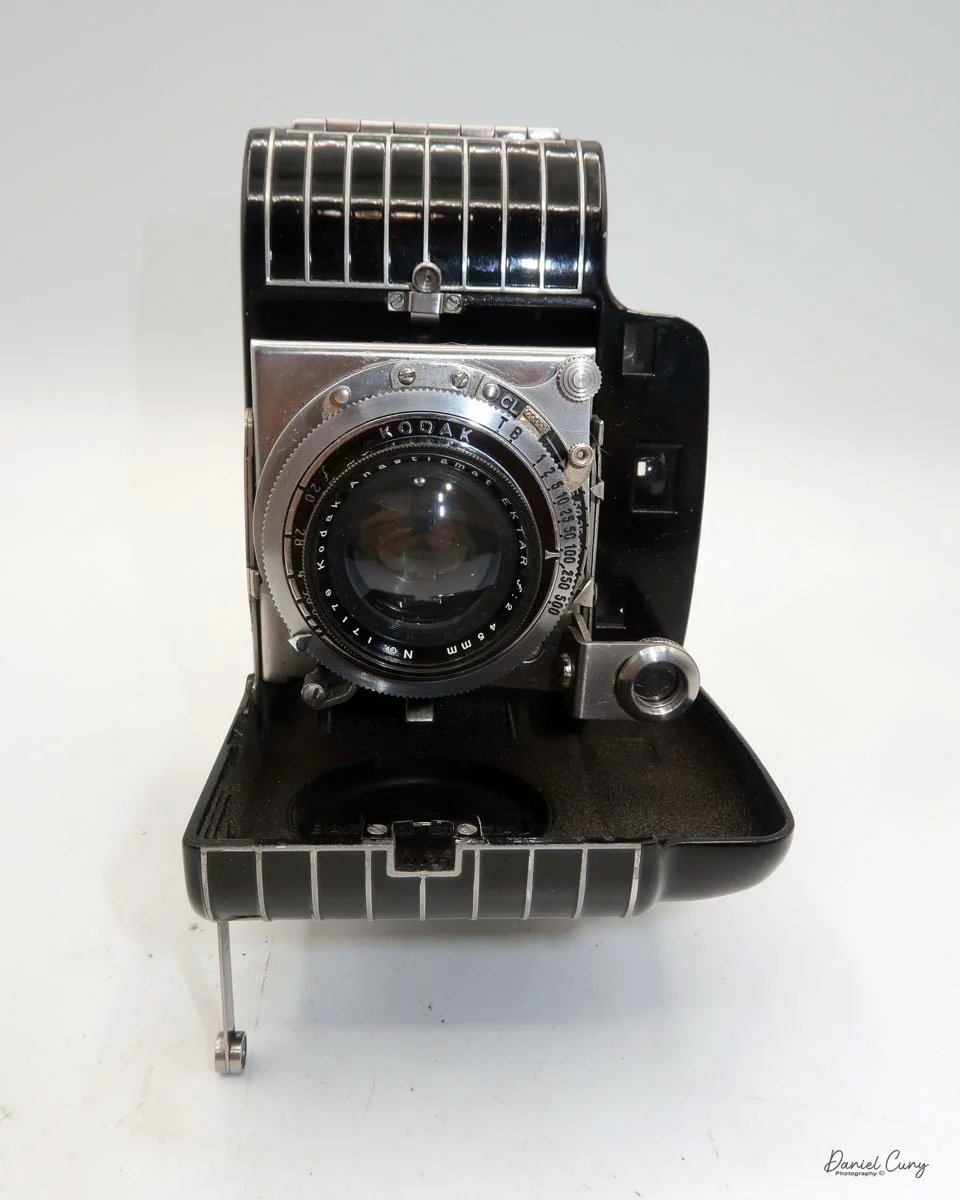
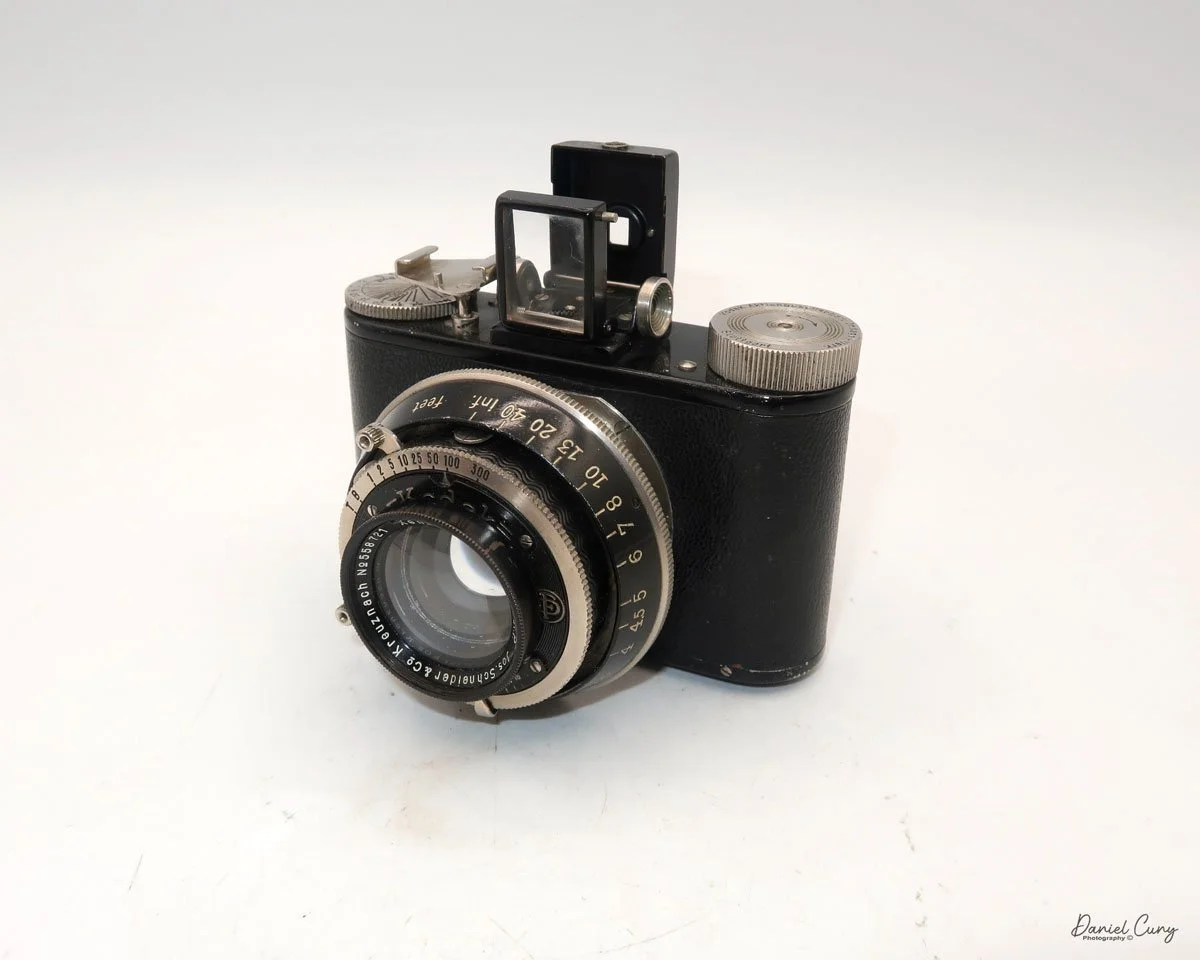
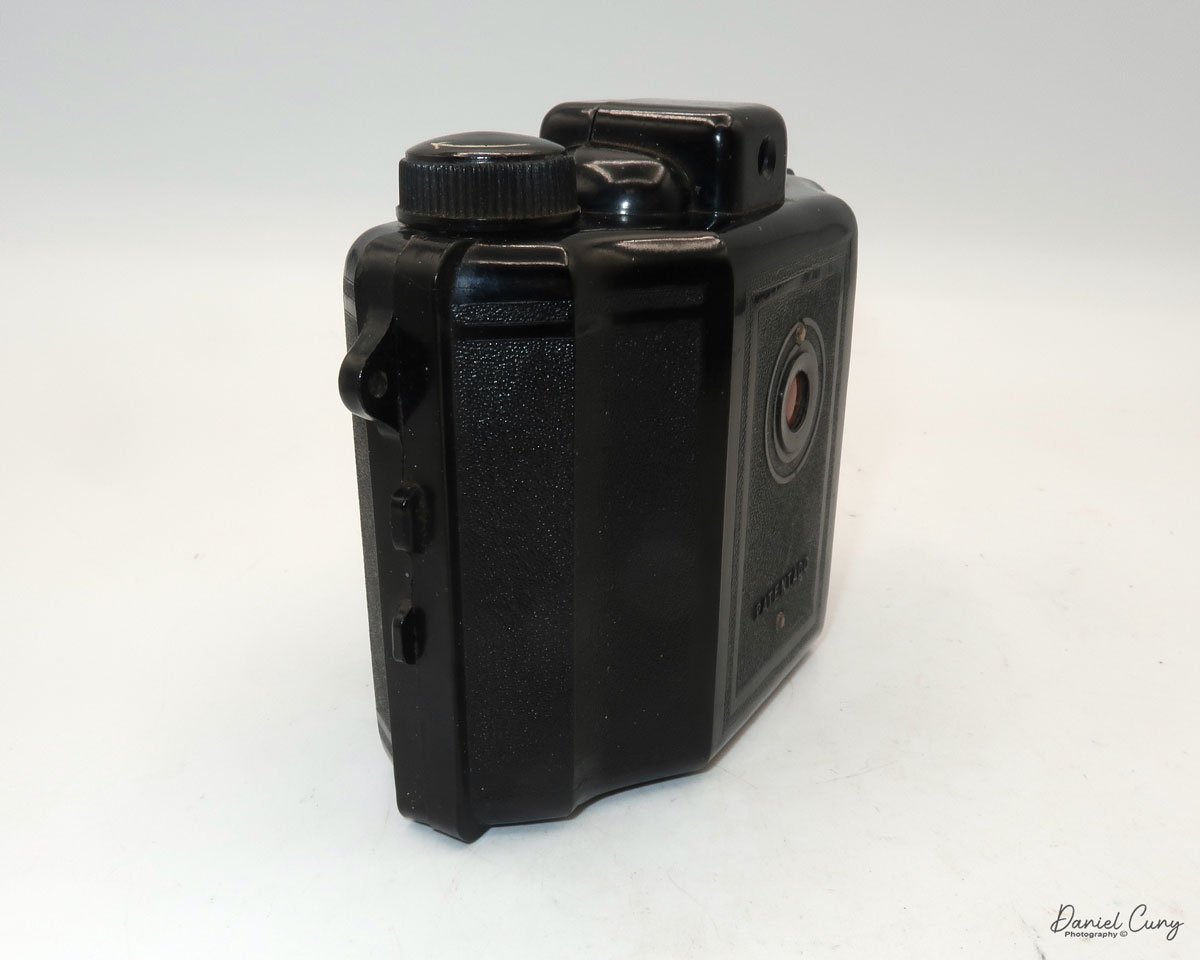
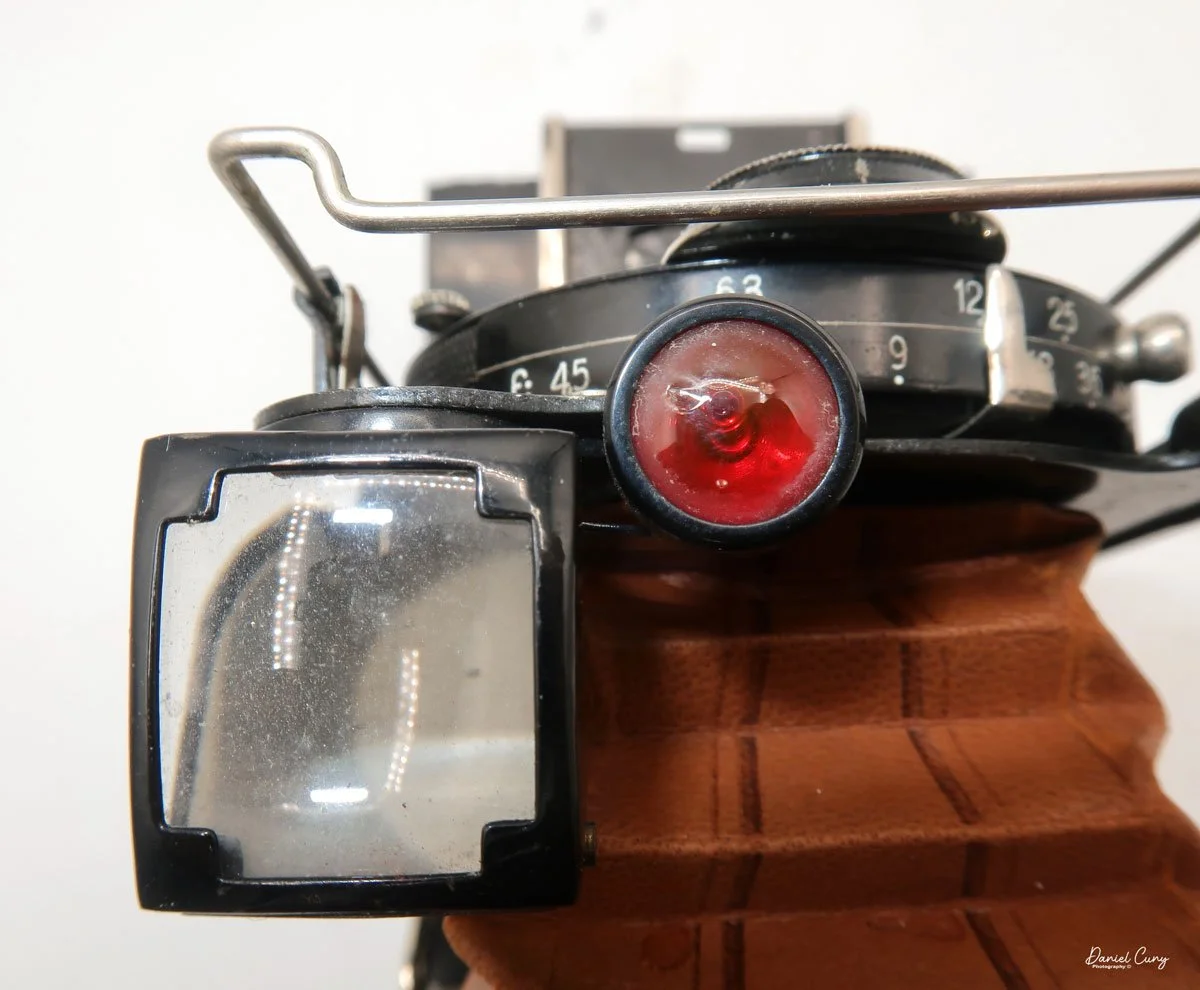
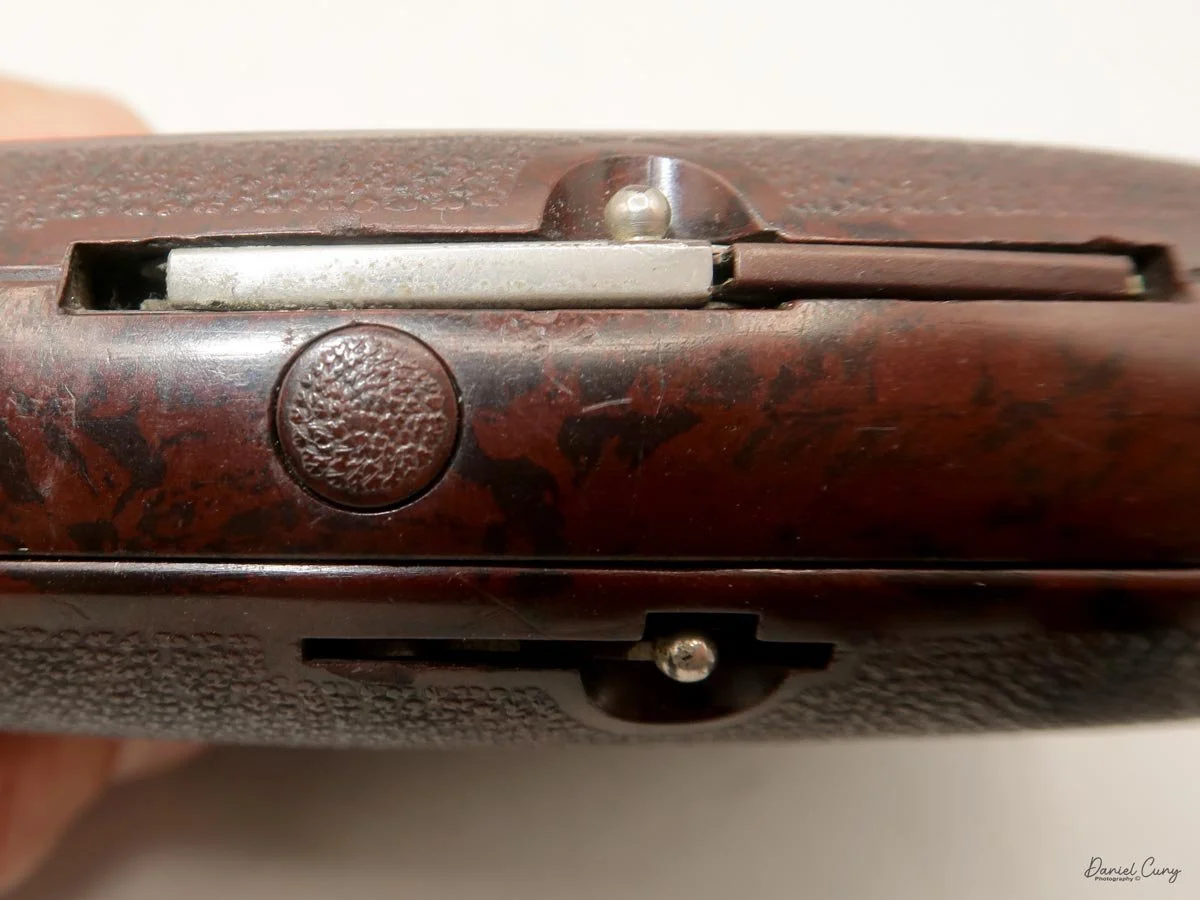
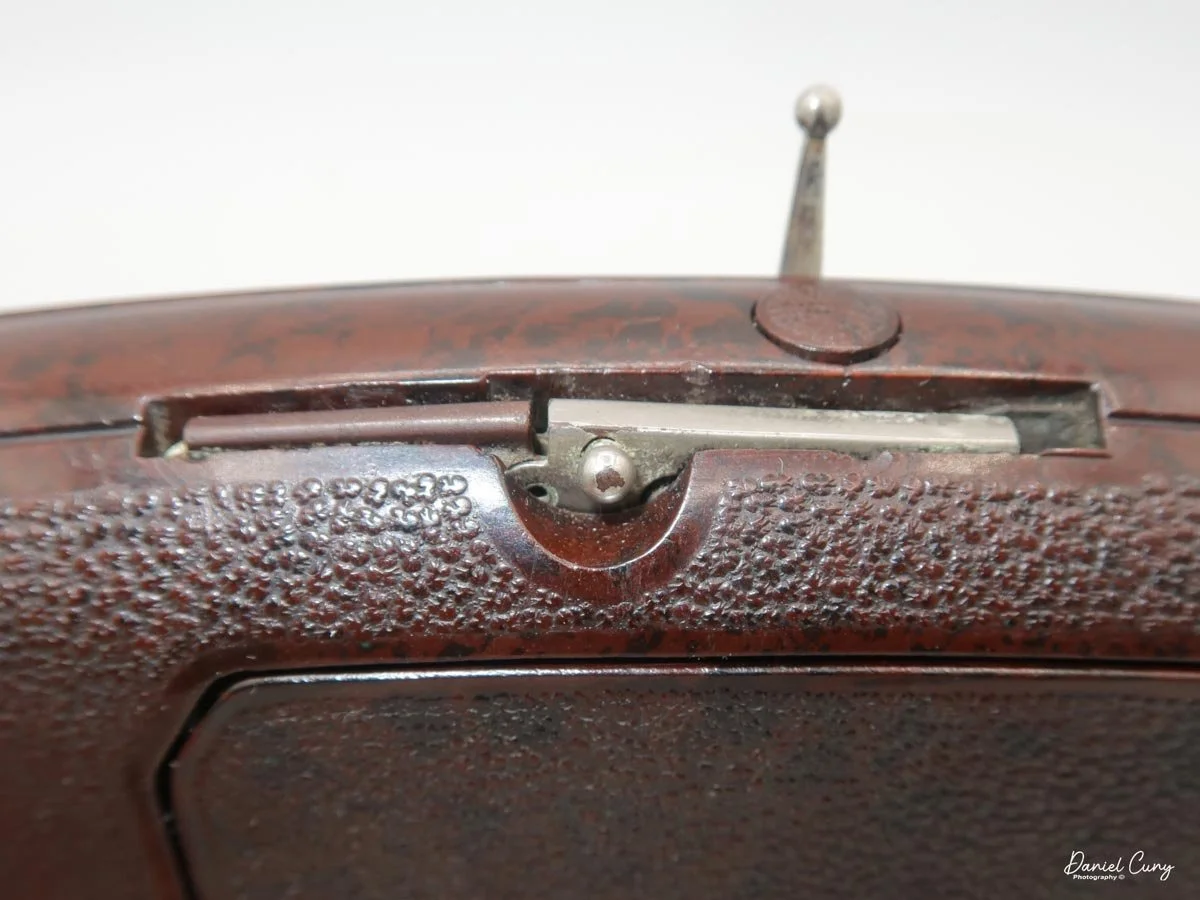
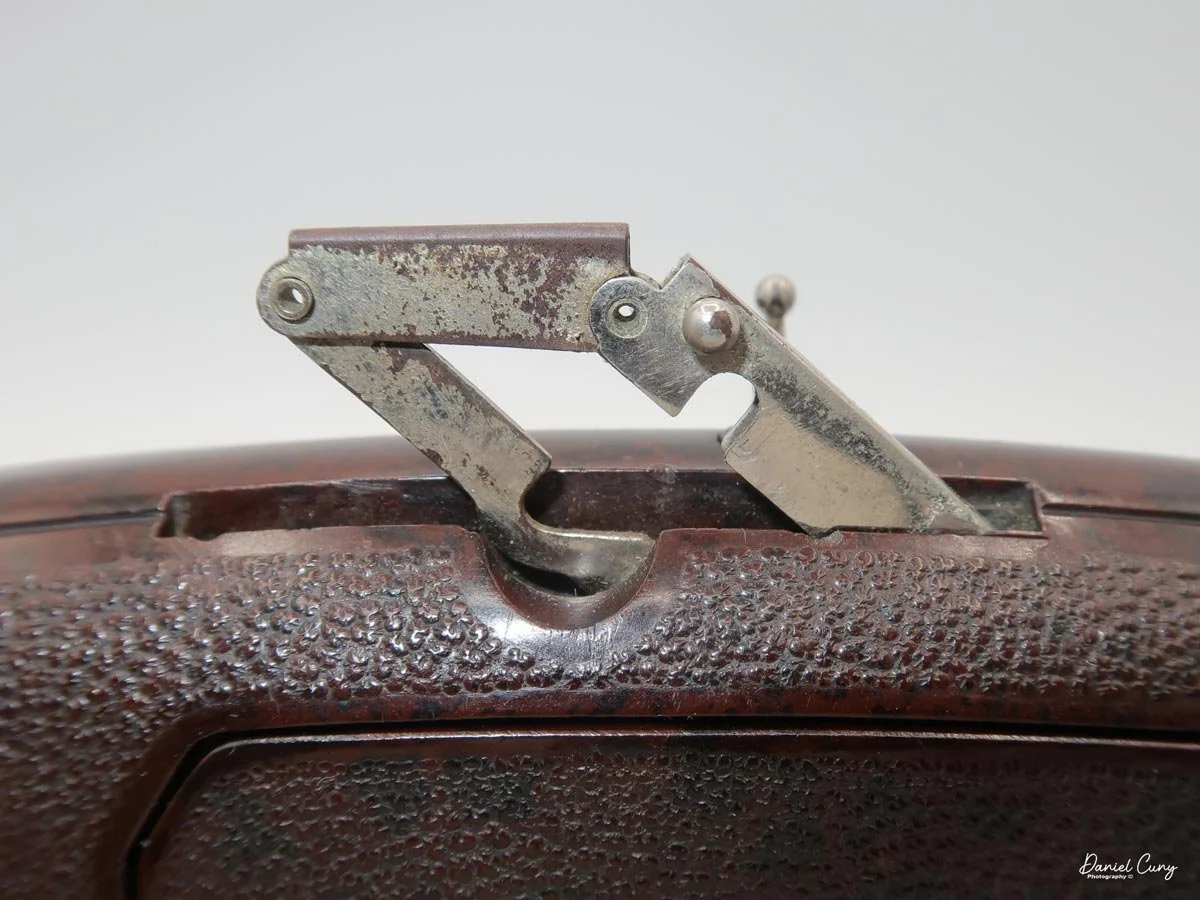
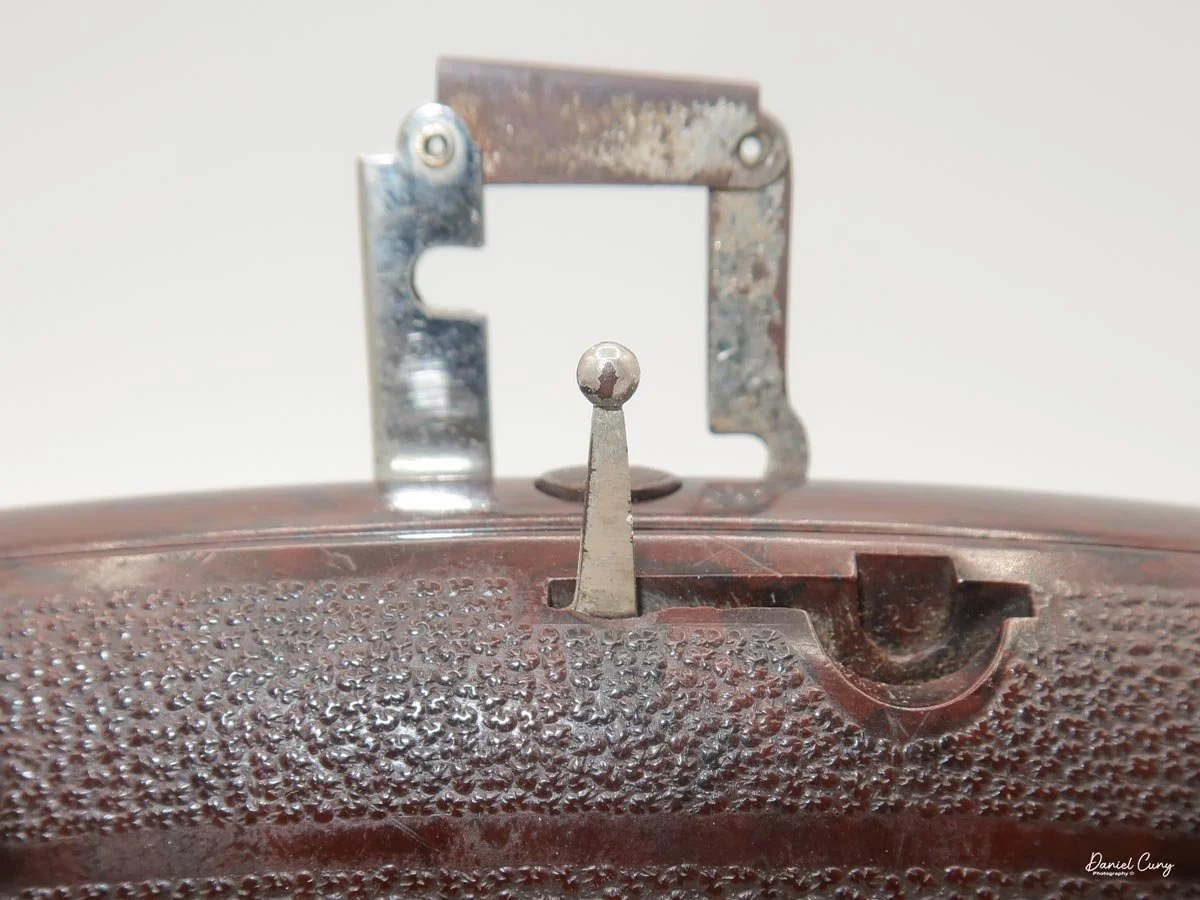
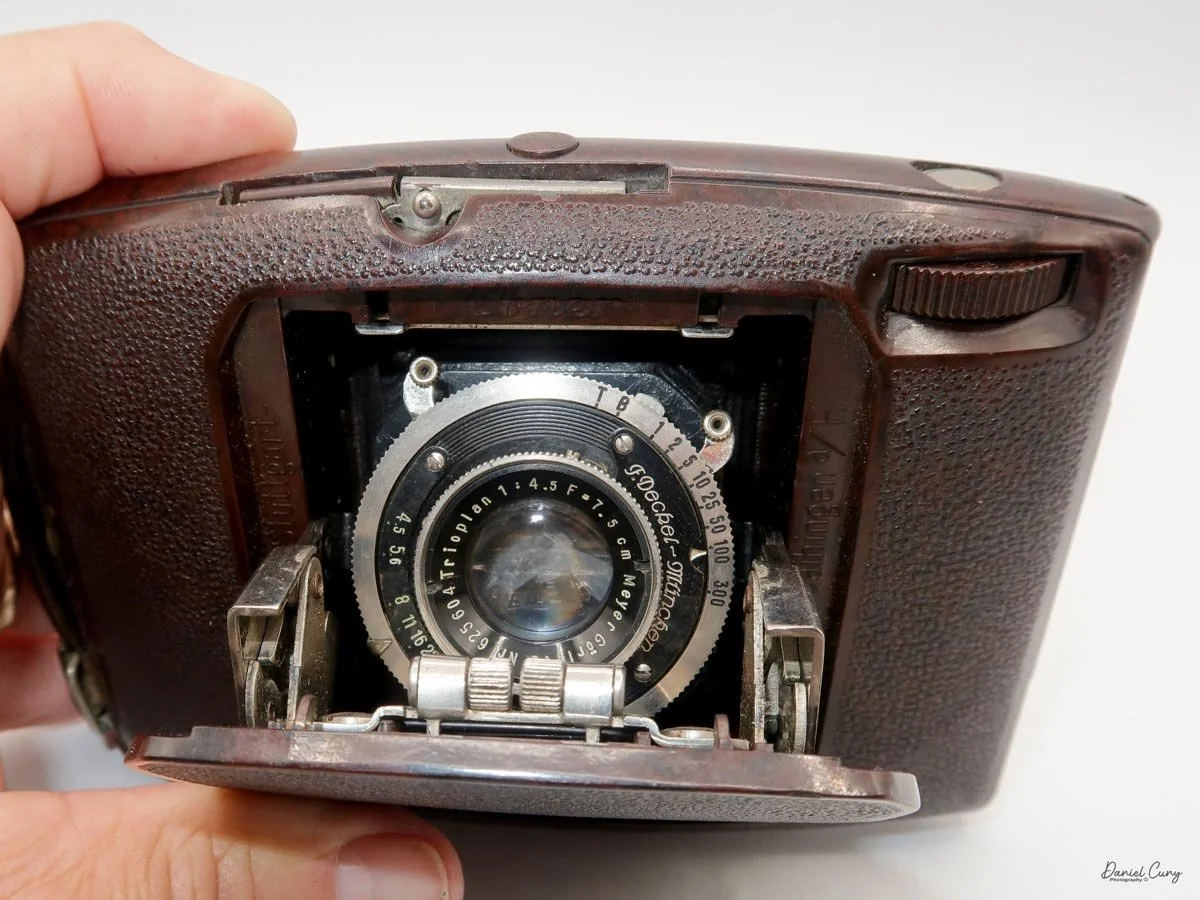
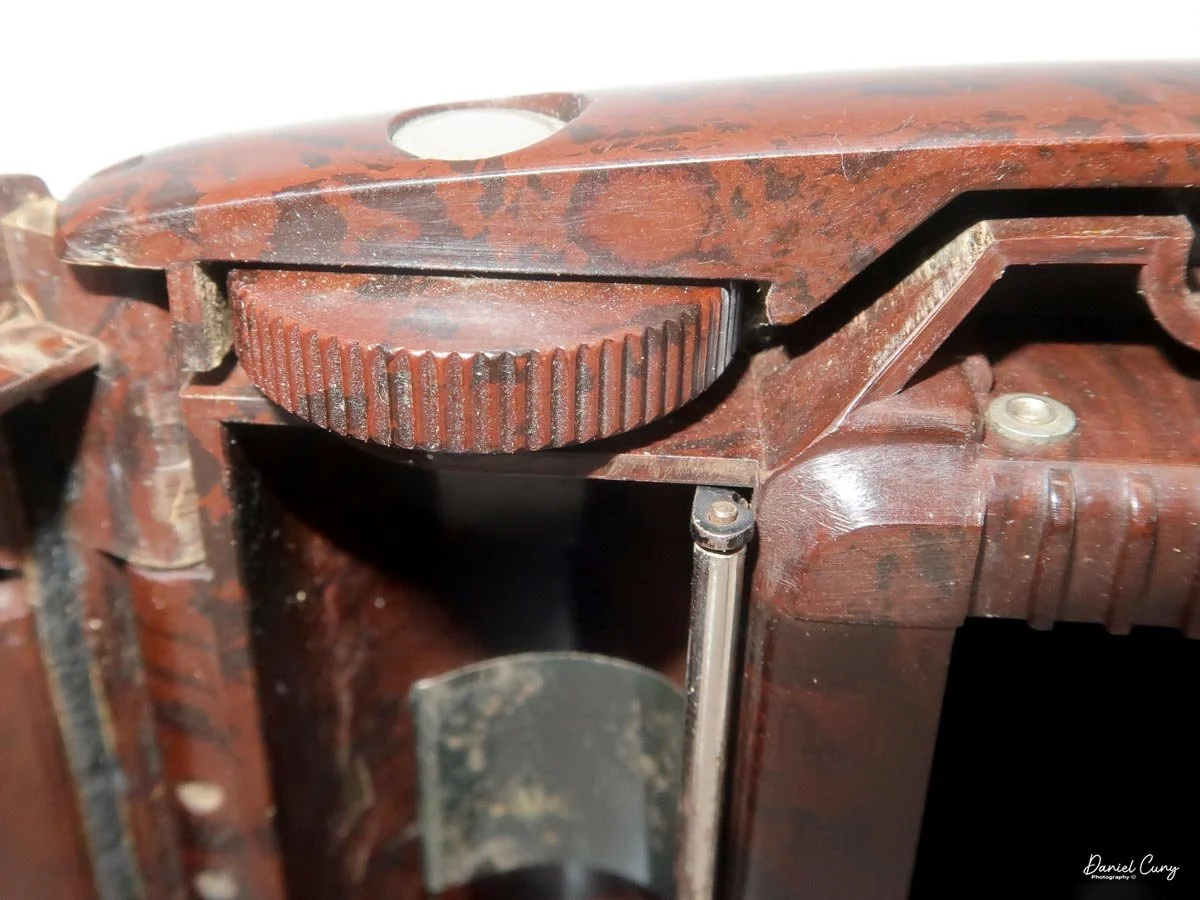
To open the Ebner camera, on the top of the camera is a button between the retractable front viewfinder, which pulls up from the camera body to produce a vertical rectangle. and a small pbar with a ball on the end used as the rear portion of the viewfinder. This bar is also retracted into the camera body. Once the button is pressed, the front door housing the lens, bellows, and shutter springs from the camera body.

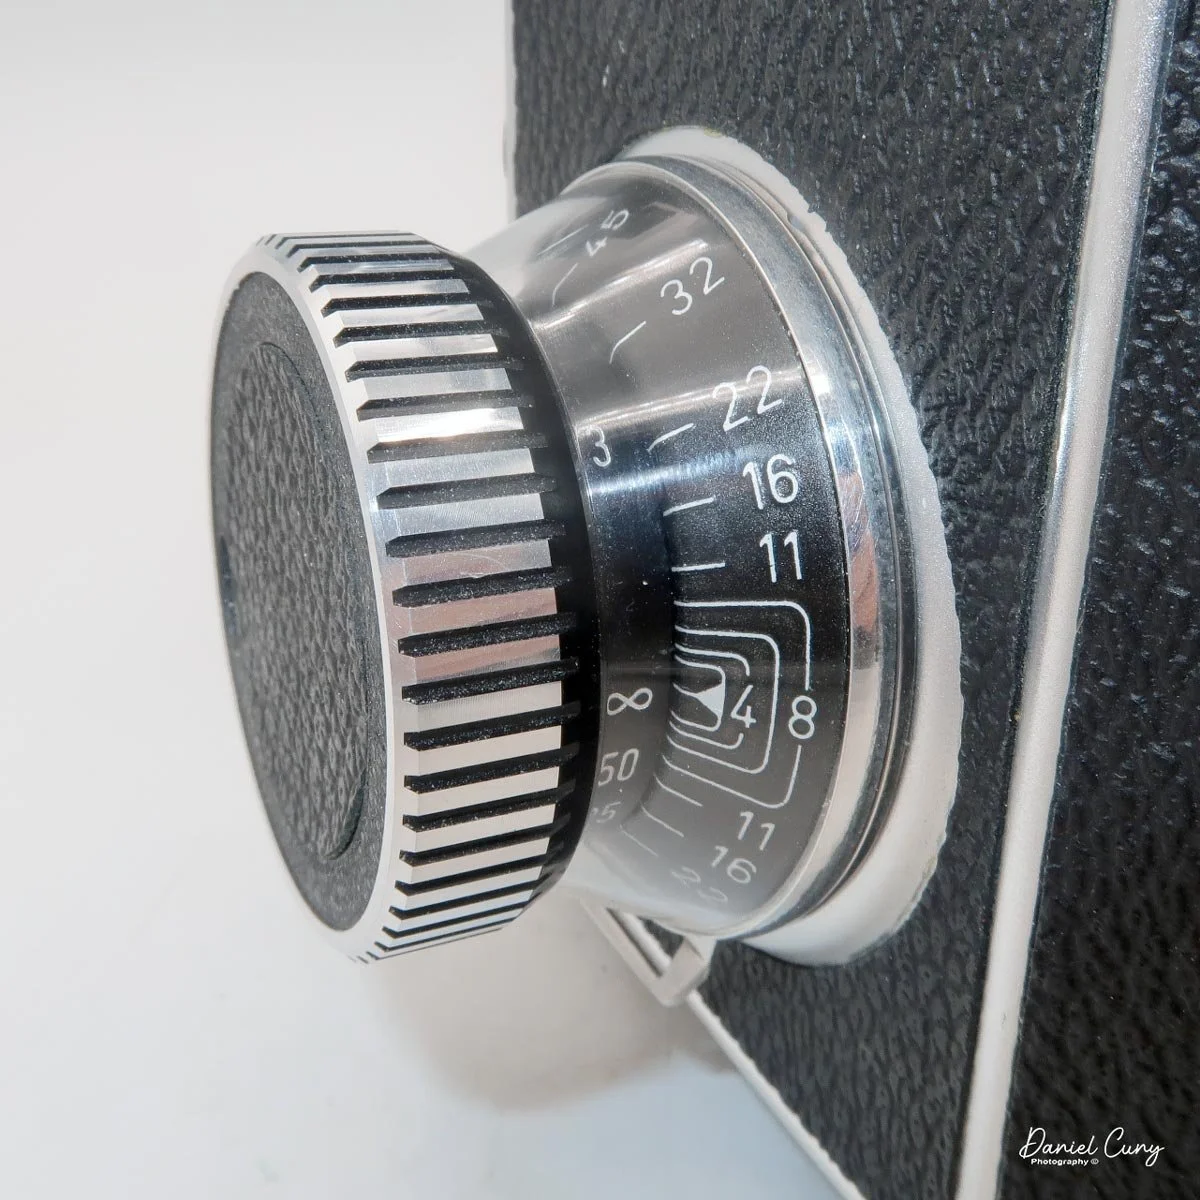
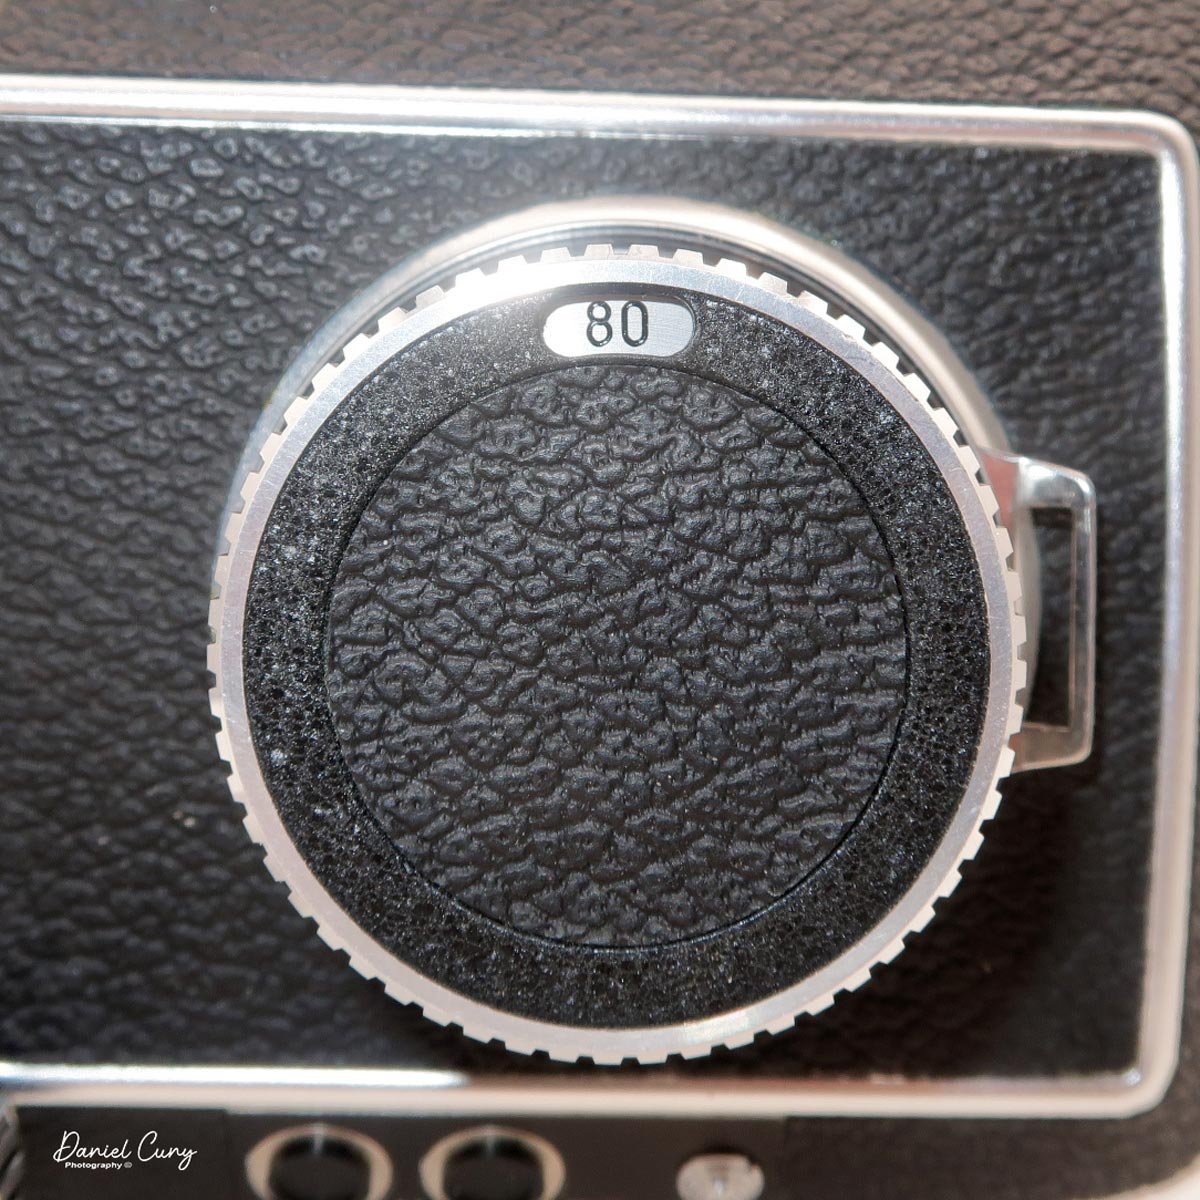
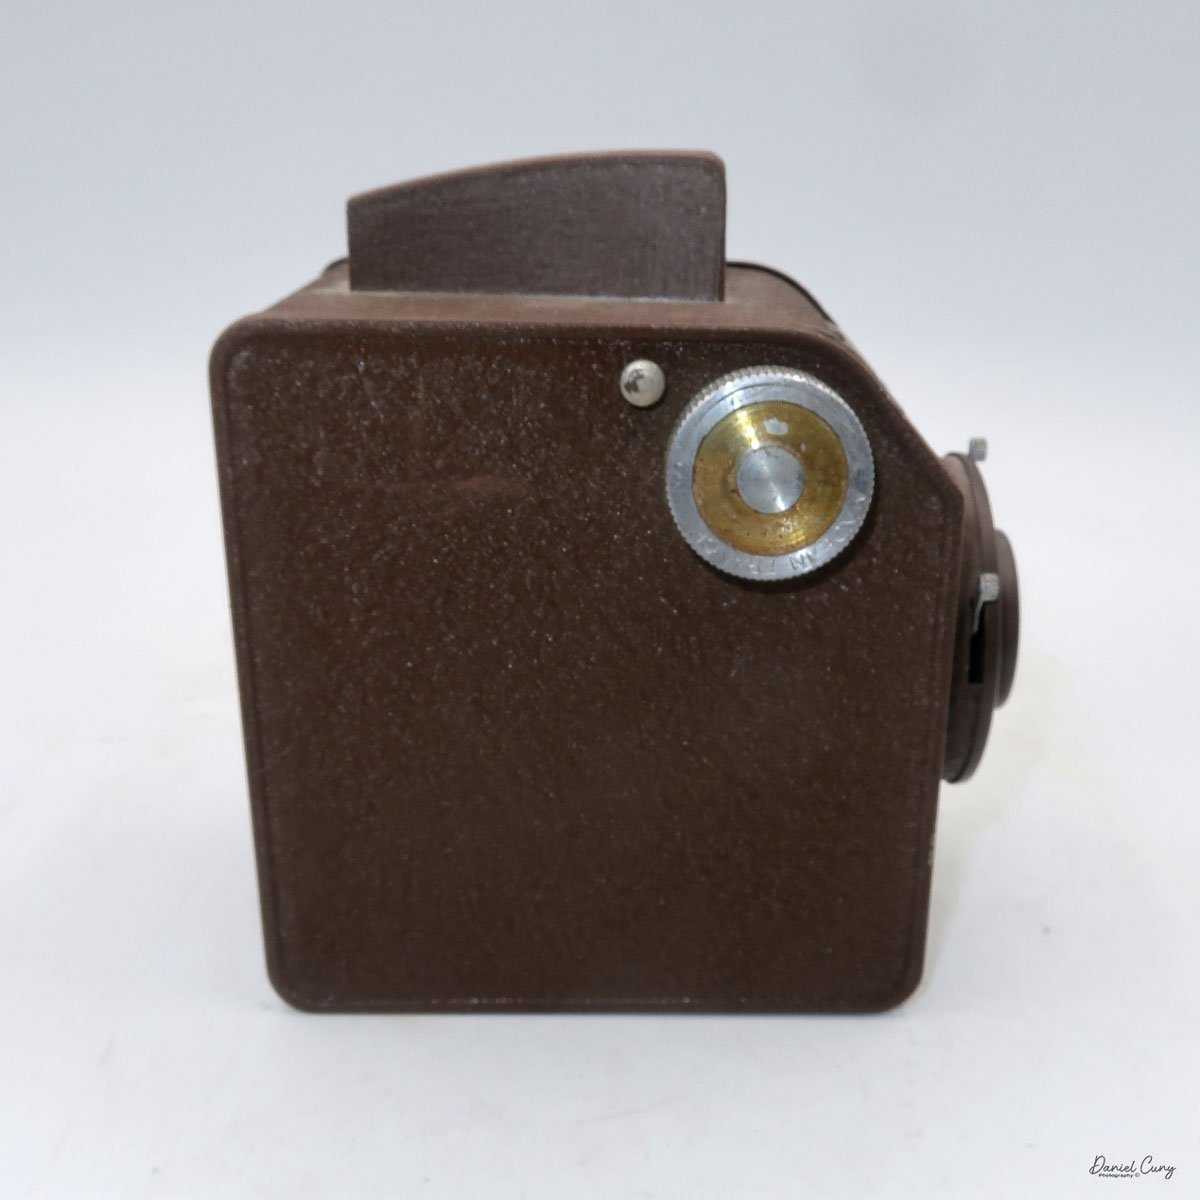
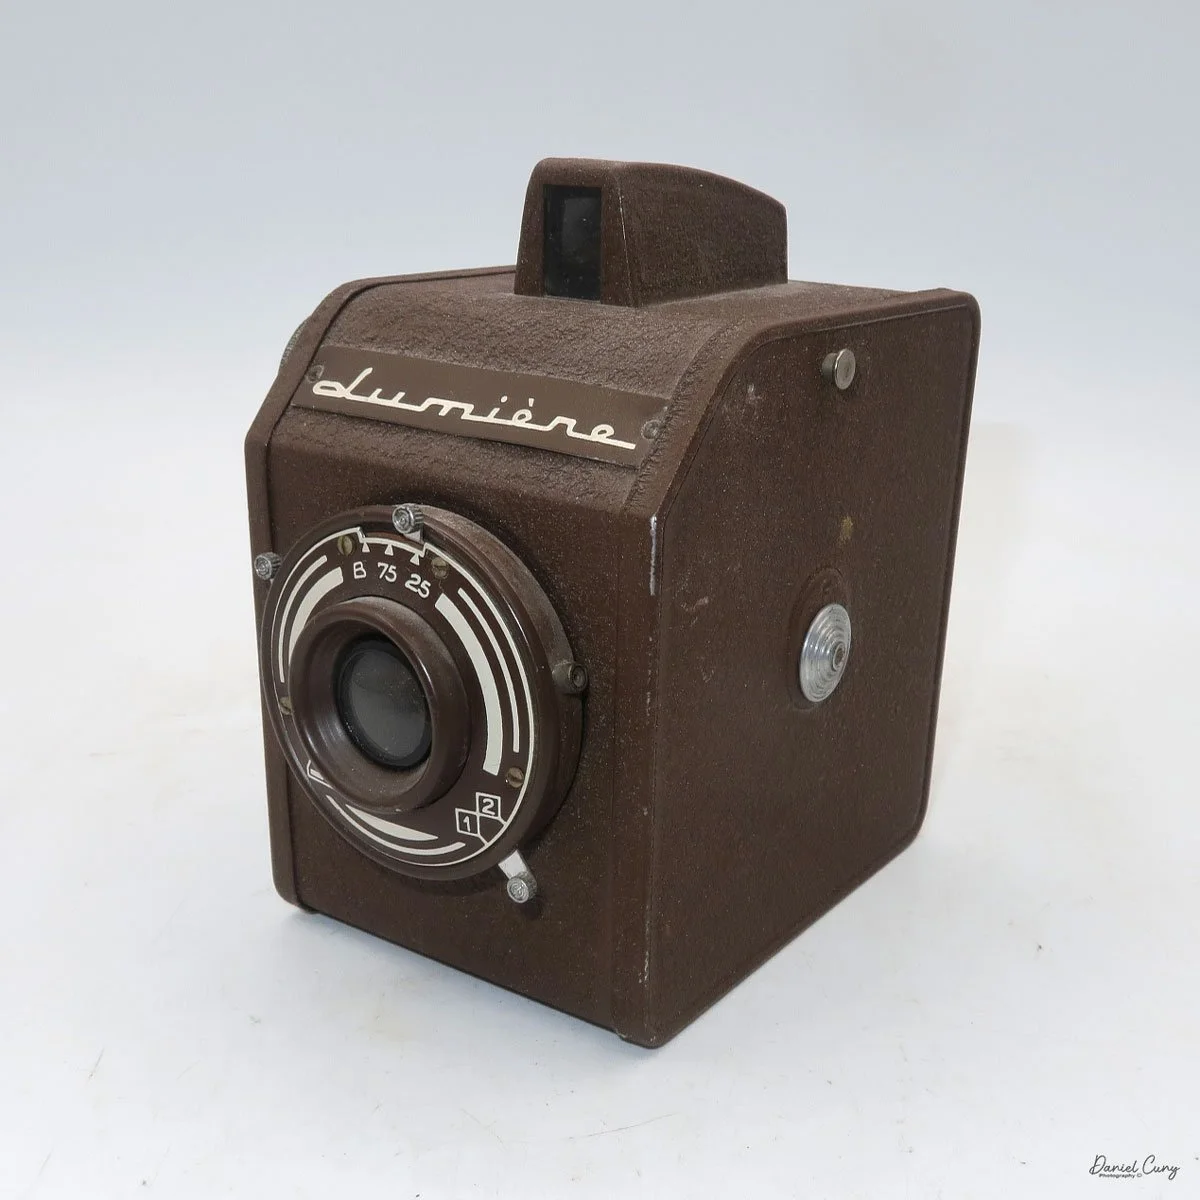
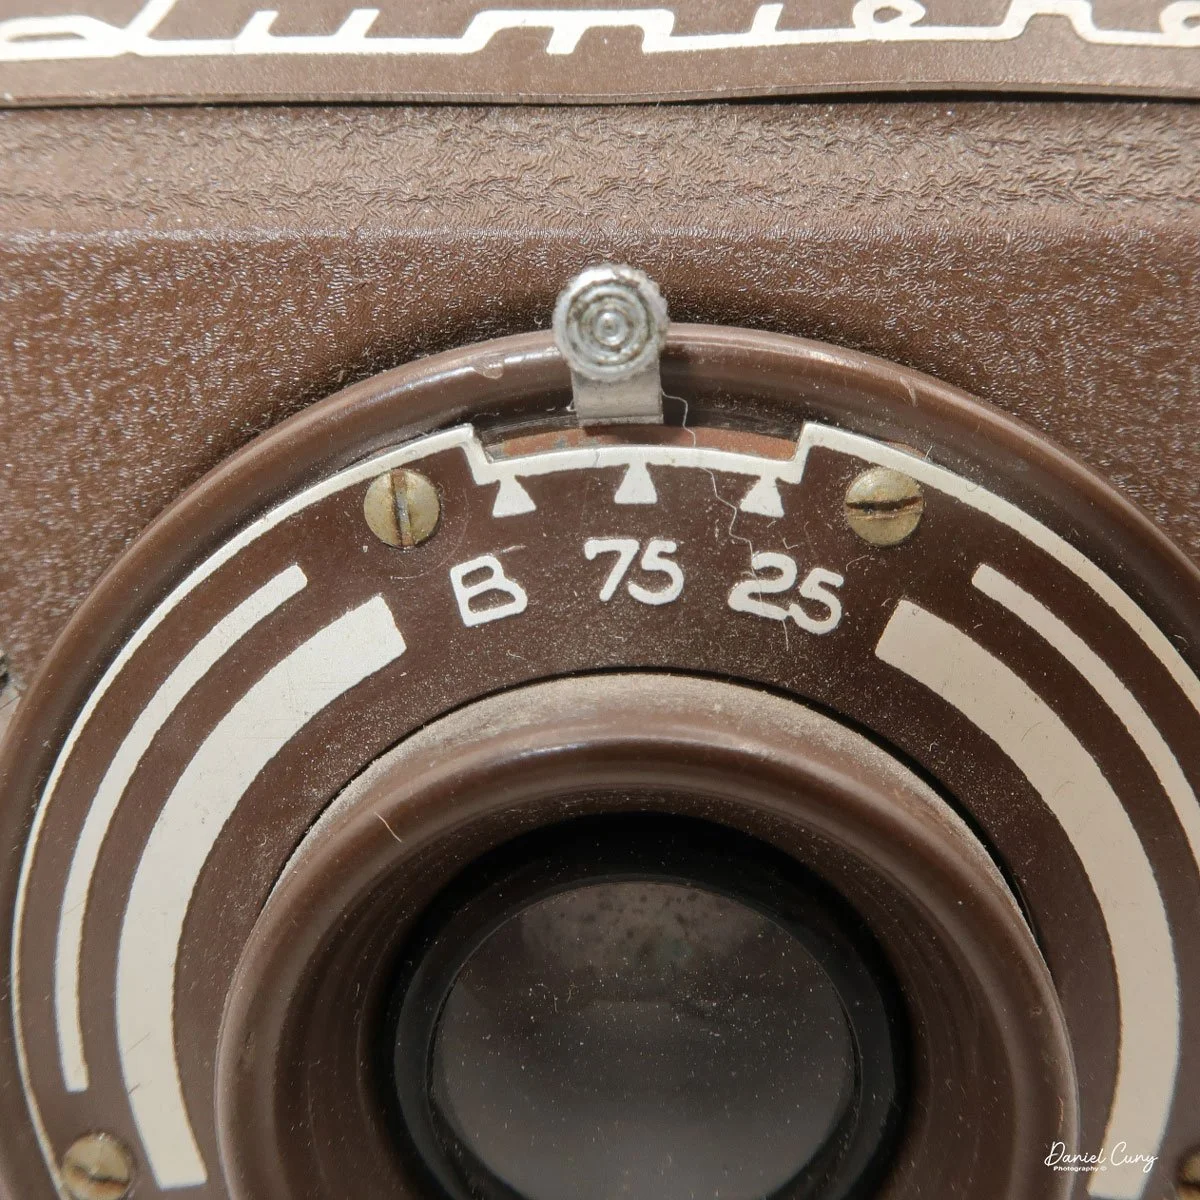
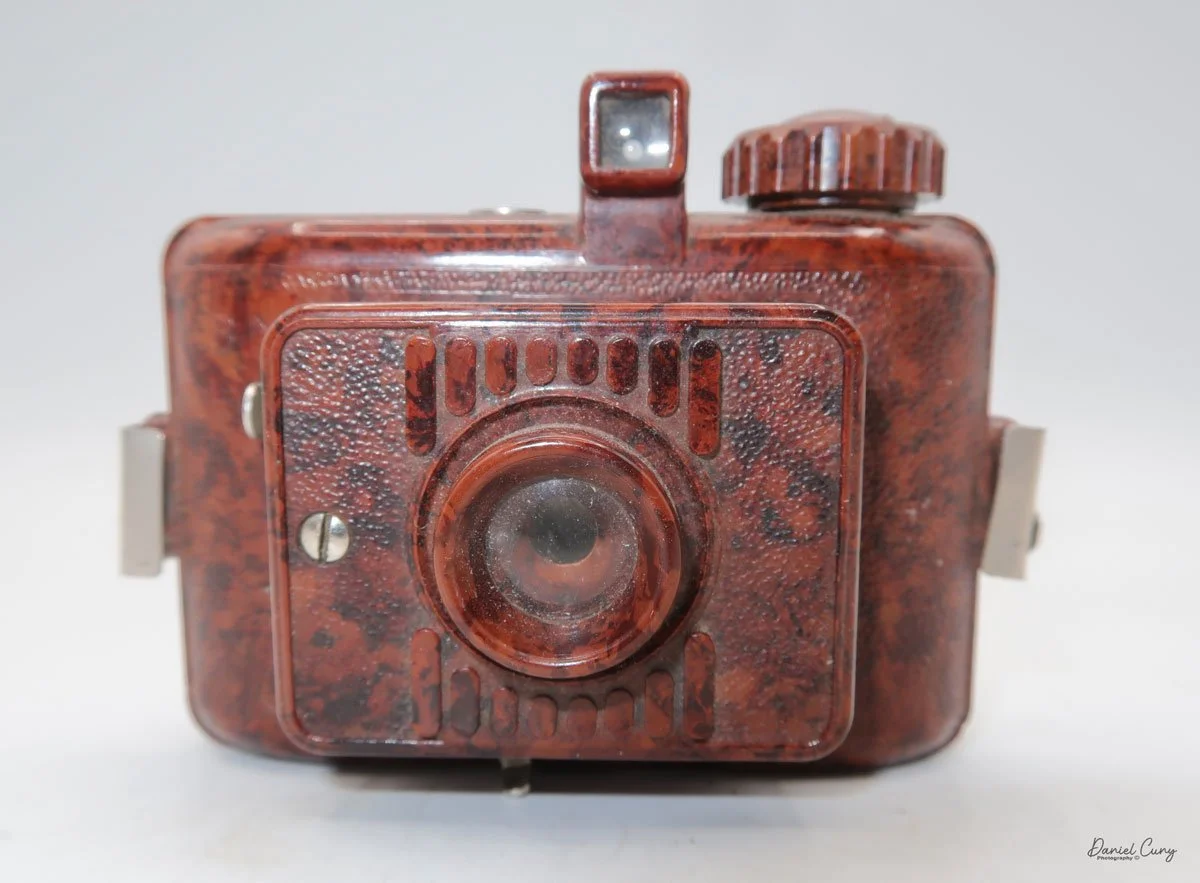
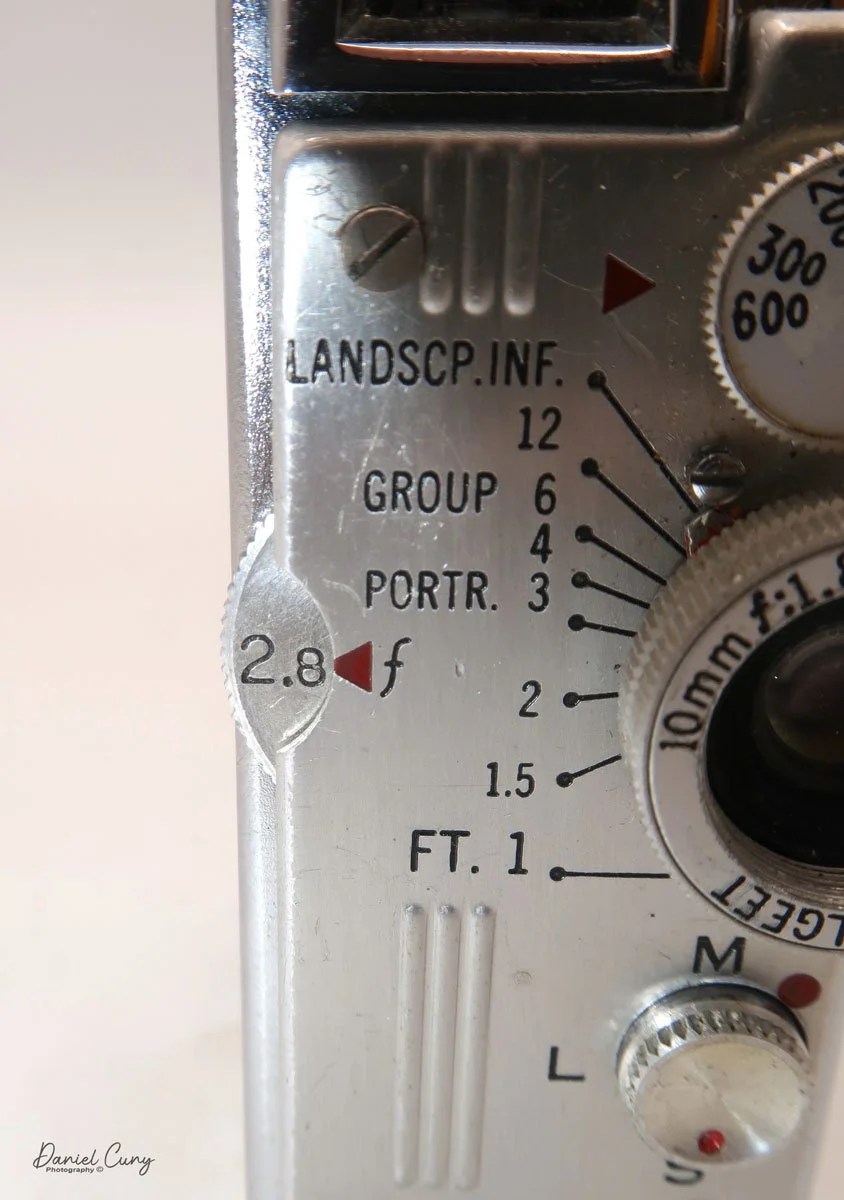
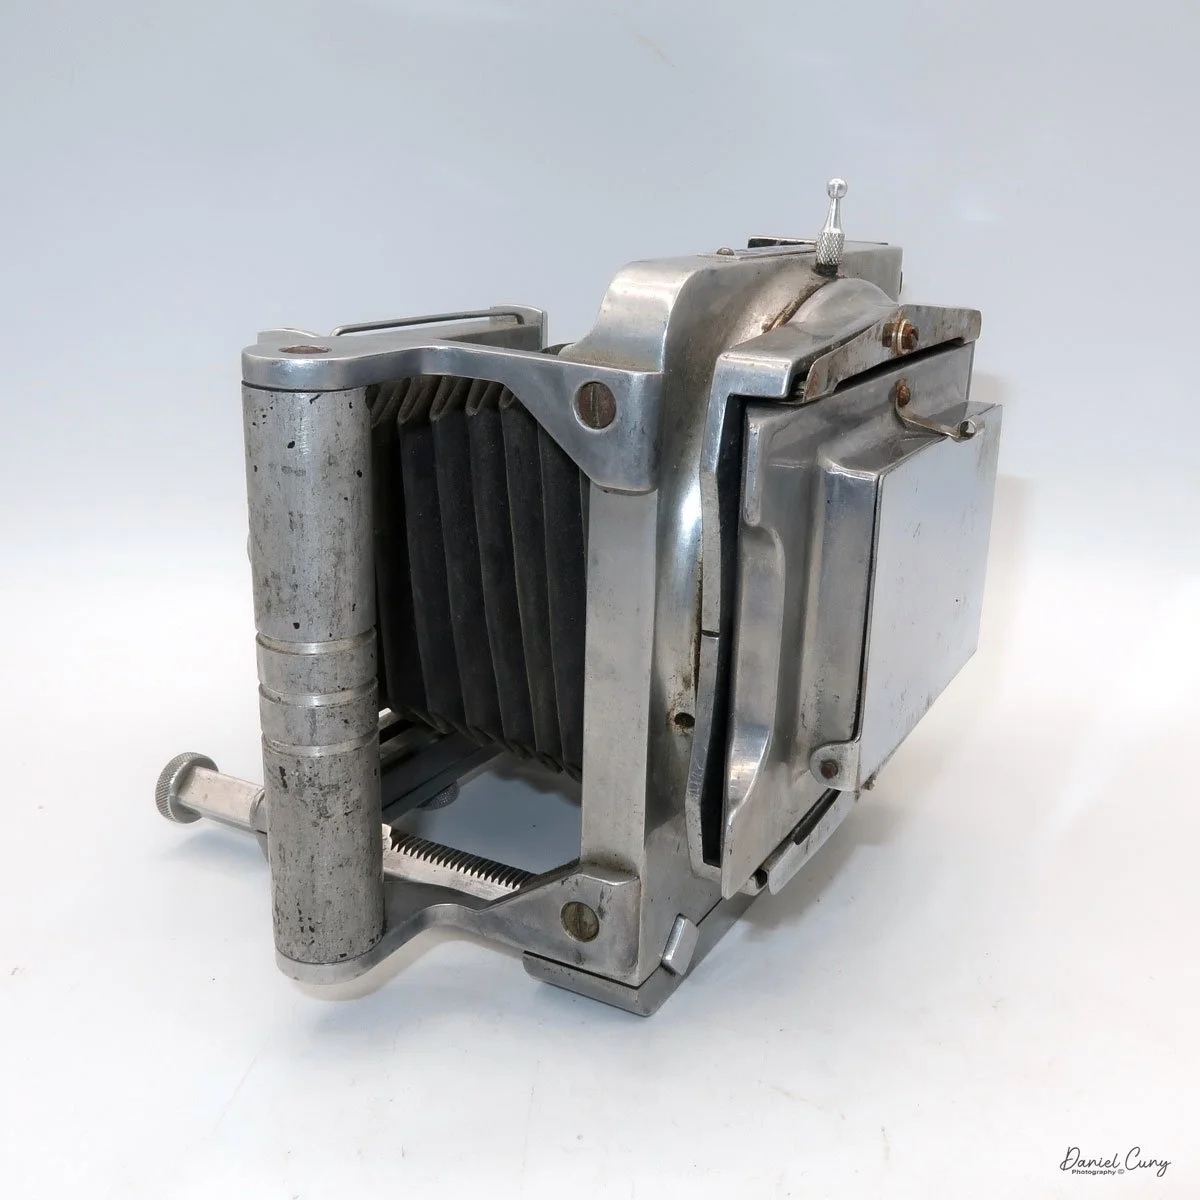
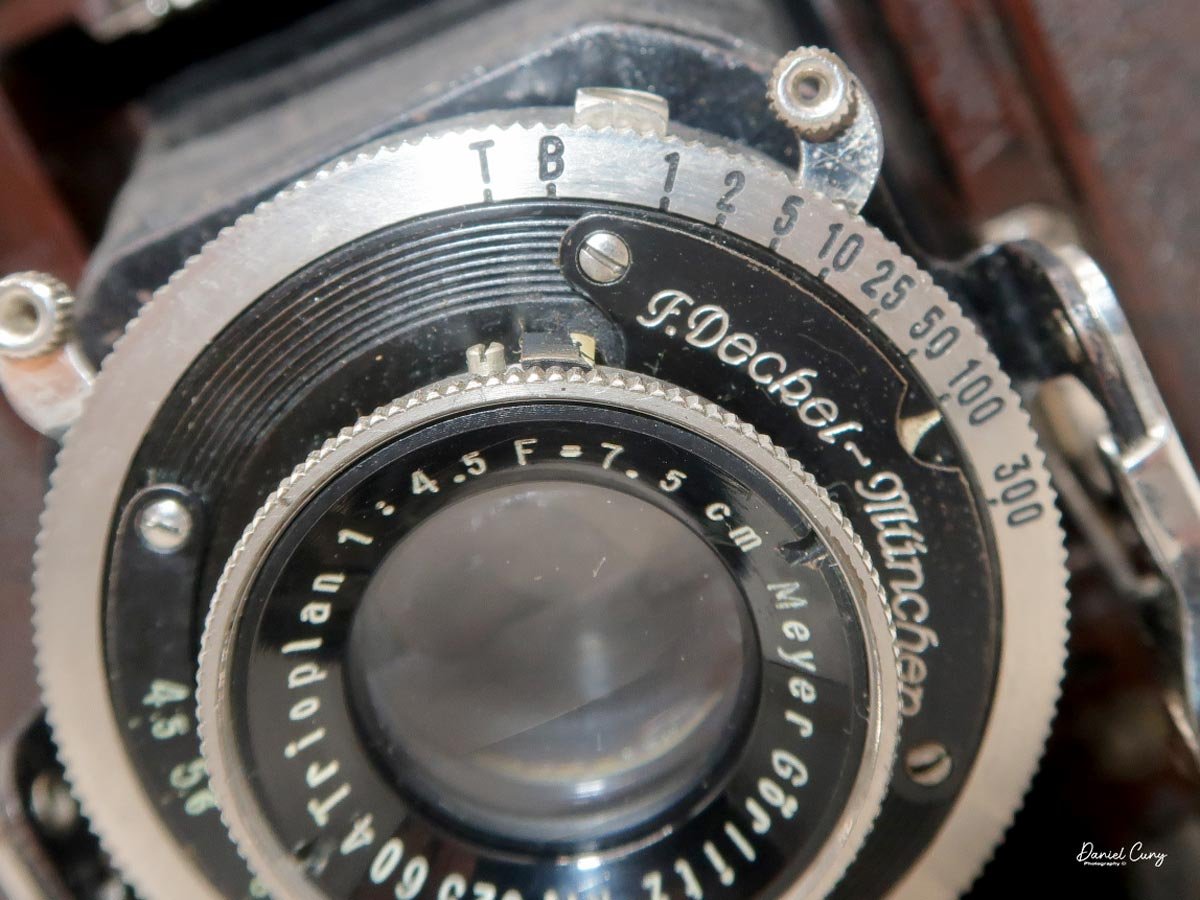
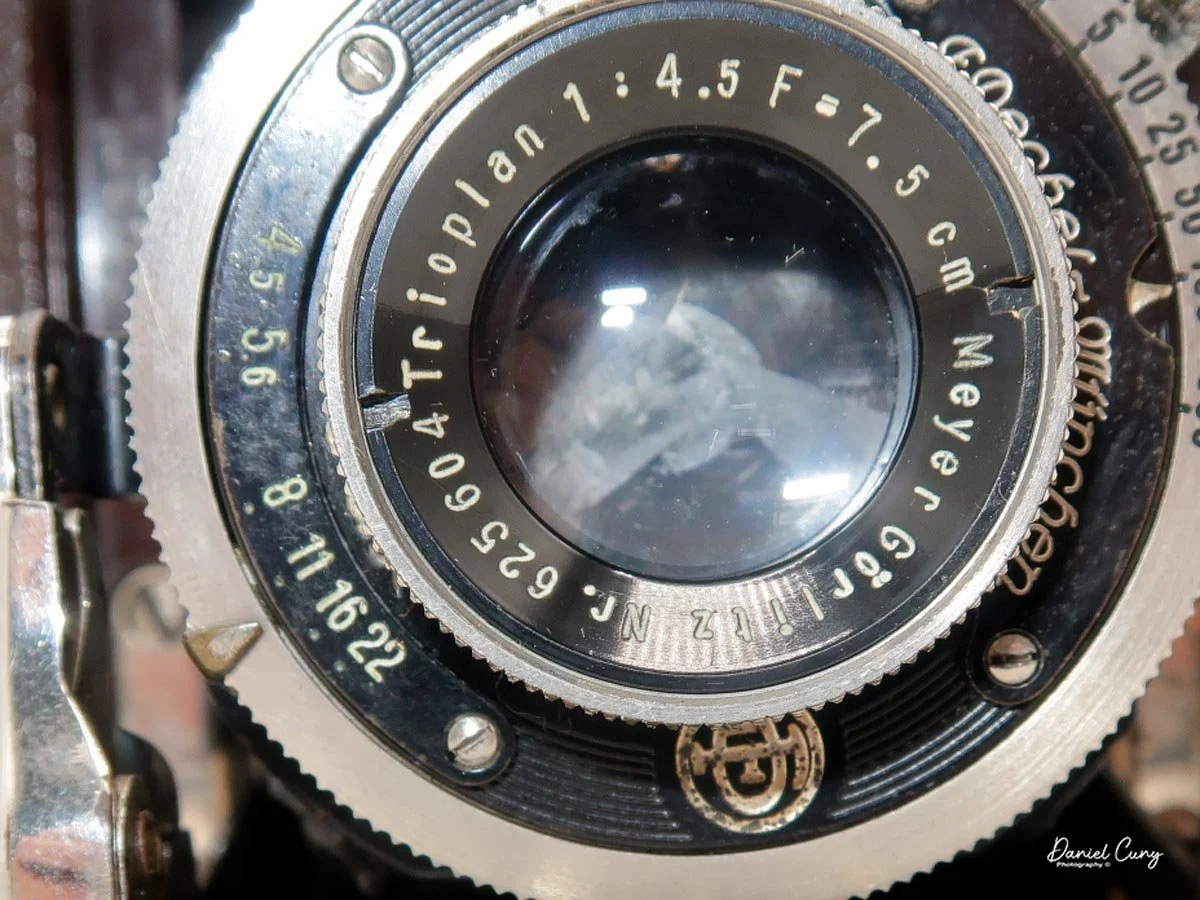
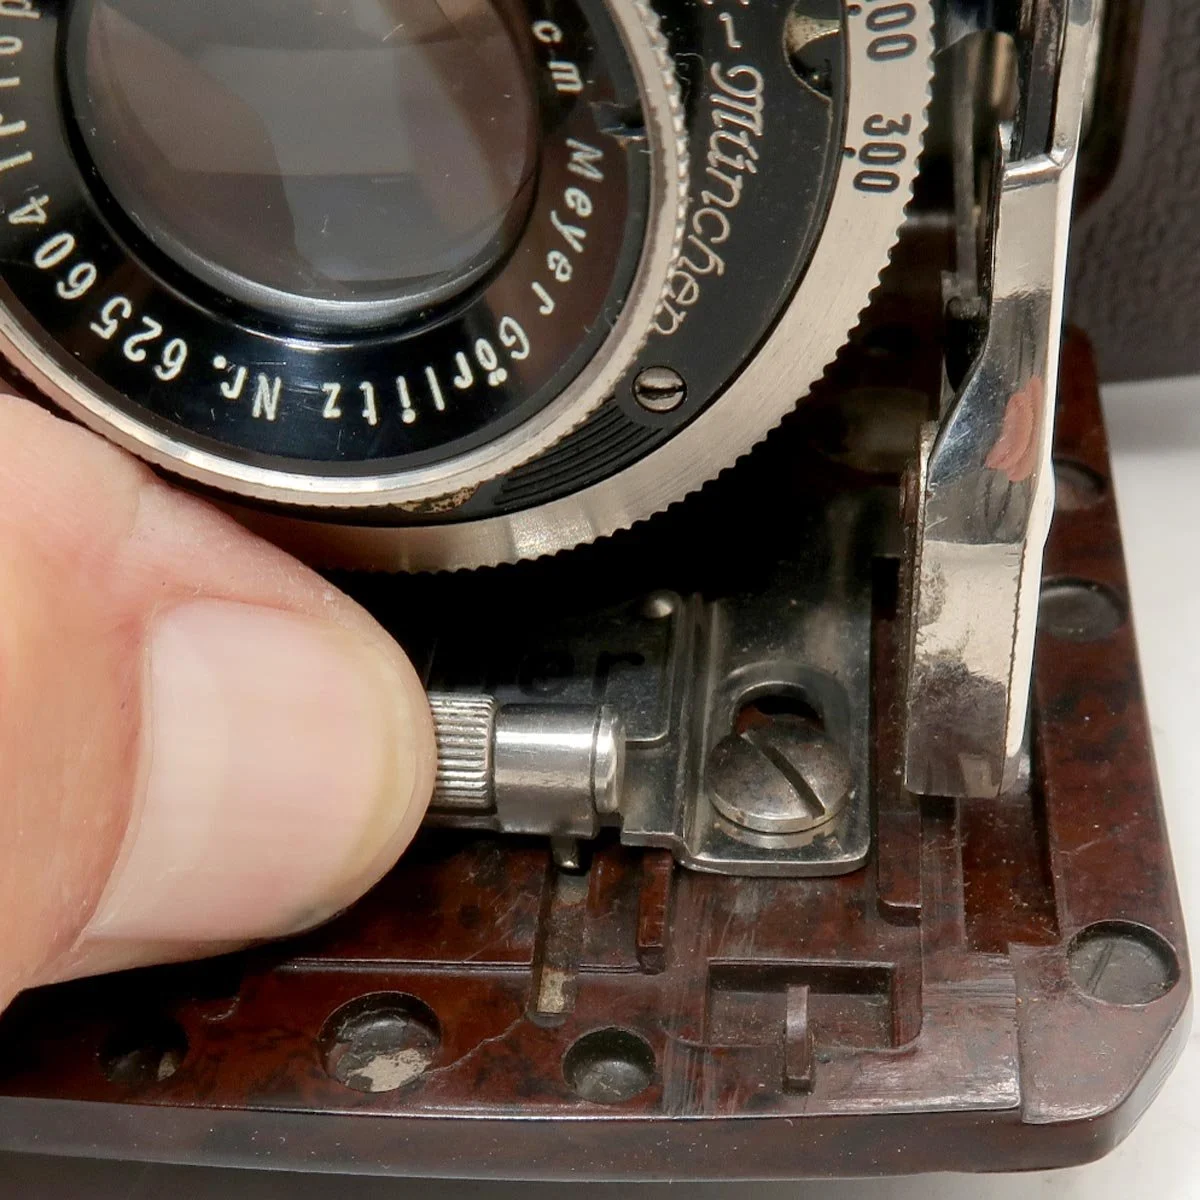
The Ebner I own has a Meyer-Goerlitz 7.5cm F/4.5 lens (SN 625604), with a Compur shutter, ranging from 1/300 to 1 second, plus "T" and "B". There were several different lens and shutter combinations for the camera. The aperture range is from F/4.5 to 22.
Setting the shutter speed is done by turning a ring on the outer portion of the lens, and the aperture is set by sliding a lever with a pointing end to the desired aperture setting under the lens. Also, the shutter is cocked by one lever at the top of the shutter and released by another lever on the side of the shutter. Focusing the lens is done by rotating the lens itself to the desired focus distance in meters, as seen on the top of the lens.

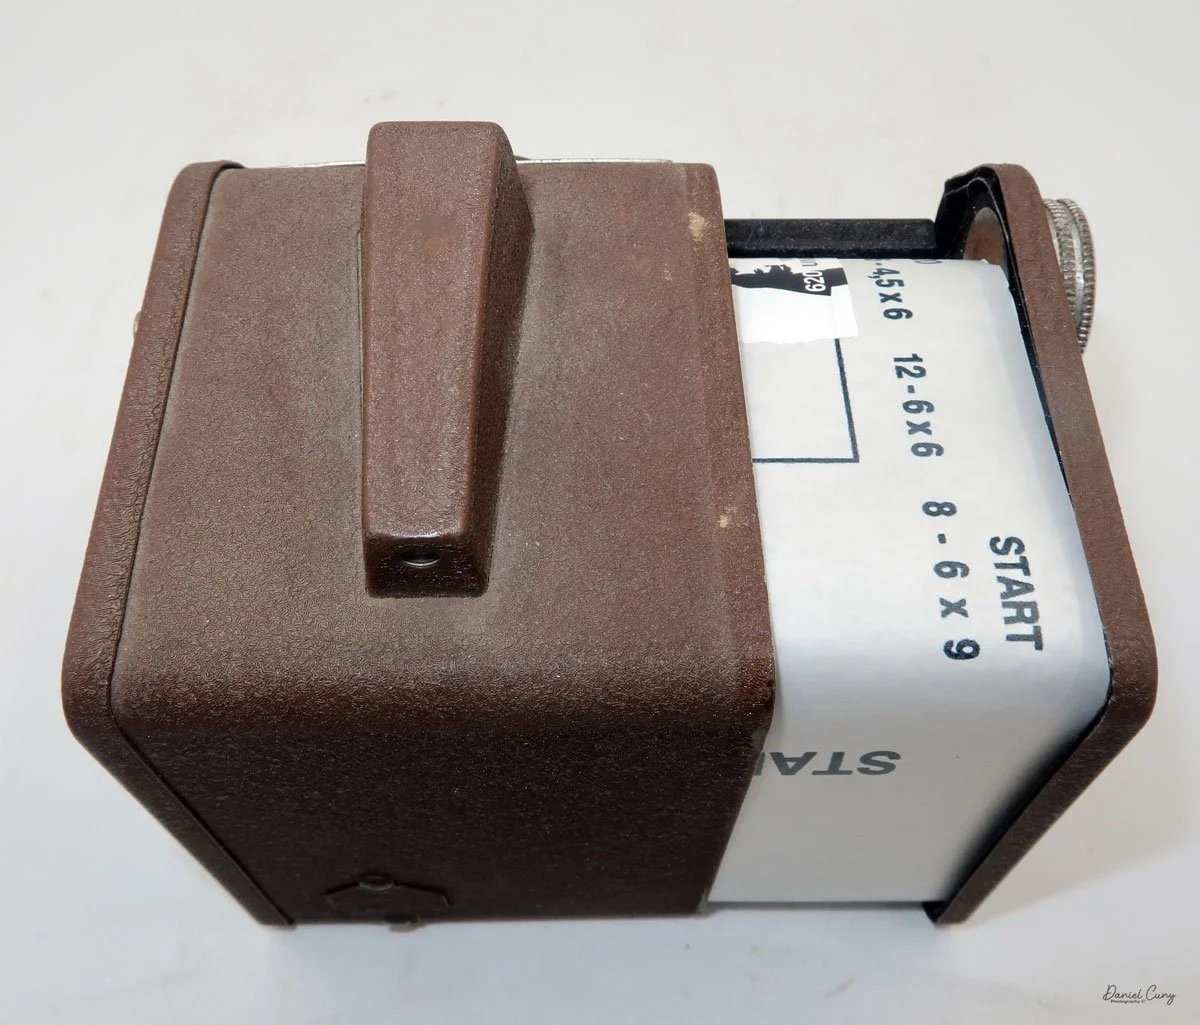
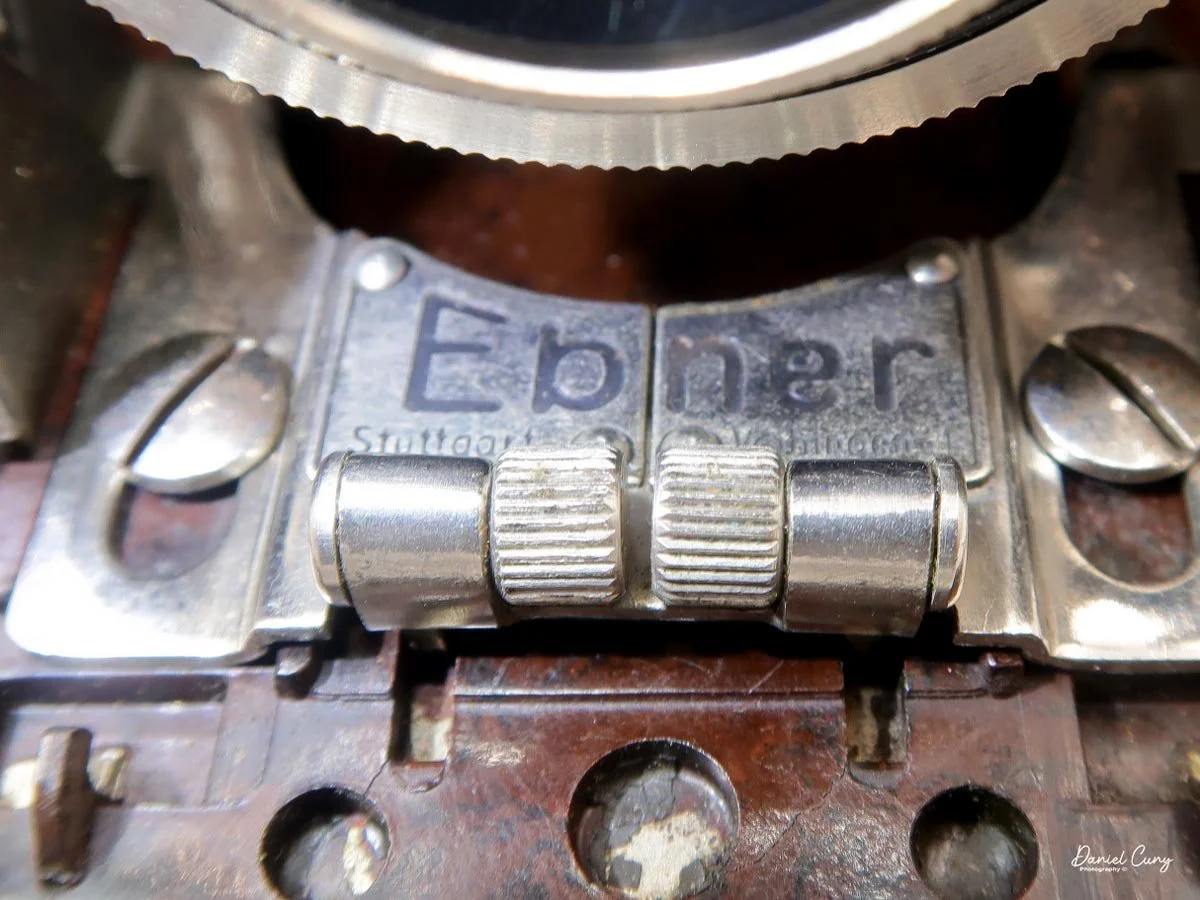
To close the camera for transport, there is a bar at the bottom of the lens bed, just in front of the "Ebner" plate. Press these bars towards the camera body; the lens board releases, allowing you to tilt the board back up and into the camera body. It will click when the lens board is locked into position.
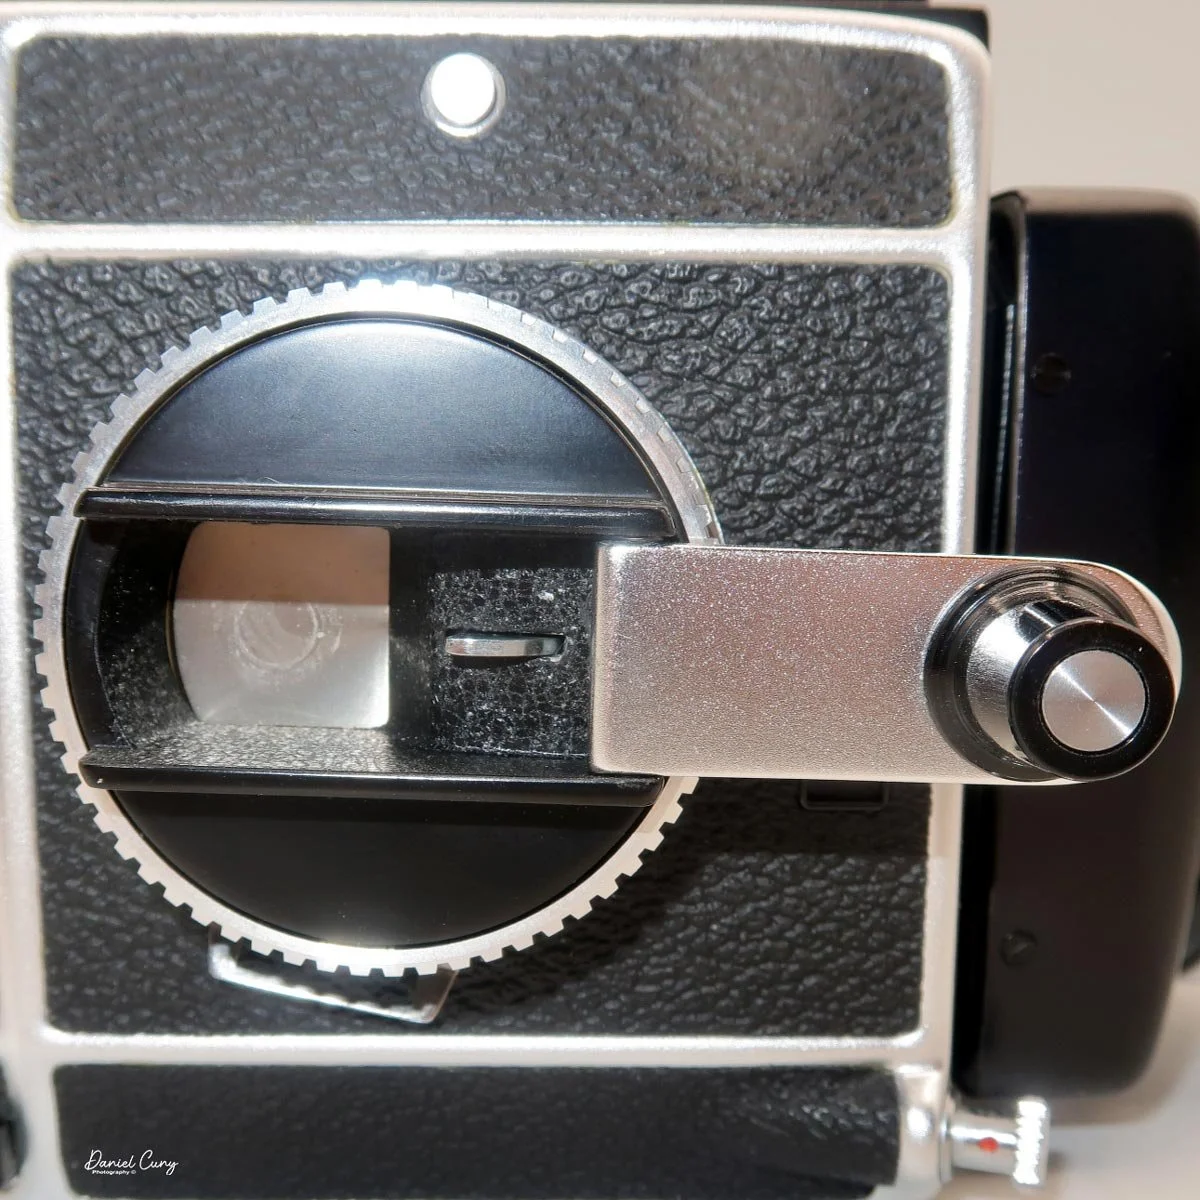
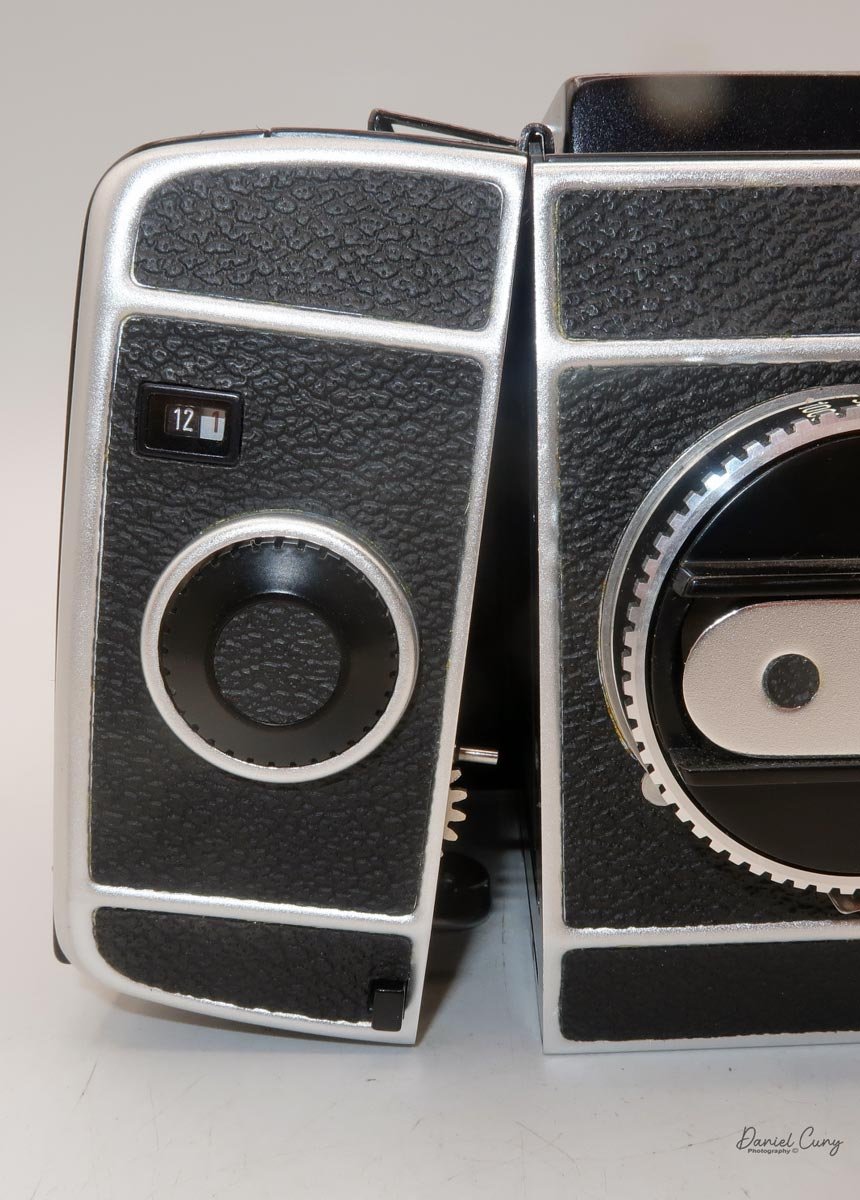
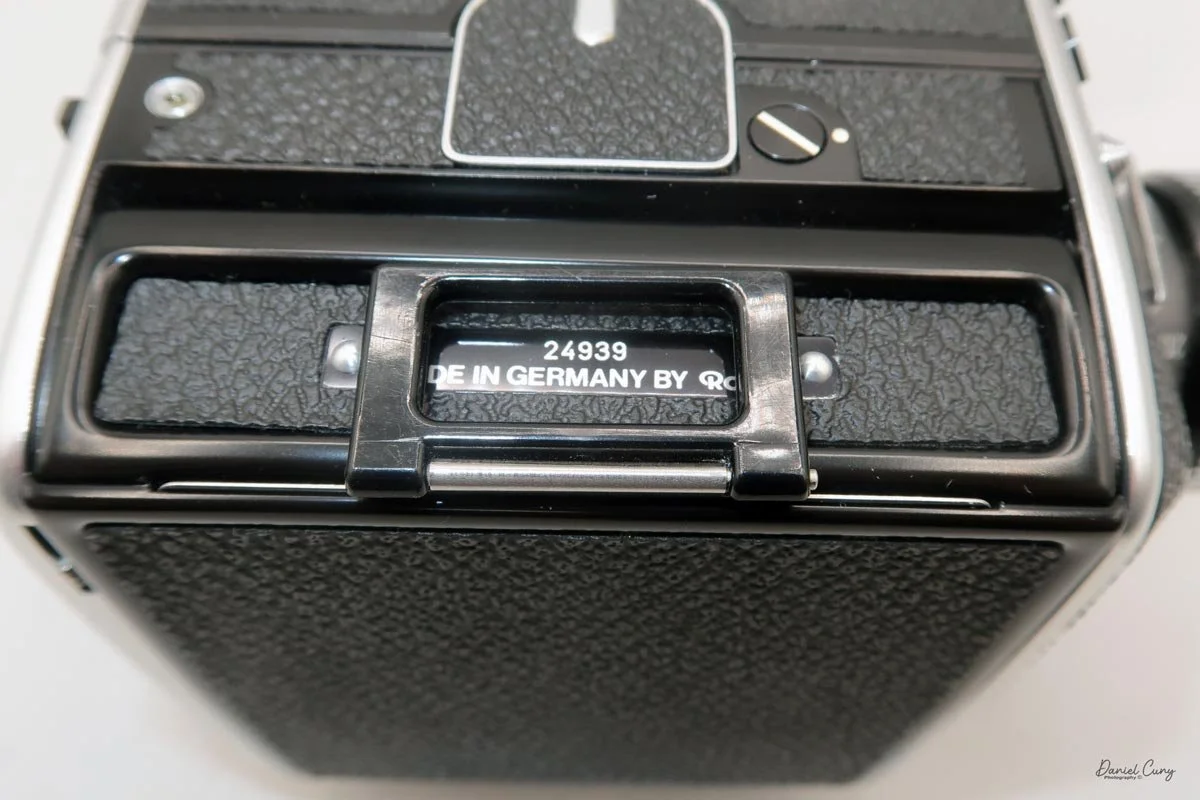
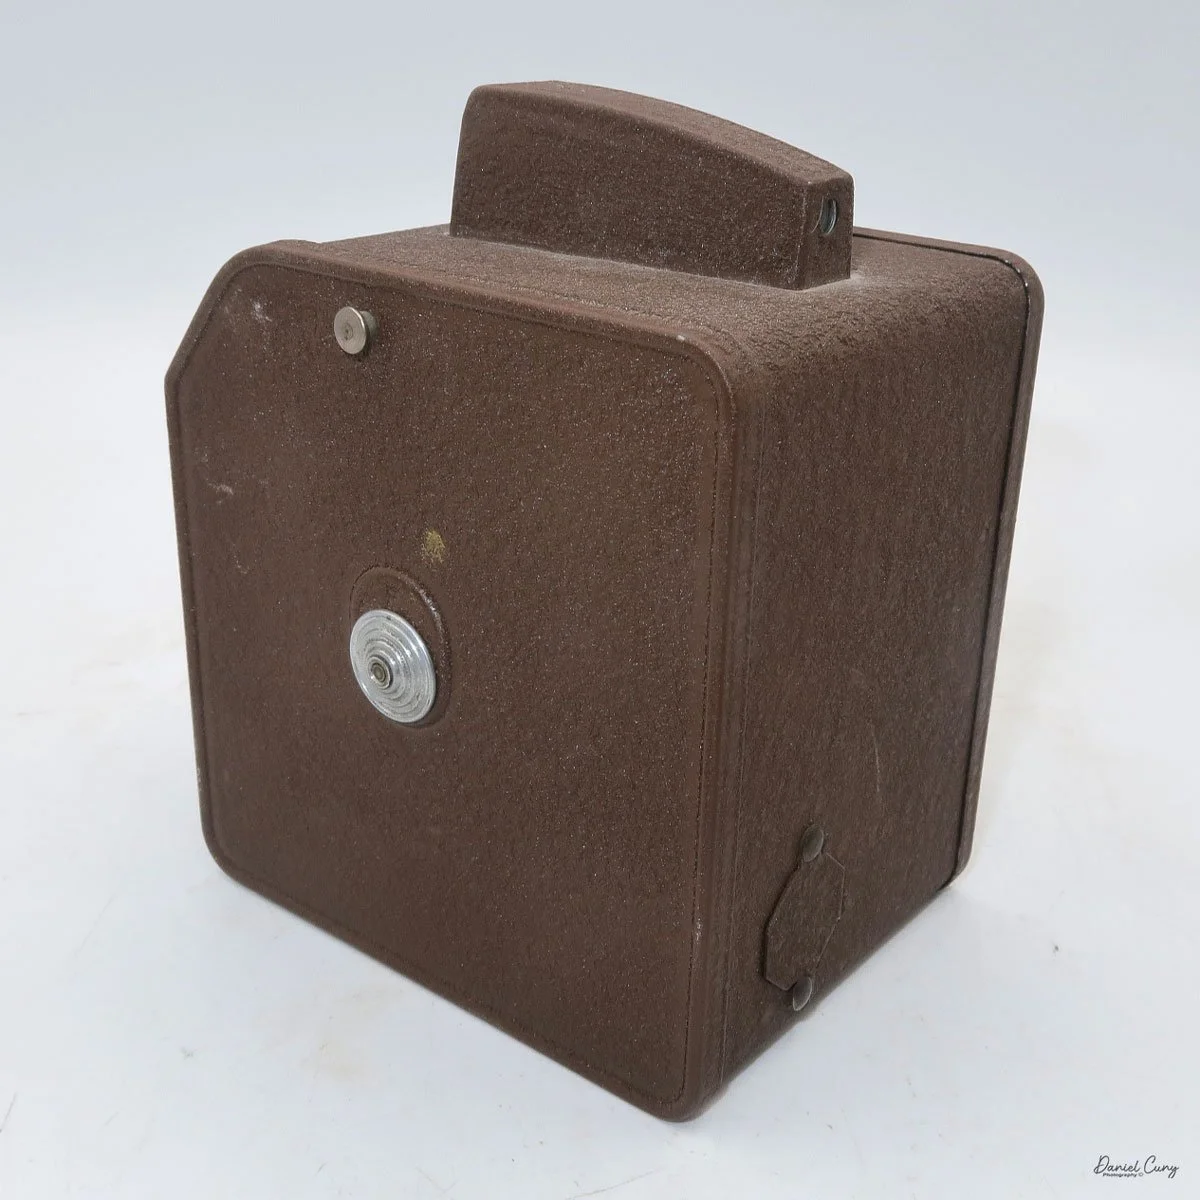
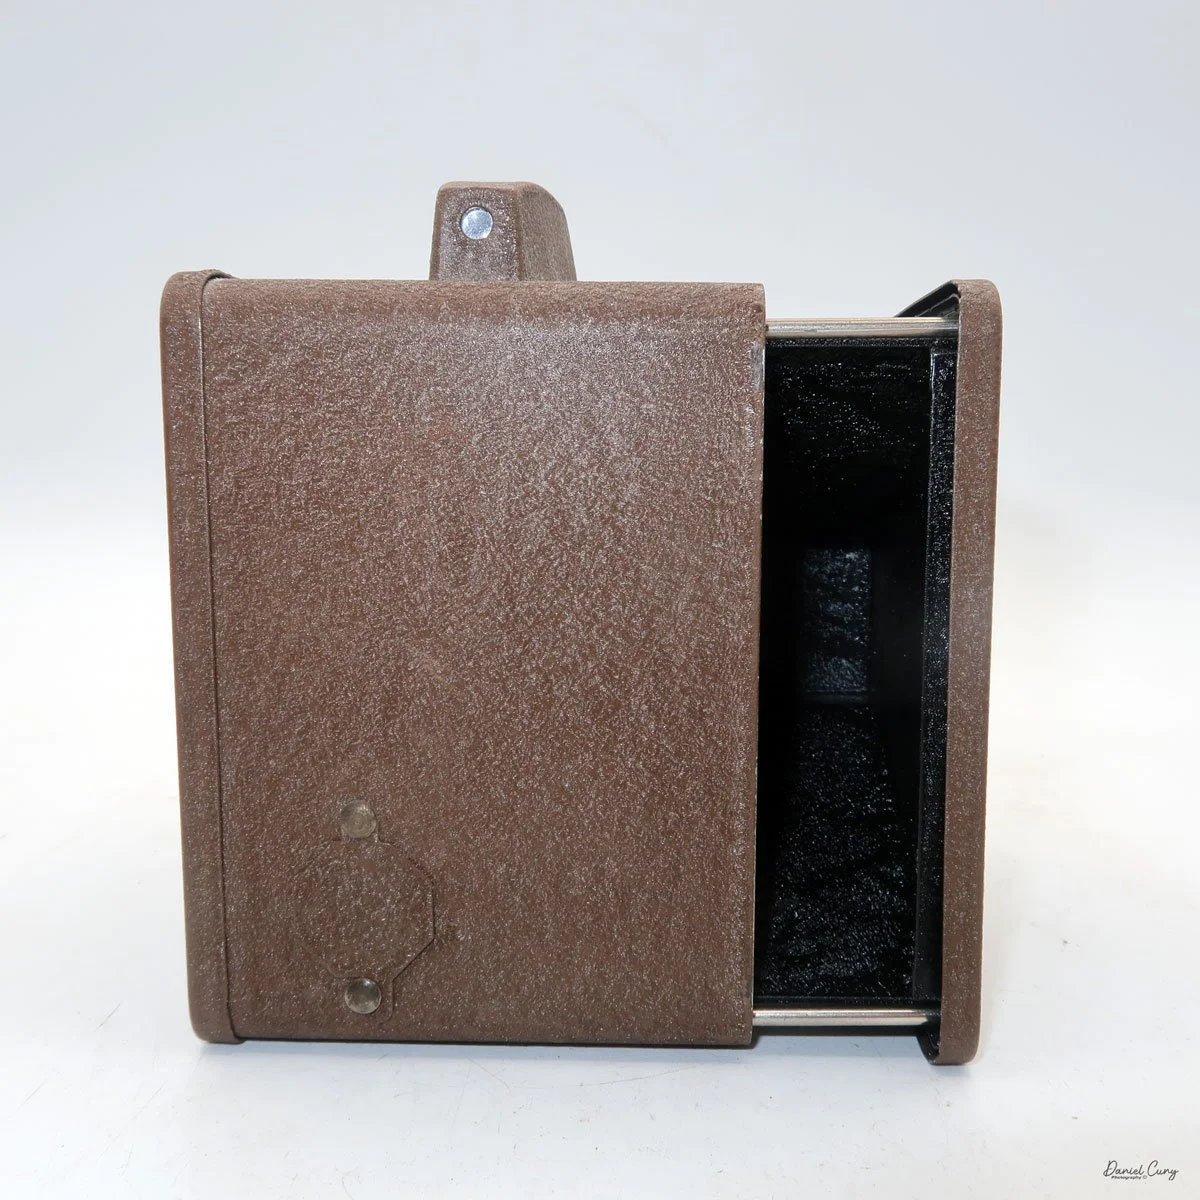
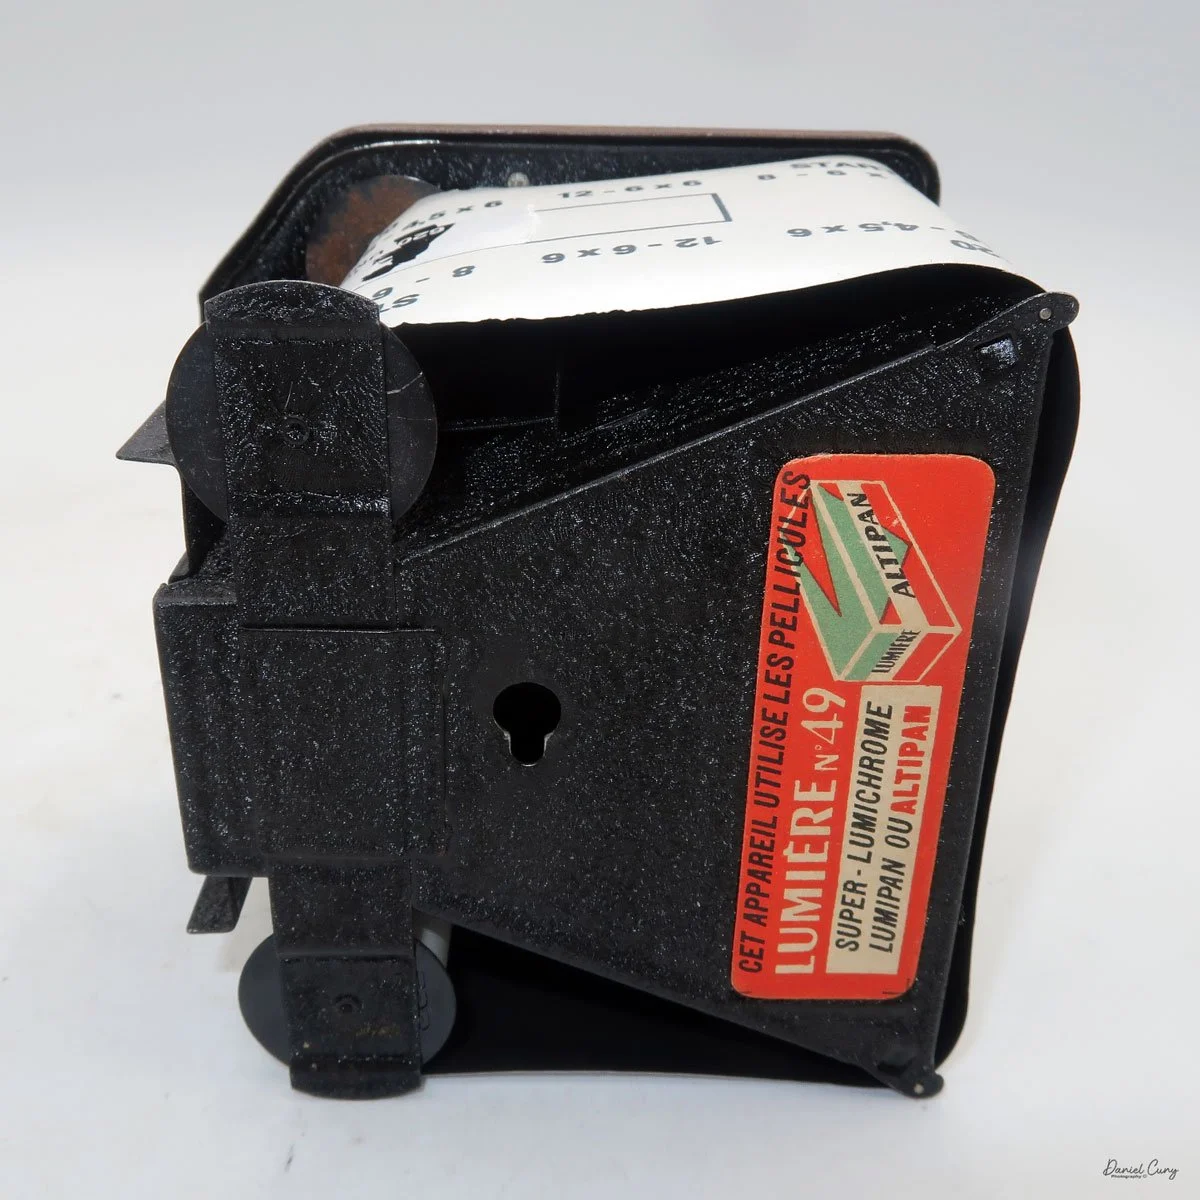
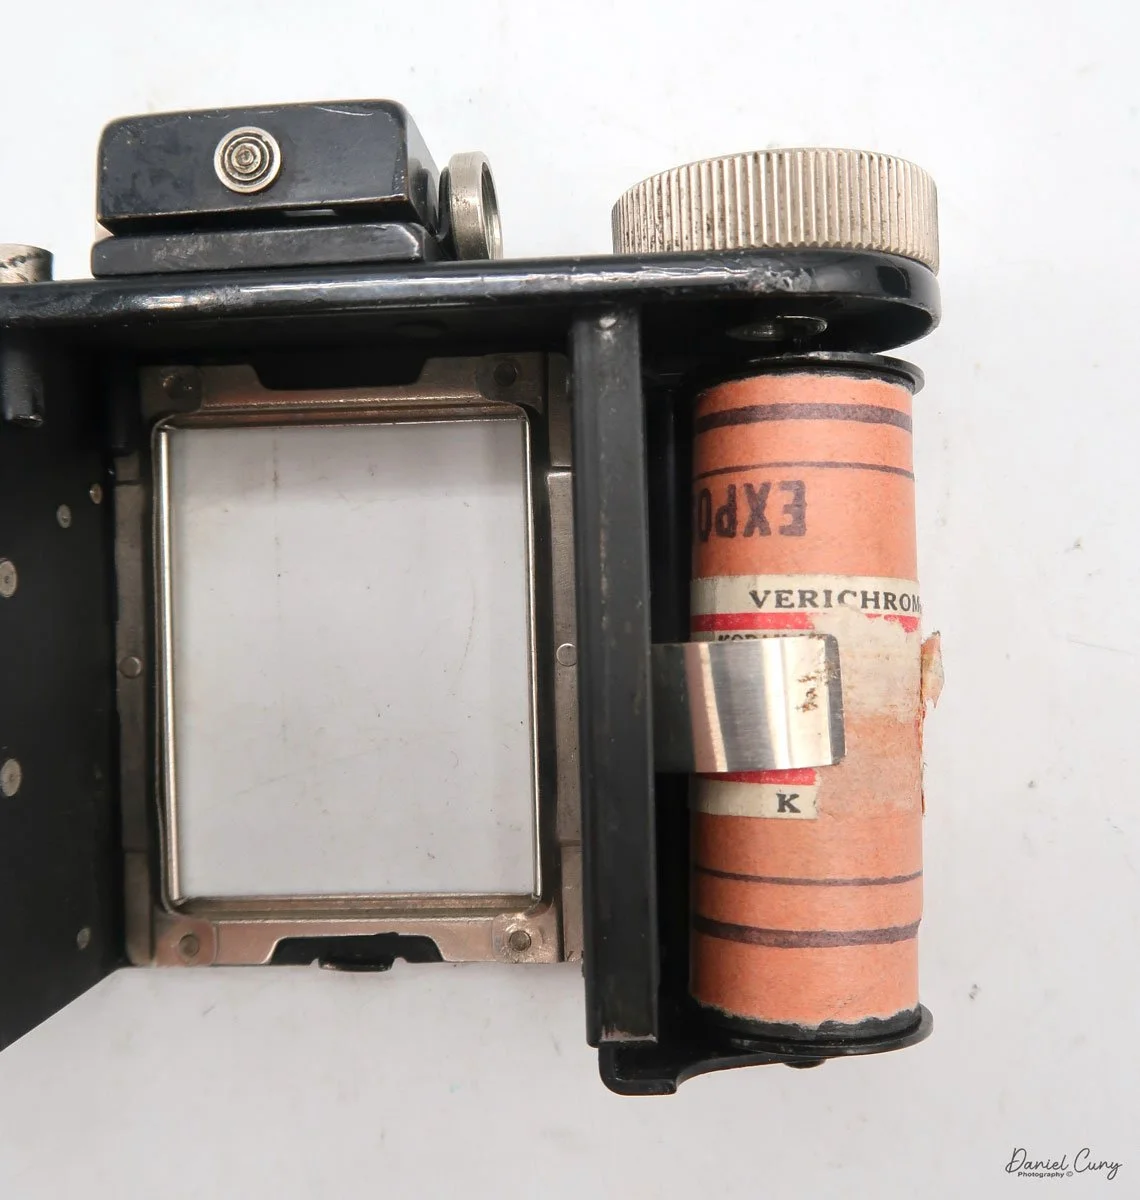
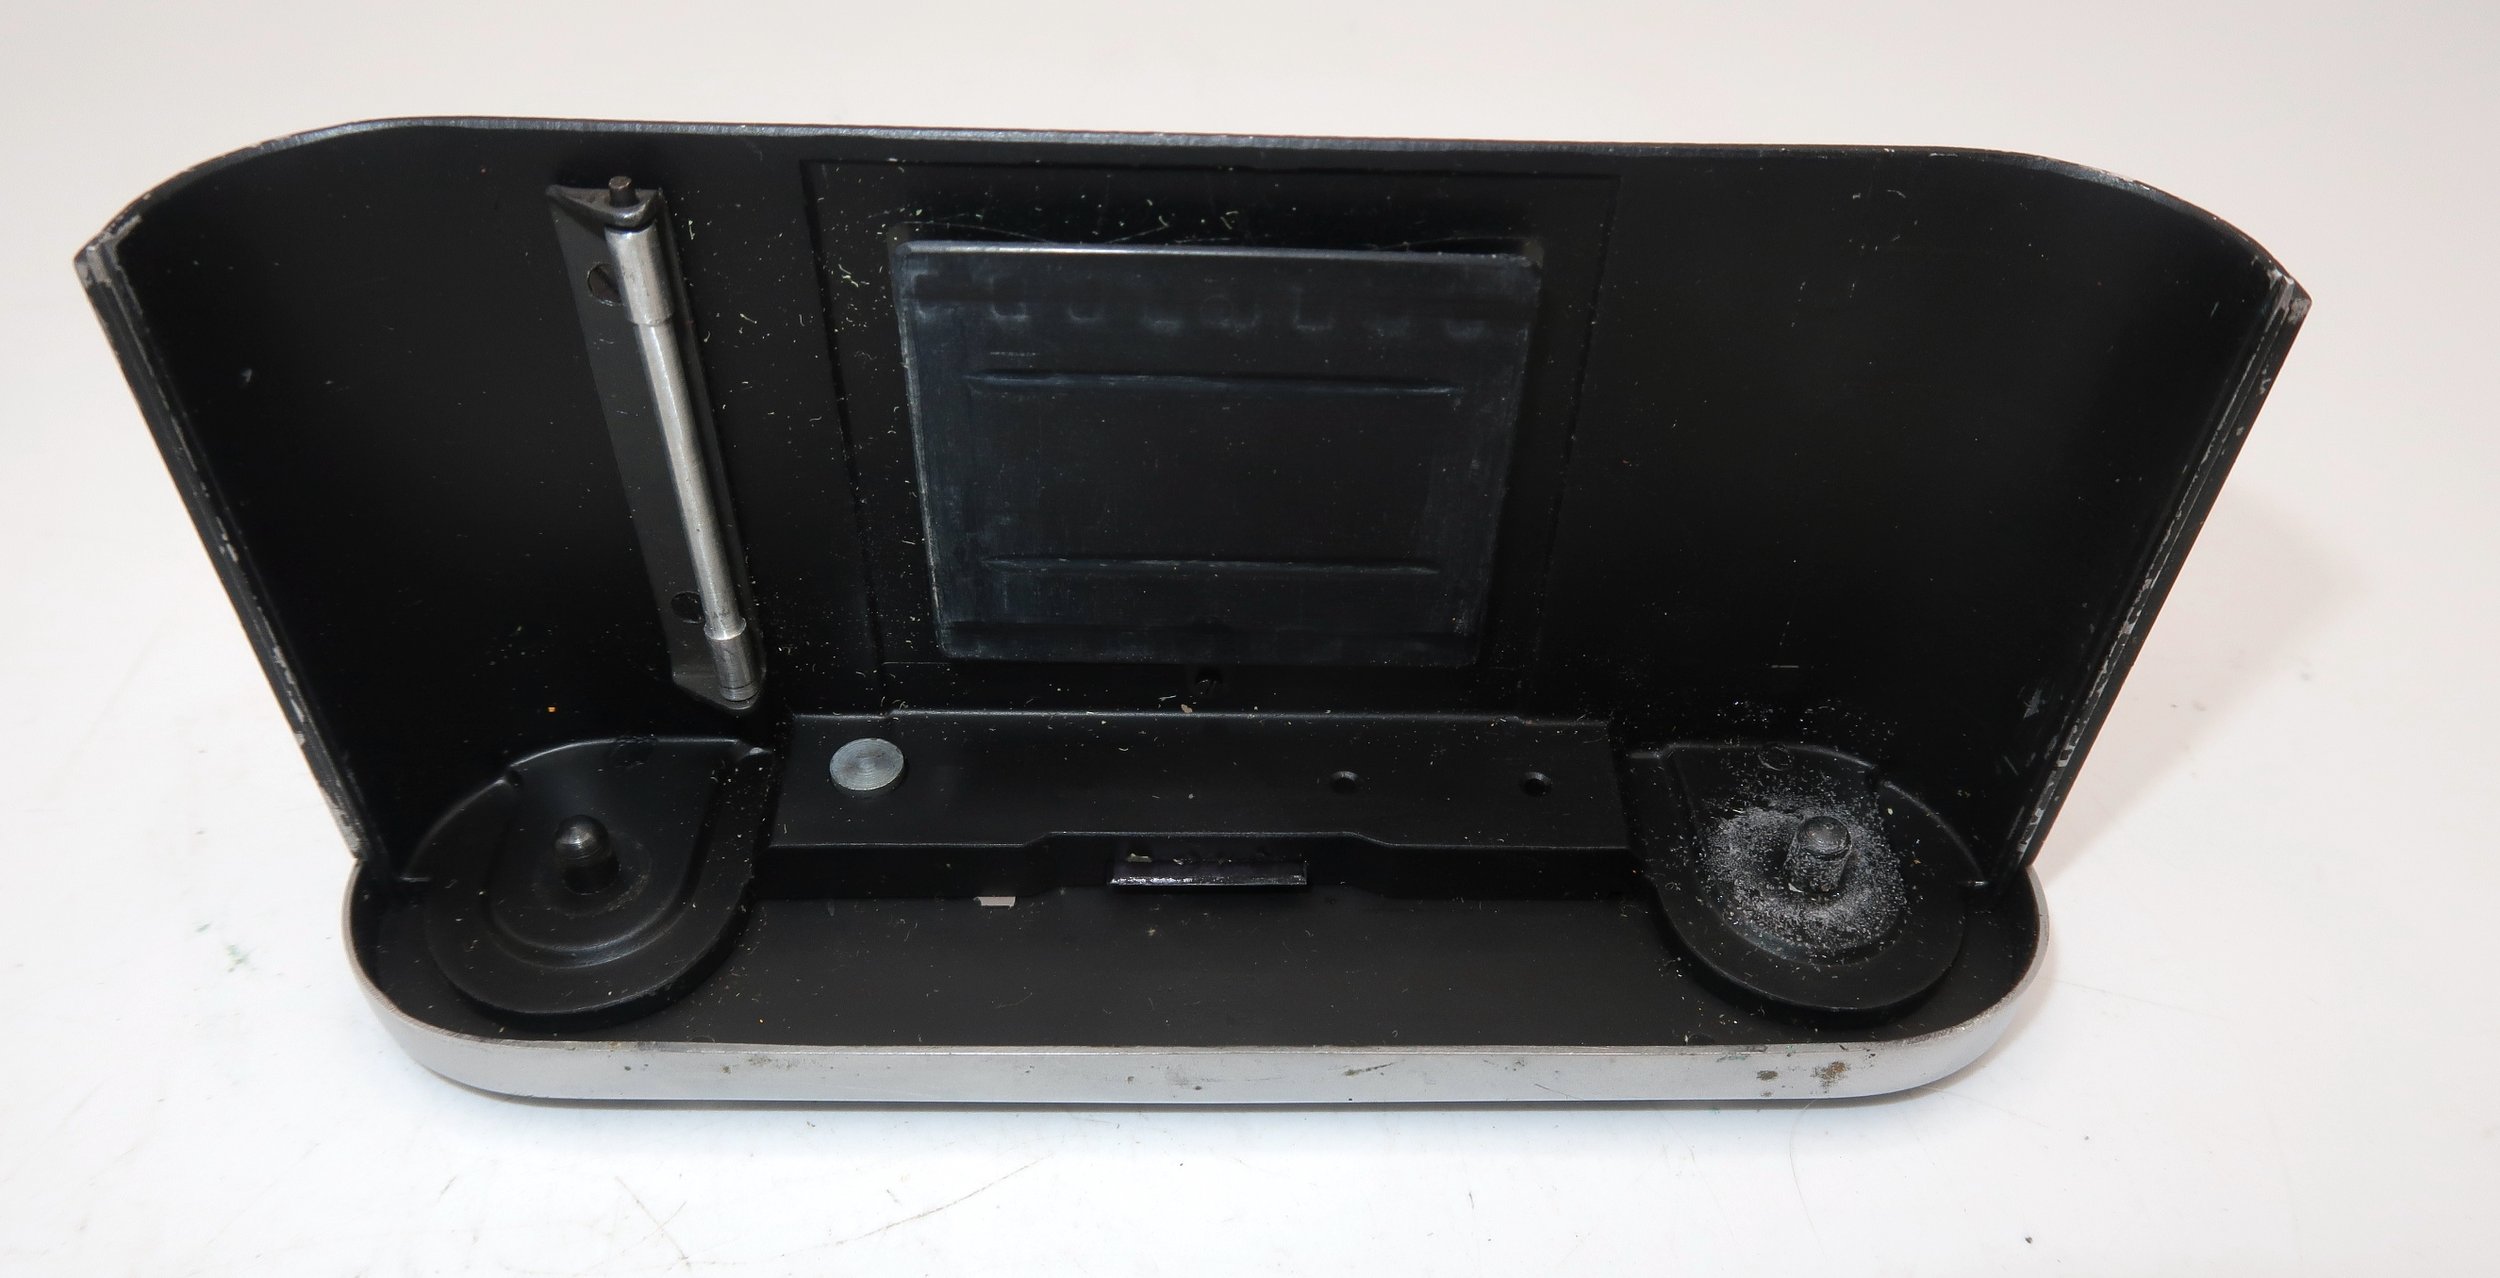
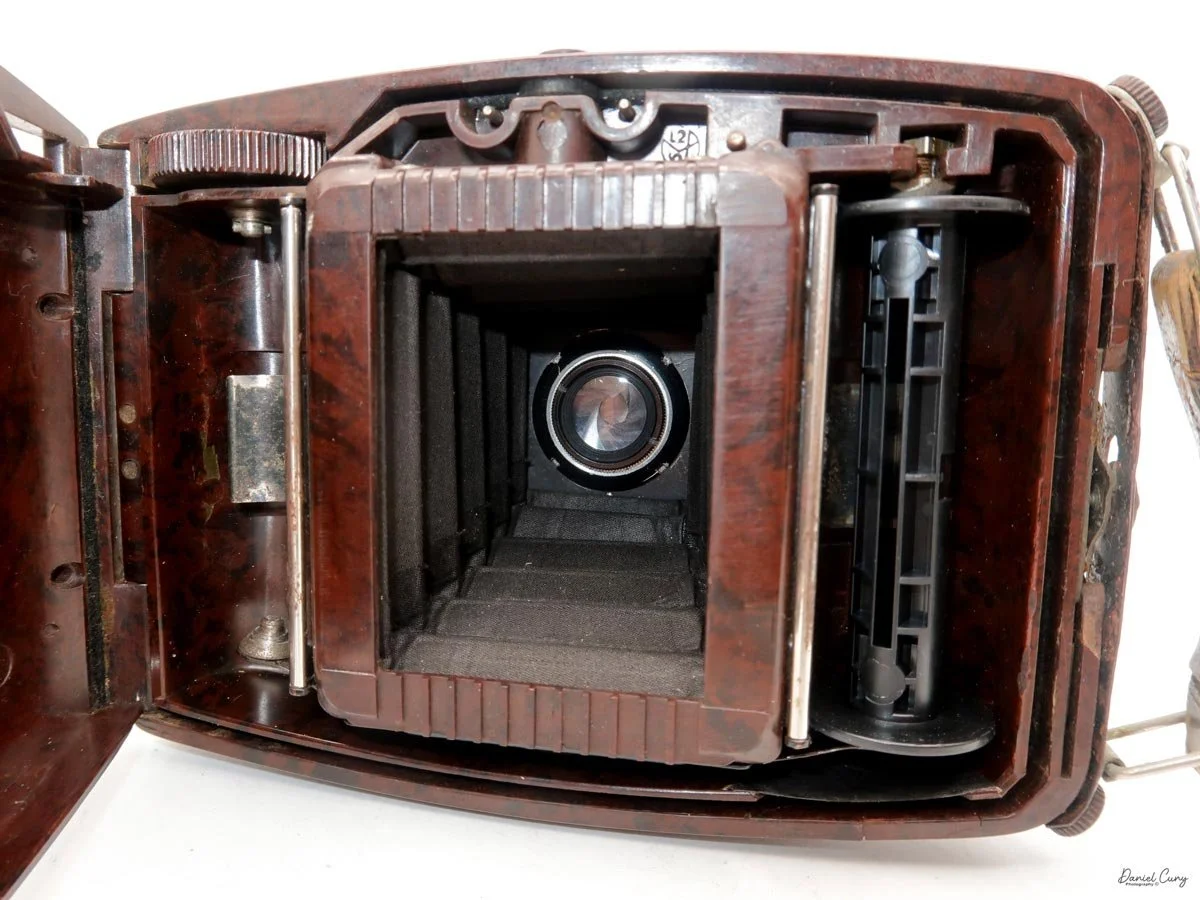
Opening the film back to load film is done by sliding the locking lever, which is located under the camera's strap. Once unlocked, you can slide the door open to reveal the camera's film chamber. Once opened, you'll see the vertical format 6x4.5 film area. The new film goes on the right side of the camera, and you'll transfer the empty spool from the right side to the left, where the film's winding wheel is located. My camera didn't have an empty spool, so I needed to supply the camera with one.
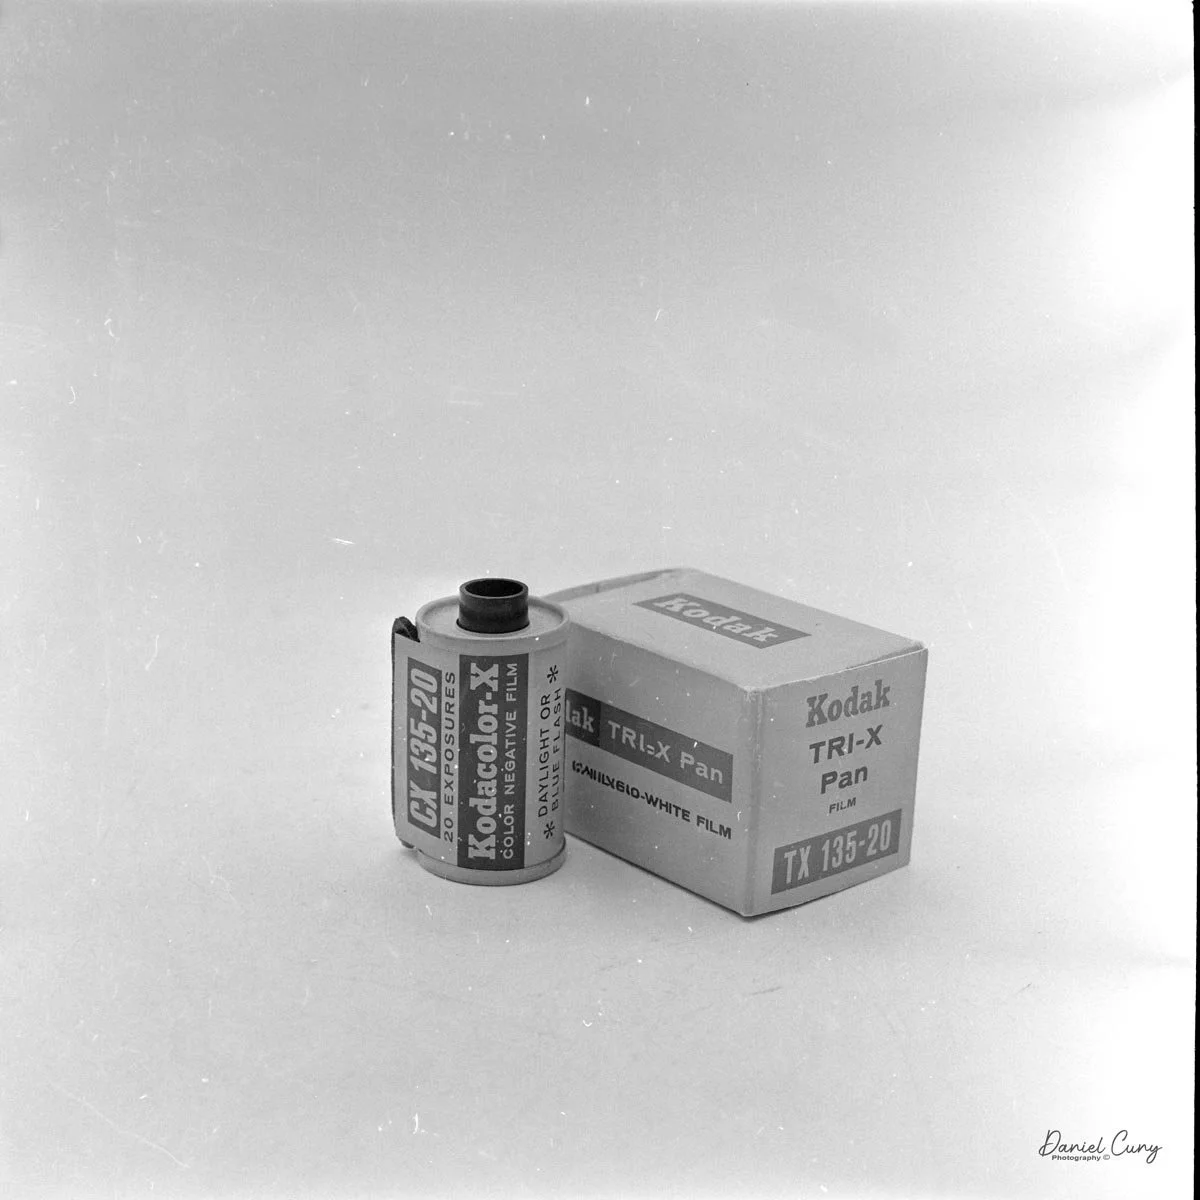
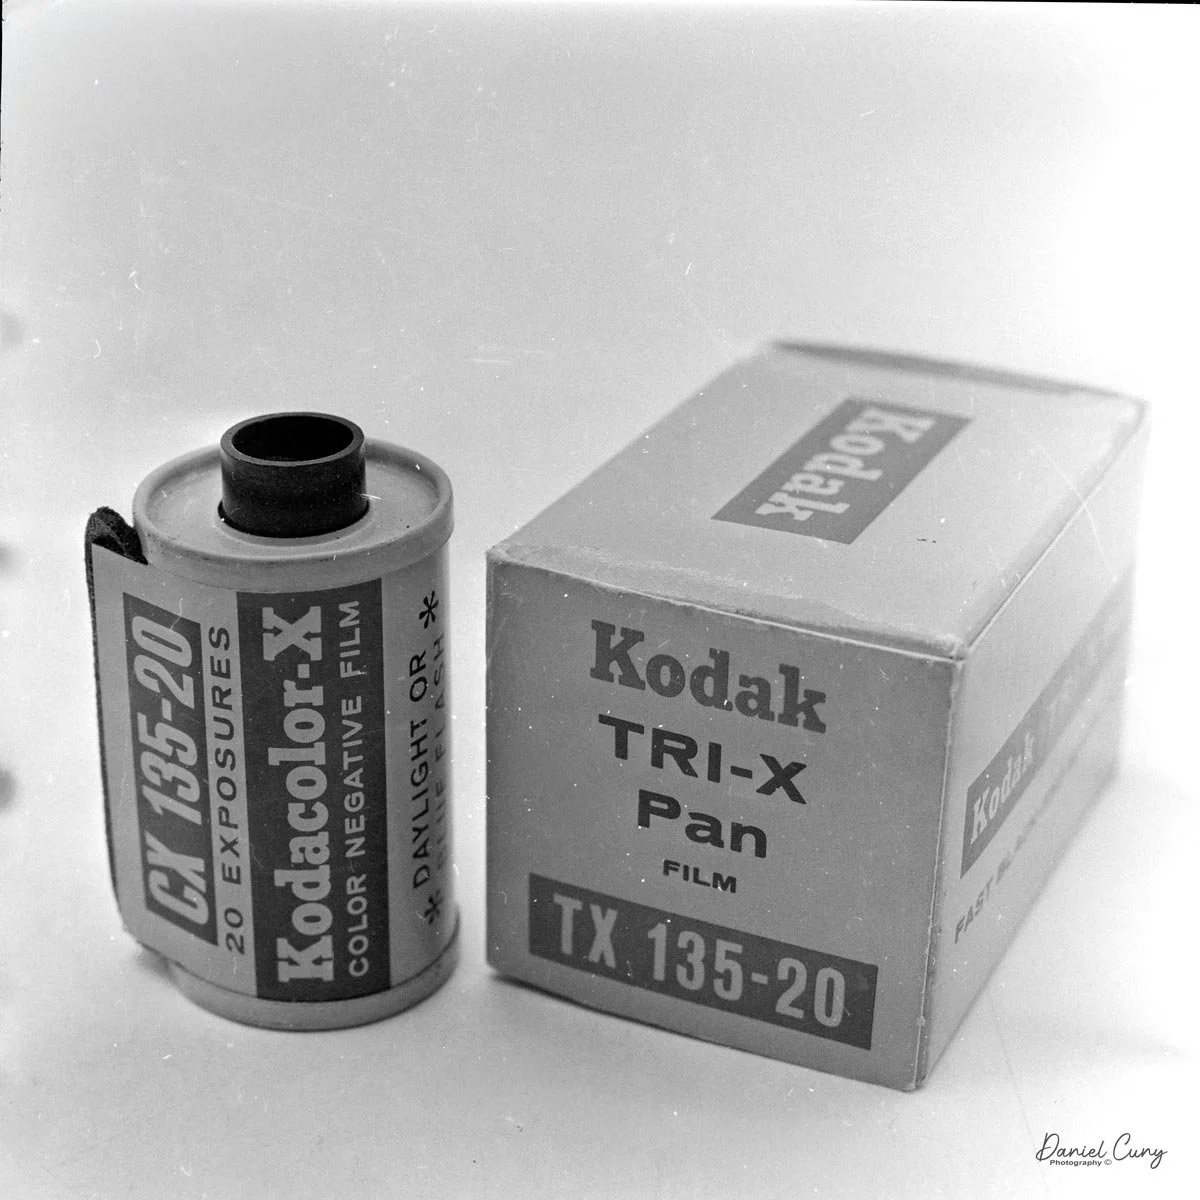
Looking at the film holders' pins, the camera takes 620 film, but I accidentally loaded the camera's take-up chamber with 120 film, and it fit. Generally, when I try to put 120 in a 620 camera, the spools don't fit, or they don't turn because the pins are too small to grab the 120 spool. Let's see if I can load a roll of 120 film in the camera. Interestingly, this camera: the 120 film fits a bit snug, but the film advance engaged with the spool, and the film wound smoothly.


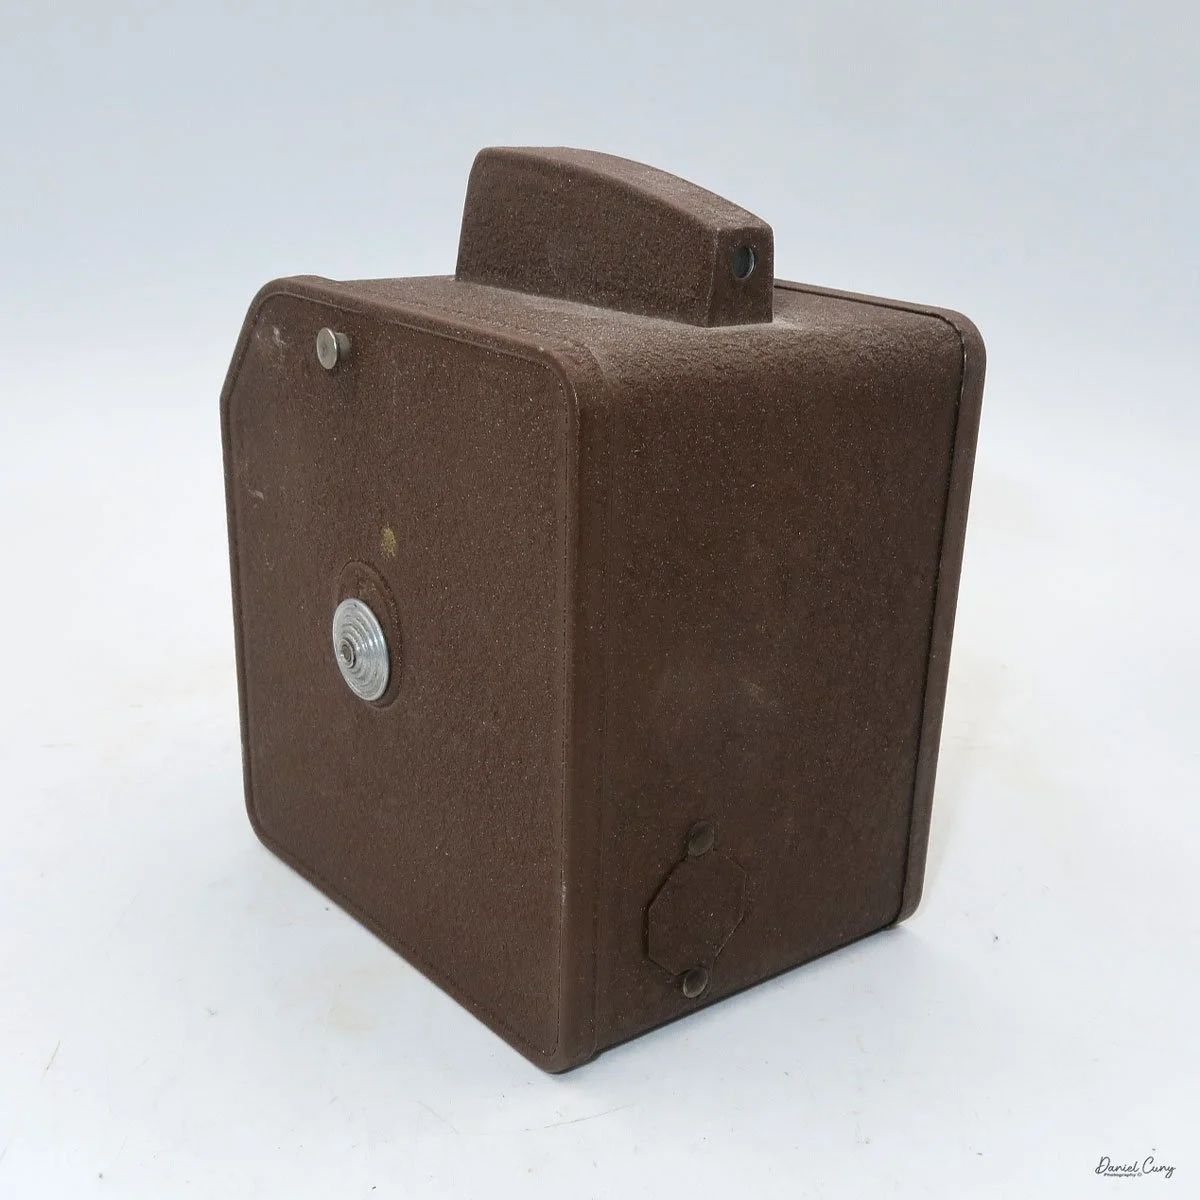
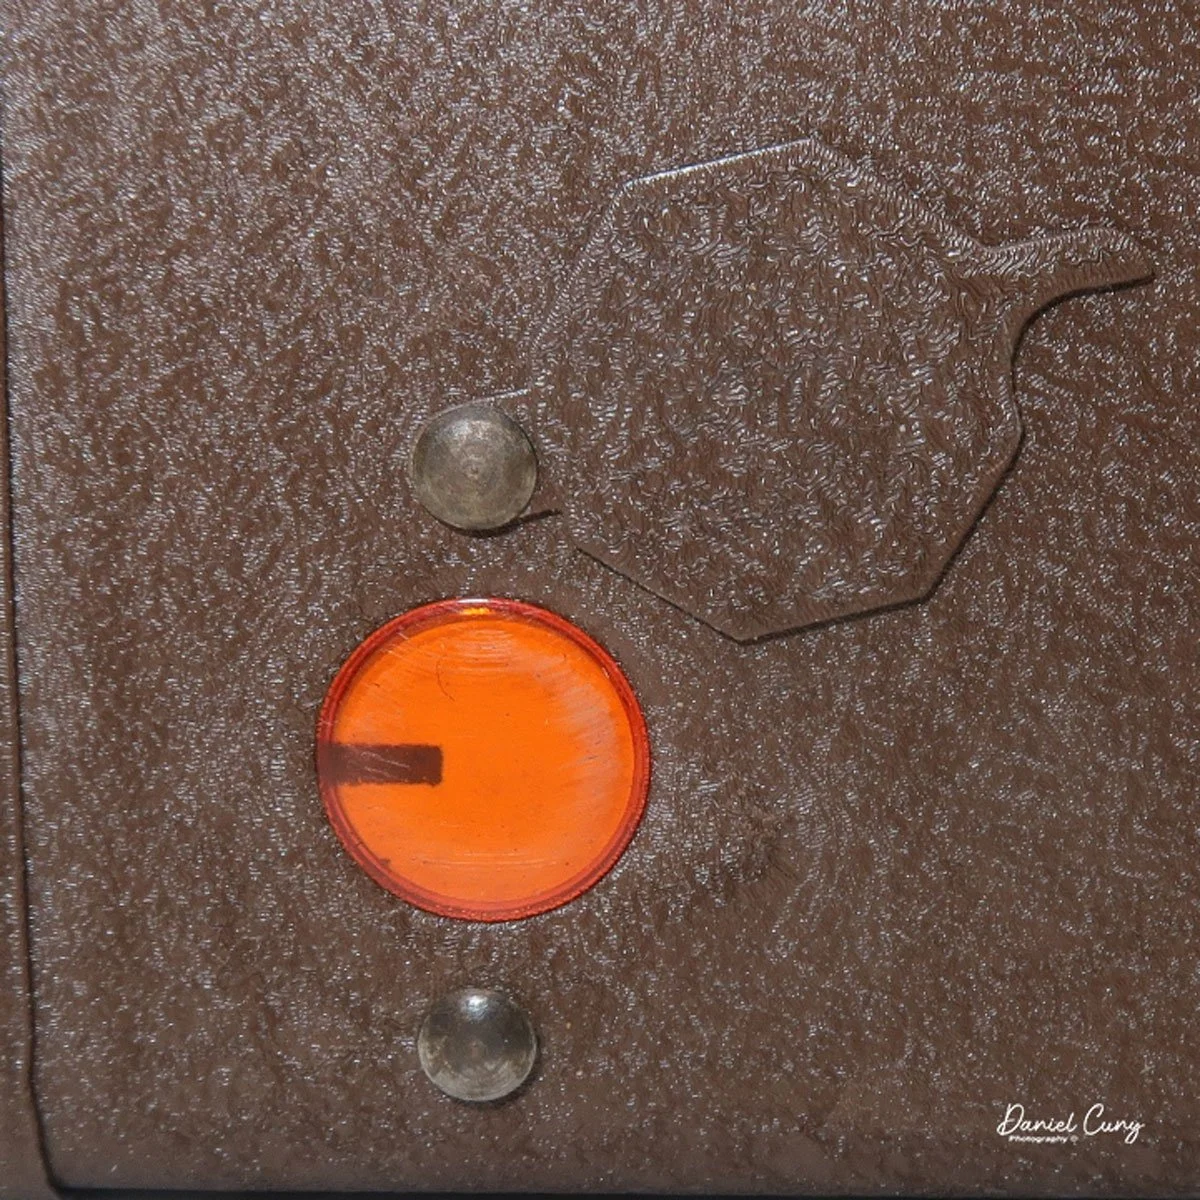
Since the camera is 6x4.5cm, with two red windows on the back, this symbolizes that you start with the number one in the first window, take your photo, and then wind the film until the number one shows up in the second window. You do this with the whole roll, which ends with the number eight showing in the second window, giving you sixteen images per roll of film.
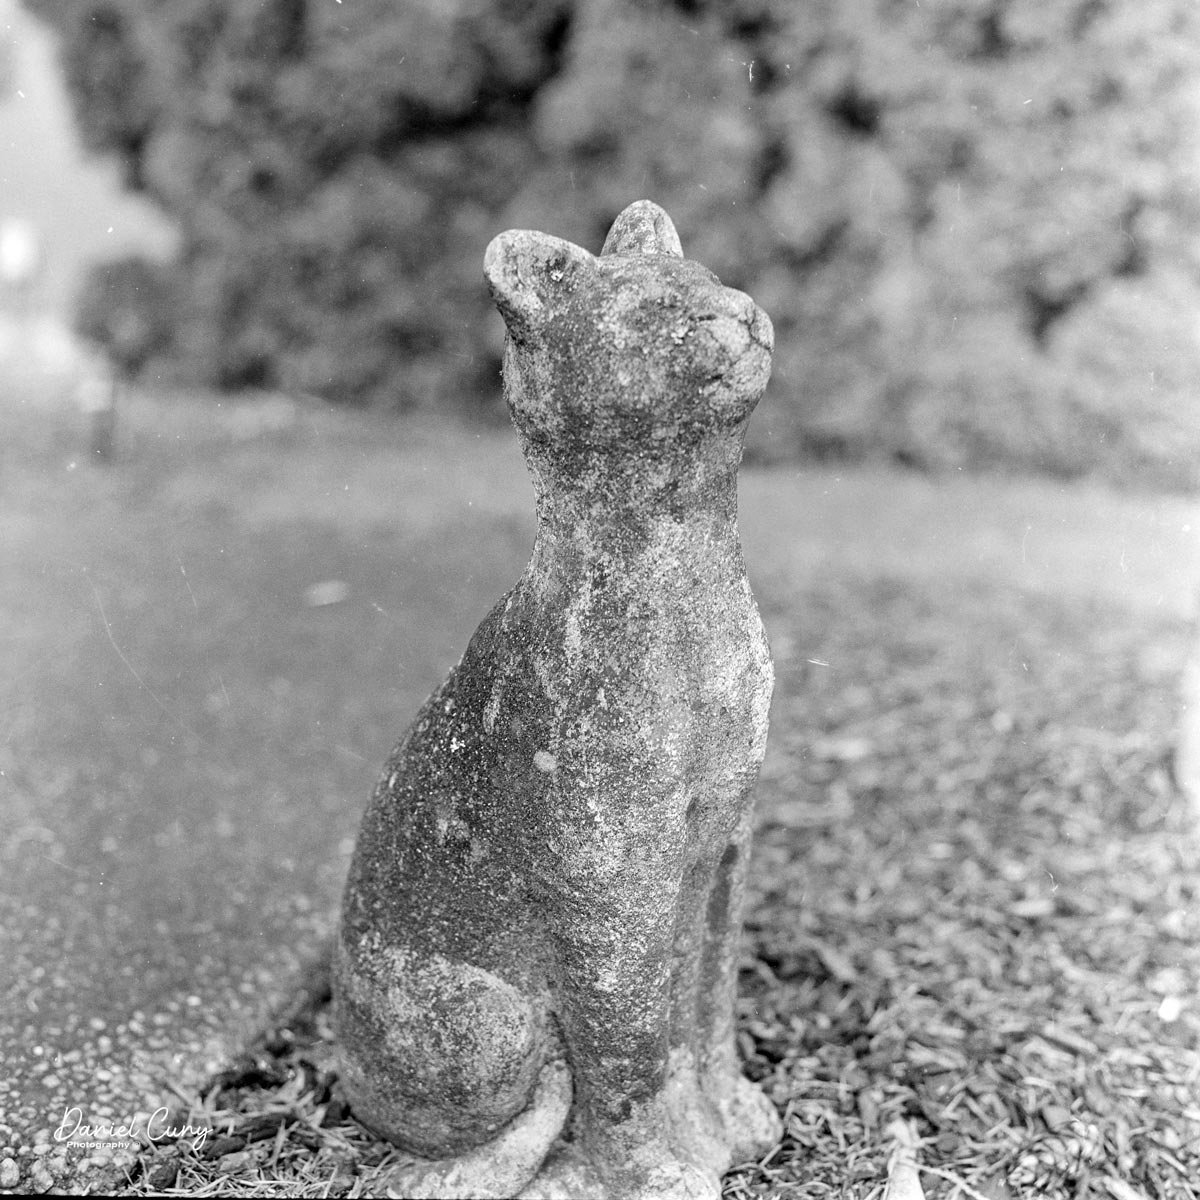
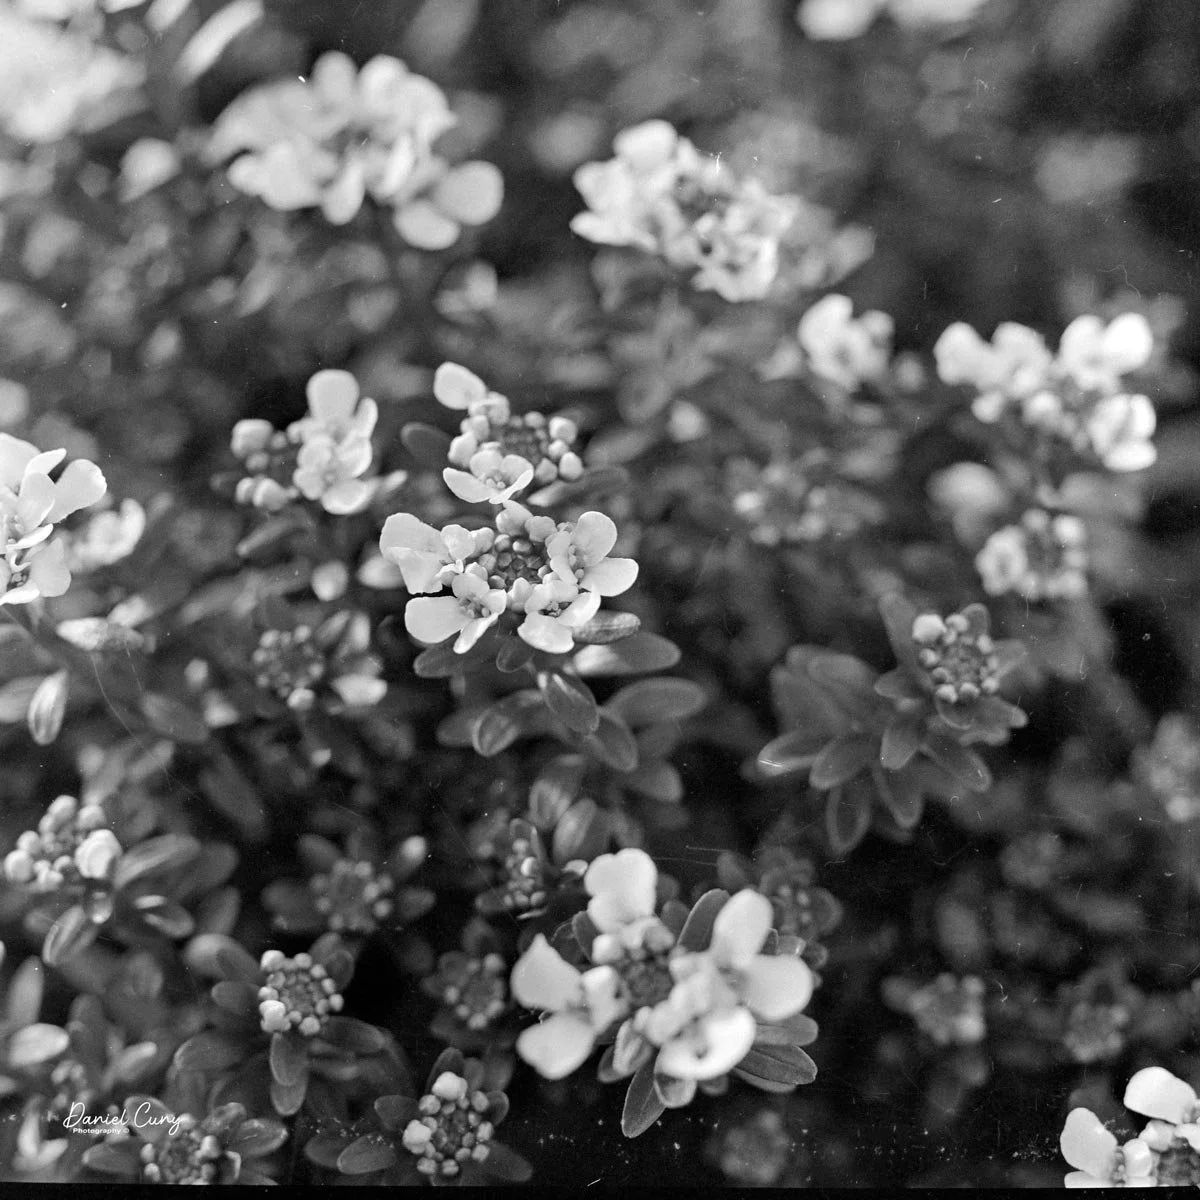
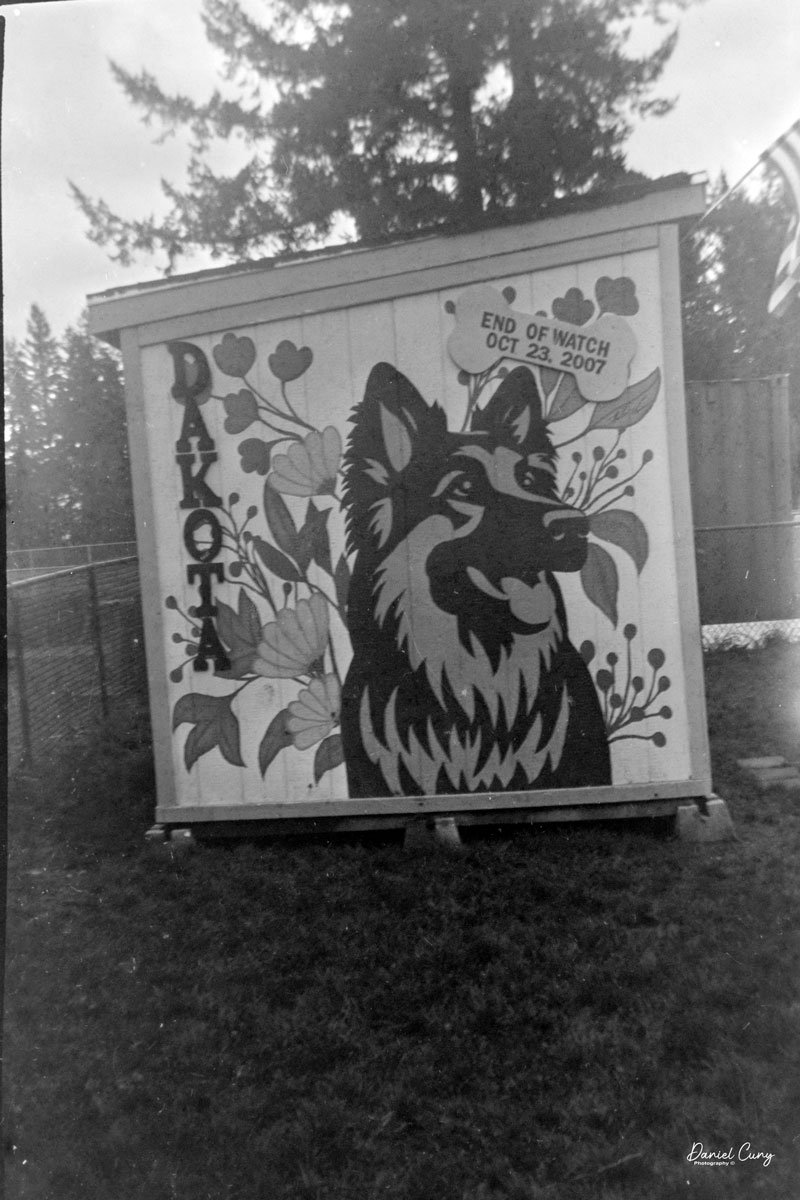
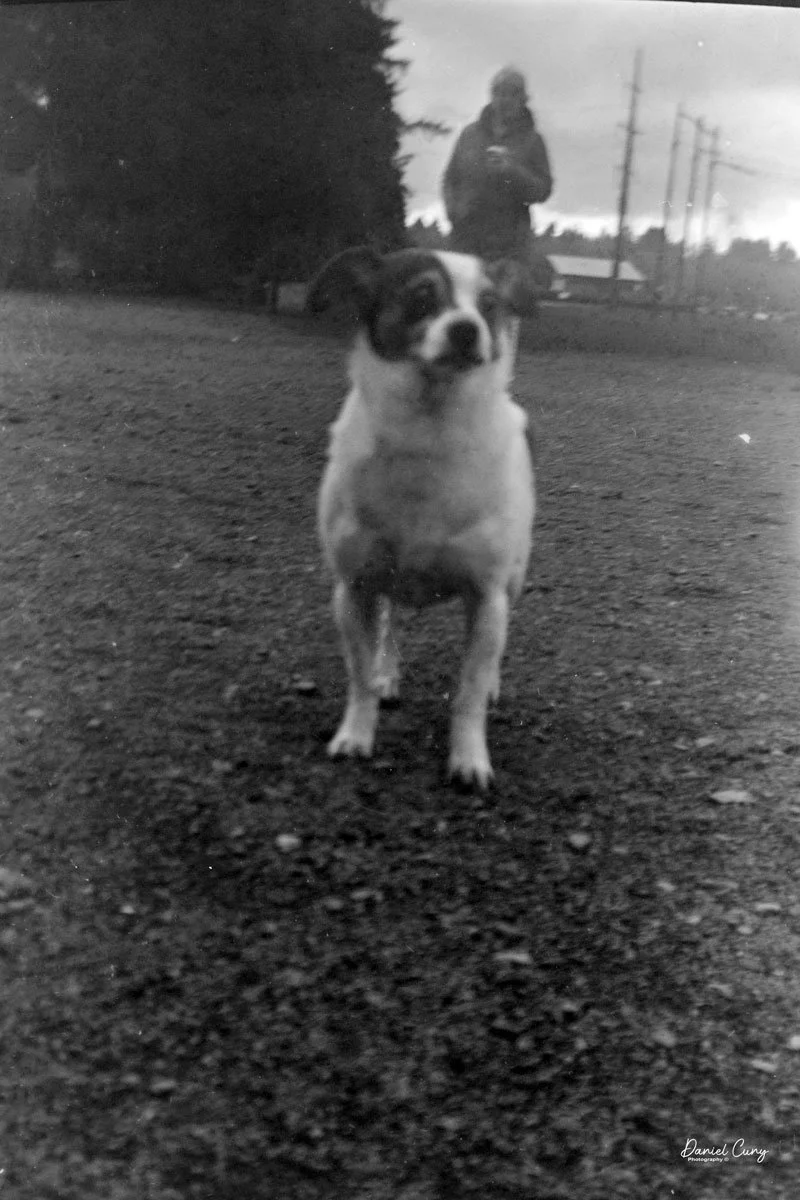
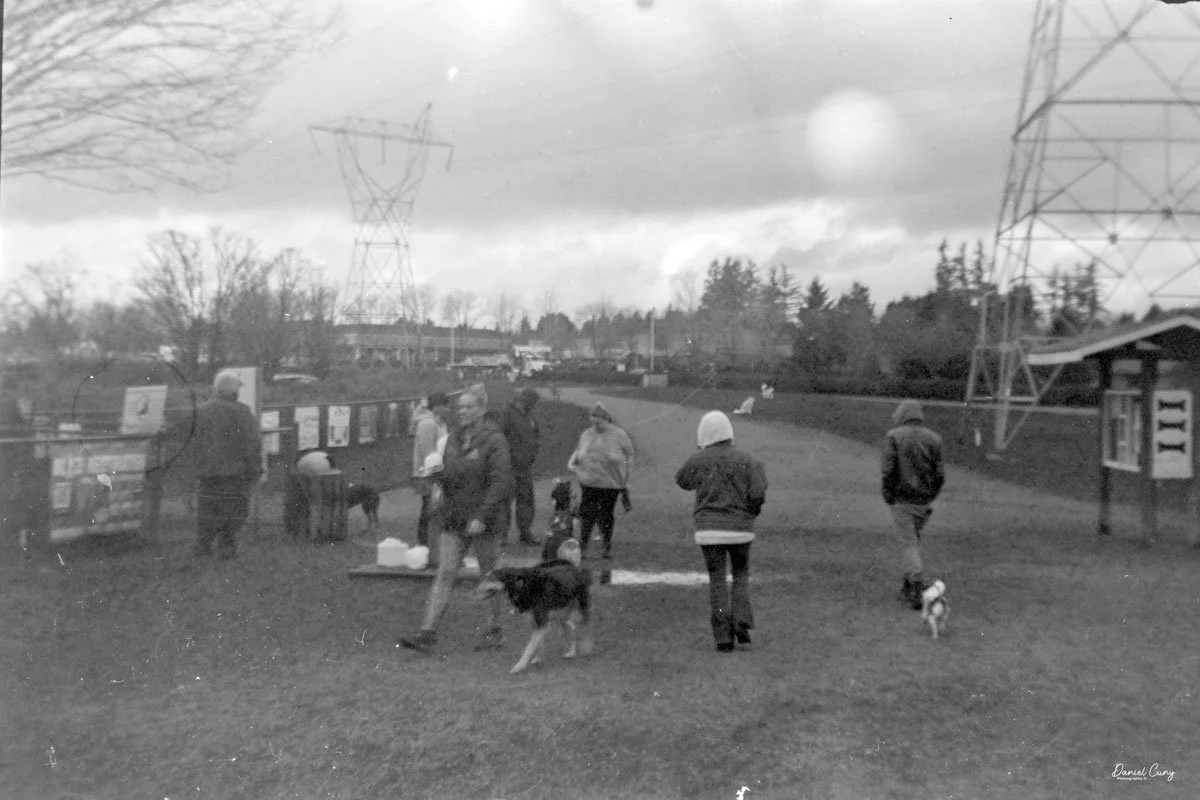
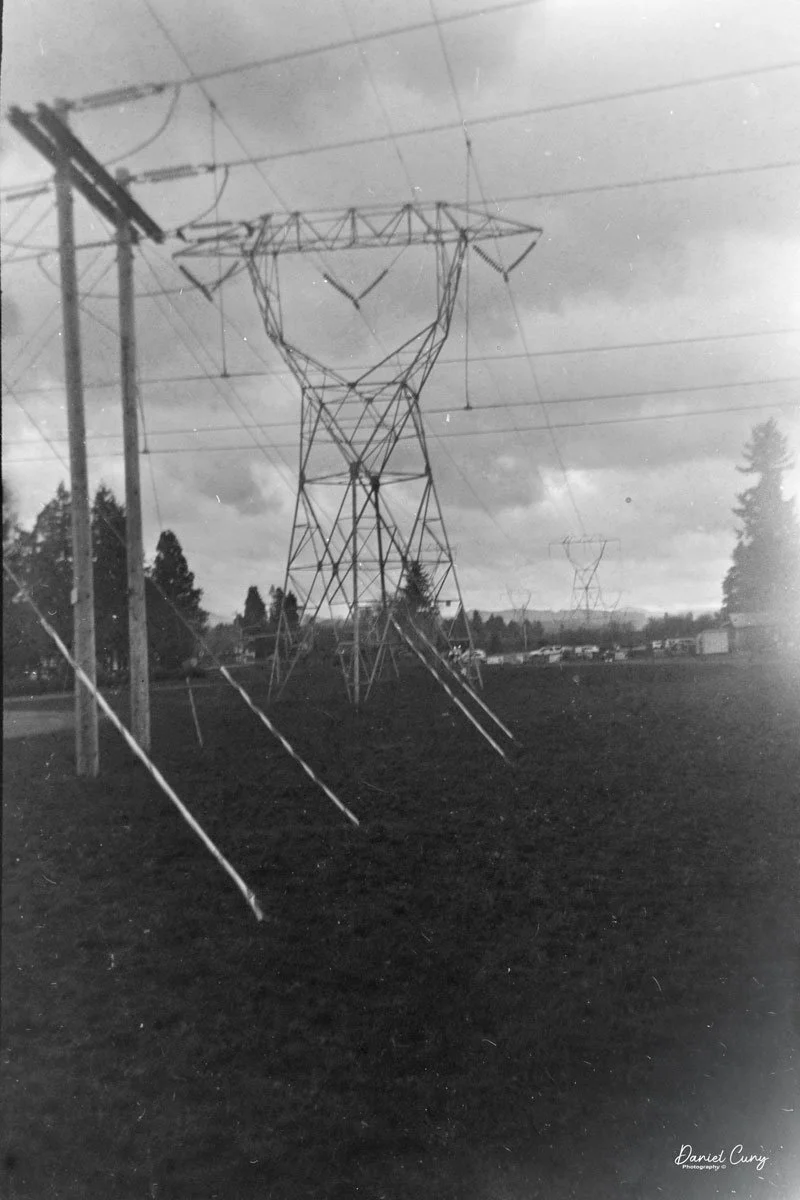
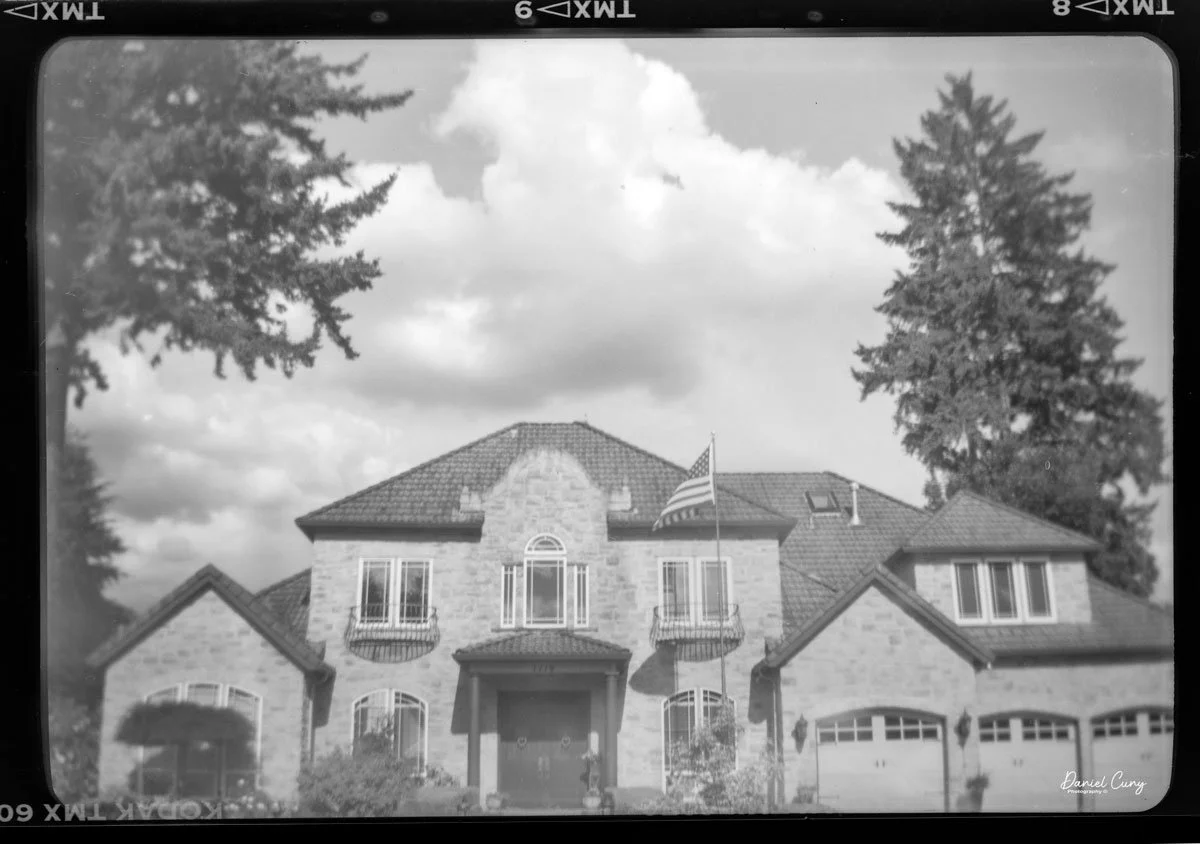
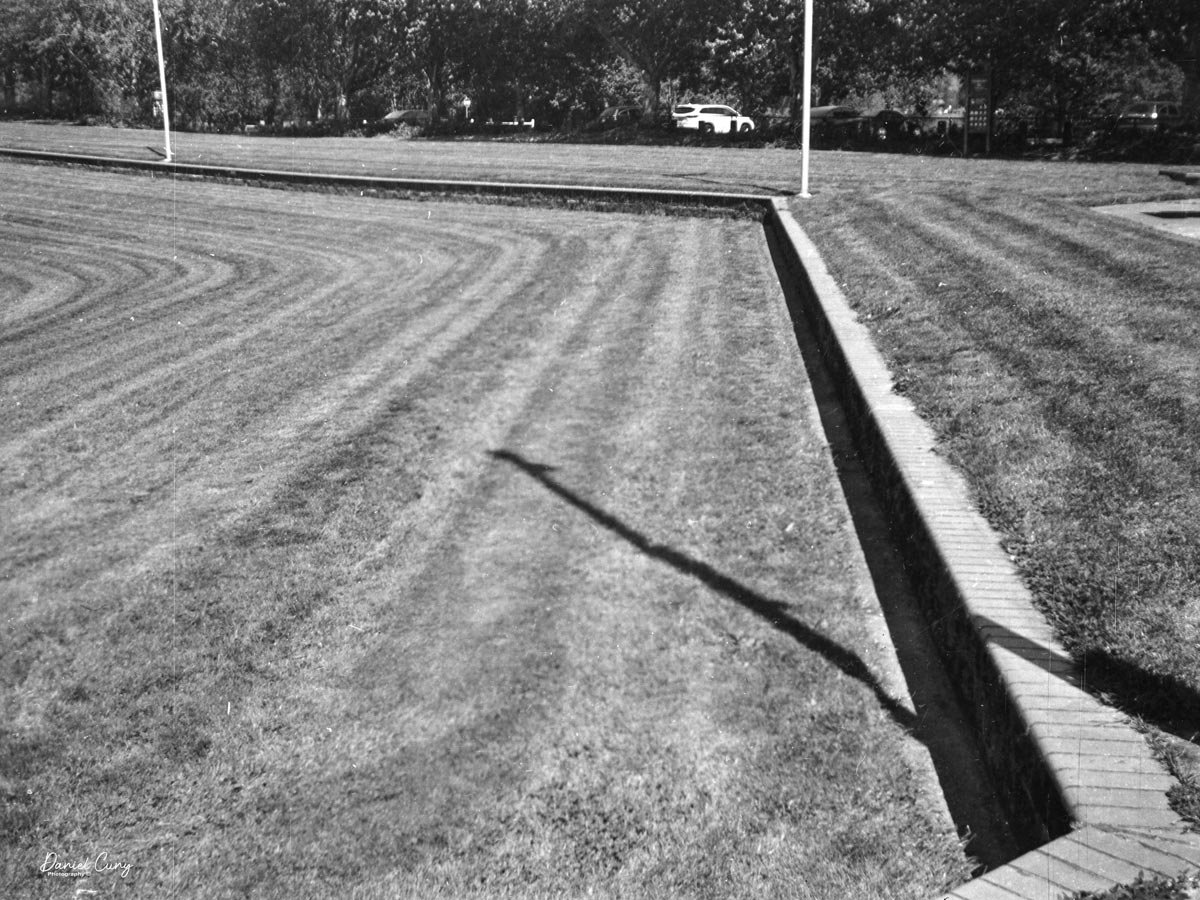
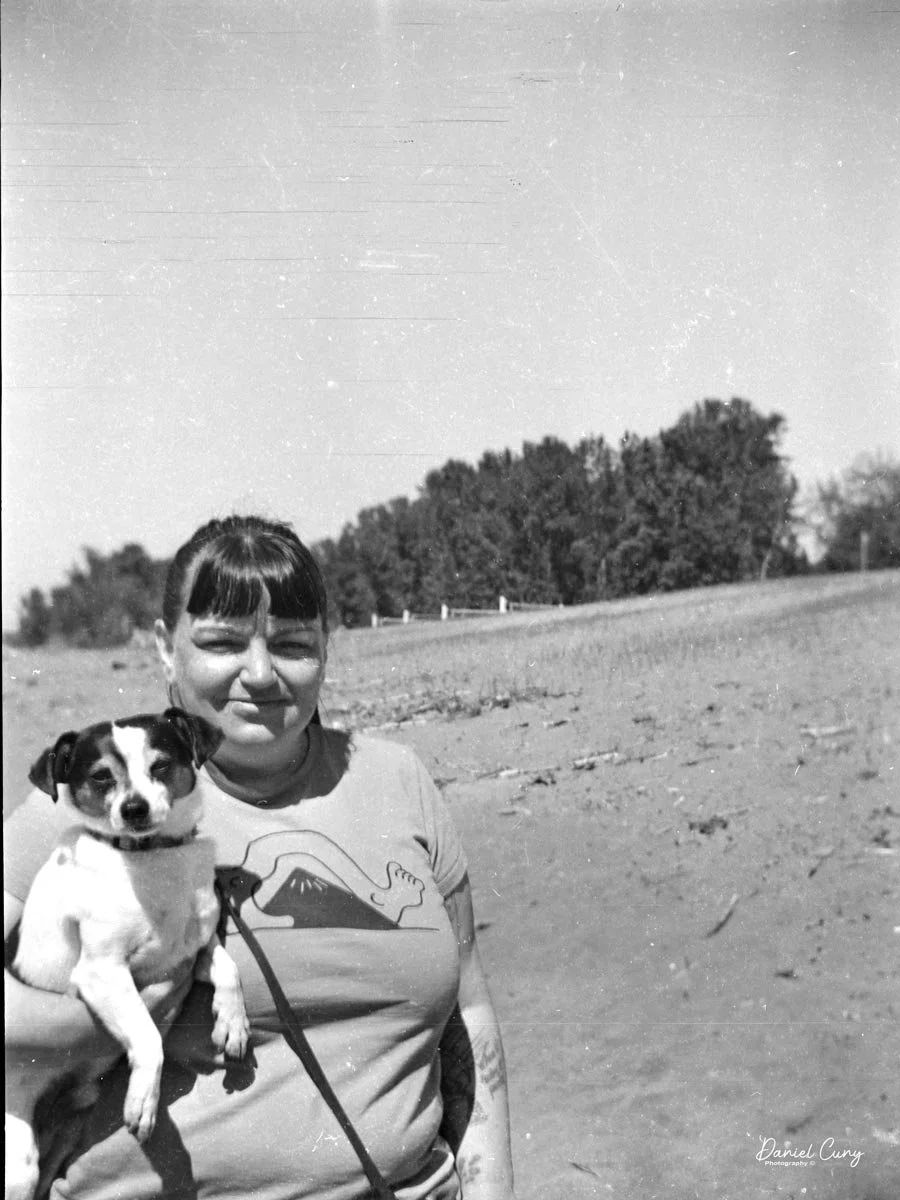
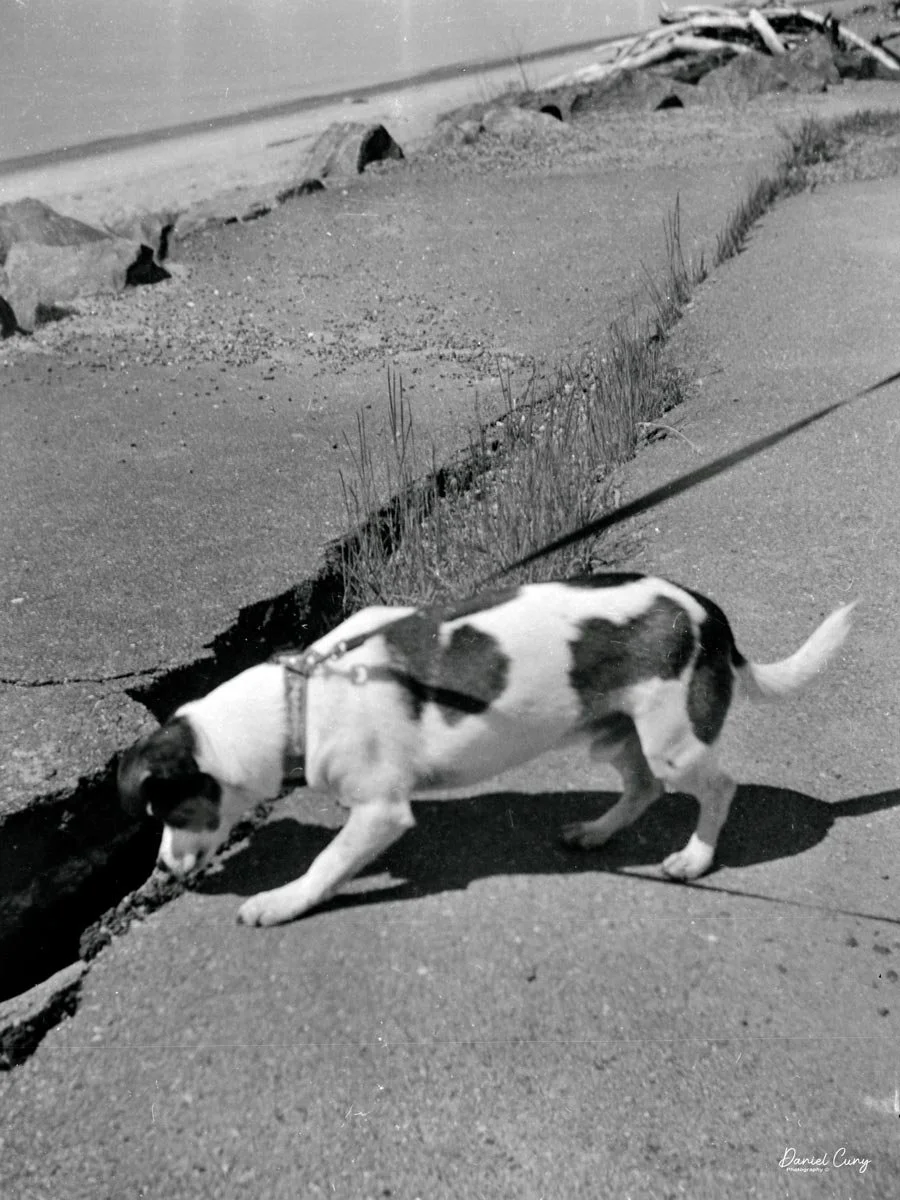
Once the film was loaded in the camera and the "start" arrows were showing, I closed the back of the camera, and my daughter, her dog, Bean. I went for a walk along the Columbia River and took photos with the camera. The camera is very "pocketable" and travels extremely well.
Let's see how the images turned out.

The Results:
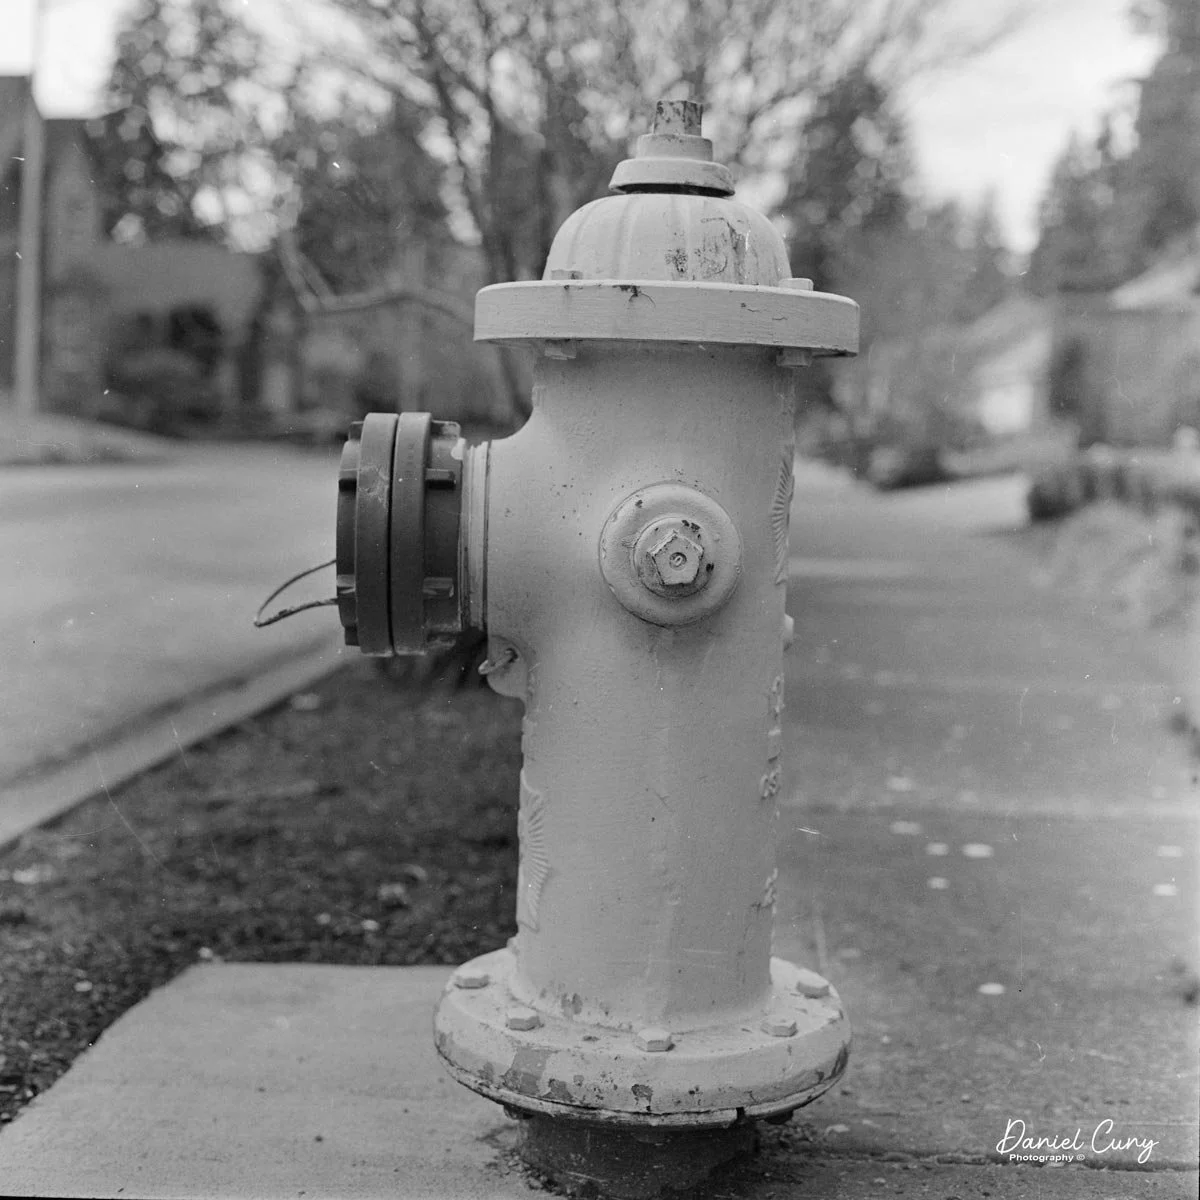
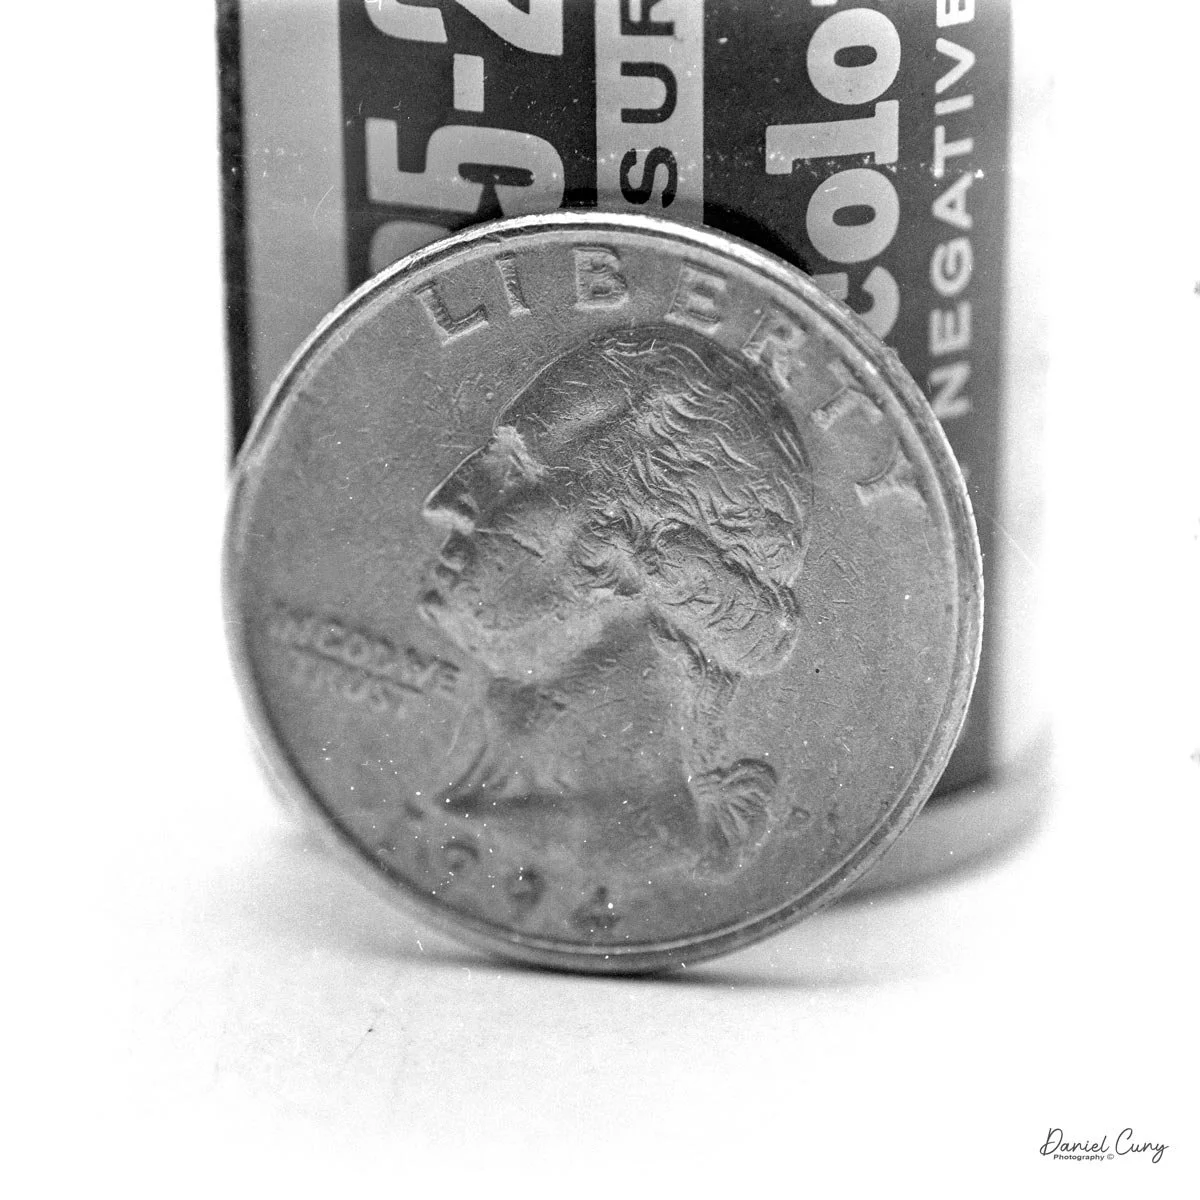
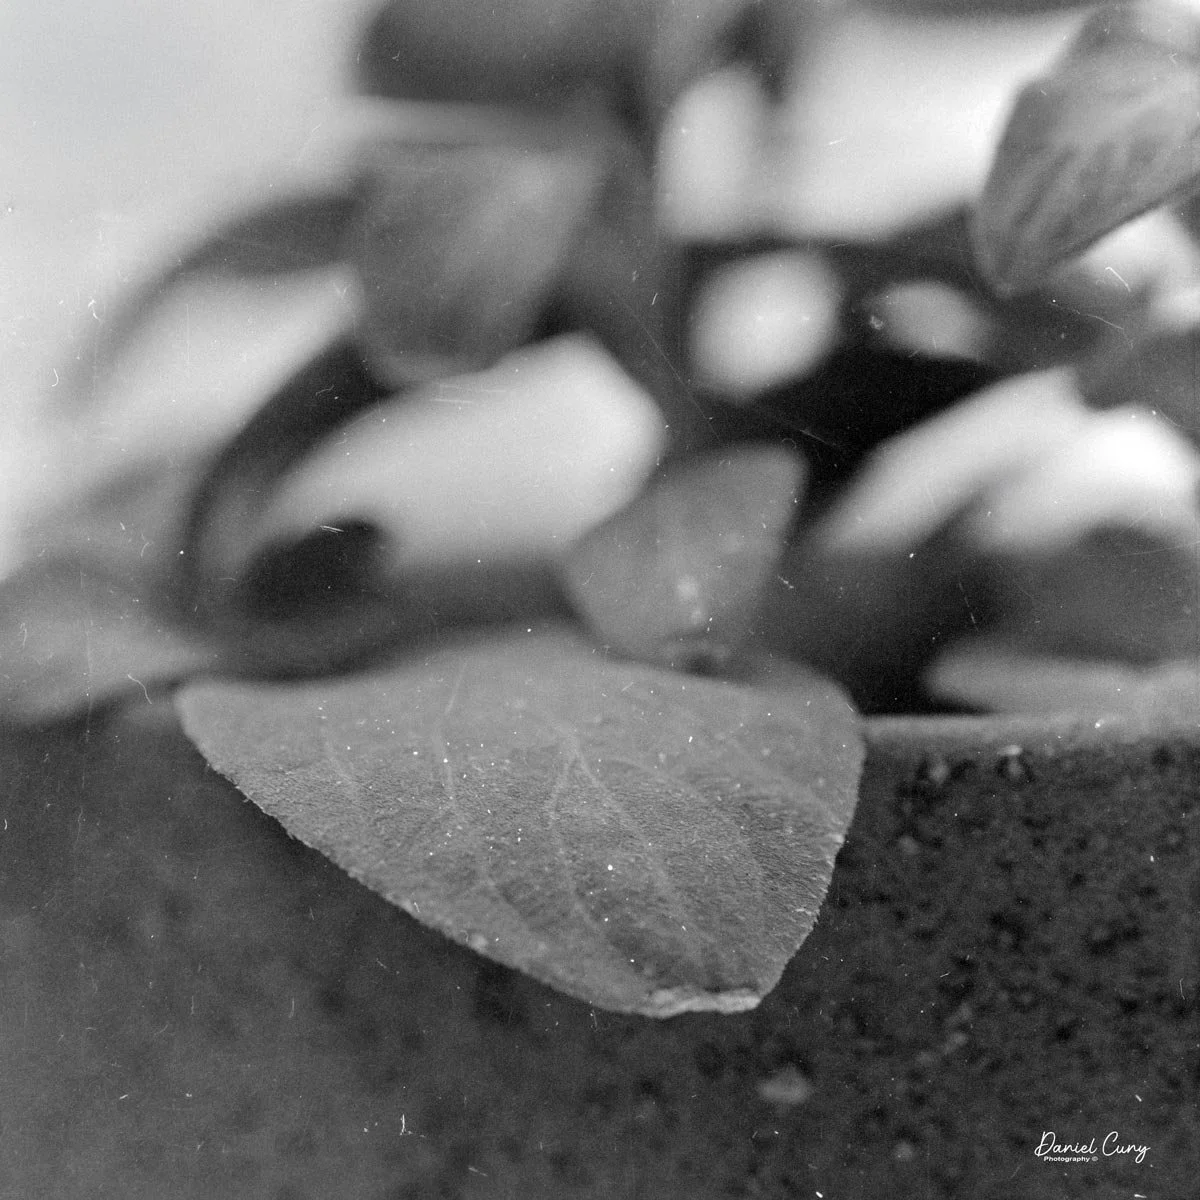
The results aren't bad, but not the sharpest images either, especially compared to the Kolar Kola camera. I may have missed the focus distance, but most of the photos are sharp enough for an 8x10. Here are some of the images I took while walking the Columbia River with my daughter and Bean, her dog.


Conclusion:
There are several things I really like about the camera. Still, the thing I enjoyed most about this camera is its thinness when traveling. It's so thin compared to other medium-format cameras; for me, it makes it fun to use. Not being bulky or clumsy and being fairly lightweight make this camera a real pleasure to carry around.
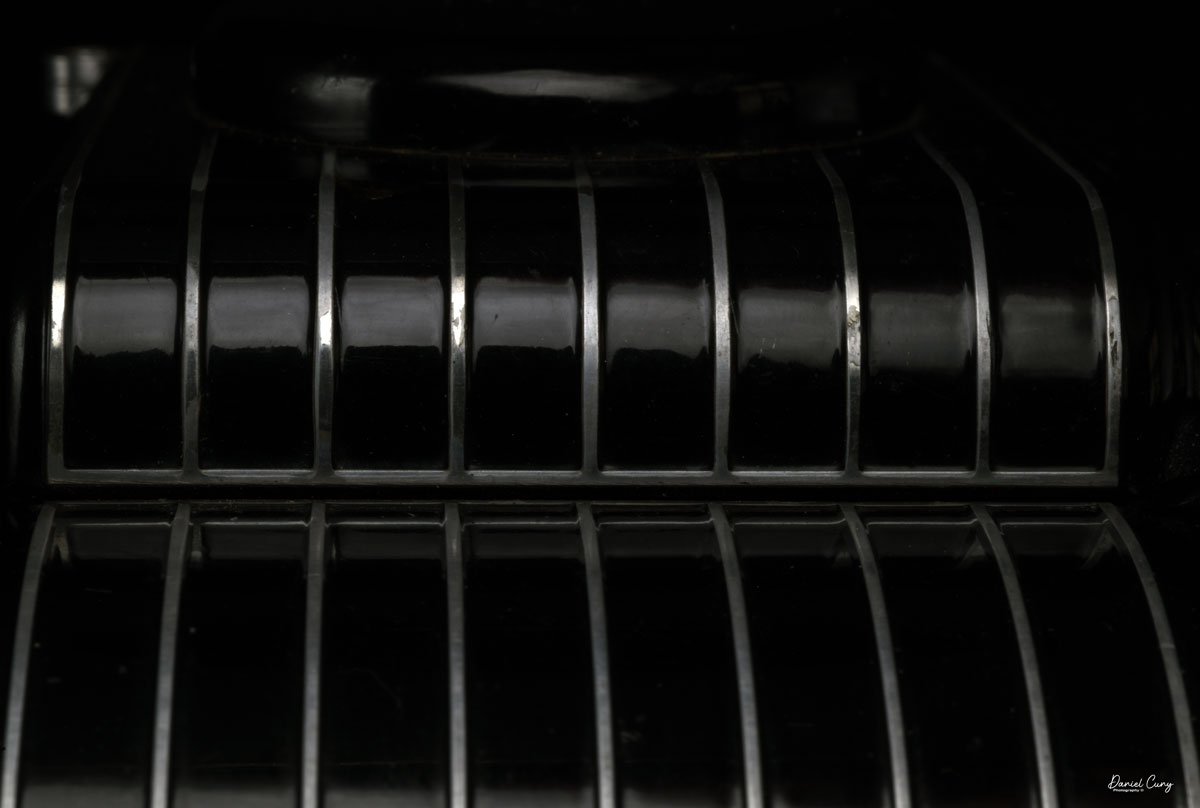
The brown pebble finish is also a bonus in my opinion, adding more to the camera than leather and chrome alone. It has a very appealing feel and firmness that make the camera fun to hold.
Designers in the 1930s were still in the Art Deco period. They had a real sense of classical design, which they implemented in their products. It makes me even more want to buy a 3D printer to experiment with designs and textures, which I feel are lacking in today's designs.
Thank you for taking the time to learn a bit about this very classic and rare camera made in Stuttgart, Germany, in the early to mid-1930s.
I'd love to hear from you, so if you have a comment or one of your own, please share it with us here.
Here are my other Camera Reviews.
Cuny's Camera and Photos is my online eBay store where you might find one (or many) of the cameras I've reviewed, along with other camera and photo items I've picked up or hoarded over the many years in the business.
Until next week, please be safe.