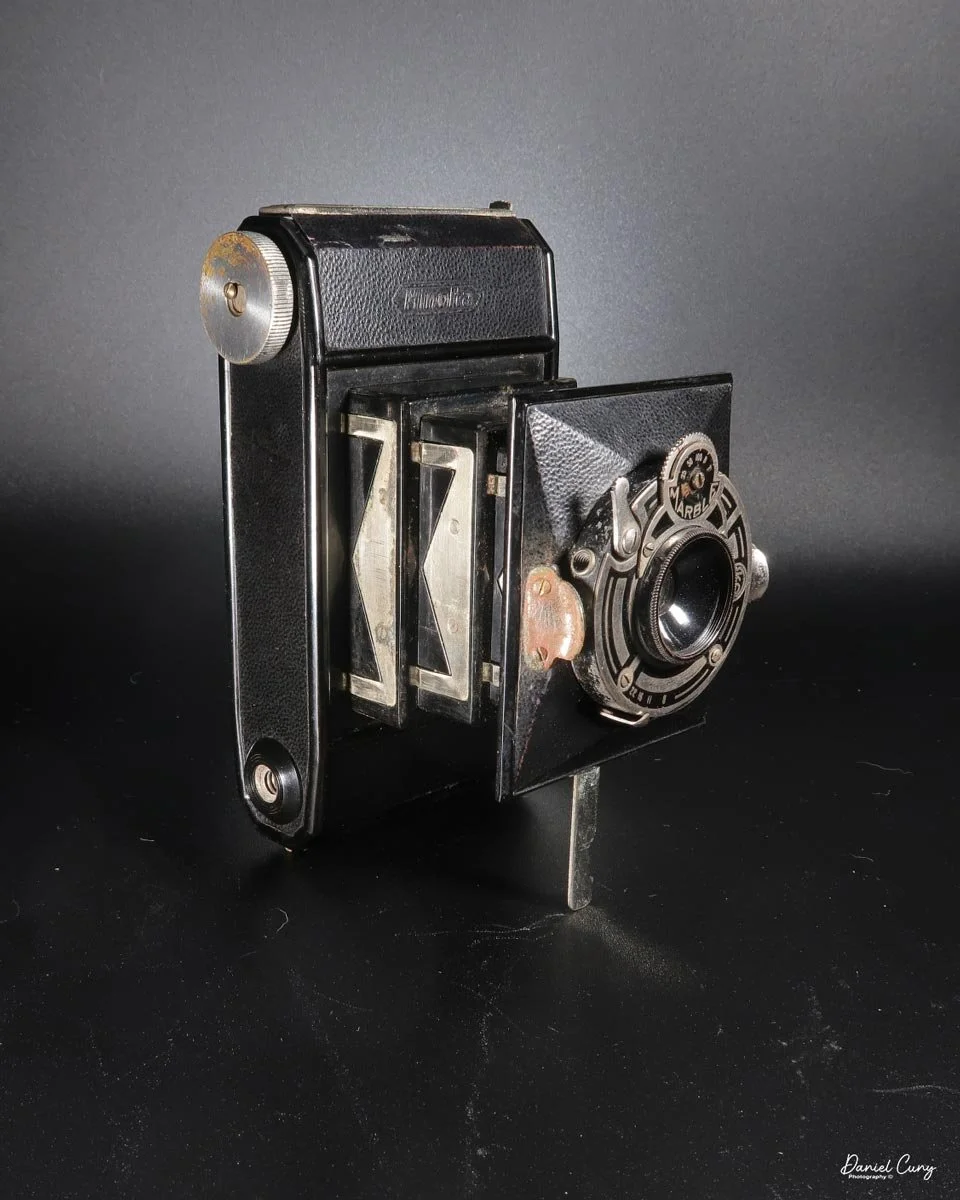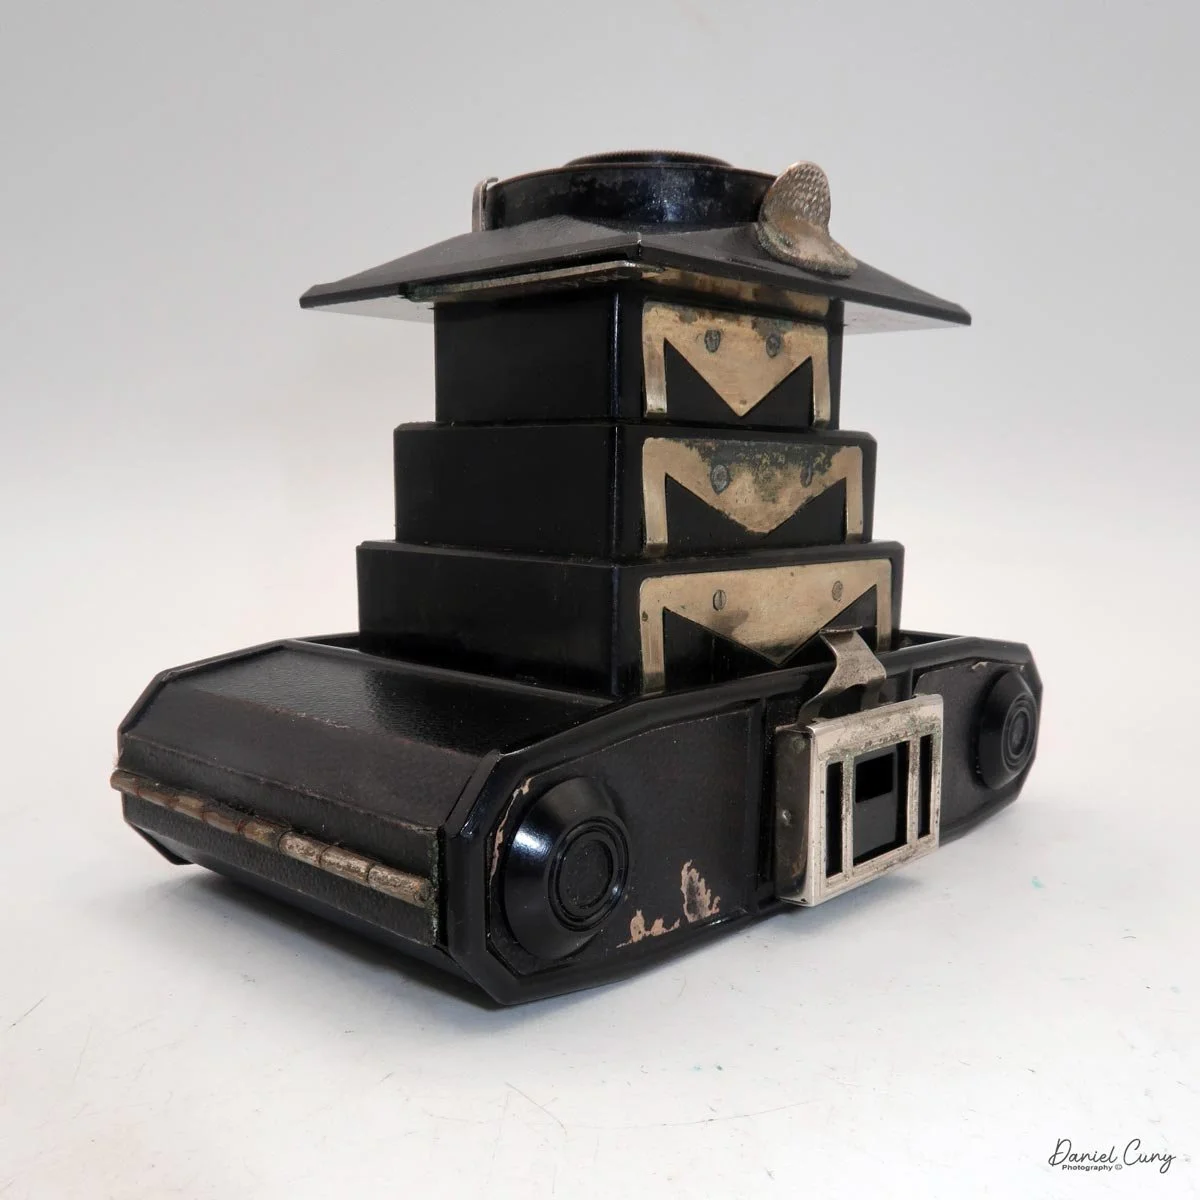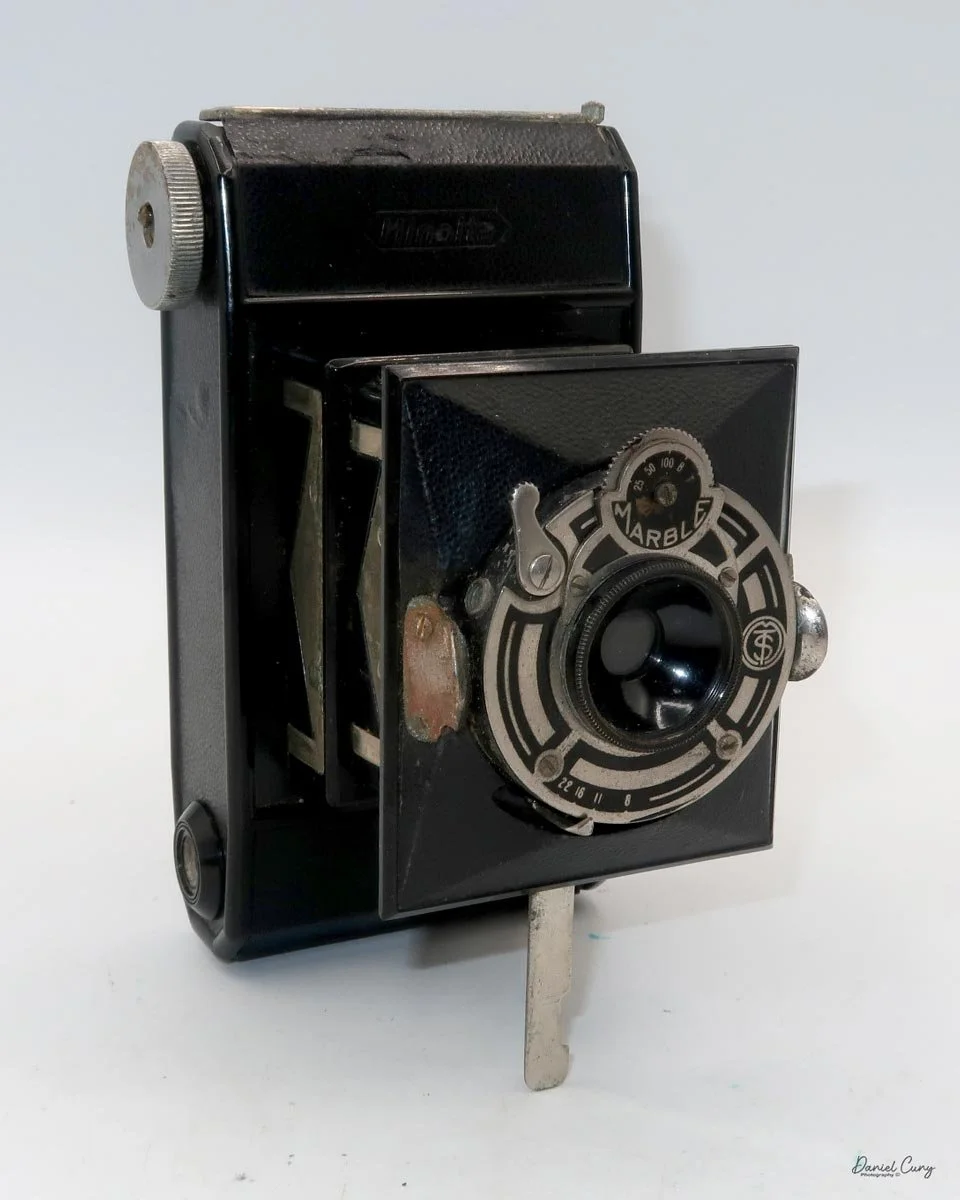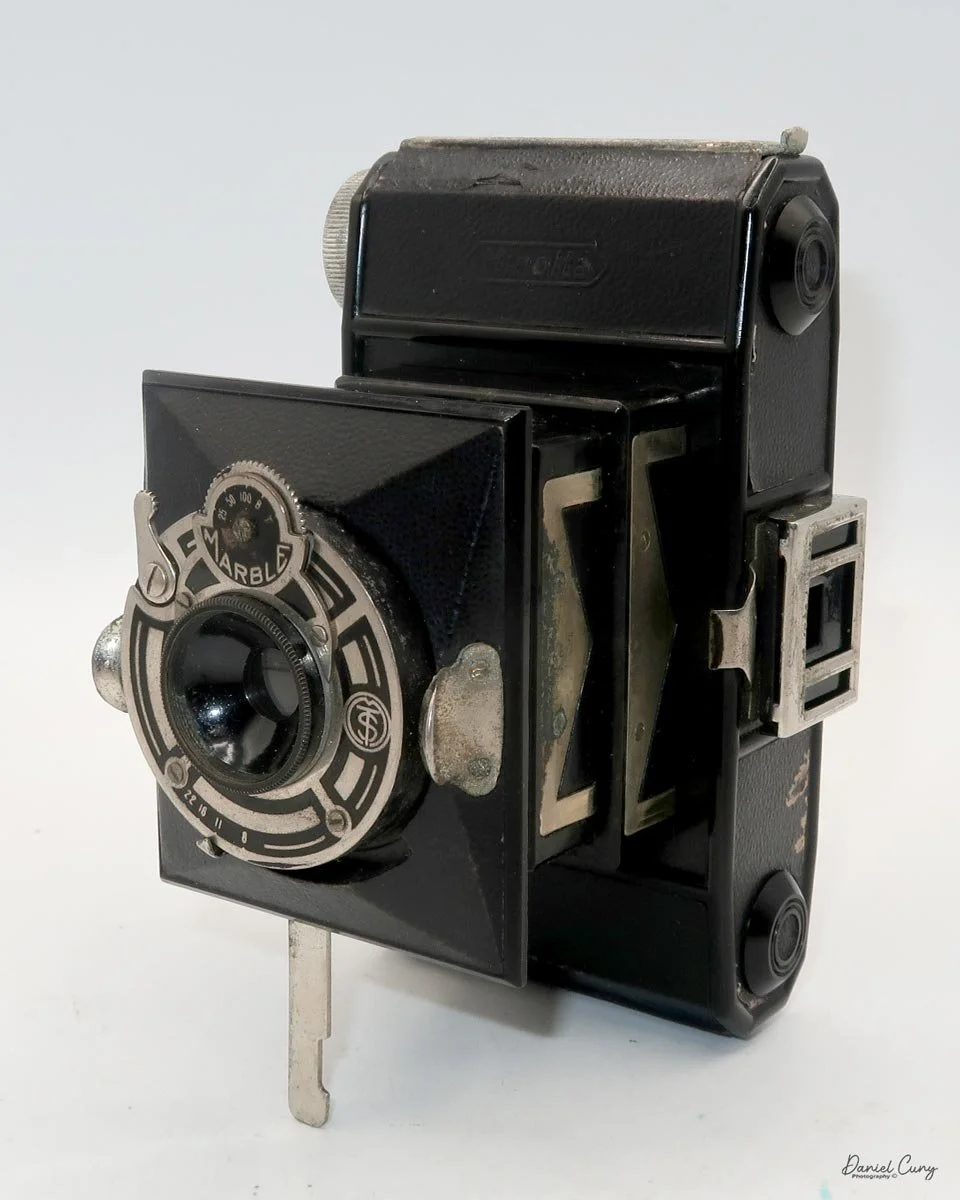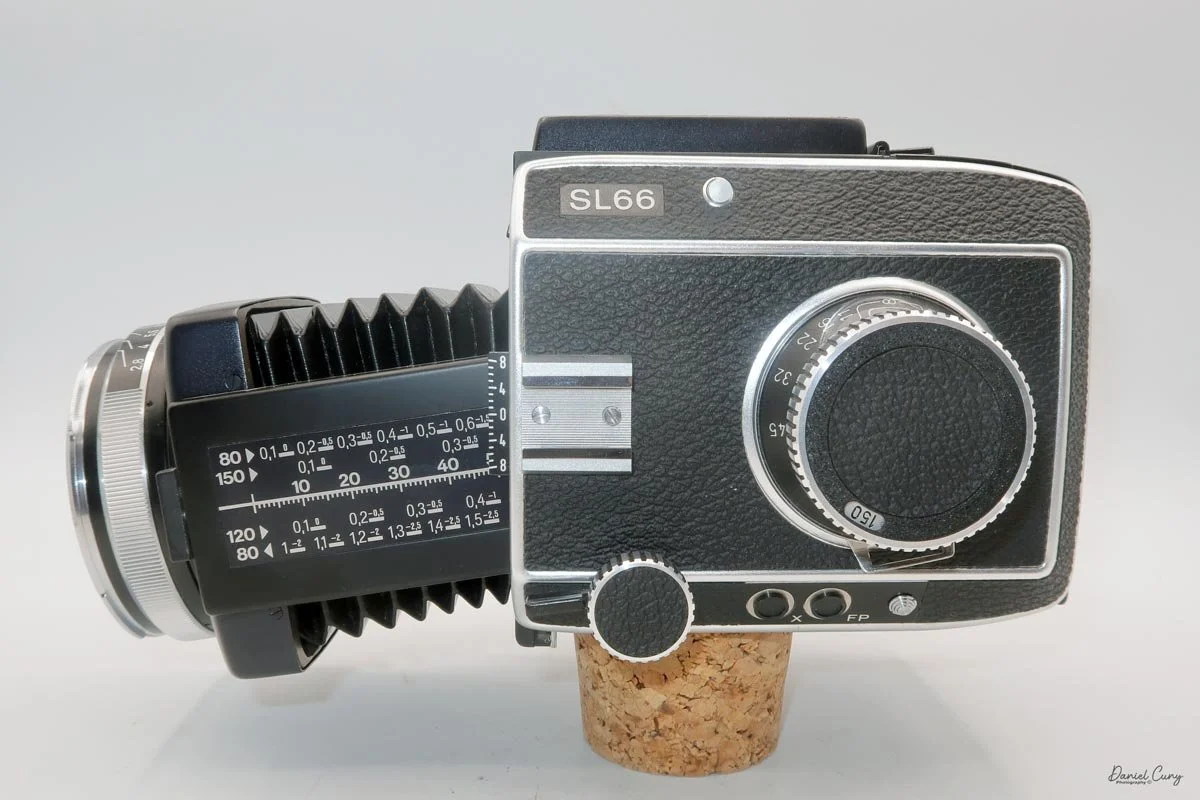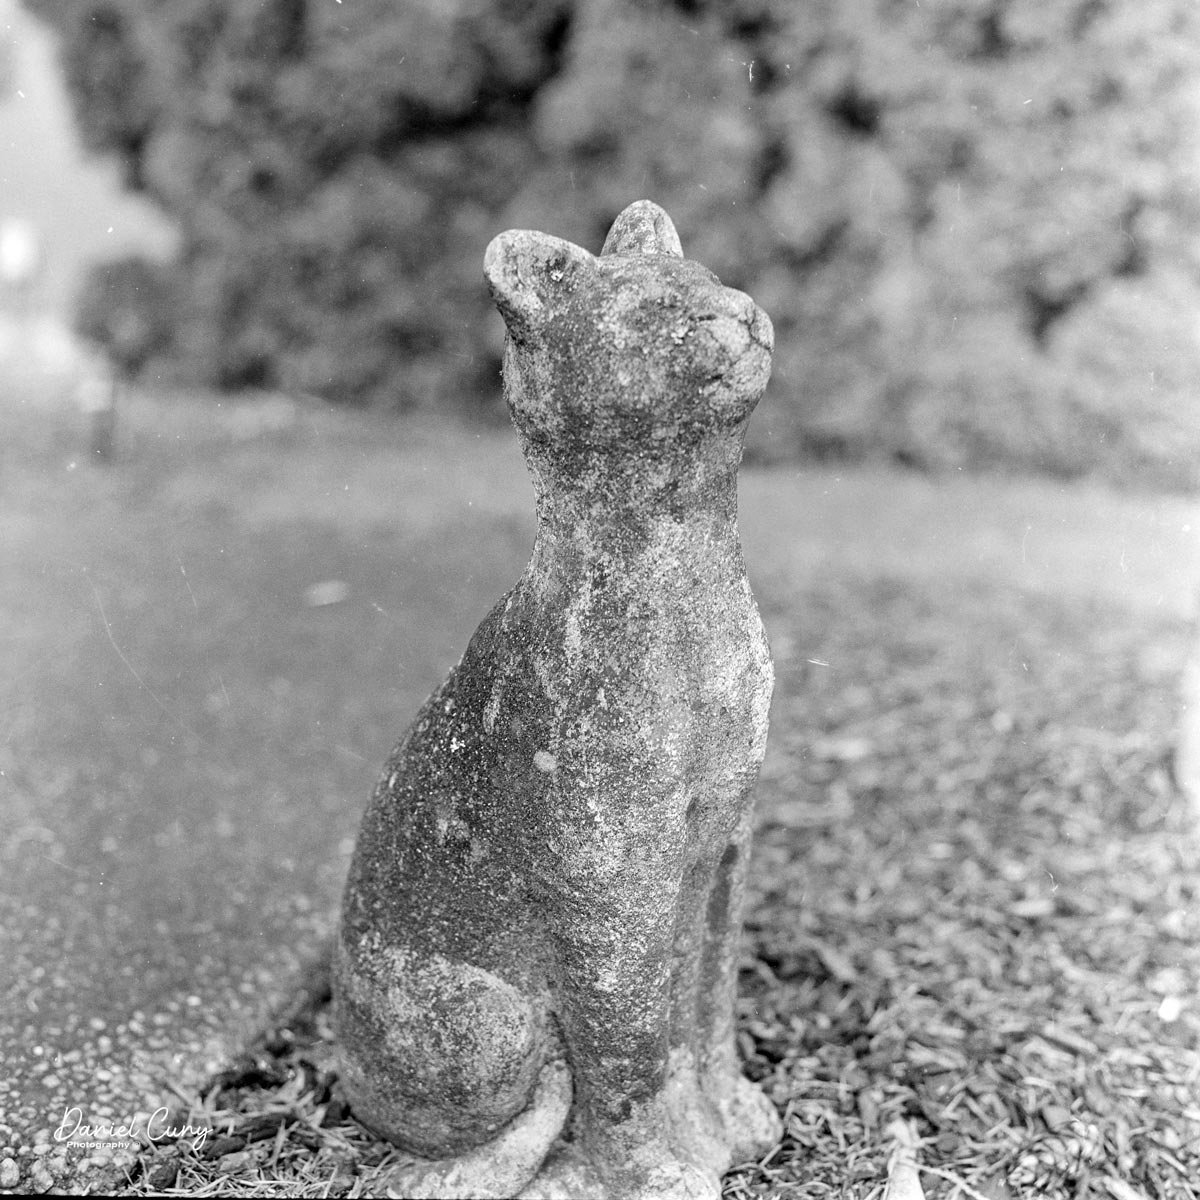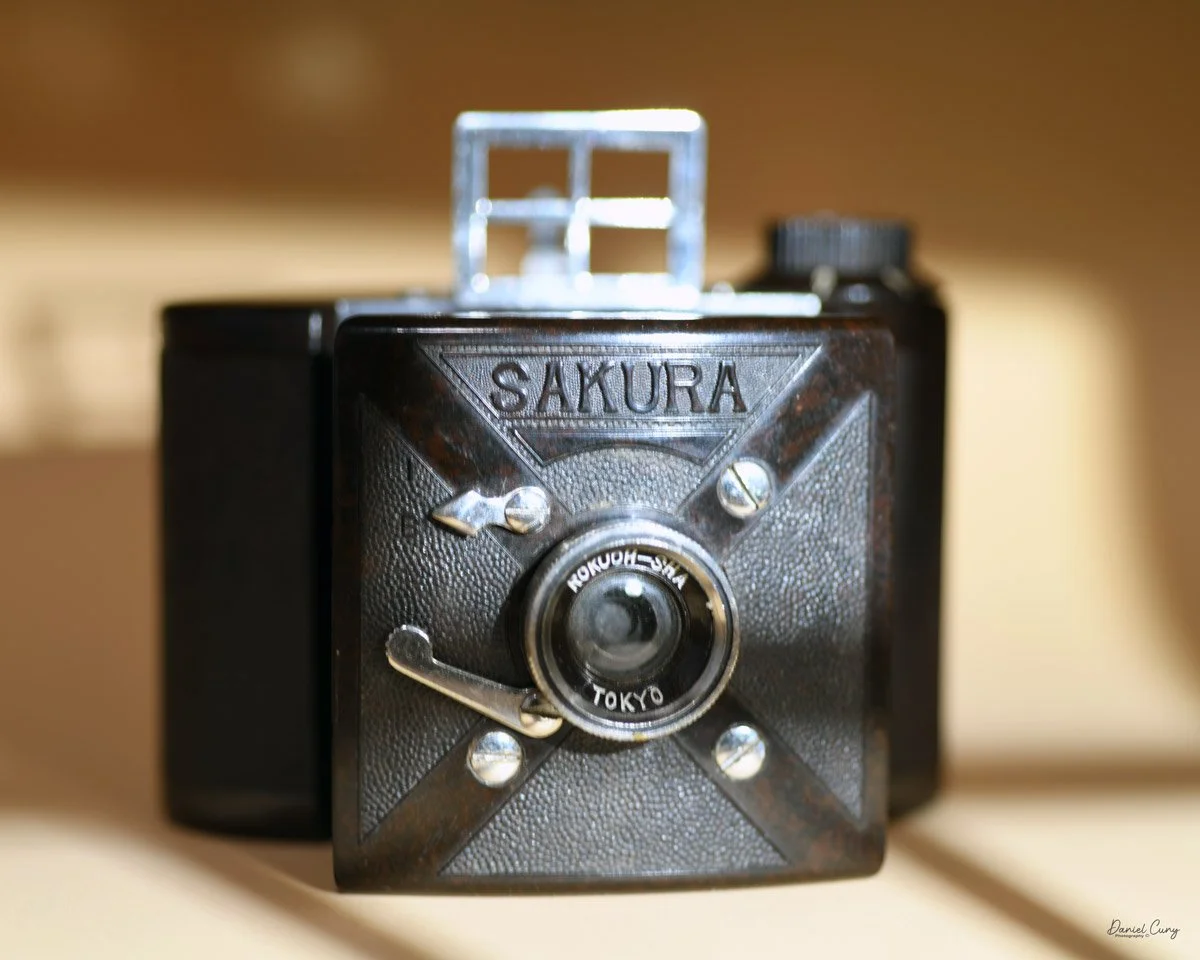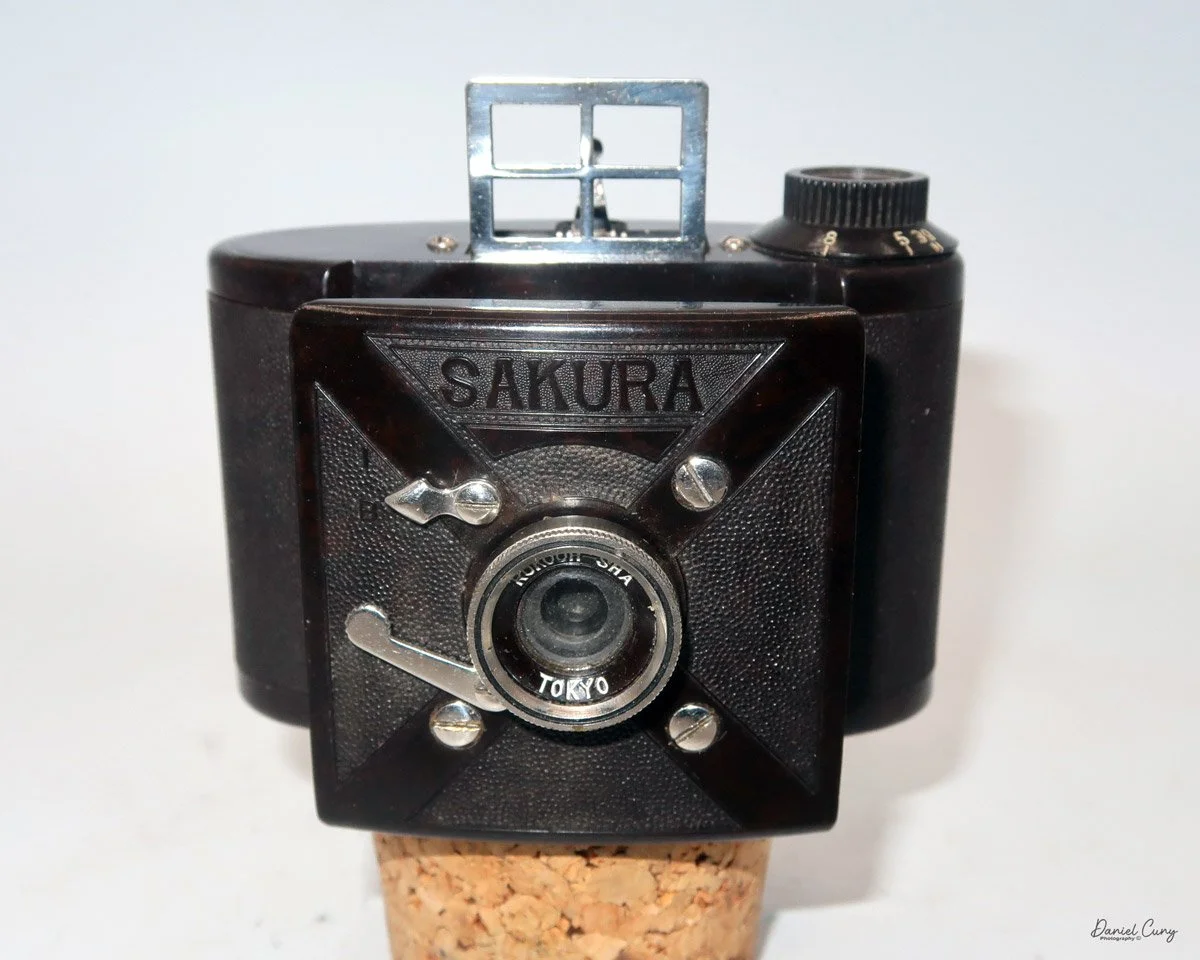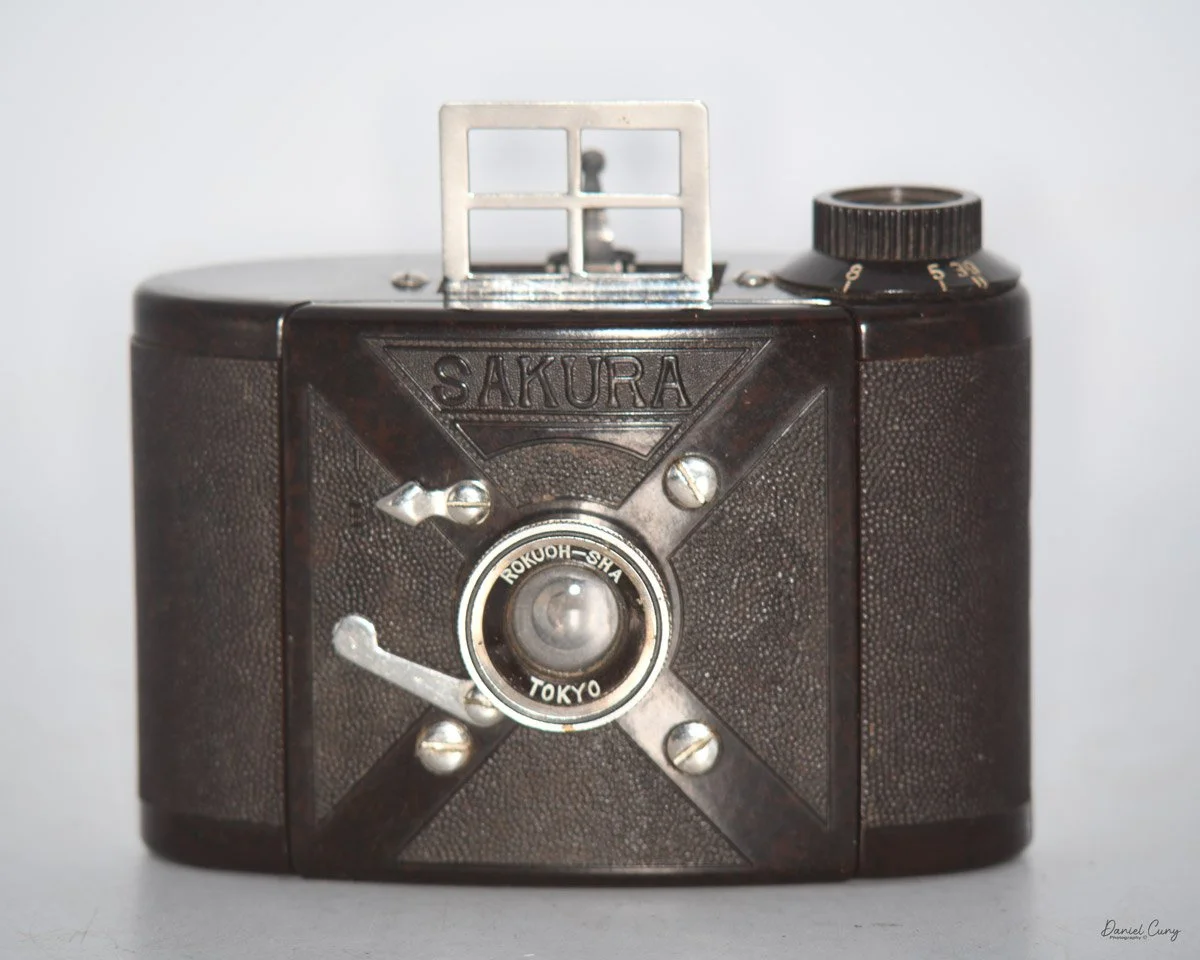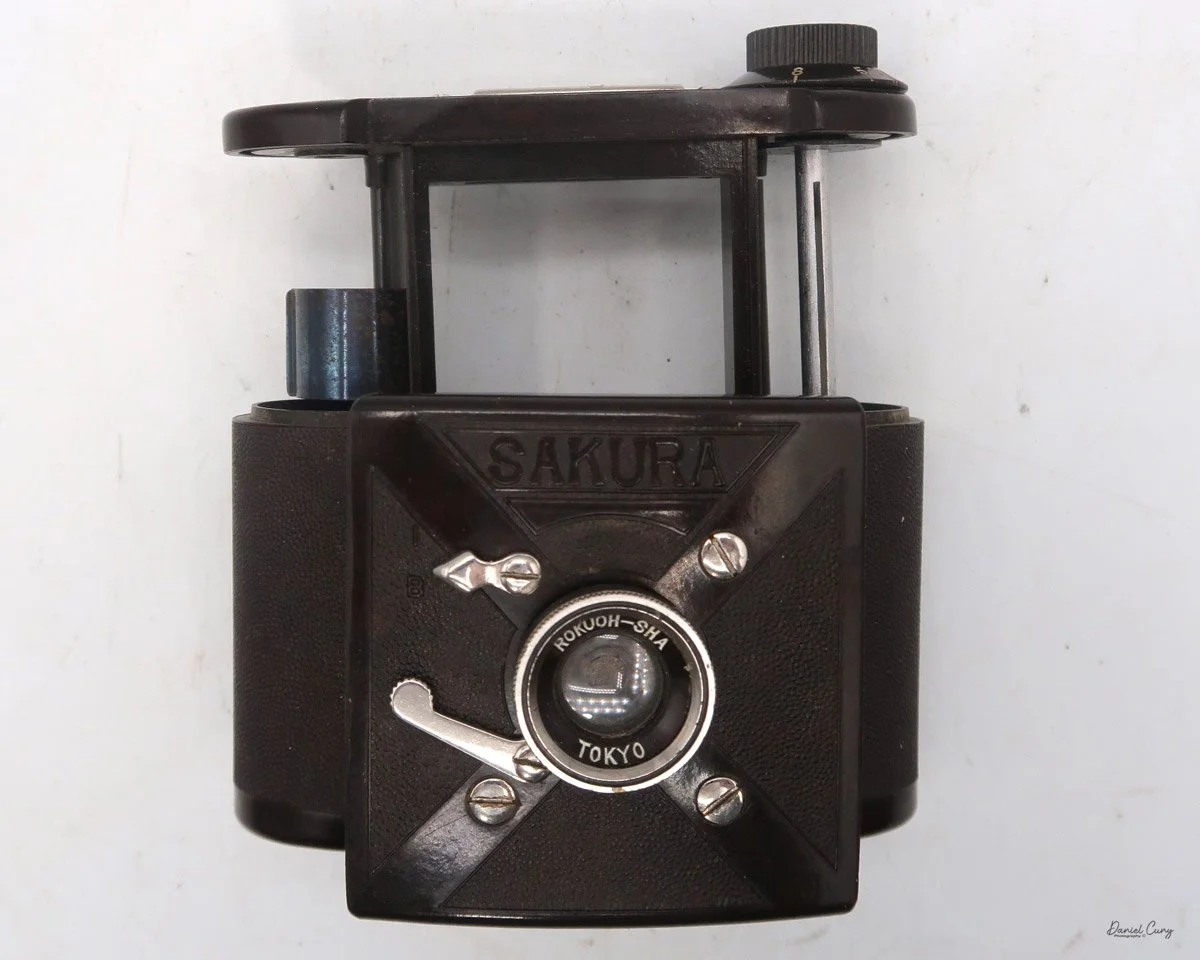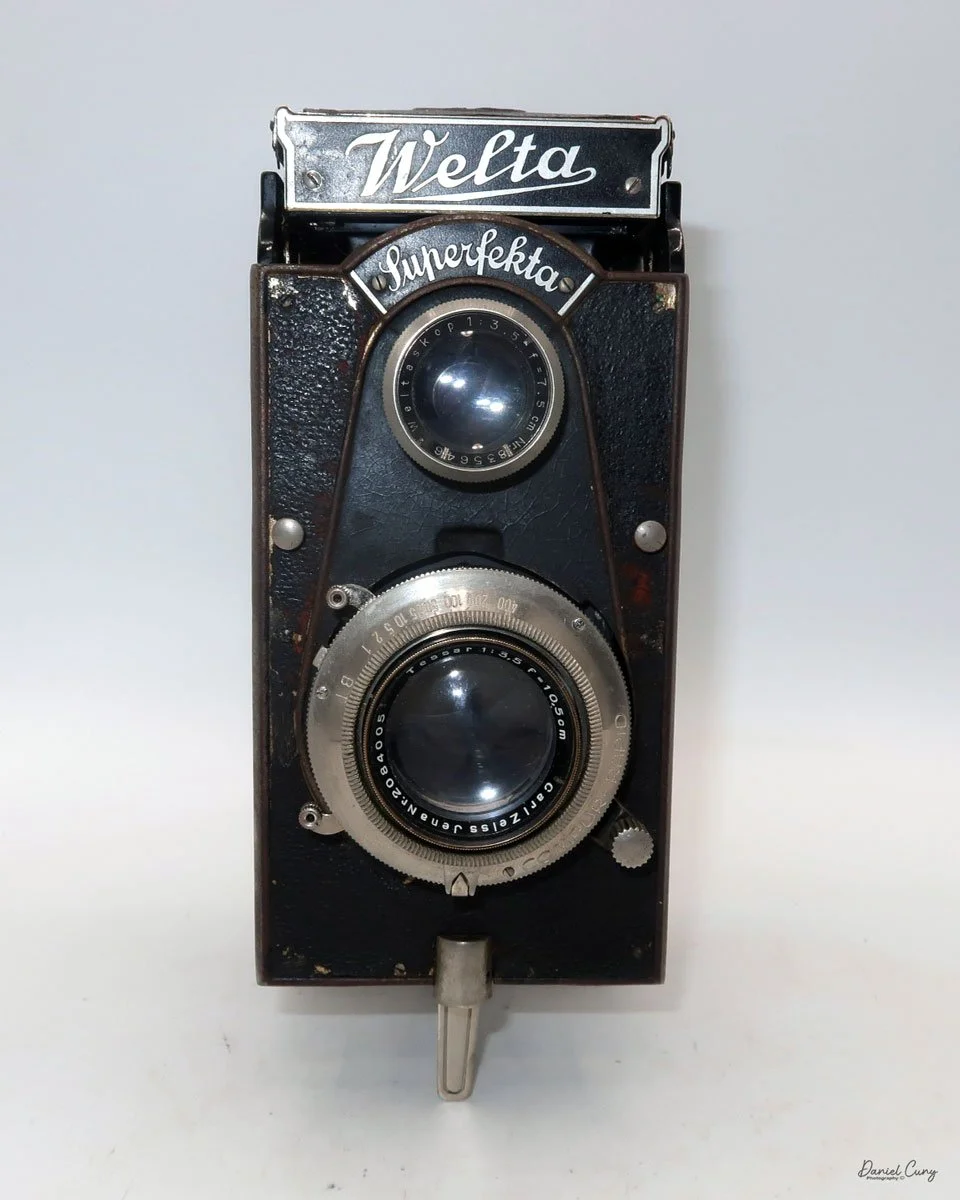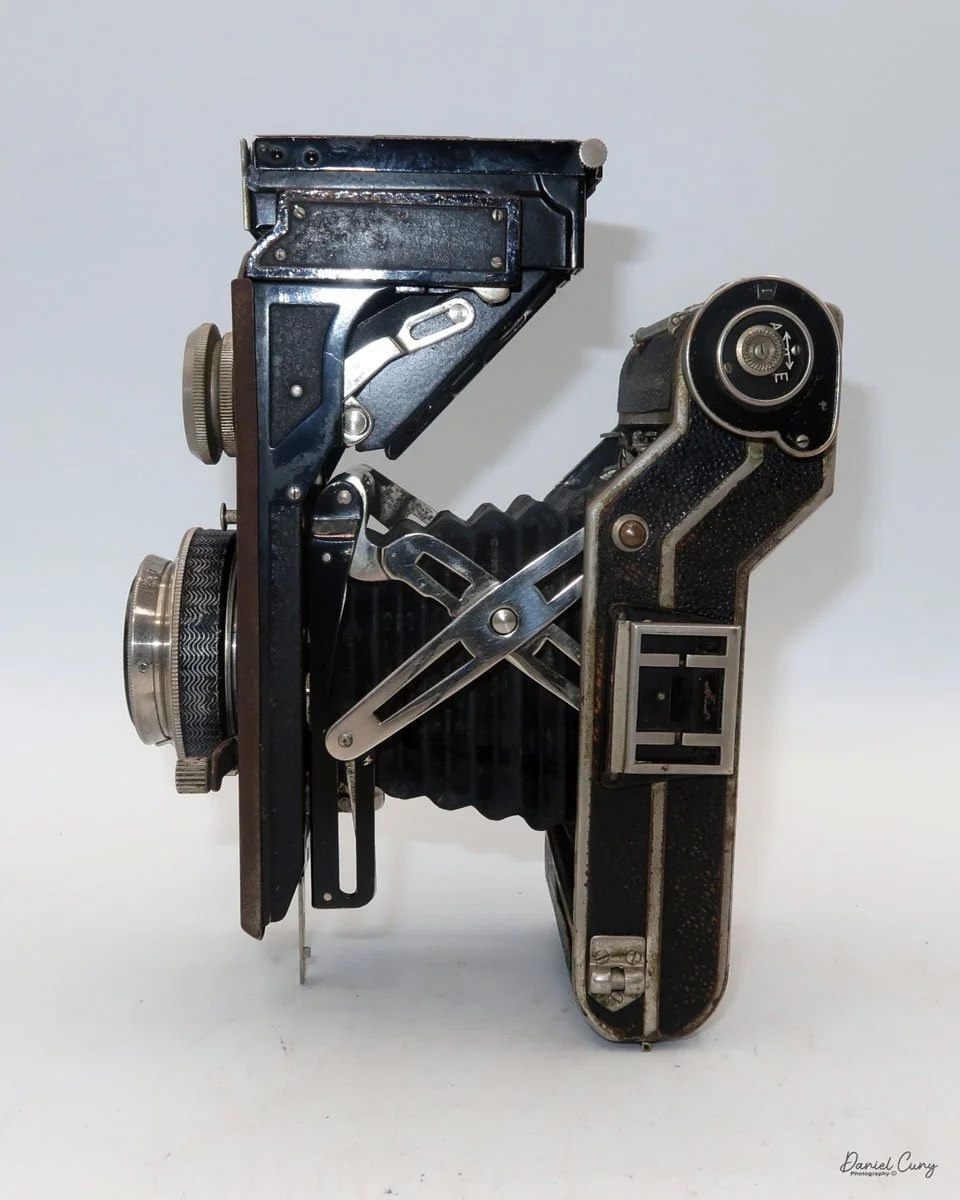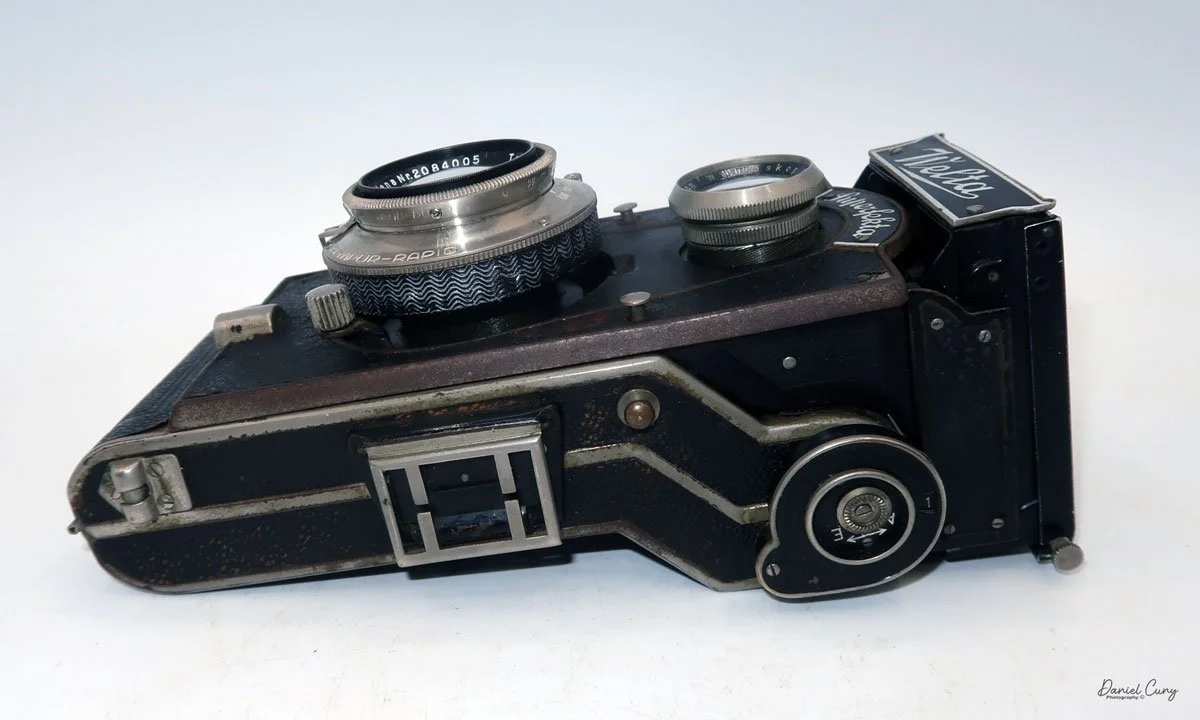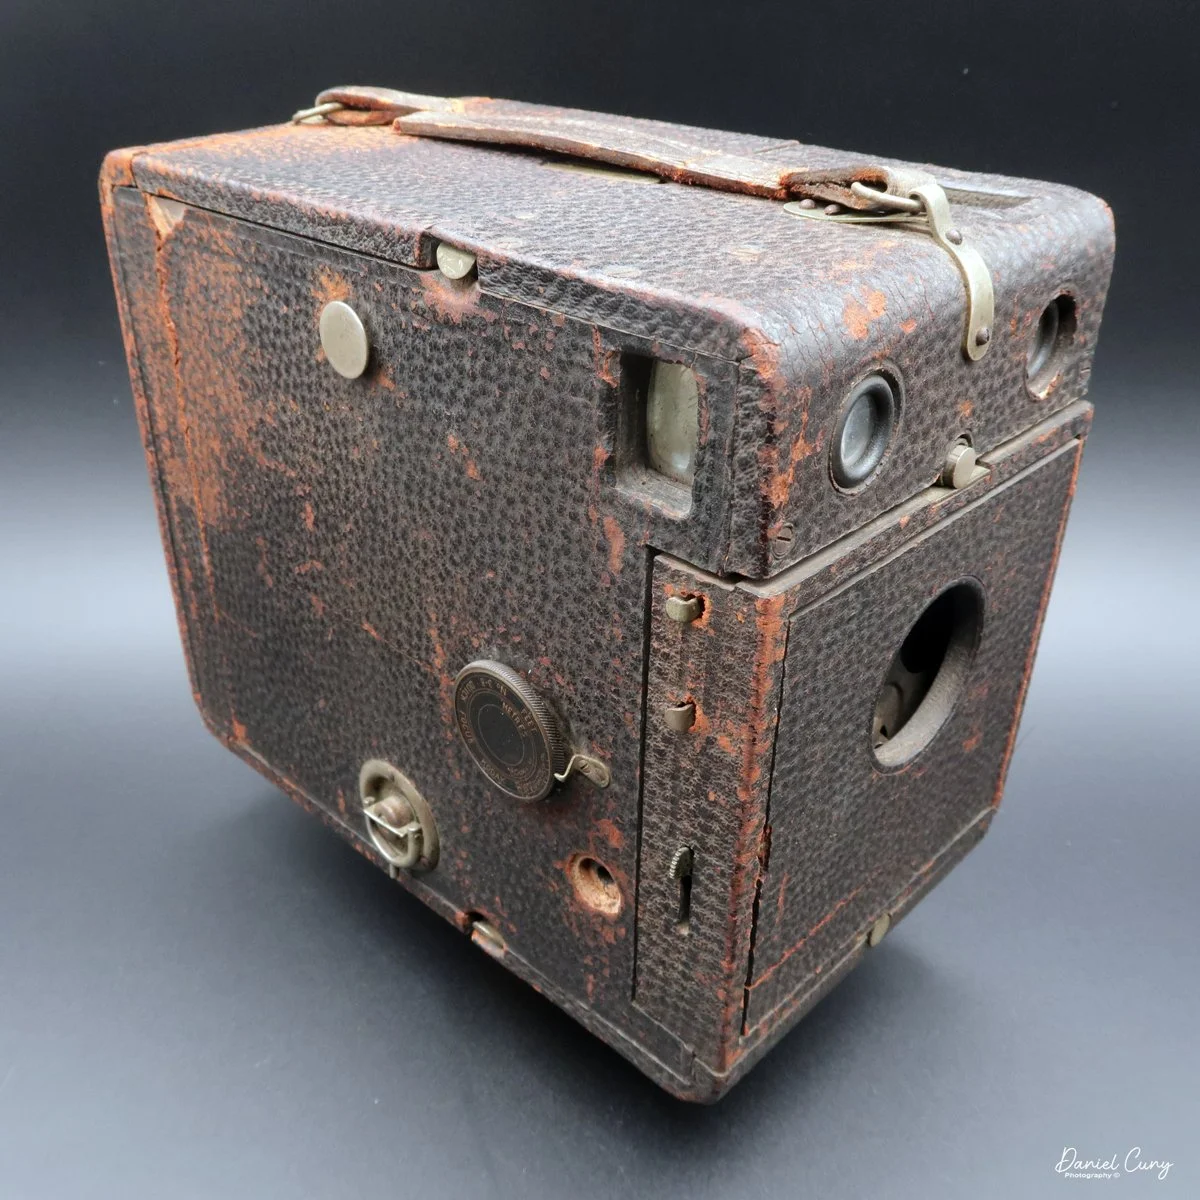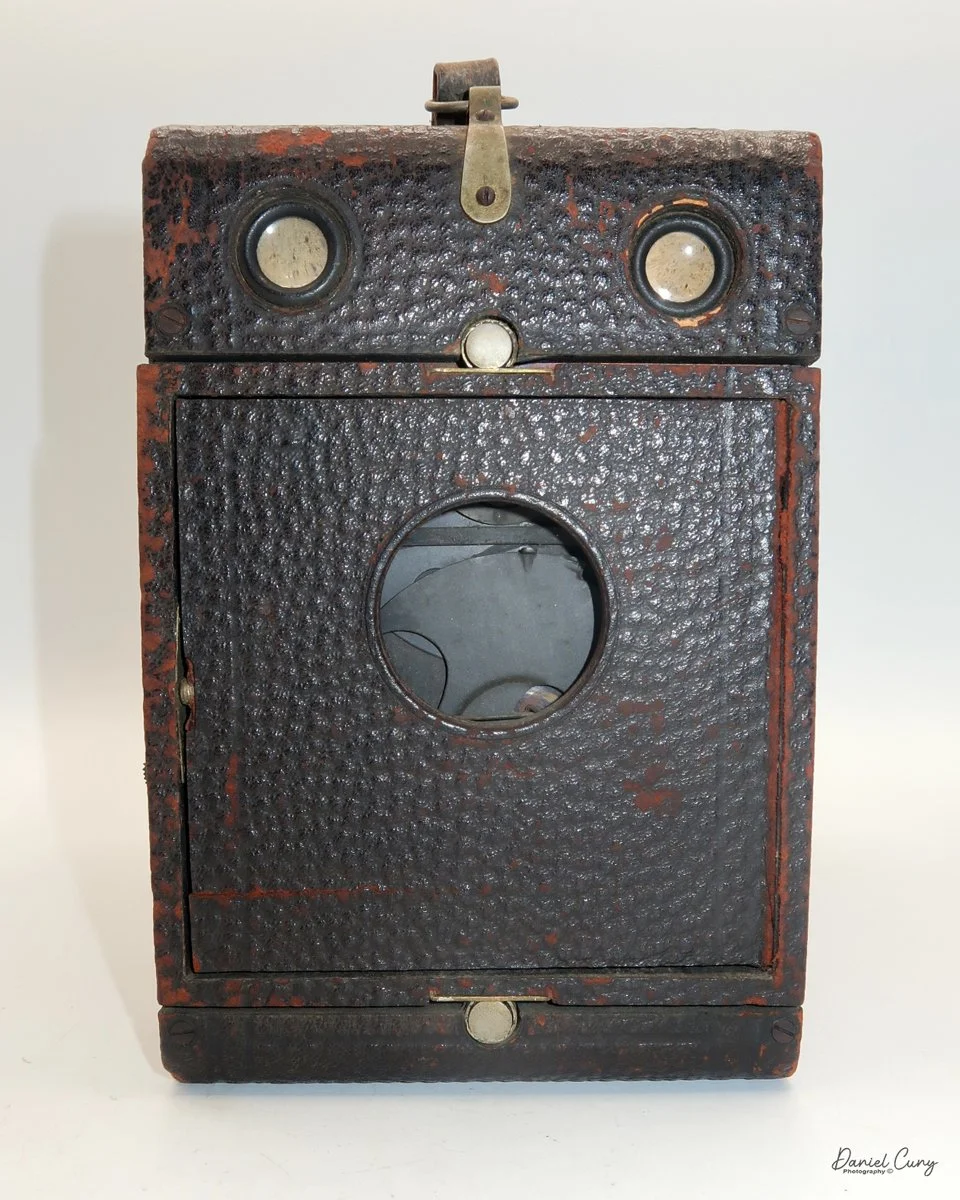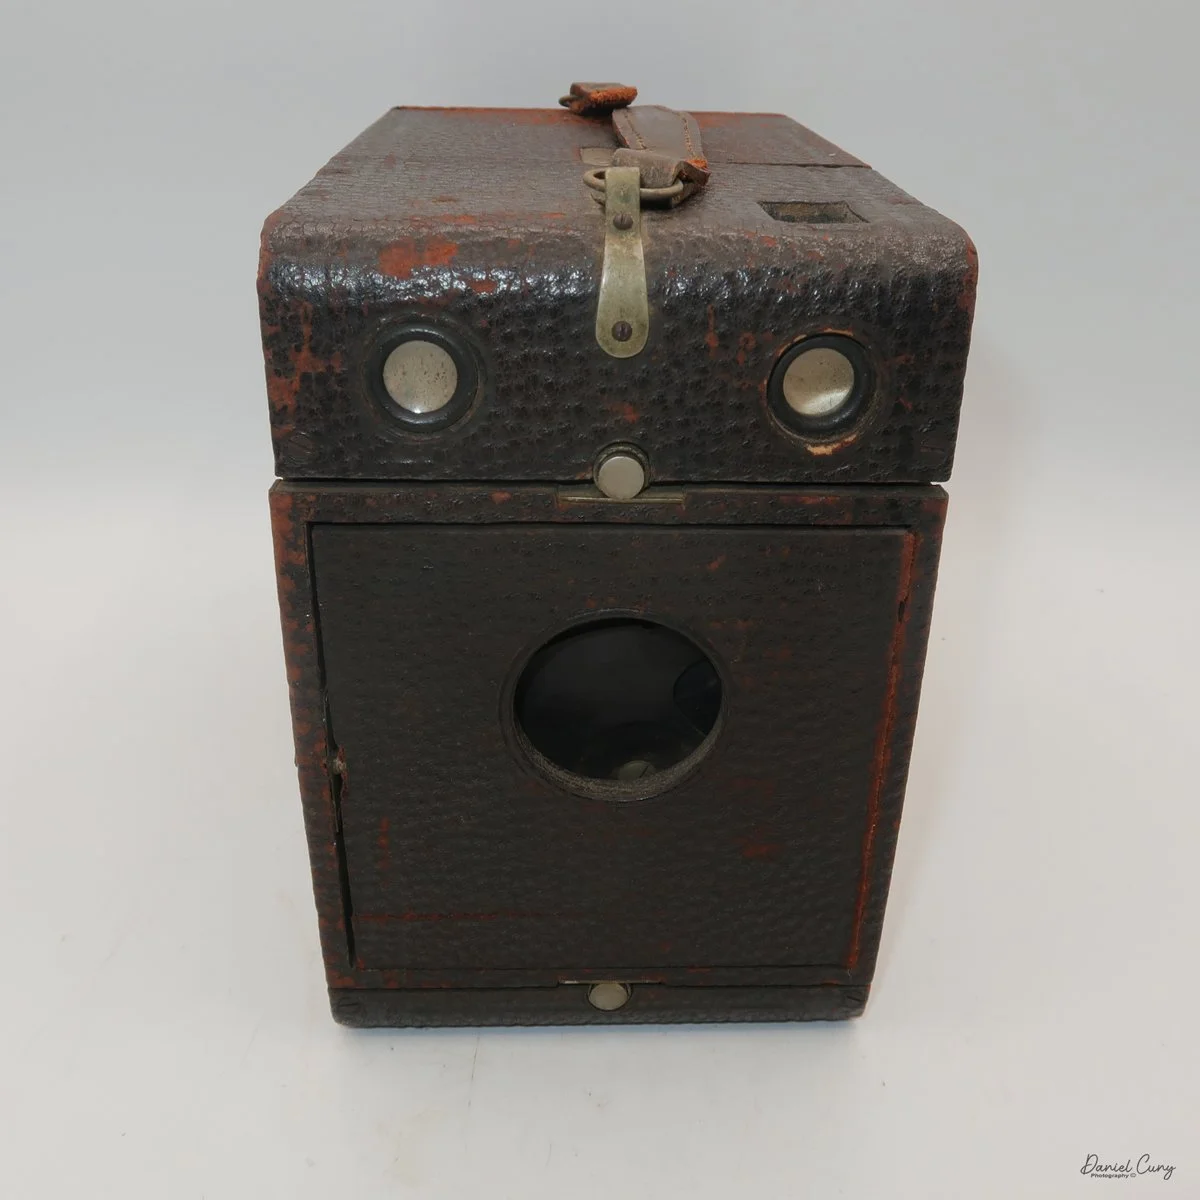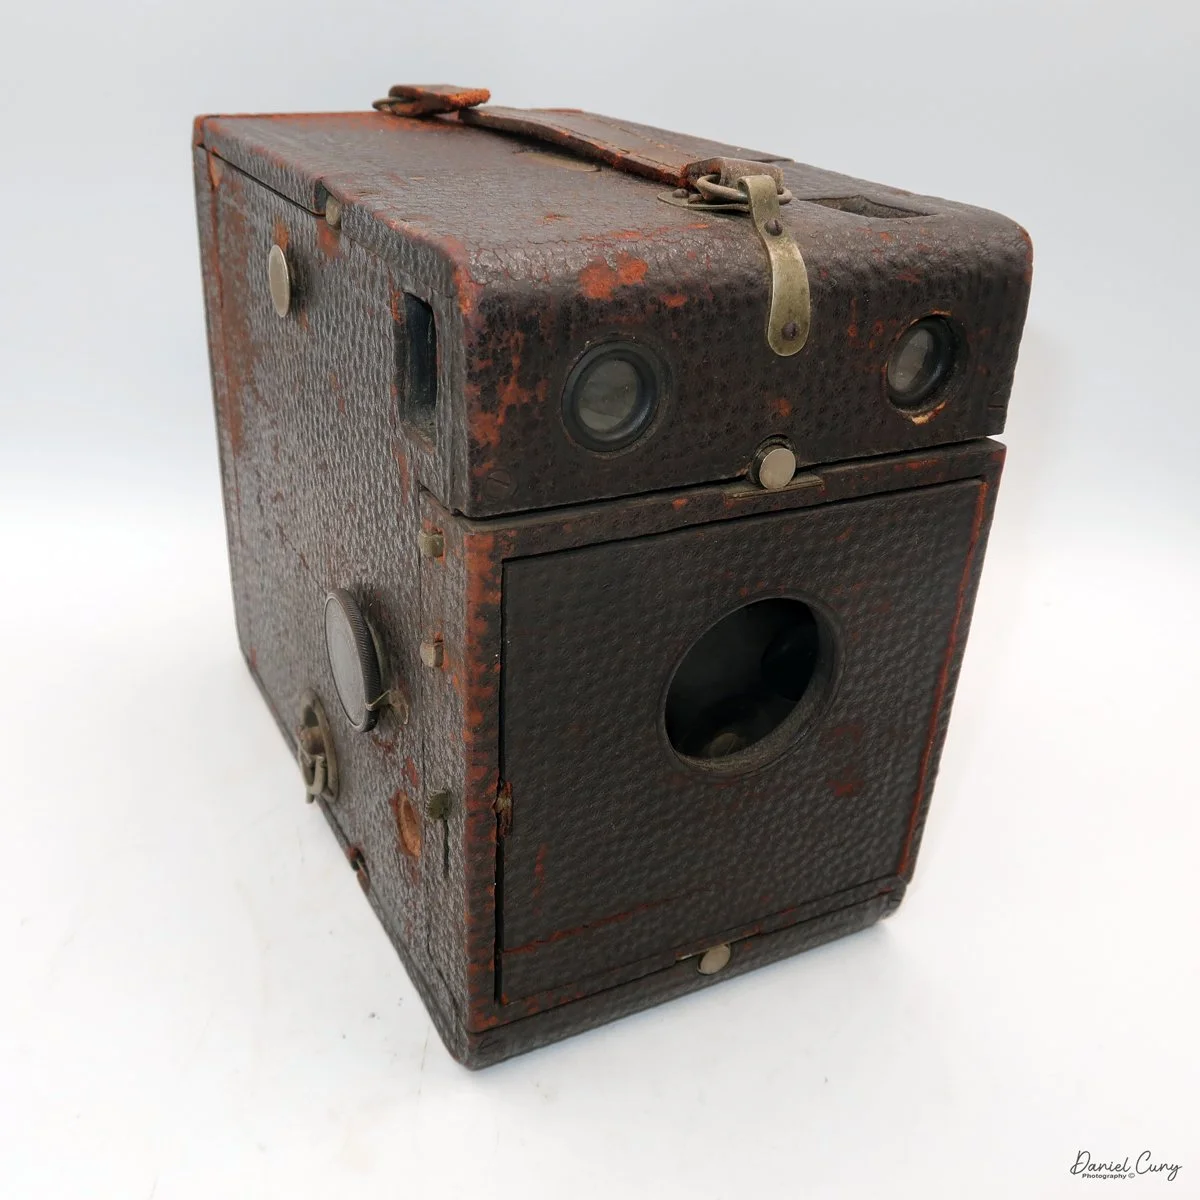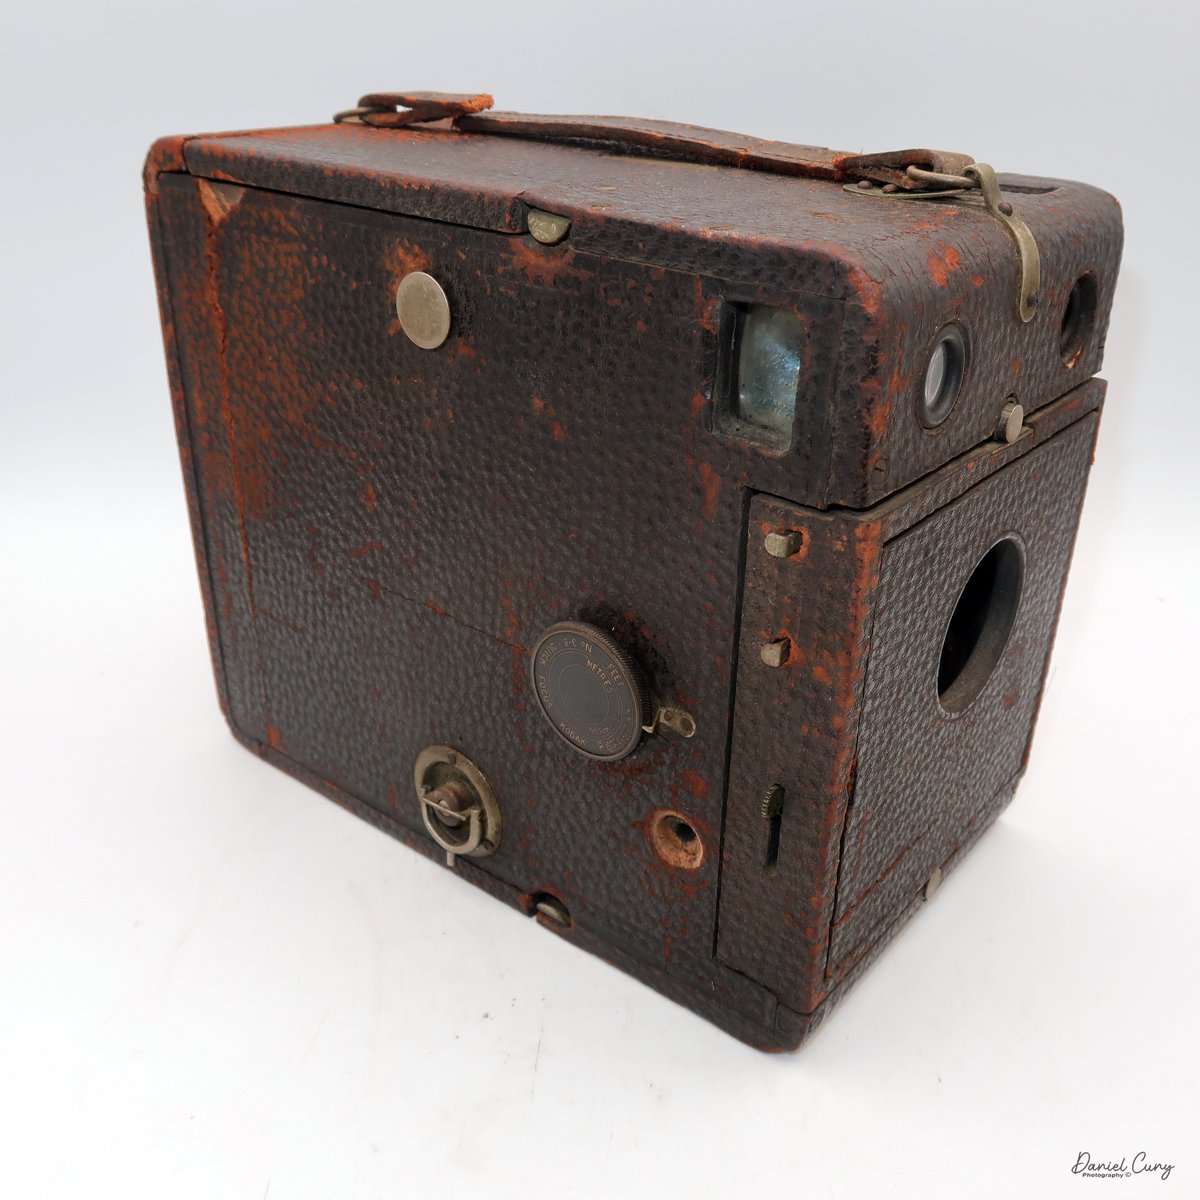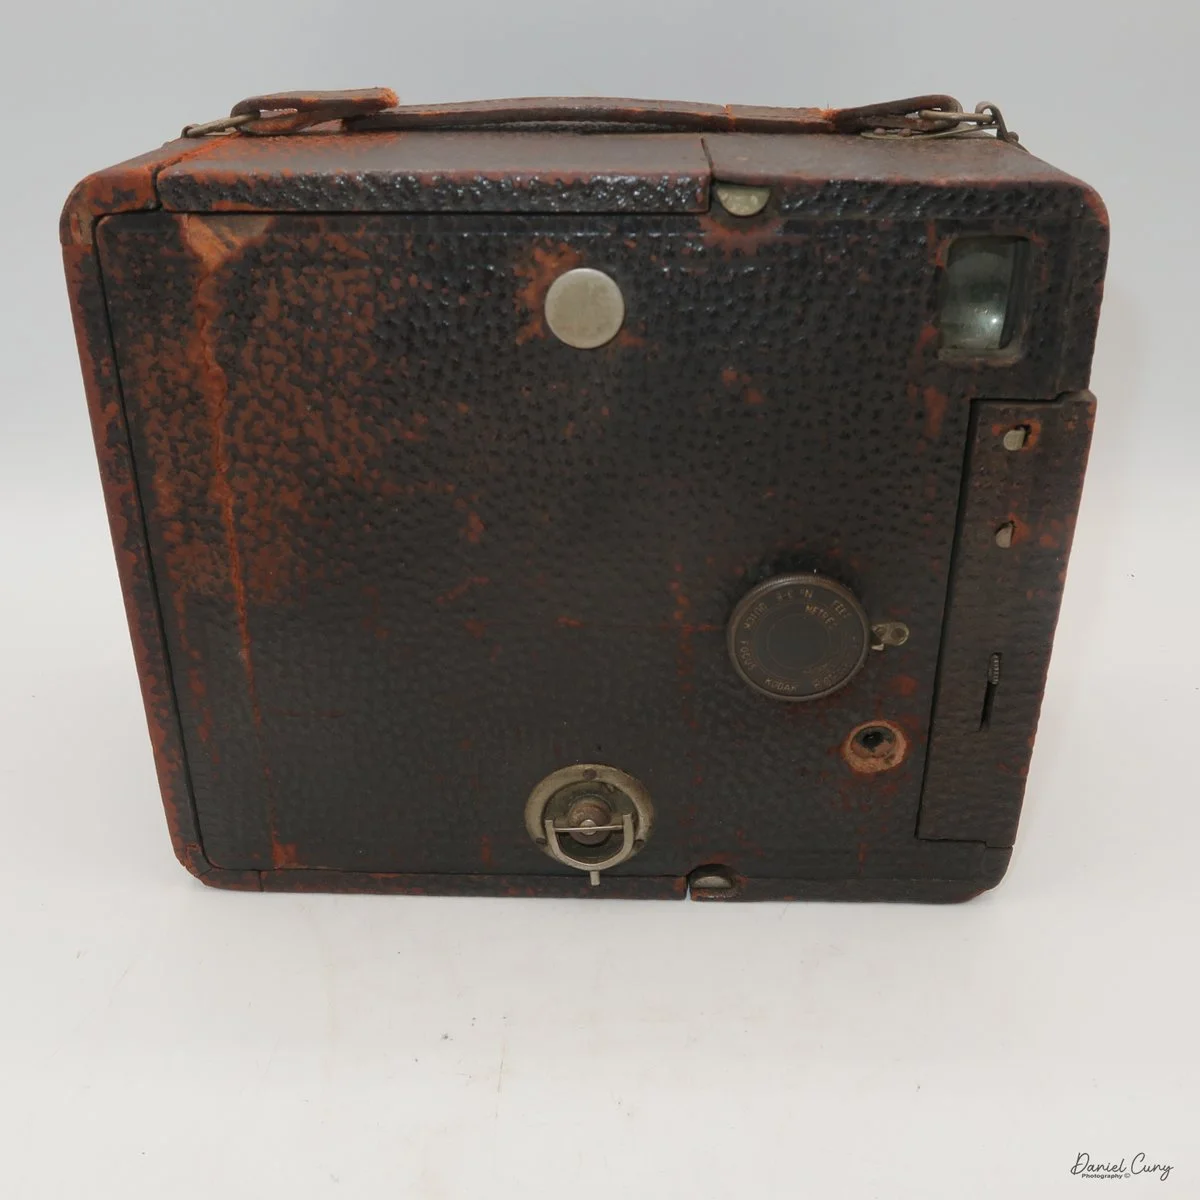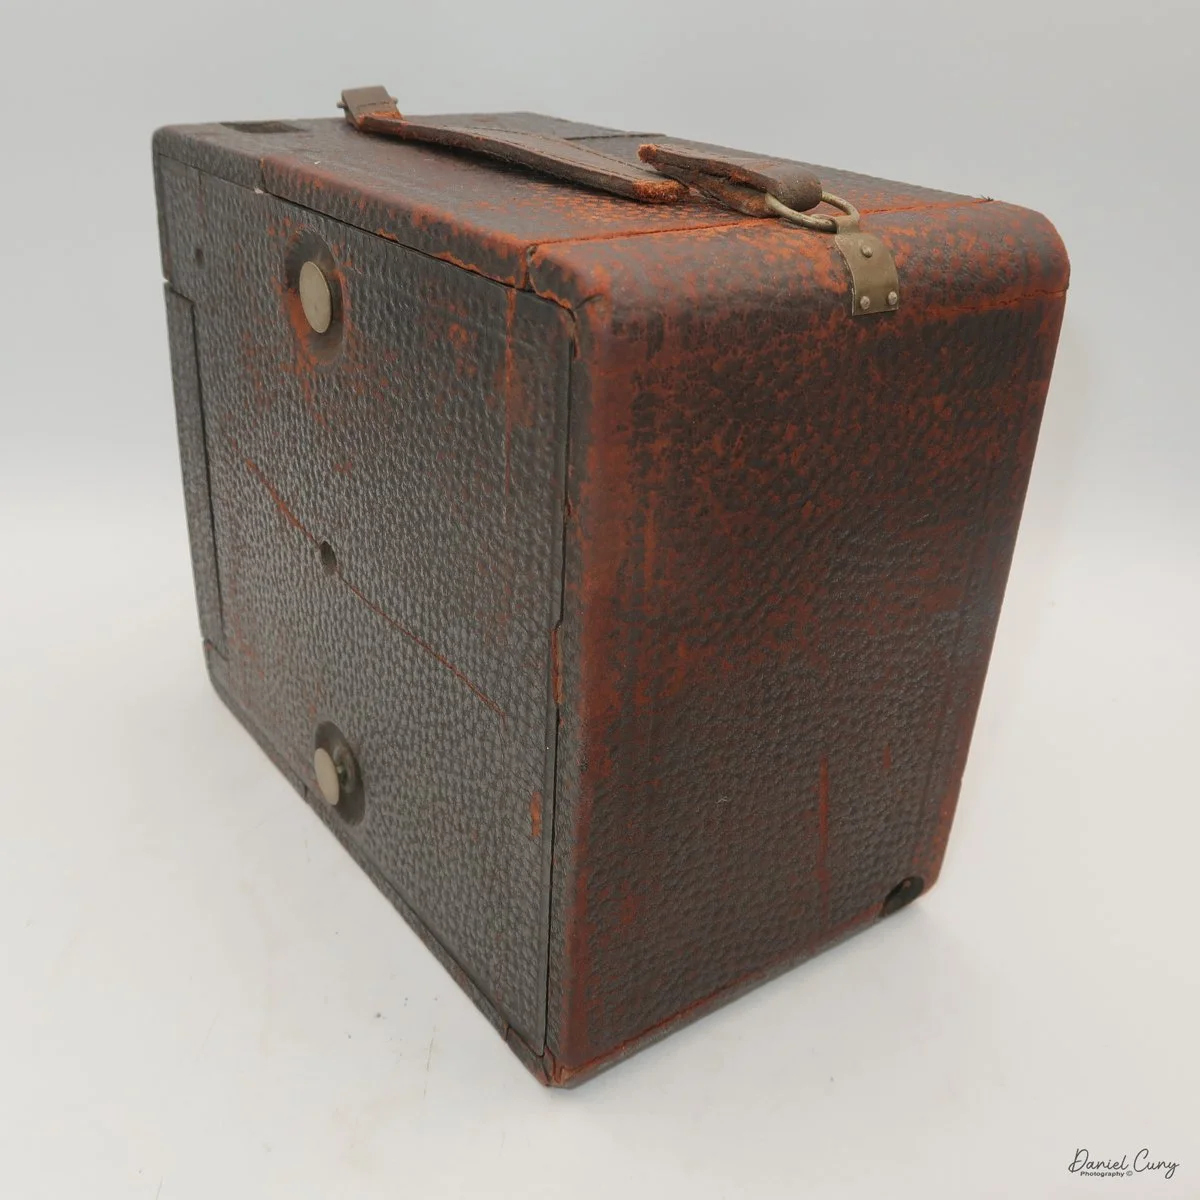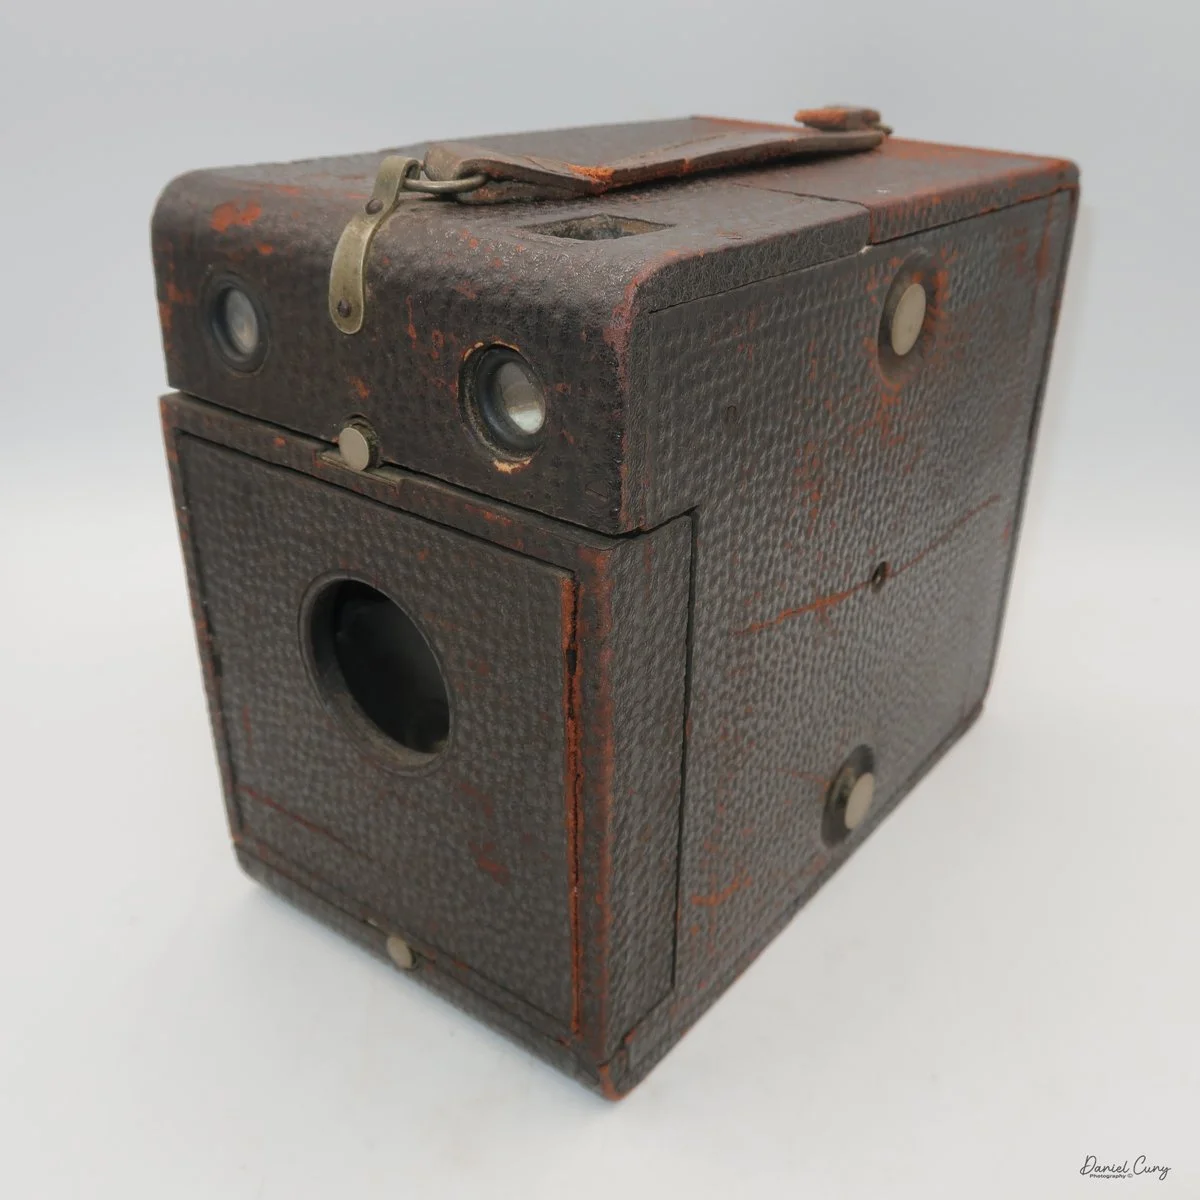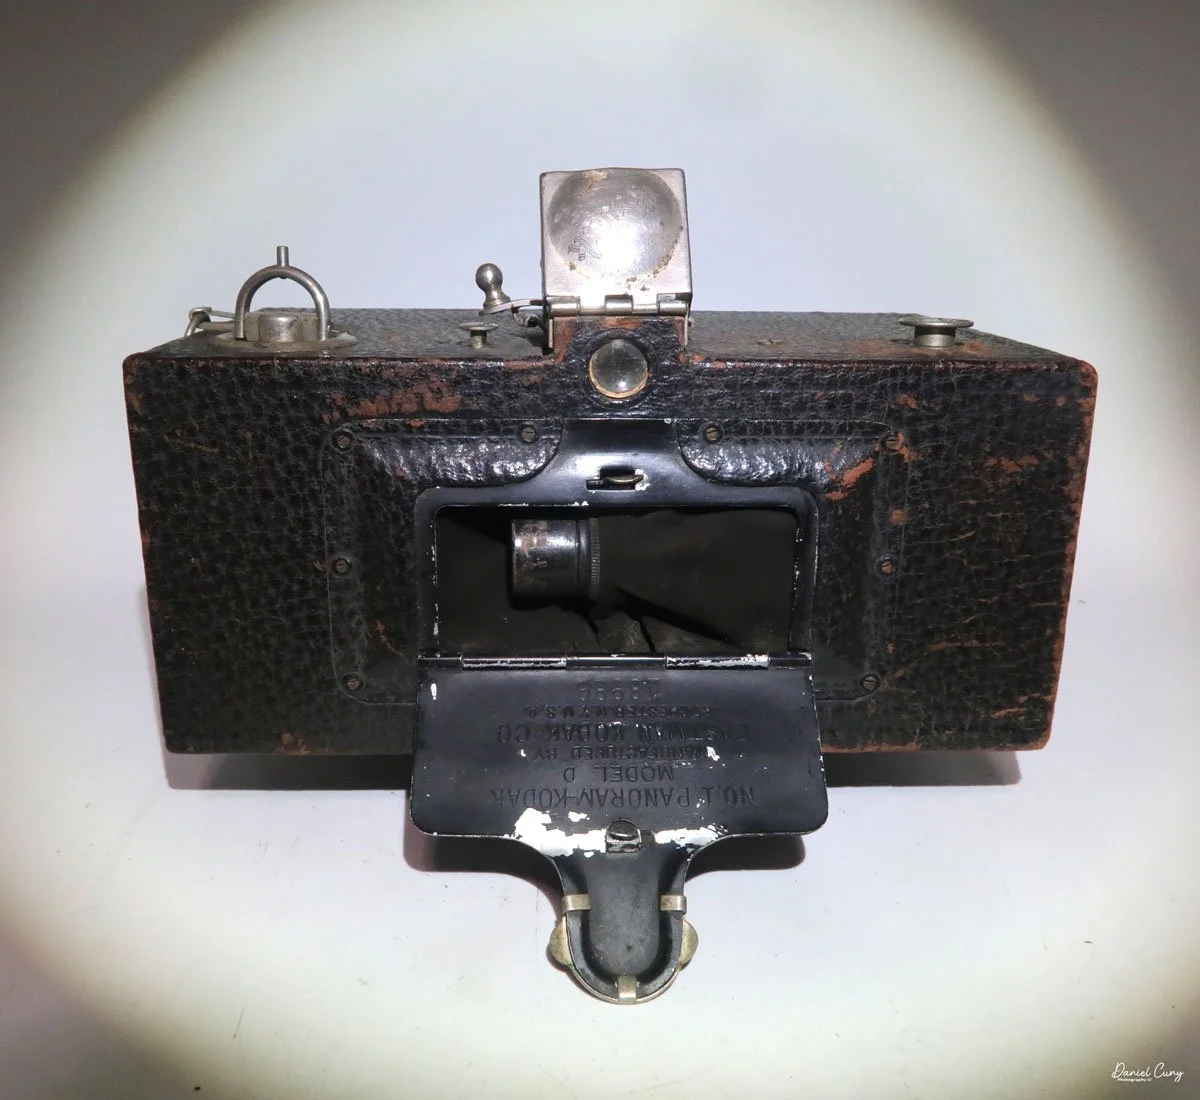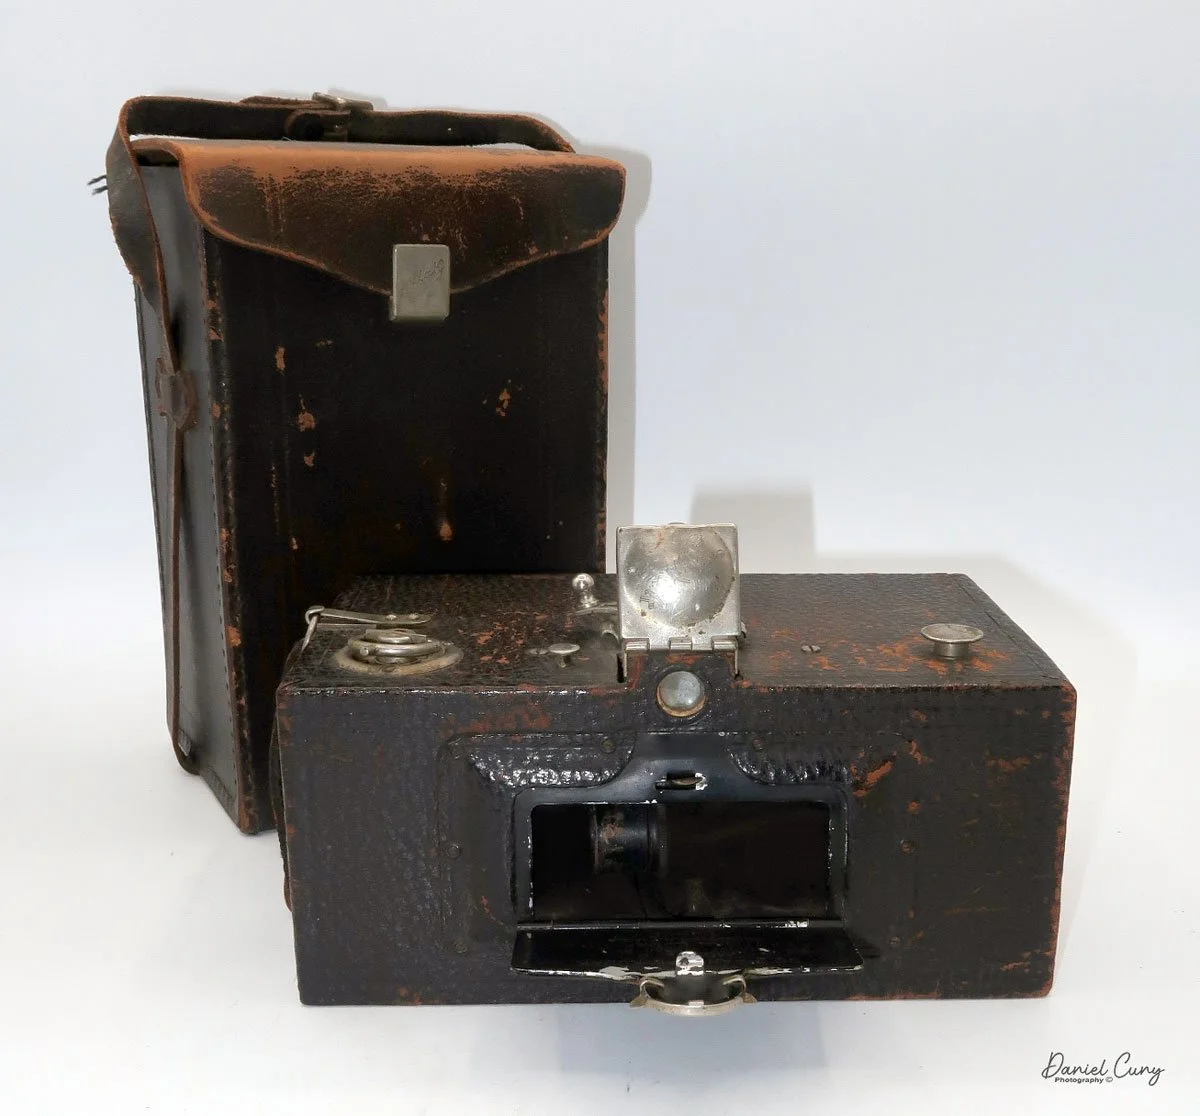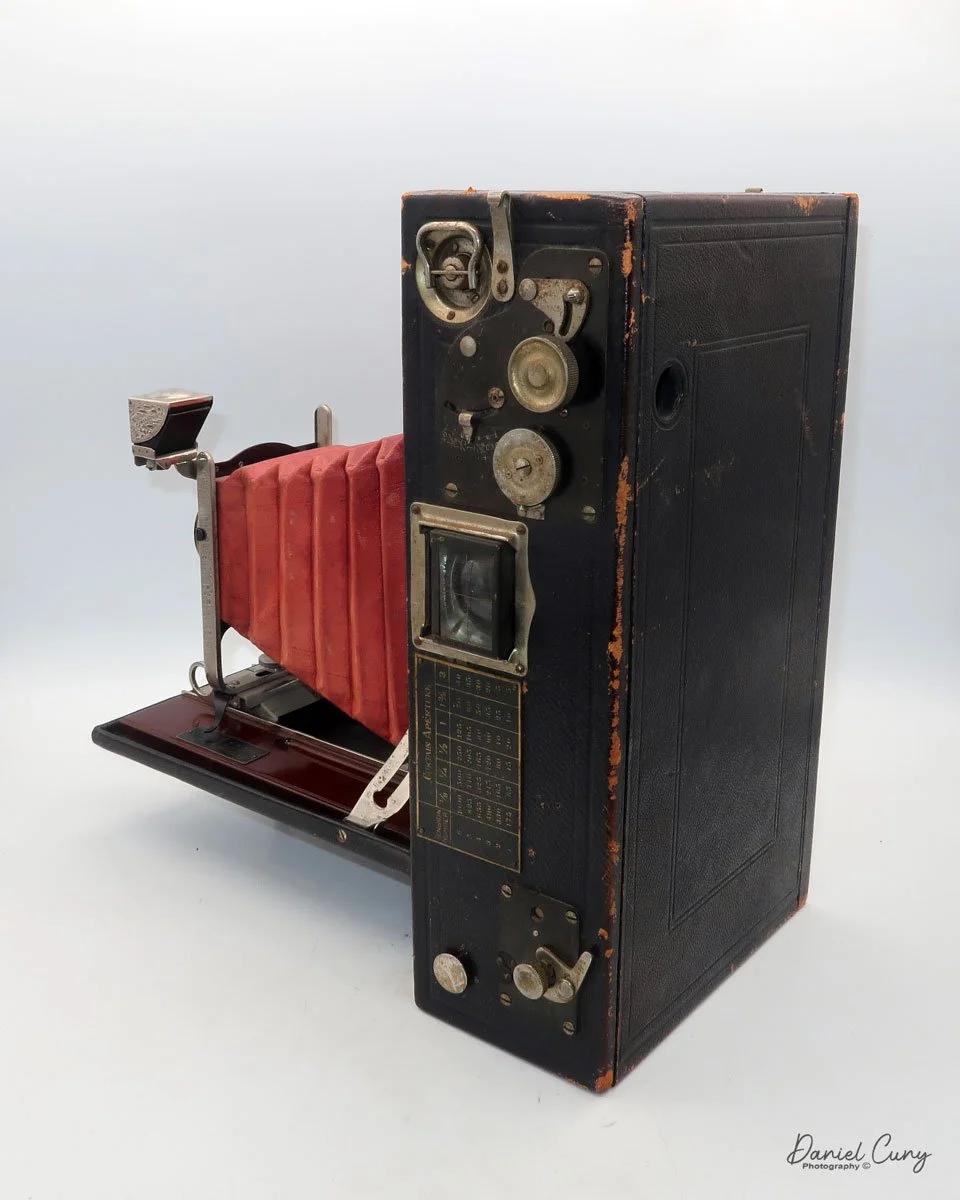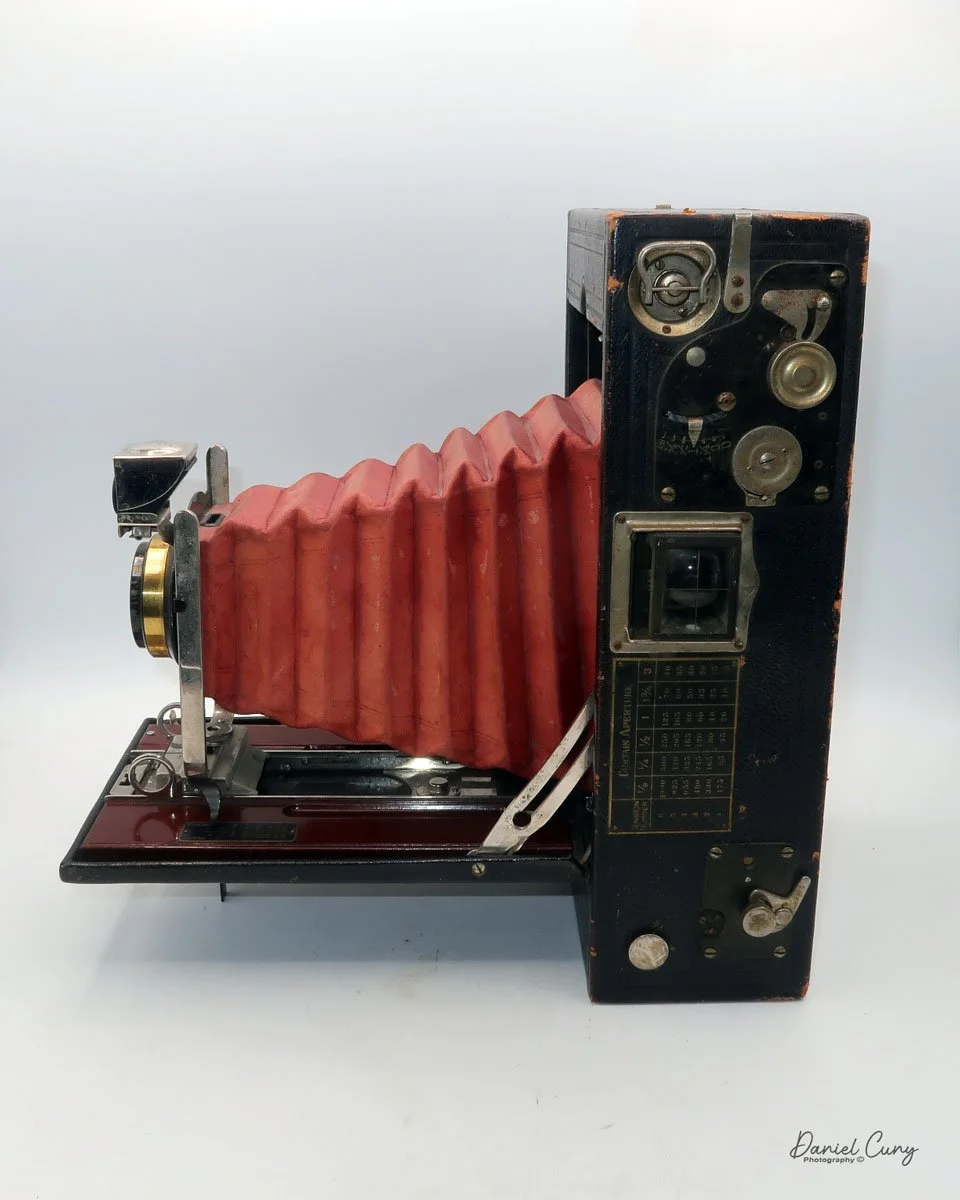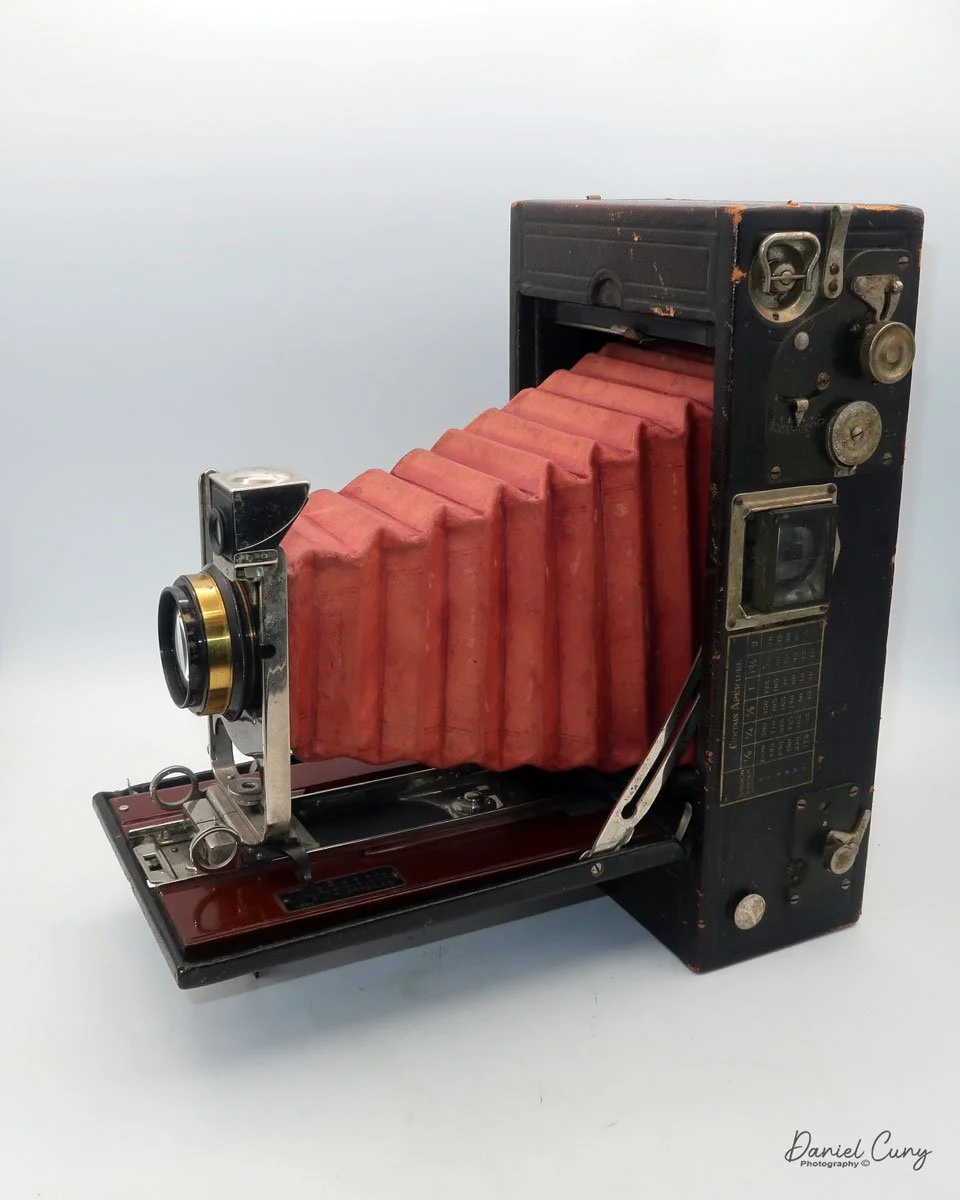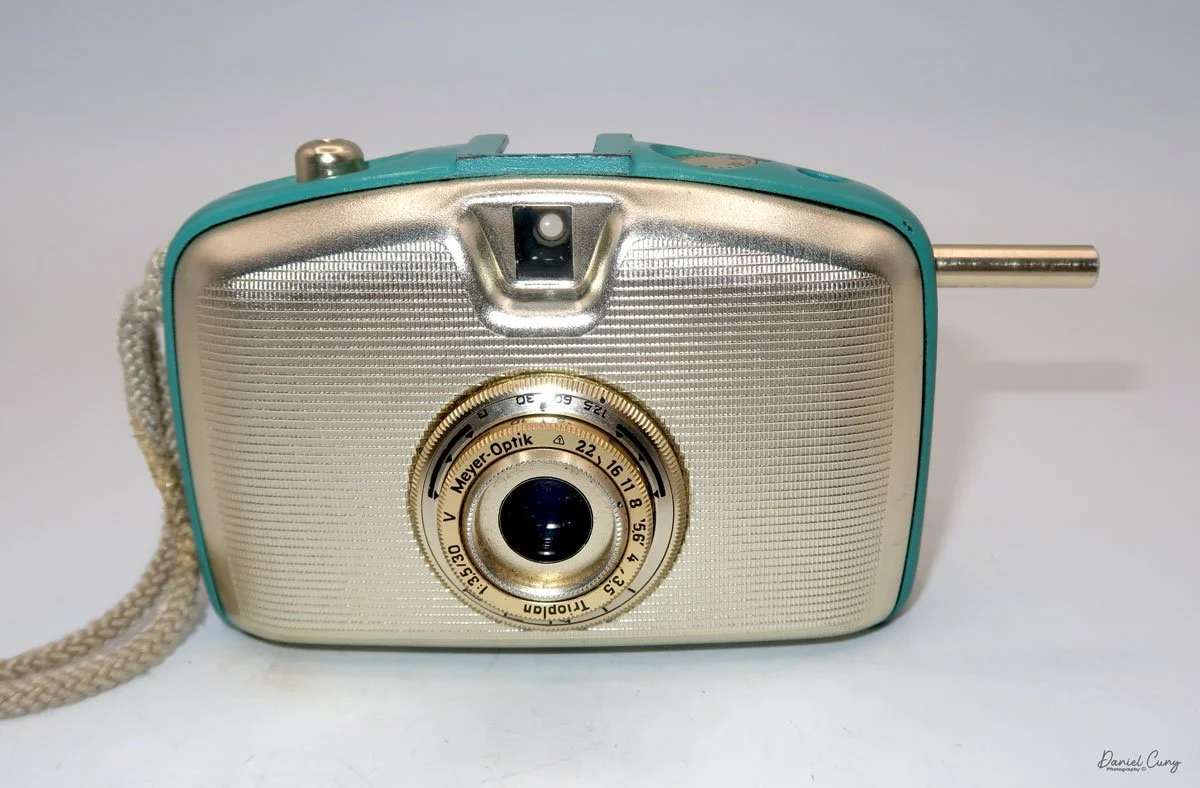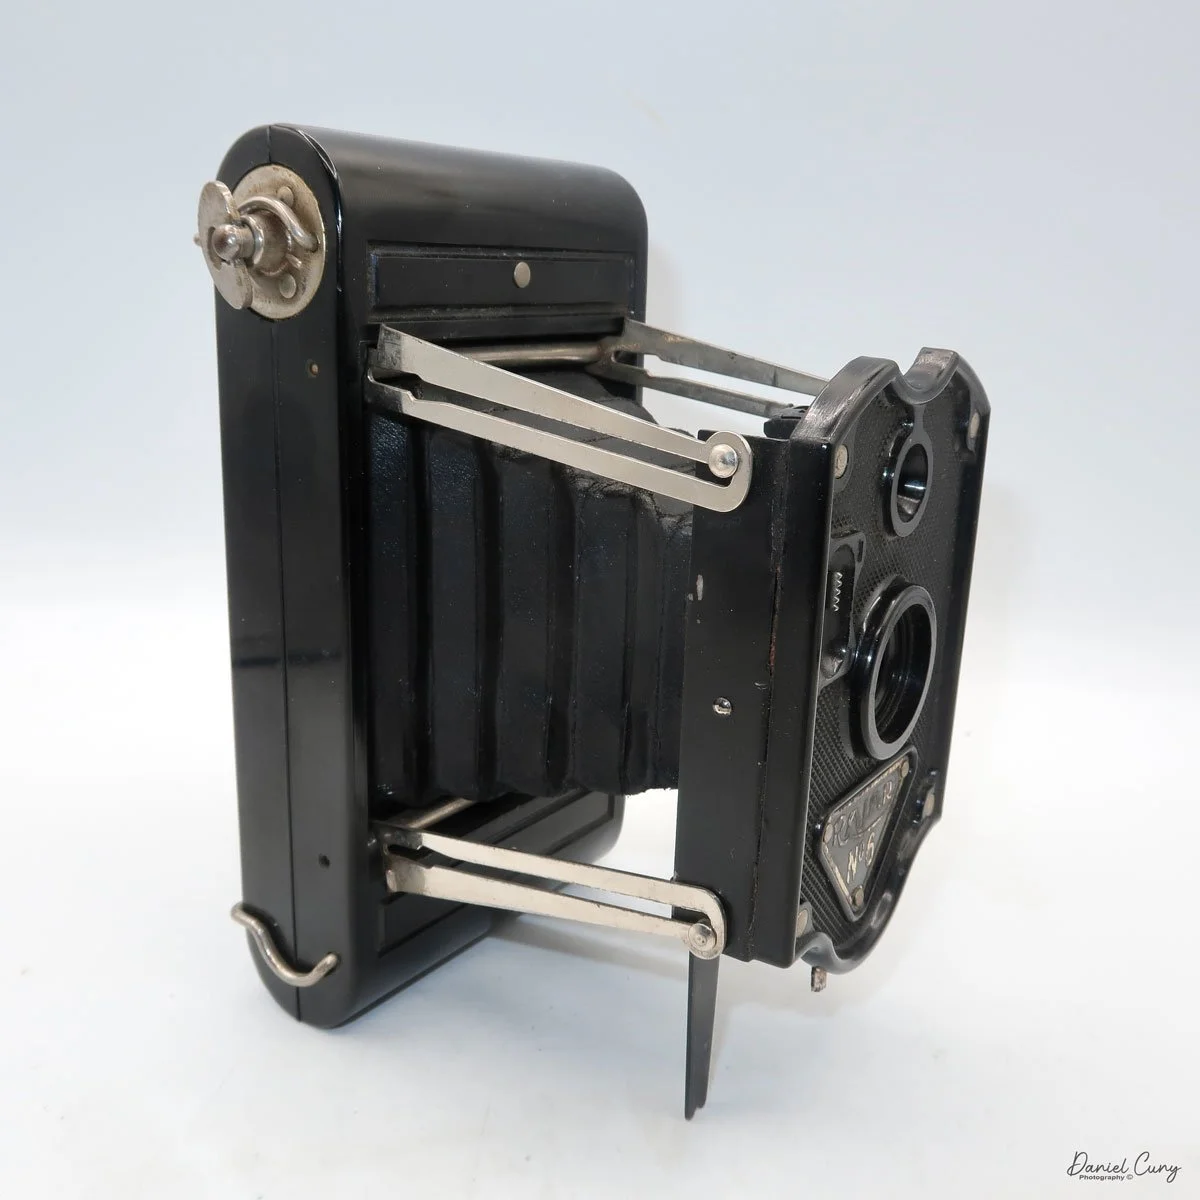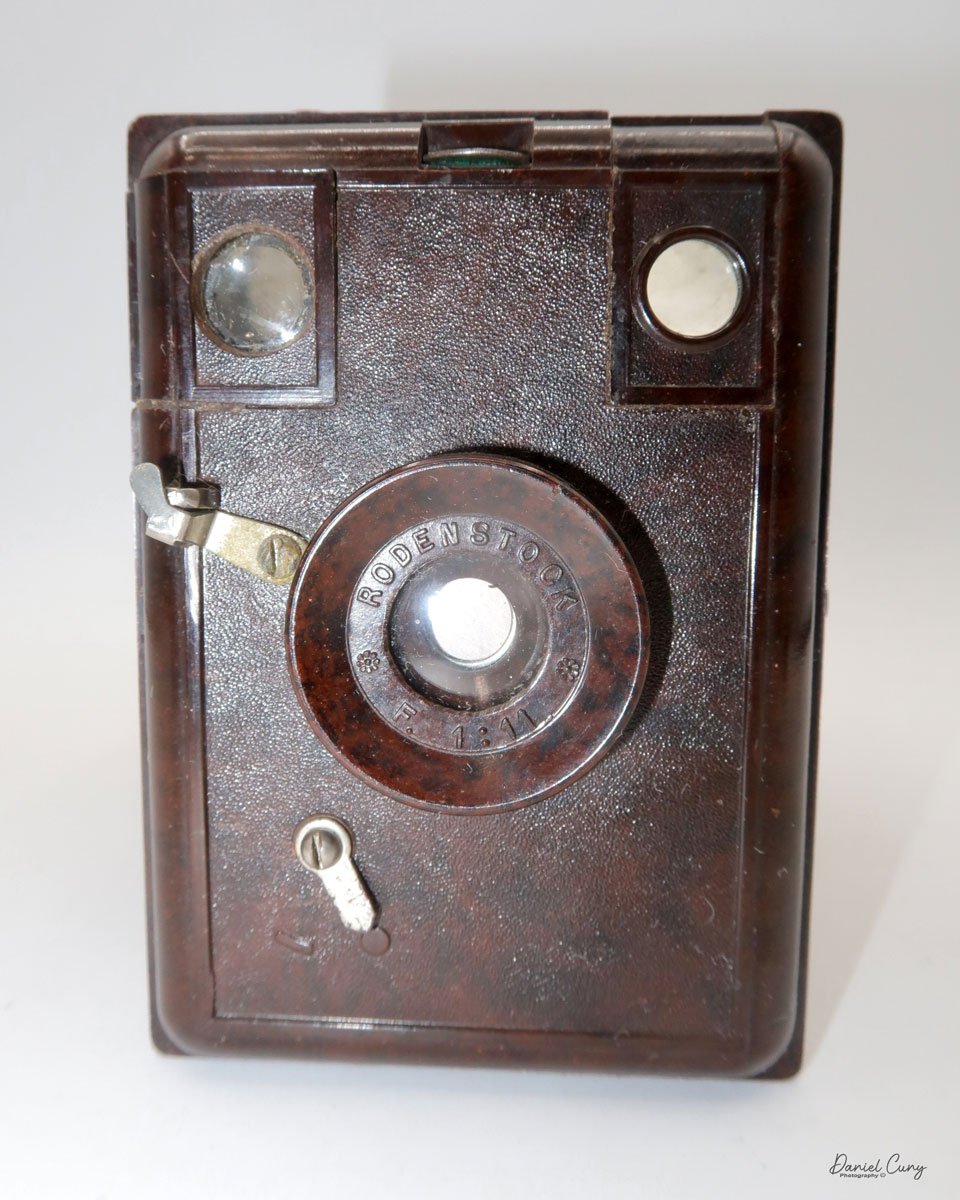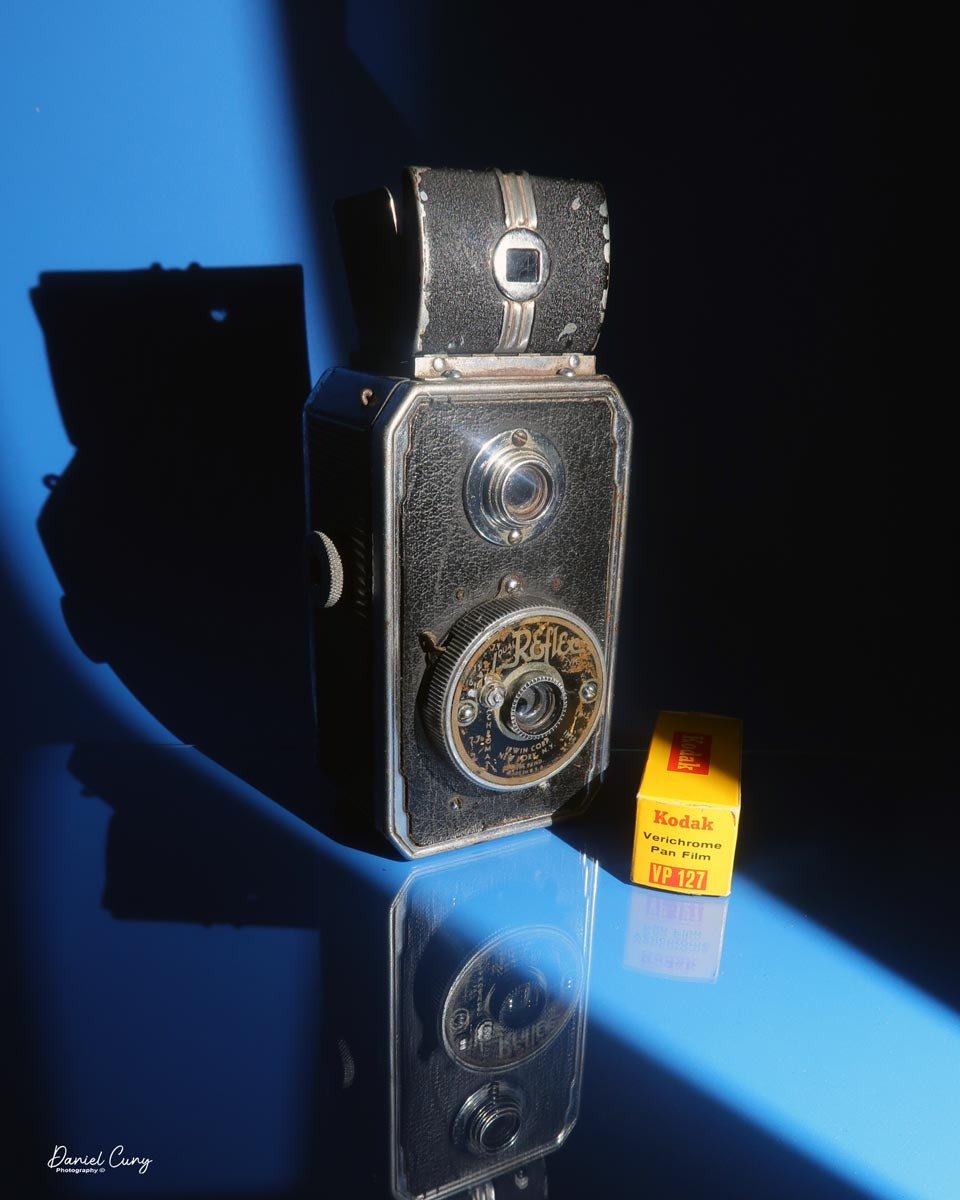
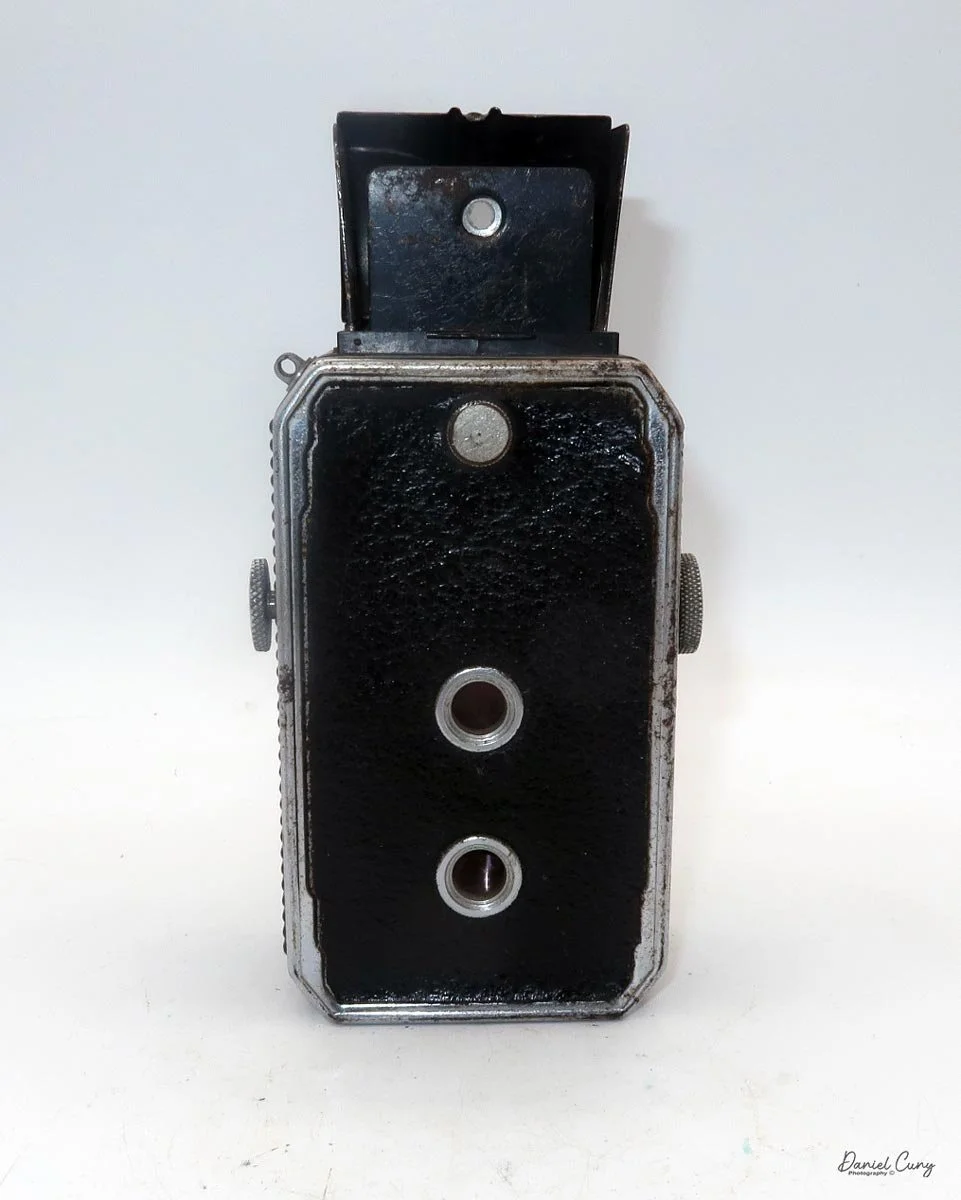
My Dual Reflex camera.
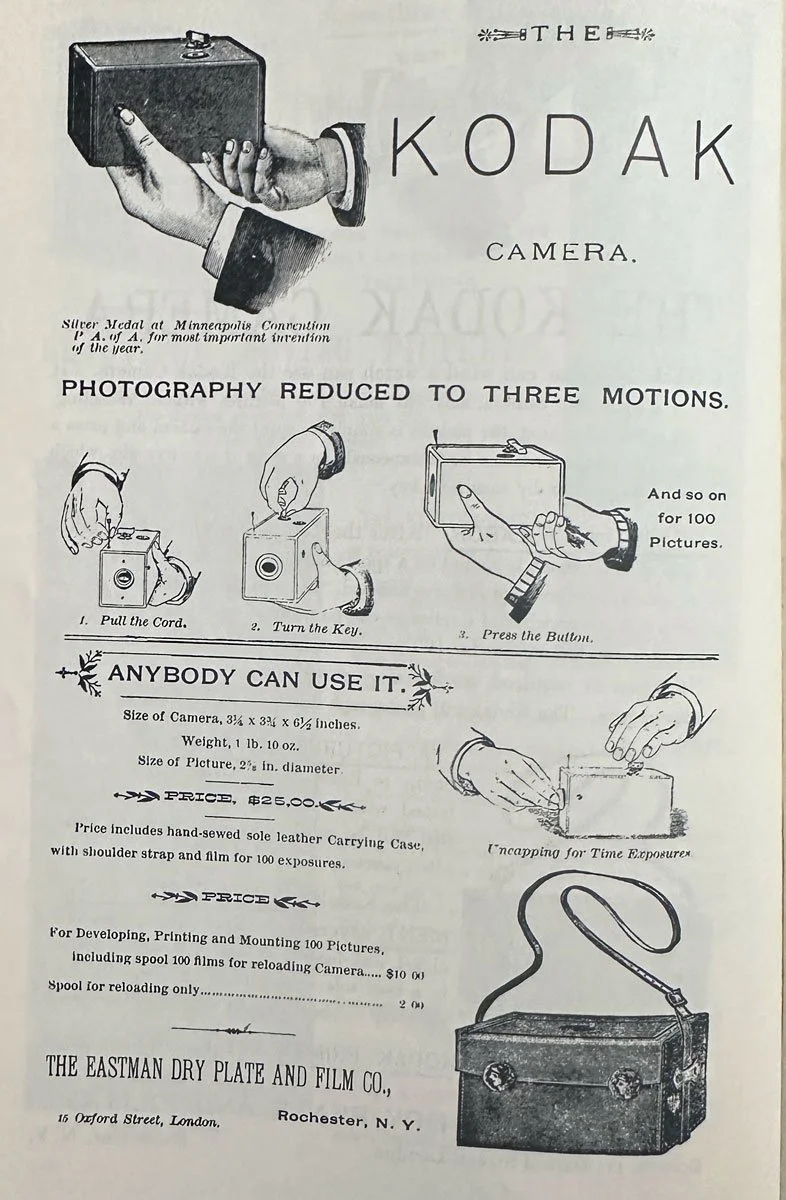
This week's camera is very low-tech and a follow-up to a series of cameras I discussed in a past article on the Lark and Kandor "Sardine Can" cameras two years ago.
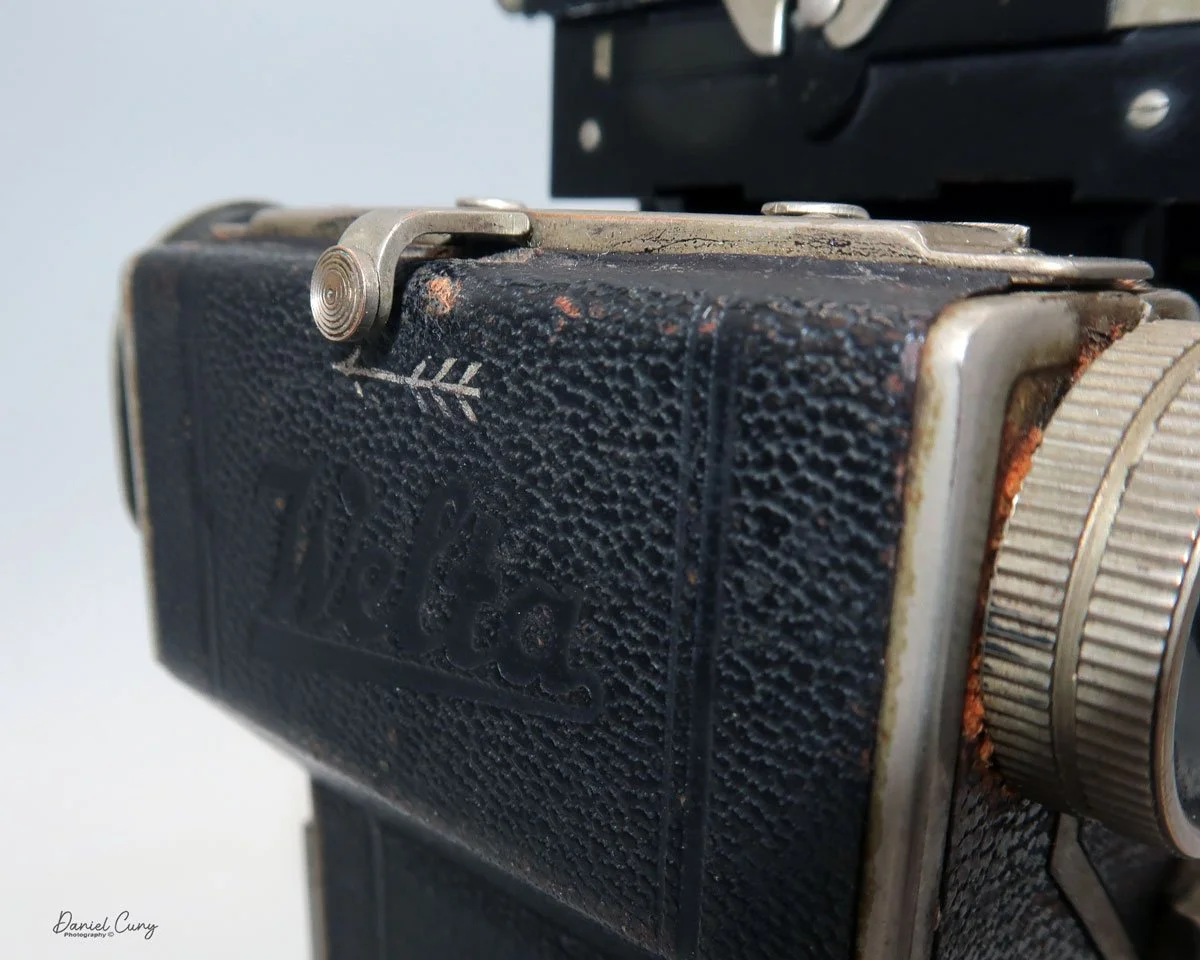
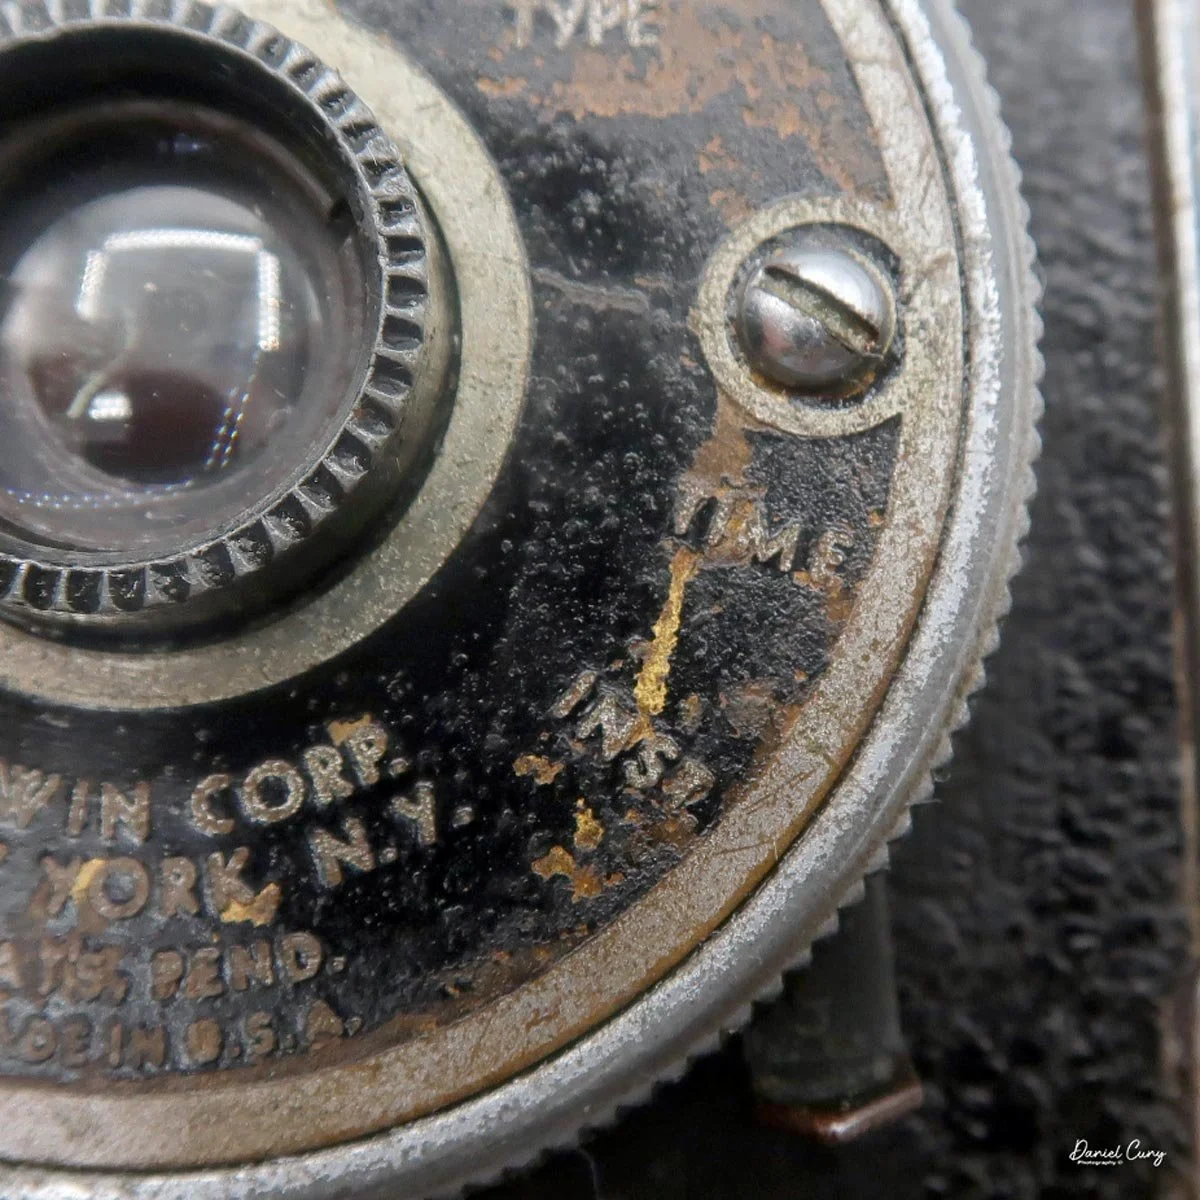
I found this camera in a display, hidden behind other cameras, at a local camera store many months ago. I recognized the camera from a previous article, and it was a different style of camera from before. This was a "twin lens" style camera, but made by the same company, Irwin Corp of New York.
As I was discussing the camera with a store staff member, they said it was for "display only" and not for sale because it wasn't working. I told the salesperson that I had written an article on this camera style and wasn't worried about whether it worked, but just wanted it for my collection.
I enquired further about the camera, the salesperson said they needed to ask the owner whether he would sell it. I encouraged the salesperson to inquire. Upon their return, they said the owner would indeed sell the camera and gave me a reasonable price to purchase it, especially since the camera was in rough condition and I was told the shutter was not working. The shutter wasn't dead. It did open and close, but it was extremely sluggish.
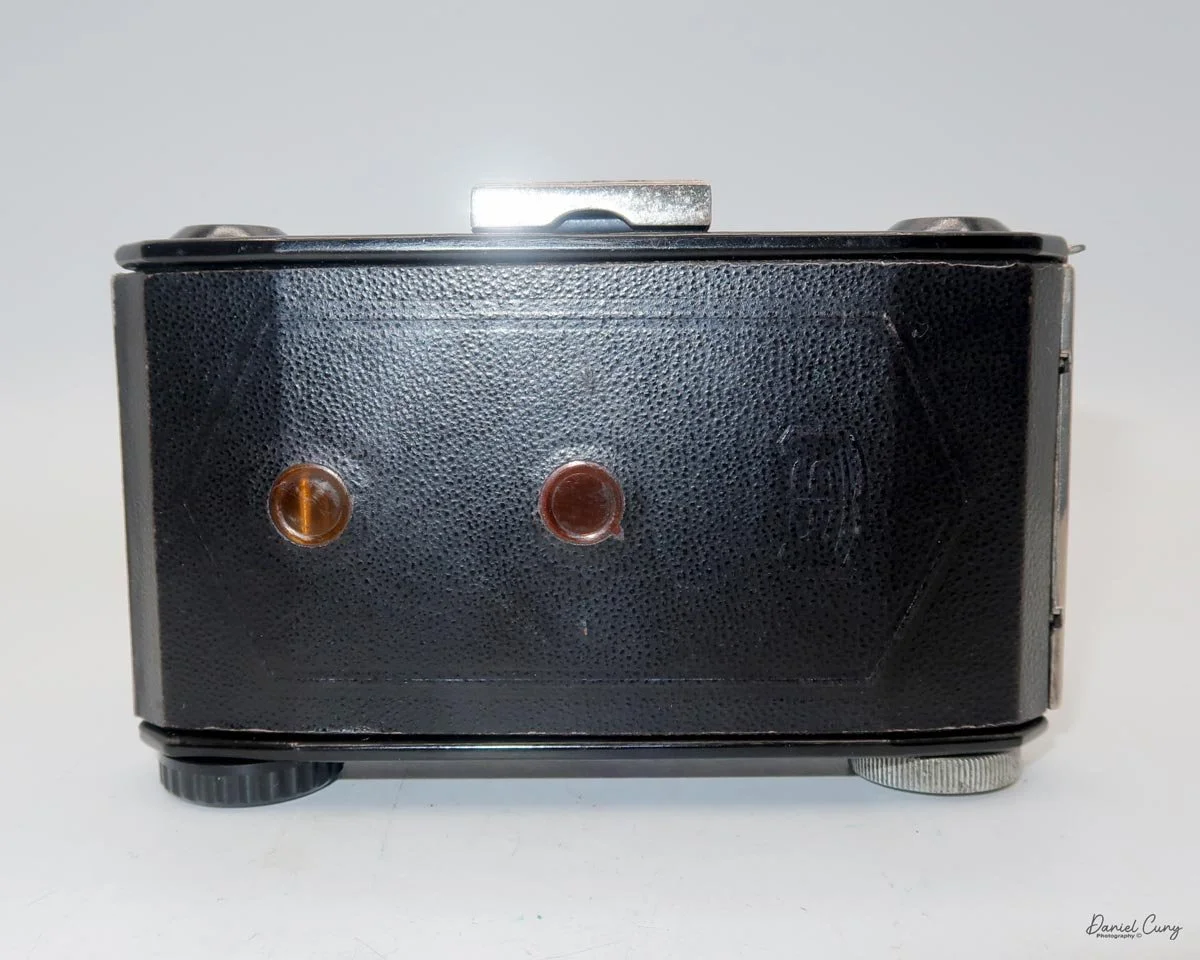
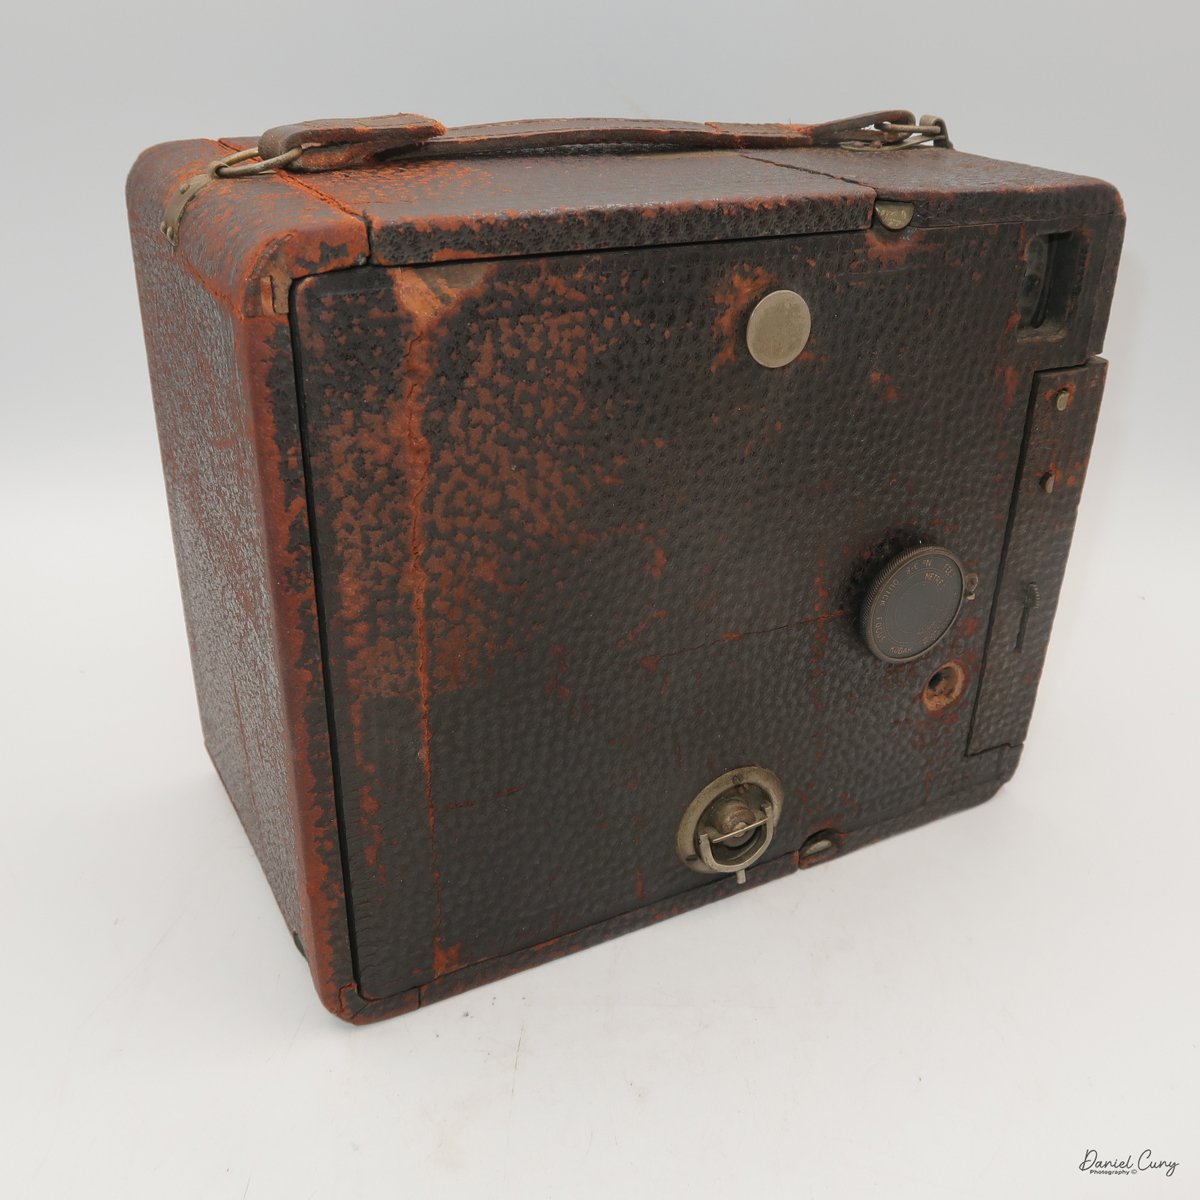
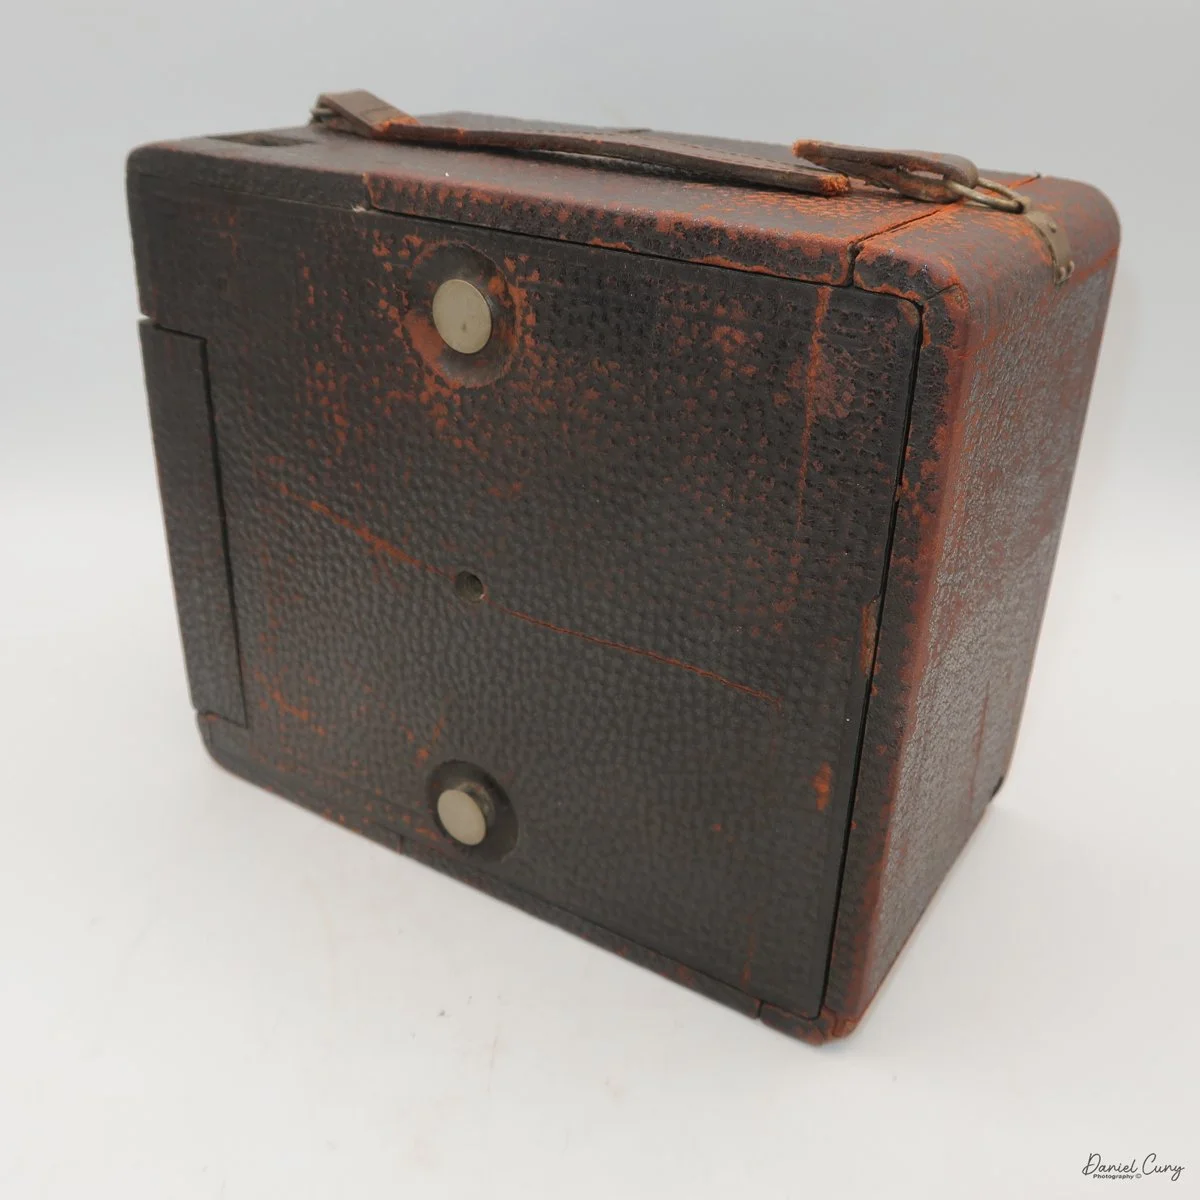
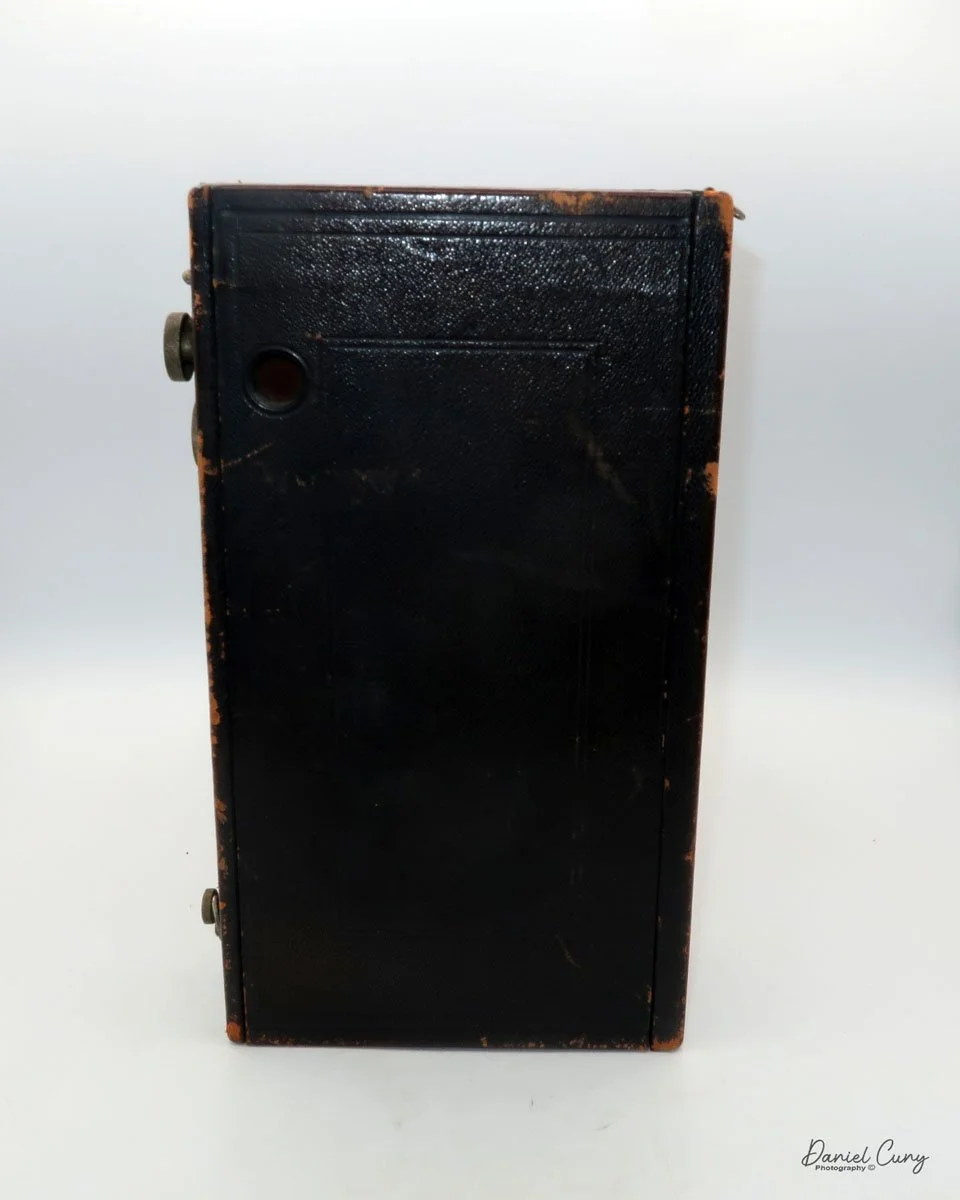
All of the leather was also on the camera, though it was coming up at the edges due to shrinkage and having been dried out for many years. The fact that the leather was still there was another good reason to purchase the camera, as I could recondition the leather and tack it back into place, giving the camera the care it deserved.
As I paid for the Dual Reflex camera along with some discounted, recently discontinued film, I left the store with a new acquisition, knowing I'd fix it up and write an article about it at some point.
Looking over the shelf to do this week's article, I saw the Dual Flex, and figured since I did an article on the Konica Pearl last week, which has an integrated rangefinder in a folding 645 format. Let's lean the other way this week and do a lower-end, Lomography-type camera from the early 1950s.
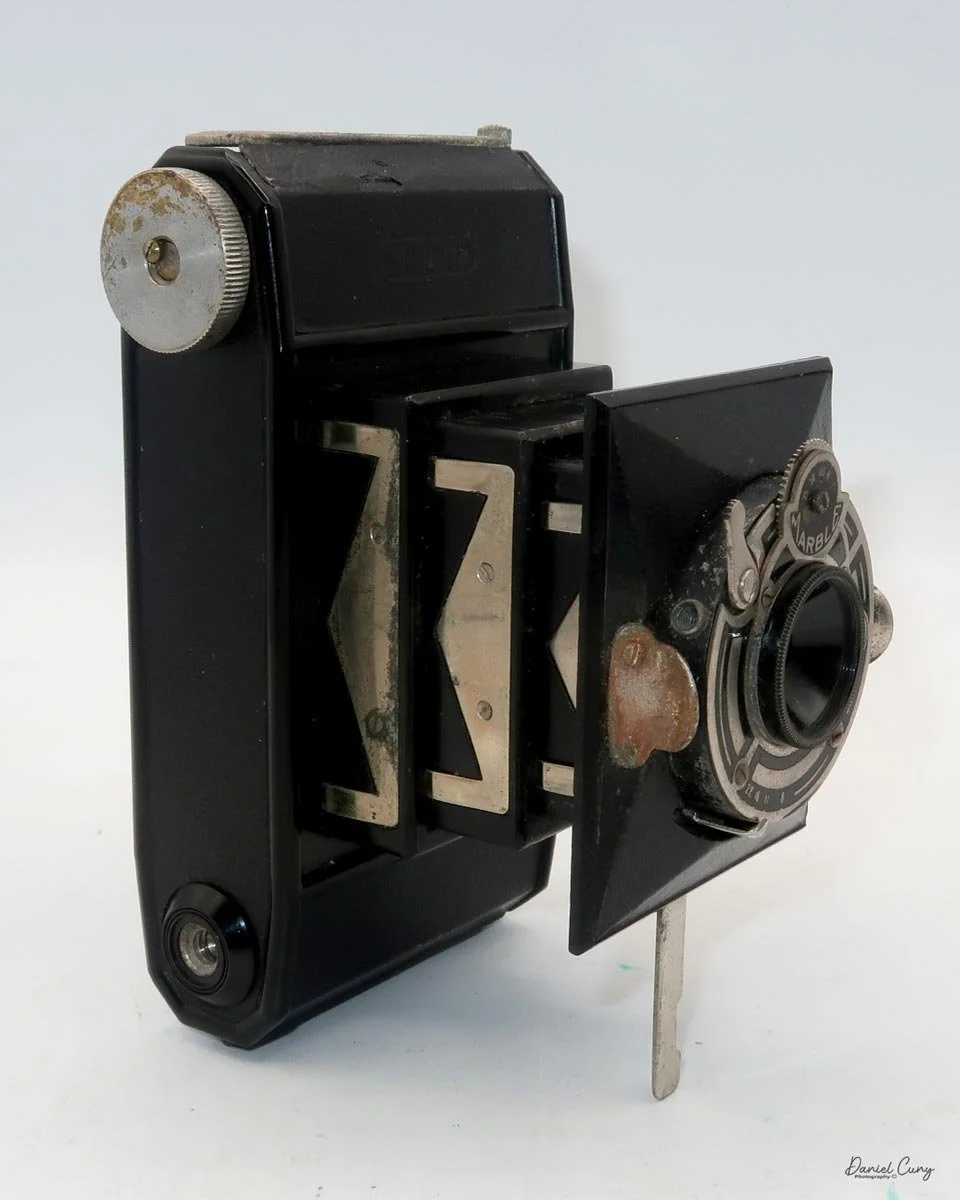
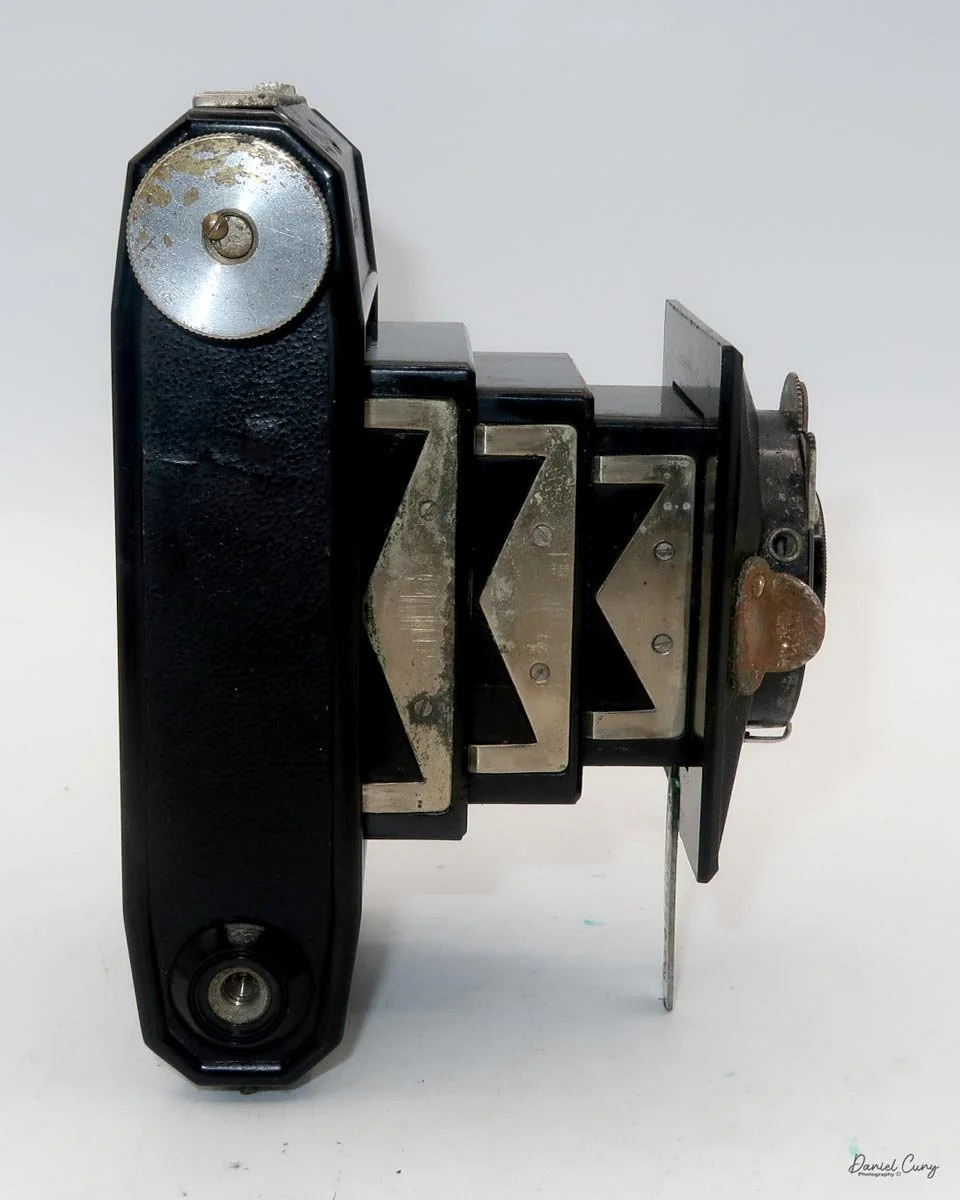
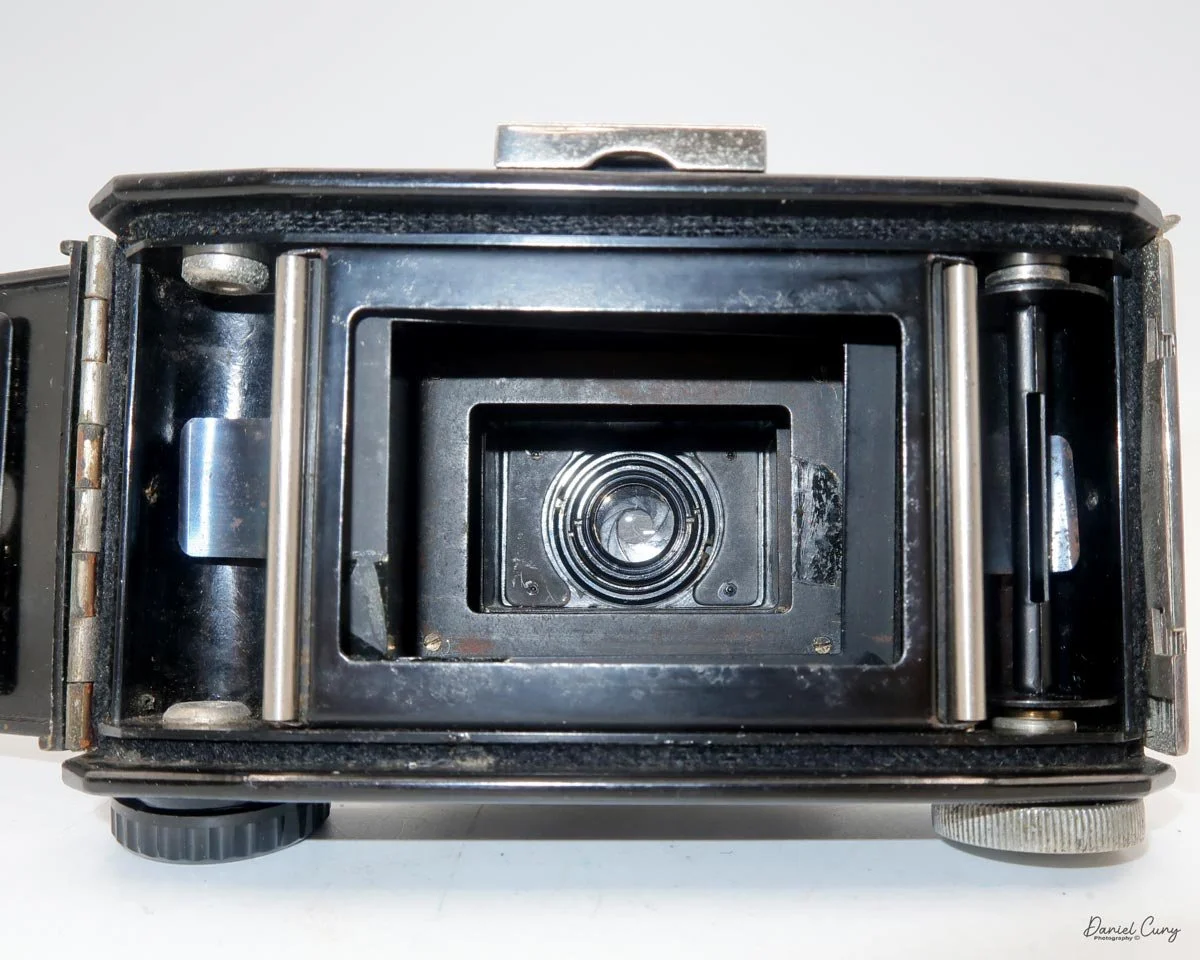
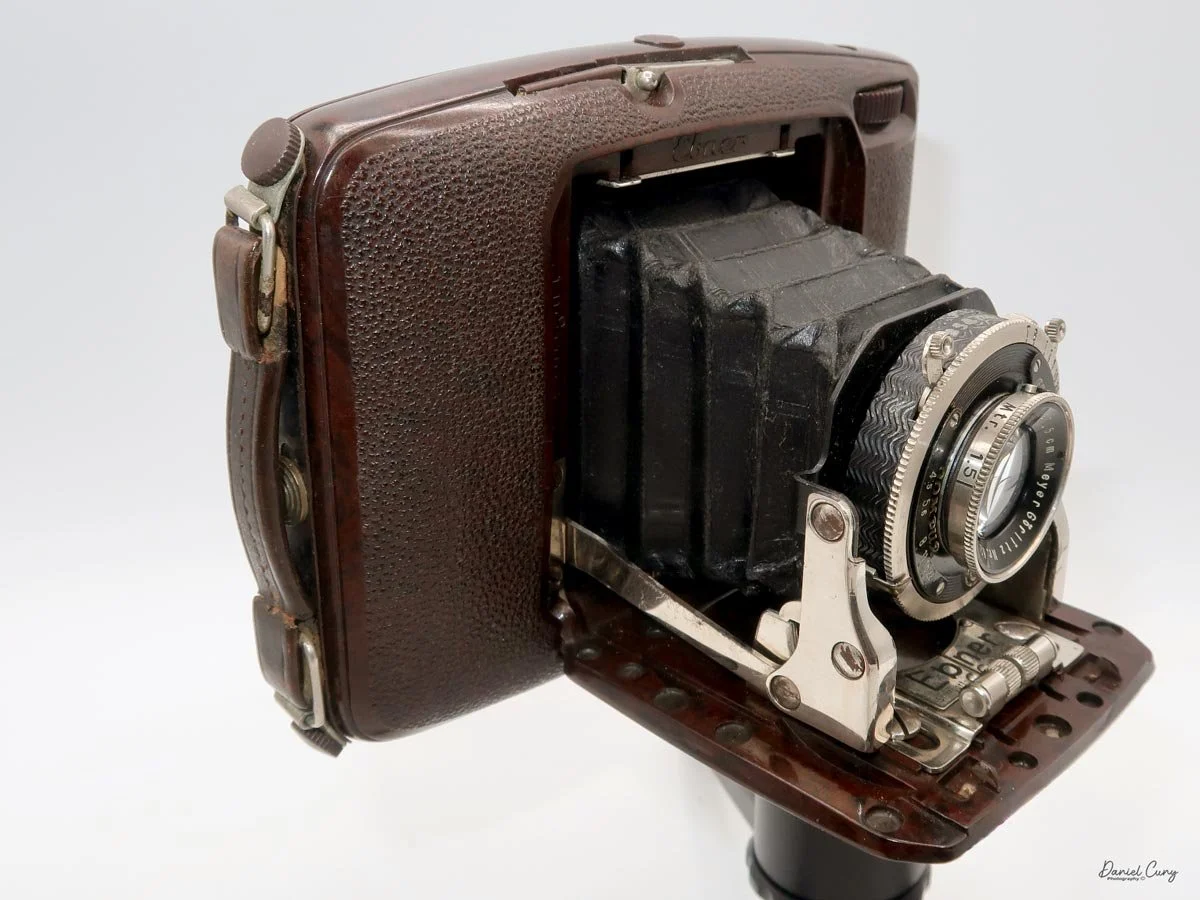
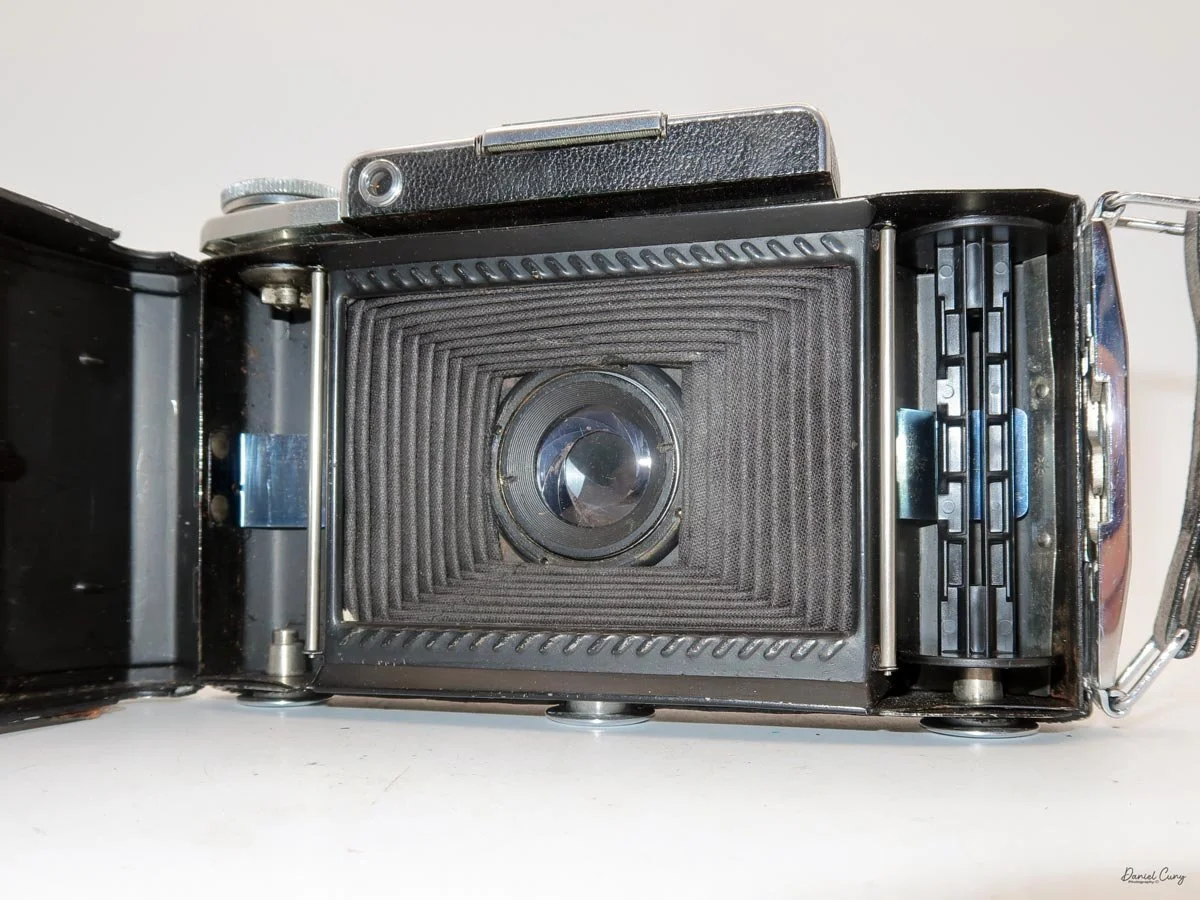
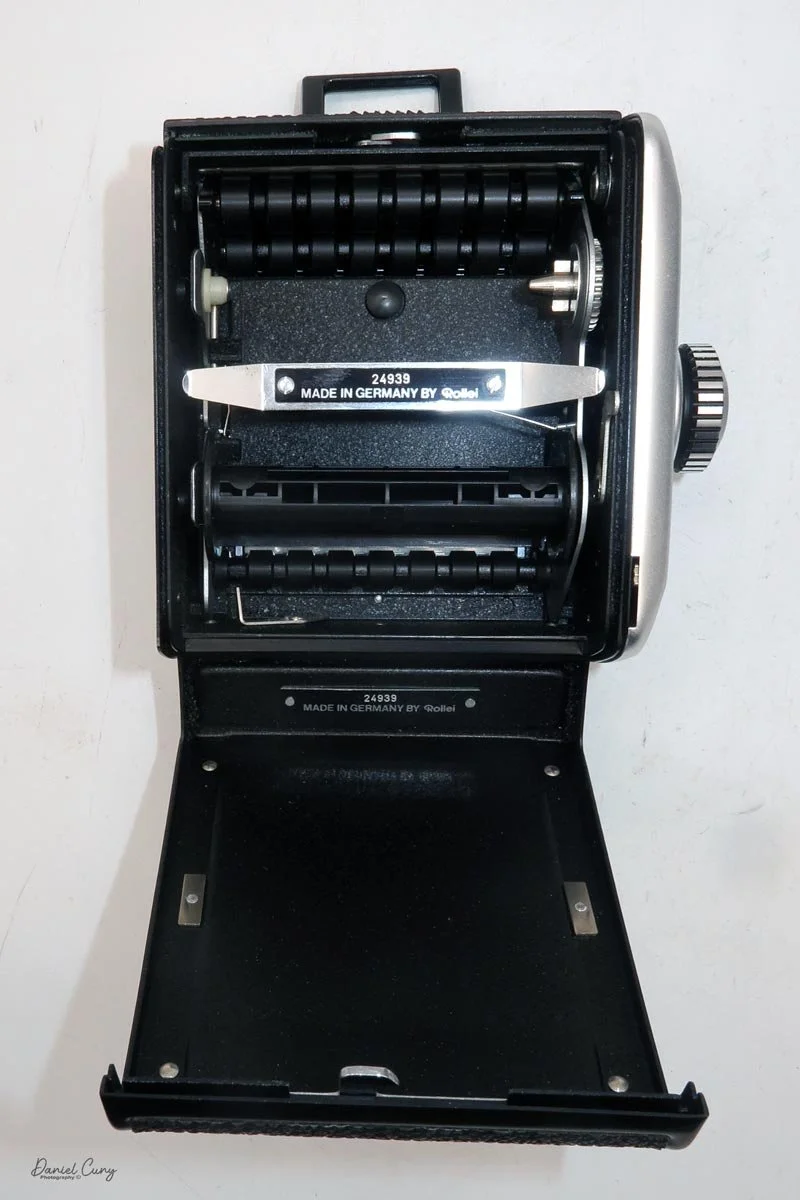
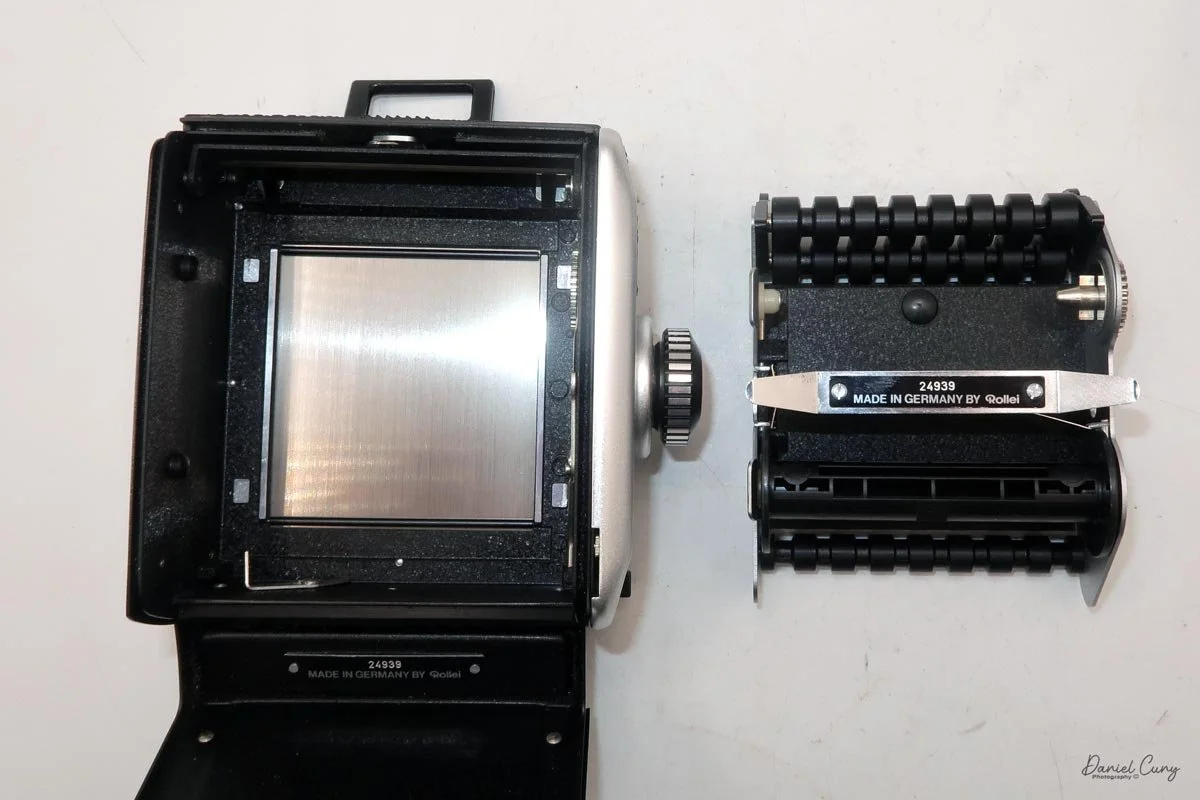
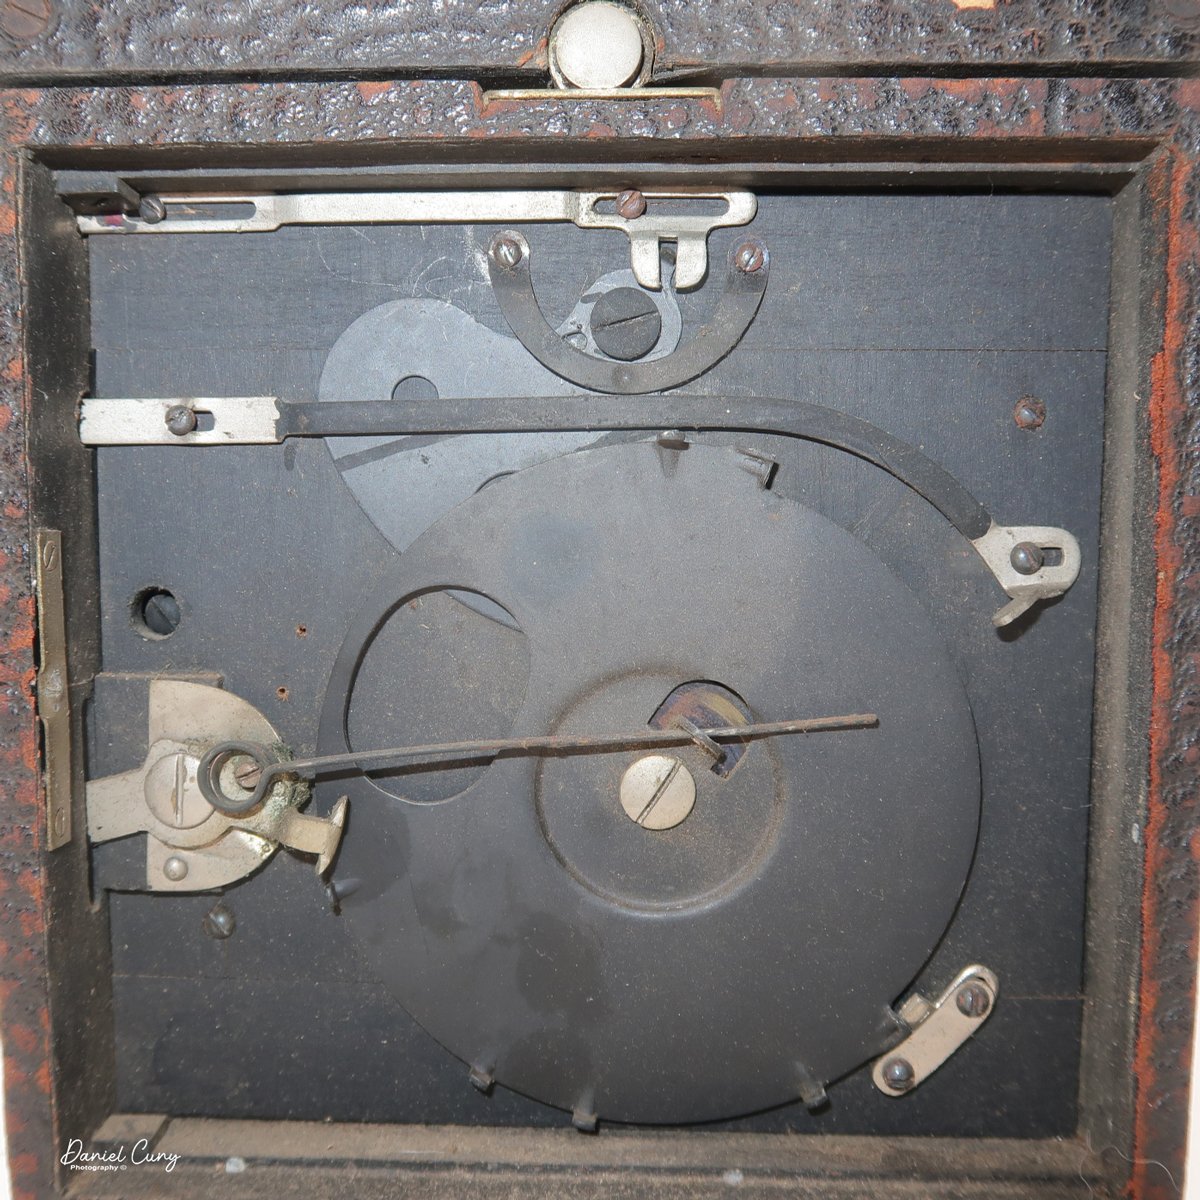
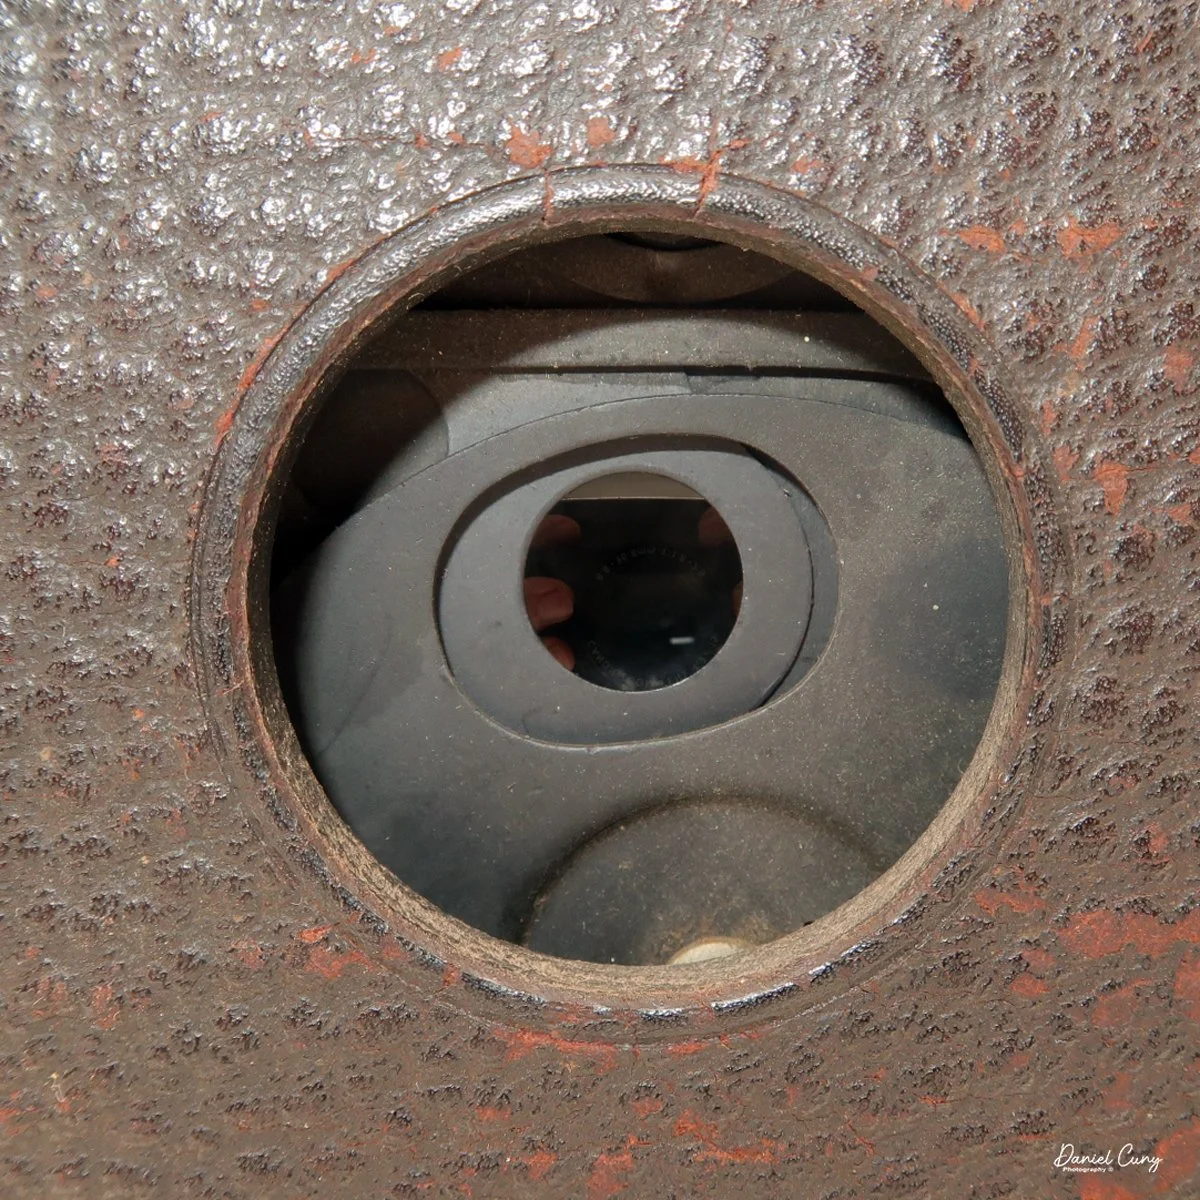
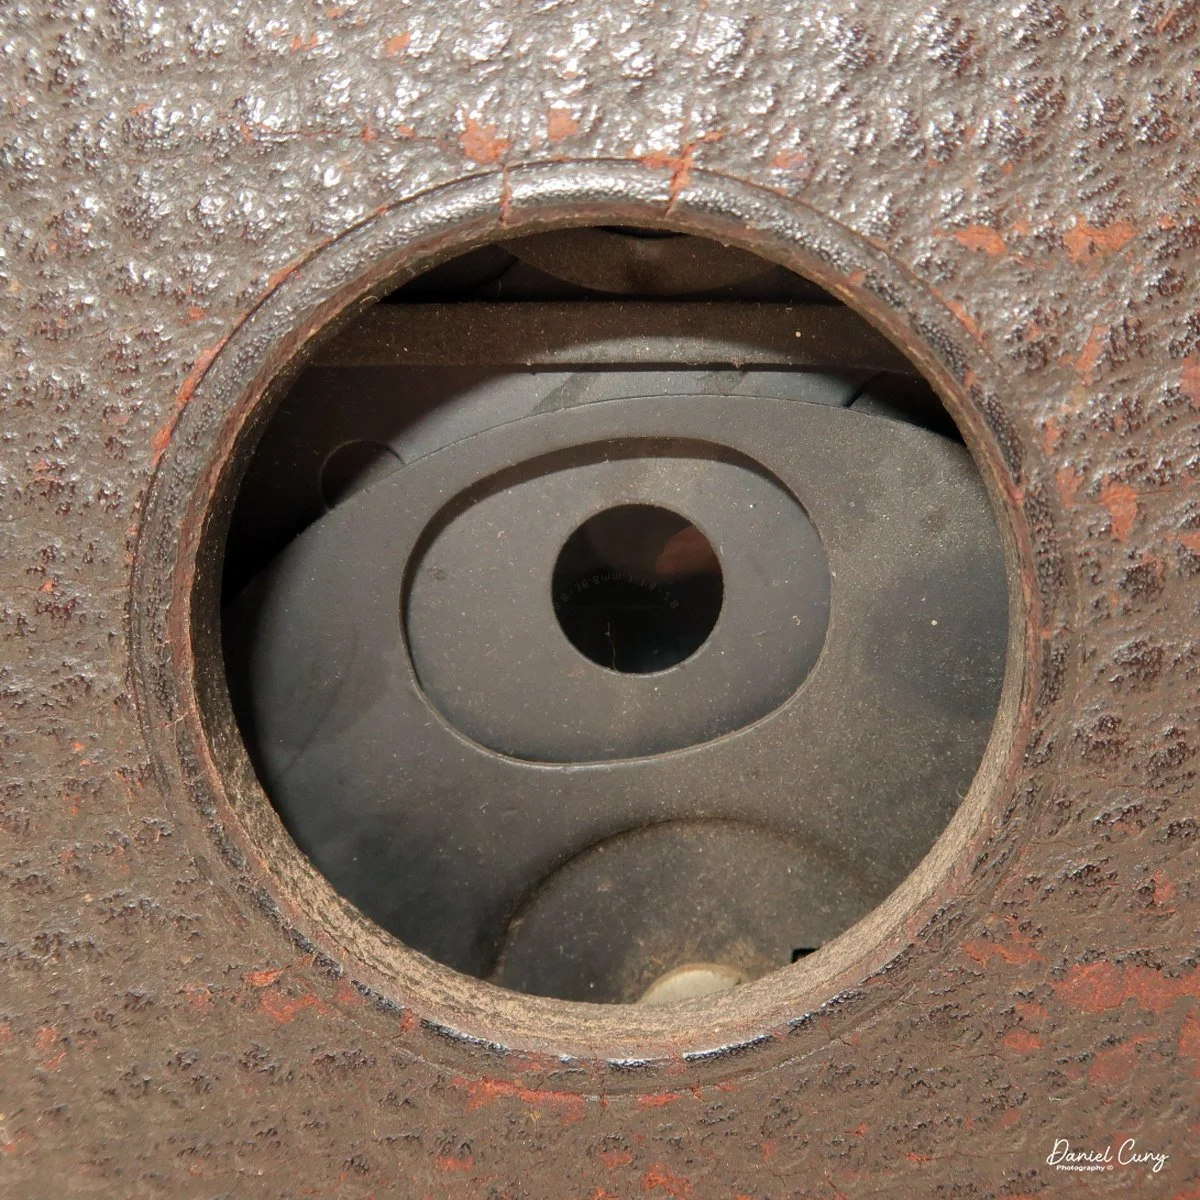
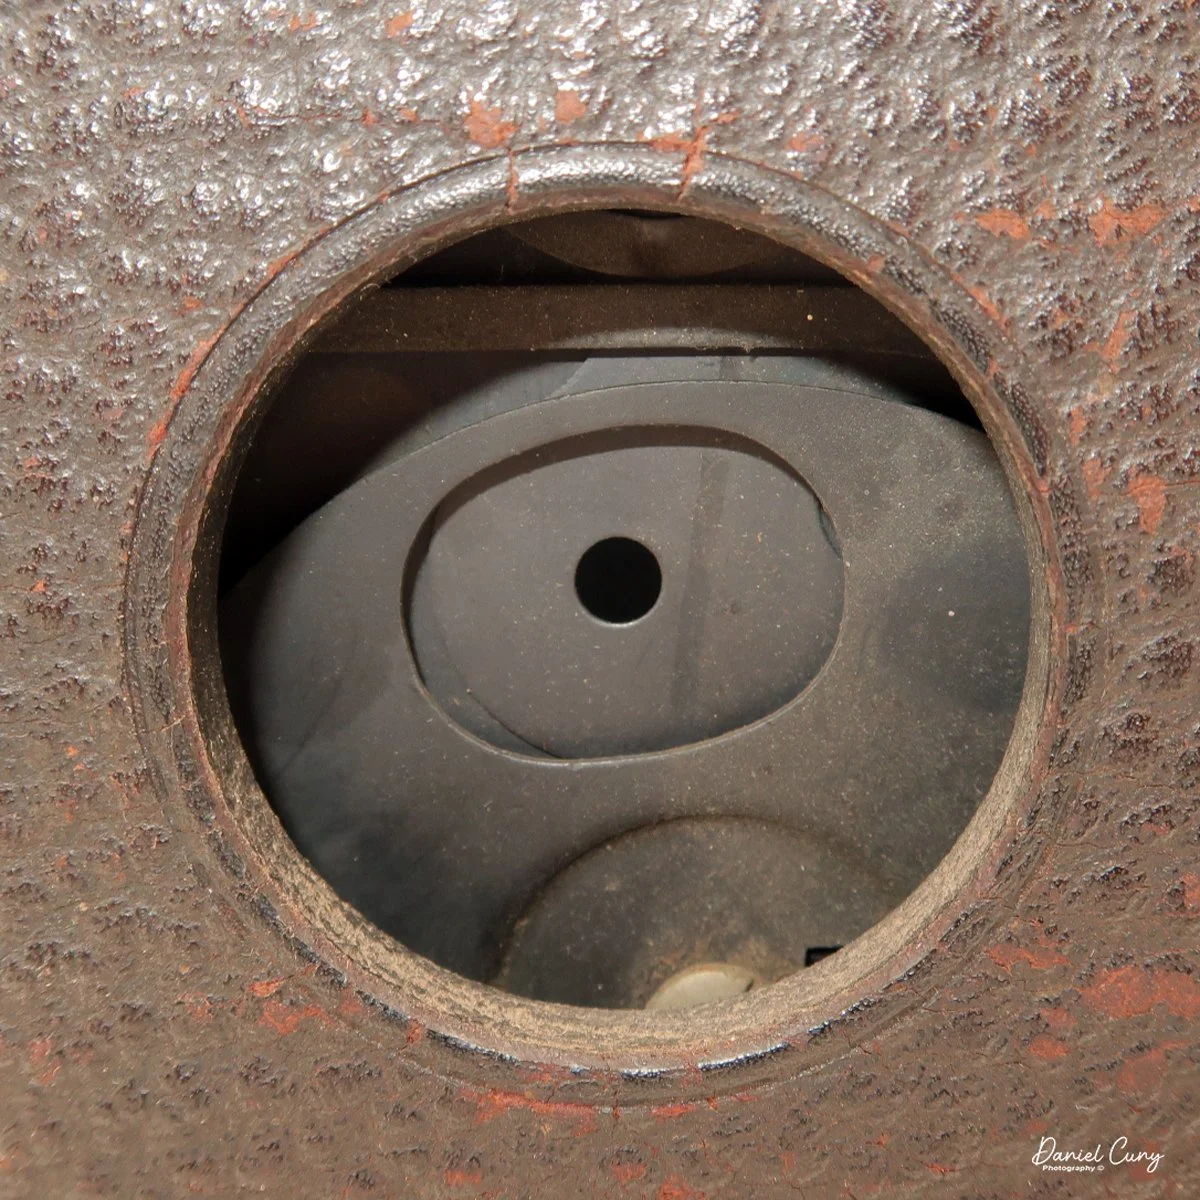
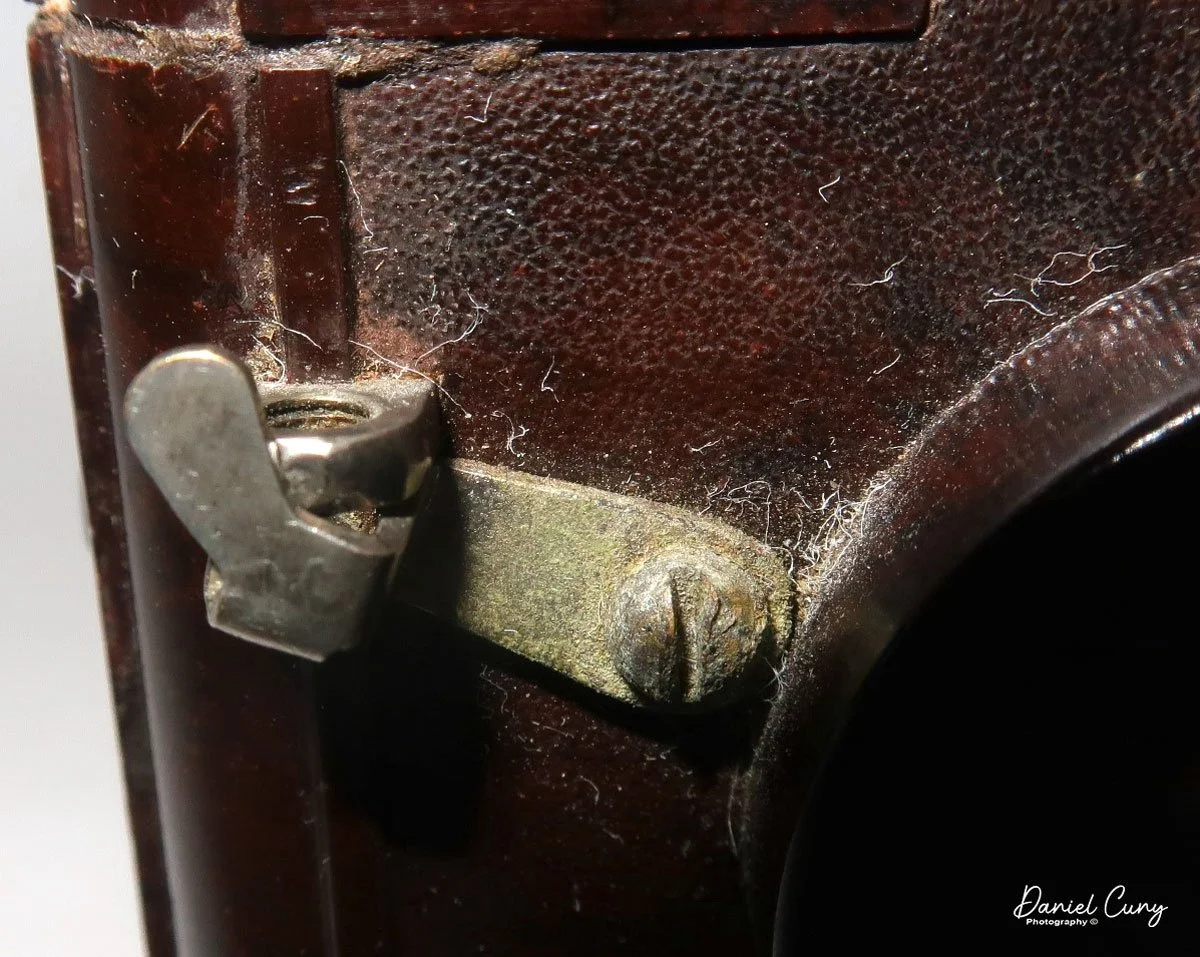
One thing I needed to do before writing about the Dual Flex was to fix the shutter and clean the camera as best as I could. The repair was extremely simple, as the entire shutter assembly was held to the camera by two screws, one on top and one on the bottom. Then, to get to the shutter itself, two other screws on either side of the lens held the cover on.
Once the cover was off, the entire assembly consisted of a simple spring-loaded box-camera-style shutter that needed general cleaning and lubrication. There is also a lever that changes the aperture setting, which already moved smoothly, so I didn't do anything with that.
While the shutter was out, I cleaned the inside of the lens and reassembled it, making sure it was functioning as it should. With a "snappy" shutter in working condition, I screwed the cover back into place and mounted the shutter back onto the camera. Double-checking that the shutter seemed to be working after reassembly, I was now ready to write the article.
History:
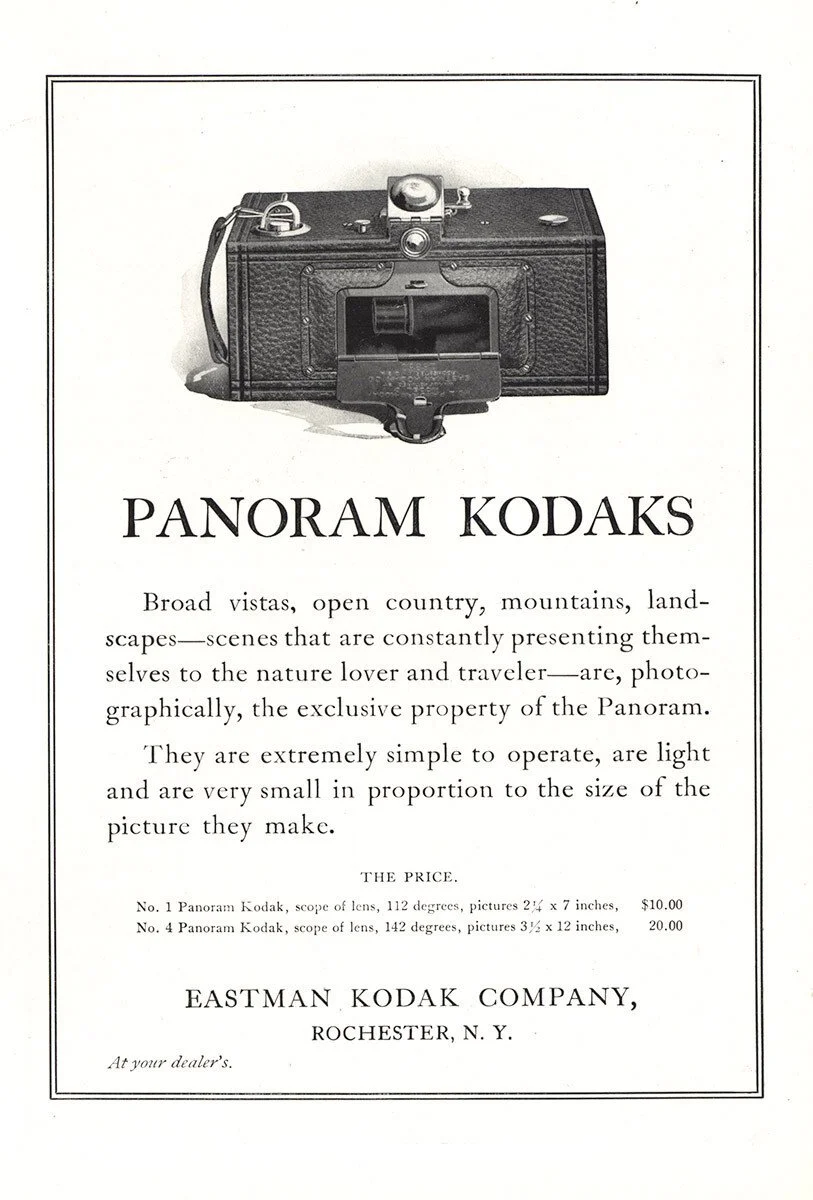
Irwin Corporation of New York occupies a curious and appealing corner of toy and camera history. Best remembered by collectors for its inexpensive metal cameras and low-cost toys, the company seems to have specialized in simple, playful, and affordable products. One surviving description notes that Irwin began by manufacturing 127 roll-film metal cameras resembling sardine tins, priced at just $2.98, which immediately places the firm in the world of budget photography novelties rather than serious camera manufacturing.
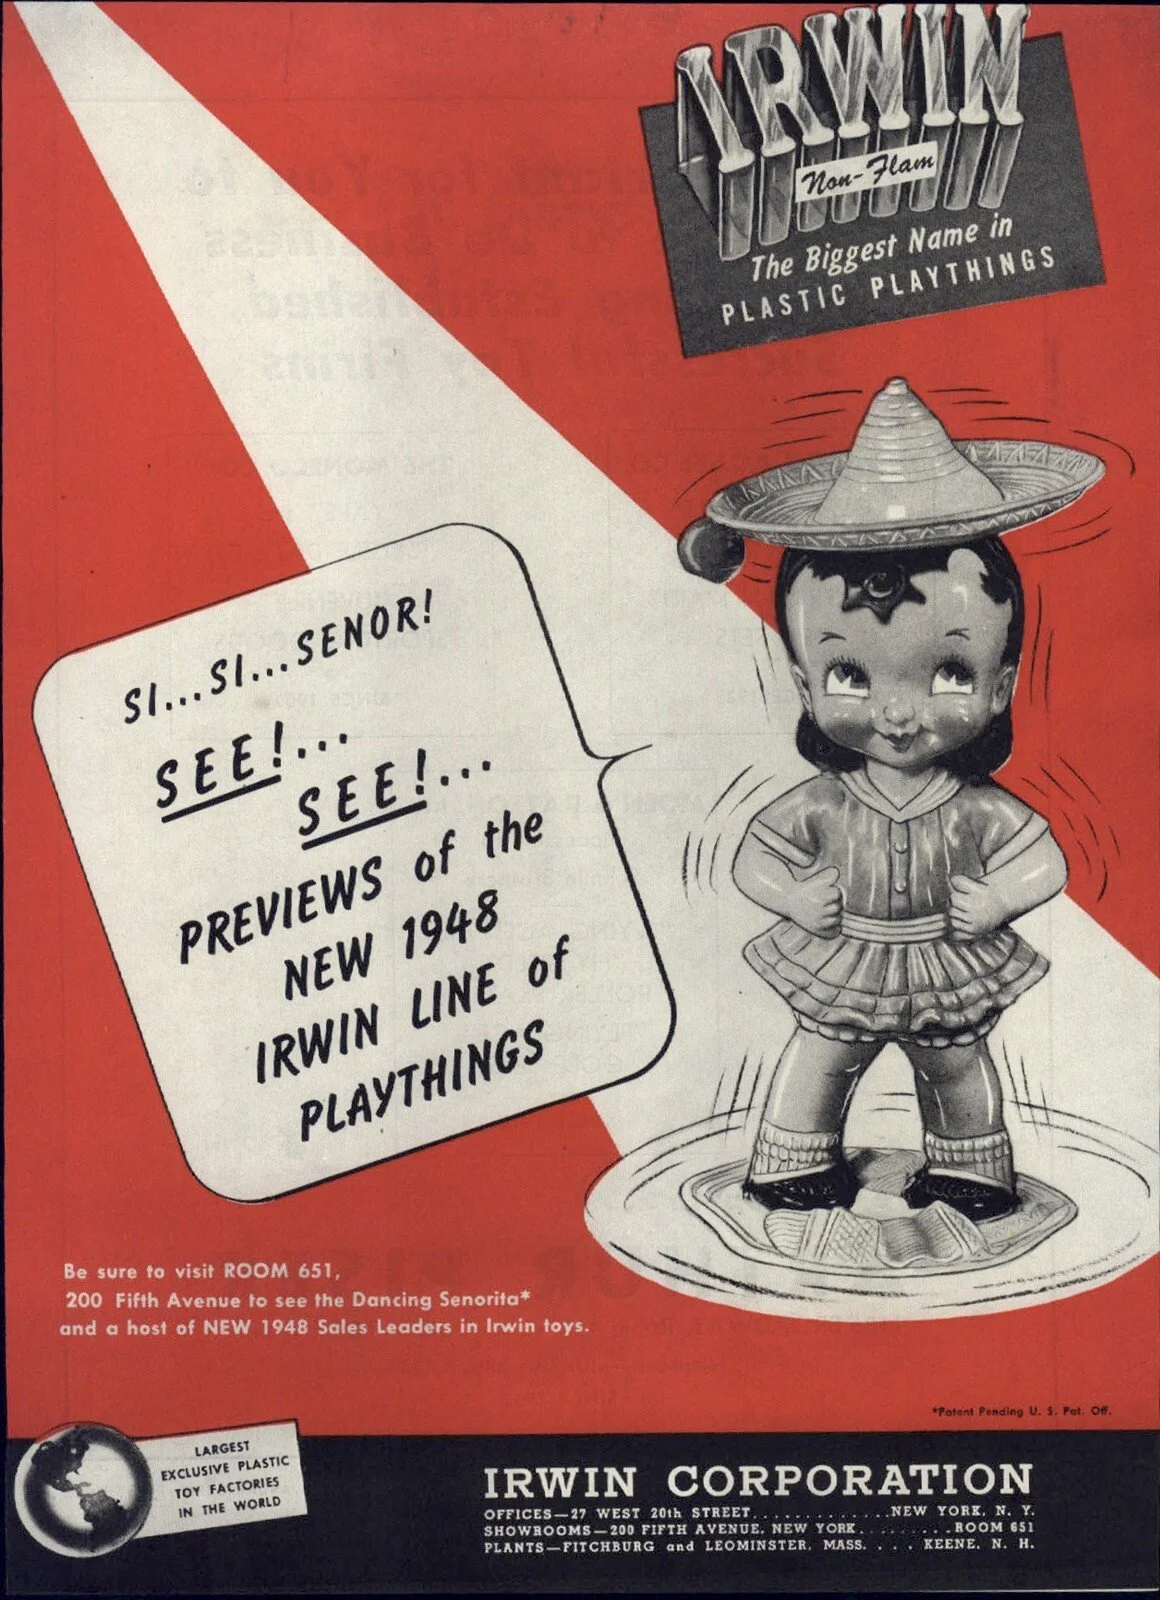
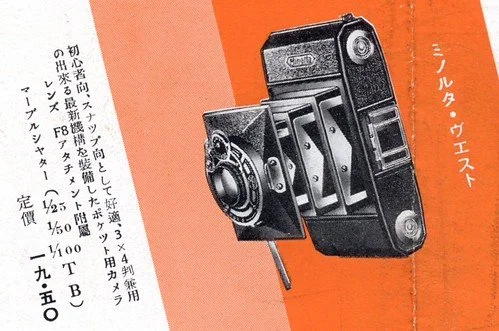
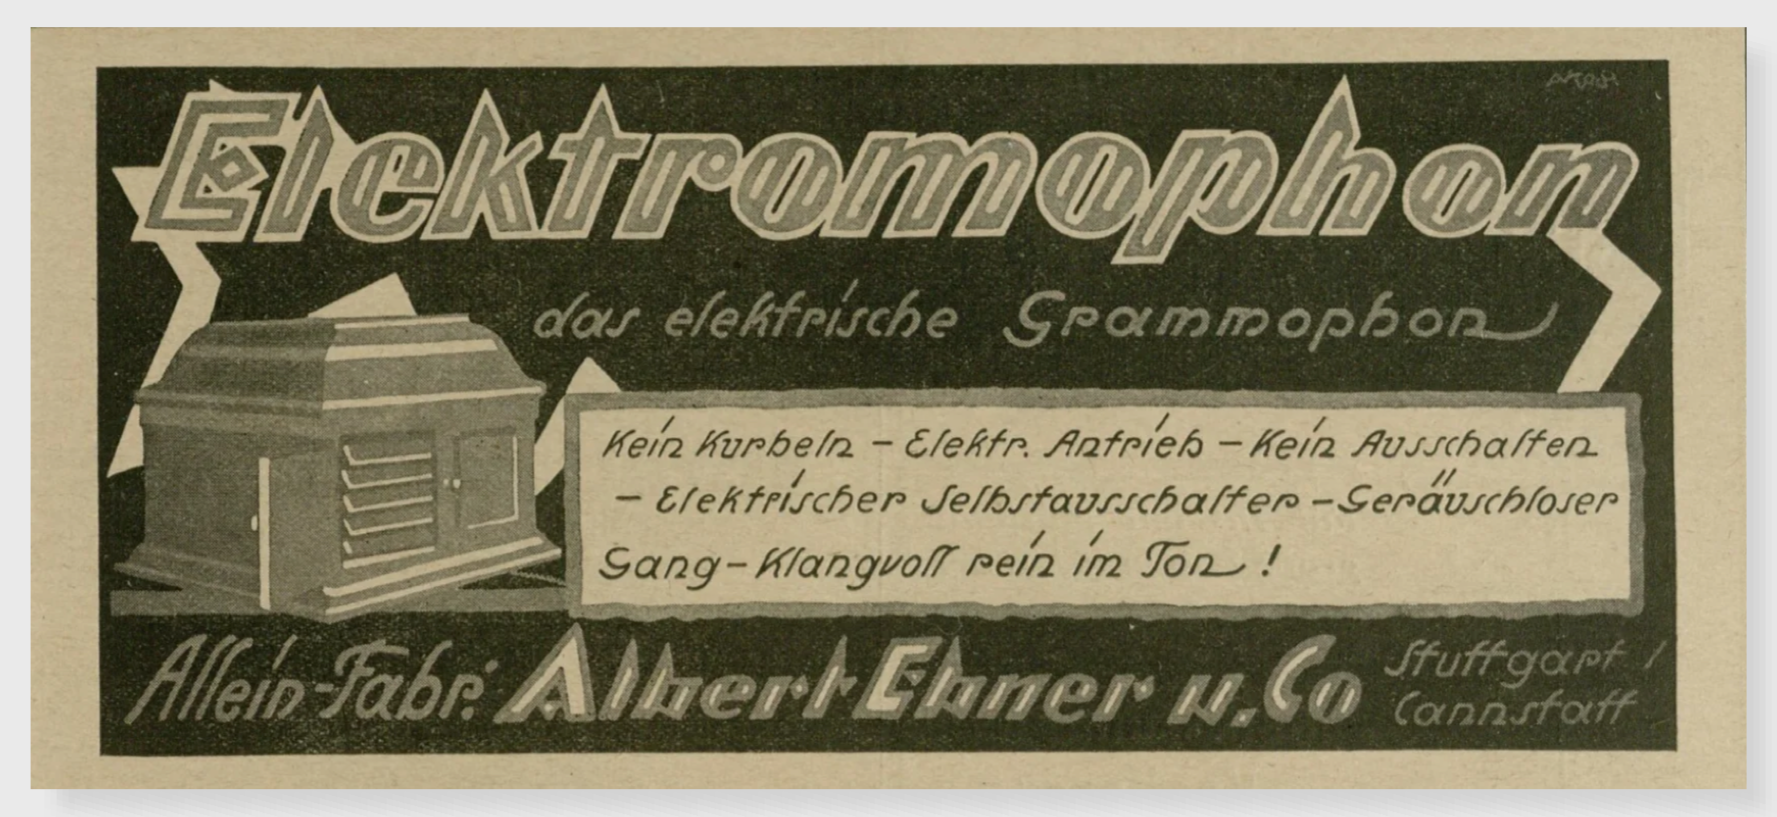
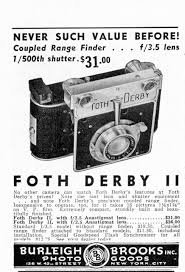
1948 advertising for Irwin Corp.
That detail helps explain why Irwin still draws attention from vintage camera collectors today. These were not precision instruments meant to compete with the major camera brands. Instead, they were novelty cameras designed to be accessible, fun, and inexpensive enough to appeal to casual buyers. In that sense, Irwin's cameras belonged to the same broader culture as dime-store toys and impulse purchases: small objects that offered a quick thrill and a modest introduction to photography.
Irwin also appears to have expanded its production to include toys, especially metal toys and, later, plastic items. Collector references suggest that the company produced cars, trucks, and other small playthings and continued to produce toys well into the 1950s and 1960s. By the mid-1950s, the company was said to have plants in Fitchburg and Leominster, Massachusetts, and Nashua, New Hampshire, indicating that it had expanded beyond a single New York address.
The surviving record also suggests a company that adapted with the times. A 1964 dealer catalog reportedly included toy cars for Ken and Barbie, along with plastic GI Joe vehicles, which shows how Irwin followed the changing market for licensed and character-based toys. That flexibility likely helped the firm remain relevant in a crowded and fast-changing industry.
Today, Irwin Corporation is remembered less as a major manufacturer than as a fascinating specialty producer whose history bridges toy collecting and camera collecting. Its sardine-tin cameras and inexpensive metal toys make it a small but memorable part of American mid-century design.
My Camera:
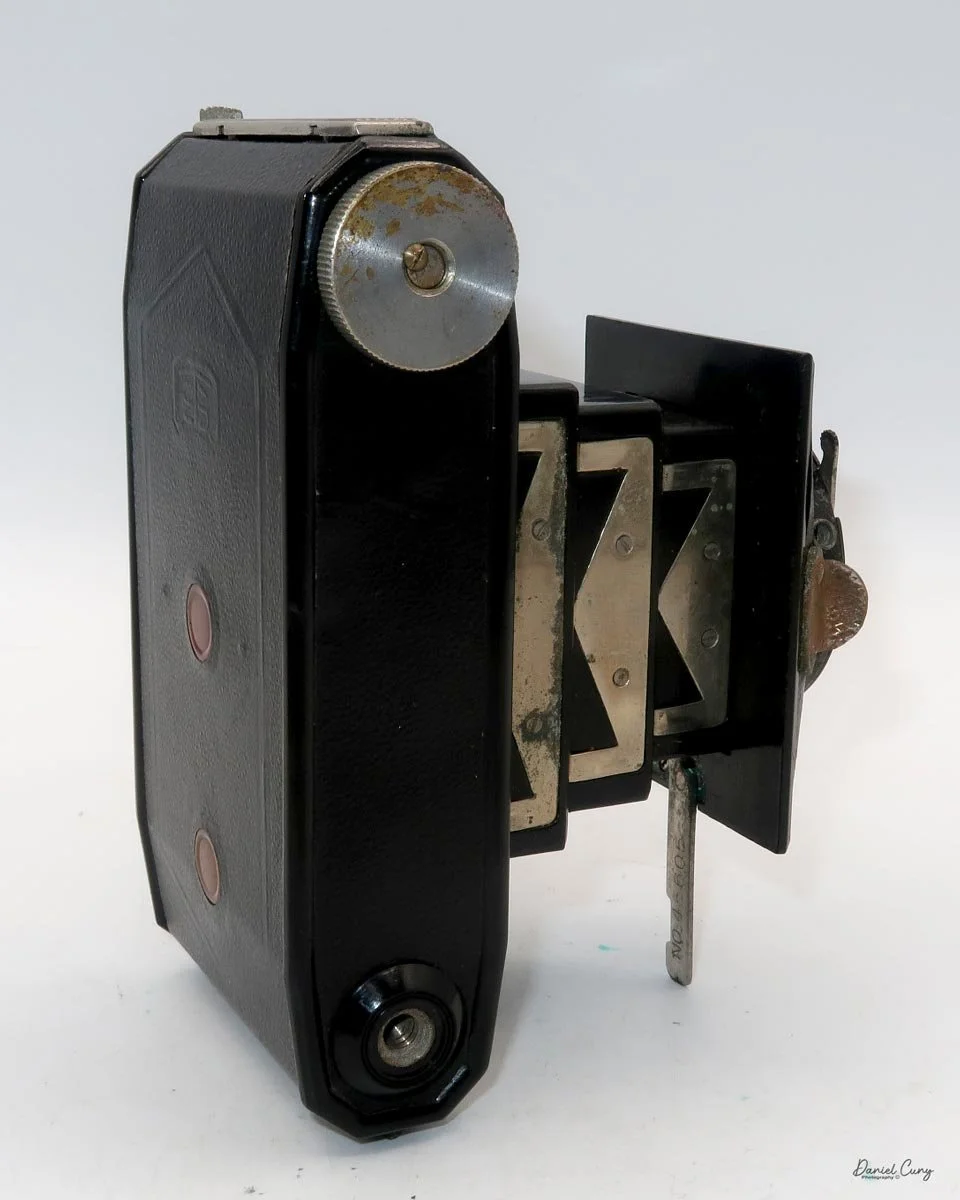
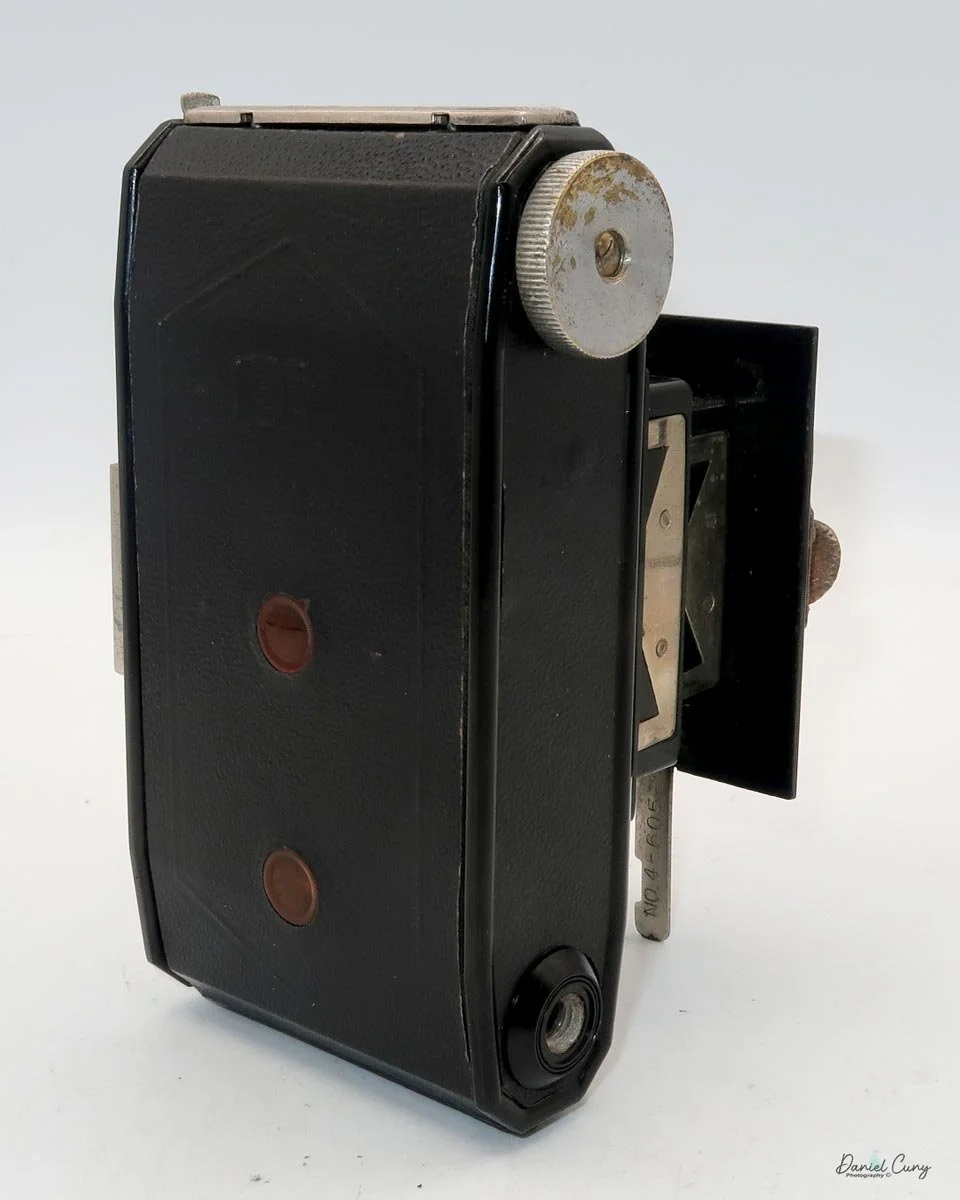
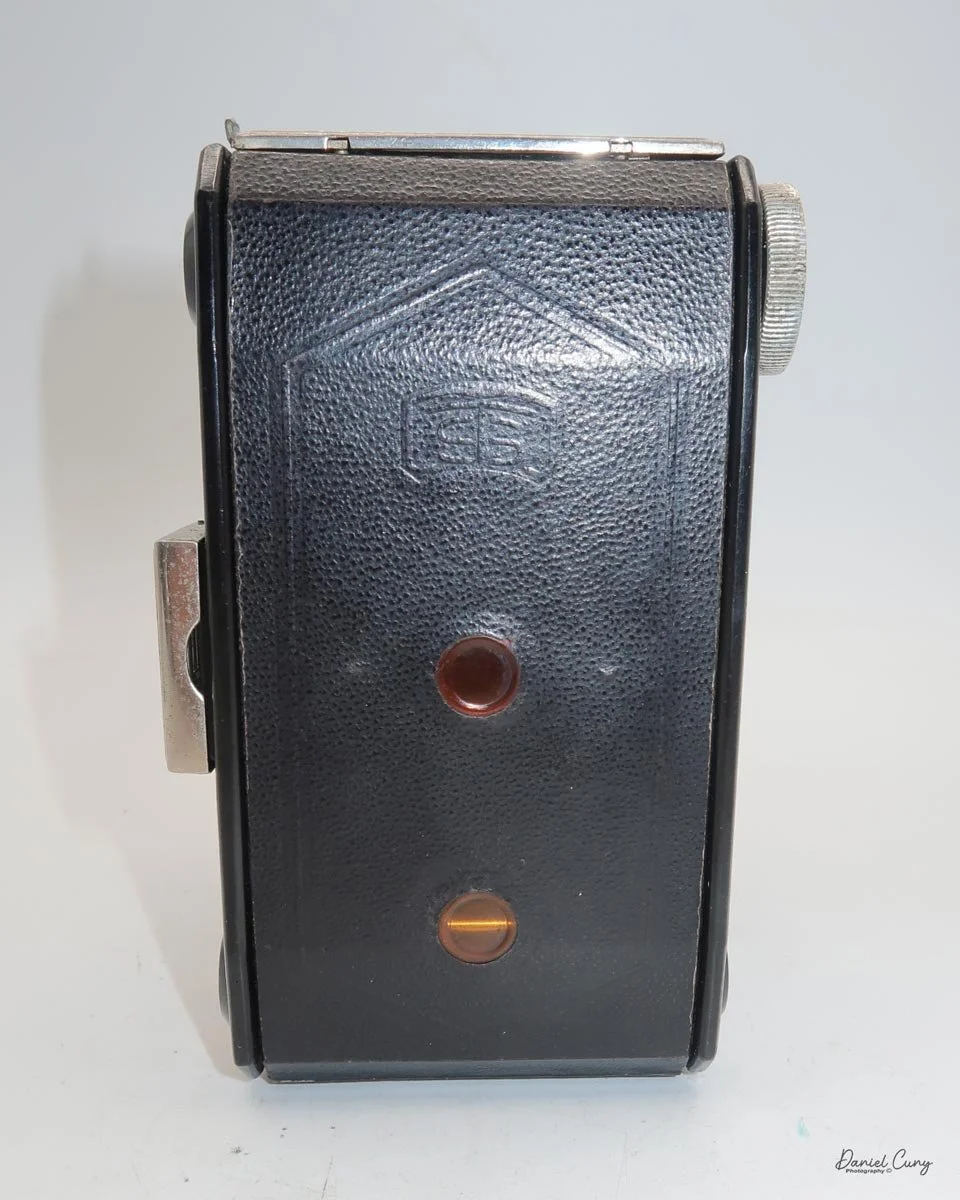
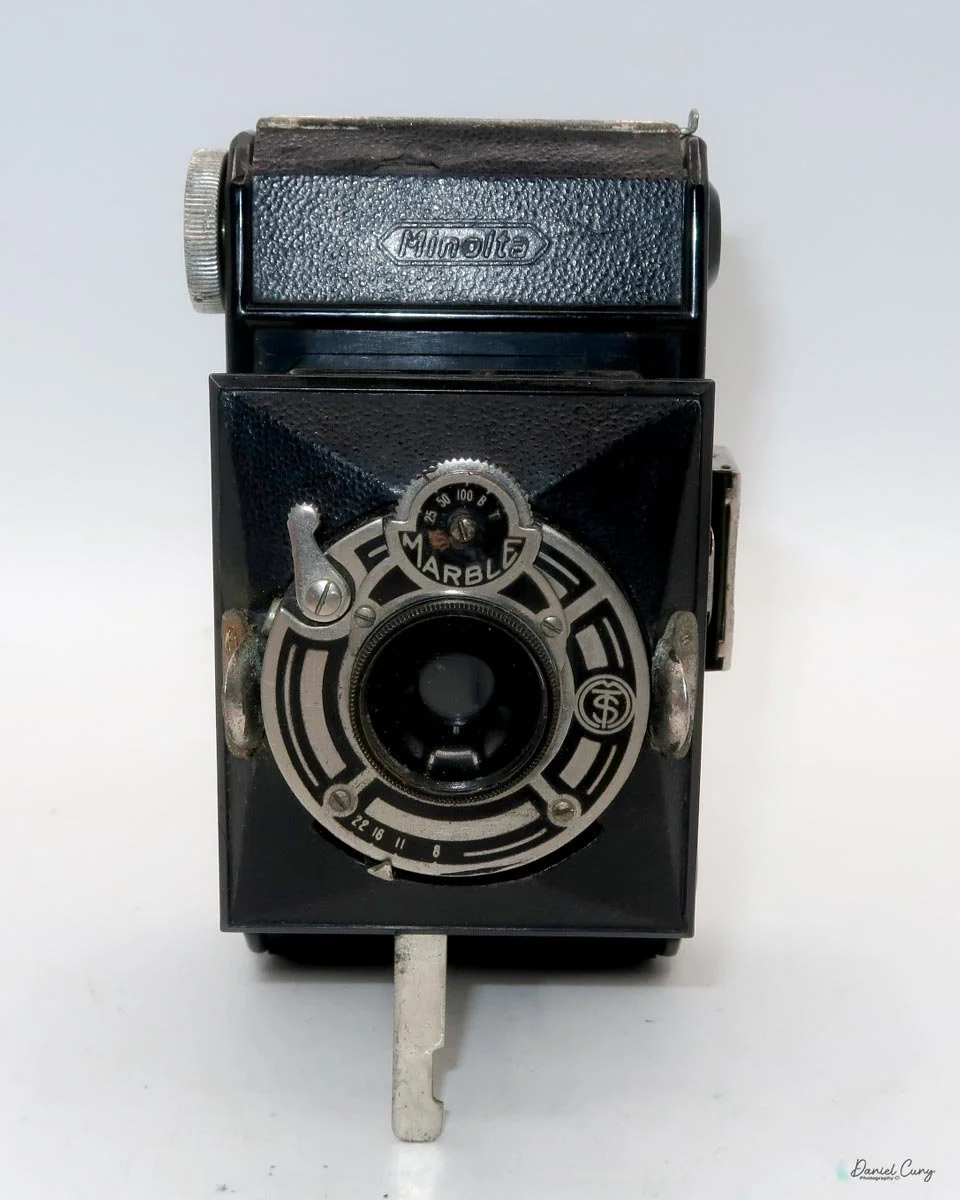
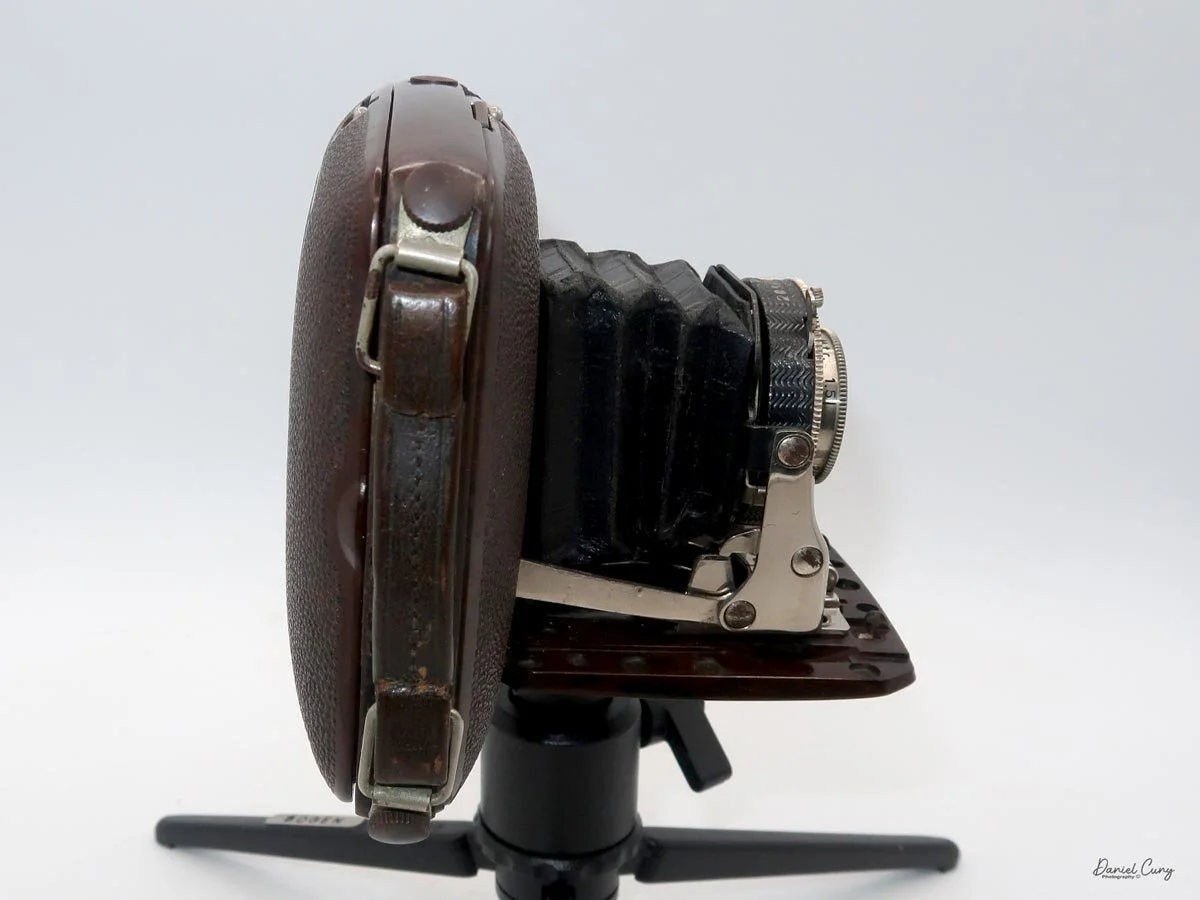
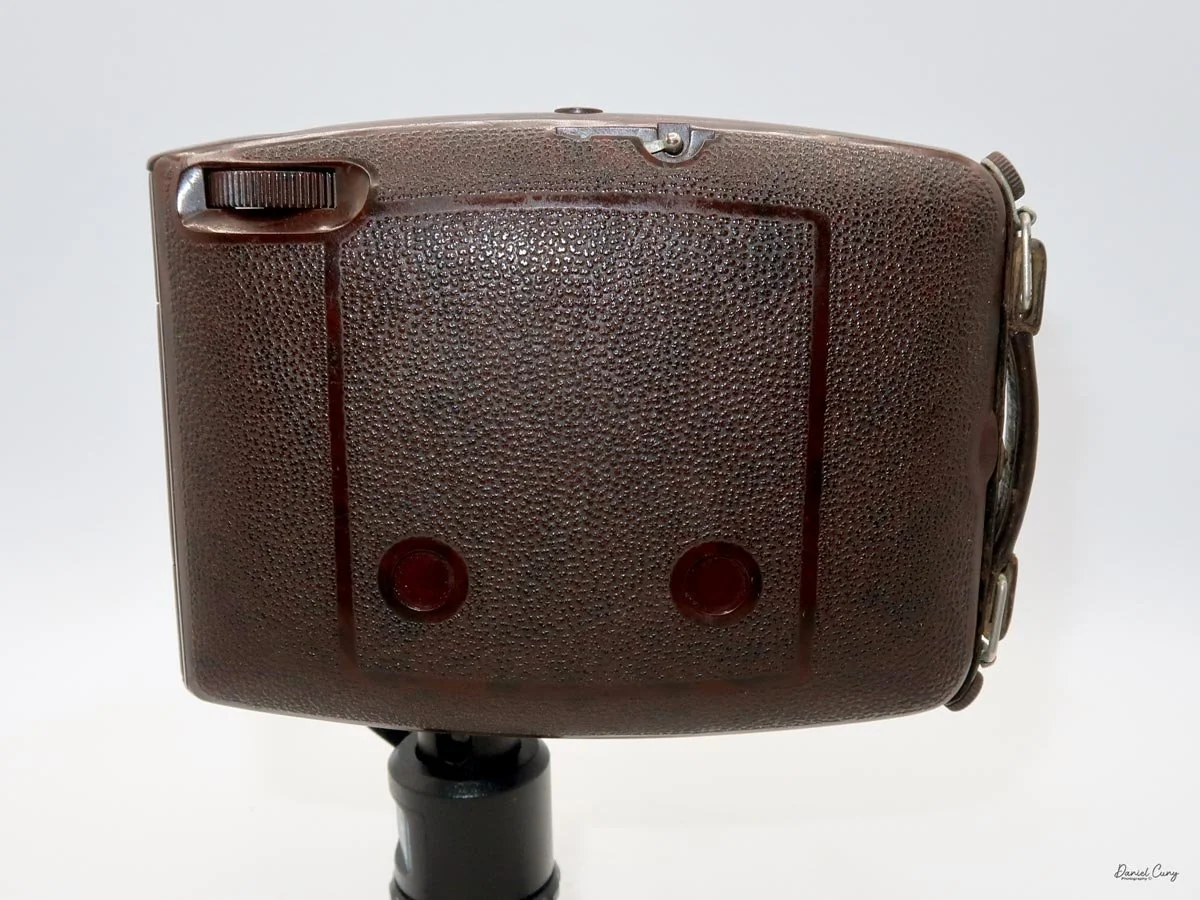
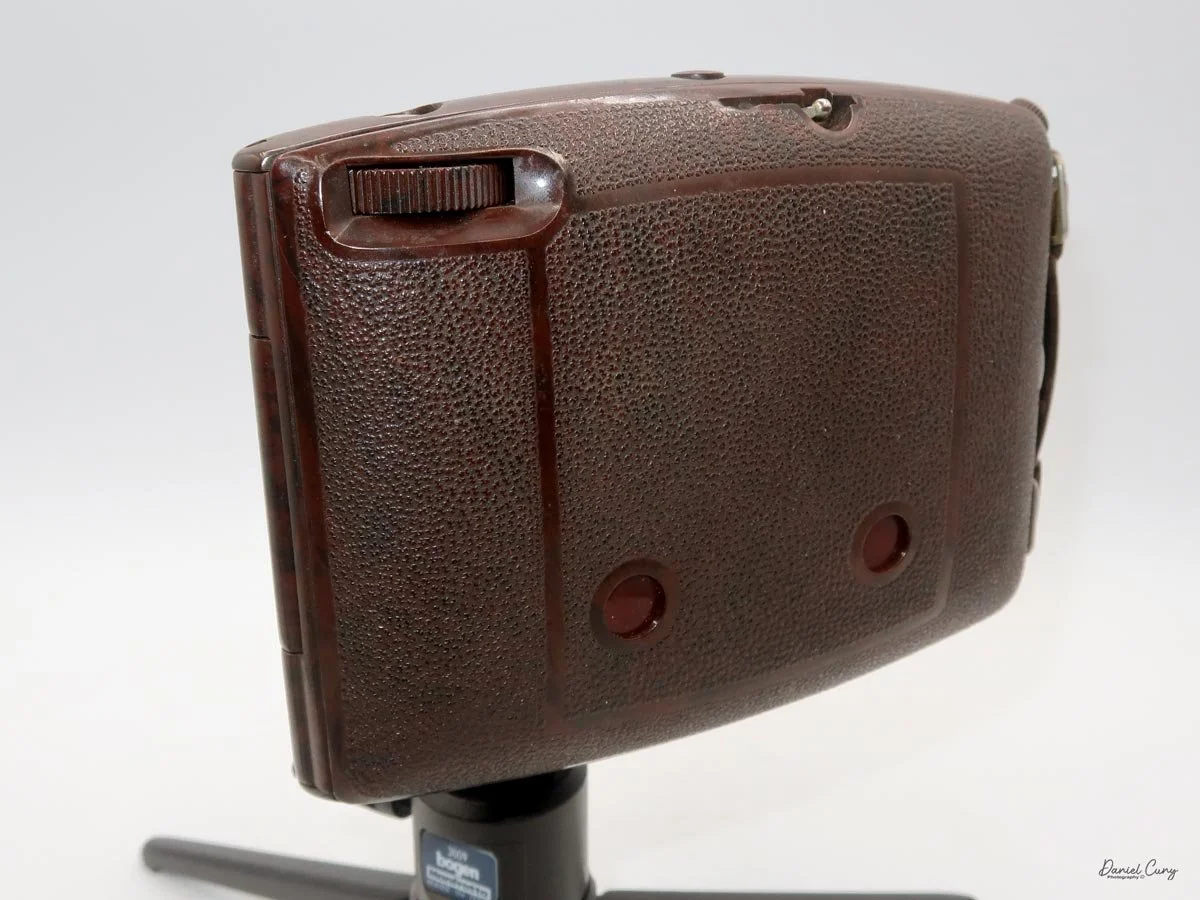
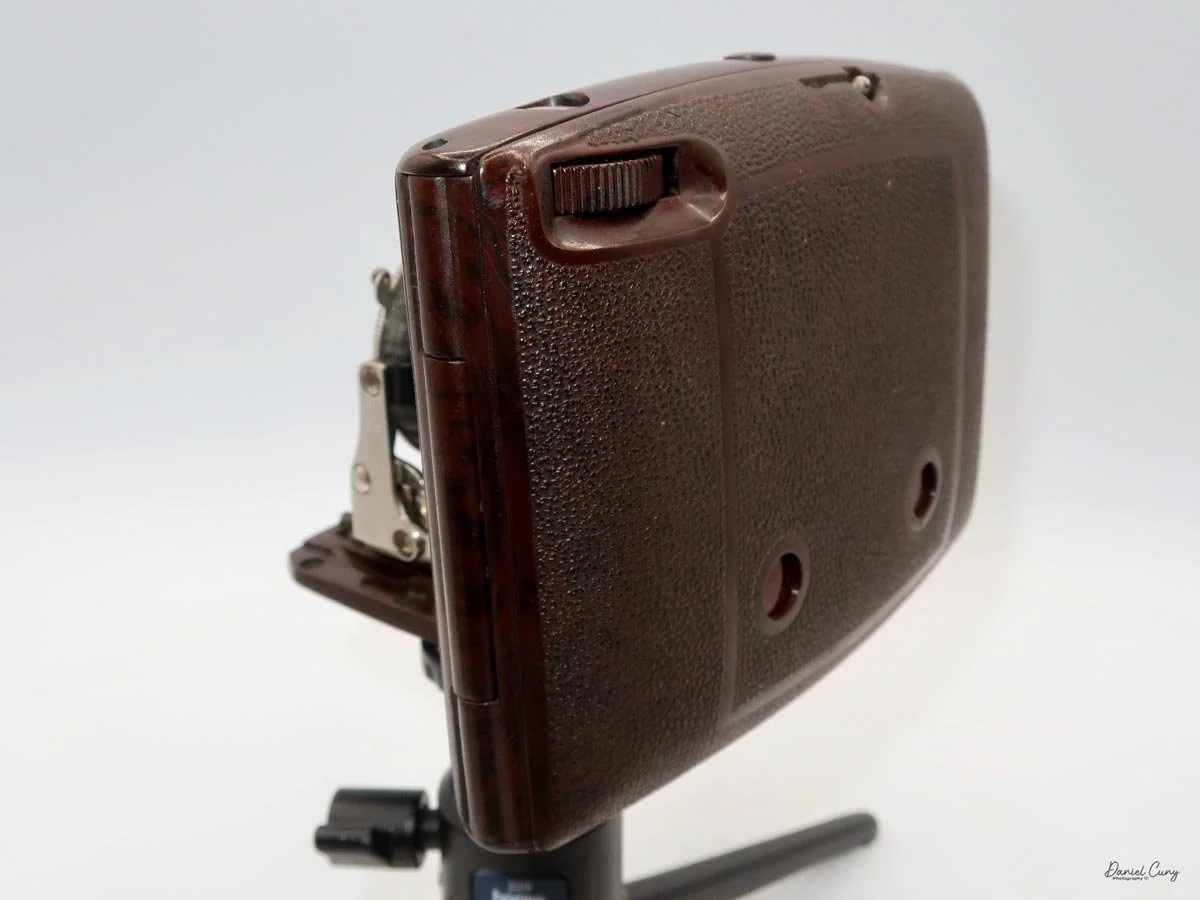
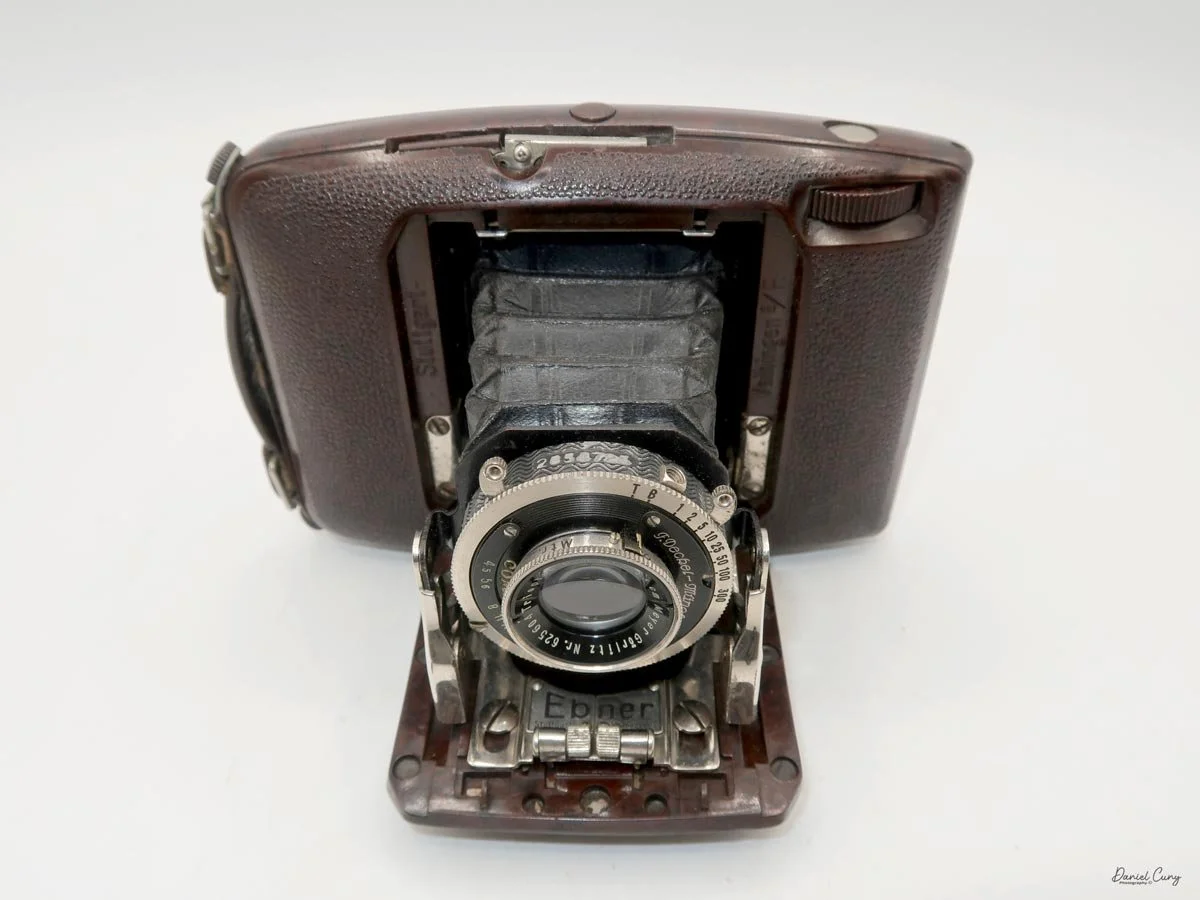
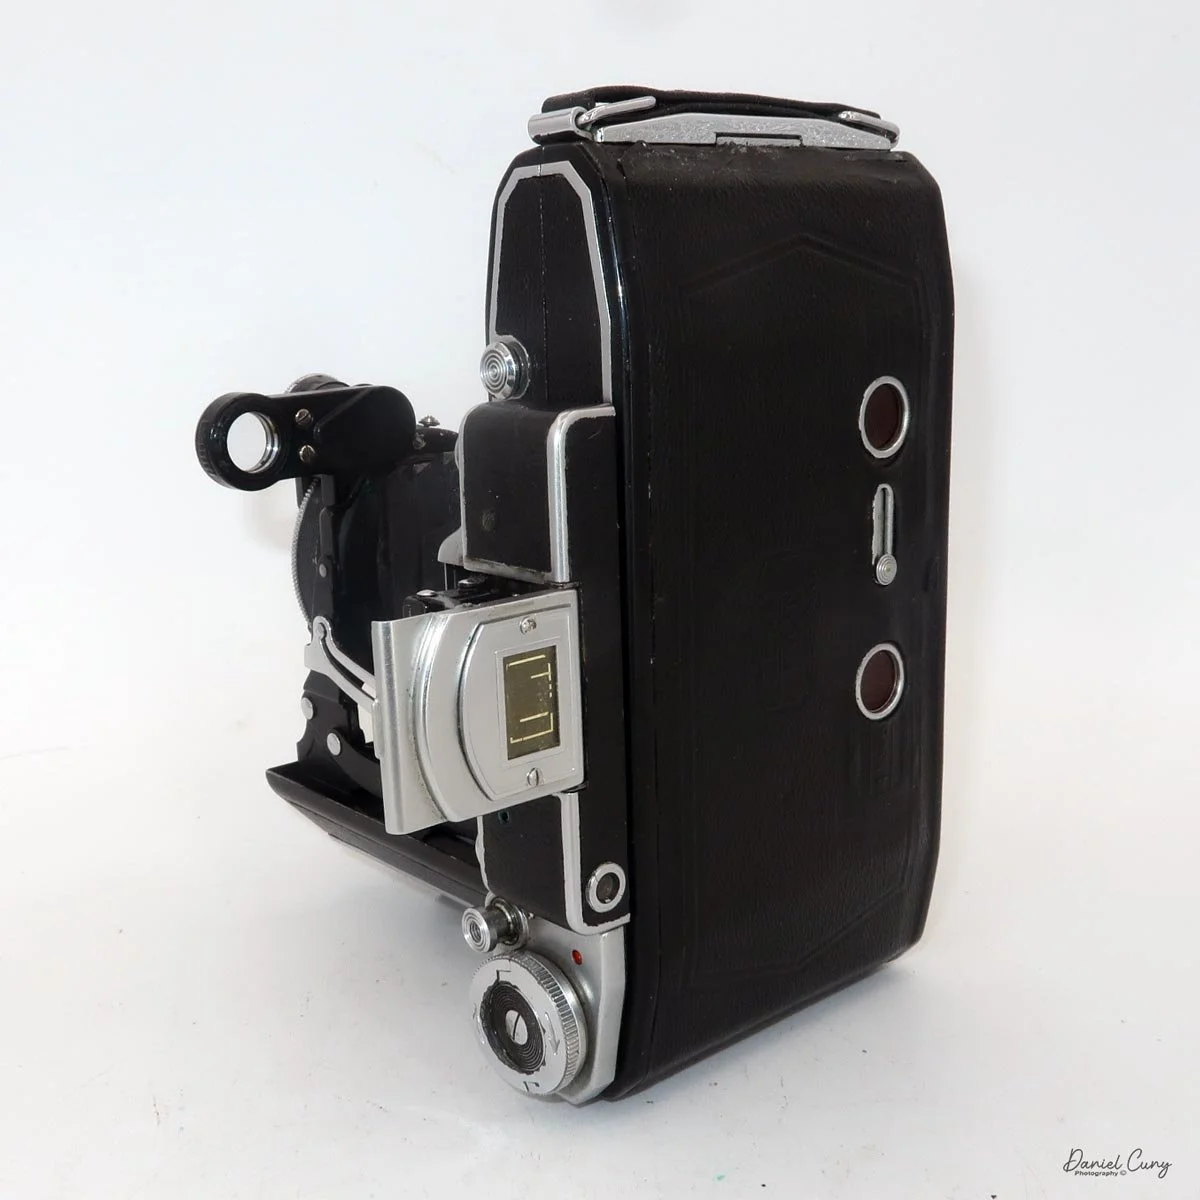
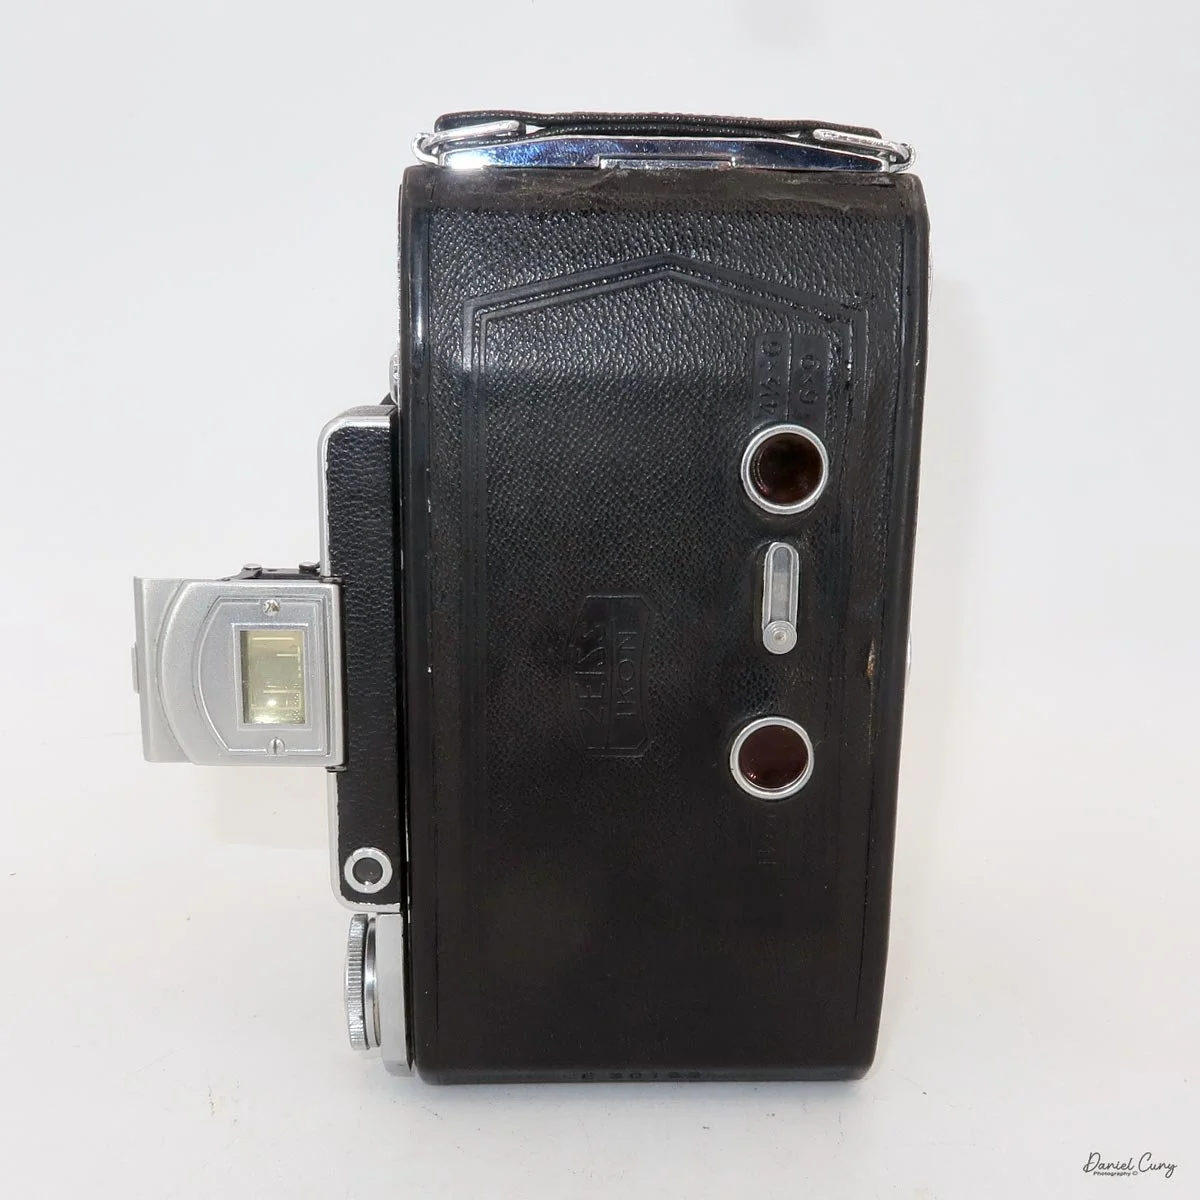
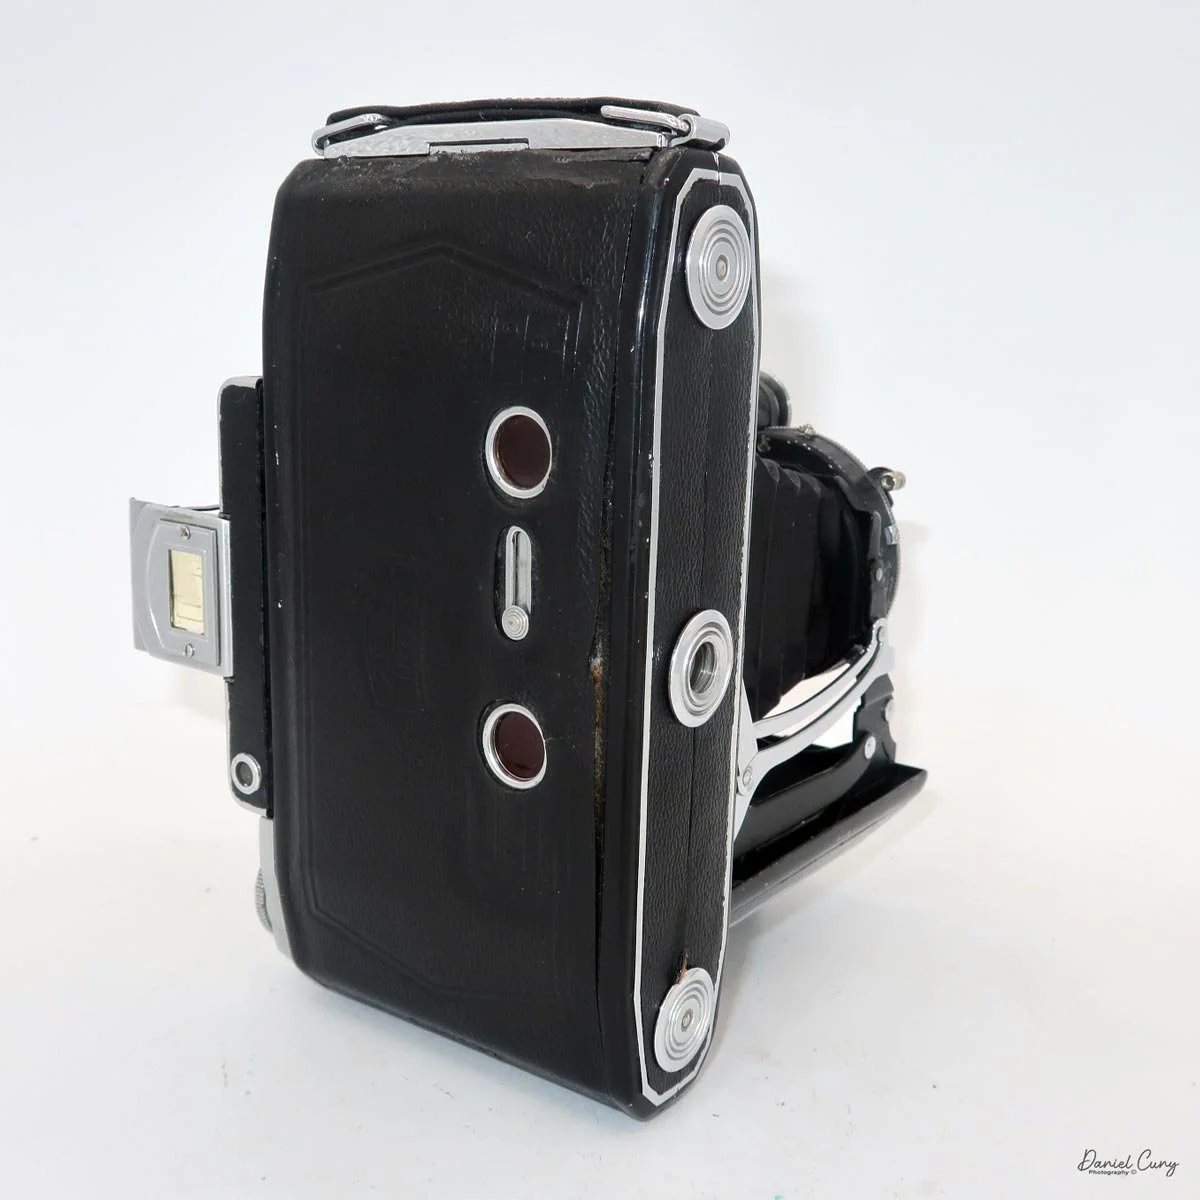
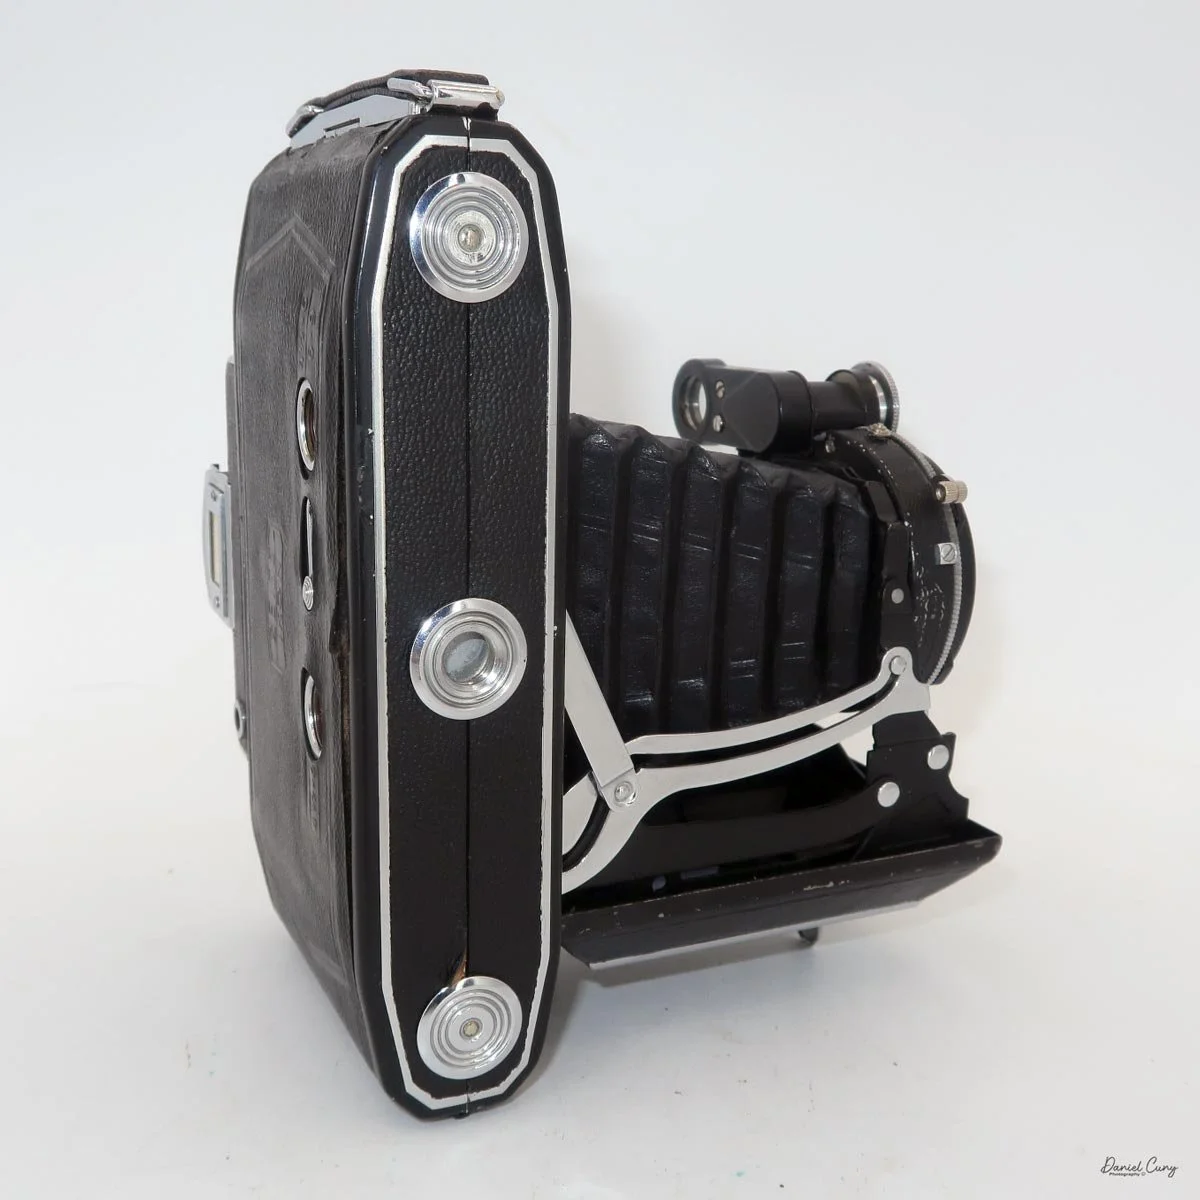
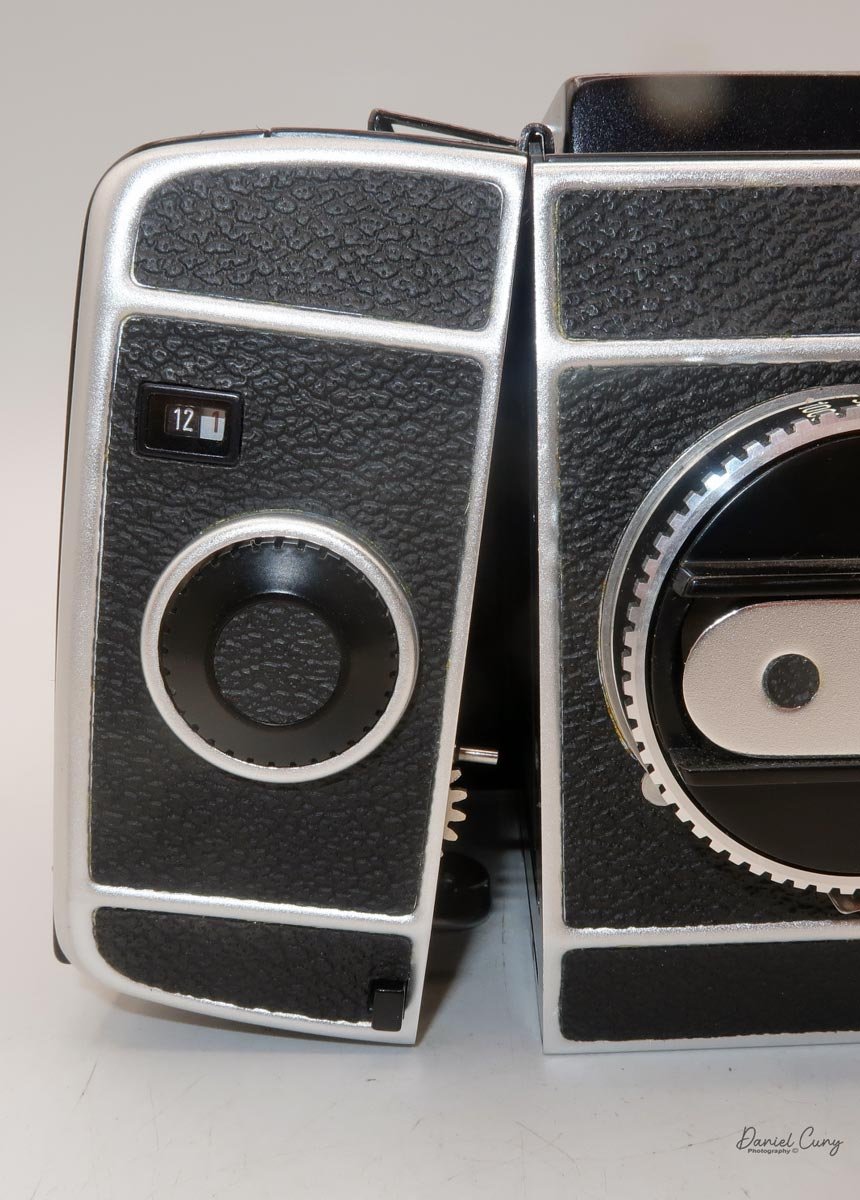
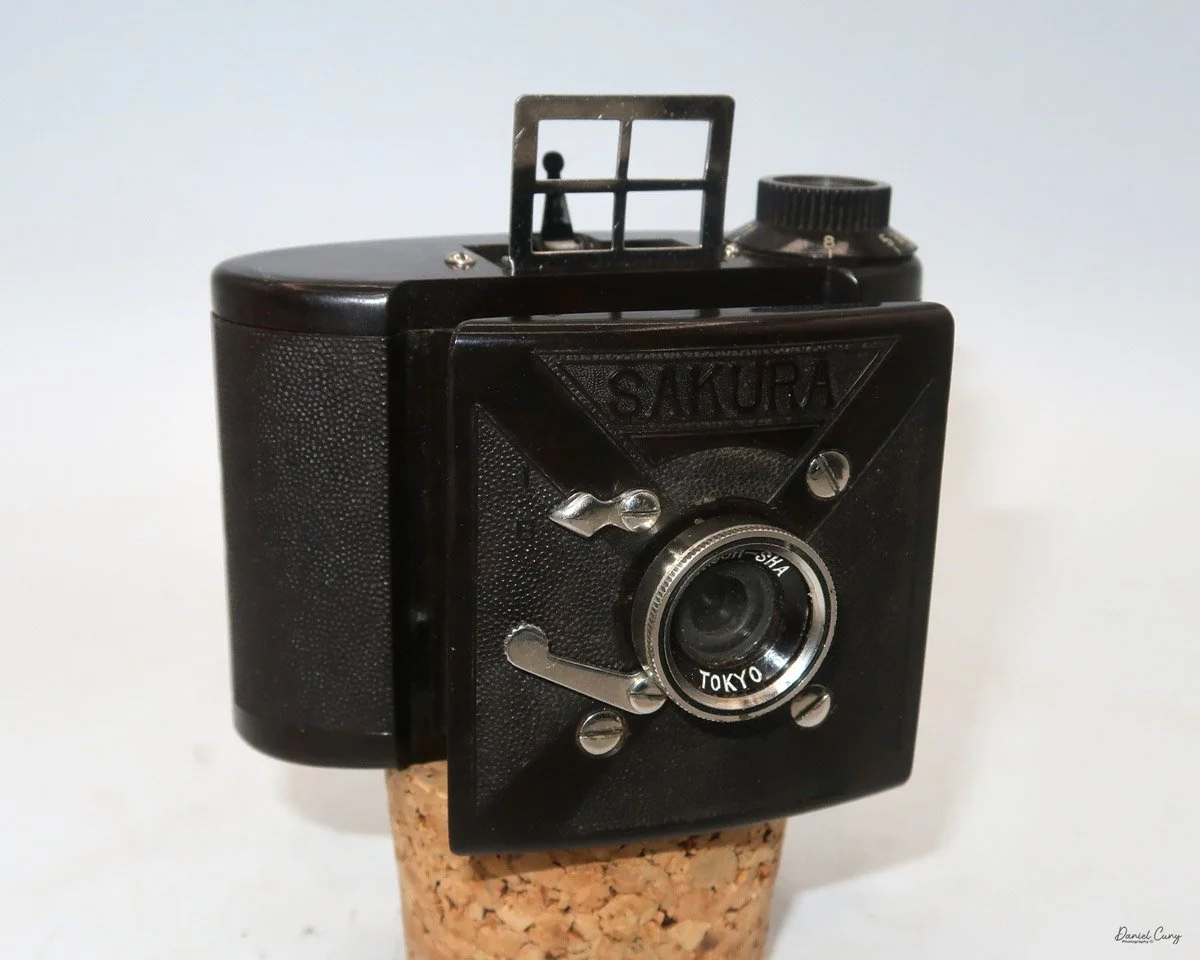
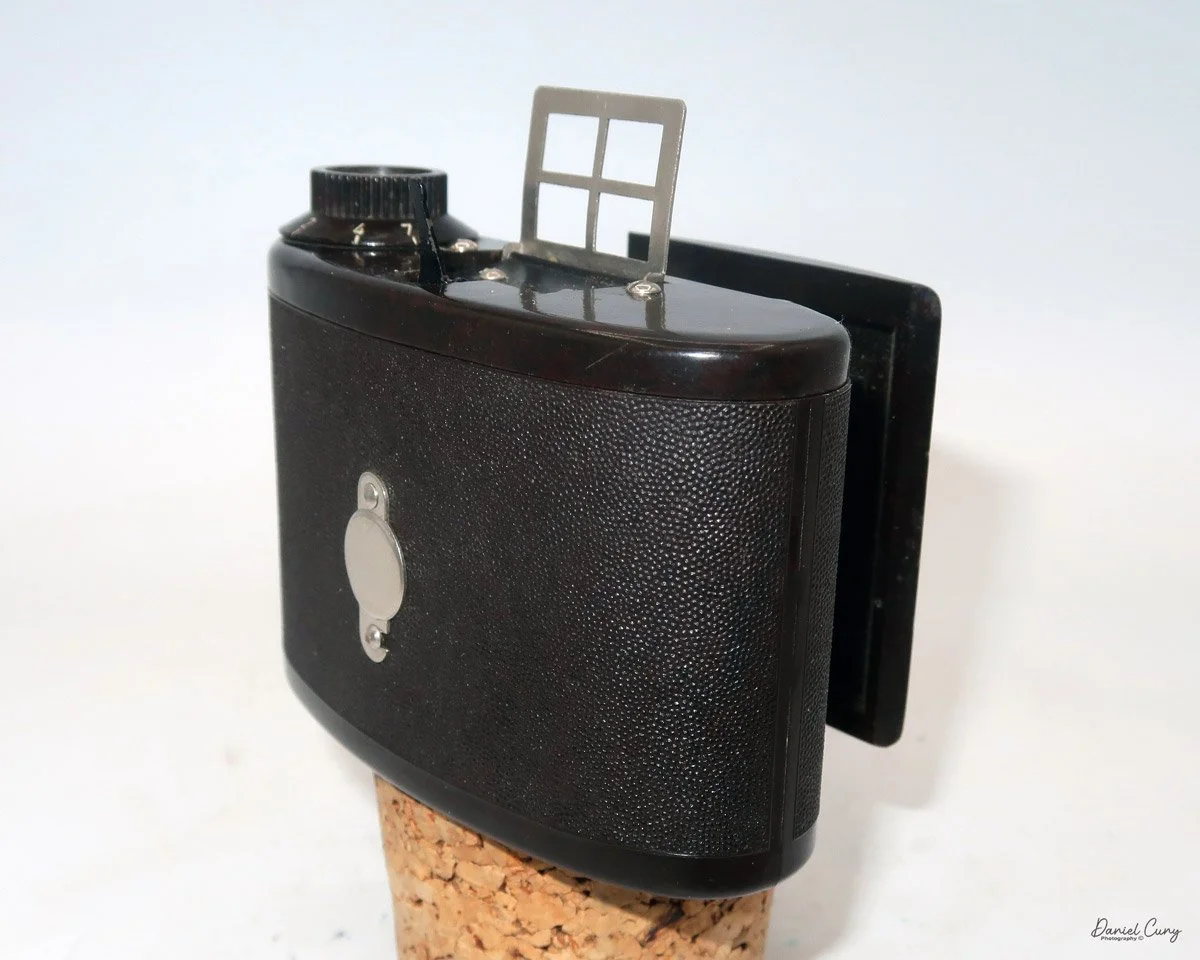
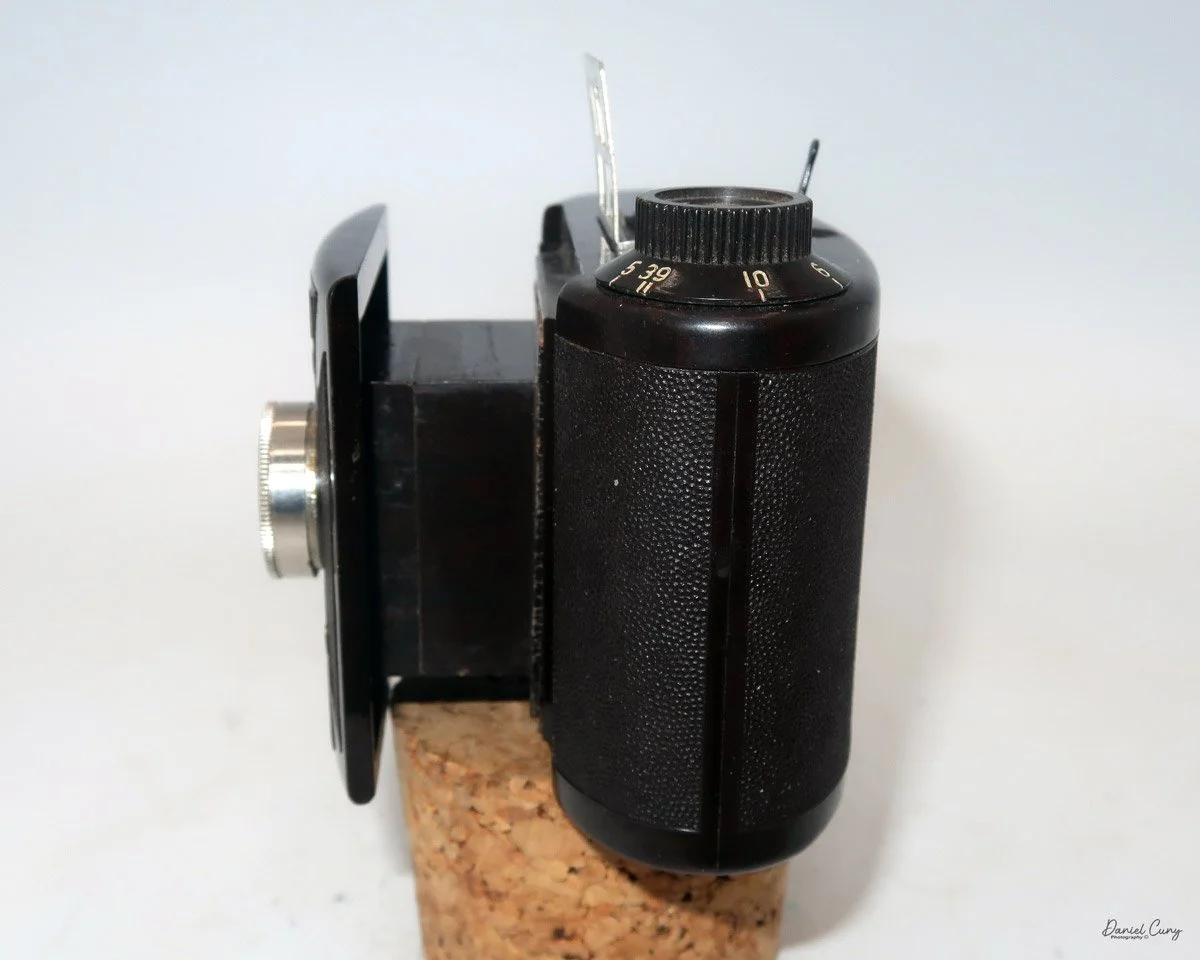
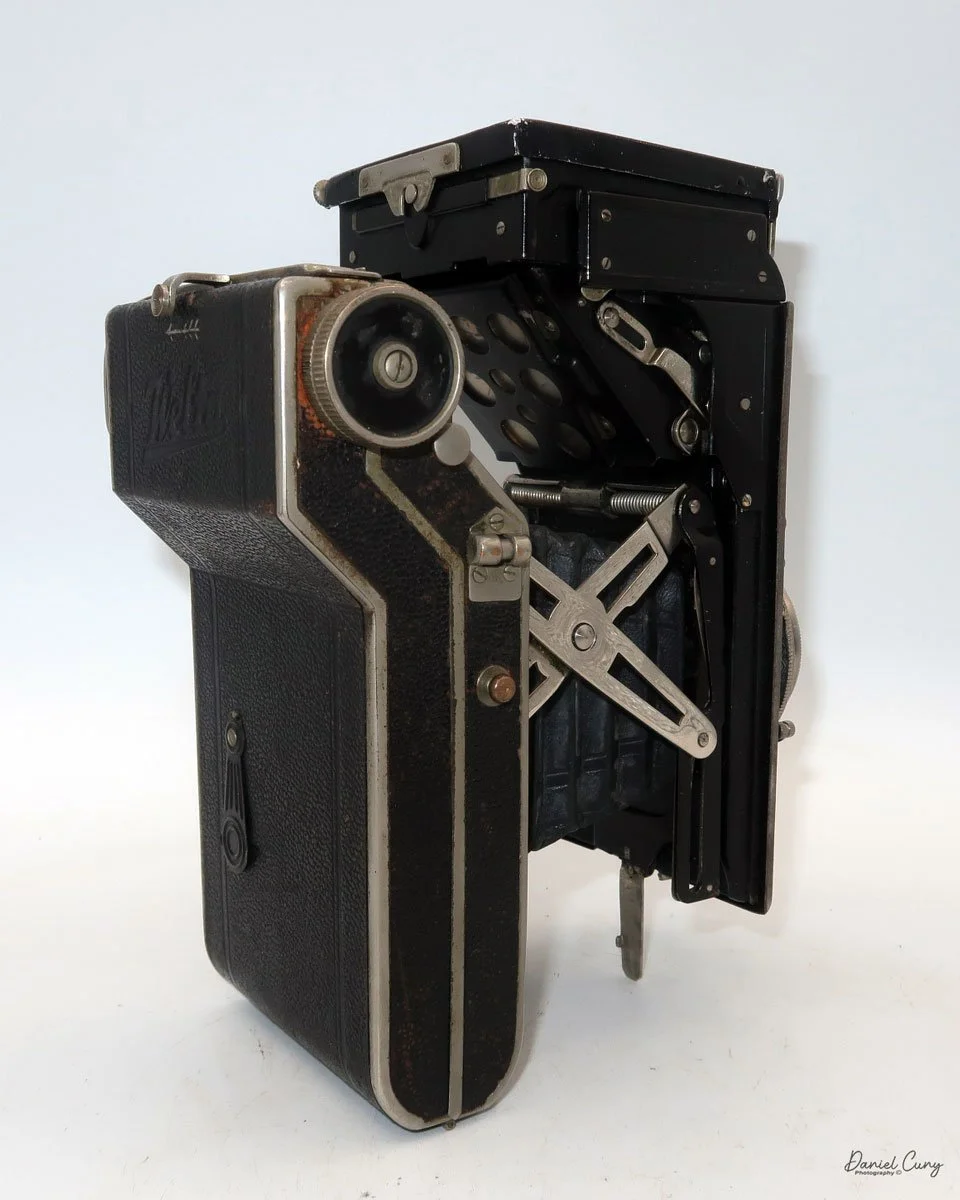
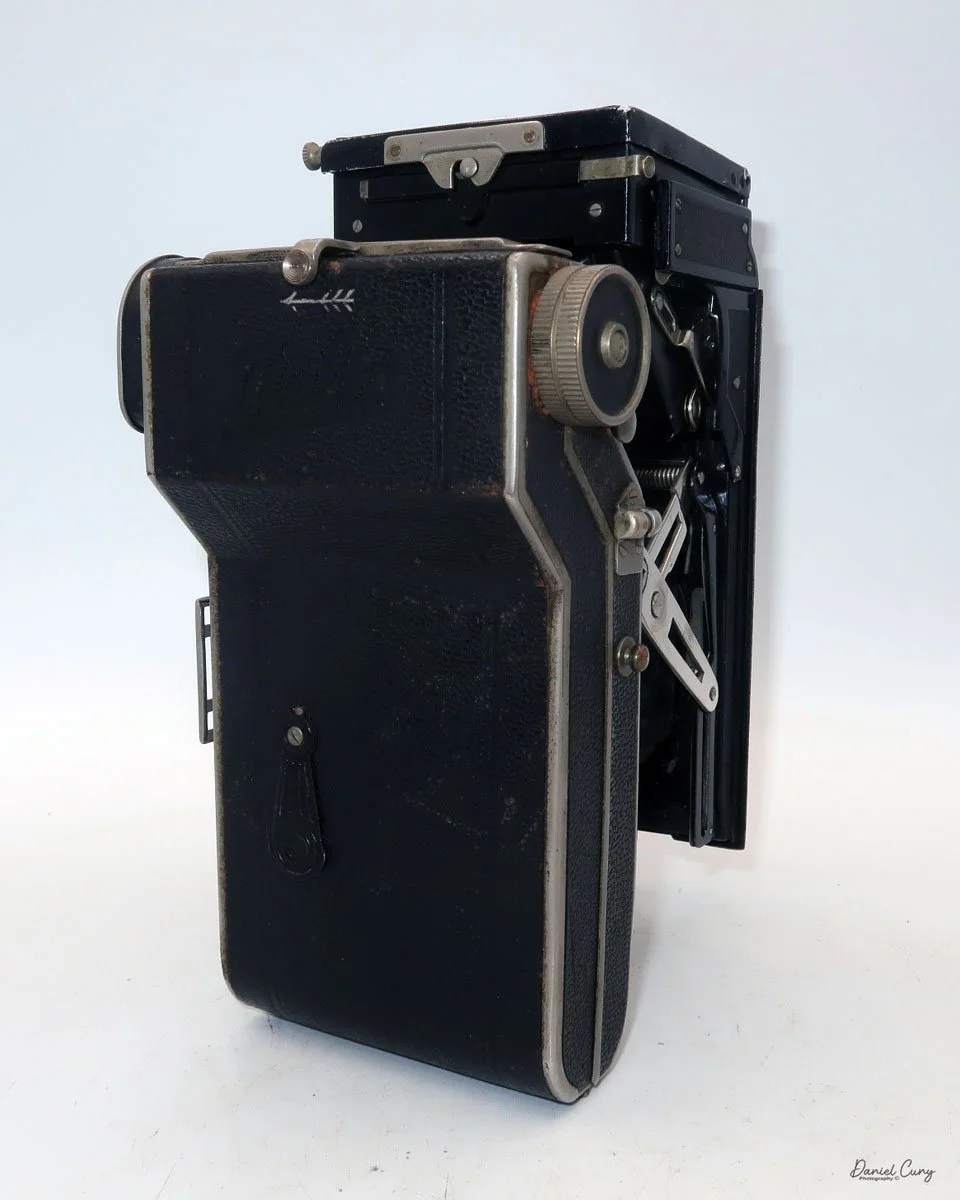
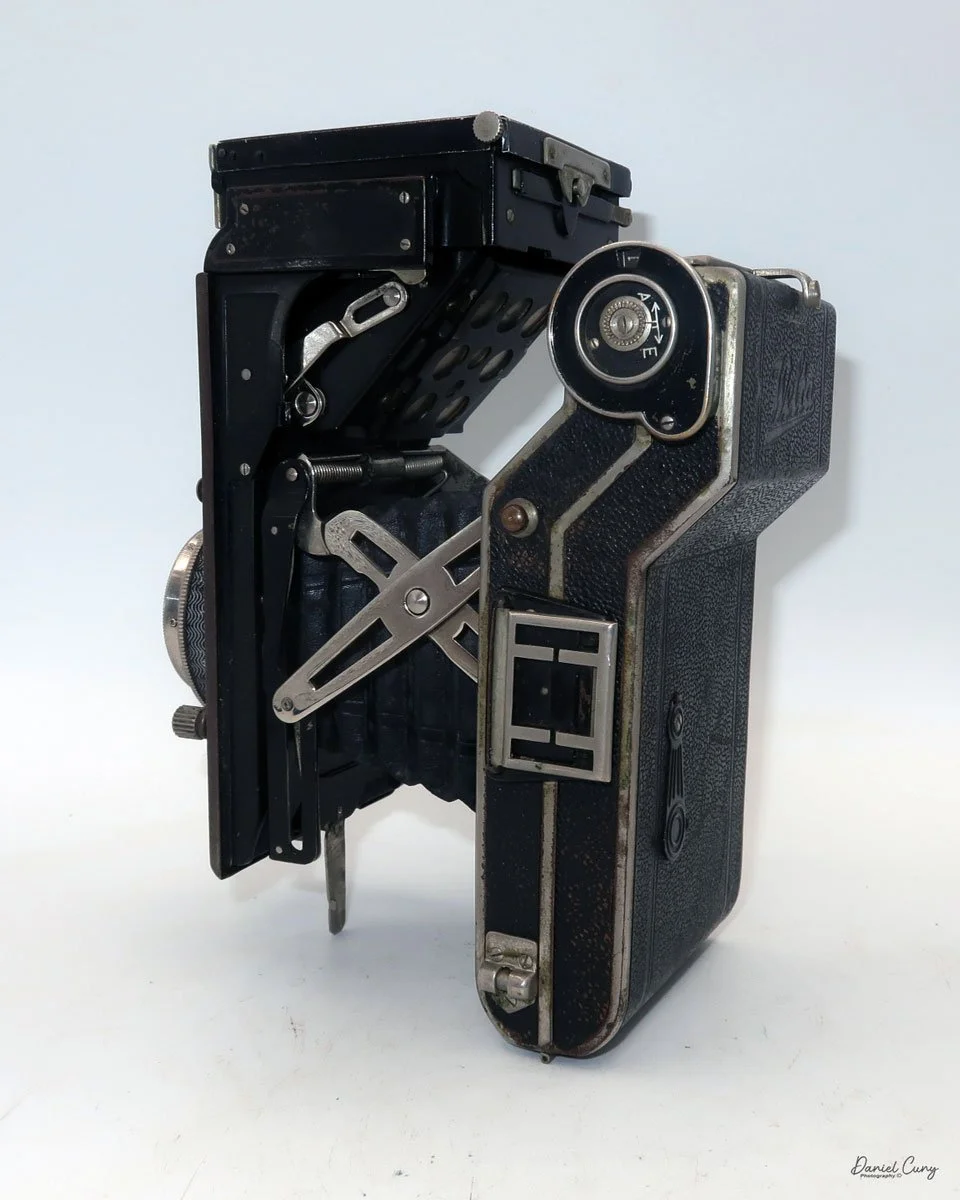
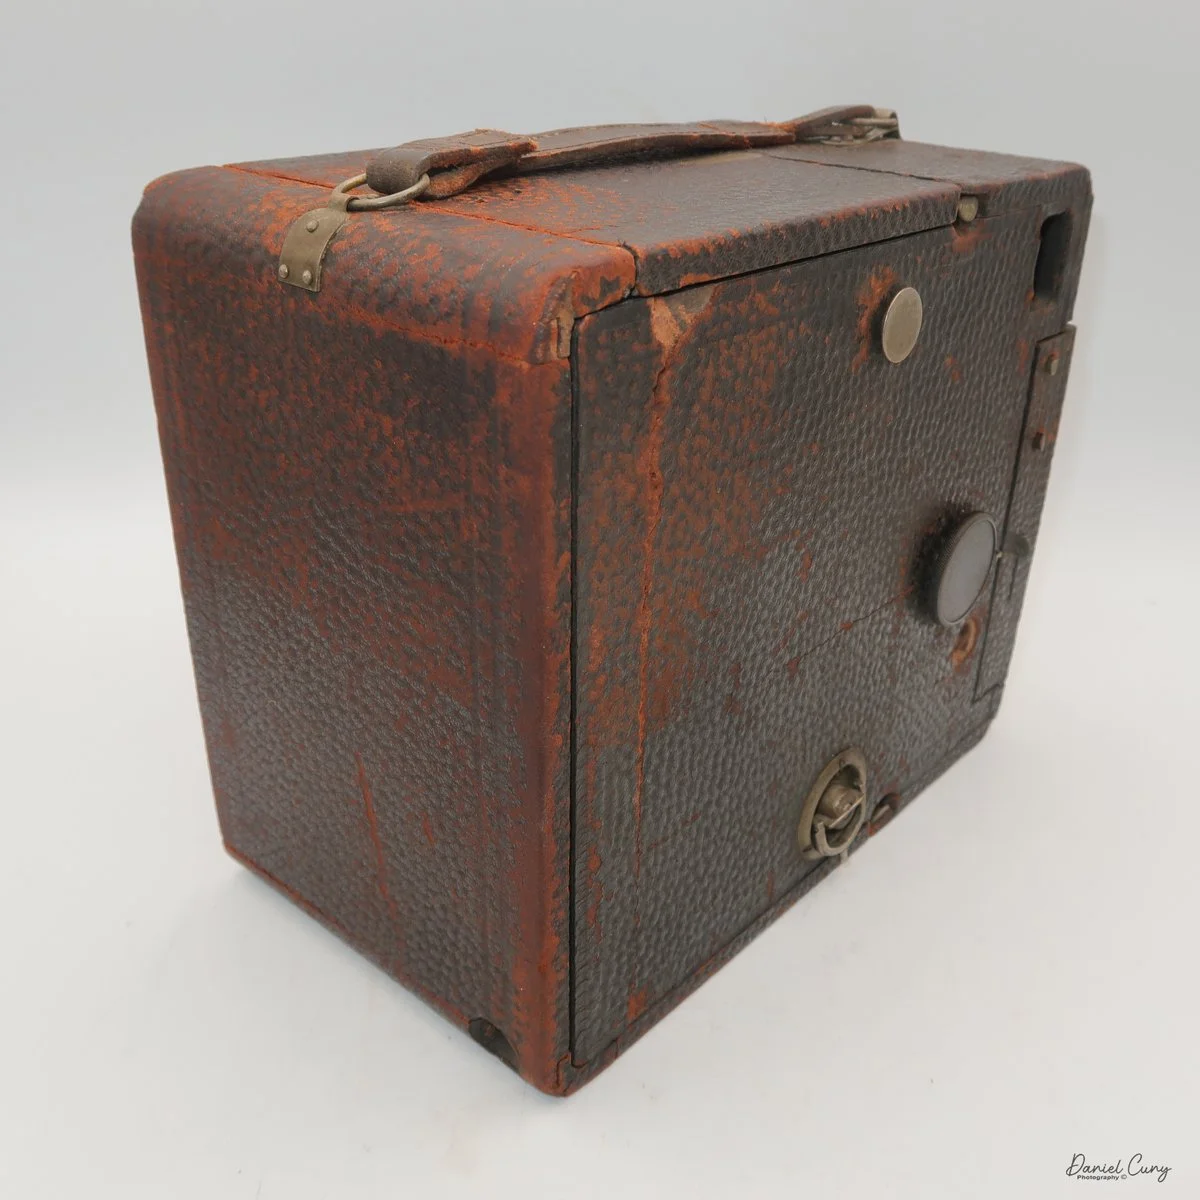
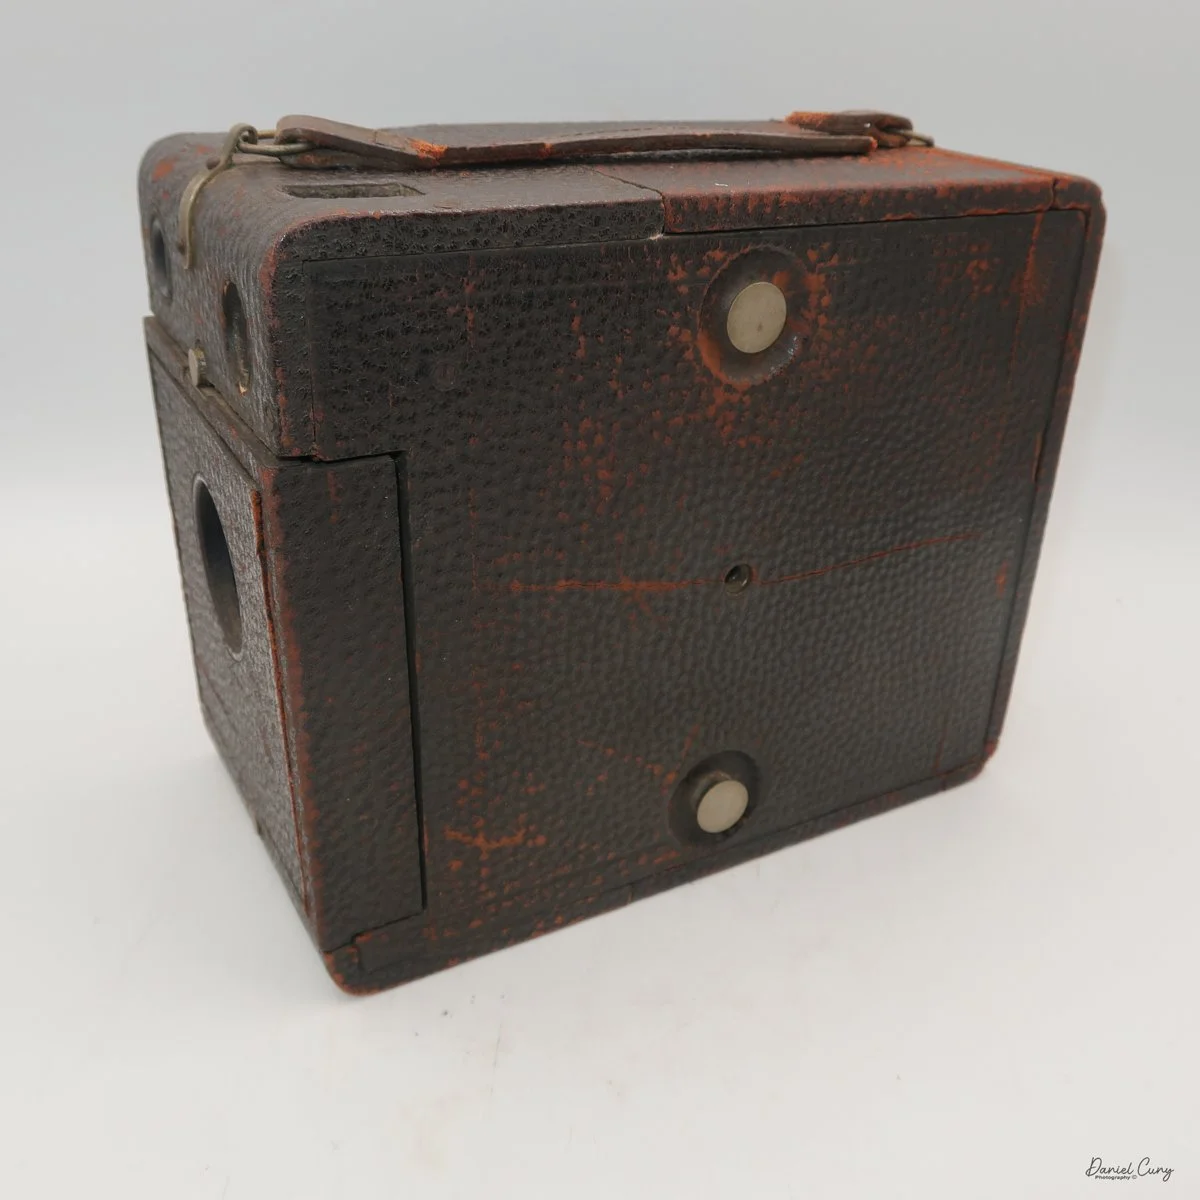
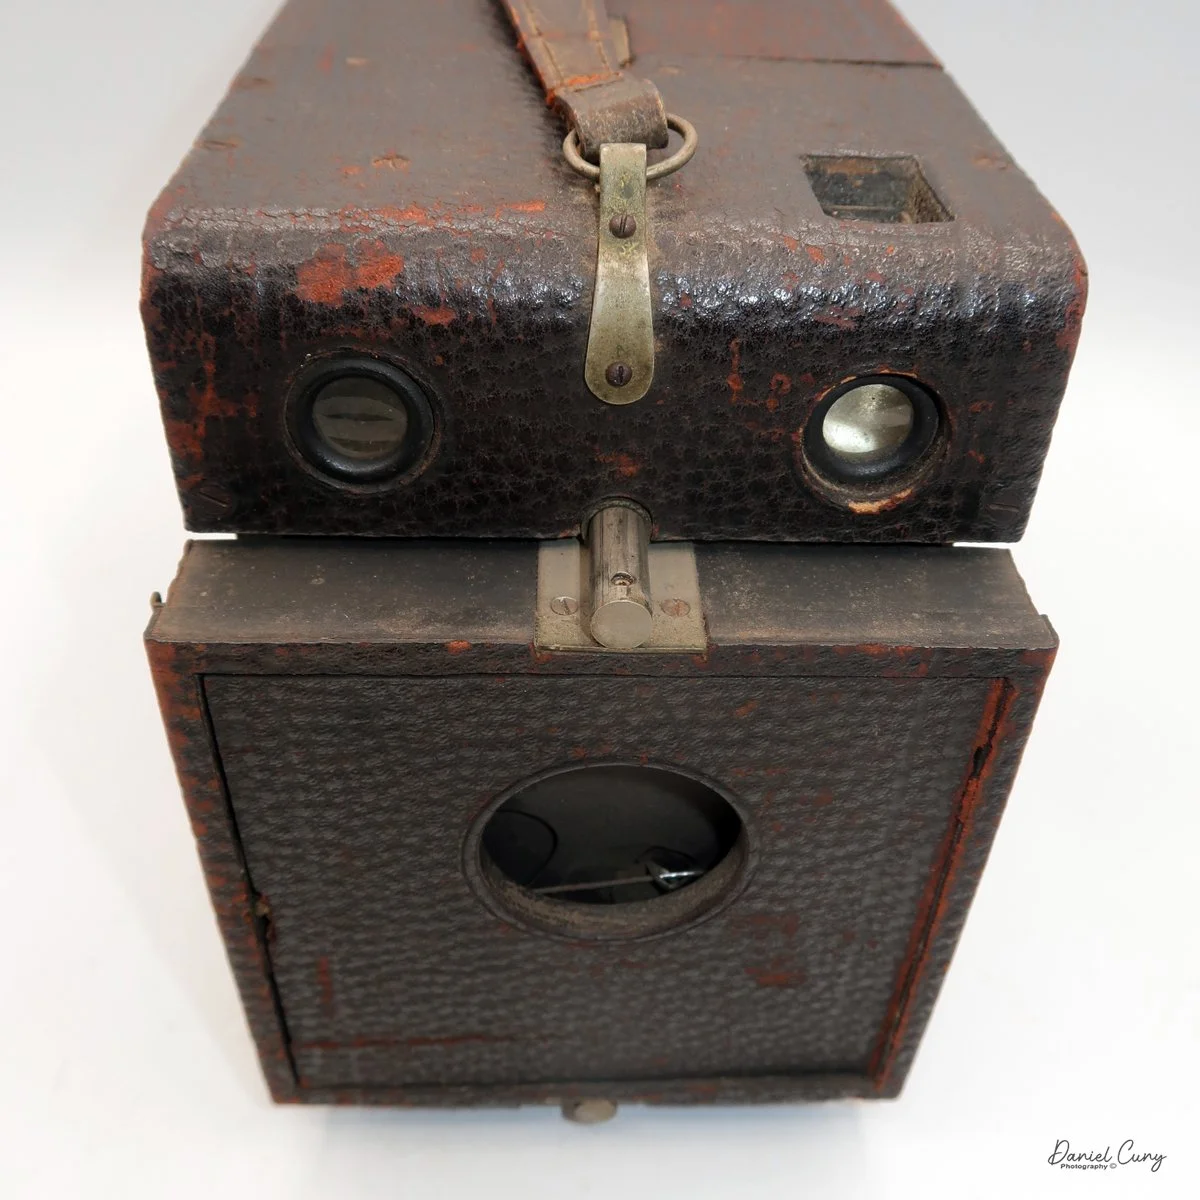
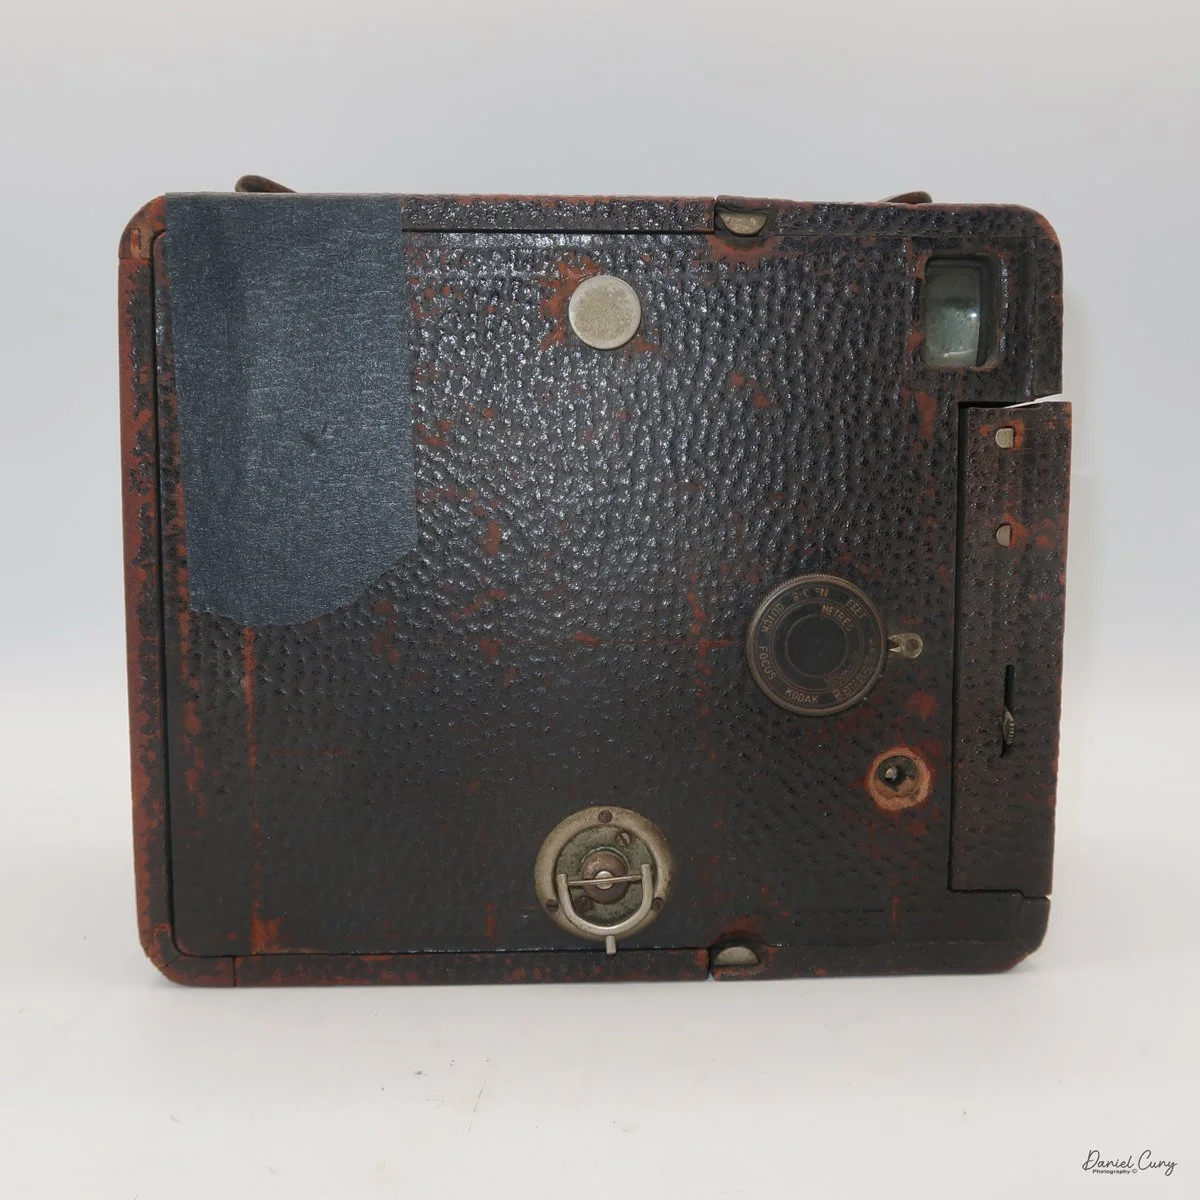
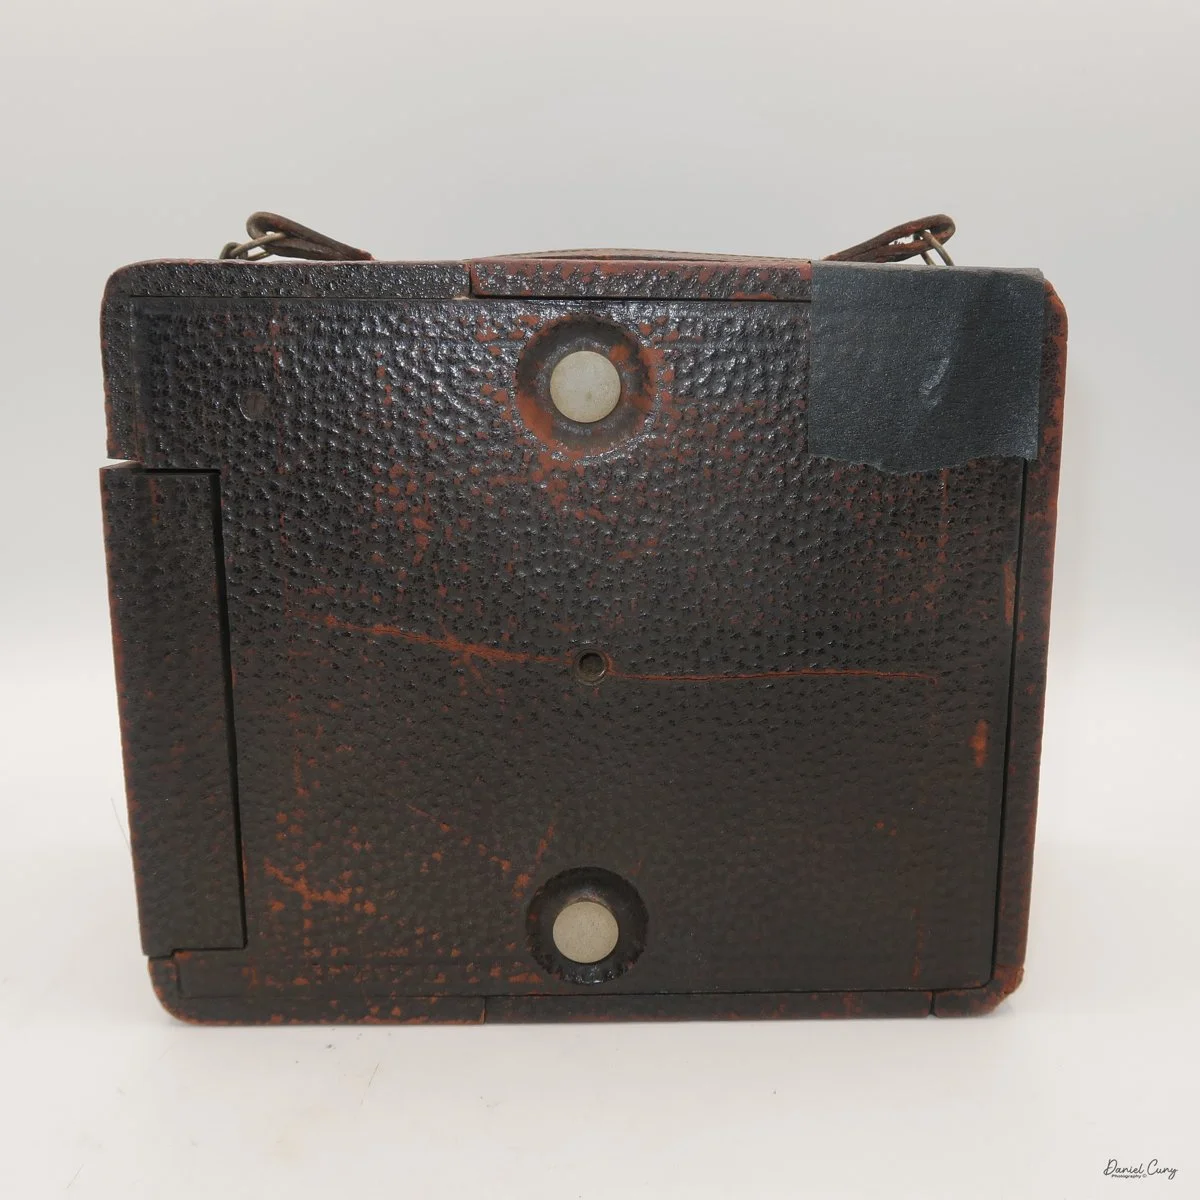
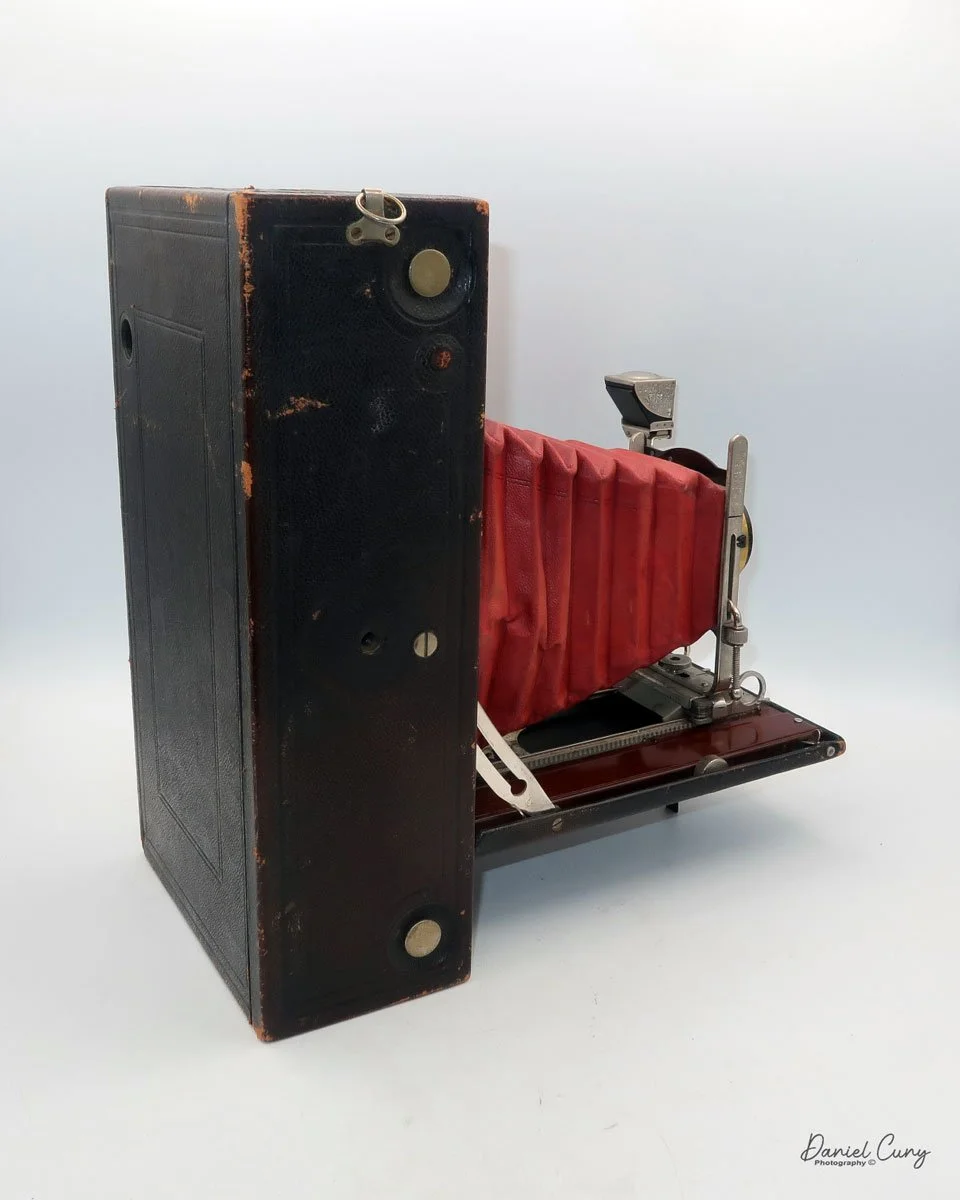
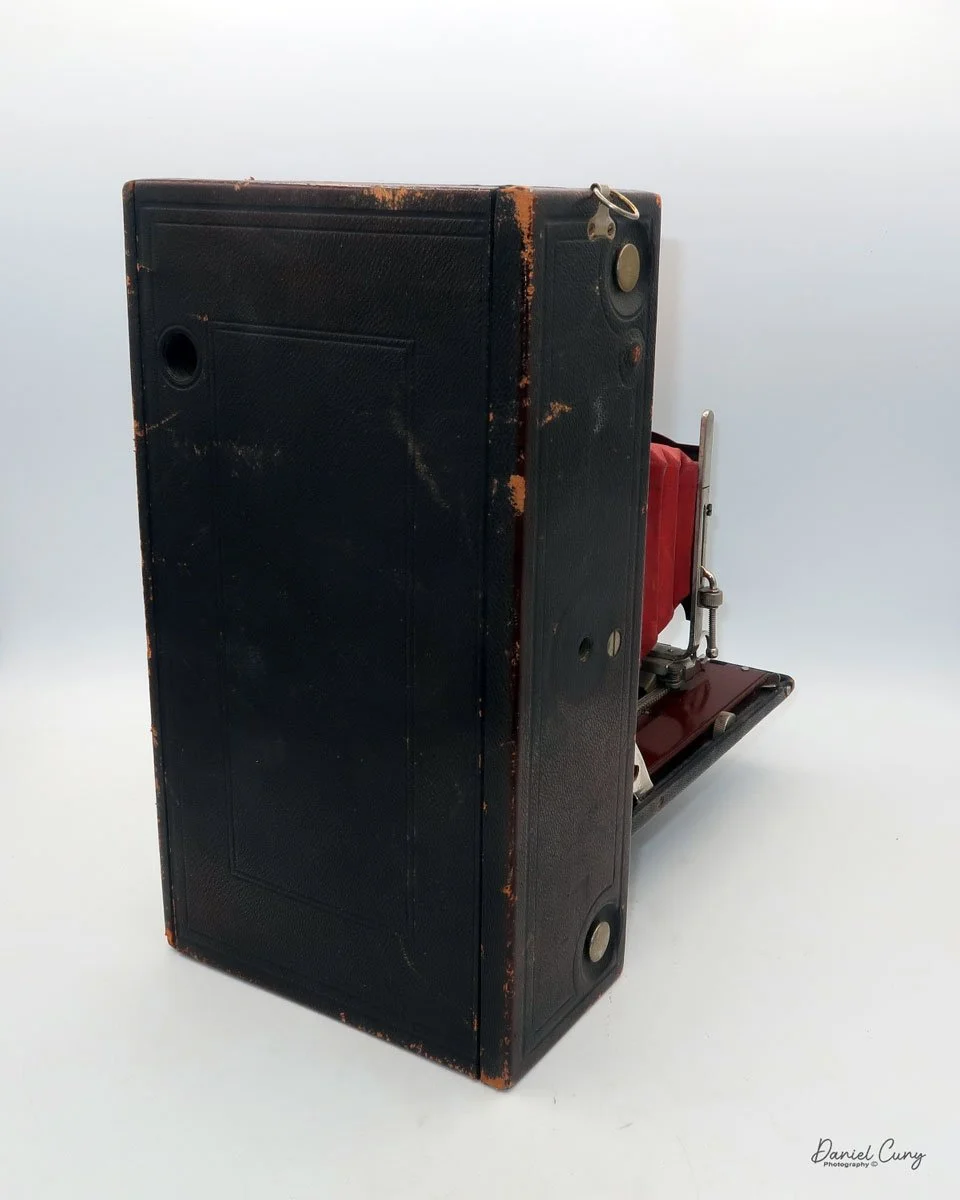
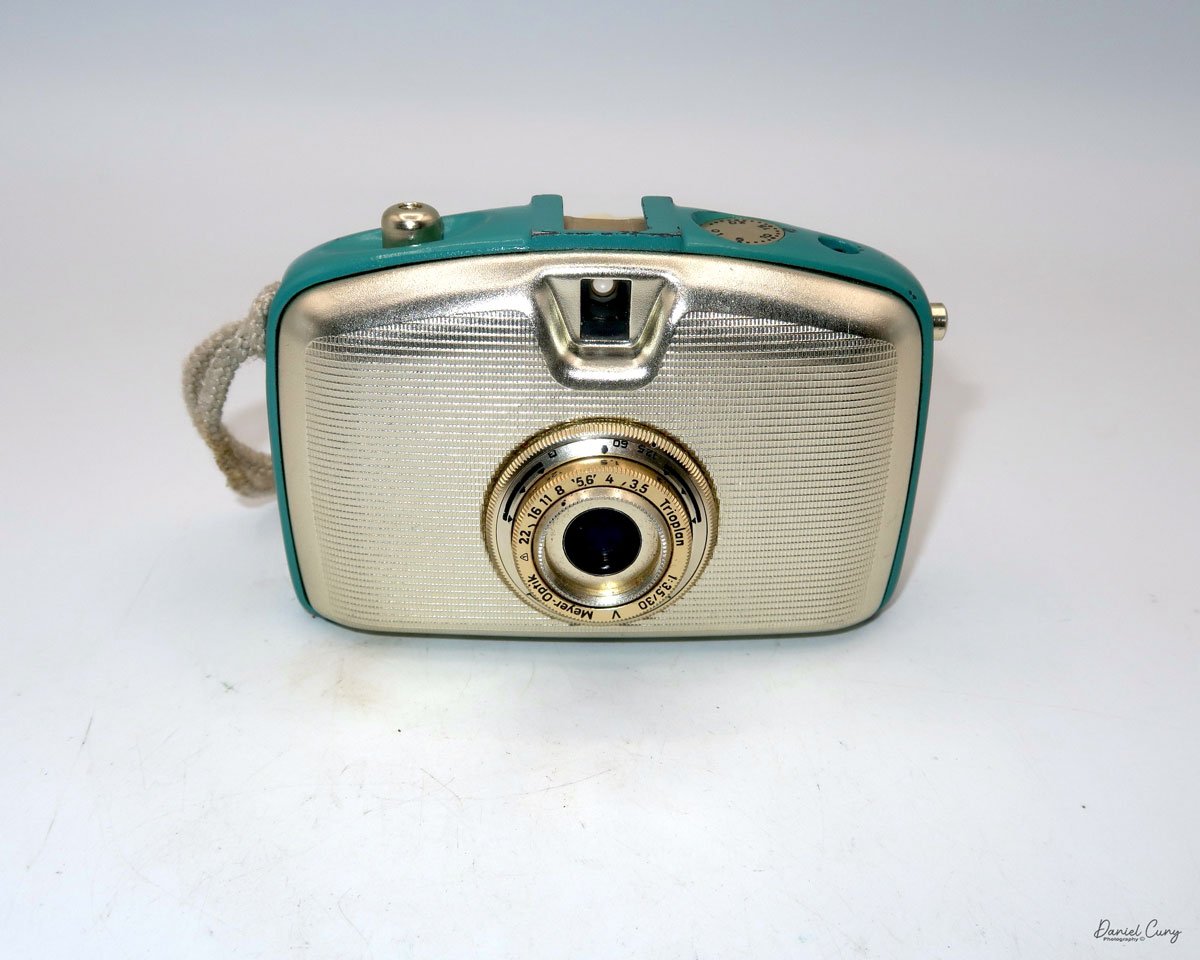
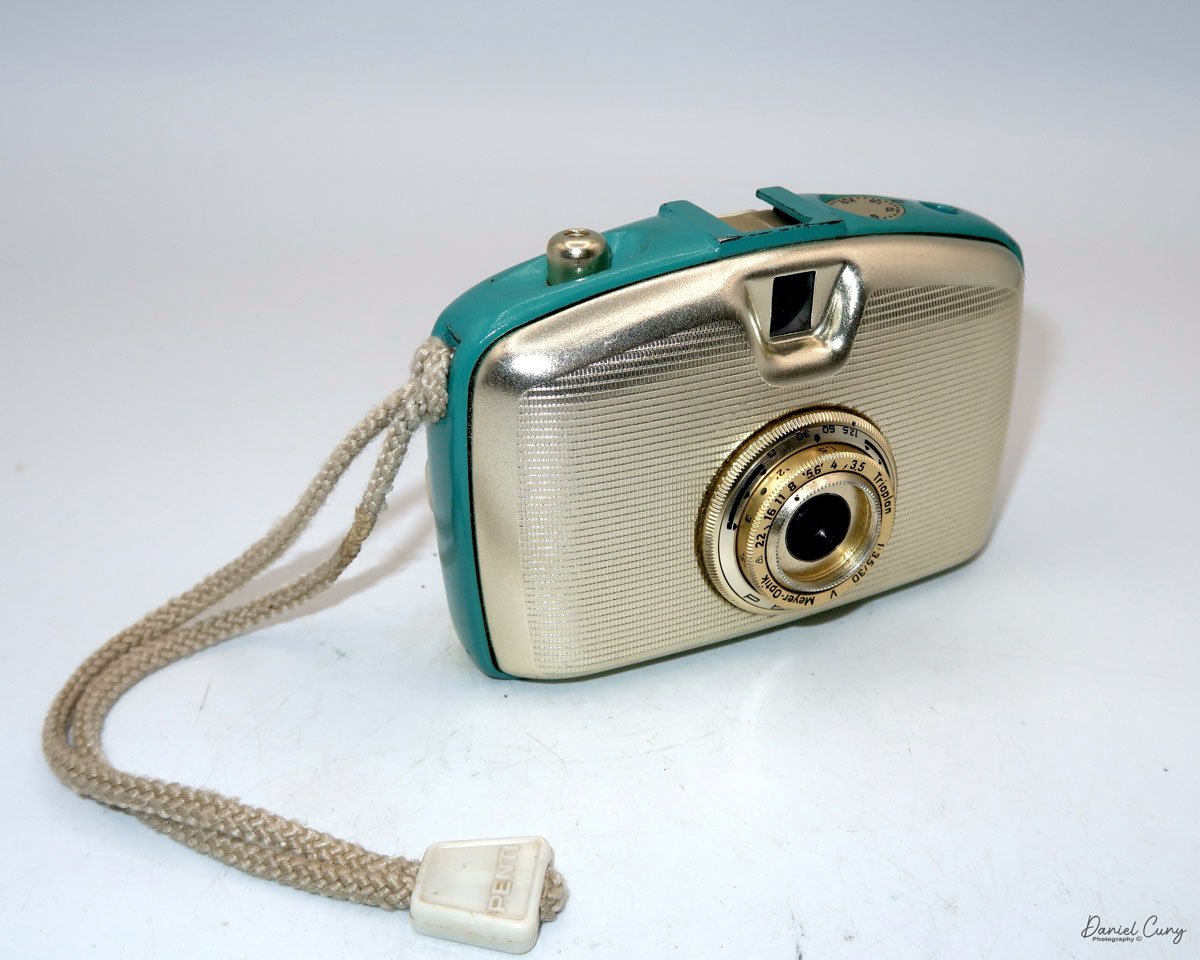
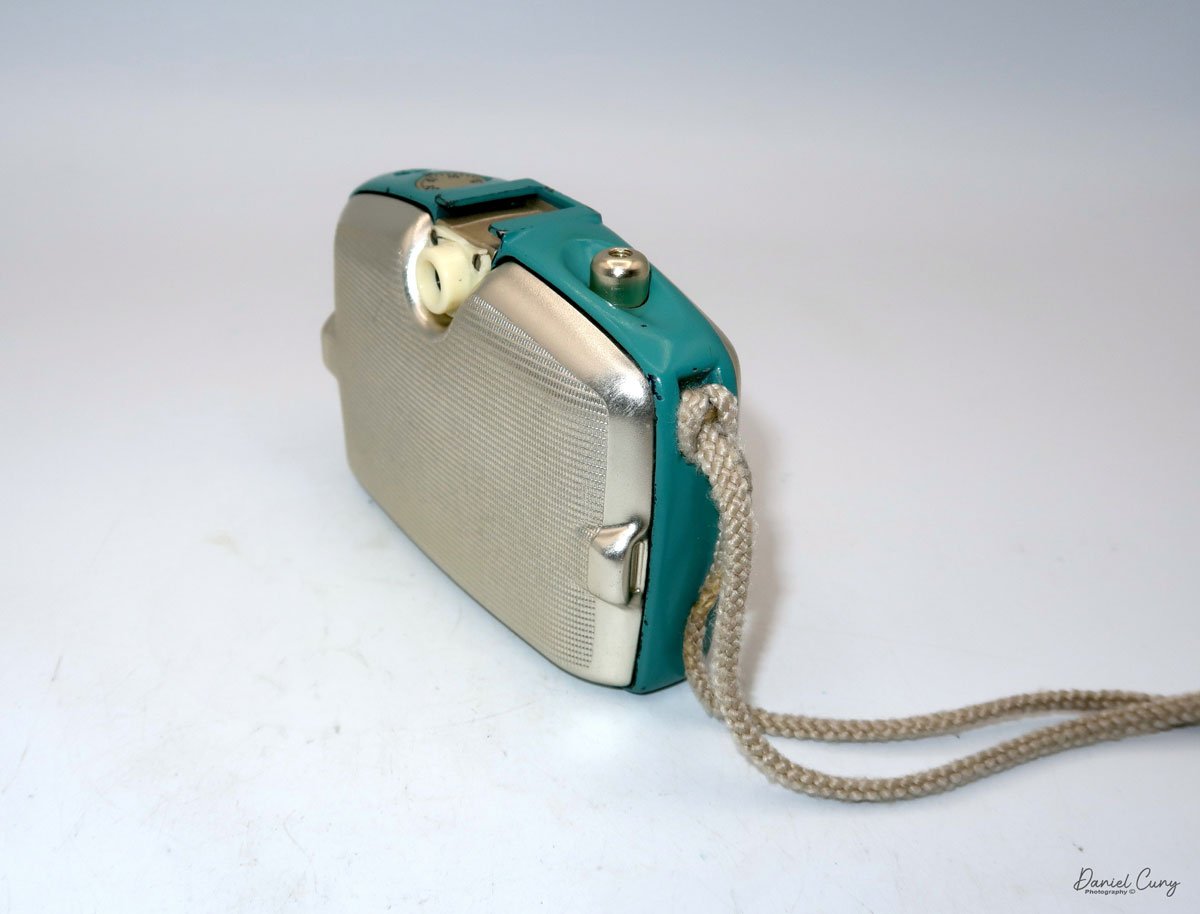
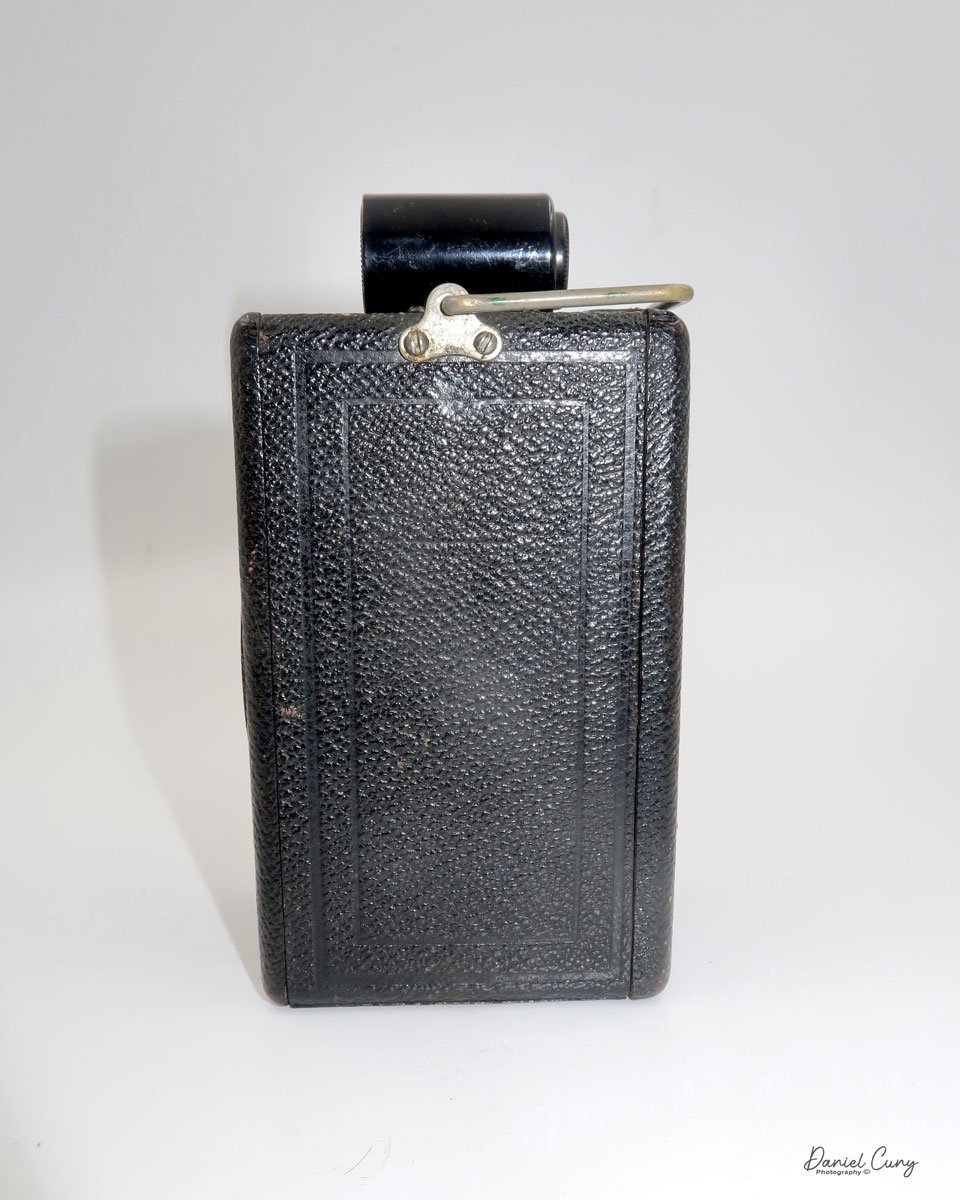
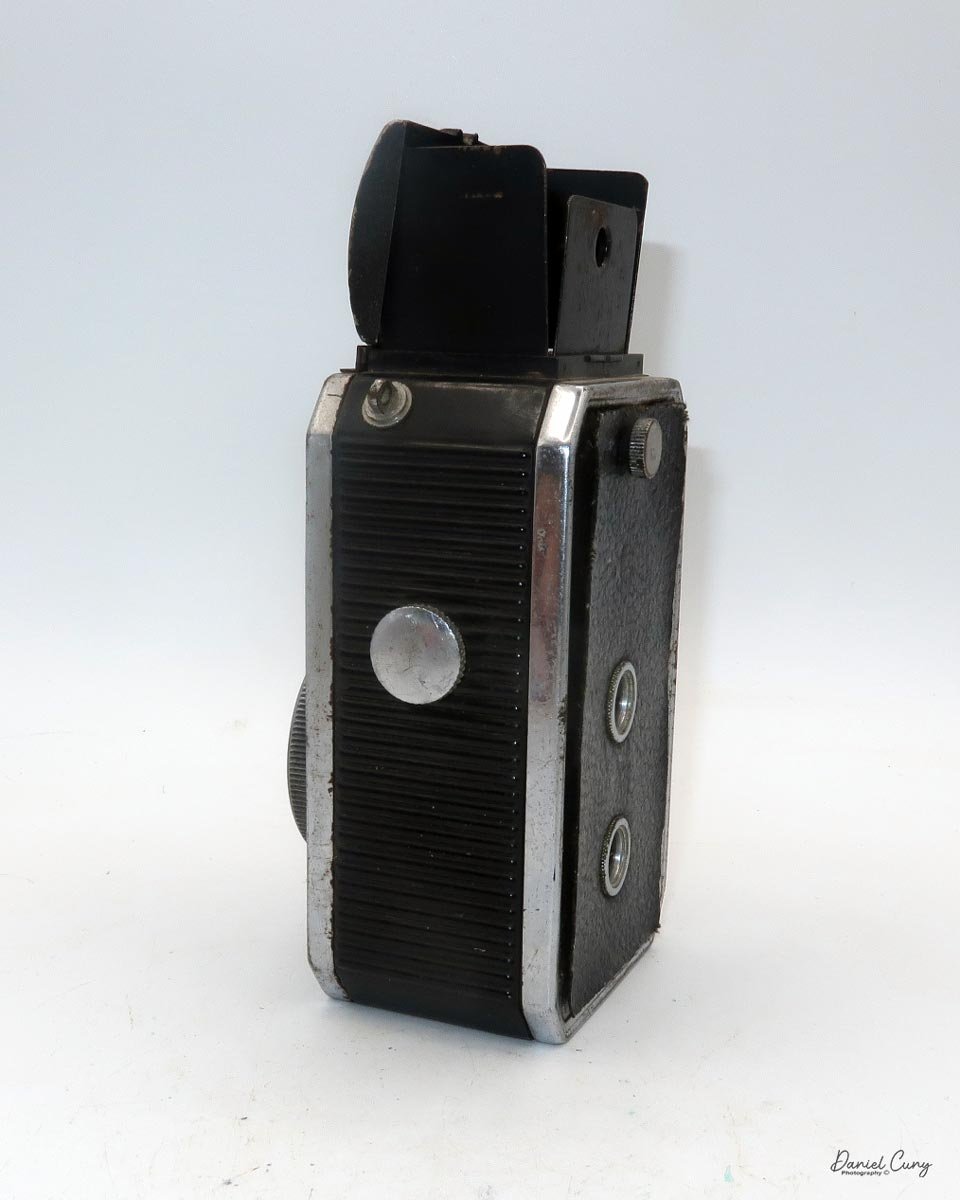
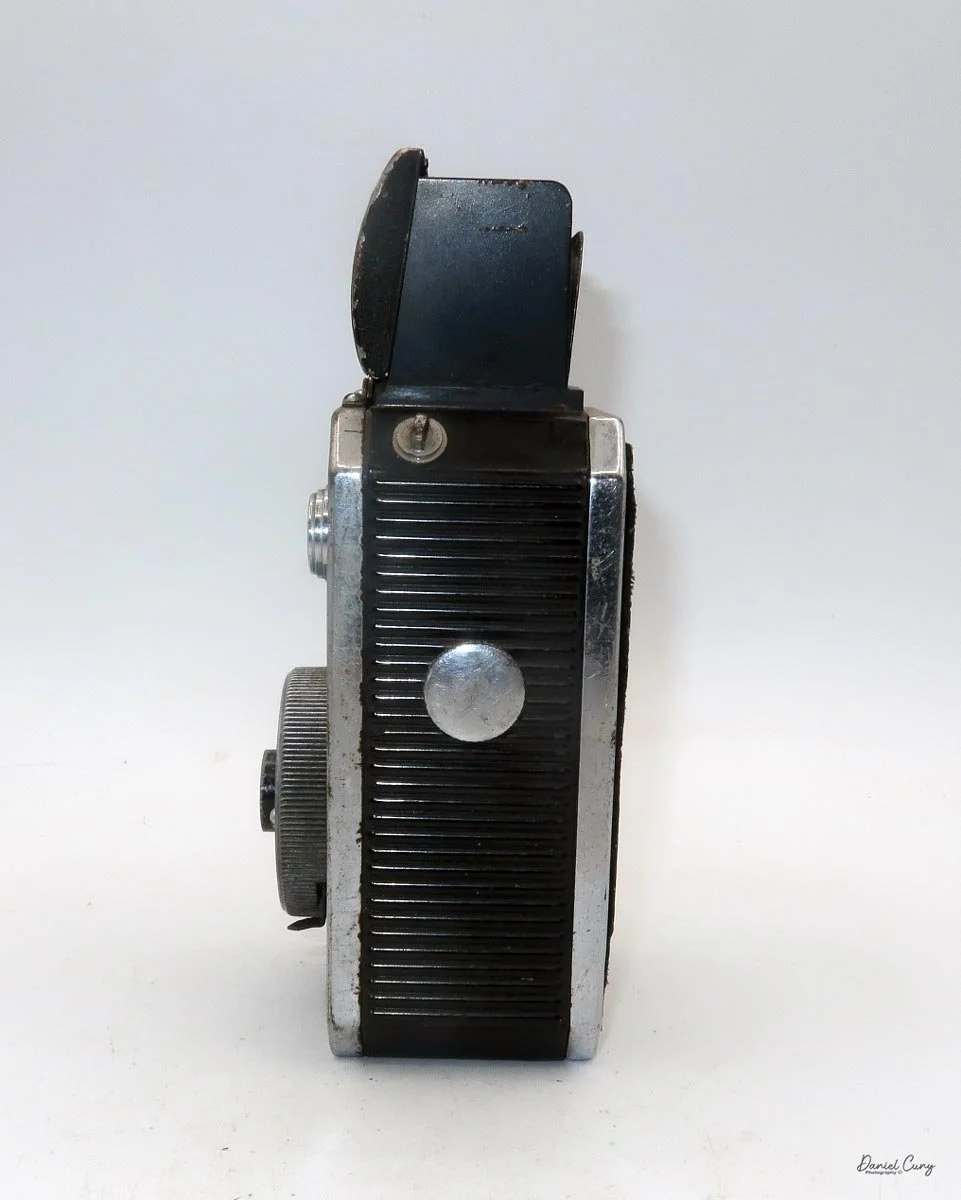
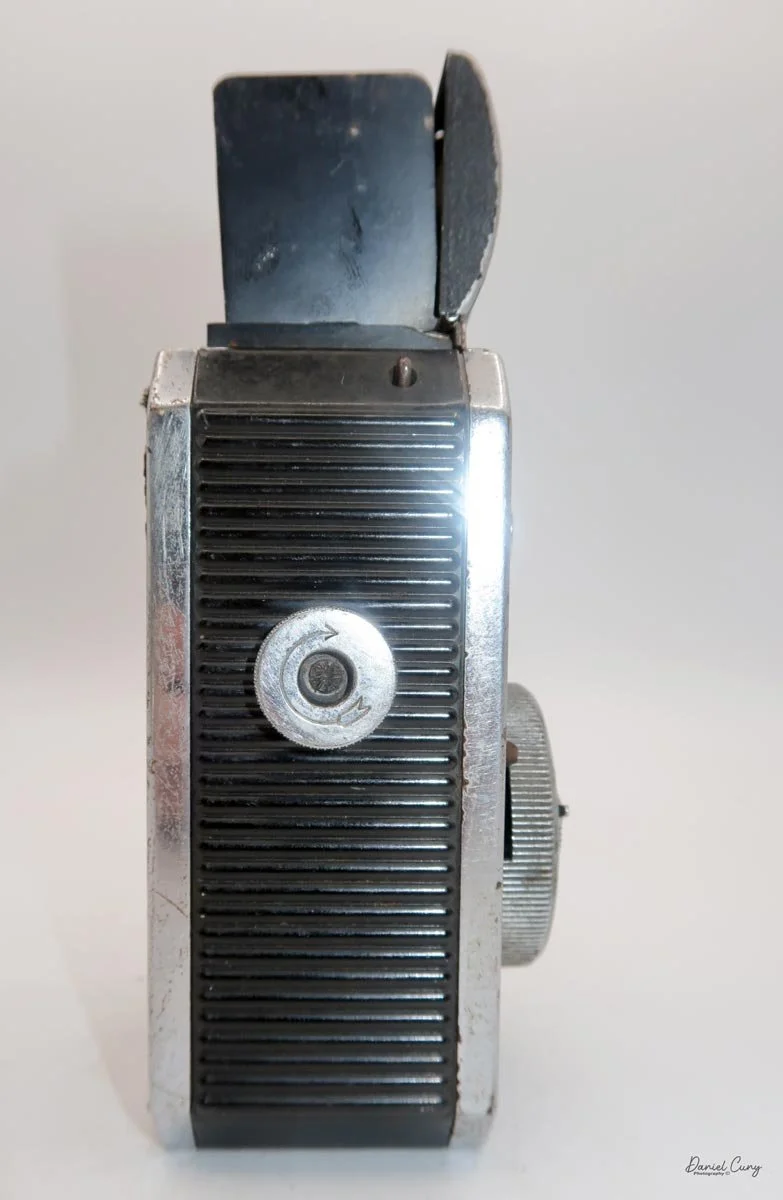
My Dual Reflex camera is 3" wide by 3" deep and 5.25" tall when the viewfinder is closed, and 6.5" tall when the viewfinder is extended and opened for viewing. The camera weighs 14.8 ounces without a roll of 127 film loaded.
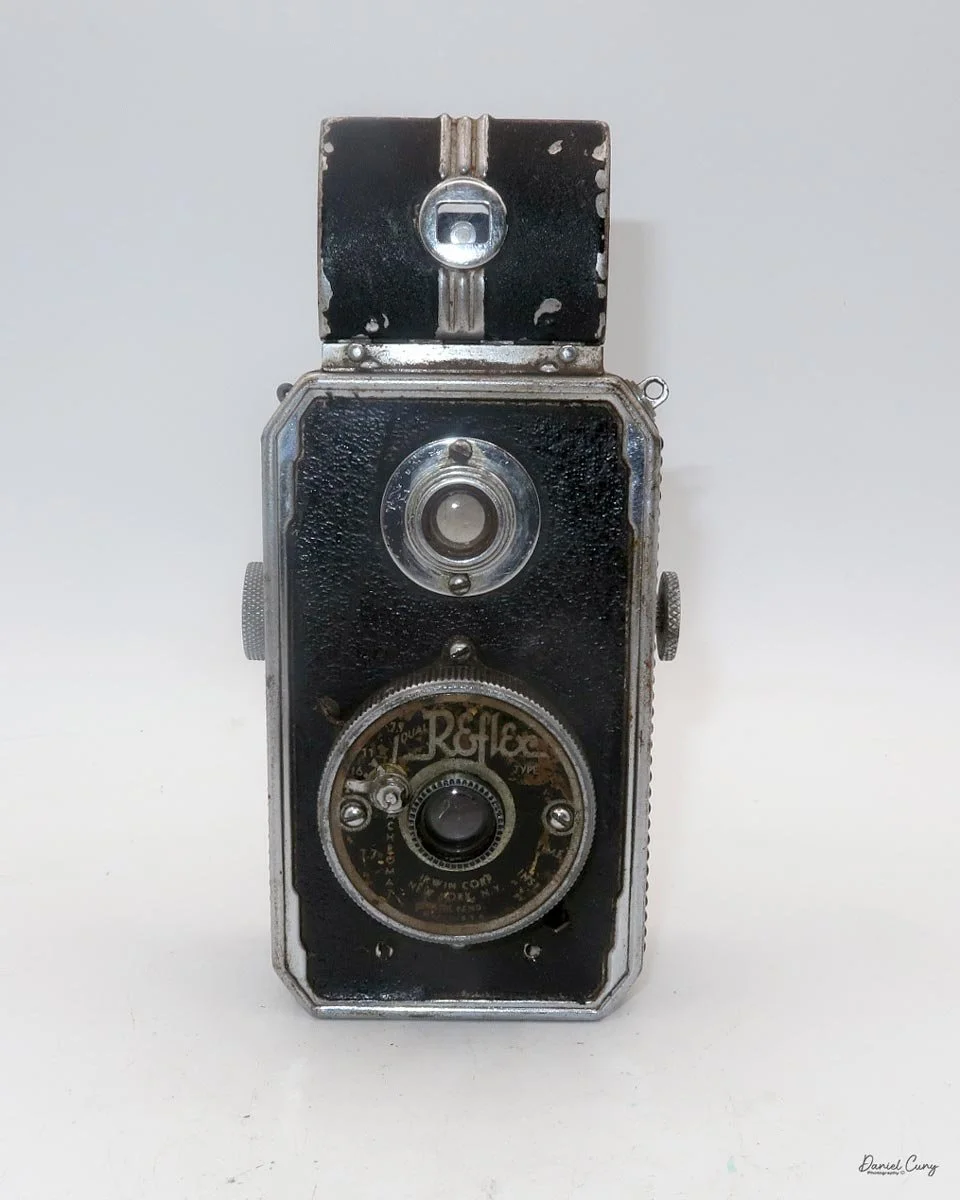
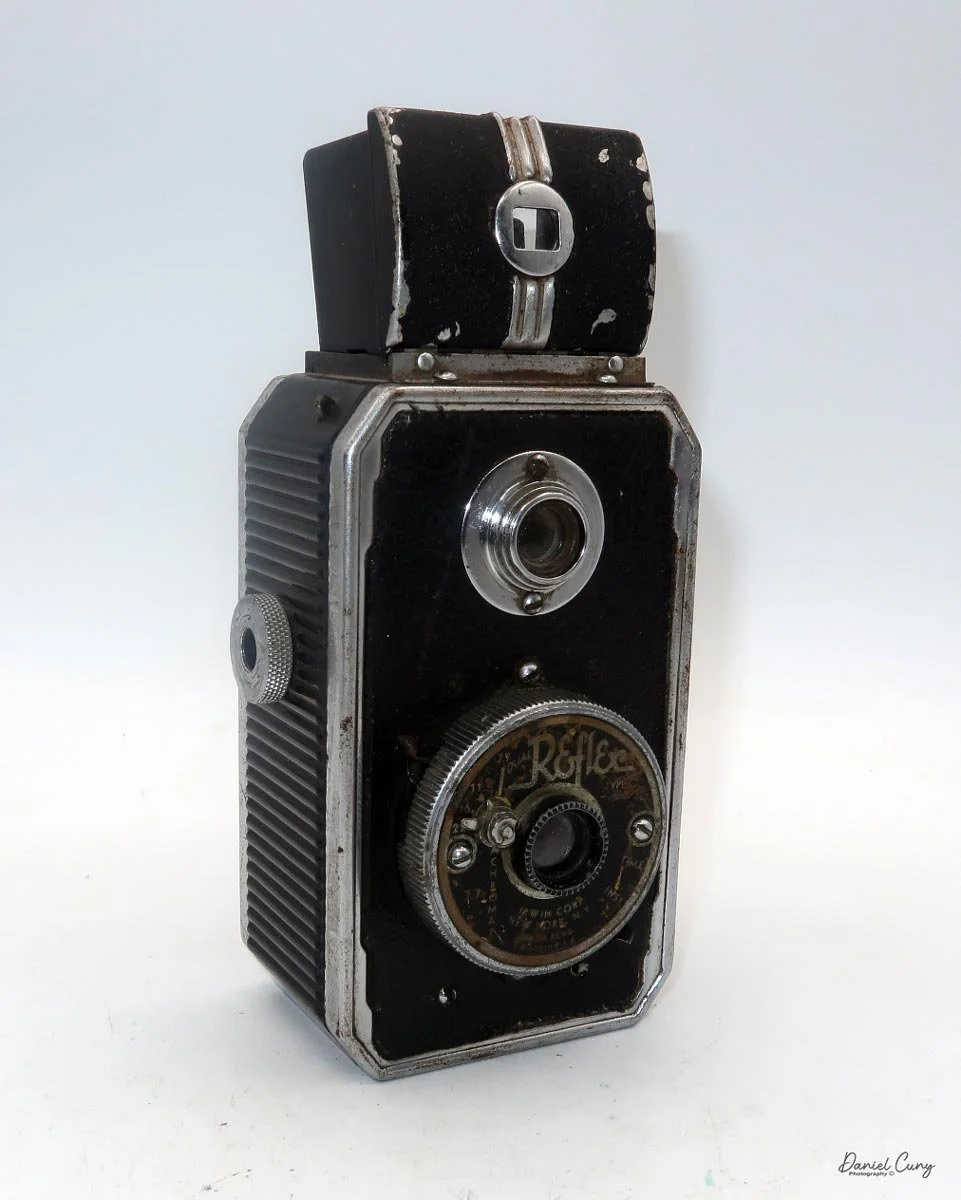
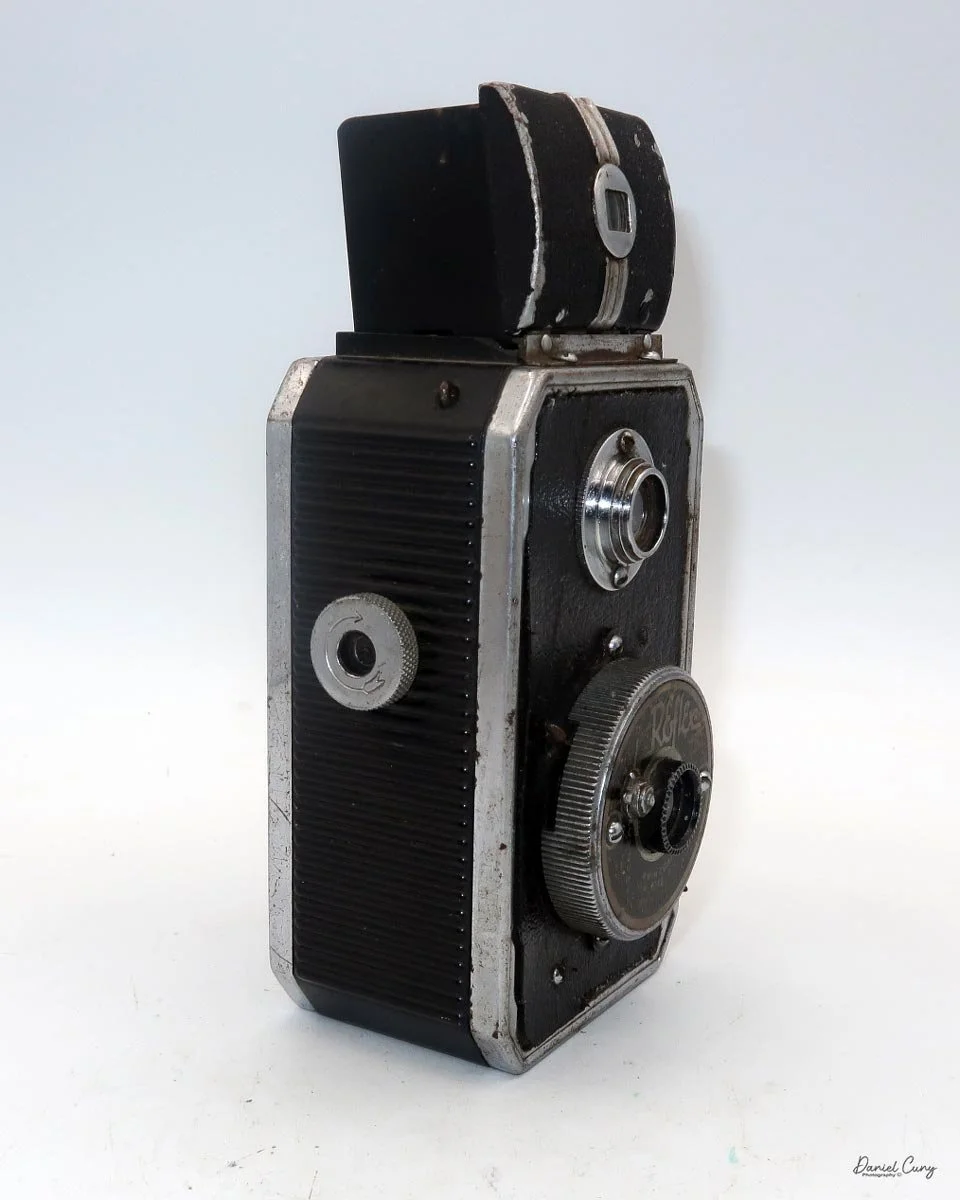

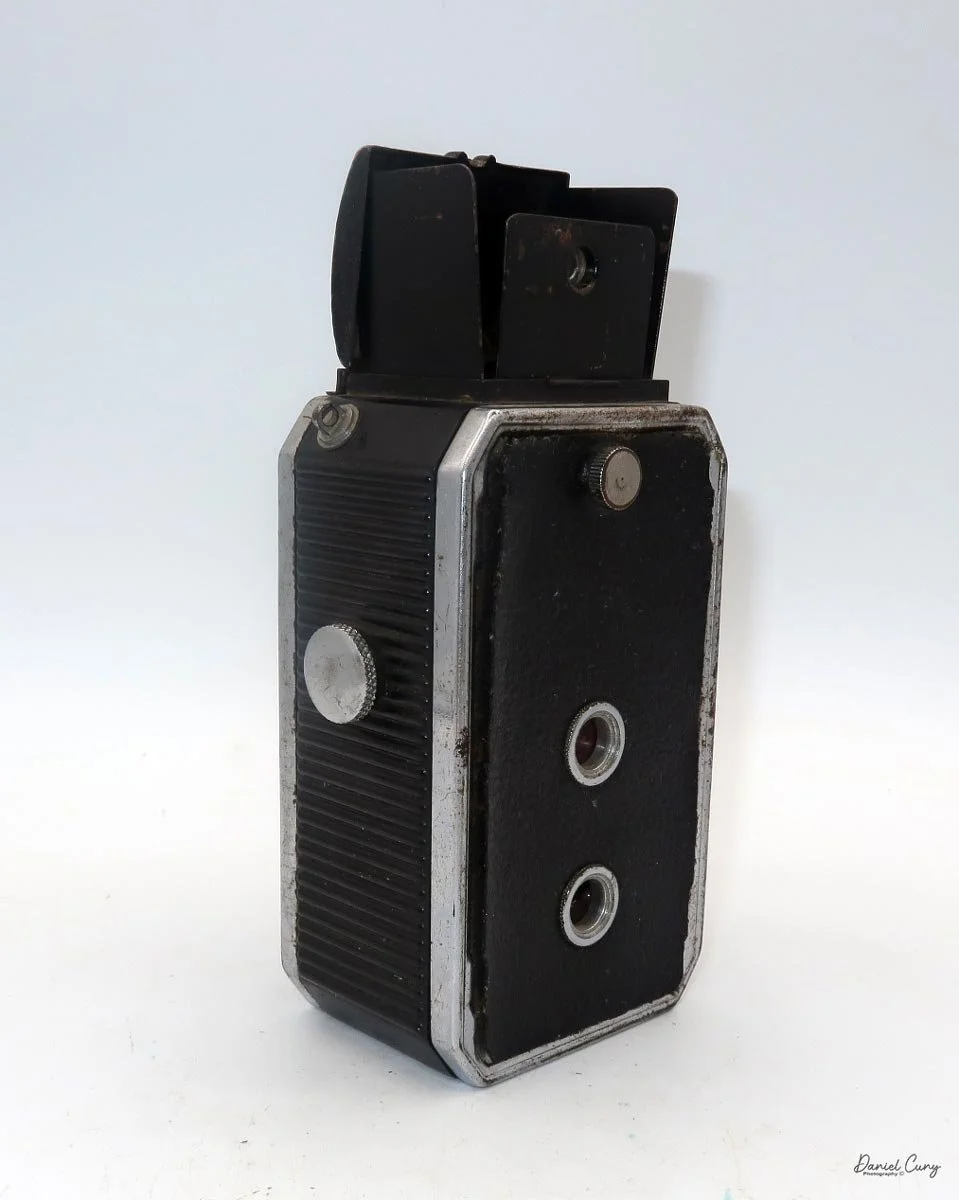
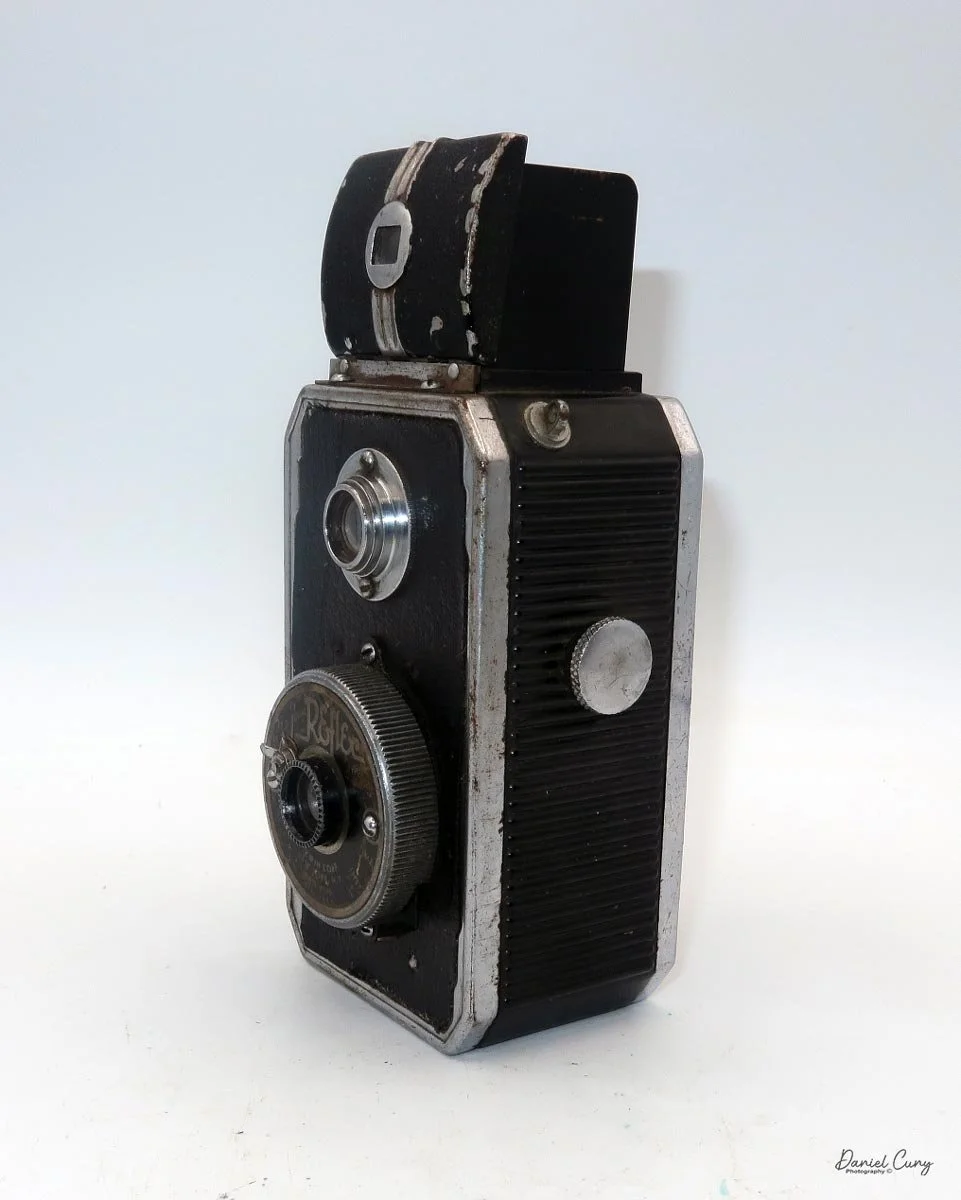
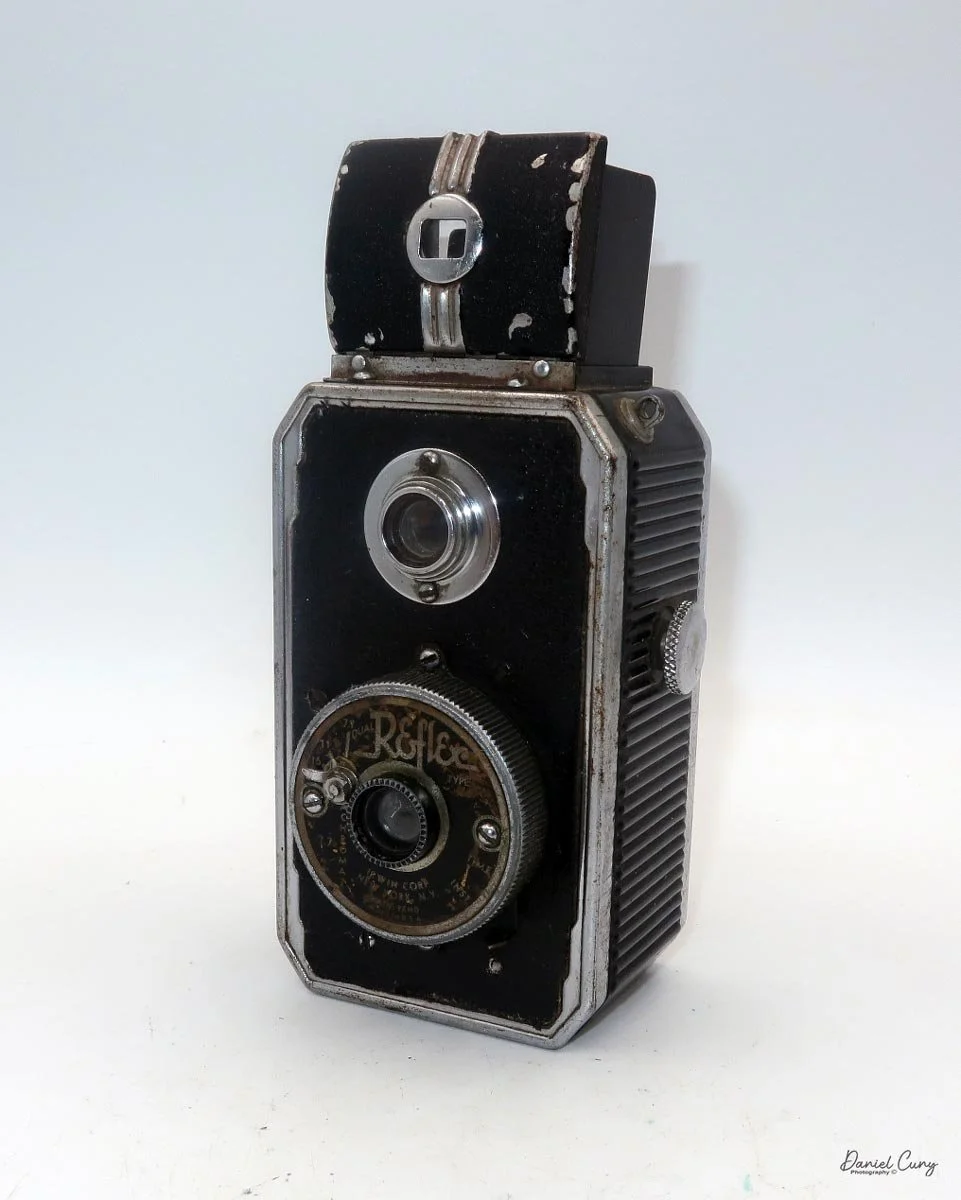
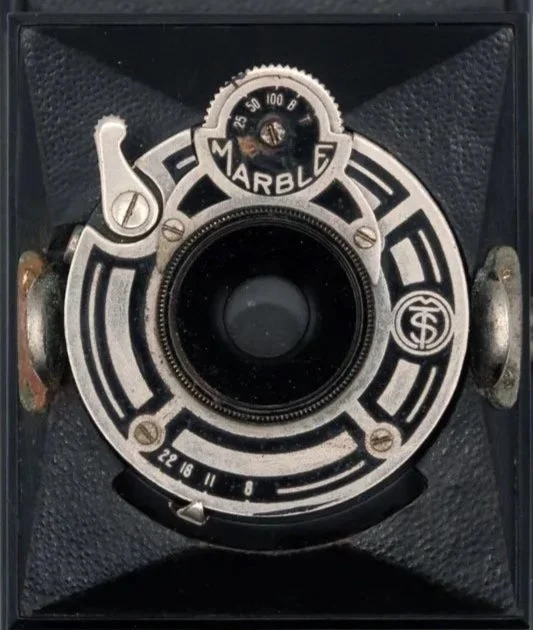
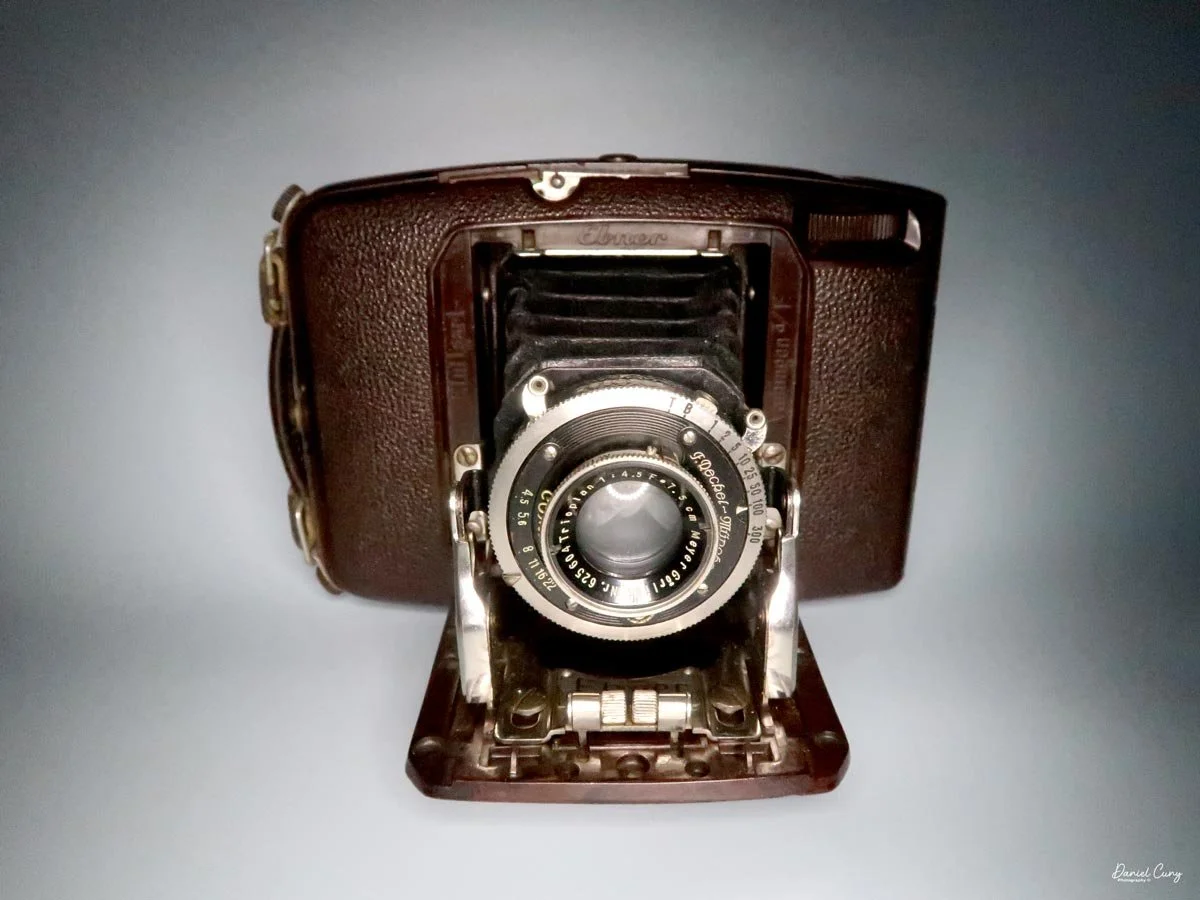
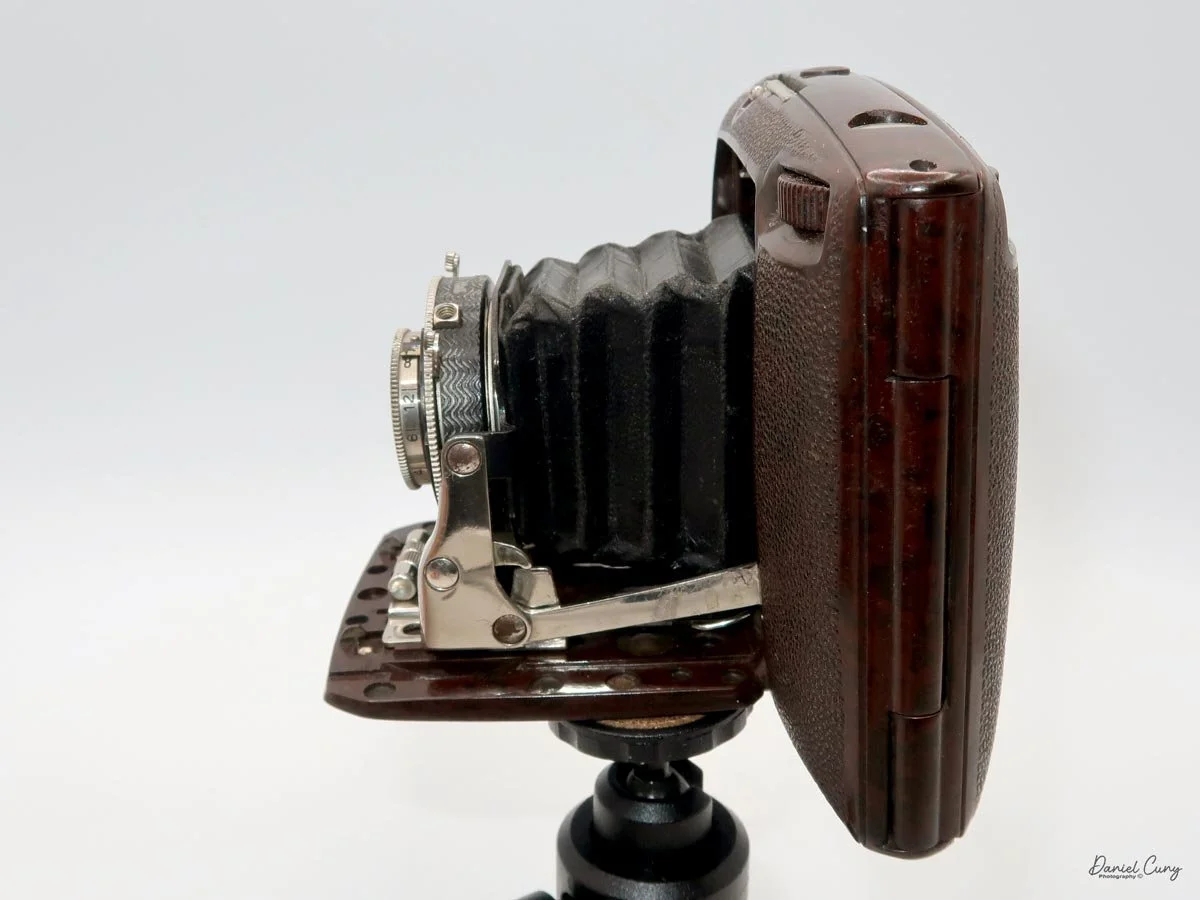
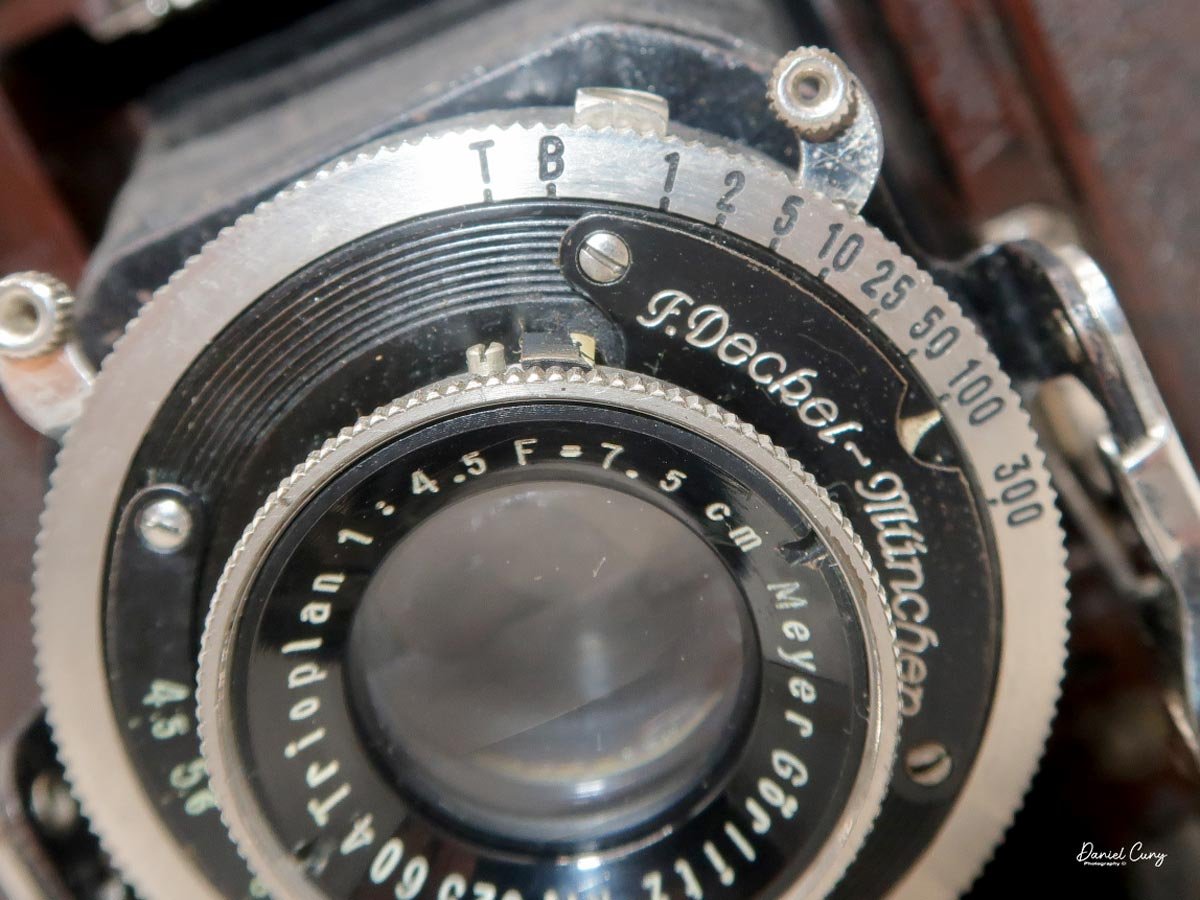
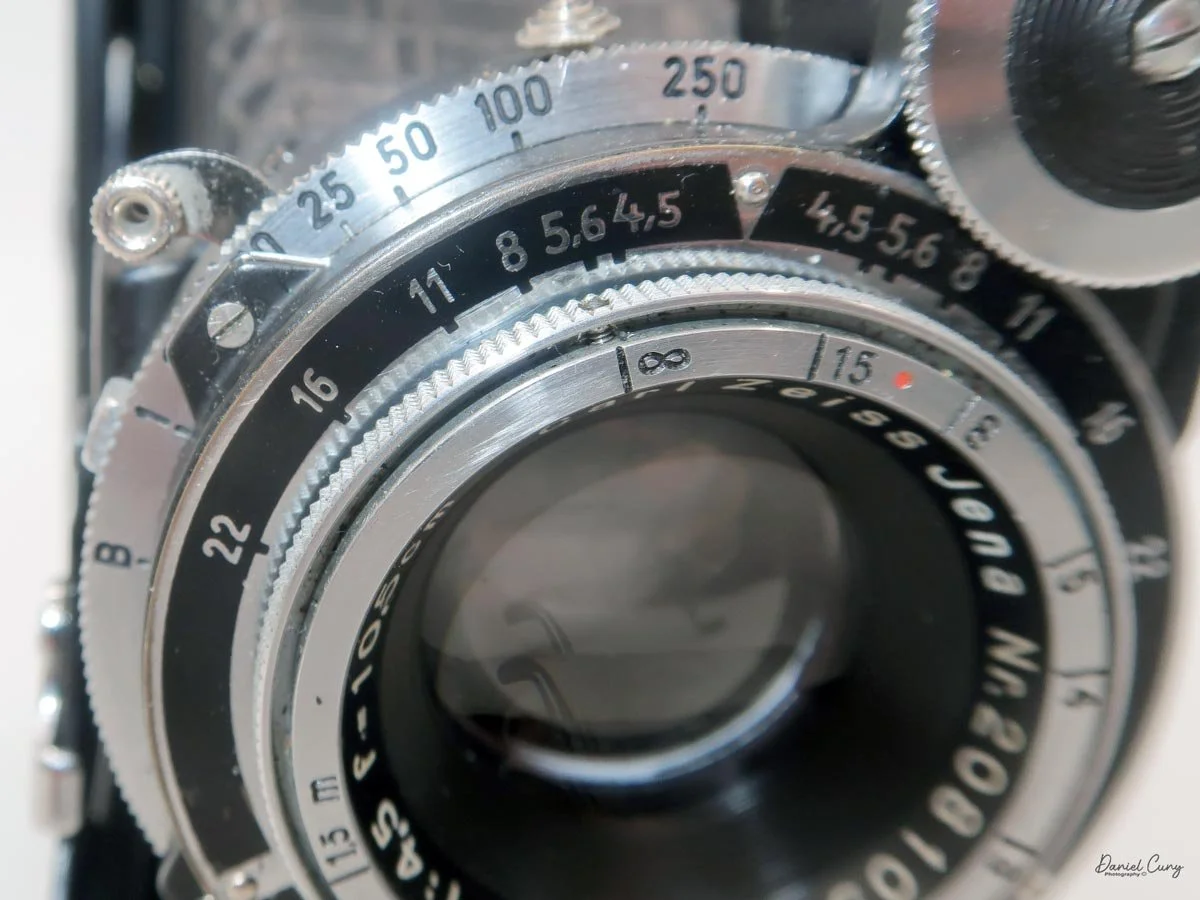
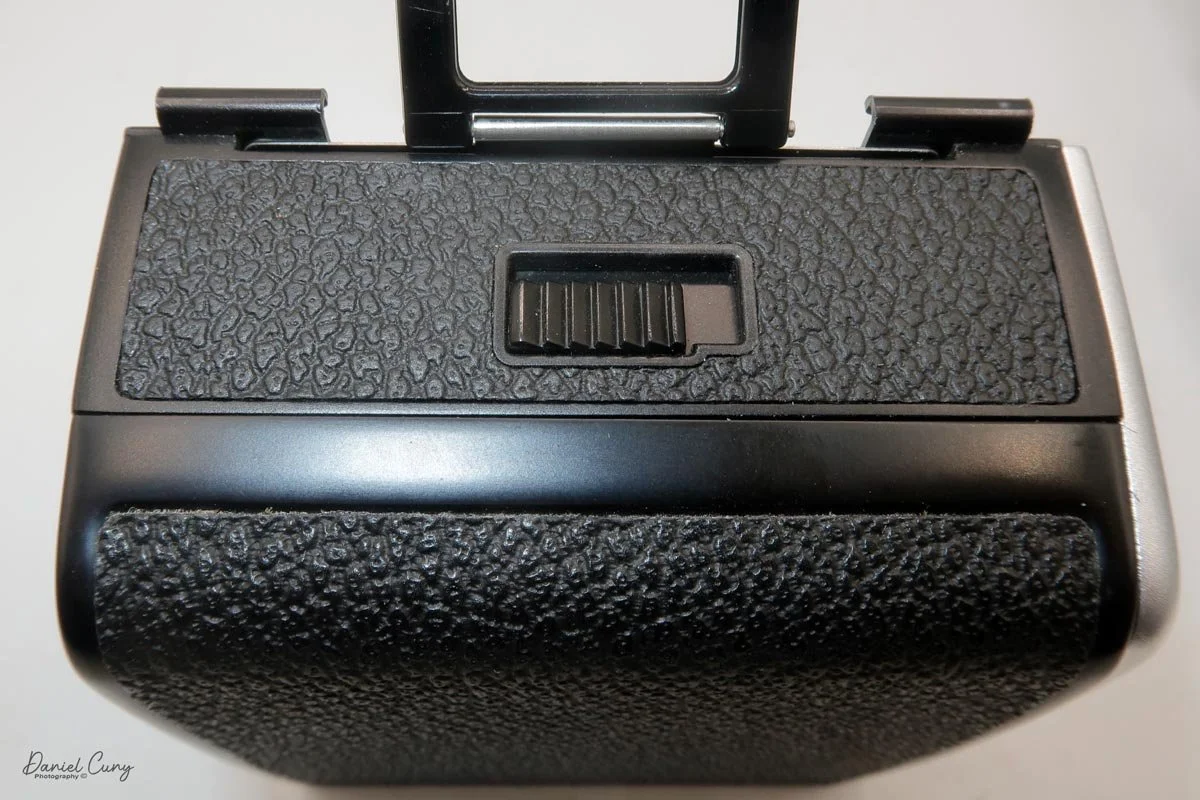
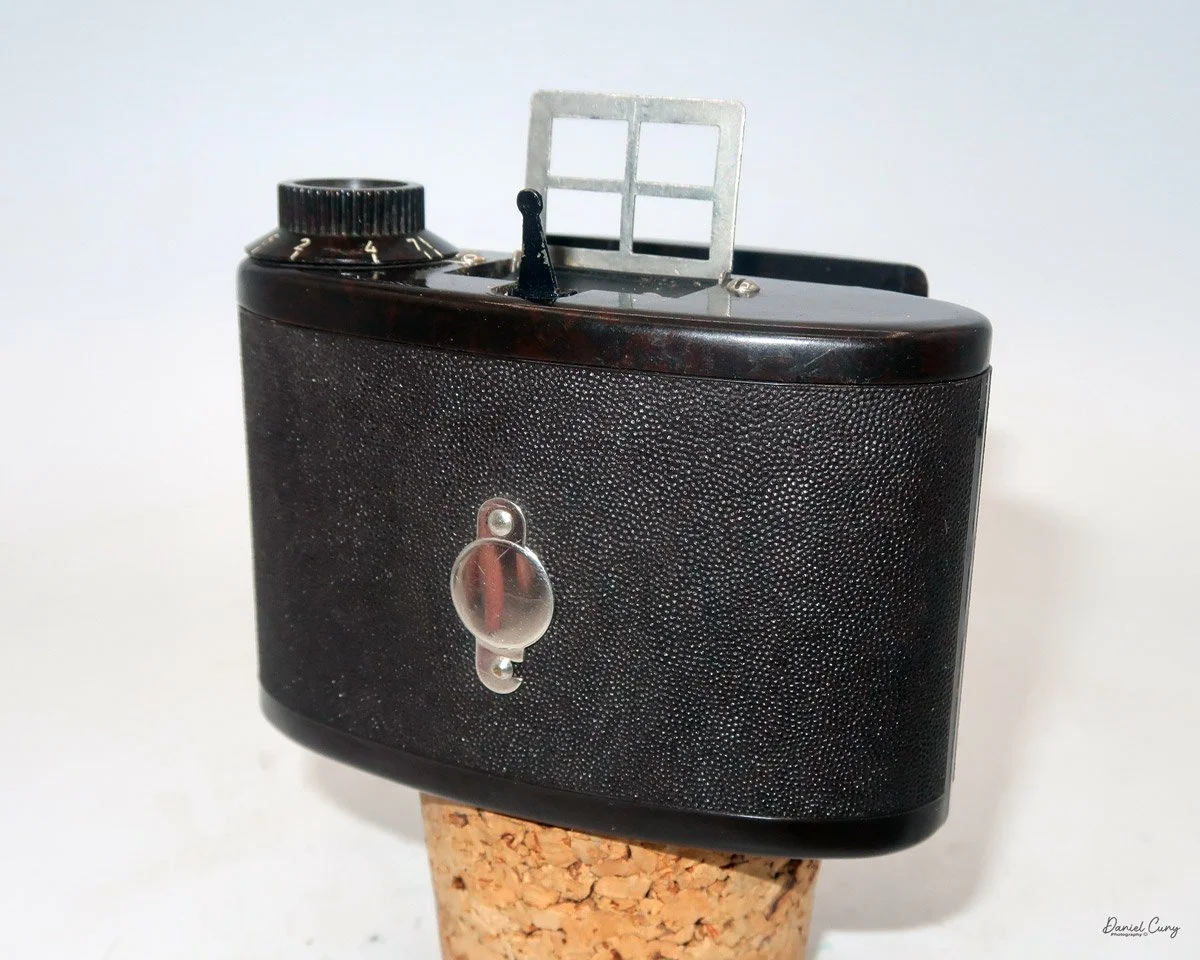
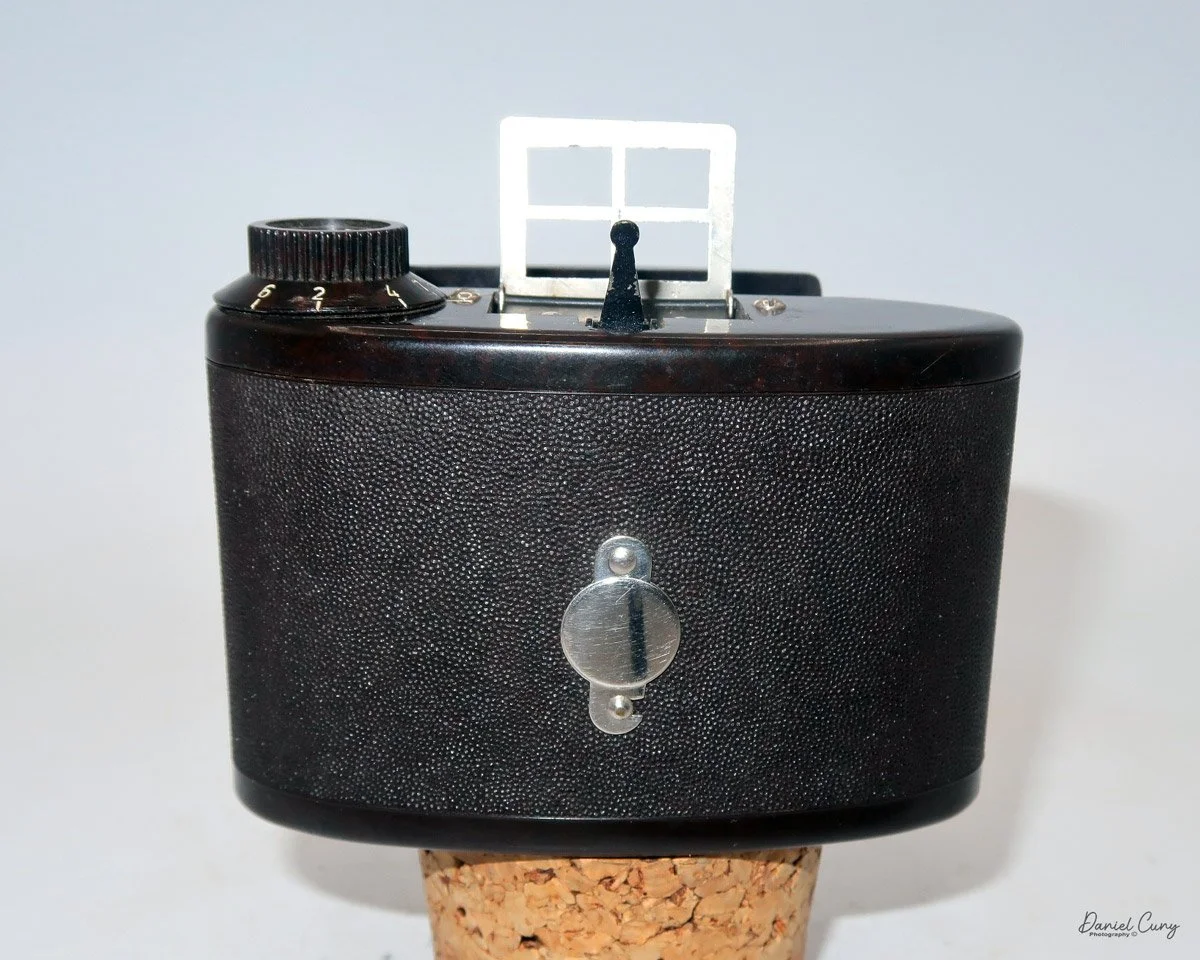
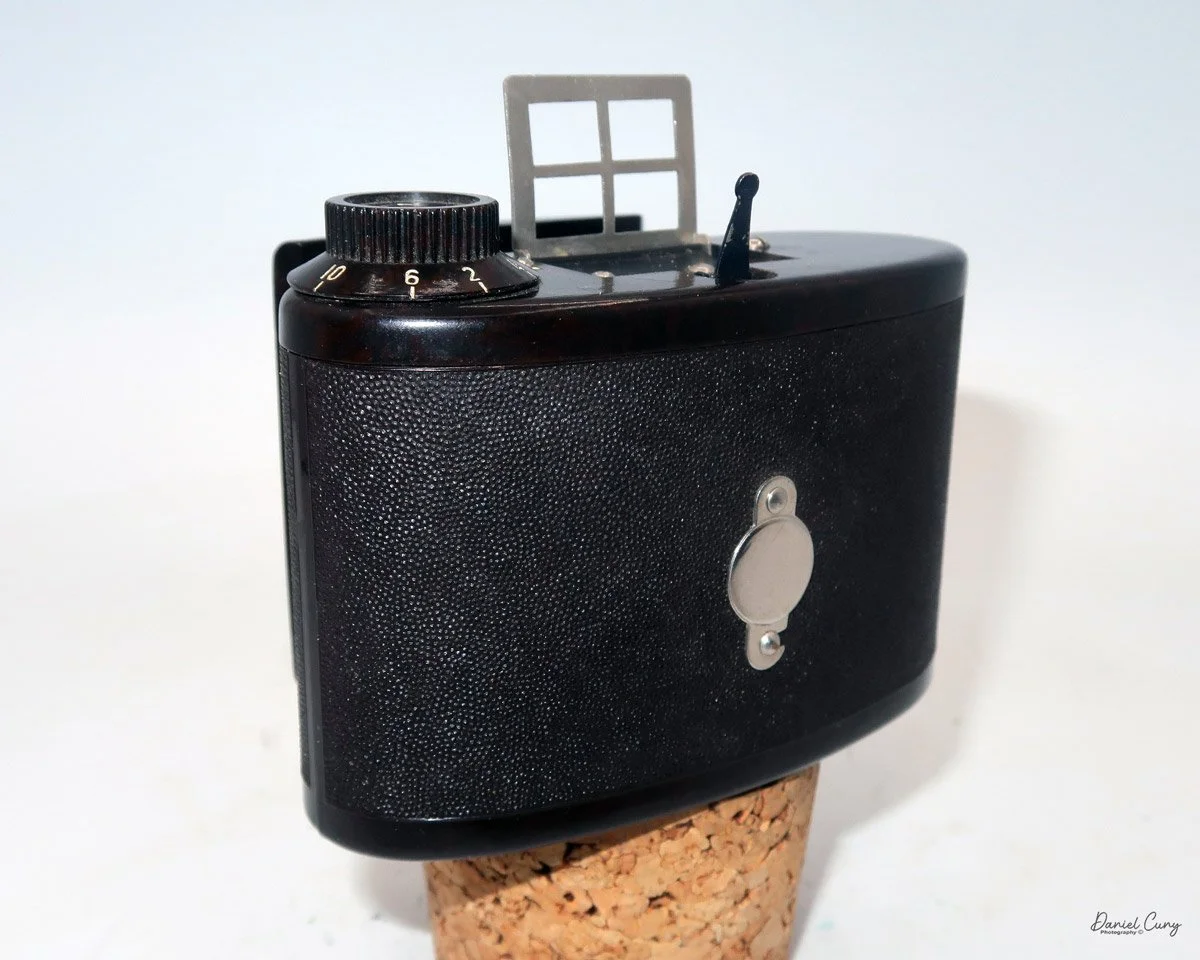
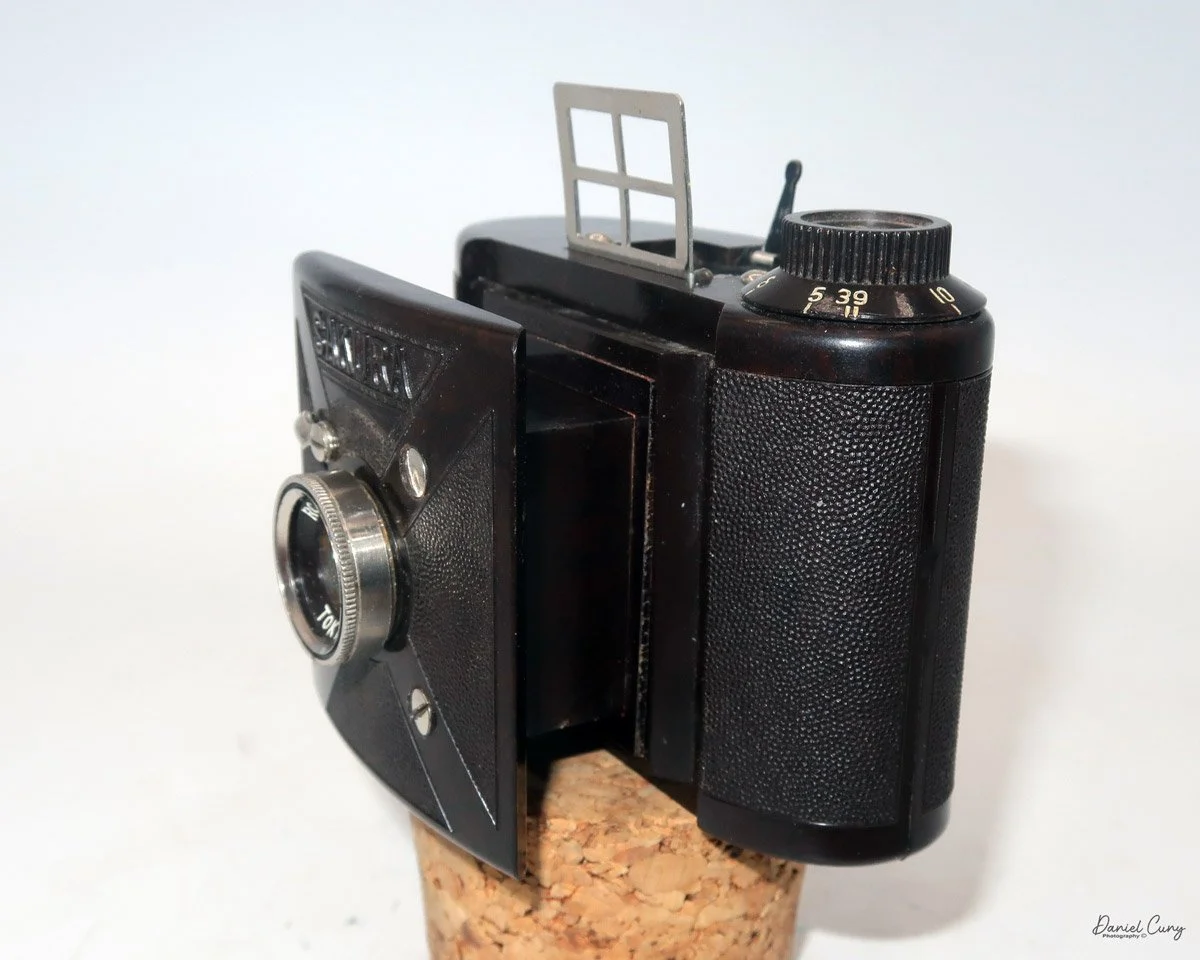
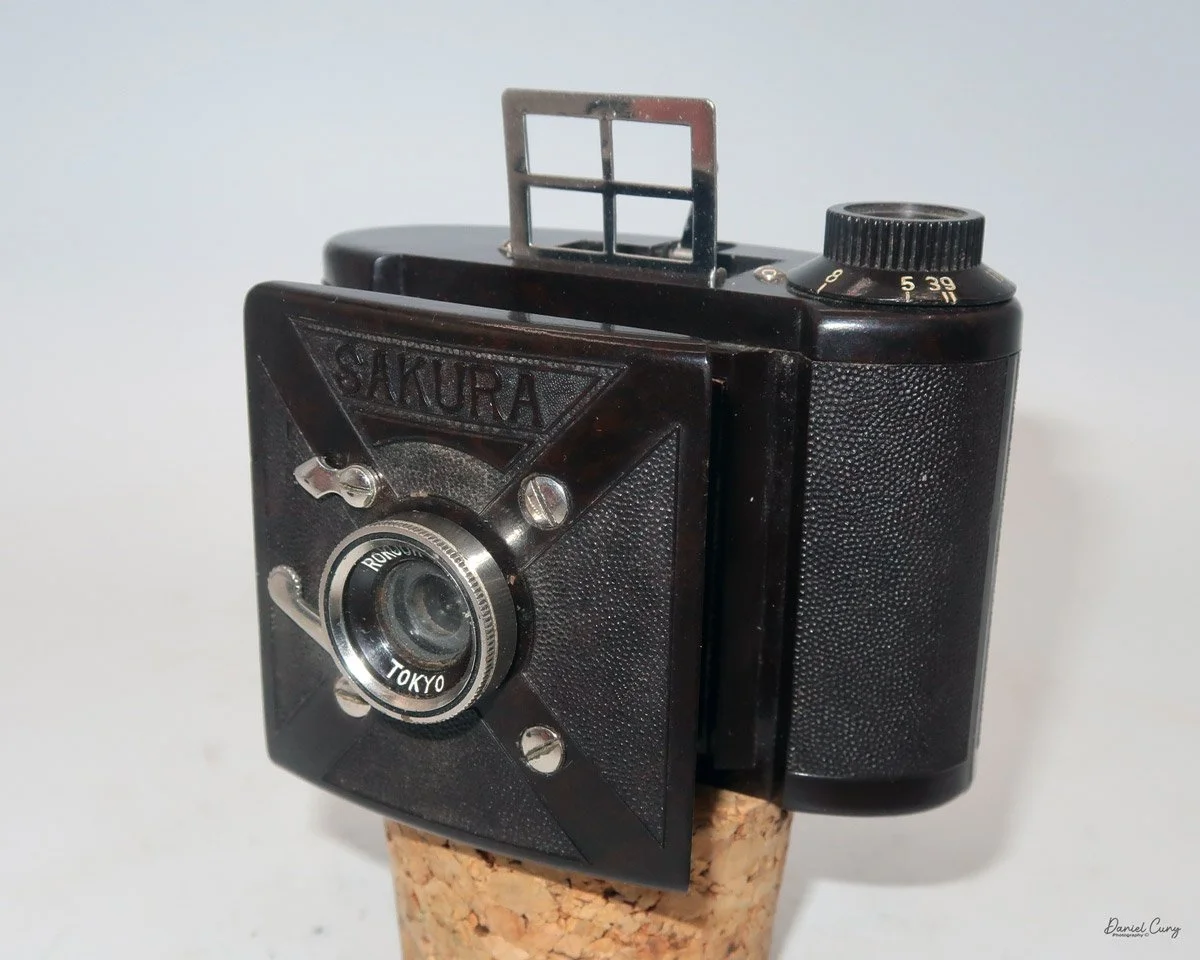
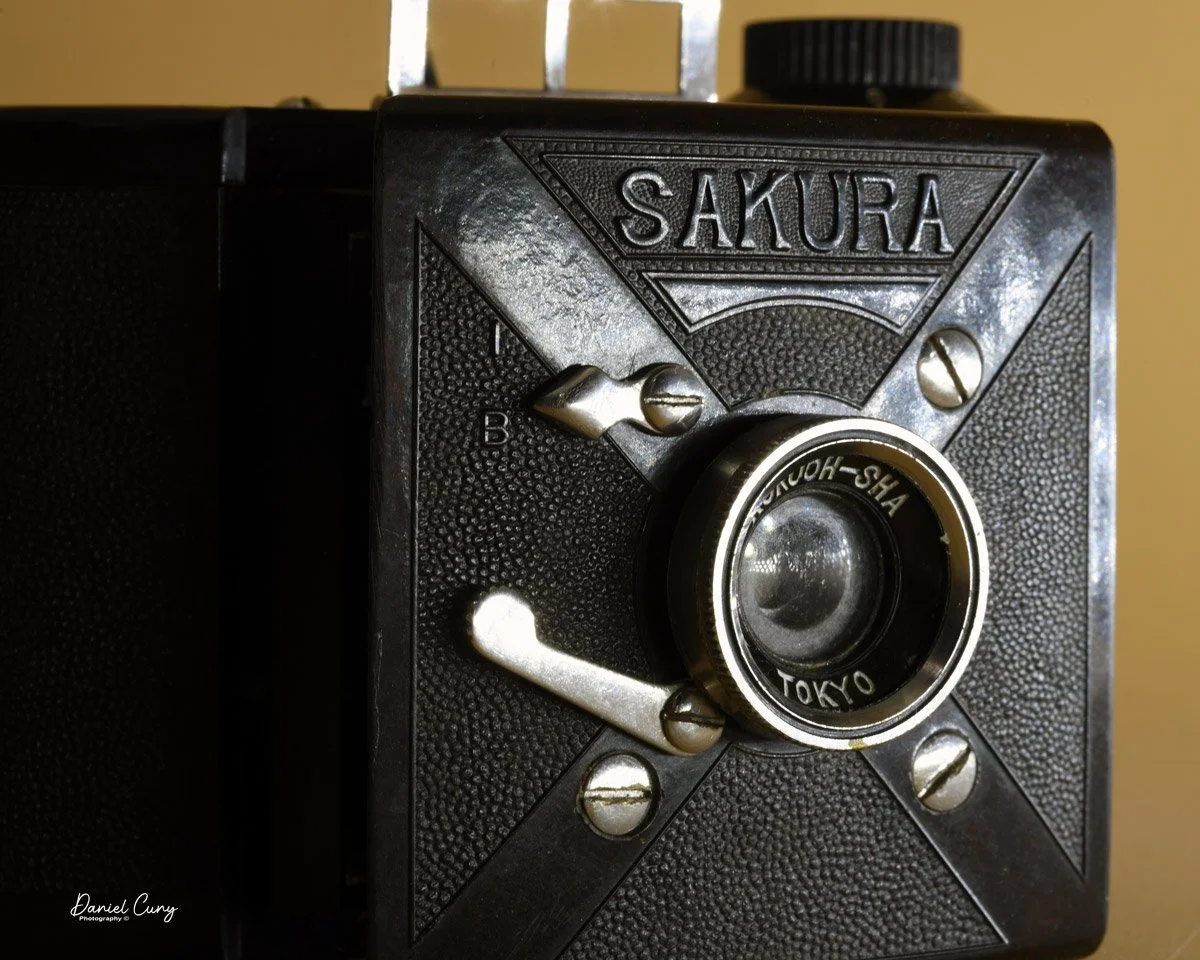
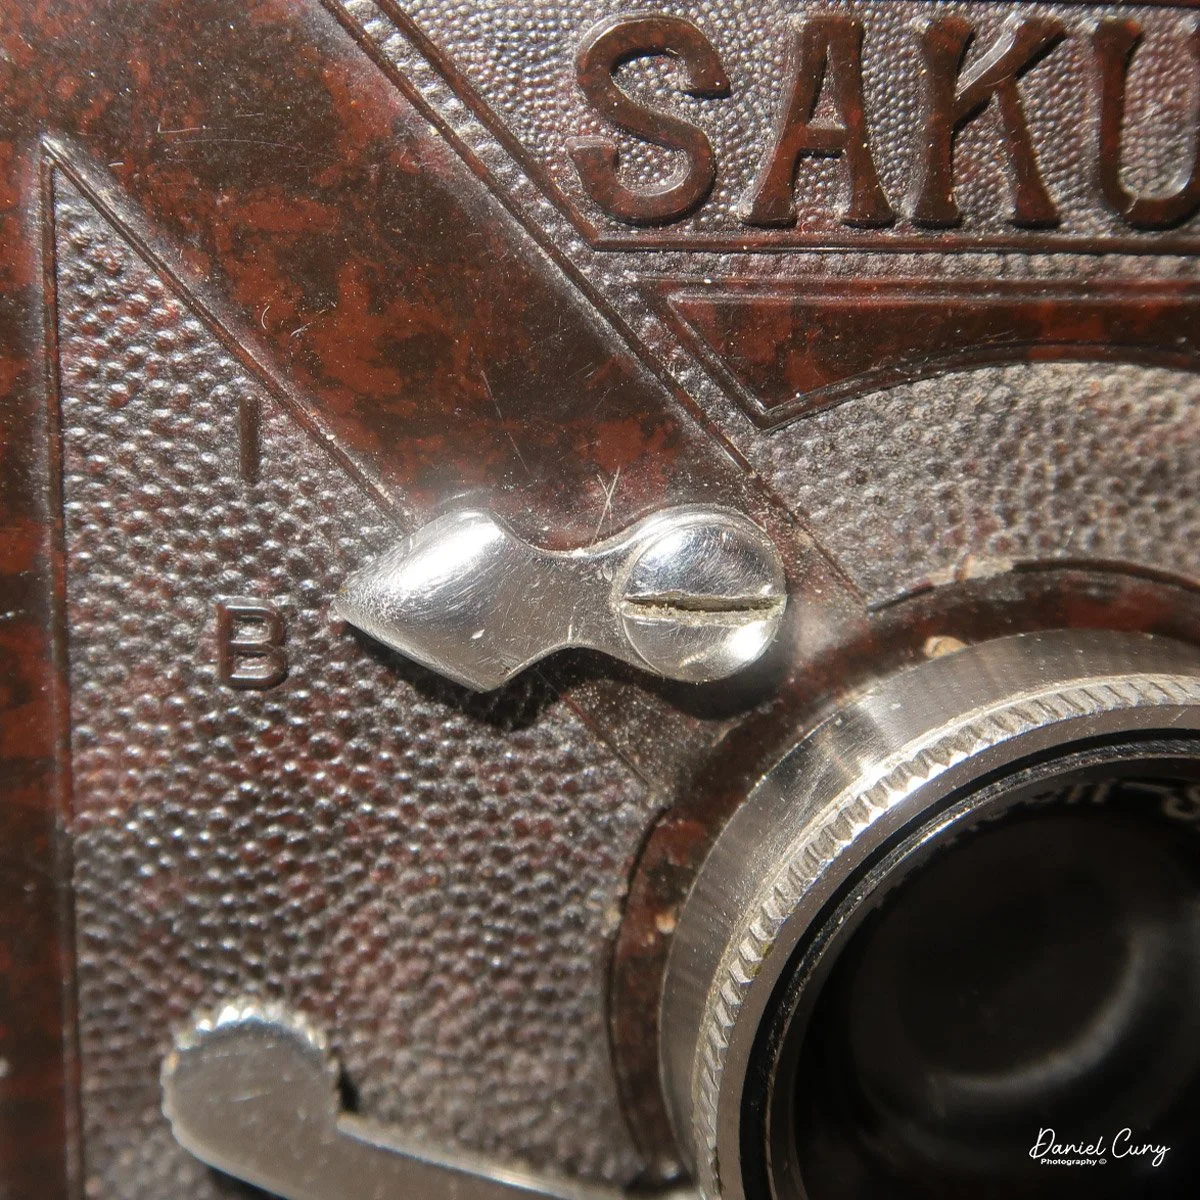
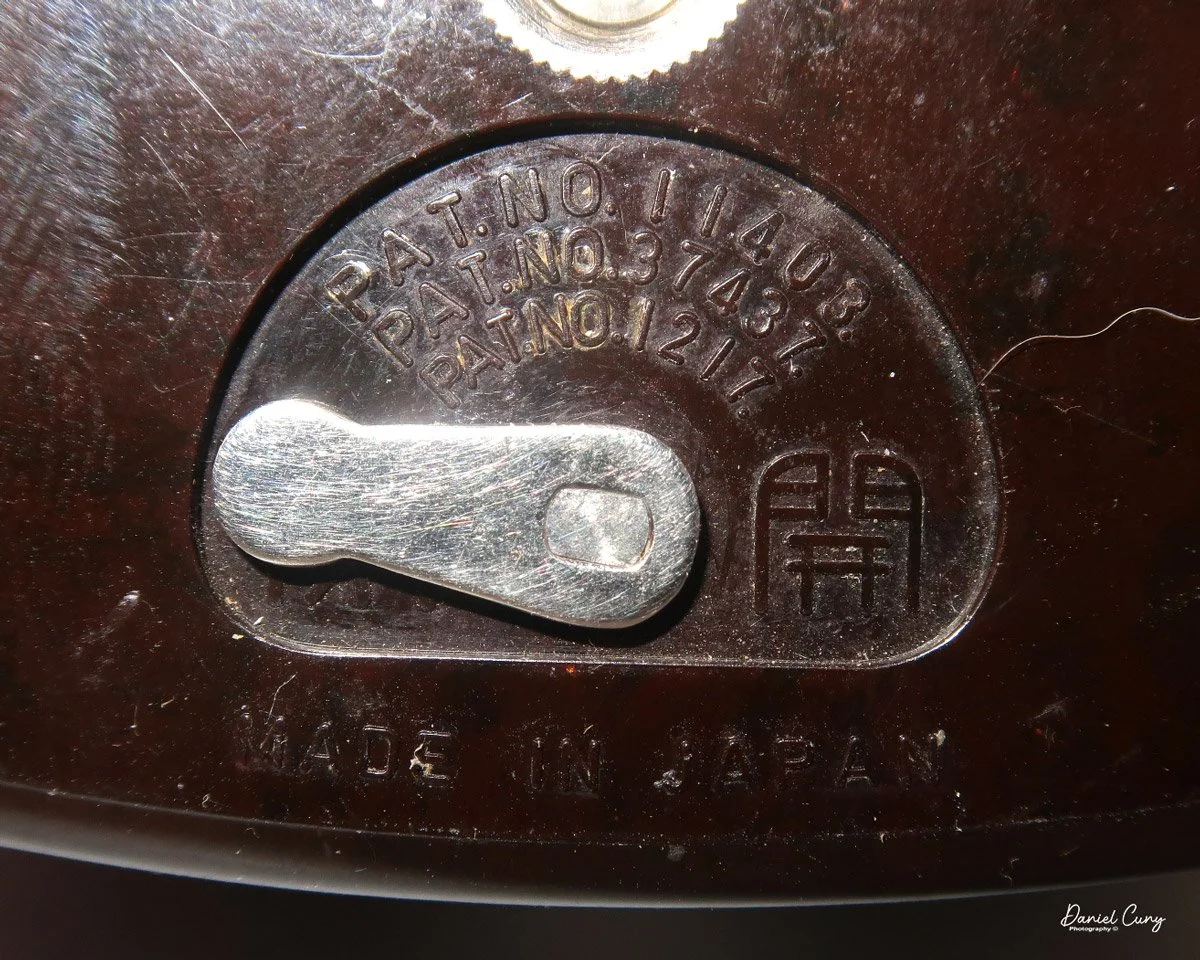
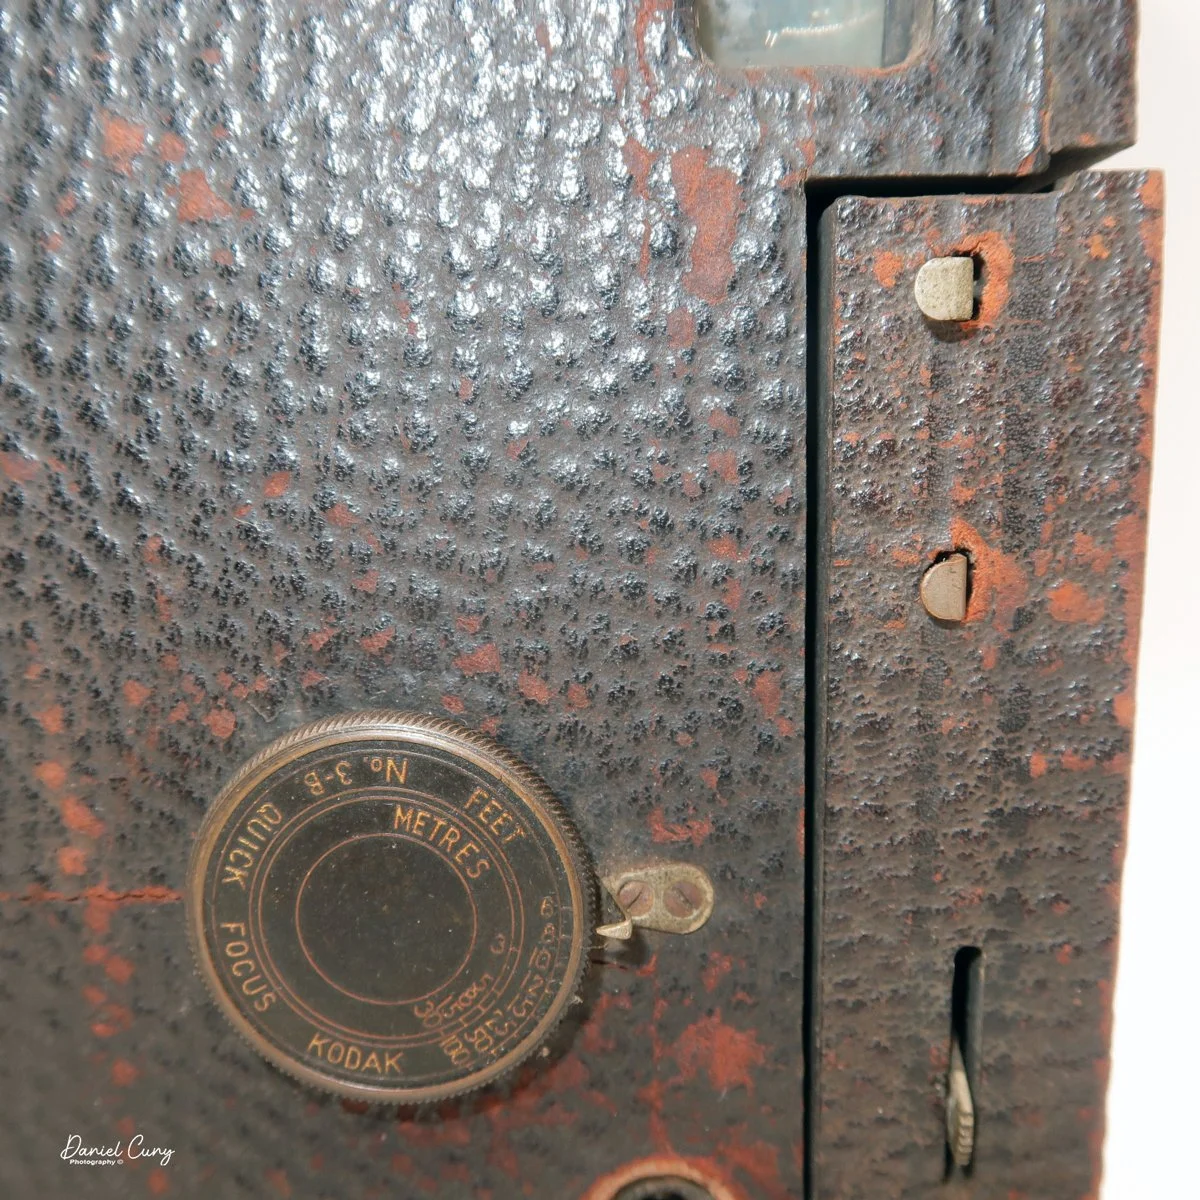
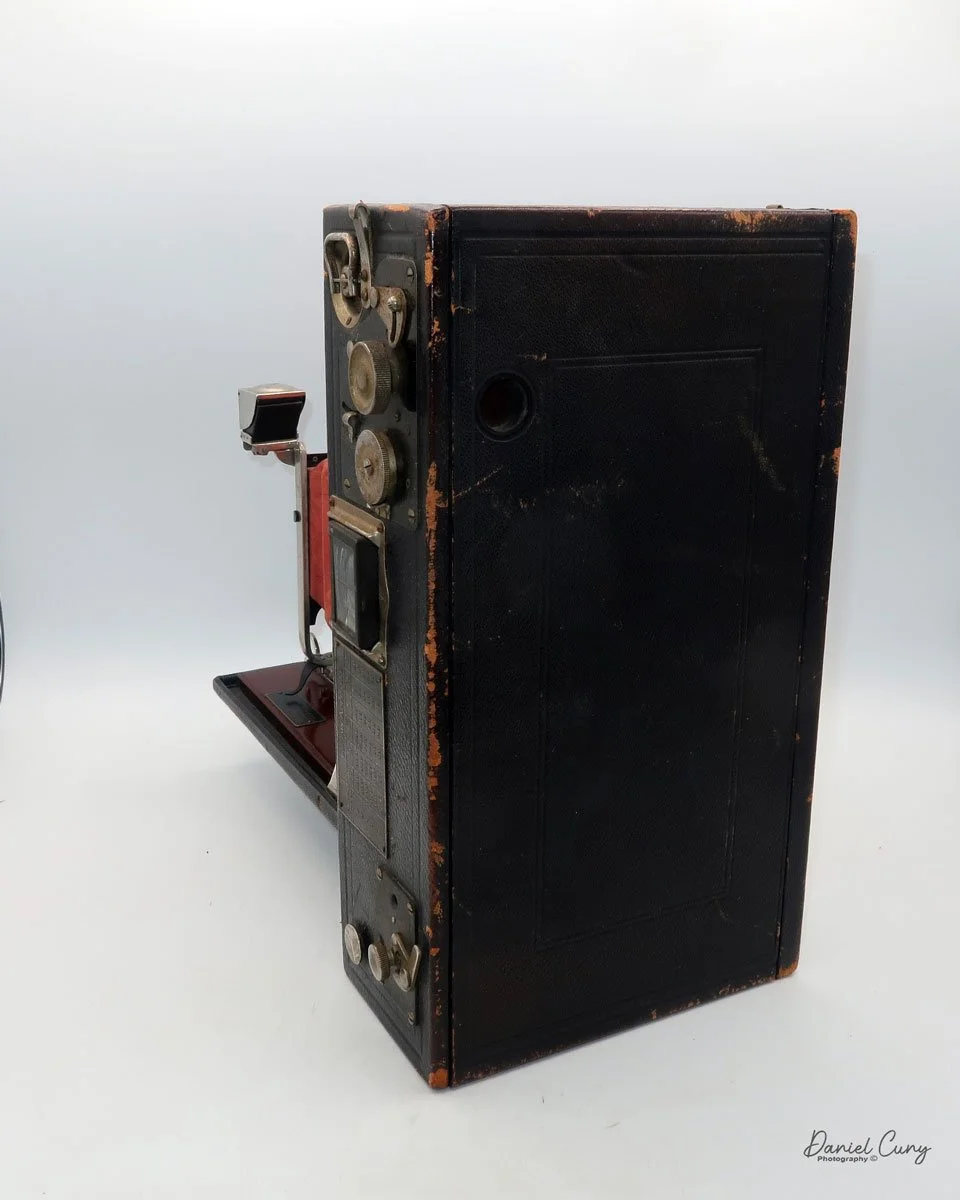
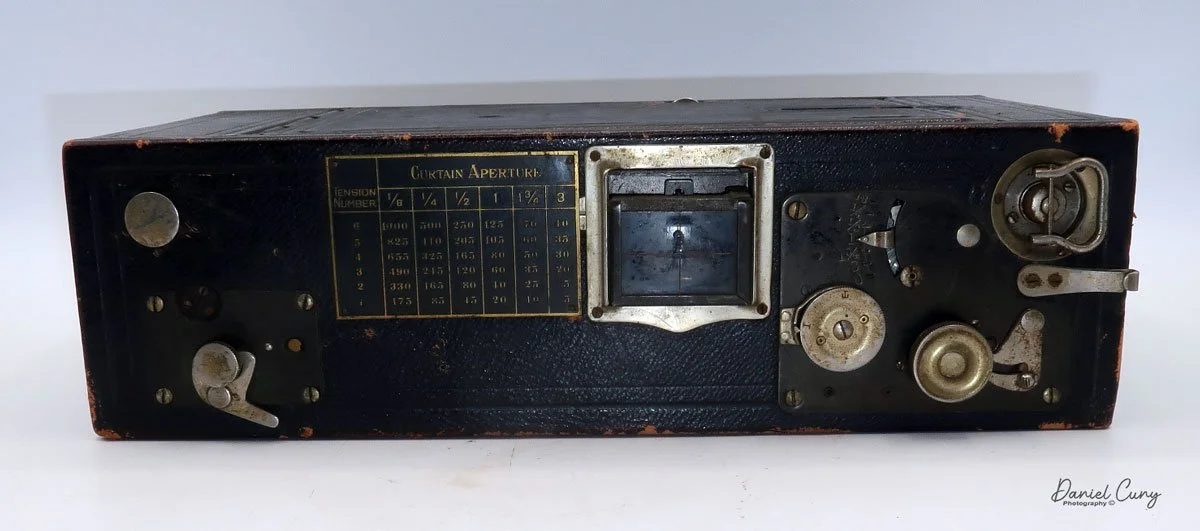
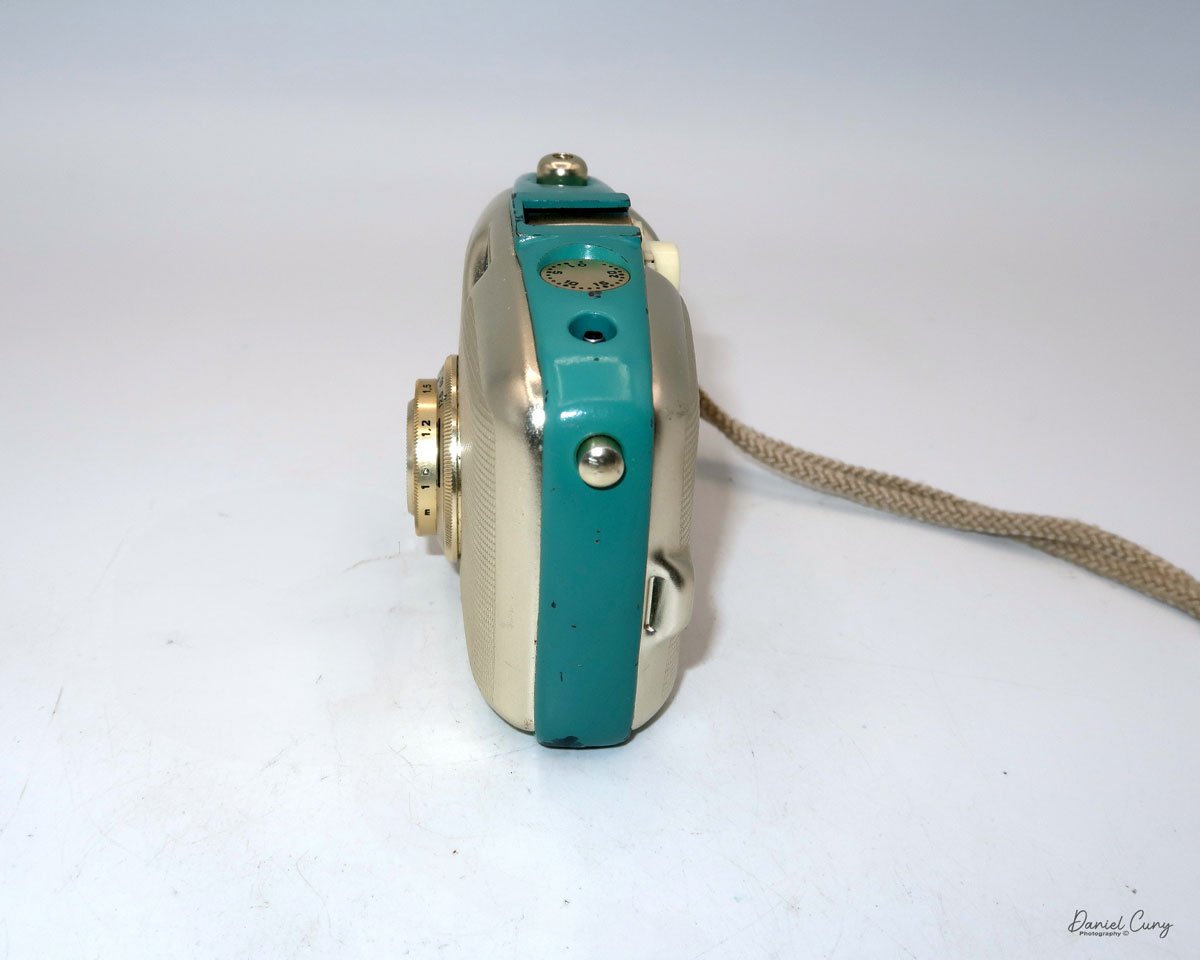
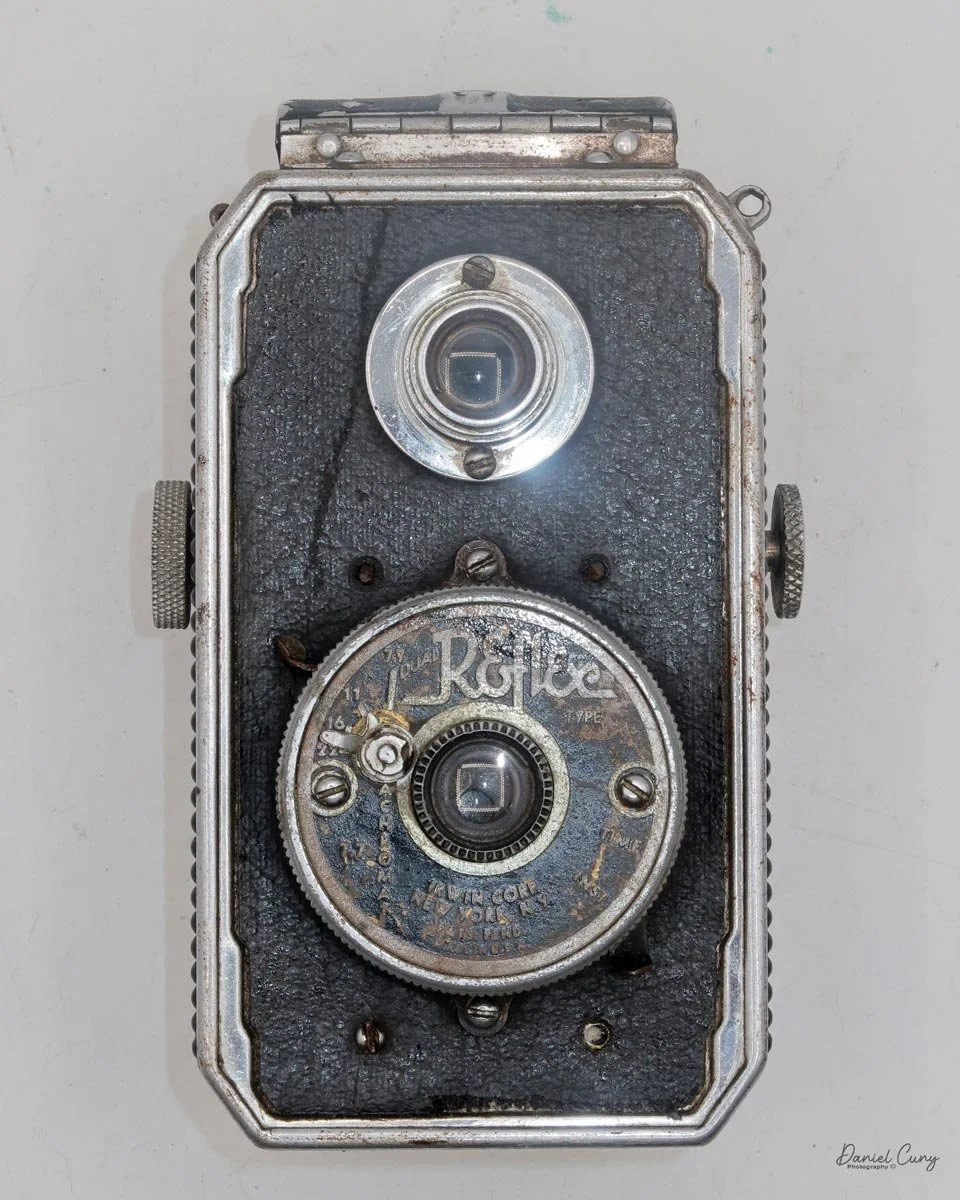
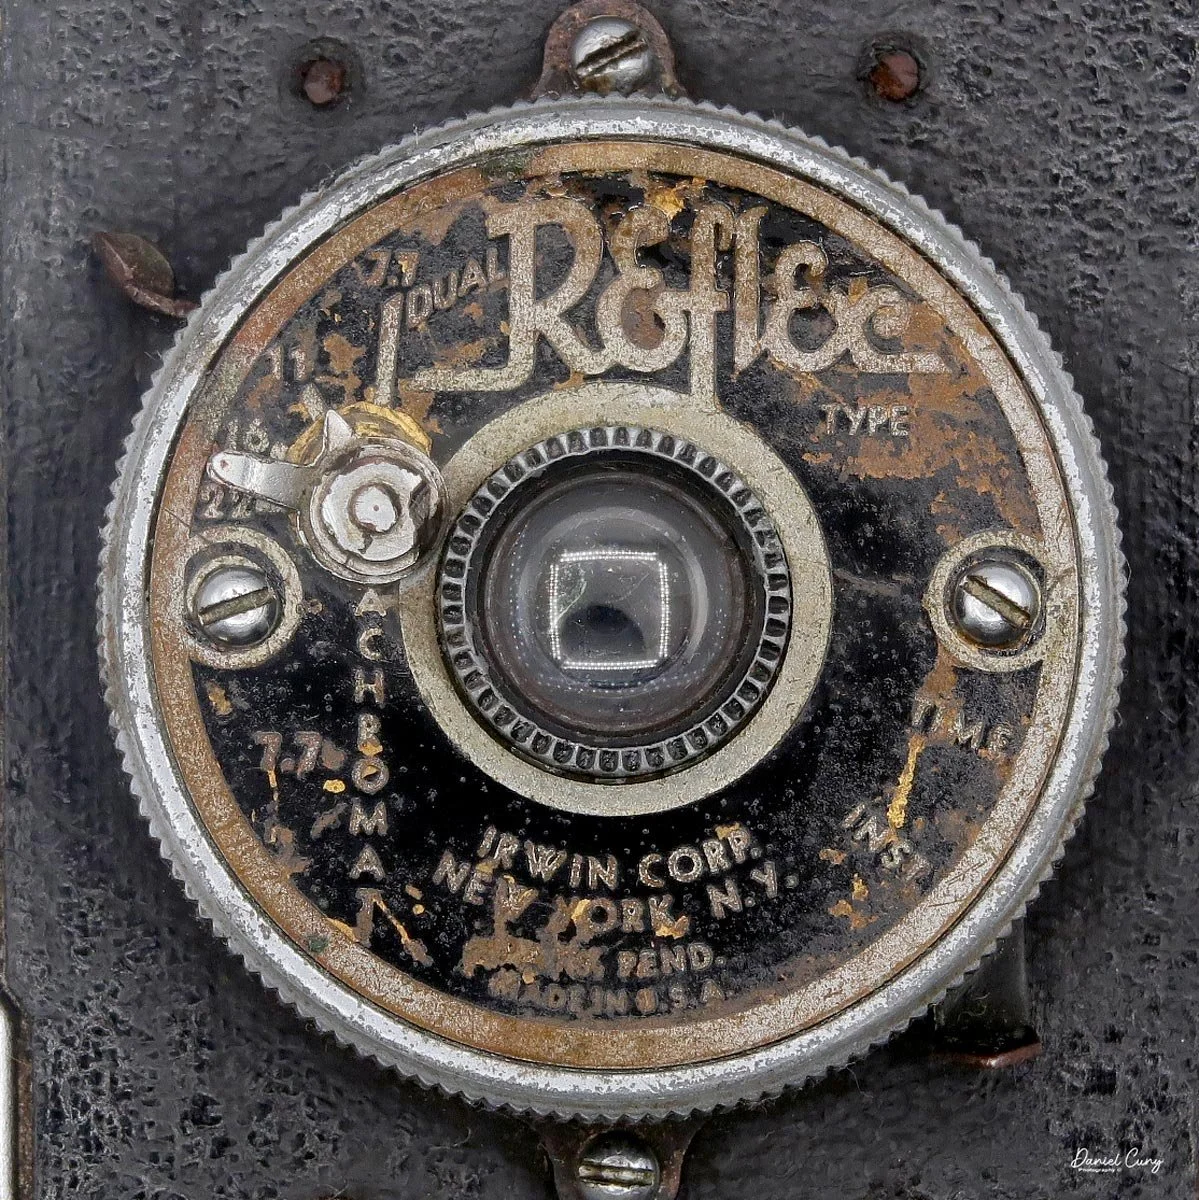
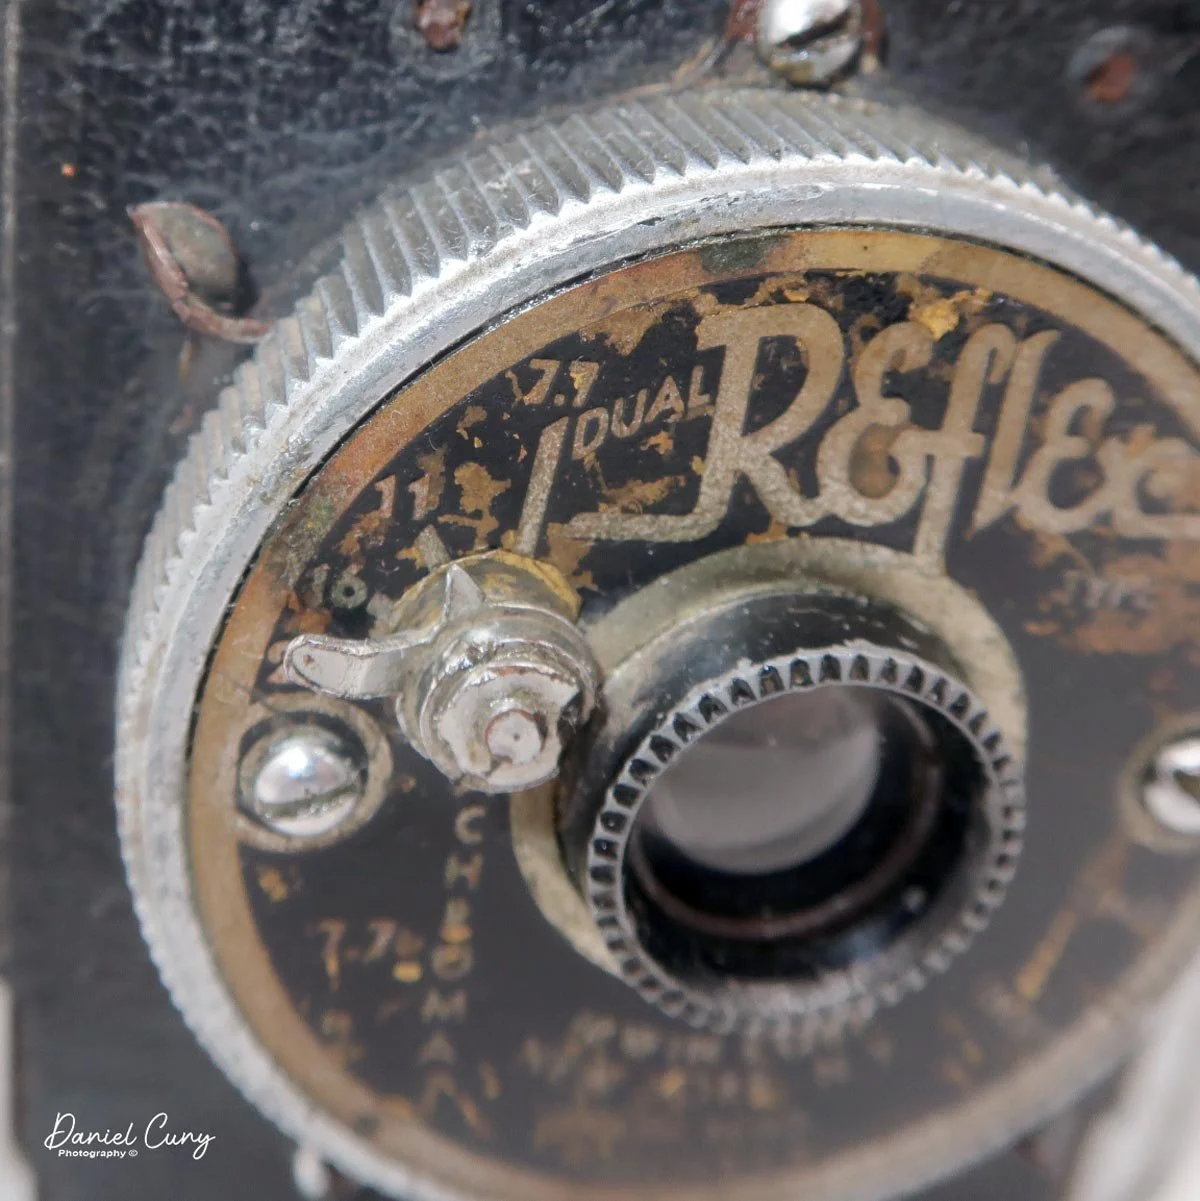
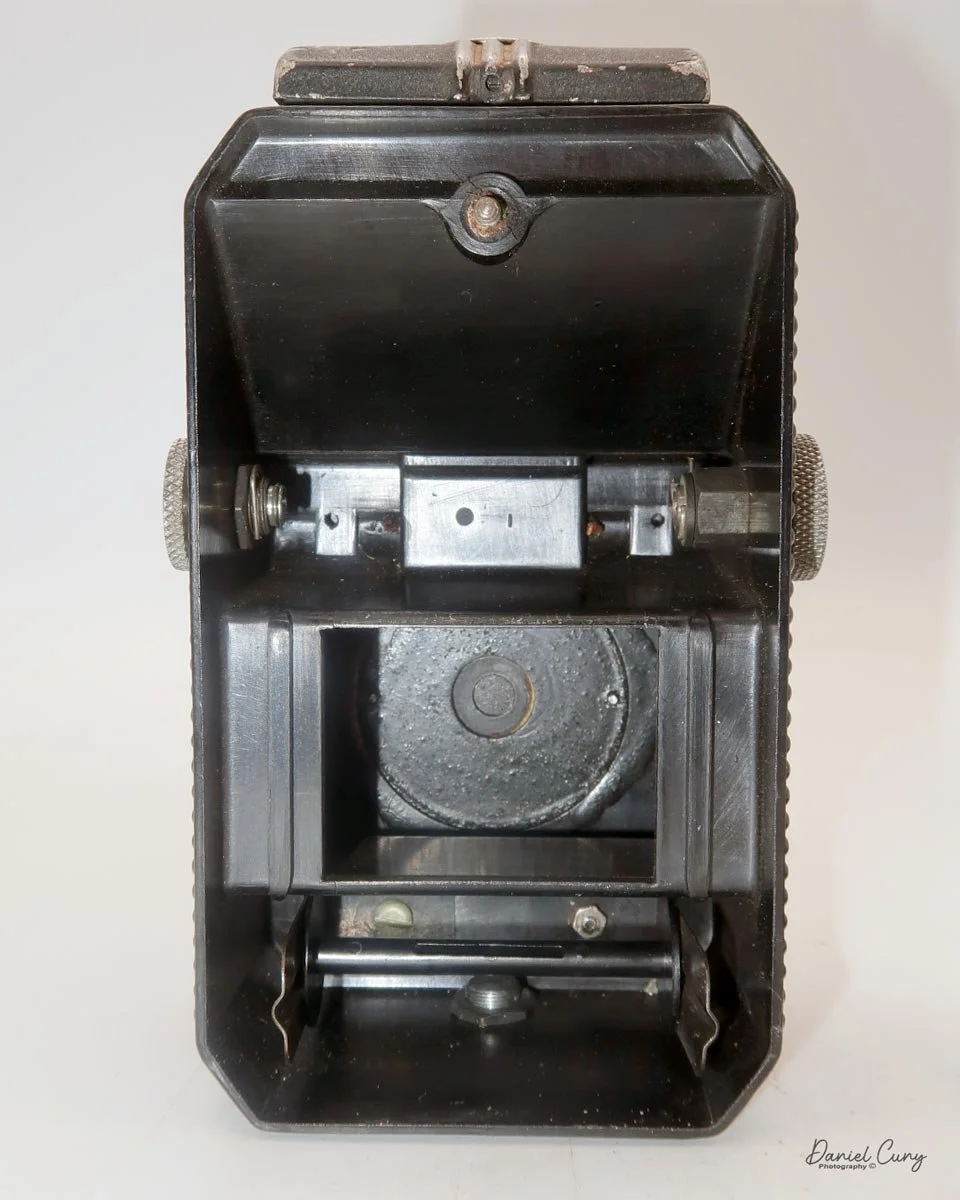
As previously mentioned, the camera has a very simple, spring-loaded shutter with only one speed, which I'm guessing is around 1/100. That may be too generous and could be even slower; that's my guess. The shutter control has only two options—either Instant for standard snapshots or Time for longer exposures. A switch on the side of the camera controls this. Since the shutter is so simple, the "time" setting blocks the shutter from moving into the "open" position until you release the lever; then the shutter closes.
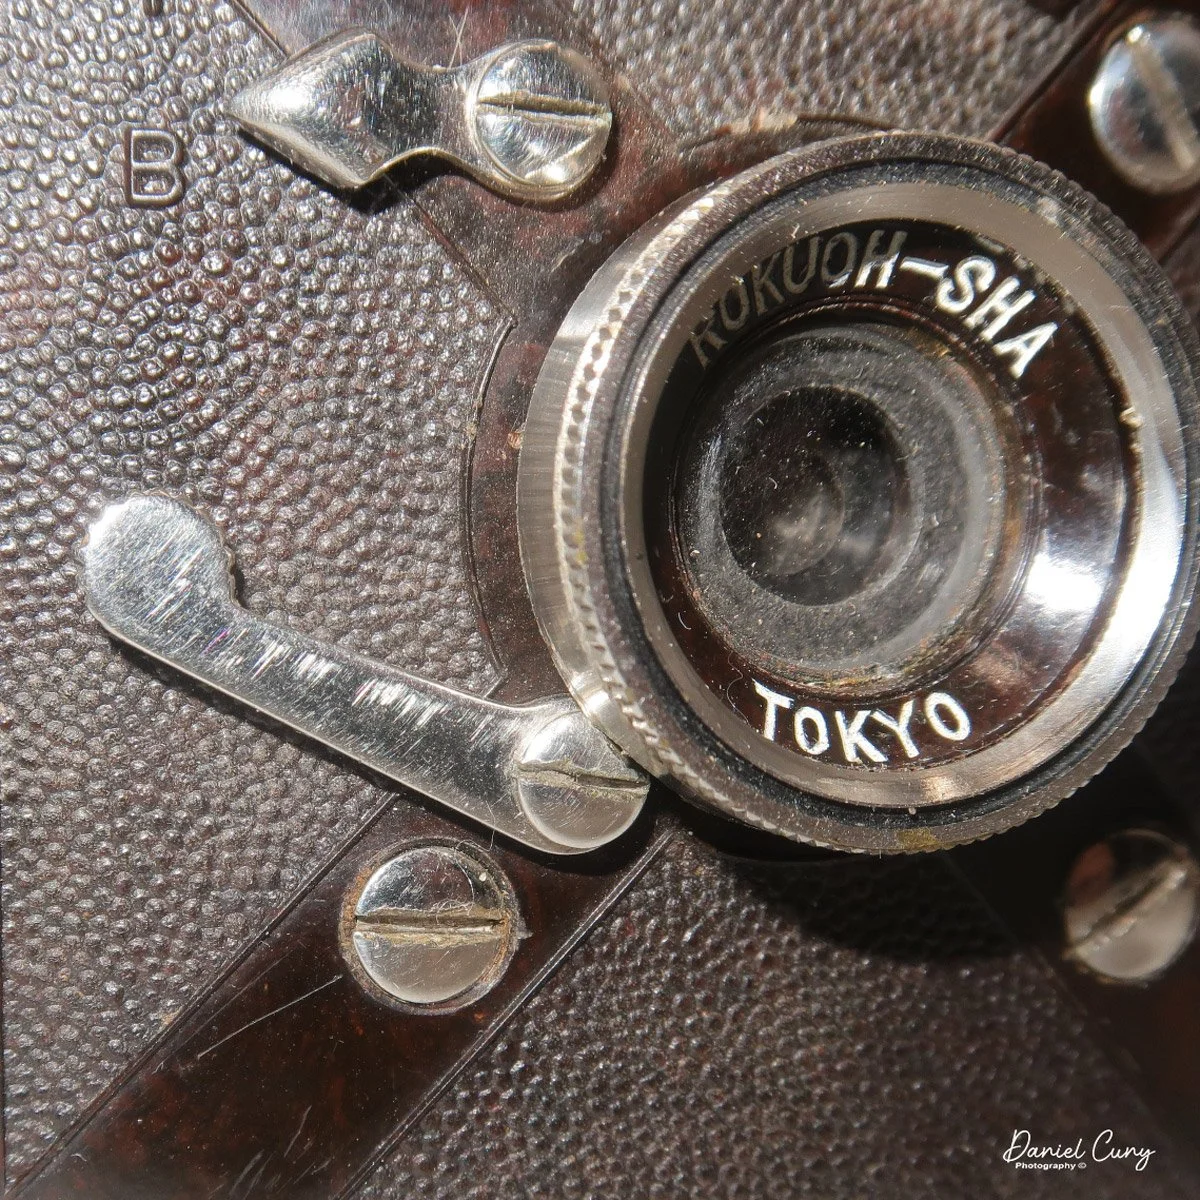
The shutter release is located at the 11:00 position on the lens cover and is nothing more than a lever that activates the shutter's spring mechanism.
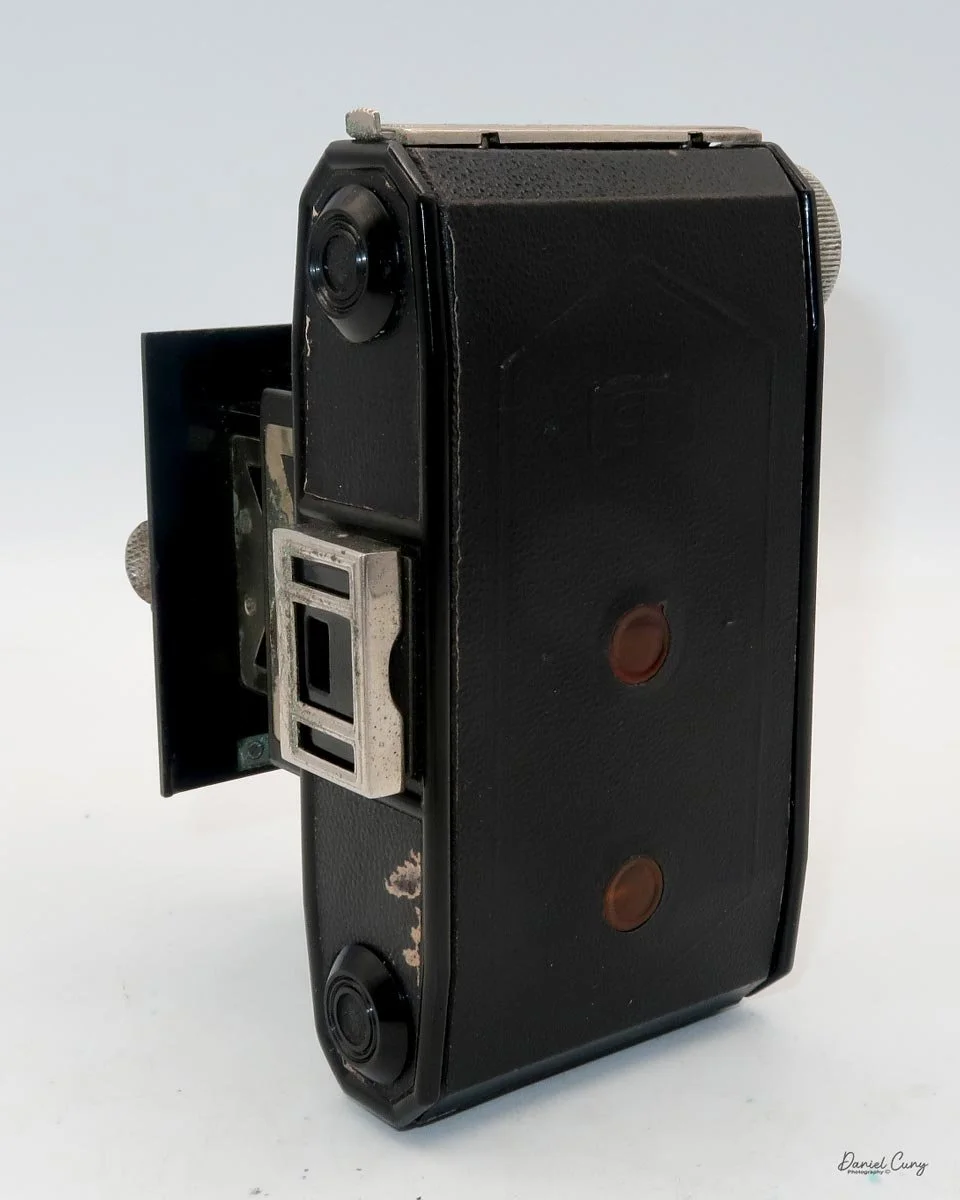
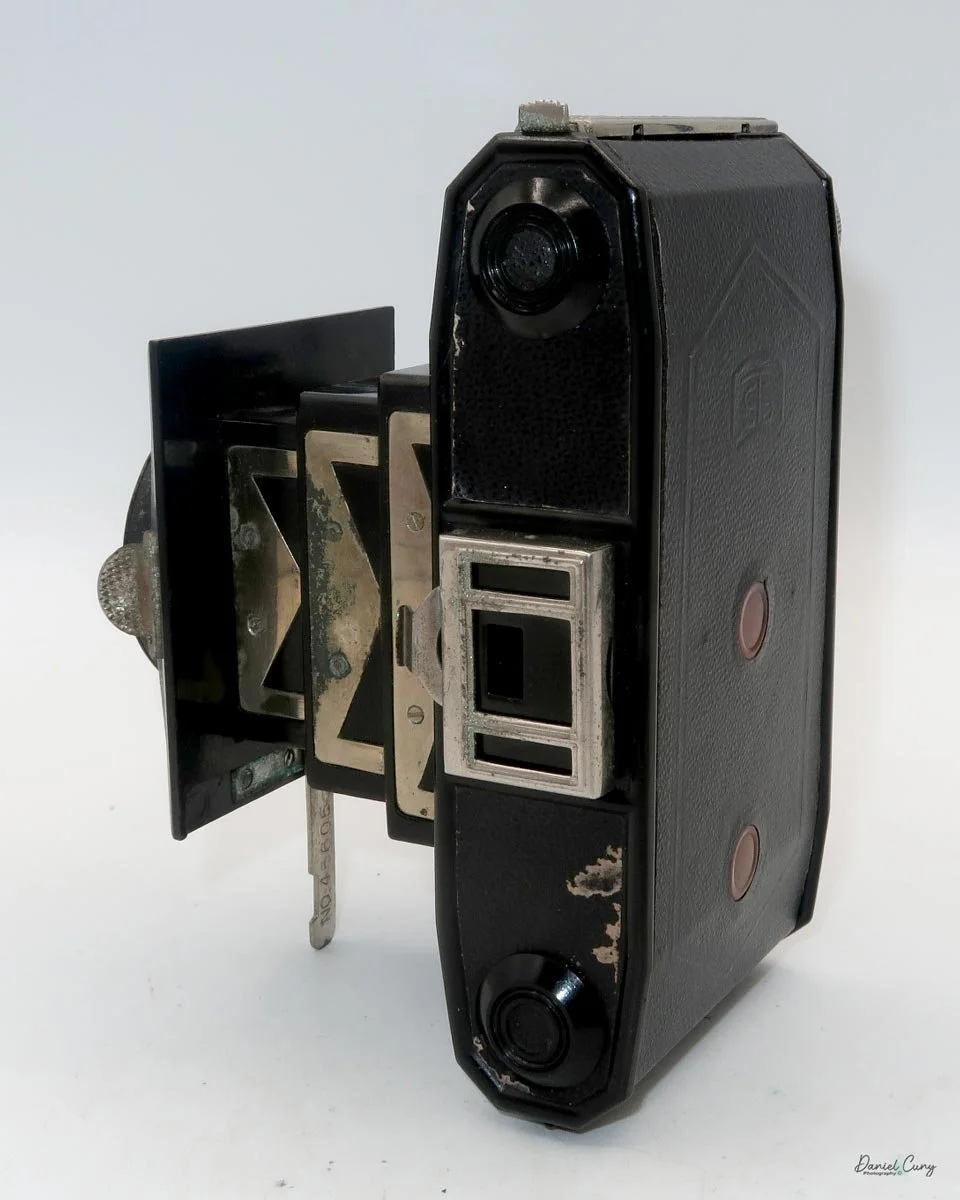
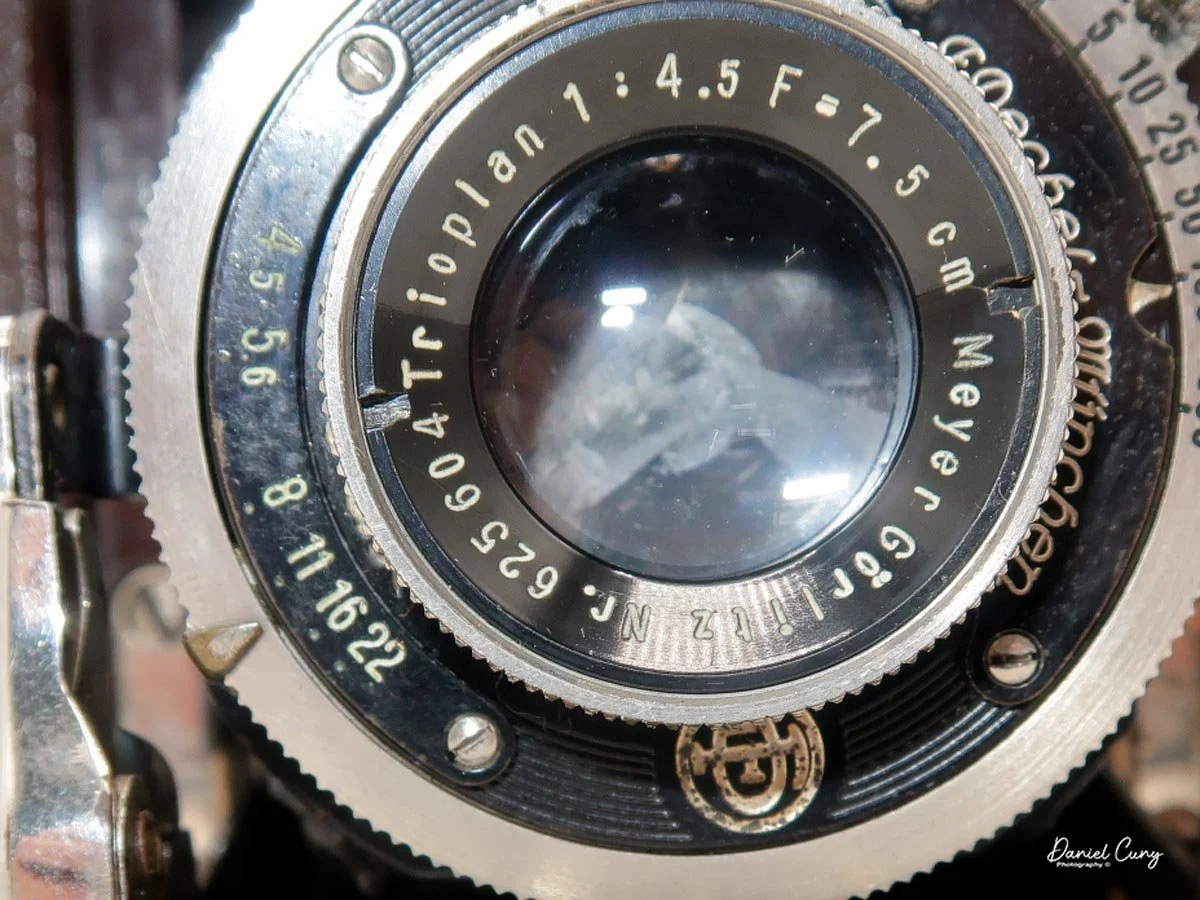
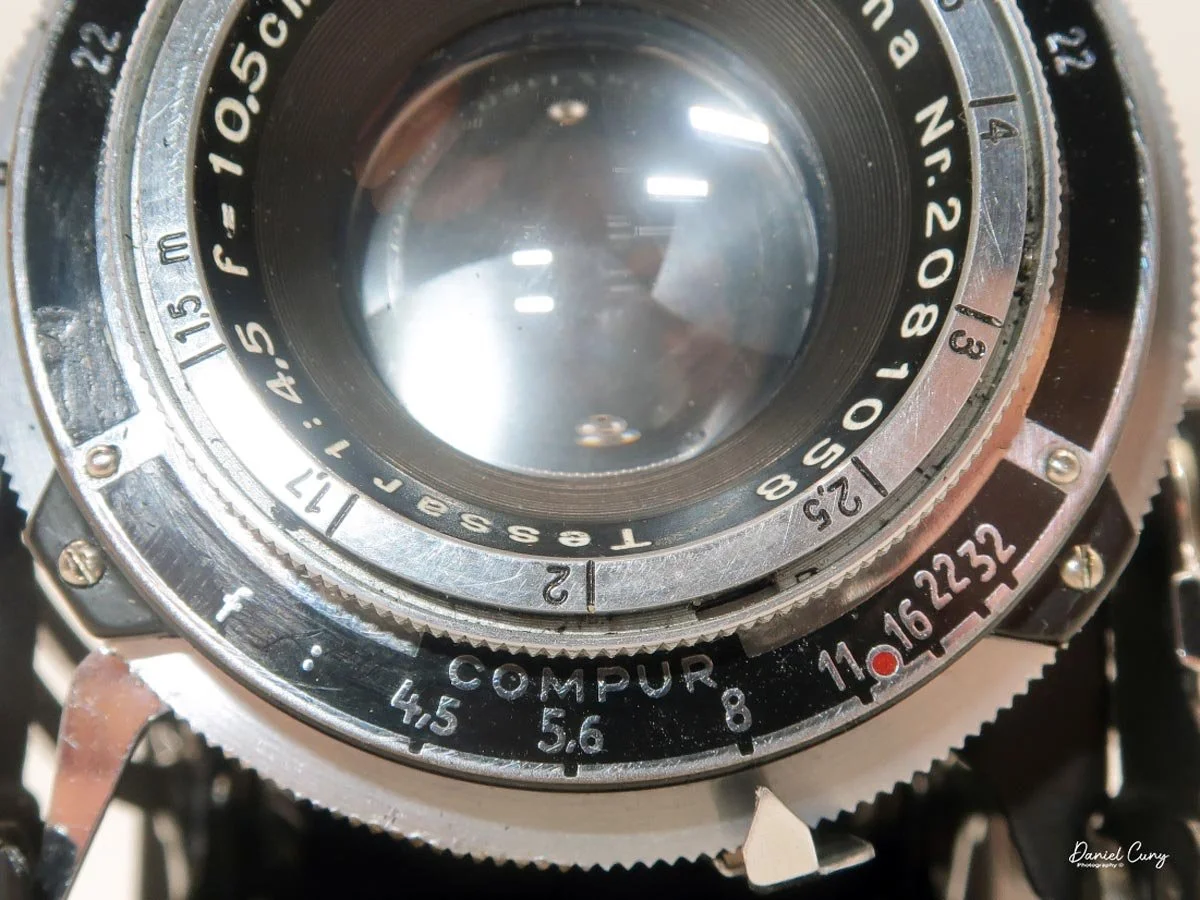
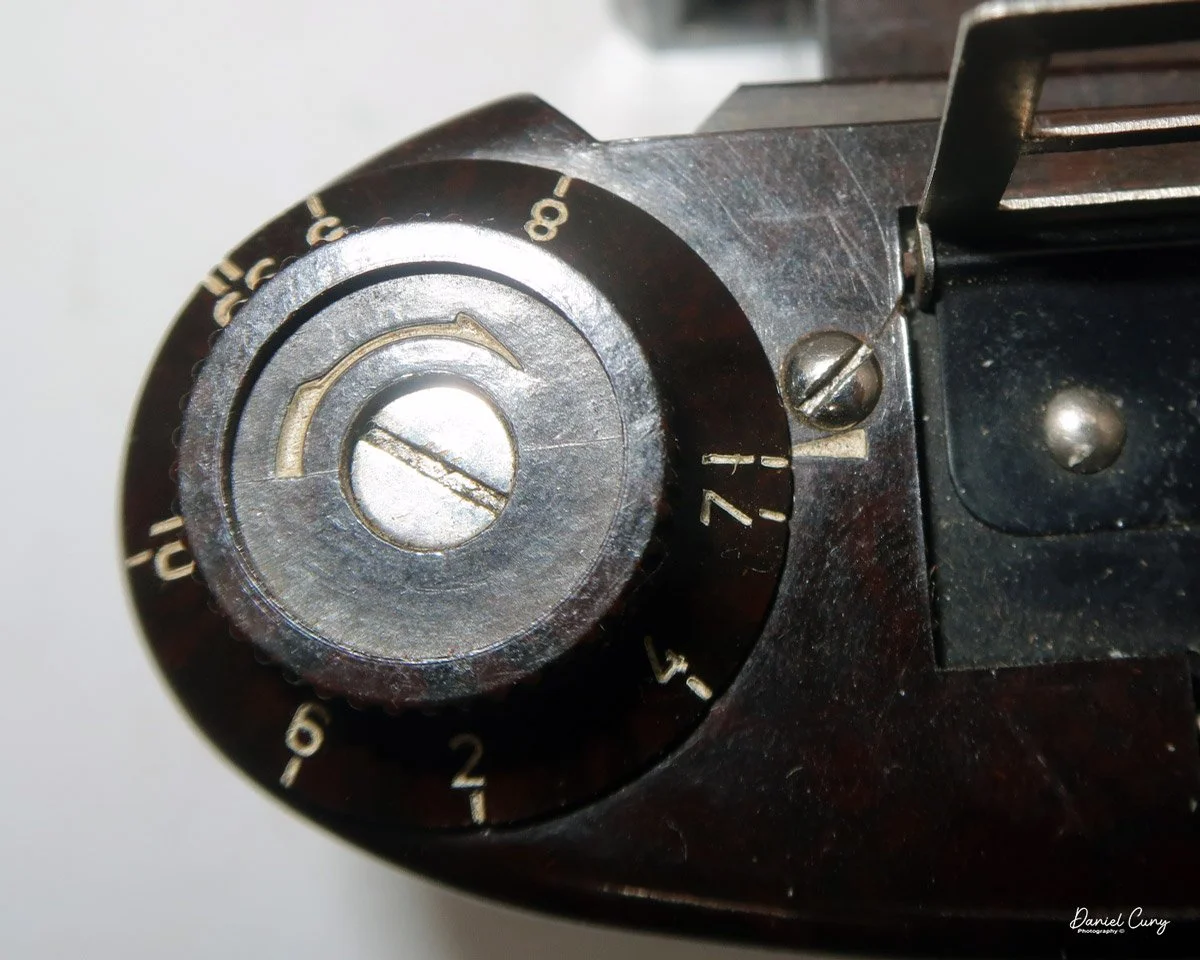
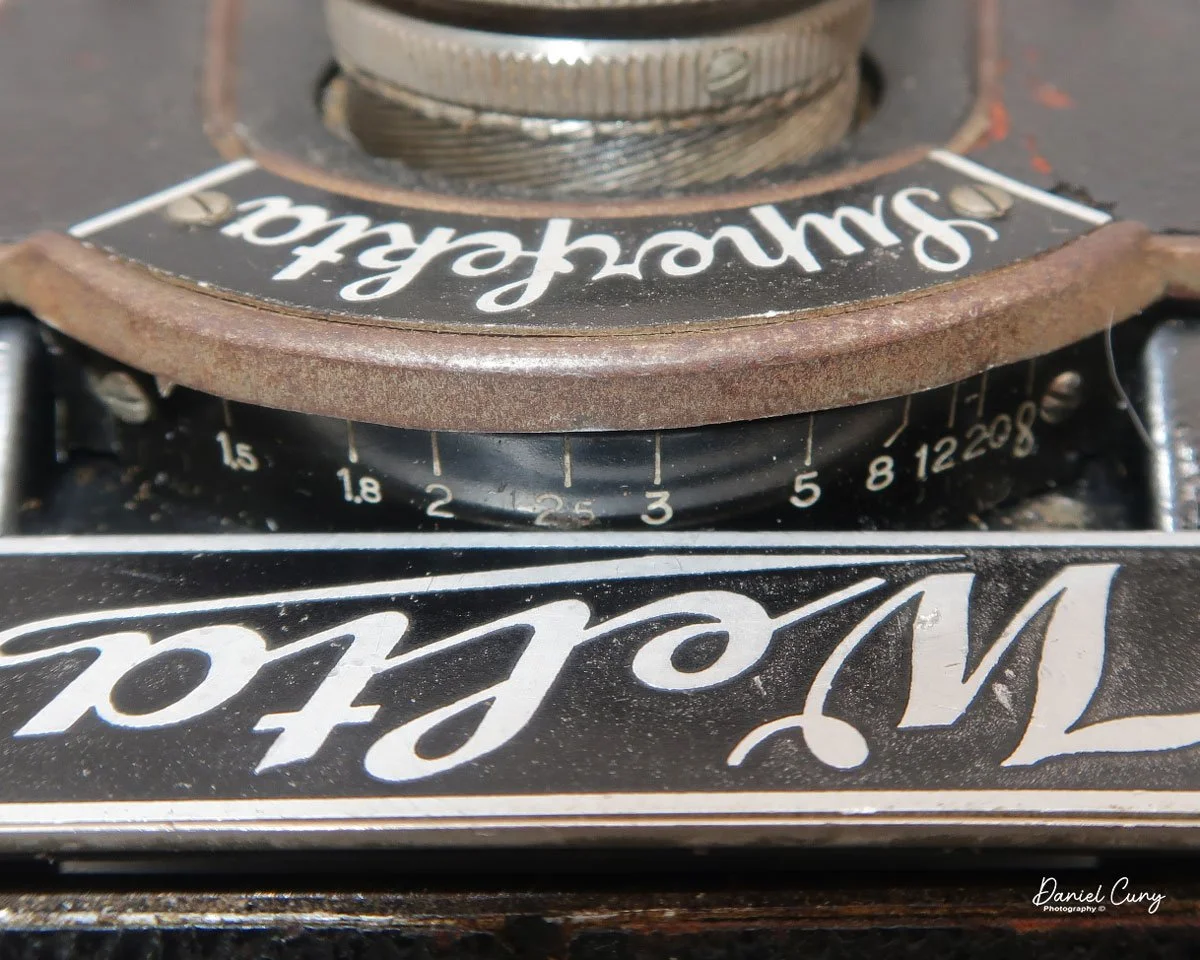
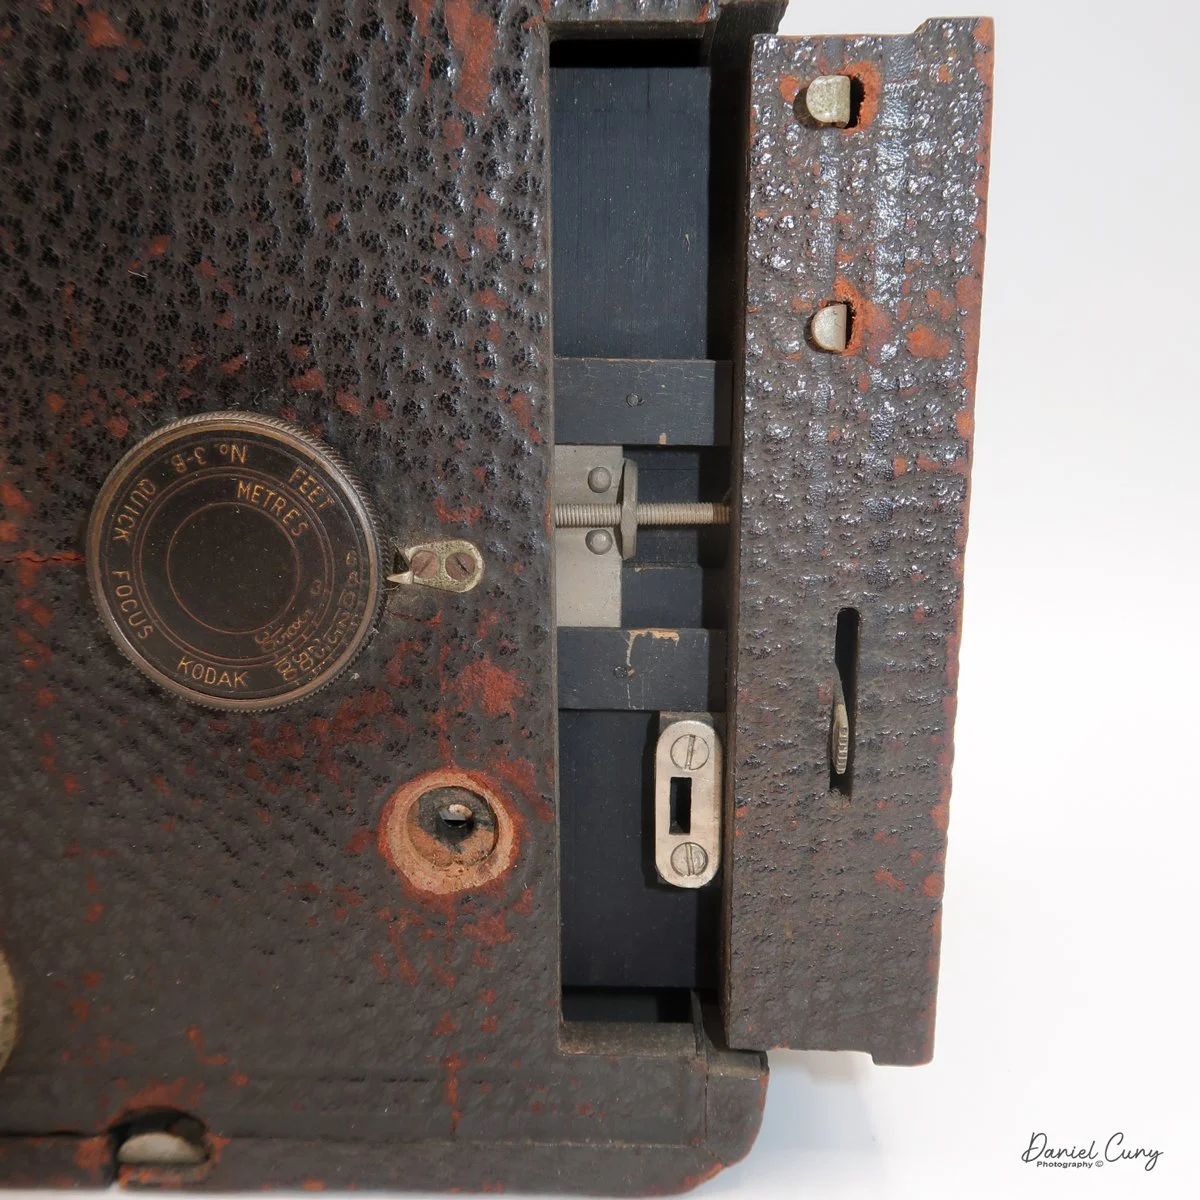
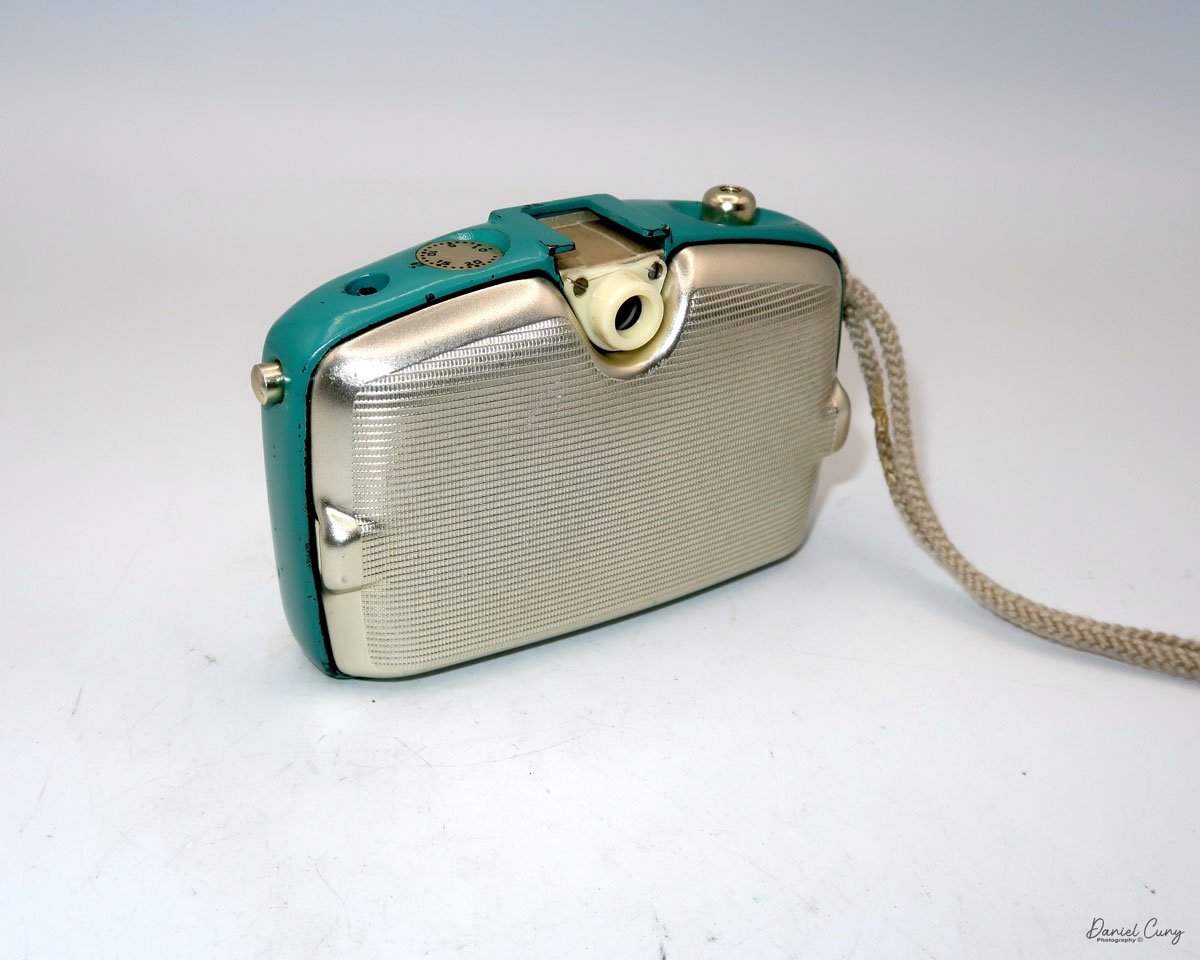
As you look at the camera from the front, the aperture controls are just to the left of the lens. They are controlled by a lever that moves a group of openings on a metal sheet back and forth across the lens opening. The aperture settings are F/7.7 (maximum), F/11, F/16, and F/22. There is no focus control on the lens, as it's set to the standard 8 to 10 feet, and the camera's aperture controls the sharpness.

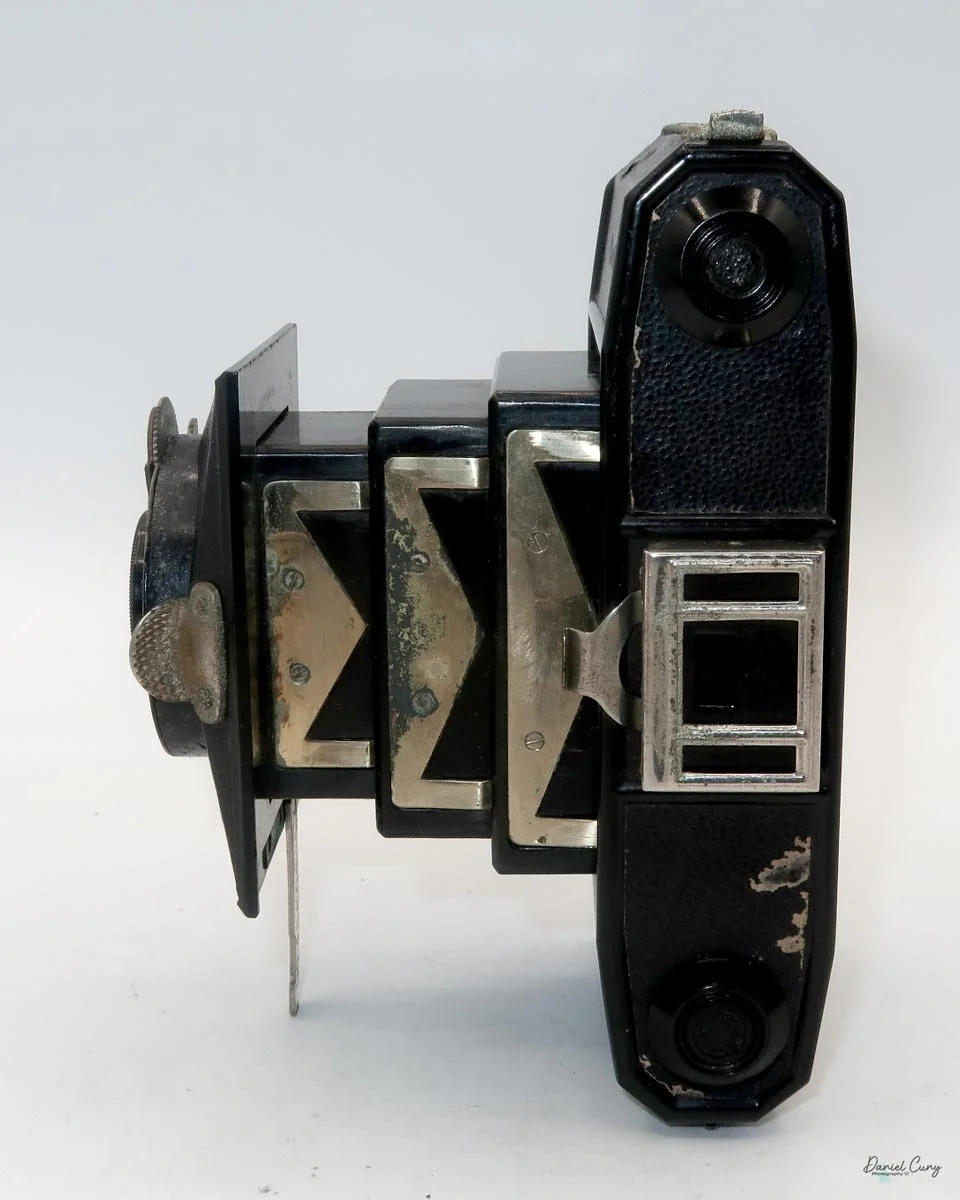
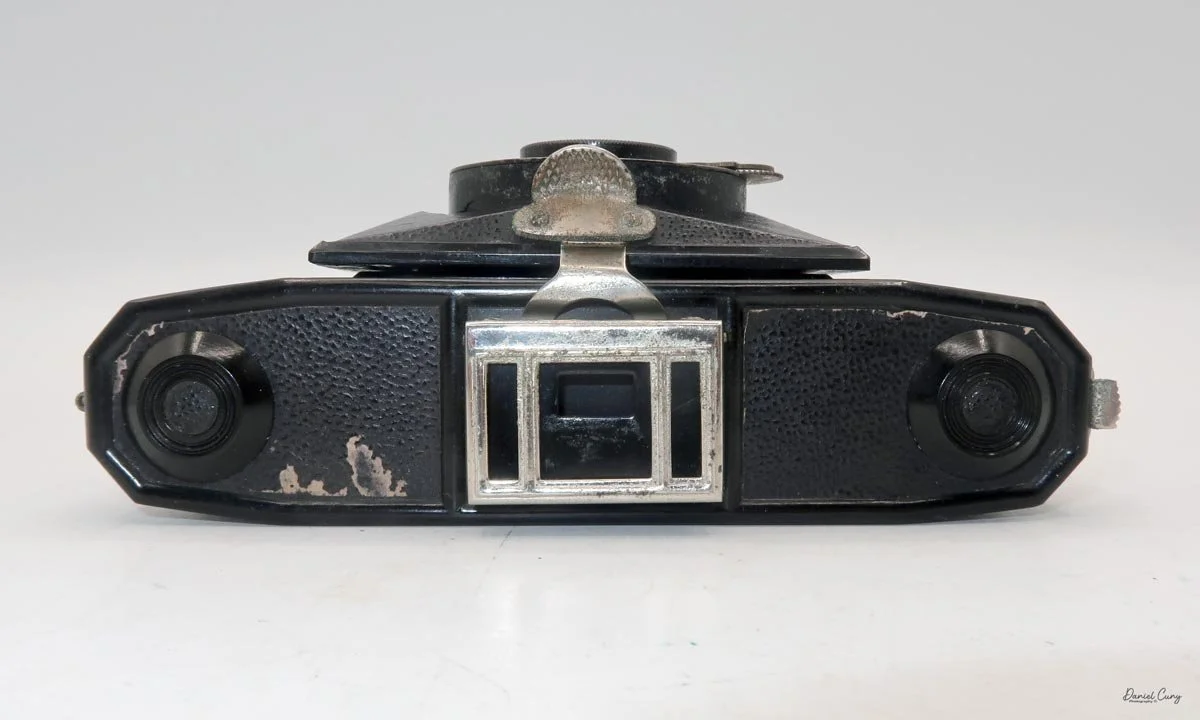
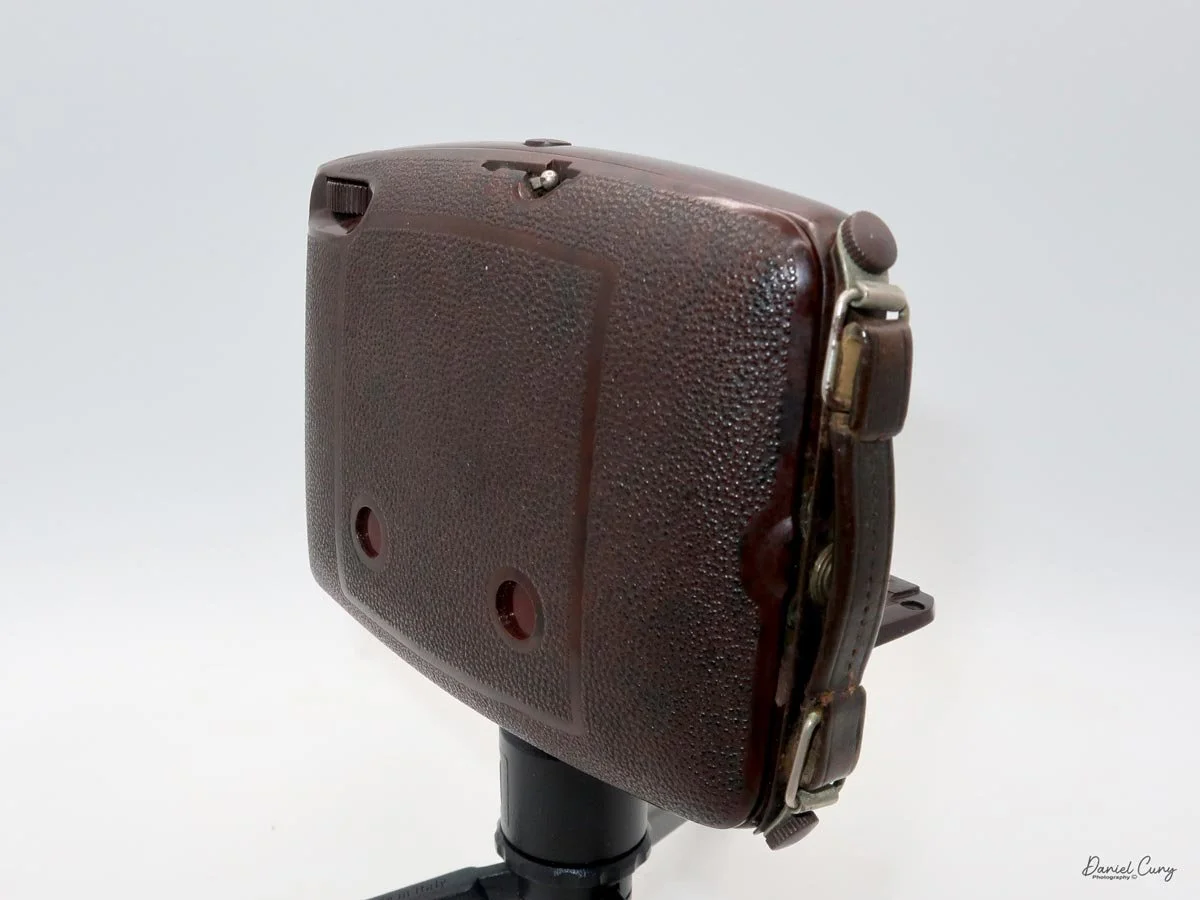
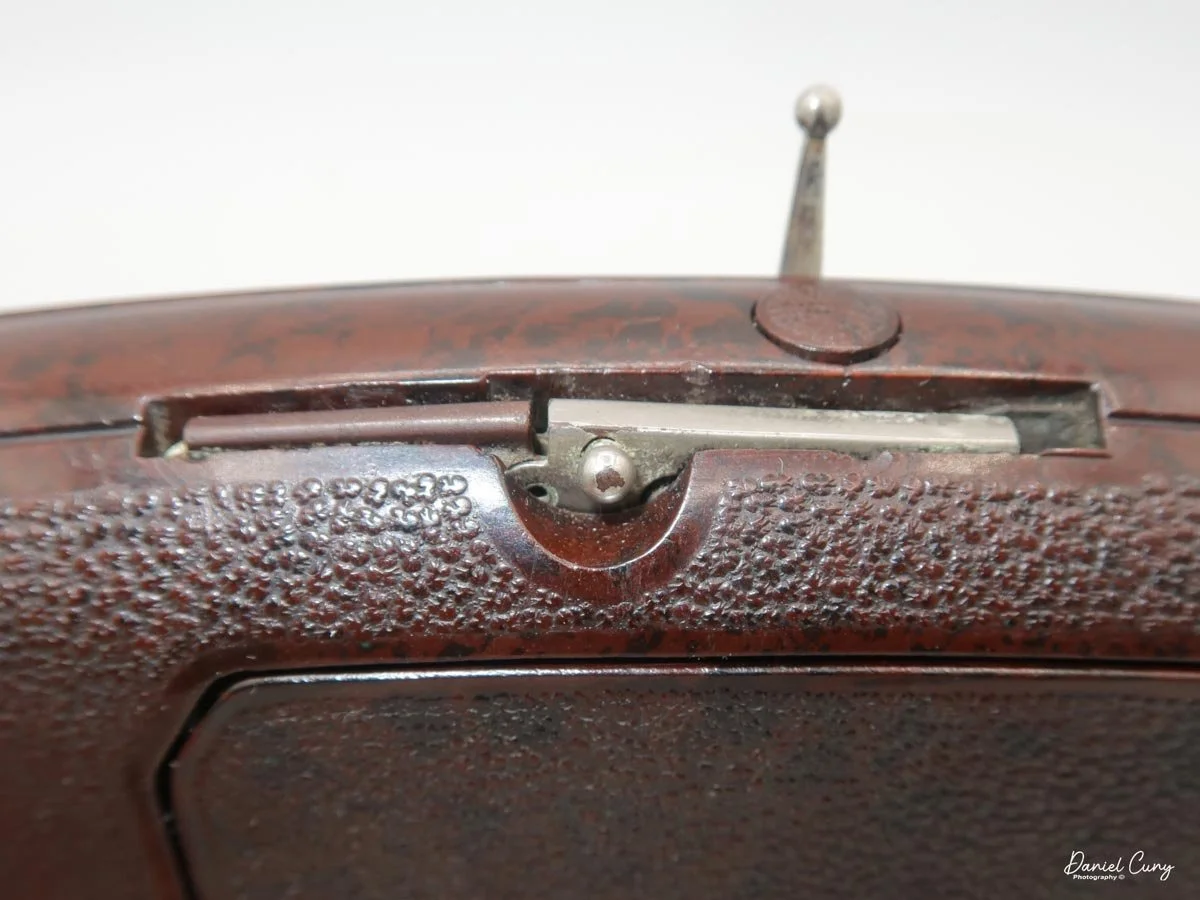
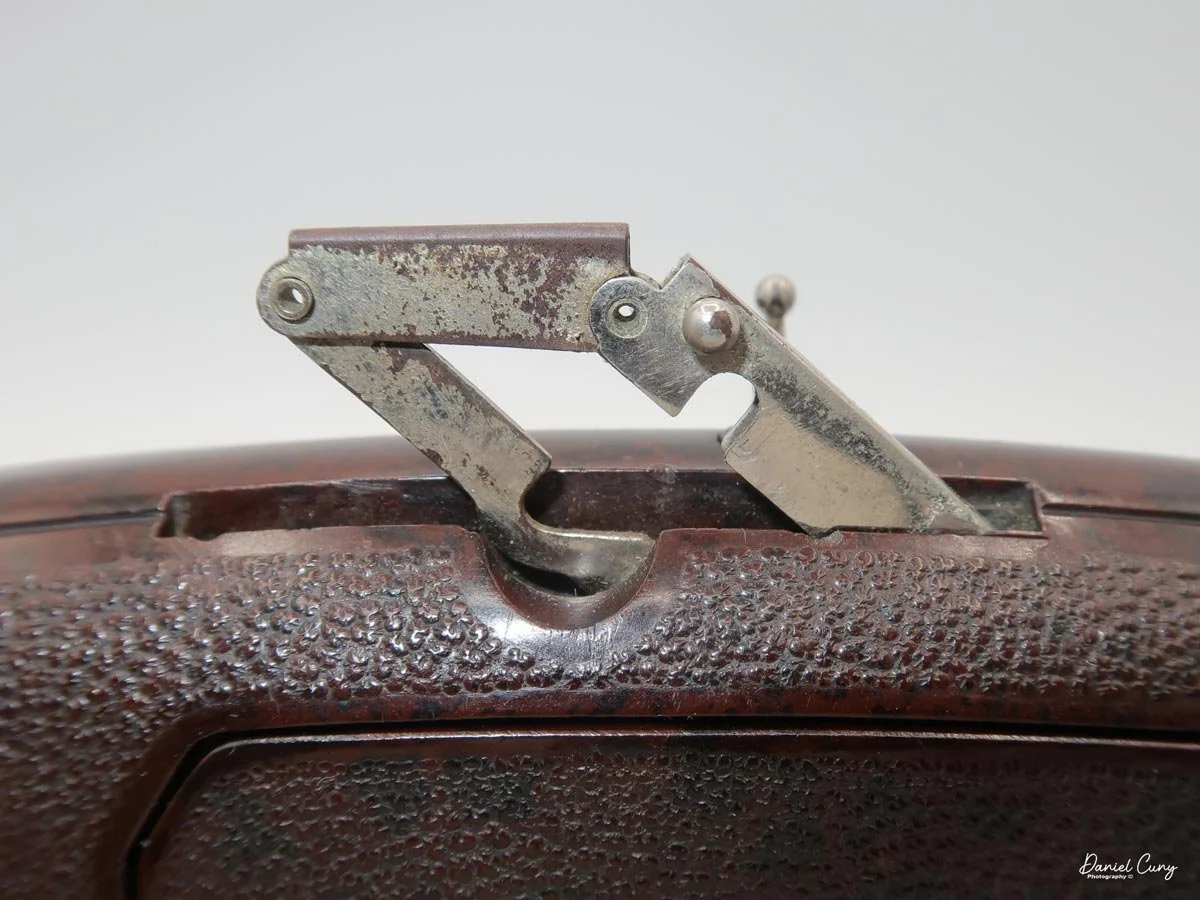
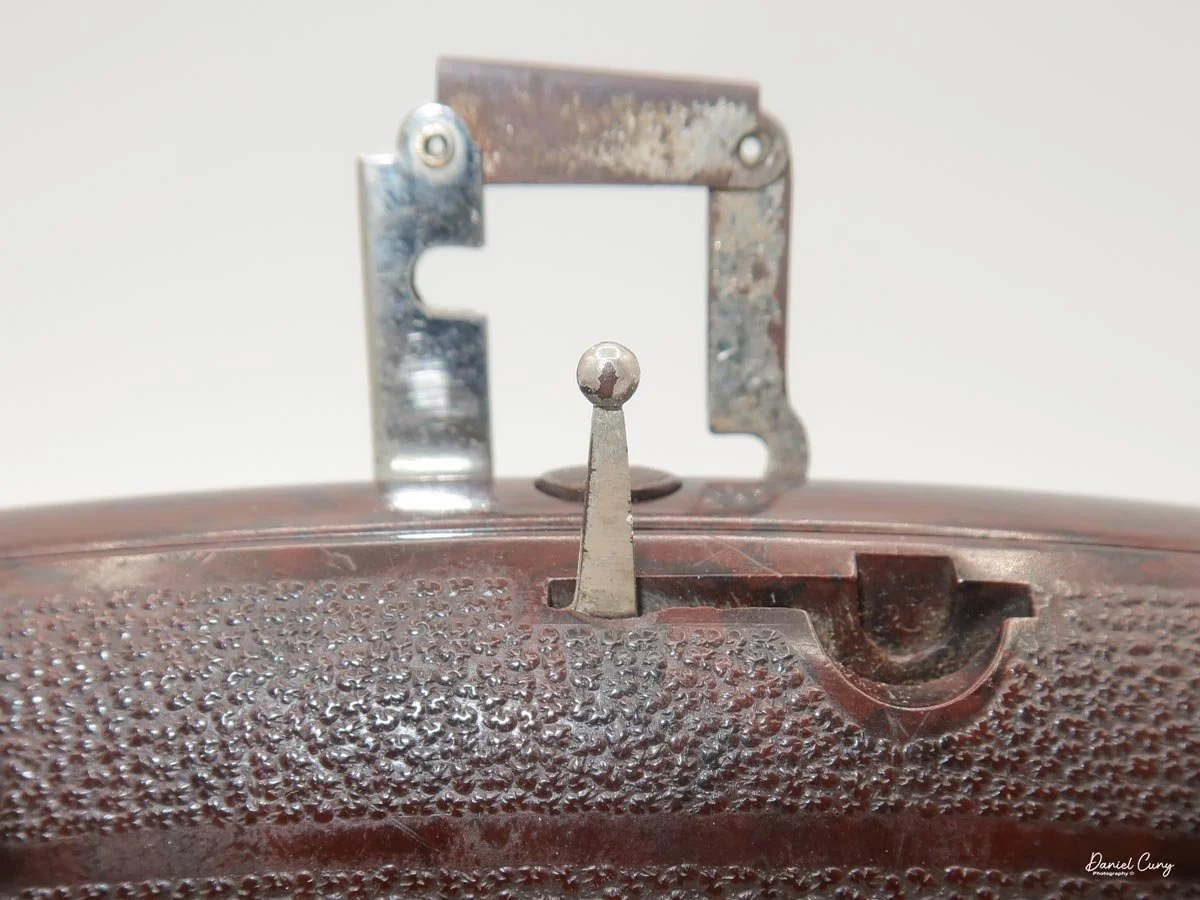
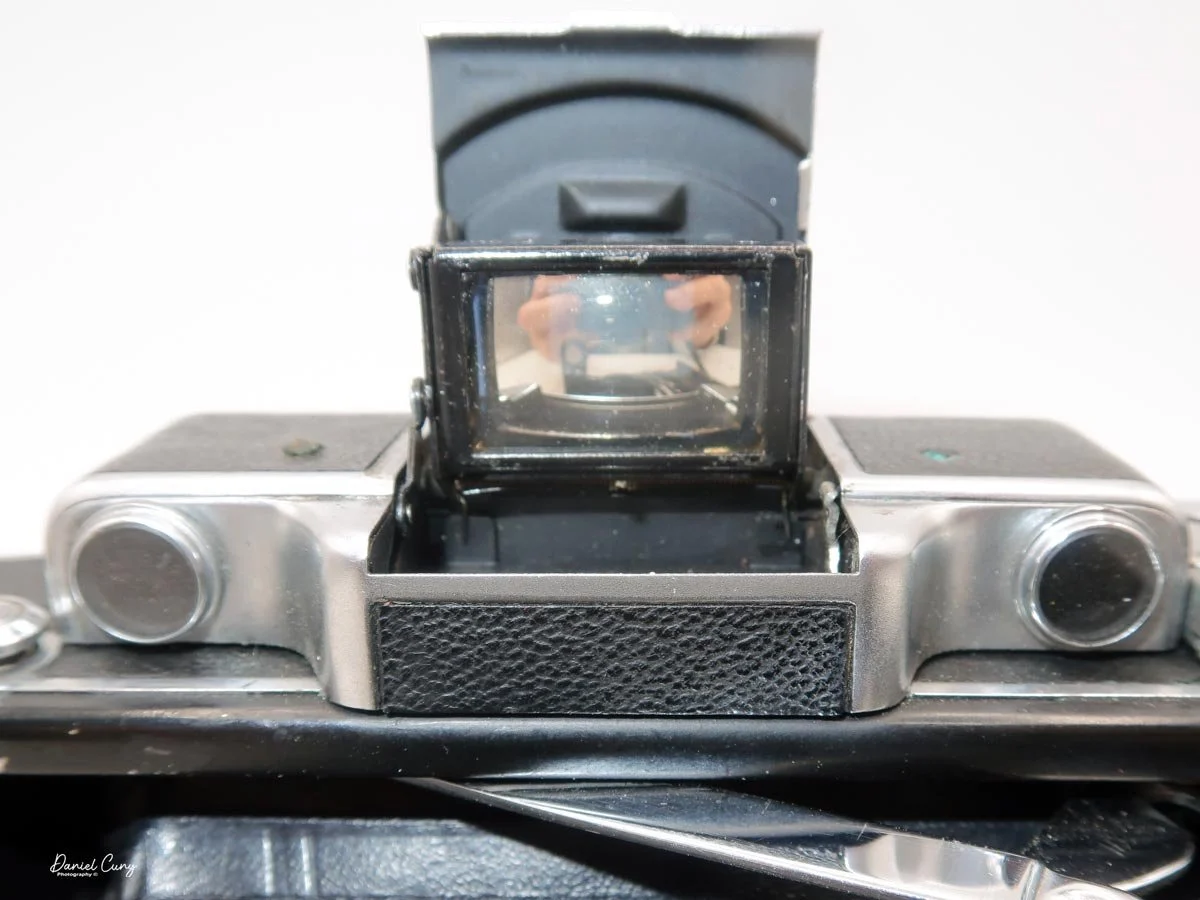
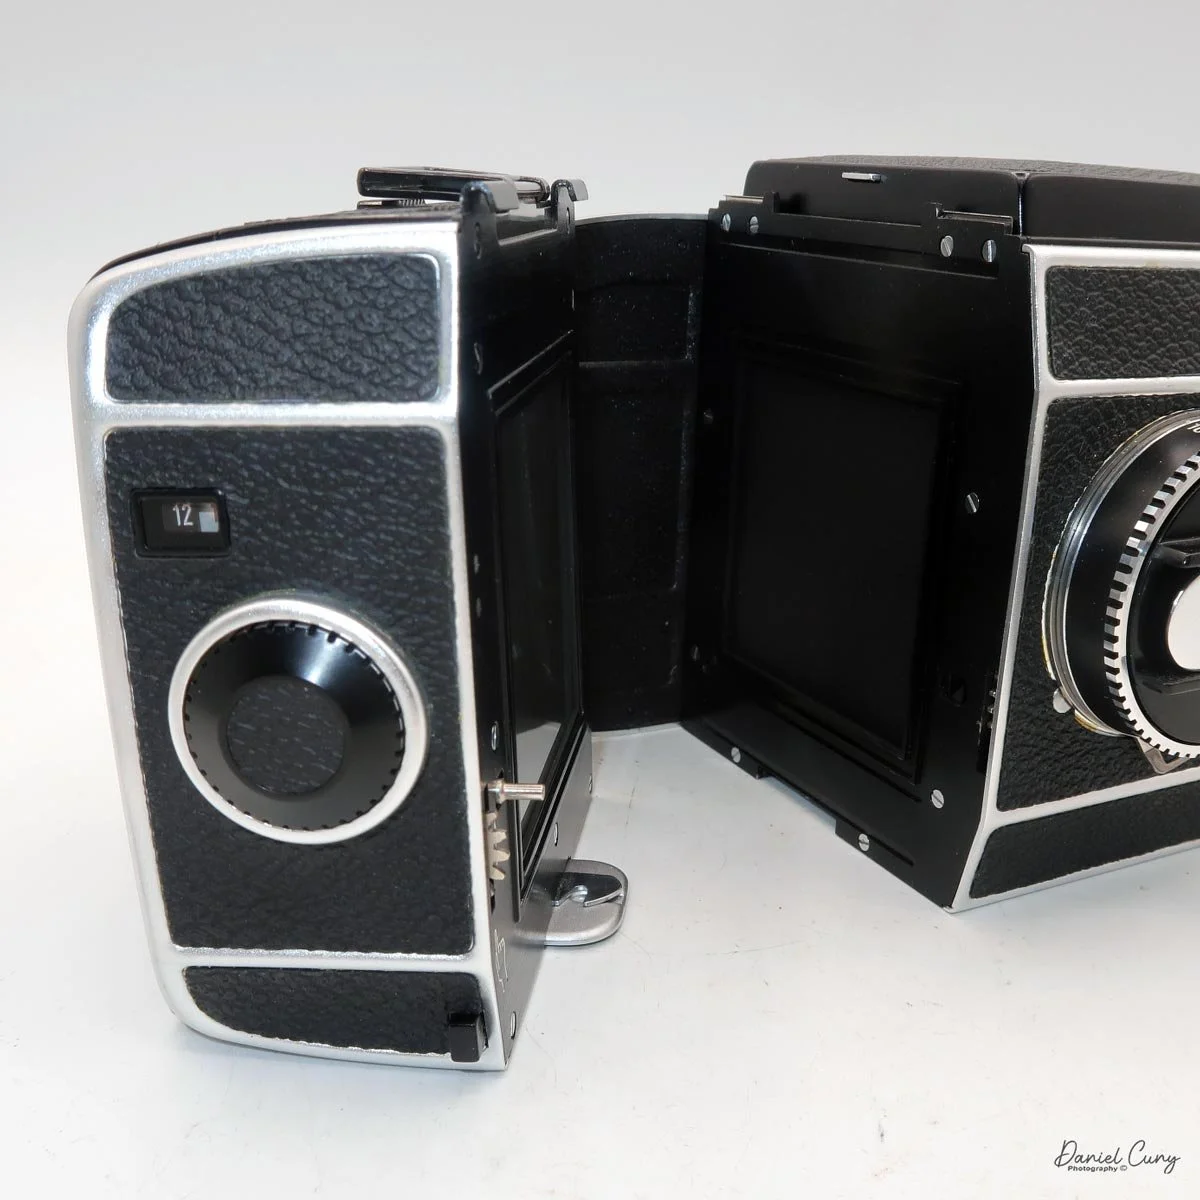
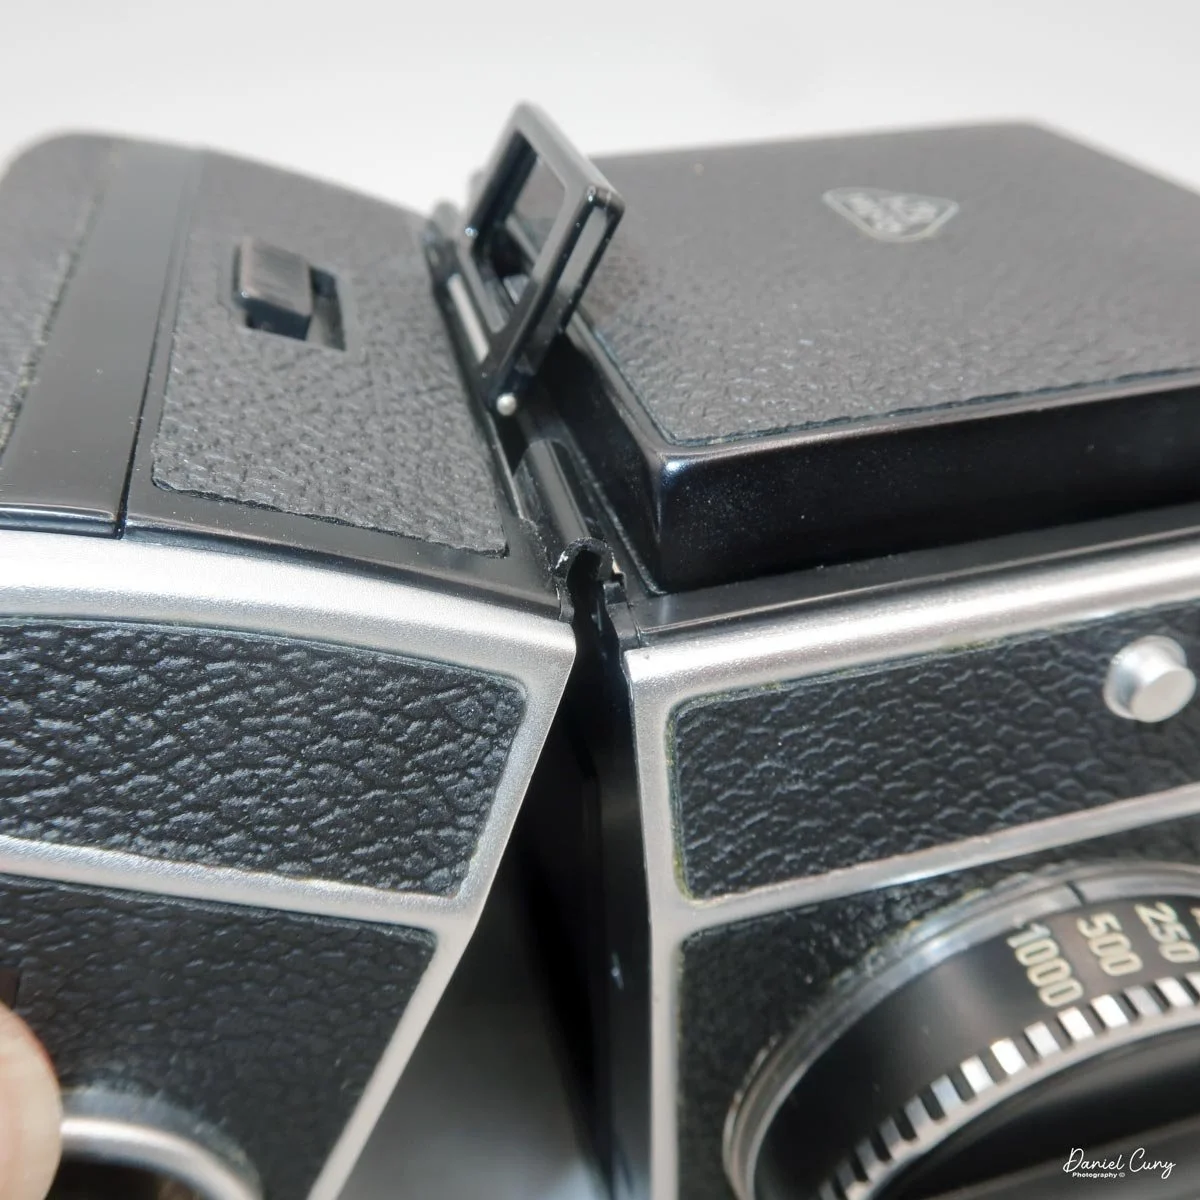
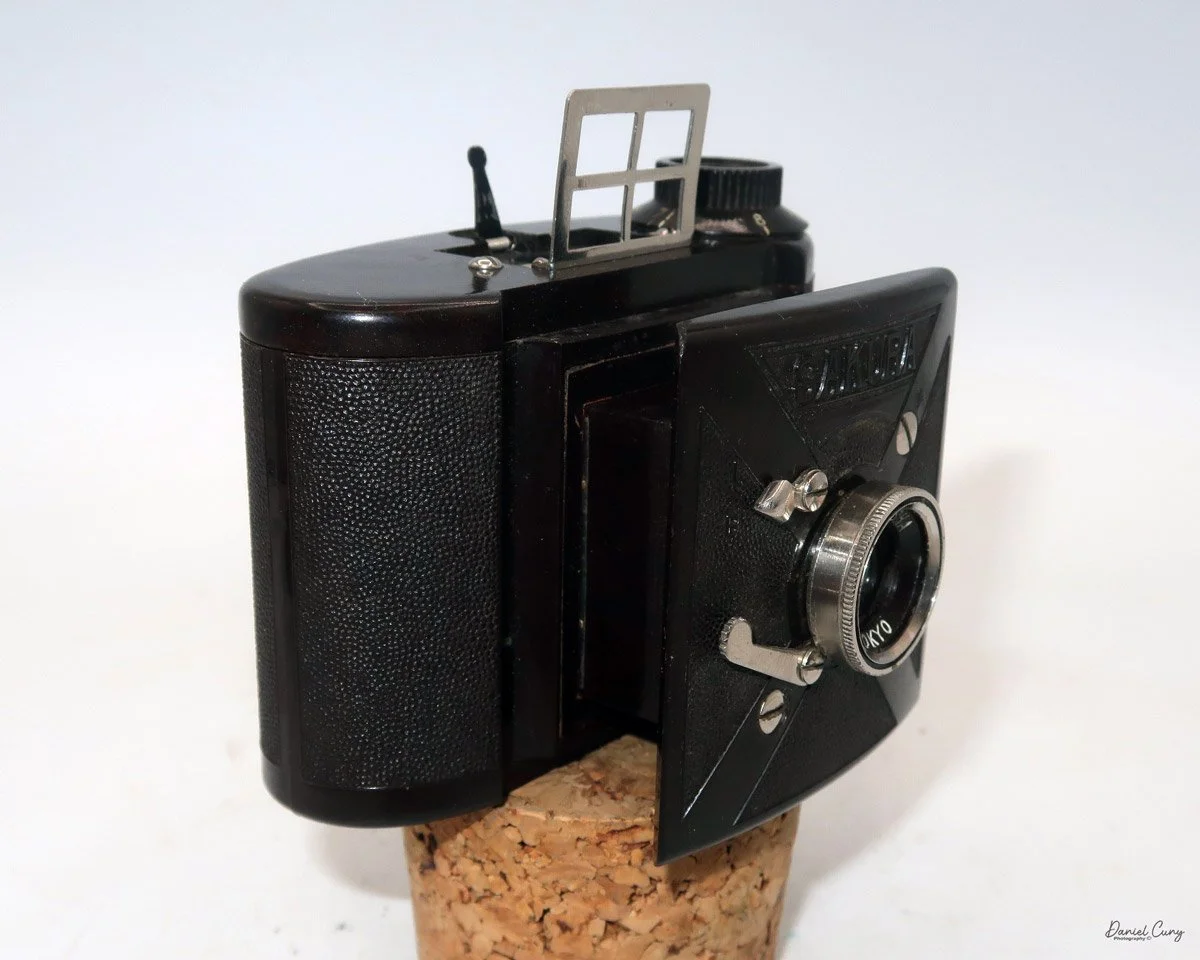
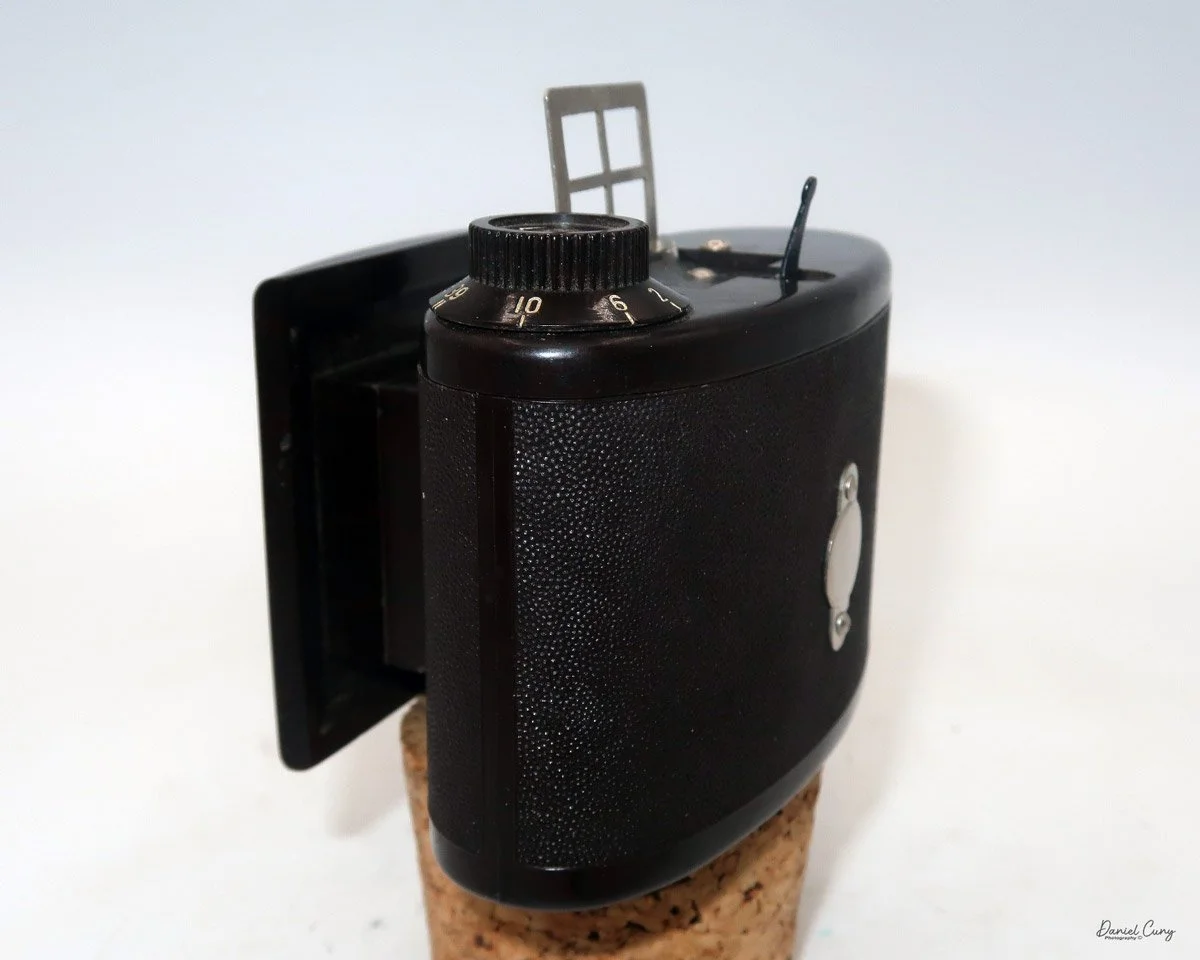
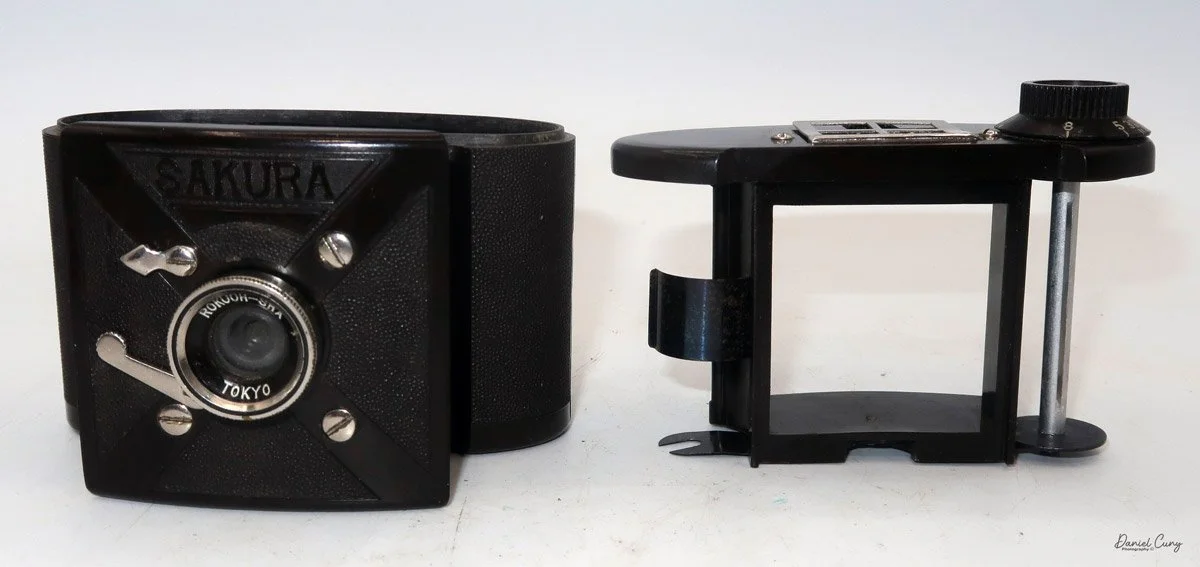
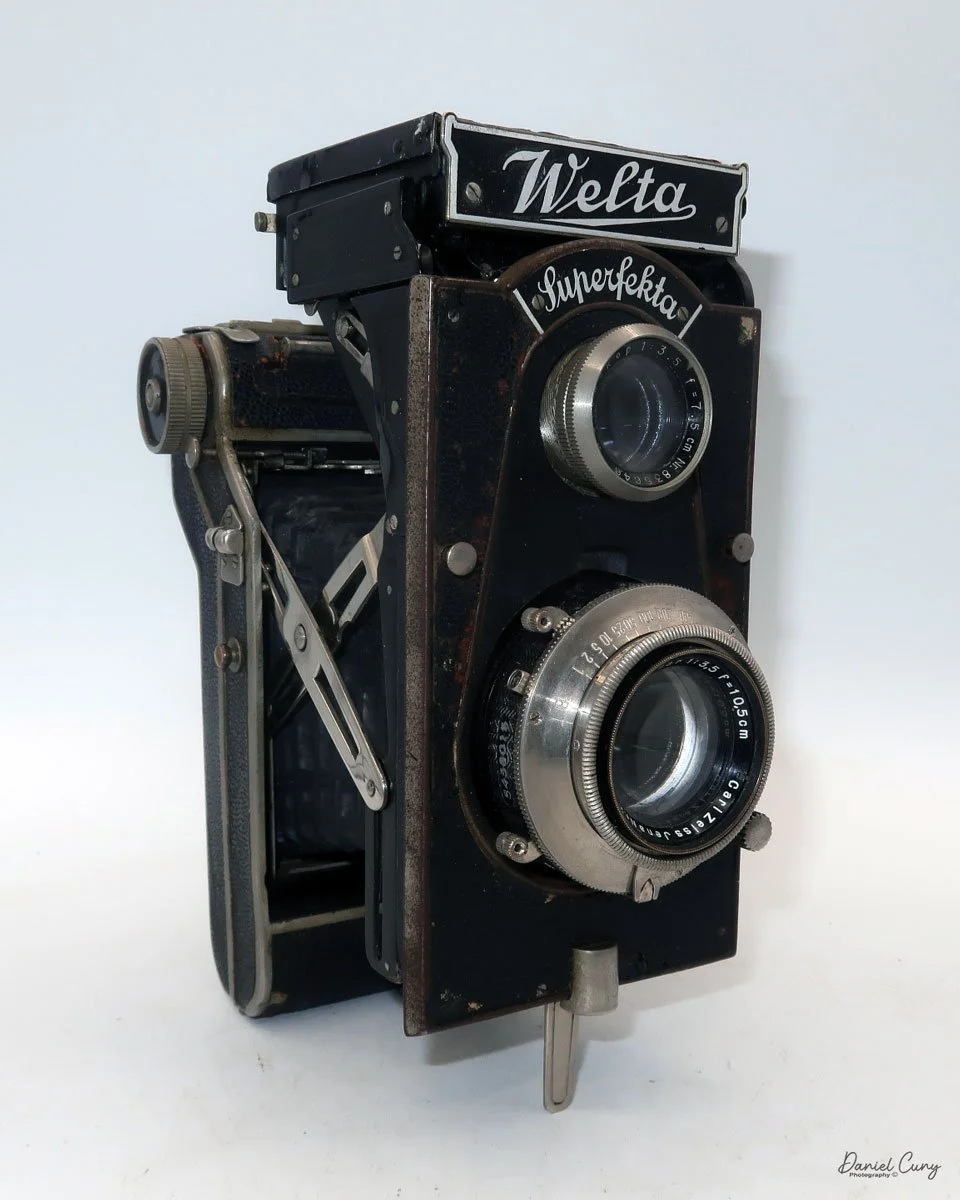
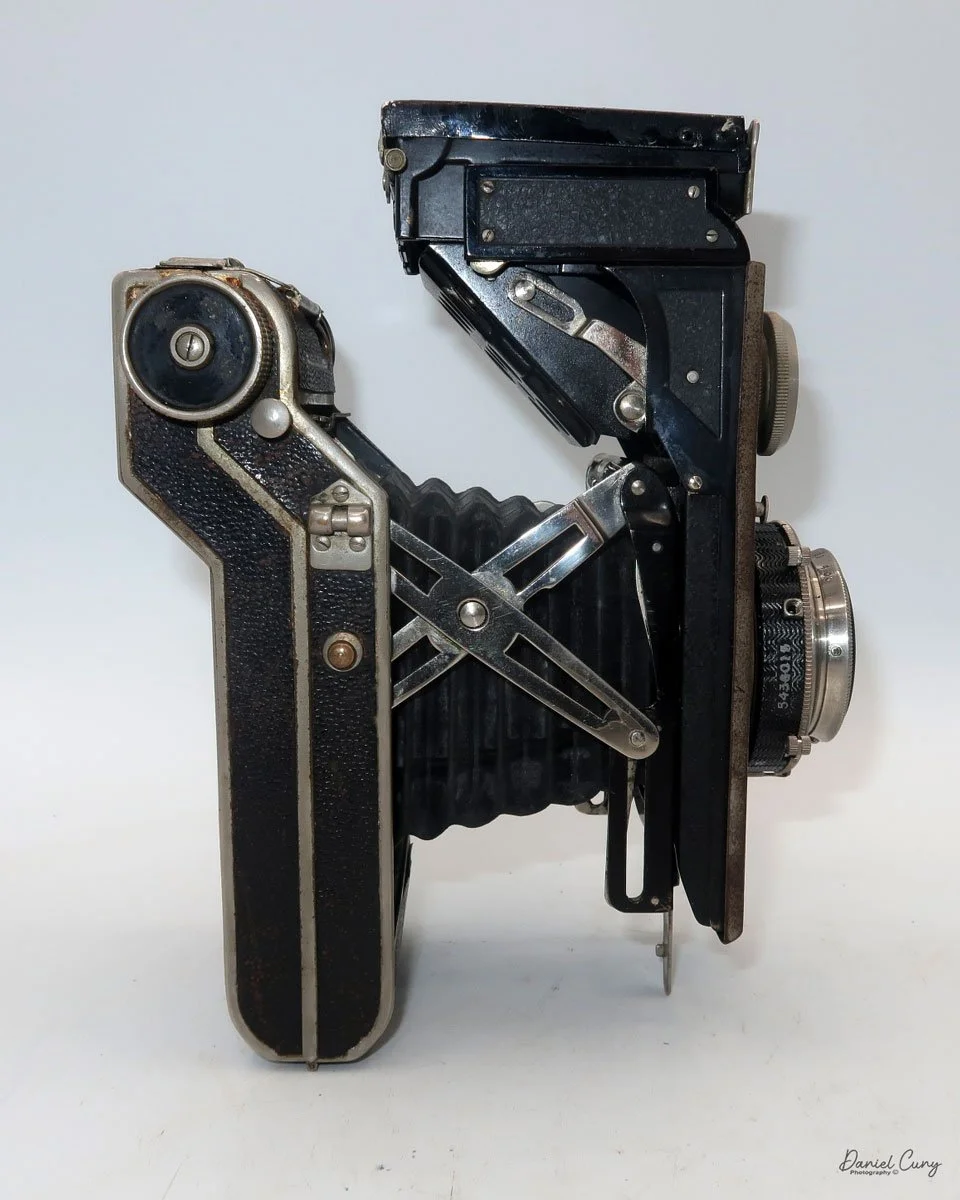
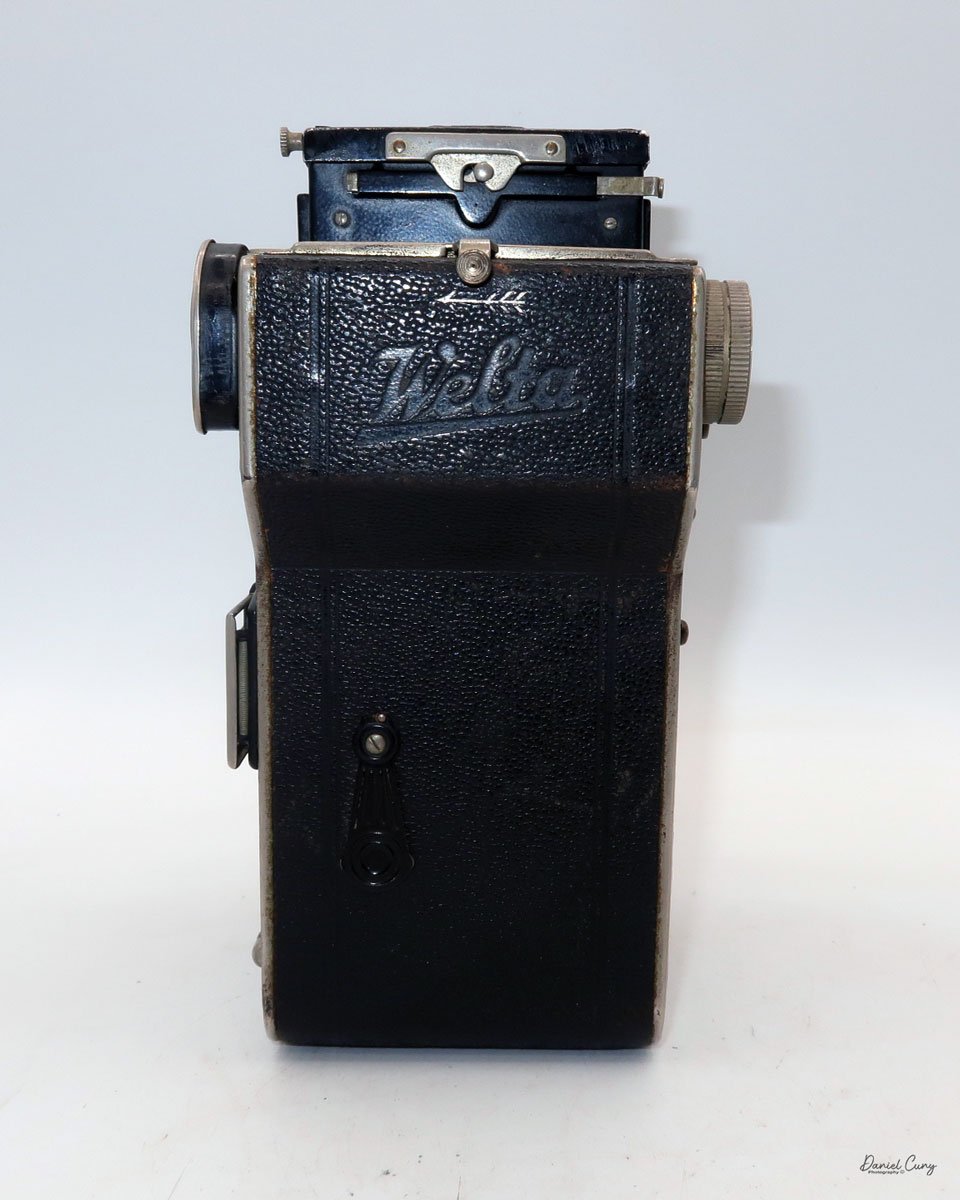
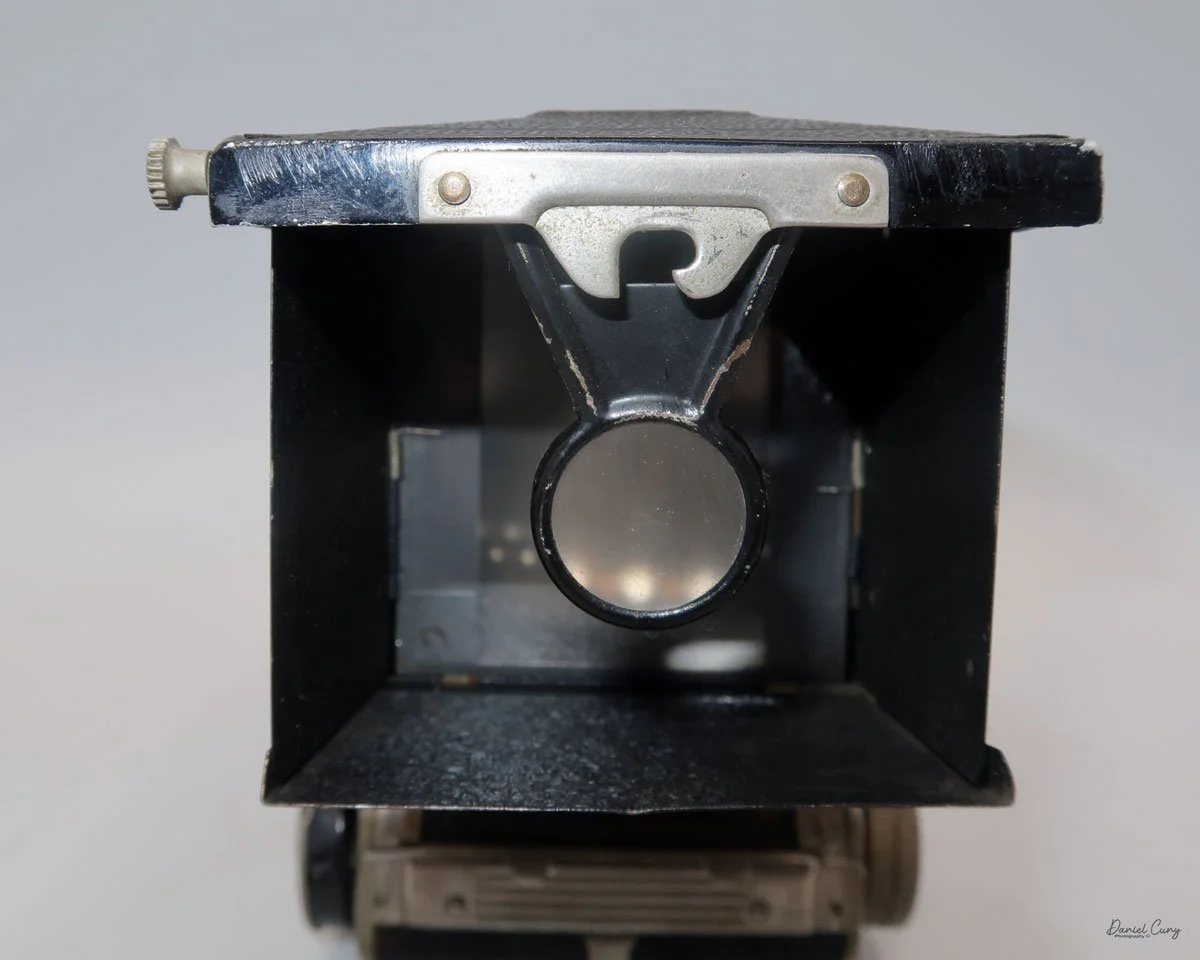
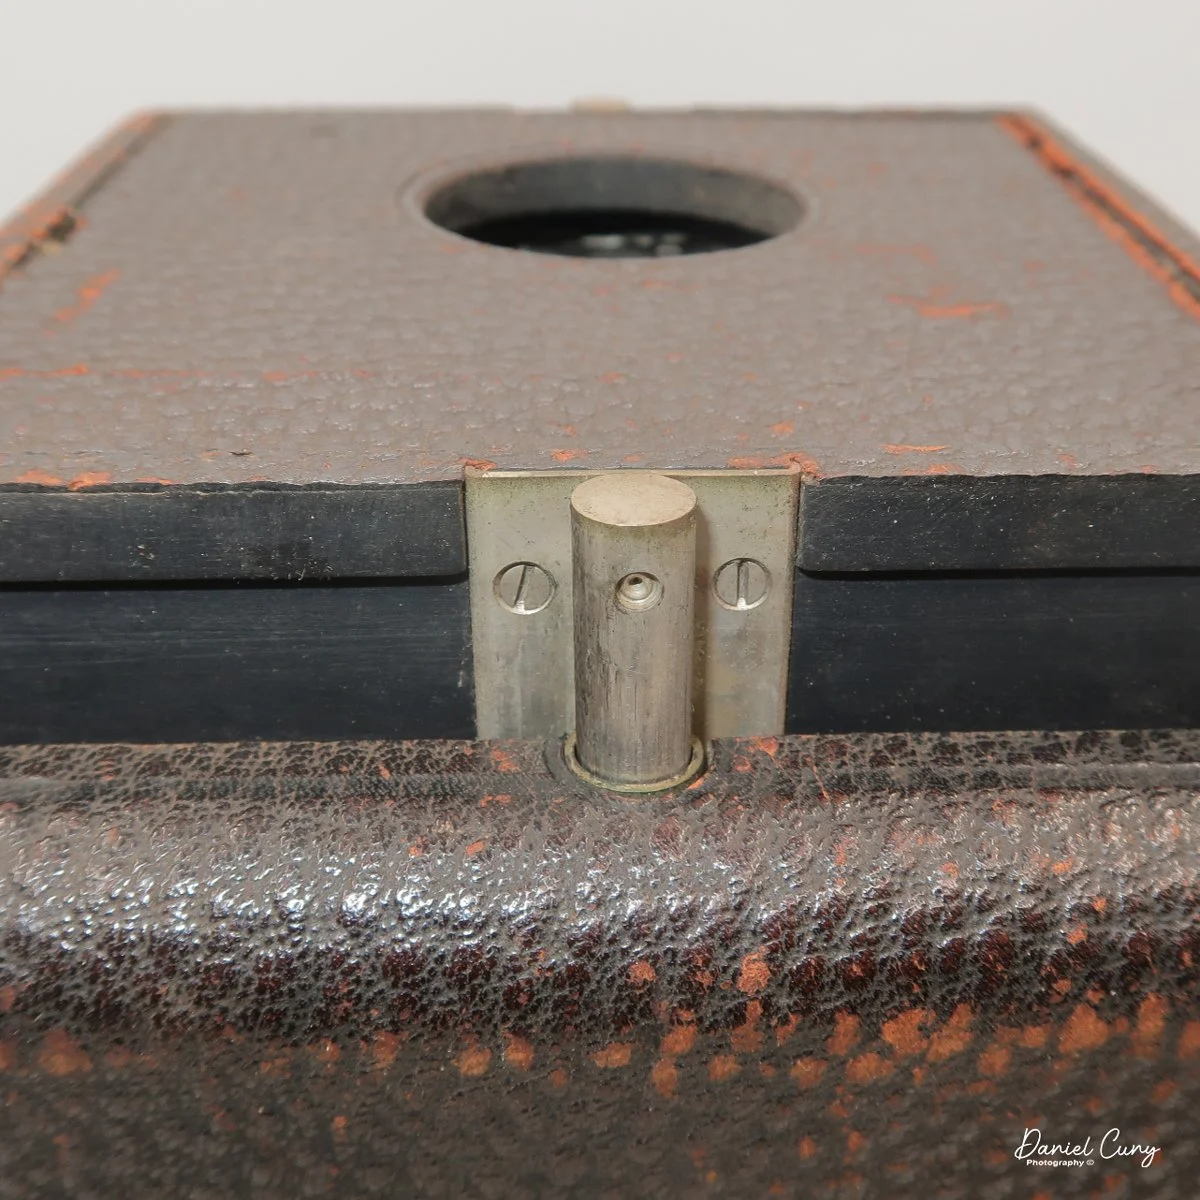
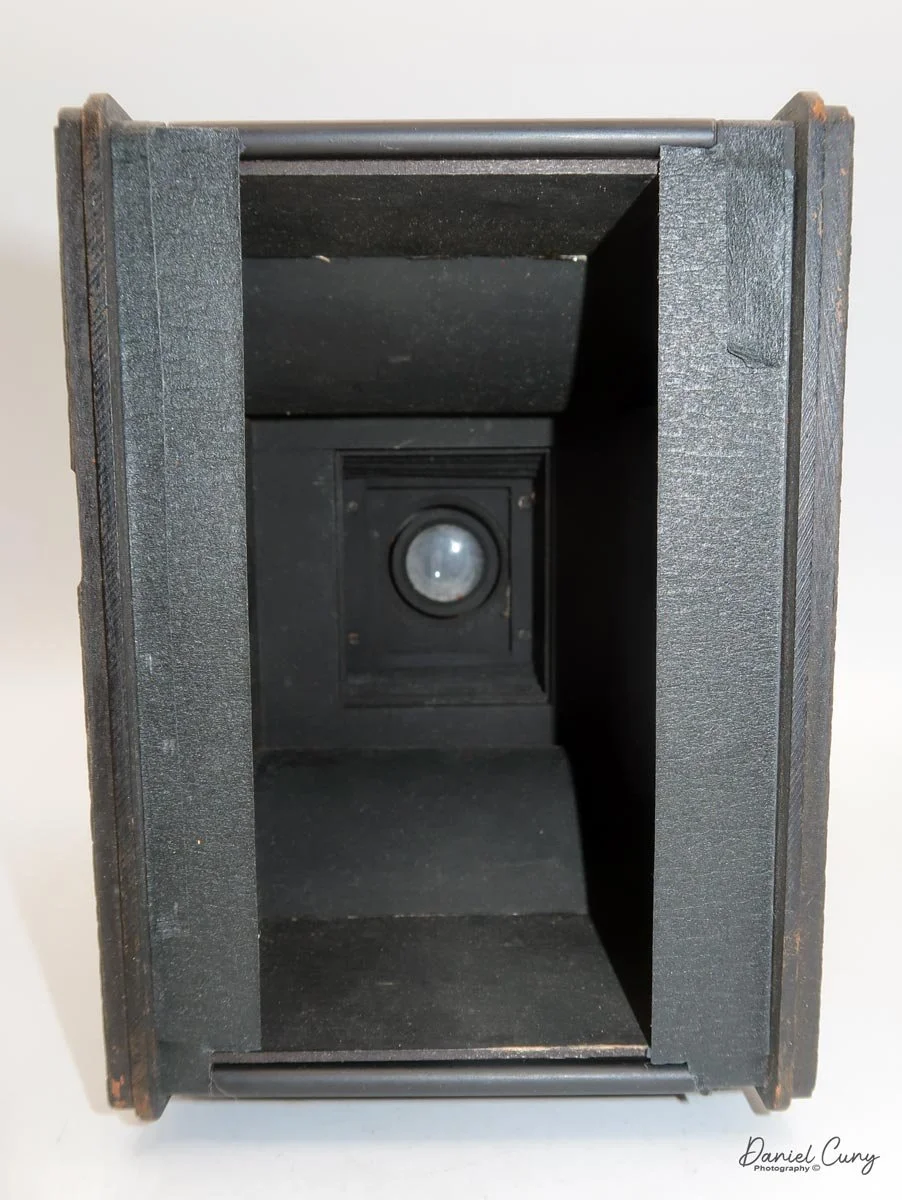
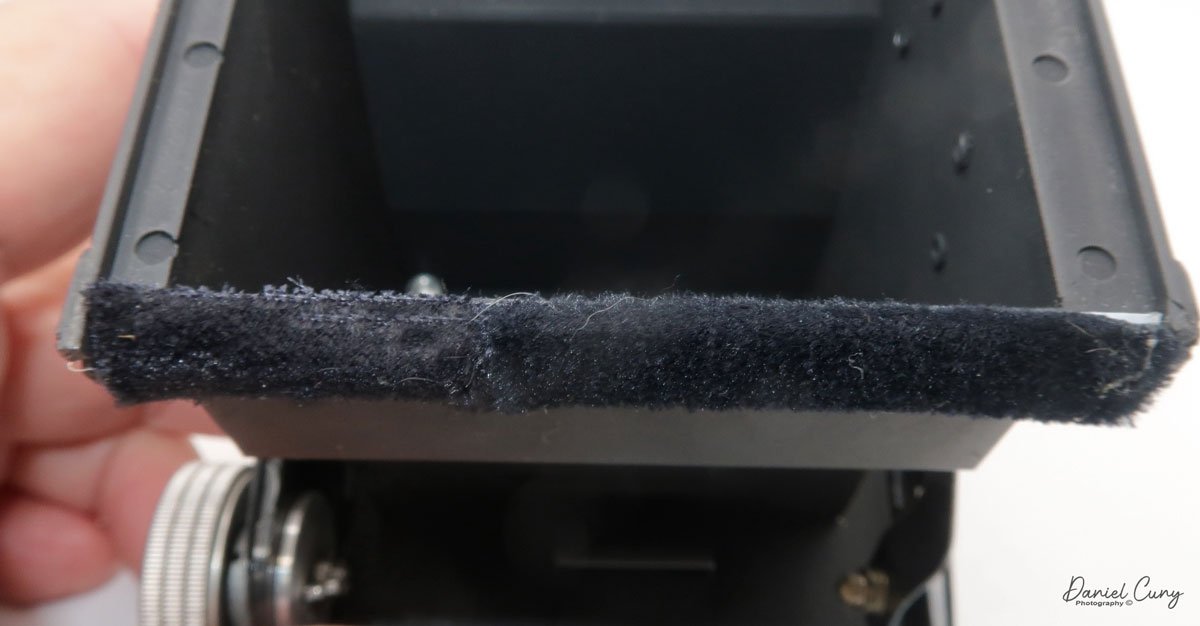
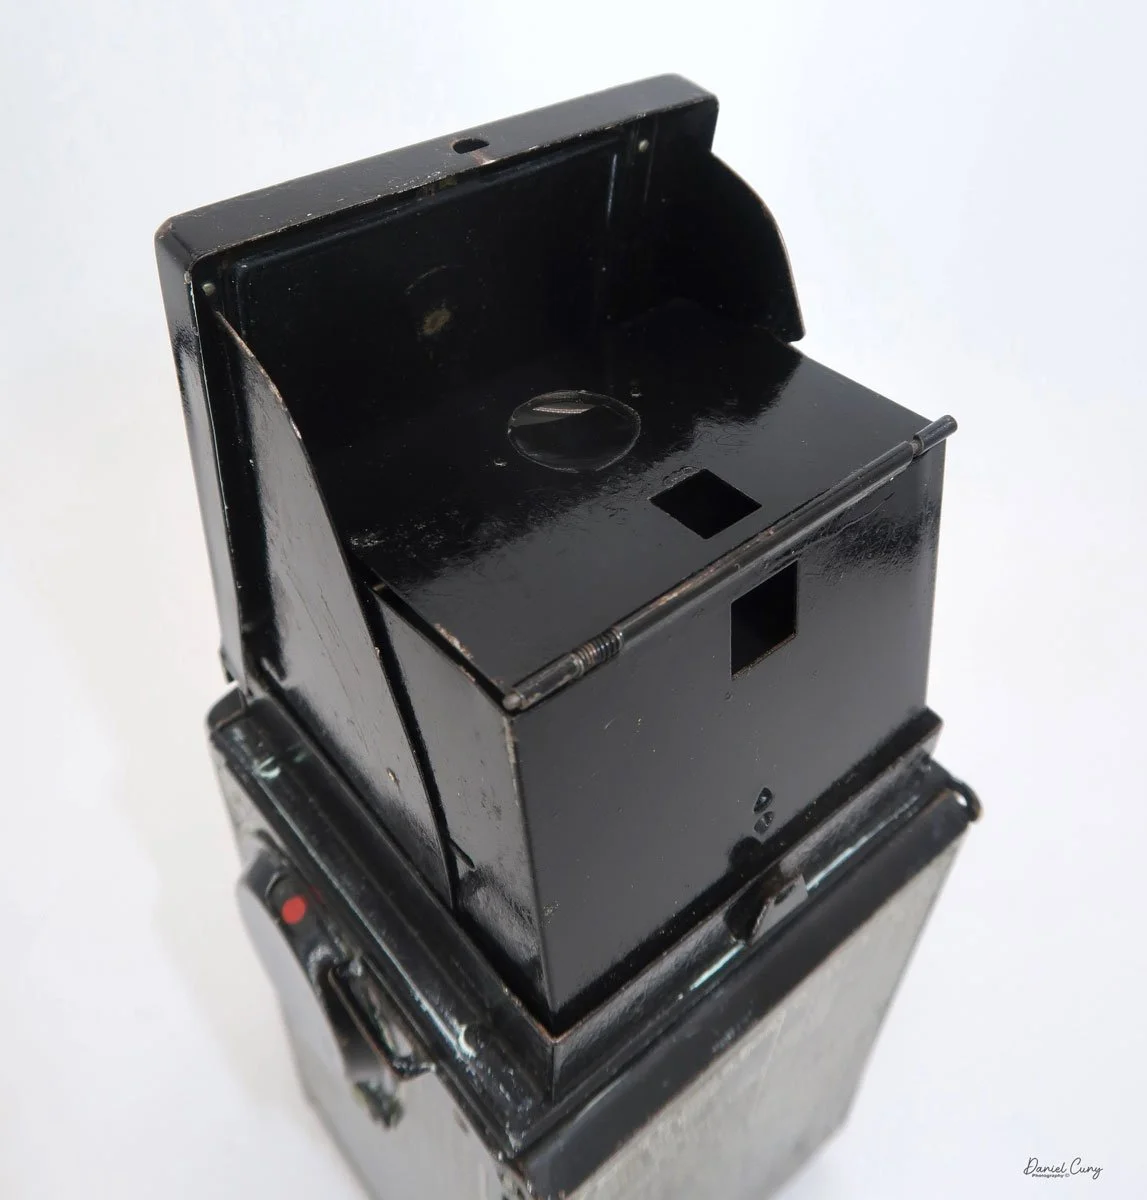
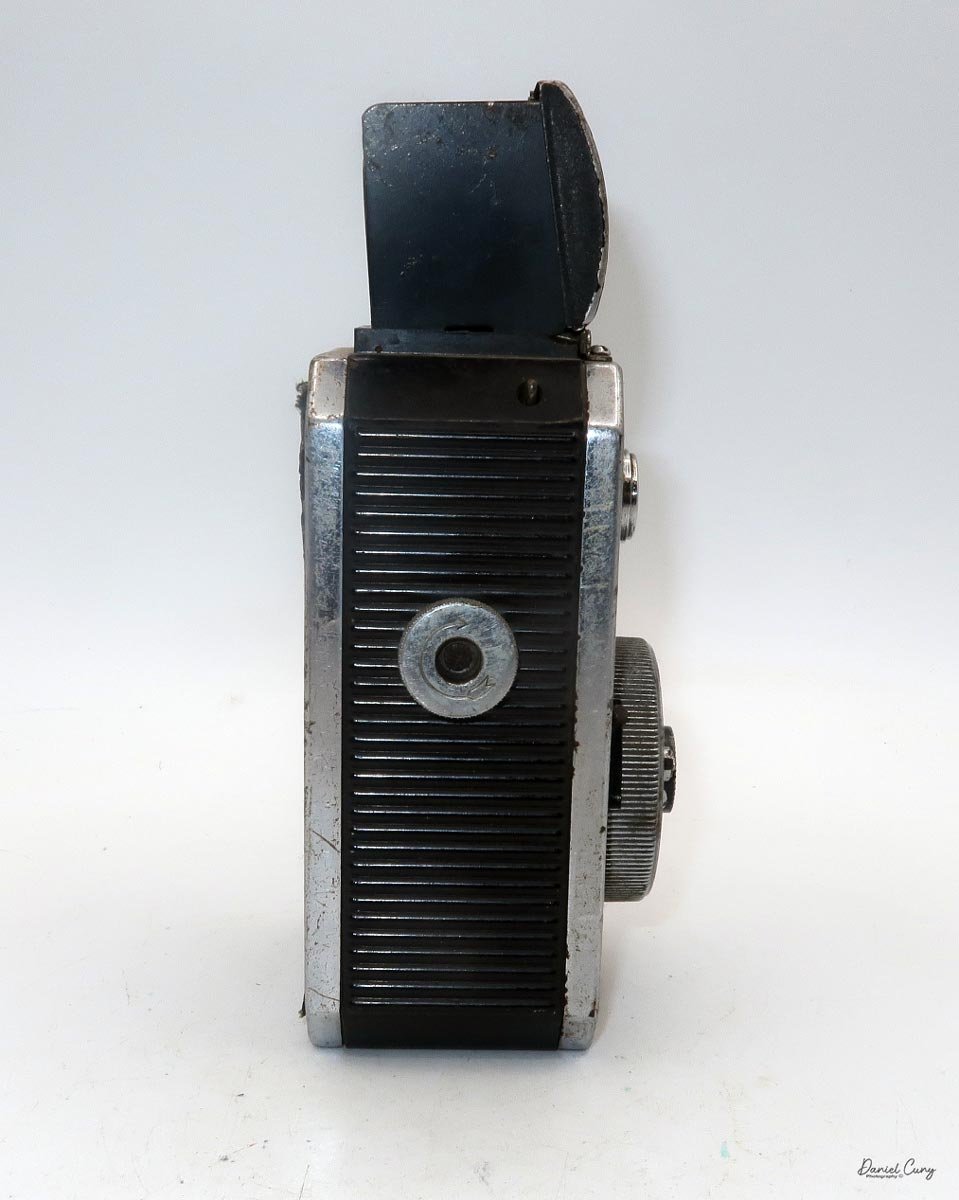
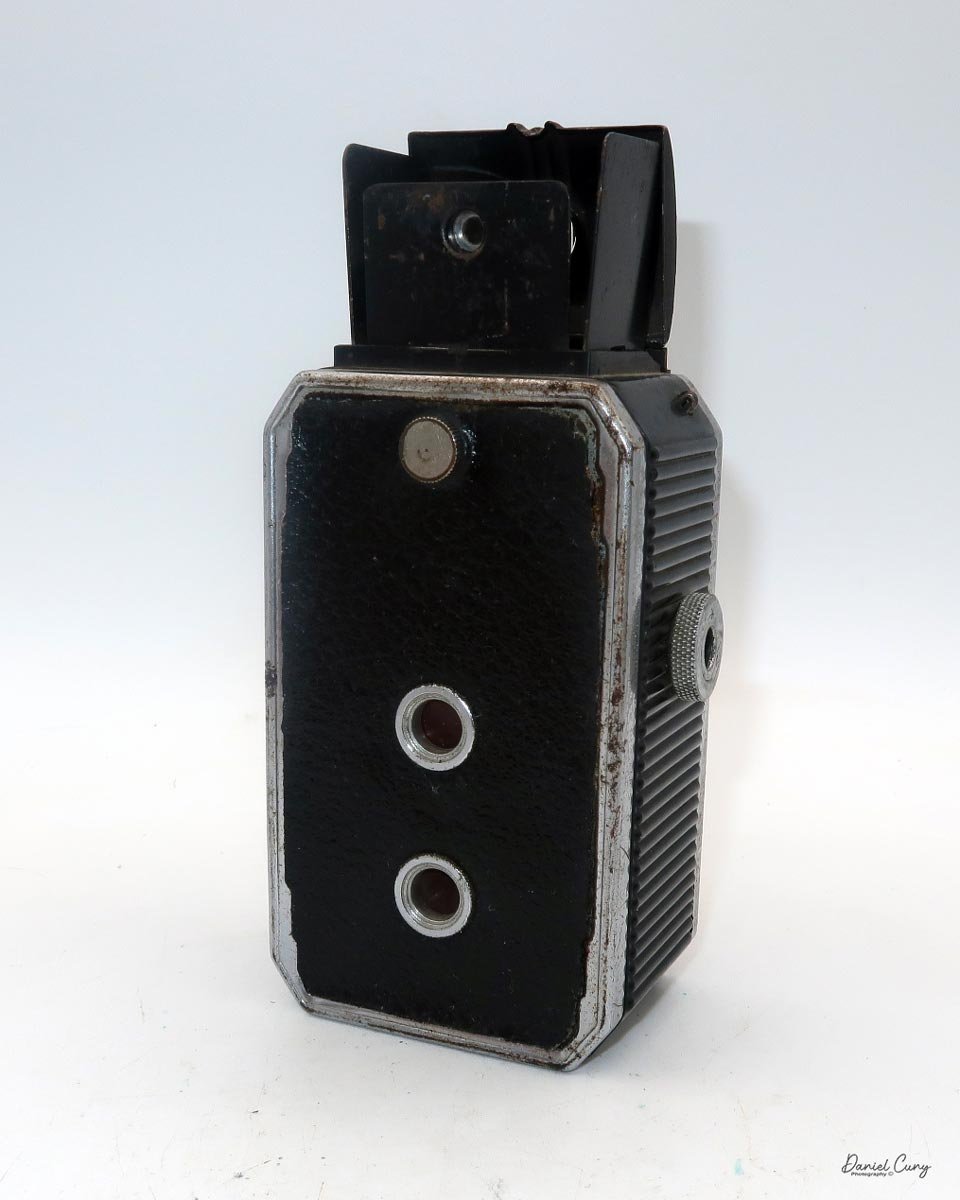
o pop up the viewfinder, lift the rear of the finder, and the viewfinder or light chimney pops open, exposing the ground glass. Since there is no focus control on this camera, the viewfinder is used only to compose the image.
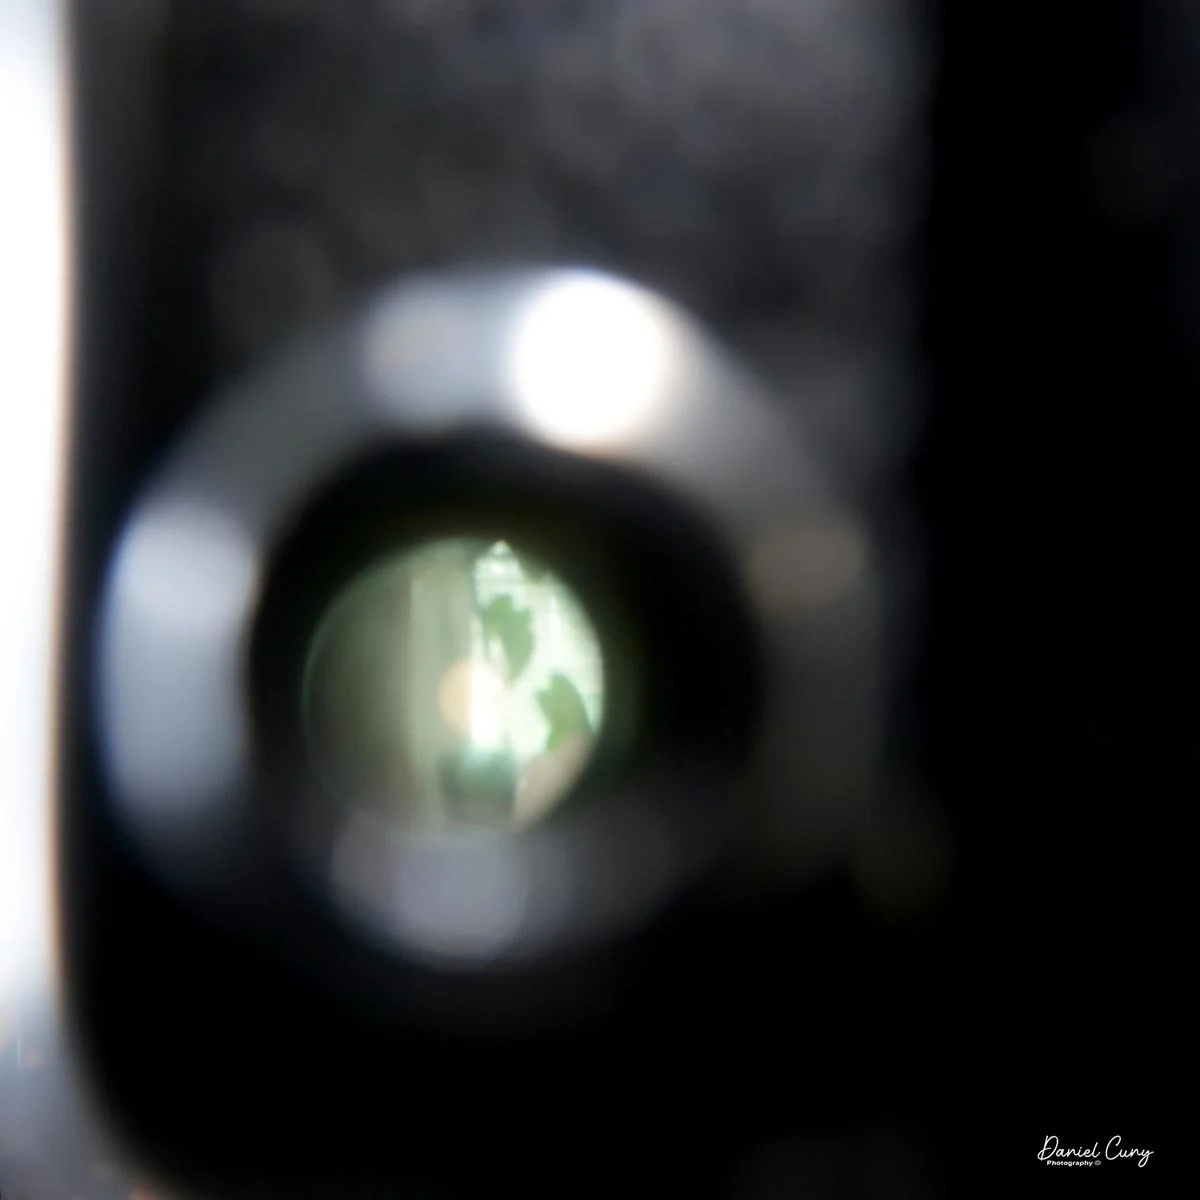
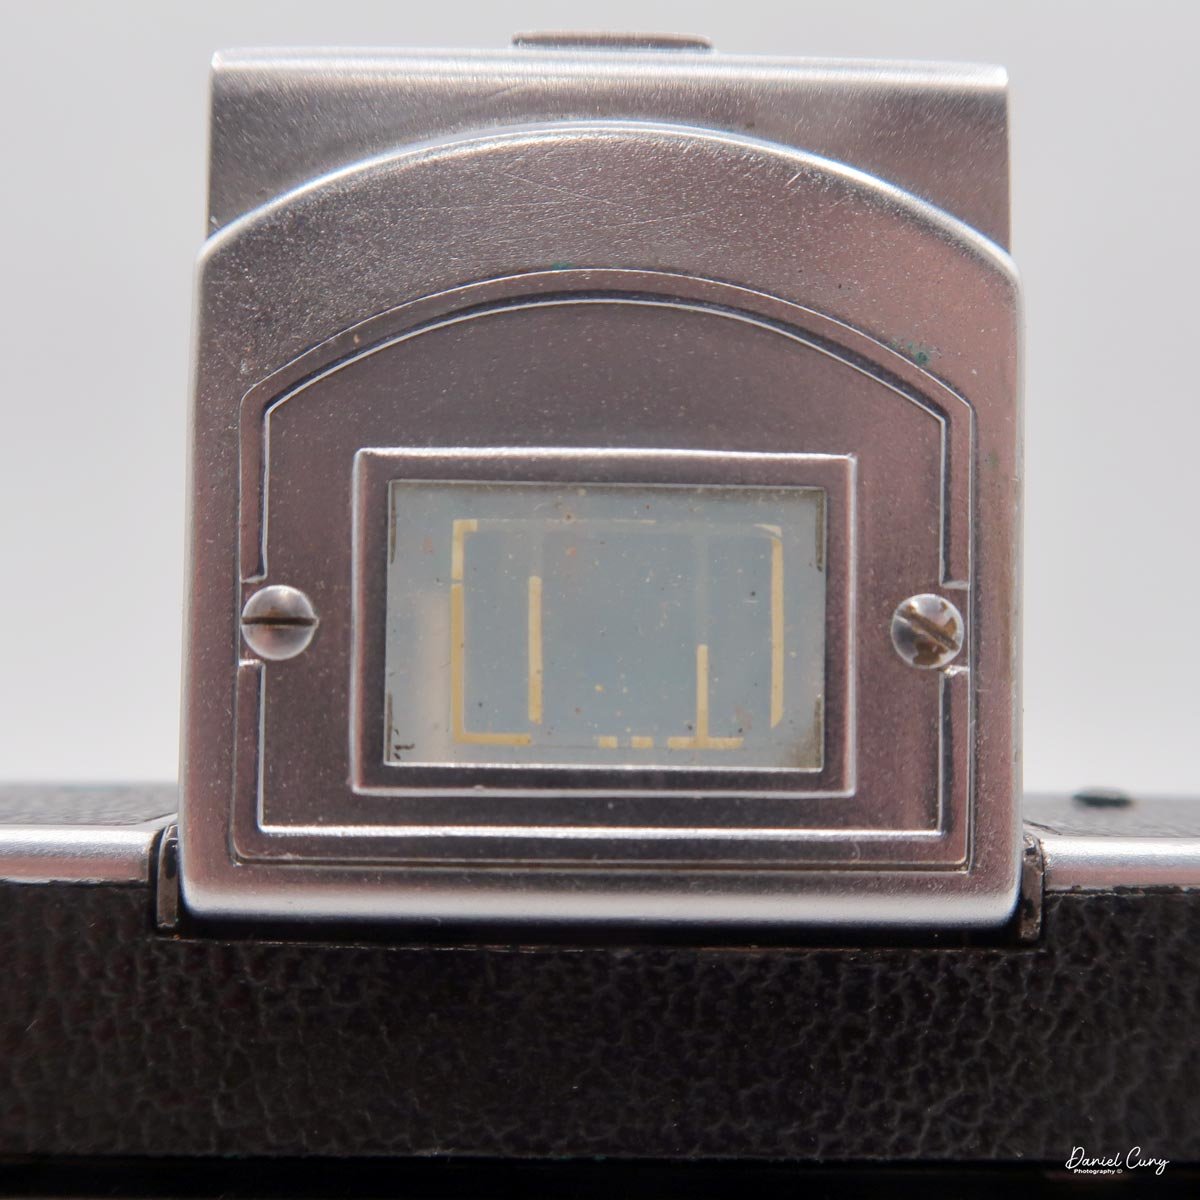
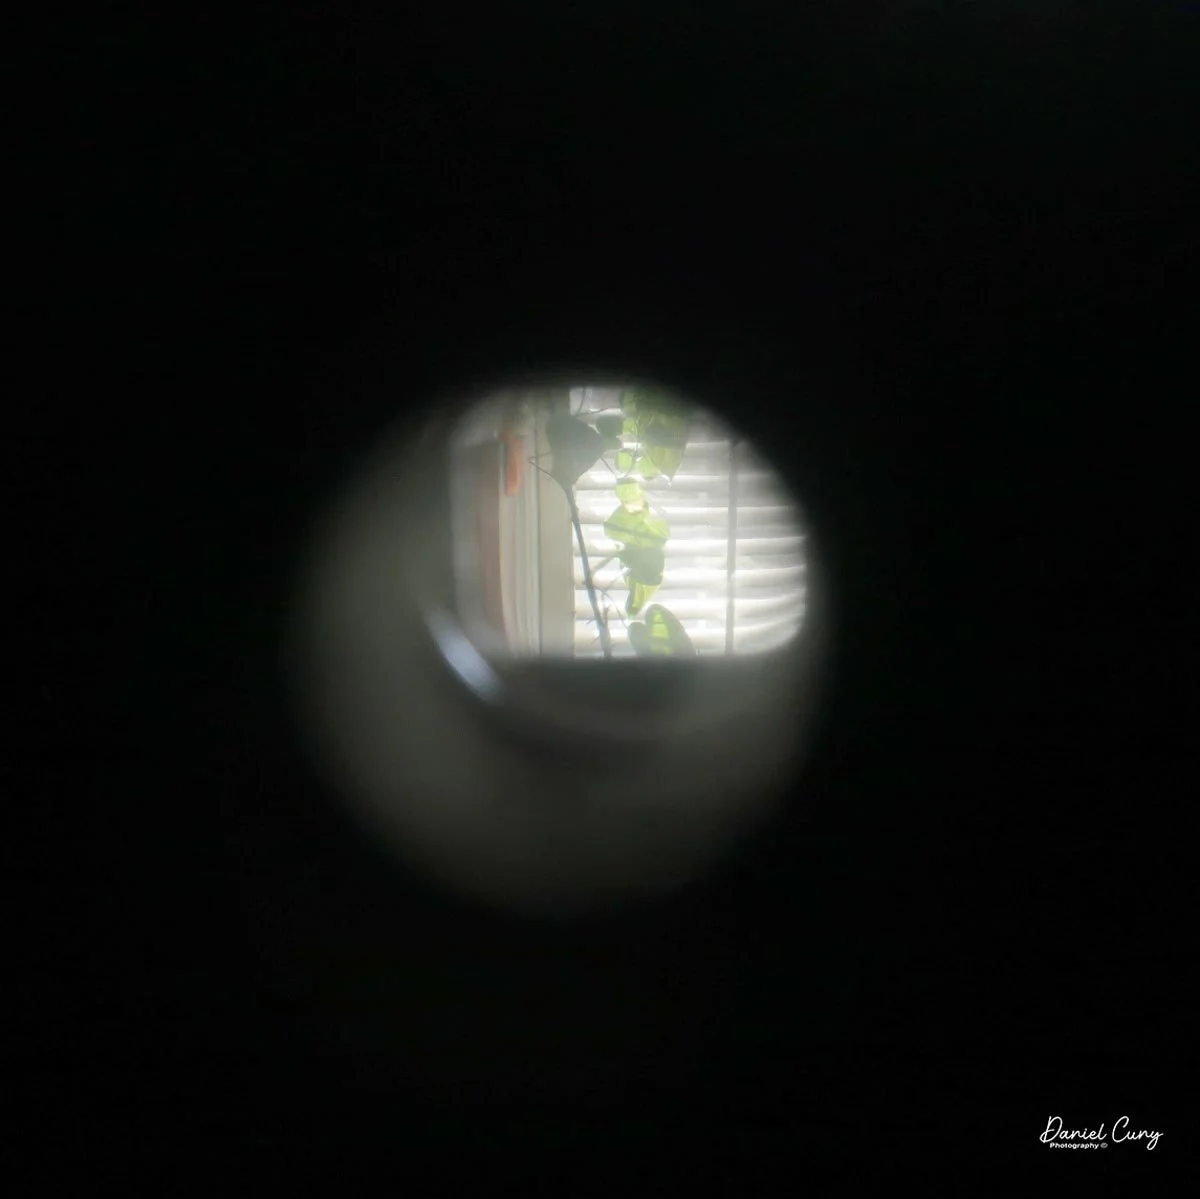
An interesting option on the Dual Reflex camera is the ability to use a pseudo-eye-level finder for composing photos. On the back of the light chimney is an optical finder that, when viewed through, looks into another optical opening on the front of the chimney, allowing the photographer to use it as an eye-level finder rather than a waist-level one. For an inexpensive camera, this is a nice feature and actually works well.
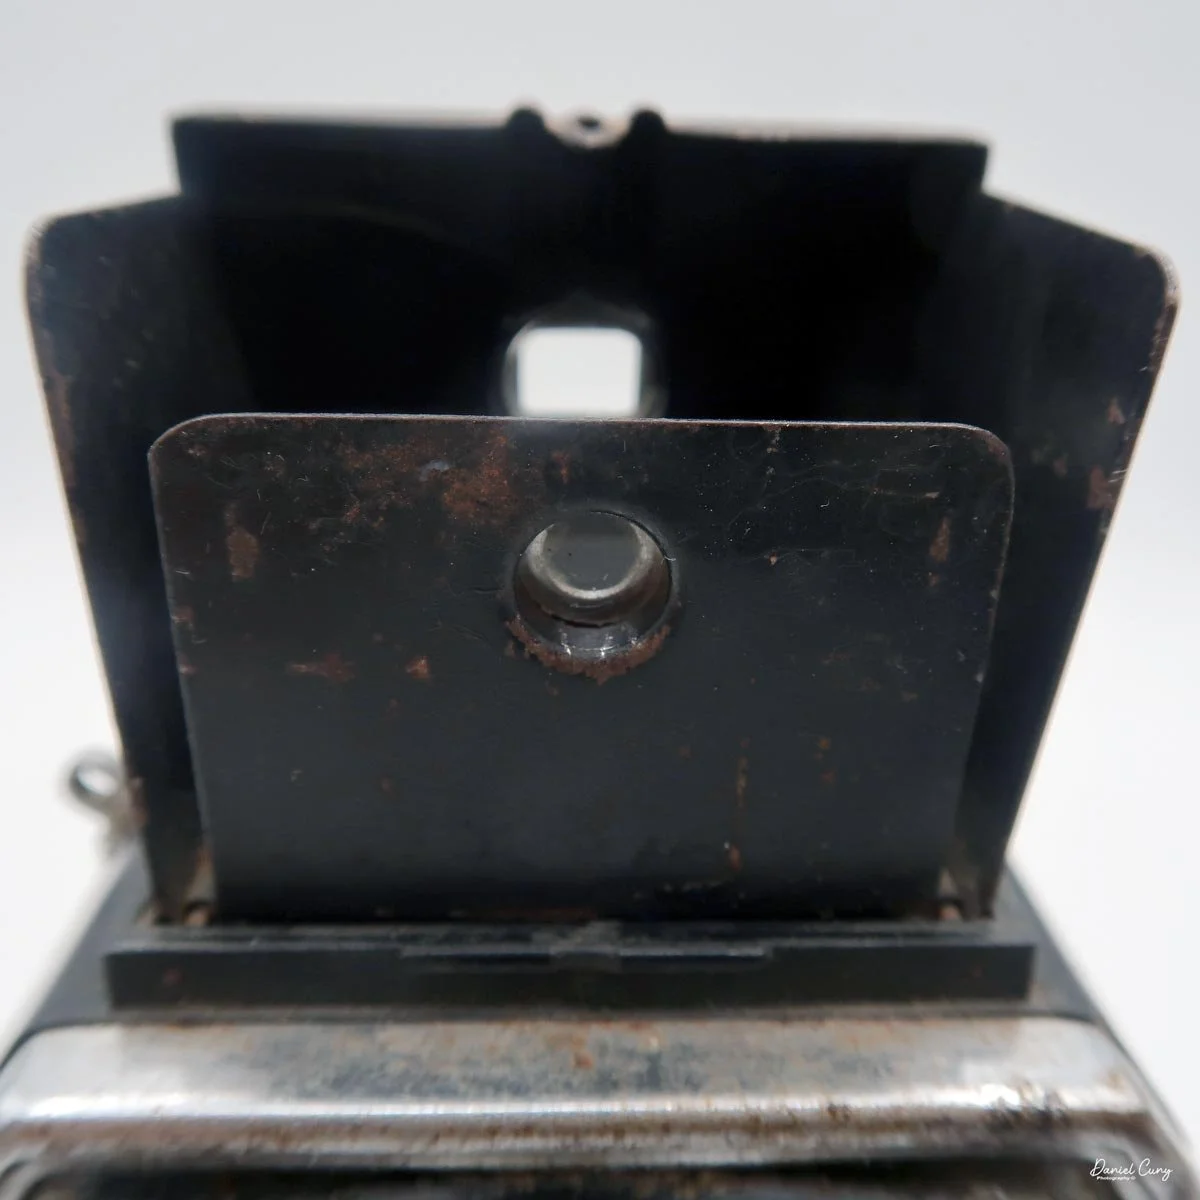
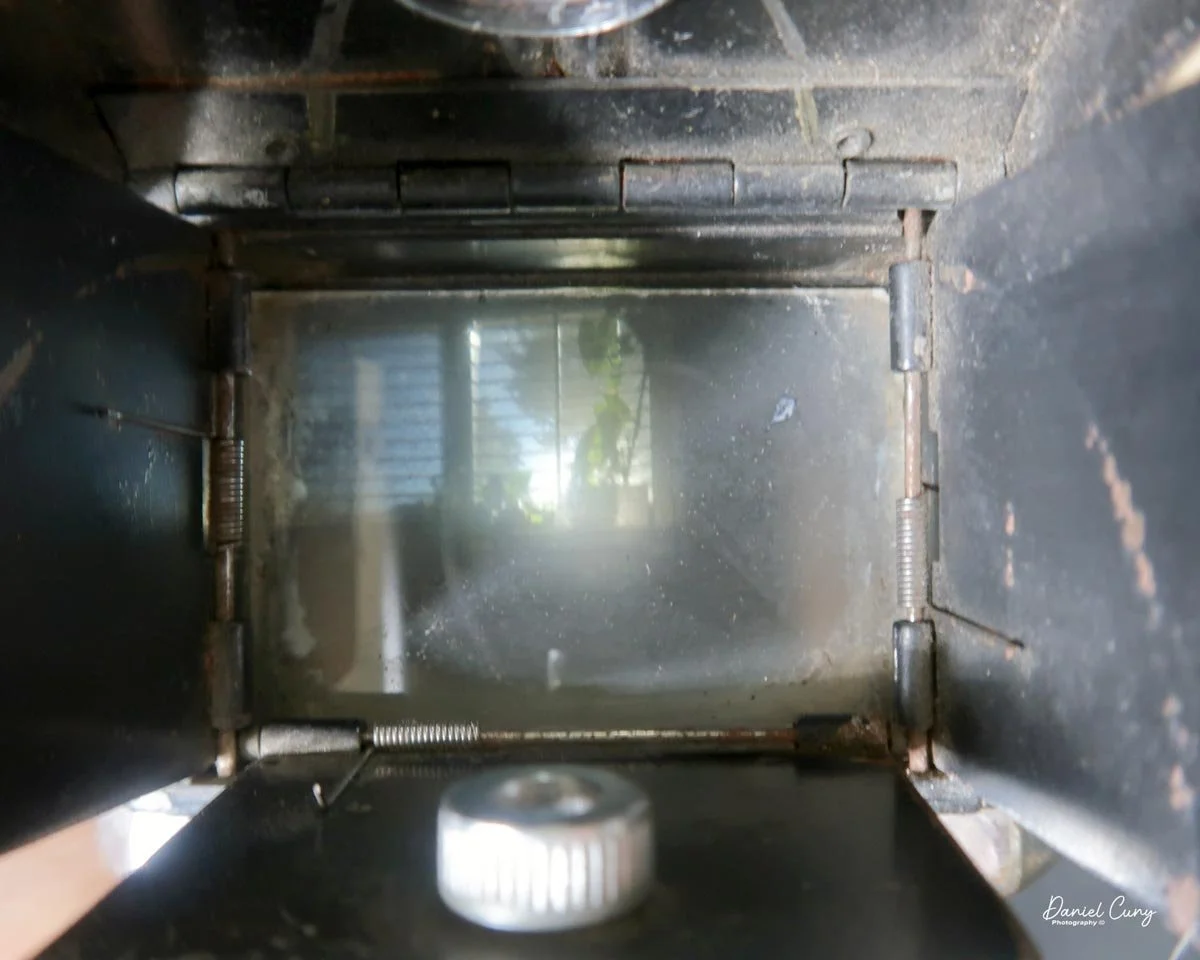
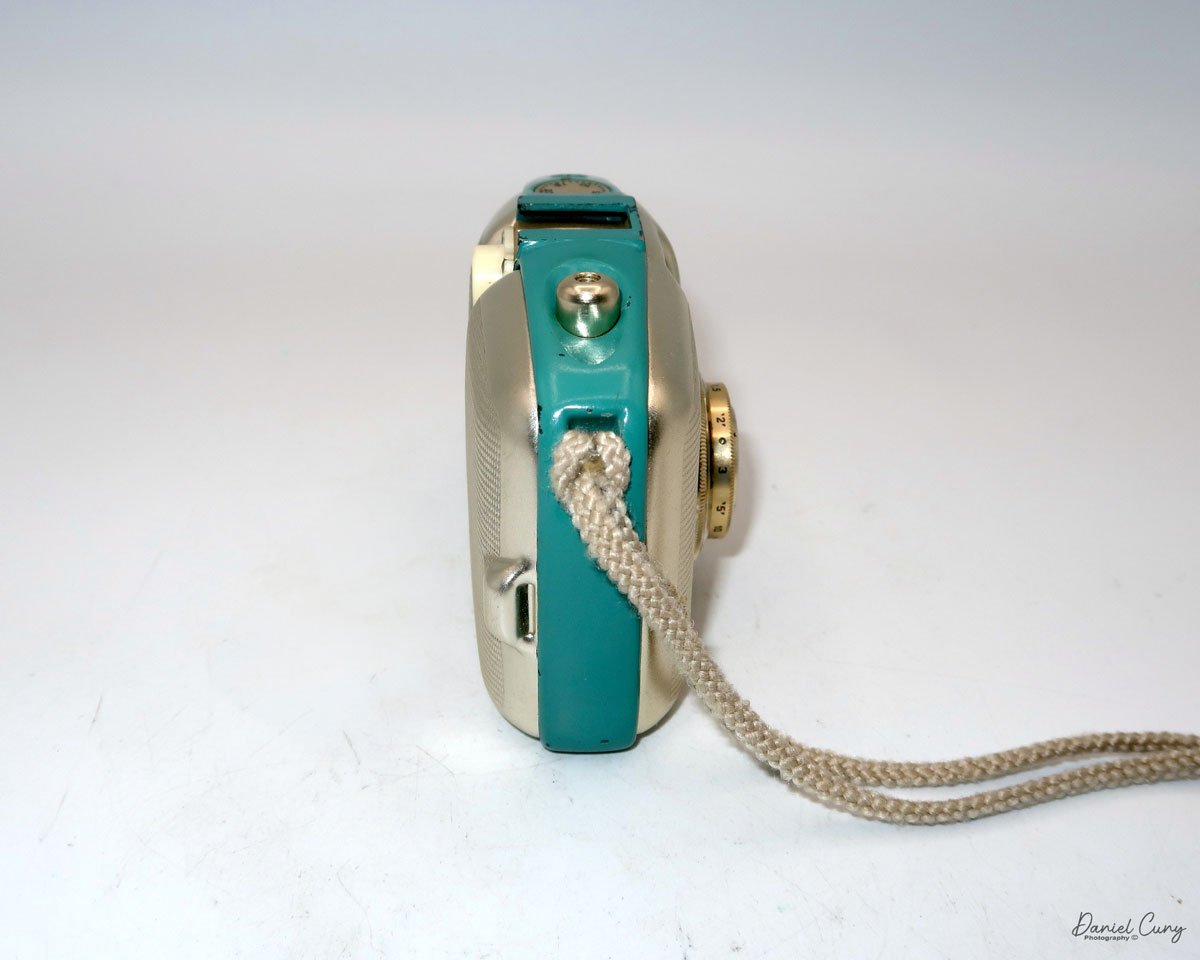
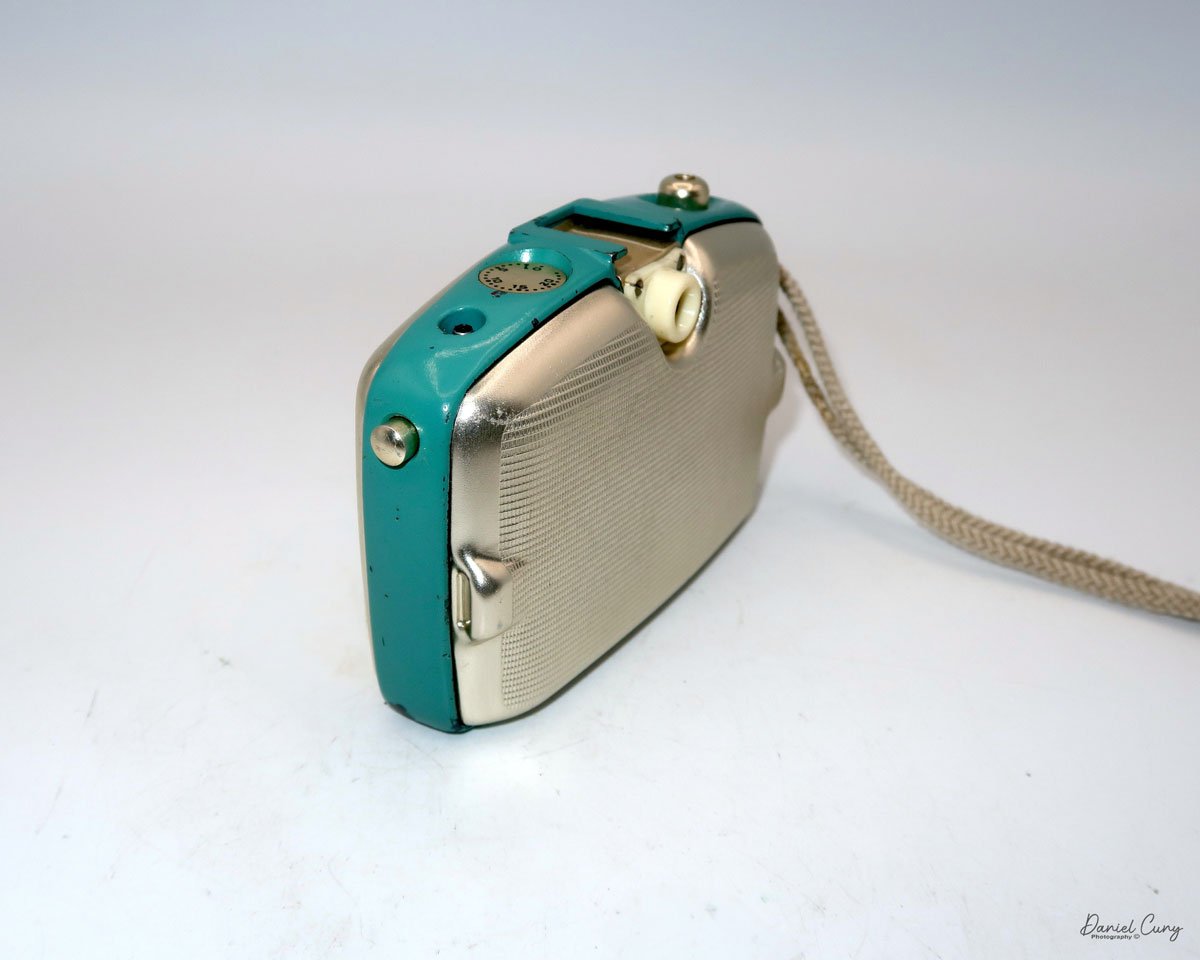
To close the viewfinder, close the back compartment first since it has the optical glass, then the sides, and the front last. If you try to do it the conventional way and do the sides first, the front won't close because the glass is pressing up against the side wall, leaving the front no room to close.
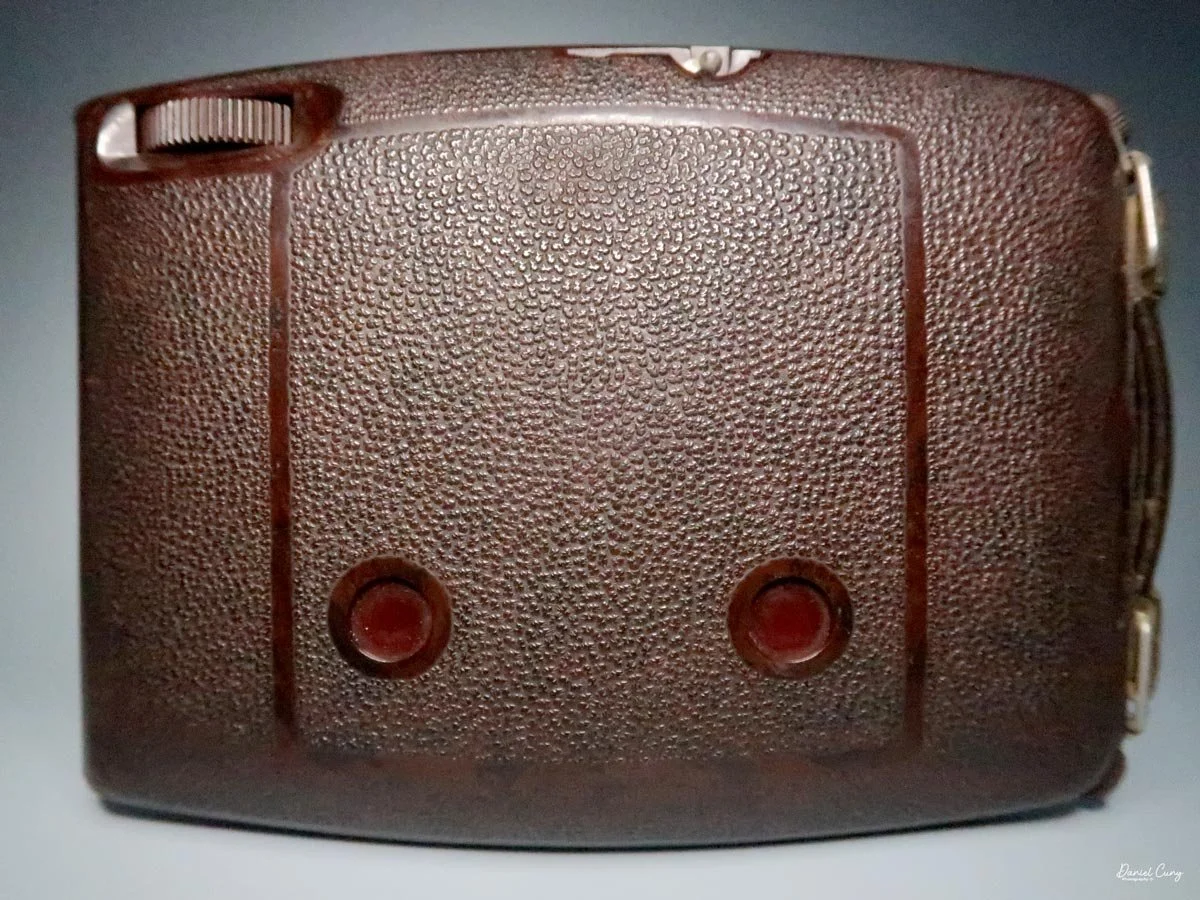
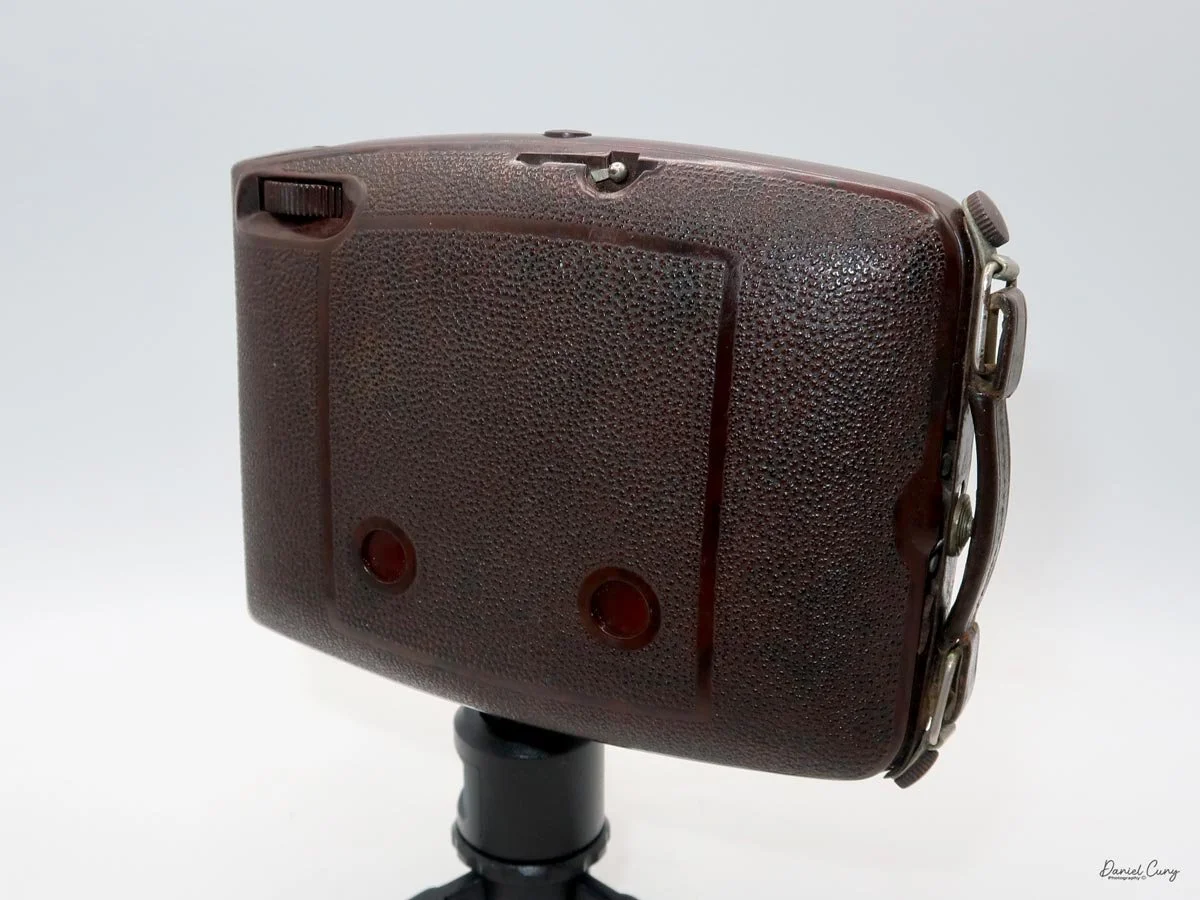
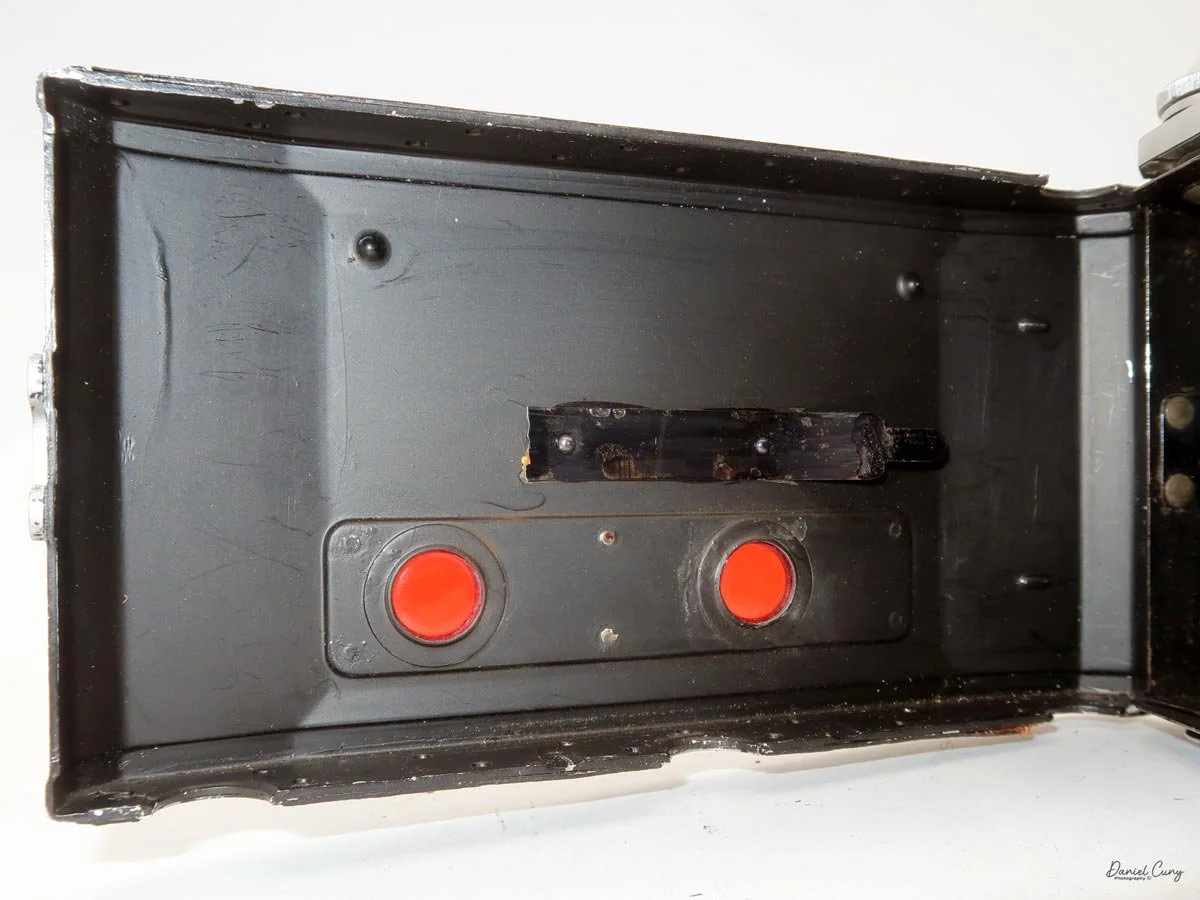
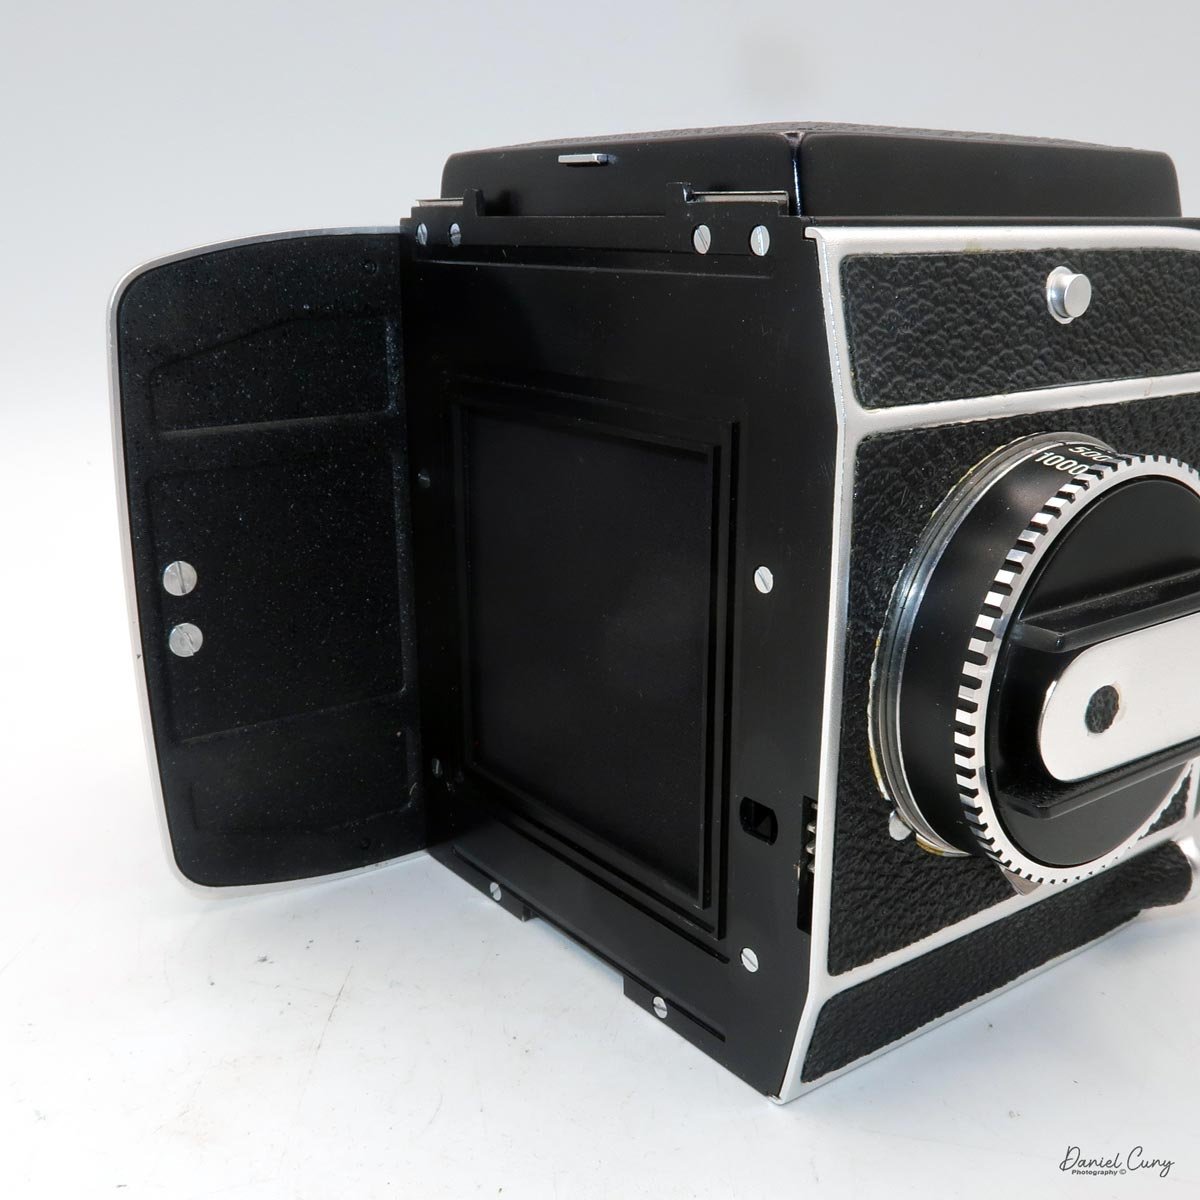
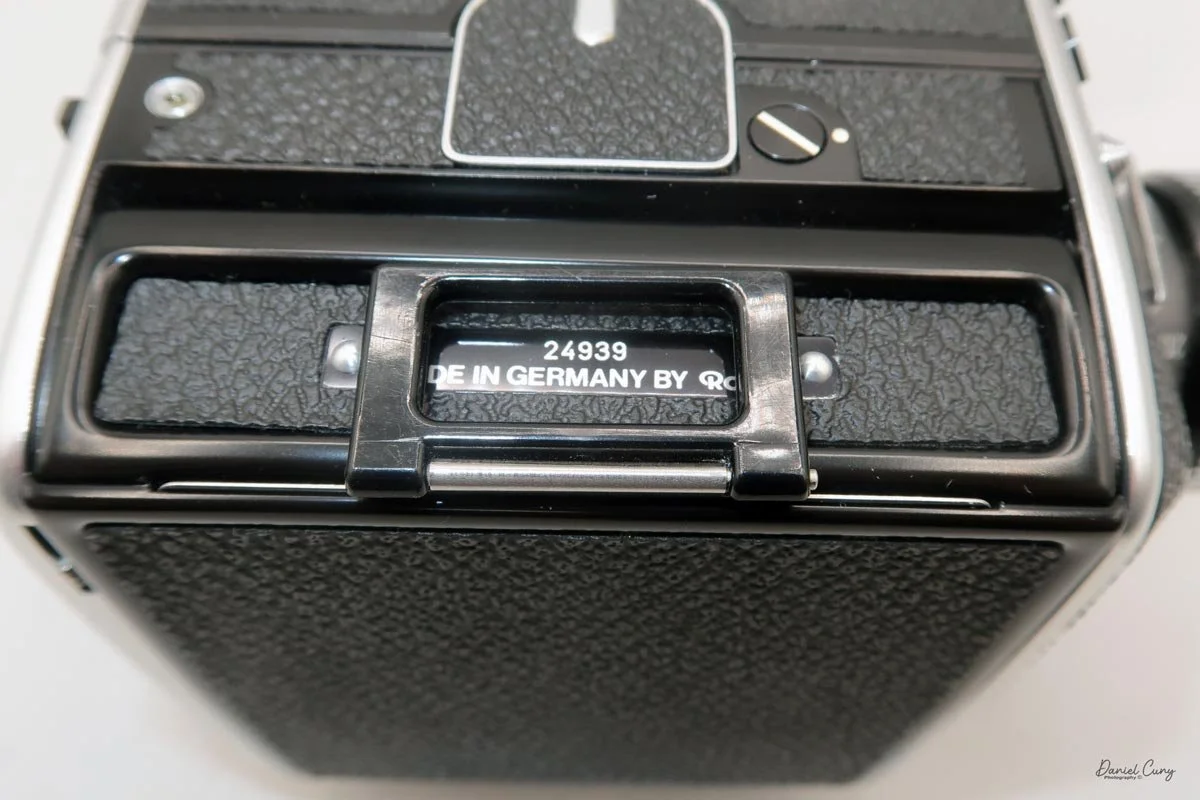
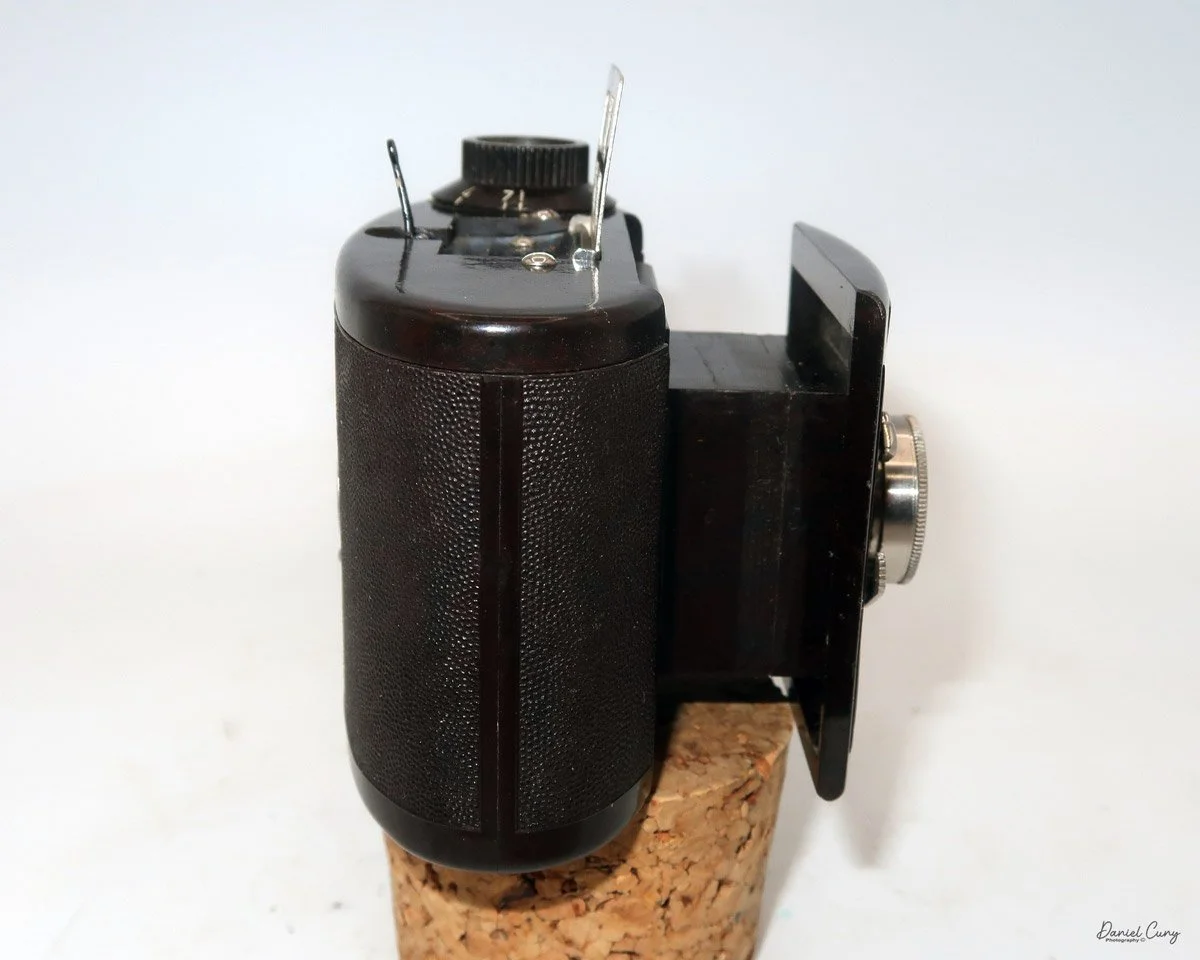
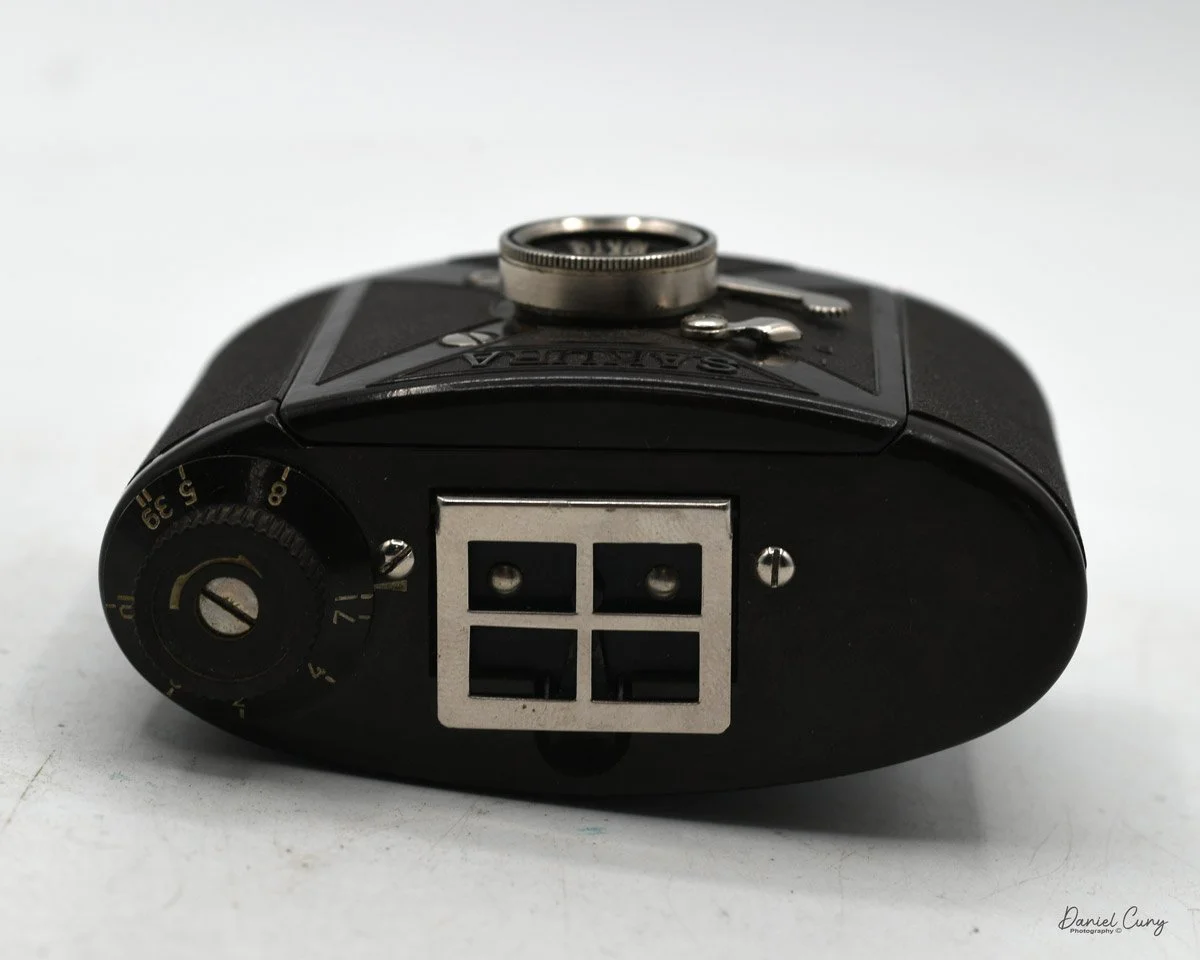
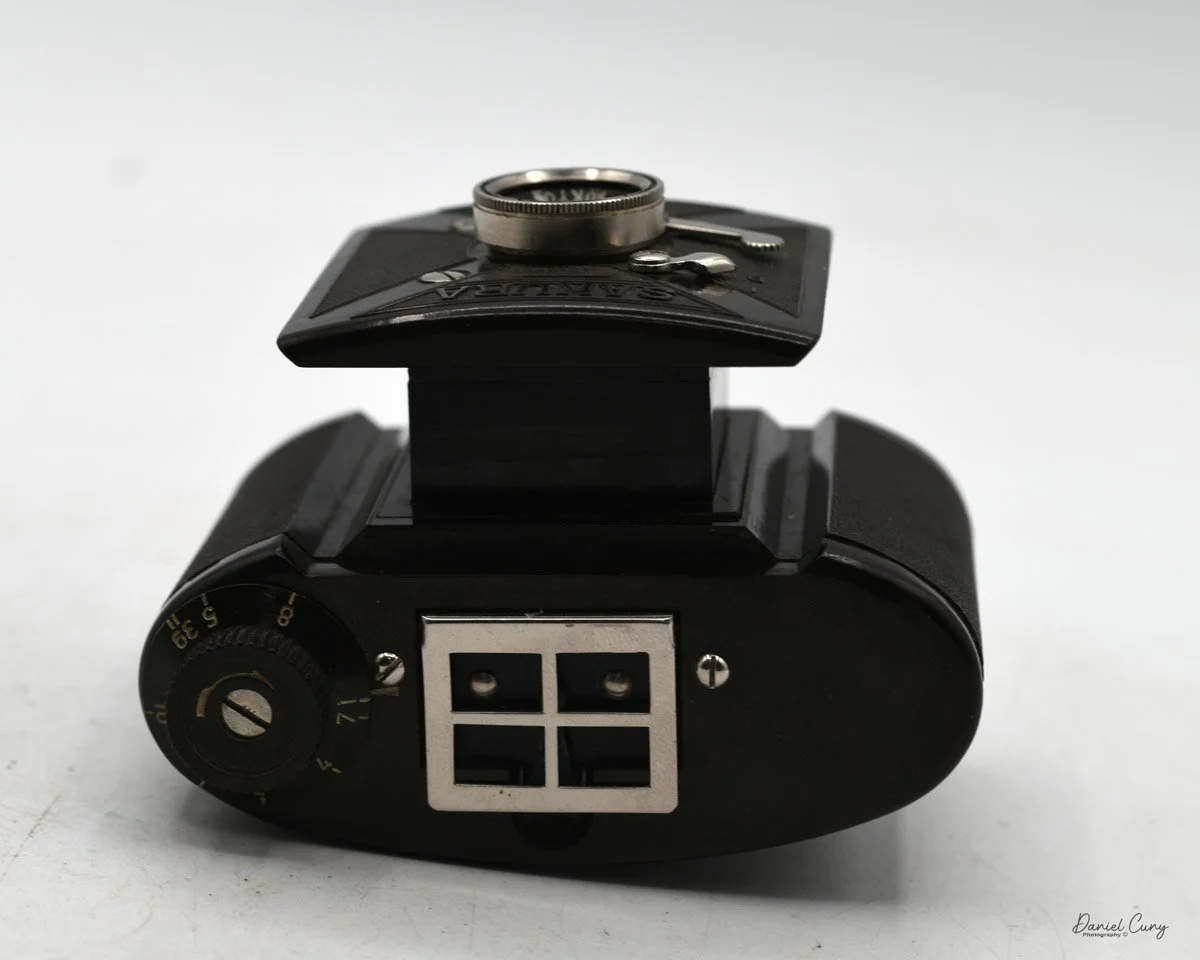
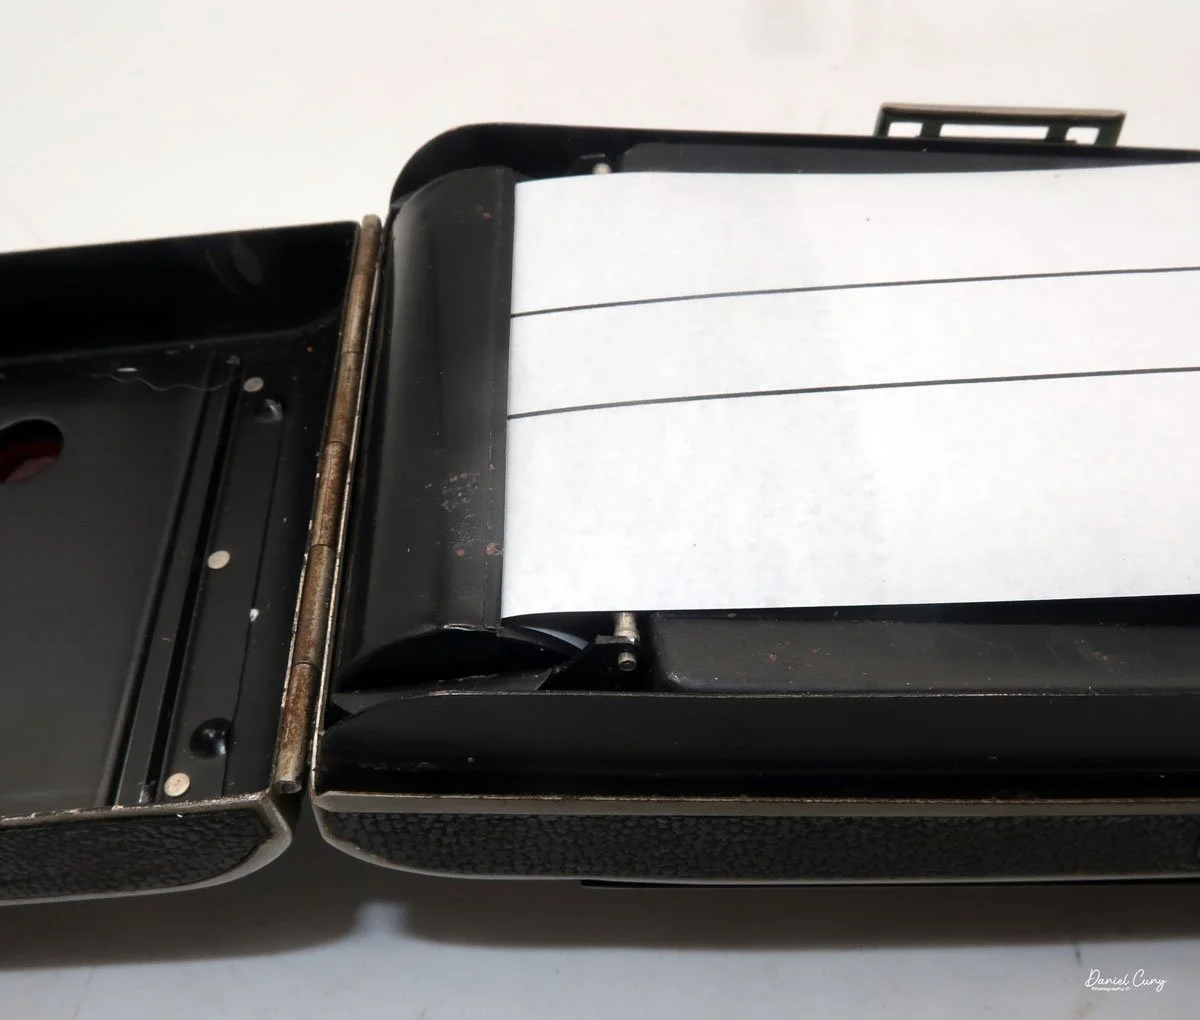
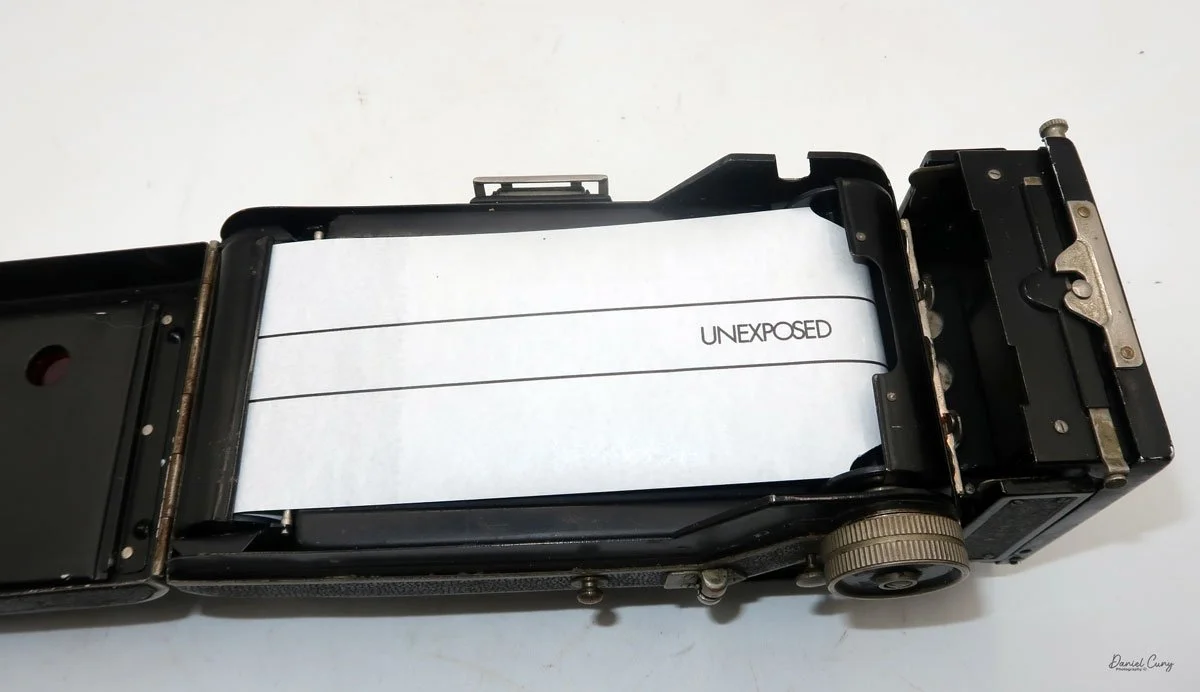
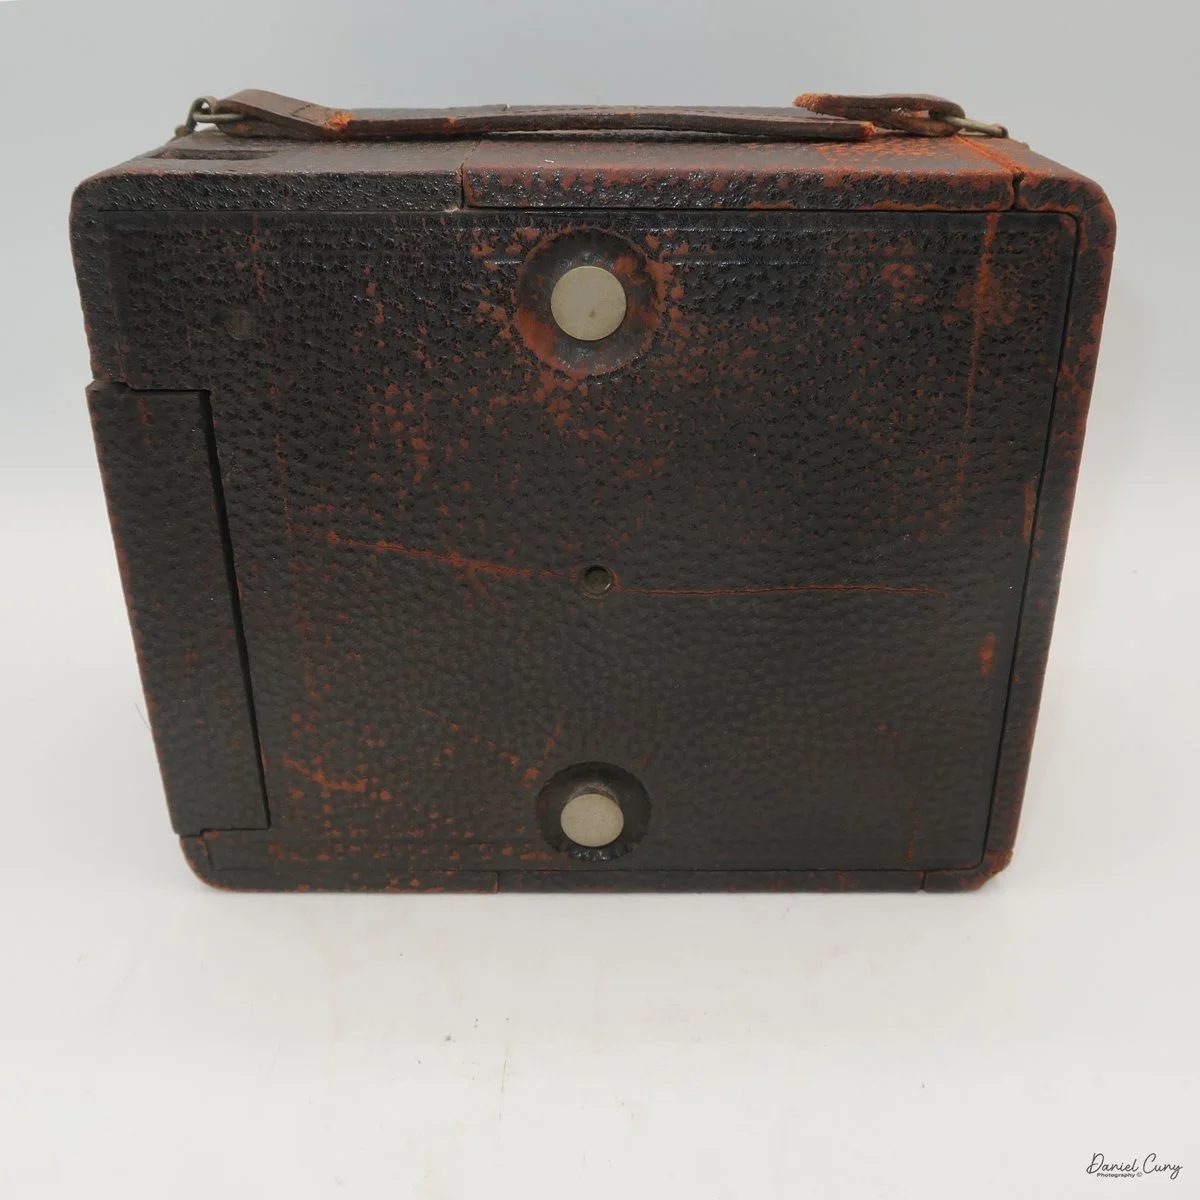
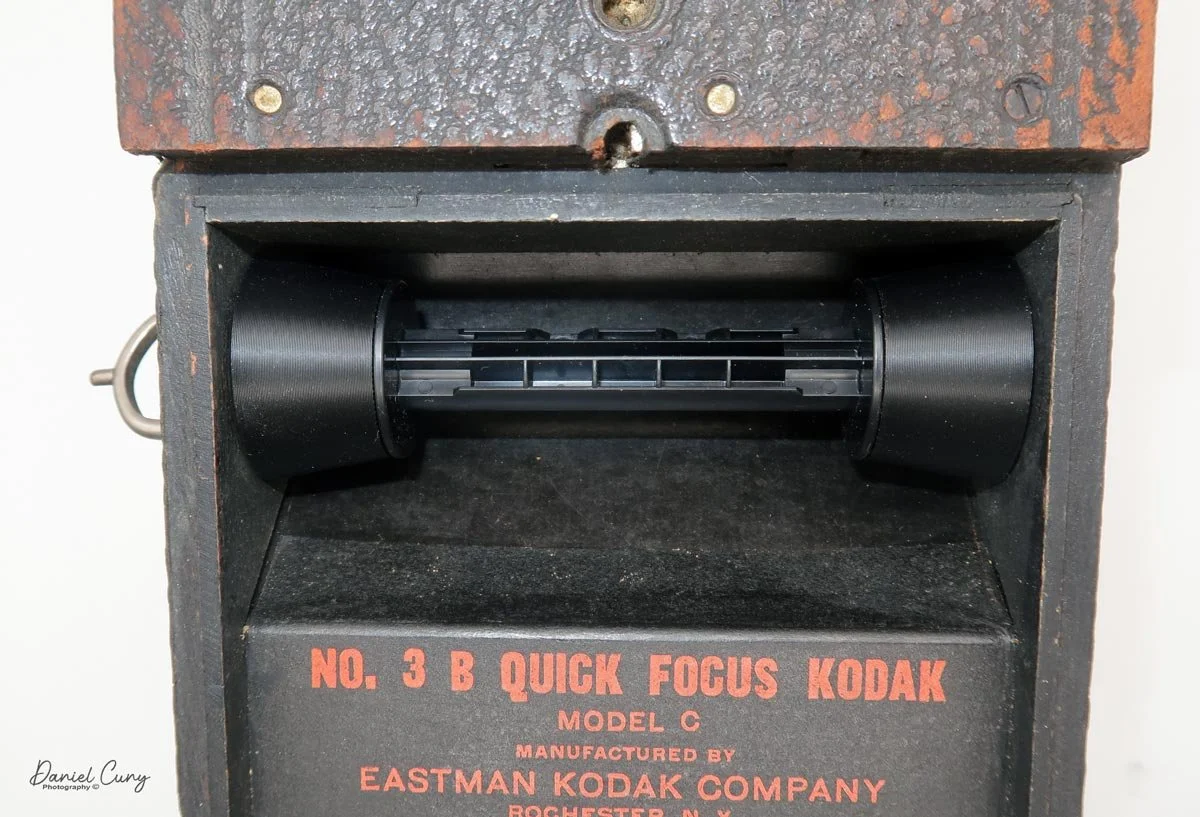
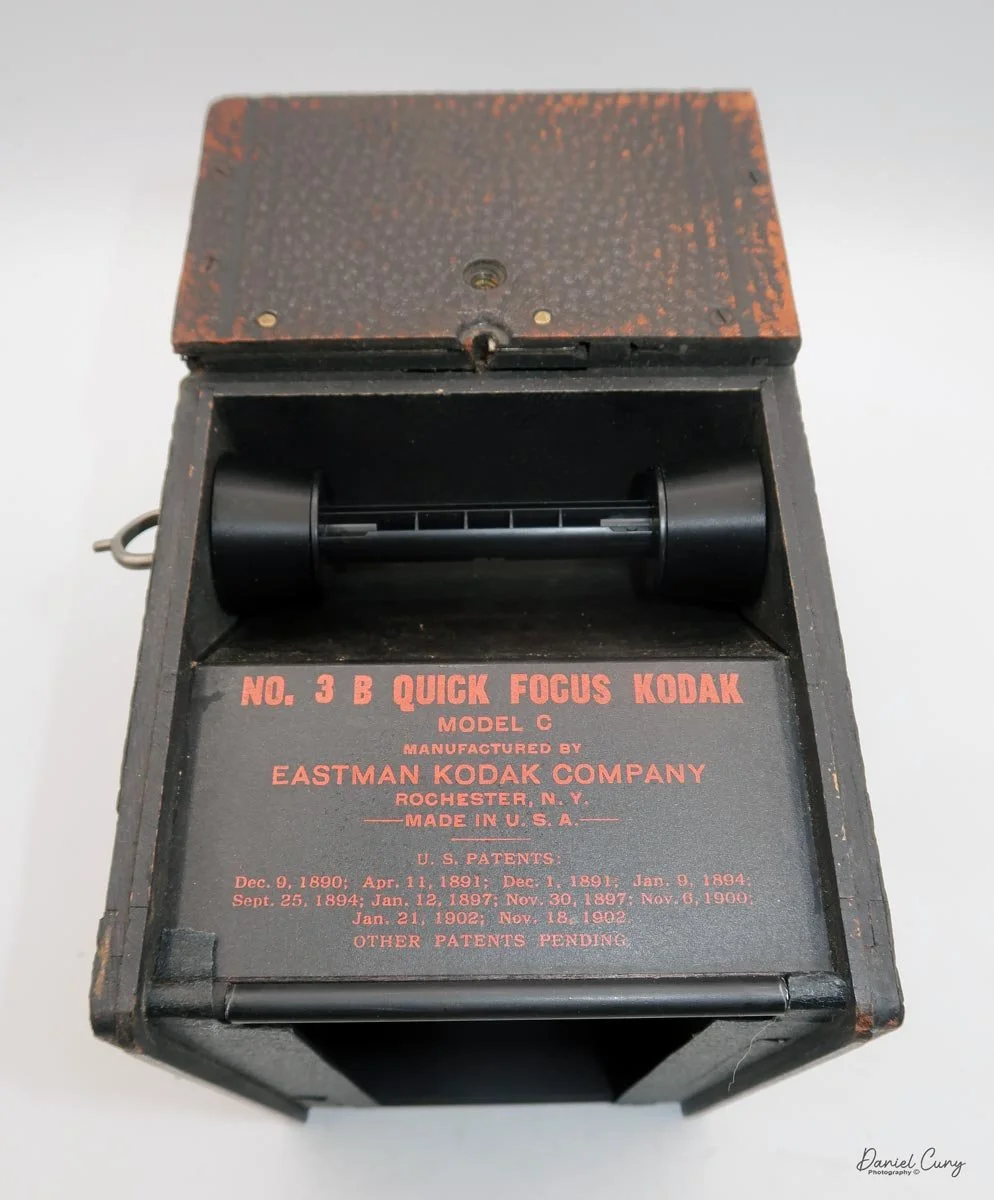
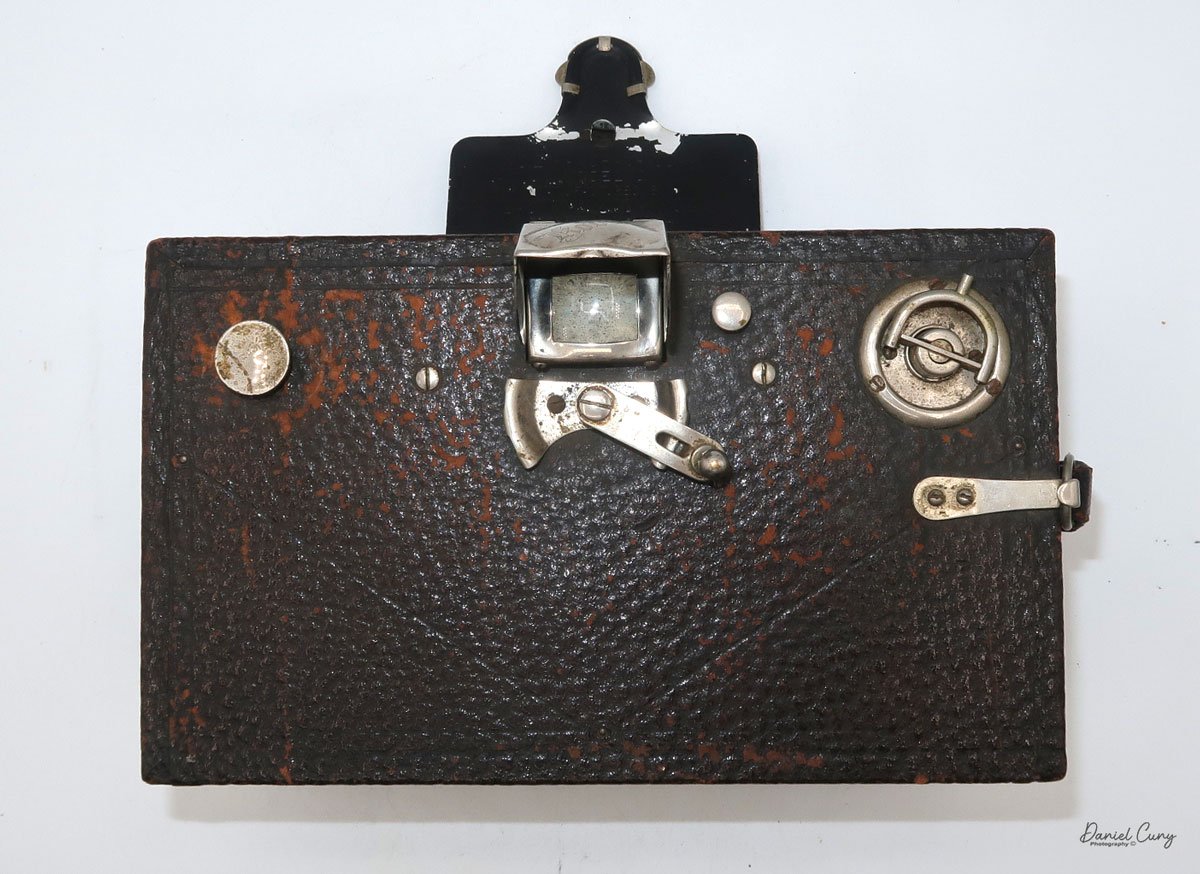
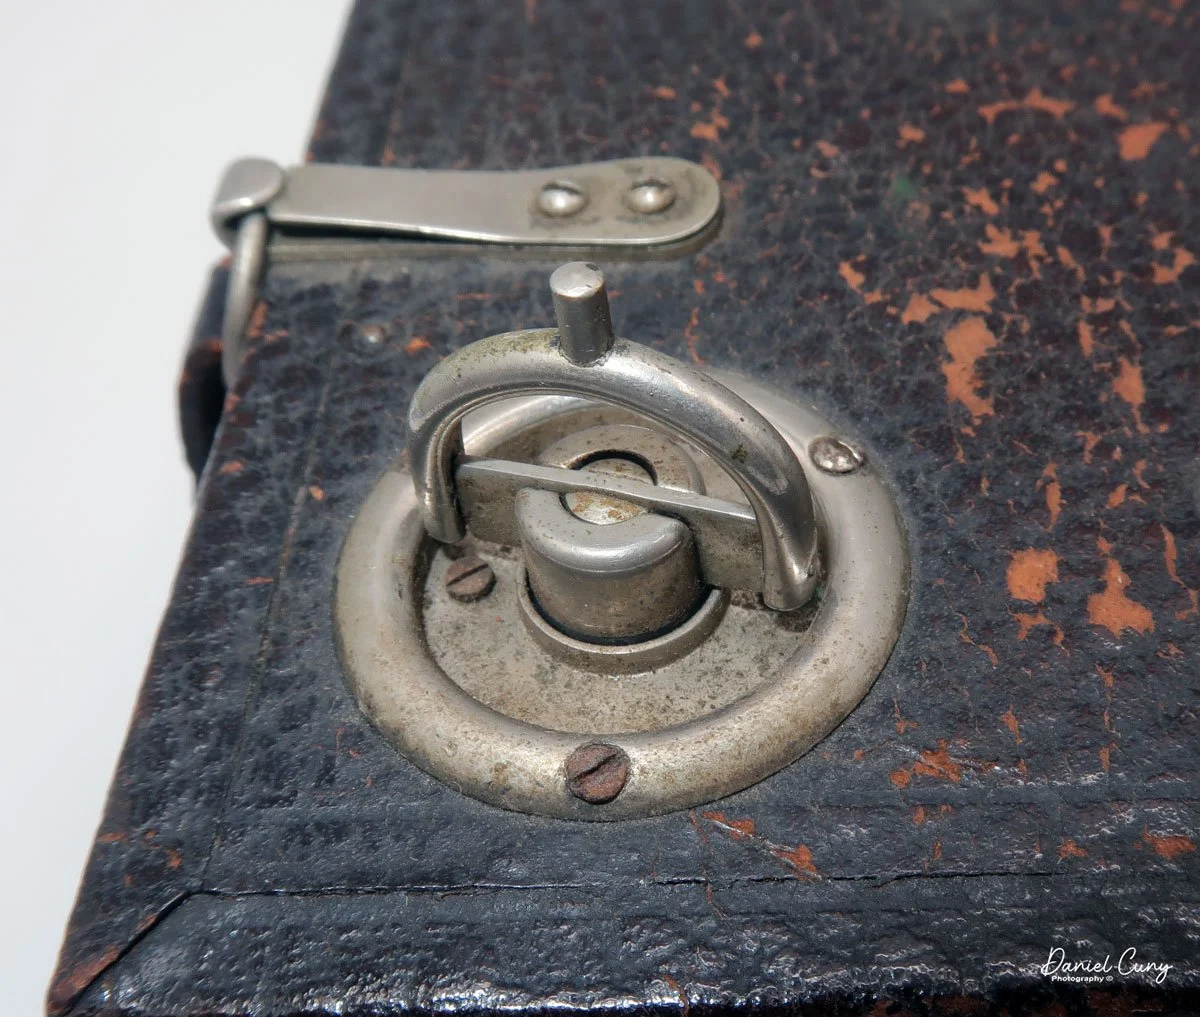
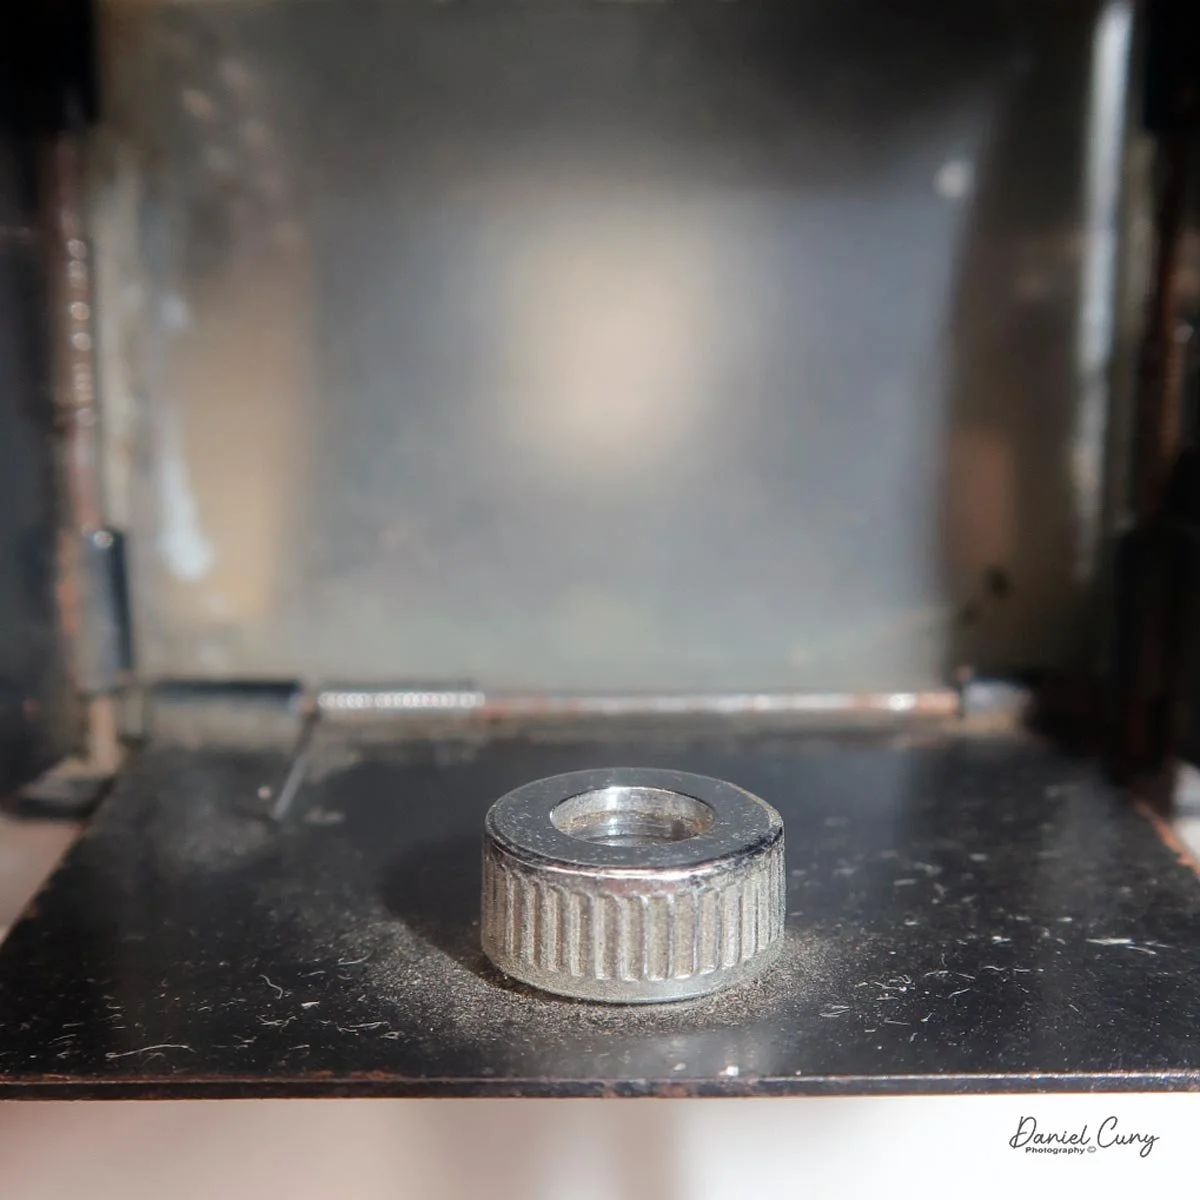
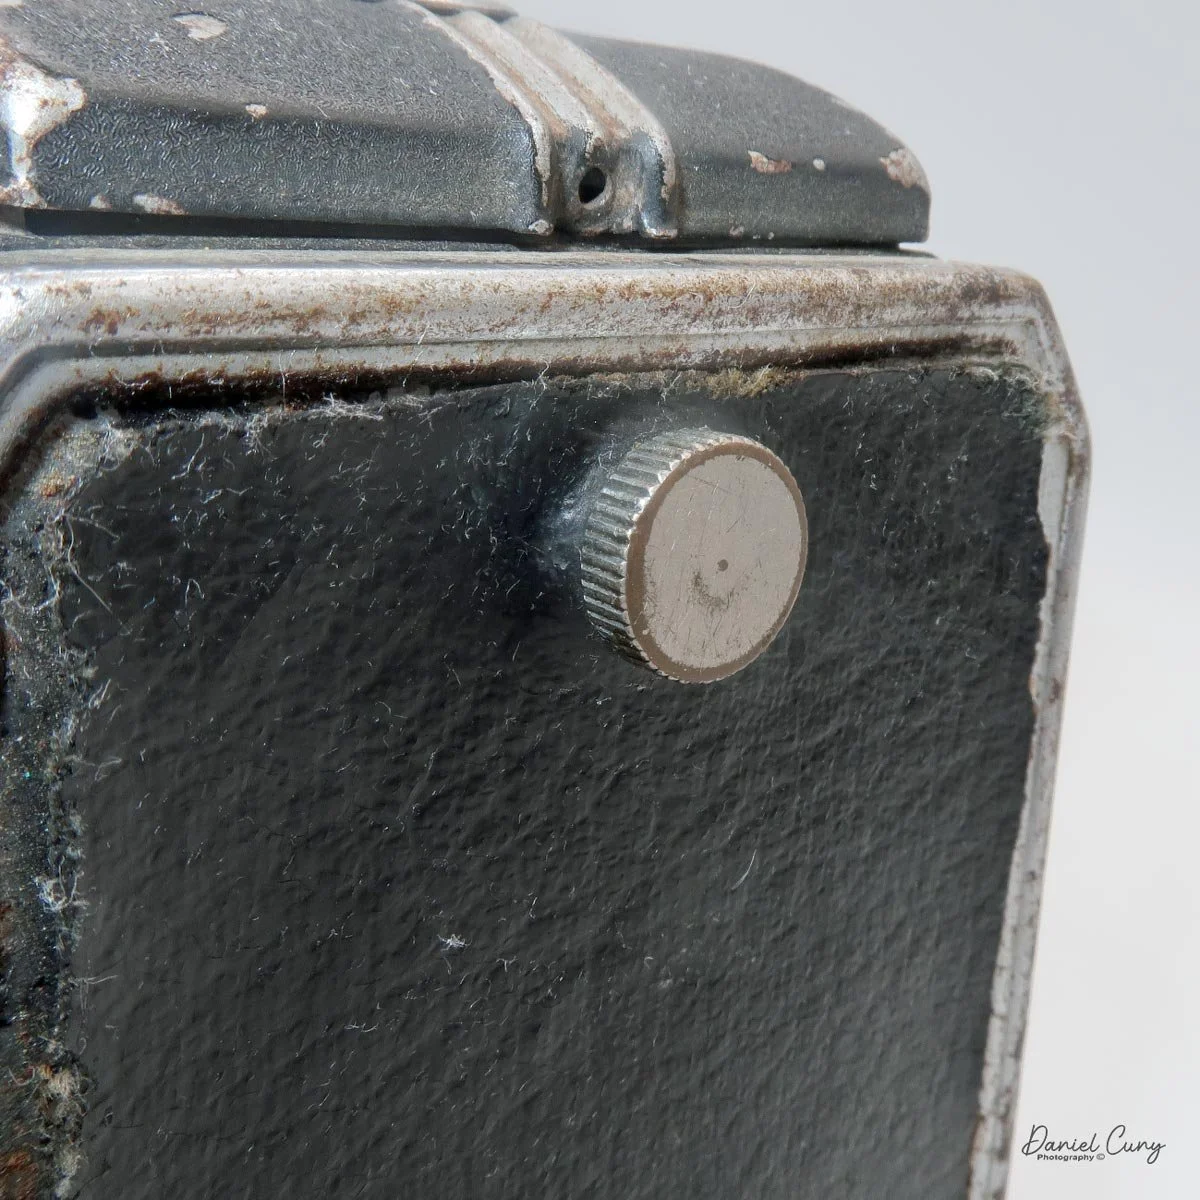
To take the back off to load film into the camera. On the back, the top is a large knob that must be unscrewed to remove the back. Once removed, you'll load the 127-size film, similar to any other roll-film camera. Put the fresh, unexposed film in the bottom area and the take-up spool on the top, right-hand side of the camera, where the winding lever is located. Bring the leader to the take-up spool, thread it into the slot, and wind until you see "start" on the paper backing. Close the back of the camera and screw it on tightly.
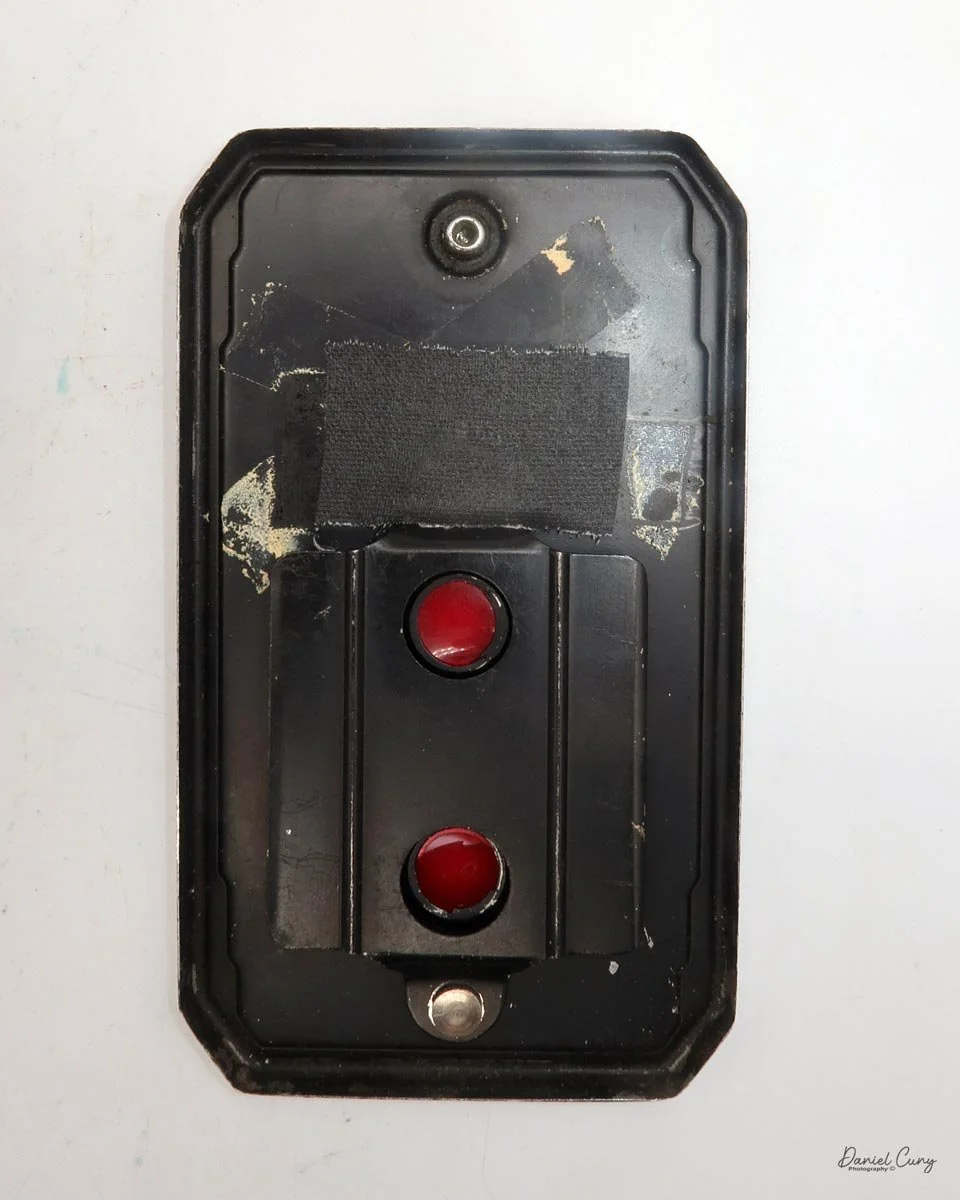
Since this is a 3x4cm format frame and the camera has two red windows, you'll wind until you see the number 1 in the first window. Take your photo, then wind until you see the number 1 in the second window, and take your photo. Follow this process through the number 8, meaning you've taken 16 images on the roll of film. Take the film out and process it.
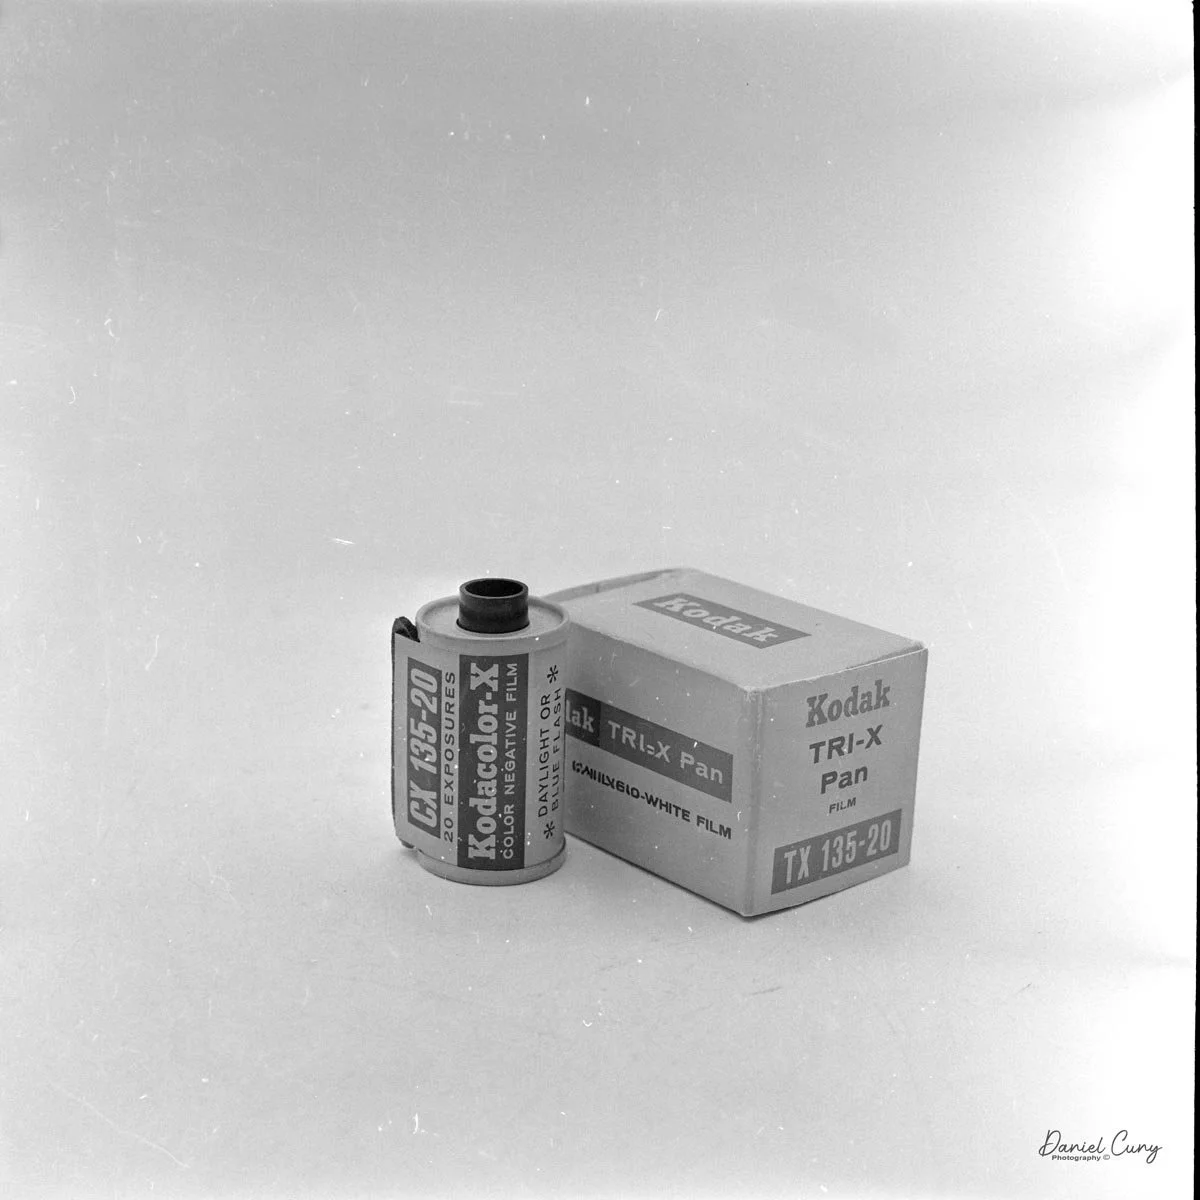
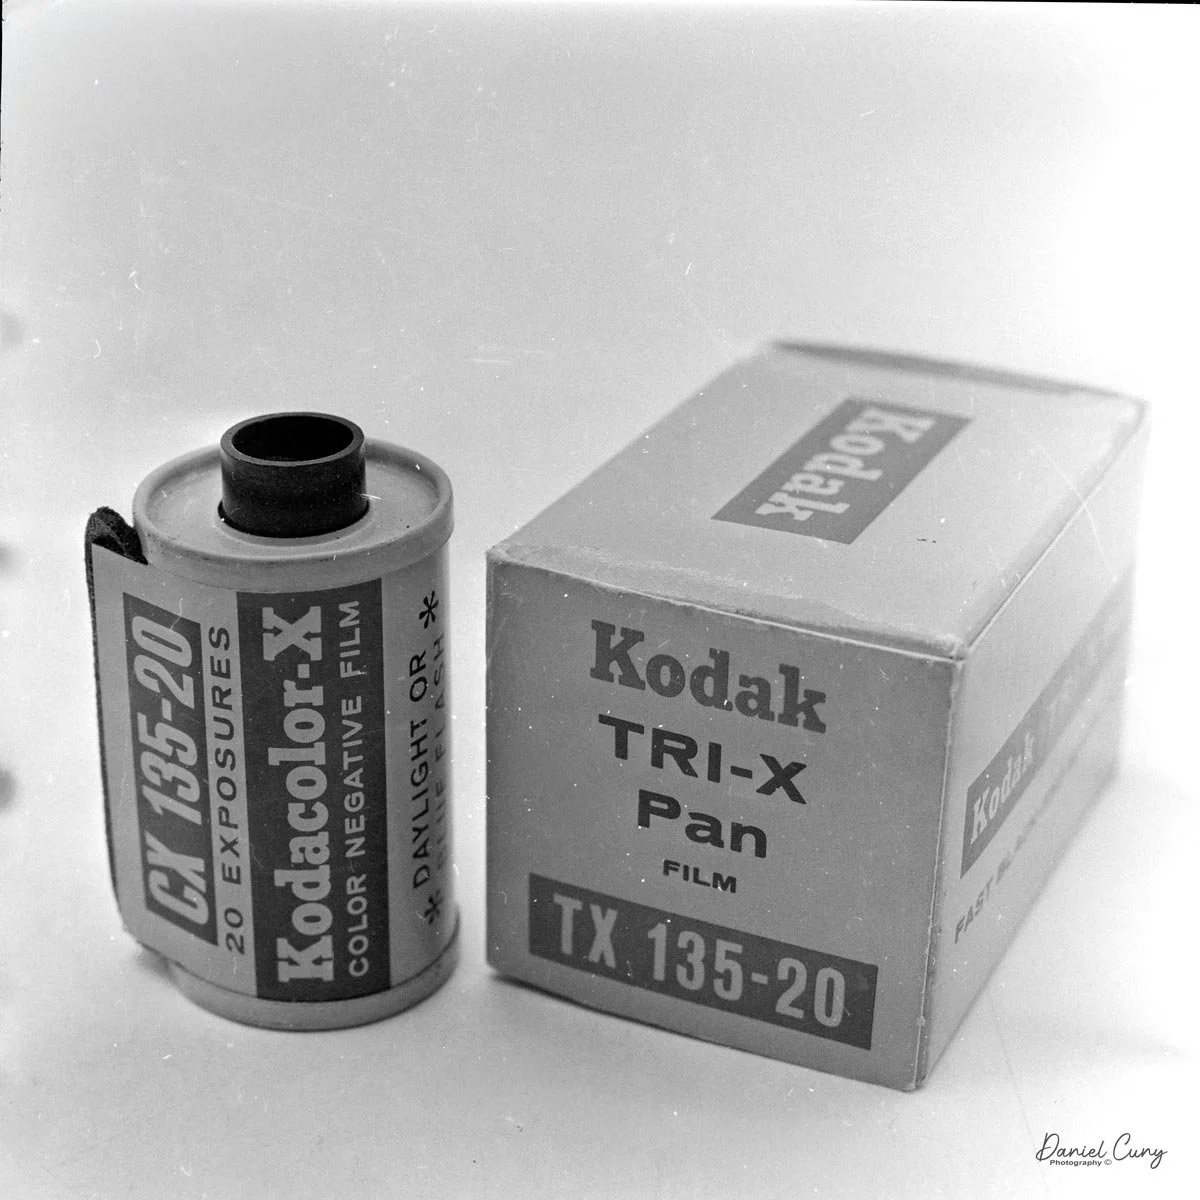
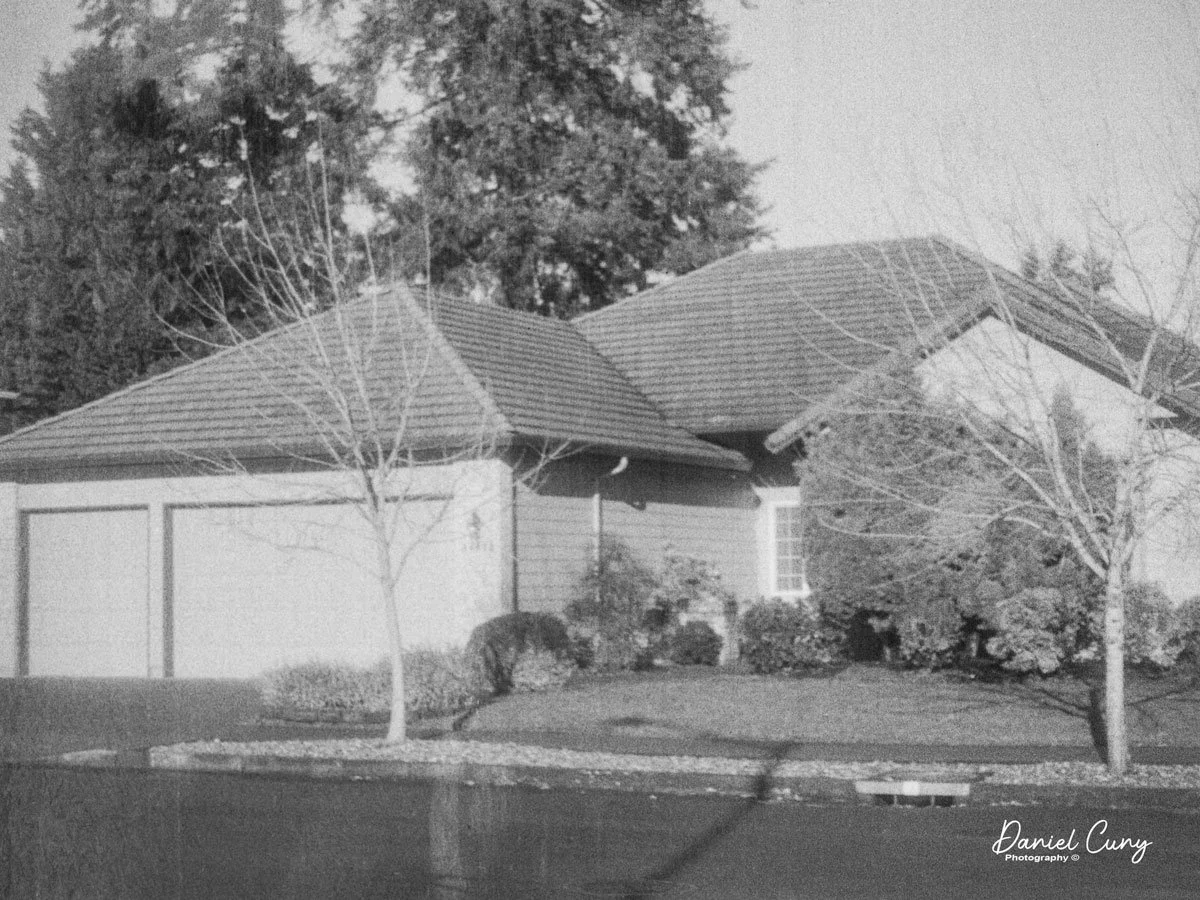
The only 127 film I currently have is a few rolls of Jessop black-and-white film I purchased at the Tokyo City Flea Market a few months ago. The expiration date on the film is 11/1999. I hope it's still usable.
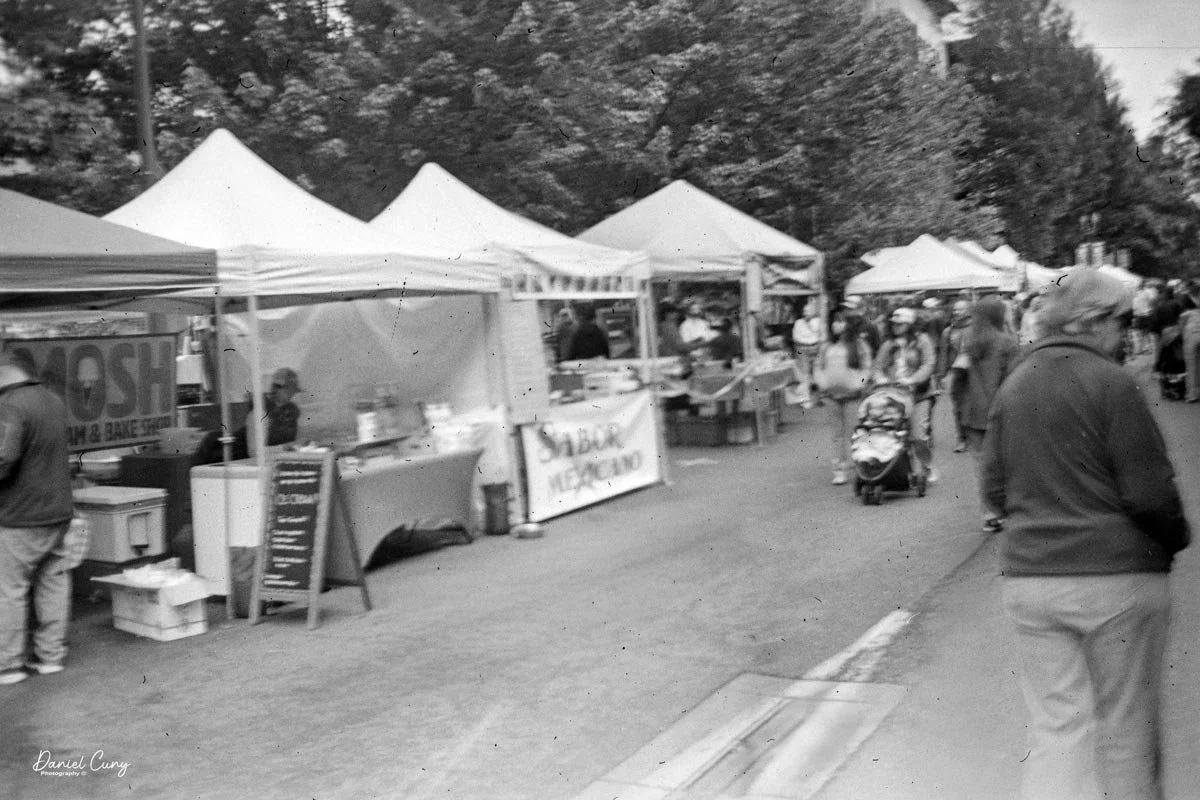
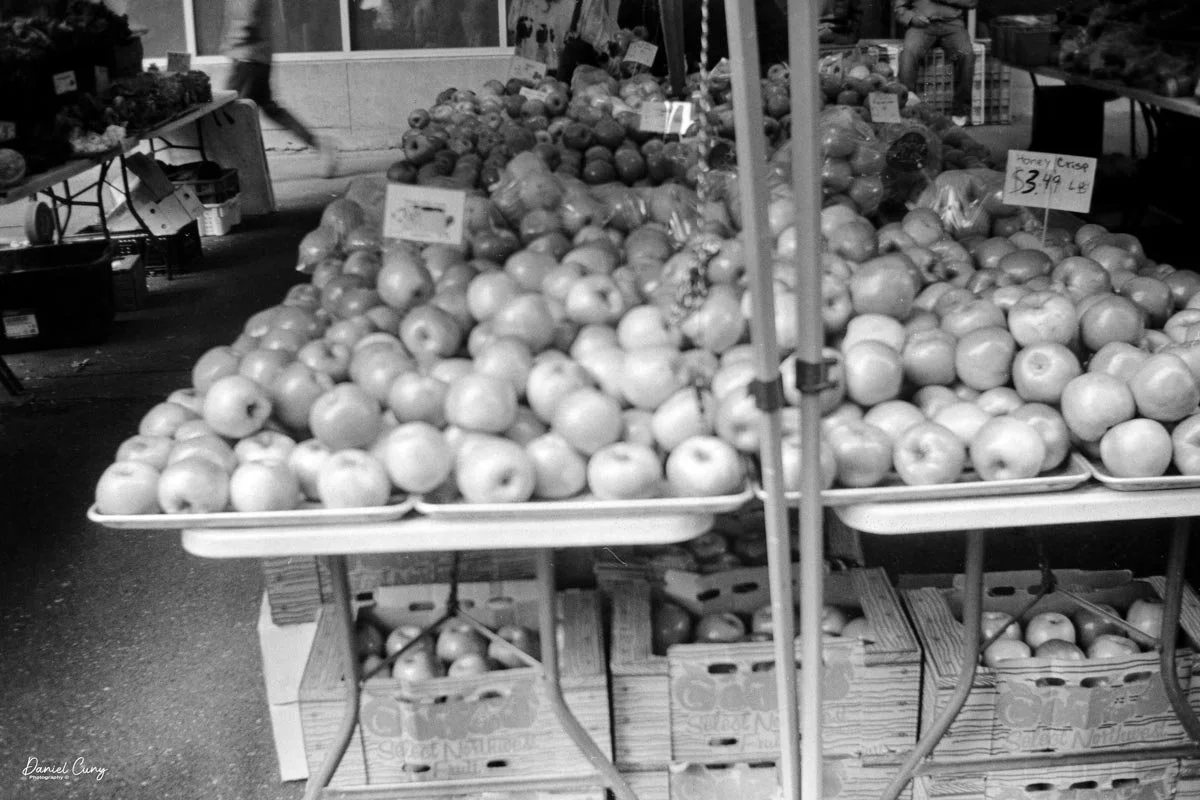
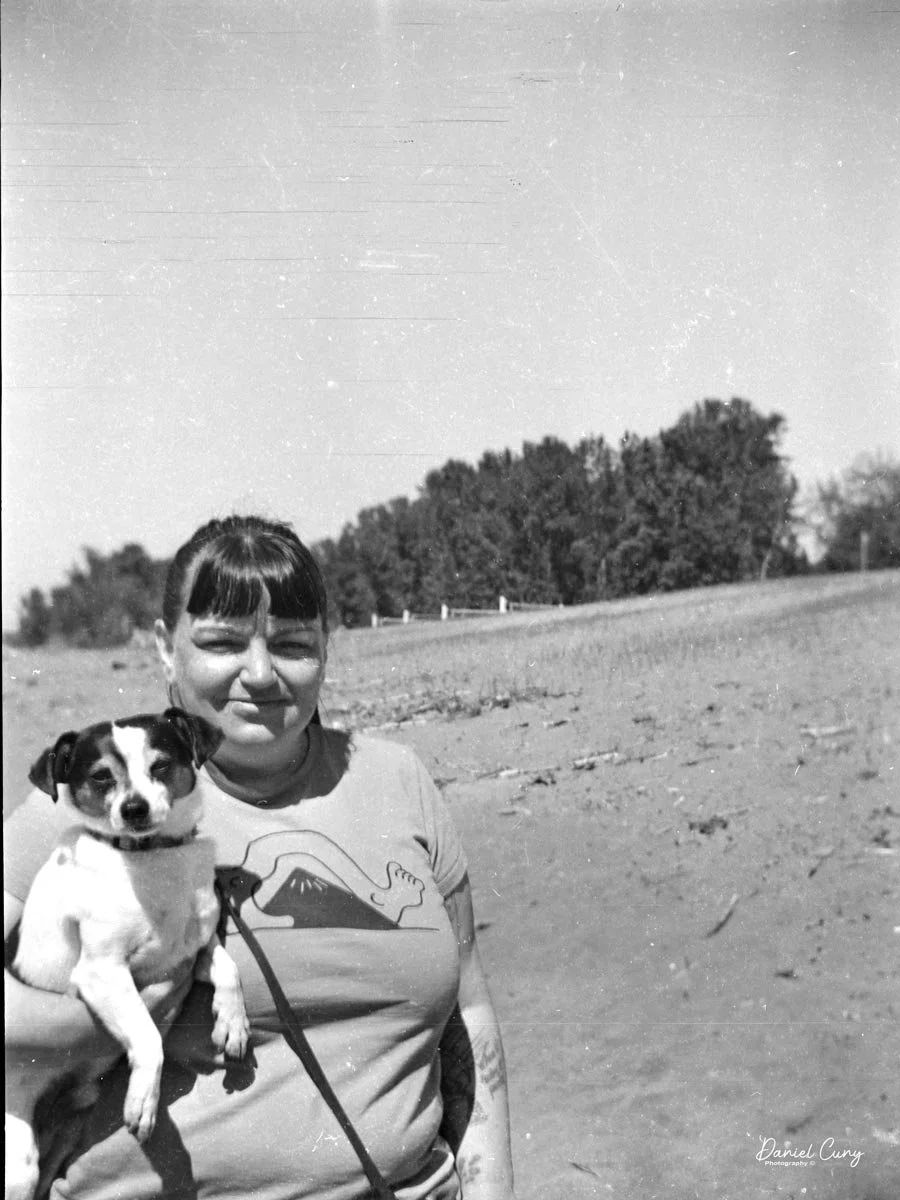
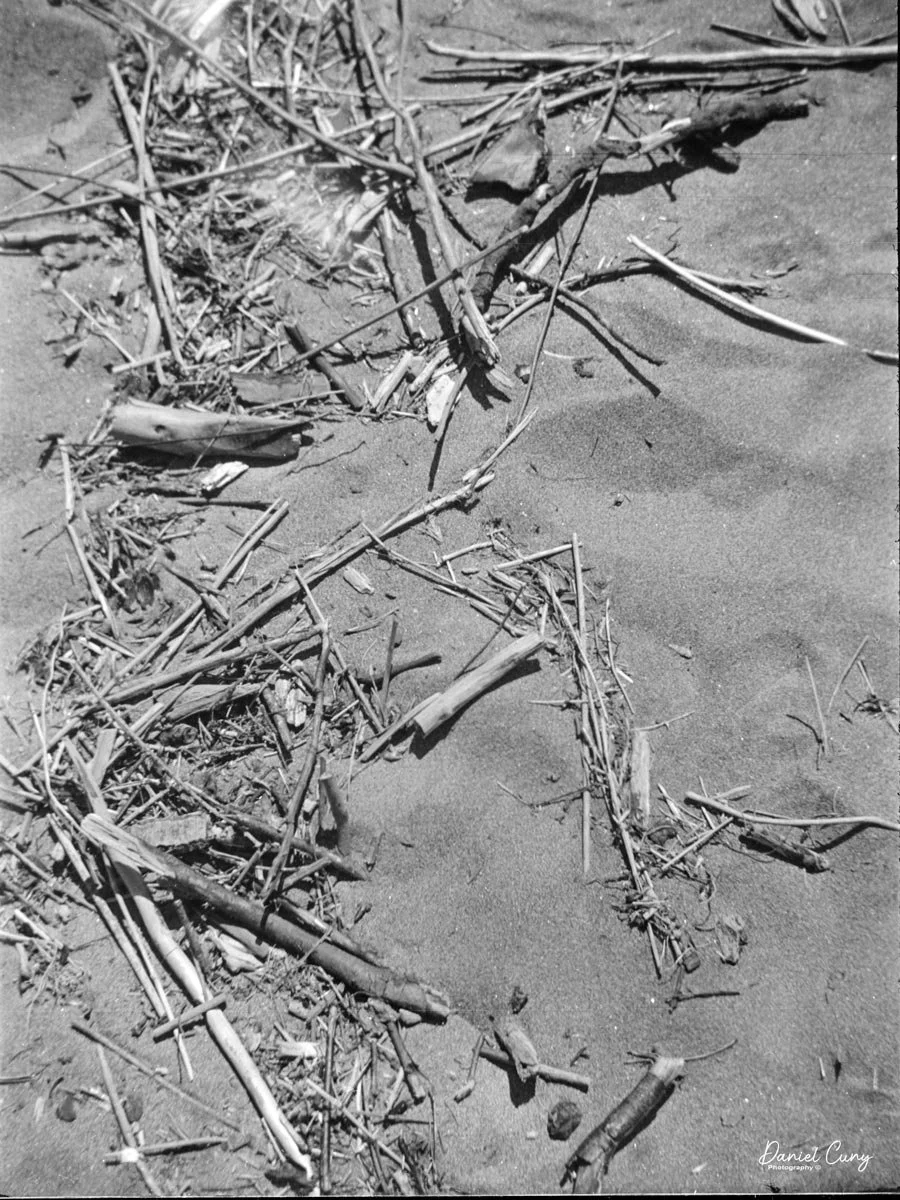
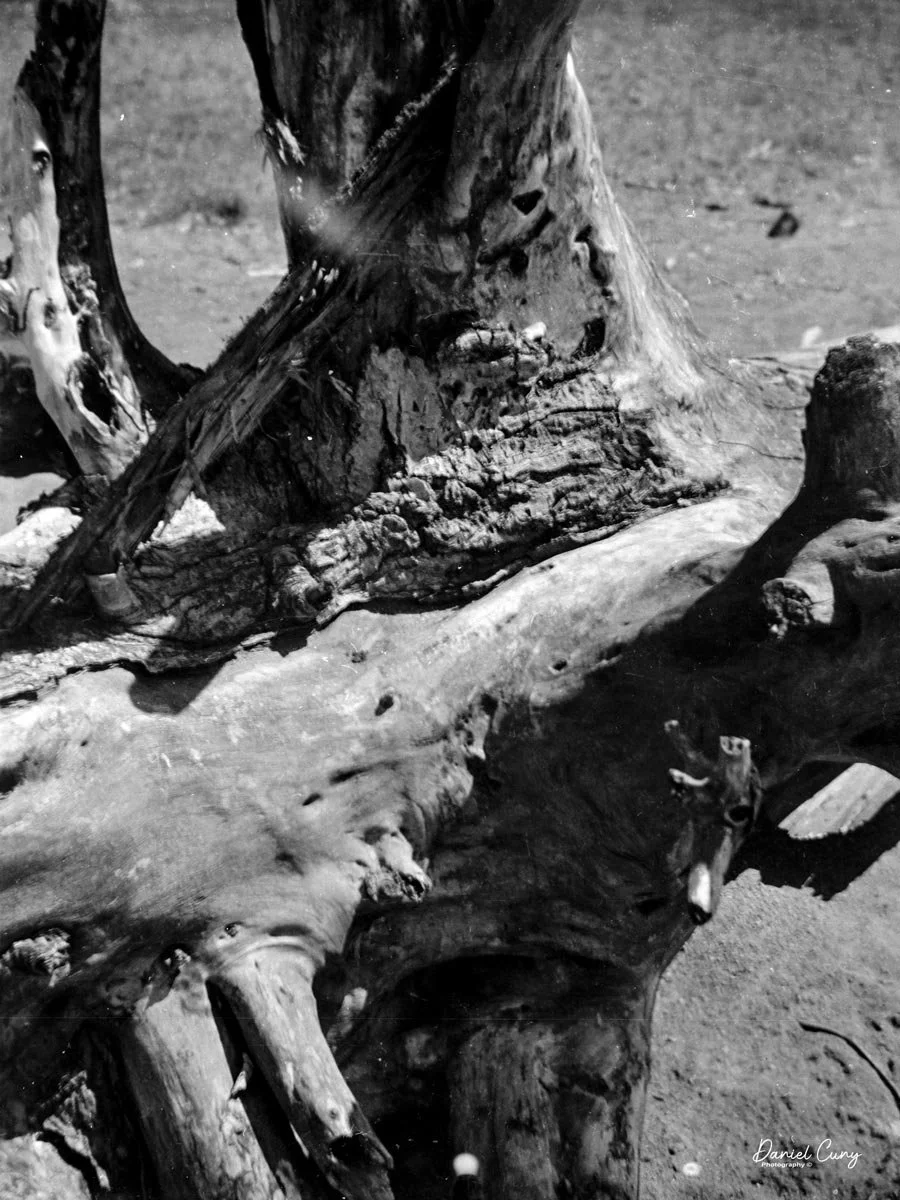
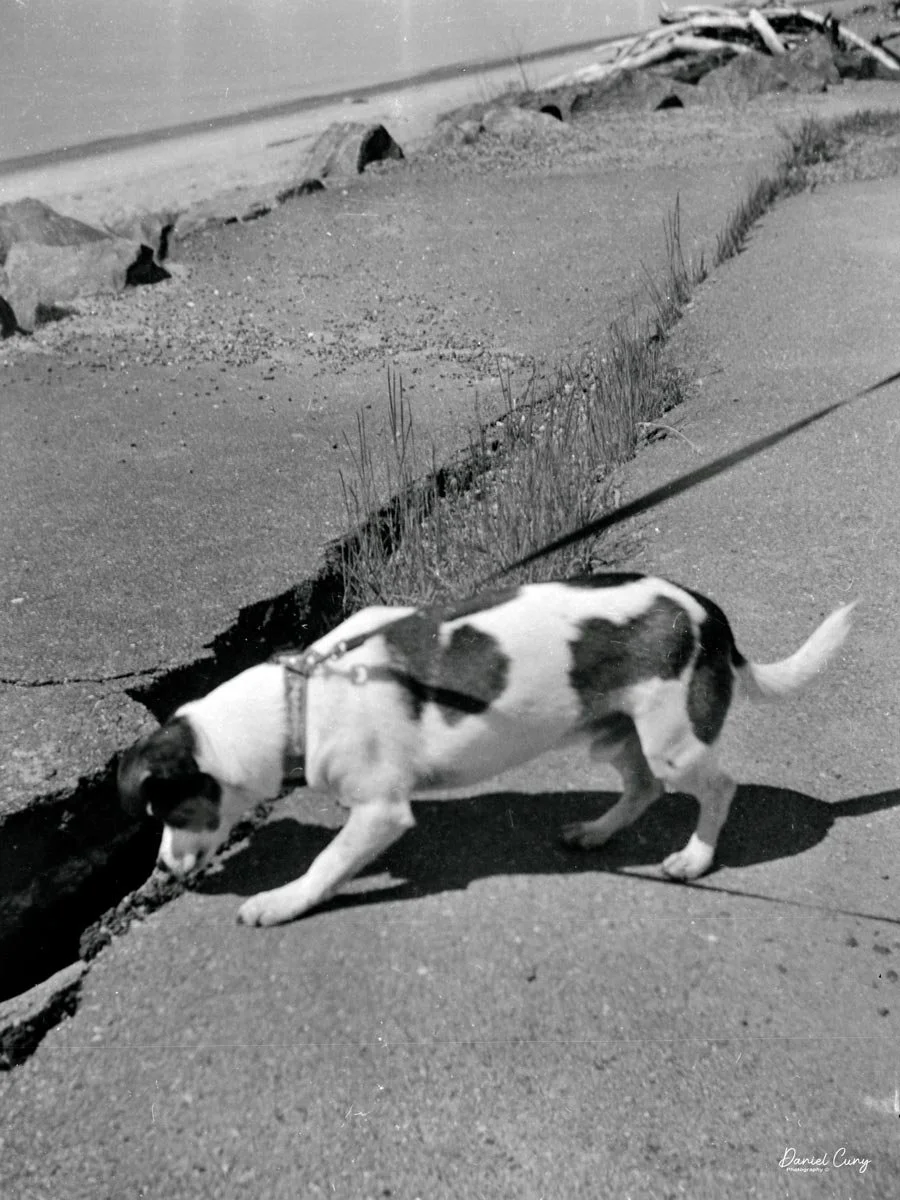
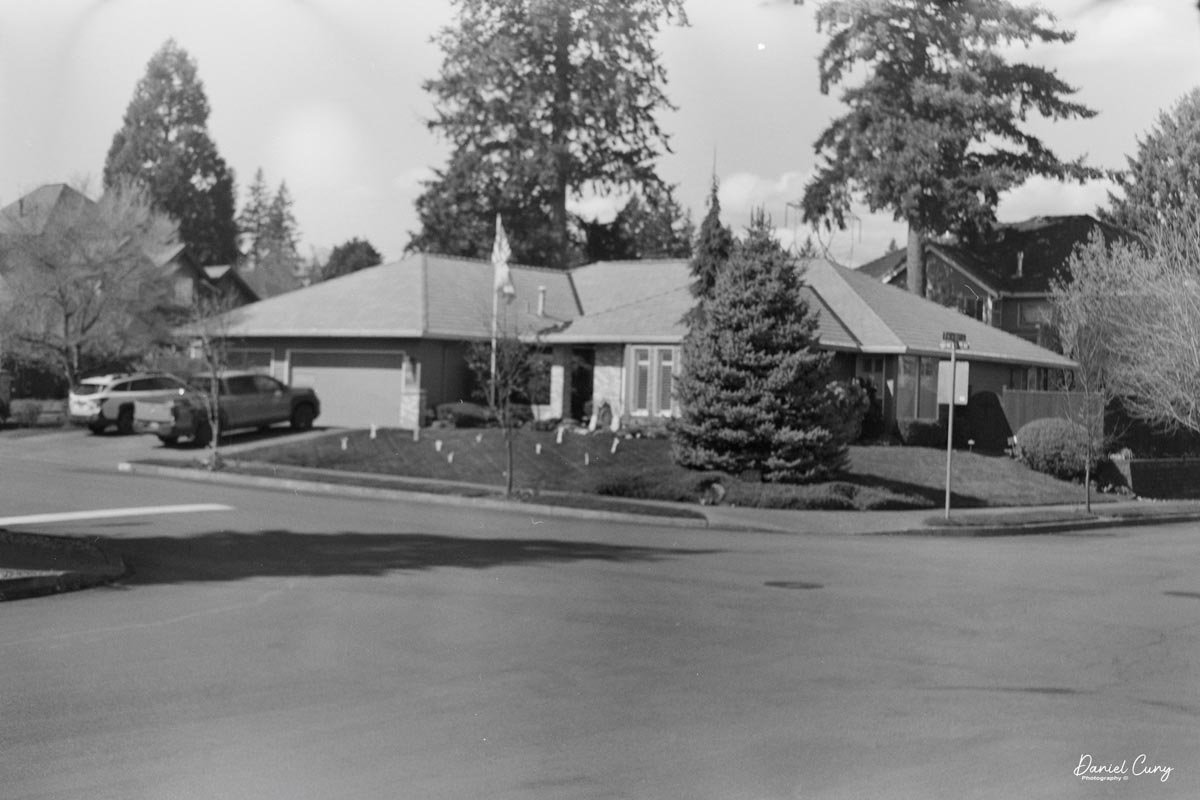
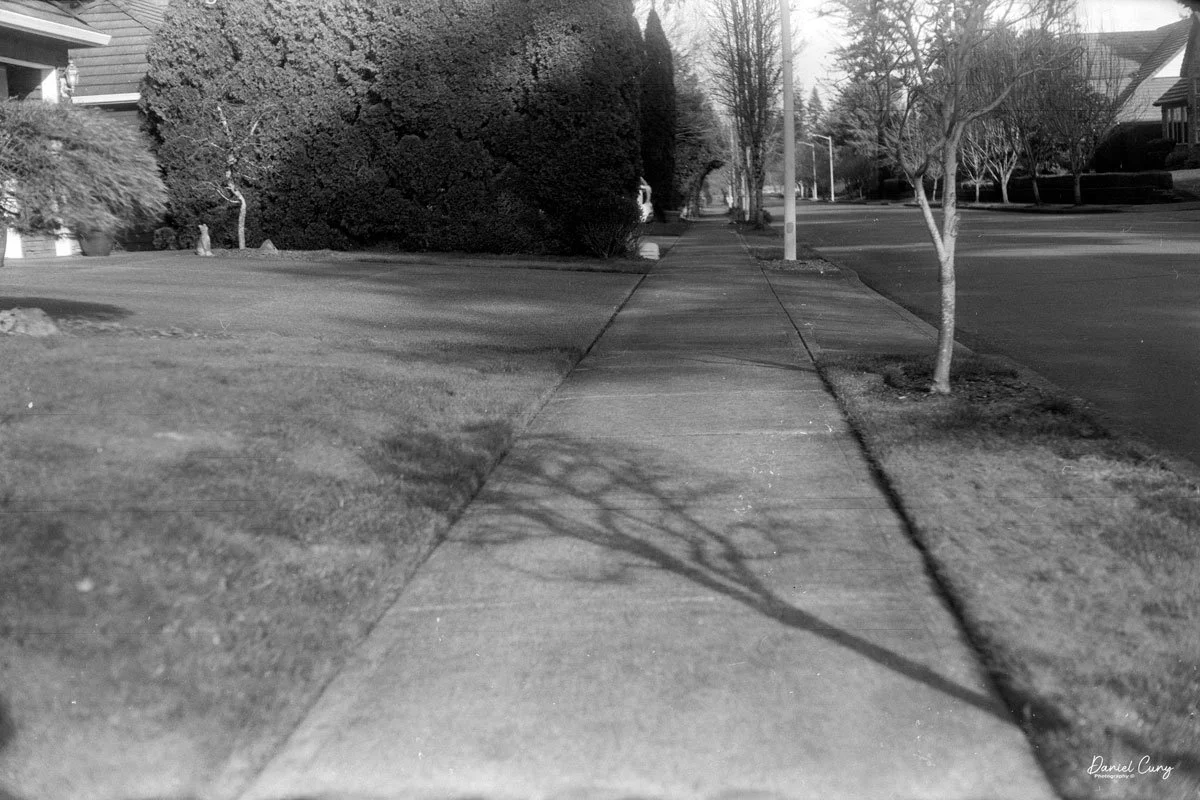
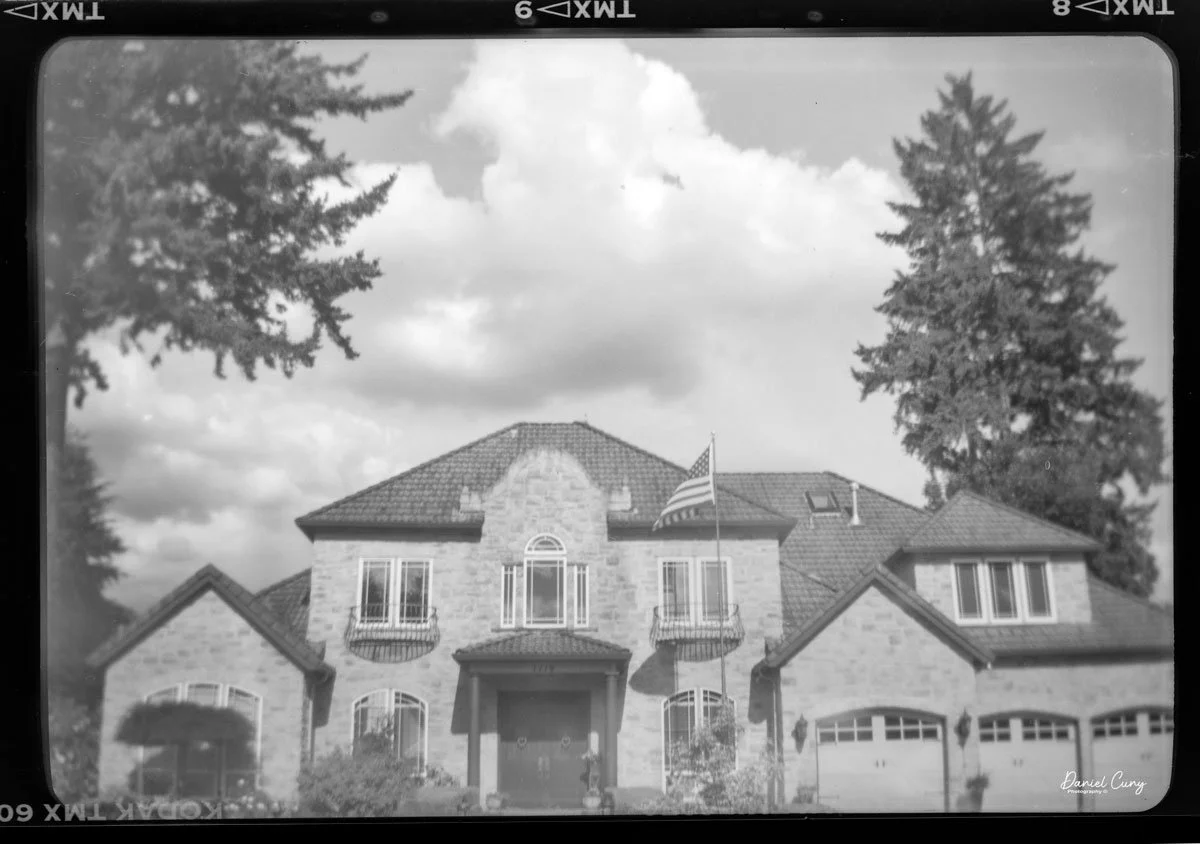
Now that I have the shutter fixed, lenses cleaned, and film loaded in the camera. It's Time to walk the neighborhood, taking photos to see how the Dual Reflex will perform.
My Results:
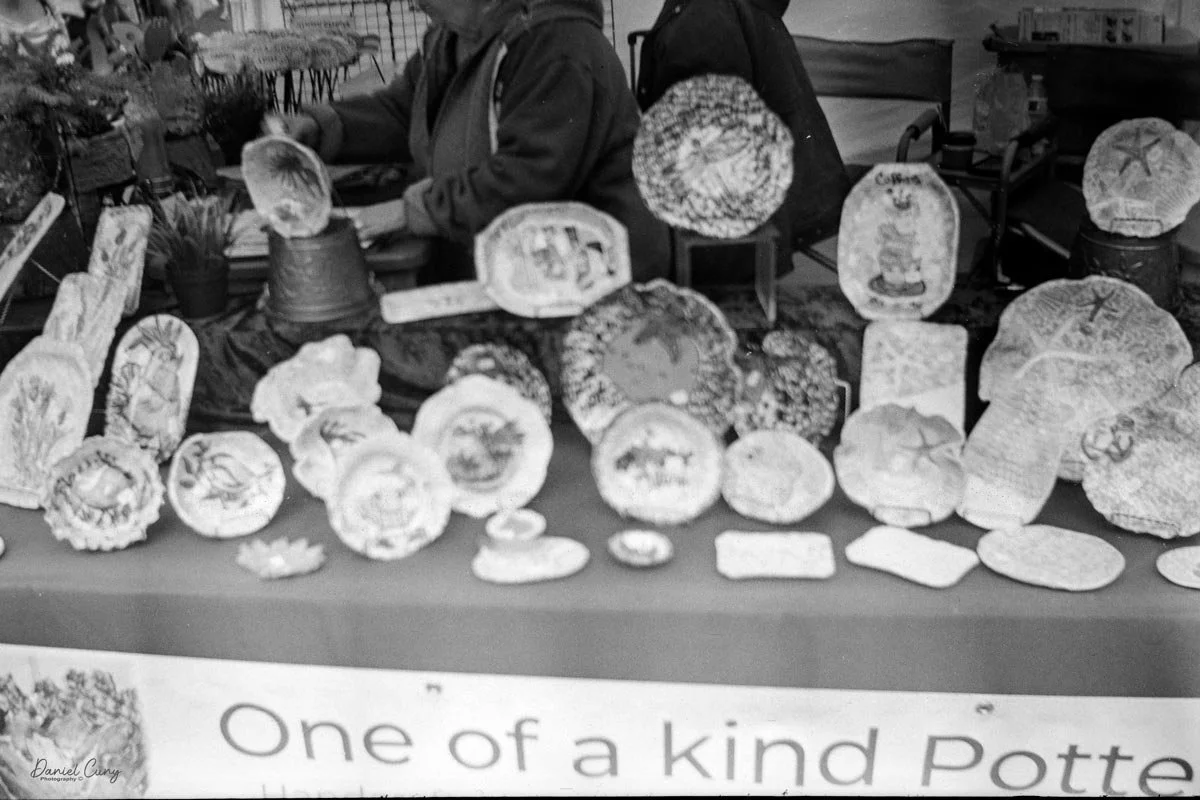
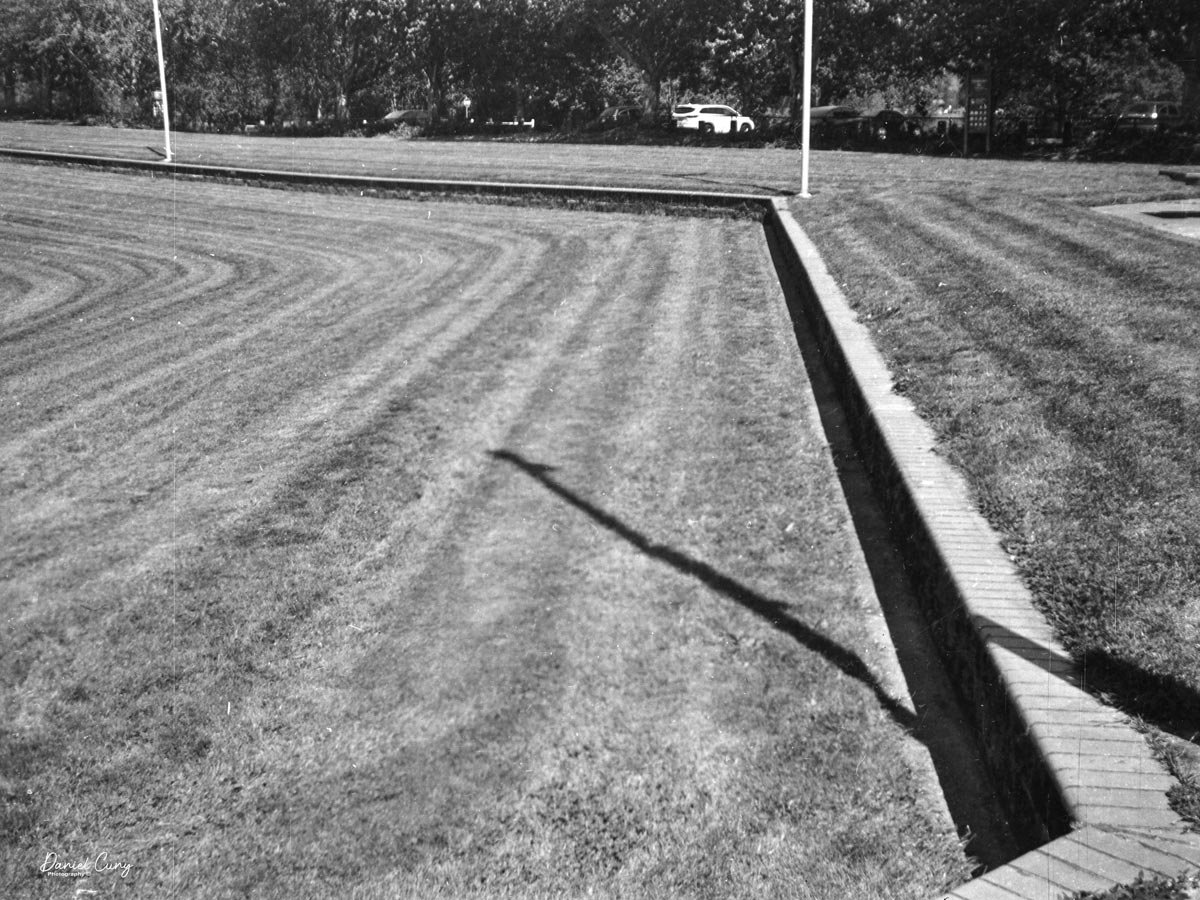
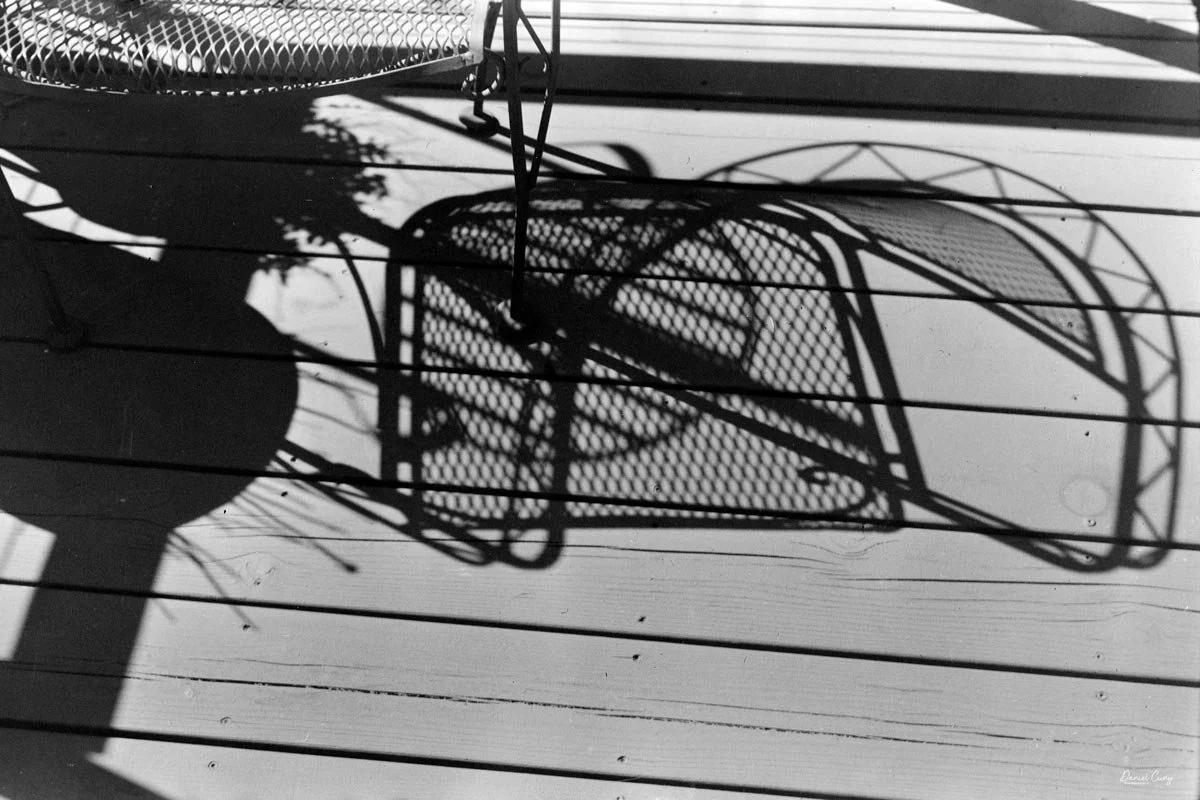
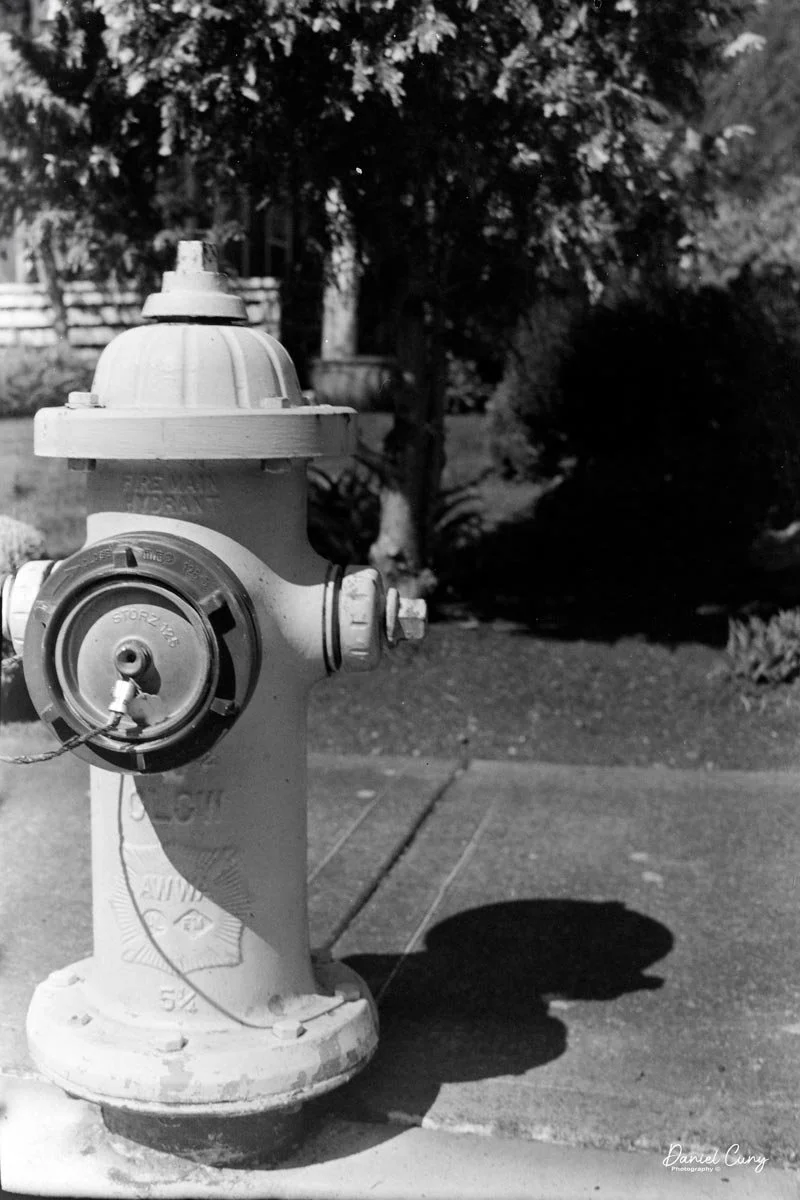
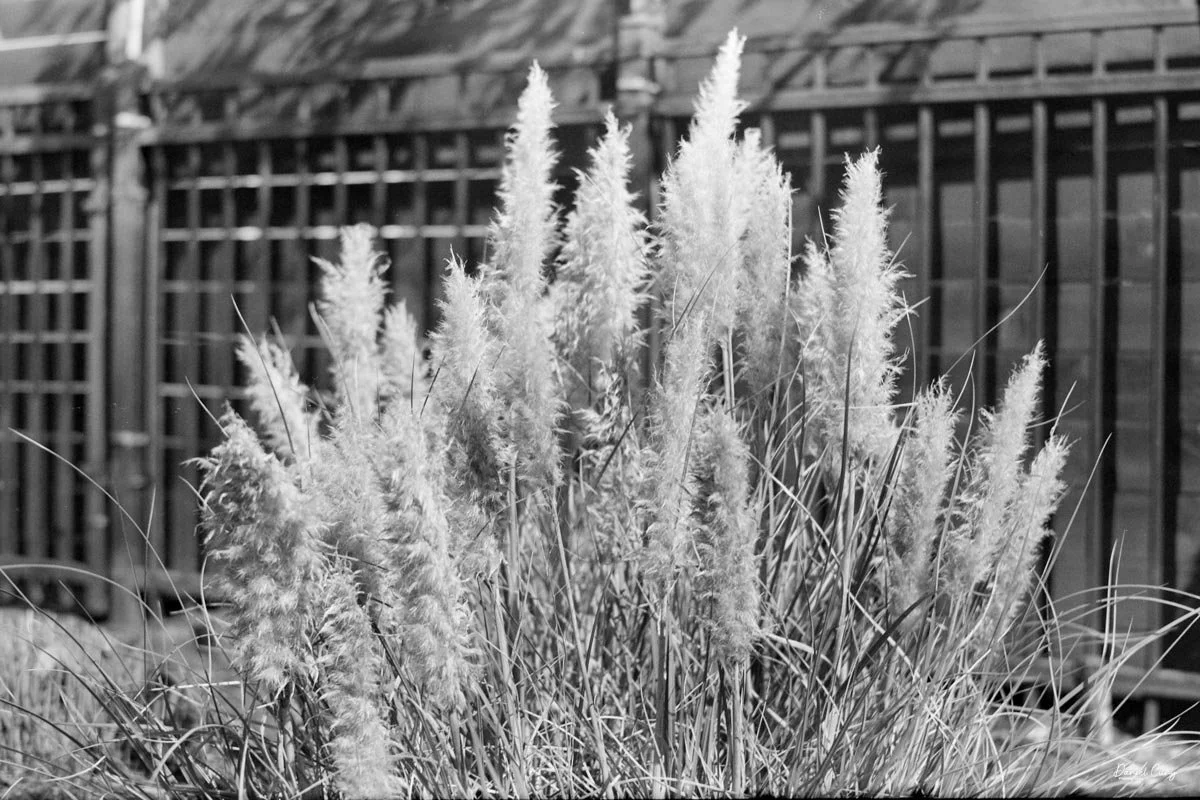
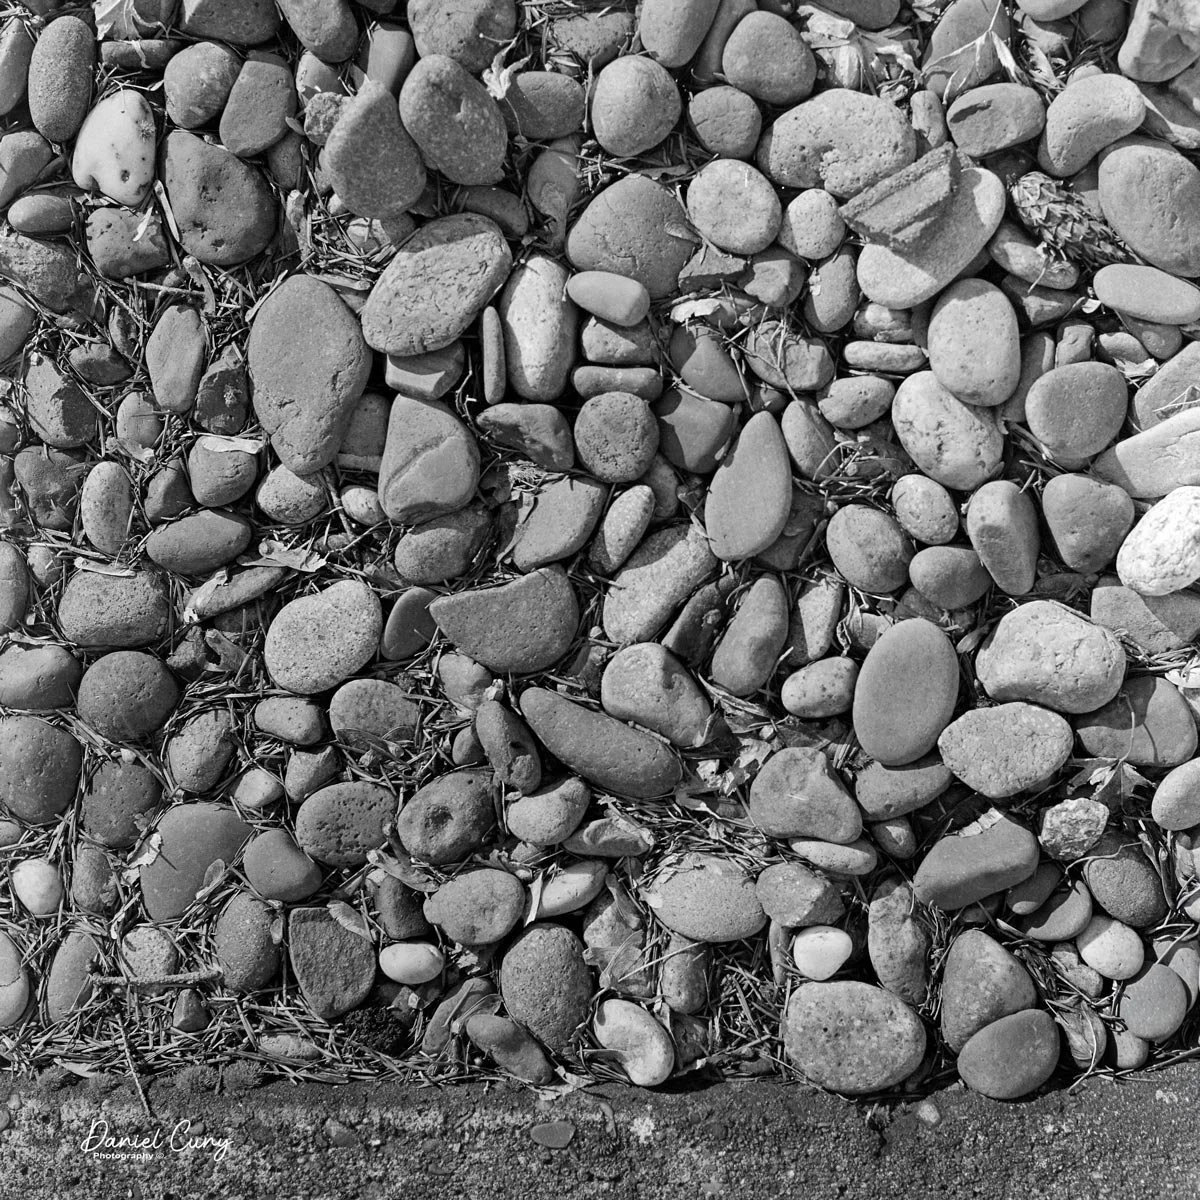
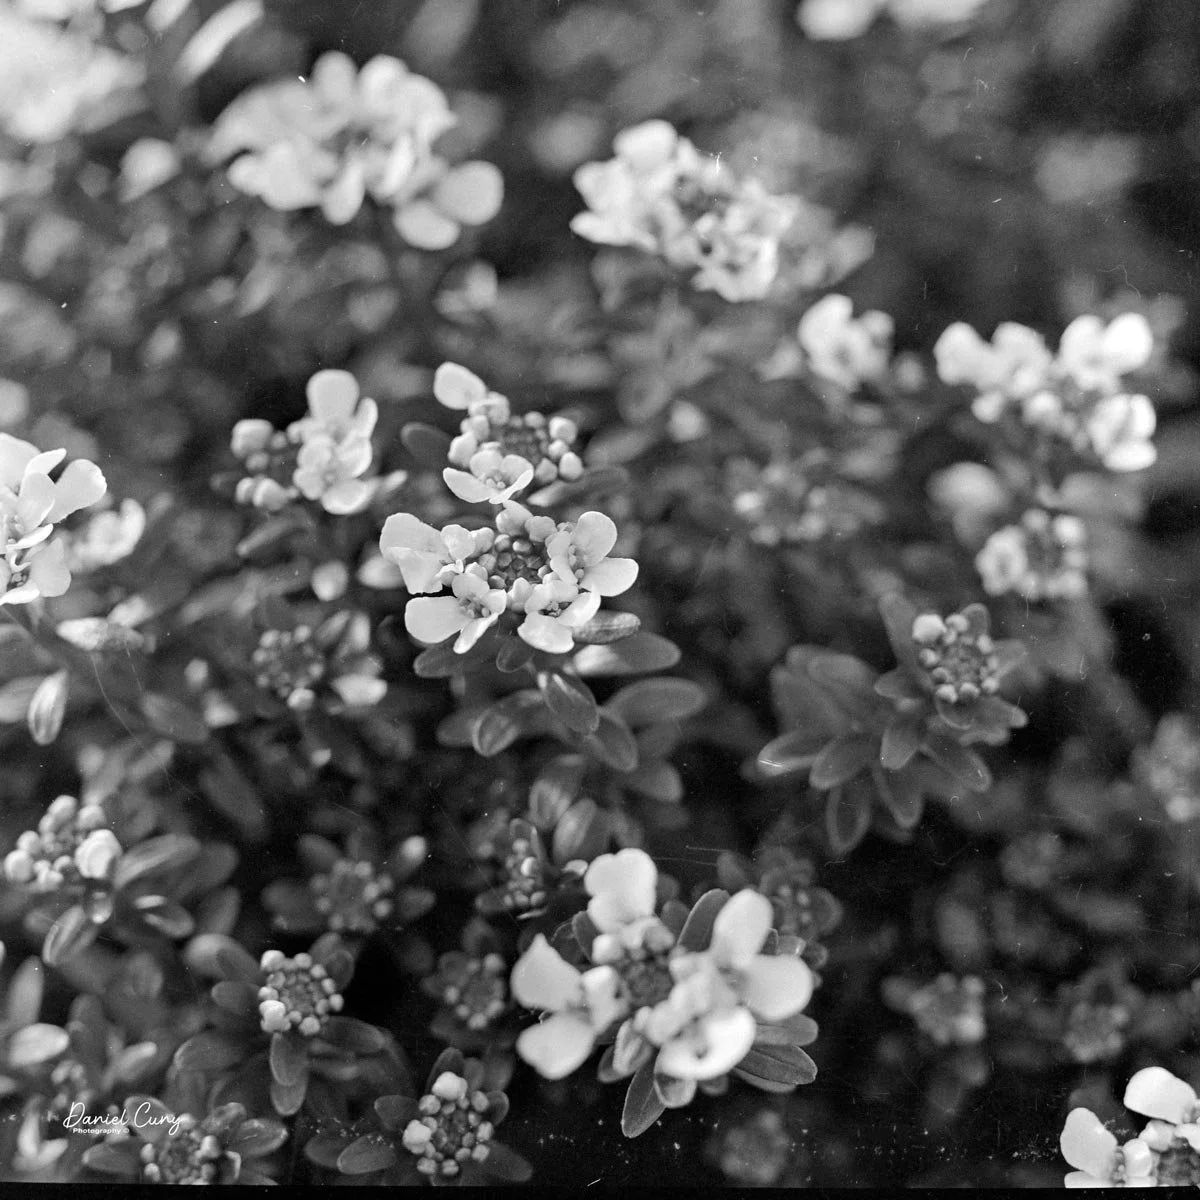
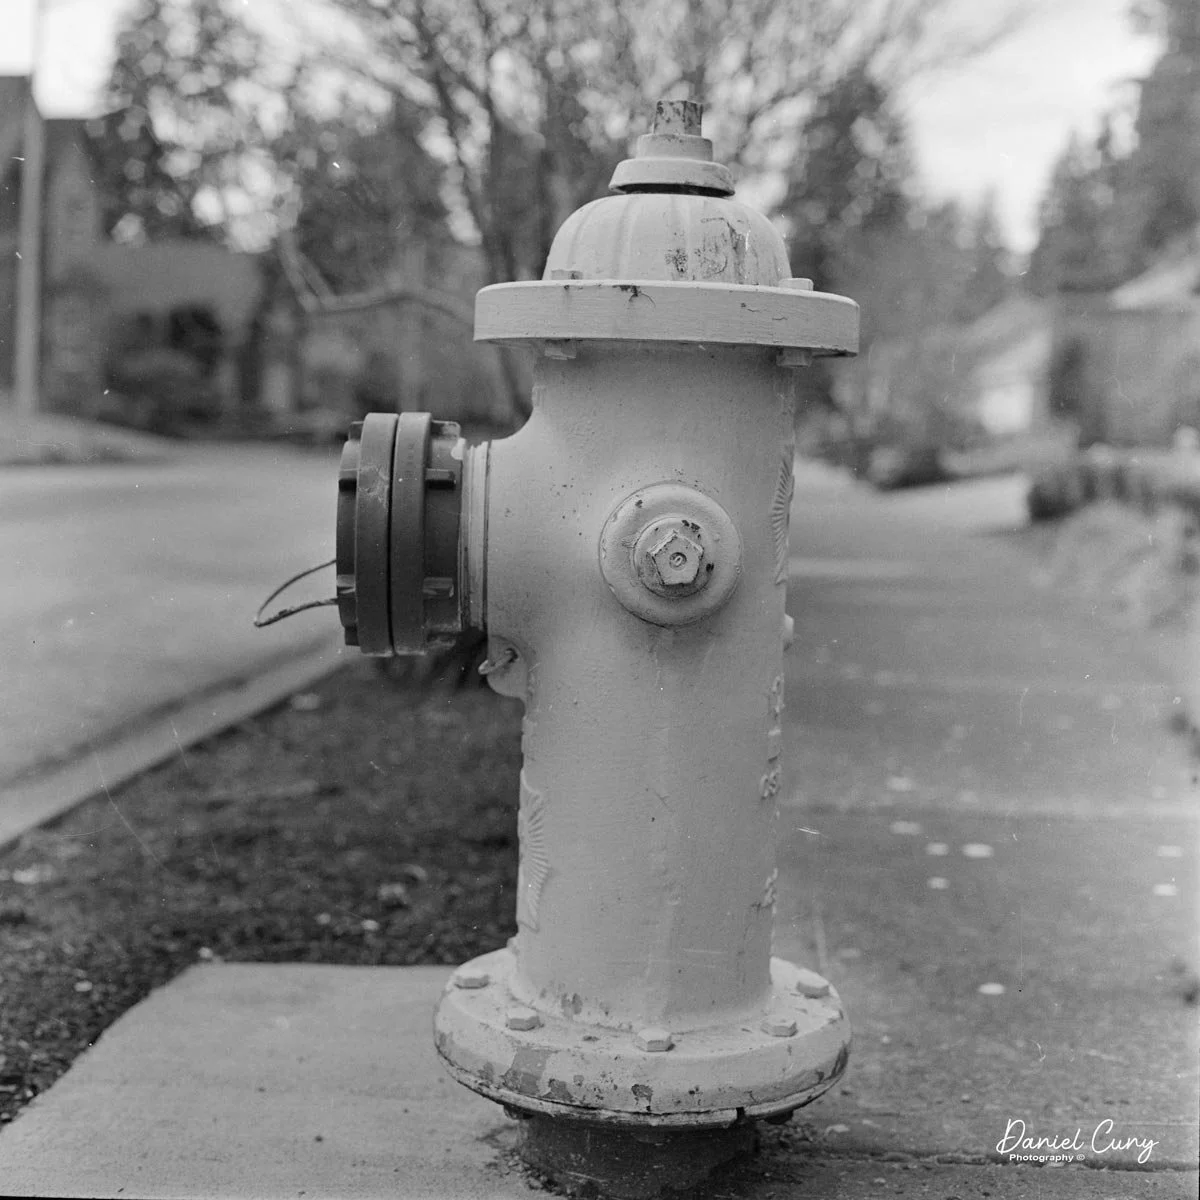
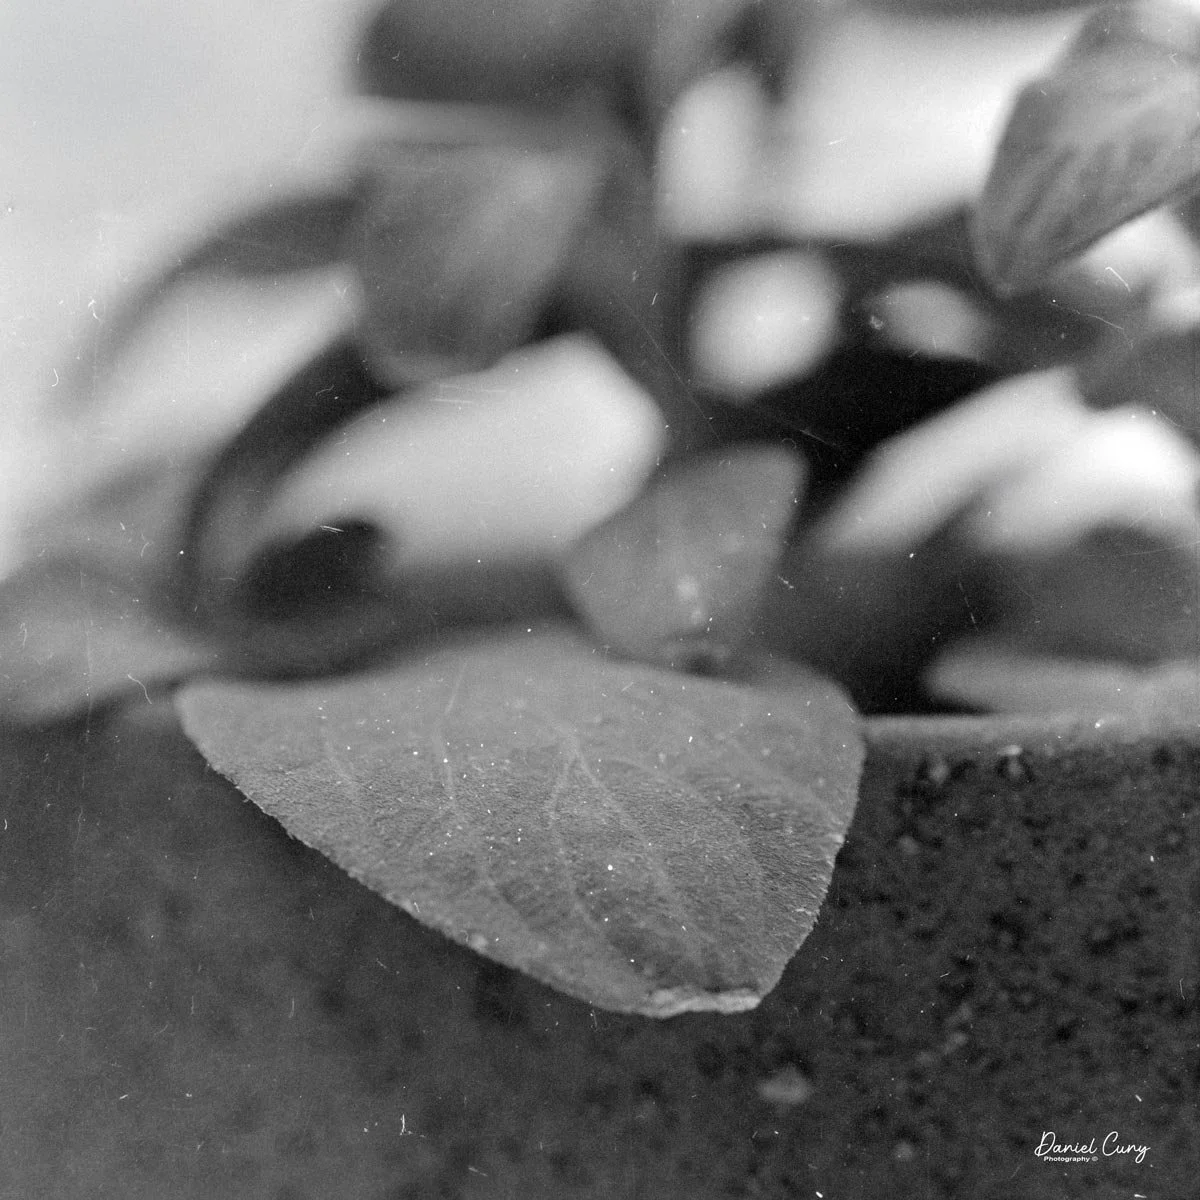
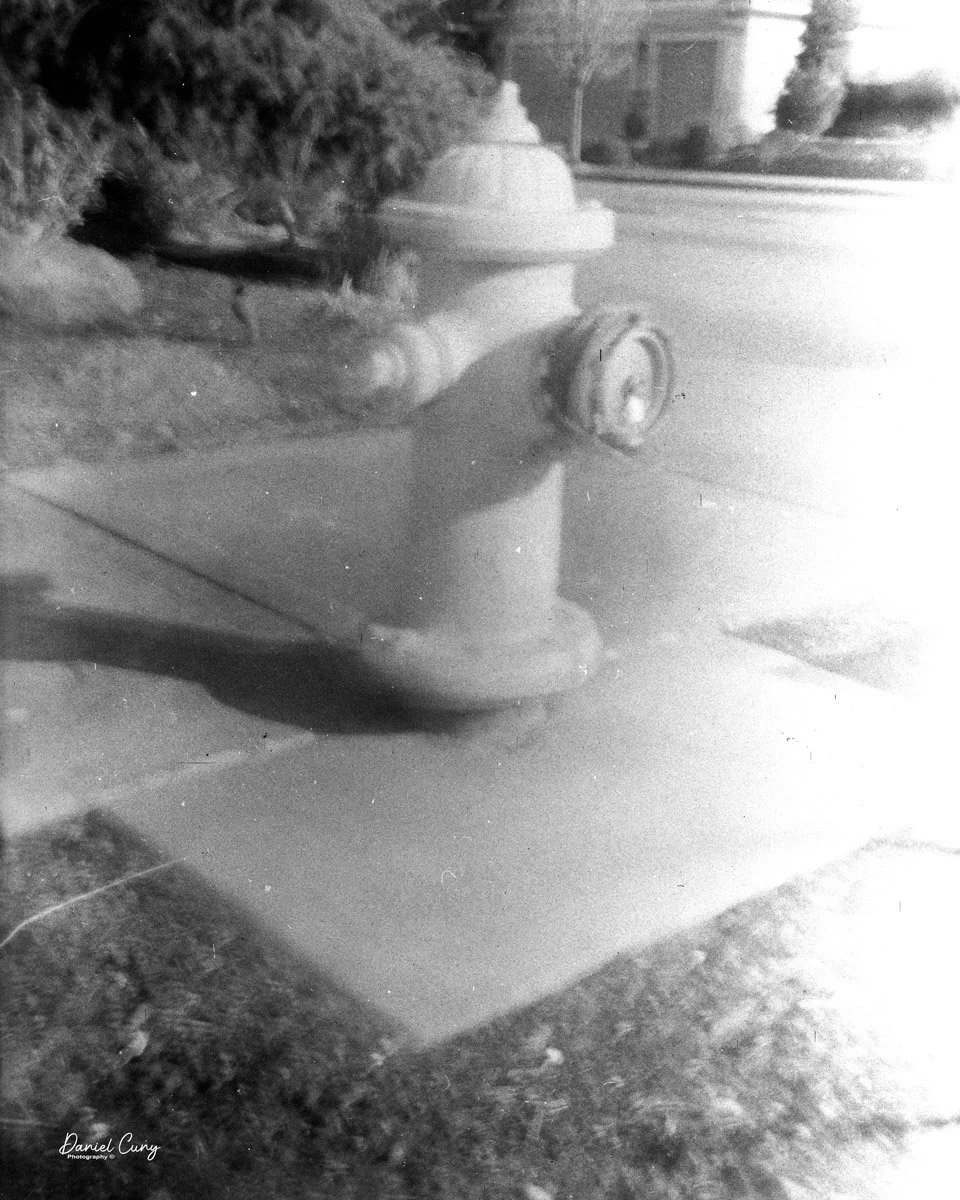
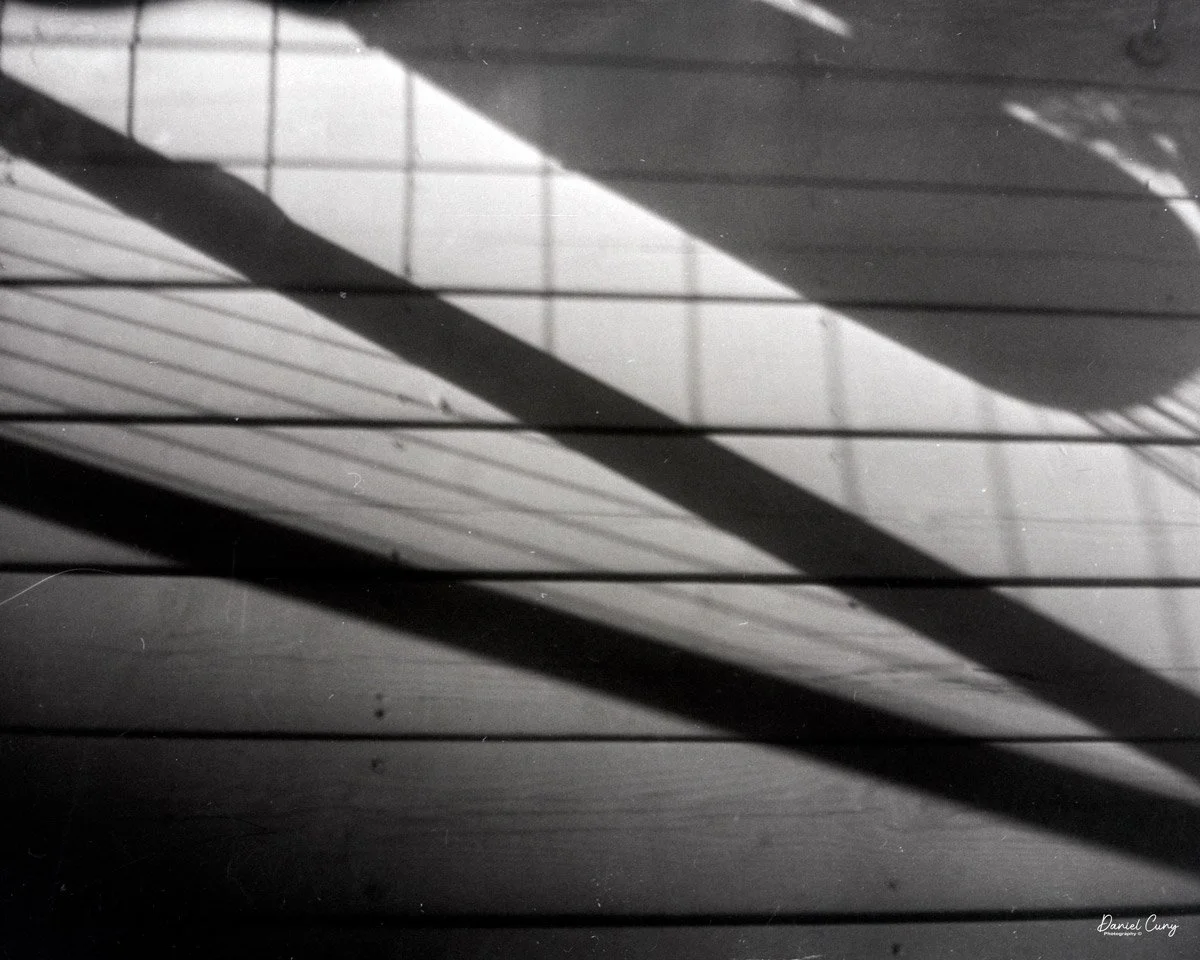
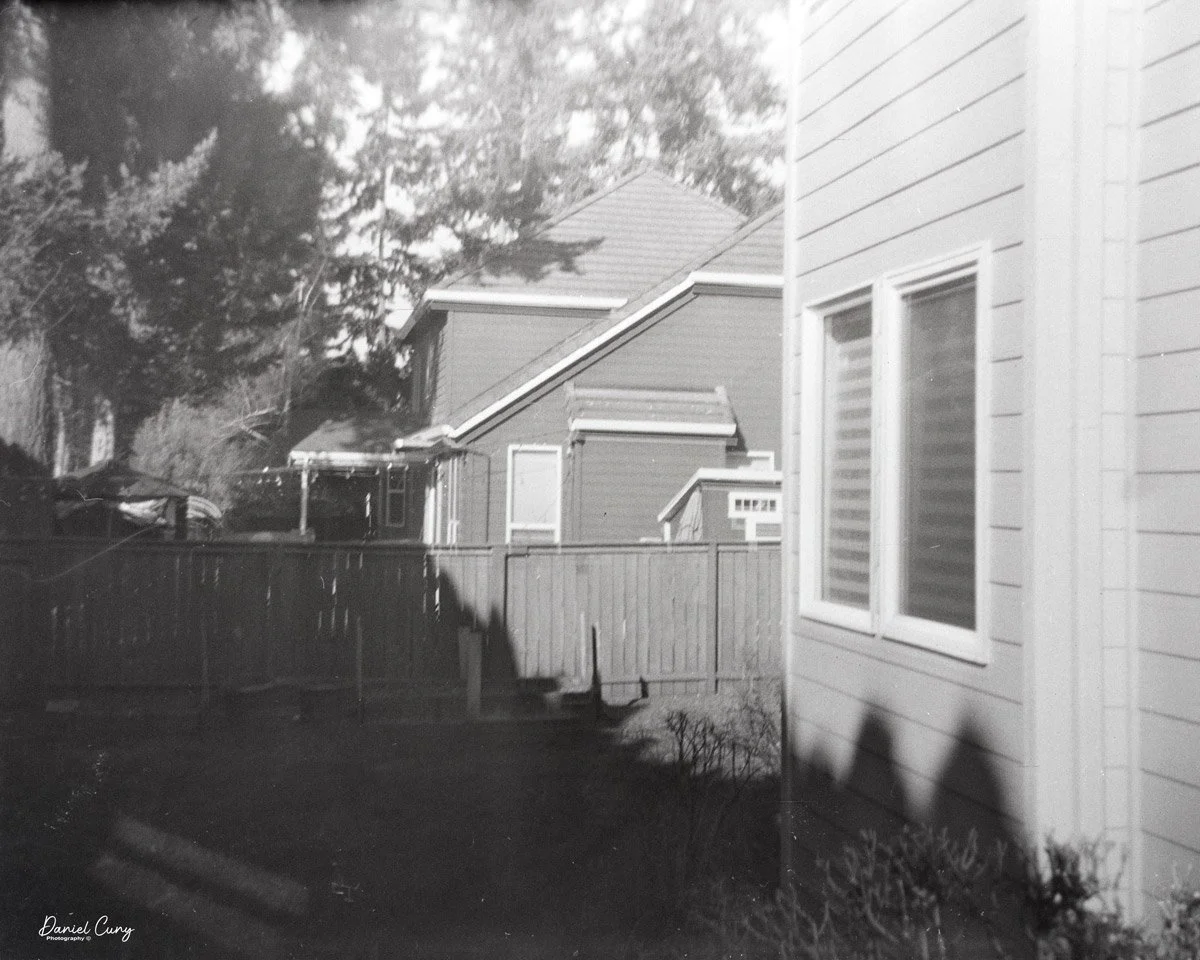
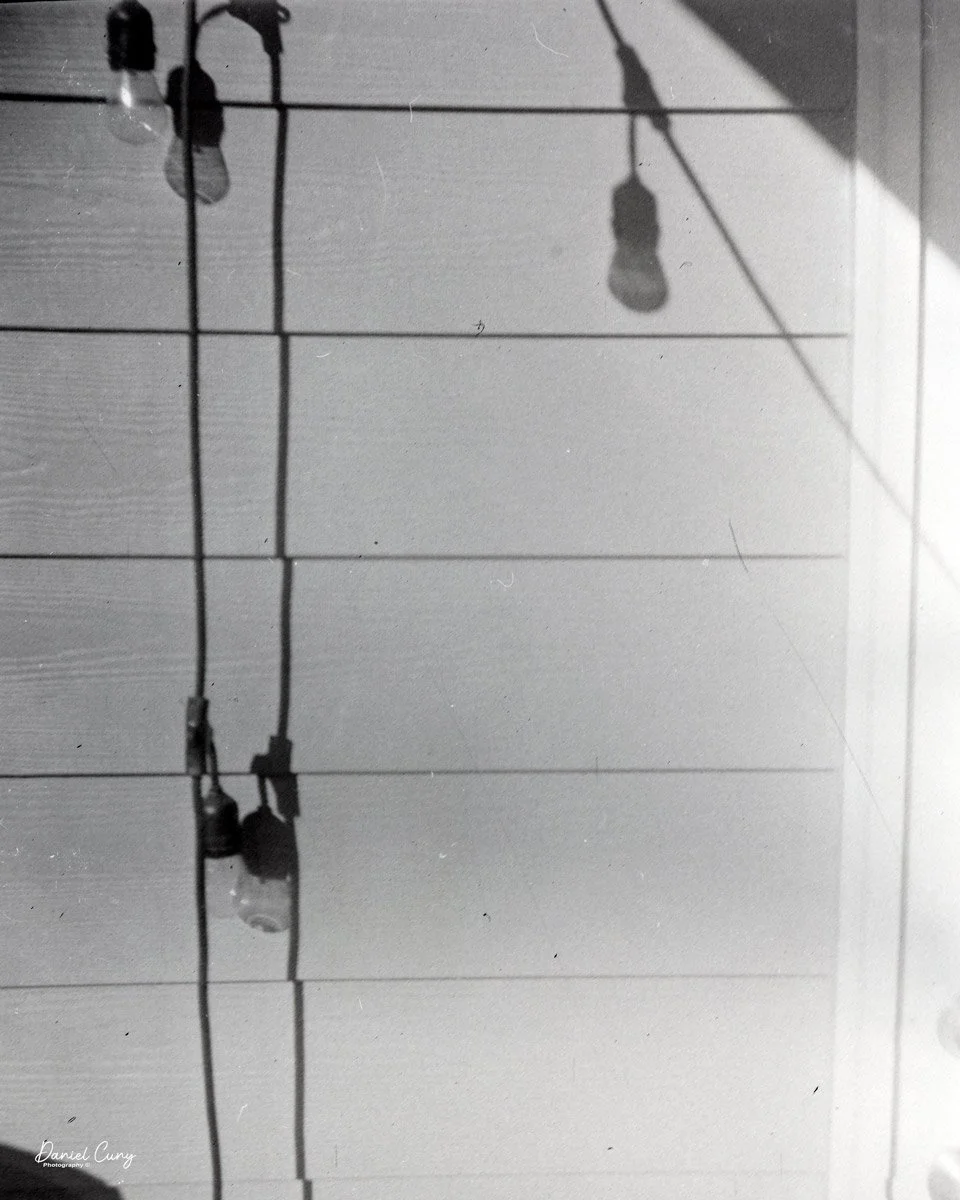
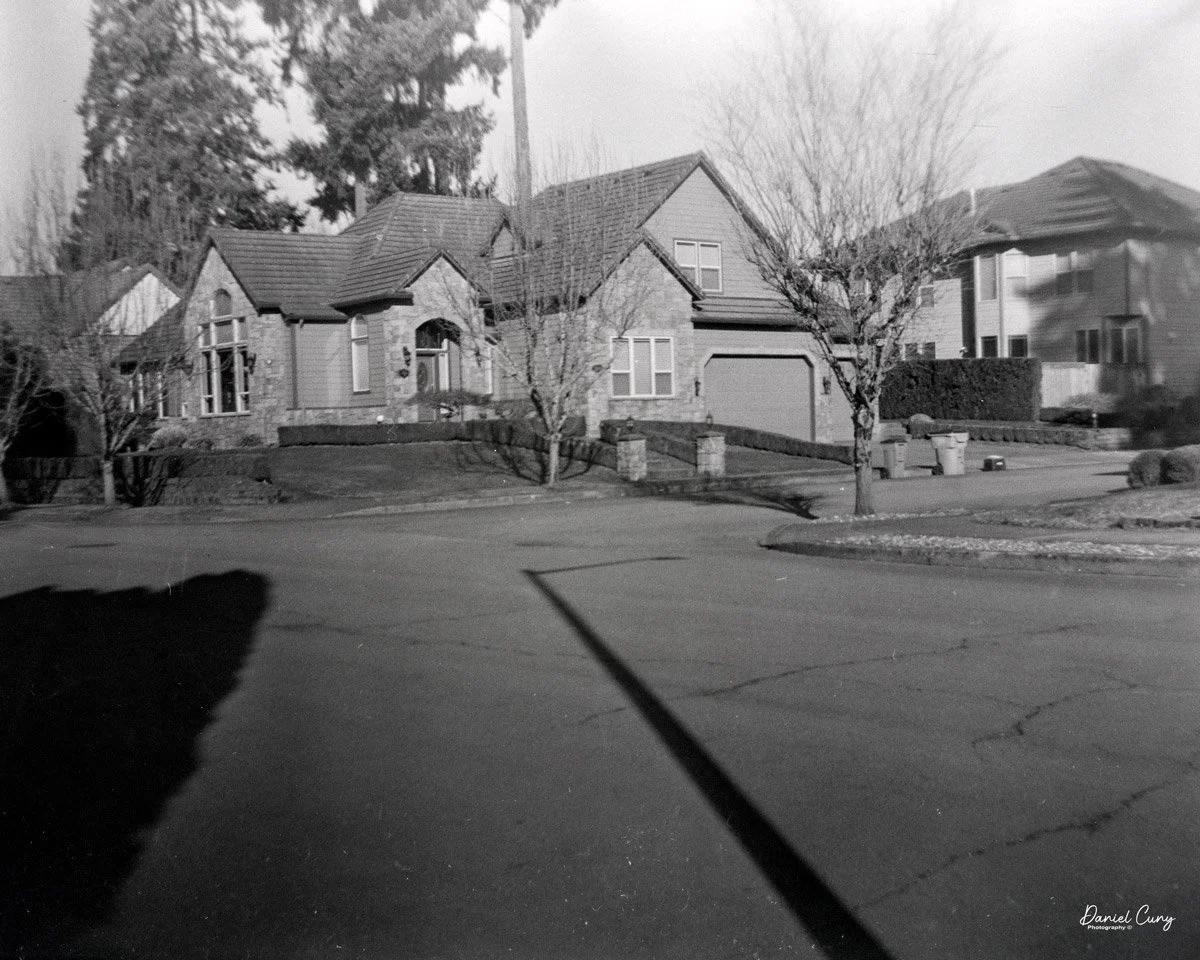
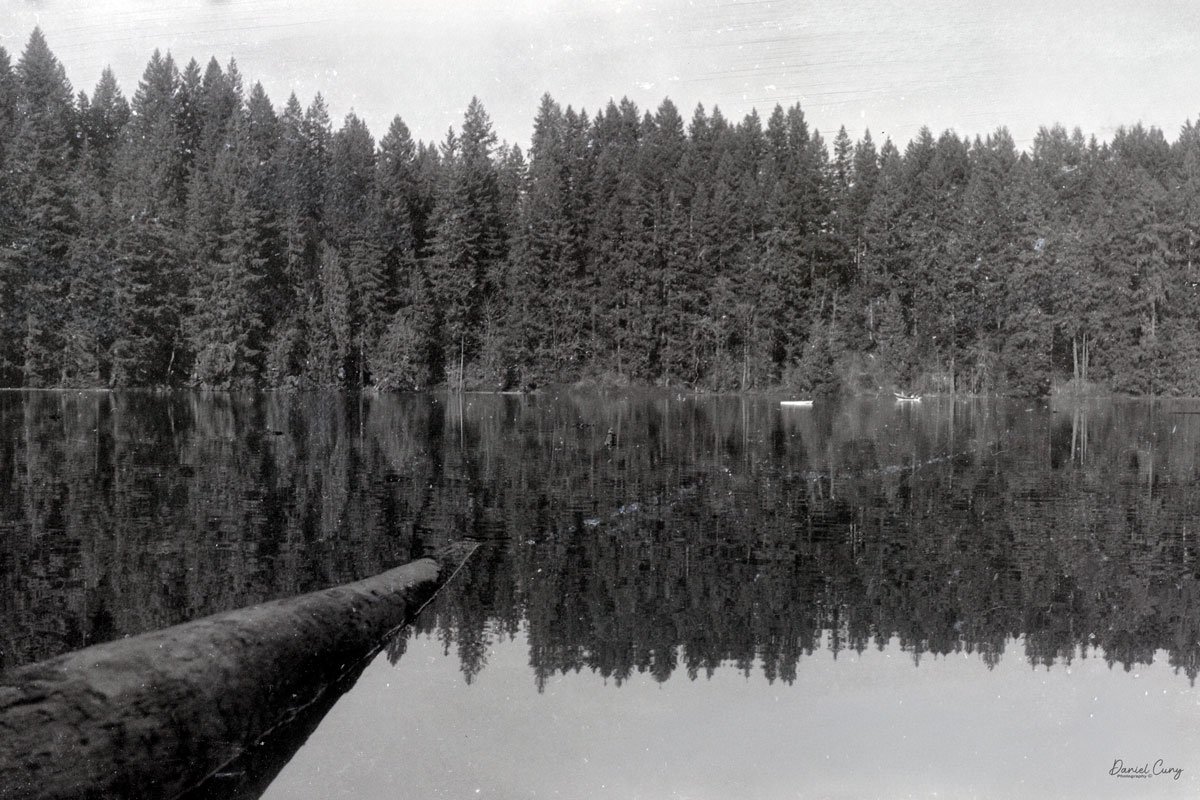
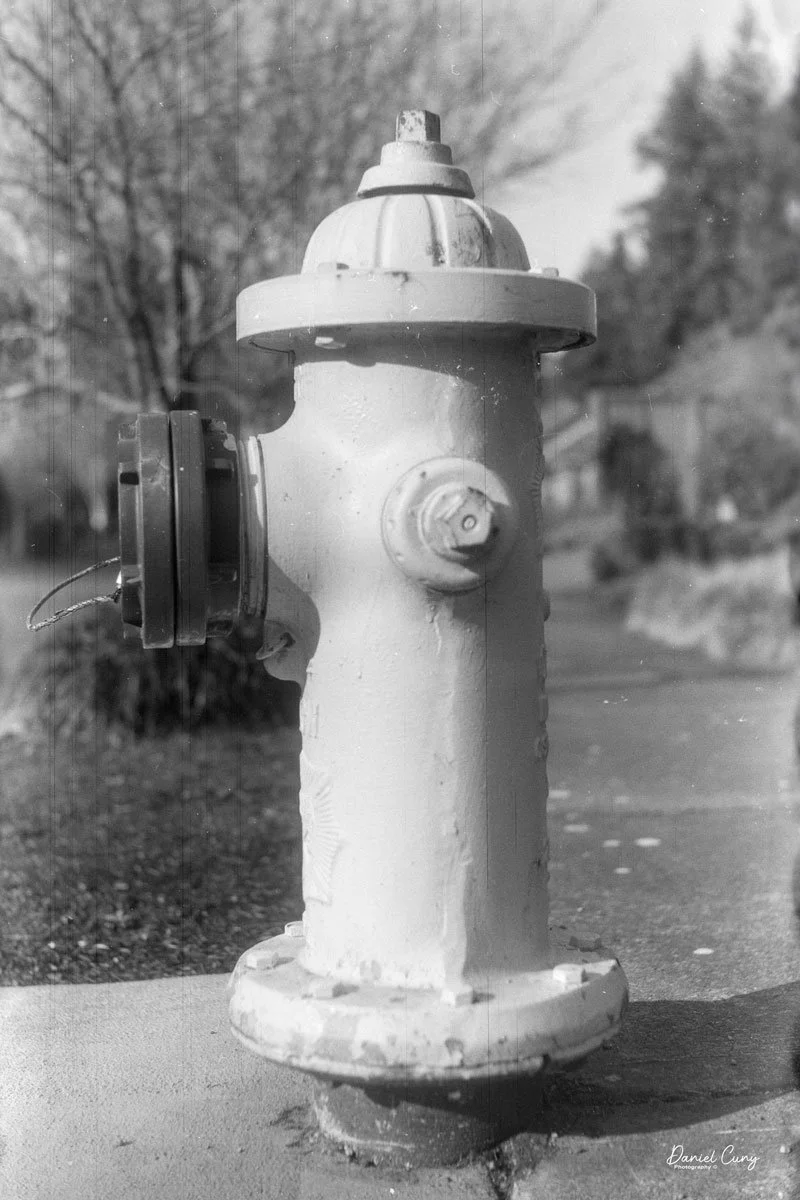
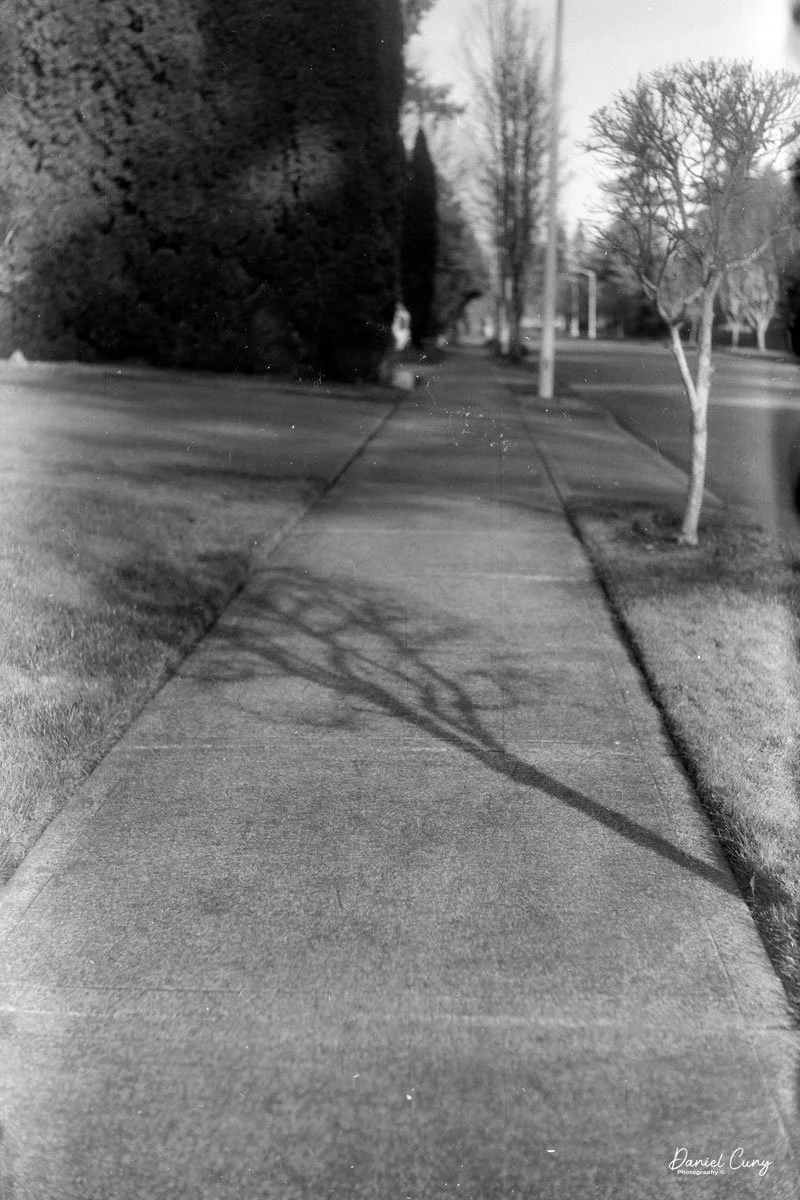
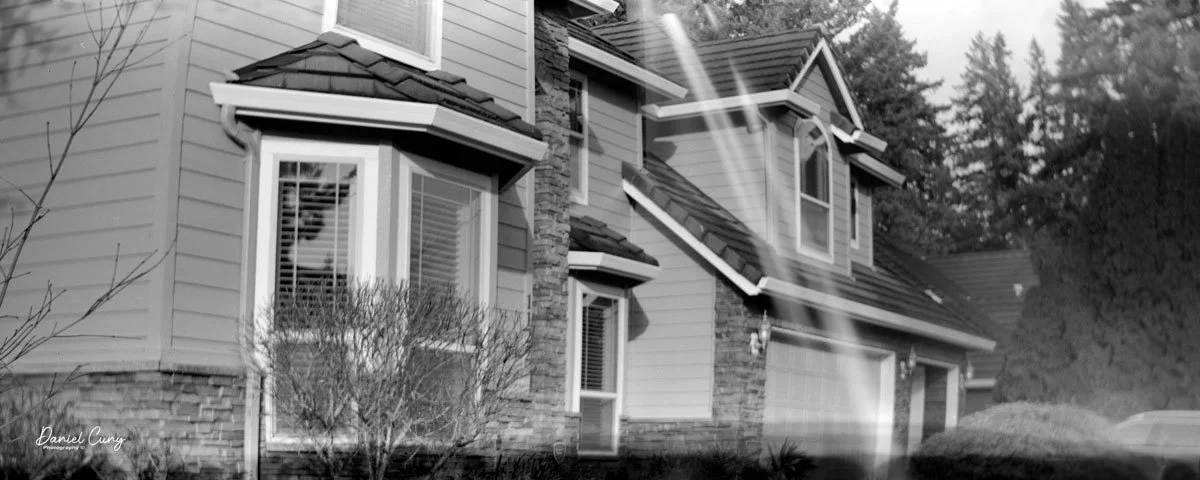
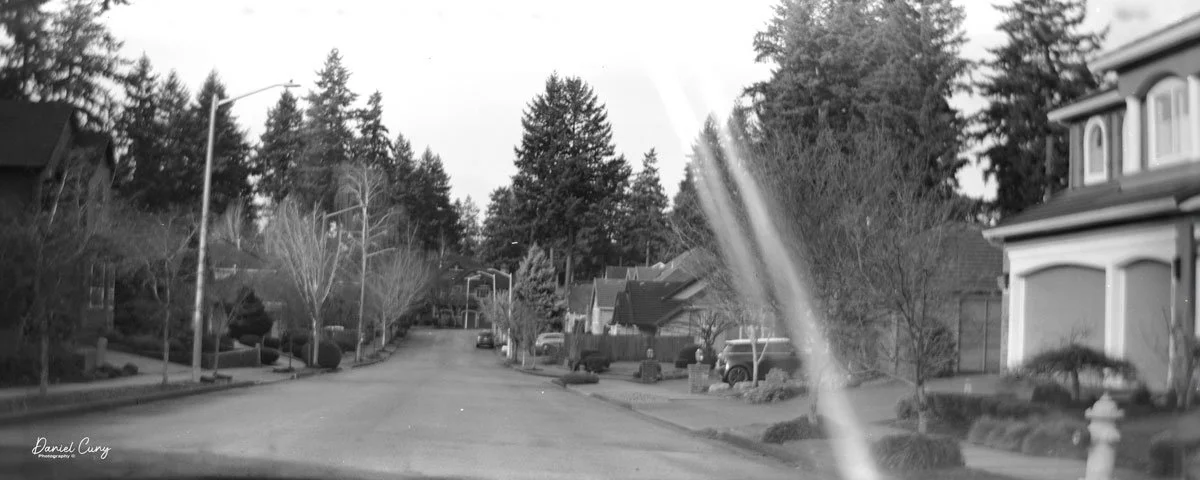
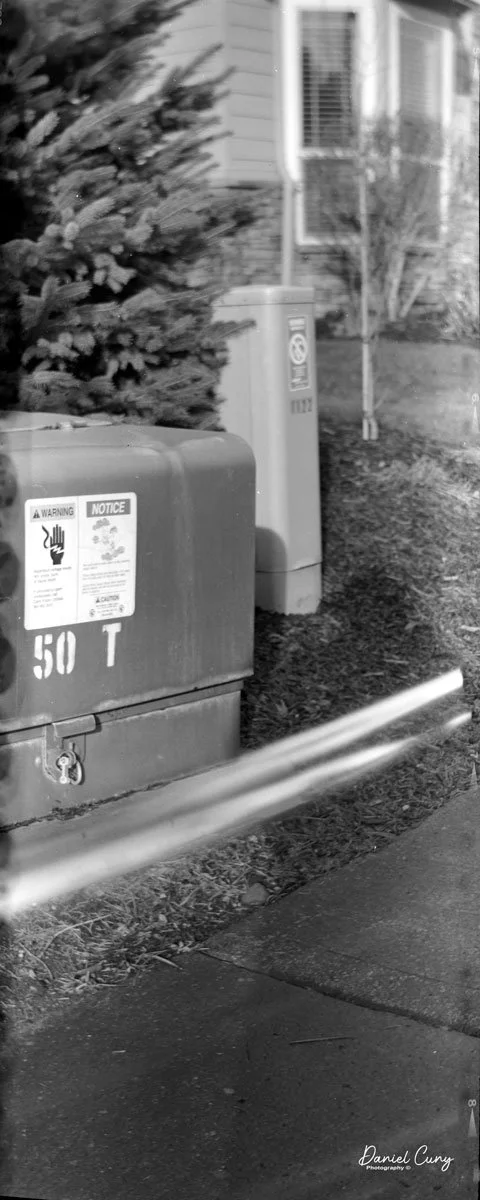
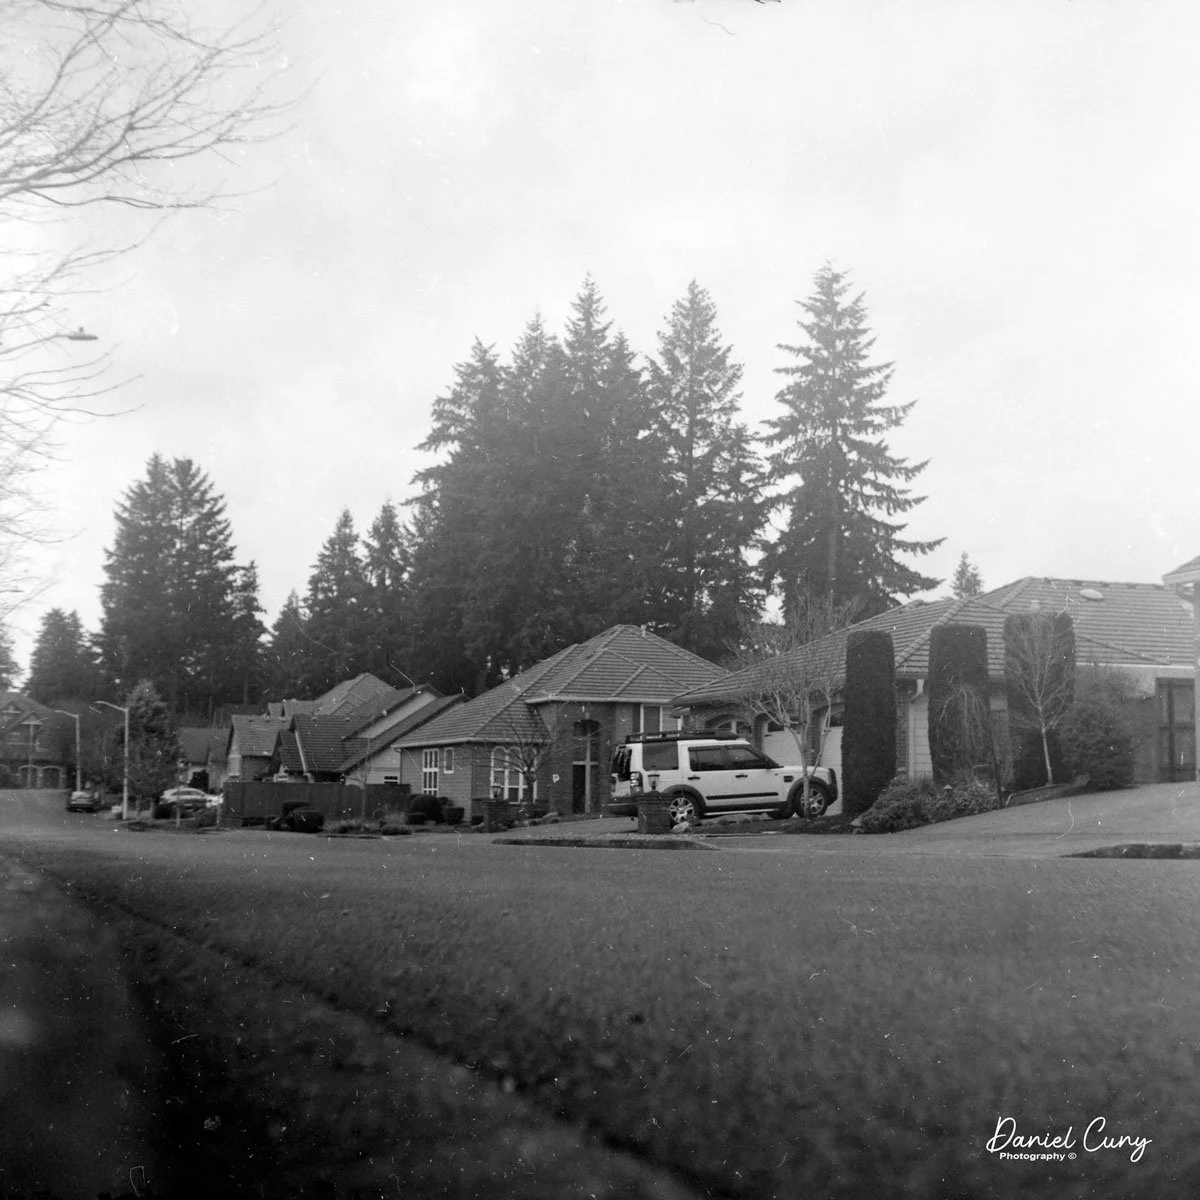
As I walked through the neighborhood, I tried using both the eye-level and waist-level finders to see which I preferred. They both were easy to use, so here are the results from my walk.


Conclusion:
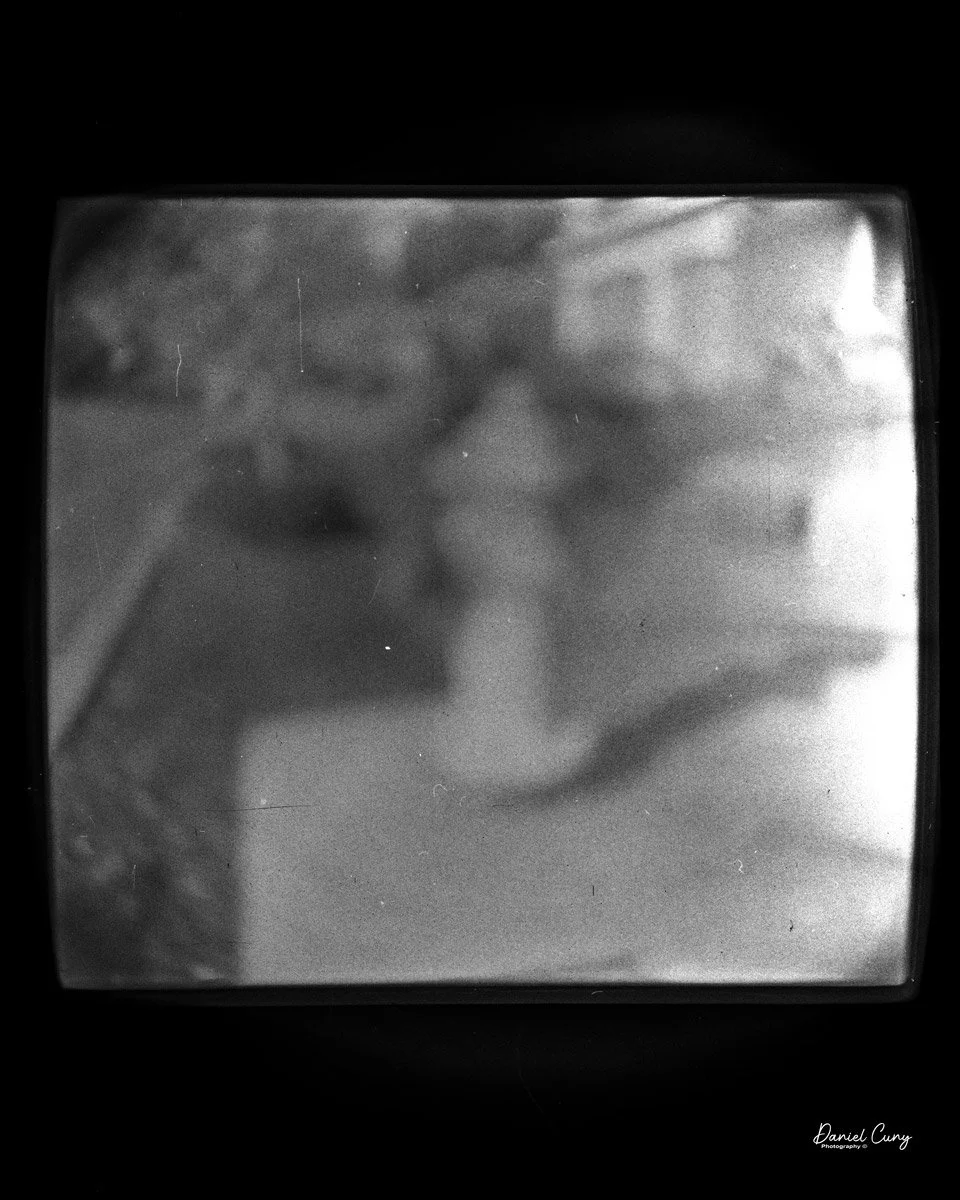
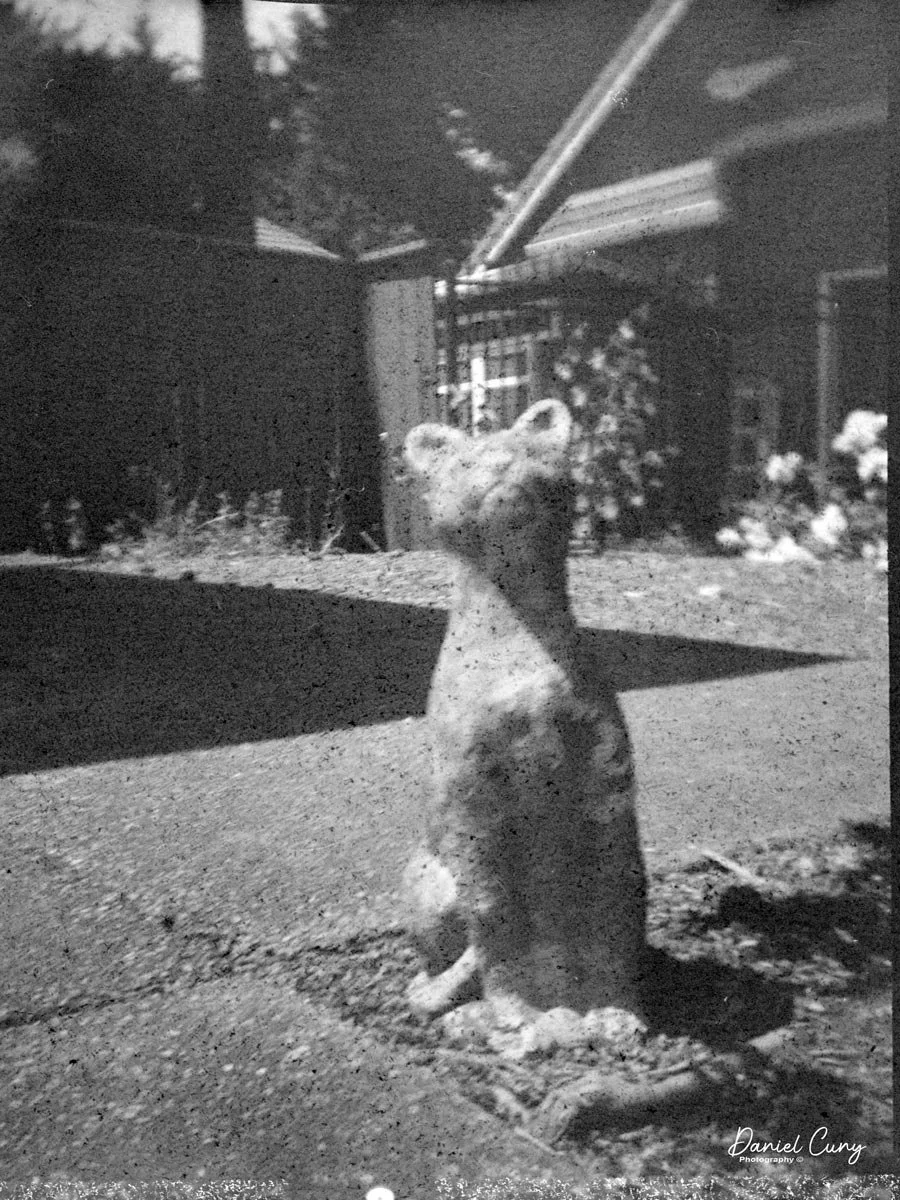
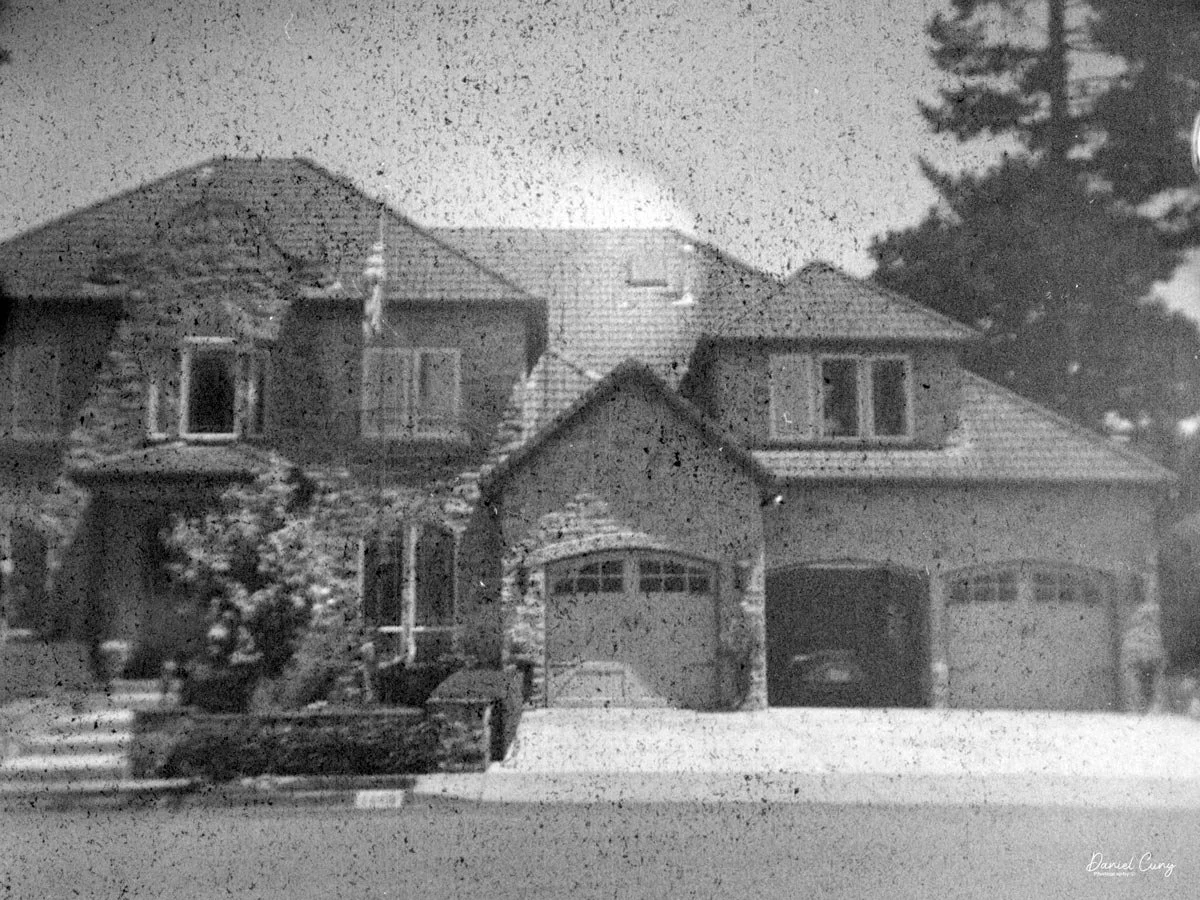
Well, some of the images turned out better than expected, and others didn't turn out the way I expected. There is a lot of debris on the negatives, which I'm guessing is due to the film's age.
The film is rated at 200 ISO, and with its age, I wasn't really sure about the exposure, so I tried to take a couple of shots of the same subject at different aperture settings. I'm not sure why it happened, but there is tremendous bleed-through from the paper backing onto the film, creating issues with the images.
After I processed the film, I took a closer look at the red windows on the back of the camera, which I believe caused the bleed-through from the paper backing. Yes, one of the red windows appeared to be OK, but upon closer inspection, it was pushed in, letting white light in. I found the culprit behind the bleed-through issues with the film.
The camera handled well, the viewfinder was somewhat bright, and I enjoyed using the eye-level finder for composing the photo. The image sharpness is what I expected, especially for a very low-cost camera made around 75 years ago.
Thank you for taking Time from your day to read about this Lo-Fi camera made in the early 1950s by a company that not only made metal toys but also a line of cameras, mainly known for the "Sardine Can" cameras.
Here are my other Camera Reviews.
Cuny's Camera and Photos is my online eBay store where you can find some of the previously reviewed cameras for sale, along with other cameras, lenses, and photo oddities I've accumulated over the past 50 years of collecting.
Until next week, please be safe.