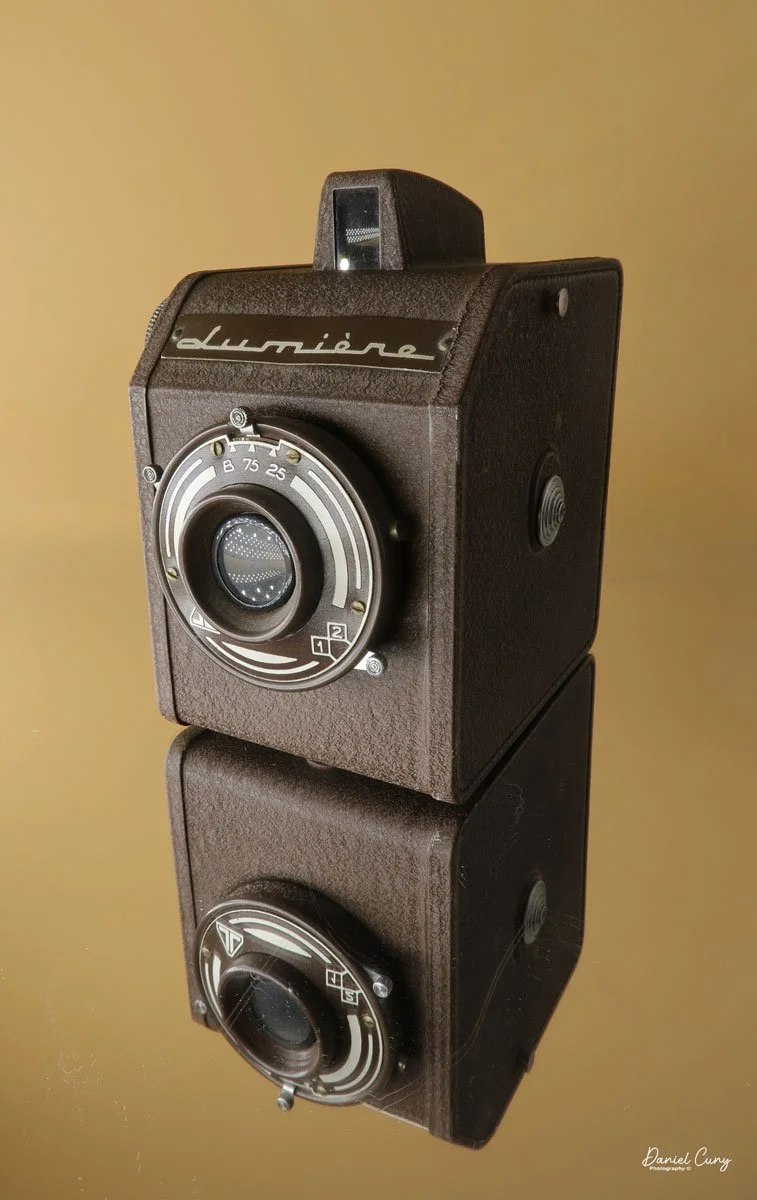
My Lumiere LuxBox camera.
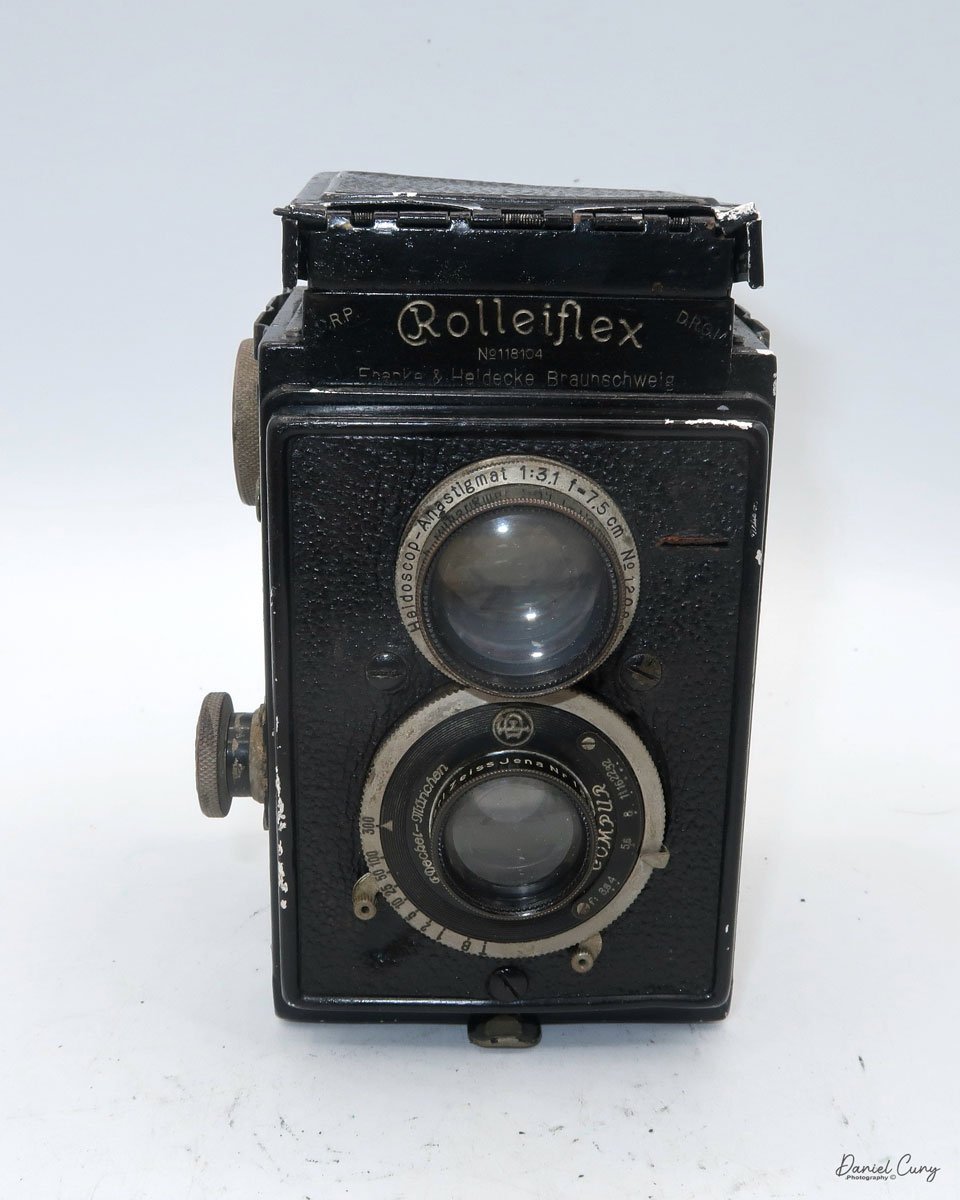
I was drawn to the Lumiere LuxBox, a camera I bought at a Paris flea market 20 years ago. Among other simple cameras, its unique shape and brown color caught my eye.
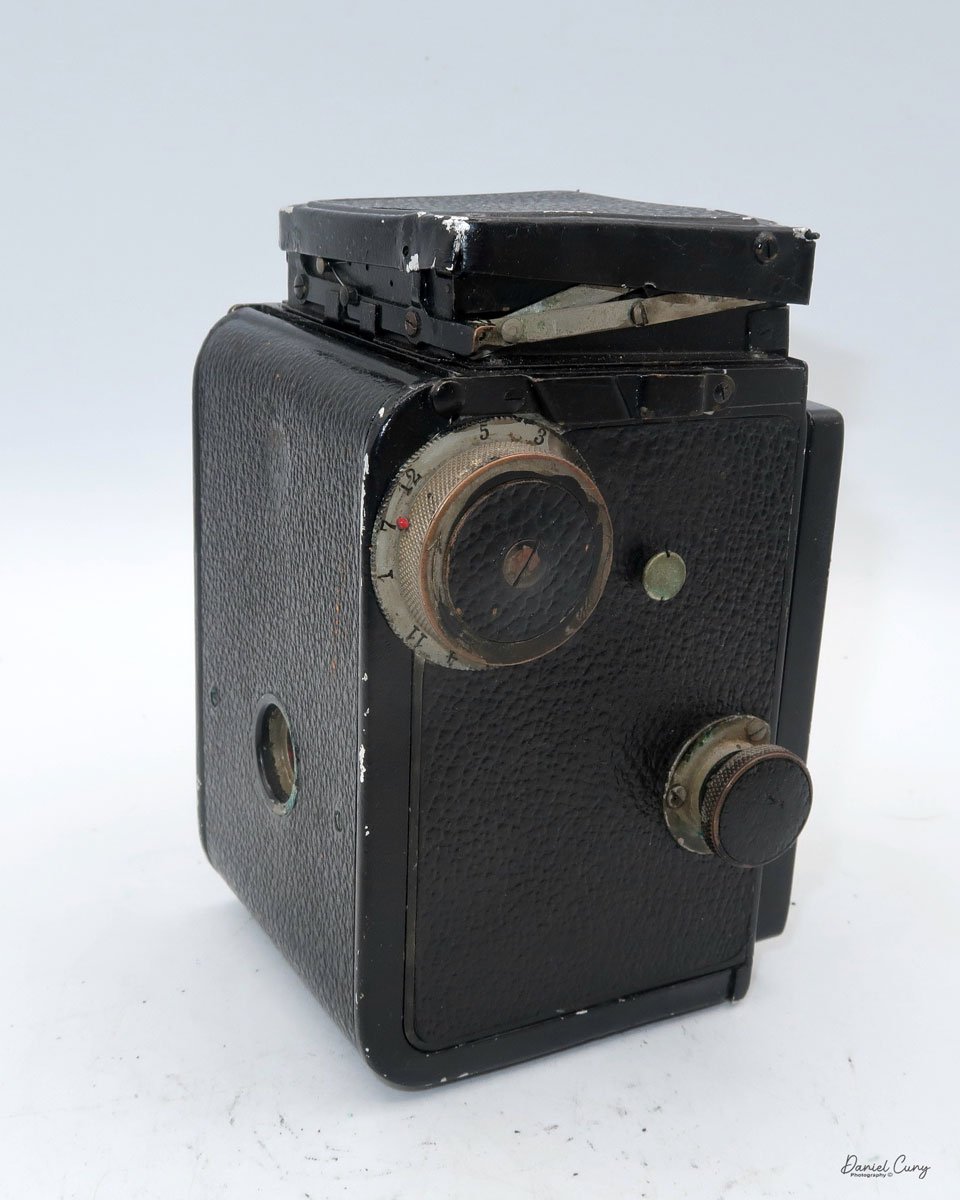
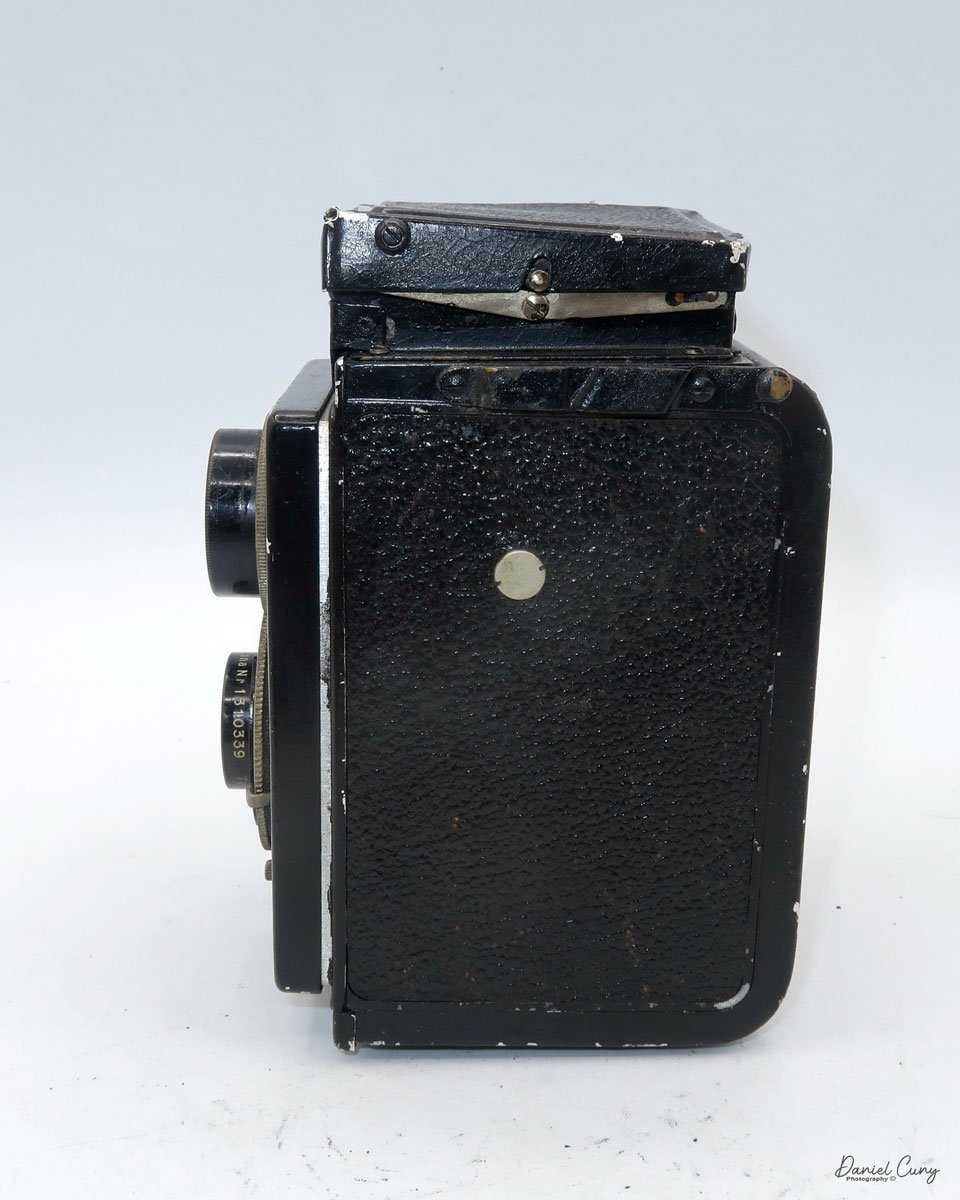
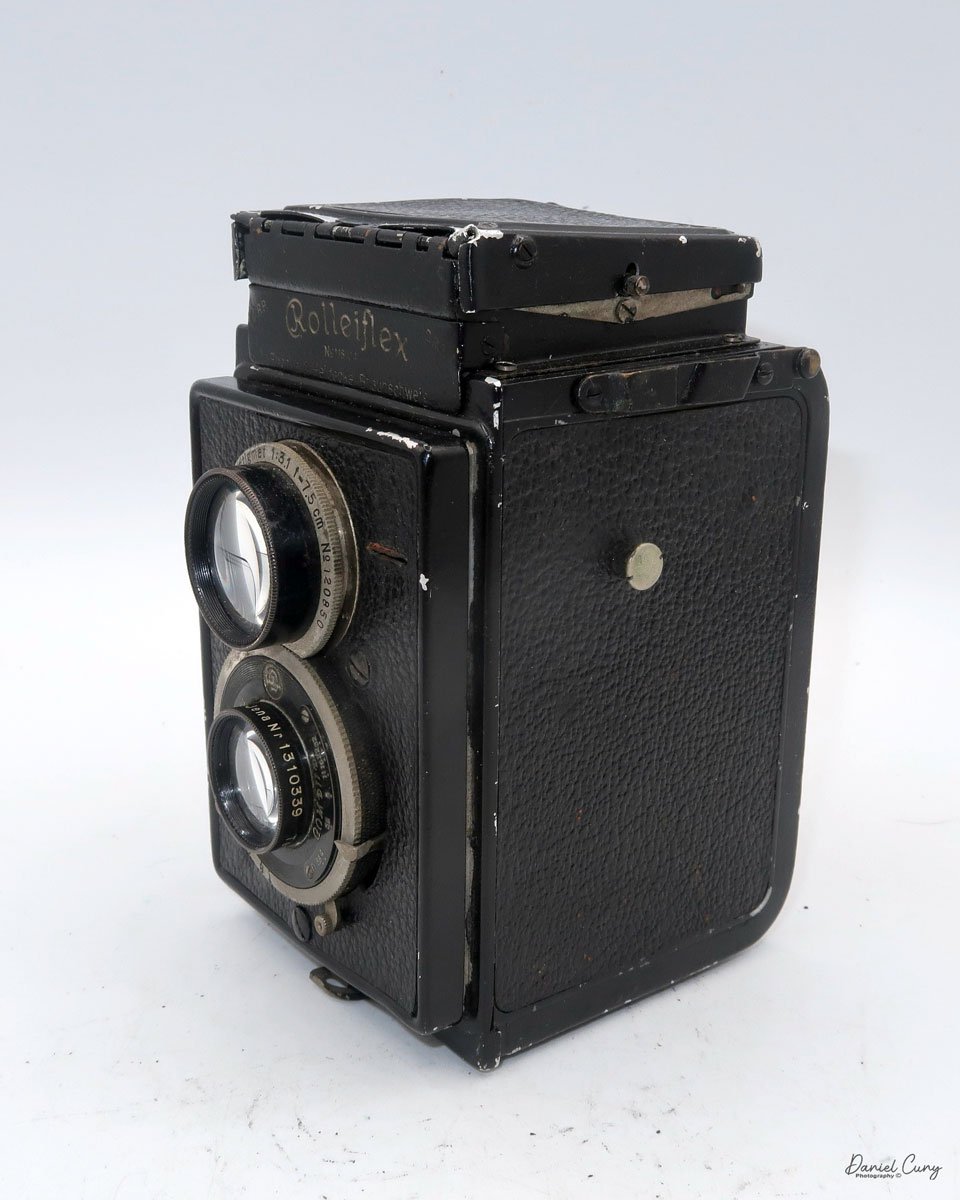
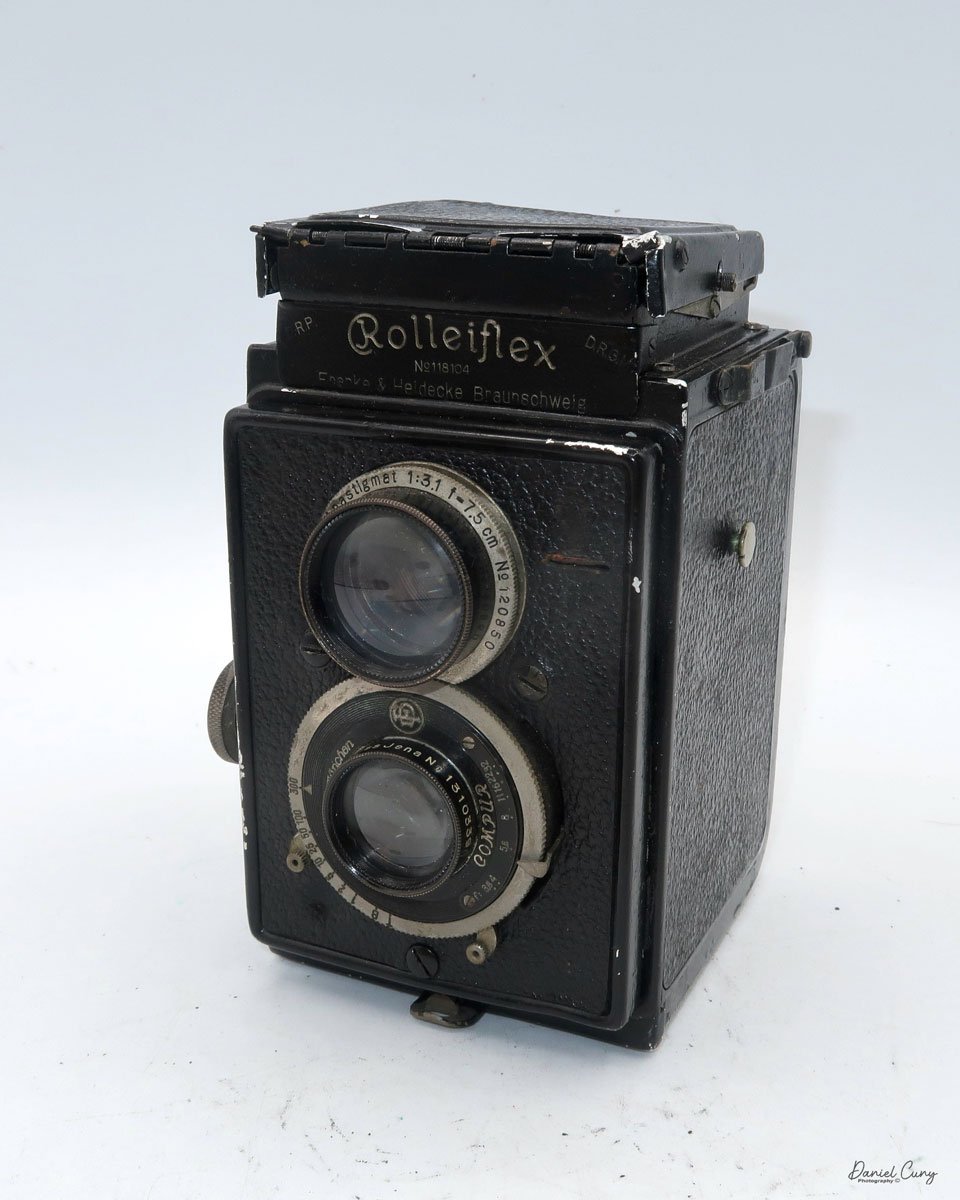
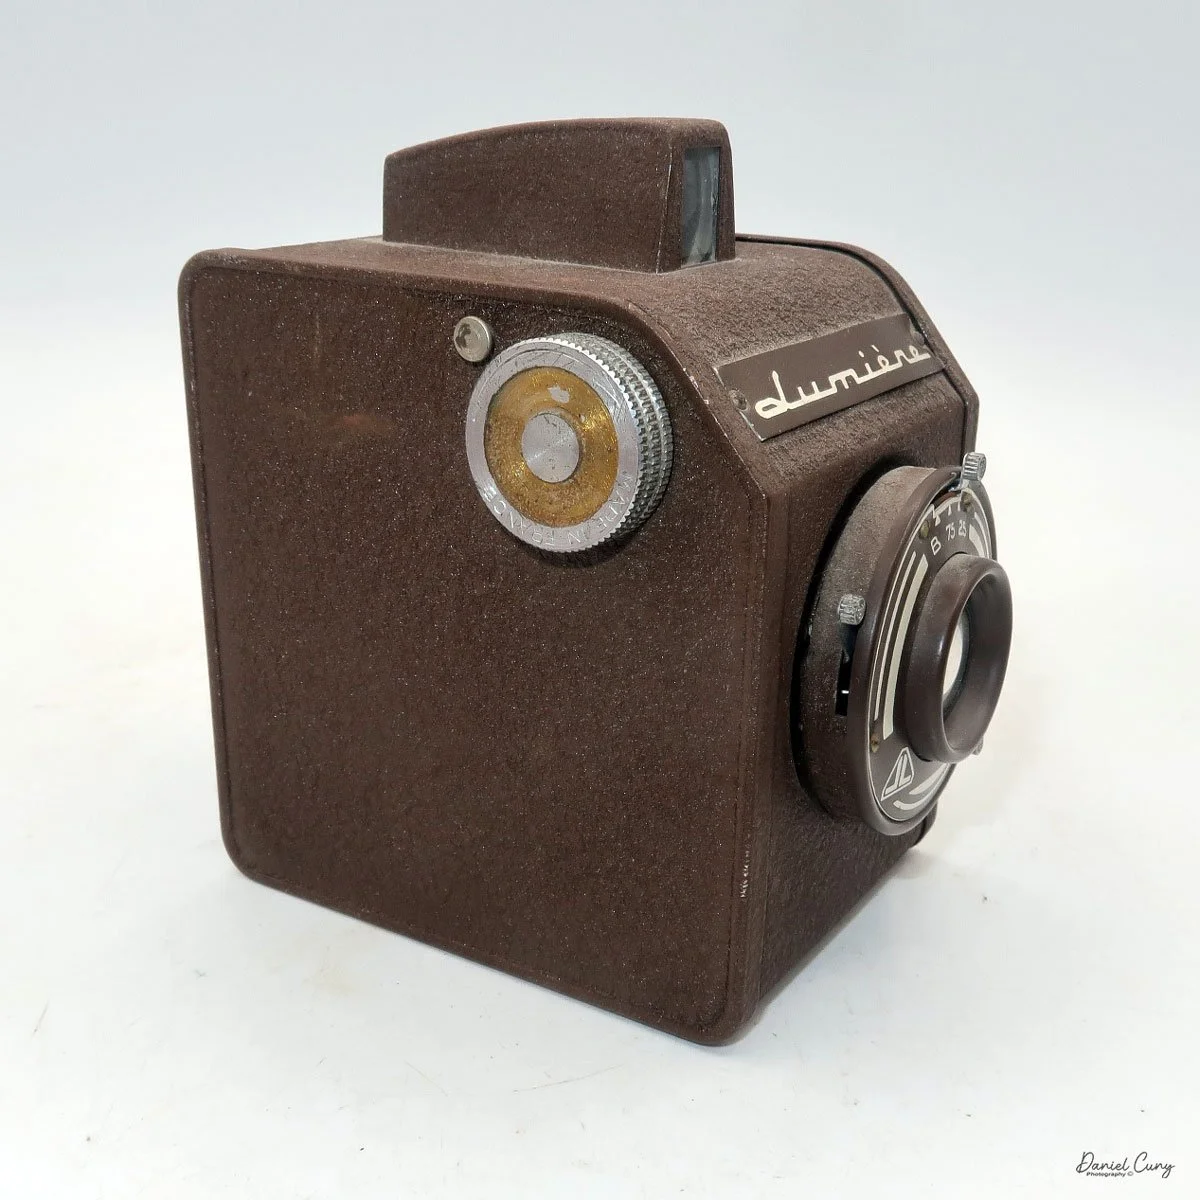
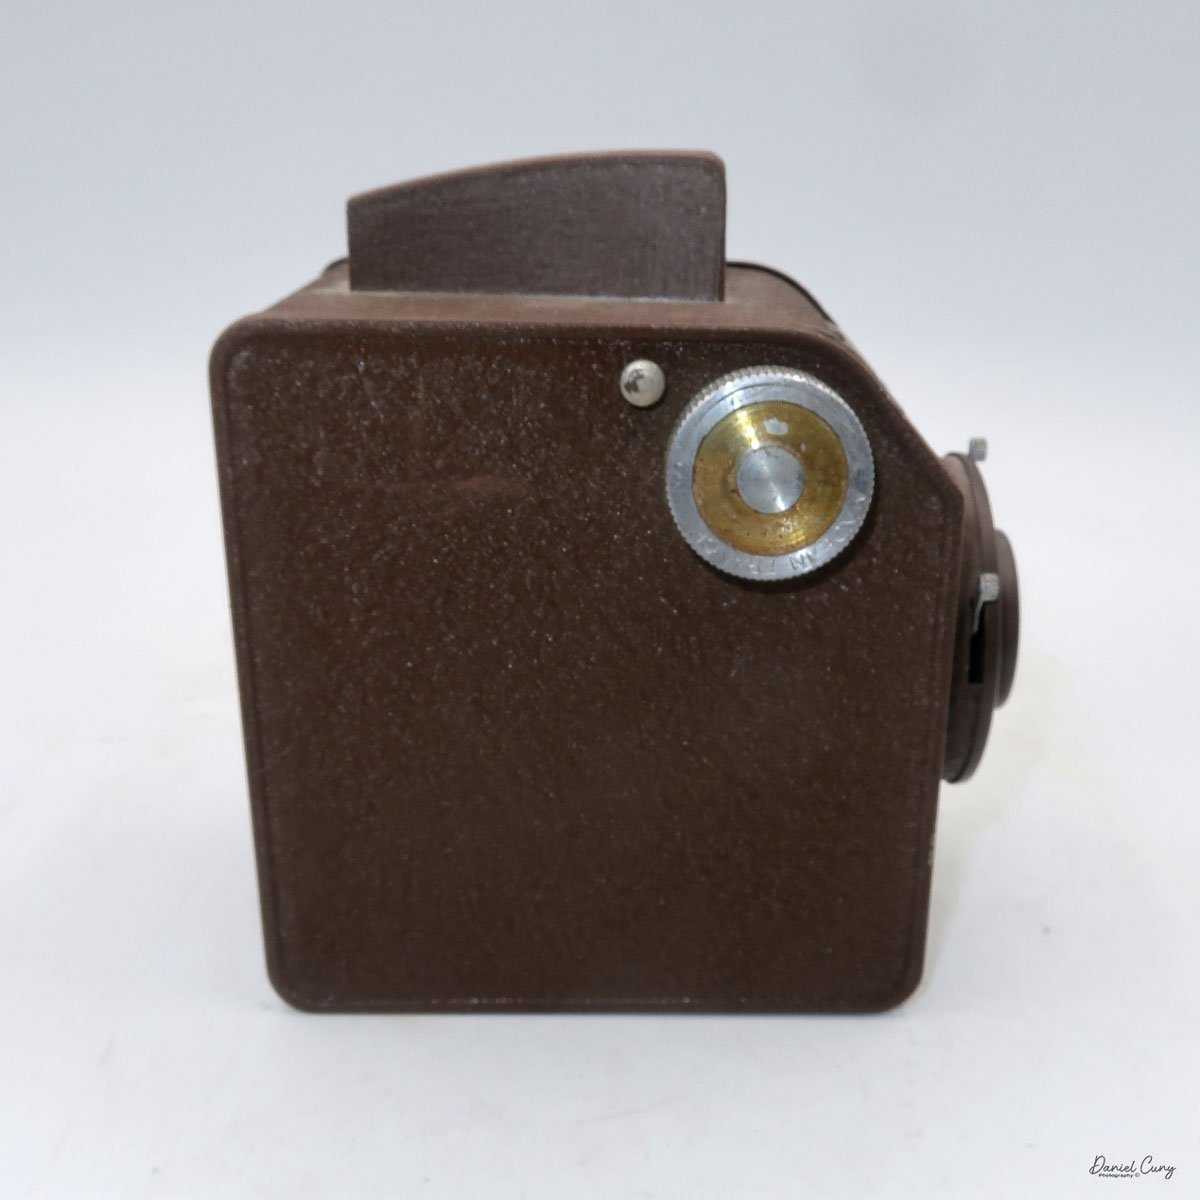
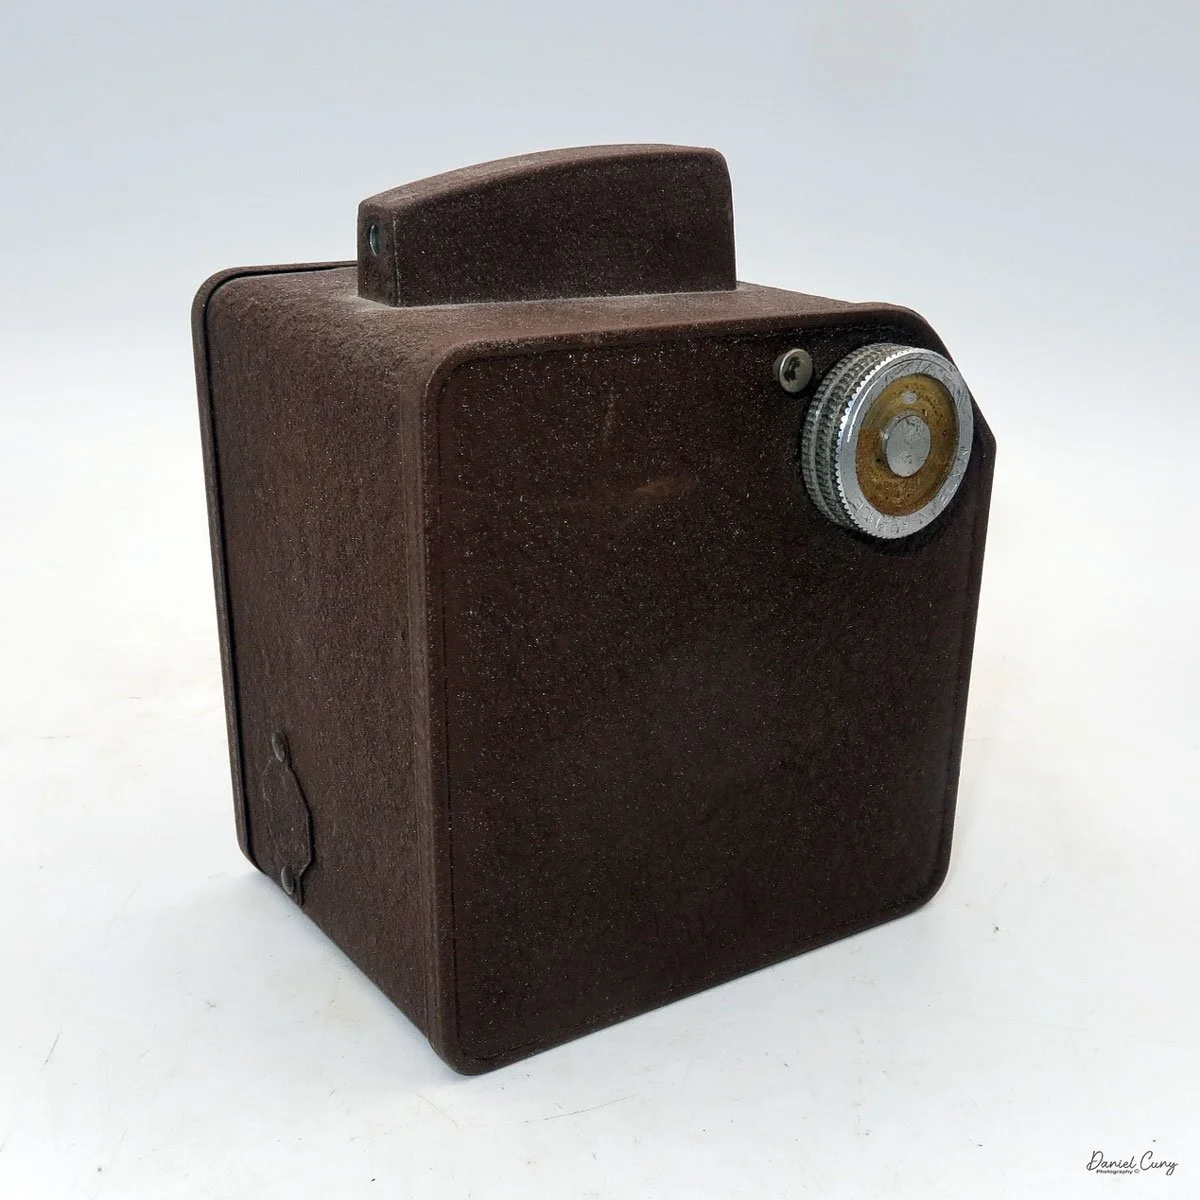
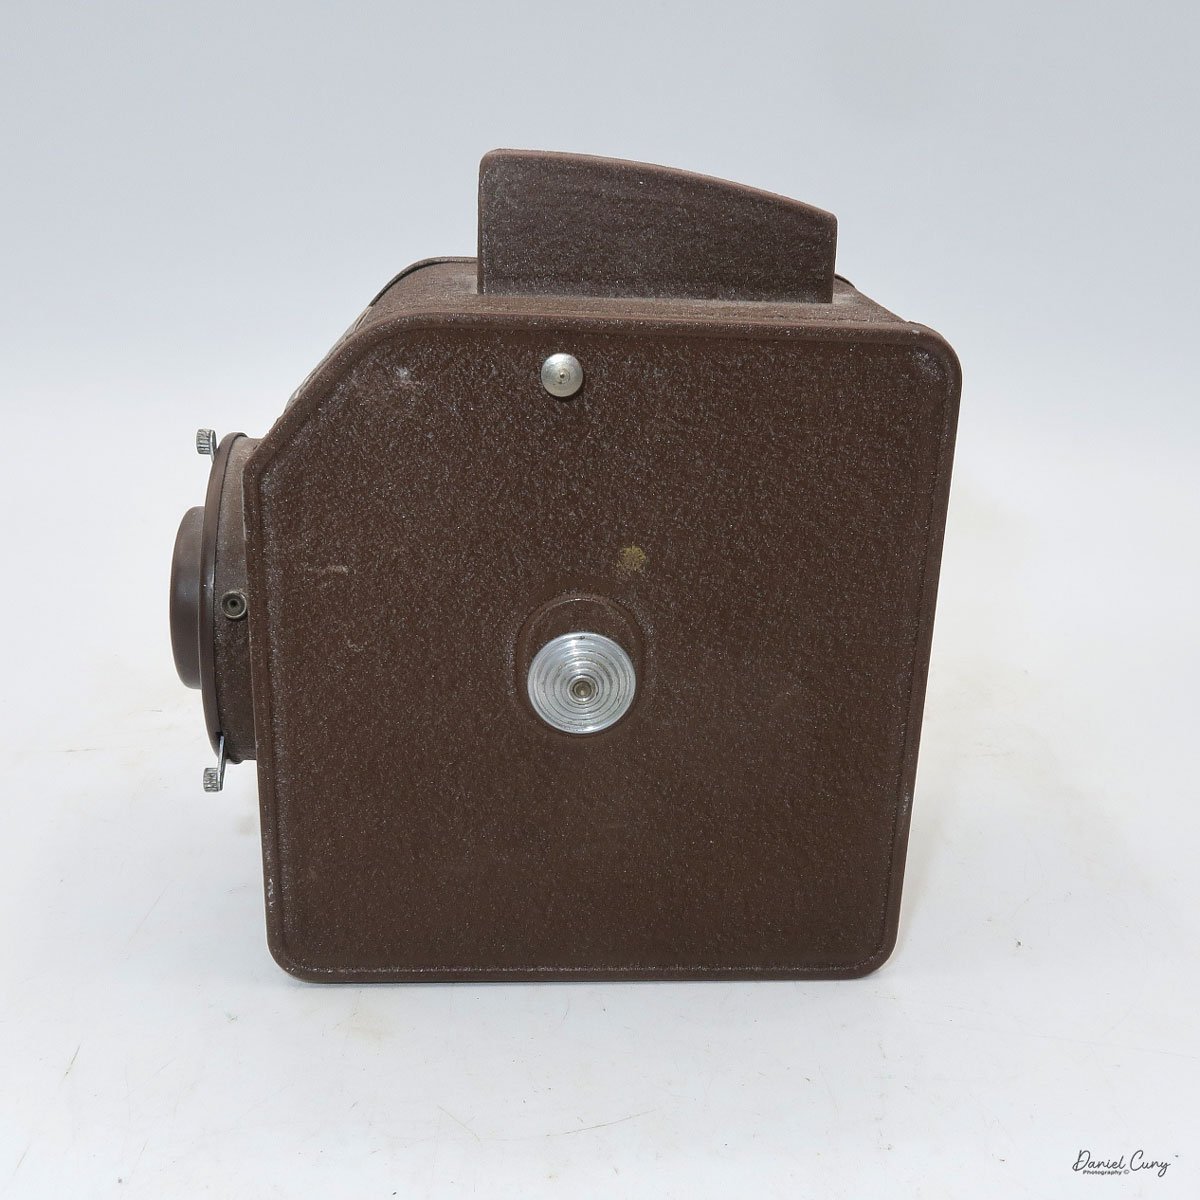
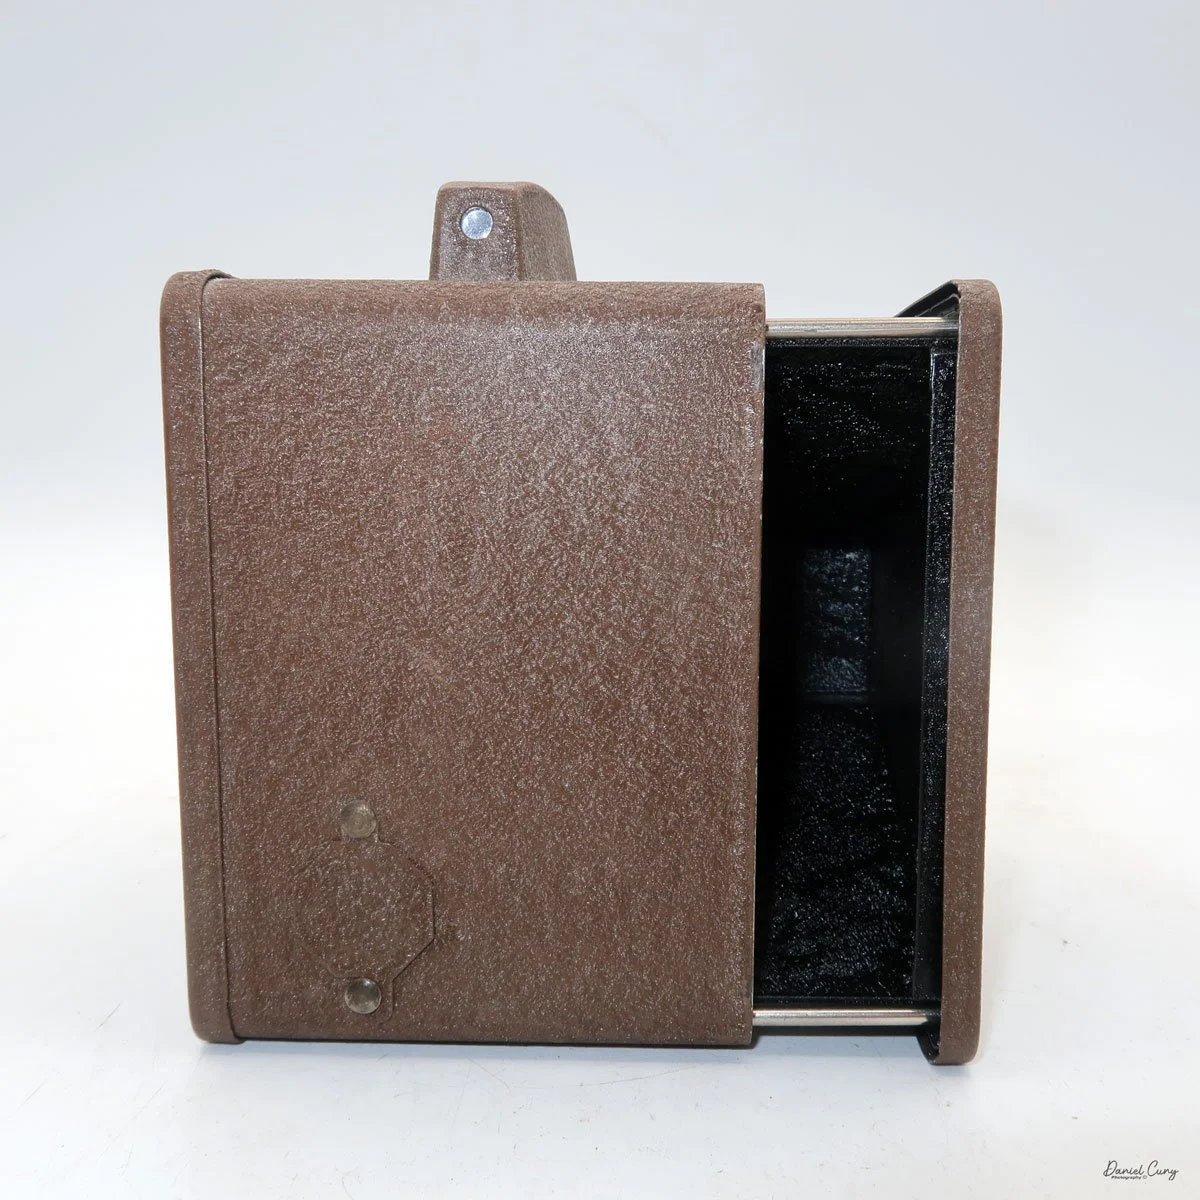
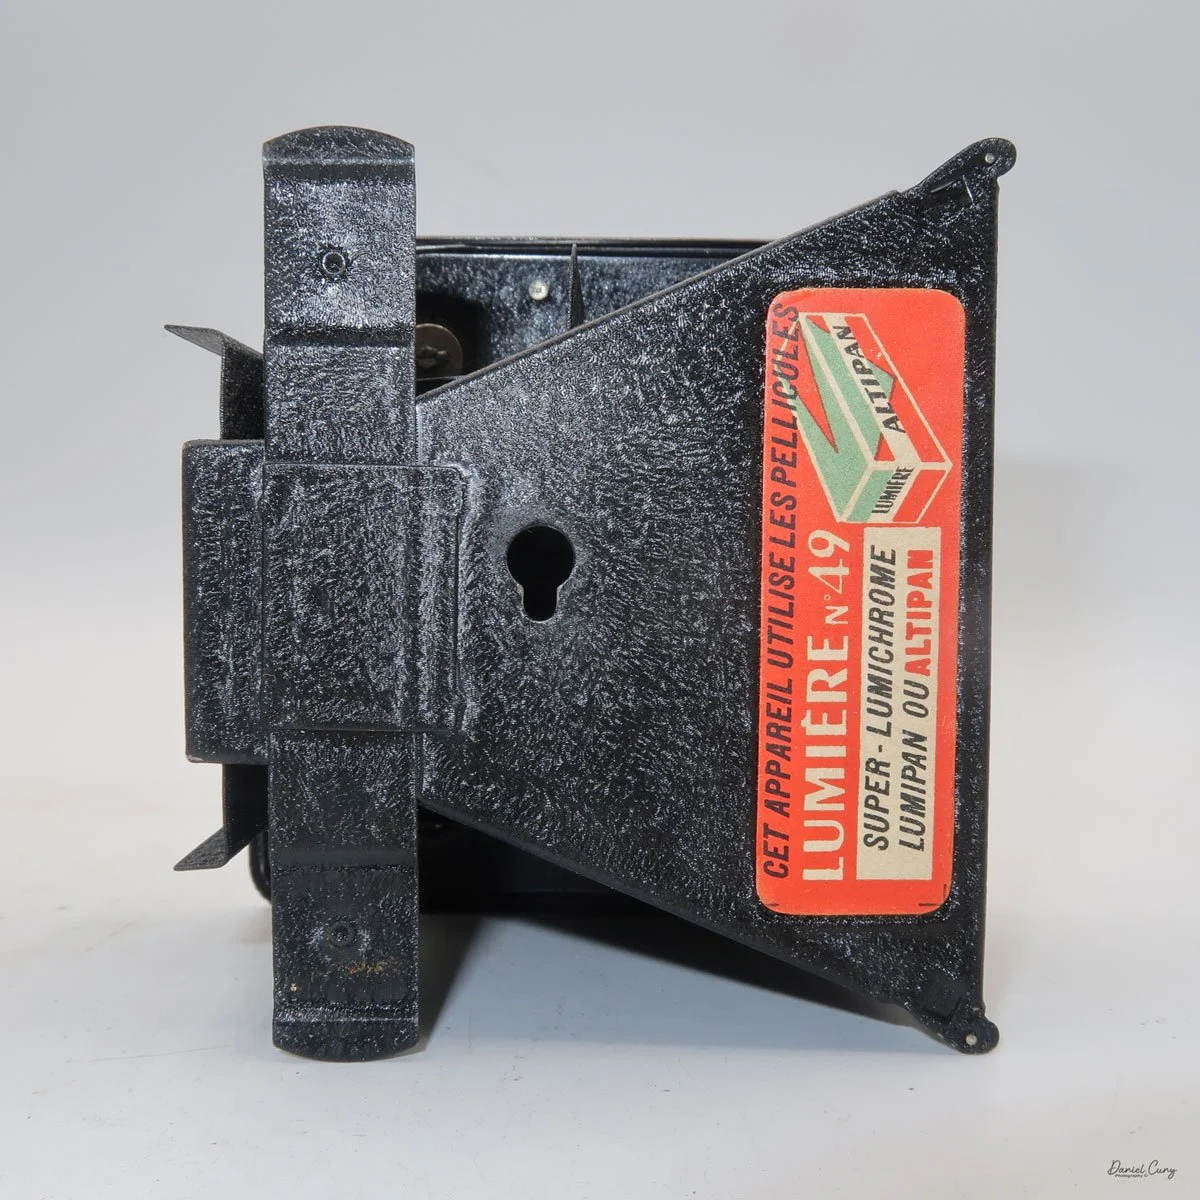
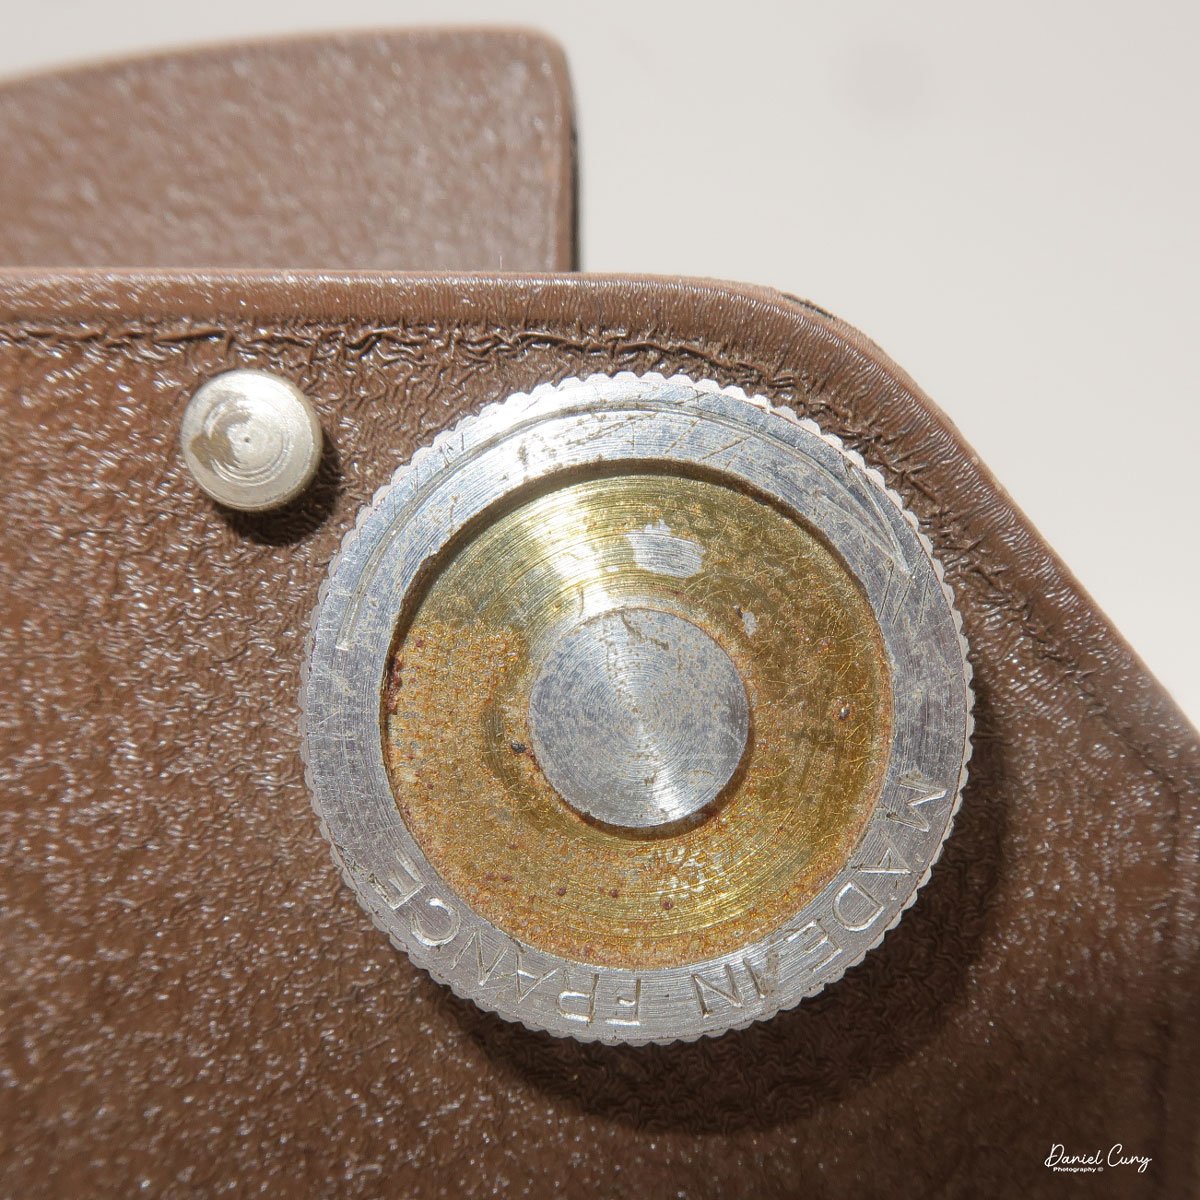
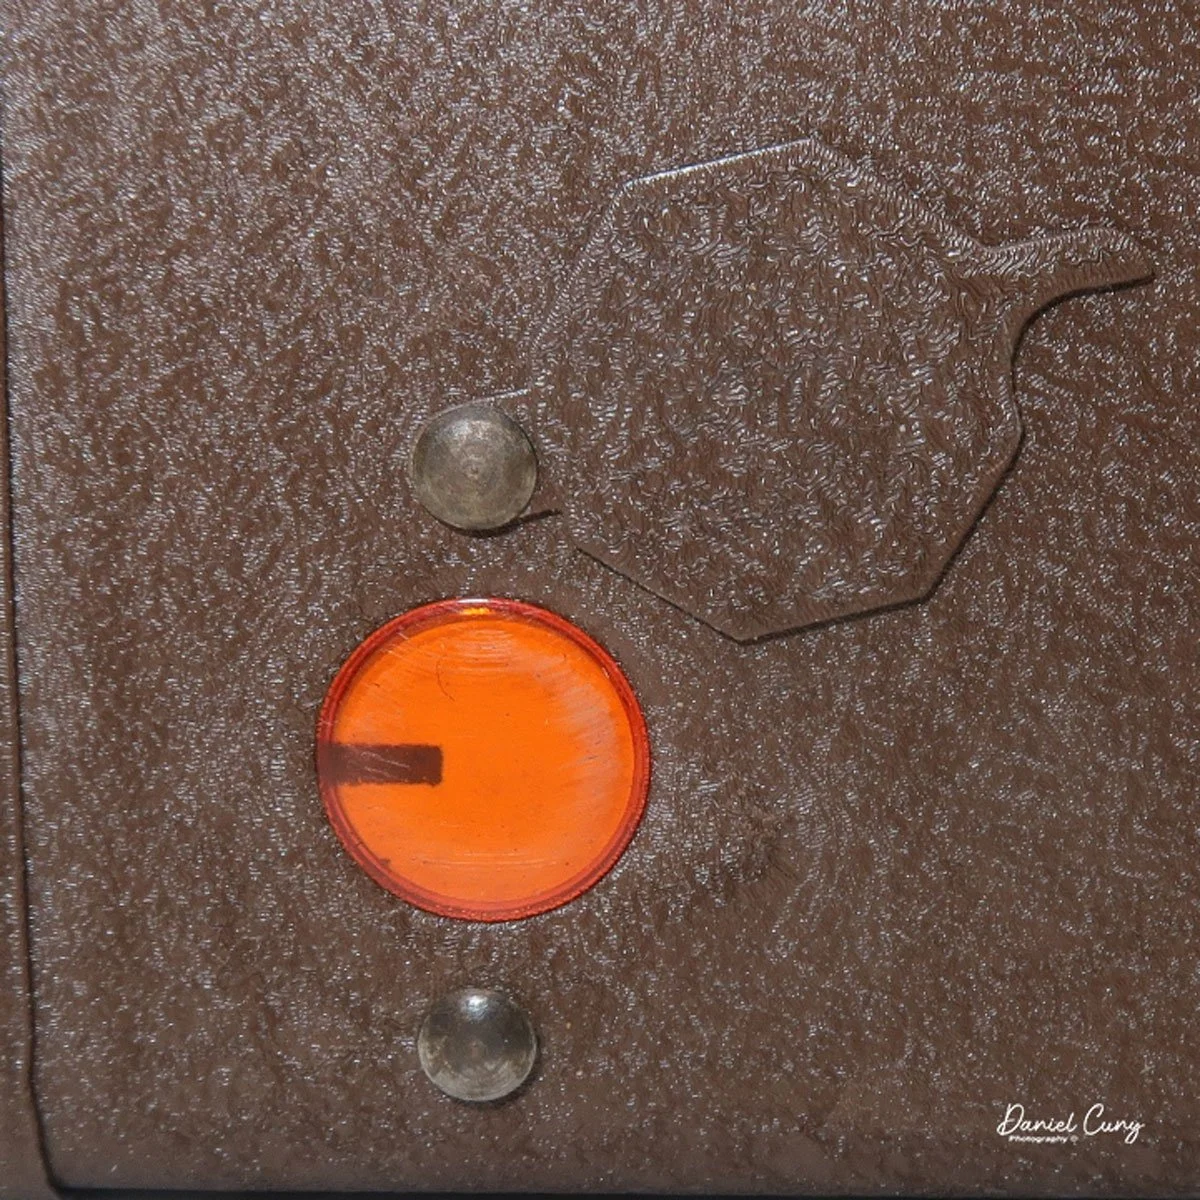
When I picked up the camera, I saw it was in great shape. The two-speed shutter worked, there were two aperture settings on the lens, and the crinkle-finished metal body looked nice. I liked the lens pattern and the riveted nameplate on the front. The design reminded me of Ferrania Rondine cameras from Italy. You can unlock the film insert and remove it from the body from the side, unlike many other box cameras. The solid metal body was another thing I liked.
After a short negotiation with the vendor, we agreed on a price. I paid, put the camera in my backpack, and moved on to the next tables at the market. Other than a group of fabulous glass negatives taken in the French countryside during the 1920s, the Lumiere LuxBox was the only camera purchased at the Paris flea market on this day.
About 20 years later, and just a few weeks ago, I was searching for a camera to write about. The Lumiere LuxBox caught my attention again. I was somewhat familiar with the French Photographic Company, Lumiere, as I have previously written about another one of their wonderful miniature camera, the Super ELJY camera.
Although I thought last week’s blog would be my final post of the year, its simplicity inspired me to shoot a roll of film and share a short article. So here I am, telling you about this relatively simple, ordinary, oddly shaped box camera from France, made in the early 1950s.
History:
To give some background, Lumière was a pioneering French camera company founded by Charles-Antoine Lumière in Lyon in the late 19th century. The company became best known for the achievements of Auguste and Louis Lumière. Their innovations in motion-picture technology and color photography helped define early cinema and modern photographic materials.
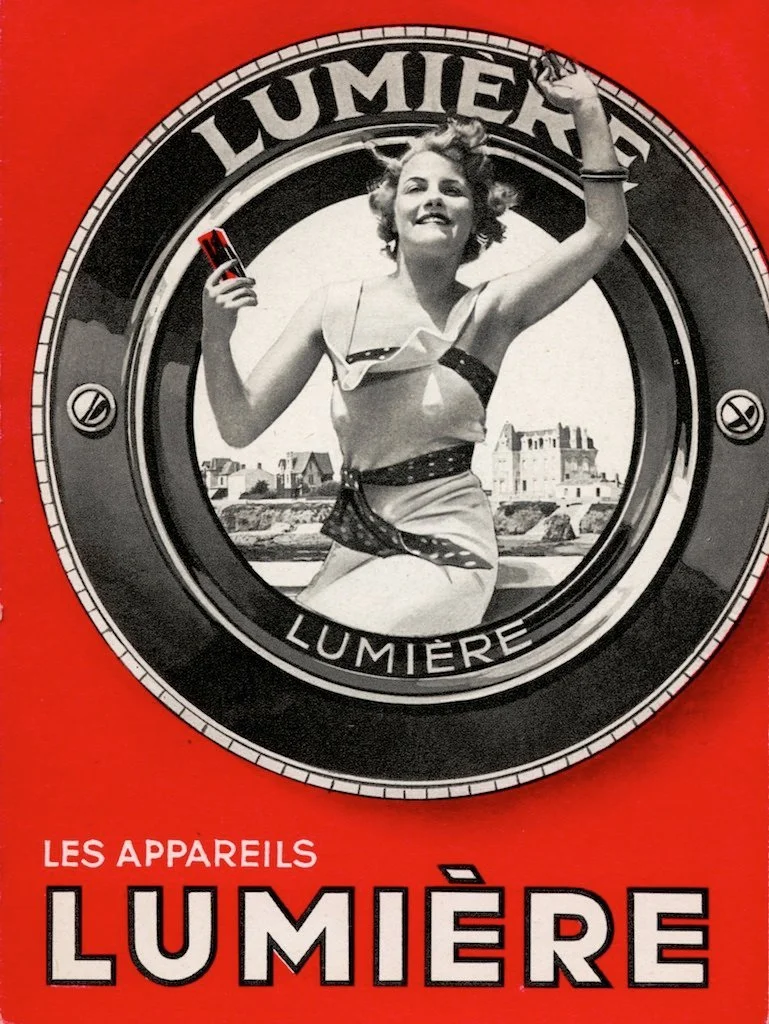
Lumiere Advertisment
The Lumière enterprise began as a manufacturer of photographic plates. Louis Lumière invented a highly sensitive "blue label" dry plate at the age of 17. This plate enabled much shorter exposure times and quickly became a commercial success. The company soon built a large factory in Lyon's Monplaisir district and became one of Europe’s major suppliers of photographic materials by the mid‑1890s.
After their father saw Edison’s Kinetoscope in Paris, Auguste and Louis developed the Cinématographe, a lightweight device that could record, print, and project movies. Patented in 1895, it used perforated film and a claw mechanism, making it more practical than other systems. This led to the first public film screenings, including “Workers Leaving the Lumière Factory.” Imagine how exciting that was for photography fans then.
By the early 1900s, Lumière stopped making films and focused on photographic technology, especially color processes. In 1903, they patented Autochrome Lumière, a color plate process that used dyed potato-starch grains. It was introduced in 1907 and became the first major color system widely used through the 1930s. Learning about these innovations makes me appreciate their cameras even more.
Lumière began manufacturing cameras in the late 1920s and produced various models until about 1961. The company was purchased by Swiss firm Ciba in 1961 and later became part of Ilford France. For collectors like me, the Lumière name still stands out in early photography and cinema. sures 4.5 inches tall (including the eye-level finder), 4.25 inches deep, and 3 inches wide (including the film advance knob). It weighs 14.2 ounces without film loaded.
My Camera:
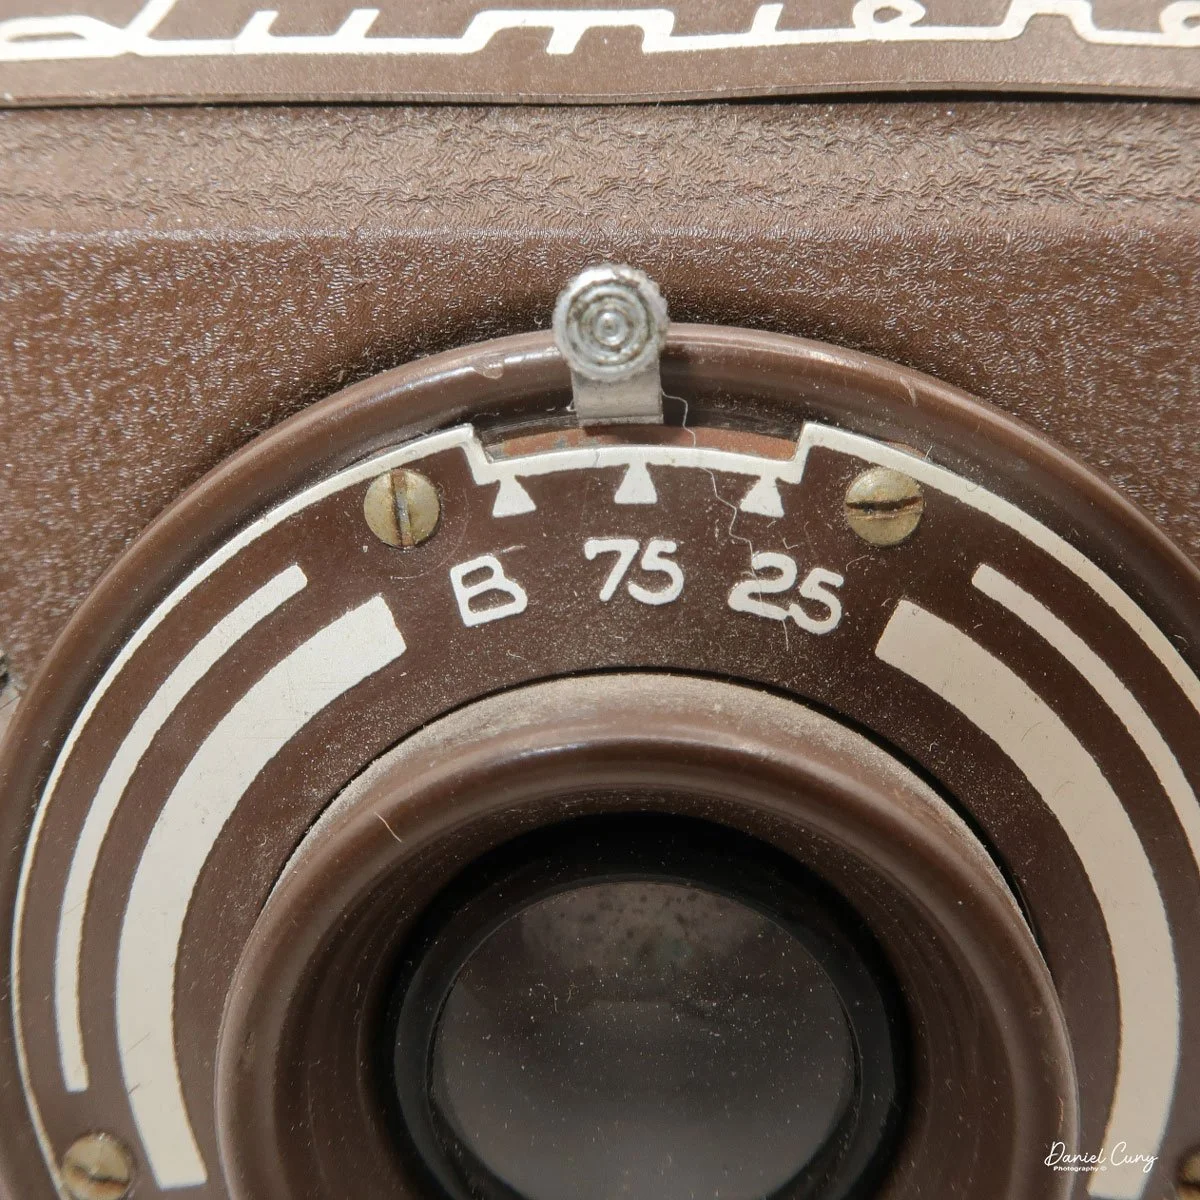
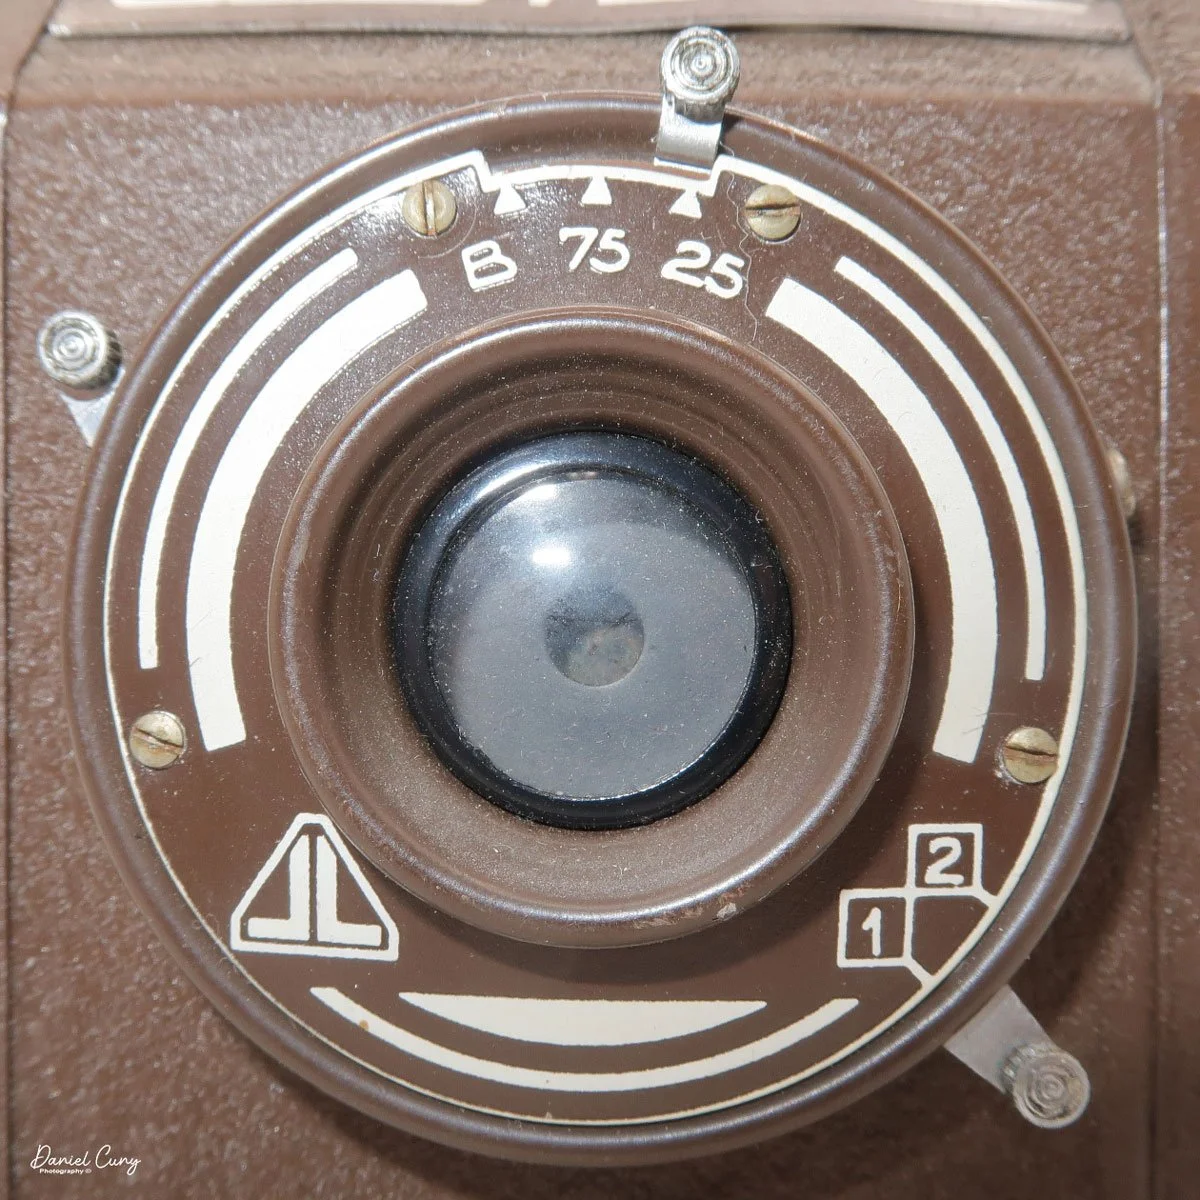
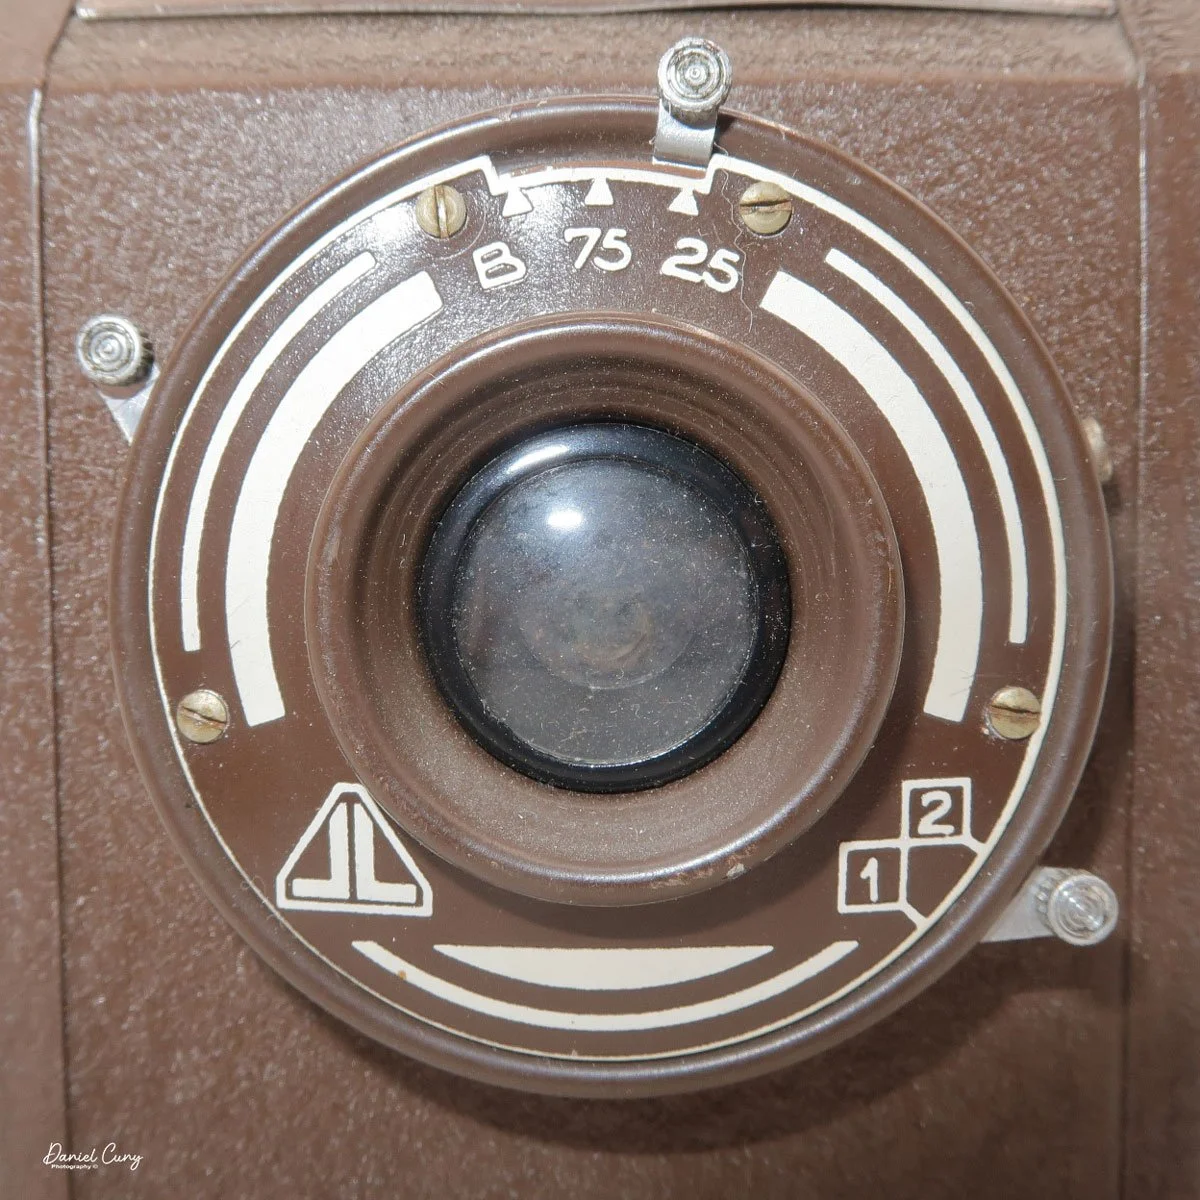
The LuxBox was introduced in 1933 and discontinued in 1937. It’s a classic box-style camera that takes 6x9cm photos on 120 film. The camera has shutter speeds from 1/75 to 1/25, plus "T" and "B" settings. It also has a focusable lens and was considered the most advanced box camera of its time.
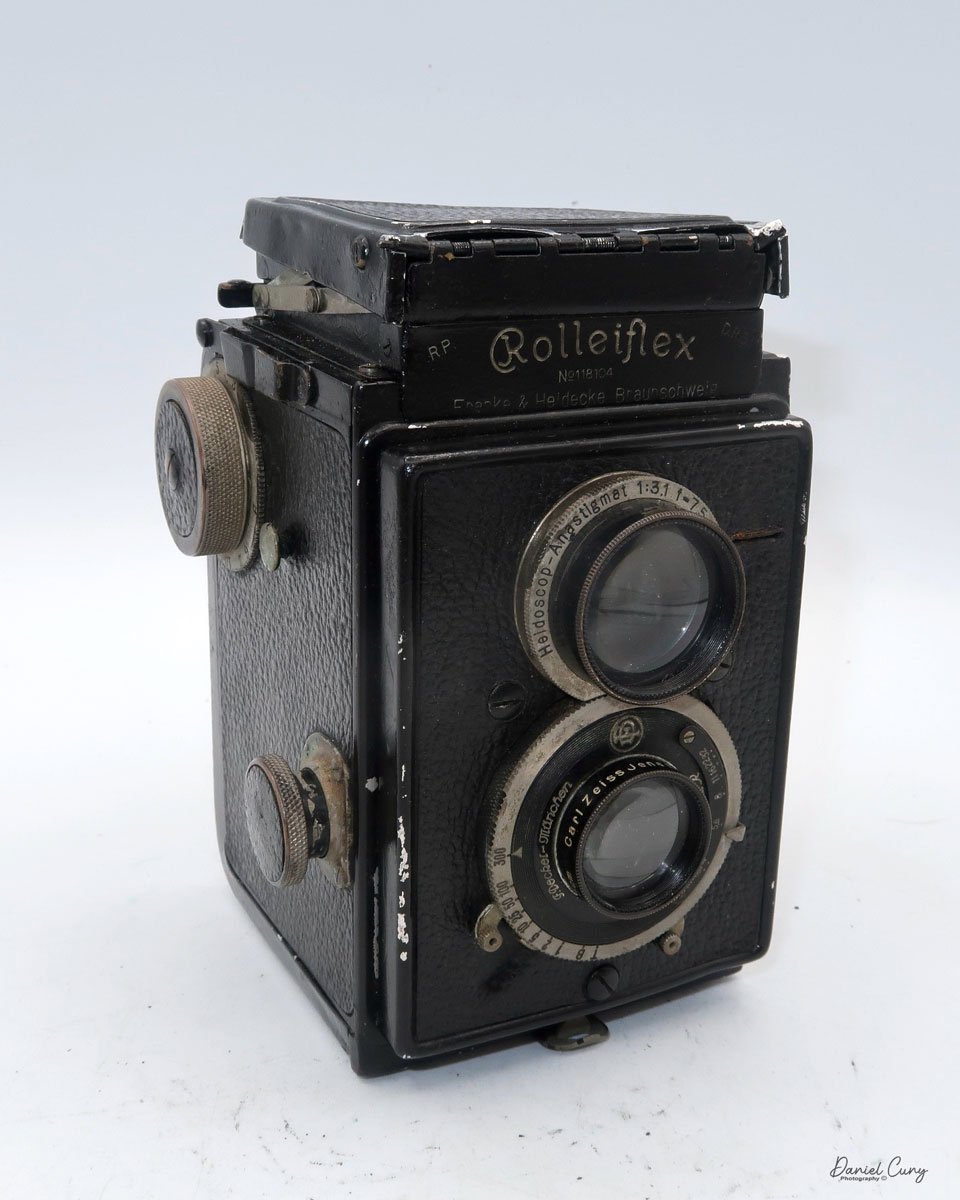
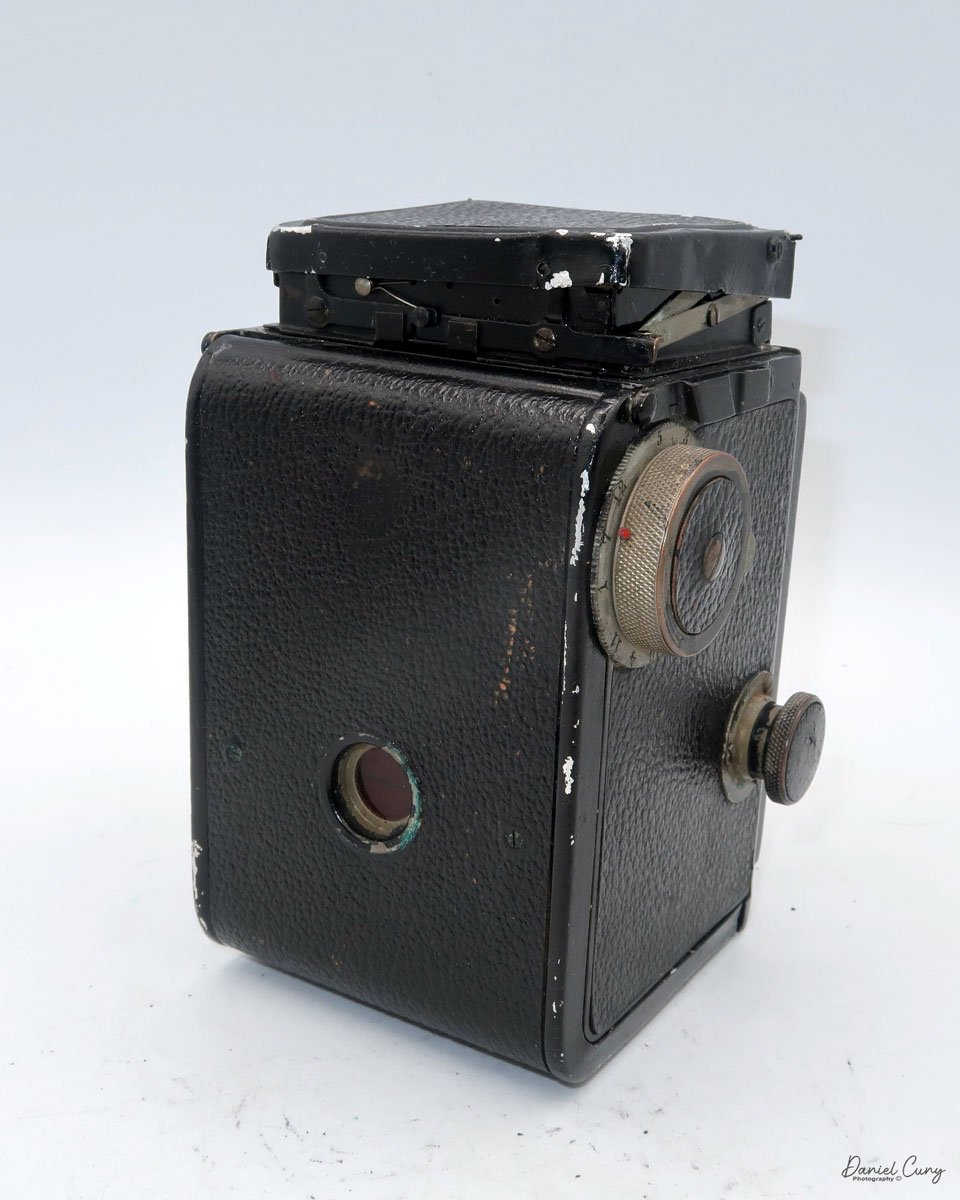
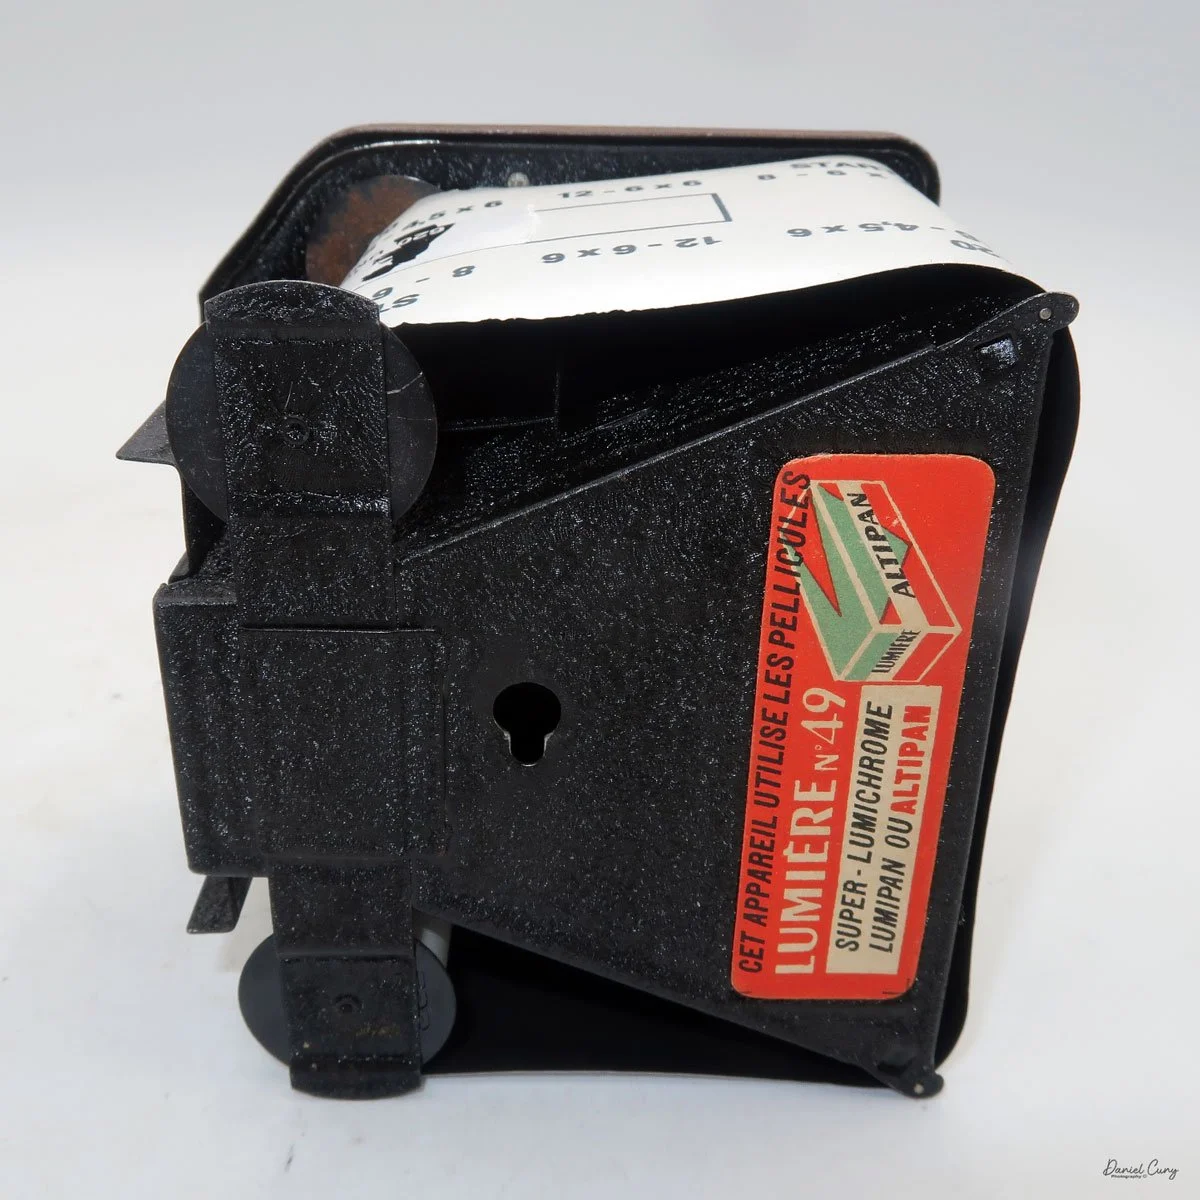
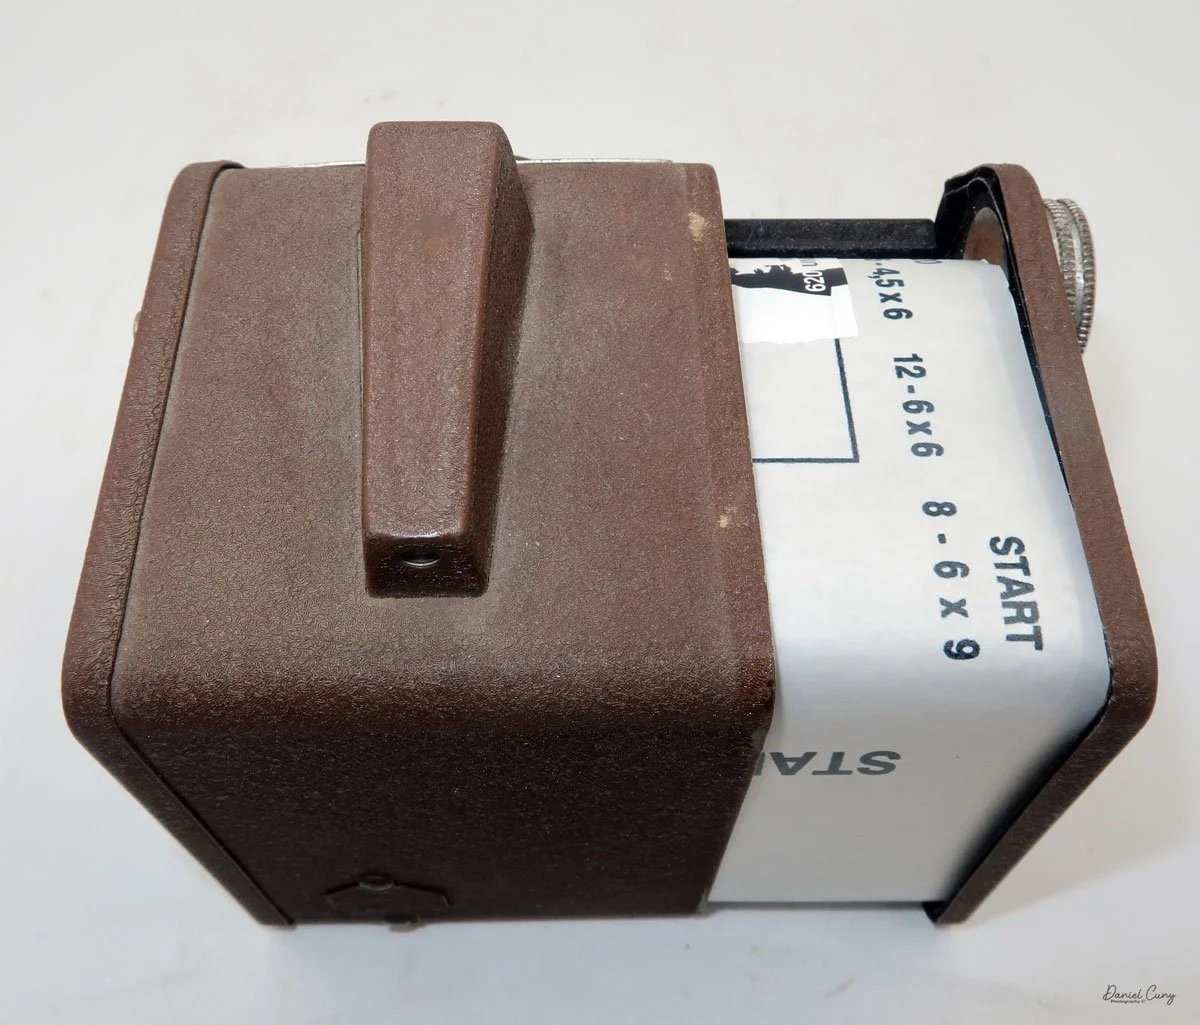
The LuxBox was reissued from 1952 to 1954, which is when mine was made. It’s an all-metal camera without a leather covering, with a frosted Havana-colored paint finish. There is a small vertical eye-level finder on top for composing your shot. This version takes 6x9cm negatives with 620 film, which is very similar to 120 film but uses a different spool size.
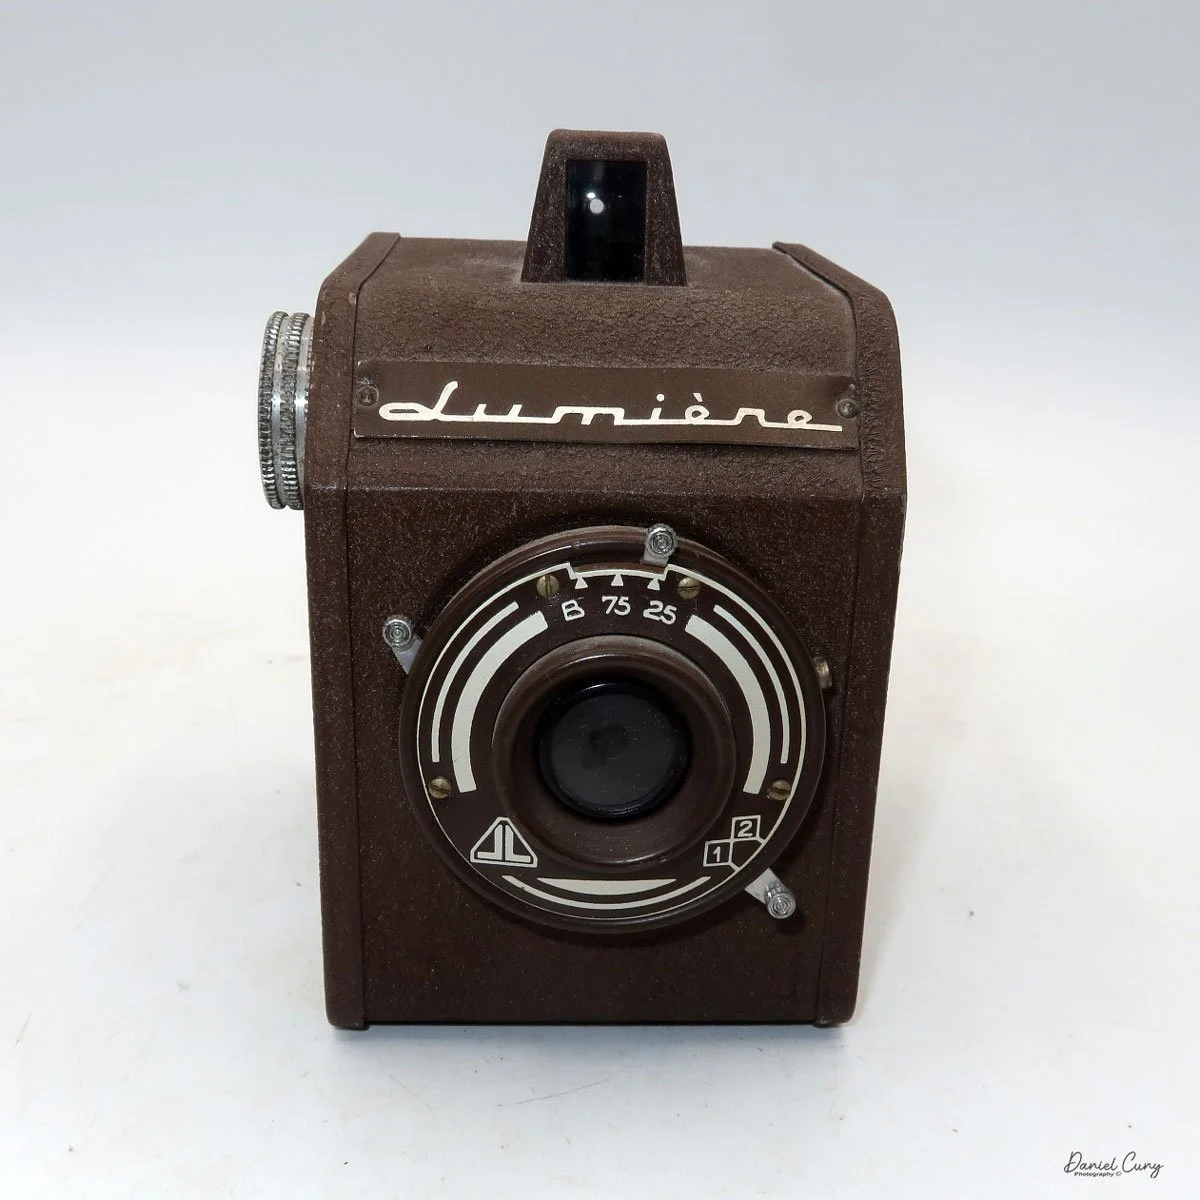

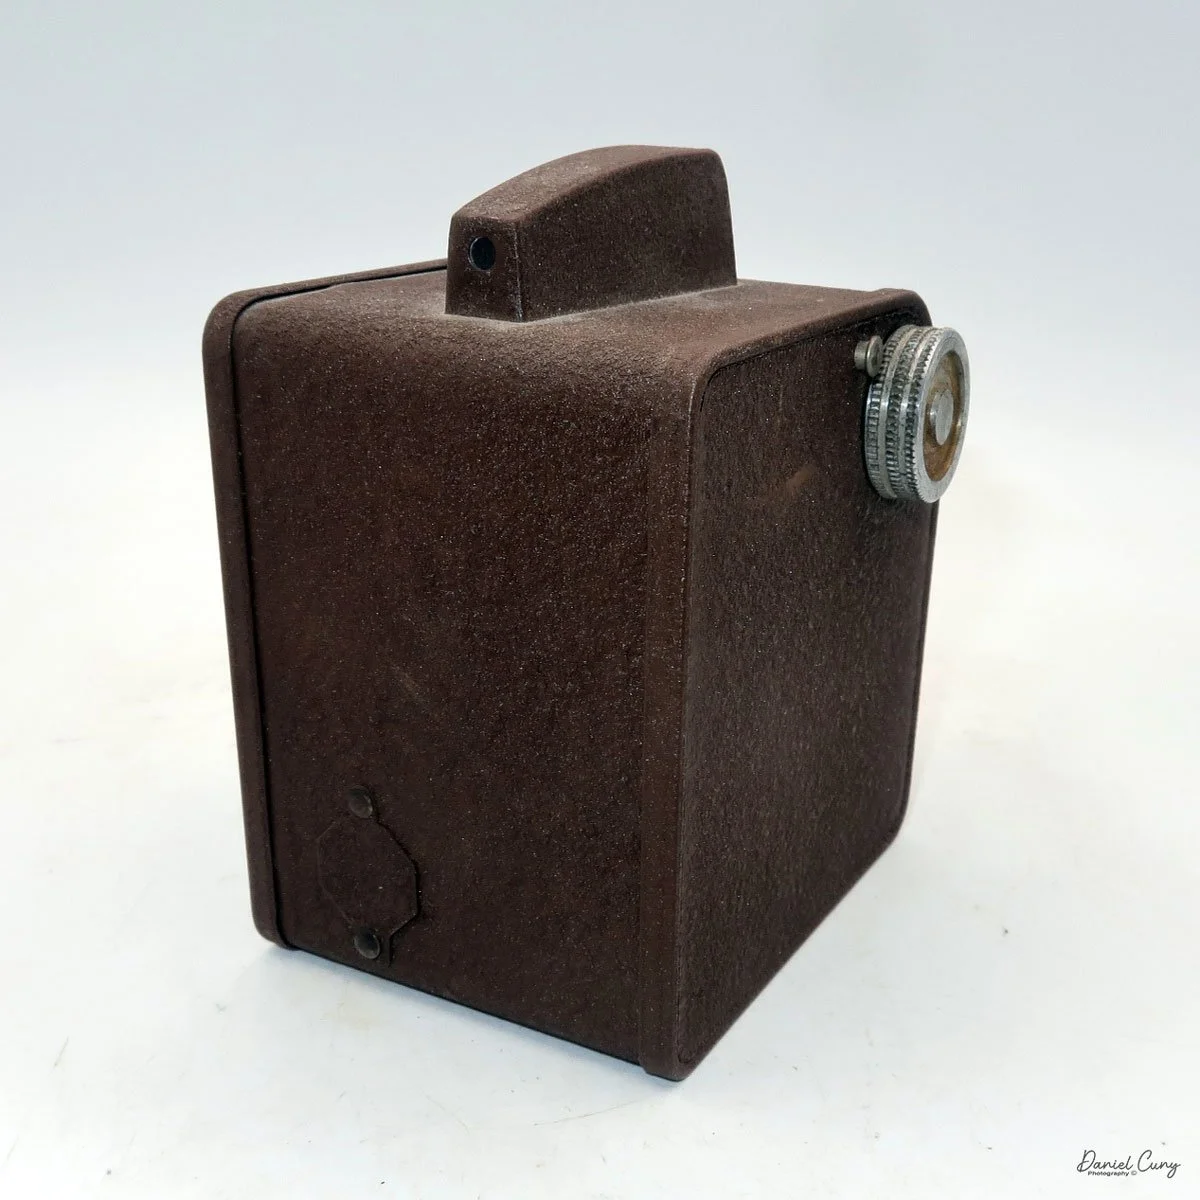
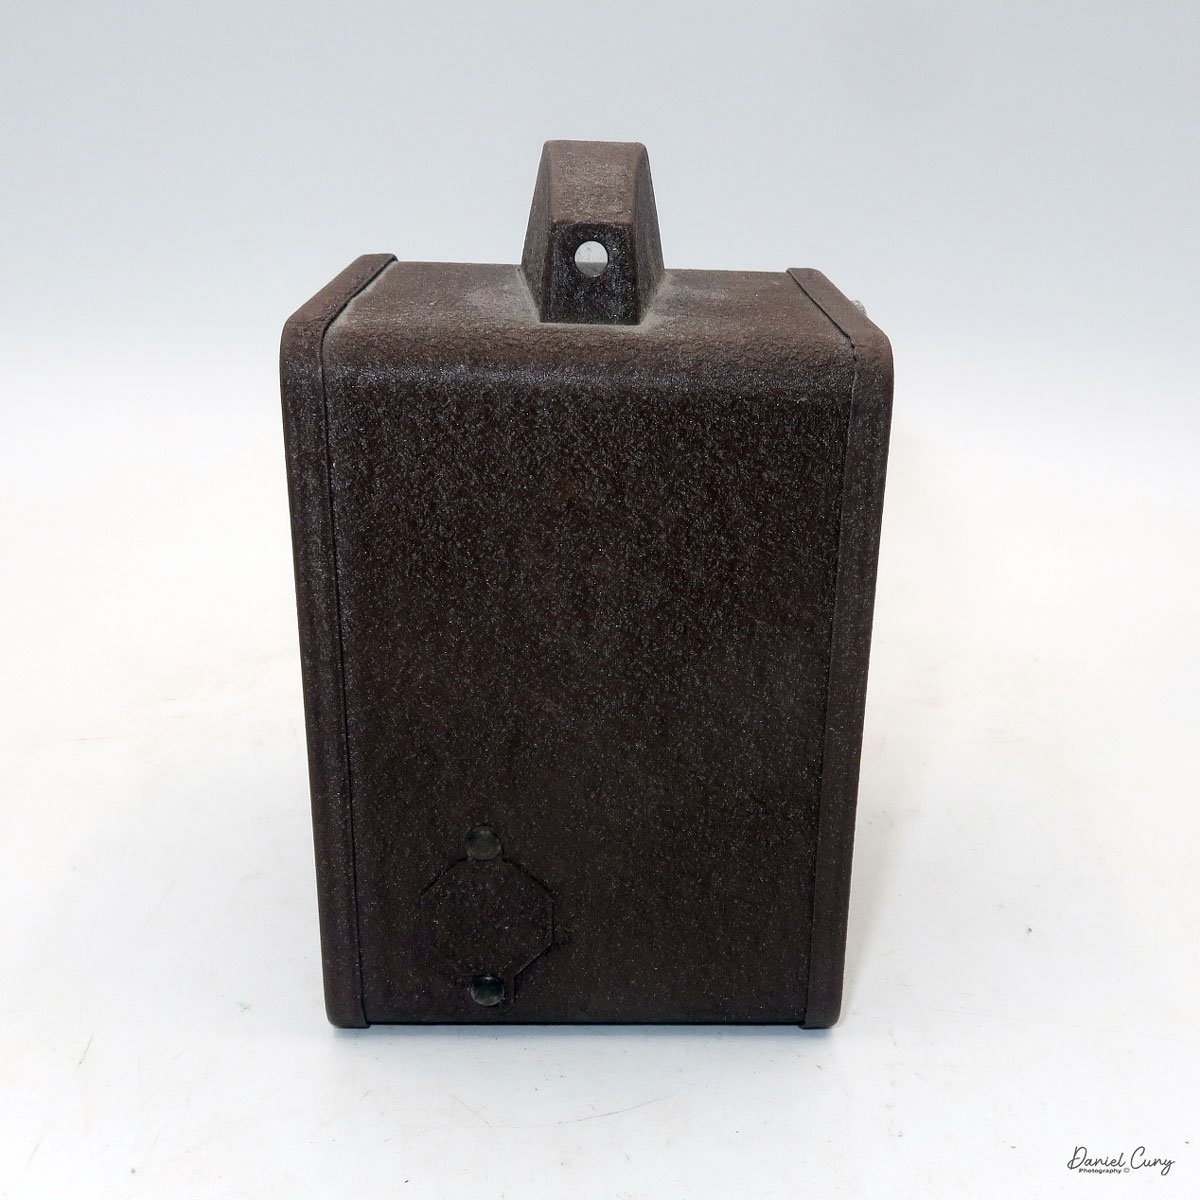
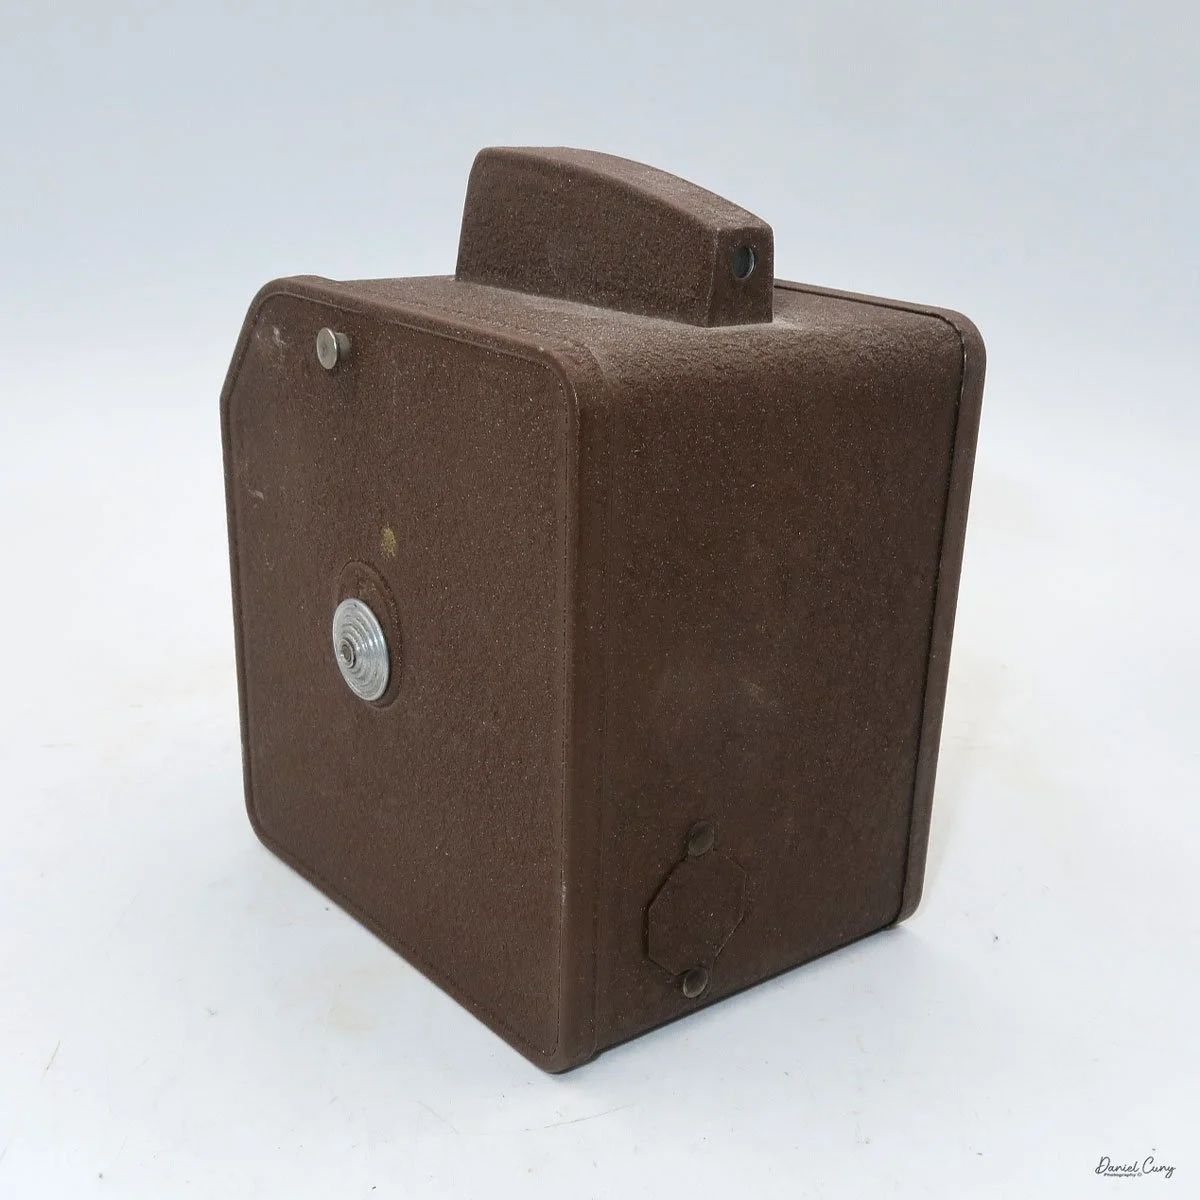
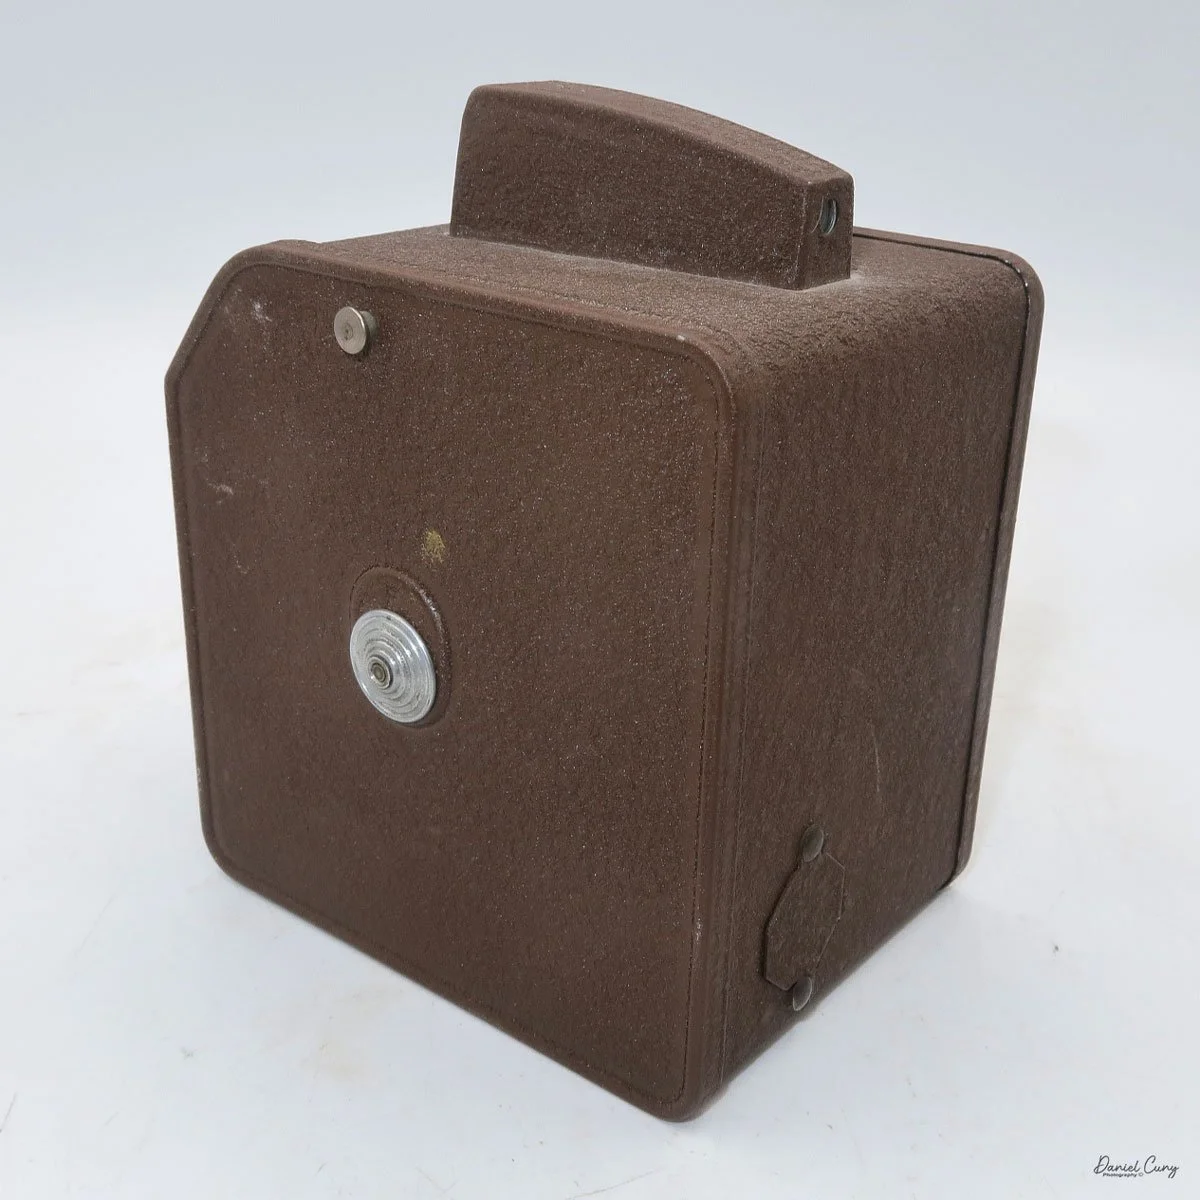
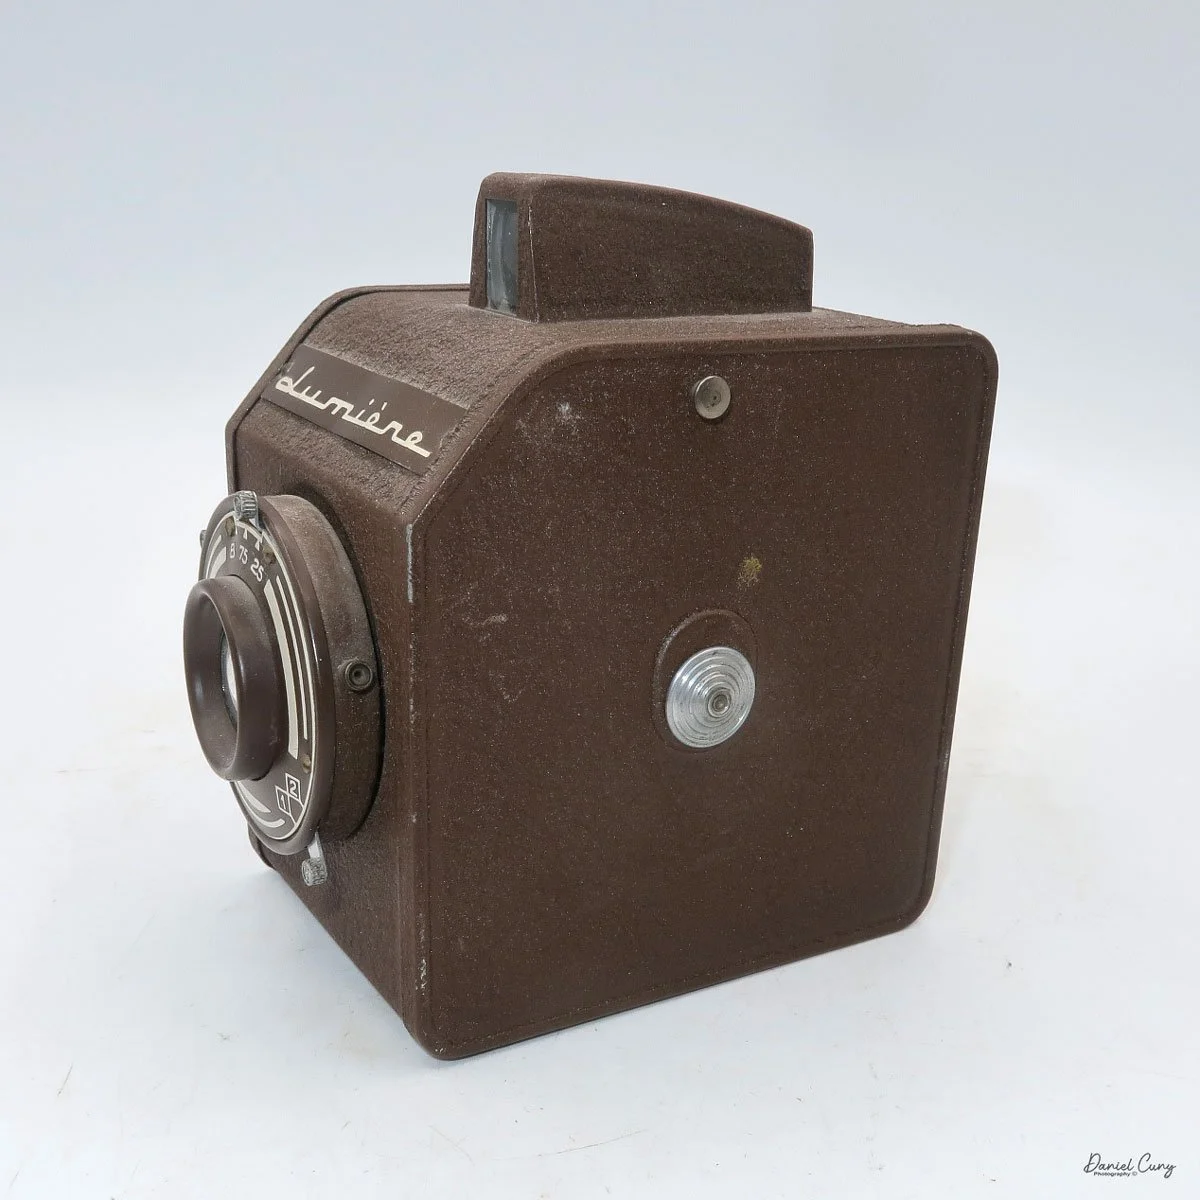
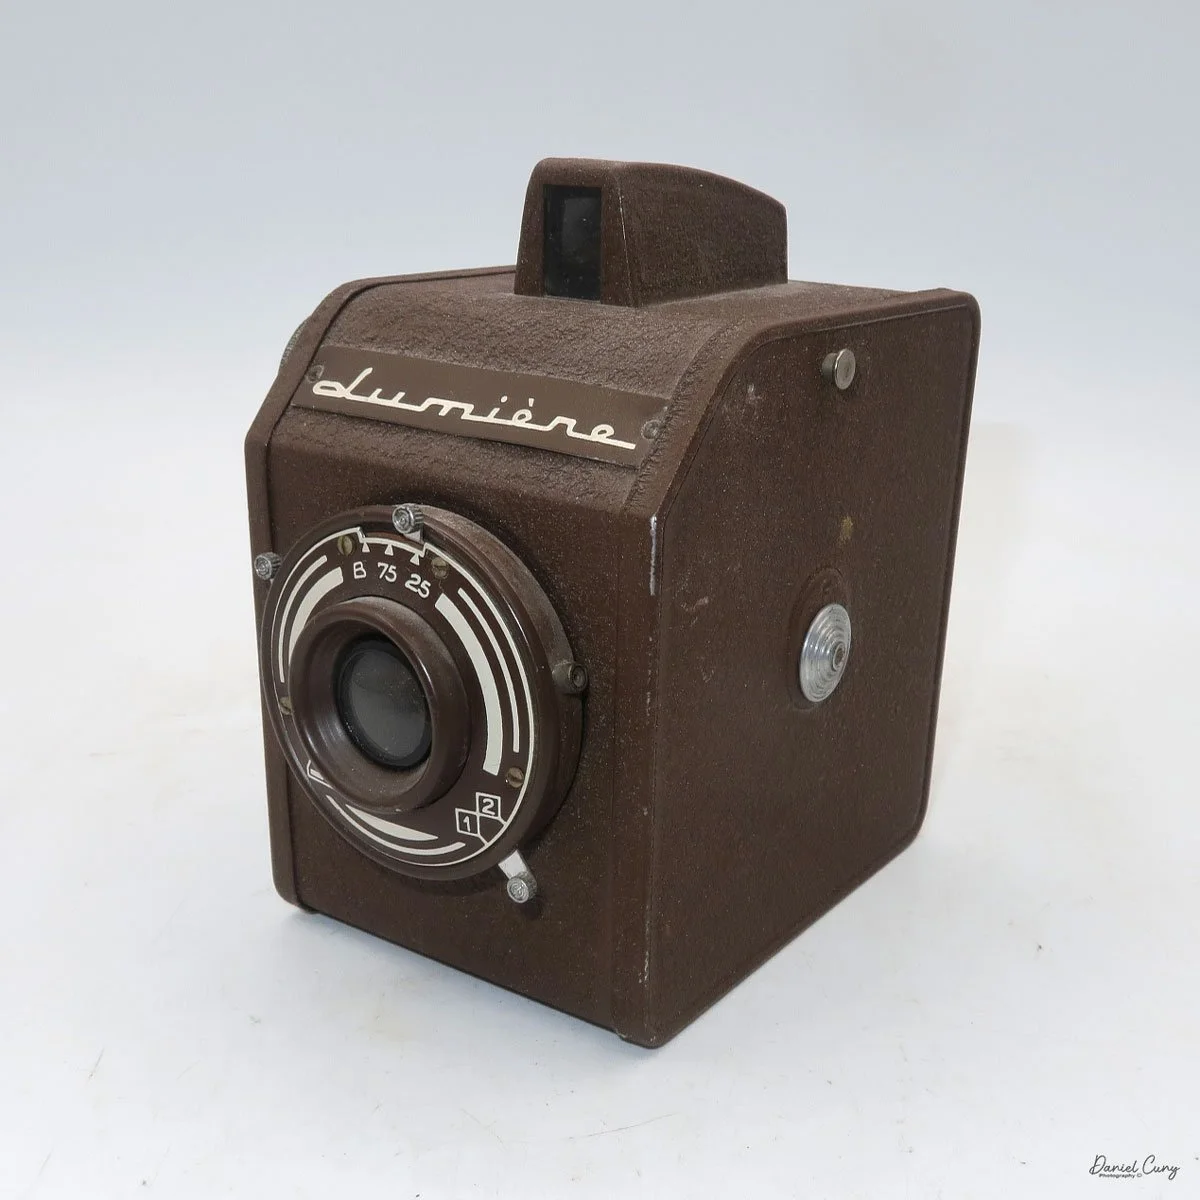
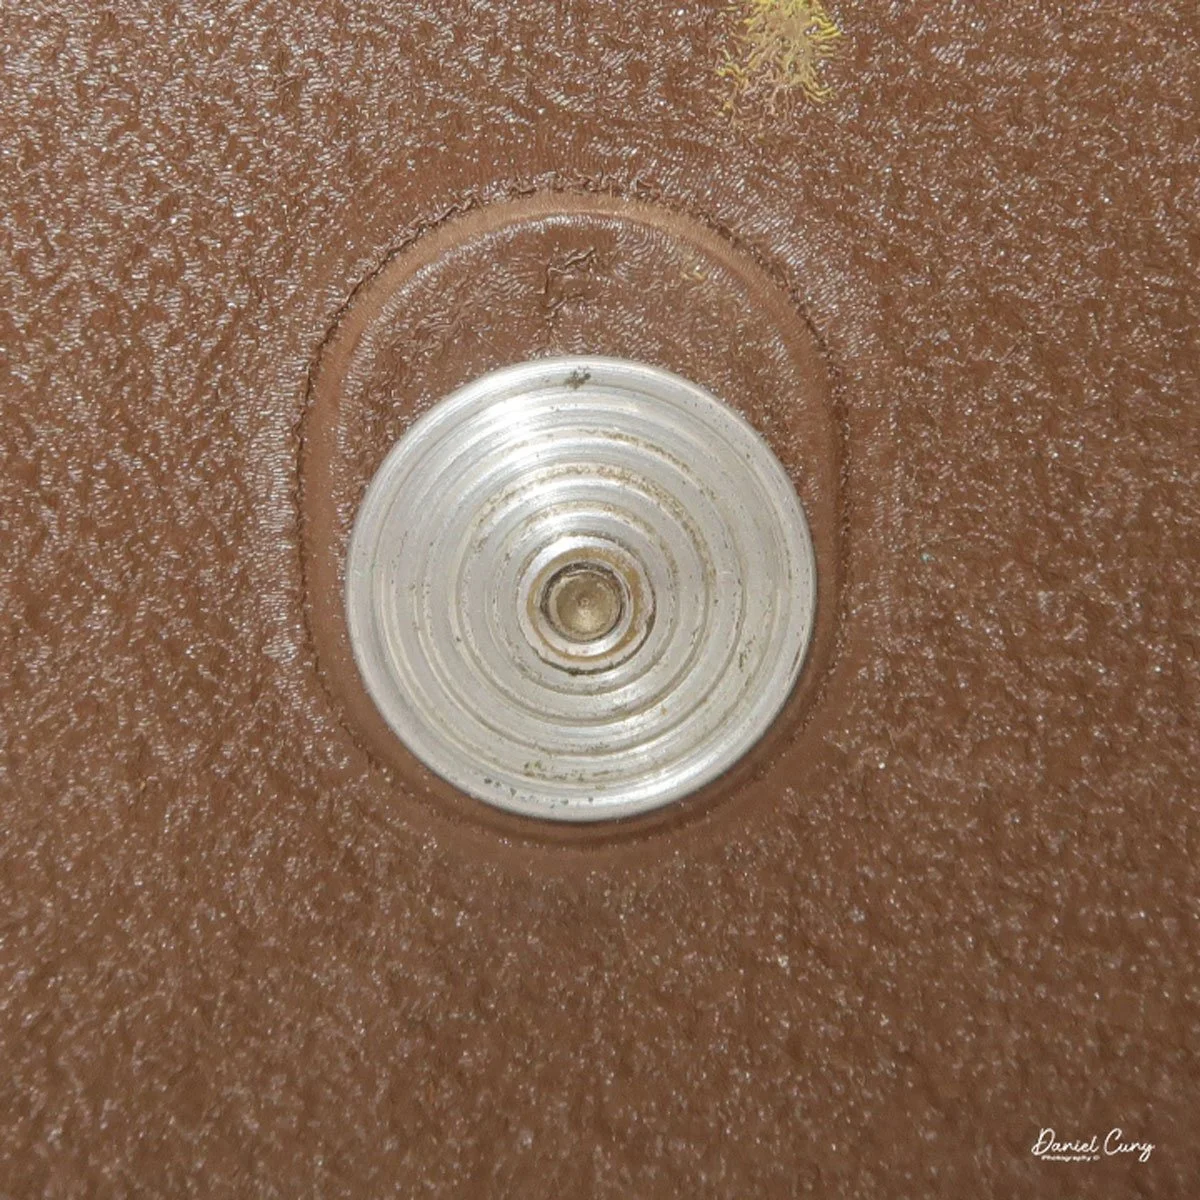
The camera has a simple lens and shutter unit. The shutter provides two speeds: 1/75 (fast) and 1/25 (slow), plus a "B" (bulb) setting for manual exposure holding. There are two fixed-aperture settings at the 4:00 position (when facing the lens): "2" (wider opening for brighter images) and "1" (smaller opening for greater depth of field and less light). A PC flash port at 2:00 allows flash connection. There’s no cable socket for time exposures, so you must hold the shutter release manually for long exposures. The bottom of the camera has a standard tripod socket for stability.

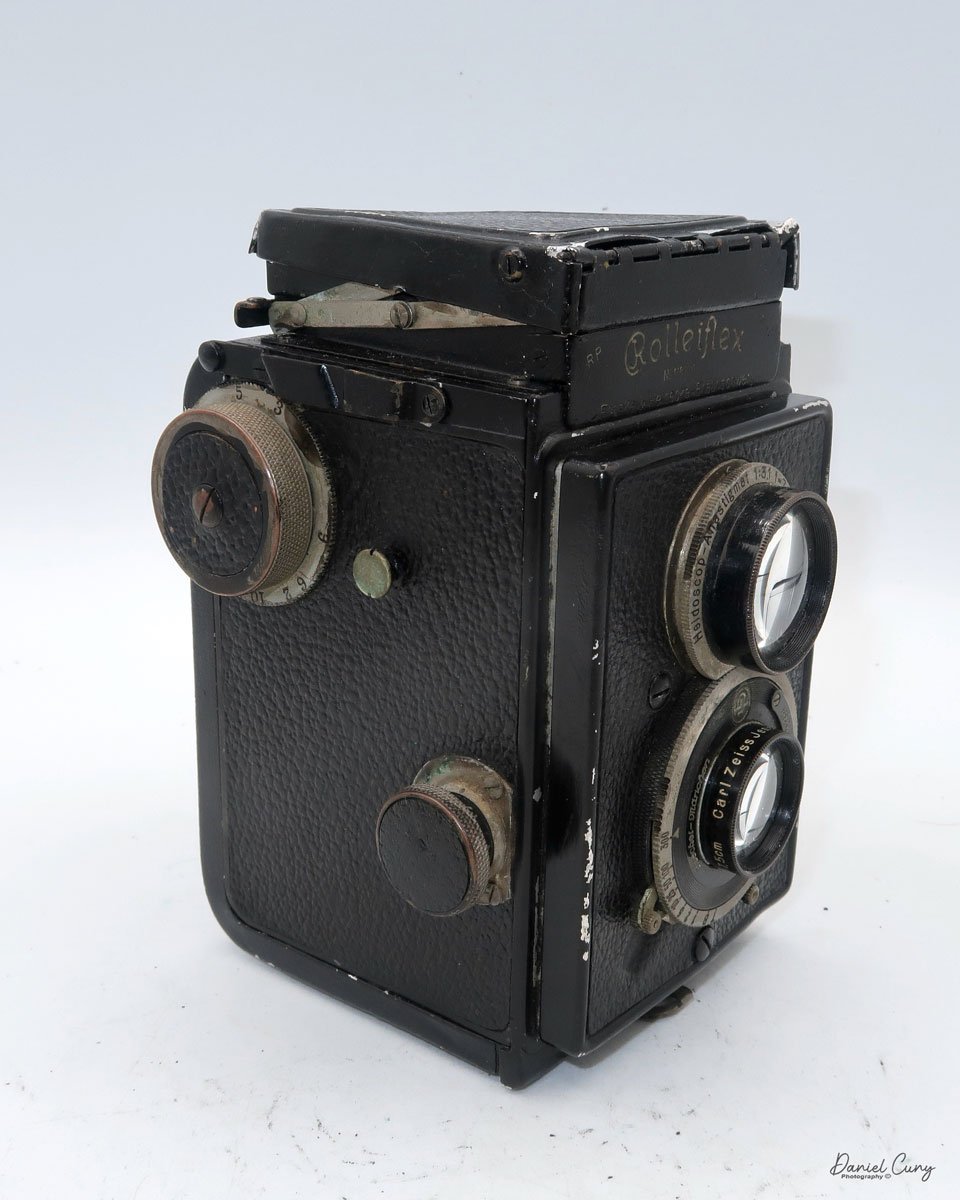
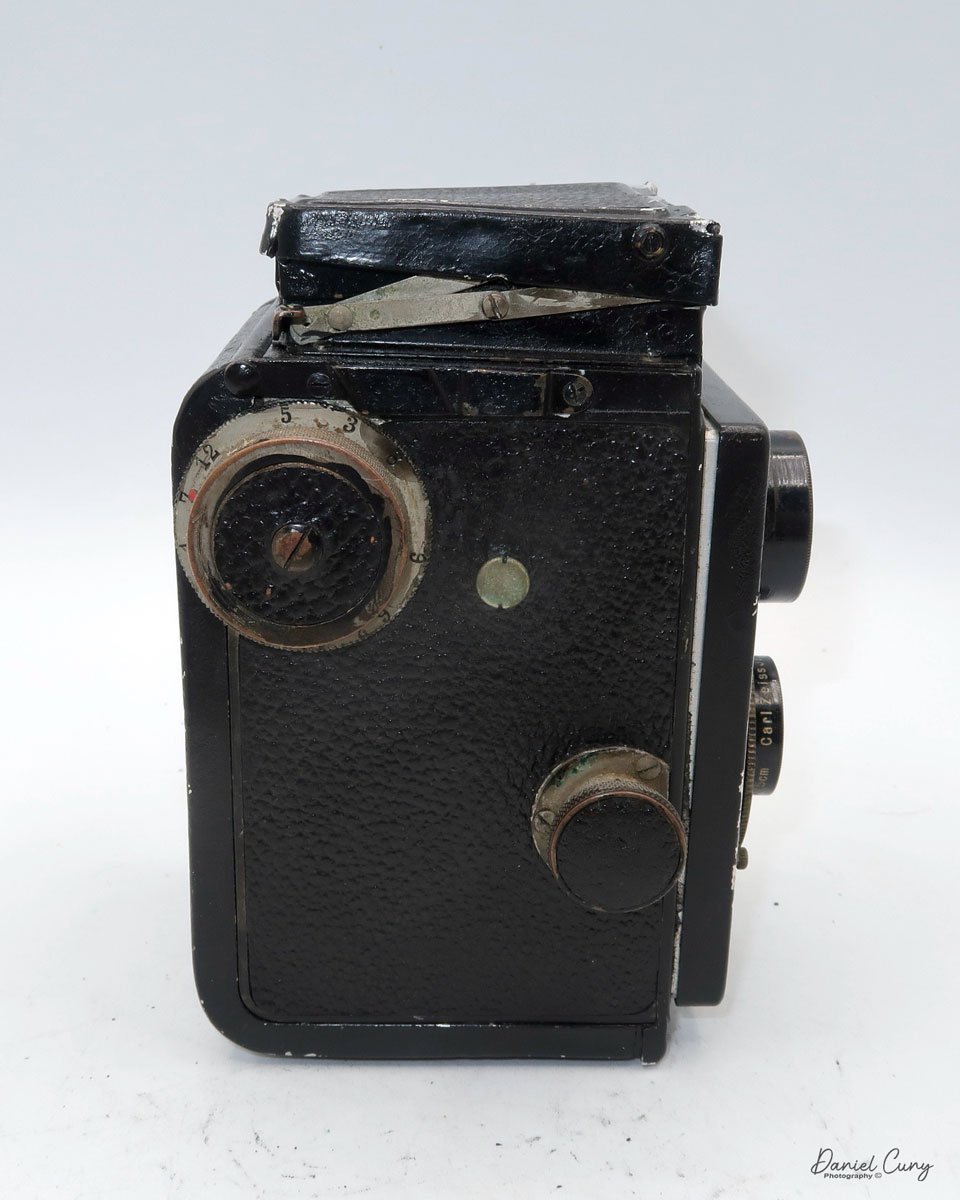
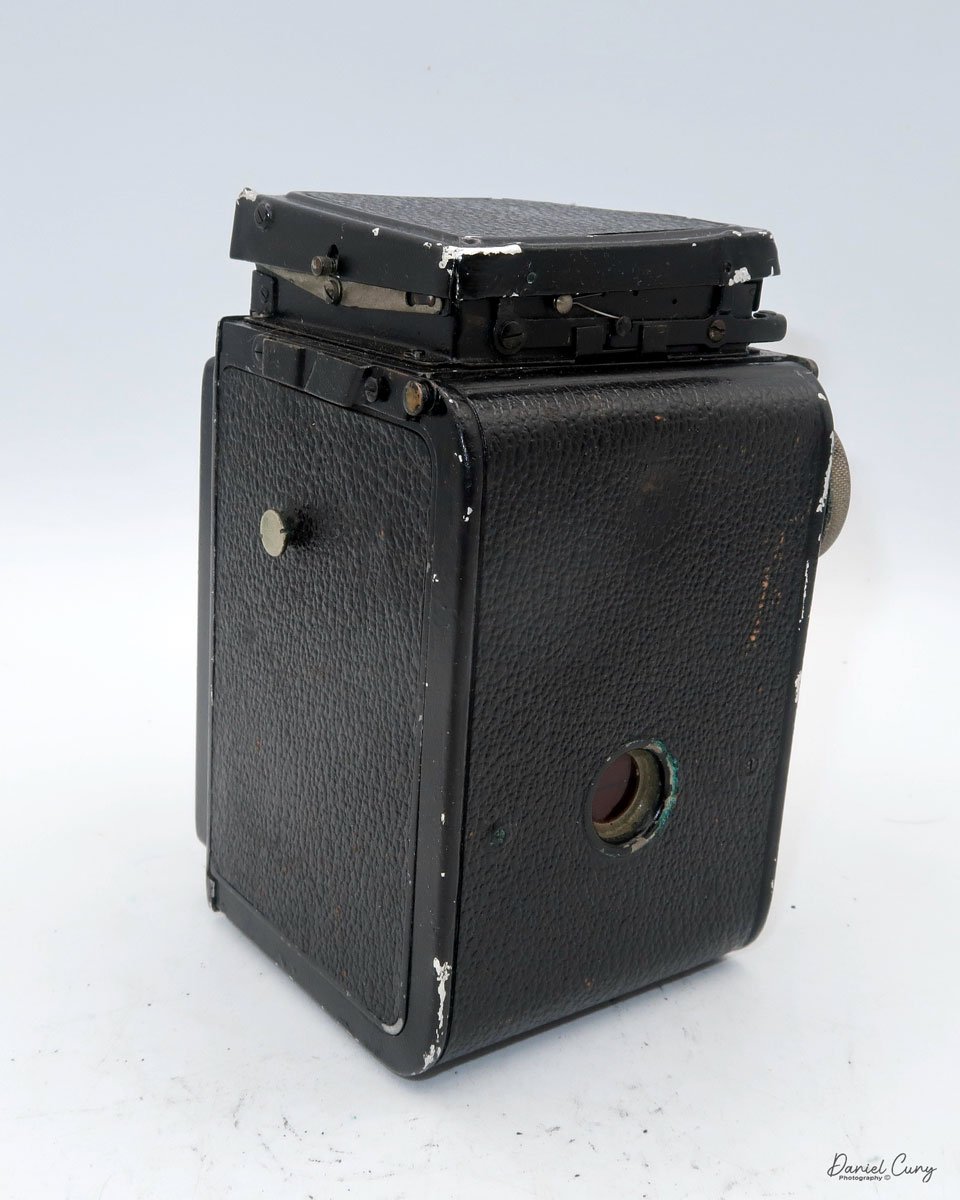
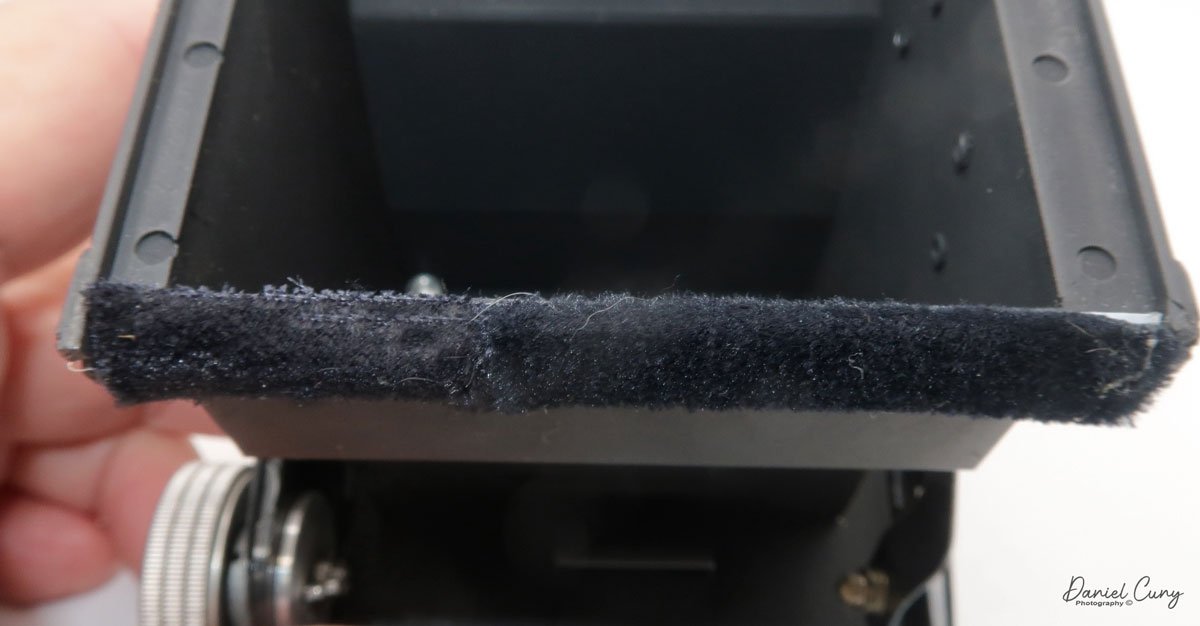
To load film, find the locking button on the left. Slide it up to unlock, then pull the right side away from the body. Load film as with other box cameras.
Move the empty take-up spool from the bottom compartment to the top so it can collect the unspooled film. Place the new roll of film into the bottom compartment, ensuring the ends of the spool fit securely into the peg slots. Pull the leader paper over the guide wheels and insert it into the empty spool’s slot. Turn the winding knob until the word "start" appears on the backing paper. Slide the film chamber back into the camera body and lock it in place with the button. Then, open the red window cover on the camera's back and turn the winding knob until the number "1" appears, indicating that the first exposure is ready.
This camera has a few technical settings.
Let’s load film and see what results we get.
My Results:
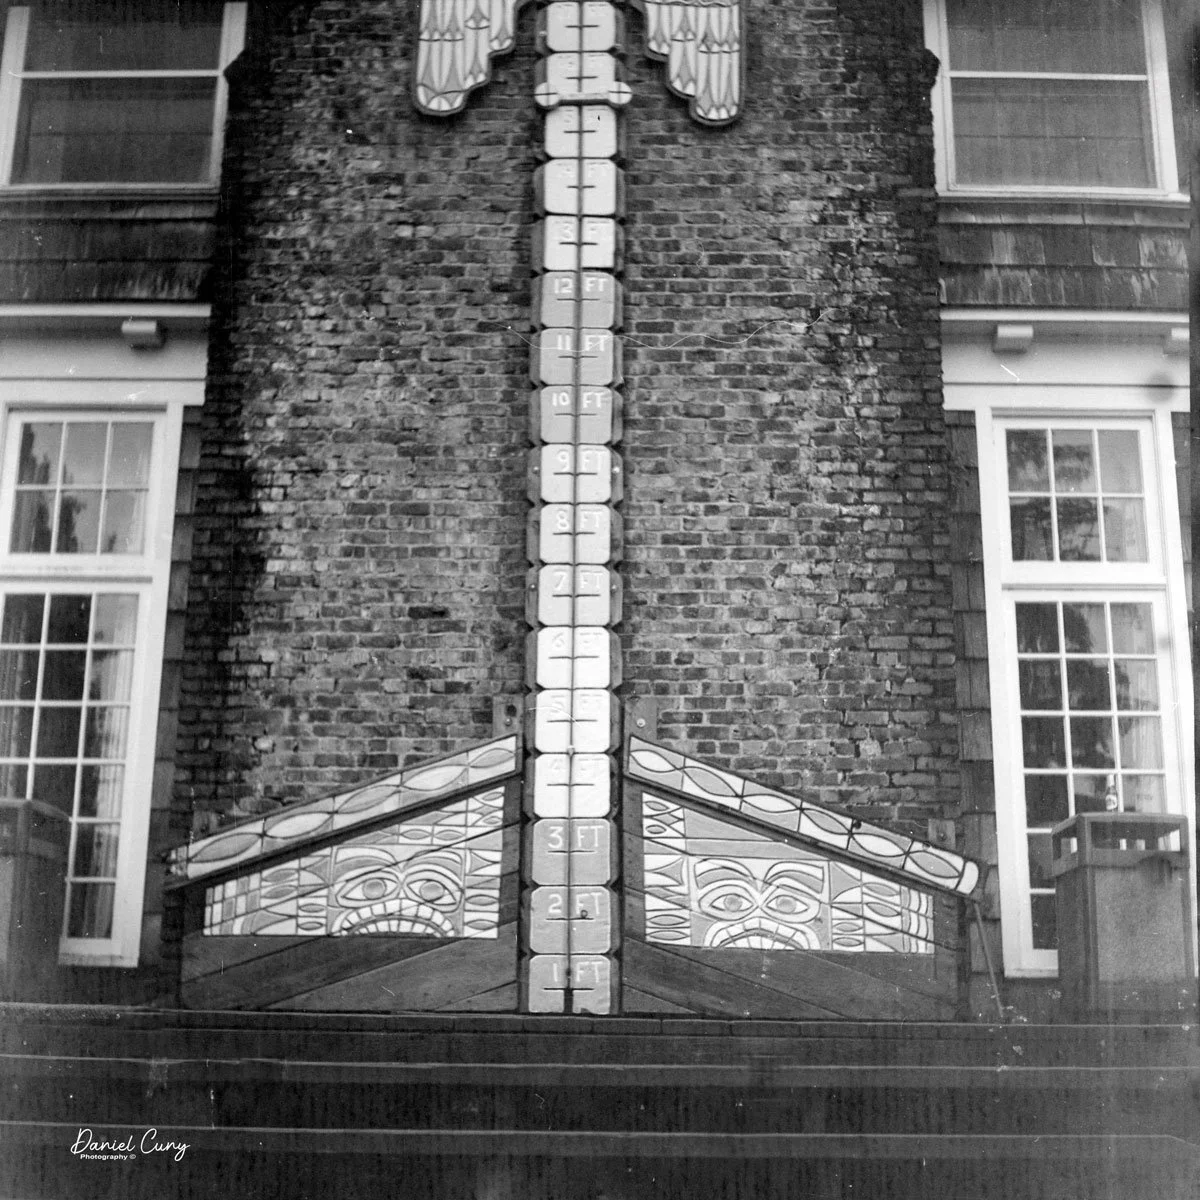
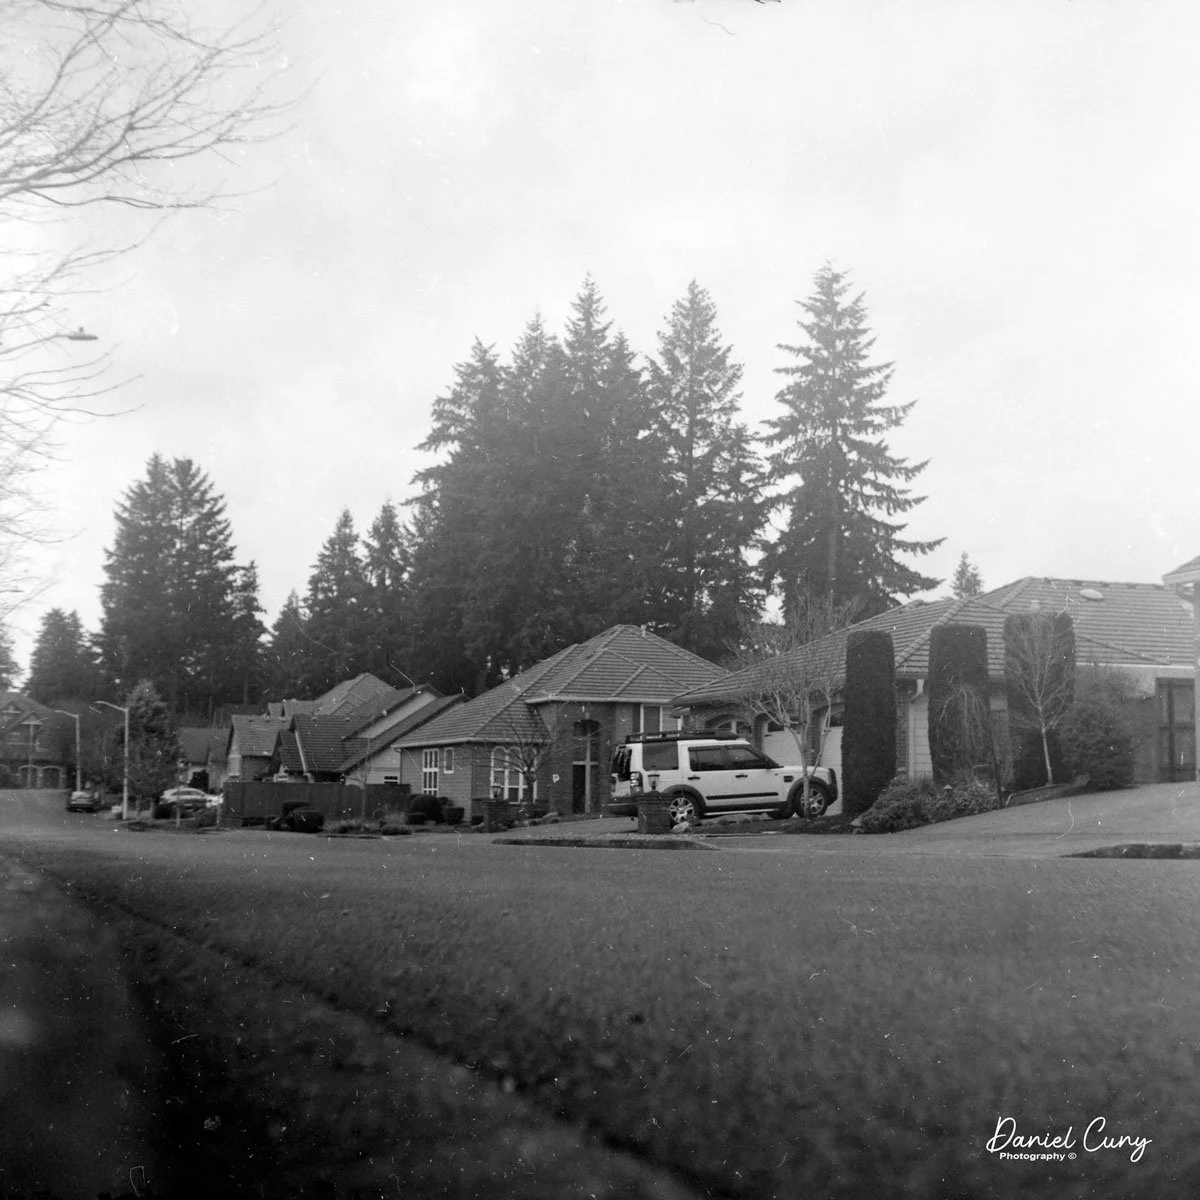
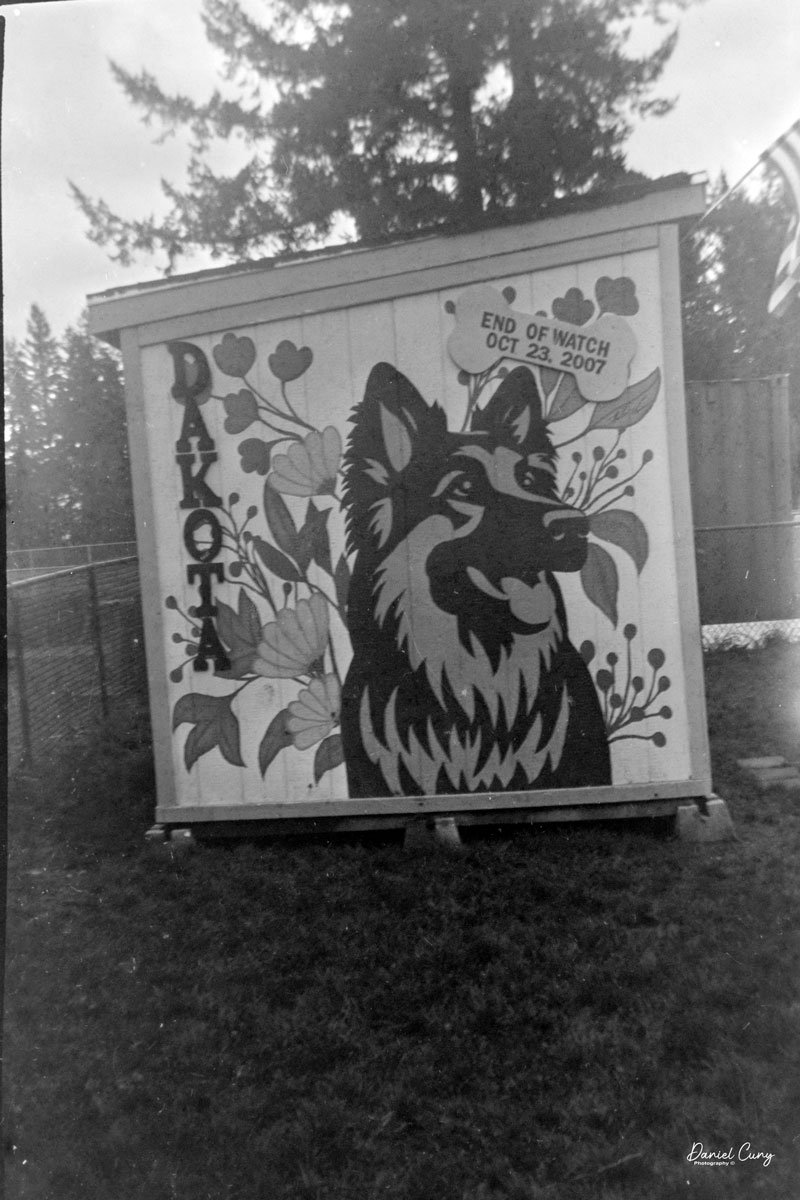
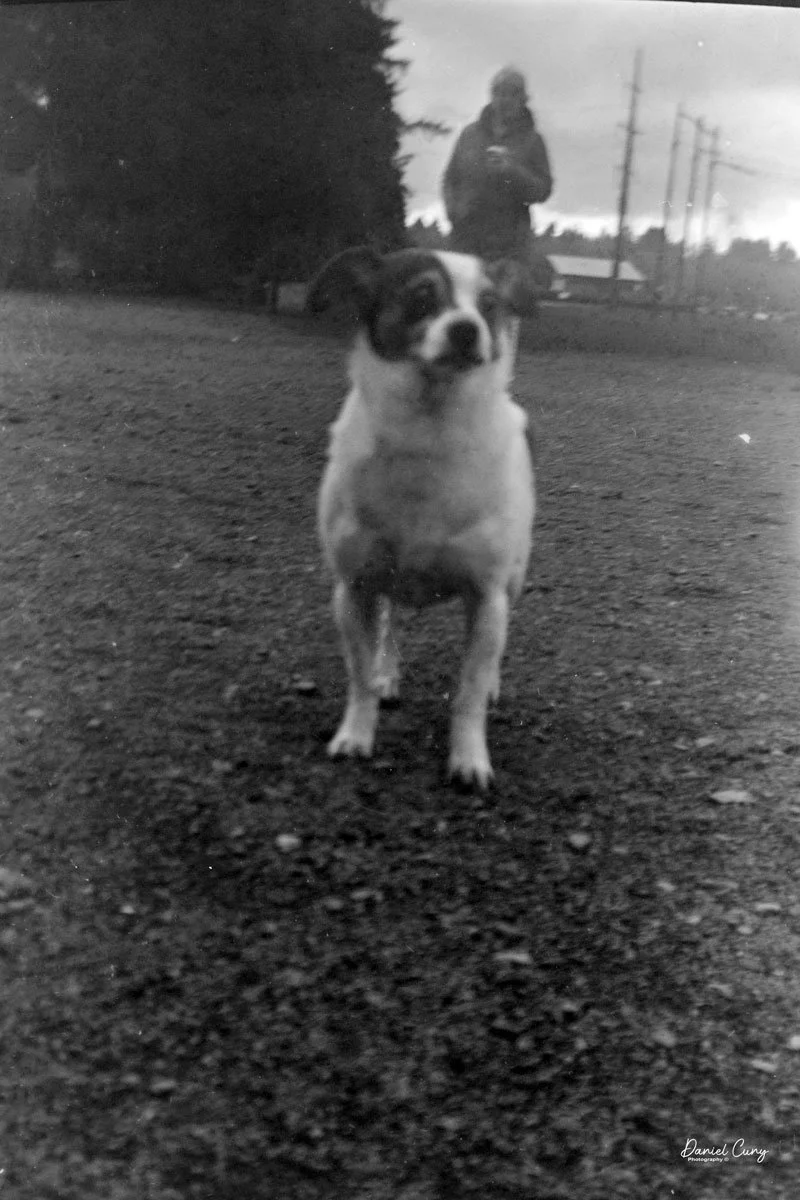
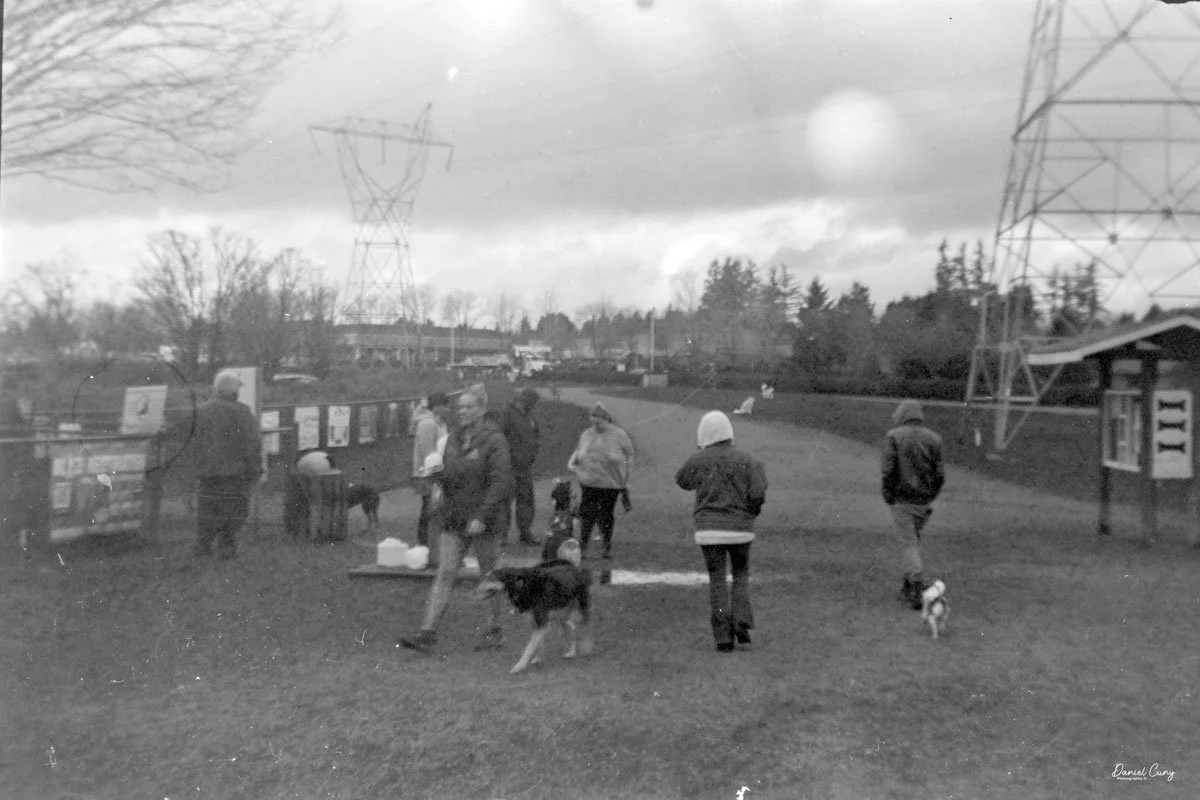
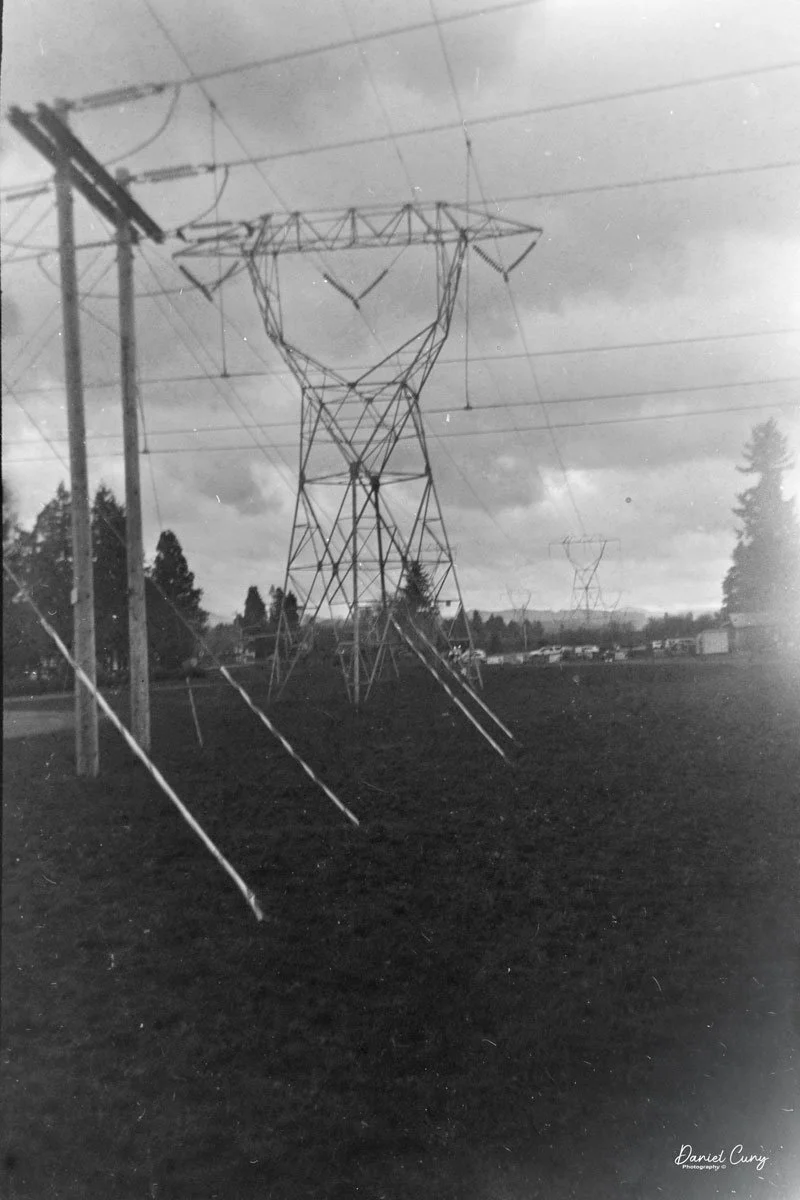
I loaded the camera with a roll of 100 ISO 620 film I keep for cameras like this. I probably should have used 400 ISO film, since it was overcast, though the sun peeked through at times. We took our daughter’s dog to the local dog park for exercise and photos.
Here are some of the results from our walk at the Dog Park:
Conclusion:
The camera is fun to use thanks to its extra shutter controls. As someone who likes the 6x9 cm format, I enjoy capturing a larger area in each photo.
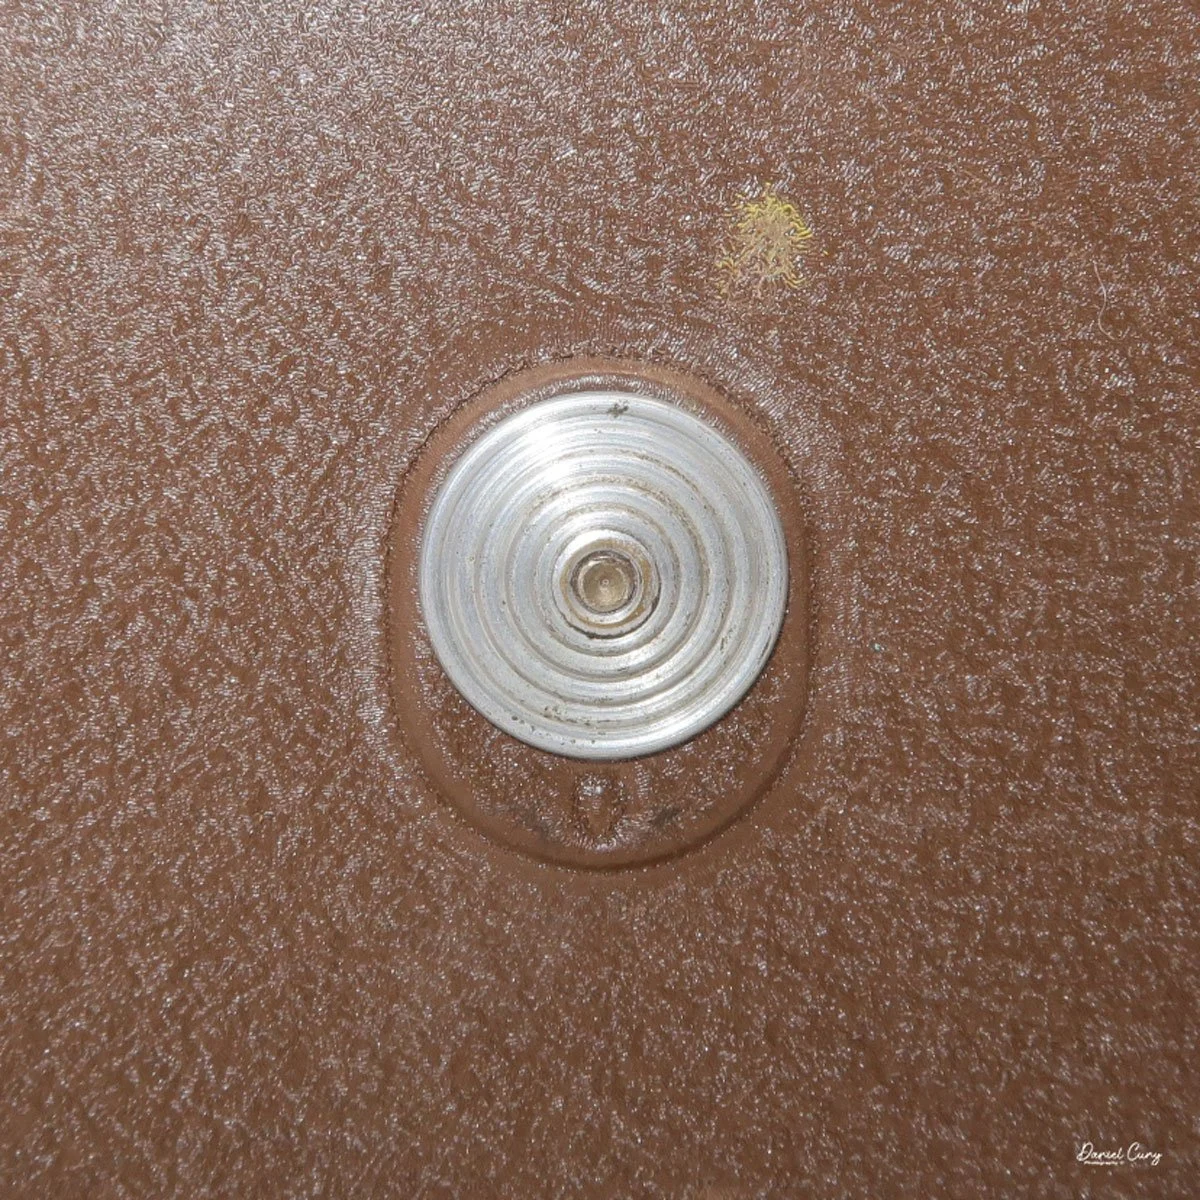
The main downside for me was the tiny viewfinder window. A standard waist-level finder would have made the camera easier to use and more like the original 1930s model.
I think this model was brought back in the early 1950s to cut costs but still offer decent image quality. Although I may not use it again, testing it for this article let me revisit why it stood out to me in Paris, and now it has a place on the shelf among my other colored cameras.
Feel free to check out my other camera reviews.
If you’re interested in any of the cameras I’ve reviewed, you might find them in my eBay store, Cuny’s Cameras and Photos. I have lots of odd and unusual photo items for sale.
Thanks for taking a few minutes to read about this mid-century French camera made after WWII.
Until my next review, take care.