
My Nagel-Kodak Pupille camera and case
Just after I finished last week's blog on the Ricoh Auto Half cameras, I was looking around the cameras on my shelf in my office, thinking which camera I'd write about this week. Nothing stood out to me, so I figured I'd let it rest for a day or two and think about it.
Going to bed that evening, a camera popped into my head out of the blue. Having a thought or remembering something from earlier in the day is something that often happens to me, generally just as I lie down to go to sleep, something pops into my head, and that's just what happened.
The thought that came into my head was that I remembered having a nice condition Nagel Pupille camera in a box a few months back, which I store with some of my better cameras. That's the camera I wanted to write about for this week's blog post.
After I woke up, had my morning coffee, I settled into my office and opened the box of cameras to look for the Pupille camera I had. Right on top of other cameras was the case. I pulled out the case, and inside was the Pupille camera. Looking at the camera a bit closer, I say this was the Kodak version of the Pupille, which was introduced a year or so after its release.

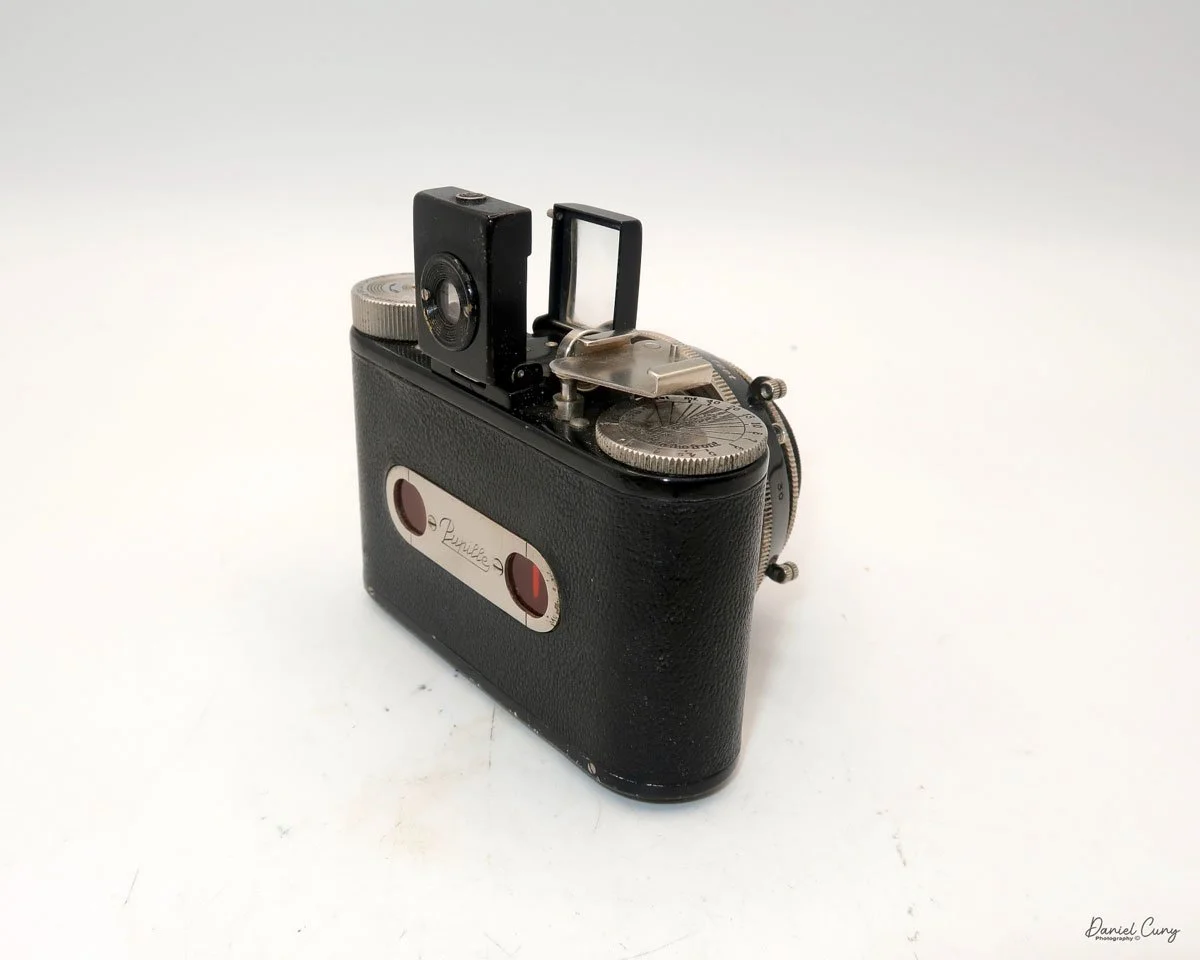
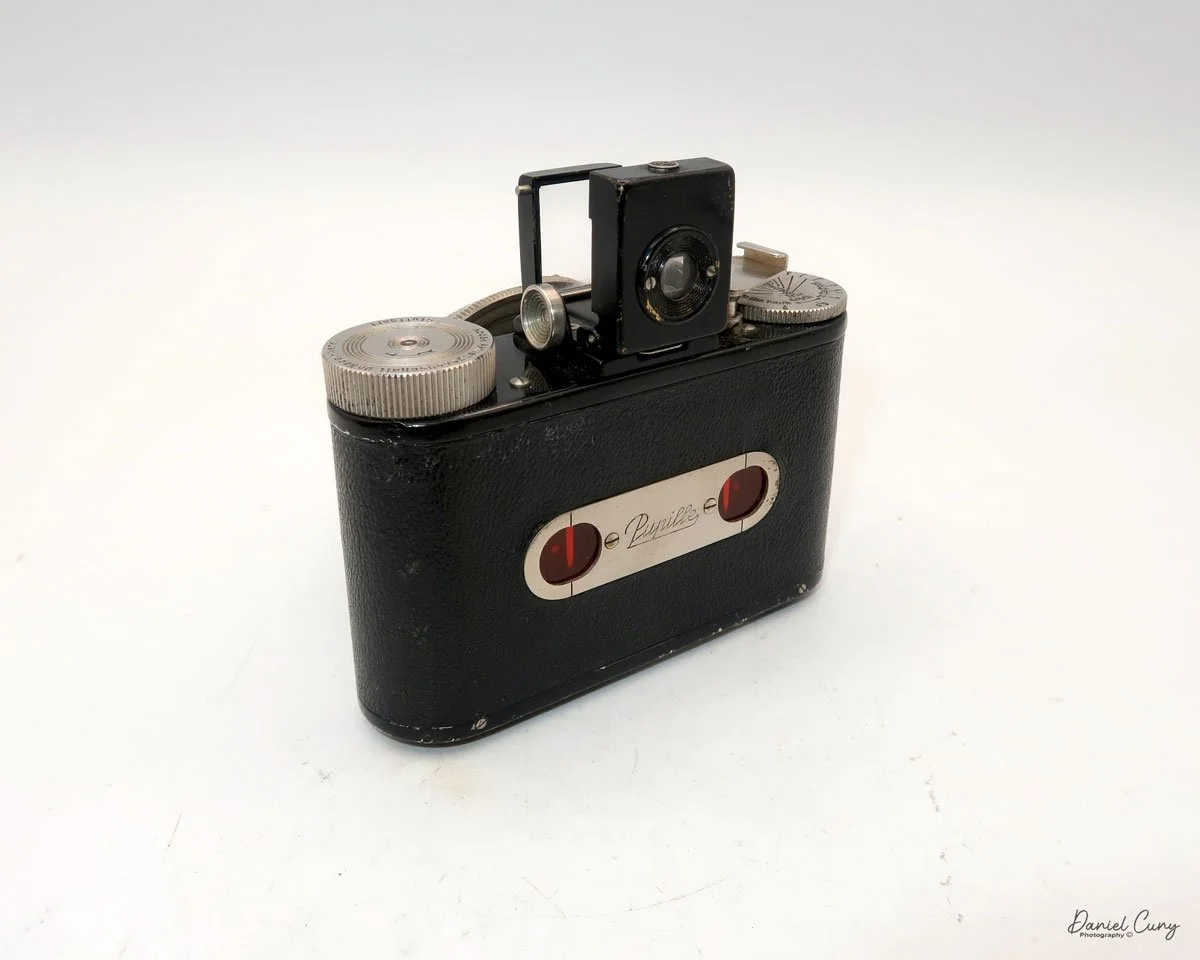
Logo on the camera’s back
It was just as I remembered it. The camera was in excellent condition with the lens cap. The first thing I did was test the shutter, and most of the speeds seemed accurate to my ear. Some of the slower speeds were not closing, which is somewhat accurate for a shutter almost 100 years old. The upper speeds were working fine, so I figured I'd put a roll of 127 film into the camera and take it to the county fair my wife. I were planning on going to over the weekend.
I recall purchasing the camera approximately 15 years ago at an auction I bid on. At the time, it was a lovely addition to my collection, especially since it came with the lens cap and a nice, fitted case for the camera.
The Nagel-Kodak Pupille was a camera I had intended to write about a few years ago when I started my blog posts, but then forgot about it for a while. When it popped into my head last week, I'm thrilled it did.
History:
Dr. August Nagel (1882–1943) was a pioneering German camera designer and manufacturer whose innovations profoundly shaped photographic technology in the early 20th century. Born in Pfrondorf, Germany, Nagel displayed an early interest in camera construction. In 1908, at the age of 26, he co-founded his first company, Drexler & Nagel, in Stuttgart. This company quickly evolved into Contessa-Camerawerke, and by 1910, it had produced a broad range of camera models, which were distributed globally. Nagel's innovations during World War I included specialized aerial and balloon cameras, and his achievements earned him an honorary doctorate from the University of Freiburg in 1918.
Seeking further growth, Nagel's company merged with Nettel Kamera-werke in 1919, becoming Contessa-Nettel, which became one of Germany's most significant camera producers. In 1926, in response to market pressures and Zeiss Stiftung's interest, Contessa-Nettel was merged with other major German camera makers to form Zeiss Ikon, with Nagel as director of manufacturing. However, management frustrations and a loss of control led him to leave Zeiss Ikon in 1928, after which he established his factory, Dr. August Nagel Werke, in Stuttgart.
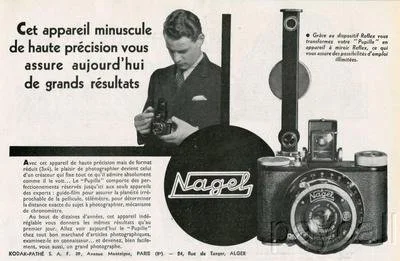
French ad for Nagel Pupille camera
Nagel Werke quickly gained a reputation for producing affordable, high-quality folding plate and roll film cameras, notably the Vollenda models, introduced in 1929, and the more expensive Pupille, introduced in 1930. This success attracted Eastman Kodak, which sought to compete in the European precision camera market. In 1931, Kodak acquired Nagel Werke, making Dr. Nagel the general manager of the rebranded Kodak AG.
With Kodak's backing, Nagel devised the Retina 35mm camera and, critically, introduced the Kodak 135 film cartridge in 1934—a pre-rolled 35mm film format compatible with both Leica and Contax cameras. This cartridge would become the global industry standard for 35mm photography, marking Nagel's most enduring legacy.
Under Nagel's leadership, Kodak AG's Stuttgart plant became known for its Retina cameras and innovations throughout the 1930s. Almost two million cameras were produced before World War II. Dr. August Nagel died in 1943, but his influence continued; camera production resumed post-war and flourished into the 1960s under his son, Helmut Nagel. Dr. Nagel's career typifies the innovative spirit of early photographic engineering and established many of the standards still recognized in the industry today.
My Camera:
My Kodak Pupille camera is a tiny, compact camera that measures 4" wide, by 2.5" tall with the viewfinder retracted and 3.5" with the viewfinder opened. The camera is 2" deep with the lens retracted and 2.75" deep when the lens is in the regular taking position. The camera weighs 14.5 ounces when empty, excluding film.


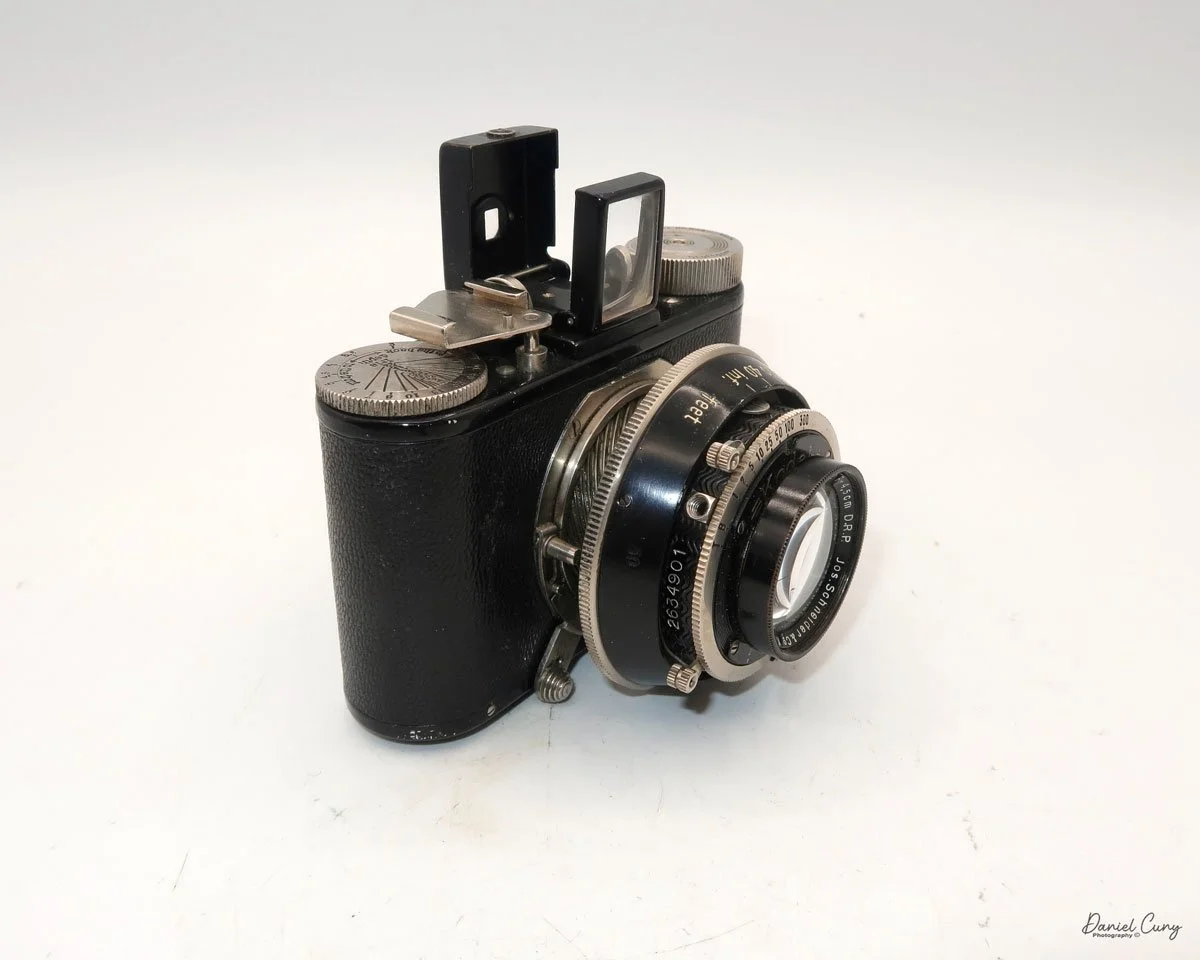


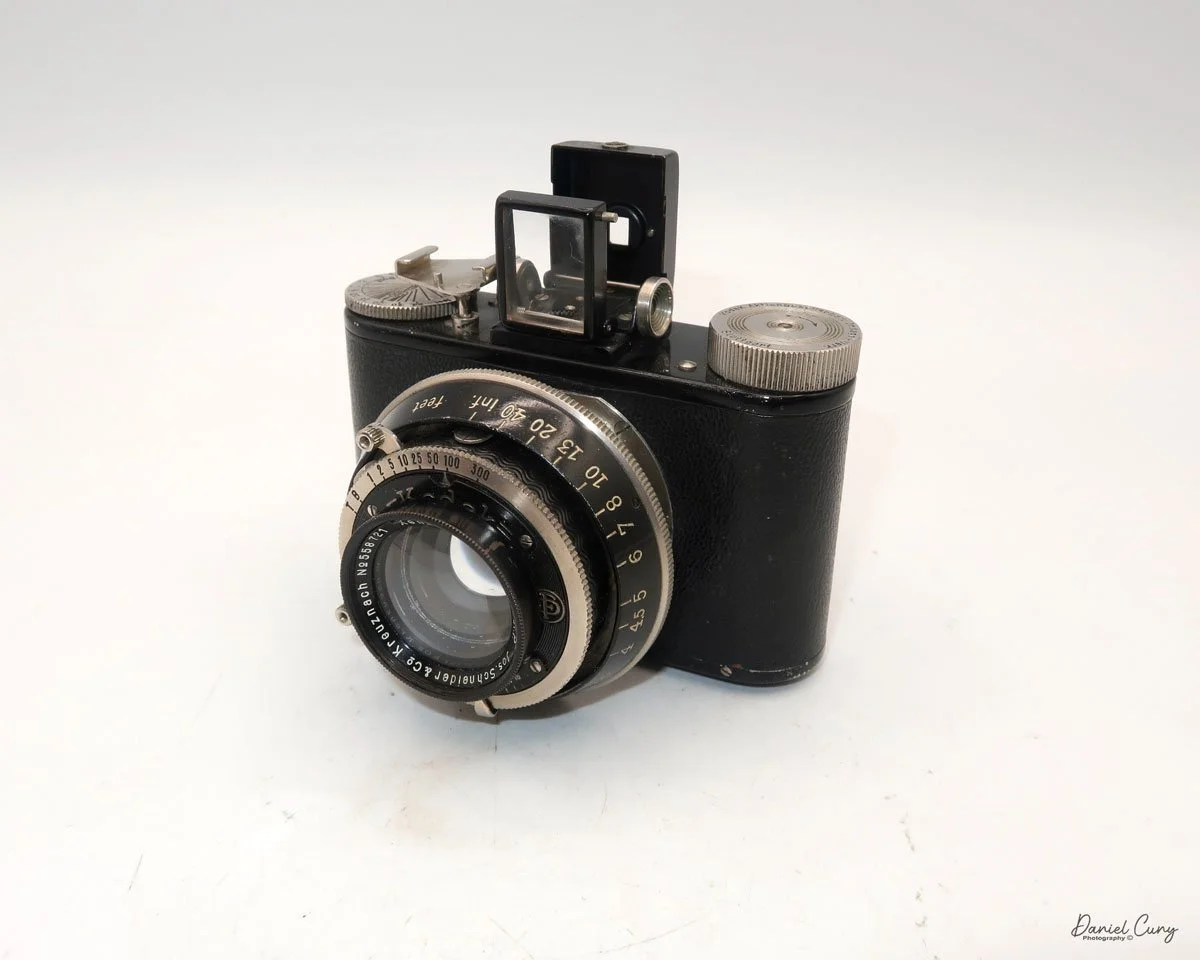
The camera captures a 3x4cm image on 127mm film. My Pupille camera has a Jos. Schneider & Co. Xenon 4.5 cm f/2.0 lens. The camera also had the option of Leitz Elmar 5cm F/3.5, a Schneider Xenon 5cm F/3.5, or a Cook Anastigmat 2" F/3.5 lens, all in a Fr. Deckel Compur shutter.
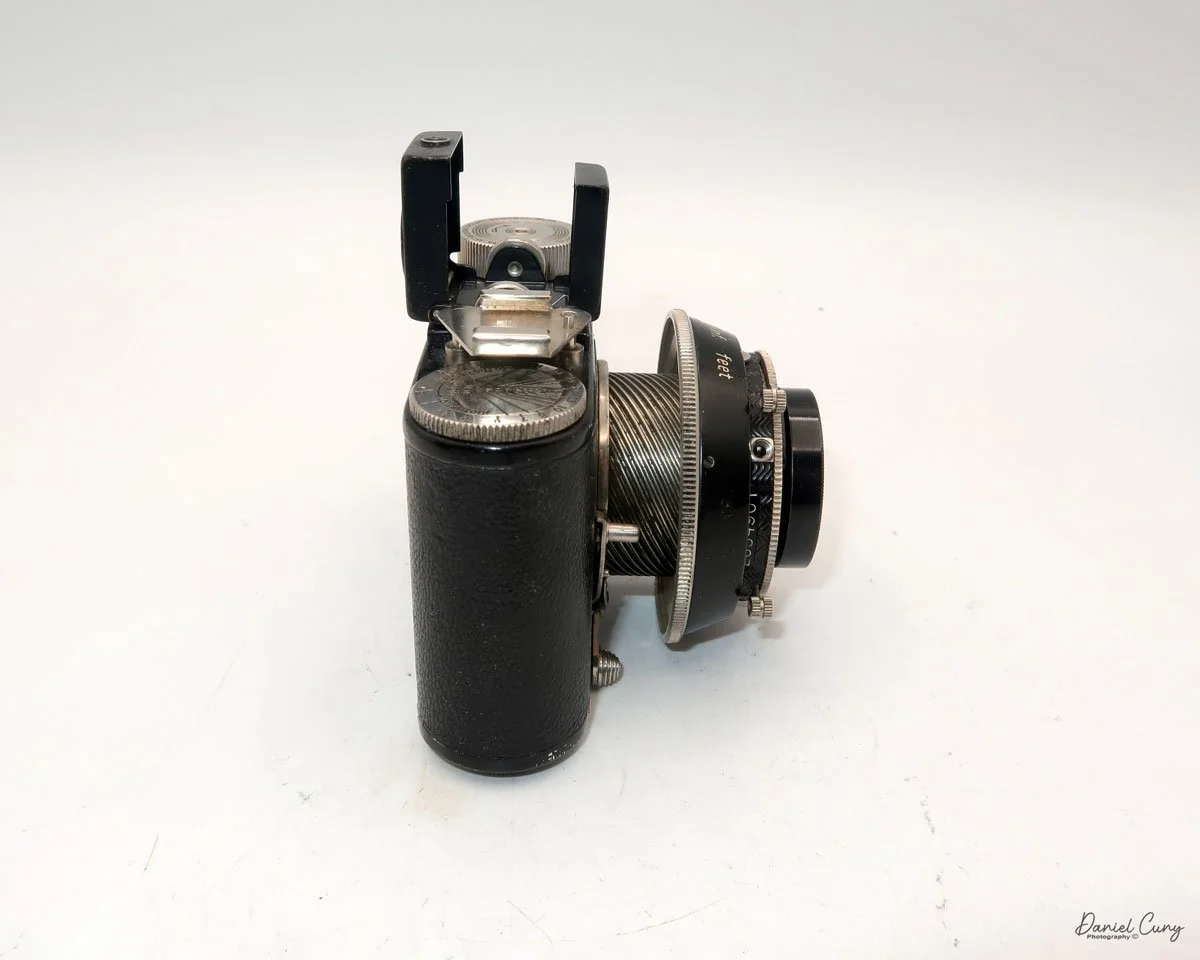
On top of the camera, there is an optical finder that pops up, displaying a vertical image. If you want to photograph a horizontal subject, you'll need to turn the camera 90 degrees to photograph in landscape mode. Looking from left to right at the top of the camera, there is the film winding knob, the optical pop-up viewfinder, a removable accessory shoe for a separate rangefinder, and under the accessory shoe, the depth of field scale.


To take a photograph, you first need to slide the lens into the "taking" position. This is done by sliding the lever, located under the lens, to the left when facing the camera. Moving the bar slides the lens out from the camera body. The lens is mounted on a beautifully constructed helicoid, which becomes visible once the lever is moved and the lens is in the "taking" position. Around the shutter is a large black ring that focuses the lens. The focus range on the lens goes from approximately 30" or 2.5' to infinity. The numbers on the focusing ring are big and easy to read, and the focusing on this camera is smooth.


When you look at the back of this camera and many other cameras that take 127 size film, you'll notice the camera has two red windows on the back. This will become relevant once you read the loading and winding procedure for this style of camera, which will be explained over the following few paragraphs.
To load film into the camera, first you need to unlock the body of the camera from the film chamber. You do this on the bottom of the camera by sliding the lever to the "O" position. You'll see a small line on the tripod socket that aligns the "C" (closed) setting with the "O" (open) setting. Once you have the film chamber unlocked, the top portion of the camera slides out of the camera body, exposing the area where the film is loaded into the camera.
Take the empty spool from the right side by sliding the spool down. The holding mechanism is on a spring, and the spool will come out. Place the empty spool on the left side and ensure it's engaged in the take-up winding knob. Place the fresh roll of film on the right side and tear the tape so that you can bring the film leader over to the take-up spool, ensuring it is positioned over the rollers on either side of the opening where the film is exposed. Insert the film tab into the slot on the take-up spool and wind the winding knob until the word "start" appears on the paper backing. Once you see the word "start", slide the film chamber back into the camera body, ensuring it's fully inserted. Then, slide the lever at the bottom from "O" to "C" for closed.


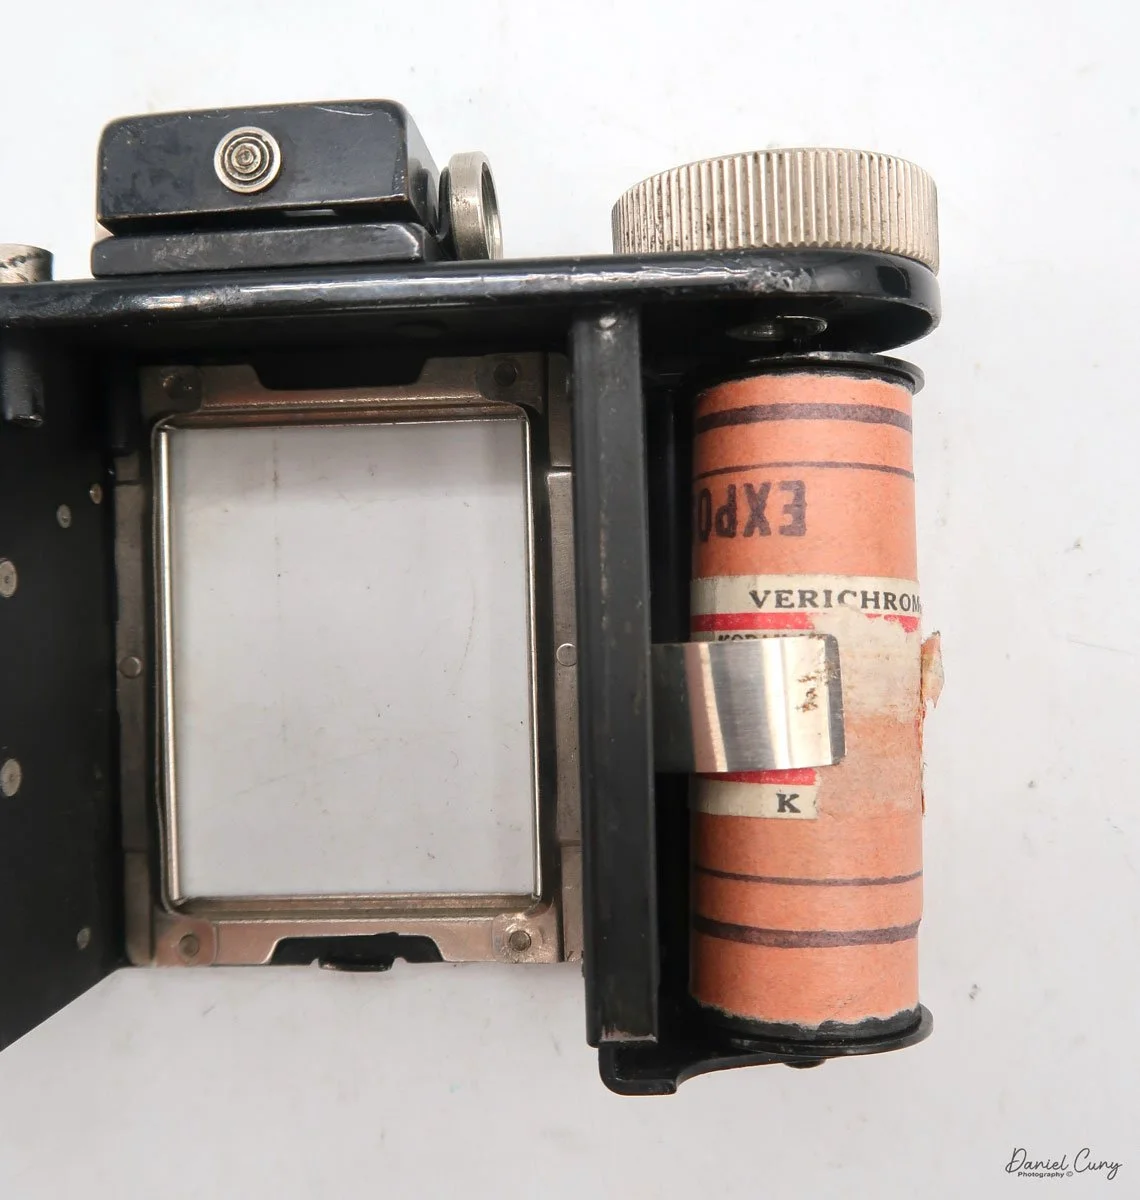
Now, look at the back of the camera and start winding the film winding knob in a clockwise direction until you see arrows in the window. This is the indication that you're approaching your first frame, so you should start to slow down on winding the camera. Stop winding when you see the number 1 in the right side window. This is the indication you're at your first image. Once you've taken the first frame, wind the film advance lever until you see the number 1 in the window on the left, and stop. This is the indication you're at your second image. Once that frame is taken, then wind until you see the number 2 in the right window. You follow these steps until you see the number 8 on the left side window, which means you've taken sixteen images on the roll of film. This operation is standard for 127 size film, which takes 3x4cm size negatives on a camera with two windows on the back.
The standard operating sequence when using this camera is to have the separate rangefinder, which is slid onto the accessory shoe when the camera is in use.
Meter for your subject with a separate light meter.
Look through the rangefinder and focus on your subject.
Find the distance to your subject and focus the lens to that distance on the camera.
Set the shutter speed and aperture setting on the lens. Shutter speed is located at the top, and aperture is positioned under the lens.
Cock the shutter lever on top of the lens at the 11 o'clock position.
Trip the shutter, which is below at the 7 o'clock position on the lens.
Retracting the lens back into the camera body is a little tricky and something I had to figure out, as I had done it wrong once. The first thing you need to do is focus the lens to infinity. Then, slide the bar at the bottom of the camera from left to right, and the lens retracts into the camera's body. If you don't focus the lens to infinity, the bar won't fit into a small cutout on the focusing ring. The bar will protrude from the bottom of the camera, rather than being tucked away neatly as it should be. Once the bar is back in the camera, you can remove the rangefinder, put the lens cap on, and tuck the camera away in its case, if you have one.


Something I've seen for the camera is an accessory reflex finder, which was made by Kodak, that turned the Pupille into a TLR camera.
Results:
My wife and I attended our local county fair, where I loaded a roll of 400-speed 127 film into the Pupille and brought it with me to take some photos. I don't have the rangefinder for the camera, so all of the focusing I did was purely by guesstimation.
Bringing my trusty Sekonic L-308 meter for accurate exposures, we walked around the fair looking for nice images to take.
Once I got home, I processed the film, and here are some of the results taken at the fair. I generally only do light spotting on the images, so please excuse the excess dust on them.


I posted a video review of this camera. Just click on the image. I’m new to videos, so any constructive feedback is appreciated.
Conclusion:
One of the first things I noticed when using the Pupille was how sturdy the camera felt. It's small and compact, fitting into my pocket, especially when the lens is retracted.
The camera was easy to use, and the shutter worked well. There were a few frames when I didn't focus properly, but for the most part, the camera did a good job, and it was great fun to shoot with.
Thank you for taking a few minutes to read about this almost 100-year-old camera that still works fabulously.
Here's a link to some of the other camera reviews.
Visit Cuny's Camera and Photo for some of the items seen on my blog, along with other interesting photo items I have for sale.
Until next week, please be safe.


