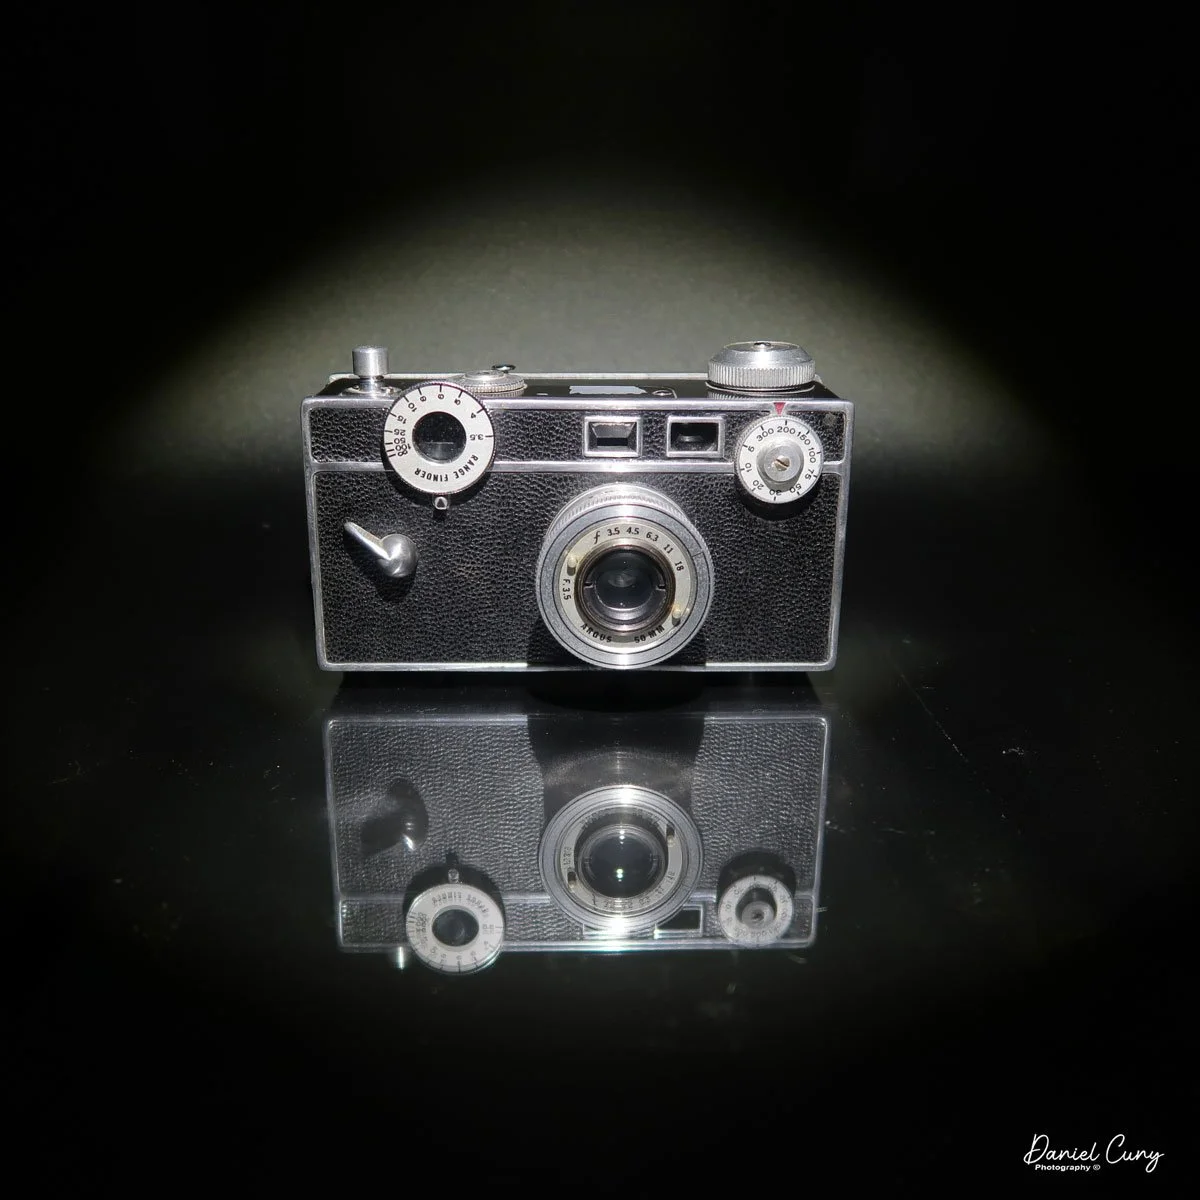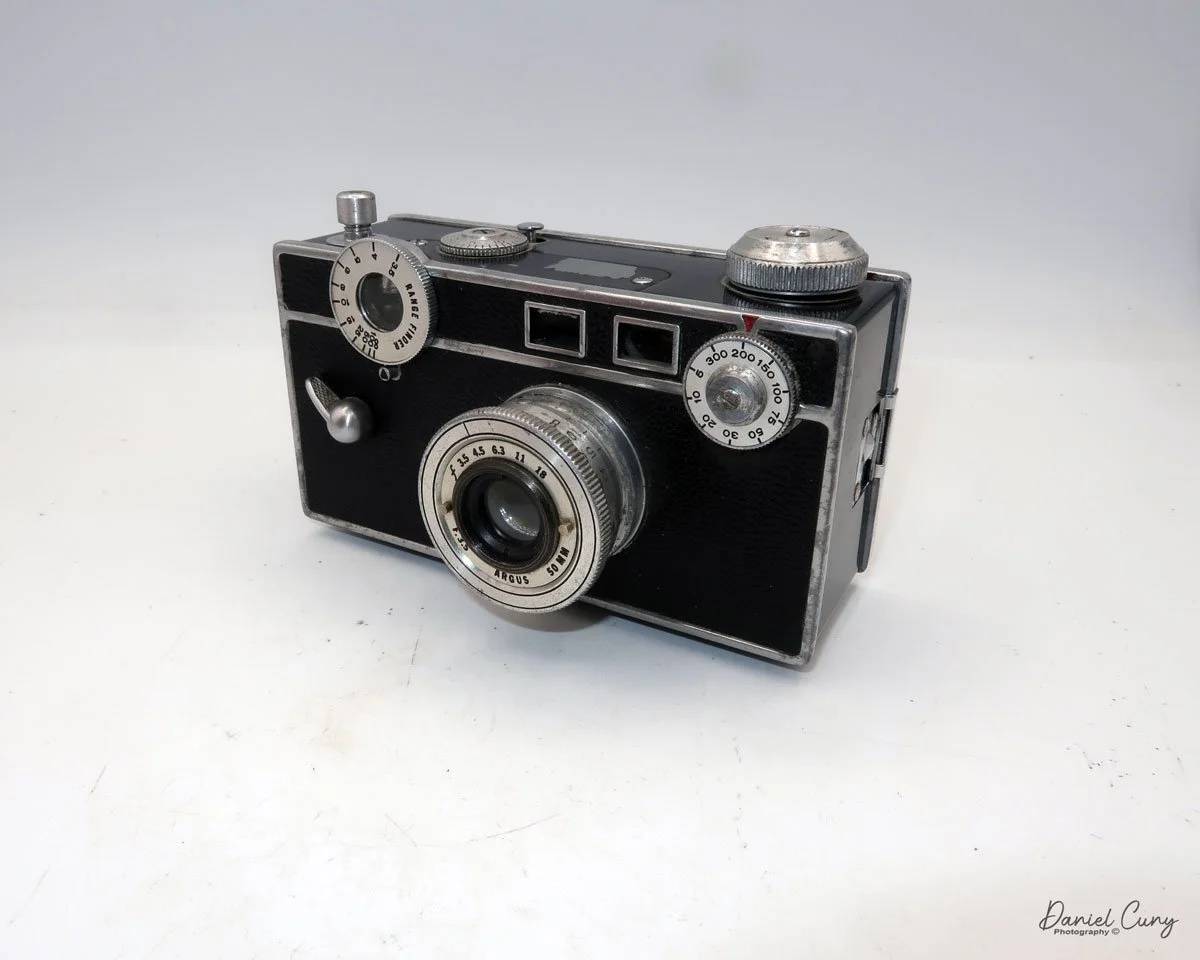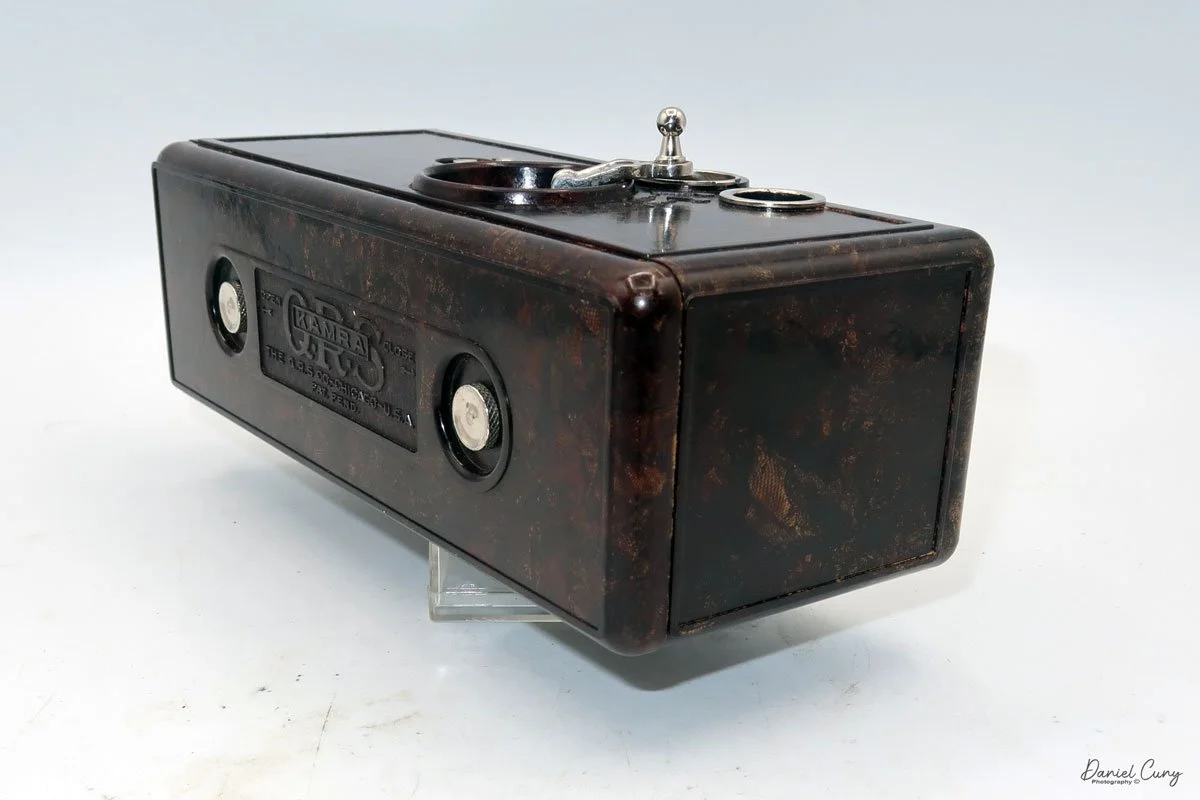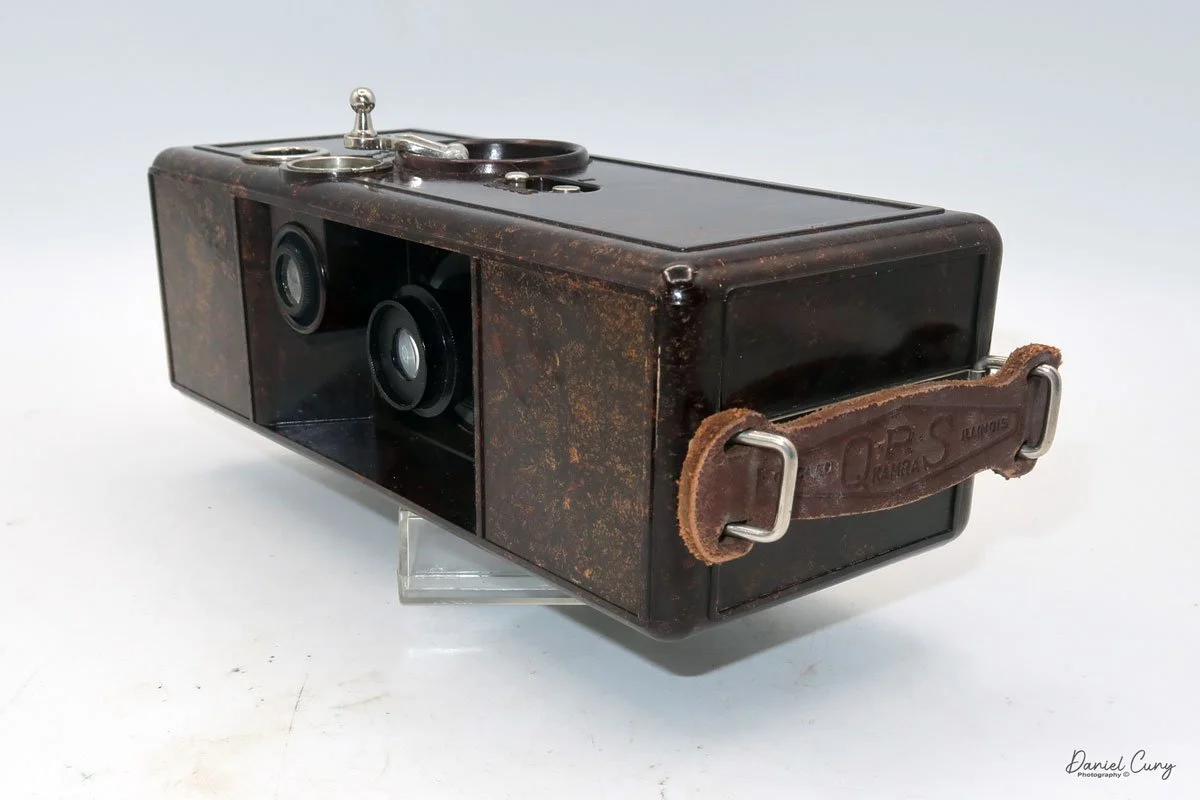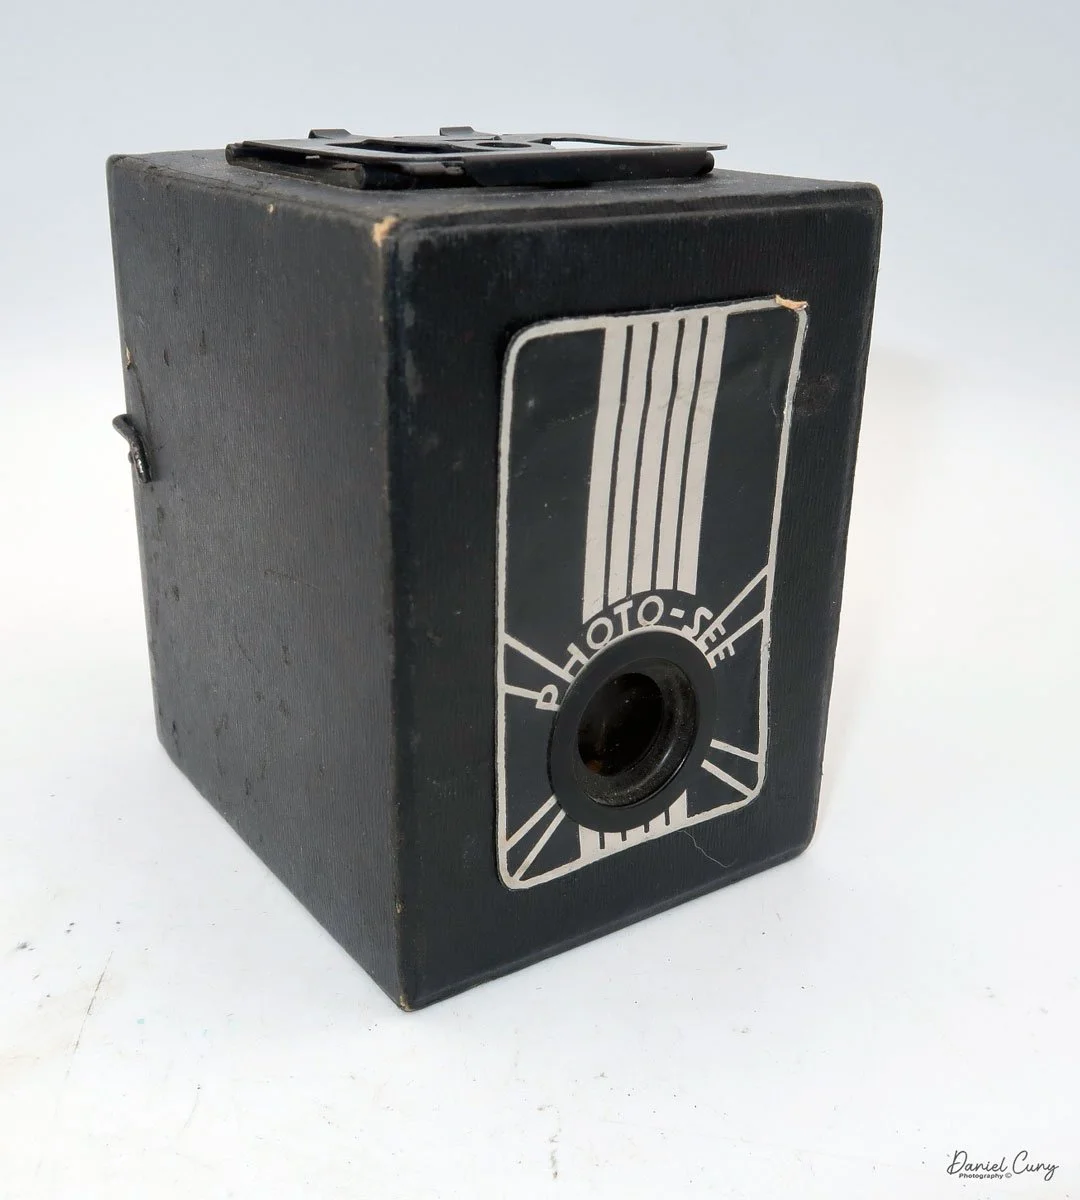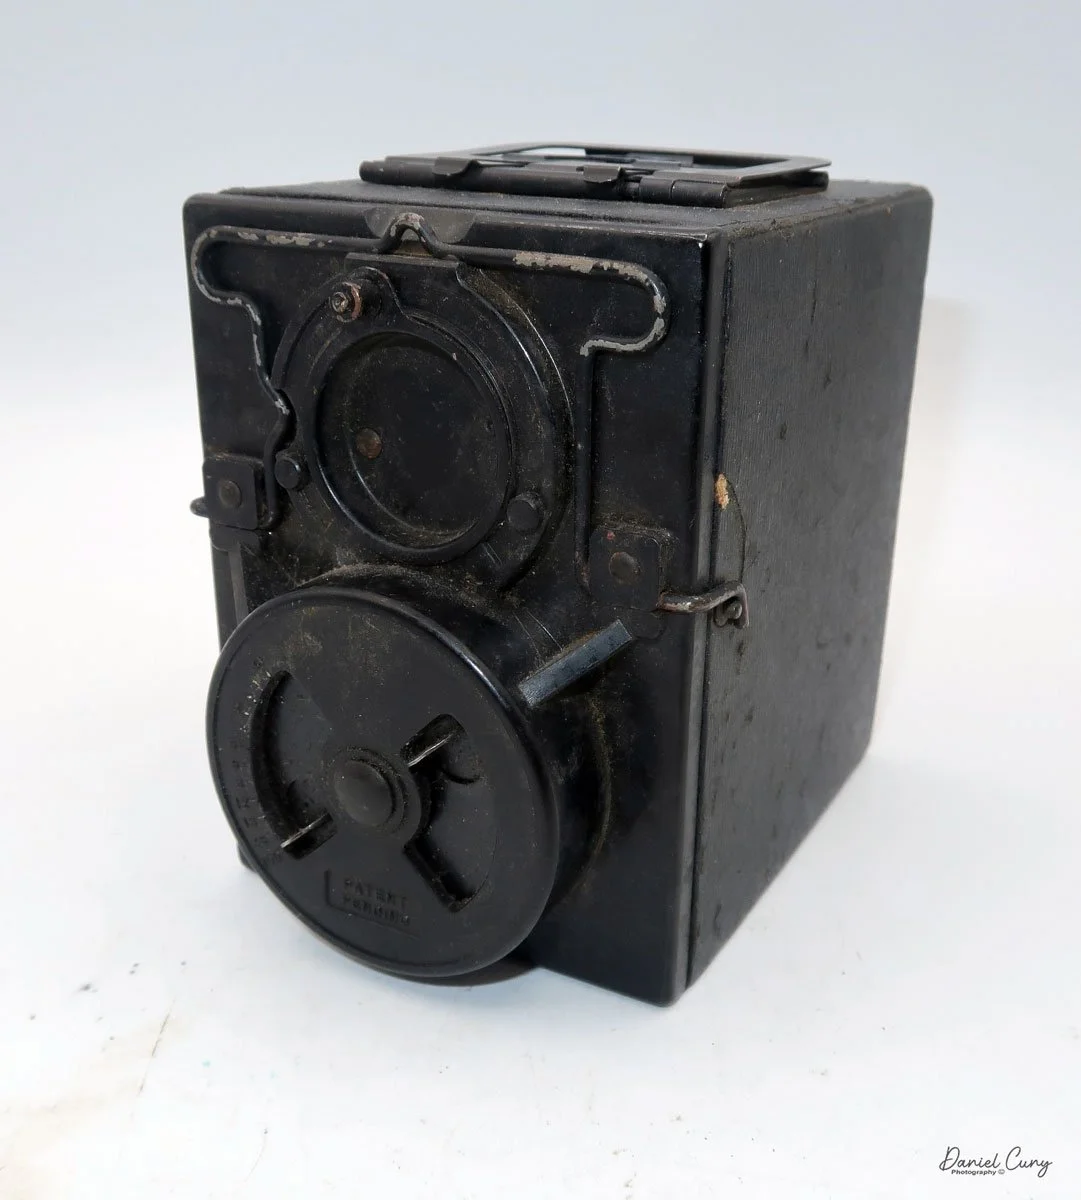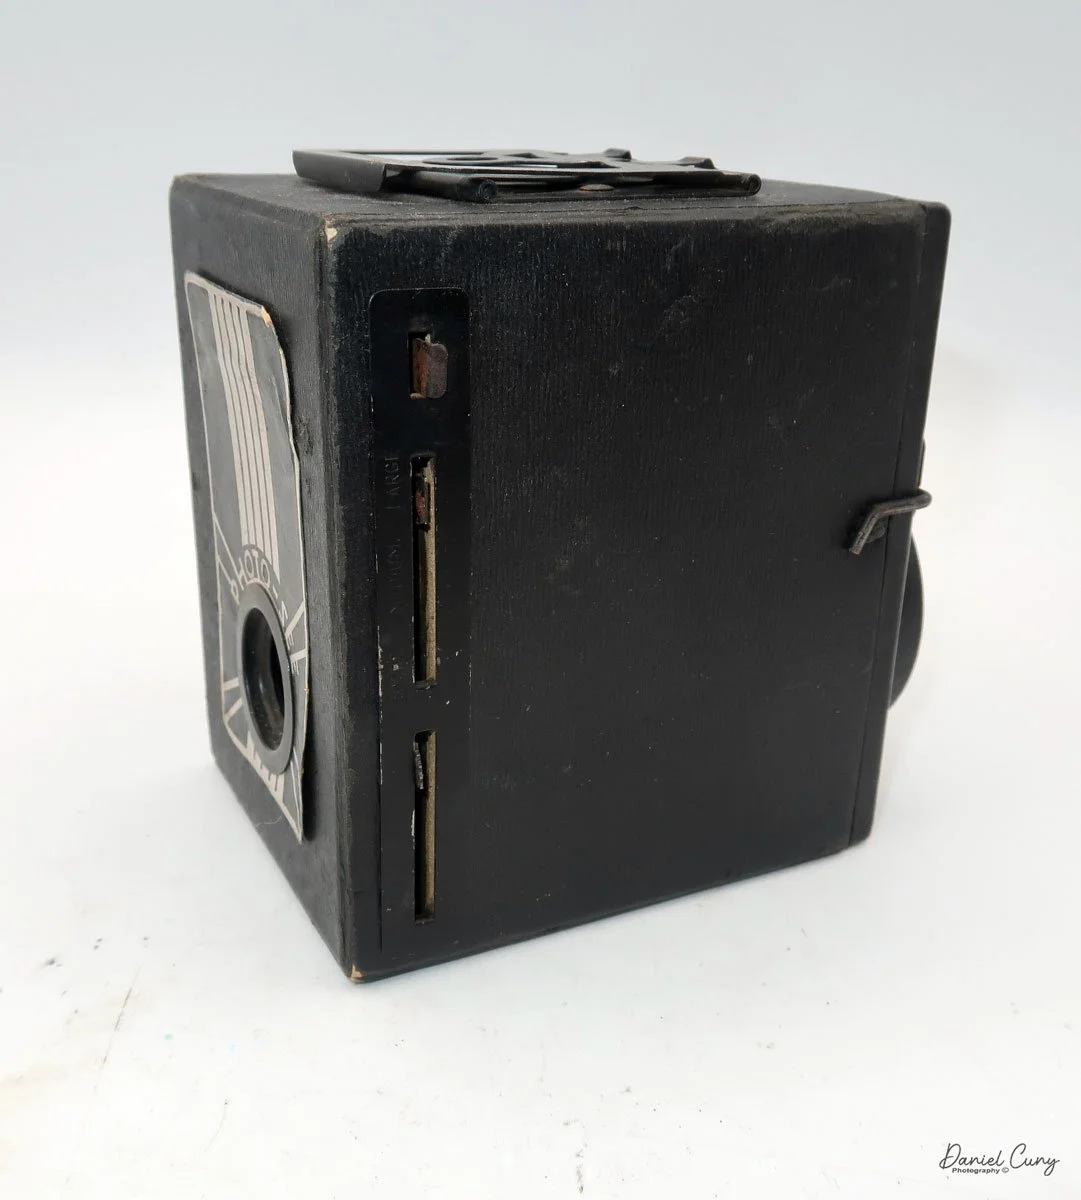
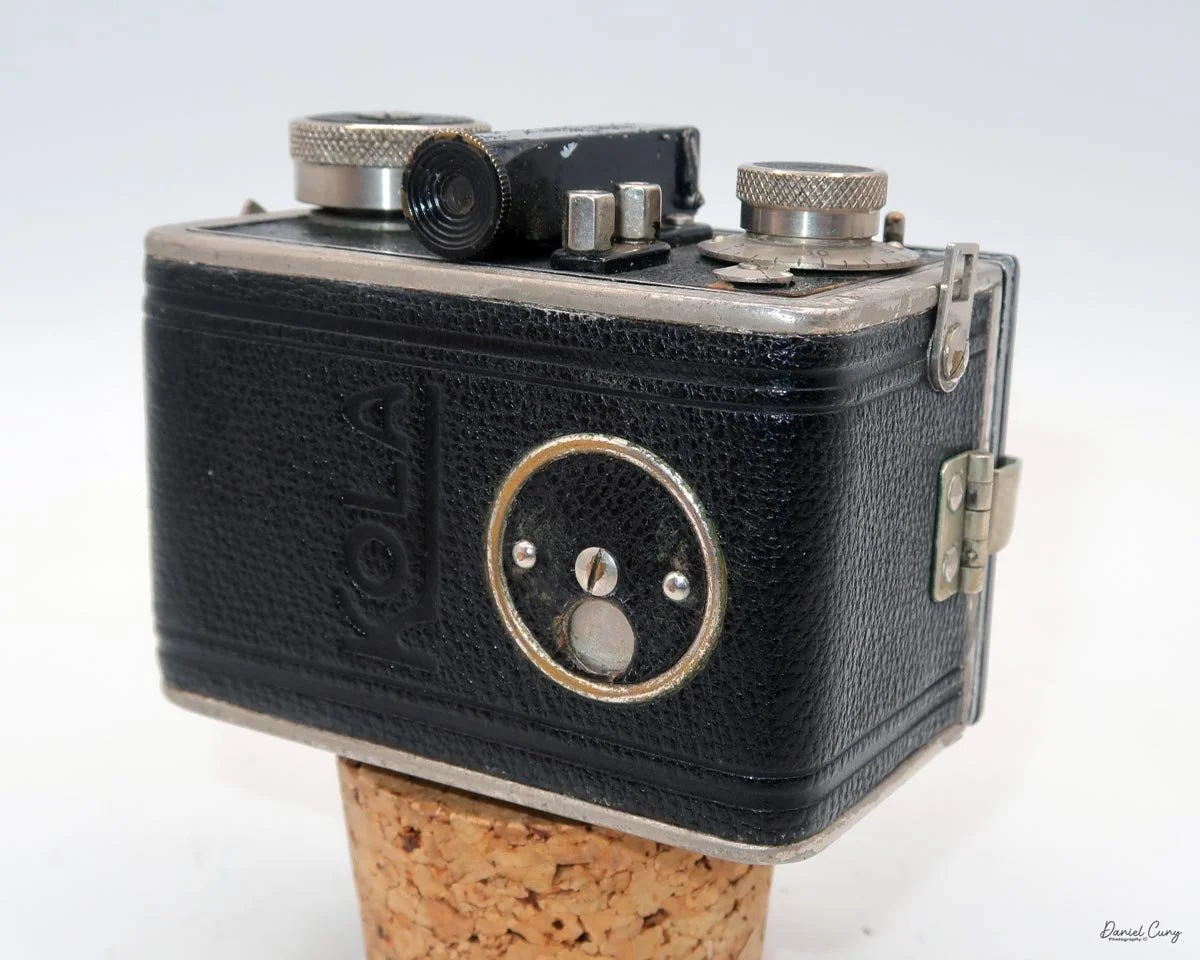
My Kolar Kola camera
I didn’t write a blog post last week because I was in Tokyo camera shopping and hoping to find something odd and unusual to write about in the coming weeks. I was successful in that search, and this week’s camera is one I bought at one of my favorite used camera stores in Japan, Kitamura Camera in the Shinjuku area of Tokyo. Kitamura has several locations, but this was their flagship store.
Kitamura Camera is an impressive multi-floor store with just about everything a camera lover could want, from a photo studio to film sales and processing. The most impressive parts for me were the two used-camera floors. The fourth floor had an outstanding collection of rare Leica cameras and lenses, Nikon rangefinders and lenses, Hasselblad gear, and other medium format cameras and lenses. The third floor was where I spent the most time. That was their bargain floor, with many lesser-known cameras and others that were not quite perfect.
They also had Leicas and Nikons there, but some had small defects or were not fully functional. These were not the kind of “junk” cameras you often see in used camera stores, where lenses have fungus and shutters no longer fire. These were cameras most people would probably buy for parts, but Kitamura still presented them in a much more appealing way.
That third floor is where I found this week’s camera: an odd cube-shaped camera called the Kola. I had never heard of it before. When I checked it out, the lens was clean, the shutter fired at all speeds, the film spools were still in the camera, and the price was very reasonable.
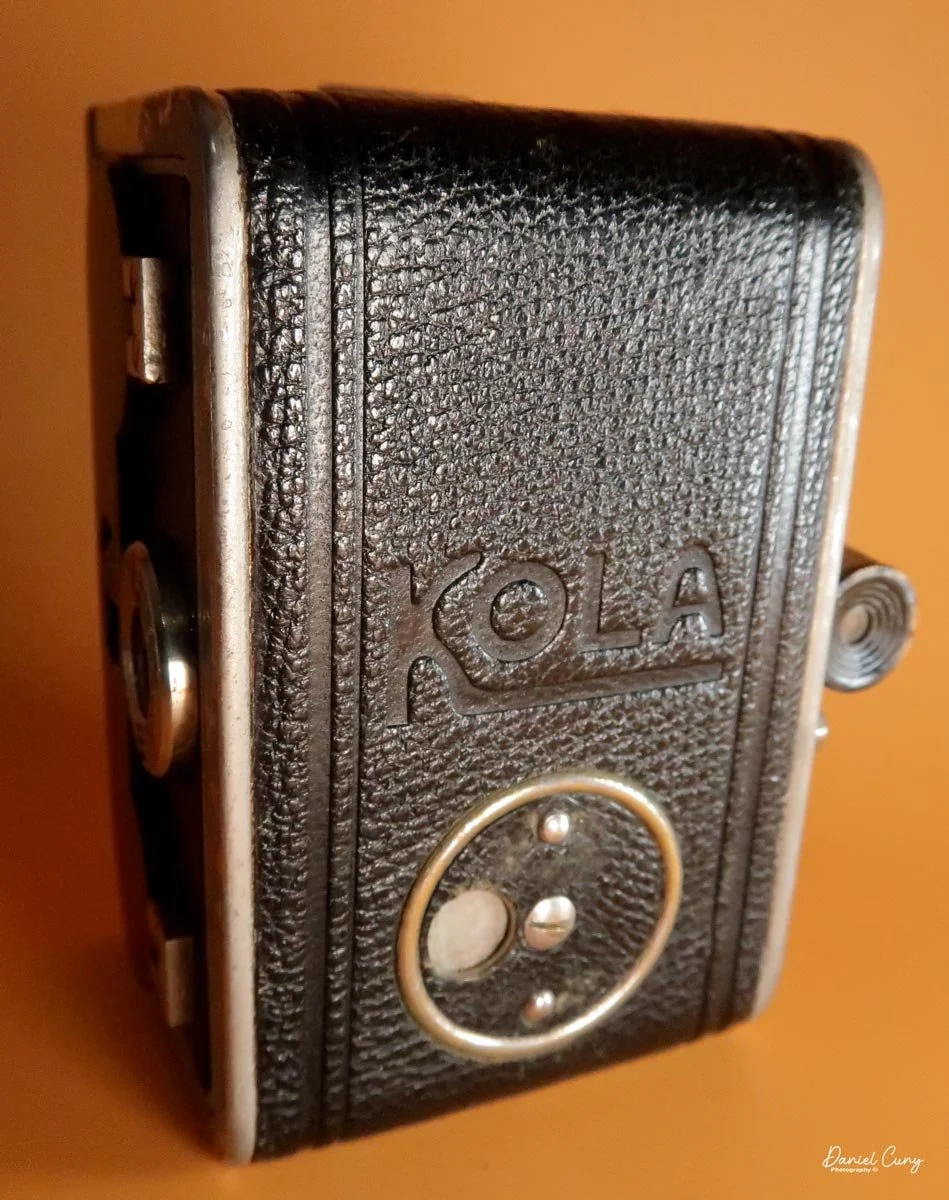
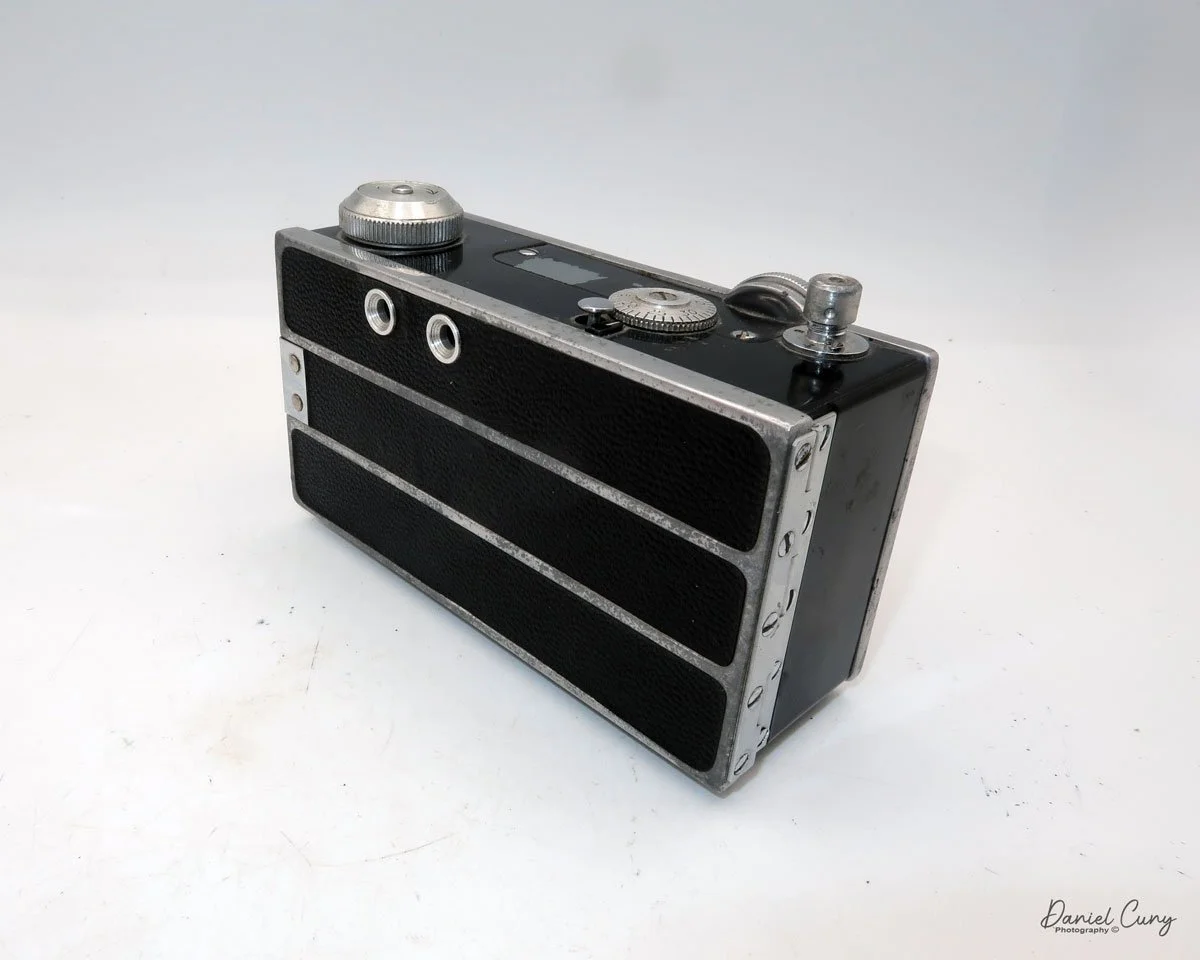
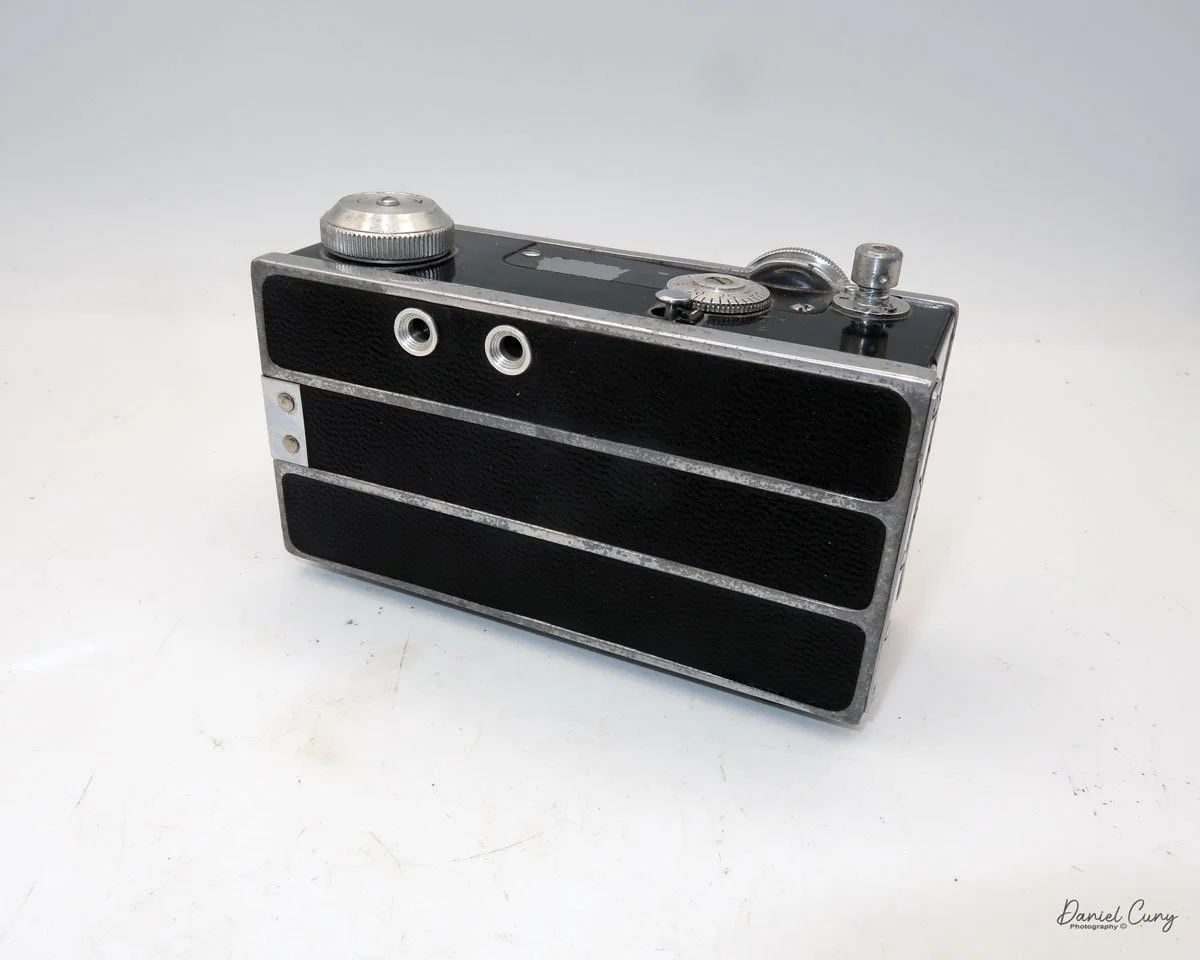
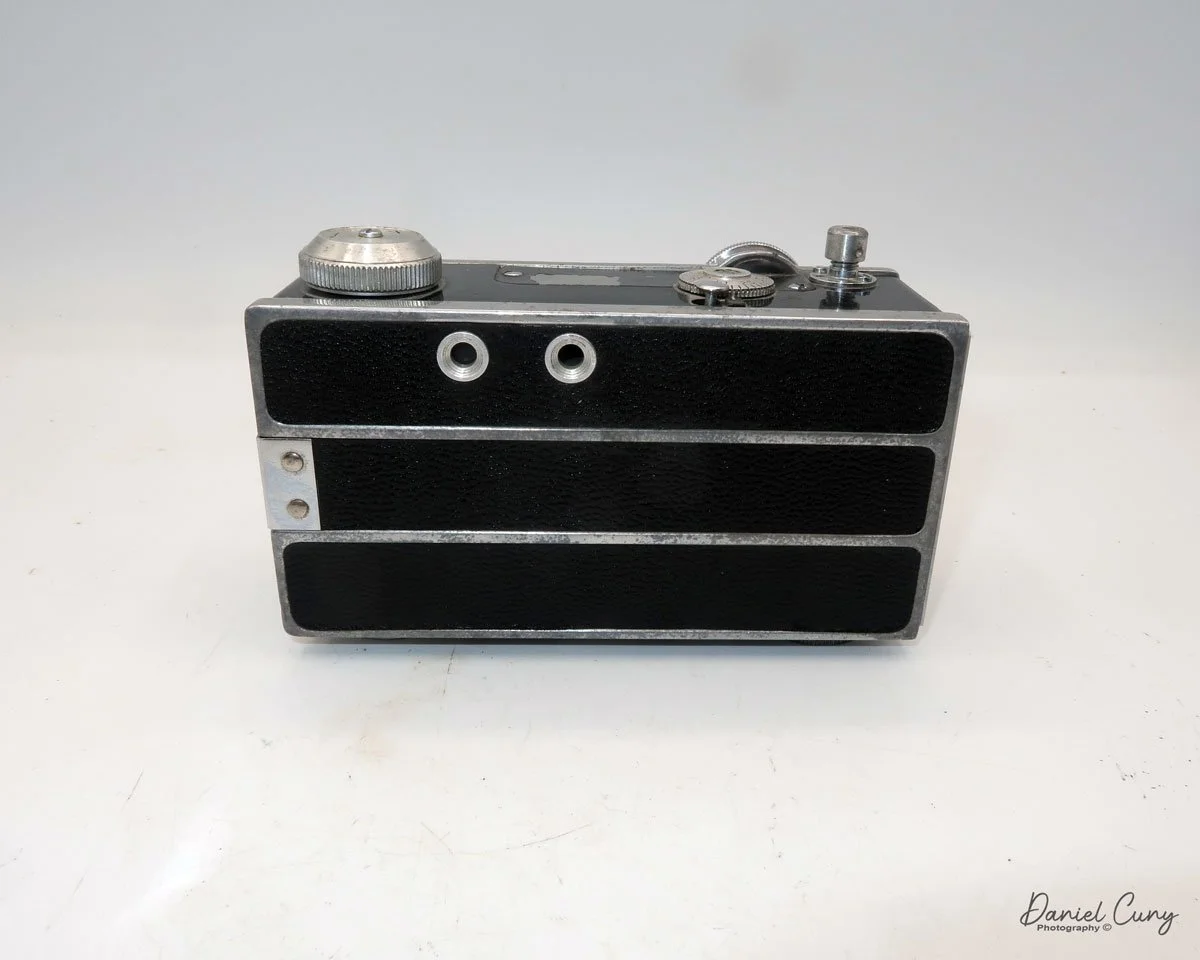
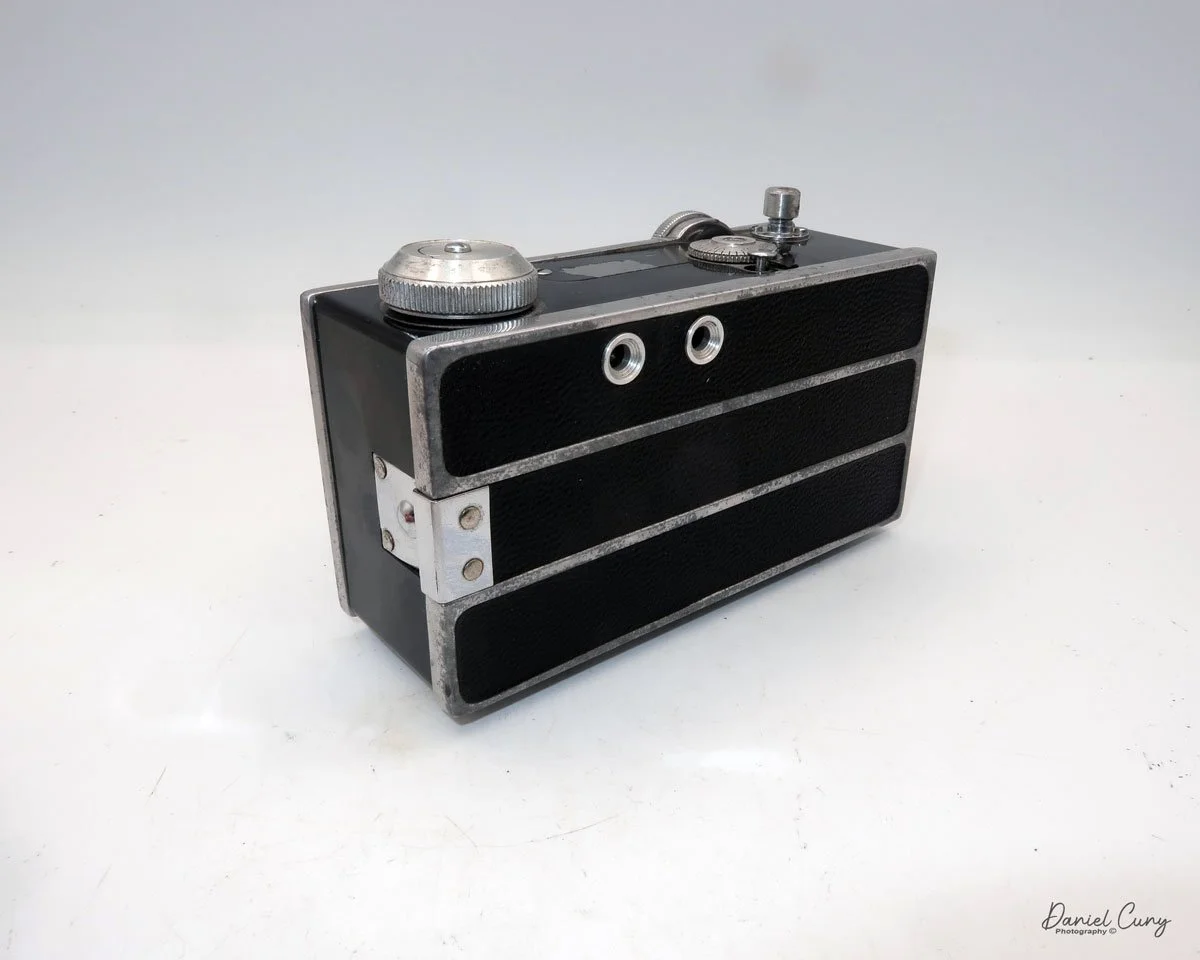
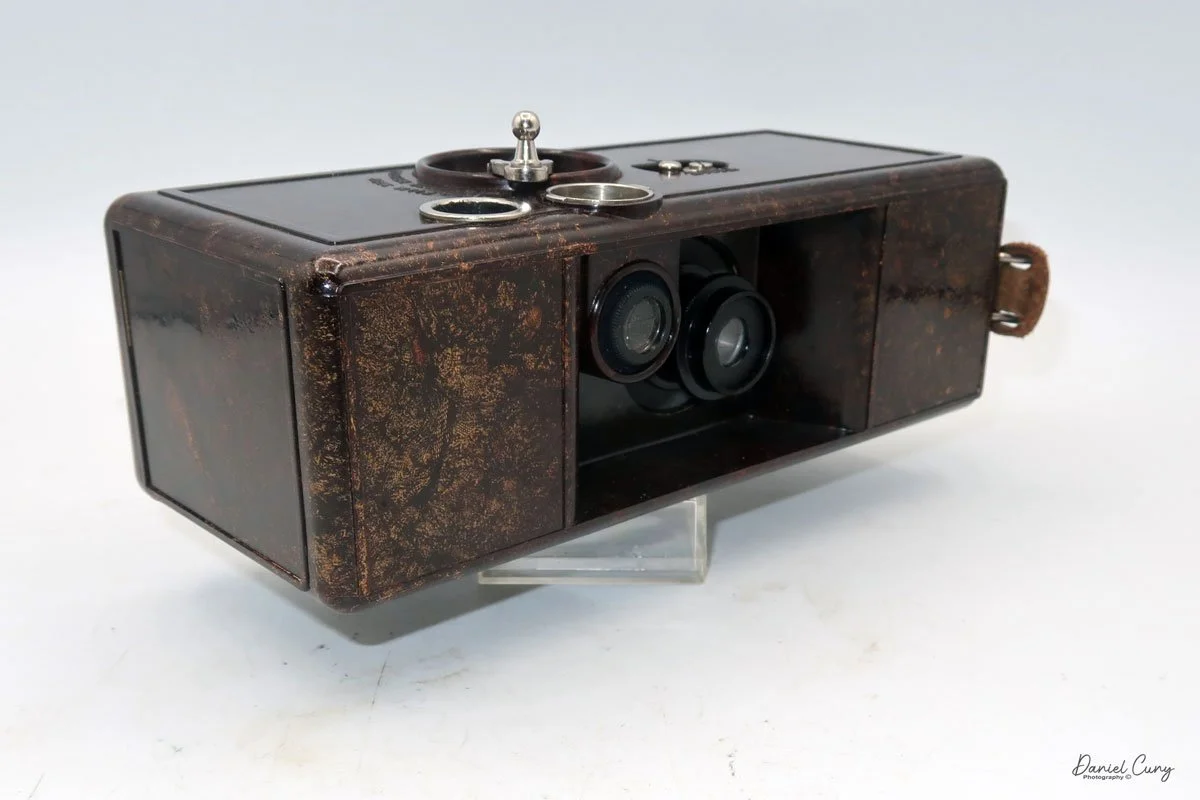
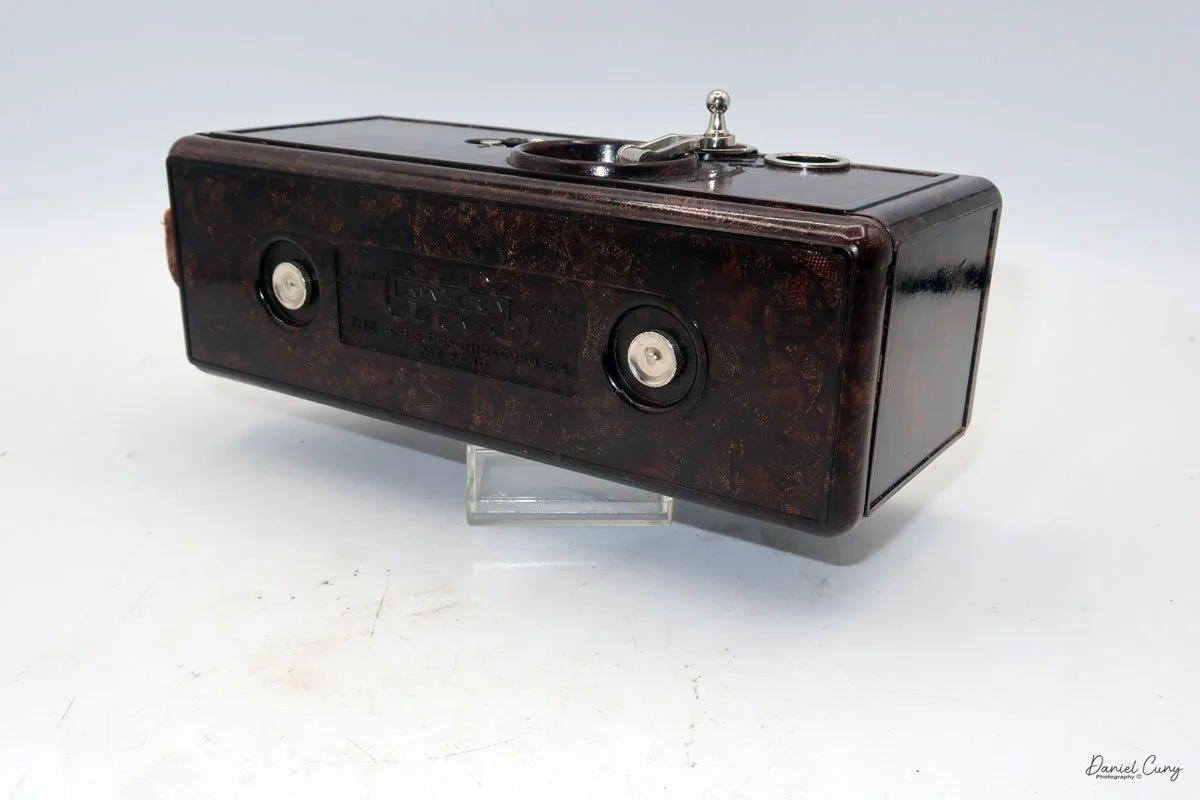
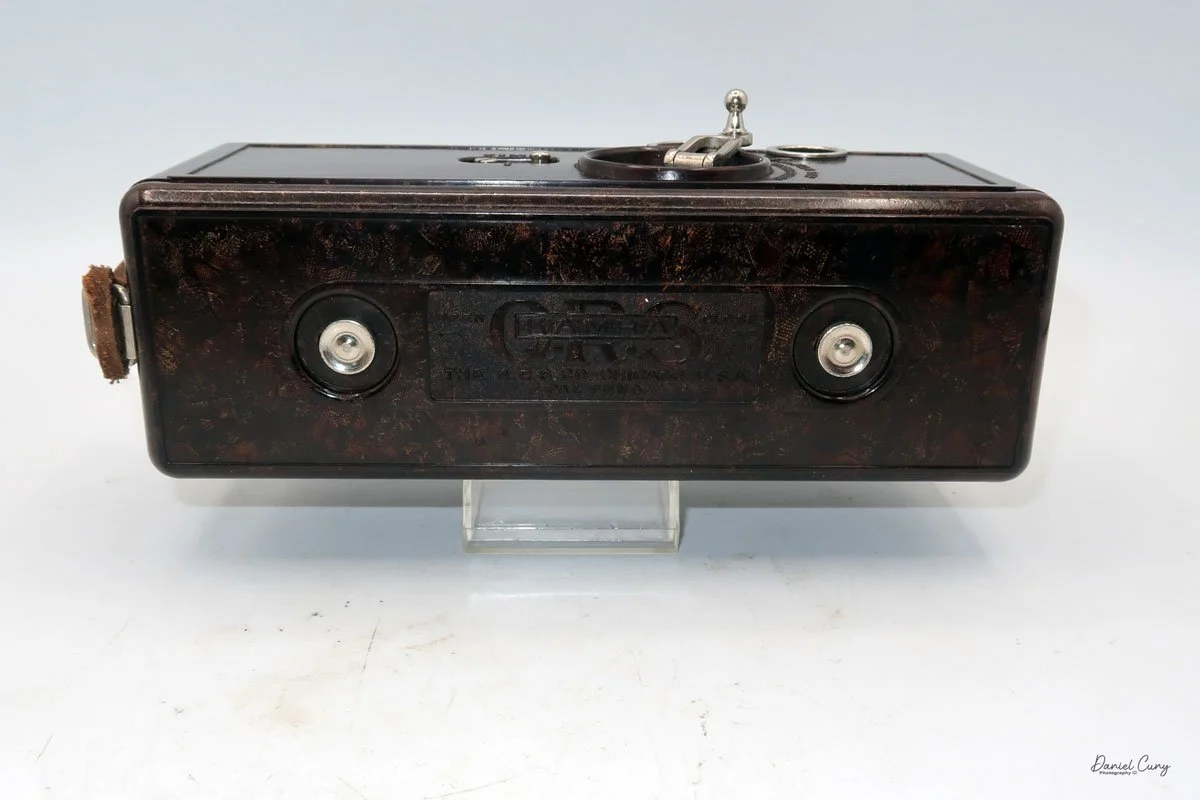
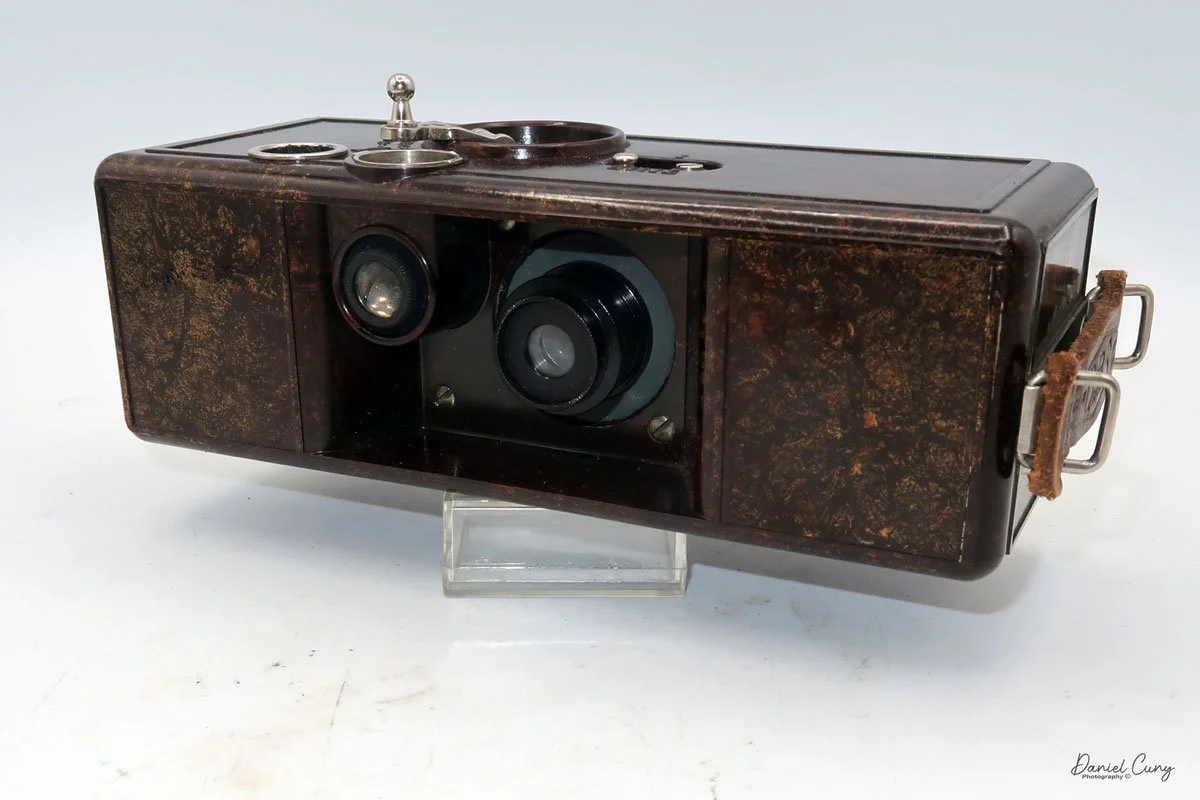
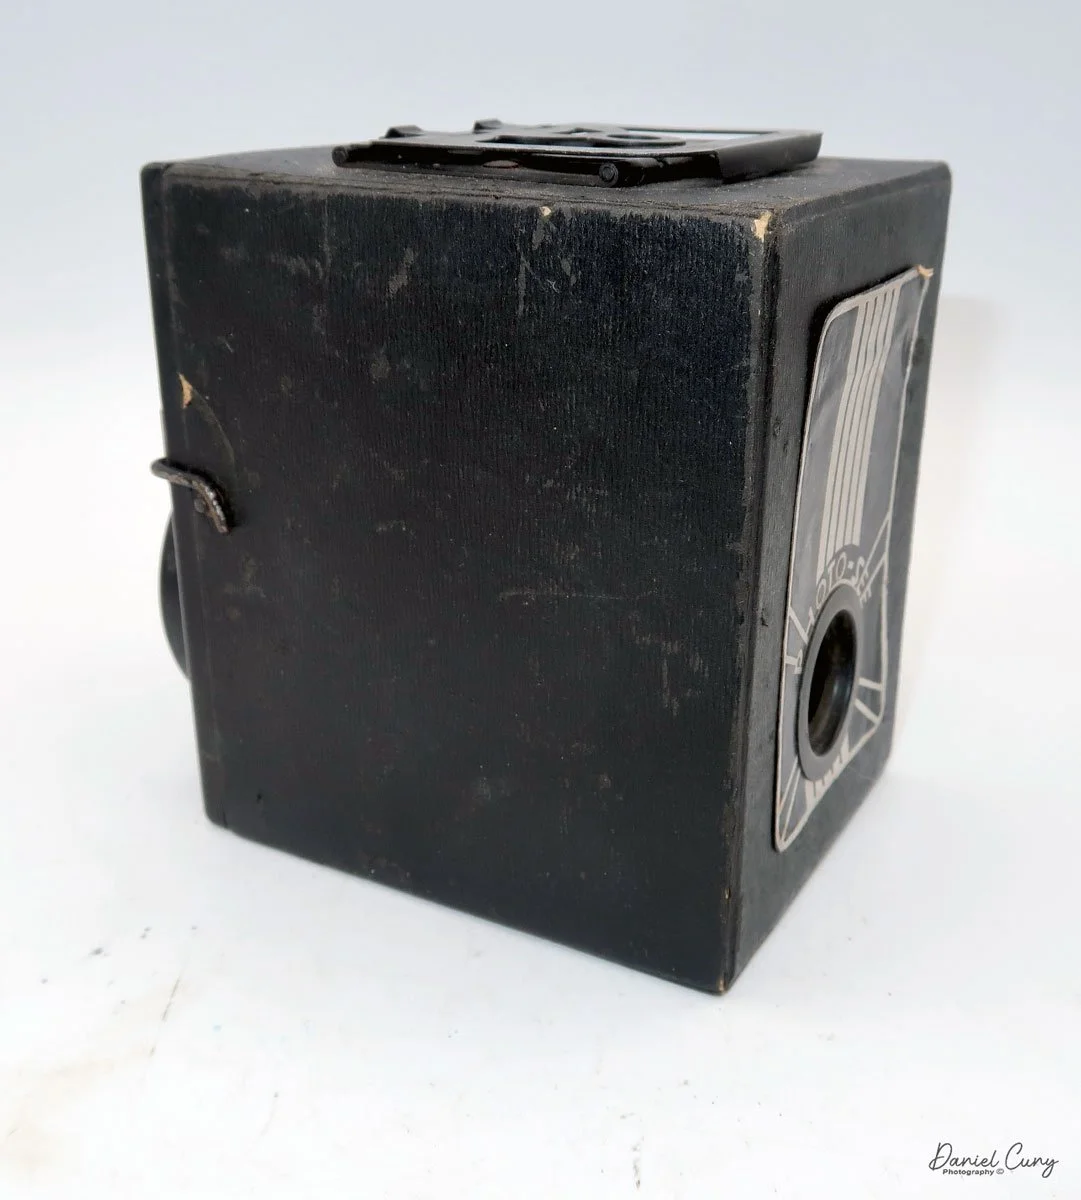
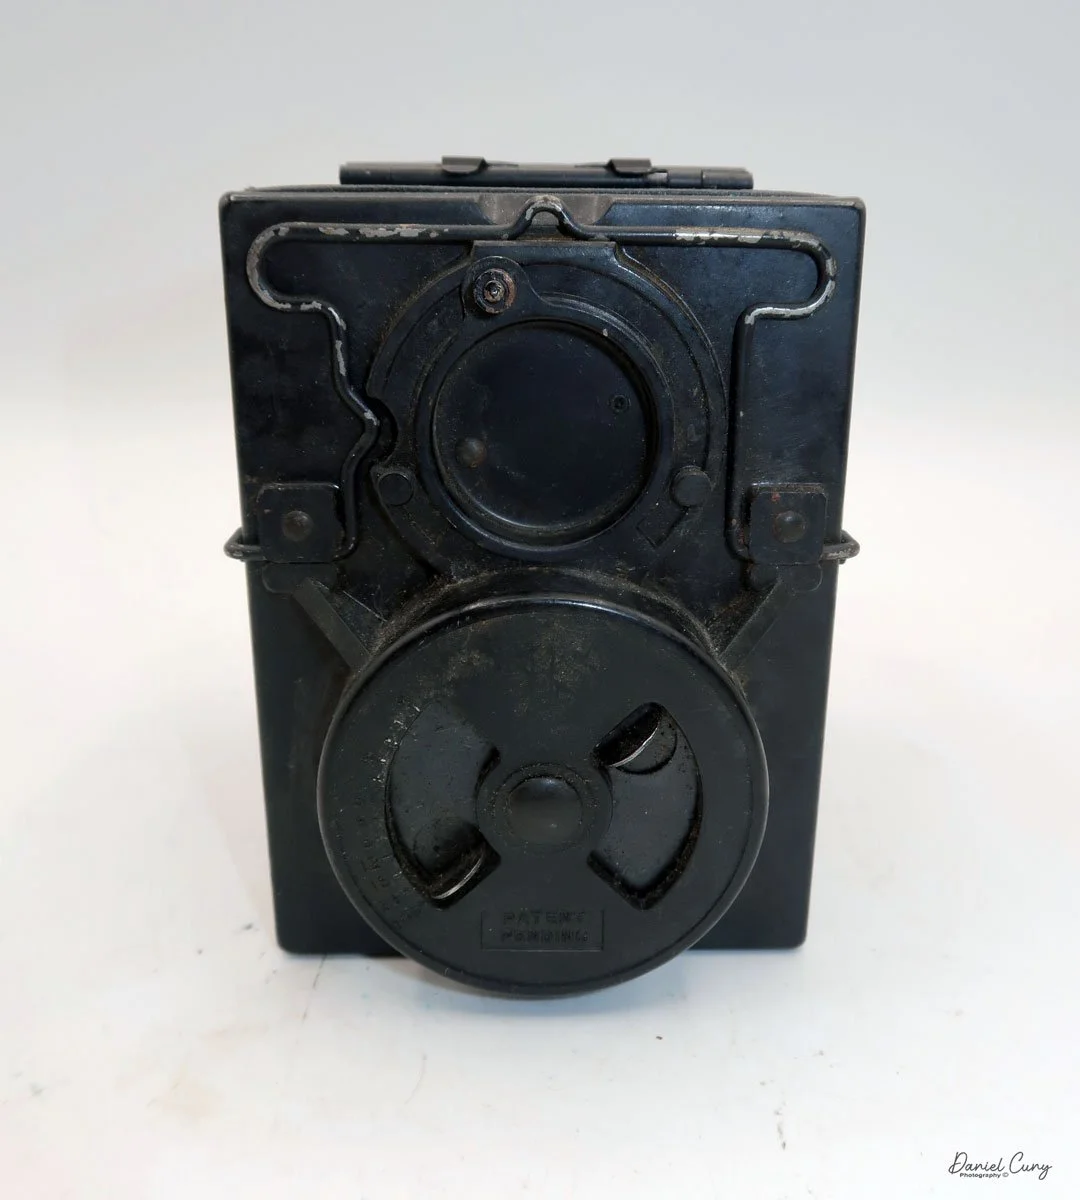
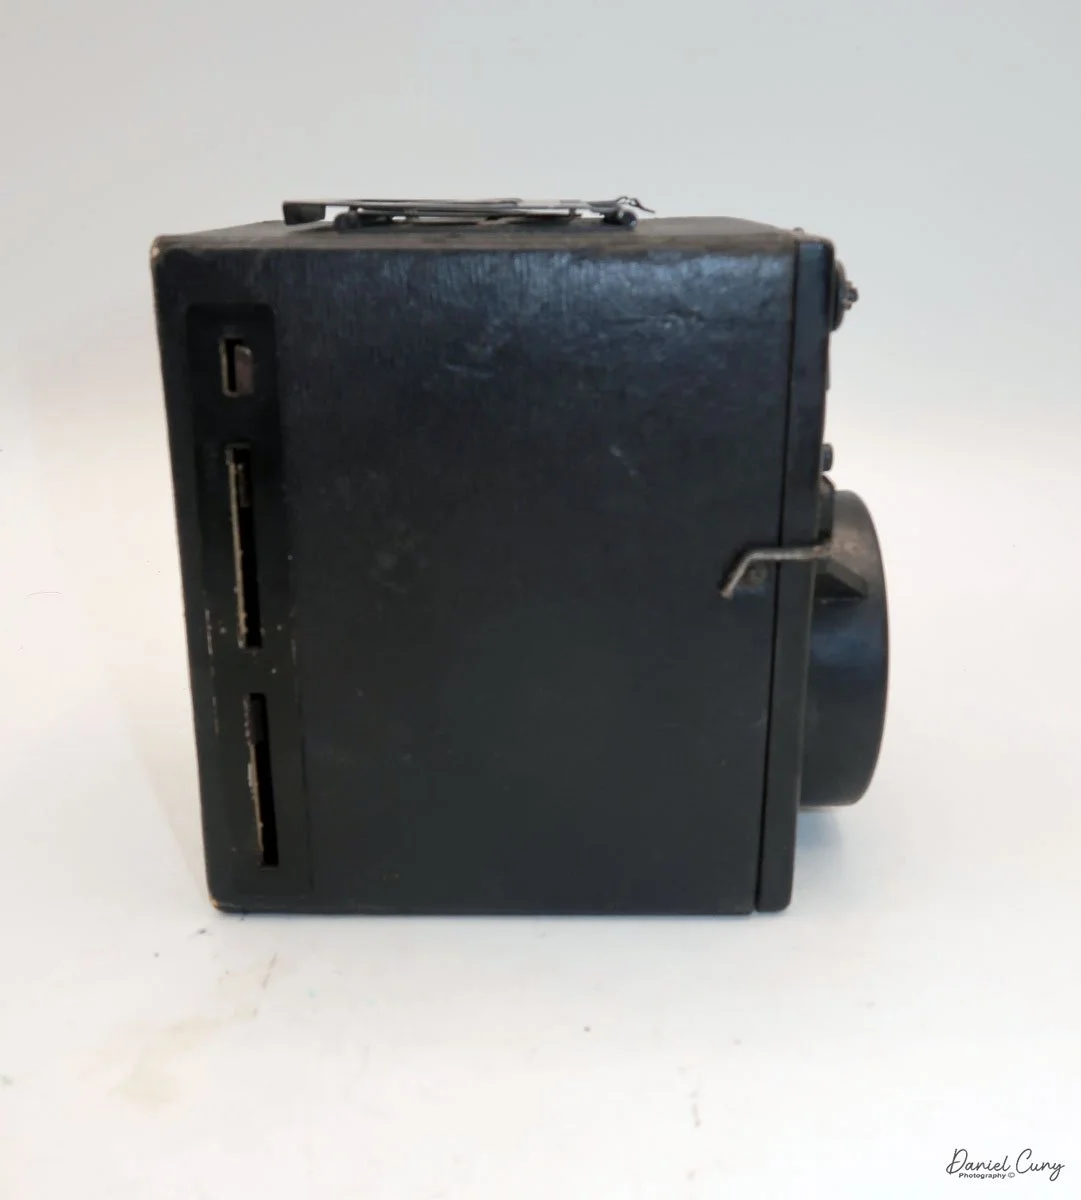
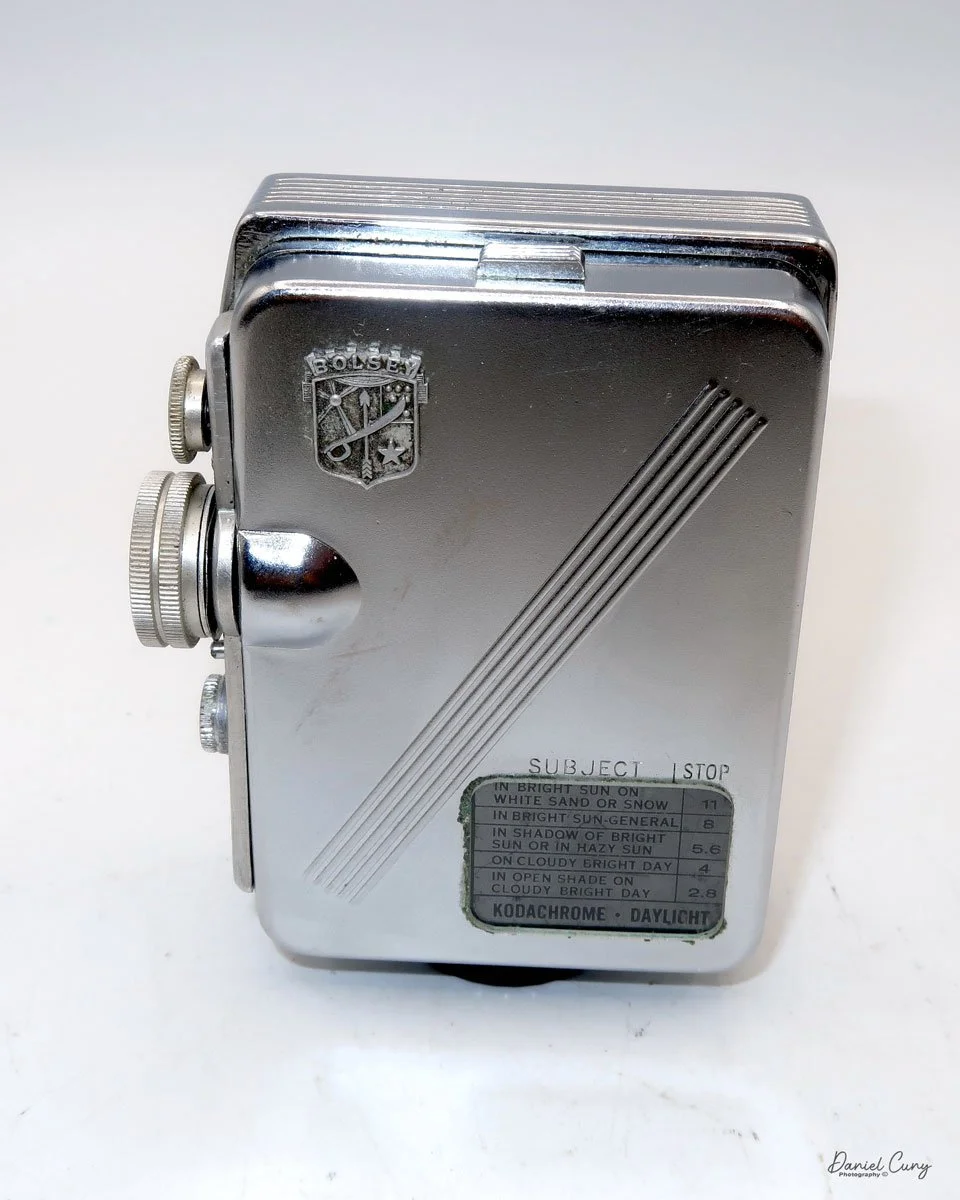
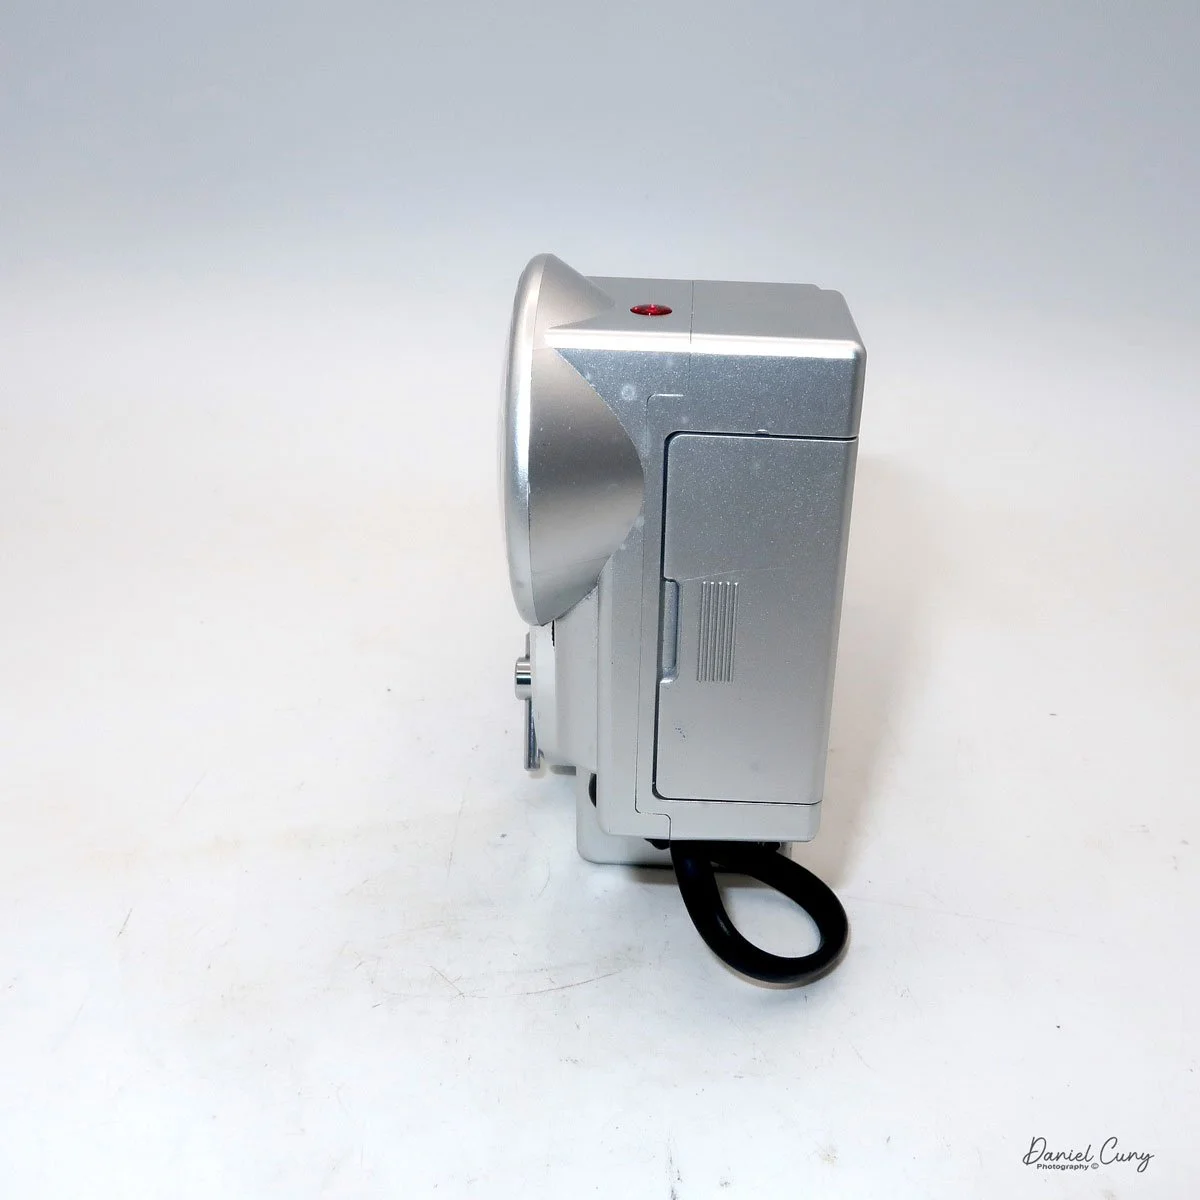
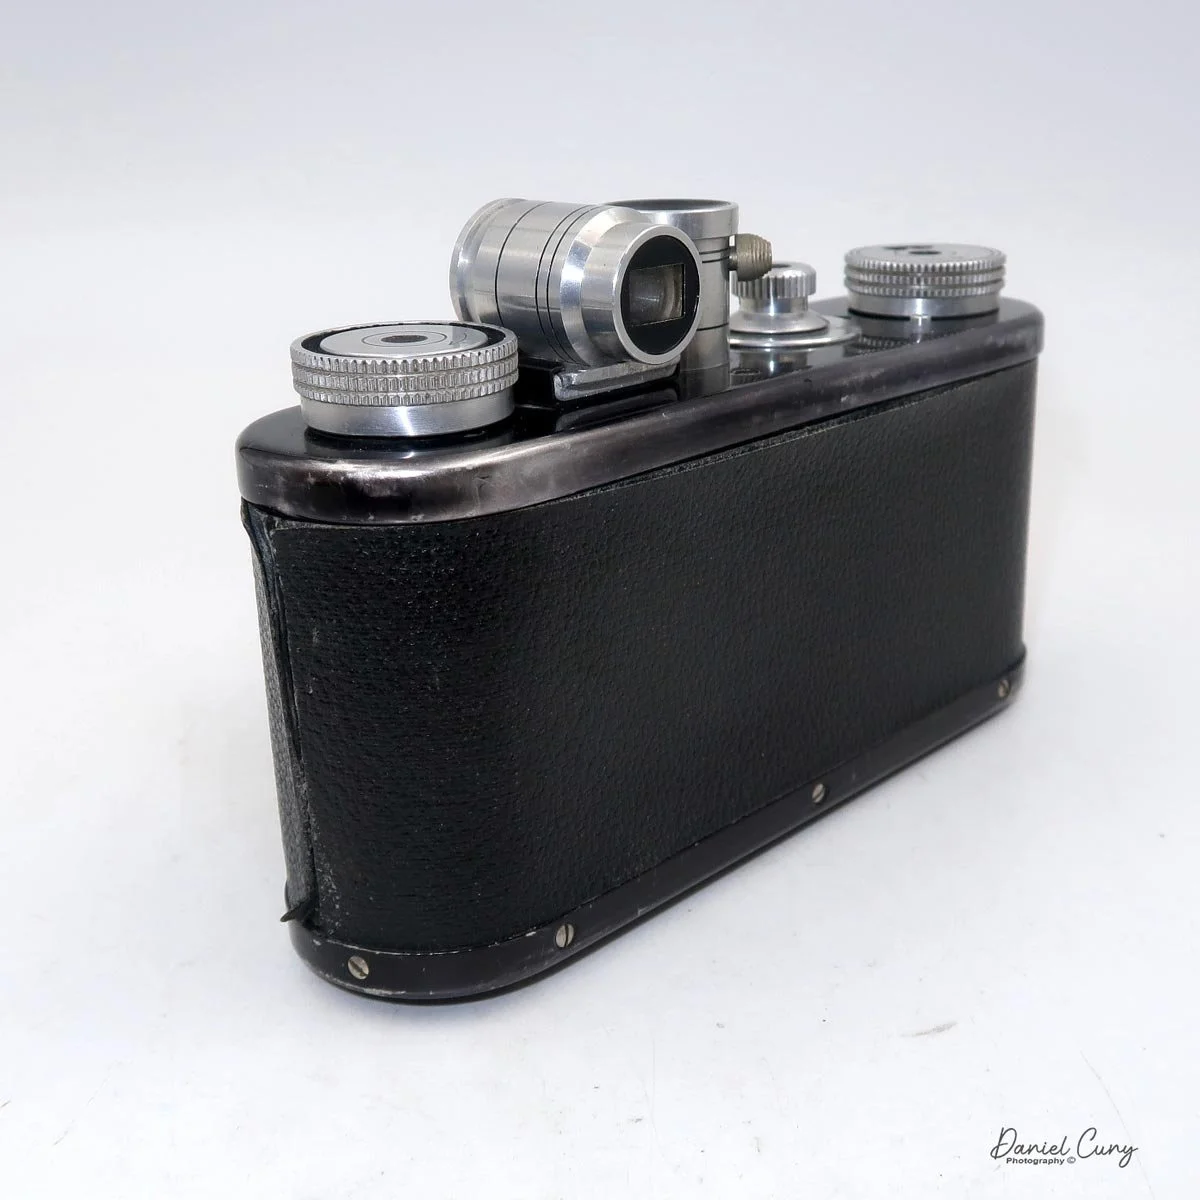
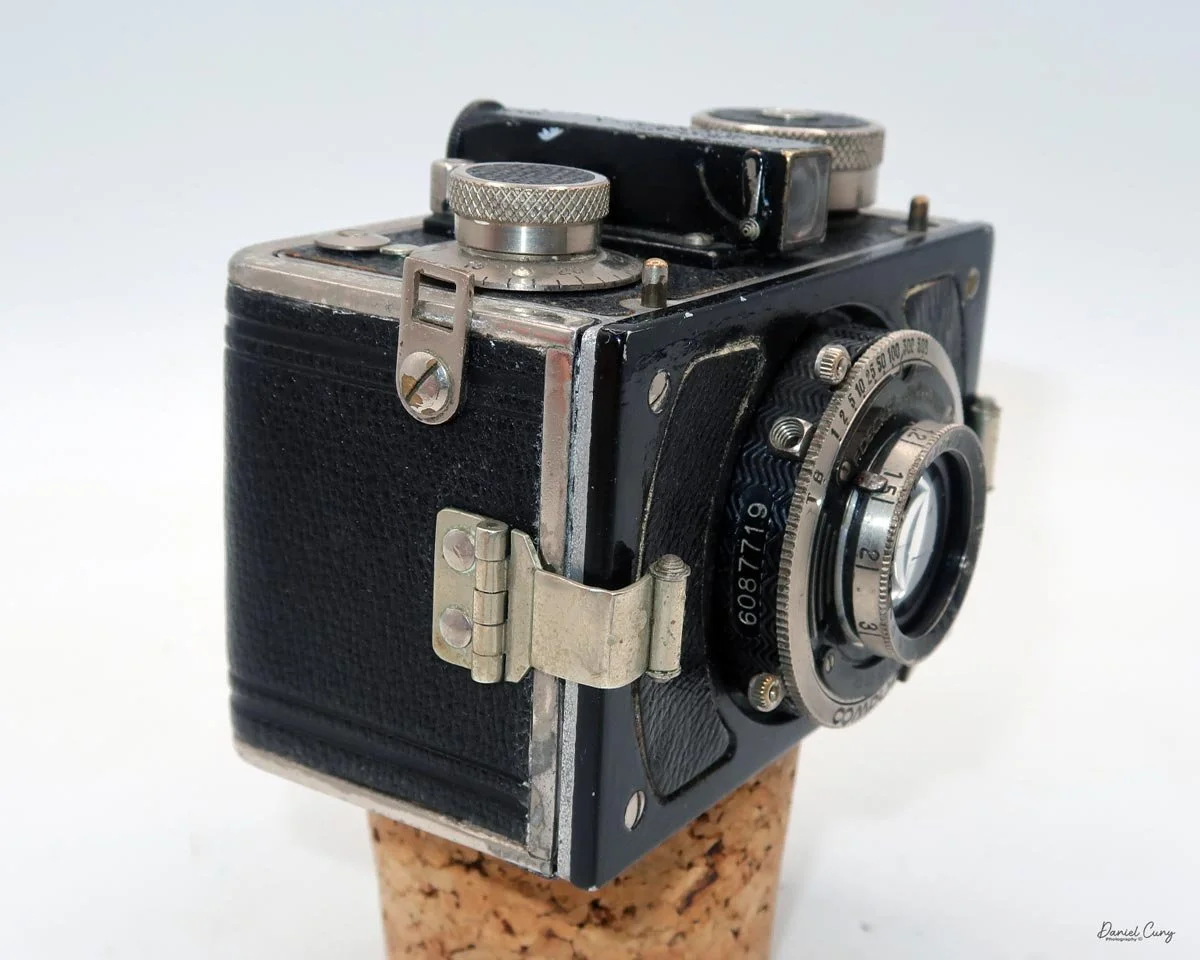
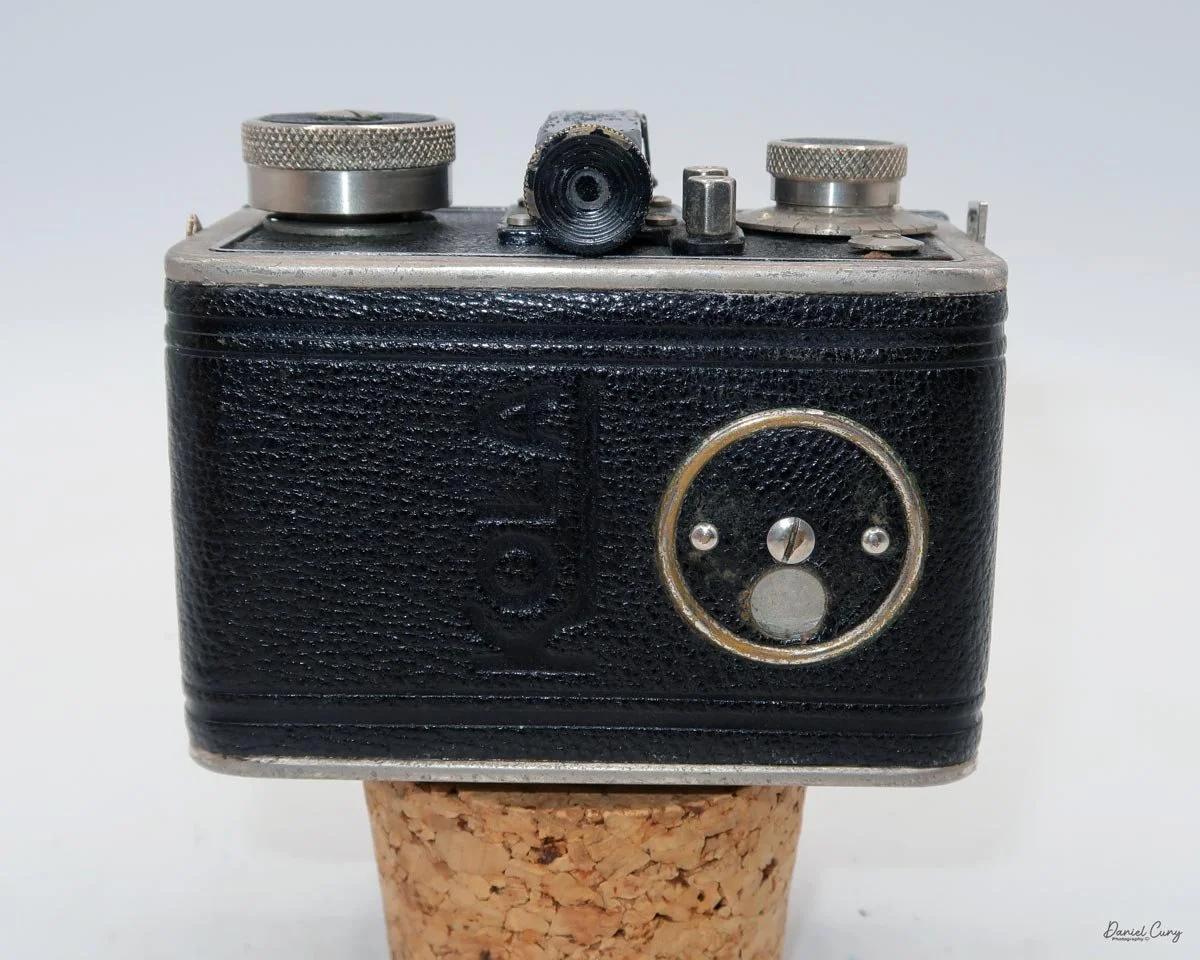
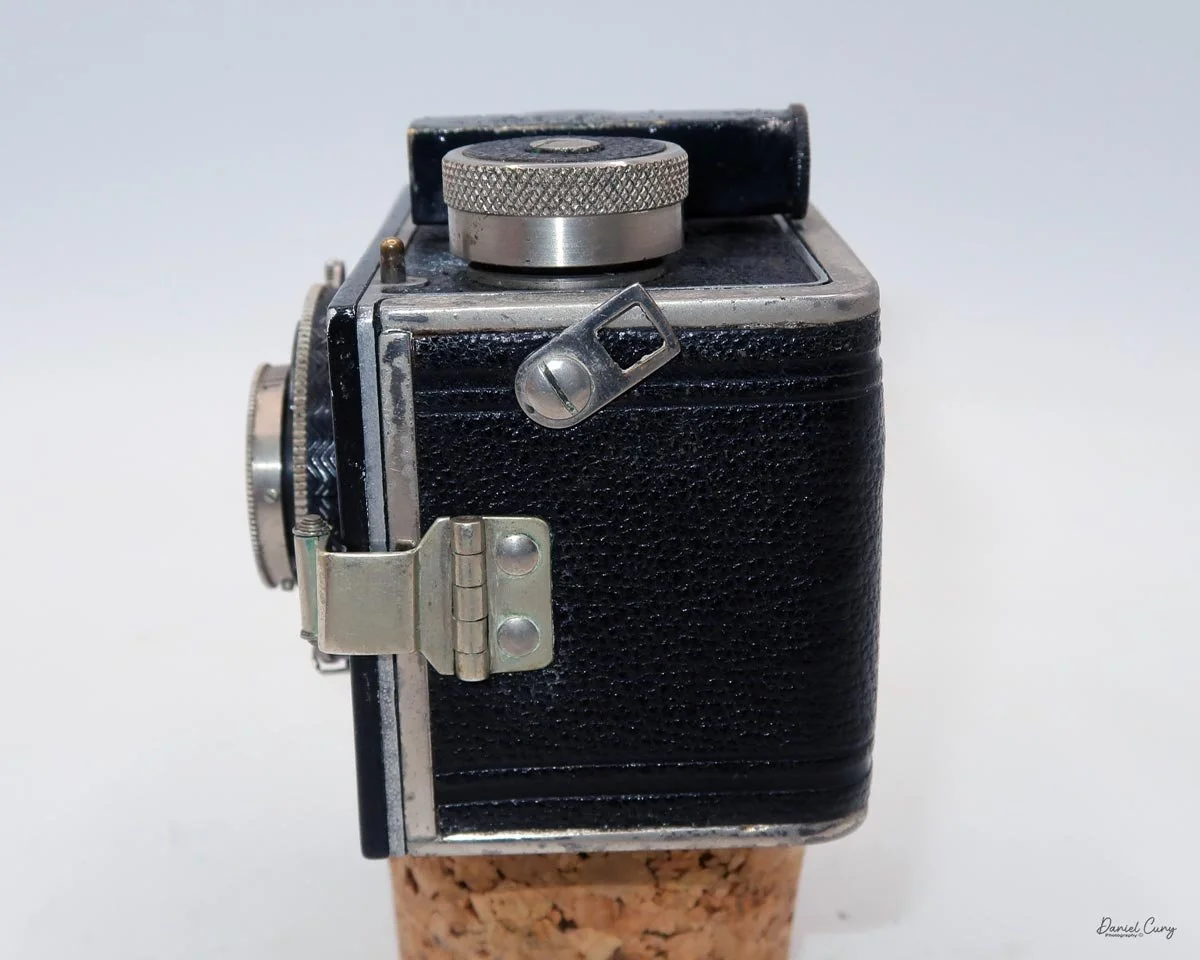
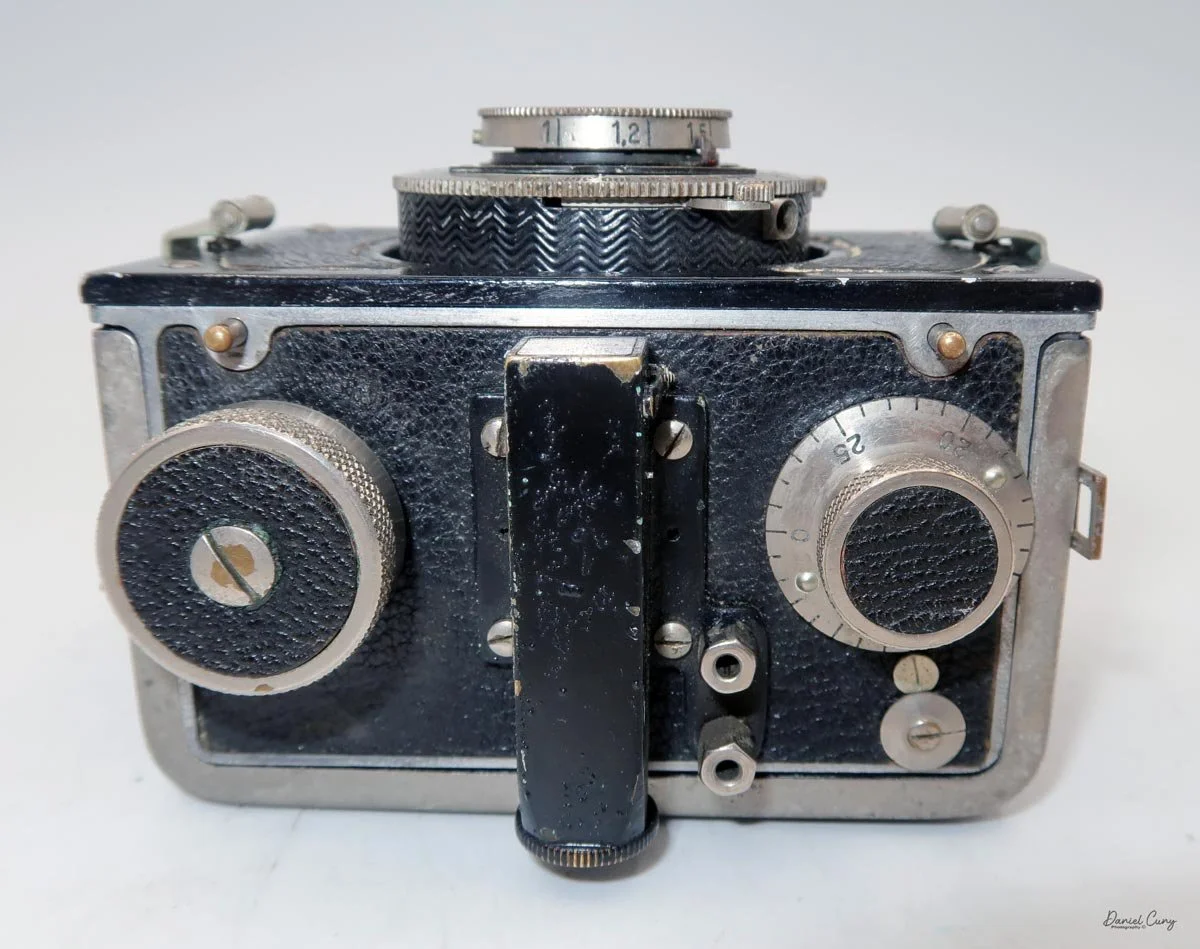
Back side of my Kolar Kola camera
At first glance, I thought it might be a 127 film camera because of the film spools, but the frame size was marked 24 x 36, which meant it was a 35mm camera. That made me think it may have used paper-backed 35mm film, similar to the way some Bolta cameras were loaded.
It was certainly unusual enough to catch my attention, so I bought it along with a few other treasures from the shop. I planned to do the research later, but for the moment I set it aside and kept exploring the store. I knew I would be back before leaving Japan.
Later that day, back at my hotel, the first camera I pulled out was the Kola. I wanted to know more about it right away. I soon learned that the camera was made in Czechoslovakia by a small and relatively obscure camera maker in the 1930s.
Many examples I found online show Kola cameras in a 4 x 4 cm format on 127 film. Some earlier versions have a barrel lens, and the lenses I found were usually marked f/3.5 or f/4.5. I also found references to a paper-backed 35mm version. In my research, I saw that some Kola cameras used special 35mm cassettes and a different geared spool, but that spool arrangement did not match the camera I own.
Here is a little more about the maker.
History
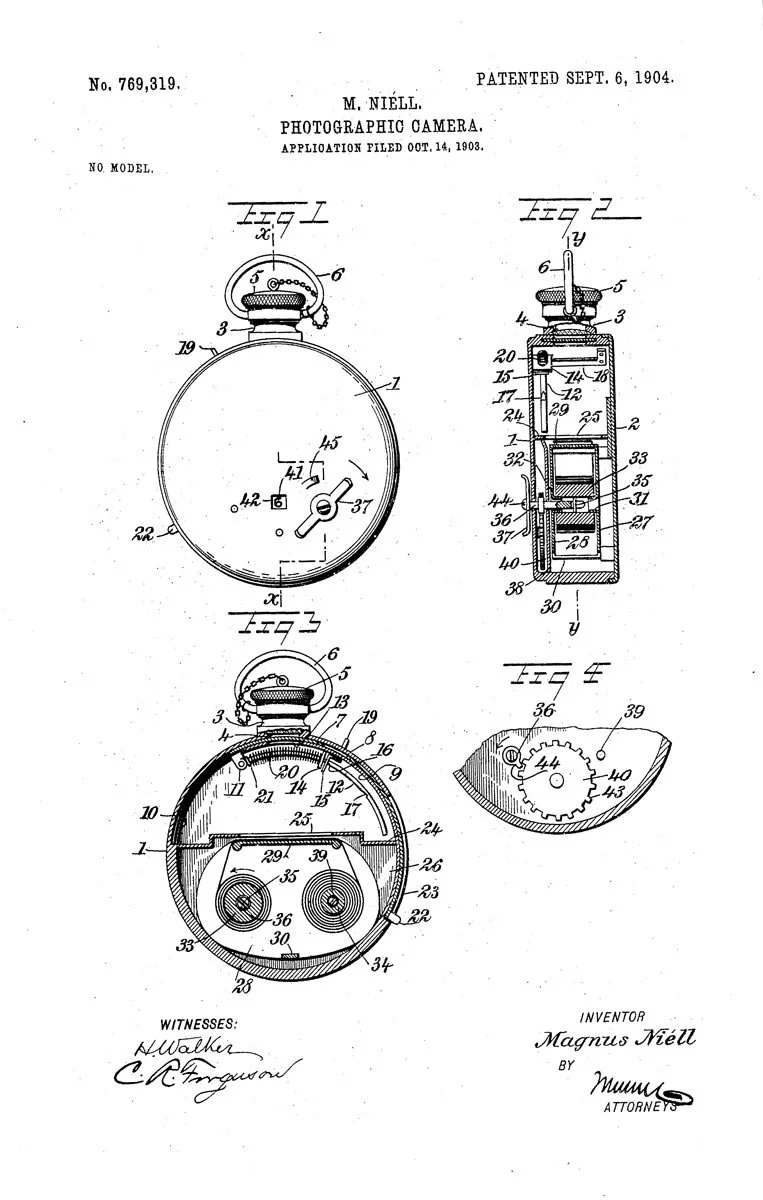
Václav Kolář was a significant, if short-lived, figure in prewar Czechoslovak camera manufacturing. Based in the Modřany district of Prague, Kolář operated his workshop during a period of experimentation and innovation in European photography. In the 1930s, small makers like Kolář were trying to compete with German giants such as Zeiss Ikon and Voigtländer.

Kolář’s history appears to have been one of rapid innovation followed by financial difficulty. His company focused on precision engineering and often produced cameras that were mechanically sophisticated for their price point. However, the economic pressure of the Great Depression and fierce competition from Germany eventually led to bankruptcy in the mid-1930s. Today, his cameras are considered hidden gems of Central European camera history, prized for their rarity and distinctive design.
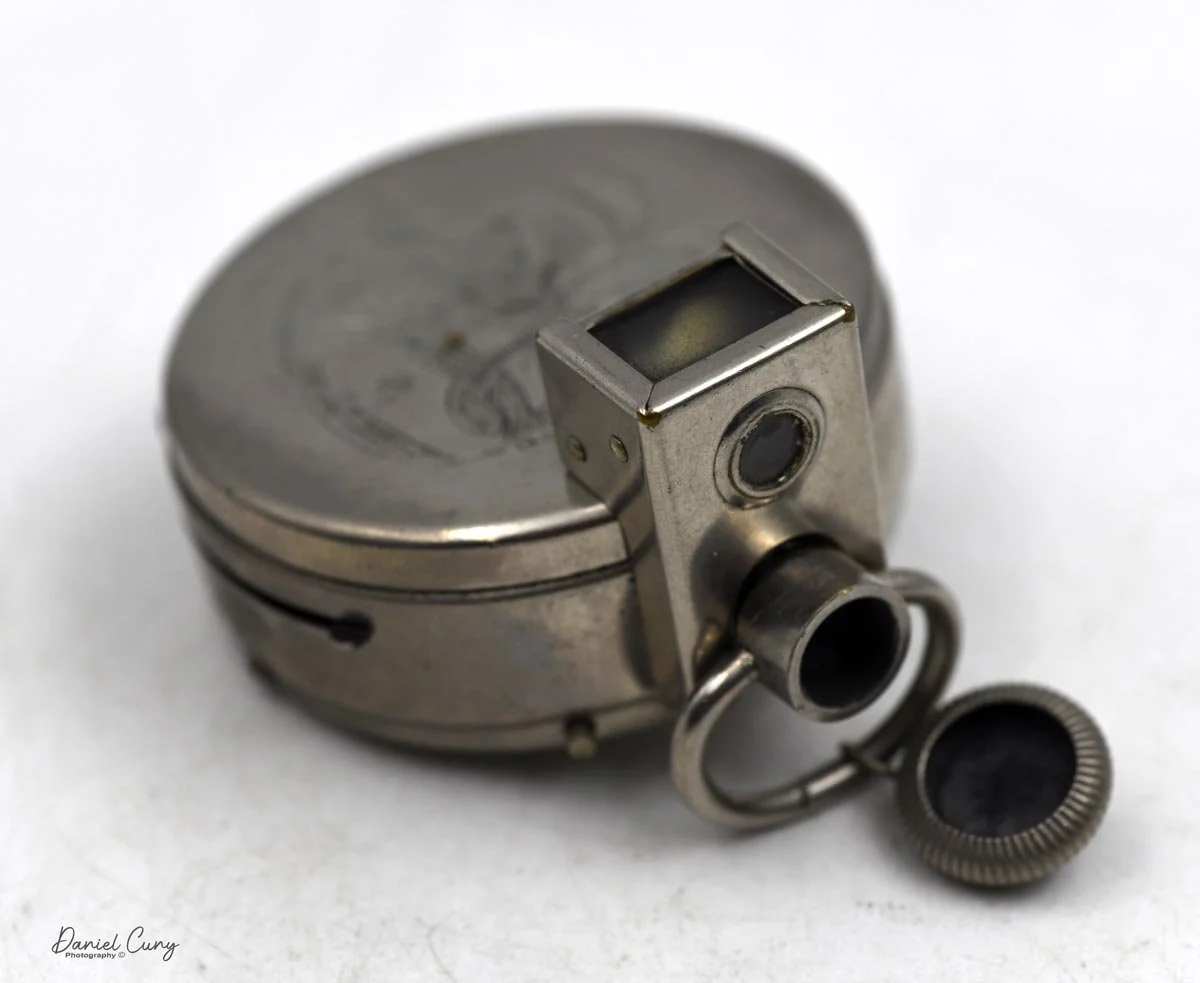
His product line was surprisingly varied for such a small workshop. One of his best-known cameras was the Kola-Diar, a box-shaped roll-film camera. It was designed to be compact and practical, often using 127 film or unperforated 35mm film, which later gave it a bit of a spy-camera reputation among collectors. It featured a collapsing lens mount and a rugged build that stood out from the folding cameras of the period.
Another notable model was the Kola-Flex, a twin-lens reflex camera made largely of Bakelite. Unlike many pseudo-TLR cameras of the era, the Kola-Flex often featured gear-linked lenses, allowing for more accurate focusing through the top viewfinder. Kolář also produced the Kolex, a traditional folding plate camera, and the Box-Reflex, an entry-level Bakelite model. These cameras were typically fitted with lenses bearing Kolář’s own names, such as Rekolar, Kolyt, and Kolar-Anastigmat, and were often paired with reliable German shutters like the Vario or Compur.
Kolář’s legacy lies in his pioneering work in the Czech tradition of fine mechanical camera building. His designs showed that Czechoslovak workshops could produce serious photographic equipment, helping lay the groundwork for the later nationalized industry that would produce the Flexaret series.
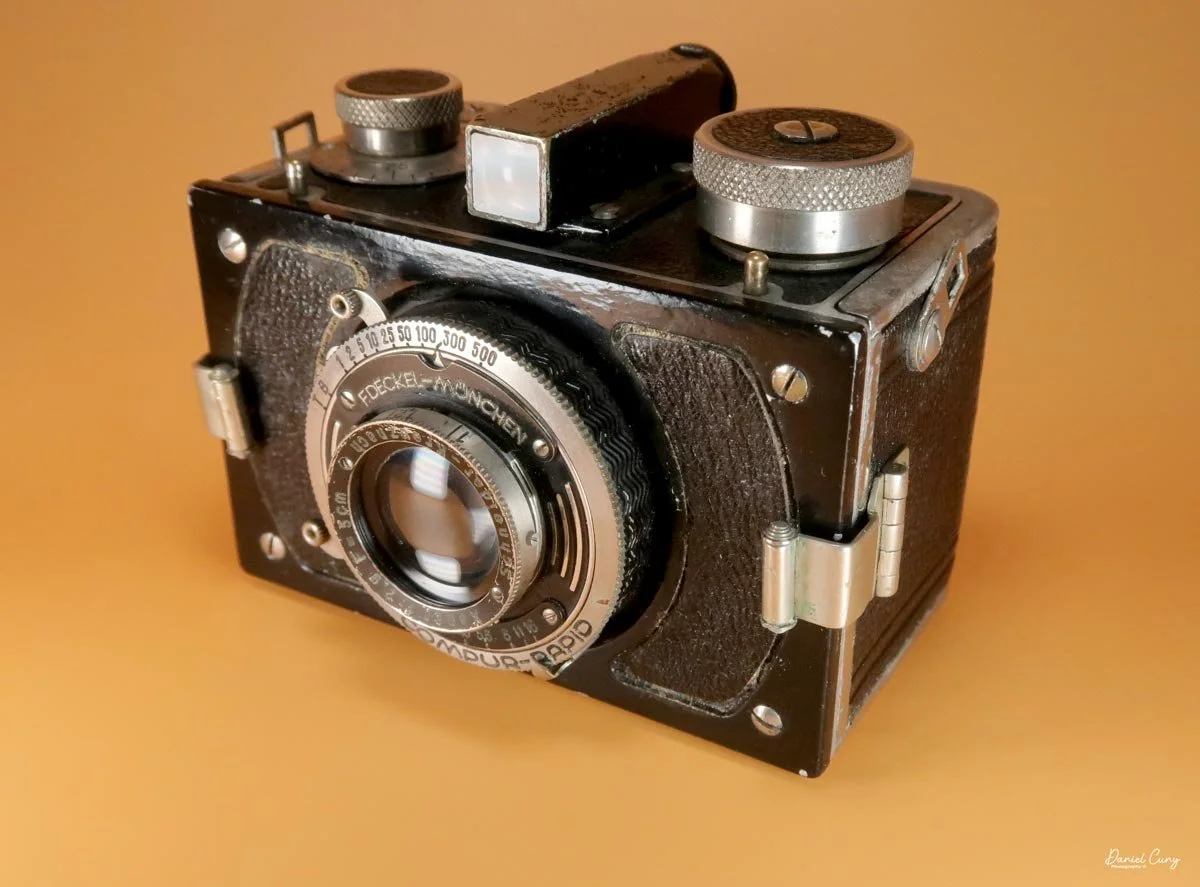
My Camera
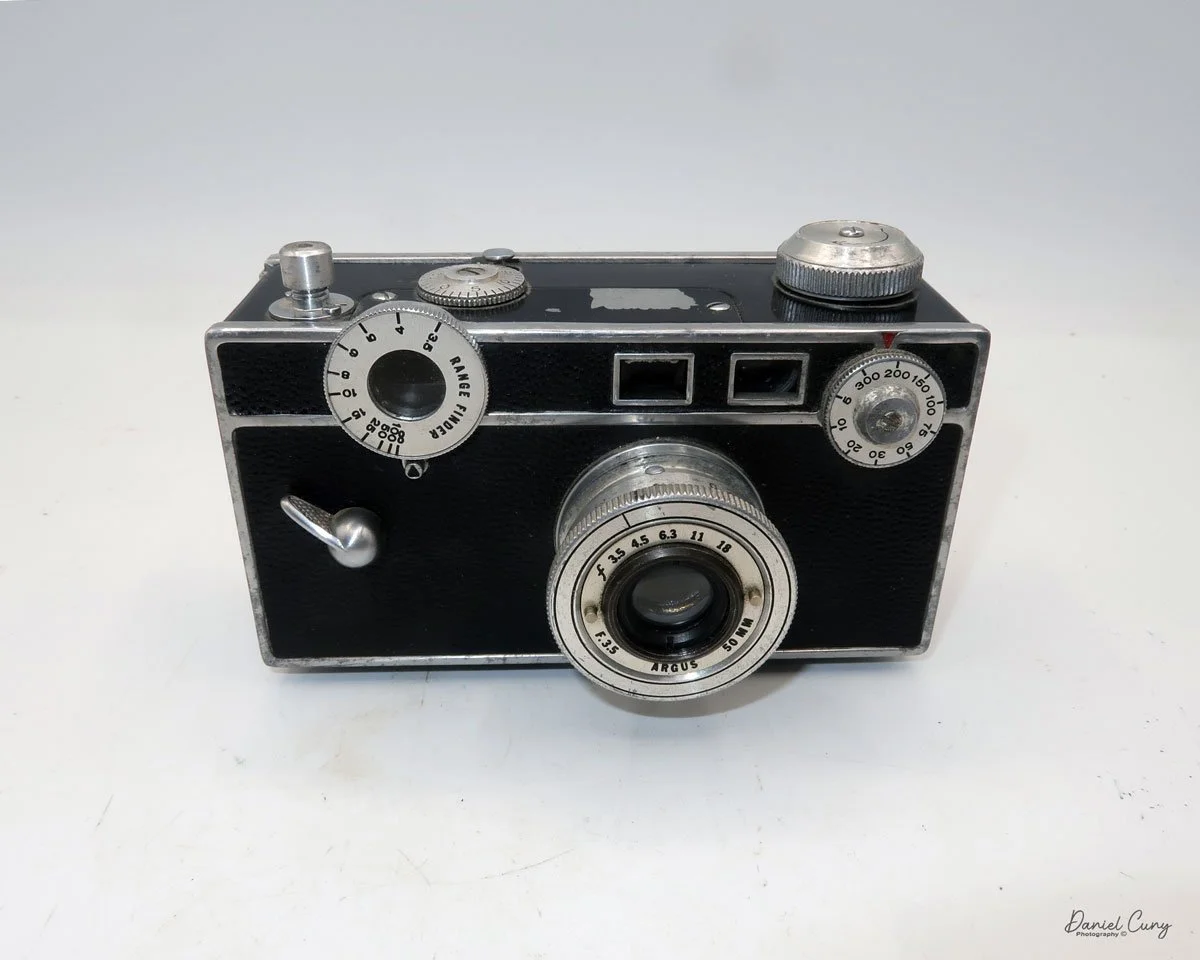
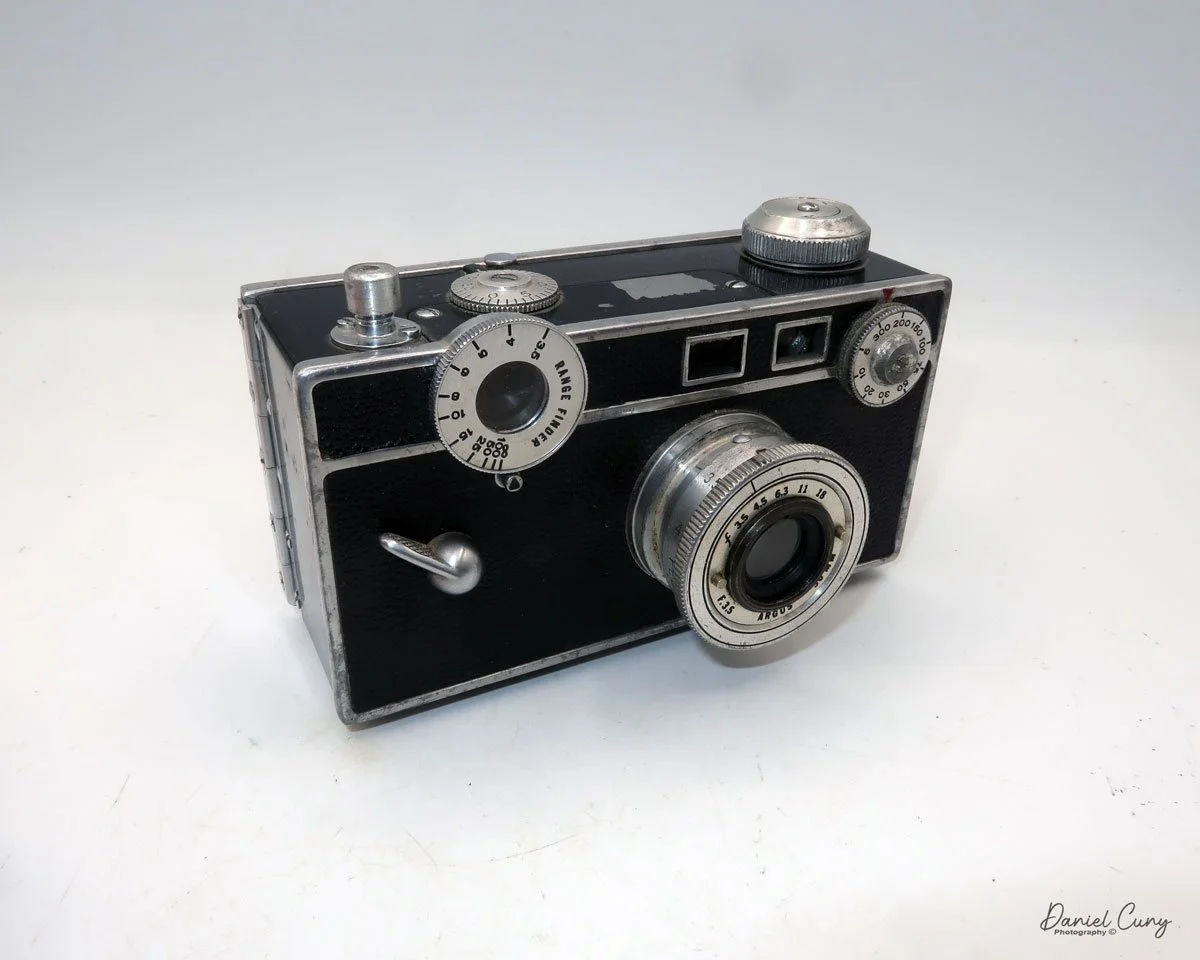
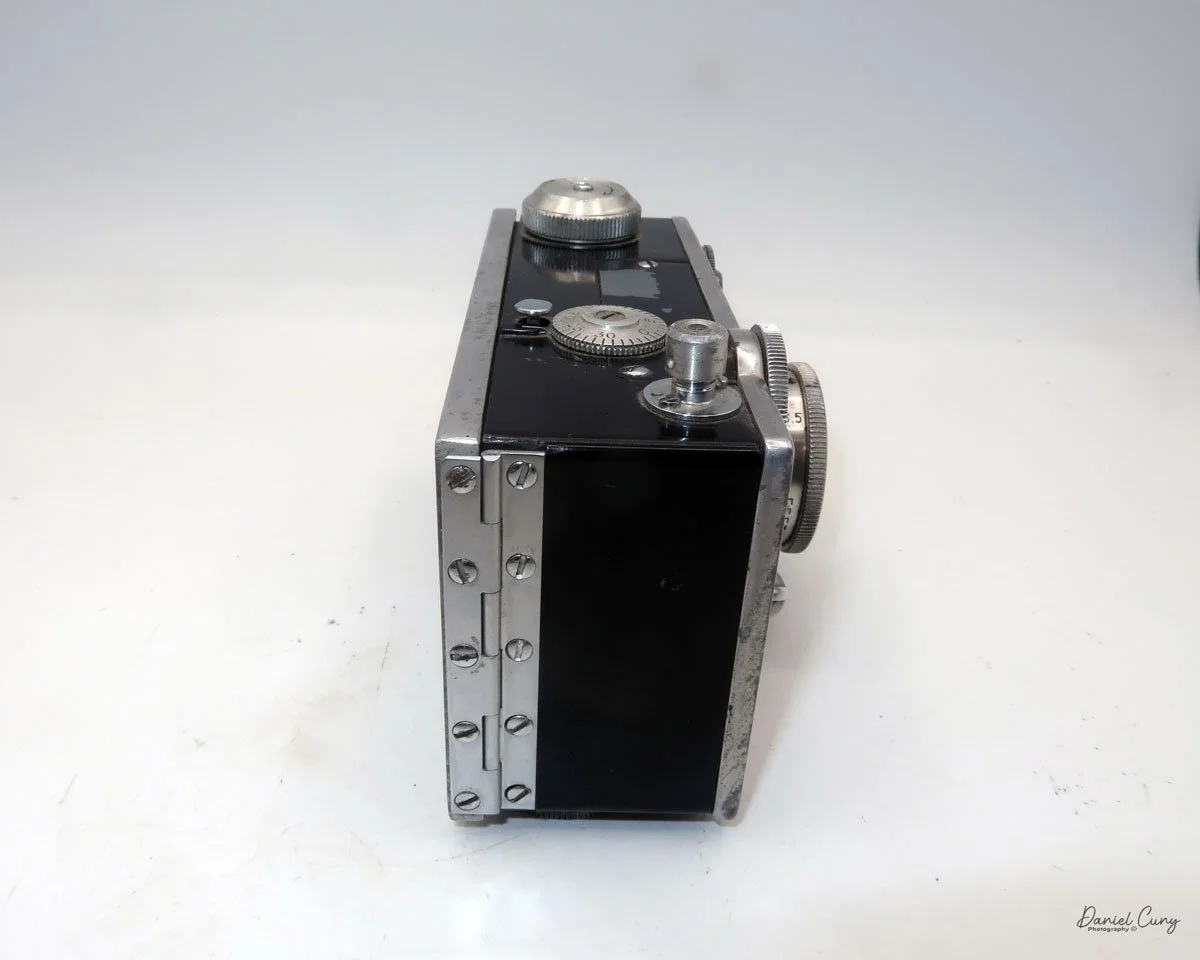
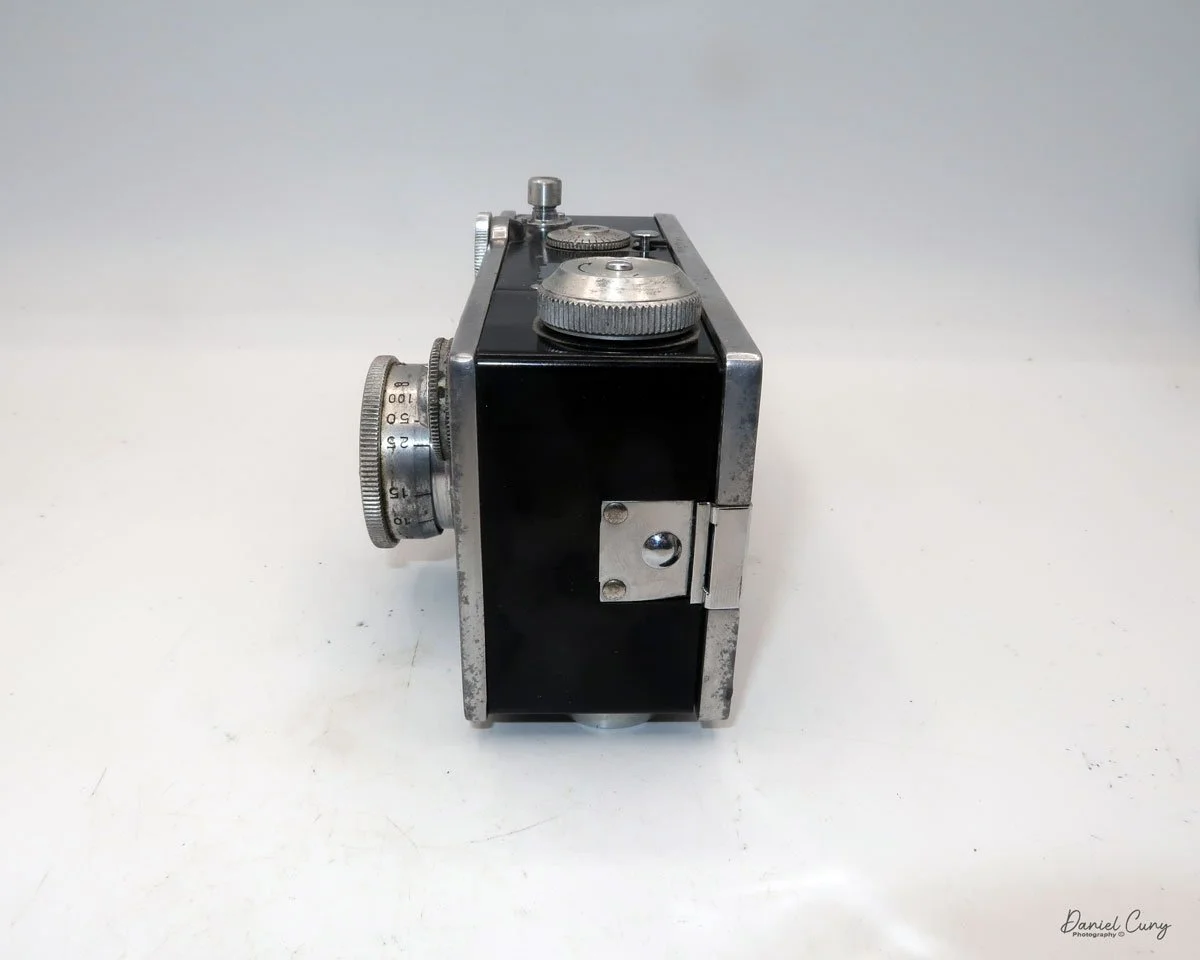
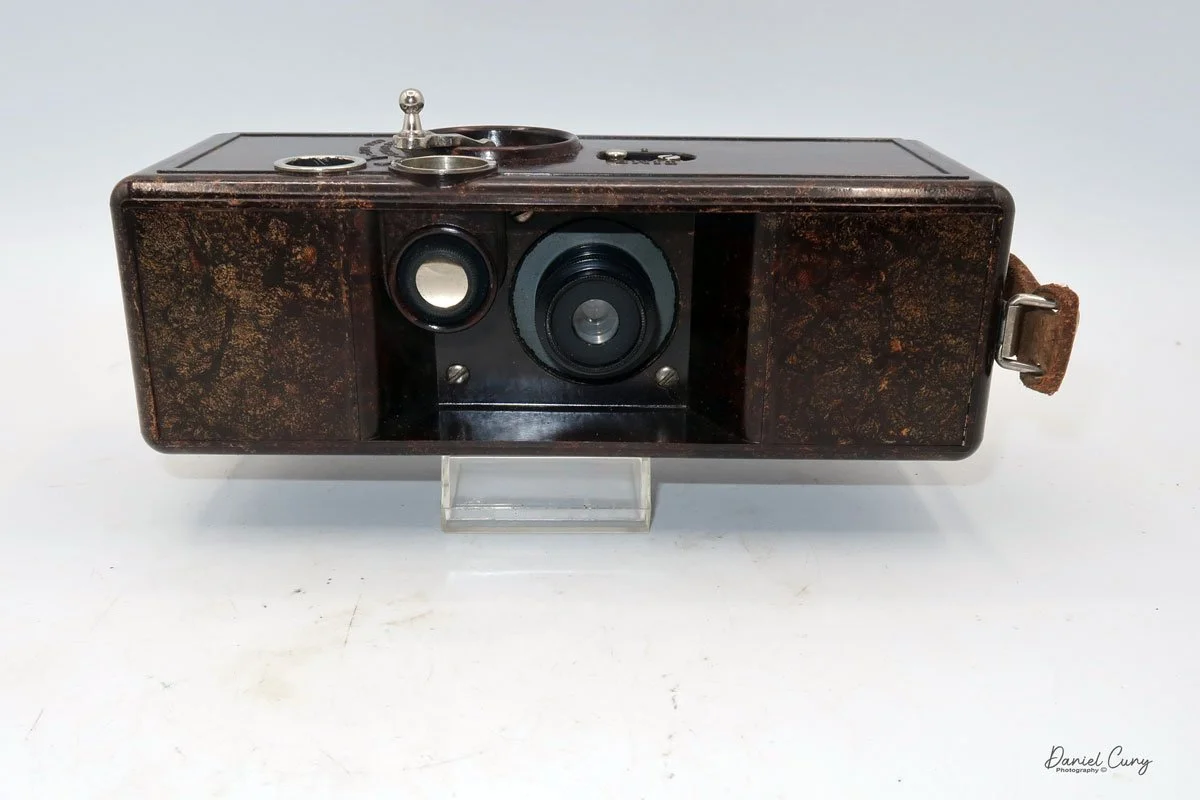
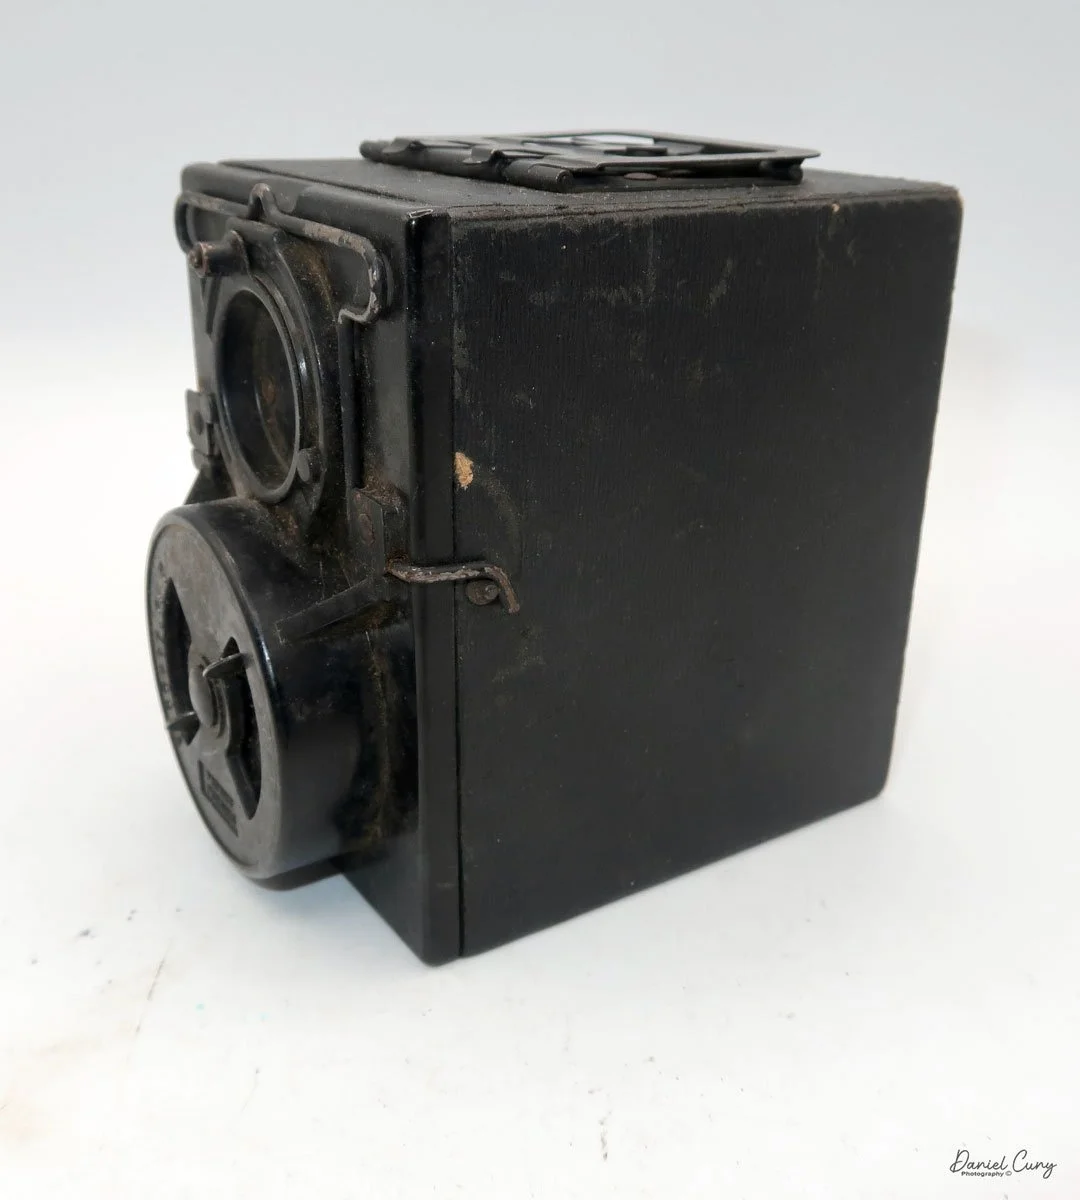
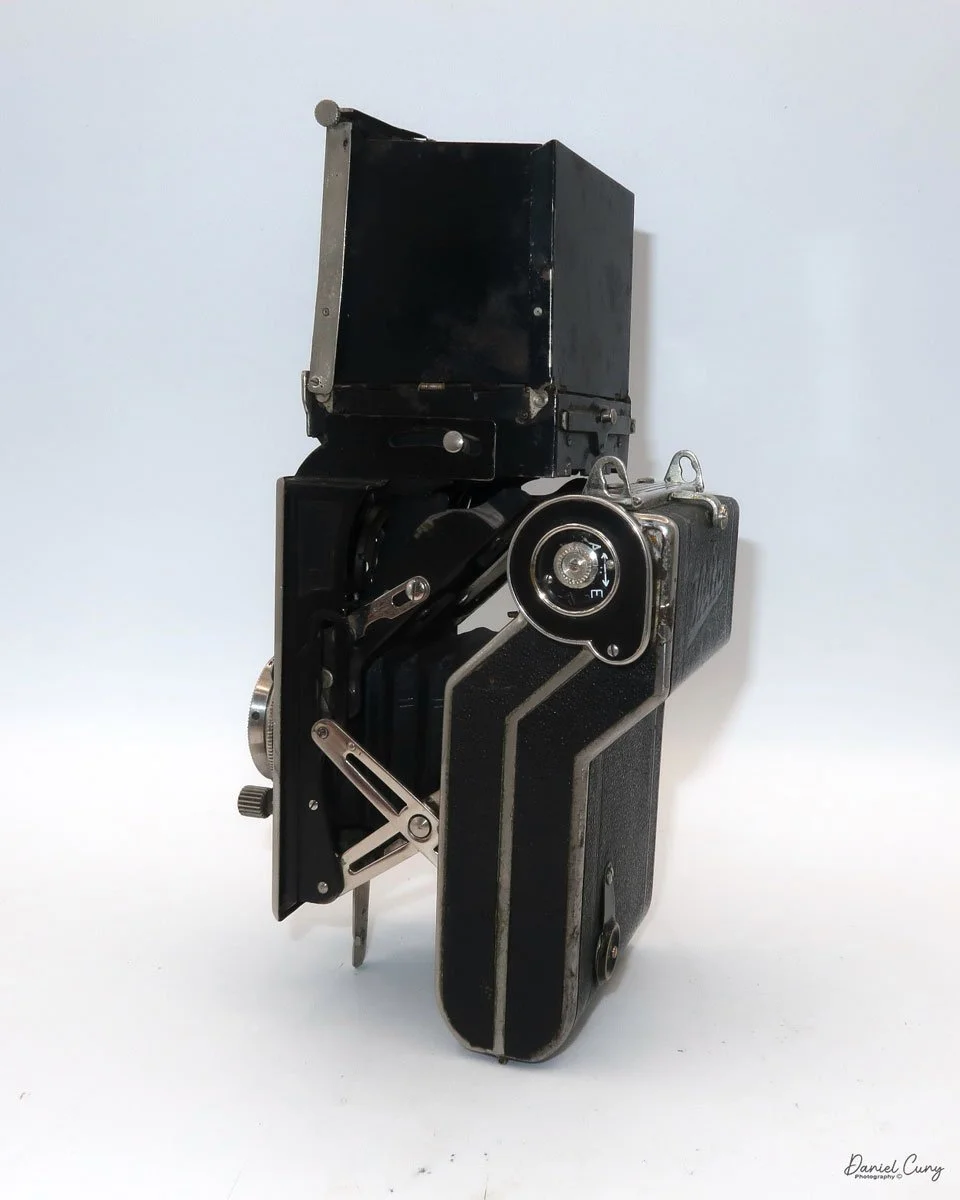
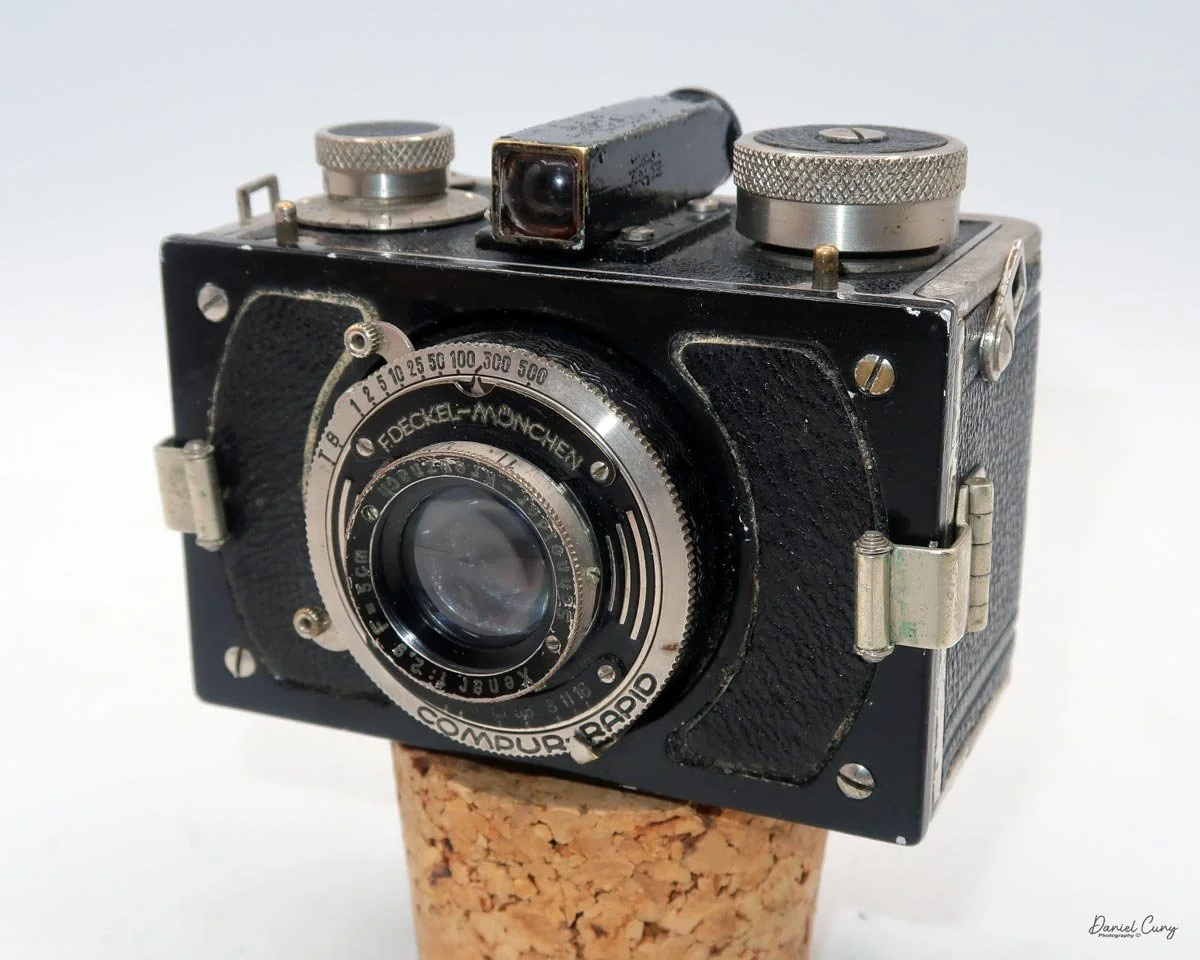
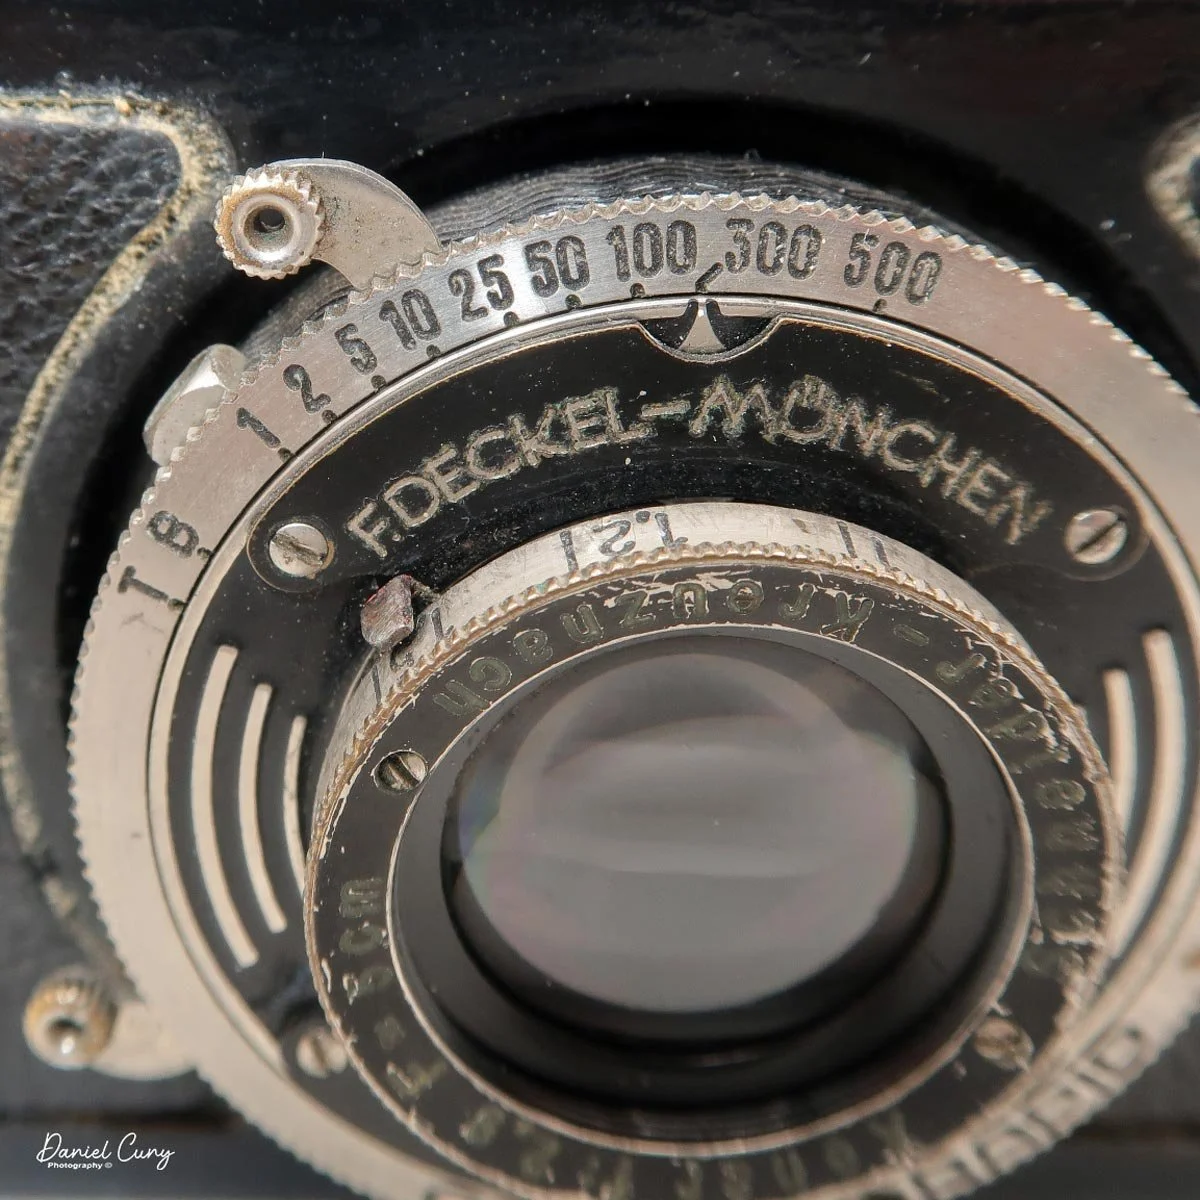
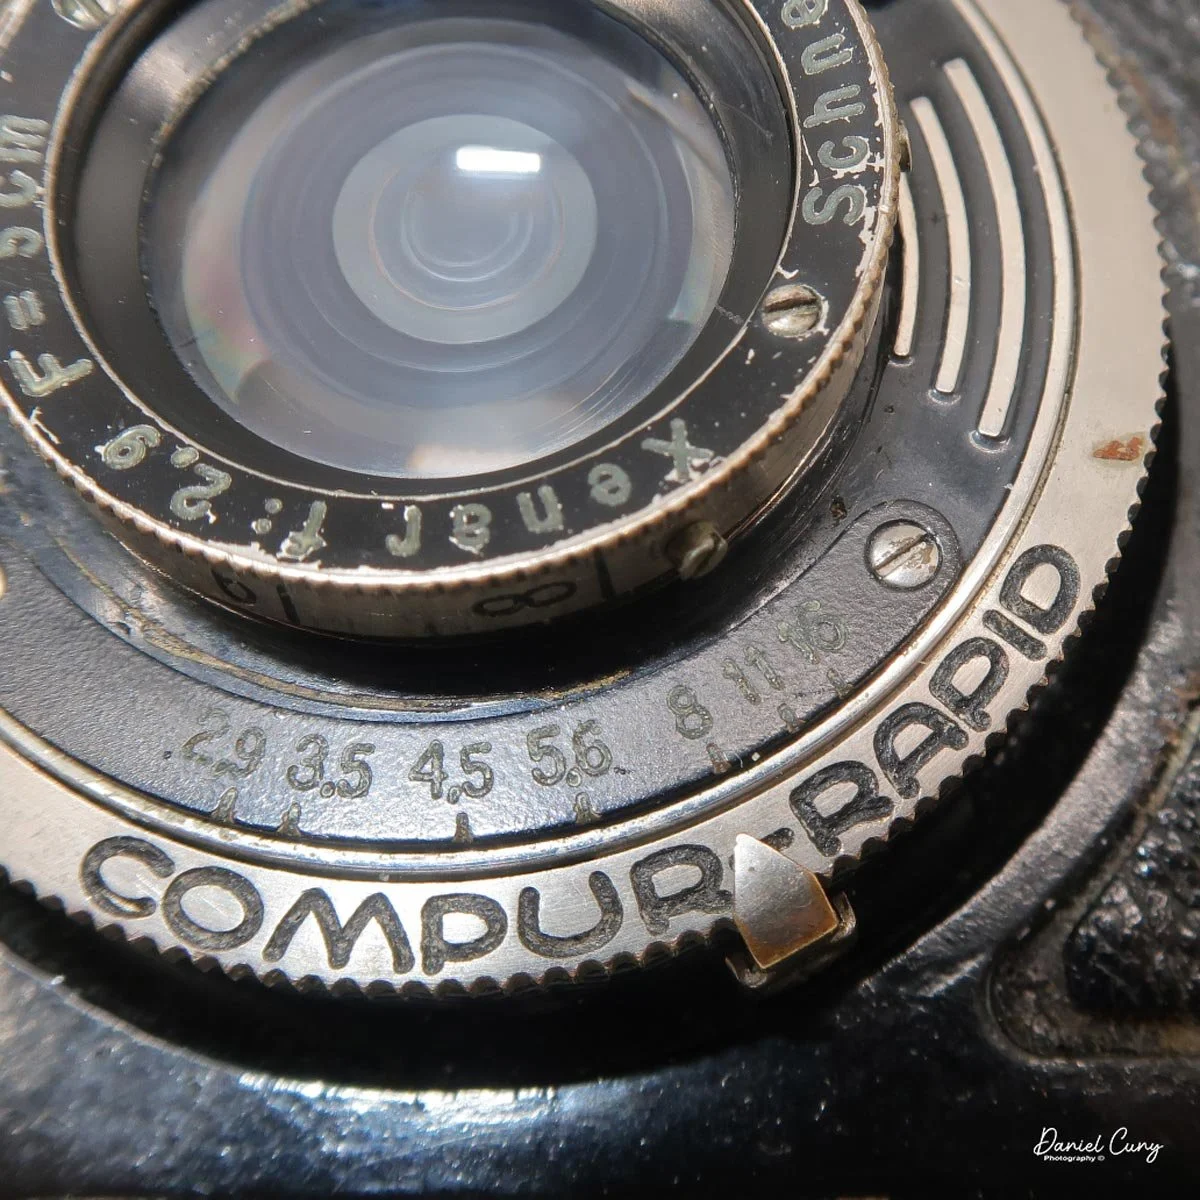
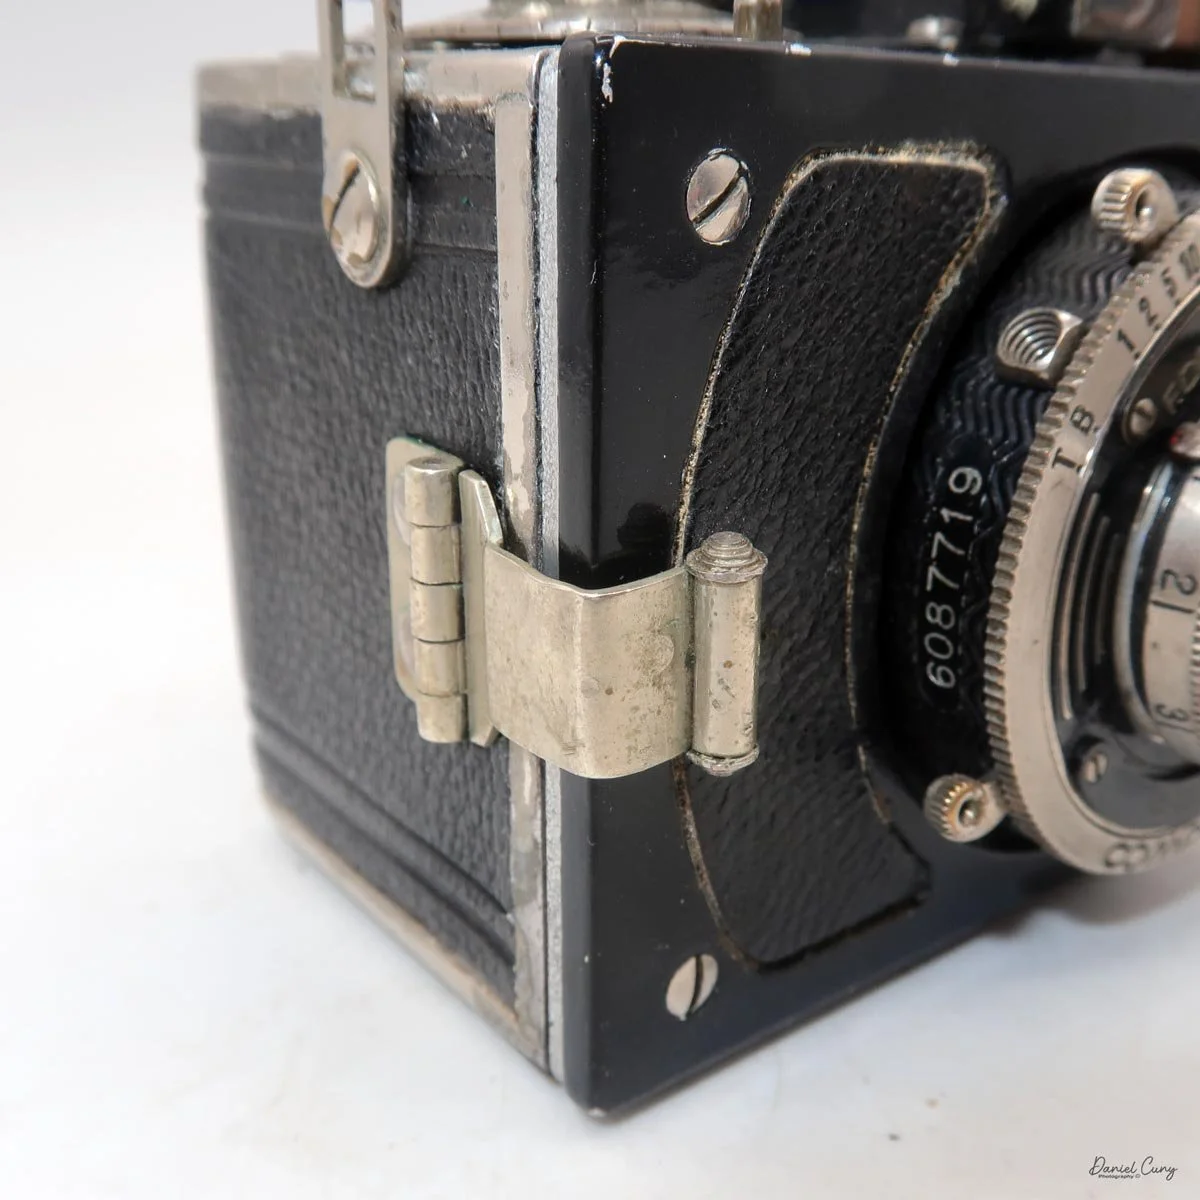
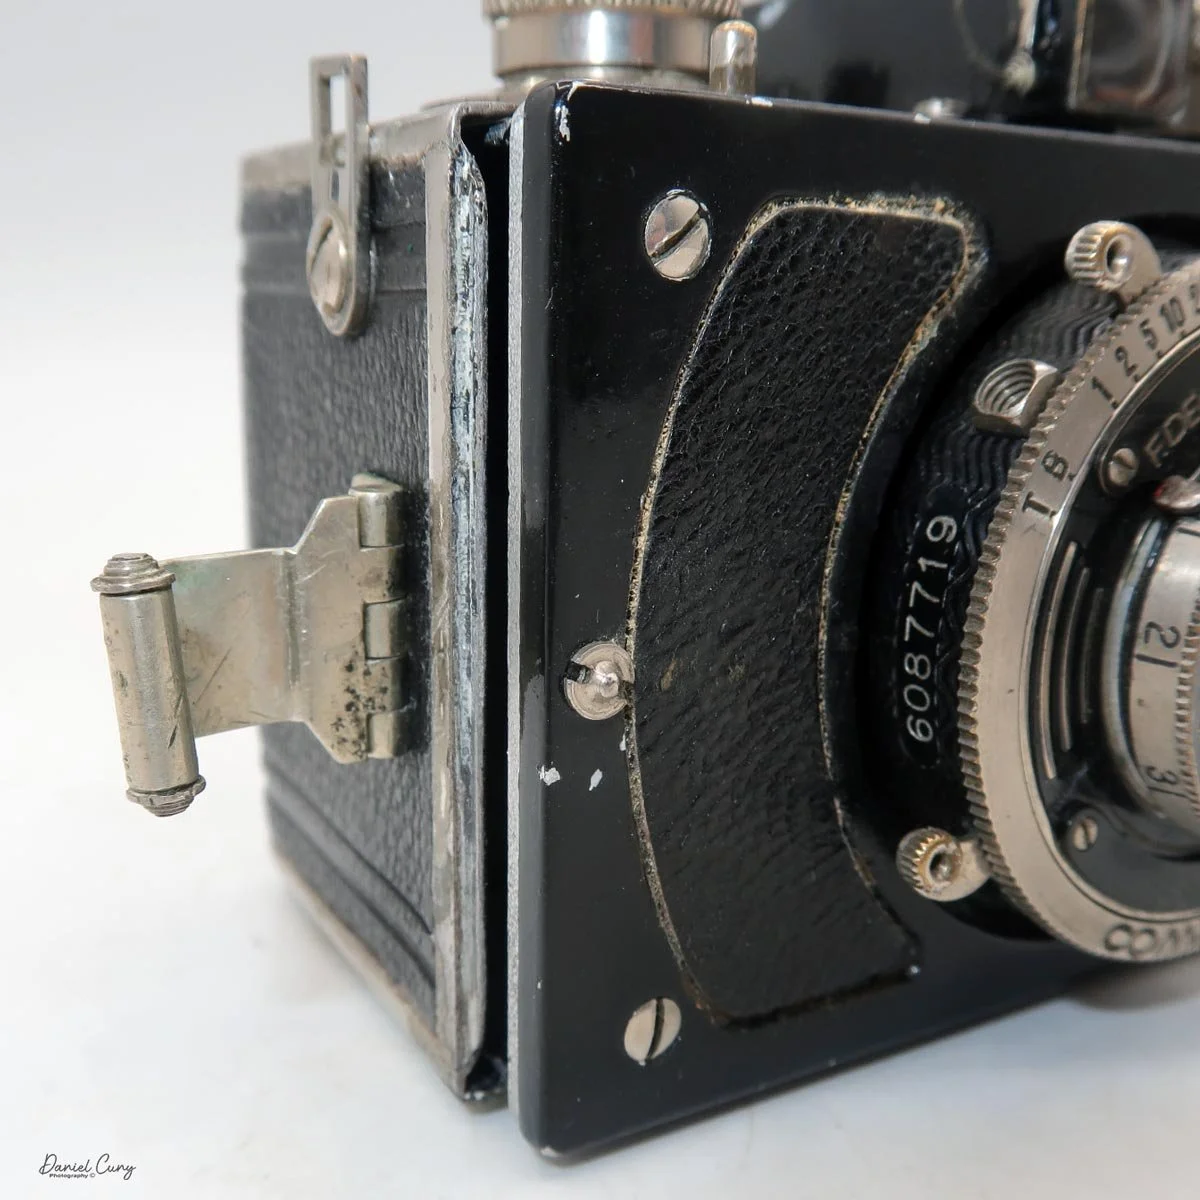
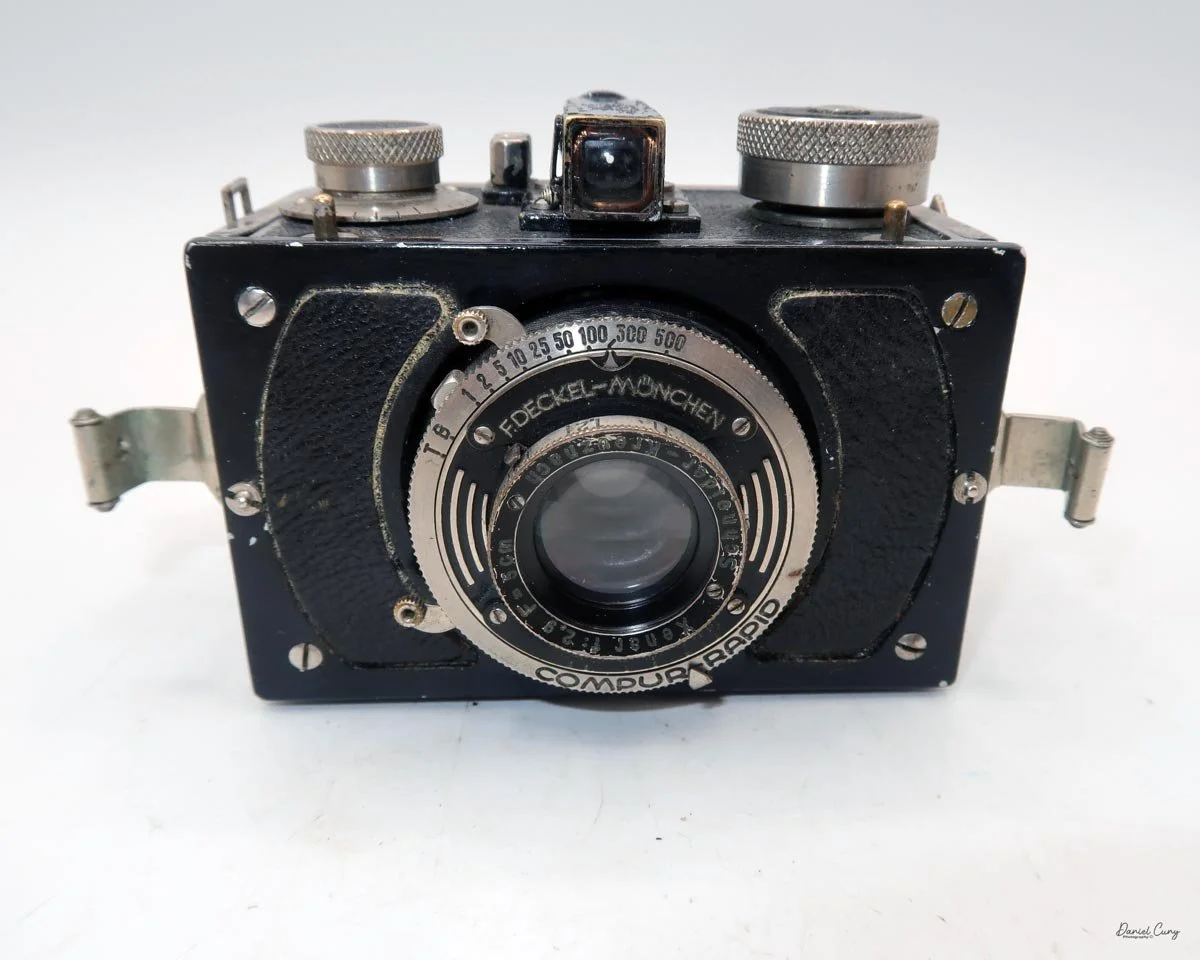
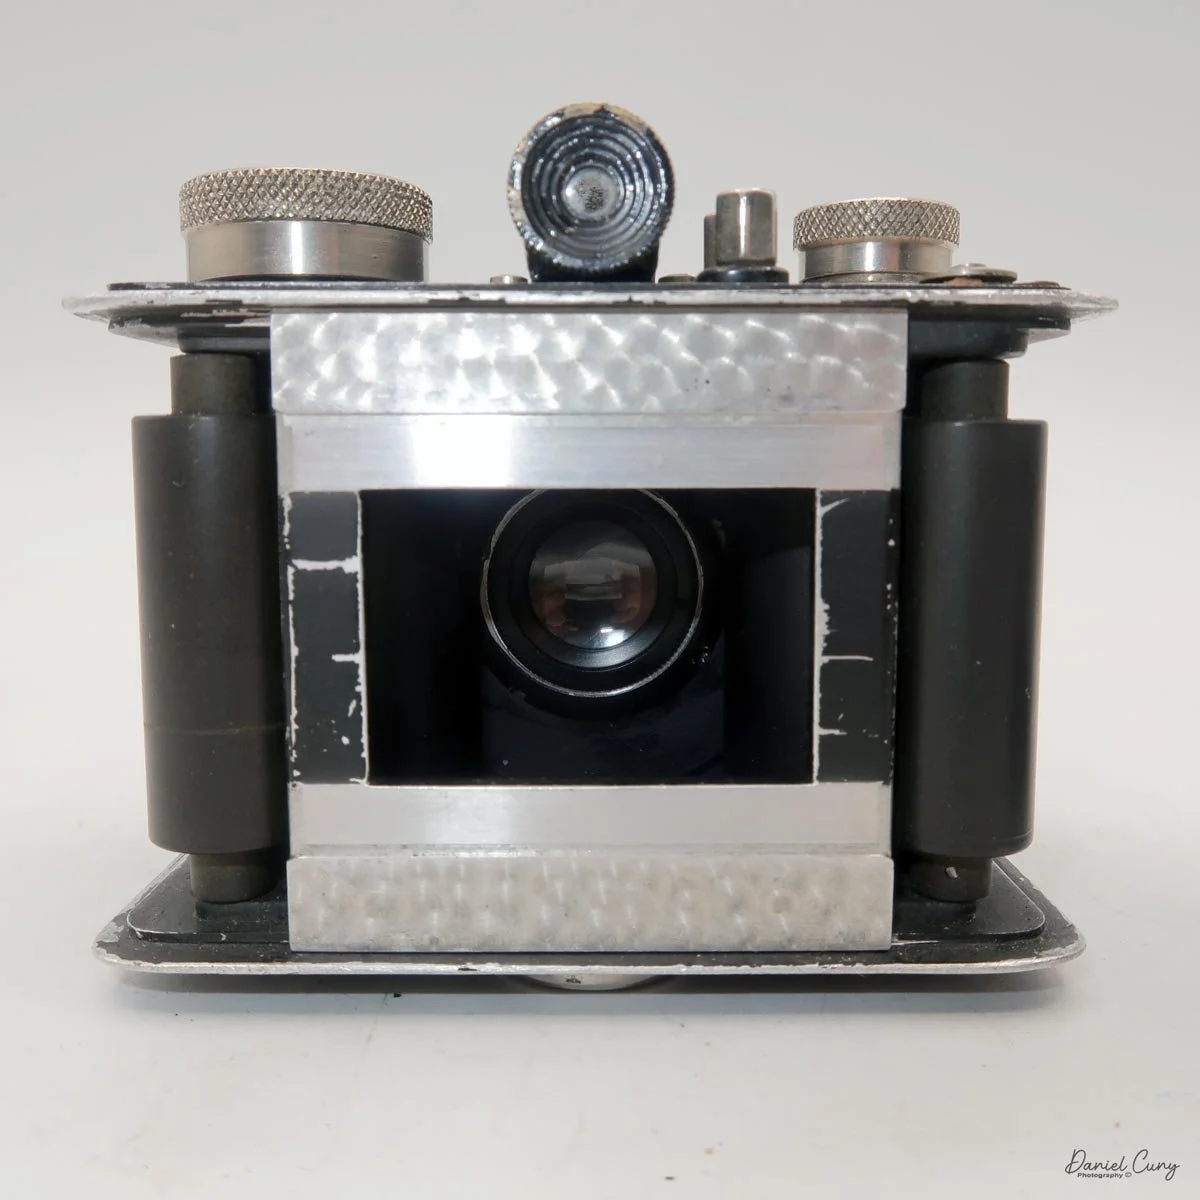
My Kolar Kola camera measures 3.5 inches wide, 3 inches tall, and 2.75 inches deep. It weighs 1 pound, 1.7 ounces, and has serial number 740 stamped into the back of the camera. It is fitted with a Schneider Xenon 5cm f/2.9 lens in a Comur-Rapid shutter. The shutter speeds range from 1/500 second to 1 second, with T and B settings for timed and bulb exposures. There is a cable release socket next to the shutter cocking lever on the top of the shutter, and the shutter release is positioned low at about the 8 o’clock position.
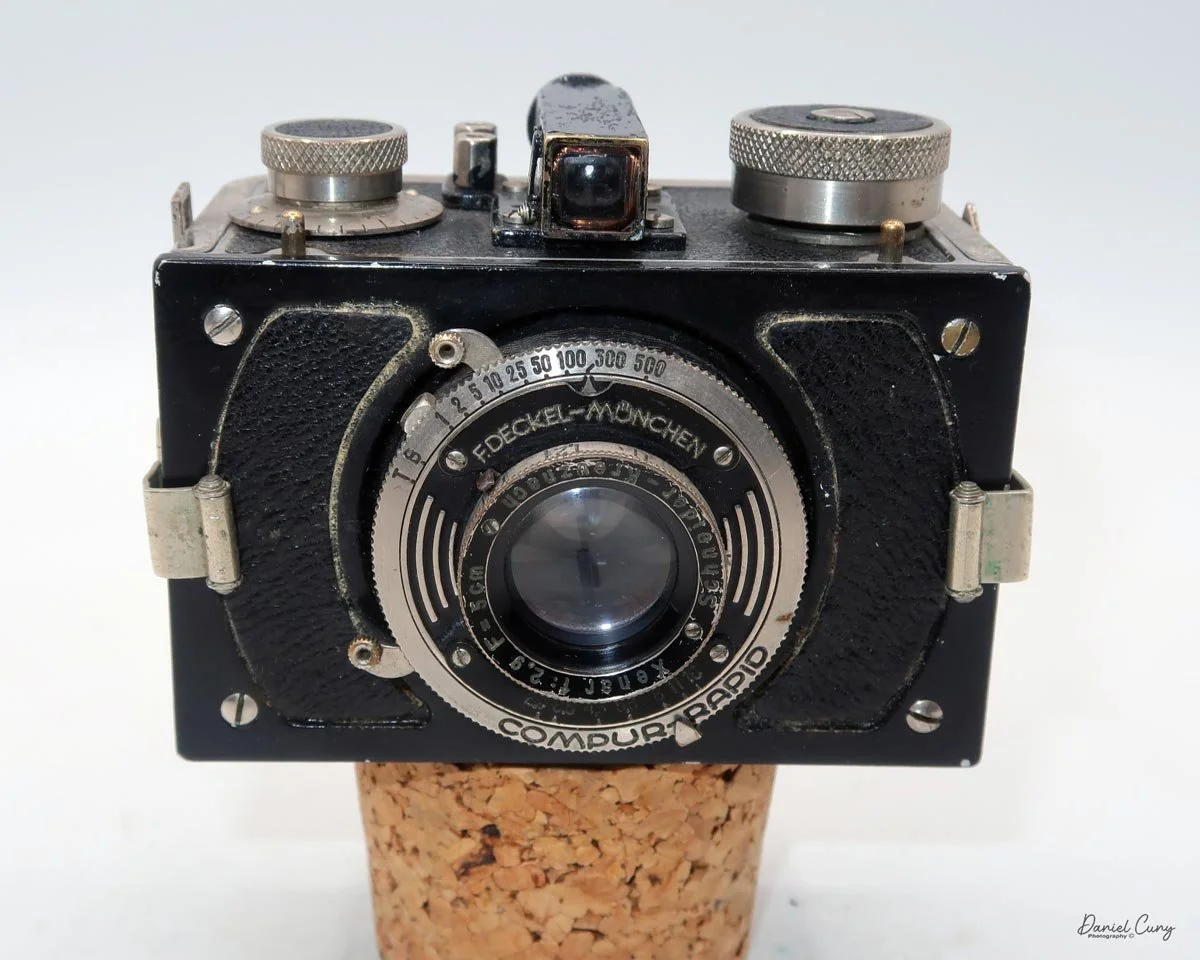

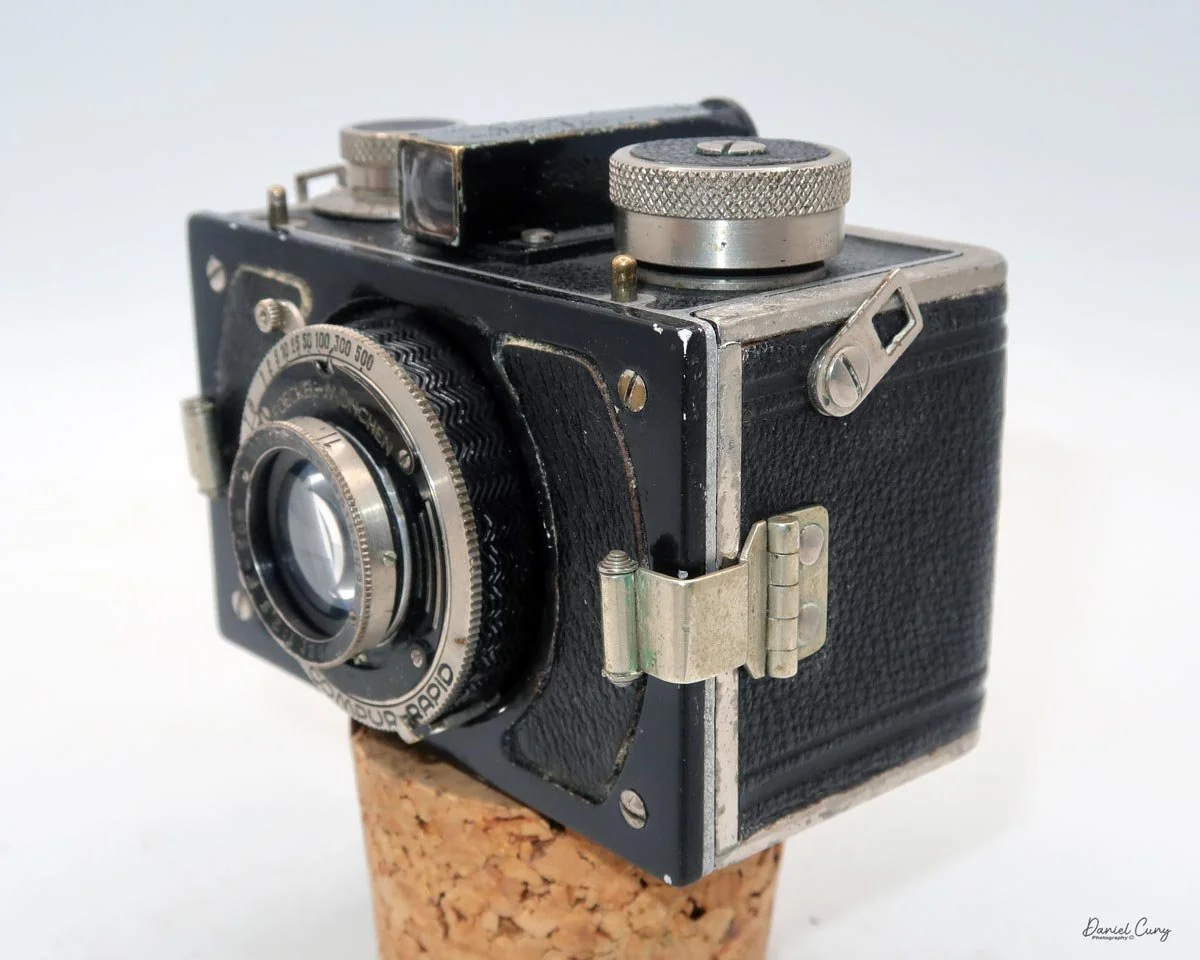
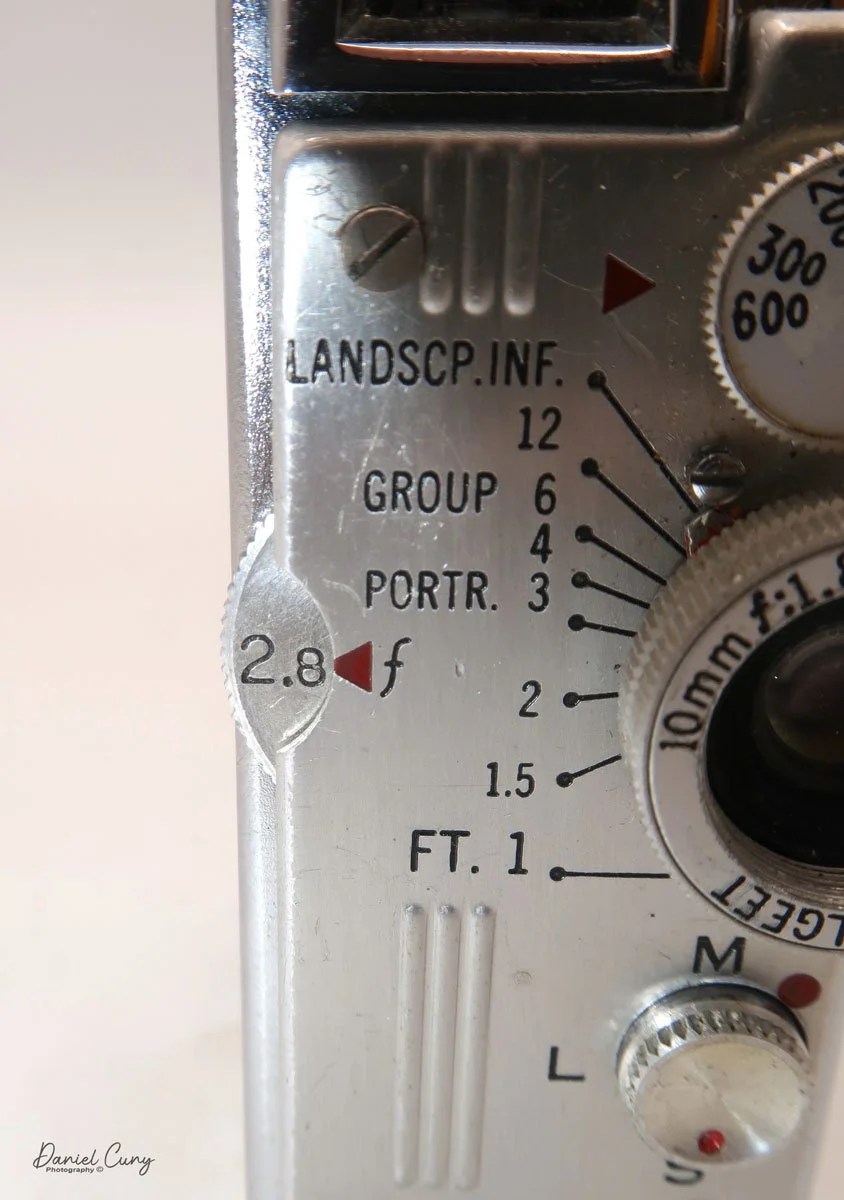
In my research, I found that many Kola cameras use a helical focus system mounted behind the shutter mechanism, but mine is a front-element focus model, meaning the lens itself rotates. Focus distances are marked on the outer ring of the lens in meters.
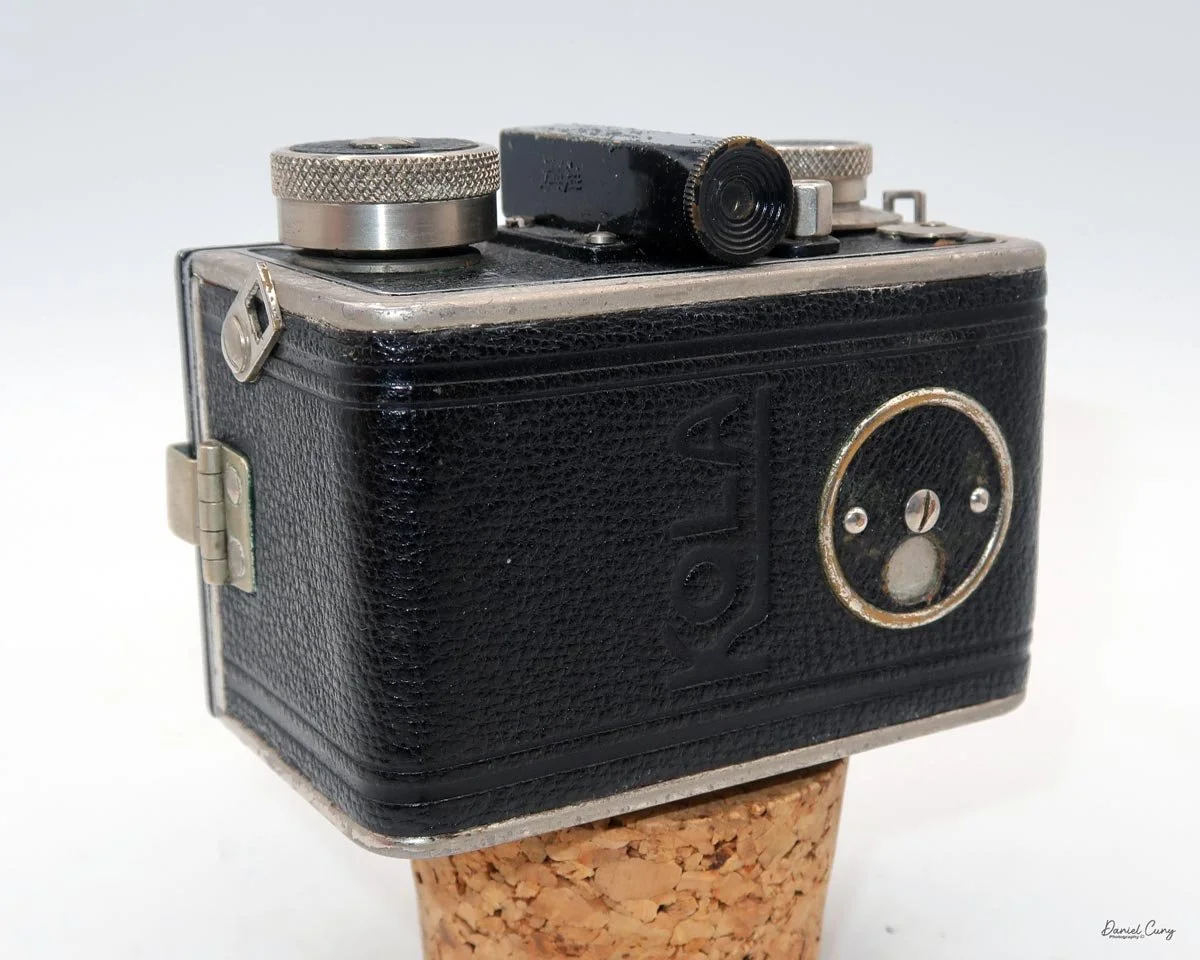
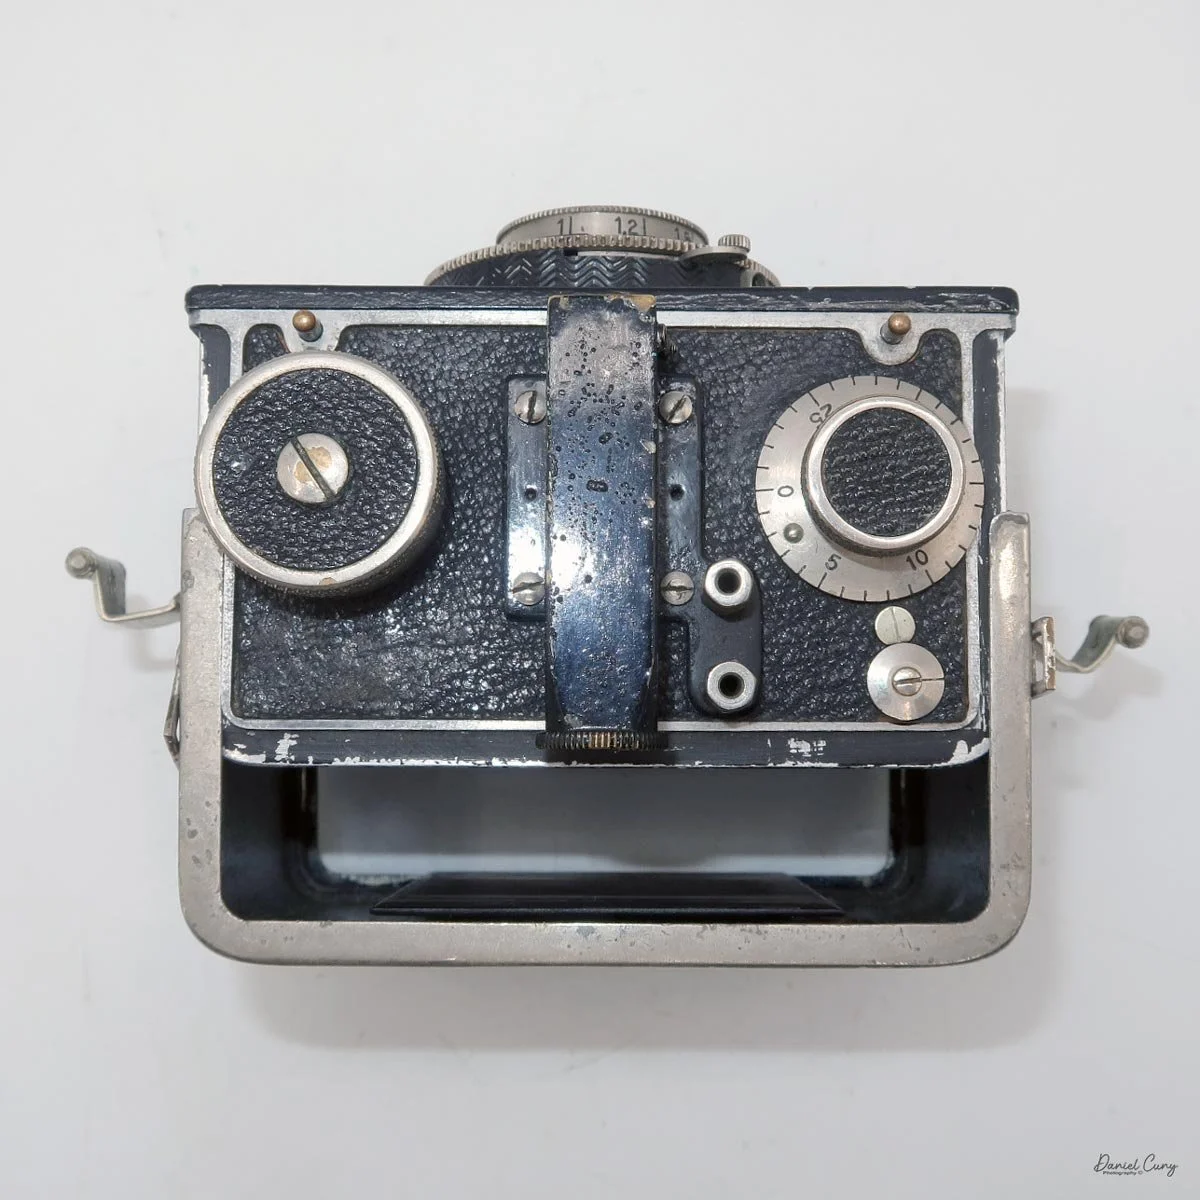
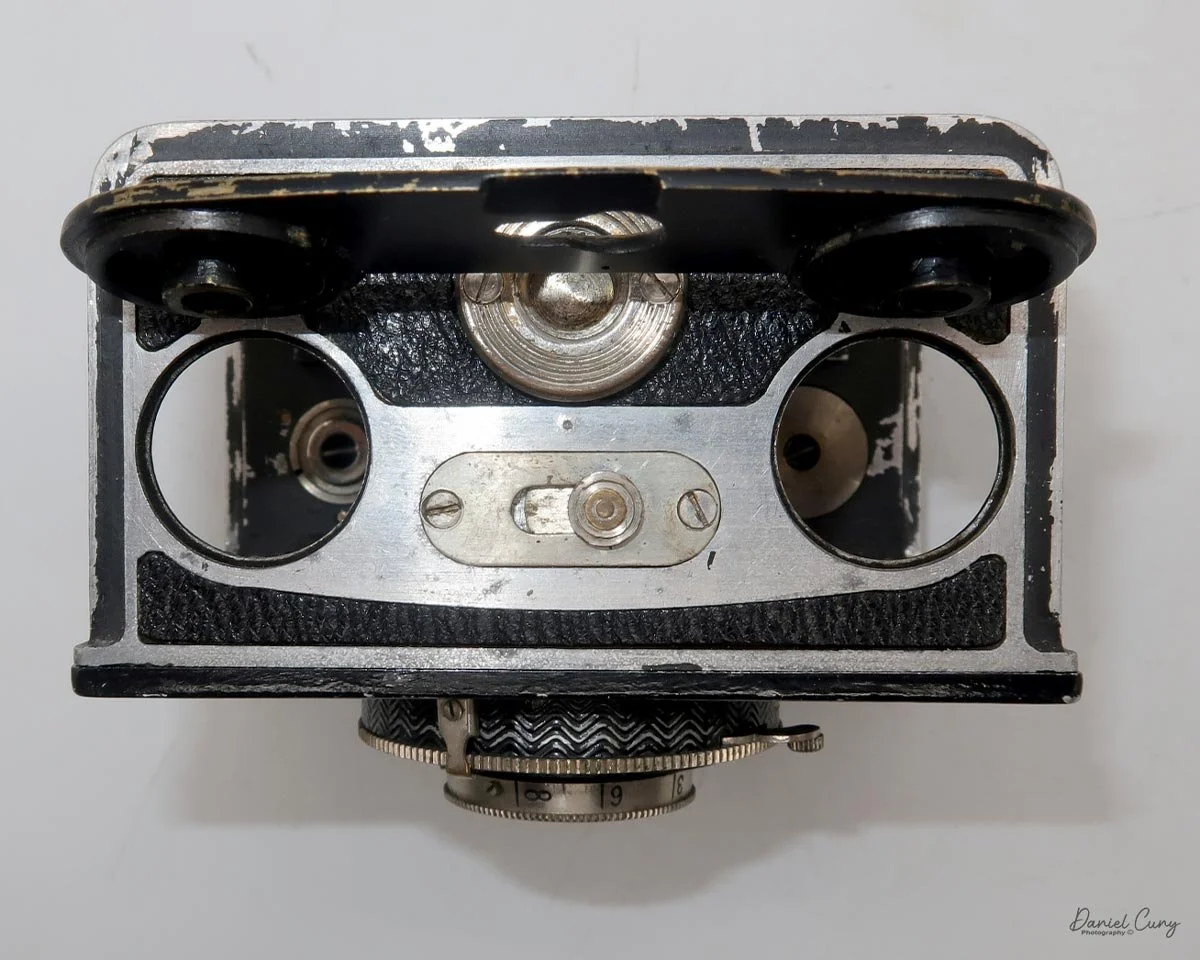
On top of the camera, from left to right, there is a large winding knob that advances the film clockwise. In the middle is a very small optical viewfinder, which is especially hard for me to use since I wear glasses. To the right of that are two small raised openings that can accept a cold shoe, much like the Nagle Pupille camera. An accessory rangefinder can be mounted there for critical focus.
To the right of the cold-shoe area is the frame counter, located inside the knob that holds the film in place. Behind the frame counter is a small round indicator attached to the wheel inside the film chamber. As the film moves across that wheel during winding, the indicator turns, and each full rotation advances the frame counter.
The more I look at this camera, the more similarities I see between the Kola and the Nagel Pupille camera. Both have helical-focus variations, both offer an accessory shoe for a rangefinder, and both have a solid, well-made feel.
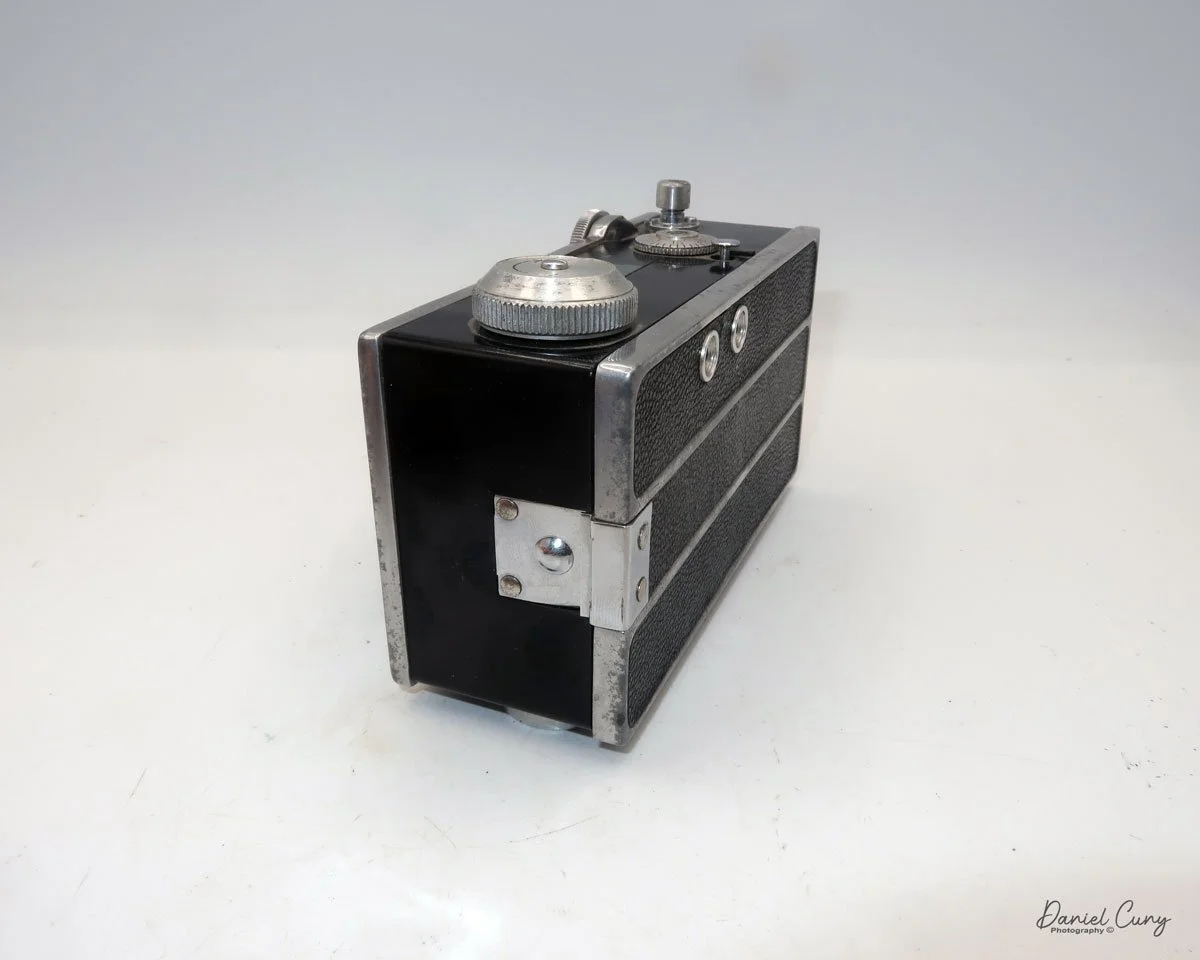
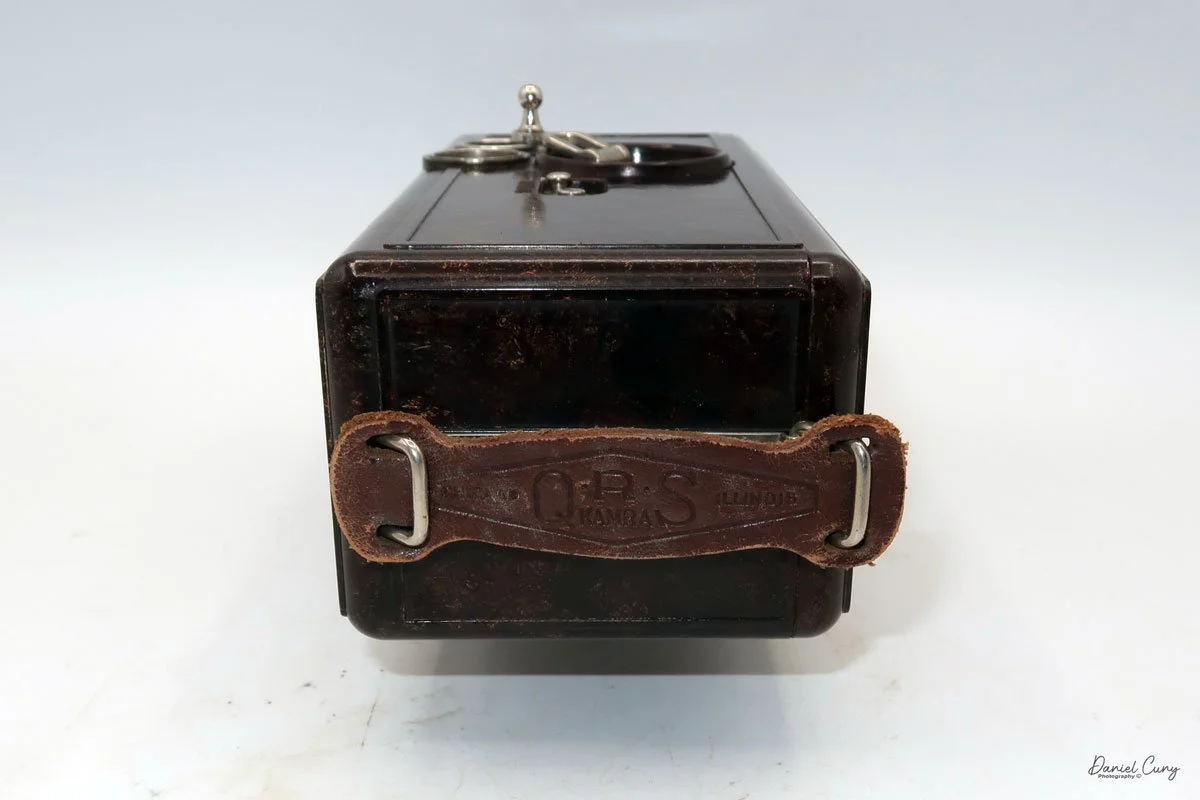
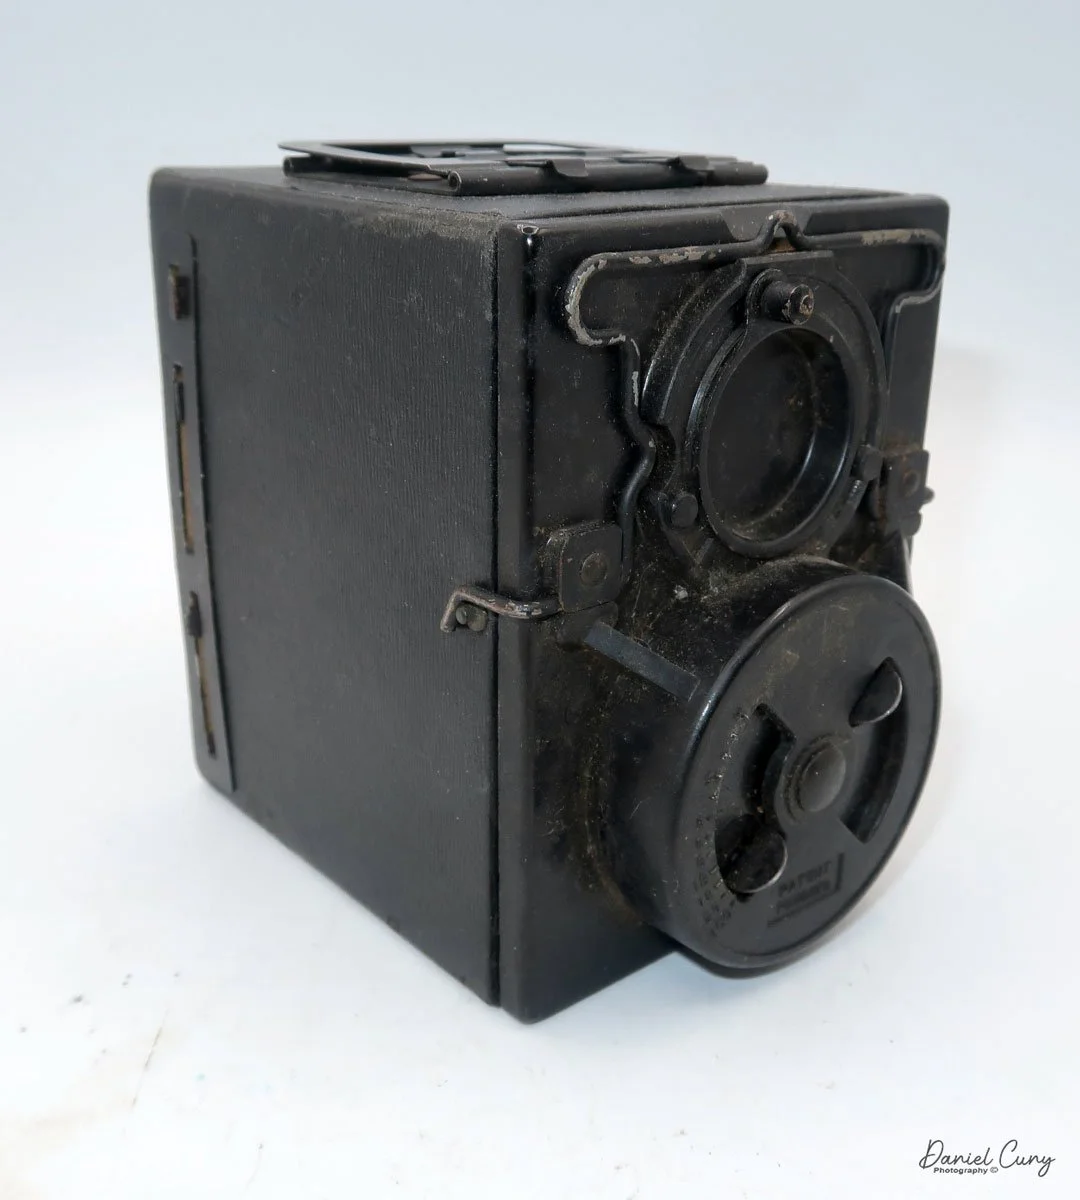
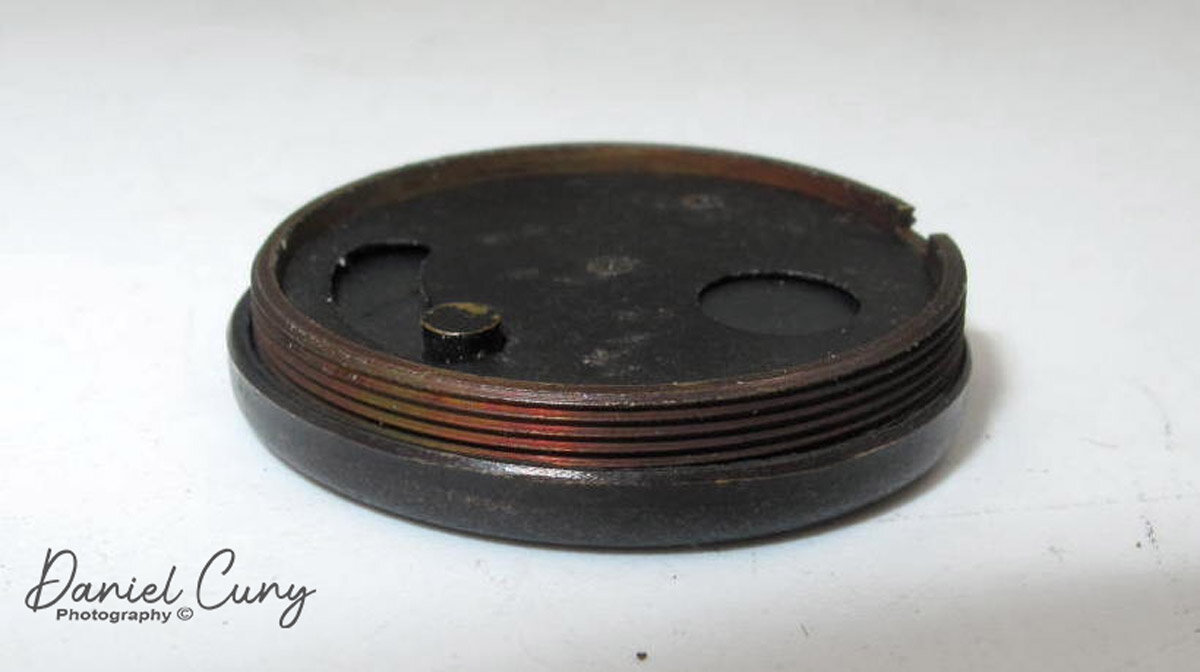
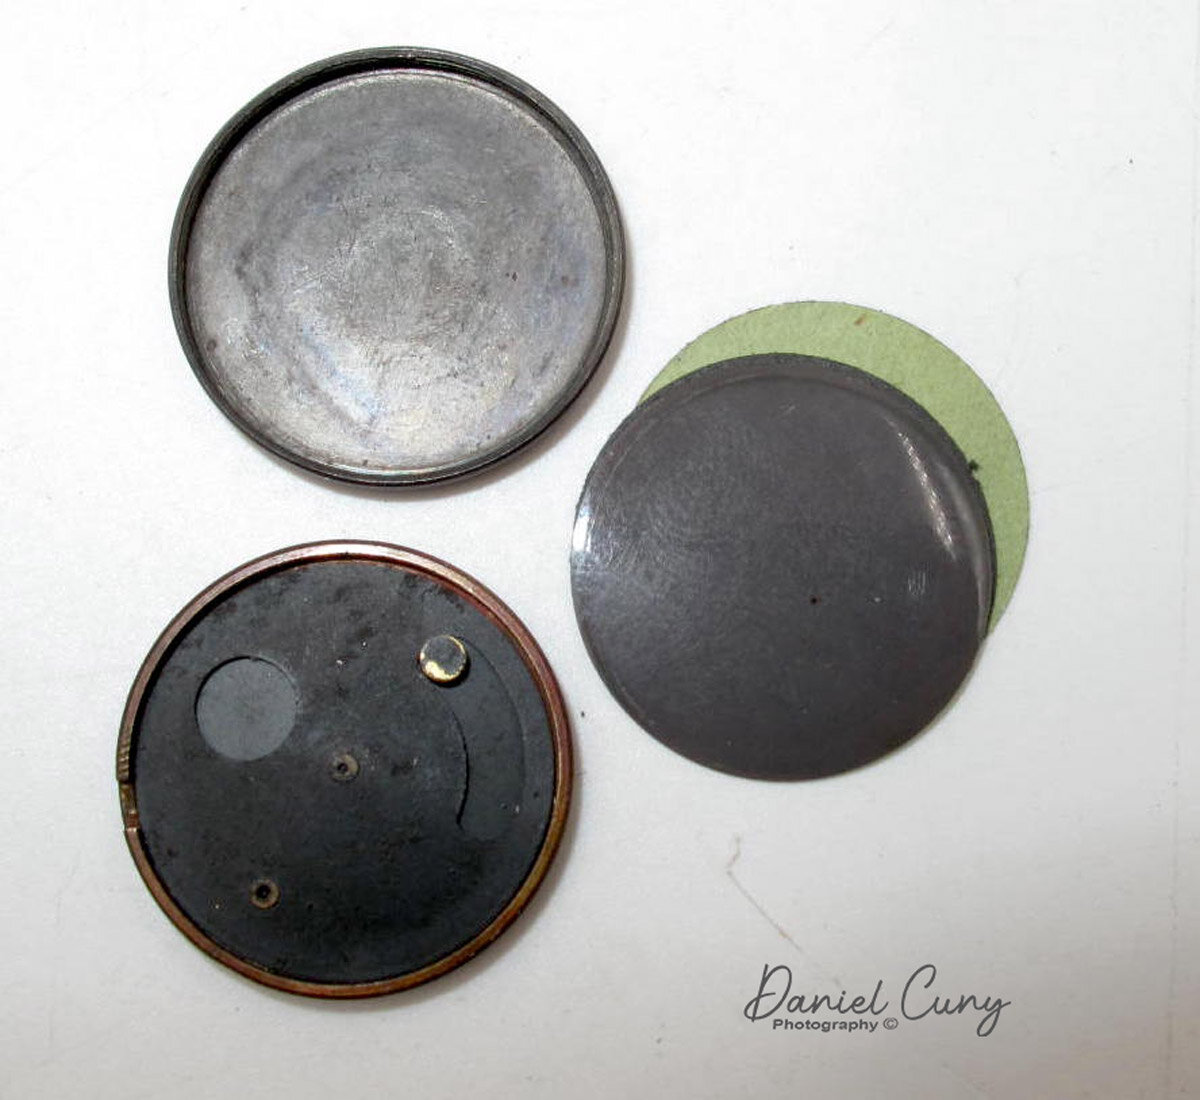
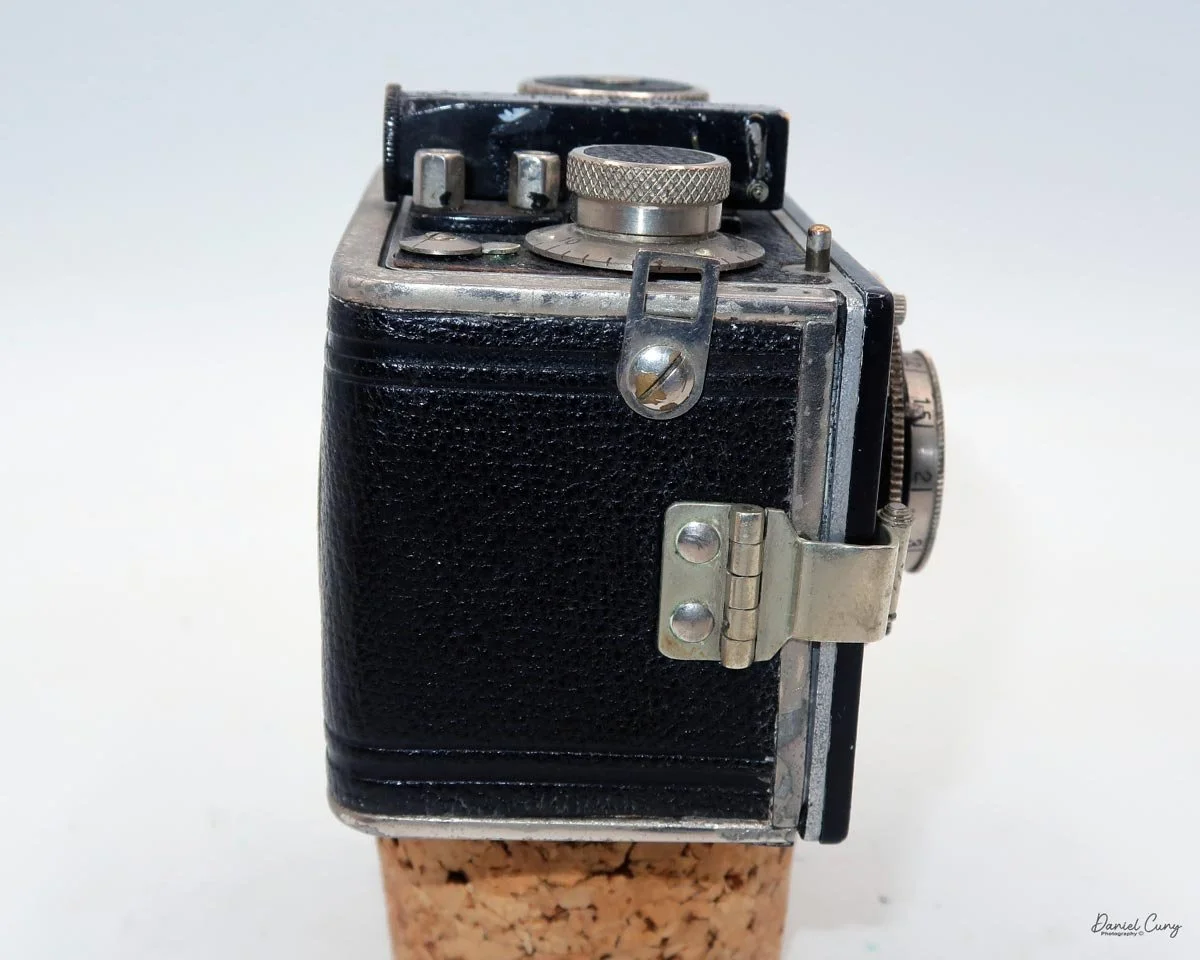
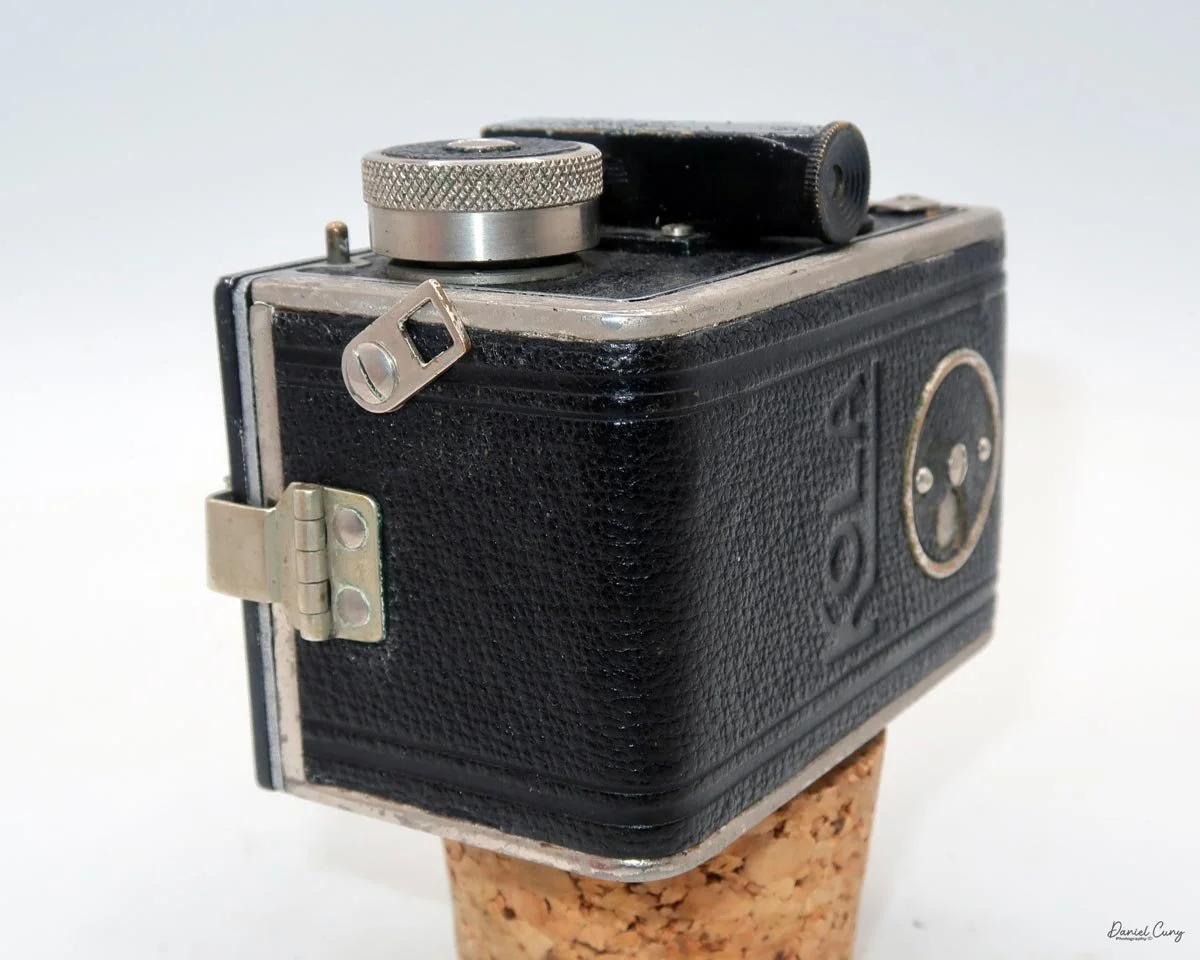
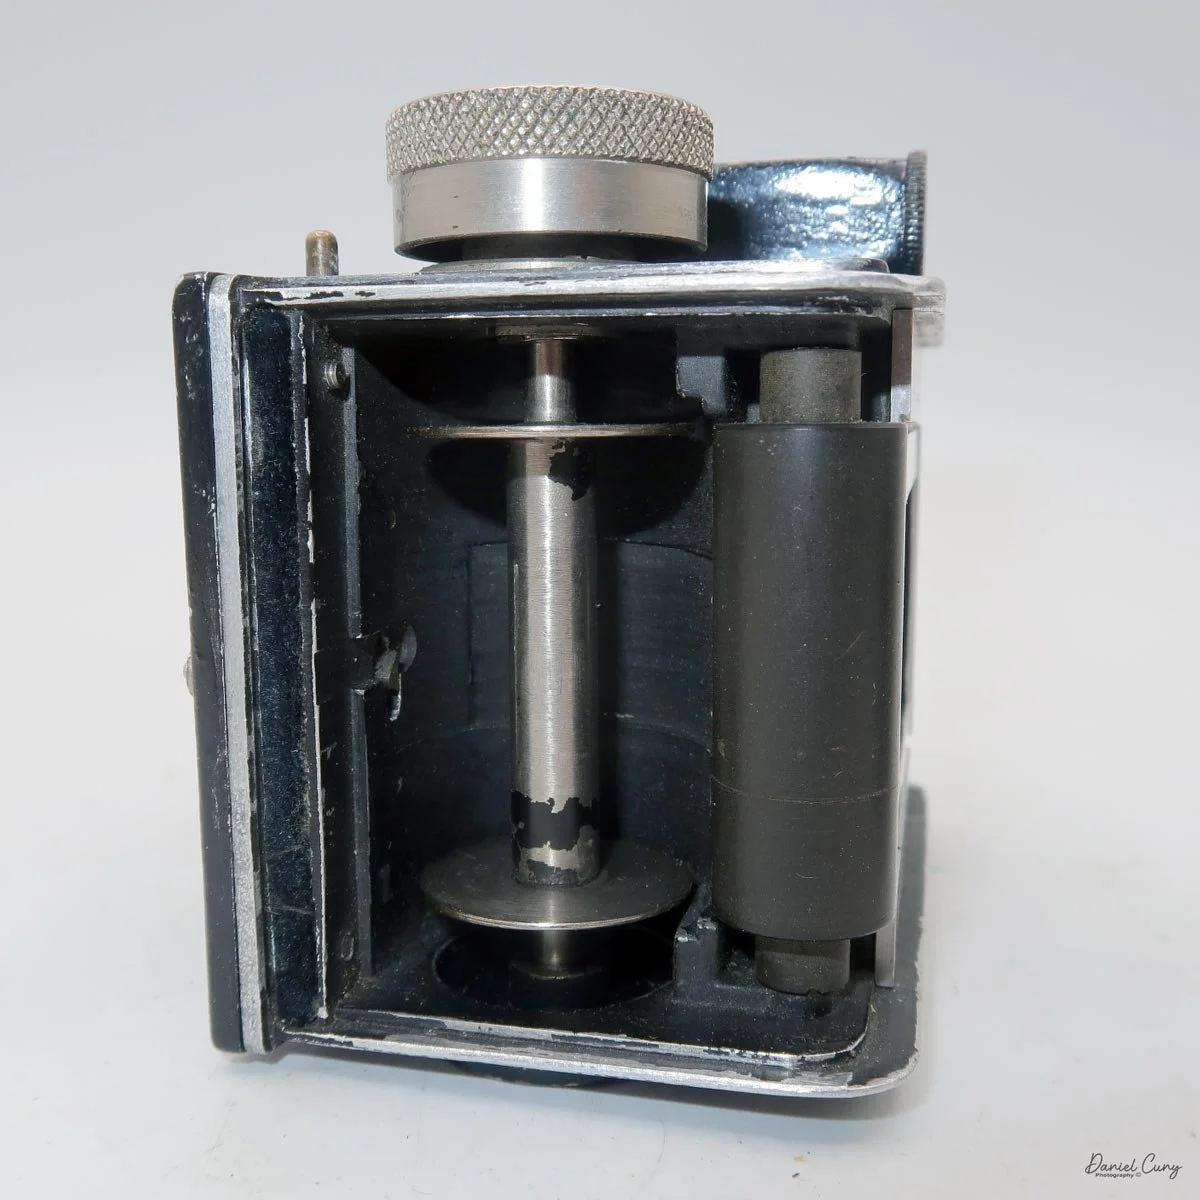
To open the back and load film, there are two clips on either side of the camera that hold the back to the body. Pull those clips back, and the rear cover slides off, exposing the film chamber.
This is where the camera becomes especially interesting. There were already two spools inside, and they were just a little shorter than a 127 spool. The exposed frame area is 24 x 36, so the camera is definitely a 35mm model. My first idea was to use 127 backing paper with bulk-loaded 35mm film, but when I tried the 127 spools, they actually fit into the camera. Not perfectly, since the winding and holding knobs sit slightly higher, perhaps by about 1/16 inch, but they did fit.
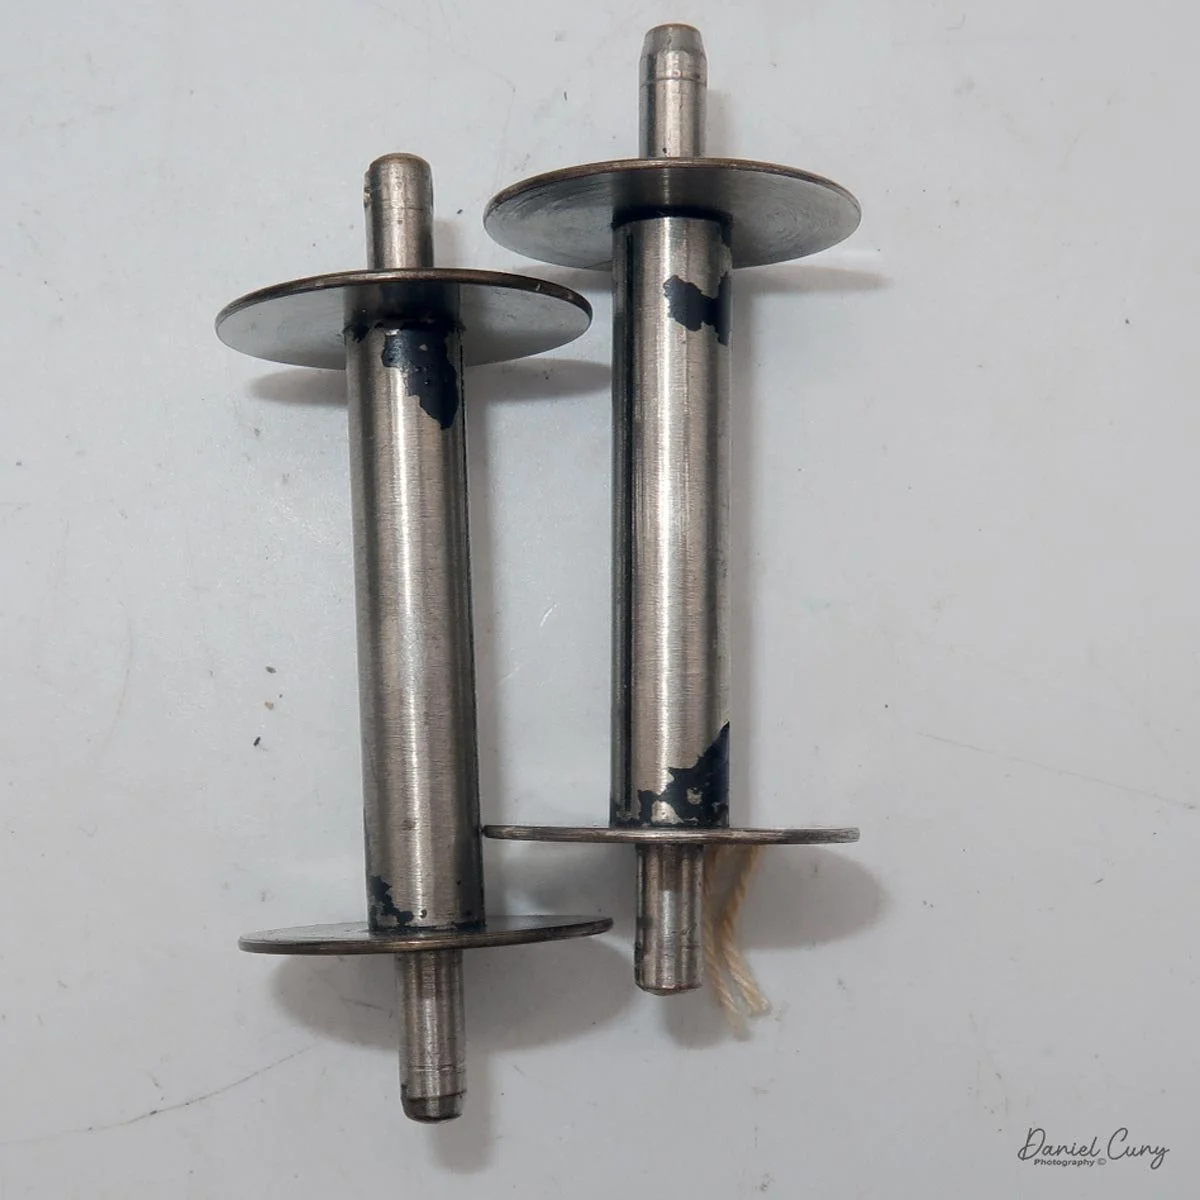
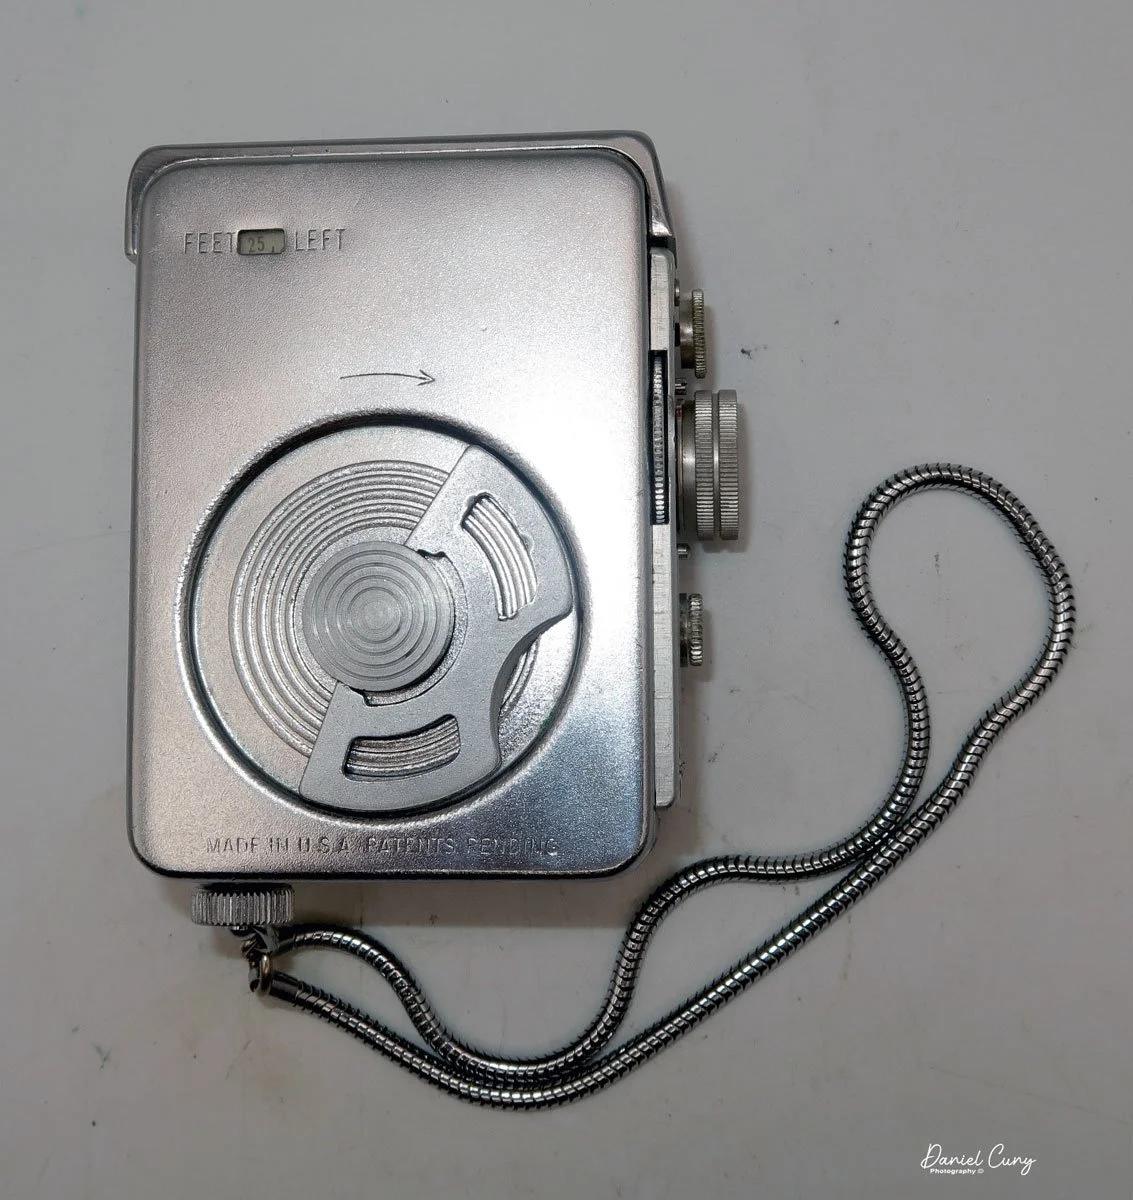
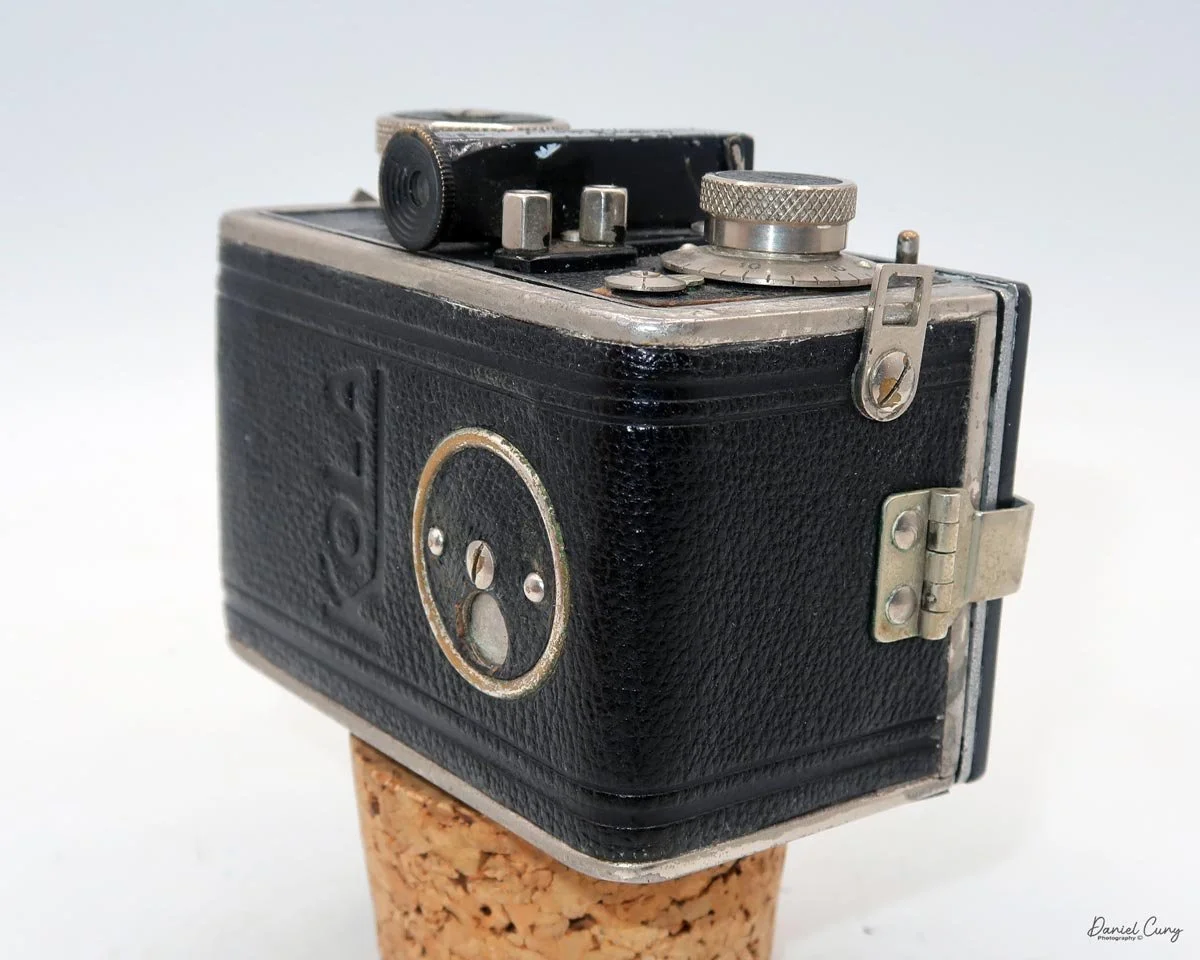
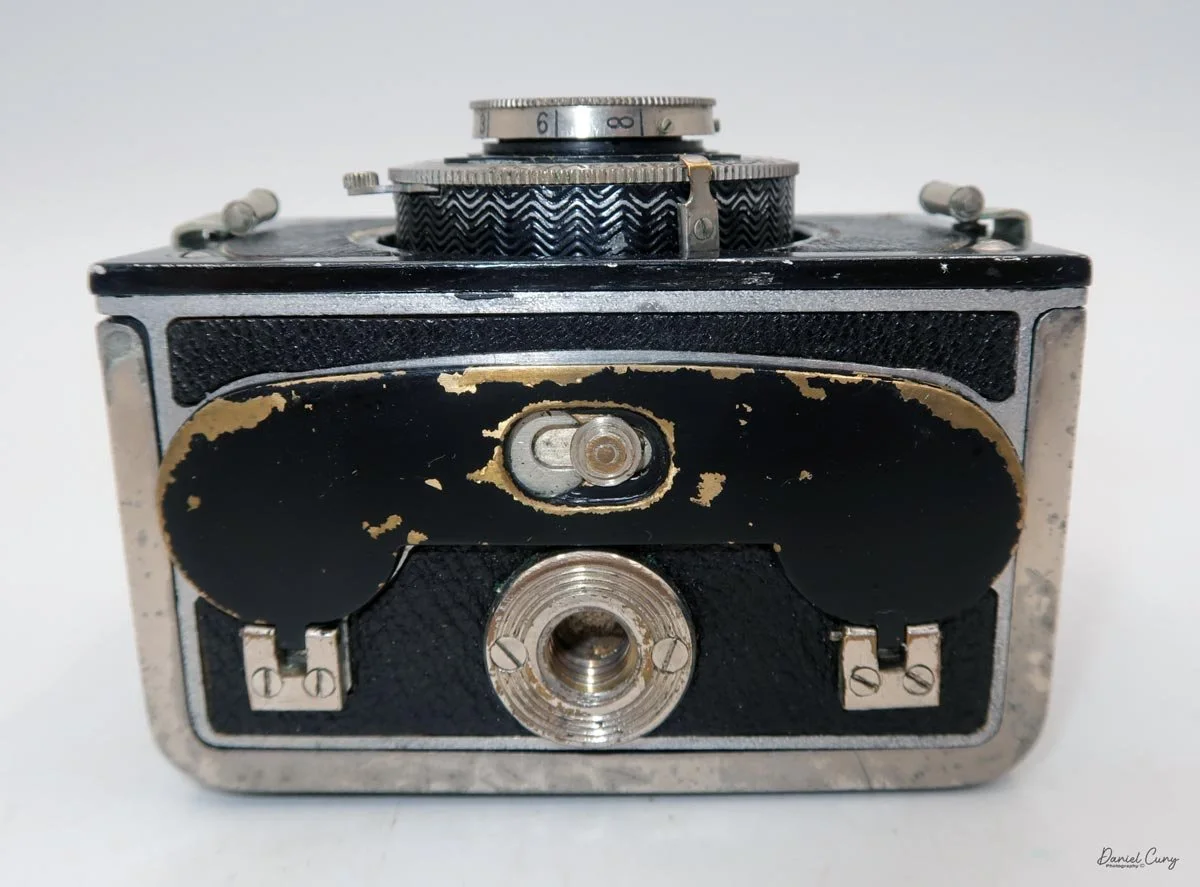
I removed the 35mm spools that came with the camera and loaded it with 127 film I already had. On the back of the camera there is a red window, so I hoped I would be able to see the numbers pass by as I took pictures. If not, I could use the frame counter and the rotating wheel to estimate the proper spacing for 35mm-sized exposures on a roll of 127 film. I knew there would be some waste because the 127 film is wider than the image area the camera is using.
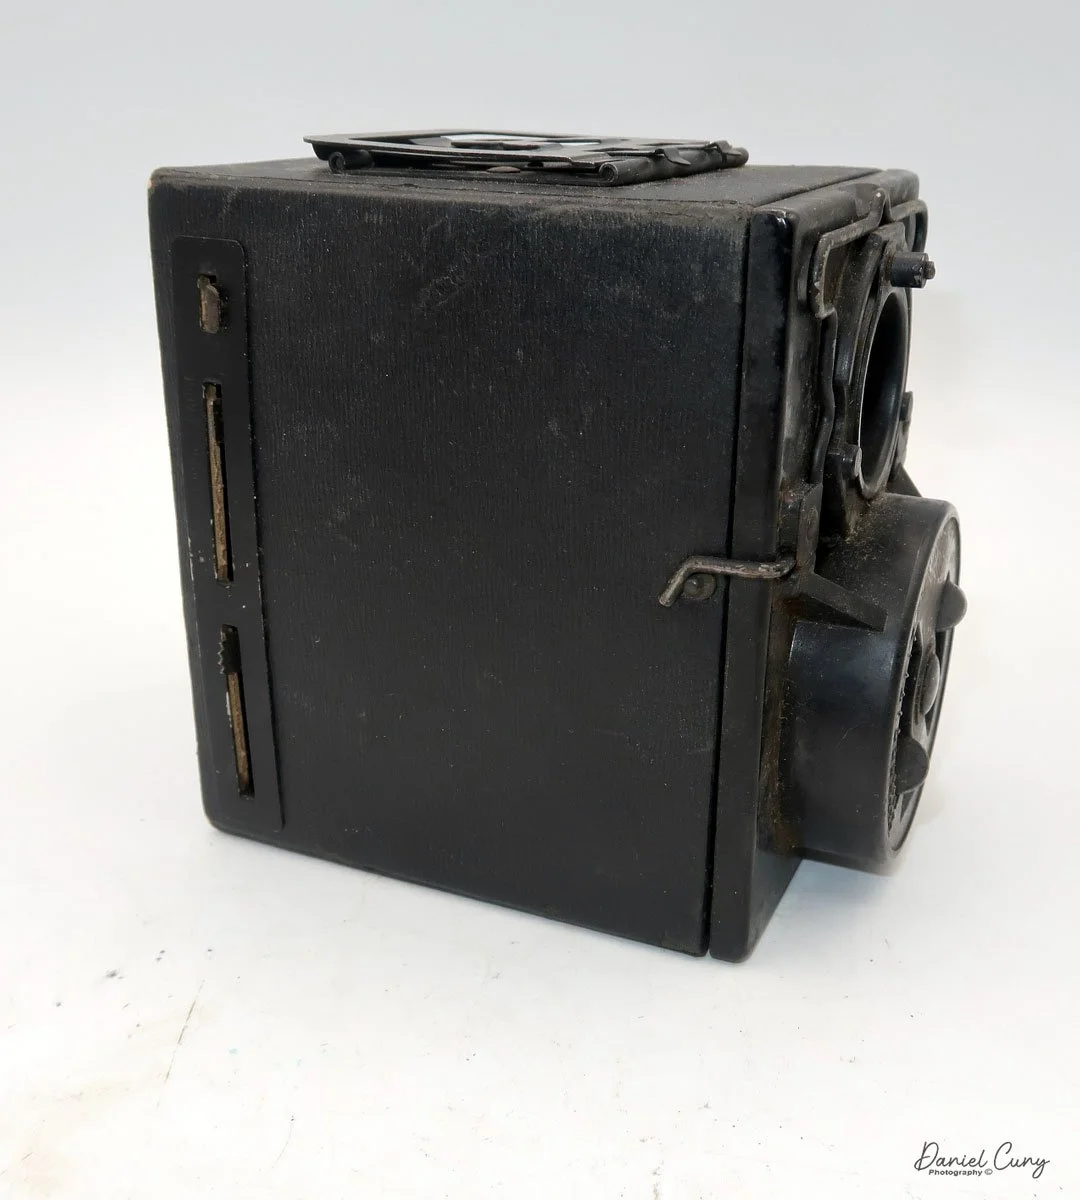
On the bottom of the camera there is a hinged door that allows the spools to be inserted into the body. The 35mm spools that came with the camera are too wide to fit through that opening, so if I were to use paper-backed 35mm film, I would need to open the hinged door to get the spools inside. The door is secured by a sliding latch that locks it in place.

Once the 127 film was loaded, I slid the back onto the camera body, latched the two clips, and headed out to make some photographs.
Results
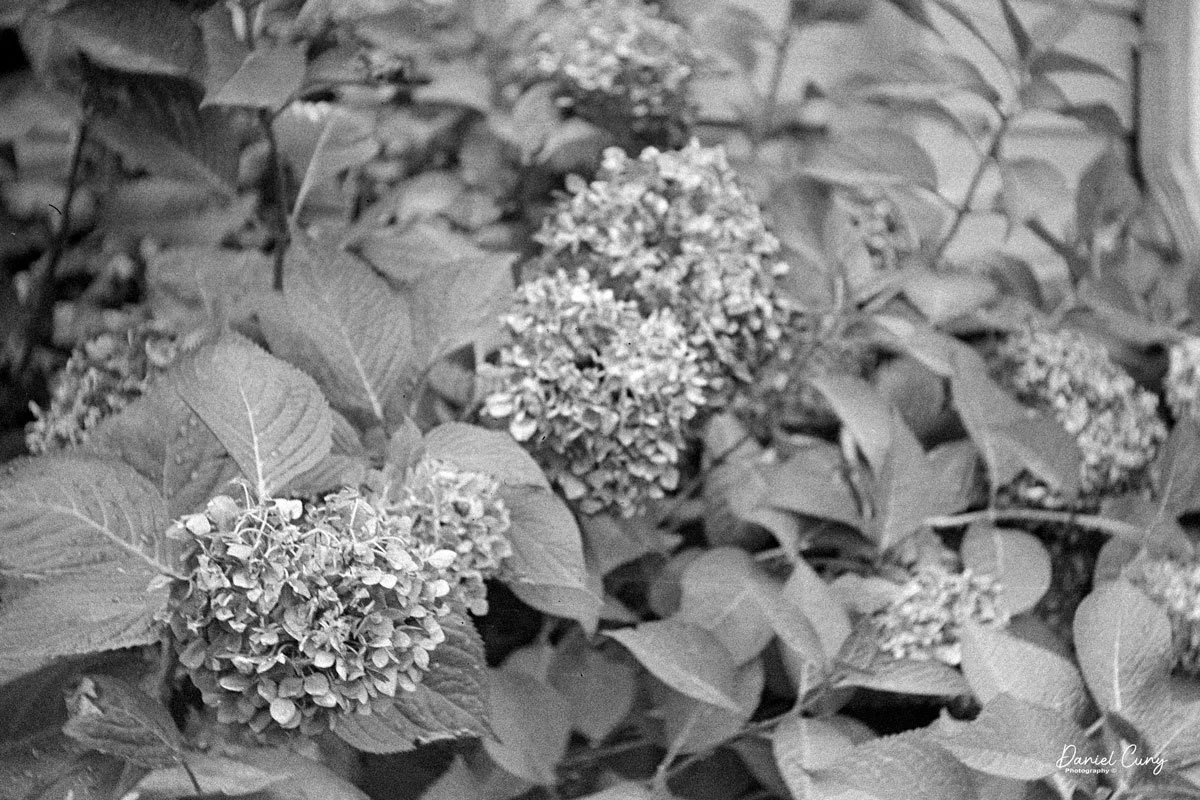
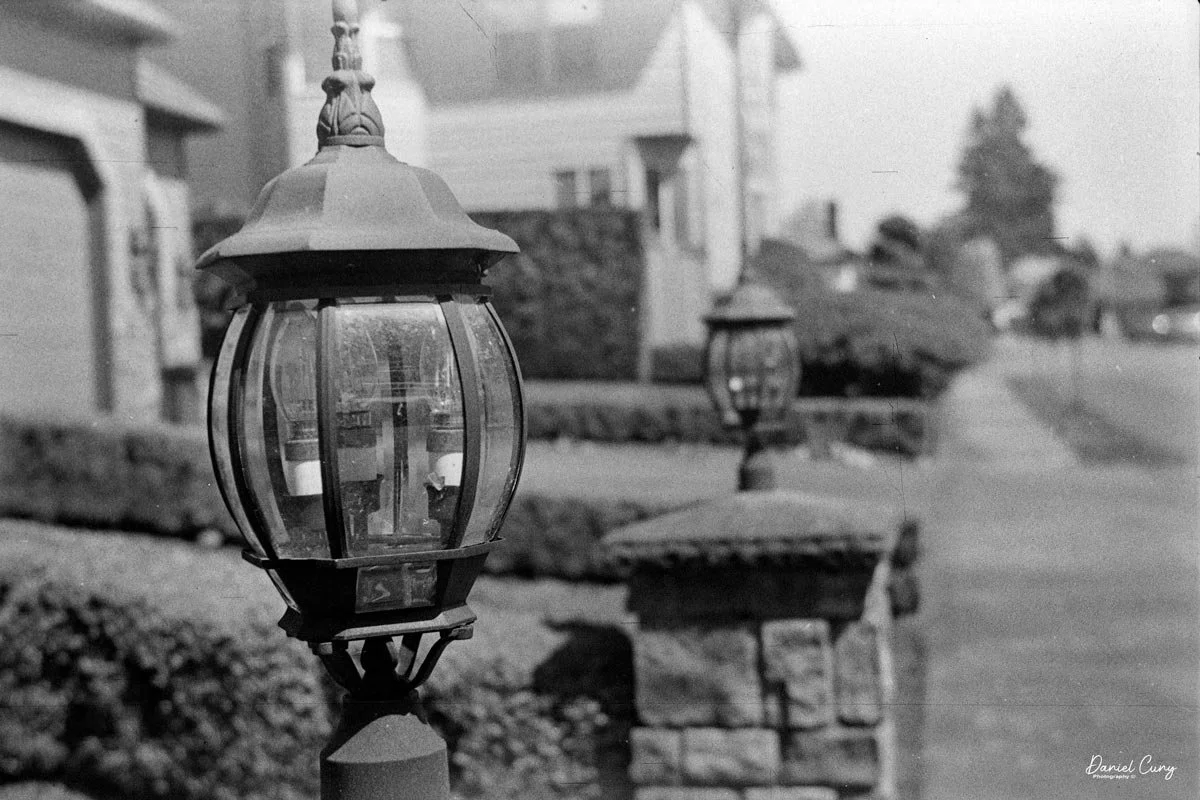
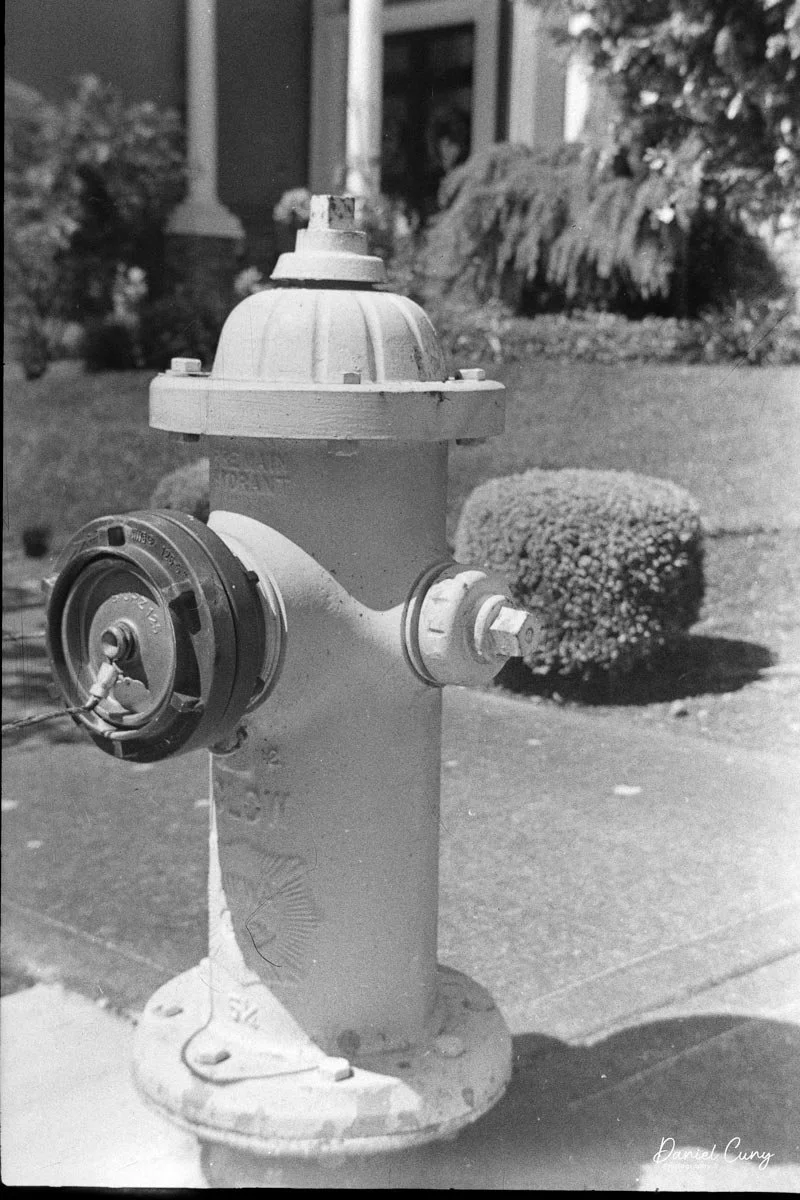
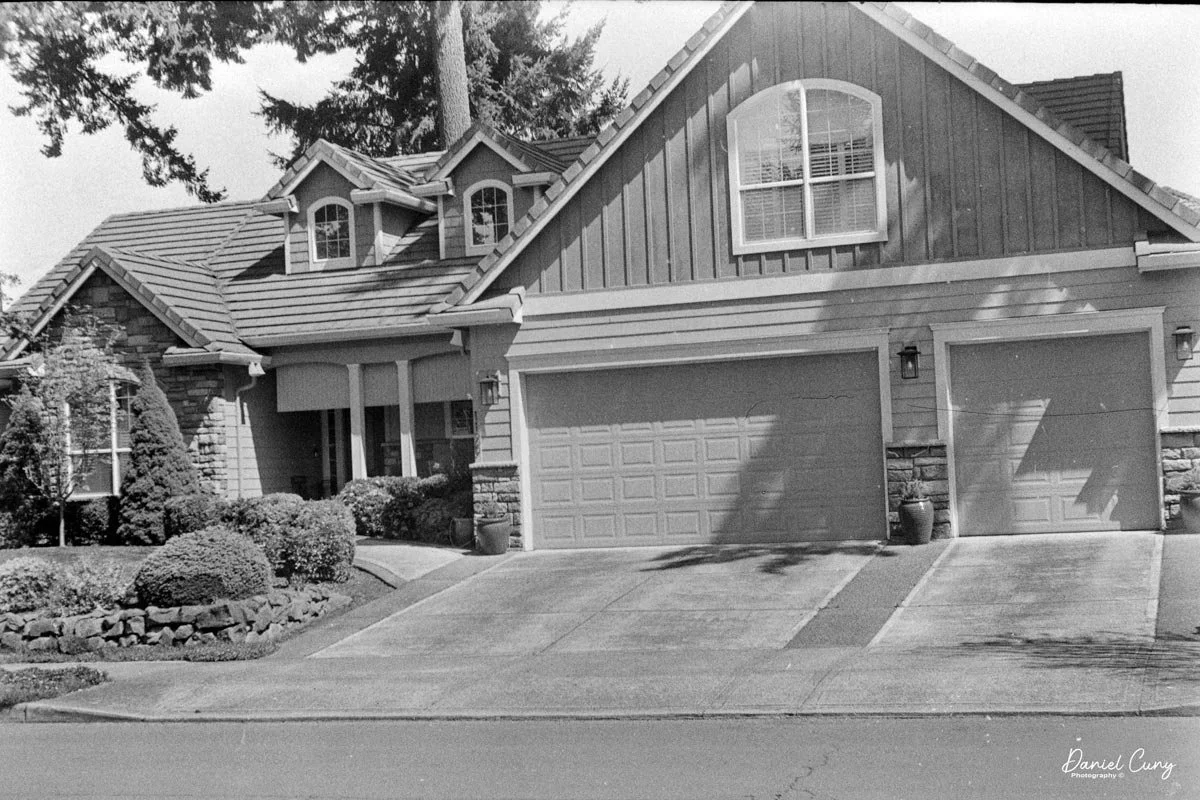
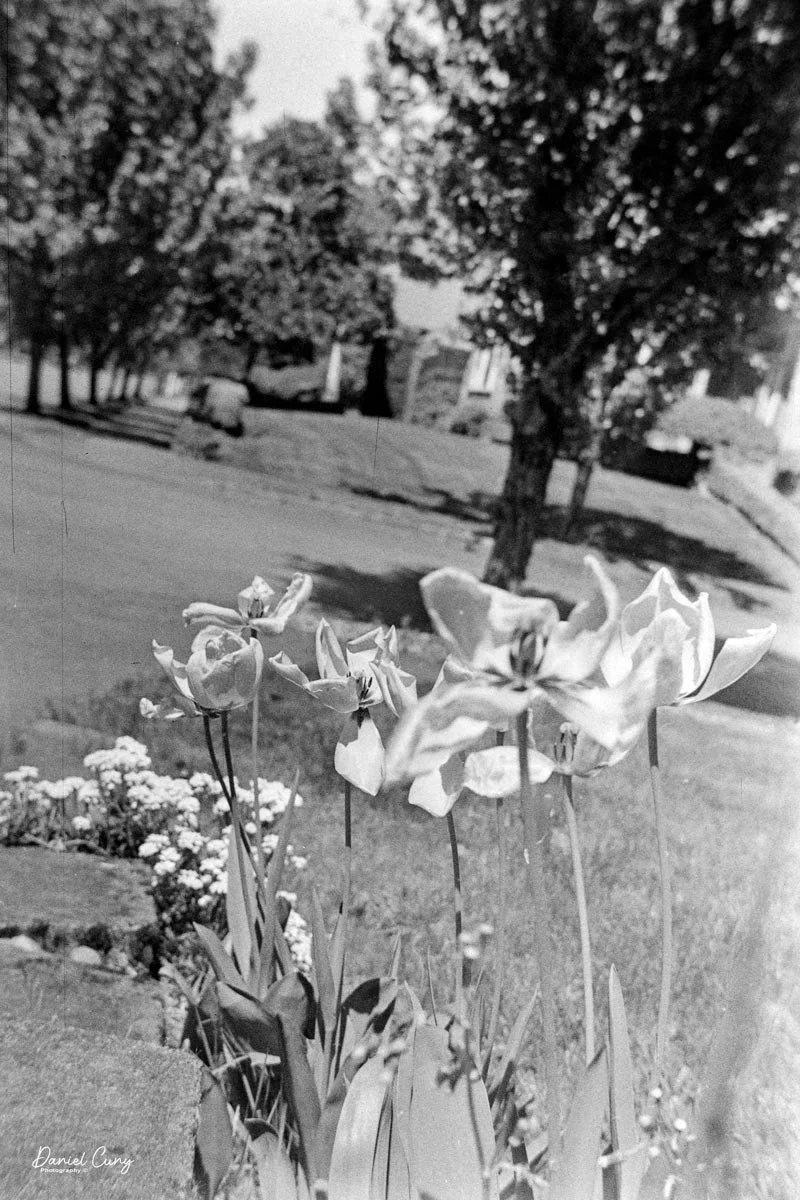
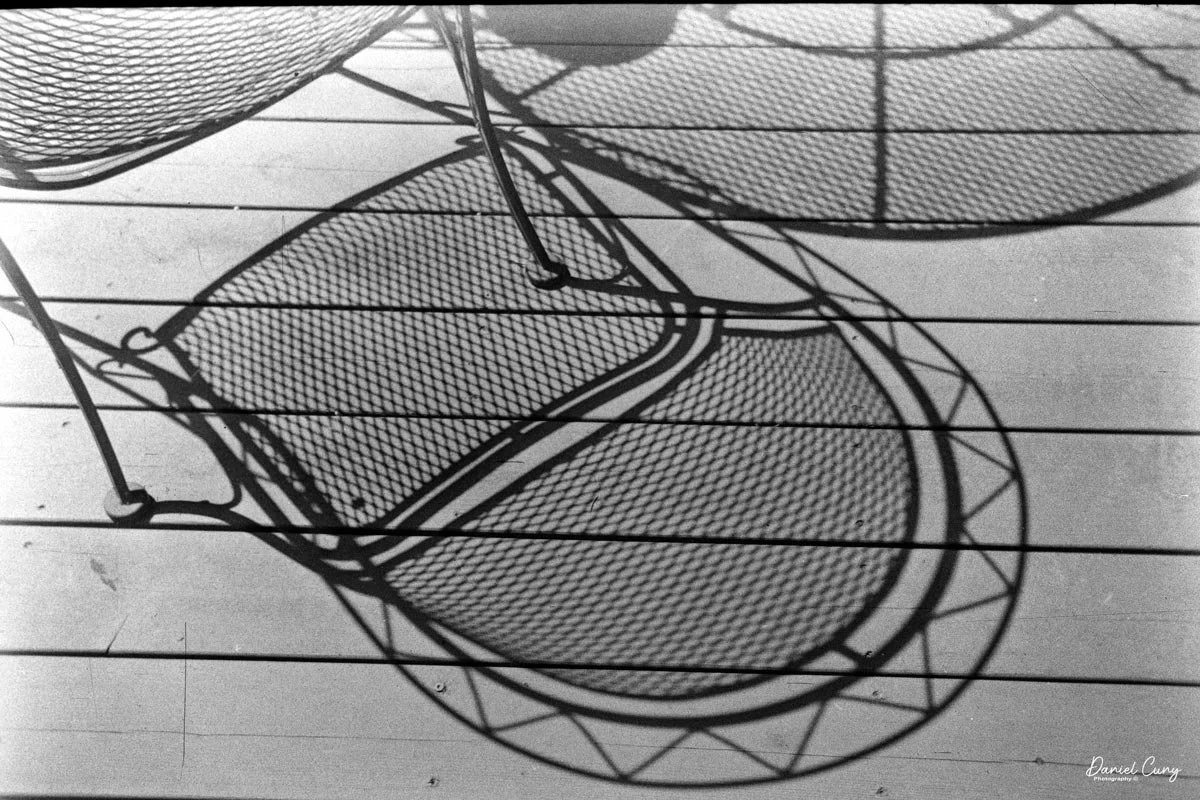
With a roll of 127 film loaded, I walked through the neighborhood taking photos of the usual subjects to see how the Kola performed. At first, I guessed at the distance between frames, and that worked well enough. The frame counter behaved exactly as expected.
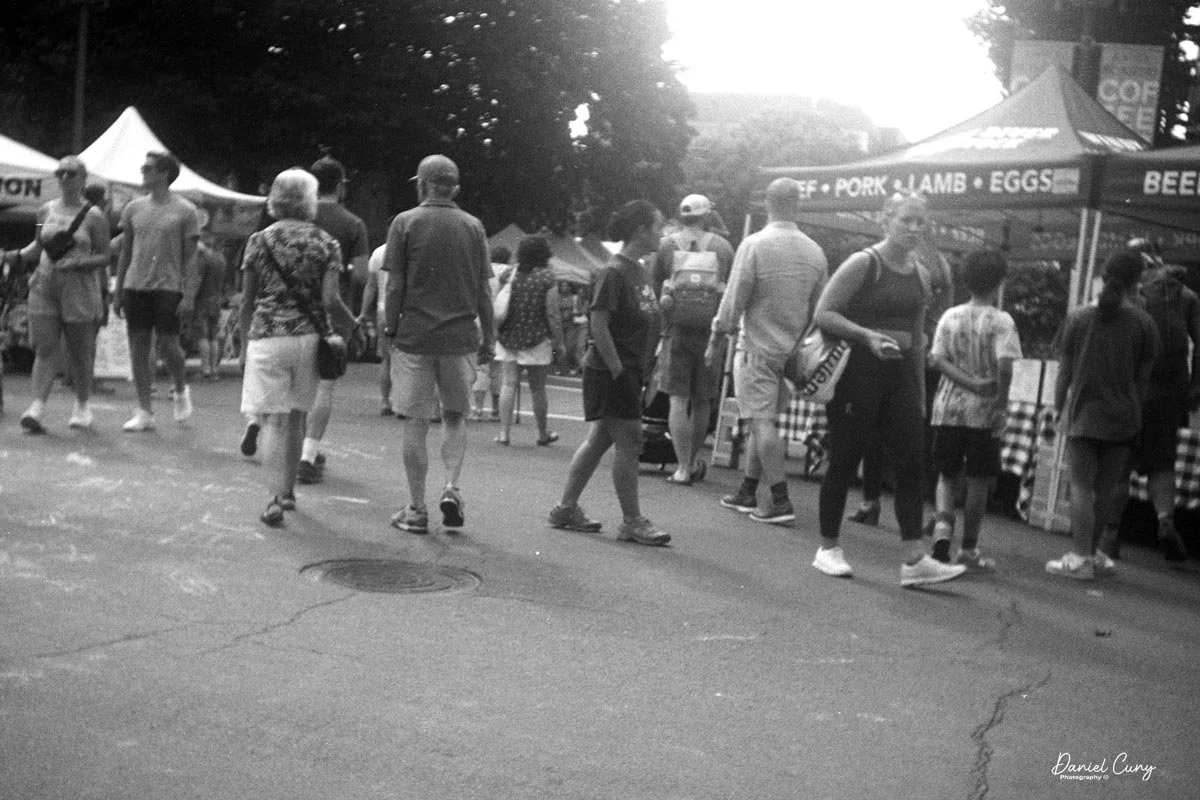
Here are the results from my neighborhood walk.
Conclusion
WOW! I was very impressed with the sharpness and ease of use of this camera. The viewfinder is small and a bit difficult to use, especially for me since I wear glasses, but the sharpness of the images and the smooth film advance made up for the camera’s quirks.
It would have been better to shoot 35mm film, since that would have avoided wasting image area the way 127 film does here. However, the hassle of paper-backed 35mm film, plus the unusual spool setup, made the wasted film area easier to accept.
I am still puzzled by this particular Kola. It has a faster f/2.9 lens than the f/3.5 or f/4.5 lenses I found in my research, and it is also a 35mm version with spools that differ from those that came with the camera. That mystery makes it even more interesting to me.
I am really happy with the results this Kola camera produced, and I am glad I found such a special camera on my trip to Tokyo.
Here are my other Camera Reviews.
Stop by Cuny’s Cameras and Photos to see what I have for sale in my eBay online store. It is filled with camera accessories, and you may even find a camera or two that I have reviewed in the past.
Thank you for taking the time to learn about this small powerhouse of a camera made by a company in Czechoslovakia for such a short period of time. I am very happy to have one in my collection.
Until next week, please be safe.