My Bell Panoraams & Panel camera
I didn’t start out chasing rare panoramic cameras like the Bell Panorama; my first love was colorful and unusual box cameras. As a new collector—newly married, young son at home, and a very limited budget—I hunted for Kodak Rainbow cameras, Univex AF models with painted faces, and bright Agfa and Falson colored folding cameras whenever I could afford to add another piece to the shelf.
Somewhere in those early years, about 45 years ago, I spotted my first Bell Panoramic camera in a local antique shop. Sitting in a locked glass case, it looked like a strangely long box‑style camera, and I honestly had no idea what I was looking at. I asked the clerk to pull it out, turned it over in my hands, and saw a price tag of about 80 dollars—far more than I was paying for box cameras at the time—so I reluctantly handed it back and walked away, wondering why on earth this plain, elongated camera was priced like that.
A few years later, flipping through one of the many camera guides in my collection, I stopped cold on a photo of an extremely long box‑style camera: a Bell Panorama. Instantly my mind jumped back to that antique‑store shelf, and the mystery price tag suddenly made sense. Now my interest in panoramic cameras was growing, fueled by swing‑lens classics like the Kodak Panoram, Al‑Vista, and Russian Horizont, but the big boys—Fujifilm 6×12 and 6×17 systems or the Horseman 6×17—were still well out of my price range, so the Bell stayed in the realm of daydreams.
A Bell Panorama & Panel camera compared to a Kodak No. 3 Brownie
Fast‑forward about 40 years. While browsing online listings for vintage panoramic cameras, I stumbled onto a modified Bell Panorama and Panel Camera that had been converted to shoot 120 film instead of its original 118/122 roll film. The seller mentioned the shutter was working but pointed out some odd “home‑brew” details. The price was finally in my comfort zone, so I messaged them, made the deal, and waited (not very patiently) for my first Bell panoramic camera to land on my doorstep.
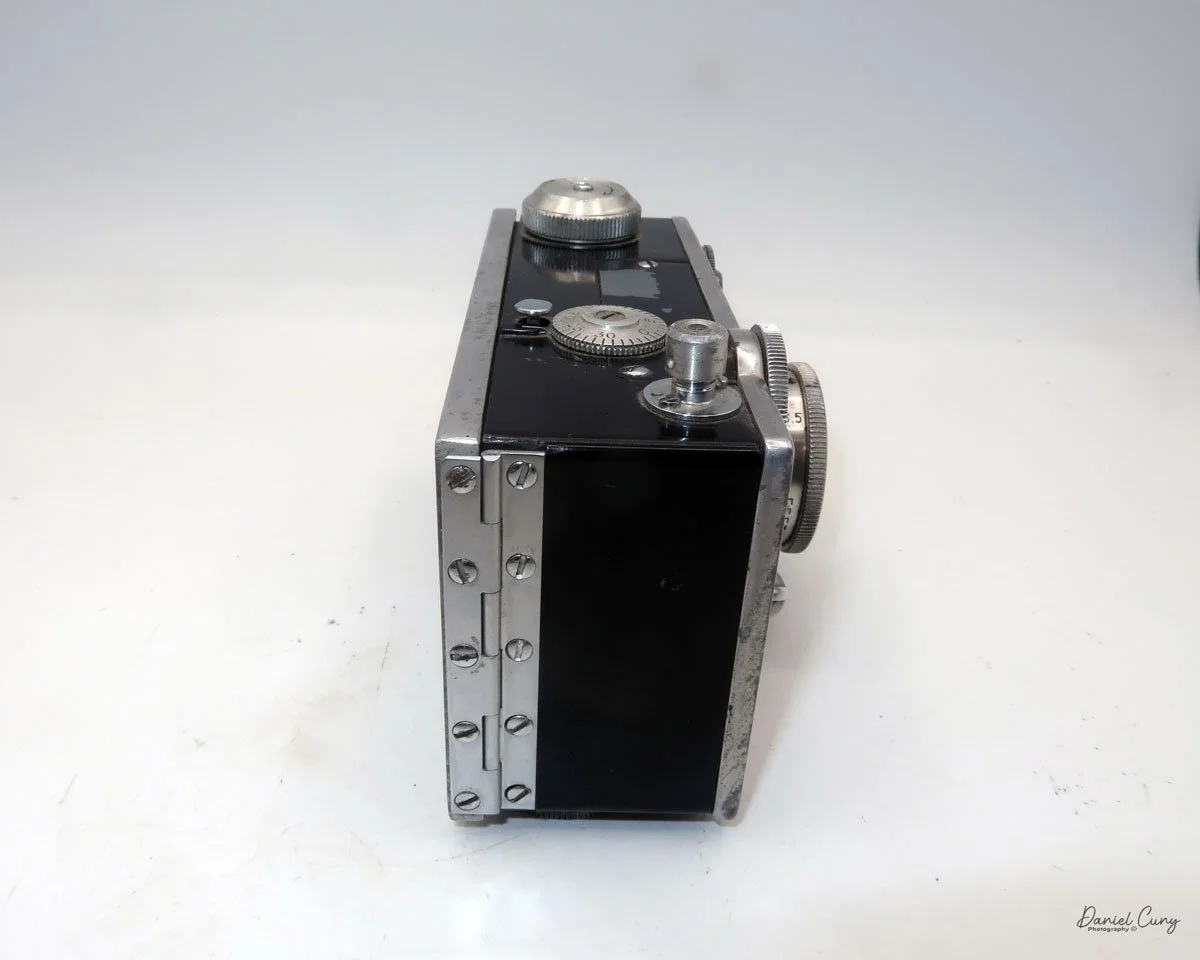
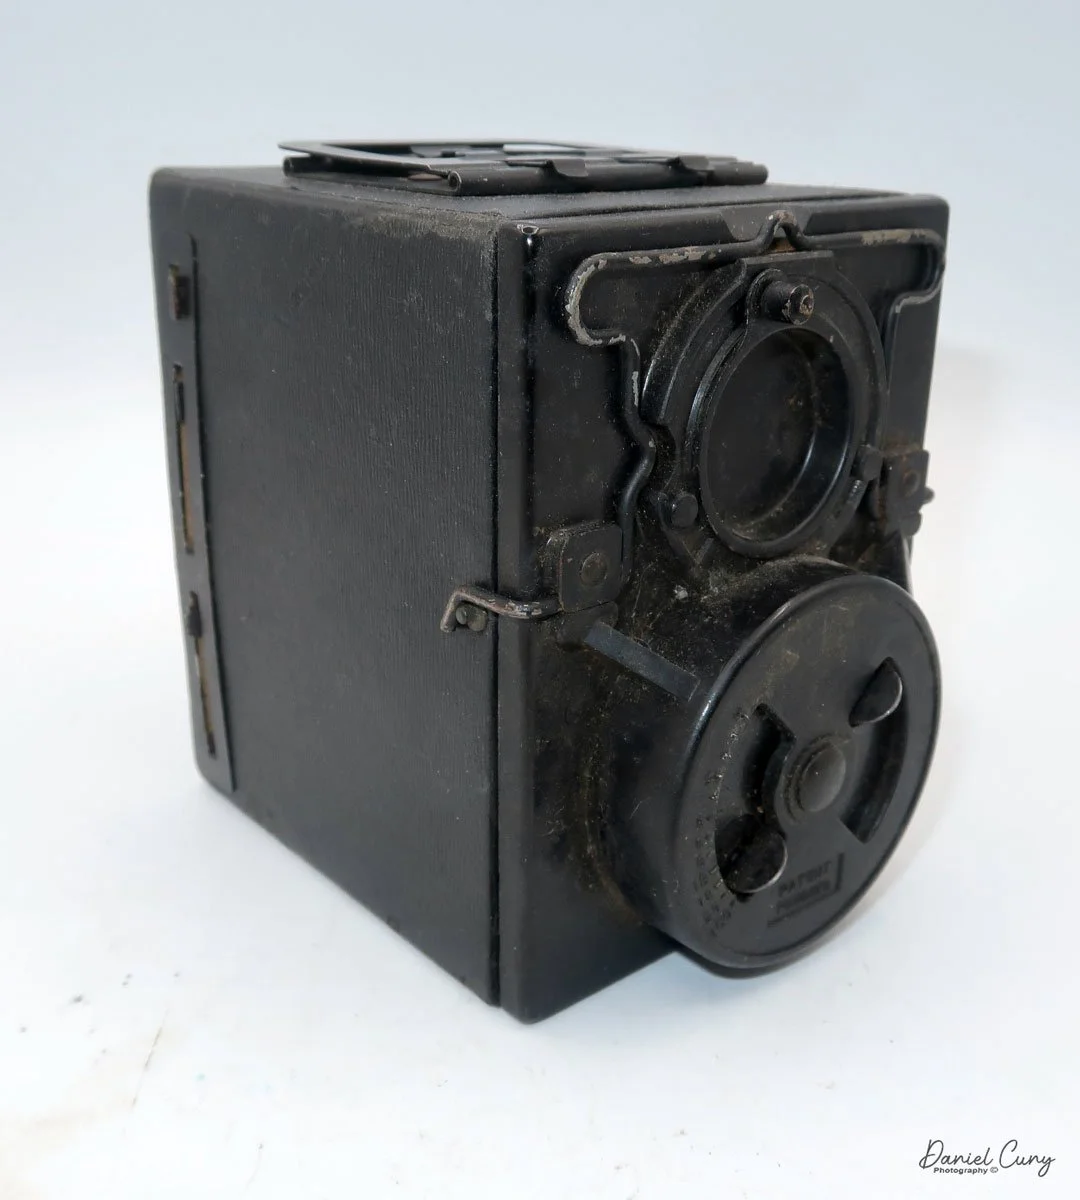
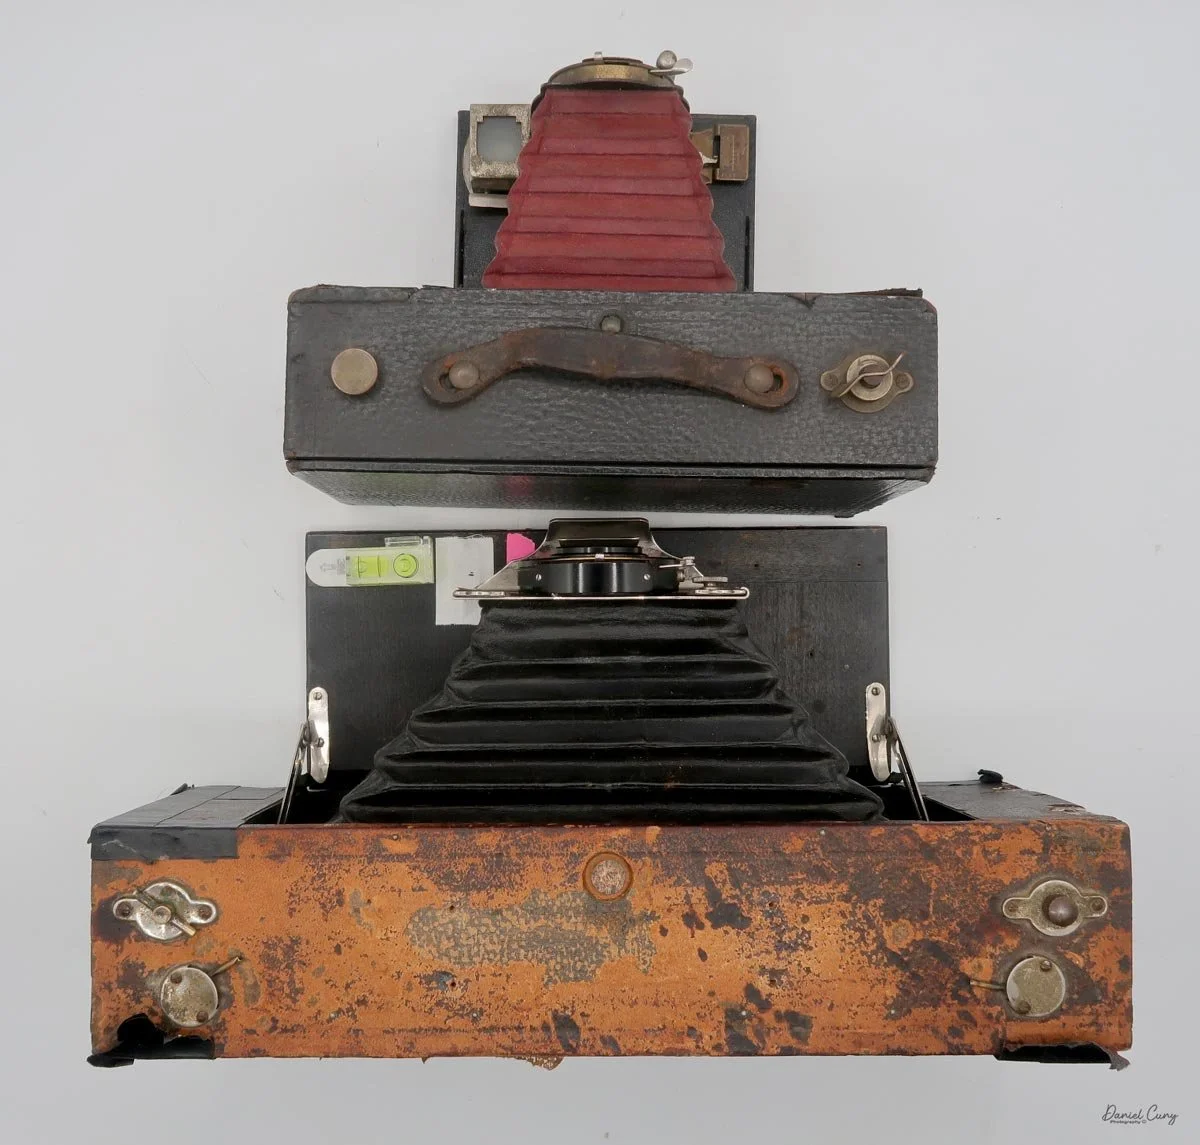
Unlike swing‑lens panoramic cameras, the Bell Panorama uses a fixed wide‑angle lens and a huge image circle, more like a compact, wooden ancestor of a Horseman or Fujifilm 6×17. When the package arrived and I unboxed it, I was greeted by a lot of black masking tape on the body, a mysterious metal bar on top, and bellows that actually looked pretty healthy. The shutter sounded sluggish with the lens mounted, but once I unthreaded the retaining ring and tested the lens and Betax shutter off the camera, the speeds snapped back to life—turns out the ring was pinching the shutter housing just enough to slow everything down.
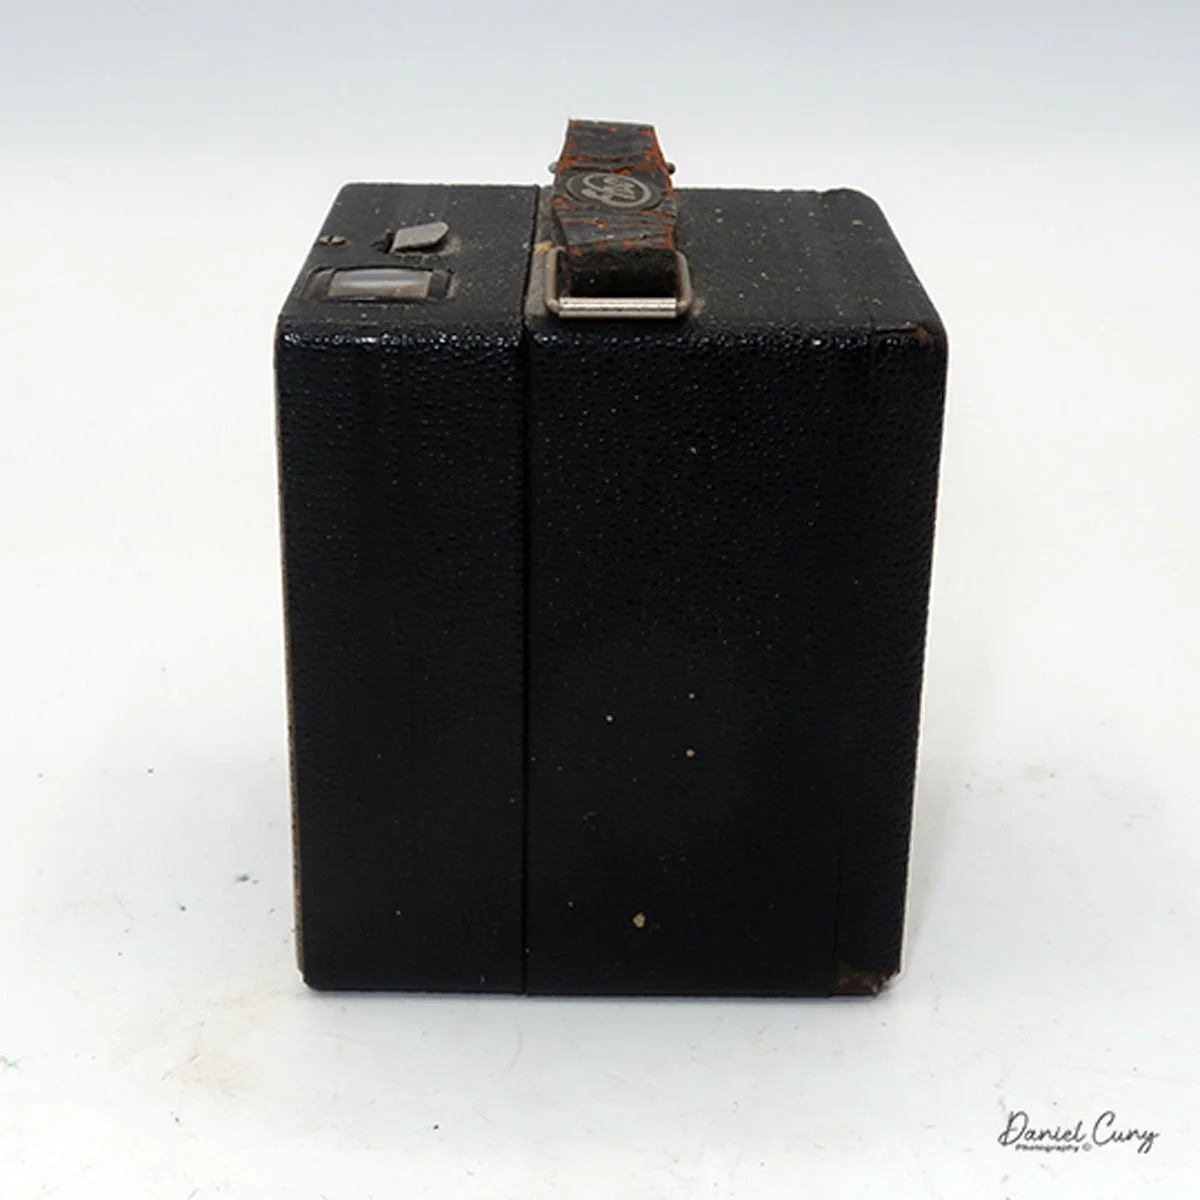
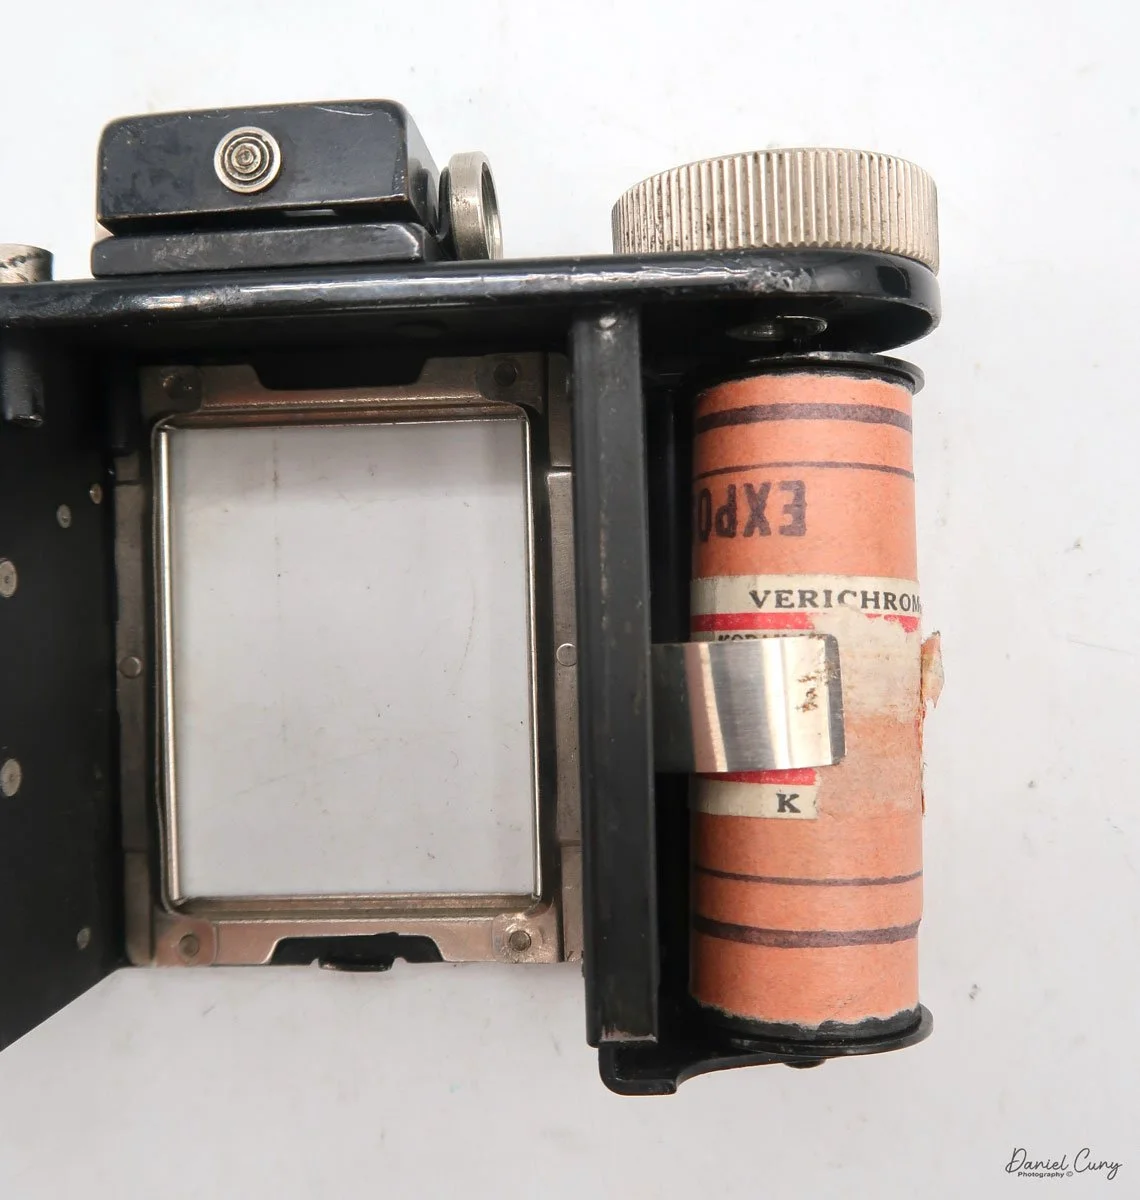
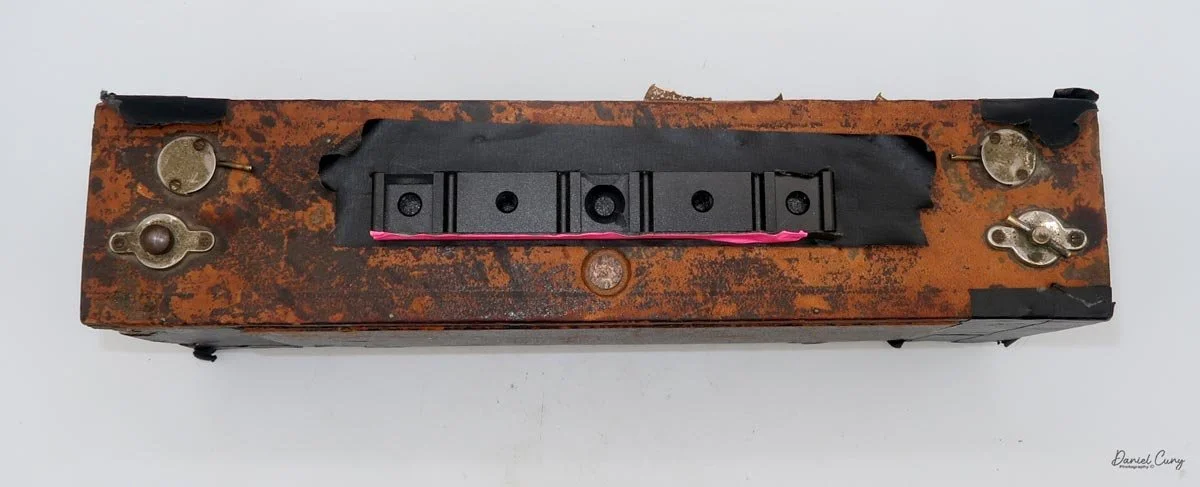
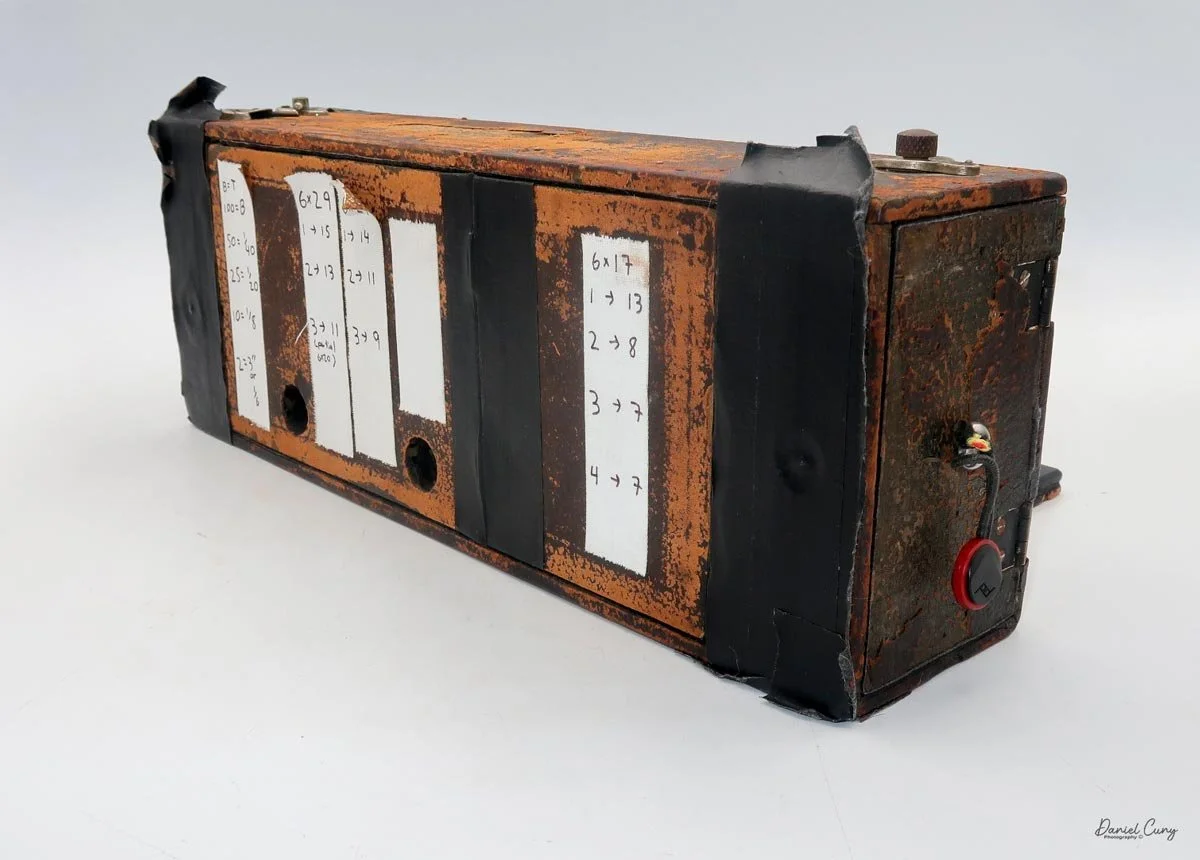
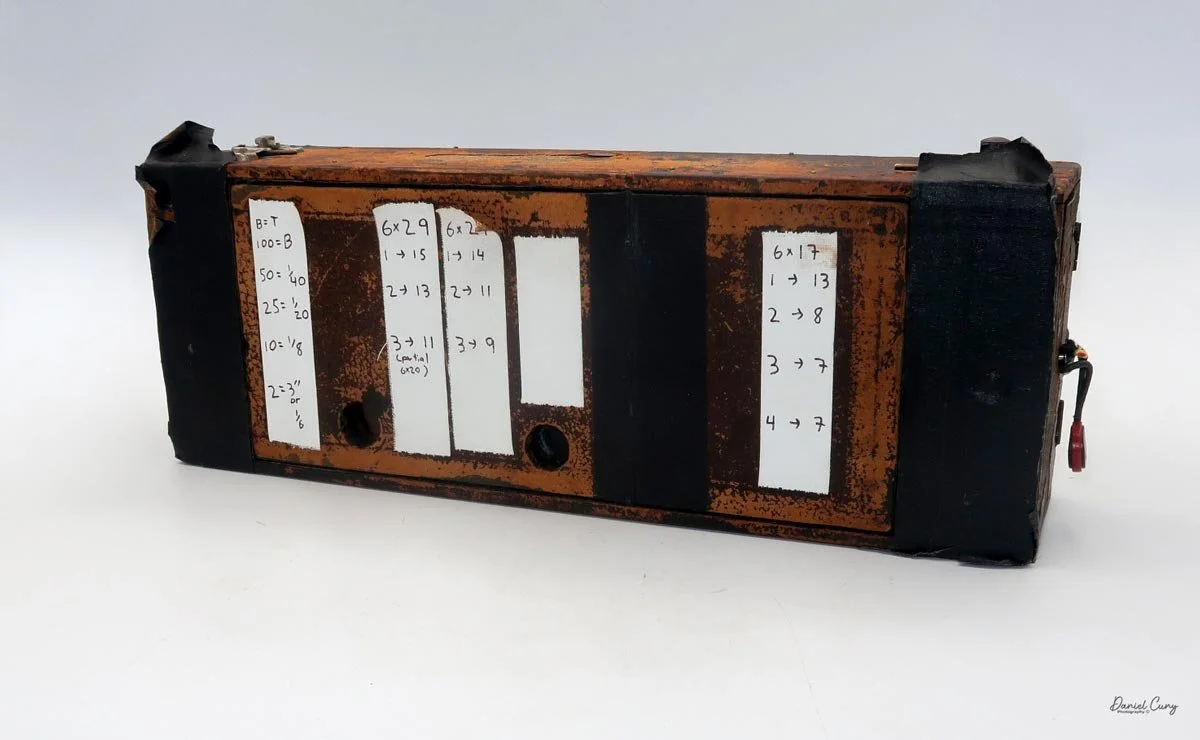
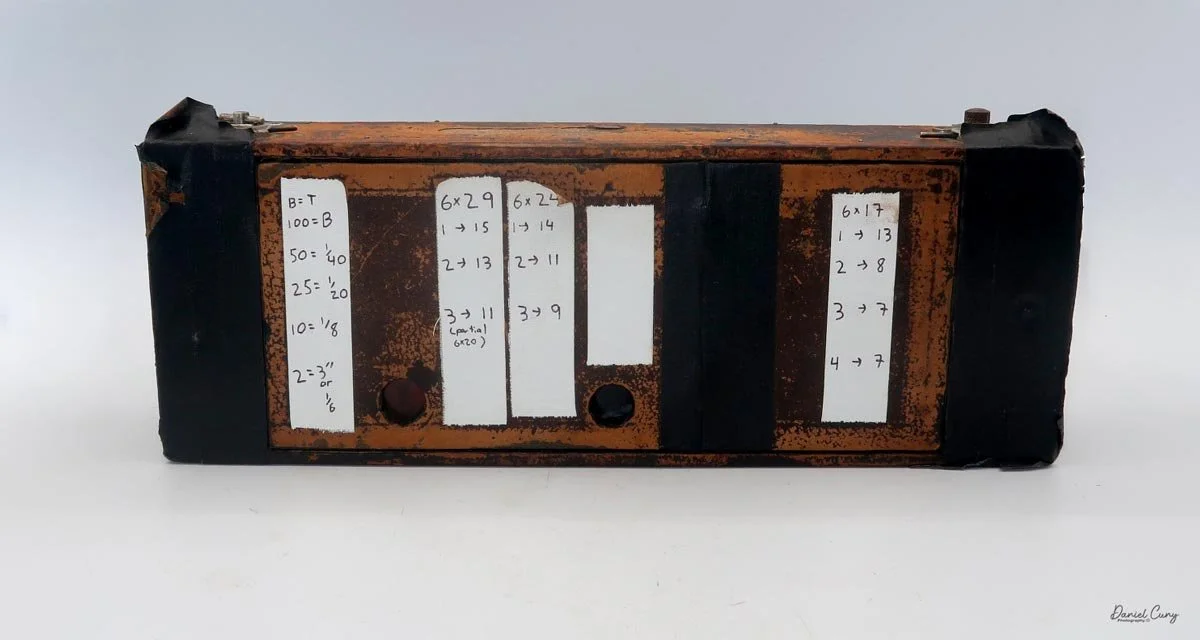
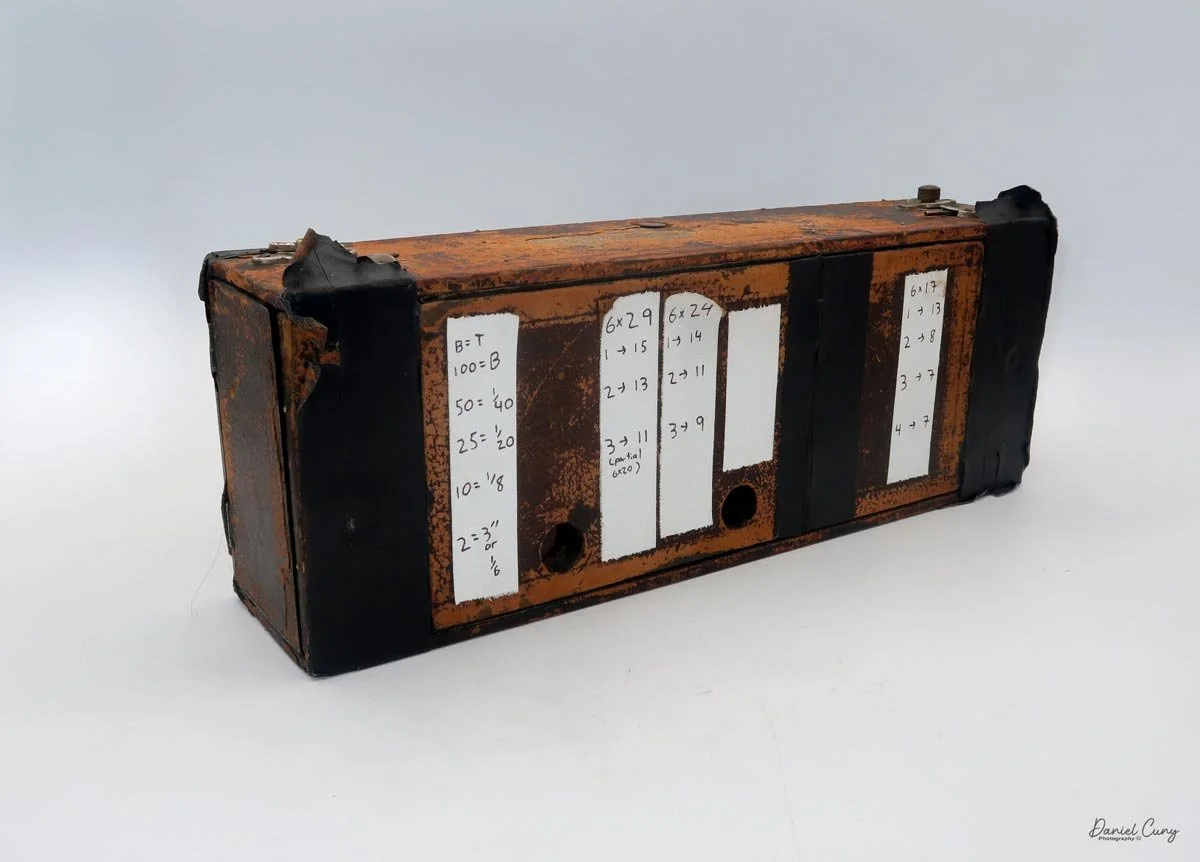
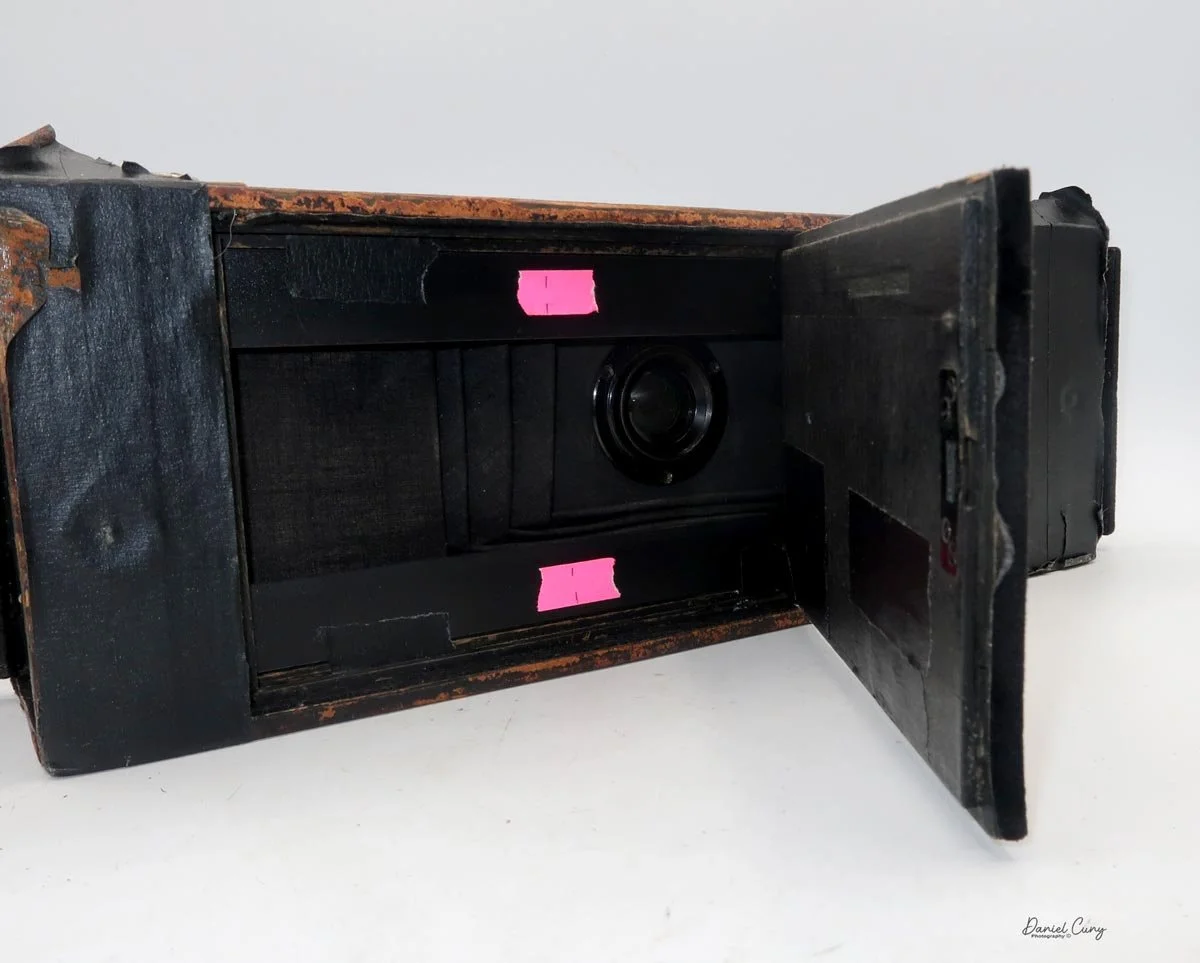
On the back I noticed strips of white tape covered in handwritten numbers. Some clearly related to shutter accuracy tests, while others looked suspiciously like film‑advance notes—my best guess was someone had already mapped out how many turns of the advance knob you need between panoramic frames when shooting 120 film in this old #122 panoramic body.
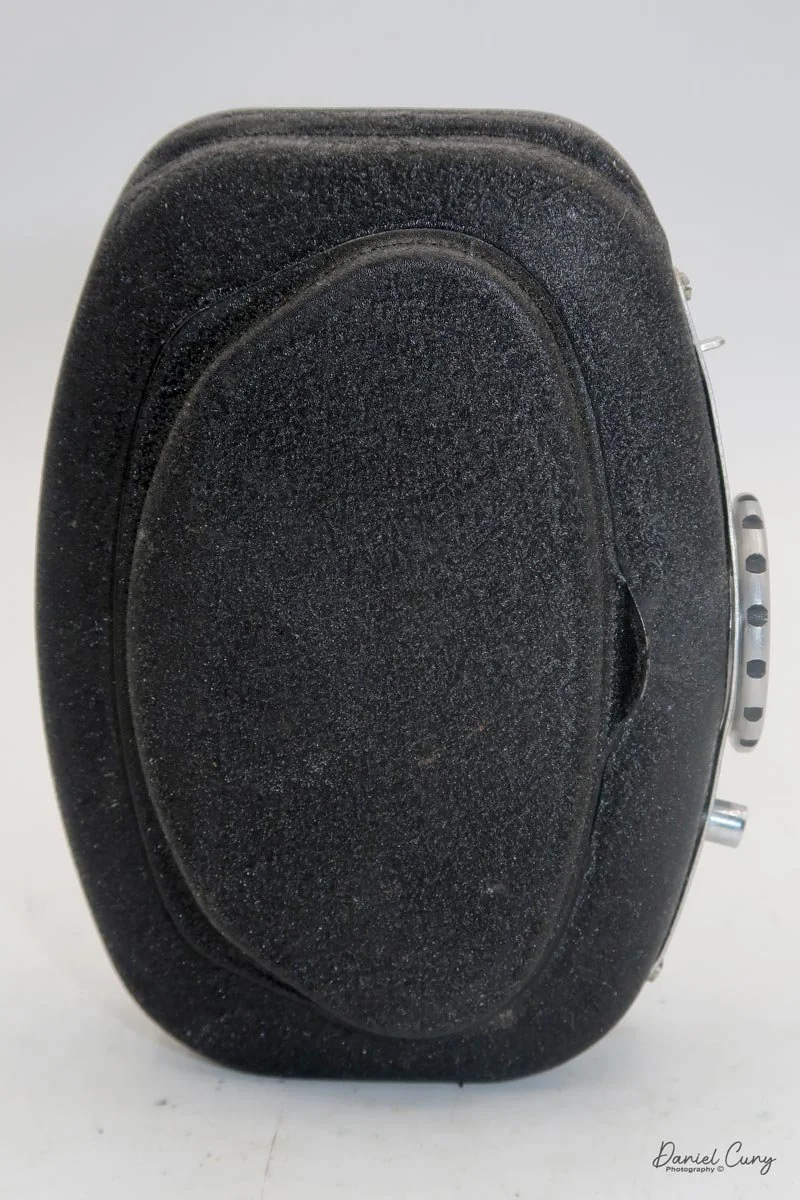
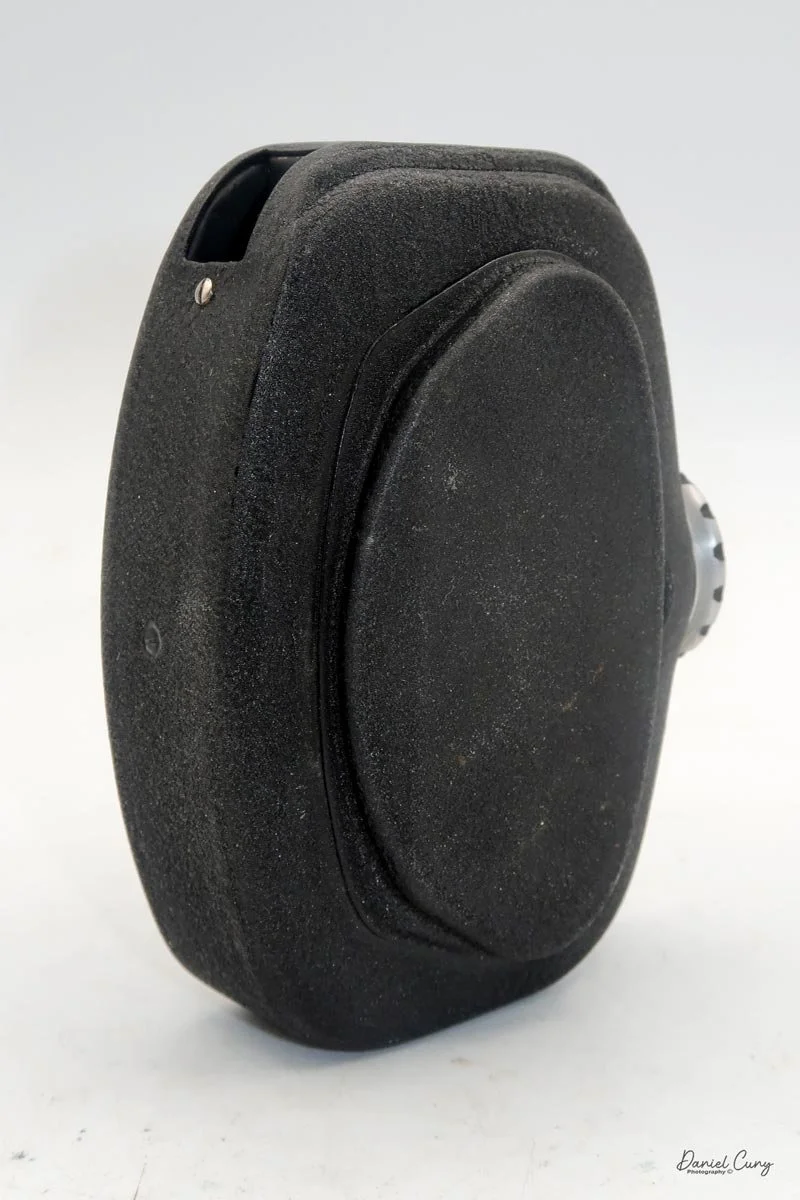
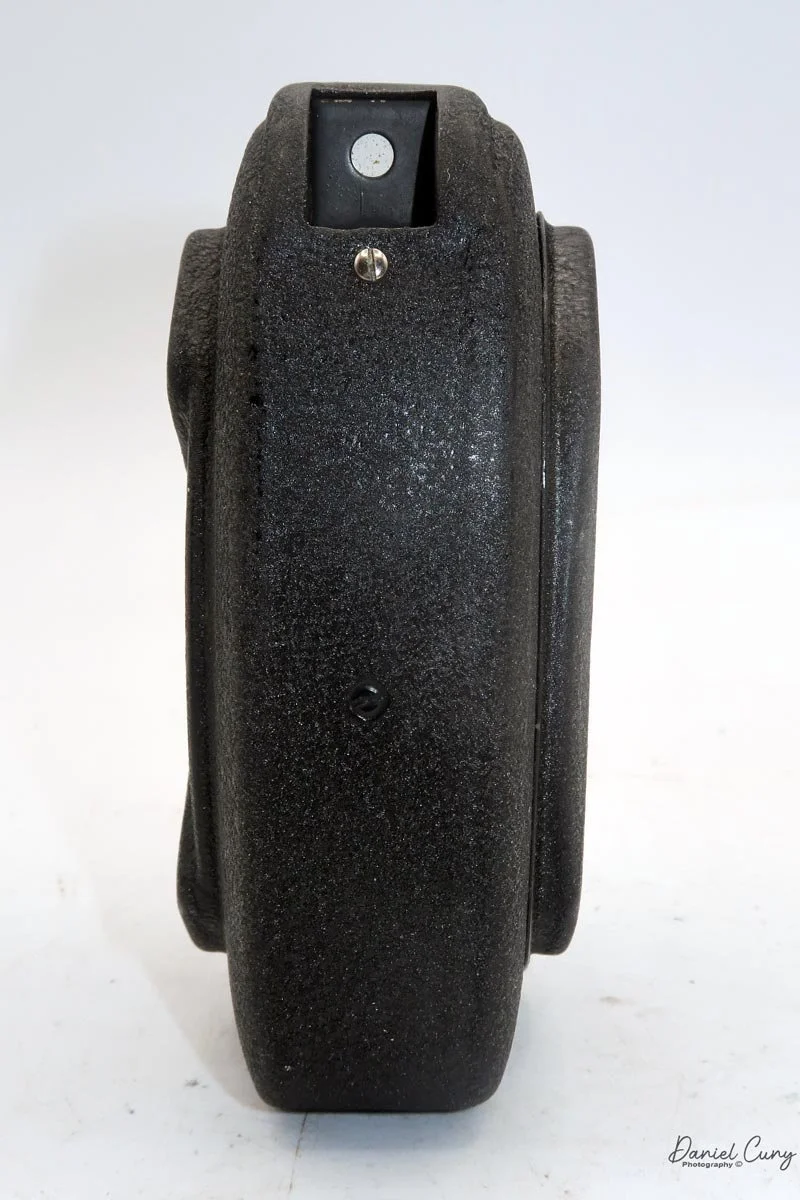
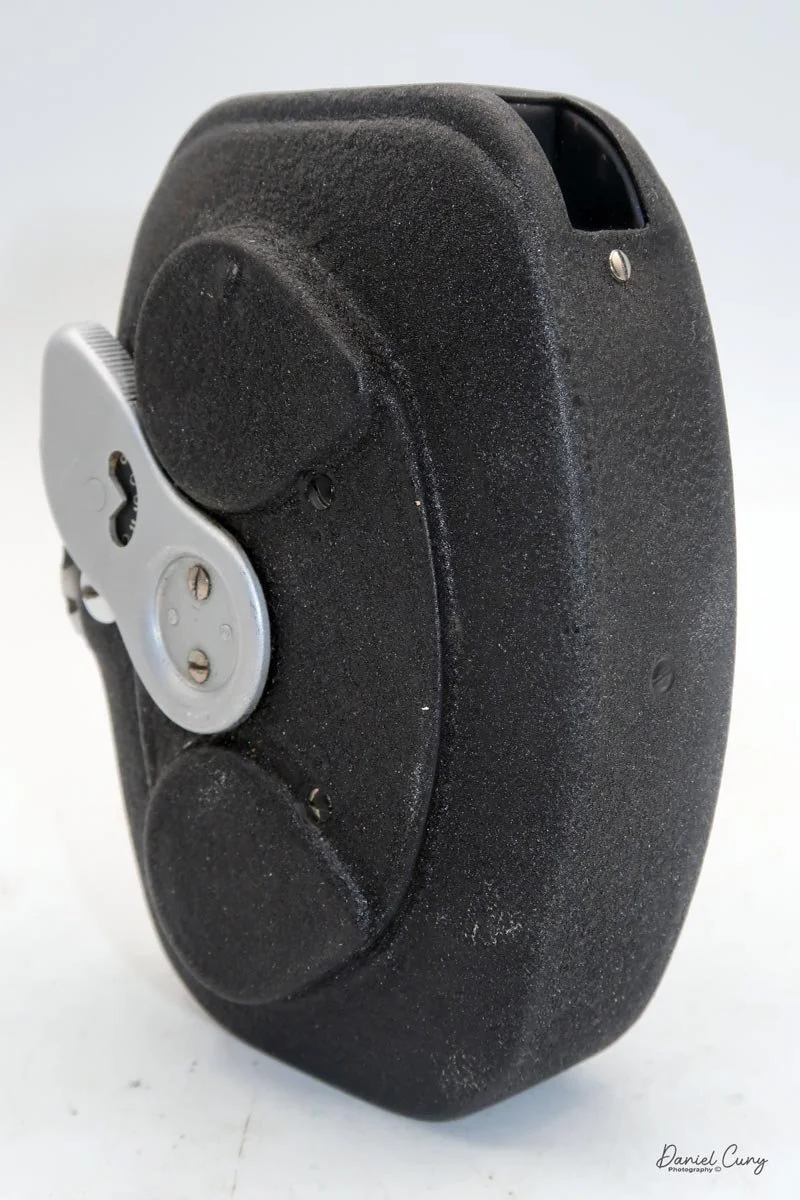
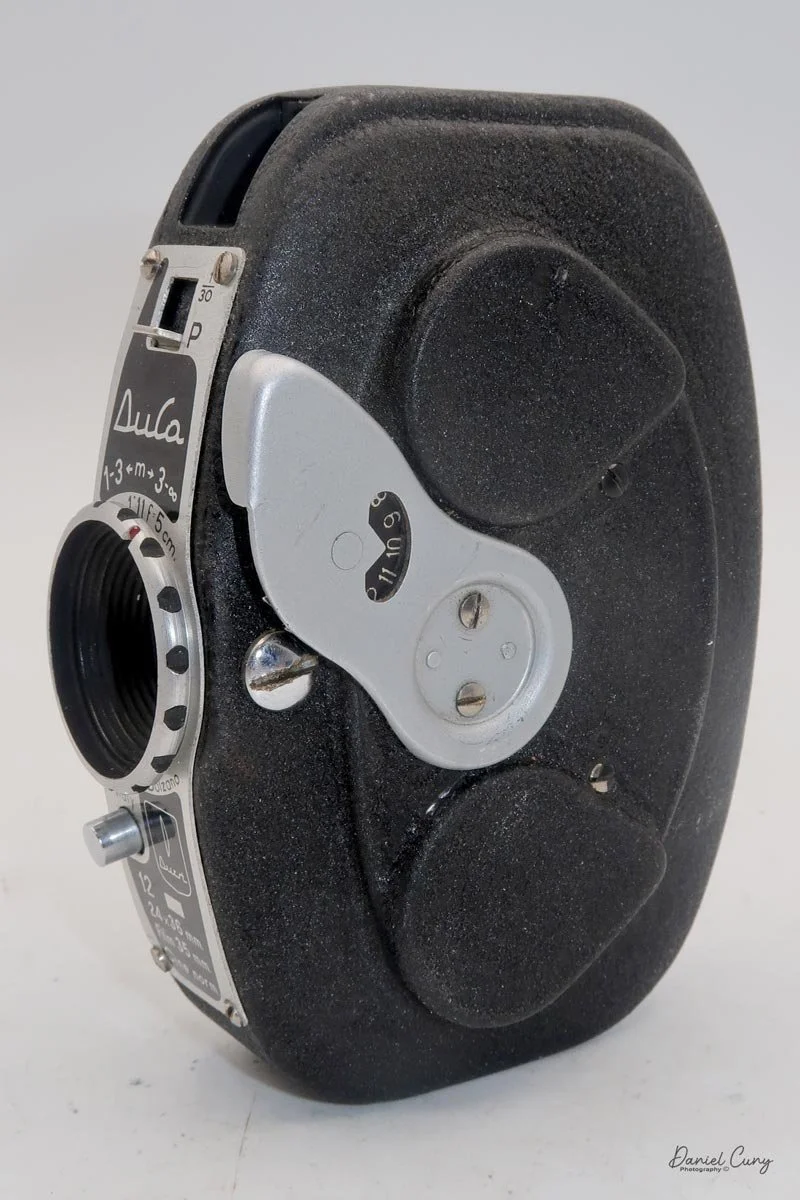
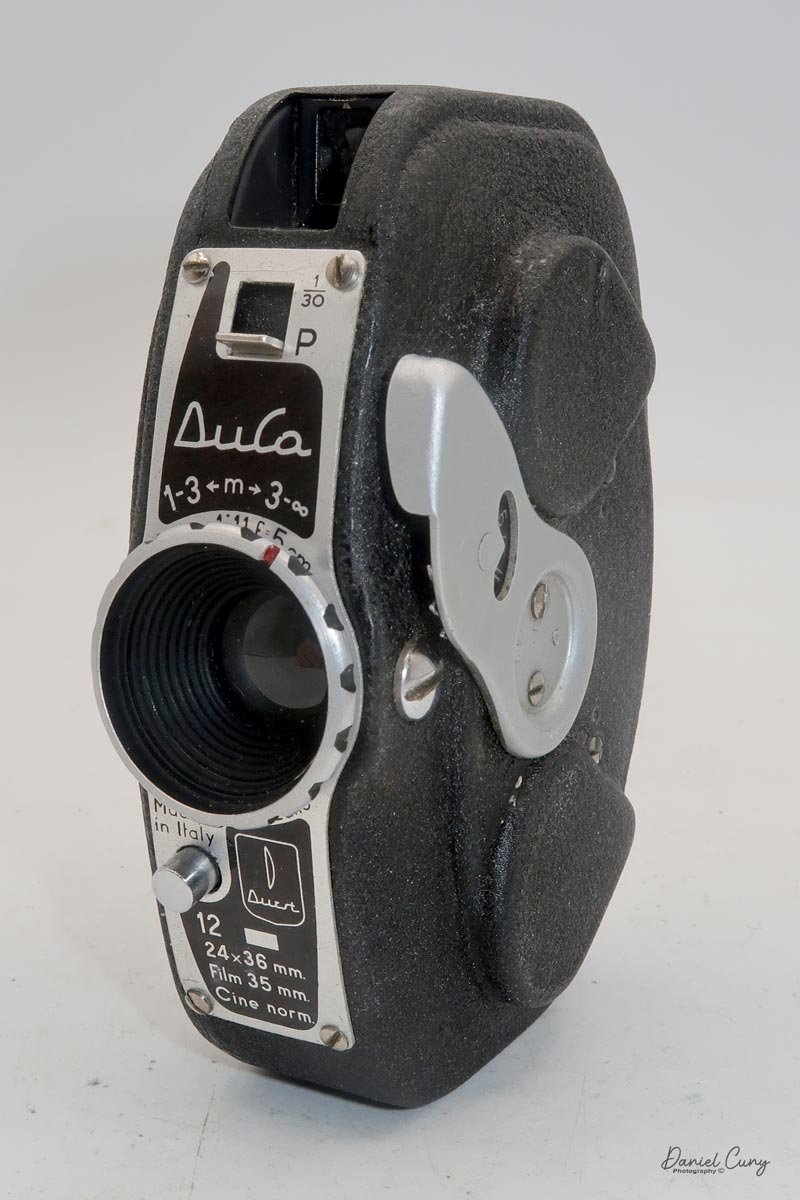
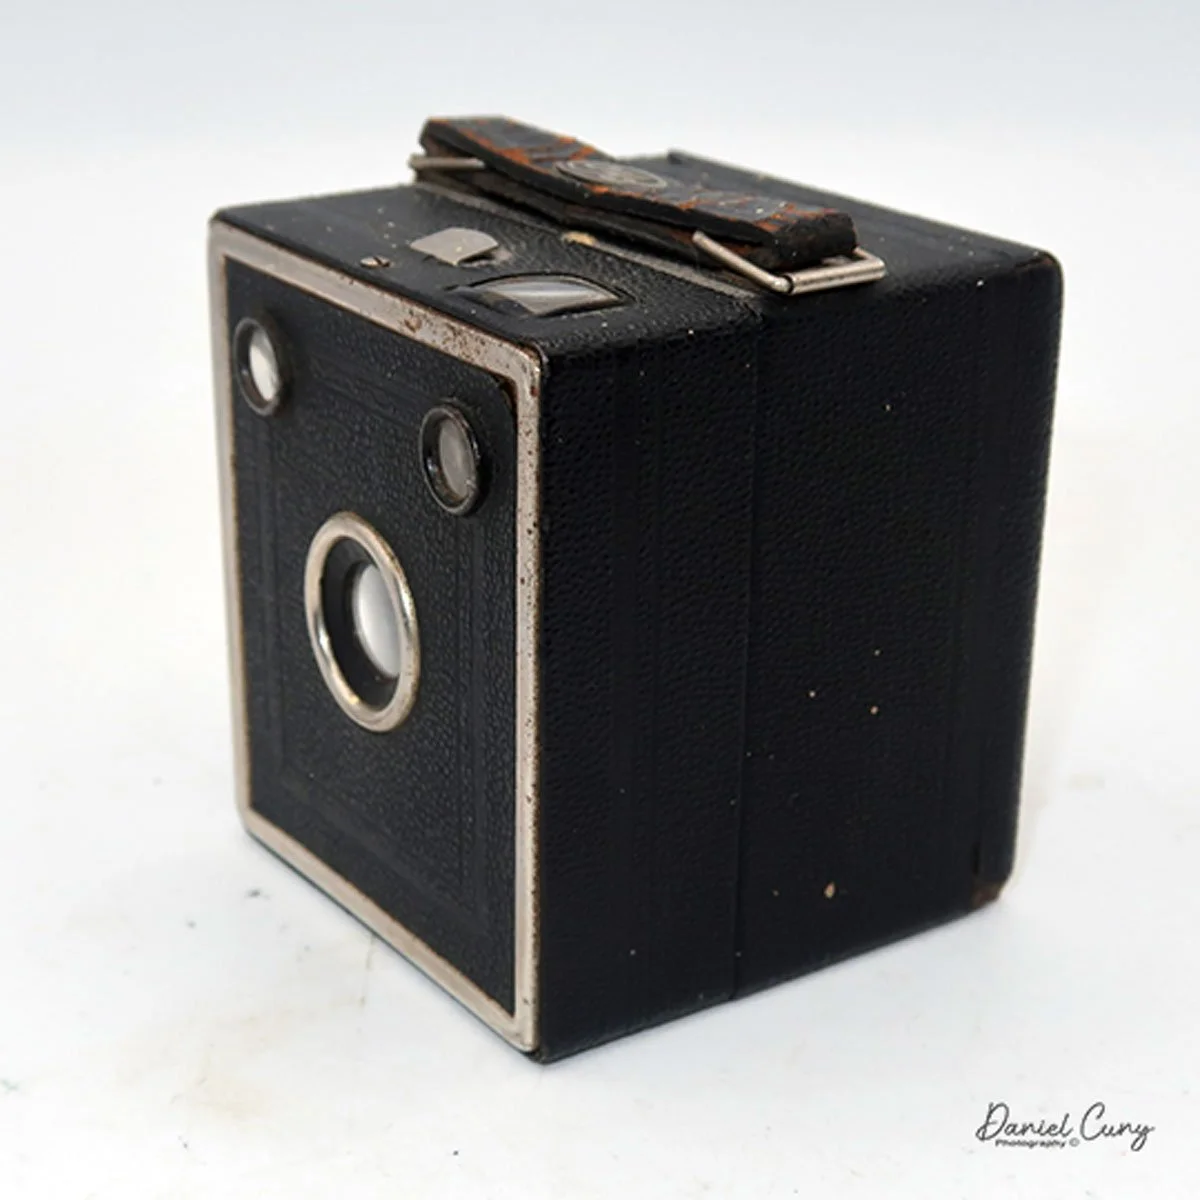
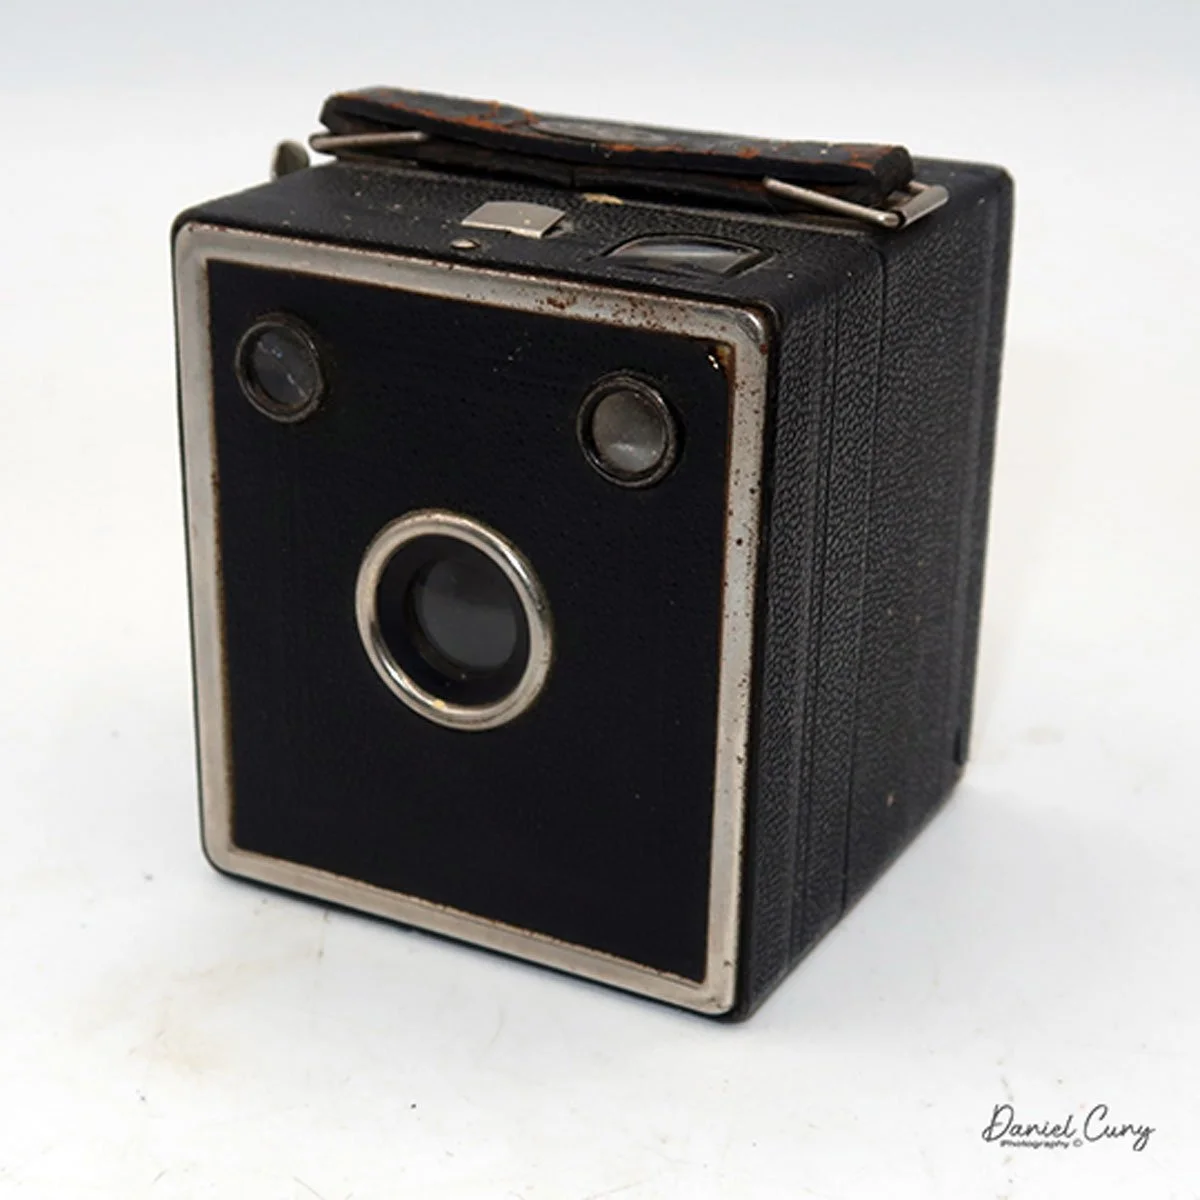
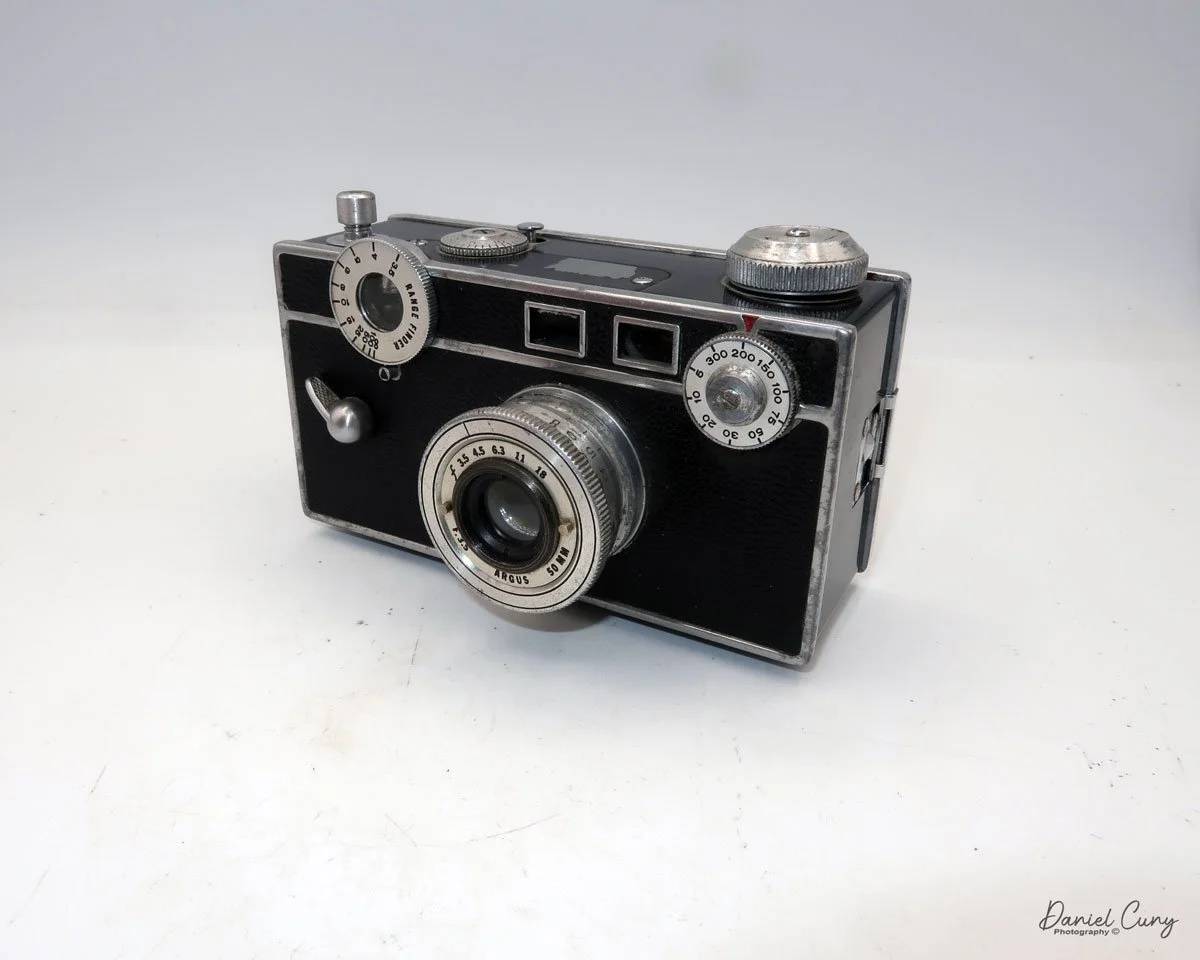
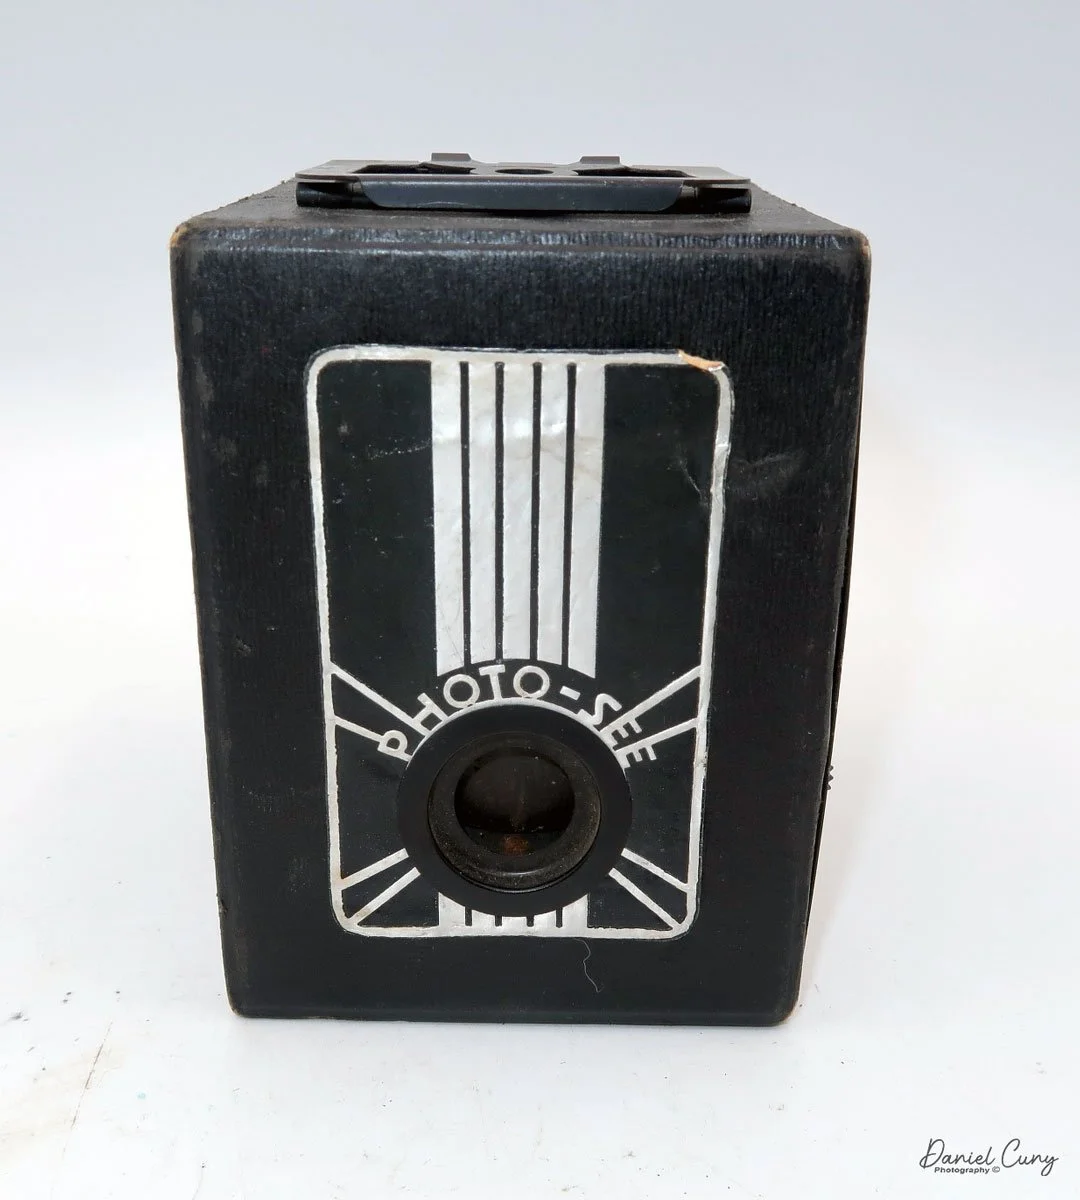
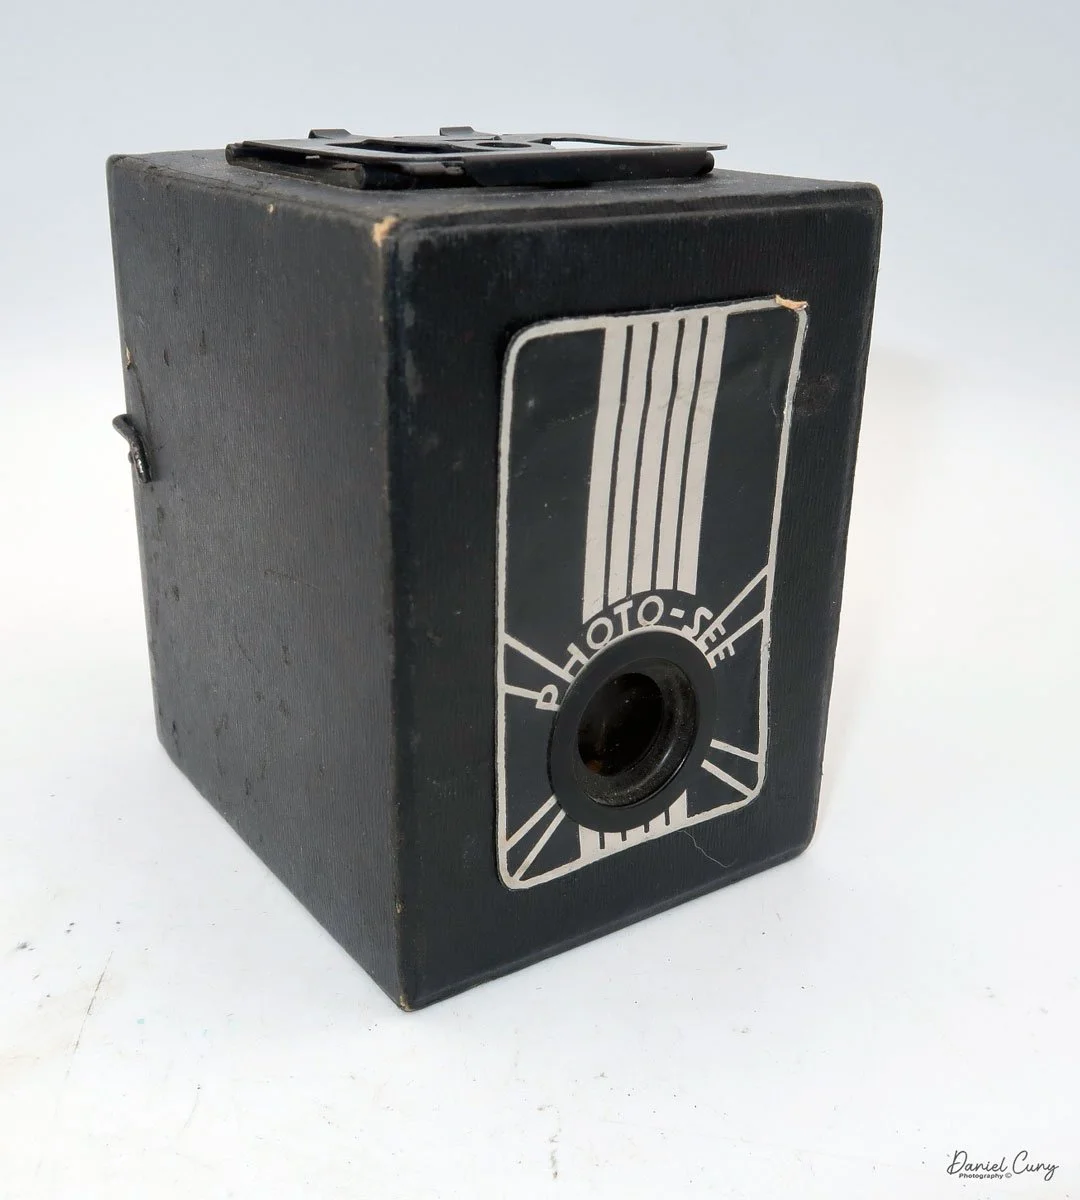
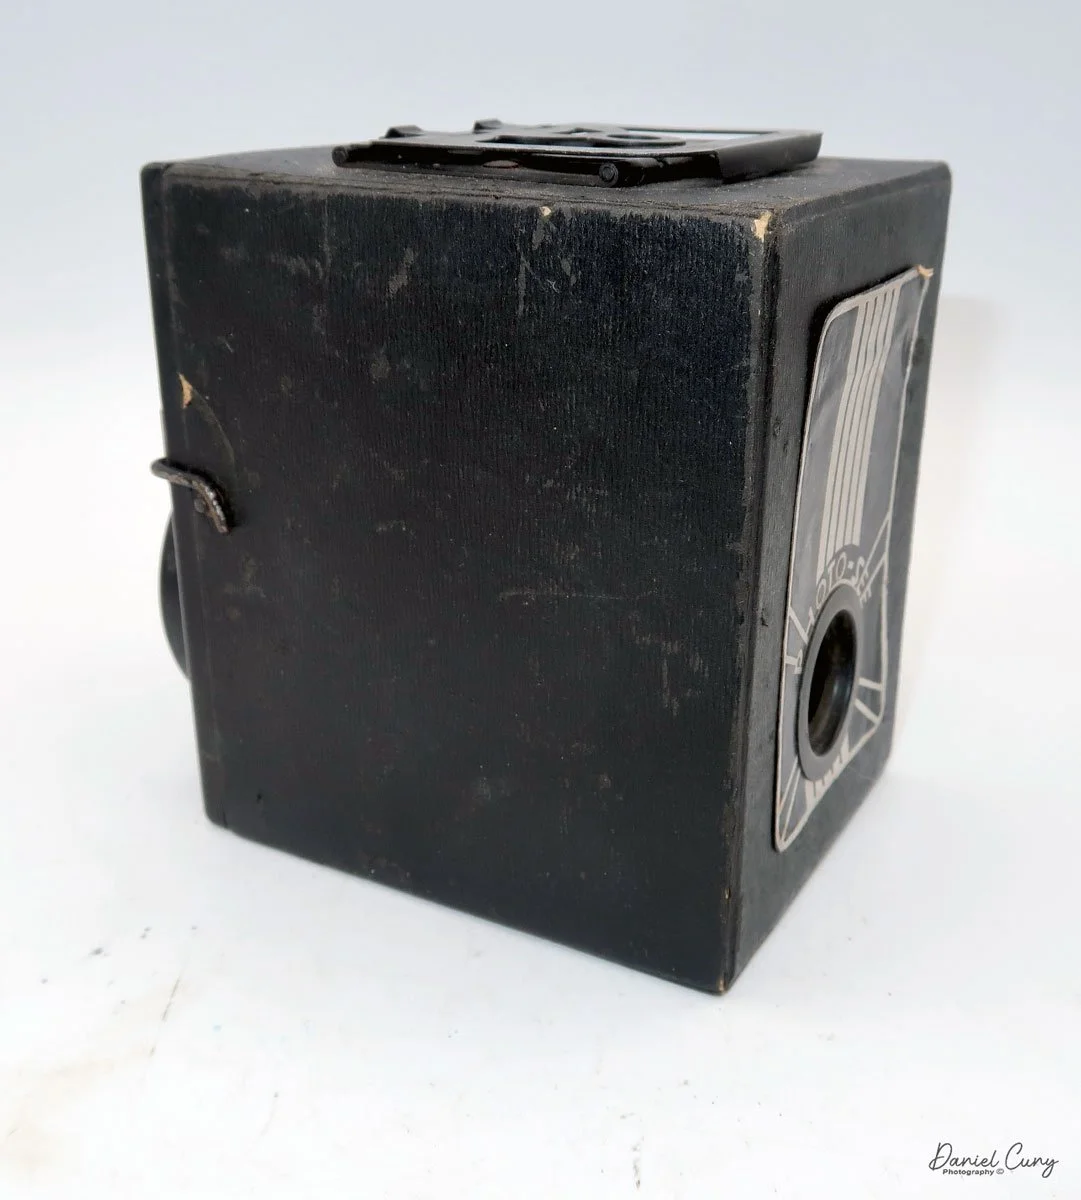
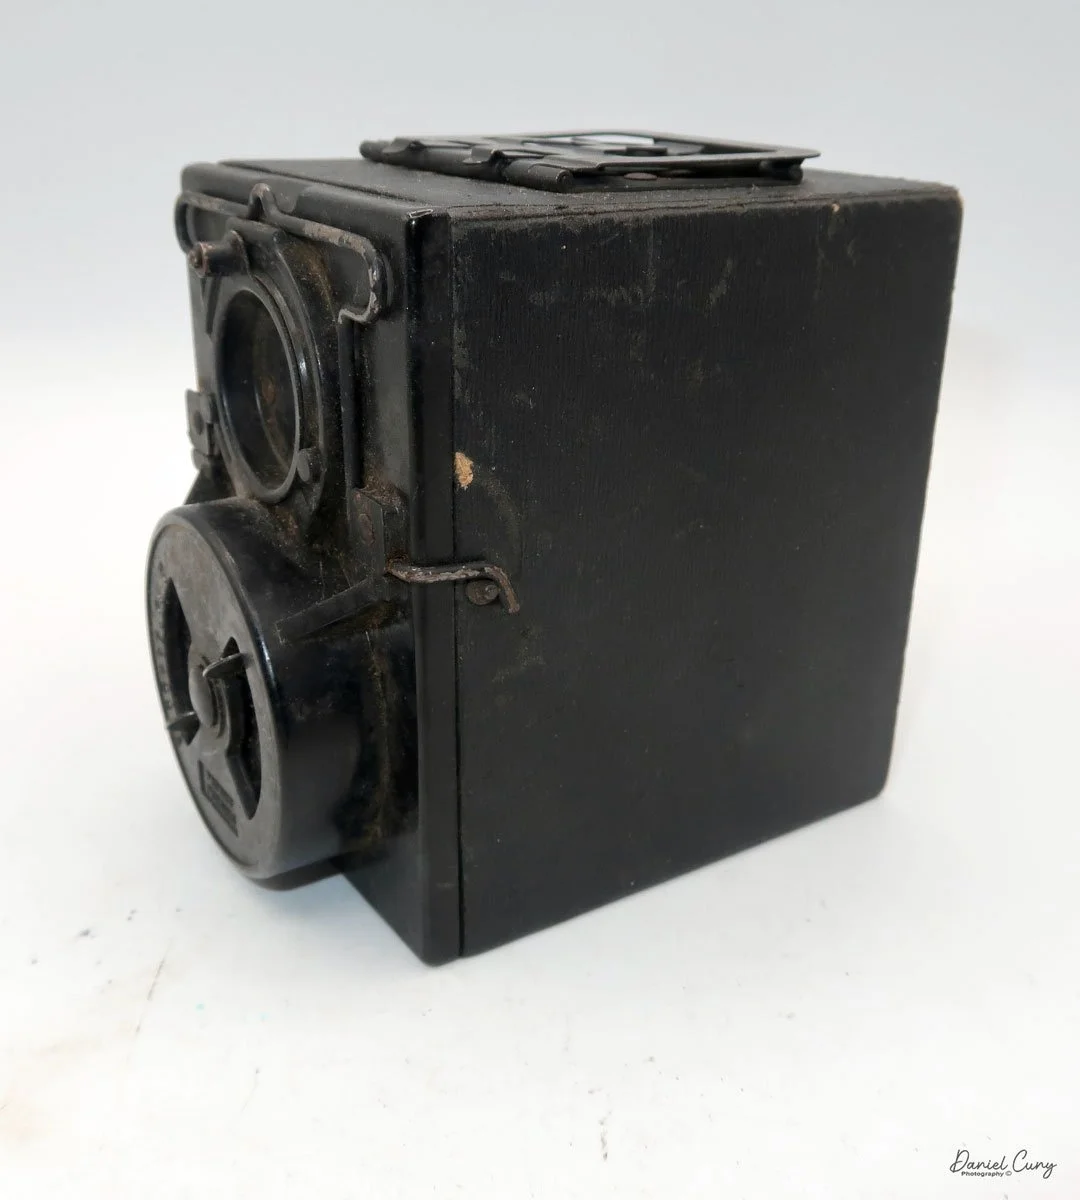
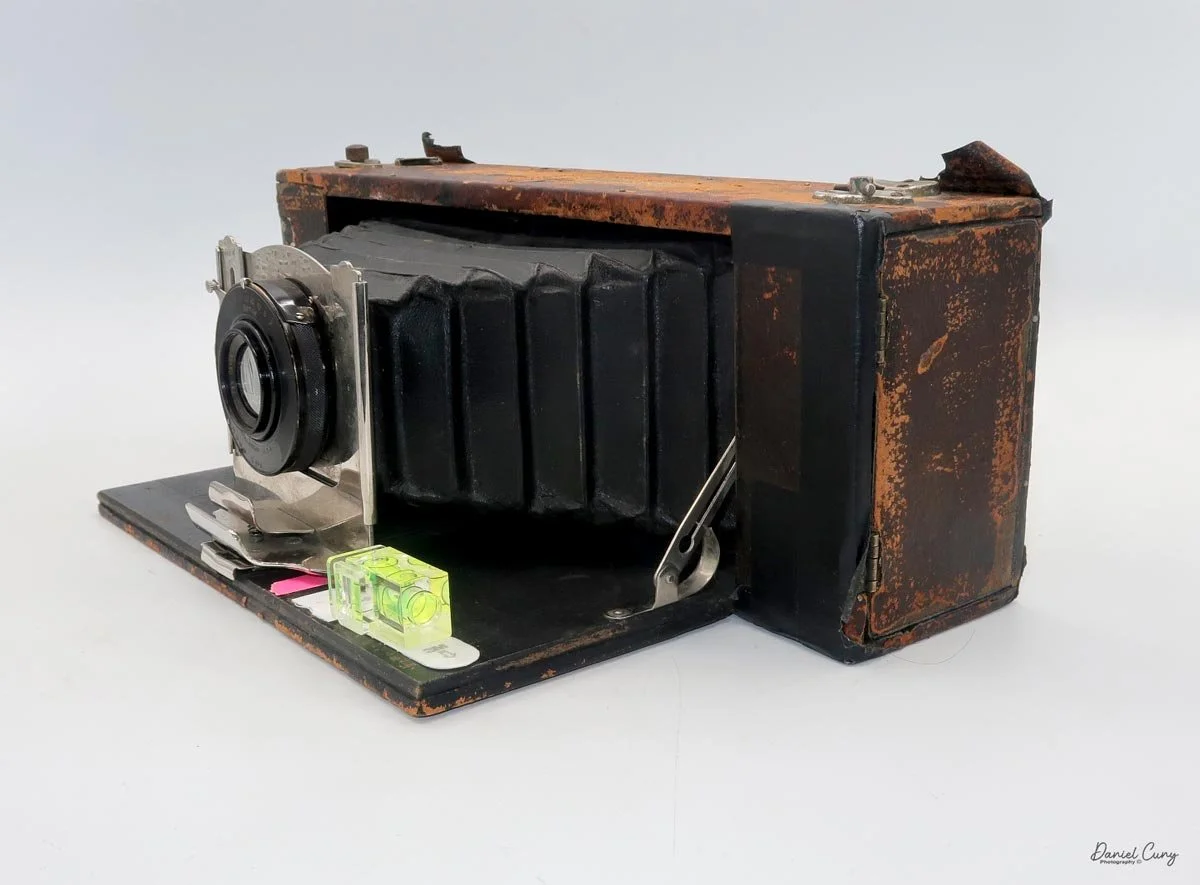
How my Bell Panorama & Panel camera arrived to me.
Opening the back confirmed that a previous owner had done a thoughtful 120‑film conversion. One chamber already had a custom adapter so a 120 spool would sit where the original 118/122 spool once lived, but to actually shoot the camera I still needed a second adapter for the take‑up side. Thankfully, I’d already bought a pair of 120 adapters for my Kodak Quick Focus camera, and I was pretty sure they could be coaxed into service in the Bell Panorama as well.
If you’d like to dive deeper into the different Bell Panorama and Panel Camera models, I highly recommend David Silver’s excellent article, which goes into far more historical detail than I can fit here.
History:
The Bell panoramic cameras were a short‑lived but important American attempt to make wide images simple and affordable for ordinary photographers in the early 20th century.
In 1908, Iowa inventor Isaac A. Bell patented what he called Bell's Straight Working Panoramic Camera, produced by the Bell Camera Company in Grinnell, Iowa. At a time when most panoramic cameras used rotating or "swing" lenses and curved film planes, Bell's design stood out for its fixed wide‑angle lens and straight focal plane, eliminating the need for complex clockwork drives and curved backs. He built his camera around then‑standard #122 roll film, offering a generous 3¼ × 11 inch frame while still allowing normal postcard‑size exposures on the same roll, which made the camera attractive to amateurs who didn't want a dedicated specialty system.
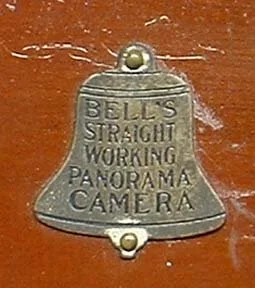
Bell’s distinctive label on the original 1908 Bell Panorama camera.
The first Bell Panorama combined a folding bellows body, a brass Gundlach shutter, and a wide‑angle lens that could cover the long negative at small apertures, trading speed for even coverage across the frame. While industrial reviewers praised the camera's practical engineering, it received little advertising and sold poorly, so surviving examples are rare and collectible today. Bell remained committed to the concept, refining the design and securing a second U.S. patent in 1911.
In 1912, he introduced the revised Bell Panorama and Panel Camera, built more cheaply but upgraded with better Wollensak optics, stronger internal panel levers, and a redesigned reflex viewfinder that could be used for either postcard or panoramic framing. Distribution shifted to the American Northern Photo Supply Company, and then to Sears, Roebuck, which finally gave the camera a modest, stable market for several years. A smaller No. 10 model using #118 roll film appeared in 1916, but by 1918, changing tastes and newer panoramic systems ended Bell production.
In retrospect, Bell's panoramic cameras are seen as rare but influential examples of how existing rollfilm, folding‑camera ergonomics, and wide‑angle optics could be intelligently combined to democratize panoramic photography.
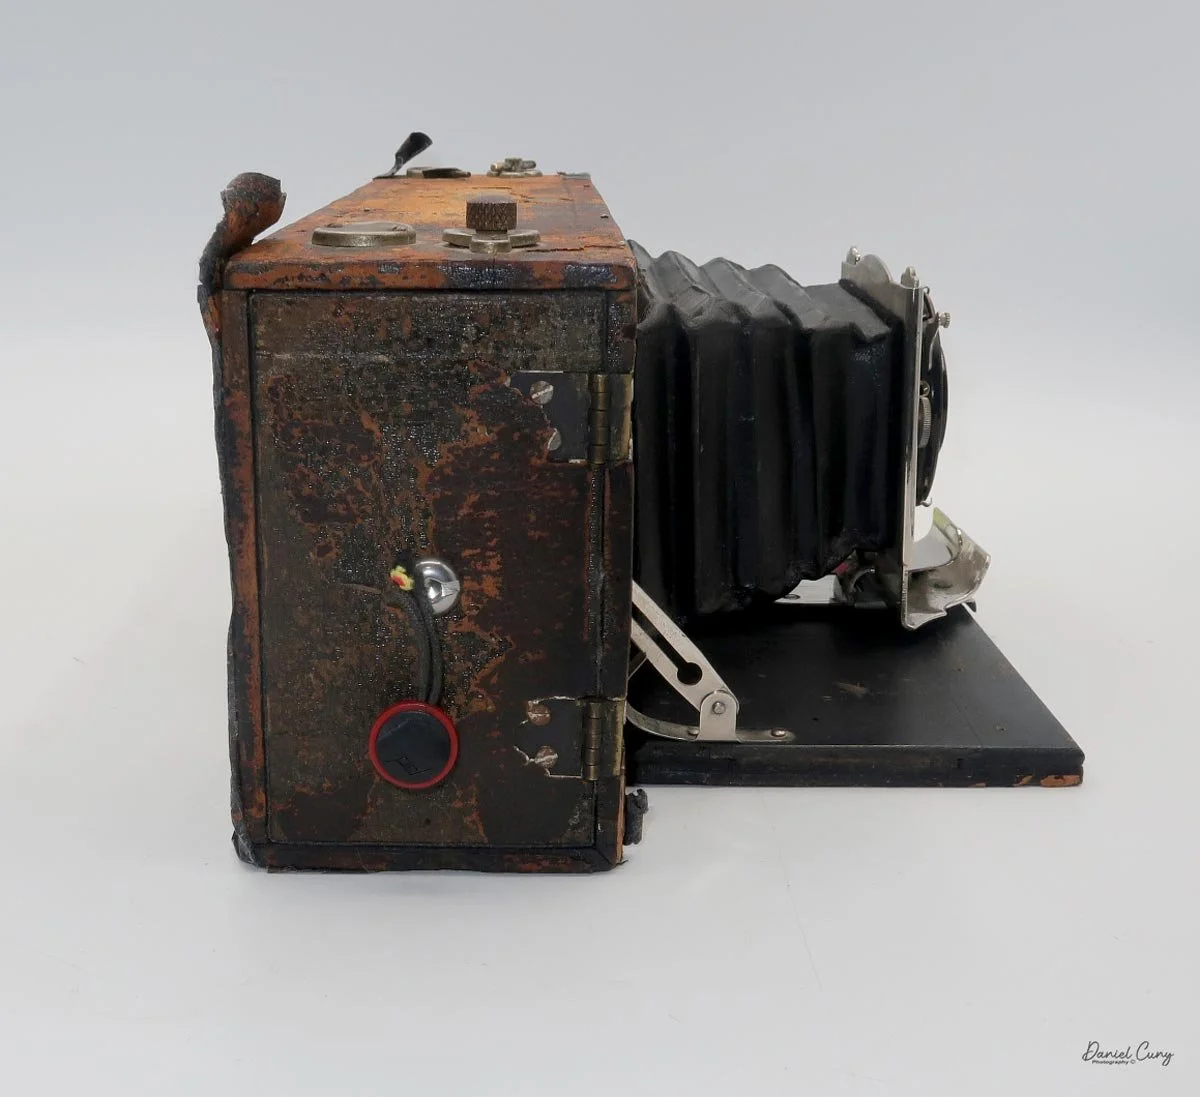
My Camera:
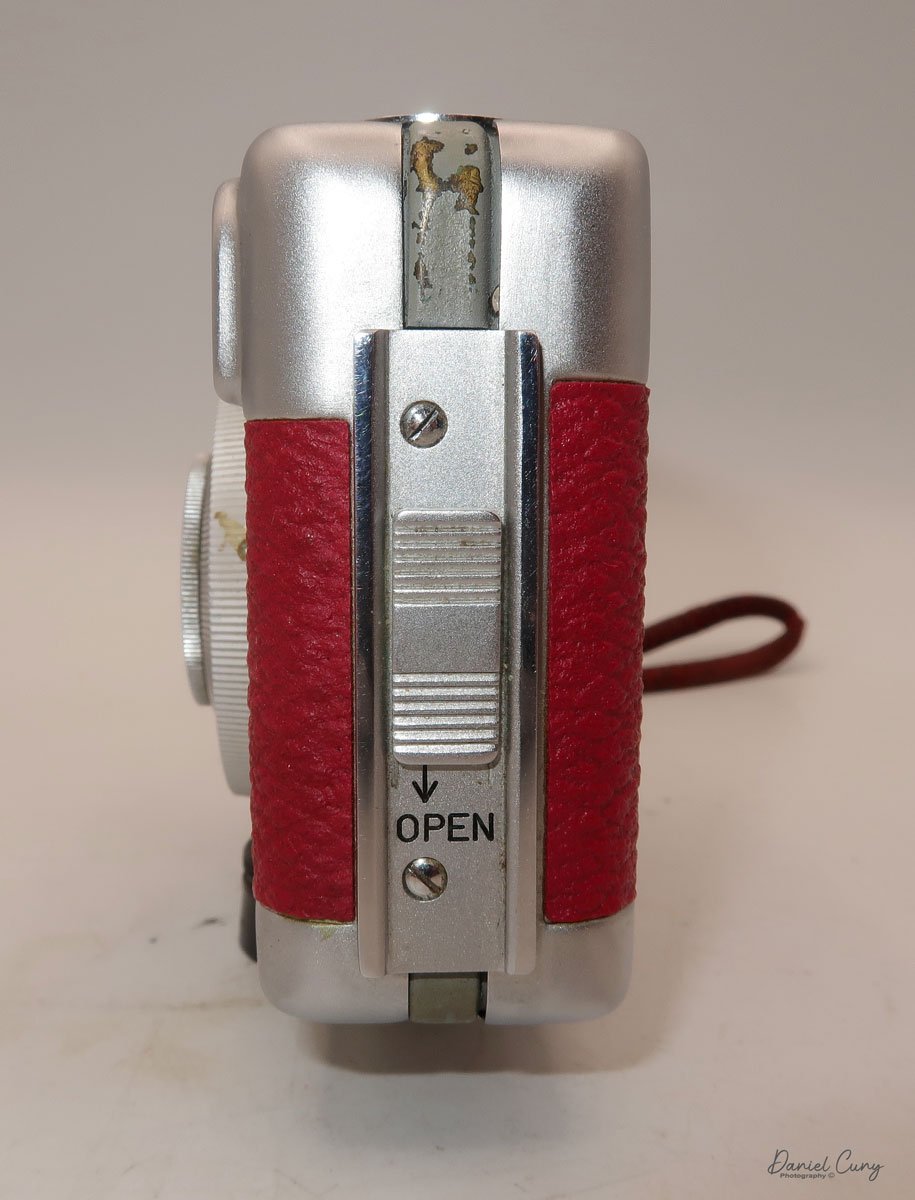
My Bell Panorama camera is 13.5" wide by 4.75" tall and 3" deep with the lens retracted. With the front cover closed, the camera is 7.25 "deep. When the front cover is opened and the lens extended, the camera is 7.25" deep. The camera weighs just under 3 pounds, at 2 pounds, 14.6 ounces.
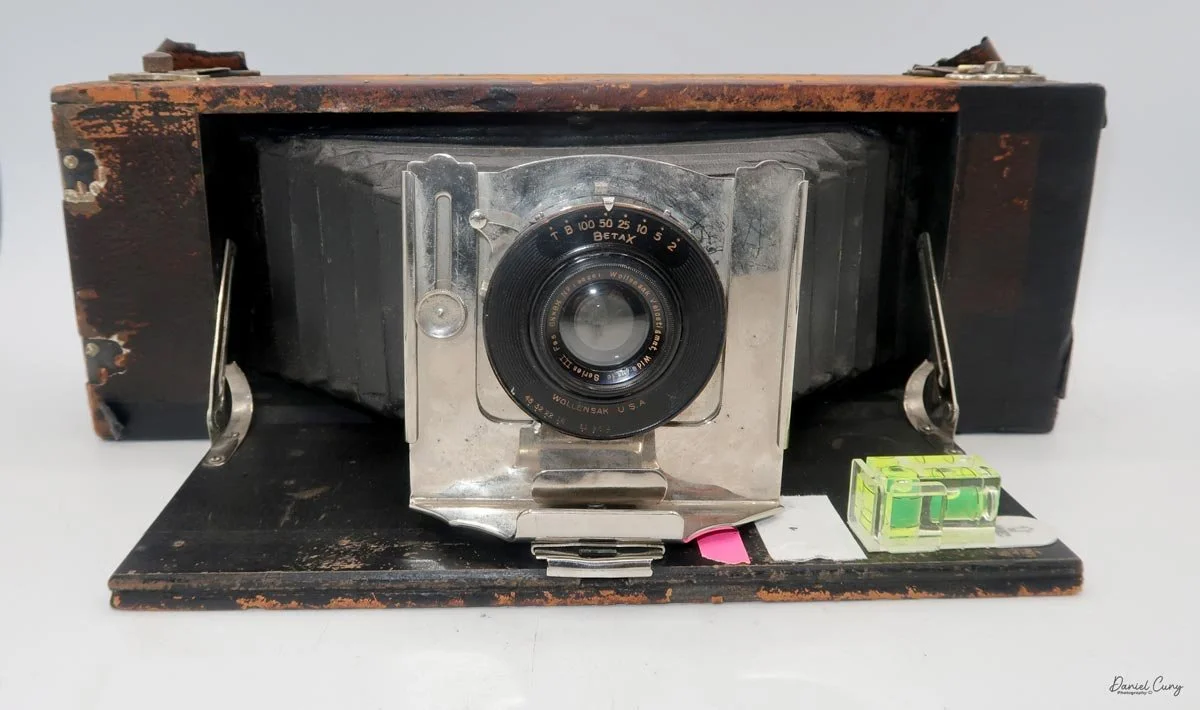
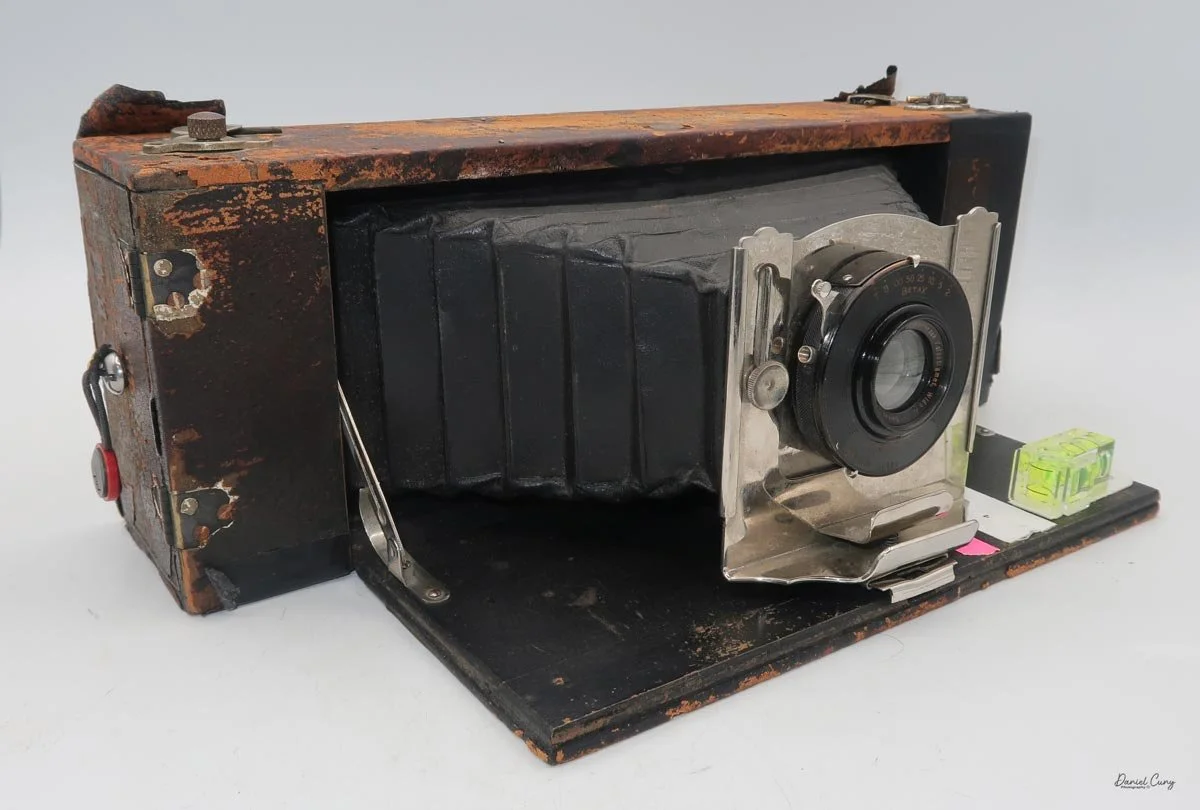
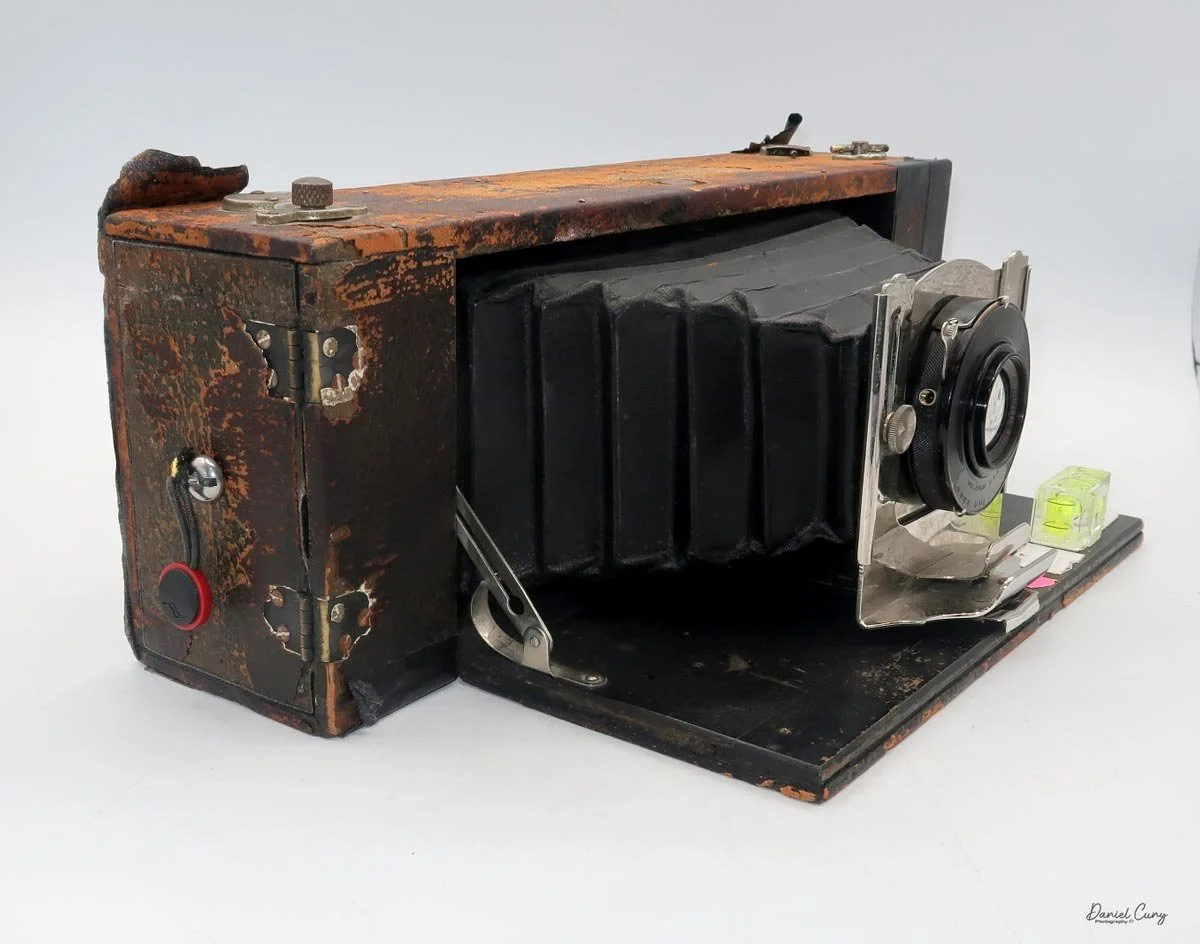
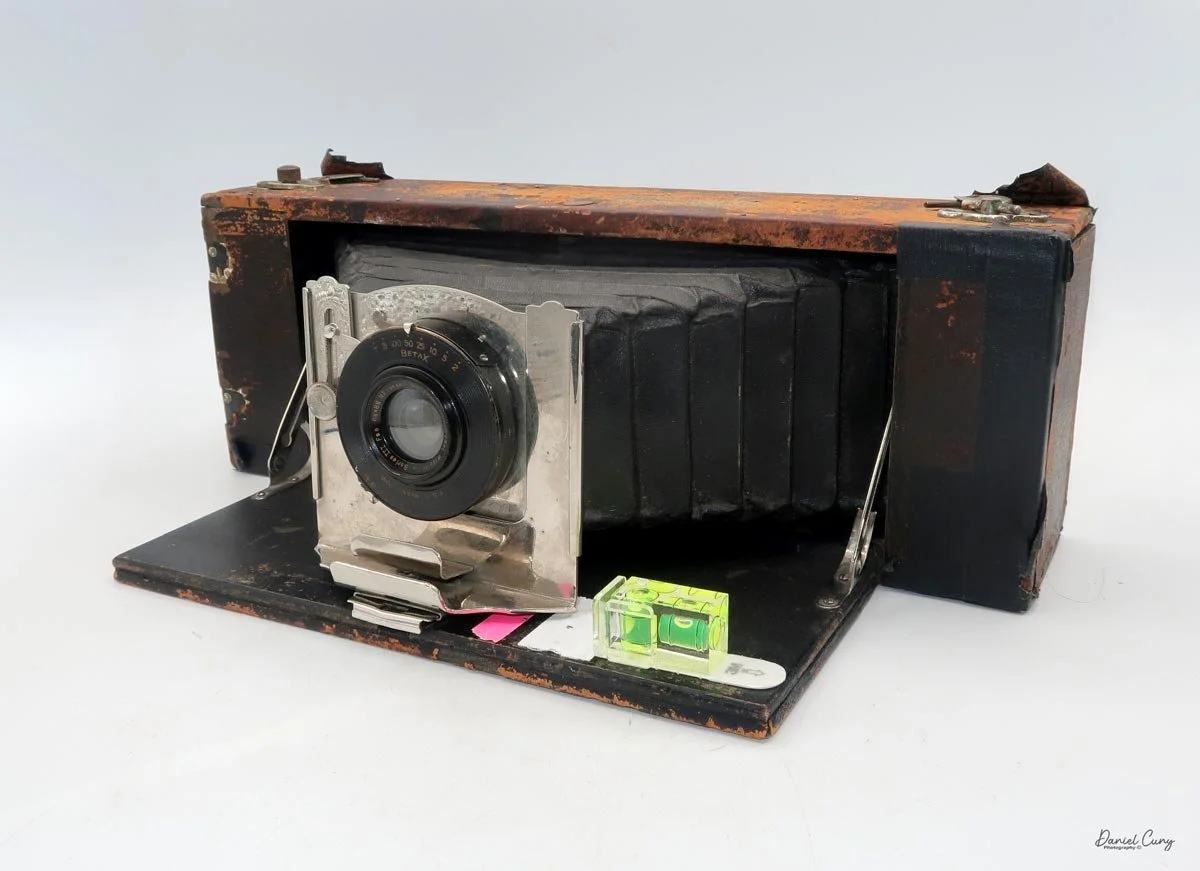
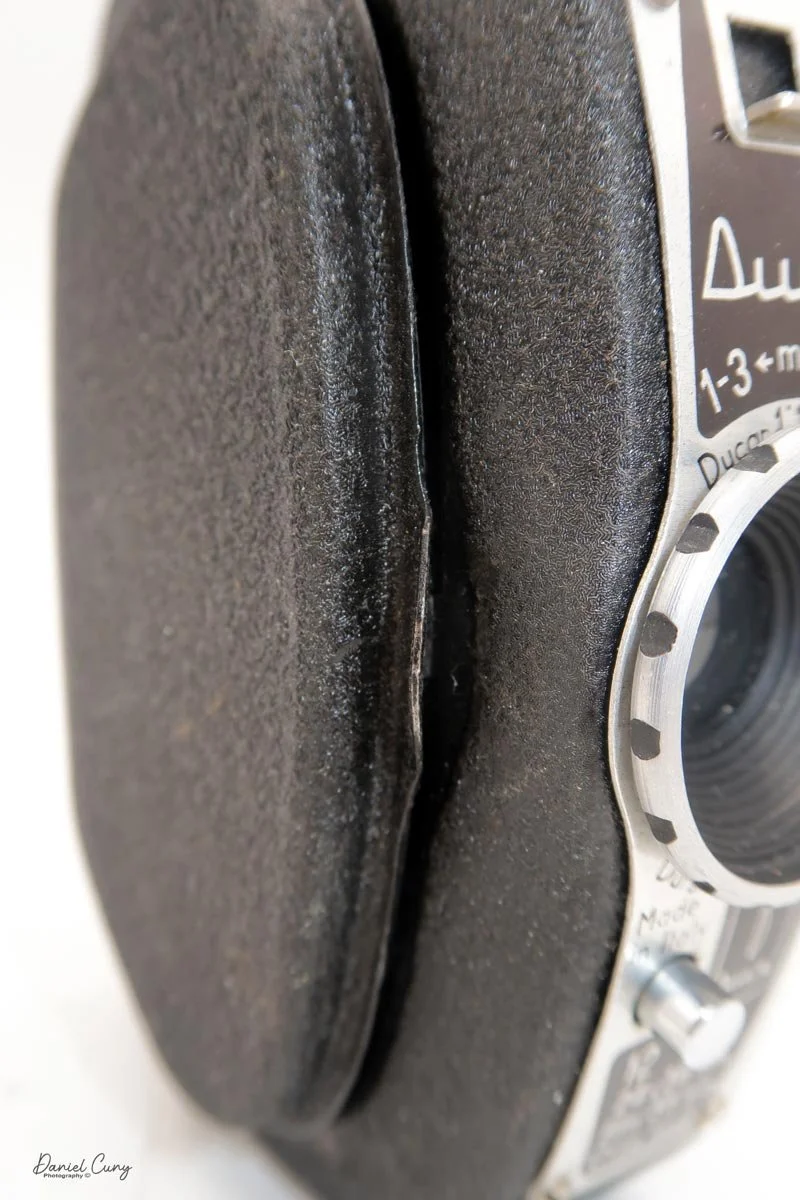
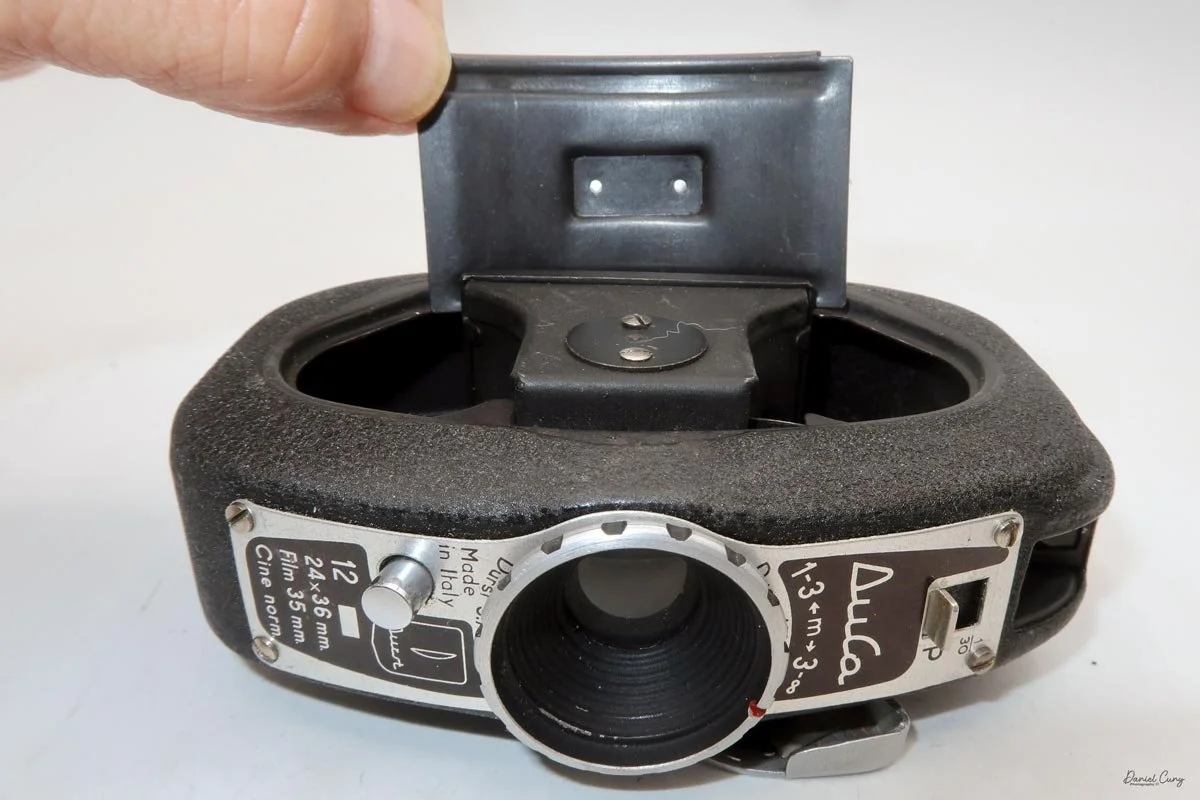
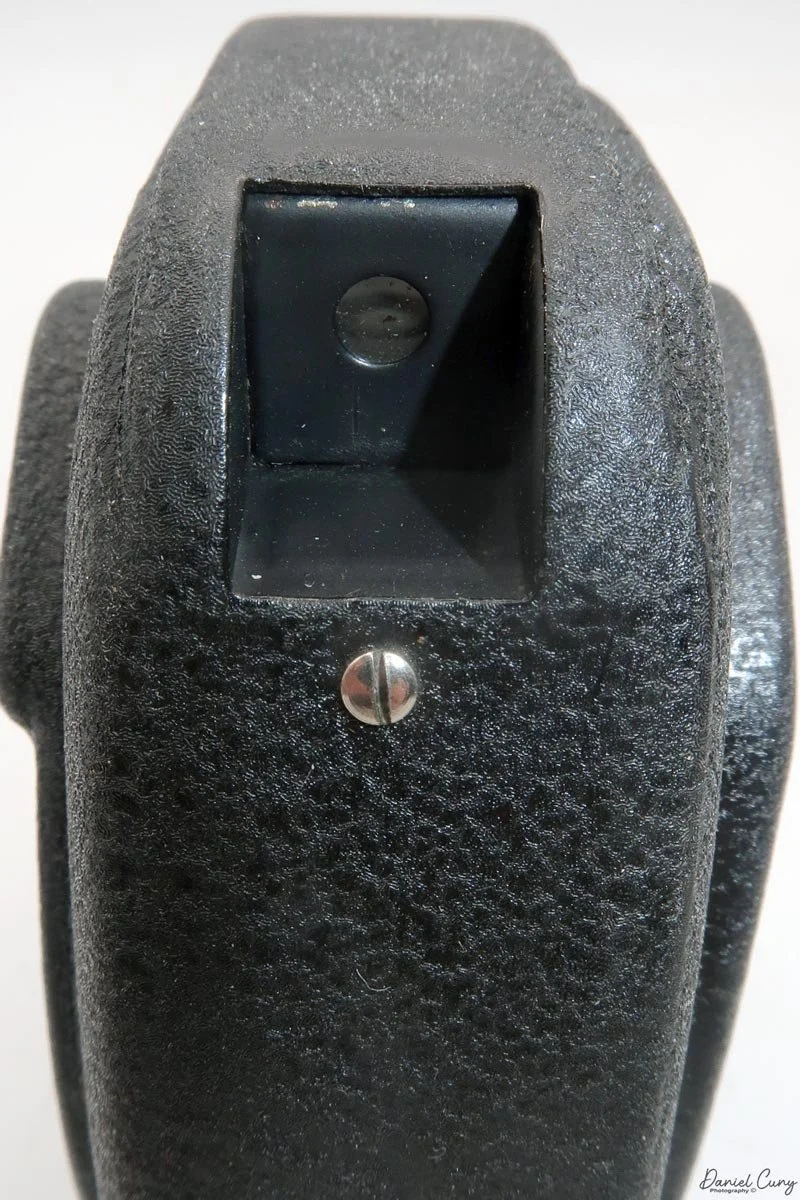
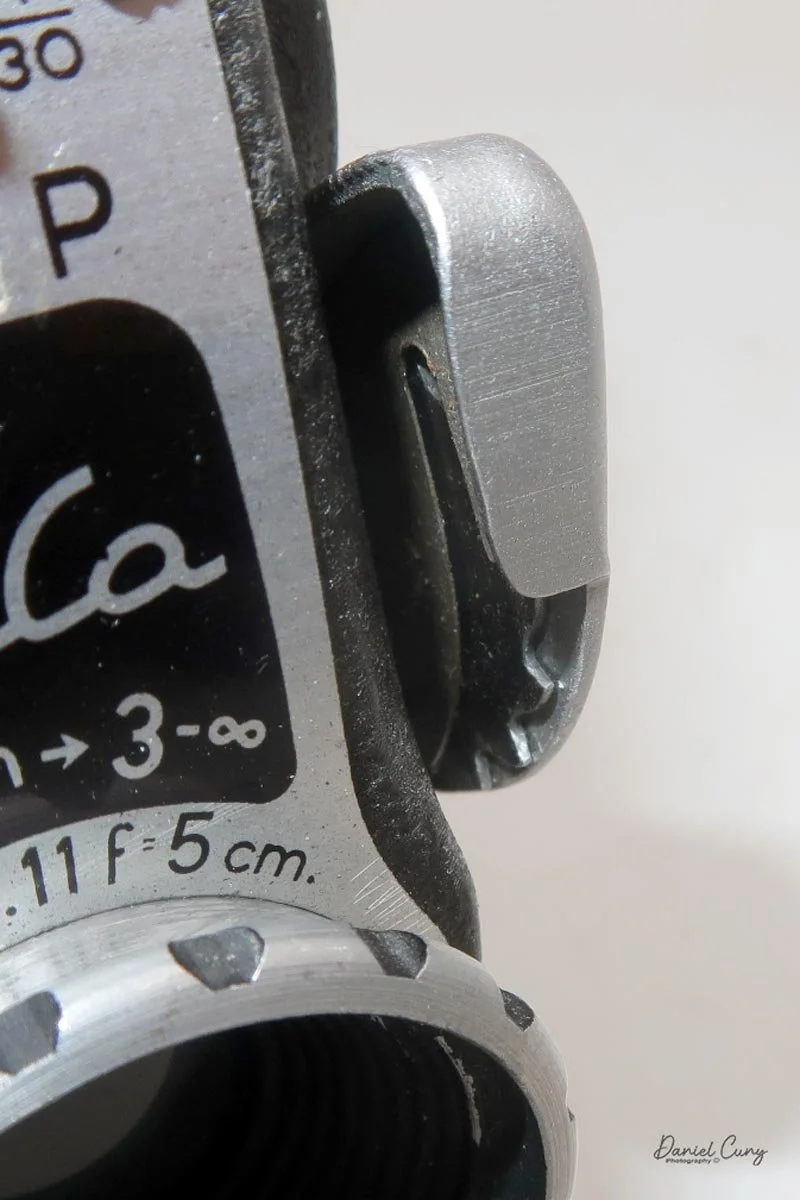
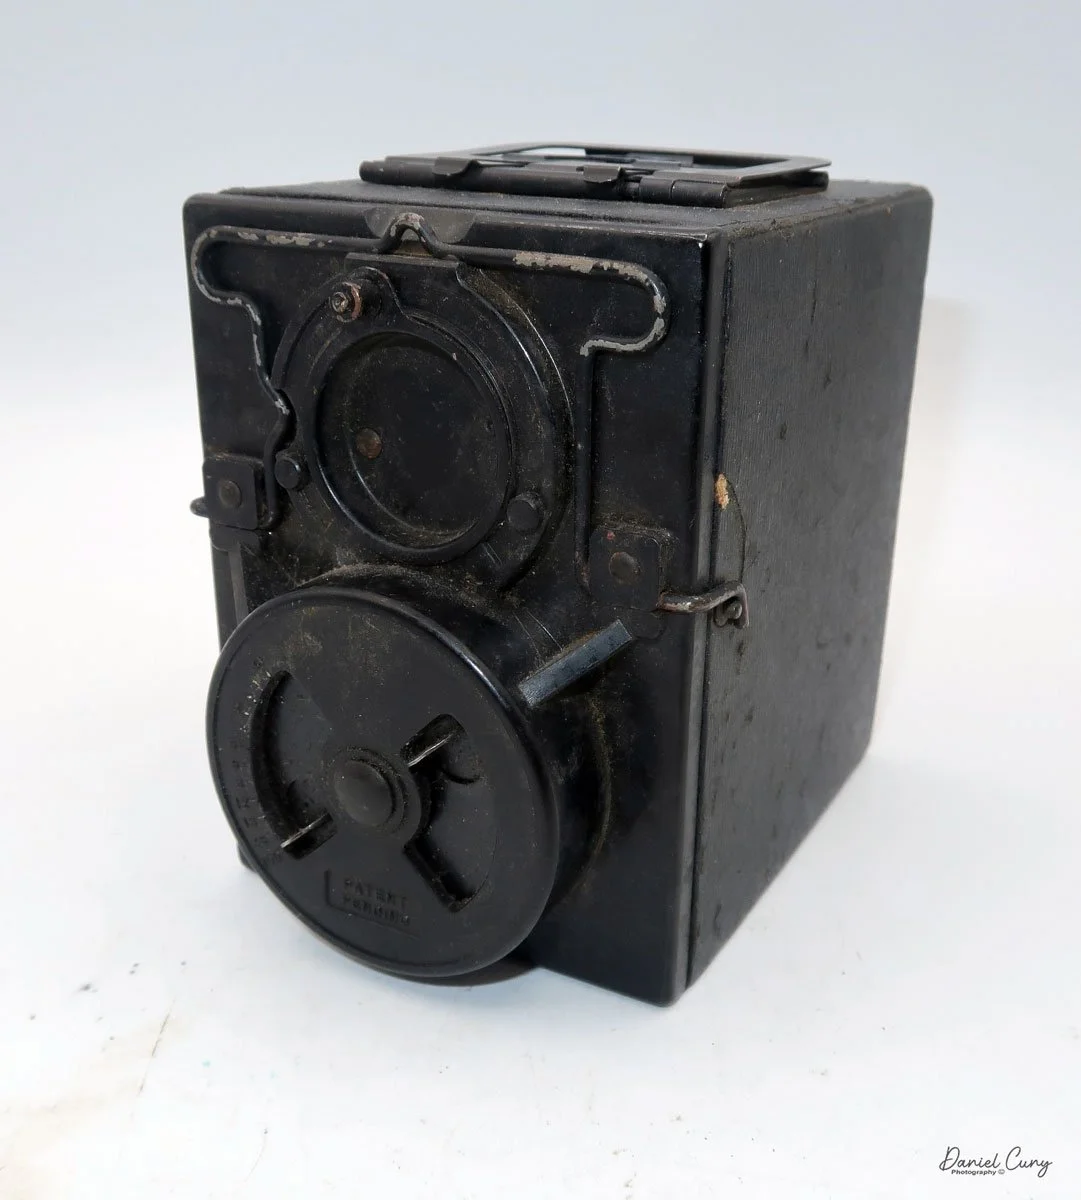
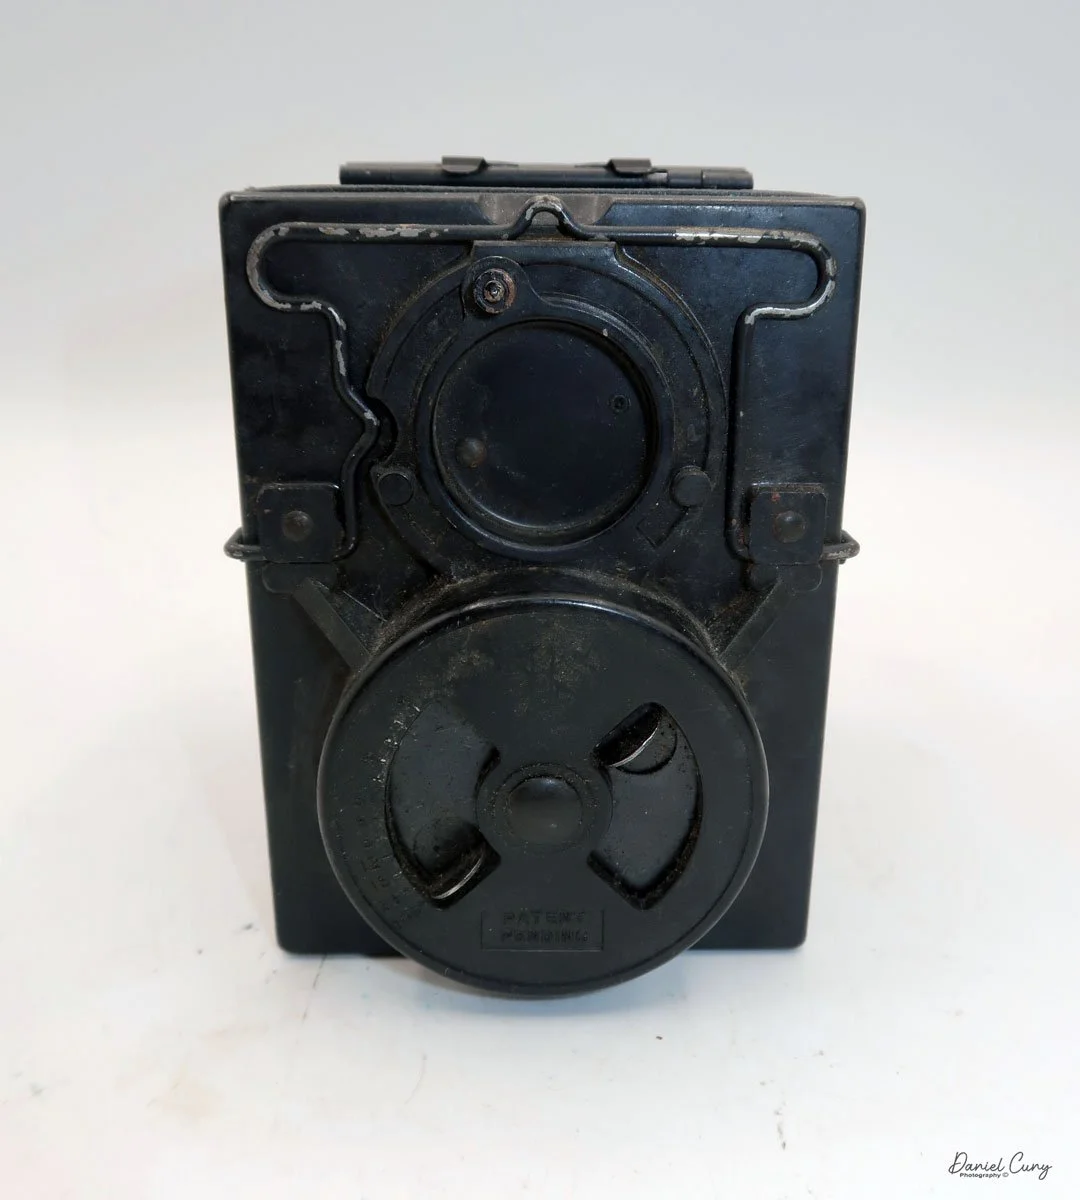
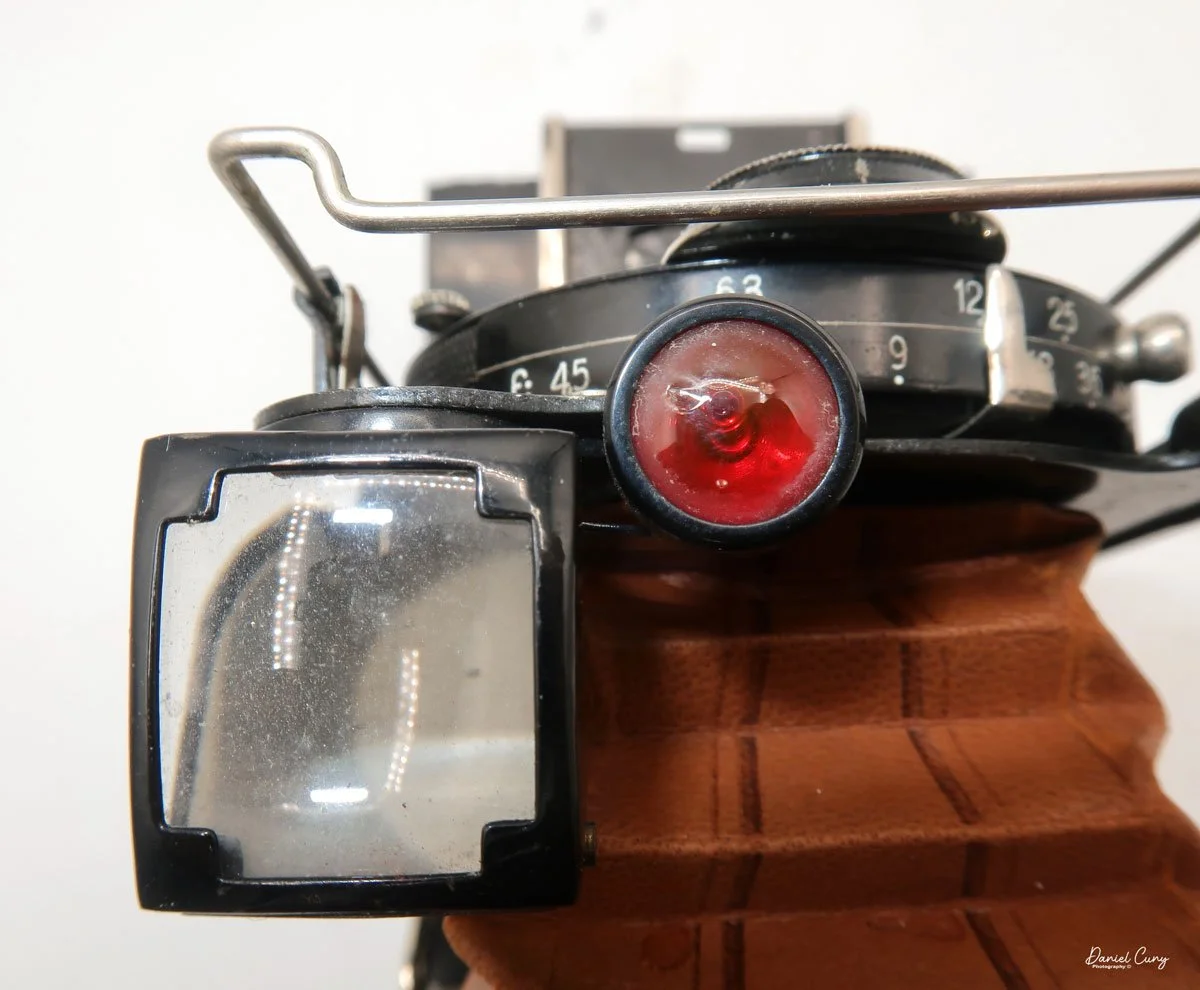
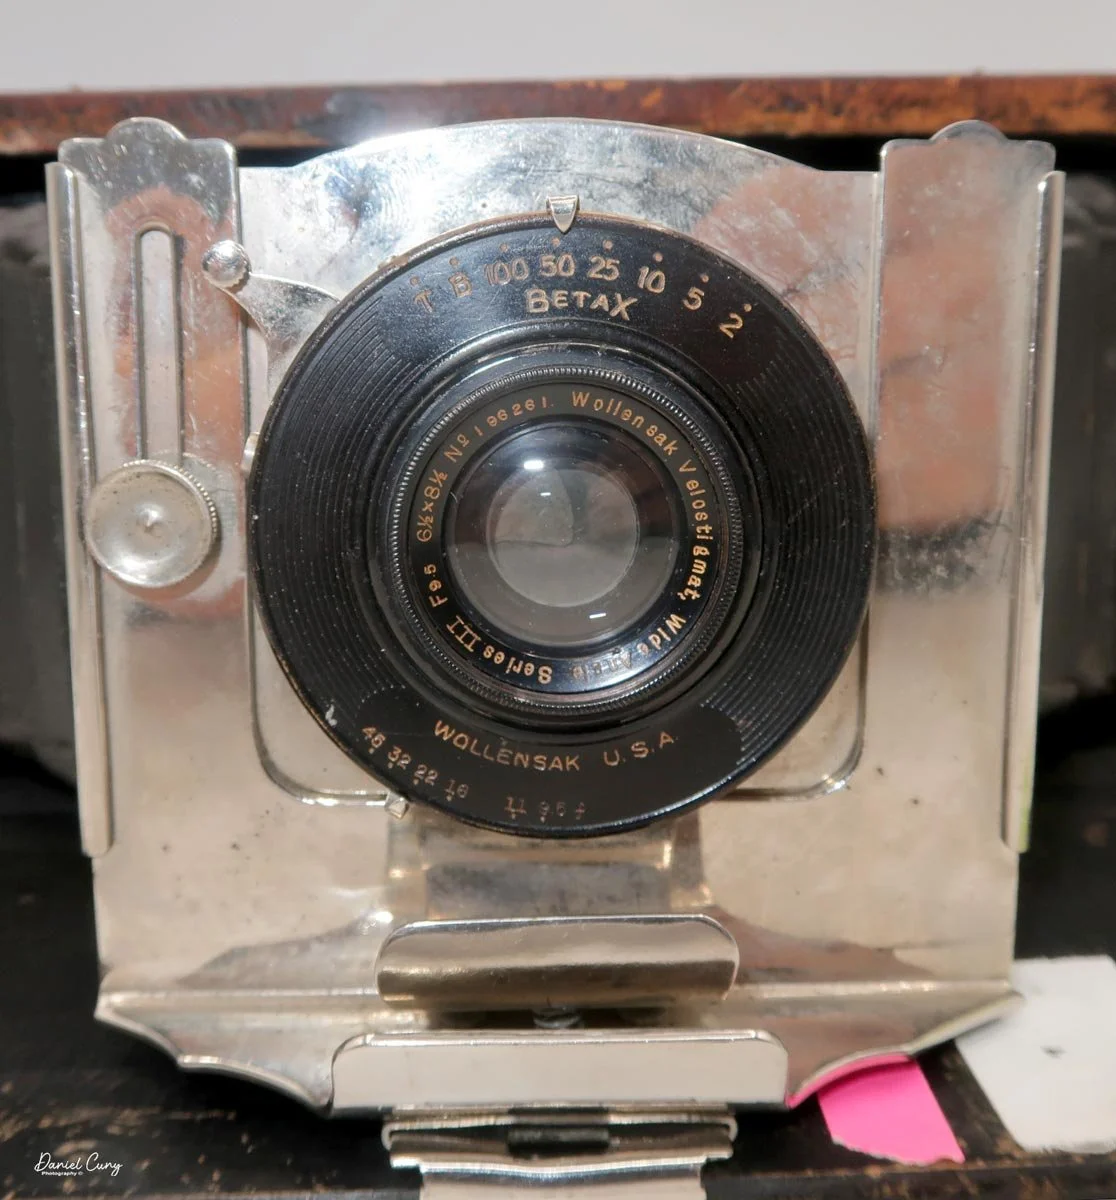
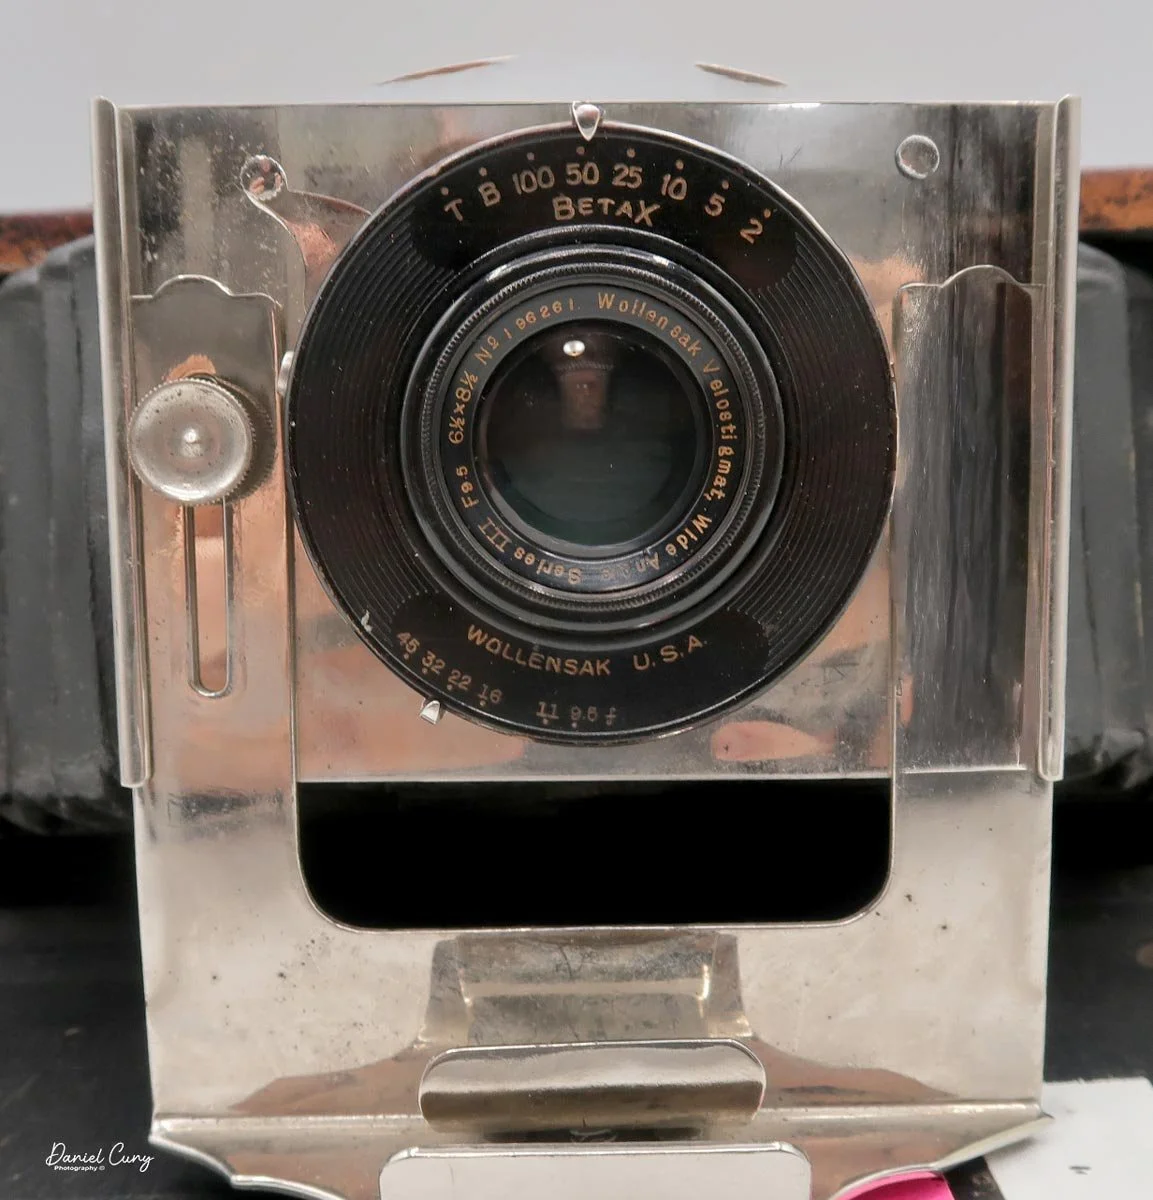
To open the front, press the button in the middle on top; you can then pull down the lens board and pull out the bellows. The Bell Panoramic camera has a Wollensak Velostigmat Wide Angle, series III, 6 1/2 x 8 1/2 lens, serial # 196261, in a Wollensak Betax shutter with speeds from 1/2 to 1/100, along with "T" for time exposures and "B". The aperture settings range from F/9.5 to F/45. The lens can also rise to correct perspective.
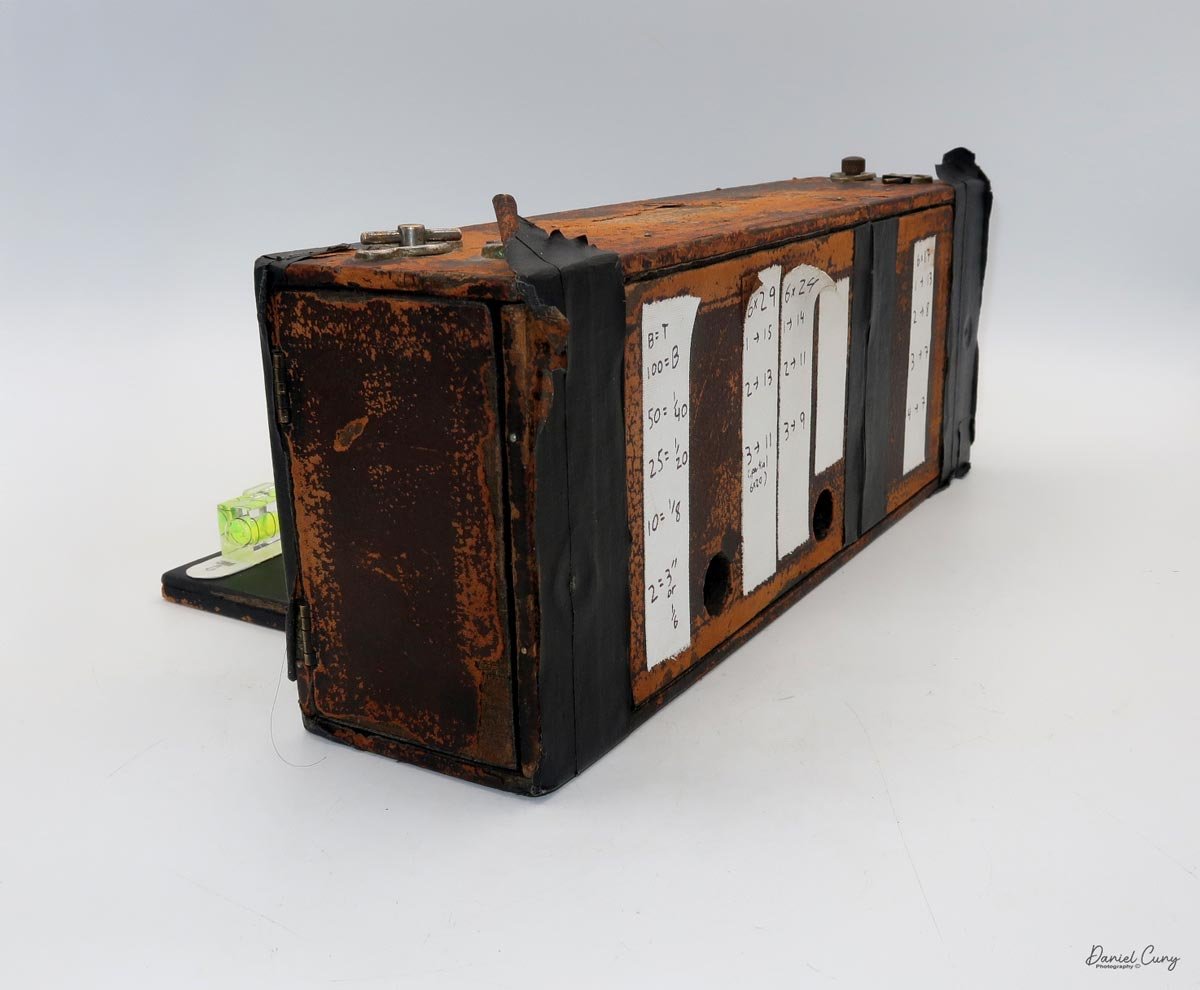
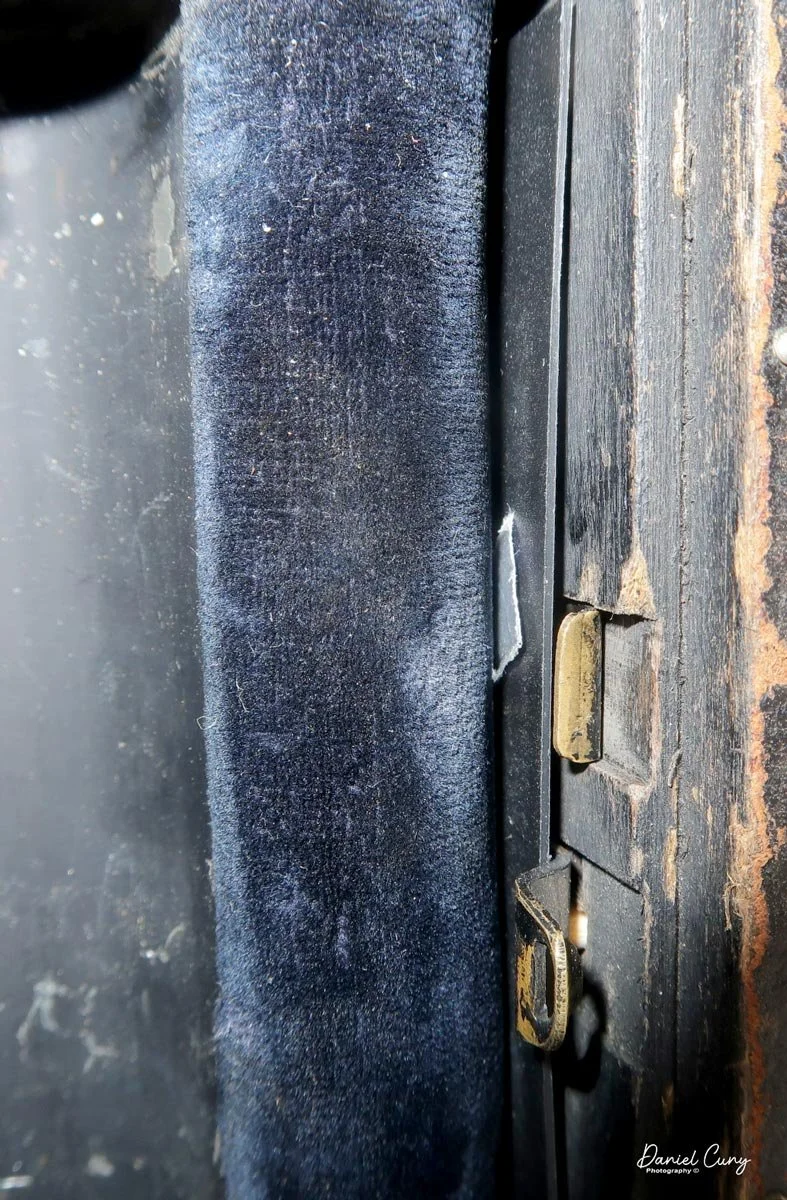
There are a couple of items missing from my camera: the viewfinder, which is usually on the lens, is missing, as with other folding-style cameras, and the handle is gone. When the camera arrived, a long metal piece was taped to its top. Since the long piece on top had accessory shoes, I'm guessing the long piece on the top had a removable finder which wasn't included with the camera. There is also a bubble level added to my camera, which they placed on the lens base, opposite to where the viewfinder would be.
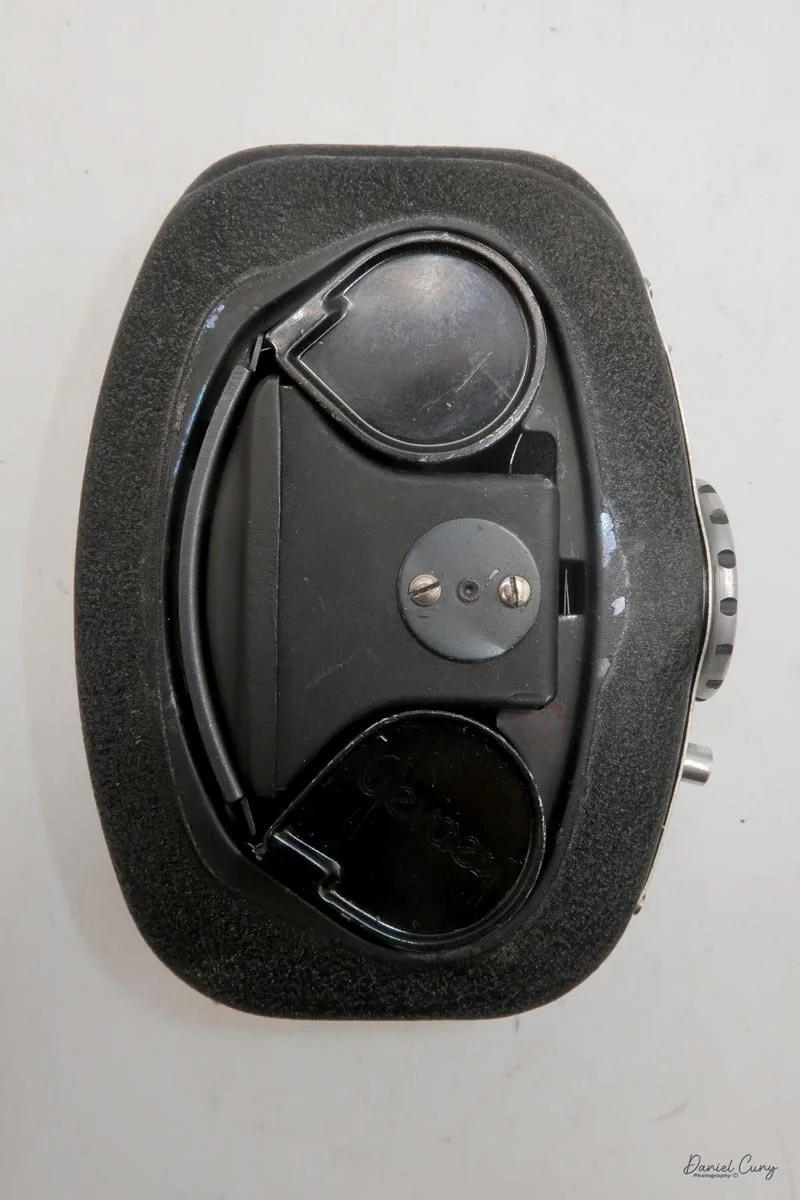
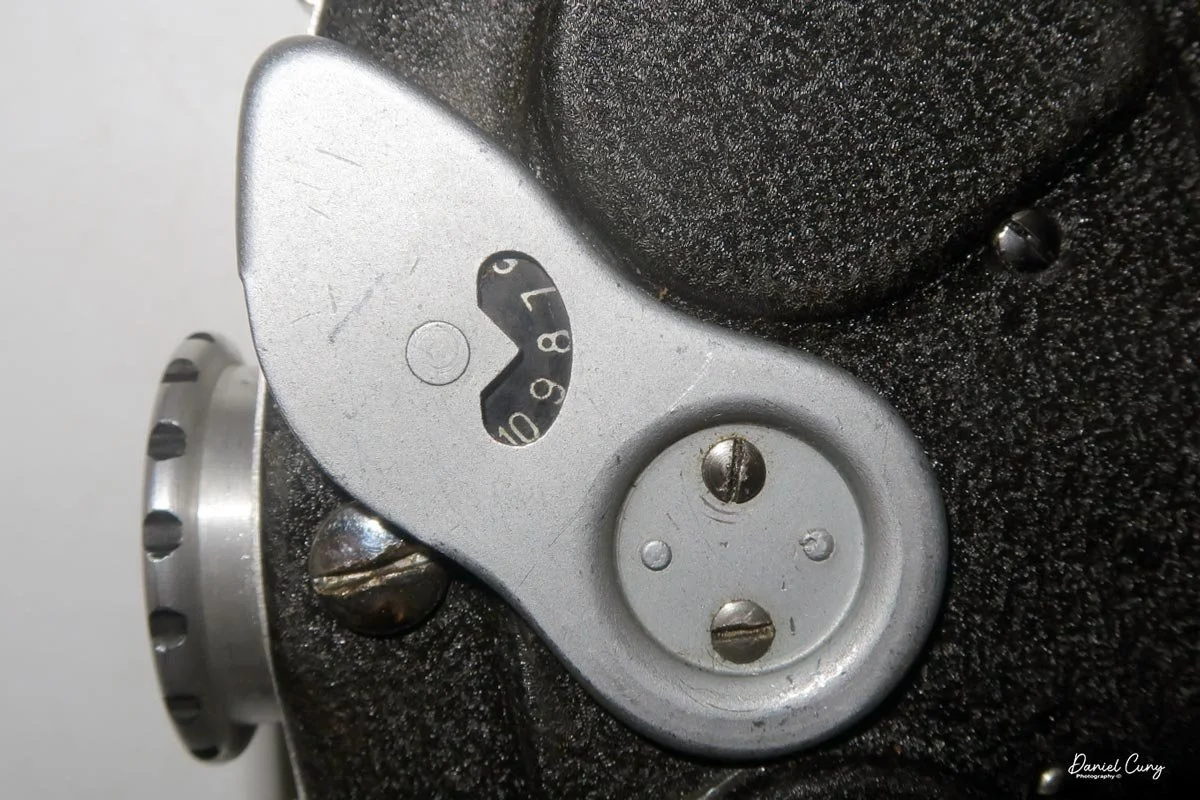
It also didn't have the secondary winding lever shown in the David Silver article. Still, it is a screw that holds the film adapter in the camera. It is very natural, but not original.
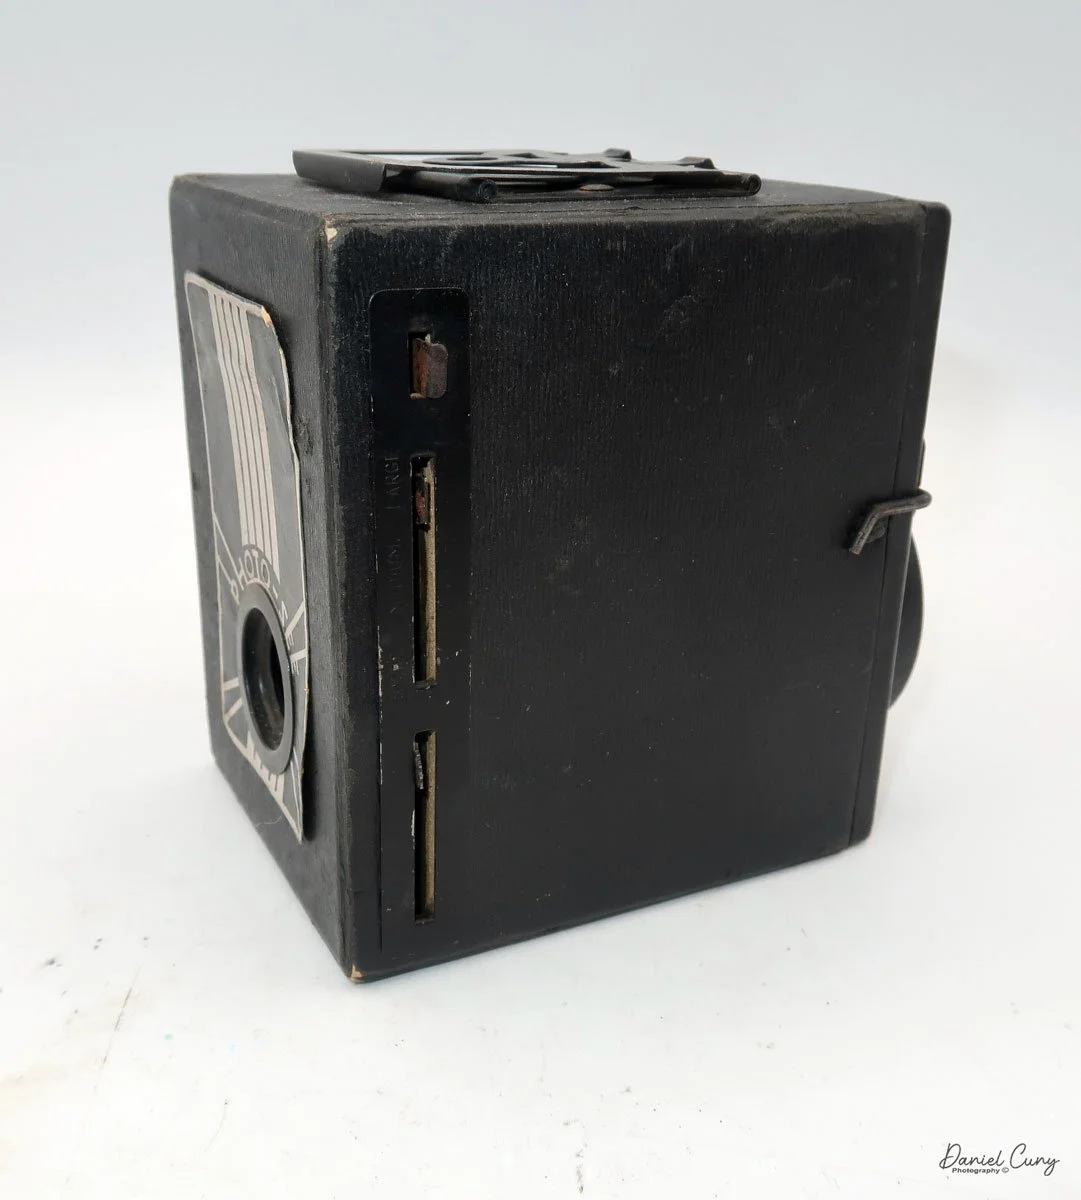
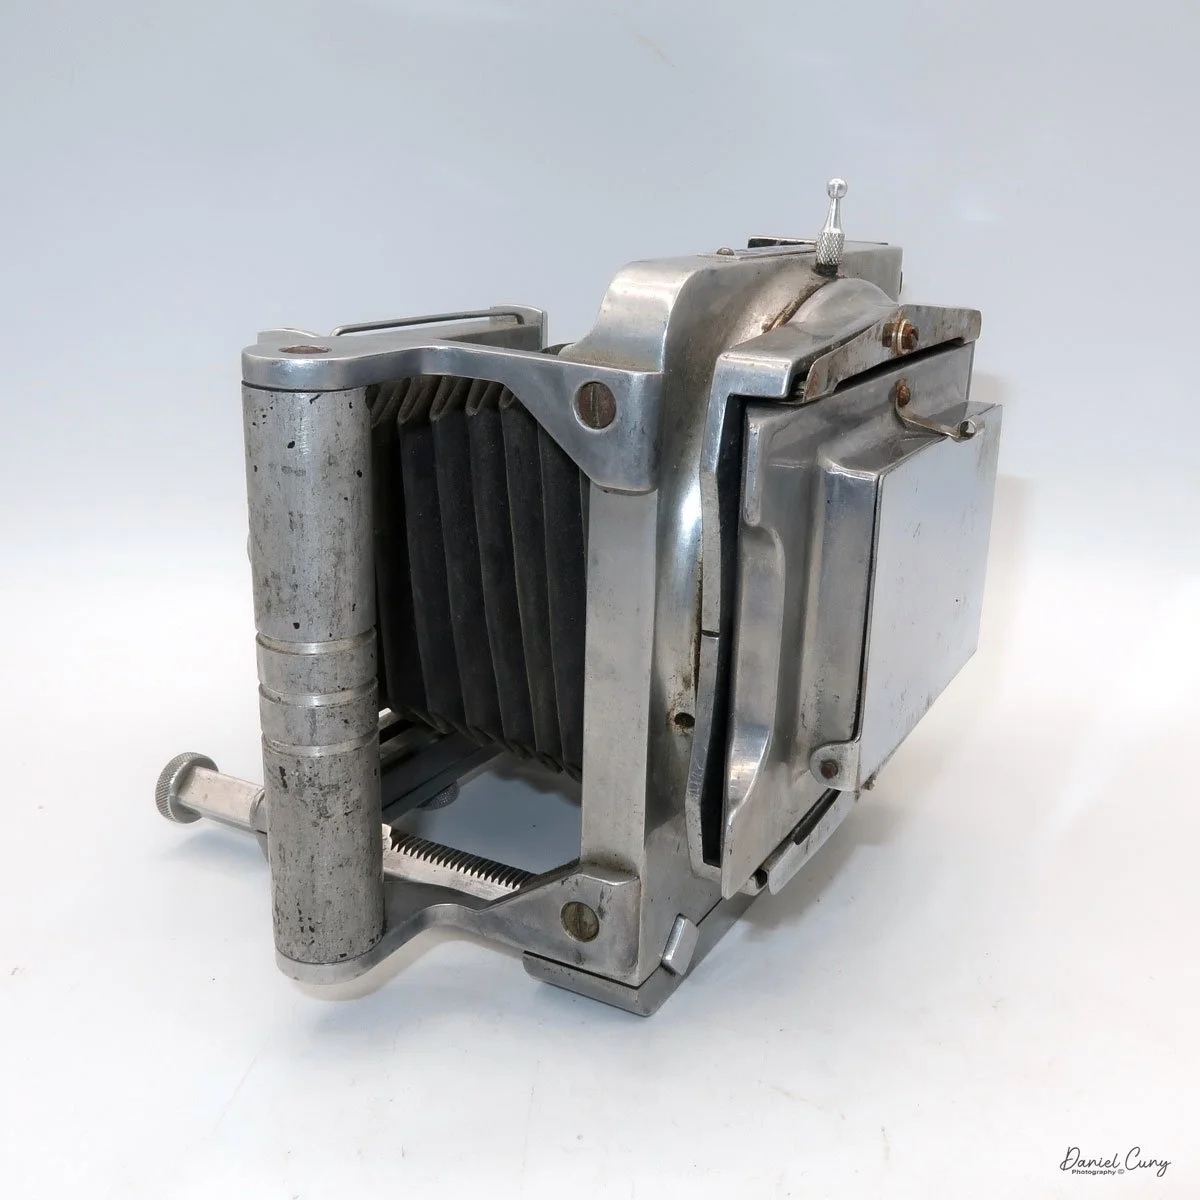
My camera is a later version, specifically named the Bell "Improved" Panorama and Panel camera, because the back of the camera doesn't fully come off. The bellows are a thicker black material that replaced the original red bellows. The lens base is painted black in place of the original polished natural wood. Still, the flaps on the sides of the camera, which allow the photographer to change the negative format used to photograph their subject, are included and in good working condition.
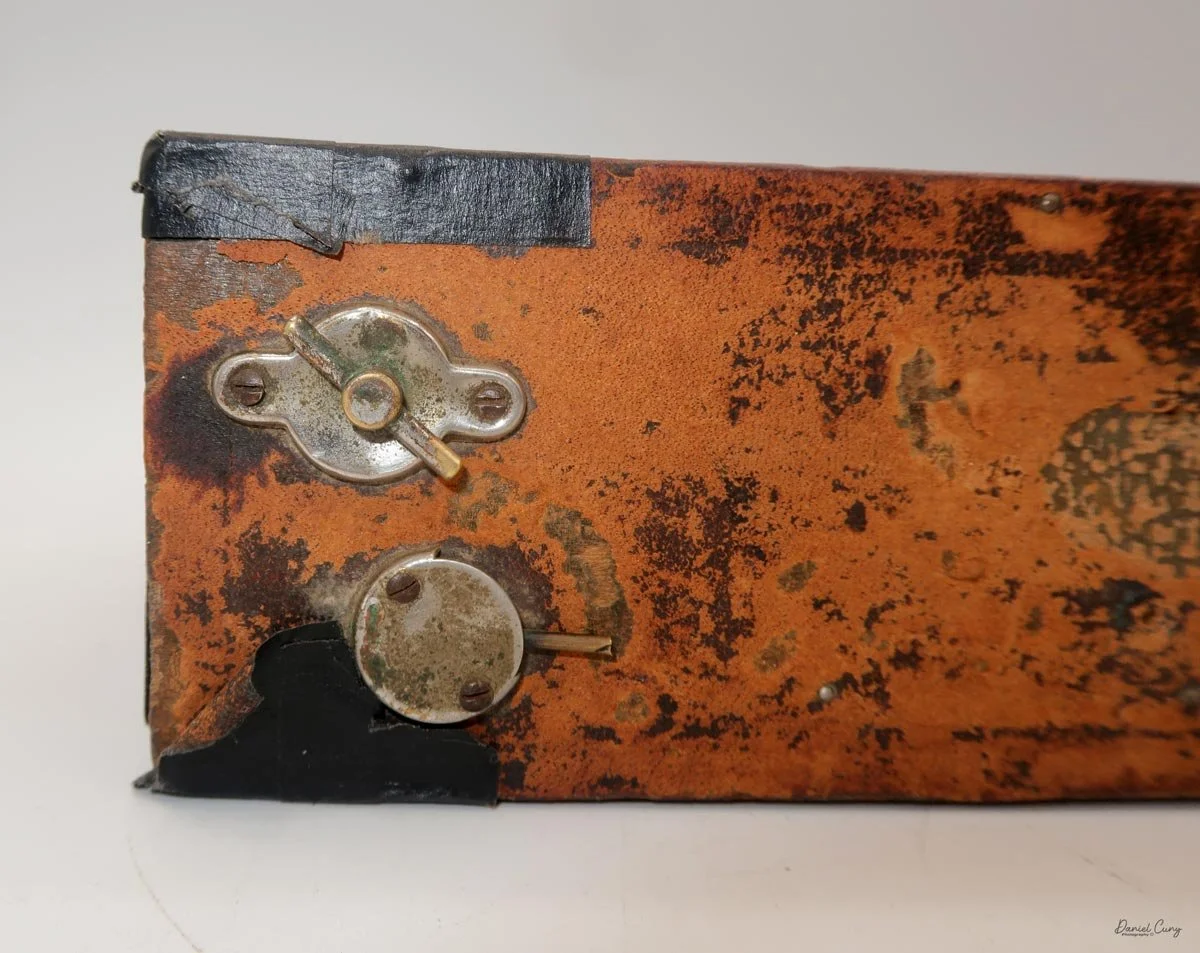
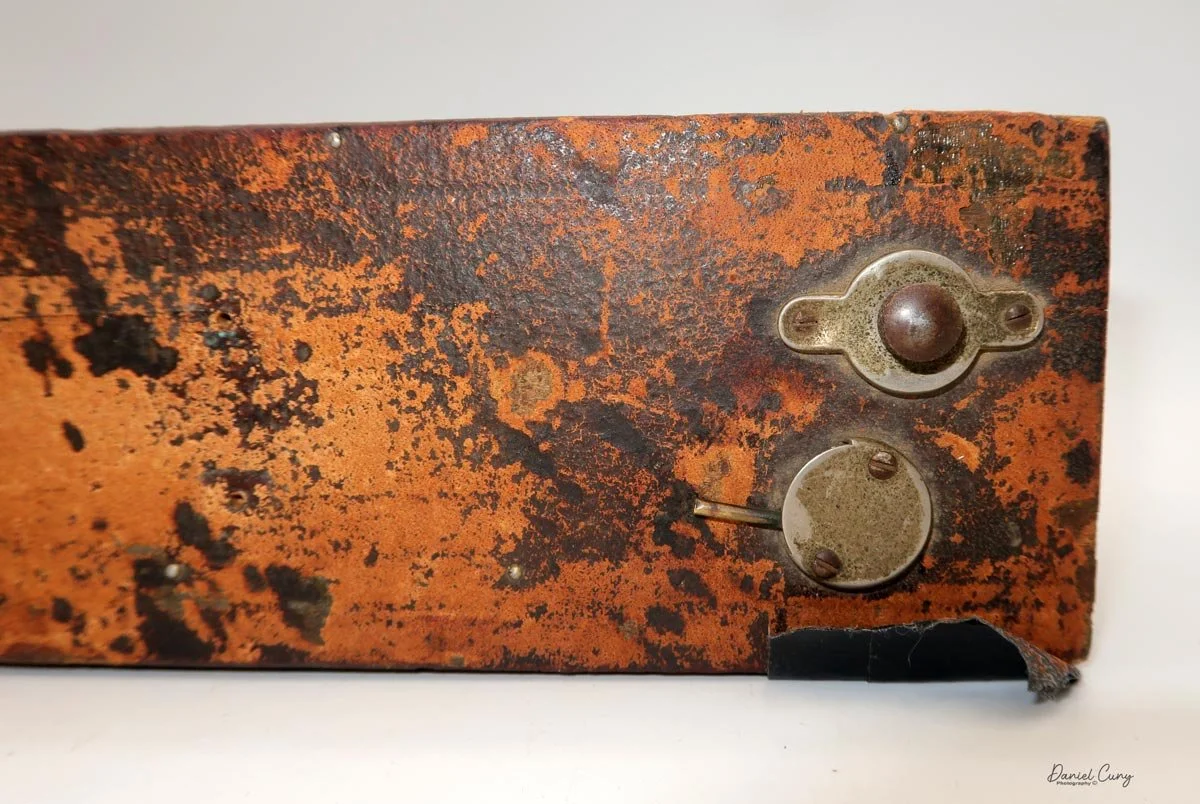
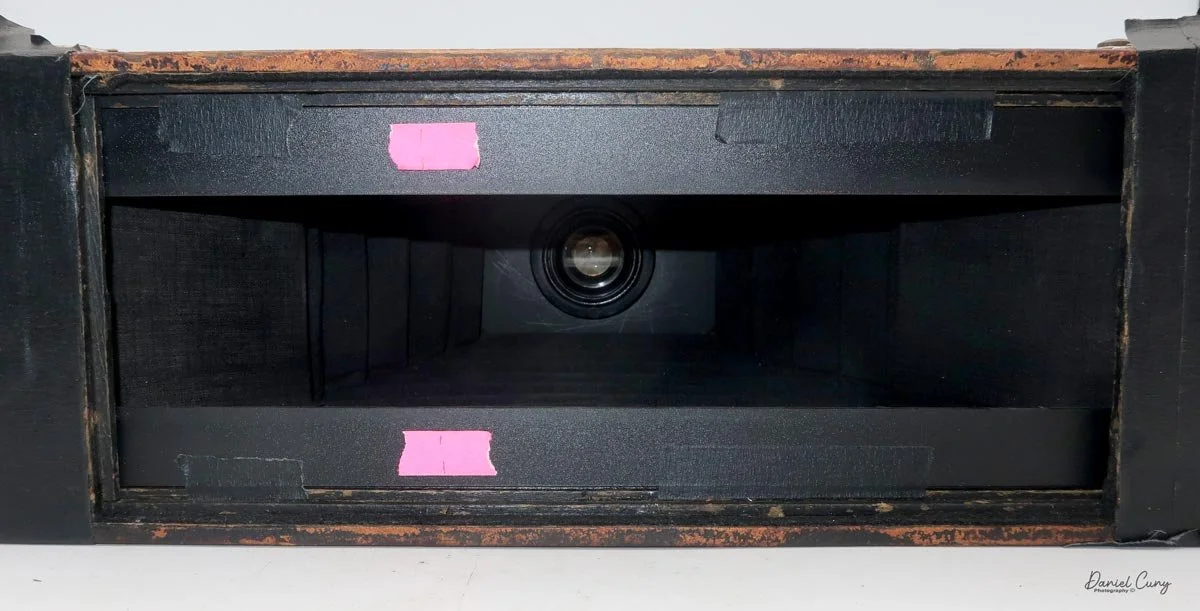
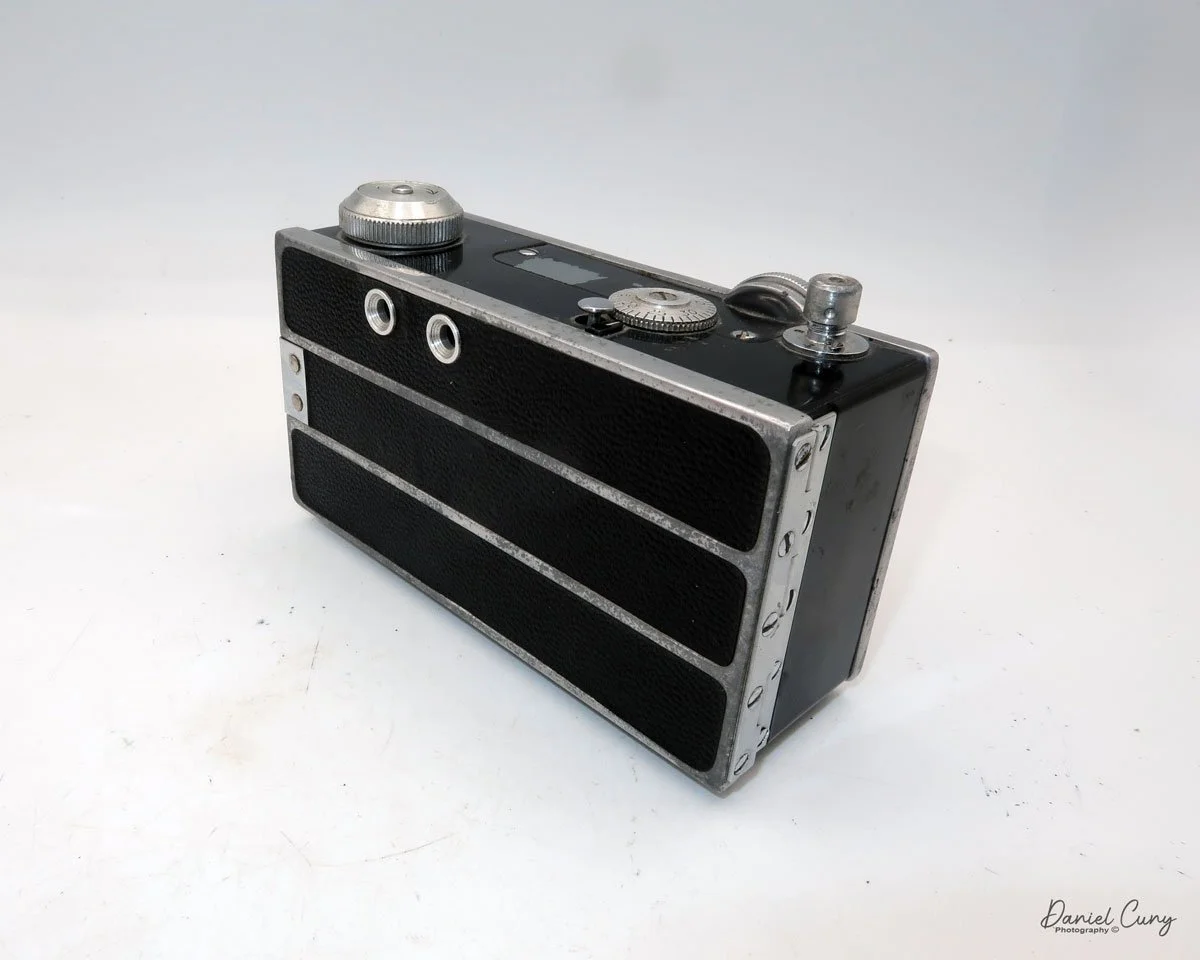
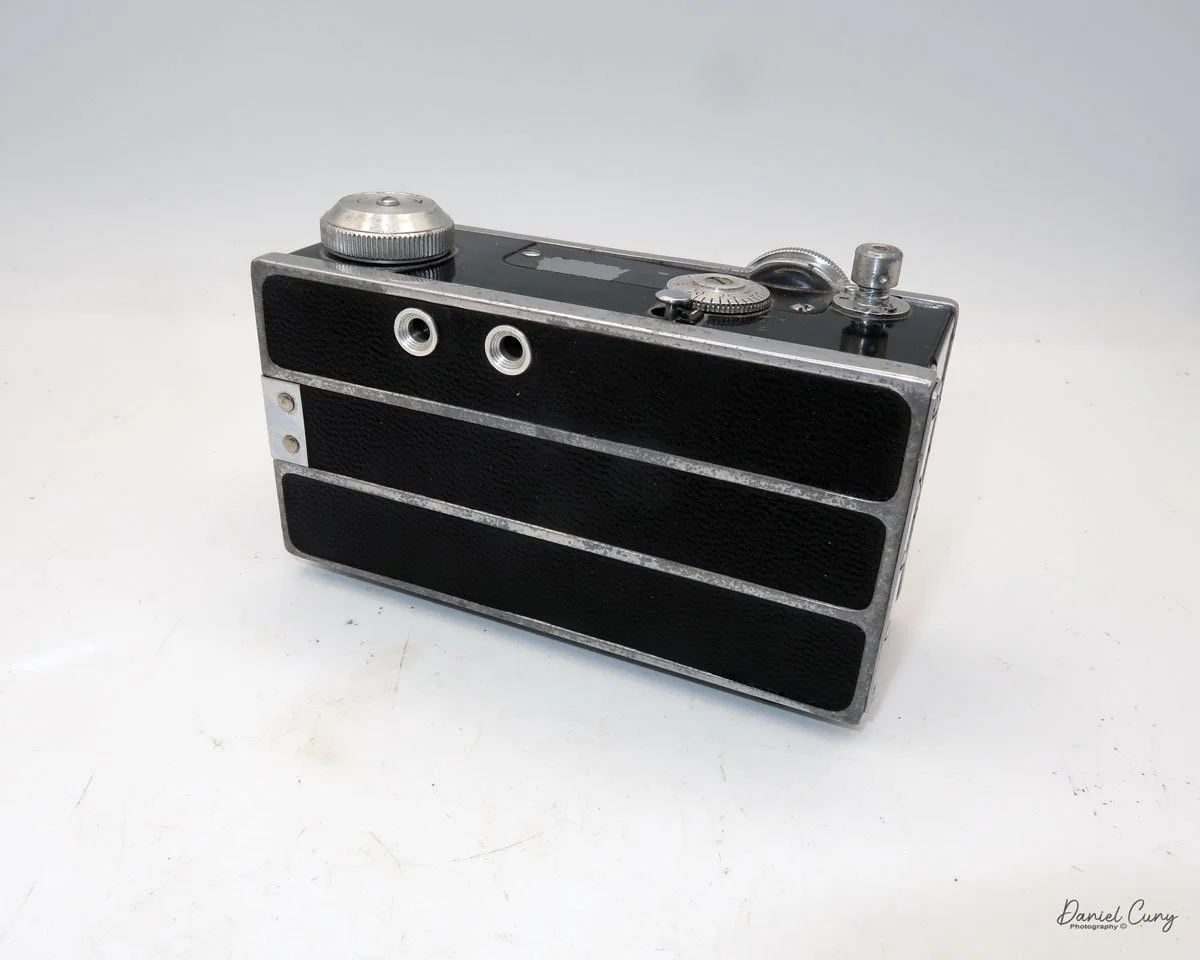
These flaps are controlled by two separate control arms, one for the right and one for the left. These arms are on the top of the camera, close to the film advance and the film locking pin. When the lens is extended, you can move the arms forward to move the flap out of the way, making the negative size longer. When these are pulled back, the flaps cover a portion of the negative, reducing its size.
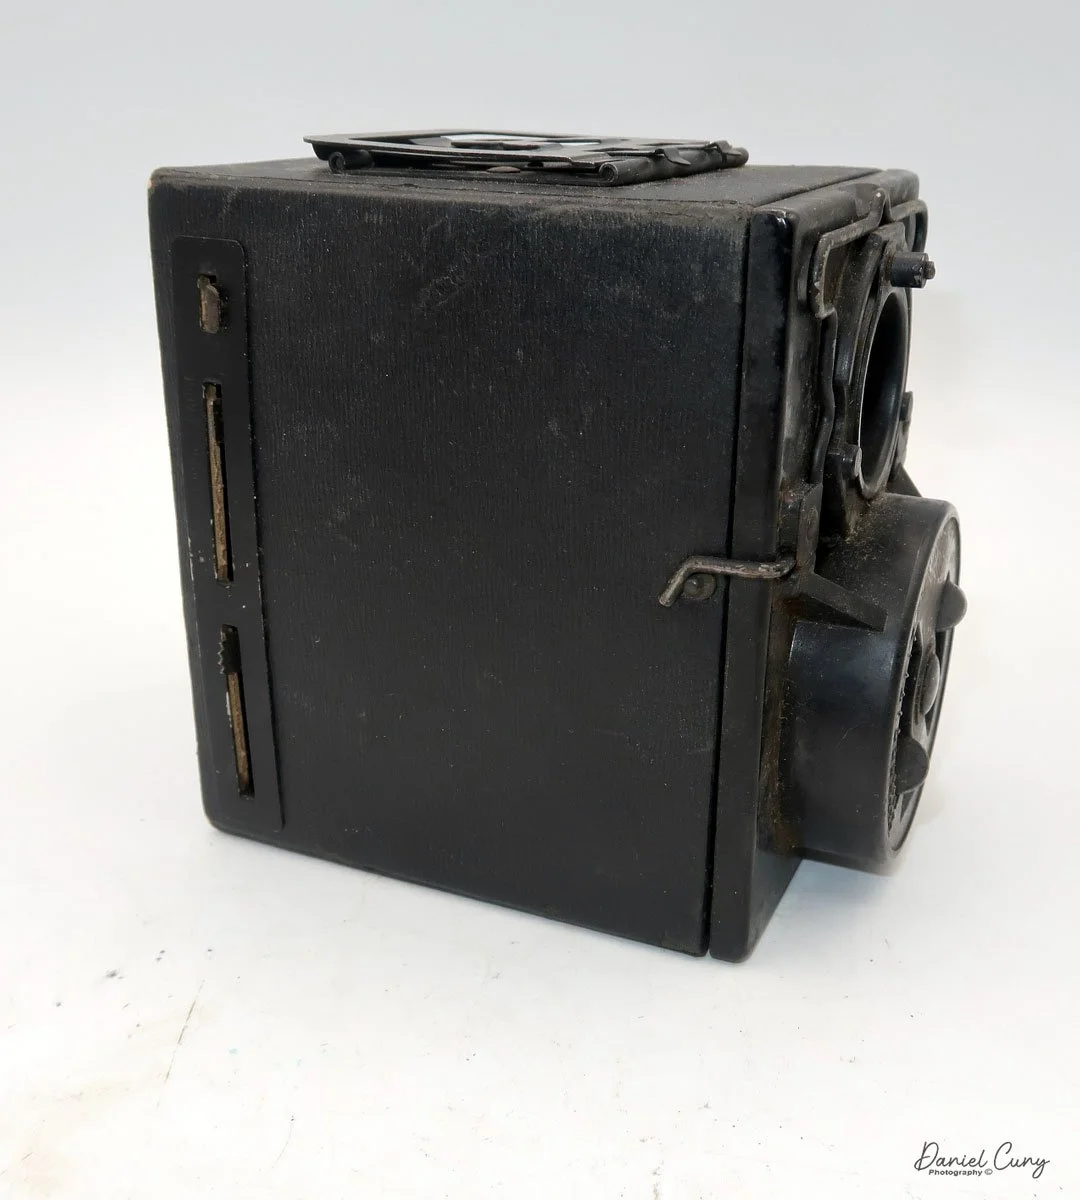
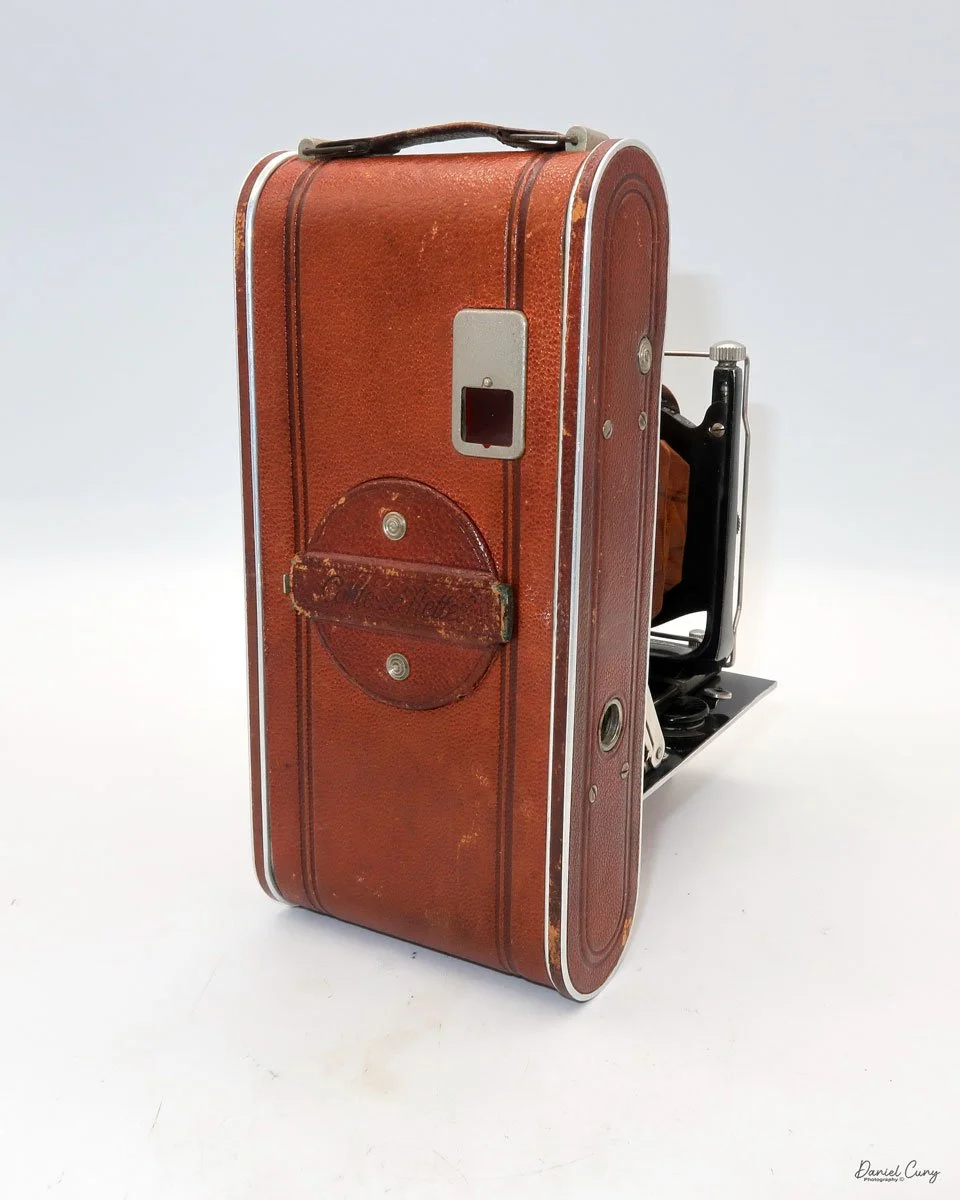
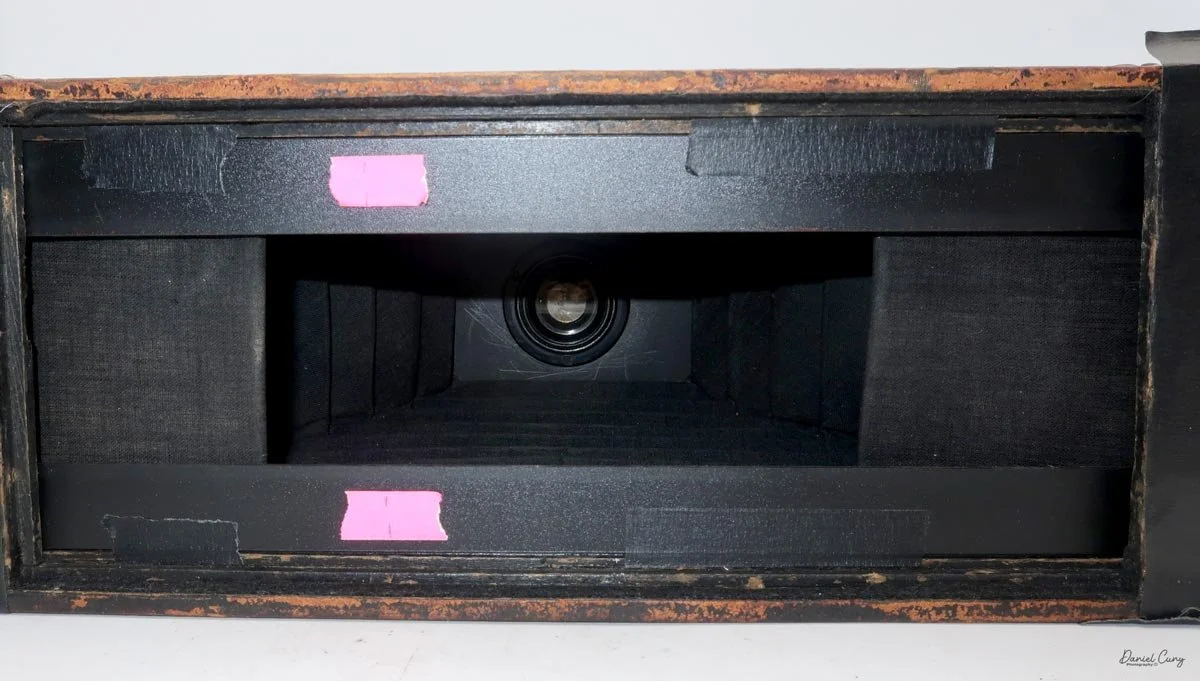
Depending on the number of flaps used, the camera can produce either a 6x17 when both flaps are used, a 6x24 when only one flap is used, or an astonishing 6x29 negative when both flaps are flipped forward. These are also the numbers on the white tape on the back of the camera. My guess is still the number of turns you do to advance the film to the next frame, because the red windows on the back of the camera are both taped over and not viewable on 120 film when used in the camera.
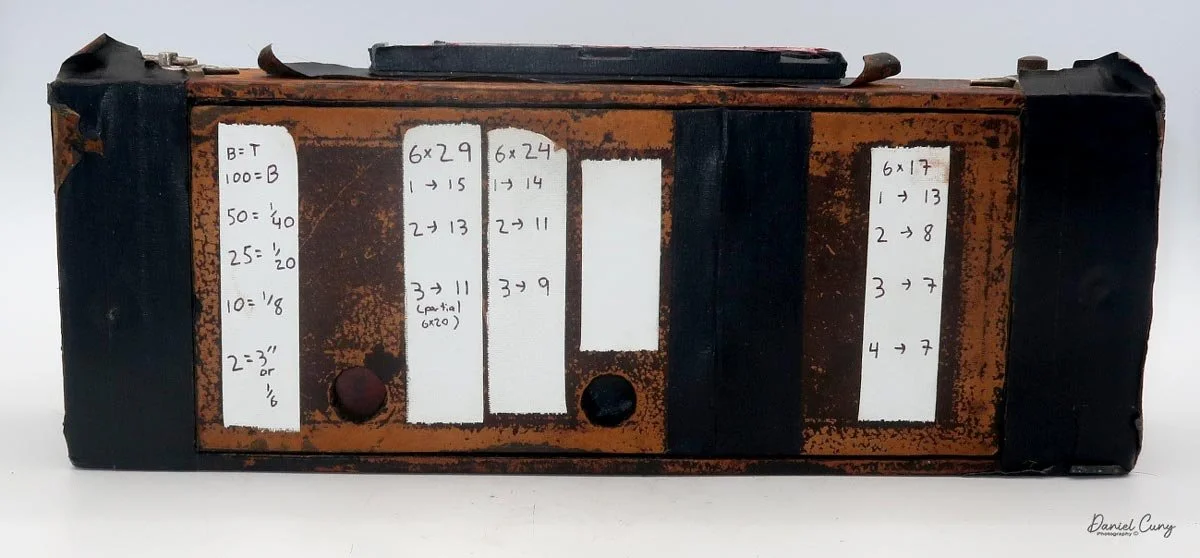
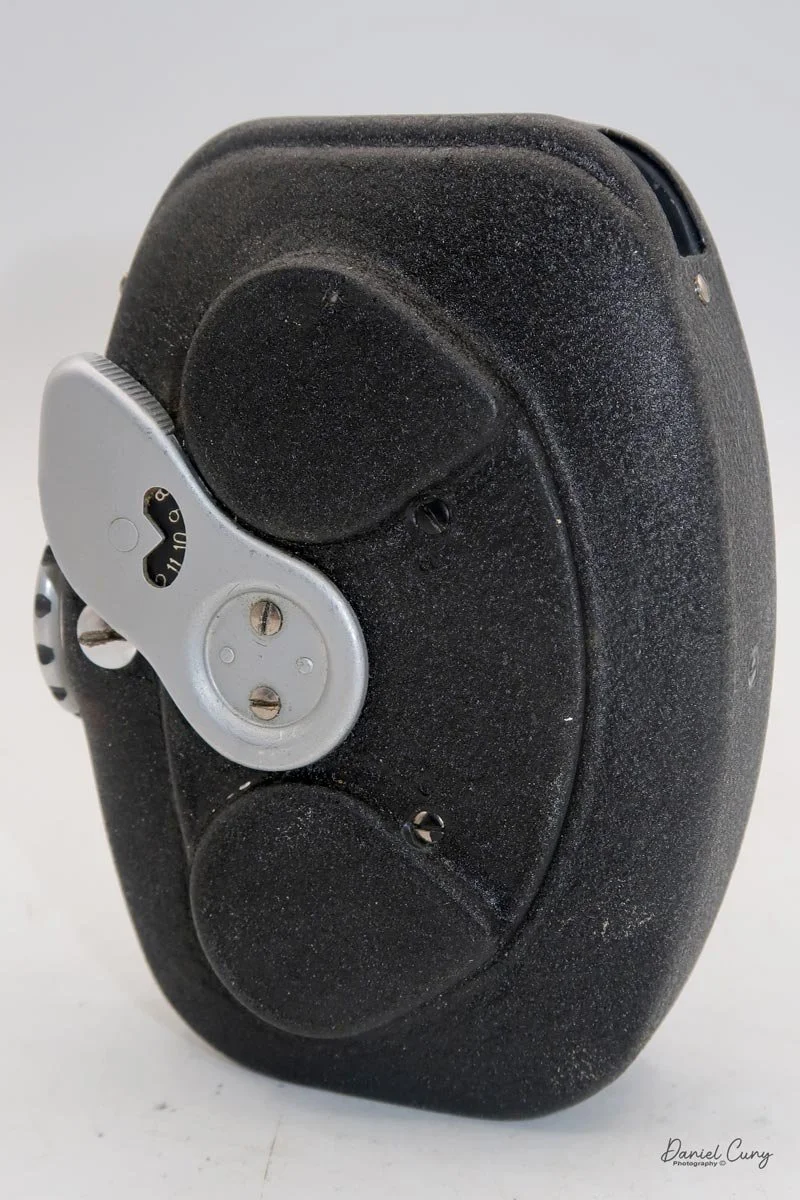
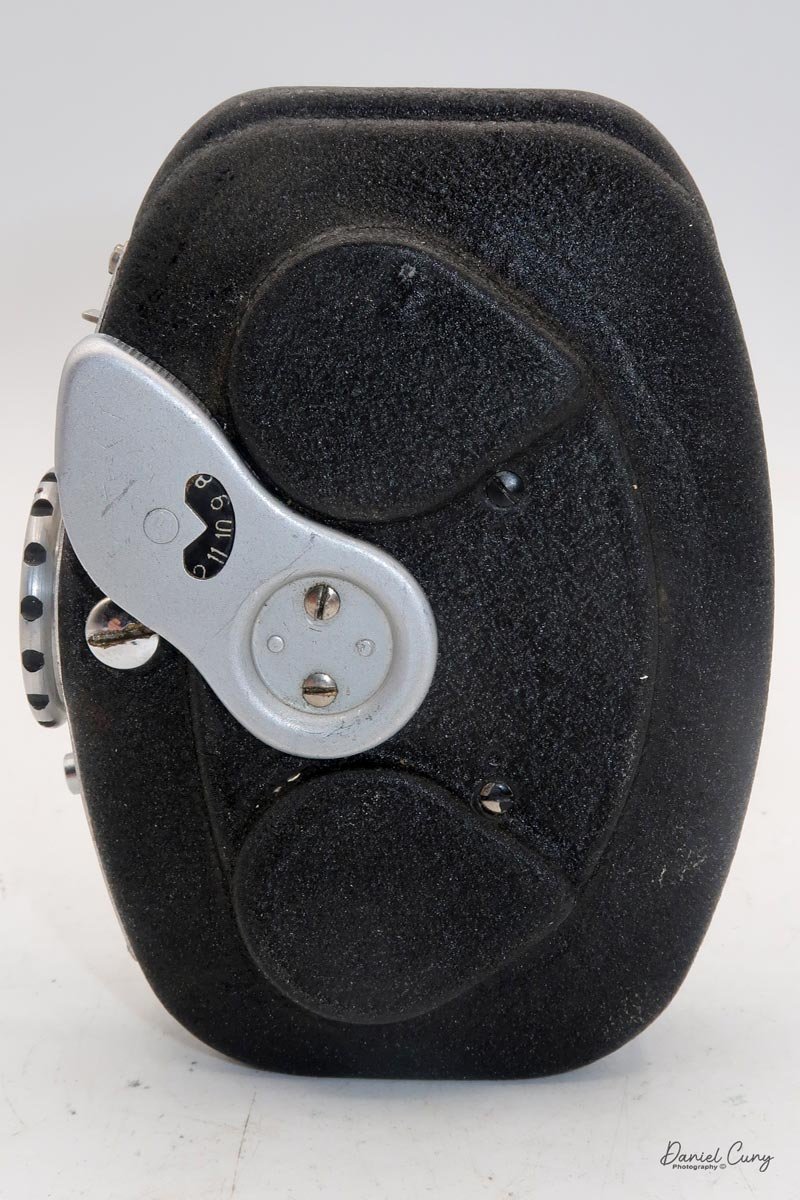
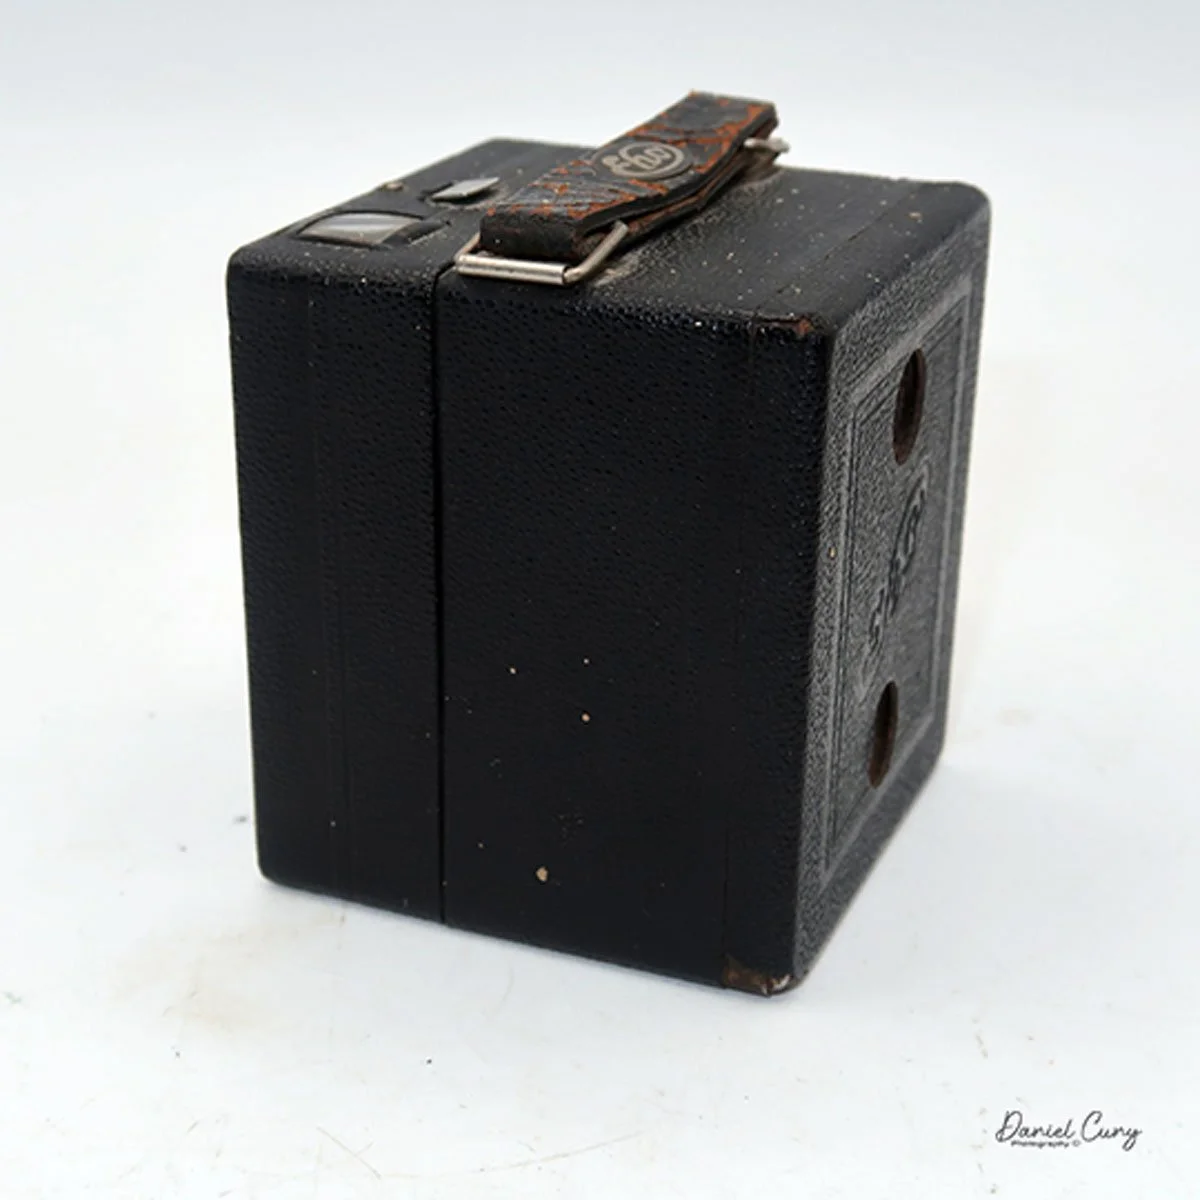
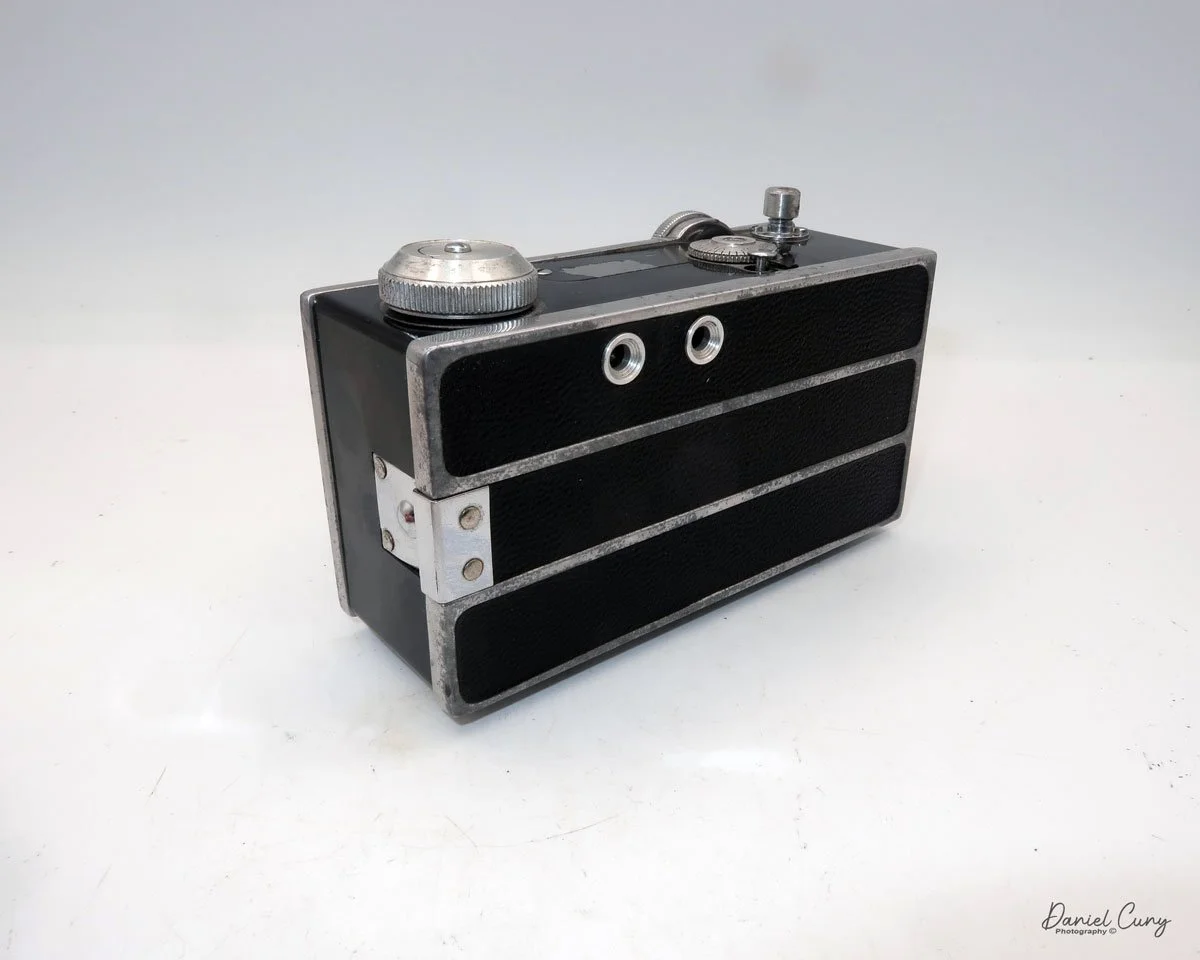
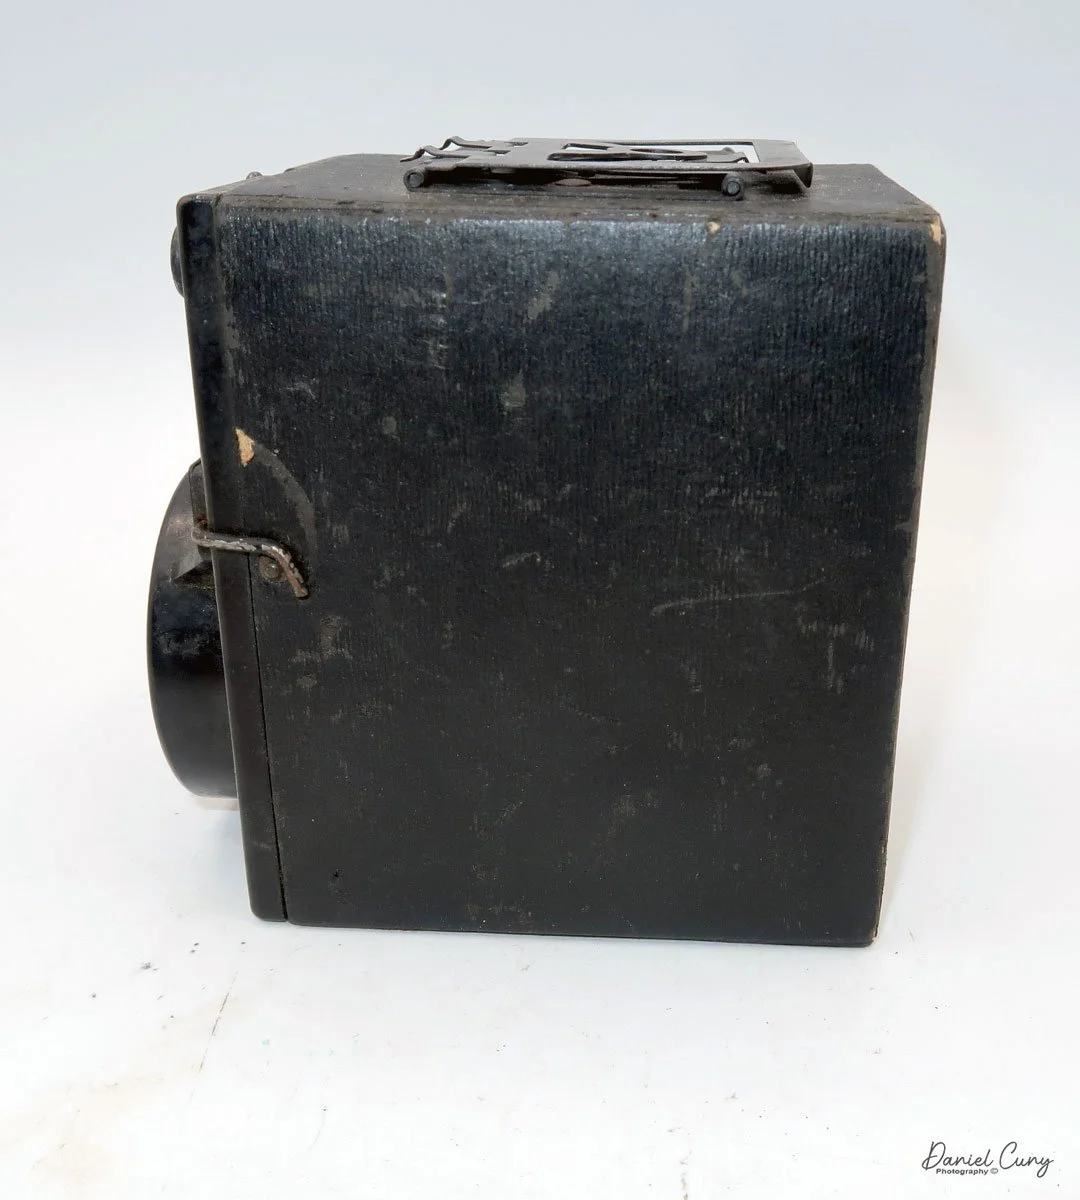
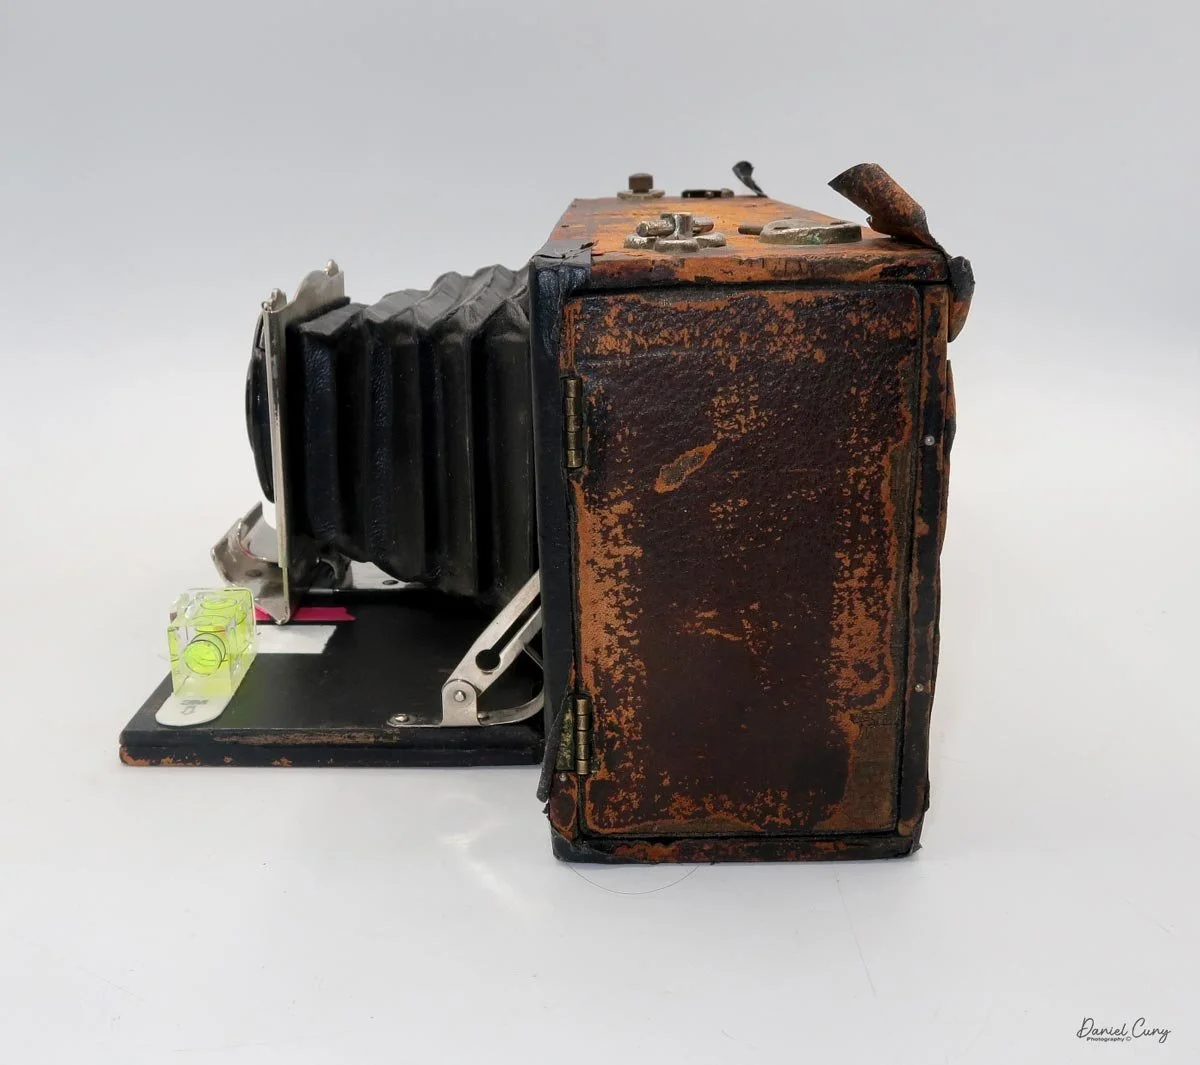
Back side of the Bell Panorama camera. Note numbers on the white tape.
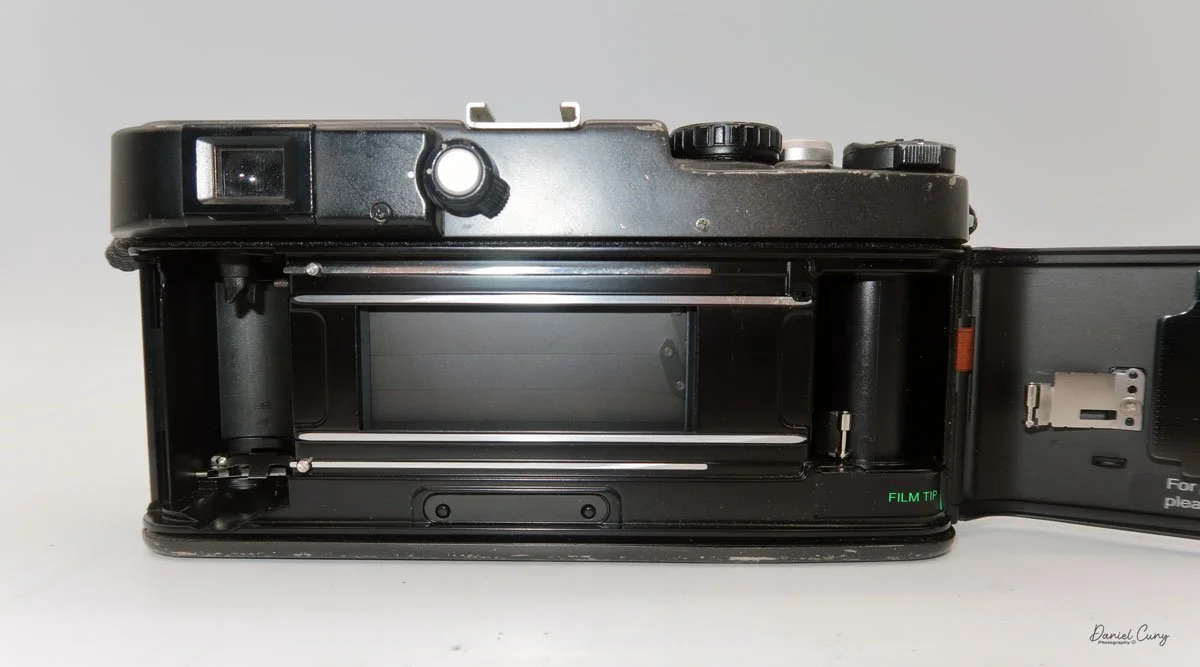
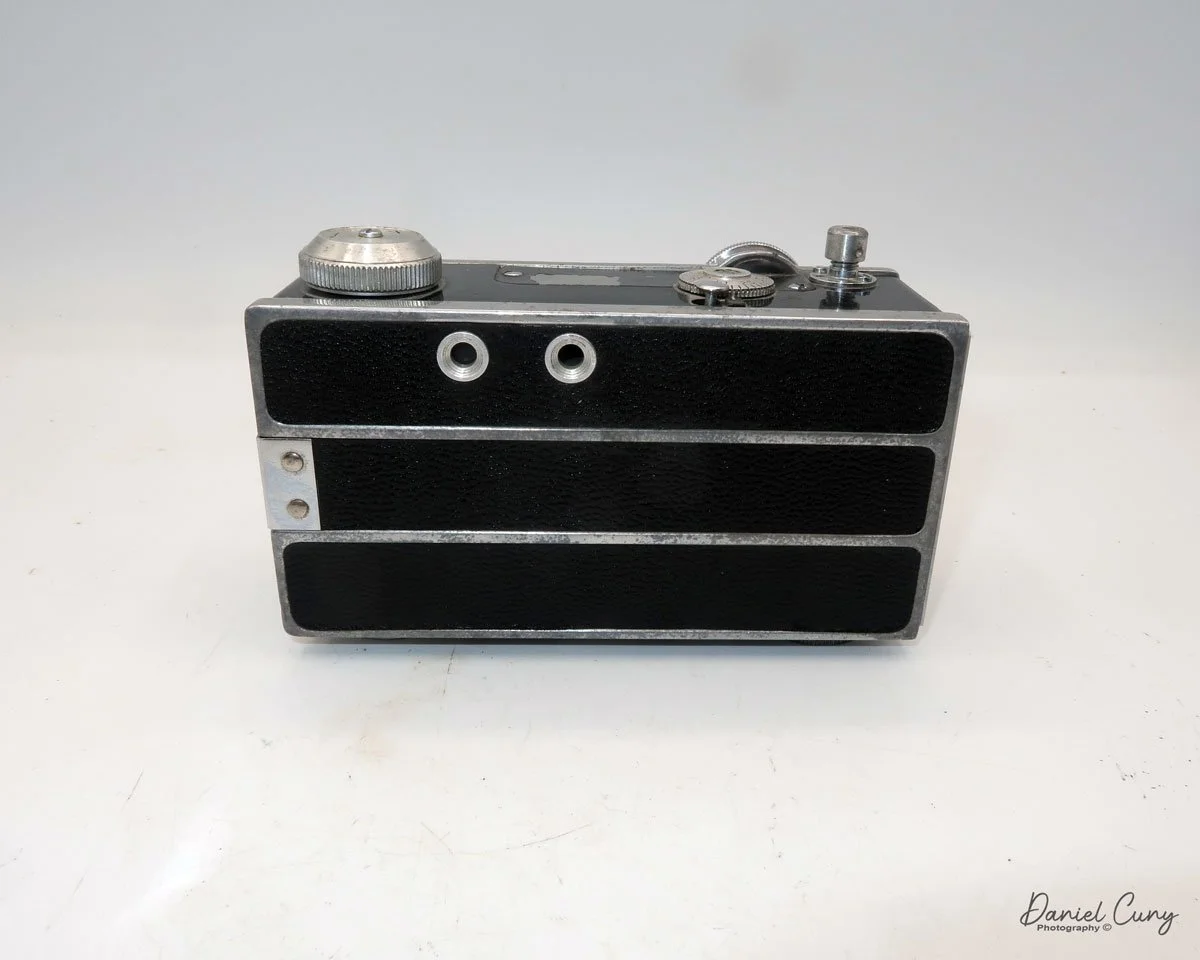
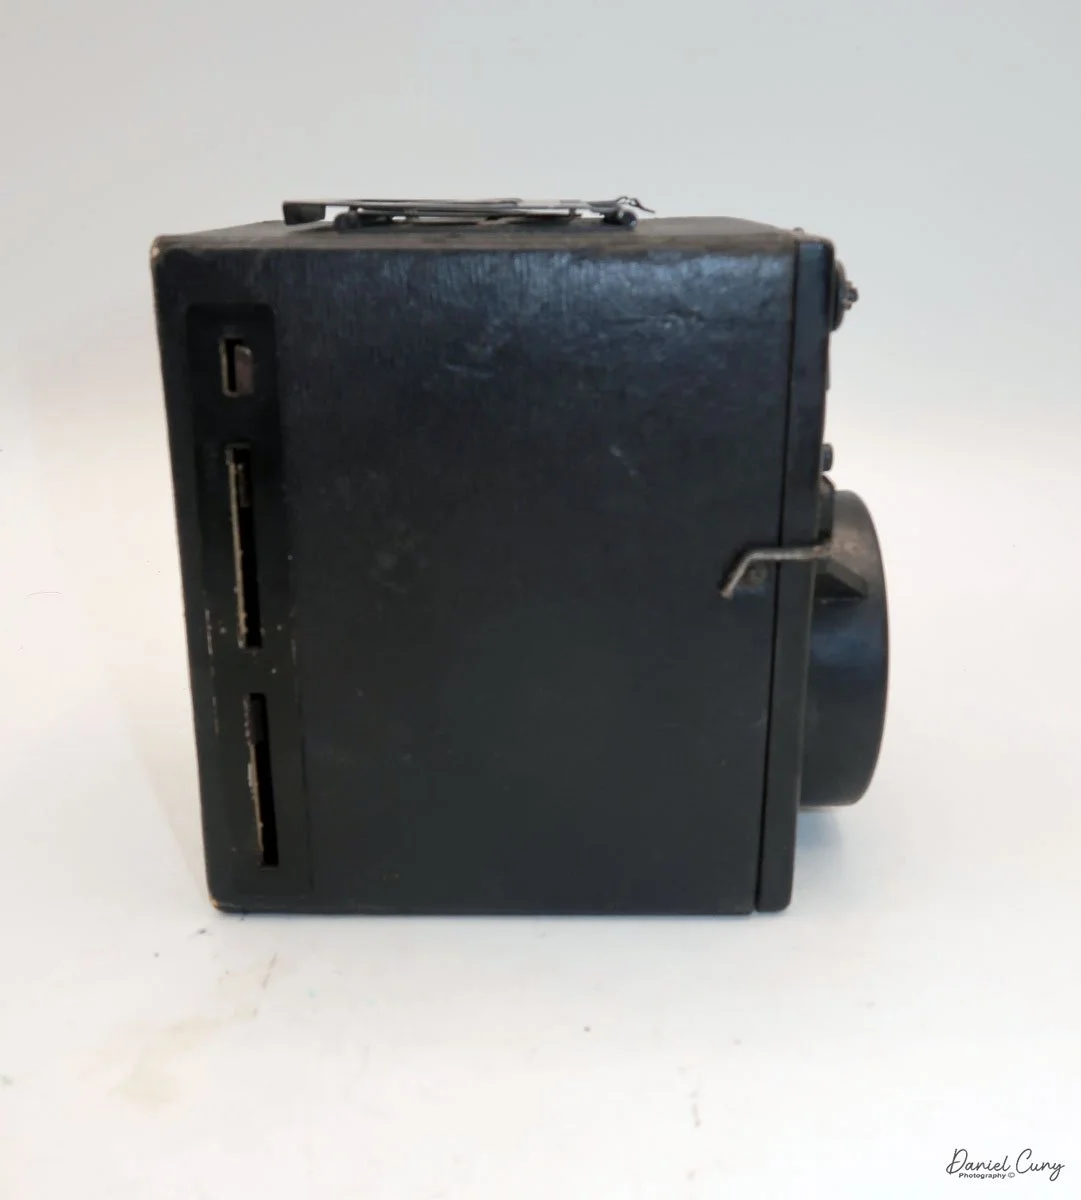
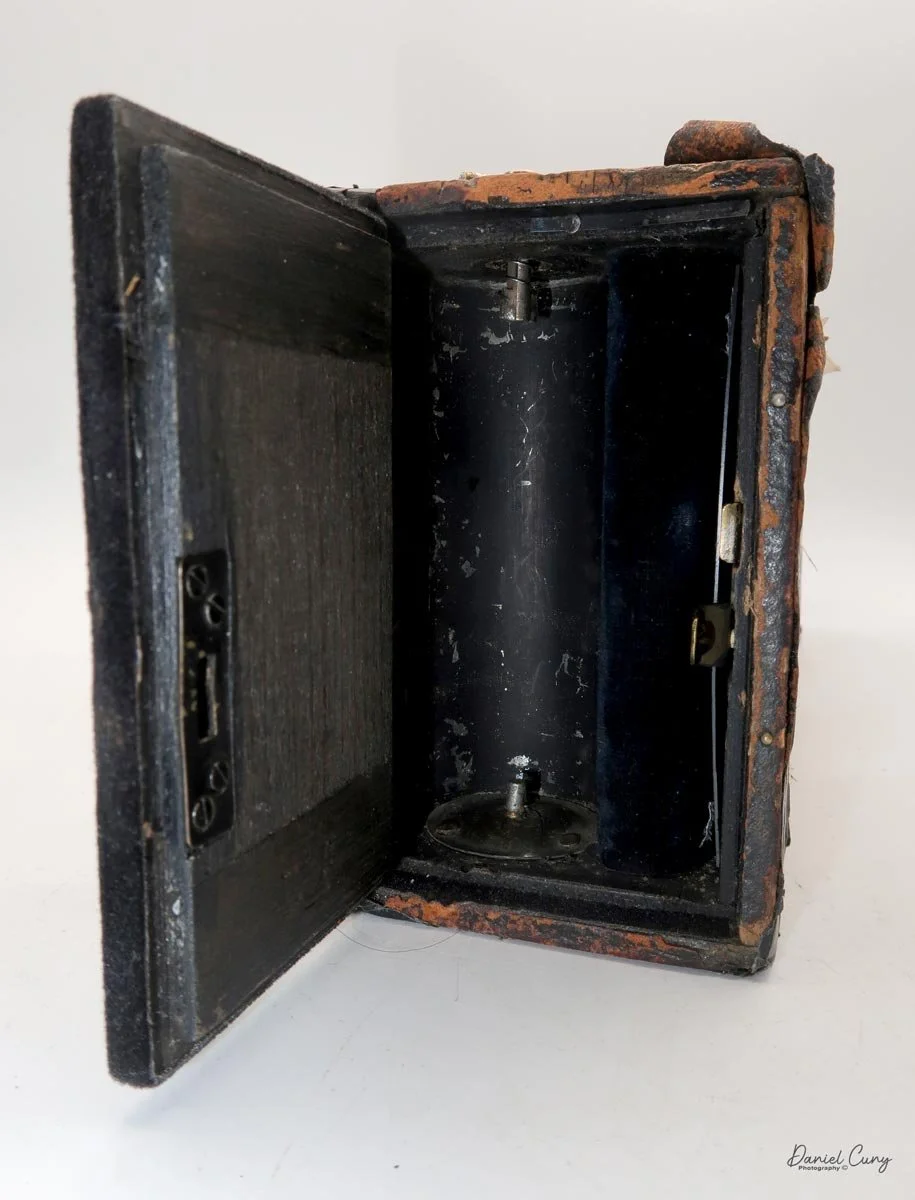
To open the back of the camera to load film, you first need to open each film chamber. This is done by pressing a small button on the back of the camera, close to the edge. Once pressed, you can open each side. On the left side, where the film takes up the reel and the advance handle is located, inside the chamber is a small handle you pull out that unlocks the back door. Pull out the handle, and with a fingernail or something thin, you can open the left side of the back and slide out the right side of the camera, exposing the film path.
To load film, I unthreaded the right side, where the adapter is. I put in a fresh roll of 120 film into the camera, replacing the screw that holds the film and adapter in place. One of the tricky parts of this modified camera is threading the film over the plastic pieces taped into the camera's holding frame, which crops the pieces into place. I threaded the film in several times, but it always ended up under the cropping pieces rather than above them. I finally found a solution and got the film through.
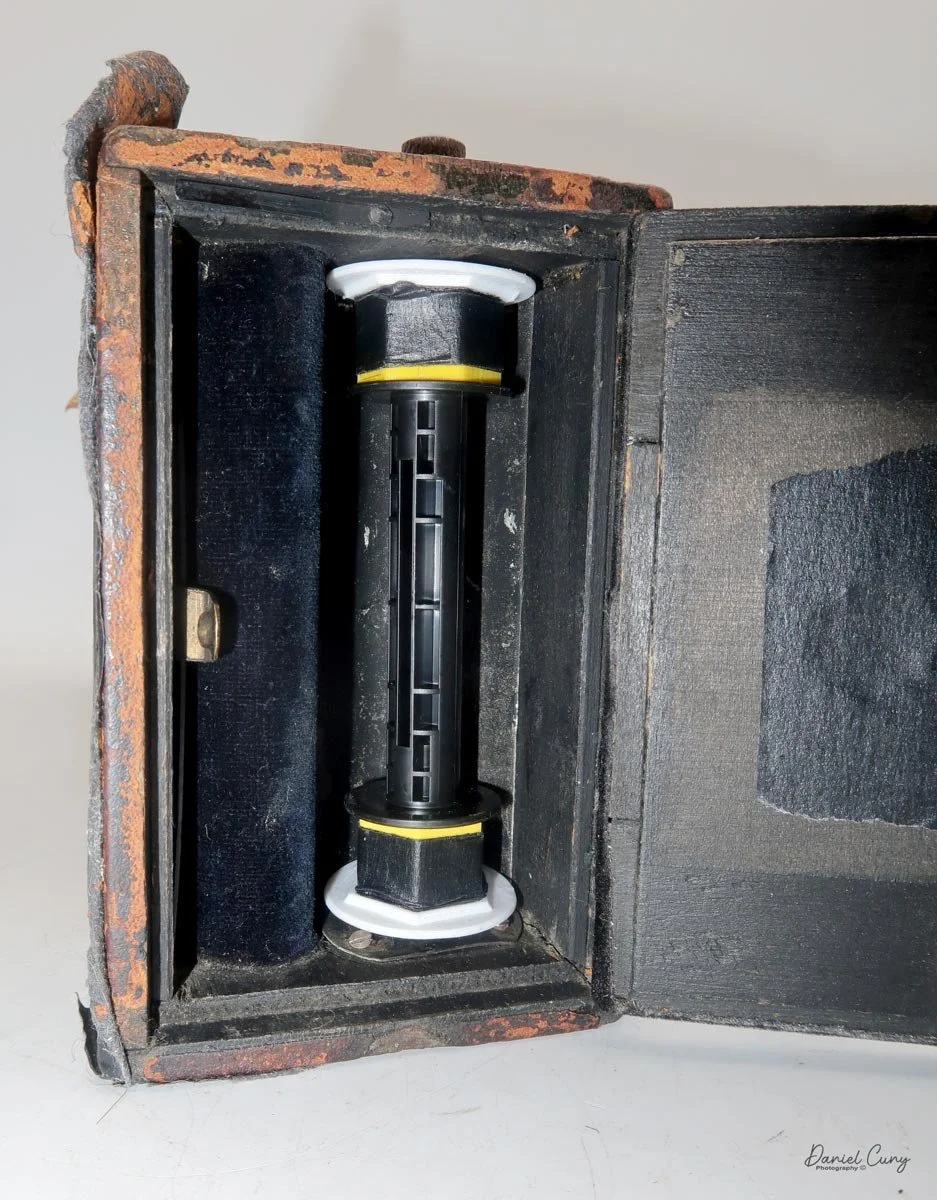
With the 3D-printed adapters I used for the No. 3B Quick Focus Kodak, the take-up spool barely fit, and it was extremely tight. I needed to cut a channel into the side so I could slide the adapter over the bottom stem, since it was fixed in place. Usually, on folding cameras, there is a spring-loaded pin that you can pull down and slide the film reel into place, but this camera doesn't offer that. Cutting the channel into the adapter's side allowed me to slide the film into the camera and spool it onto the take-up reel.
With the camera loaded, I went out to take some photos and see if the film advance numbering system actually works.
My Results:
The old adage "Live and Learn" is very popular when I go out to shoot with cameras. It generally takes a couple of rolls of film to get to a normal comfort level with a new camera, and that's what happened with the Bell Panoramic camera.
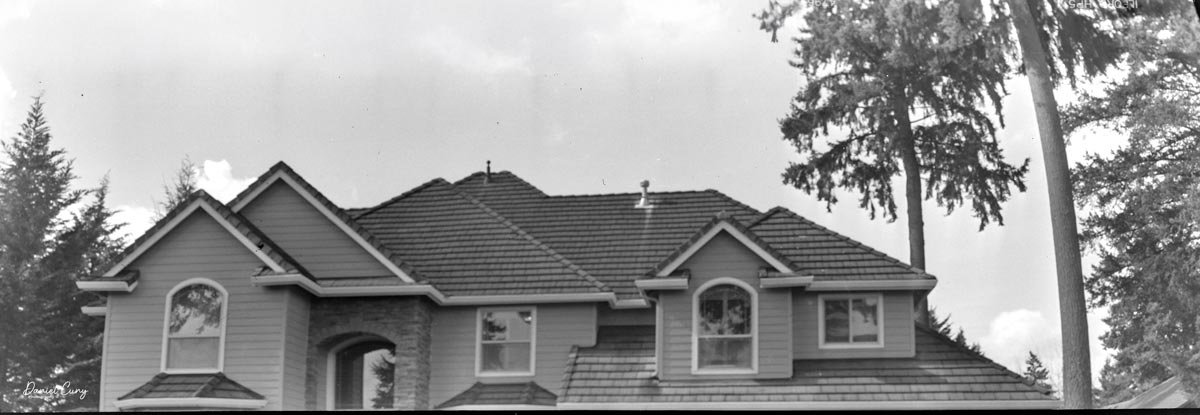
I shot my first roll of film, thinking the flaps would magically spread out during shooting. After carefully counting the turns to reach the next frame and "thinking" I was shooting in the 6x19 format, I noticed I had only two images on the roll, and they weren't in the widest format.
I also noticed the images were very "top-heavy on the negative, meaning the images almost bled off the top of the film, and there was more room on the bottom. This indicated that the adapter didn't work as it should, but the good news is that the exposures were good.
Excited to know the camera didn't have any light leaks and the shutter was working well, I decided to make some changes and shoot another roll to see what I could get. The first thing I noticed was that when you pull out the lens, that's when you need to determine the format you want to shoot in. When the lens is closed, the flaps are always pulled back, leaving the film unexposed to the full width. That was the easy fix…. remember to flip the flaps forward AFTER you pull out the lens.
I also needed to make adjustments to the film adapters for the take-up spool. Since the images were top-heavy, I trimmed off about 1/4" off the bottom of the lower adapter. This would push the film lower, making it easier to turn the film advance crank.
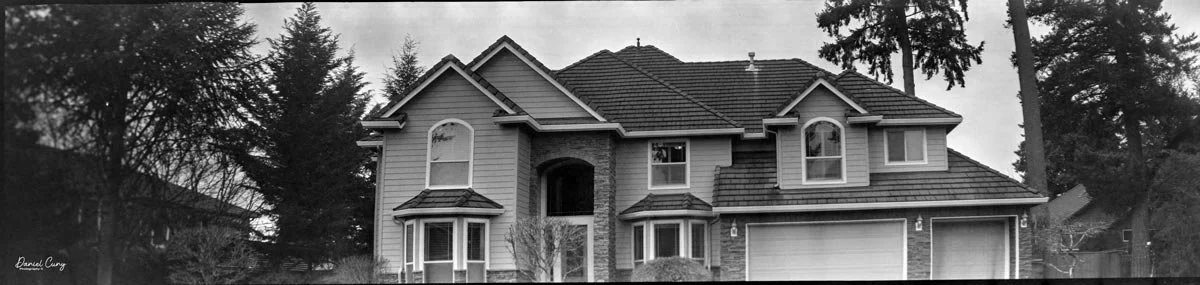
Loading the camera with a second roll of film, which was much easier than the first time, I headed out to my front yard to take more photos. Pulling the lens out of the camera's body, then flipping the wings forward this time. Now I knew I was going to get a longer image on the negative. Carefully counting the turns of the film advance crank, I took my first photo of the second roll. Advancing the film to the second frame, I leveled the camera using the bubble level and snapped my second photo. The third photo wouldn't be full-width because the film wasn't long enough to capture three full-frame images, so I shot a photo and hoped for the best.
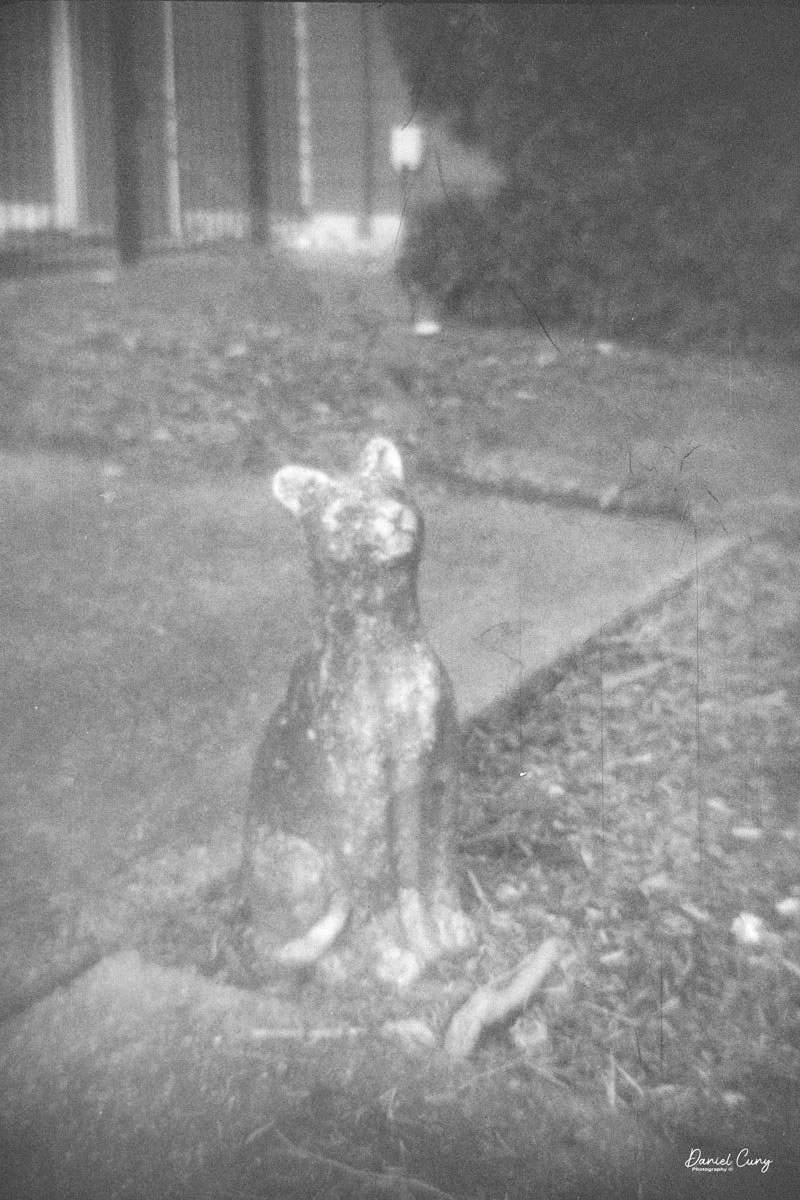
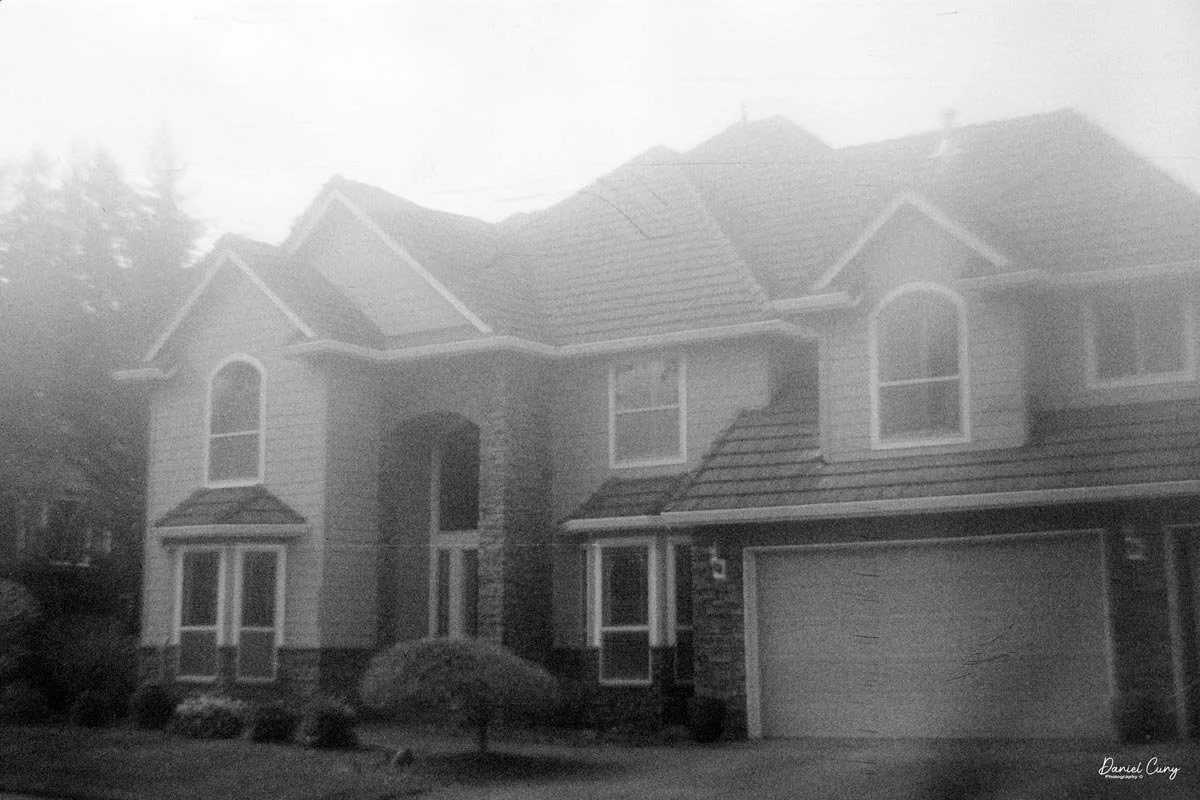
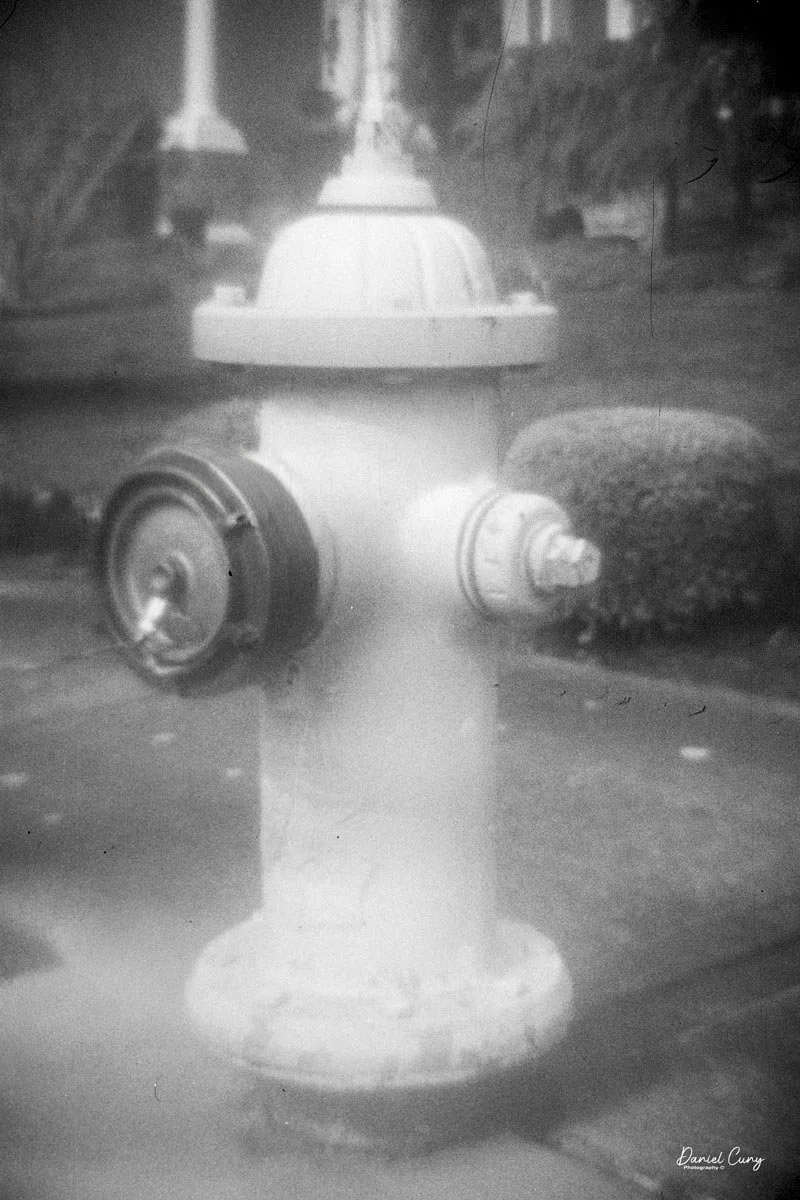
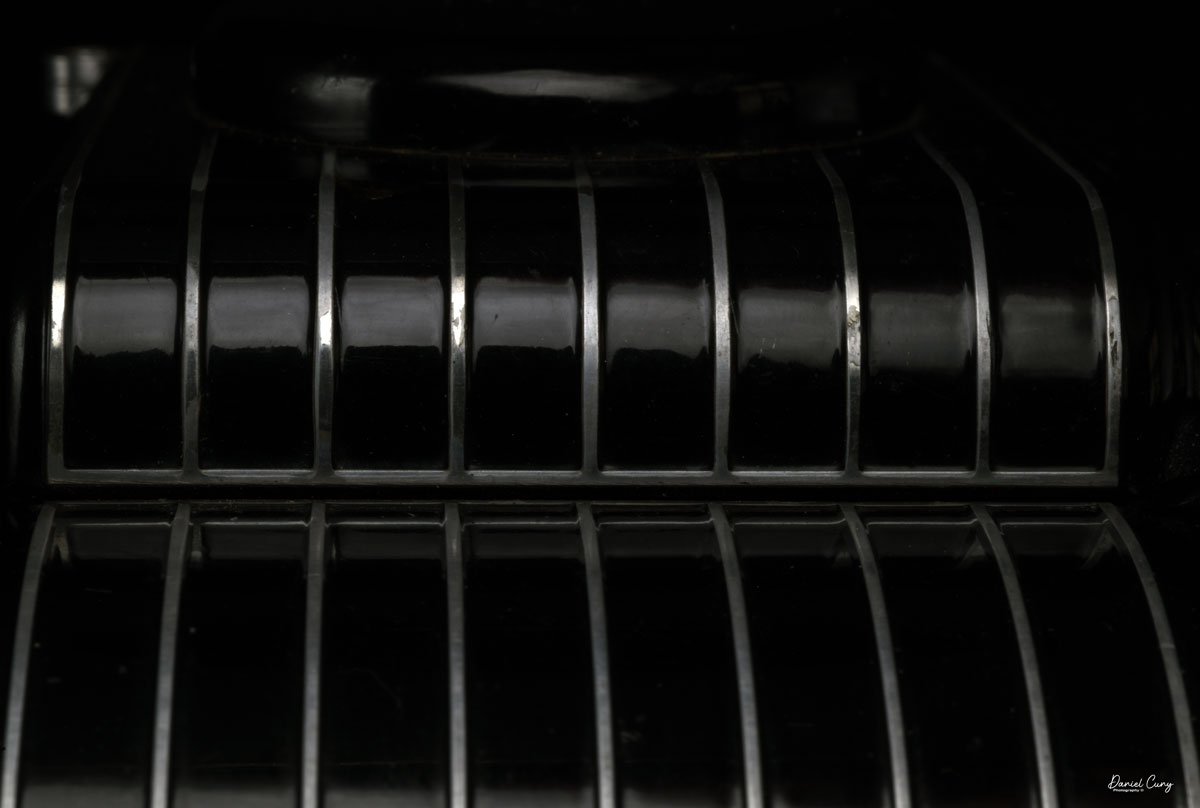
Here are the results from the first roll.

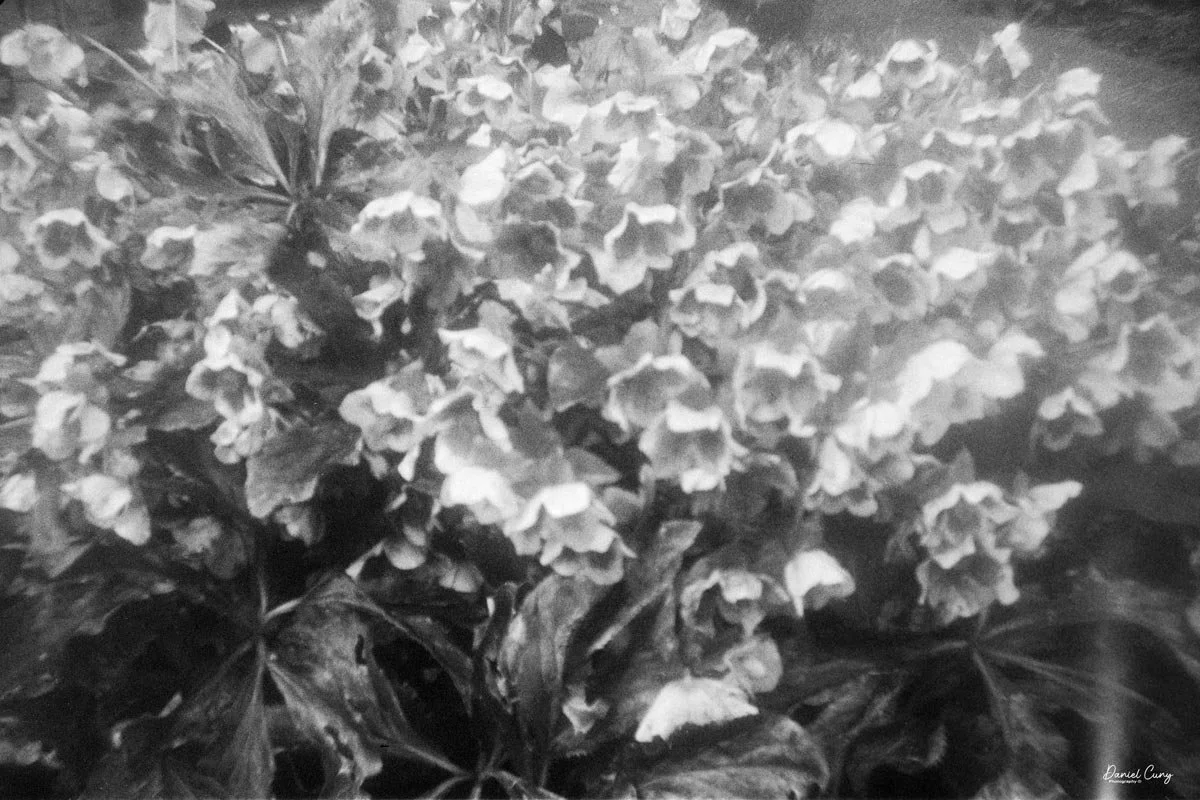
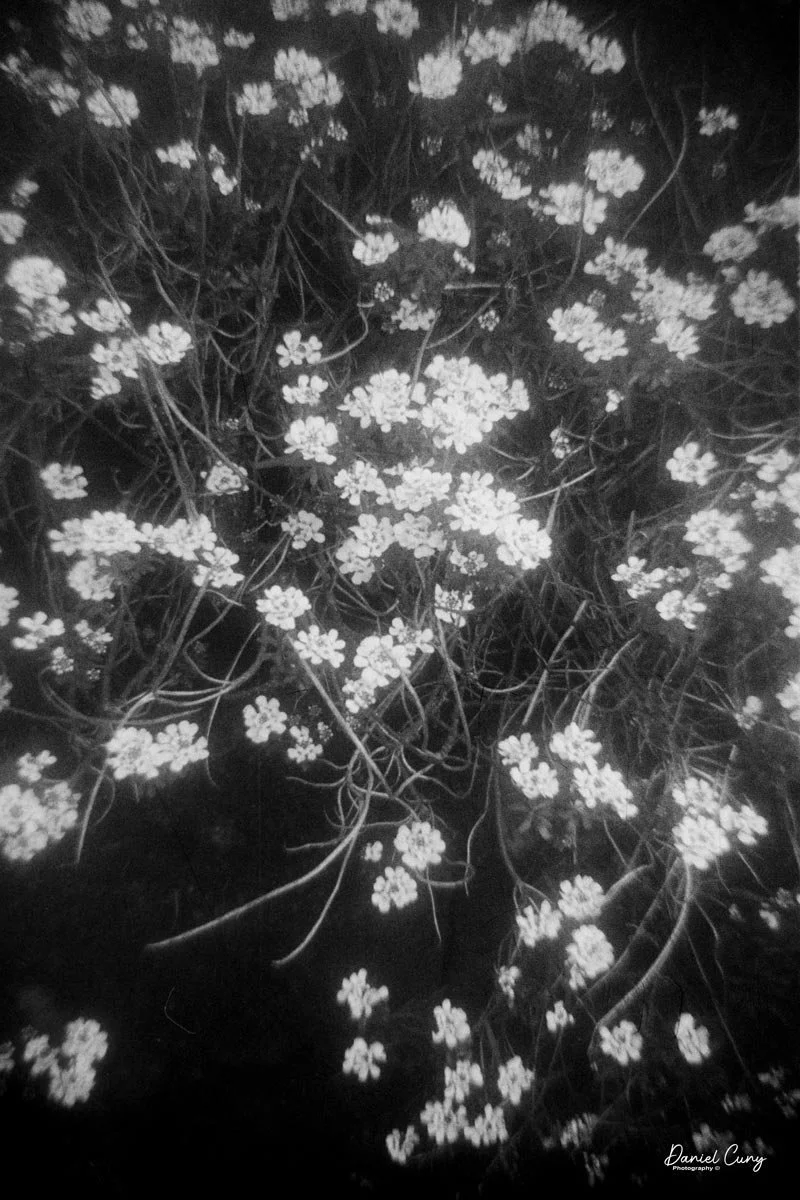
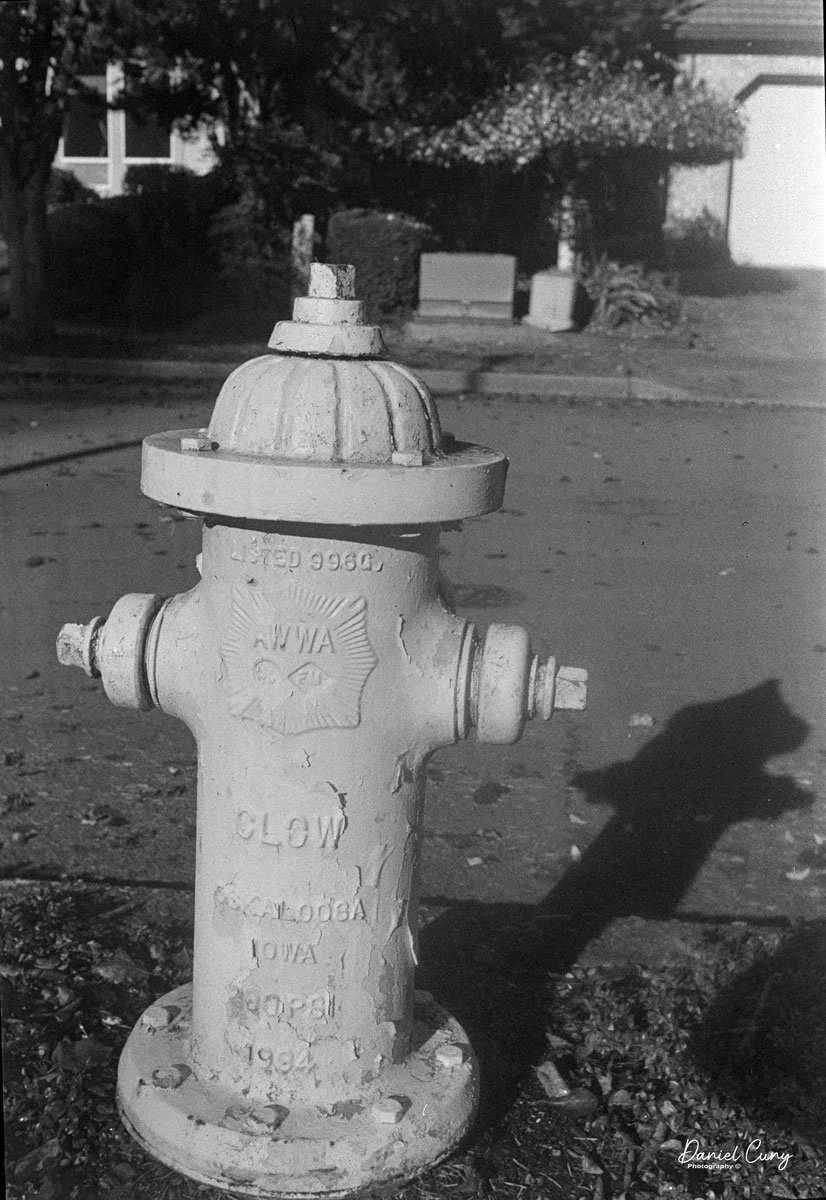
Here are the results from the second roll.

Conclusion:
Here are my thoughts on this camera: it's extremely fun to shoot with, and I think the lens is sharp and produces great images. I'm anxious to try the camera out using the different formats, but here are some of my frustrations.
Not having a viewfinder is rough. I needed to guess at what I was pointing the camera at. That's the first. I really didn't know what the angle of view was, and looking at the photos, it's wider than I anticipated. The Kodak Panoram and other panoramic cameras have lines on top that indicate the approximate angle of view. There's nothing on this camera that shows that.
It's difficult to hold, but not too bad. I should use a tripod, especially when the top shutter speed is just 1/100. I also need to refine the number of turns to reach the first frame and the number needed to reach the next frame.
Still, I absolutely LOVE this camera. The images are great, and it's compact and more lightweight than other panoramic cameras. It's a camera I'm extremely happy to have in my collection, and I will be on the lookout for more in the future.
If you were the original owner or the person who owned this camera before me, great job on the modification. Reach out to me, I'd love to talk to you.
Thank you for taking the time to read about this small, extremely wide panoramic camera that produced an almost 2.25" x 11" negative. Just incredible.
Here are my other Camera Reviews.
Cuny's Cameras and Photos is my online eBay store where I sell cameras I've reviewed, along with other photographic oddities. Stop by and see if there are items you're looking for.
Until next week, please be safe.