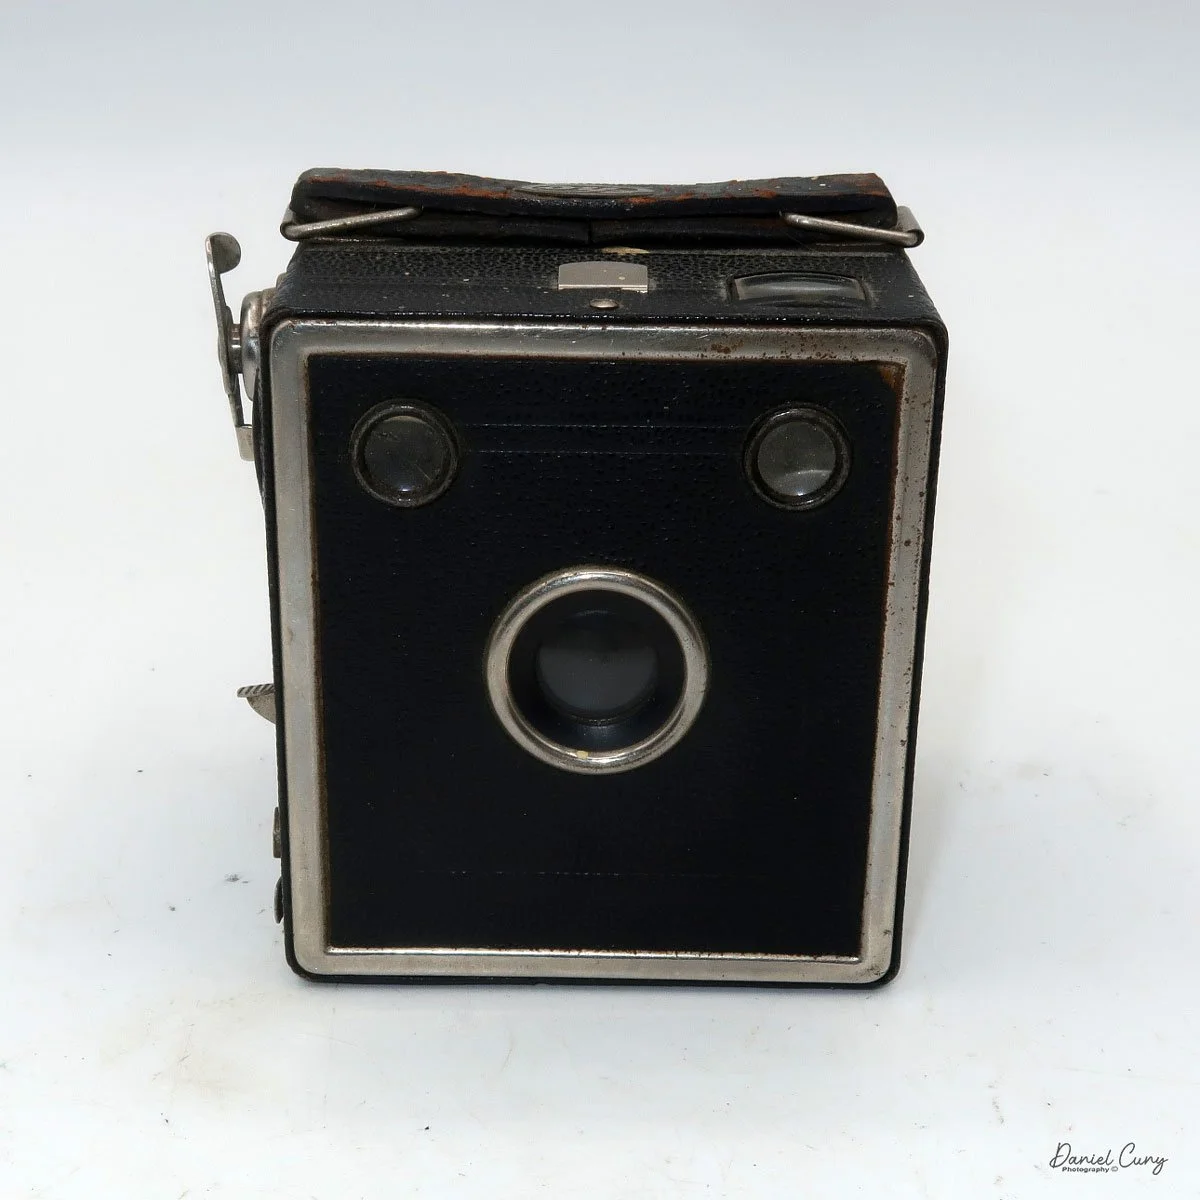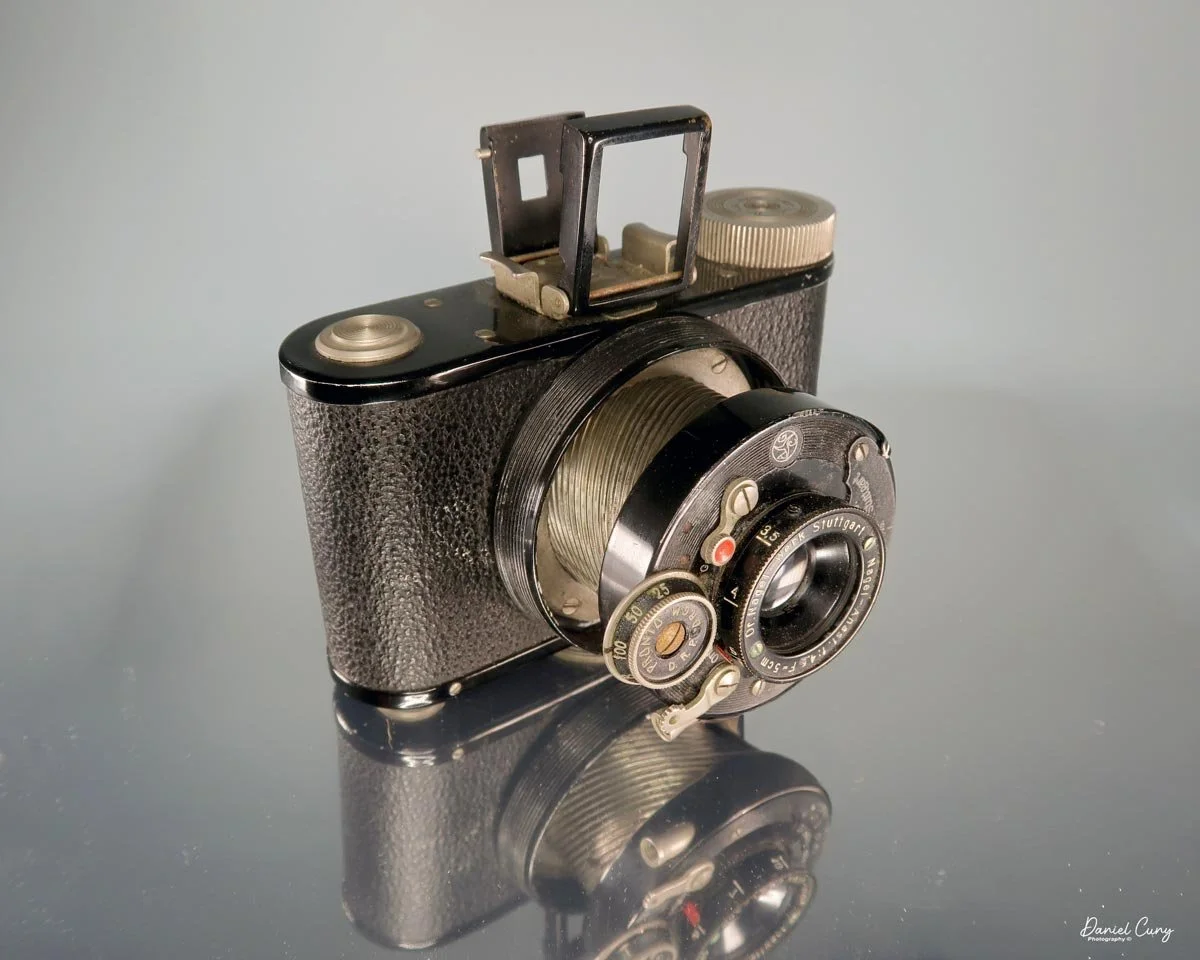
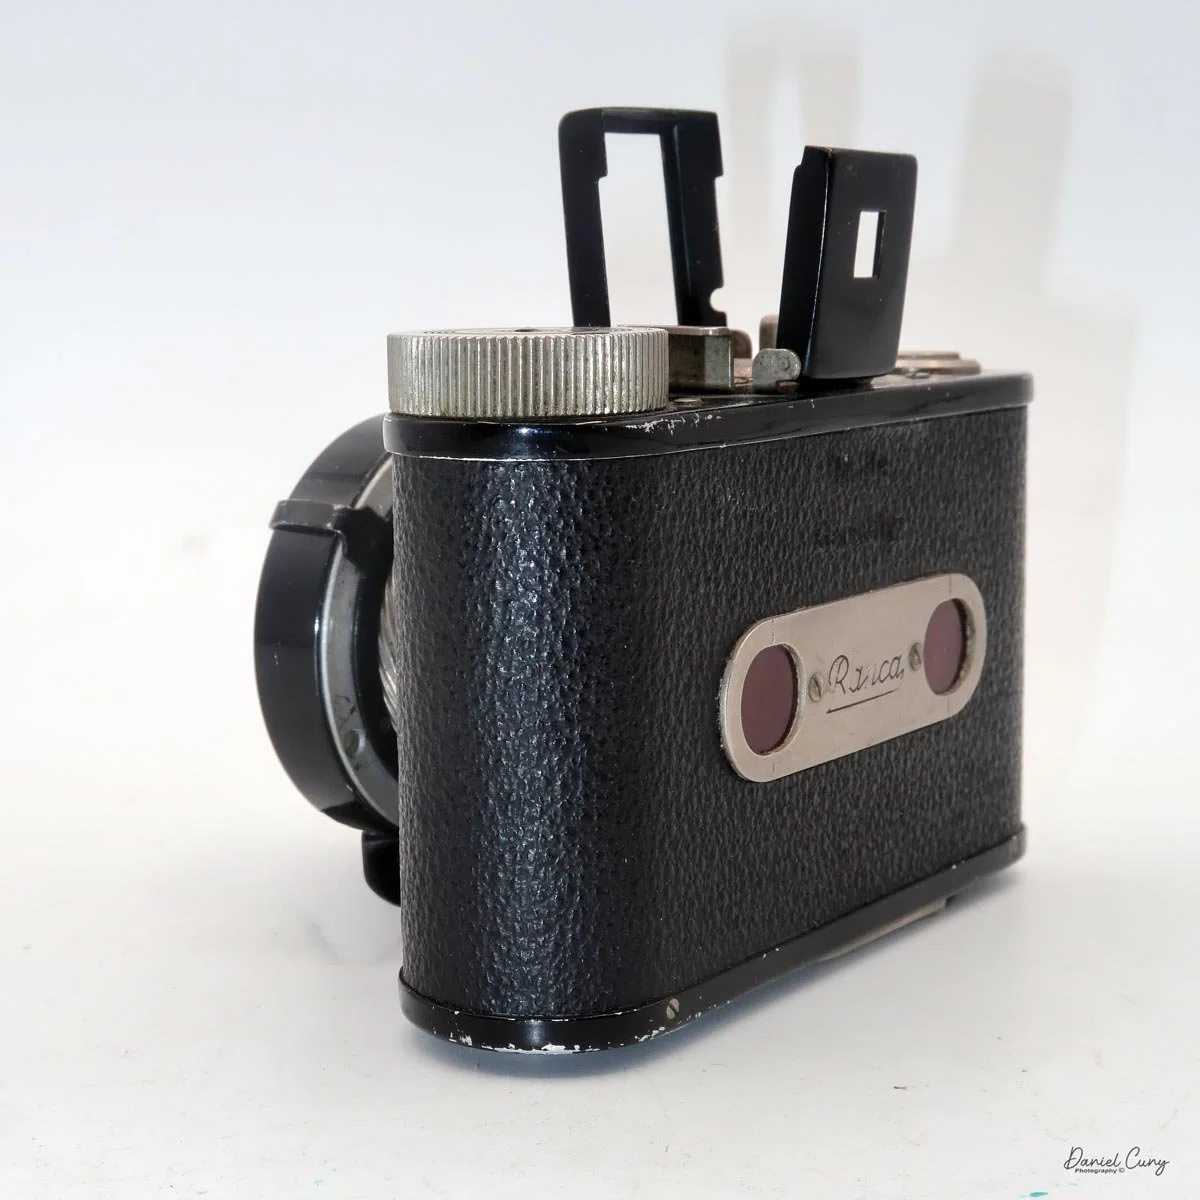
My Kodak-Nagel Ranca camera
Being a collector and working in the photo industry for more than 50 years, and, more specifically, in the photographic retail business for almost 20 of those years. My retail years were in the mid-1970s through to the early 1990s. It was the height of film photography with Nikon F's, Canon AE-1's, Minolta SRT's, Pentax, Rollei, Contax, etc. I can remember the introductions of many of the best-selling cameras from this era. I have seen and sold many cameras. But to this day, I still enjoy them.
When I look at a camera, especially an older one I'm not familiar with, the first impression strongly influences whether I purchase it. I'm always on the hunt for the odd and unusual camera. I imagine it's really about what you enjoy collecting.
Many collectors look for pristine examples of Leica, Rollei, Hasselblad, or items with a slight difference, making them a "rare" item. Still, if I see a camera I'm not aware of, and it has an unusual appearance or color that stands out, that's what catches my eye. It doesn't have to be expensive or rare; it just has to be unusual to me.
That's where the camera I'm writing about this week comes in. The Kodak Ranca is a camera I first saw on my friend Mike Ott's website. Mike is the longtime owner of Pacific Rim Camera and one of the best photographic resources around. It's a website I often visit, very similar to Mike Butkus's Camera Manual, which offers information on cameras, catalogues, manuals, etc.
I purchased the Kodak Ranca because it was a compact camera I wasn't familiar with. It wasn't until it arrived that the camera had a very similar look and feel. I was aware that it was a Nagel-made camera, which was another reason I was attracted to it. Still, when I dug into the camera after it was purchased, it's considered the "less expensive" version of the very popular Nagel Pupille camera, which I reviewed a few months ago.
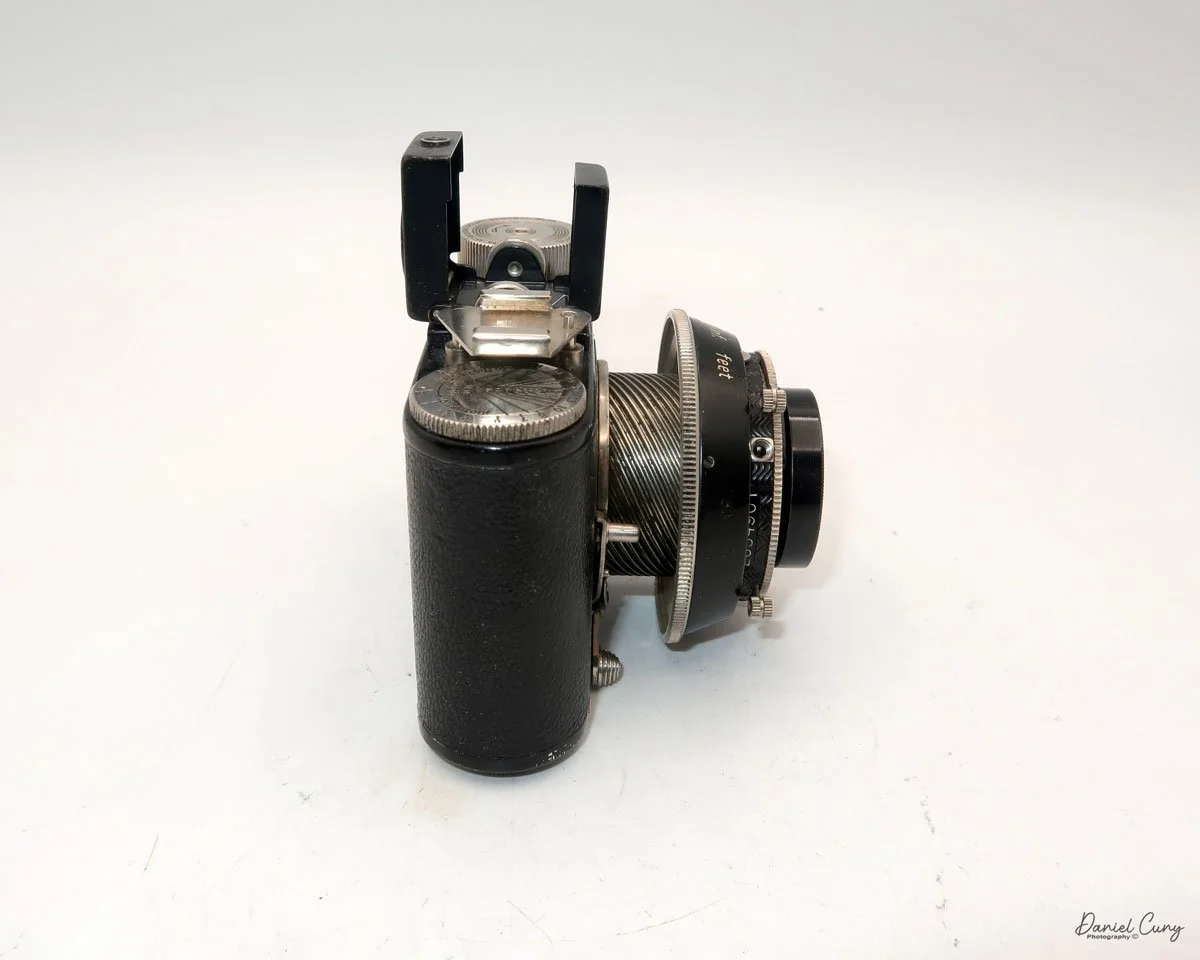
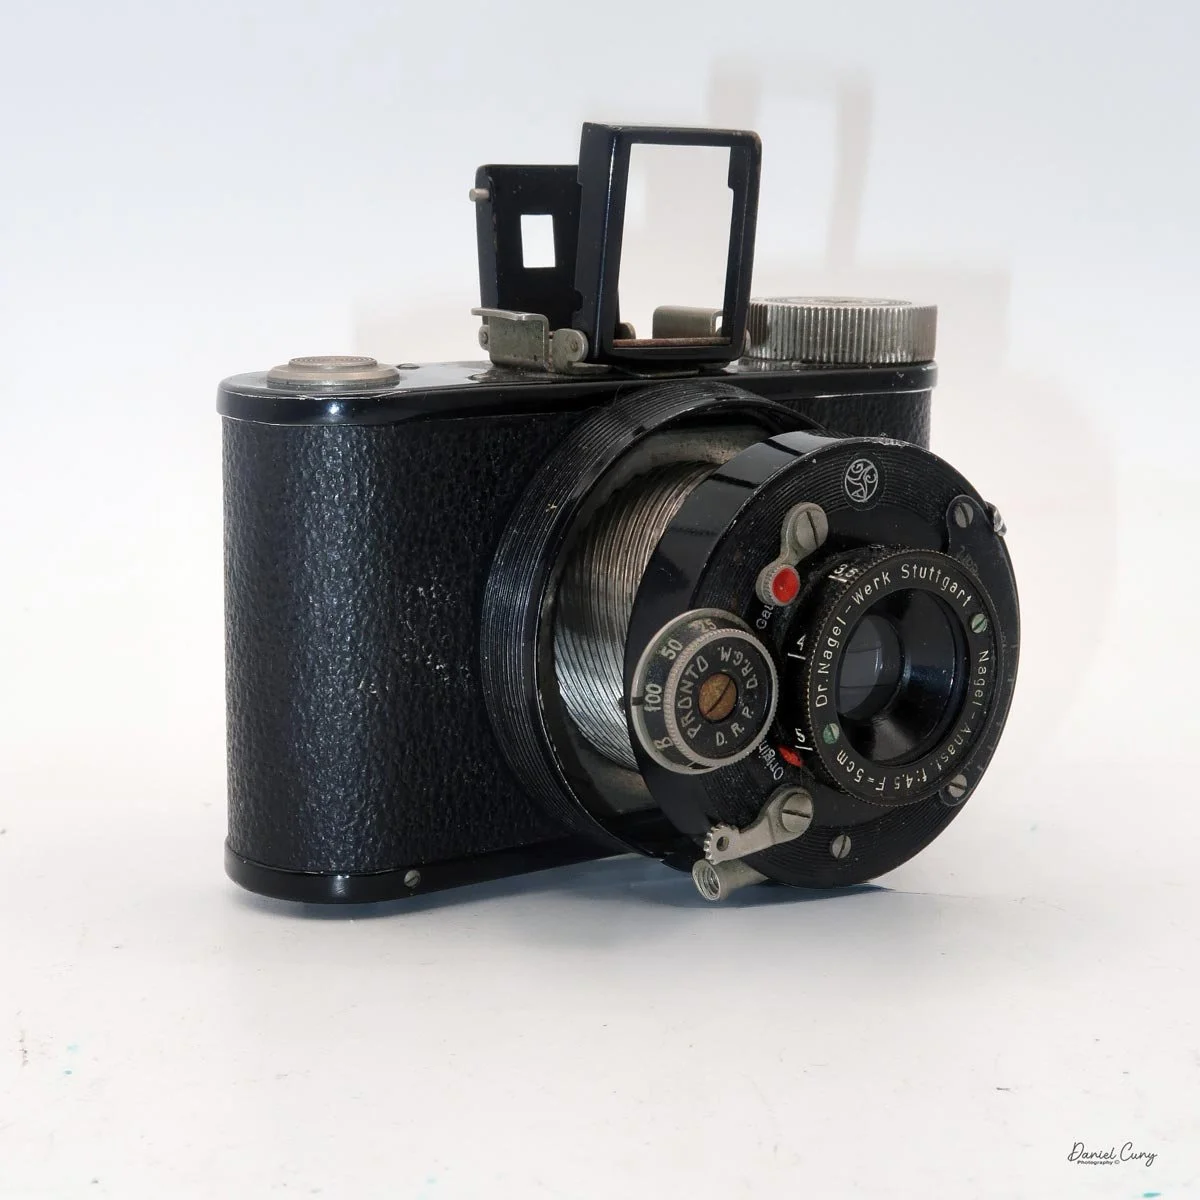
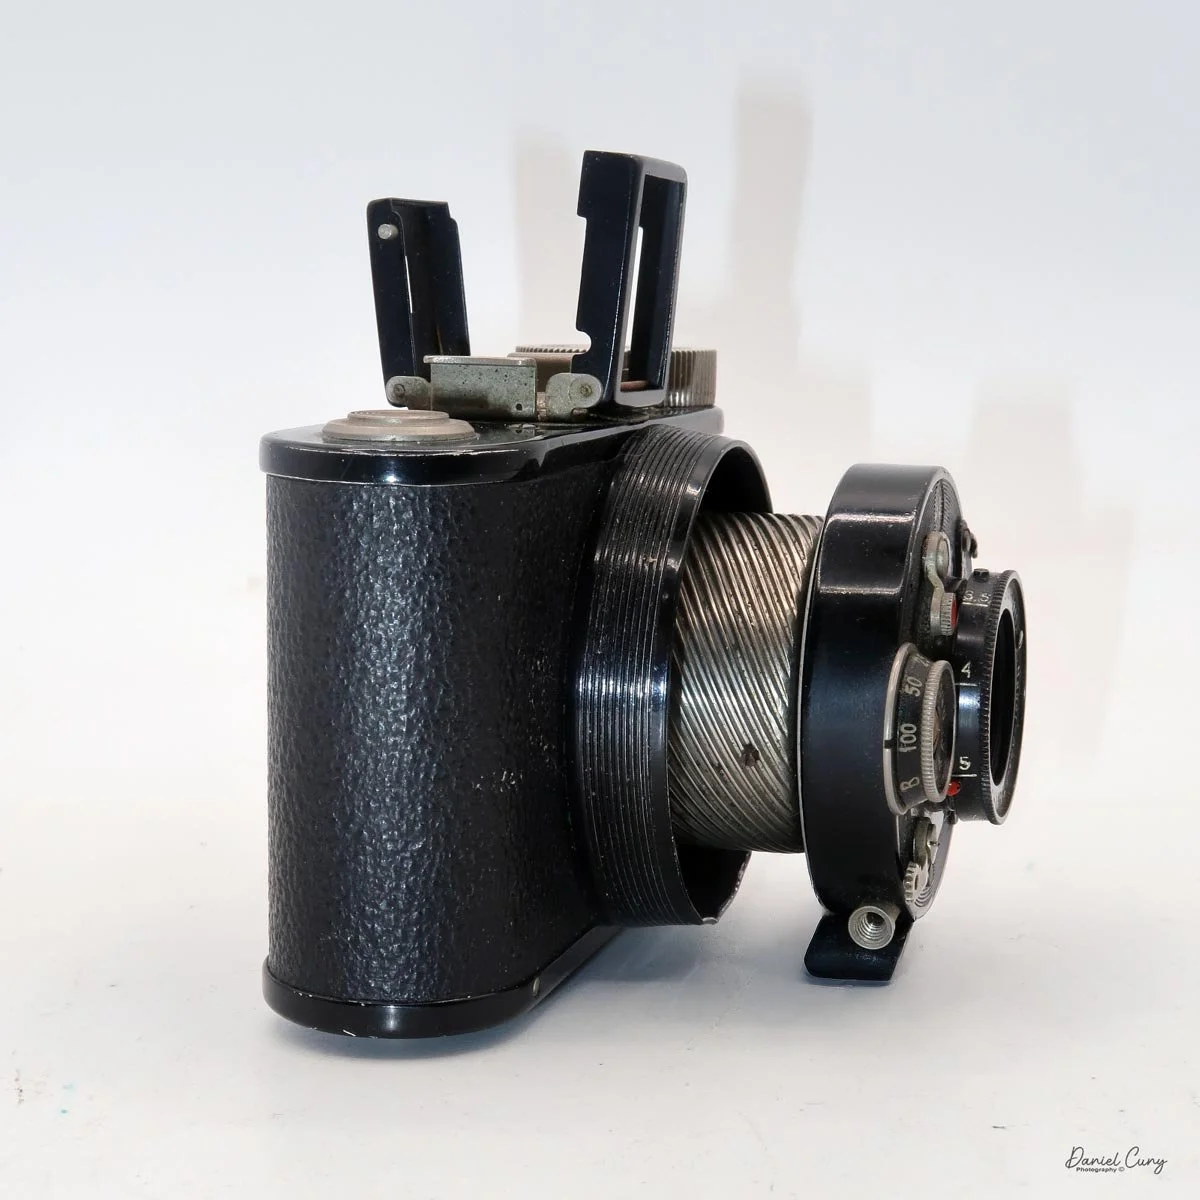
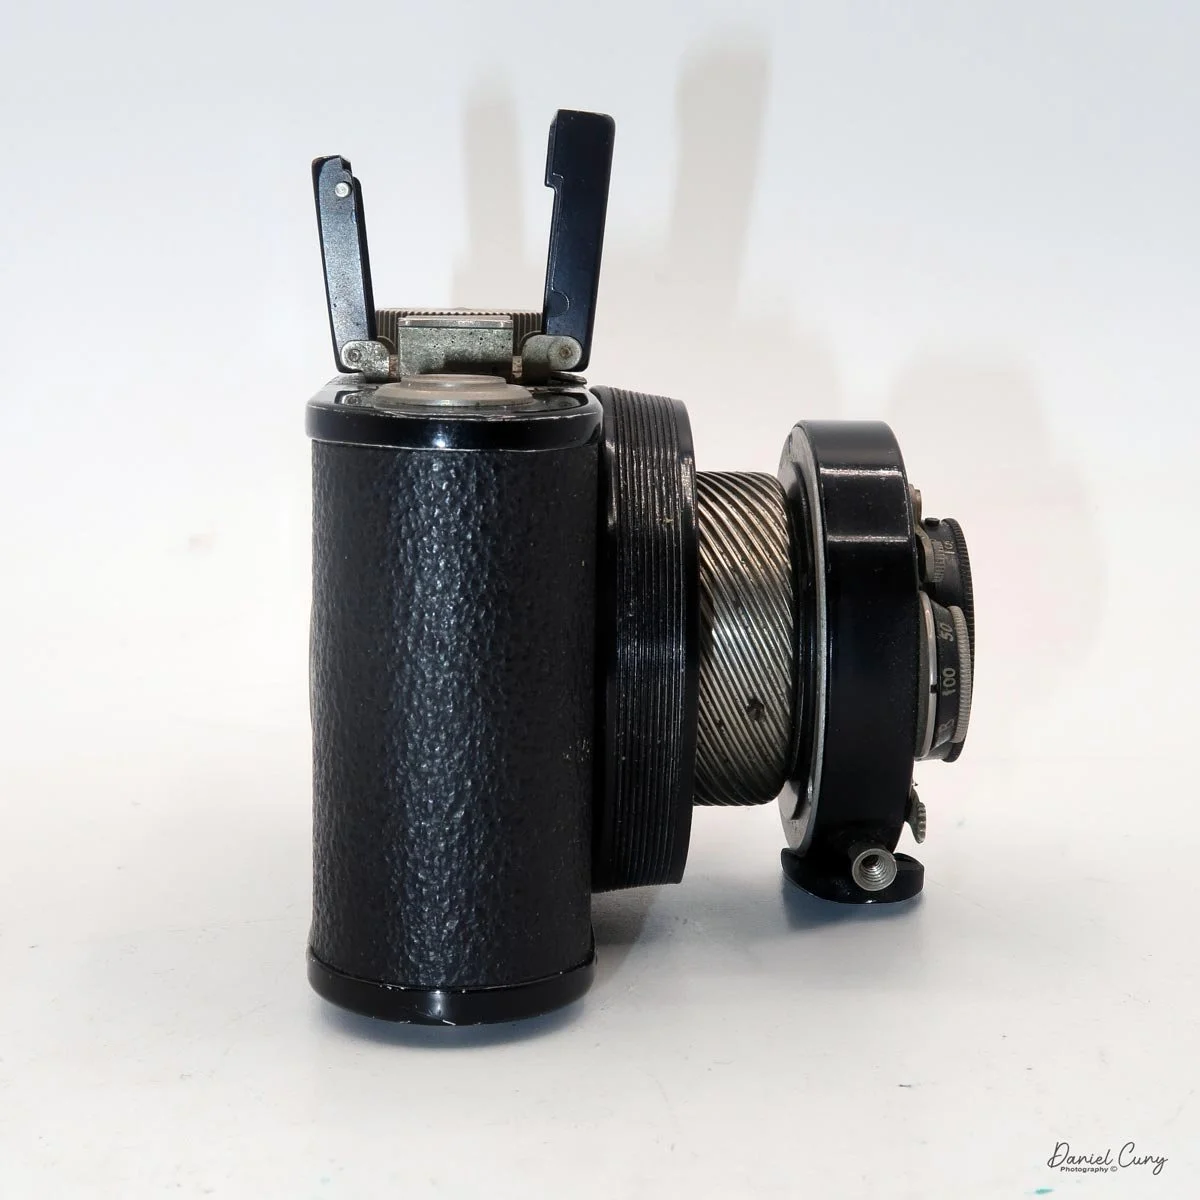
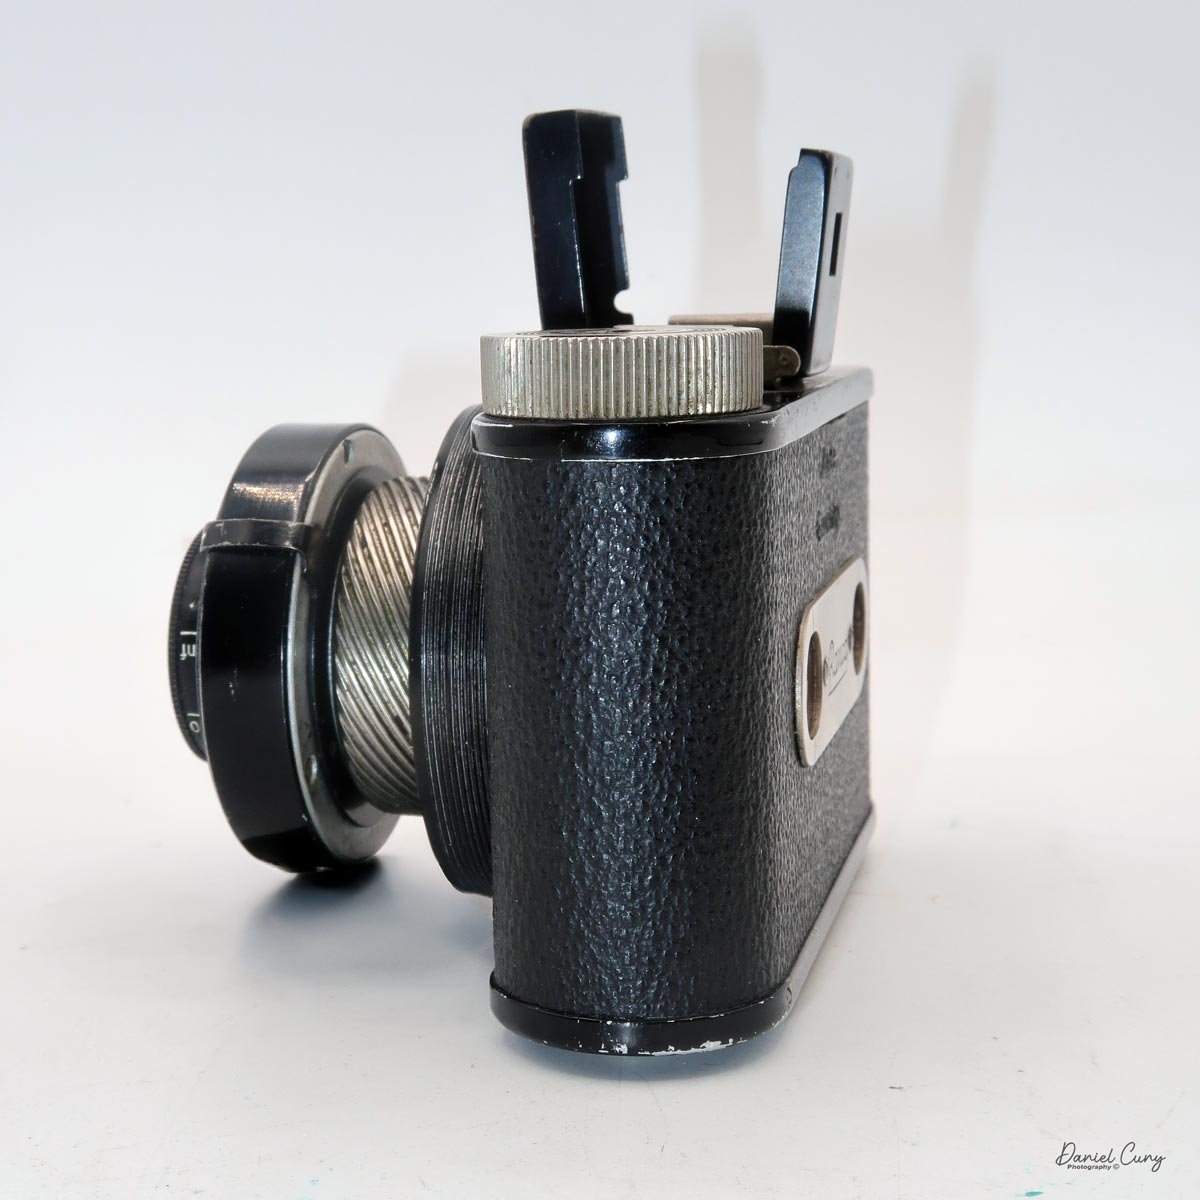
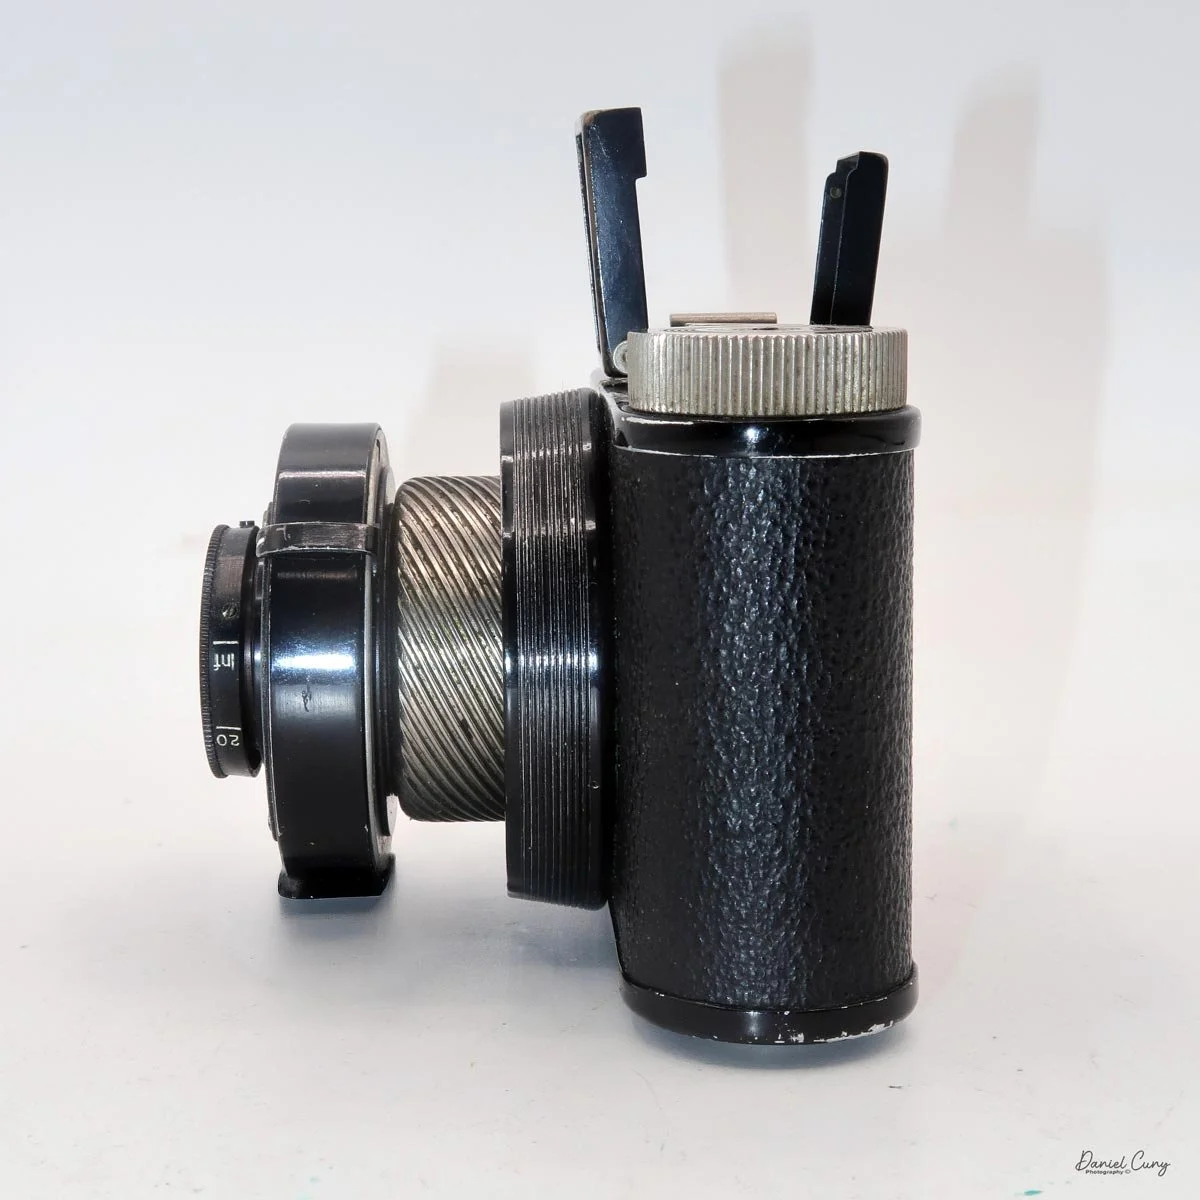
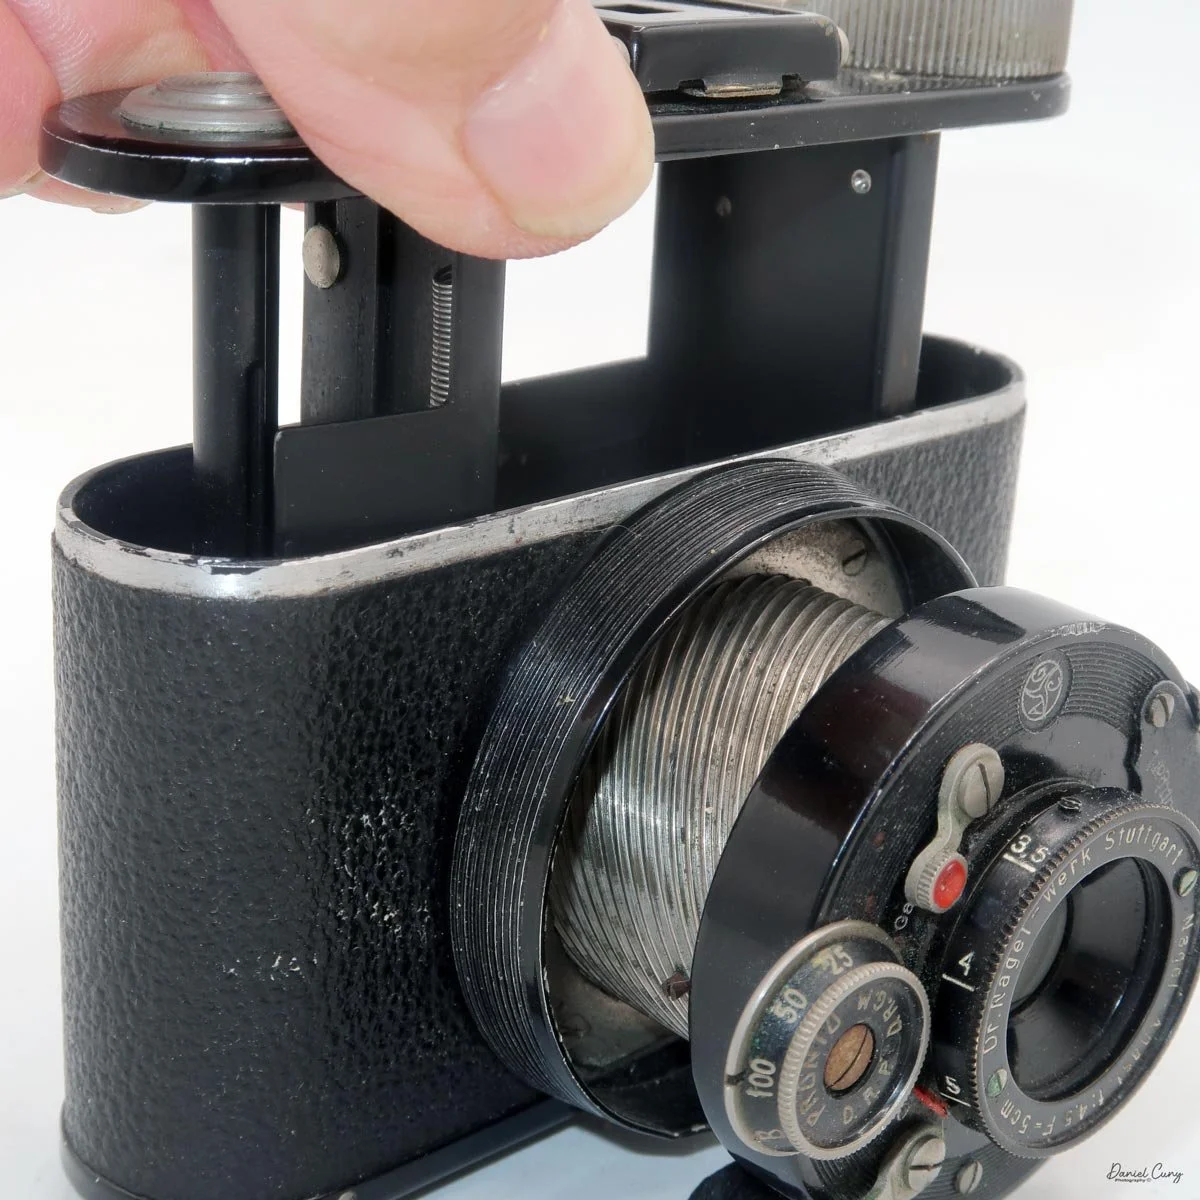
According to my reading of the Ranca camera, there were two versions. The earlier model, known as 46/0, has a helicoid lens and shutter system that rotates out from the camera's body when you grip and rotate the shutter/lens area a quarter turn counterclockwise. This also exposes the helicoid on which the lens/shutter rotates. The second version is the 46/1, which has a rigid lens barrel with the lens and shutter on the end.

The camera was introduced in the middle of 1930 and remained available for only approximately 1 year, until the latter part of 1931. Both the Nagel Pupille and Ranca camera take 127-size film, producing 16, 3x4cm images on the roll.
Sources state that a total of 2,200 Ranca cameras were produced, compared to 5,000 of the more expensive, better-featured Pupille cameras. While the Pupille has superior features, fewer Ranca cameras are produced. Yet, the Pupille is more of a collector's item and fetches a higher price, even today.
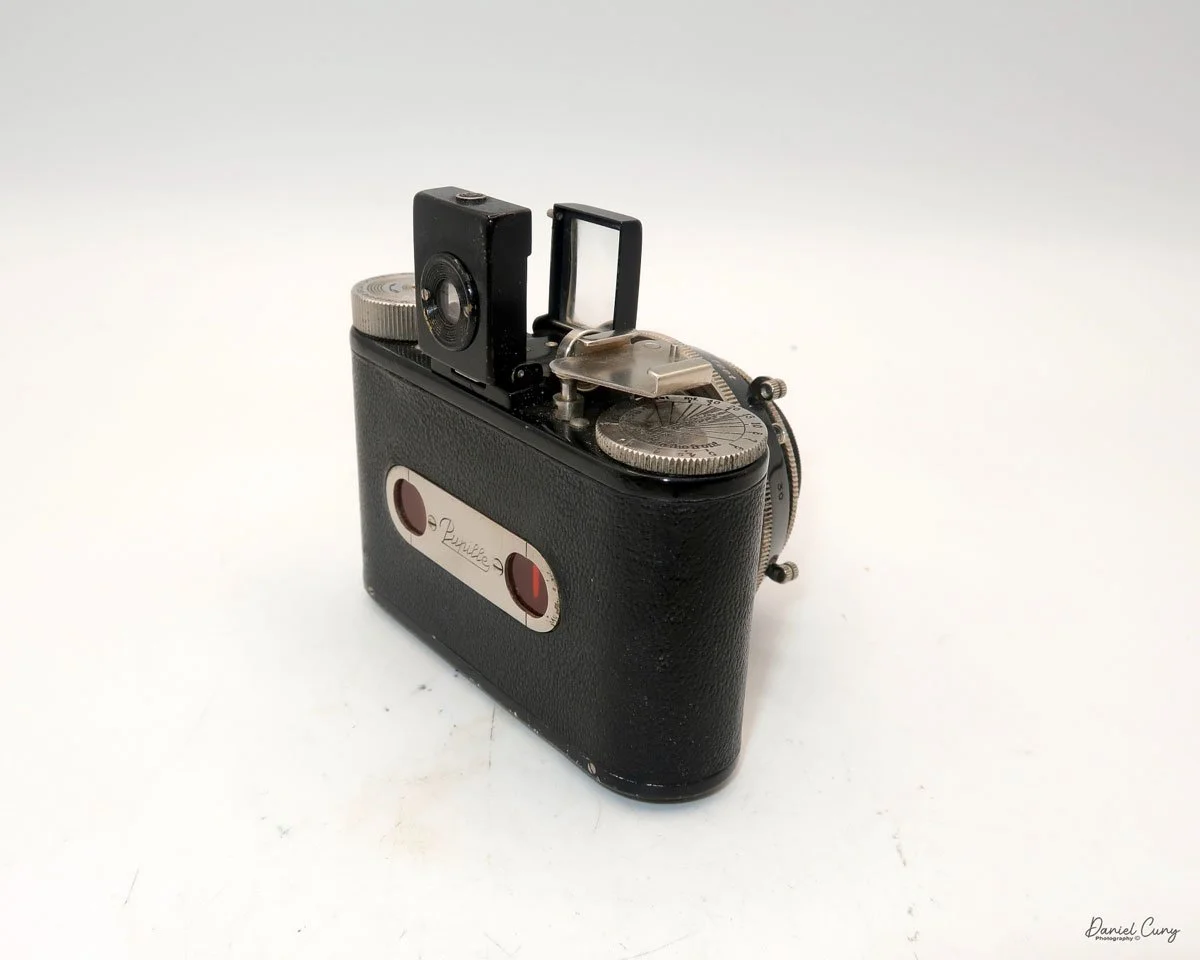
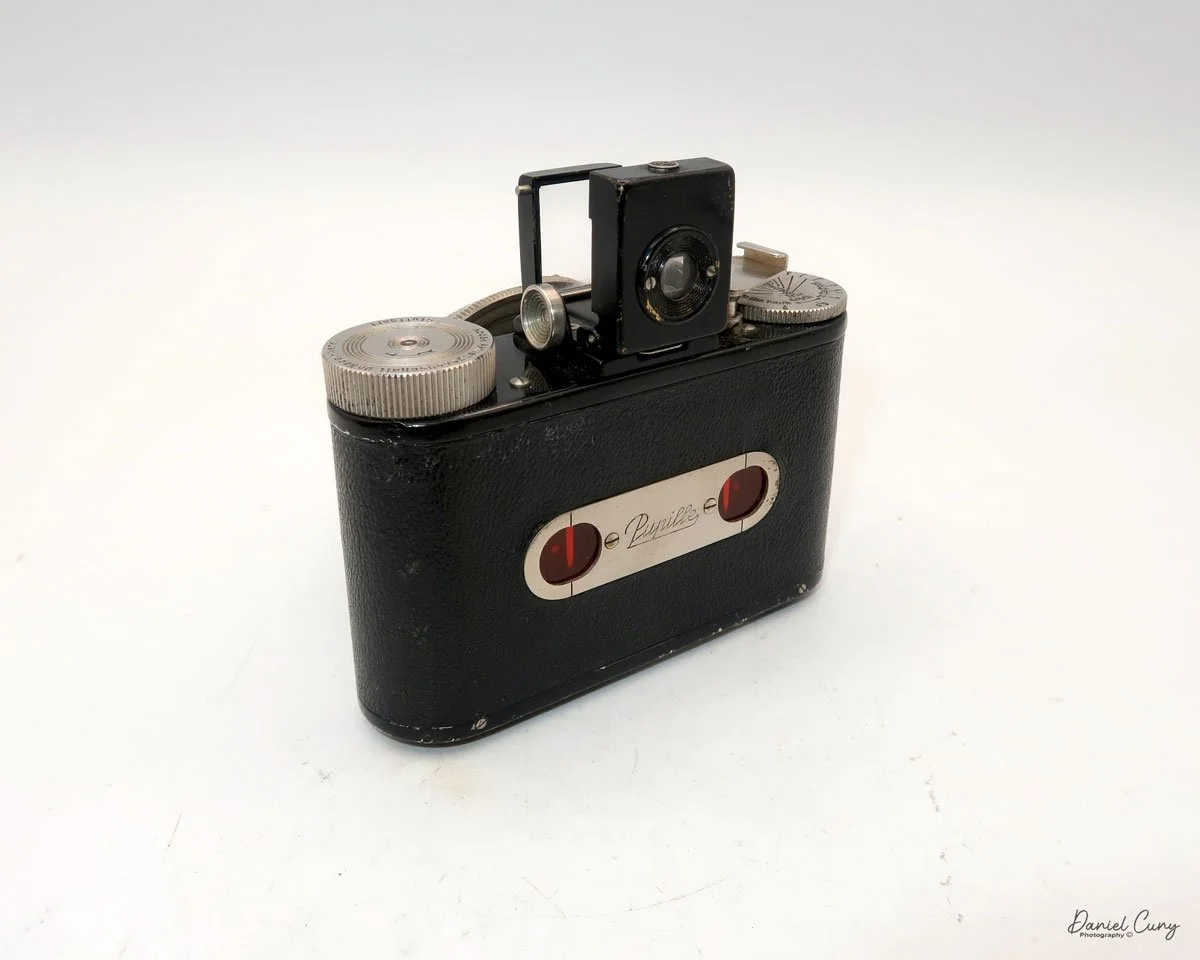
Some of the other differences between the two models: both cameras have "sports"-style pop-up viewfinders; some have glass on the front, and some don't. Different shutters, either Prontor or Ibsor, were available. The camera uses a front focus system, with some cameras opting for a very simple distance scale for portrait, group, or landscape. In contrast, others have the distance in feet on the lens barrel.
History:
Dr. August Nagel was one of the most important European designers ever associated with Eastman Kodak, and their partnership reshaped Kodak's position in the precision‑camera market. In 1932, Eastman Kodak purchased Nagel's Stuttgart-based firm, Dr. Nagel-Werke, and reorganized it as Kodak A.G., retaining Nagel as managing director and head of design. Before this acquisition, Kodak was dominant in film and popular roll-film cameras. Still, German makers like Leica and Contax defined the high‑end miniature camera segment. Kodak wanted a German-built precision camera to compete directly, yet at a lower price and in a form that fit its mass‑market philosophy. Nagel, already respected for compact folding designs and his work on Contessa-Nettel and Zeiss Ikon models, was the ideal partner to bridge that gap.
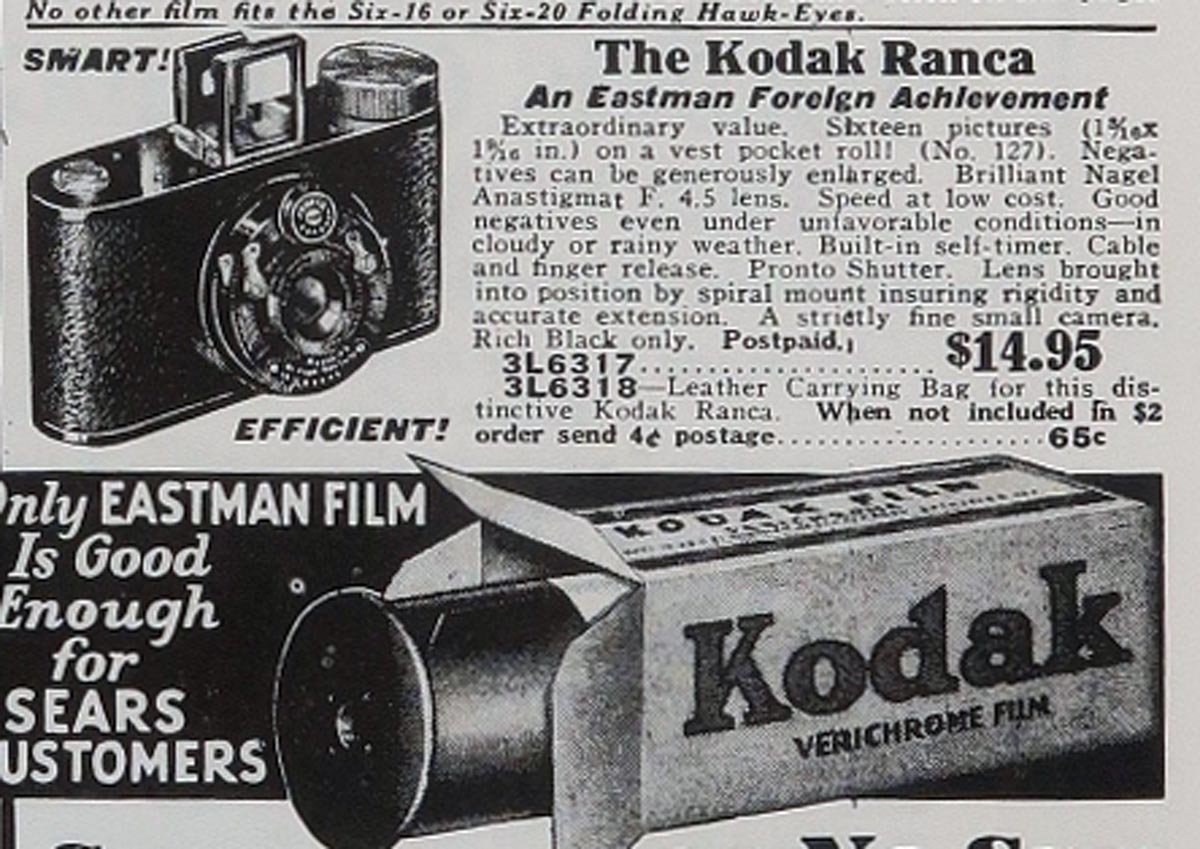
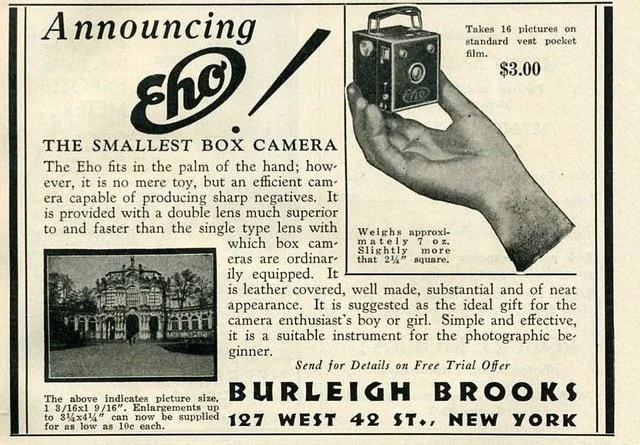
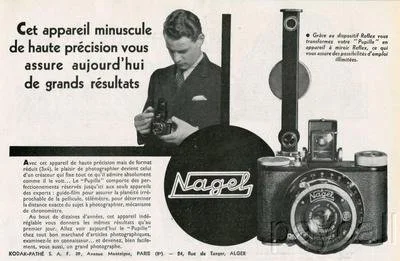
Kodak Ranca advertismant
Within Kodak A.G., Nagel used generous Eastman funding and Kodak's global reach to develop a compact 35mm camera that could rival the established German leaders. The result was the Kodak Retina, introduced in 1934 (Type 117), a folding 35mm camera that offered solid German construction and good optics at a far more accessible price than Leica or Contax. At the same time, Nagel introduced a new daylight-loading 35mm cartridge—what became known as Kodak 135 film—which fit not only the Retina but also Leica and Contax cameras. This cartridge standardized 35mm still photography worldwide. It made 35mm use far easier for ordinary photographers, who no longer needed to roll film into cassettes in the dark.
Nagel's collaboration with Eastman Kodak extended beyond the Retina itself. Under the Kodak A.G. banner in Stuttgart, he and his team produced several notable pre‑Retina and companion models, such as the Recomar plate cameras, the compact Pupille, the Vollenda folding cameras, and the Duo 620 medium‑format folders. These cameras married Nagel's hallmark precision and compactness with Kodak's branding and distribution, giving Kodak an instant foothold in the "serious enthusiast" and professional market that had previously looked almost exclusively to other German makers.
Although Nagel died in 1943, the Retina line continued to evolve with the introduction of the rangefinder. Later SLR versions, and the 135 cartridge he introduced, remain the standard for 35mm film, making his association with Eastman Kodak one of the most consequential designer–manufacturer partnerships in camera history.
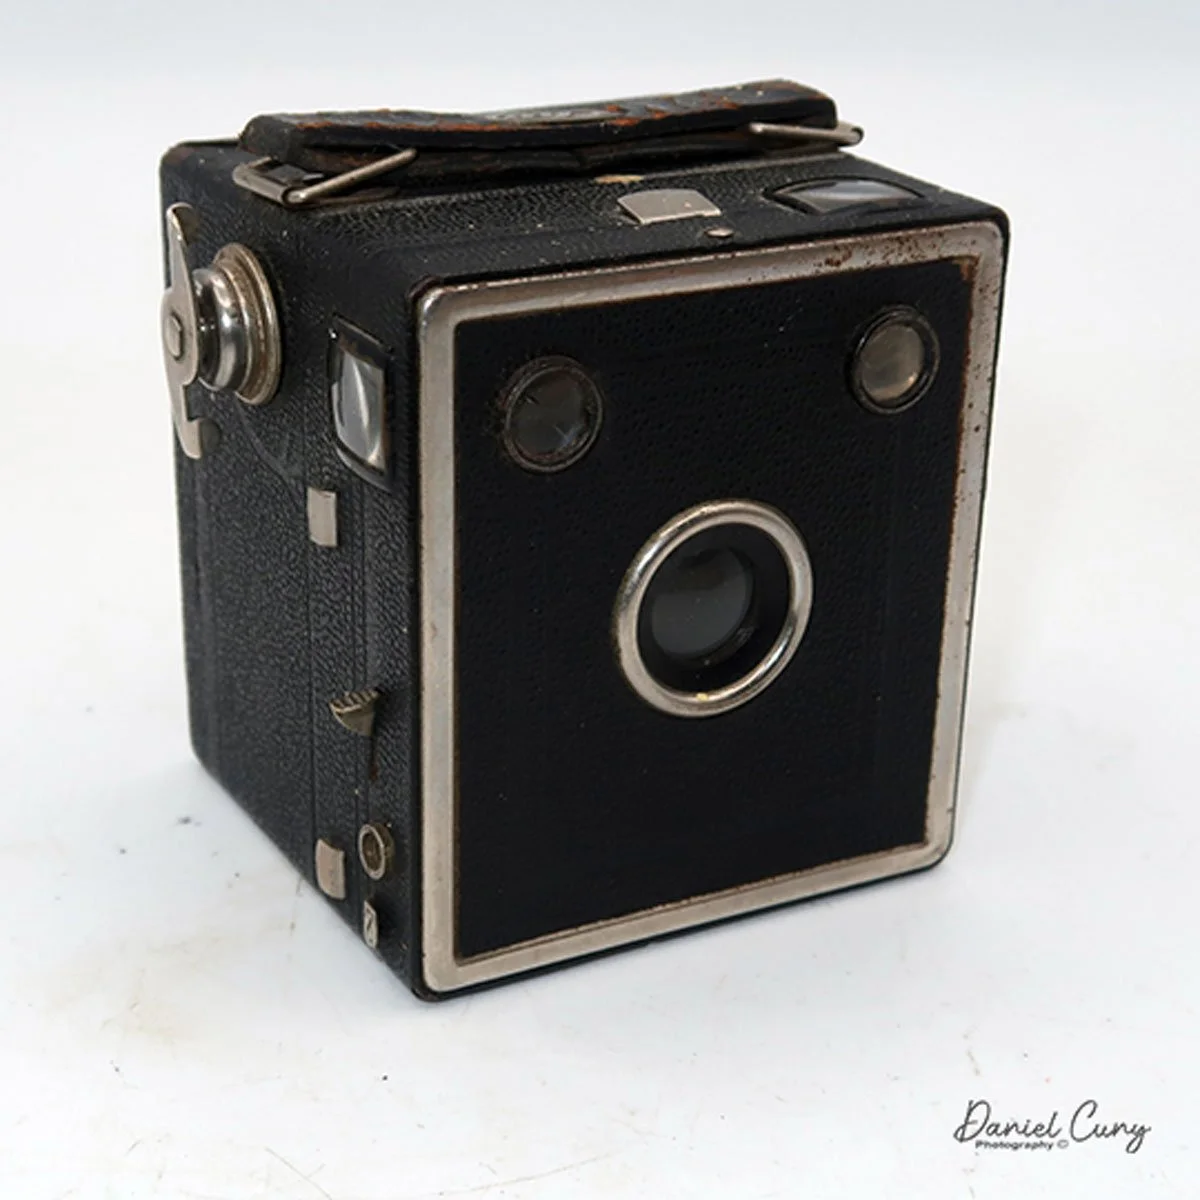
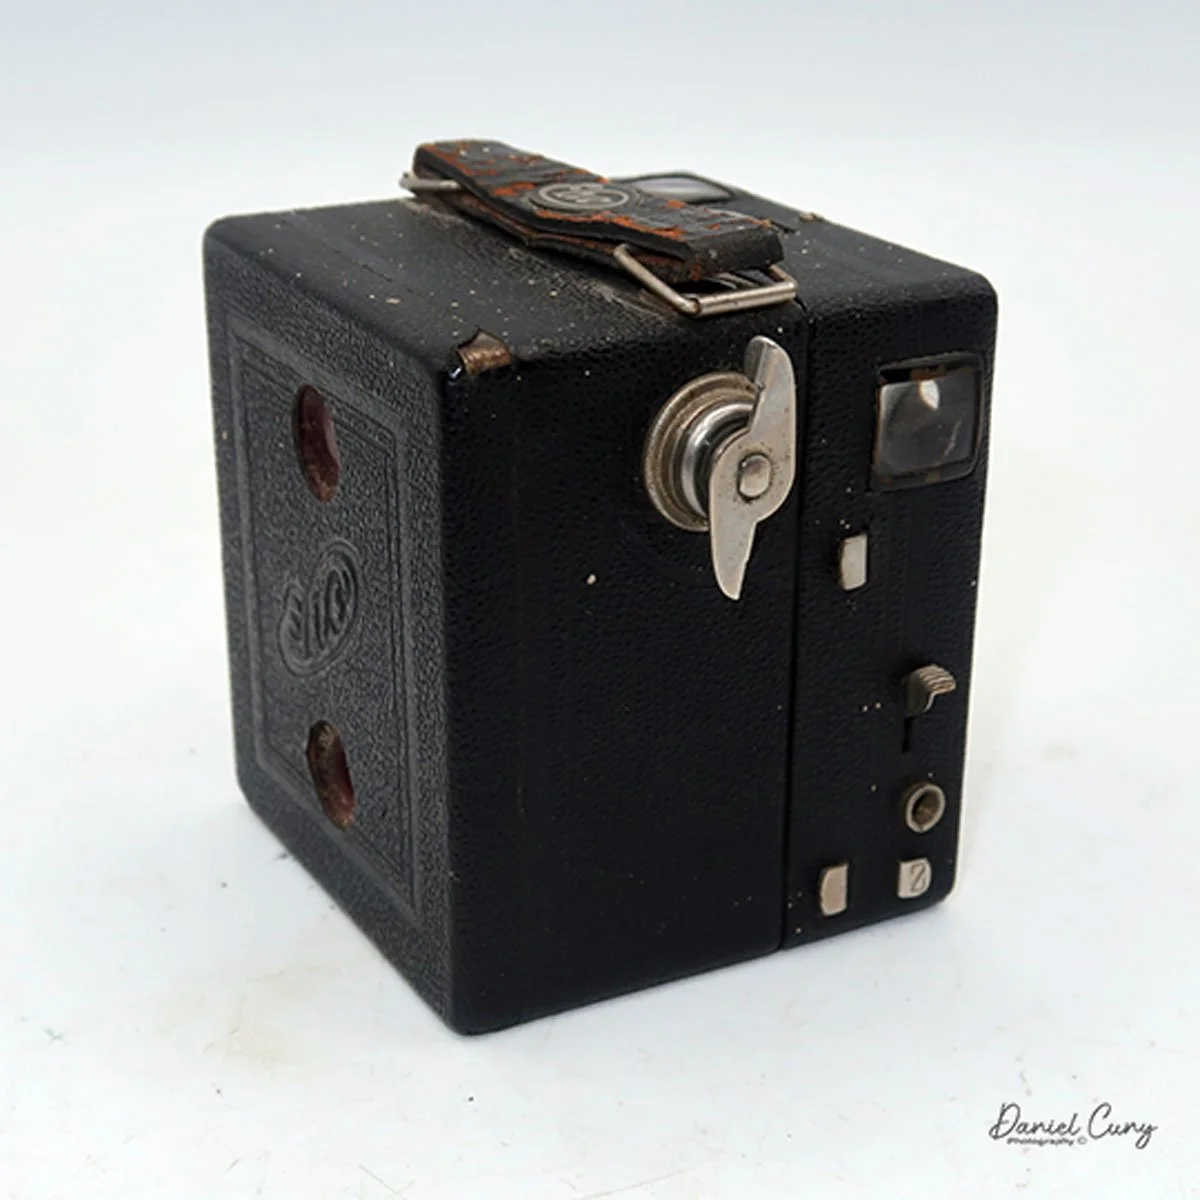
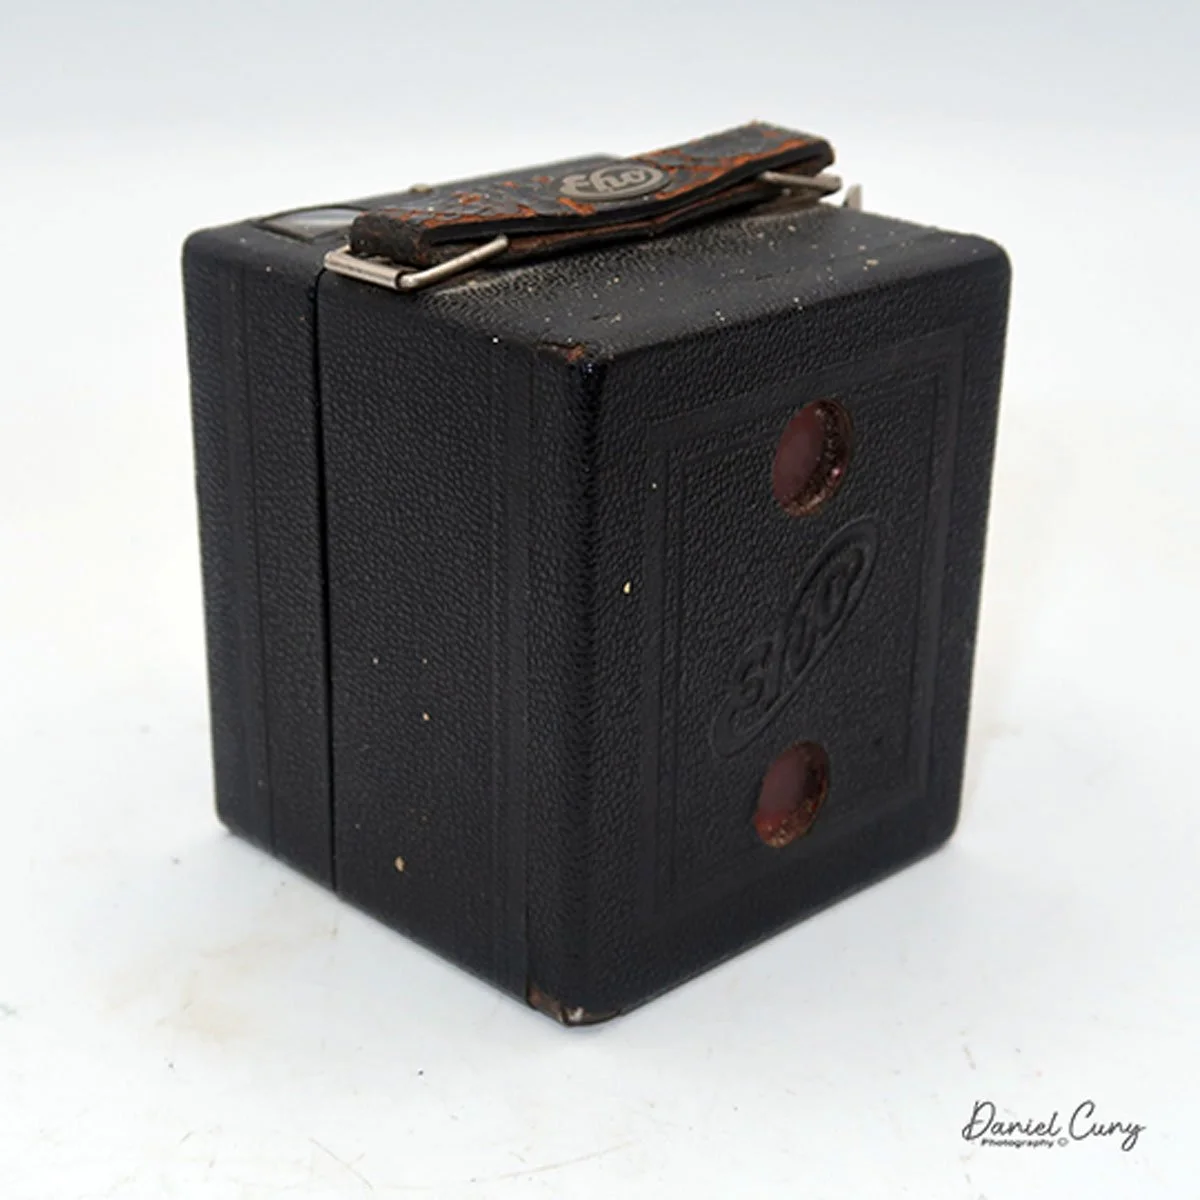
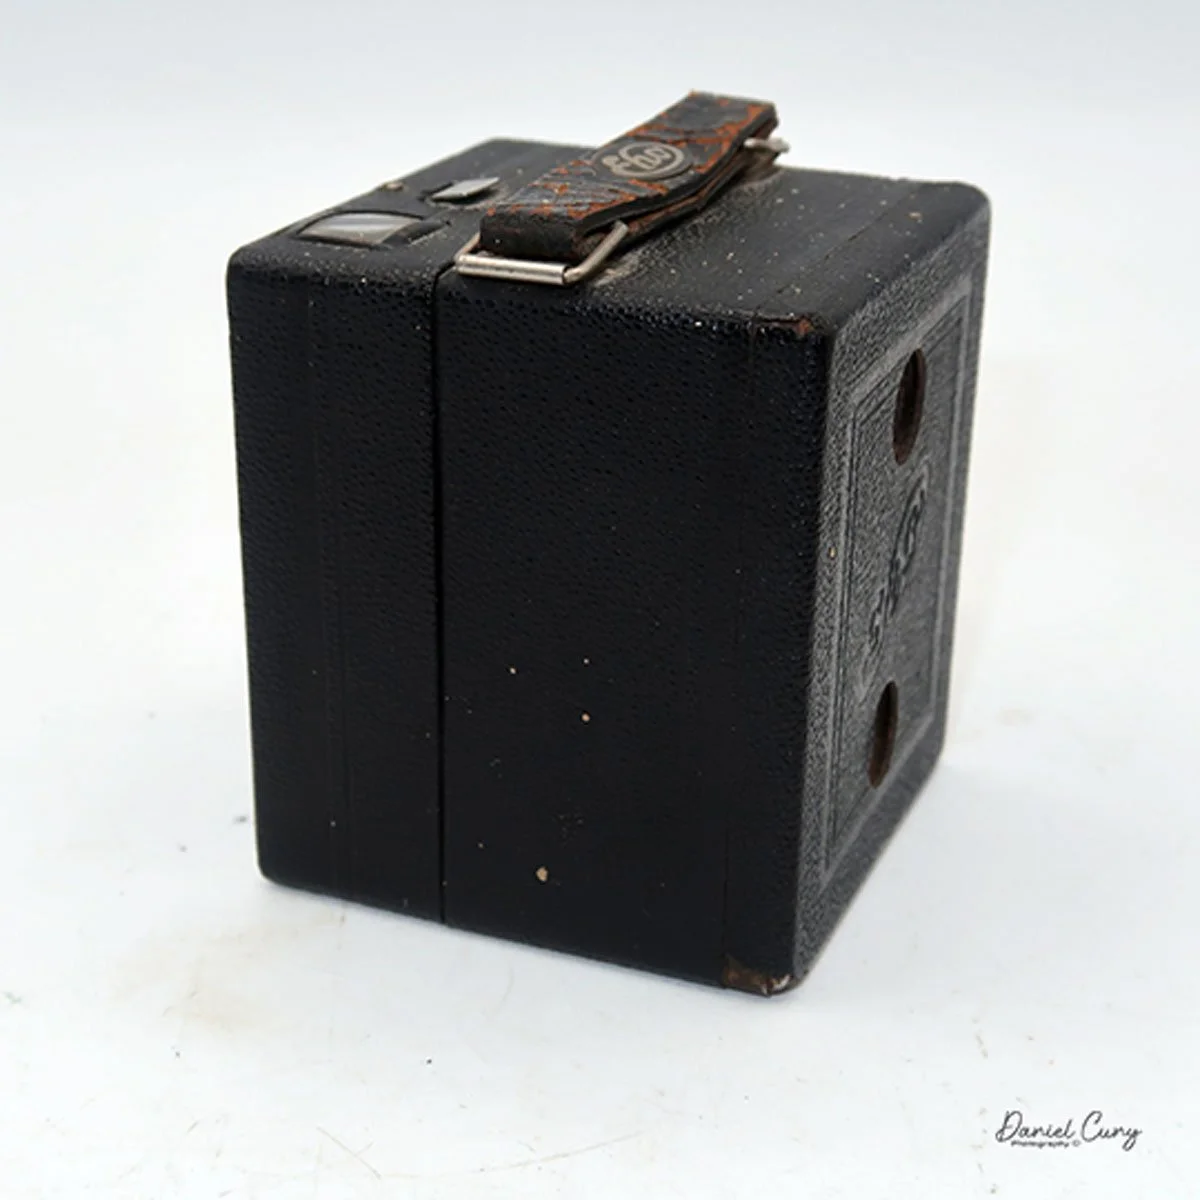
My Camera:
My Nagel Ranca camera is 4" wide by 2.5" tall with the viewfinder retracted, and 3.25" tall with the viewfinder extended. The camera is 2.25" deep with the lens retracted into the camera body. When it's extended and ready to take a photo, it's 2.75" deep. The camera weighs 10.1 ounces when a roll of film is not loaded.
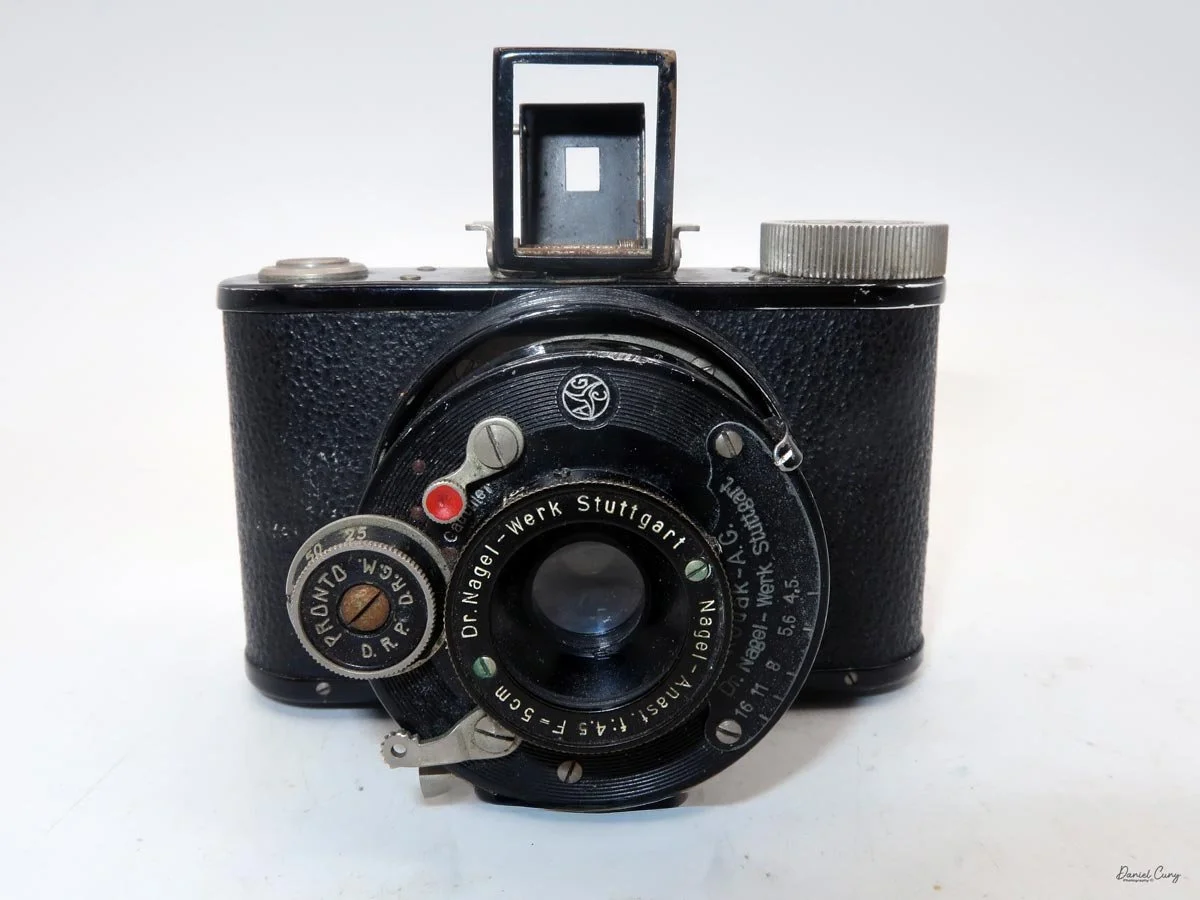

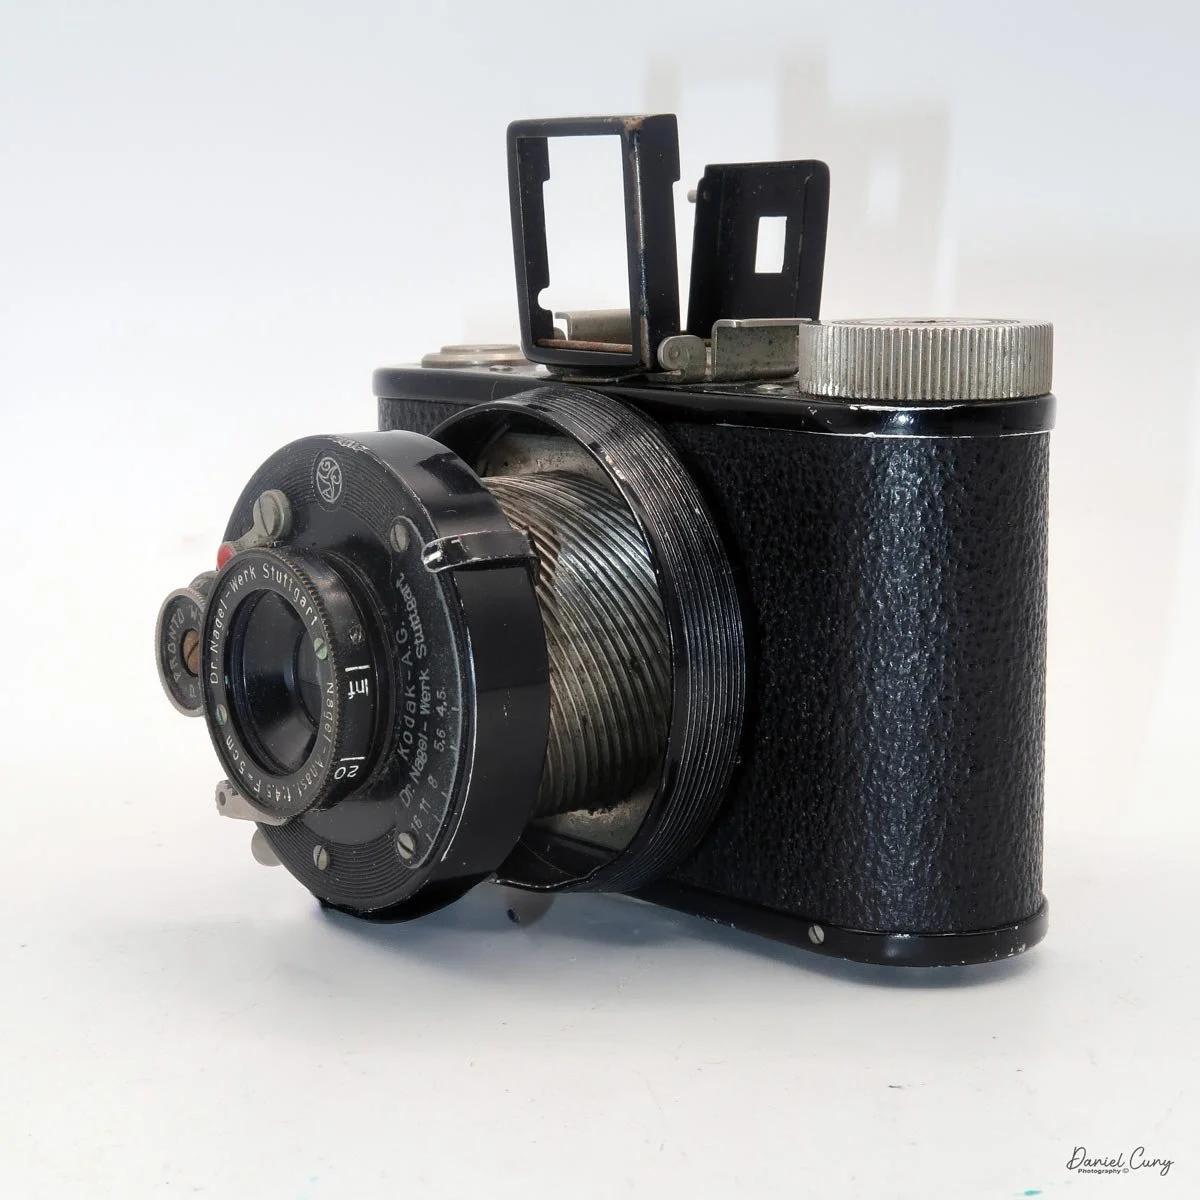
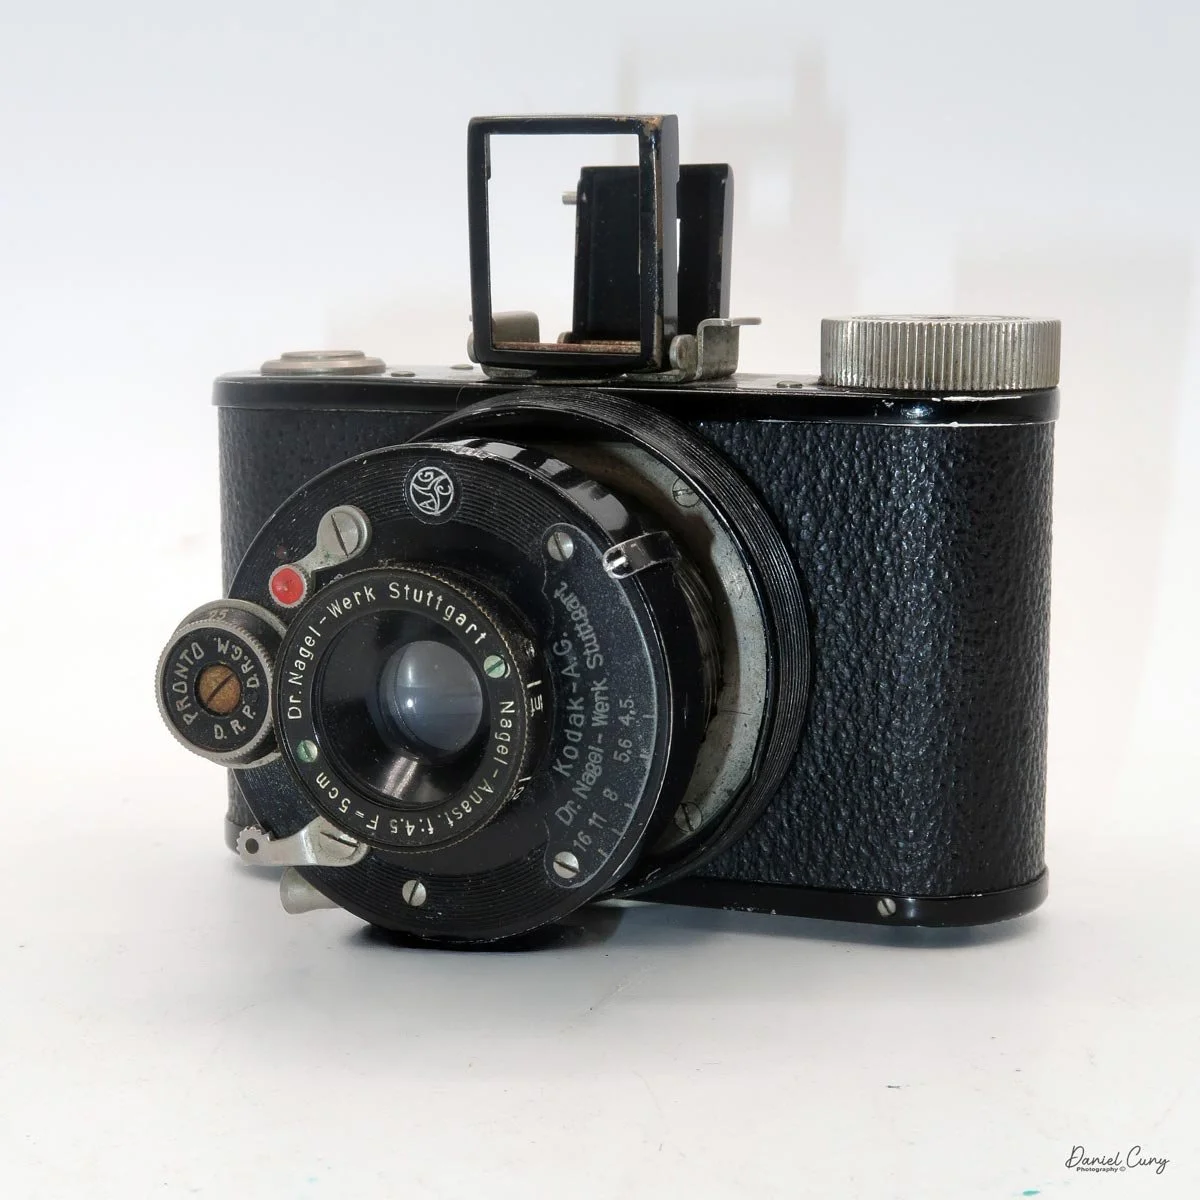
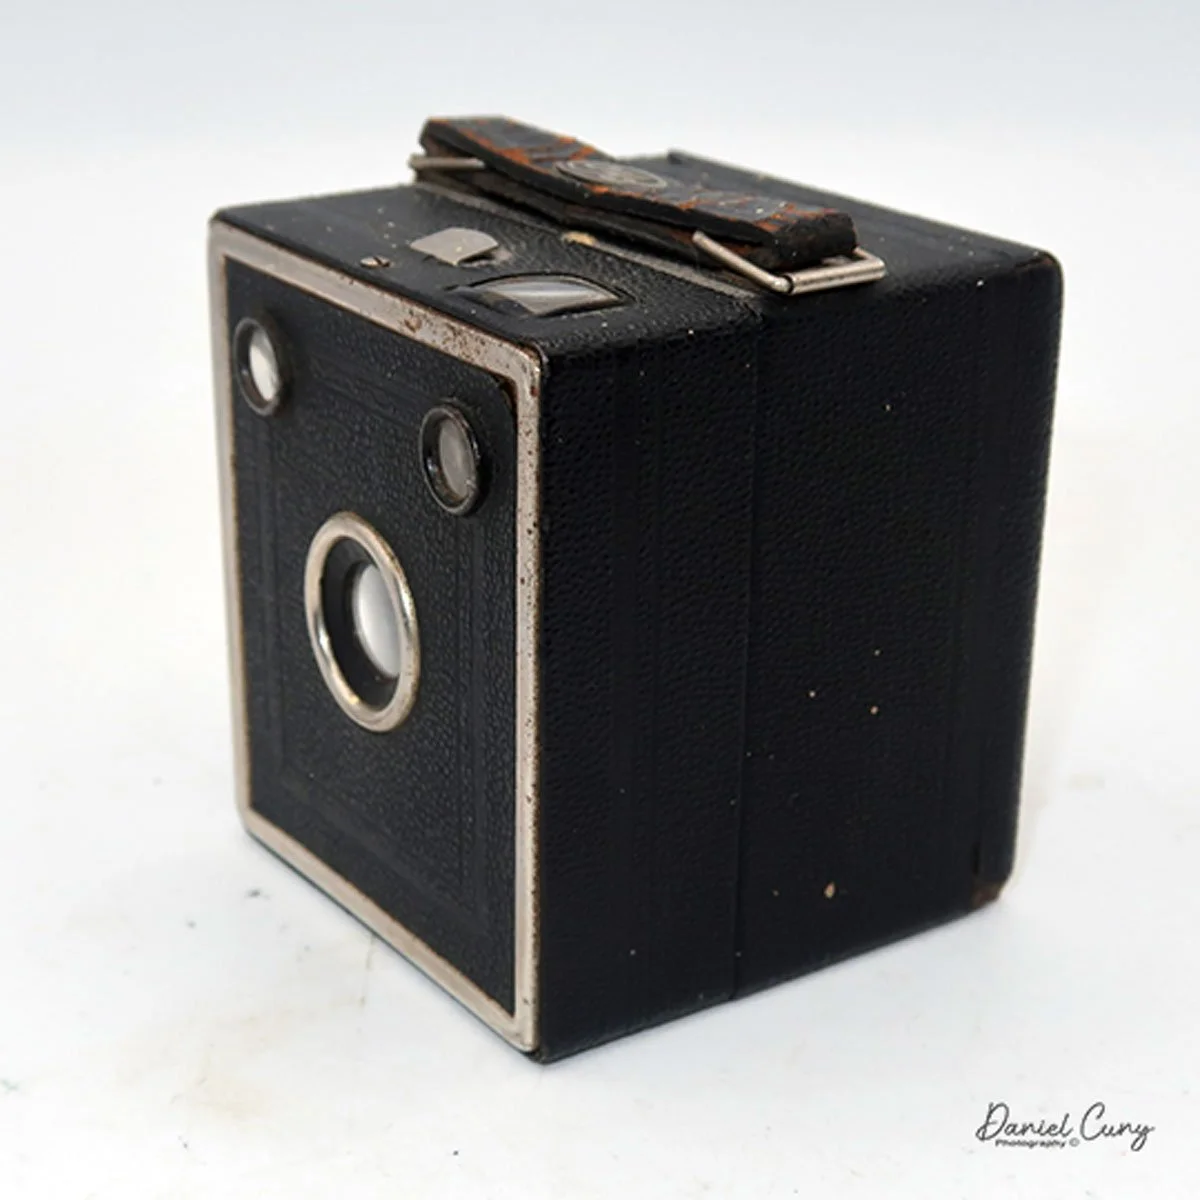
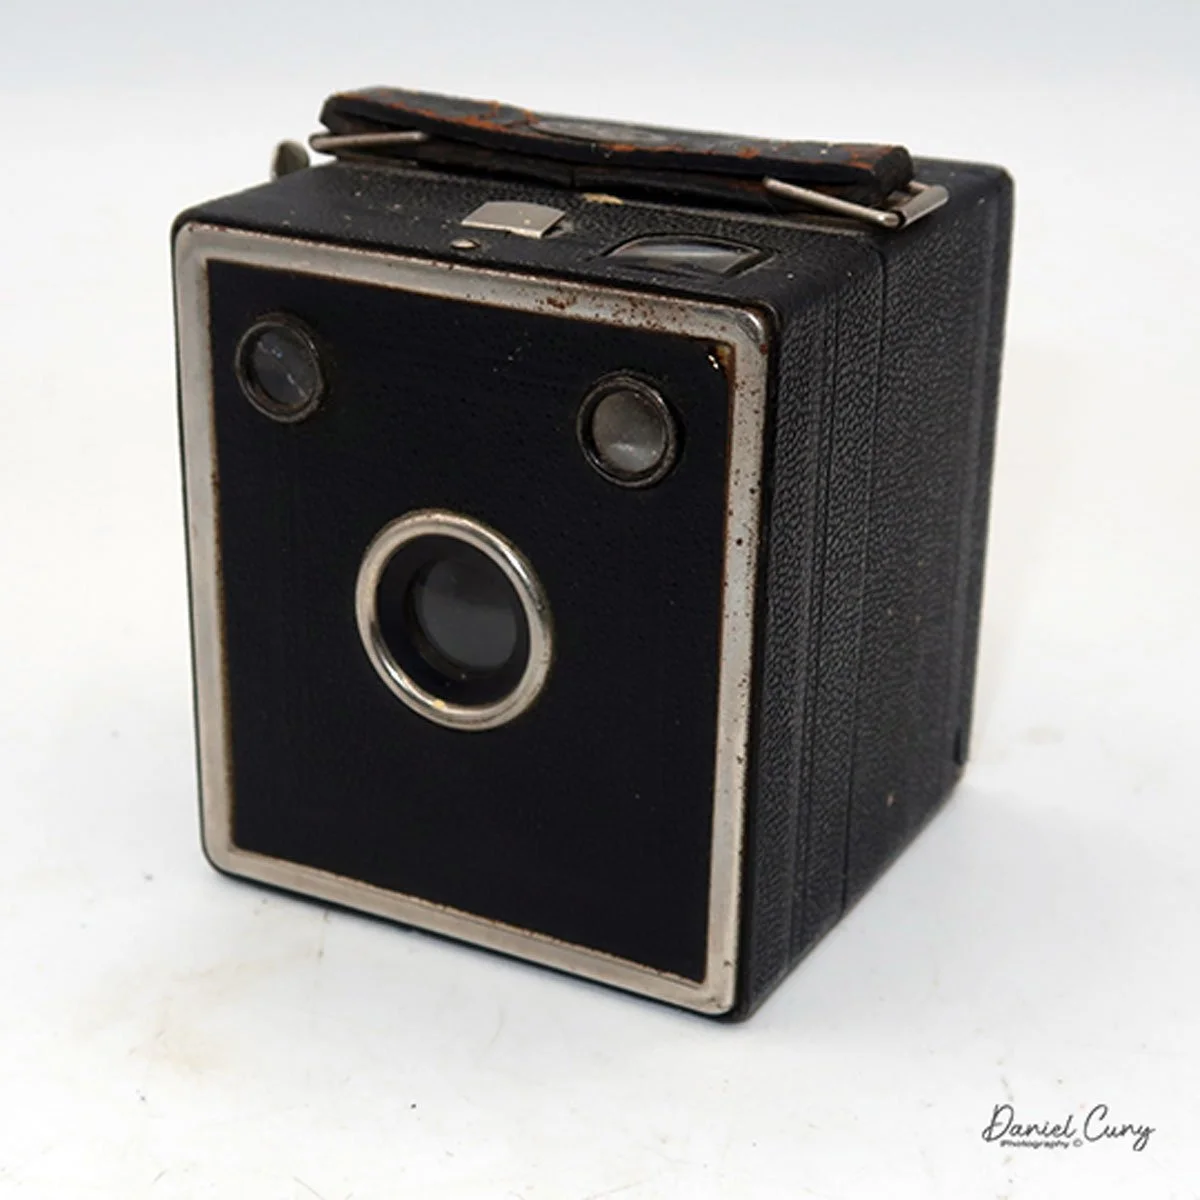
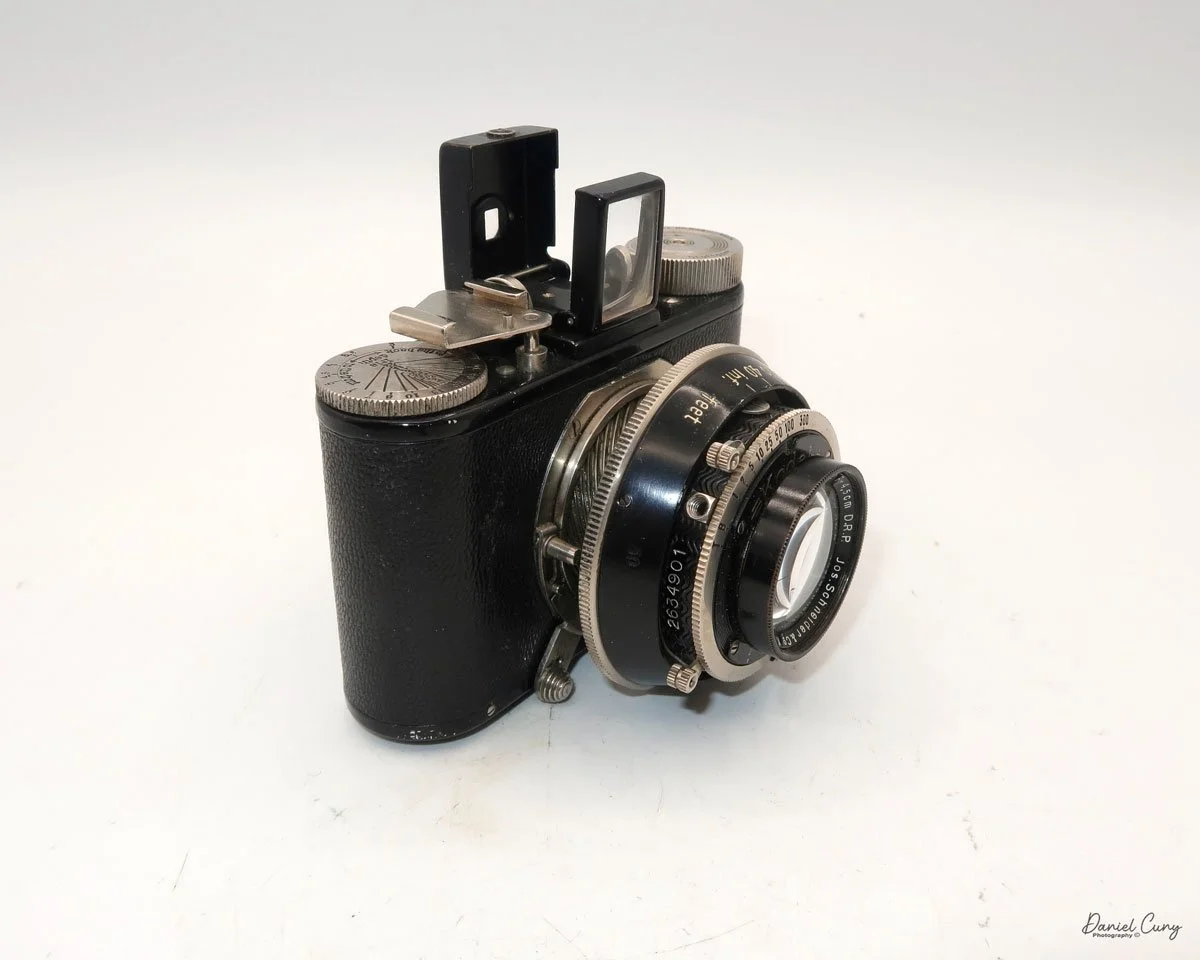
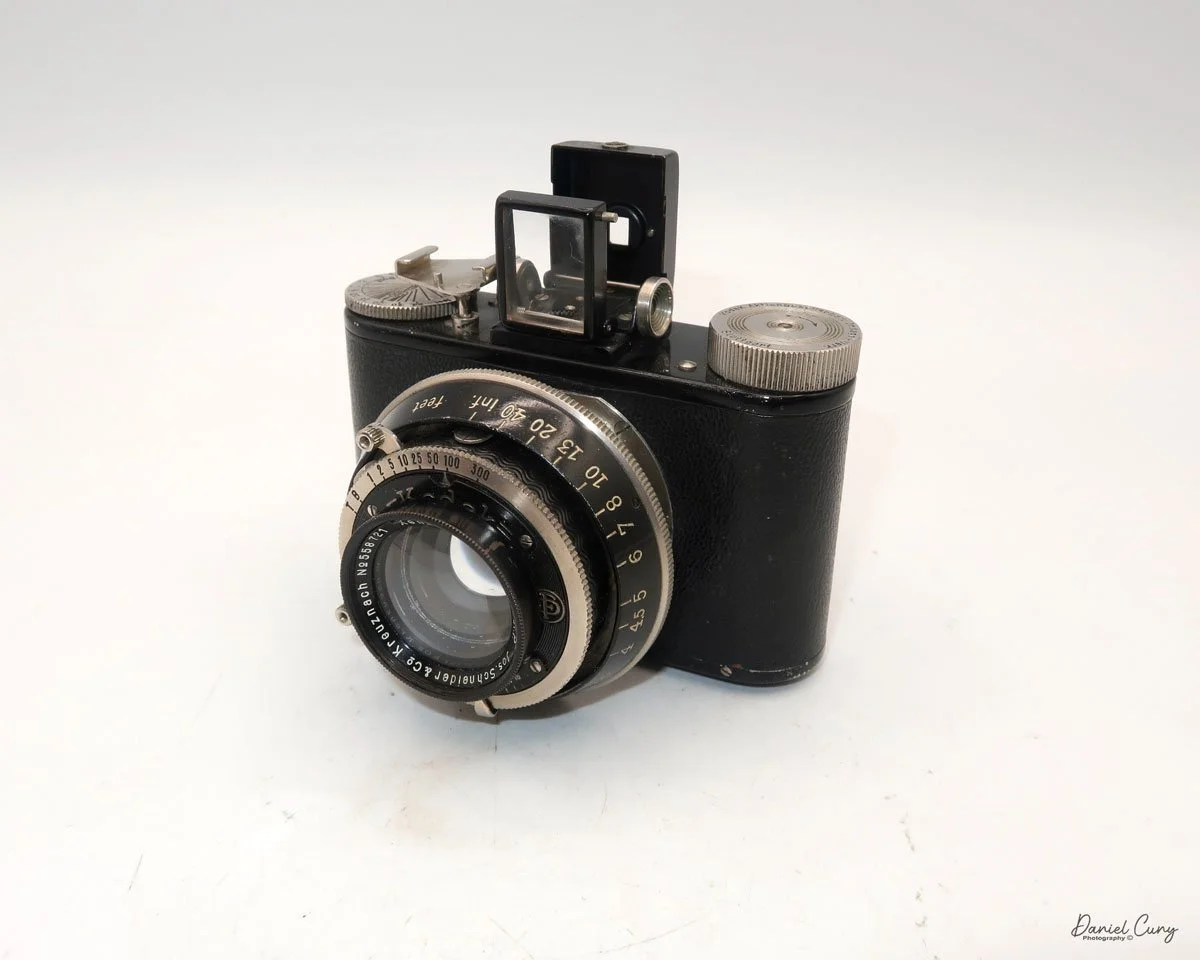
My Nagel Ranca has a Nagel Anistigmat 5cm lens, an F/4.5 lens, a Protar shutter located above the lens with only three shutter speeds: 1/100, 1/50, 1/25, along with "T" for timed and "B" for Bulb. The aperture ring, which is located below the lens, has a slide that controls the aperture. The minimum aperture setting is F/16.
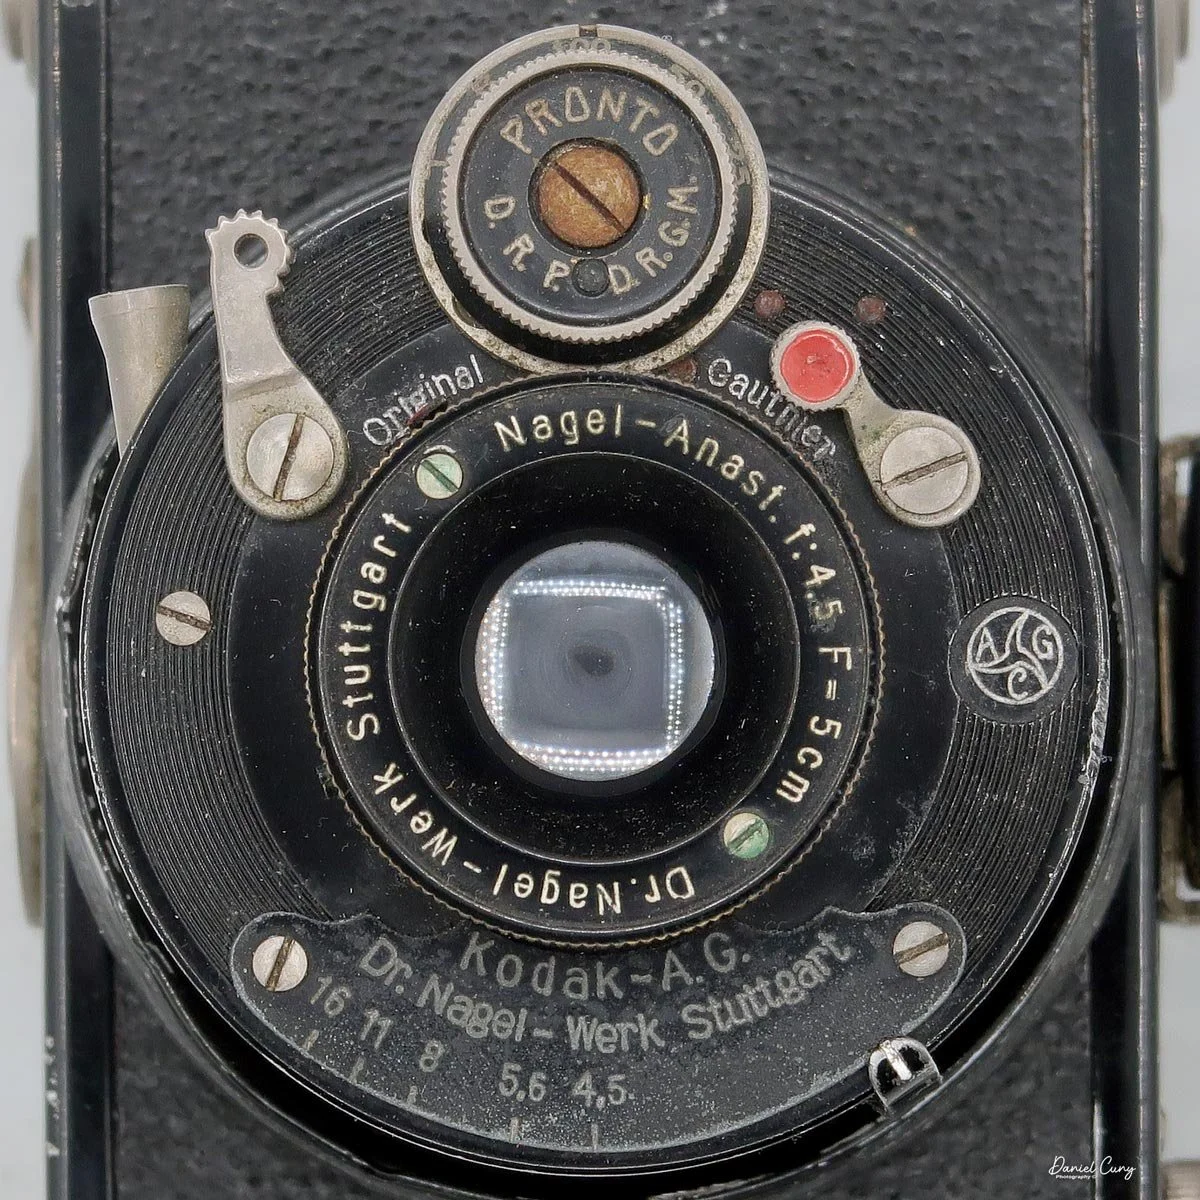
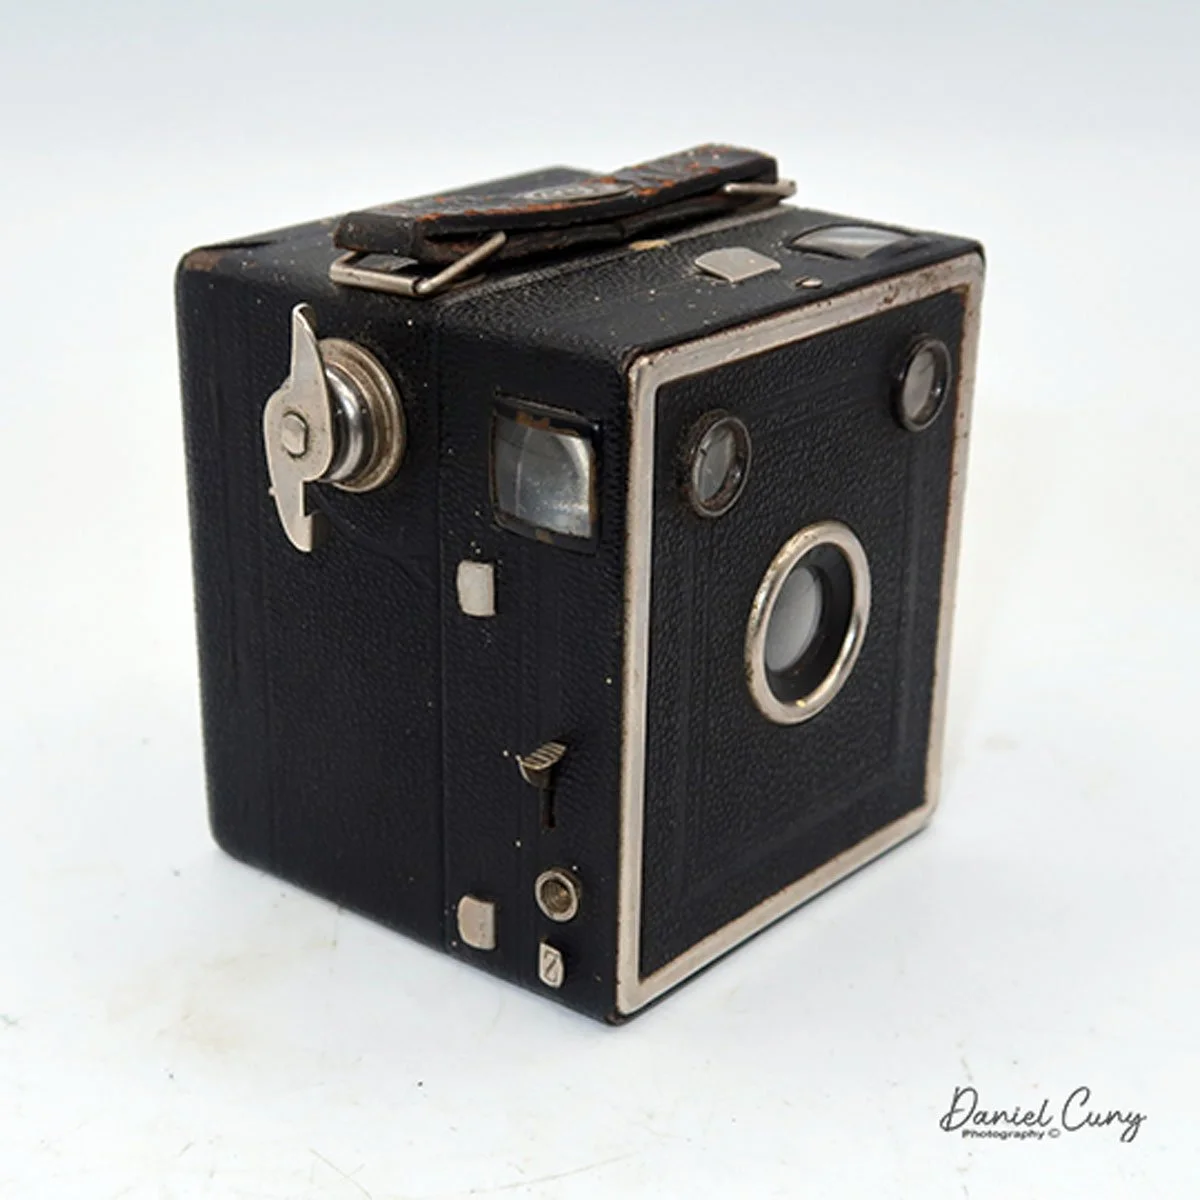
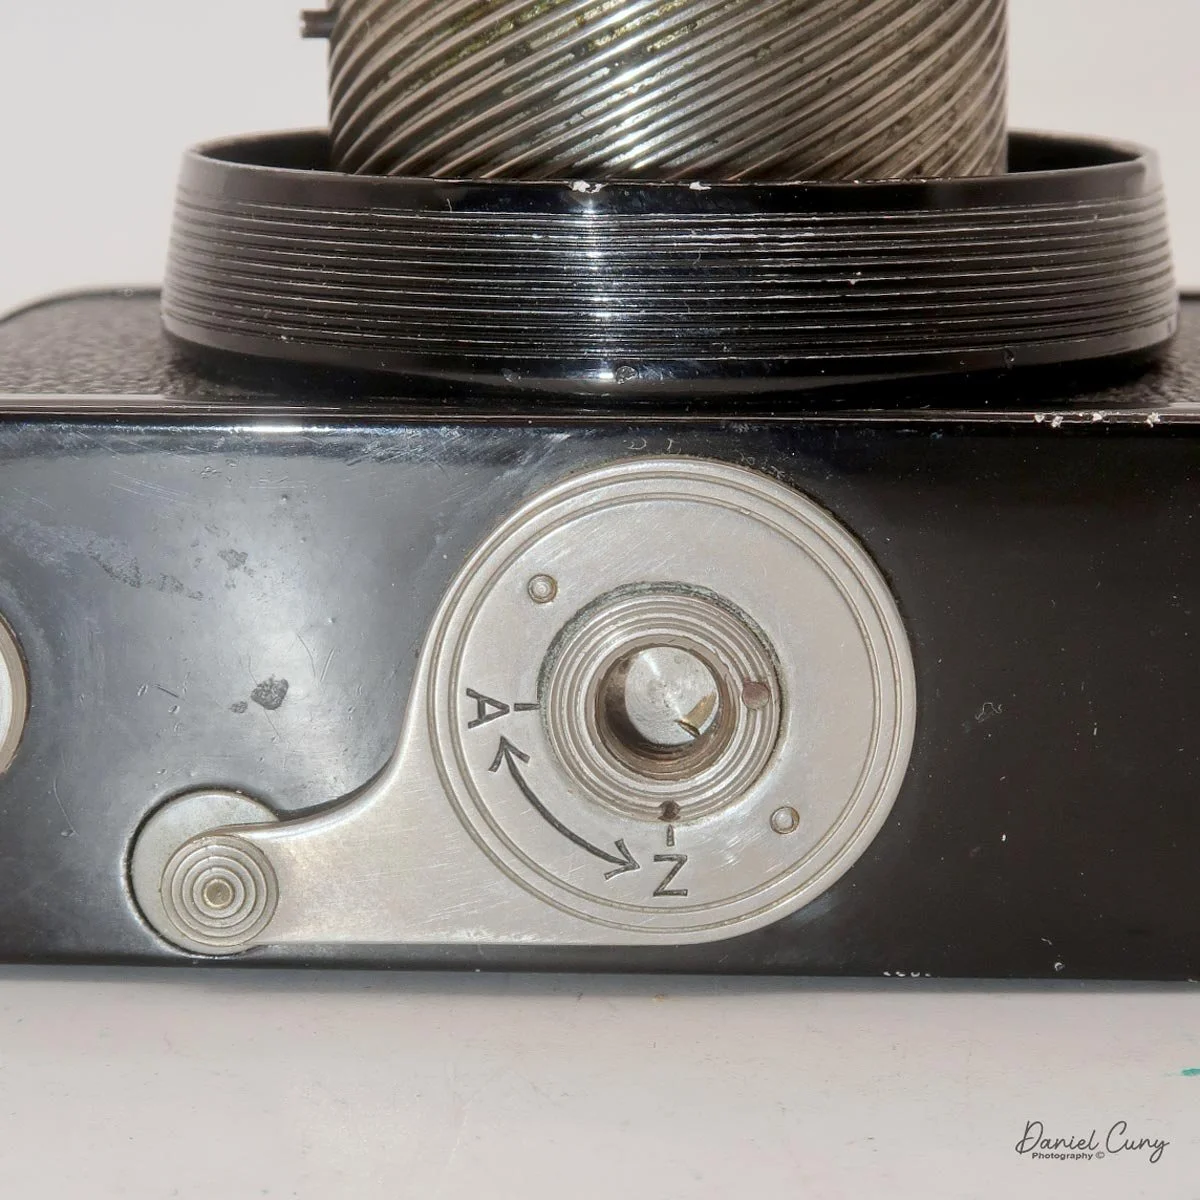
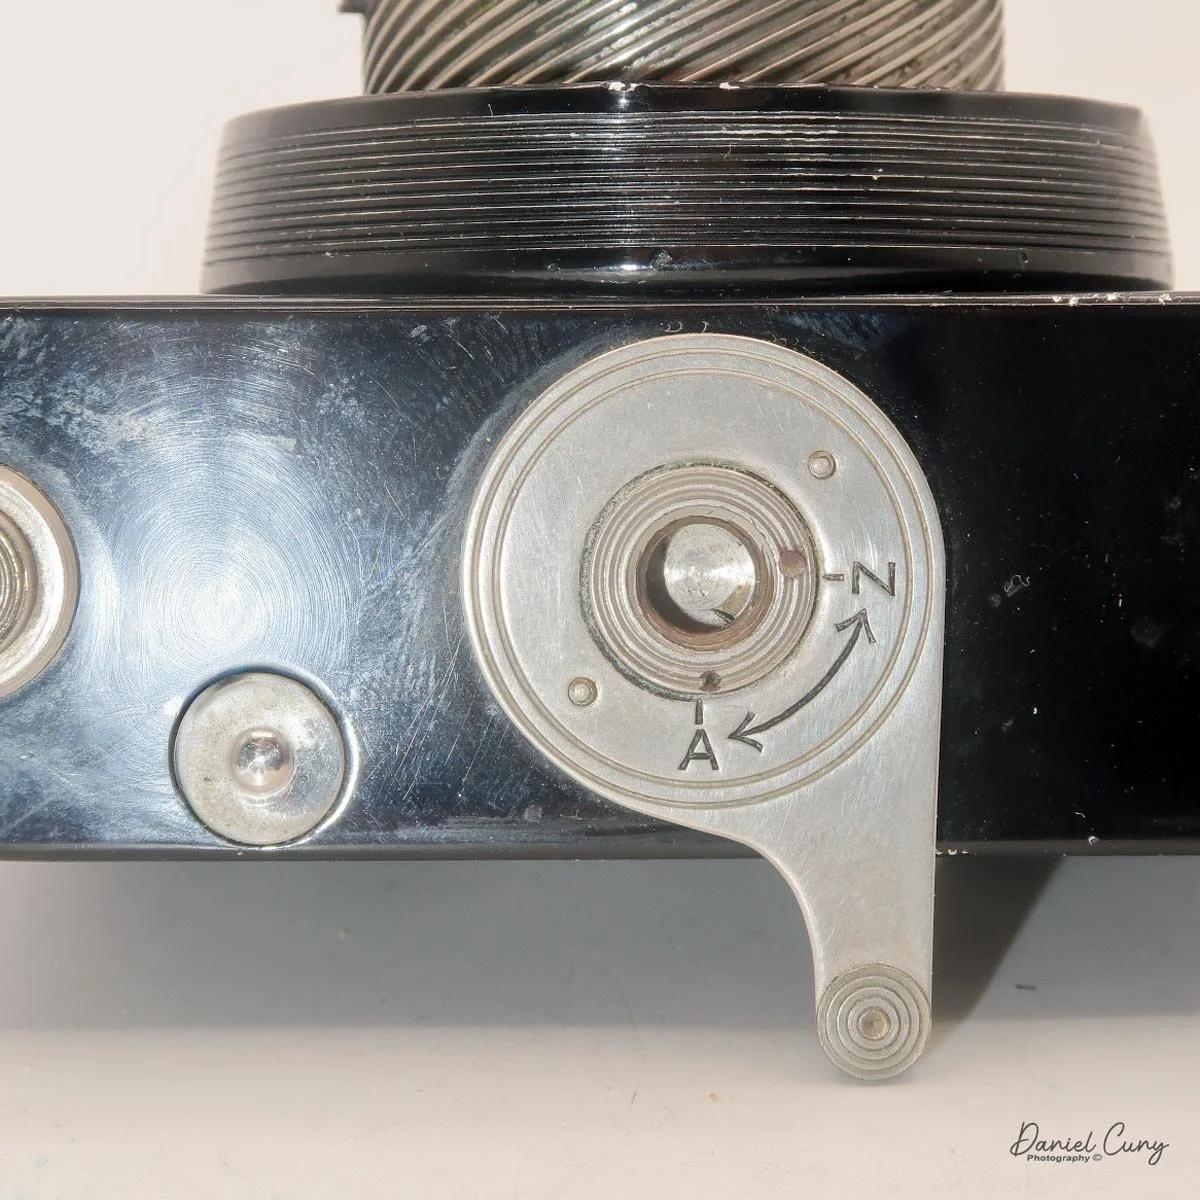
Shutter/Aperture settings on Kodak Ranca camera
As mentioned previously, the lens/shutter needs to be turned counterclockwise a quarter turn to extend the lens on the helicoid. The unusual thing about doing this is that the shutter release is now in an odd and awkward position for use. The lens/shutter is retracted, and the shutter release is in the 11:00 o'clock position, which is ideal for tripping the shutter. However, when the lens is extended, it puts the shutter release in the 7:00-8:00 o'clock position, making it a bit more awkward, in my opinion.
There is a shutter release socket behind the shutter release if needed. On the right side of the shutter dial is a self-timer with a large red dot. Pull it down to set the self-timer, then press it to activate it. Mine isn't working properly, which is common for cameras from this era.
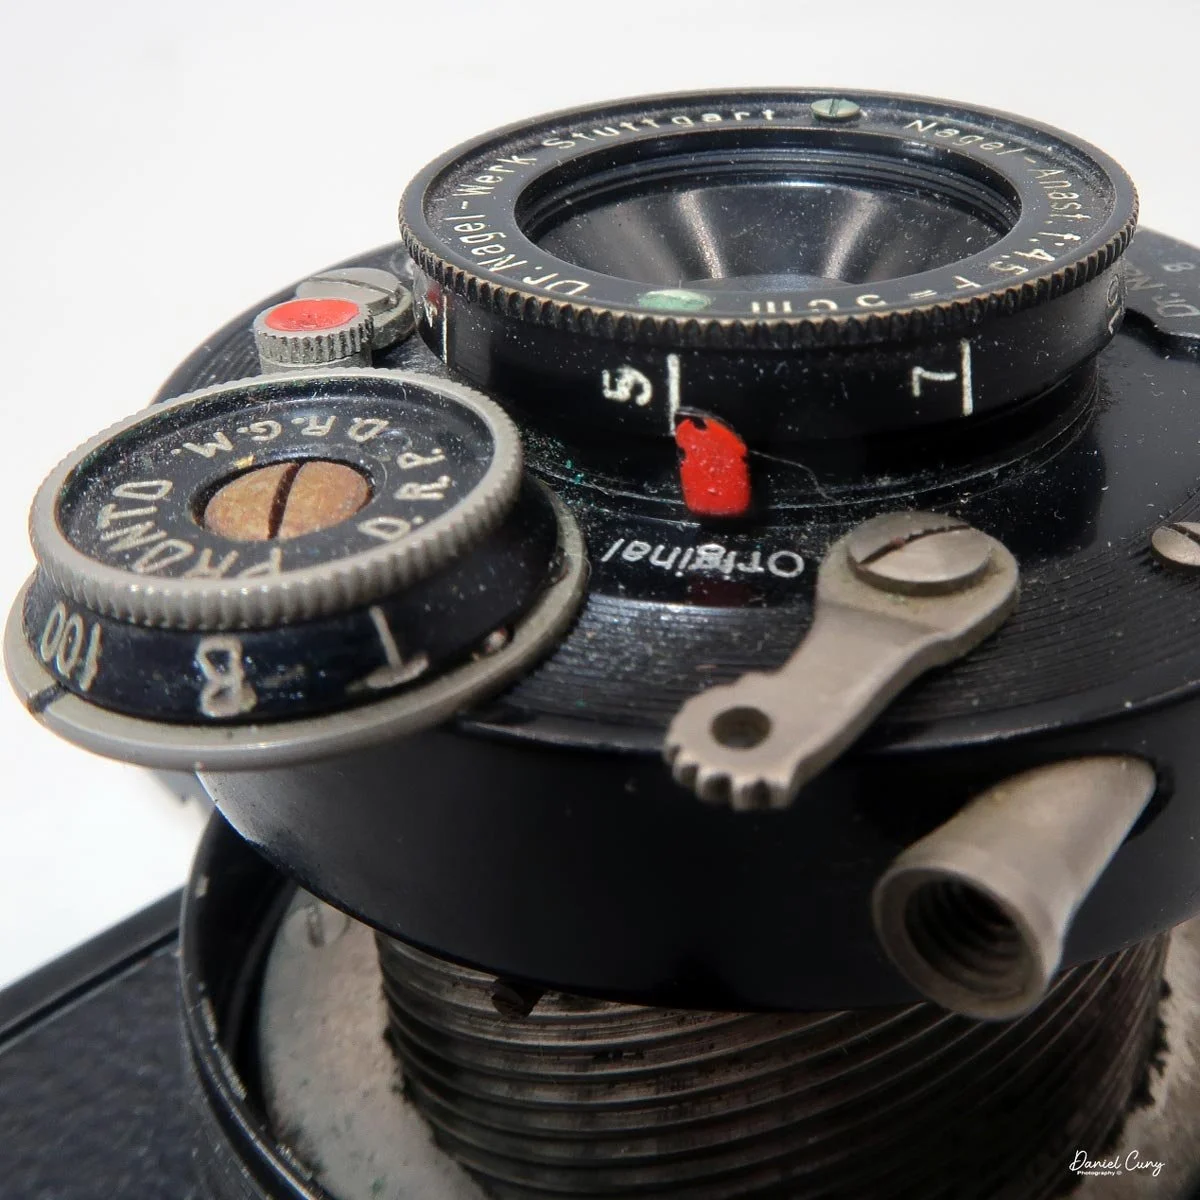
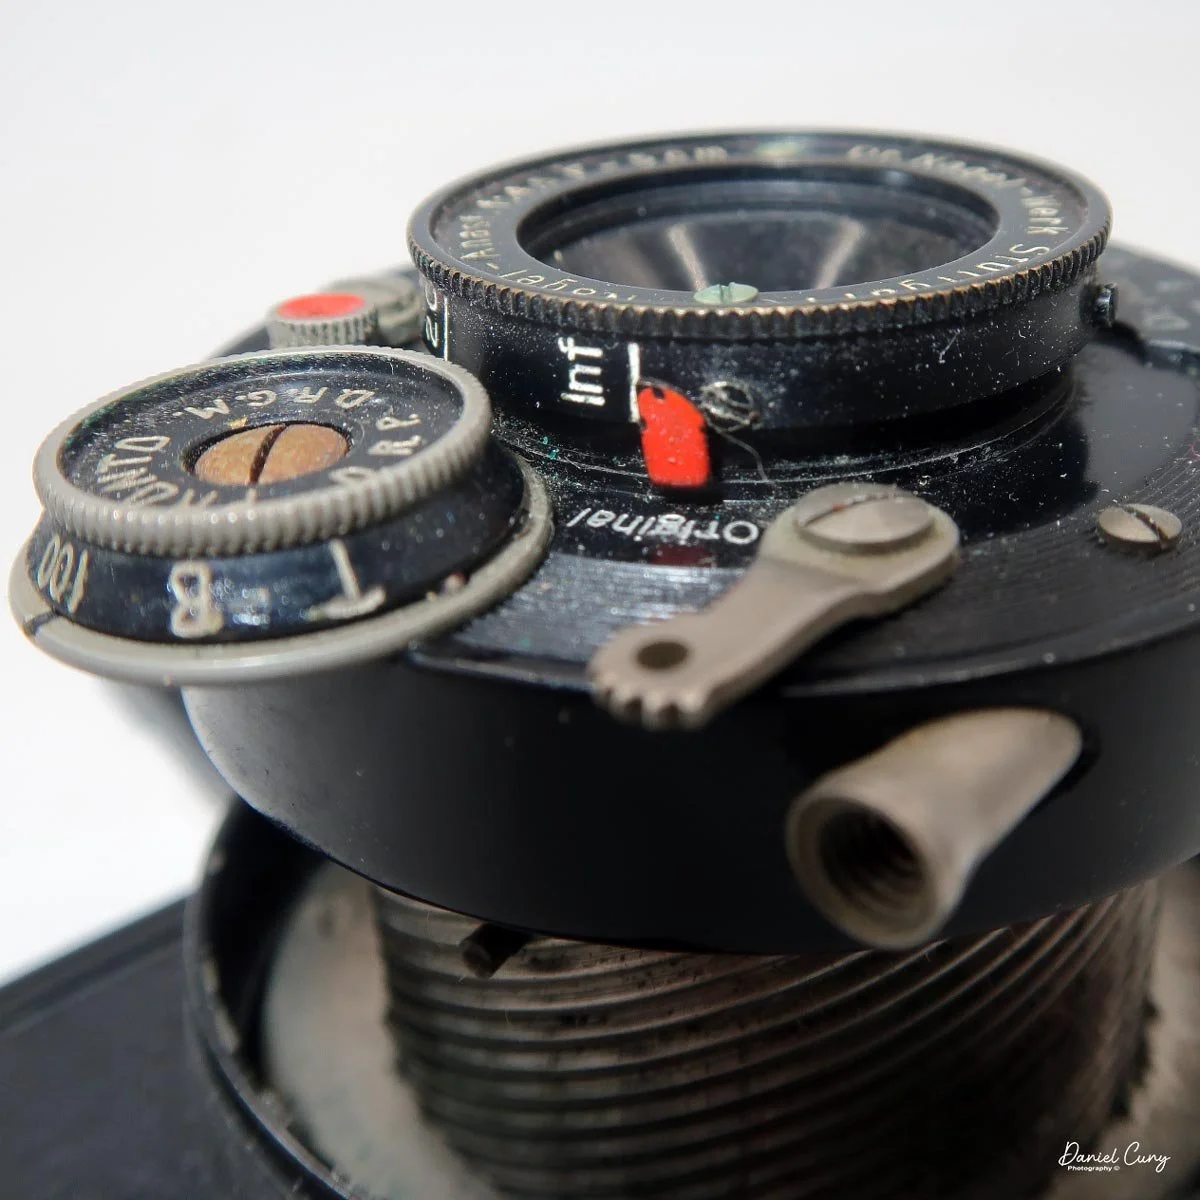
The lens is a front focusing lens. This means you rotate the lens itself to the desired distance from you to the subject. This is shown on the lens by a red line, which is also in an awkward position when the lens is extended. As opposed to being on the top, it's now on the side.
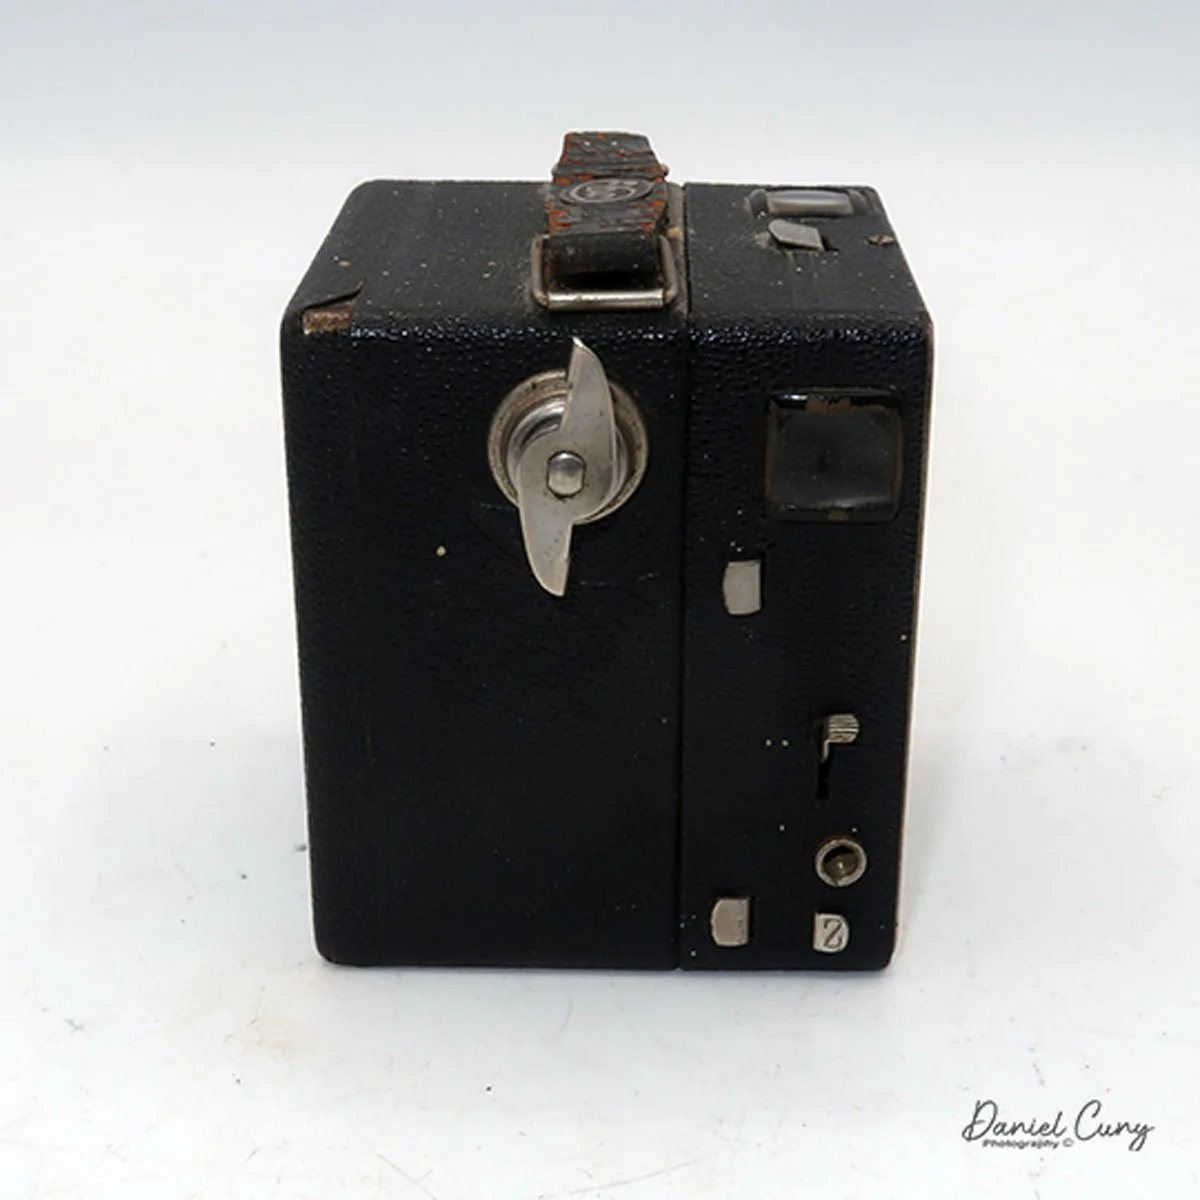
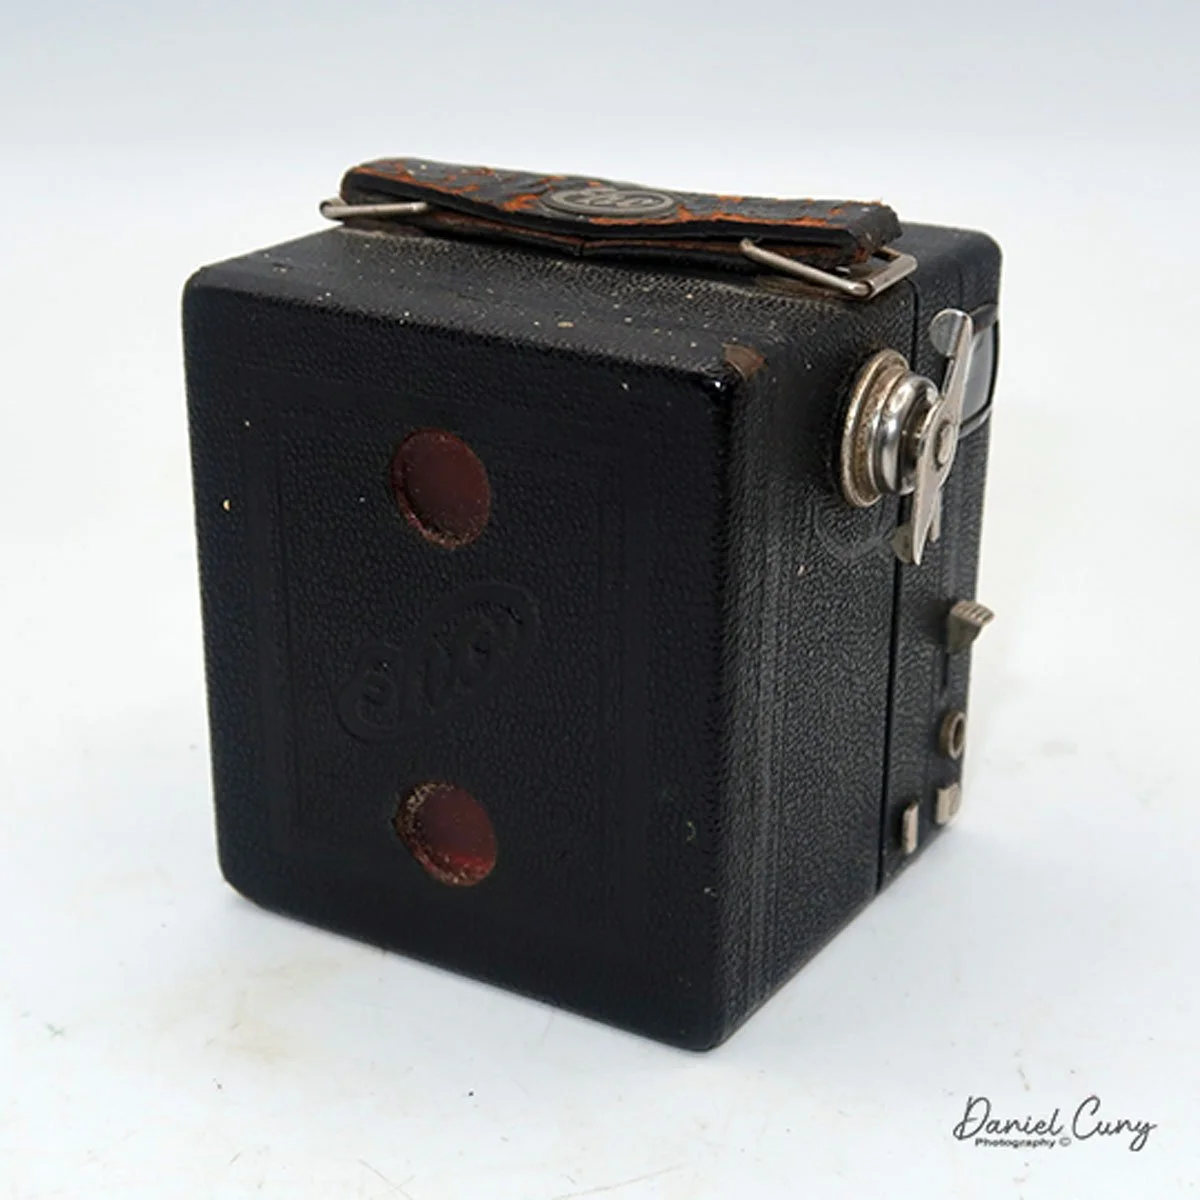
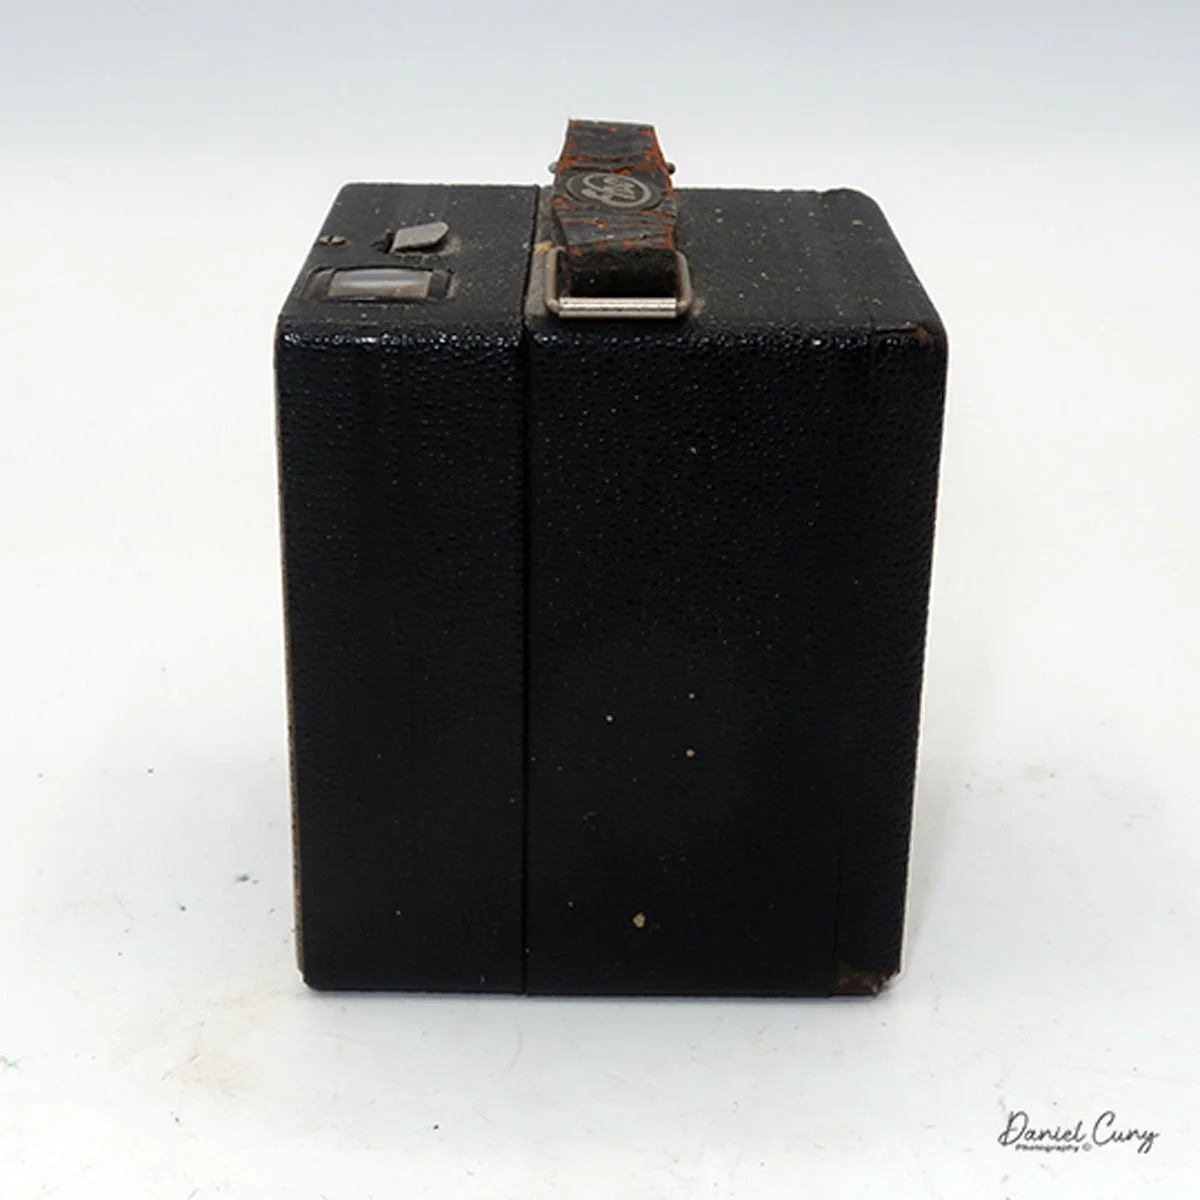
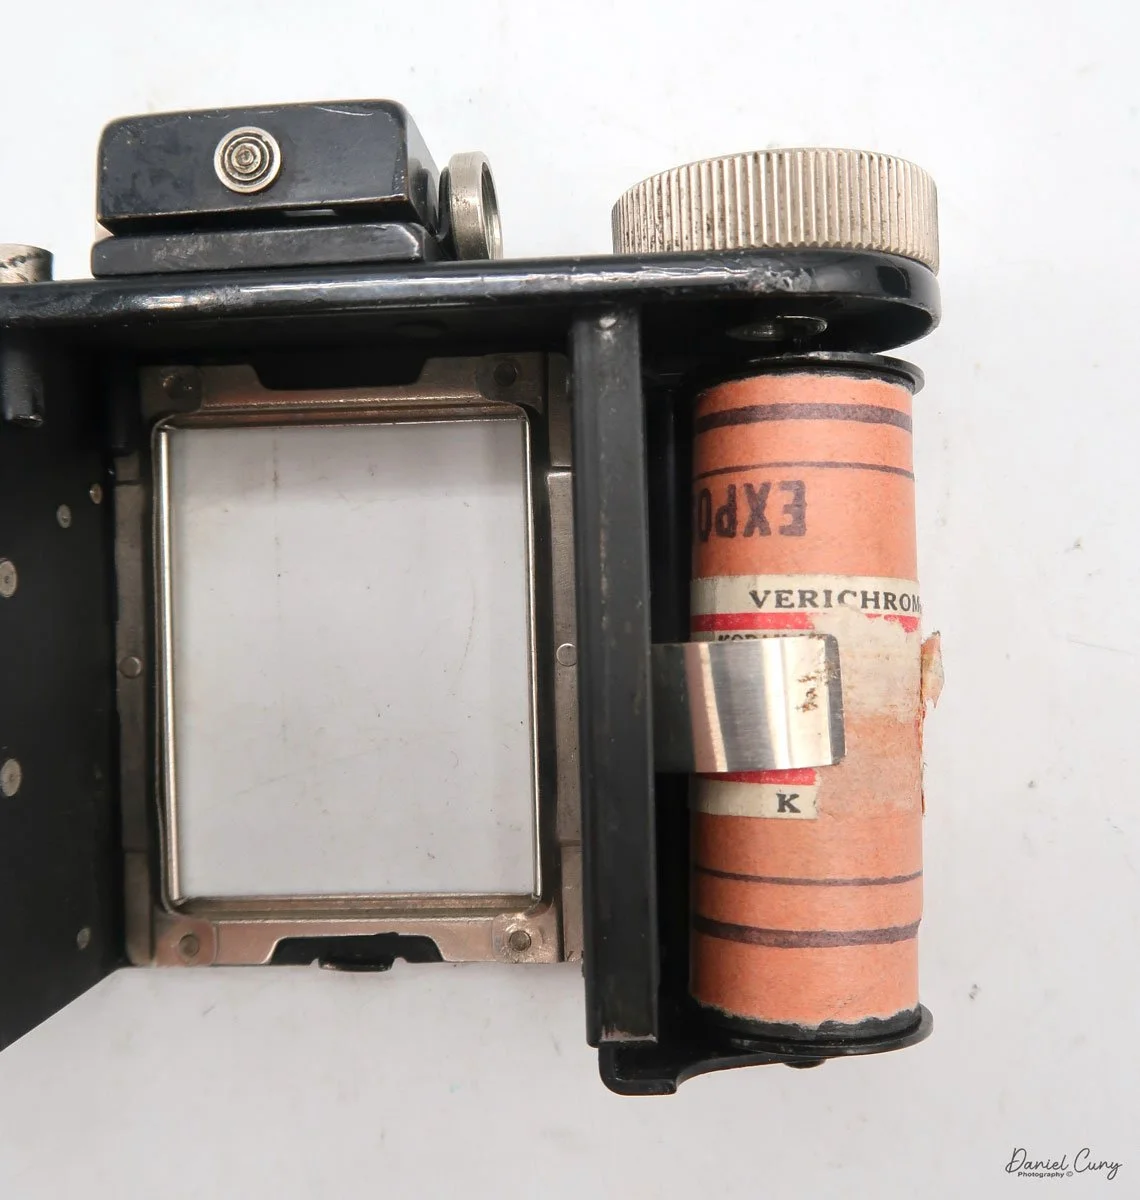
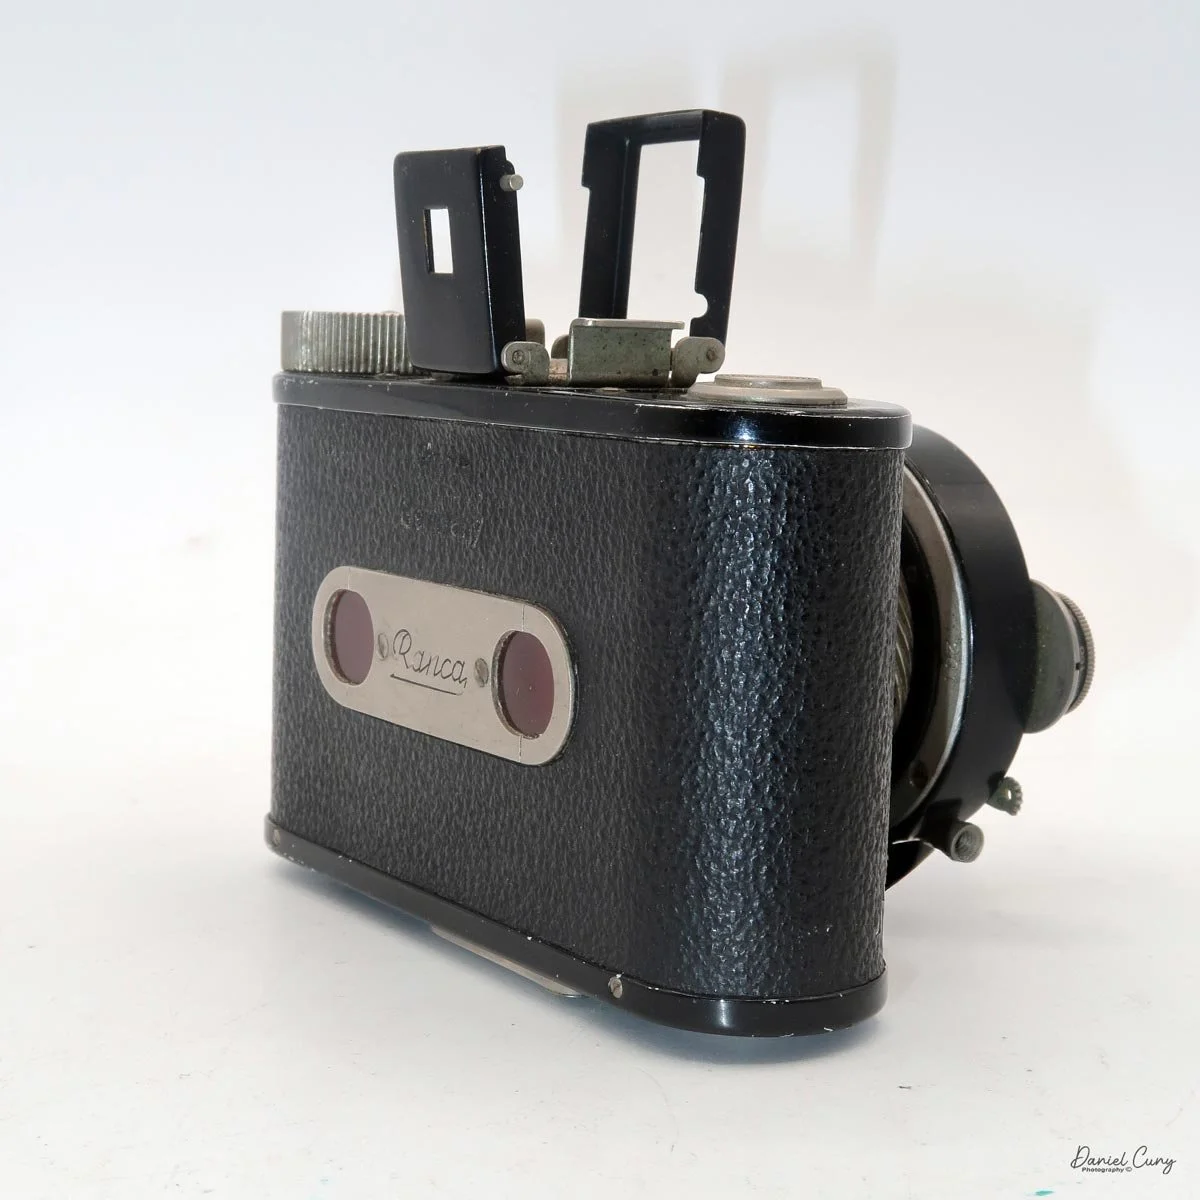
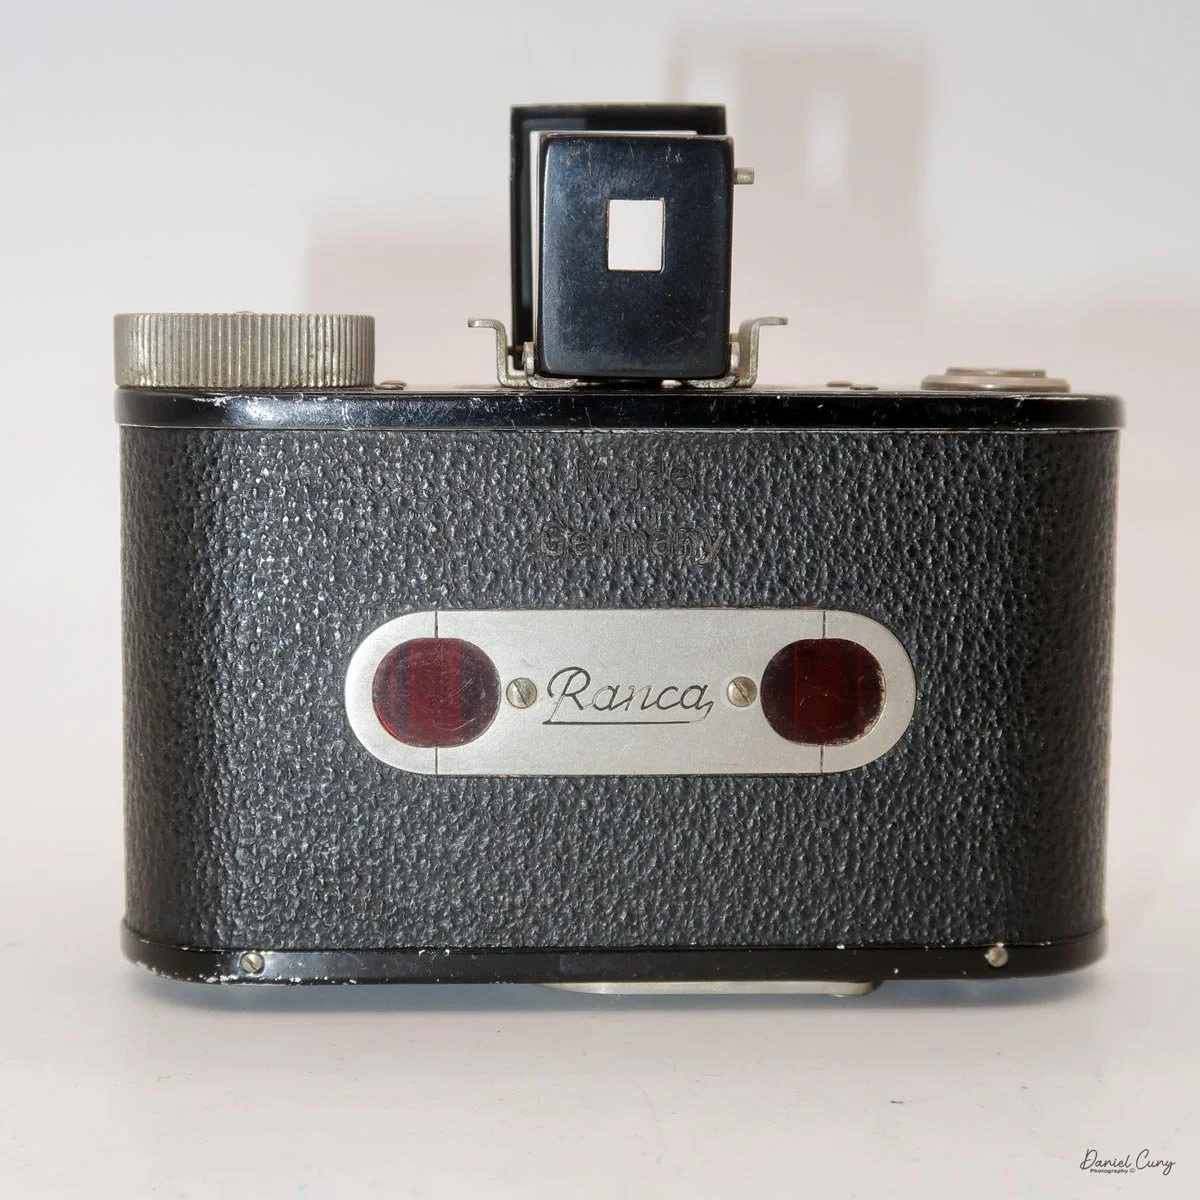
The lens doesn't need to be extended to open the camera to load film into it. Slide the lever on the bottom of the camera to unlock the film chamber from the camera body. Gripping the chrome handles on either side of the viewfinder and lifting up allows you to remove the film chamber. Once removed, load the 127-size film into the film holder, then slide the film holder back into the camera body and lock it in place with the bottom locking mechanism.
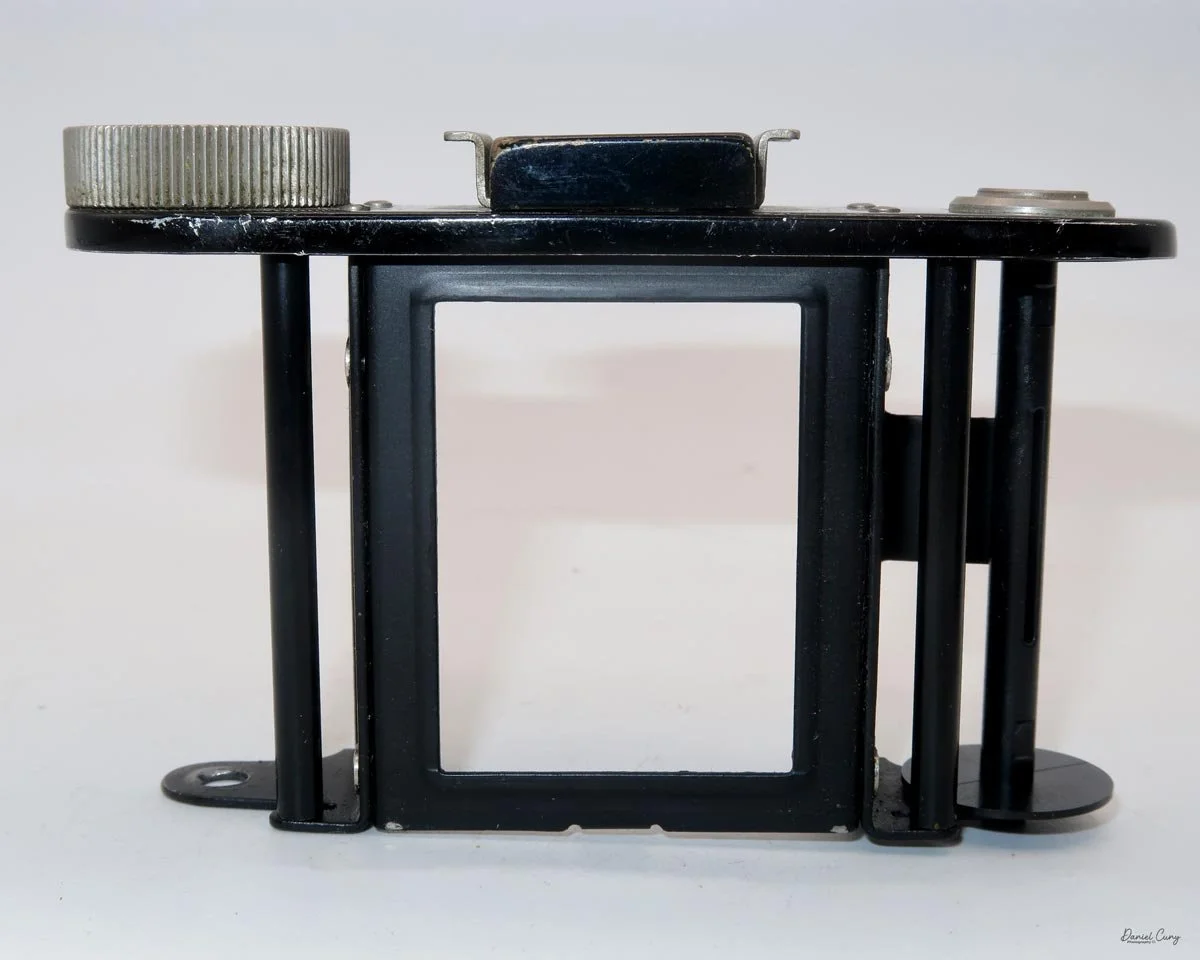
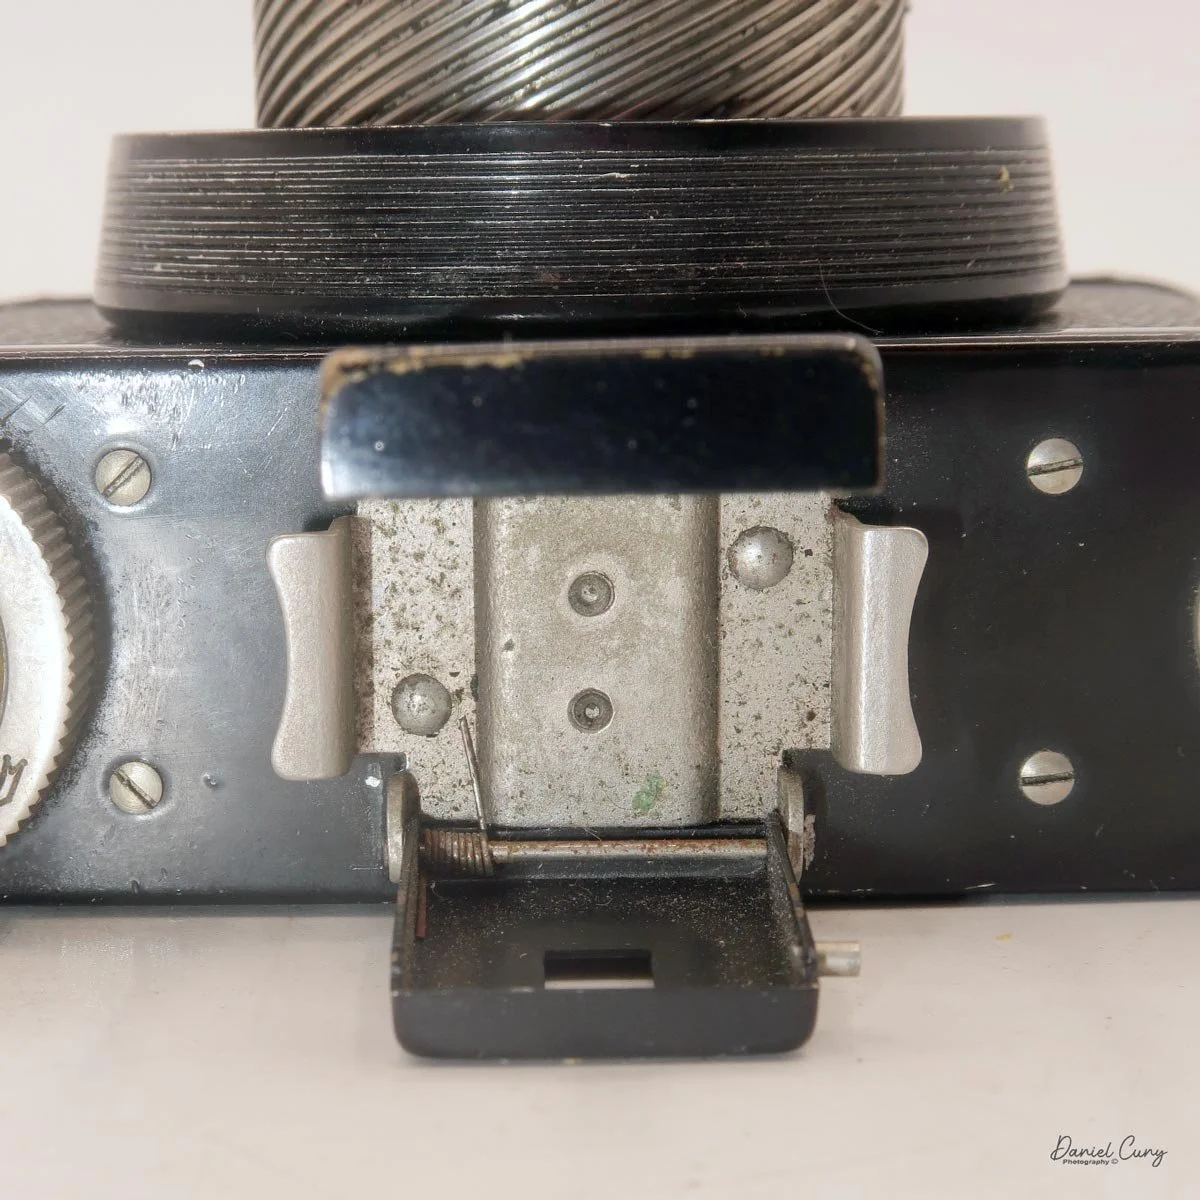
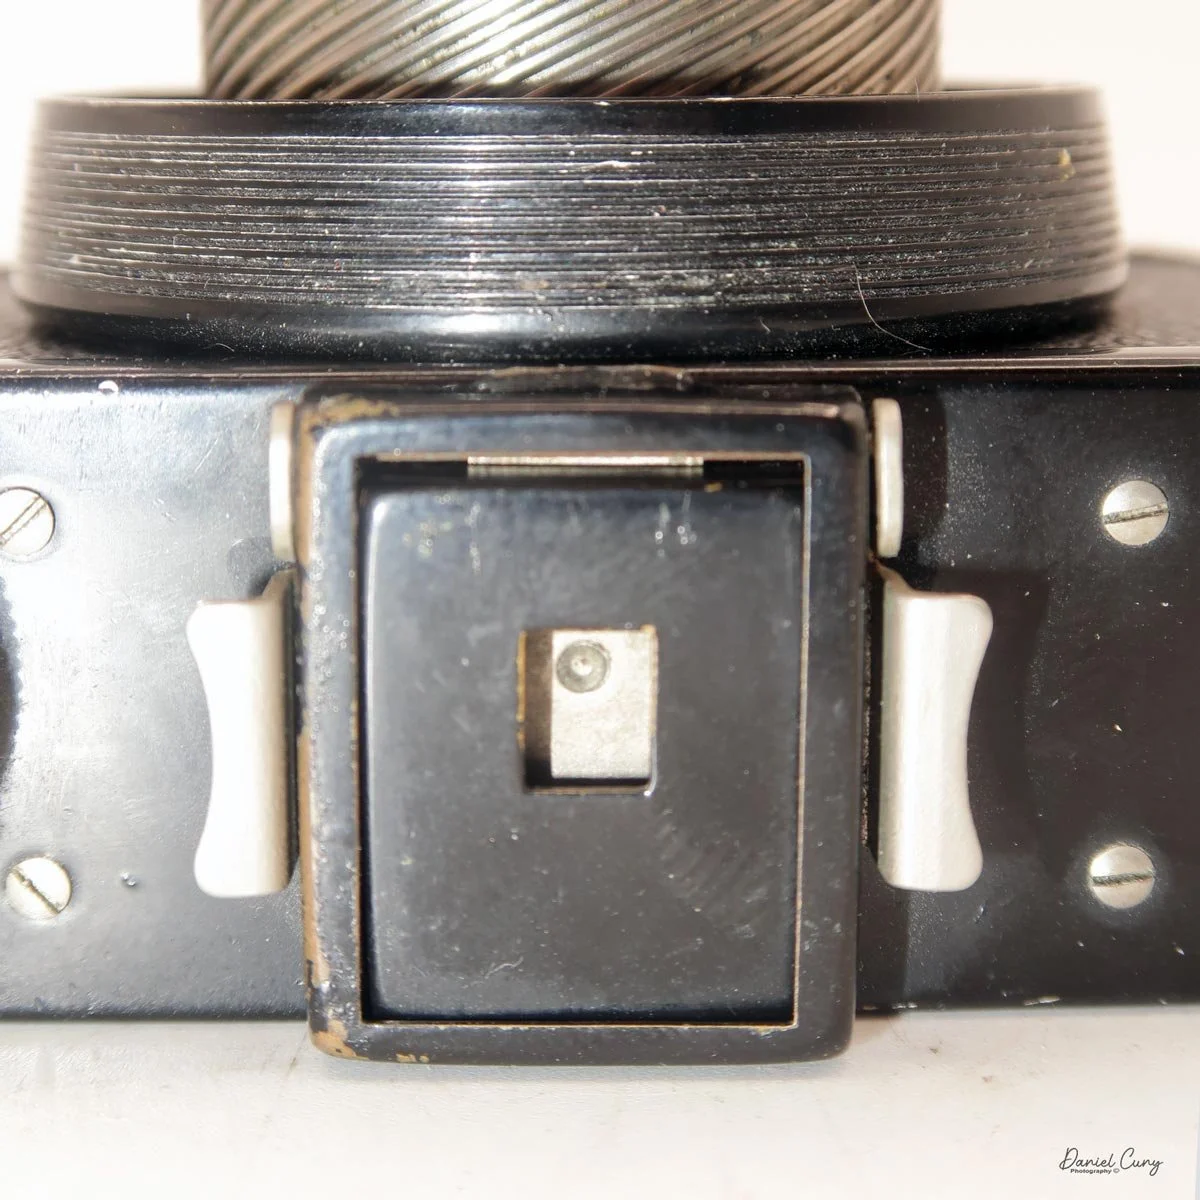
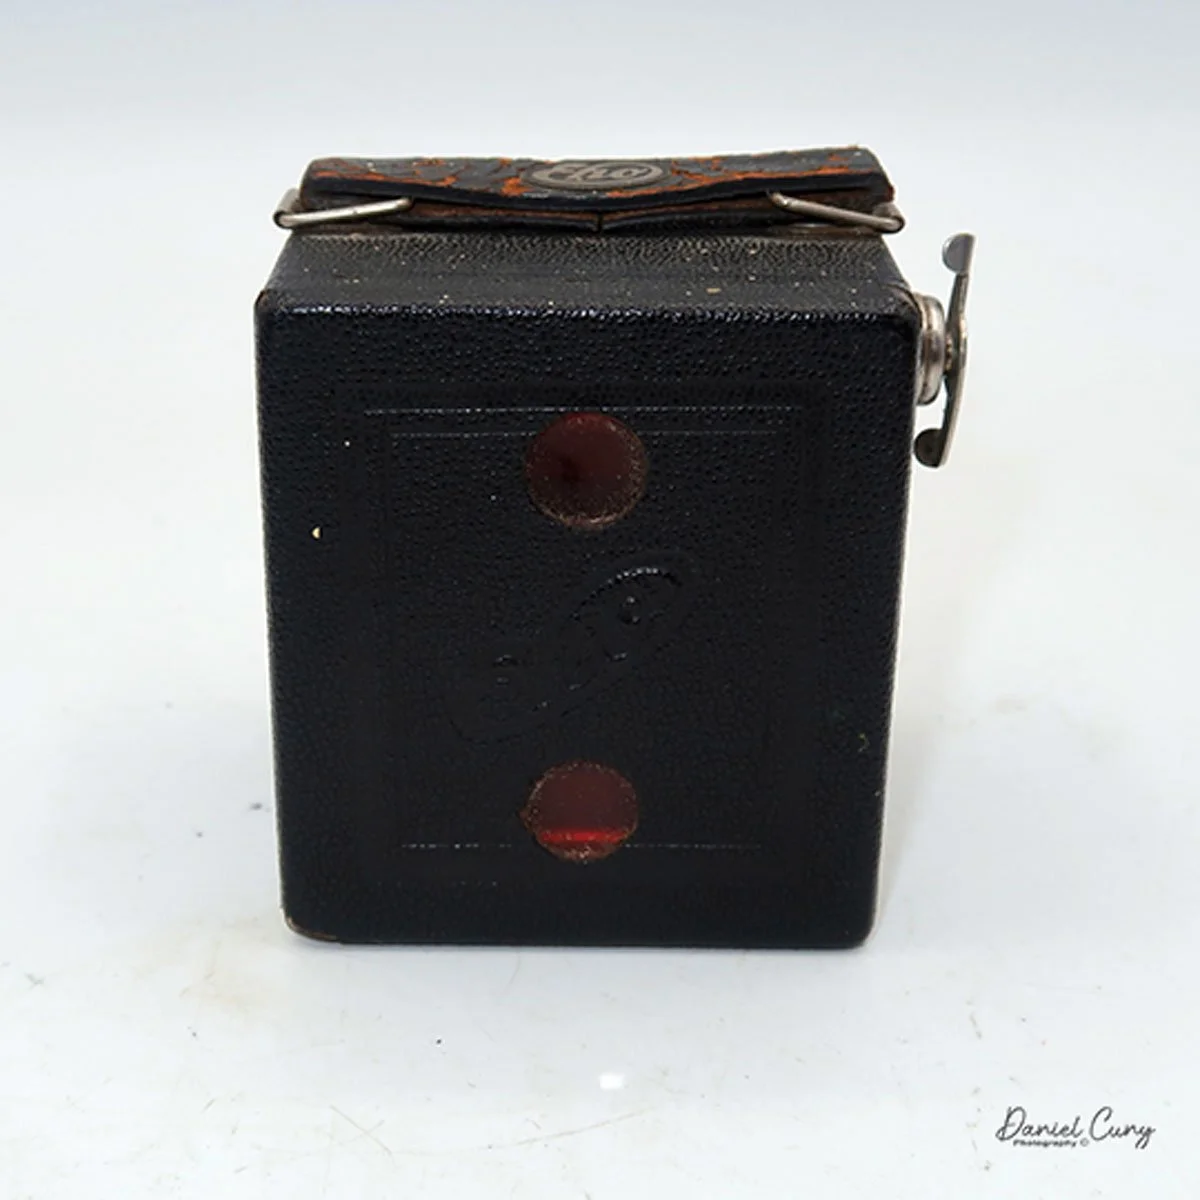
Since there are two red windows on the back, these are used to advance the film. First, wind the film until you see the number 1 in the right side window. Then take your photo. Now wind the film until you see the number 1 in the left side window. Take your next photo. Wind until you see the number 2 in the right side window. Then repeat this process through the number 8. At this point, you've taken 16 photos on your film, and it's time to get it processed, or process it yourself if you have the equipment and chemicals to do so.
My results:
I loaded a roll of 400 ISO film into the Nagel Ranca camera because the day started out overcast. With the limited shutter speeds available, I needed the extra sensitivity to make good images.
The day turned out sunnier than expected, and the lack of a high-speed shutter meant I needed to shoot all the images at 1/100, f/16. Even then, the negatives turned out a bit denser than anticipated, but I made the corrections needed in post-processing.
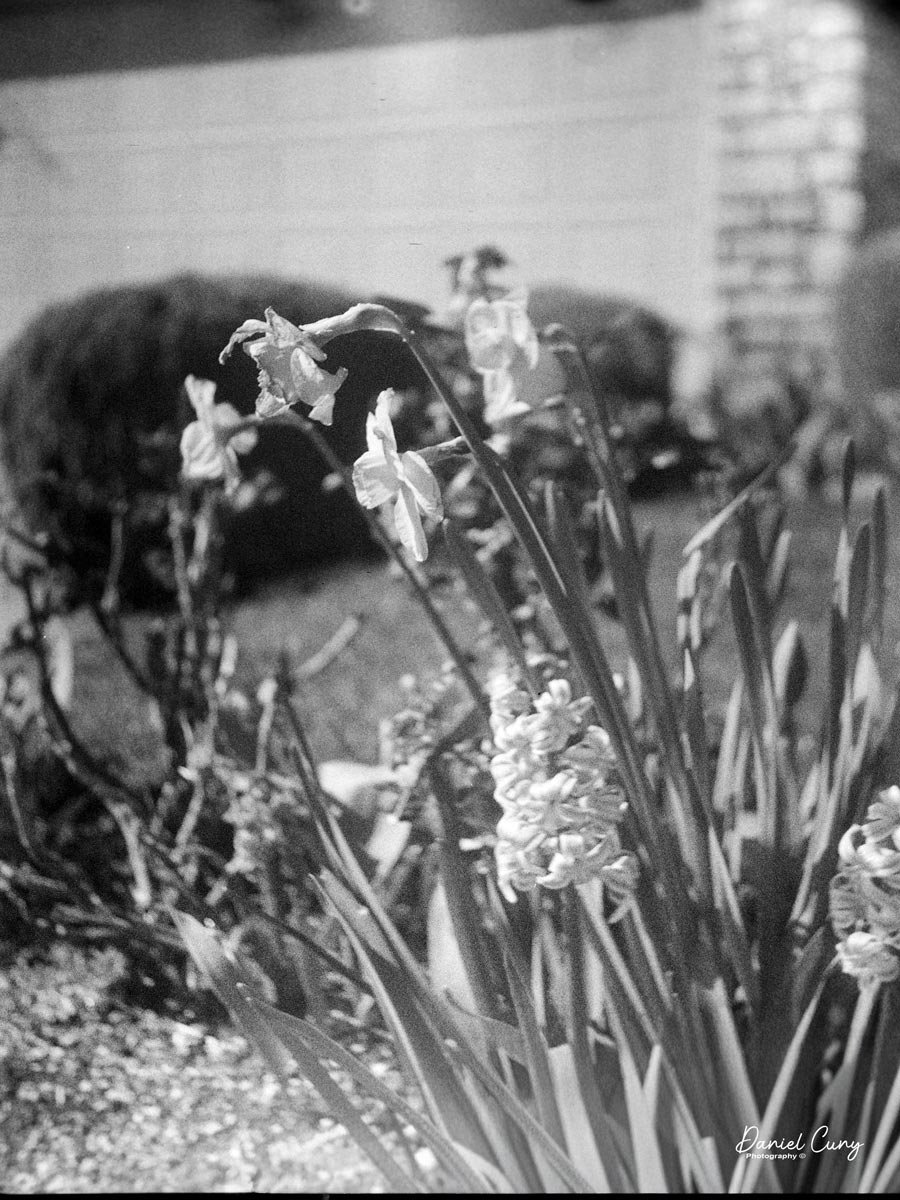
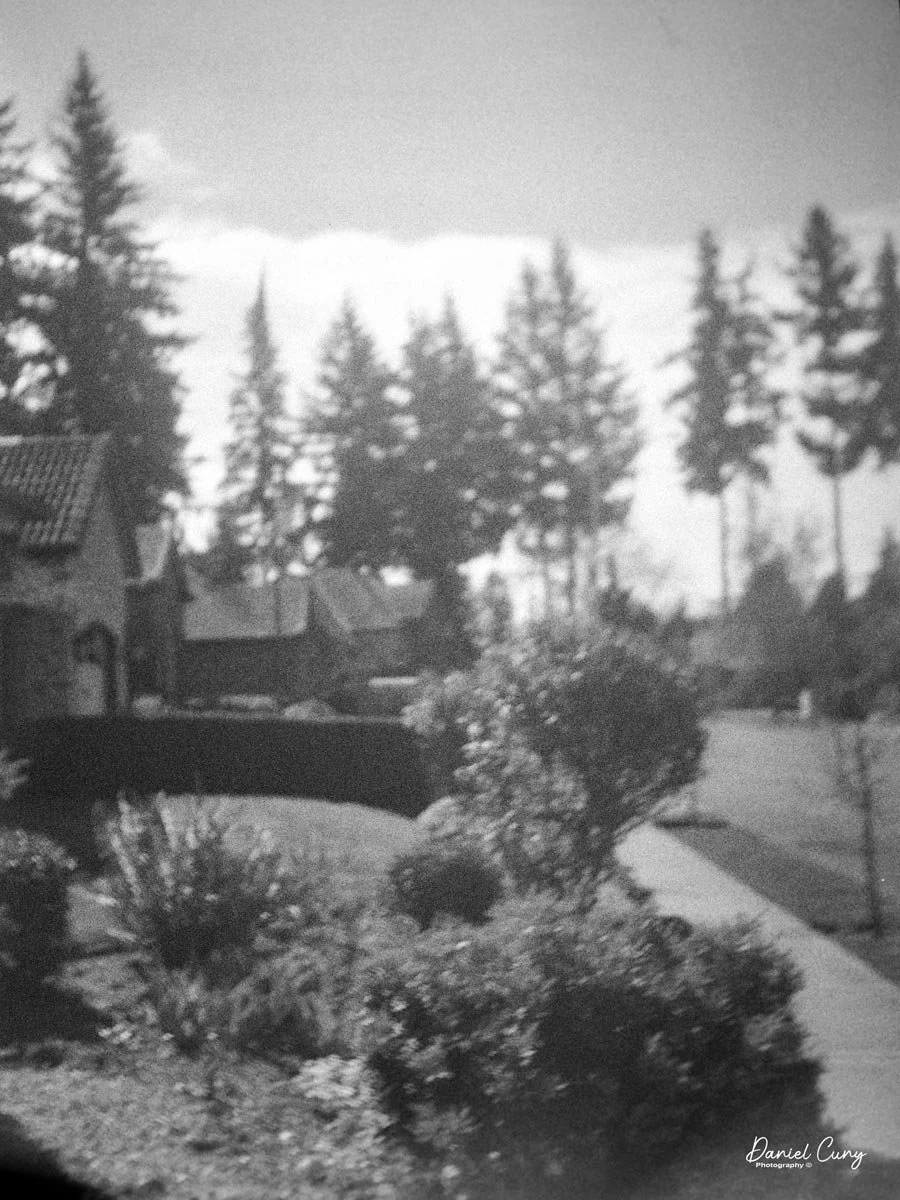
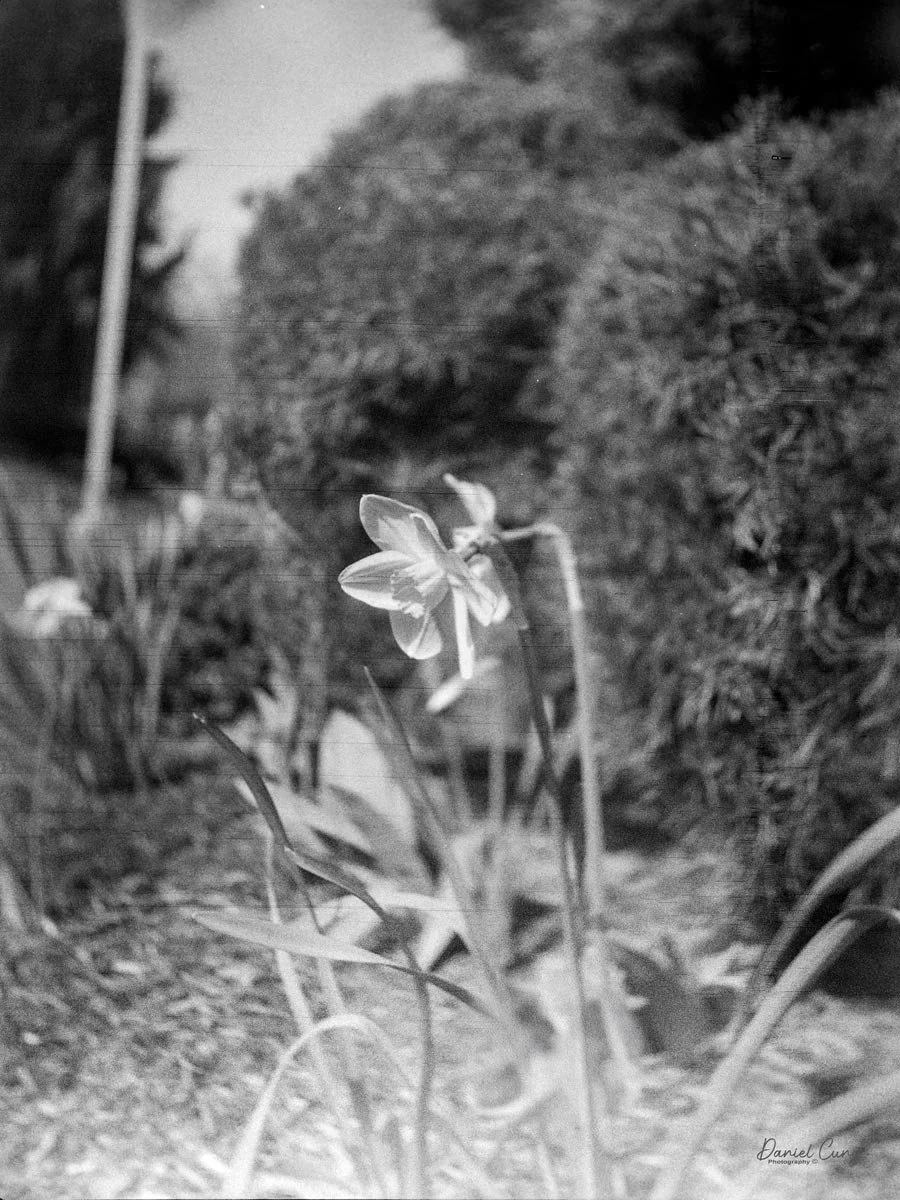
I tried some close-ups and a few longer shots to assess the camera's lens quality. I was both surprised, in a good way, and surprised, in a bad way, by my results.
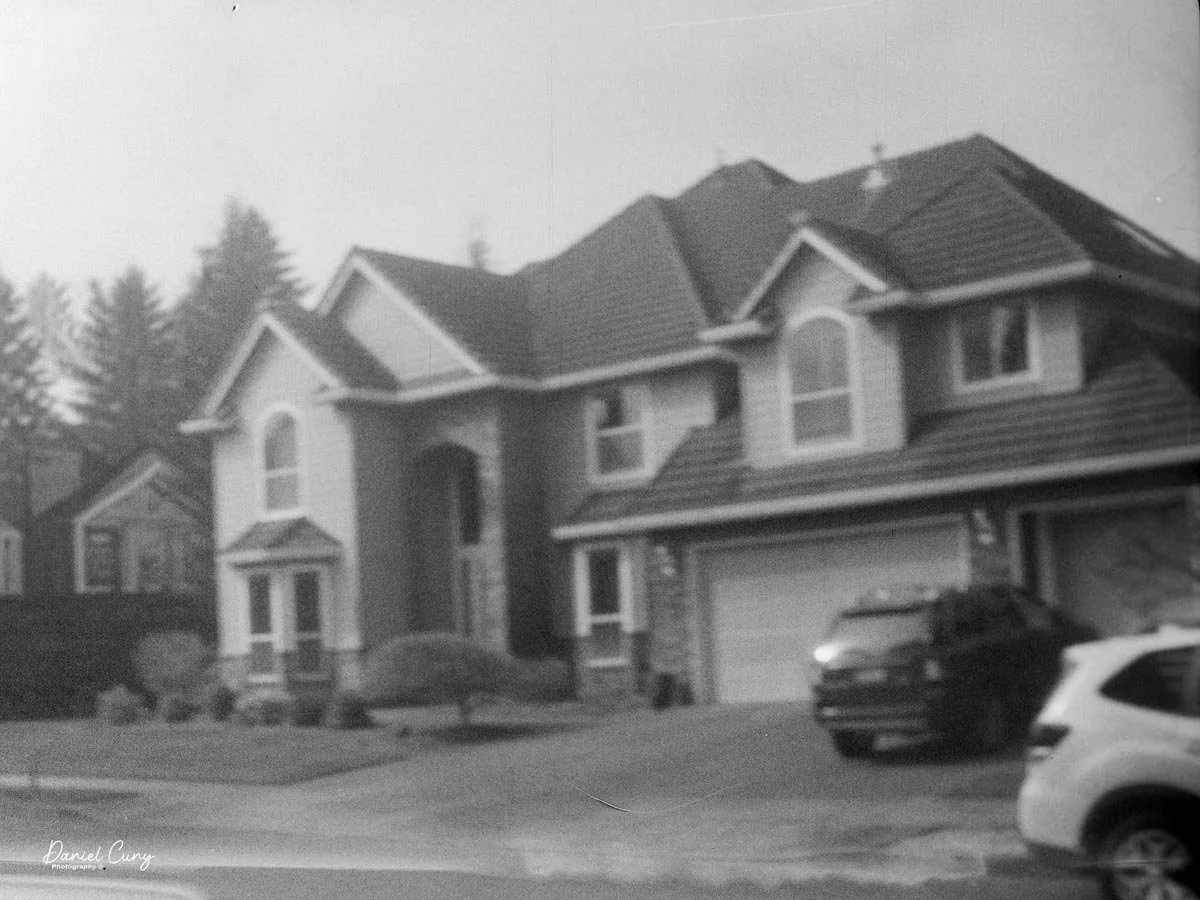
Here are some of the photos from my walk through the neighborhood.

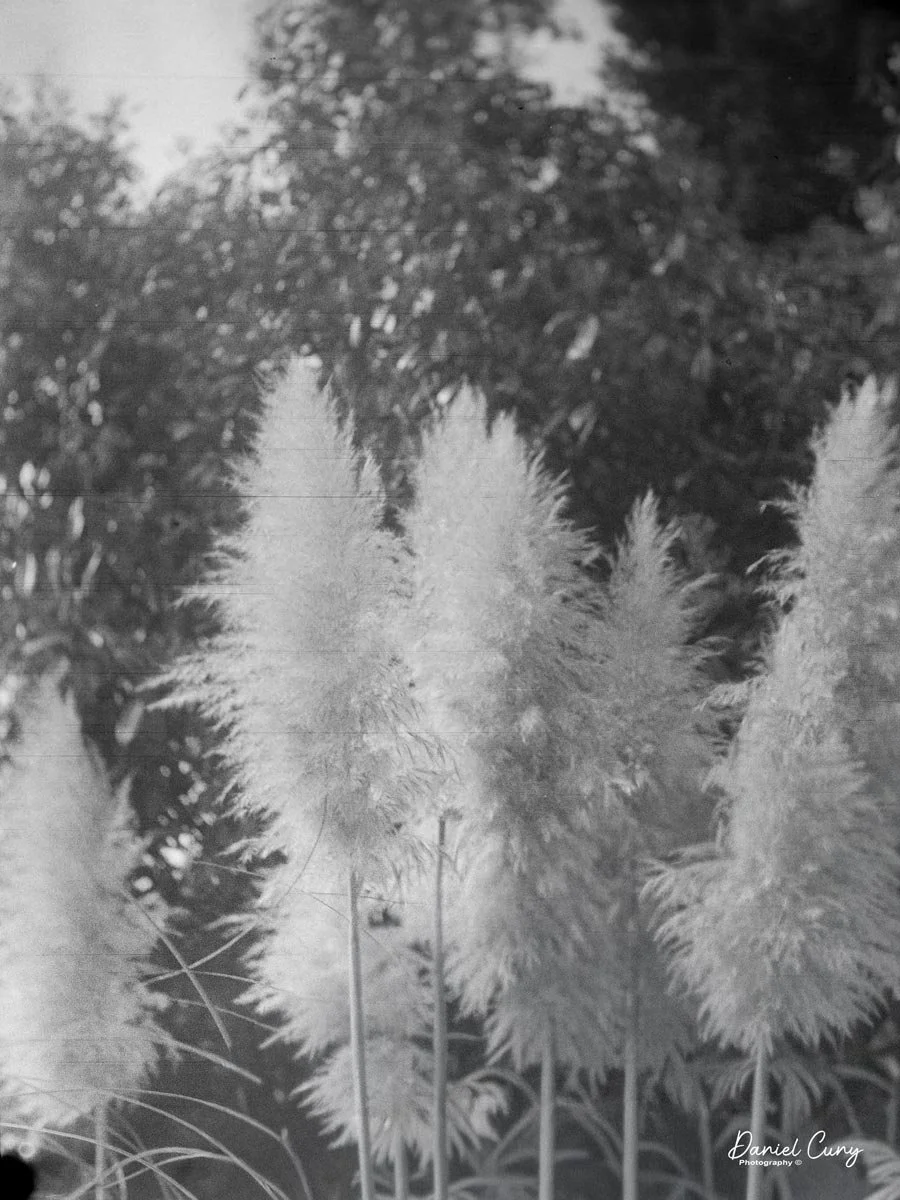
Conclusion:
To say I was disappointed by some of the results is an understatement. The closer images, which I thought wouldn't turn out very well, were the shining light of the camera roll. The images taken at infinity, assuming they would be sharp, especially at F/16, are unsharp and disappointing.
The camera was fun to shoot with, and I always enjoy shooting 127 film in the 3x4cm format. Still, I was also disappointed with the shutter release's location after extending the lens to the "taking" position. The shutter release was in an awkward position, to the point that I had to shoot the camera with my thumb while resting it in my palm.
I'll get used to it next time I take the camera out for a shoot, but I prefer using the Nagel Pupille.
Thank you for taking some time to learn about the "lesser featured" brother of Nagel's Pupille, the Ranca camera. A compact 127 camera made in the early 1930s.
Here are the other Camera Reviews I've done.
Cuny's Cameras and Photos is my online eBay store where I sell some of the cameras reviewed, along with many other photo oddities I've accumulated over my 50-plus years with cameras and images.
Until next week, please be safe.