My Whitehouse Beacon cameras
When I was starting to collect cameras, I would collect anything —from straightforward box cameras and point-and-shoot cameras to fundamental bakelite cameras. As you begin to refine your interest in collecting a particular item, the focus becomes a bit more narrow, and the items that you see so often, like Kodak Brownies and bakelite holiday cameras, become less and less interesting.
I'm sure that's true with collecting anything. You're always on the hunt for odd, unusual, rare, or exotic items, whether it's cameras, firearms, cars, or sports memorabilia. Once I got over the initial phase of buying "any camera", I started collecting cameras with color to them. Kodak Rainbow box and folding camera, some of the bakelite Imperial camera, Boy and Girl Scout cameras, or even a box camera with odd and unusual faces on them, like the Bear Photo camera, or the Century of Progress cameras. To this day, it's difficult for me not to pick up and look at any colored camera, and I will most likely purchase one if the price is right.
The Beacon camera was one of the cameras that started in my initial phase of collecting and continued into the next phase of collecting cameras with color. To this day, I can remember walking through a local flea market and seeing a familiar shape of the Beacon camera, but this one was in a different color. I had only owned the black version before, but this one was greenish-turquoise. When the seller quoted a few dollars, I snatched it up right away. The Beacon camera came in traditional black, as well as white, red, and green.
My three Beacons
I purchased the red Beacon camera well over 35 years ago, when there was no internet, and the only places you could see items like this were at camera shows, camera collecting books, which usually weren't in color, or people selling things at garage sales or flea markets. I remember thumbing through the McKeown's Camera guide, which I had back then. It was considerably smaller, but it did mention whether cameras came in different color versions.
When eBay launched in the late 1990s, I was an early adopter and joined in 1997. At that time, there were no product photos; only descriptions. It was more of a message board of people buying and selling items. My first number was 1034, this was even before you had a name on eBay. eBay changed the way people collect so many items. The market became flooded with items that were difficult to get before eBay, and their prices dropped. So many antique stores and other retailers were affected by them until they started selling on the marketplace, and it has now become such a vast entity.
I can even remember starting a similar auction site aimed at the photo marketplace in the early 2000s, and I was going to call it Photo Flea Market, where people could buy and sell cameras, lenses, vintage gear, and even images like prints, Daguerreotypes, Ambrotypes, etc. Try to keep it more focused on one particular industry, but like many ideas, it went by the wayside.
Camera History:

Patent Drawing for Beacon camera
The Beacon camera was manufactured by Whitehouse Products Inc. of Brooklyn, NY, starting in the late 1940s. My friend, podcaster, and excellent camera blogger Mike Eckman has a tremendous post on the History of Whitehouse Products where he deep dives into a famous woman named Vira Boarman Whitehouse, (Mrs. Norman De R. Whitehouse) who was mainly know as a suffragette leader in the 1920 that had a leather company who employed many women, and who also championed company's to go from a 48 hour work week to a 40 hour week. It's truly a fantastic read.
Whitehouse Products produced the Beacon line of cameras, along with another simple camera in the 1960s, the Beacon Reflex camera, Automatic 705, and the Autoflash WH 127-A, which Ansco also sold. My favorite Whitehouse camera was the 1970s novelty Charlie Tuna Camera, which I also have in my collection.
The one thing I can be sure of is that William L Lawson was the designer and inventor of the Beacon camera. I conducted a patent search and identified the initial design of the camera, produced in 1948. It's for the original Beacon camera, which also included two shutter speed settings. The two speeds were either "I" for instant or "B" for bulb, or timed exposures. The later Beacon II model removed the ability to set the shutter speed, as shown on my camera. The original Beacon and later Beacon II models took 16 images on 127-size film, producing a 3x4cm negative.
Later in the 1950s, Whitehouse produced the Beacon Two-twenty Five. A larger version of the Beacon and Beacon II, which took 12, 6x6cm images on 620 film. This is the camera I used to produce the images included in the post.
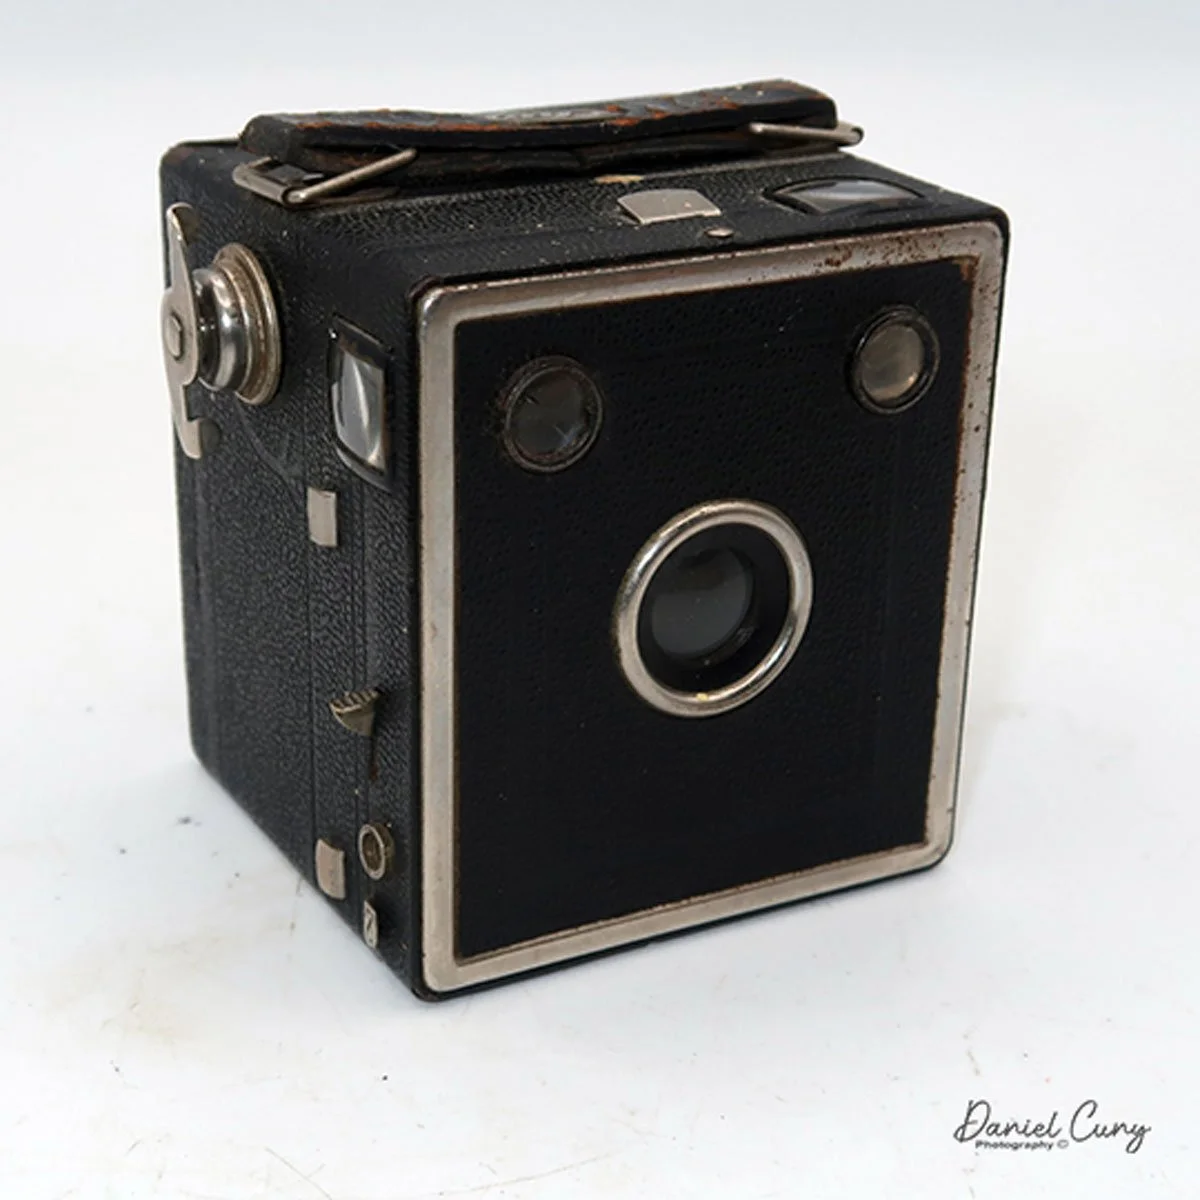
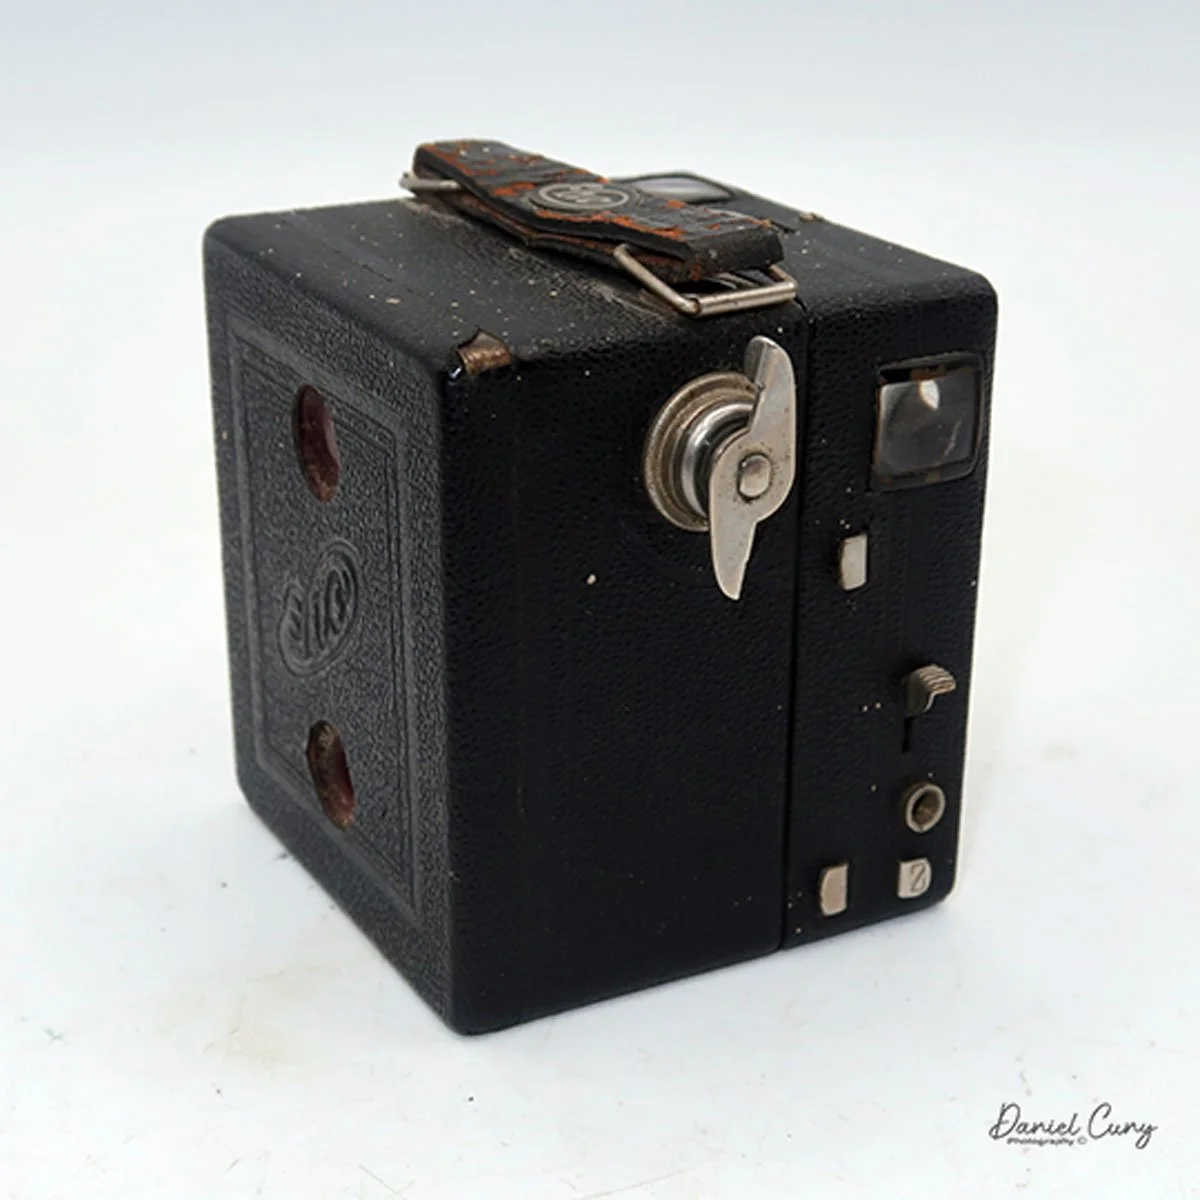
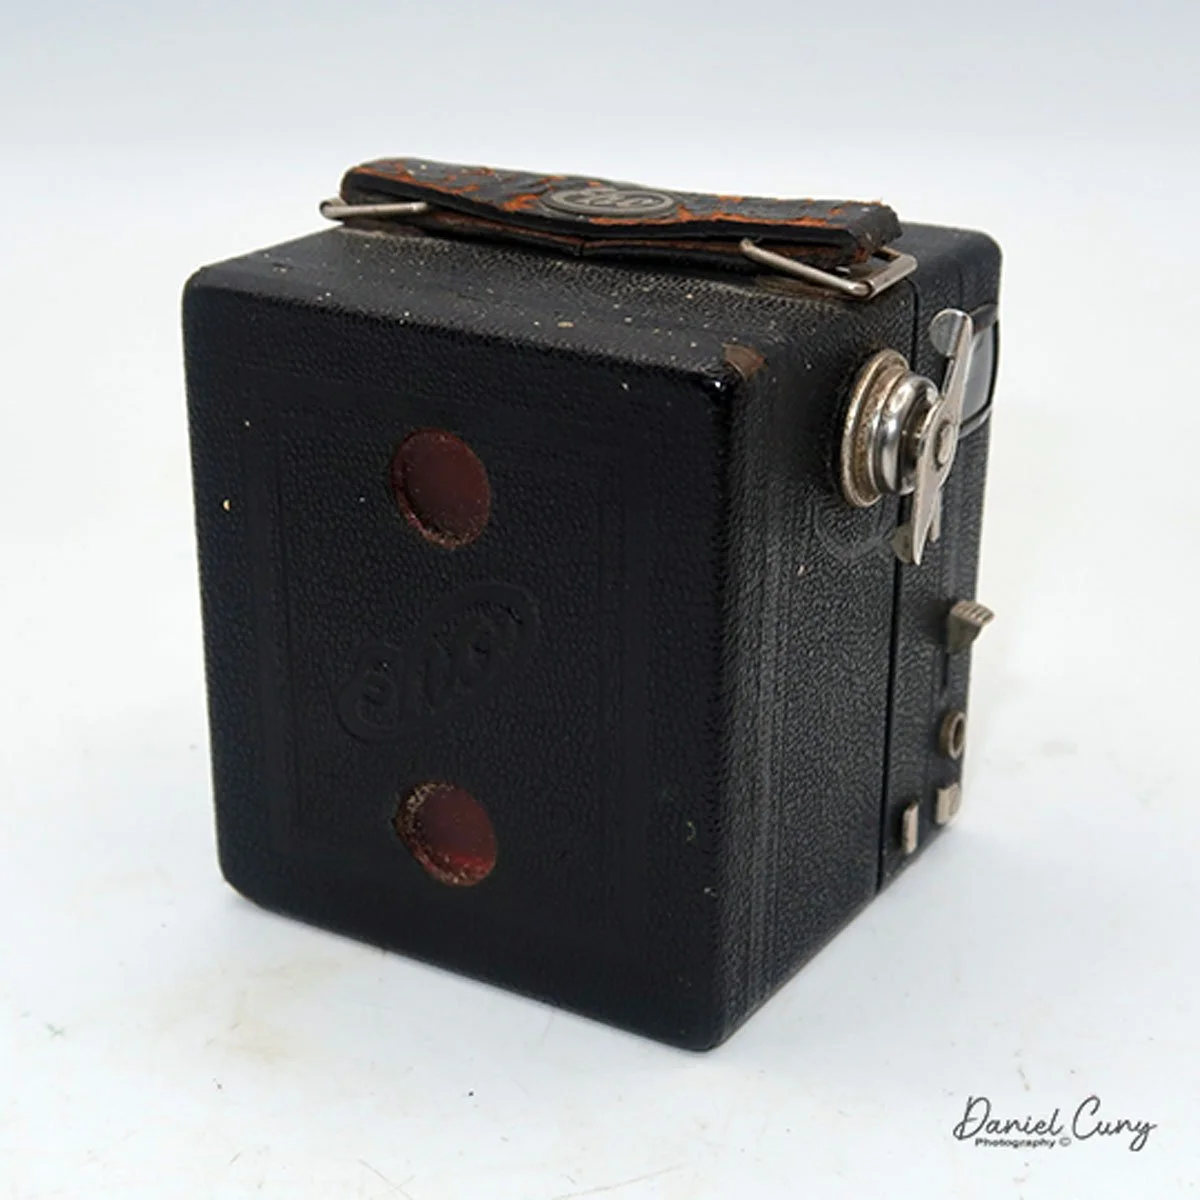
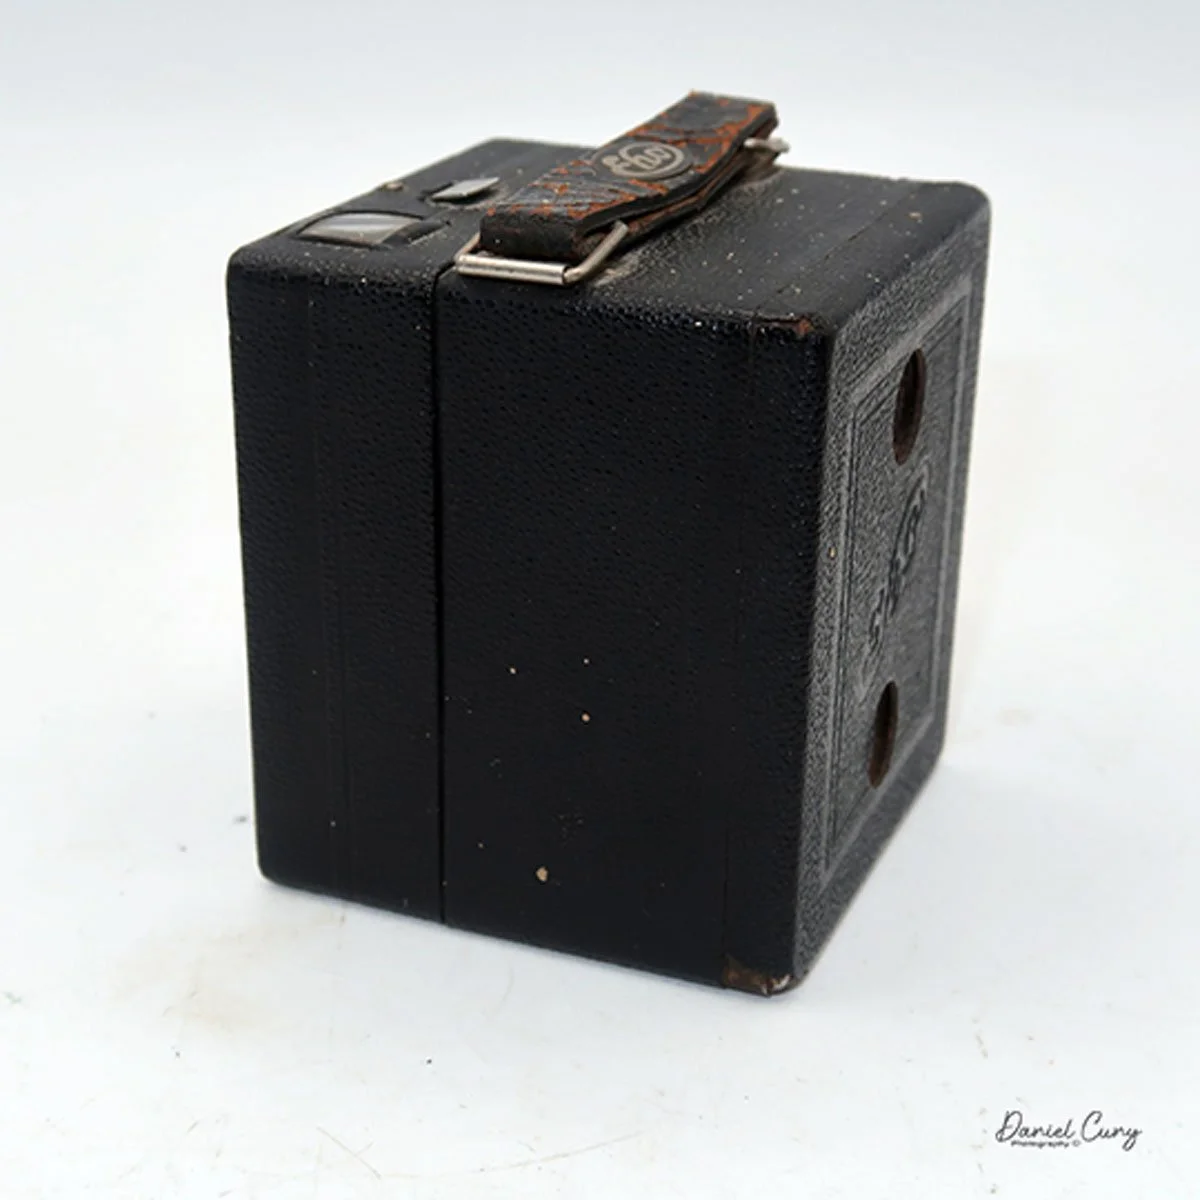
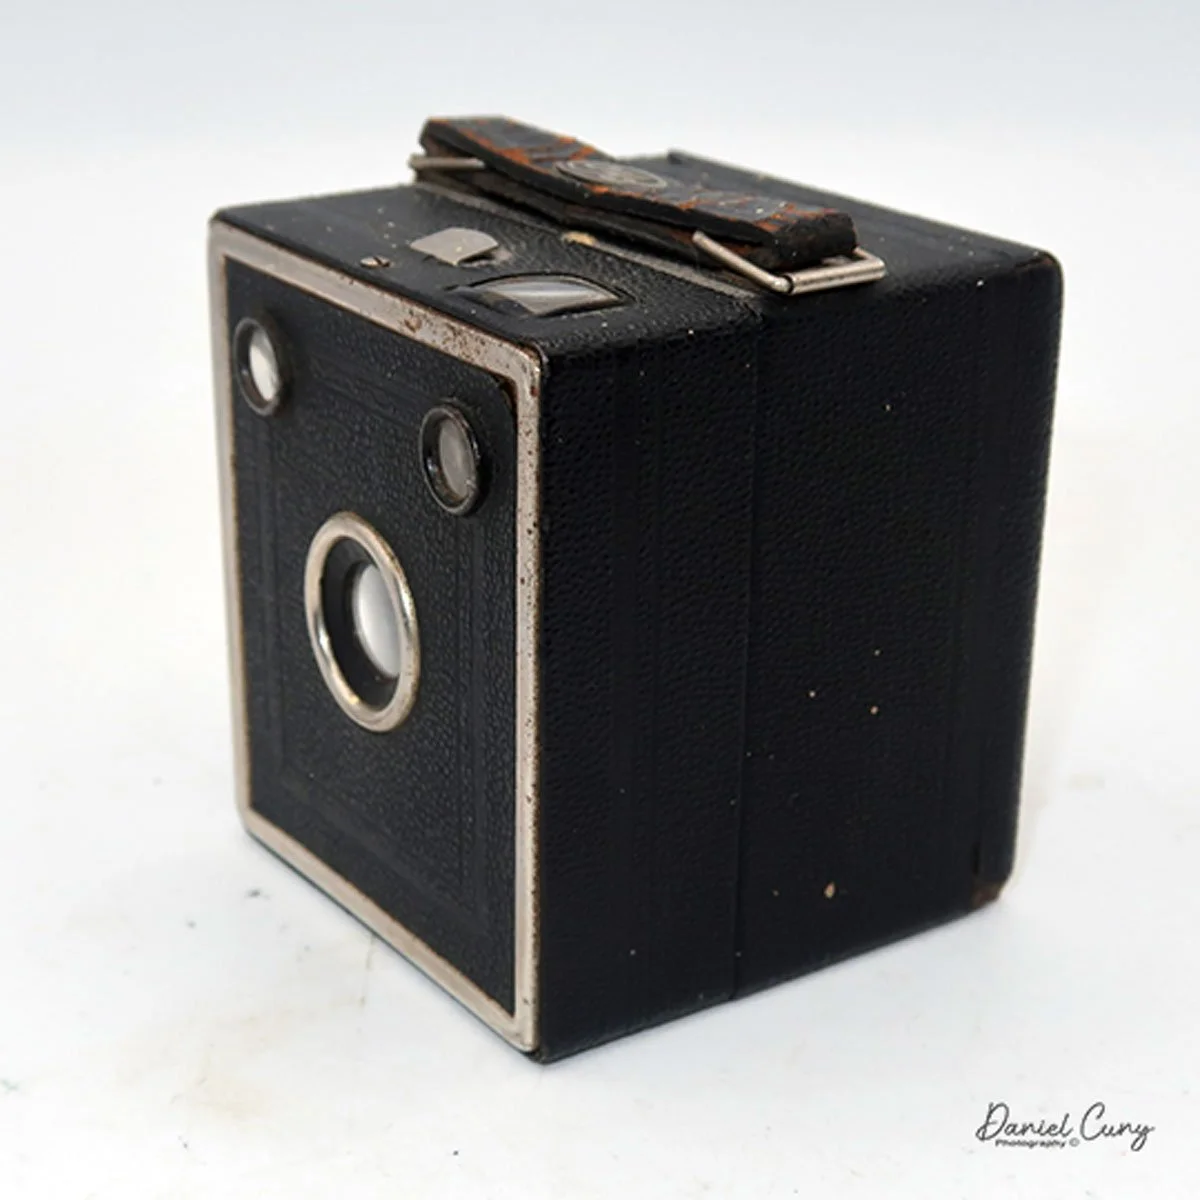
My Camera:
My Beacon Two-Twenty Five is 4" tall by 5.5" wide by 3.5" deep with the lens extended, and 2.25" deep with the lens compressed into the camera body. It weighs 13.7 ounces. The camera has a 70mm Doublet lens with an aperture of F/8, which would be my best guess, possibly a bit faster. To say this camera has no bells or whistles is an understatement, and there are only a few things you need to do to take a photo.
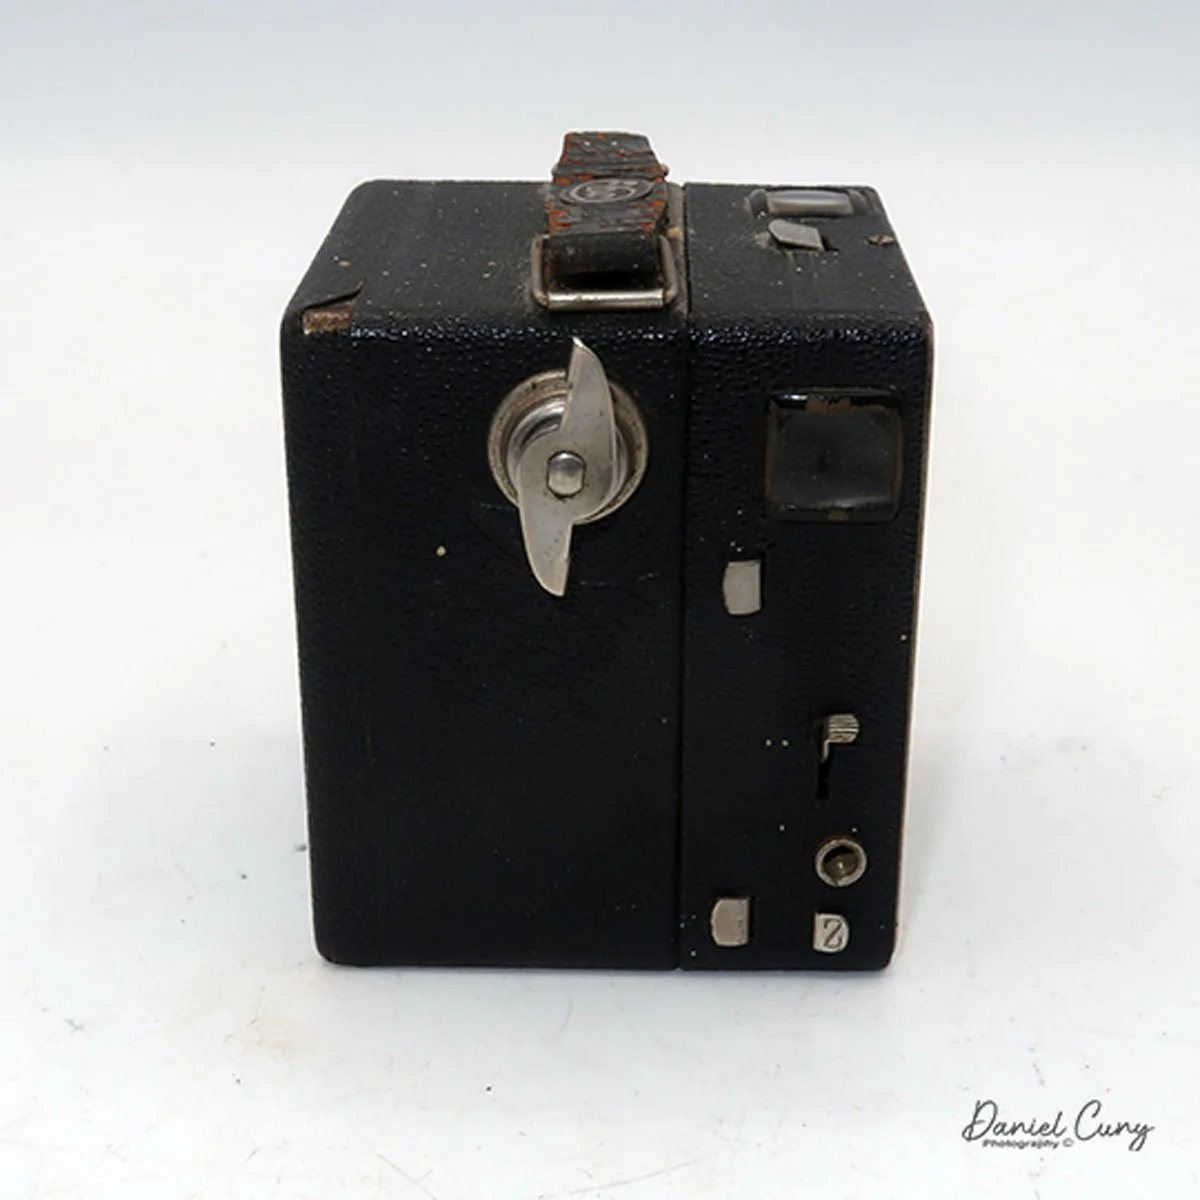
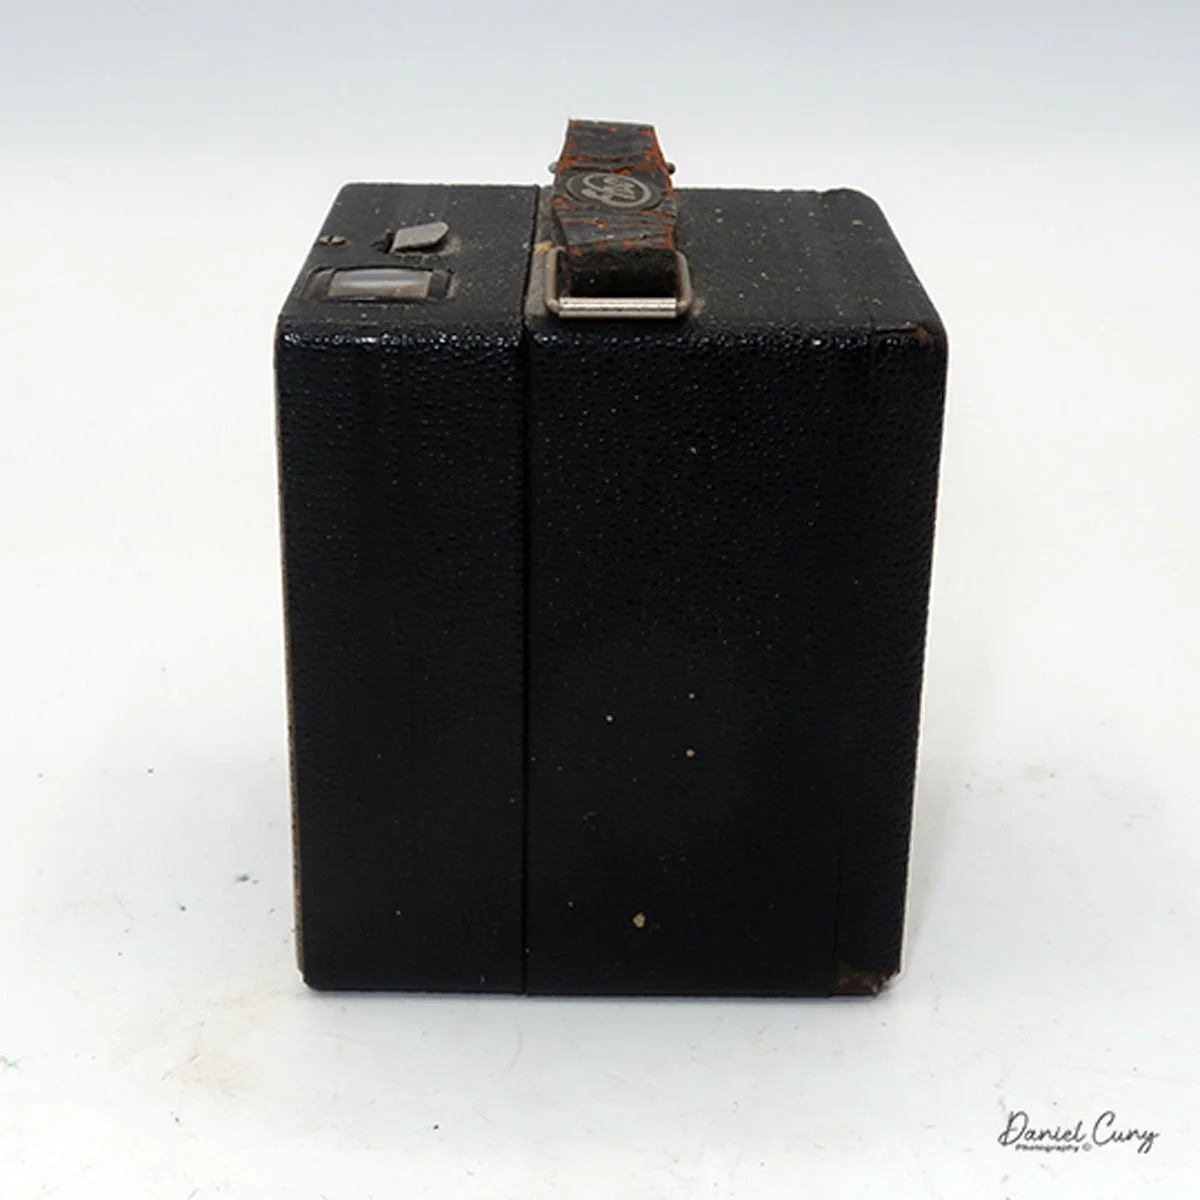
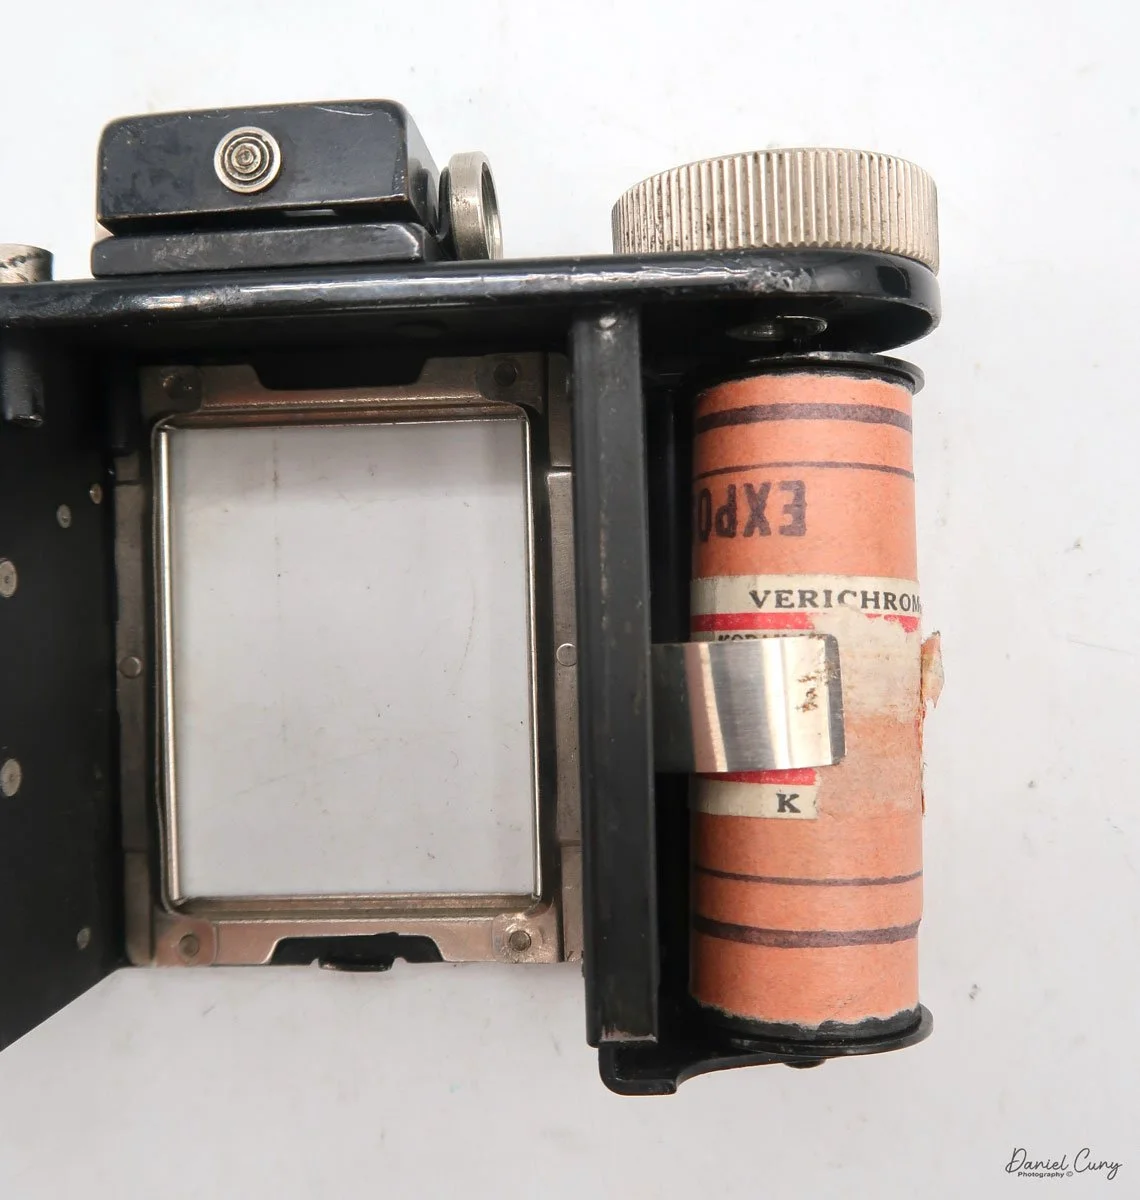
To load the film, on the right side of the camera is the latch to open the back door. Slide the button down to open the back, and swing the door open to reveal where to load the film. This camera takes 620 film, but there is nothing to help load or unload the film roll from the film chamber. Since I had some 620 film, I needed to force the roll of film into place before I tore the tape off and slid the paper backing across the film plane to put the leader into the take-up spool. It wasn't very easy, but I got it done.
Once the film is on the take-up spool, I wound it until I saw the "start" arrows, then closed the back of the camera. I wound the take-up knob until I saw the number 1 in the viewfinder. The camera is now ready to take the first photo.
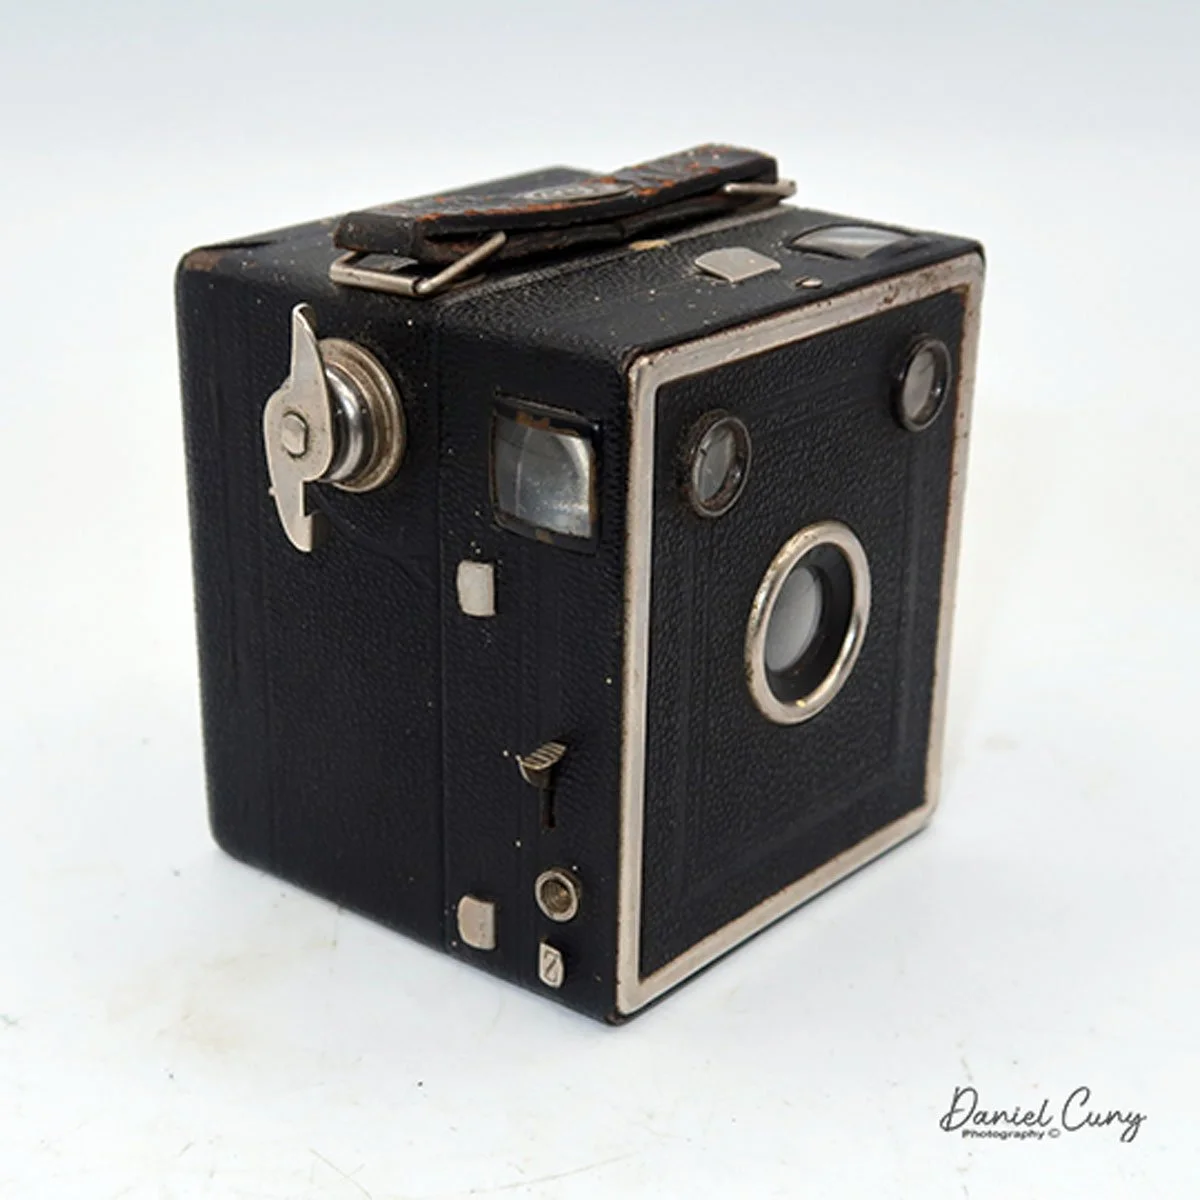
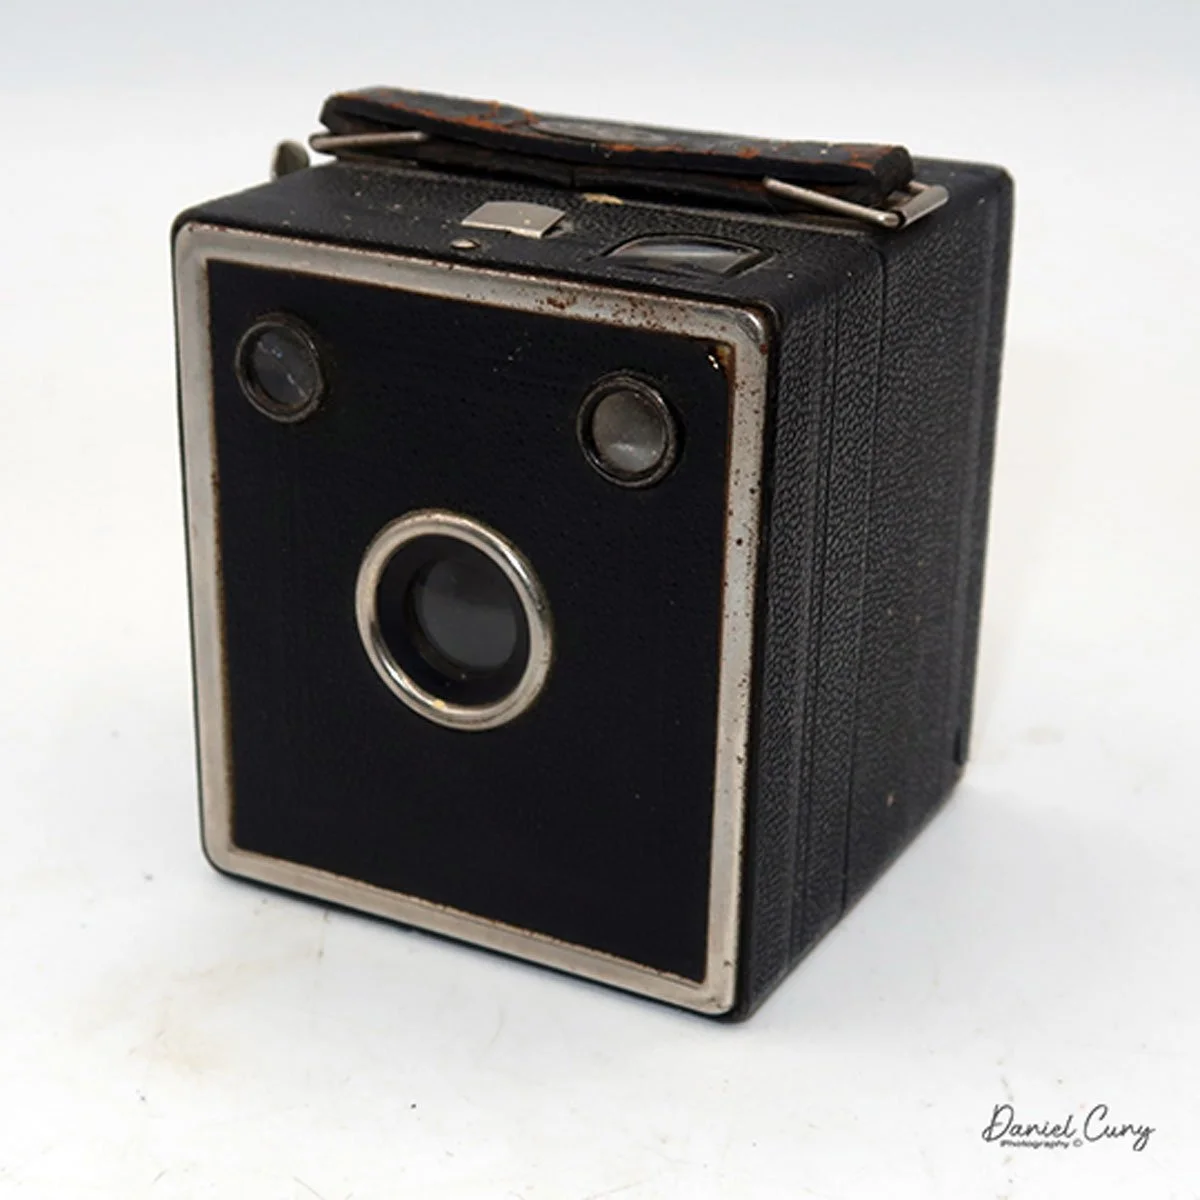
Before taking the photos, you'll need to pull the lens area out of the camera body using the two grips on either side of the lens. Once the lens is pulled out, it snaps or locks into place with two wide silver bars located behind the grip. If you don't pull the lens out, your photos won't be blurry. To take the picture, the chrome shutter release is located on the top of the lens chamber. My guess is the shutter speed is around 1/60 of a second.
Once the photos have been taken, press in the two chrome bars that lock the lens into place at the rear of the camera body, and the lens chamber will slide back into the camera body.
If you'll be using the Beacon flash attachment, attach the flash once the lens is extended. First, the flash takes two penlight batteries, which fit into the back of the flash attachment. On the back, under the reflector, is a small clip that needs to be pulled back to expose the battery compartment. Close the battery cover, slide the front of the flash unit under the lens chamber, then slide the flash over the top of the camera until it's in place, then screw it into the camera body using the small screw on the back of the flash.
The flash units take either size 5, 11, or 22 flashbulbs. Here's a link to Mike Butkus manual for the Beacon camera and the Beacon flash.
The camera is fundamental to its functions, but let's take a look at the images it produces.
My results:
I loaded up a roll of 620 film I keep for camera testing, and took a walk through the neighborhood. Since the day was cloudy, I had to wait for the sun to come out so I'd get better results.
Here are a few of the images I took.
Conclusion:
The Beacon did a better job than I anticipated, especially given its simple camera. No focus, shutter, or aperture settings. It's truly a "point and shoot" style camera, specifically designed for family snapshots. The edges are soft, as expected, but overall not too bad.
I doubt I'll be taking the camera on an important vacation, but my curiosity got the better of me. I wanted to see how it would perform, and it wasn't horrible.
Thank you for taking time from your day to read about this snapshot camera from the late 1940s, for the original Beacon, to the 1950s, for the Beacon Two-Twenty Five, which I used for the post.
Here's a link to my other Camera Reviews.
If you are looking for an odd or unusual photo item, be sure to stop by Cuny's Camera and Photo, my eBay store.
Until next week, please be safe.