My Hasselblads Kamera Express
When I first saw this camera, which was only a month or so ago, it was on an online camera auction. Seeing the name Hasselblad on the back of the camera, my first thought was to write a blog post about it, since the very prestigious Hasselblad made it, but not the Victor Hasselblad Company most people are familiar with.
As I delved into the research of this rare camera, I was filled with a sense of excitement. The scarcity of information about this specific camera only added to its allure. My initial assumption that it was crafted by Victor Hasselblad's Grandfather, Arvid Viktor, was proven wrong, adding a layer of mystery to this unique piece.
This camera is the Hasselblads Kamera Express, and it dates from 1893. Hasselblad didn't really make it; it was produced for them by another Swedish company, Hugo Svensson & Company, another camera manufacturer in Gothenburg, Sweden. Here's where it gets a little strange.
According to McKeown's Camera Guide, they state the camera was manufactured by Murer & Duroni, of Milan, Italy. Others have said that the camera made by Hugo Svensson & Co. is nothing but a copy, or just very similar to the Murer-built camera.
Let me give you a brief history of the Pre-Victor Hasselblad & Hugo Svensson & Co., and how the two became intertwined in the late 1890s.
History:
The History of Hasselblad goes all the way back to Victor's Great Grandfather, Fritz Viktor, who in 1841 founded the F.W. Hasselblad Company in Gothenburg, selling fabrics, travel accessories, and household goods, sort of the Pre-Ikea company (just a joke). One of Fritz's sons, Arvid Viktor (Victor's grandfather), met George Eastman in 19885 and sparked a business relationship, giving the F.W. Hasselblad Co. exclusive distributorship of Eastman Film & plate in Sweden.

Victor Hasselblad photographed by Per-Olof Swanberg. In search of Skåne's storks. Image Courtesy:Sören Gunnarsson.
In 1908, Arvid broke away from the F.W. Hasselblad Co. and started a new company, Hasselblad Fotografiska AB, which sold solely photographic equipment to meet the product demands of customers in Sweden. Just two years before opening Hasselblad Fotografiska AB, Victor Hasselblad was born.
When Victor was 18, he was sent to Dresden, Germany, to learn the camera trade, as many companies manufactured cameras in the area at the time. Victor also traveled the world, including the US, where he worked in camera stores, processing labs, and camera manufacturing. He even worked in Rochester, New York, with George Eastman before returning to Sweden in 1934.
In 1937, Victor opened his own camera store in Gothenburg named Victor Camera. The first camera Victor made was the HK-7 in 1941. During WWII, he was asked to improve a captured German aerial camera for the Swedish Air Force. After WWII, he went on to produce some of the most iconic medium-format cameras used by professionals worldwide for close to 100 years.
Hugo Svensson & Co.
There is some excellent information about Swedish Camera history, although it’s in Swedish, you can use Google Translate to convert the text for your language.
John Hugo Svensson (1867-1942) was trained as an engineer and worked with C.G. Dahlgren & Co. The company was next door to F.W. Hasselblad & Co., where they repaired goods for them. As cameras became more prevalent at Hasselblad, the C.G. Dahlgren Co. took on their repairs.
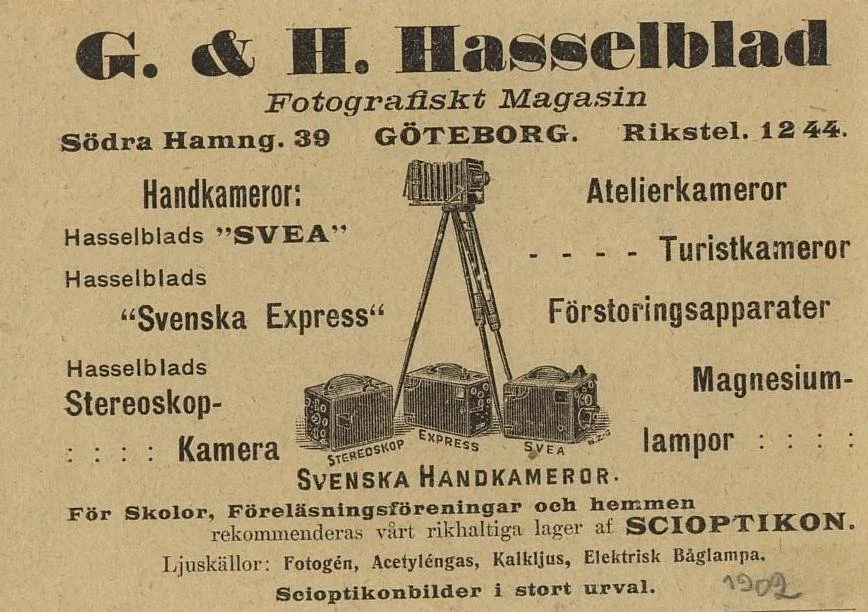
Hasselblad store advetising from 1902: Image courtesy: Sören Gunnarsson.
As Svensson repaired the camera, he found ways to improve it, then began designing his own cameras based on those improvements. These cameras were then sold through the F.W. Hasselblad Co. store.
When the owner of C.G. Dahlgren & Co. passed away in 1896, Svensson bought out Dahlgren's widow and started his own company, Hugo Svensson & Co., which also included the younger brother of the original owner.
Hugo Svensson's first camera, built around 1893, was the "Svenska Express", a drop-plate camera for either 6x9, 9x12, or 10x15cm plates. It was a copy of the Italian company Murer's Express camera built in 1900. My guess is Svensson worked on the Murer version and thought he could improve it. Hasselblad also marketed the Murer's Express Newness.
By 1902, Hugo Svensson & Co. produced a 20-page catalog of the products it manufactured and sold, including the "Svenska Express", "Simil Express", "Svea", and "Stella". Hugo Svensson produced catalogues until the 1940s, where he also sold German cameras, lenses, and instructions, making the catalog similar to a handbook.
My Camera:
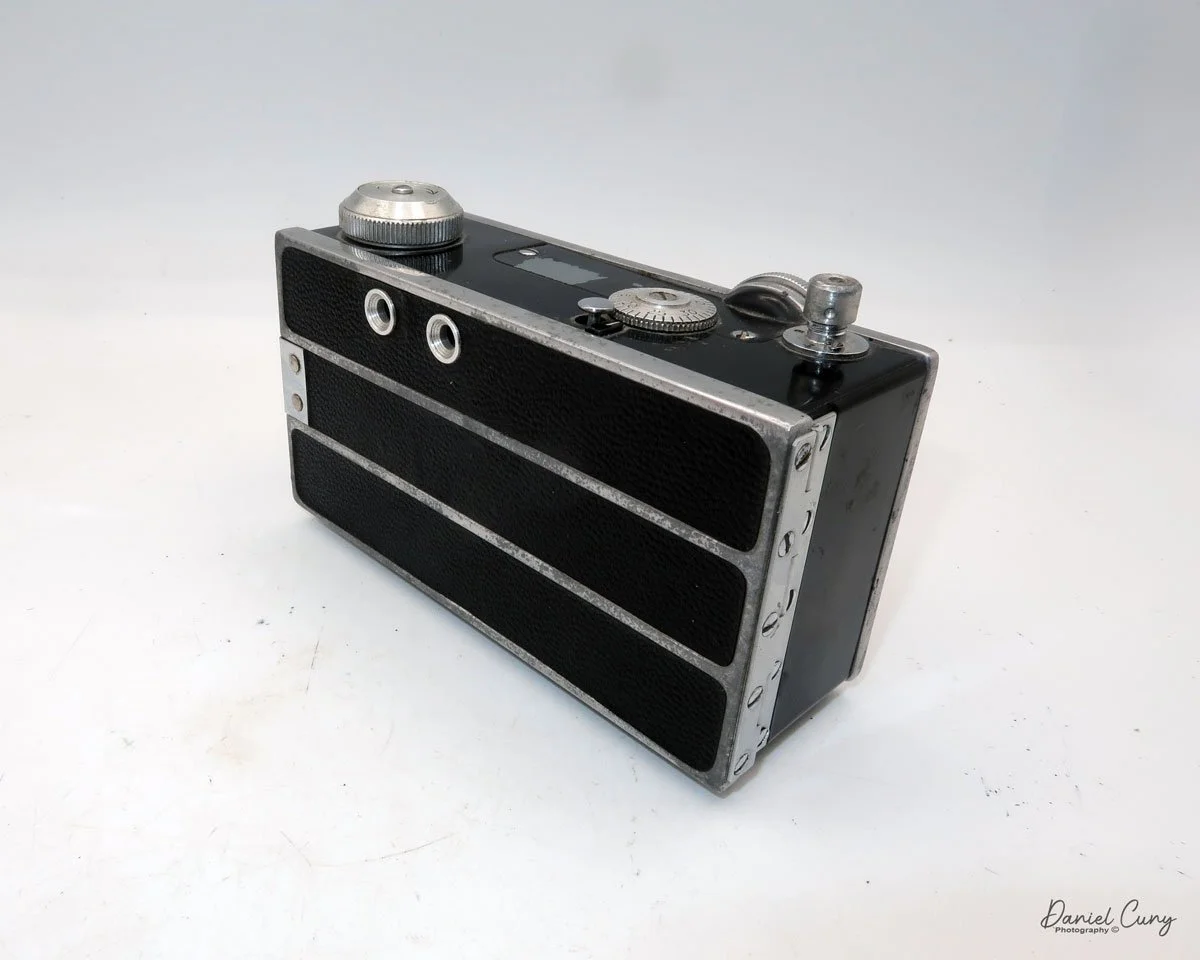
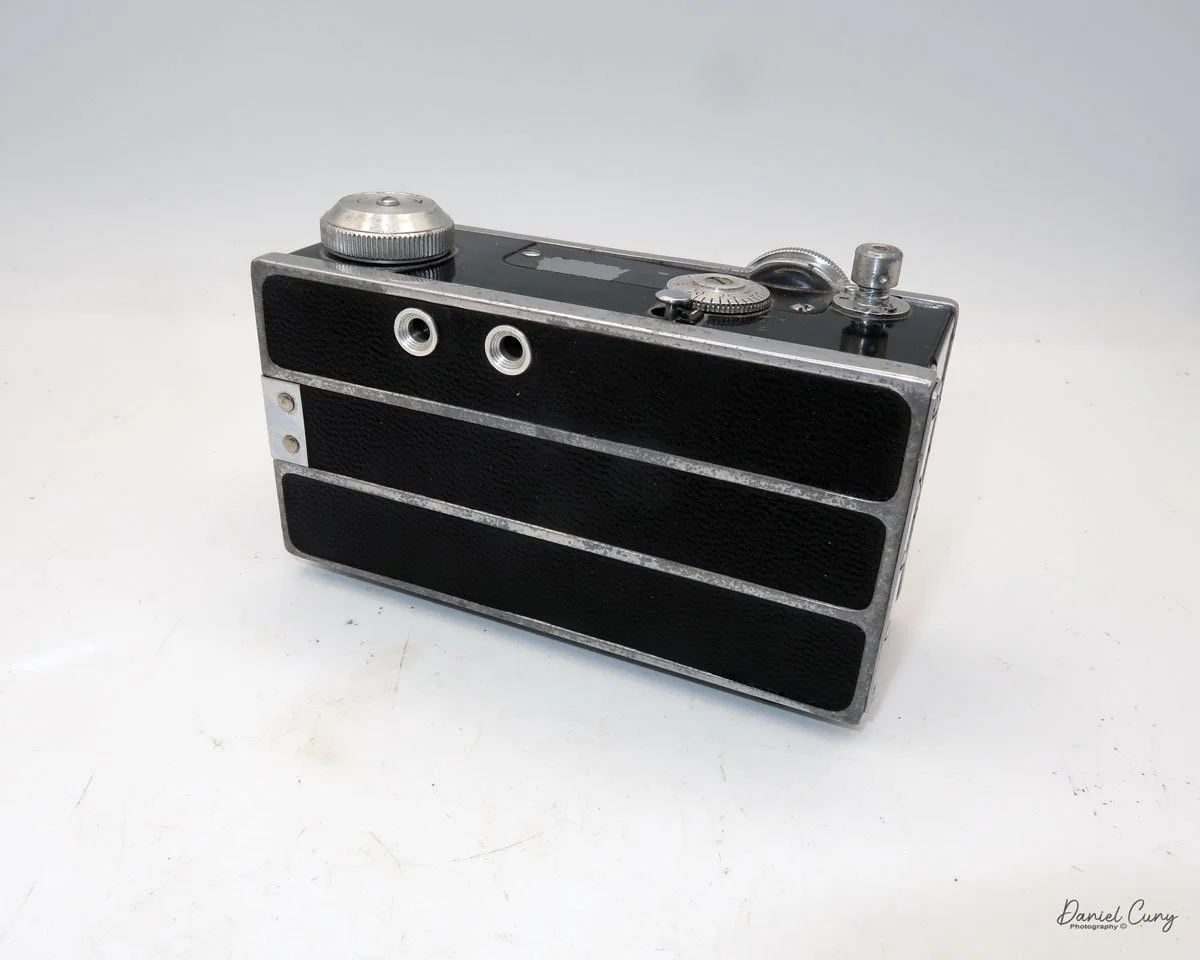
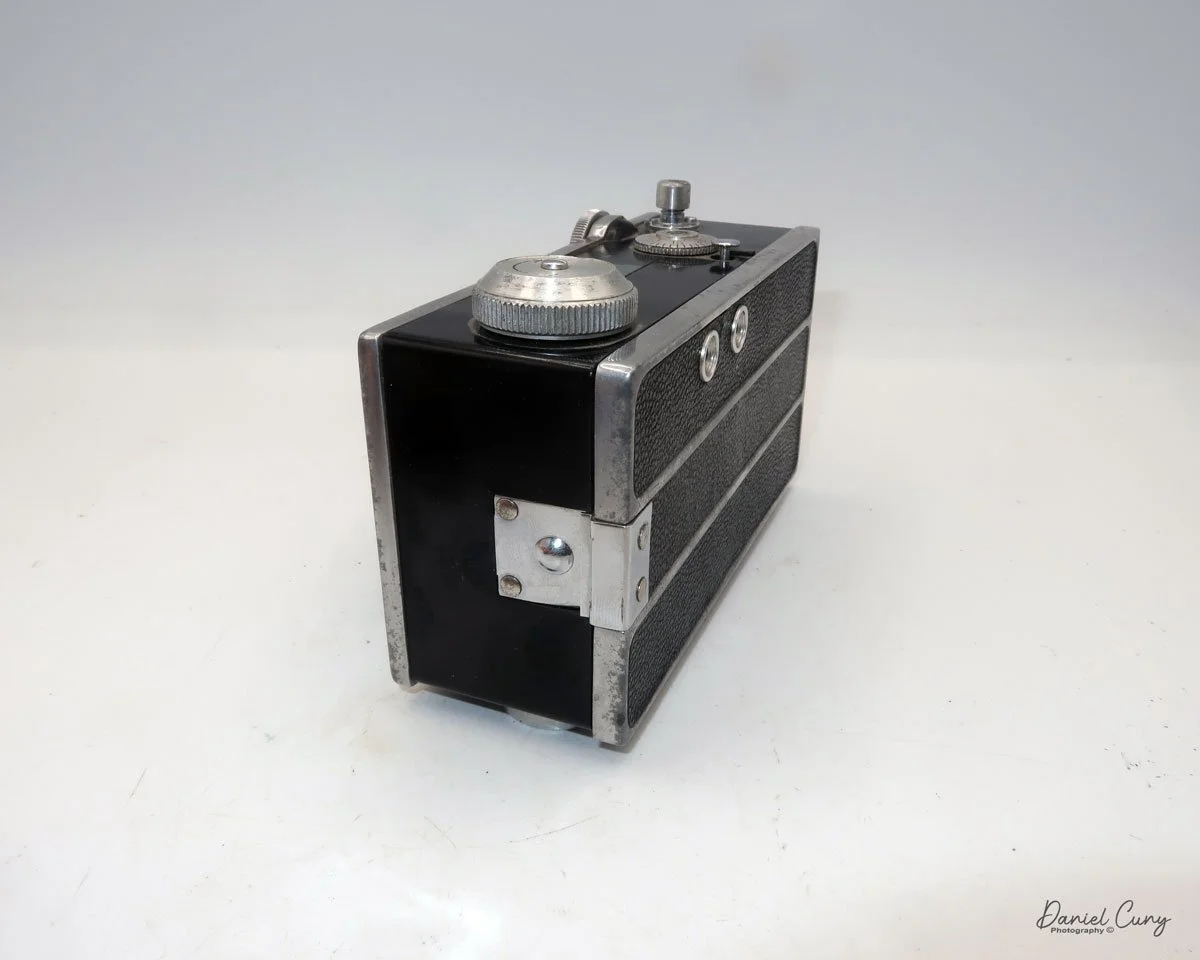
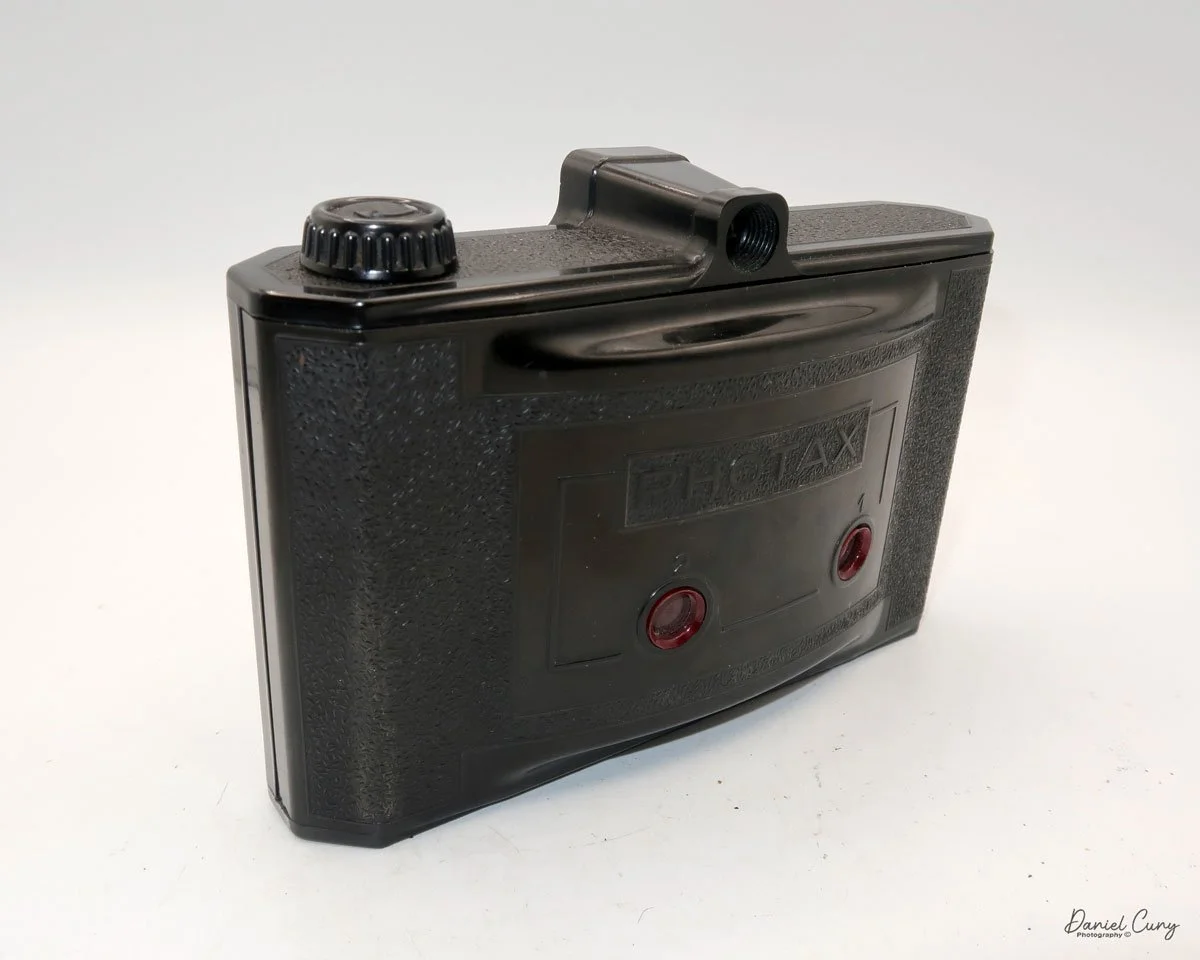
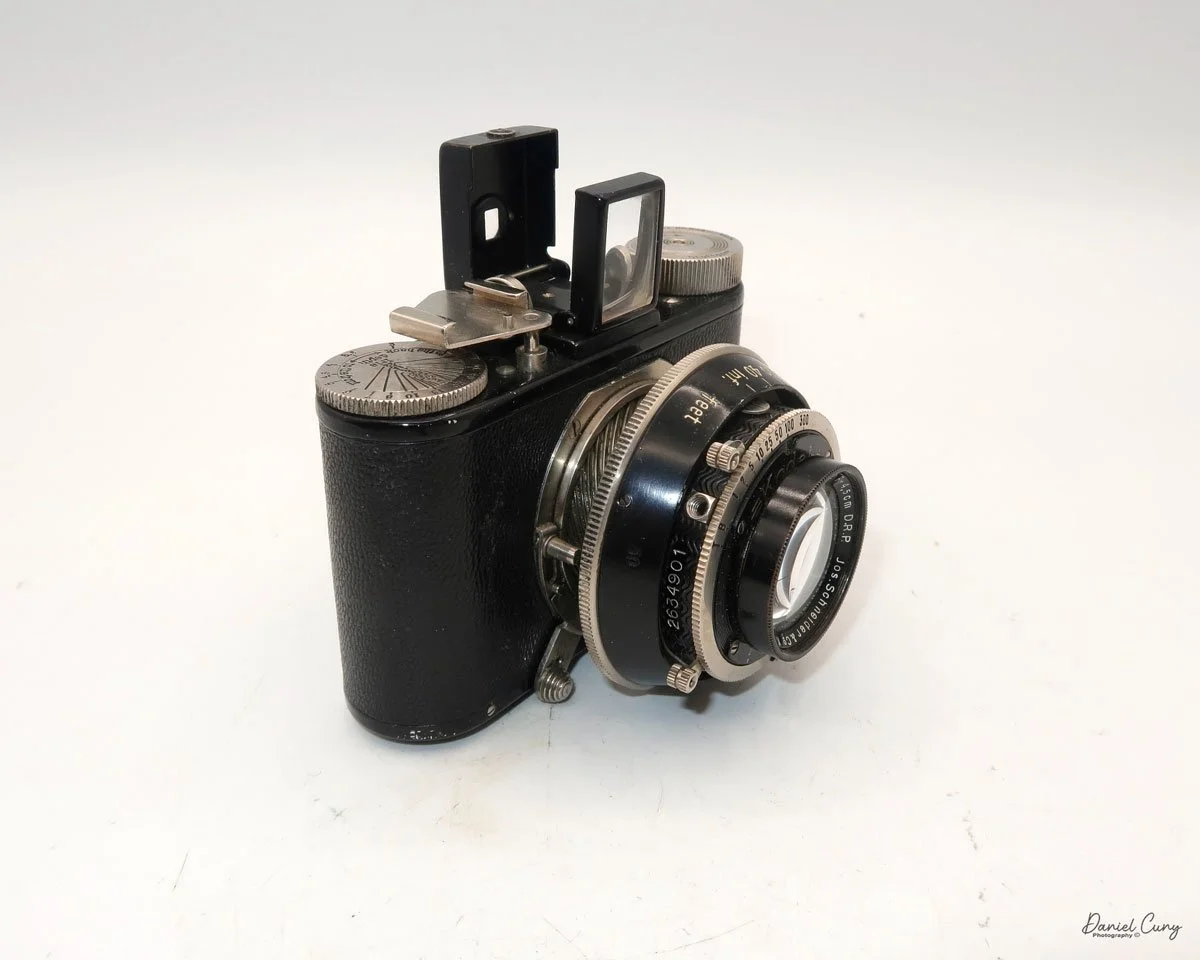
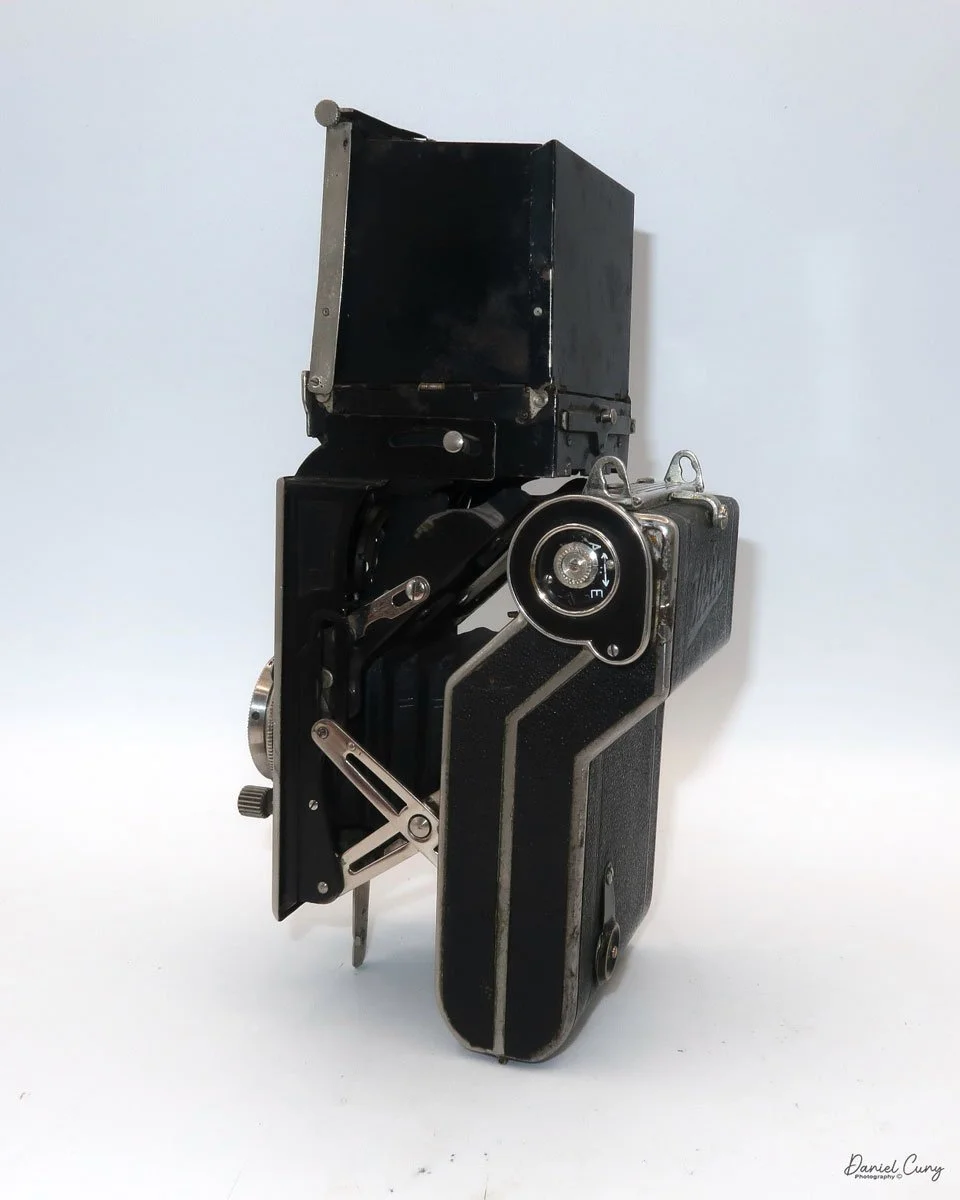
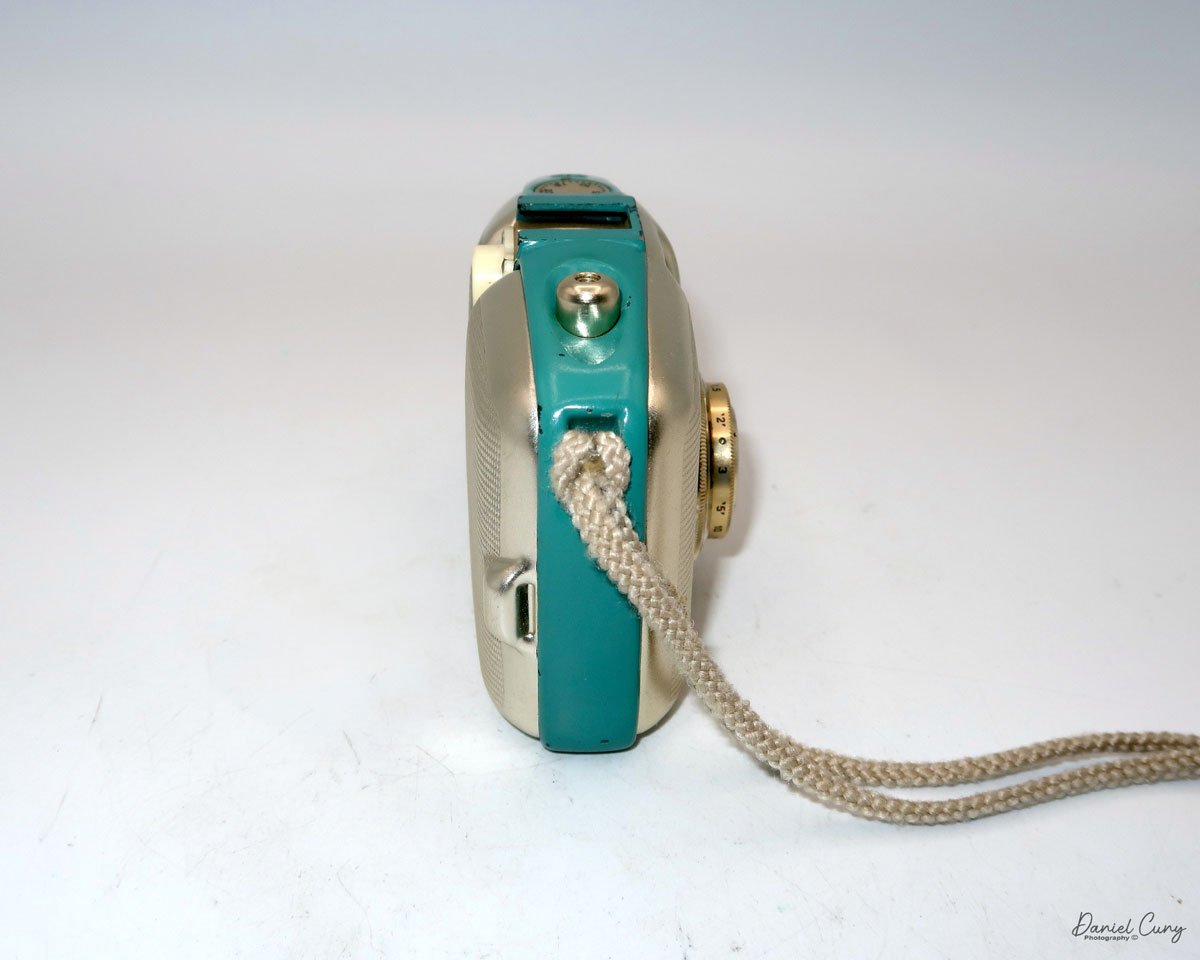
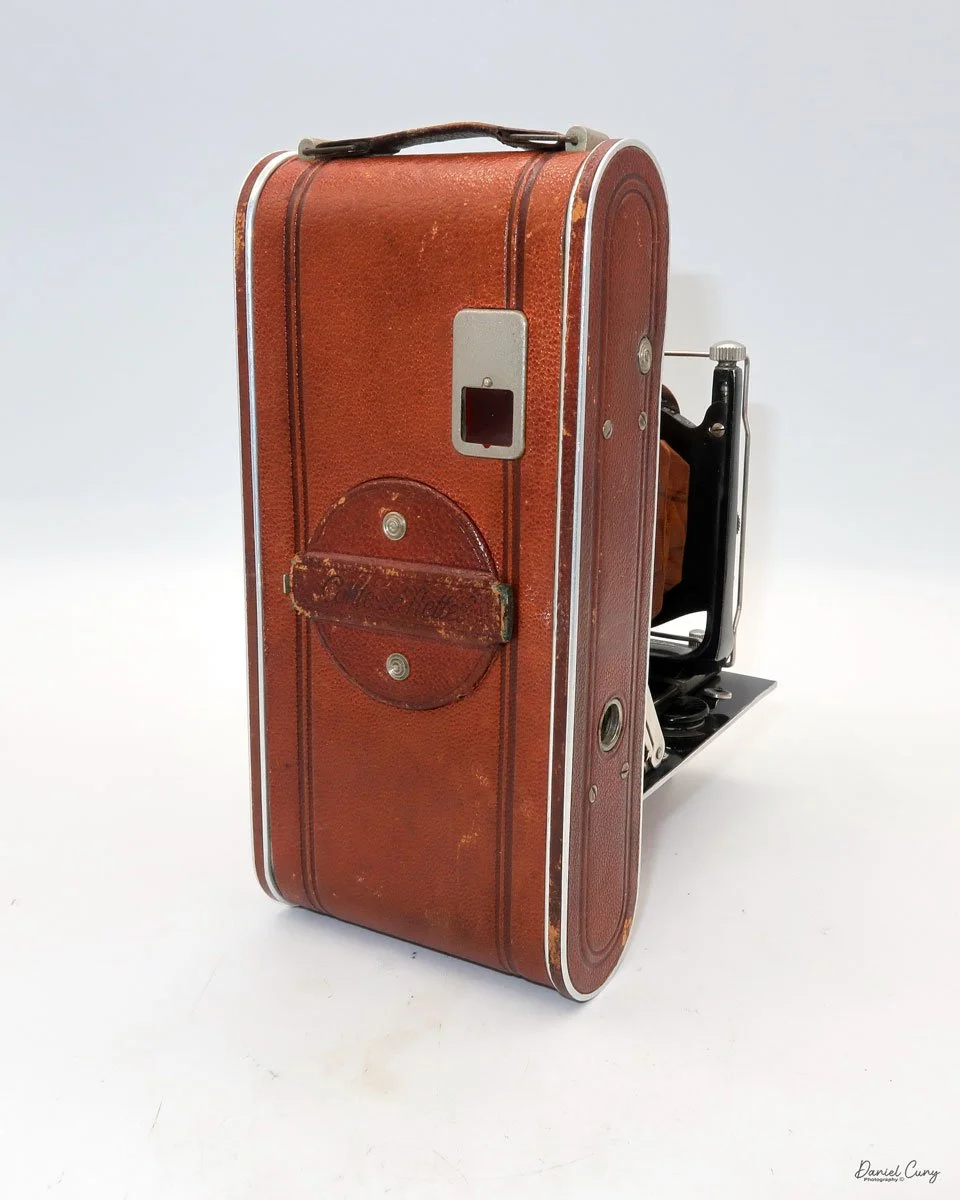
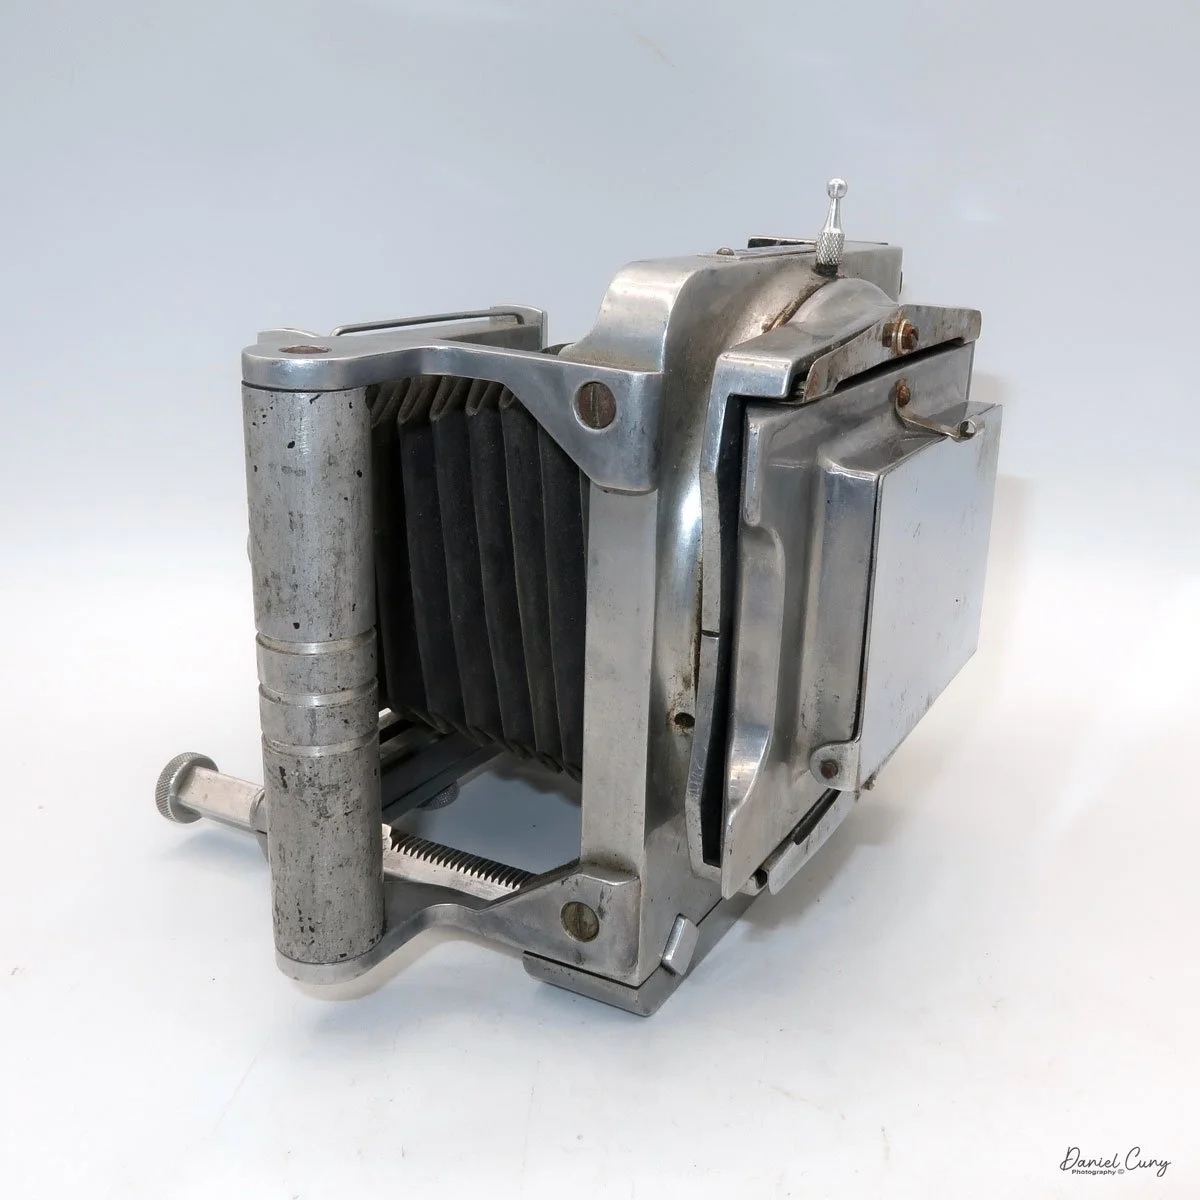
The camera I am fortunate to own is a slight variation of the models mentioned above. My Hasselblads Kamera Express, standing at 7" tall by 9" long by 4" wide, and weighing 2 pounds, 11.6 ounces, with a serial number of 111566, holds a special place in my collection. This serial number is imprinted on the inside of the back door, where you load the 9cm x 12cm film holders. My camera comes with five film holders, each holding a unique story.


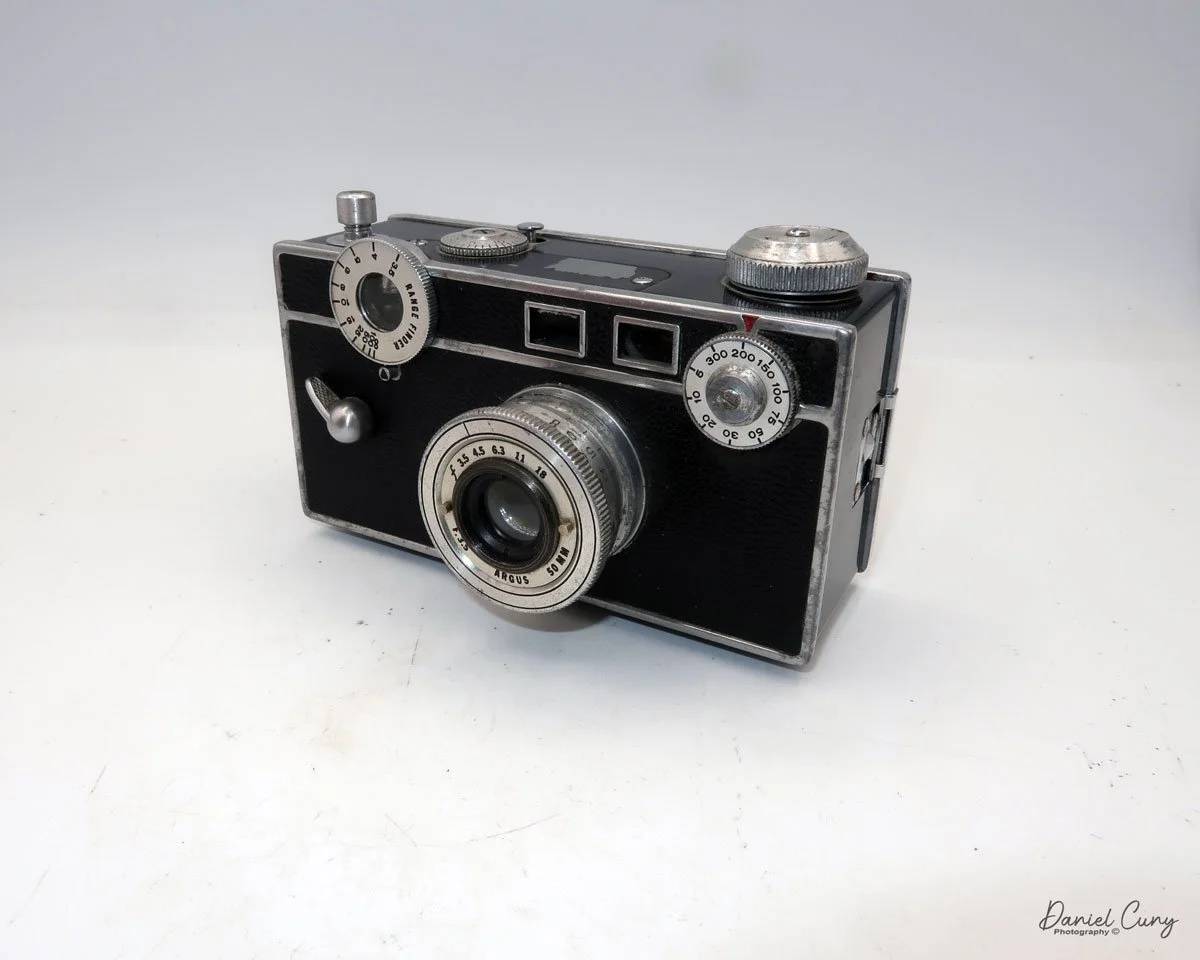
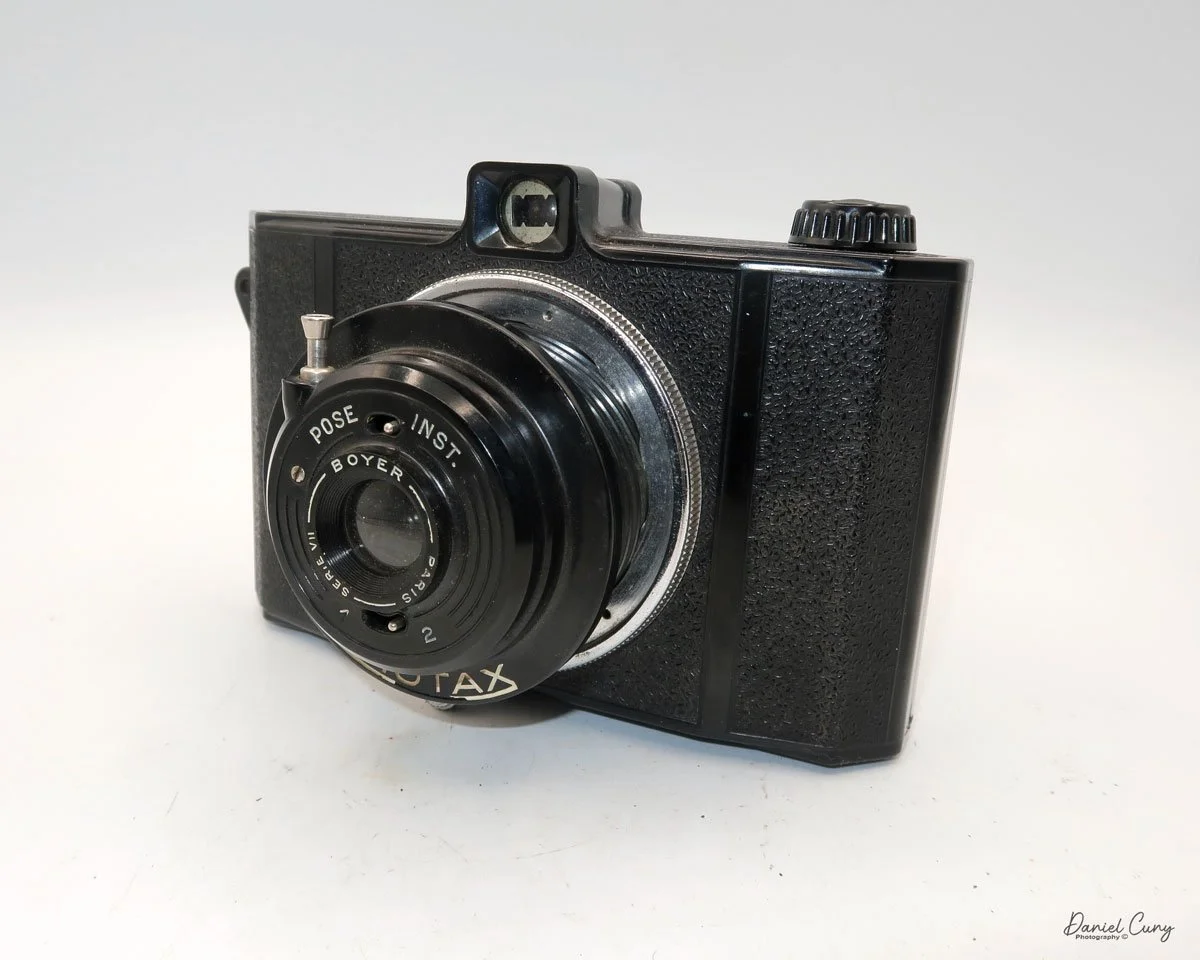
Initially, I was unsure if my camera's shutter was operational. However, as I began to explore the camera, I discovered its hidden secrets. As I turned the center knob, just below the lens, it clicked, and when I pushed in the shutter release on the side of the camera, the shutter fired. This moment of discovery filled me with joy and fascination.
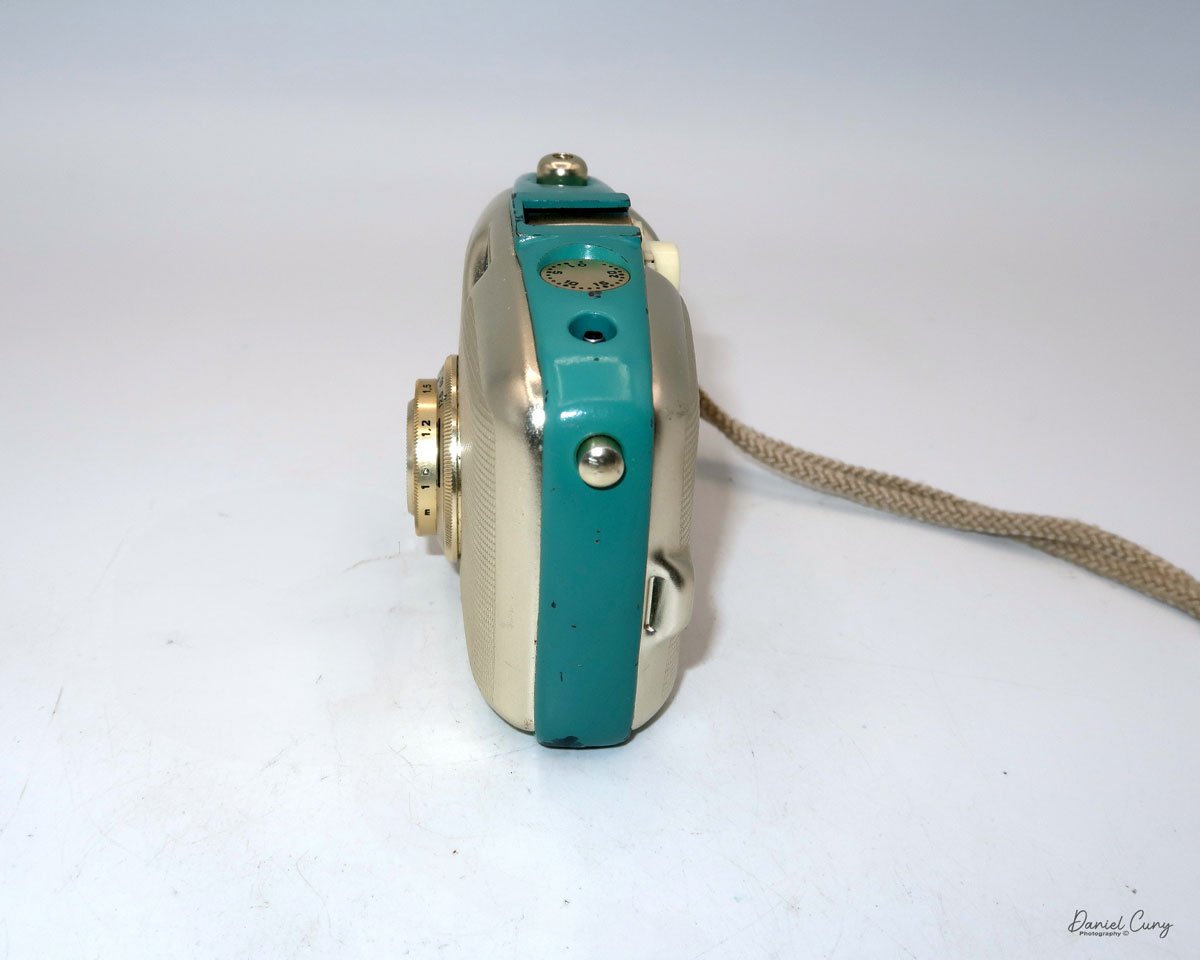
Let me give you the camera's layout. Above the lens is a small knob that you can pull out. The rod moves the lens on the inside of the camera body and focuses it to the required distances, measured in meters.


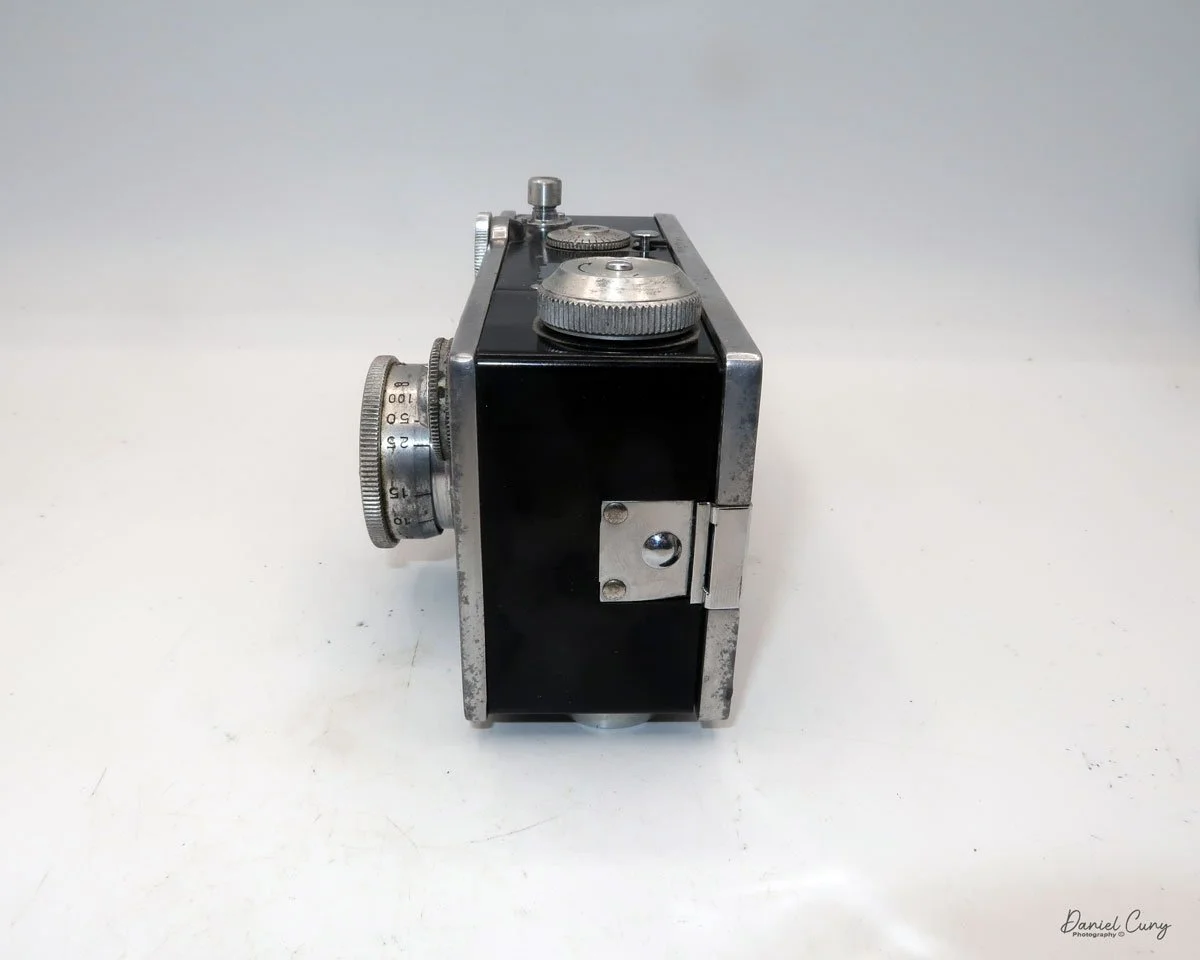
As just mentioned, the knob below the lens can be turned clockwise to cock the shutter. Just to the left of the shutter cocking mechanism is the aperture setting. To set the aperture, pull up the arm and slide it to the desired aperture number. The numbers on my camera are pretty worn and difficult to see, but I believe they are F/11 to the far left, then, as you swing the arm counterclockwise, the next stop is "S" (or closed), then f/14, F/22, and f/36.


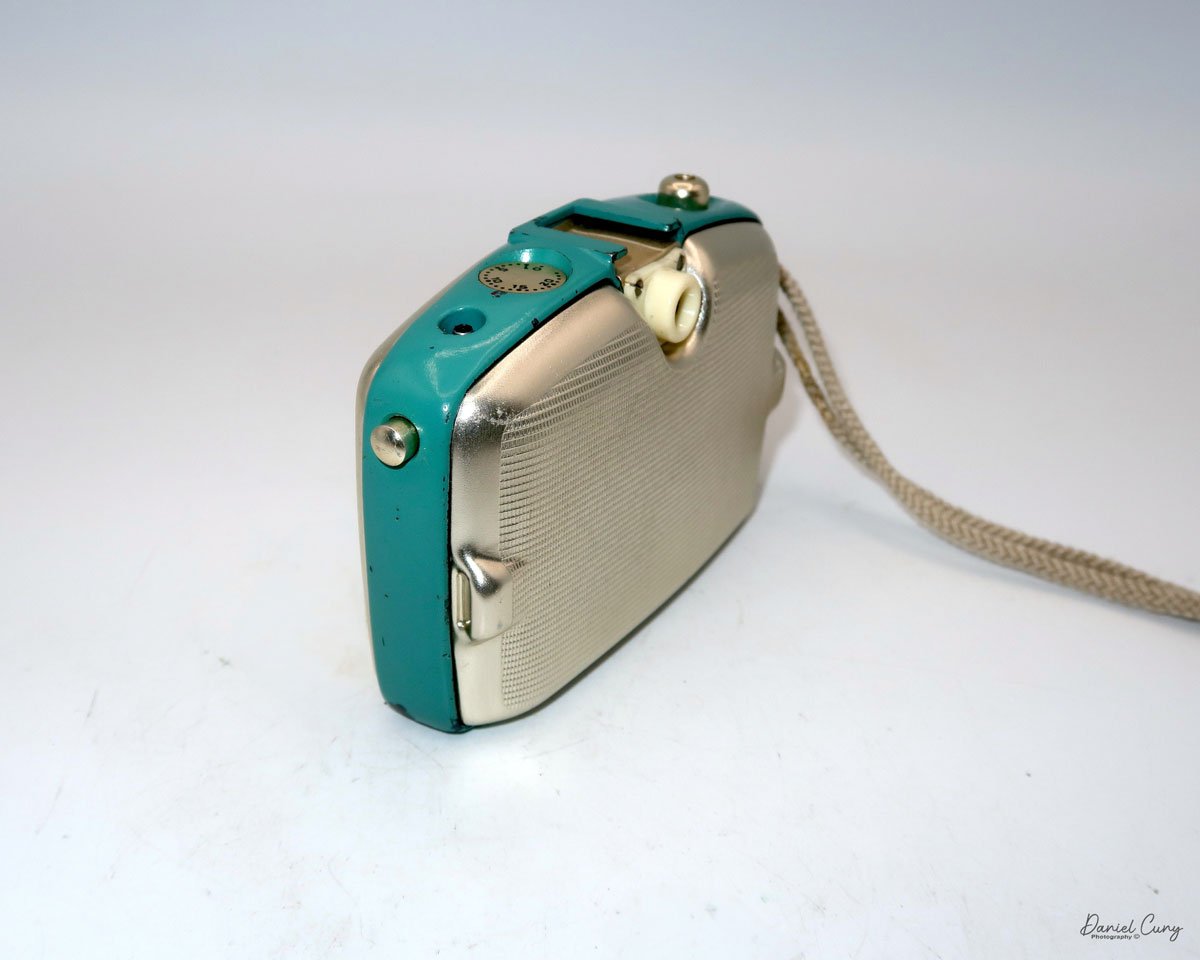
On the lower right of the camera's faceplate is the shutter speed control. The shutter speeds available are 1/100, 1/50, 1/25, 1/10, 1/5 and 1. You turn the dial to the desired speed.
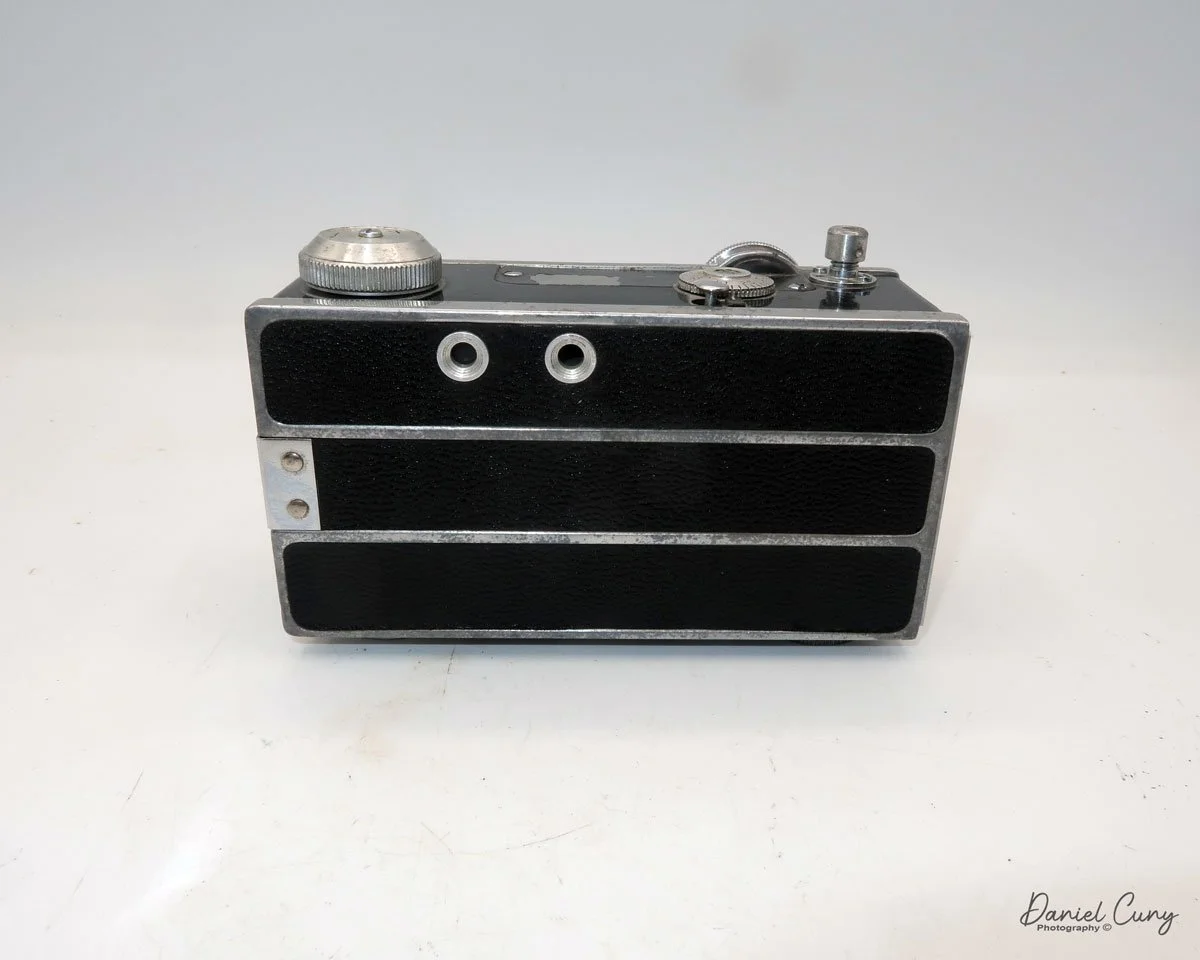
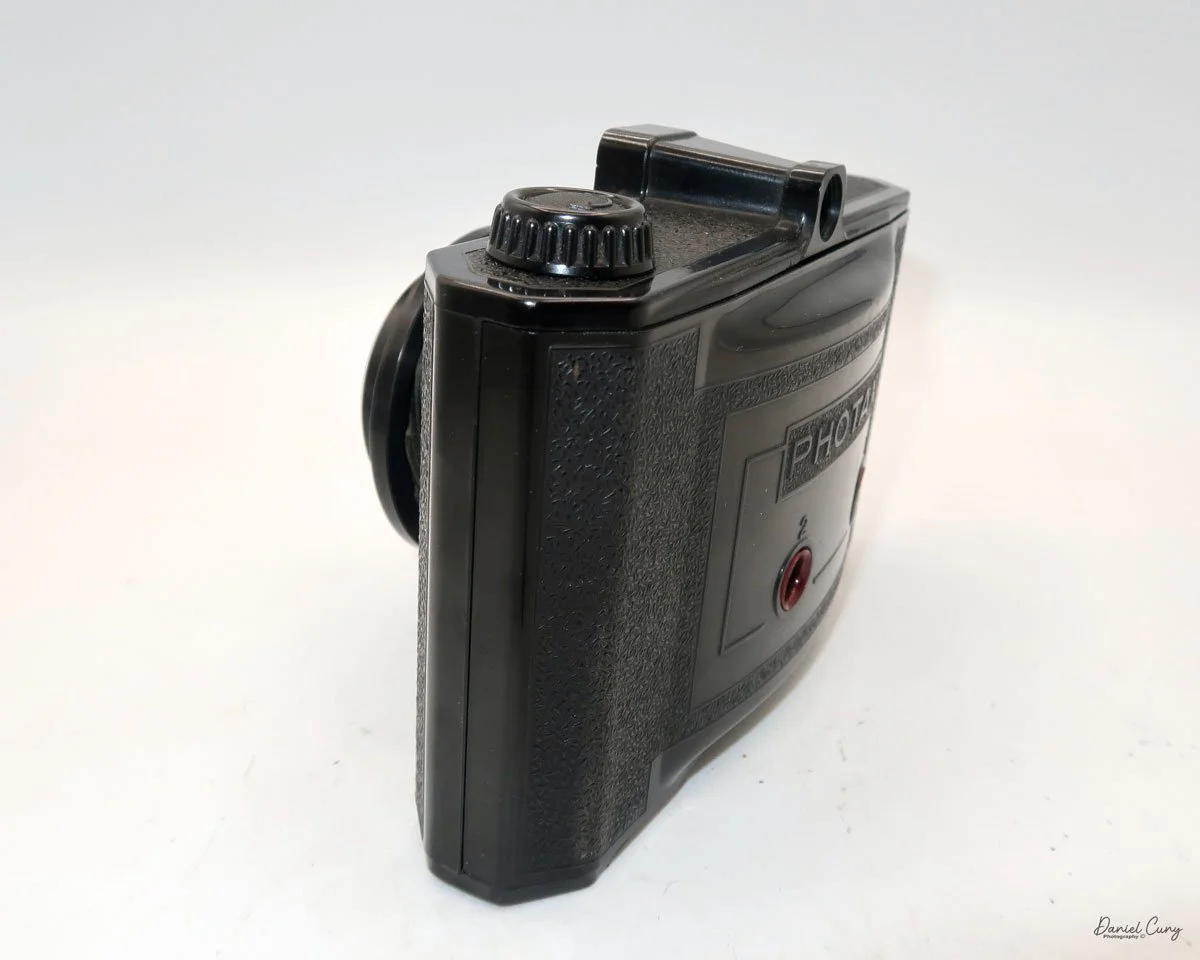
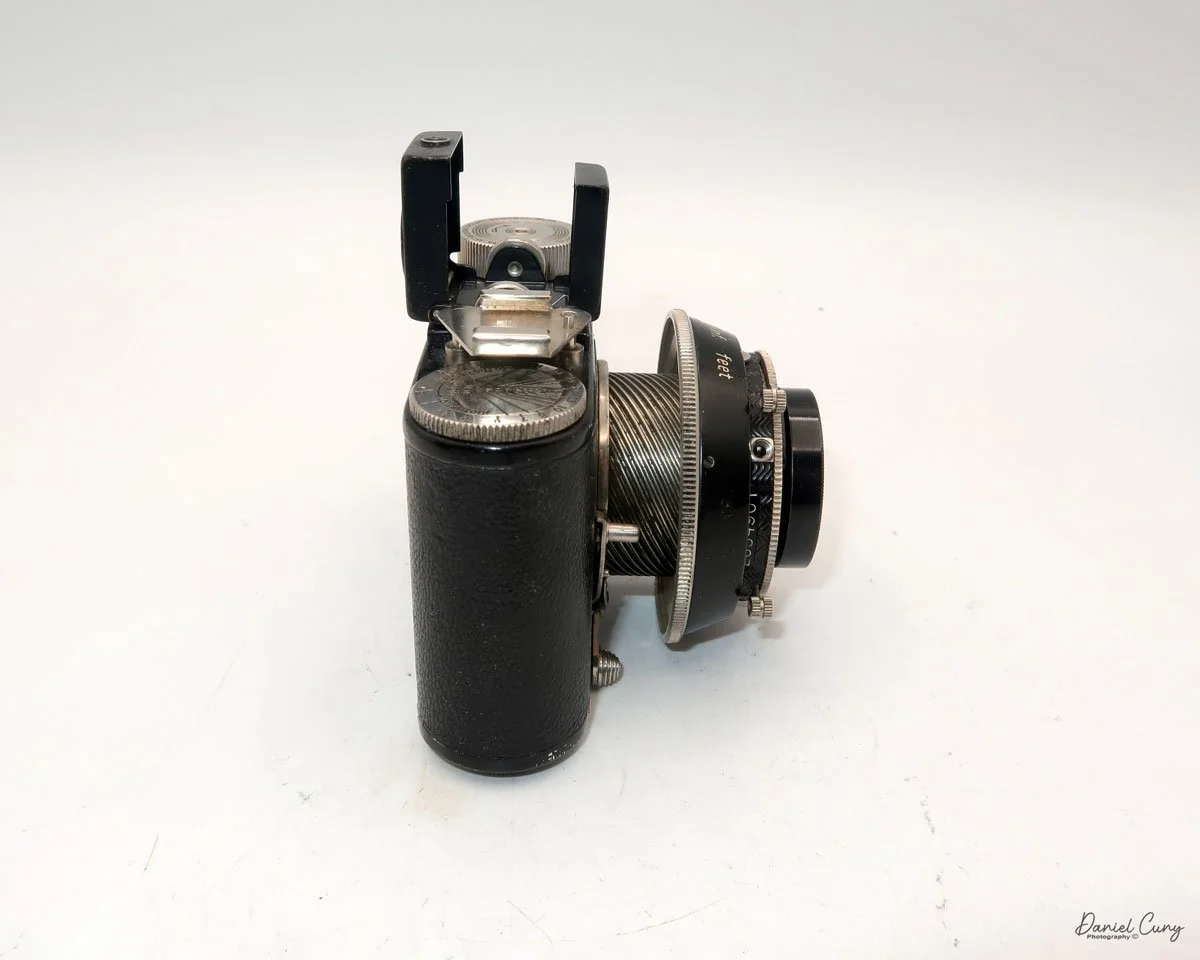
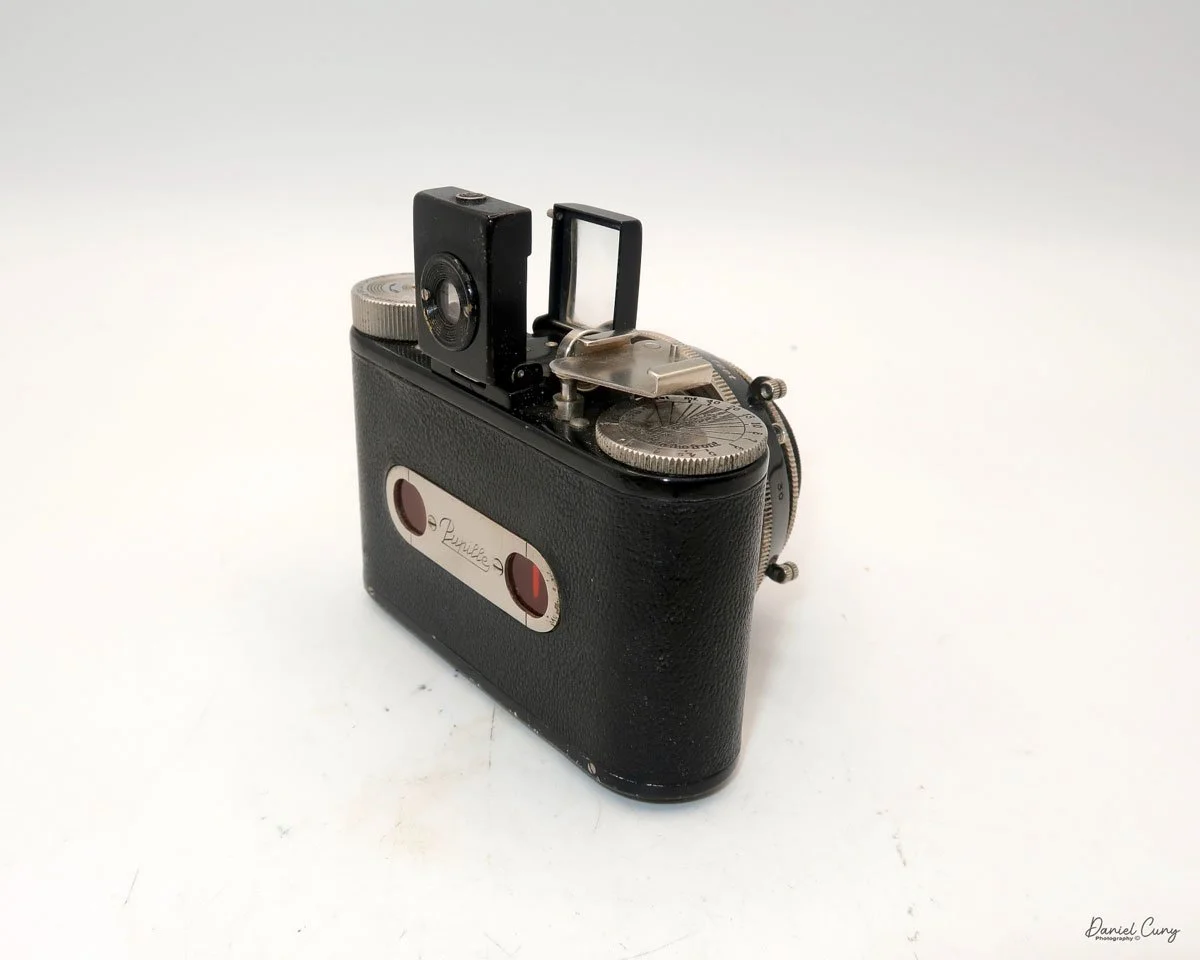
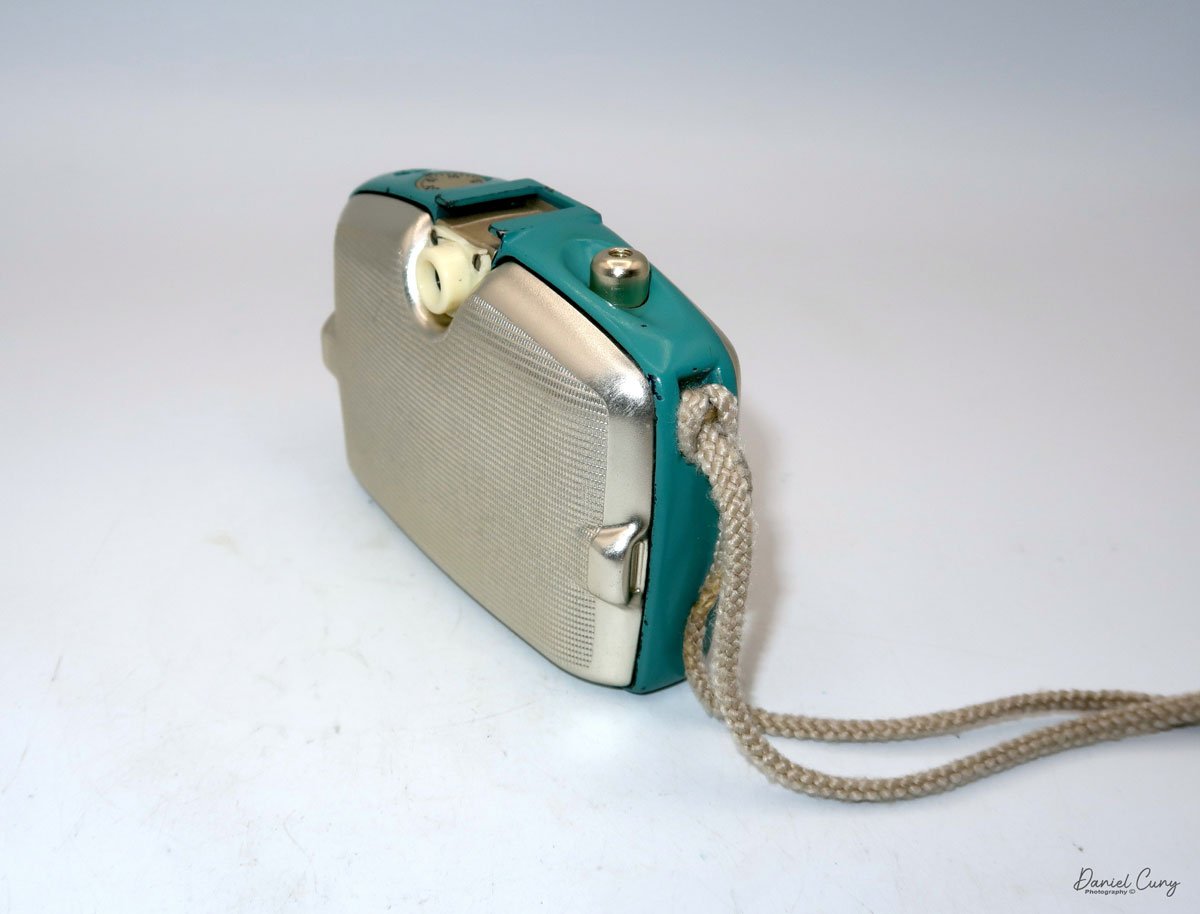
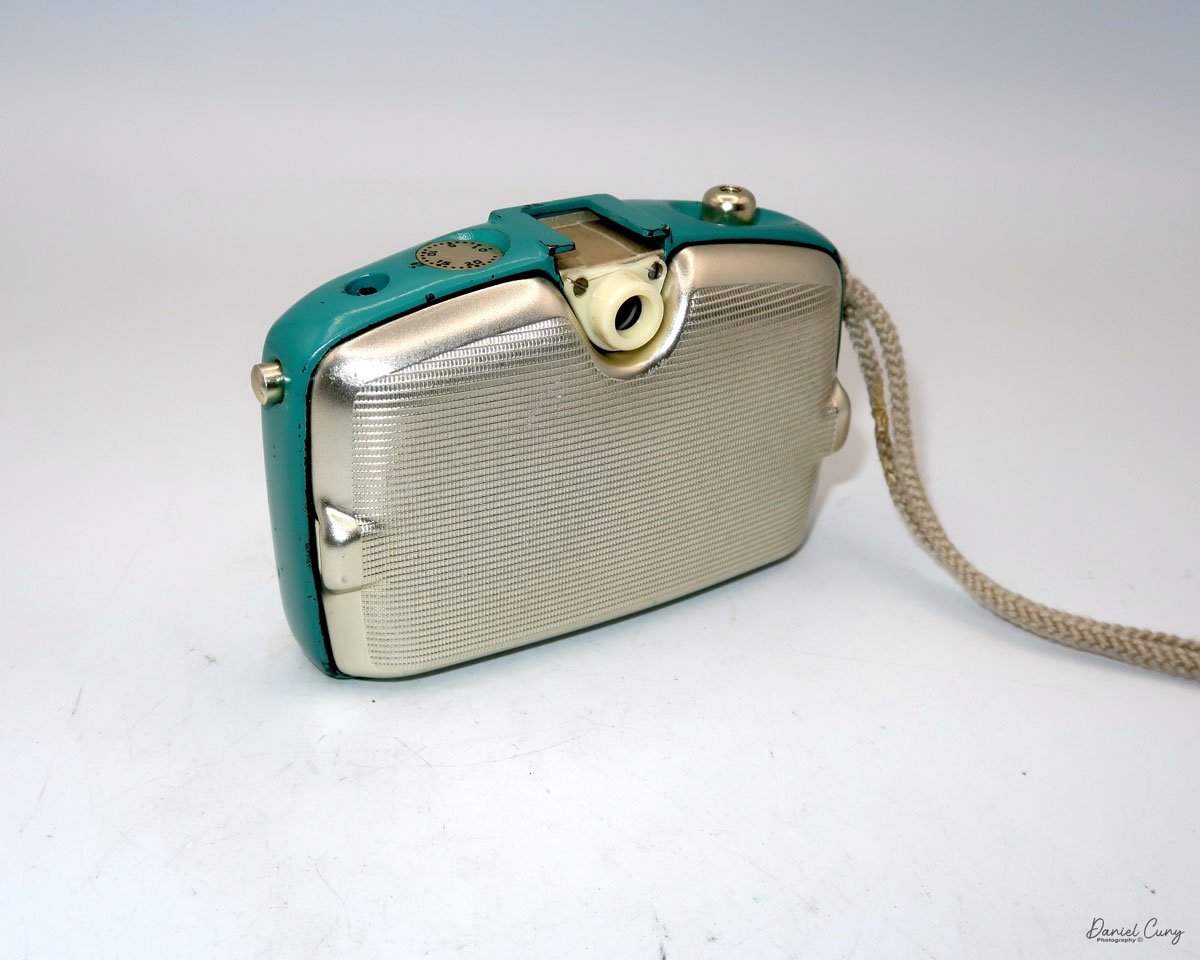
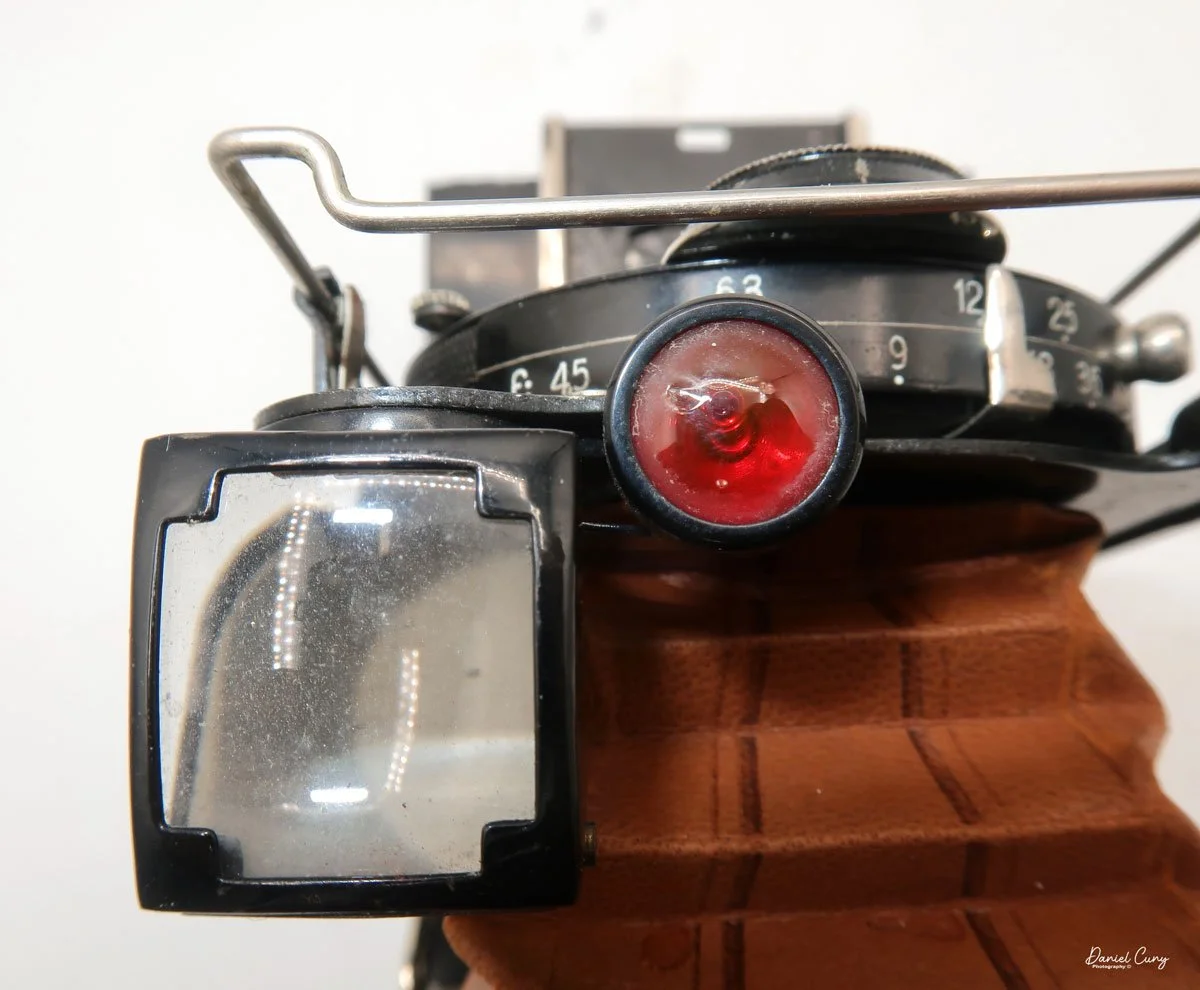
At the top of the camera is the camera's handle, a spirit level, and a waist-level finder for vertical photos. On the right side of the camera is the viewfinder for horizontal photos, another spirit level, and the shutter release, which can be set to "M" for snapshots or "T" for timed exposures. Towards the rear of the camera is the lever that changes the internal film plates. Slide the lever to the top to drop the plate down from the exposed area. As you slide the arm back, it catches the next plate, making it ready for exposure.


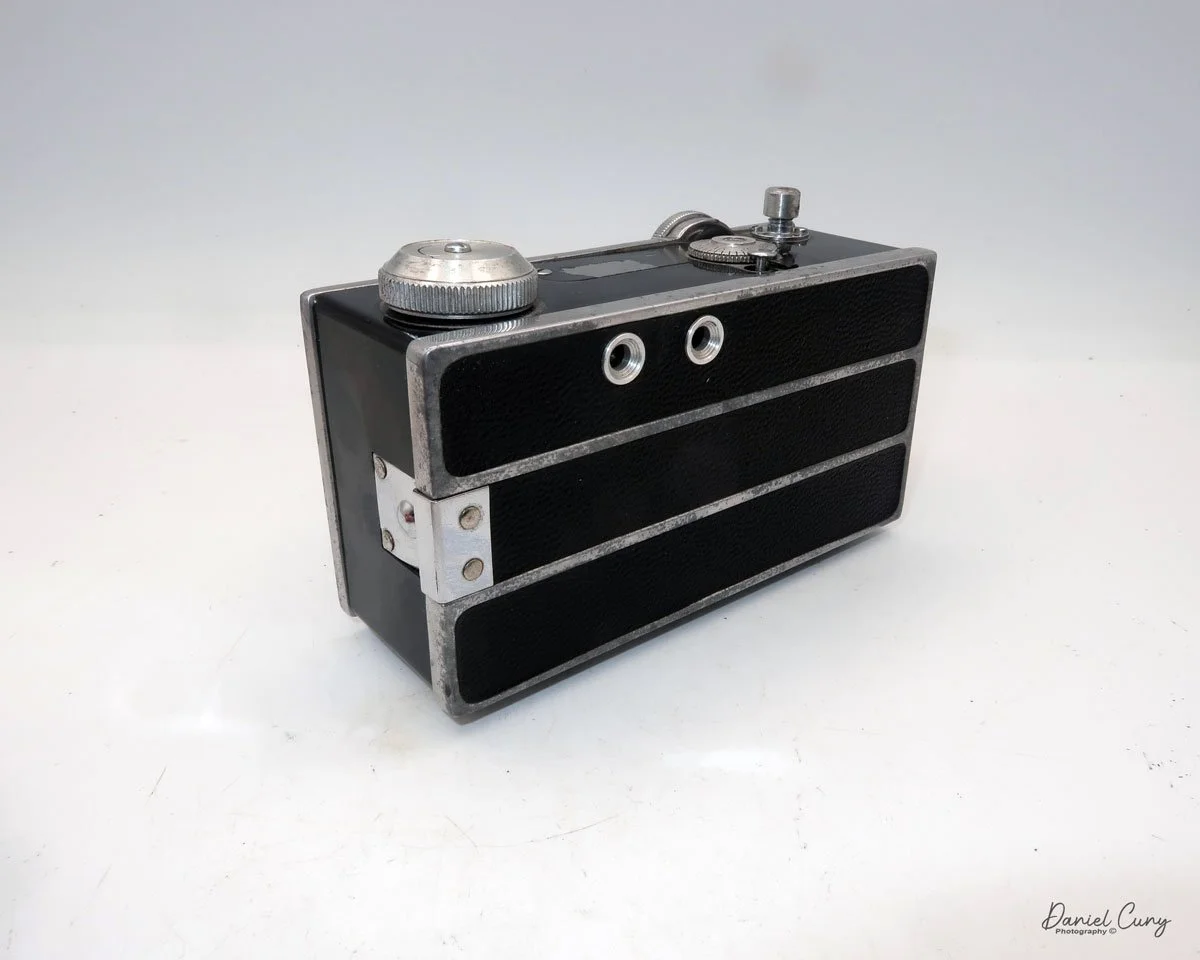
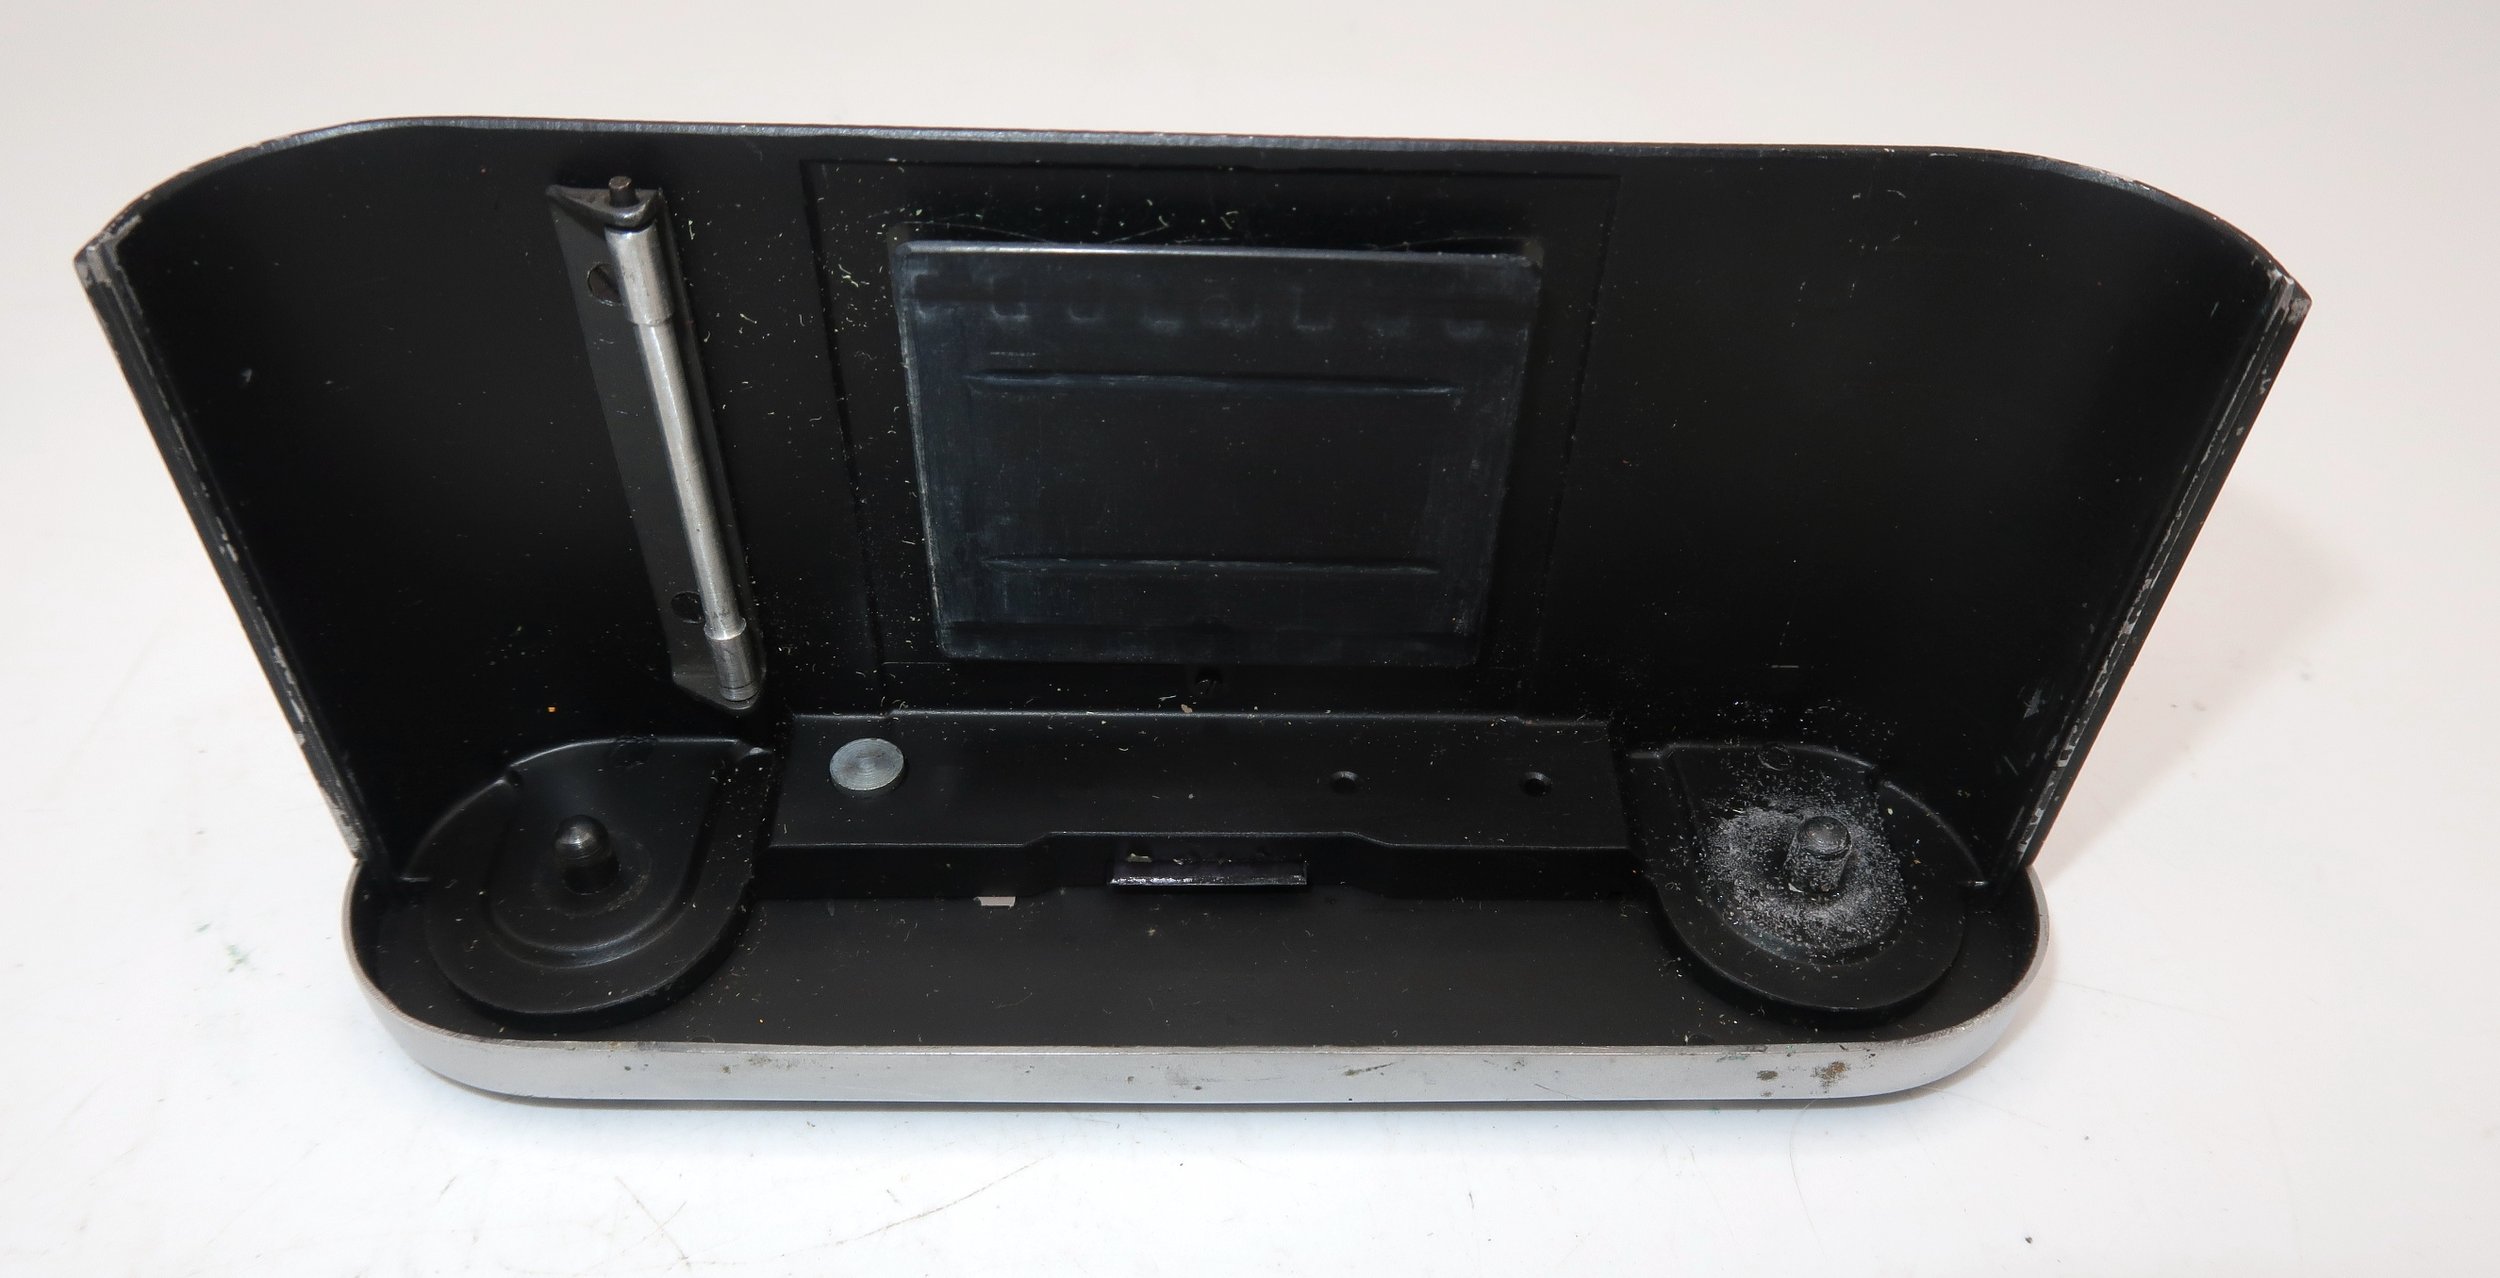
If you're not familiar with how a falling plate camera works, let me tell you what I know. The film holders are stacked vertically on the top of the camera, with the film pointing towards the lens. They are held in place by a spring on the back of the camera, which pushes the film holders forward in the upper chamber. As you take a photo, you flip the switch on the side of the camera forward, which moves the exposed plate a bit, and it drops into the lower chamber of the camera. The next frame is pressed forward by the spring, you then expose the film plate, and so forth until all the frames have been exposed. At that point, you'll need to remove the film holders from the camera in a dark room to prevent exposure to light. The loading process also needs to be done in a dark room for obvious reasons.


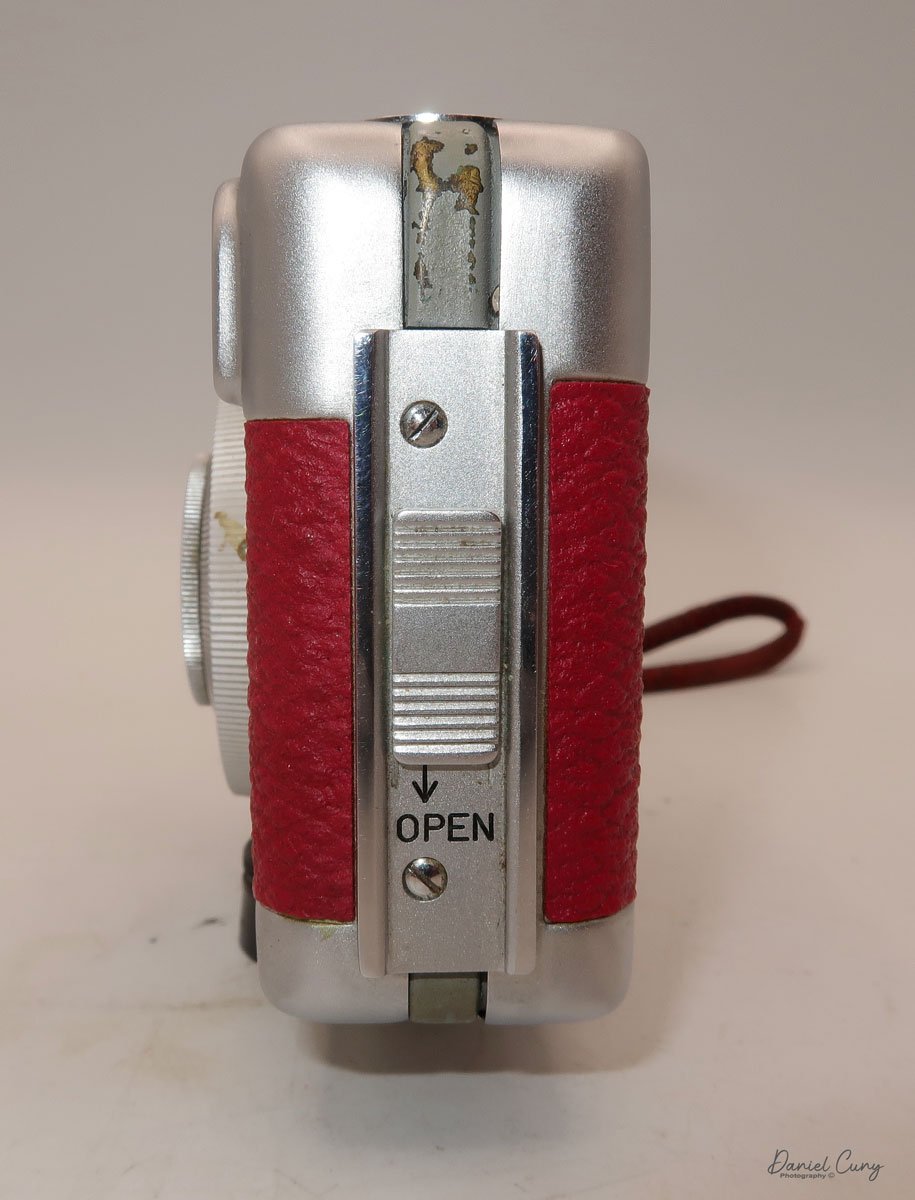
To open the back to load the film plates, there are two latches on the top and bottom of the back door on the right-hand side. Pull them out to open the back, then place the plates in. Close the back and press in the two bars to keep it closed.
On the bottom and on the left side of the camera are tripod sockets.
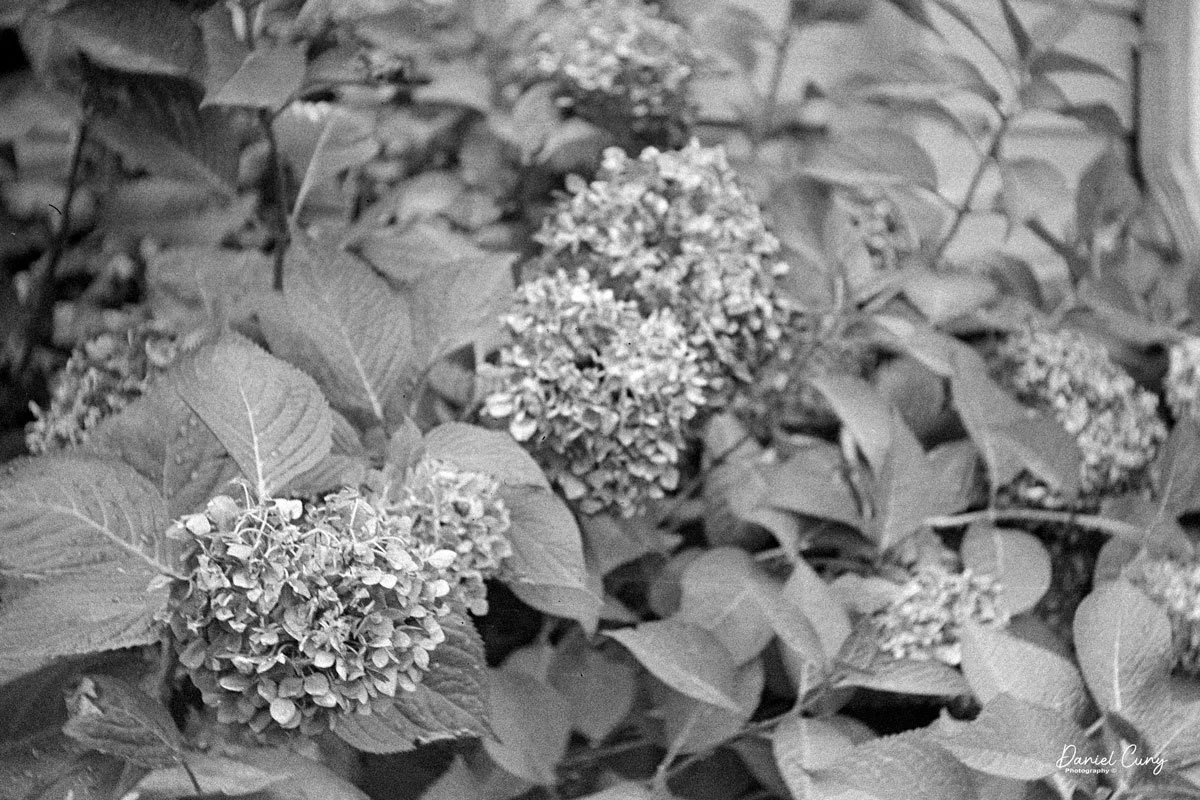
My results.
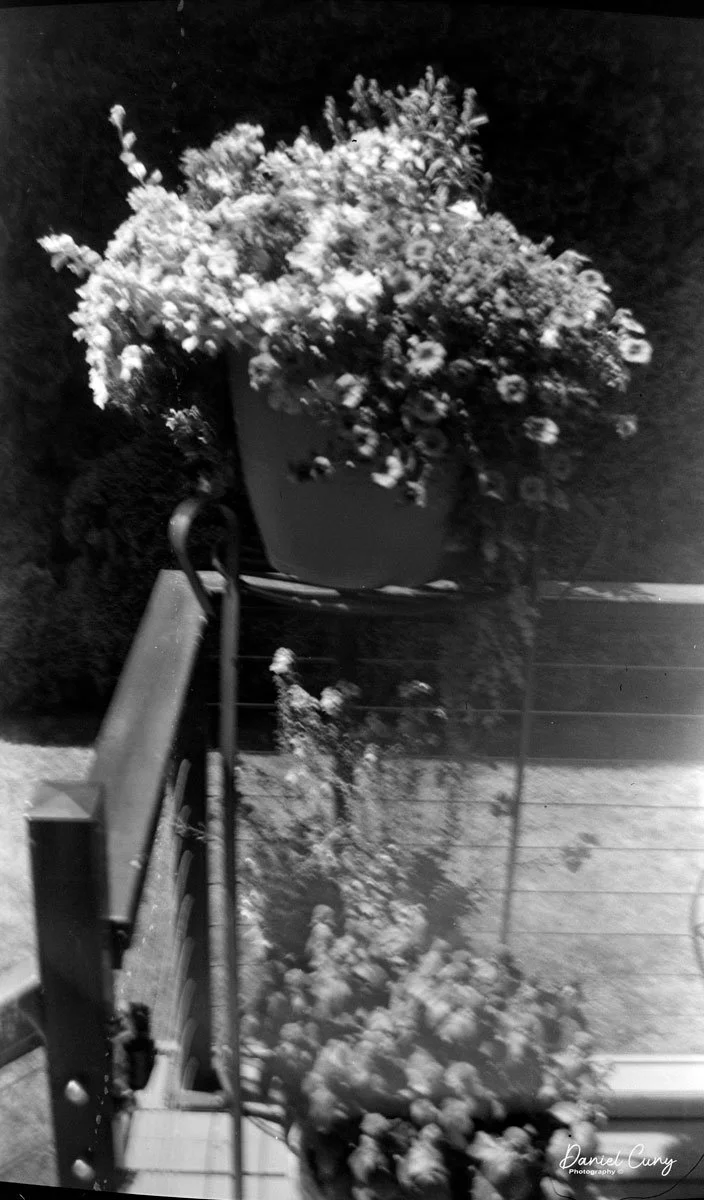
At first, I didn't think the shutter was working, but then I found out how to cock the shutter. I can't figure out how the plates drop within the camera. Unfortunately, I didn't try using the camera because I don't have any sheet film, but once I do, I'll try and see how the camera handles making images. I'll need to do it one frame at a time until I figure out whether it's an operator or a camera malfunction.
I also found Jabcam's overview of a similar falling plate camera.
Conclusion.
It's nice having an older Hasselblad in my collection, although Hasselblad didn't particularly make it. My real intention was to write about it for the camera blog. Not being a big fan of drop plate cameras, you'll likely see the camera for sale in my eBay store soon.
If you're interested in purchasing it, let me know; otherwise, you can see some of the cameras I've reviewed for sale in Cuny's Cameras and Photo.
Here's a link to my other Camera Reviews.
Thank you for taking the time to read about the intertwined camera companies that worked together in the early 1900s.
Until next week, please be safe.
References:
Jabcam overview of falling plate cameras: https://jabcam.wordpress.com/2013/04/29/topic-a-falling-plate-camera/
Swedish Camera History: https://www.fotopaw.se/texter/svkam.htm
History Of Hasselblad-Soren Gunnerson: https://gunnarssonforum.blogspot.com/search/label/Fritz%20Victor%20Hasselblad