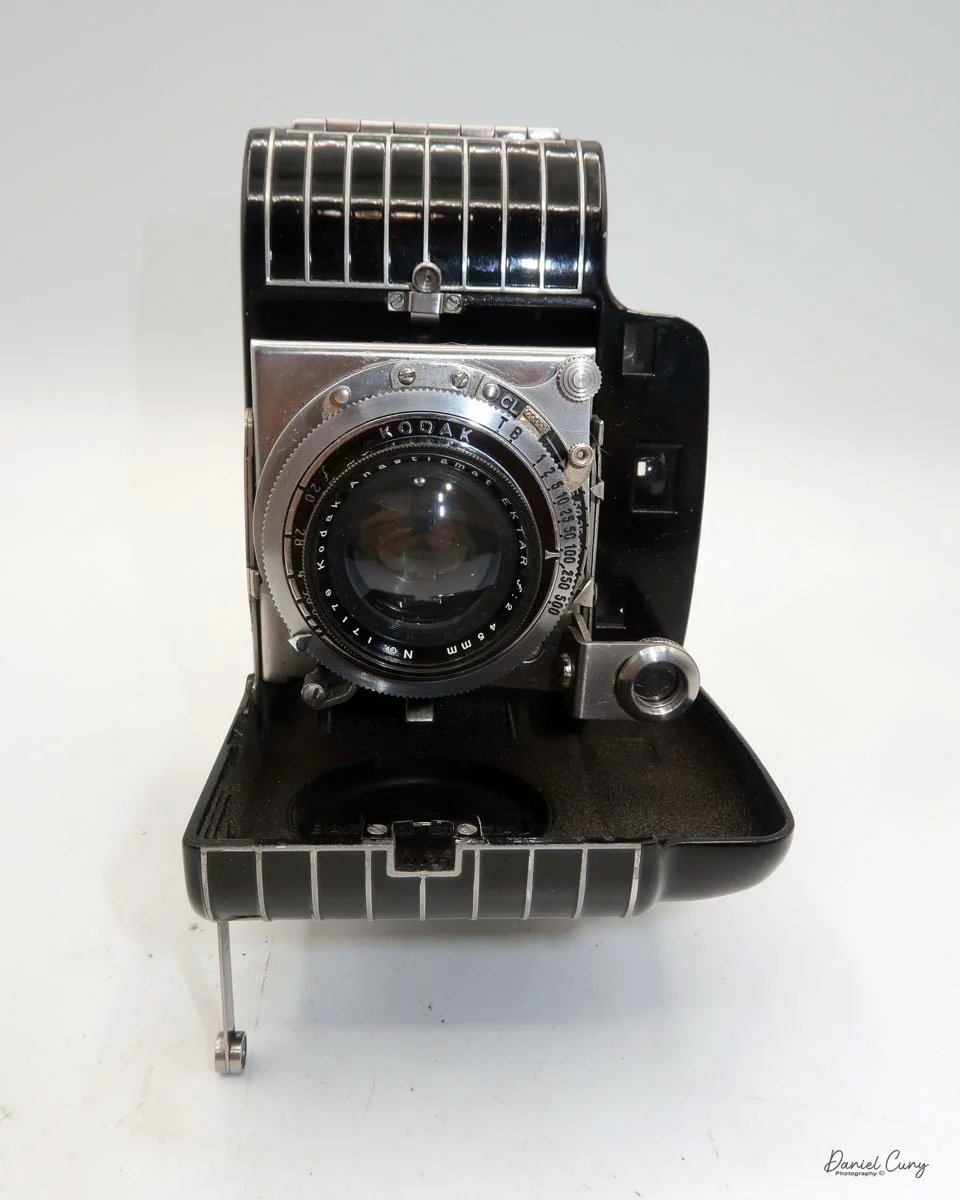
My Kodak Bantam Special camera.
There are a few cameras that, just due to their sheer design, stand out in any person's collection. Cameras like the Kodak Super Six-20, Polaroid SX-70, Welta Reflekta, and the Kodak Brownie Beau all have a very striking design, whether on the faceplate or the camera's overall design. In my opinion, the one camera that is the most striking and beautifully made is the subject of this week's camera collecting blog, the Kodak Bantam Special.
The Kodak Bantam Special is a camera made between 1936 and 1948, during the heyday of camera innovation and manufacturing not only in the United States but worldwide. If you think about the cameras produced in this era, there were the Zeiss Ikon Contax I, II, and III. Leica had the IIIC, Ihagee had the Kine Exakta, Kodak produced the Retina, Medalist, Rolleiflex continued to improve their models, and companies like Argus, Voigtlander, Agfa, and in Japan, Canon produced the Hansa in 1936.
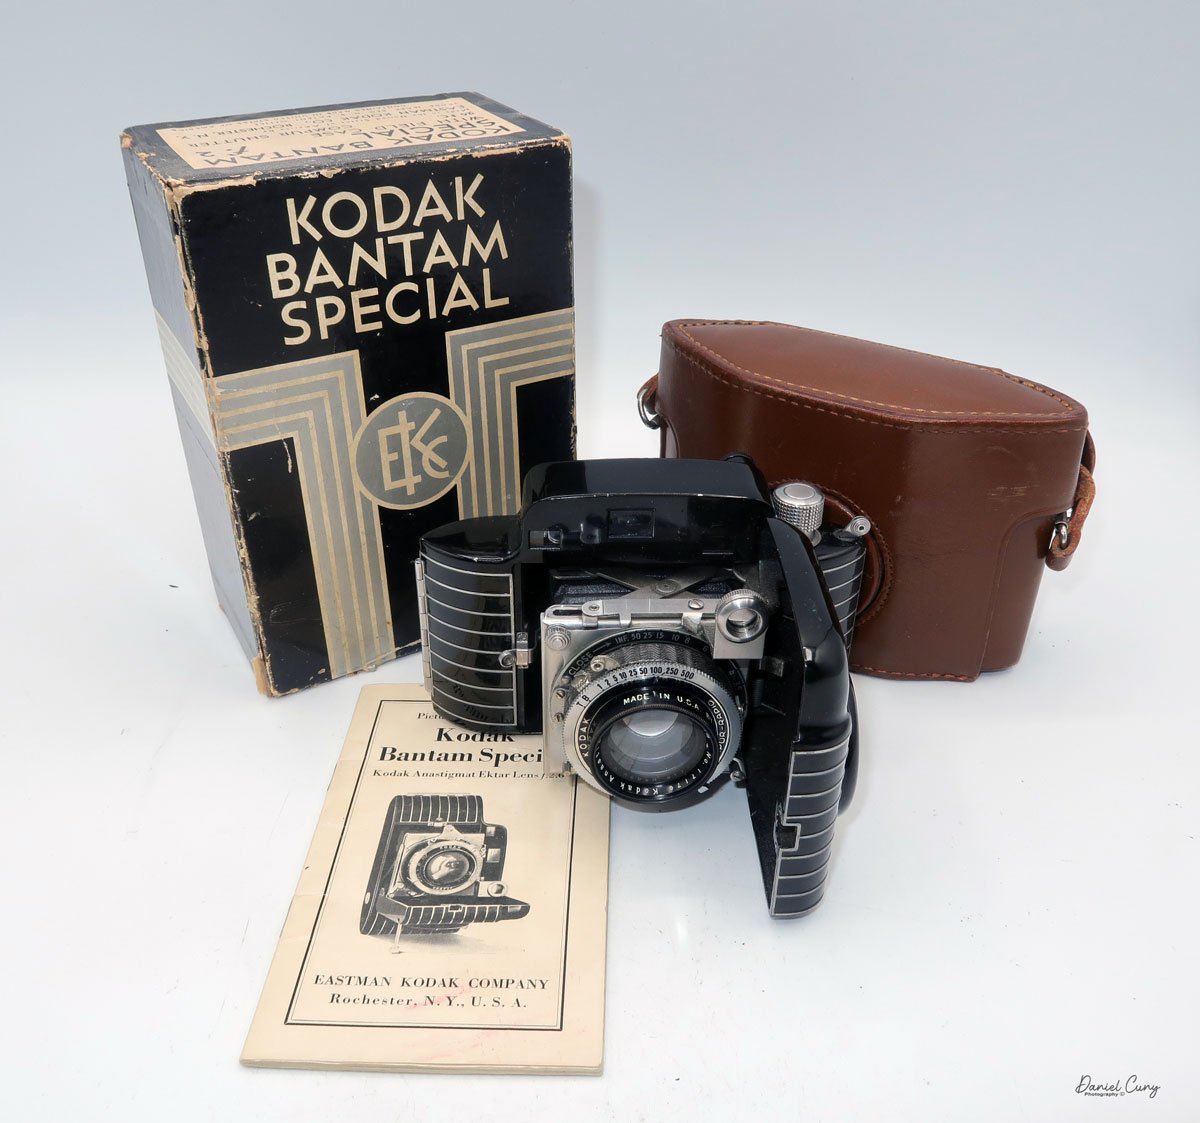
Kodak bantam Special with case, manual and original box.
I've had my Kodak Bantam Special for 20 years or longer at this point, and one of the things I like about my Bantam Special is it's a very clean camera, with a working shutter, very bright viewfinder, a very nice case, the original box and instruction manual(s) too. When I opened the box to retrieve the case, I found two manuals inside. Something I have forgotten about.
I've owned several different Kodak Bantam cameras, which are relatively common and easy to find, but the Bantam Special truly is a "special" camera. I've owned a couple before the one I have now, but they were in relatively poor condition, with either chips in the paint or a shutter that wasn't working. But when I found this camera online, not only was the price reasonable, but it was complete. The only thing it didn't have was the camera's hang tag, which is extremely difficult to find.
As I was looking over the cameras above my desk, thinking about the camera I wanted to write about this week, my eyes skimmed over the Bantam Special, thinking I must have written about it in the past. Still, when I looked at my camera reviews, it was one I'd overlooked.
The reason it's been looked over was the lack of 828 film I have in my refrigerator, which I use to review cameras. I have many of the other film formats, 35mm, 120, 620, 116, and 127, but no 828. So, a couple of weeks ago, I went to the local vintage camera store in town, which carries several of the film sizes I shoot with, and bought a couple of rolls.

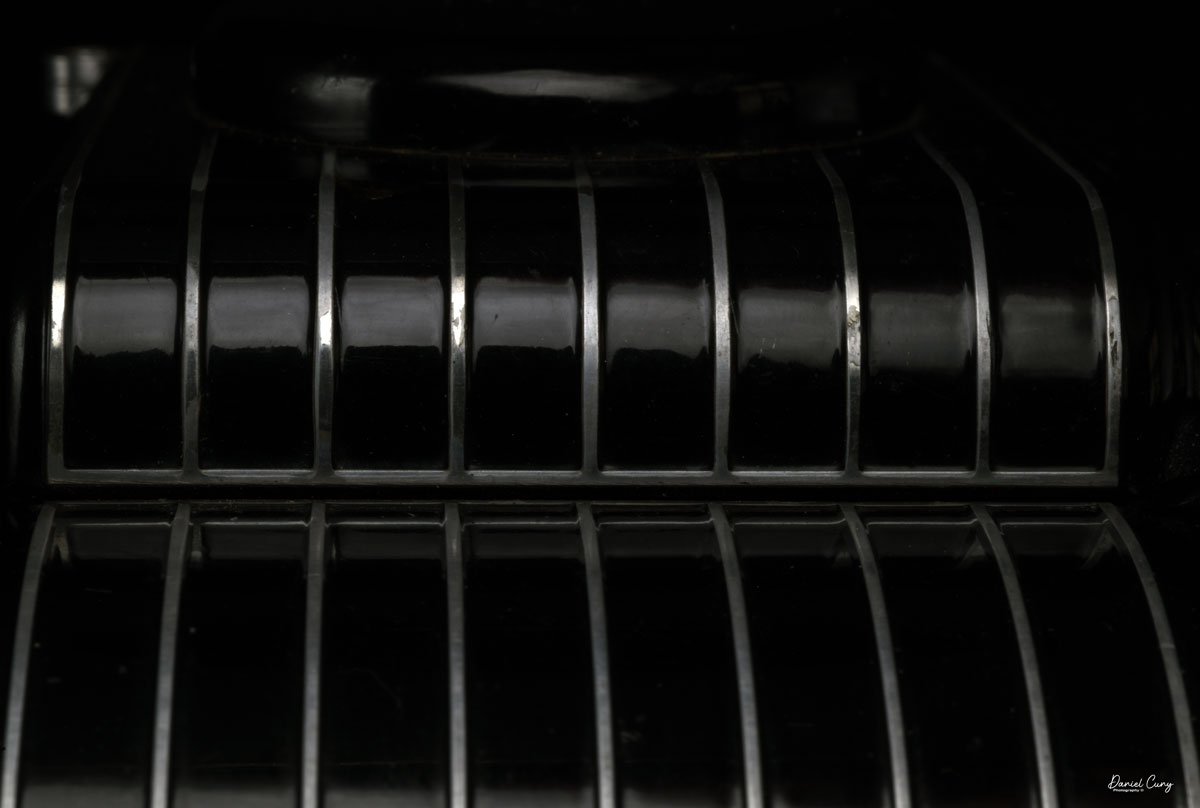
An artistic view of Kodak Bantam Special camera
For the history section, I've already written about the history of George Eastman, Eastman Kodak, and Walter Dorwin Teague, my favorite camera designer, so I thought I'd talk a bit about the not-too-popular film size that went away almost 40 years ago, 828 film.
History:
828 film is a niche but significant chapter in the evolution of roll-film photography. Introduced by Eastman Kodak in 1935, 828 was designed as an alternative to 35mm film for compact consumer cameras. Kodak developed it alongside the launch of the original Kodak Bantam, a stylish, pocket-sized camera meant to bring high-quality photography to a broader audience. The goal was to offer the image quality of 35mm negatives without the mechanical complexity and cost associated with perforated 35mm film cassettes.

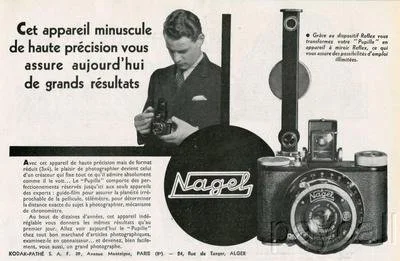
Kodak Bantam Special ad with 828 film
Physically, 828 film is 35mm wide, identical to standard 35mm film in width, but it is paper-backed like 120 film. Instead of the multiple perforations found in 35mm stock, 828 features a single registration hole per frame, which helped position each exposure. This simplified both camera design and film advancement mechanisms. The standard frame size—28×40 mm—is actually slightly larger than the 24×36 mm frame on typical 35mm film, giving it a modest image-quality advantage despite its amateur-market positioning.
Throughout the late 1930s and 1940s, Kodak produced a variety of Bantam models that used 828 film, including several Art Deco designs, such as the Bantam Special, known for its high-quality lenses and elegant styling. Other camera manufacturers occasionally experimented with the format as well, but 828 remained overwhelmingly associated with Kodak.
The format reached its peak popularity in the 1940s and early 1950s, especially in the United States. However, its momentum began to fade as 35mm film gained dominance, propelled by the rise of precision German and later Japanese cameras, reusable metal cassettes, and the convenience of automated processing. By the 1960s, 828 had become a minor format, kept alive mainly by Kodak's continued film production and the long lifespan of Bantam cameras already in circulation.
Kodak manufactured 828 film until the mid-1980s, after which demand dwindled, and the film was discontinued. Today, 828 is considered an obsolete format, though it retains a small following among camera collectors and experimental photographers. Enthusiasts occasionally reload old 828 spools with cut-down 35mm film, keeping the distinctive format alive in a niche, hands-on way.
My Camera:
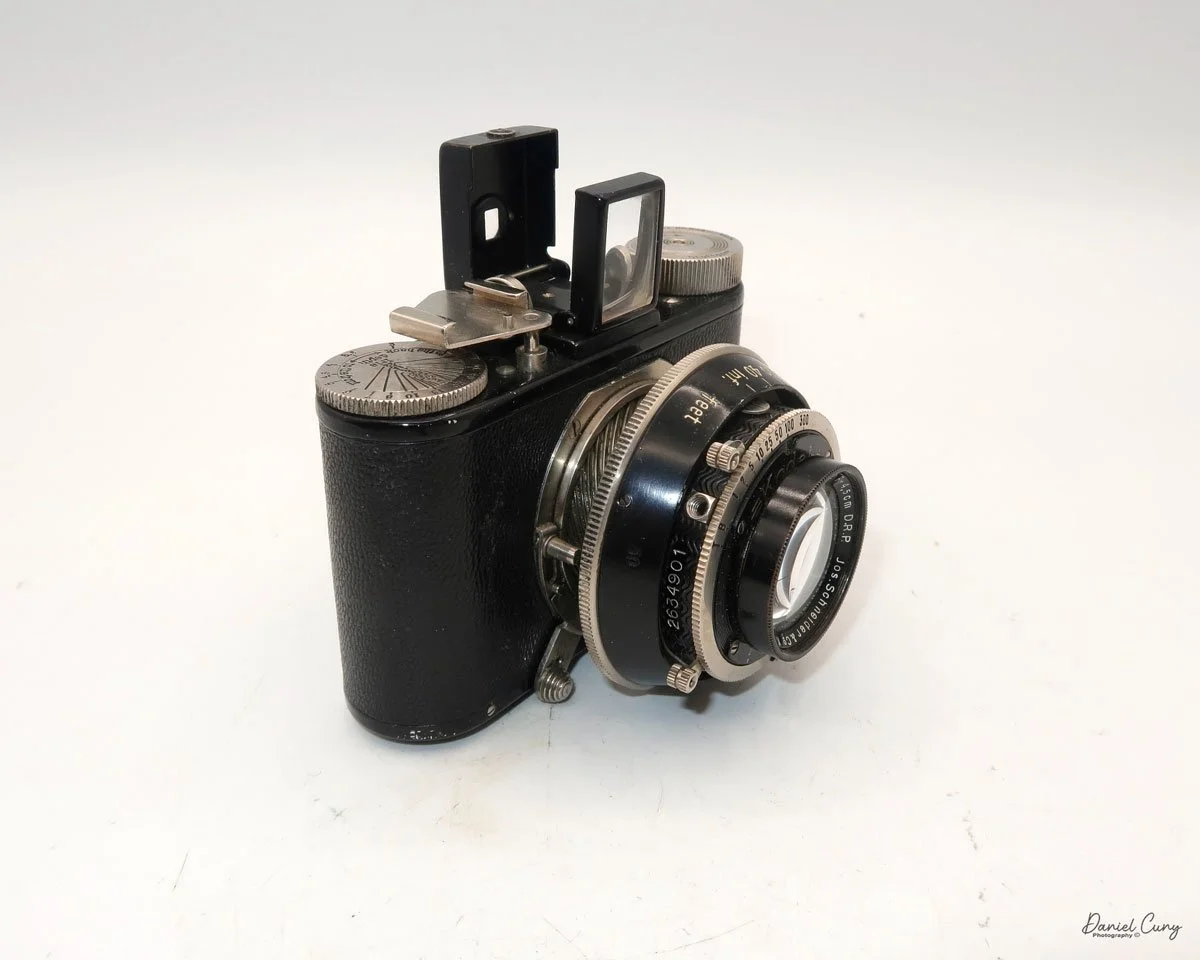
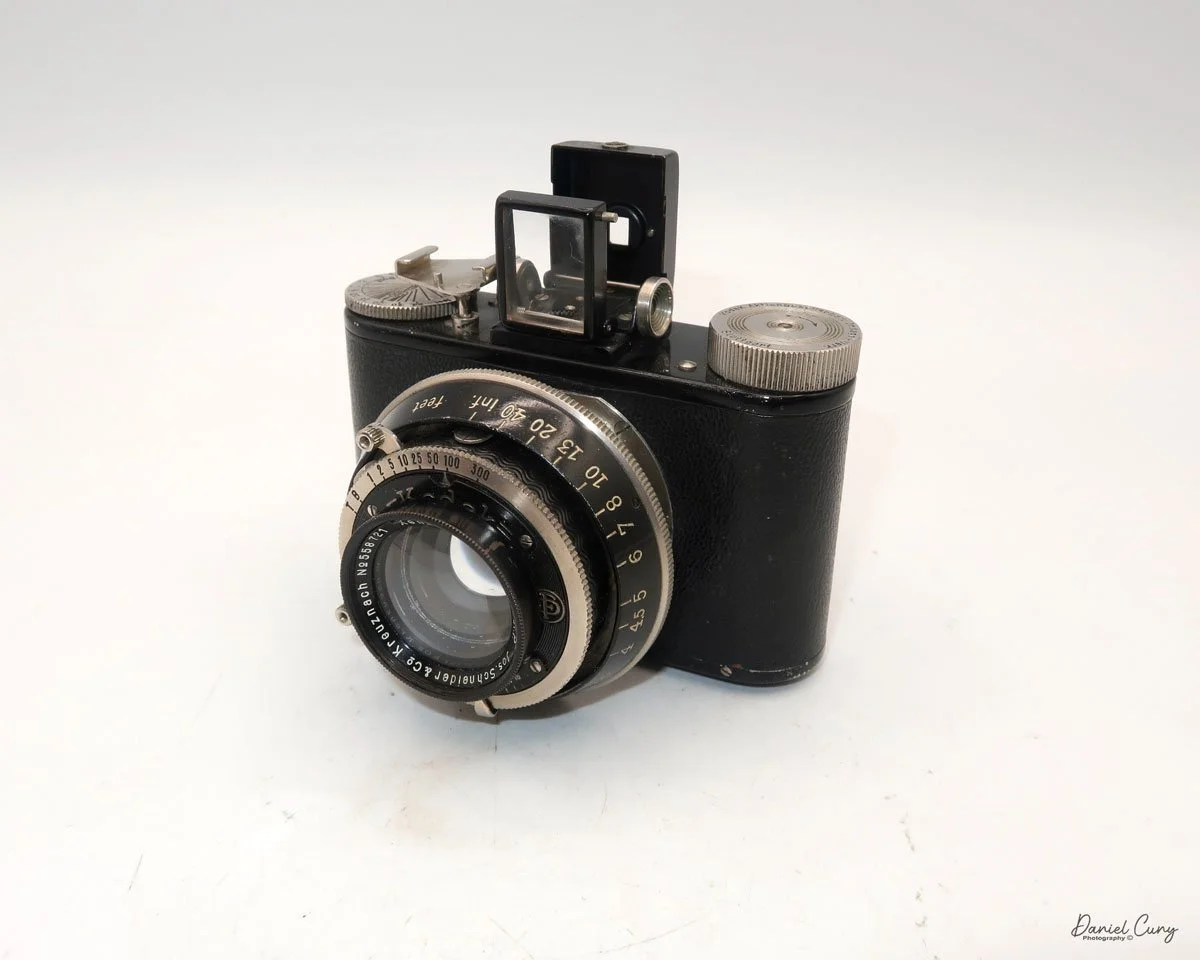
My Kodak Bantam Special camera is 5" wide by 3" tall by 2" deep with the lens closed, and 4" deep when the lens is extended. It weighs 1 pound, 0.5 ounces with a roll of film loaded. The camera is very sleek and stylish, with a Kodak Anastigmat Ektar 45mm f/2.0 lens and a Compur Rapid shutter. The camera was distributed between 1936 and 1940 with the Compur Rapid shutter made in Germany; after the war, Kodak distributed the camera with a Supermatic shutter between 1941 and 1948.


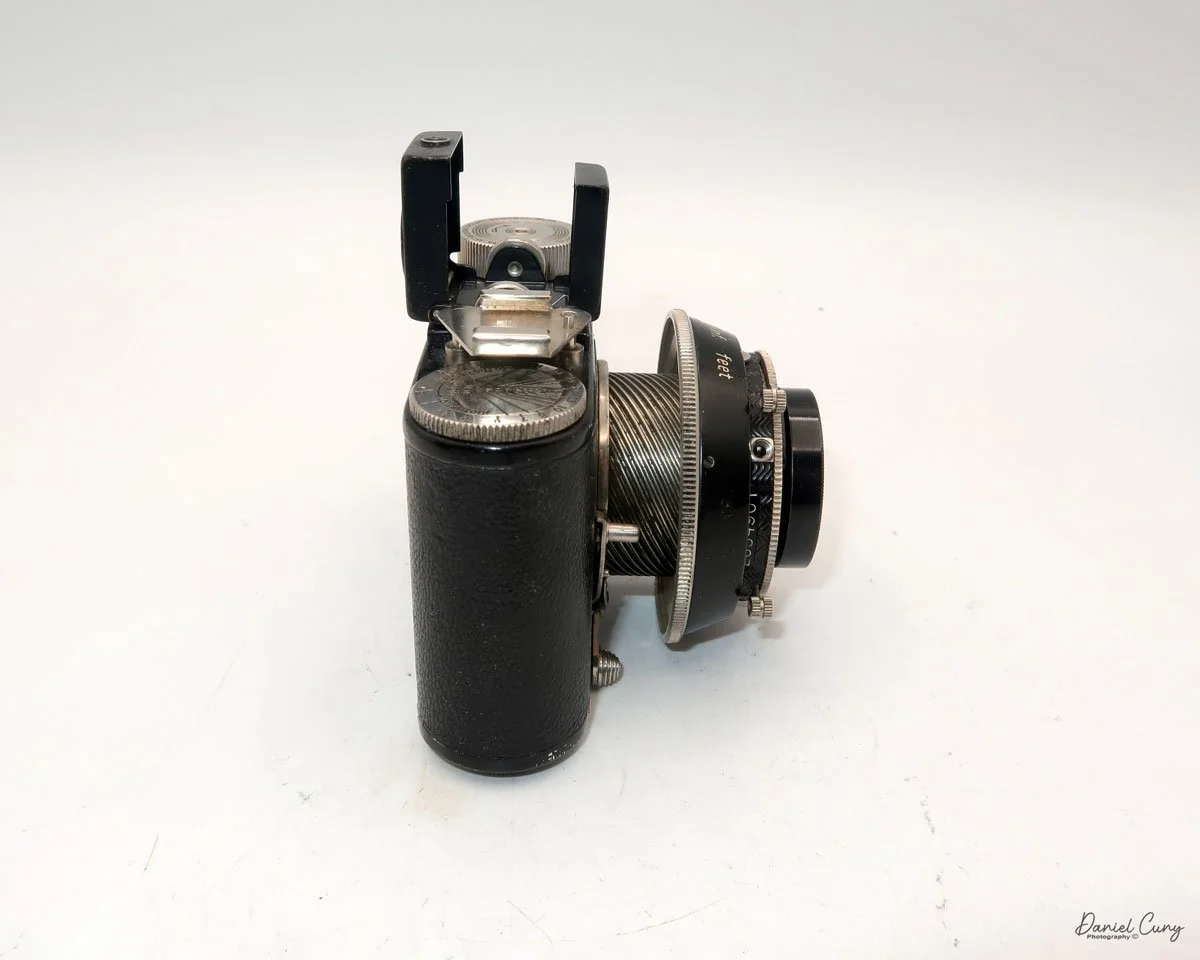
To open the camera to take a photo, press the button on the right side, right in the middle, adjacent to the lens door. The door swings open to the left as you hold the camera, which is the opposite of how the popular Kodak Retina line of cameras opens to take a photo.
Similar to the Kodak Retina, the Bantam Special's lens is on a lens board, which is attached to a short black bellows that extends as the lens extends, with a scissor-style truss connecting the lens board to the camera body.


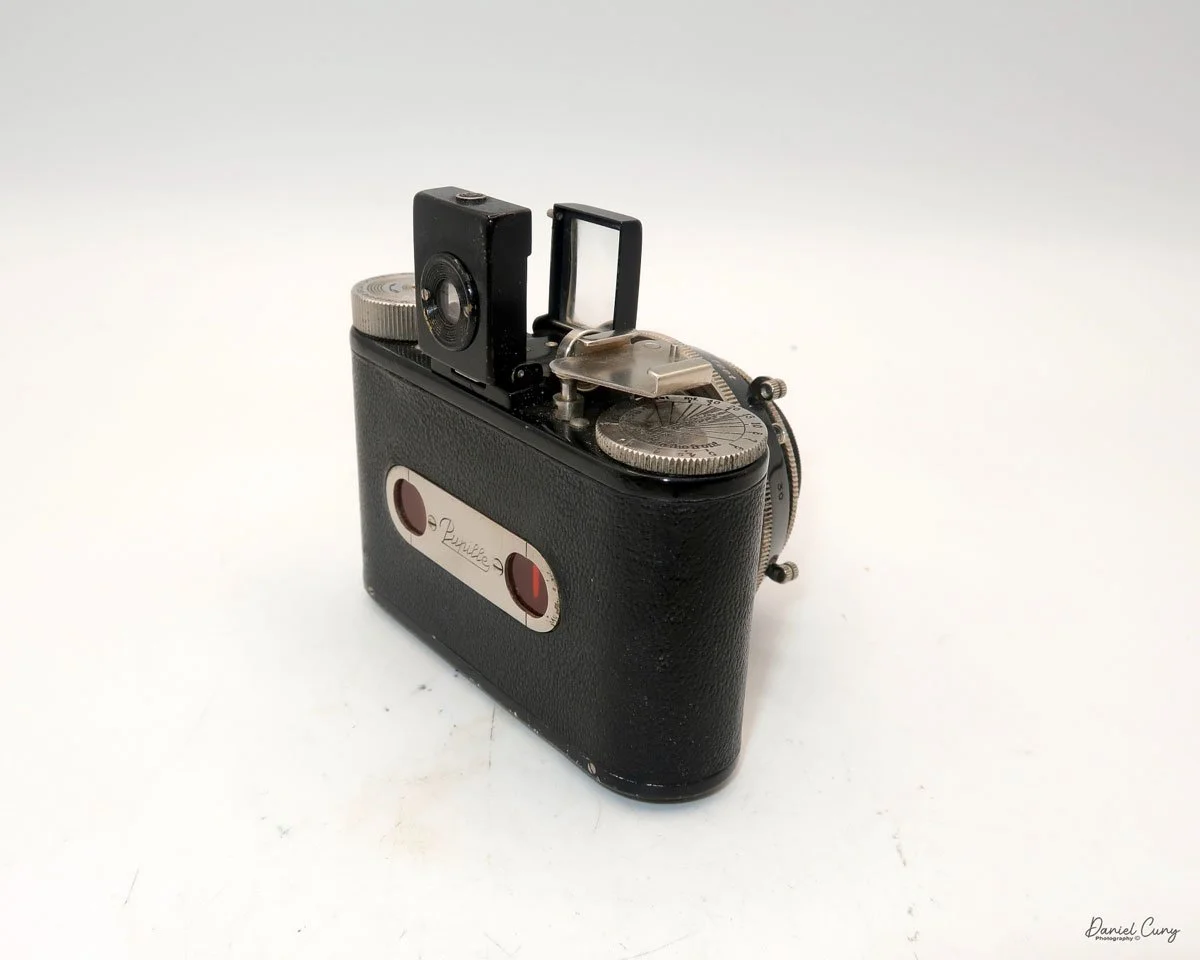
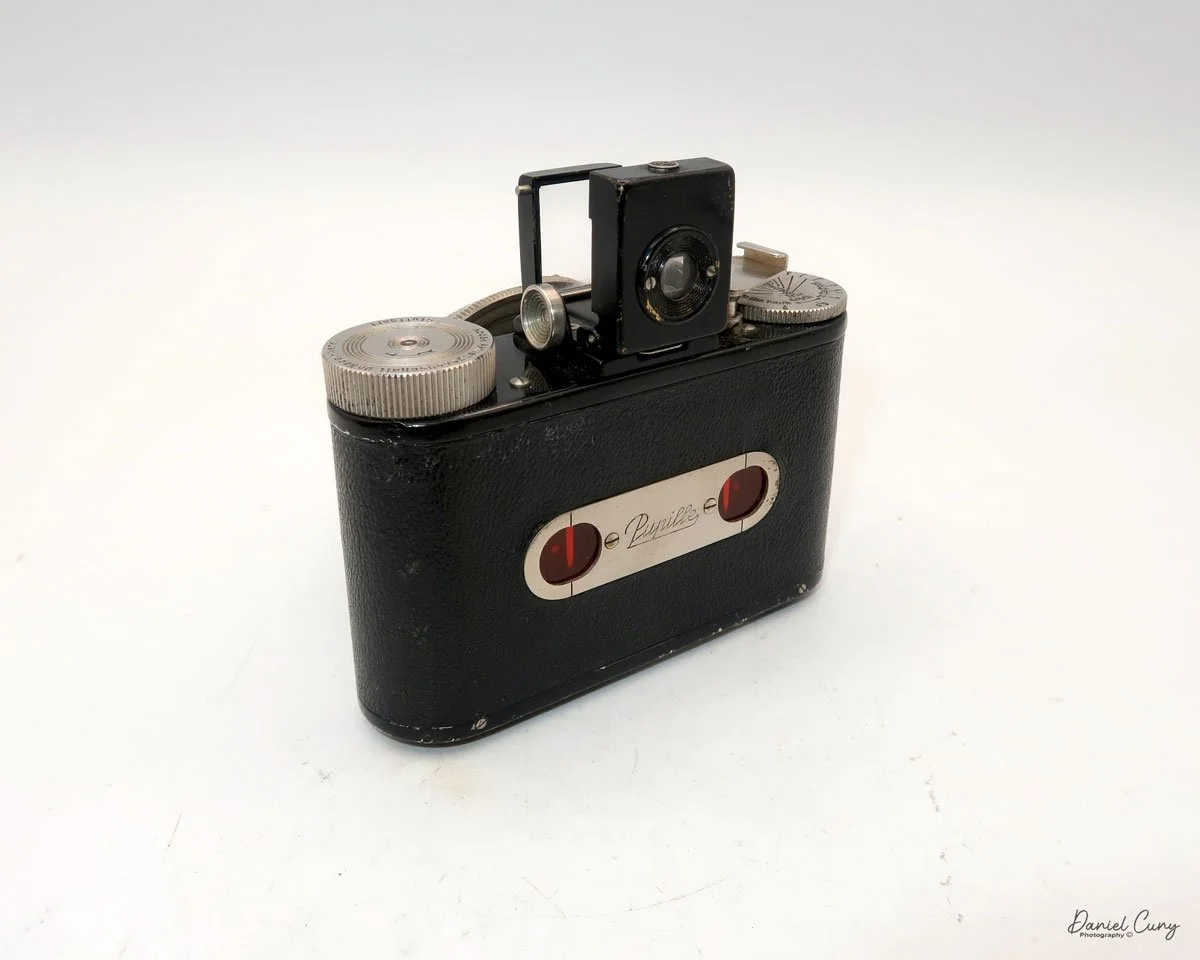
To focus the lens, the camera incorporates a "military style" rangefinder system. The focus adjustment is in the upper-right corner of the lens board when you hold the camera. Sliding the lever down focuses the lens. The rangefinder is viewed through the left-hand window on the back and provides a magnified view of the subject you're focusing on. The rangefinder in my camera is very bright and easy to focus with. Just slide the focus lever until a vertical line becomes a single, straight line, which indicates the camera is focused. The viewfinder is the window on the right-hand side that allows the photographer to frame their subject.


The focus ring is also used to close the lens back into the camera body. Slide the ring up past the infinity marker in the direction of the "close" arrow. The lens's door will unlock, allowing you to retract the lens back into the camera and shut the front door for transportation.
The shutter speeds and aperture settings are done on two separate settings on the Compur Rapid shutter. The shutter speed range is from 1/500 to 1 sec, along with "B" and "T" settings. The Aperture range is from f/2.0 to f/16 and is set via a sliding lever on the bottom of the shutter.


The shutter's cocking lever is on top of the shutter system, and the shutter release button is in the lower right of the camera's shutter. The placement and size of the shutter release were the most challenging aspects of using the Kodak Bantam Special camera. I'd get the camera focused, set the exposure, set the shutter speed and aperture, frame, cock the shutter, and I kept missing the shutter release. It's relatively small, and while not hidden, it's not in a very convenient place. If there were a shutter release on the top of the camera similar to the Retina's, that would make the camera much easier to use.


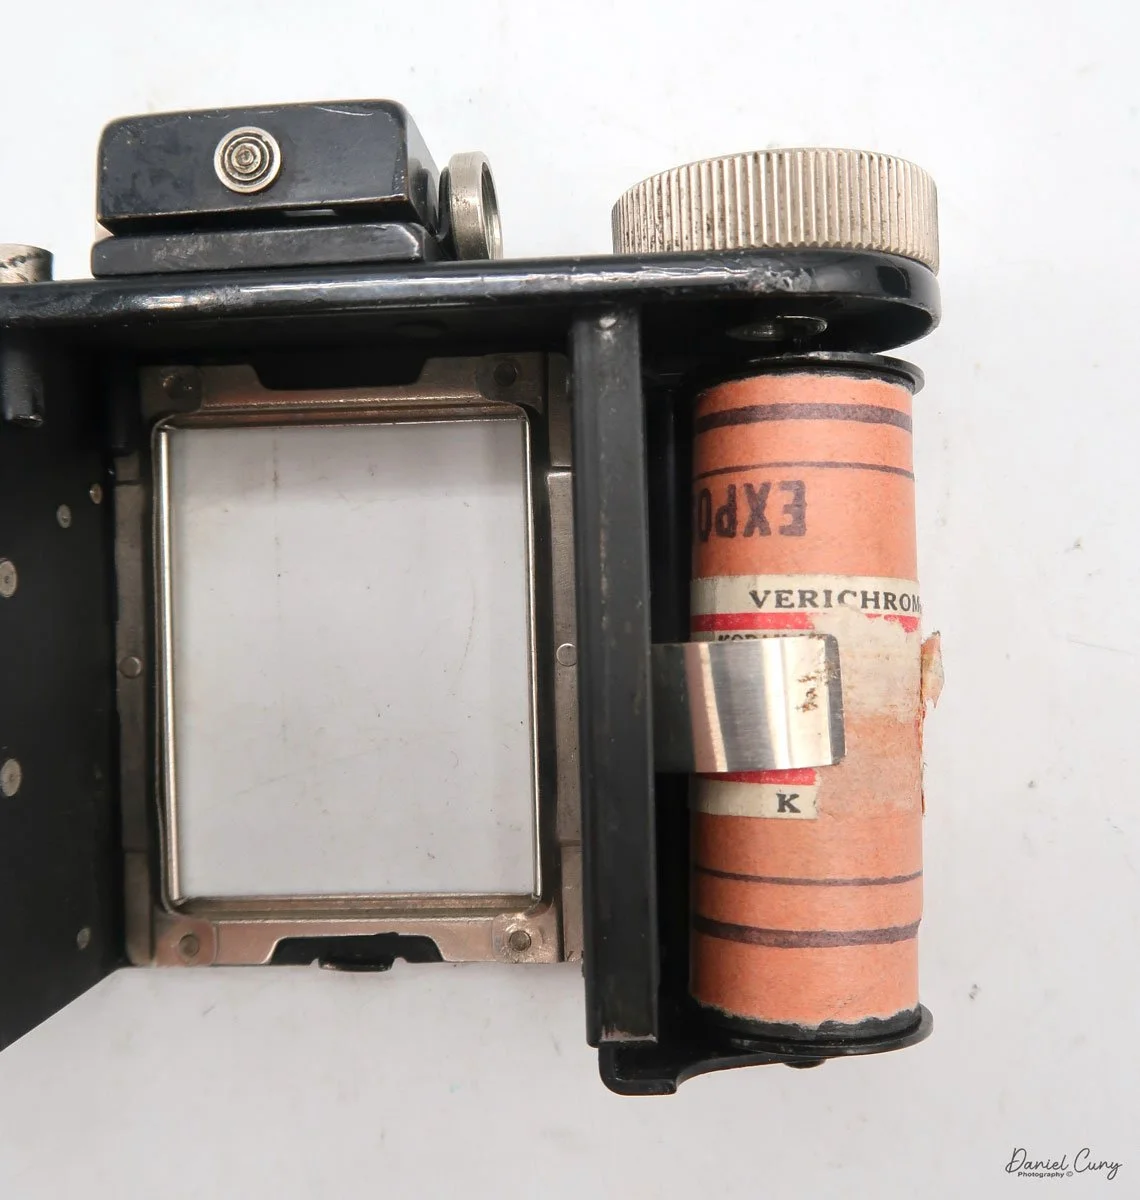
To open the back to load the film, on the top left of the camera, as you're holding it, is a protruding clip you pull up to release the lock for the back door. Once open, the camera is like many roll film cameras, with the empty spool going under the winding lever and the new roll of film on the right side of the camera body. Pull the film's leader out, and across the shutter area, and slide the tab into the slot of the empty film spool. Wind the leader until you see the "start" sign on the film's paper backing and close the film door. Open the camera's green window on the back door to see the frame numbers appear, indicating when to stop and take your next photo.


According to the manual, there is a button on the back of the camera that unlocks the frame advance knob, allowing you to advance the film to the next frame. Either the "film for classics" film used to take photos didn't have an automatic frame stop, or the item on my camera wasn't working because I didn't need to press the button to advance the film, and the film didn't stop automatically at the next frame. Either way, it wasn't a significant hindrance, and I just stopped advancing the film when I saw the following number on the roll.
My results:
Other than the difficulty I had finding the shutter release to take the photo, the camera was enjoyable to use. It's slim and fits nicely into my pocket when I walk around the neighborhood taking pictures. The shutter started to lag after the second shot on the roll, and the rest of the roll didn't turn out because of it. I exercised the shutter for an hour or so, running through all the shutter speeds, and that helped. Luckily, I purchased two rolls of film, and the following day, I loaded the camera and tried again, with much better results, as you can see from the examples below.
The rangefinder was bright and extremely easy to use. The regular viewfinder was a bit small, but that's probably more to do with me getting older and having an eye issue with my "taking" eye, so I needed to swap over and shoot "left-eyed," which is something I'll need to get used to.
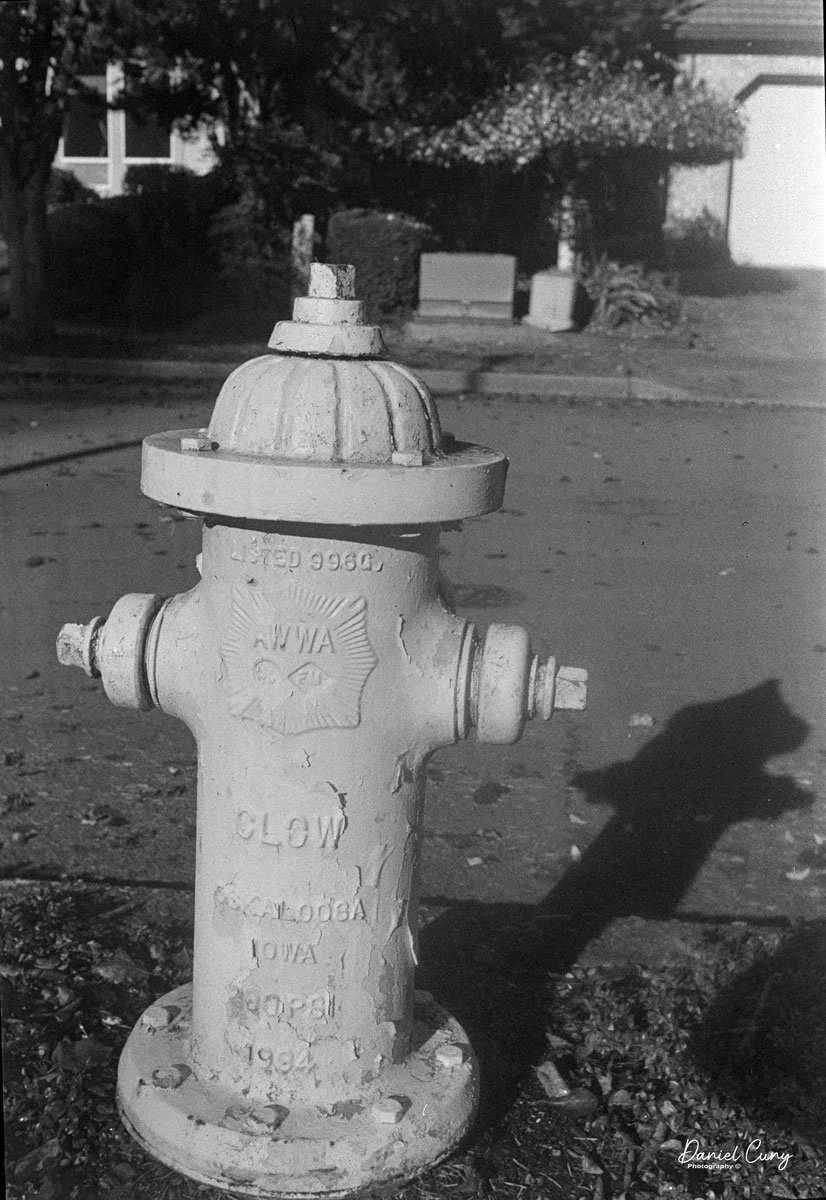
I loaded a roll of Classics 828 film into the camera and walked the neighborhood for photos. With only eight frames per roll on 828 film, I can see why 35mm became more popular. That's not that many photos before having to change to the next roll of film.
Anyway, here are the results from my walk around the neighborhood with my Kodak Bantam Special.


Conclusion:
On a scale of 1 to 10 for camera usability, I'd give it a 7, but for overall appearance, artistry, and appeal, it's a solid 10 in my books. There aren't many other cameras with this one's overall beauty.
The photos turned out terrific, and it was great fun to use. Other than the price of black-and-white film at over $20.00 per roll, I'd use the camera more often. Still, for special occasions, it is a great camera to use, and one I'm pleased to have in my collection, especially with the case, manual, and box.
Here's a link to my other Camera Reviews.
I have some of the reviewed cameras along with other interesting cameras and photo items in my eBay store, Cuny's Cameras and Photos. Please stop by, and if you mention the blog, I'll be happy to offer a discount.
Thank you for taking the time to read about this fabulous camera from the late 1930s. The Kodak Bantam Special is just that, Special.
Until next week, please be safe.