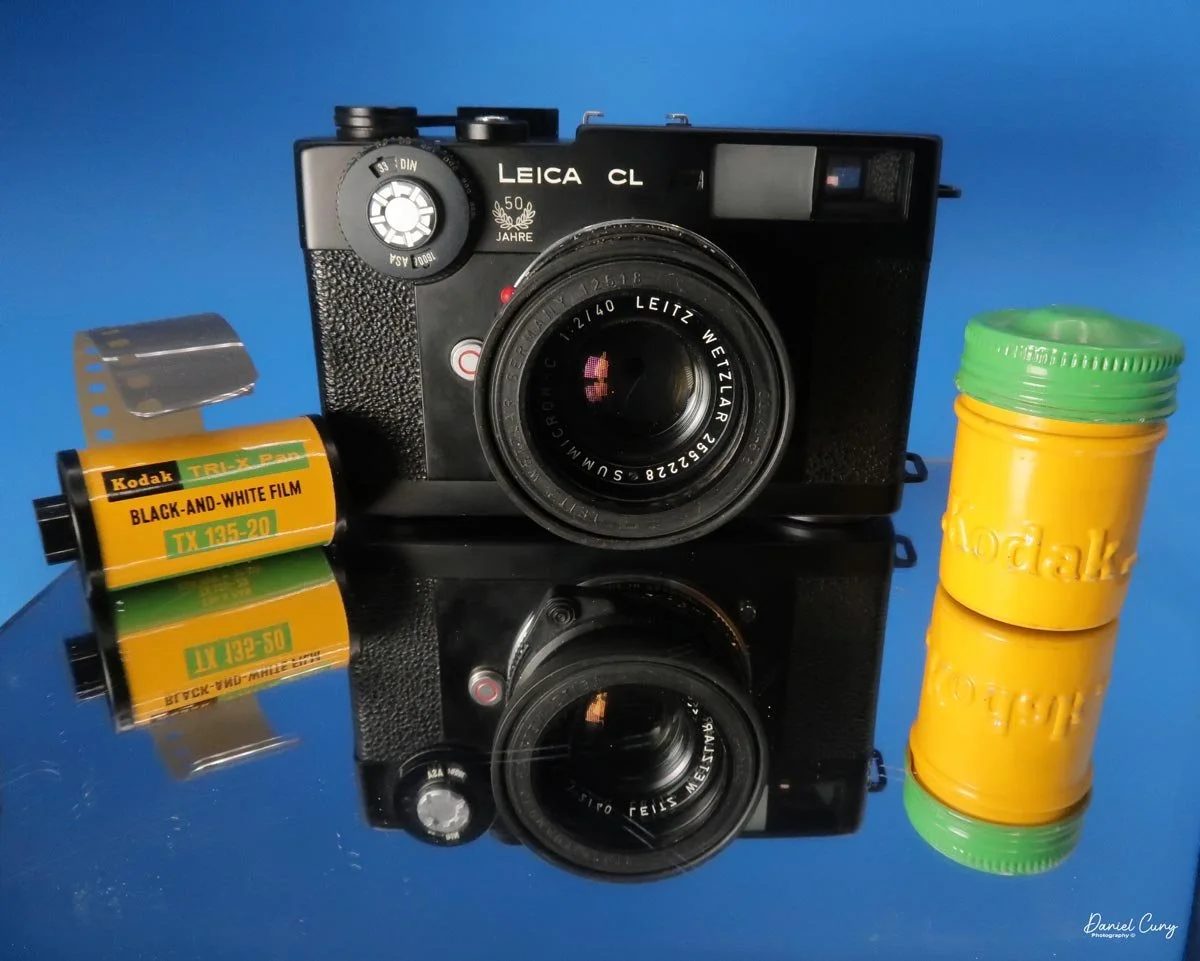
Leica CL Camera-50th Anniversary Edition

My Leica CL-50th Anniversary Edition Camera

I can remember when the Leica CL was first introduced. I was a junior in high school and attending concerts with my buddies. Because of its size, I thought it would be perfect to take to shows to photograph bands. It was small, compact, and had incredible optics.

 At the time, I shot Nikon, which was a bit bigger and heavier, and the idea of a smaller, lighter camera intrigued me.

 Unfortunately, I had a few obstacles to overcome to get one. The first and foremost was the price. At around $450.00 for the camera body with the 40mm lens, I needed to save a lot before I could afford it, especially while also buying records, paying for a car, and going to concerts. Something needed to give.

 For me personally, another drawback of the Leica CL was the lack of longer lenses for the body. At the time of release, they offered a 40mm and a 90mm, which they recommended, but for the shows I was photographing, I sometimes needed up to a 200mm. The 40mm or 90mm would be OK for some of the work, but I liked getting a bit closer to the performers, so the longer lens was very desirable.

 A good friend of mine, Greg Copeland, was an early adopter of the Olympus OM system and purchased his right after it was introduced in 1973. After I played with his for a while, I started to prefer shooting with a slightly bigger camera, as my hands just seemed to overlap the camera, and it didn't feel comfortable. As a result, the thought of owning a Leica CL subsided.
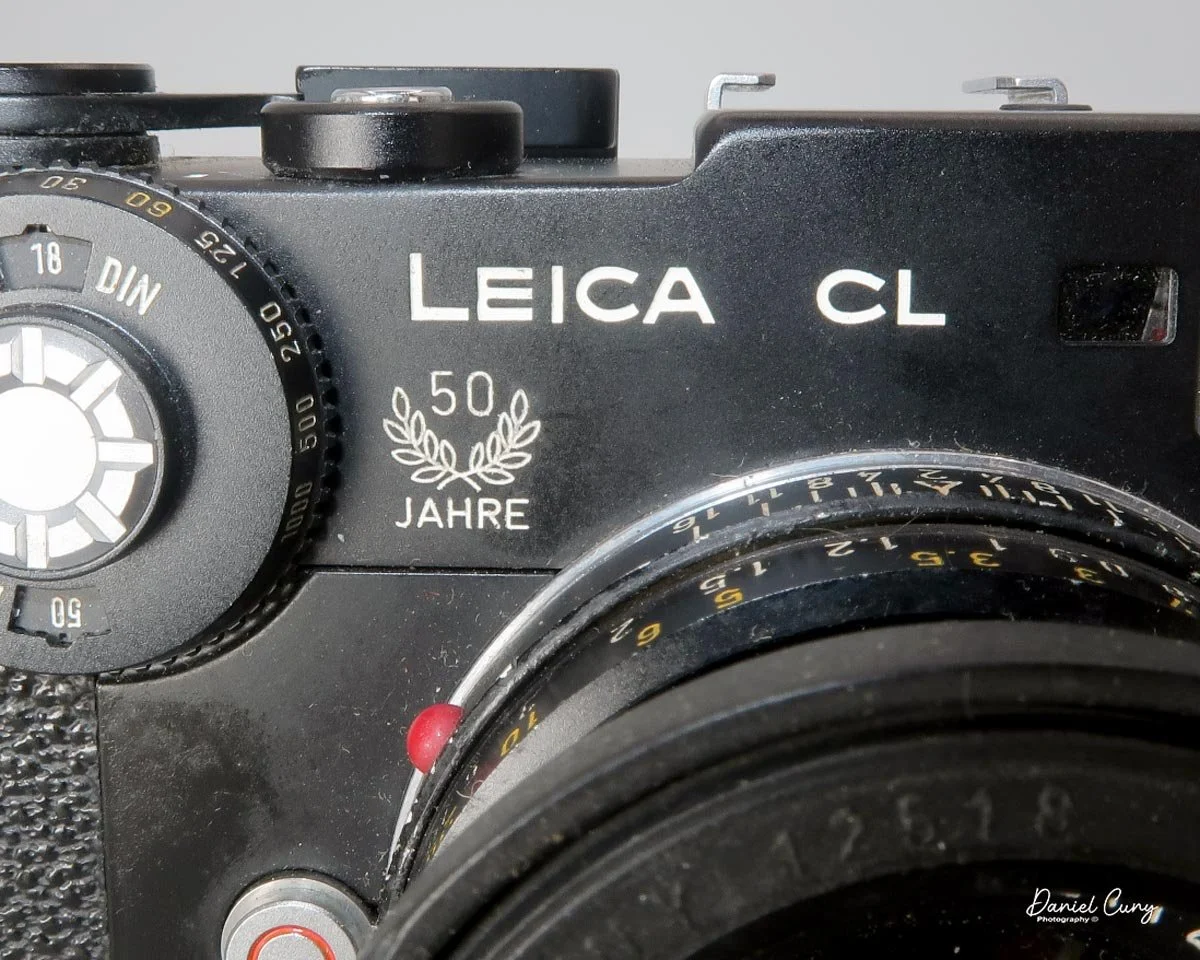
Leica CL 50th Anniversary

 Minolta introduced their version of the Leica CL, the Minolta CLE, in 1980, when I was working at a camera store in the San Francisco Bay Area. I briefly considered buying it through the employee purchase program, but I wasn't a big fan of Minolta cameras. Also, being married and having a two-year-old put a little damper on spending a lot of money on camera gear.

 Jump almost 40 years into the future, and an opportunity to purchase a Leica CL with the fitted leather case and Leitz Summicron-C 40mm f/2 lens dropped into my lap. I was in a camera store in a small Midwest town on a business trip, and as I was looking in one of the showcases, there it was.

 The owner at the time said he was having a difficult time selling it, and he would make me a good deal on it if I were interested. He said the meter wasn't working, but it did come with the hood, lens cap, and case. He threw out a price that was too good to pass up. I thought about it for a few minutes and started playing with it. It seemed in great condition, except for the meter, so I bought the camera and took it home.

History of Leica CL & Minolta CLE

The partnership between Leitz (the maker of Leica cameras) and Japanese manufacturer Minolta during the 1970s birthed two of the most fascinating rangefinders in photographic history: the Leica CL and the Minolta CLE. Conceived during a period of financial instability for Leica, this collaboration aimed to produce a compact, accessible entry point into the legendary M-mount system.

 Introduced in 1973, the Leica CL (Compact Leica) was designed by Leitz but manufactured in Japan by Minolta. It represented a radical departure from traditional Leica design. Weighing considerably less than its sibling, the polarizing Leica M5, the CL featured a vertically traveling cloth focal-plane shutter and a unique through-the-lens (TTL) light meter positioned on a pivoting arm that swung out of the way just before the shutter fired. To accompany the camera, Leitz introduced two compact, budget-friendly lenses: the 40mm f/2 Summicron-C and the 90mm f/4 Elmar-C.
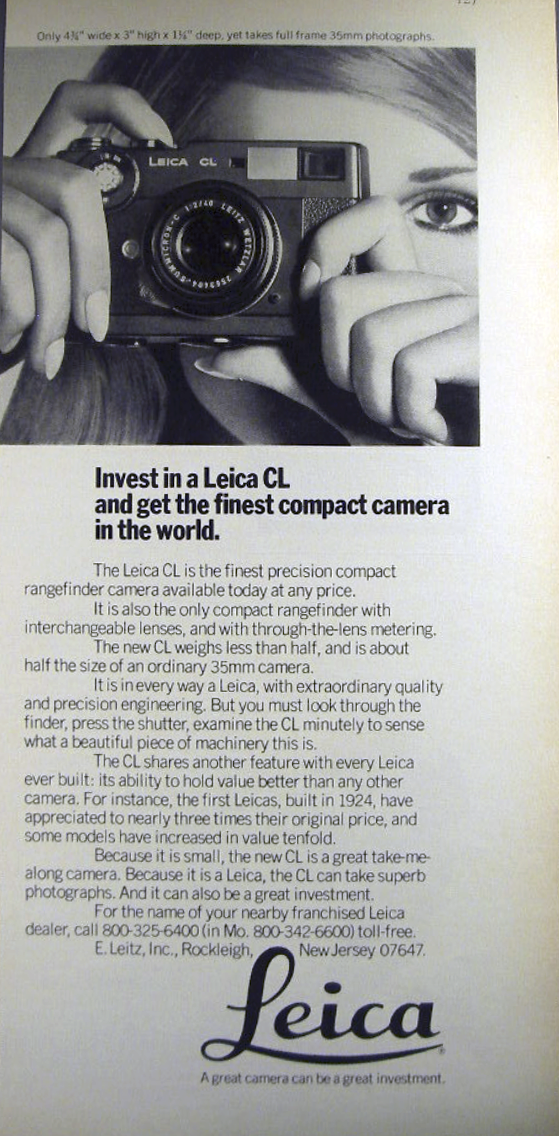
Leica CL Advertisement

 The CL was a massive commercial success. However, its popularity became a double-edged sword. It sold so well that it reportedly cannibalized sales of the far more expensive M5, prompting Leitz to discontinue the CL prematurely in 1976 after producing roughly 65,000 units. Minolta also sold its own domestic version during this time, the Leitz Minolta CL, which was functionally identical.

 After the partnership dissolved, Minolta built on the CL and engineered a true technological marvel: the Minolta CLE (Compact Leica Electronic), released in 1980.

 While it retained the M-mount and a similar form factor, the CLE was entirely Minolta's creation and represented a massive leap forward. It replaced the CL's mechanical shutter and swinging meter arm with an advanced electronic stepless shutter and a cutting-edge silicon photodiode system.

 Most impressively, the CLE introduced aperture-priority auto-exposure and TTL off-the-film flash metering—features that would not appear on a true Leica M body until the M7 arrived over two decades later. Minolta paired the CLE with three exceptional M-Rokkor lenses: a 28mm f/2.8, a 40mm f/2, and a 90mm f/4. Despite its technological superiority, the CLE had a relatively short production run and was discontinued in 1985. Today, both cameras remain highly sought after by film enthusiasts as capable, lightweight alternatives to traditional M-system rangefinders.

My Camera

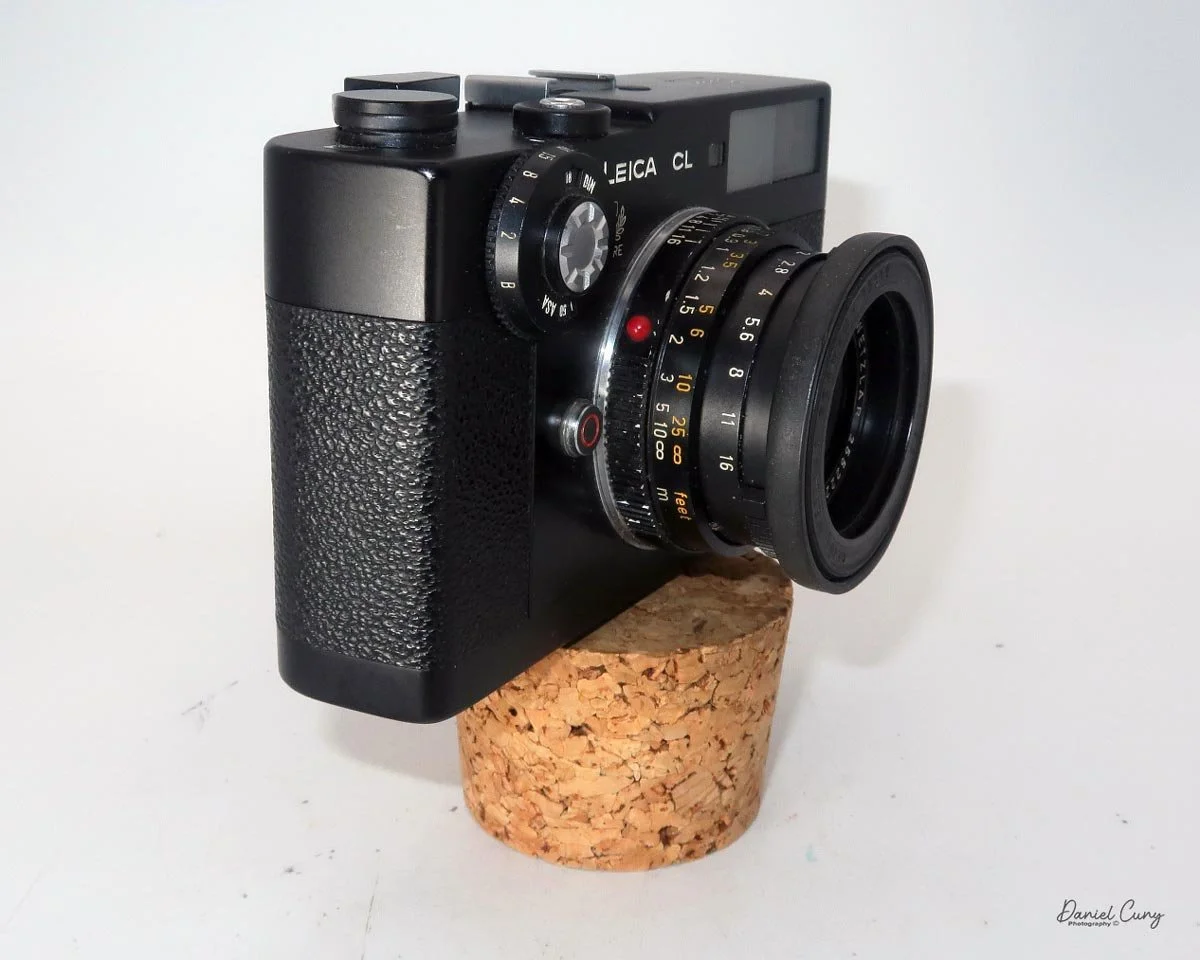
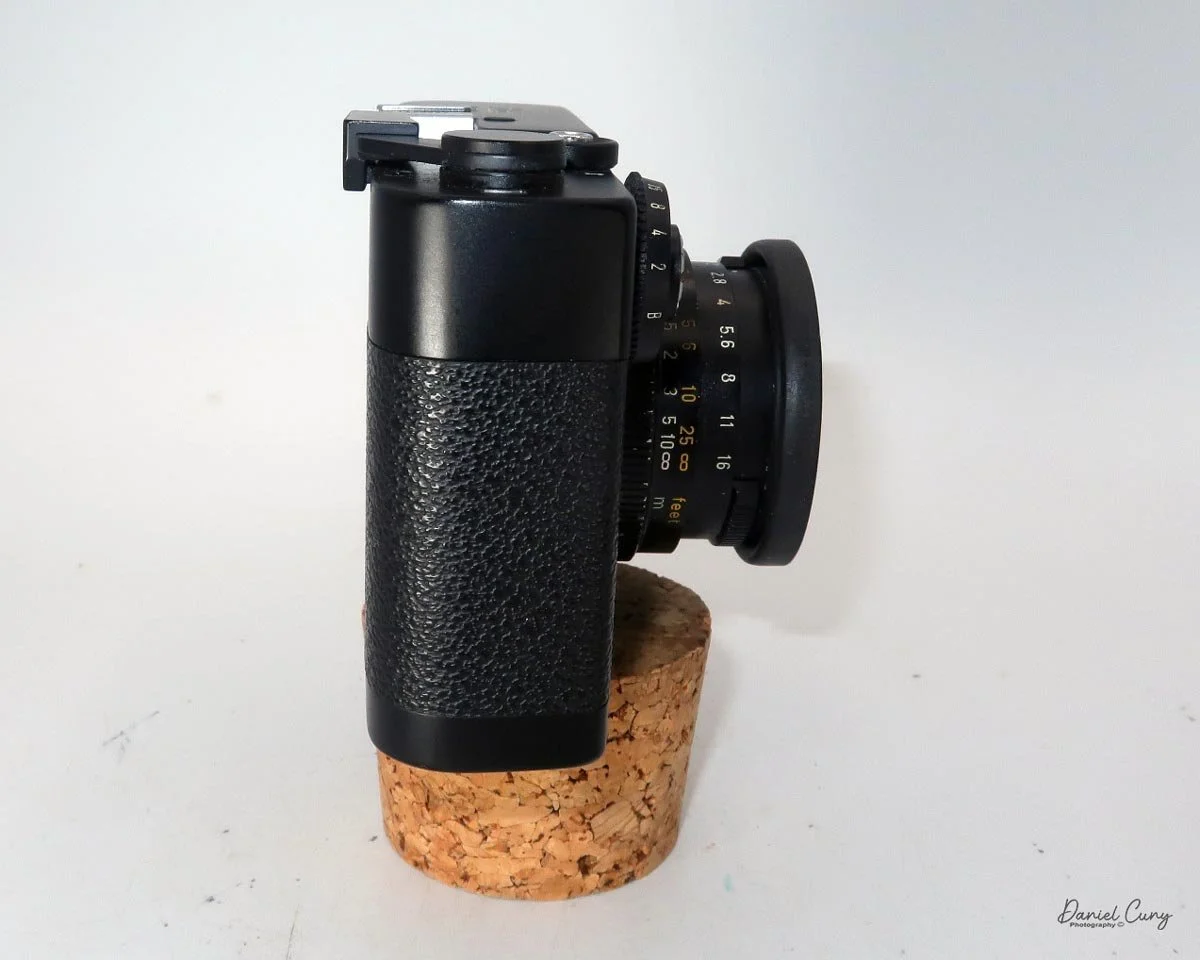
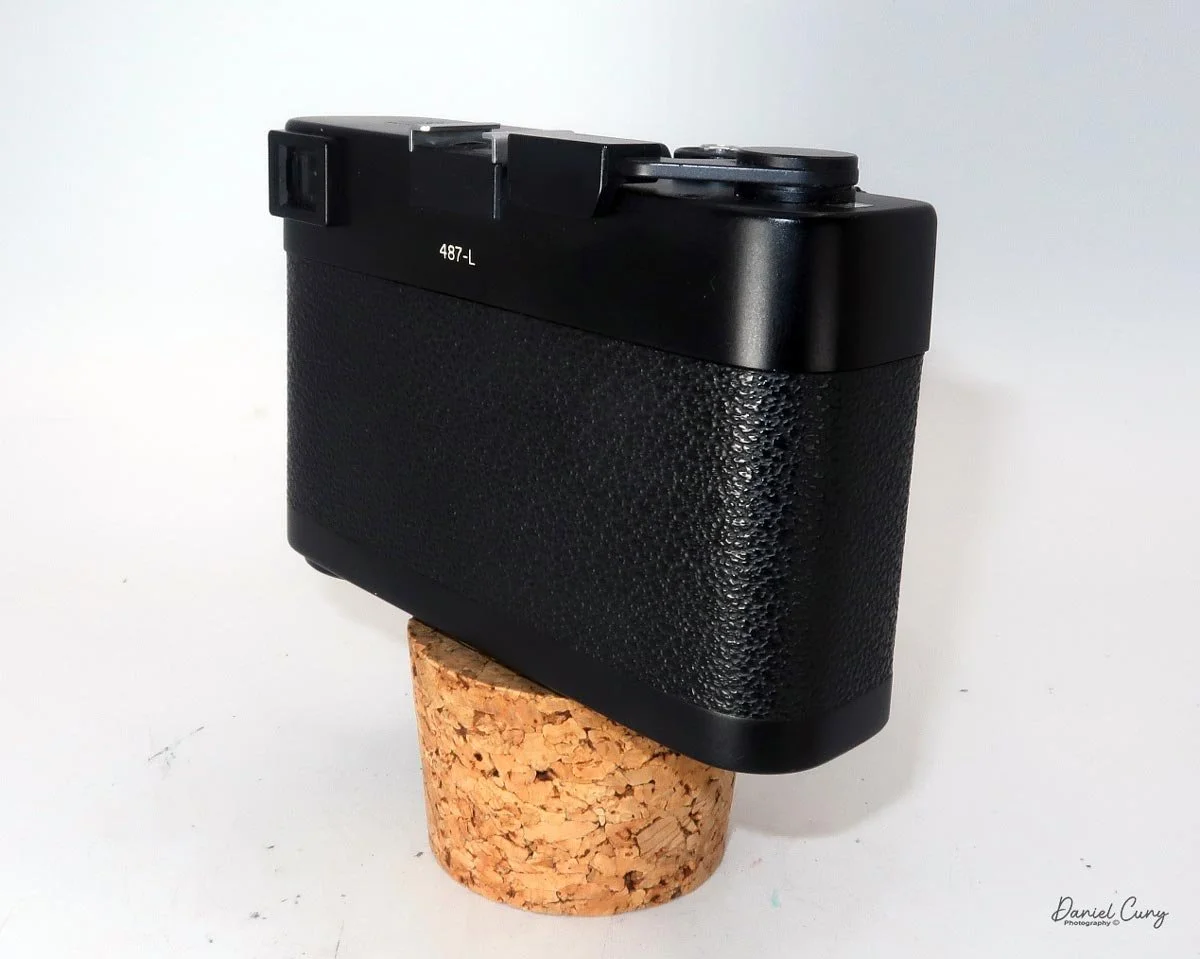
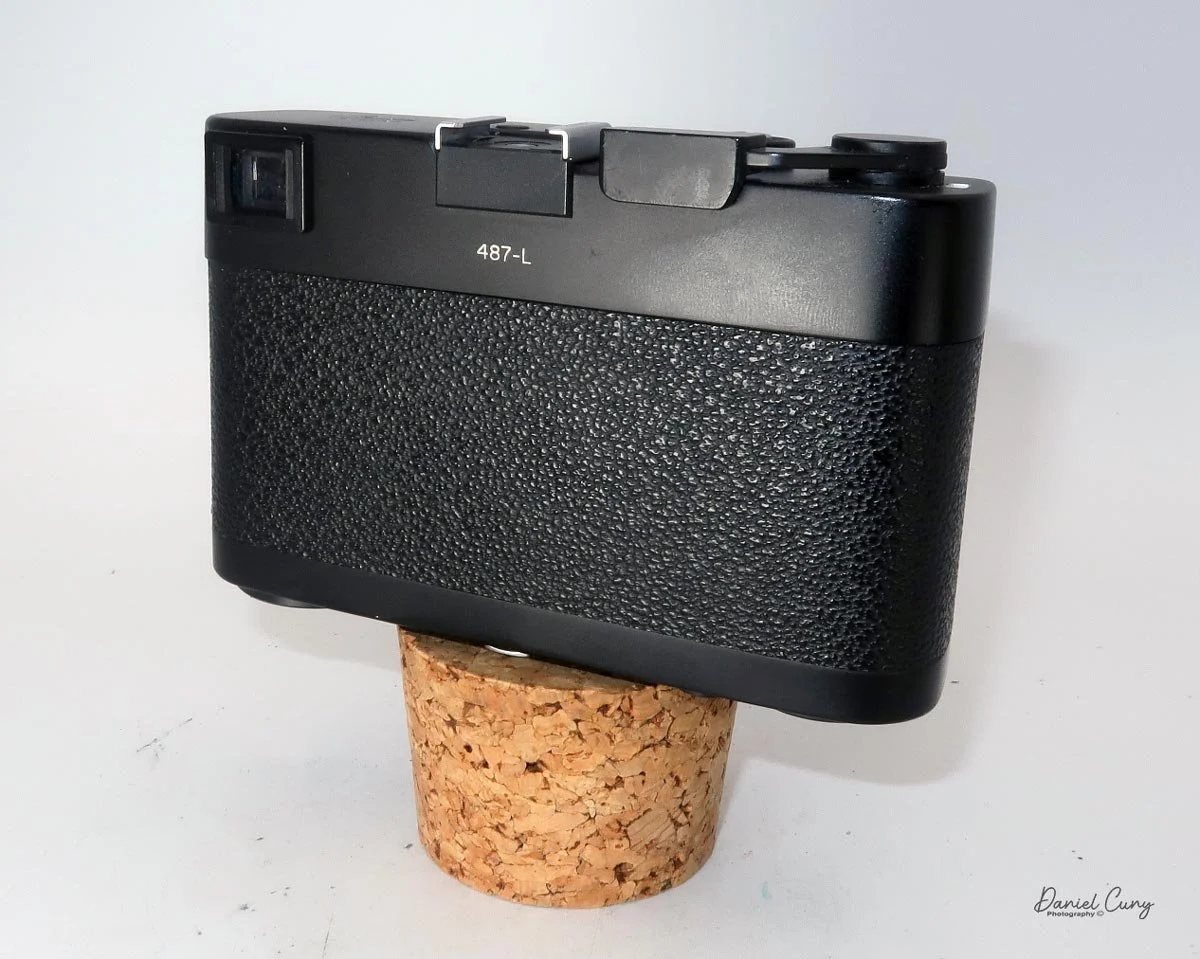
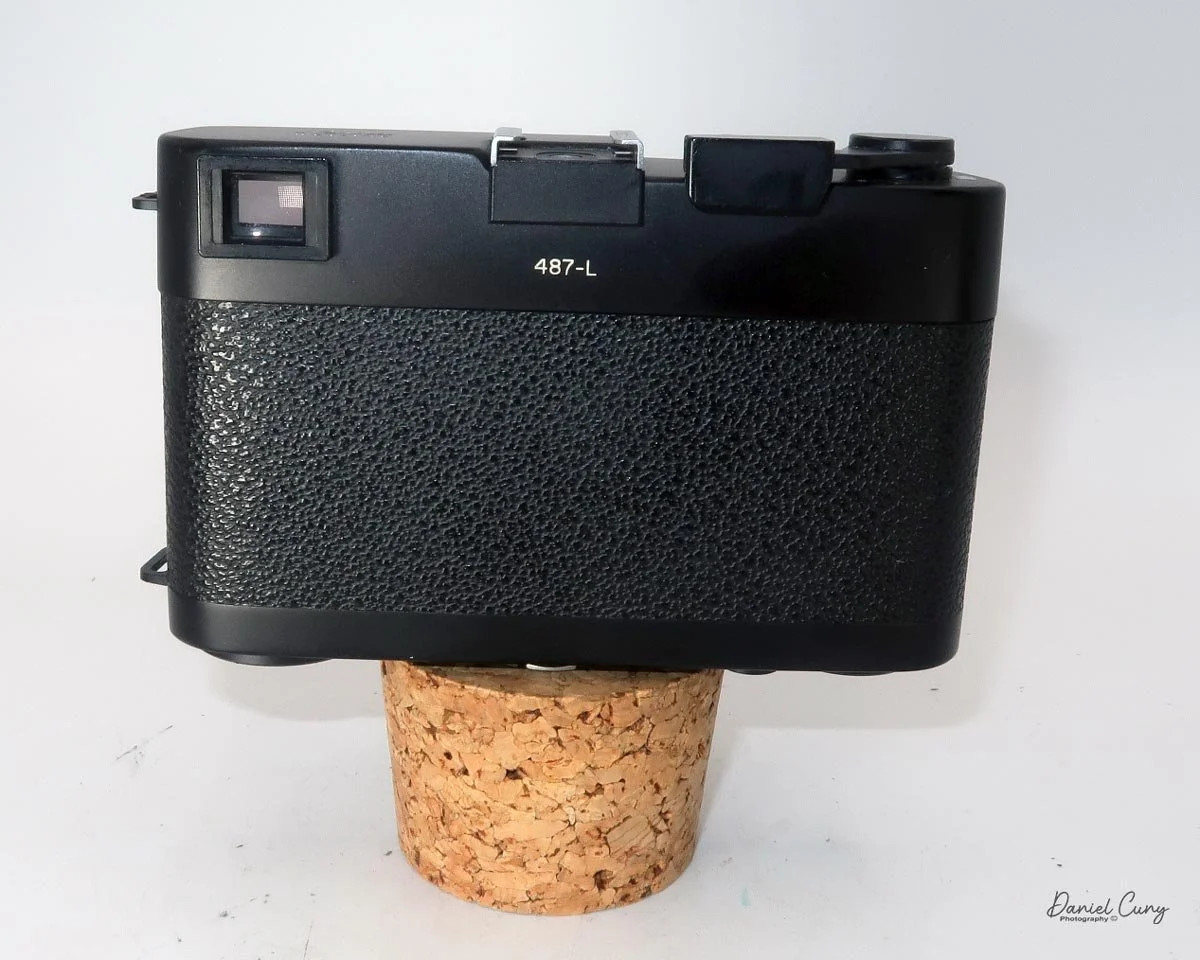
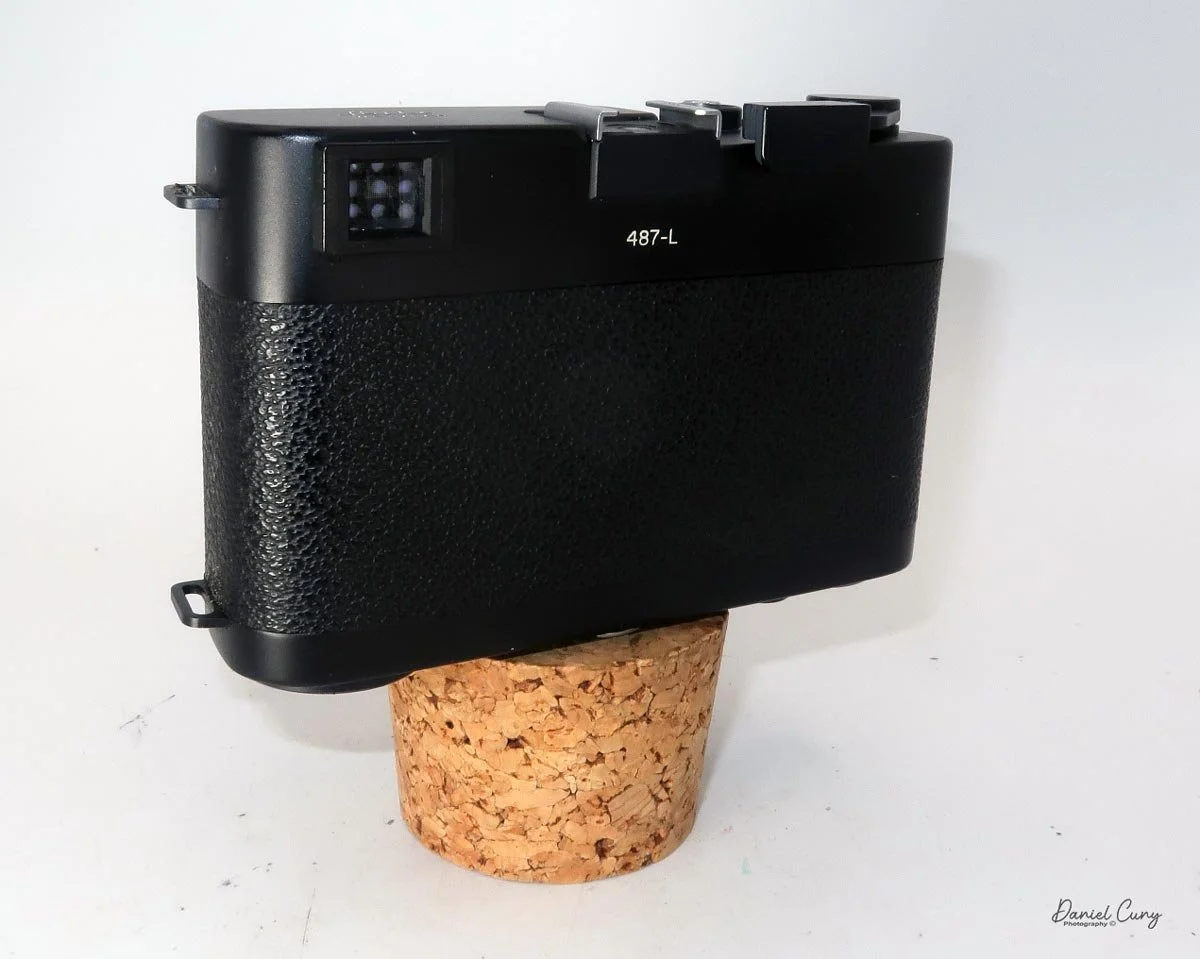
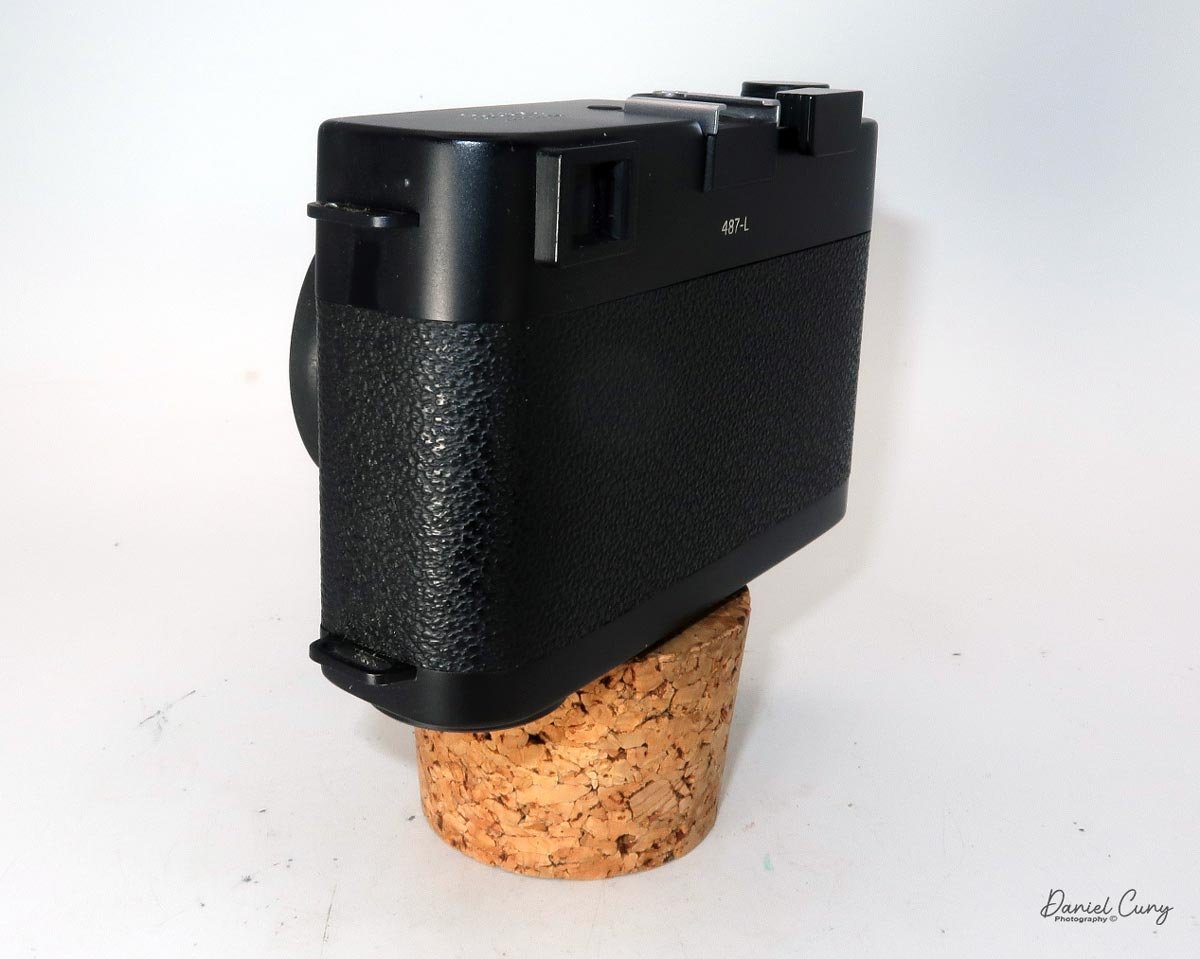
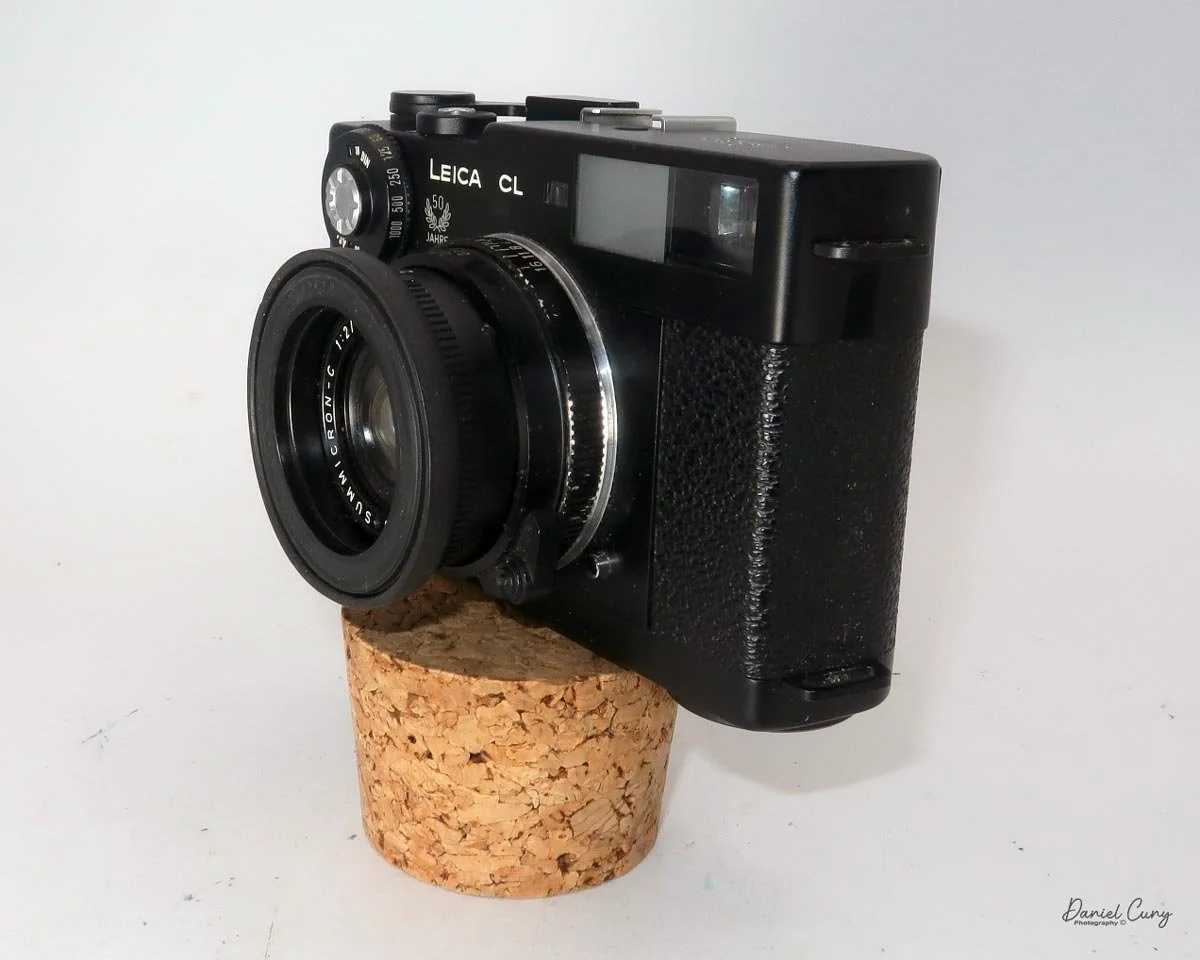
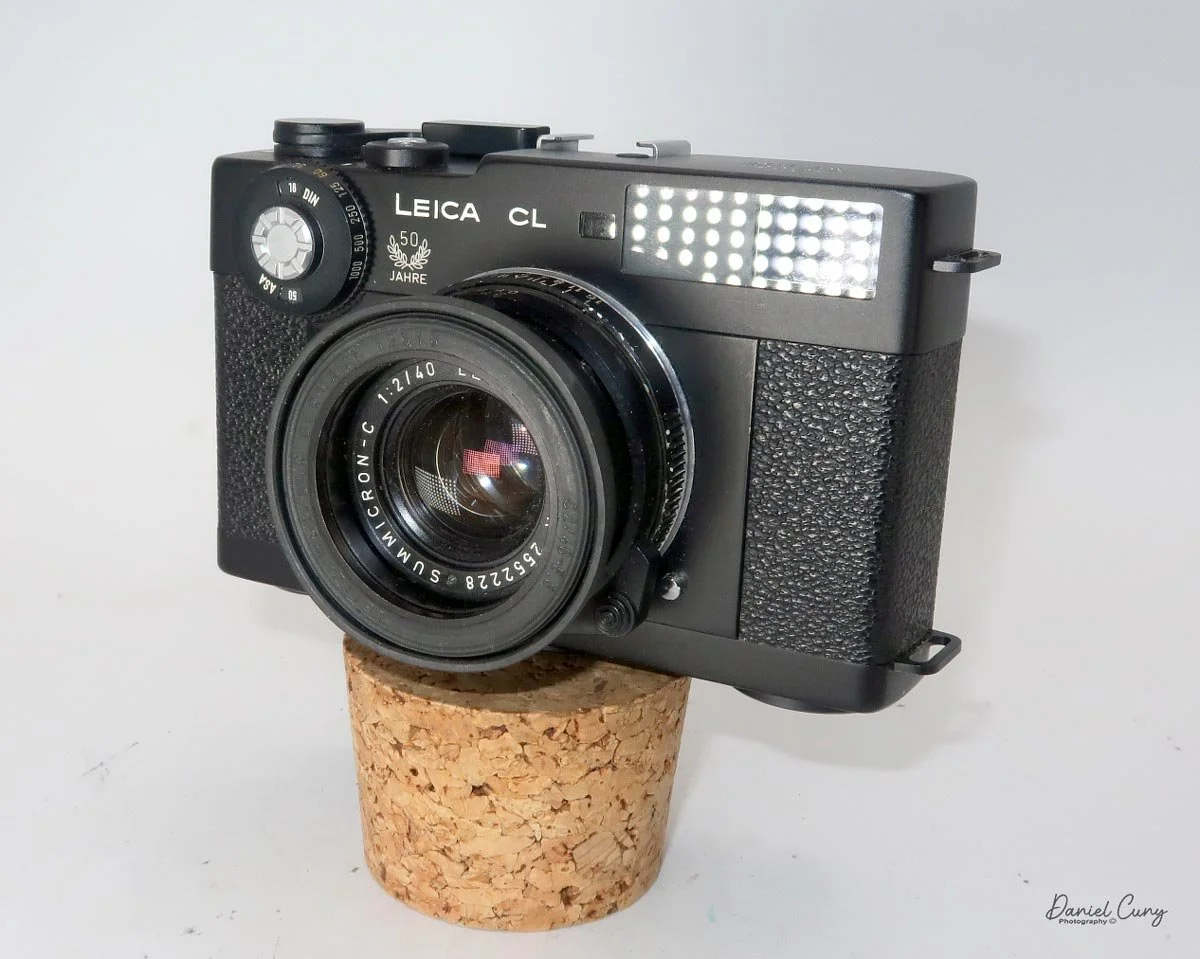
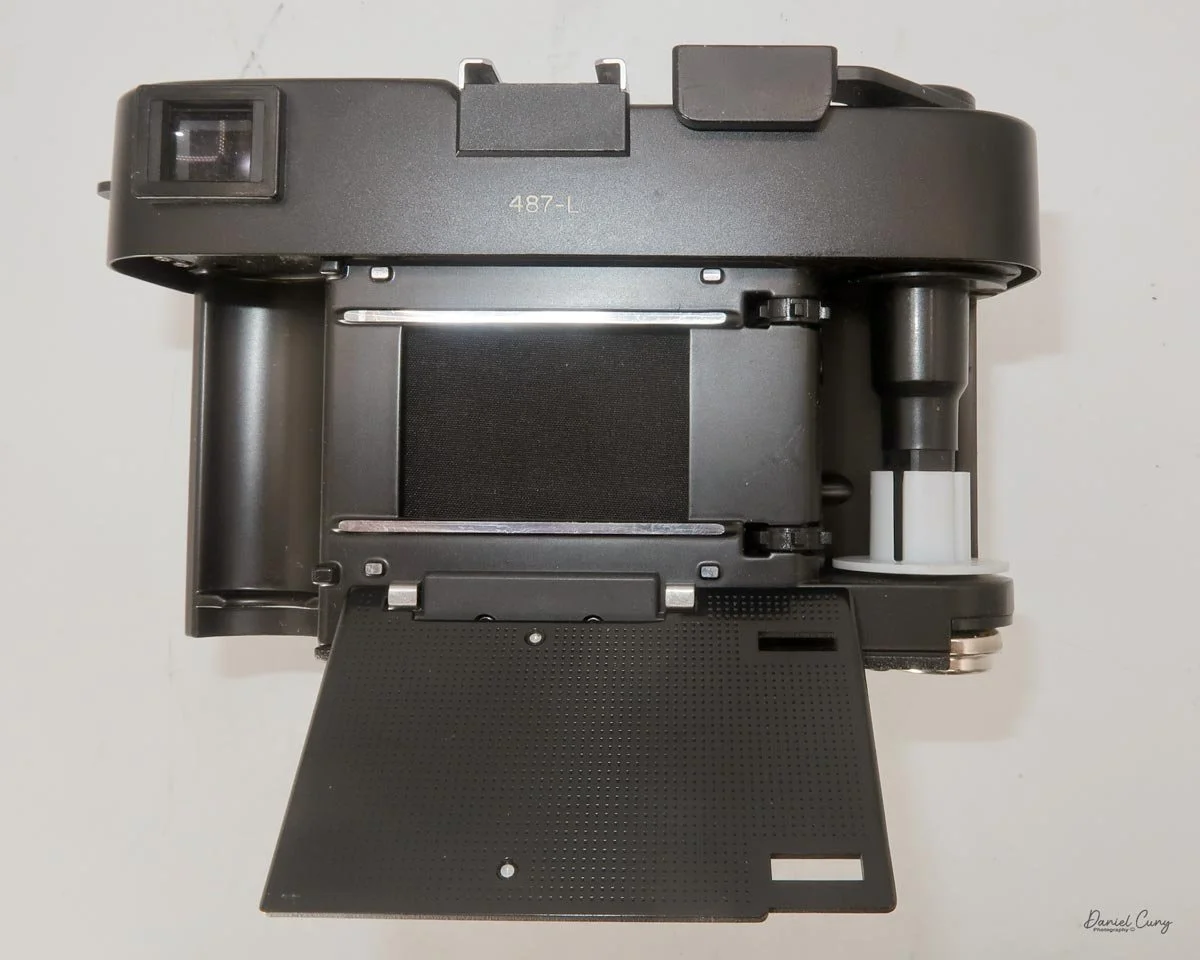
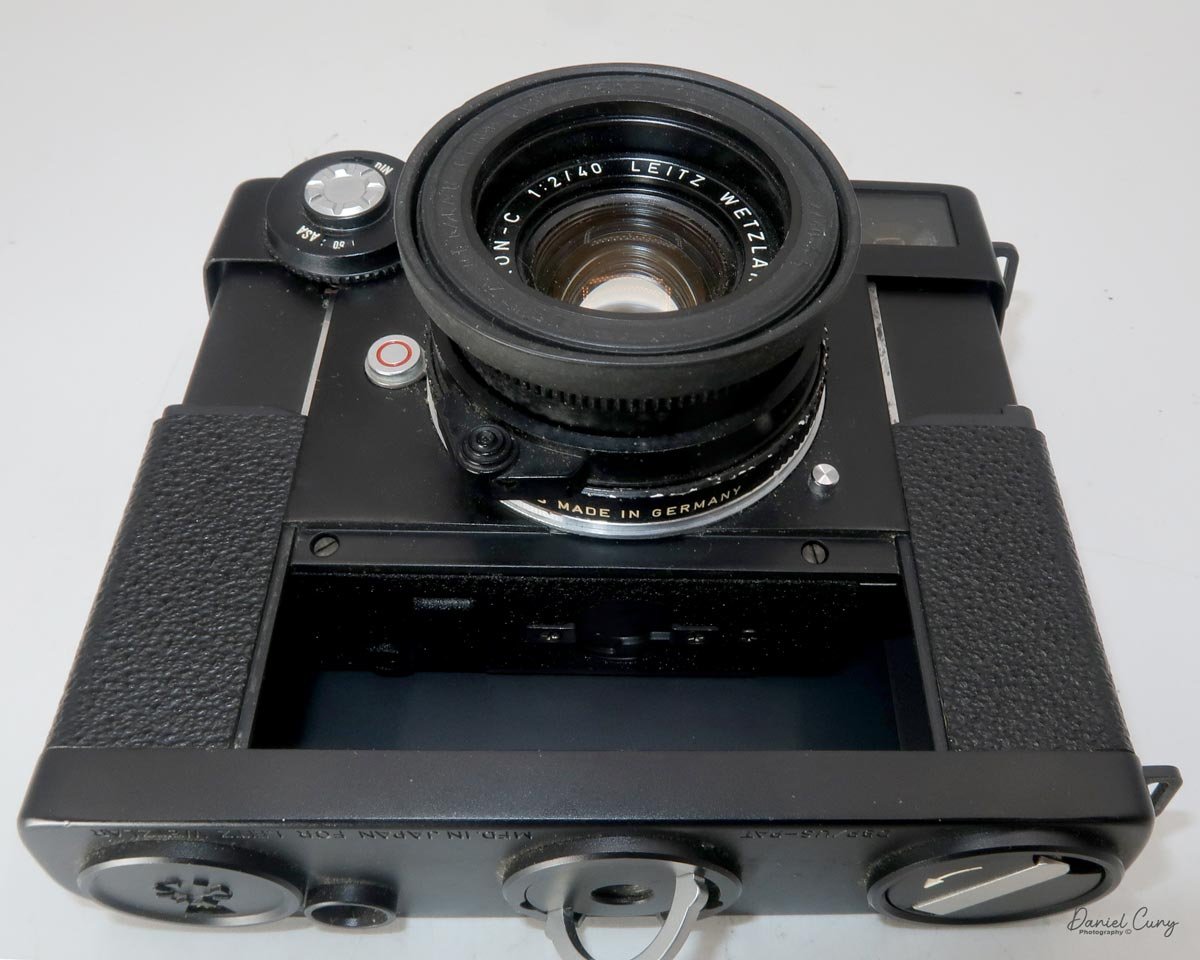
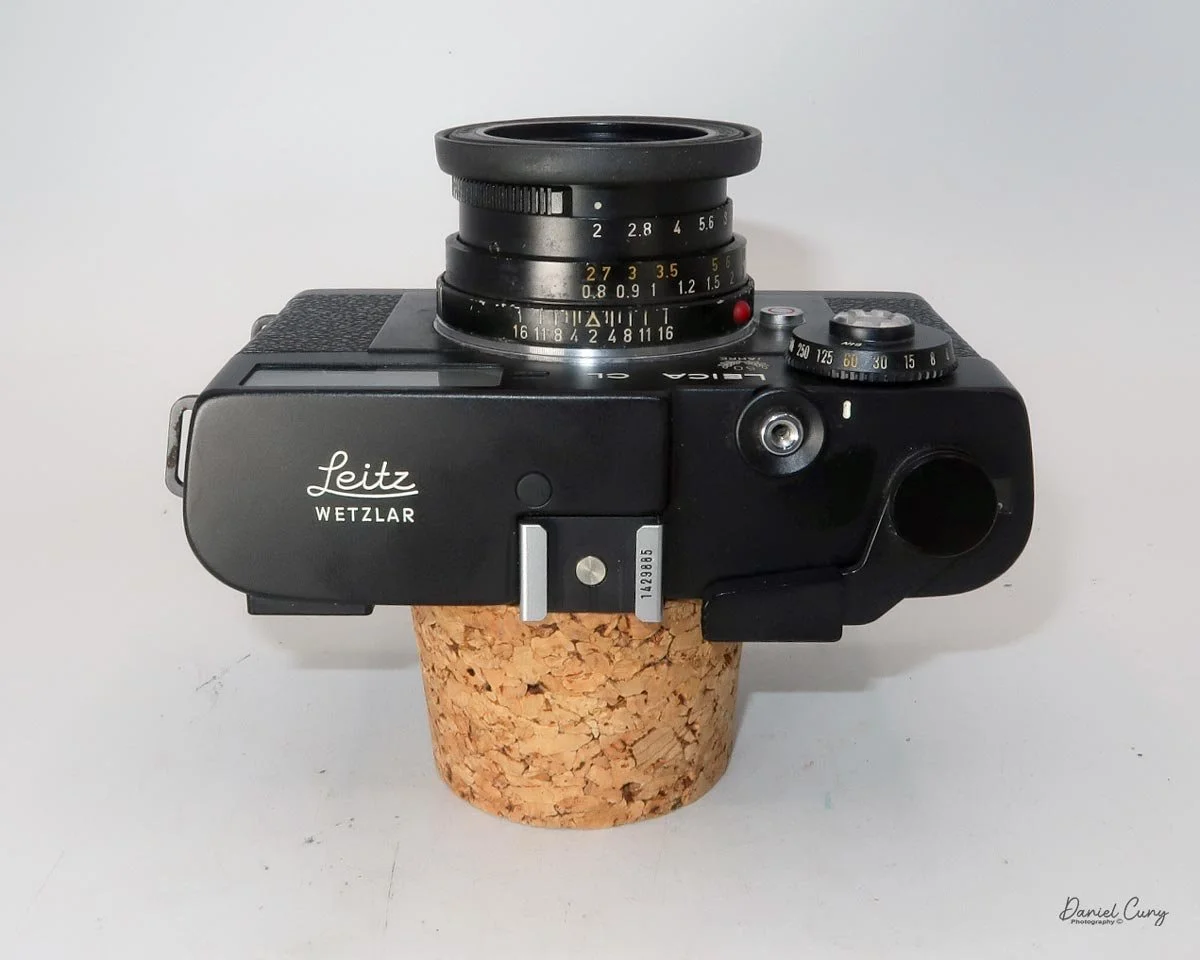
My Leica CL is a 50th-anniversary model with the stamp under the "Leica CL" name on the front. On the back of the camera body is engraved 487-L. The Leica CL is 4.75" wide by 3" tall by 2.5" deep, with the Leitz Summicron-C 40mm f/2 lens. The camera weighs 1 pound, 2 ounces with the hood and lens cap, and without film. The body serial number is 1429885, and the lens serial number is 2552228.
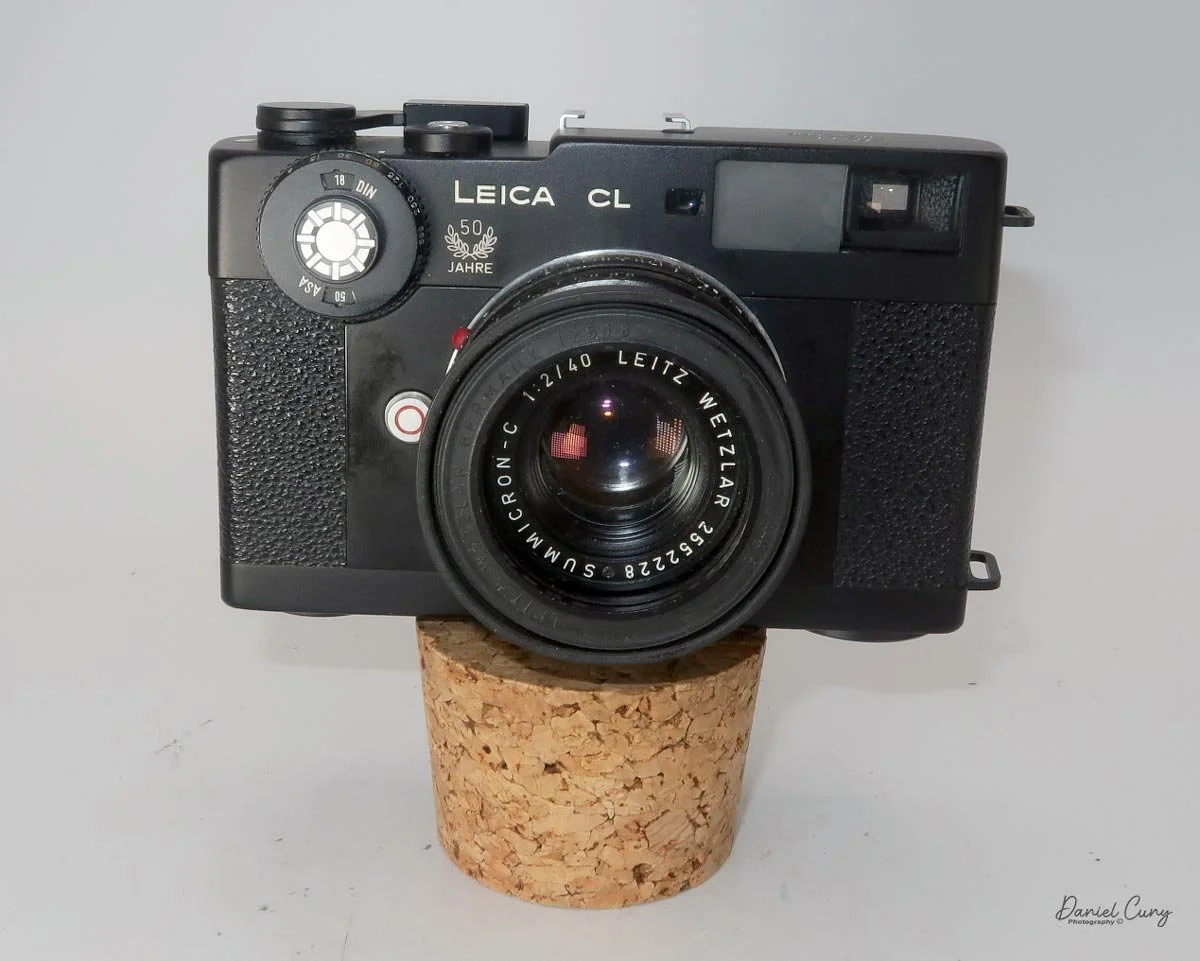
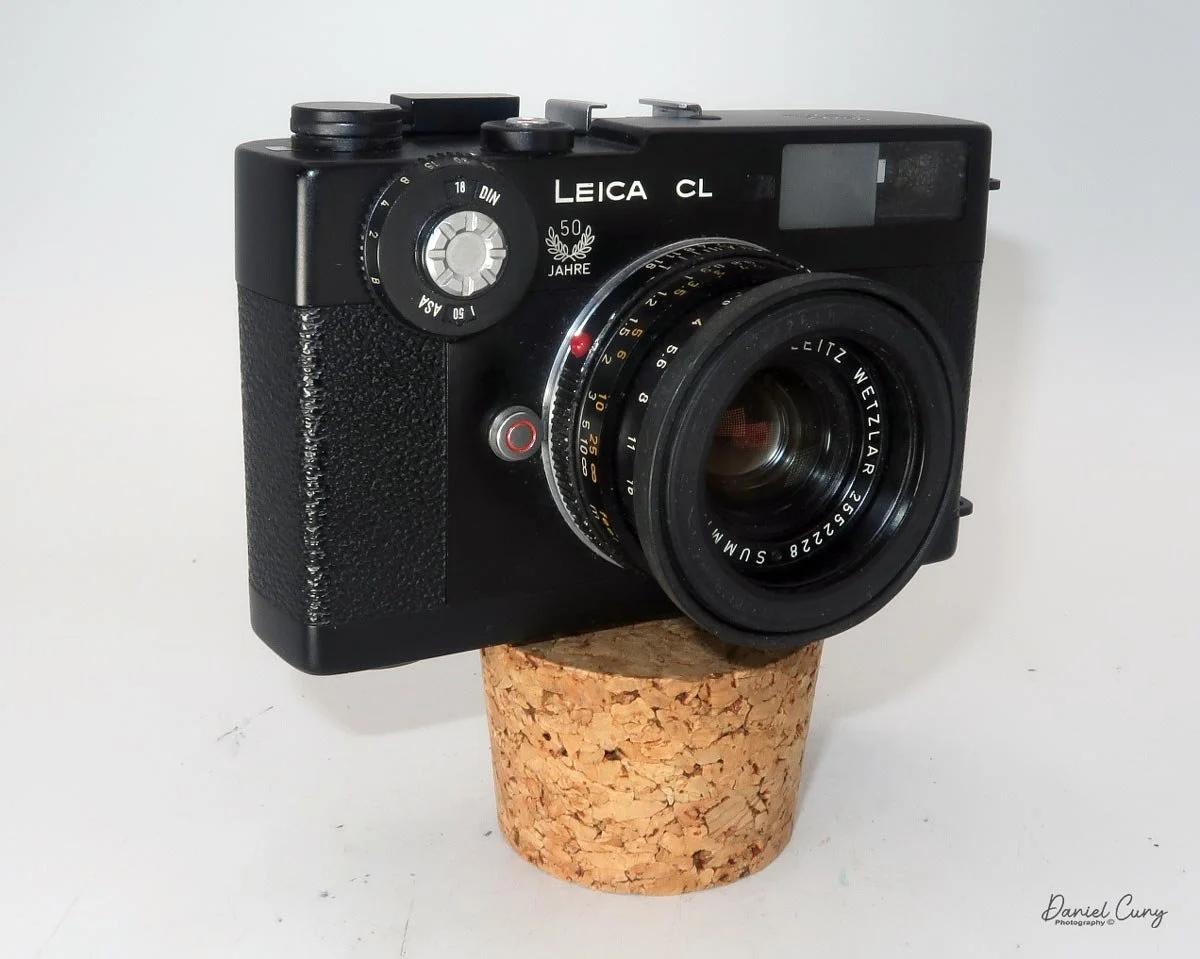
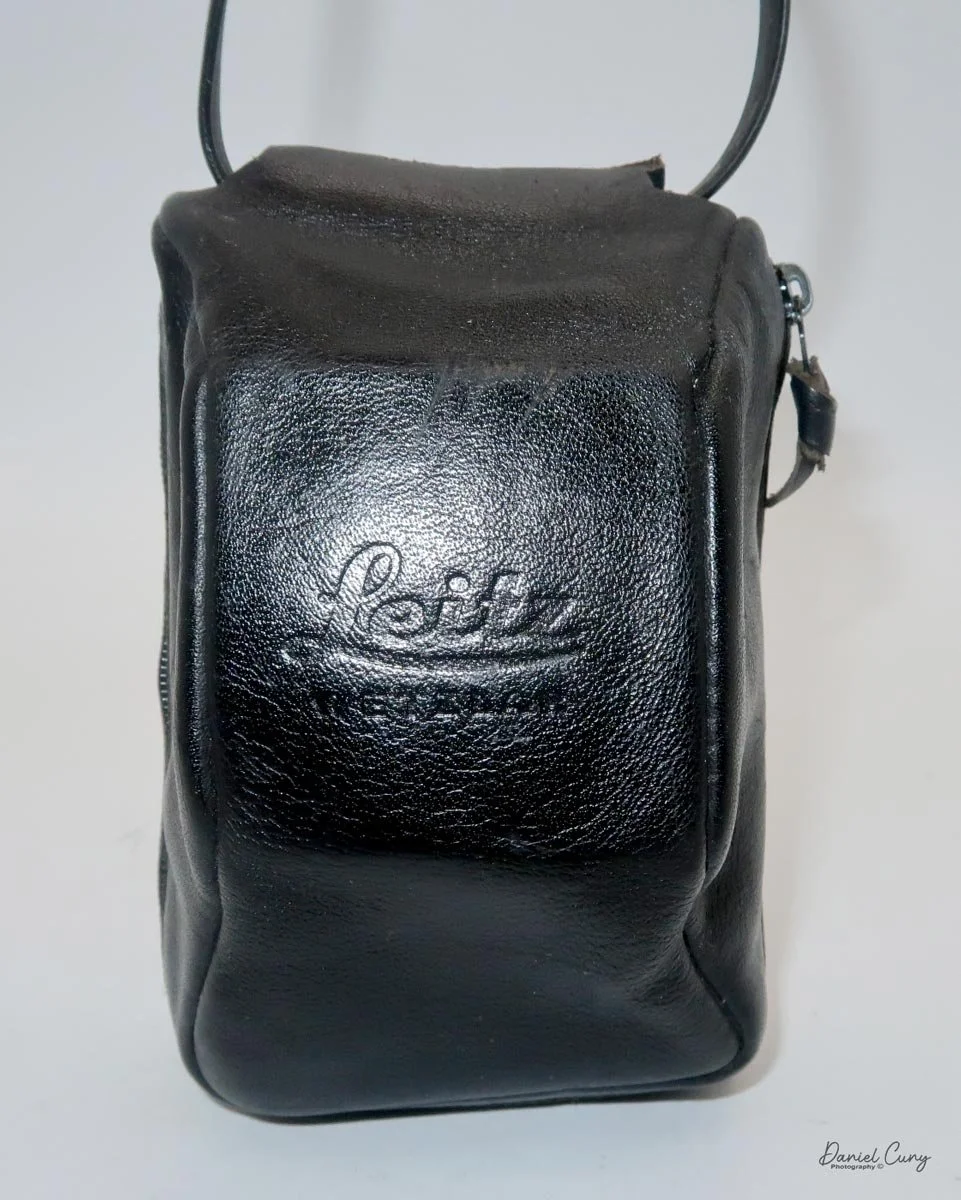
My Leica CL also has a vertical hanging, fitted leather case with "Leica Wetzlar" embossed on the front. I'm not a big fan of how the soft case works with the camera, as I find it gets in my way when using the camera. It does offer protection, so that's a plus.

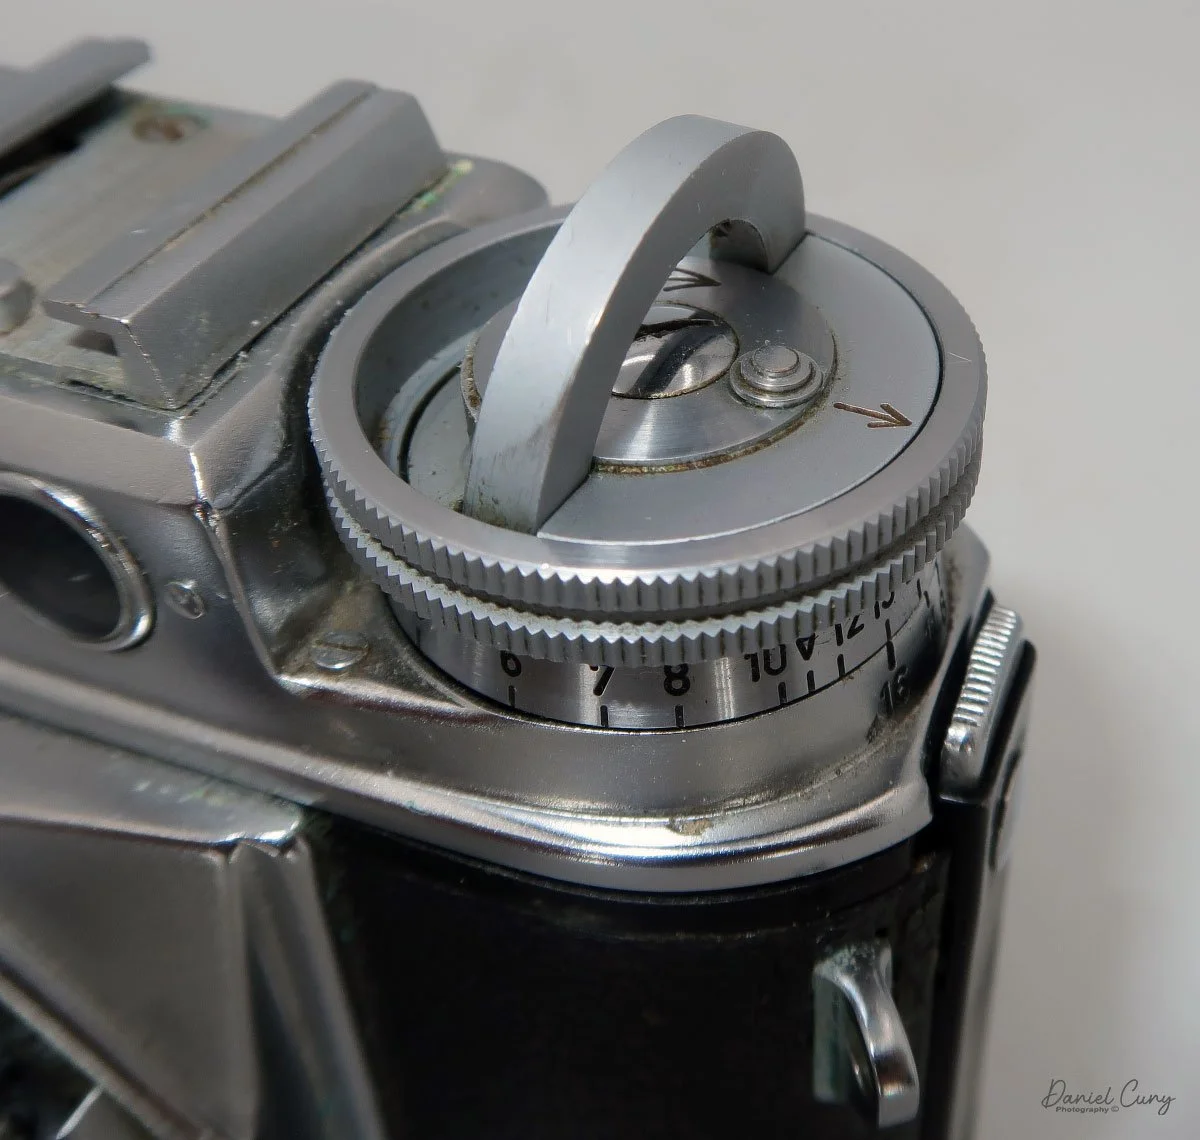
 Looking at the top of the camera, the Leica CL is rather plain. From left to right, there is the "Leitz Wetzlar" logo, a hot shoe for the flash, the shutter release (threaded for a cable release), a white line for setting the shutter speed, and a film winding lever.

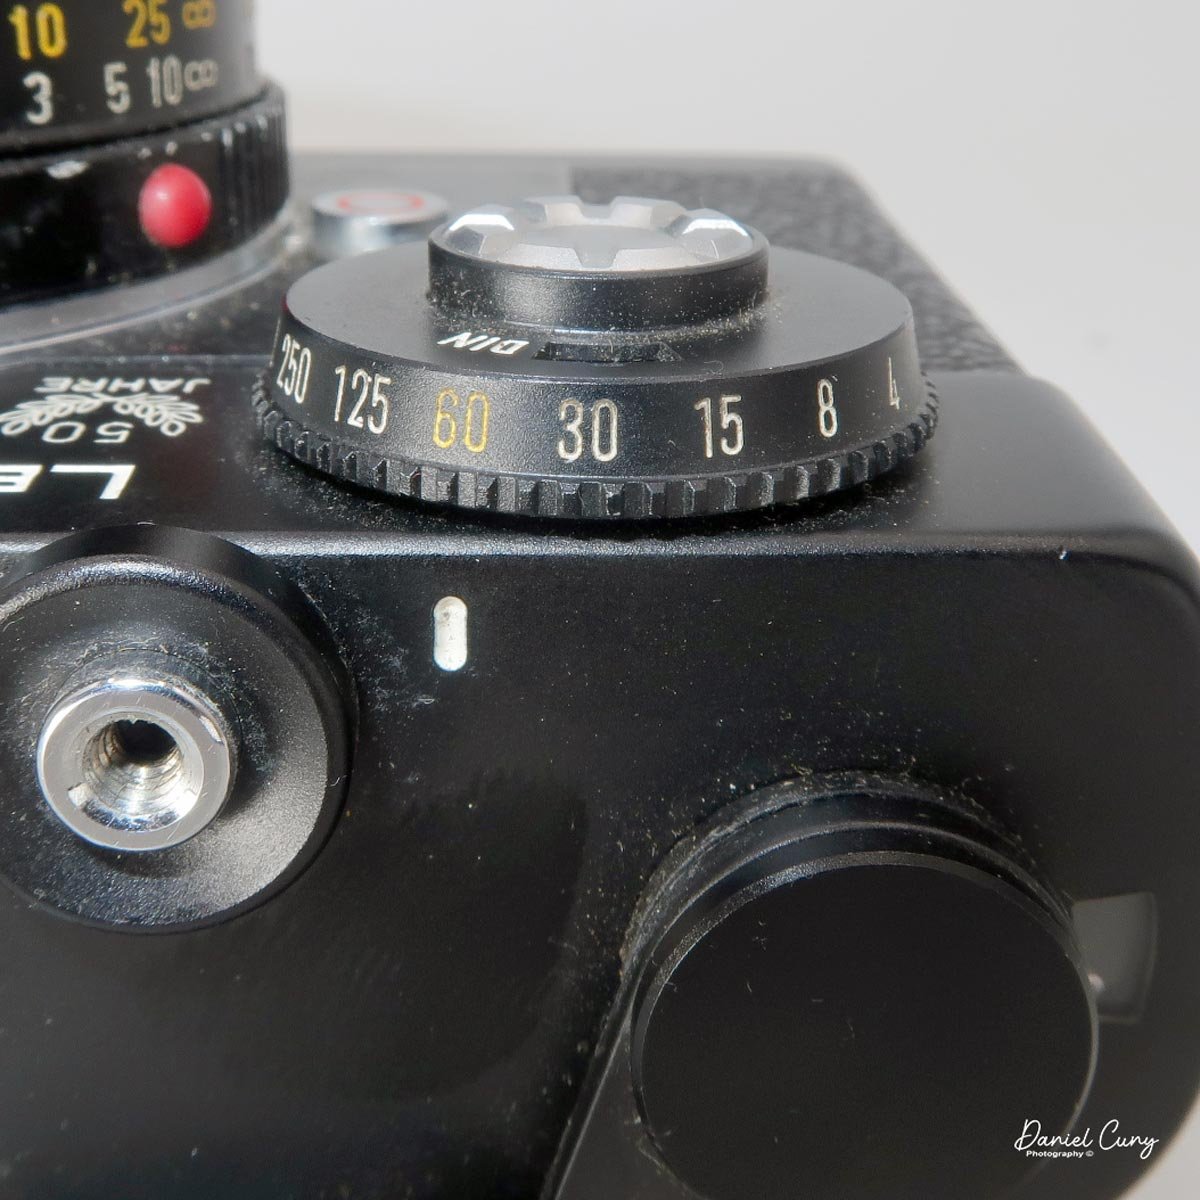
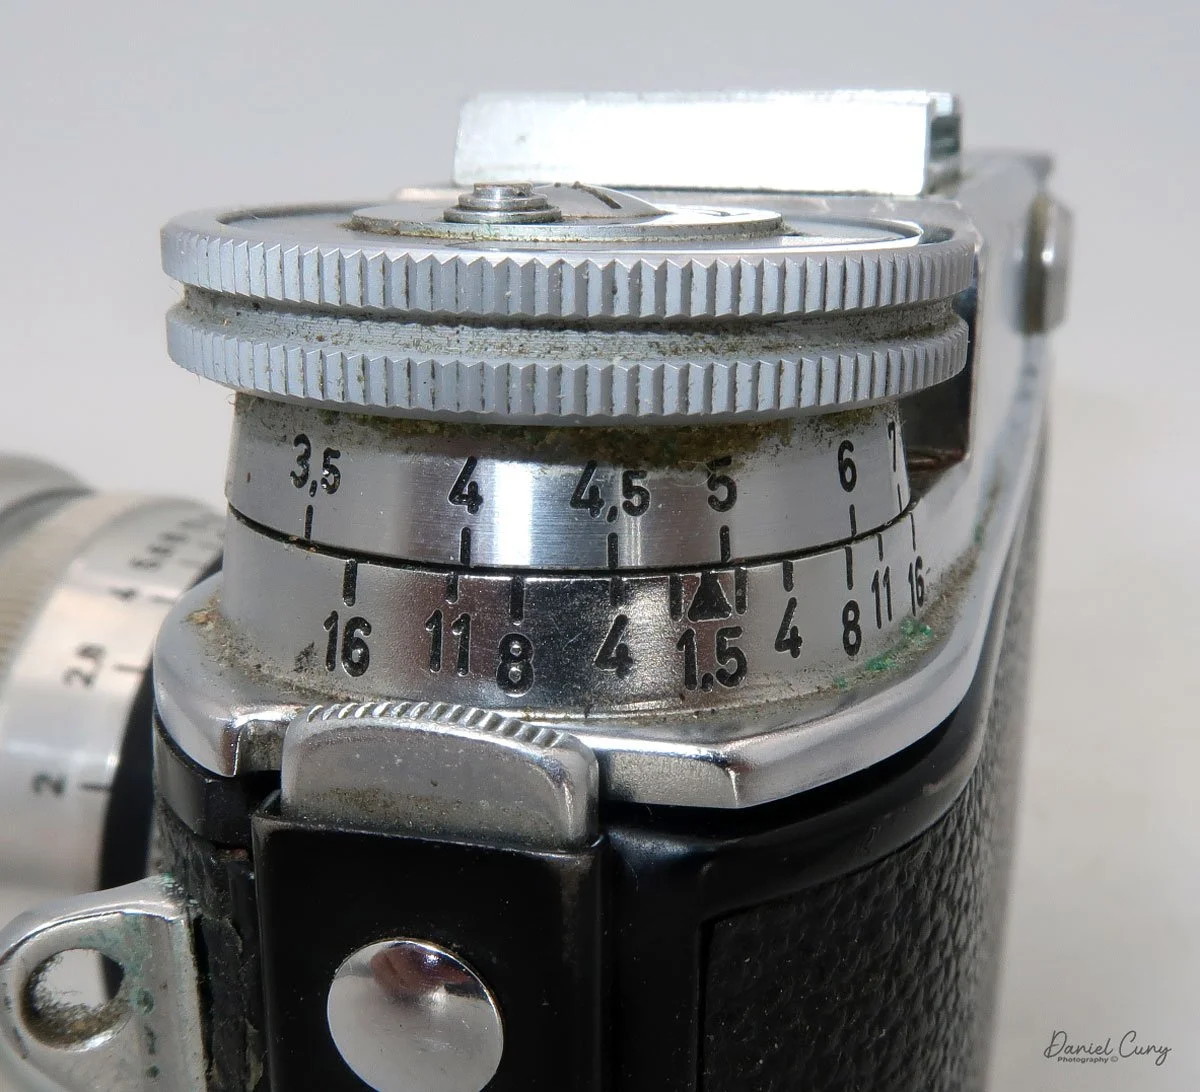
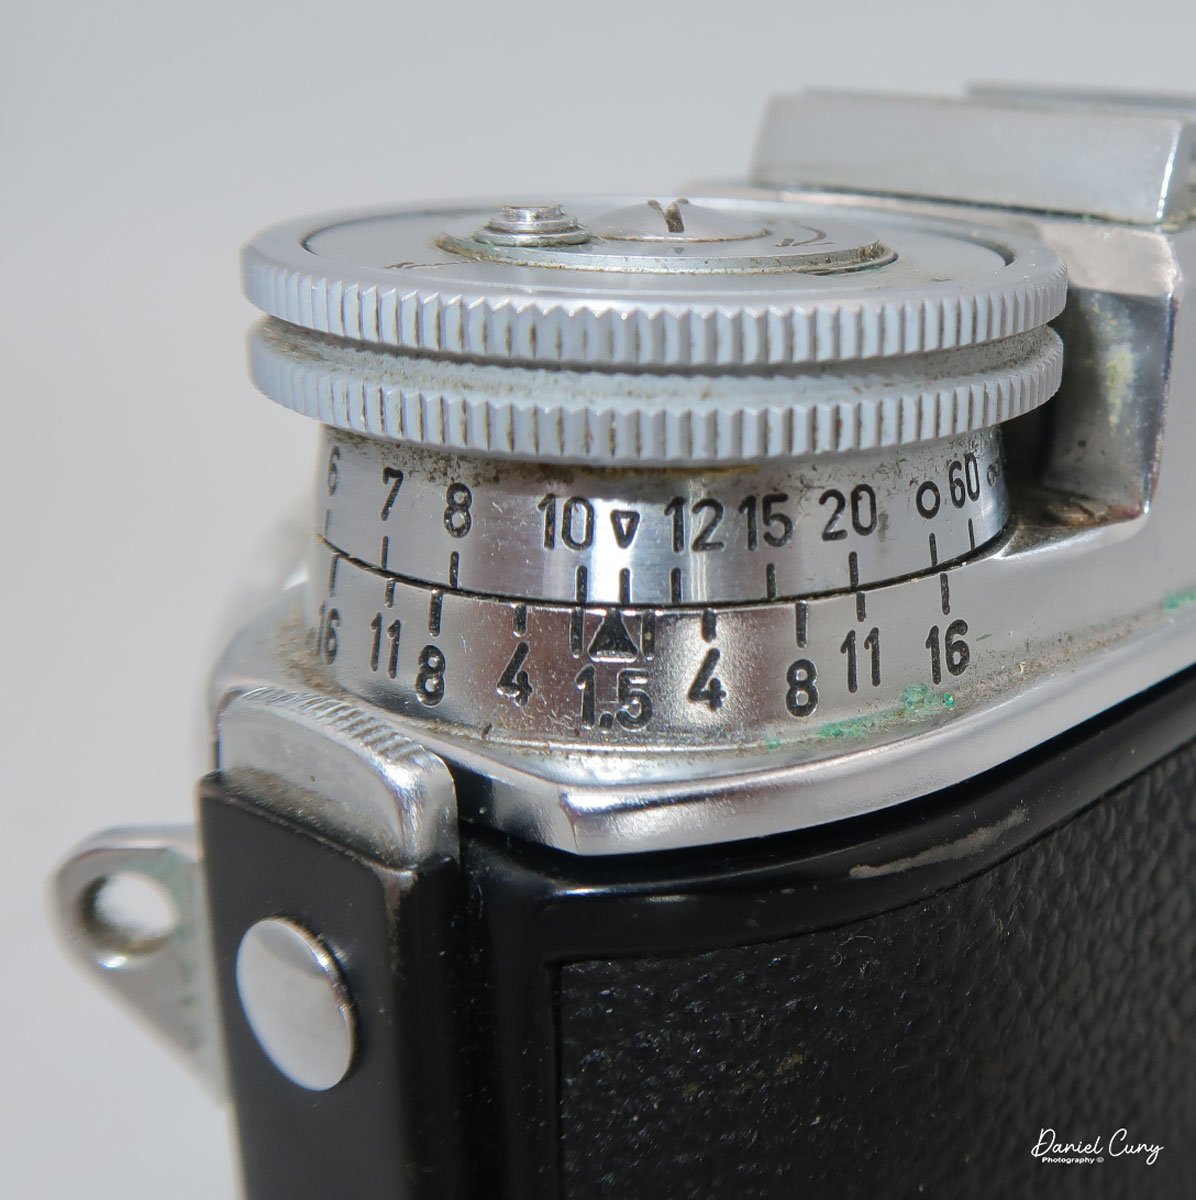
 Most exposure controls are on the front of the camera body or lens. In the upper left corner of the camera, as you face it, is the shutter speed wheel, which has speeds from 1/1000 to 1/2 (no 1 sec. exposure setting) and "B" for timed exposures. The shutter speed is set by turning the outer wheel to the desired speed, which is aligned with the small white line on the camera body. Some people get confused because the white line isn't directly above the shutter speed number, but slightly to the left. Make sure you set the shutter speed to the white line, and not at the top of the dial.
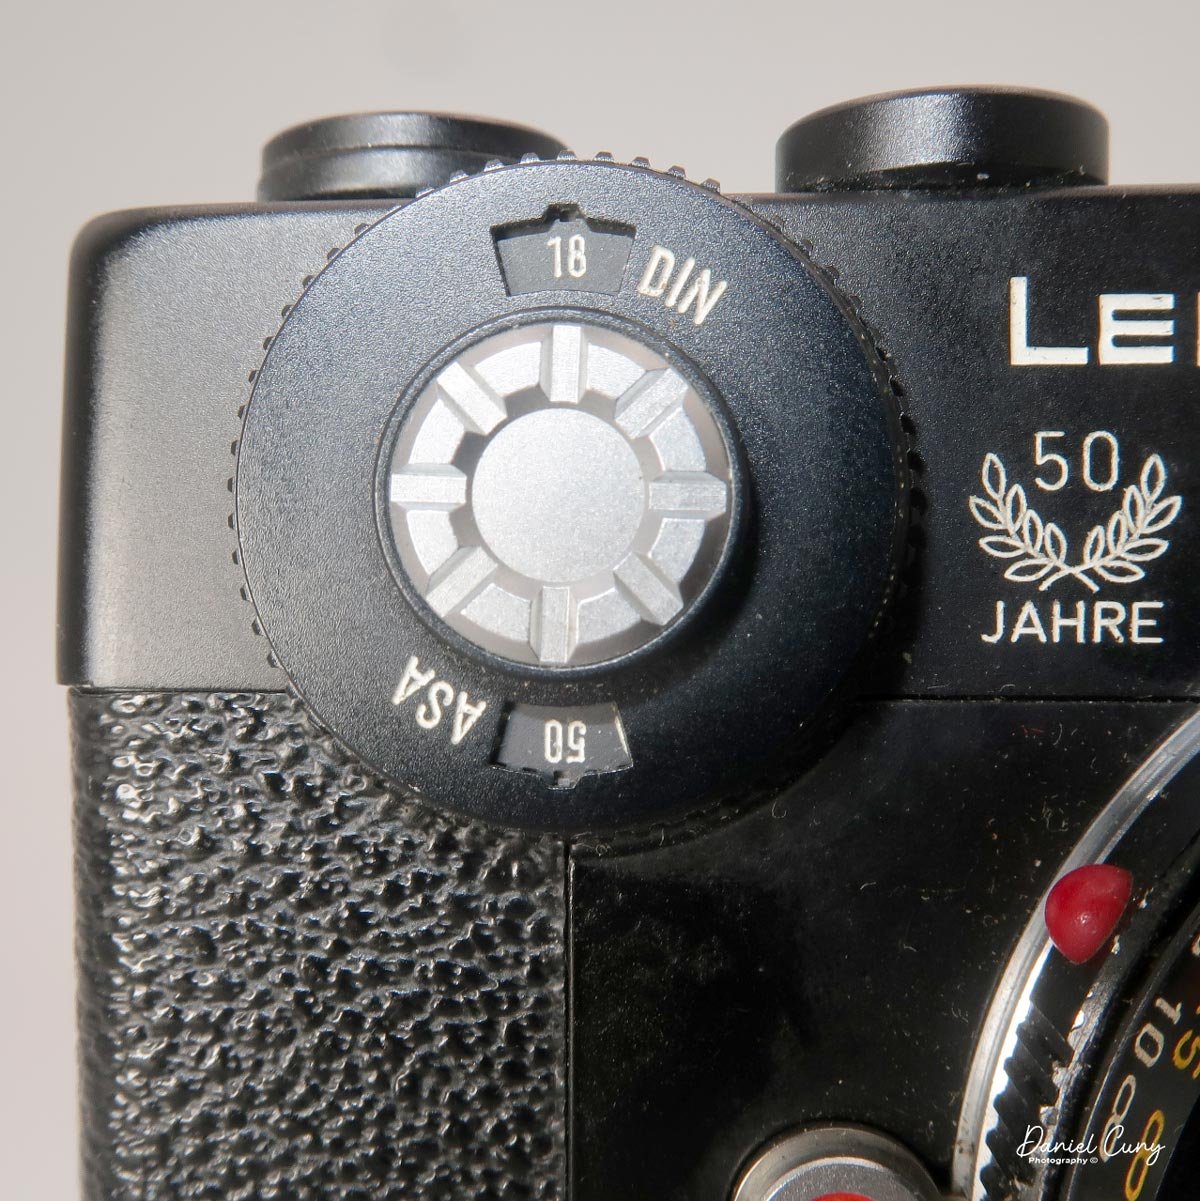
Inside the shutter speed dial is the ASA or DIN (ISO) setting for the internal light meter. Set the ASA by turning the chrome wheel with the pad of your finger or thumb to the desired film speed.

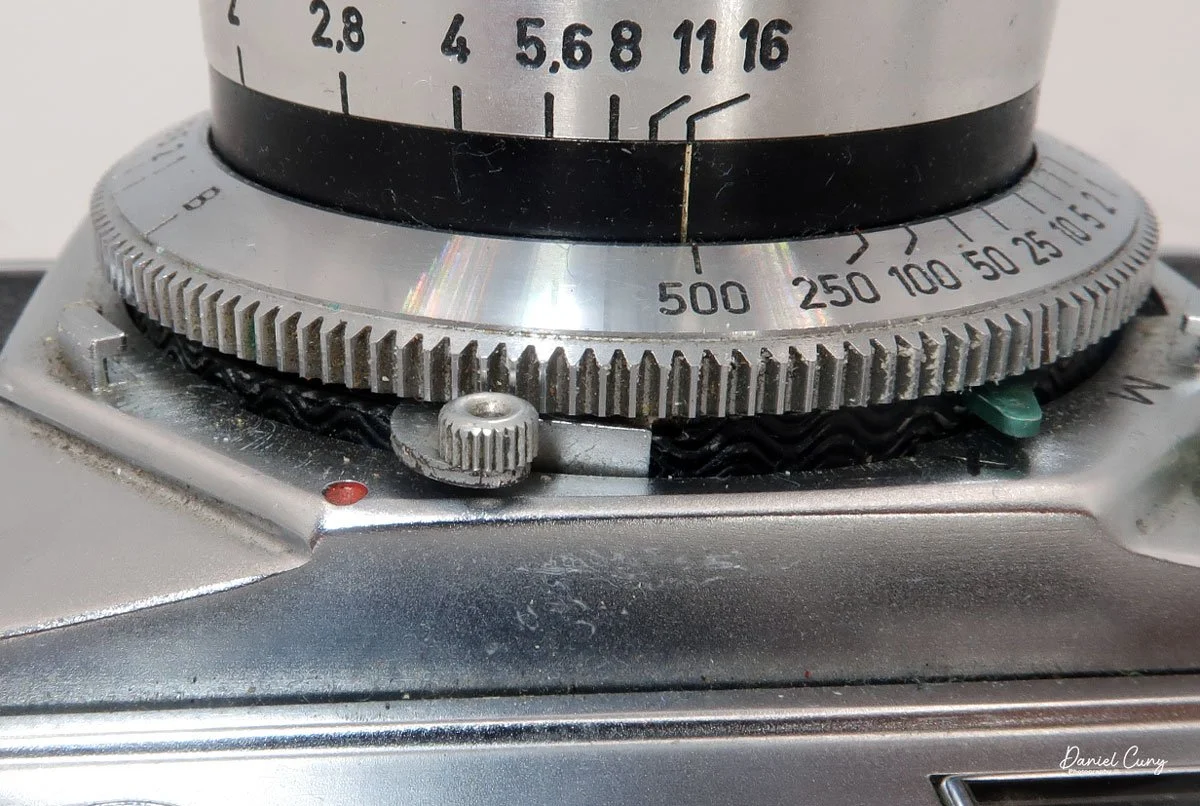
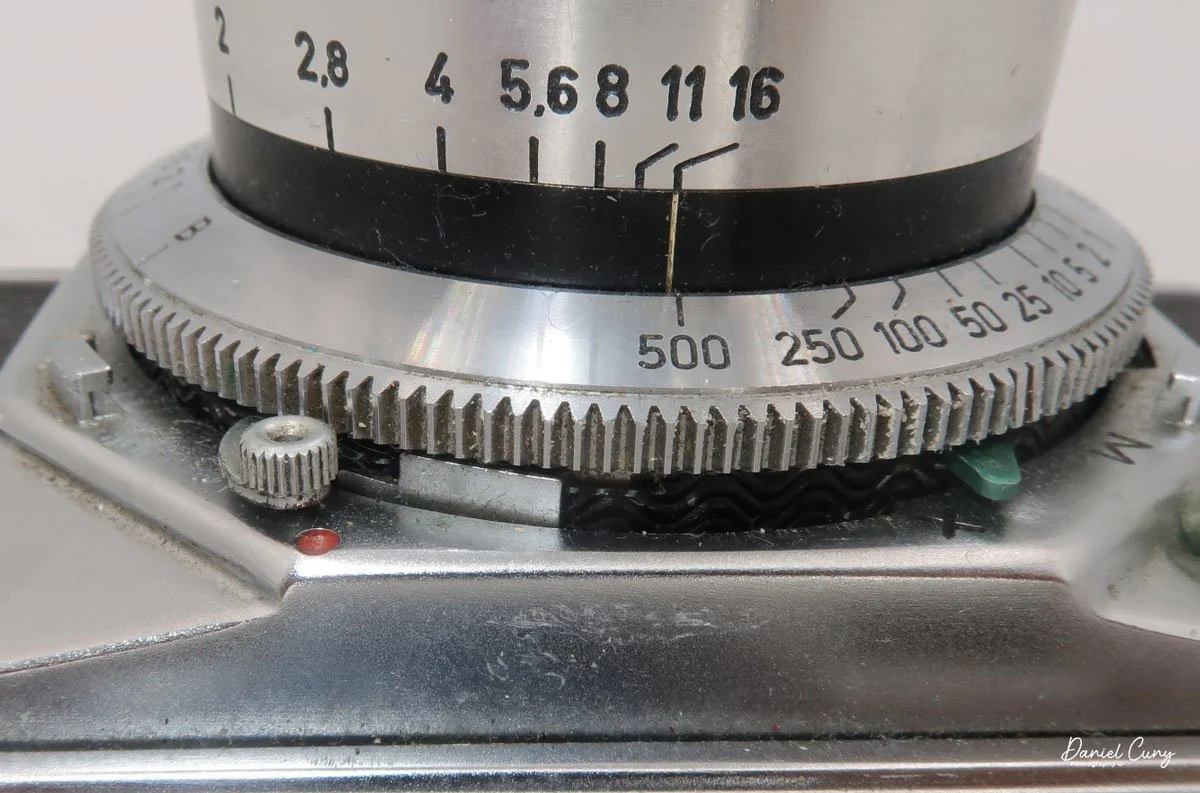
 Below the shutter speed wheel is a smaller round button with a red circle, which is the lens release button. Press the button and turn the lens counterclockwise a short distance until the red dot latches to the red circle, then remove the lens. To attach the lens, match the red dot on the lens to the red circle, then turn the lens clockwise until it clicks into place and locks onto the camera body.
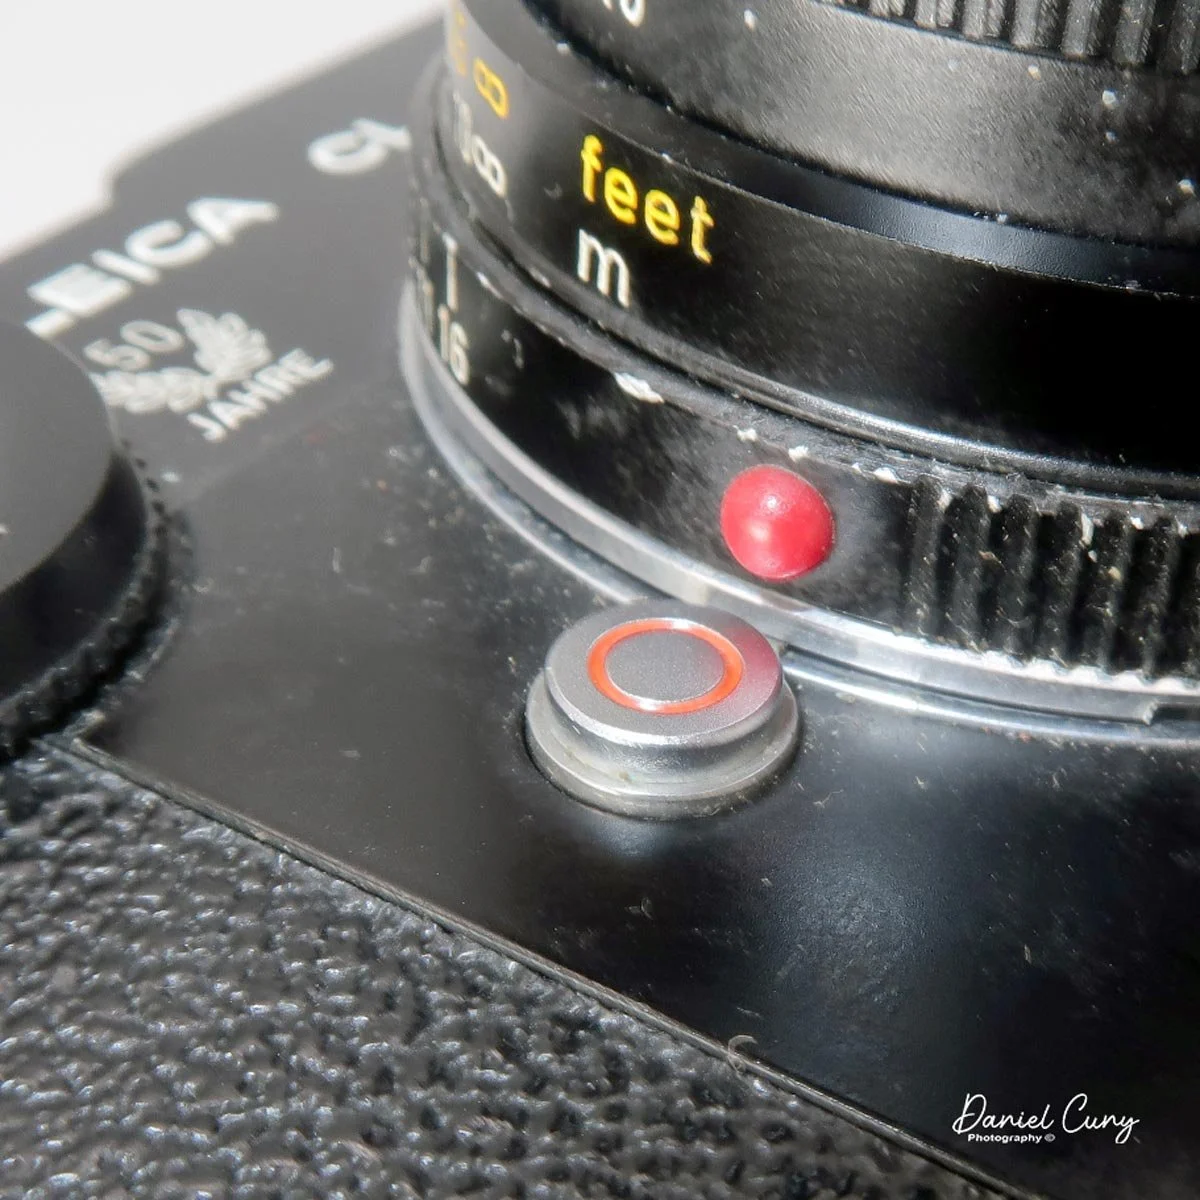
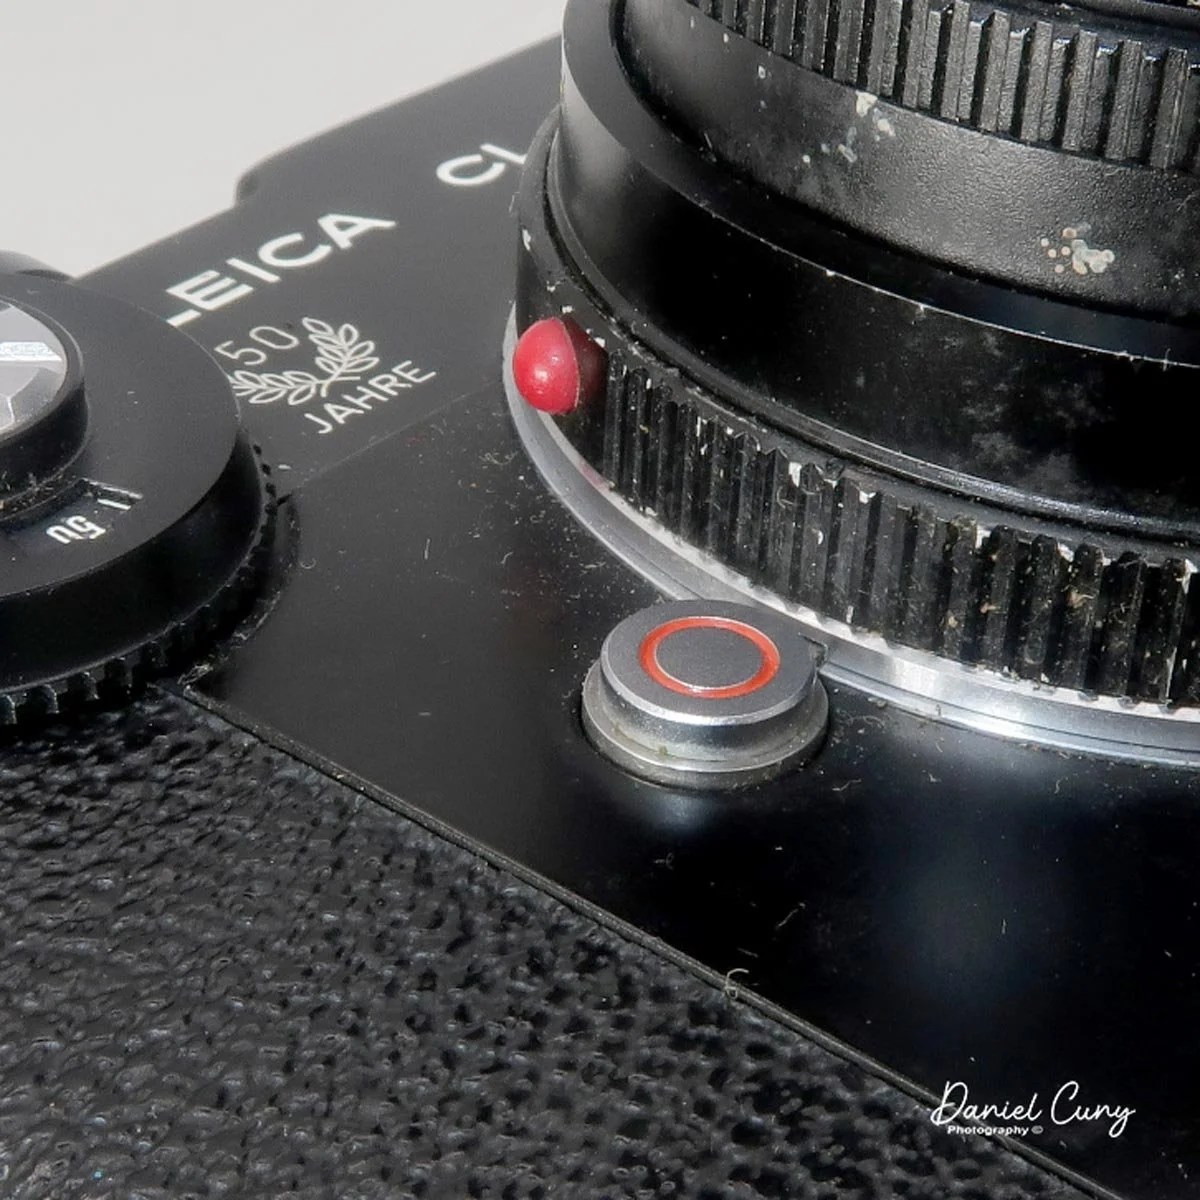
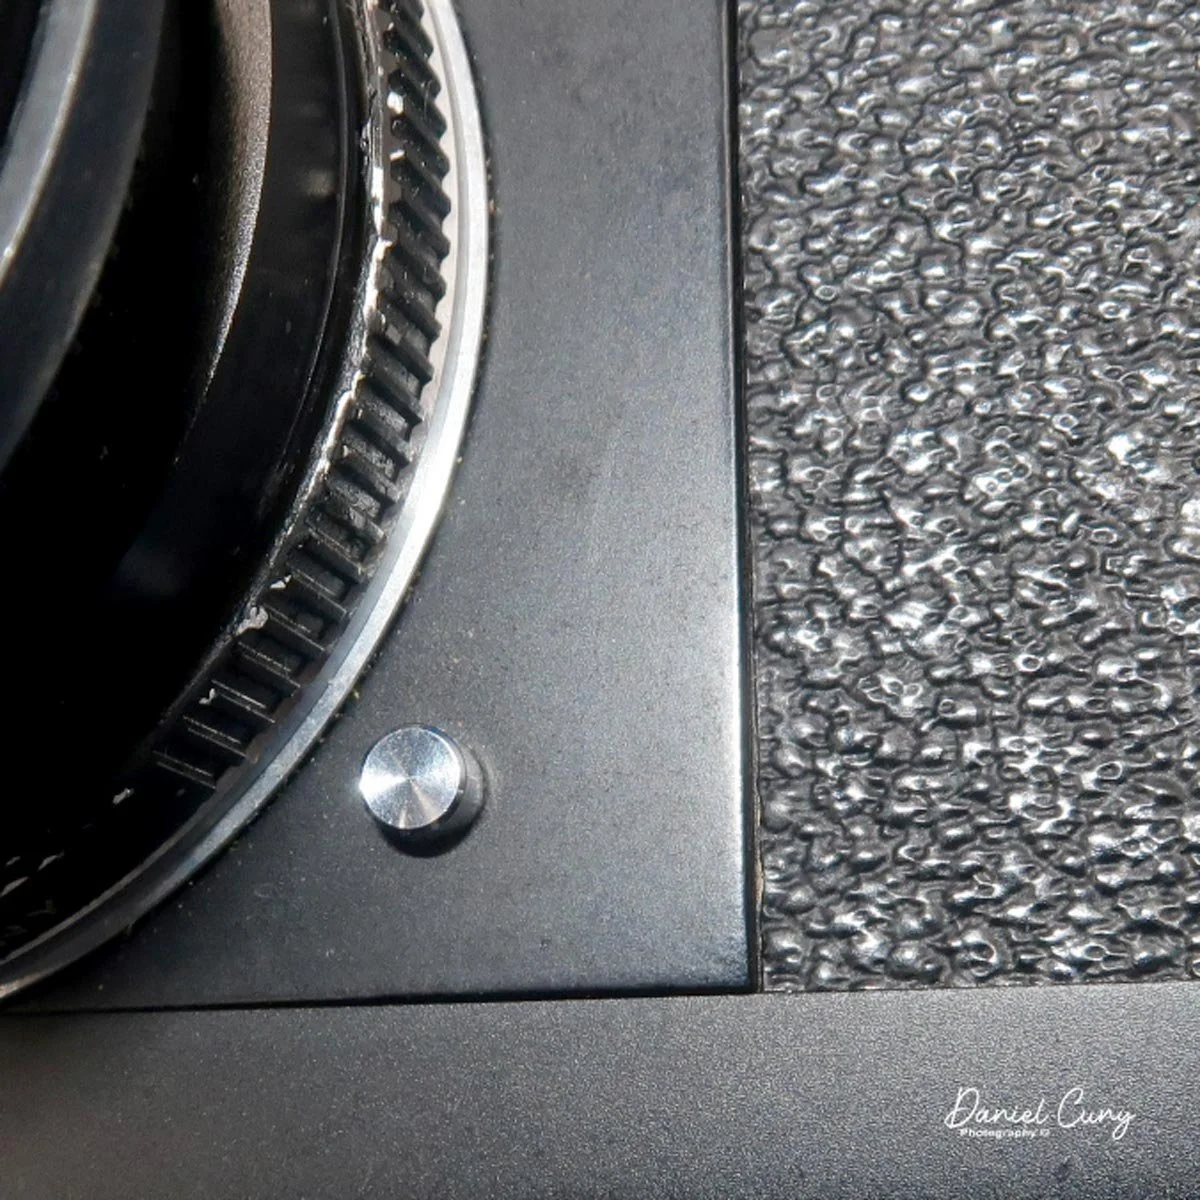
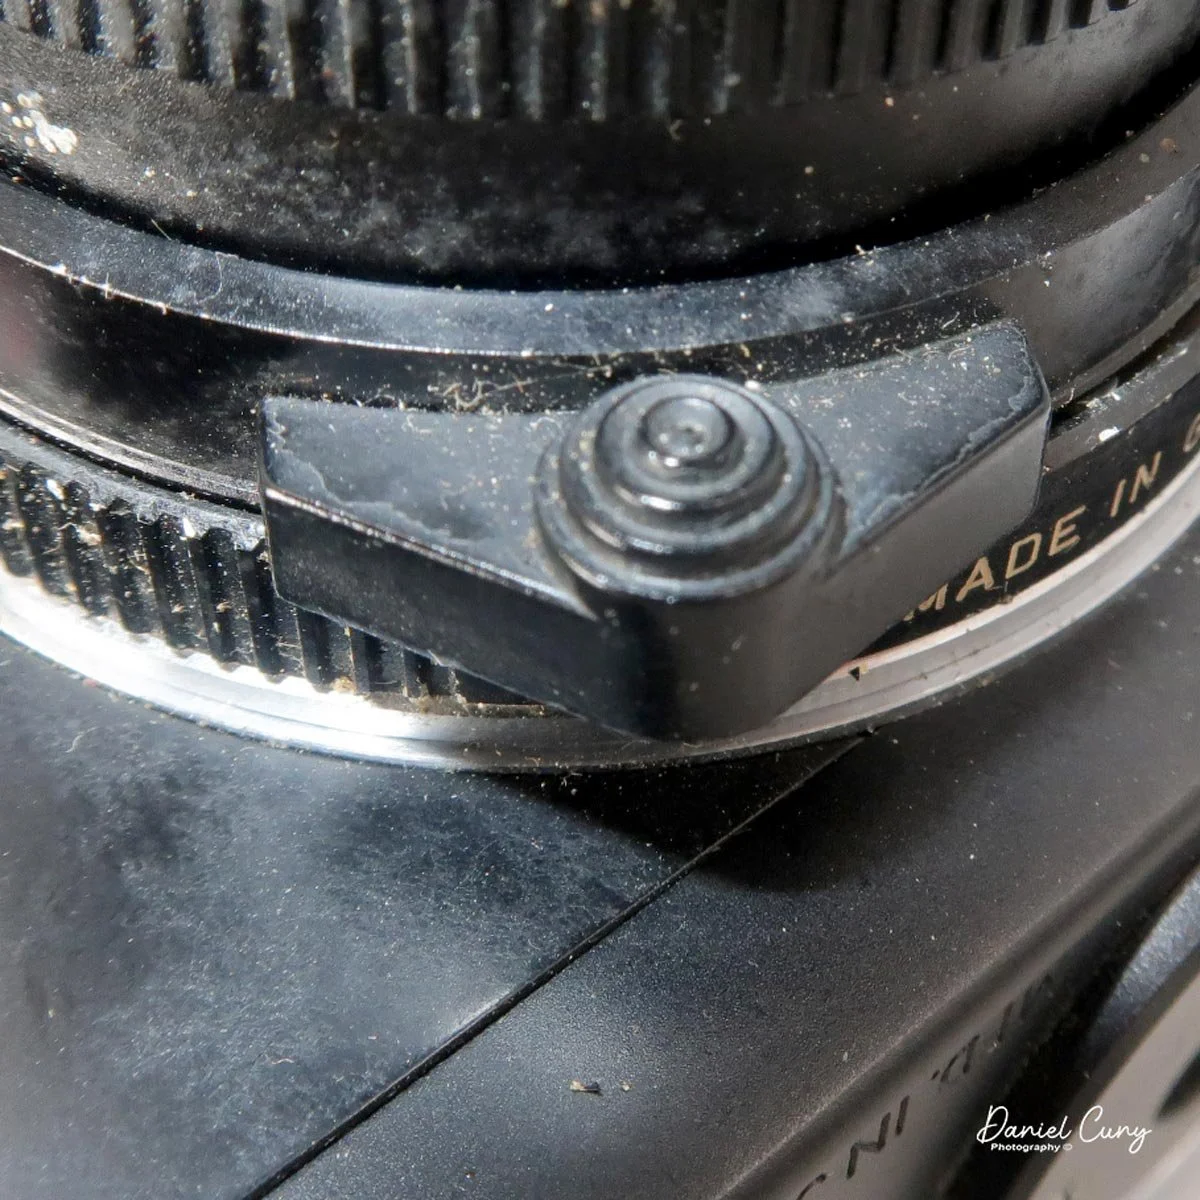
On the opposite side of the lens is an even smaller chrome button: the "battery test" button for the light meter. Unfortunately, the light meter on my camera isn't working, so it's not something I use when shooting with the Leica CL.

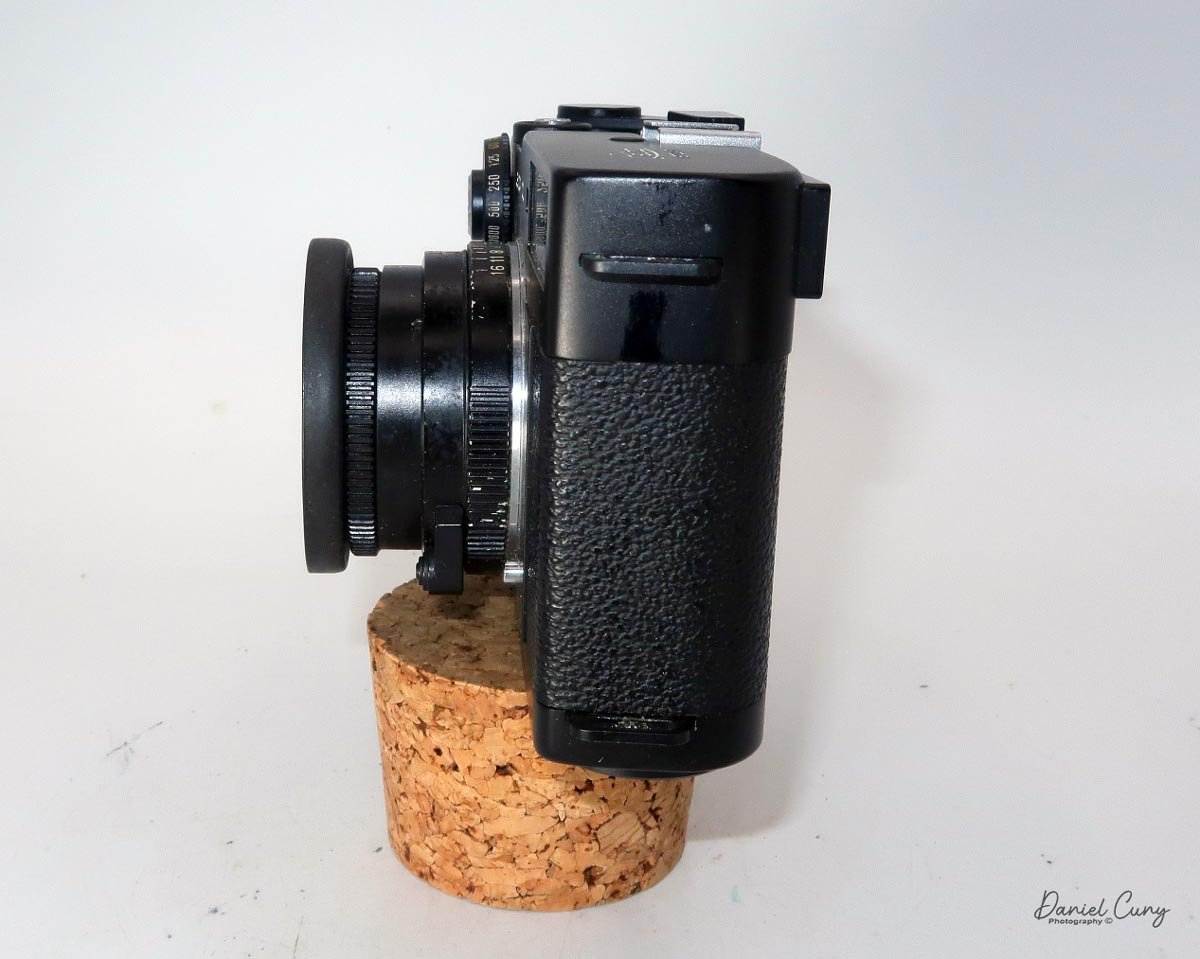
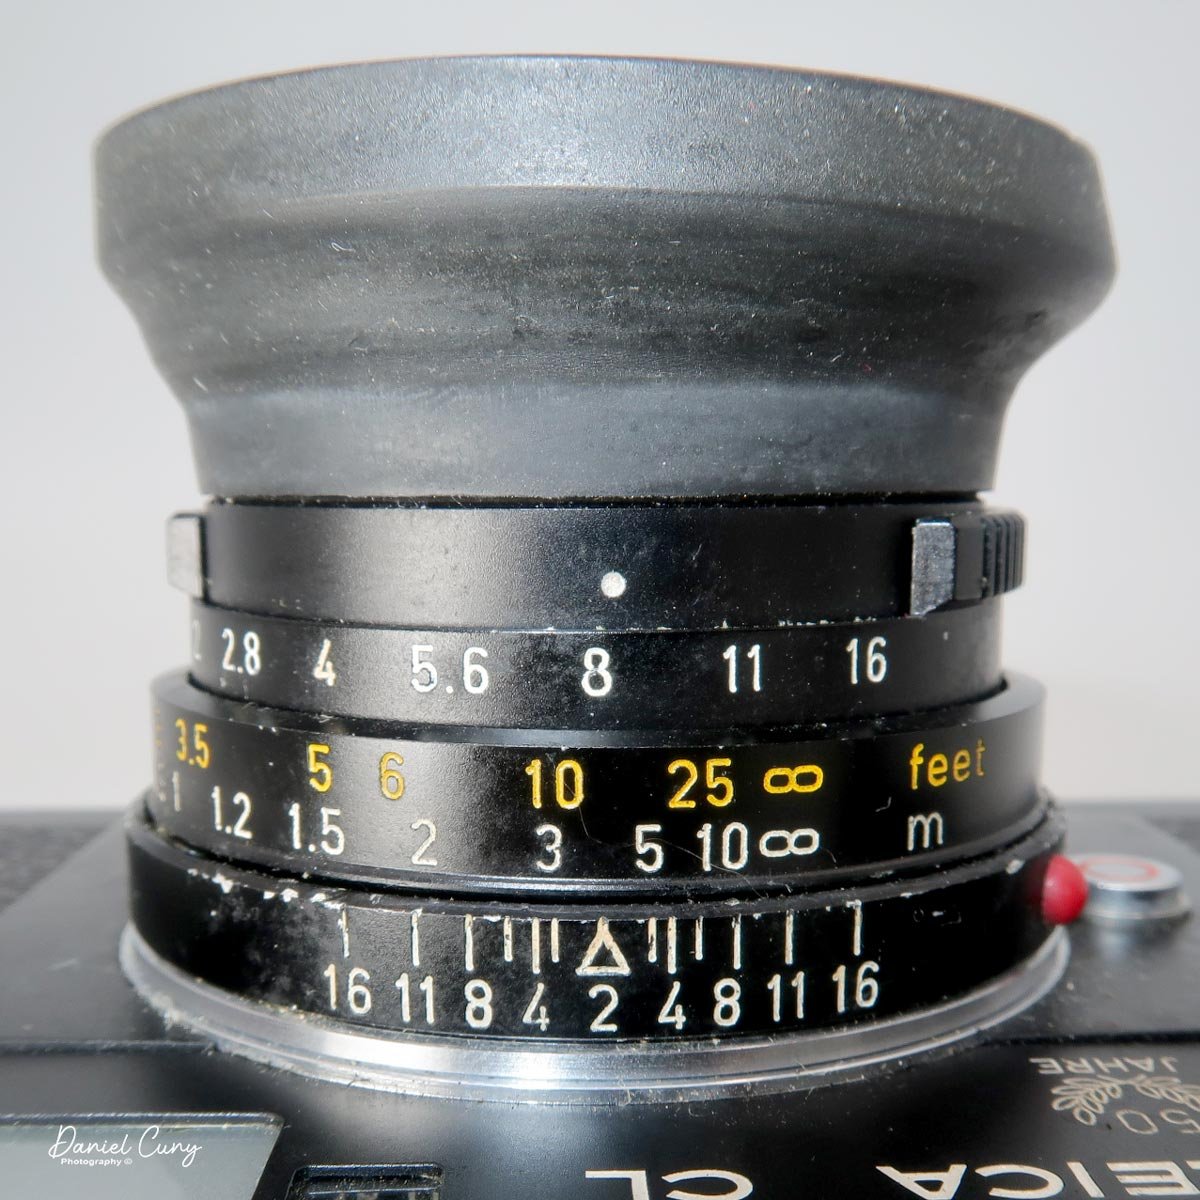
 On the lens is the focus knob, which is a larger knob on the bottom, and the aperture settings, which are located towards the front of the lens. I also have a rubber lens hood and a plastic lens cap that fits onto the hood; both came with the camera kit.
Looking through the viewfinder, there are several things to look at. In the middle is the bright rangefinder. This is a wonderful and very easy rangefinder. The image looks sharper (to me) when you bring the lines together in the yellowed area of the rangefinder. I'm generally not a big fan of rangefinders, but I do really like how this one performs.

 It also has internal lines for a 40mm and 50mm lens. Along the top of the finder is the shutter speed, with a red bar sliding to the set shutter speed, which is easily adjusted with your forefinger rolling along the shutter speed selector.
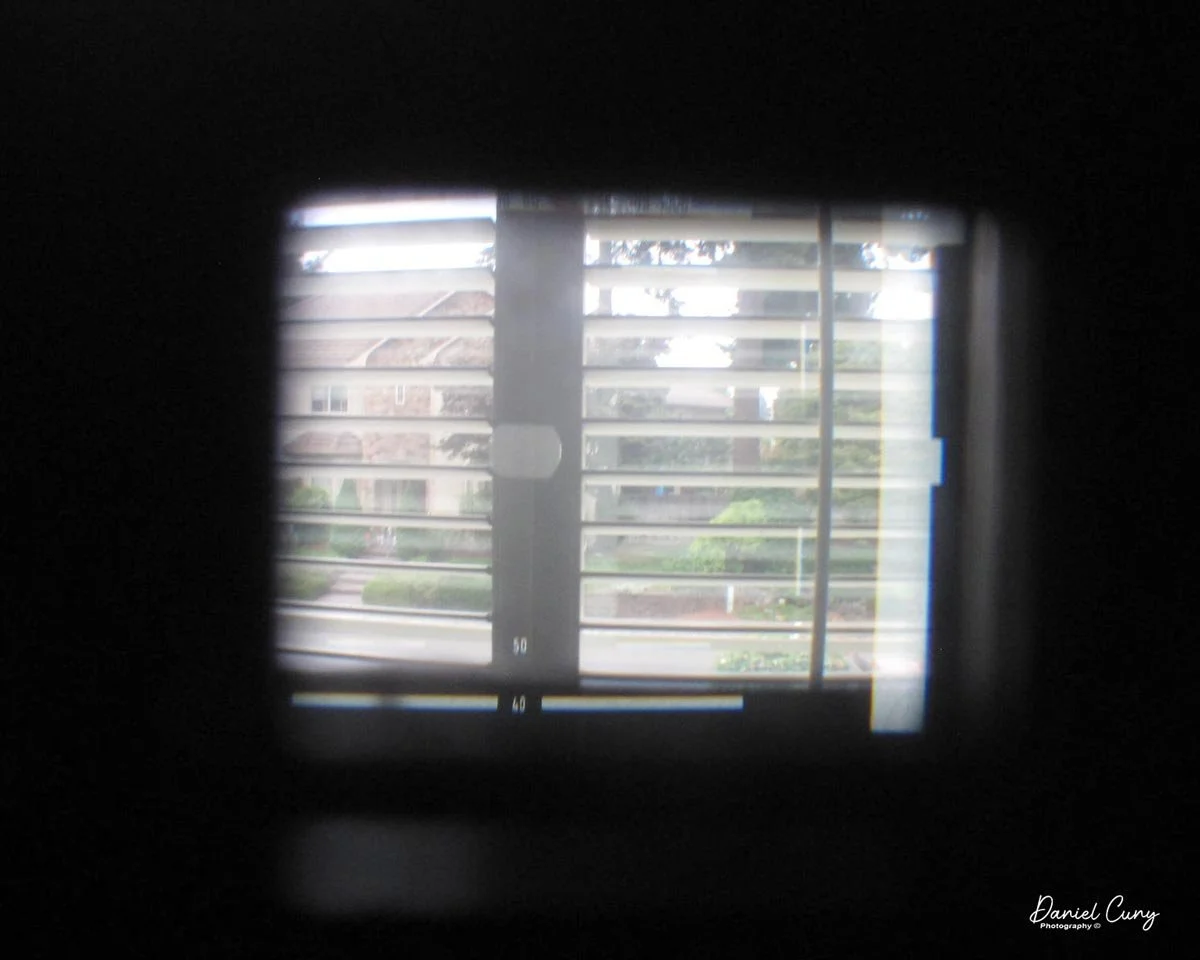
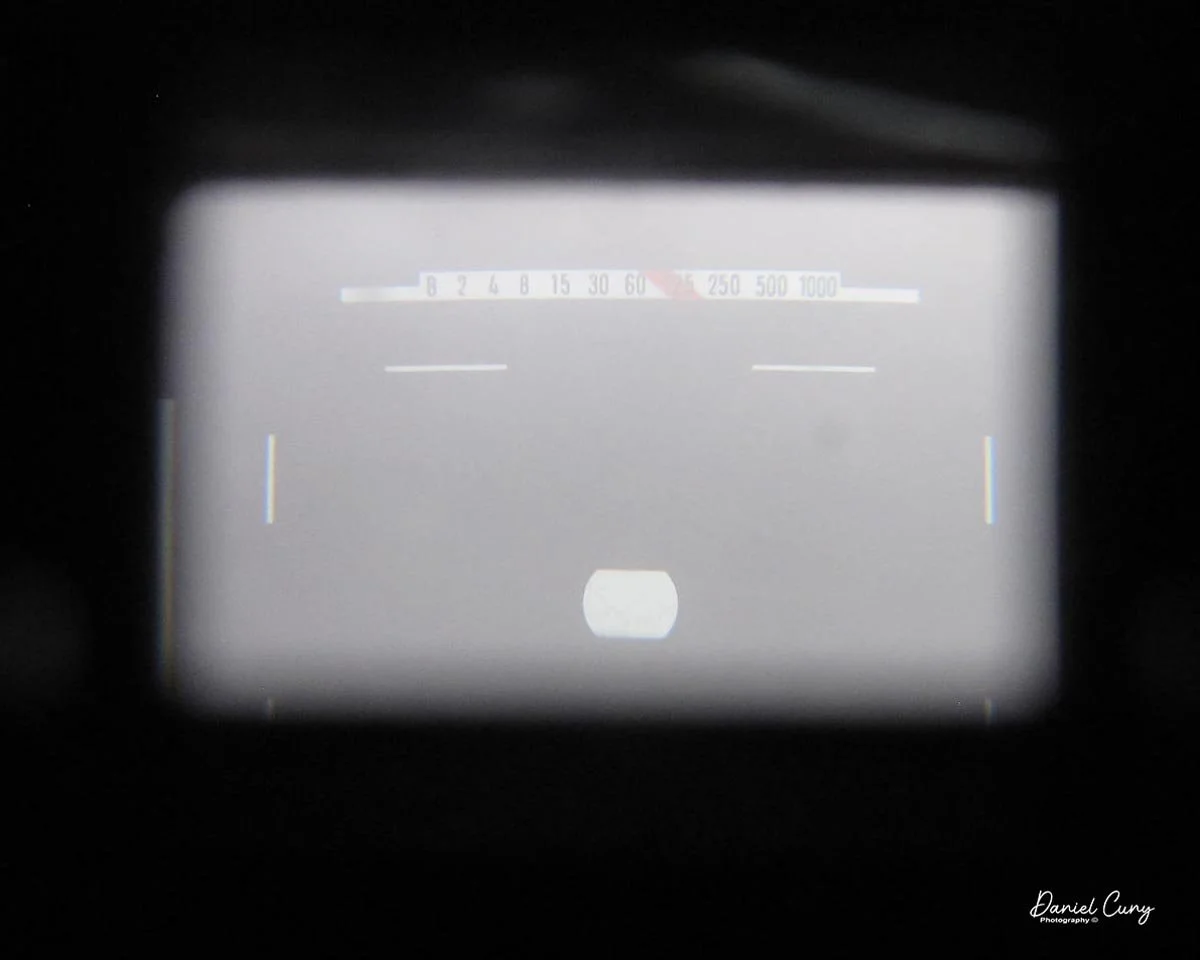
On the right side of the viewfinder is the light meter. Leica interestingly designed the camera: when you wind it, a small hinged arm with a CDS sensor drops down in front of the vertically traveling focal plane shutter. This is what meters your exposures. As you change the shutter speed/aperture combination and the ASA setting, a bar moves up or down until it's in the center "cutout" area. When it's in the middle of the "cutout" area, the meter tells you it's properly exposed.

 When you click the shutter, the CDS sensor moves up just before the shutter opens and closes, exposing the film. Then, when you wind the film to the next exposure, the CDS sensor pulls back down and is ready to meter your next frame. If you haven't wound to the next frame and the winding lever is in close to the body, the meter is off. I also noticed that when you move the shutter speed dial to 1/2 sec. or "B", a red dot appears in the meter area. My best guess is that it's a longer exposure warning.
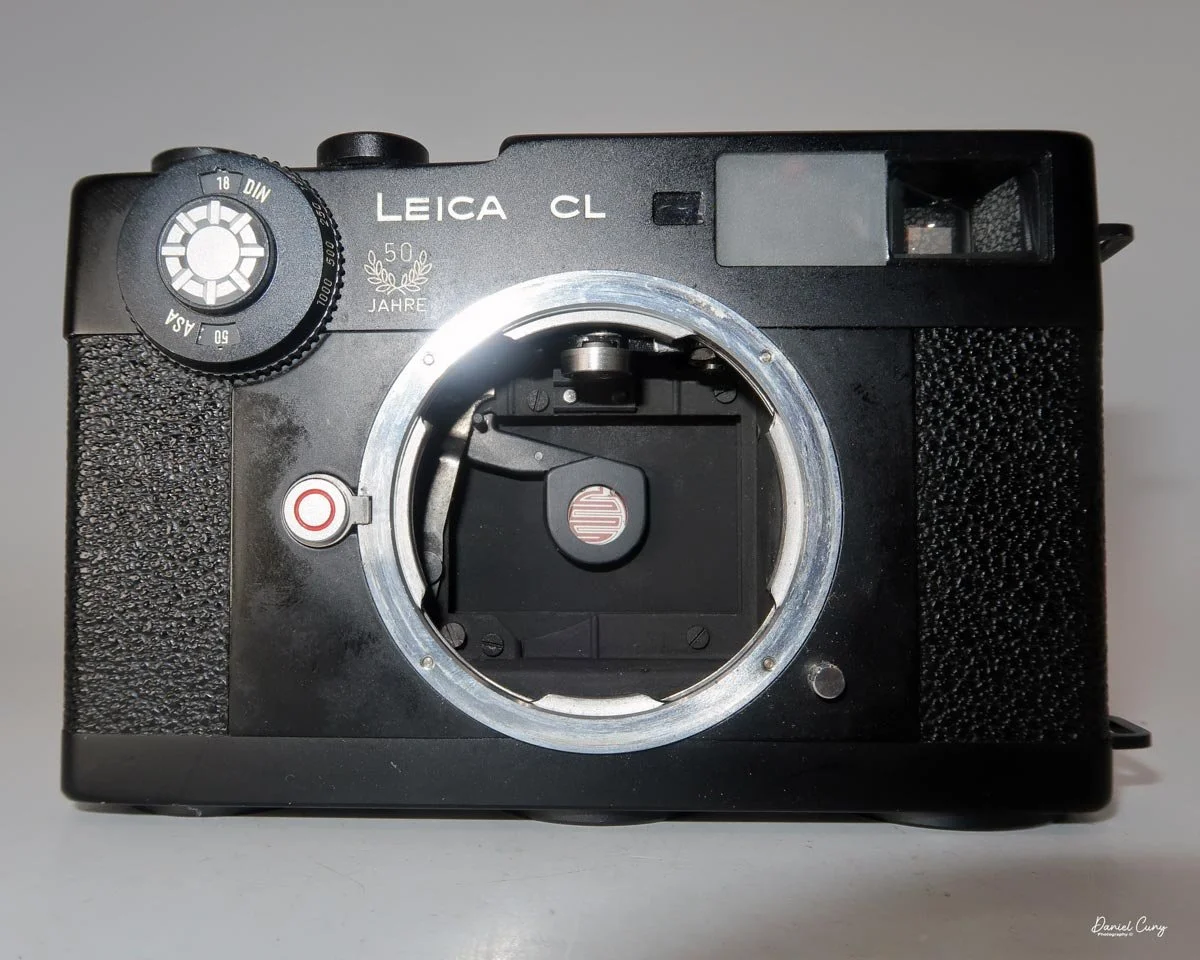
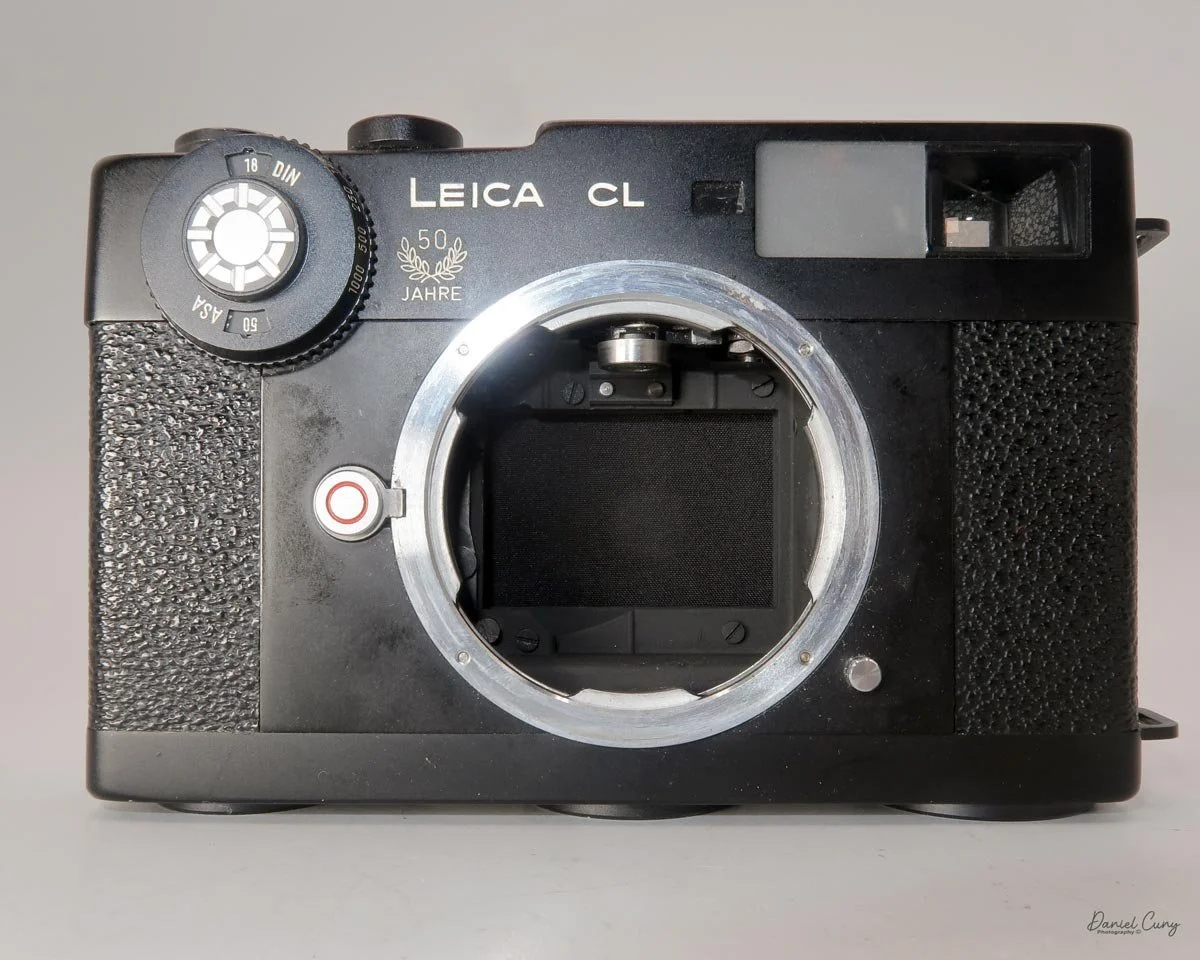
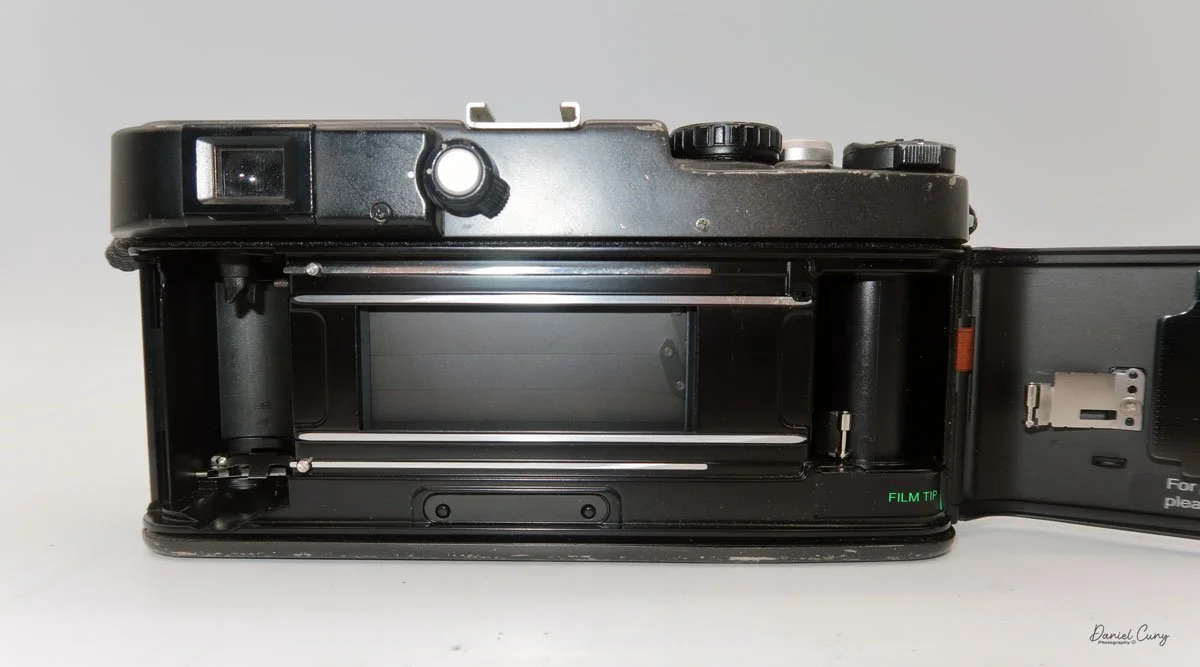
To remove the camera back to load the film, on the bottom of the camera in the center, there is a knob that you lift and turn until it stops. Then, slide the camera back down to slide the back off the camera body. Once you've done that, the pressure plate is hinged to the camera body, not the back of the film door you just removed.

 Put your film cassette in the left-side film chamber, flip down the pressure plate, and thread the lead into the grey clips on the take-up spool. Advance the film a bit to make sure it's caught and traveling across the shutter. Flip back the pressure plate, slide the camera back under the grooves on the front of the camera, sliding it all the way onto the camera body, and lock the film back onto the camera body.
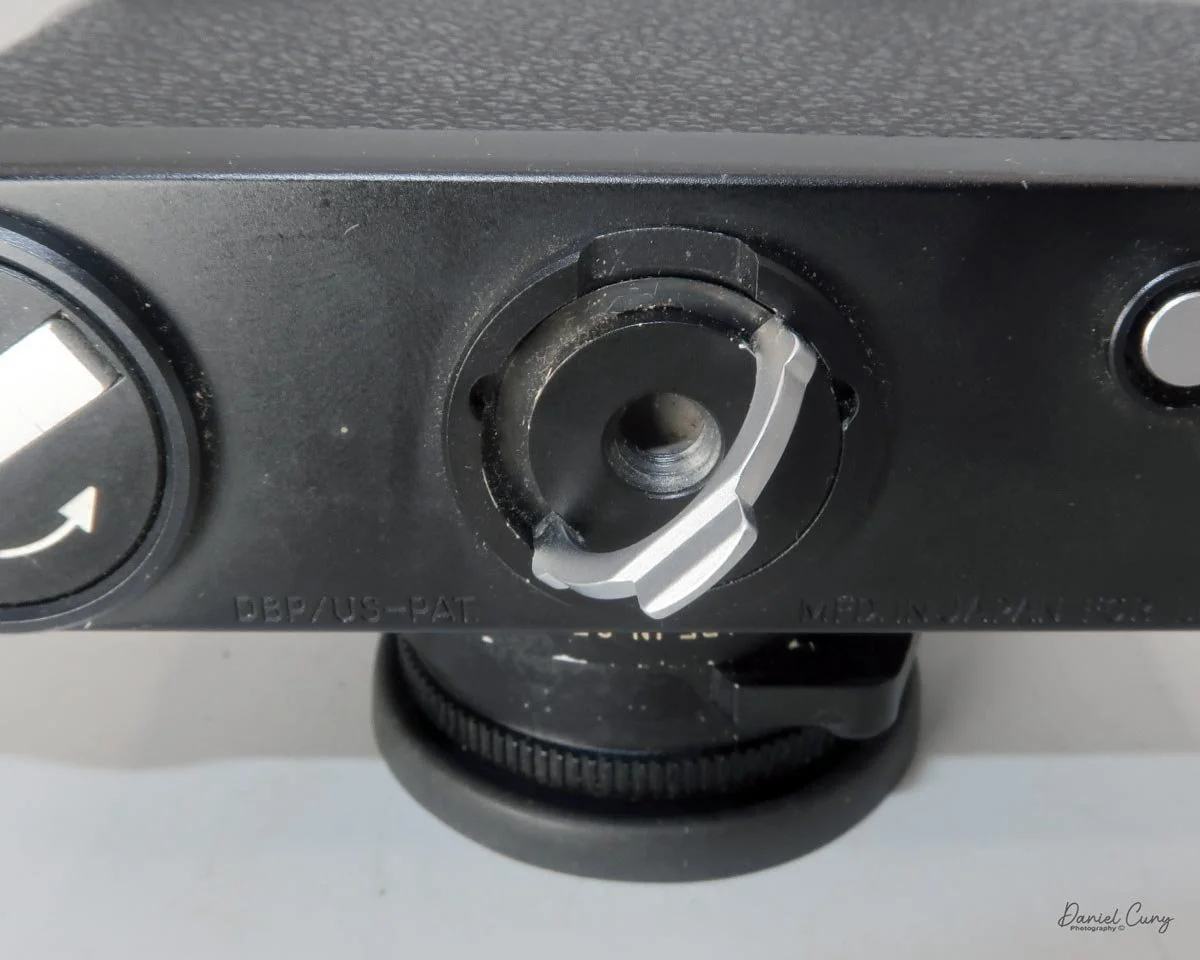
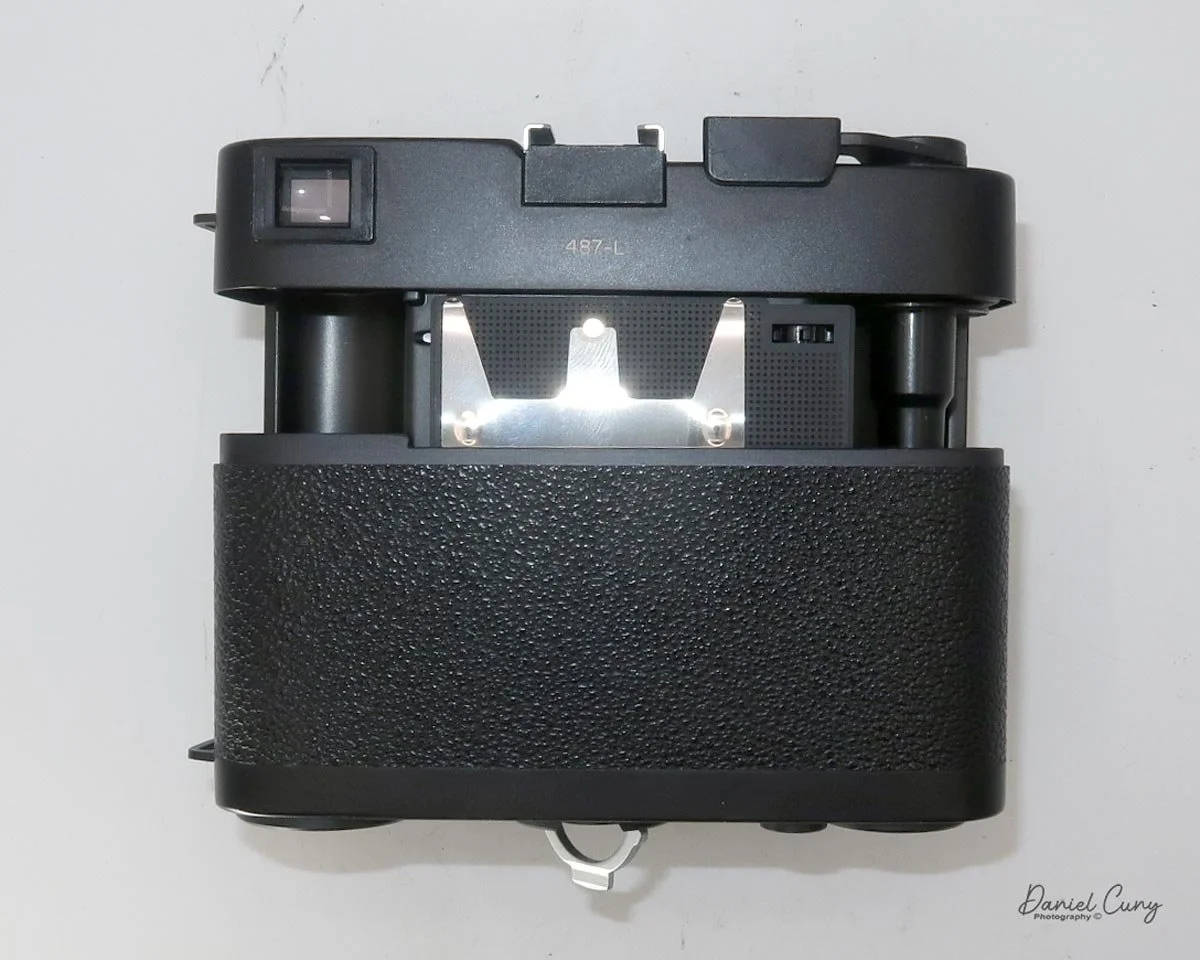
The bottom of the film door also has the rewind crank and rewind button to unlock the film transport wheel, plus a small film reminder on the other side of the rewind crank.

 I have a few rolls of outdated Plus-X film dated to June 1976, which I have in both 36 and 20 exposures that I'm selling in my store on eBay, so I loaded a roll of 20 exposures into the camera, set my external light meter to ISO 50, and went for a walk around the neighborhood to see how the camera would perform.
 My Results

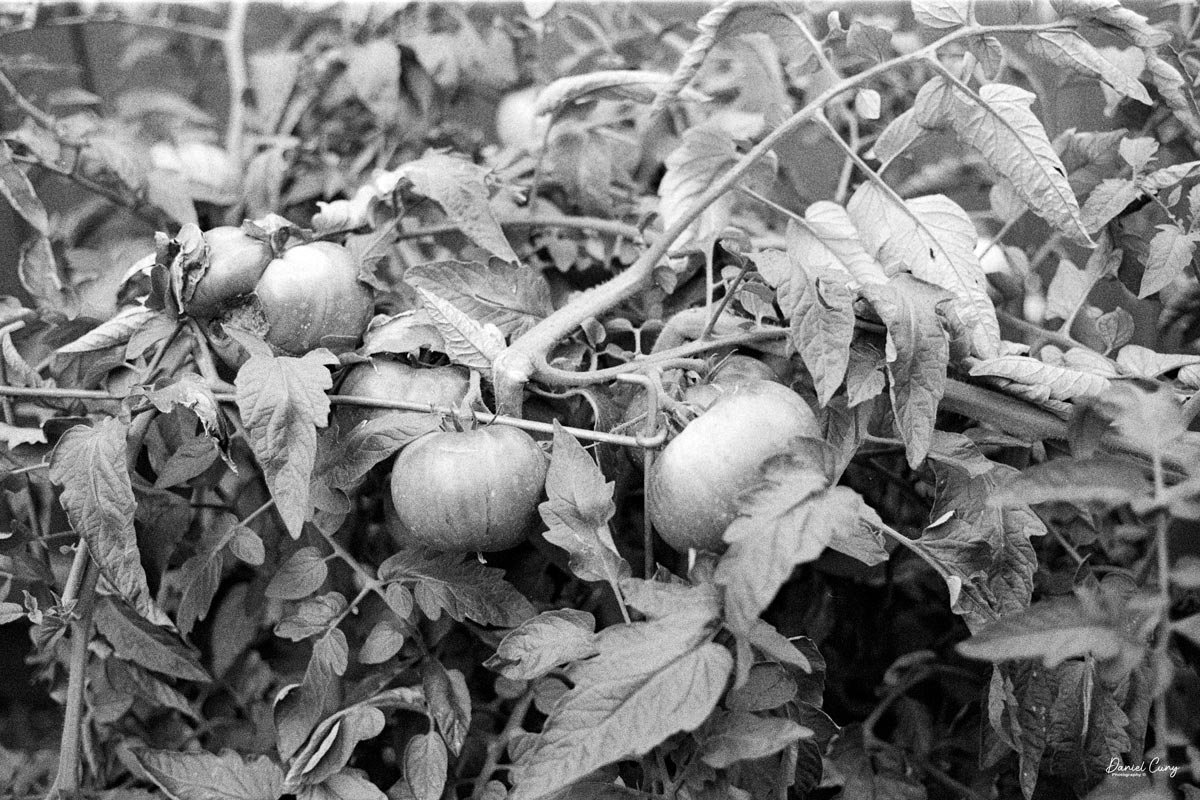
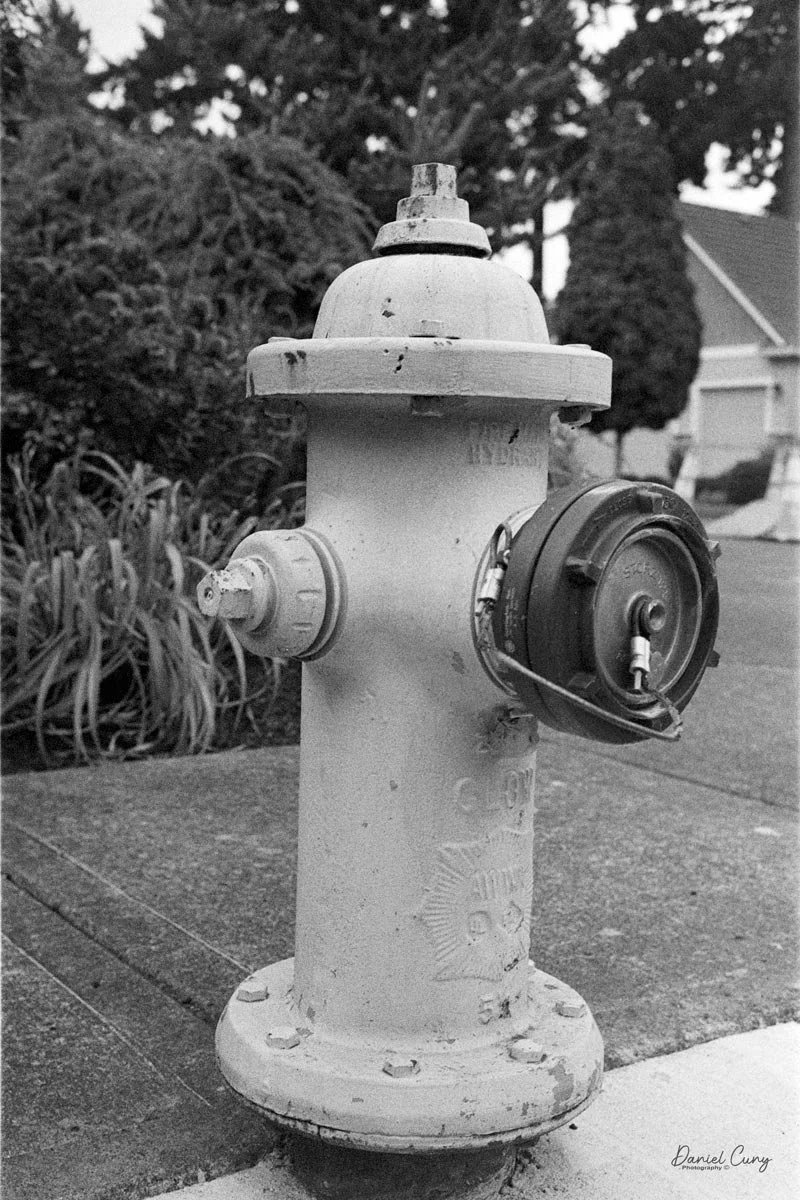
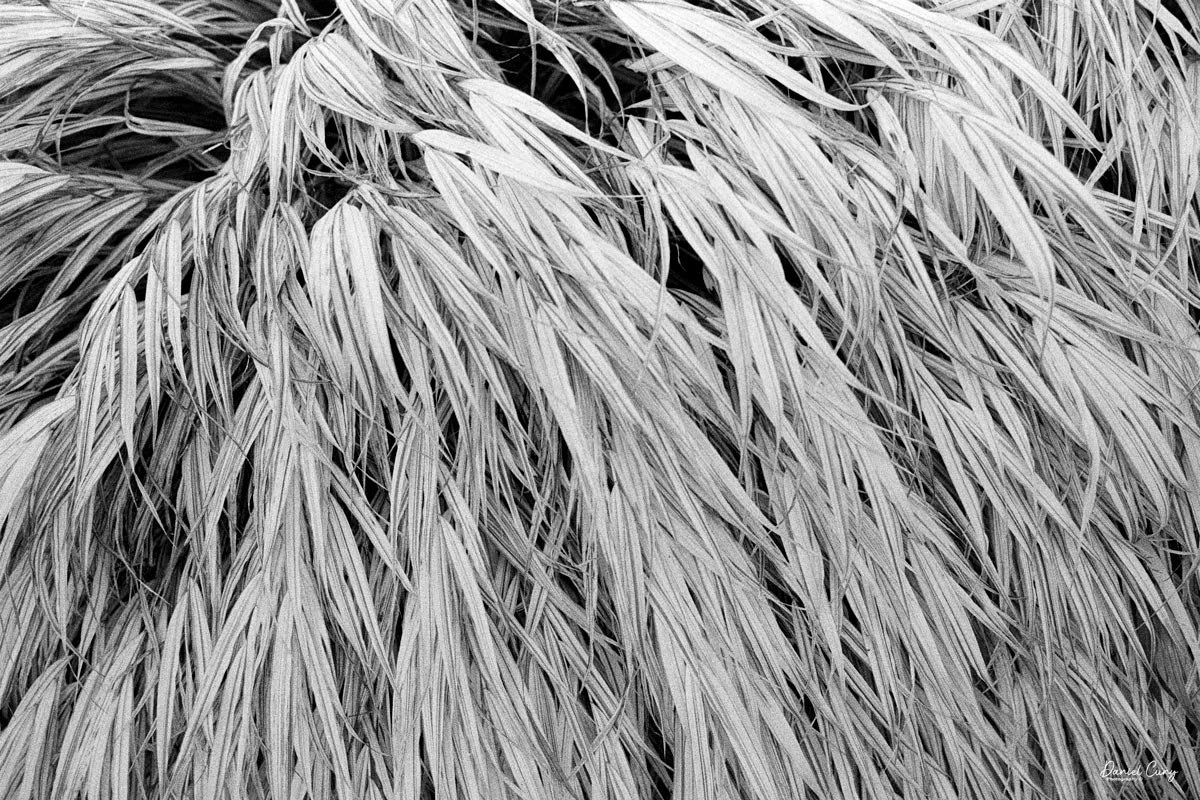
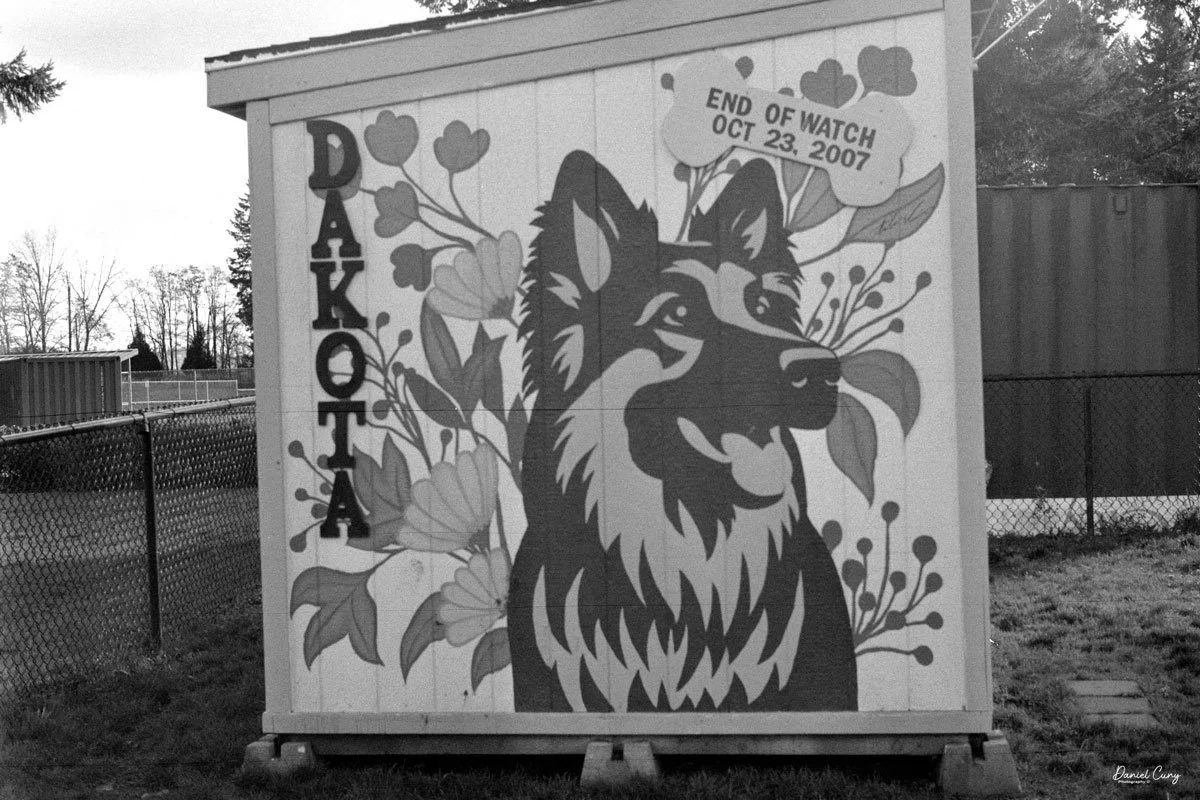
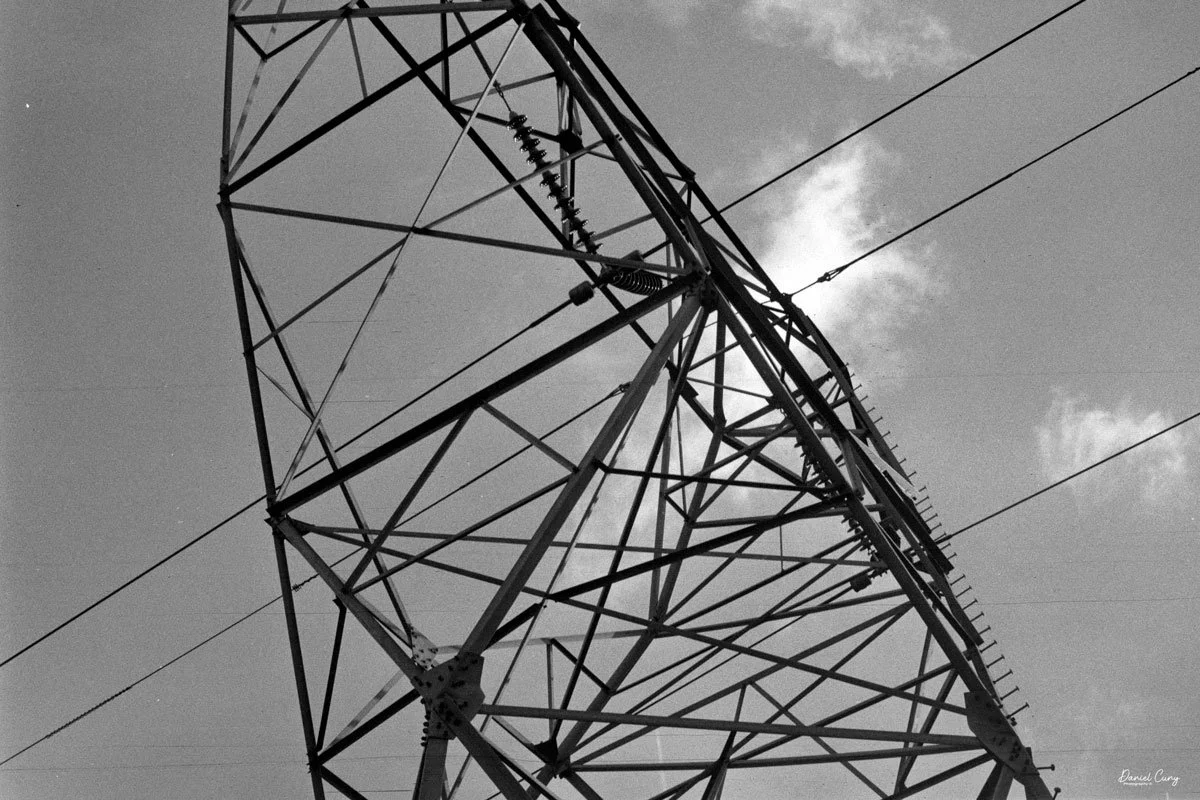
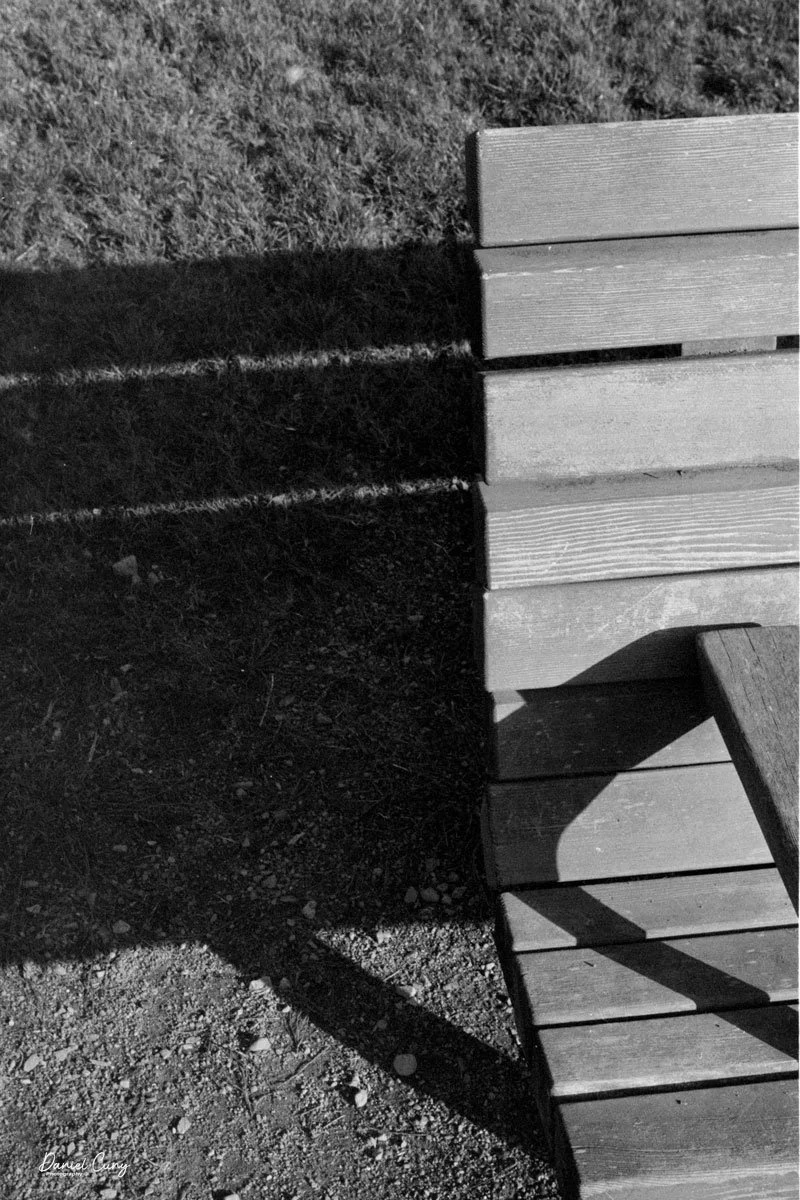
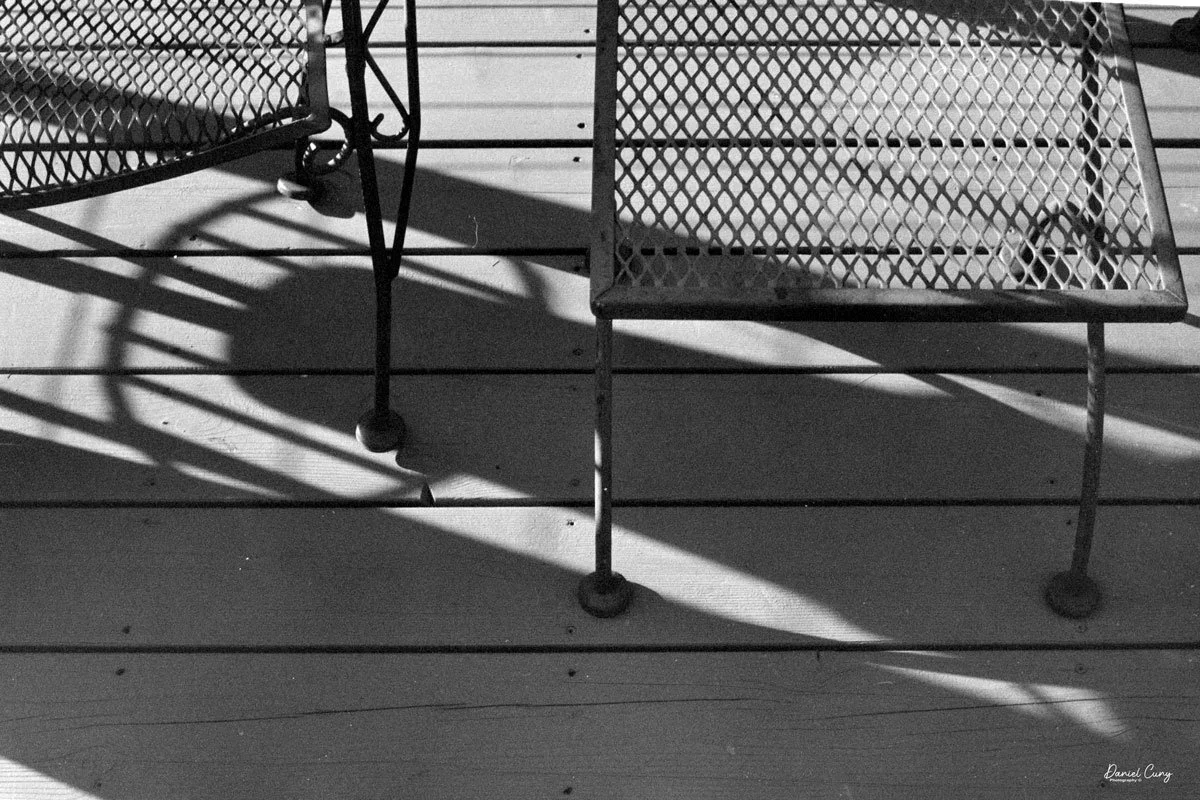
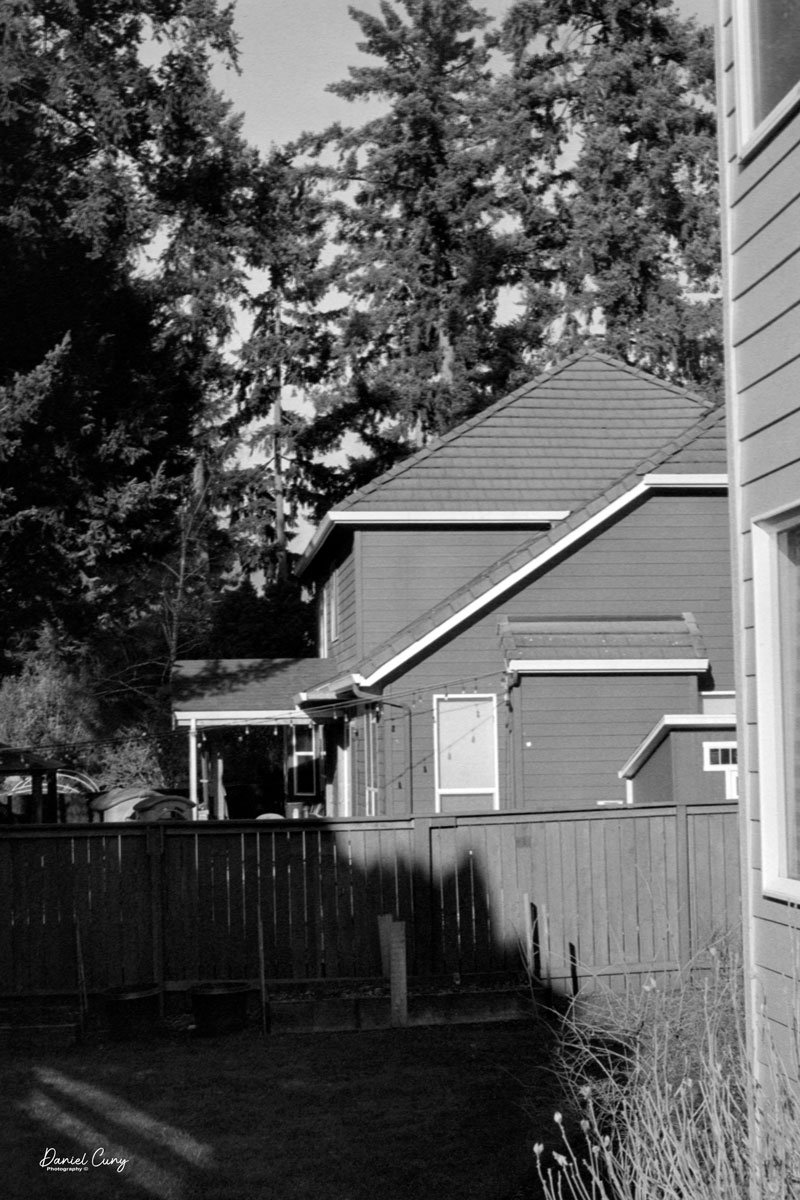
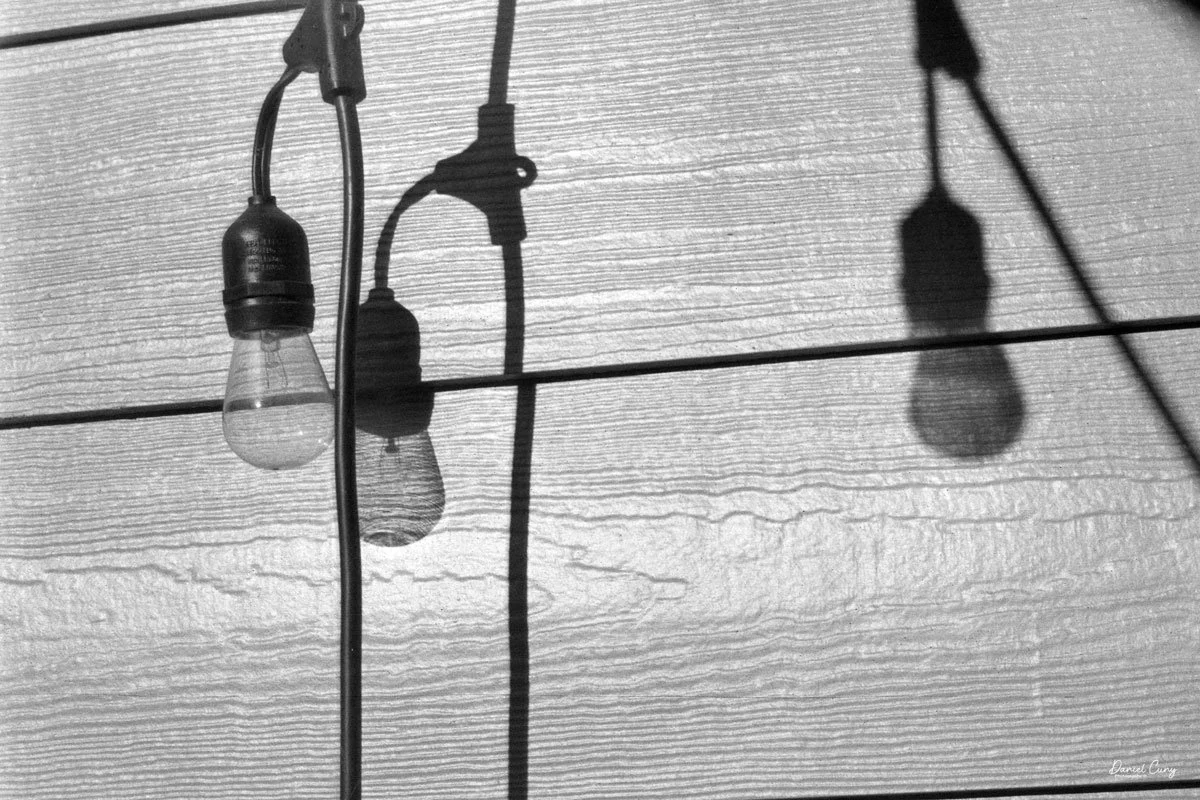
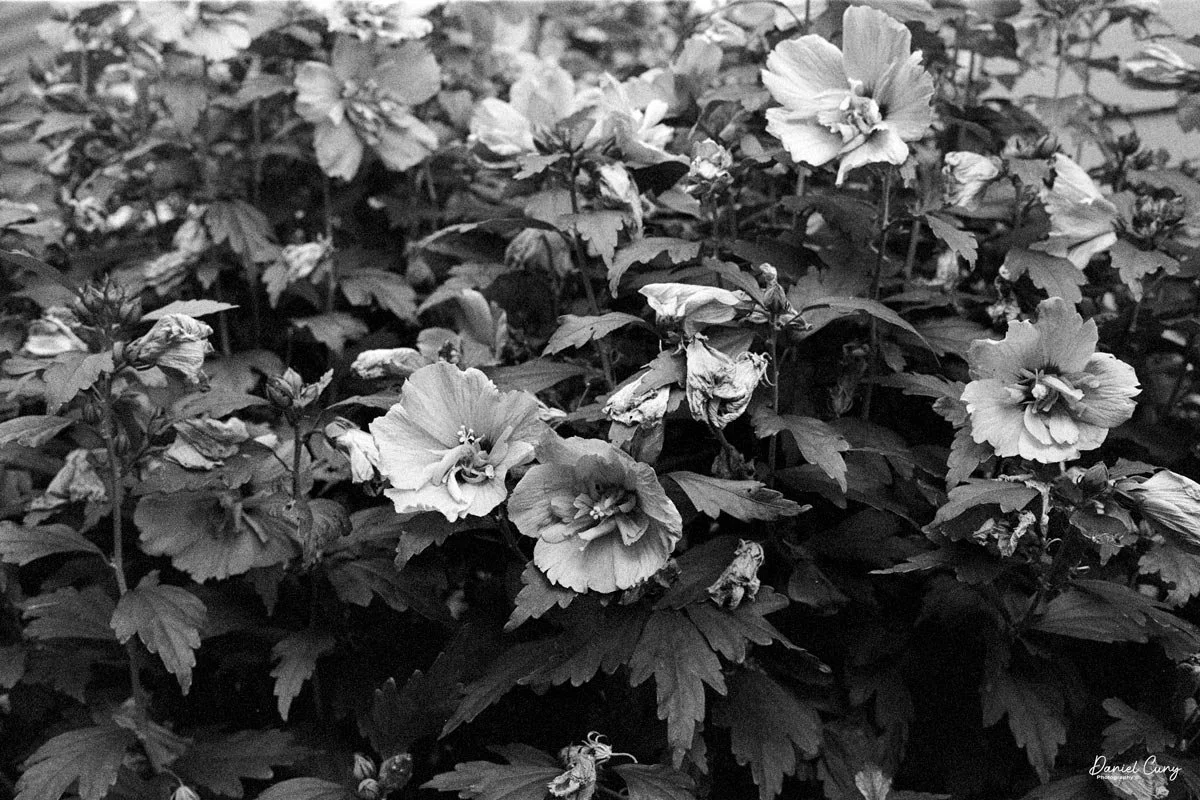
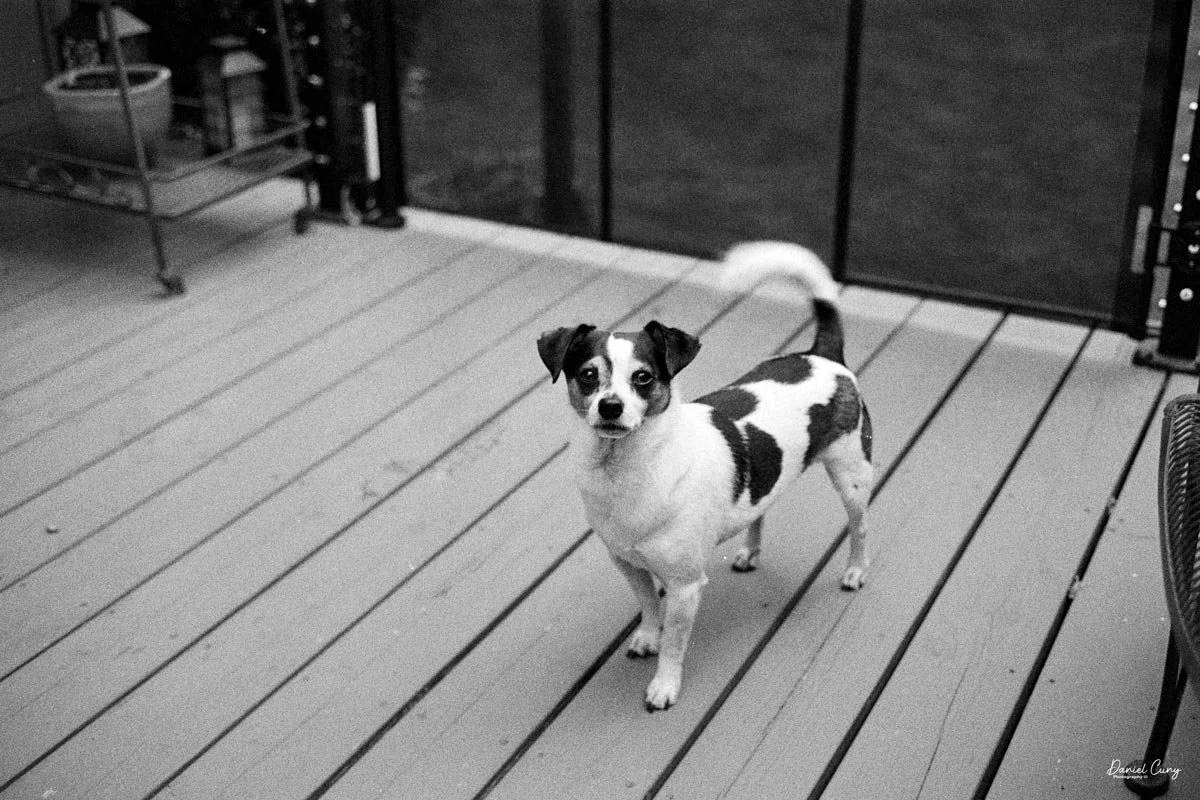
After walking the neighborhood and taking photos of many of the usual subjects to keep it somewhat consistent, I went home and processed the film. Here are some of the images I took on my walk.
Conclusion

I enjoyed many things about using the Leica CL. First and foremost was the focusing. I really enjoyed how the rangefinder reacted to the images I selected. It made it easy to focus, especially in busy areas with a lot of detail.

 The second thing I enjoyed about the camera was the image quality. Similar to the Contarex "Bullseye" camera, this lens is very sharp. I kind of marvel at how sharp these images are. Maybe it's because I try so many different cameras with average or below-average optics, but when you get a sharply focused photo, they just jump out at you.

 The camera case (to me) was a real pain. Having the case flop around when I'm using the camera was a negative experience. In the future, instead of latching the case through the strap, I'll put the strap on the camera and wrap the case around it for protection. When I unzip the case, I'll put it in my pocket. That's a more desirable solution for me.

 One other thing I noticed from the last few cameras shot with the expired Plus-X film I have is that I kind of like the grain of the film. It's a bit chunkier than the newer films, which I kind of enjoy and remember from my earlier days of shooting.

 Overall, my experience with the Leica CL was very positive. I would have liked an internal meter, but for the price I paid for the camera, lens, and case, I'm very happy and can use an external meter or guess exposures, which is pretty easy.

 Are you interested in other cameras? Here are some of my other Camera Reviews.

 Check out my Cuny's Camera Collection YouTube channel, where I am putting together video overviews of the cameras I write about. Be sure to subscribe and like the channel, too!

 Cuny's Cameras and Photos is my online eBay store, where you will find some of the cameras I have reviewed, along with a wide range of other cameras, lenses, and items from my collection that I am thinning out.

 Until next week, please be safe.
 

Voigtlander Prominent 35mm

My father-in laws Voigtlander Prominent

I'm unsure if I'll be able to get another posting out before the beginning of 2026, since Christmas and New Year's fall on the day I generally publish my reviews. Since this might be the final post for 2025, I wanted to make it a special review. 

 Special in the sense that, while the Voigtländer Prominent is an outstanding camera, what makes this camera especially special to me is that my father-in-law owned it, so it holds an even greater, much more cherished place in my collection.

 Let me tell you a bit about my father-in-law. He was the oldest of seven children living in a very small town named Sugar Creek, MO, just outside Independence. They were not a wealthy family, as the father worked at the local refinery. I was told that the house was so small that some of the children had to sleep in closets. At 18, he married my mother-in-law, who was only 17 at the time. By the time he was 22 and my mother-in-law was 21, they had three children.

 Soon after they were married, he joined the Army, where they were stationed in Augusta, GA, where my wife and the third child were born.  When my wife was only 6 months old, my father-in-law and the family were transferred to Naples, Italy. With his wife and three young children, my wife moved to Italy.

My father-in-law always had a passion for photography and, from what I'm told, purchased the Voigtländer Prominent while stationed overseas. After their time in Italy,  the family moved back to the USA. At this point, my father-in-law found a local camera store back near Kansas City, where he honed his photographic skills using the Voigtländer Prominent he purchased overseas.

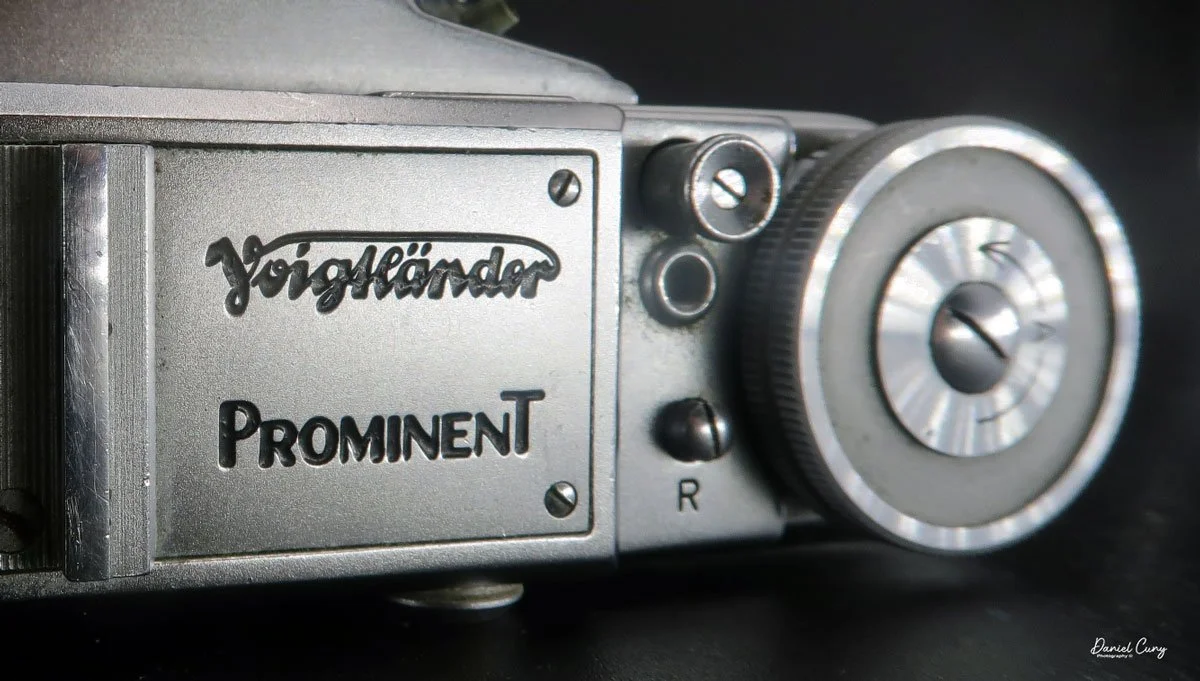
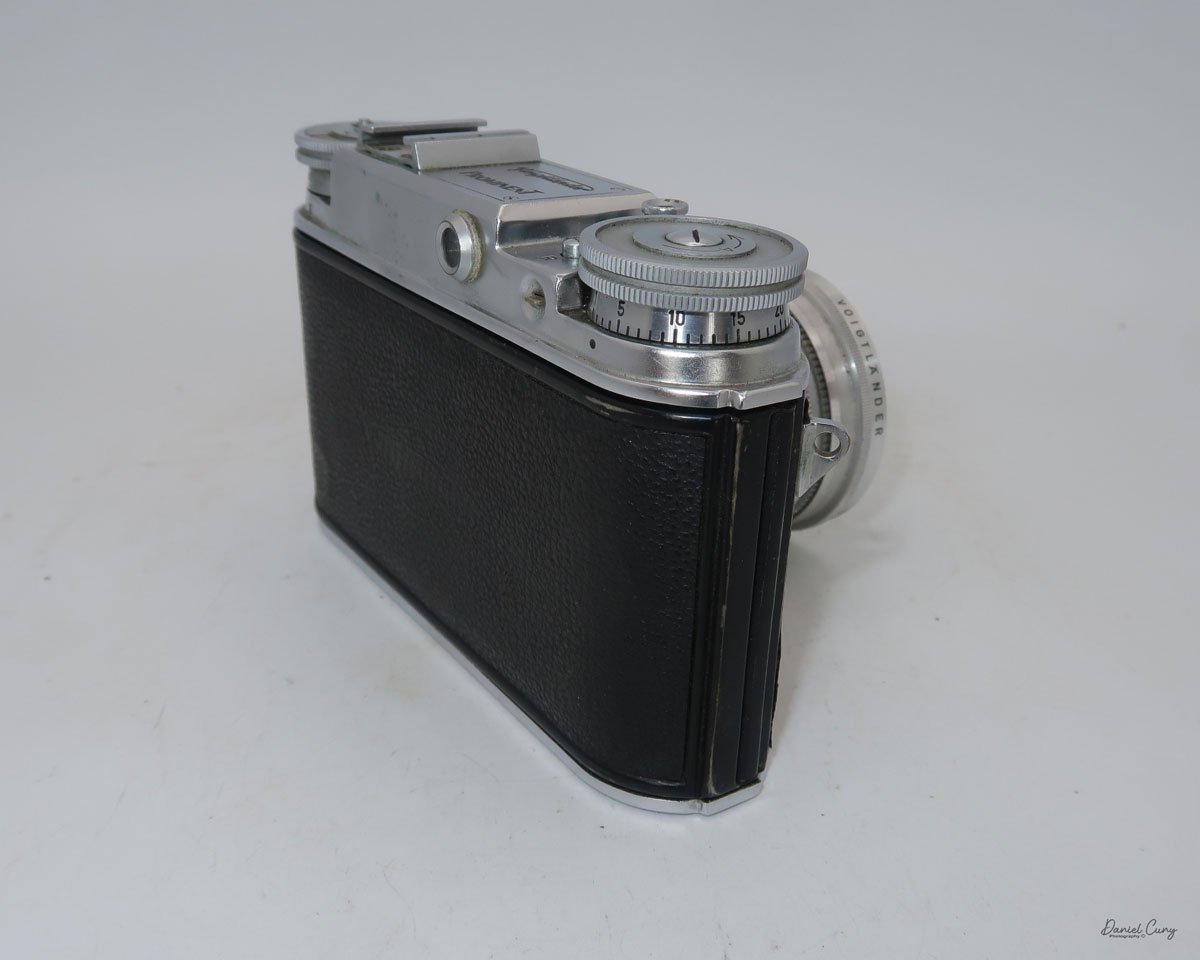
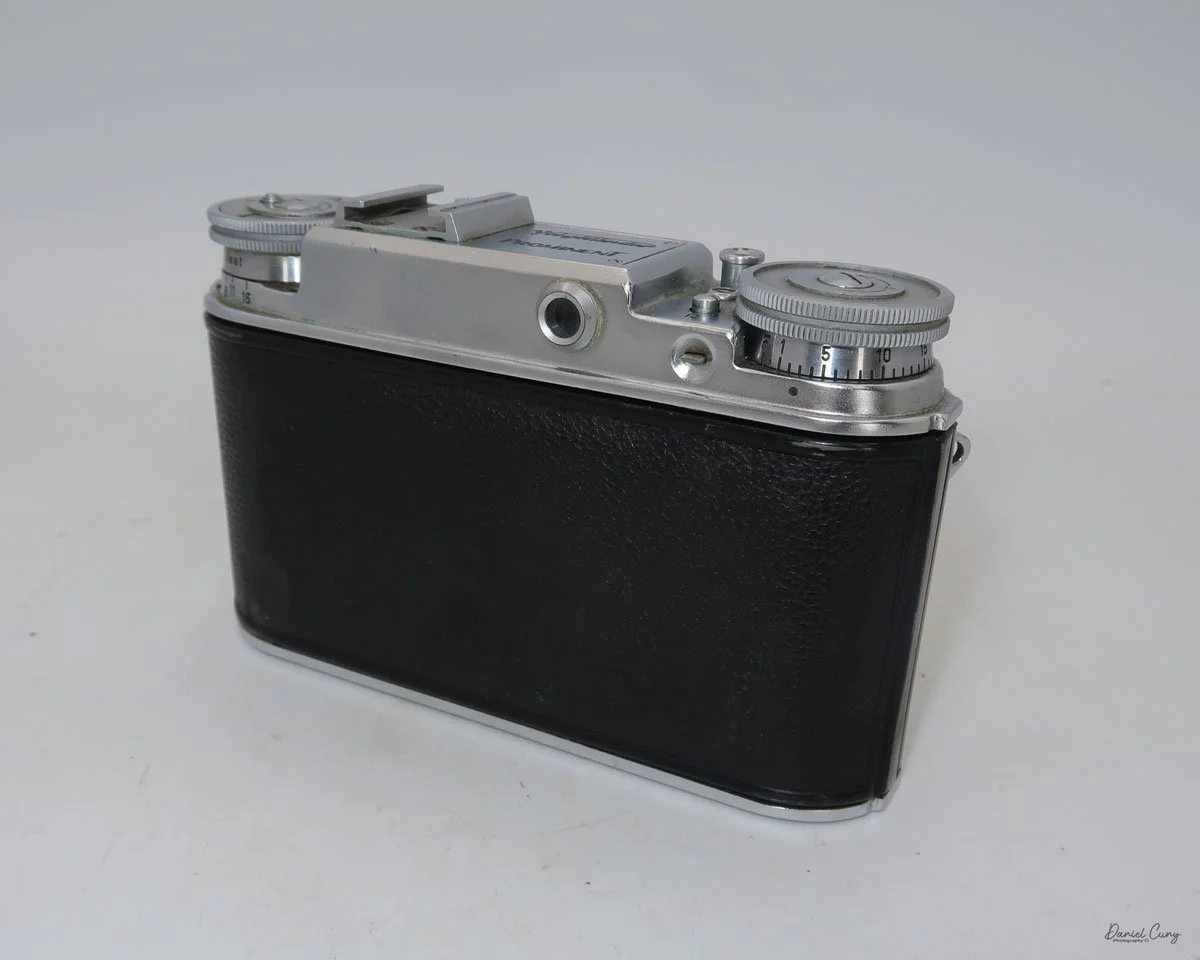
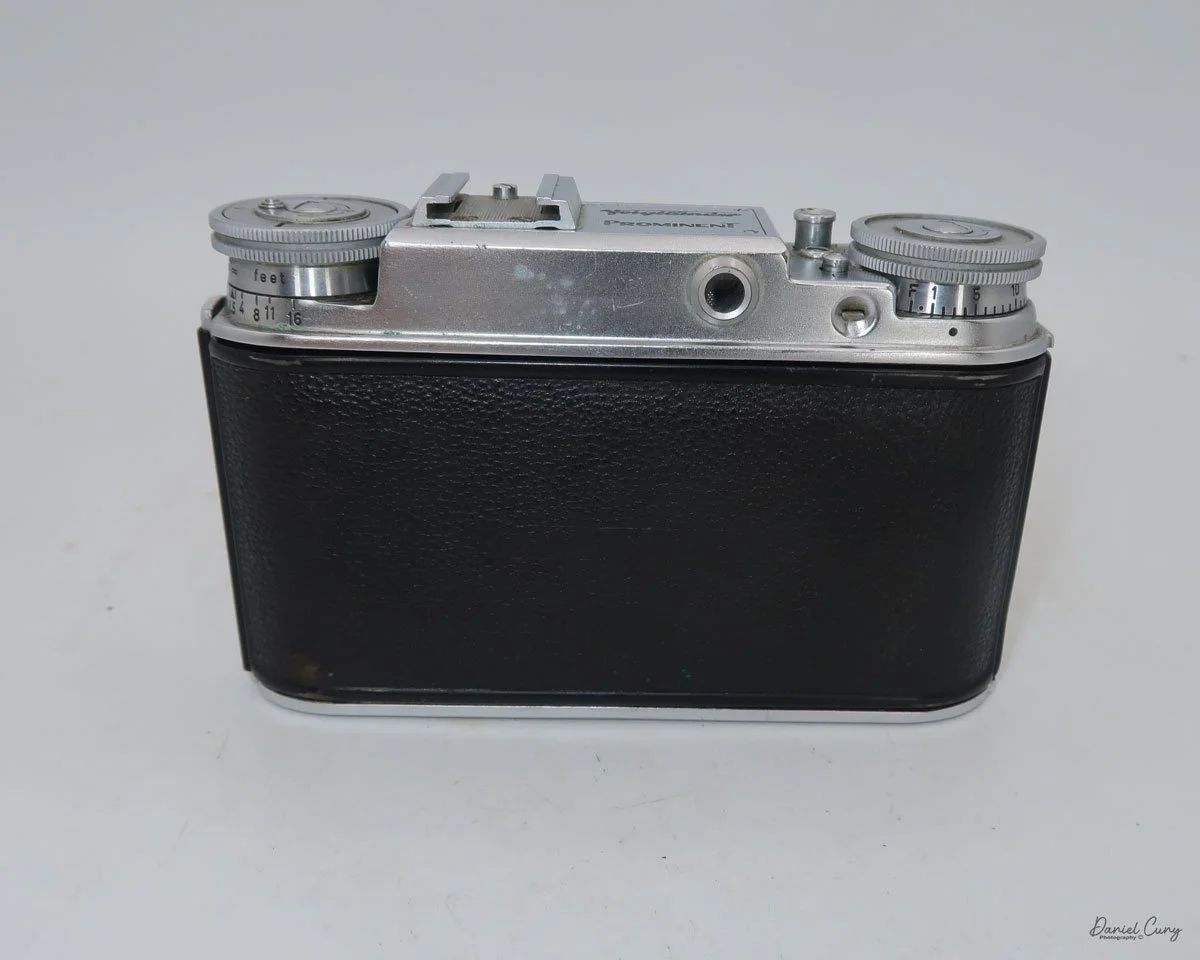
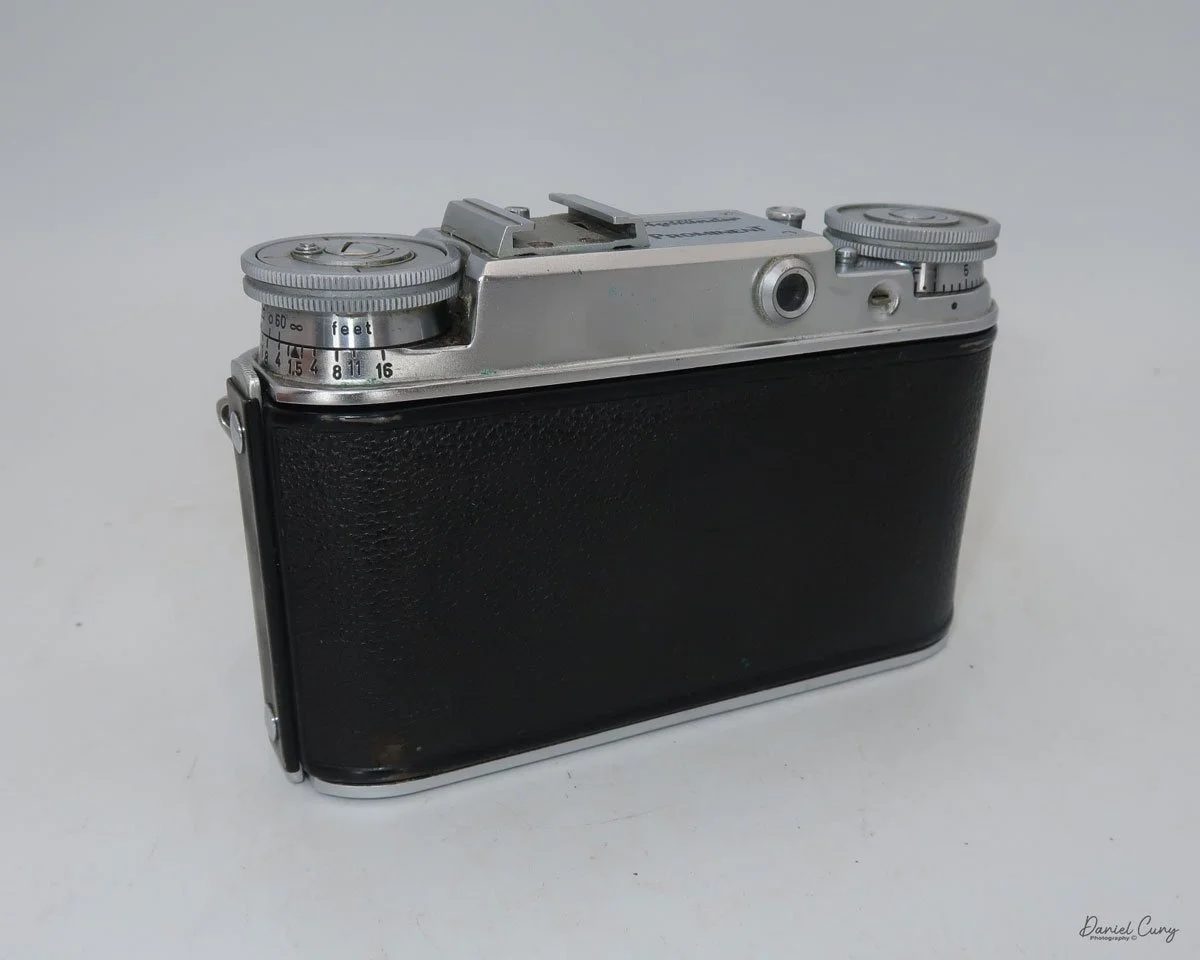
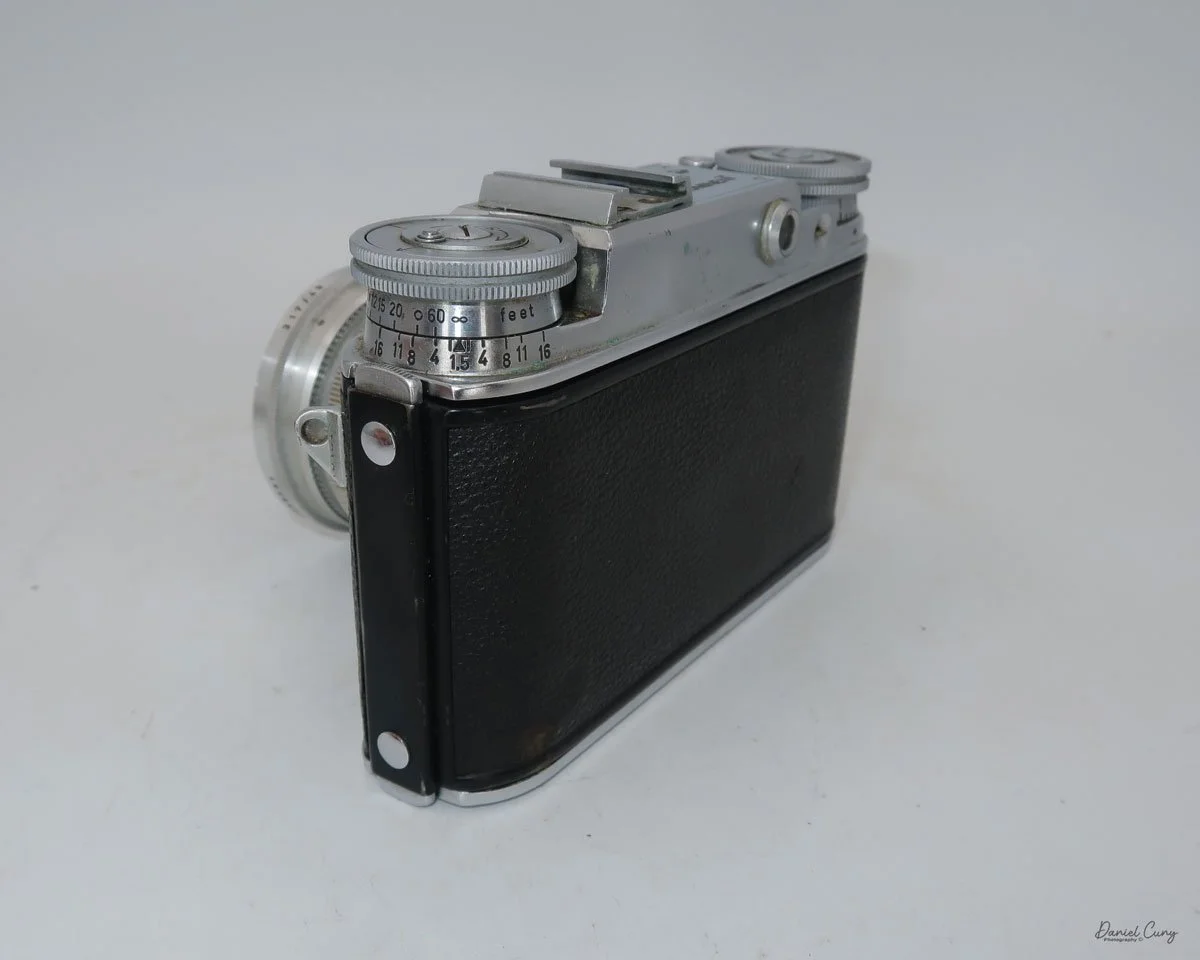
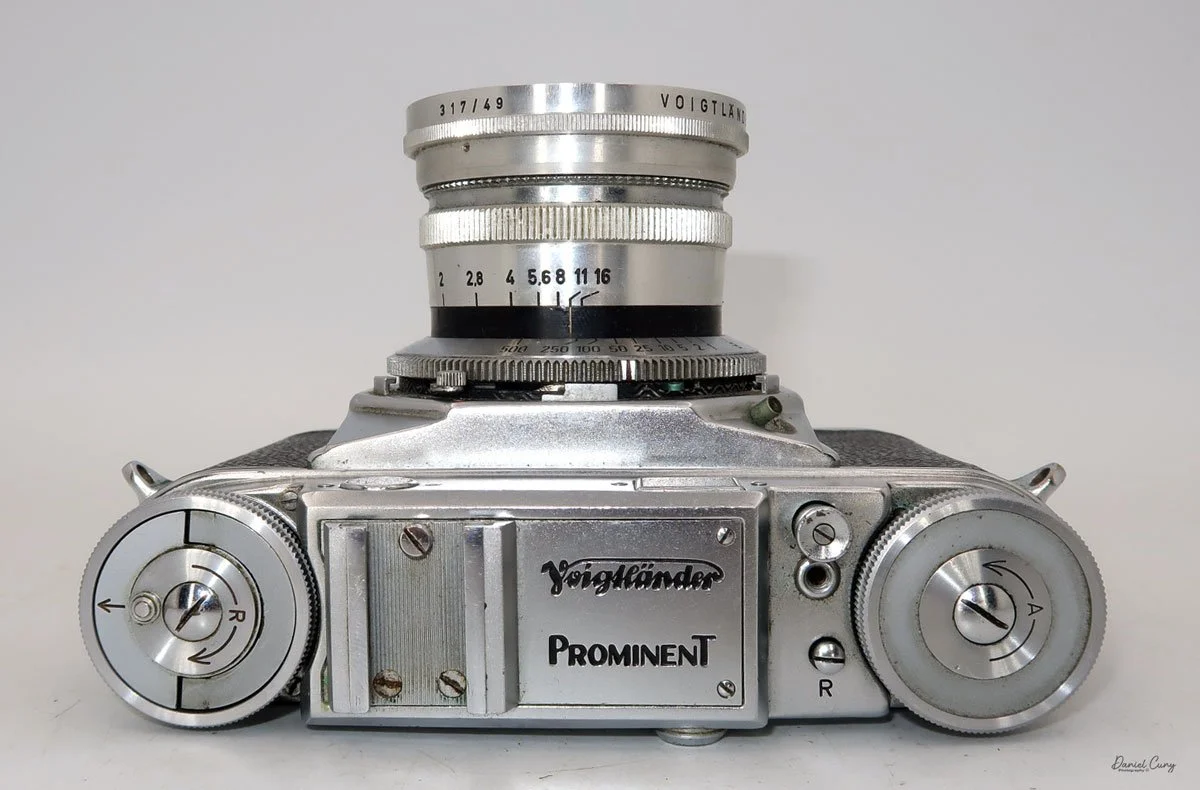
Voigtlander logo and Prominent name on top of the camera.

 After the camera store, he was hired by Procter & Gamble to sell Duncan Hines cake mixes. He climbed the corporate ladder, moving his family with each promotion due to his outstanding managerial and sales skills. All the while, he still had a passion for photography. He was always taking photos of the family and eventually ended his career as a top executive at some of the largest Fortune 500 companies.

 This article is not only about a truly amazing camera, but also an ode to my father-in-law. Someone I looked up to in my career helped me in so many ways and was a warm, loving, generous, and caring individual. He passed away way too early from an auto accident, almost 30 years ago. We still have his Voigtländer Prominent, which he used, and it's in remarkable condition. For the final post, I wanted to write about this truly excellent camera, which means so much to all the family members.

 I've had the opportunity to purchase other Voigtländer prominent cameras, both the original and the Prominent II, with the standard Ultron and Heliar lenses, along with many different lenses and accessories for their cameras. Still, the camera from my father-in-law is off-limits. It will stay in my collection until I'm no longer around.

 I've reviewed other Voigtländer cameras, so I've written about their history in the past. Let me focus on the history of Voigtländer in a specific timeframe: after World War II, when they rebuilt a fantastic camera brand.

Voigtlander Post World War II:

 Voigtländer emerged from the Second World War with its Braunschweig factory largely intact and quickly resumed work under British military oversight, initially dedicating much of its output to Allied reparations until the new West German currency was introduced in 1949. This relatively undamaged industrial base, combined with a strong pre‑war optical tradition, allowed the firm to re‑establish itself rapidly as a key player in the post‑war German camera industry.​

 In the immediate post‑war years, Voigtländer revived and modernized pre‑war designs, adding new anti‑reflection coatings to lenses and continuing large‑format and medium‑format lens production. The company remained under the ownership of the chemicals and photographic‑paper firm Schering AG, which had acquired it in the 1920s, providing financial stability in a challenging economic climate.​

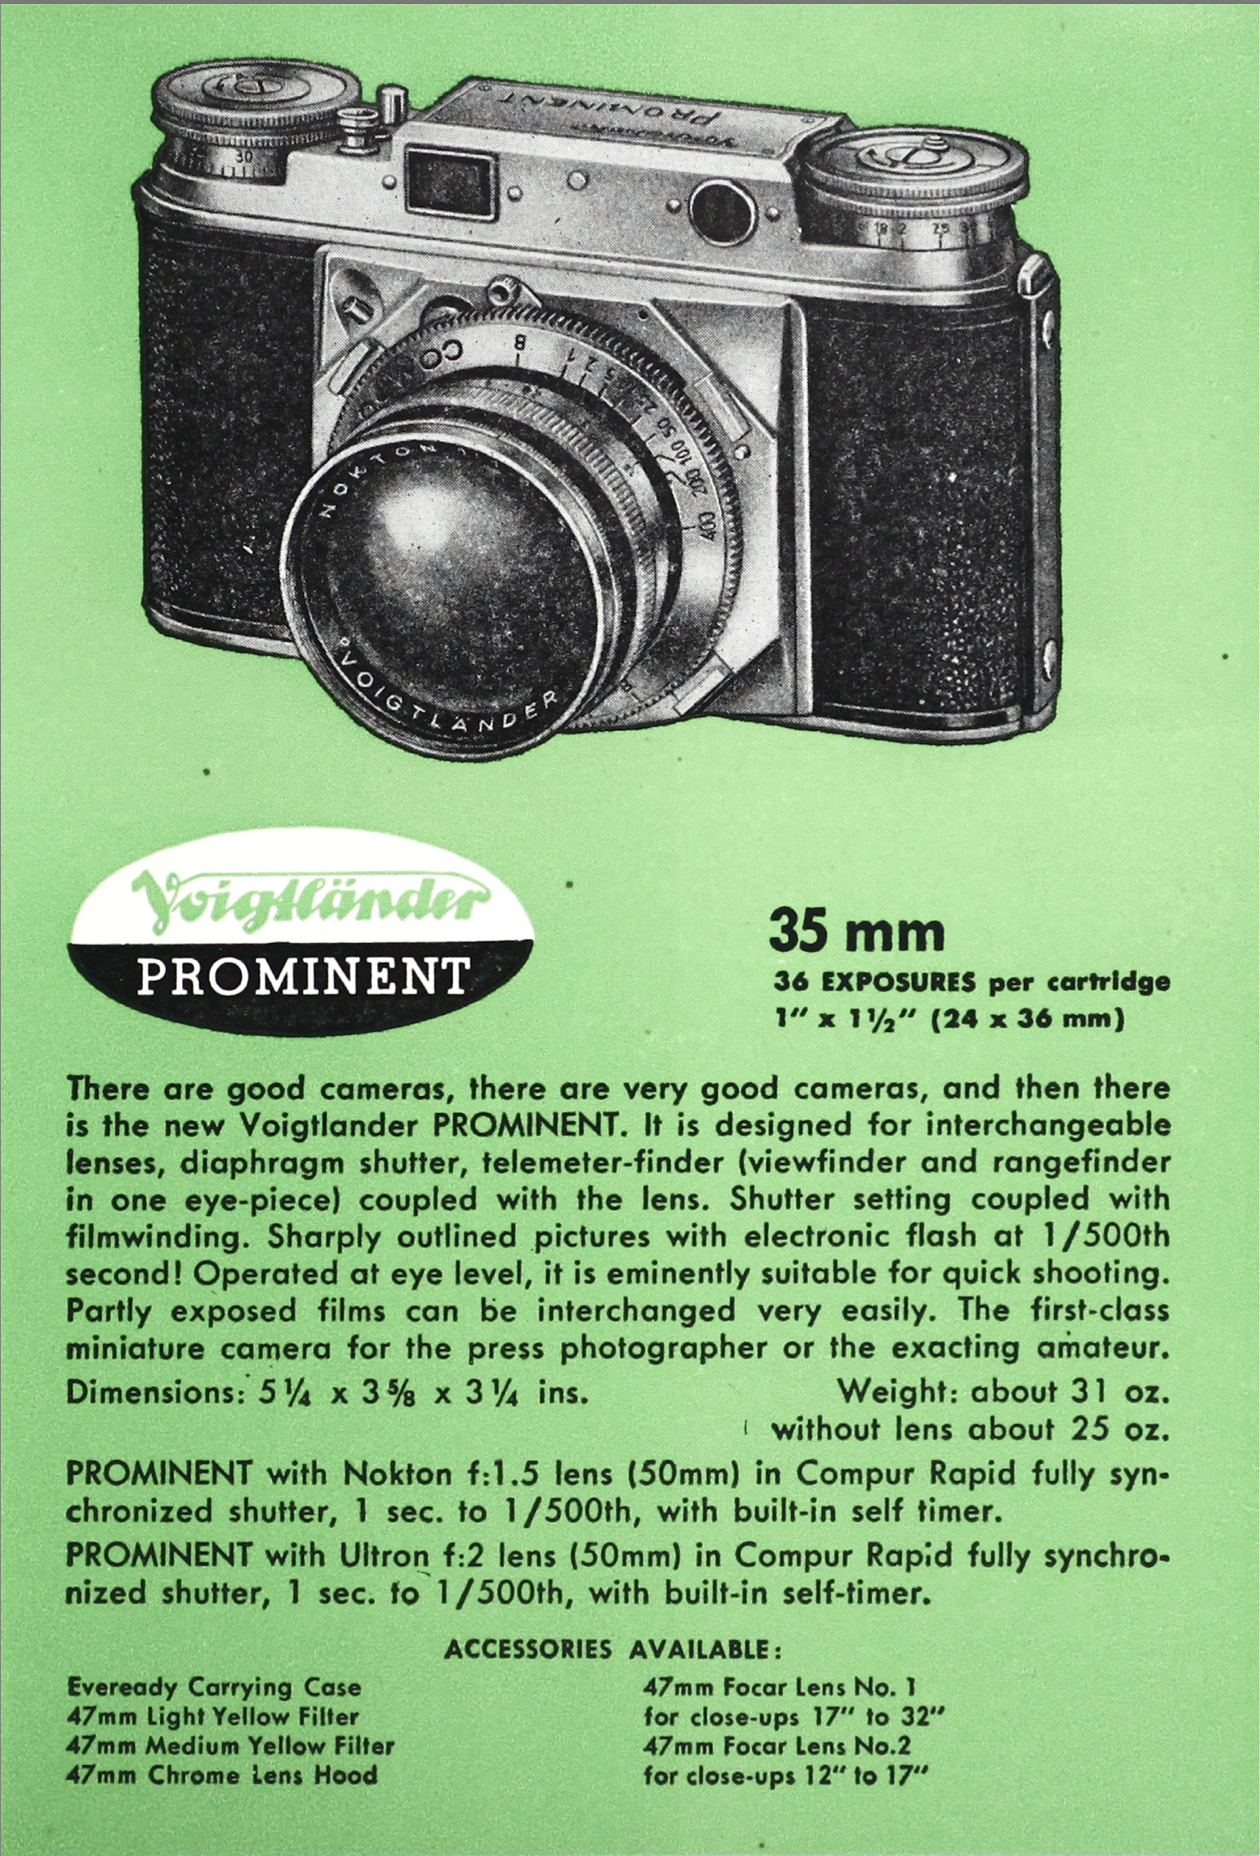
From Voigtlander Catalog Credit: Pacific Rim Camera

 The 1950s became Voigtländer's golden decade, marked by a broad range of high‑quality cameras and lenses that cemented its international reputation. Compact 35mm lines such as the Vito and the more sophisticated Vitessa appeared alongside the professional Prominent 35mm rangefinder. At the same time, optics like the Ultron, Nokton, Apo‑Lanthar, and Heliar established the brand as a leader in lens design. In 1952, Voigtländer introduced the Apo‑Lanthar 105 mm f/4.5, and in 1959, it launched the 36–82 mm f/2.8 Zoomar, one of the first interchangeable zoom lenses for 35mm still photography.​

 In 1956, Schering sold Voigtländer to the Carl Zeiss Foundation, bringing it into the same corporate orbit as Zeiss Ikon while initially keeping manufacturing and sales structures separate. Throughout the late 1950s and early 1960s, Voigtländer expanded into leaf‑shutter SLRs and advanced models such as the Bessamatic and Ultramatic, but the cameras were complex and costly to build. As Japanese manufacturers increased efficiency and undercut prices, Voigtländer's high production costs and conservative designs became major competitive disadvantages.​

 In 1965, Zeiss‑Ikon and Voigtländer's sales operations were combined, but falling sales led to the decision to cease camera production and close the Braunschweig factory on 4 August 1971, affecting over 2,000 employees. The physical works were reorganized as Optische Werke Voigtländer, with shared ownership between Zeiss, Rollei, and the state of Lower Saxony. By 1974, Rollei had taken complete control, continuing to produce lenses and cameras under the Voigtländer brand until its own financial collapse in the early 1980s.

 The trademark then passed through German photo retailers and, from 1999, has been licensed to Cosina in Japan, which uses the historic name on modern manual‑focus lenses and niche film cameras, giving Voigtländer a new life in the era of digital photography.

My Camera:

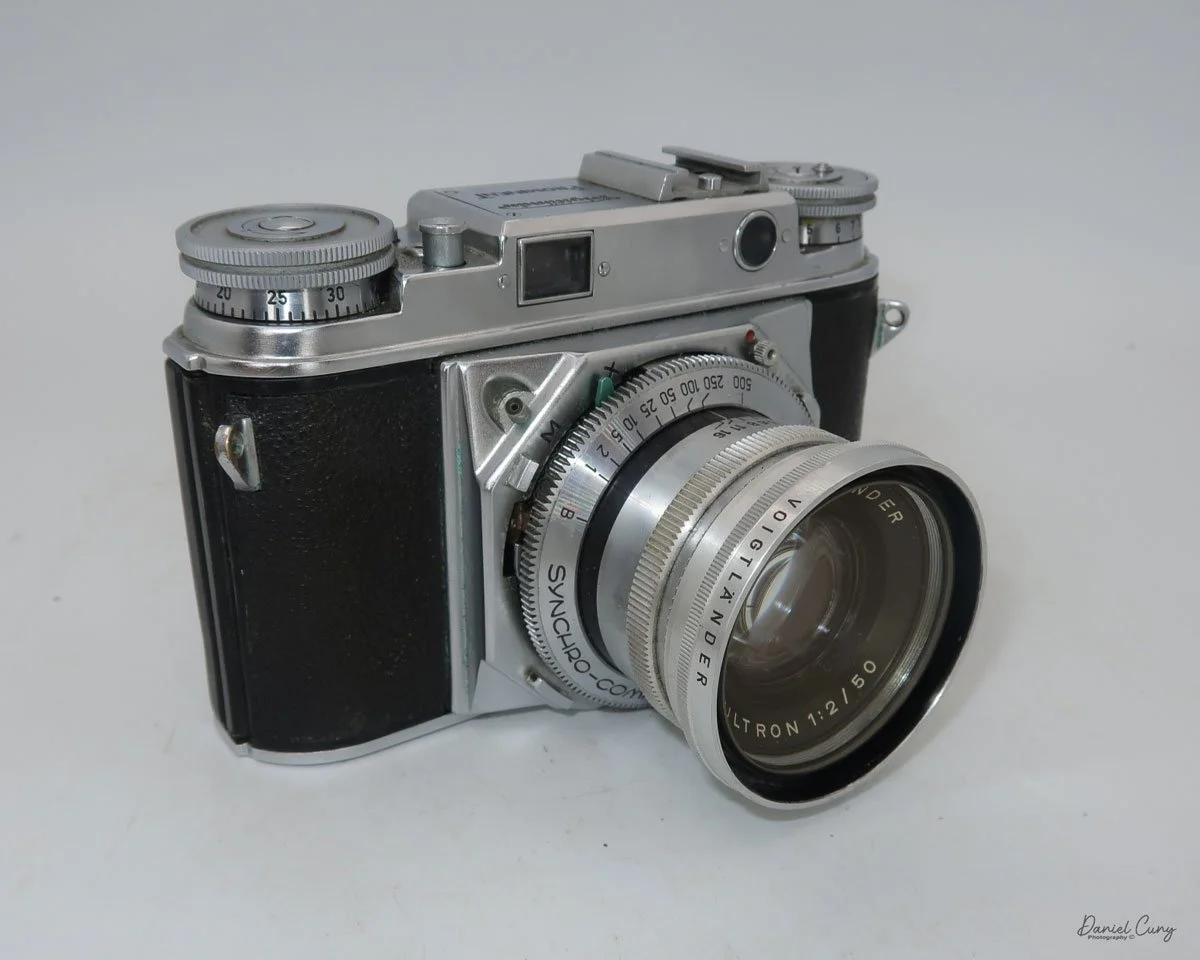
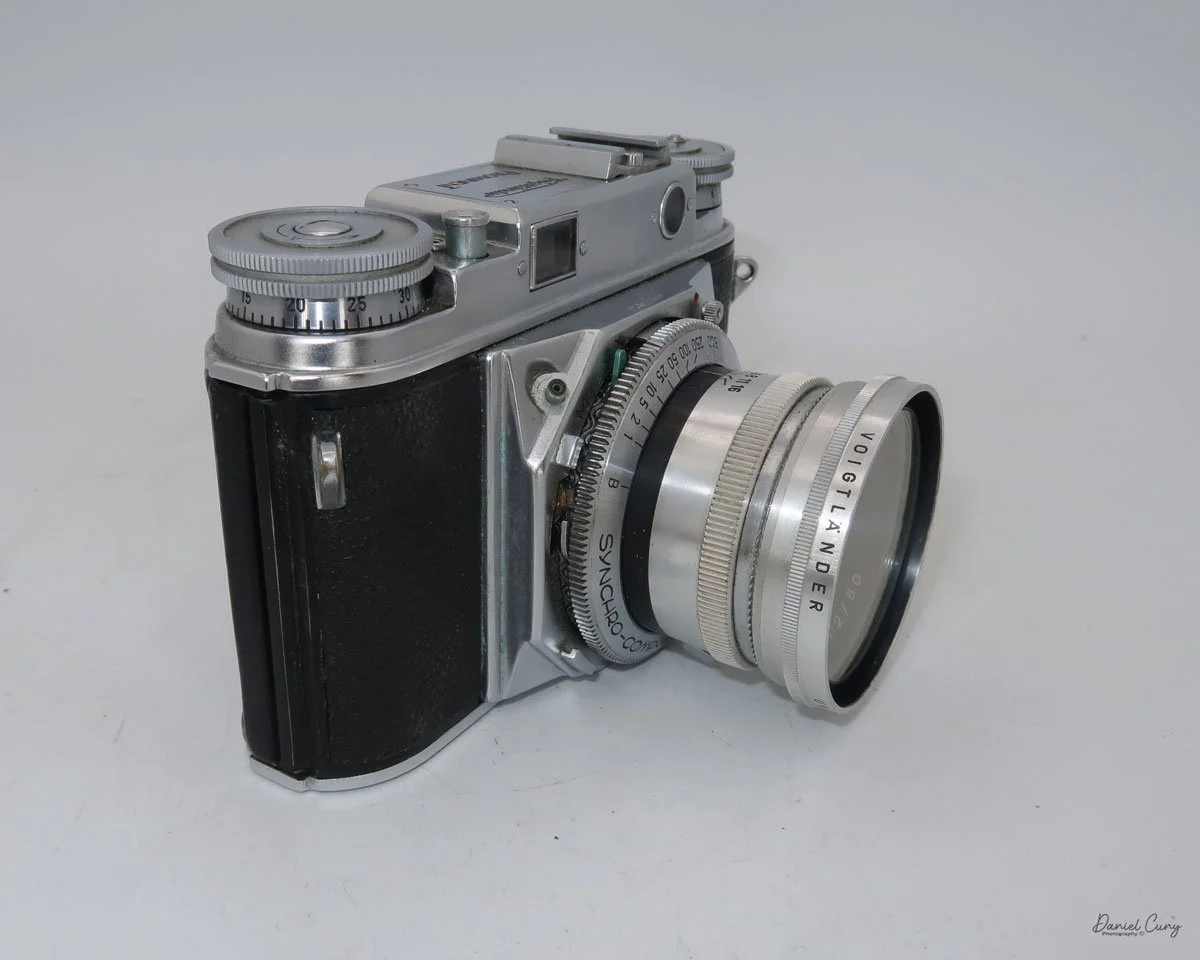
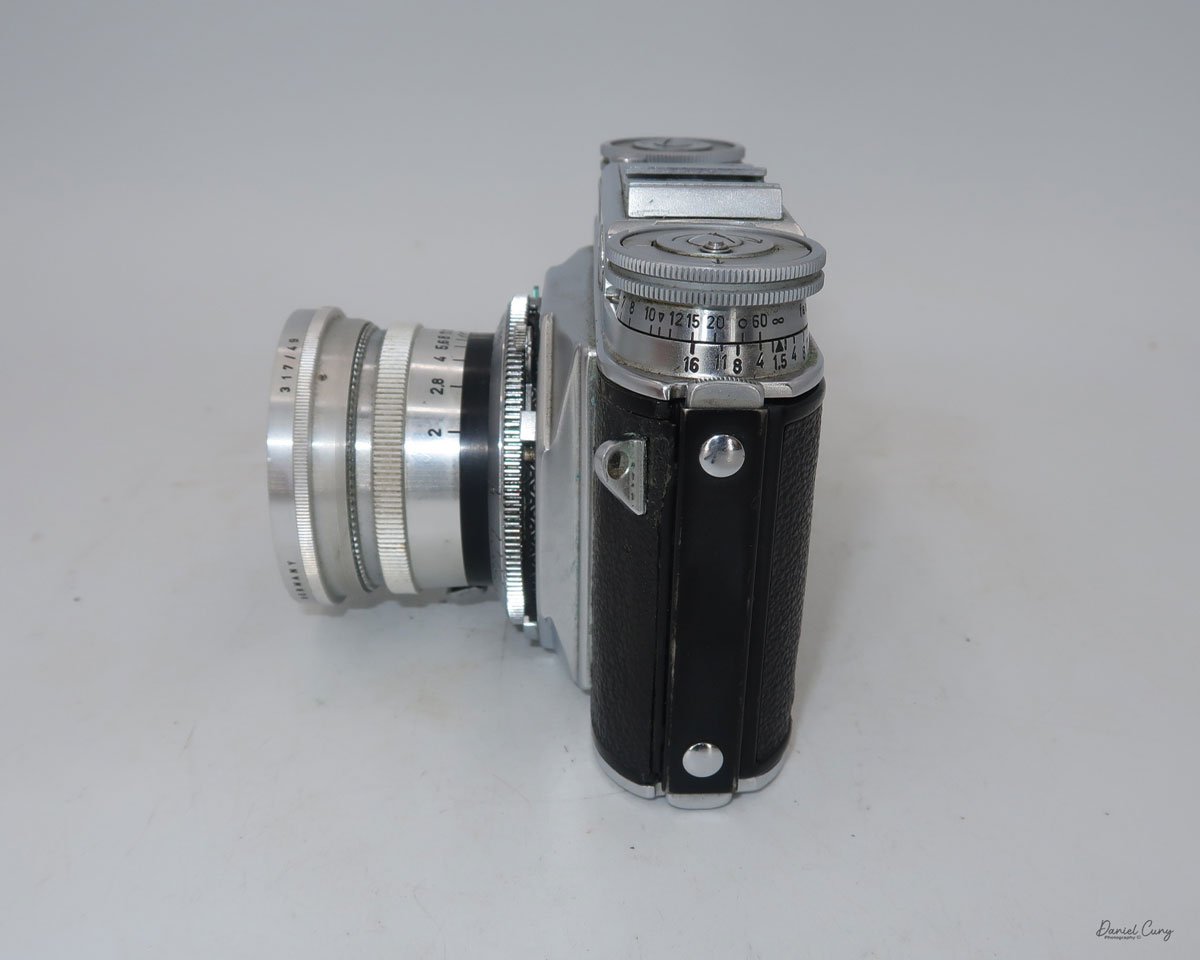
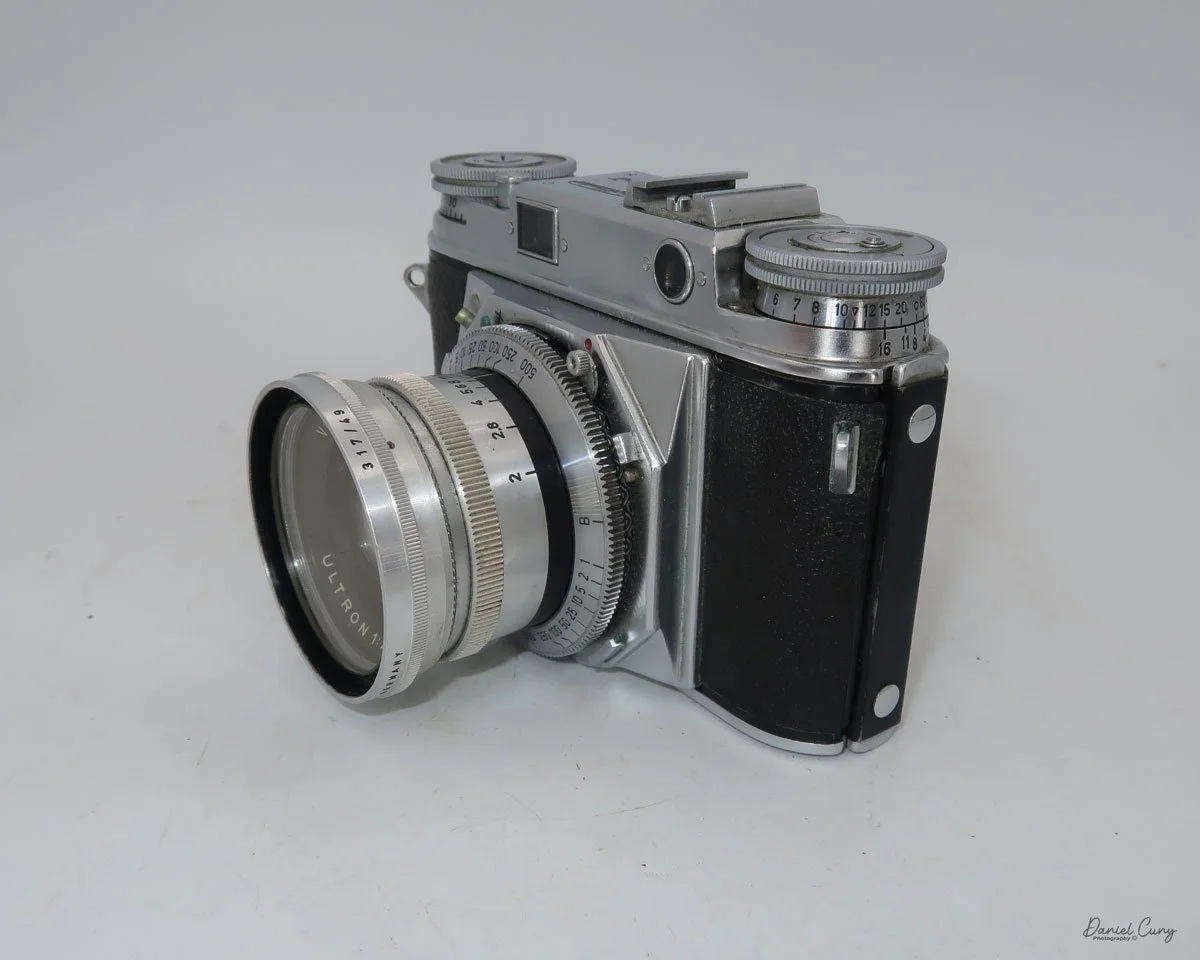
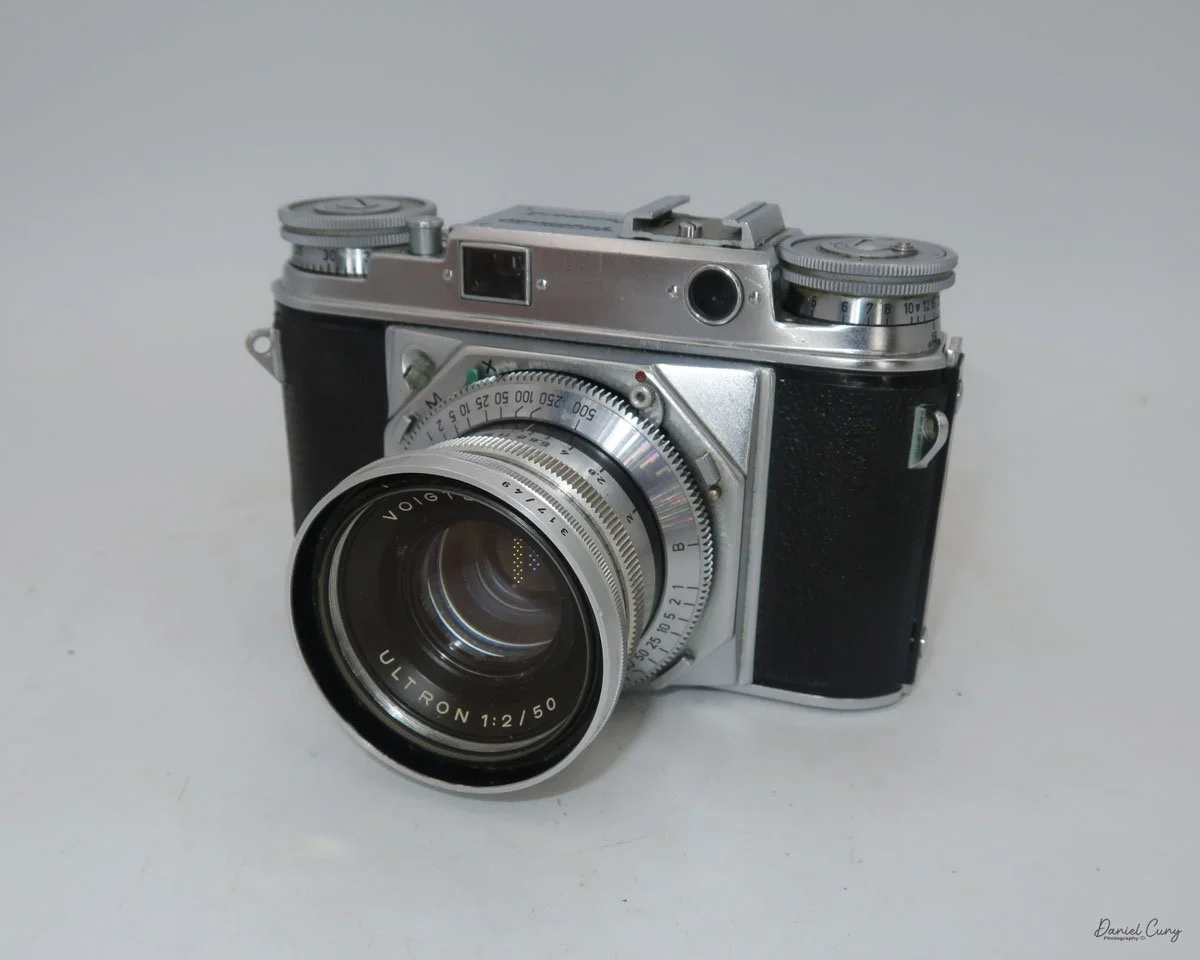
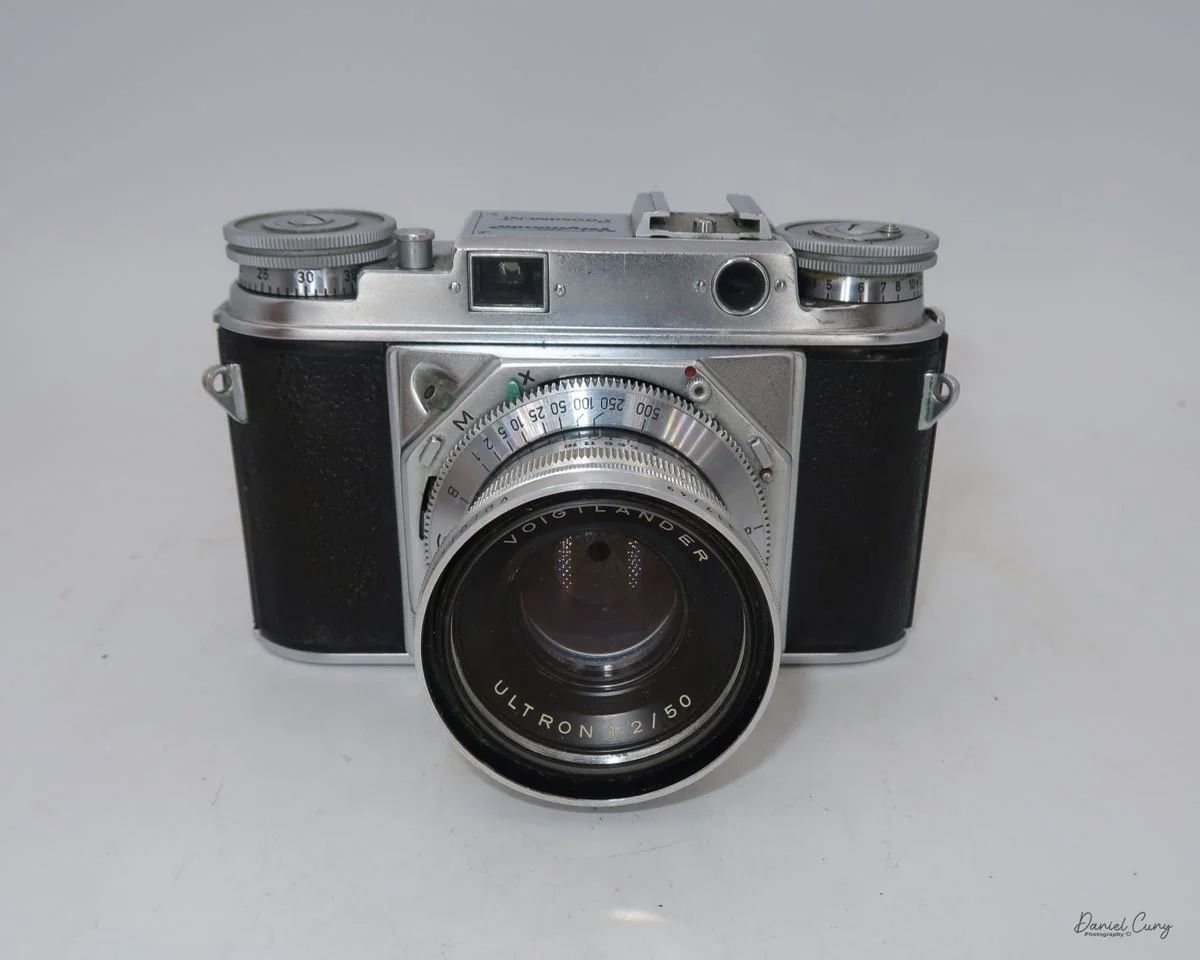
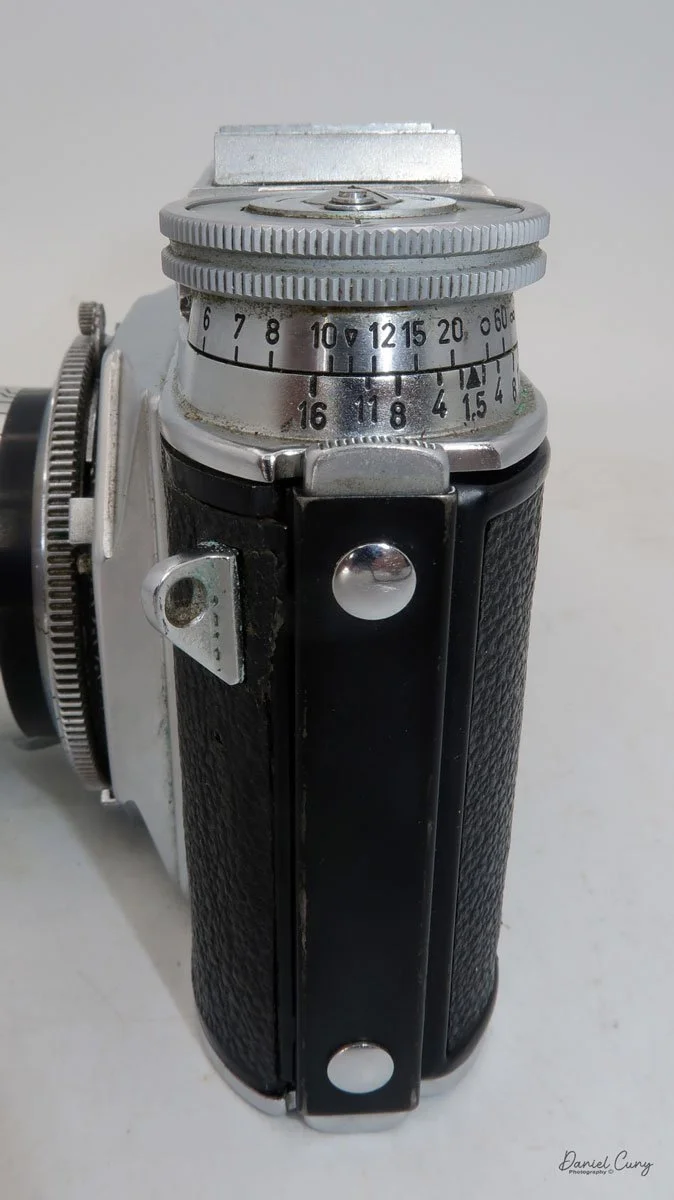
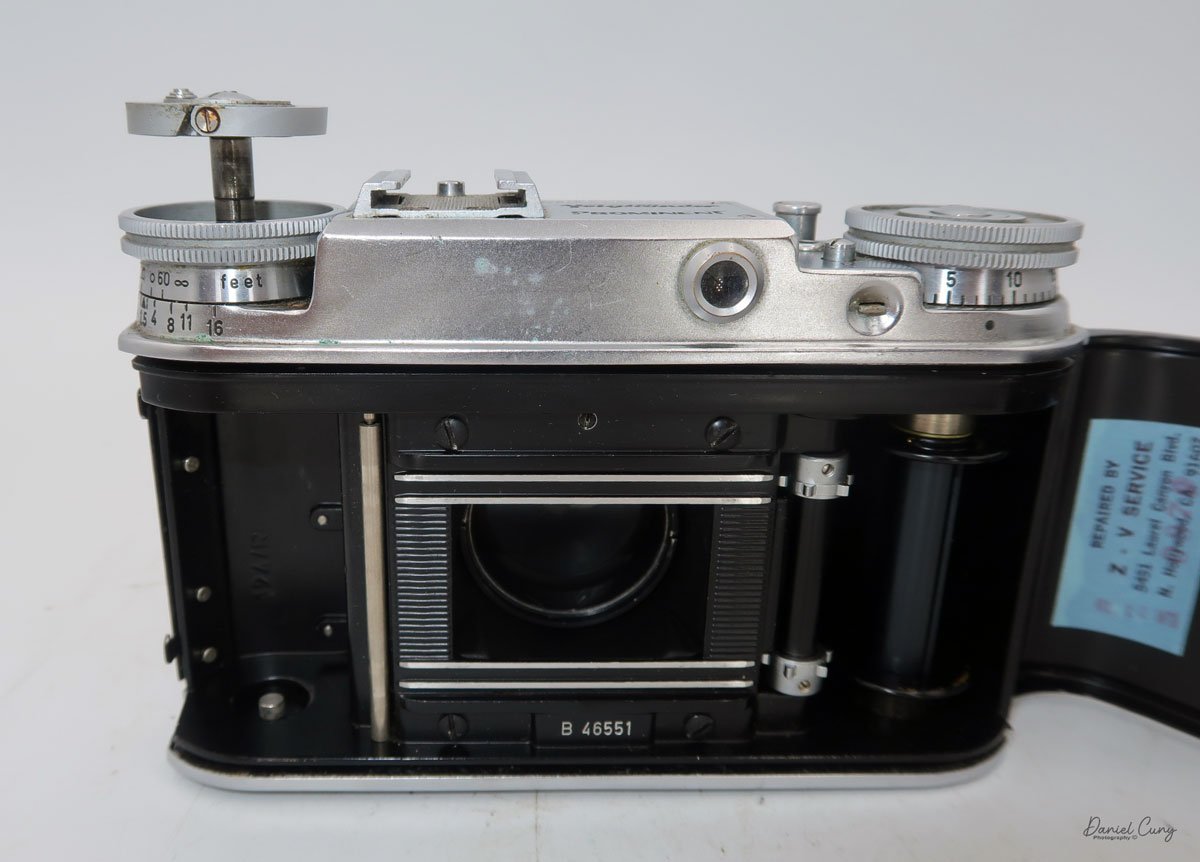
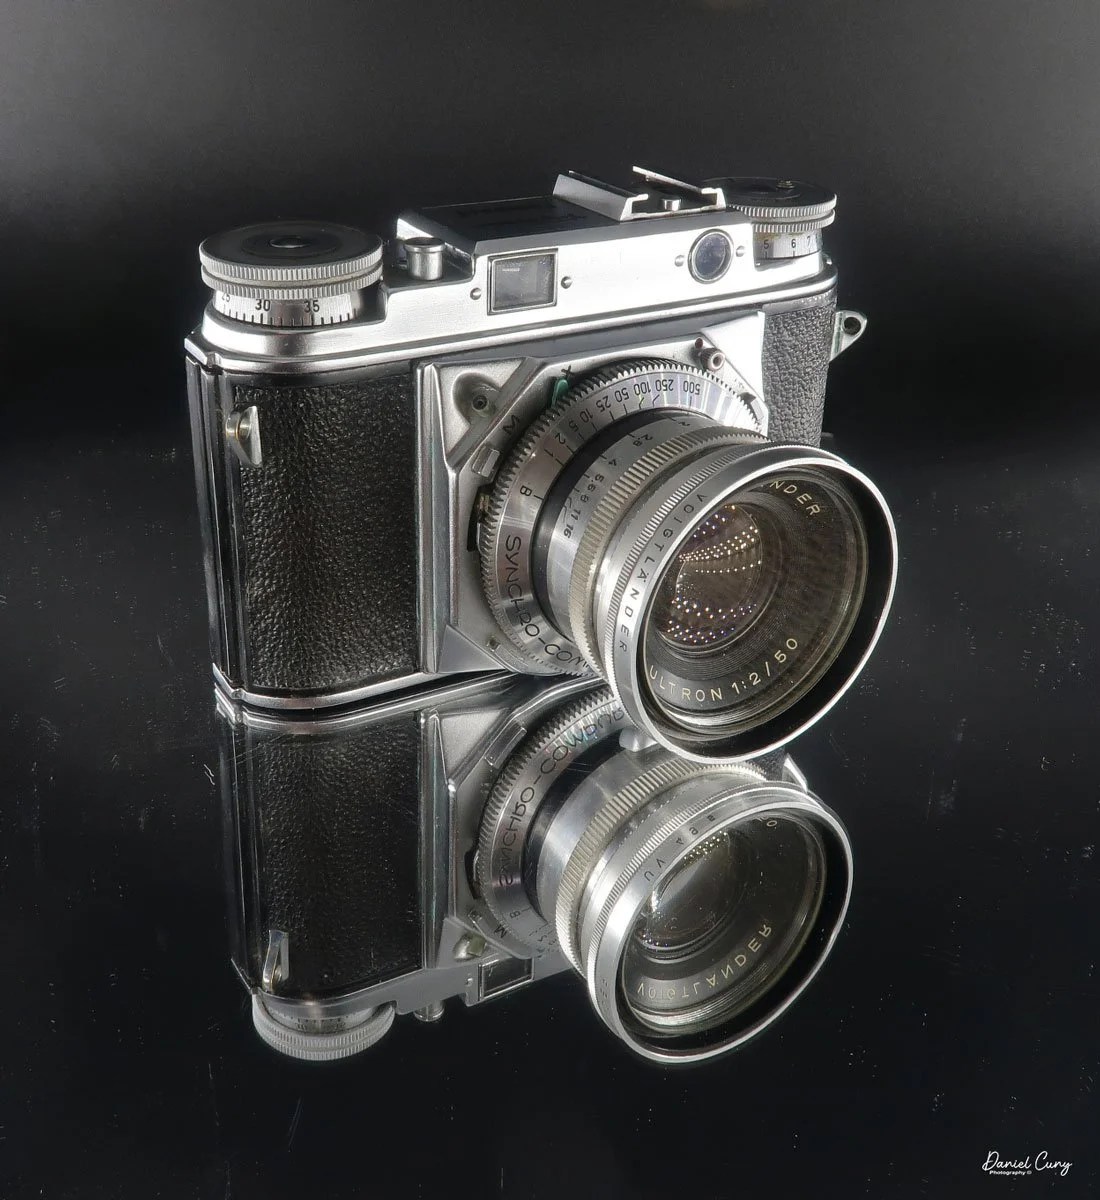
 My Voigtländer Prominent comes with the standard Ultron 50mm f/2.0 lens. The camera body serial # B 46551, and lens serial # 3782651. With this camera, there is a Voigtländer UV filter that I generally leave on the camera, along with a yellow filter for black-and-white photography, a rectangular metal lens hood, and the fitted brown camera case. The camera is 5.5" wide by 3.5" tall by 3.5" deep, and weighs 2 pounds, 0.8 ounces without film.

 The Voigtländer Prominent has some weight to it, and for me, it feels very comfortable in my hands. Maybe because it resembles an SLR more, like what most people are used to with rangefinder cameras. The camera has a somewhat peculiar layout and is something you'll need to get used to.

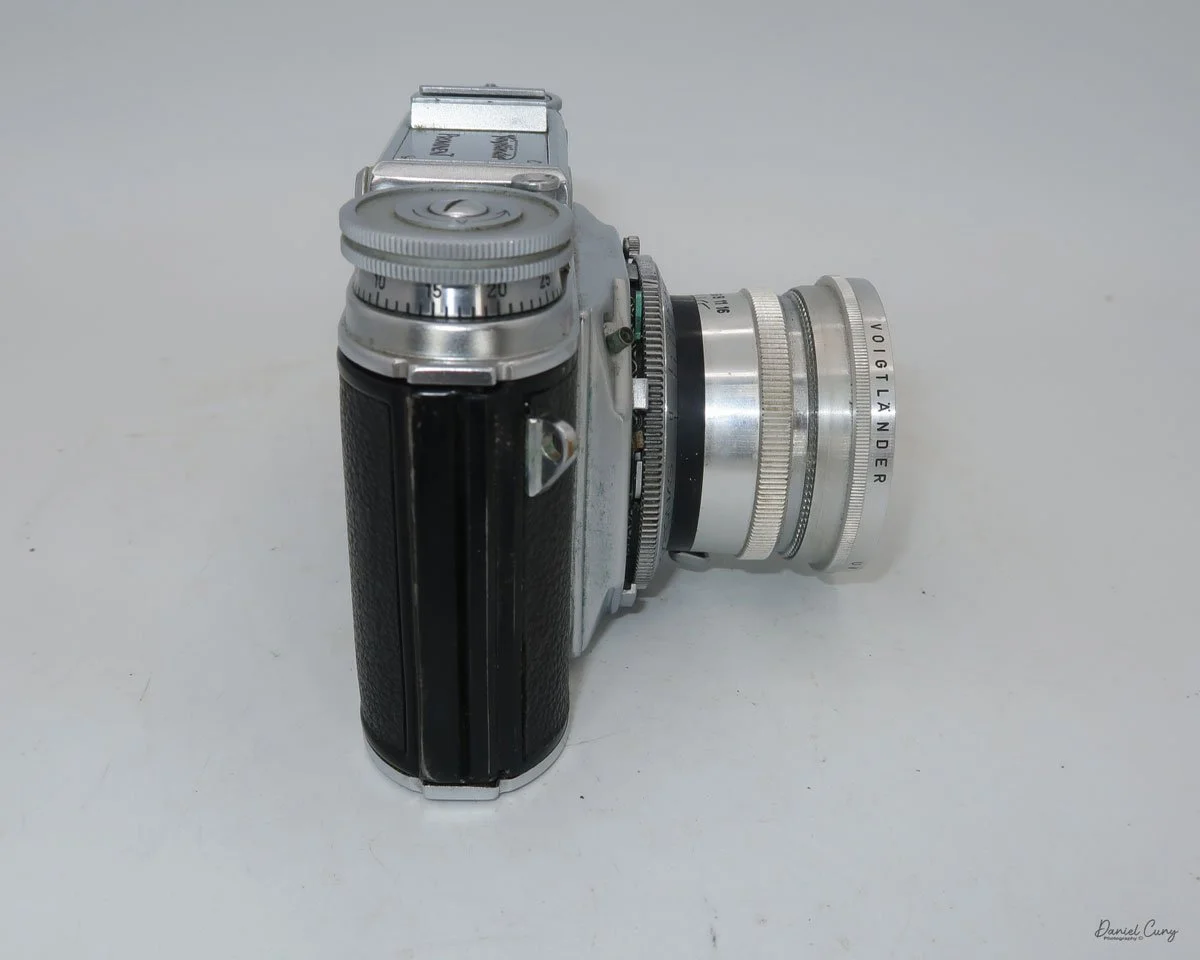
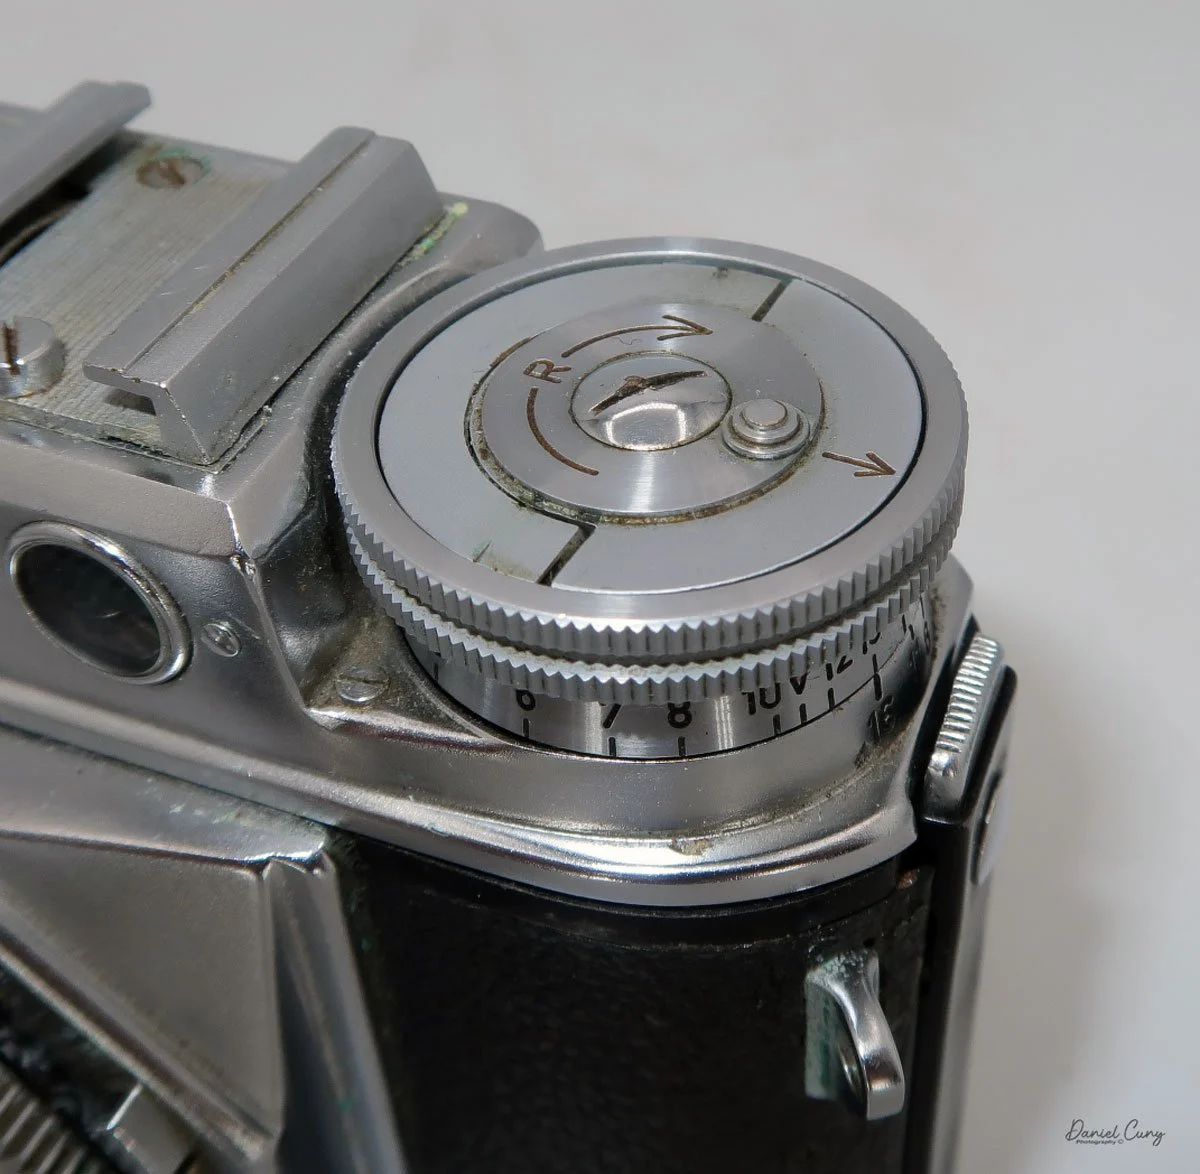
When you put the camera to your eye, the viewfinder is on the right side of the camera, which, for many, is different. The majority of cameras have the viewfinder either centered or more to the left than to the right. The focusing ring isn't on the lens, but located on the rewind knob. As you turn the outside of the rewind knob, generally used to rewind the film in the film cassette when you're done with the roll, on the Voigtländer Prominent, it focuses the lens. 

Looking through the viewfinder, the rangefinder is bright, with the yellowed area in the center clearly visible. With your left hand, turn the outer ring of the rewind knob to focus on your subject. Once the image is in focus, take your photo. Under the focus distance is the camera's depth of field guide for the aperture used. 

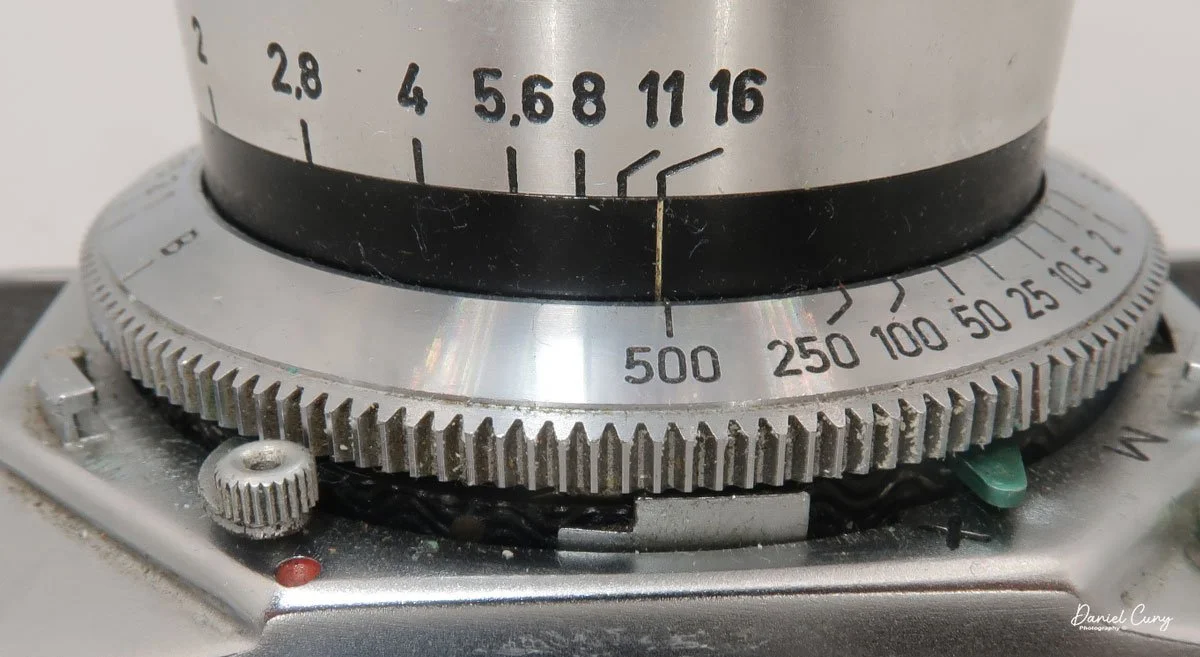
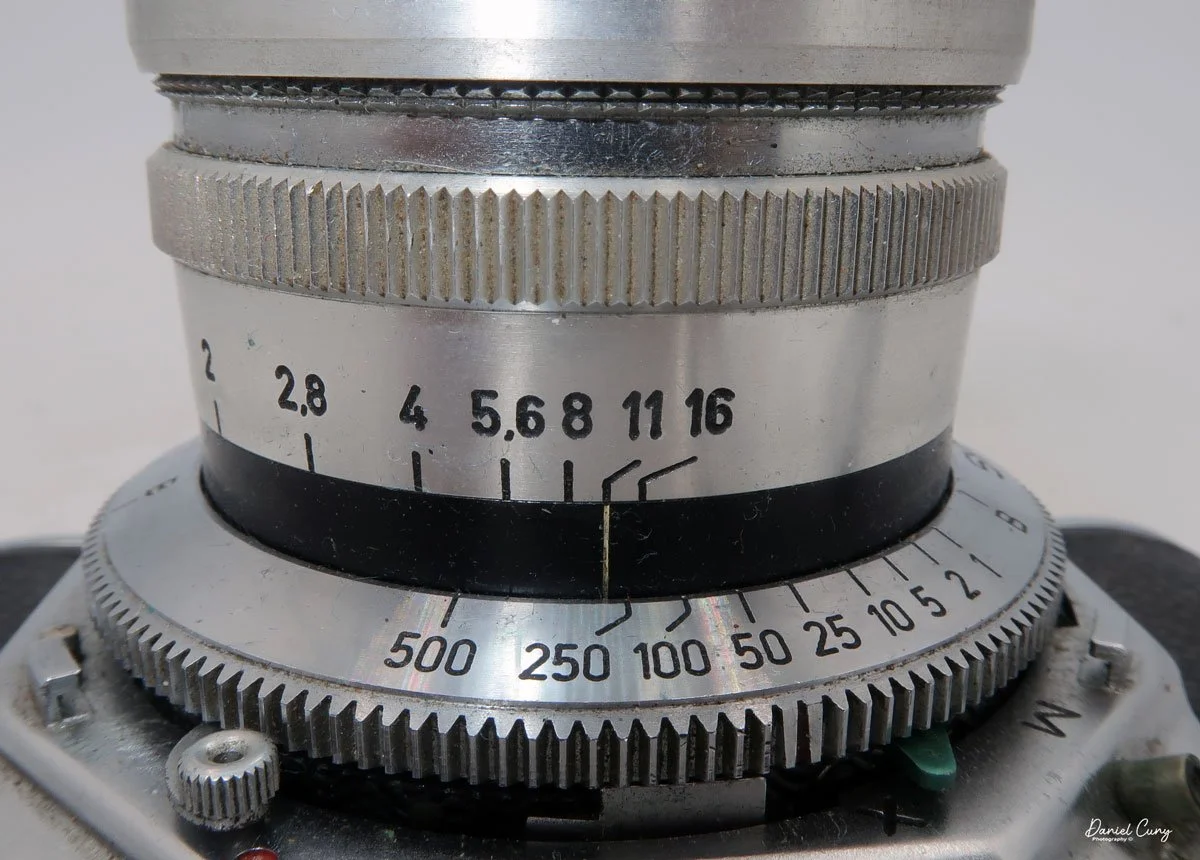
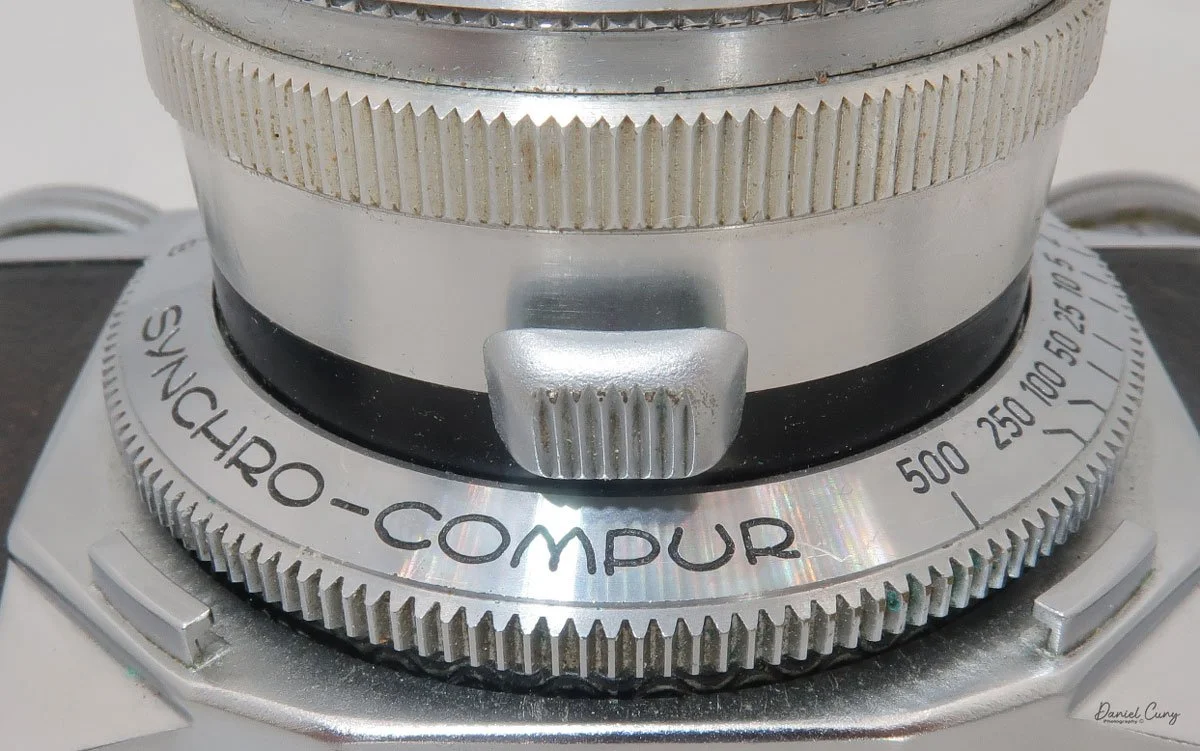
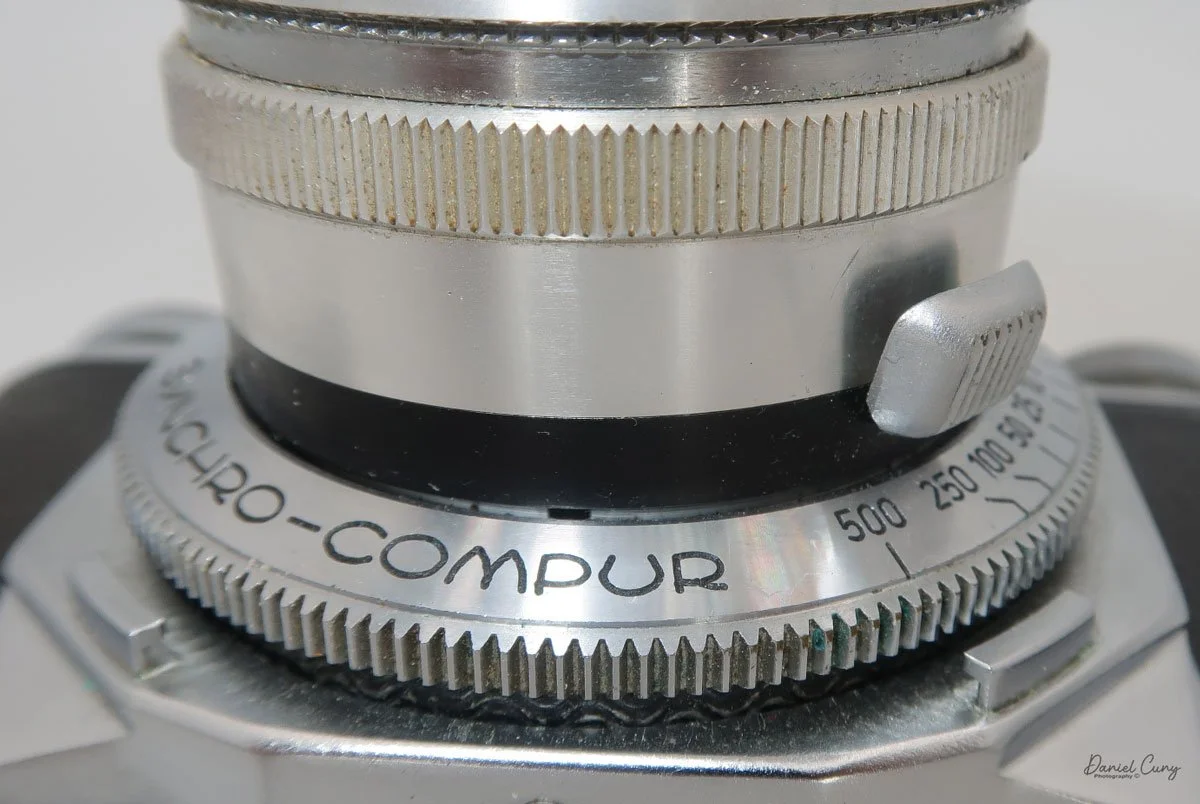
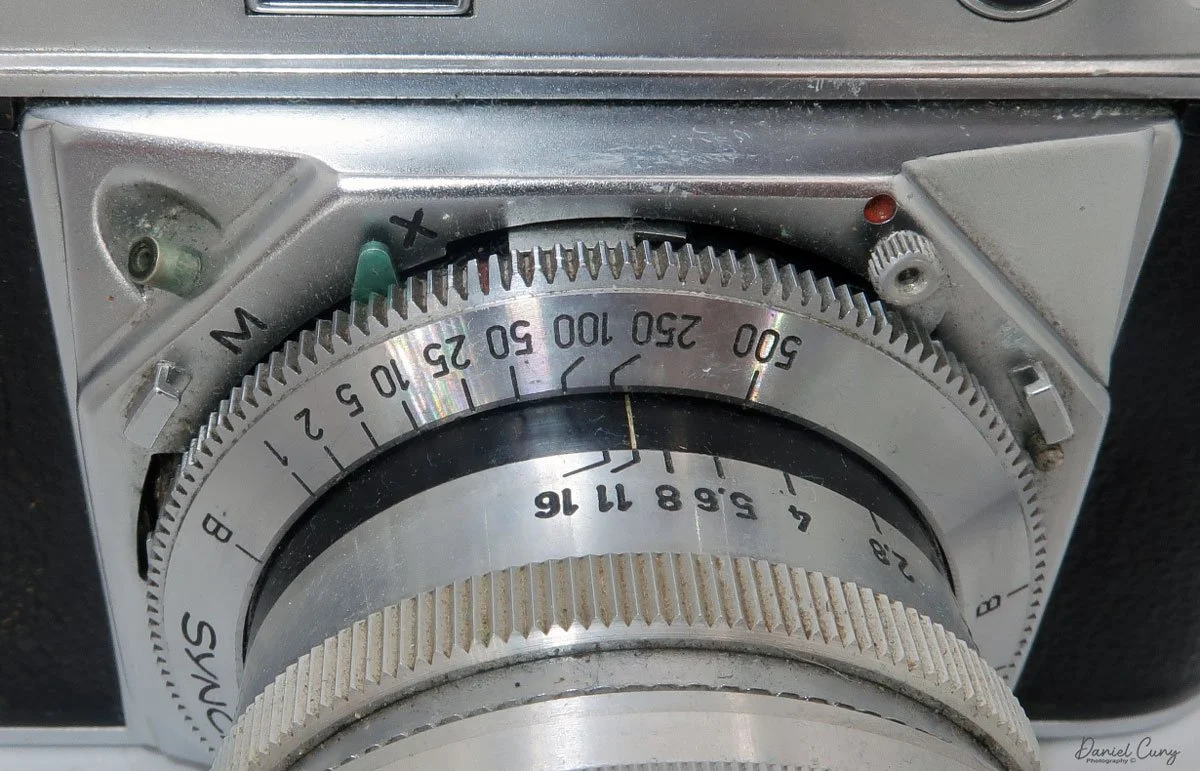
To take a photo, on the right-hand side of the camera is the film advance lever; wind it clockwise to advance the film. The same motion that advances the film also moves an internal bar that cocks the shutter. The shutter speed dial on the Syncro-Compur shutter is set by turning a ring just in front of the shutter cocking lever. The shutter speeds on this camera go from 1/500 to 1 sec, with "B" for timed exposures. According to the Voigtländer Prominent camera manual, it's best to set the 1/500 shutter speed before winding the camera, which cocks the shutter. You can set any shutter speed once the camera's shutter is cocked, but 1/500's not recommended.

If you want to use the camera's self-timer, it can be manually set by pulling down on the shutter's cocking lever once the camera is cocked. This sets the camera's self-timer to approximately 10 seconds when the shutter release is depressed. The camera's shutter release is the larger button on the top of the camera, just to the left of the film transport knob. Behind the shutter release is the cable release socket for timed exposures.

Top view of Voigtlander Prominent camera

Looking at the lens, the aperture is set by turning the aperture ring in the direction that produces a properly exposed image. On the Ultron 50mm lens, the aperture goes from F/2.0 to F/16. To remove the lens from the body, on the bottom of the lens is a large button you press in; interestingly, you can remove the lens by turning it left or right. Likewise, to put the lens onto the camera body, make sure the large button is on the bottom. You can mount the lens either to the right or left as long as the button end is on the bottom.

 Since the camera utilizes a leaf-style shutter as opposed to the standard focal plane shutter, the flash will sync at any shutter speed, which allows the photographer the ability to control the ambient light with flash much better, and this makes film cameras such as Hasselblad and Rolleiflex cameras ideal for weddings, portraiture, and commercial studio work. On the front of the camera, at the 11:00 position, is the PC sync for flash, along with the flash settings: "X" for electronic flash or "M" for flash bulbs.

To load film into the Voigtländer Prominent camera, on the left side of the camera are two buttons you press to open the camera's back door. Once open, you load the 35mm film just as you would any other 35mm camera. Push up the rewind shaft, drop in the 35mm cassette, and bring the leader over to the camera's take-up spool. Thread the leader into the take-up spool slot and wind the film advance. Make sure the film's sprocket holes are in the drive gears and take up the slack. Before closing the back of the film door, I like to turn the rewind knob to take up the slack in the film cassette, so when I close the back and wind to the first frame, I watch the rewind knob turn to make sure the film is actually moving within the camera.

 Once you close the back door, the frame counter needs to be set manually. To do this, lift up on the winding knob, then turn the camera's frame counter to "F" to give you a couple of turns on the film advance until you get to frame number 1.

When you're done with the roll of film, you'll need to rewind it into the film cassette. The rewind knob has an arrow pointing outward. Push the button outwards, and the rewind handle will pop up. Just below the cable release socket is a small button labeled "R". Press the "R" button to disengage the transport gear, then turn the rewind knob clockwise to rewind the film into the film cassette. Once the film is rewound, open the camera back, process the film, and reload the camera with more film. 


My Results:

 I loaded the Voigtländer Prominent with a roll of 200-speed film and took one of our dogs to the local dog park to get the pooch some exercise, taking photos of a different area than walking through the neighborhood as I usually do.

 Here are some photos from the local dog park and the shadows on my back patio on a beautifully sunny day in the Portland Area in December. It wasn't a typical December day in this area, so I wanted to make the most of it.

Conclusion:

 I really love this camera. The images are incredibly sharp, and this camera gives Leica and Contax a run for their money. It's exceptionally well-built, the lenses are tremendous, and I like the camera's size and weight.

 The system's weakest link is its lack of lenses, and for many, the camera's focus is a drawback. I've read that people don't like having the viewfinder on the right side, which makes it more challenging for them to use the camera. I don't find it annoying, as others do.

 Here's a link to my other Camera Reviews.

 If you're looking for a camera, lens, or other photo oddity, please stop by my eBay store, Cuny's Cameras and Photo. If there's something that interests you, mention my blog, and I'll offer you a discount.

 Thank you for taking a few minutes from your day to read about this excellent camera with extremely sharp lenses. If I don't post another review before the end of the year, please have a Happy Holiday and a fabulous New Year.

 Until next time, please be safe.
Hasselblad X-Pan

My Hasselblad X-Pan w/finder

Throughout my photographic career, my passion for panoramic images and cameras, as well as daguerreotypes, has consumed a significant part of my interest in collecting photographic items, including those with unusual or colored features. I recall the timeline when I first acquired specific working models of panoramic cameras.

 In my early days of collecting, I recall purchasing my first panoramic camera, a Russian-made 35mm Horizont camera. That camera helped spark the purchase and use of more panoramic cameras. When I bought a Kodak Panoram 1, I just put it on my shelf. When I found out that 120 film fit into the Kodak Panoram, Model 1 camera, I almost jumped for joy, because I could use it, rather than look and admire it.

 Wanting to add to the panoramic camera family, the elusive Widelux F7 was still years away, as I had a young family and was careful about the types of cameras I purchased to grow my collection. During this time, I came across a few Multiscope Al-Vista cameras, particularly the Baby, because, like the Kodak Panoram 1, the Baby Al-Vista also uses 120 film.

 As time went on, and the kids grew, and I advanced in my career, more funds became available to acquire the more exotic items that were previously out of reach financially when I was younger. A coworker had a friend who was selling an early Panon 120 panoramic camera for a very reasonable price, which I purchased and took with me to Peru’s Machu Picchu when my wife and I took a trip there.

 It was a decade ago when I finally had the chance to acquire a Widelux F7 model at an excellent price. Despite its cosmetic condition, I was determined to bring it back to life. After a visit to Precision Camera Works in Texas, the camera was given a new lease on life. Today, it's one of the most frequently used cameras in my collection, and the one that has captured many of the images in my panoramic section on my website.
My Hasselblad X-Pan w/30mm lens, finder, center filter, 3D printed lens hood and cap.

 The Hasselblad X-Pan was a camera I recall from its introduction to the market in 1998. Like several cameras from Hasselblad during those years, it was a collaboration with Fujifilm in Japan. Hasselblad sold the X-Pan worldwide, except in Japan. In Japan, Fujifilm had the TX-1, which was the same camera, just a different name and model number.

 It wasn't until about five years ago that I had the opportunity to purchase the X-Pan I currently have and am writing about in this post. The Hasselblad X-Pan is a significant addition to my collection, not only because of its unique features but also because of its history and the challenges I faced in acquiring it. I found it on an online auction, but the camera didn't have the standard lens; it only had a 30mm lens. No finder, and the top of the camera was missing the small plastic piece in front of the flash shoe. The camera was used very well, but its working condition was unknown.

 Examining other items being sold in the auction, I discovered a group of items that included the 30mm finder for the X-Pan. I notified the auction house that the finder from this lot should go with the camera from a different lot. They placed the finder in the lot with the X-Pan, which made the items more desirable, especially to me. 

 When it came time for the lot to be sold, I was surprised at the price it sold for, and fortunately for me, I was the high bidder. The price wasn't cheap, but for the items sold, it was a great deal. One of my first reactions was, Is the camera in working condition? I paid the shipping fees, and I just crossed my fingers that the camera wasn't a total wreck, but rather a pile of parts I needed to pay to get repaired. The anticipation and uncertainty of this process added to the thrill of acquiring this unique piece for my collection.

 Once the camera arrived, the first thing I noticed was its physical condition. There were many scratches on the body, and the item missing from the top, near the flash shoe, gave the camera a very "combat" look. The great news was that the center filter was there, which I hadn't noticed, and when I put batteries in the camera, it came to life. All the displays lit up, so I started to feel very good about the purchase.

 Once I put the finder on top of the camera, and it hid the missing piece by the flash shoe, I had a huge smile on my face. The next thing I needed to do was put a roll of film in the camera and try it out. After I did that and the film turned out well, I knew I had a keeper and one I needed to start adding to the rotation of shooting with, especially since it had the lens I desired, the 30mm wide-angle lens and finder.

History:

 The history of Hasselblad, the iconic Swedish camera manufacturer, is inextricably linked to the passion and ambition of its founder, Victor Hasselblad (1906–1978). Though the family business, F.W. Hasselblad & Co., began in 1841 as a trading company, it was Victor's innate interest in photography—fueled by a childhood passion for birdwatching—that transformed the firm into a global innovator. After training in the optics industry across Europe and the United States, even working under Kodak founder George Eastman, Victor opened his own shop, Victor Foto, in Gothenburg in 1937. 

 The pivotal moment for the company arrived during World War II. In 1940, the Swedish military tasked Victor with reverse-engineering and improving a German aerial surveillance camera that had been recovered. His reported reply—"No, but I can make a better one"—set the standard for the company's future. He founded Victor Hasselblad AB in 1941 to manufacture the HK-7 military camera, laying the groundwork for the company's subsequent civilian production.

After the war, Victor applied his modular military design to the consumer market, launching the Hasselblad 1600F in 1948. This medium-format, single-lens reflex (SLR) camera, with its distinctive modular design featuring interchangeable lenses, viewfinders, and film magazines, quickly became the gold standard for professional photographers worldwide, especially with the introduction of the robust 500 series in the 1950s.

 Hasselblad secured its legendary status through its partnership with NASA, which began in 1962. Astronaut Walter Schirra, an avid photographer, suggested using his personal Hasselblad 500C to document space missions. NASA modified the cameras to withstand the harsh conditions of space, and the Hasselblad became the camera system of choice for American spaceflight. The climax of this partnership occurred on July 20, 1969, when a Hasselblad Data Camera (HDC) captured the historic first steps on the Moon, solidifying the brand's legacy as a true pioneer in imaging technology.

My Camera:

 My Hasselblad X-Pan is 7" wide by 3.25" tall without the 30mm viewfinder and 5.5" tall with the viewfinder by 3.5" deep from the back of the camera to the front of the lens. The camera weighs 2 pounds, 9.6 ounces with the 30mm f/5.6 lens. The camera body serial number is 11EE13969, and the lens serial # is 8SXP13110. I purchased an aftermarket, 3D-printed lens hood and cap for the 30mm lens, which fits well. However, it is shifting on the lens and not staying in the proper position, so I may have to spring for an actual Hasselblad-made hood and cap.

The camera is powered by 2 CR2, 3V photo batteries, which, like many cameras, fit into the bottom of the camera. Most of the controls are located on the top of the camera. Going left to right is the camera's hot shoe for flash. That's something I don't use, except for sliding the 30mm viewfinder onto the hot shoe and then screwing it down to hold it in place.

 To the right of the hot shoe is the shutter speed dial, which ranges from 1/1000 to a full 8-second exposure, accompanied by a green "A" for Auto mode. In the case of the X-Pan, when the selector is set to the green "A" position, the camera is in "aperture preferred" metering, which means you select the desired aperture, and the camera will choose the appropriate shutter speed depending on the film's ISO and the lighting conditions. Even in "auto" mode, there are warning signals within the viewfinder that indicate if you are overexposed or using a shutter speed longer than 2 seconds.

If the camera is not in the "auto" exposure mode and you're selecting both the shutter speed and aperture, a series of lights and signals, indicated by +/-, appears within the viewfinder, showing what a properly exposed image will look like depending on the selected shutter speed and aperture.

 To the right of the shutter speed dial is the shutter release, marked in silver, and a small window behind the shutter release that displays "P" if you're in panoramic mode, as well as the frame number you're on. Further to the right is the main On/Off switch at the bottom, along with "S" for single frame, "C" for continuous shooting, and a clock face for self timer. Turn the On/Off switch to the desired mode, and the camera will be on. On top of the dial is exposure compensation, which allows for up to 2 stops of light lighter or darker than the recommended meter settings when in the "A" or auto mode. These are set in half-stop increments on the dial.

On the back of the camera, from left to right and top to bottom, is the camera's viewfinder, which incorporates a coupled rangefinder. My rangefinder is very bright, which makes the camera extremely easy to focus with. Just above the camera's viewfinder is the 30mm viewfinder. The viewfinder features several different frame lines, depending on the film format used, along with a bubble or spirit level at the bottom to check if your camera is level.

To the right of the camera's viewfinder is an essential switch. The X-Pan camera is compatible with the standard 24x35mm film format. Alternatively, by depressing the button and turning the dial to the "P" position, you can shoot in a panoramic format of 24 mm x 65 mm. On the back of the camera by the shutter, the camera will move blades in or out depending on the film format you're using. I've never really heard photographers using the X-Pan as a standard 35mm camera, only for panoramic purposes, but this can change at any time, and you can go back and forth on the same roll of film if desired.

On the back of the camera, on the back door, there are three settings. Ine is "AEB", or Auto Exposure Bracketing, which allows the photographer to automatically bracket either a half or full stop in between shots. The next button is used to light up the display, which is particularly useful at night or in dark situations. The third button is a very small, indented button that you use to rewind the film before reaching the end of the roll.

 On the front of the camera, in the 11 o'clock position, is a dial to set the film speed. The camera features fully integrated DX coding for modern film. However, if you're using a self-loaded cassette or older non-DX-coded cassettes, the ISO can be set manually. Below the dial is the lens release button, which allows the photographer to change lenses. Opposite the camera is the PC flash sync port, which enables flash use via a PC cable.

On the left side of the camera, the shutter remote cable socket is located at the top, and the camera's film door lock lever is positioned at the bottom. Flip the lever up, then slide it up to open the camera's film back and load the film.

 To load the film in the X-Pan, insert the film cassette into the film area, guide the leader to the take-up wheel, and then close the back of the camera. The camera will automatically wind the film all the way out of the cassette and onto the take-up spool before you take your first image. 

As a man, and not having read the manual before loading the camera, I started to get concerned. When I closed the door on my initial roll of film and heard the film advance for so long, I thought the camera was broken and needed servicing. That's just how the X-Pan winds film. When you receive your film back and examine the frame numbers, you will notice that the first frame, or Frame #1, is actually the last image you took, and number 36 is the first image.


My Results:

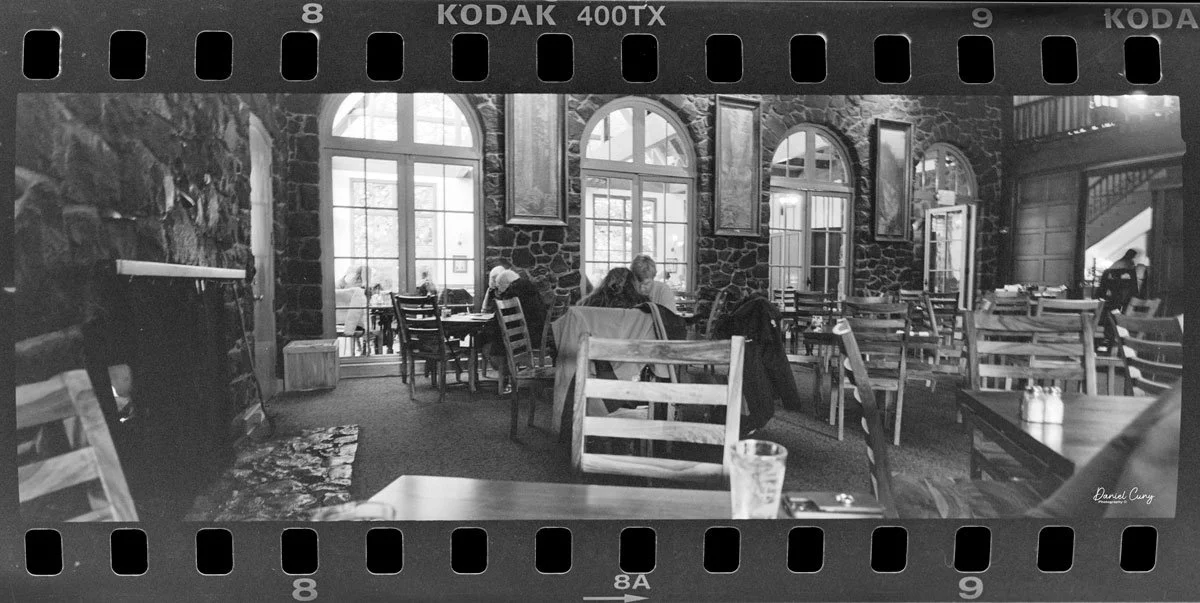
 My wife and I took a drive to Multnomah Falls outside Portland, and since I was going to write about this camera, I took it with me to see how it would perform. 

 Honestly, it's only the third or fourth time I've taken the camera out to shoot with it, mainly because I shoot with the Widelux so much, but this was an excellent time to see how the camera performed.

 The day was overcast, but the crowds were small, and since it had rained recently, the falls were rushing. After shooting the falls, we went into their restaurant to have lunch.

 Here are photos from that small adventure.

Conclusion:

 WOW, what amazing images and camera. I understand why so many people enjoy shooting with this camera. It doesn't have the swing lens curvature like the Widelux has. The X-Pan offers modern advancements over the Widelux, such as auto-exposure, exposure bracketing, and other features, but is physically larger and heavier.

 There's a trade-off for all things, but I'll definitely be using the X-Pan more often. It made shooting very simple and easy. I needed to focus on my subject with the X-Pan, which isn't a bad thing, and the images turned out great.

Another excellent feature of the X-Pan is that it’s a “system” camera, allowing for the use of other lenses. There is a standard wide-angle 45mm f/4 lens, along with a compact telephoto 90mm f/4 lens.

 Thank you for taking a few minutes to read about this fantastic panoramic camera from Hasselblad. A camera I'm fortunate to have in the collection.

 Here's a link to my other Camera Reviews.

 I also have an online store, Cuny's Cameras and Photo. If you see something in my store that interests you, don't hesitate to make me an offer. I'm always looking to negotiate and make deals, and I'd love it if you could share my article.

 Until next week, please be safe.