My father-in laws Voigtlander Prominent
I'm unsure if I'll be able to get another posting out before the beginning of 2026, since Christmas and New Year's fall on the day I generally publish my reviews. Since this might be the final post for 2025, I wanted to make it a special review.
Special in the sense that, while the Voigtländer Prominent is an outstanding camera, what makes this camera especially special to me is that my father-in-law owned it, so it holds an even greater, much more cherished place in my collection.
Let me tell you a bit about my father-in-law. He was the oldest of seven children living in a very small town named Sugar Creek, MO, just outside Independence. They were not a wealthy family, as the father worked at the local refinery. I was told that the house was so small that some of the children had to sleep in closets. At 18, he married my mother-in-law, who was only 17 at the time. By the time he was 22 and my mother-in-law was 21, they had three children.
Soon after they were married, he joined the Army, where they were stationed in Augusta, GA, where my wife and the third child were born. When my wife was only 6 months old, my father-in-law and the family were transferred to Naples, Italy. With his wife and three young children, my wife moved to Italy.
My father-in-law always had a passion for photography and, from what I'm told, purchased the Voigtländer Prominent while stationed overseas. After their time in Italy, the family moved back to the USA. At this point, my father-in-law found a local camera store back near Kansas City, where he honed his photographic skills using the Voigtländer Prominent he purchased overseas.
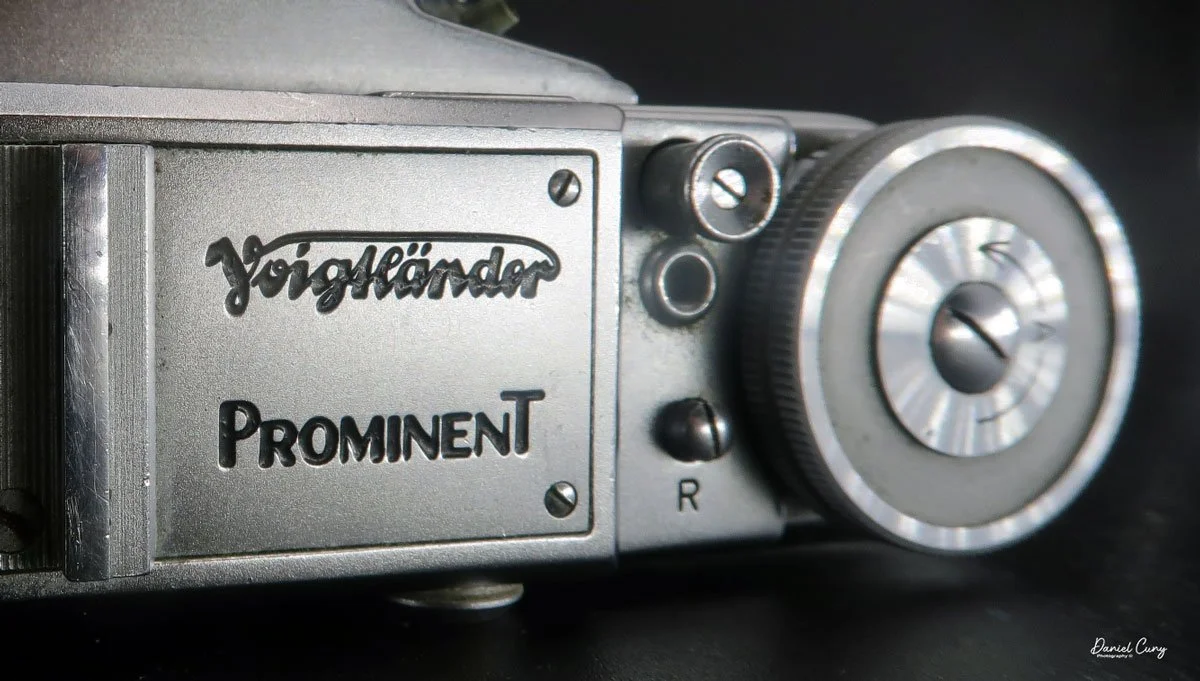
Voigtlander logo and Prominent name on top of the camera.
After the camera store, he was hired by Procter & Gamble to sell Duncan Hines cake mixes. He climbed the corporate ladder, moving his family with each promotion due to his outstanding managerial and sales skills. All the while, he still had a passion for photography. He was always taking photos of the family and eventually ended his career as a top executive at some of the largest Fortune 500 companies.
This article is not only about a truly amazing camera, but also an ode to my father-in-law. Someone I looked up to in my career helped me in so many ways and was a warm, loving, generous, and caring individual. He passed away way too early from an auto accident, almost 30 years ago. We still have his Voigtländer Prominent, which he used, and it's in remarkable condition. For the final post, I wanted to write about this truly excellent camera, which means so much to all the family members.
I've had the opportunity to purchase other Voigtländer prominent cameras, both the original and the Prominent II, with the standard Ultron and Heliar lenses, along with many different lenses and accessories for their cameras. Still, the camera from my father-in-law is off-limits. It will stay in my collection until I'm no longer around.
I've reviewed other Voigtländer cameras, so I've written about their history in the past. Let me focus on the history of Voigtländer in a specific timeframe: after World War II, when they rebuilt a fantastic camera brand.
Voigtlander Post World War II:
Voigtländer emerged from the Second World War with its Braunschweig factory largely intact and quickly resumed work under British military oversight, initially dedicating much of its output to Allied reparations until the new West German currency was introduced in 1949. This relatively undamaged industrial base, combined with a strong pre‑war optical tradition, allowed the firm to re‑establish itself rapidly as a key player in the post‑war German camera industry.
In the immediate post‑war years, Voigtländer revived and modernized pre‑war designs, adding new anti‑reflection coatings to lenses and continuing large‑format and medium‑format lens production. The company remained under the ownership of the chemicals and photographic‑paper firm Schering AG, which had acquired it in the 1920s, providing financial stability in a challenging economic climate.

From Voigtlander Catalog Credit: Pacific Rim Camera
The 1950s became Voigtländer's golden decade, marked by a broad range of high‑quality cameras and lenses that cemented its international reputation. Compact 35mm lines such as the Vito and the more sophisticated Vitessa appeared alongside the professional Prominent 35mm rangefinder. At the same time, optics like the Ultron, Nokton, Apo‑Lanthar, and Heliar established the brand as a leader in lens design. In 1952, Voigtländer introduced the Apo‑Lanthar 105 mm f/4.5, and in 1959, it launched the 36–82 mm f/2.8 Zoomar, one of the first interchangeable zoom lenses for 35mm still photography.
In 1956, Schering sold Voigtländer to the Carl Zeiss Foundation, bringing it into the same corporate orbit as Zeiss Ikon while initially keeping manufacturing and sales structures separate. Throughout the late 1950s and early 1960s, Voigtländer expanded into leaf‑shutter SLRs and advanced models such as the Bessamatic and Ultramatic, but the cameras were complex and costly to build. As Japanese manufacturers increased efficiency and undercut prices, Voigtländer's high production costs and conservative designs became major competitive disadvantages.
In 1965, Zeiss‑Ikon and Voigtländer's sales operations were combined, but falling sales led to the decision to cease camera production and close the Braunschweig factory on 4 August 1971, affecting over 2,000 employees. The physical works were reorganized as Optische Werke Voigtländer, with shared ownership between Zeiss, Rollei, and the state of Lower Saxony. By 1974, Rollei had taken complete control, continuing to produce lenses and cameras under the Voigtländer brand until its own financial collapse in the early 1980s.
The trademark then passed through German photo retailers and, from 1999, has been licensed to Cosina in Japan, which uses the historic name on modern manual‑focus lenses and niche film cameras, giving Voigtländer a new life in the era of digital photography.
My Camera:
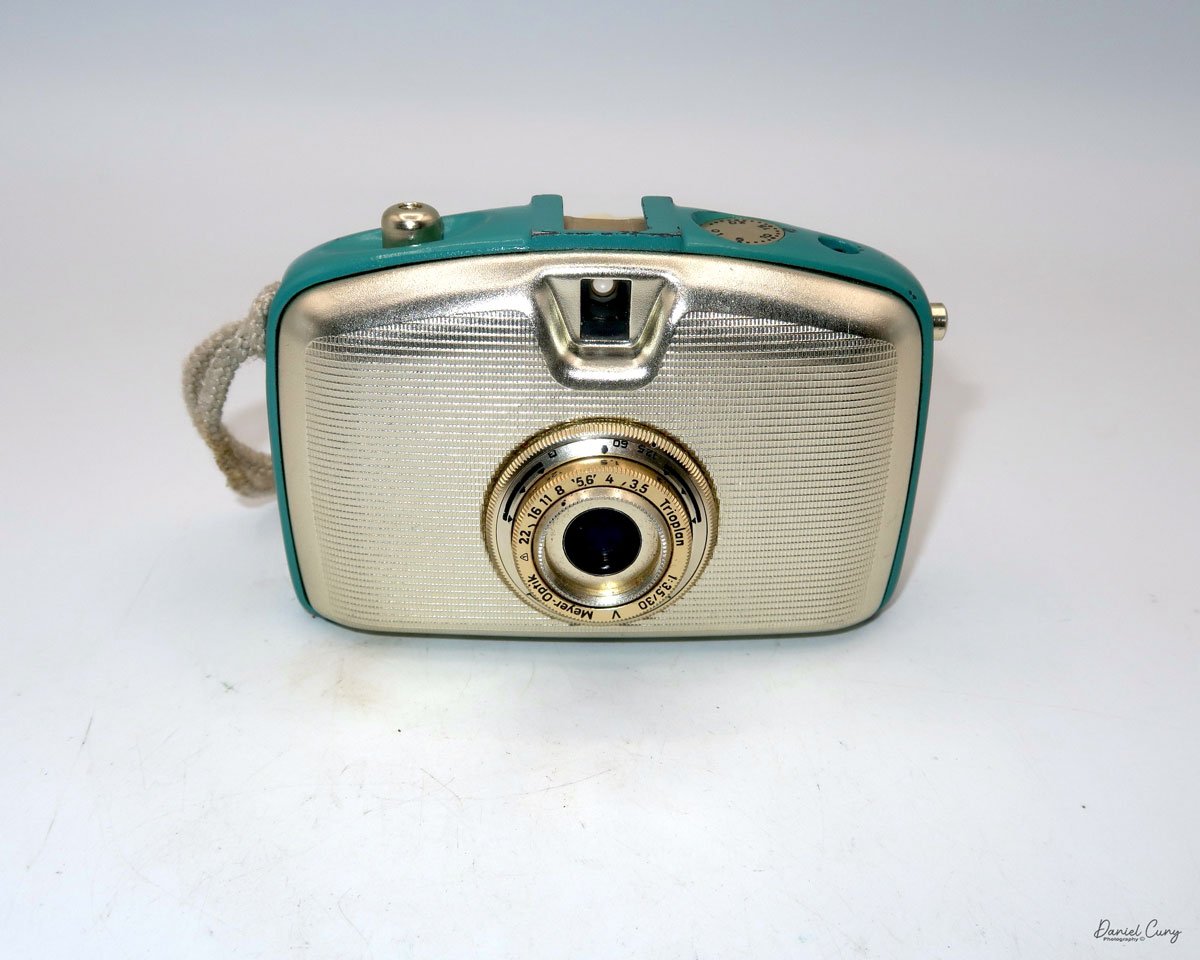
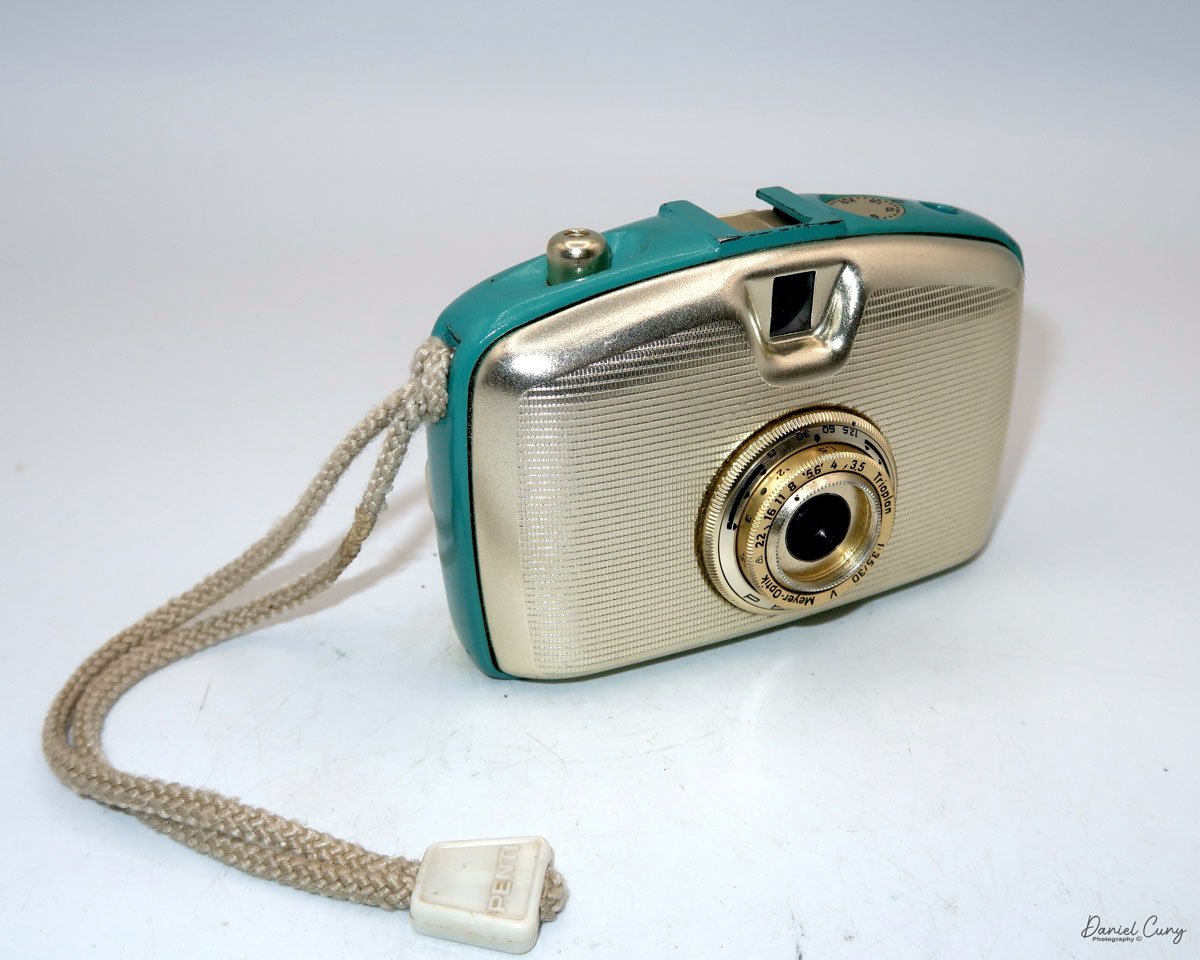
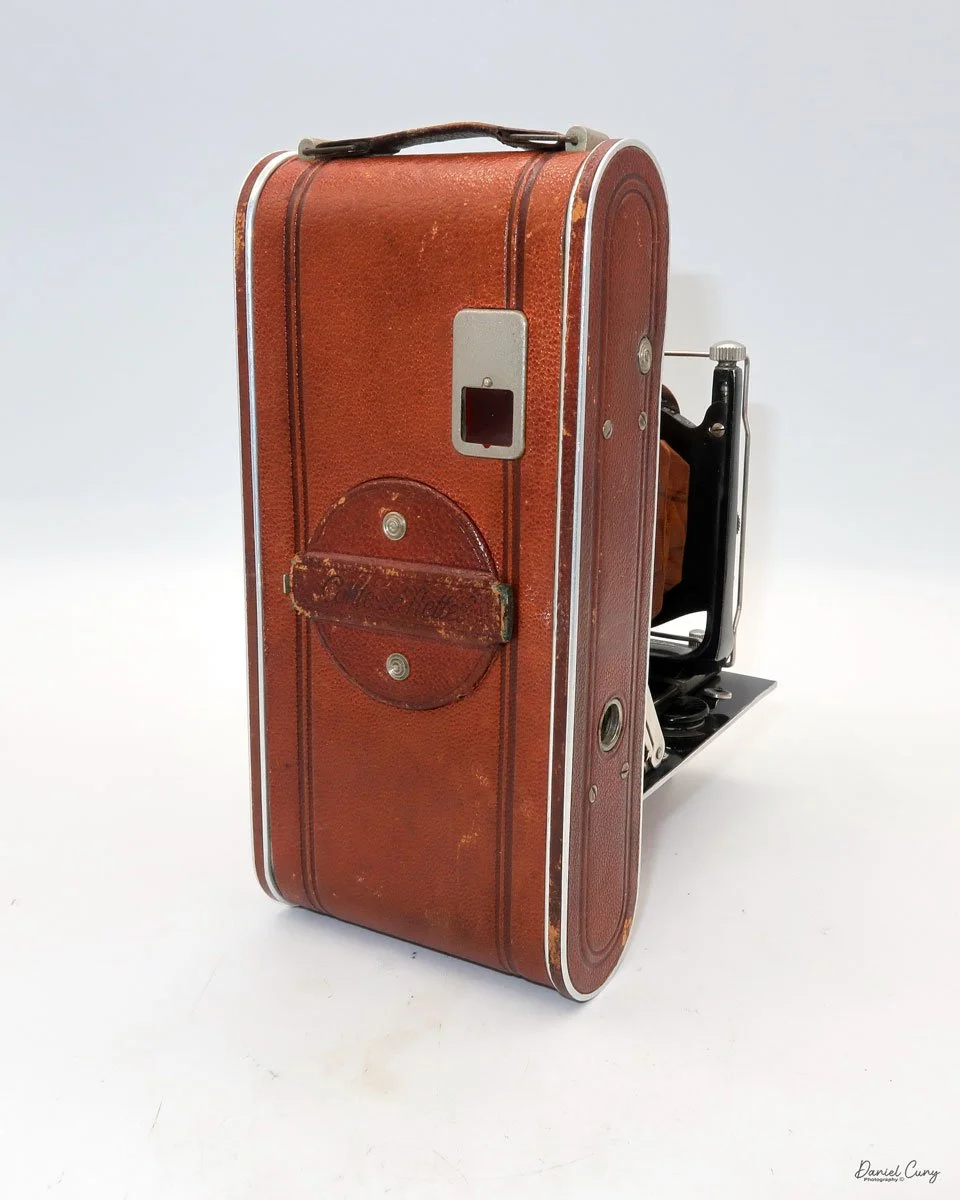
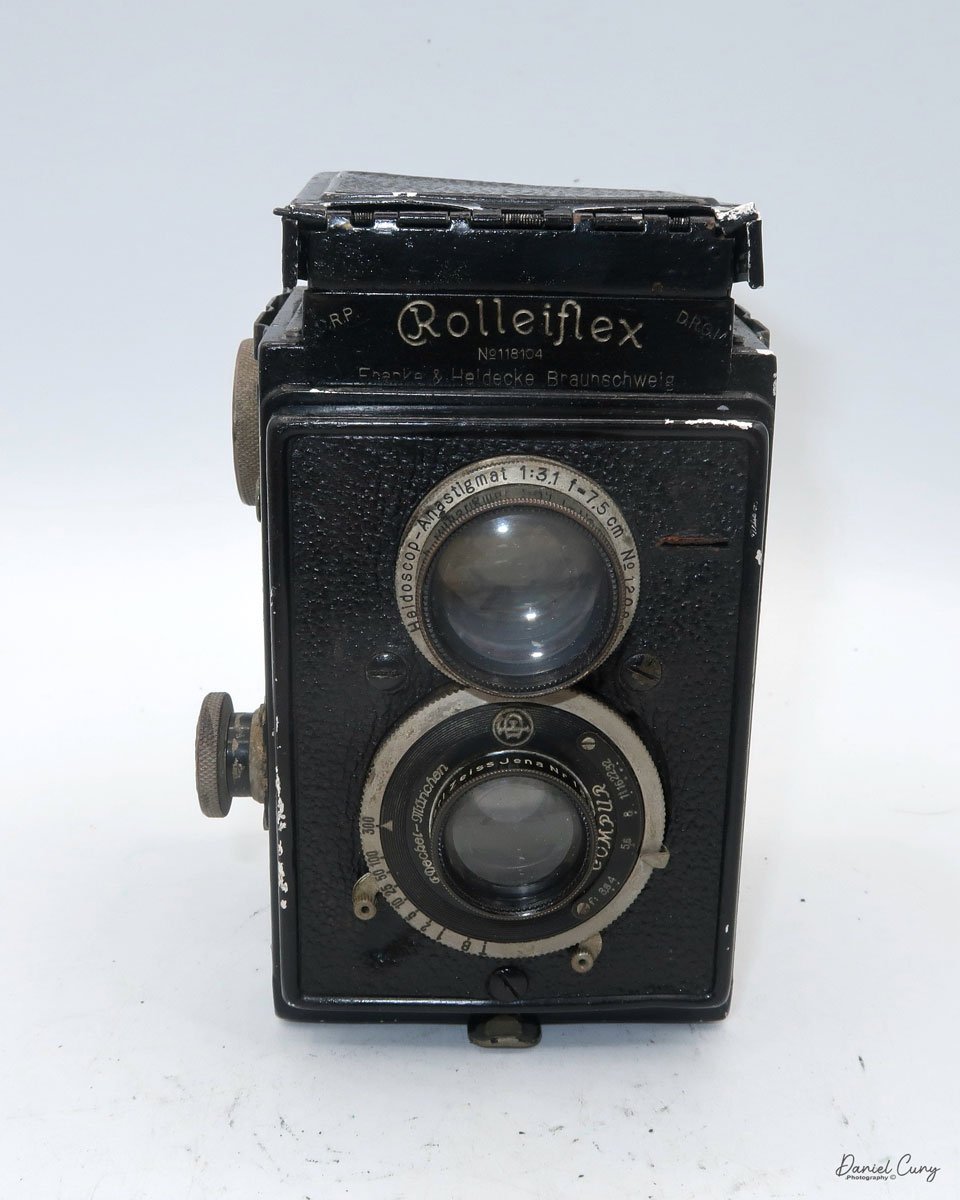
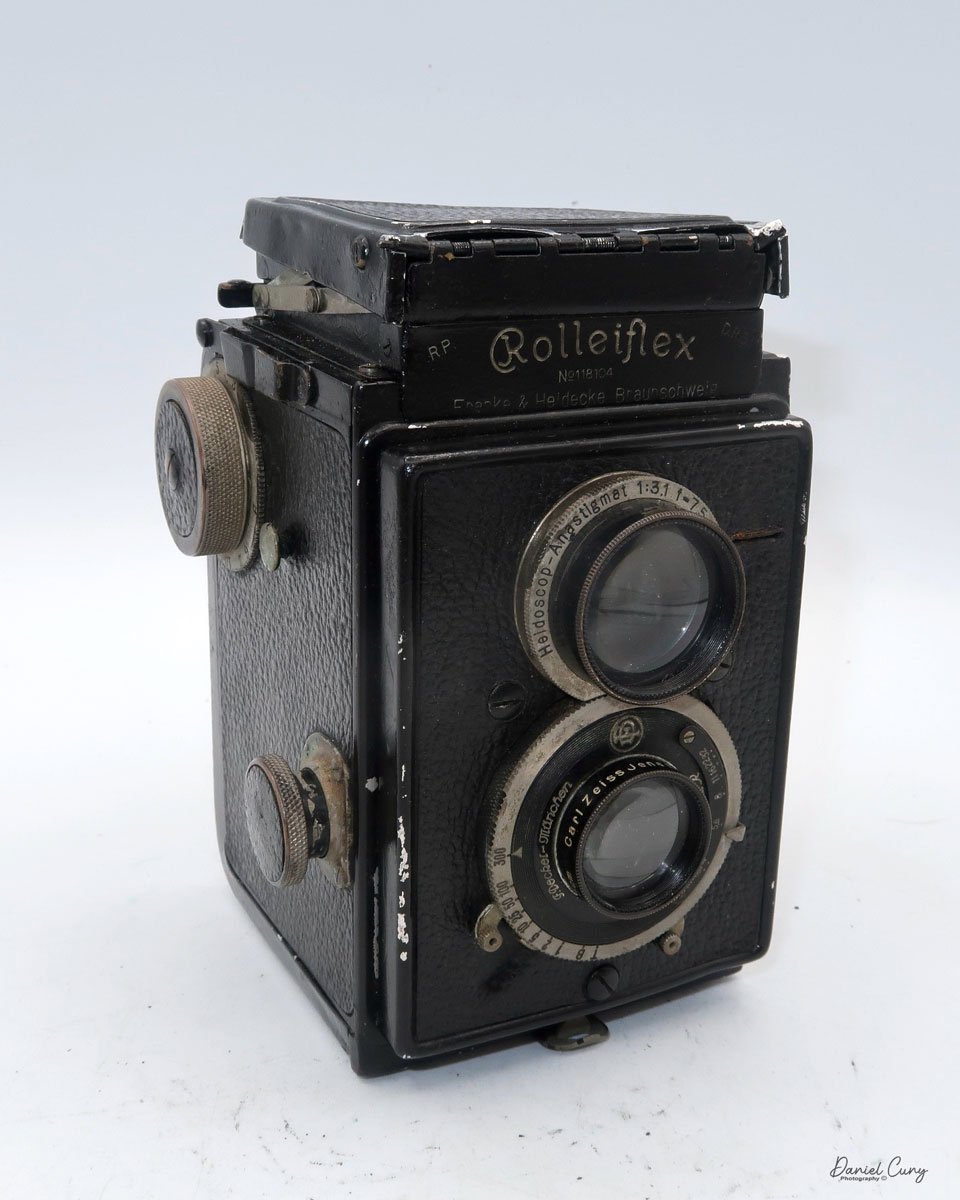
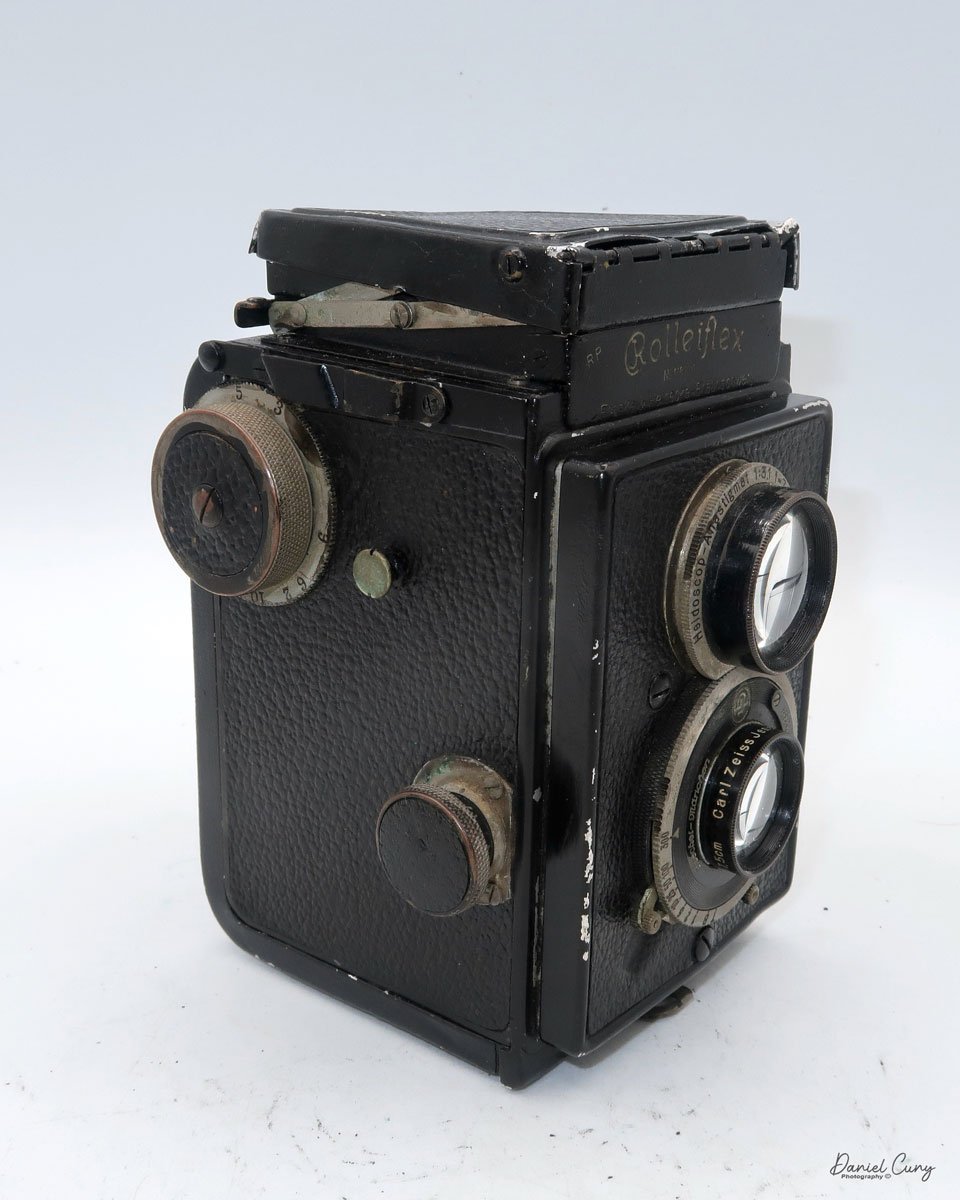
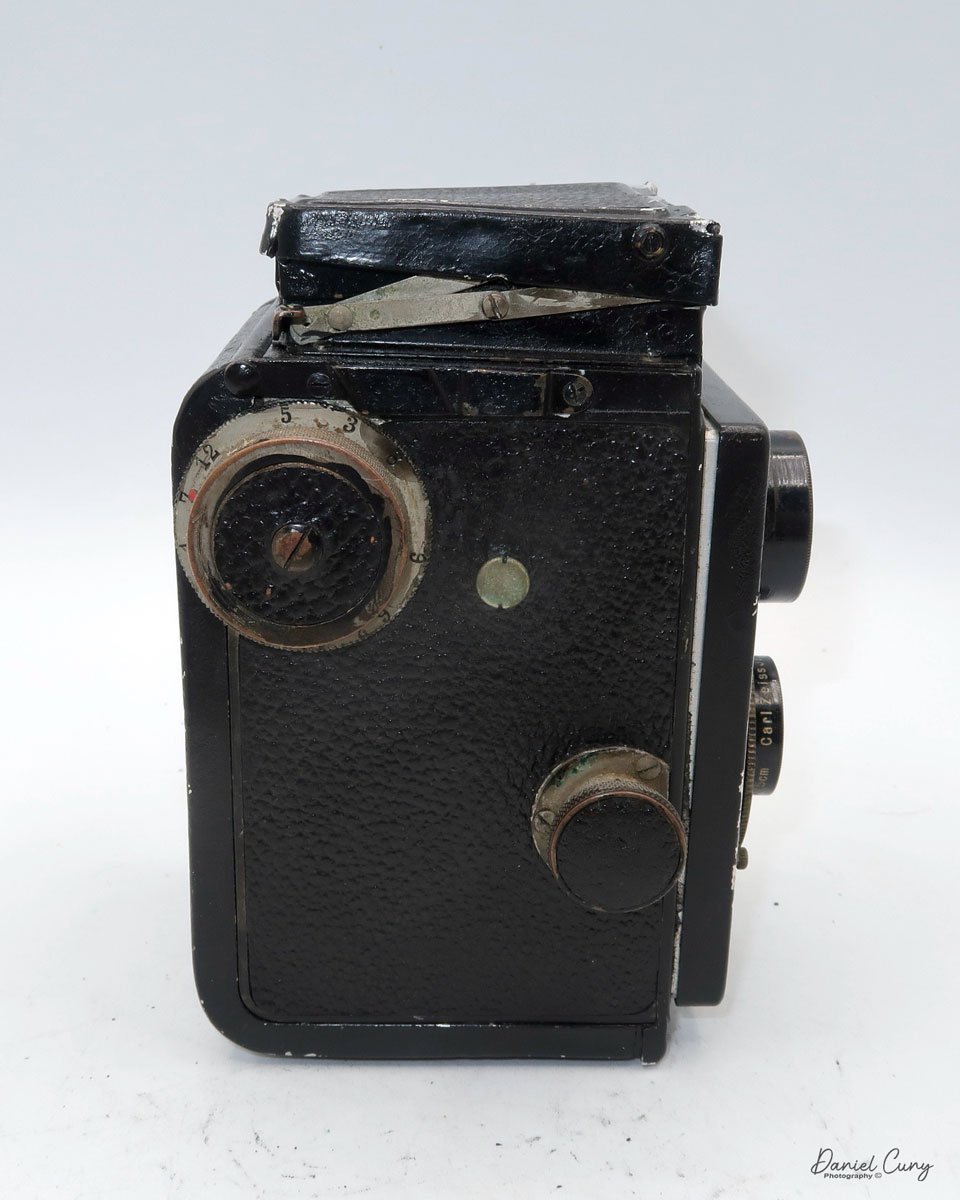
My Voigtländer Prominent comes with the standard Ultron 50mm f/2.0 lens. The camera body serial # B 46551, and lens serial # 3782651. With this camera, there is a Voigtländer UV filter that I generally leave on the camera, along with a yellow filter for black-and-white photography, a rectangular metal lens hood, and the fitted brown camera case. The camera is 5.5" wide by 3.5" tall by 3.5" deep, and weighs 2 pounds, 0.8 ounces without film.
The Voigtländer Prominent has some weight to it, and for me, it feels very comfortable in my hands. Maybe because it resembles an SLR more, like what most people are used to with rangefinder cameras. The camera has a somewhat peculiar layout and is something you'll need to get used to.
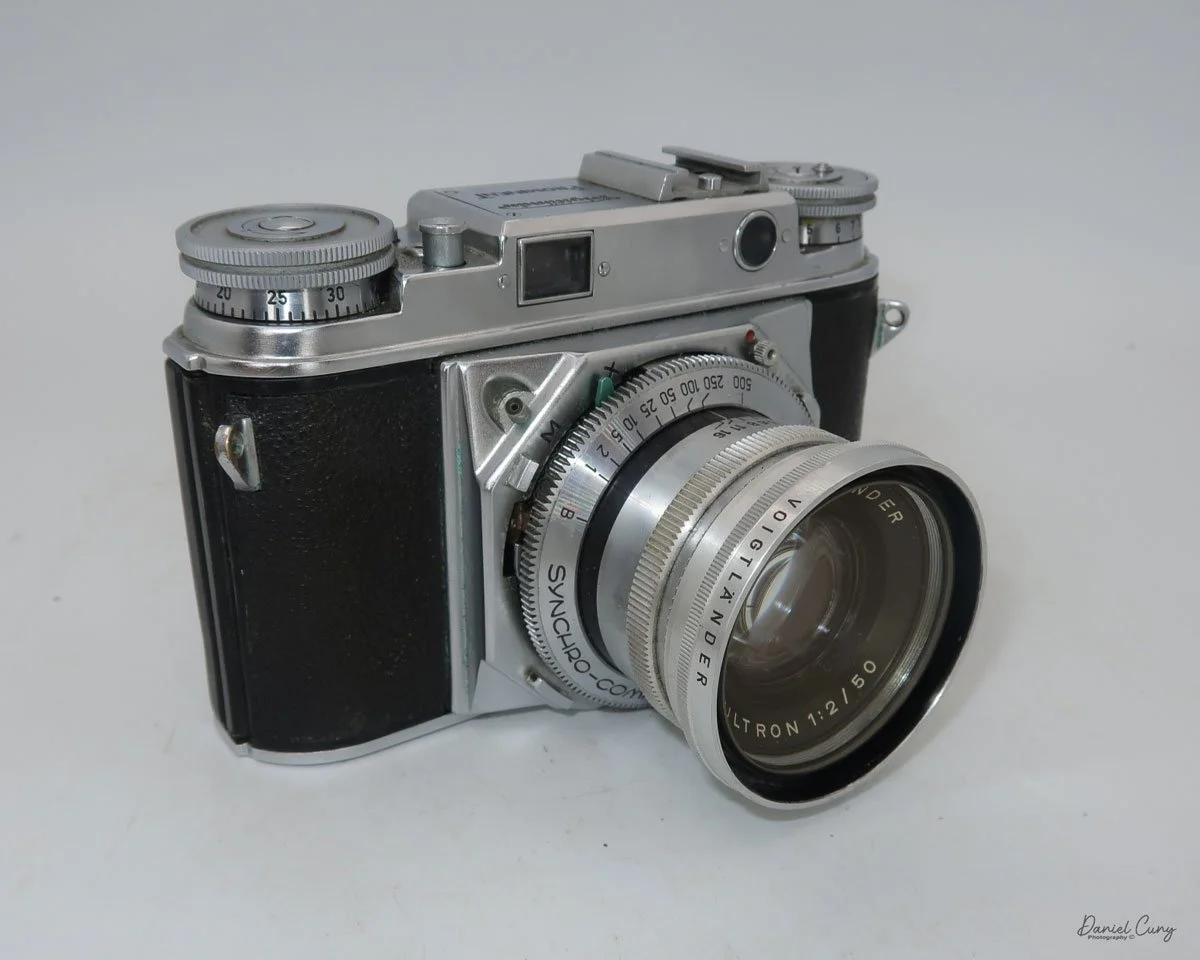


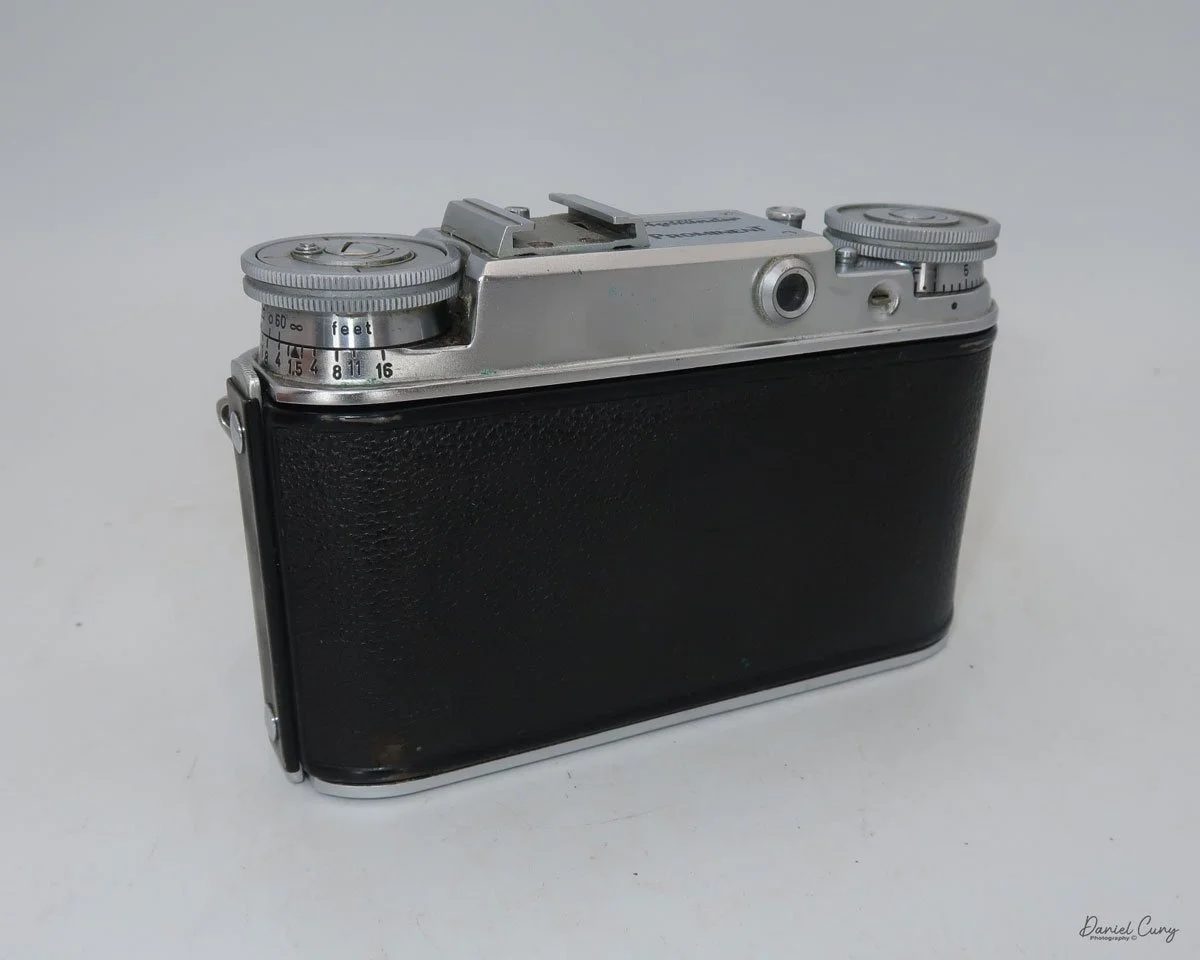


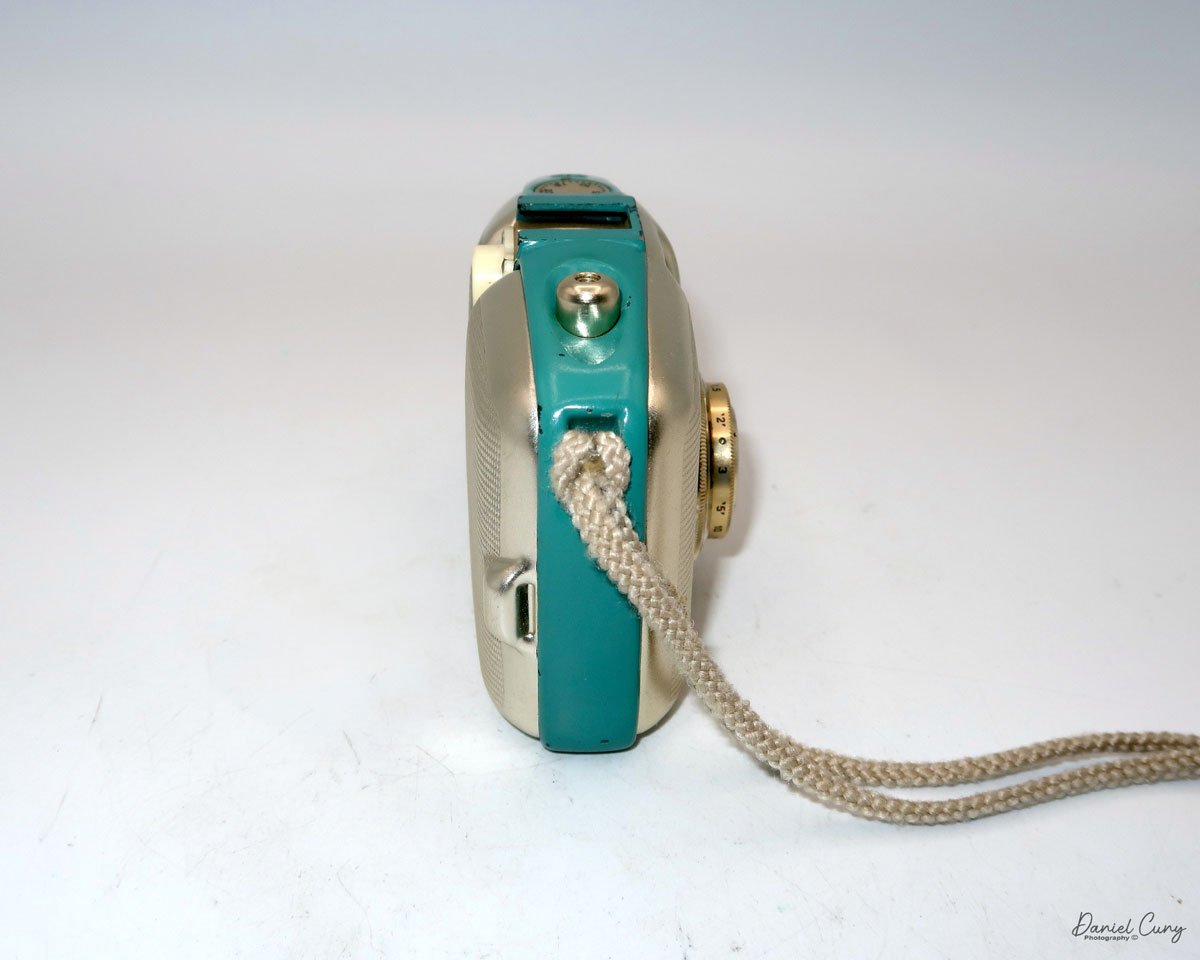
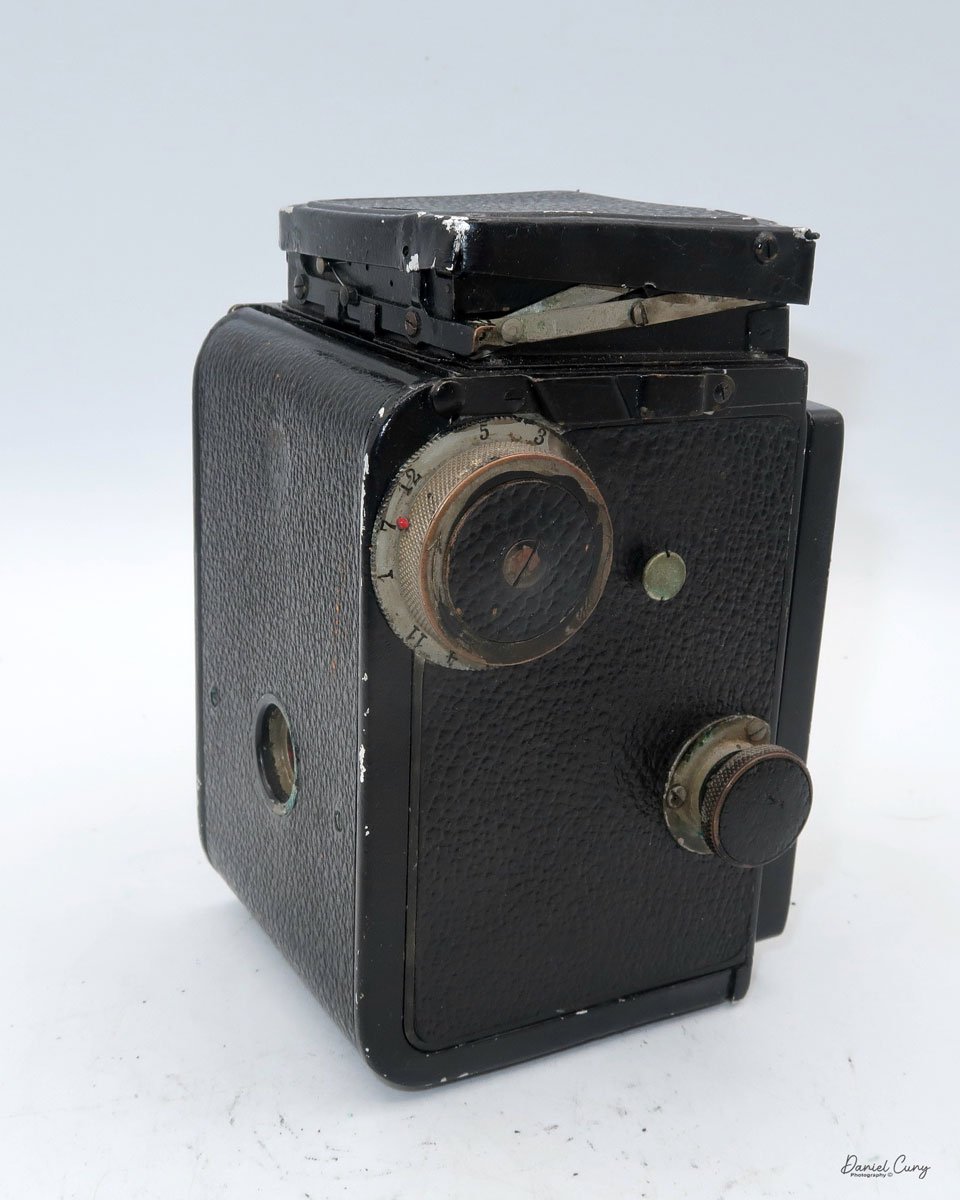
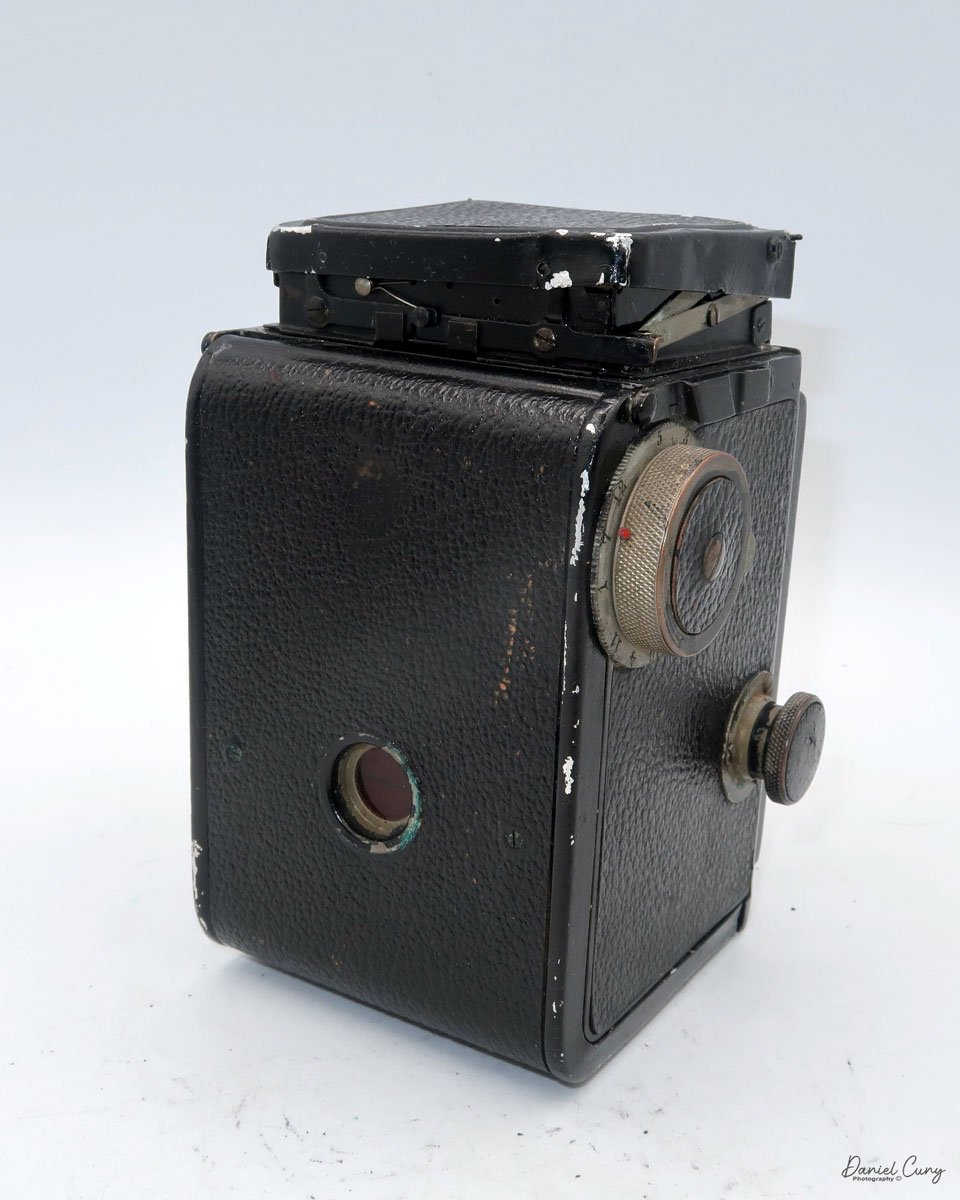
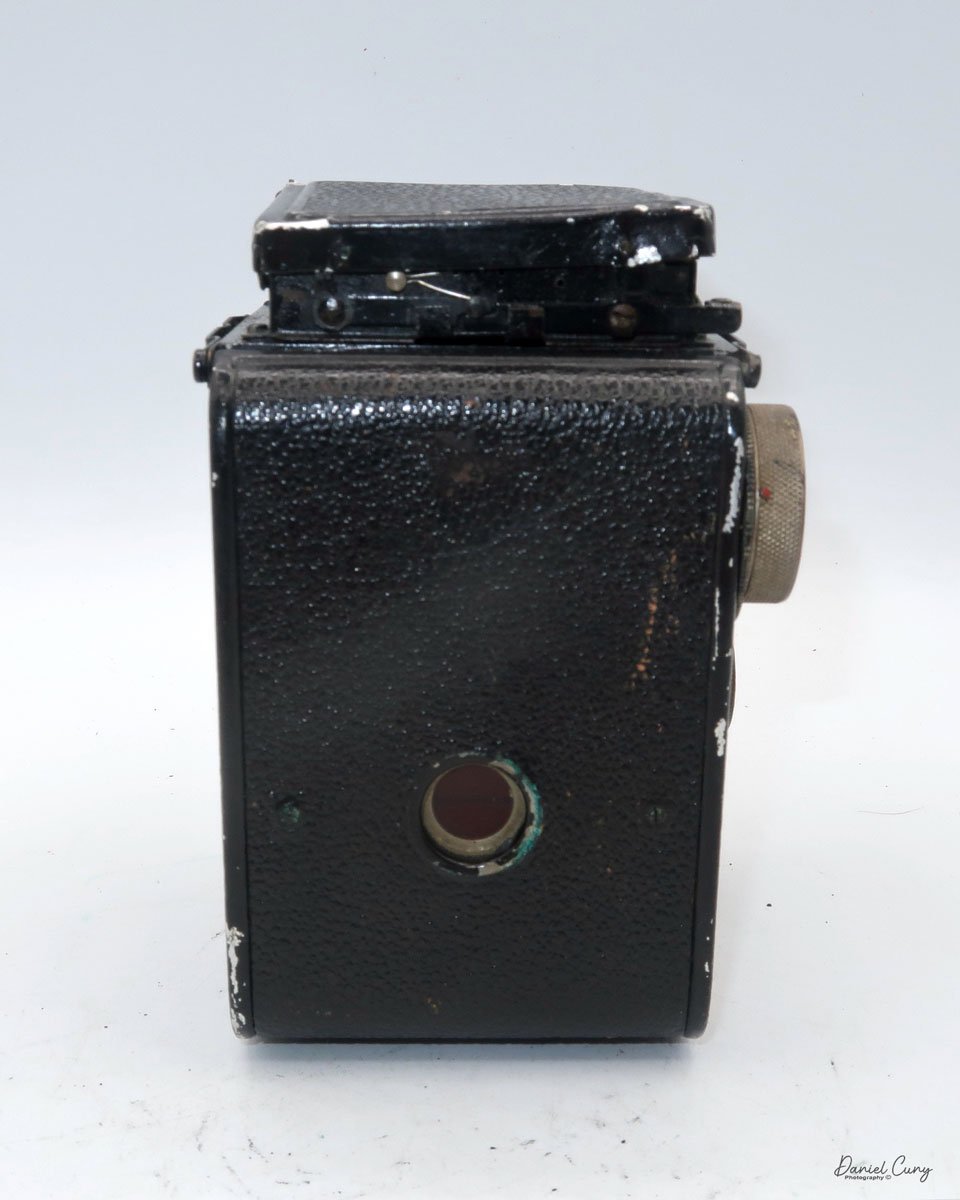
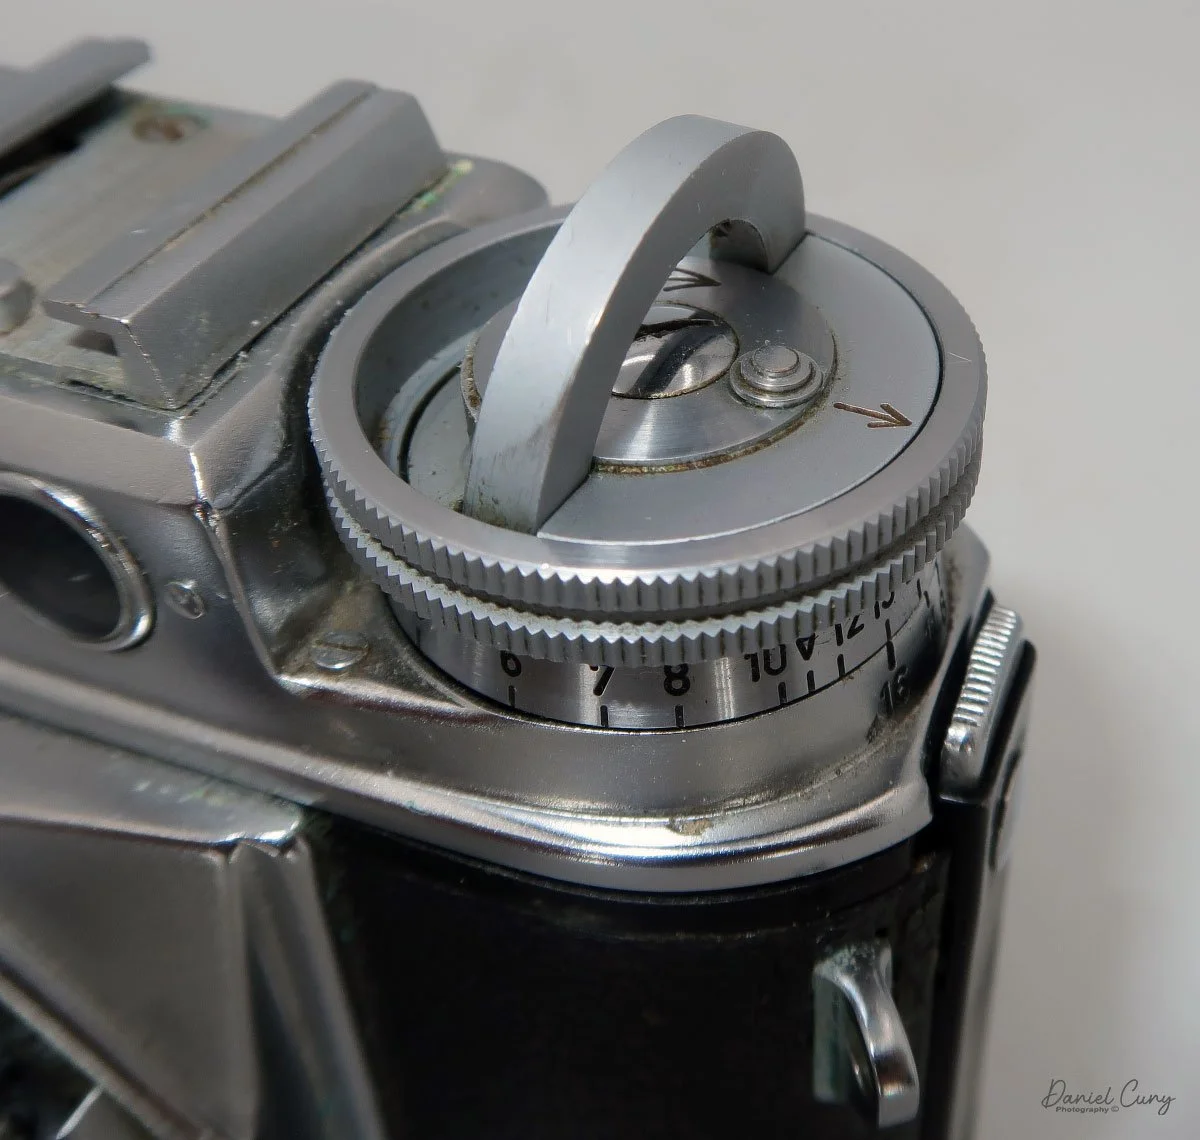
When you put the camera to your eye, the viewfinder is on the right side of the camera, which, for many, is different. The majority of cameras have the viewfinder either centered or more to the left than to the right. The focusing ring isn't on the lens, but located on the rewind knob. As you turn the outside of the rewind knob, generally used to rewind the film in the film cassette when you're done with the roll, on the Voigtländer Prominent, it focuses the lens.


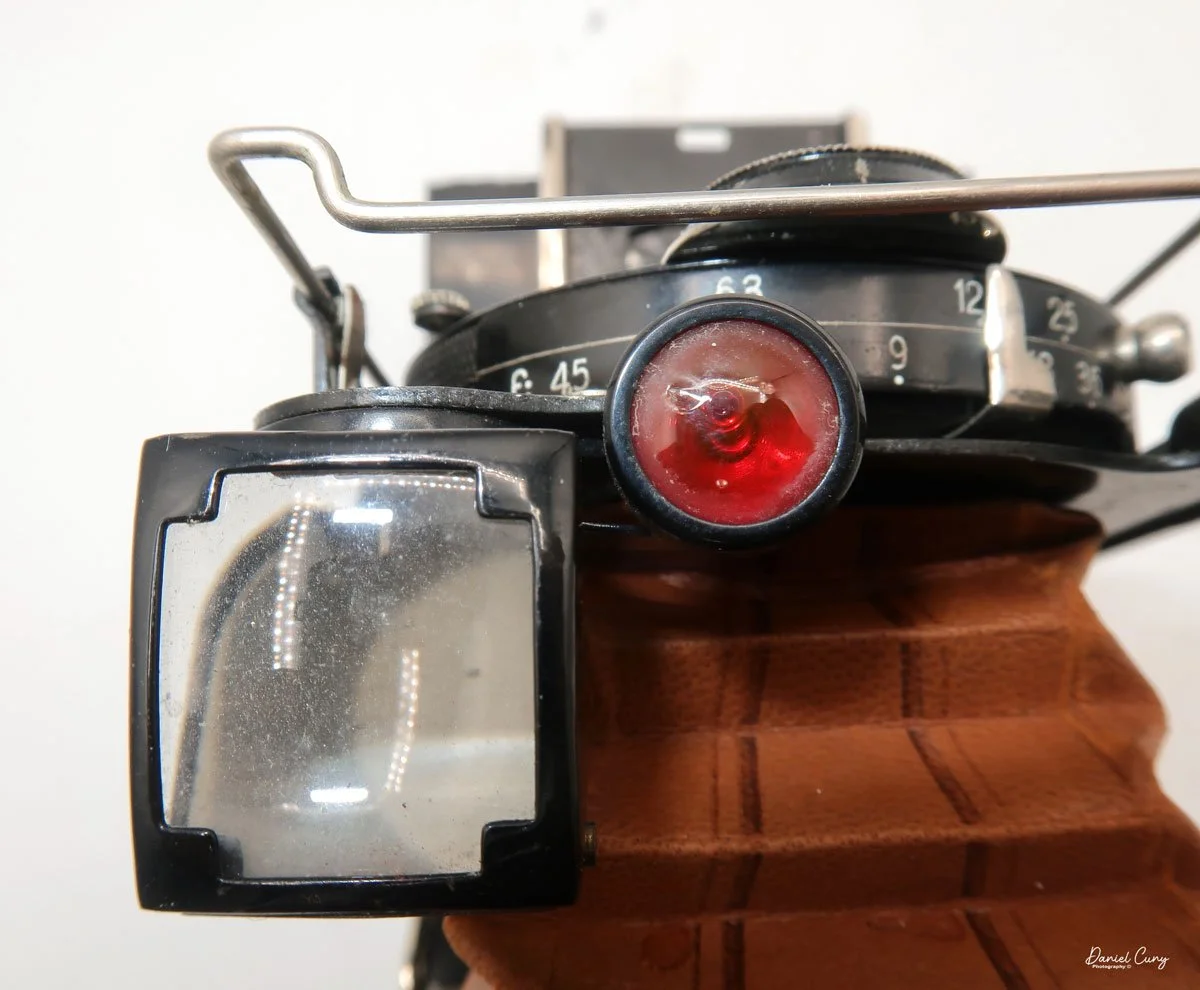
Looking through the viewfinder, the rangefinder is bright, with the yellowed area in the center clearly visible. With your left hand, turn the outer ring of the rewind knob to focus on your subject. Once the image is in focus, take your photo. Under the focus distance is the camera's depth of field guide for the aperture used.
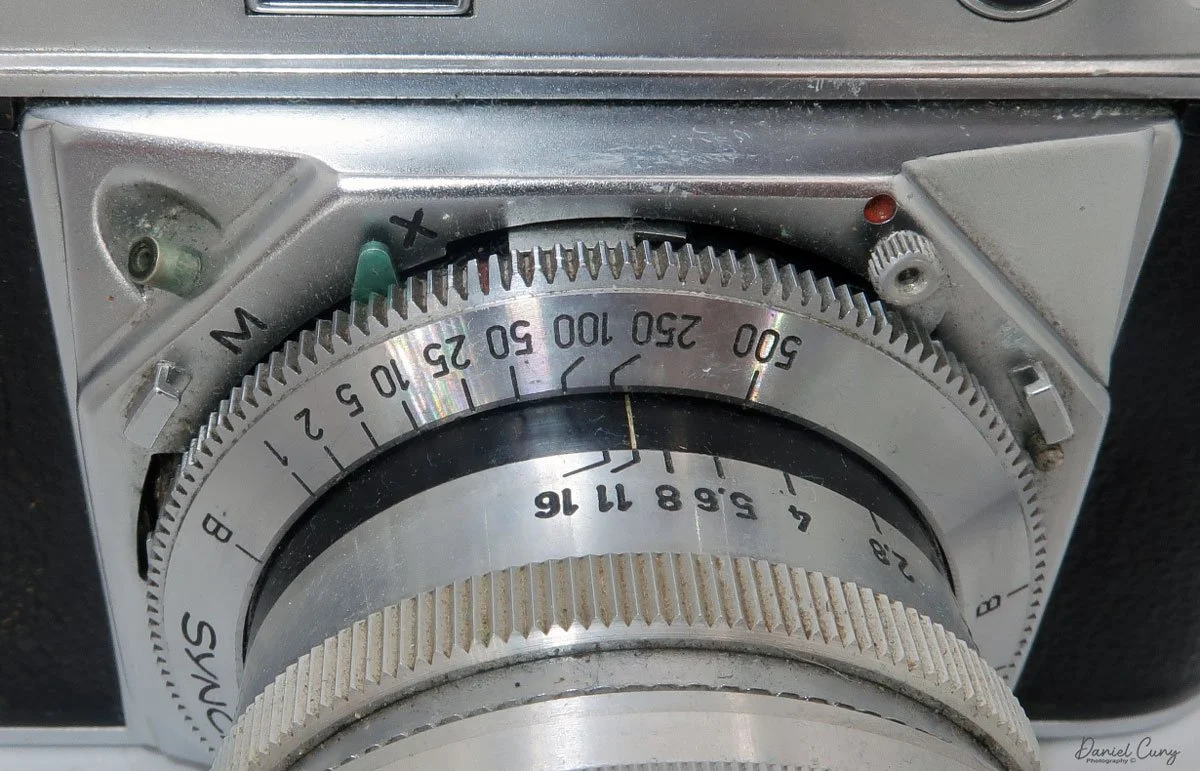
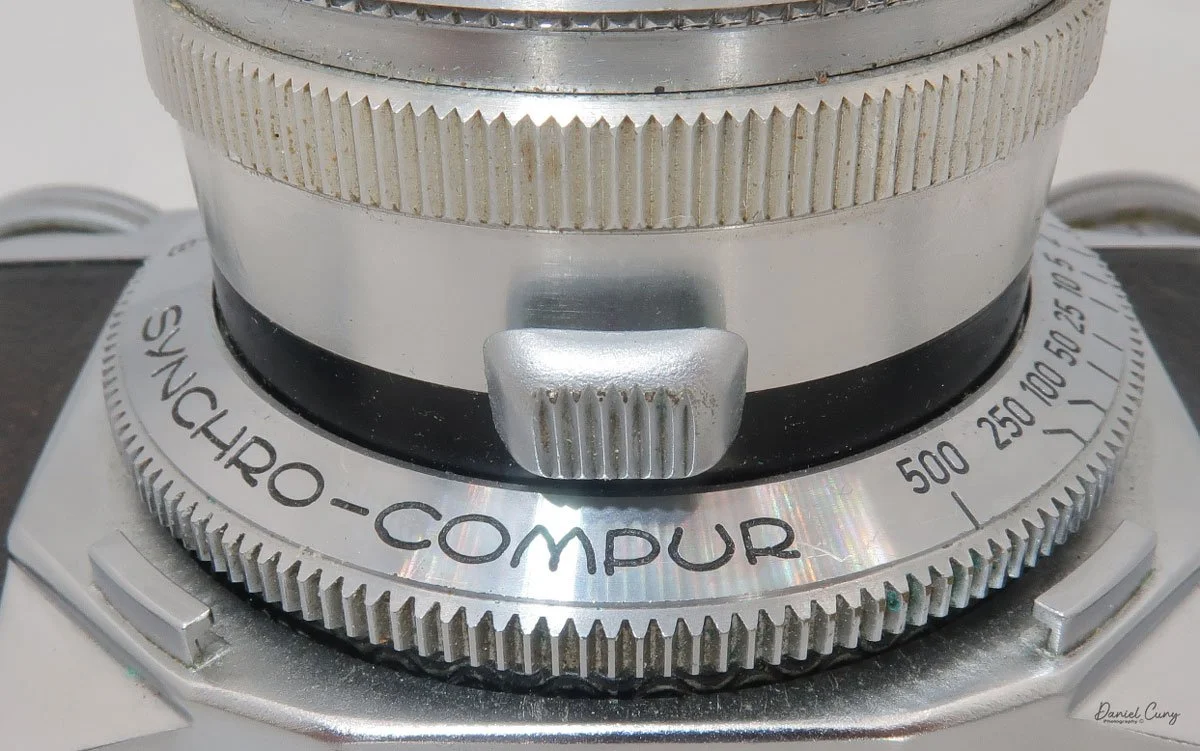
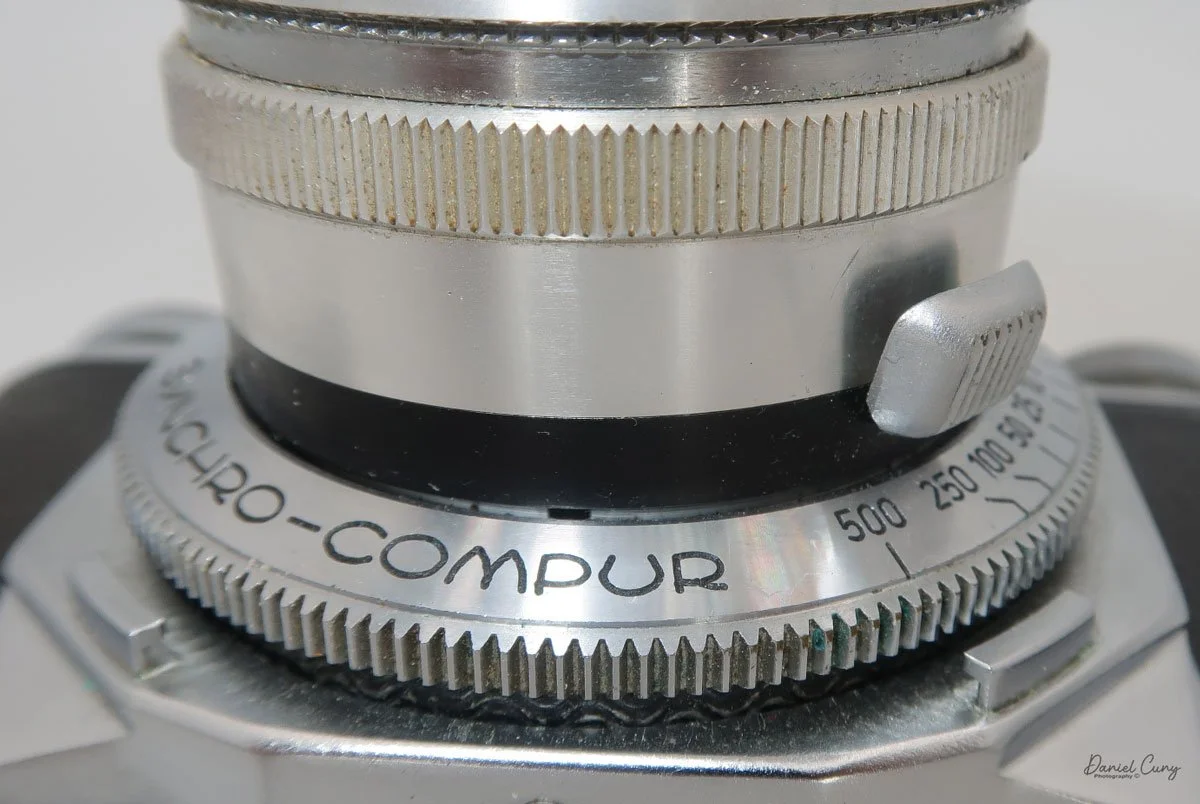
To take a photo, on the right-hand side of the camera is the film advance lever; wind it clockwise to advance the film. The same motion that advances the film also moves an internal bar that cocks the shutter. The shutter speed dial on the Syncro-Compur shutter is set by turning a ring just in front of the shutter cocking lever. The shutter speeds on this camera go from 1/500 to 1 sec, with "B" for timed exposures. According to the Voigtländer Prominent camera manual, it's best to set the 1/500 shutter speed before winding the camera, which cocks the shutter. You can set any shutter speed once the camera's shutter is cocked, but 1/500's not recommended.
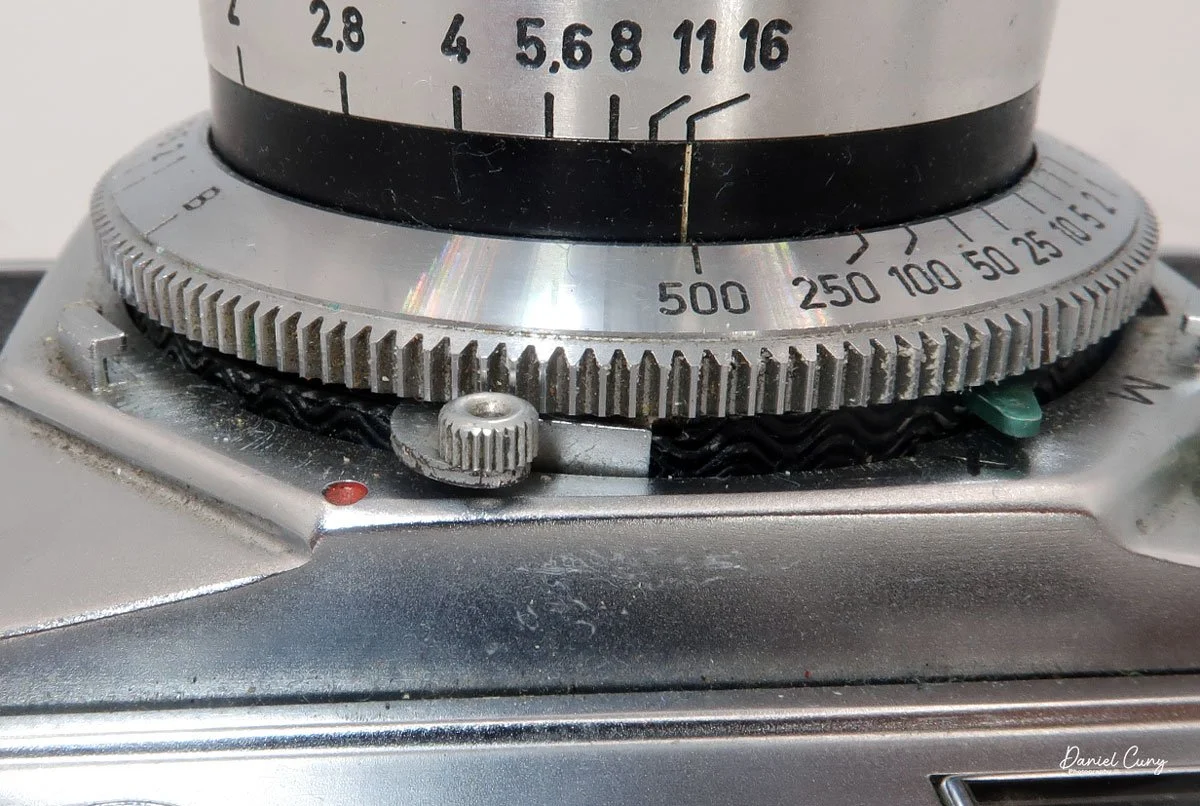


If you want to use the camera's self-timer, it can be manually set by pulling down on the shutter's cocking lever once the camera is cocked. This sets the camera's self-timer to approximately 10 seconds when the shutter release is depressed. The camera's shutter release is the larger button on the top of the camera, just to the left of the film transport knob. Behind the shutter release is the cable release socket for timed exposures.
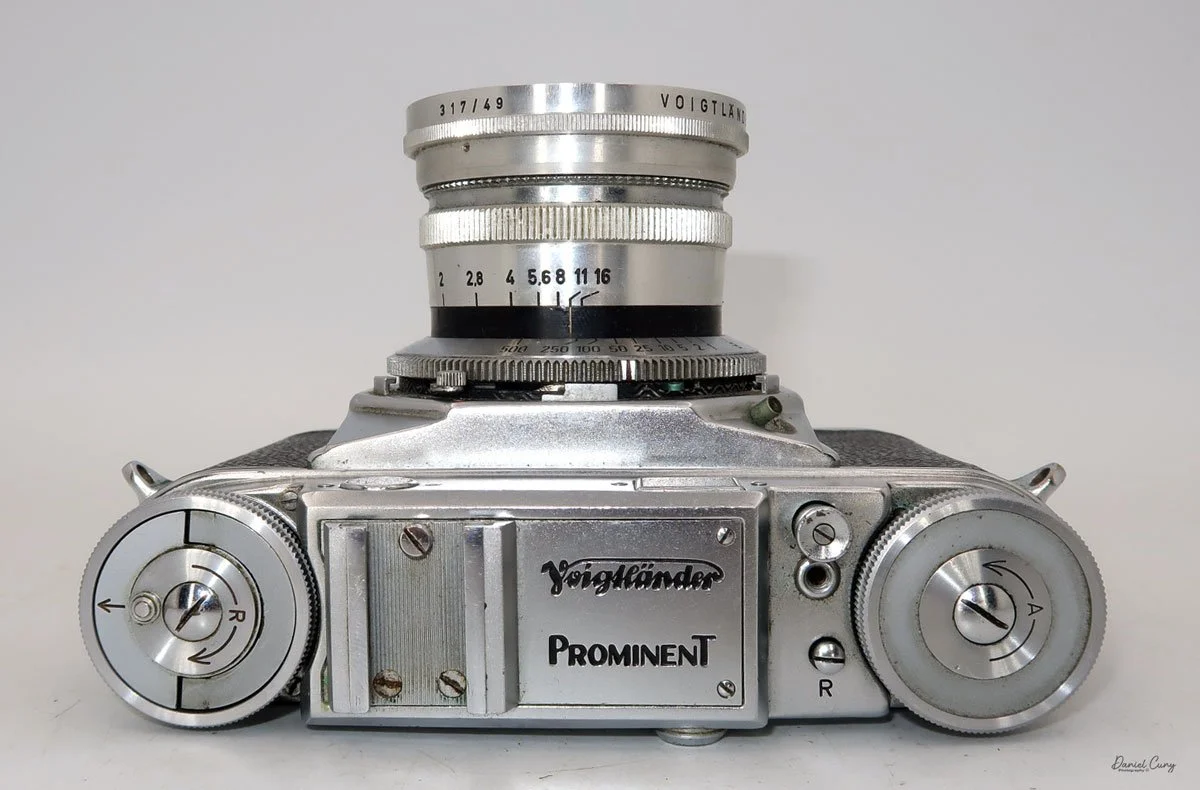
Top view of Voigtlander Prominent camera
Looking at the lens, the aperture is set by turning the aperture ring in the direction that produces a properly exposed image. On the Ultron 50mm lens, the aperture goes from F/2.0 to F/16. To remove the lens from the body, on the bottom of the lens is a large button you press in; interestingly, you can remove the lens by turning it left or right. Likewise, to put the lens onto the camera body, make sure the large button is on the bottom. You can mount the lens either to the right or left as long as the button end is on the bottom.
Since the camera utilizes a leaf-style shutter as opposed to the standard focal plane shutter, the flash will sync at any shutter speed, which allows the photographer the ability to control the ambient light with flash much better, and this makes film cameras such as Hasselblad and Rolleiflex cameras ideal for weddings, portraiture, and commercial studio work. On the front of the camera, at the 11:00 position, is the PC sync for flash, along with the flash settings: "X" for electronic flash or "M" for flash bulbs.

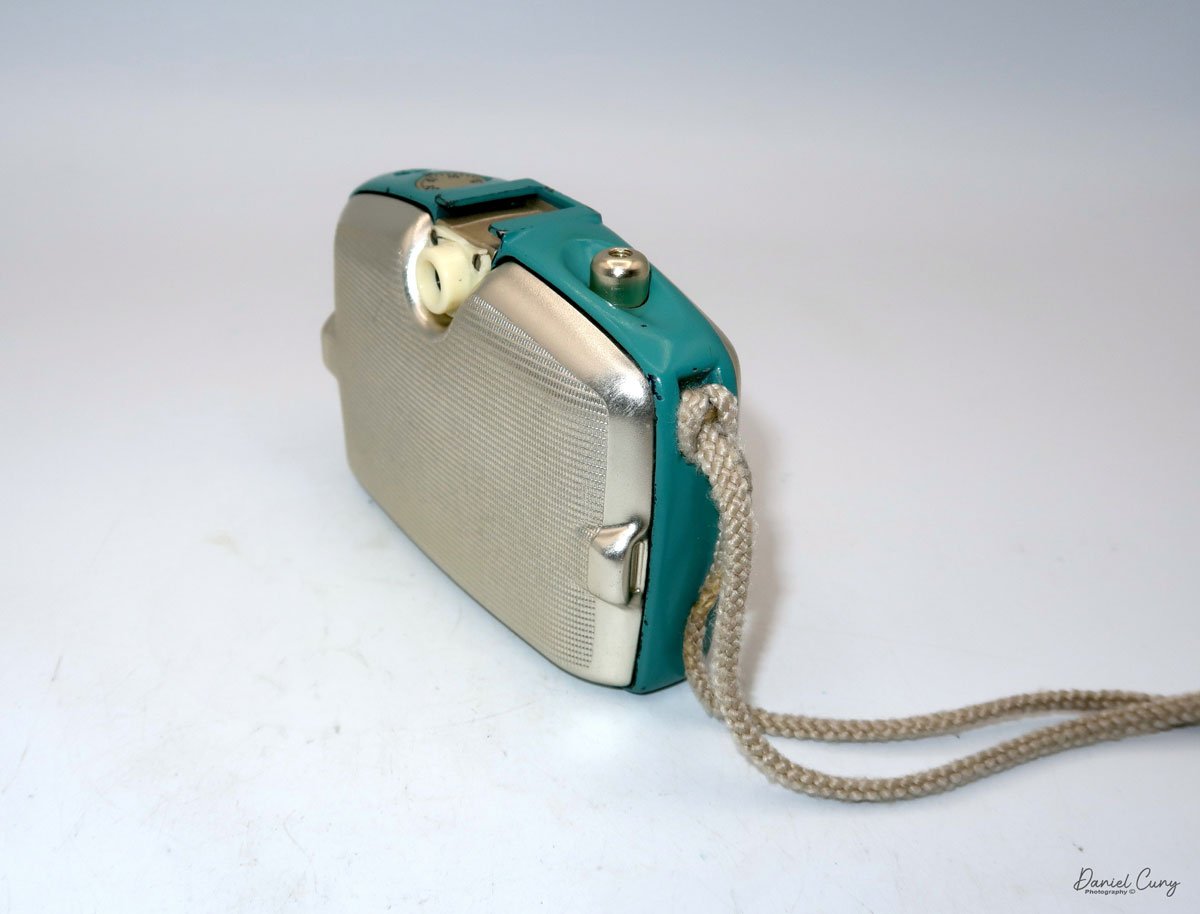
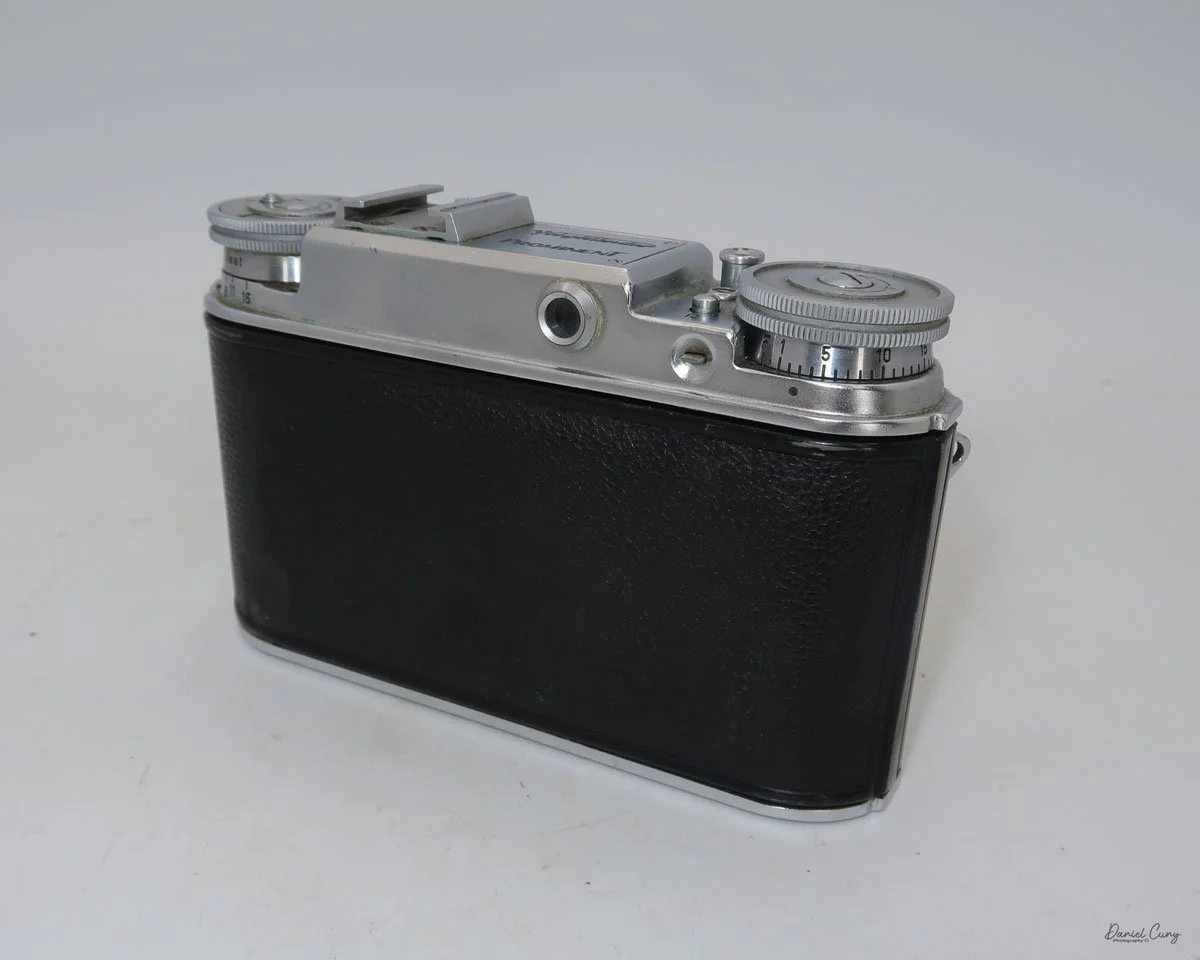
To load film into the Voigtländer Prominent camera, on the left side of the camera are two buttons you press to open the camera's back door. Once open, you load the 35mm film just as you would any other 35mm camera. Push up the rewind shaft, drop in the 35mm cassette, and bring the leader over to the camera's take-up spool. Thread the leader into the take-up spool slot and wind the film advance. Make sure the film's sprocket holes are in the drive gears and take up the slack. Before closing the back of the film door, I like to turn the rewind knob to take up the slack in the film cassette, so when I close the back and wind to the first frame, I watch the rewind knob turn to make sure the film is actually moving within the camera.
Once you close the back door, the frame counter needs to be set manually. To do this, lift up on the winding knob, then turn the camera's frame counter to "F" to give you a couple of turns on the film advance until you get to frame number 1.


When you're done with the roll of film, you'll need to rewind it into the film cassette. The rewind knob has an arrow pointing outward. Push the button outwards, and the rewind handle will pop up. Just below the cable release socket is a small button labeled "R". Press the "R" button to disengage the transport gear, then turn the rewind knob clockwise to rewind the film into the film cassette. Once the film is rewound, open the camera back, process the film, and reload the camera with more film.
My Results:
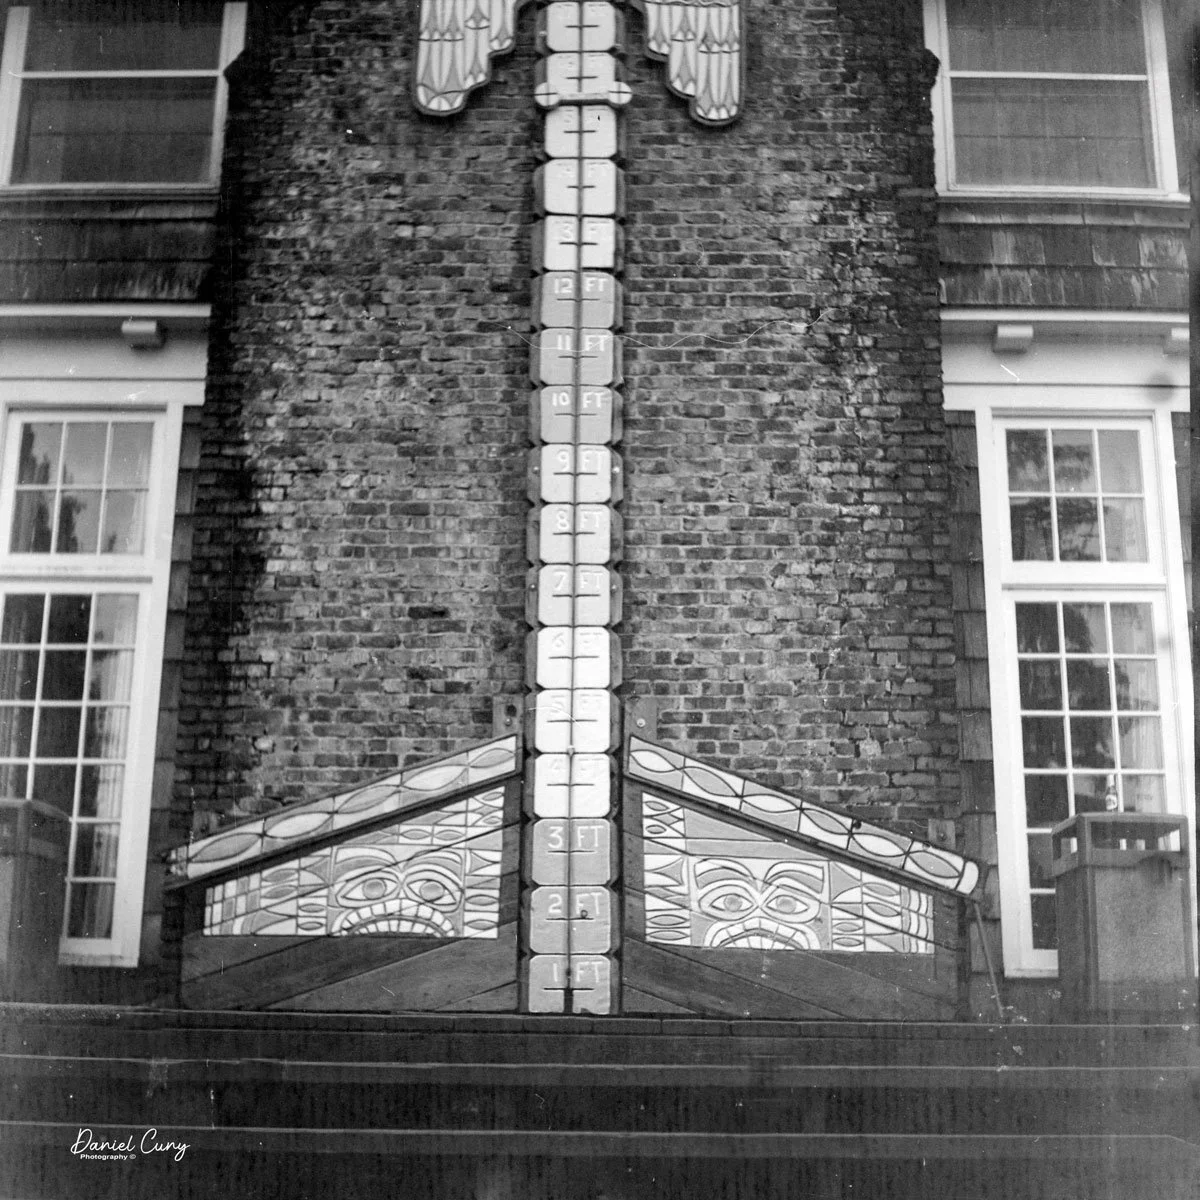
I loaded the Voigtländer Prominent with a roll of 200-speed film and took one of our dogs to the local dog park to get the pooch some exercise, taking photos of a different area than walking through the neighborhood as I usually do.
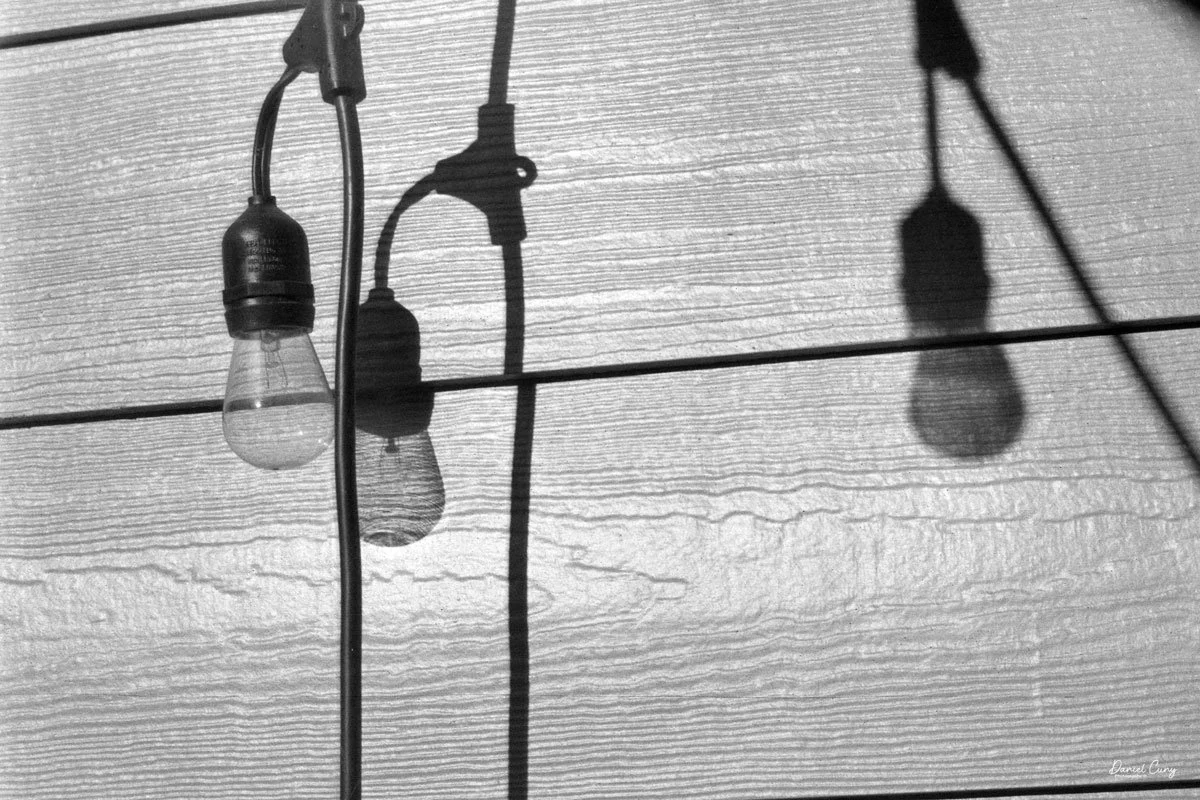
Here are some photos from the local dog park and the shadows on my back patio on a beautifully sunny day in the Portland Area in December. It wasn't a typical December day in this area, so I wanted to make the most of it.


Conclusion:
I really love this camera. The images are incredibly sharp, and this camera gives Leica and Contax a run for their money. It's exceptionally well-built, the lenses are tremendous, and I like the camera's size and weight.
The system's weakest link is its lack of lenses, and for many, the camera's focus is a drawback. I've read that people don't like having the viewfinder on the right side, which makes it more challenging for them to use the camera. I don't find it annoying, as others do.
Here's a link to my other Camera Reviews.
If you're looking for a camera, lens, or other photo oddity, please stop by my eBay store, Cuny's Cameras and Photo. If there's something that interests you, mention my blog, and I'll offer you a discount.
Thank you for taking a few minutes from your day to read about this excellent camera with extremely sharp lenses. If I don't post another review before the end of the year, please have a Happy Holiday and a fabulous New Year.
Until next time, please be safe.