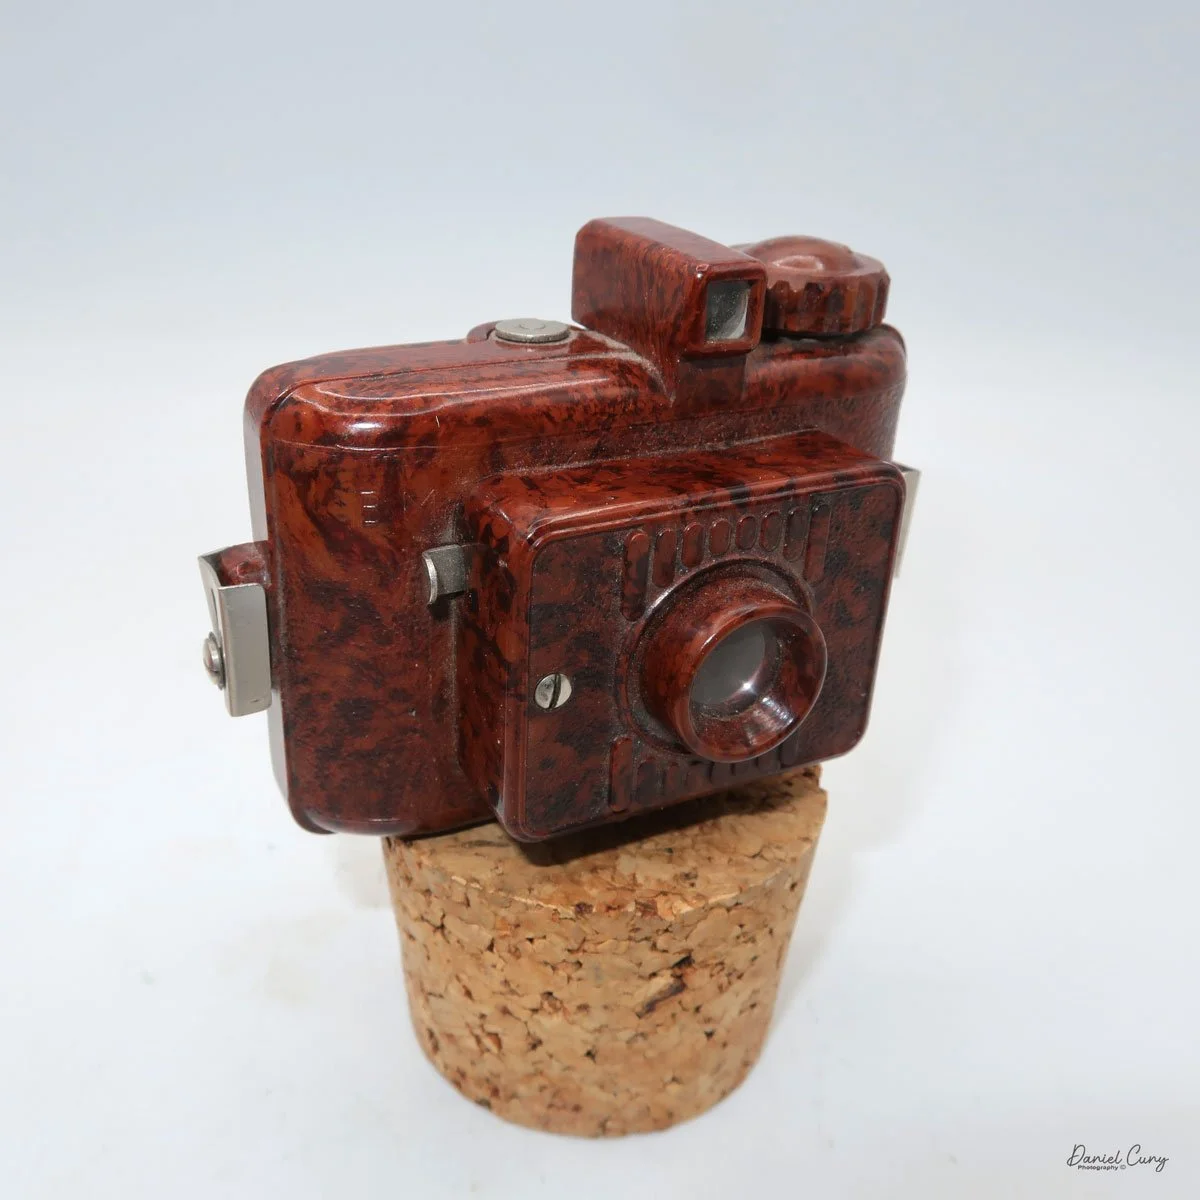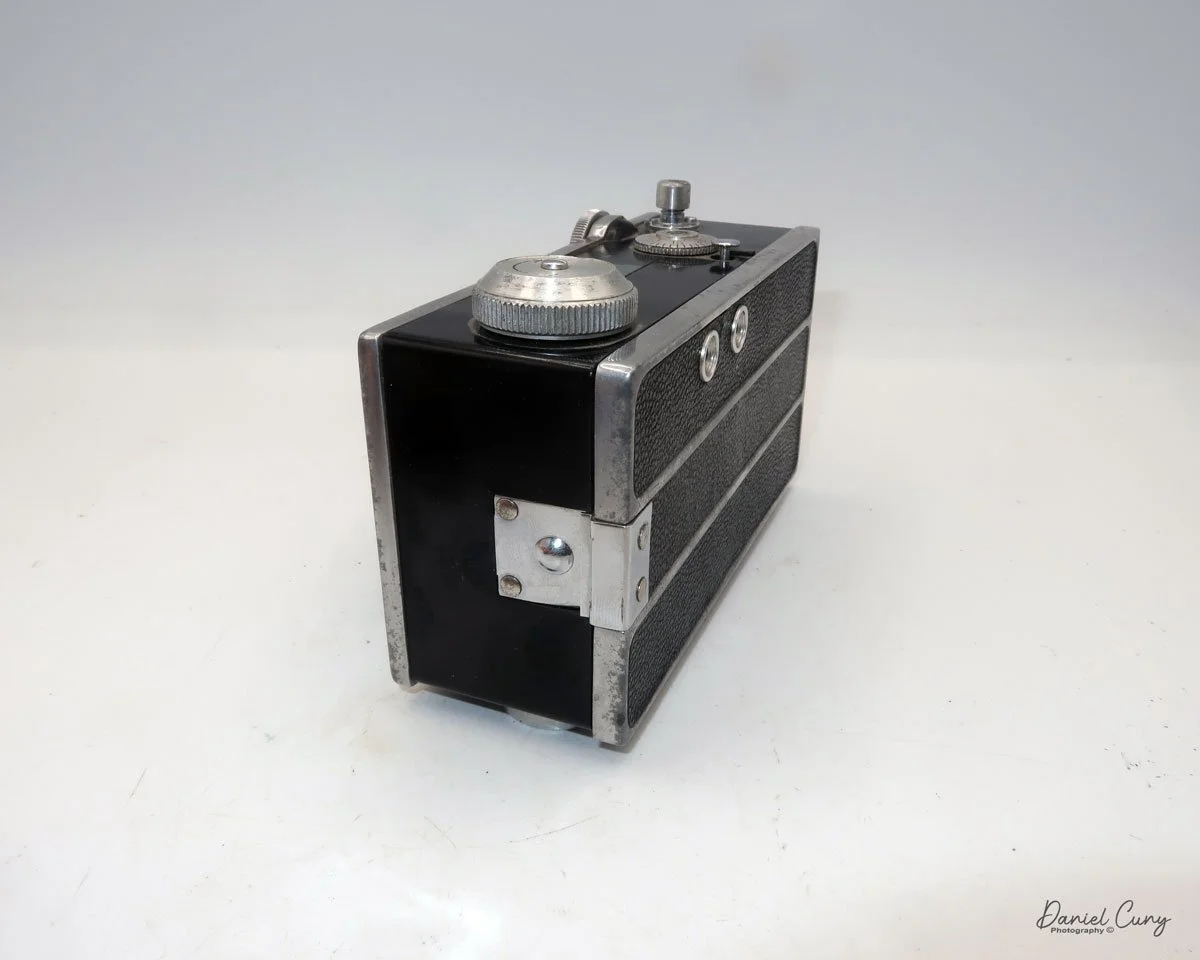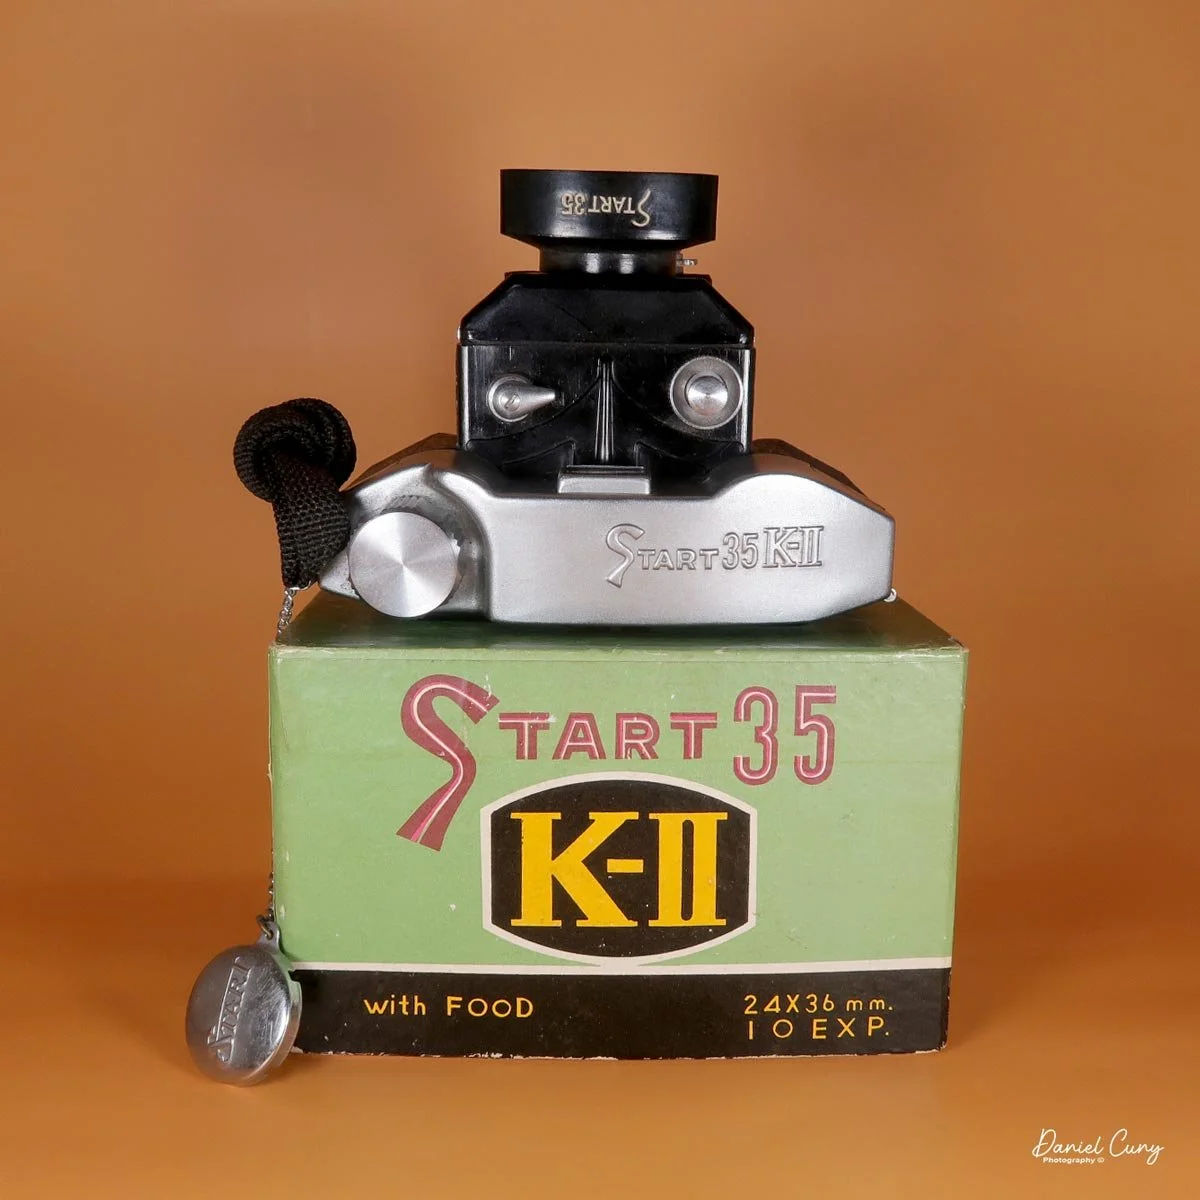
My Start 35 K-II camera with hood and complete box
I can remember when I purchased the Start 35 K-II camera because it was part of a fairly modest camera lot. There were several miniature and subminiature cameras in the group. All of the cameras came with fitted cases, and some even included their original boxes, which I think adds to a camera’s collectability.
There were other examples of the Start series at camera shows, online, and in books, and I have always enjoyed the chrome and black Bakelite construction of the camera. To me, it has a modernist, almost space-age look. I suppose that was the style they were aiming for, especially for a camera built in the early 1950s.
When I unpacked the camera lot, I found a few extra items in the box that I wasn’t expecting. While the Start 35 K-II camera itself does not have a fitted case, it did include the “Start” plastic lens hood, along with an aluminum item that appears to be some sort of stand or screw-in accessory used to hold a case onto a camera. The aluminum “stand” is much larger than a typical case-holding screw, so my guess is that it was probably used as a display stand in someone’s collection, since it seems too large to be anything else.
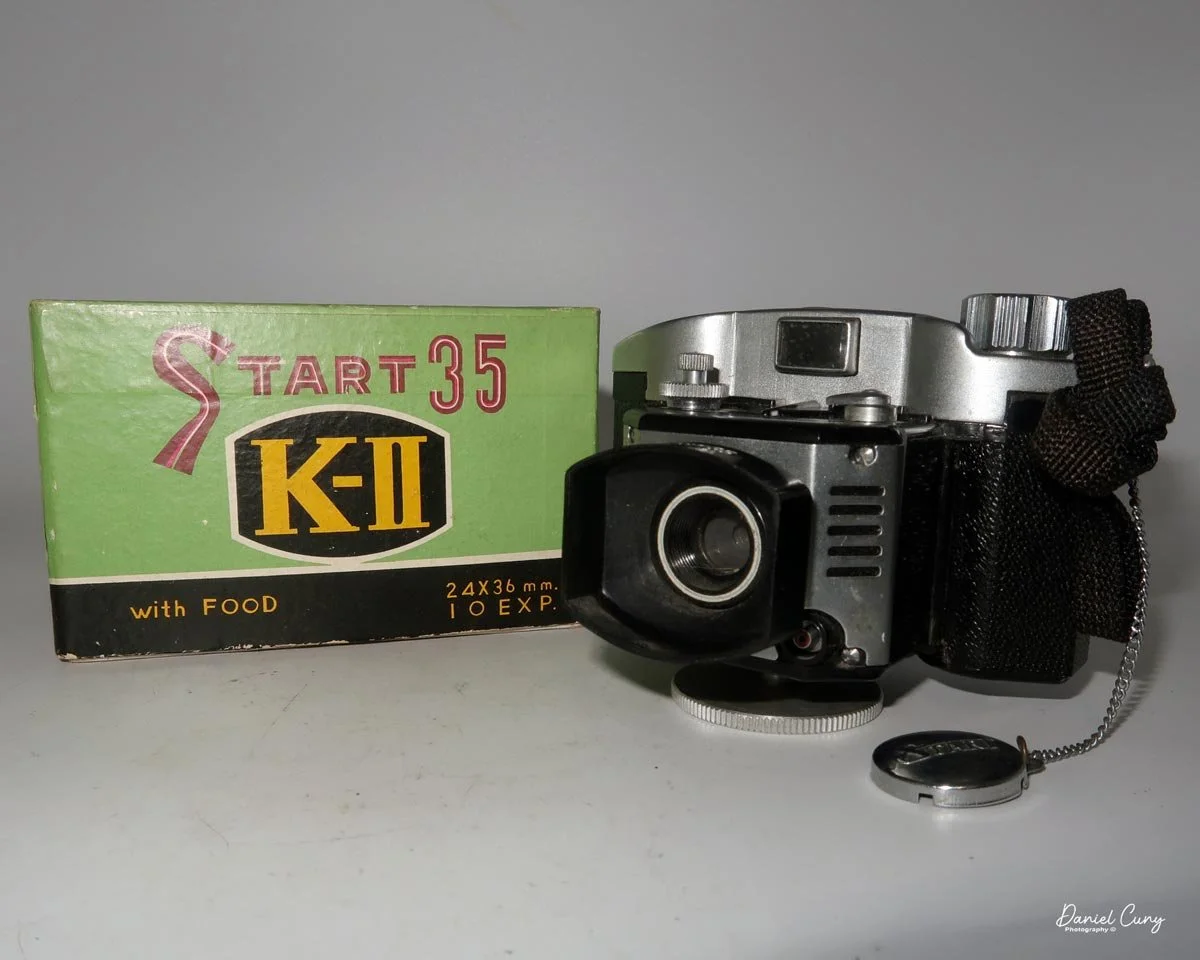
Start 35 K-II camera on stand. I still chuckle at “with Food” on the box.
Another interesting detail about this camera still makes me smile whenever I see it: the box. The box itself is in wonderful condition, but just below the attractive graphics and the camera’s name, it says “with Food.” I have no idea what that means, or why it would appear on the box of a camera.
The only explanation I can think of is that it was lost in translation. Perhaps the camera came with rolls of film, or a single roll of film, and the wording “with Food” was meant to indicate that the camera came with something it would consume. Other than that, I really do not know why that phrase appears on the box.
The Start 35 K-II uses Bolta film, which during this period was a paper-backed 35mm film sold in short rolls and generally less expensive than standard 35mm film. Some cameras used special cassettes for Bolta film, but many Japanese cameras that used Bolta film relied on a special spool with a larger receptacle that fit into the camera, similar in concept to other roll-film systems such as 127 and 828.
History
Ikko Sha Co. Ltd. was a small Japanese camera maker active in the early postwar years, best remembered today for its Start 35 family of compact viewfinder cameras. While it never became a major household name like Canon or Nikon, the company is a good example of the many modest Japanese firms that helped shape the country’s camera boom after World War II.
The Start 35 line appears to have begun around 1950, when Ikko Sha introduced a Bakelite 35mm camera designed for 24x24mm exposures on Bolta film rolls. That was followed by the Start 35 K in 1952, which added a hinged back door, and later by the Start 35 K-II around 1958, which brought flash synchronization, a metal top plate, a 24x36mm exposure area, and lens-surround caps. These incremental changes suggest a company refining a simple, practical product rather than chasing a wide model range.
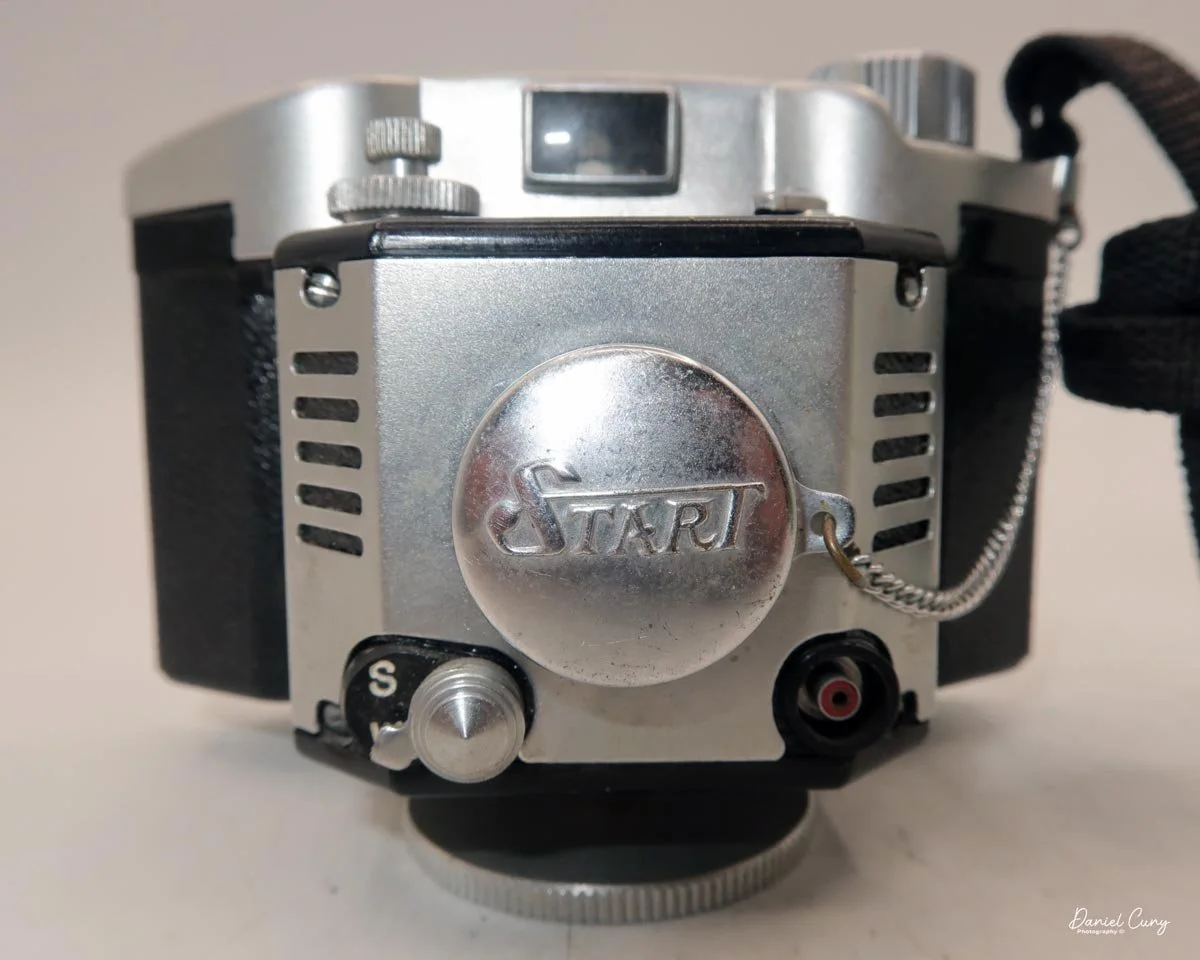
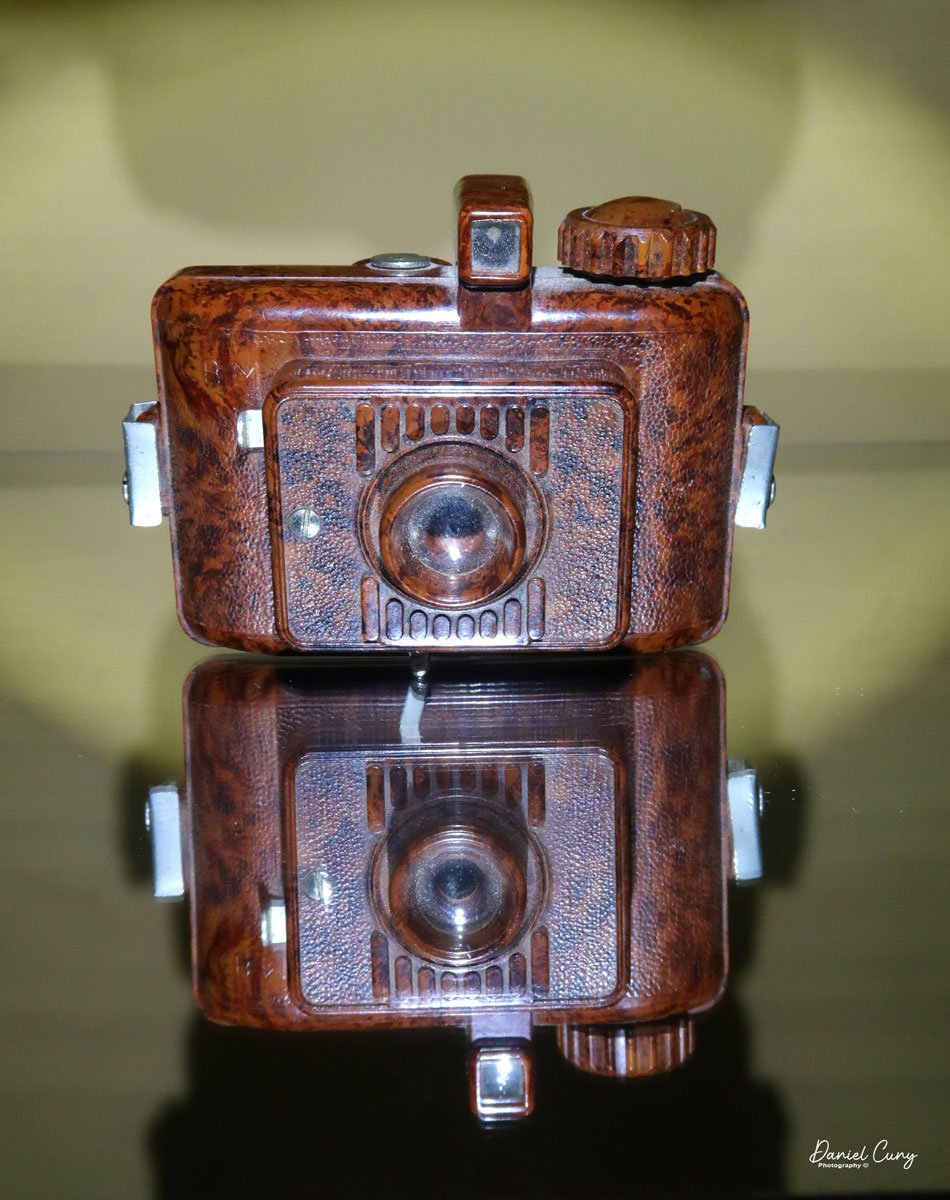
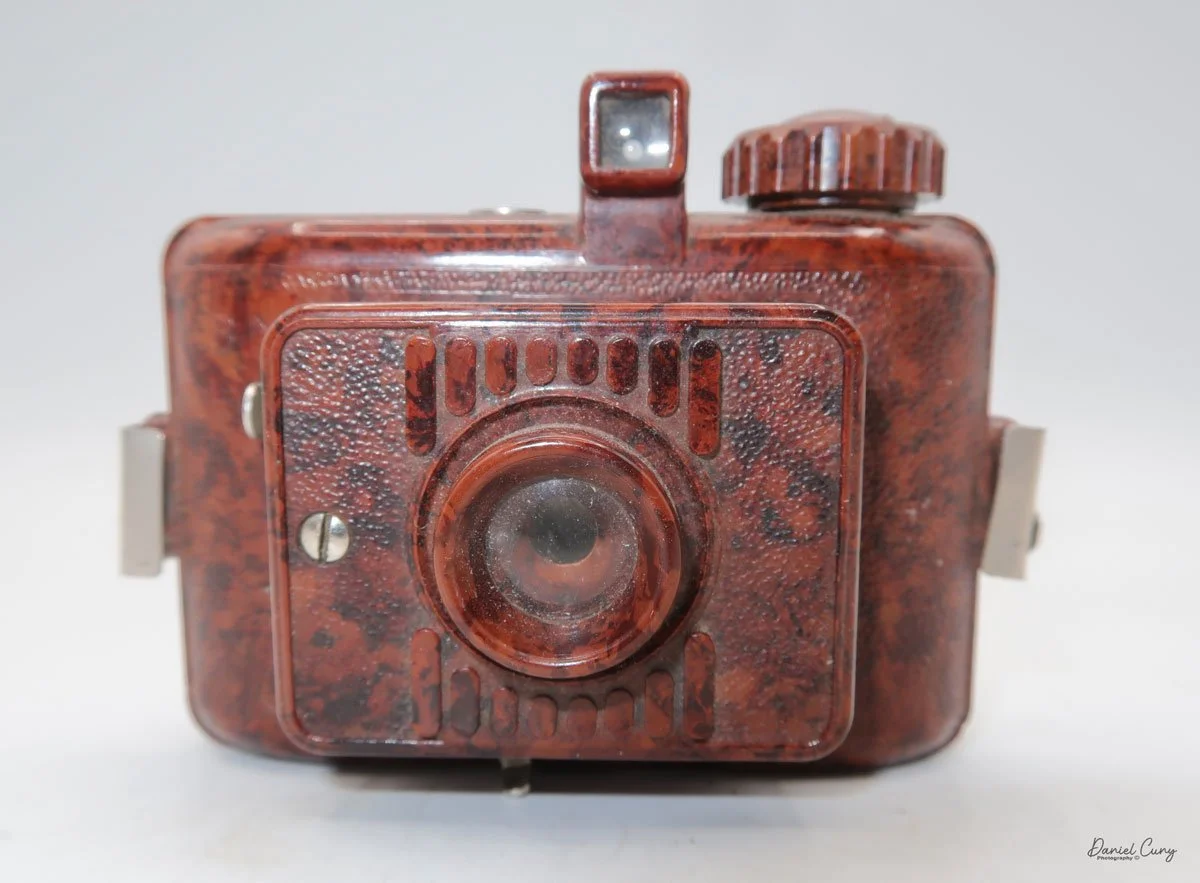
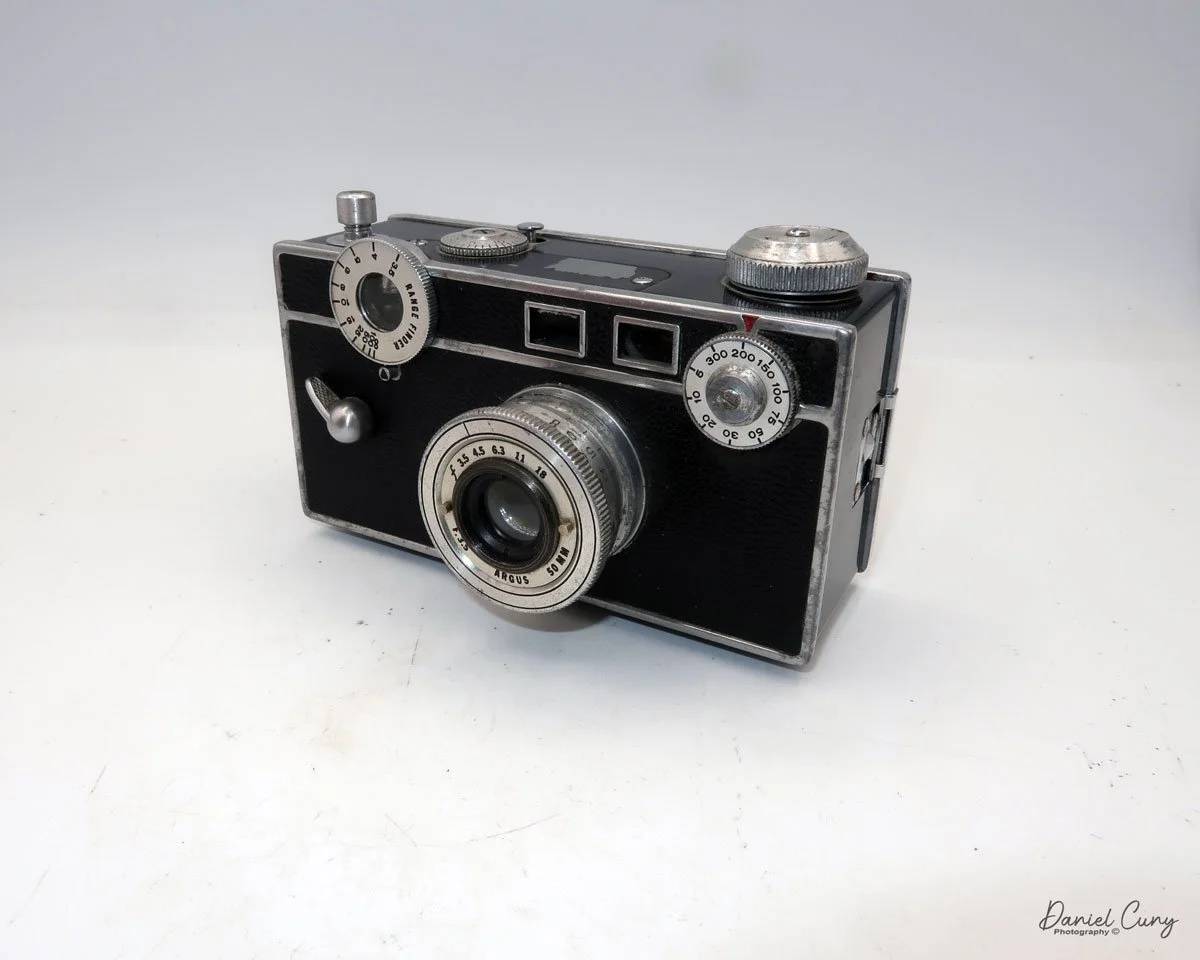
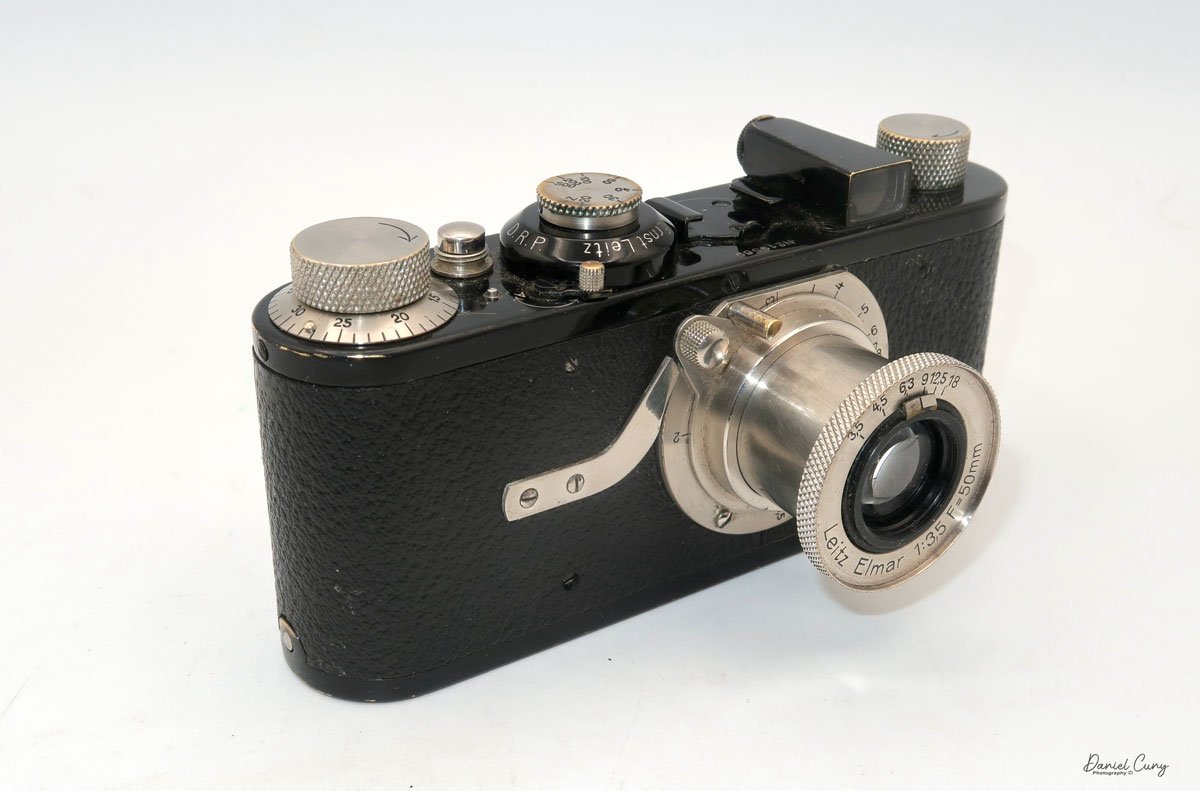
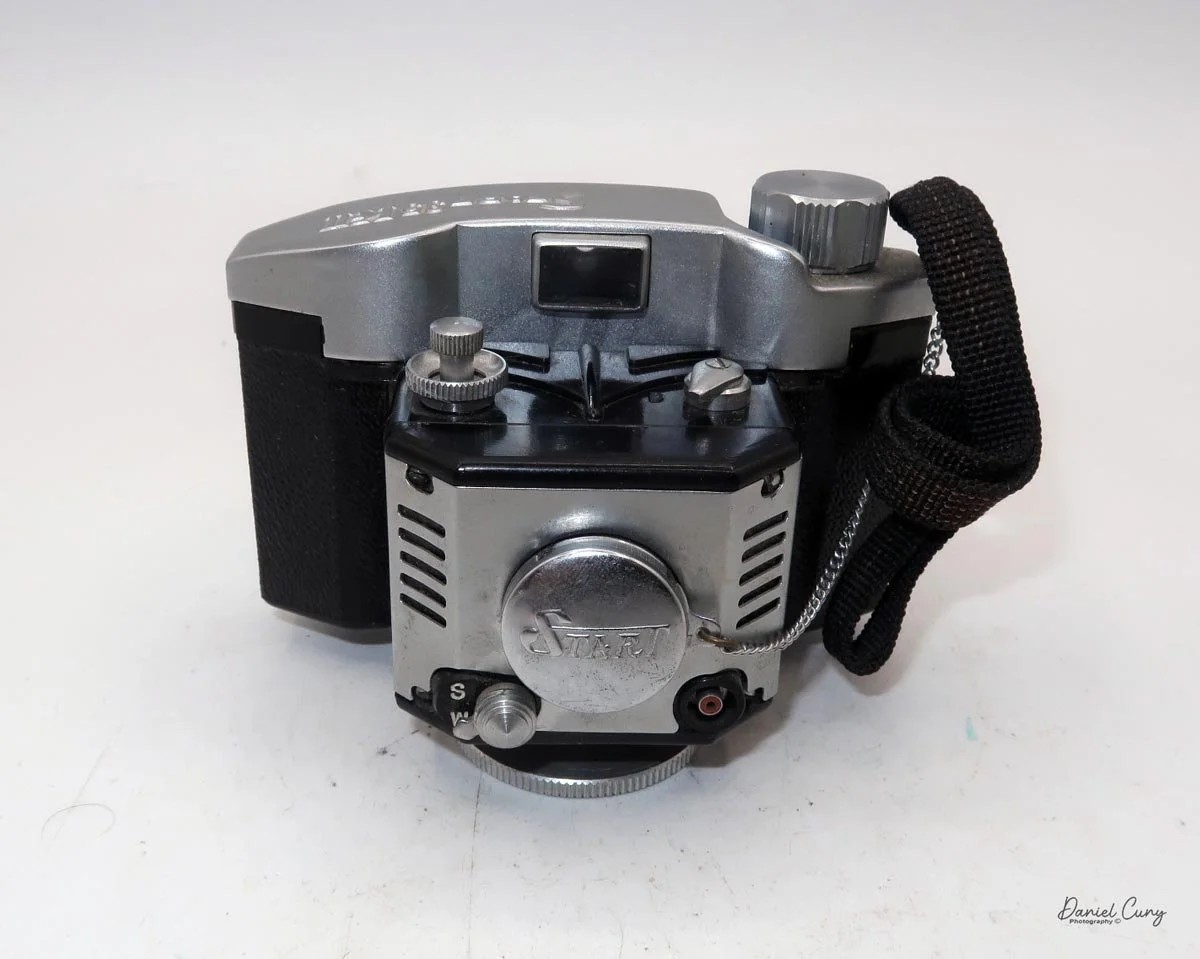
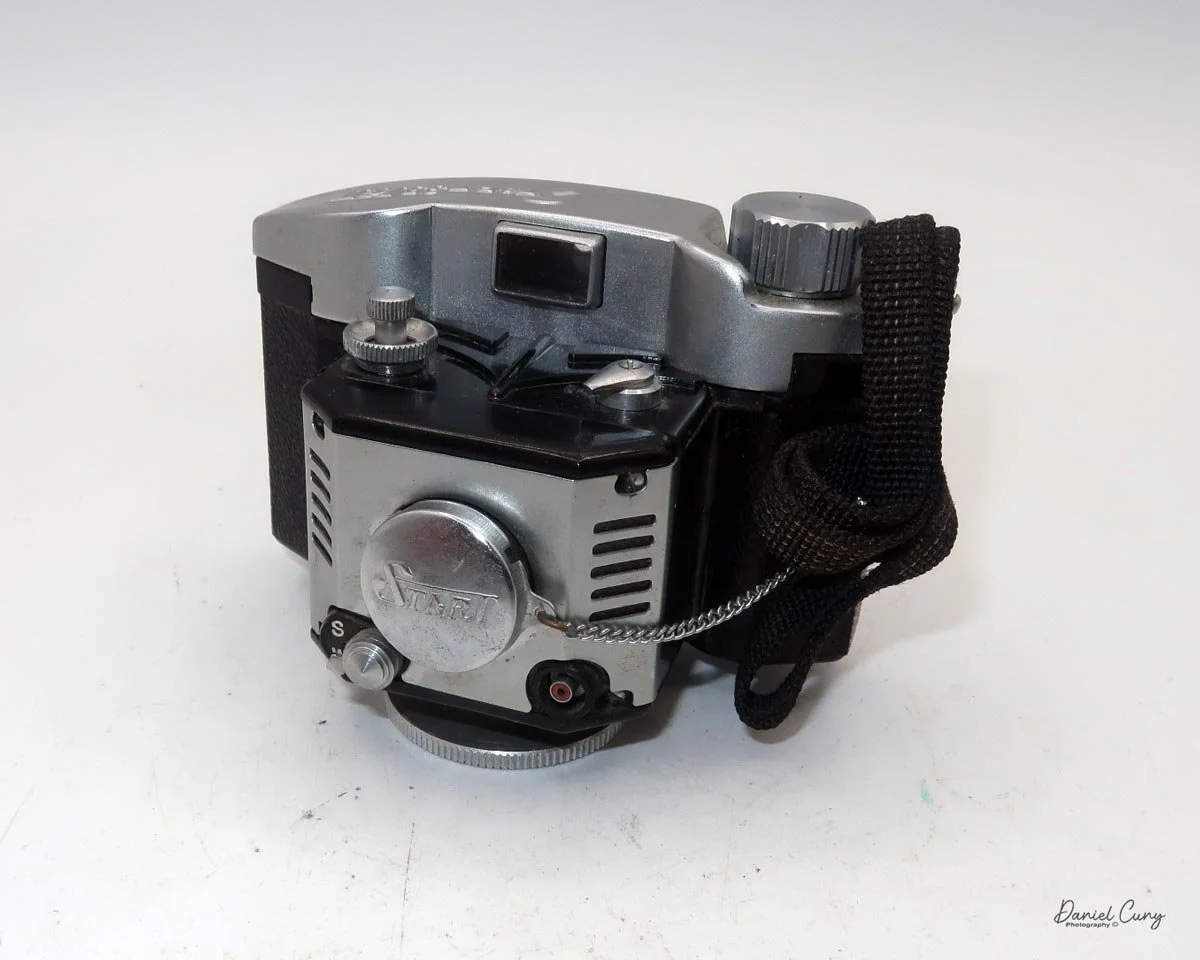
Front view of Start 35 K-II camera with embossed lens cap
Ikko Sha’s place in camera history comes as much from context as from production volume. Postwar Japan produced dozens of small camera firms, many of them serving the growing demand for inexpensive 35mm cameras at home and abroad. Ikko Sha belonged to that energetic ecosystem, where innovation often came through compact designs, clever packaging, and steady model revisions rather than large-scale manufacturing power.
For collectors, Ikko Sha cameras are appealing because they are uncommon and clearly rooted in a transitional moment in photographic history. The Start 35 series shows how Japanese manufacturers experimented with materials, formats, and user features before the industry consolidated around stronger global brands. A camera like the Start 35 K-II may be modest, but it captures the ingenuity of an era when even small firms could leave a lasting mark on the collecting world.
Today, surviving Ikko Sha cameras are mostly encountered in collections, auctions, and enthusiast write-ups rather than in mainstream histories. That scarcity only adds to their charm, especially for collectors who enjoy tracing the overlooked branches of Japanese camera development.
My Camera
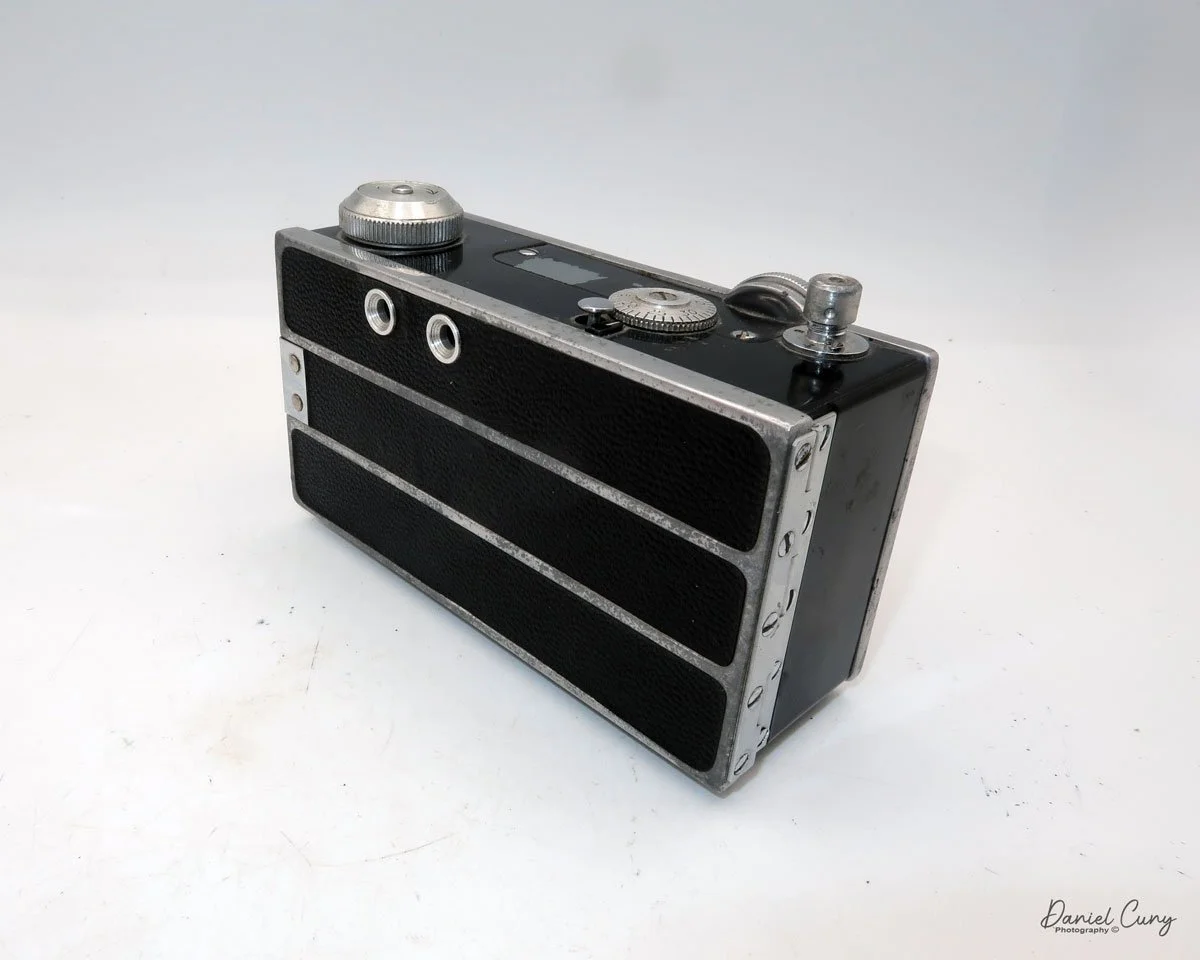
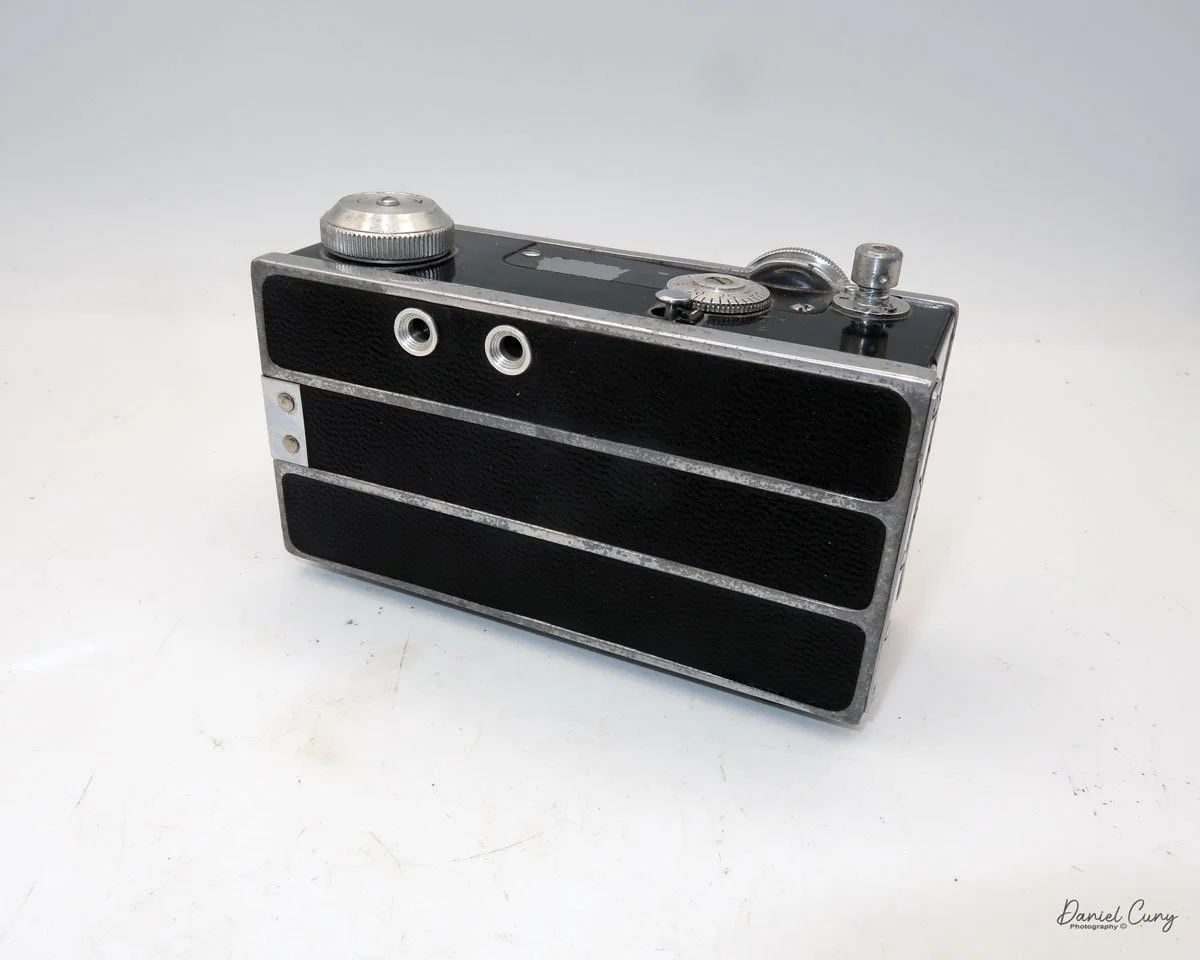
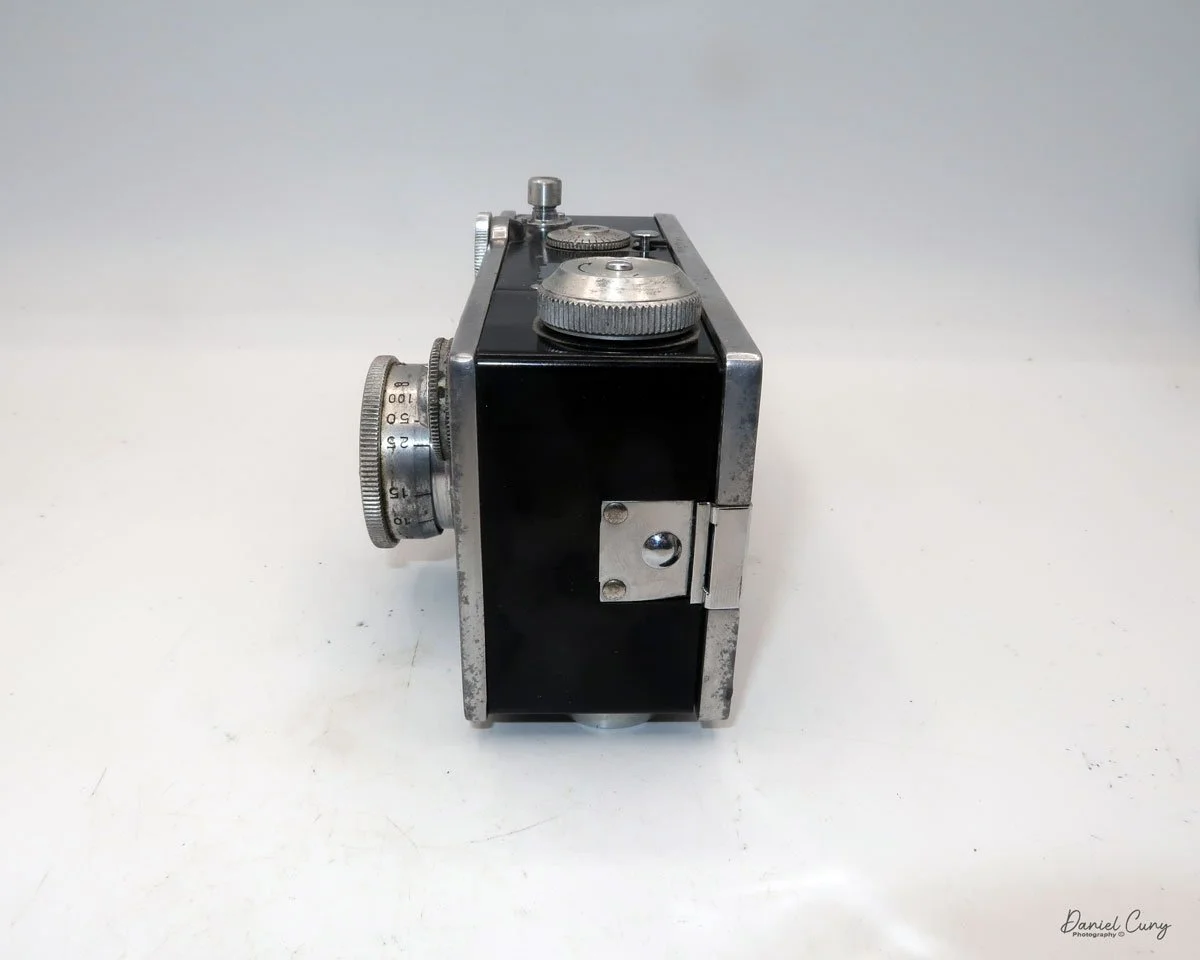
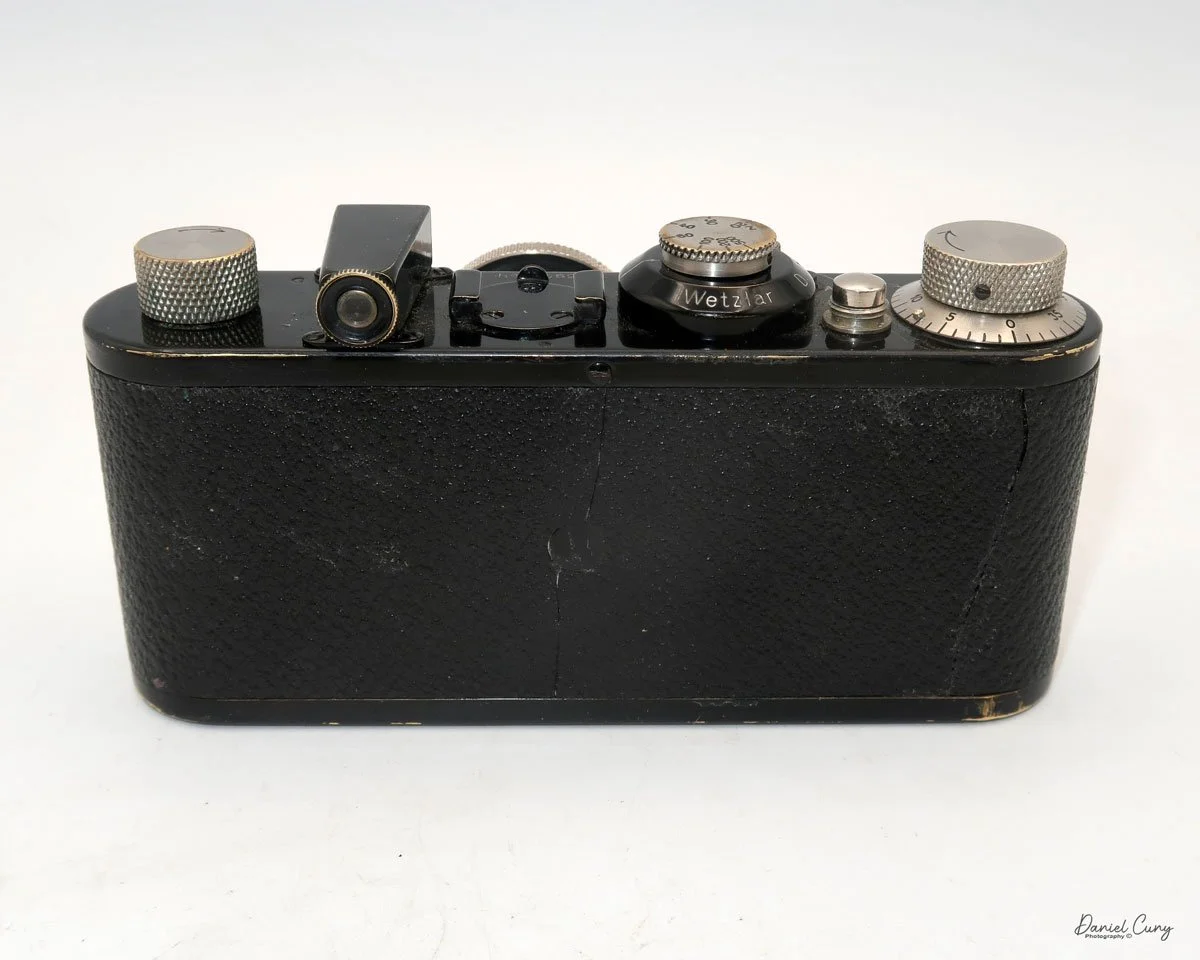
My Start 35 K-II camera measures 4 inches wide by 2.25 inches tall and 2.5 inches deep, not including the attached lens hood. The camera weighs 6.6 ounces without film loaded. It is made of black Bakelite with an aluminum top covering the viewfinder, and the metal also wraps around the lens with five slots on either side, giving the camera a modernist look.

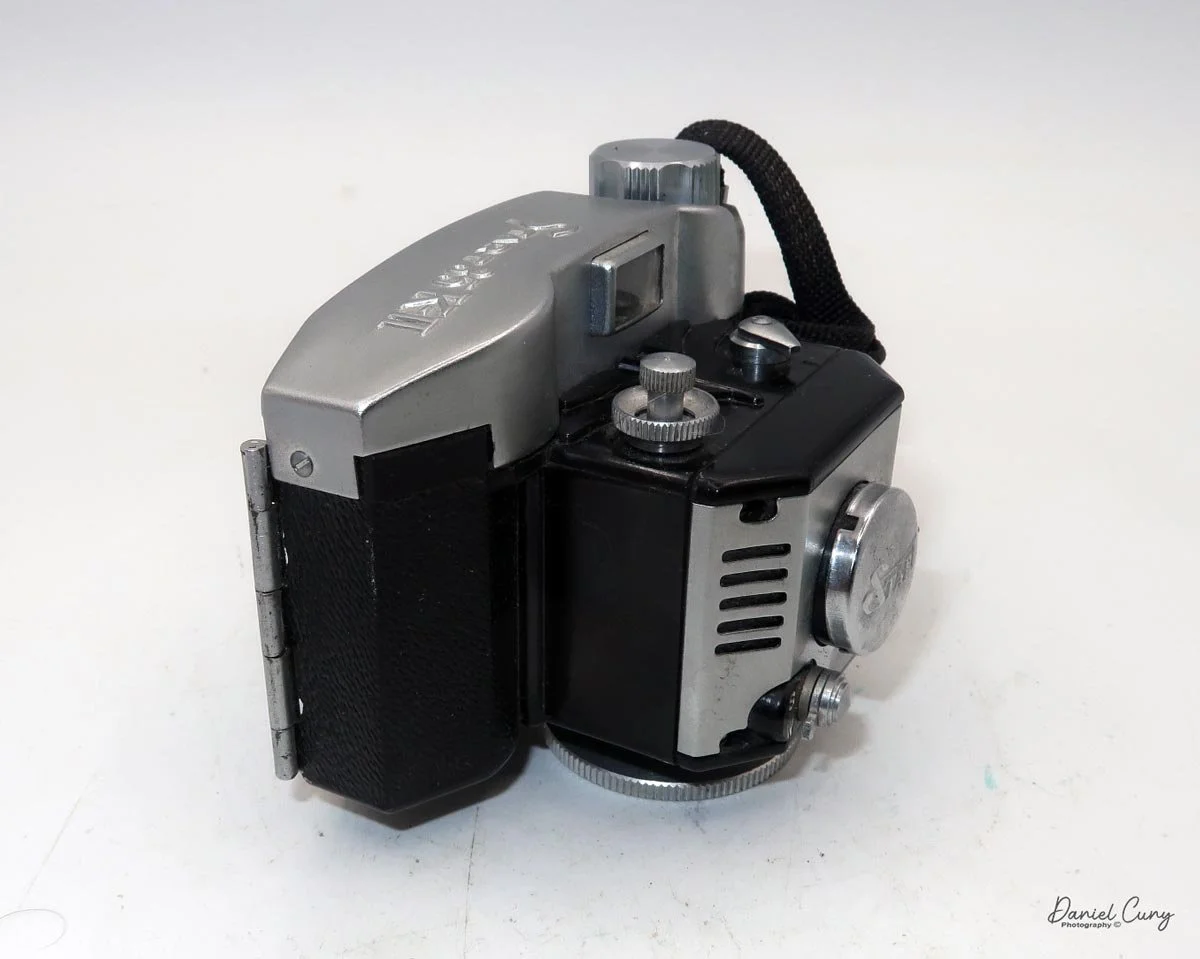
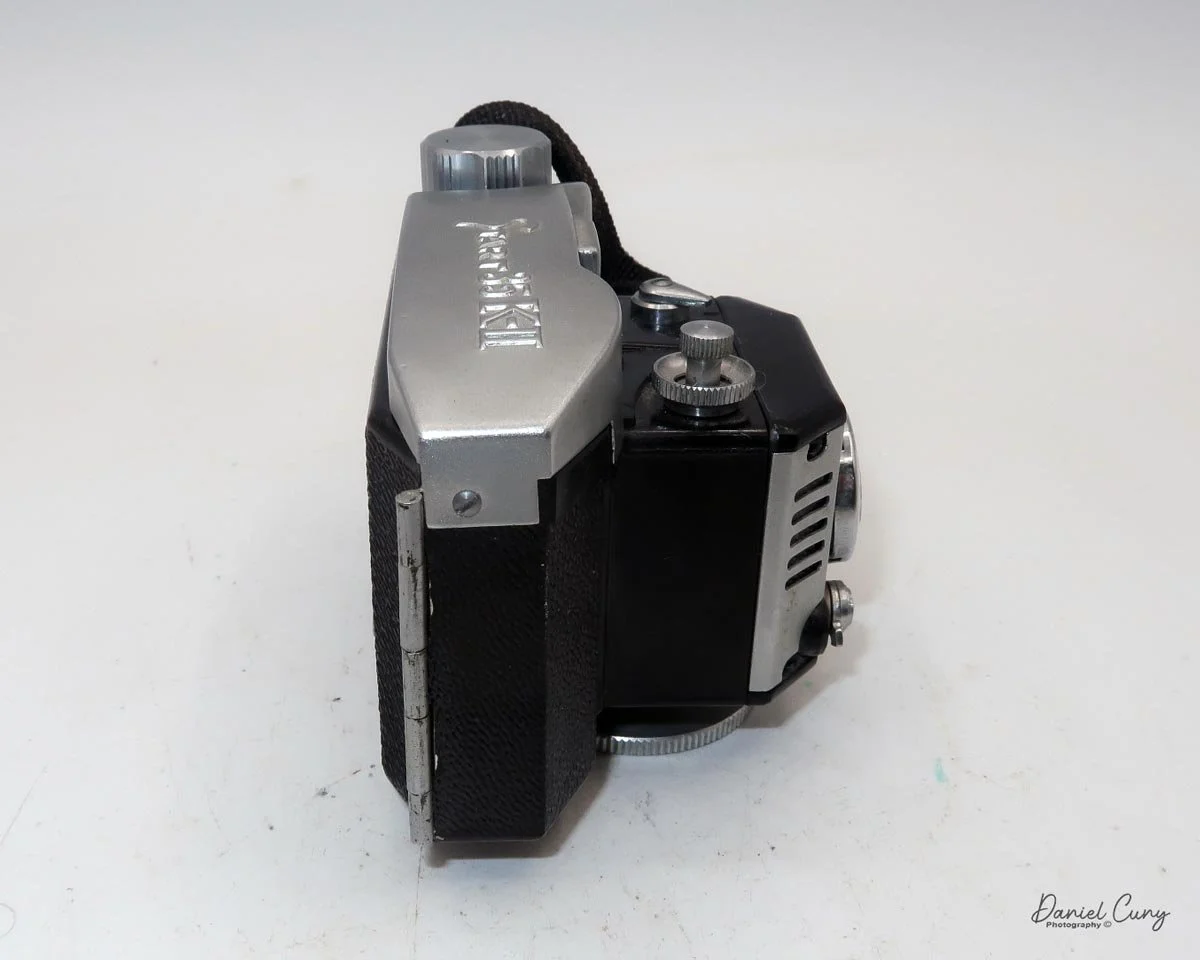
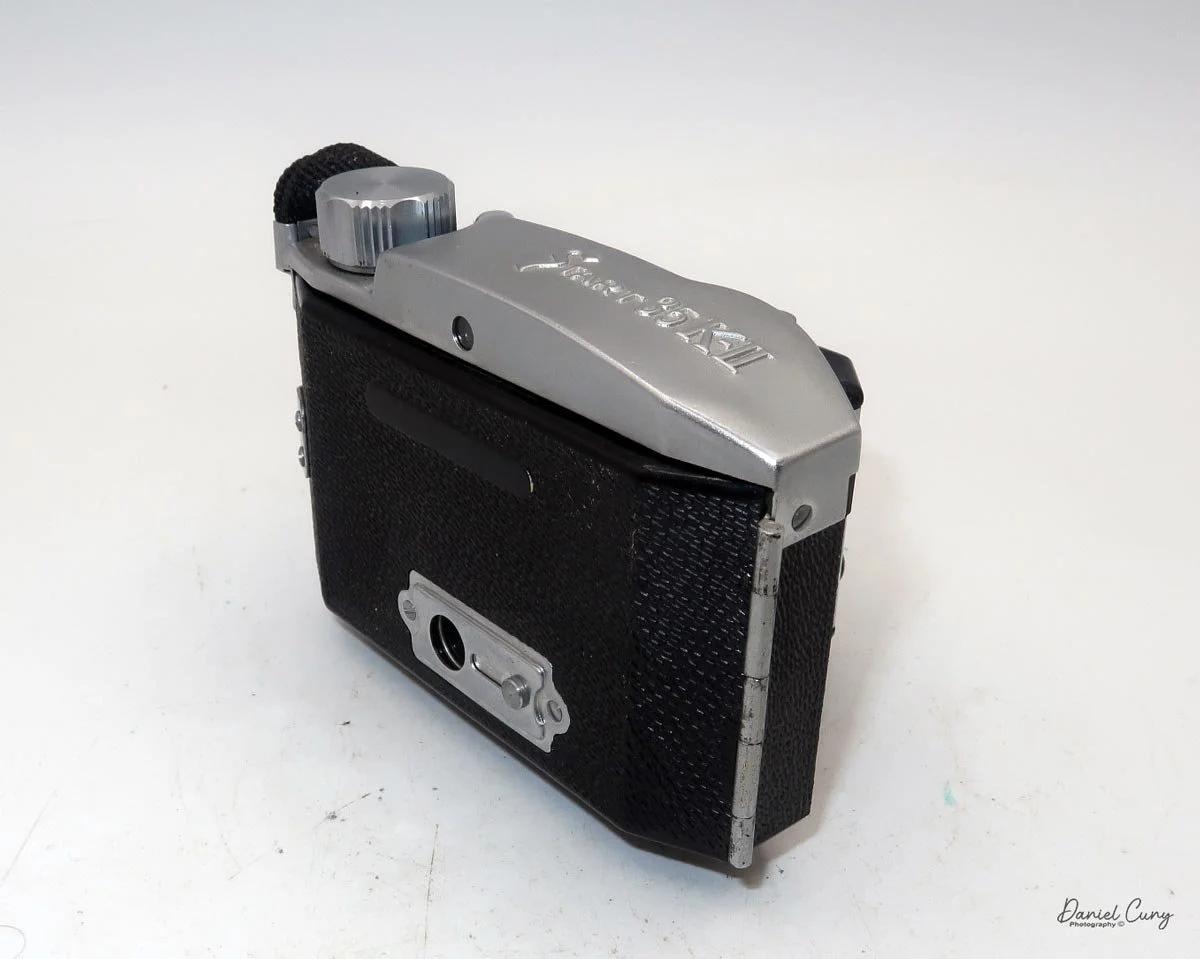
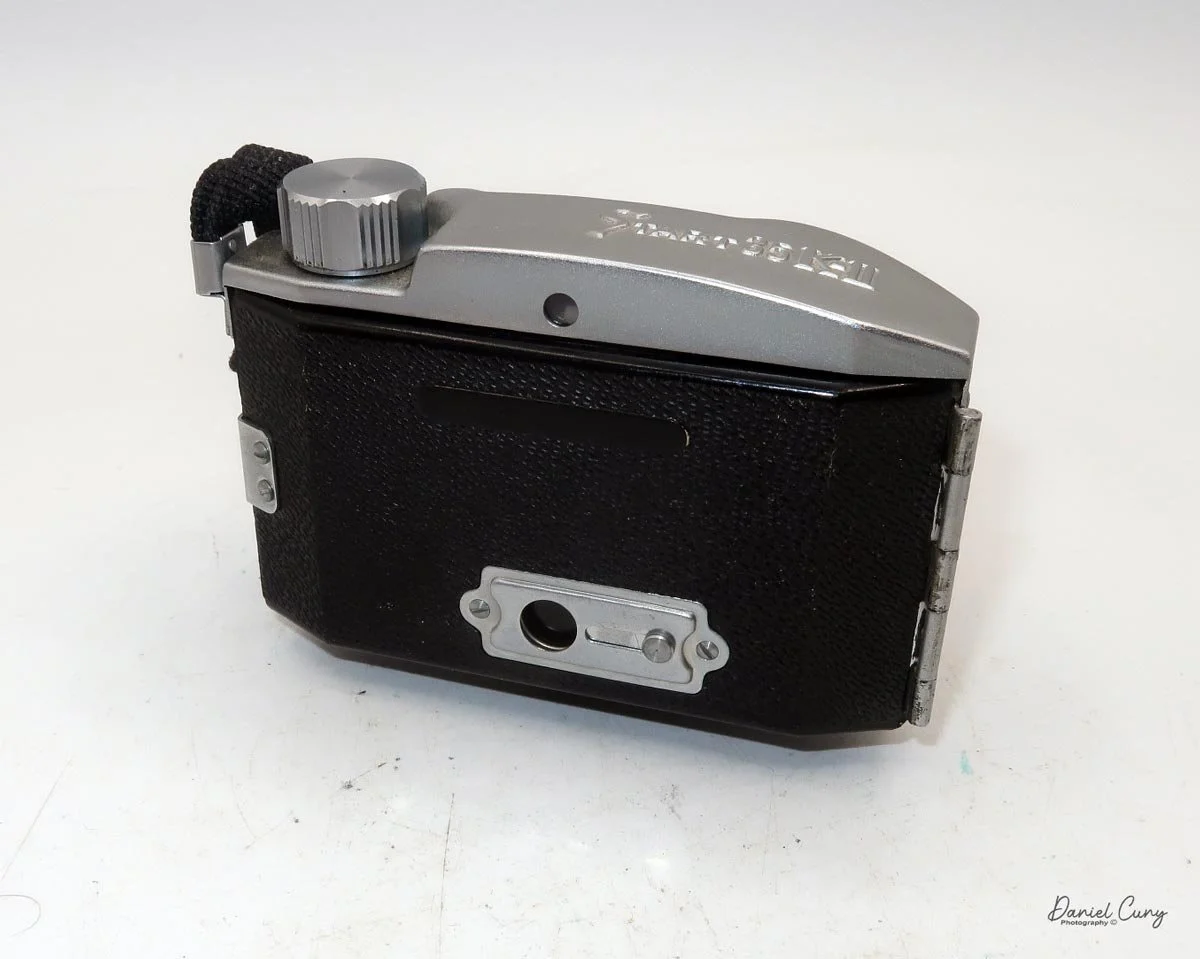

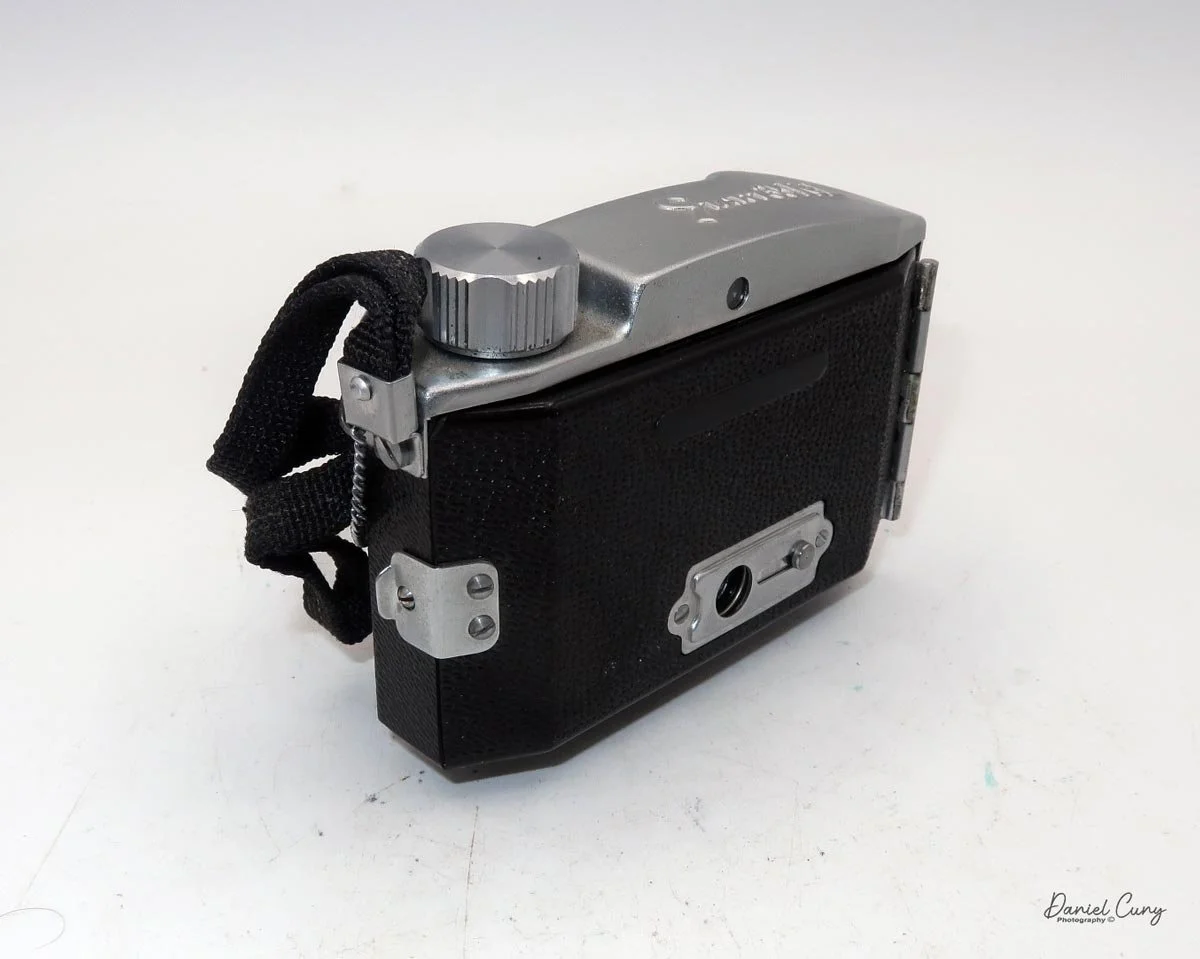
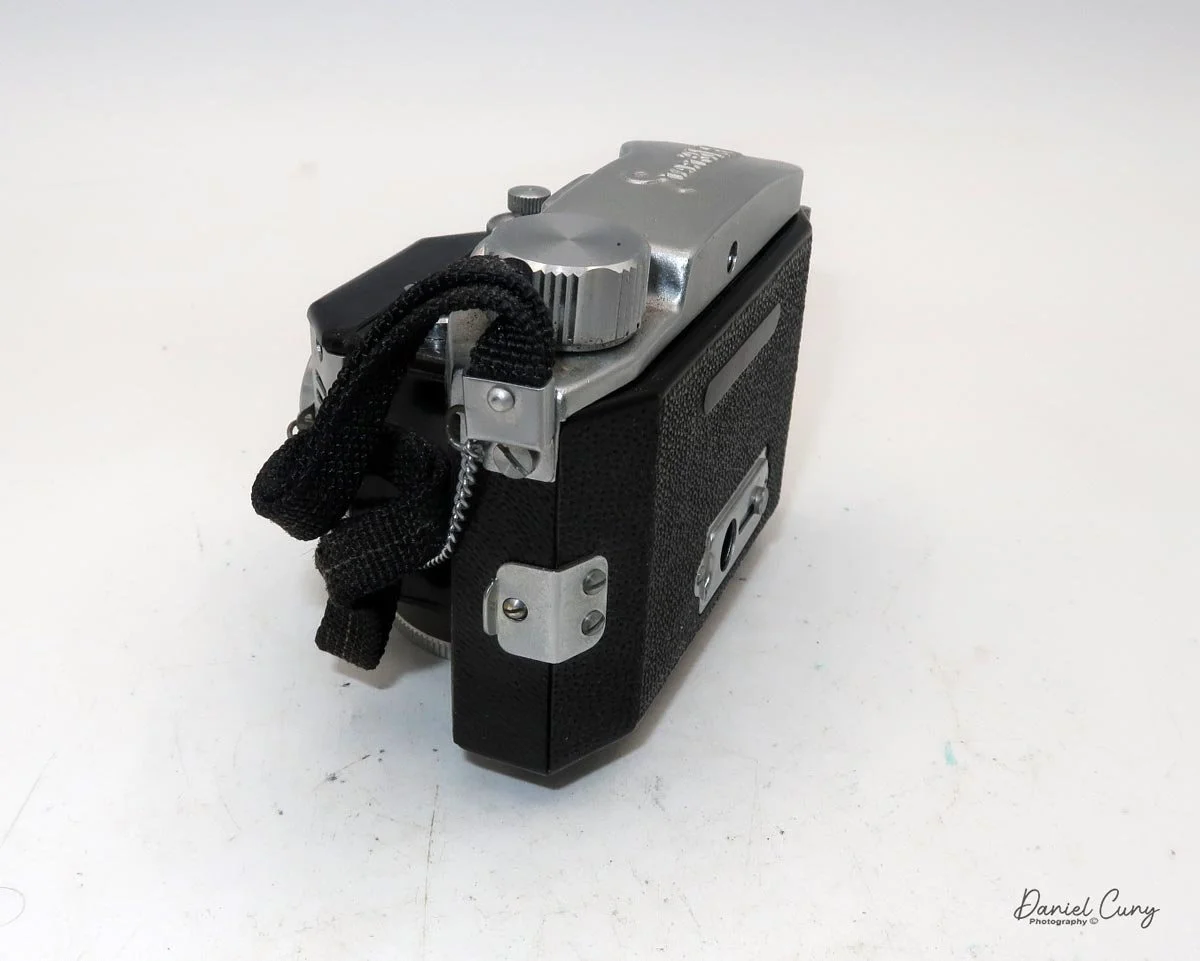


On the left side of the camera is a nylon wrist strap attached next to the film winding knob. Also attached to the strap is a metal chain with a metal lens cap embossed with a stylized “START” logo. On the bottom of the camera is a tripod socket, along with “Made in Japan” embossed into the Bakelite.
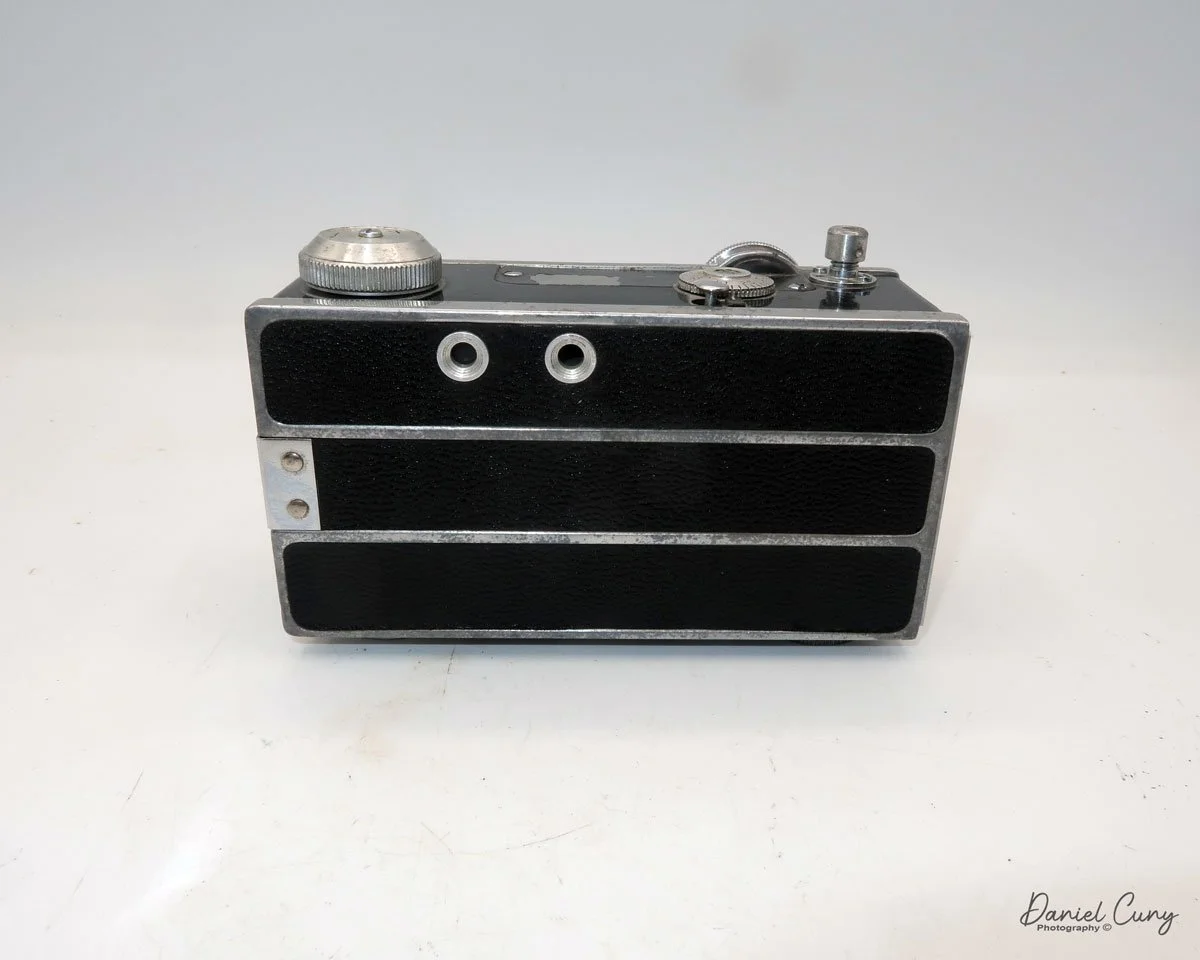
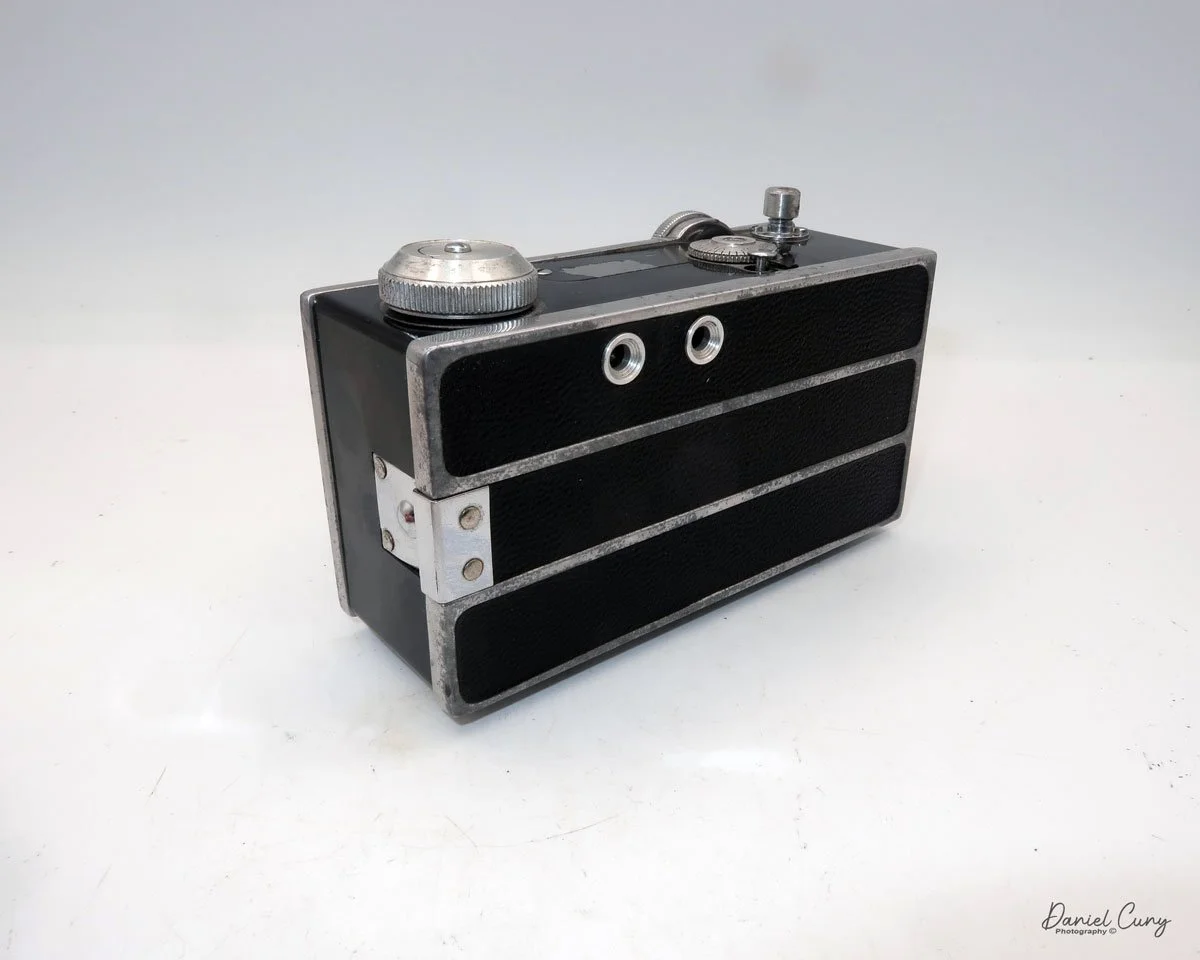
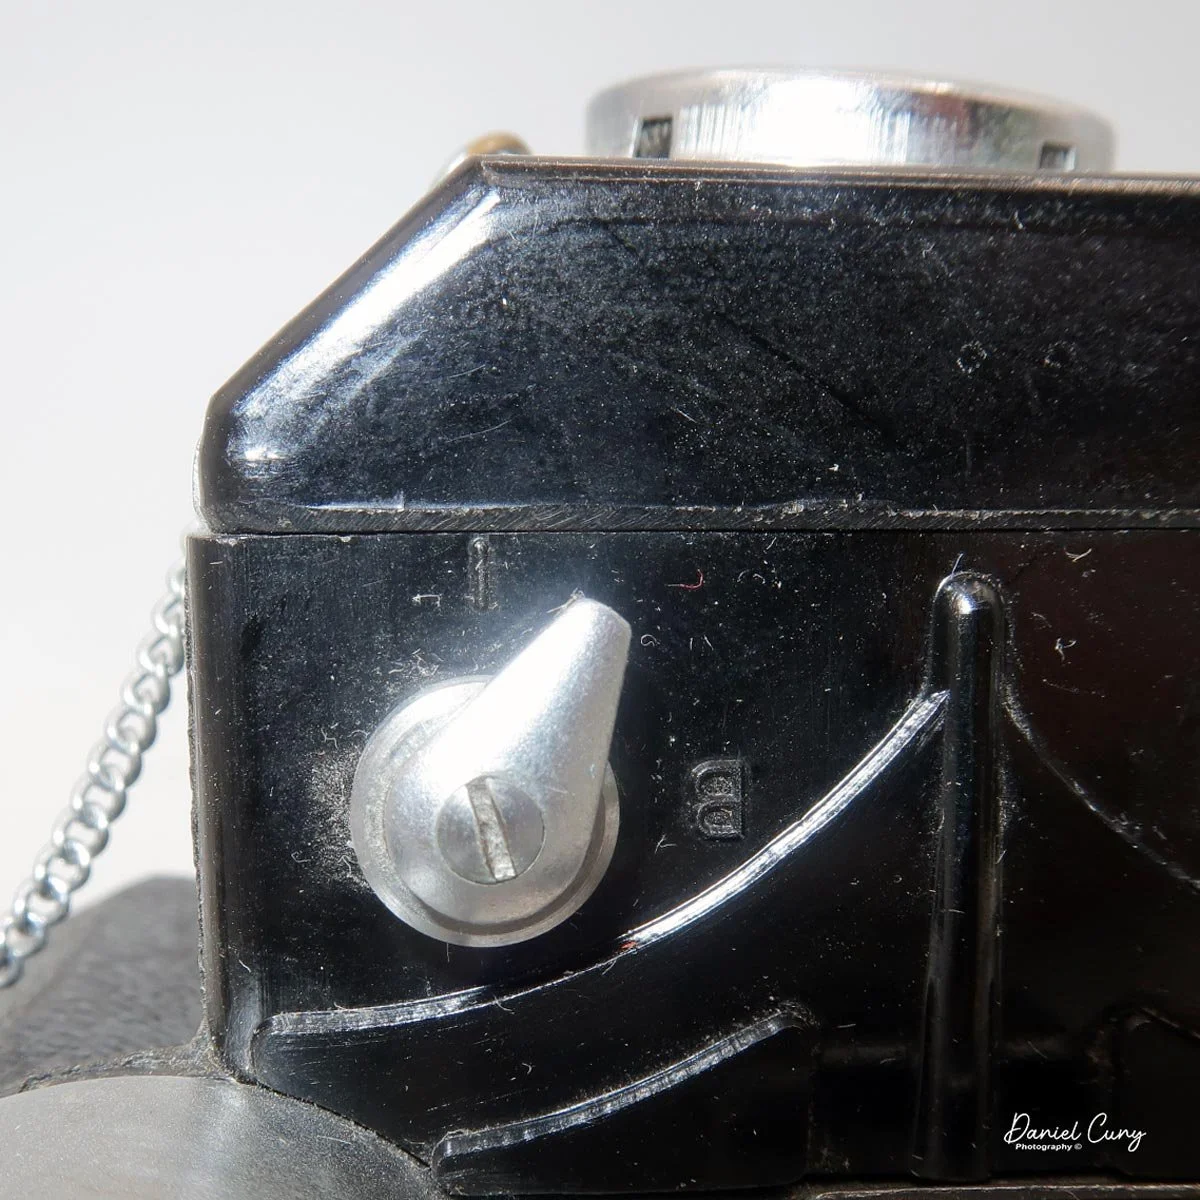
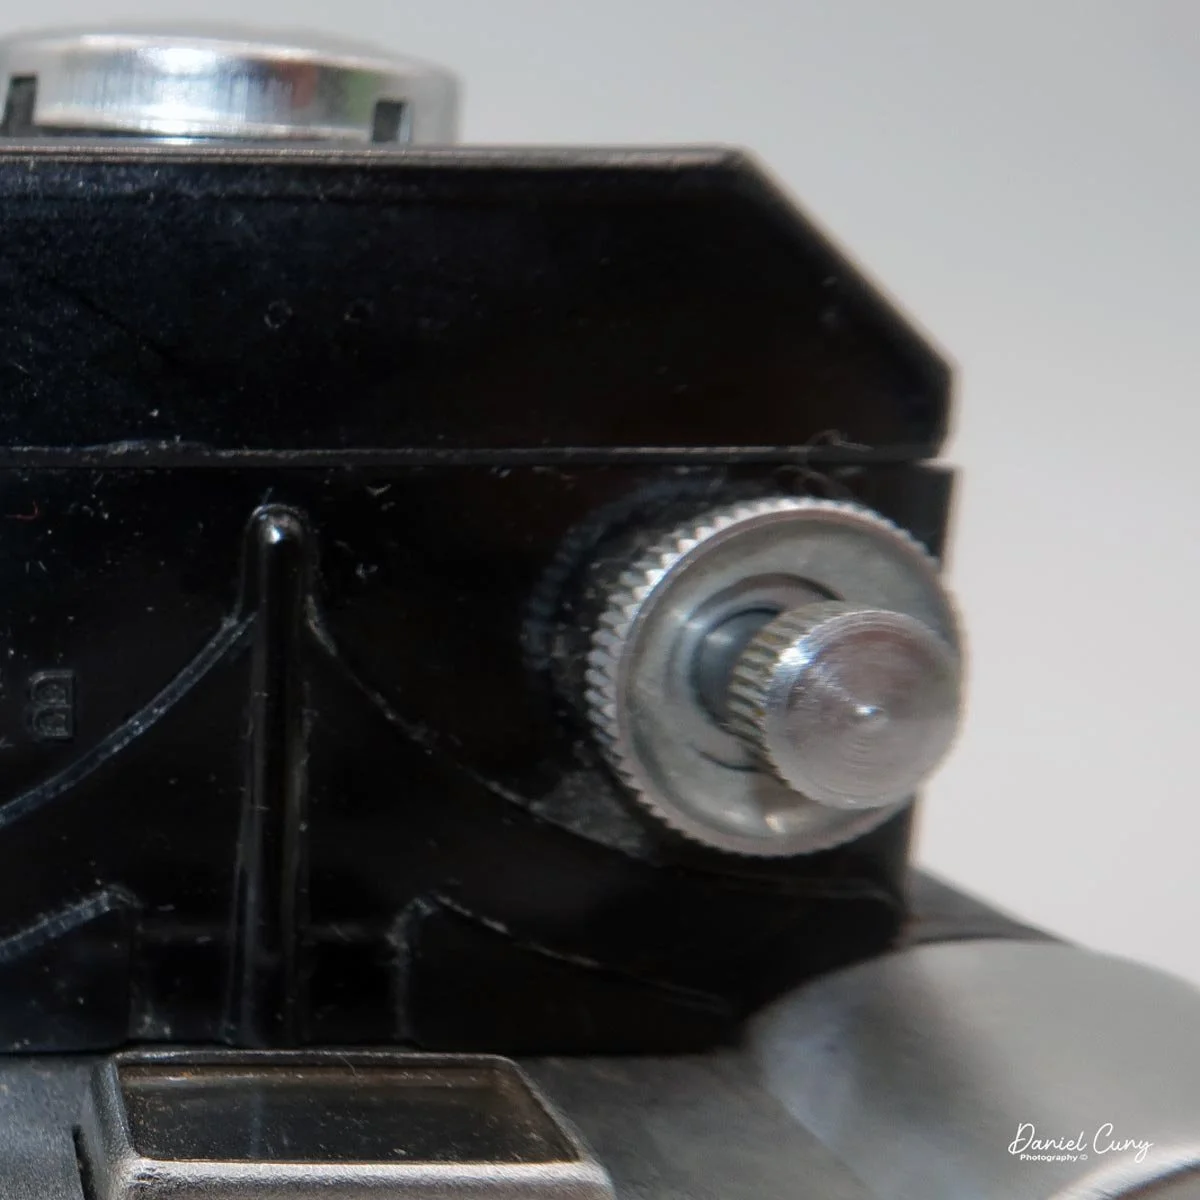
The camera is very basic when it comes to controls. The shutter release is on the top right of the camera, located on the extending lens portion, and on the opposite side is the shutter control switch. You have the option of either “I” for instant or “B” for timed exposures.
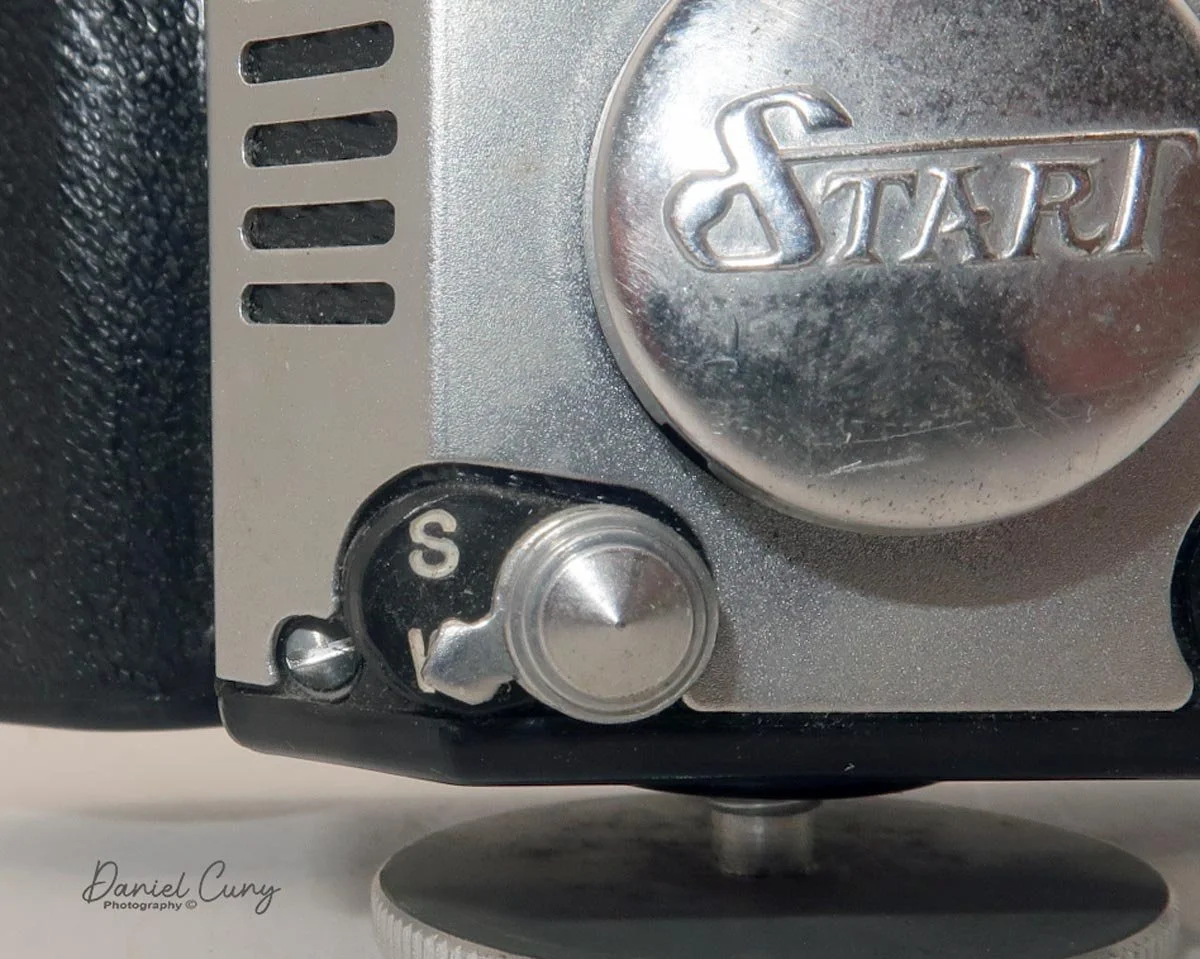
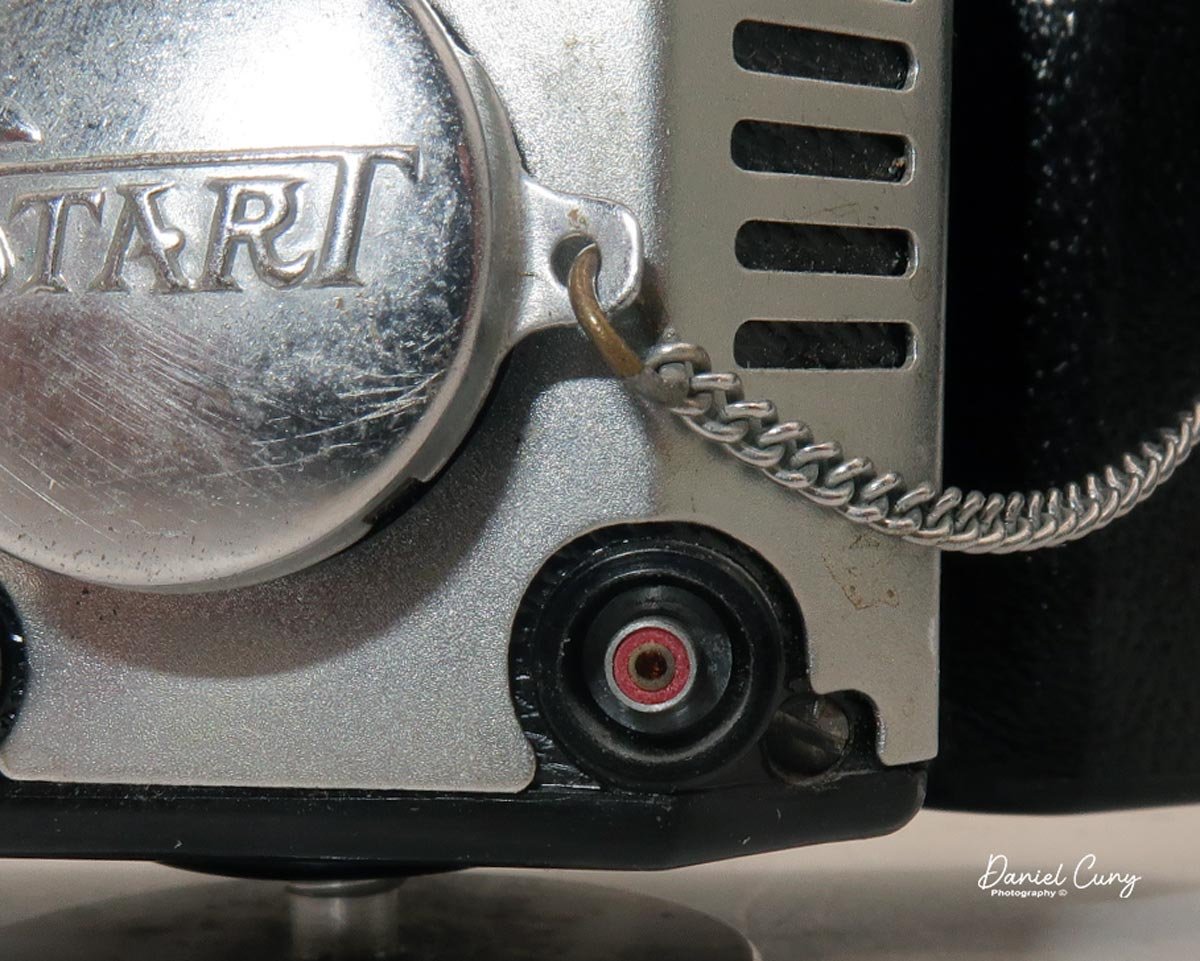
The lens is fixed and cannot be focused. Under the lens, on the left side, are two aperture settings, “W” and “S.” “W” is wider open, and switching to the “S” setting selects a smaller aperture. On the left side of the camera is a PC socket for flash. Since there is no accessory shoe, you need to use a bracket if you want to use flash with the Start 35 K-II.
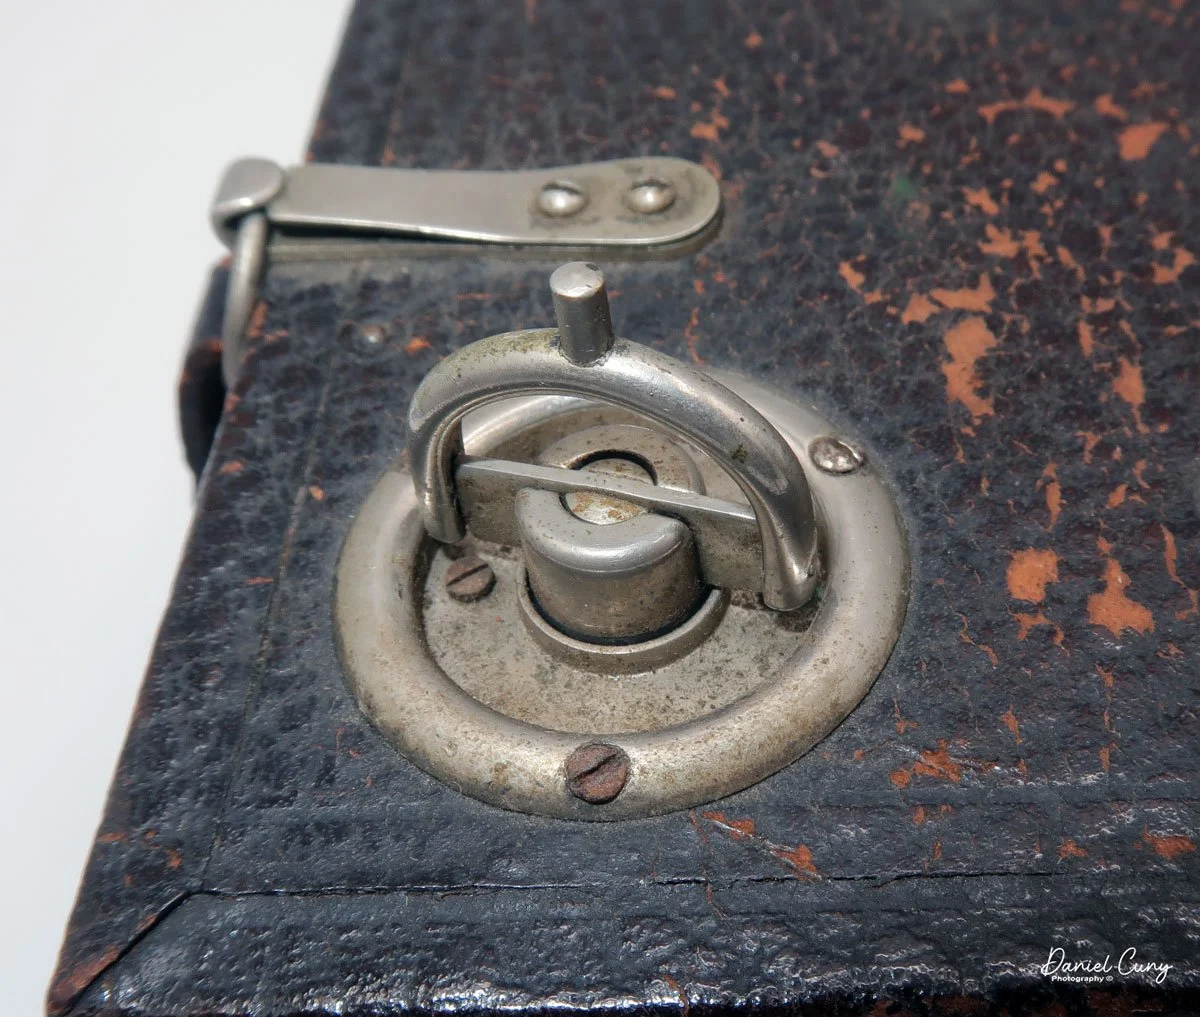
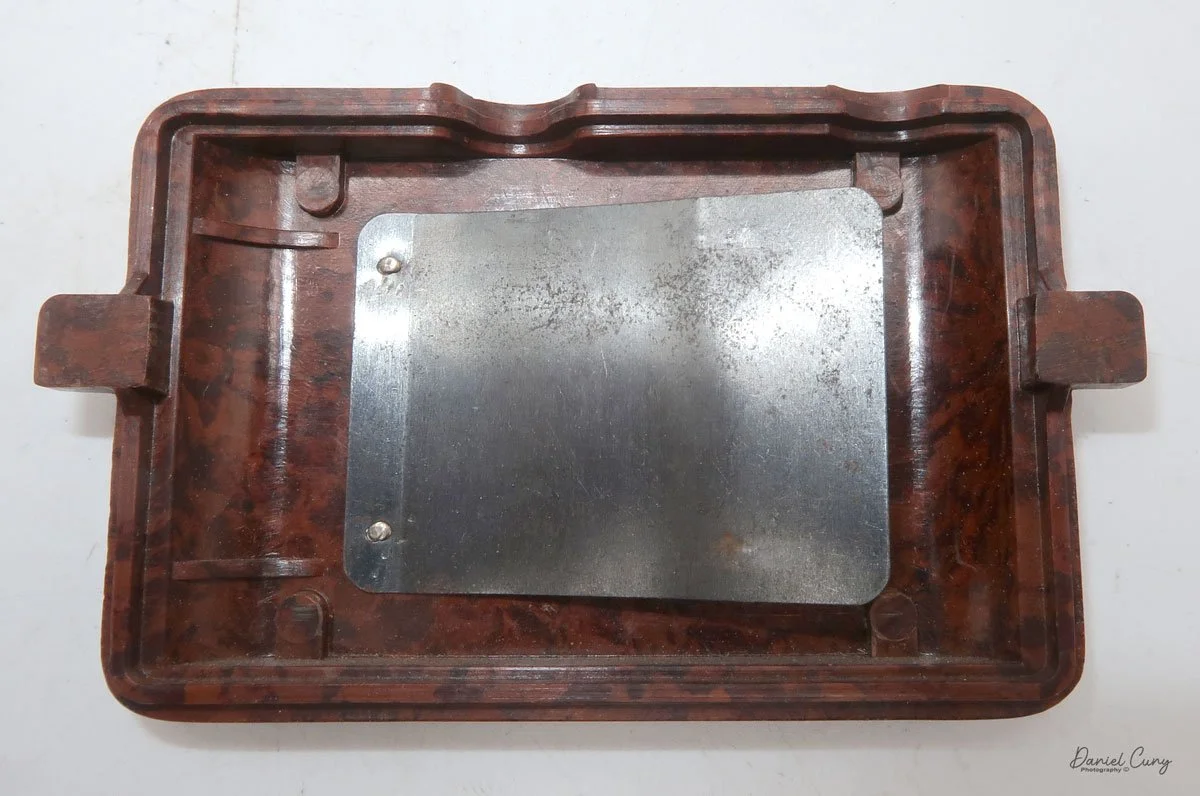
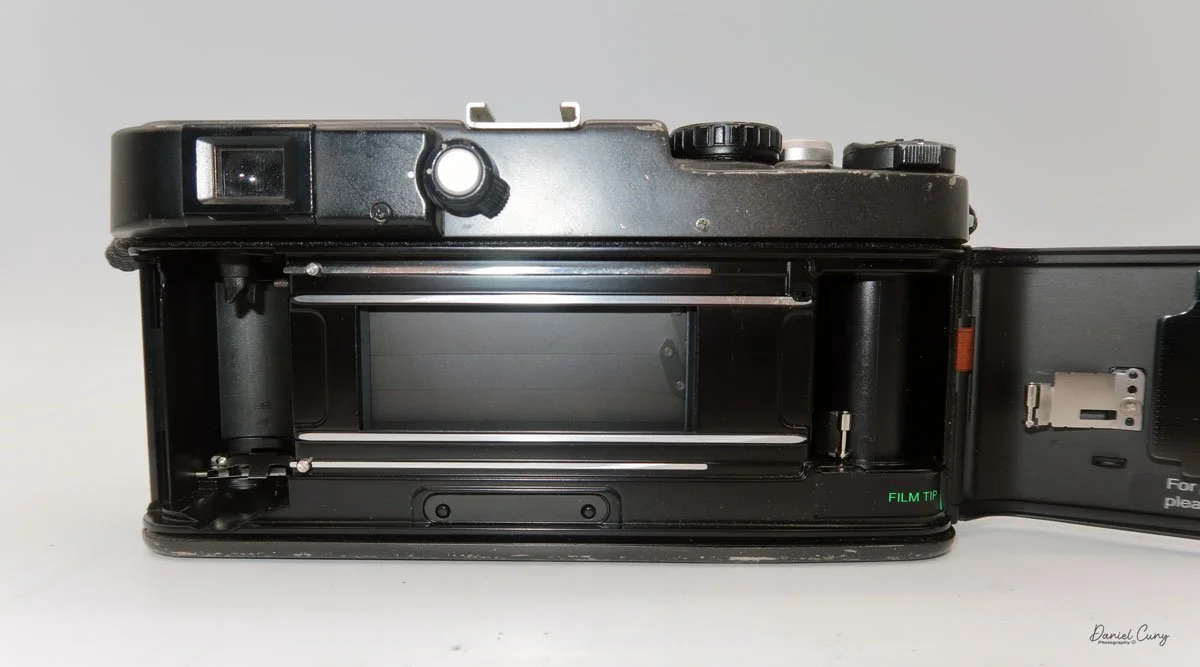
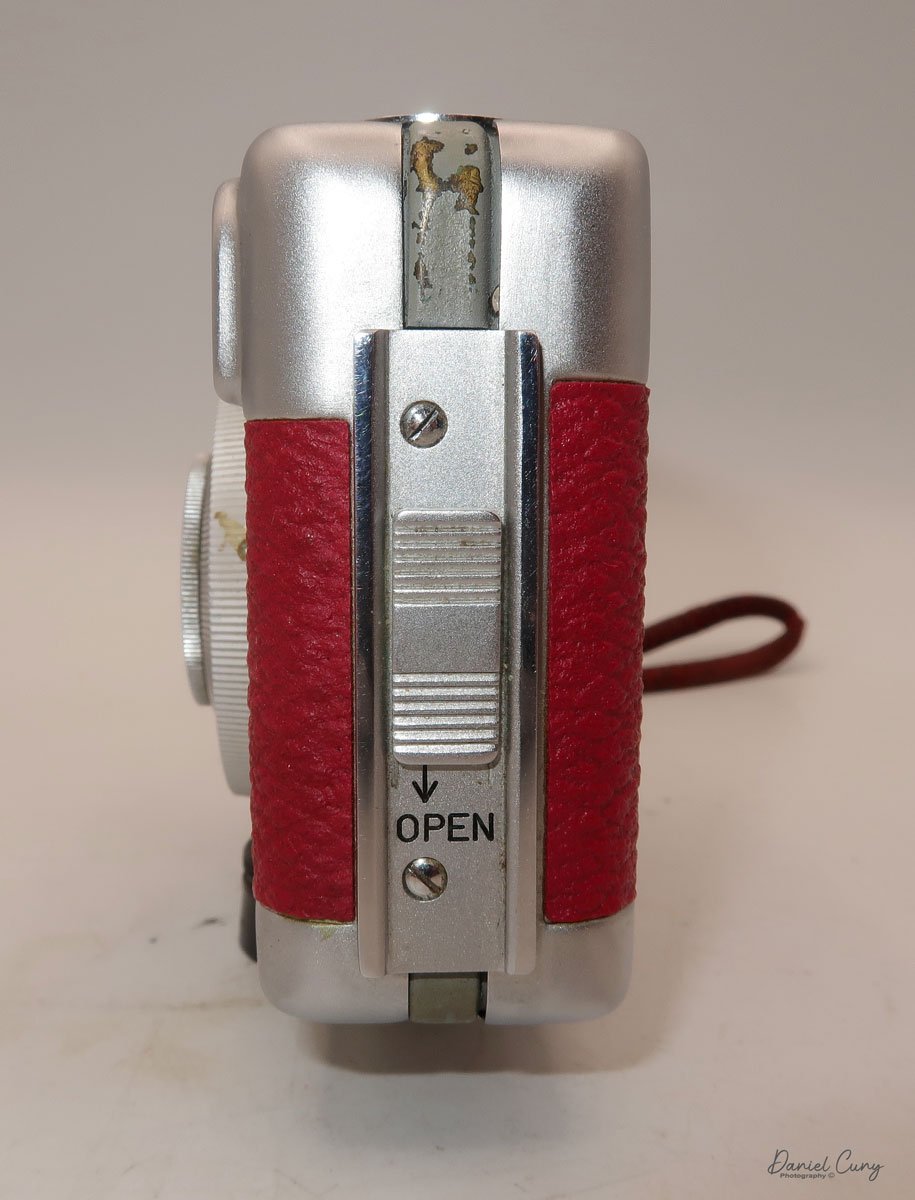
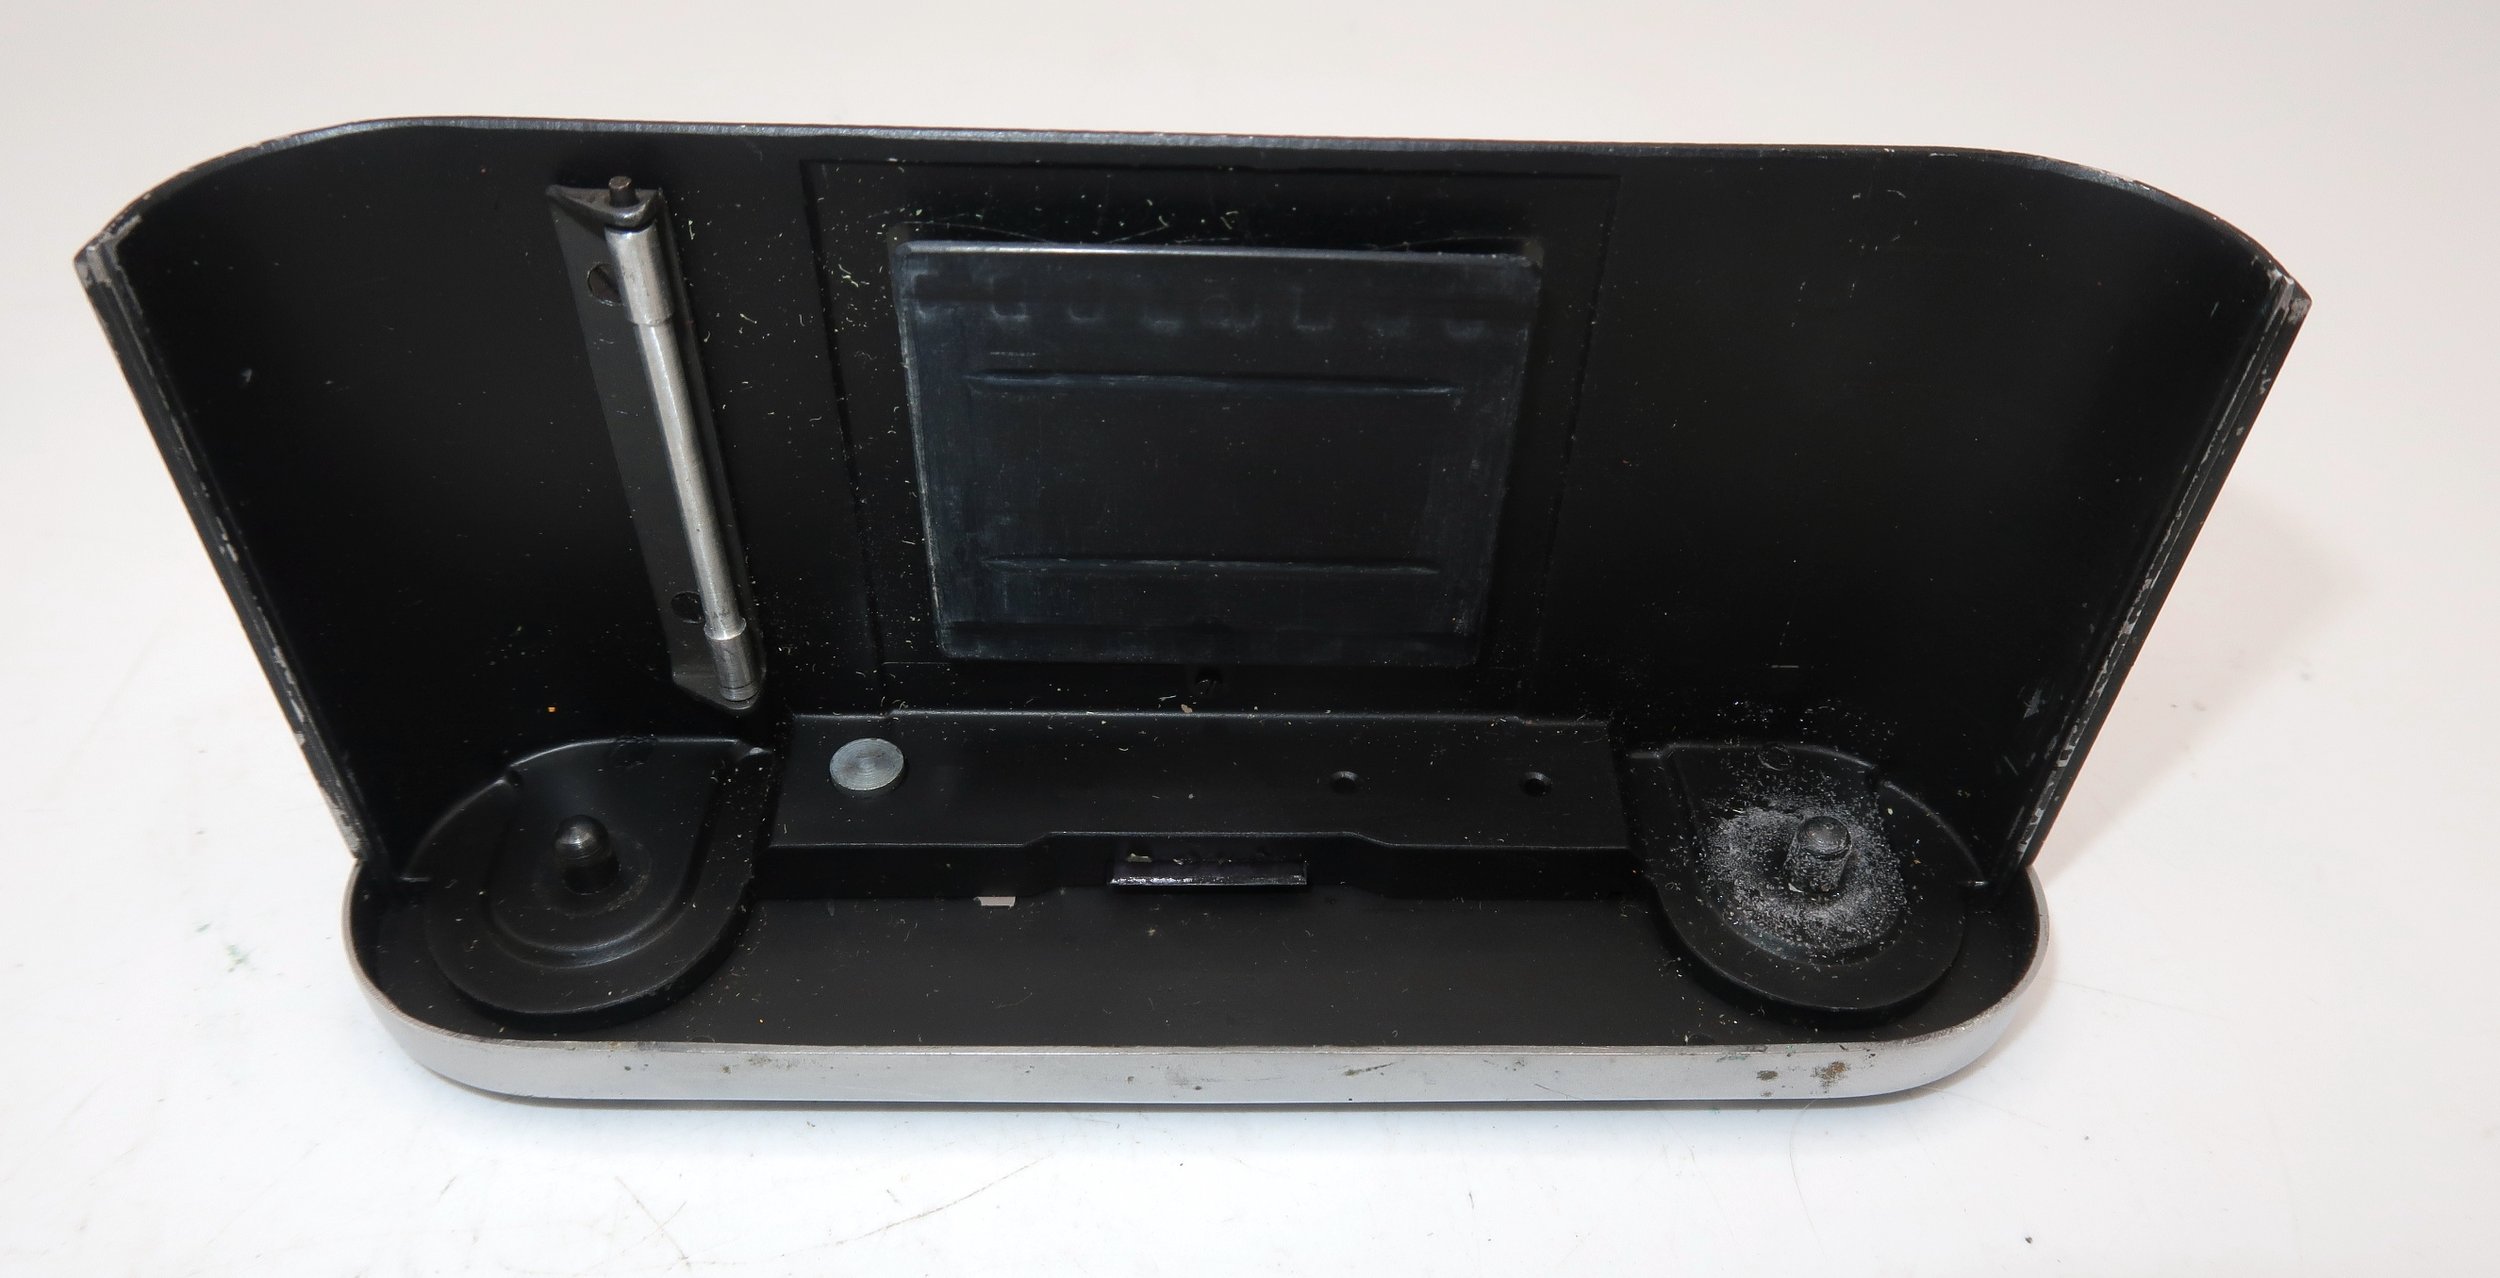
To open the camera for loading film, there is a simple latch on the left side that opens the back and exposes the film chamber. On the right side, you place a fresh roll of Bolta film, bring the leader across to the left, and thread it into the take-up spool. Start winding to make sure the film is seated properly, then close the back and advance the film until you see the number 1 in the window on the back of the camera.
My Results
Since I do not have Bolta film, I used some bulk 35mm film and leftover paper backing from 127 film, which I cut down to fit the Bolta reels I have.
Taping a short roll of 35mm film onto the paper backing in total darkness was not the easiest task, but it was manageable if most of the prep work was done ahead of time and the process was carefully thought through before turning off the light.
I also loaded the film into the camera in the dark to make sure I had not made any mistakes when attaching the paper backing to the 35mm film. I knew the numbers on the backing paper would not line up exactly, so I simply guessed how many turns to advance the film.
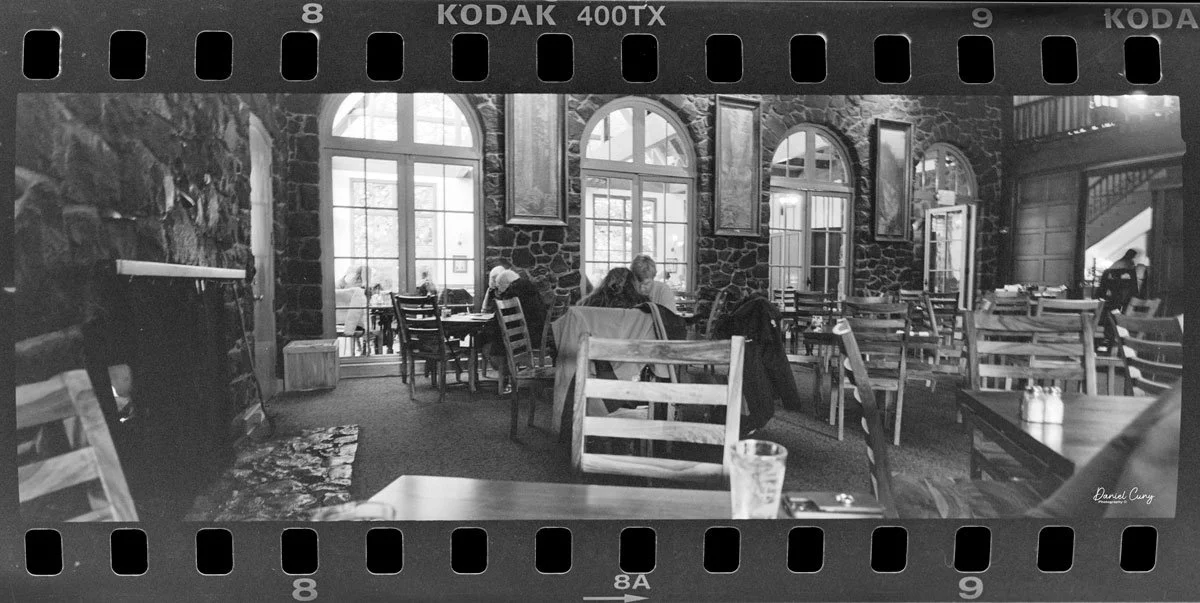
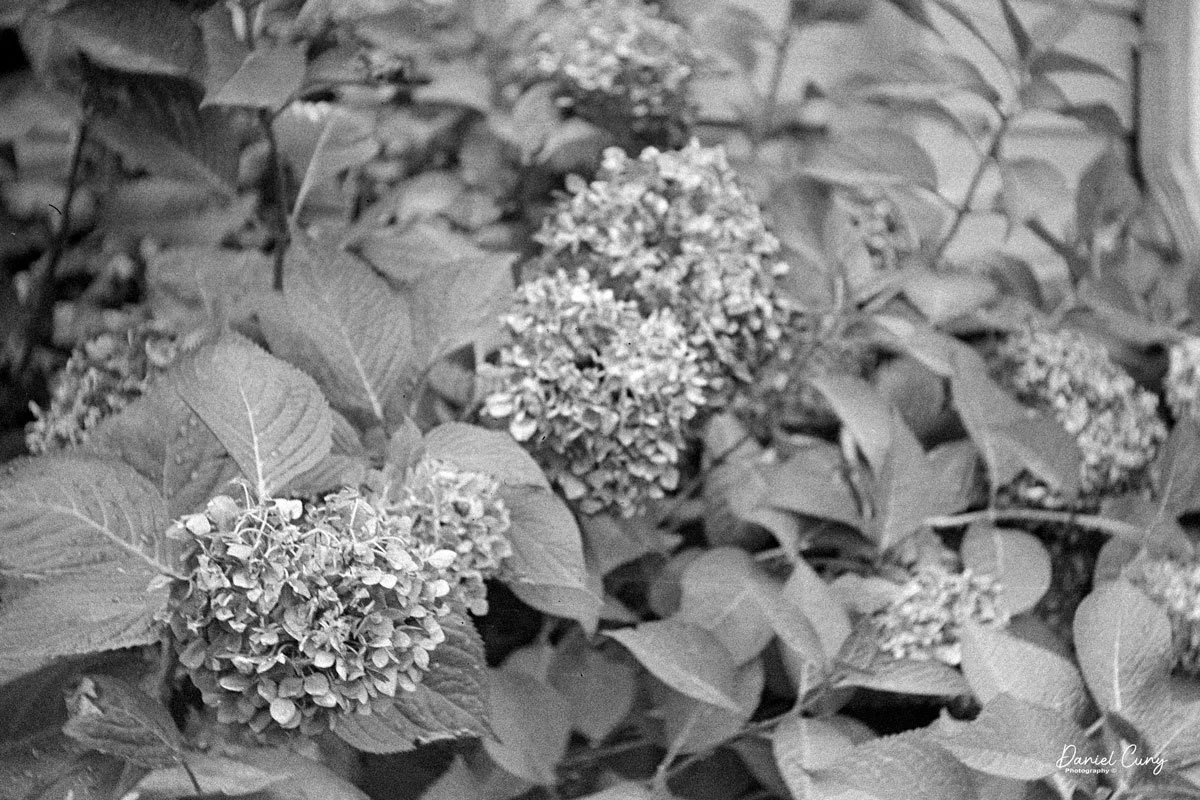
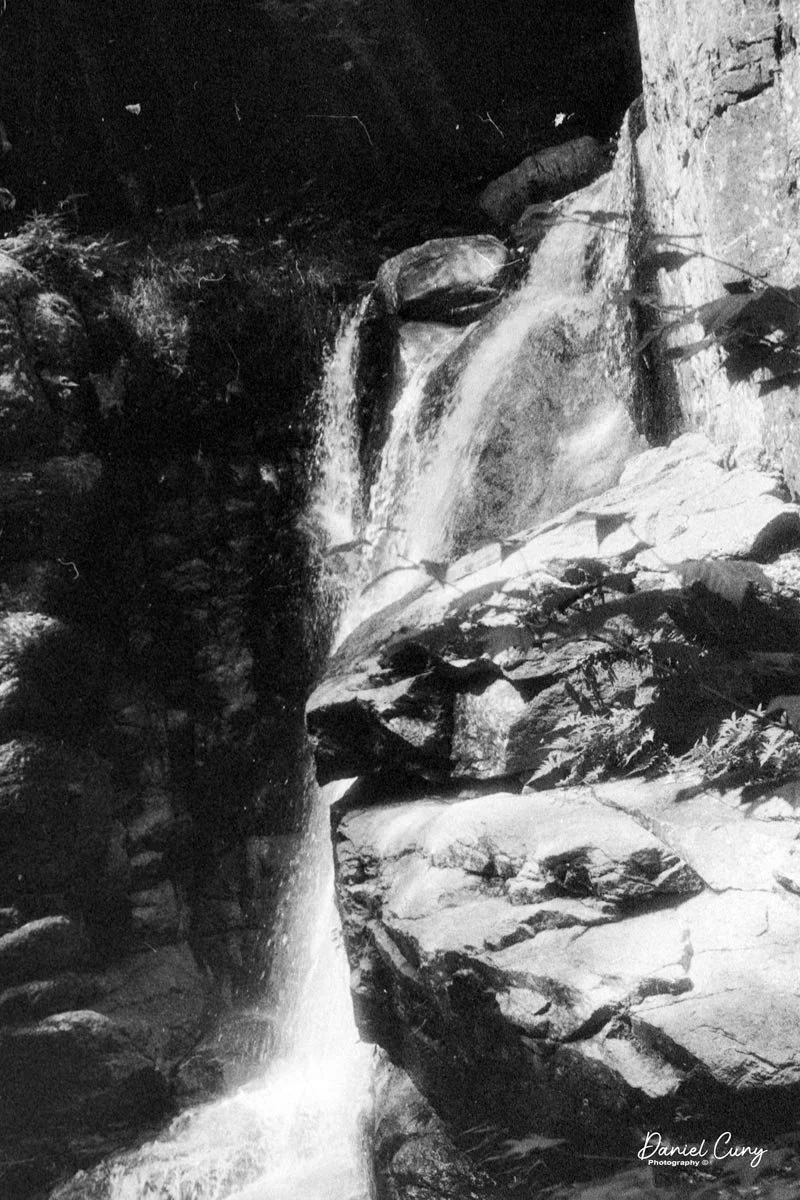
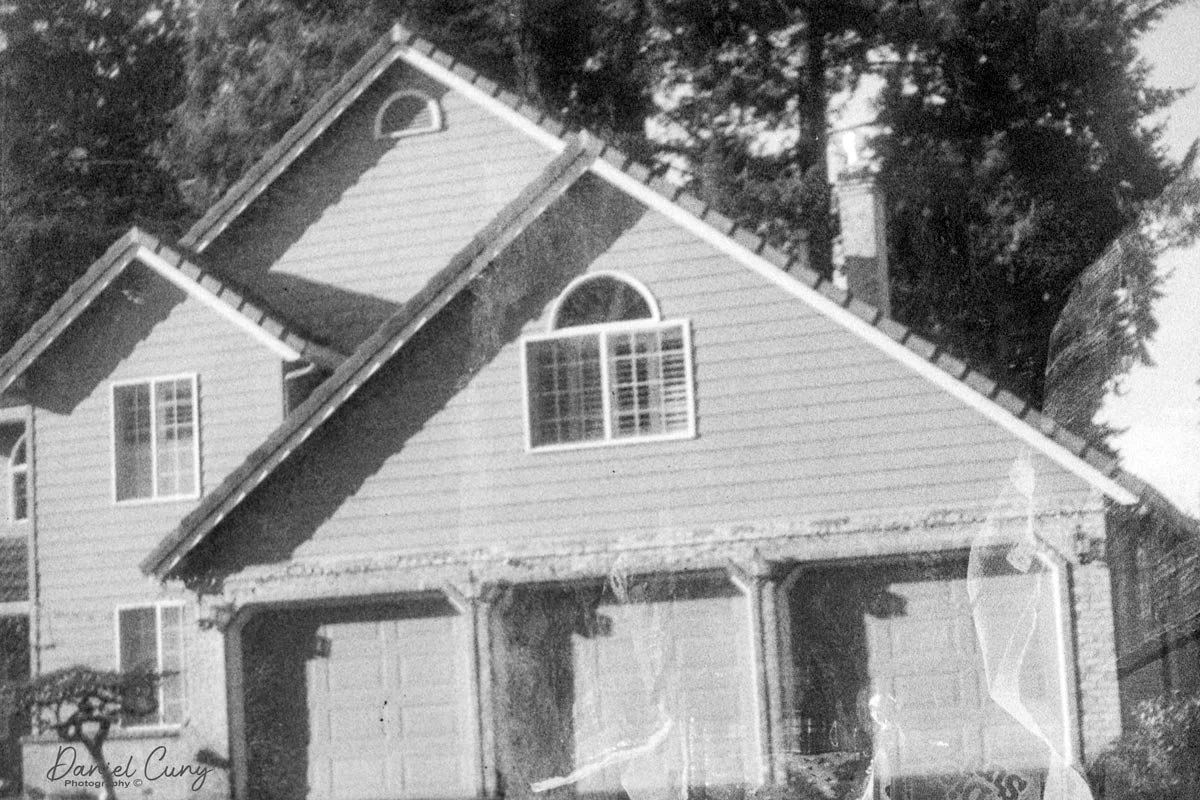
With film in the camera, I took it to a local waterfall and walked through the neighborhood to make a few photographs.
Here are the results from the Start 35 K-II camera:


Conclusion:
While the images from the Start 35 K-II were sharper than I expected, something must have gone wrong in processing, or perhaps light leaked through the paper backing, because there are some strange light streaks on many of the images. My guess is that it was operator error, most likely related to the paper-backing process.
The next time I review a Bolta film camera, I will try to do a better job with the paper-backing method. Overall, though, the camera is pretty nice, easy to use, and produces some nice images for a camera that is close to 70 years old.
Thank you for taking the time to learn about this unusual Bolta film camera made in the late 1950s.
Here are some of my other Camera Reviews.
Check out my YouTube channel, where I am putting together video overviews of the cameras I write about. Be sure to subscribe and like the channel, too.
Cuny’s Cameras and Photos is my online eBay store, where you will find some of the cameras I have reviewed, along with a wide range of other cameras, lenses, and items from my collection that I am thinning out.
Until next week, please be safe.