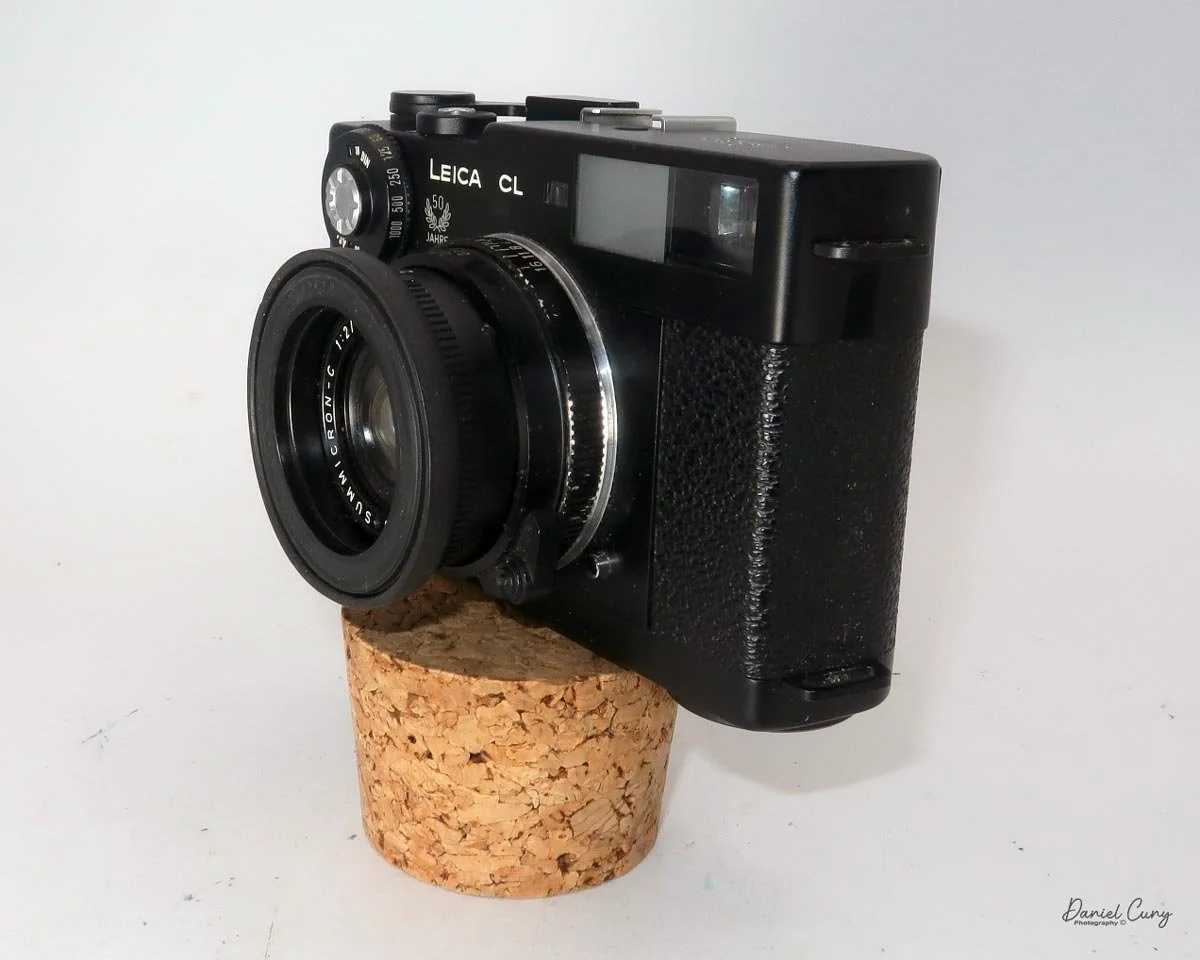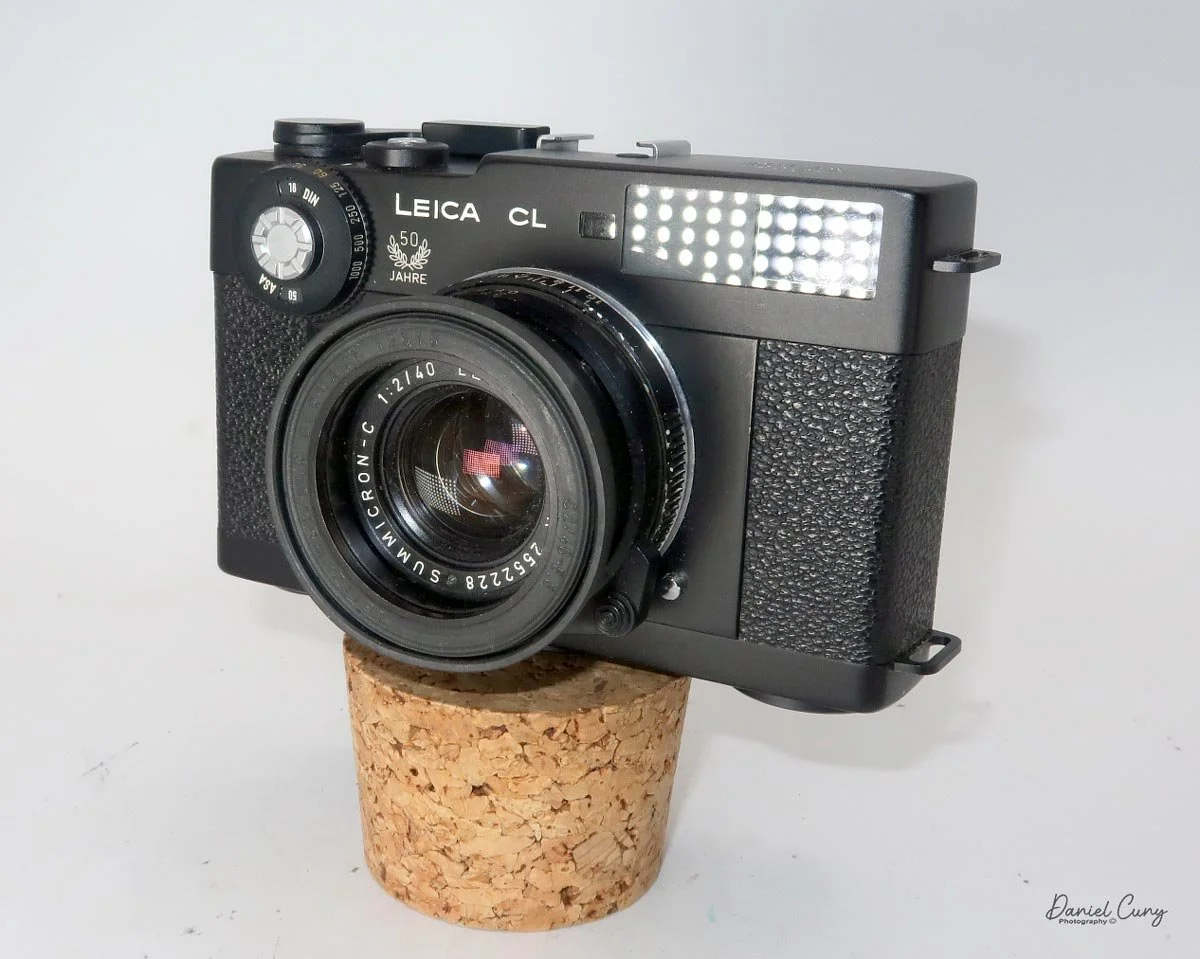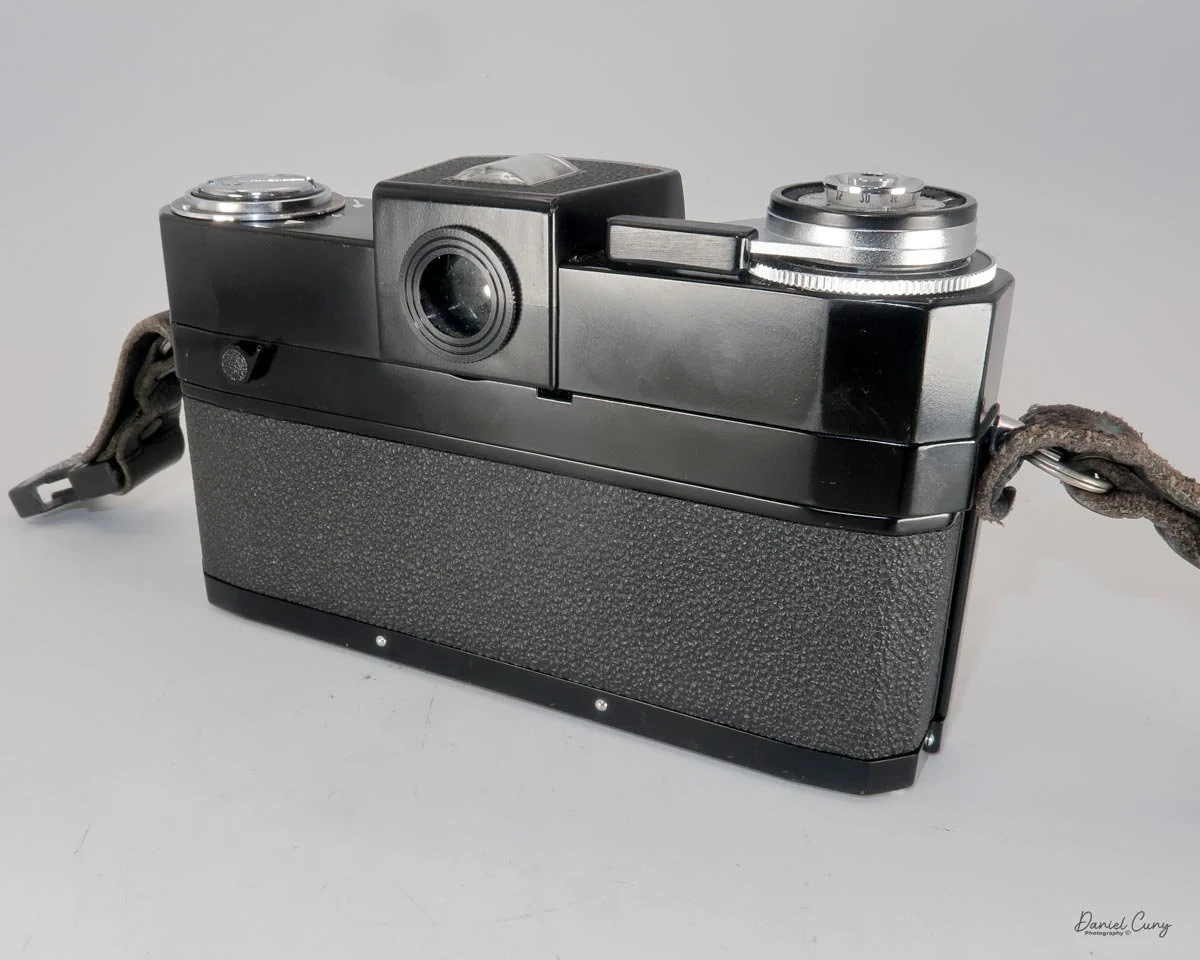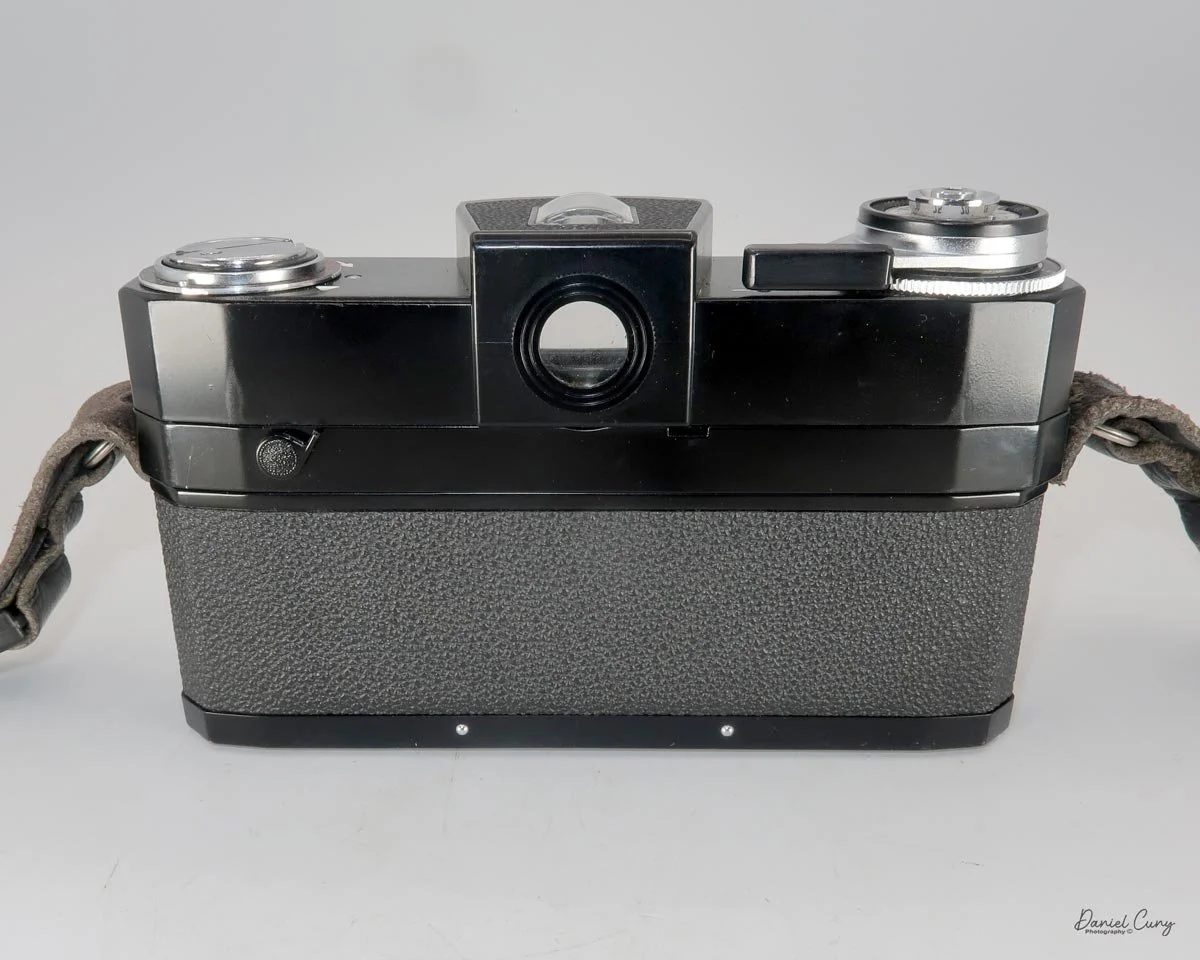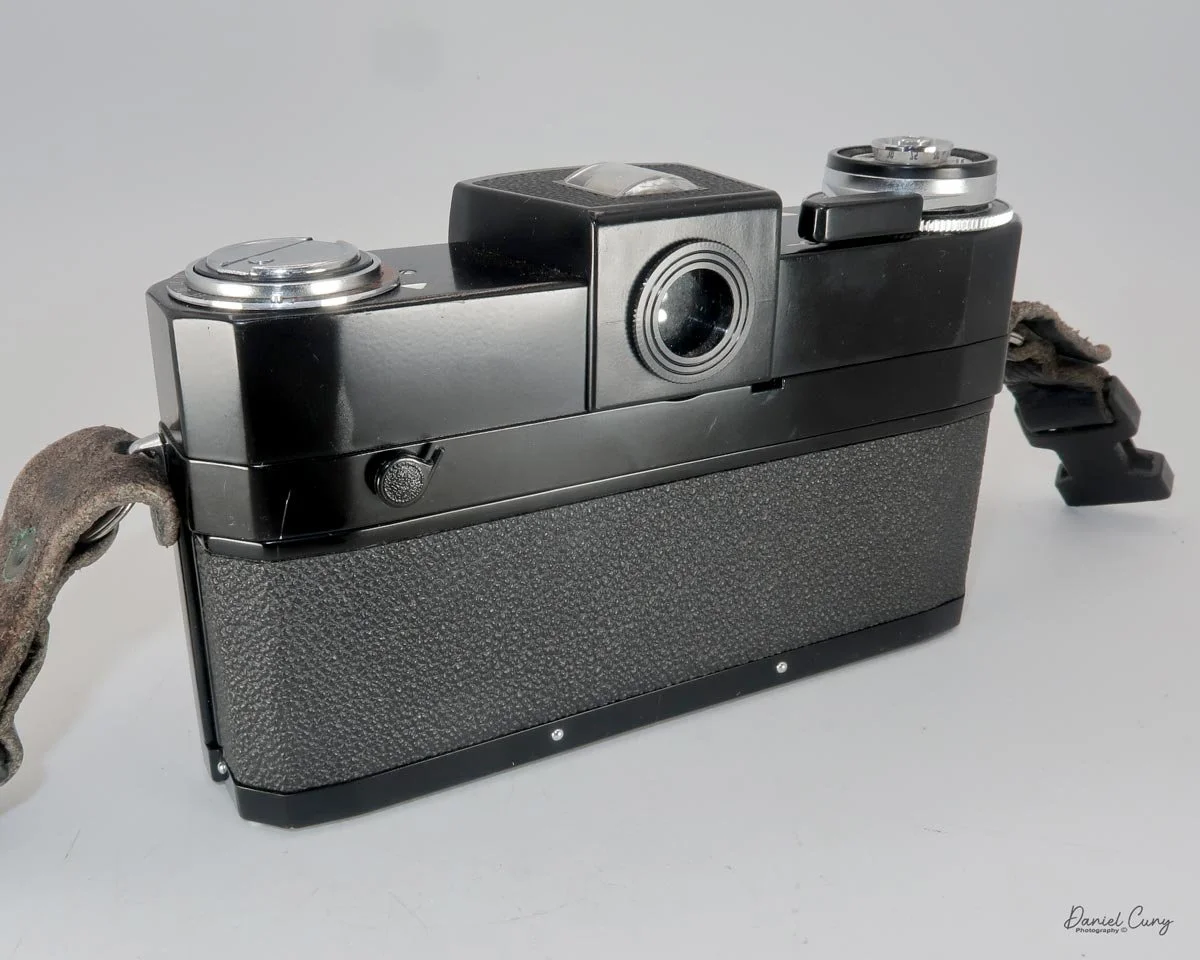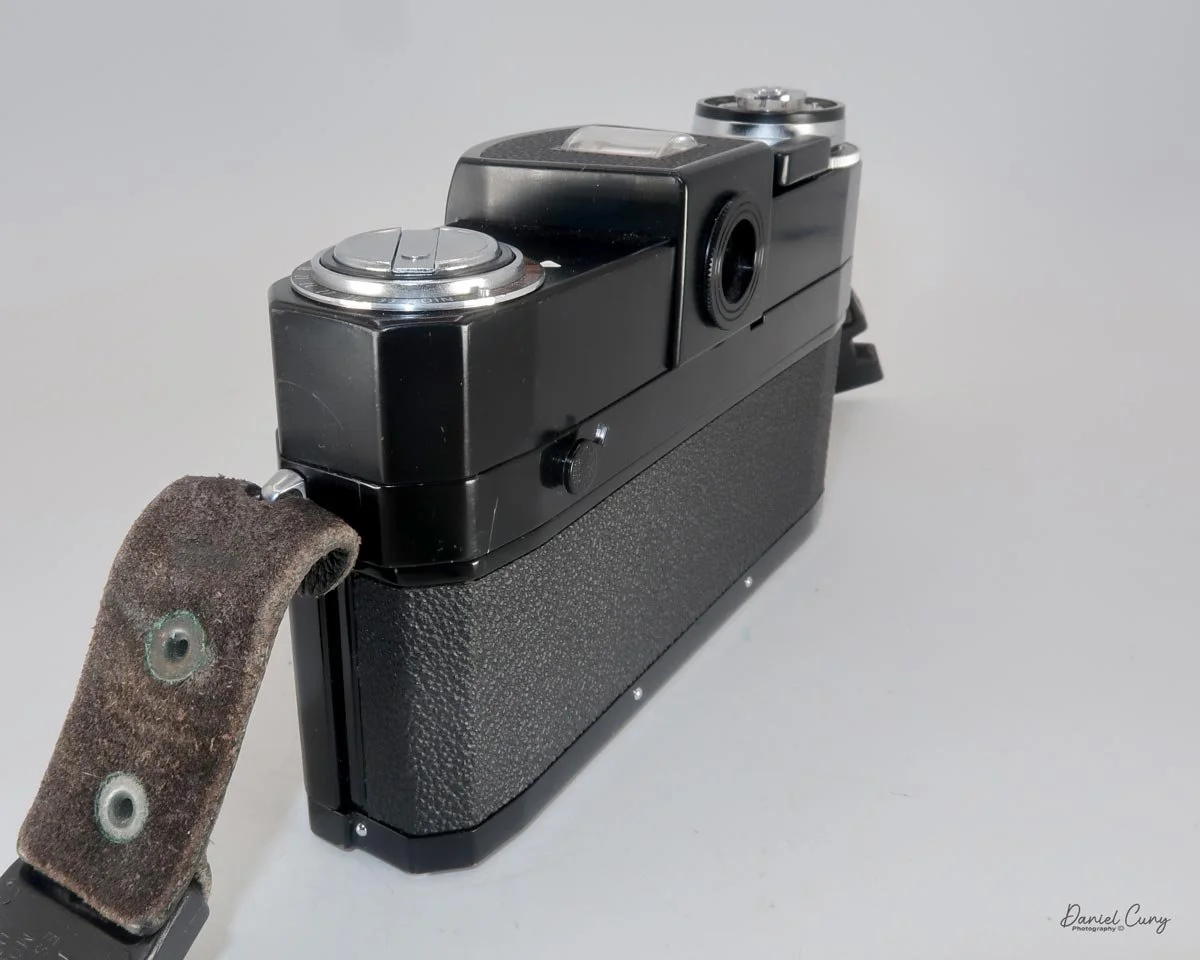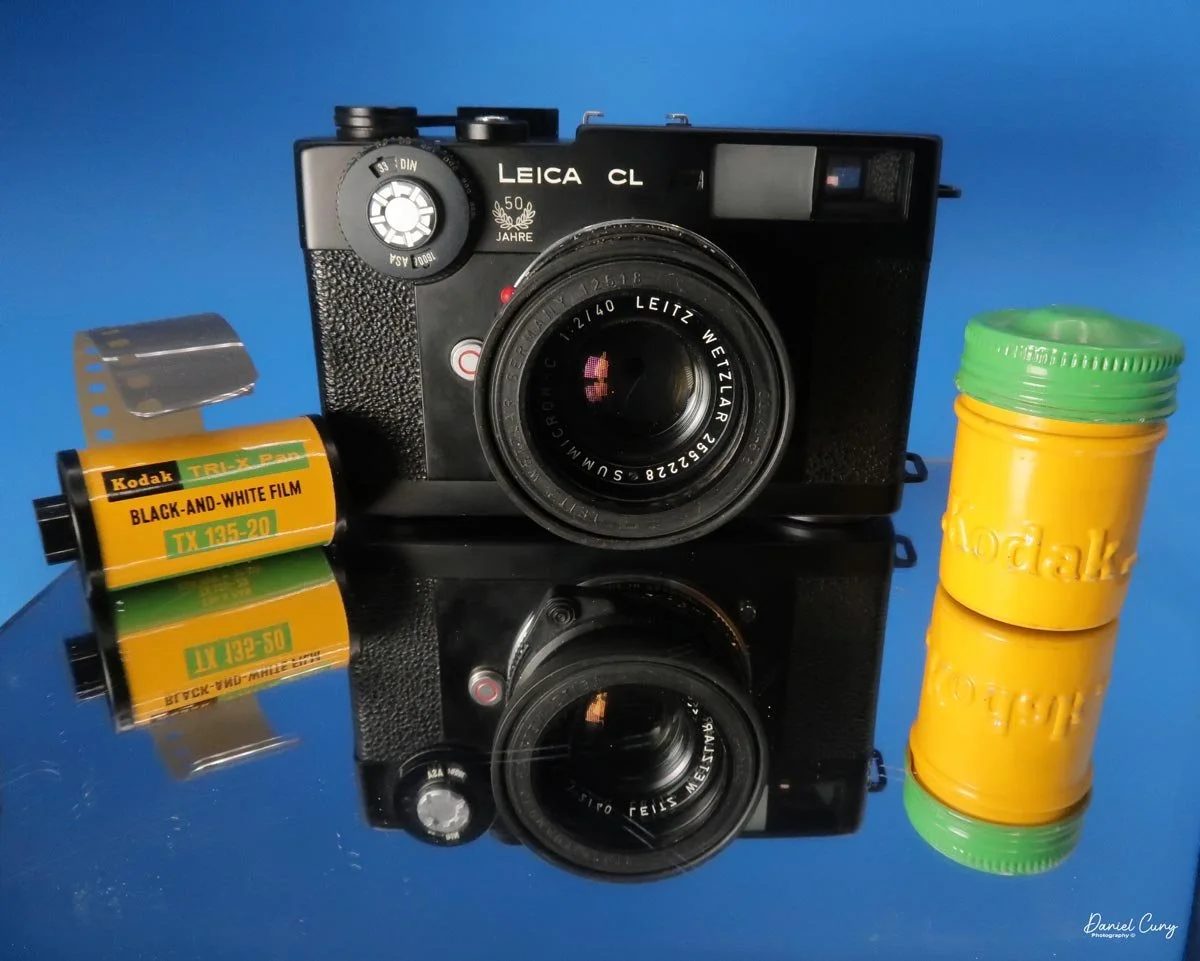
Leica CL Camera-50th Anniversary Edition

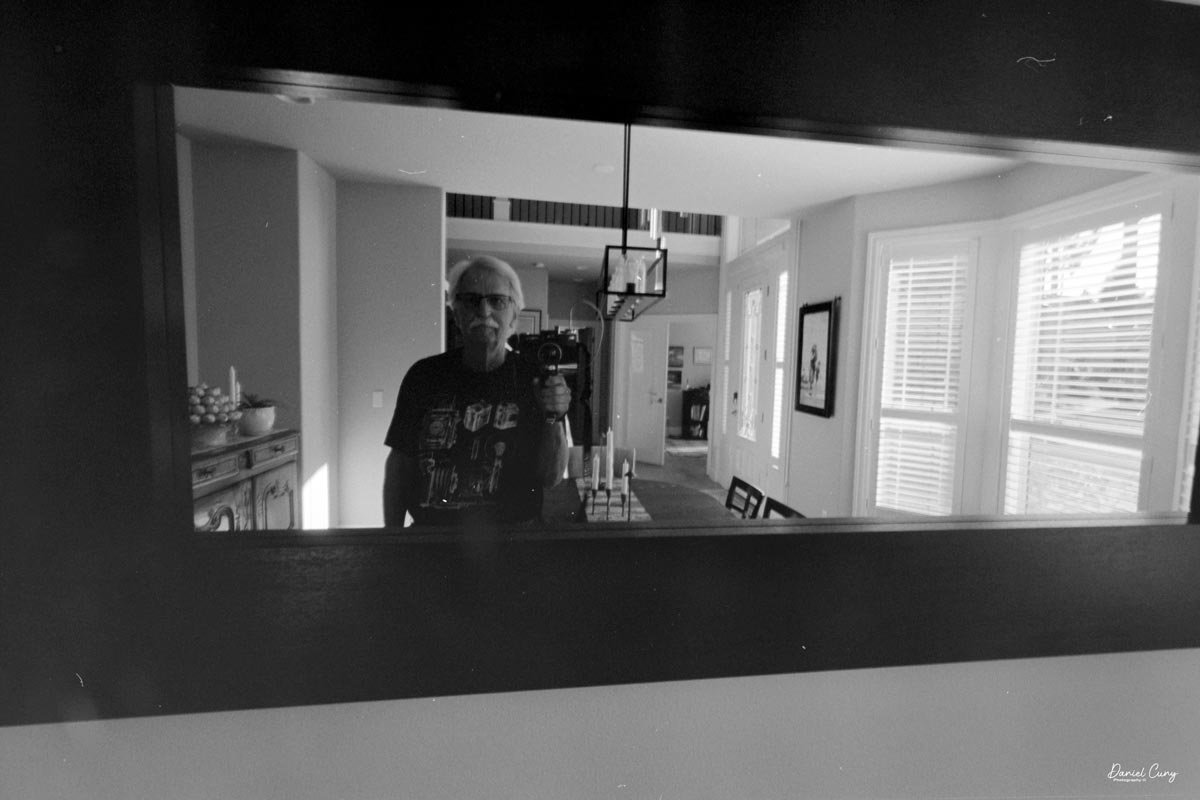
My Leica CL-50th Anniversary Edition Camera

I can remember when the Leica CL was first introduced. I was a junior in high school and attending concerts with my buddies. Because of its size, I thought it would be perfect to take to shows to photograph bands. It was small, compact, and had incredible optics.

 At the time, I shot Nikon, which was a bit bigger and heavier, and the idea of a smaller, lighter camera intrigued me.

 Unfortunately, I had a few obstacles to overcome to get one. The first and foremost was the price. At around $450.00 for the camera body with the 40mm lens, I needed to save a lot before I could afford it, especially while also buying records, paying for a car, and going to concerts. Something needed to give.

 For me personally, another drawback of the Leica CL was the lack of longer lenses for the body. At the time of release, they offered a 40mm and a 90mm, which they recommended, but for the shows I was photographing, I sometimes needed up to a 200mm. The 40mm or 90mm would be OK for some of the work, but I liked getting a bit closer to the performers, so the longer lens was very desirable.

 A good friend of mine, Greg Copeland, was an early adopter of the Olympus OM system and purchased his right after it was introduced in 1973. After I played with his for a while, I started to prefer shooting with a slightly bigger camera, as my hands just seemed to overlap the camera, and it didn't feel comfortable. As a result, the thought of owning a Leica CL subsided.
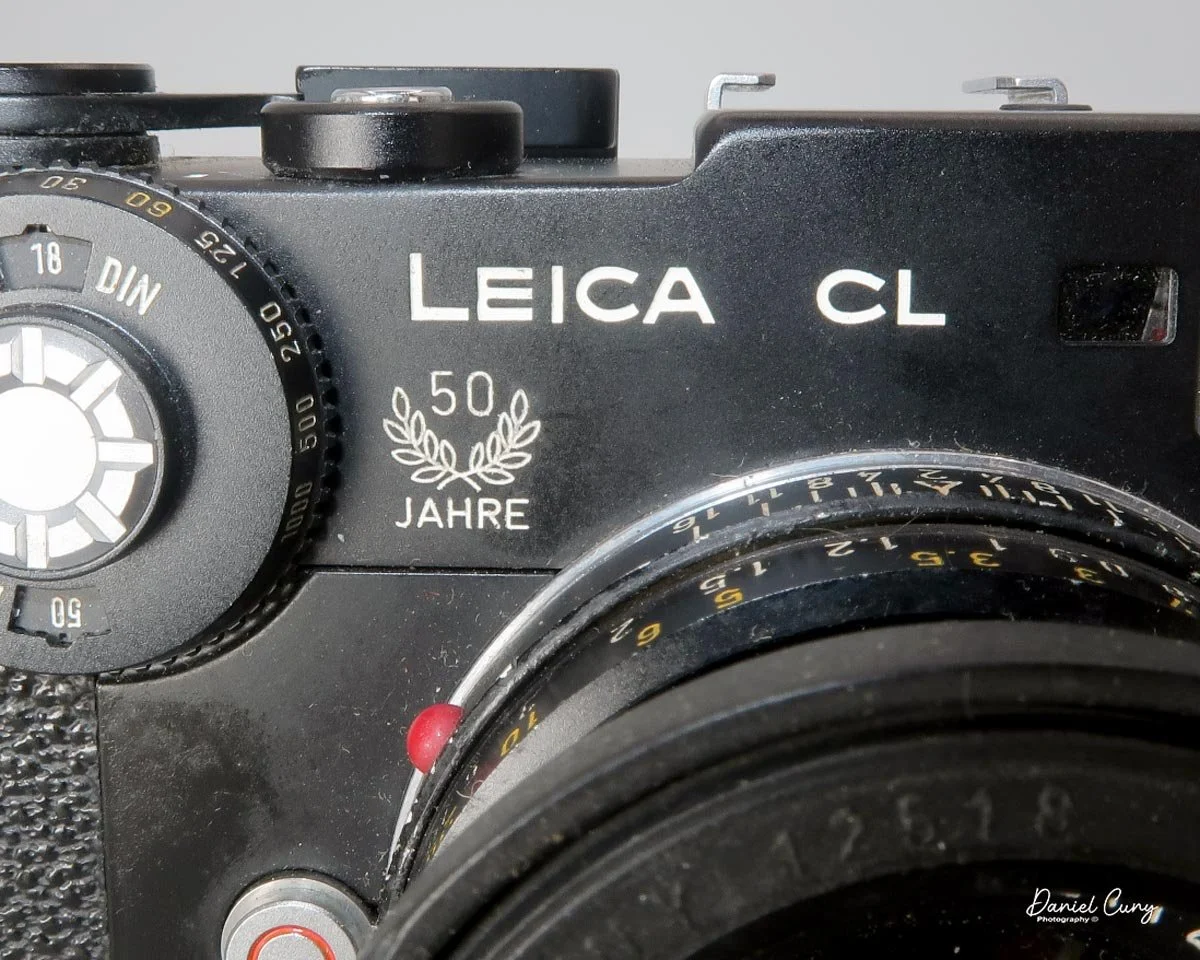
Leica CL 50th Anniversary

 Minolta introduced their version of the Leica CL, the Minolta CLE, in 1980, when I was working at a camera store in the San Francisco Bay Area. I briefly considered buying it through the employee purchase program, but I wasn't a big fan of Minolta cameras. Also, being married and having a two-year-old put a little damper on spending a lot of money on camera gear.

 Jump almost 40 years into the future, and an opportunity to purchase a Leica CL with the fitted leather case and Leitz Summicron-C 40mm f/2 lens dropped into my lap. I was in a camera store in a small Midwest town on a business trip, and as I was looking in one of the showcases, there it was.

 The owner at the time said he was having a difficult time selling it, and he would make me a good deal on it if I were interested. He said the meter wasn't working, but it did come with the hood, lens cap, and case. He threw out a price that was too good to pass up. I thought about it for a few minutes and started playing with it. It seemed in great condition, except for the meter, so I bought the camera and took it home.

History of Leica CL & Minolta CLE

The partnership between Leitz (the maker of Leica cameras) and Japanese manufacturer Minolta during the 1970s birthed two of the most fascinating rangefinders in photographic history: the Leica CL and the Minolta CLE. Conceived during a period of financial instability for Leica, this collaboration aimed to produce a compact, accessible entry point into the legendary M-mount system.

 Introduced in 1973, the Leica CL (Compact Leica) was designed by Leitz but manufactured in Japan by Minolta. It represented a radical departure from traditional Leica design. Weighing considerably less than its sibling, the polarizing Leica M5, the CL featured a vertically traveling cloth focal-plane shutter and a unique through-the-lens (TTL) light meter positioned on a pivoting arm that swung out of the way just before the shutter fired. To accompany the camera, Leitz introduced two compact, budget-friendly lenses: the 40mm f/2 Summicron-C and the 90mm f/4 Elmar-C.
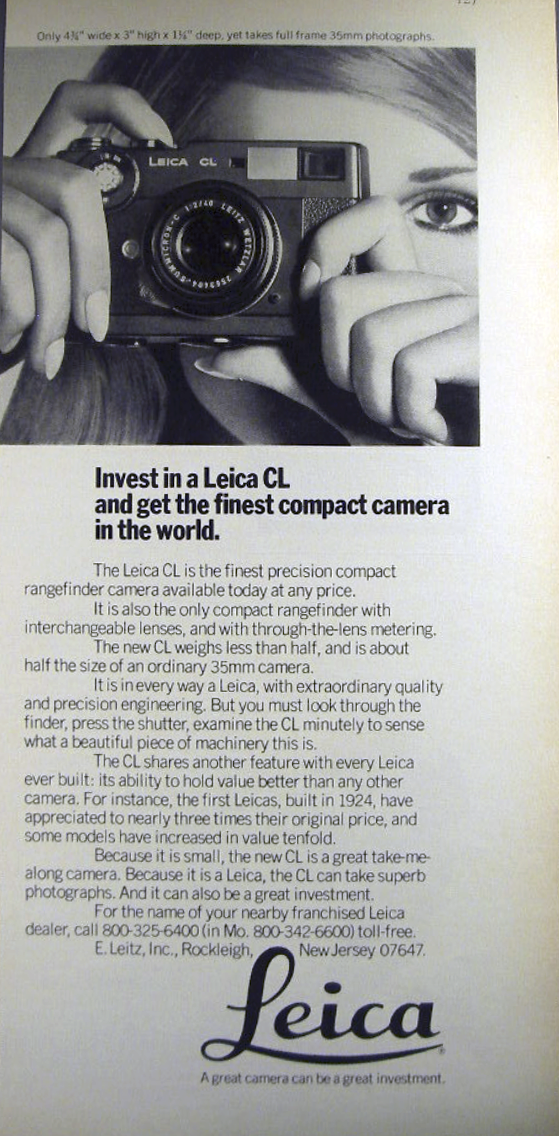
Leica CL Advertisement

 The CL was a massive commercial success. However, its popularity became a double-edged sword. It sold so well that it reportedly cannibalized sales of the far more expensive M5, prompting Leitz to discontinue the CL prematurely in 1976 after producing roughly 65,000 units. Minolta also sold its own domestic version during this time, the Leitz Minolta CL, which was functionally identical.

 After the partnership dissolved, Minolta built on the CL and engineered a true technological marvel: the Minolta CLE (Compact Leica Electronic), released in 1980.

 While it retained the M-mount and a similar form factor, the CLE was entirely Minolta's creation and represented a massive leap forward. It replaced the CL's mechanical shutter and swinging meter arm with an advanced electronic stepless shutter and a cutting-edge silicon photodiode system.

 Most impressively, the CLE introduced aperture-priority auto-exposure and TTL off-the-film flash metering—features that would not appear on a true Leica M body until the M7 arrived over two decades later. Minolta paired the CLE with three exceptional M-Rokkor lenses: a 28mm f/2.8, a 40mm f/2, and a 90mm f/4. Despite its technological superiority, the CLE had a relatively short production run and was discontinued in 1985. Today, both cameras remain highly sought after by film enthusiasts as capable, lightweight alternatives to traditional M-system rangefinders.

My Camera

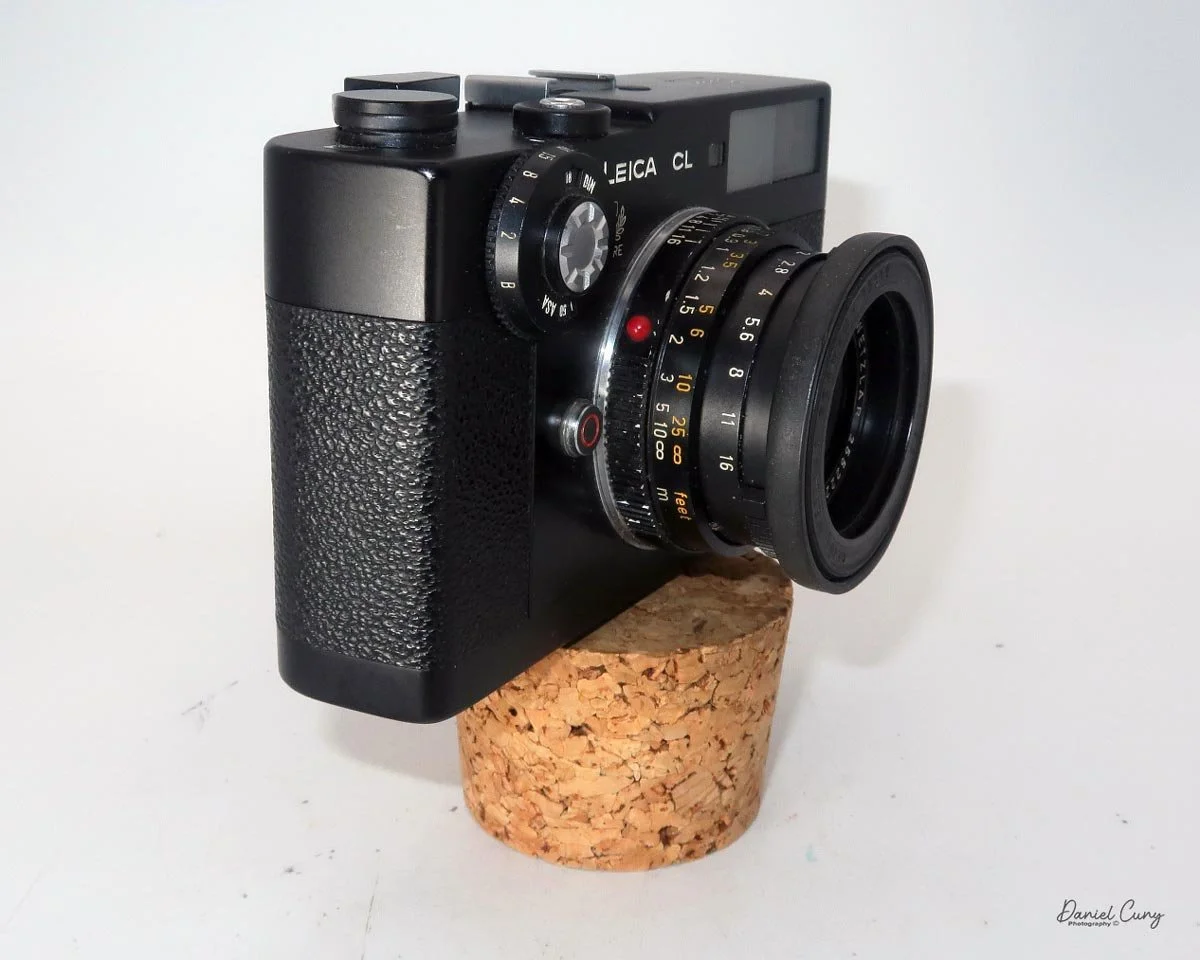
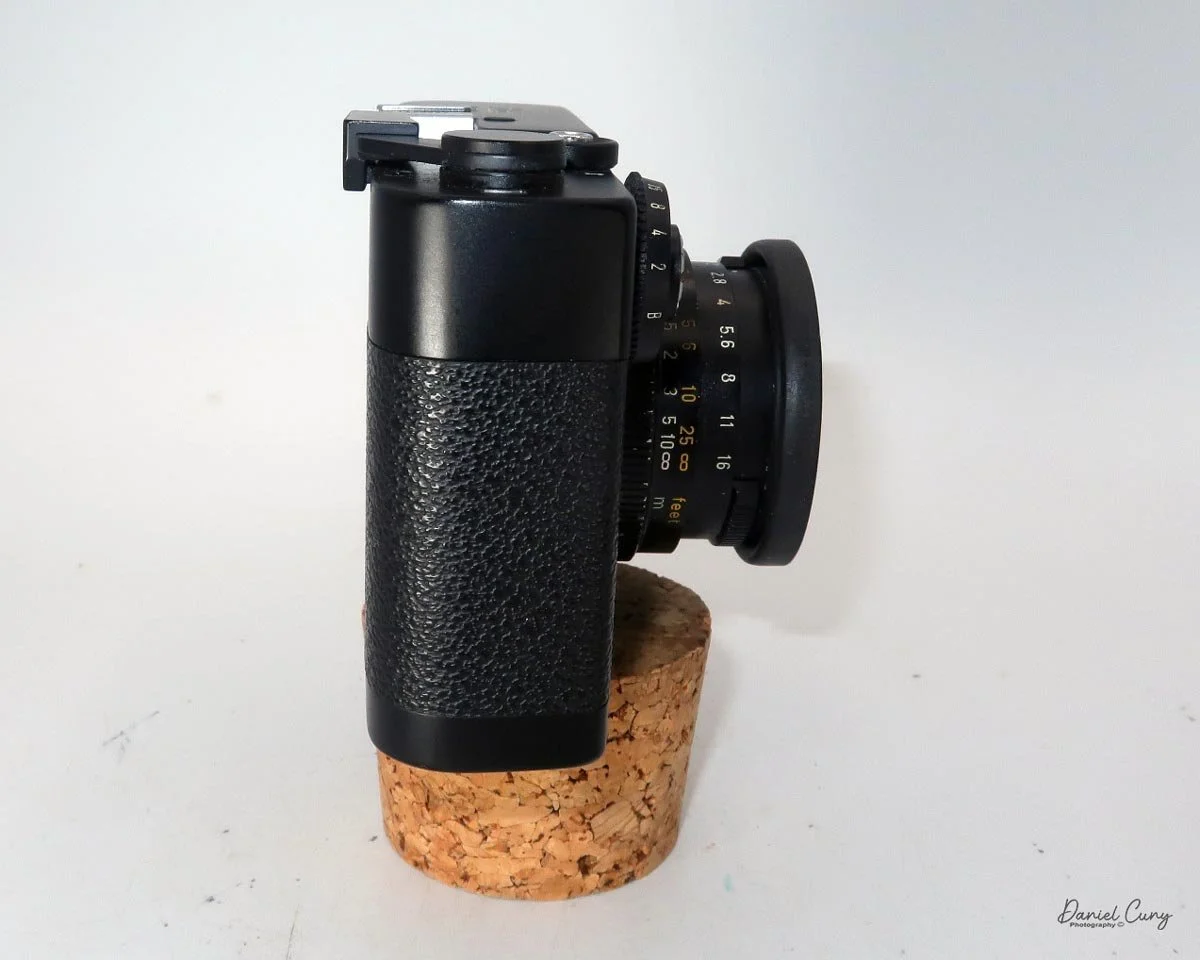
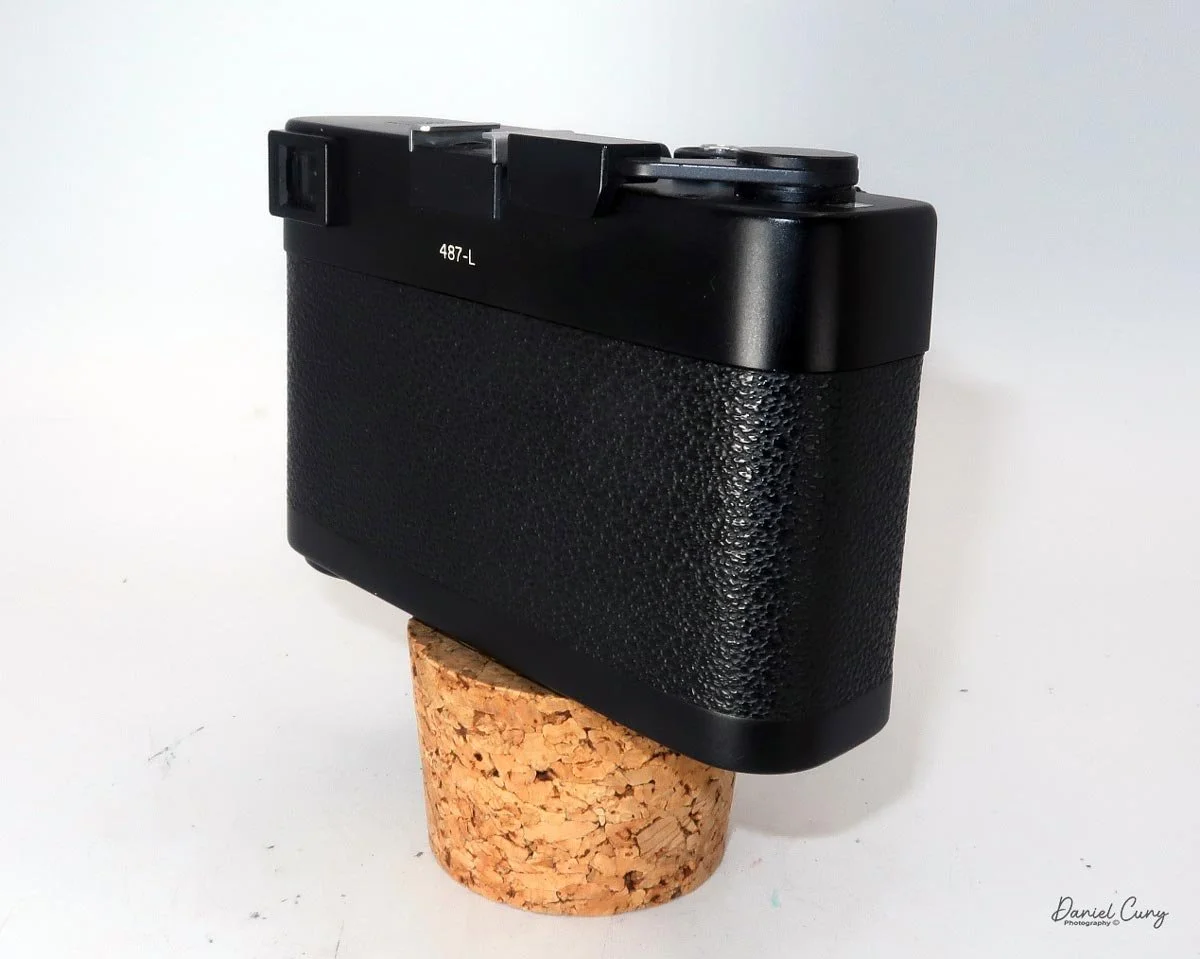
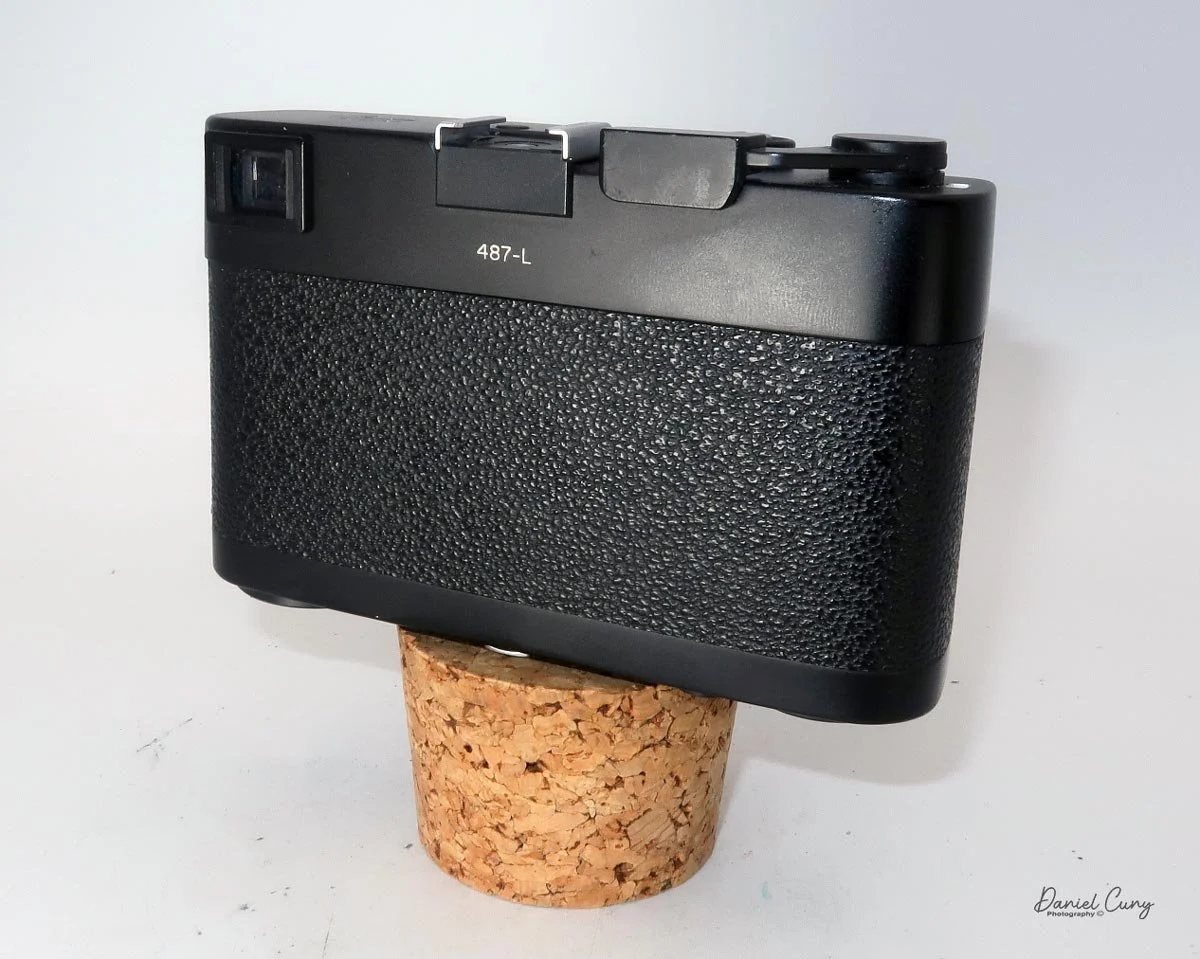
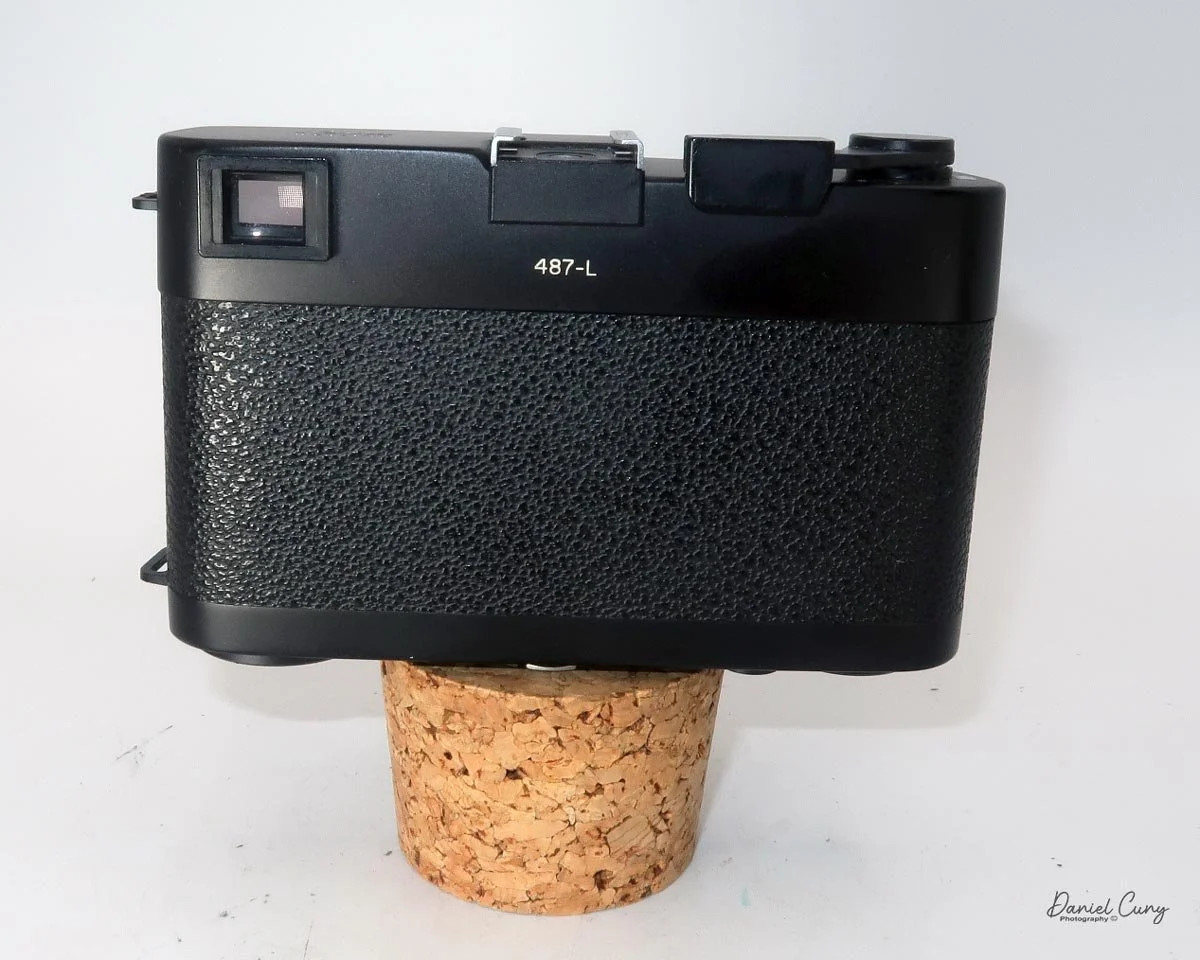
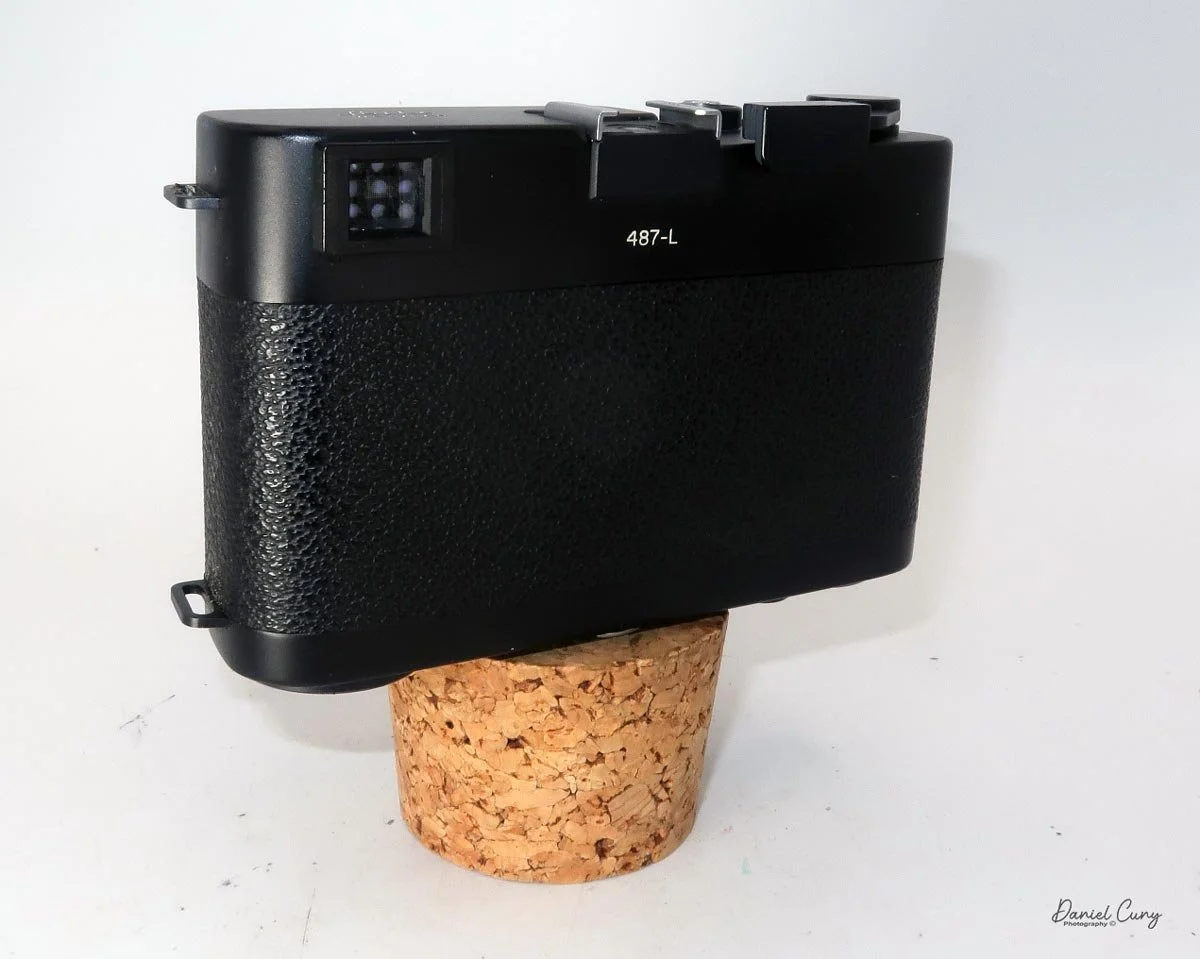
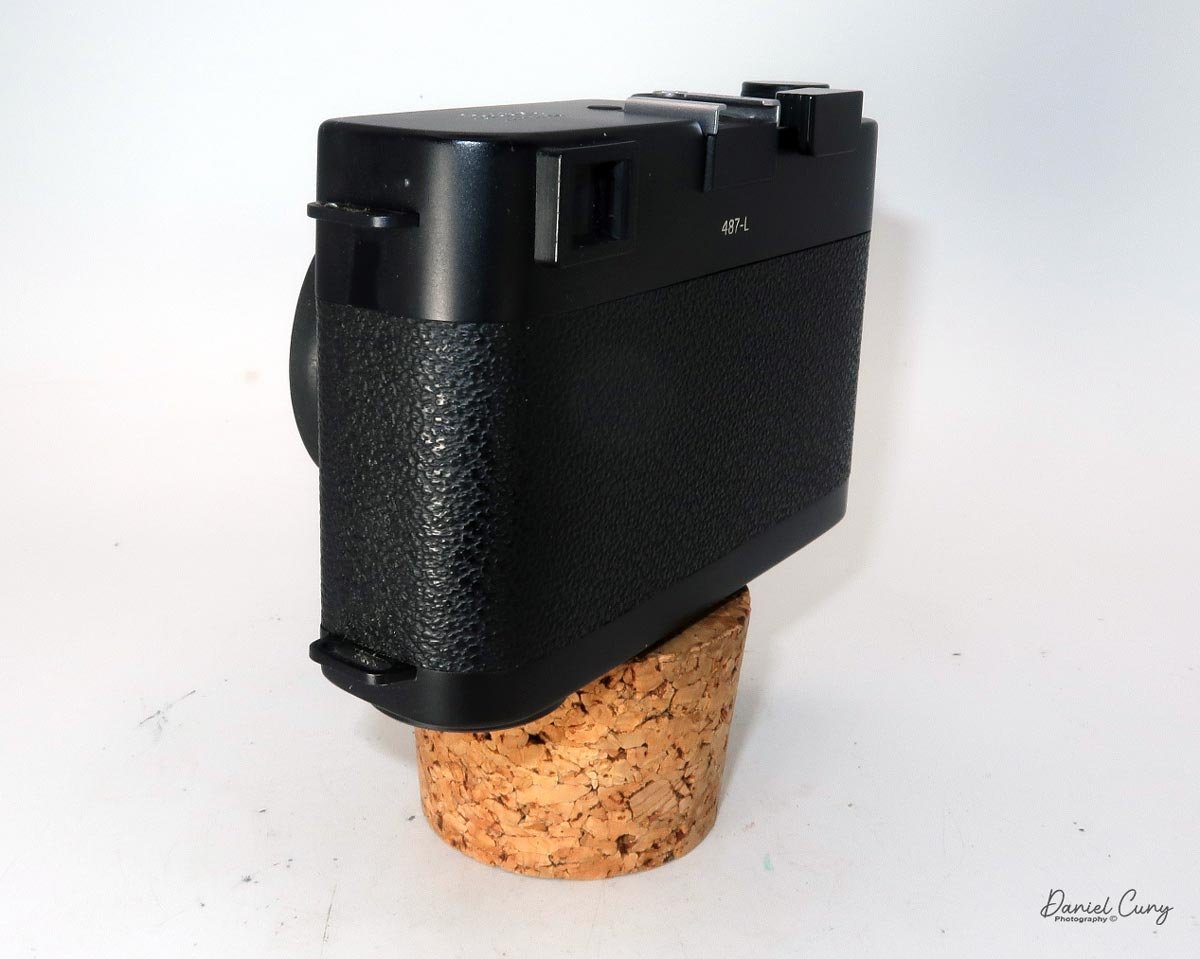
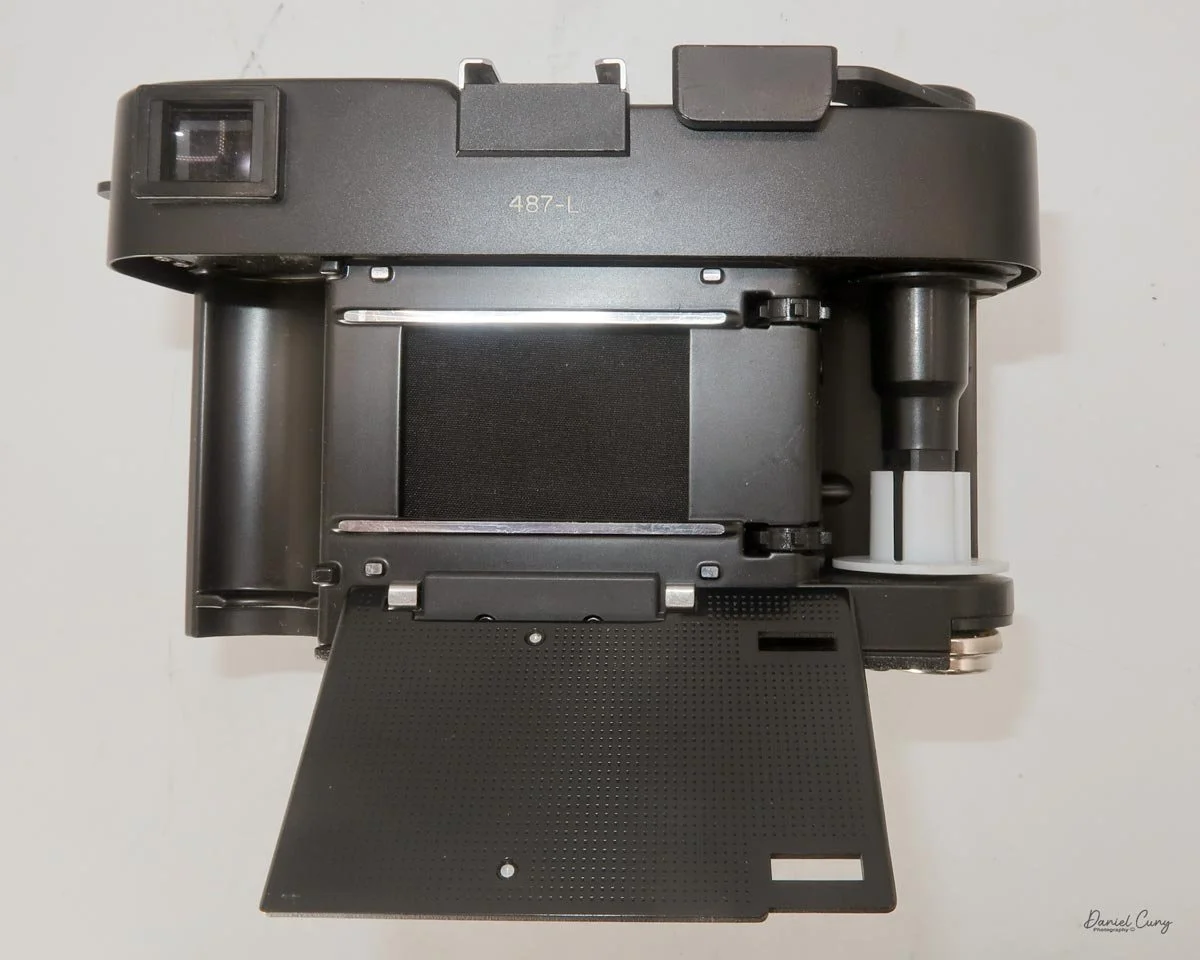
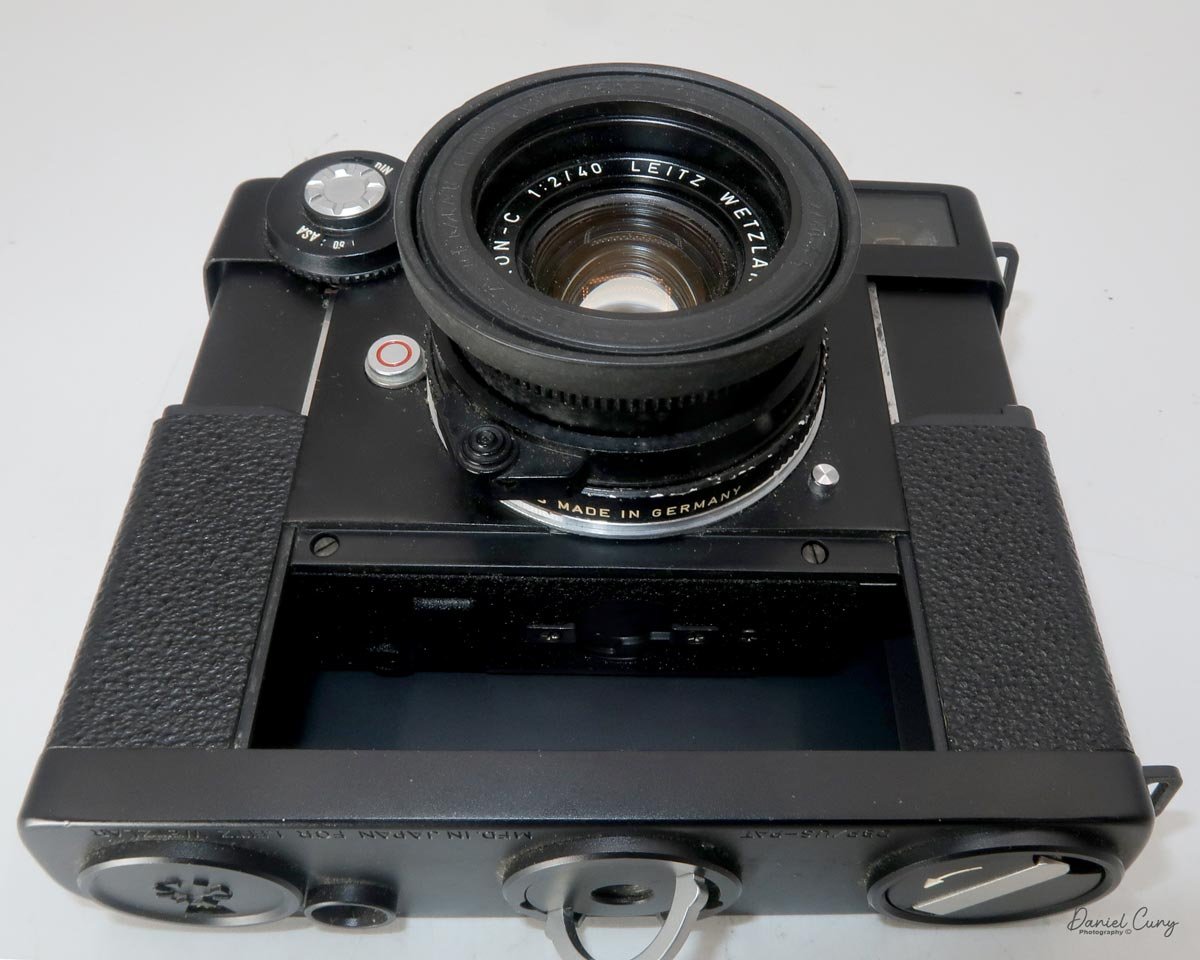
My Leica CL is a 50th-anniversary model with the stamp under the "Leica CL" name on the front. On the back of the camera body is engraved 487-L. The Leica CL is 4.75" wide by 3" tall by 2.5" deep, with the Leitz Summicron-C 40mm f/2 lens. The camera weighs 1 pound, 2 ounces with the hood and lens cap, and without film. The body serial number is 1429885, and the lens serial number is 2552228.
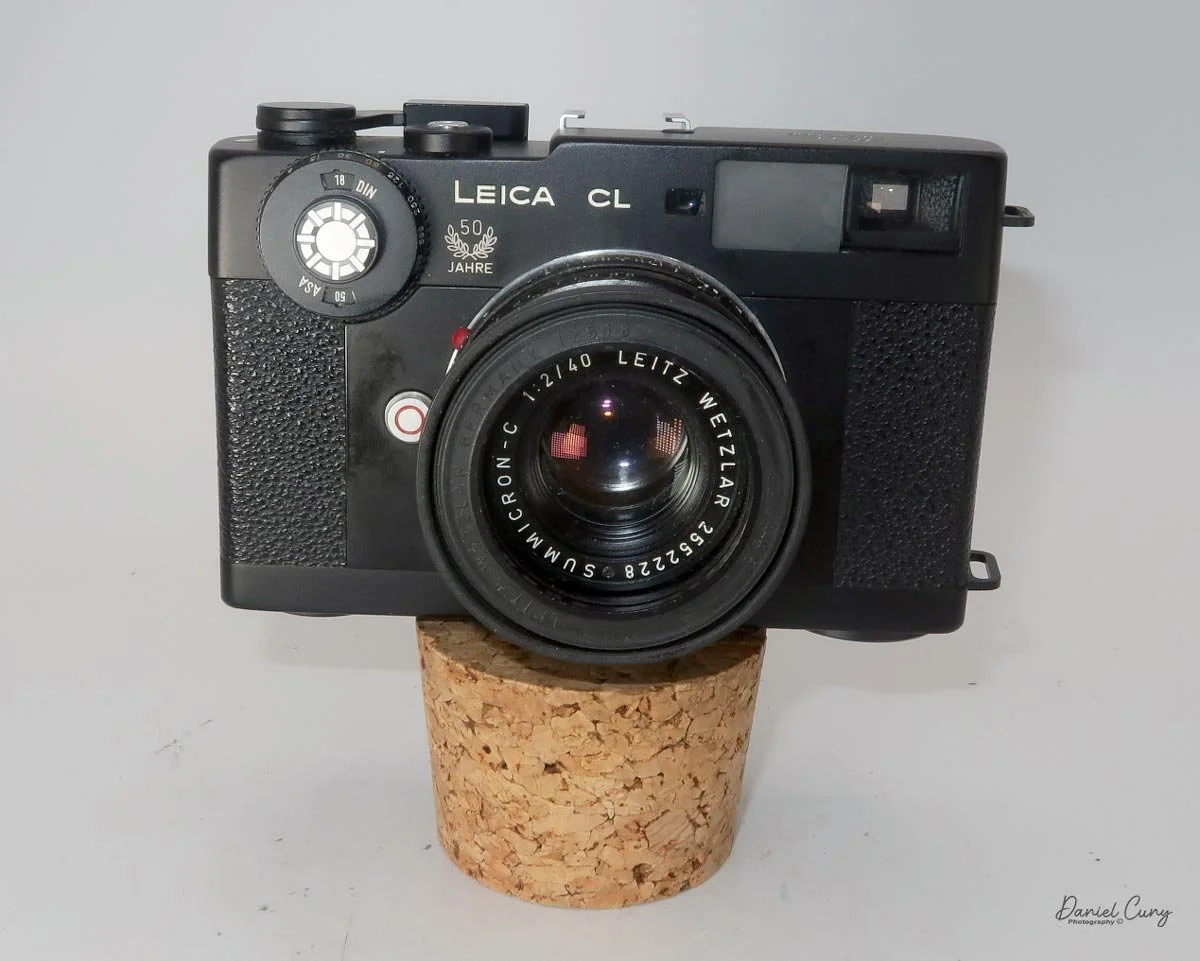
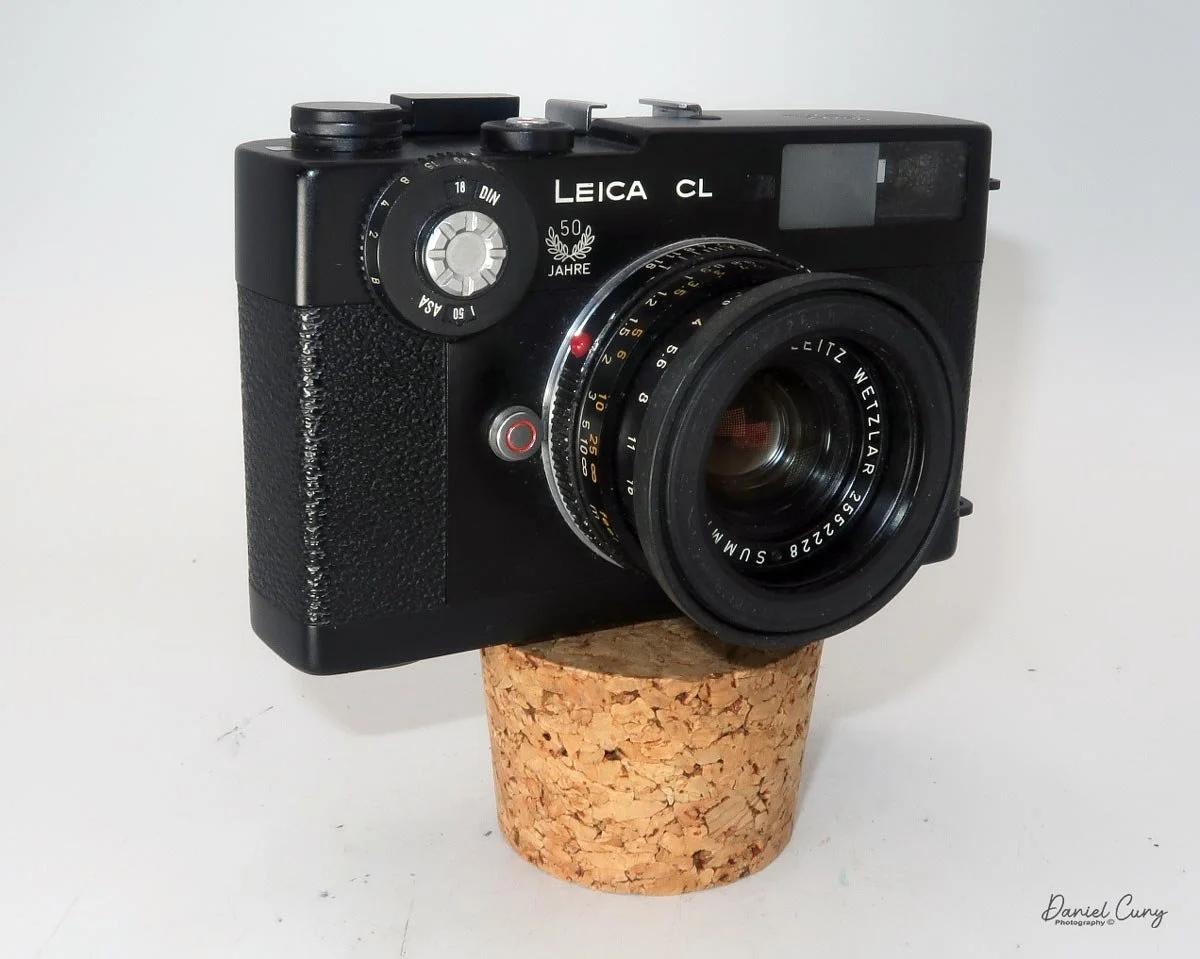
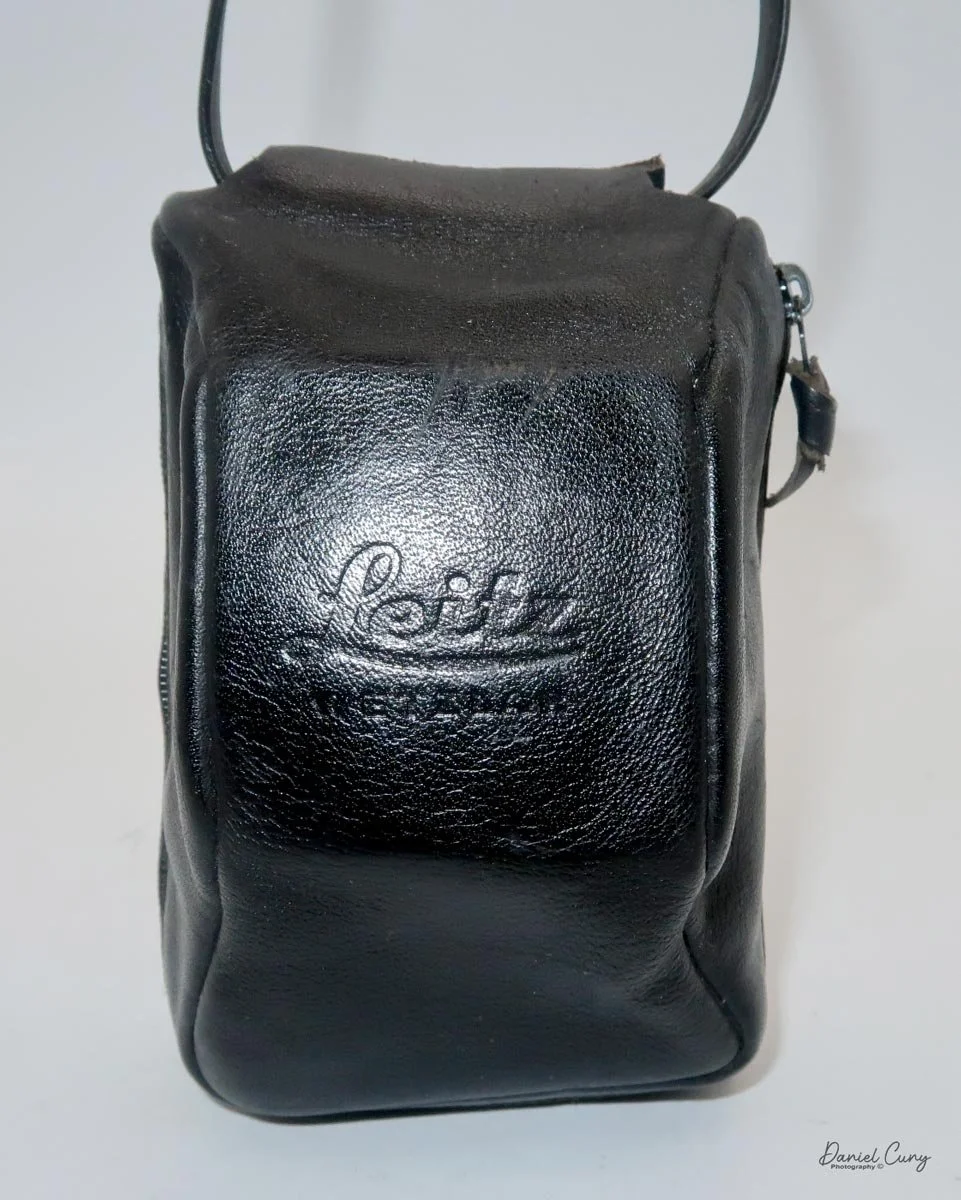
My Leica CL also has a vertical hanging, fitted leather case with "Leica Wetzlar" embossed on the front. I'm not a big fan of how the soft case works with the camera, as I find it gets in my way when using the camera. It does offer protection, so that's a plus.

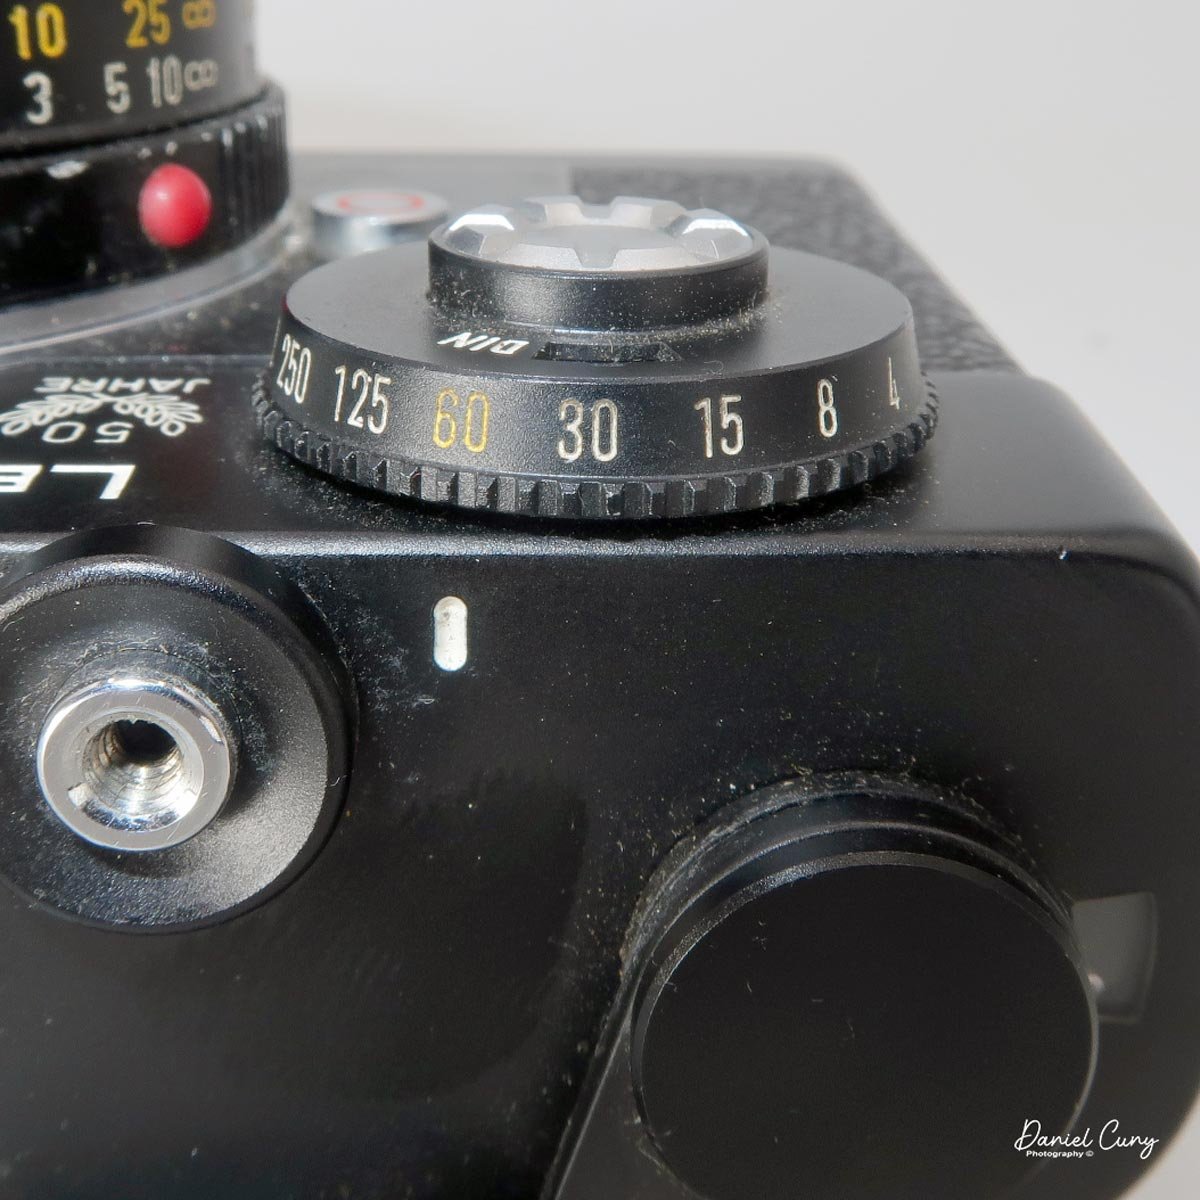
 Looking at the top of the camera, the Leica CL is rather plain. From left to right, there is the "Leitz Wetzlar" logo, a hot shoe for the flash, the shutter release (threaded for a cable release), a white line for setting the shutter speed, and a film winding lever.

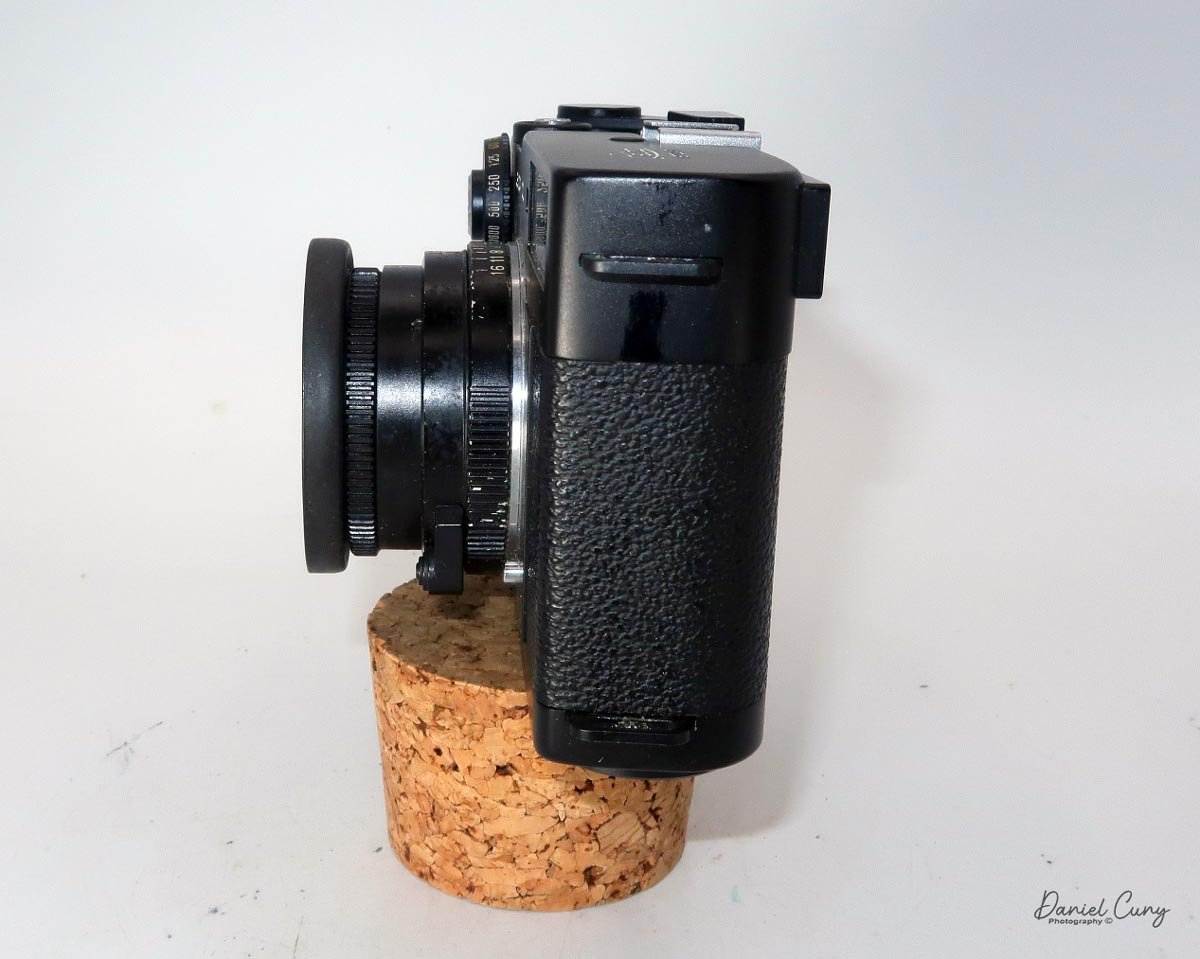
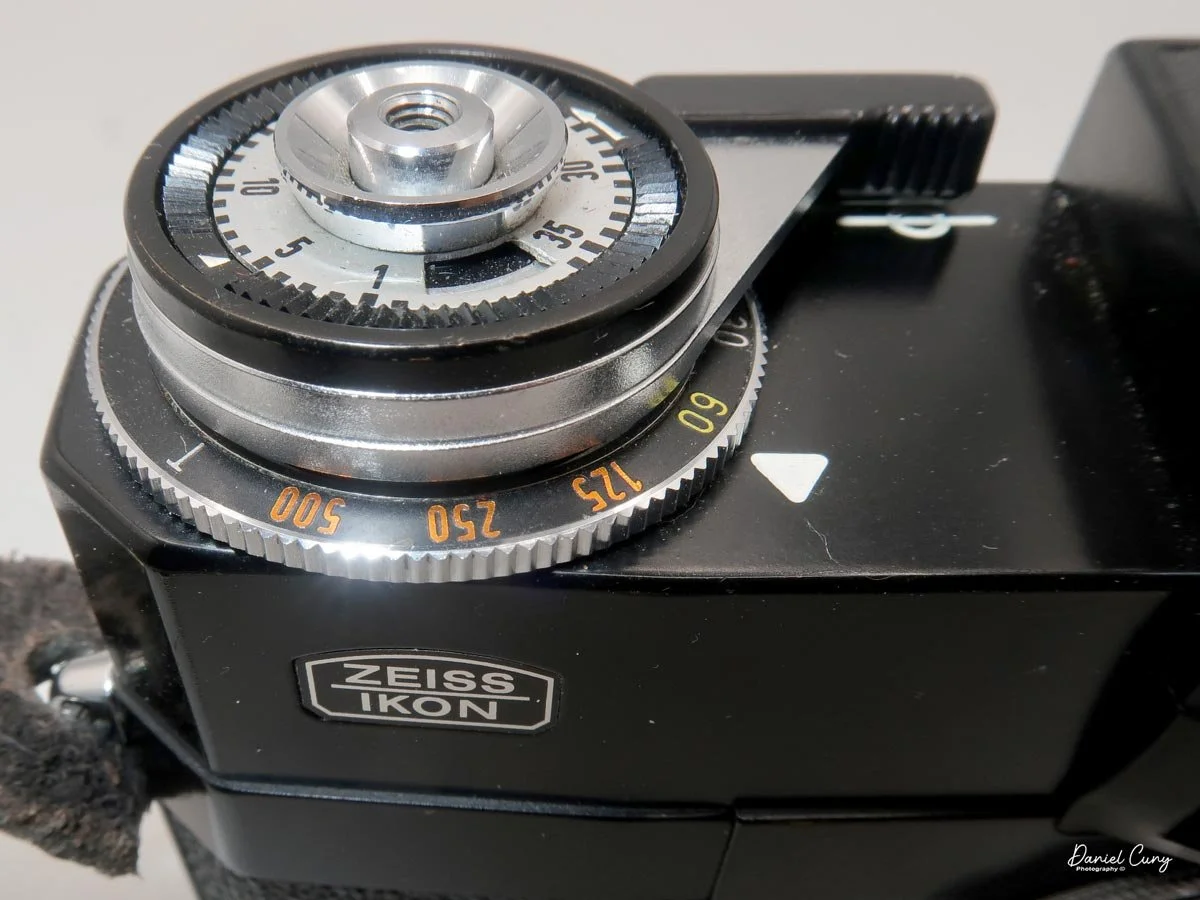
 Most exposure controls are on the front of the camera body or lens. In the upper left corner of the camera, as you face it, is the shutter speed wheel, which has speeds from 1/1000 to 1/2 (no 1 sec. exposure setting) and "B" for timed exposures. The shutter speed is set by turning the outer wheel to the desired speed, which is aligned with the small white line on the camera body. Some people get confused because the white line isn't directly above the shutter speed number, but slightly to the left. Make sure you set the shutter speed to the white line, and not at the top of the dial.
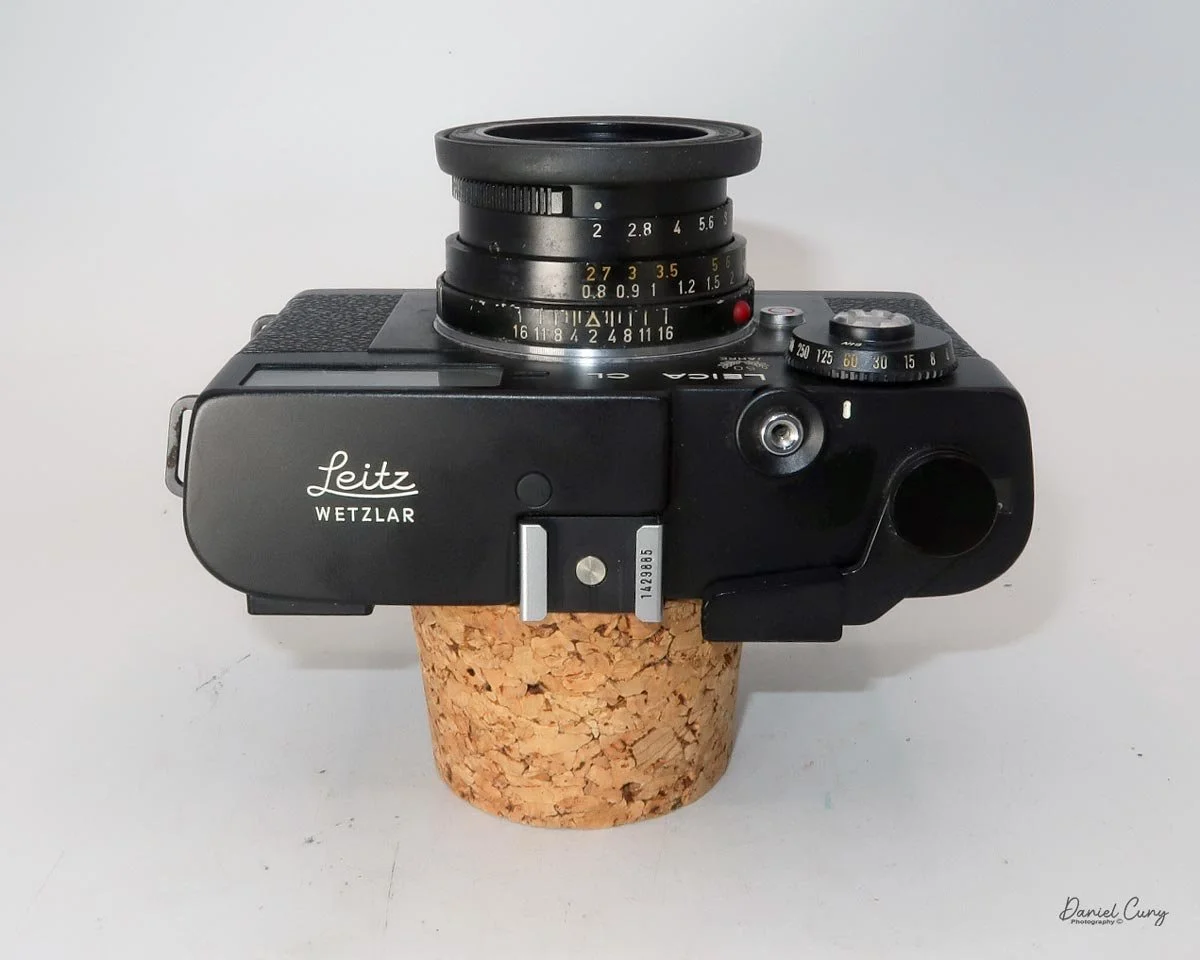
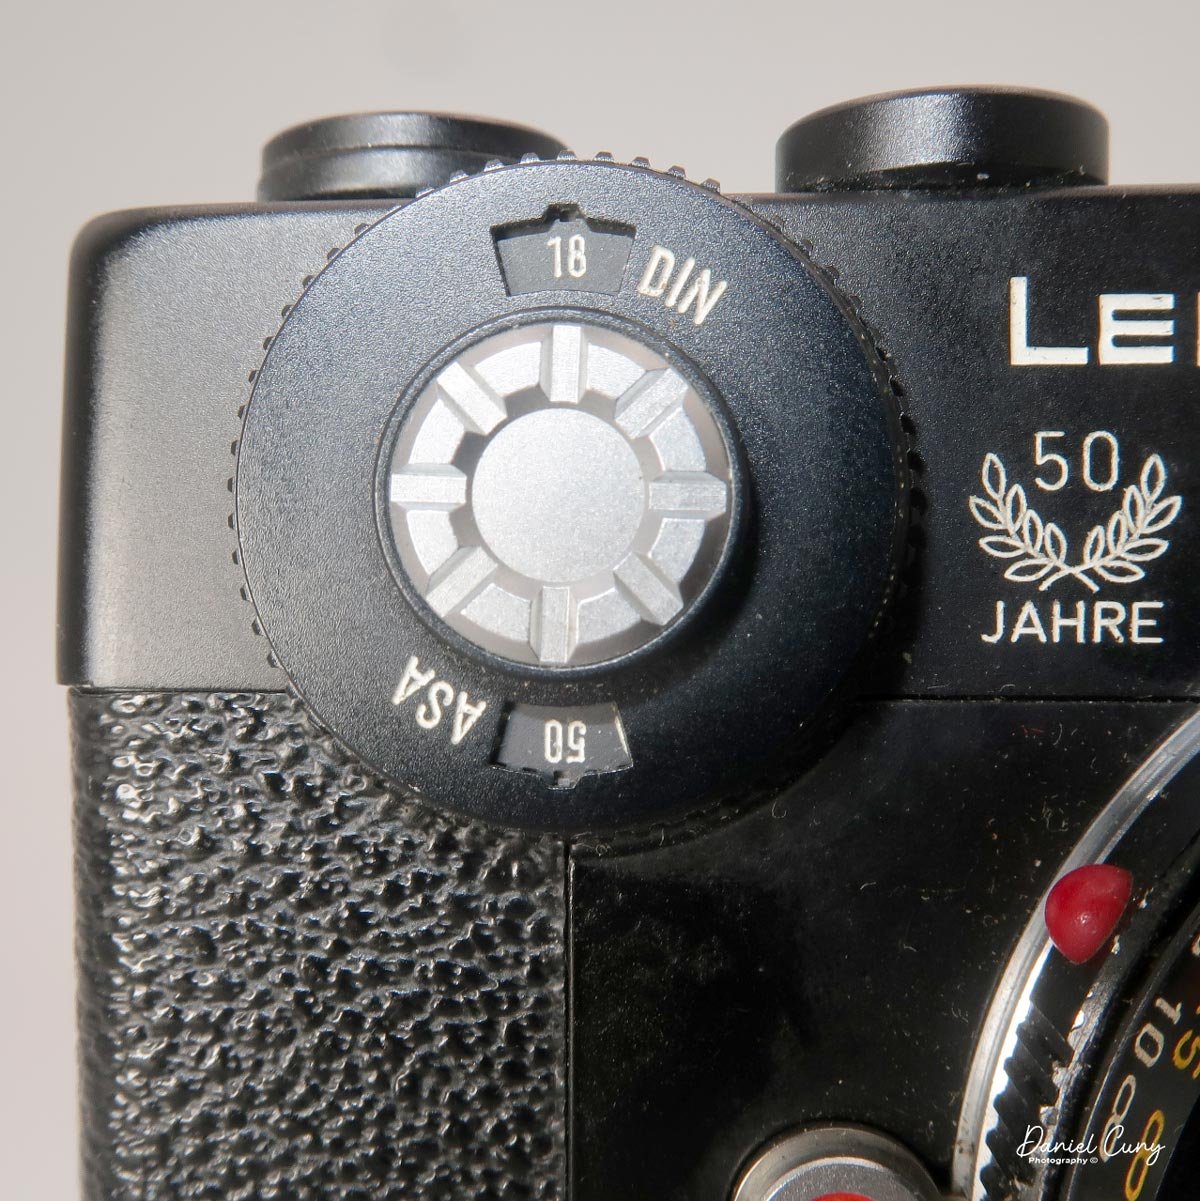
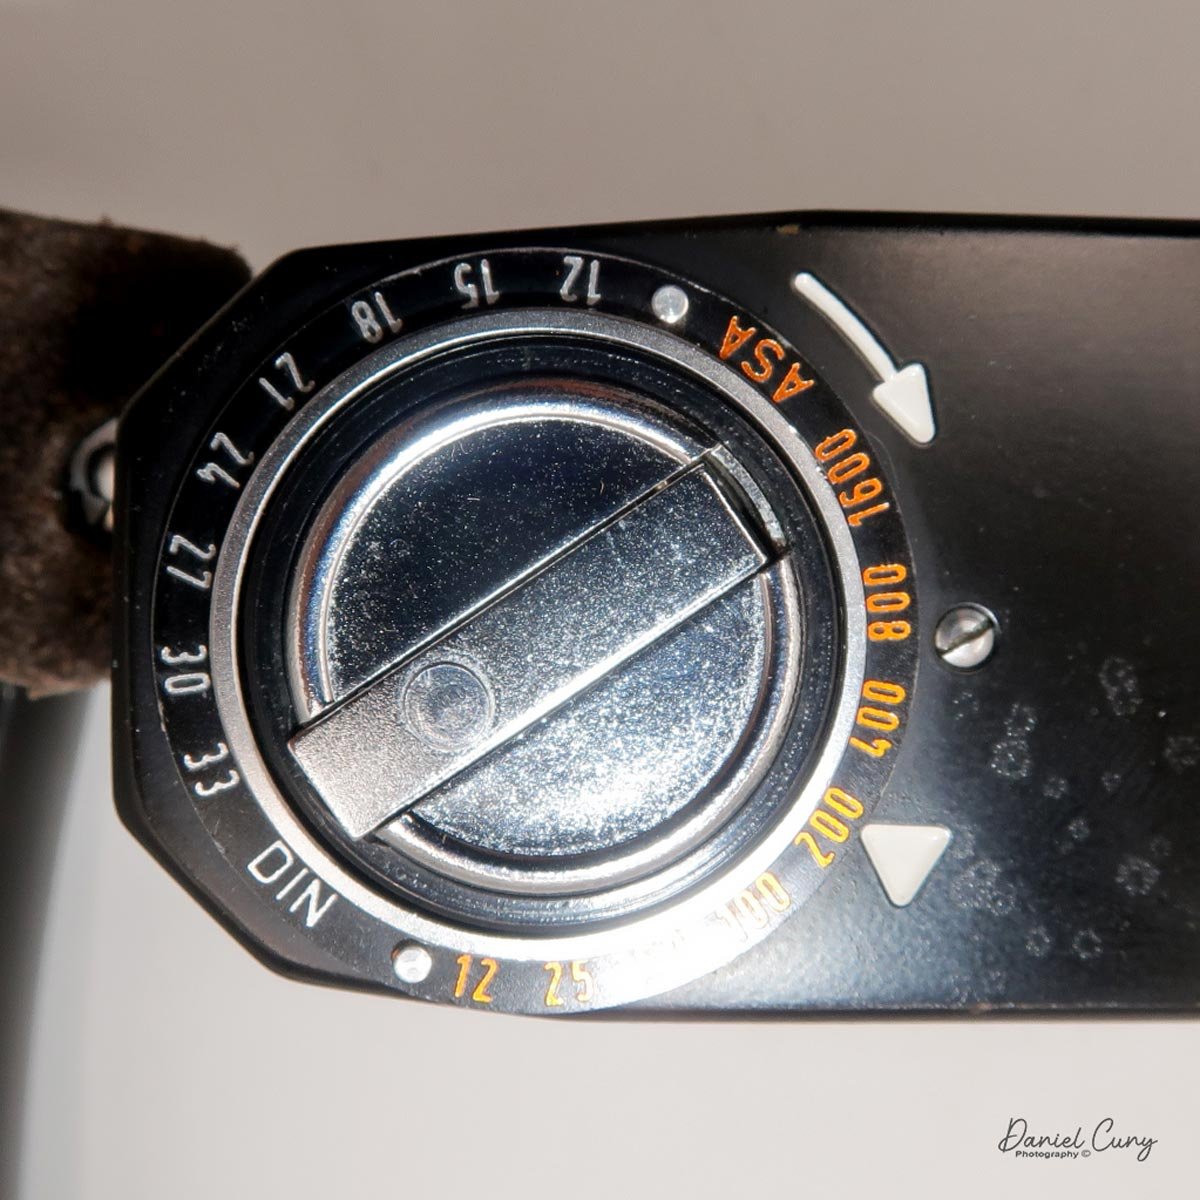
Inside the shutter speed dial is the ASA or DIN (ISO) setting for the internal light meter. Set the ASA by turning the chrome wheel with the pad of your finger or thumb to the desired film speed.

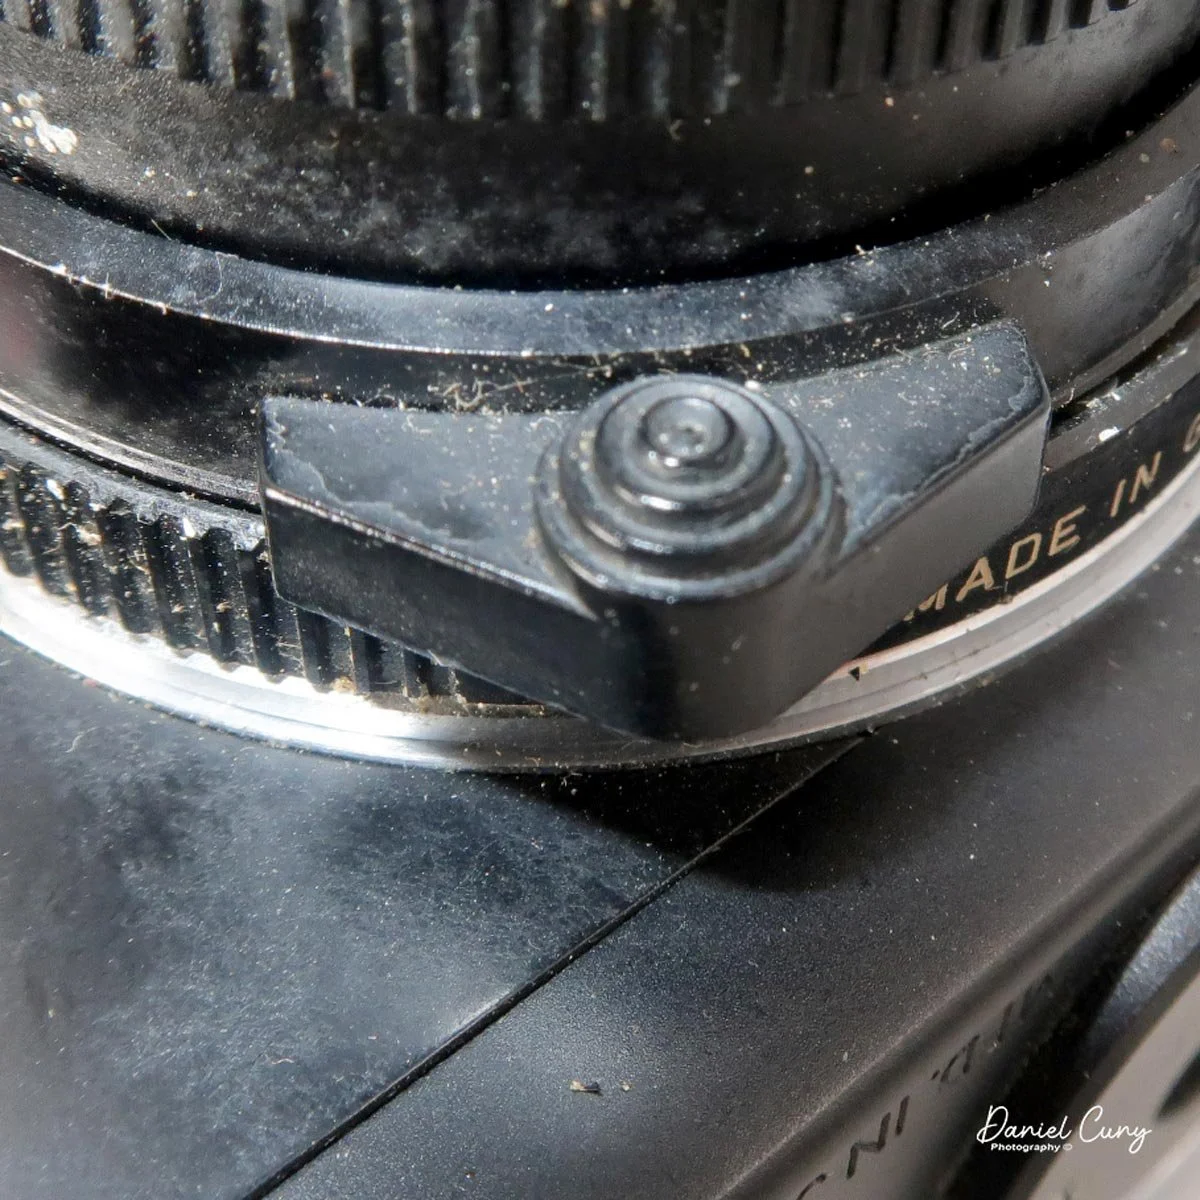
 Below the shutter speed wheel is a smaller round button with a red circle, which is the lens release button. Press the button and turn the lens counterclockwise a short distance until the red dot latches to the red circle, then remove the lens. To attach the lens, match the red dot on the lens to the red circle, then turn the lens clockwise until it clicks into place and locks onto the camera body.
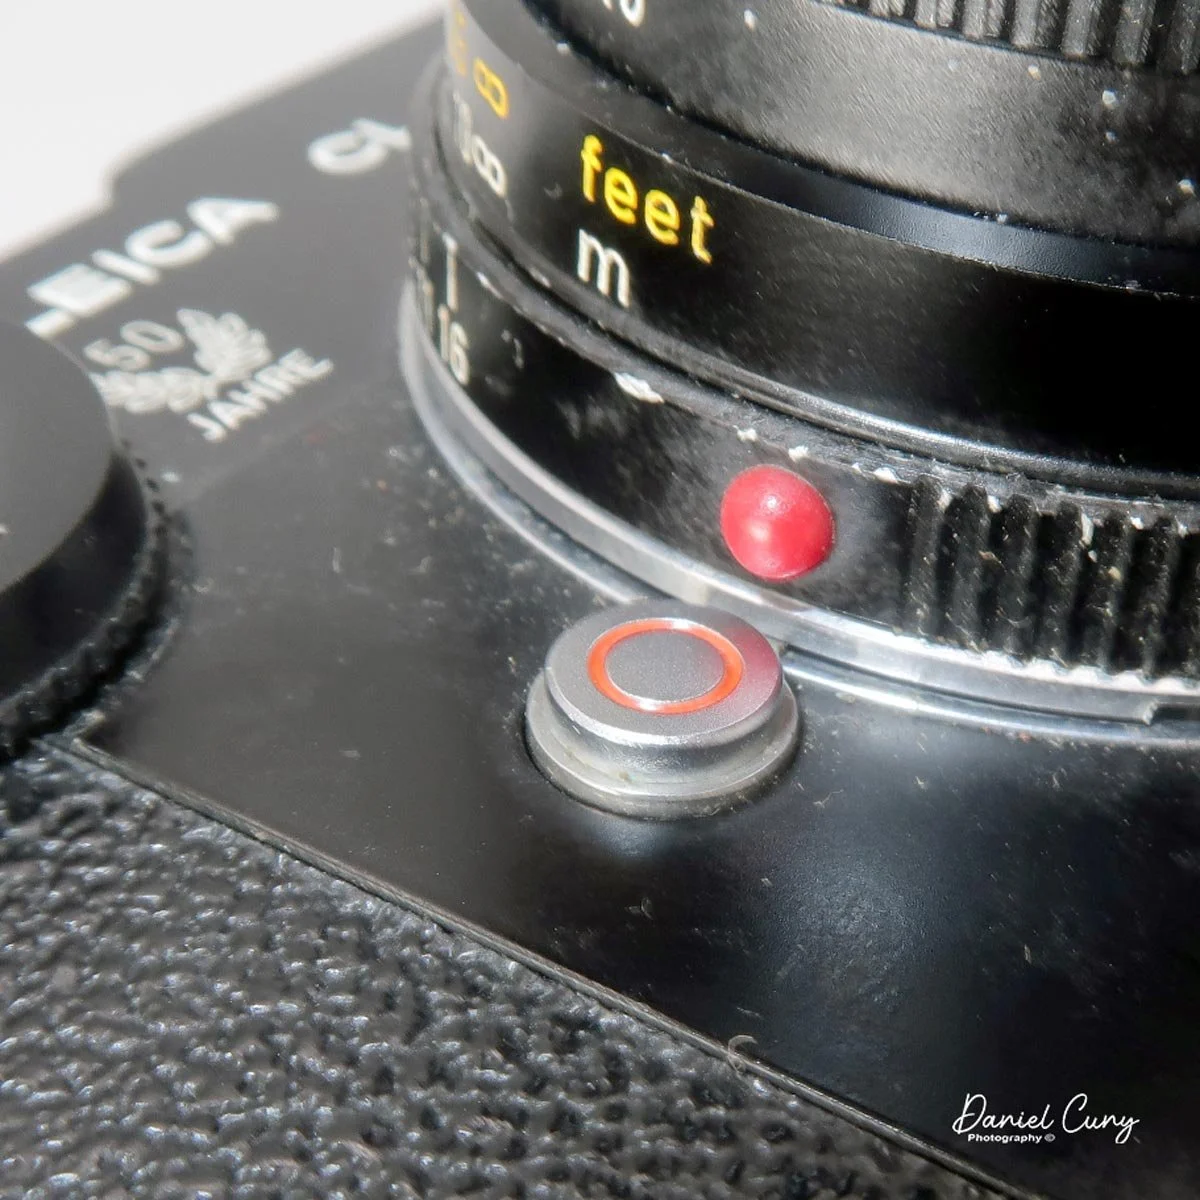
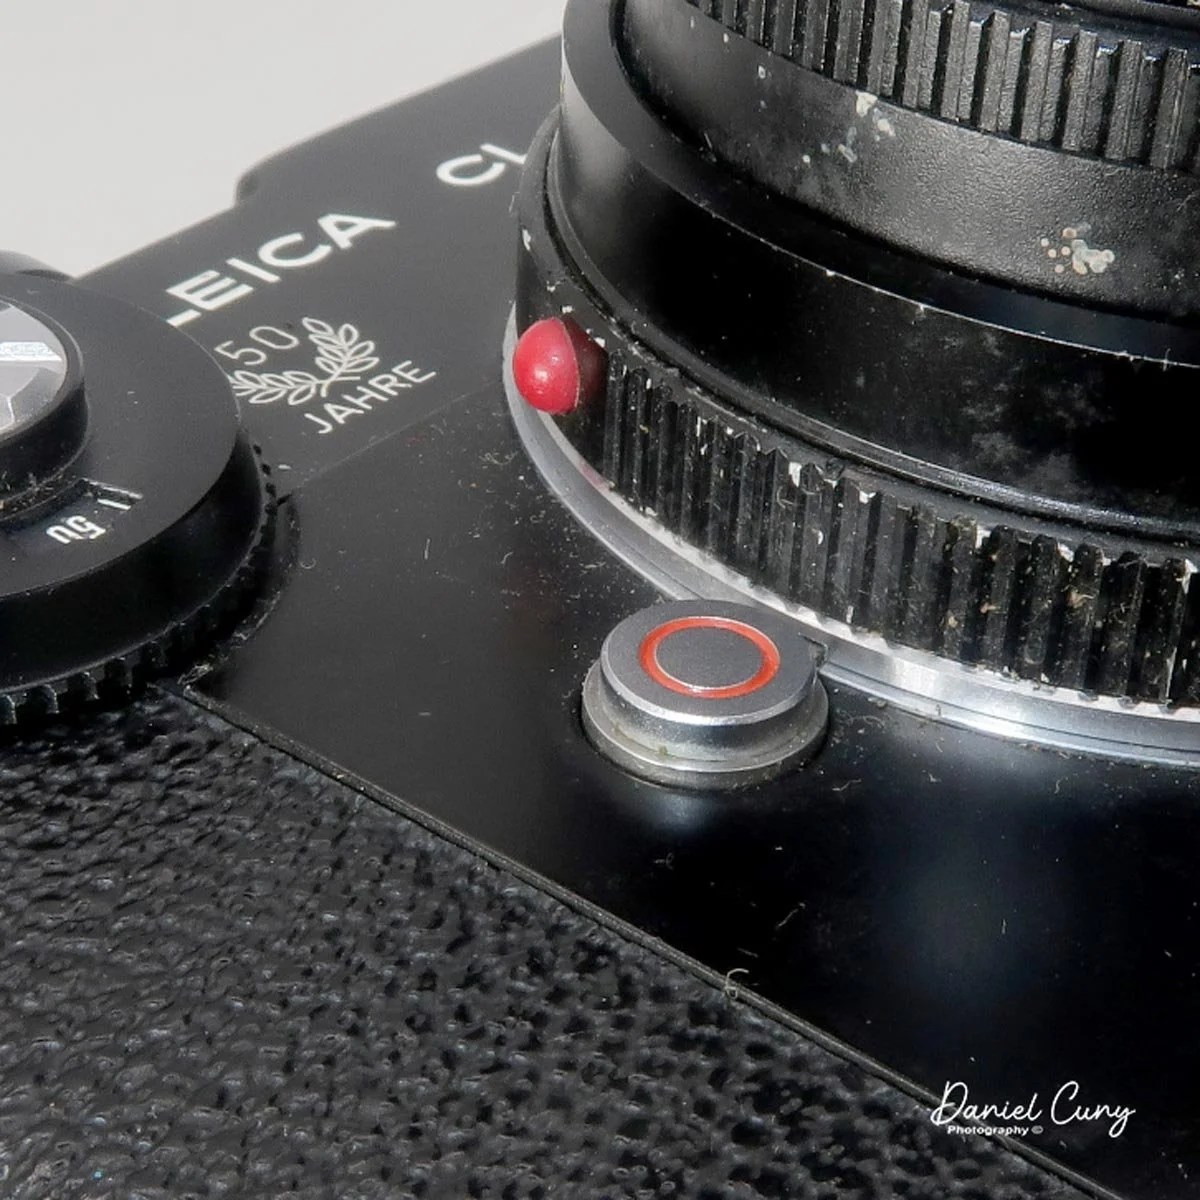
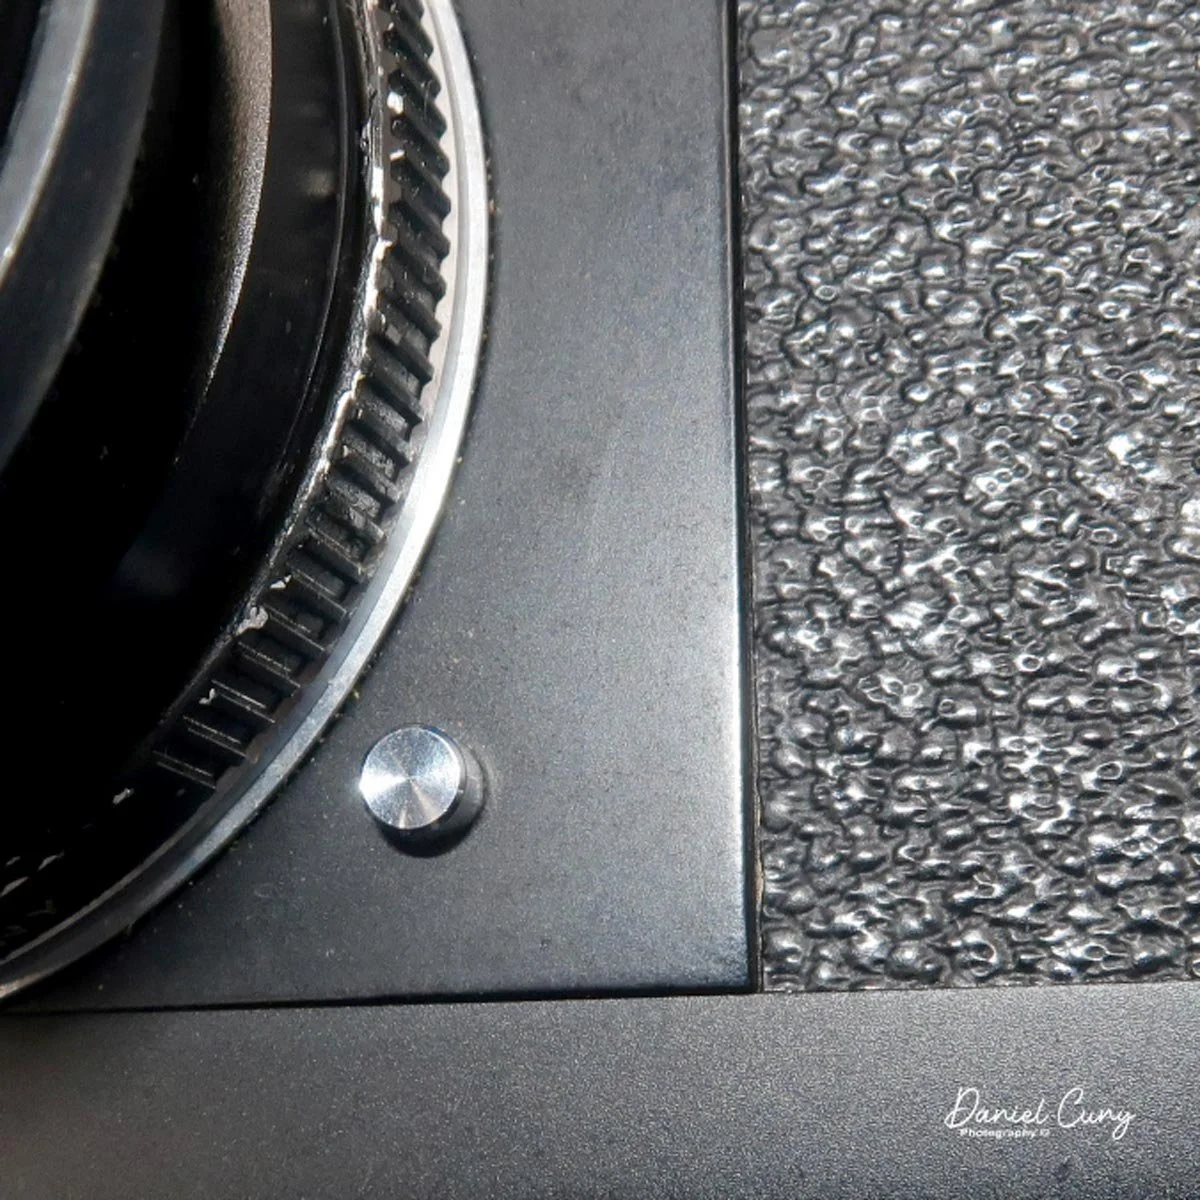
On the opposite side of the lens is an even smaller chrome button: the "battery test" button for the light meter. Unfortunately, the light meter on my camera isn't working, so it's not something I use when shooting with the Leica CL.

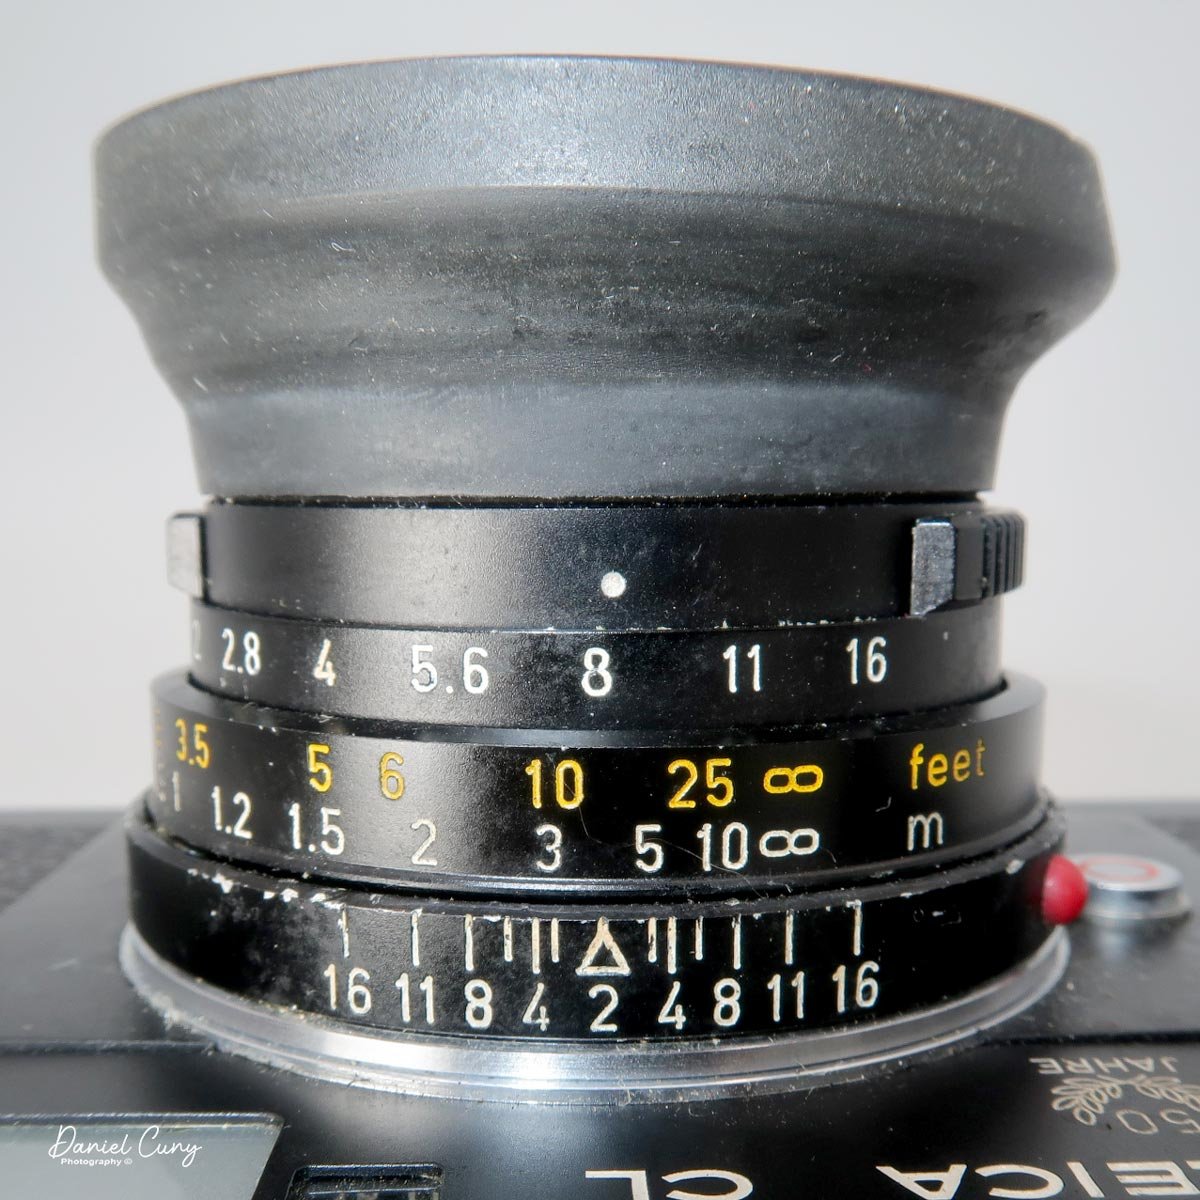
 On the lens is the focus knob, which is a larger knob on the bottom, and the aperture settings, which are located towards the front of the lens. I also have a rubber lens hood and a plastic lens cap that fits onto the hood; both came with the camera kit.
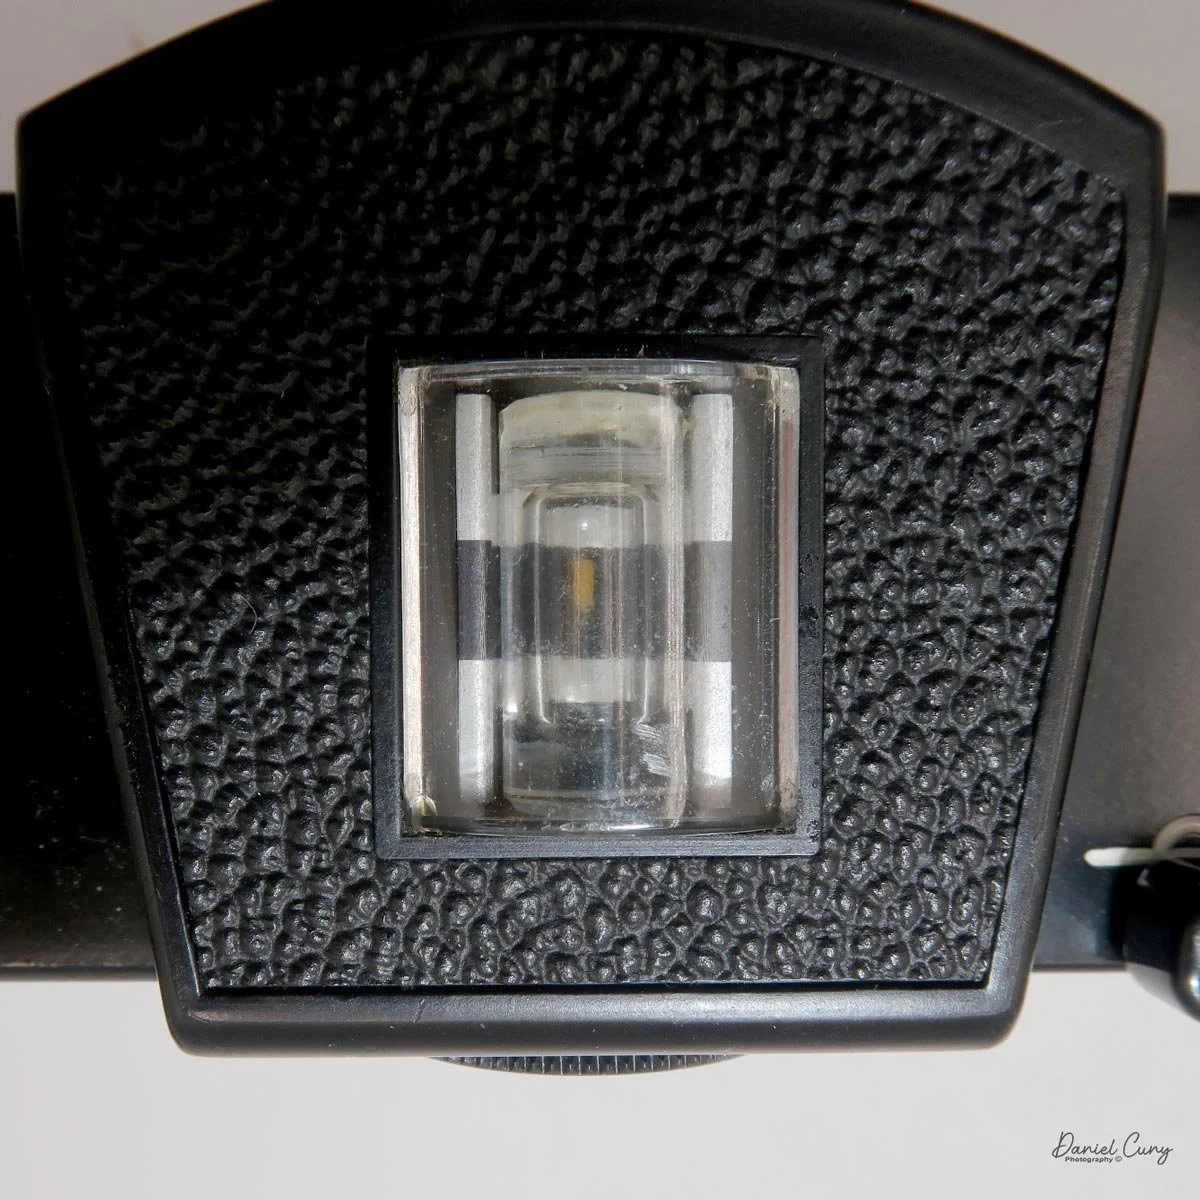
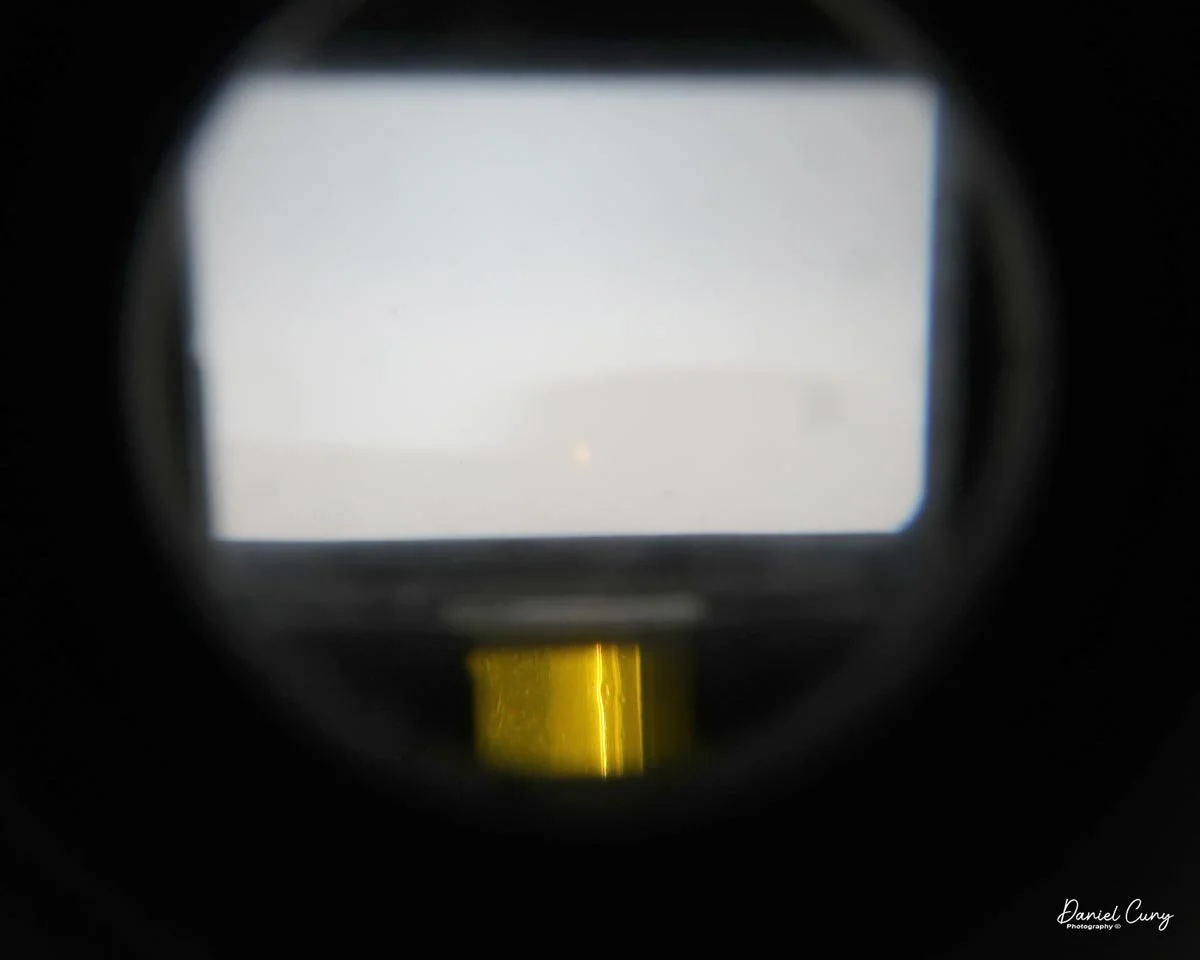
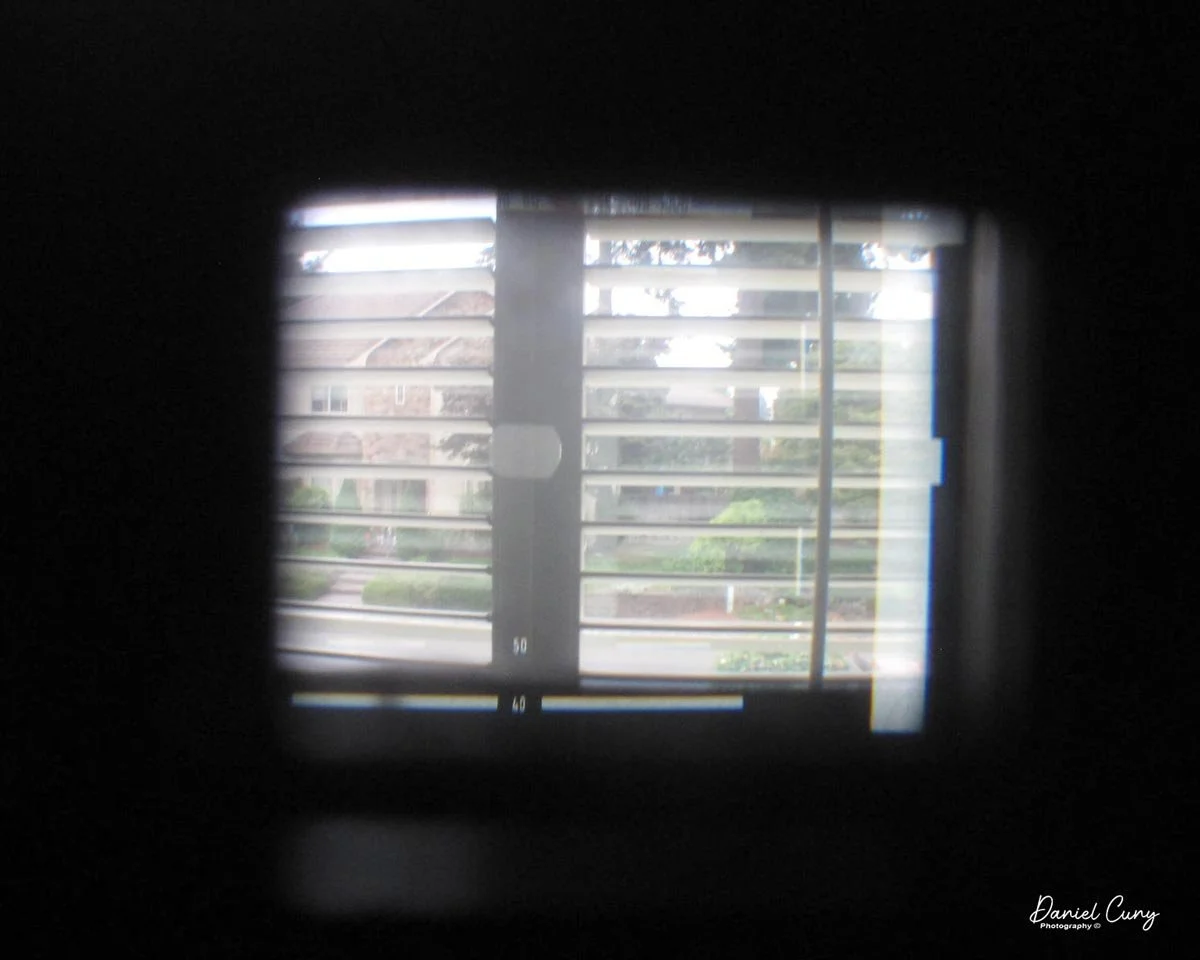
Looking through the viewfinder, there are several things to look at. In the middle is the bright rangefinder. This is a wonderful and very easy rangefinder. The image looks sharper (to me) when you bring the lines together in the yellowed area of the rangefinder. I'm generally not a big fan of rangefinders, but I do really like how this one performs.

 It also has internal lines for a 40mm and 50mm lens. Along the top of the finder is the shutter speed, with a red bar sliding to the set shutter speed, which is easily adjusted with your forefinger rolling along the shutter speed selector.
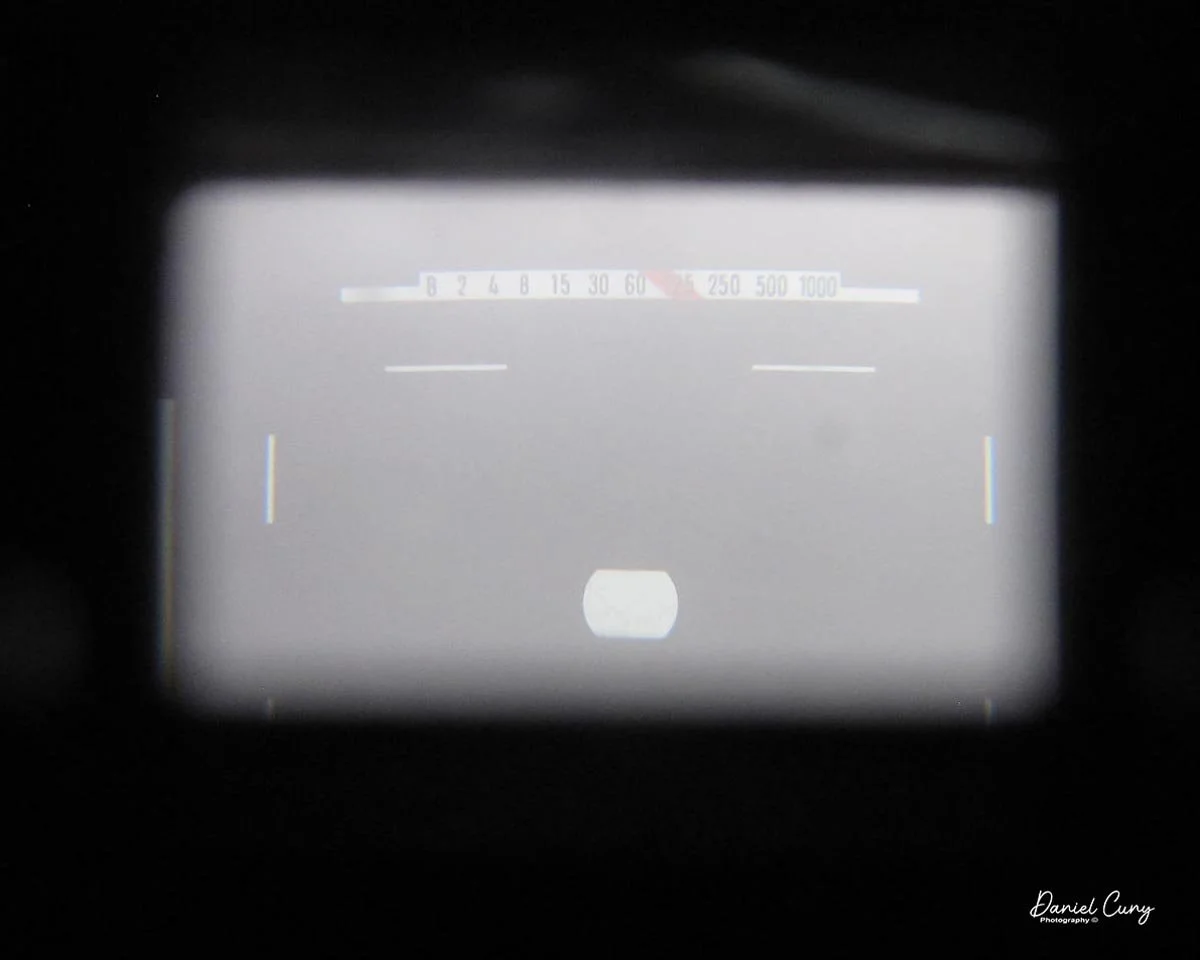
On the right side of the viewfinder is the light meter. Leica interestingly designed the camera: when you wind it, a small hinged arm with a CDS sensor drops down in front of the vertically traveling focal plane shutter. This is what meters your exposures. As you change the shutter speed/aperture combination and the ASA setting, a bar moves up or down until it's in the center "cutout" area. When it's in the middle of the "cutout" area, the meter tells you it's properly exposed.

 When you click the shutter, the CDS sensor moves up just before the shutter opens and closes, exposing the film. Then, when you wind the film to the next exposure, the CDS sensor pulls back down and is ready to meter your next frame. If you haven't wound to the next frame and the winding lever is in close to the body, the meter is off. I also noticed that when you move the shutter speed dial to 1/2 sec. or "B", a red dot appears in the meter area. My best guess is that it's a longer exposure warning.
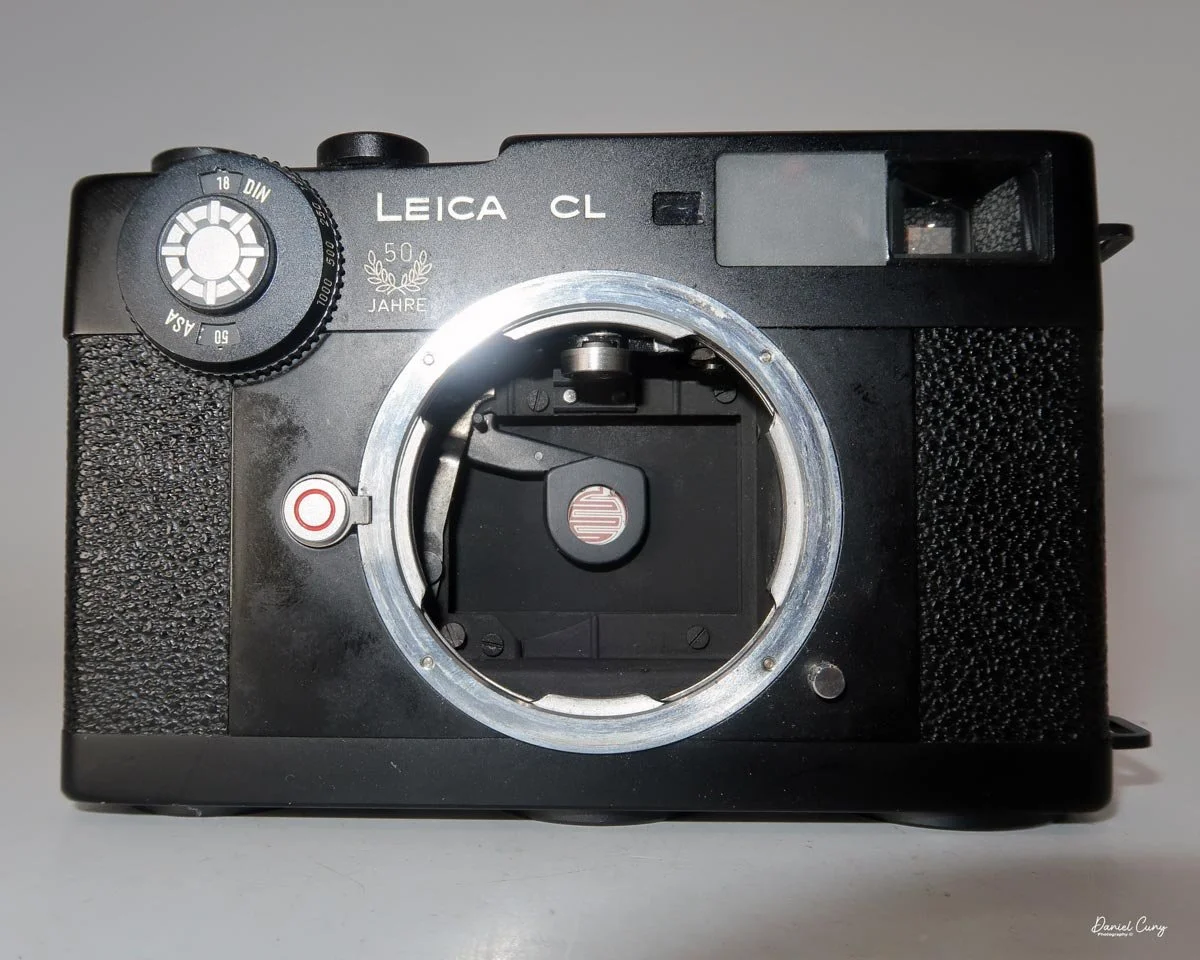
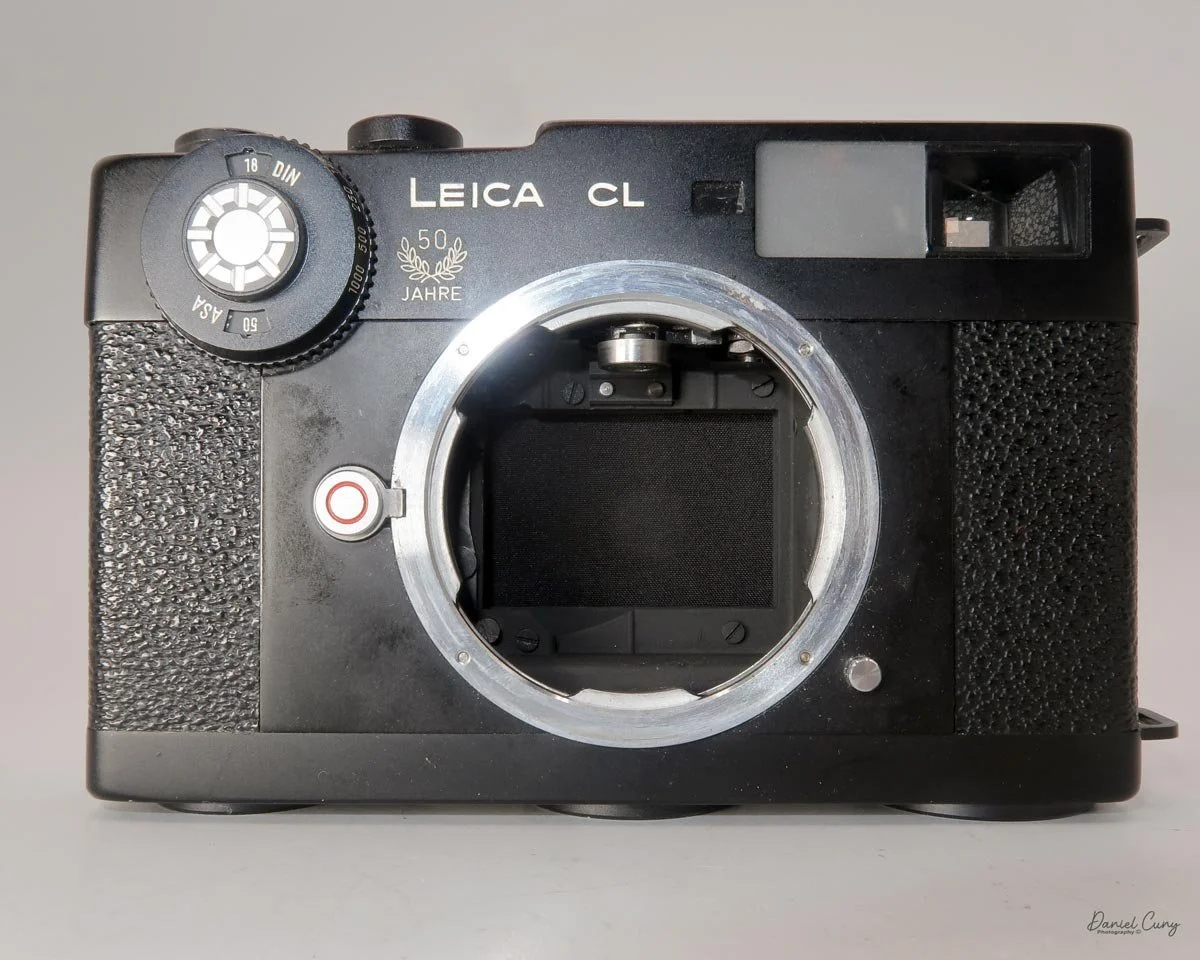
To remove the camera back to load the film, on the bottom of the camera in the center, there is a knob that you lift and turn until it stops. Then, slide the camera back down to slide the back off the camera body. Once you've done that, the pressure plate is hinged to the camera body, not the back of the film door you just removed.

 Put your film cassette in the left-side film chamber, flip down the pressure plate, and thread the lead into the grey clips on the take-up spool. Advance the film a bit to make sure it's caught and traveling across the shutter. Flip back the pressure plate, slide the camera back under the grooves on the front of the camera, sliding it all the way onto the camera body, and lock the film back onto the camera body.
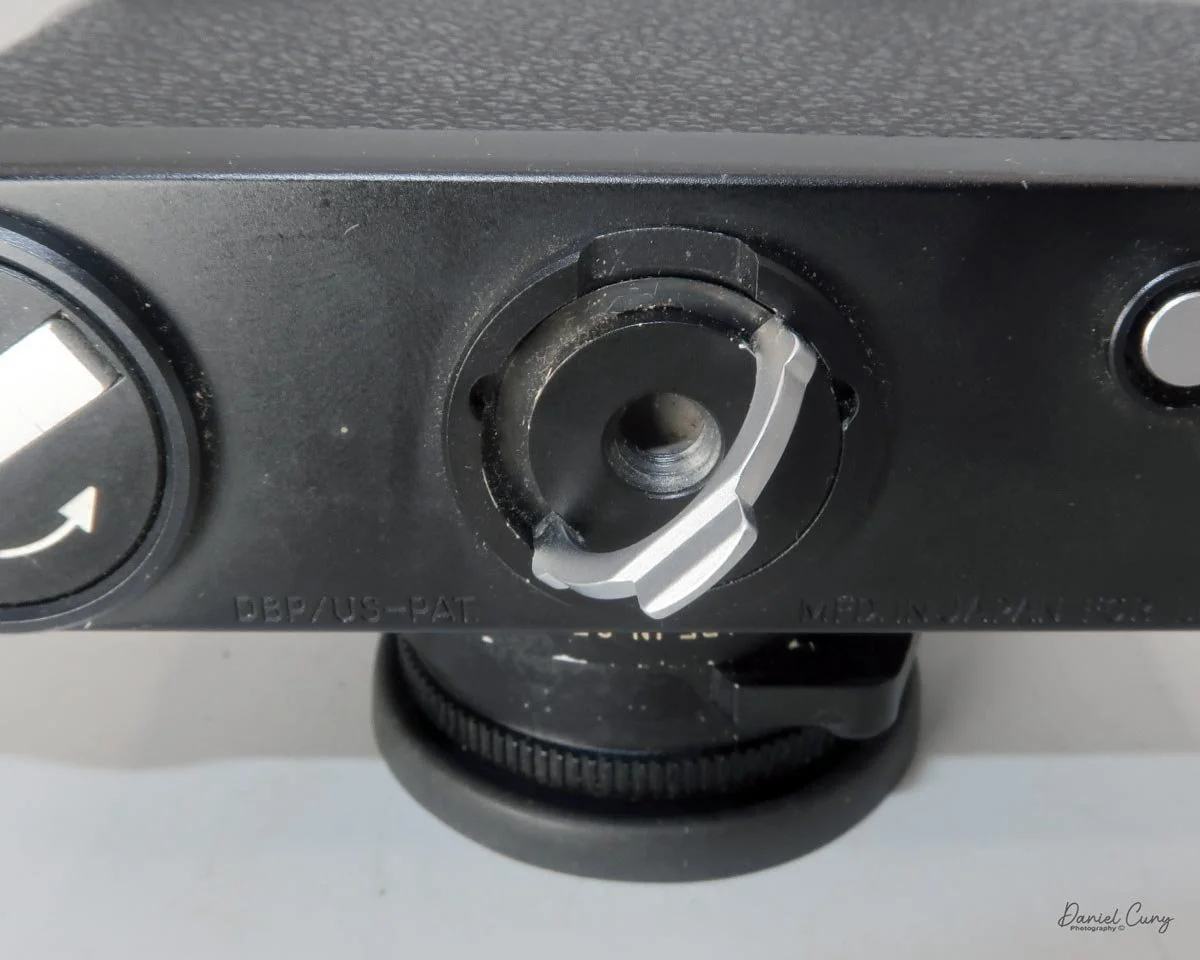
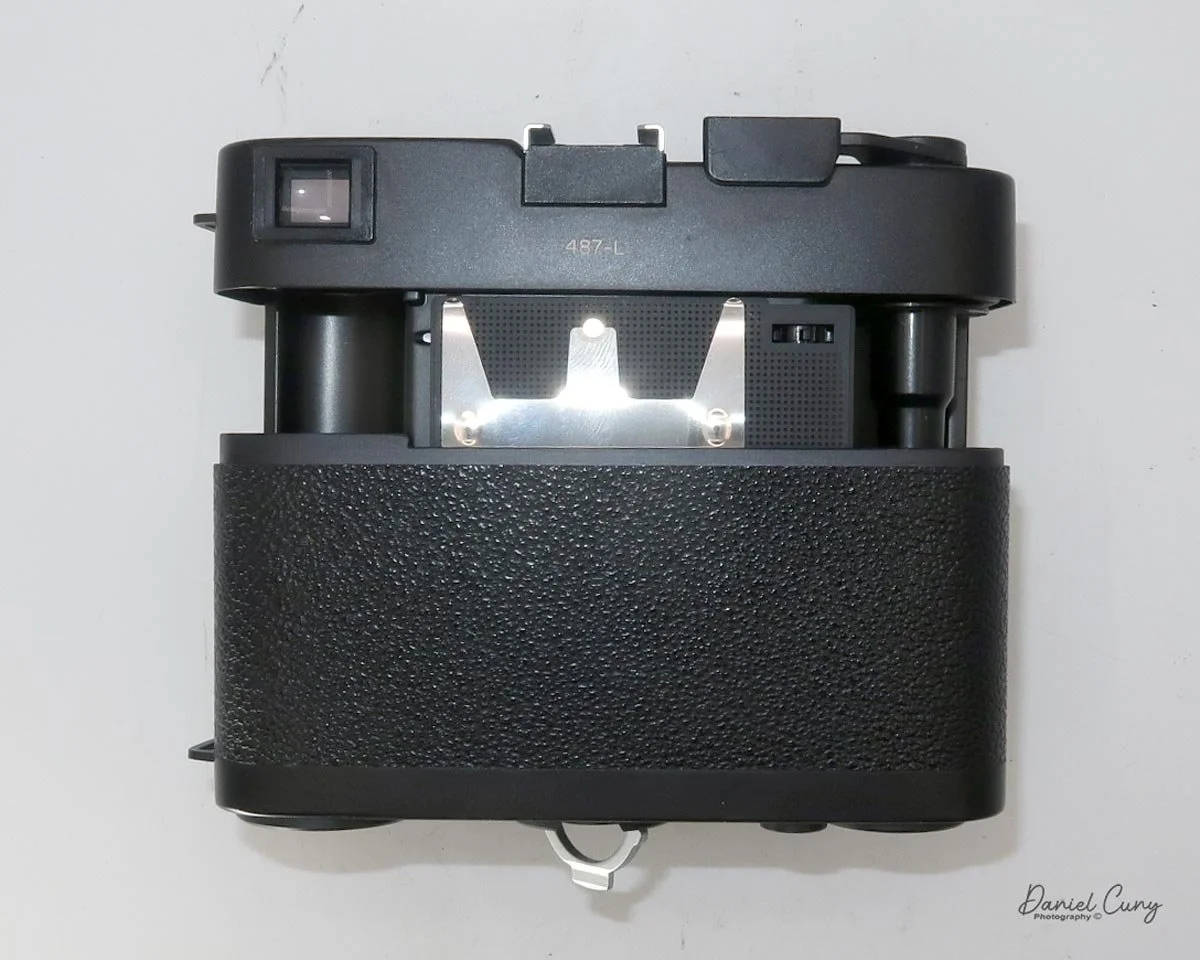
The bottom of the film door also has the rewind crank and rewind button to unlock the film transport wheel, plus a small film reminder on the other side of the rewind crank.

 I have a few rolls of outdated Plus-X film dated to June 1976, which I have in both 36 and 20 exposures that I'm selling in my store on eBay, so I loaded a roll of 20 exposures into the camera, set my external light meter to ISO 50, and went for a walk around the neighborhood to see how the camera would perform.
 My Results

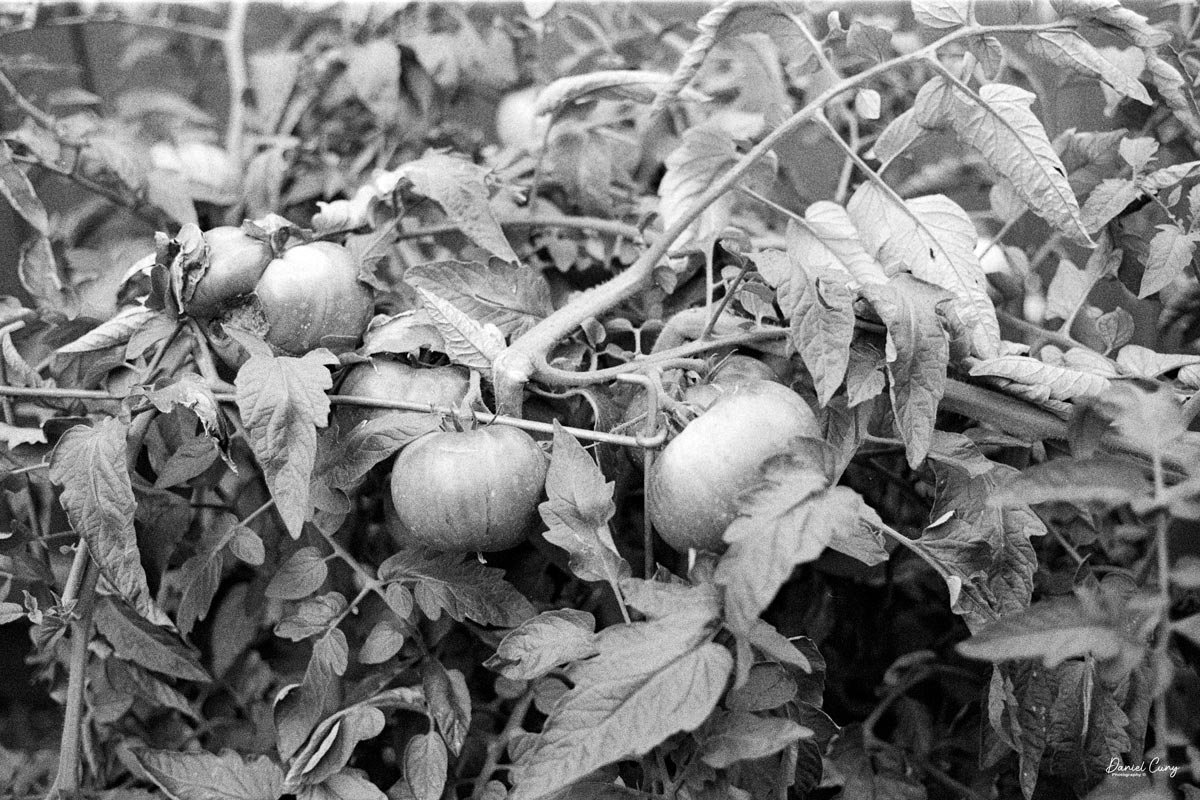
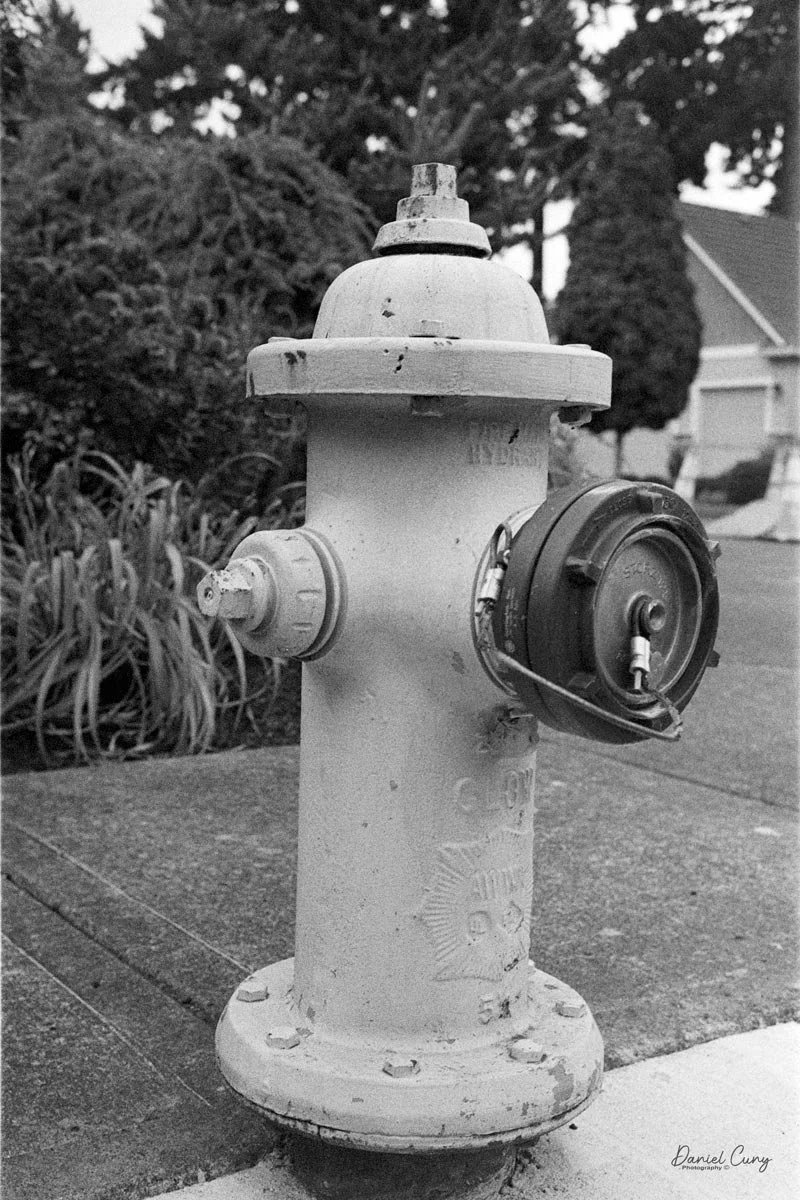
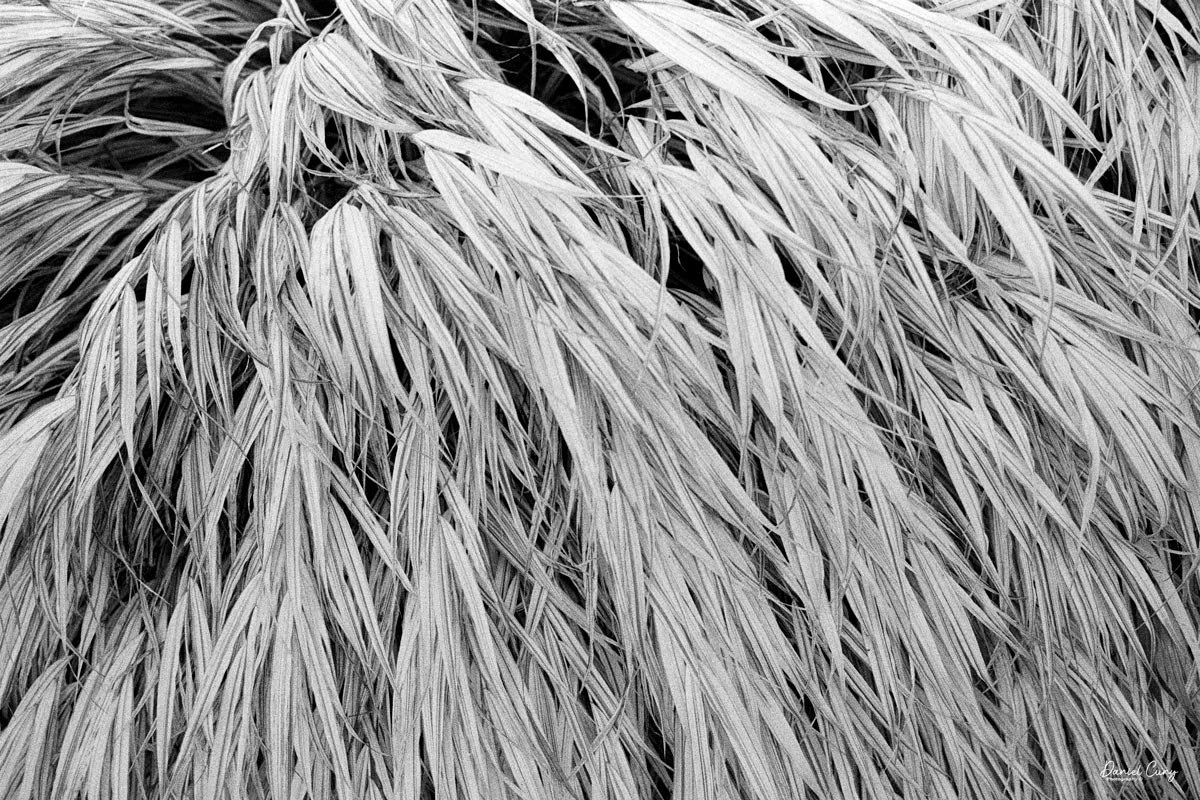
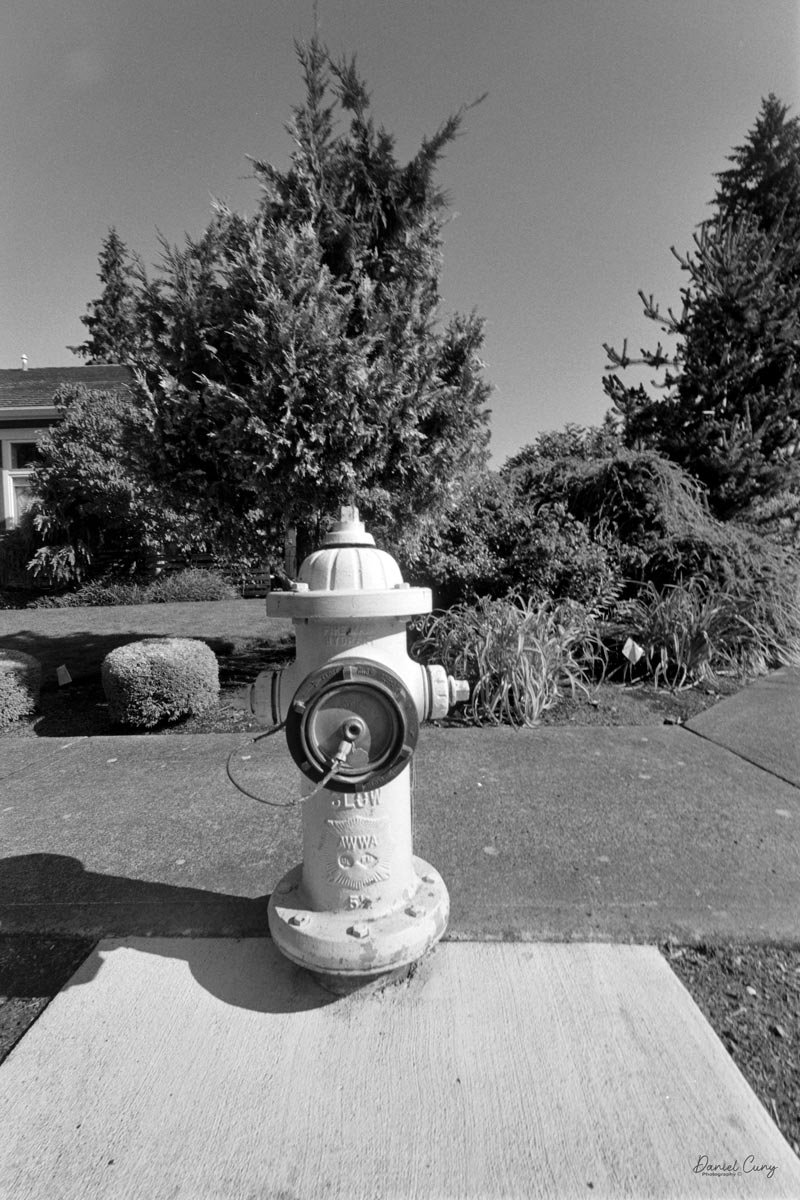
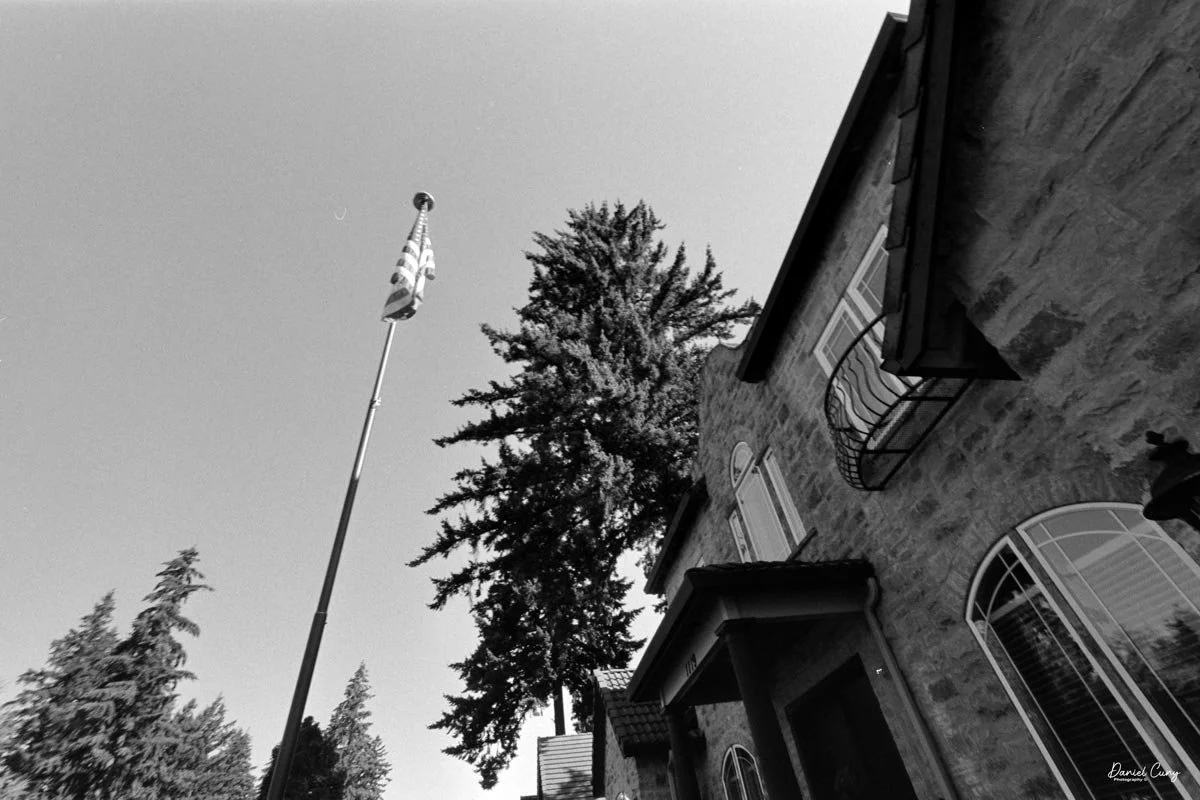
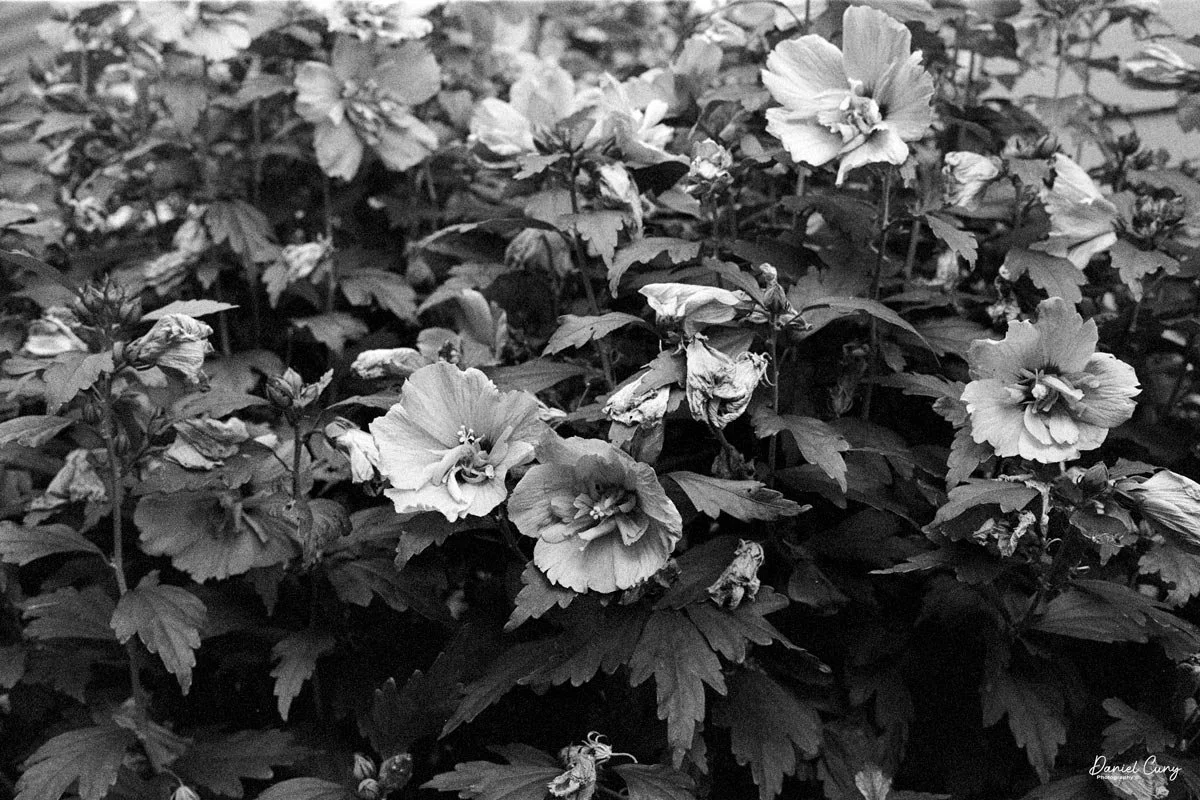
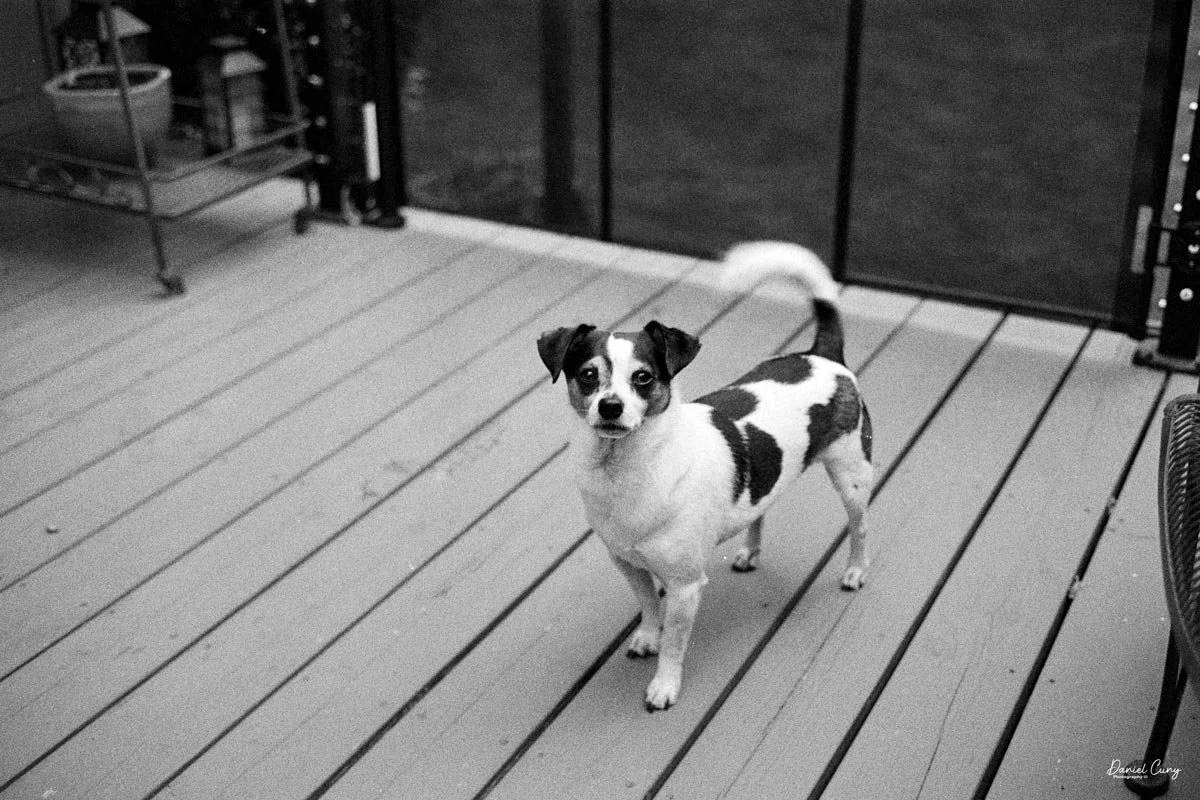
After walking the neighborhood and taking photos of many of the usual subjects to keep it somewhat consistent, I went home and processed the film. Here are some of the images I took on my walk.
Conclusion

I enjoyed many things about using the Leica CL. First and foremost was the focusing. I really enjoyed how the rangefinder reacted to the images I selected. It made it easy to focus, especially in busy areas with a lot of detail.

 The second thing I enjoyed about the camera was the image quality. Similar to the Contarex "Bullseye" camera, this lens is very sharp. I kind of marvel at how sharp these images are. Maybe it's because I try so many different cameras with average or below-average optics, but when you get a sharply focused photo, they just jump out at you.

 The camera case (to me) was a real pain. Having the case flop around when I'm using the camera was a negative experience. In the future, instead of latching the case through the strap, I'll put the strap on the camera and wrap the case around it for protection. When I unzip the case, I'll put it in my pocket. That's a more desirable solution for me.

 One other thing I noticed from the last few cameras shot with the expired Plus-X film I have is that I kind of like the grain of the film. It's a bit chunkier than the newer films, which I kind of enjoy and remember from my earlier days of shooting.

 Overall, my experience with the Leica CL was very positive. I would have liked an internal meter, but for the price I paid for the camera, lens, and case, I'm very happy and can use an external meter or guess exposures, which is pretty easy.

 Are you interested in other cameras? Here are some of my other Camera Reviews.

 Check out my Cuny's Camera Collection YouTube channel, where I am putting together video overviews of the cameras I write about. Be sure to subscribe and like the channel, too!

 Cuny's Cameras and Photos is my online eBay store, where you will find some of the cameras I have reviewed, along with a wide range of other cameras, lenses, and items from my collection that I am thinning out.

 Until next week, please be safe.
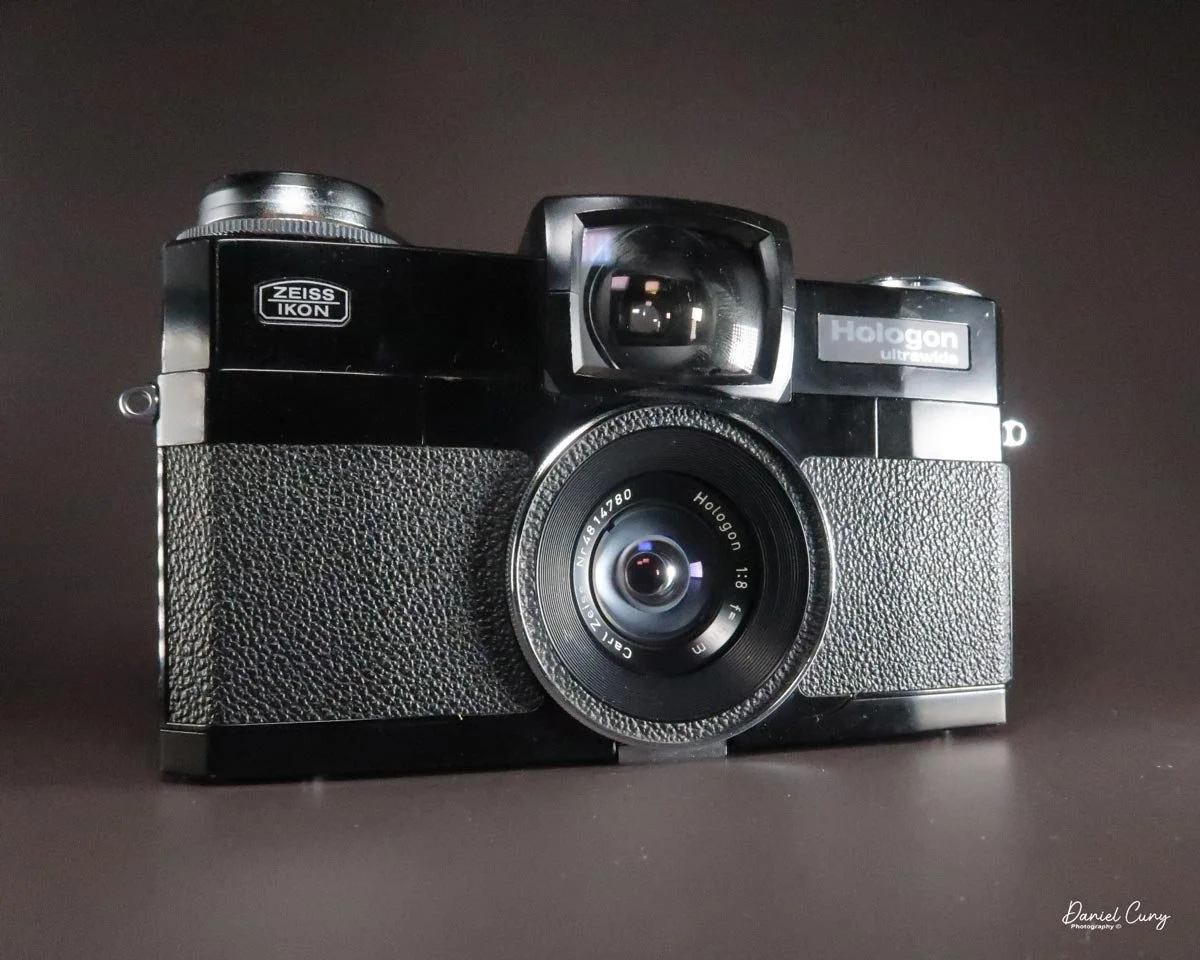
 

Zeiss Ikon Hologon Ultrawide camera

My Zeiss Ikon Hologon Ultrawide camera

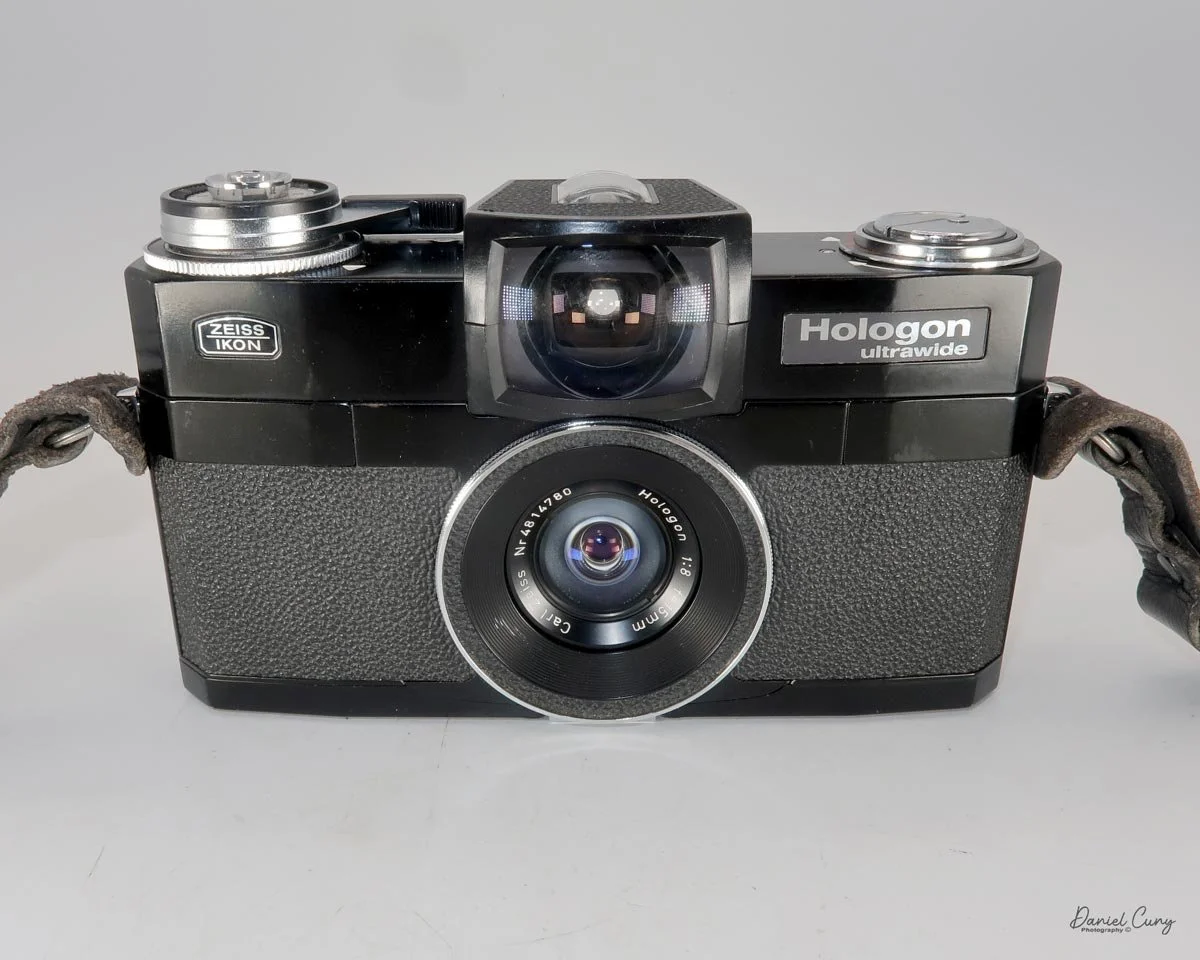
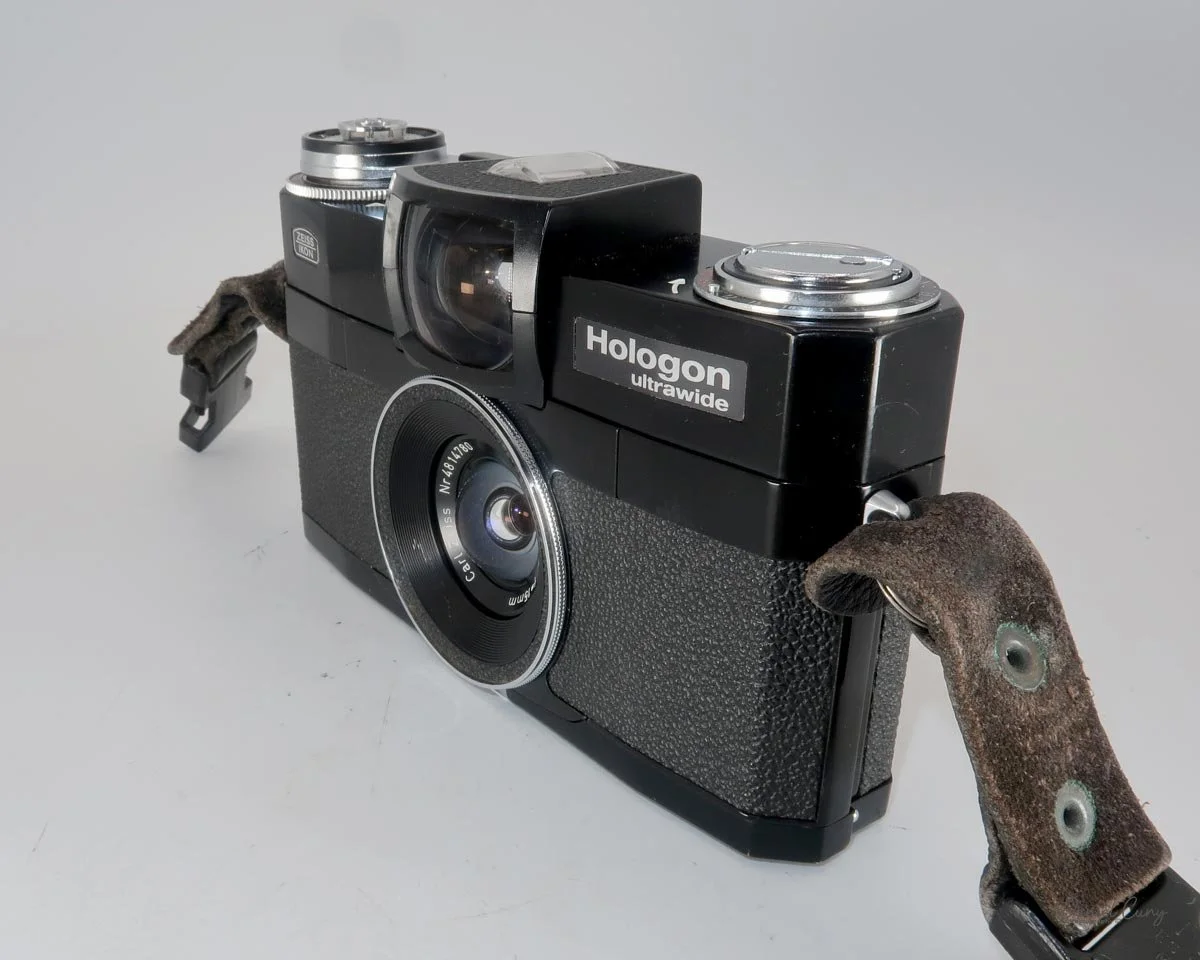
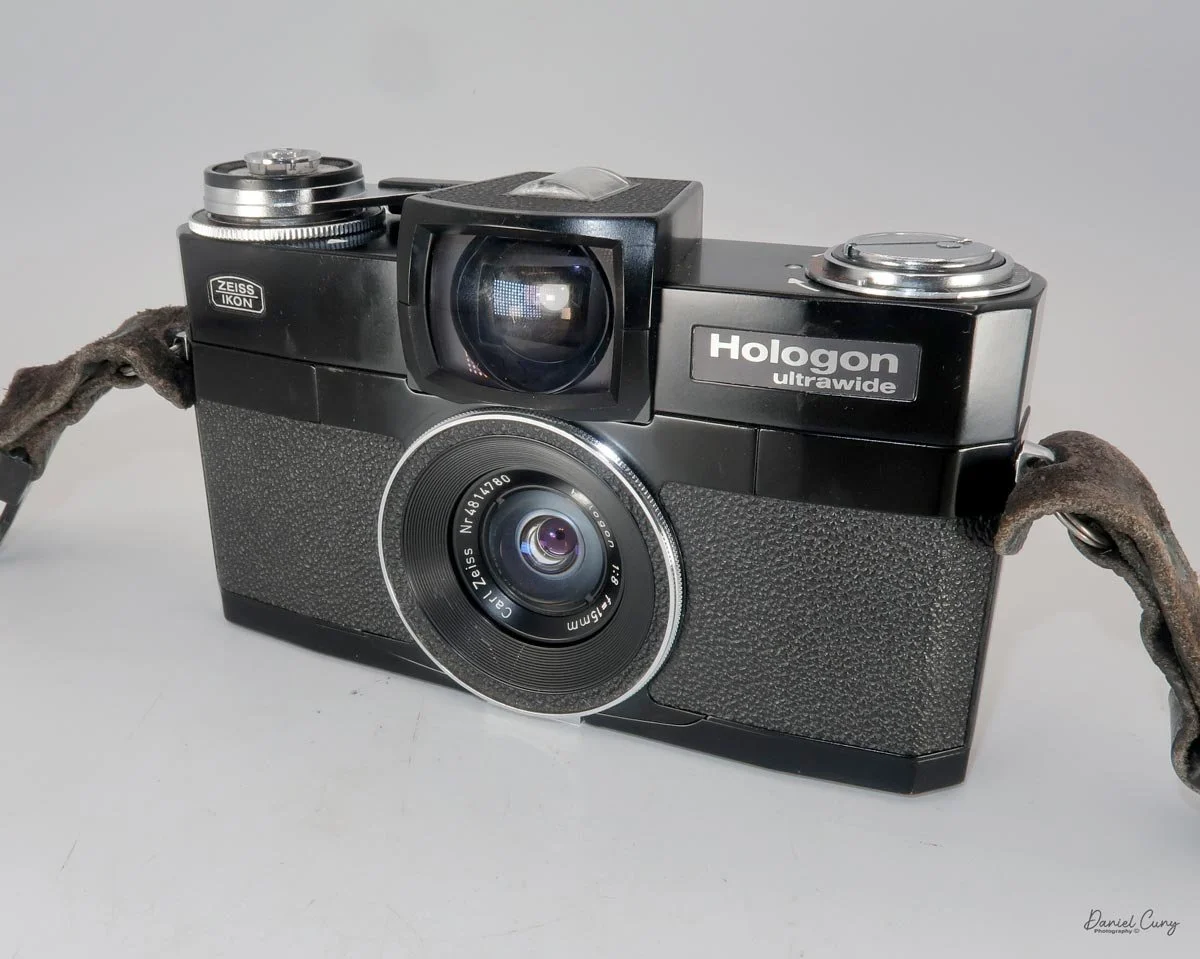
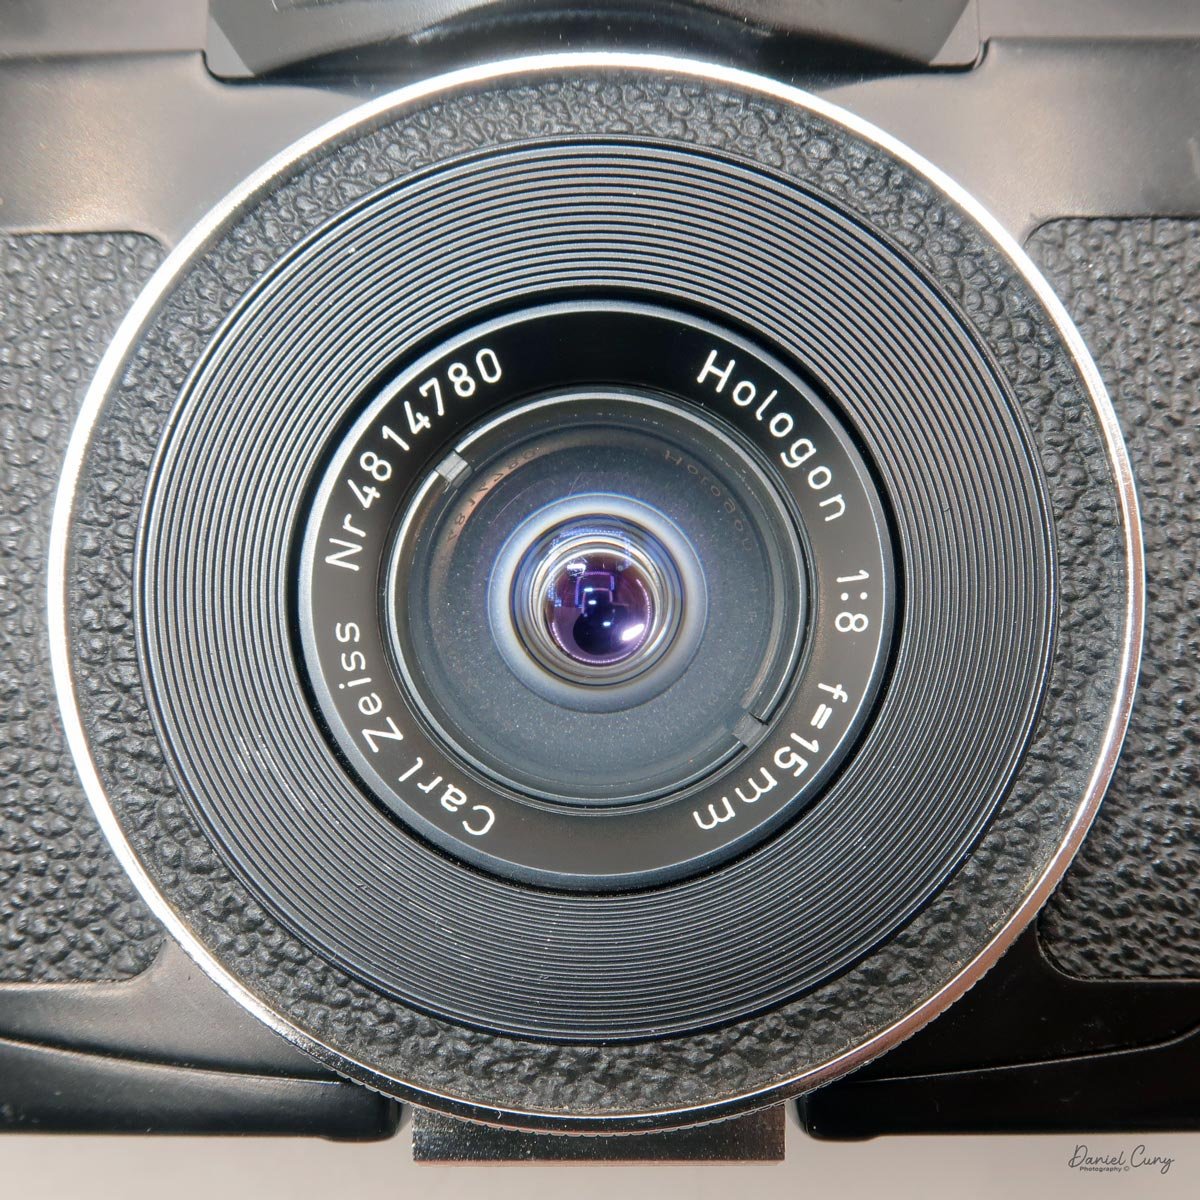
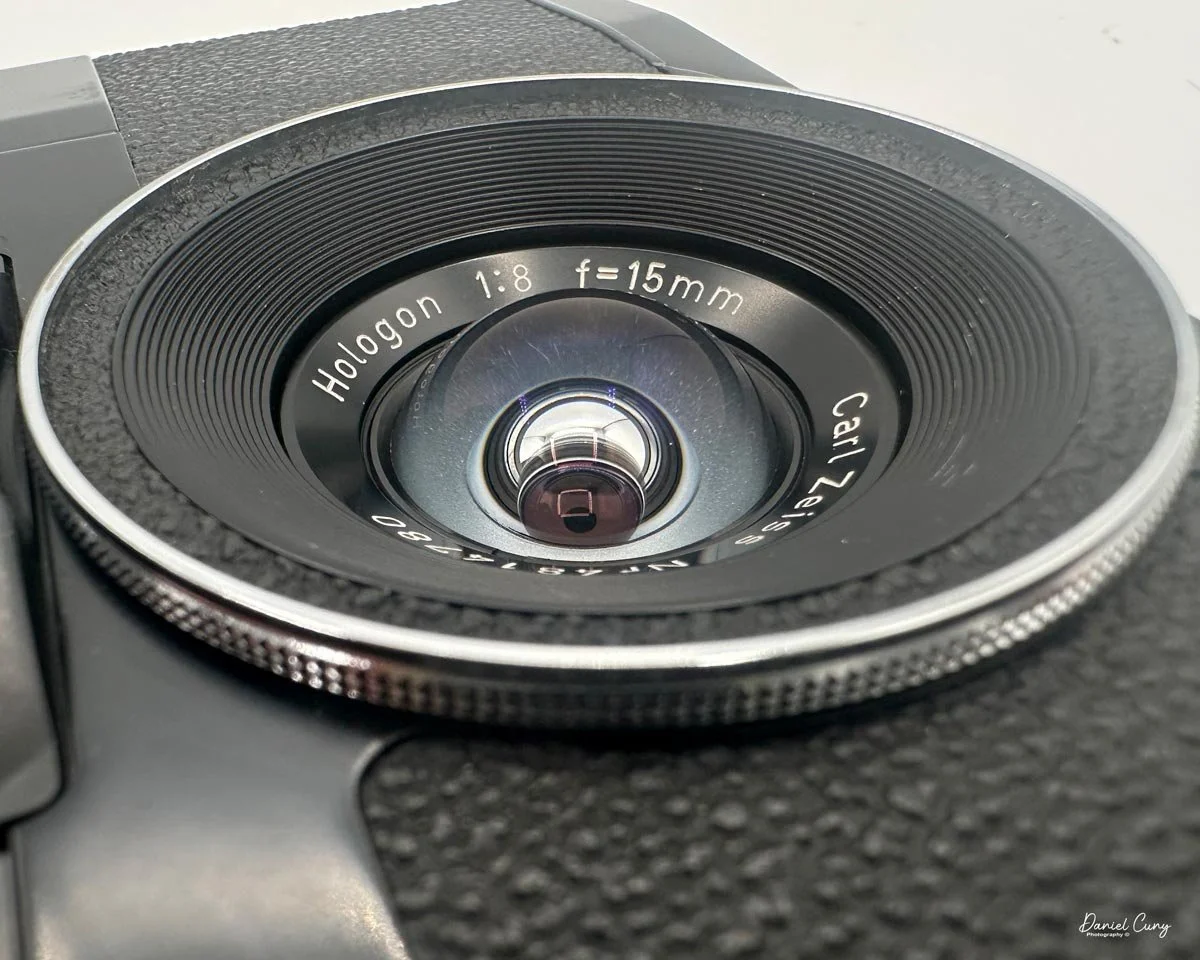
When it comes to photography, I have a passion for all things panoramic and wide-angle, so the rare Zeiss Ikon Hologon Ultrawide camera was a camera I've always wanted to purchase. What's not to like? The whole camera was built around an incredible Carl Zeiss 15mm f/8 Hologon ultra-wide-angle lens, which the camera is named after.

 It wasn't until later in my career in the photo industry that I had the financial means to purchase one of these wonderful cameras. I'd seen them at camera shows, in online sales on eBay, and in other stores. I've even had the opportunity to purchase one back when I was first starting out collecting cameras, but the price was always beyond my reach.

 About 10 years ago, I was looking through the online catalog from Wetzlar Auctions in Germany. Basically, I was dreaming about the cameras that were still out of my reach. It wasn't the super-rare Leicas that caught my eye, but a hard-to-find Zeiss Ikon Hologon Ultrawide with the handle, cable release, center filter, lens caps, and case that made me pause.

 At the time, Wetzlar Auctions had a fairly low starting price, so I thought, "Why not? Let's give it a go," and see how quickly I'd be outbid. I put in a fair price that I was willing to pay for the camera, as they said it was in "good working condition."

 As time passed and the auction got closer, there weren't that many people interested in the camera, but my thoughts kept saying, "You'll be outbid soon."

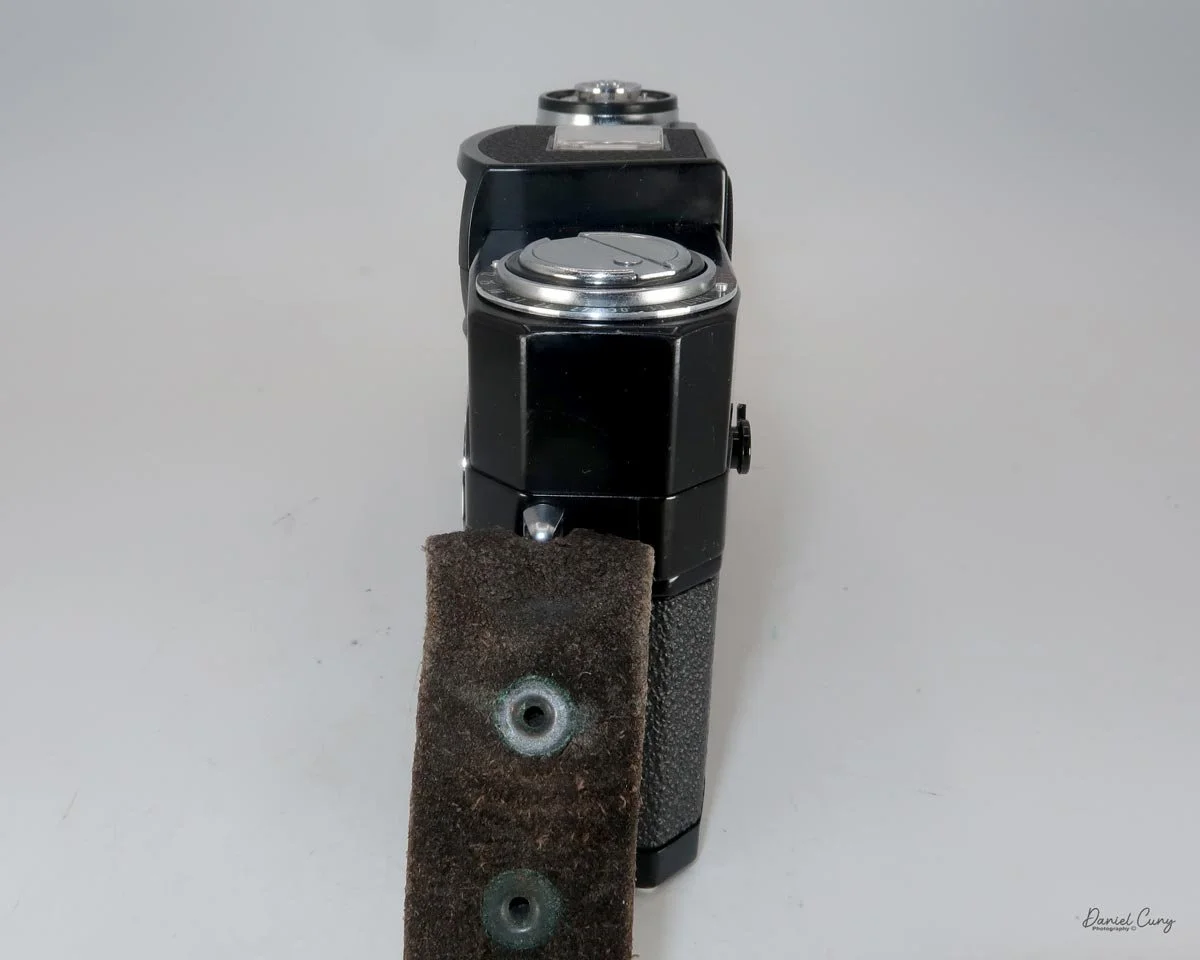
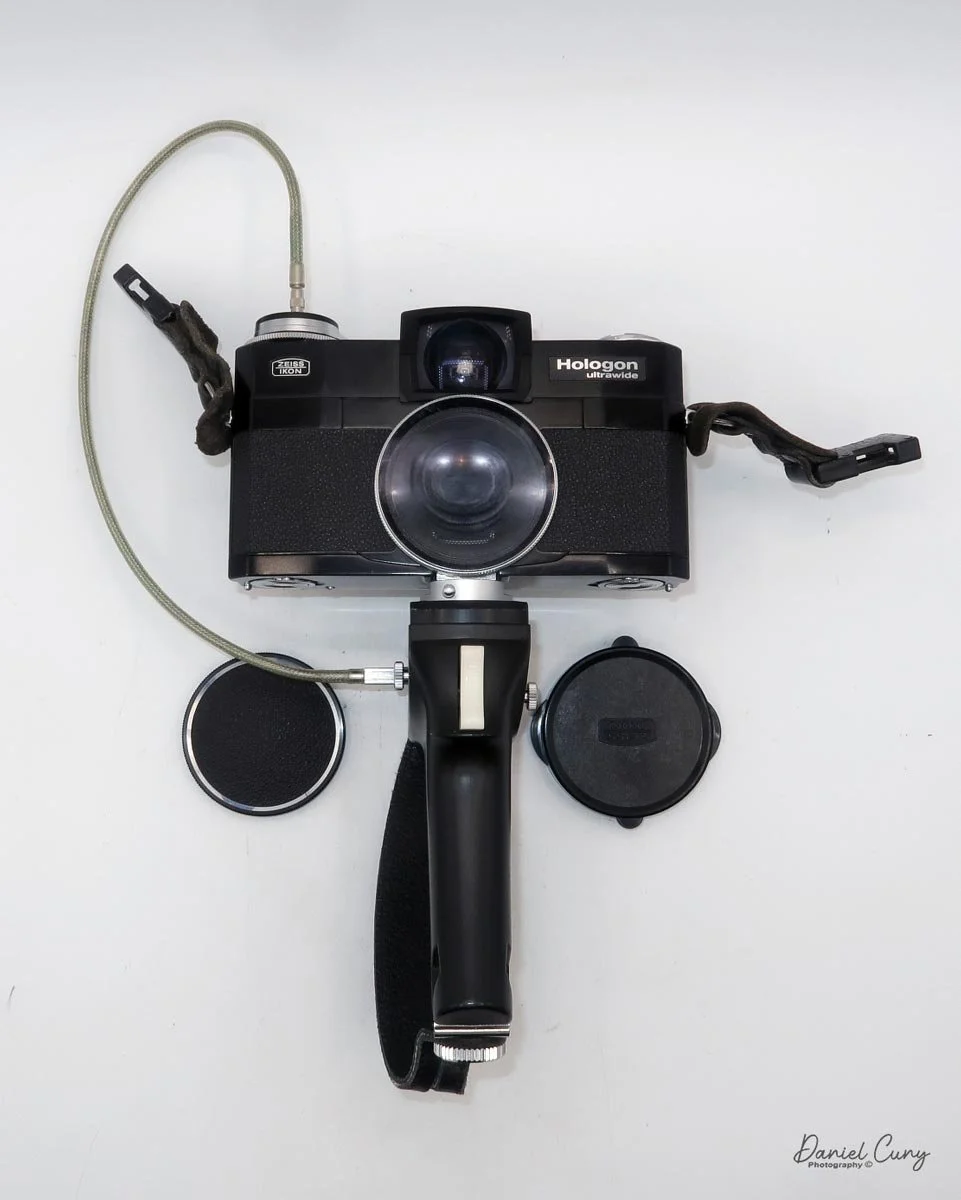
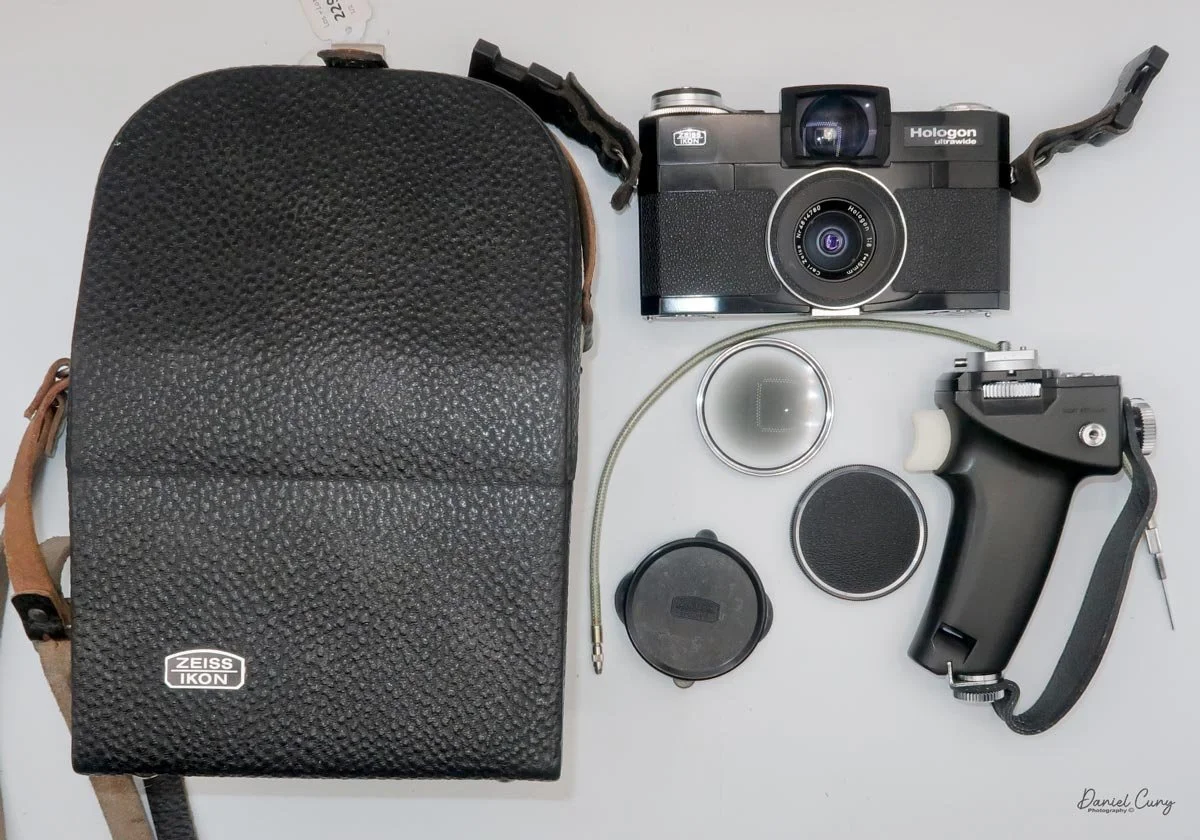
My outfit with case, center filter, grip, cable release and lens caps.

 On the day of the auction, I watched the results, and the price didn't reach my high bid. So, by the time the auction closed, I was the winner of the camera. There were concerns that the camera may not have met expectations, and there were underlying issues the auction house didn't disclose that I wasn't aware of.

 After paying for the camera, along with the auction house fees, etc., I then needed to pay to have the camera shipped from Germany to my home in the USA. It was a little bit more than I expected, but to me, it was still under the value of the camera, so I was pleased. Especially to have such a rare and special camera in my collection.

 It wasn't until I received the camera that I noticed the camera's take-up spool was missing, and the bubble level on top was dried out. Not the end of the world, as I purchased a Contaflex/Contax take-up spool that fits the camera well. It wasn't the original take-up spool with the red tips on the end, but it would wind the film in the camera.

 There wasn't much I could do about the bubble level, but at this point, it's water under the bridge. I now have a working Zeiss Ikon Hologon Ultrawide camera to put in the collection and use when I want.

History:

The Zeiss Ikon Hologon is one of the most unusual and technically ambitious 35mm cameras ever produced. Introduced in 1969, it was created around an extraordinary lens rather than the other way around. Its Carl Zeiss Hologon 15mm f/8 lens offered an astonishing 110-degree angle of view, making it one of the widest-angle lenses available for 35mm photography at the time.

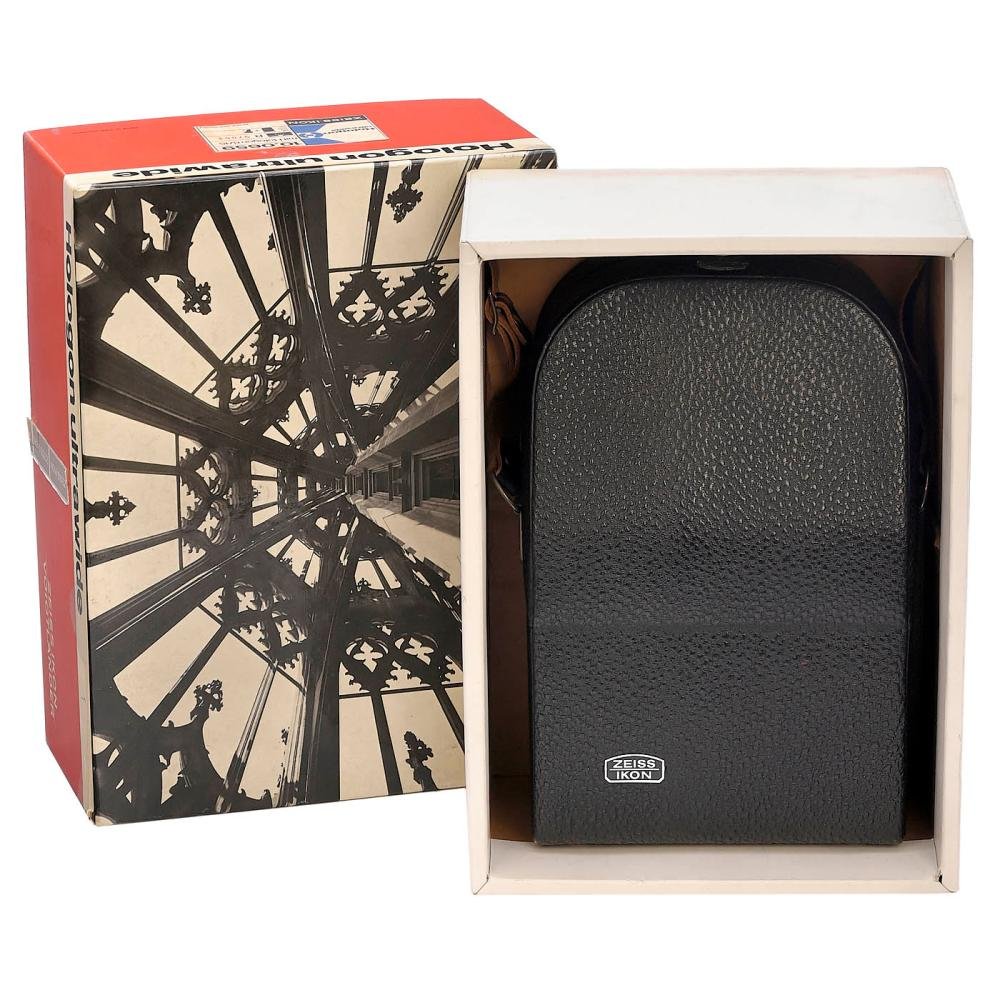
Outfit in the original box.

 The story began with German optical designer Dr. Erhard Glatzel and his work at Carl Zeiss. The Hologon was an innovative three-element design intended to produce an extremely wide, rectilinear image with remarkably low distortion. The lens was so physically unusual that conventional 35mm camera bodies could not accommodate it properly. Its rear element needed to sit exceptionally close to the film plane. Rather than compromise the lens design, Zeiss created a camera specifically around it.

 The resulting Hologon camera was based on the chassis of the Zeiss Ikon Contarex but eliminated the SLR mirror and reflex viewing system. In their place was a large optical viewfinder with a built-in bubble level. The level was important because the enormous field of view made even a slight tilt of the camera very noticeable in the finished photograph. The camera also came with a distinctive pistol grip, designed partly to keep the photographer's fingers from appearing at the edges of photographs.

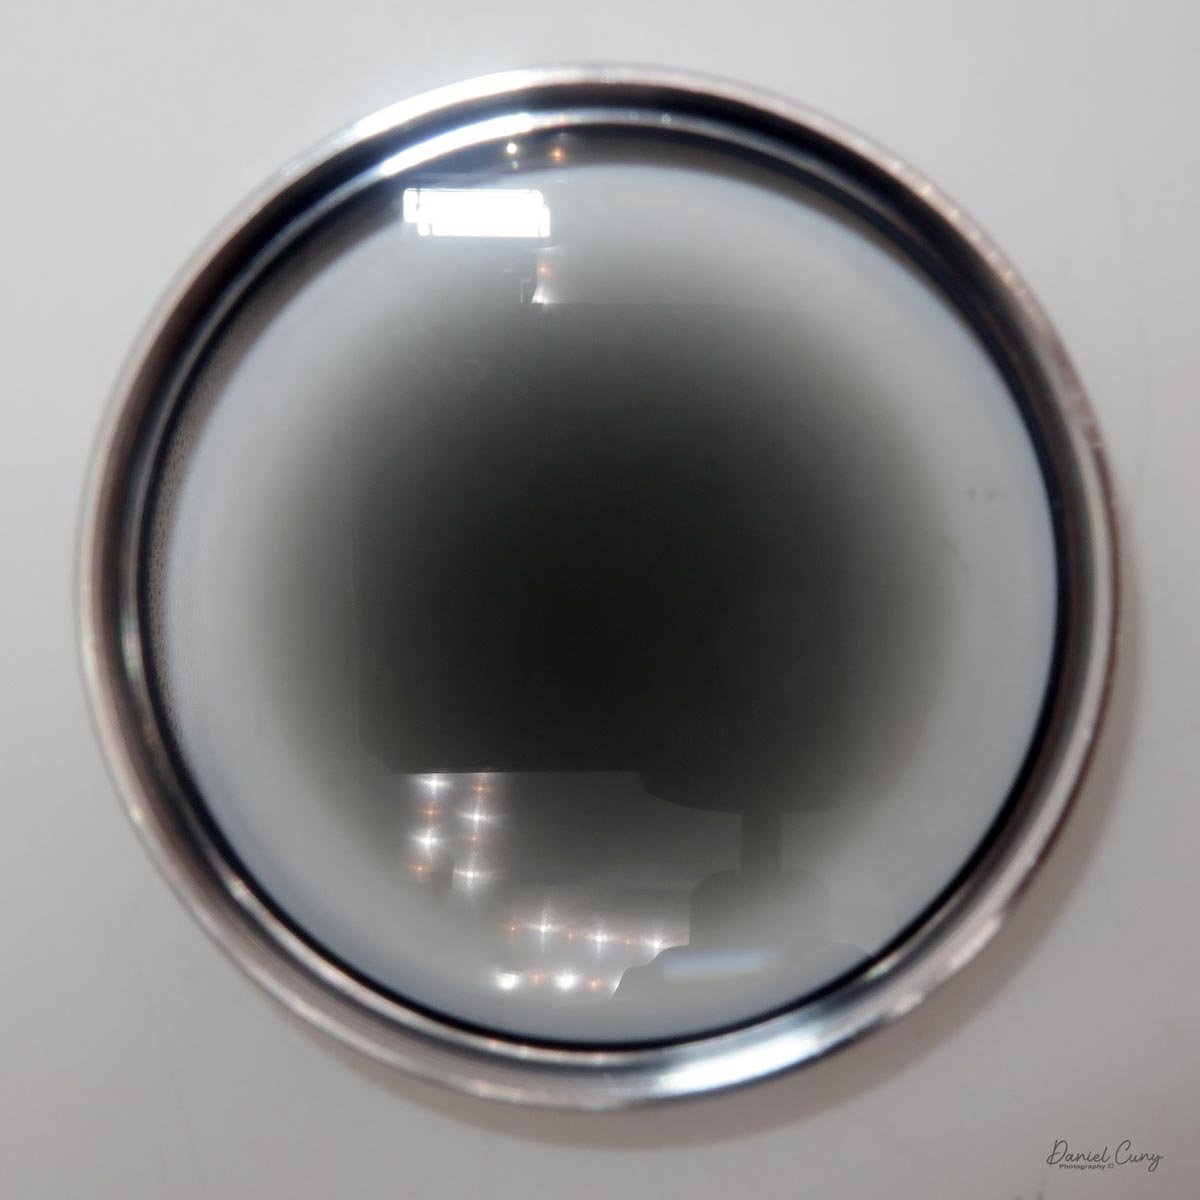
 The Hologon's lens was fixed at f/8 and had fixed focus, providing sharpness from approximately 0.5 meter to infinity. Because such a wide-angle optical design naturally suffered from illumination falloff toward the edges of the frame, Zeiss supplied a specially graduated center filter. This accessory was an essential part of the system rather than simply an optional convenience.

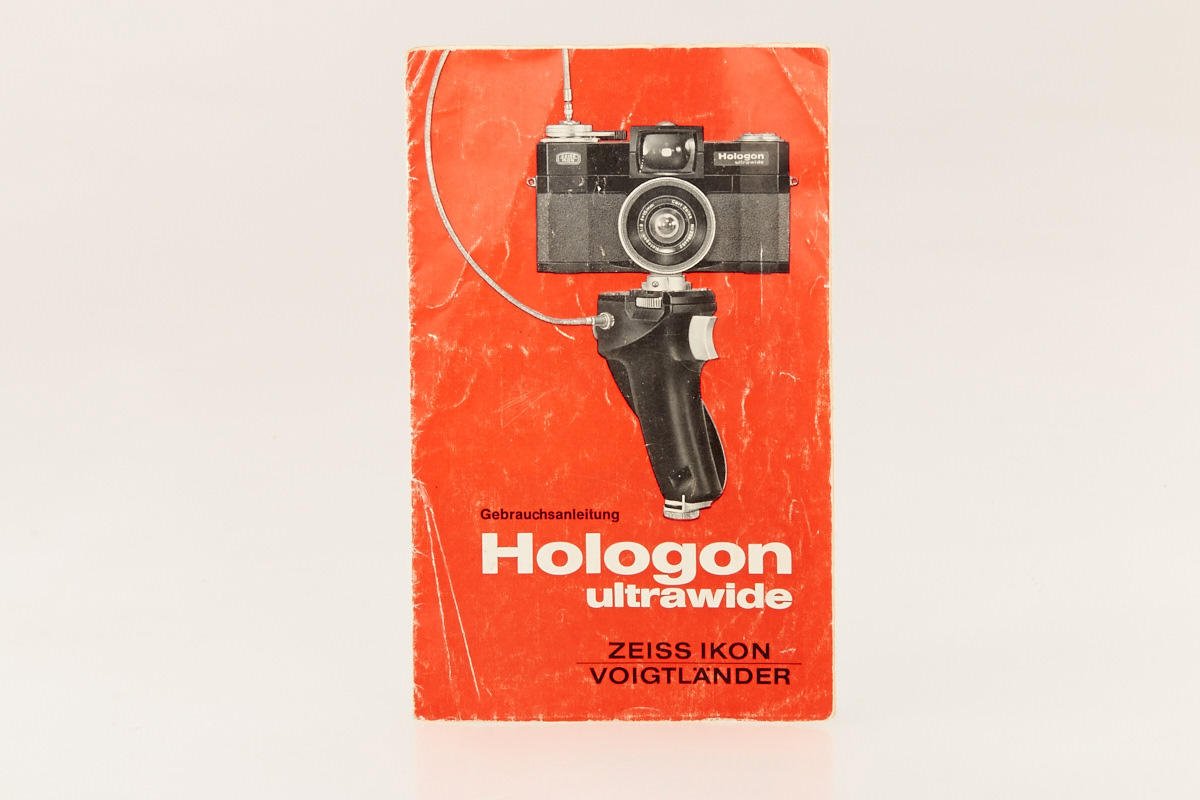
Zeiss Ikon Hologon Ultrawide manual

 Production numbers were extremely small. Approximately 1,400 Hologon cameras were produced, making it one of the rarest members of the Contarex family. Zeiss Ikon's camera manufacturing ended in the early 1970s, and the Hologon became one of the final and most exotic products associated with the Zeiss Ikon name.

 The Hologon lens itself survived beyond the camera. In 1972, unused lenses were offered in Leica M mount, complete with the appropriate accessories. The Hologon name was eventually revived in the 1990s for a redesigned 16mm f/8 lens used with the Contax G system.

 Today, the Zeiss Ikon Hologon is highly prized by collectors. It represents a remarkable moment when optical engineering took priority over conventional camera design—a camera literally built around a lens. Its rarity, distinctive appearance, and extraordinary 15mm Hologon optics have secured its place as one of the great classics of German camera history.

My Camera:

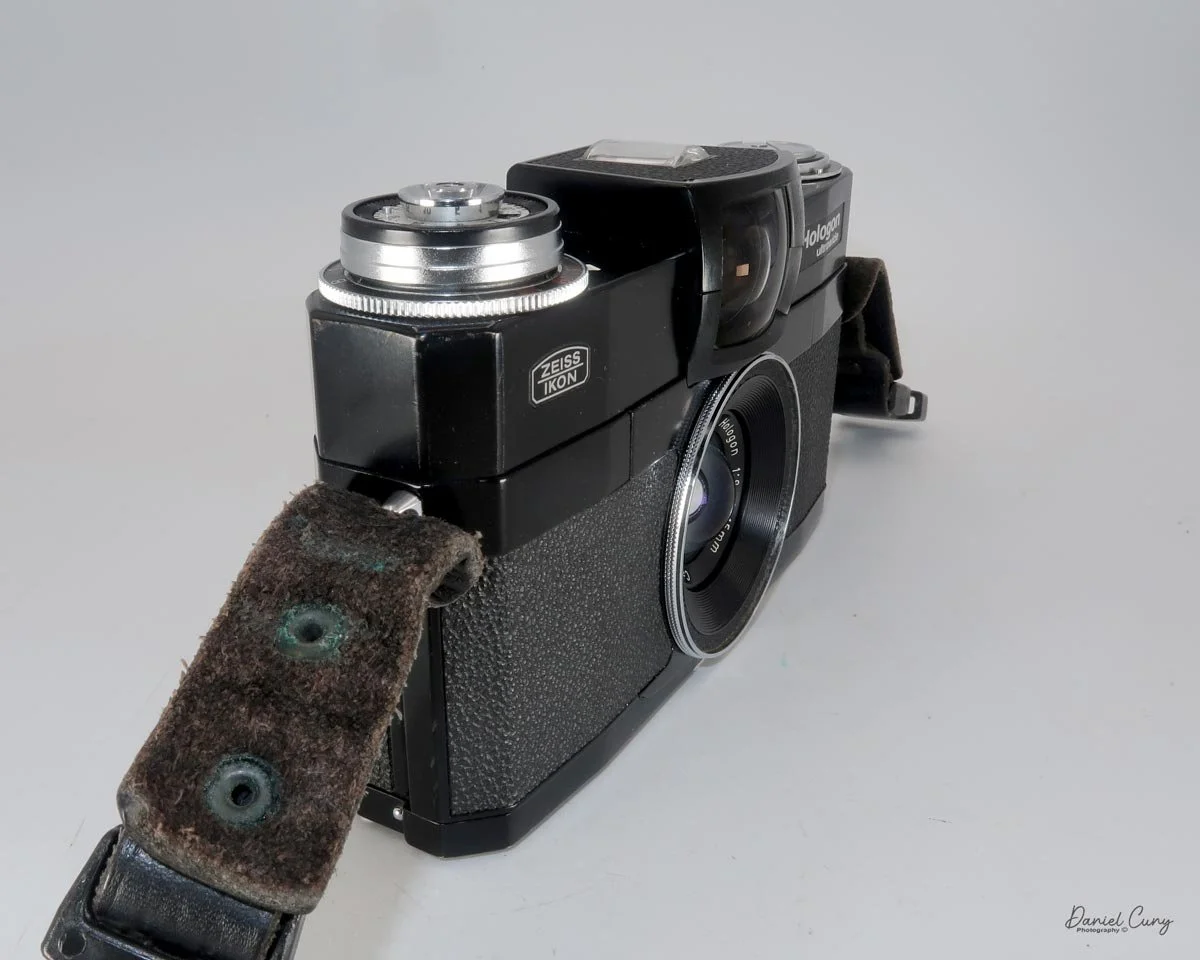
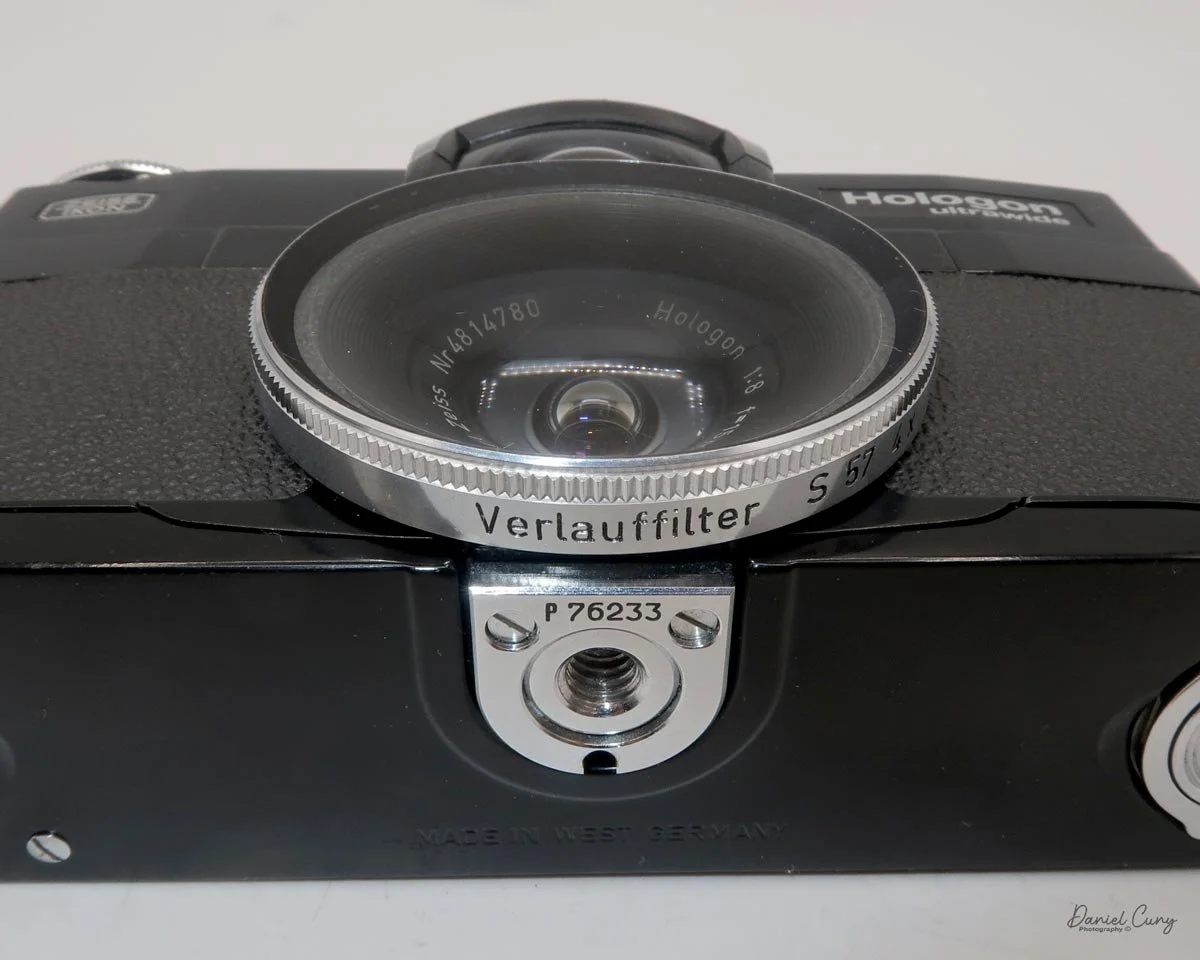
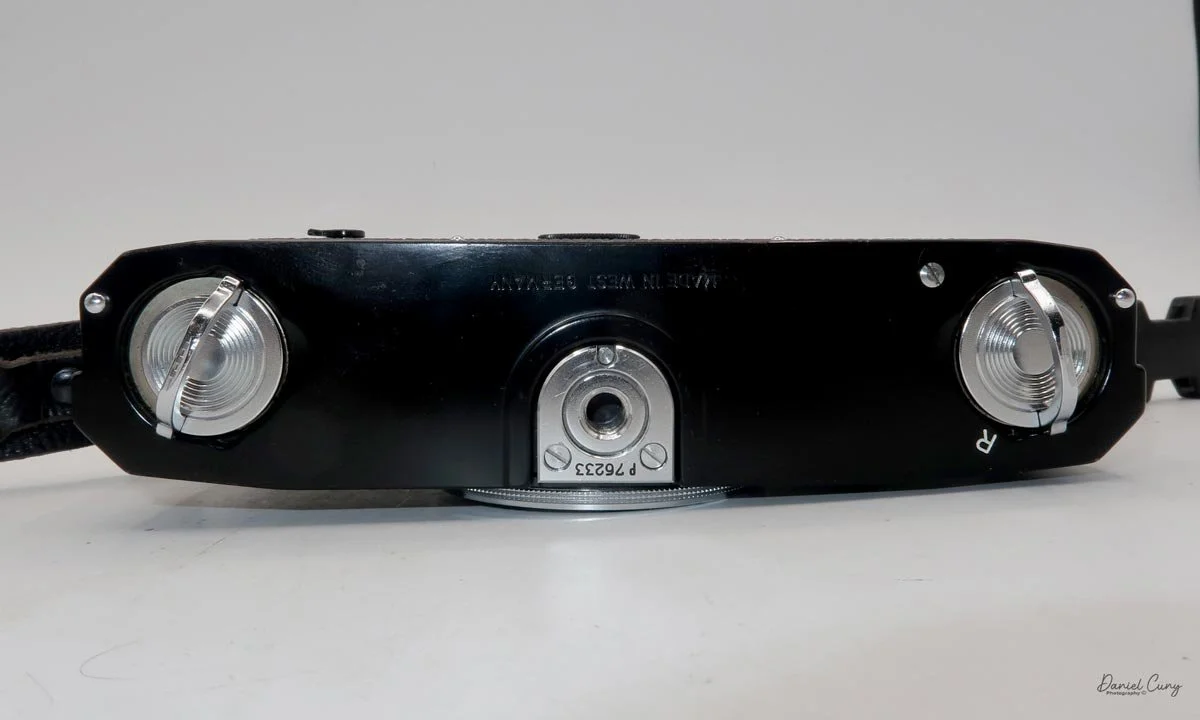
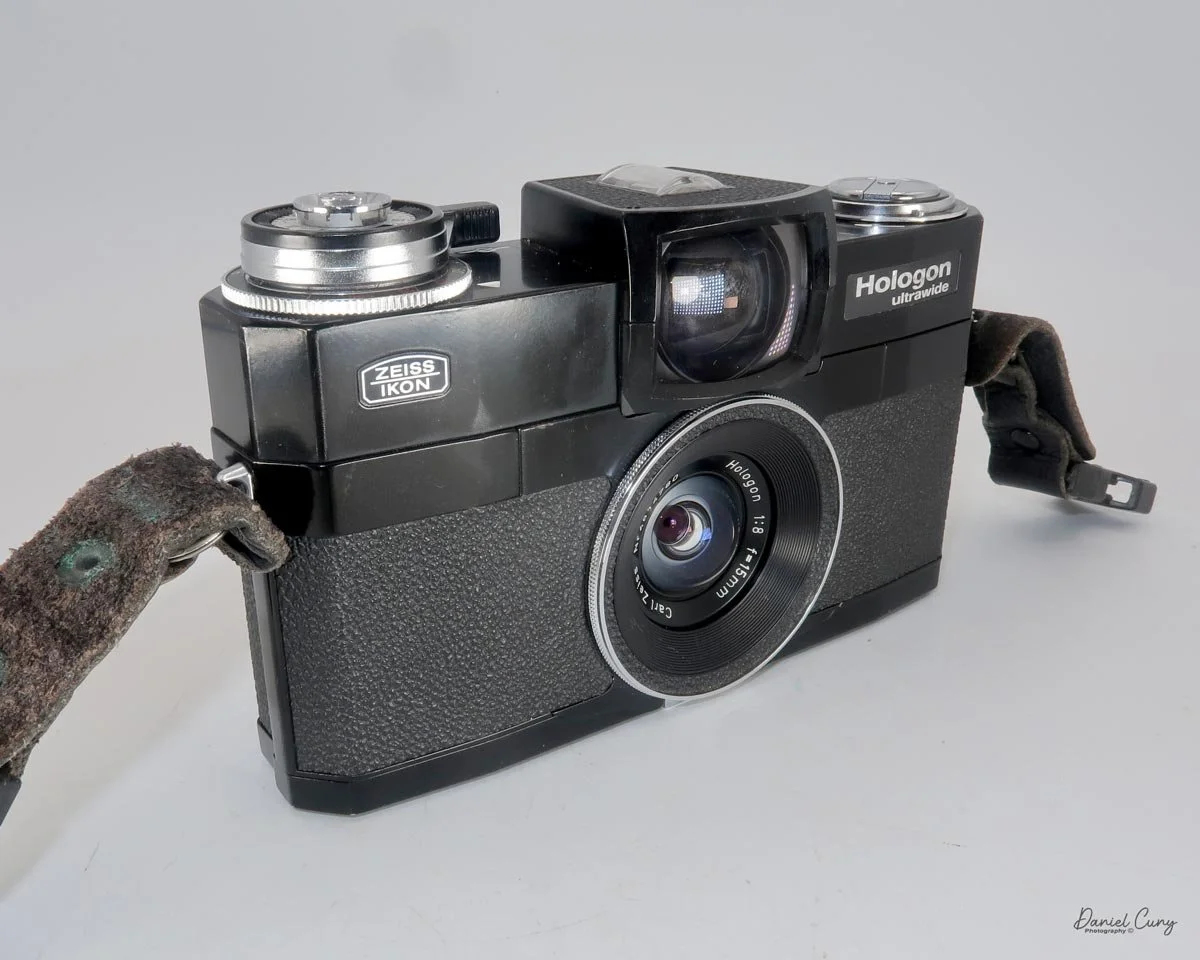
My Zeiss Ikon Hologon Ultrawide camera is based on the Zeiss Ikon Contarex body and is 6" wide by 3.5" tall by only 2" deep. The camera weighs in at 1 pound, 11.5 ounces with the Carl Zeiss Verlauffilter S 57 4x (center filter) and plastic lens cap. The camera's serial number is P76233. The camera has a Carl Zeiss Hologon 15mm f/8 lens, serial number 4814780.

Due to the lens's wide angle of view, the camera has a center filter that is darker in the middle and lighter on the sides. This helps to even out the exposure in your images. If the camera didn't have the center filter, all the images would have a darker ring on the sides, giving the images a slight vignette appearance. The center filter evens out the vignette appearance in your images.

The filter has threads on the outside that thread into the threads on the outside of the lens and wrap around the lens. This is different from most filters, which thread onto the inside of a lens.

 When you look closely at the lens from the front, it has a rather flat appearance, but when you turn the camera and get in close to look at the lens, it definitely has a dome appearance. Its three-element configuration was revolutionary because it produced an exceptionally wide, essentially rectilinear image without relying on the fisheye projection used by many extreme wide-angle lenses.

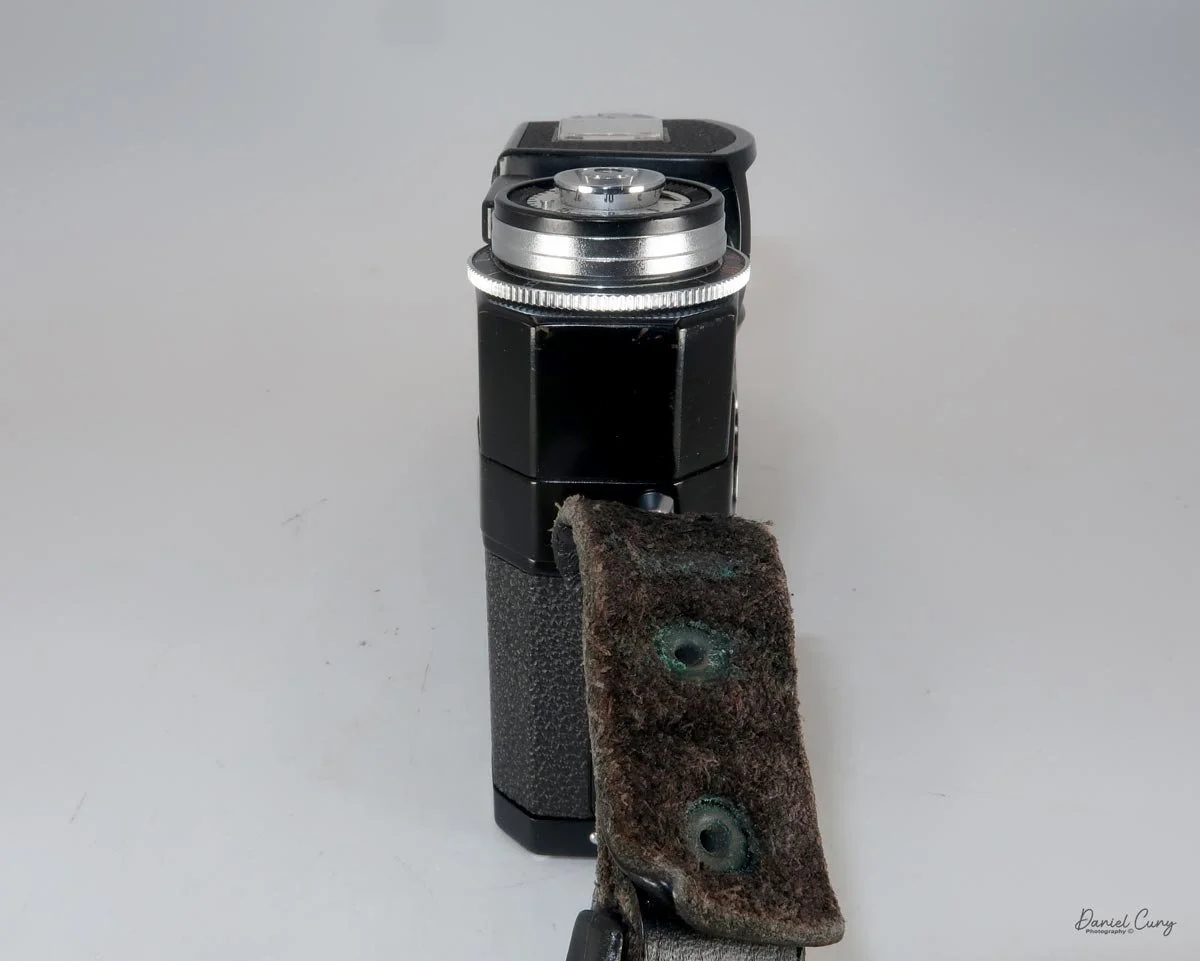
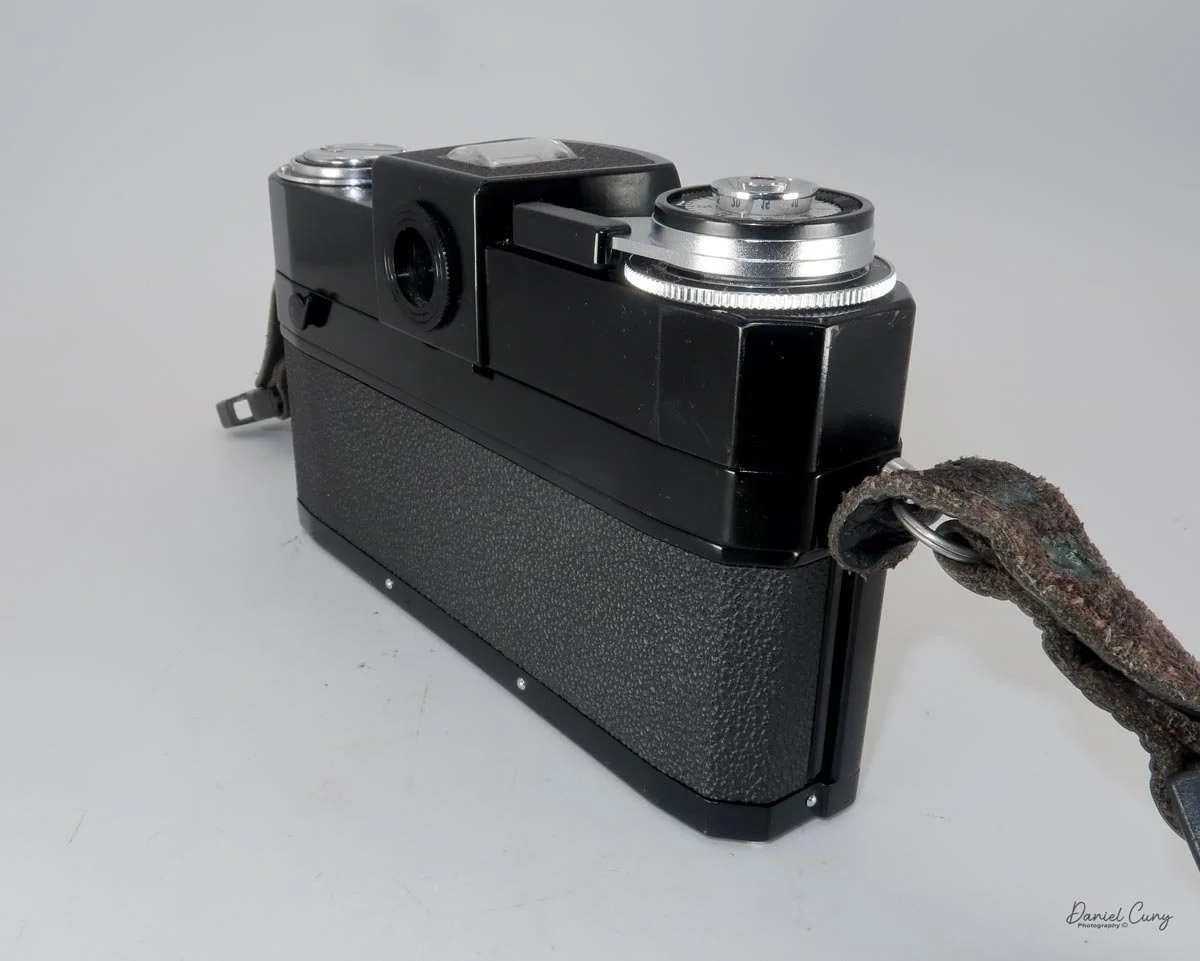
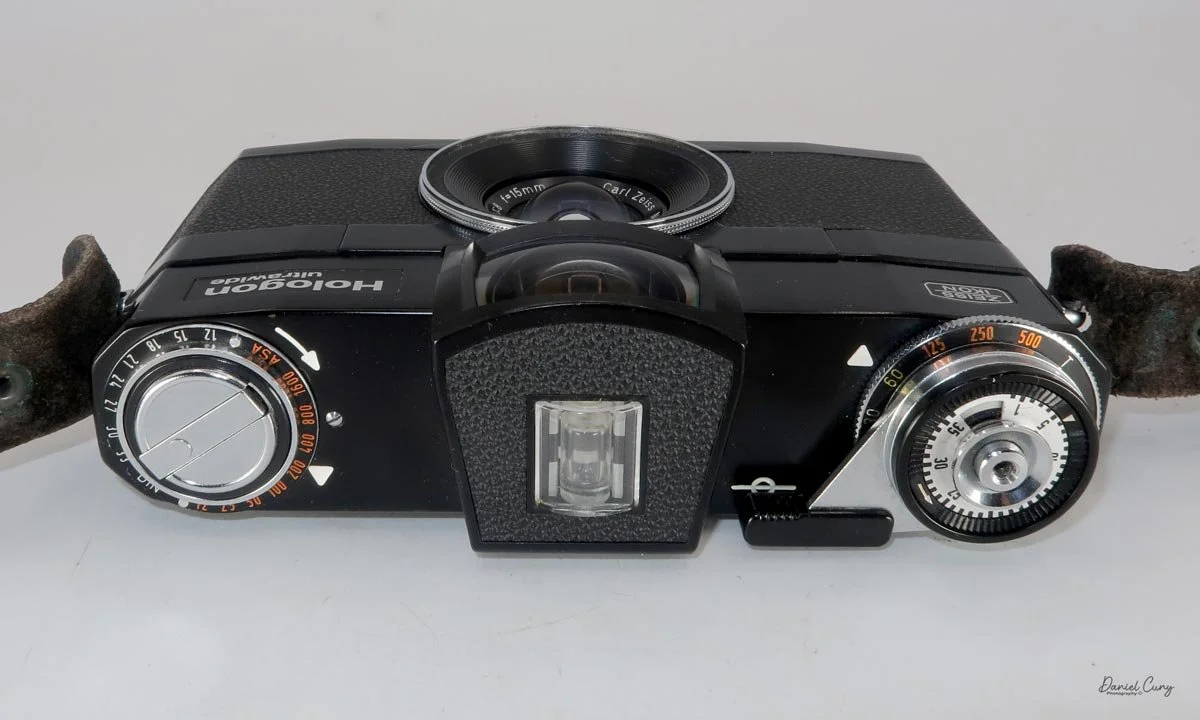
The camera is very basic and, as I mentioned, is based on the Zeiss Ikon Contarex body. Looking at the top of the camera, the camera's rewind crank is on the far left, surrounded by a movable wheel that shows, as a reminder to the photographer, what ASA (ISO) is in the camera. There is no meter in the camera, so it's really used as a reminder to the photographer what film speed they loaded into the camera.

In the middle is a bubble level, which sits on top of a fairly large viewfinder. It needs to be especially big and wide to show approximately the same angle of view as the ultra-wide 15mm lens. Looking inside the viewfinder, you can see the bubble level just under the viewfinder. The bubble level is for vertical adjustment so you can keep the camera level for horizontal images. As previously mentioned, my bubble level is dry, so there is no bubble to see in mine.

 Moving to the right on the top of my camera is the film-winding lever, which sits on top of the camera's shutter-speed dial. The shutter speeds range from 1/500 to 1 second, plus "B" for bulb, and “T” for timed exposures. Above the winding lever is the camera's film counter, with the shutter release in the middle. The shutter-release button also has threads that accepts a cable release.

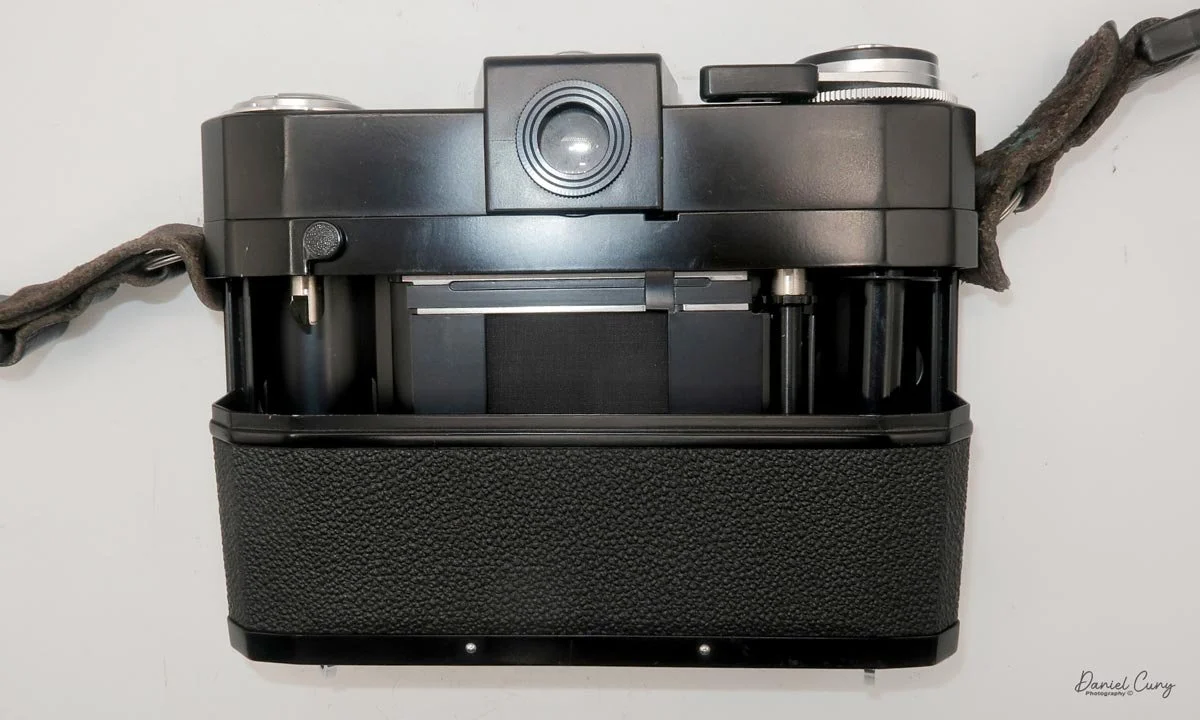
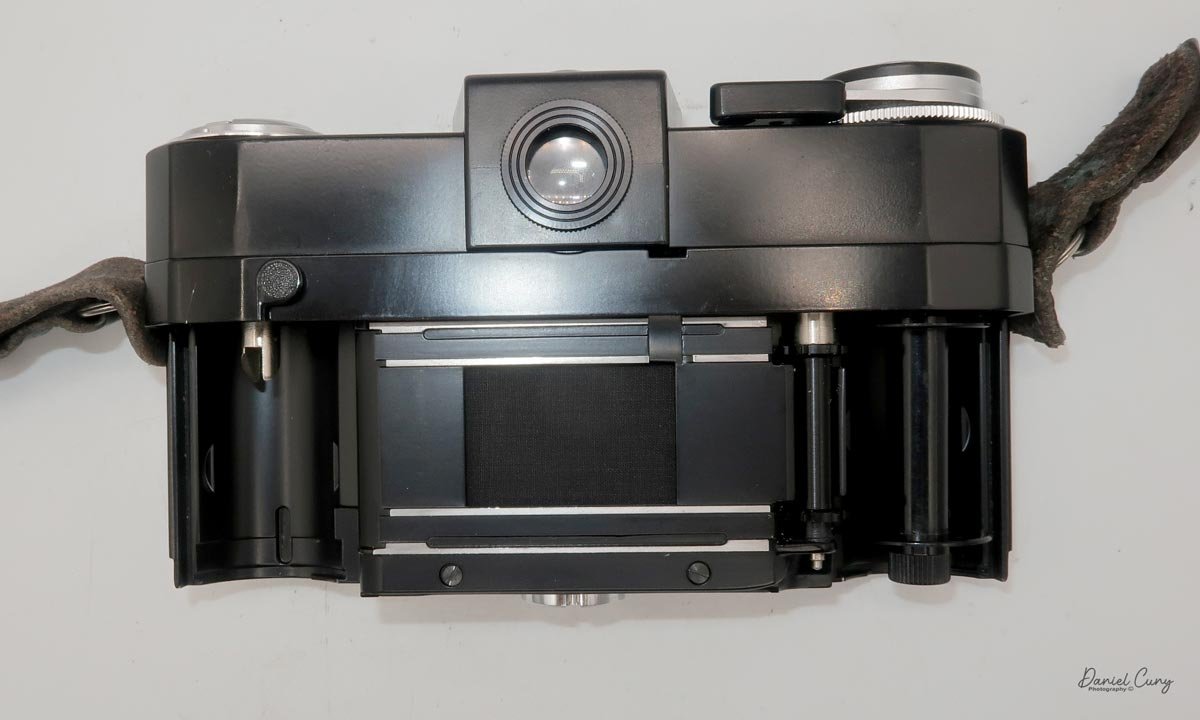
On the bottom of the camera are two latches that need to be turned, which allow you to slide the back off the camera and expose the film chamber. Once the back is removed, you'll load the 35mm film like you would with any other 35mm camera. Once you've loaded the film, put the film back into the grooves in the camera body and slide the back up and into position on the back of the camera. Once it's on, lock the two latches and flip down the handles so the camera sits flush.

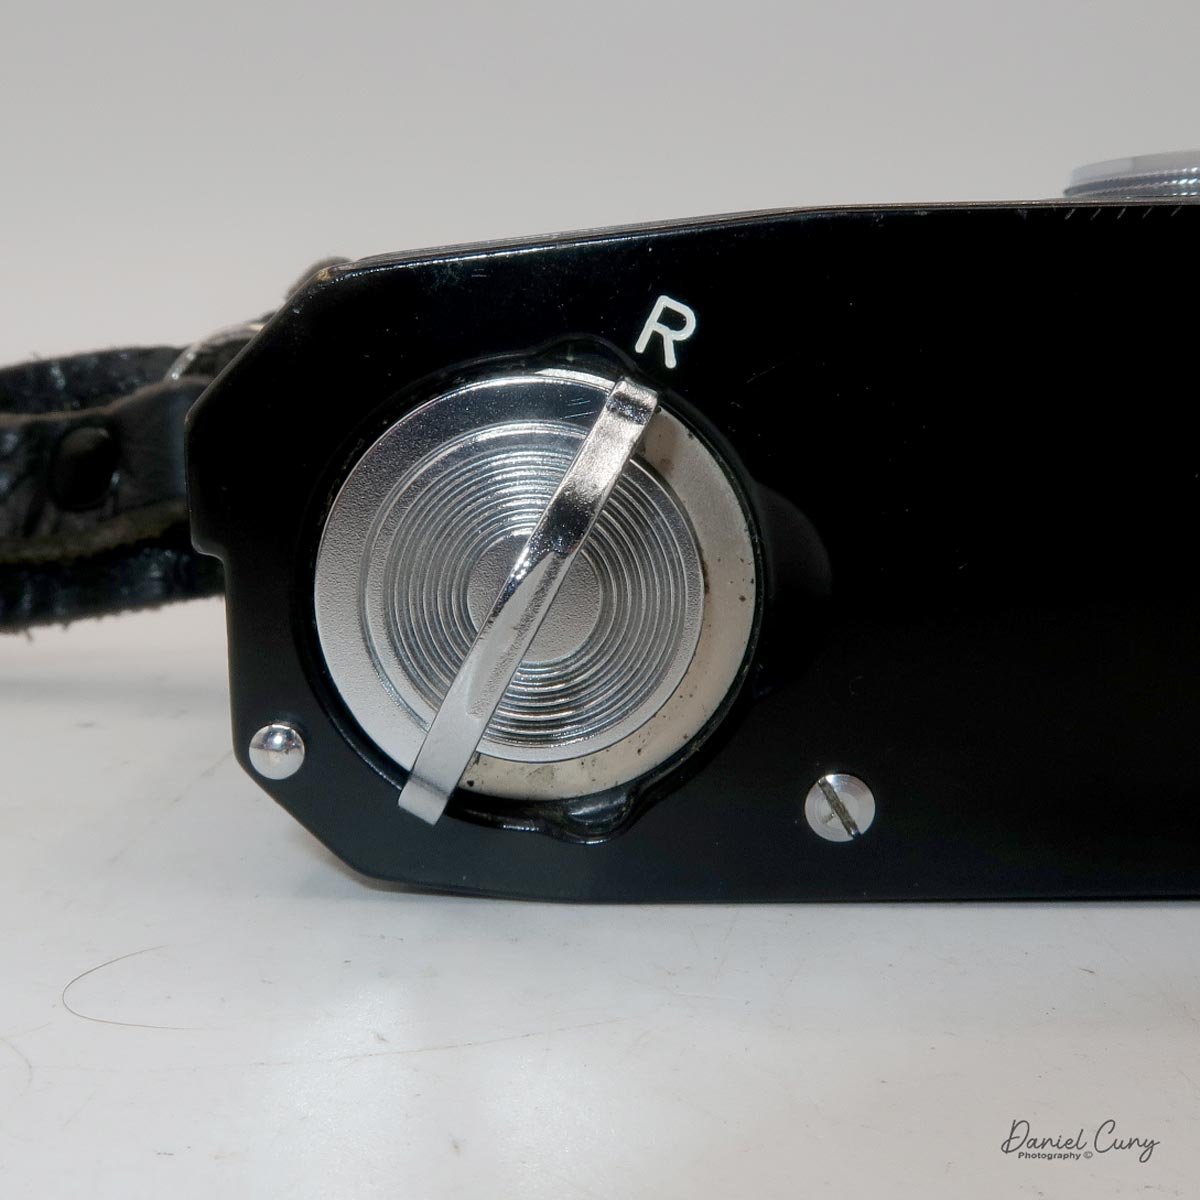
 When you get to the end of the roll, and it's time to rewind the film into the cassette, one of the latches on the bottom of the camera has an "R" for rewind. Lift the handle of this latch only and turn the lever until the handle is pointing at the "R" for rewind. Flip up the handle on the rewind knob and rewind the film into the 35mm cassette. Once the film is rewound, turn both levers to the open position, take the back off the camera, and remove the film for processing.

The Zeiss Ikon Hologon camera came with different accessories. There is a center filter, which I discussed earlier, and two lens caps. One is plastic and pops over the center filter when it's on the camera, and the other is a metal cap that threads around the lens, like the center filter, when the center filter is off the camera.

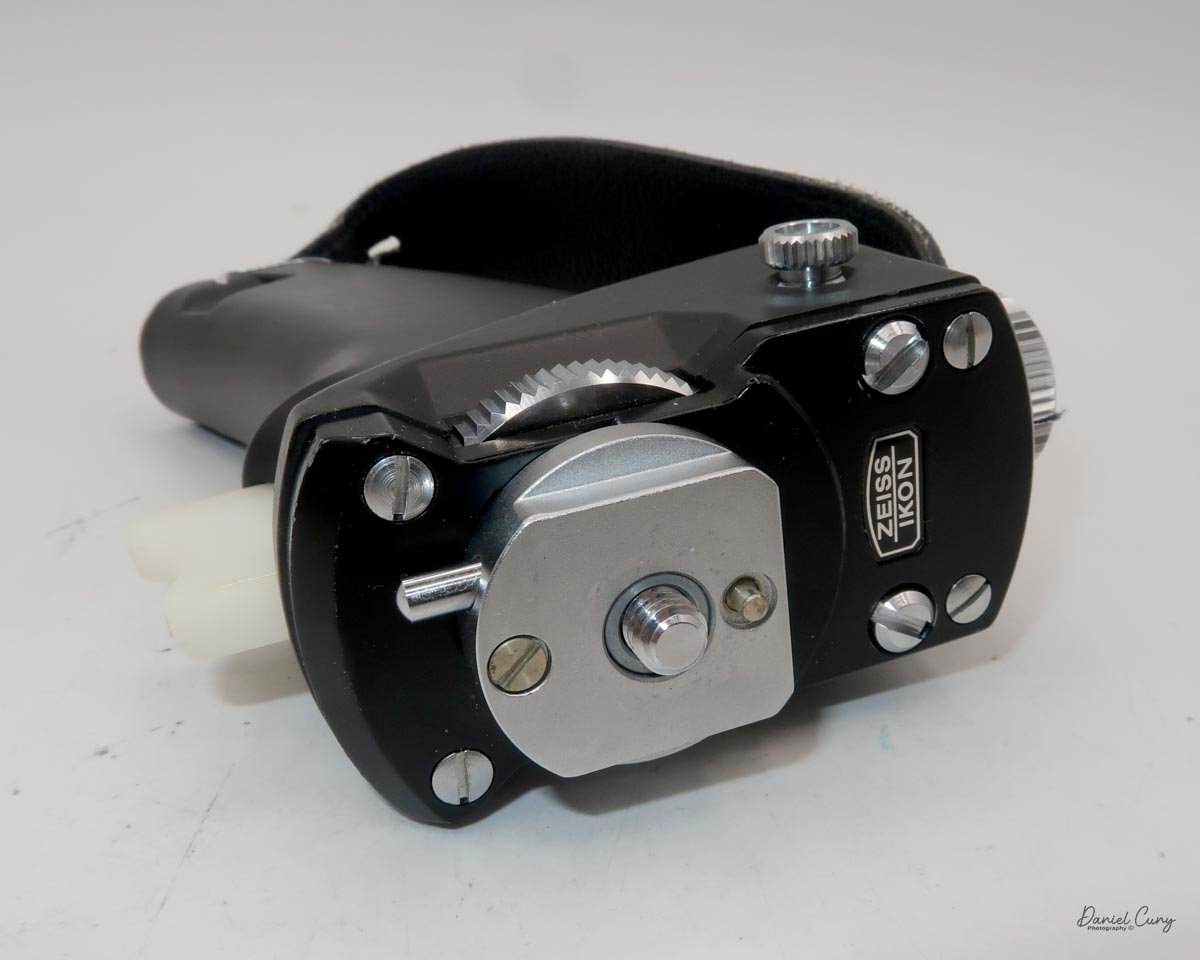
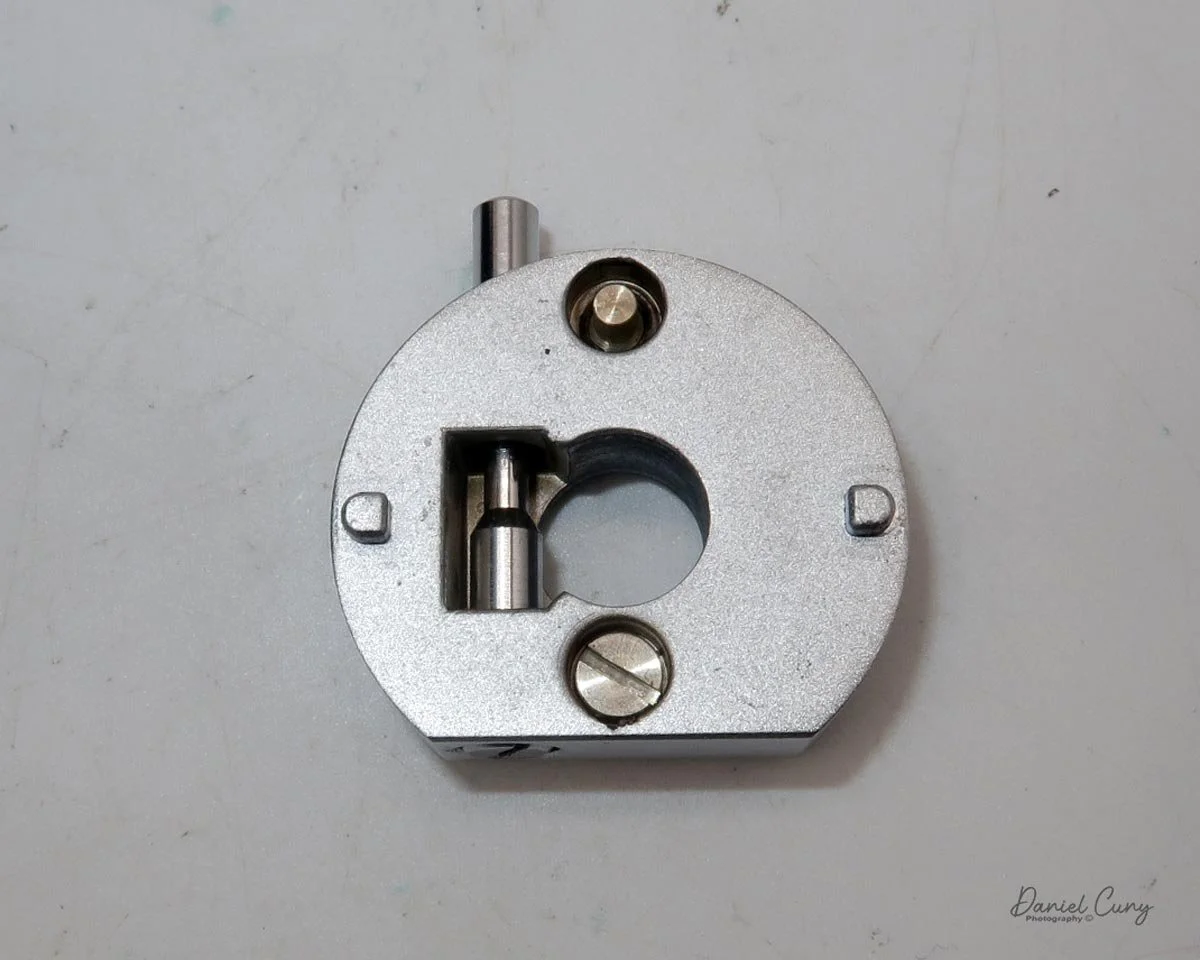
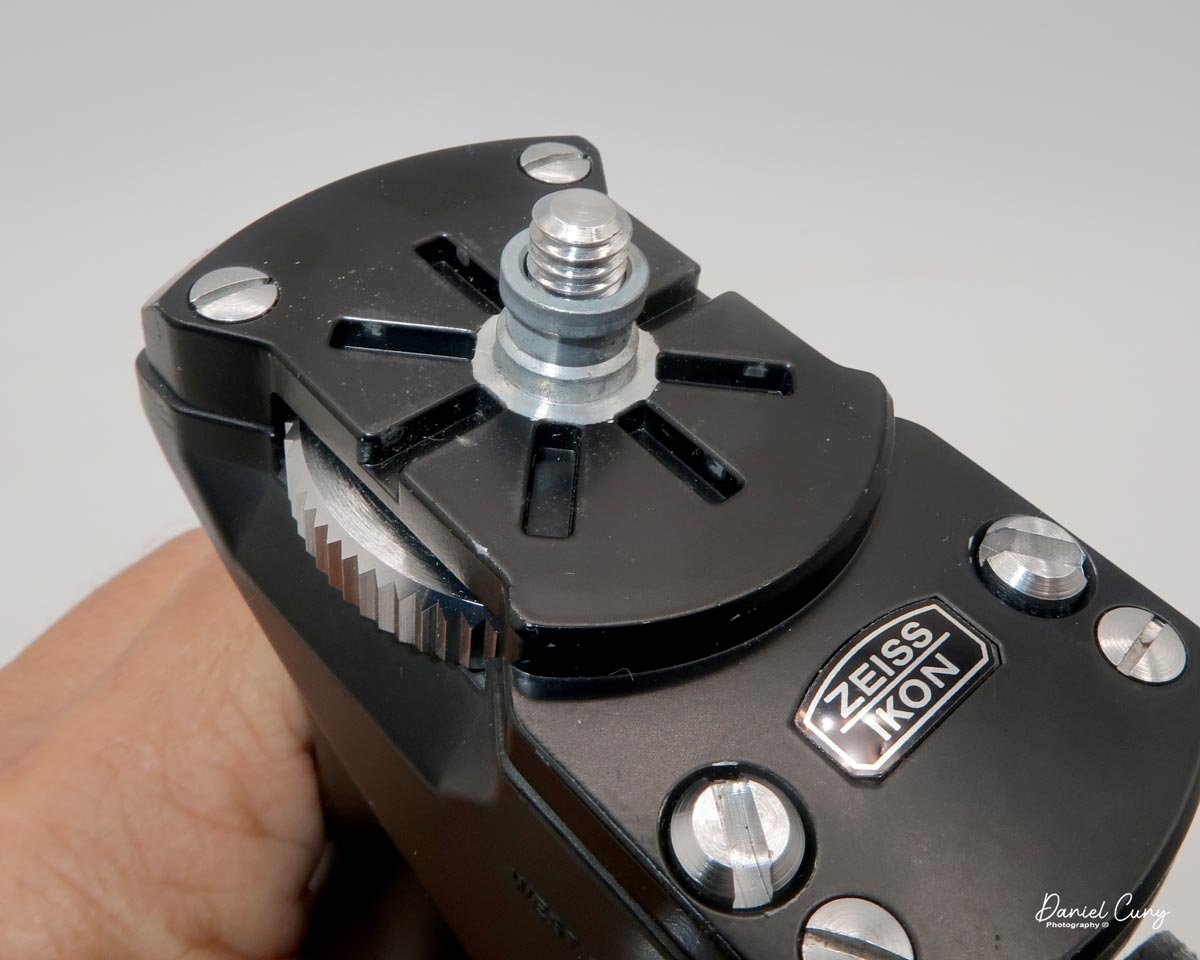
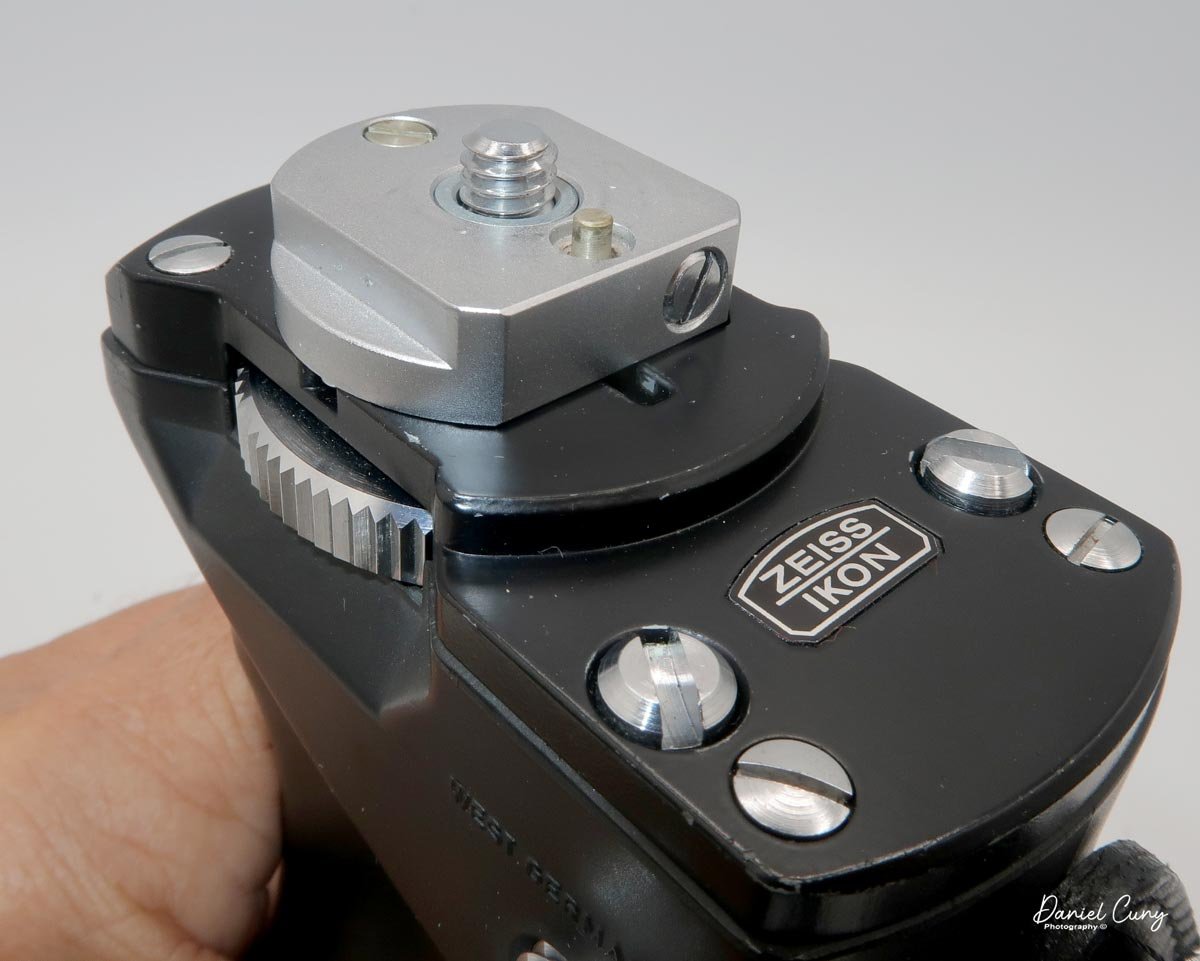
 There is also a pistol grip with a removable top, which allows the photographer to place the camera at different angles onto the pistol grip if desired. There is also a cable release that threads into the pistol grip and into the camera's shutter release. The pistol grip also has a leather strap to secure the grip to your hand when carrying it.

 The pistol grip is used so you don't wrap your hands around the camera when shooting, like you would with a regular 35mm camera. If you did, your fingers would appear on the sides of your images, very similar to the way they do with Widelux cameras.

Without the pistol grip, you'd need to hold the camera with your finger on top and your thumbs under it to stabilize it, much like you'd hold an Instamatic camera. You don't wrap your hands around this or Widelux cameras to avoid having your fingers in the images.

 Also included in the kit were the strap for the camera and a very nice hard compartment case for the camera, with room to hold the pistol grip. The case also has elastic straps to hold the center filter and extra lens cap.

Zeiss Ikon Hologon Ultrawide mounted on the pistol grip with center filter, and cable release. Two lens caps too.

Now that we have the camera loaded, let's take it out to see how it performs under normal working conditions.

 Results:

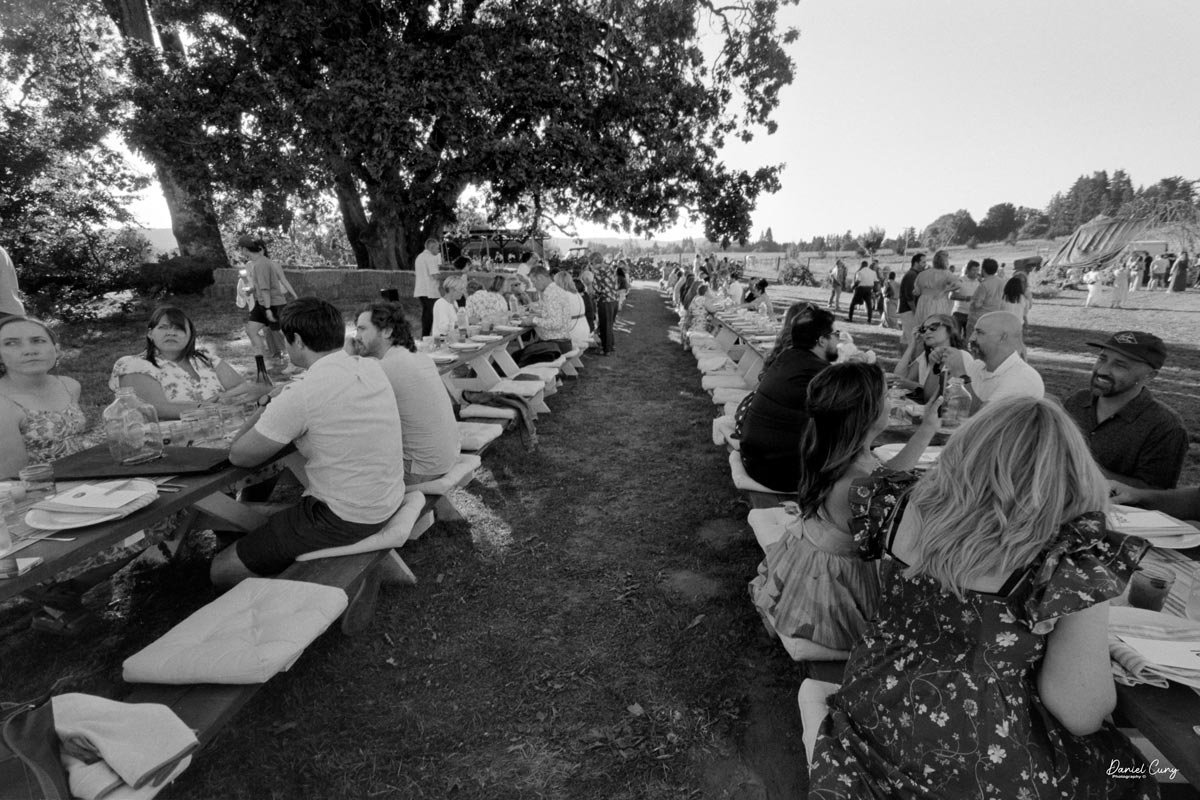
I took the camera to three different locations to try it out. First was a local farm that has a "farm-to-table" dinner we go to near Portland, OR. The name is Topaz Farms, and they are spectacular people who put on the most delicious dinners during the summertime.

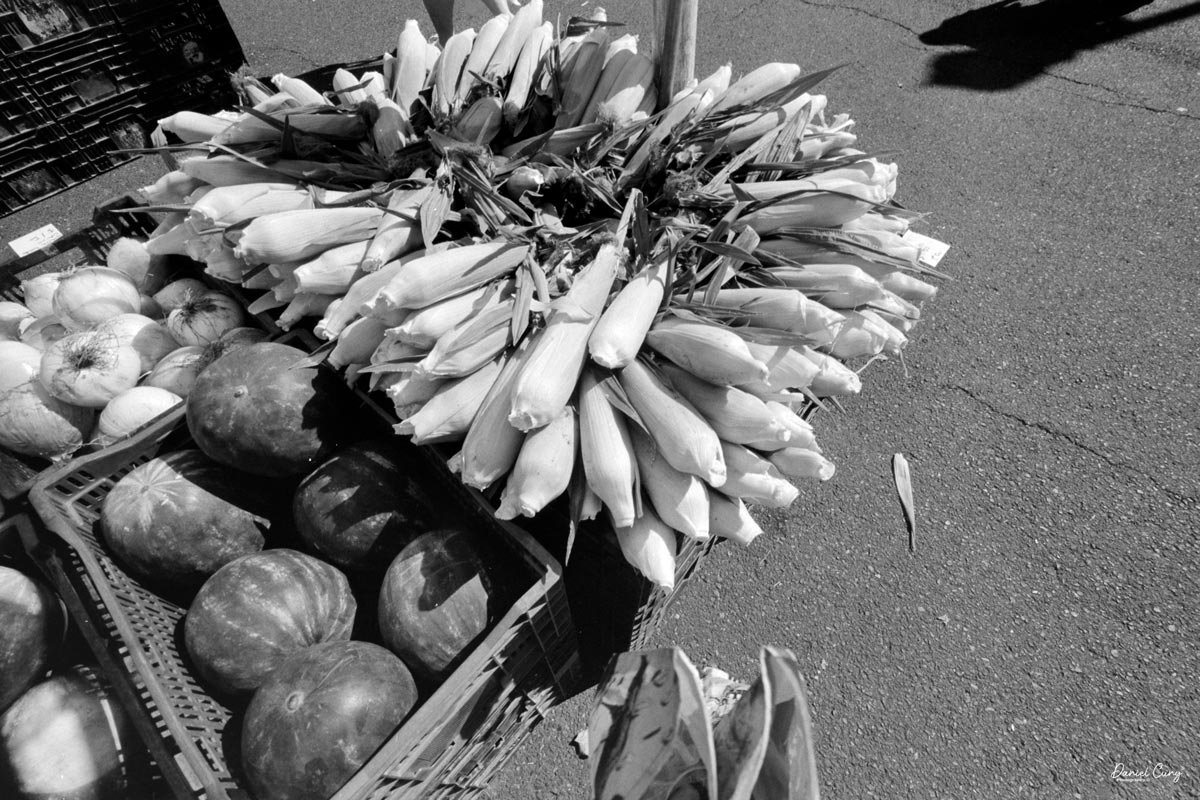
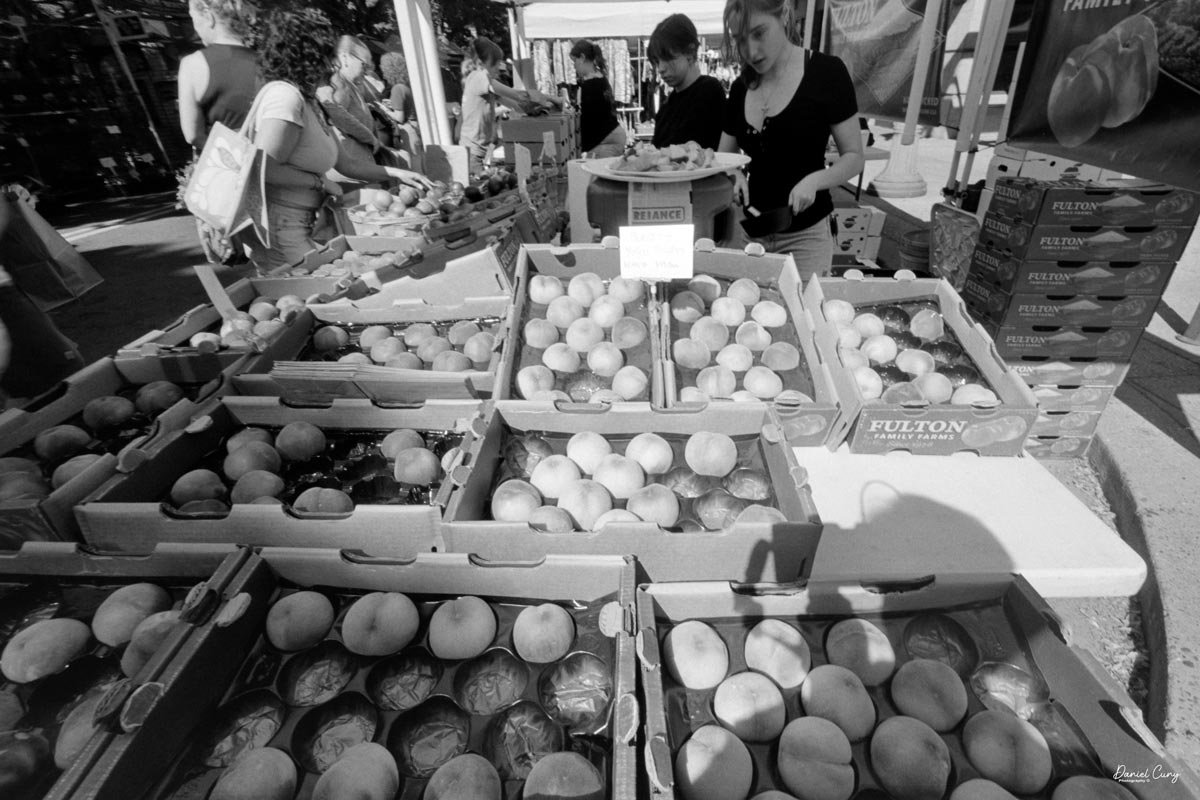
 The second was a local farmers market in the town we live in. I'd walk around and take photos of some of the vendors and their wares.

 Finally, I walked the neighborhood, taking some of the standard photos I try to take with all the cameras so that, if you want to look back and see the images, they would be in similar locations.

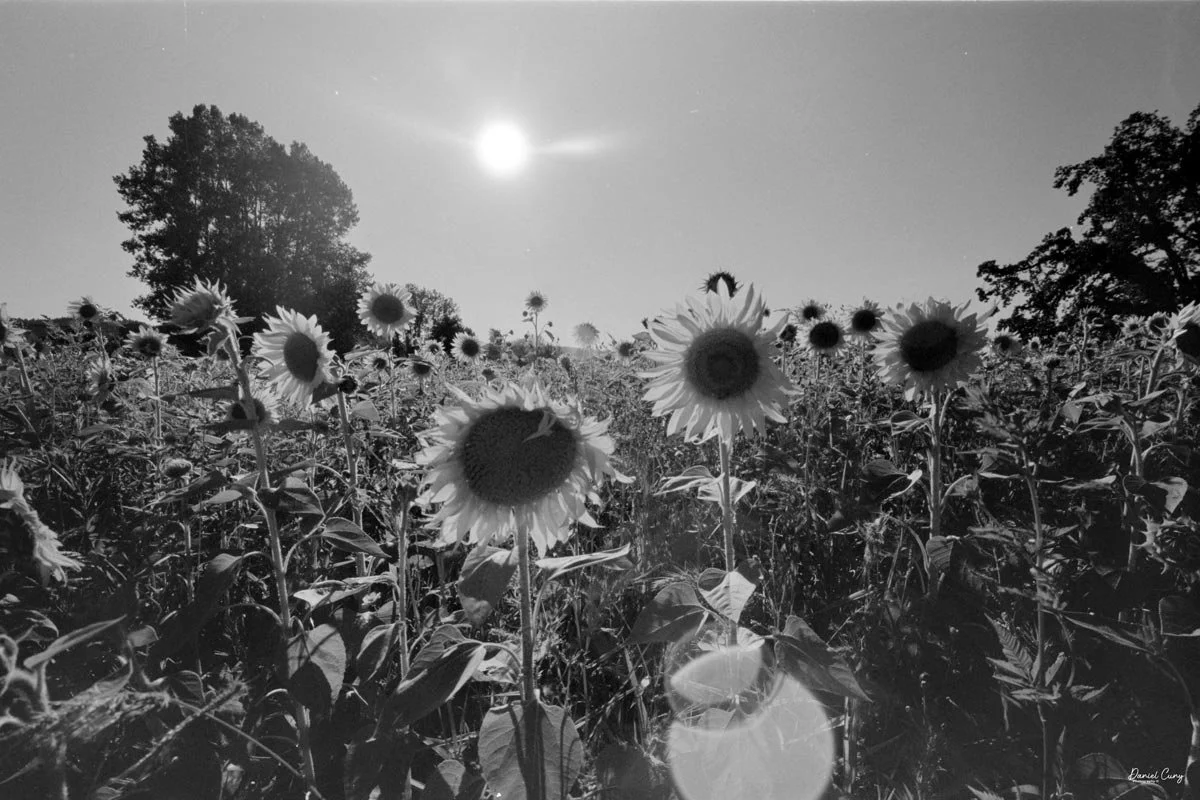
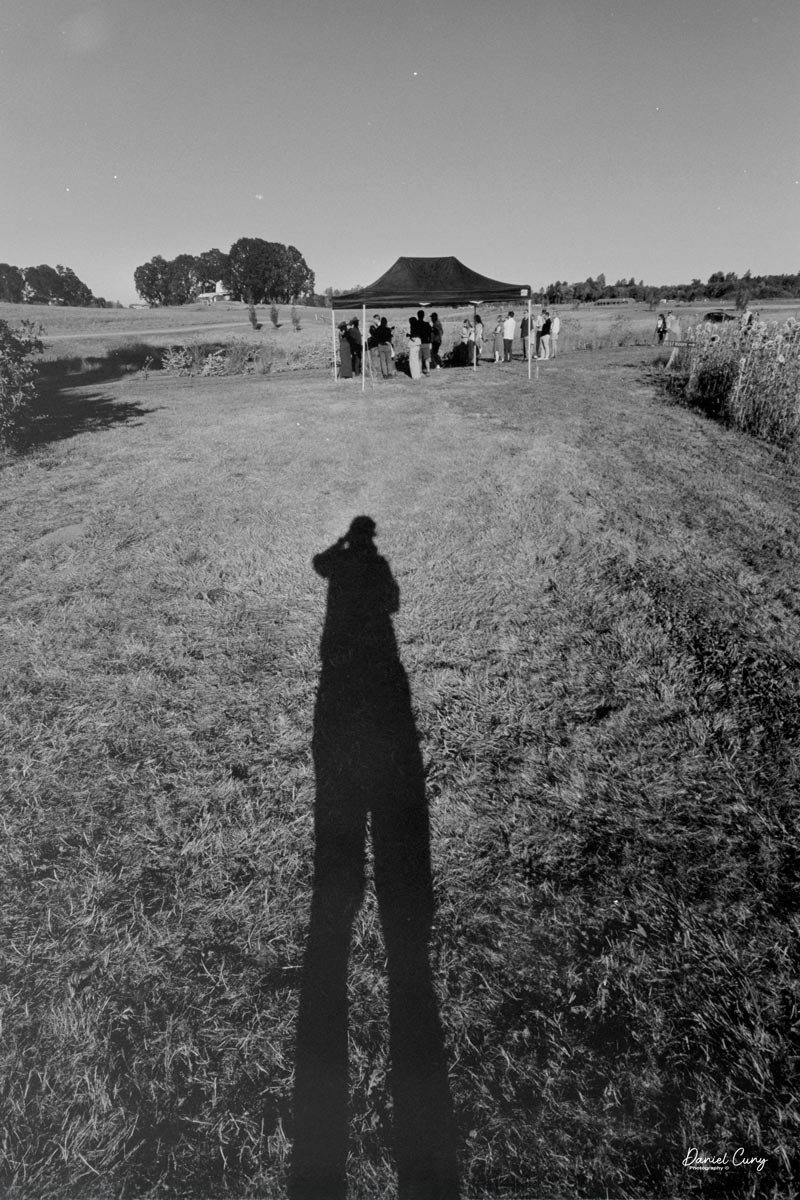
Here are some of the results from these events and locations.

Conclusion:

Once I processed the film, I noticed a few things about the camera that I felt were a bit odd. The spacing of the negatives was very thin and not the normal spacing I was expecting. This may have been caused by me purchasing a Contaflex/Contax take-up spool, which is thinner in diameter, giving the film less area to travel between images.

 The second thing is that the images didn't seem as sharp as I was expecting. Don't get me wrong, they are sharp, but not as sharp as last week's Contarex “Bullseye” body and lens. Especially being so wide and stopped down, I was expecting super-sharp images, but these were OK.

 It may have been the filter, but that was clean. My expectations were higher, and the images fell short.

 Because of that, I'll try another roll of film, and if I'm not impressed with those images, you may see this on eBay in the near future.

 Want to see other cameras? Here are some of my other Camera Reviews.

 Check out my Cuny's Camera Collection YouTube channel, where I am putting together video overviews of the cameras I write about. Be sure to subscribe and like the channel, too!

 Cuny's Cameras and Photos is my online eBay store, where you will find some of the cameras I have reviewed, along with a wide range of other cameras, lenses, and items from my collection that I am thinning out.

 Until next week, please be safe.
Voigtlander Prominent 35mm

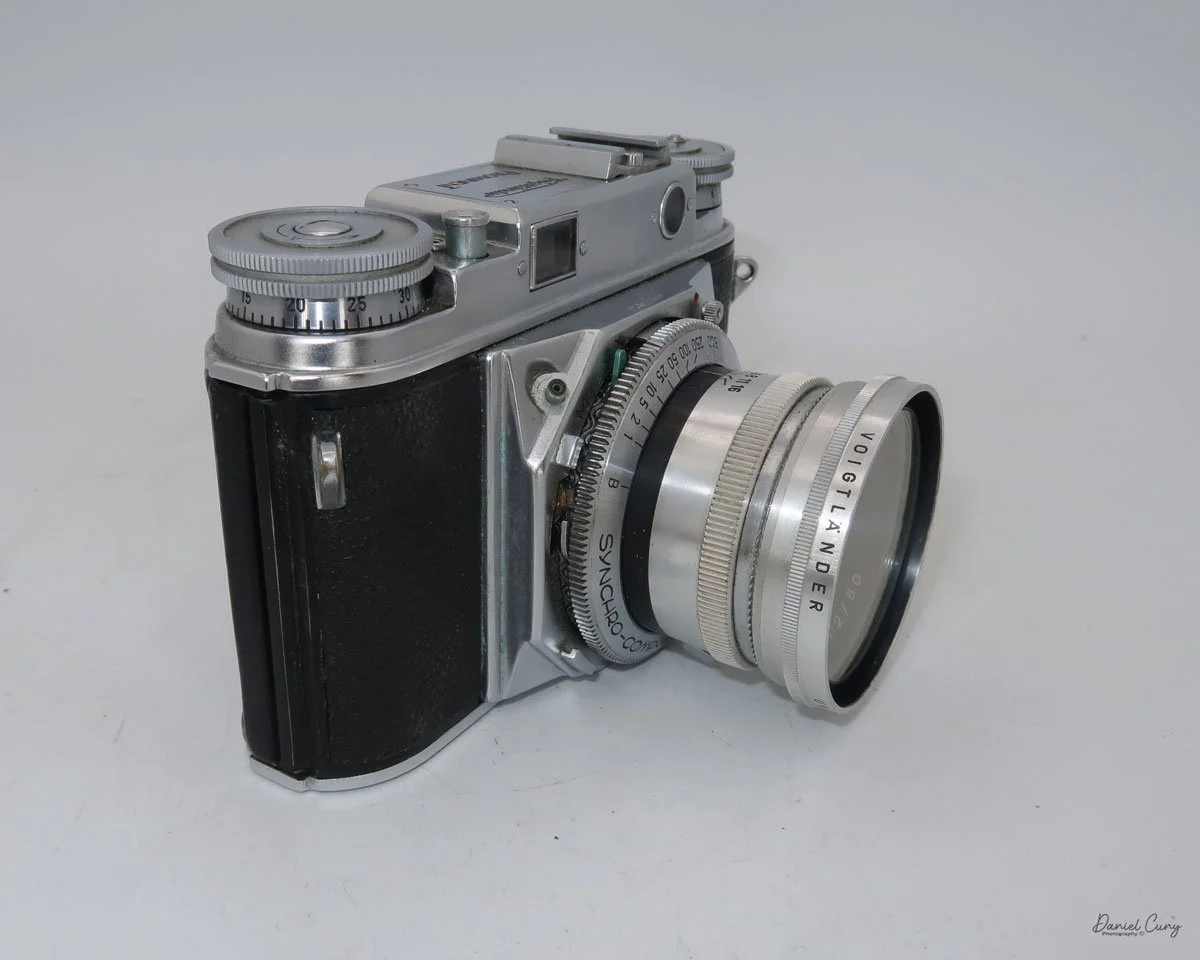
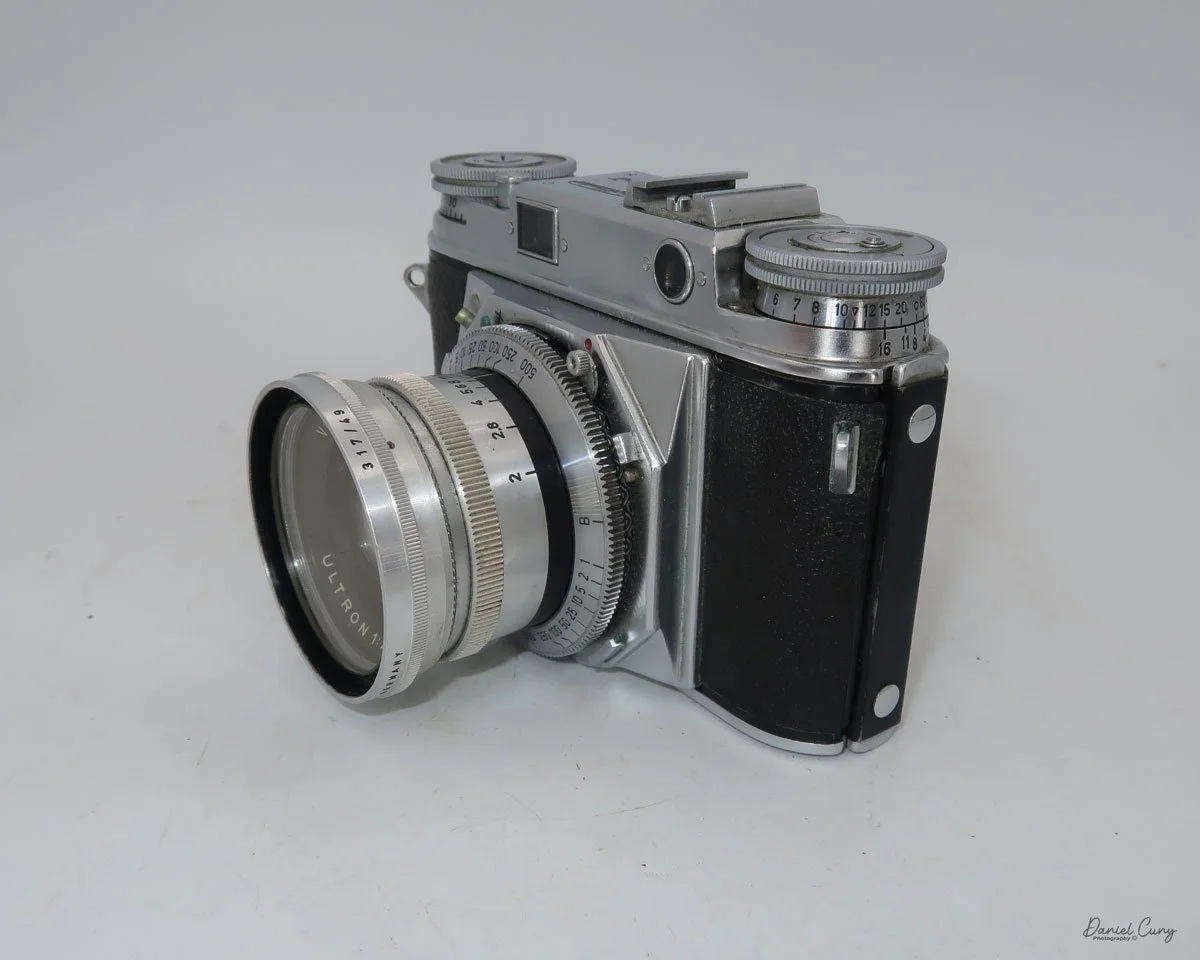
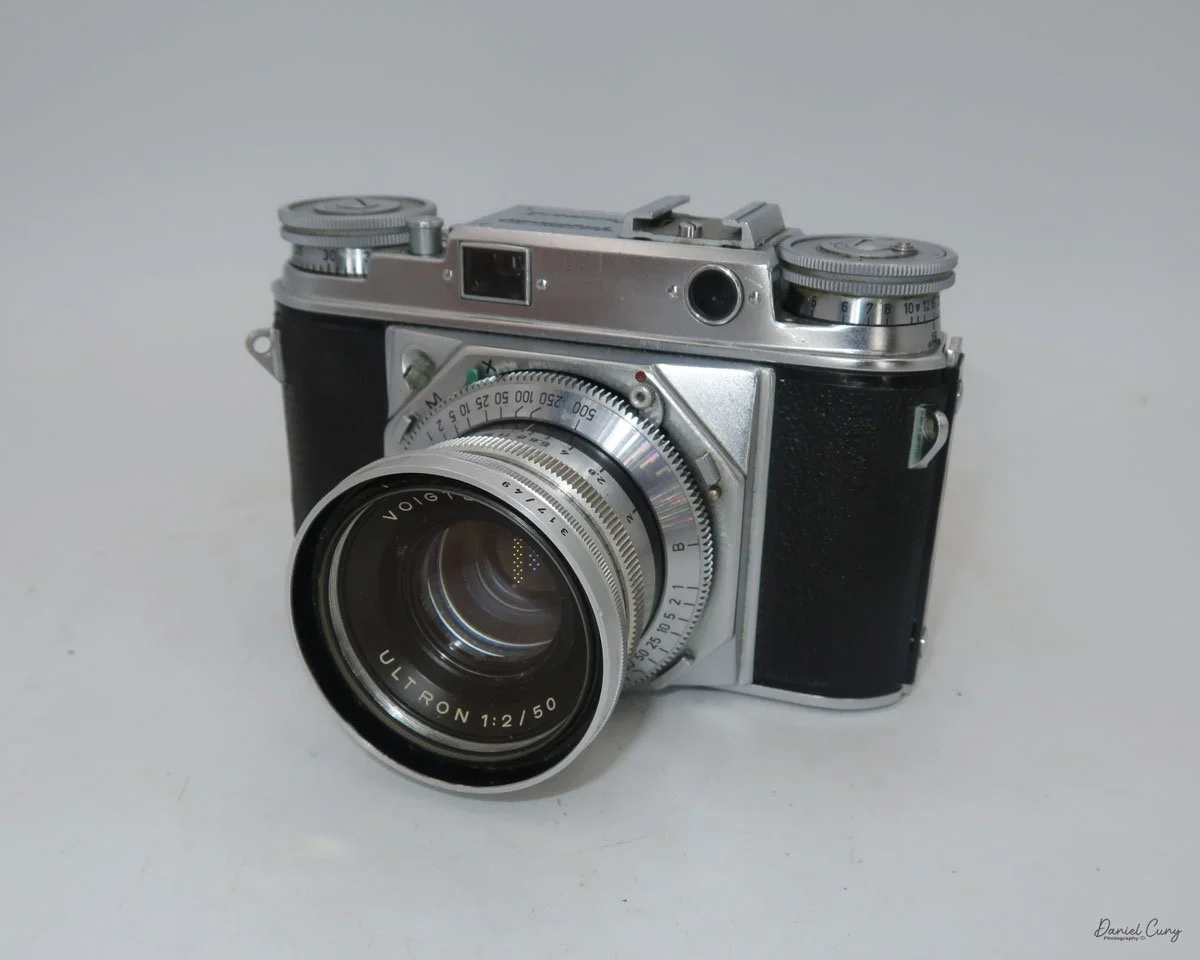
My father-in laws Voigtlander Prominent

I'm unsure if I'll be able to get another posting out before the beginning of 2026, since Christmas and New Year's fall on the day I generally publish my reviews. Since this might be the final post for 2025, I wanted to make it a special review. 

 Special in the sense that, while the Voigtländer Prominent is an outstanding camera, what makes this camera especially special to me is that my father-in-law owned it, so it holds an even greater, much more cherished place in my collection.

 Let me tell you a bit about my father-in-law. He was the oldest of seven children living in a very small town named Sugar Creek, MO, just outside Independence. They were not a wealthy family, as the father worked at the local refinery. I was told that the house was so small that some of the children had to sleep in closets. At 18, he married my mother-in-law, who was only 17 at the time. By the time he was 22 and my mother-in-law was 21, they had three children.

 Soon after they were married, he joined the Army, where they were stationed in Augusta, GA, where my wife and the third child were born.  When my wife was only 6 months old, my father-in-law and the family were transferred to Naples, Italy. With his wife and three young children, my wife moved to Italy.

My father-in-law always had a passion for photography and, from what I'm told, purchased the Voigtländer Prominent while stationed overseas. After their time in Italy,  the family moved back to the USA. At this point, my father-in-law found a local camera store back near Kansas City, where he honed his photographic skills using the Voigtländer Prominent he purchased overseas.

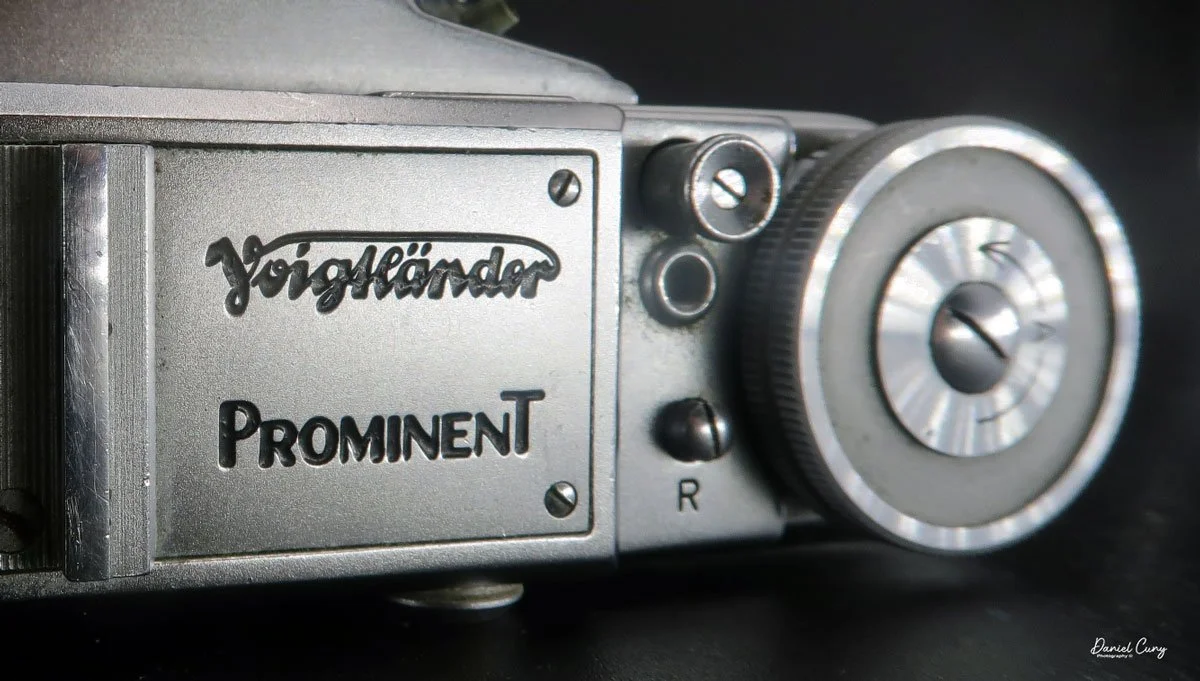
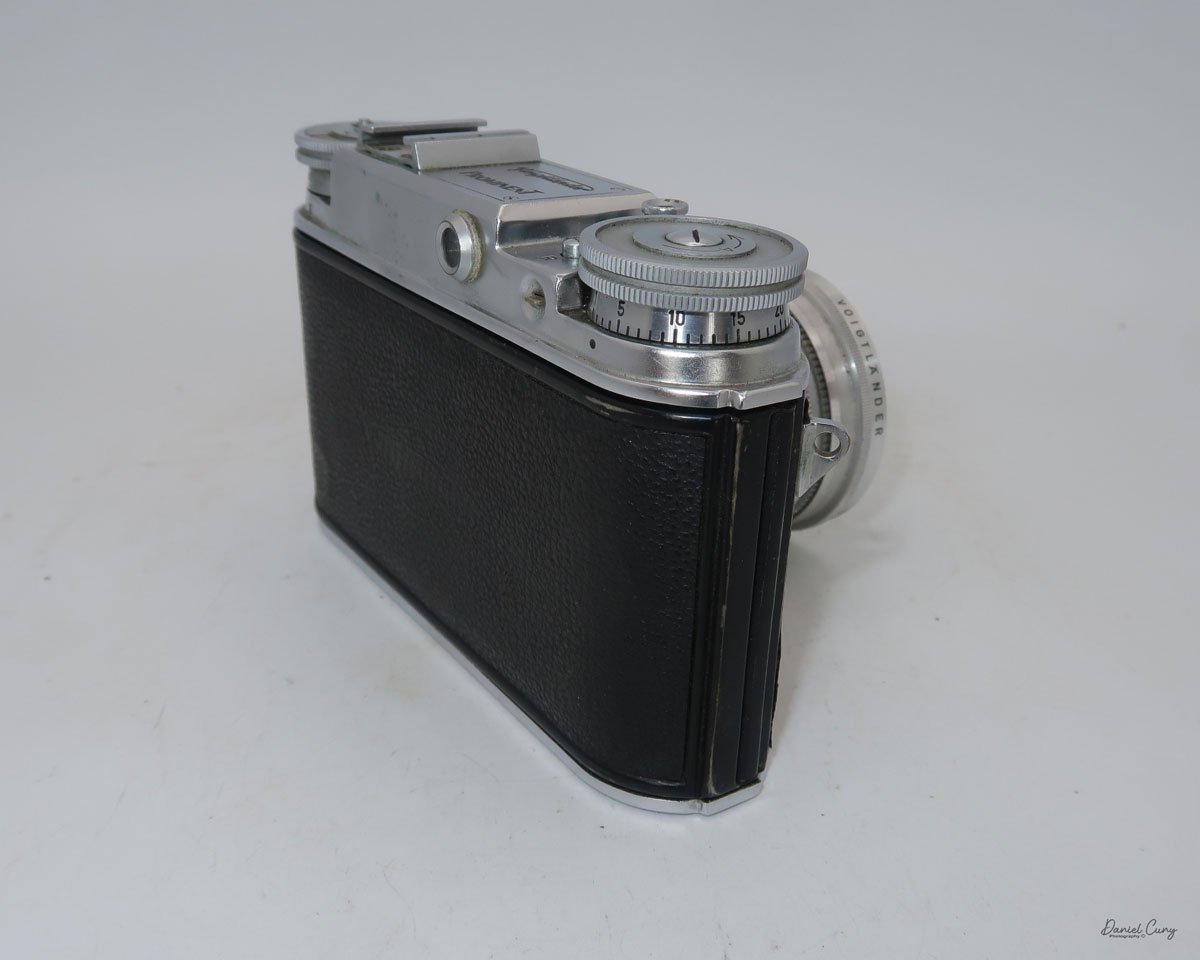
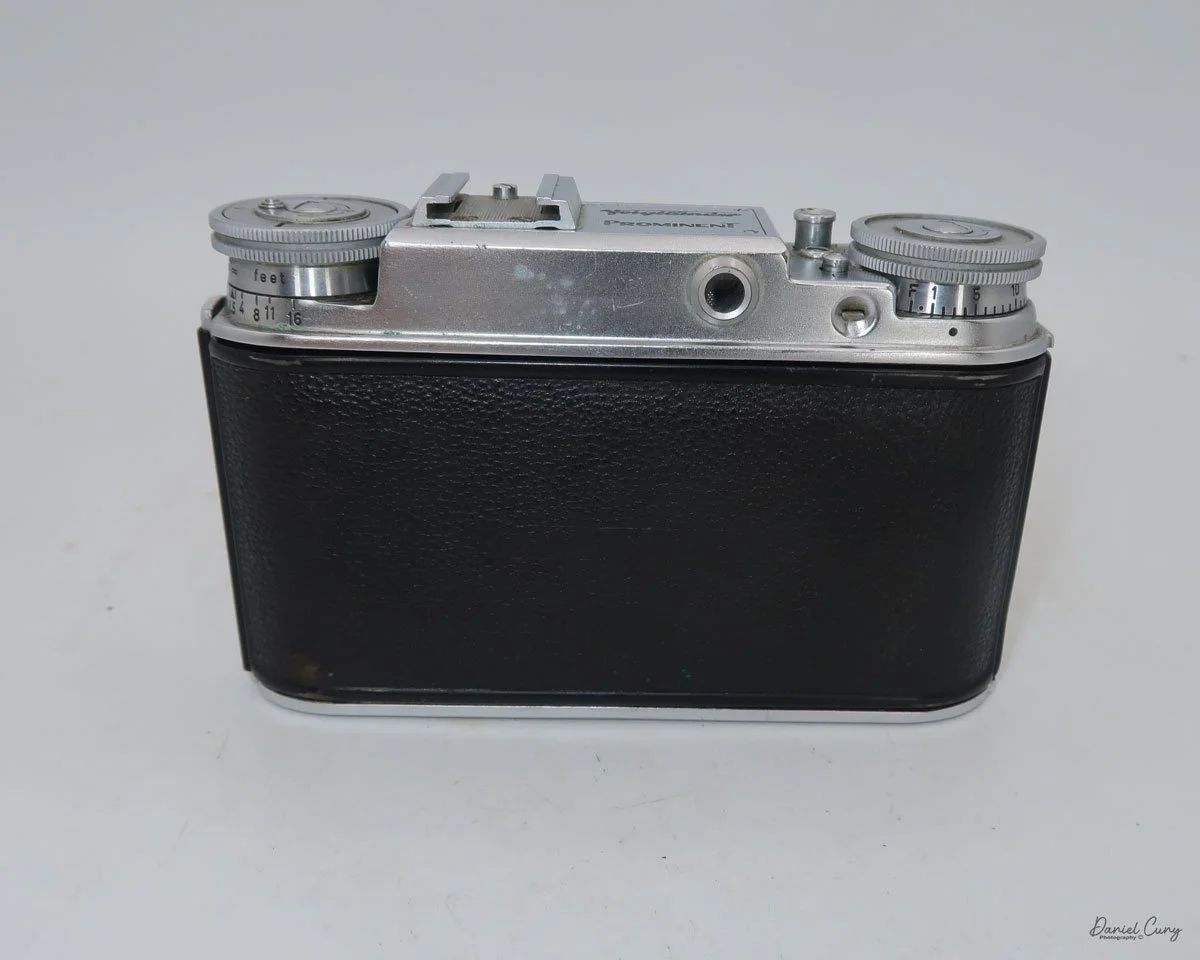
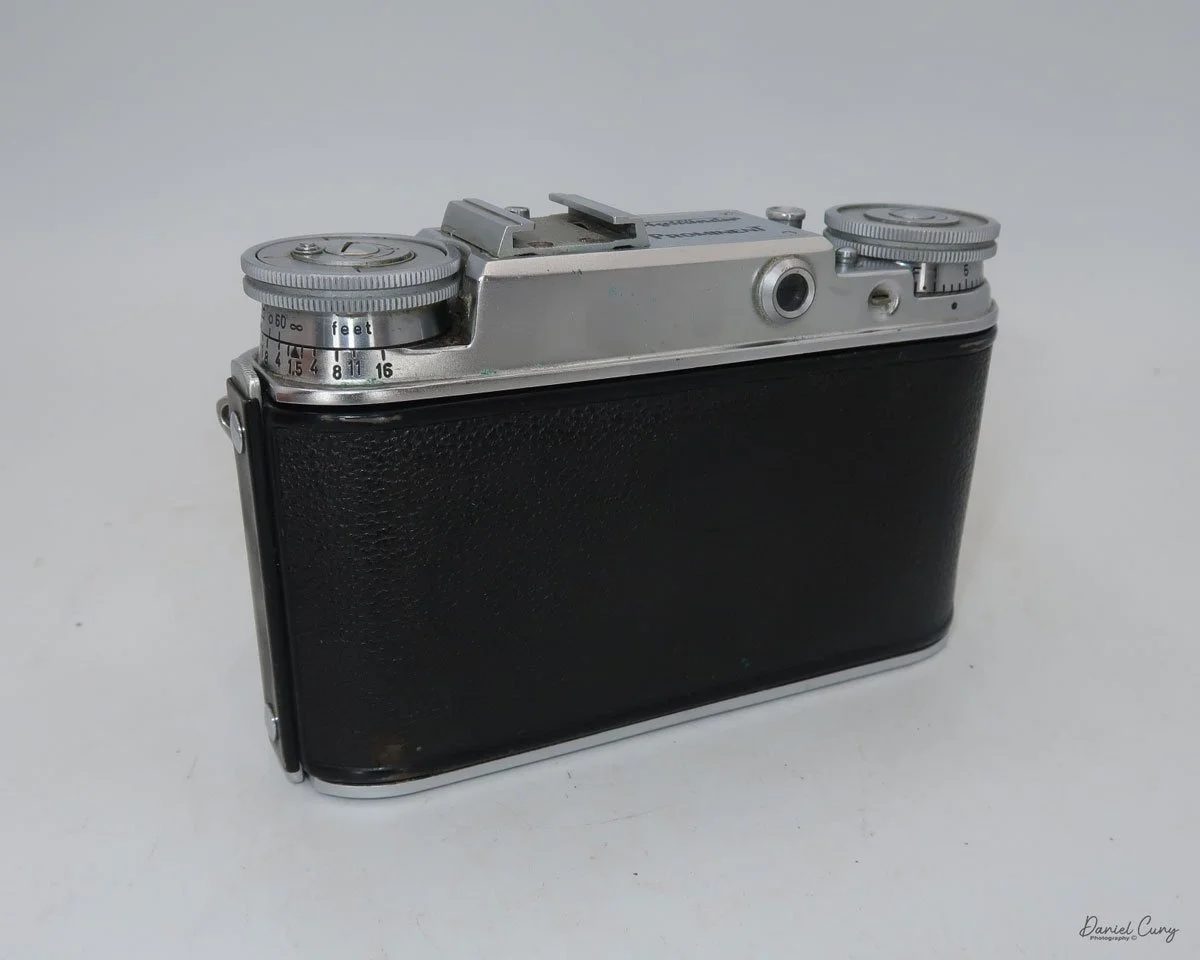
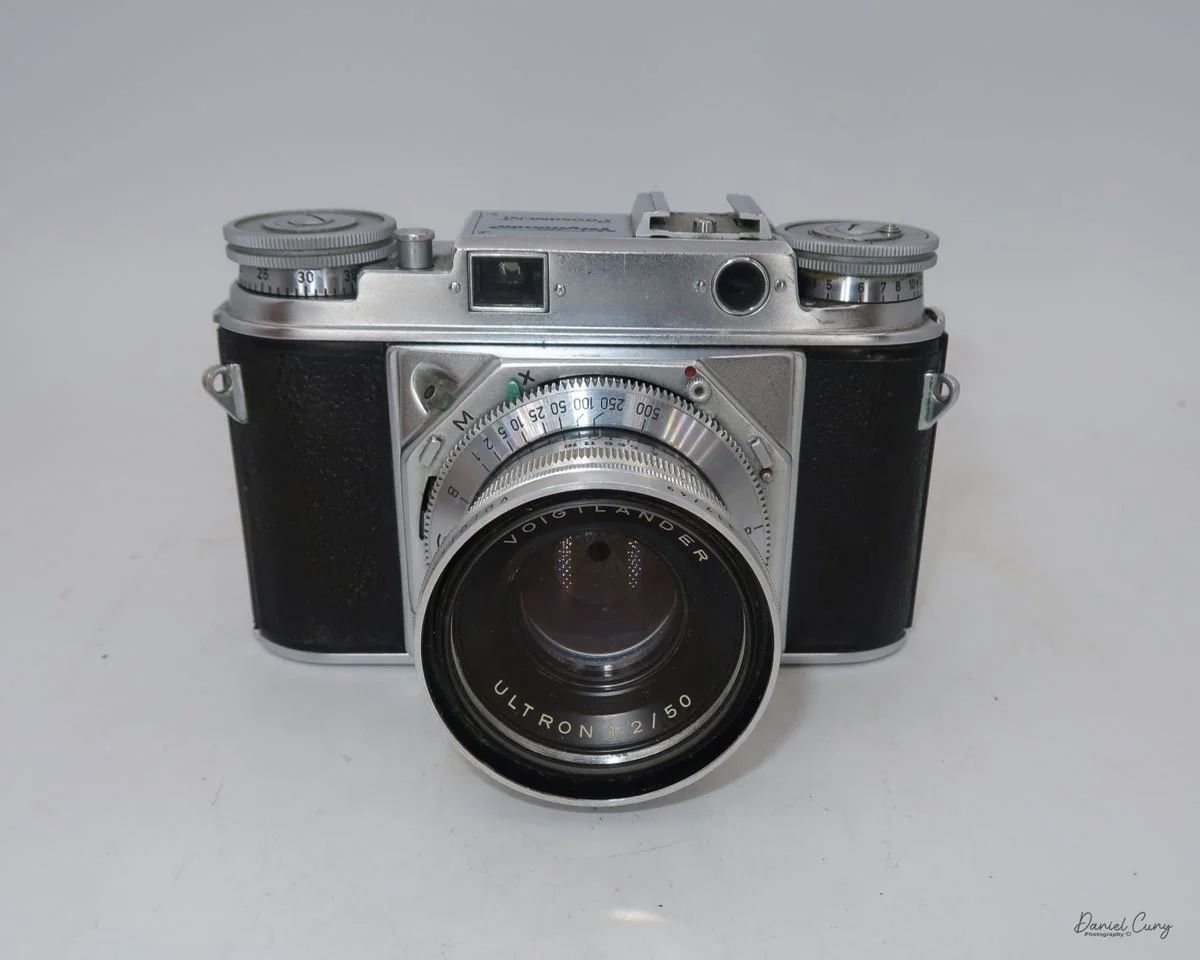
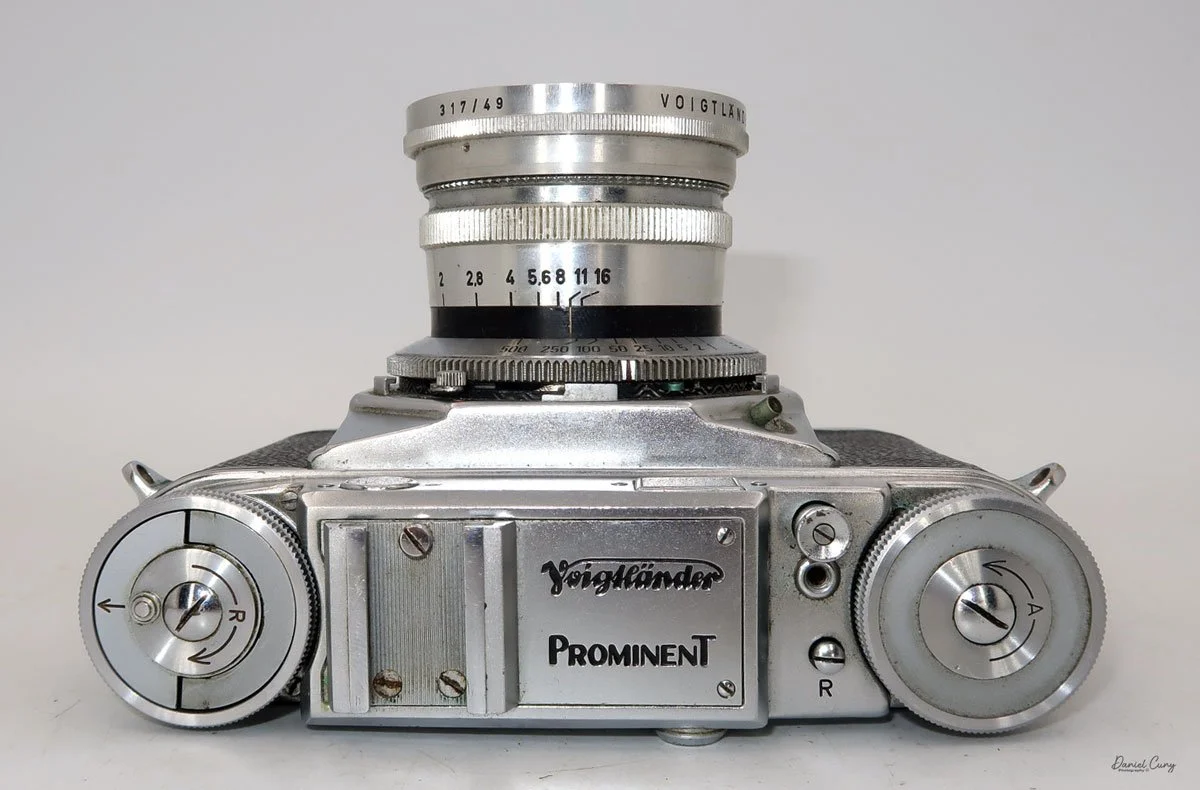
Voigtlander logo and Prominent name on top of the camera.

 After the camera store, he was hired by Procter & Gamble to sell Duncan Hines cake mixes. He climbed the corporate ladder, moving his family with each promotion due to his outstanding managerial and sales skills. All the while, he still had a passion for photography. He was always taking photos of the family and eventually ended his career as a top executive at some of the largest Fortune 500 companies.

 This article is not only about a truly amazing camera, but also an ode to my father-in-law. Someone I looked up to in my career helped me in so many ways and was a warm, loving, generous, and caring individual. He passed away way too early from an auto accident, almost 30 years ago. We still have his Voigtländer Prominent, which he used, and it's in remarkable condition. For the final post, I wanted to write about this truly excellent camera, which means so much to all the family members.

 I've had the opportunity to purchase other Voigtländer prominent cameras, both the original and the Prominent II, with the standard Ultron and Heliar lenses, along with many different lenses and accessories for their cameras. Still, the camera from my father-in-law is off-limits. It will stay in my collection until I'm no longer around.

 I've reviewed other Voigtländer cameras, so I've written about their history in the past. Let me focus on the history of Voigtländer in a specific timeframe: after World War II, when they rebuilt a fantastic camera brand.

Voigtlander Post World War II:

 Voigtländer emerged from the Second World War with its Braunschweig factory largely intact and quickly resumed work under British military oversight, initially dedicating much of its output to Allied reparations until the new West German currency was introduced in 1949. This relatively undamaged industrial base, combined with a strong pre‑war optical tradition, allowed the firm to re‑establish itself rapidly as a key player in the post‑war German camera industry.​

 In the immediate post‑war years, Voigtländer revived and modernized pre‑war designs, adding new anti‑reflection coatings to lenses and continuing large‑format and medium‑format lens production. The company remained under the ownership of the chemicals and photographic‑paper firm Schering AG, which had acquired it in the 1920s, providing financial stability in a challenging economic climate.​

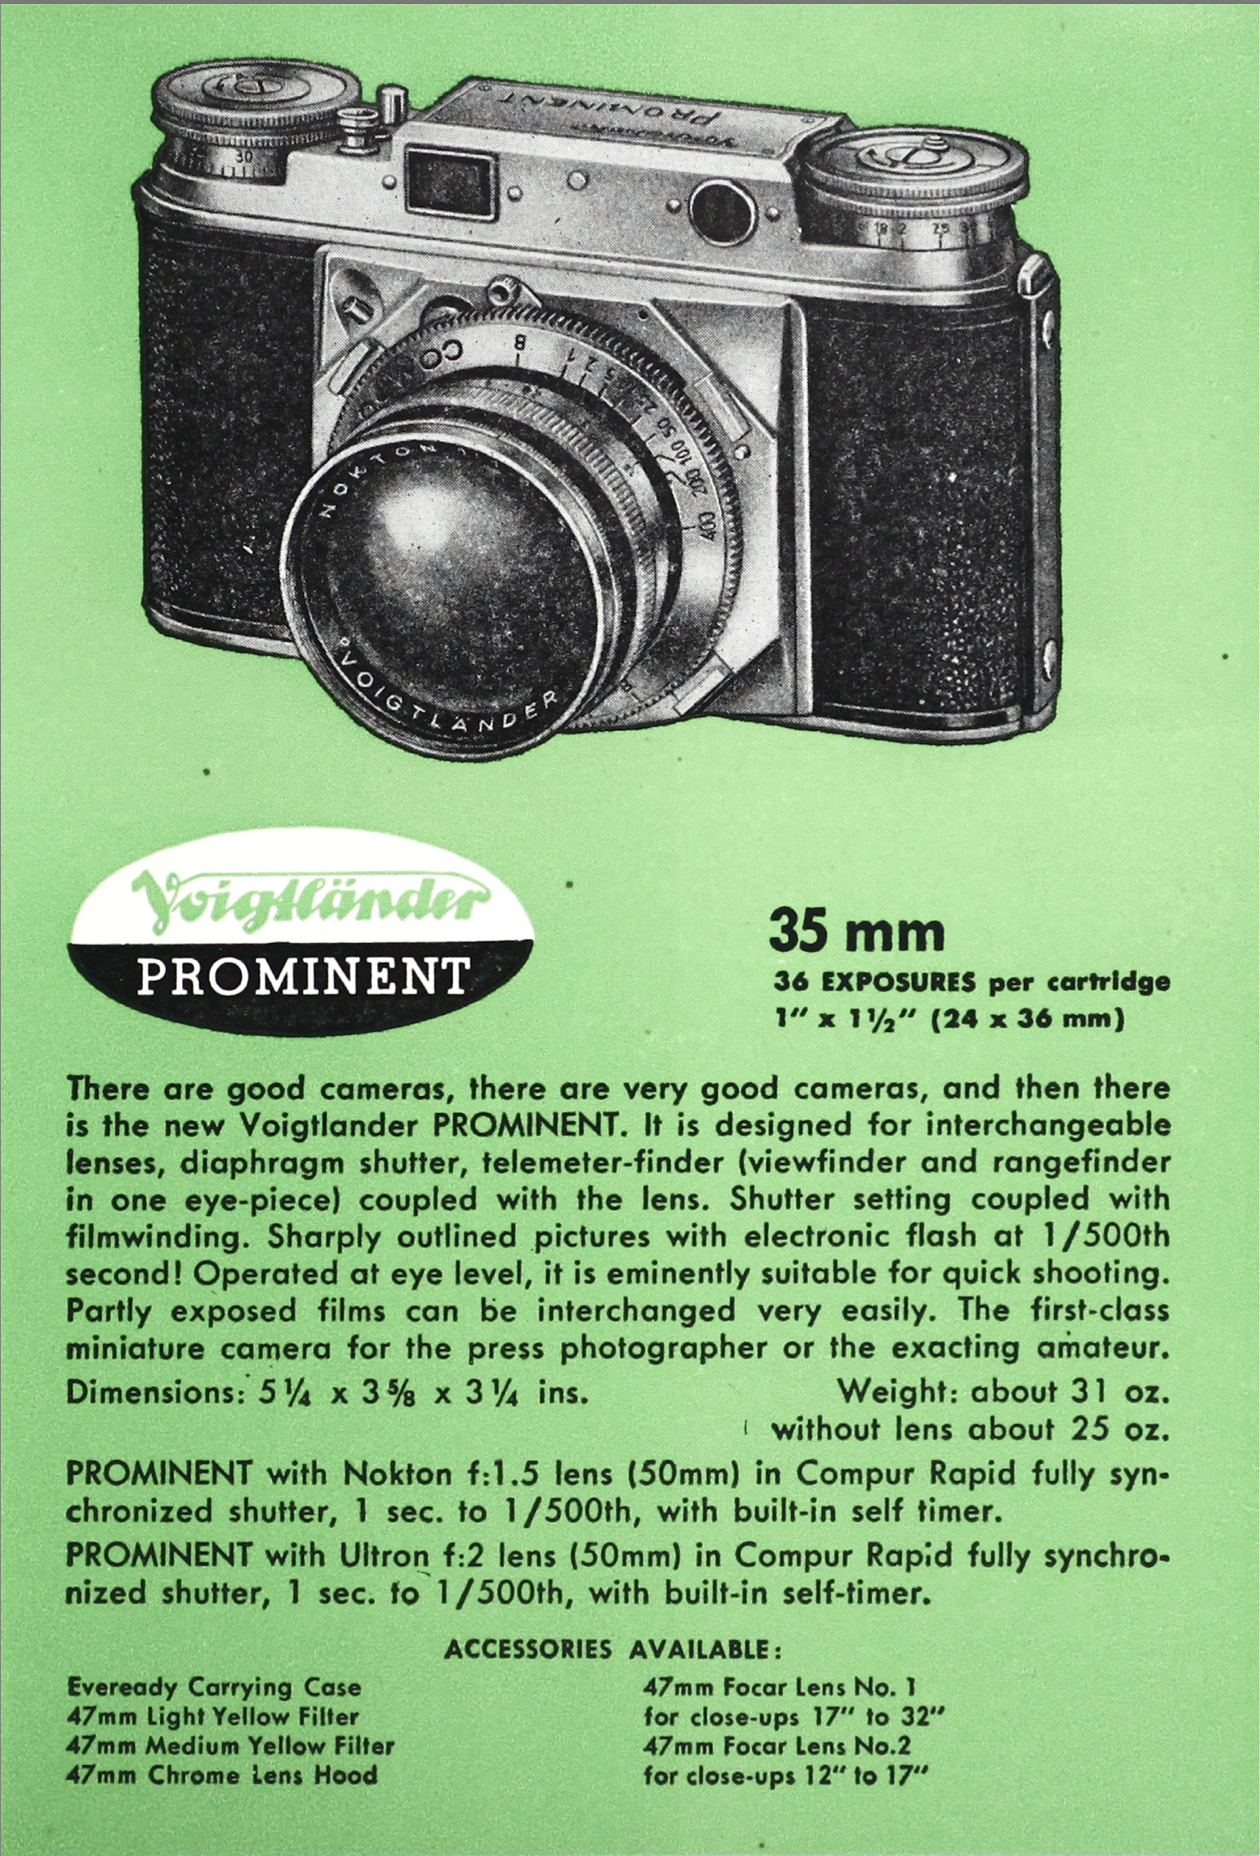
From Voigtlander Catalog Credit: Pacific Rim Camera

 The 1950s became Voigtländer's golden decade, marked by a broad range of high‑quality cameras and lenses that cemented its international reputation. Compact 35mm lines such as the Vito and the more sophisticated Vitessa appeared alongside the professional Prominent 35mm rangefinder. At the same time, optics like the Ultron, Nokton, Apo‑Lanthar, and Heliar established the brand as a leader in lens design. In 1952, Voigtländer introduced the Apo‑Lanthar 105 mm f/4.5, and in 1959, it launched the 36–82 mm f/2.8 Zoomar, one of the first interchangeable zoom lenses for 35mm still photography.​

 In 1956, Schering sold Voigtländer to the Carl Zeiss Foundation, bringing it into the same corporate orbit as Zeiss Ikon while initially keeping manufacturing and sales structures separate. Throughout the late 1950s and early 1960s, Voigtländer expanded into leaf‑shutter SLRs and advanced models such as the Bessamatic and Ultramatic, but the cameras were complex and costly to build. As Japanese manufacturers increased efficiency and undercut prices, Voigtländer's high production costs and conservative designs became major competitive disadvantages.​

 In 1965, Zeiss‑Ikon and Voigtländer's sales operations were combined, but falling sales led to the decision to cease camera production and close the Braunschweig factory on 4 August 1971, affecting over 2,000 employees. The physical works were reorganized as Optische Werke Voigtländer, with shared ownership between Zeiss, Rollei, and the state of Lower Saxony. By 1974, Rollei had taken complete control, continuing to produce lenses and cameras under the Voigtländer brand until its own financial collapse in the early 1980s.

 The trademark then passed through German photo retailers and, from 1999, has been licensed to Cosina in Japan, which uses the historic name on modern manual‑focus lenses and niche film cameras, giving Voigtländer a new life in the era of digital photography.

My Camera:

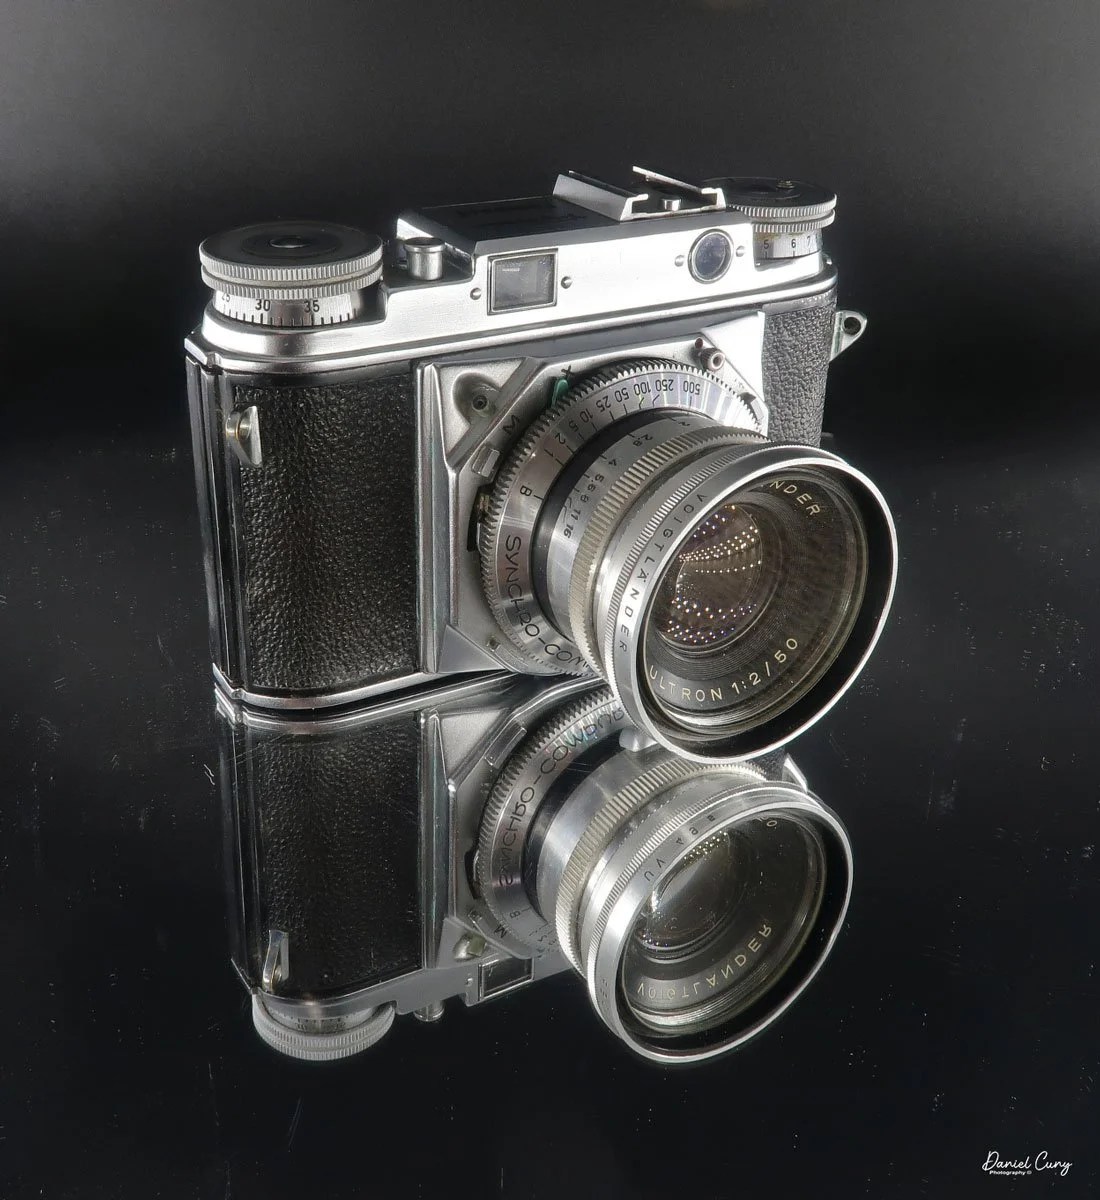
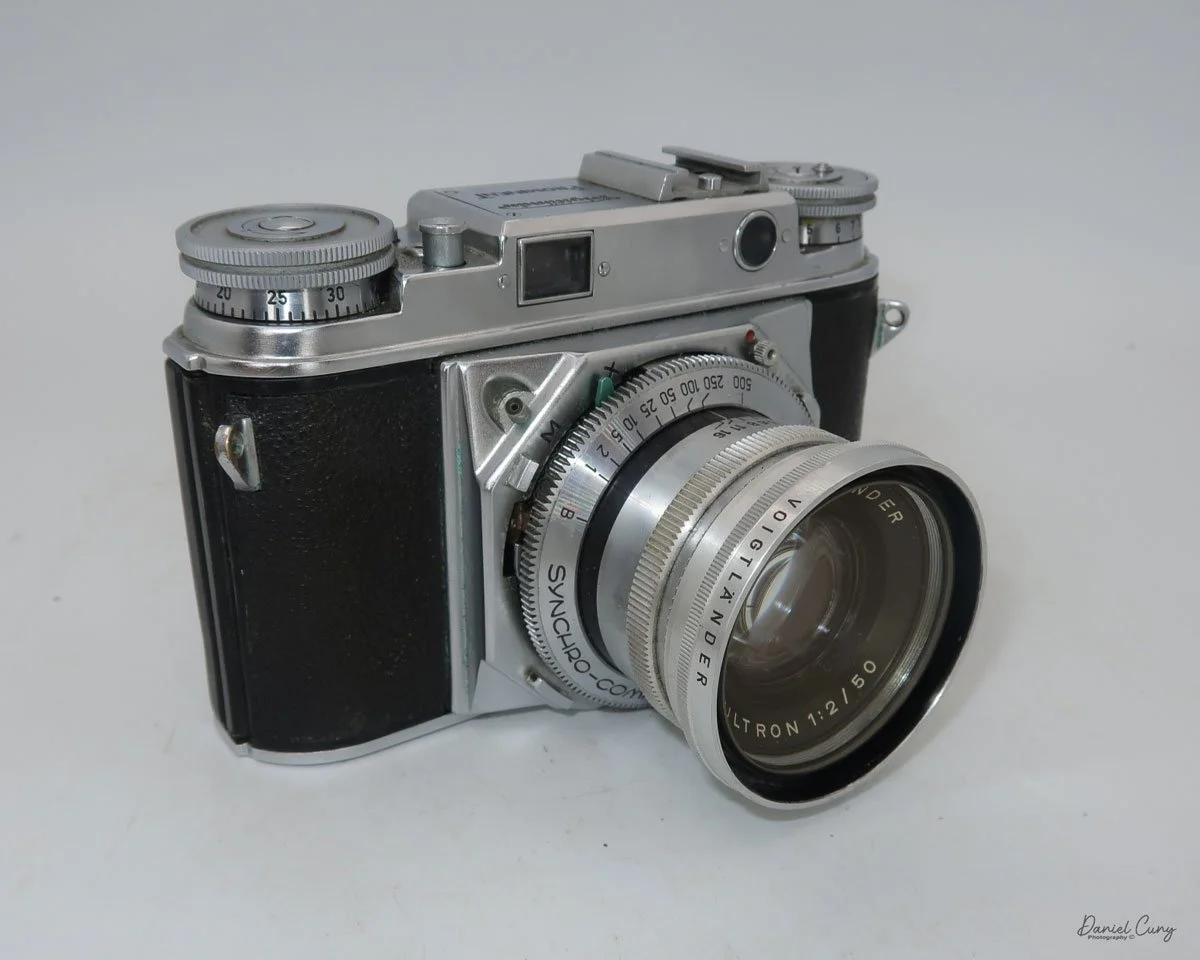
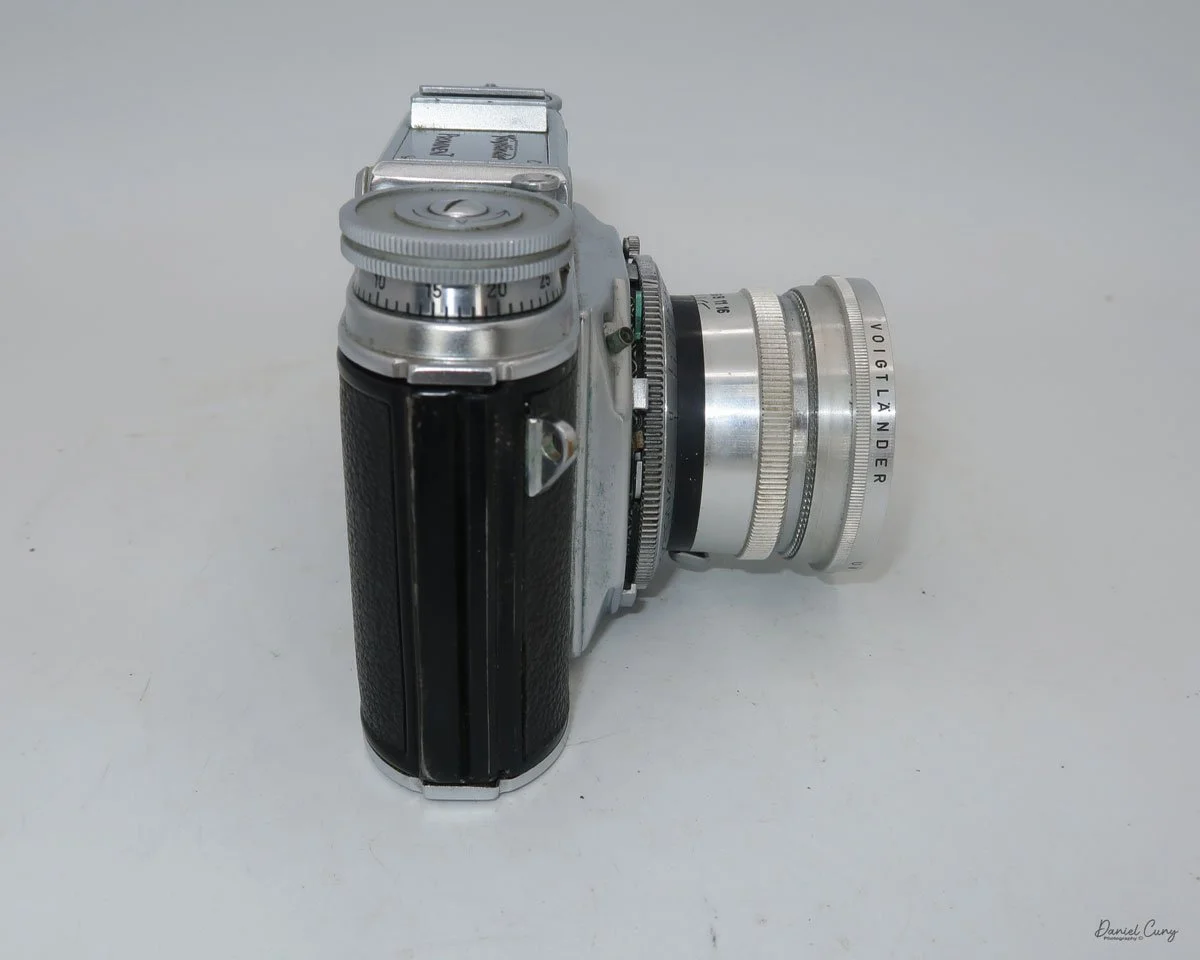
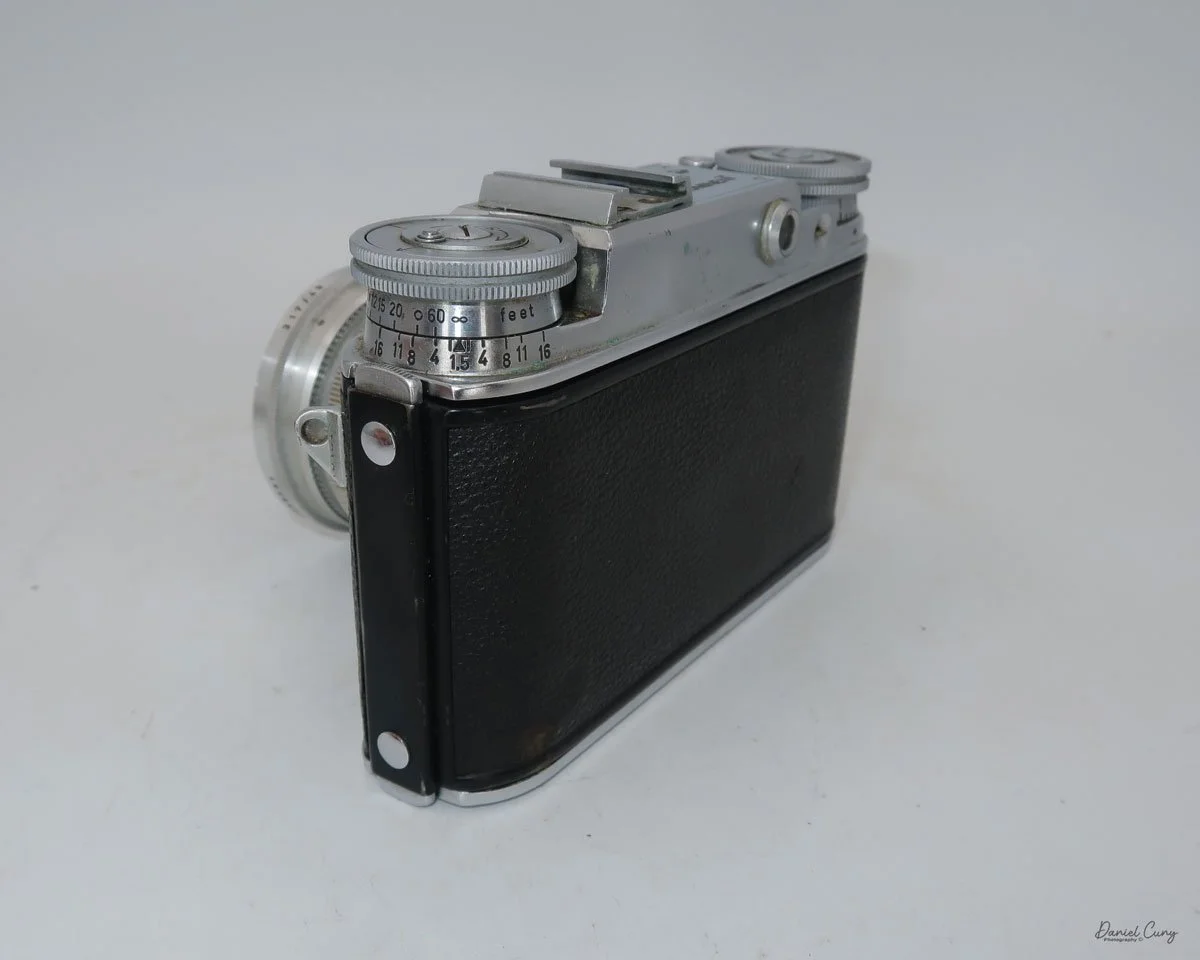
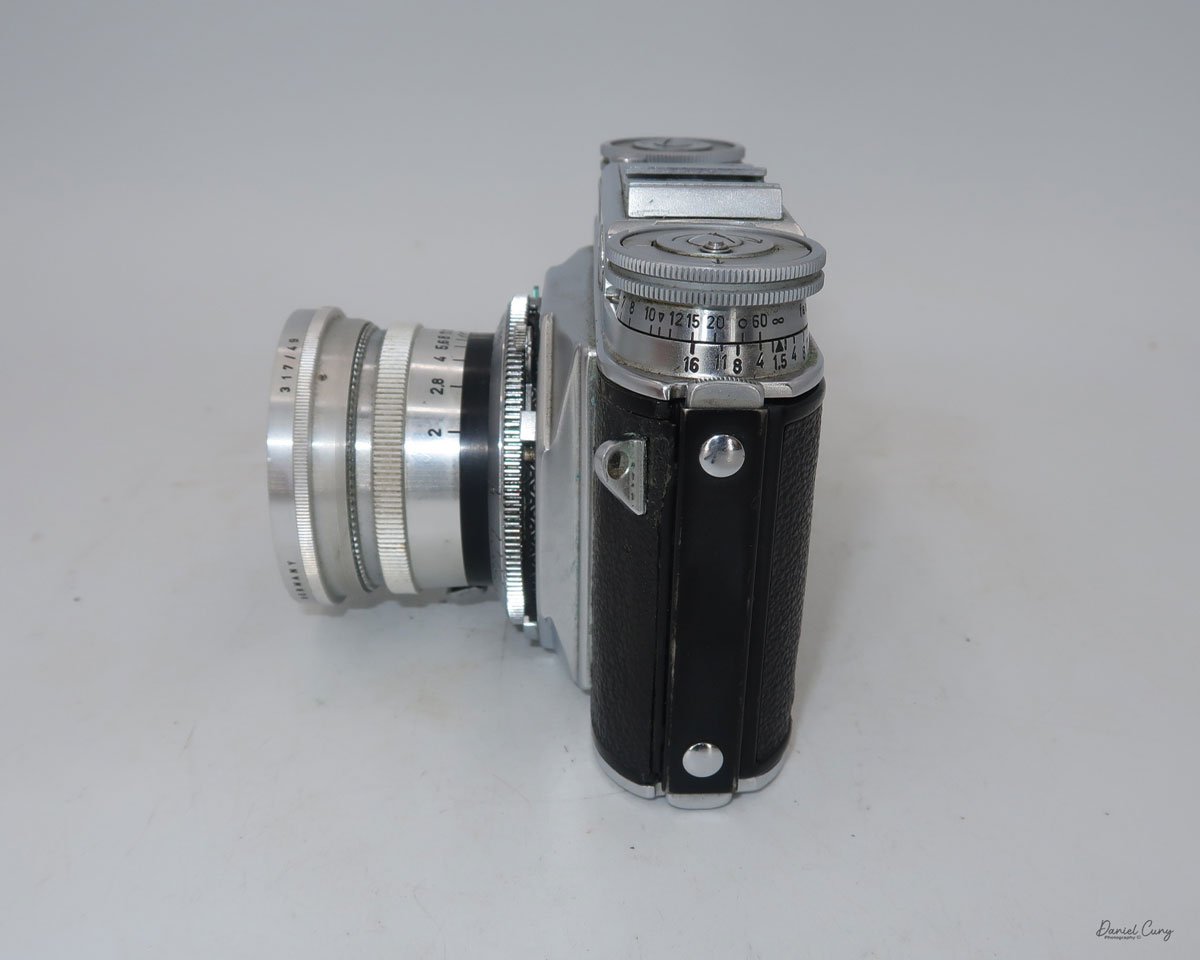
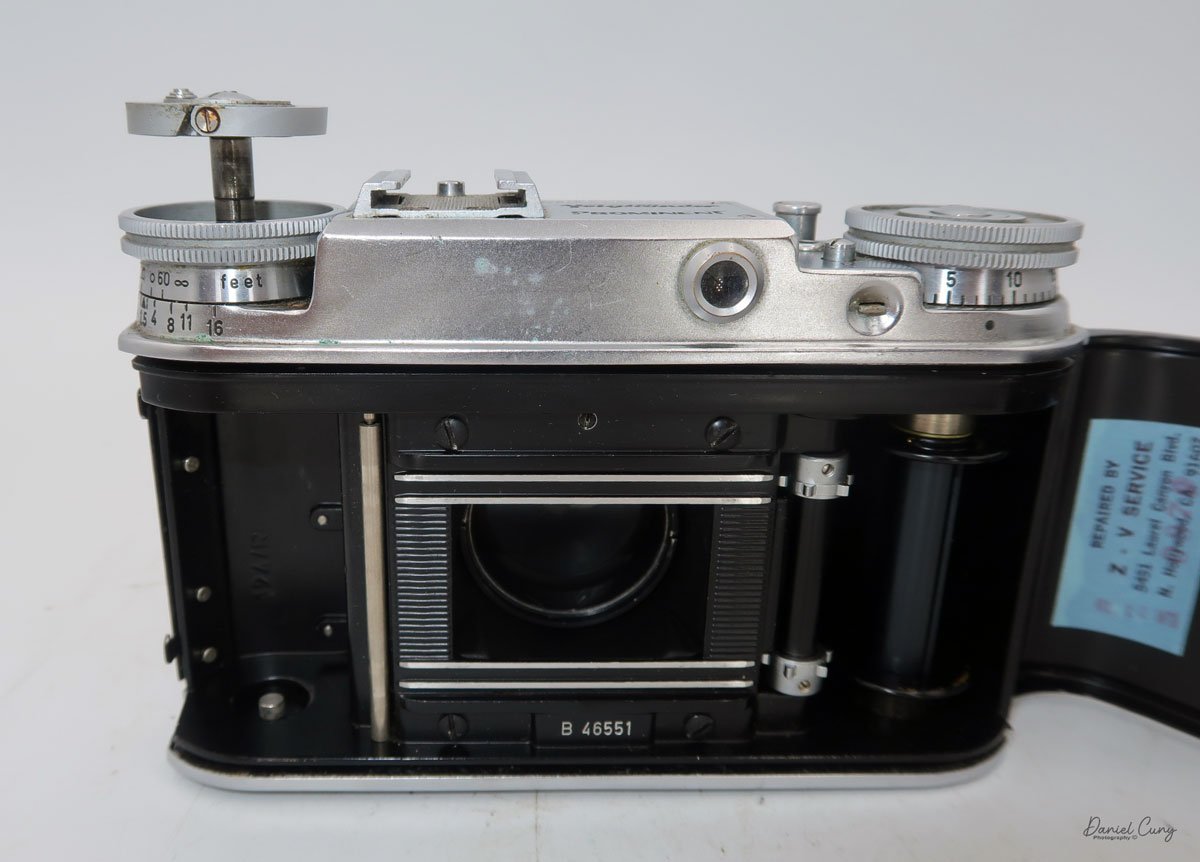
 My Voigtländer Prominent comes with the standard Ultron 50mm f/2.0 lens. The camera body serial # B 46551, and lens serial # 3782651. With this camera, there is a Voigtländer UV filter that I generally leave on the camera, along with a yellow filter for black-and-white photography, a rectangular metal lens hood, and the fitted brown camera case. The camera is 5.5" wide by 3.5" tall by 3.5" deep, and weighs 2 pounds, 0.8 ounces without film.

 The Voigtländer Prominent has some weight to it, and for me, it feels very comfortable in my hands. Maybe because it resembles an SLR more, like what most people are used to with rangefinder cameras. The camera has a somewhat peculiar layout and is something you'll need to get used to.

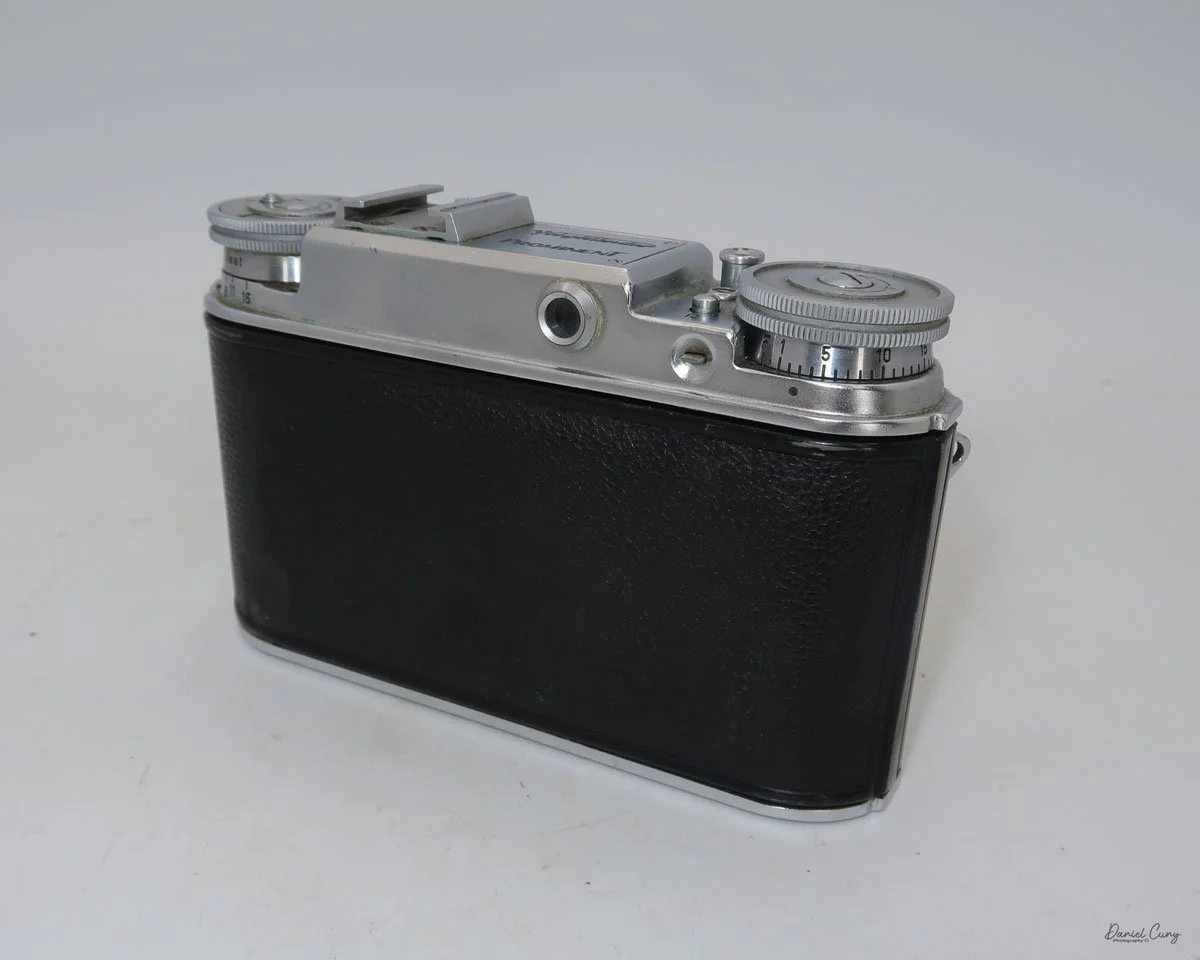
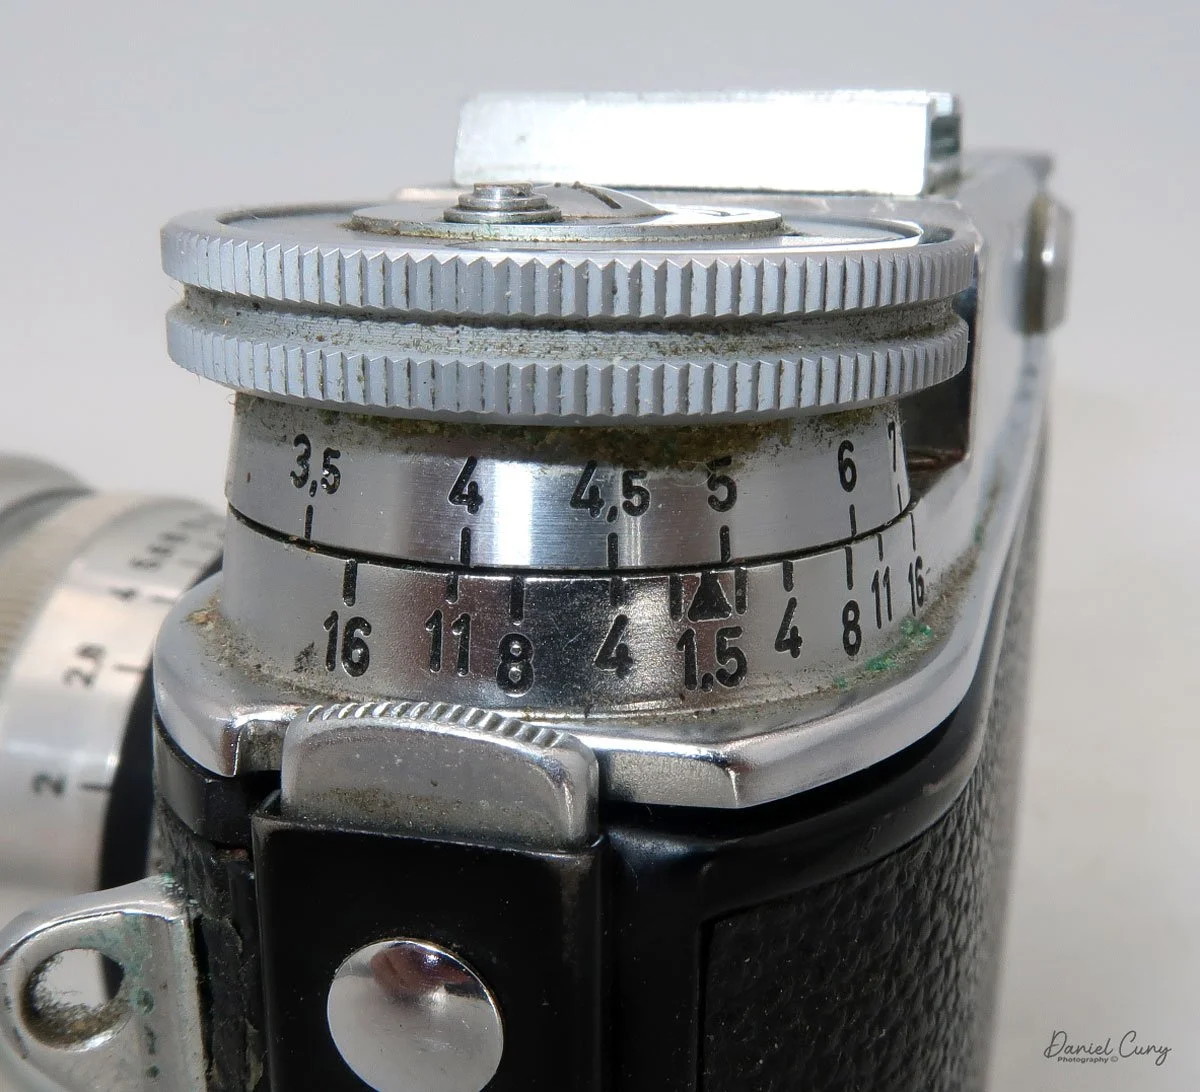
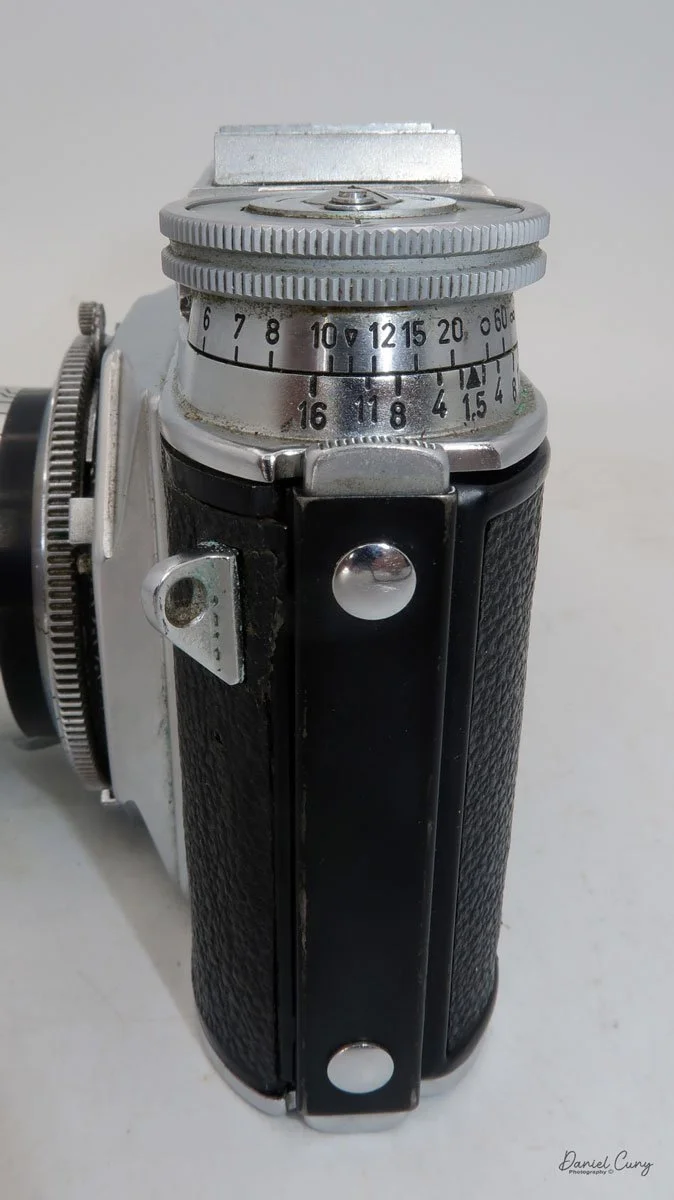
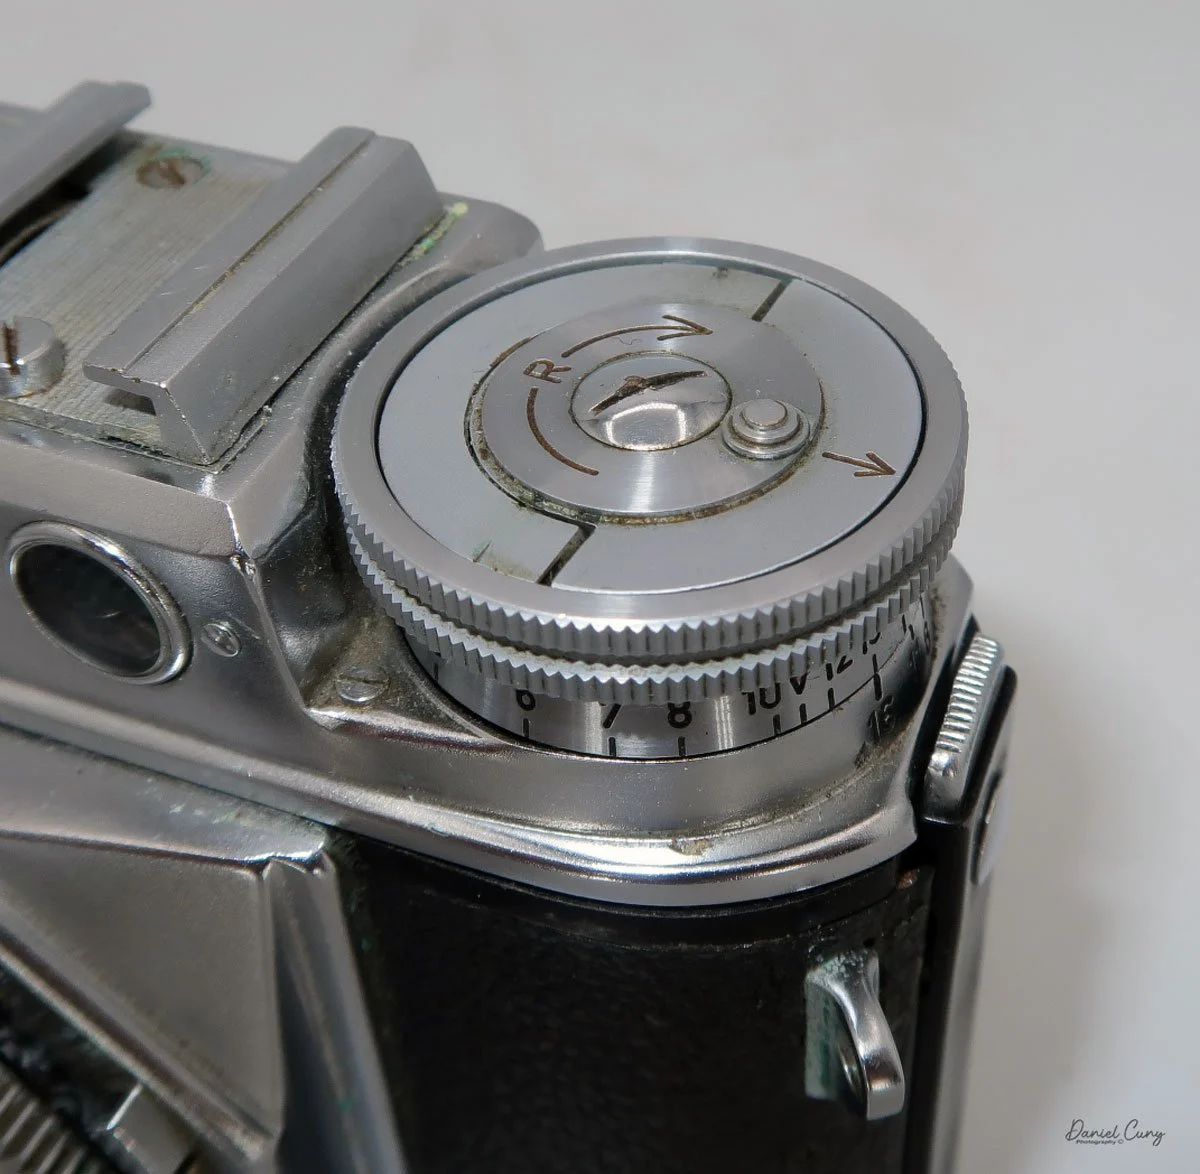
When you put the camera to your eye, the viewfinder is on the right side of the camera, which, for many, is different. The majority of cameras have the viewfinder either centered or more to the left than to the right. The focusing ring isn't on the lens, but located on the rewind knob. As you turn the outside of the rewind knob, generally used to rewind the film in the film cassette when you're done with the roll, on the Voigtländer Prominent, it focuses the lens. 

Looking through the viewfinder, the rangefinder is bright, with the yellowed area in the center clearly visible. With your left hand, turn the outer ring of the rewind knob to focus on your subject. Once the image is in focus, take your photo. Under the focus distance is the camera's depth of field guide for the aperture used. 

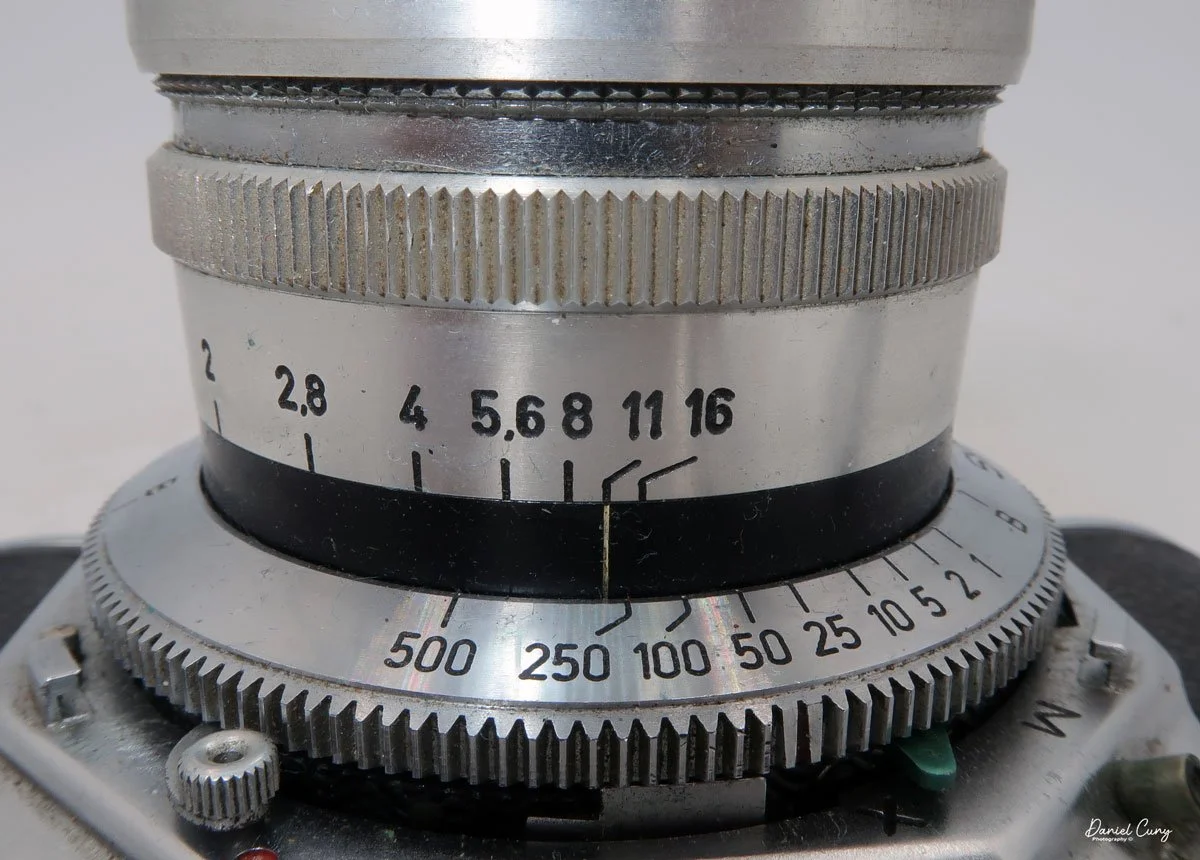
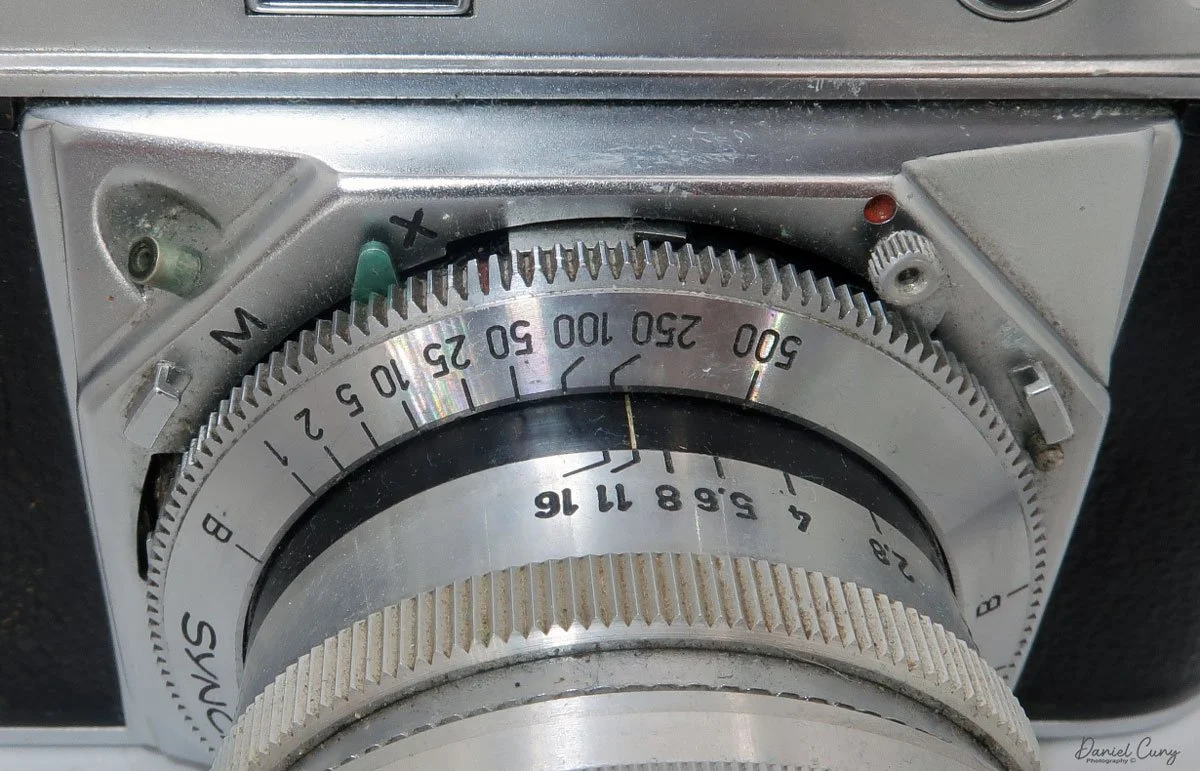
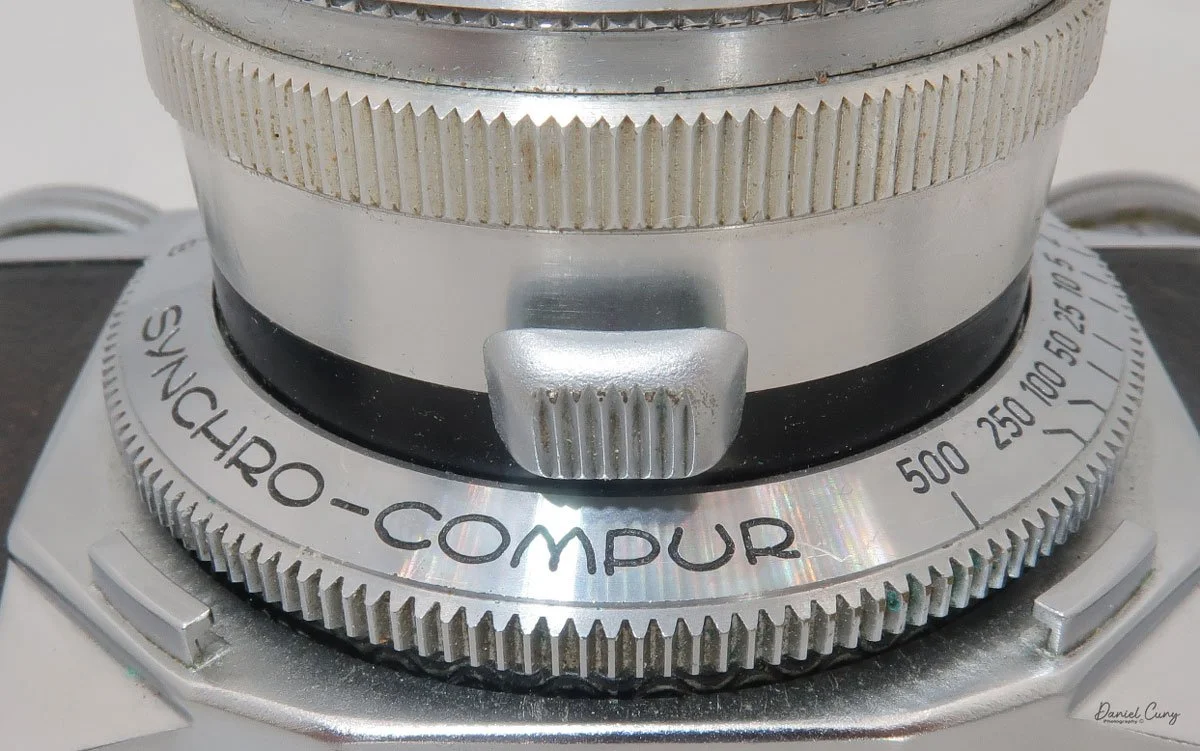
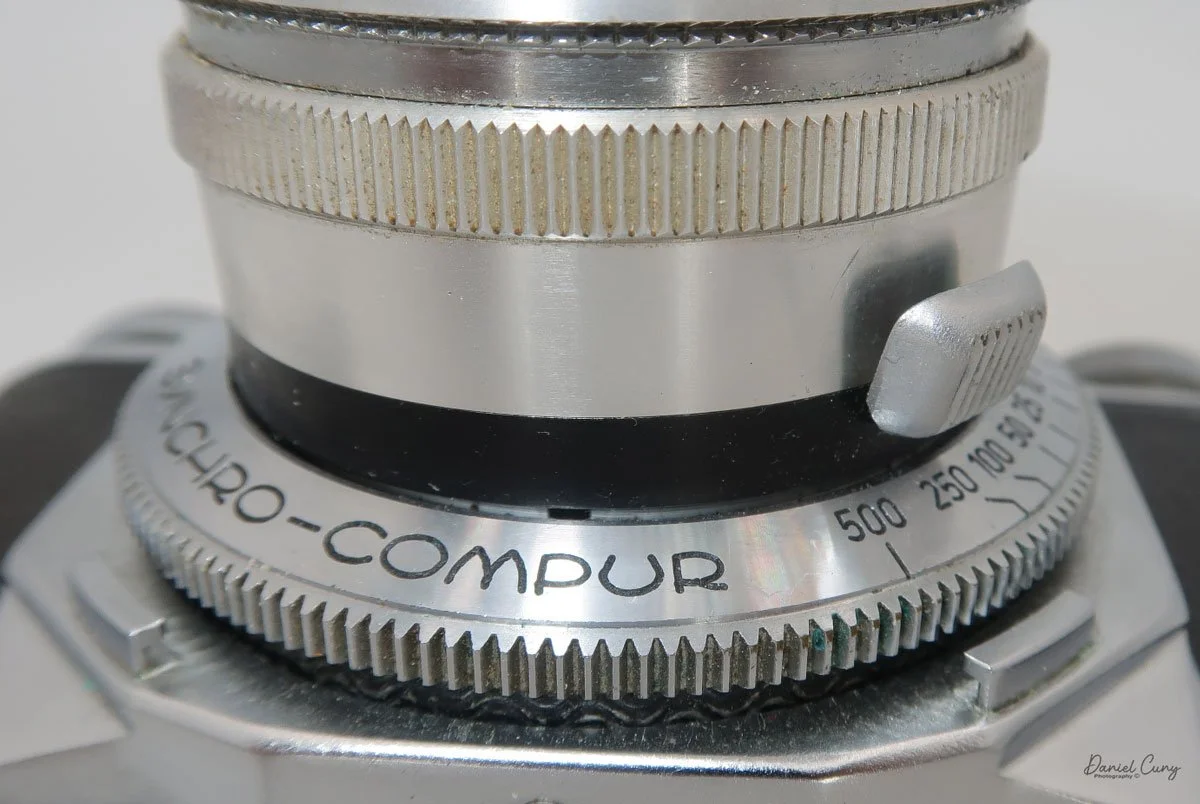
To take a photo, on the right-hand side of the camera is the film advance lever; wind it clockwise to advance the film. The same motion that advances the film also moves an internal bar that cocks the shutter. The shutter speed dial on the Syncro-Compur shutter is set by turning a ring just in front of the shutter cocking lever. The shutter speeds on this camera go from 1/500 to 1 sec, with "B" for timed exposures. According to the Voigtländer Prominent camera manual, it's best to set the 1/500 shutter speed before winding the camera, which cocks the shutter. You can set any shutter speed once the camera's shutter is cocked, but 1/500's not recommended.

If you want to use the camera's self-timer, it can be manually set by pulling down on the shutter's cocking lever once the camera is cocked. This sets the camera's self-timer to approximately 10 seconds when the shutter release is depressed. The camera's shutter release is the larger button on the top of the camera, just to the left of the film transport knob. Behind the shutter release is the cable release socket for timed exposures.

Top view of Voigtlander Prominent camera

Looking at the lens, the aperture is set by turning the aperture ring in the direction that produces a properly exposed image. On the Ultron 50mm lens, the aperture goes from F/2.0 to F/16. To remove the lens from the body, on the bottom of the lens is a large button you press in; interestingly, you can remove the lens by turning it left or right. Likewise, to put the lens onto the camera body, make sure the large button is on the bottom. You can mount the lens either to the right or left as long as the button end is on the bottom.

 Since the camera utilizes a leaf-style shutter as opposed to the standard focal plane shutter, the flash will sync at any shutter speed, which allows the photographer the ability to control the ambient light with flash much better, and this makes film cameras such as Hasselblad and Rolleiflex cameras ideal for weddings, portraiture, and commercial studio work. On the front of the camera, at the 11:00 position, is the PC sync for flash, along with the flash settings: "X" for electronic flash or "M" for flash bulbs.

To load film into the Voigtländer Prominent camera, on the left side of the camera are two buttons you press to open the camera's back door. Once open, you load the 35mm film just as you would any other 35mm camera. Push up the rewind shaft, drop in the 35mm cassette, and bring the leader over to the camera's take-up spool. Thread the leader into the take-up spool slot and wind the film advance. Make sure the film's sprocket holes are in the drive gears and take up the slack. Before closing the back of the film door, I like to turn the rewind knob to take up the slack in the film cassette, so when I close the back and wind to the first frame, I watch the rewind knob turn to make sure the film is actually moving within the camera.

 Once you close the back door, the frame counter needs to be set manually. To do this, lift up on the winding knob, then turn the camera's frame counter to "F" to give you a couple of turns on the film advance until you get to frame number 1.

When you're done with the roll of film, you'll need to rewind it into the film cassette. The rewind knob has an arrow pointing outward. Push the button outwards, and the rewind handle will pop up. Just below the cable release socket is a small button labeled "R". Press the "R" button to disengage the transport gear, then turn the rewind knob clockwise to rewind the film into the film cassette. Once the film is rewound, open the camera back, process the film, and reload the camera with more film. 


My Results:

 I loaded the Voigtländer Prominent with a roll of 200-speed film and took one of our dogs to the local dog park to get the pooch some exercise, taking photos of a different area than walking through the neighborhood as I usually do.

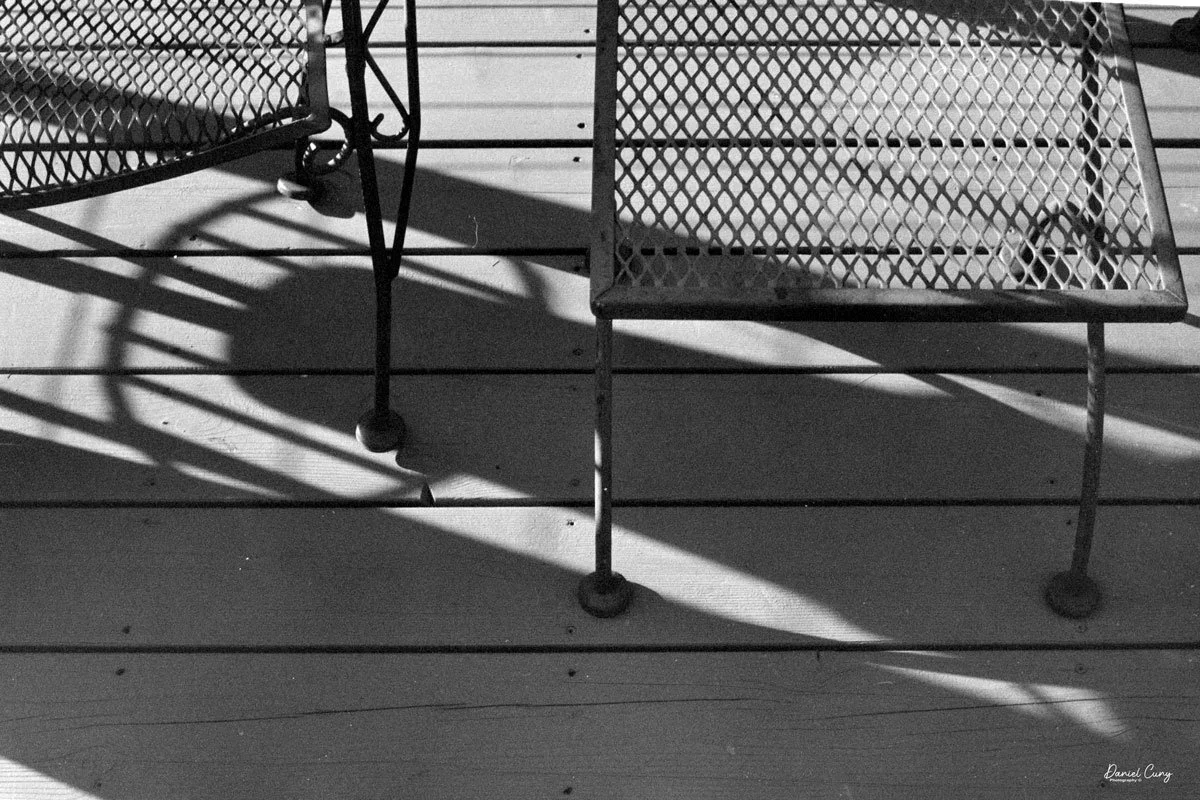
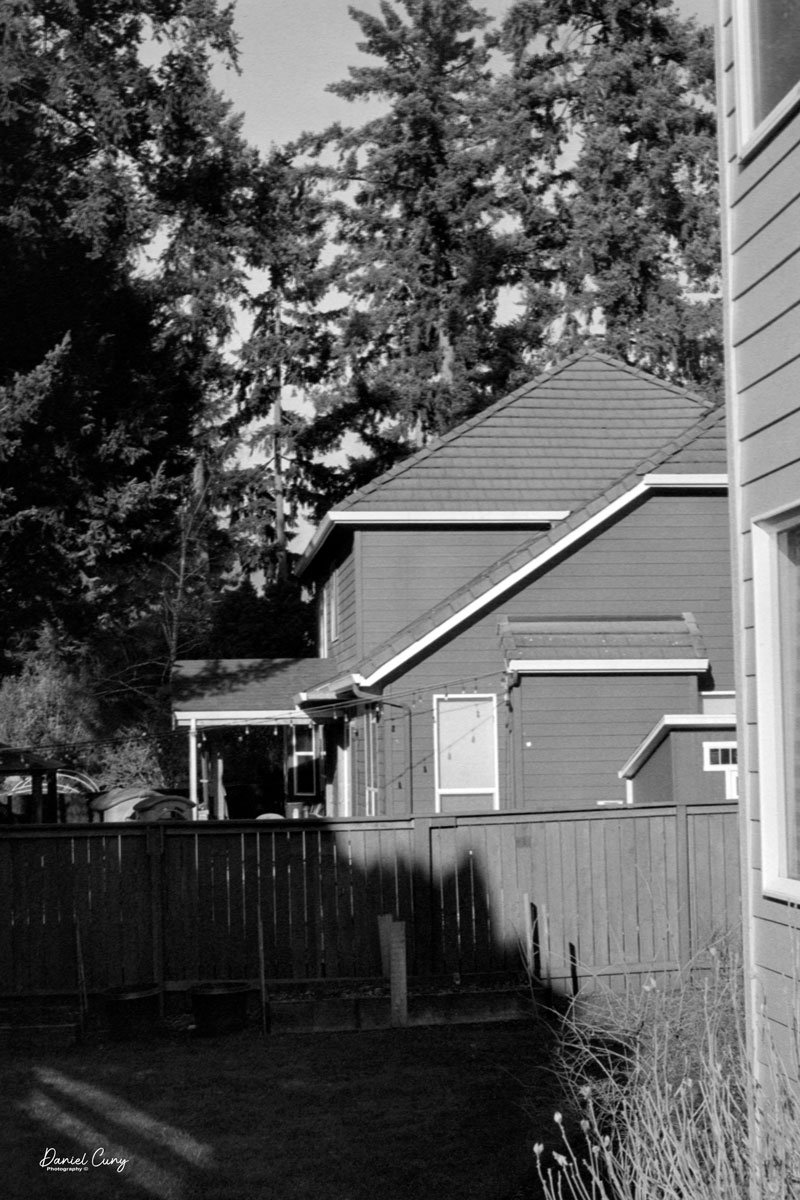
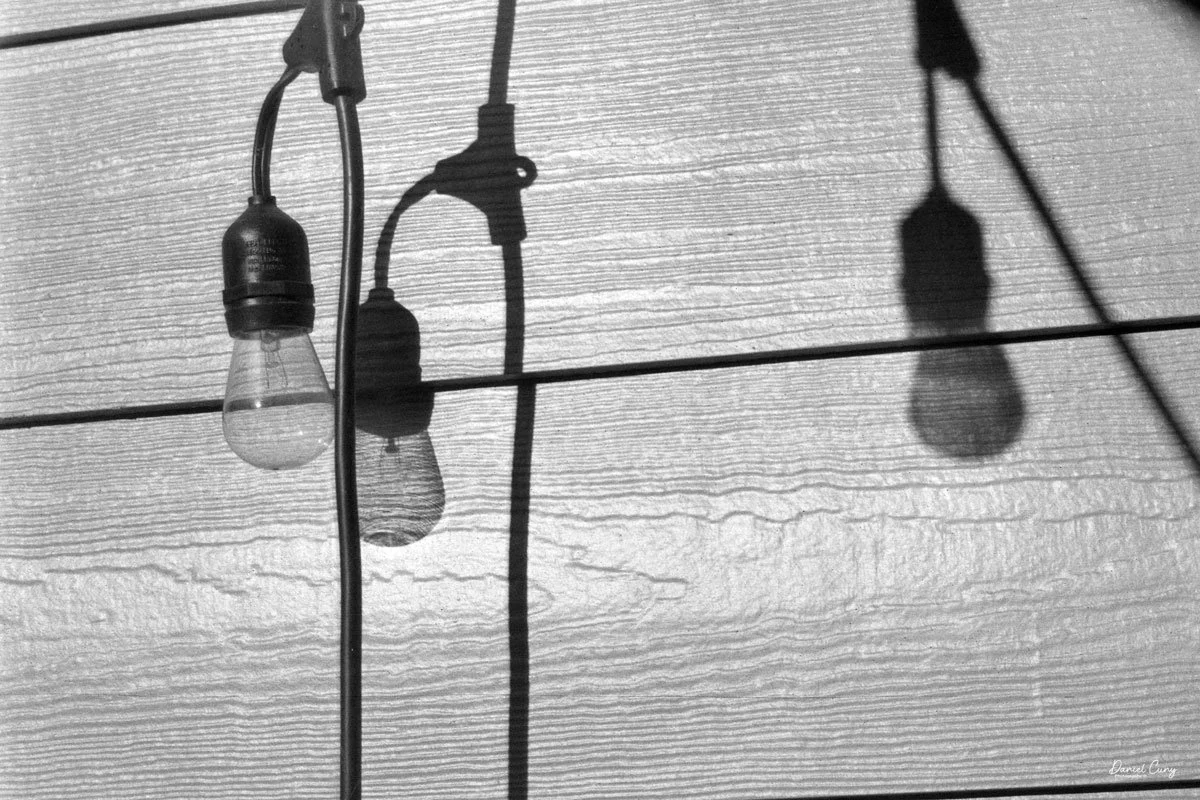
 Here are some photos from the local dog park and the shadows on my back patio on a beautifully sunny day in the Portland Area in December. It wasn't a typical December day in this area, so I wanted to make the most of it.

Conclusion:

 I really love this camera. The images are incredibly sharp, and this camera gives Leica and Contax a run for their money. It's exceptionally well-built, the lenses are tremendous, and I like the camera's size and weight.

 The system's weakest link is its lack of lenses, and for many, the camera's focus is a drawback. I've read that people don't like having the viewfinder on the right side, which makes it more challenging for them to use the camera. I don't find it annoying, as others do.

 Here's a link to my other Camera Reviews.

 If you're looking for a camera, lens, or other photo oddity, please stop by my eBay store, Cuny's Cameras and Photo. If there's something that interests you, mention my blog, and I'll offer you a discount.

 Thank you for taking a few minutes from your day to read about this excellent camera with extremely sharp lenses. If I don't post another review before the end of the year, please have a Happy Holiday and a fabulous New Year.

 Until next time, please be safe.

Welta Penti camera

My Welta Penti camera

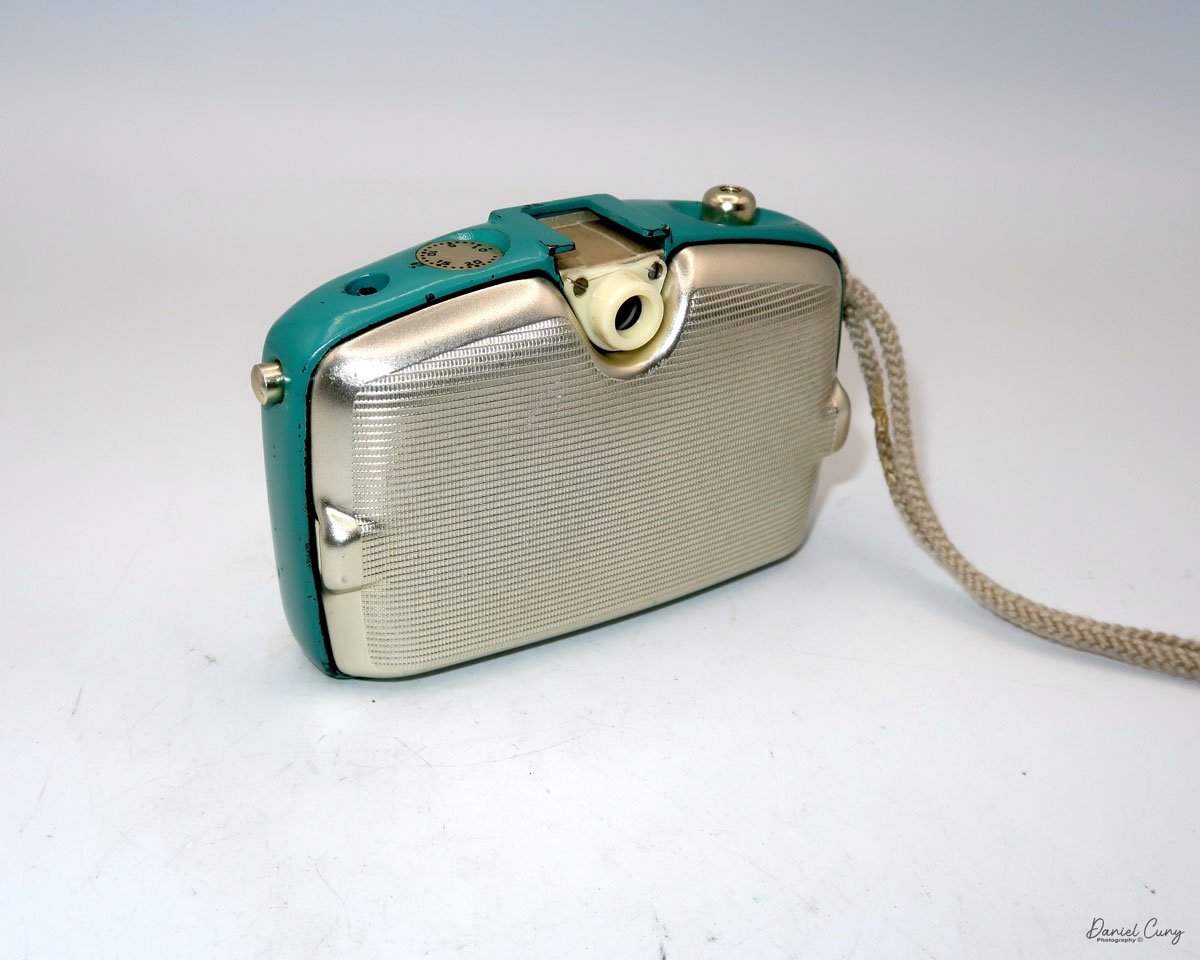
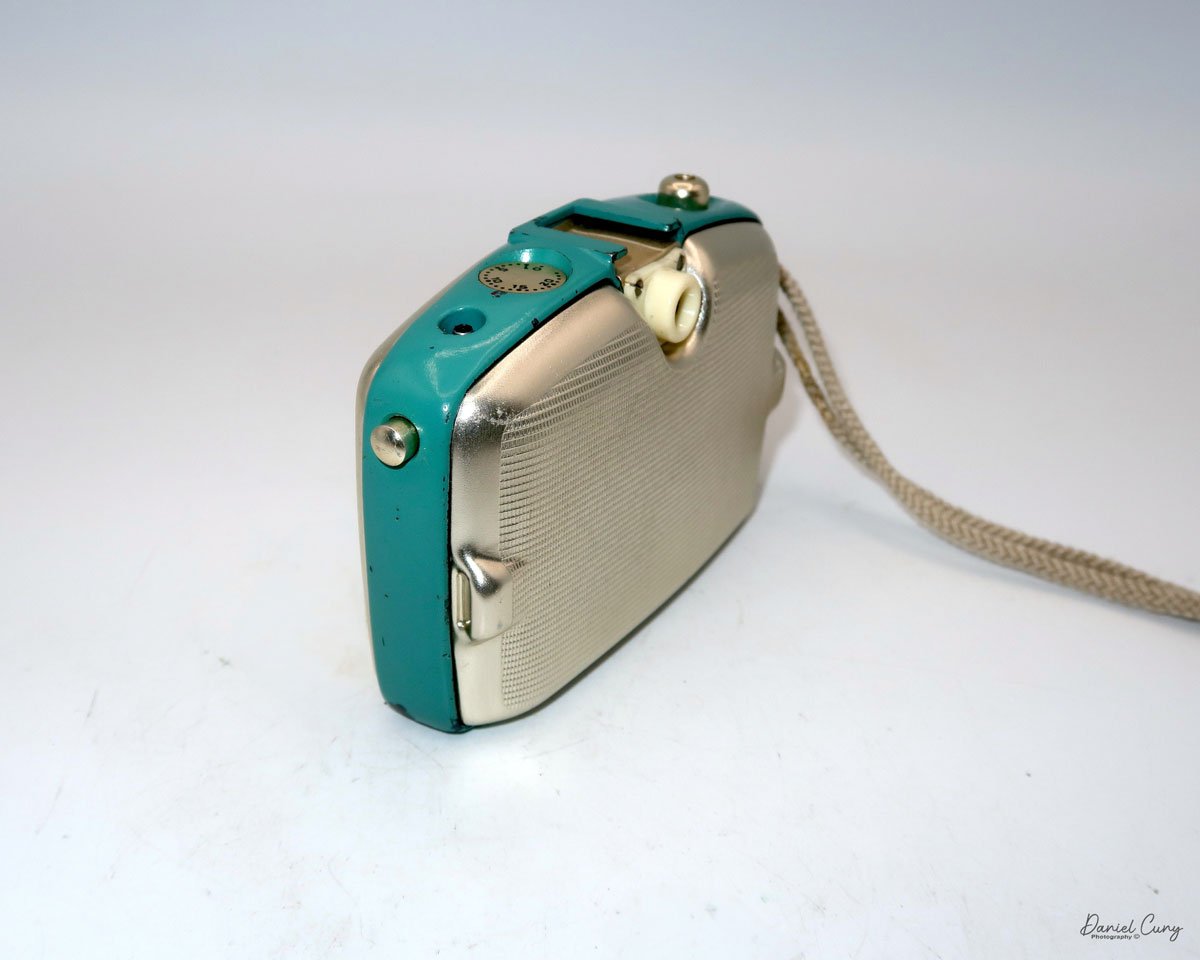
The first time I laid my eyes on a Welta Penti camera was almost 45 years ago. I was working as a salesperson at the local camera store in our area, and someone brought in a beautiful gold-colored camera with dark red trim circling the center. I was a bit flabbergasted when I saw it. The customer had just received it from a relative and wanted to know how to use it.

 At the time, I was in my early twenties, and although I had never seen one before, I started to play with it and explained the camera as I tinkered with it. I was learning about the camera at the same time.  The easy part was explaining the items located around the lens, like shutter speed, focus distance, and aperture settings. Still, when I clicked the shutter, and the advance rod came shooting out of the camera, I think I let out a little gasp of surprise as the woman I was explaining the camera to just smiled and said, "That happened to me when I snapped the shutter, but I didn't know what I did".

 It wasn't until I took the back off the camera and noticed that when you pushed the film advancing rod in, it engaged with the film's sprocket holes and pushed the film into the take-up cannister. The rod stayed in the camera body until you snapped the shutter again. Also, with the back off the camera, I did see that the camera took 35mm film, but not the regular 35mm film that the majority of photographers were used to, but the Agfa Rapid style 35mm film. At the time, we did sell a small quantity of Agfa Rapid film. 

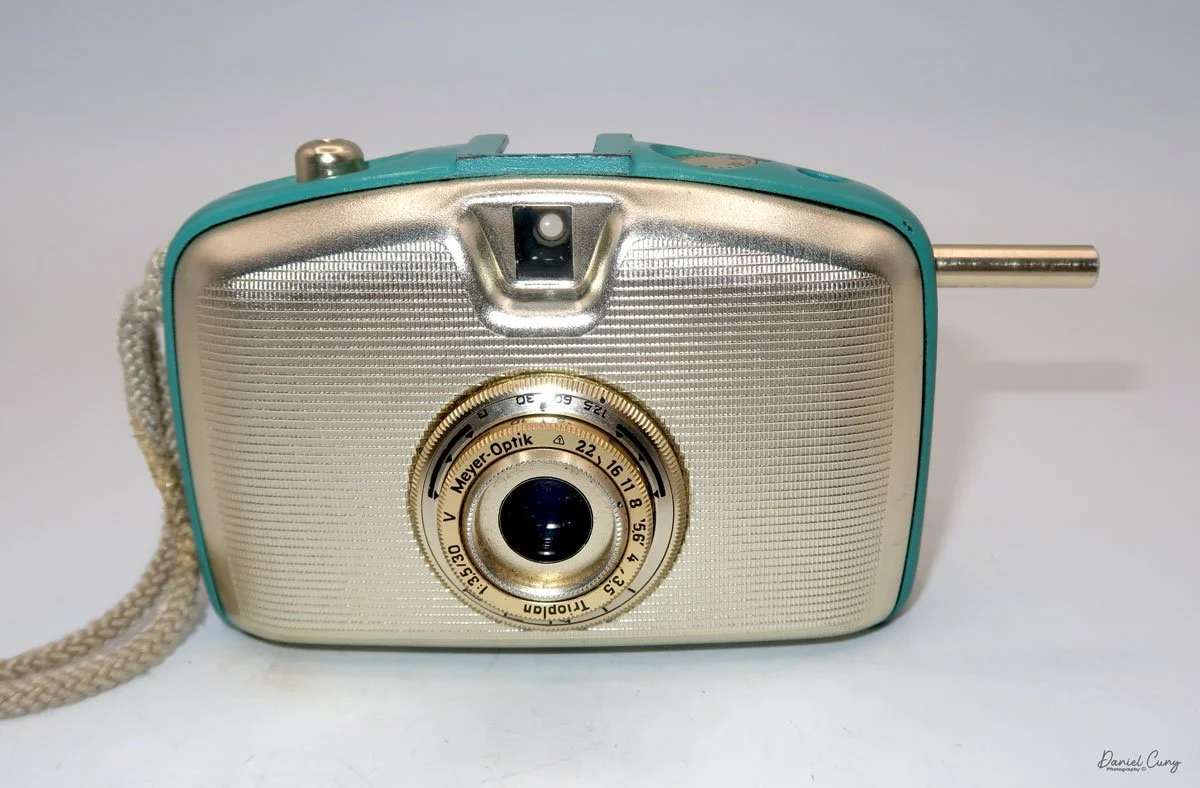
The brilliant gold toned Welta Penti camera with advance rod out.

 While I had the camera's back off, I double-checked that the shutter was opening and closing. The aperture was operating correctly, which it was. I explained to the owner of the camera that it was called a Half-Frame camera, meaning it used only half the size of a standard 35mm camera. She would get twice the number of photos from a roll of film. If she purchased a roll of 20 exposures, she would be getting 40, 41, or possibly 42 pictures from the roll. I sold her a roll of film, loaded it into her camera, and sent her on her way. 

 The whole time I was holding this camera, I couldn't help but think, What a beautiful camera. Keep in mind, this was around the same time as I was starting to collect cameras and the ones that impressed me the most were camera with color, like the Kodak Rainbow,  Petites and Beau Brownies camera, so a gold camera with dark red circling the camera just sort of blew my mind and I wanted to know more about them.

 Fast forward 45 years, and at a recent camera collectors fair in Seattle, I purchased two Penti cameras, both in good working condition. I had previously owned a few of the Penti cameras, but sold them off years ago so when I saw them at the camera show, I thought it would be great opportunity to add them to my collection and also to write about them in one of my camera collecting blog posts.

History:

Welta Kamerawerks, a significant yet often overlooked German camera manufacturer, has a history that mirrors the turbulent narrative of the 20th century in its Dresden-area home. Founded in 1914 as Weeka-Kamera-Werk by Walter Waurich and Theodor Weber in Freital, a suburb of Dresden, the company was renamed Welta-Kamerawerk Waurich & Co. in 1919. From its inception, Welta carved out a niche for itself by producing a wide array of high-quality, medium-priced folding plate and roll film cameras, putting it in direct competition with other German contemporaries, such as Balda and Certo.

Welta Kamera Werks

 Before World War II, Welta was known for its solid engineering and innovation. The company produced a range of popular models. Still, it was cameras like the high-end Weltur series that cemented its reputation. Introduced in 1935, the Weltur was a sophisticated folding camera featuring a coupled rangefinder. This design element positioned it in direct competition with premium brands. Welta also ventured into more ambitious designs, creating the unique folding Twin-Lens Reflex (TLR) cameras, the Perfekta (6x6) and Superfekta (6x9). Though not commercial successes, these models are now highly prized by collectors for their fascinating design and mechanical complexity. Many of their cameras were offered with high-quality lenses from renowned makers like Carl Zeiss and Schneider-Kreuznach, appealing to serious photographers.

 The aftermath of World War II dramatically altered the company's trajectory. Located in what would become East Germany, the Welta factory was dismantled and its equipment sent to the Soviet Union as part of war reparations. However, production managed to restart by 1947 under the new state-controlled entity, VEB Welta-Kamera-Werk. The company continued to produce successful pre-war designs, such as the Welti 35mm folder. It absorbed other nationalized firms, including the Richter company in 1950, which led to the development of the successful Reflekta TLR series.

 Despite its resilience, the era of consolidation in the East German photographic industry marked the end of Welta's independence. In 1959, VEB Welta was merged with several other Dresden-based camera makers, including Belca and Altissa, to form the massive conglomerate VEB Kamera- und Kinowerke Dresden, which would later become the famous Pentacon. Following this merger, the Welta name, which had defined quality German cameras for over four decades, gradually disappeared from the market, marking the end of a significant chapter in photographic history.

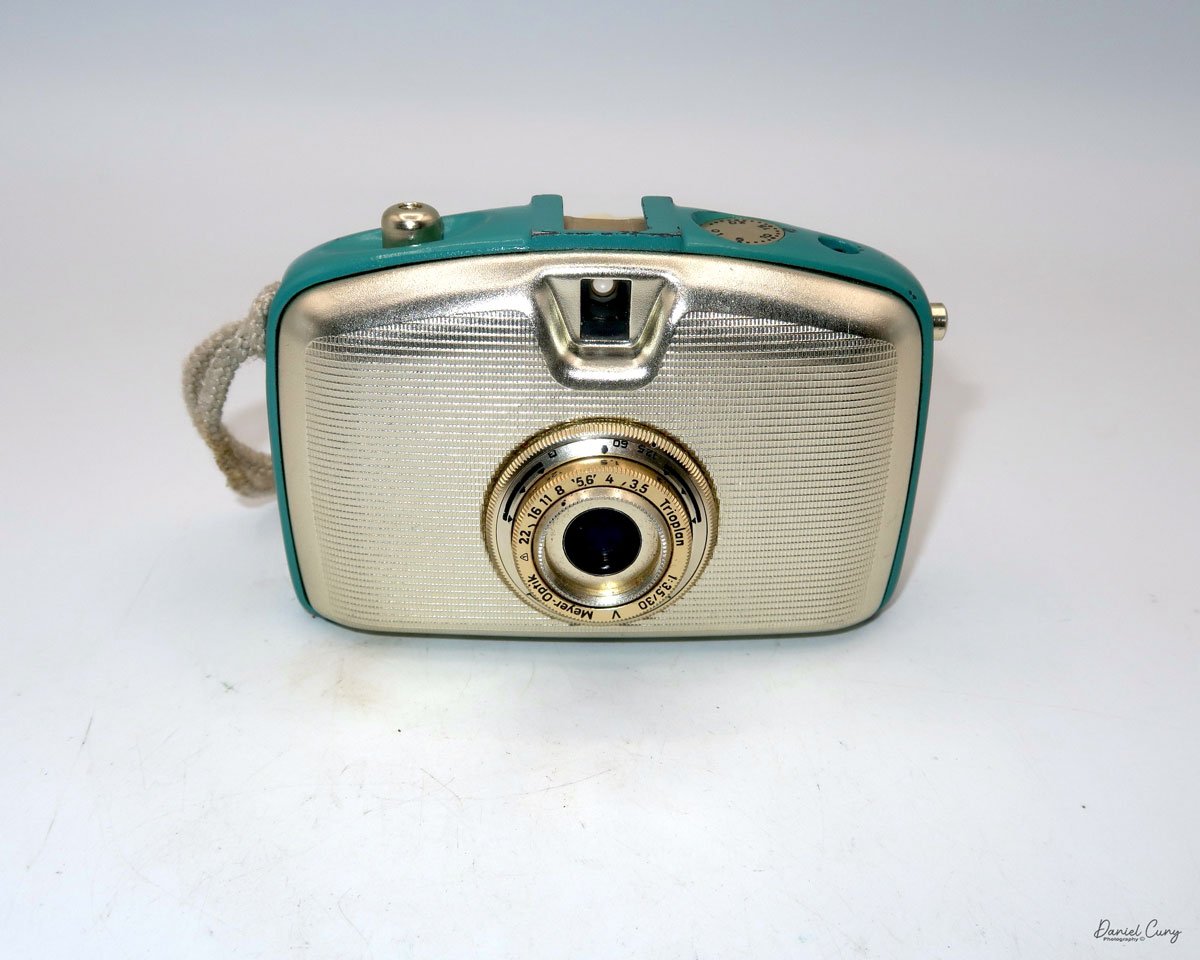
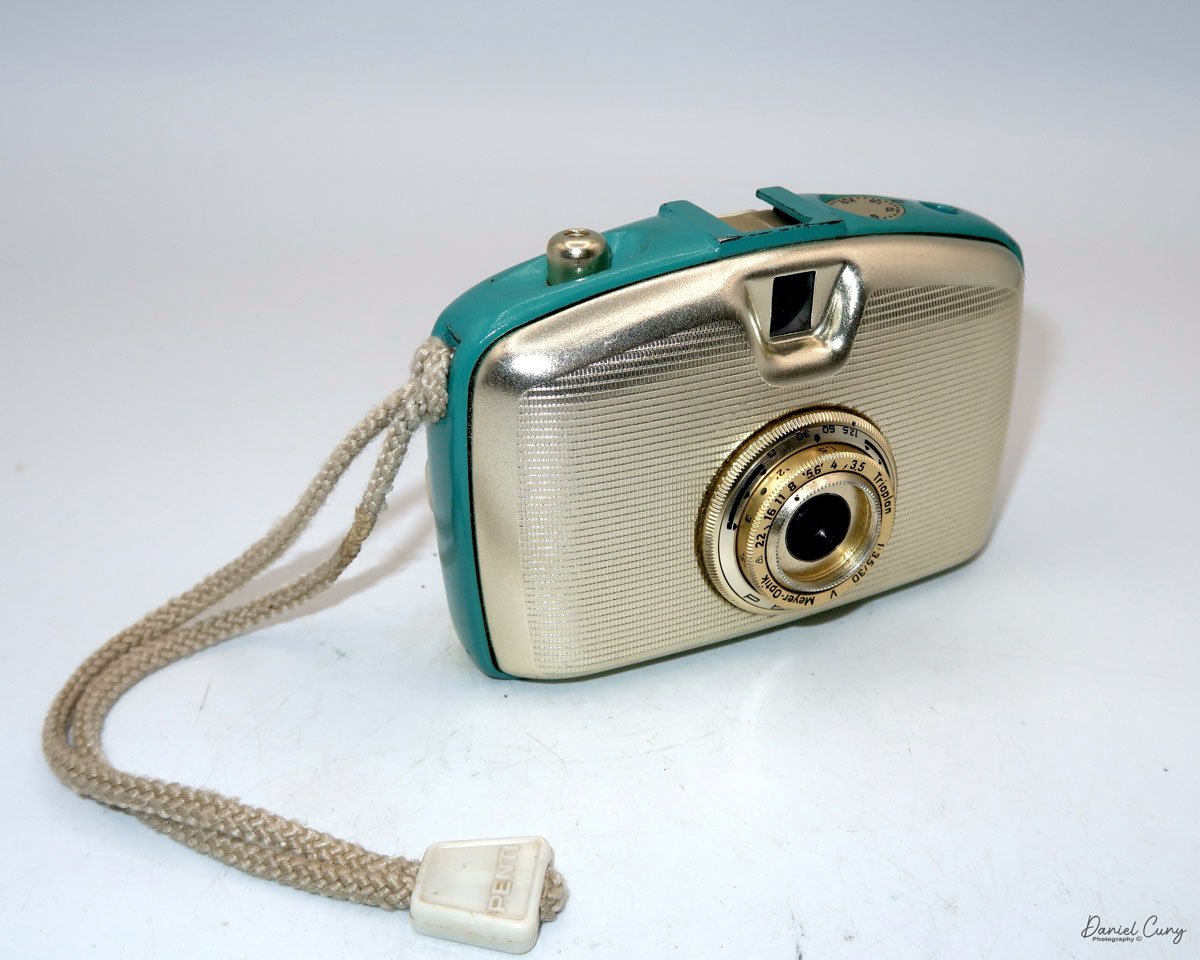
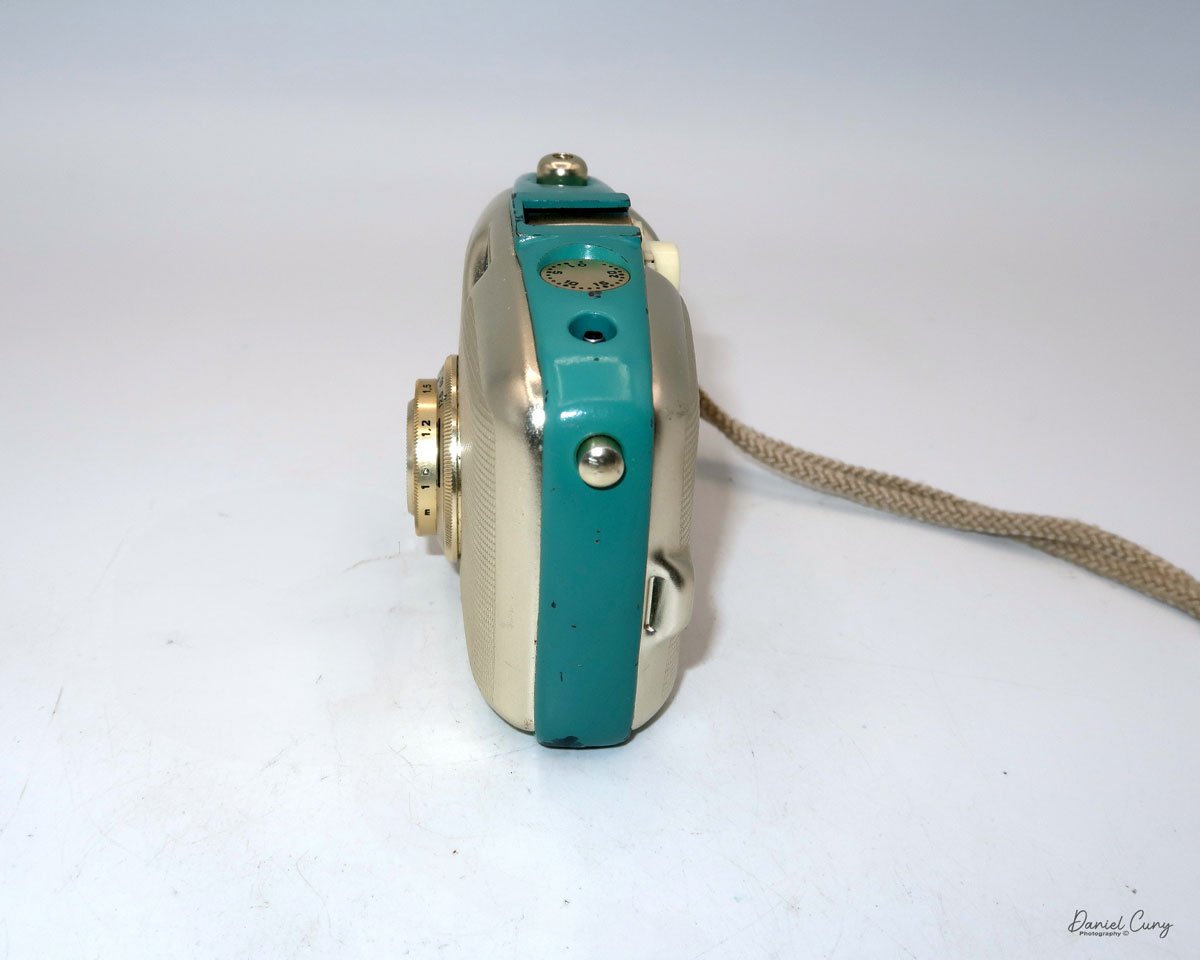
My dark red and turquoise Welti Penti cameras

 The Welta Penti was introduced in 1959 and produced until 1977 with a few modifications. In 1961, the Penti I and Penti II were introduced. The Penti I had a broader front viewfinder area and small knobs on the lens to control the different lens functions, like aperture and shutter speeds, and the Penti II was similar to the Penti I but incorporated a selenium cell light meter. 

 All Penti cameras are 35mm, half-frame cameras that take an 18x24mm image in a vertical format. The Penti and Penti I cameras have a Meyer-Optik Tripolan 30mm f/3.5 lens. The Penti II has a Domiplan 30mm f/3.5 lens.

 The 28mm to 30mm is considered a standard lens for the half-frame style cameras. The Welta Penti cameras came in different colors; all had a brilliant gold-toned camera body, but the band around the camera came in black, dark blue, turquoise, dark red, or white.

My Camera:

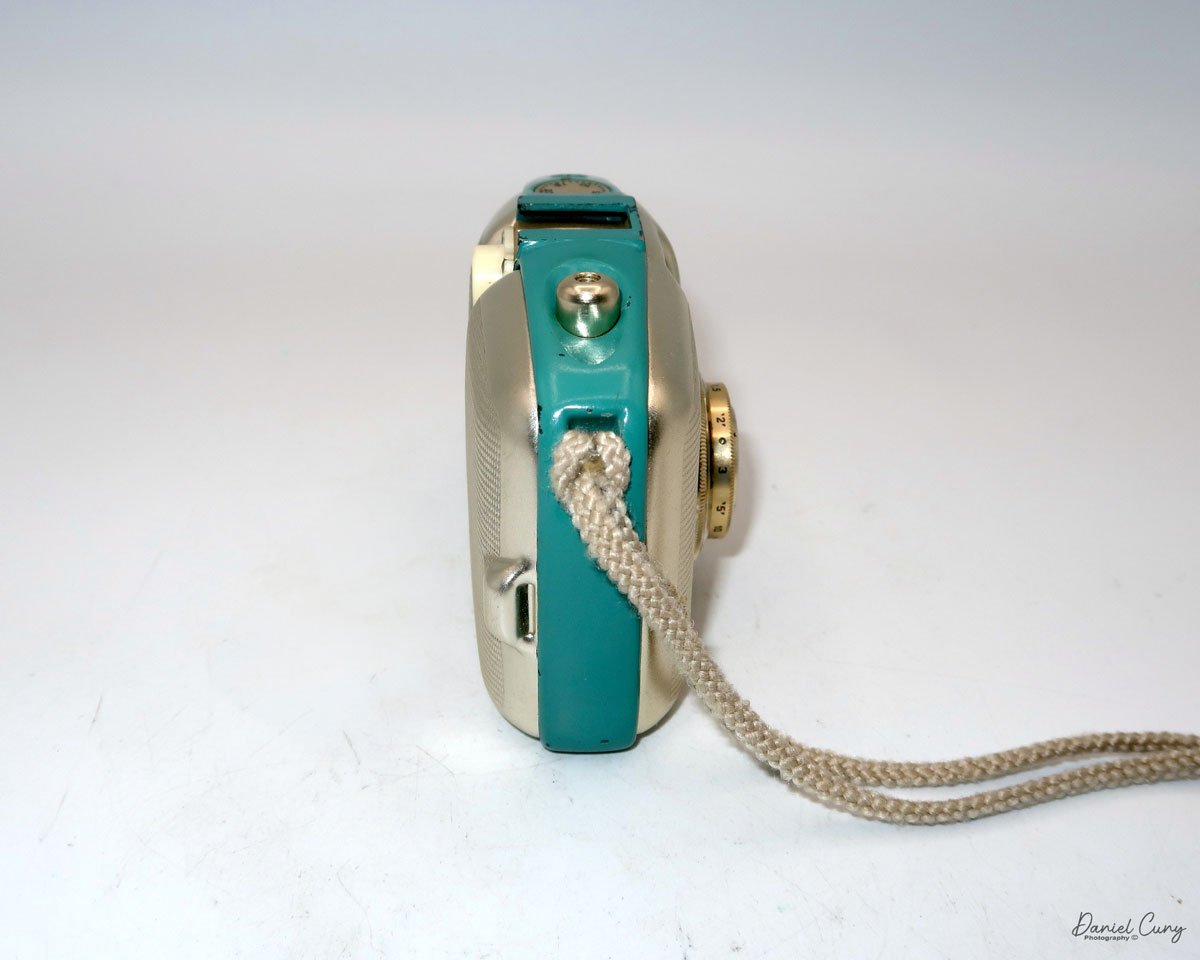
My Welta Penti is a small and compact camera, making it another fantastic option to keep in your pocket or jacket, ready to take photos. The camera measures 4.25" wide by 2.75" tall and is only 1.5" deep, weighing 8 oz. A metal lens hood and case are available for the camera, but unfortunately, my camera does not have either one.

Around the lens, and closest to the camera body, is a ring that controls the shutter speeds, which range from 1/125 to 1/30, and a square that represents timed exposures. Inside the shutter speed control is the lens's focusing ring, which focuses down to 1m. Inside the focusing ring are the lens's aperture settings, which go from F/3.5 to F/22. On the Penti camera, these are awkward to move. Now that I've shot with the camera, I understand why they added the small knobs to the updated Penti I and II model cameras. These are the only settings on the camera, except for the frame counter, which is reset to zero using a wheel located inside the camera.

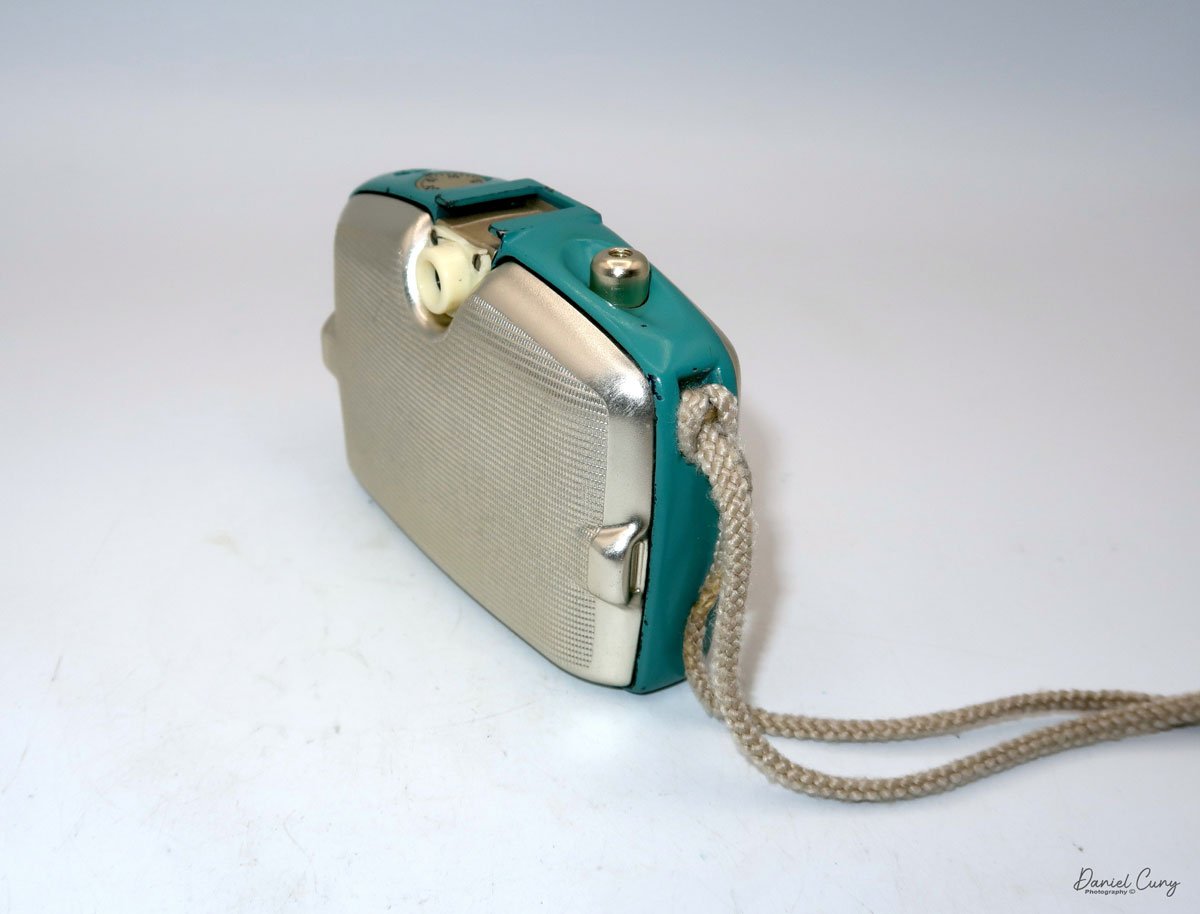
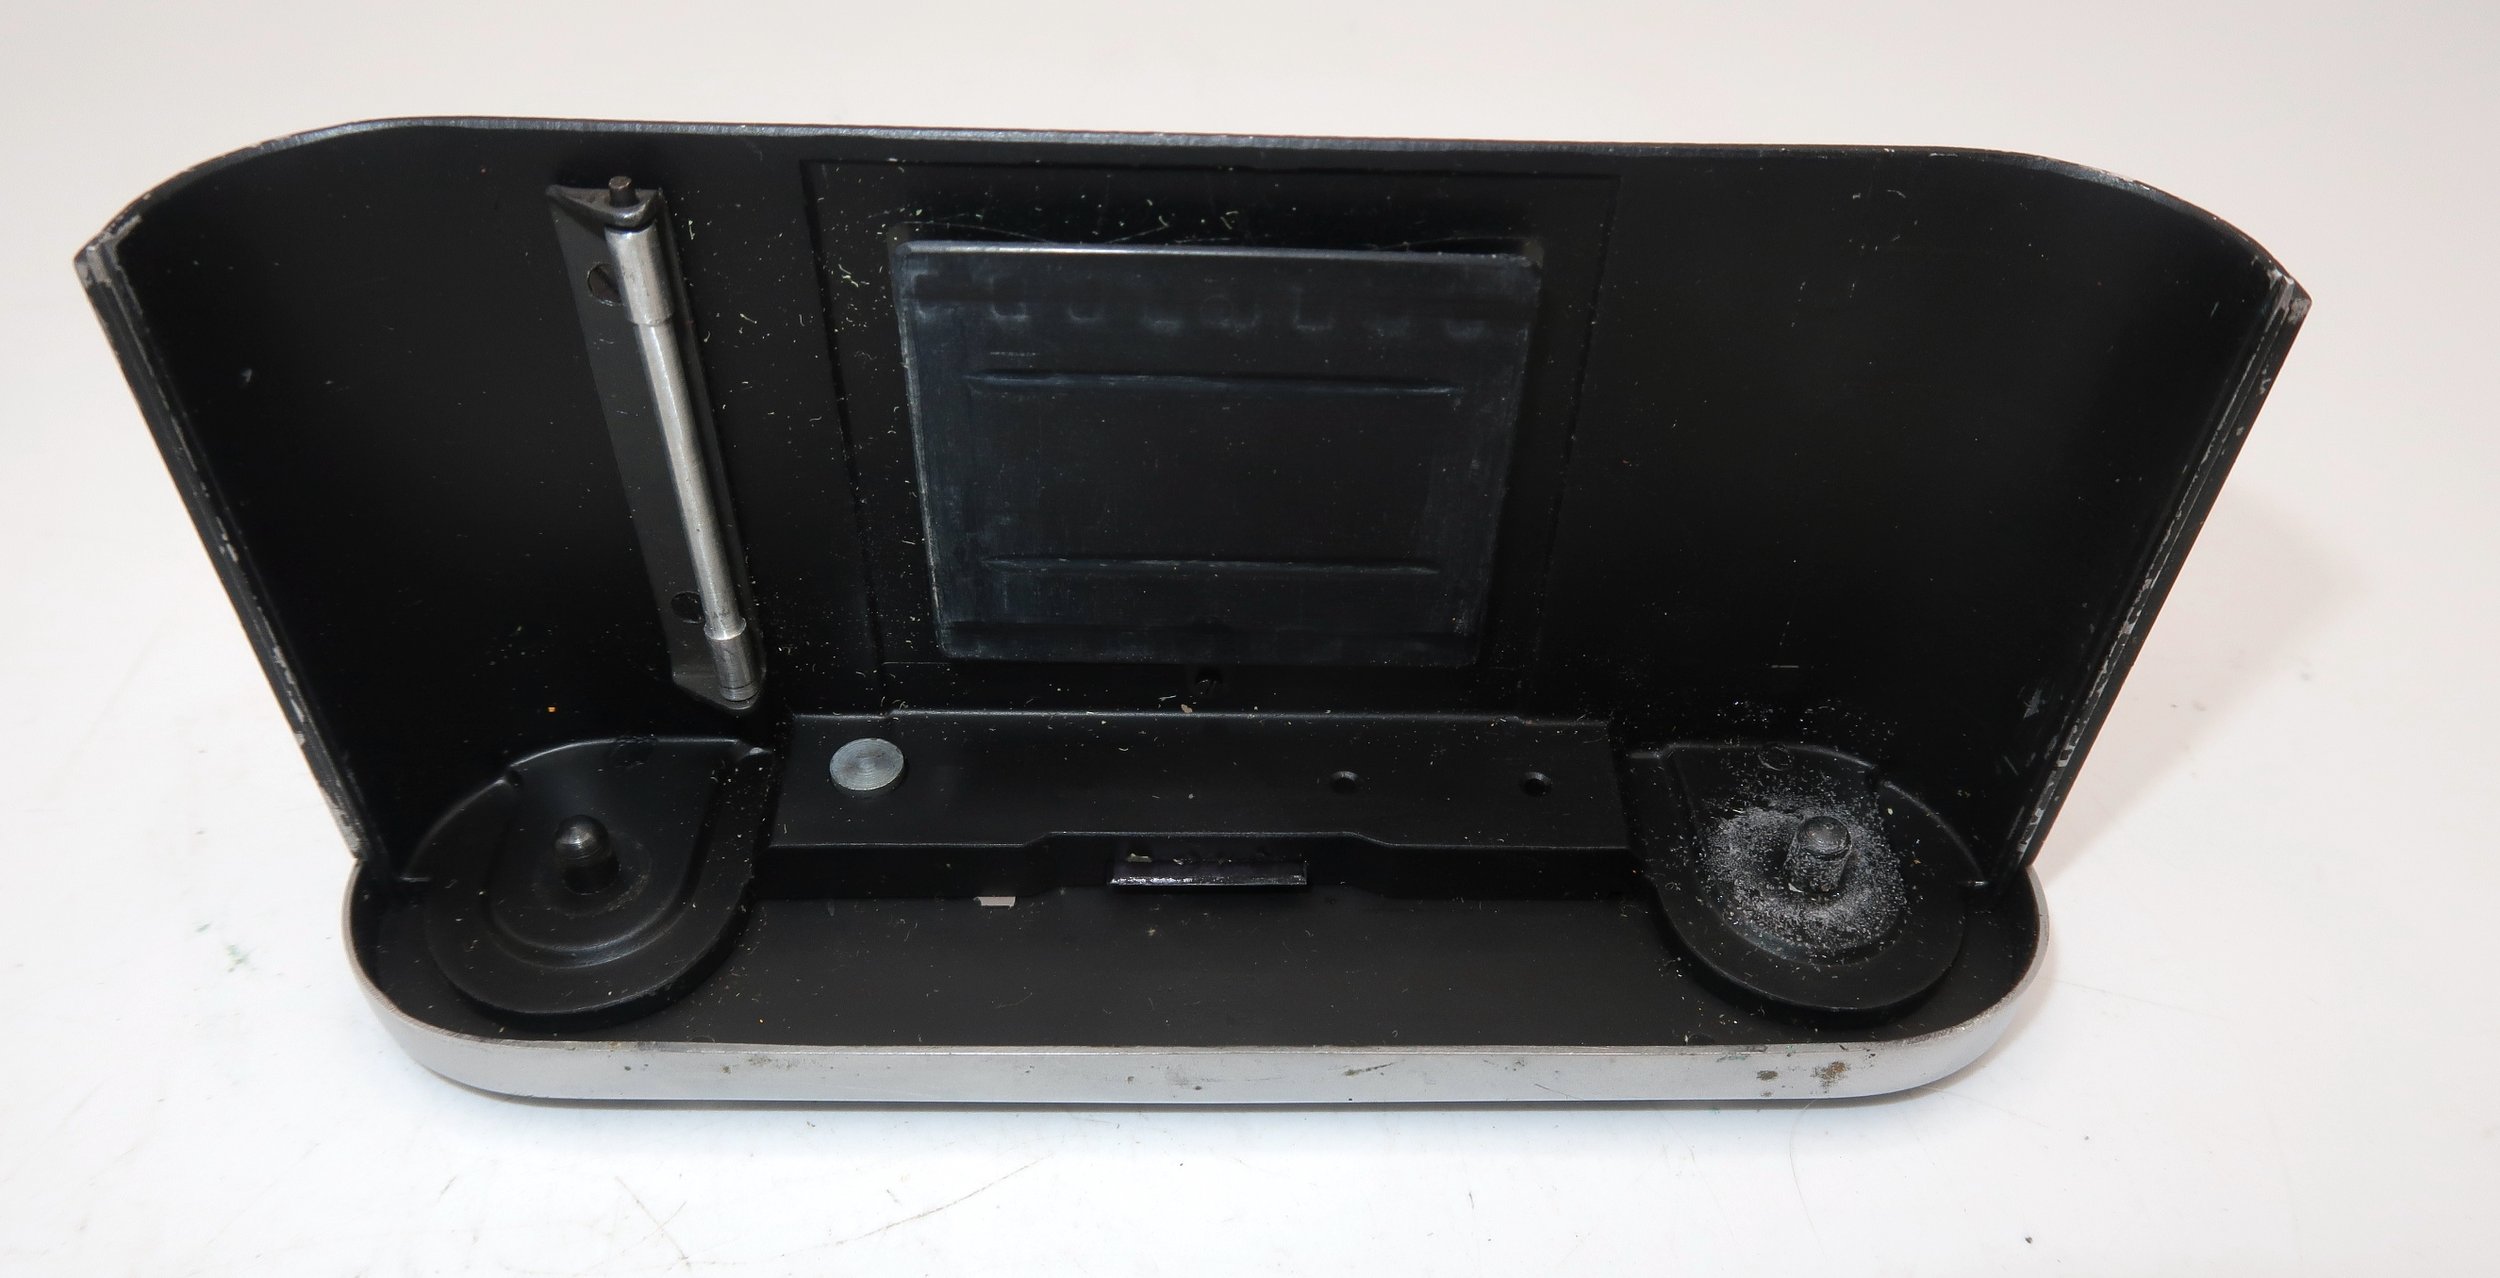
To remove the back to load the film, there are two grips molded into the back of the camera that you grab and pull the back away from the camera body. The back is held in place with two spring clips that engage with the molded grips to secure it to the camera body.

 Once you have the back off the camera's body, you see the two Agfa-style film cassettes, along with a silver pressure plate that swings down when loading the film and a sliding bar that holds the take-up cassette in place. The nice thing about these film cassettes is that nothing is holding the film inside: no tape or clip is used. The film is loose inside the cassette and has just been wound onto a spool.

To load the Agfa style cassettes, insert 35mm film. Luckily for me, I just purchased a 100' roll of B&W film, which I just loaded into my bulk film loader, so I have plenty of film. Just remember, you don't need a lot of film because you're getting twice as many photos on the roll. 

 Here is the procedure I used to load the cassettes. I removed the film cassettes from the camera and, along with my bulk film loader, placed them in a dark bag. I cut off a piece of film, approximately 2-3 feet long, from my bulk loader and slid the end of the film into one of the cassettes, ensuring the film's emulsion faced down, just like any 35mm film. Once I pushed the film into the film cassette, I removed it from the dark bag and trimmed the exposed film's corners.

I placed the cassette with the film inside on the left side of the camera's body, pulled down the pressure plate, and gently slid the trimmed end of the film into the take-up spool on the right-hand side. I snapped the shutter, and the film advancing rod popped out of the camera's body. The film is transported from the film cassette to the take-up cassette by a piece of metal with two prongs that push the film into the take-up cassette when the film advancing rod is slid into the camera's body. 

 When you take the photo, the pronged metal piece disengages from the film's sprockets. It moves to the left, so when you push the rod in, the pronged piece of metal grabs the film's sprockets and pushes the film from the cassette on the left to the take-up spool on the right. At this point, flip up the pressure plate, and immediately to the left of the viewfinder is a thumb wheel that allows you to zero out the frame counter, indicating the number of photos you've taken. Pop the film back onto the camera body, ensuring it's positioned correctly, and then start taking pictures.

The problem in my circumstance was that, since I didn't know how long the film I cut was, I didn't know how many photos I'd get on the unknown length of film I cut in the dark bag. The good or not-so-good news is that, with these cassettes, you don't know when you reach the end of the roll because you're transitioning from one cassette to another. There's no rewinding the film into the cassette. When you're done with the roll, the pronged metal piece has no more film to push into the take-up cassette, and a film tail (the end of the film) protrudes from the take-up spool.


My Results:

Now that I had film loaded in the camera and my trusty Sekonic L-308 meter with me, I took general meter readings. I then took our dog for a walk through the neighborhood. I snapped a few photos, both vertically and by turning the camera to get a few horizontal images. Here are the results from my walk with Ernie.

Conclusion:

What a fun camera to shoot with. It's small, compact, and fits easily into my pocket. The film advance rod popped out as it should, the viewfinder framed the images well, and there were no snags on transporting the film from one cassette to the other, which is what I was most worried about when using it.

 The few minor drawbacks I have with the camera are that, with my larger hands, the settings were a bit clumsy, but not too difficult to use once I got accustomed to their location. Additionally, I was unsure of how many images I had taken on the film, so I had to insert the film cassette. Out of the approximately 2 feet of film I put in the film cassette, I received 22 good images on the negatives, two of which were partial frames.

I also seem to have a slight light leak coming from either the bottom of the camera, as there’s a consistent bright area on my photos, which I’ll need to investigate. The images also look to have an “infrared” glow to them, which I liked.

 To read about any of the other cameras reviewed, click the link.

 I also sell cameras, lenses, and other odd camera items on my eBay store, Cuny's Camera and Photo. Stop by and go shopping.

 Thank you for taking the time to read about this fantastic little camera. I'd love to hear from you, so please email me with any comments or concerns you have about any of my reviews.

 Until next week, please be safe.
Futura-S Camera

My Futura-S camera.

As a camera collector for over 50 years, I was unaware of the Futura cameras for almost 45 years. It wasn't until a friend and fellow collector mentioned the Futura camera that it stuck in the back of my mind, as I haven't come across one in all these years of collecting.

 After hearing about the Futura cameras, I did some research and had many questions: How well were they built? How many lenses were available? How many different models did they offer? What lens mount did the camera offer? So I pulled out my trusty camera bible, McKeown's camera guide, and started to learn about the little-known (to me) brand of Futura cameras.

Futura Logo on the camera

Having purchased my Futura-S camera in a "lot" of cameras purchased, and it wasn't until I received the box of cameras that I noticed one of the cameras was the Futura-S. The only thing in the photo of the camera "lot" was the back of the brown case. The top of the case was missing, so I figured it was some random or very common camera that I've owned in the past, but when I took the camera out of the case, the Futura was in surprisingly good condition and seemed to be working, too.
 Picking up the camera, I set the shutter speeds to higher speeds to see if the shutter fired, and it did. The transport moved and cocked the shutter. The lens looked clean, and then I tried some of the slower speeds on the camera. That's where I ran into some difficulty. The slower speeds locked up the shutter, and it wasn't until I reset the shutter speeds to a higher speed that the shutter closed, and I was able to cock the shutter again.

 One of my first thoughts was I wanted to run some film through the camera to see how it handled it. Then, I felt compelled to write about my experience with the camera and how it was handled, knowing I couldn't use any shutter speed lower than 1/50 in my testing experience.

History:

Fritz Kuhnert founded Optische Anstalt in Freiburg, Germany in 1942. The company initially manufactured optical equipment for the German military during World War II. The factory was bombed and destroyed during the war. In 1946, Fritz rebuilt the company in Gundelfingen, a nearby town, and concentrated his efforts on producing consumer cameras due to the growing photography market.

 1947, the company introduced its first camera at Photokina, the Efka 24. It was a simple scale-focus camera that used 35mm film to produce 24x24mm images. The name "Efka" was derived from the phonetic spelling of Kuhnert's initials, "FK." In 1950, the company introduced the Futura, a more advanced 35mm rangefinder camera with interchangeable lenses and a proprietary screw mount. The lenses were named after Kuhnert's family members: Elor (his wife Elenore), Evar (his daughter Eva), and Petar (his son Peter). 

 In 1951, due to financial difficulties, Kuhnert sold the company Hamburg ship-line owners Ernst and Eduard Komorowski, who renamed it Futura Kamerawerk GmbH. Under their ownership, the company produced four different 35mm rangefinder cameras, including the Futura S, which was introduced in 1952. This model featured a Synchro-Compur shutter and maintained its predecessor's distinctive design and lens mount. They also produced two of the fastest standard 50mm and portrait 70mm lenses of the time with a maximum aperture of F1.5, named Futura Frilon.

 Futura Kamerawerk struggled to compete with established German brands like Leica and the emerging Japanese camera industry despite producing high-quality cameras. The company ceased operations in 1957 and closed the factory in 1958. Today, Futura cameras are valued by collectors for their unique design and historical significance.

My Camera:

My Futura-S is 5" wide by 3" tall by 2.5" deep with my Futura Elor 50mm f2.8 lens. Without the fitted leather case, my camera weighs 1 lb. 9.4 oz. The Futura-S is a very well-made camera but a bit heavy due to its solid cast metal body. I prefer heavier cameras because they fit my hands better. Cameras like the Nikon F body, the Robot Royal, and now the Futura cameras feel comfortable.

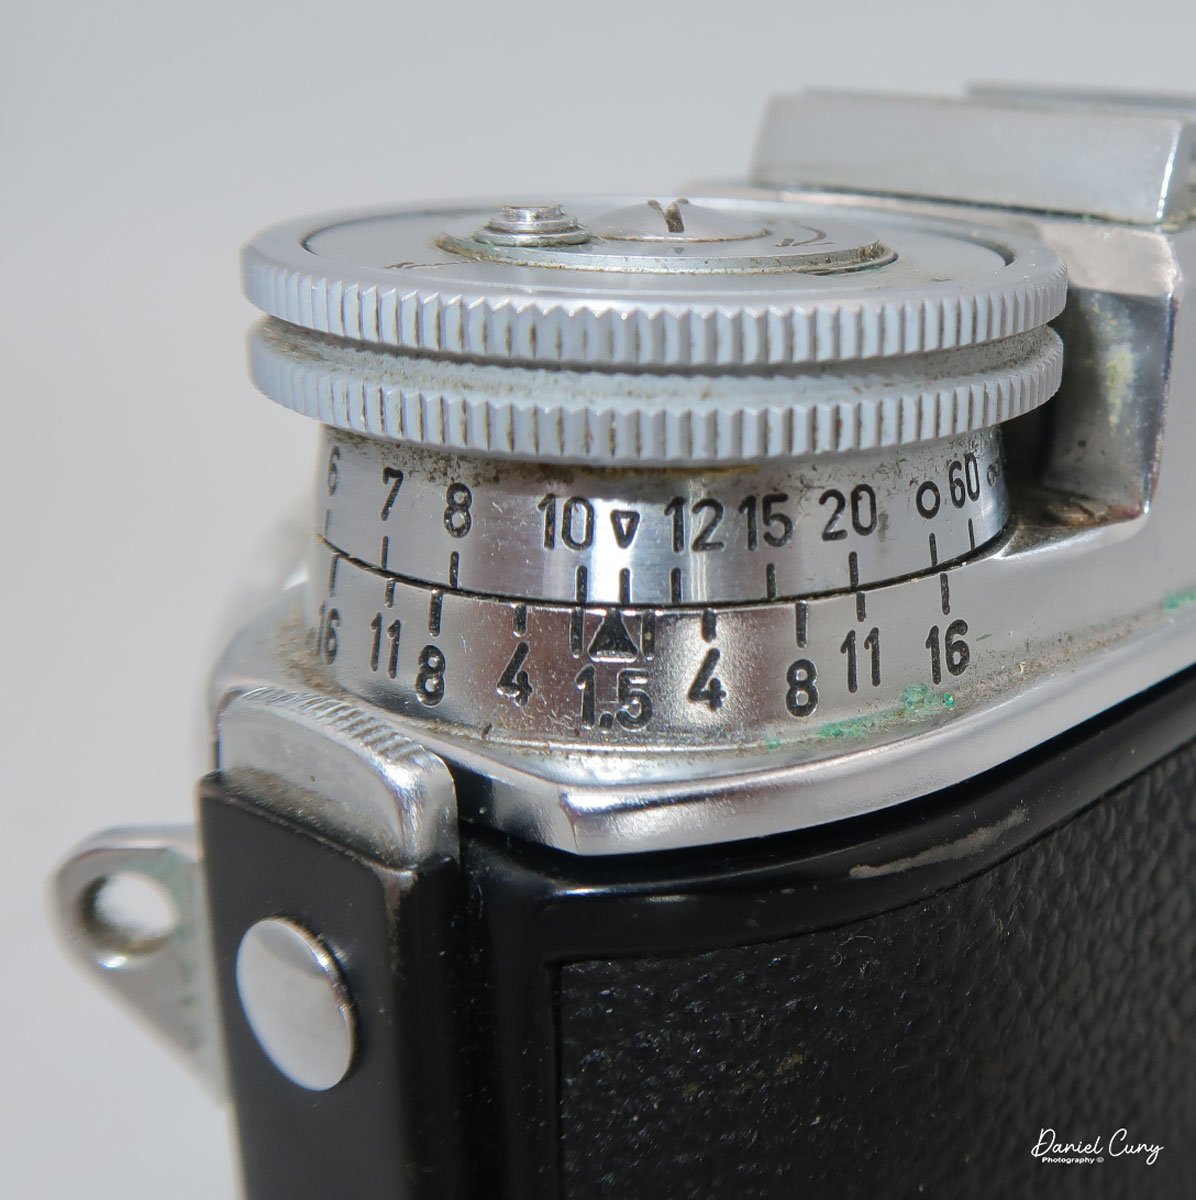
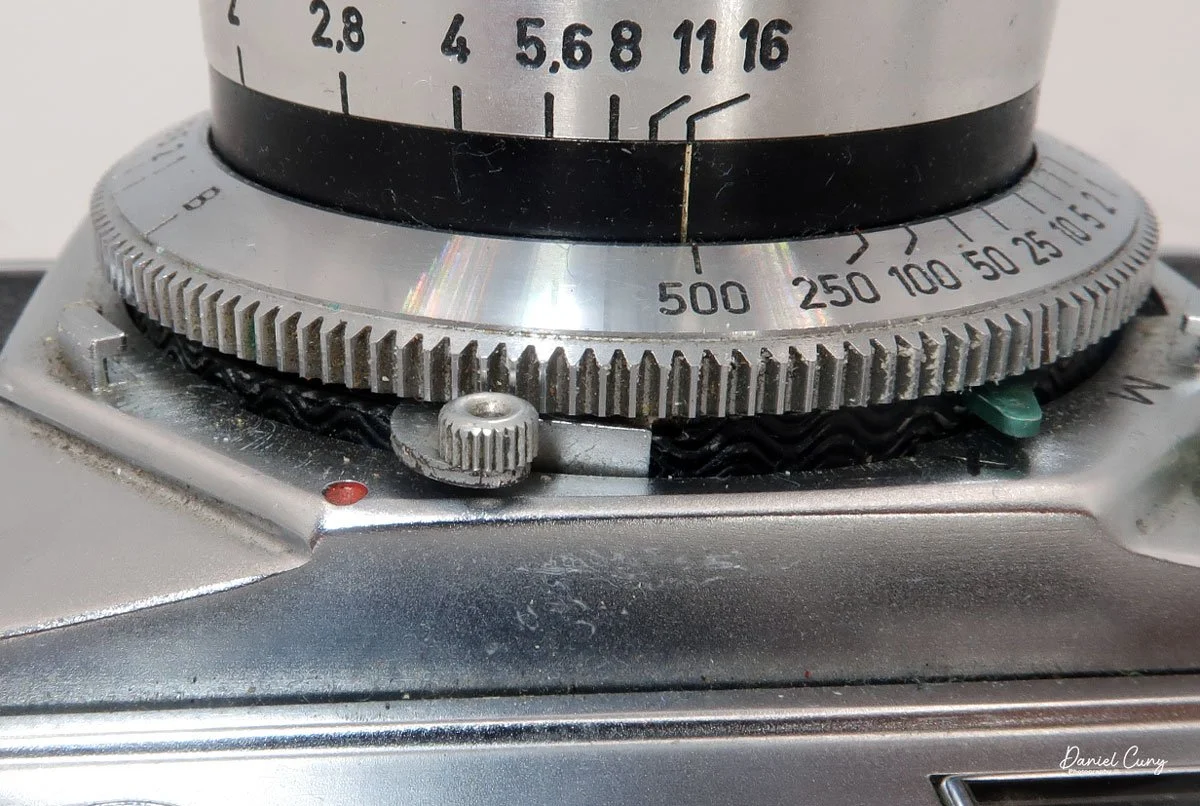
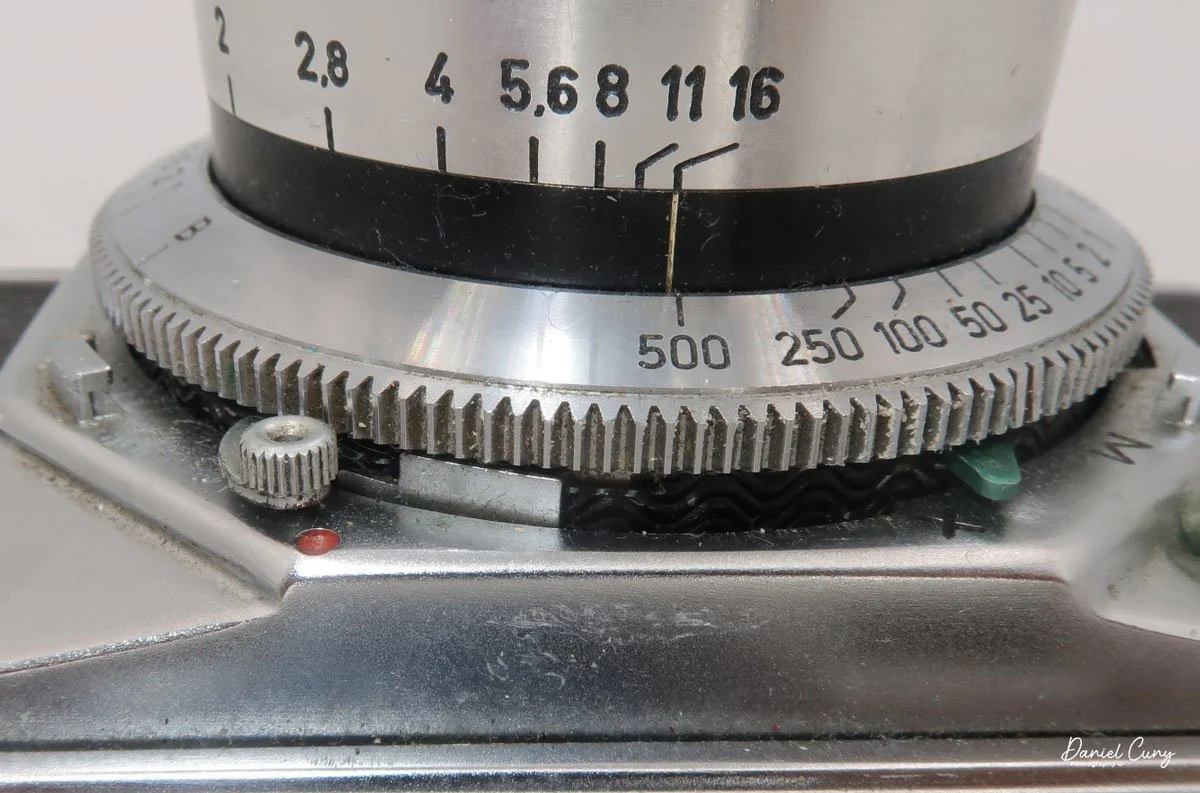
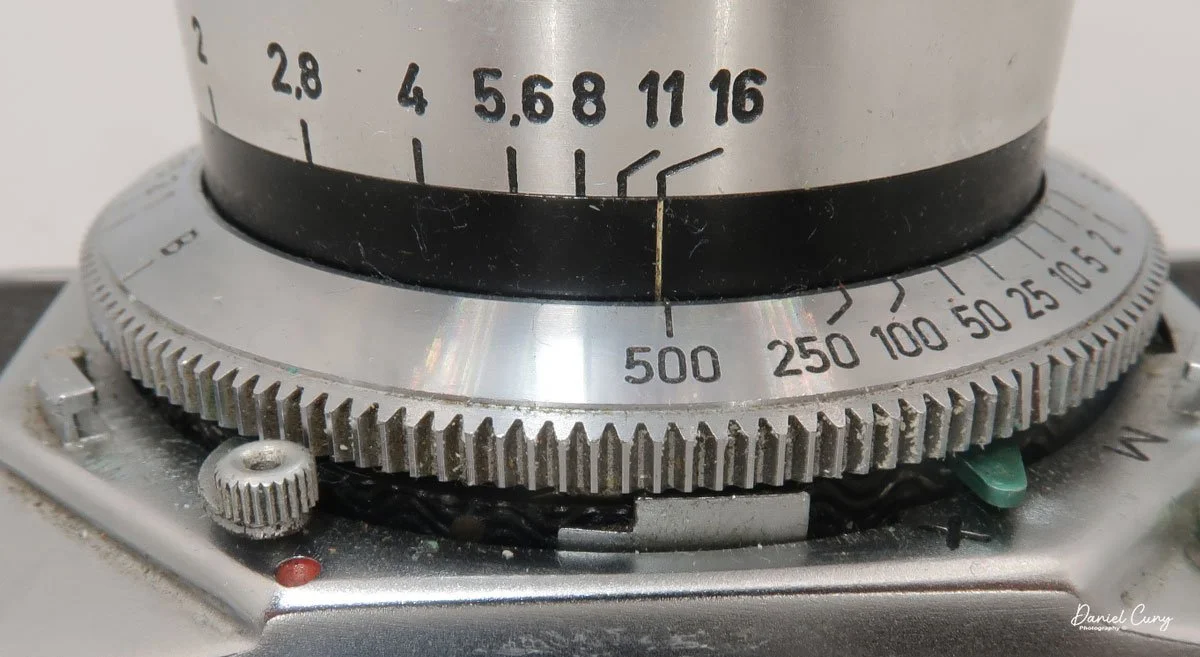
The "S" in the Futura line stands for Syncro-Compur, or the shutter system used on this camera. All of the exposure controls are located around or on the lens. The shutter speed dial is located on the outside of the lens area and is moved by two knobs on opposite ends of the dial. The shutter speeds go from 1/500 to 1 sec. along with "B". Also, on the bottom of the shutter speed ring is "Futura Freiburg."

 The focus is controlled by the ring just inside the shutter speed control. This ring has a larger knob sticking out to change the focus as needed to create a sharp focus. The aperture ring is on the lens barrel itself. The aperture range is f/2.8 to f/22. There is an even larger knob located on the outside of the shutter speed ring, which sets the flash sync for "X," electronic flash, or "M," bulb flash.

To remove the lens, you unthread it from the body. The lens has a proprietary thread mount of 33.8mm, so it's not your usual Leica or Pentax thread mount system. I must say, the lens has a very fluid and lean look to it. On the back of the camera is the rangefinder viewing eyepiece. The rangefinder on my camera is exceptionally bright and accurate. We'll see when I test the camera with film in it.

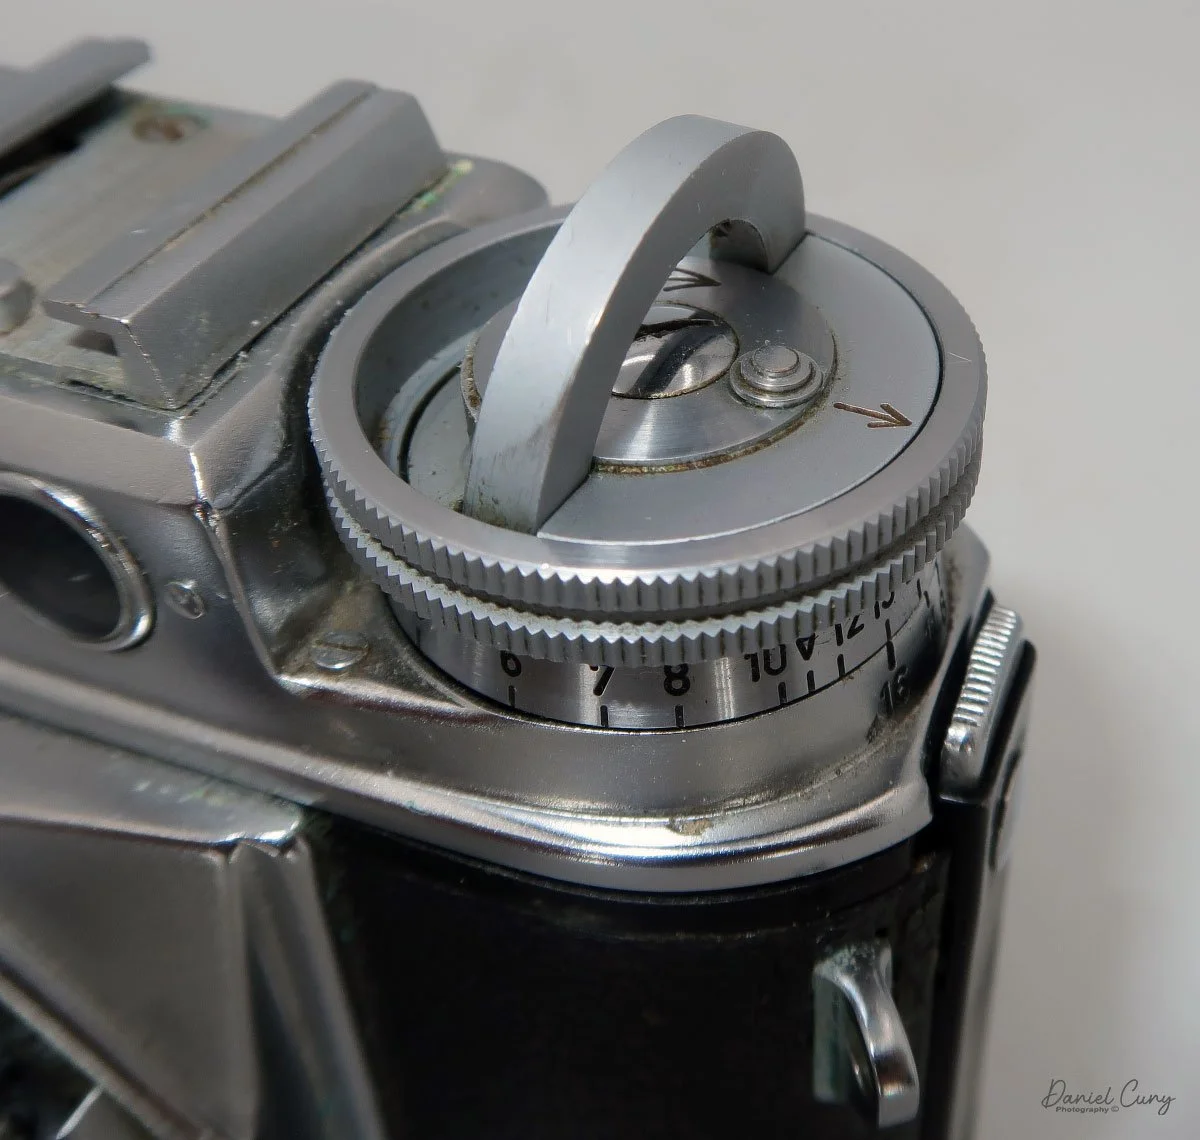
On top of the camera going from left to right, is the rewind knob, which has an arrow on top to show the direction to turn to rewind the film into the cassette. Next is a cold shoe used for a mounted meter or flash attachment.  Behind the cold shoe is a pointer switch, which you can point to either  SW, 'Schwartz/Weiss' (Black & White); C, 'Color'; CN, 'Color Negative.', which is a reminder to the photographer to the film in the camera. Thank you, David Babsky and Mike Eckman, for this information. 

 Next to the cold shoe is a lever which on my camera is a non working on my camera self-timer. Above that and slightly to the right is an additive frame counter. Twist the dial to "0" when you load the film, and the frame counter increases. Just below the frame counter is the cable release threaded shutter release. An interesting item about the shutter release is you can "lock" it down for longer exposures by turning it to the right after depressing it, which locks it in the open position until you turn it to the left to release it. 

Having the locking shutter release is good if you don't have a cable release, but the bad thing is you're still moving the camera a bit during exposure, which might create blur in the image. On the far right is the film advance knob. This turns counterclockwise to advance the film.

 Four nubs on the bottom of the camera lift it and give it stability when placed on a flat surface. Also, there are two knurled buttons, one on the left, to release the drive gear and allow the film to be rewound into the film cassette. The larger one in the center of the camera opens the back of the camera to load film. Slide the larger button toward the arrow pointing to "O," and the back will come off by pulling it down.

Once the back is off the camera, the take-up spool comes out for more effortless film loading. The camera's serial number is imprinted on the metal plate under the frame window. My serial number is S11244. When you put the back onto the camera and slide it up, it automatically locks onto the camera.

 My Results:

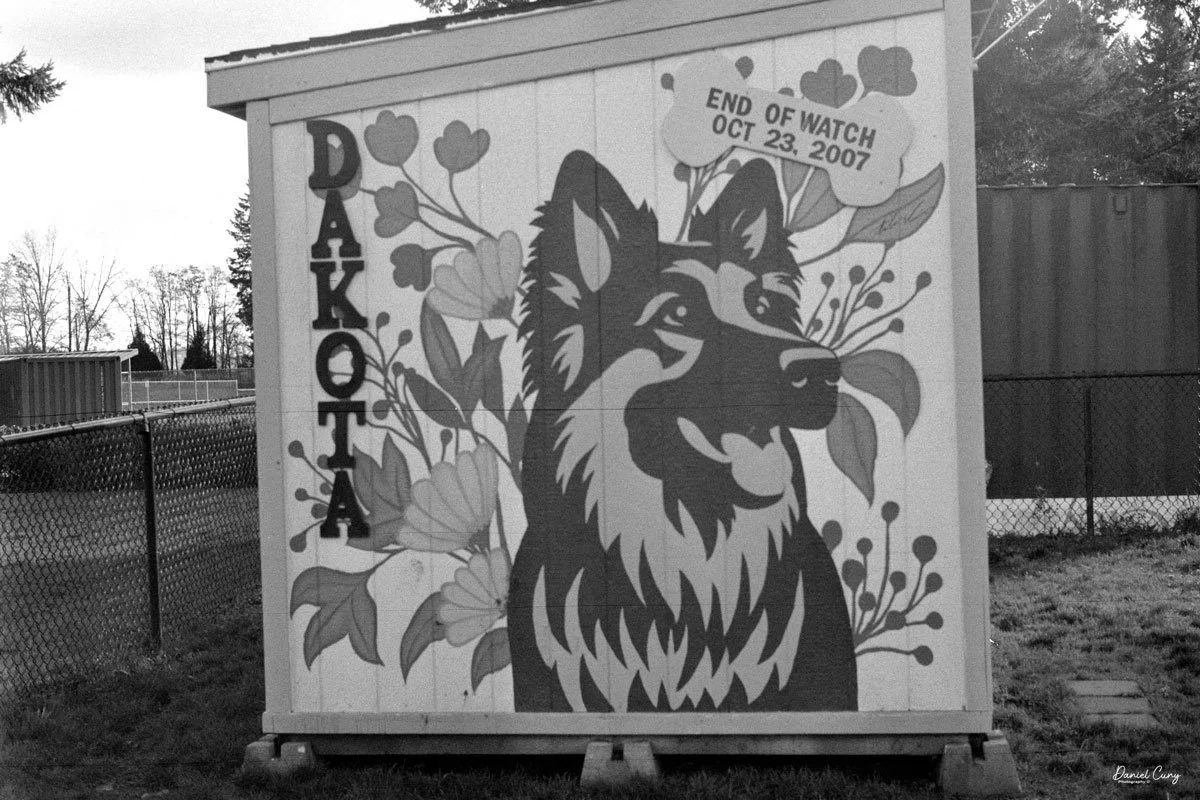
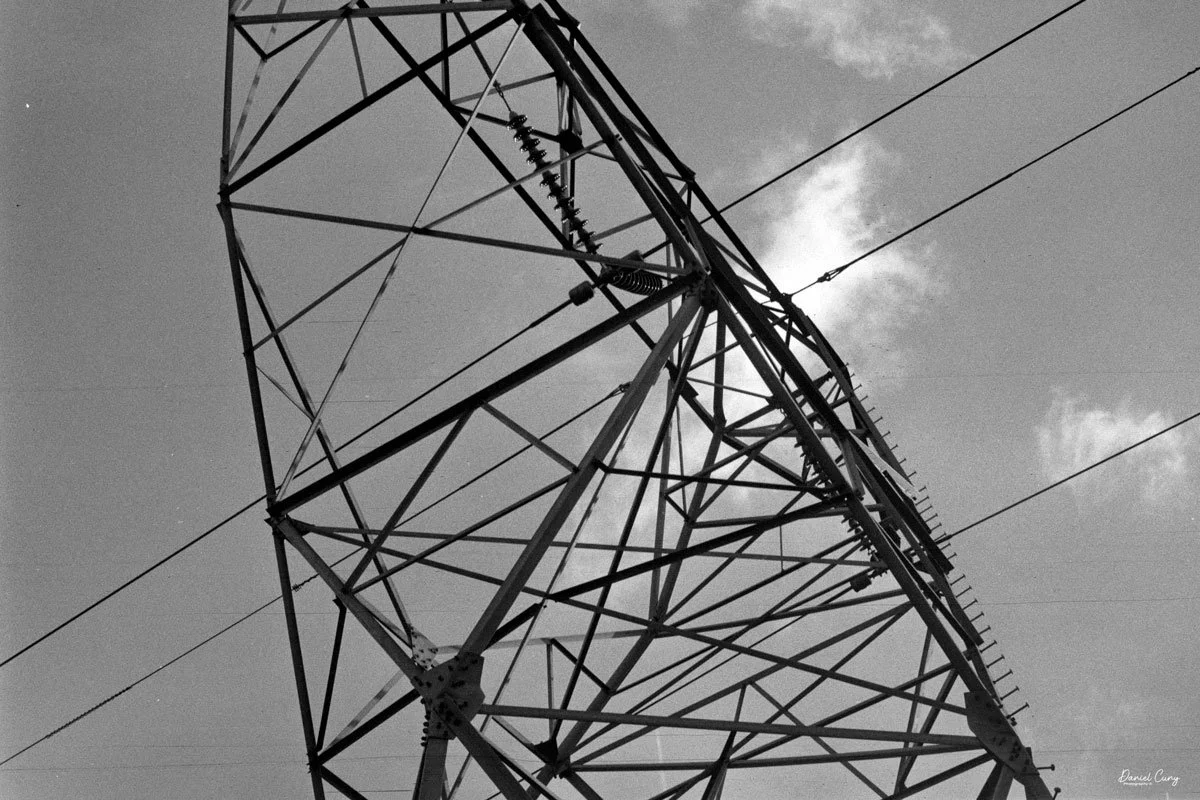
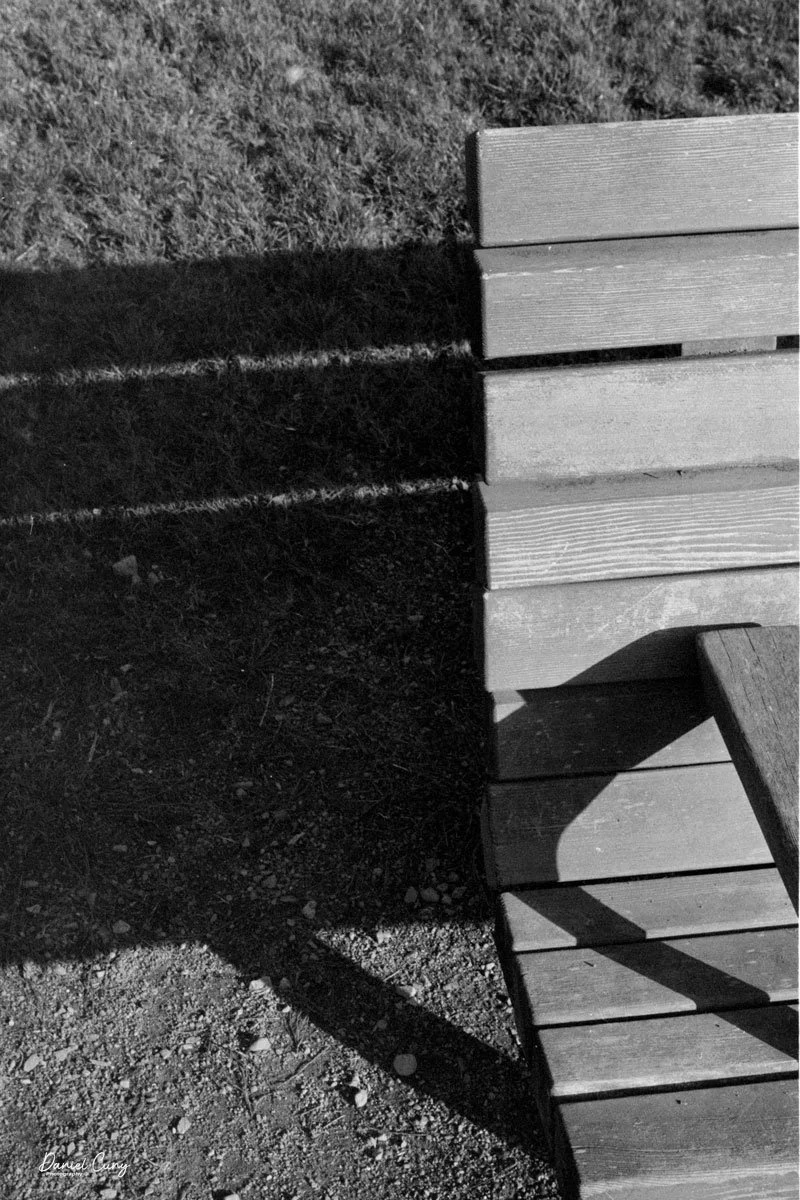
Now that I have put a roll of T-Max 400, 24-exposure film into the camera, which I purchased out of date a few months back, I want to walk around the neighborhood to take photos. Unfortunately, my wife was taking a nap, so I needed to keep my eye on our two dogs, who have a tendency to bark when out of sight. So, I just stayed mainly in my backyard to take the photos.

 I have to say the camera was extremely fun to shoot with, but the one thing that kept bugging me was the camera advance knob. I'm just not used to turning the knob counterclockwise to advance the film. It's not that big of a deal, but I kept turning it clockwise for the first few frames to advance the frame. Once I had it in my head that the winding knob was "backward," it went smoothly, and the camera did a fantastic job. 

 Here are a few of the frames from my backyard.

Conclusion:

I don't know how I didn't know about the Futura-S for so many years. It's a fantastic German rangefinder camera with excellent optics. While my camera could use a complete CLA to bring it up to excellent condition, I have to say that for its condition, it did great.

 I can see why this is a desirable camera, especially for the discounted price from top brands like Leica or Alpa. The camera is compact and easy to use, and the rangefinder produces fantastic results.

 Thank you for taking a few minutes from your day to read about this underappreciated German rangefinder built in the 1950s.

 I'd love to hear from you if you have any questions or comments about this camera.

 Until next week, please be safe.