Canon PowerShot 350

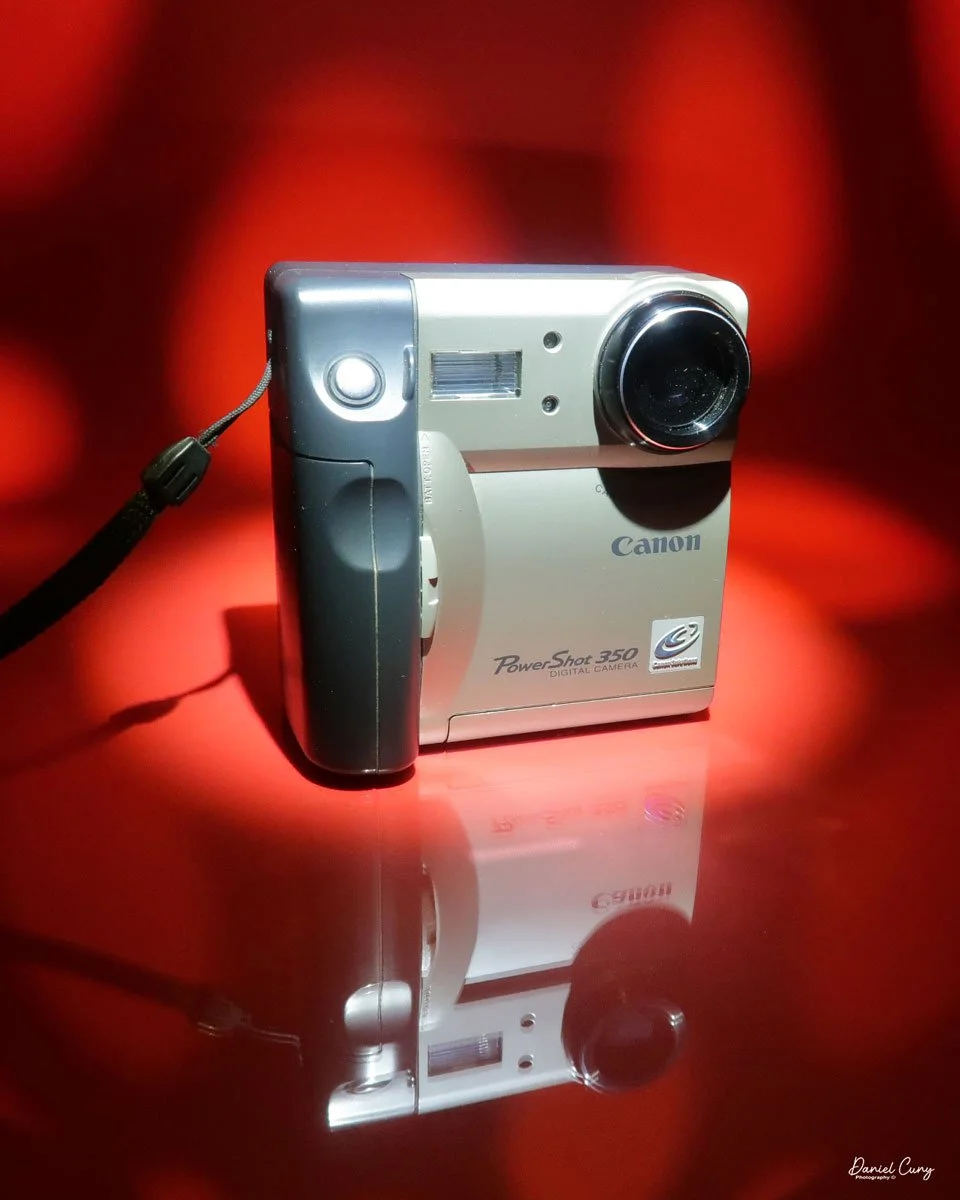
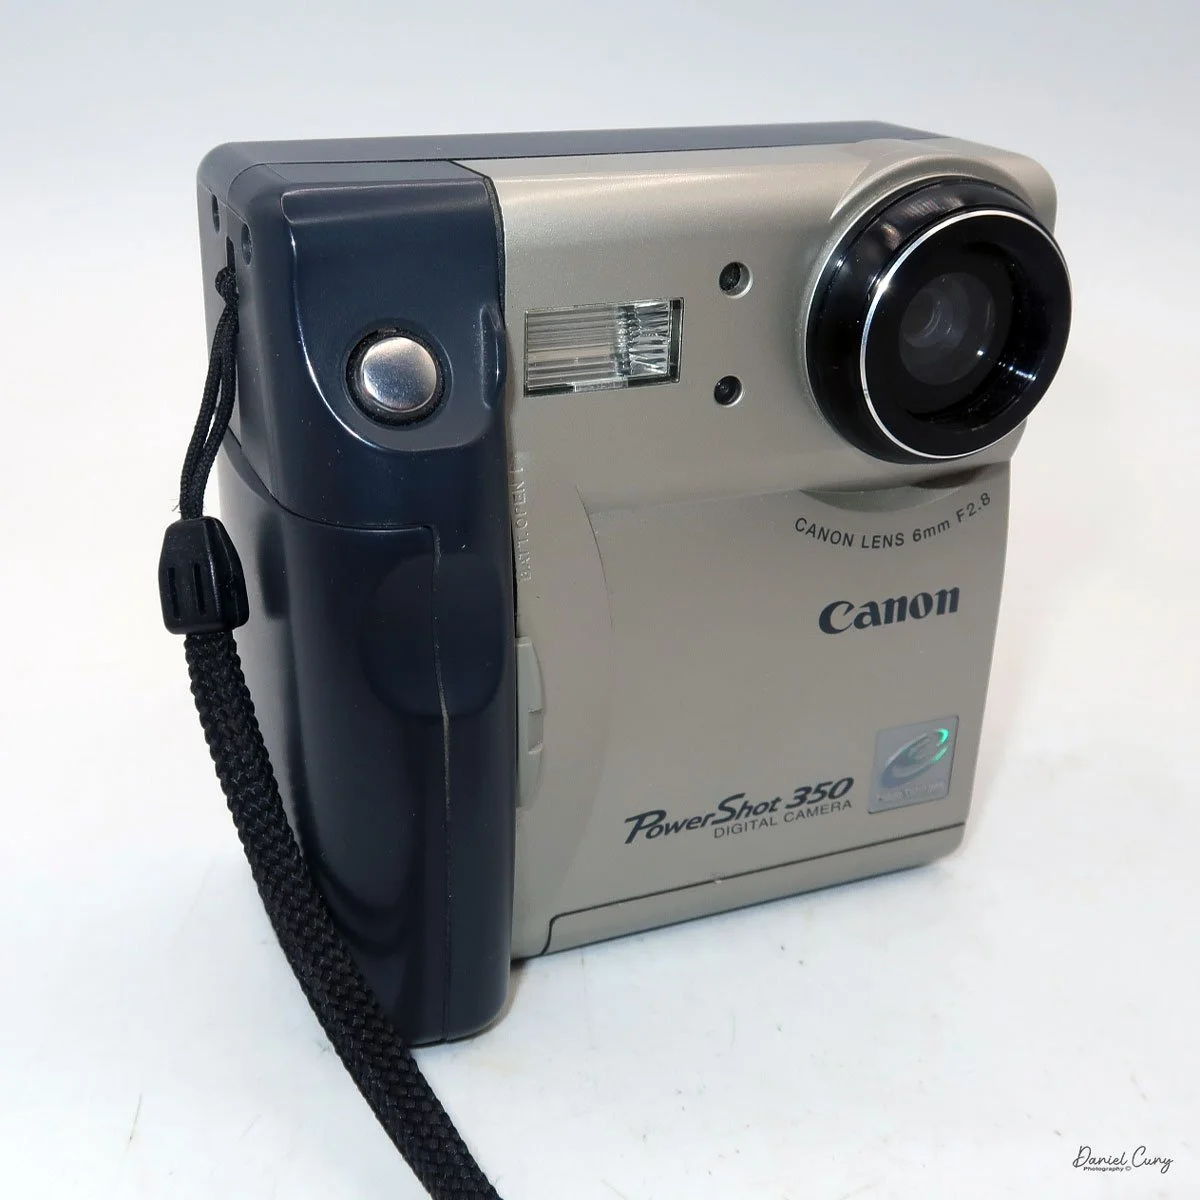
My Canon PowerShot 350 camera

It wasn't until after my almost twenty years working in a retail camera shop that digital cameras became increasingly popular. At the time, in the late 1990s, I was working in management for professional photo laboratories in the San Francisco Bay Area, a real hotbed for technology. Since I was still working within the photo industry, not in retail but with highly professional photographers, the conversations would be about what cameras and technology they were using.

 Digital photography was in its infancy, and for a professional commercial photographer to go digital during this time cost around $100,000, so there were very few who did. For the commercial photo laboratories, there were conversations about the "death of film", which many laughed at, and if they did take it seriously, it wasn't for many years down the road, and nothing that would happen overnight.

 Not only was the digital craze happening for professional photographers, but also in the consumer market. One of the first digital cameras our family owned was the Canon PowerShot 350. The camera for this blog post is one I purchased recently. When it arrived in the original box, with the manual, software, and many of the original cables, I felt a wave of nostalgia and warmth, recalling family trips and vacations from the late 1990s.

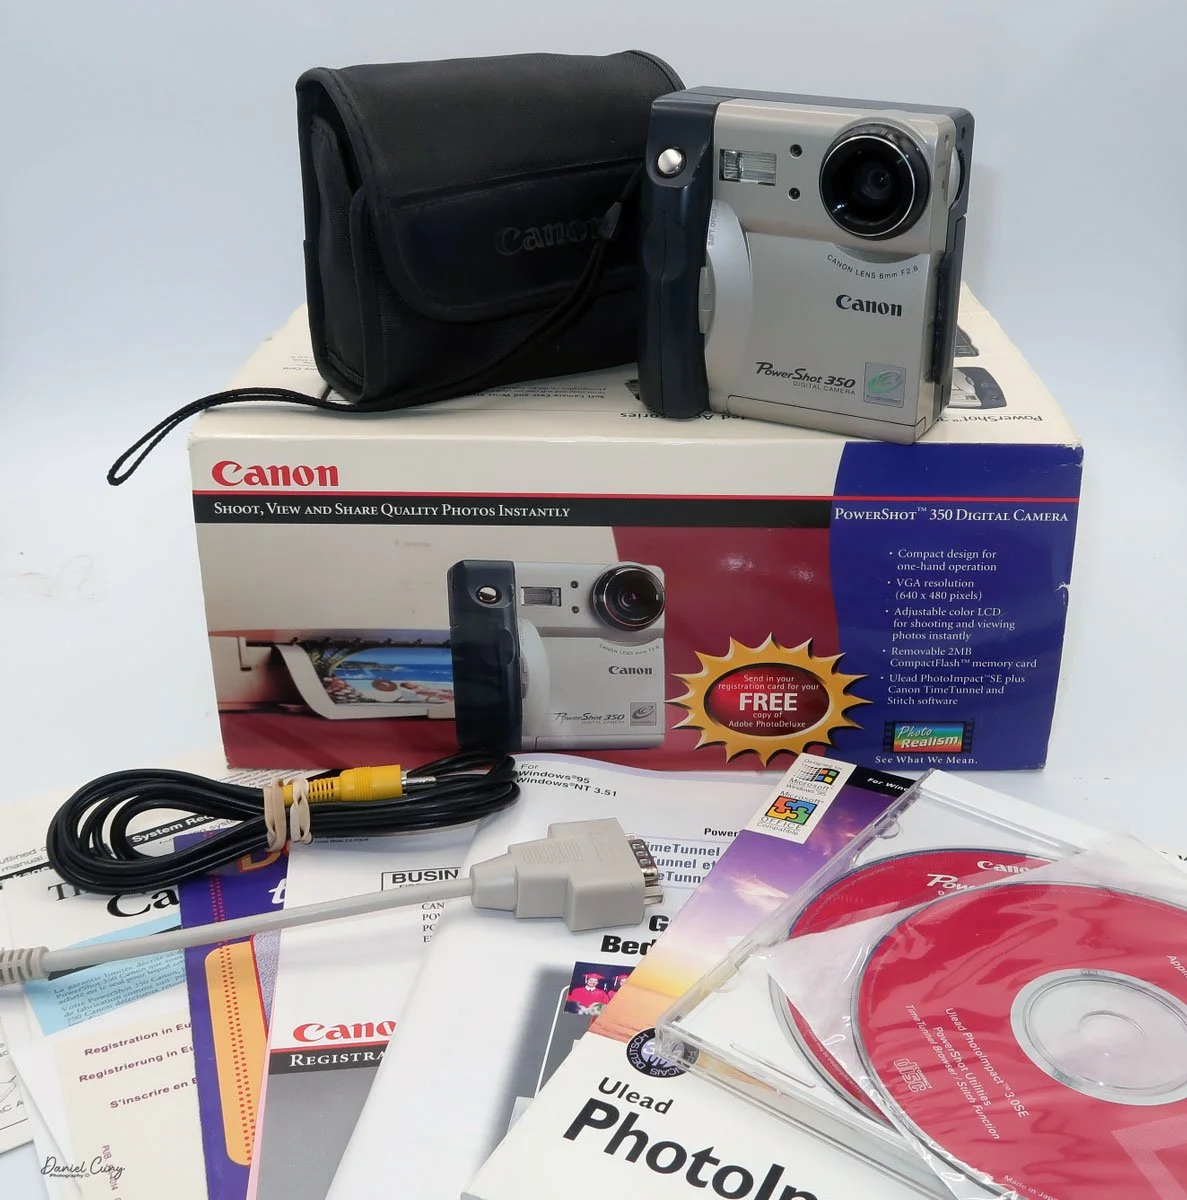
Boxed Canon PowerShot 350, just missing a few items

 As I picked up the camera to refamiliarize myself, my initial thought was that its design and features seemed amateurish compared to today's cameras. It was for the camera manufacturer! What features made sense for the family photographer who, at the time, had a home computer used for word processing, games, and other family entertainment? There was no online entertainment, as the fastest online connection was via a phone line at 28.8 or 33.6 kbps, or, if you were really advanced, 56 Kbps (kilobites per second). The internet was in its infancy, and companies like AOL's "You Have Mail" were dominant in the online world.

 It's interesting to think back on those years. 1997 was also the year I signed up for this online selling platform. At the time, it was very similar to a message board, devoid of photos. You had almost to write code just to sell or purchase items. Everything was done via text, so you had to trust the description of the item only by what the seller was telling you. When the company added the ability to add photos in the early 2000s, it was a great benefit.

 I can still remember that there were no names of people you'd buy from or sell to, but just a number. My number at the time was 1134, and today that company is eBay, the juggernaut of buying and selling mainly used items online.

 I've written about Canon's history before, so in this brief history segment, I decided to focus more on its digital camera history.

History:

 Canon's digital camera history dates back to the mid‑1990s and traces a steady evolution from low‑resolution consumer compacts to today's high‑performance mirrorless and professional systems. Building on decades of film‑camera expertise, especially its EOS SLR system introduced in 1987, Canon created a coherent digital ecosystem of bodies, lenses, and accessories that showcases impressive innovation.

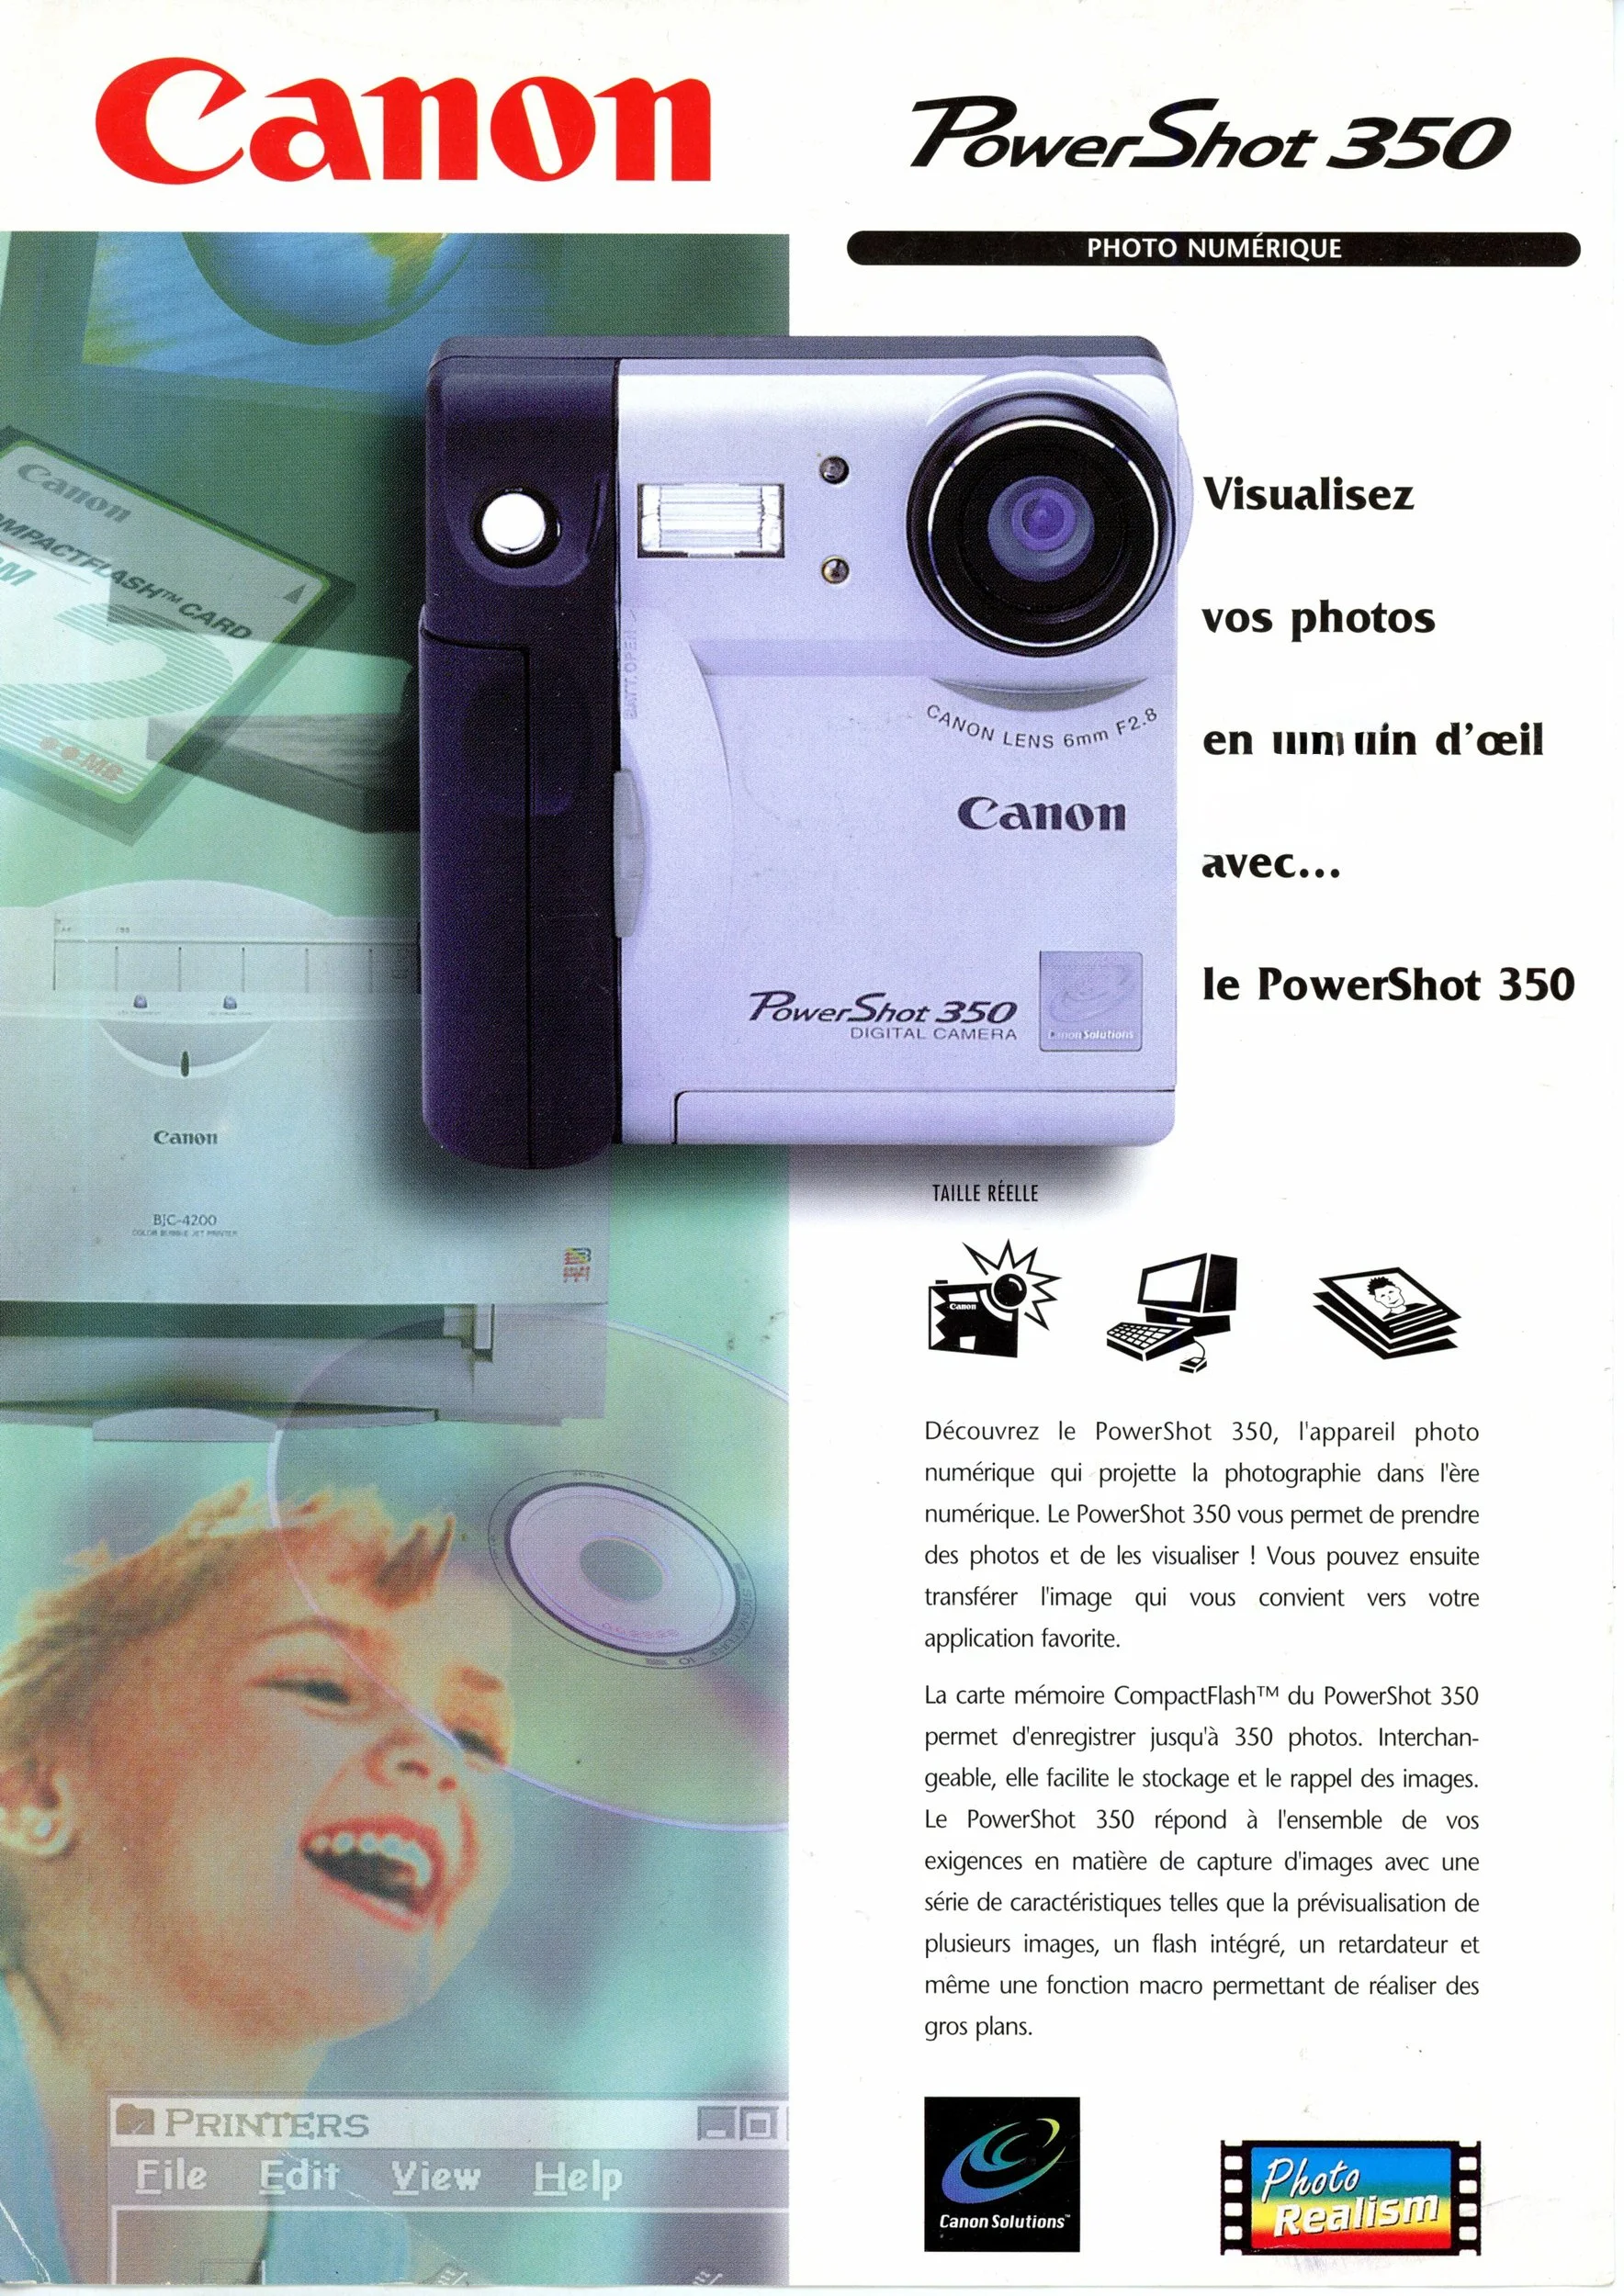
1997 Brochure for Canon PowerShot 350

 The first significant step into consumer digital stills came with the PowerShot 600 in 1996, a compact camera with a 0.3‑megapixel sensor that signaled Canon's commitment to mainstream digital imaging despite its modest specifications. This model launched the long‑running PowerShot line, which would expand into numerous point‑and‑shoot families aimed at travelers, families, and enthusiasts through the late 1990s and 2000s.​

Canon's professional digital efforts grew out of its EOS film SLR platform, which debuted in 1987 as a fully electronic mount system and provided an ideal foundation for autofocus and electronic communication in digital bodies. 

 Early digital EOS models were often developed in cooperation with other companies. Still, in 2000, Canon released the EOS D30, its first digital SLR designed and manufactured entirely in‑house, pairing an APS‑C sensor with the existing EF lens mount.​

 Through the early 2000s, Canon rapidly expanded its DSLR lineup, targeting entry‑level, enthusiast, and professional users with a range of EOS digital bodies that shared a standard lens system. A landmark arrived in 2005 with the EOS 5D, widely noted as the first relatively affordable full‑frame DSLR, bringing a 35 mm‑sized sensor and strong low‑light performance to a broader audience than previous flagship‑level models.​​

Alongside DSLRs, Canon continued to refine compact digital cameras, including the stylish Digital ELPH/IXUS series that emphasized portability and automated shooting modes for casual photographers. These compacts helped popularize digital photography worldwide before smartphones began to erode demand for dedicated point‑and‑shoots in the 2010s.​

 In the late 2010s and into the 2020s, Canon shifted its emphasis toward mirrorless digital systems while continuing to support EOS DSLRs, reflecting an industry‑wide shift toward smaller bodies, electronic viewfinders, and advanced on‑sensor autofocus technologies. Across this progression—from the PowerShot 600 to full‑frame DSLRs and modern mirrorless lines—Canon's digital history is defined by continuous integration of new sensor, processor, and lens innovations into a unified imaging system.​
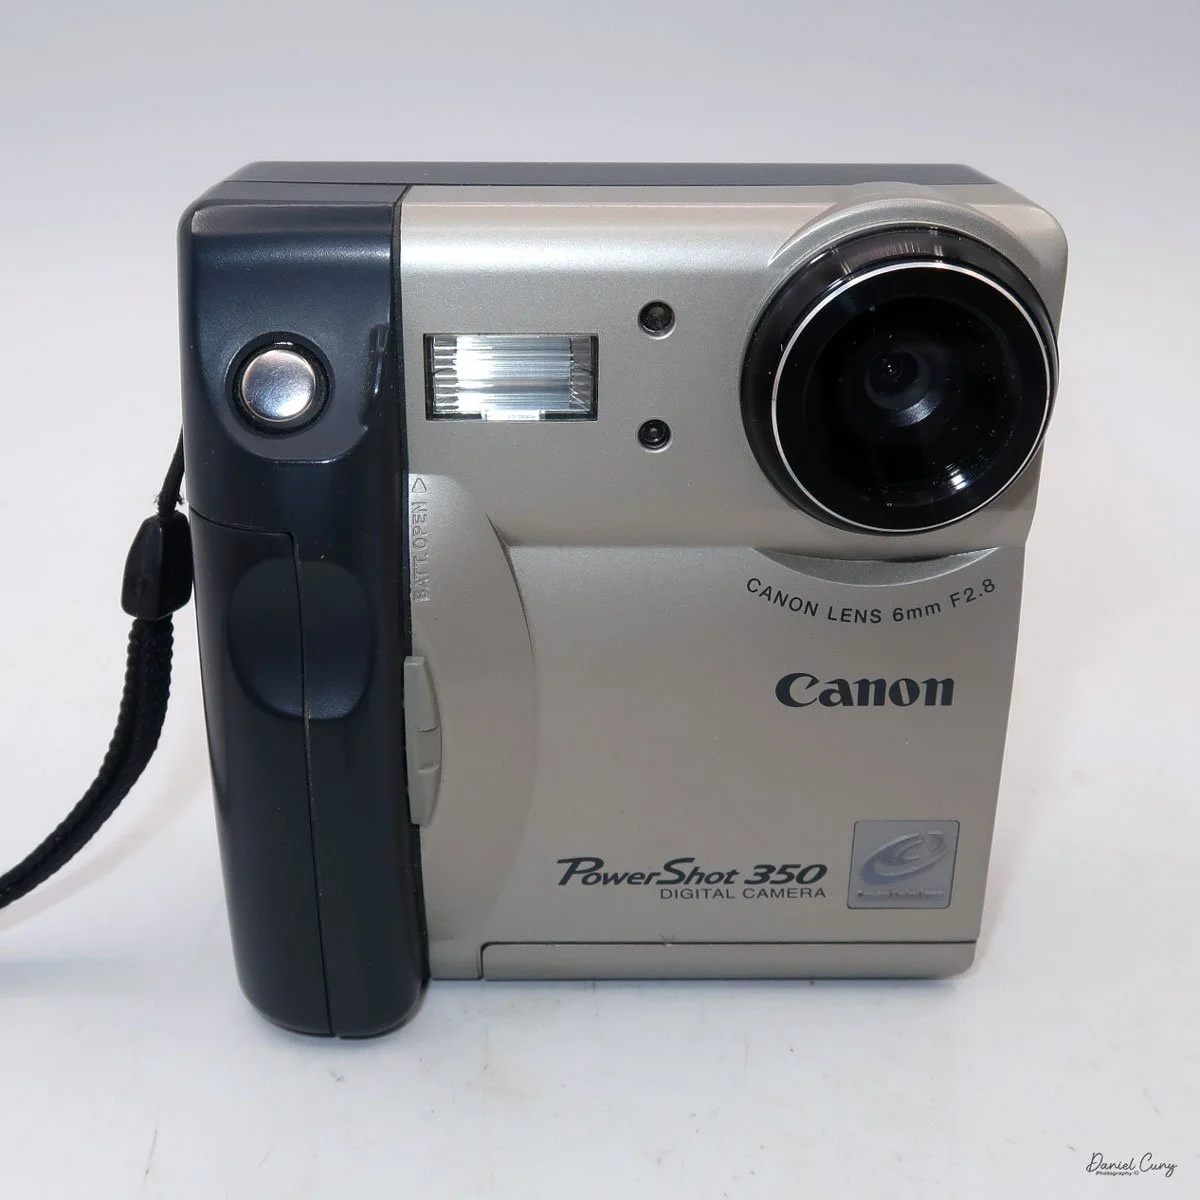
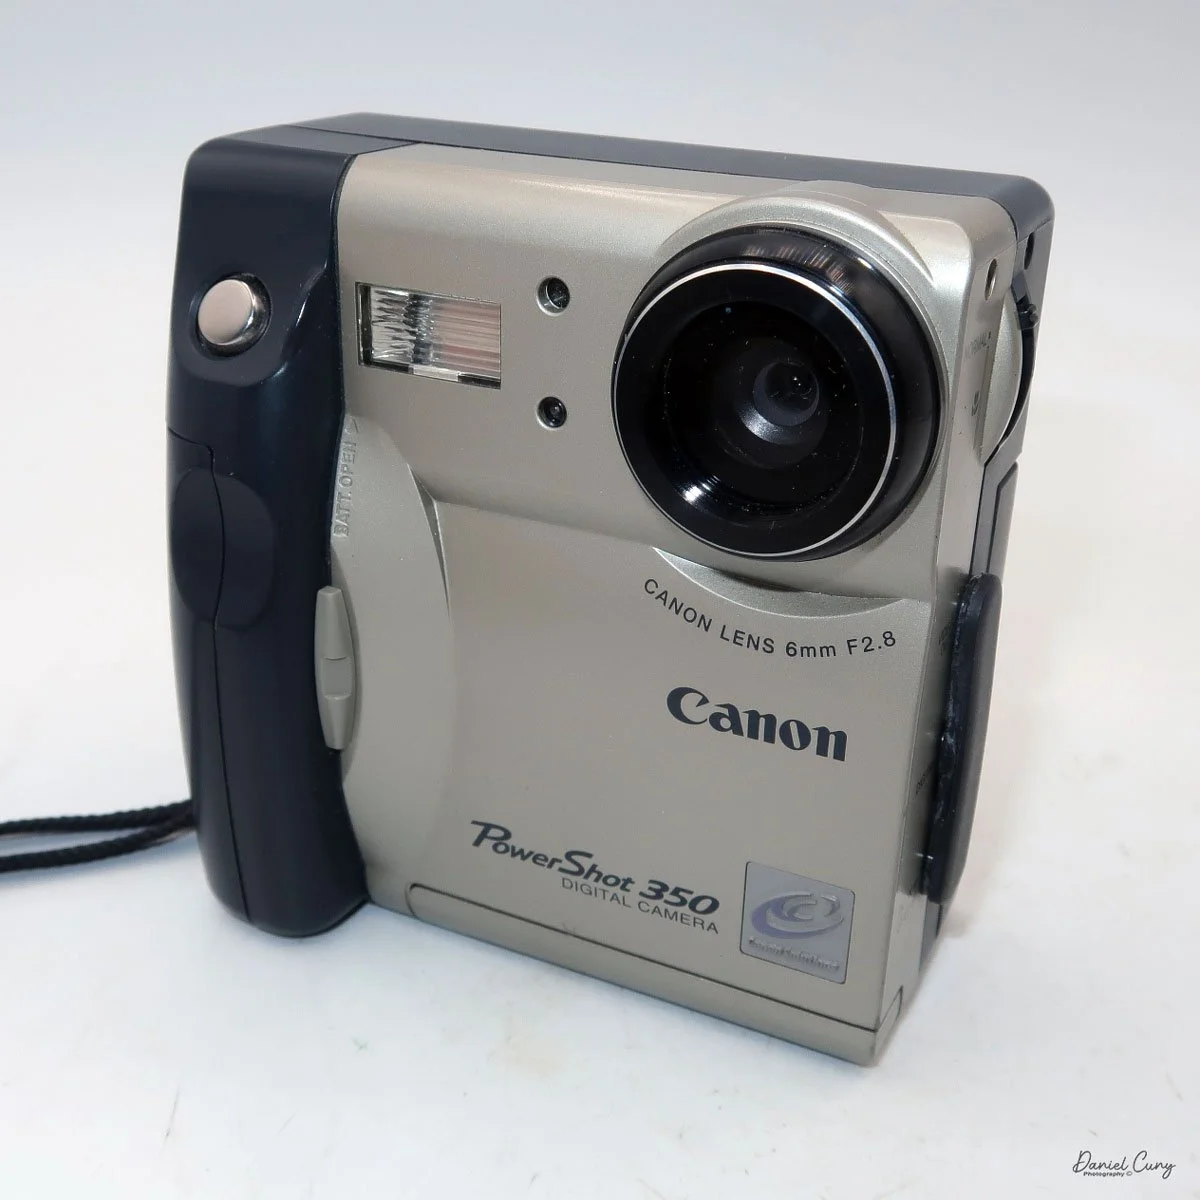
My Camera:

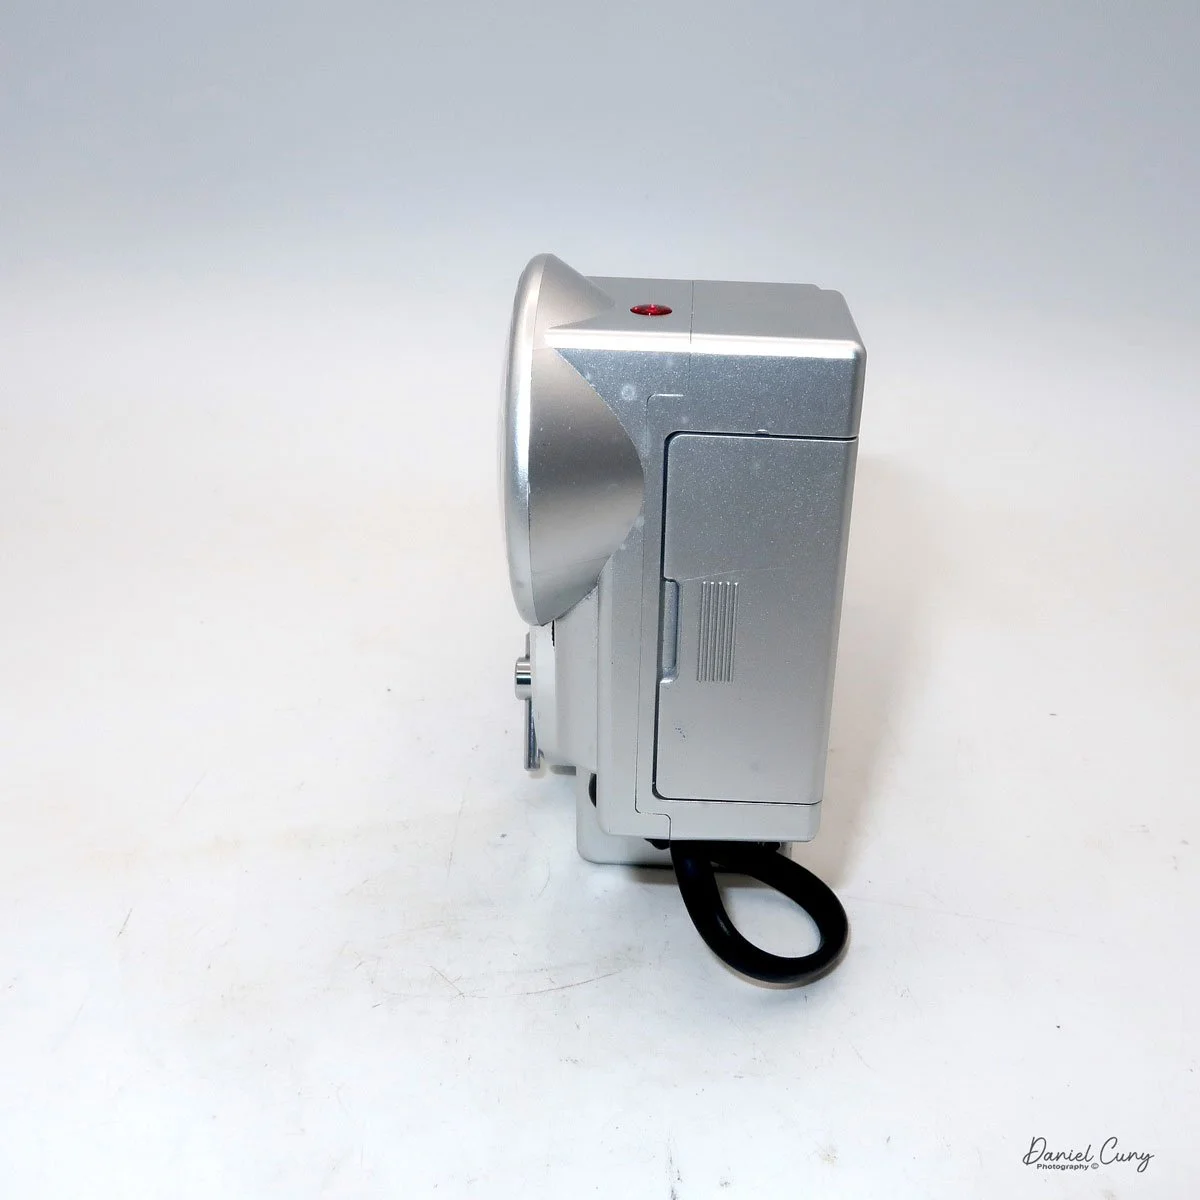
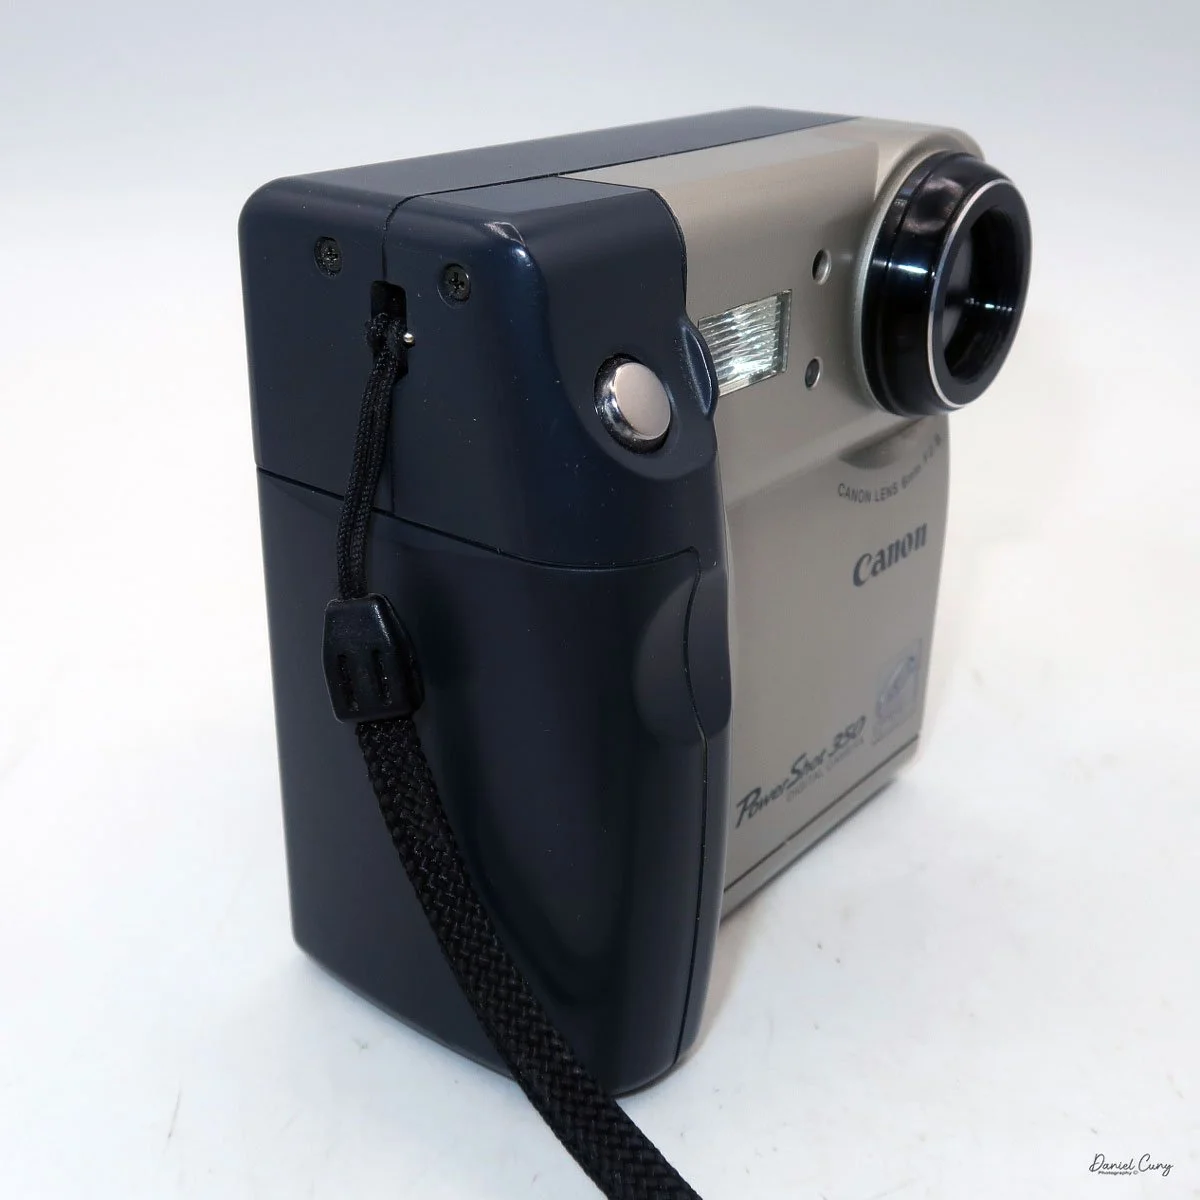
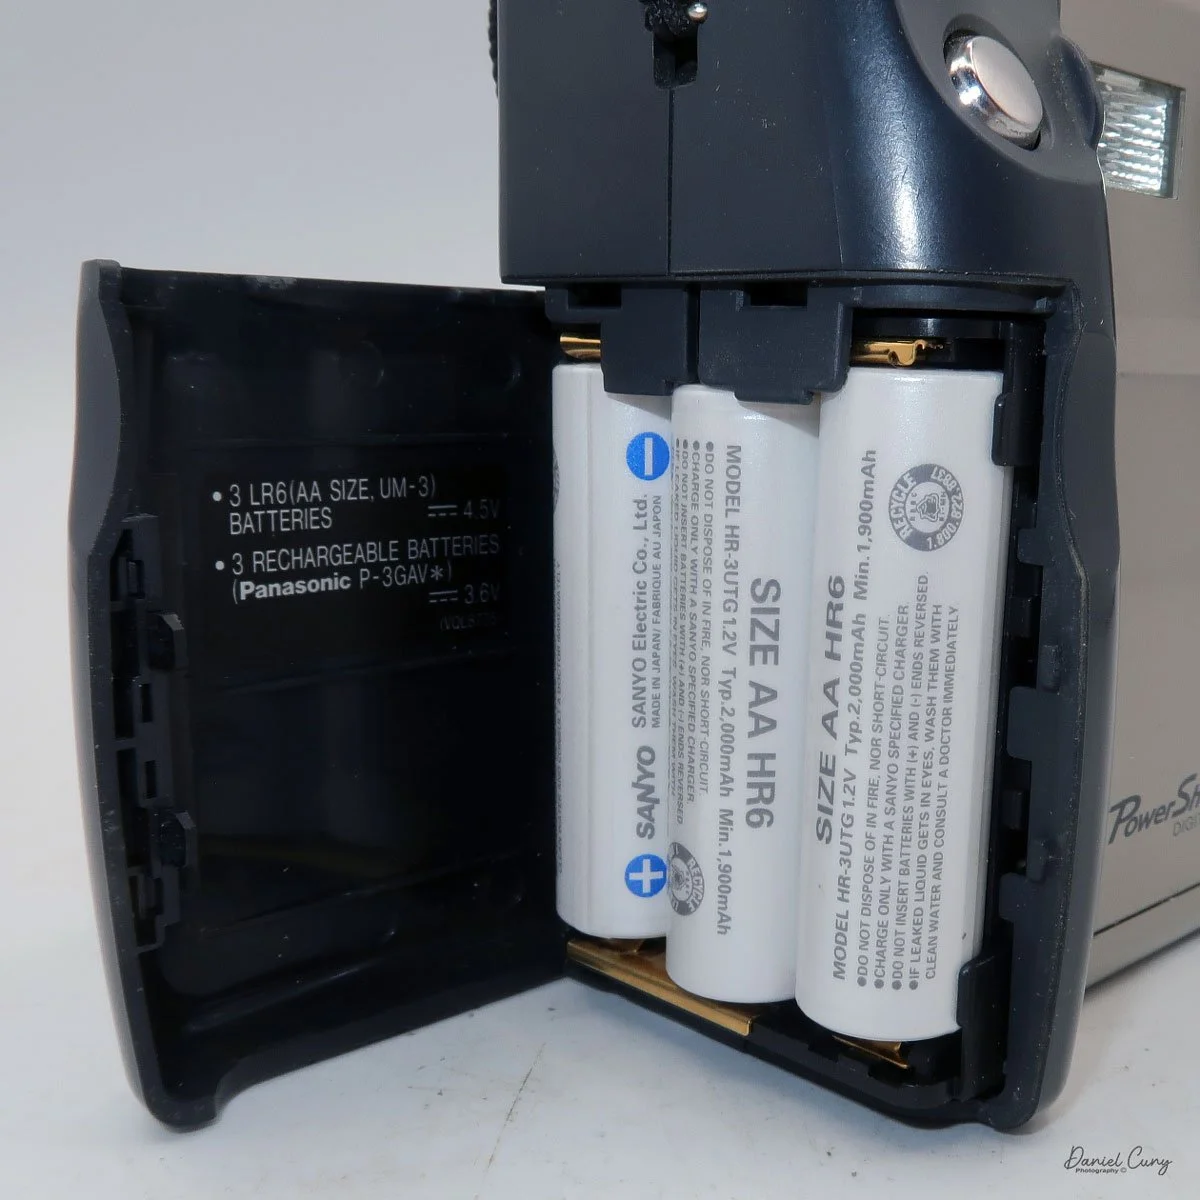
 My Canon PowerShot 350 is a comfortable camera to hold in your hand and is 3.5" wide by 3.75" tall, and 2" deep, and weighs only 10.2 ounces without 3-AA size batteries to power the camera. You can use rechargeable batteries, or, if you prefer, Alkaline batteries. Initially, the camera came with a battery charger, but it wasn't included with the camera I recently purchased. 

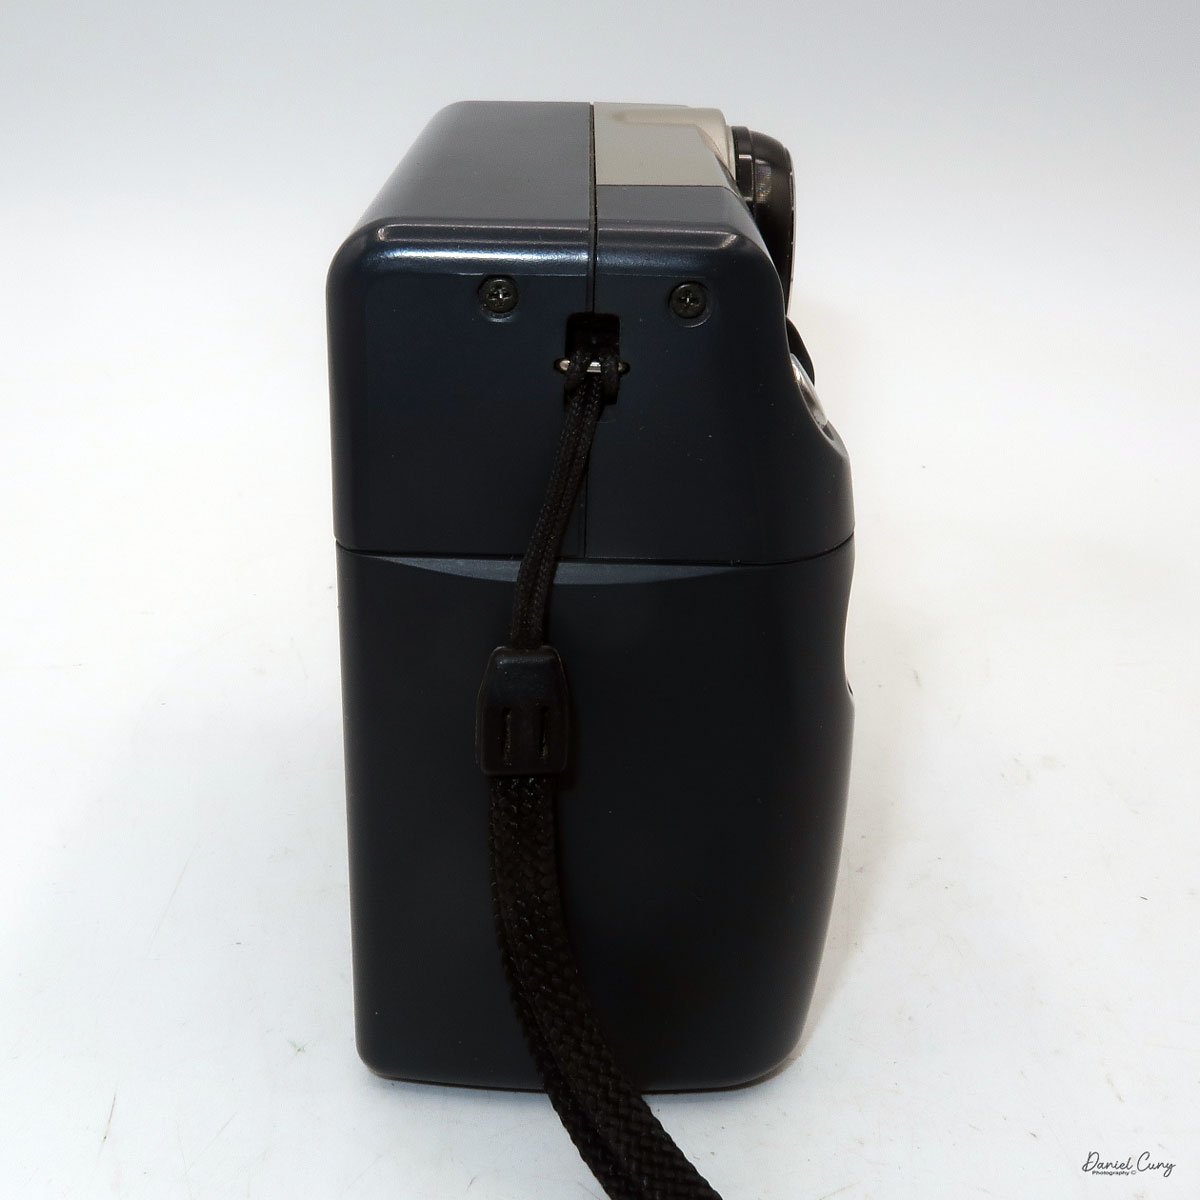
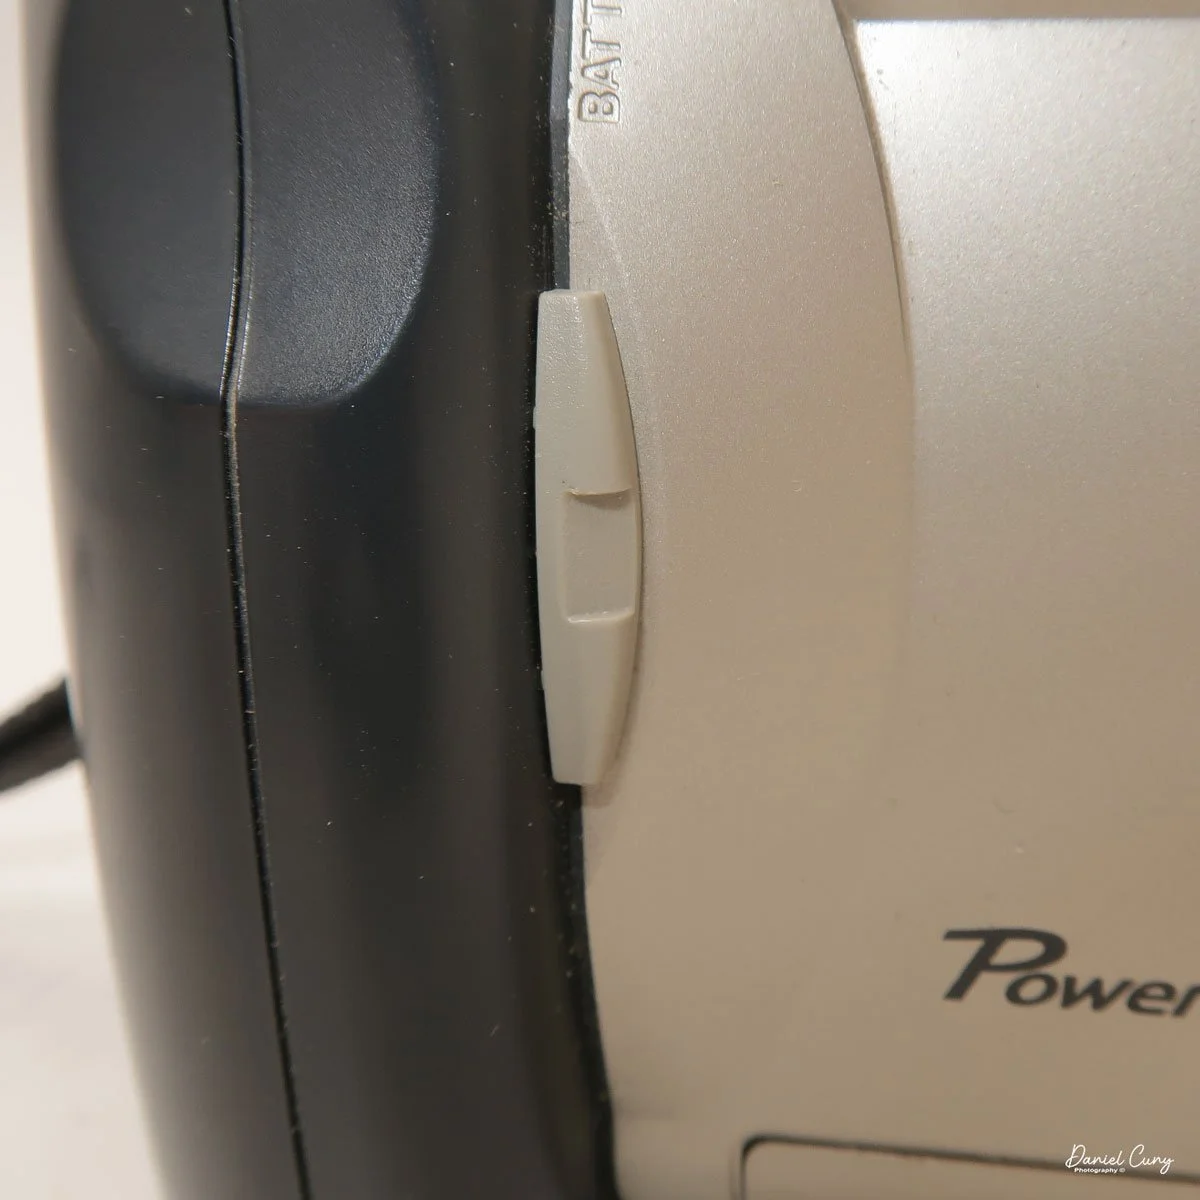
I generally prefer rechargeable batteries for this style of camera, as they perform very well. To put the batteries in the camera, on the inside of the camera's grip is a small lever you slide up to open the battery door. Once the three AA batteries are in the camera, close the battery door to start using the camera.

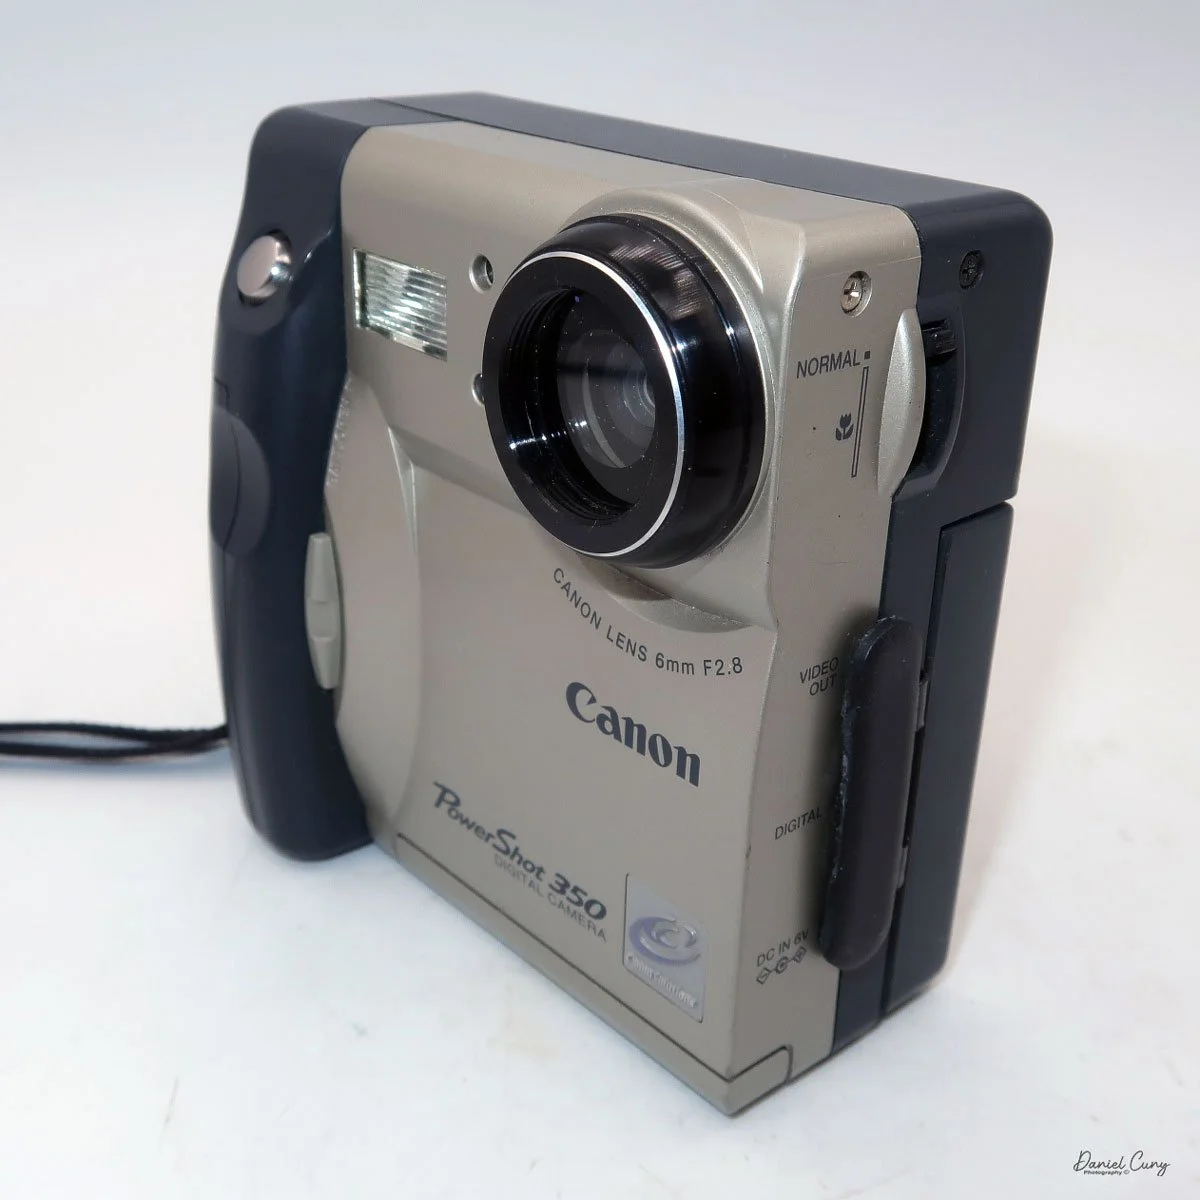
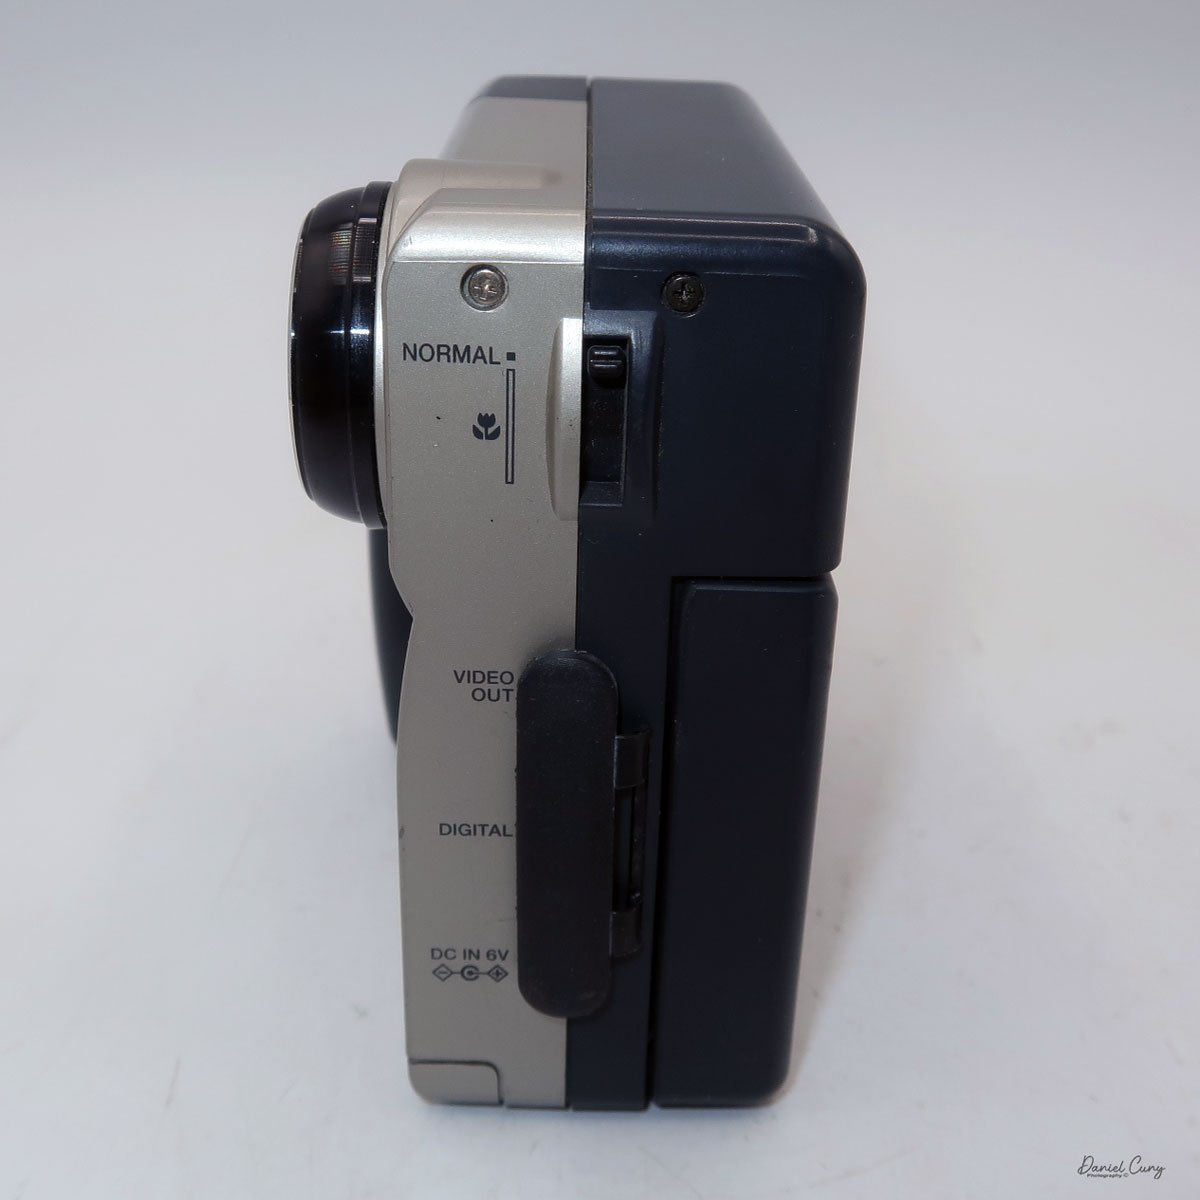
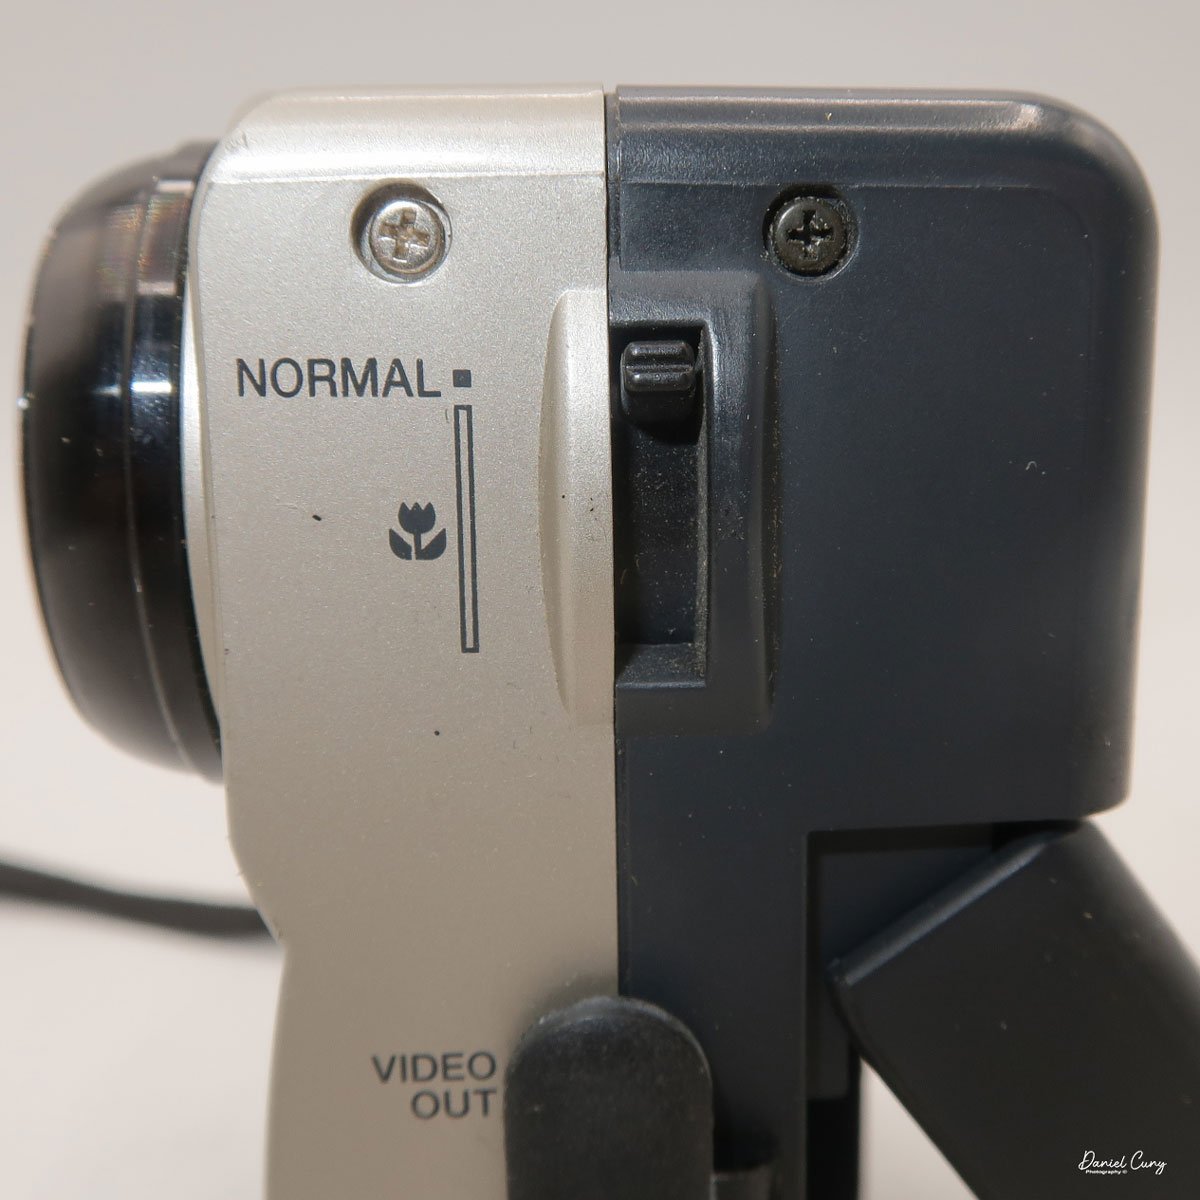
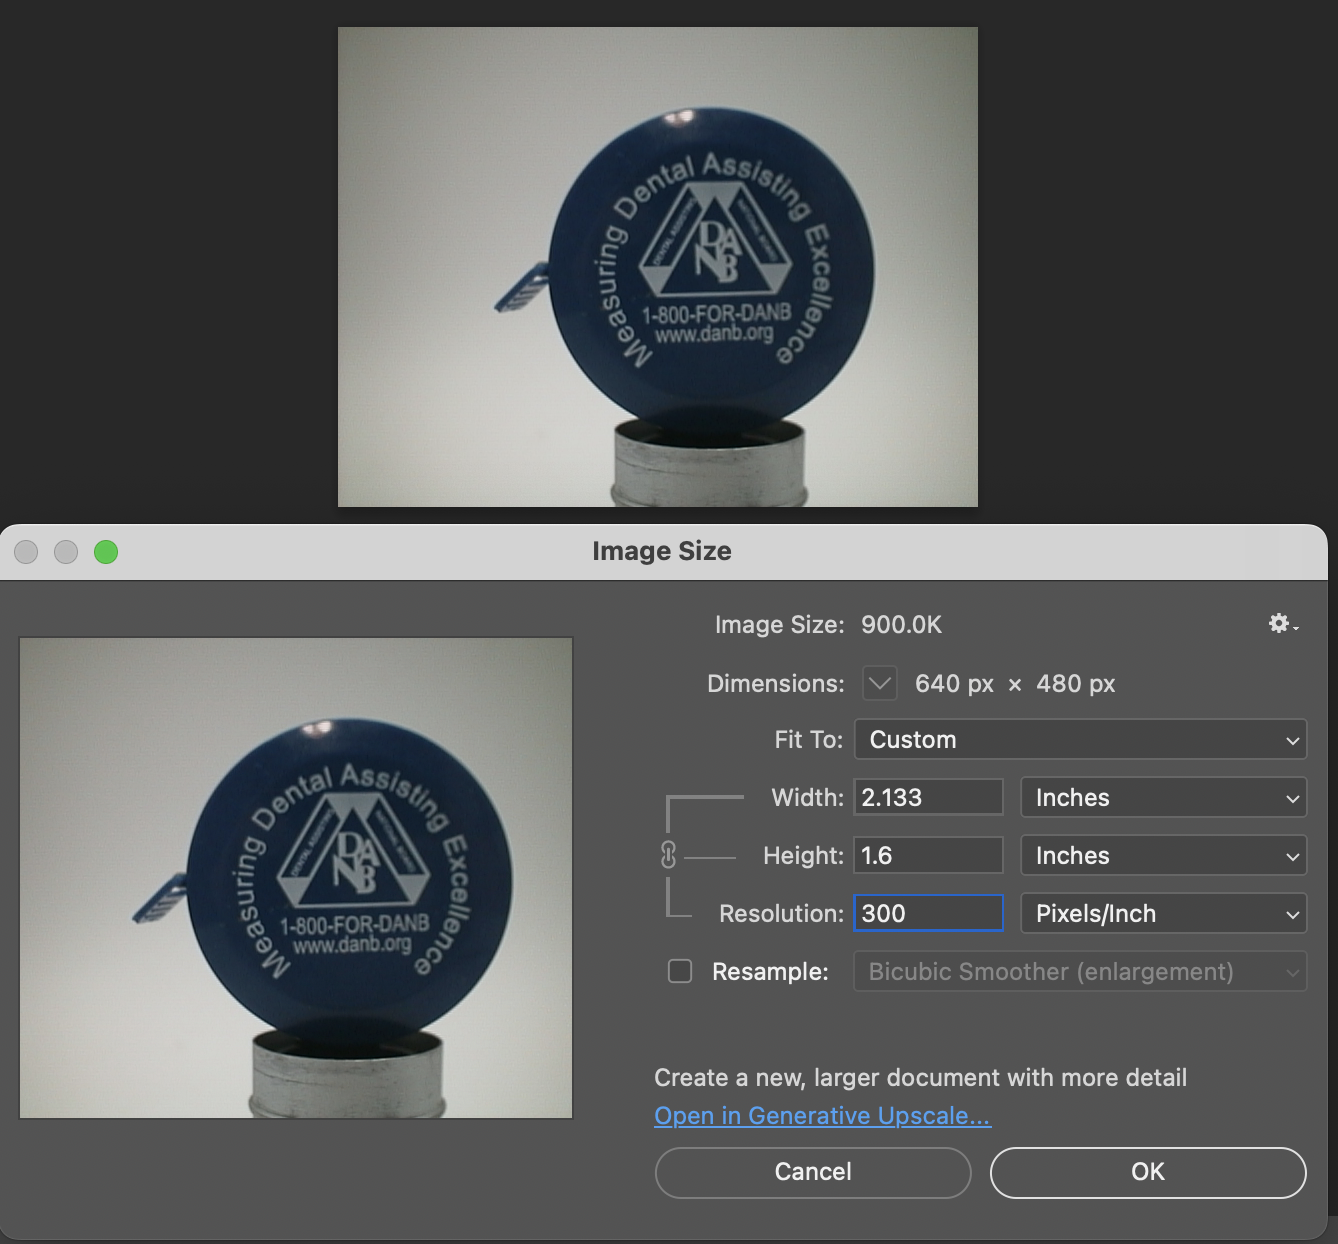
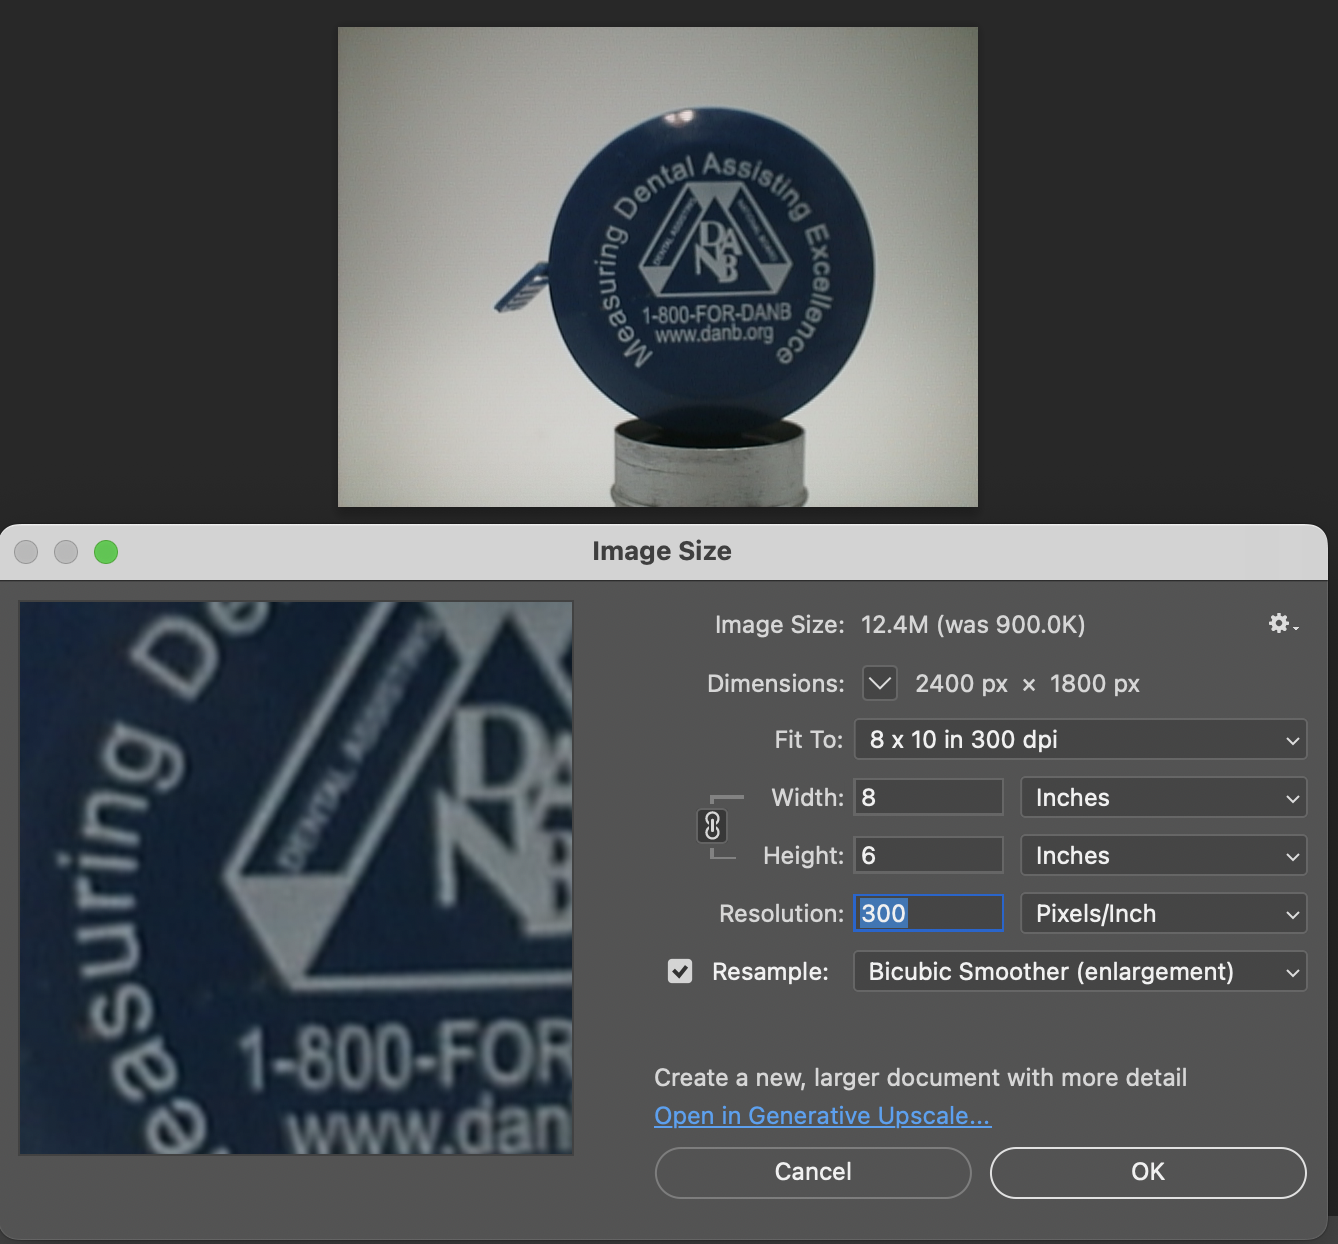
The Maximum resolution for the Canon PowerShot 350 camera was 640x480 with 24-bit color on a 350,000-pixel CCD sensor. The camera incorporates a 6mm f/2.8 lens and a 0.35-megapixel sensor. The lens is equivalent to a 43mm on a standard 35mm camera. The lens is a fixed focus, with Macro capability. In normal operation, the lens will focus from 26" to infinity. On the side of the camera, near where the lens is, is a slider for macro. Macro will focus from 1.2" to 26" by sliding the lever up and down to achieve focus which you can see on the 1.8" adjustable LCD screen on the back of the camera. The shutter speed range on the camera is from 1/4 to 1/2000, all using an internal TTL, programmed metering system with over/under exposure compensation, which I'll discuss later.

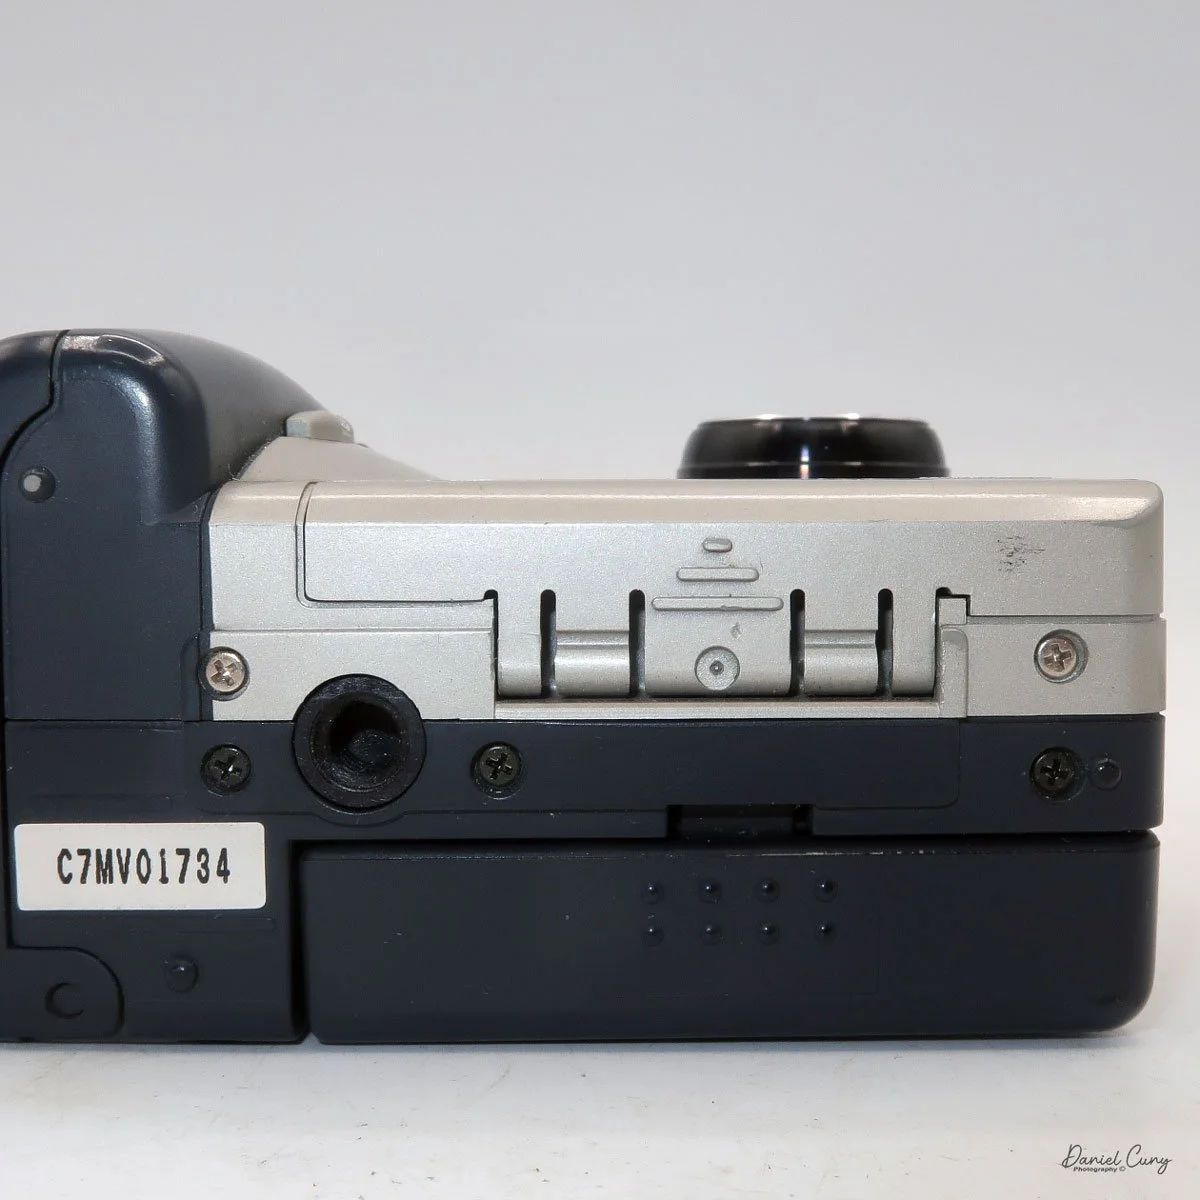
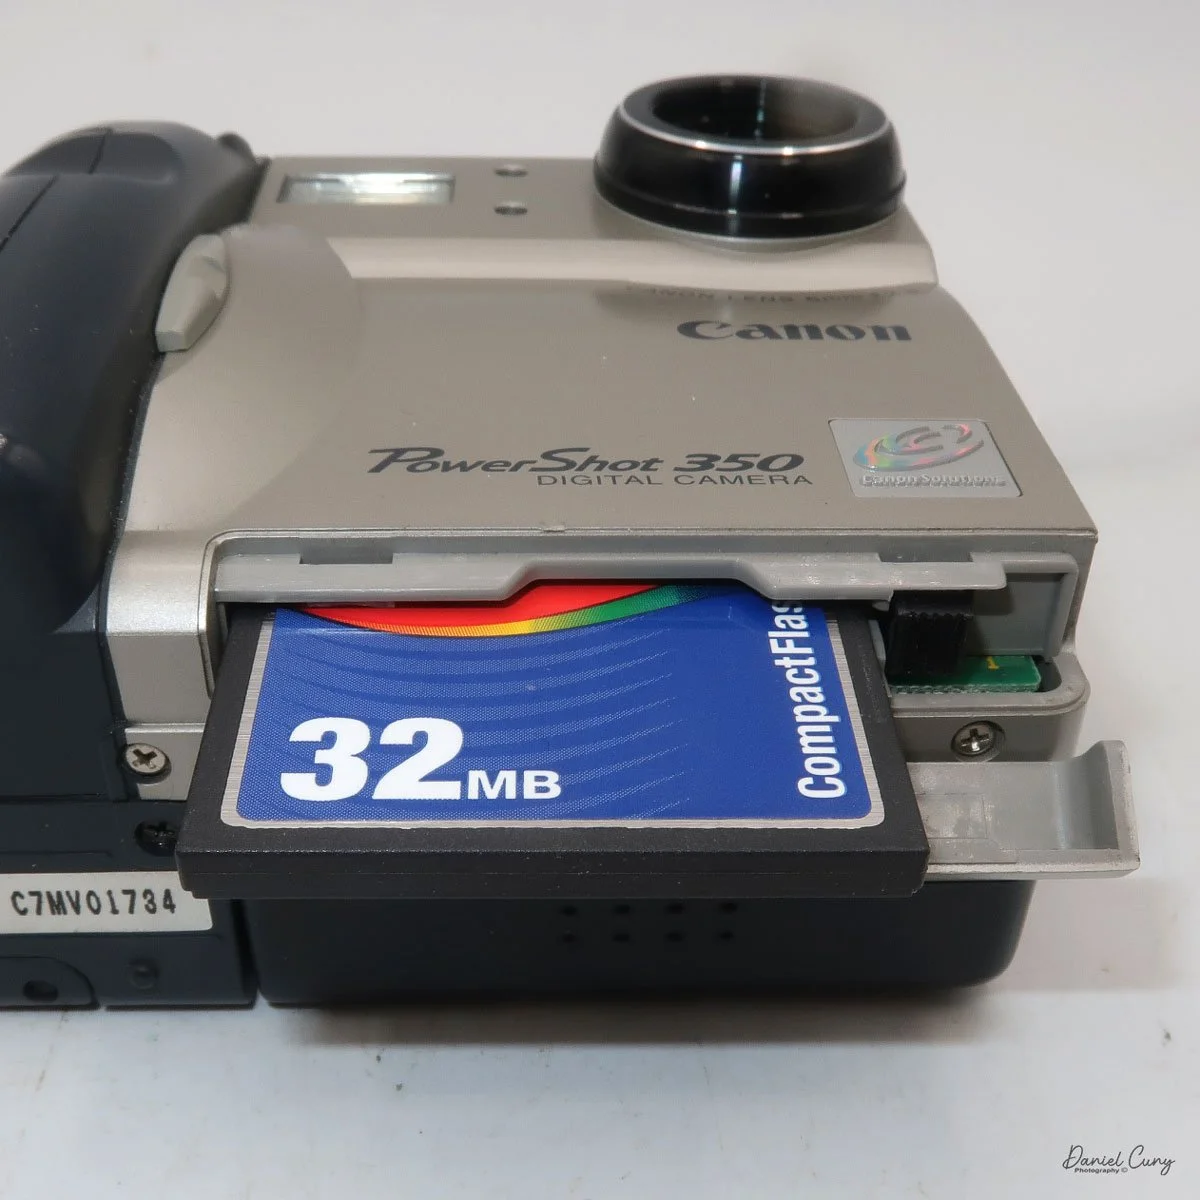
The images are written to a removable CompactFlash card, which fits into the bottom of the camera. At the bottom of the camera is a small door that you slide towards the front of the camera to open. Once opened, you'll see the slot for the 2 MB card that came with the camera. I don't have a 2 MB card anymore, so I had to use the 32 MB card, which is the smallest I currently have. 

 To remove the CF card, on the side of the slot is a small button that is folded to the side. Pull the button up and press in which will slide the CF card out of the camera. After inserting the CompactFlash card, fold the button to the side to close the card door.

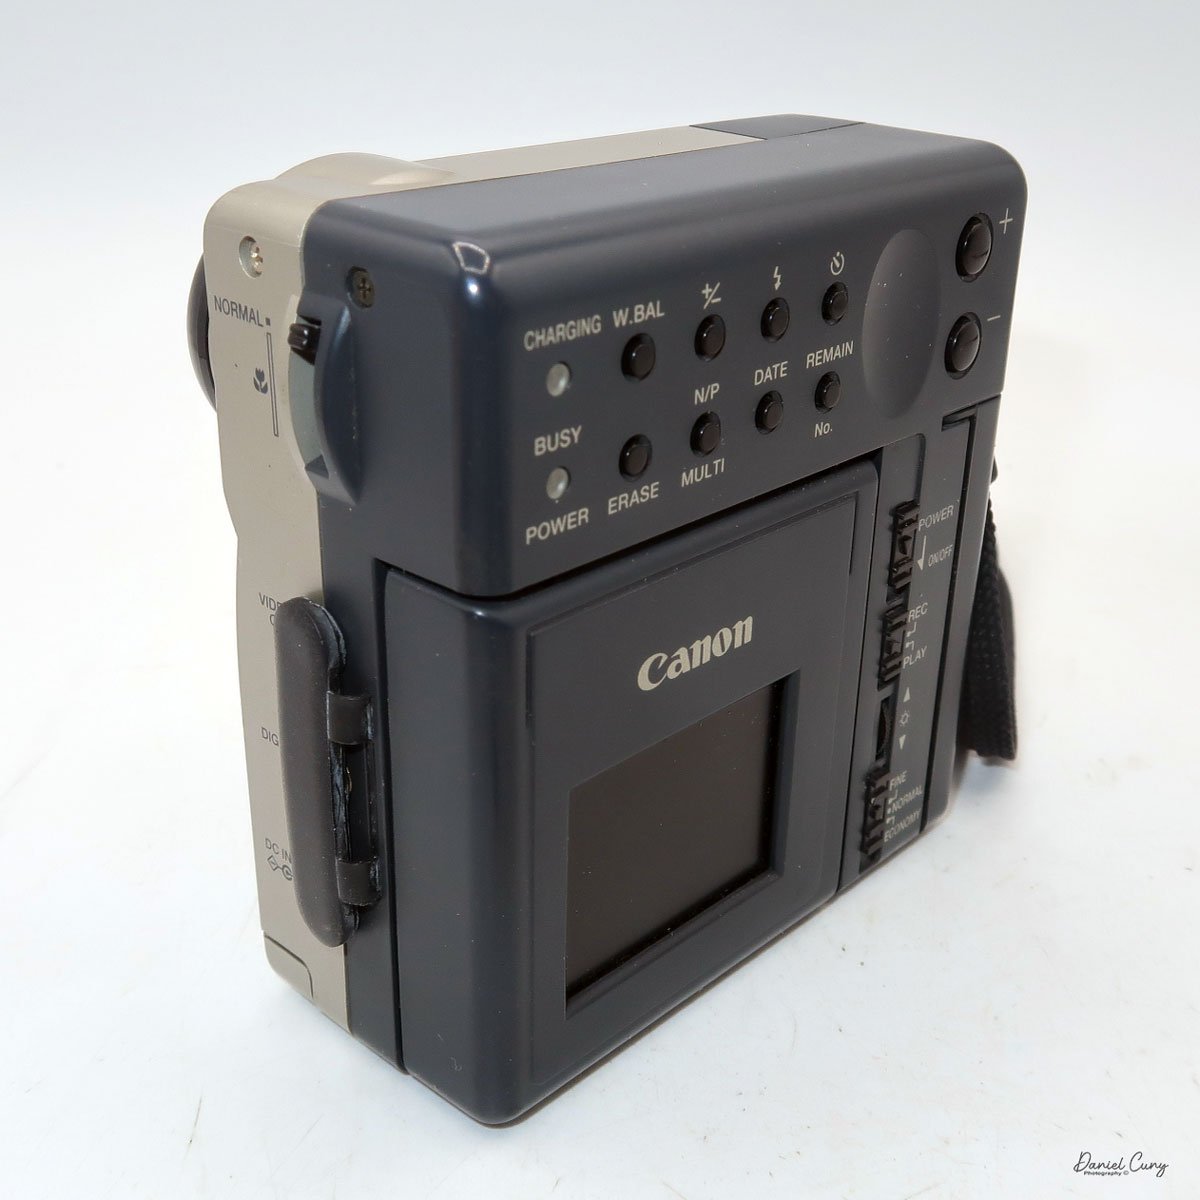
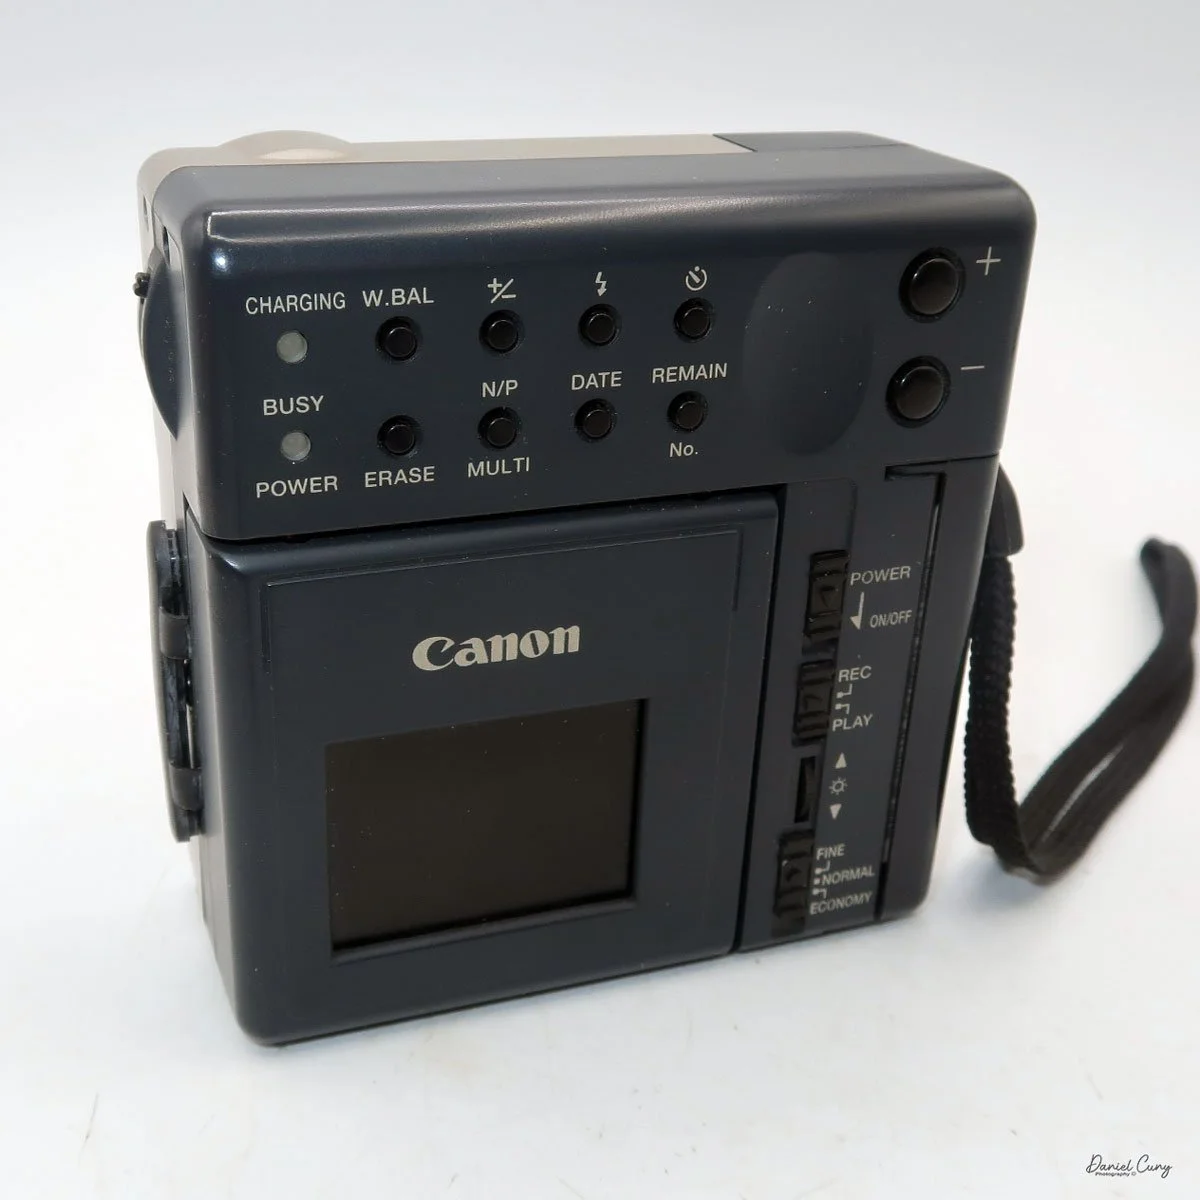
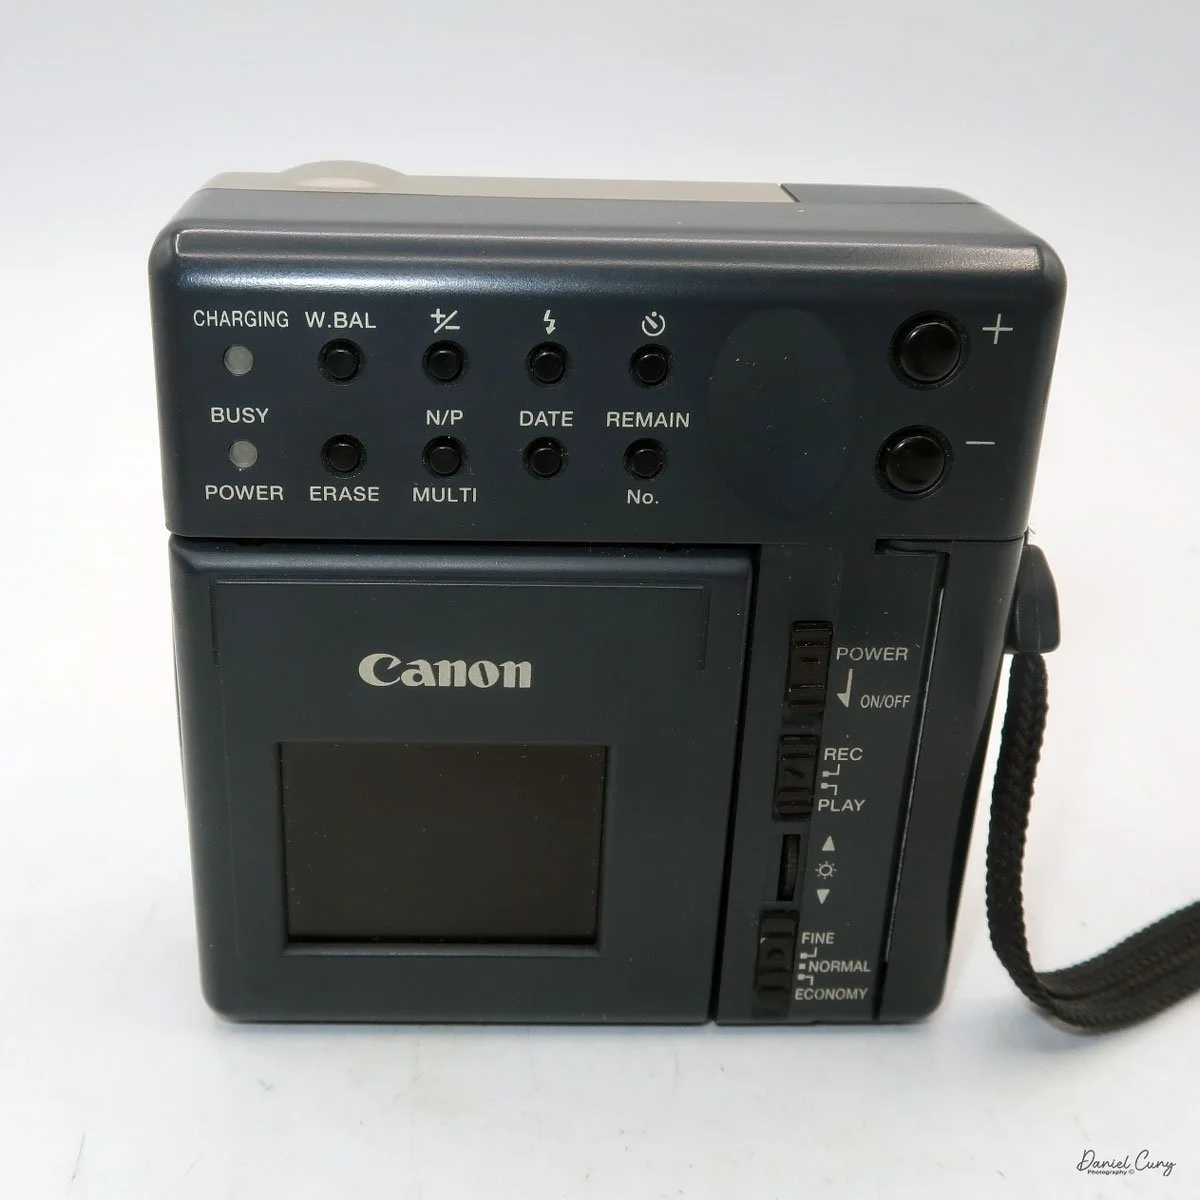
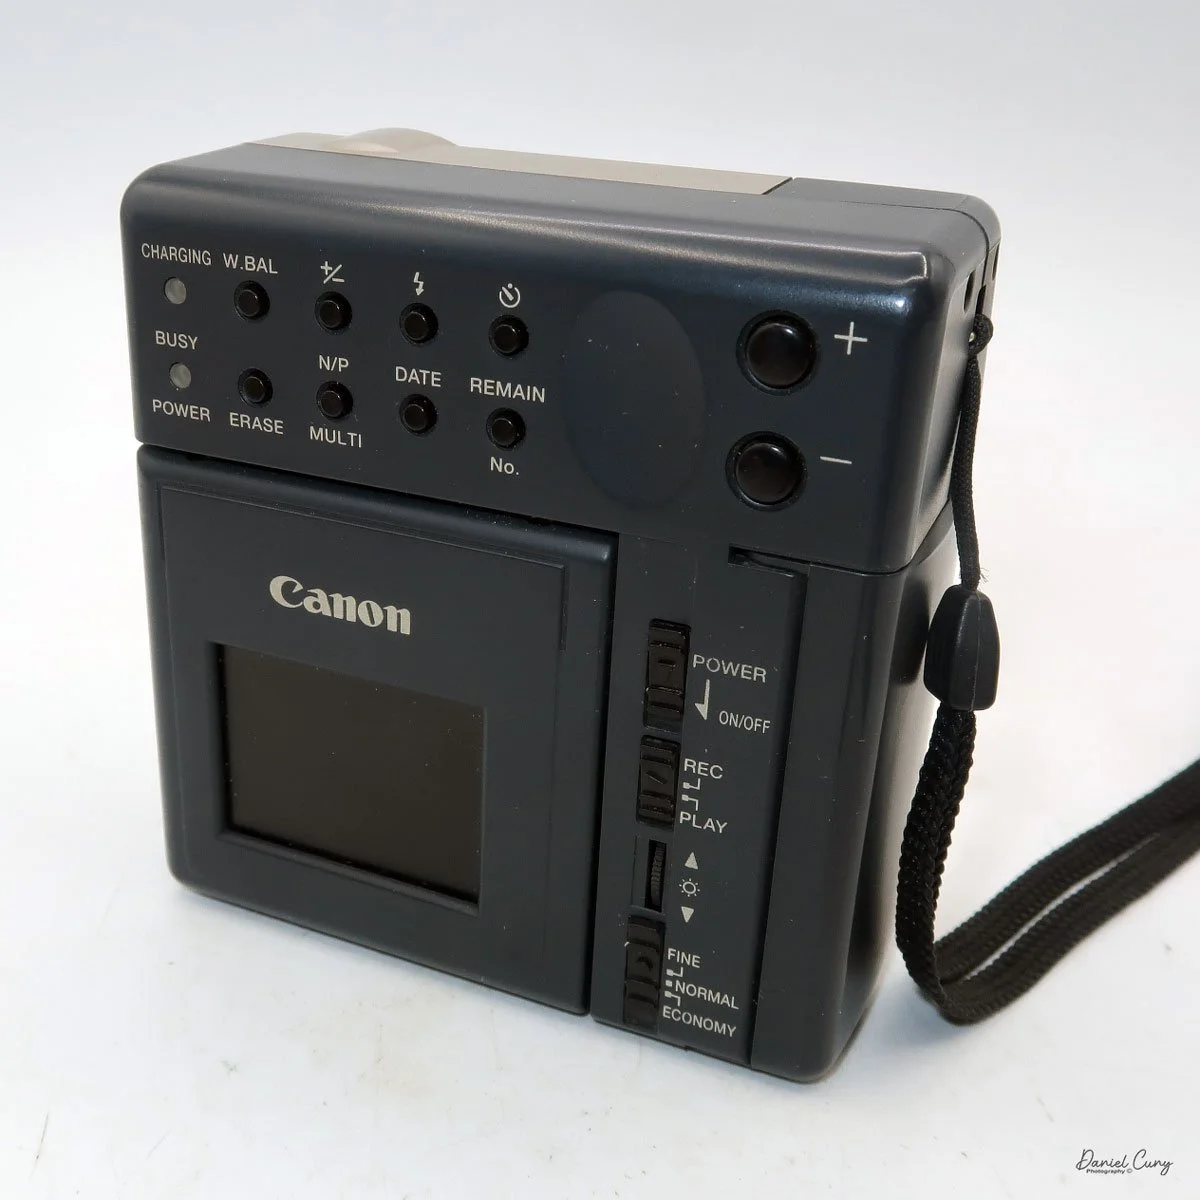
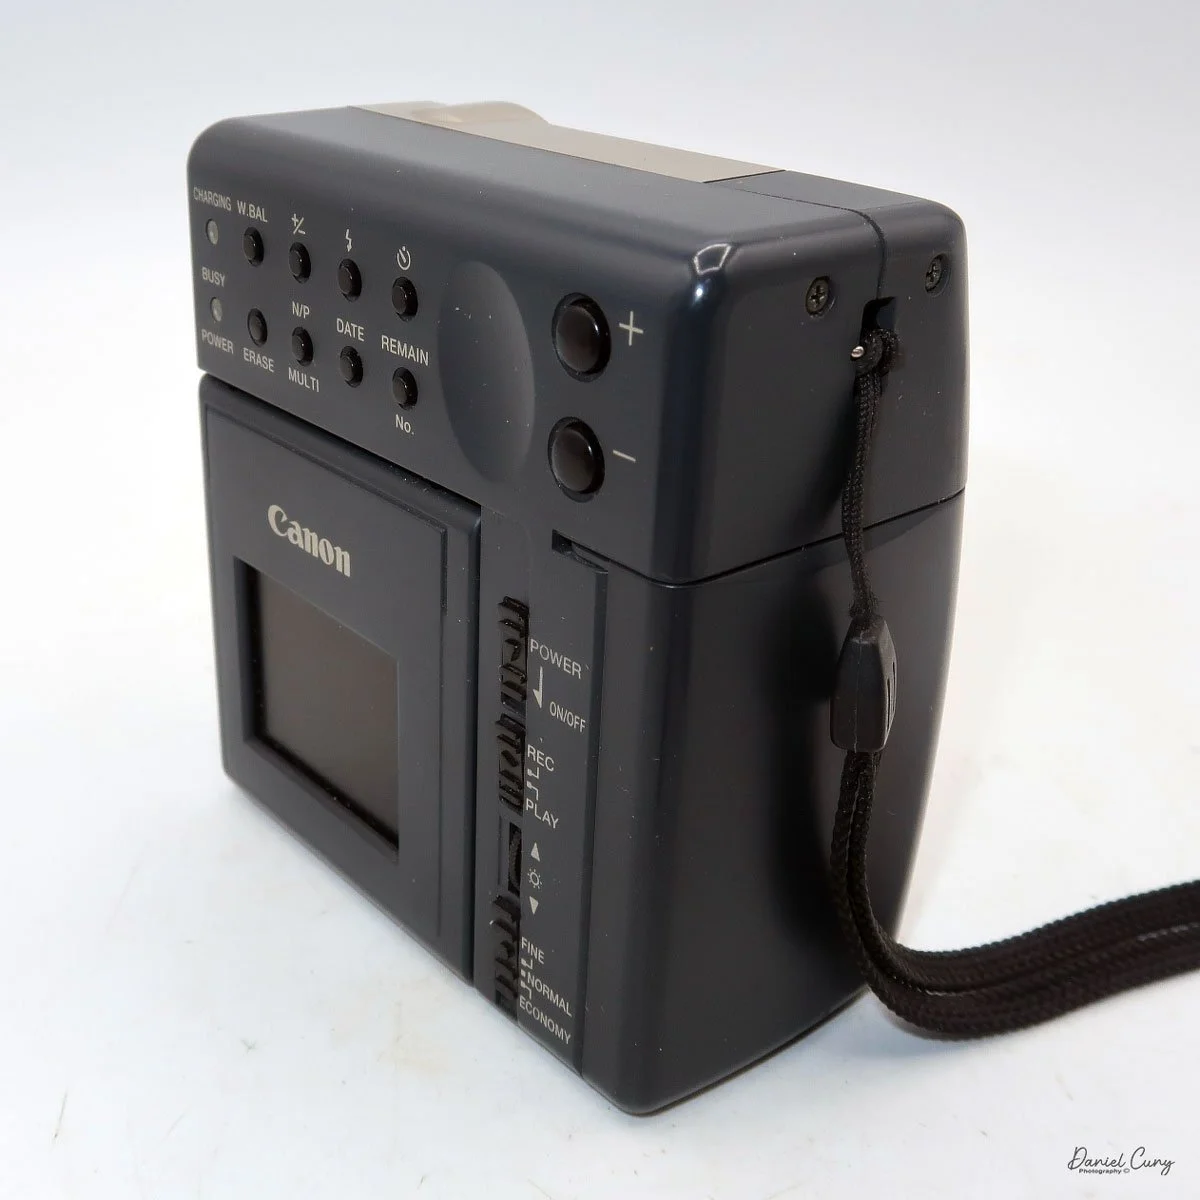
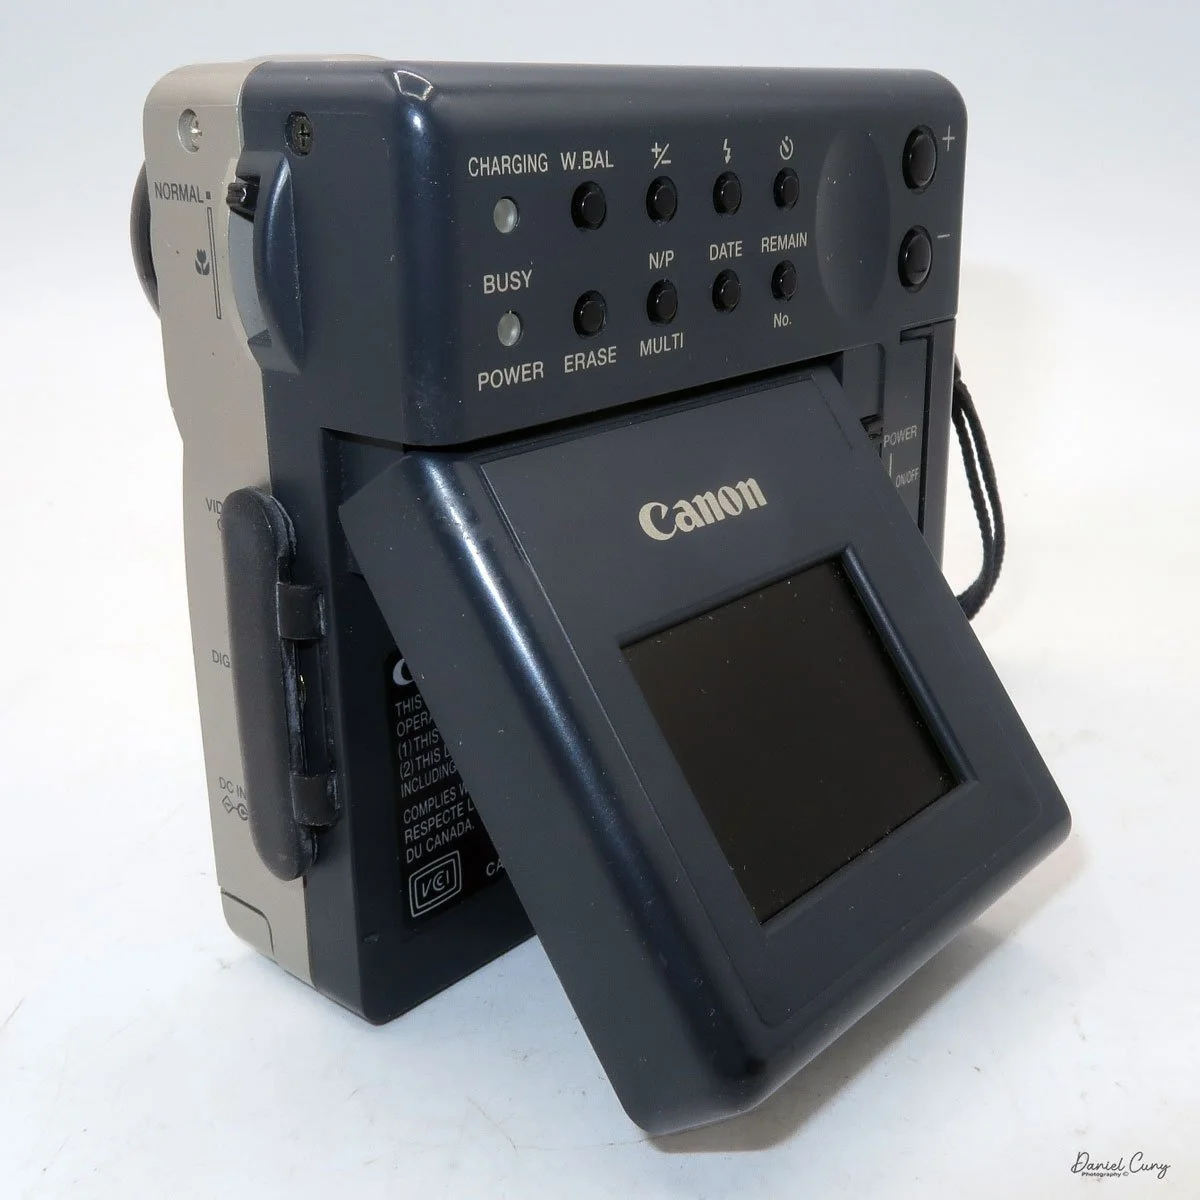
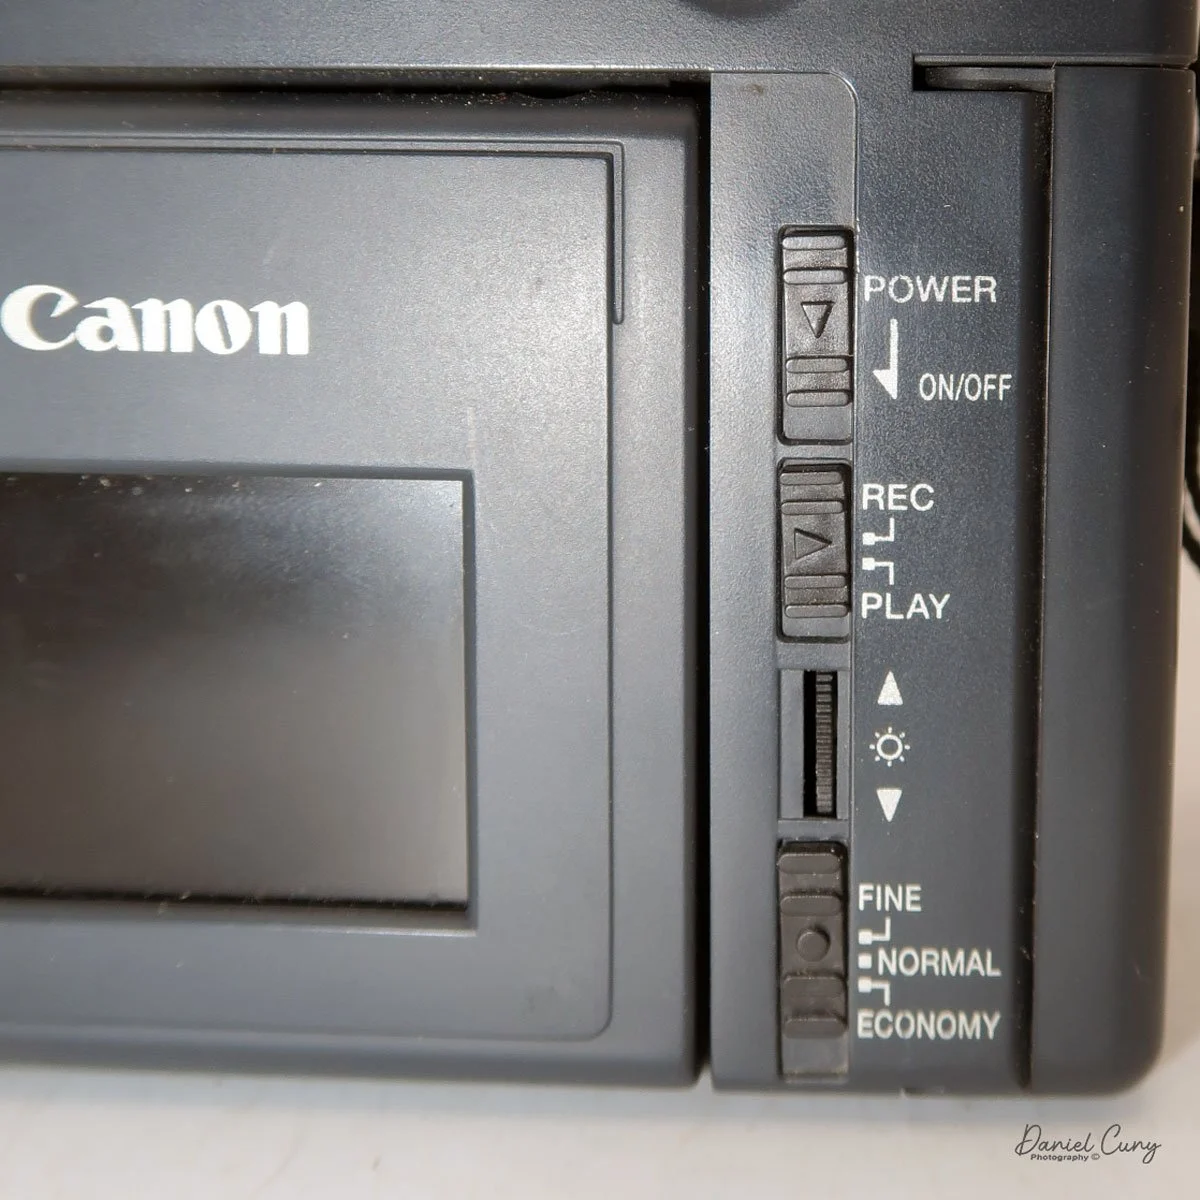
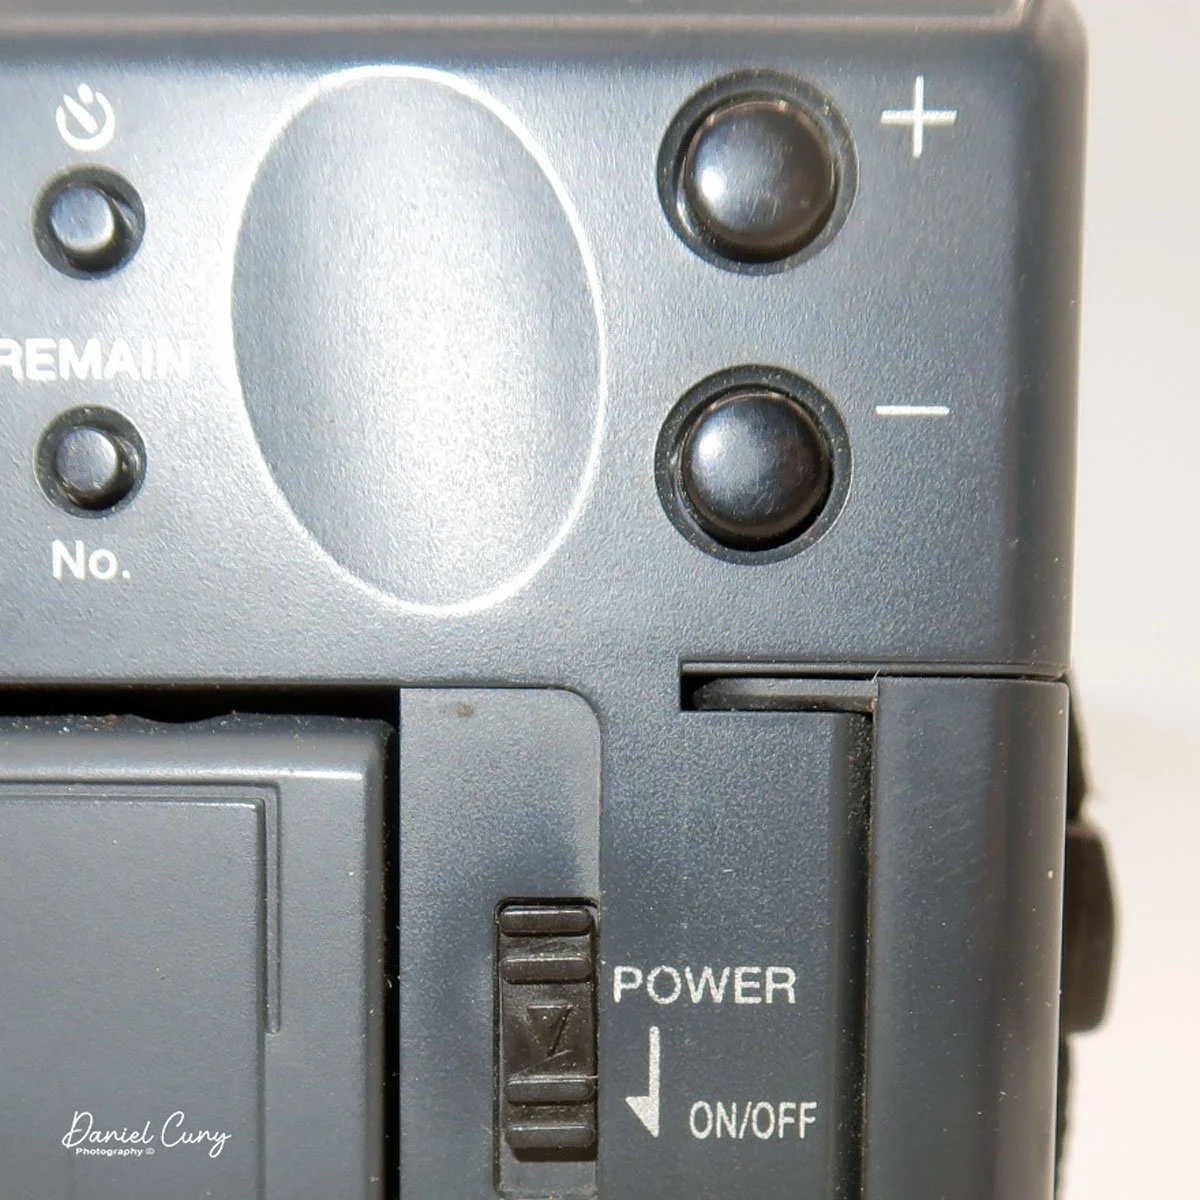
On the back of the camera, along the right side of the adjustable screen, are four controls. The top is the power on/off button. Below that is the switch to "record" or "playback" these images on the CompactFlash card. Next is a wheel with +/- controls to adjust the rear screen brightness, and at the bottom is a switch to select image quality: Fine, Normal, or Economy. On a 2 MB card included, you could fit 11 images in Fine, 23 in Normal, or a whopping 47 in Economy.

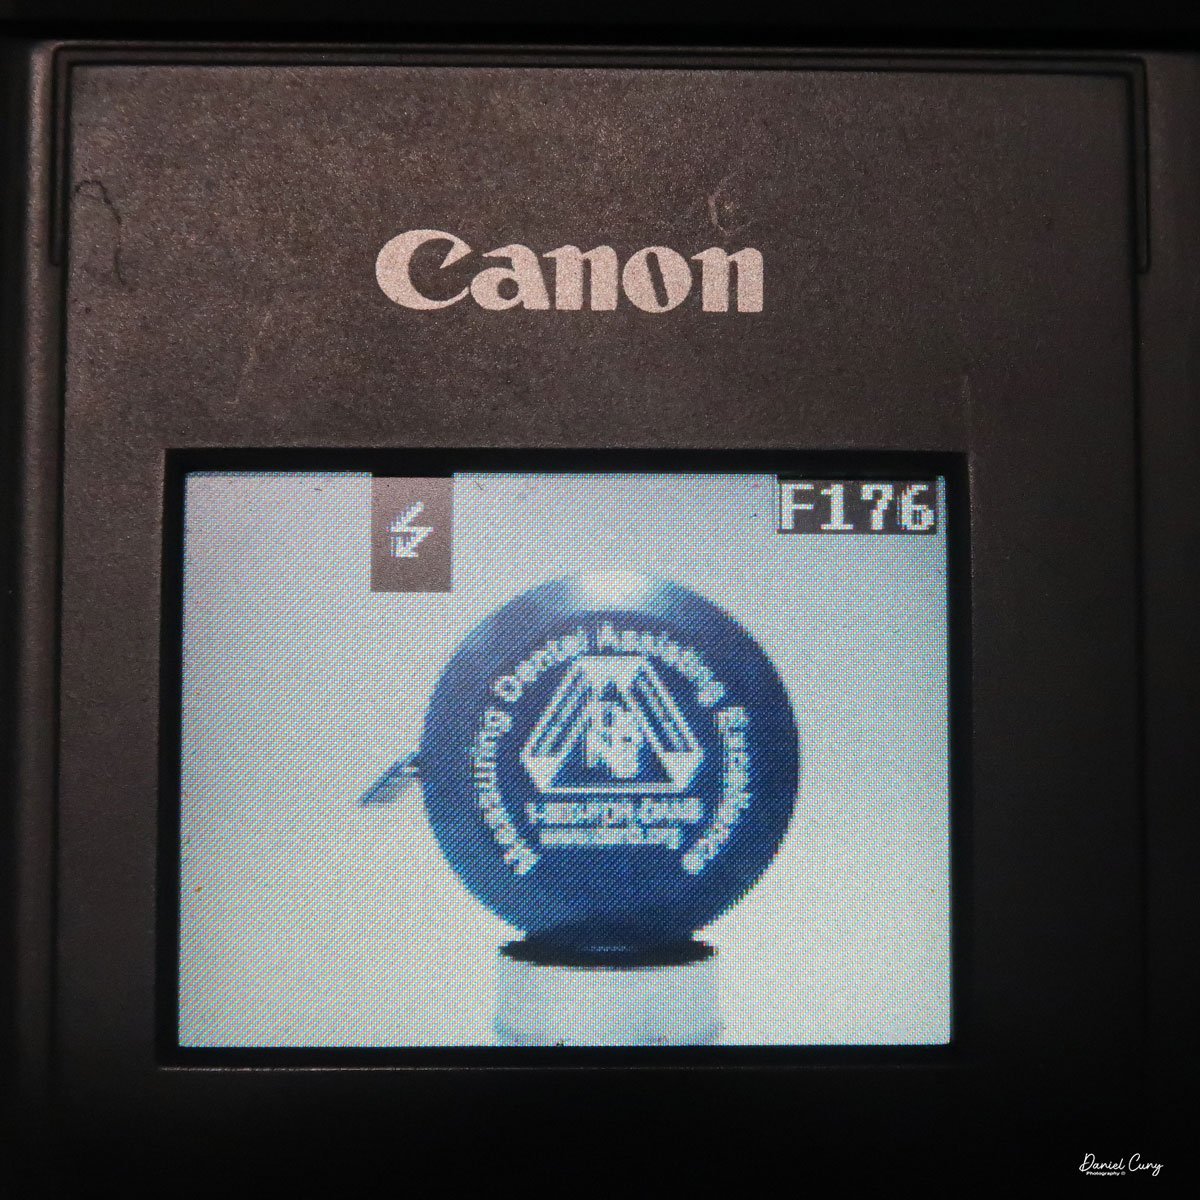
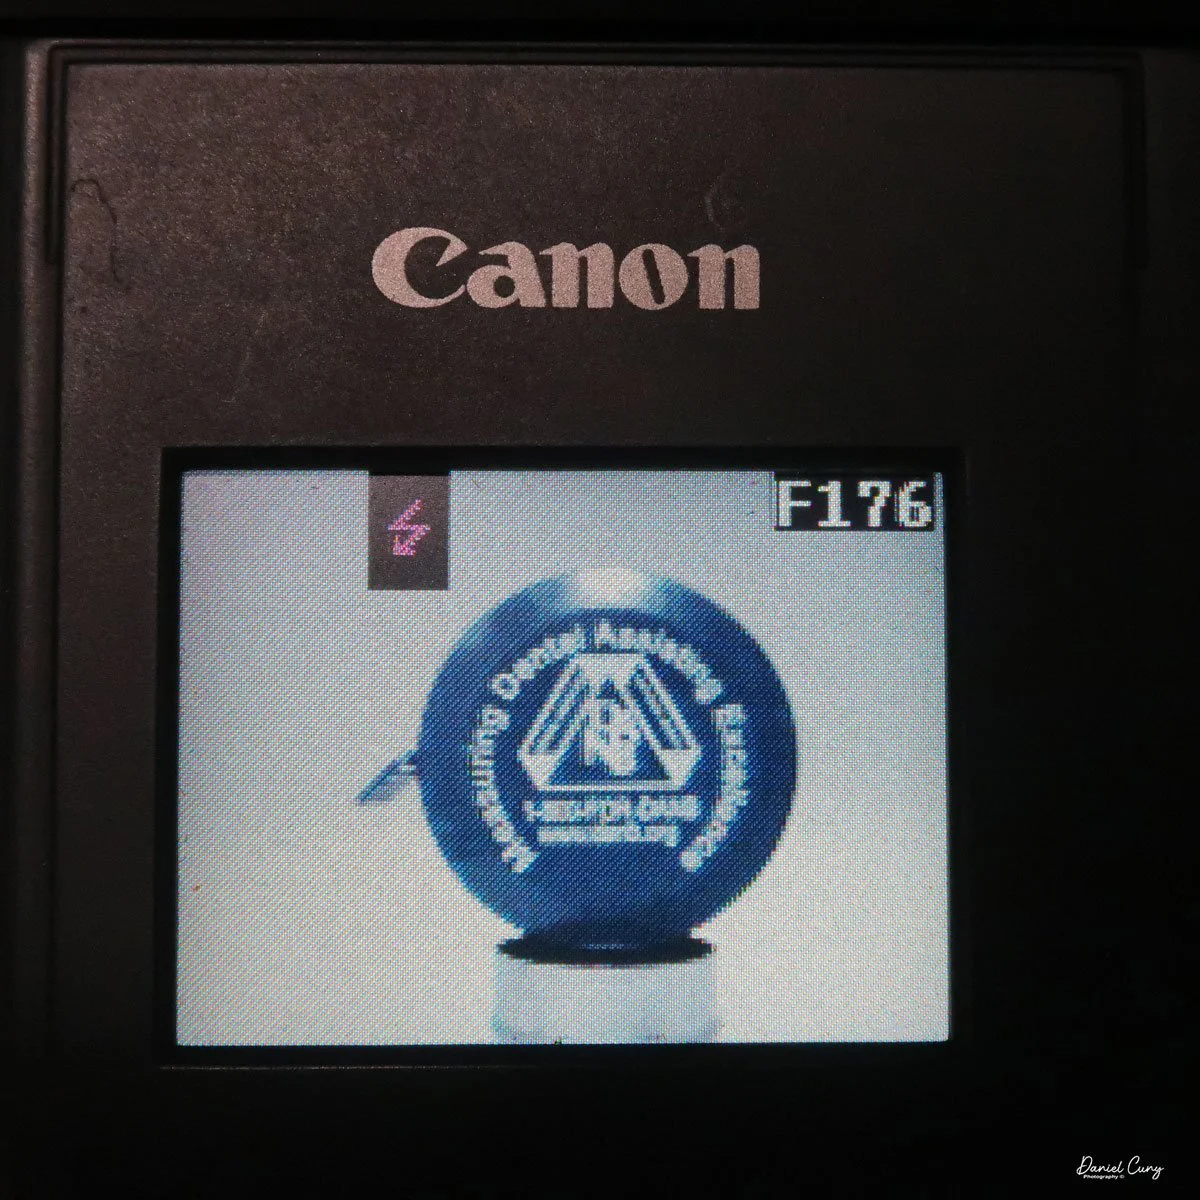
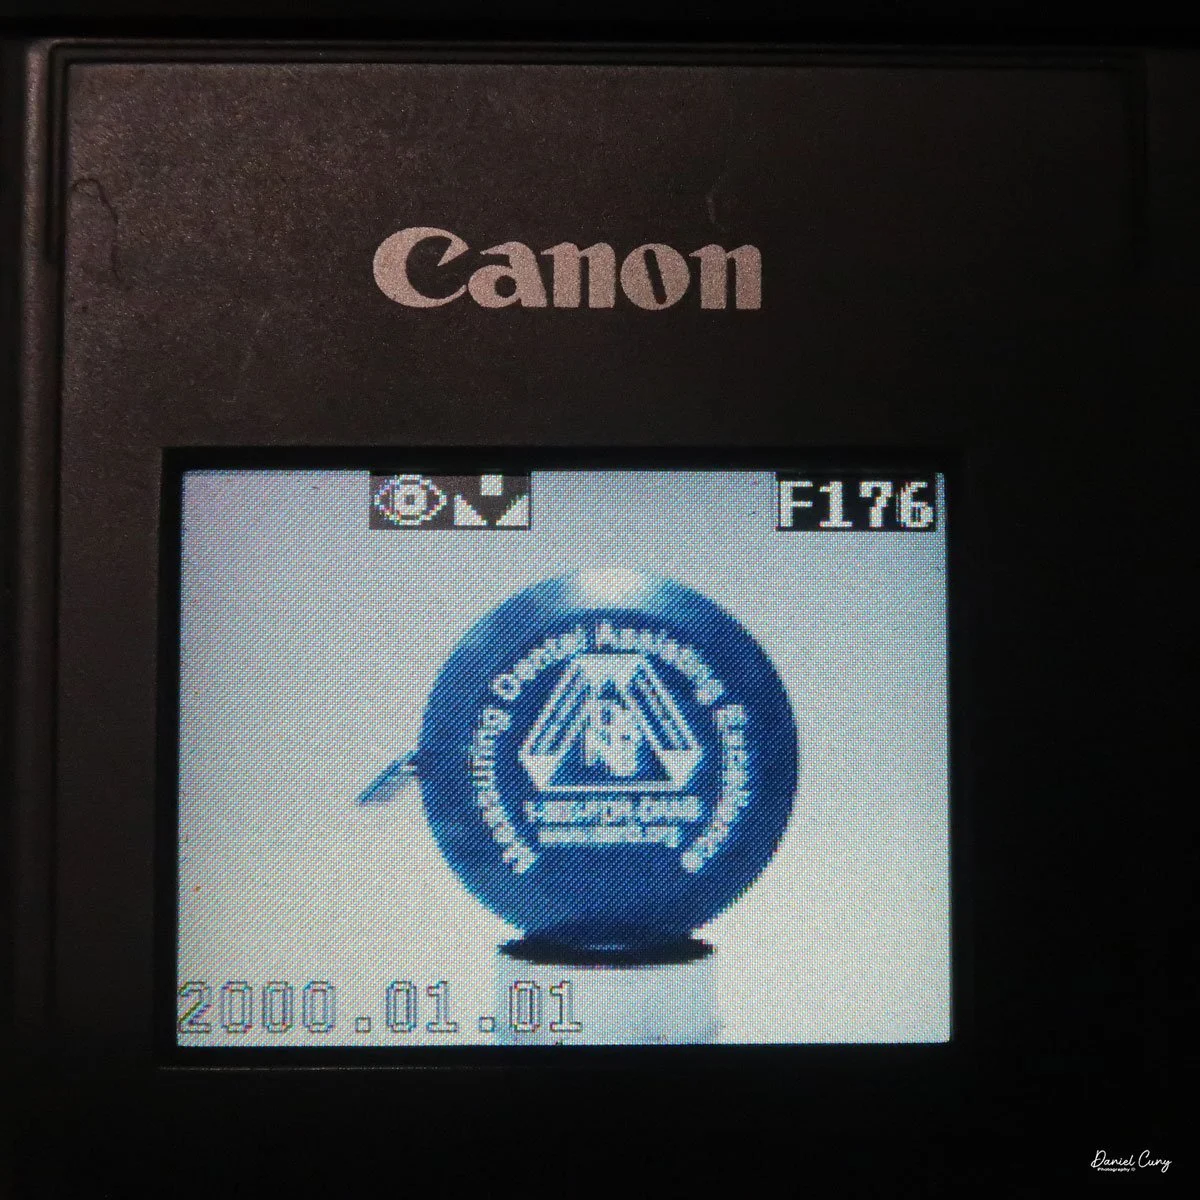
 When you turn the camera on via a switch on the back of the camera, you do see a "live view" on the adjustable screen on the back of the camera. Next to this very small 1.8" screen by today's standard, there is a wheel that will brighten or darken the image on the screen. Unfortunately, when there is any light outside, the screen is almost impossible to view images, and you'll need to shade it to even see a faint image. 

The same is true when you view the images you've recently taken, which pop up on the screen after the image was taken. Once you shade the screen, you'll be able to see the image better. In low-light or indoor situations, images appear better on the rear screen in both "live view" and playback mode. It's interesting to see the lag time in the "live view" images on the screen and how long it takes for the camera to write the image to the CF card. While photographing the back of the camera for this article, I took a short video showing the lag time of this camera. Here's the short video.

Most of the camera's controls are located on the rear of the camera body. There are two lights on the far left: one for charging the batteries and one for power/busy. They will light up when the camera is on and blink when the camera is "busy" or writing the image to the CF card.

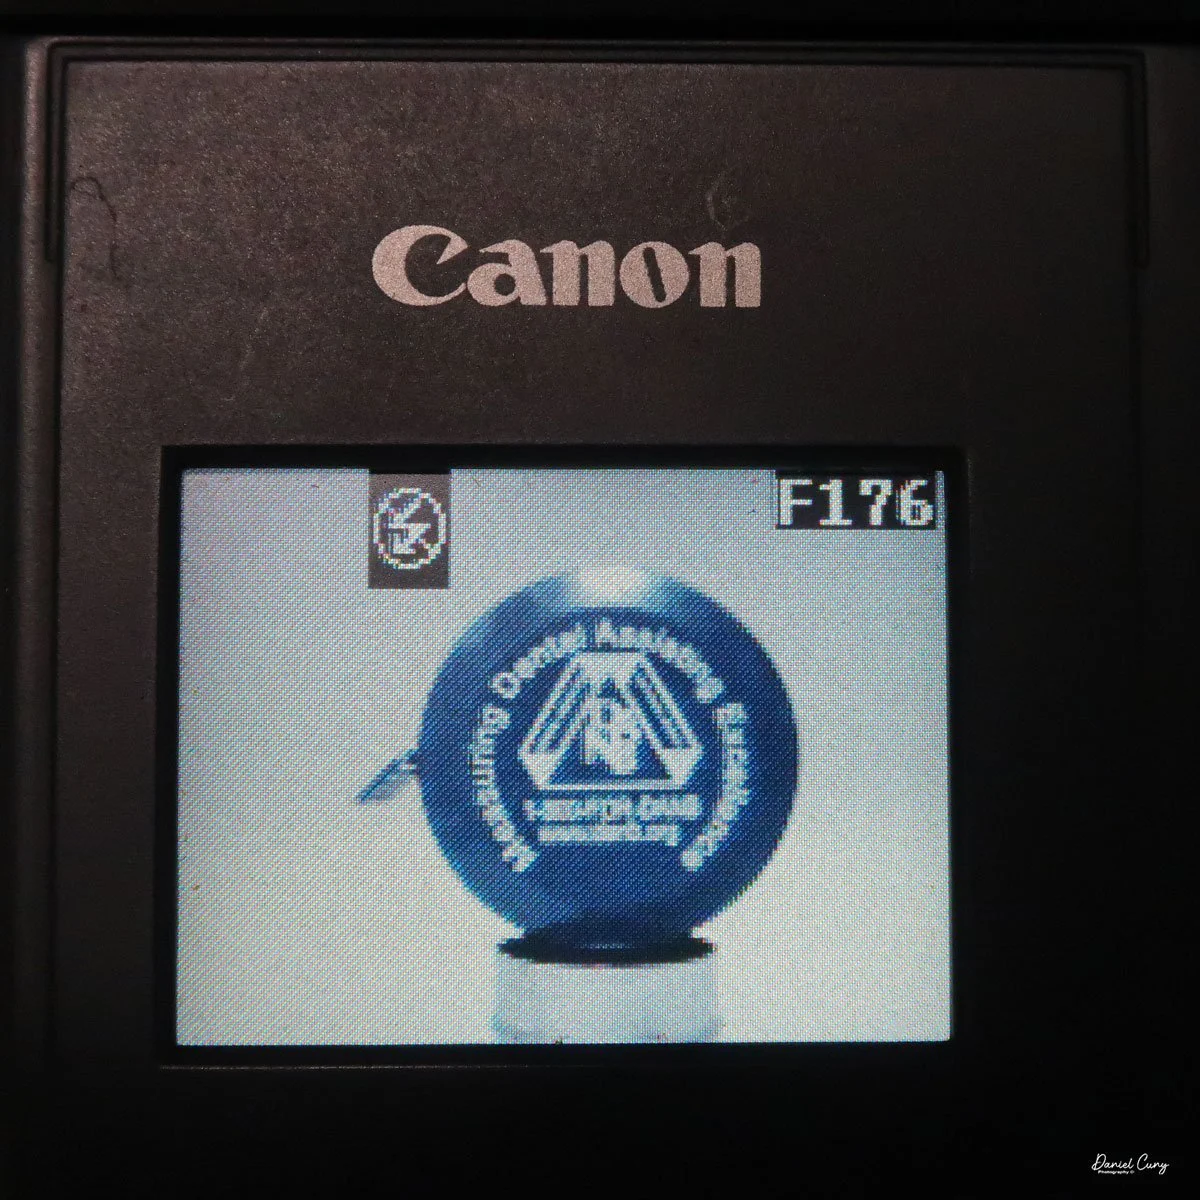
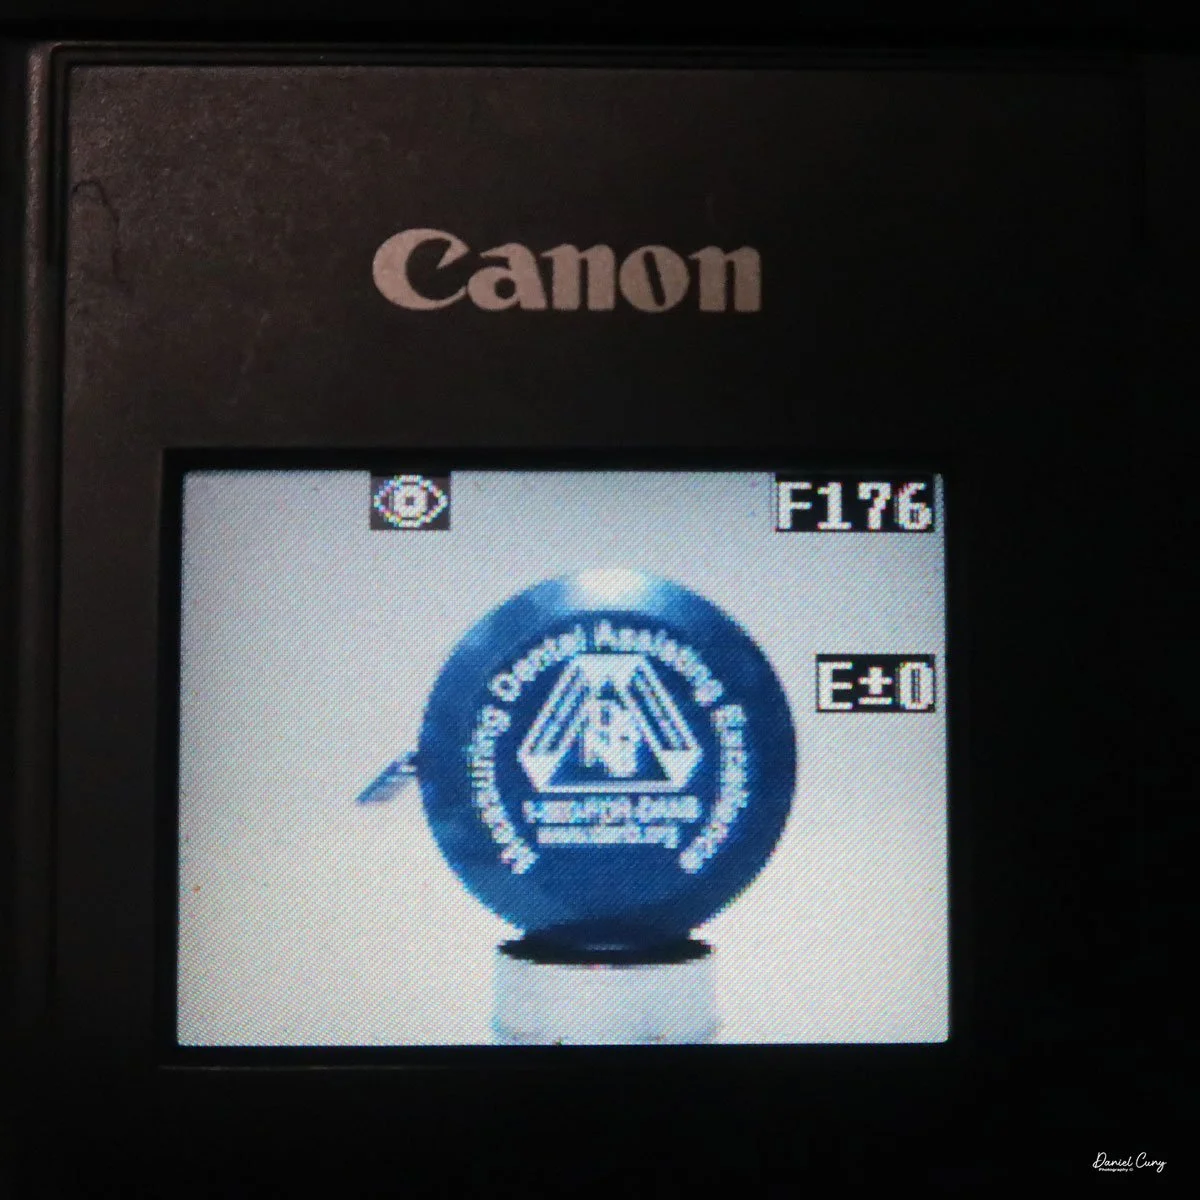
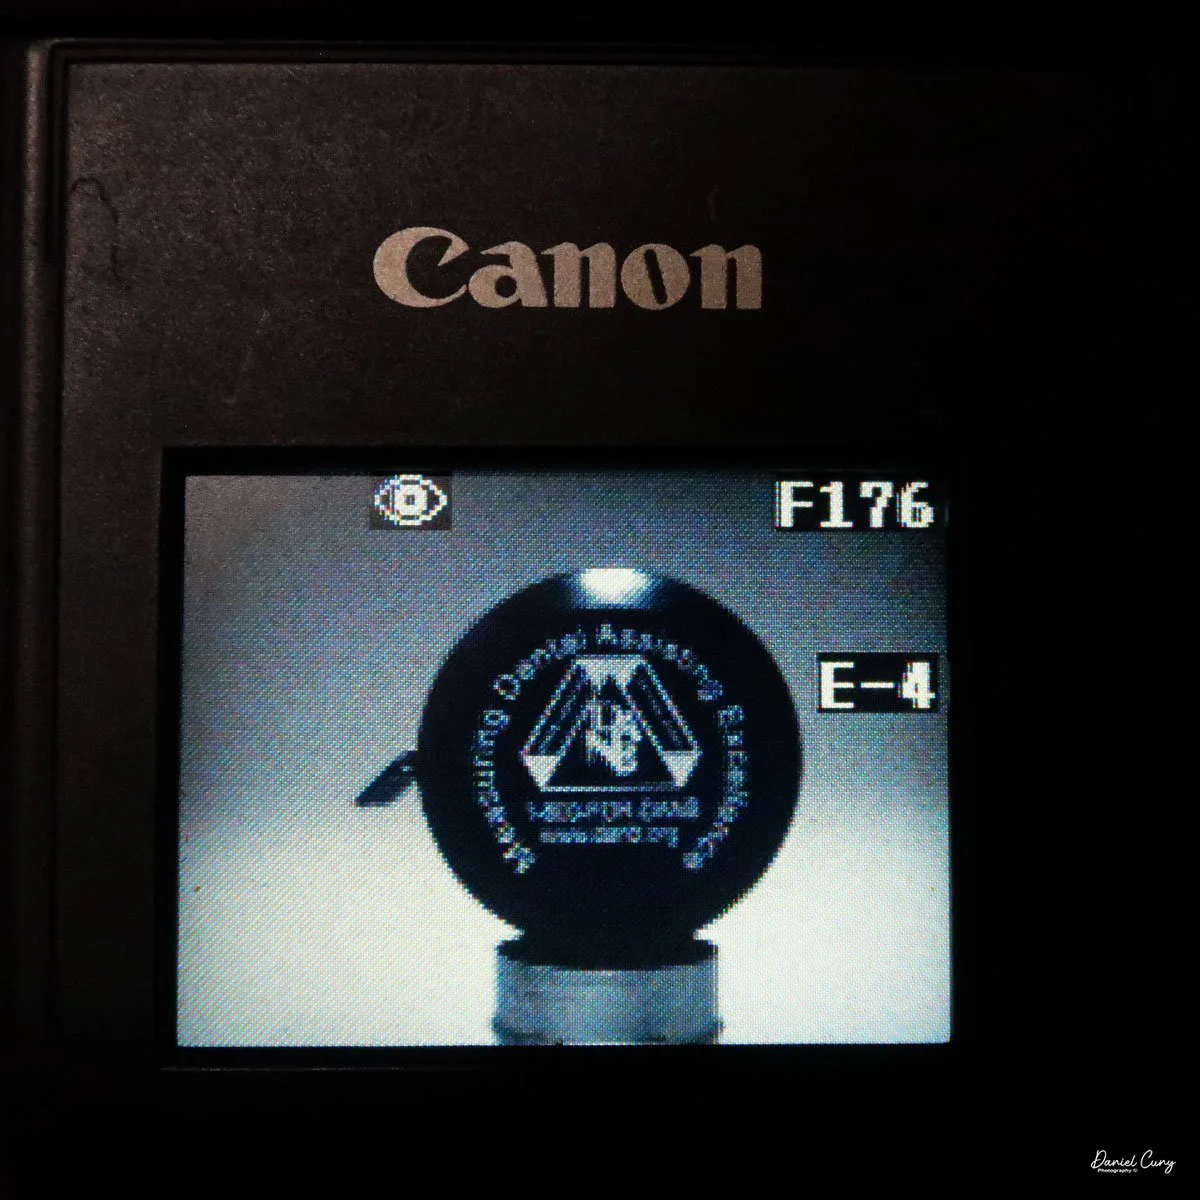
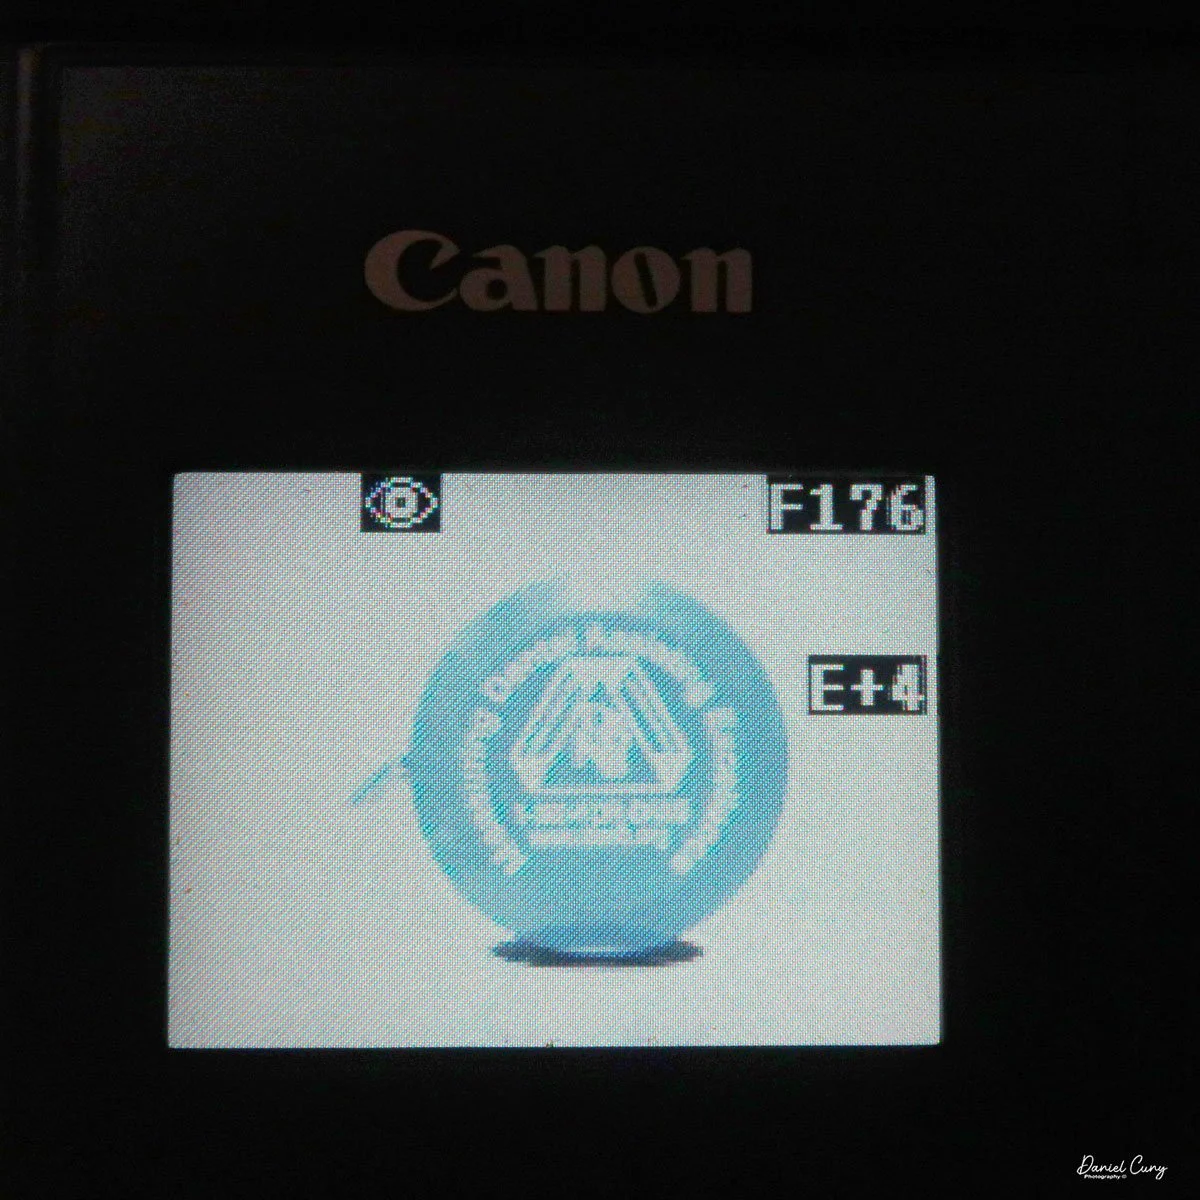
 The four buttons along the top are "W.Bal", setting the white balance for the images. "+/-", the ability to over or underexpose the images by up to four stops in either direction. "Flash" sets the flash modes: On, Off, Auto, and Red Eye Reduction. In "Self timer" mode, the camera will delay the photo by 10 seconds.

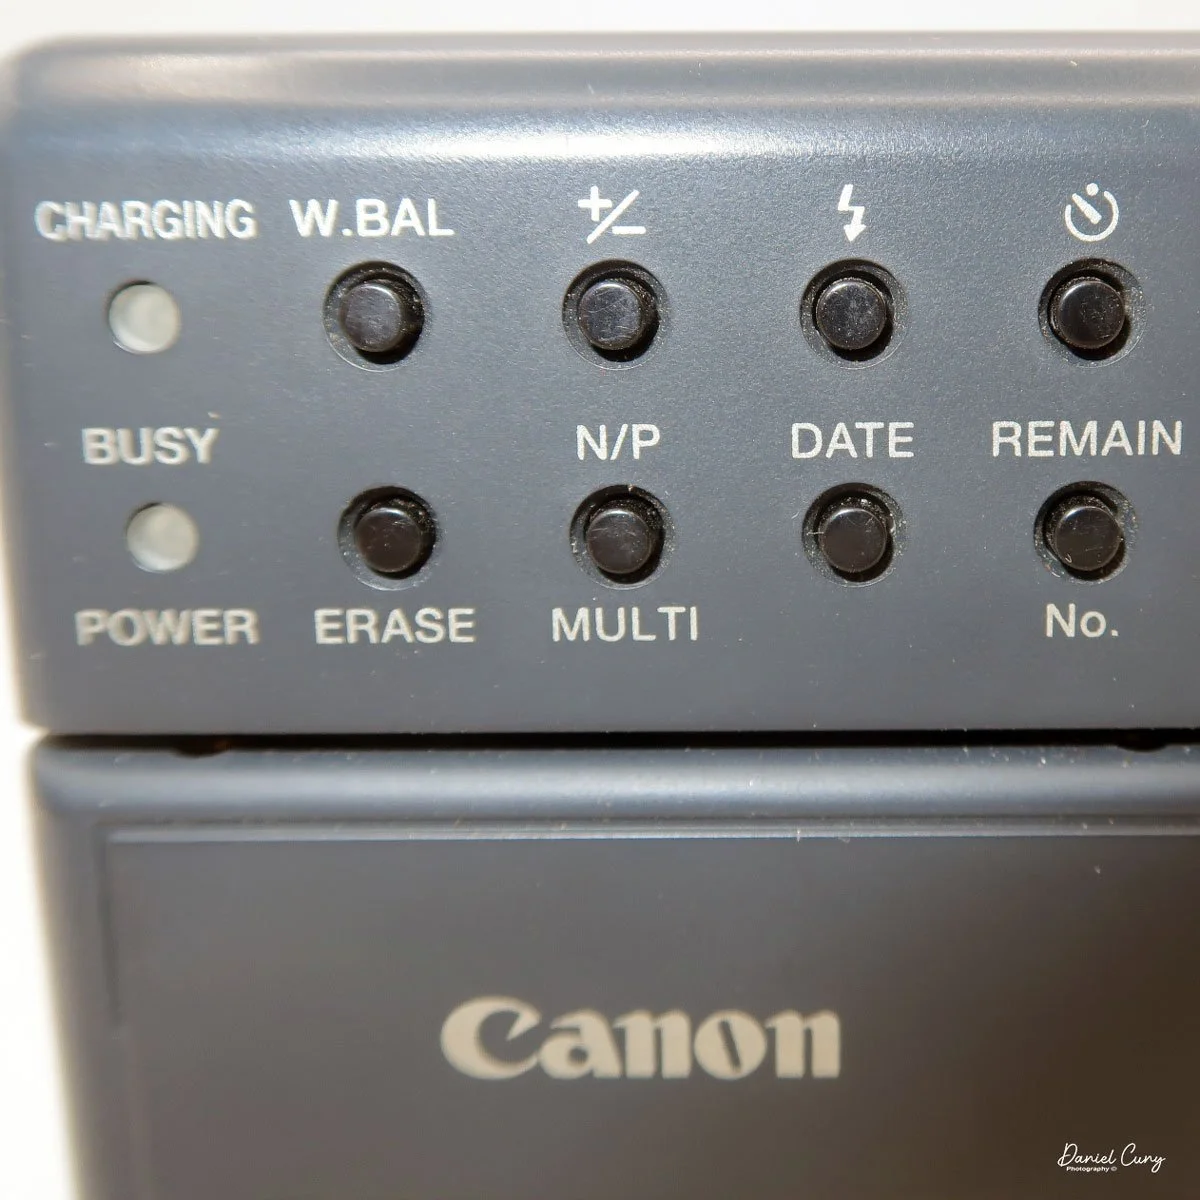
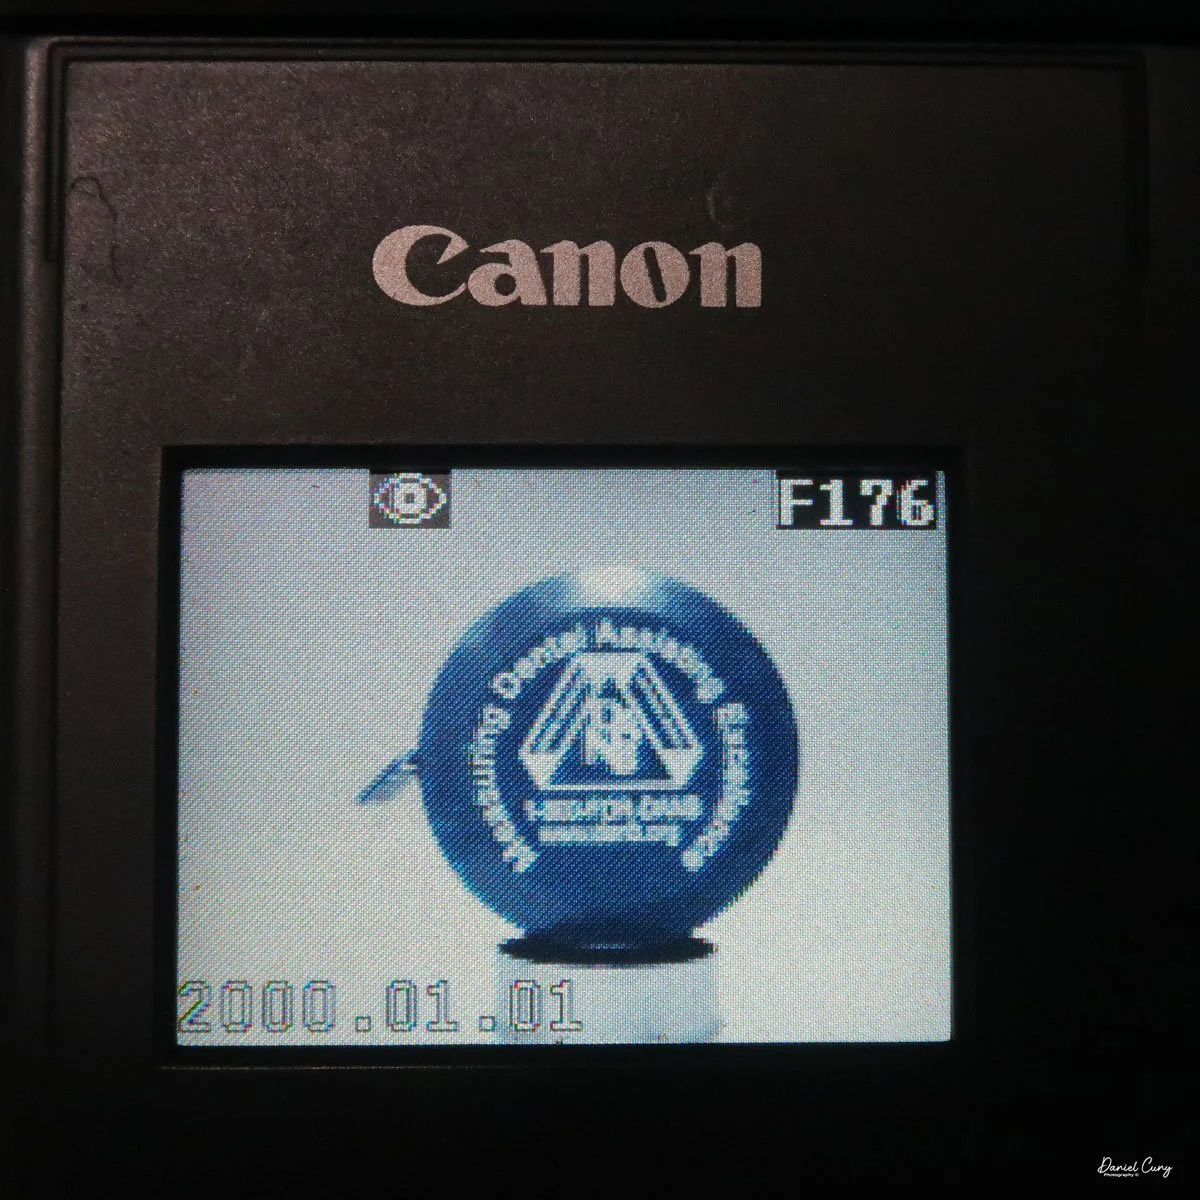
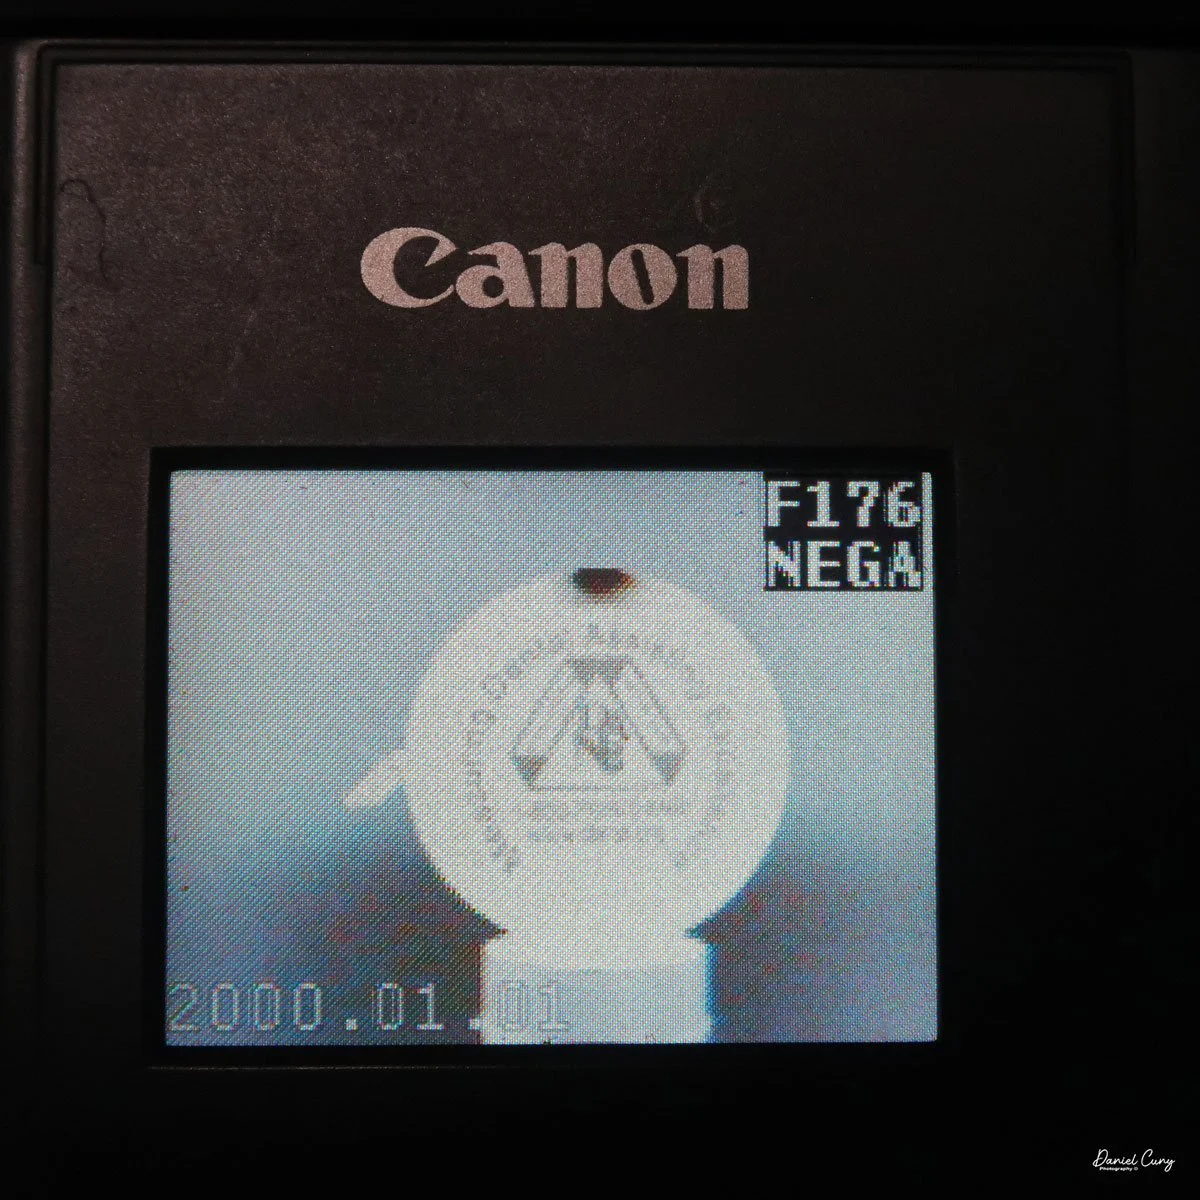
 Along the bottom, the four buttons are "Erase", allowing the photographer to erase the photo taken, "N/P" in the top position is for Positive or Negative images to be taken, and on the bottom, "Multi", which allows you to see multiple photos on the screen on the back of the camera. When I put the camera in this mode for image playback, I could see the photos, but they were so small that it was hard to tell which ones they were, especially on such a small screen with low resolution compared to today's standards. Next to that is "Date," which lets you set the camera's date, and the last button is "Remain," which shows the number of images remaining on the CF card. 

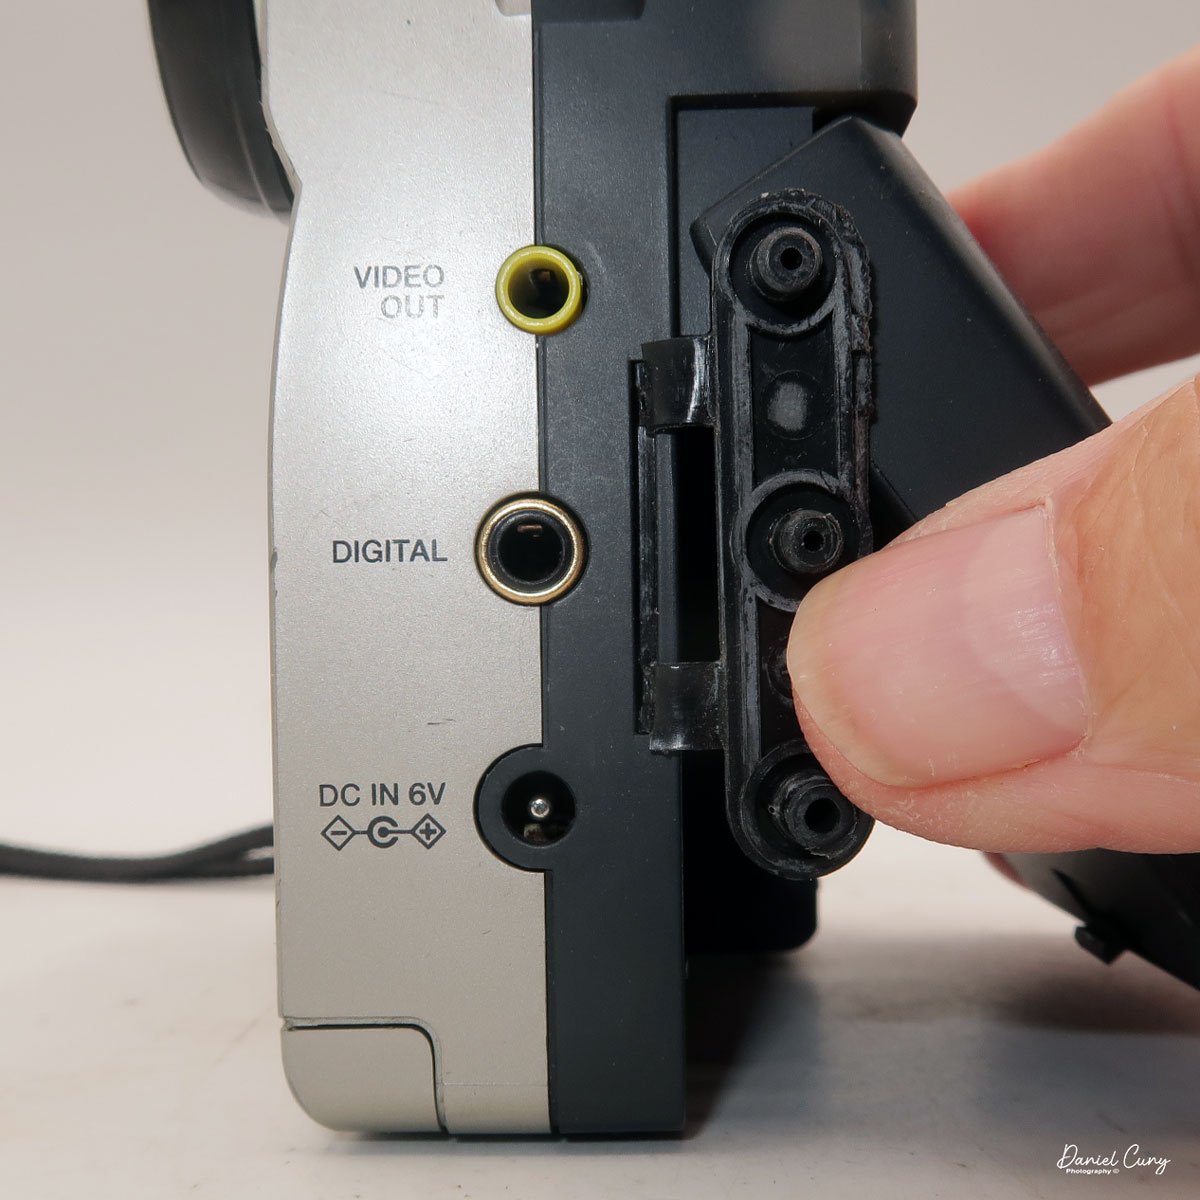
Along the side of the camera, under the lens's focus slider, are three ports labeled "video out" and "digital," so you can connect the camera to a television or computer to display its images. The bottom was for the charger to recharge the batteries within the camera.


My Images:

 I took the camera to Frenchman's Bar, a local park just on the Columbia River where I live, to take the dog for a walk and to take photos with the Canon PowerShot 350. It was a surprisingly sunny January afternoon, with incredible scenes of the river and Mt. Hood.

 What an excellent chance to take the camera out to see what it could do. When I got home, I offloaded the images to look at the file sizes. To my surprise, each image had the normal file, along with an incredibly small (2kb)  matching thumbnail file used for preview purposes on the rear screen after taking the photo. The file sizes were 150kb for the Fine resolution, 71kb for the Normal, and 31kb for the Economy.

 Here are some sample images I took during the walk.

Conclusion:

 Since this camera used CF cards for image input, I didn't have to jump through many hoops to get images in and out of the Canon PowerShot 350. Since it was a familiar camera I had owned in the past, it was pretty straightforward, and the one thing I found interesting was the ability to photograph in the negative color range. It was more for gimmickry than functionality.

 Nonetheless, it was fun to pick up and shoot with, but the writing time compared to what we have now is funny. Still, I'm happy to have such a complete camera, aside from a couple of cables.

 Here's a link to my other Camera Reviews.

 I also have a store on eBay, Cuny's Cameras and Photos, where I sell some of the cameras I've reviewed, along with other photographic odds and ends. If you see something you like, send me an email, and I'll offer a discount.

 Thank you for taking the time from your busy schedule to go back almost 30 years to the technology in cameras before 2000. It's impressive how far cameras have come in this short time.

 Until next week, please be safe.

Capta Camera

My Capta camera

When visiting another country, I research to find out if there are cameras made in that country that I'm unaware of. If I'm fortunate enough to find one, I can add it to my collection. We were fortunate enough to plan a trip to Barcelona last month, as my wife had a conference to attend and participate in, so I planned on tagging along on the journey to Spain.

 I had a few objectives for this trip, as I'd have time on my own. These objectives were to use my new Fujifilm camera, shoot black and white with my Widelux F7 camera, and attend local flea markets to find Spanish cameras that I wasn't aware of. All three objectives were accomplished. 

 At the local flea market in Barcelona, I stumbled upon a hidden gem-a relatively unknown Spanish Bakelite camera, a Capta camera in a tattered case. The thrill of this discovery was palpable. The camera was in good working condition, took 120 film, and had a 6x4.5 format. I didn't see any chips in the Bakelite. For a decent price, I eagerly made the purchase, already envisioning the stories I would share about this Spanish wonder.

 Upon returning home, I eagerly unpacked the Capta camera. Despite its better-than-expected condition, it was covered in a layer of grime, likely from the leather dust of the case. I  cleaned the camera with a soft cloth, Q-Tips, and lightly soapy water, restoring its original charm. With the camera now sparkling, I was ready to delve into its history and put it to use.

History:

Julio Matutano Benedito

Capta was the brainchild of Valencian pictorialism photographer, Julio Matutano Benedito. Born into a modest family in 1892, he had a passion for art from an early age. At the age of 12, he began his apprenticeship with a local sculptor. Between the ages of 14 and 20, he attended evening classes for artistic drawing at the School of Craftsmen in Valencia. 

 He was an accomplished engraver with his shop in Valencia until he took up photography in 1923, where he honed his craft by taking photos of his family. In 1928, Julio Matutano and a group of his friends formed Foto Club Valencia. Between 1928 and 1936, Julio Matutano won several national and international awards for his photography.

 In 1935, Julio Matutano changed careers. He embarked on designing and manufacturing a new camera company in Spain. His first creation, the Nerva, was a testament to his innovative spirit. This camera, made from stamped aluminum, used 127 film with a 3x4cm format and featured a German Rodenstock lens. It was a true pioneer in its time, selling for 13 pesetas, equivalent to approximately $35.00 in today's dollars.

 In 1942, he designed a wooden camera with a SACO (Sociedad Anónima de Cristales Ópticos) lens, which took 127 film in a 6x4.5 format, named PERFECTA. I couldn't find this camera anywhere, except for the German Perfecta. If you have any information on it, please let me know.

 Julio Matutano registered the CAPTA trademark in 1944. That year, he also designed and introduced the Capta I, a Bakelite camera manufactured by Industrias Sintéticas Abril in Barcelona. The camera featured an optical viewfinder on top and used 120 film with a 6x4.5 format. At this time, the Capta sold for 101 pesetas. Later in 1944, Capta introduced the Baby Capta. I created a smaller version of the Capta, which I named the Baby Capta, featuring a metal face and capable of taking 127 film in a 6x4.4 format. This camera was marketed for a younger audience.

 The Captaflex was designed in 1947. The Captaflex was a Bakelite camera that took 120-size film with an unusual 52.5 x 52.5 cm image area (6x6) format. The camera had a 90mm f/8.5 lens and a helical screw, variable focus lens capable of focusing from 1.5 meters to infinity. The camera bears a strong resemblance to the British-made Ensign Ful-Vue camera. Unfortunately, Julio Matutano died in 1947 before the camera came to market, but his two sons, Julio and Vincente, who had been working in the company since they were 12 and 13. Both sons were artists when they took over the company and moved it to Valencia. From then on, the company's logo was JVM, and the Captaflex was released in 1948 for 375 pesetas.

 The brothers expanded the business during the 1950s, as the resurgence of photography following World War II gained momentum. In 1952, the Capta II was introduced, featuring a coated lens, a focusable lens, and an accessory close-up lens.

 Capta's first 35mm camera, the Capta 35, was introduced in 1953. A 24x24 format camera made of injected aluminum alloy with three shutter speeds and a rectilinear lens. In 1955, the company expanded into other areas and introduced the Capta-Movie. In 1956, Capta introduced the Universal Tank, a film developing tank compatible with 35mm, 127, and 120 films.

 After 1959, the collaboration with Gaspar Mampel ended, and Capta started selling all its products directly to the public. During this time, Capta introduces a microscope, an enlarger, and several other photo-related products. In 1966, the company ceased all production and closed due to extreme financial difficulties.

My Camera:

My Capta camera is 5" wide by 4" tall by 2.75" deep and weighs 10.2 oz without the fitted leather case. The Capta is a straightforward camera with a fixed focus, meniscus lens, and a basic optical viewfinder on top. The camera is a 6x4.5 vertical format camera, and it also has a tripod socket on the bottom.

For shutter speeds, the Capta camera has either "I" for instant, or "P" for timed exposures. These are set by pulling out or pressing in a metal bar that sets the shutter's capability, which is on the right side, below the lens. According to my shutter tester, the shutter speed is 1/40 for instant exposures. The shutter release is above the lens at an approximate 11:00 position, and above the "CAPTA" name on the front of the camera. A shutter release cable can be connected to the shutter release for timed exposures.

To load the camera with film, the back is held to the body with friction. There is no locking mechanism on the camera that secures the back onto the body. On the side of the camera are two small tabs. Push these two tabs apart, and the back separates from the camera body, exposing the area where you load the film. When the camera back is off the body, and you're ready to load film into it. There are three "wings" that can be pulled up to insert the film. These wings make it easier to load the film as opposed to trying to jam the film roll into one of the sides of the camera. There was an interesting empty spool in the camera from a film manufacturer I wasn't aware of. The spool is from Infonal, a Spanish film manufacturer in Barcelona.

The side with the take up spool and winding knob only has one wing that lifts to help load the film. Loading the empty spool is a bit more challenging, as the winding knob doesn't lift to assist with loading the empty spool. After a bit of wiggling, the take-up spool fit into the correct position. Once the film is in the camera, all you need to do is press the back onto the body, and friction hold the back in position.

 The red window on the back of the camera seemed low for the numbers on my roll of film. Still, I was able to see the numbers as they passed and stopped at the appropriate places to capture the whole roll of images on the film.


My Results:

I loaded a roll of T-Max 100 film into the camera and took it for a walk through the neighborhood. I should have given the camera one more Spanish experience by purchasing a roll of 120 film at Casanova Camera in Barcelona and trying it out there; unfortunately, I didn't think of it, so I was forced to use the camera in my neighborhood.

 After developing the negatives, I was pleasantly surprised by the results. While the images were relatively sharp in the center, the fall-off of sharpness is rapid as you move to the outer portions of the image, making this a wonderful Lomography camera. It almost has a very dreamy effect on the outer edges which I personally like.

Conclusion:

The camera was enjoyable to photograph with. Using the camera was really applying photography's basic rules, which include ensuring the sun is behind you, framing the image in the viewfinder, pressing the shutter release, and winding to the next frame. In today's world, we'd call this a "point and shoot" camera, as it has no settings. Am I taking photographs or snapshots? Does this make it better or worse? That could be a topic for discussion on another day.

 My trip to Barcelona was a successful one. I photographed many beautiful areas of the town, uploaded my favorite Widelux Images of Barcelona, and purchased a relatively unknown and simple Spanish camera to add to my collection.

 Click on the link to see other cameras I've reviewed from my collection.

 If you're interested in older and collectible cameras, I do have a store on eBay, Cuny's Camera and Photo, where I sell cameras, lenses, and other camera items.

 I'd love to hear from you. If you have a question, comment, or concern, please don't hesitate to contact me.

 Thank you for taking the time to read about this little known Spanish camera.

 Until next week, please be safe.

Olympus O-Product Camera

My Olympus O-Product Camera

In high school, my good friend Greg Copeland introduced me to the Olympus camera system in the early 1970s. He was the first person I knew who bought into the Olympus OM system with the OM-1, which I believe was in 1973. At that time, Olympus was very innovative, making the most miniature SLR camera system, which included a complete line of small, compact lenses with very nice optics. I can still remember Greg telling me how much he enjoyed how nice the camera was made. He would take the camera with him all the time. At the time, I was using either the Topcon Super D or, possibly, I had moved on to shooting with a Nikon Nikkormat.

 I started working in the photo industry in late 1973 when I was hired as a seasonal employee in the camera department at my local K-Mart. That position didn't last long, but it led me to work at the local camera store chain about a year later. I was hired to work in the warehouse and handle all the camera and lens repairs.

 When I started working at the local camera store, the Olympus OM system had a decent hold on the market. However, it was still lagging behind the big kids in the marketplace. Olympus was continually pushing the envelope with many new and exciting products like the terrific XA camera line, which, to this day, is one of my favorite cameras. Olympus introduced new additions to its system yearly, which always had customers in the store talking about its products.

Olympus O camera & Flash

 I tell you this because I have seen many odd and unusual cameras introduced by camera companies over the years, and many of them came out in the 1980s to the mid-1990s. The Minolta Prod 20, the Yashica Samurai, and Canon had the Epoca series of cameras. There's a great blog on some of these cameras on the Kosmo Foto Blog.

 One of the cameras that greatly impacted me when it was introduced in 1988 was the Olympus O-Product camera. It was a limited edition, and only 20,000 cameras were made. The Olympus O-Product camera had a very unusual, art deco look of a circle in a square and was made of brushed aluminum. At the time, the cost was prohibitive for me to purchase, but I remember thinking that someday, I'd really like to have one in my collection. Its unique design always intrigued me.

The Company:

The history of Olympus cameras is a story of innovation, precision engineering, and a relentless pursuit of compact, high-quality imaging tools. Founded 1919 in Japan as Takachiho Seisakusho, the company initially specialized in microscopes and thermometers. In 1949, it was renamed Olympus Optical Co., Ltd., and it soon began making a name for itself in photography.

 Olympus entered the camera market in 1936 with the launch of the Semi-Olympus I. This bellows camera used the German-made Zuiko lens, setting the stage for a signature brand name synonymous with Olympus Optics. However, it was not until the post-war period that Olympus truly revolutionized the photography industry.

 One of the most pivotal moments came in 1959 with the release of the Olympus Pen. Designed by the legendary Yoshihisa Maitani, the Pen was a half-frame 35mm camera, meaning it could shoot twice as many exposures per roll of film. It was compact and affordable and helped democratize photography for a wider audience. The Pen series enjoyed massive popularity and marked Olympus as a leader in miniaturization without sacrificing quality.

 The next major innovation came in 1972 with the OM system. Again spearheaded by Maitani, the Olympus OM-1 was a compact, lightweight SLR (single-lens reflex) camera that offered full functionality in a significantly smaller body than its contemporaries. This system appealed to professionals and enthusiasts alike, reshaping expectations for what an SLR could be.

 In the digital age, Olympus continued to push boundaries. In 1996, they released their first digital camera, the Camedia C-800L. However, the Four Thirds system, introduced in collaboration with Kodak in 2003, made a lasting mark. This was followed by the Micro Four Thirds system in 2008, which eliminated the mirror box of traditional DSLRs, allowing for even more compact and lightweight cameras. The Olympus PEN E-P1, released in 2009, revived the classic Pen design in a digital form and was among the first mirrorless cameras to gain traction in the market.

 In 2020, Olympus exited the camera business, selling its imaging division to Japan Industrial Partners, which rebranded the line as OM SYSTEM. Despite the transition, Olympus's legacy lives on through continued innovation and the enduring influence of its designs on modern photography.

The Camera.

I've always thought of the Olympus O-Product camera as more of an art piece rather than a functioning camera, but it is fully functional. In its simplest form, the Olympus O-Product is a "point-and-shoot" camera. There are no settings on the camera that the photographer needs or can really set, which makes it incredibly simple and straightforward to use.

Camera’s number from production lot.

 The camera is relatively small, measuring 4" wide by 3.5" tall and 2" deep. These measurements are for the camera alone and not with the flash attached. If I add the detachable flash, the camera is 5.75" wide by 4" tall. The camera weighs just under 1 lbs. at 15.2 oz. with the flash attached. My camera is number 11289 out of 20,000. The camera also features a unique circular viewfinder and a distinctive shutter button, adding to its charm and functionality.

 The Olympus O-Product camera is powered by 2-AAA batteries that fit into the camera's bottom. The 2-AAA batteries also power the detachable flash. The camera is very simple and basic. Once the batteries are in the camera, you can load film, which is autoloading. There is no need to set the film's ISO because the camera has DX coding for the film loaded. Once you put the leader on the take-up spool and close the back of the camera, the camera automatically winds the film to frame number one.

 To turn on the camera, a lever you pull down on the front opens the front door, exposing the 35mm f3.5 Olympus lens. To turn the camera off, close the front door. There are no shutter speeds to set as the camera has a programmed electronic shutter. The camera is also autofocusing. In the center of the viewfinder,  you'll see a white circle when you depress the shutter button halfway on the front of the camera. In that case, a light will light up next to the "AF" in the upper right-hand corner, letting you know the camera has focused on the subject, and you can press the button to take the photo. Once you take the picture, the camera automatically advances to the next frame. Once you've taken all the photos on the roll of film, the camera will automatically rewind the film into the film cassette.

 The flash for the camera is detachable, so if you don't need it, you can take it off. To take the flash off, you need to unscrew the mounting screw, and the flash will come off the camera. You still need to unplug the cord from the flash to the camera, which pulls out, so it's very simple. To attach the flash, you screw it onto the camera and plug in the cord. If the camera needs the flash, a red ready light on top of it lights up when the flash is ready and will fire if it determines it needs the extra light to make a proper exposure.

 There are two buttons on the camera's top next to the flash attachment that allows the photographer to make adjustments when shooting.  One of the buttons is a self-timer. If you want to get into the photo, press the self-timer, giving you 10 seconds to get into it. The other button is a rewind button. Suppose, for some reason, you want to change to a different type of film. In that case, you can depress the rewind button. The camera will automatically rewind the film back, leaving a little bit of the leader exposed so you can re-load it when you want to finish that roll of film.

My Results.

I put batteries in the camera and flash, loaded it with a roll of Ilford Plus 50 black and white film, walked through the house, and strolled around the block taking photos. The camera determined if the flash was needed, which was pretty fun. It was too simple for my taste as sometimes I like to use fill flash, but this camera didn't allow me to do so. I could trick the meter by putting my finger over the meter area, but for this blog post, I wanted to be free and let the camera do all the work.

 Here are a few of the photos taken on my walk.

Conclusion.

Using such a simple but beautifully made camera was a lot of fun. The camera produces very sharp images and is extremely easy to use. When I was working at the camera store, we used the term PHD cameras, which always meant "push here dear," meaning the camera was very simple for either men or women. Put the camera to your eye, point it at your subject and "push here dear".

 As I mentioned earlier, the Olympus O-Product camera is more of a work of art or statement camera that looks terrific in the collection. It's not really made to be used on a daily basis, but using it every once in a while is good. I wouldn't want the camera to get more scuffed than it already is, but taking the camera out was fun, as was running film through it.

 Thank you for taking a few minutes from your day to read about this art piece that can also be used as a camera.

 Until next week, please be safe.

Purma Special Camera

As I was cleaning out a box of cameras, looking for the next camera to shoot with and use for my next camera blog, I grabbed a brown case that I had put in the box a long time ago. As I turned the case around, I saw the name Purma on the front of the case and thought to myself, This will be my next camera to discuss or talk about in my blog.

My Purma Special Camera

 The Purma Special is a camera I purchased well over 20 years ago. I remember it was early in my collecting and when I was buying and selling on eBay. I started on eBay as a seller and buyer back in early 1997. When you engaged with eBay then, you didn't have your name as an ID, but they assigned you a number you'd use to log in and for sales purposes. I remember my number was 1032 before changing it to my current name, "Clix."

 At that time on eBay, there were no photos on the site, and it was similar to a message board where people would describe what they had for sale, what you were asking for, etc., Very similar to what Craigslist was before photos. Having McKeown's guide for cameras and thumbing through it daily, I was intrigued by cameras from other countries, and the Purma Special was one that I desired at the time due to its odd diamond shape and the fact that it was made in England.

Because the Purma Special camera is, in my opinion, a camera oddity due to the design of the camera, the shutter used, and the somewhat popularity of the camera, it's been reviewed and discussed by several of my camera blog friends like Peggy of Go Camera Go and Mike Eckman. Still, I wanted to make sure people were aware of my odd and unusual take on cameras from yesteryear, so this is more like Peggy's post about my thoughts on using the camera and the overall take on what a camera gem this is.

My Purma Special with Case

The Company:

Purma Cameras Ltd. was founded in 1935 in London. The name Purma is a combination of the two owners of the company: Tom Purvis, a well-known artist and lithographer who worked for LNER (London and North East Railway) from 1923 to 43, producing beautiful and popular advertising posters. 

Diagram on how the shutter system works on Purma Camera

 The other partner in the company was inventor Alfred Croger Mayo, who, along with Joseph Terrett, invented the unusual and very simple gravity-controlled focal plane shutter used in the Purma cameras. I believe this is Purma's real claim to fame and set them apart from other camera companies of the time. They also had financial backing from David Brock of Brock Fireworks, a company that started in 1698 and is the oldest British fireworks manufacturer.

Purma introduced its first camera in 1936, the Purma Speed. It was an enameled metal and chrome camera with a pop-up viewfinder. The Purma Speed camera had six shutter speeds and looked like a more traditional rounded-corner, rectangular camera.

Ad for the Purma Special

 With the introduction of the Purma Special camera in 1937, the company turned to an all Bakelite camera, along with a flatted diamond shape design with an art deco appeal to the camera due to the thin ridges built into the camera, which extend all around the camera. The Purma Special only had three shutter speeds but has a classic sleek design, and one that was the camera that set them apart design-wise from other cameras. The unique diamond shape and the use of Bakelite, a revolutionary material at the time, gave the Purma Special a distinct look and feel, setting it apart from its contemporaries. 

 The Purma Special was imported to many different countries, including the United States. According to an ad I found from 1939, the camera sold in the US for $14.95. It's my understanding that this was their most popular camera, although I cannot find sales records to prove these claims, as it's just from what I see for sale and the quantity of Purma Special cameras available today. The Purma Special was a popular choice among amateur photographers and was widely available in the market, contributing to its popularity and the large number of units still in circulation today.

There are a couple of unique features of the Purma camera. One is the 'pop out' lens, which is concealed by a thread in the lens cap, a clever design that protects the lens when not in use. When you screw the lens cap back onto the camera, it also locks the shutter. Unfortunately, these lens caps get lost, and many of the used Purma cameras are sold without the lens cap. The second is the use of plastics in the viewfinder. Purma was the first to do this, a pioneering move that made the camera lighter and more durable. These innovative features were ahead of their time and contributed to the Purma Special's appeal among photographers.

Purma also introduced the Purma Plus in 1951, which had an aluminum body and sold for £12.00 at the time. Production for the Purma Plus lasted until 1959. I cannot find why the company stopped producing its camera, so I assume it closed around 1960.


The Camera:

My Purma Special camera measures 6 3/4" wide by 2 3/4" tall by 2 1/4" deep with the lens cap on the camera, and the camera weighs 12 oz without the fitted leather case.  The camera has a Beck 2 1/4"  F6.3  lens with a fixed focus from 12' to infinity. Purma did sell a series of close-up and portrait attachment lenses that allowed for focus from 3.5 to 5' but were sold separately. These are items I do not have.

The Purma cameras use 127-size roll film and produce 16-1 1/4" square images on the negative. The Purma special doesn't have a locking mechanism to keep the back attached to the front of the camera. They are held together just by friction, but the back of the camera fits tightly to the front. The friction held back doesn't prevent it from accidentally opening if something were to happen. To open the back of the camera, there is a tiny thumb notch where you put your fingernail in and pull the back from the front.

The camera utilizes two red windows on the back of the camera, so you get 16 frames on the film; the photographer winds the film to the #1 exposure on the left window, then after taking the photo, winds the film so the #1 exposure shows up on the right side window utilizing the same frame number for both the left and right red window on the back of the camera. Once you shoot frame #1 on the right red window, the photographer winds to frame #2 on the left side window, and so on.

The Purma Special has a curved film track that holds the film flat against the shutter with a two-sided pressure plate attached to the camera's back door. The shutter system only has three shutter speeds. The shutter uses a series of different size slits in the metal curtain along with a brass weight within the camera to determine what shutter speed is used. The camera also depends on how you hold it, which would set the shutter speeds used. Remember, the negative is square, so having the camera in either vertical position doesn't change the image in the frame. It will only change the orientation of how the image is captured on the negative.

When you hold the camera in the usual horizontal position, the shutter would shoot, and the medium shutter speed would be 1/150th second. Turning the camera so the advance lever was at the bottom, or the "slow" speed, the shutter, the camera shutter is set to 1/25th sec. When you turn the camera in the other direction, with the film advance lever at the top, which puts the shutter in the "fast" position, the shutter speed is set to 1/450 sec.

Top view of Purma Special camera with circular wheel to cock the shutter, and shutter release

To take a photo, the photographer needs to cock the shutter. To do this, you turn the circular wheel on the top of the camera in the direction of the arrow. There is a small piece of bakelite sticking out to turn the wheel fairly easily. Once you turn the wheel in the counterclockwise position, the wheel will stop, and you'll hear a click which means the shutter is cocked and ready to make the exposure. You can do this with the lens cap on, but the shutter won't release until the lens cap is off. 

 The shutter release is on the top and left side of the camera. Simply press the shutter release to trip the shutter. BUT REMEMBER. Turn the camera as needed to change the shutter speed, especially since the camera has a fixed aperture lens. Wind the film to the next frame, then repeat until. It was odd for me to use this camera as I'm not used to having the shutter release on the camera's left side.

For those interested, here’s the original instruction manual for the Purma Special Camera

My Results:

I did have some outdated Film for Classics 127 film in my drawer, so I loaded up the camera and went to a local waterfall to take photos on an overcast Sunday afternoon. Go figure a cloudy day when living near Portland, Oregon. That will be my life for the next four months or so. The results were OK, but I was mildly disappointed when I looked at what Peggy and Mike did with the camera.

 It may also have been the fact that the film I processed was processed in a different tank than I'm used to using for 127 film, and I messed up putting it on the developing reel, so that was my fault. I have noticed whenever I use the Film From Classics film, the imprint from the paper backing seems to bleed onto the negatives, and I'm unsure if that's due to the film's age and being out of date by a year or two or something else.

 Here's what I salvaged from the messed-up developing roll I put through the Purma Special camera. It's nowhere near as lovely as Peggy or Mike's photos, but overall, it yielded decent results.

My Conclusion:

It was a fun camera to shoot with. Turn the camera to set the speed, point at your subject, and shoot the camera (with your left hand). Wash, rinse, and repeat. I hoped for better results but tried a different reel to process the film.

 Thank you for reading the blog post on the Purma Special camera. I'll definitely use it in the future due to its simplicity and unique shutter system.

 Until next week, please be safe.