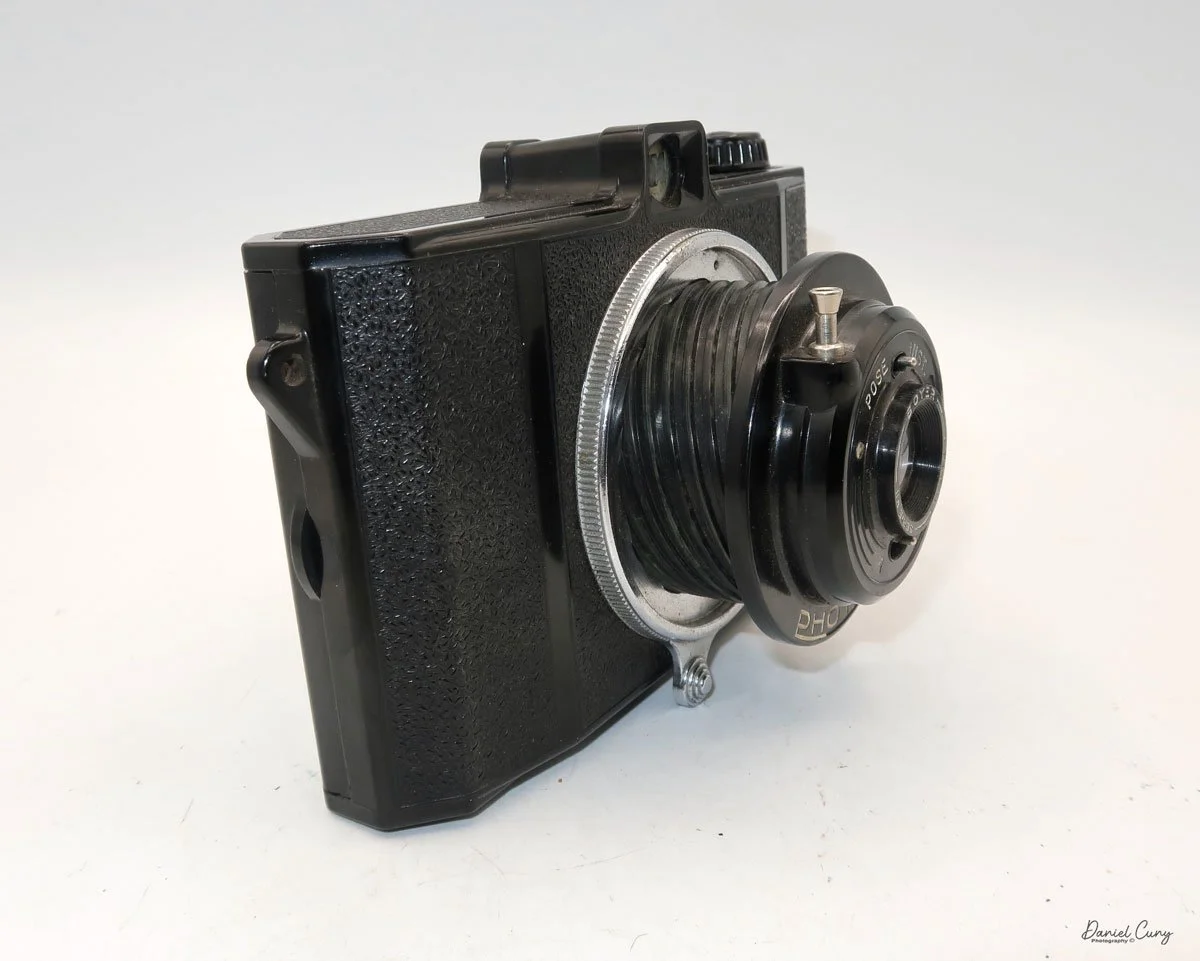
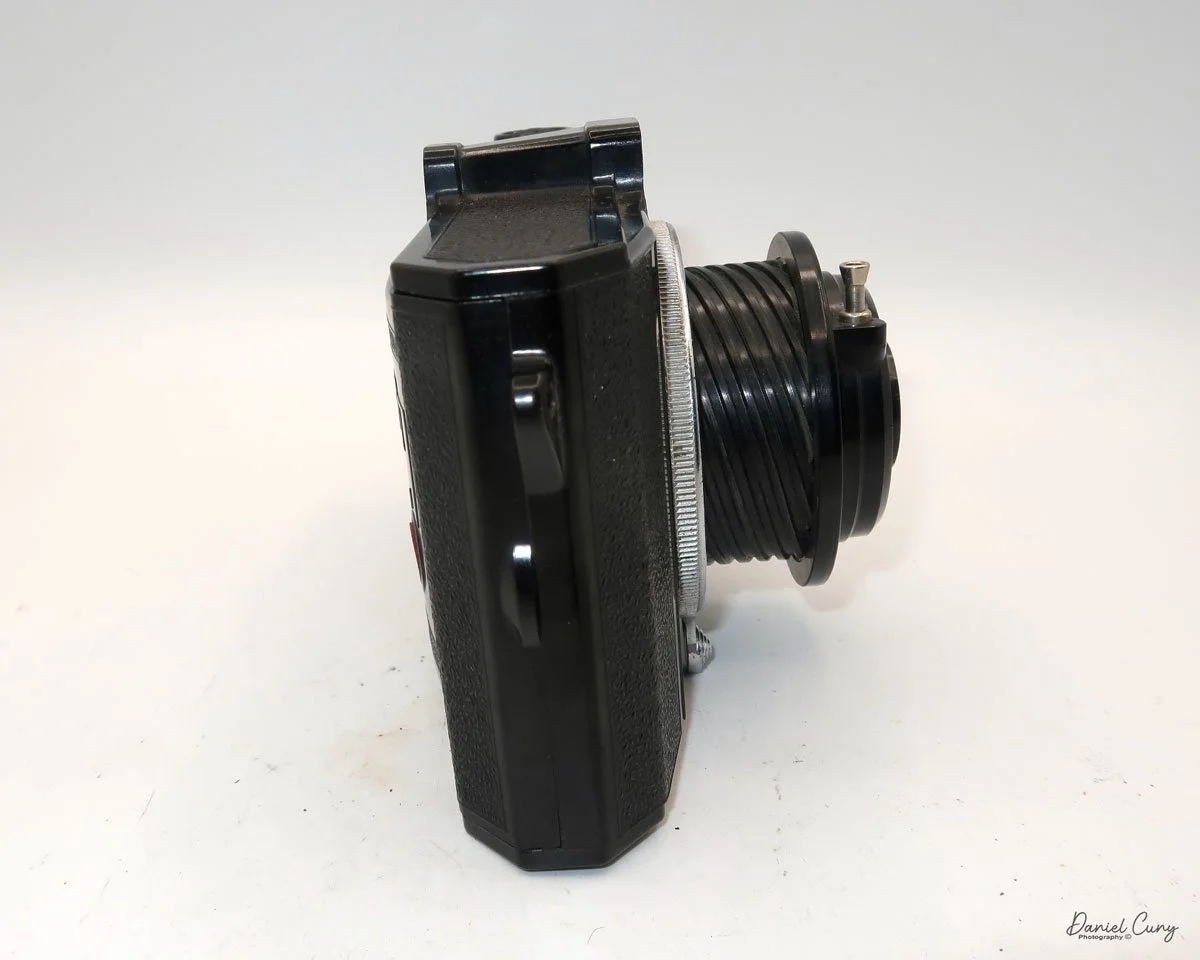
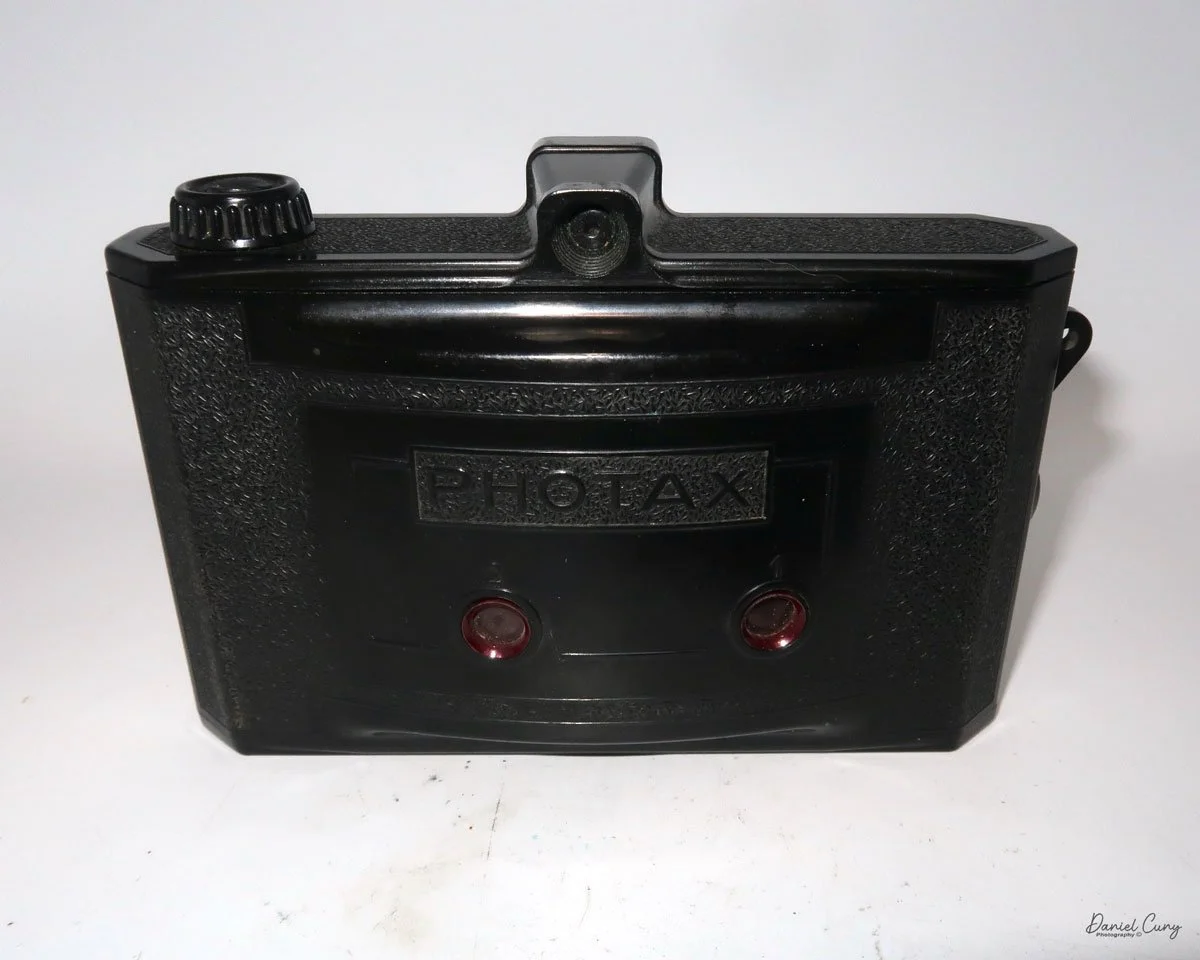
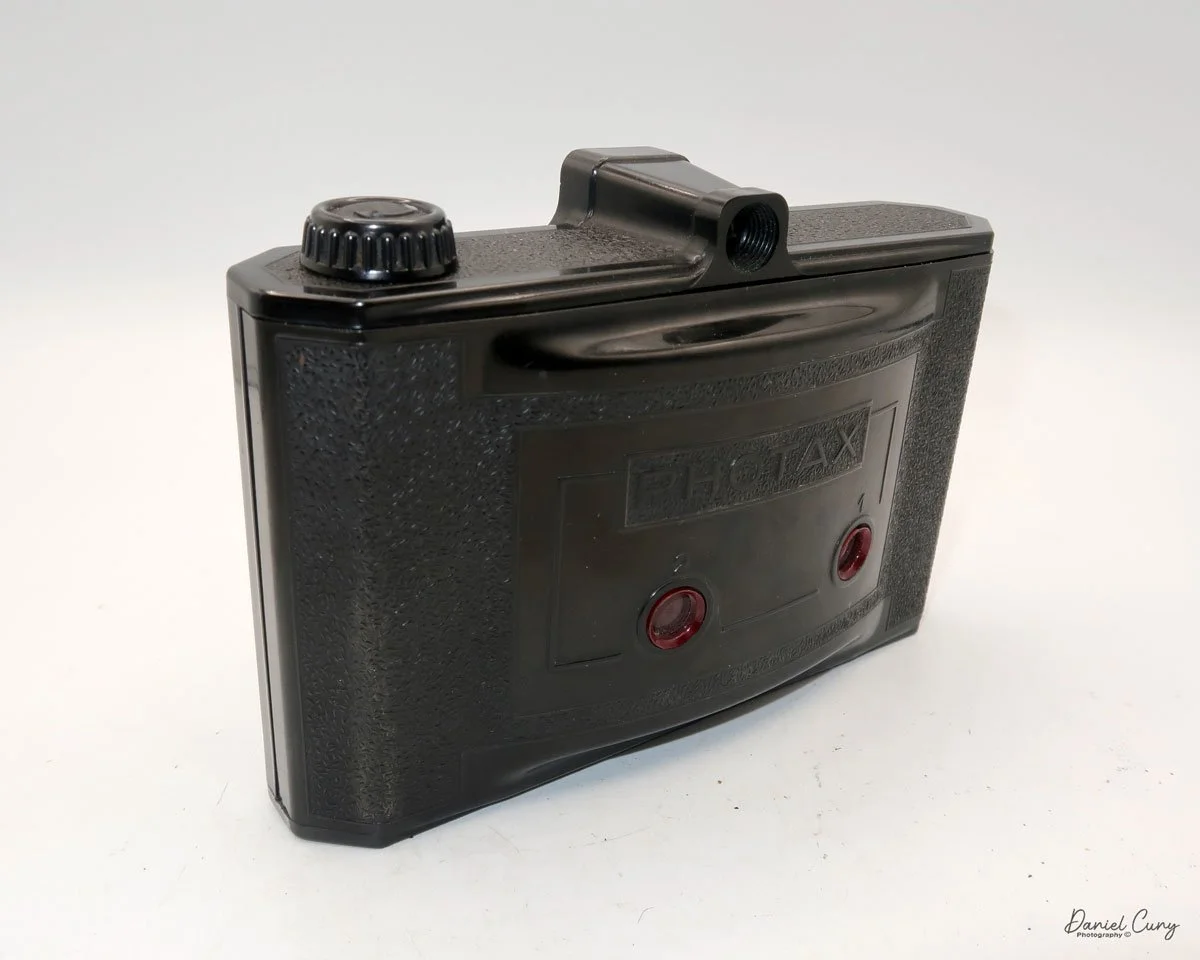
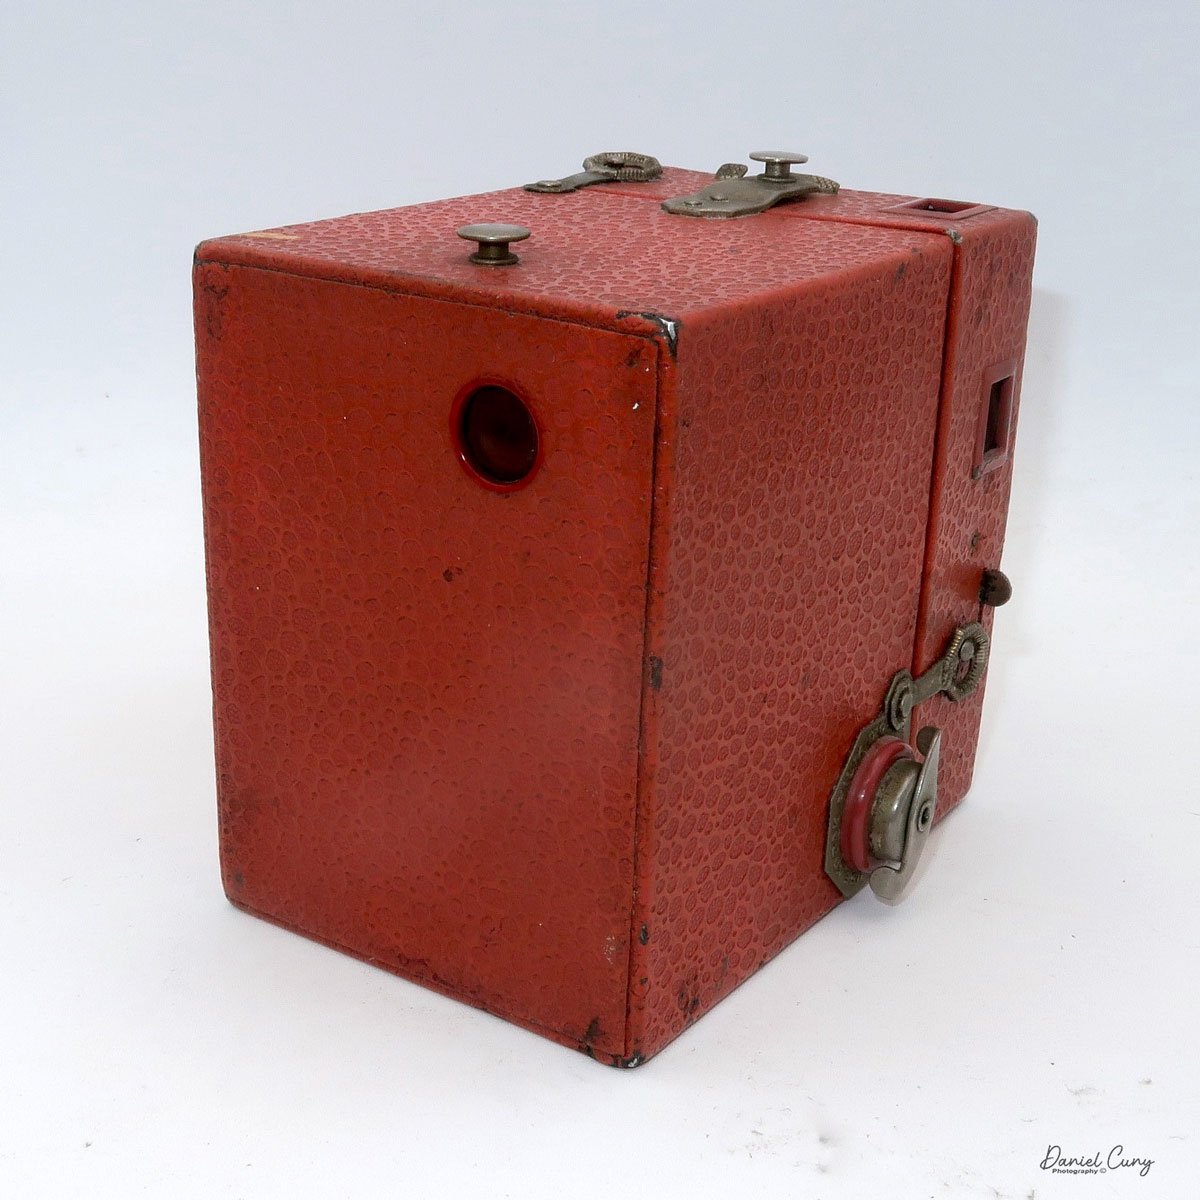
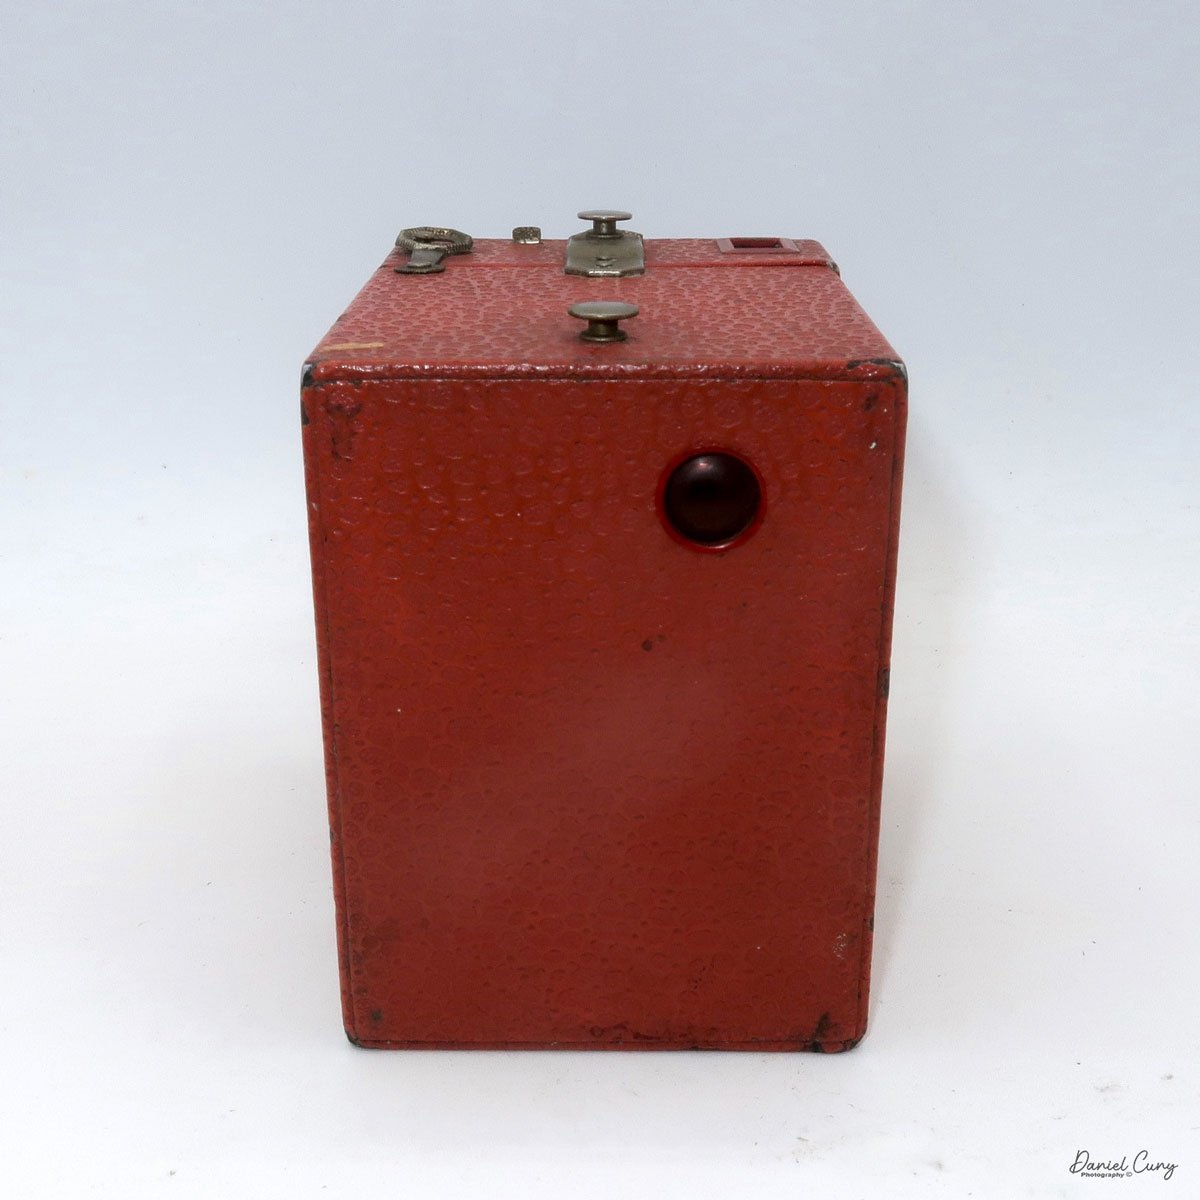
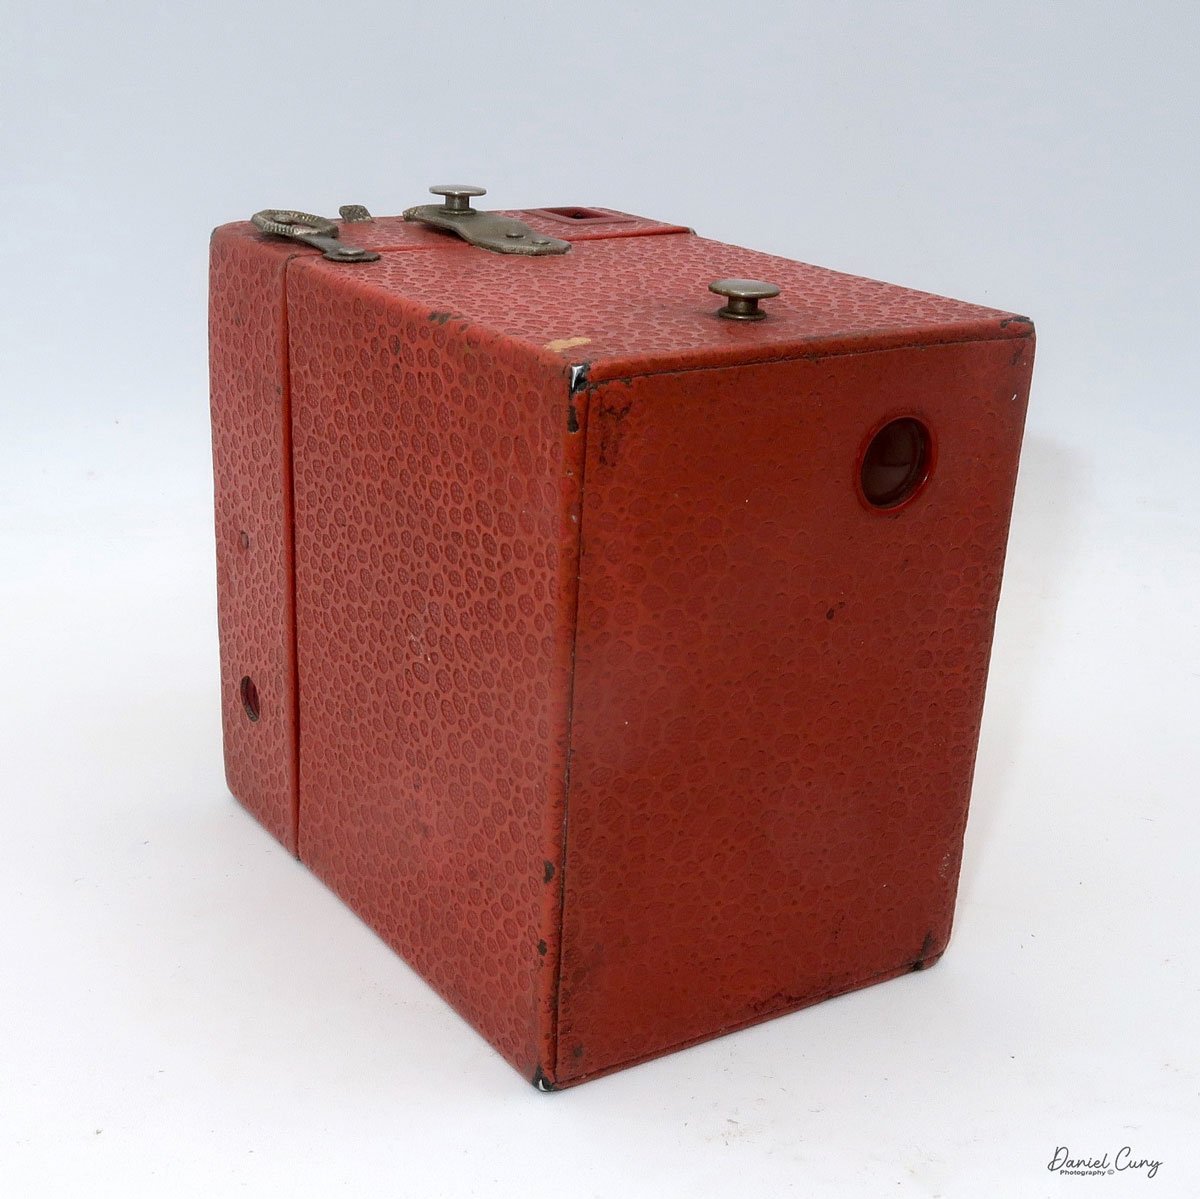
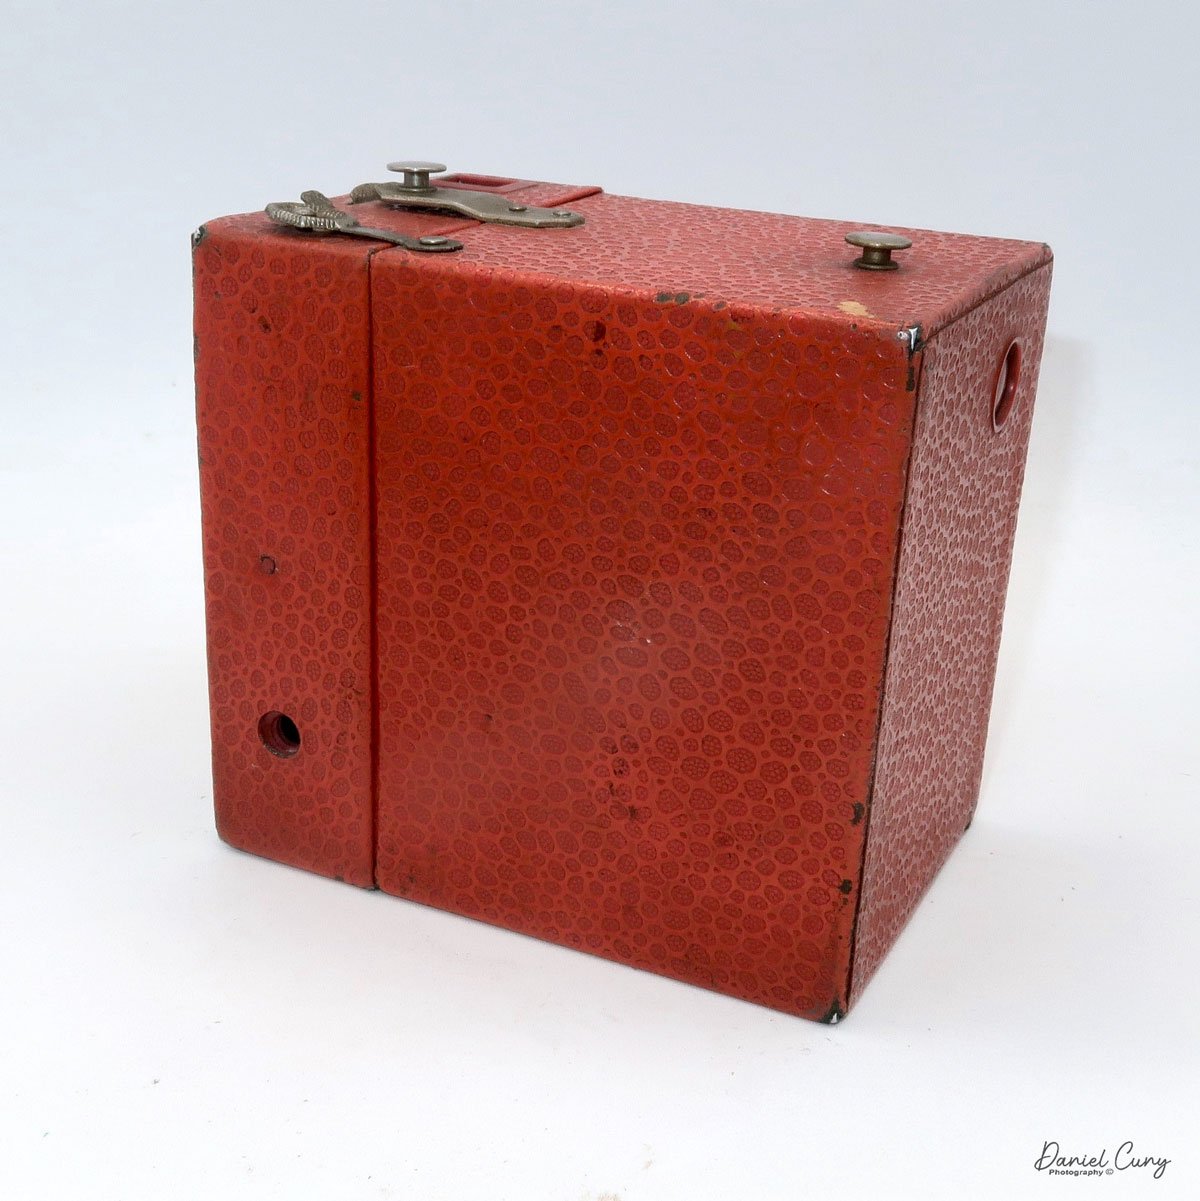
Welta Perfekta

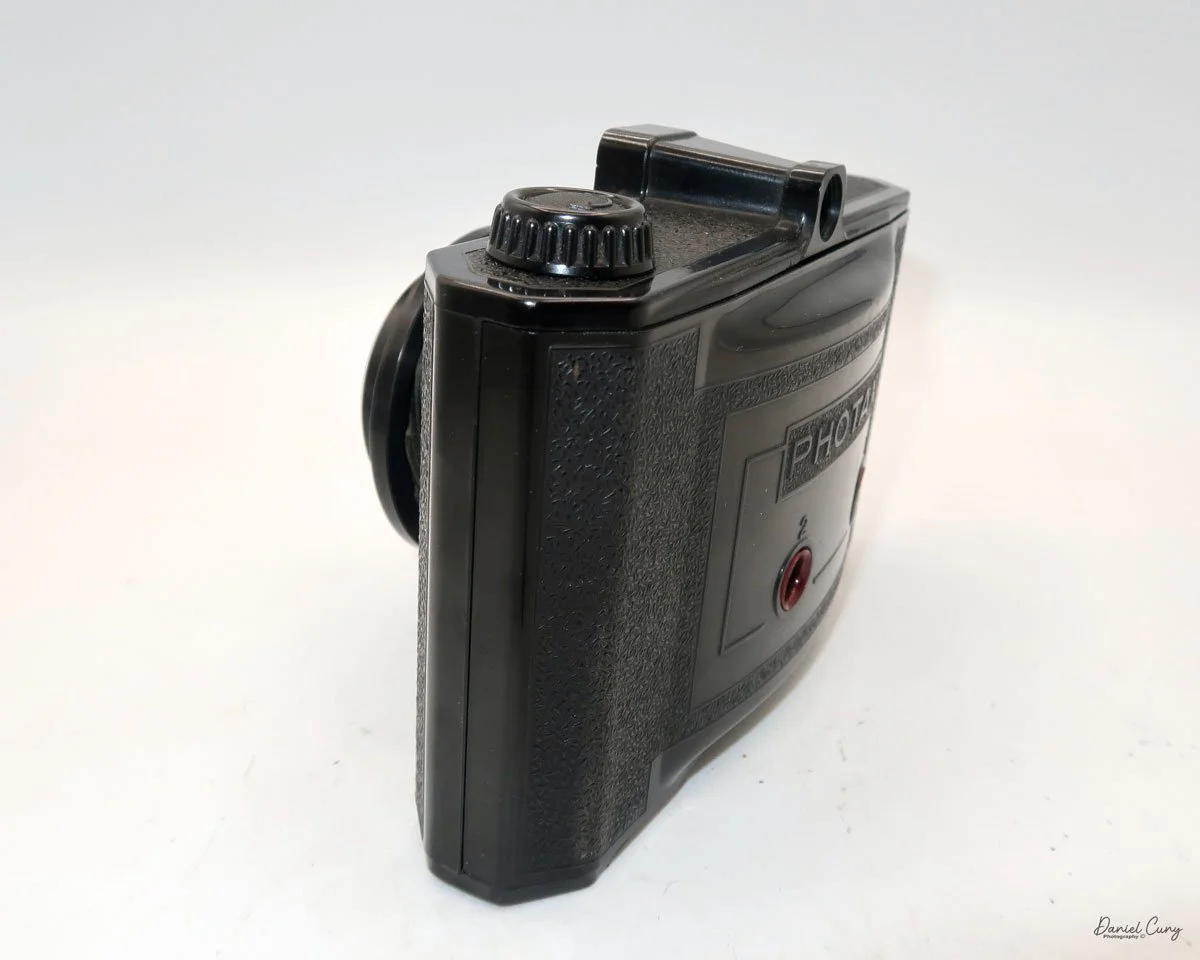
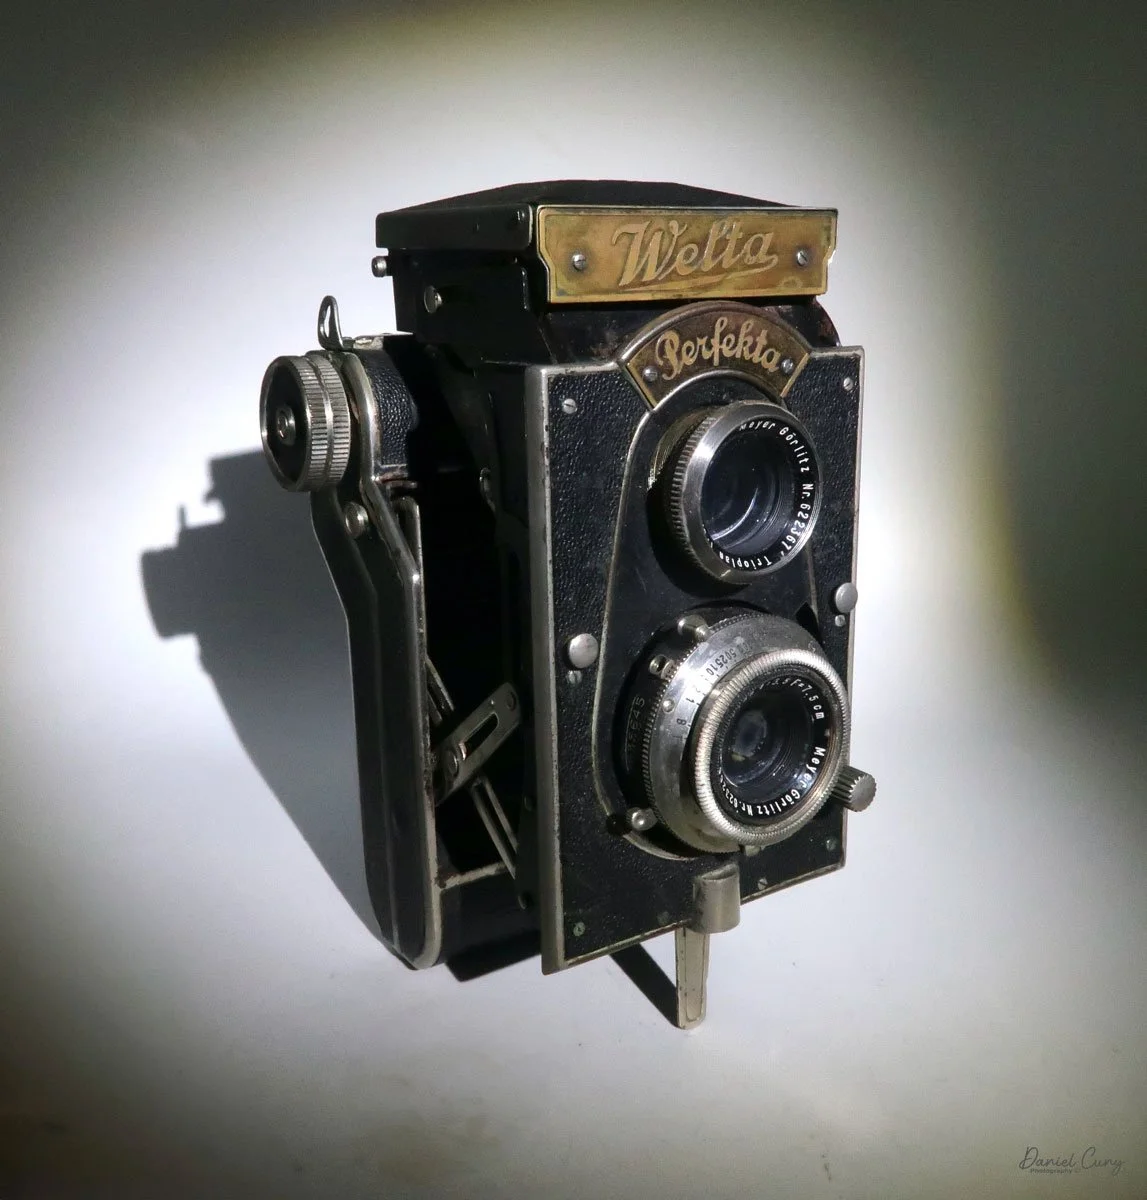
My Welta Perfekta camera

As I've mentioned in the past, I'm always drawn to the colorful, or odd and unusual cameras. As a camera collector for over 50 years, and having spent countless hours poring over many of McKeown's price guides to cameras, there are cameras that I'm always intrigued by and would love to own. Cameras like an original daguerreotype camera, the Rectaflex Rotor, a three-lens camera, or a beautiful Compass camera made by Swiss watchmakers Le Coultre et Cie for Compass Cameras Ltd., London, England. All of these cameras are out of my league in terms of pricing, unless I win the lottery and have a few hundred dollars burning a hole in my pocket.

 To me, the most enjoyable aspect of collecting cameras is the hunt to find a rare or somewhat rare camera, lens, or other photographic item. Every once in a while in this collecting game, you come across a hidden bargain.  It could be something at the bottom of a box, or just that the person selling the item isn't fully aware of the value of items, and (to me), that is a highly satisfying feeling.

 Having had that same feeling about a year ago when I was at a garage sale in one of the neighboring towns, and I saw a Welta Perfekta camera. As I picked up the camera, it appeared to be in good condition. The shutter worked, the viewfinder seemed clean for being nearly 100 years old, and all the leather was intact. It was a nice camera, and one I'd love to have in my collection. When I asked about the price for the camera, the person selling it said it was her grandfather's. 

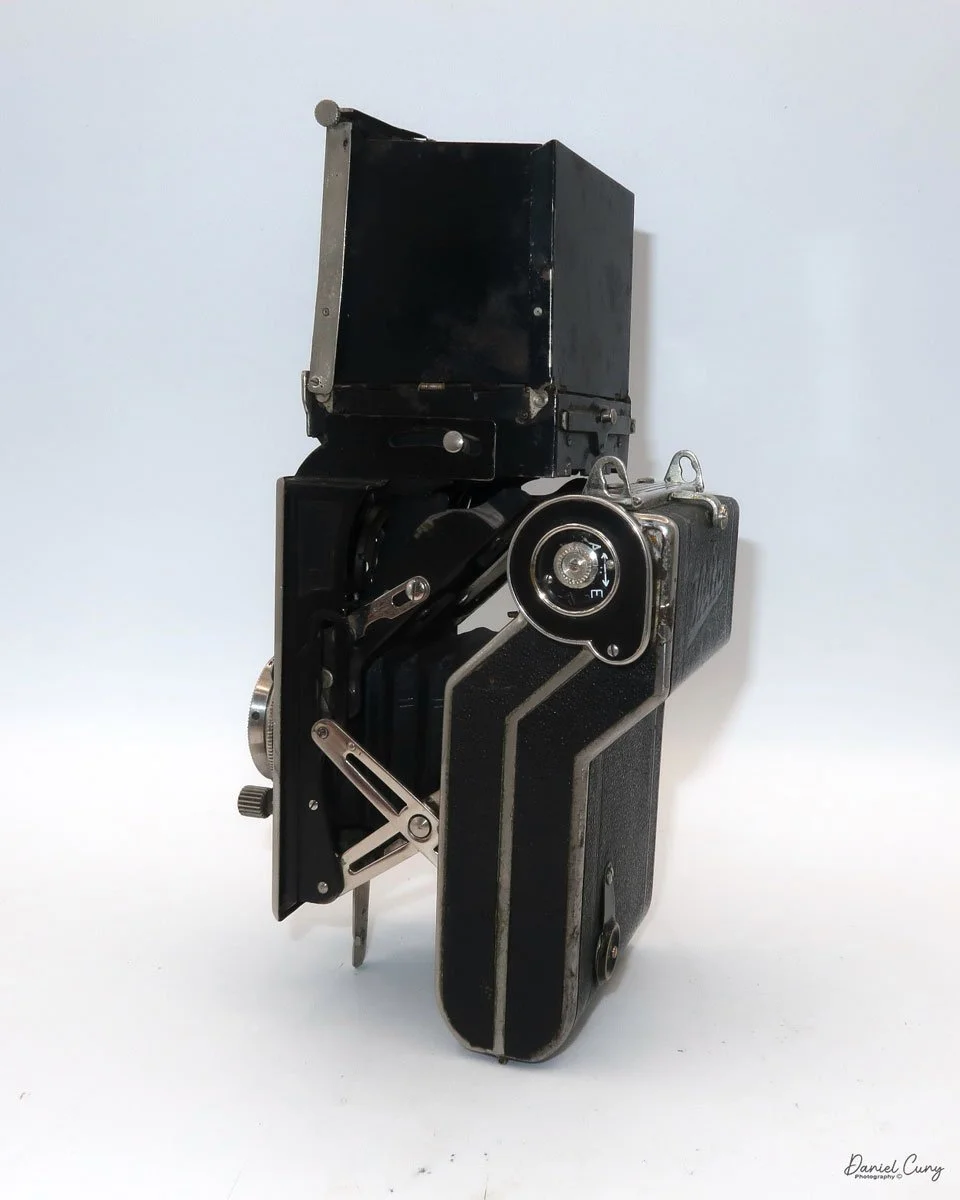
Odd shaped camera body

 Letting the seller know that the camera was in good condition and nice shape. I provided the seller with some information on the camera's age and a brief overview of the company. I let them know that I had collected the camera, written a weekly blog about it, and would love to have it in my collection. The seller said that, since I was a collector, it was important to them that the camera go to a good home, and they offered me the price of $50.00. I was happy to pay that price for such a nice example, and at that point, we were both pleased that the camera had a new home.

 I was familiar with the camera because I had written about the Zeca-Flex camera a while ago, and its shape had intrigued me. The Perfekta has a very similar shape to the Zeca-Flex as they are both folding Twin Lens cameras. These are twin-lens cameras with a large viewfinder that opens and closes, comparable to other twin-lens reflex cameras. The body of the camera folds into the film area, making the camera much smaller and more portable. 

History:

Since I just wrote about the history of Welta in last week's review of their Penti camera, I thought I would spend this review focusing on the history of the Reflekta camera, along with its older brother, the Superflekta camera.

 Both the Superflekta and Reflekta cameras are folding twin-lens cameras. As I previously mentioned, they are considered pocket cameras, which means they are smaller cameras intended to be easily transported in your coat pocket. They are a mix of pocket cameras introduced by Kodak in 1912 with their Vest Pocket cameras, and a Twin Lens Reflex camera introduced by Rolleiflex in 1929.

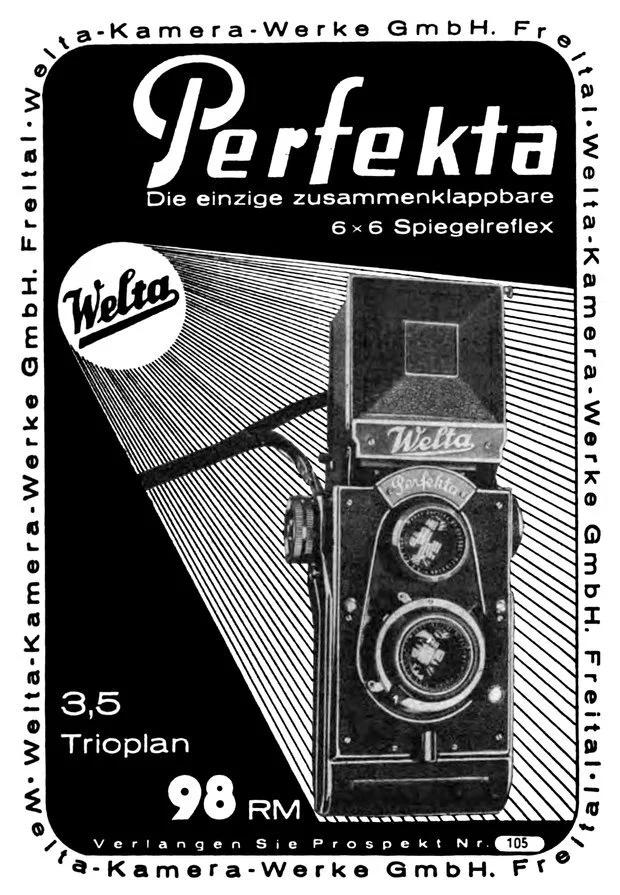
 The Perfekta camera was introduced in 1934. It's a medium-format camera that takes 6x6cm images on 120mm film. It features a large viewfinder that opens like the Rolleiflex and other Twin Lens Reflex cameras of its time. The body of the camera pops away from the film chamber, utilizing a bellows system that separates the lens from the film chamber, and forms an oddly shaped camera. There is a tripod socket and arm on the bottom of the lens area that allows the camera to stand upright on a flat surface, such as a table, if needed.

 The Perfekta could be purchased with one of three different lenses they sold. You had your choice of either a Meyer Trioplan 75mm f/3.5, Schneider Xenar, or Carl Zeiss Tessar 75mm f/3.8 lenses.

 The Superflekta was the first of this style of camera introduced by Welta in 1932. It's a larger camera that takes 6x9cm images on 120 film. The most intriguing feature of the Superflekta camera is that the film chamber rotates from a vertical position to a horizontal one for landscape-style images. This is very similar to how the Cornu Ontoflex operates. The photographer doesn't rotate the camera; instead, they rotate the film to achieve a horizontal image. 

 Rotating the film's back makes sense, as the camera features a ground-glass viewfinder to focus on the image. If you rotated the whole camera, the viewfinder would be on the side, which would affect composition. Turning the film chamber is a remarkable achievement in that camera. I can see where the Perfekta came into play as it's a bit smaller than the Superfekta. With the square format, Welta could cut down the size of the camera and make it even more "pocketable".

 The difference between the Zeca-Flex and both the Superfekta and Perfekta cameras is that the Zeca-Flex is more linear in design, and doesn't have the almost "S" shape that the Welta cameras incorporate. Only the bottom portion of the Zeca-Flex pops out to take the photo, then can be slid back into the camera's body for transport. 

 While Welta wasn't the first to introduce this style of camera, that honor goes to the Pilot 34 or Pilot Reflex camera made by Kamera-Werkstätten Guthe & Thorsch, another great camera manufacturer in Dresden. This camera was introduced in 1931 and was also a twin-lens camera with a bellows system.

 Both the Welta Superflekta and Perfekta cameras were only produced for a few years due to the complexity of their manufacturing. Another factor that contributed to the downfall of the Superfekta and Perfekta was the larger size of the viewfinder, which prevented it from folding into the camera body, thereby making the camera less compact.

My Camera:

My Welta Perfekta camera is 6.5" tall, by 4" wide including the film advance knob and frame counter, by 3.5" deep. These measurements are with the camera completely closed and in it's most compact state. When the camera is fully open, the camera measures 8.5" tall by 4" wide by  5" deep, and the camera weighs 2 lbs—2.2 oz. My camera has the Meyer Trioplan 7.5cm F/3.5 lens.

 To open the camera and pop the lens area from the film area., There is a round button on the right side of the camera, under the film advance knob, that you press. Once pressed, the body pops away from the film area, exposing the camera's bellows, along with the angled mirror area of the viewfinder system.

On the back, to the right of the viewfinder, is a small button that you slide to the left to open the light chimney of the viewfinder. The light chimney should pop up, exposing the ground glass for focusing. On the inside of the front wall of the light chimney is a magnifying glass that helps with focusing, a feature common in twin lens reflex cameras. On the left side of the chimney is a knurled knob that flips up the magnifying glass when turned, and flips down when turned in the opposite direction. 

Closing the light chimney, fold the sides in first, then the back, and finally, fold the chimney down into the camera's body. It will then lock into place.

 To focus the camera, a knob located just to the left of the lens/shutter assembly slides up and down, allowing you to adjust the focus on your subject. The lens moves in and out on a helicoid from the camera's faceplate. There is no focus distance written on the side of the camera, so you can't set the distance and shoot. All the focusing is done through the viewfinder, which I find somewhat dark and difficult to view on darker days.

 To close the body of the camera for transport, press the two buttons located on either side of the front plate. Once pressed, the body will push into the film chamber area and click into place. Just be sure to flip up the leg under the camera; otherwise, the leg keeps the camera from fully closing. I learned that when I tried to close the camera, I noticed the lever sticking out, ops!!

Taking the photo is pretty basic. The shutter speeds on my camera go from 1/300 to 1 sec. along with "B" and "T" for timed exposures and are set via a ring around the lens. The aperture ranges from F/3.5 to F/22 and is set by a slider arm located under the lens. The shutter cocking lever is located at the top of the lens, and the shutter release is positioned on the right side of the lens.

Loading the film is similar to that of many other medium-format cameras. On the back of the film door is a button that you slide to the left and pull down; the film's back will then open. I first noticed that where you put the fresh roll of film, along with the take-up spool, are hinged guards that both of these items fit into. The winding knob pulls out to make it easier to insert the empty spool into the chamber. Then, flip the small guard down to keep the spool in place. Similar to where you insert the fresh roll of film, once the film is in place, flip the guard down to keep it in position.

While the camera features a covered red window on the back, it also has a unique frame counter. On the inside of the film's door is a slotted rod that rolls on the film's paper backing, and it is equipped with a gearing system attached to a round frame counter, which tells the photographer which frame they are on. 

Here's how it works. Once you load the film, use the red window to access frame number one. On the inside of the frame counter, you slide the knurled wheel from A (Aus=Off) to E (Ein=On). Doing this sets the frame counter to number one, and after you take a photo, the ribbed wheel advances the frame counter every time you advance the film from one frame to the next.


Results:

I loaded the camera with an older roll of T-Max 100, the fastest 120 film I had available, and went for a walk with my sister, Laura, and her dog, Sally, taking photos along the way.

 Unfortunately, the day was overcast, and I had forgotten to bring my light meter with me, so I was forced to use a light meter app on my phone, which I dislike doing, as it always seems to get it wrong. However, it didn't fail me again, and the negatives I processed were underexposed.

 Here are some of the better ones from the walk.

Conclusion:

I must say that this camera was delightful to shoot with, and for the price paid, it was well worth every penny. The only drawback would be the darker viewfinder and difficulty I had focusing on the subject.

 I liked the size of the camera; I enjoyed how compact the camera is to use. The shutter and aperture worked well, and the odd shape of the camera was certainly a conversation piece when I talked to some of the neighbors I met along the walk to take photos. The camera is less bulky to transport and carry around than a traditional twin-lens camera, and the optics are excellent—an enjoyable camera that I plan on using regularly.

 Thank you for taking a few minutes from your day to read about this unusual, yet jewel-like, camera. 

 Click on the link for some of the other cameras reviewed.

 I also run an online eBay store, Cuny's Camera and Photo. If you're interested in older cameras and other camera oddities, I have for sale.

 Until next week, please be safe.

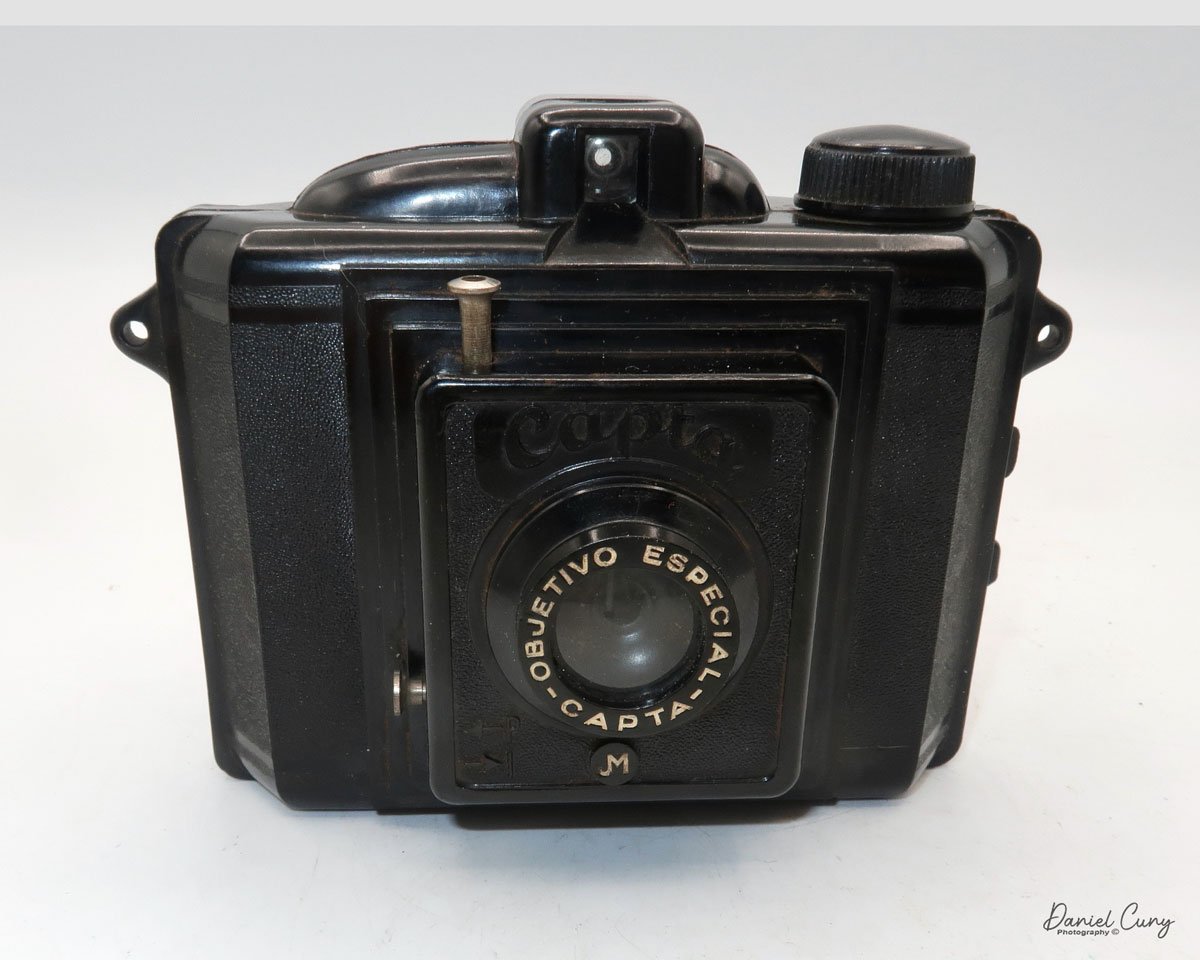
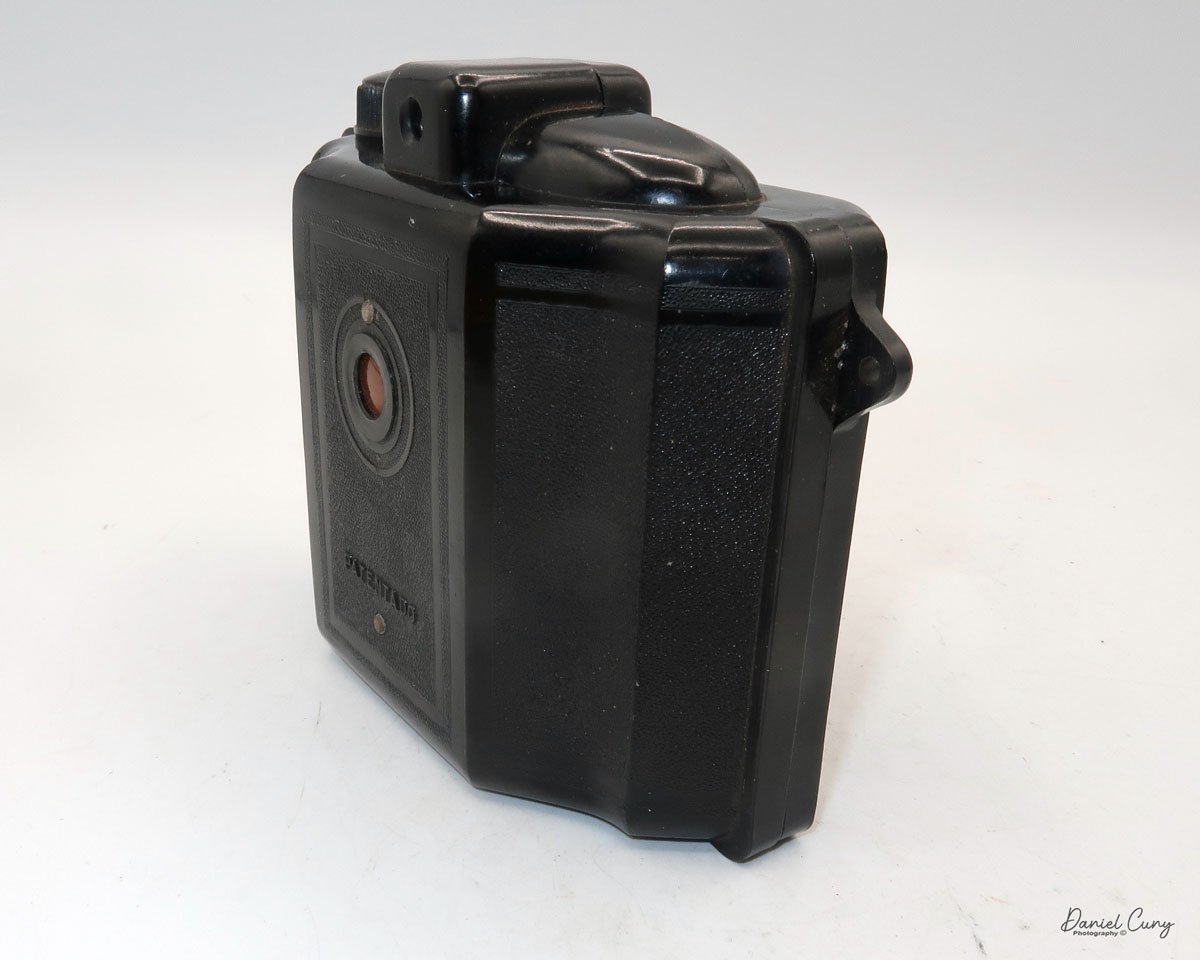
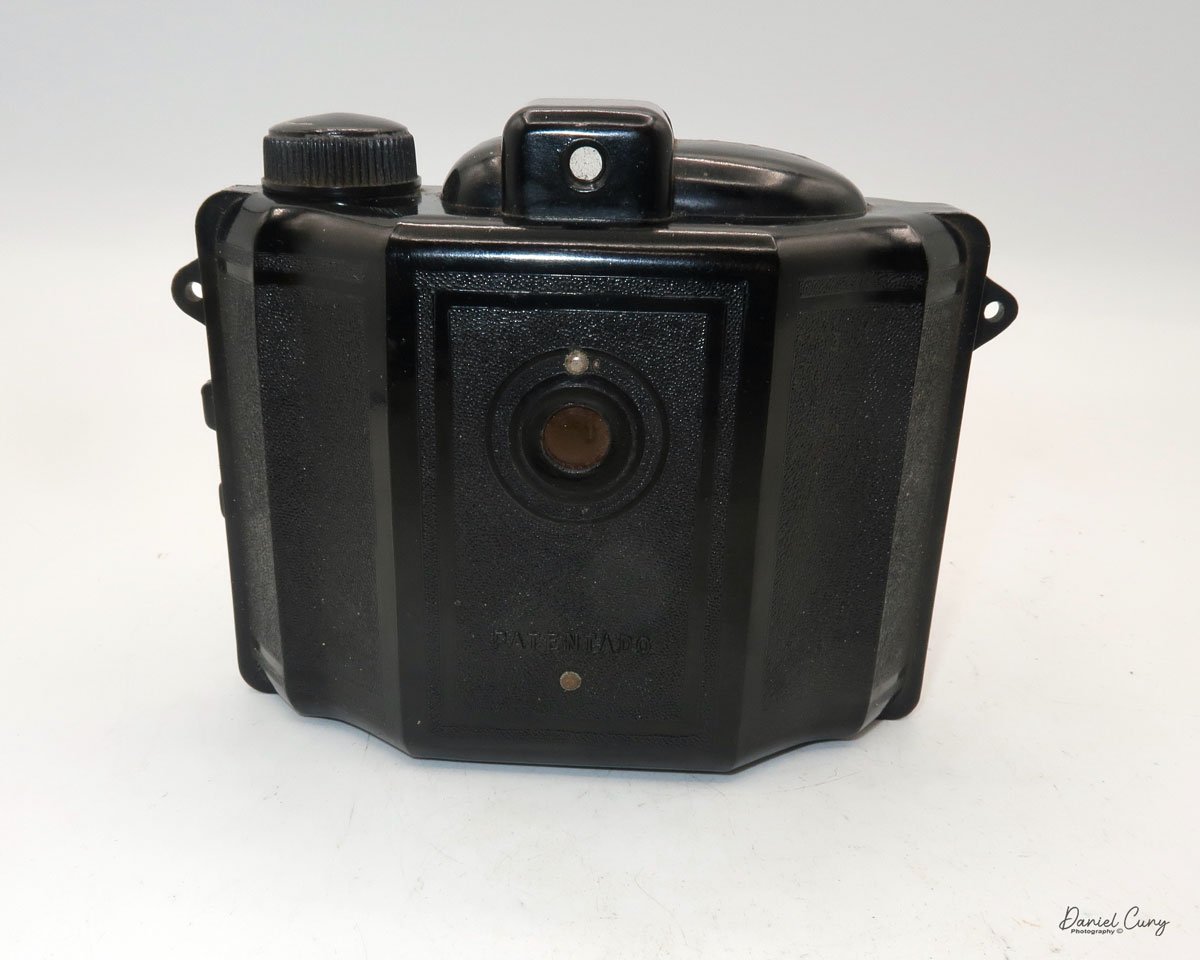
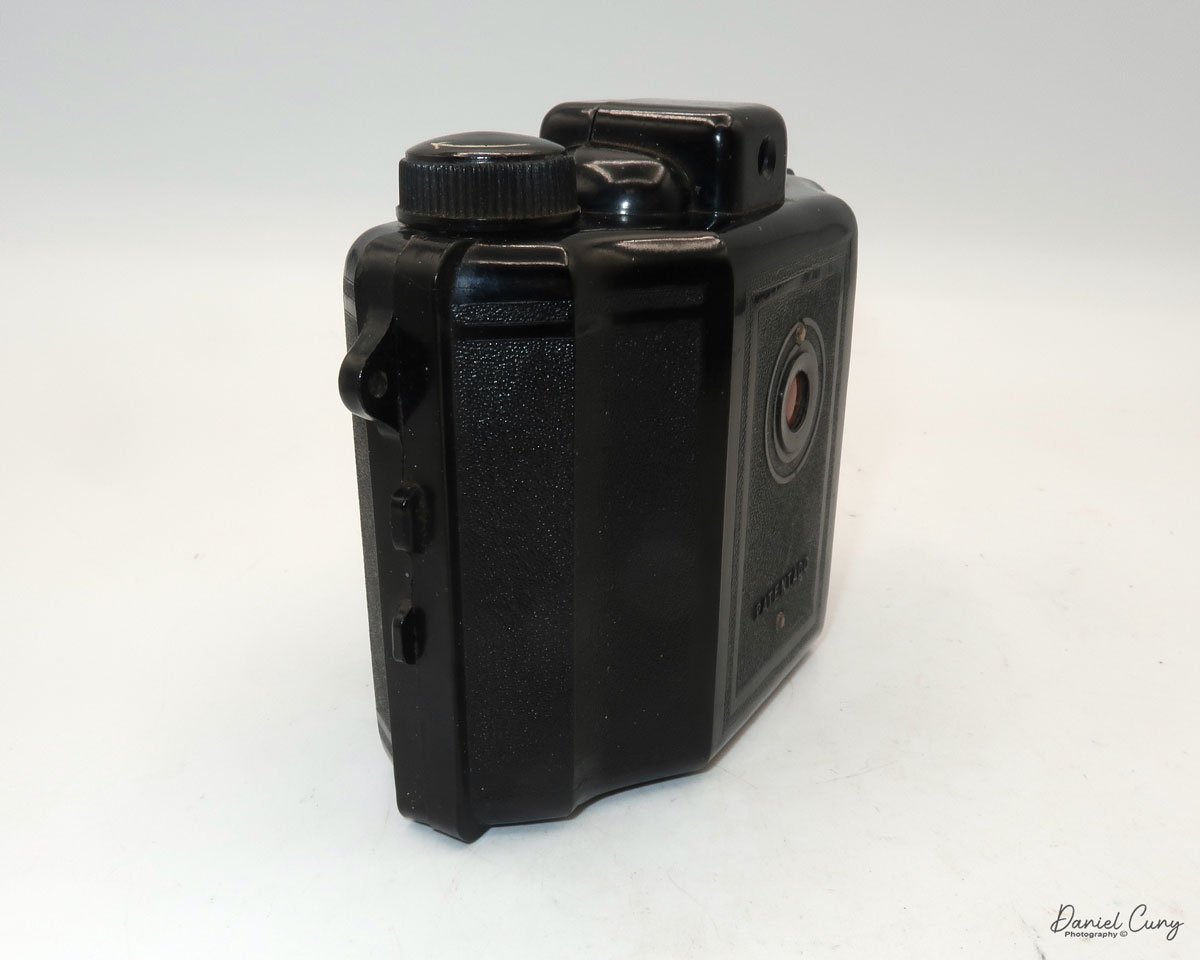
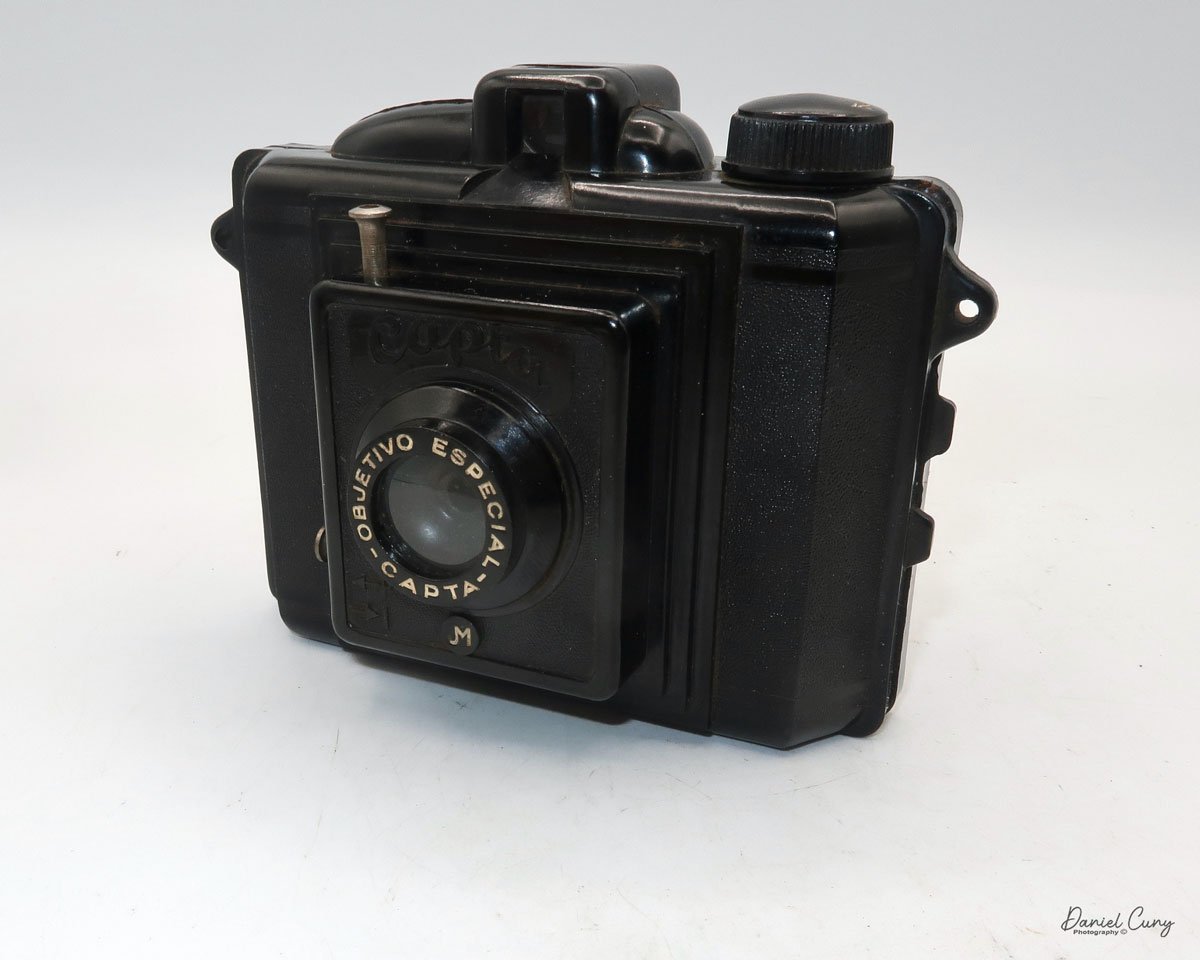
Capta Camera

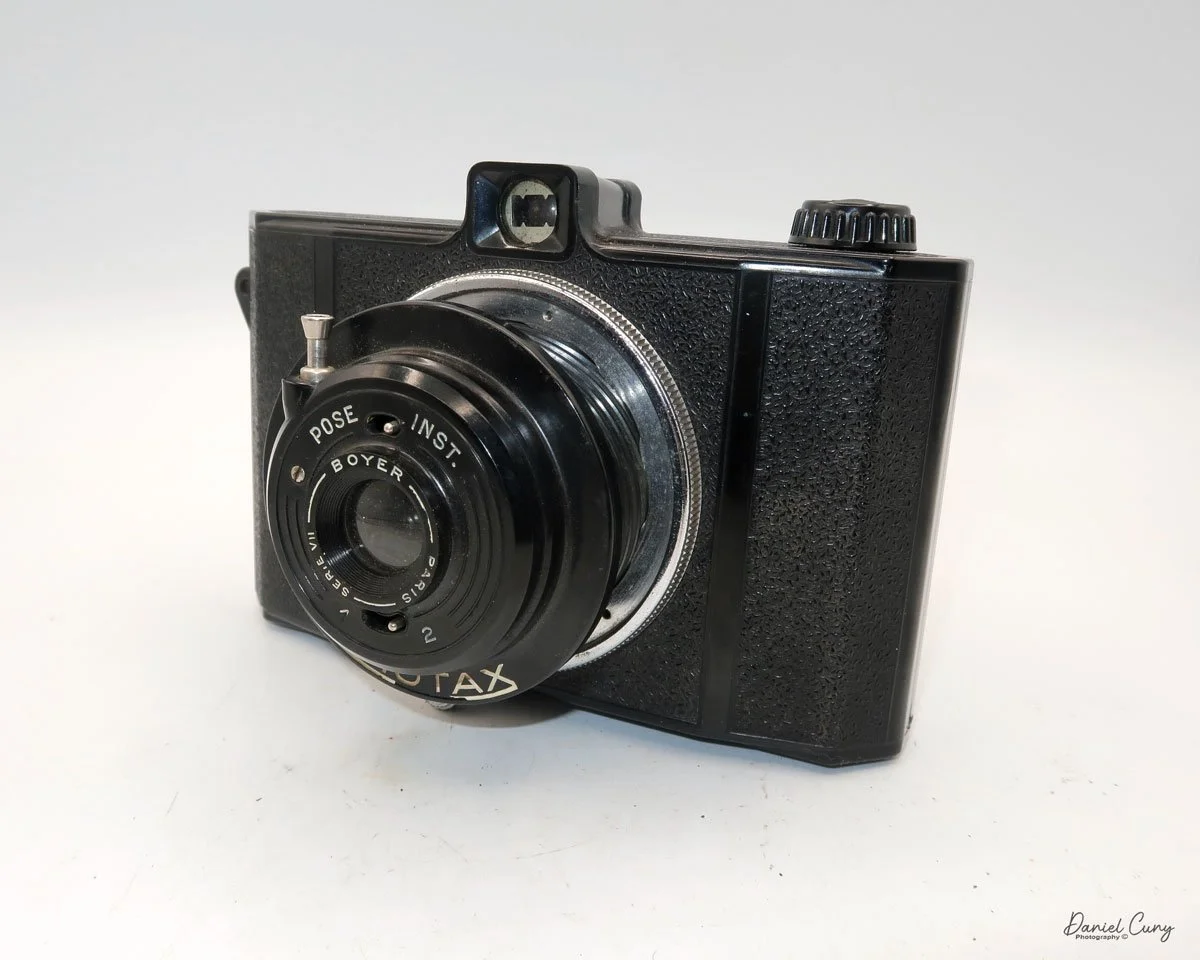
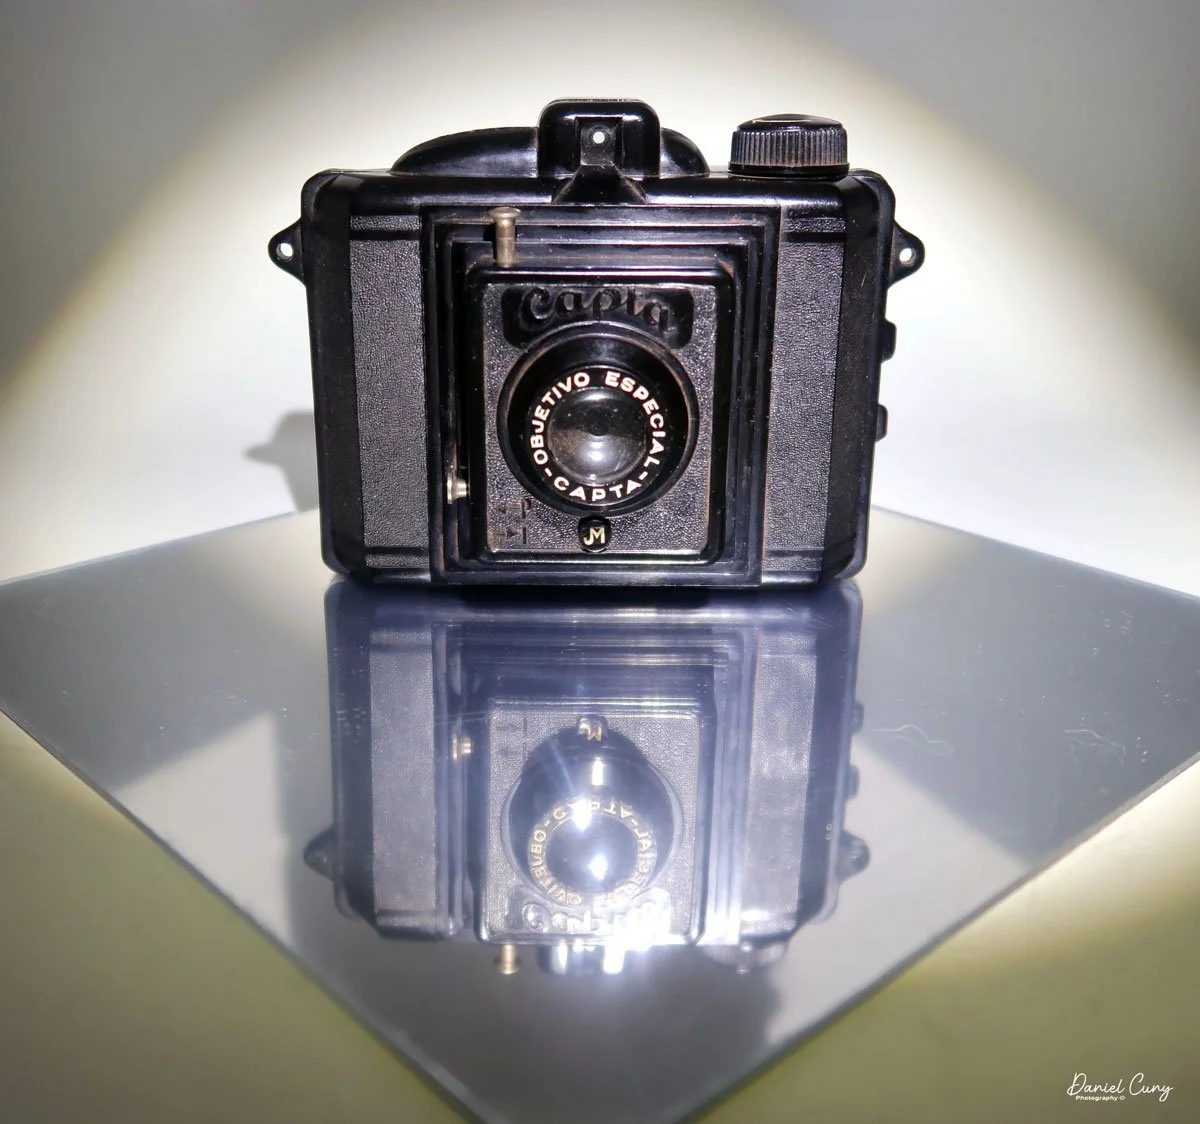
My Capta camera

When visiting another country, I research to find out if there are cameras made in that country that I'm unaware of. If I'm fortunate enough to find one, I can add it to my collection. We were fortunate enough to plan a trip to Barcelona last month, as my wife had a conference to attend and participate in, so I planned on tagging along on the journey to Spain.

 I had a few objectives for this trip, as I'd have time on my own. These objectives were to use my new Fujifilm camera, shoot black and white with my Widelux F7 camera, and attend local flea markets to find Spanish cameras that I wasn't aware of. All three objectives were accomplished. 

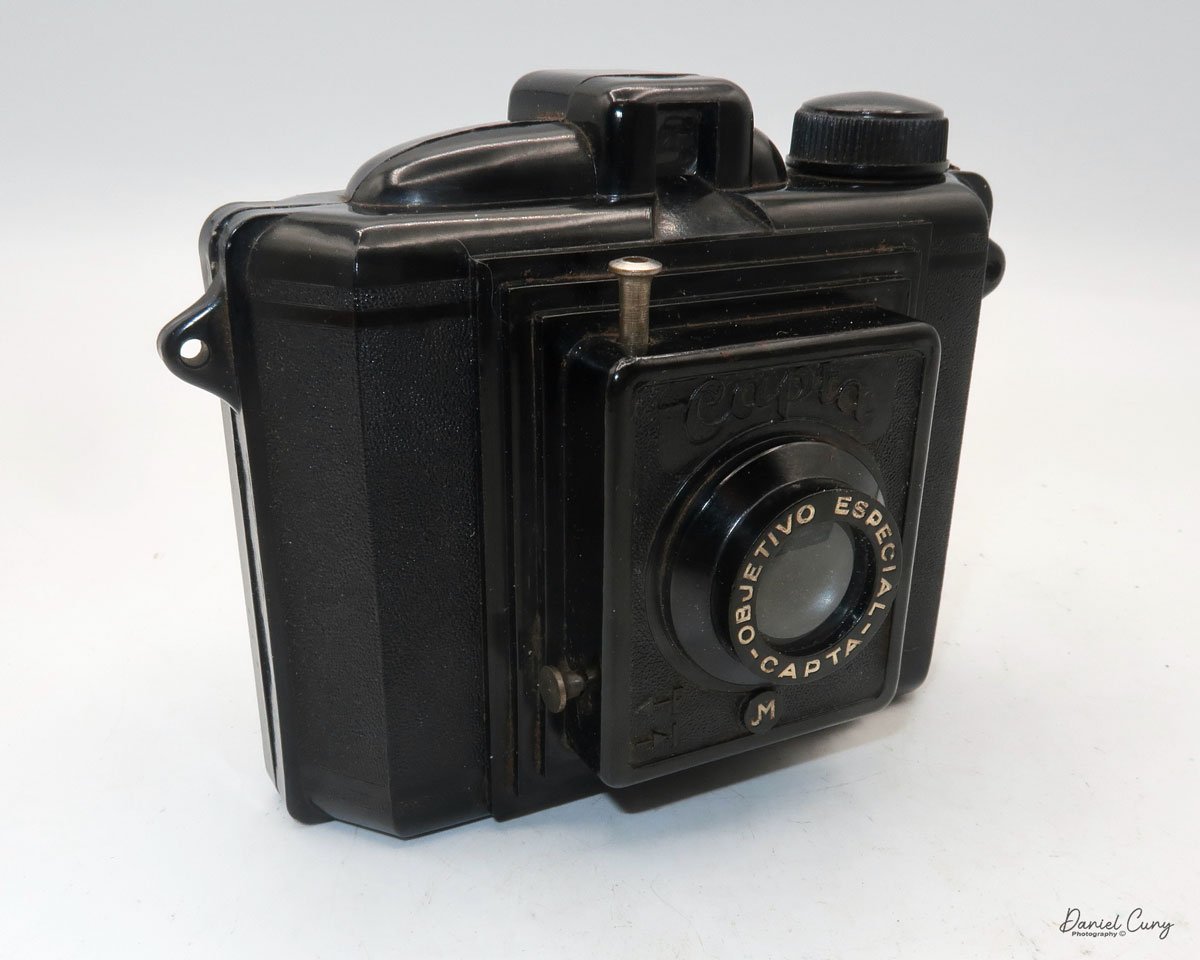
 At the local flea market in Barcelona, I stumbled upon a hidden gem-a relatively unknown Spanish Bakelite camera, a Capta camera in a tattered case. The thrill of this discovery was palpable. The camera was in good working condition, took 120 film, and had a 6x4.5 format. I didn't see any chips in the Bakelite. For a decent price, I eagerly made the purchase, already envisioning the stories I would share about this Spanish wonder.

 Upon returning home, I eagerly unpacked the Capta camera. Despite its better-than-expected condition, it was covered in a layer of grime, likely from the leather dust of the case. I  cleaned the camera with a soft cloth, Q-Tips, and lightly soapy water, restoring its original charm. With the camera now sparkling, I was ready to delve into its history and put it to use.

History:

Julio Matutano Benedito

Capta was the brainchild of Valencian pictorialism photographer, Julio Matutano Benedito. Born into a modest family in 1892, he had a passion for art from an early age. At the age of 12, he began his apprenticeship with a local sculptor. Between the ages of 14 and 20, he attended evening classes for artistic drawing at the School of Craftsmen in Valencia. 

 He was an accomplished engraver with his shop in Valencia until he took up photography in 1923, where he honed his craft by taking photos of his family. In 1928, Julio Matutano and a group of his friends formed Foto Club Valencia. Between 1928 and 1936, Julio Matutano won several national and international awards for his photography.

 In 1935, Julio Matutano changed careers. He embarked on designing and manufacturing a new camera company in Spain. His first creation, the Nerva, was a testament to his innovative spirit. This camera, made from stamped aluminum, used 127 film with a 3x4cm format and featured a German Rodenstock lens. It was a true pioneer in its time, selling for 13 pesetas, equivalent to approximately $35.00 in today's dollars.

 In 1942, he designed a wooden camera with a SACO (Sociedad Anónima de Cristales Ópticos) lens, which took 127 film in a 6x4.5 format, named PERFECTA. I couldn't find this camera anywhere, except for the German Perfecta. If you have any information on it, please let me know.

 Julio Matutano registered the CAPTA trademark in 1944. That year, he also designed and introduced the Capta I, a Bakelite camera manufactured by Industrias Sintéticas Abril in Barcelona. The camera featured an optical viewfinder on top and used 120 film with a 6x4.5 format. At this time, the Capta sold for 101 pesetas. Later in 1944, Capta introduced the Baby Capta. I created a smaller version of the Capta, which I named the Baby Capta, featuring a metal face and capable of taking 127 film in a 6x4.4 format. This camera was marketed for a younger audience.

 The Captaflex was designed in 1947. The Captaflex was a Bakelite camera that took 120-size film with an unusual 52.5 x 52.5 cm image area (6x6) format. The camera had a 90mm f/8.5 lens and a helical screw, variable focus lens capable of focusing from 1.5 meters to infinity. The camera bears a strong resemblance to the British-made Ensign Ful-Vue camera. Unfortunately, Julio Matutano died in 1947 before the camera came to market, but his two sons, Julio and Vincente, who had been working in the company since they were 12 and 13. Both sons were artists when they took over the company and moved it to Valencia. From then on, the company's logo was JVM, and the Captaflex was released in 1948 for 375 pesetas.

 The brothers expanded the business during the 1950s, as the resurgence of photography following World War II gained momentum. In 1952, the Capta II was introduced, featuring a coated lens, a focusable lens, and an accessory close-up lens.

 Capta's first 35mm camera, the Capta 35, was introduced in 1953. A 24x24 format camera made of injected aluminum alloy with three shutter speeds and a rectilinear lens. In 1955, the company expanded into other areas and introduced the Capta-Movie. In 1956, Capta introduced the Universal Tank, a film developing tank compatible with 35mm, 127, and 120 films.

 After 1959, the collaboration with Gaspar Mampel ended, and Capta started selling all its products directly to the public. During this time, Capta introduces a microscope, an enlarger, and several other photo-related products. In 1966, the company ceased all production and closed due to extreme financial difficulties.

My Camera:

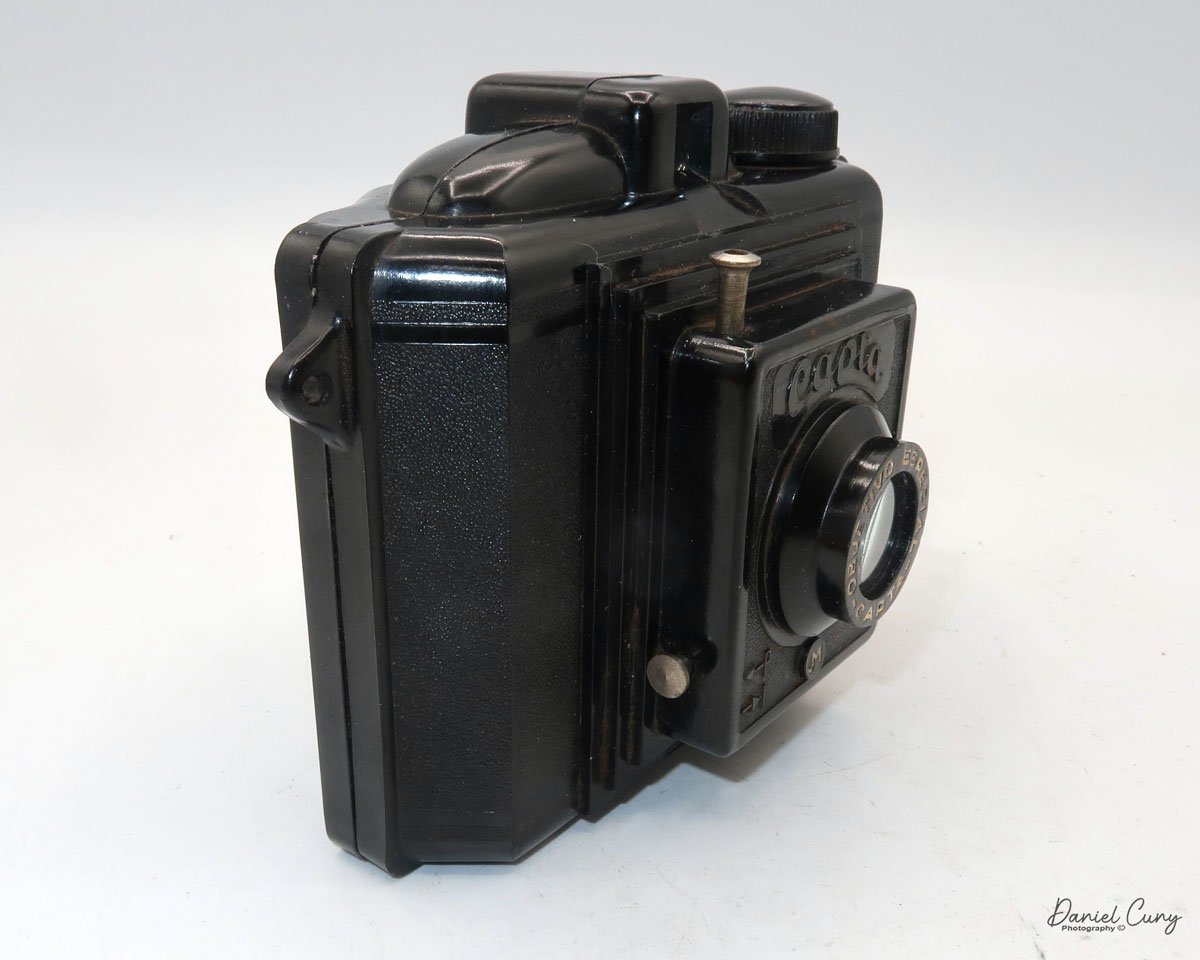
My Capta camera is 5" wide by 4" tall by 2.75" deep and weighs 10.2 oz without the fitted leather case. The Capta is a straightforward camera with a fixed focus, meniscus lens, and a basic optical viewfinder on top. The camera is a 6x4.5 vertical format camera, and it also has a tripod socket on the bottom.

For shutter speeds, the Capta camera has either "I" for instant, or "P" for timed exposures. These are set by pulling out or pressing in a metal bar that sets the shutter's capability, which is on the right side, below the lens. According to my shutter tester, the shutter speed is 1/40 for instant exposures. The shutter release is above the lens at an approximate 11:00 position, and above the "CAPTA" name on the front of the camera. A shutter release cable can be connected to the shutter release for timed exposures.

To load the camera with film, the back is held to the body with friction. There is no locking mechanism on the camera that secures the back onto the body. On the side of the camera are two small tabs. Push these two tabs apart, and the back separates from the camera body, exposing the area where you load the film. When the camera back is off the body, and you're ready to load film into it. There are three "wings" that can be pulled up to insert the film. These wings make it easier to load the film as opposed to trying to jam the film roll into one of the sides of the camera. There was an interesting empty spool in the camera from a film manufacturer I wasn't aware of. The spool is from Infonal, a Spanish film manufacturer in Barcelona.

The side with the take up spool and winding knob only has one wing that lifts to help load the film. Loading the empty spool is a bit more challenging, as the winding knob doesn't lift to assist with loading the empty spool. After a bit of wiggling, the take-up spool fit into the correct position. Once the film is in the camera, all you need to do is press the back onto the body, and friction hold the back in position.

 The red window on the back of the camera seemed low for the numbers on my roll of film. Still, I was able to see the numbers as they passed and stopped at the appropriate places to capture the whole roll of images on the film.


My Results:

I loaded a roll of T-Max 100 film into the camera and took it for a walk through the neighborhood. I should have given the camera one more Spanish experience by purchasing a roll of 120 film at Casanova Camera in Barcelona and trying it out there; unfortunately, I didn't think of it, so I was forced to use the camera in my neighborhood.

 After developing the negatives, I was pleasantly surprised by the results. While the images were relatively sharp in the center, the fall-off of sharpness is rapid as you move to the outer portions of the image, making this a wonderful Lomography camera. It almost has a very dreamy effect on the outer edges which I personally like.

Conclusion:

The camera was enjoyable to photograph with. Using the camera was really applying photography's basic rules, which include ensuring the sun is behind you, framing the image in the viewfinder, pressing the shutter release, and winding to the next frame. In today's world, we'd call this a "point and shoot" camera, as it has no settings. Am I taking photographs or snapshots? Does this make it better or worse? That could be a topic for discussion on another day.

 My trip to Barcelona was a successful one. I photographed many beautiful areas of the town, uploaded my favorite Widelux Images of Barcelona, and purchased a relatively unknown and simple Spanish camera to add to my collection.

 Click on the link to see other cameras I've reviewed from my collection.

 If you're interested in older and collectible cameras, I do have a store on eBay, Cuny's Camera and Photo, where I sell cameras, lenses, and other camera items.

 I'd love to hear from you. If you have a question, comment, or concern, please don't hesitate to contact me.

 Thank you for taking the time to read about this little known Spanish camera.

 Until next week, please be safe.

Contessa Nettel Cocarette I DeLuxe

My Contessa Nettel Cocarette I DeLuxe camera

As I've mentioned in other posts, colored cameras are some of my favorite cameras to collect. That's a good thing when the camera is a different color than the standard drab black camera and a beautiful, rich brown-toned camera. When the camera is a rich brown-toned camera and is a rarer version, that makes the camera even more special to me. When the camera is a rich brown tone, a rarer version of the black model of the same camera AND, the camera is in good working condition and has a clean lens, then to me, it's, as we say in the U.S. and to use a baseball term  "a real home run."

 The Contessa Nettel Cocarette I Luxus camera was purchased from a seller in Florida five or six years ago. I purchased this camera along with a few other wonderful cameras, like the Zeiss Super Nettel, a Zeiss Tenax II, a Zeiss Nettax, and a few others, which were real gems in my collection for a long time until I sold them, which at times I look back and regret. That's all part of the collecting world.

 The camera appeared to be in great working condition. The bellows seemed to be light-tight, the aperture moved smoothly, and the camera came with an upgraded Carl Zeiss Jena Tessar lens and a Compur shutter, which, upon inspection, were in excellent condition. Also, the exterior leather was without tears and with minor scuffs, and the Cocarette I handle on the camera was still intact.

 When I received the camera, I wanted to find out more about the camera, so as I usually do, I saw if there was a manual or catalog on the camera. My go-to website for camera manuals is www.butkus.org , which has an extensive collection of manuals. They did have the Zeiss Cocarette manual,

According to the manual, Contessa Nettel made three different Cocarette models, each with four cameras of various sizes.

 The three  Cocarette models are:

Special: Called I/0, II/0, III/0, and IV/O, covered in black leatherette and with hinged metal front.

Standard: Described as Cocarette I, II, III, IV, With real black leather coverings, leather bellows, and hinged "Stirrup" front.

DeLuxe: Styled respectively "de Luxe" I, "de Luxe" II, "de Luxe" III, and "de Luxe" IV. This type is covered in the finest brown Morocco leather and has bellows of the same. ​ All the edges are bound in German silver.

 The different negative sizes of the models described above are as follows:

l/0, I and "de Luxe" I . Film 3 1/4 x 2 1/4 inches

II/0, II and "de Luxe" II . Film 4 1/4 x 2 1/2 inches

III/0, III and 'ode Luxe" III . Film 4 1/4 x 3 1/4 inches

IV/O, IV, and "de Luxe" IV. Film  5 1/2 x 3 1/4 inches

History

Contessa-Nettel AG was a prominent German camera manufacturer based in Stuttgart. It was formed in 1919 by merging two influential companies: Contessa Camerawerke Drexler & Nagel and Nettel Camerawerk. This merger combined the innovative strengths of both firms—Contessa Camerawerke, founded by Dr. August Nagel, and Nettel Camerawerk, known for its advanced strut folding cameras and focal plane shutters. Dr. Nagel, who began his camera design business 1908 as Drexler & Nagel, quickly rebranded it as Contessa Camerawerke before acquiring Nettel in 1919 and establishing Contessa-Nettel AG.

Ad showing the different negative sizes.

 Contessa-Nettel became renowned for its diverse and technically advanced range of cameras. The company offered approximately forty different models, including many variations of the Cocarette, a folding camera that became one of its most famous products during the 1920s. Other notable models included the Deckrullo-Nettel series, which featured self-capping focal plane shutters—a significant innovation. The company also specialized in stereo cameras and produced various compact and portable designs, such as the Piccolette and the Stereax.

 The Deckrullo-Nettel cameras, initially developed by Nettel, continued to be produced under the Contessa-Nettel name after the merger. These cameras were admired for their engineering, particularly their strut folding mechanisms and reliable shutters. Contessa-Nettel's products were recognized for their build quality and design excellence, reflecting Dr. Nagel's eye for detail.

 In 1926, Contessa-Nettel became part of Zeiss Ikon, a new conglomerate formed by merging several major German camera manufacturers, including ICA, Ernemann, and Goerz, alongside Contessa-Nettel. This consolidation aimed to strengthen the German photographic industry and create a powerhouse capable of competing internationally. After the merger, many Contessa-Nettel designs and models continued under the Zeiss Ikon brand, and the Stuttgart factory became a critical Zeiss Ikon site.

 Although Contessa-Nettel, as an independent brand, ceased to exist after 1926, its influence persisted. Feeling out of place at Zeiss Ikon, Dr. August Nagel left to establish the Nagel-Werke factory, which Kodak later acquired. Nagel's subsequent innovations, such as the Kodak Retina and the first pre-loaded 35mm film cassette, trace their lineage to the design philosophy he honed at Contessa-Nettel. The Contessa-Nettel name also lived on in Zeiss Ikon's product lines, most notably in the Zeiss-Ikon Contessa cameras of the postwar era.

 Contessa-Nettel's history is marked by technical innovation, quality craftsmanship, and a legacy that shaped the evolution of camera technology in the 20th century.

My Camera:

My Contessa Nettel Cocarette I Deluxe camera is 6 5/8" long by 3.5" wide, 1.5" deep when closed, and 5.5" deep when opened, with the lens extended from the body. It weighs 1 Lb. 6 oz. My camera's serial number is 422872. It also has a Carl Zeiss Jena Tessar 10.5cm f4.5 lens, serial #588166.

 To open the camera, there is a button on the side of the camera, which is similar to another folding camera, which you press, and the front door opens, exposing the front of the camera. Just below the shutter is the company name, Contessa Nettel, and on either side of the name are two knobs which you grab and pull the front standard of the camera out from the camera body until they stop. You're now ready to take a photo if you have film loaded into the camera

Pulling the front standard from the camera body lets you see the controls on the camera much better. Looking down at the camera, you have a bright waist-level viewfinder with indents on each corner representing a vertical or horizontal format for framing your photo. Currently, the camera is in the vertical position or, in modern terms, in portrait mode. The viewfinder can also tilt to the side if you plan on using the camera in the horizontal position to photograph in landscape mode. Right next to the viewfinder is a red bubble level to ensure the camera is level for straight photos and does not have crooked horizon lines.

On the camera's bed, just to the right of the shutter, is a focus lever, which allows the photographer to get closer to their subject and take clear photos. The focus lever can go from 2 meters to infinity, with a few different distances in between.

 When you look at the front of the camera and focus on what is on the Compur shutter, on the right side is the shutter release lever, and on the left side is a dial with Z, D, and M. These are used for different shutter functions. Z opens the shutter when you release the shutter lever and closes when you pull the shutter release again. D opens the shutter when you pull down on the shutter release and closes when you release it, and M is for the more normal use of the shutter speeds built into the shutter. The shutter speed ranges from 1 second to 1/250. All the shutter speeds on the camera seem reasonable, even the 1 sec, which is fantastic for a 100-year-old camera.

A small lever is on the bottom of the shutter. Sliding the lever from one side to the other changes the aperture setting, which you can see on top of the shutter. The camera's operations are very easy to see while holding it. You can view the shutter speed, the aperture settings, the focus distance, the viewfinder, and the bubble level, all while composing the photo in the vertical or portrait position.

 On the right side, as you're holding the camera, is a chrome knob on top of the lens standard. This slightly raises the camera lens, which will correct for vertical distortion. It doesn't do much, but it gives you a little movement in several of the better-quality folding cameras from this era.

For horizontal photos, you can swing a wire finder around the lens. On the back of the camera, a small eye finder slides out to create an action or sports finder from the two pieces. Using the camera in this position is a bit more clumsy due to where the shutter release is positioned.

Eyepiece on back up, and wire frame in place for action photo.

Fortunately, the Cocarette I cameras can use the popular 120-size film. The film chamber slides out from the camera body to load the film. On the left side of the body is a lever that you slide to unlock the film chamber from the body. Once the film chamber is unlocked, it can slide up to reveal the take-up spool and the film area. To put the film in the film area, there are holders that you flip up to get the take-up spool and the film into the respective areas.

 When loading the film, slide the paper packing under the thin channel to keep it flat across the opening. Another oddity of this camera is a large cut-away on the top of one of the corners of the exposure areas. I don't understand why this is there, as it did produce the cutout on the negative. If you know why that is there, I'd love to know. It may have had something to do with the older films of that time.

Once the film is loaded into the film back of the camera, slide it back into the camera and lock the back onto the camera body to prevent it from getting exposed to light. A small square red window with a cover is on the back of the camera. Winding the film with the take-up spool will take you to the number 1 photo, and now you're ready to make your first photo.


My Results:

I loaded the camera with a roll of Rollei RX100 film and walked through the neighborhood with my trust Sekonic L-308 meter. The day was somewhat overcast, so the contrast in the images wasn't the best. I also used the focus control on the camera. Since the day was cloudy, the settings on many of the photos were a shutter speed of 1/100 and aperture settings of f/4.5, which means there's not a lot of play when it comes to depth of field, and the photos show that.

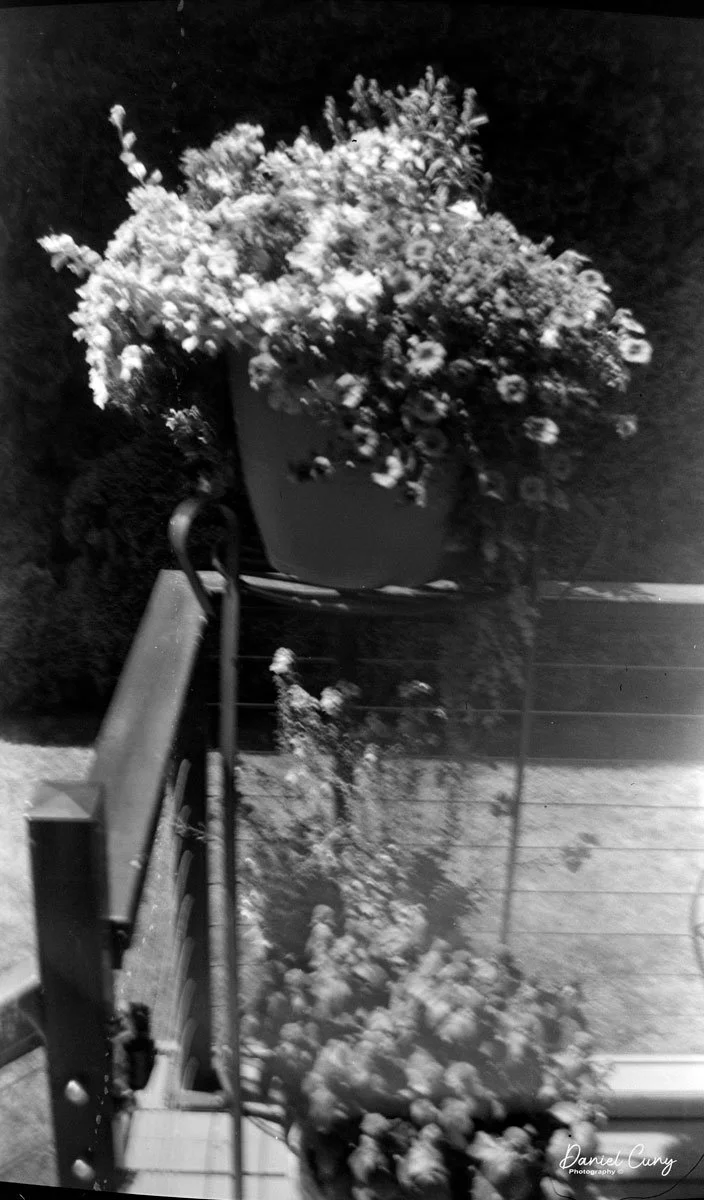
 Here are the results I got from the Contessa Nettel Cocarette I Deluxe.

Conclusion:

The camera is straightforward to use, which I’m used to because I often use folding cameras. The controls were straightforward to define and comfortable to hold for composition purposes. However, the results I received weren't the best when I used the focus control on the camera. It's very possible my distances were off, and having to use a shallow depth of field didn't help.

 It wasn't bad, but my expectations were too high. Getting a 6x9 format negative with a Zeiss lens, I was hoping for better results. That shows I'll need to take this camera out and try again.

 Thank you for taking the time to read about this beautiful and very functional camera. It certainly looks terrific in my collection, and I enjoy having it.

 Click on the link if you're interested in reading some of the other camera reviews

 If you are interested in some of the cameras and other camera oddities I have for sale, I have a store on eBay called Cuny's Camera.

 Until next week, please be safe.

Rajar No. 6 Camera

My Rajar No. 6 camera

I don't know what it is about the Rajar No. 6 camera, but ever since I purchased my first McKeown's camera guide more than 40 years ago and spent hours leafing through the pages learning about all the different styles and shapes of cameras, I've always desired to have one in my collection.

 It wasn't until just a few months ago that I pulled the trigger and purchased one from a great reseller in the U.K. It was listed for parts that were not working. The seller was selling the camera for a friend and wasn't sure if it was in good working condition. They mentioned the shutter fired but couldn't guarantee the other working parts of the camera, so I took a chance and purchased it. I don't know why it took so long to get one.

 The shape of the face and the crosshatching on the camera's face drew me to it. It has a very classy and classic look, which is something I find on many cameras made during this timeframe.

 It took a while for the camera to arrive from the U.K., but it arrived last week, and I was anxious to see its physical condition. To my surprise, the camera was not only in excellent physical condition with no chips in the Bakelite, but the shutter was firing, and there was a roll of film still in the camera, which the seller failed to mention, so I was doubly happy.

 I took hold of the film advance knob to see if the film was advancing, and it was so at this point, I didn't see anything wrong with the camera. Not knowing how old the film was, I went outside to take the last few frames on the included old roll of film, and it wasn't until I got to the final frame I found out what was wrong with the camera. 

 I wasn't aware of what was so different in the film spool until I took the film out of the camera, which I needed to do in a dark bag since the camera stopped winding right after I took the final photo on the roll of film included with the camera.

 The Rajar No.6 camera has a special take-up spool written right there on the back of the camera, "only the Rajar No. 6 spool will fit this camera". I saw that when the camera arrived and at first I thought I couldn't shoot with it because it took a different or special size of film. Nope, it's the take-up spool. At least in my camera, the take-up spool is special and has a square tip that fits into the take-up spool instead of a slot that fits into most 120 spools. 

 It appears the Rajar No.6 has a brass item attached to the metal take-up spool that had become loose, making it impossible for the camera to wind the film to the next frame. The drive portion came loose, and the film wouldn't advance anymore. The disconnect of the brass piece and the take-up spool must have happened during the winding of the film, as it was working for a few frames. Another explanation is that the brass portion was stuck to the take-up spool and became loose after the film was with a few frames.

The Company:

Rajar No. 6 nameplate

Rajar Ltd. was established in 1901 as an offshoot of Brooks-Watson Daylight Camera Company Ltd., which had a facility in Liverpool. The company produced camera film, paper, and Rajar film backs for daylight loading film. In 1904, it moved to Moberly and was renamed Rajar Ltd.

 In 1921, Rajar Ltd. They merged with six other companies to form APM, Amalgamated Photographic Manufacturers Ltd. In London, in 1928, four companies involved in film manufacturing formed APeM, Amalgamated Photographic Equipment Manufacturers Ltd. APeM, which would eventually be rolled into Ilford, which is still one of the major film companies today.

 The Rajar No. 6 camera was introduced in 1929, just a year after APeM started. APeM also produced box camera as well.

The one thing that makes the Rajar No.6 camera unique is that the camera body, faceplate, and back are all made from Bakelite. The Rajar No. 6  was the first camera to have the majority of the camera built with the new material. As I mentioned earlier, it's incredible that after almost 100 years, the Bakelite is still in fabulous condition. There are no chips to be found, and the camera still has the gorgeous shine of the new camera.

My Camera:

My Rajar camera measures 6.5" tall by 4" wide, including the winding key, by 4.5" deep when the camera is extended. My camera weighs 1 lb. 0,6 oz., so the camera is very light. The camera is extremely simple as it has a meniscus lens, and an "Everest" shutter, meaning it doesn't cock. When you move the shutter release from one side to the other, the shutter fires, and then when you move it back, the shutter fires again, so you'll need to wind the film right after taking the photo to avoid double exposures.

There is no aperture setting, as the lens aperture is set to what I'm guessing at F8. The only shutter speed setting is for instant or timed exposures. The Rajar No.6 camera is a strut-style folding camera, which means the camera body pulls away from the body on four chrome rigid arms, as opposed to the traditional folding bed style.

 It took me a few minutes to figure out how to pull the faceplate away from the body, but when I held the camera upside down, the faceplate dropped, and it was easy to pull it away from the body and lock it into position. To close the camera, you only need to pull outward on the four strut corners, and the faceplate folds back into the camera body. There is a small viewfinder on the top of the camera, but this only works for vertical photos. There is no viewfinder for horizontal images unless you tilt your head, which is very uncomfortable.

To open the back of the camera to load film, two clips hold the back onto the camera's body. Just flip back the clips, and the back can be lifted off easily. The Rajar No. 6 camera is a 6x9 format camera and takes eight exposures on a roll of 120 film. Yes, the only difference between the No. 6 spool is the take-up spool. It's not a different film size, as 120 film fits the camera well. I've even seen that Rajar made an adapter to fit onto its square proprietary film take-up end to fit into 120 film spools. I don't have one of the adapters, so I'll need to keep my special take-up spool and reuse it with each roll of film.

My Photos:

Since the take-up spool appeared to be broken and I couldn't pull the film from it, I glued the special square drive area directly onto the metal spool that it was spinning freely on. After waiting an hour or so for the glue to dry, I loaded a roll of 120 film into the camera and onto the special take-up reel. The take-up spool worked wonderfully, and I got through the roll of film without a hitch. In fact, the film transport was extremely smooth.

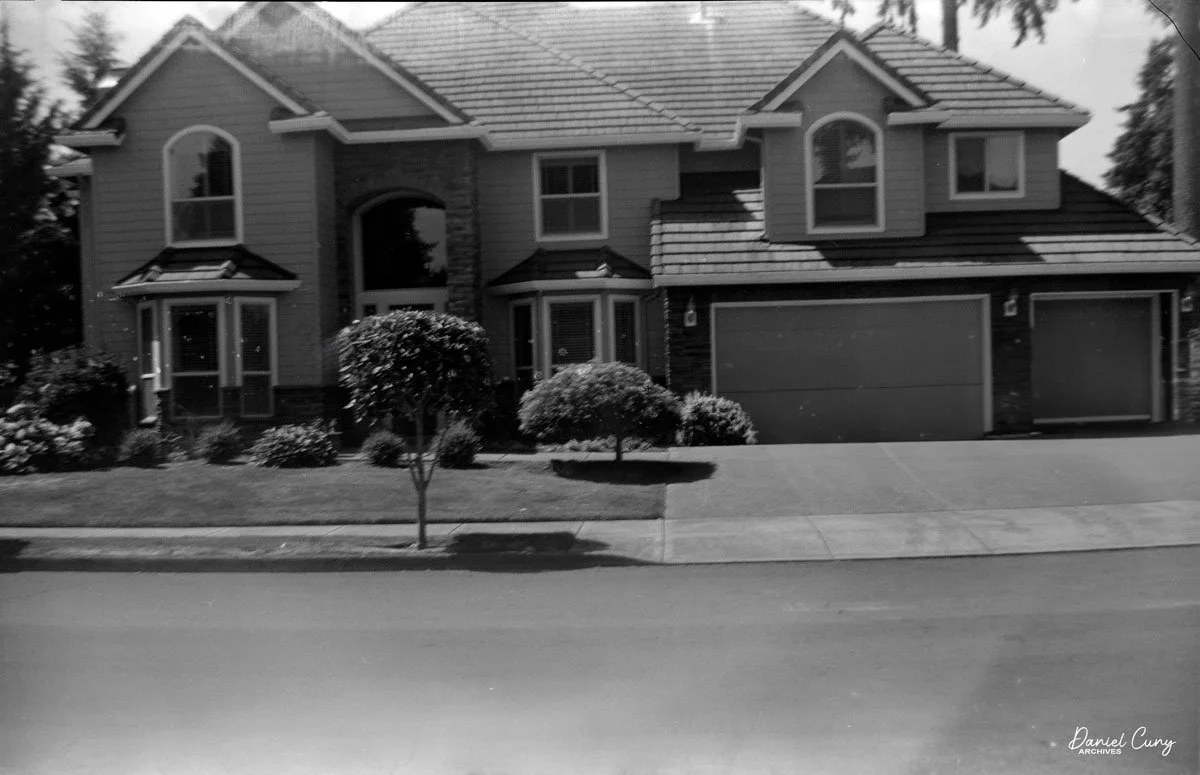
 Here are some results from walking through my neighborhood with the Rajar No. 6 camera.

Conclusion.

The images have a softness that I find appealing. They are very similar to Lomography-style cameras like the Diana. They seem a bit sharper than a Diana, but the lens has a creamy effect on the images (in my opinion). I enjoy that the corners are rounded on the negatives. I also see that the images extend into the rebate portion of the film's border, as I can see the film name and other information in the image area.

 The camera worked great. The shutter was smooth, and the film transport was even smoother. Once I glued the two pieces together and dropped the film into the camera, the photo-taking experience went flawlessly.

 The camera is compact, rugged, and a real "point-and-shoot" style camera. I aimed the camera for horizontal images and figured the lens on the camera was most likely for wide images, which proved to be true.

 Thank you for taking a few minutes to read about this fun and easy camera to shoot with.

 I'd love to hear from you, so if you have any experience with this camera or any of the others I've written about, please email me.

 Until next week, please be safe.

Kowa Six MM Camera

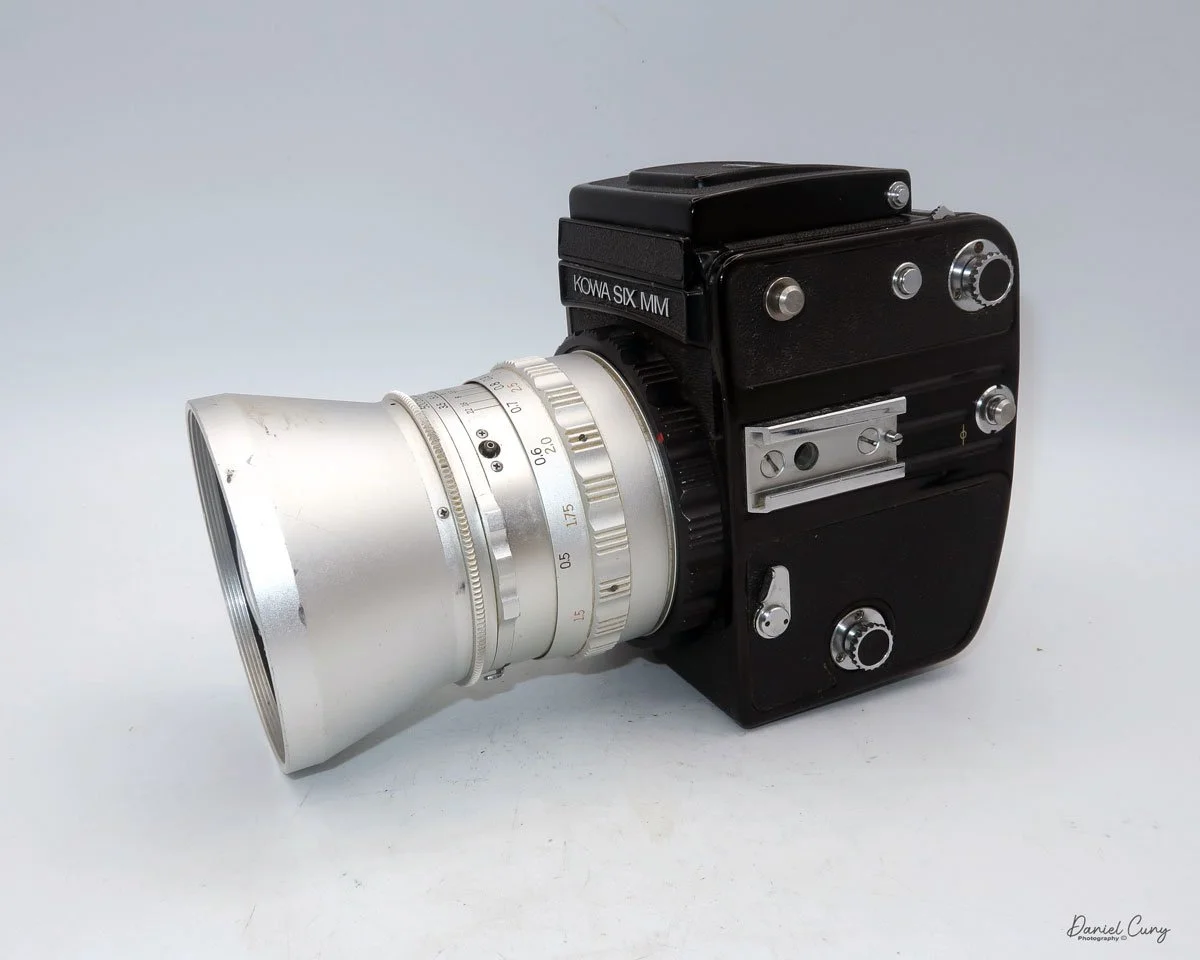
My Kowa Six MM camera.

For some odd reason, I've always felt negative about Kowa cameras. It goes back to when I worked in a camera store in the mid- to late 1970s. The first job I had was handling camera repairs for the shop, which meant packing up the cameras, shipping them to the manufacturer or independent repair facilities, handling the repair estimates, pricing them when they came back from repairs, and calling the customers to let them know their camera was back and ready to be picked up. 

 I can remember when I received notices from many of the camera repair facilities that Kowa cameras were no longer serviceable due to a lack of parts, and that still sticks in my mind to this day. There was always a thought in the back of my mind that if you had a Kowa camera and something happened to it, it was not repairable. 

 It wasn't until many years later, and when I say many, probably 40 years later, that I visited a repair facility in Los Angeles. This person had many Kowa cameras and said he could repair them. He liked the quality of the camera. These weren't the 35mm Kowa camera but the Kowa Six medium-format camera. At that moment, my thought process switched, and the negative stigma of a horrible camera turned to something somewhat positive.

Kowa Six MM with grip.

 Fast-forward about five years, and I had the opportunity to pick up a Kowa Six MM camera for a reasonable price. I didn't know if the camera was in good working condition, but I knew where to get it fixed if it wasn't working.

 When the camera arrived, I started to fiddle with it for a bit, and my negative thoughts faded when the camera was in good working condition. The Kowa Six had a 55mm f3.5 lens, which I like, and a grip for the camera, which gave the purchase more value. As I was playing with the camera, I went from a negative feeling about the camera from many years ago, to WOW, this is a nice and well-built camera. It was time to put some film in the camera and see what this camera can do.

Company History:

Kowa, a Japanese company, has a long and fascinating history in optics, including producing high-quality cameras and lenses. Founded in 1894 as a trading company, Kowa Co., Ltd. initially focused on textiles and later expanded into various industries, including pharmaceuticals and electronics. Its entrance into the optical and photographic industry began in the mid-20th century, marking a significant era for the company.

Ad for Kowa Six camera.

 Kowa began producing photographic equipment in the 1950s, when Japan's camera industry flourished. One of its earliest camera lines was the Kowa Six, a medium-format 6x6 cm single-lens reflex (SLR) camera introduced in the early 1960s. The Kowa Six and its successors—the Kowa 6 MM and Kowa Super 66—became particularly popular among professional and serious amateur photographers due to their solid construction, sharp lenses, and competitive pricing. These cameras were often praised for their simplicity and reliability. They offered interchangeable lenses and accessories similar to more expensive competitors like Hasselblad.

 In addition to medium-format cameras, Kowa produced a range of 35mm film cameras. The Kowa SW, a fixed-lens wide-angle camera introduced in 1964, was particularly notable for its ultra-wide 28mm lens. Other models, like the Kowa SER and Kowa H series, featured leaf shutters and high-quality fixed lenses, catering to various photographic needs. Despite strong optical performance, Kowa's 35mm cameras struggled to gain significant market share, especially against major players like Canon, Nikon, and Minolta.

 Kowa eventually withdrew from the still camera market in the 1970s, focusing instead on its core strengths in optics and electronics. However, the company remained in the optical field, becoming well-known for producing spotting scopes, binoculars, and lenses for industrial and medical applications. Today, Kowa lenses are used in various professional contexts, from wildlife observation to television broadcasting.

 Though Kowa's time in the consumer camera market was relatively brief, its medium-format cameras have left a lasting impression. Collectors and film photography enthusiasts who value their durability, sharp optics, and mechanical precision still seek them out. While sometimes overlooked, Kowa's contribution to photographic history represents a unique chapter in Japan's post-war camera industry boom.

My Camera:

 My Kowa Six MM camera is 5" tall when the light chimney is closed and 7.5" tall with it open, 4.5" wide including the winding lever, and 4" deep without the lens attached. The serial number on my Kowa Six MM is 325240. The lens on my camera is the first of three generations and is a  55mm f3.5 lens. The serial number on my lens is 153507. One of the great things about the Kowa Six system is that all the lenses have leaf shutters built into them, which is very similar to the Hasselblad system. My Kowa Six MM with 55mm F3.5 lens weighs 4lb. 9.7oz without the side grip.

The shutter speed built into the lens goes from 1/500 to 1 sec. Along with "T" for timed exposure, the aperture ranges from F3.5 to F22. One of the advantages I found about the Kowa Six MM was how easy it is to set the focus, shutter speed, and aperture, which are all located on the lens barrel. Each setting has its ring and is easily moved and marked. The focus ring moves smoothly, and the shutter speed and aperture rings click into the desired setting. The lens also has the flash PC socket, along with a switch to set the 10-second self-timer (V), along with the flash settings for bulb (M), electronic flash (X). The shutter release is on the front and bottom right of the camera body. There is also a locking collar around the shutter release to prevent releasing the shutter when you don't want to.

 When reading about the camera, a few things were mentioned. One of the items mentioned was that the camera tends to move the focus slightly due to the mirror movement, causing the image to lose sharpness. I'm unsure if the focus or the camera is moving, which causes the image to be a bit soft, but I'll be aware of that when I shoot the camera.

 To view your subject, open the light chimney. Pull up on either side of the light chimney, and the viewfinder opens easily. There is a magnifier for critical focus, which you can activate by sliding a button along the back of the front. Sliding the button to the right pops up the magnifying lens. Pushing it down will lock it out of position. The light chimney has hinges on the side that must be squeezed together to close the viewfinder.

You can change to a different viewfinder by pressing a chrome button between the strap lug and film locking lug. Once the button is pressed, slide the viewfinder forward to remove it. You can also remove and change the focus screen by pressing the same chrome button and lifting the focusing screen. Put the focus screen back, line up the red dot on the camera with the red dot on the focusing screen, and drop the screen back into place. Pressing the chrome button to seat the focusing screen into position. You can slide the viewfinder back on, and it will lock into position once it's pushed back onto the camera.

The collar on the body must be turned counterclockwise to remove the lens. Before moving the collar, you'll need to wind the camera so the camera is in the "cocked" position and the mirror is down. You can move the collar somewhat, but until you slide the lens locking button back, the collar won't move the entire way to remove the lens. To put the lens back onto the camera, you'll line up the red mark on the lens to the red mark on the camera body, and turn the collar clockwise to lock the lens back onto the camera body.

To open the back to load film, turn the lever on the bottom of the camera to the "O" position, and the back of the camera unlocks. Lift the back door, which exposes the film chamber. Bring the empty reel from the bottom of the chamber to the top, which will now be your take-up spool. Pull out the film locking knobs on the side of the camera to put in the empty spool and the new roll of film you're loading into the camera. Bring the leader up to the empty spool and thread the lead into the slot and turn the winding knob on the right side of the camera to take up the loose film. There ia a handle built into the winding knob to make the turning of the knob easier. Keep winding until the "start" arrow points to the red dots on the sides of the shutter, close the back, and continue to wind until the winding lever stops. At this point, the frame counter will be on number one, and you're ready to start taking photos.

 The Kowa Six MM will take either 120 or 220 film. If you plan on shooting 220 film, be sure to change the pressure plate to the proper position, and on the side of the camera, make sure you've selected "24" on the selector between the strap lug and frame counter on the right side of the camera. Selecting 24 tells the camera you're shooting 24 images on 220 film instead of 12 exposures on 120 film.

You can also lock the mirror "up" by turning the knob on the right side of the camera to the "up" position. This function reduced camera vibration. You can also do double or multiple exposures on the Kowa Six MM. To do so, after your fist image, turn the knob on the top of right side of the camera from the orange dot and orange line which is for normal film advance to the red dot and red line. This is disengaging the film advance so you can do multiple exposures. Once you're done, turn the dial back to the orange dot and line position, and the film will advance.

As I mentioned, my Kowa Six MM camera has a side bracket, making it easy to hold and handle. Still, I didn't realize how nice this grip was when I went to take it off. Not only is there a nut that hold the bracket onto the camera, but there also a screw that locks the nut into place so it doesn't accidentally get unscrewed and have the camera fall off the grip.

My Results:

Since the clouds were moving in and out, I didn't want to shoot a slow-speed film, so I loaded the Kowa Six MM with a roll of Ilford 125 ISO film and proceeded to walk through the neighborhood, focusing on many of the spring flowers that have been blooming this time of year. After walking around, I went home and processed the film. Here are the results from my walk through the neighborhood.

My Conclusion.

WOW!!! Was I wrong for so many years? This camera worked fantastically and was fun to use. The viewfinder was bright, the magnifier was easy to use, the shutter speeds sounded accurate, and having the shutter speed, aperture ring, and focus all in the same spot was fantastic.

 The film advance was smooth, and carrying the camera with the grip made it very comfortable. I understand why the technician who coveted the Kowa liked the camera so much. The system offers nine lenses from 19mm to 500mm, different viewfinders and focusing screens, so it's complete. The price of these cameras is less than half of Hasselblad's, and they are smaller and easier to handle. I'll keep this camera for a while and see if I can expand the lenses I have for it. While I like the wide-angle lenses, getting an 85mm standard lens would be nice and slightly cut down on the weight.

 I love to hear from the people who read my posts. If you have a question or comment, please let me know. I'm always looking for ways to improve this experience.

 Until next week, please be safe.

Asahi Pentax 6x7 Camera

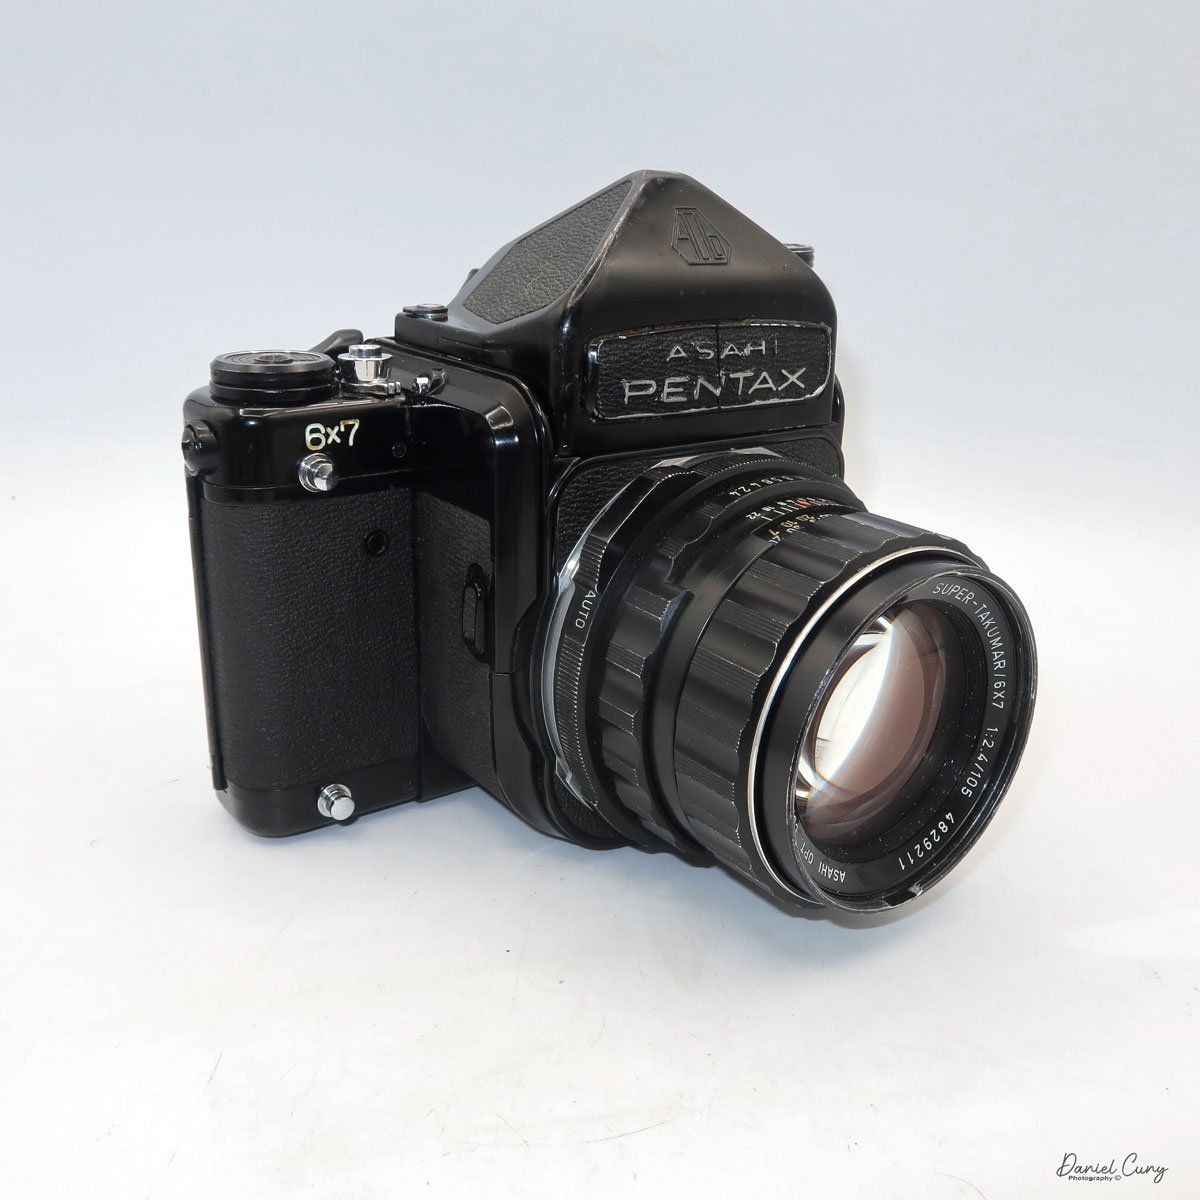
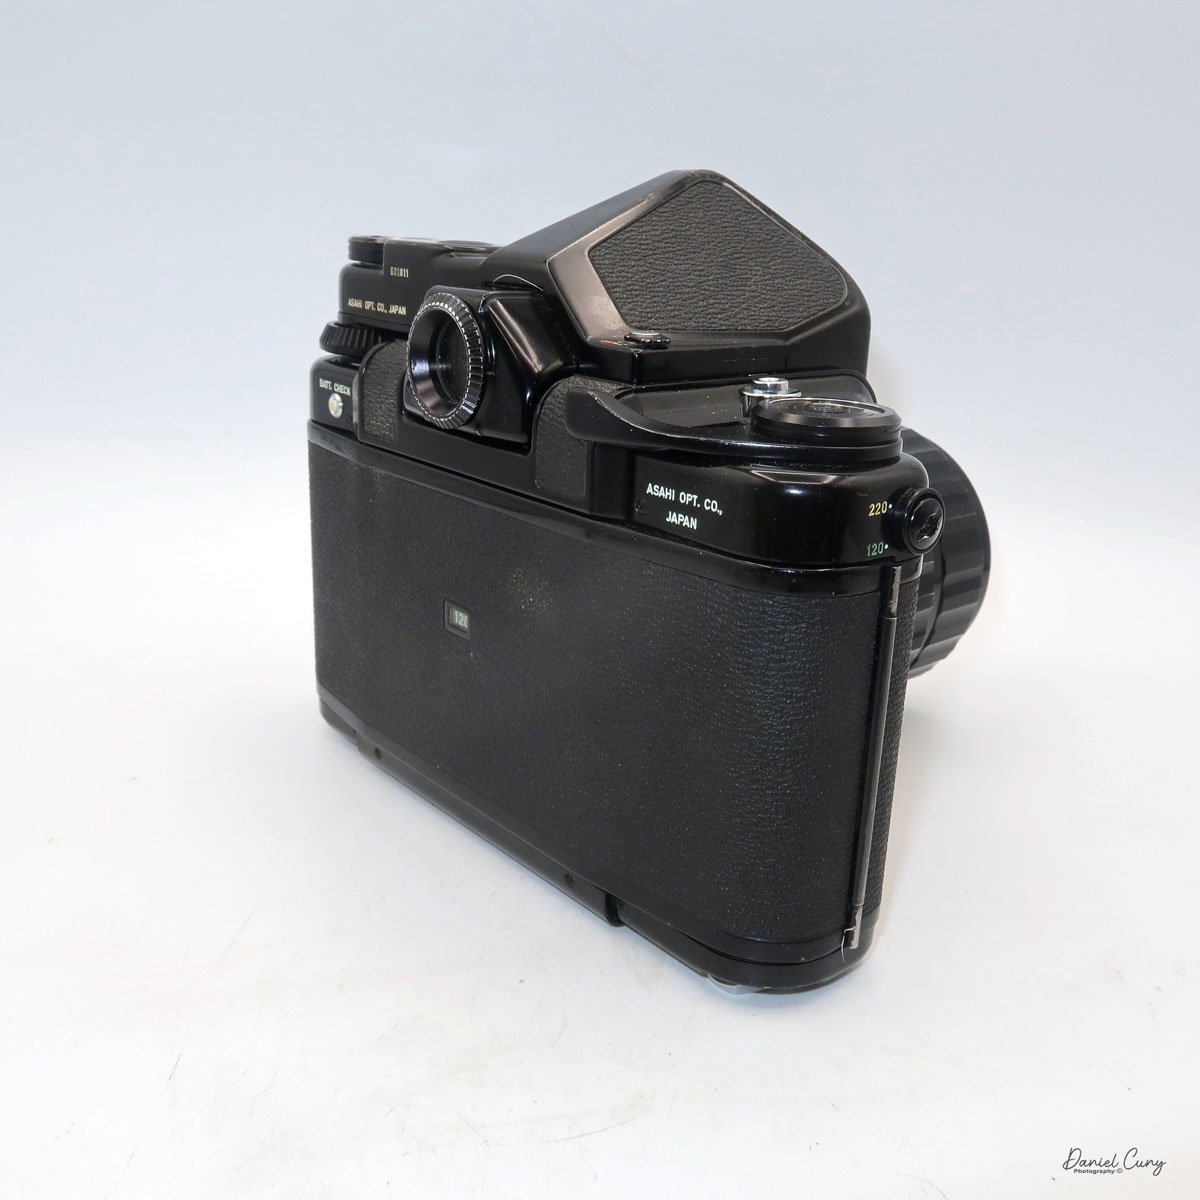
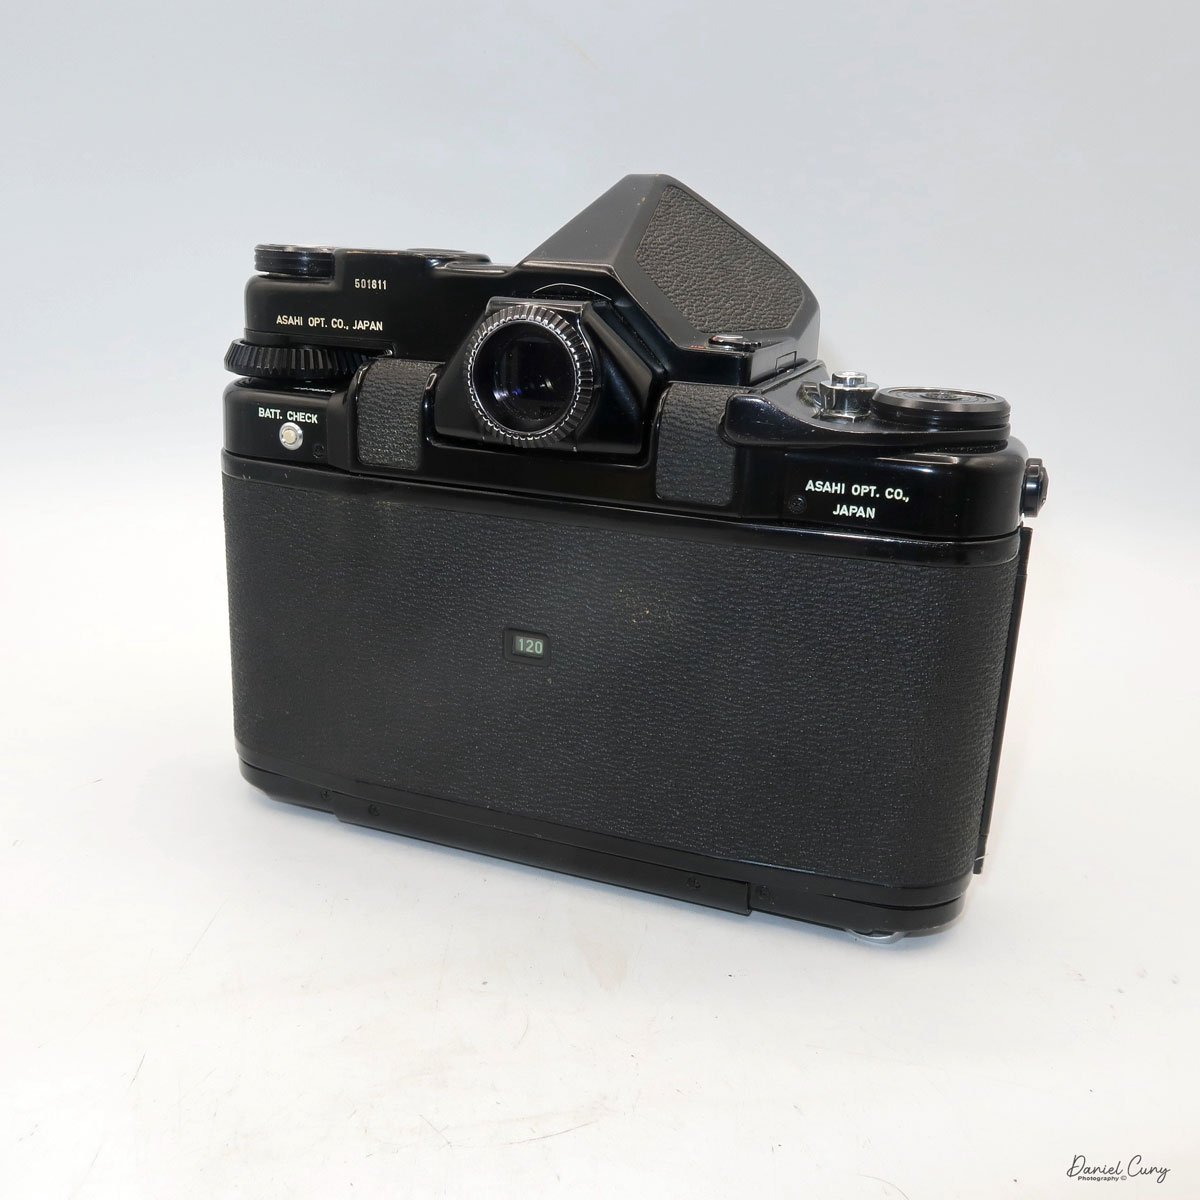
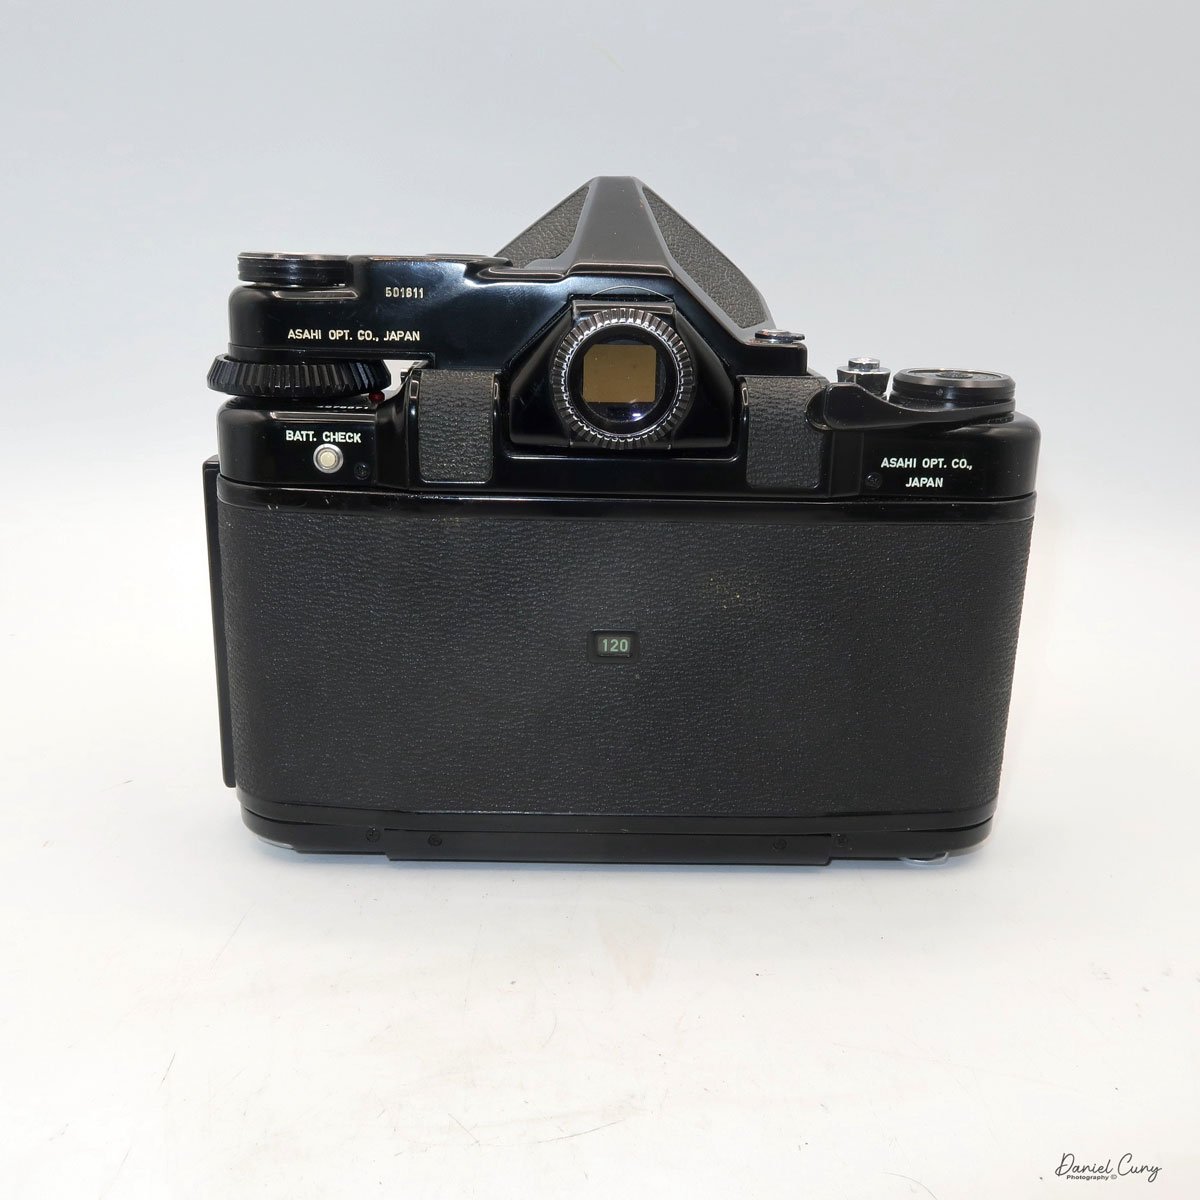
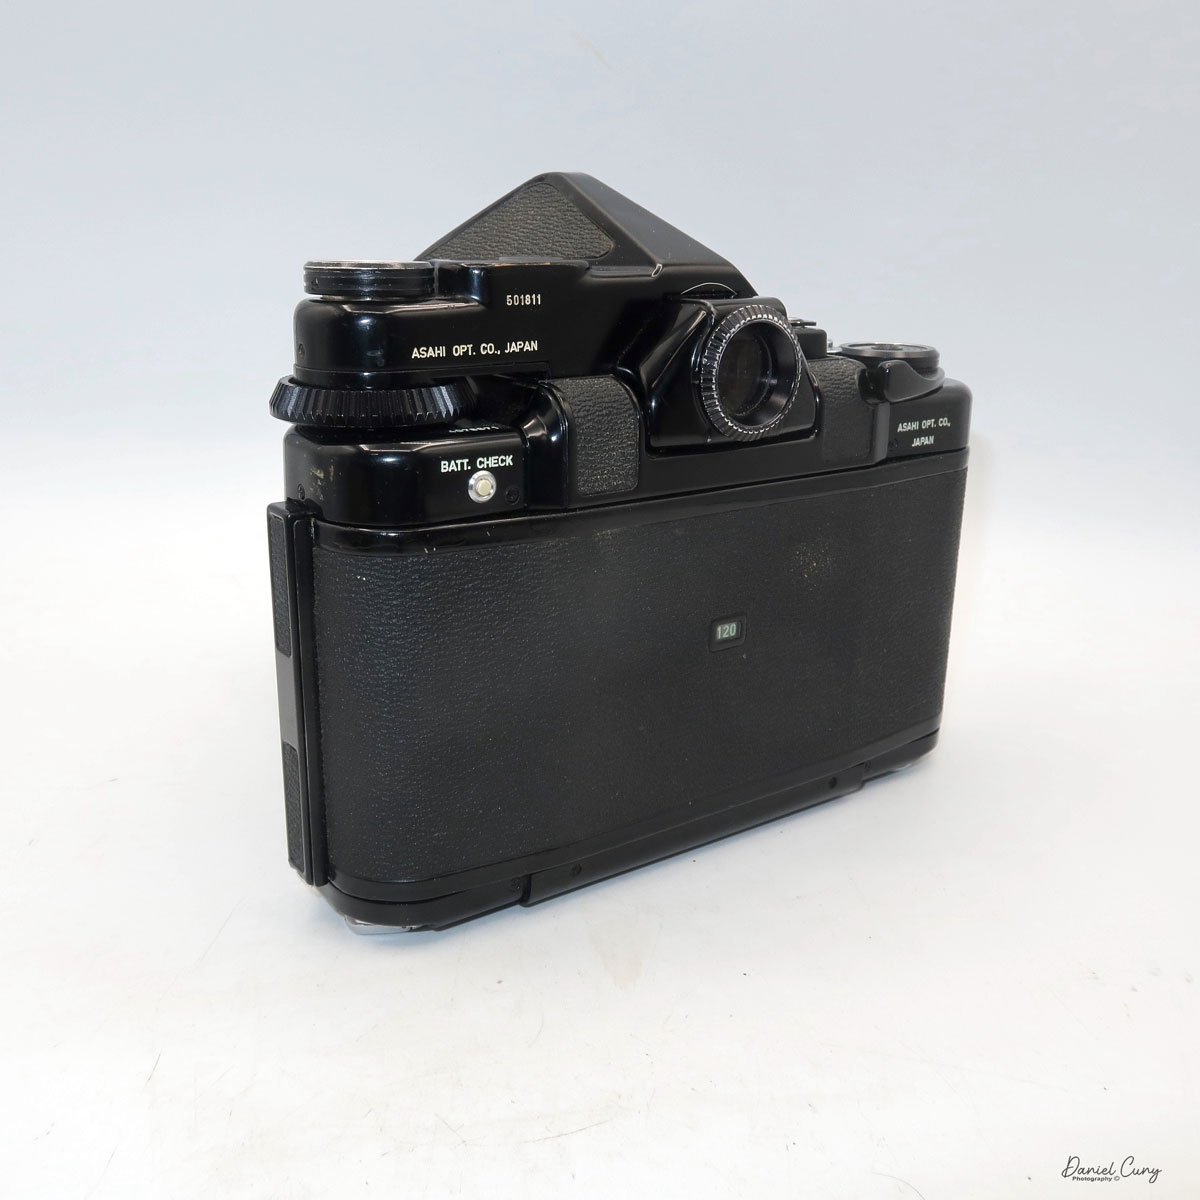
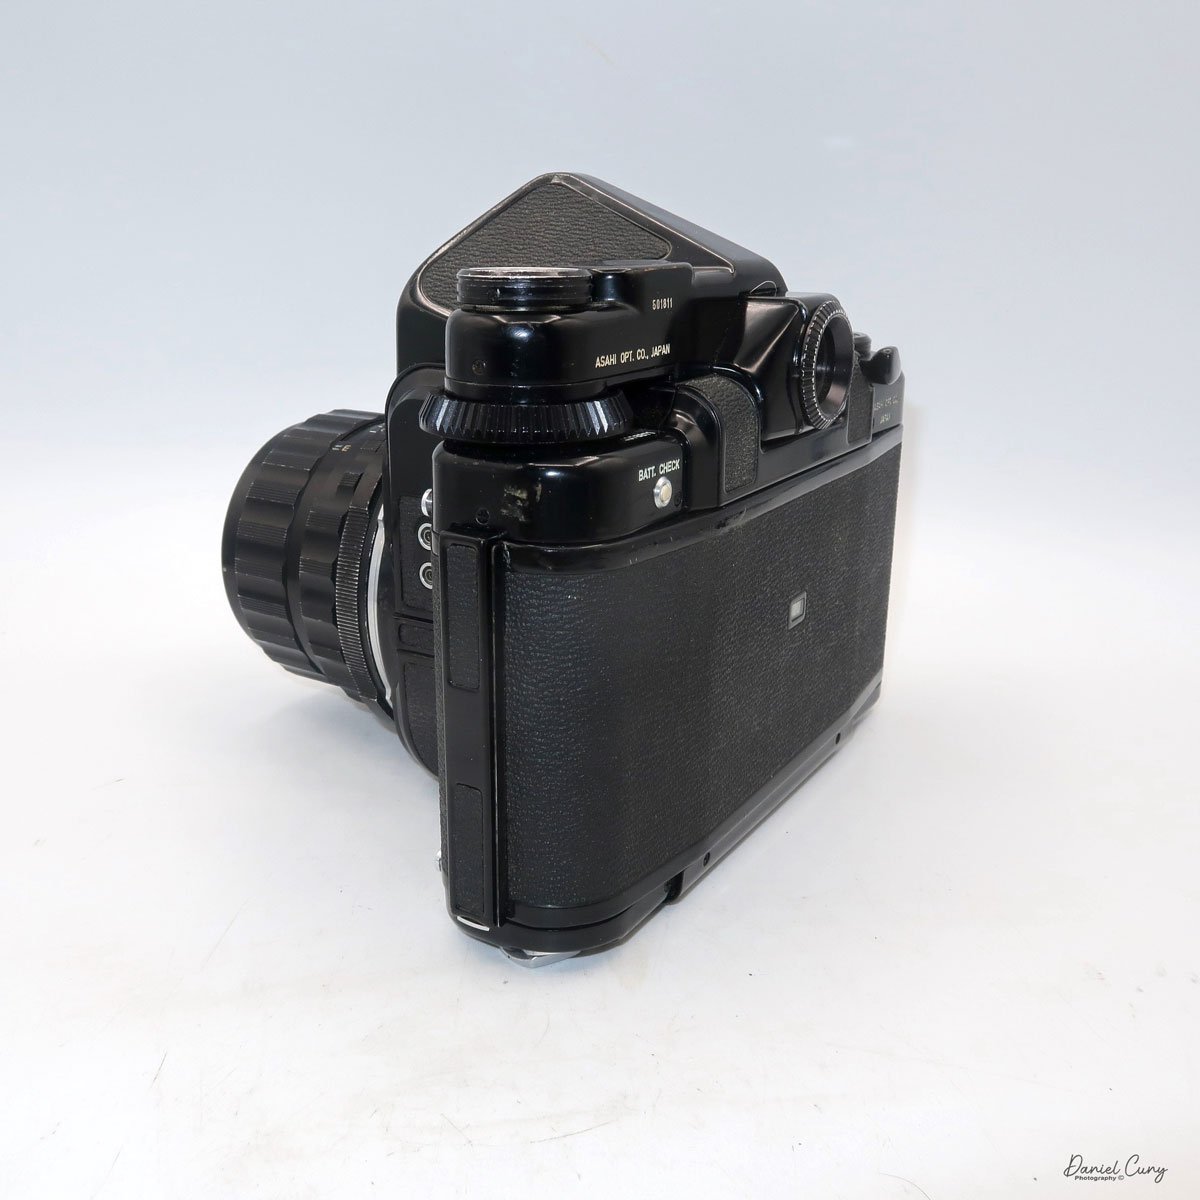
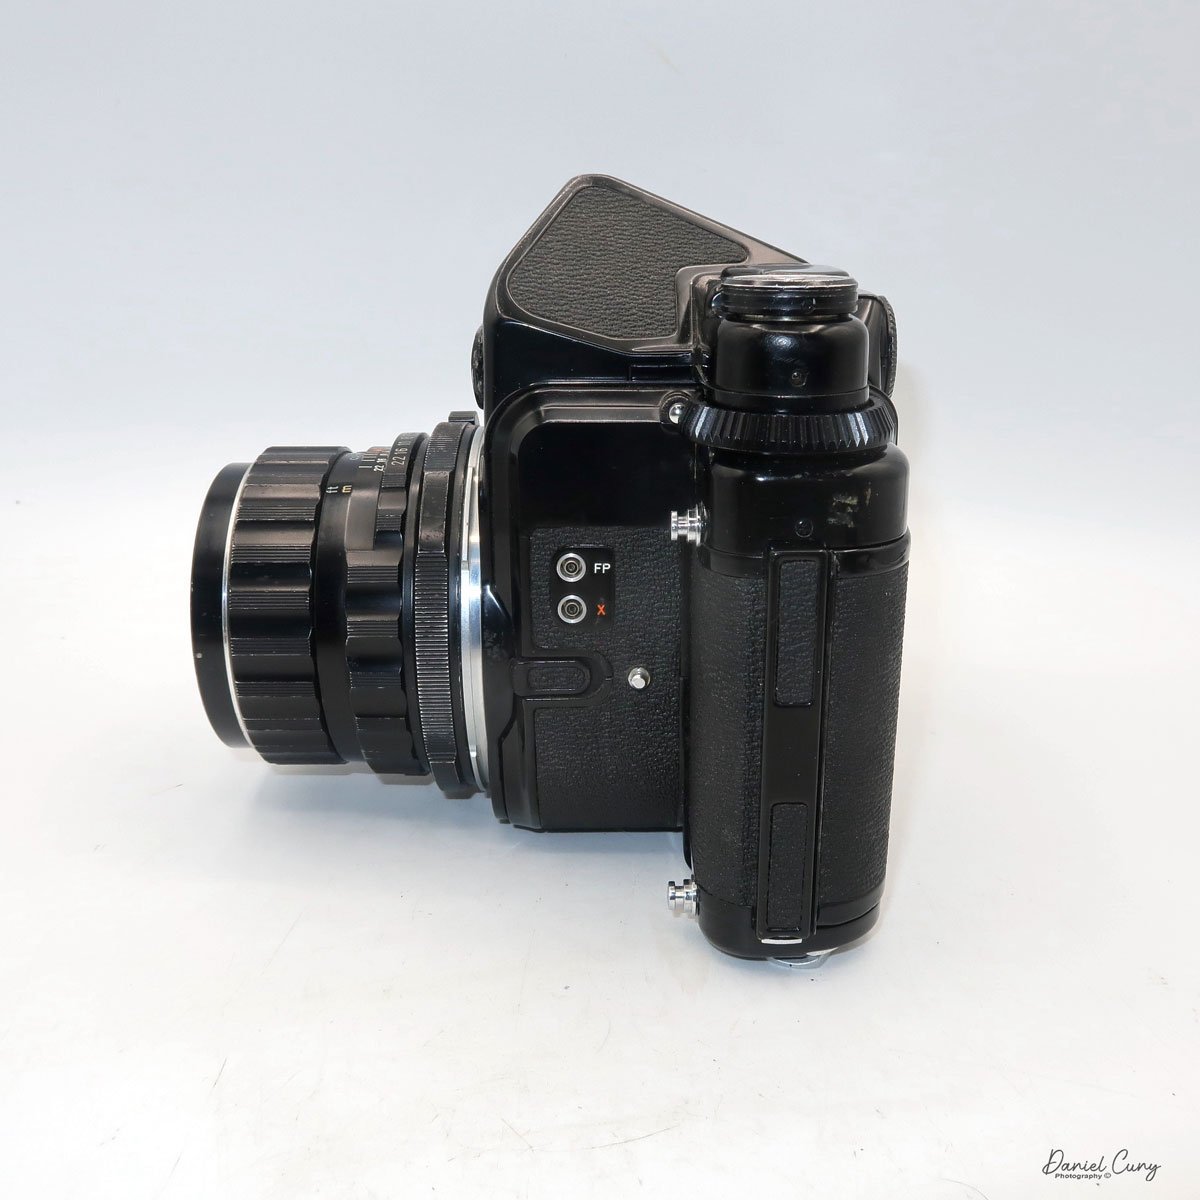
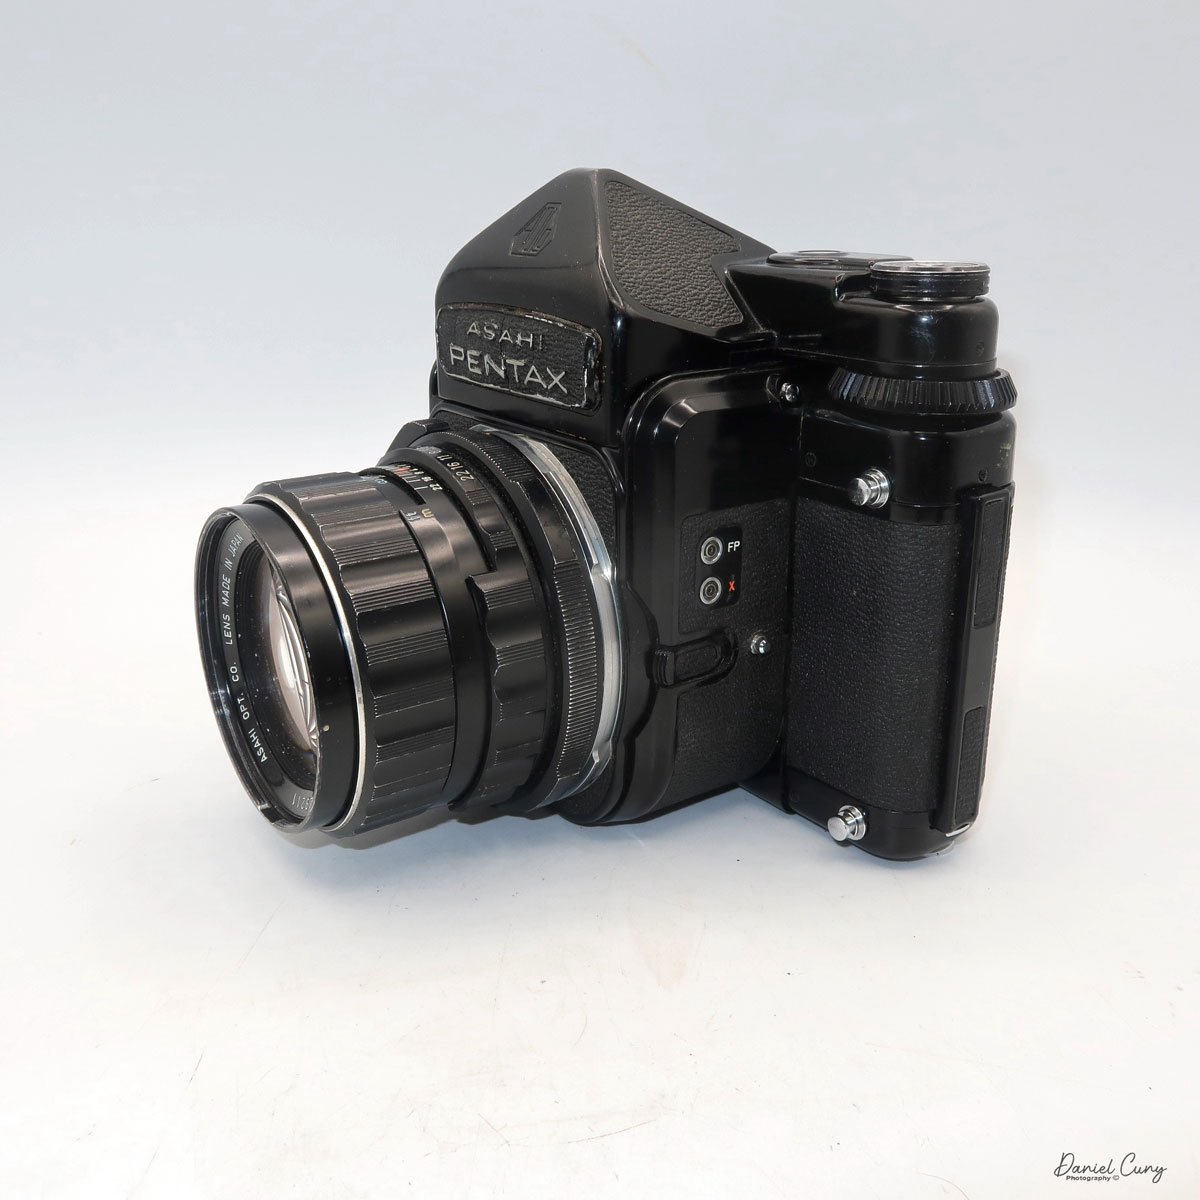
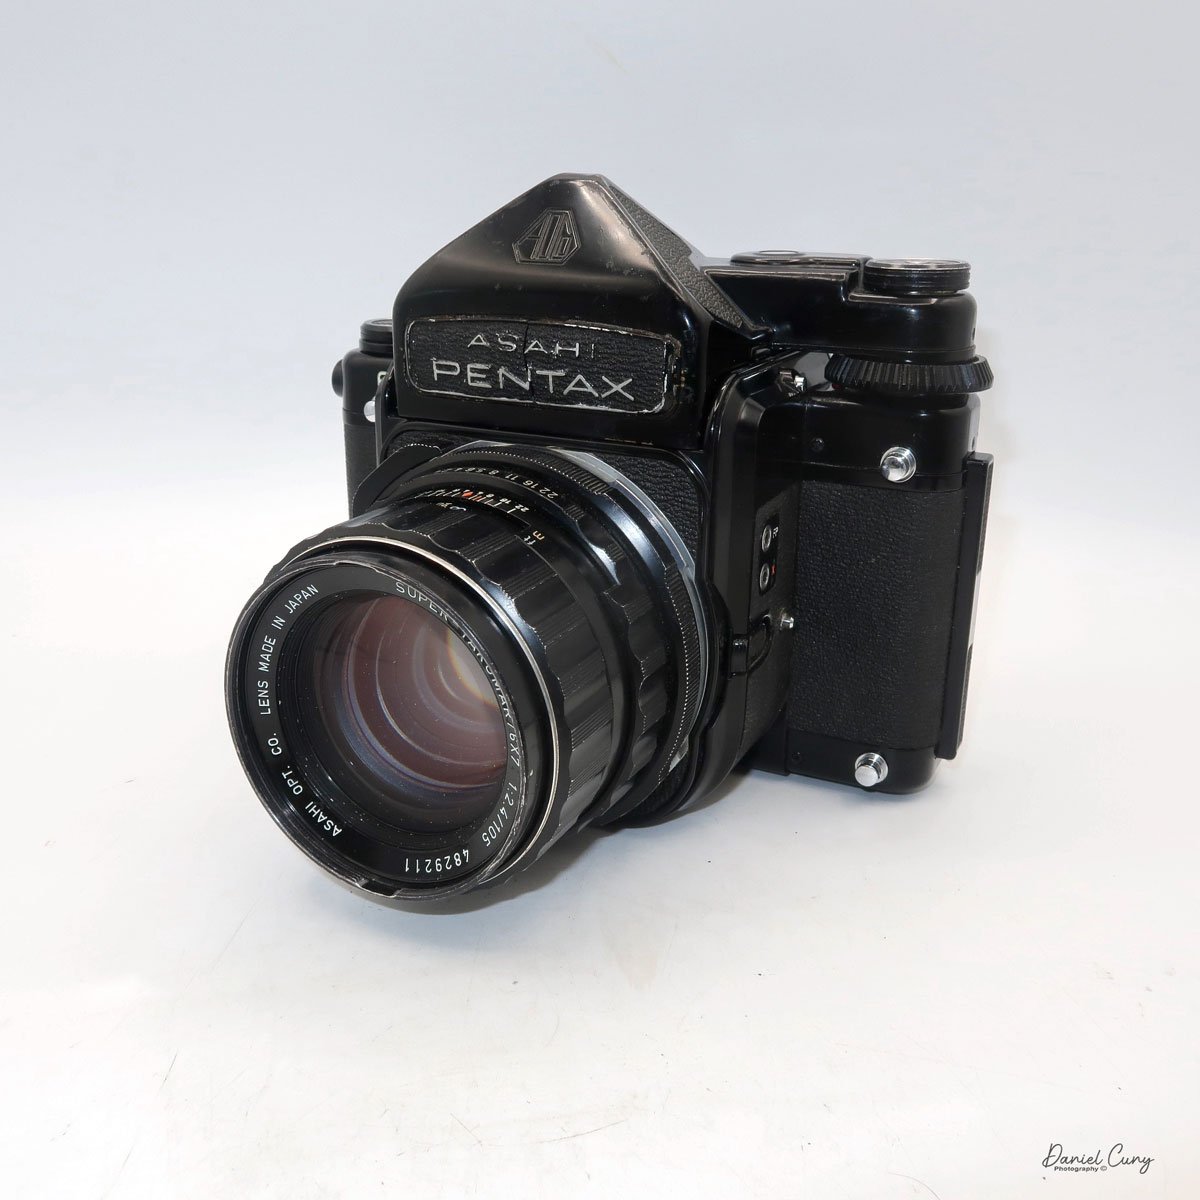
My Pentax 6x7 camera with 105mm f2.4 lens, TTL Finder and wood grip.

When I started photography, I used an older Univex Twin Lens Reflex-style camera that my uncle gave me when I was around 8-9 years old. From there, palling around with my buddies, that camera was too big and bulky to bring around with us. So, I opted for the smaller, more compact 35mm camera, which I could keep around my neck and under my coat when it was colder outside. 

 The Pentax 6x7 cameras have always held a special place in my heart, perhaps due to their unique blend of size and resemblance to a larger 35mm camera. While I still cherished the Twin Lens Reflex style, there was an undeniable elegance and familiarity about the Pentax 6x7 cameras. The interchangeable lenses and finders were reminiscent of the Nikon system I had grown to love in my later teen years.

 I purchased my Pentax 6x7 camera a few years ago at an online auction. It appeared to be in good condition, and its camera is complete with the TTL finder, standard 105mm lens, wood handle, and Pentax-branded strap, all wrapped up in a wonderful cube-shaped case that it all fits nicely into. I noticed a pouch on the top portion of the case. There were a few accessories in it that the seller didn't show, so when I received the camera, an external battery holder, and covers for the finder, A focus grip was included in the kit. Now it's time to look at the Pentax 6x7 manual to double-check all the ins and outs of the camera.

The Company:

The history of Pentax cameras is deeply rooted in the evolution of photographic technology, with a legacy that spans over a century. Pentax began as Asahi Optical Joint Stock Co., founded in 1919 in Tokyo, Japan. Initially, the company produced lenses for eyeglasses and later expanded into camera lenses and optical equipment. Not until after World War II did Asahi make its mark in photography.

Ads for the Pentax 6x7 camera system

 In 1952, Asahi released its first camera, the Asahiflex, the first Japanese 35mm single-lens reflex (SLR) camera. This launch marked a significant milestone for the company and Japan's emerging camera industry. Asahiflex featured innovative mirror-return mechanisms that set the stage for modern SLR design.

 The turning point came in 1957 with the release of the Asahi Pentax, which gave birth to the Pentax brand name. The camera combined the best features of previous SLRs. It introduced a pentaprism viewfinder, allowing photographers to see their subject right-side up and laterally correct. It also standardized the use of the M42 screw mount, which would become a popular lens mount for decades. The success of the Asahi Pentax was so profound that the company eventually adopted "Pentax" as its corporate name.

 Throughout the 1960s and 1970s, Pentax established itself as a leading manufacturer of SLR cameras, competing with brands like Nikon and Canon. They moved into the medium format by introducing the Pentax 6x7 camera. Iconic models like the Spotmatic series (launched in 1964) introduced TTL (through-the-lens) metering, significantly improving exposure accuracy. Pentax cameras became known for their durability, reliability, and affordability, making them popular among professionals and amateurs.

 In 1980, Pentax expanded the medium format market with the Pentax 645, which offered larger film sizes for high-resolution photography. These systems were found to favor studio and landscape photographers.

 Pentax transitioned to digital imaging in the early 2000s with models like the Pentax istD. It later gained attention for its weather-sealed DSLRs and in-body image stabilization. In 2011, Ricoh acquired the brand, becoming Pentax Ricoh Imaging Company.

 Today, Pentax focuses on traditional photography experiences, emphasizing optical viewfinders and rugged build quality in an era dominated by mirrorless technology. Their commitment to DSLR development and legacy lens compatibility maintains a loyal following, preserving the Pentax name as a significant part of photographic history.

My Camera:

Researching the Pentax 6x7 camera for the article revealed three upgrades to the original Pentax 6x7 camera when it was introduced in 1969. The Pentax 6x7 camera was shown at the 1966 Photokina as a prototype camera, and it was called the Pentax 220 and had chrome and black bodies. The official introduction was in 1969, with the name Pentax 6x7, and only black bodies were available. The Honeywell Pentax 6x7 was available for the US market, but here in the US, I rarely see the Honeywell Pentax 6x7 around; the vast majority were Asahi Pentax 6x7.

Dual Bayonet mount for longer or shorter focal length lenses.

 In 1976, the Pentax 6x7 (MLU) camera added a mirror lock-up mechanism, and in 1990, with their third modification, they made a few minor cosmetic changes to the camera. Now, the camera is named Pentax 67. No more 6x7. The fourth change camera in 1999 was when Pentax launched the Pentax 67II camera, which offers a built-in right-hand grip, a brighter viewfinder with interchangeable focusing screens, a more advanced AE metering system with three different modes, a dedicated time mode switch, a self-timer, and multiple exposure capabilities. 

 I own the Asahi Pentax 6x7, so mine is the second-generation camera with the mirror lock-up capability. The camera weighs a whopping 5 lbs. 5 oz without the wood grip. The camera is 7.5" wide by 6" tall by 6.75" deep, measuring from the back of the camera to the front of my 105mm f2.4 lens. The Pentax 6x7 cameras have a dual bayonet lens mounting system, with lenses from 35mm to 300mm fitting inside the body, similar to many 35mm cameras and lenses from 400mm to 1000mm mounting on the outer bayonet. Even the front lens cap has a bayonet mount on my camera, so it's not a clip or press-on style of a lens cap.

The Pentax 6x7 camera is a fully electronic camera system. The entire camera is dependent on the PX28, 6v battery. The meter, or the shutter, won't work without the camera battery. After putting in the battery, I discovered the metered finder was working, which was good news. At first, I thought it wasn't working, but after reading the manual, I learned that you need to remount the lens once the meter is removed so the lens will couple with the meter.  I didn't think it would work because there is a crack on the front running across the nameplate, but you never truly know until you try. With the fresh battery in the camera, I still wasn't sure the camera was working because there needed to be film in the camera for the shutter to fire. 

 Looking online, I did find a video showing a way to trick the camera into thinking there was film in the camera, which is by opening the back of the camera and, before closing the back, turning the frame counter to just past the first frame while holding the frame counter there and closing the back of the camera allows you to wind and fire the camera. The only issue is that there is no way to honestly tell if the shutter is opening or closing when you depress the shutter. You can tell at slower speeds by taking the lens off and looking into the mirror chamber to fire the camera. If you can see the film's pressure plate, you can tell if the shutter is opening and closing. What do you do to achieve faster shutter speeds?

Looking online, I did find a way to trick the camera into thinking there was film in the camera, which is by opening the back of the camera and, before closing the back, turning the frame counter to just past the first frame while holding the frame counter there and closing the back of the camera allows you to wind and fire the camera. The only issue is there is no way to honestly tell if the shutter is opening or closing when you depress the shutter. You can tell at slower speeds by taking the lens off and looking into the mirror chamber to fire the camera. If you can see the film's pressure plate, you can tell if the shutter is opening and closing. What do you do for the faster shutter speeds?

 One thing I did was use my cell phone in video mode and use the "slow motion" setting. I started the video and then tripped the shutter. I could then go back to the video and look at a few of the frames of the video tell if I could see the slit from the shutter move across the film plane. It did, so I knew the shutter was working on all shutter speeds. That's fantastic, so now I was good to go. I prefer to use my Sekonic meter for all my metering needs as they are always more accurate than most camera meters.

 Shutter speeds on the Pentax 67 camera range from 1/1000 to 1 sec. Along with "B" for timed exposures and "X" for flash sync, the shutter speed dial is on the far left side of the camera body and is turned with a large ring that is easy to grip and move. Just below the shutter speed dial is a battery check button, with a red light lighting up just to the right of the shutter speed dial if the battery is good.

Moving around the camera, on the front and the left side of the camera body are the flash sync terminals for both FP and X, and just below the flash terminals is the lens release knob, which needs to be pressed towards the camera's body to unmount the lens. To unmount the lens, press the lens release button and twist the lens counterclockwise. To mount the lens onto the camera body, line up the red dot on the lens to the red dot on the camera body and turn clockwise until the lens clicks into place.

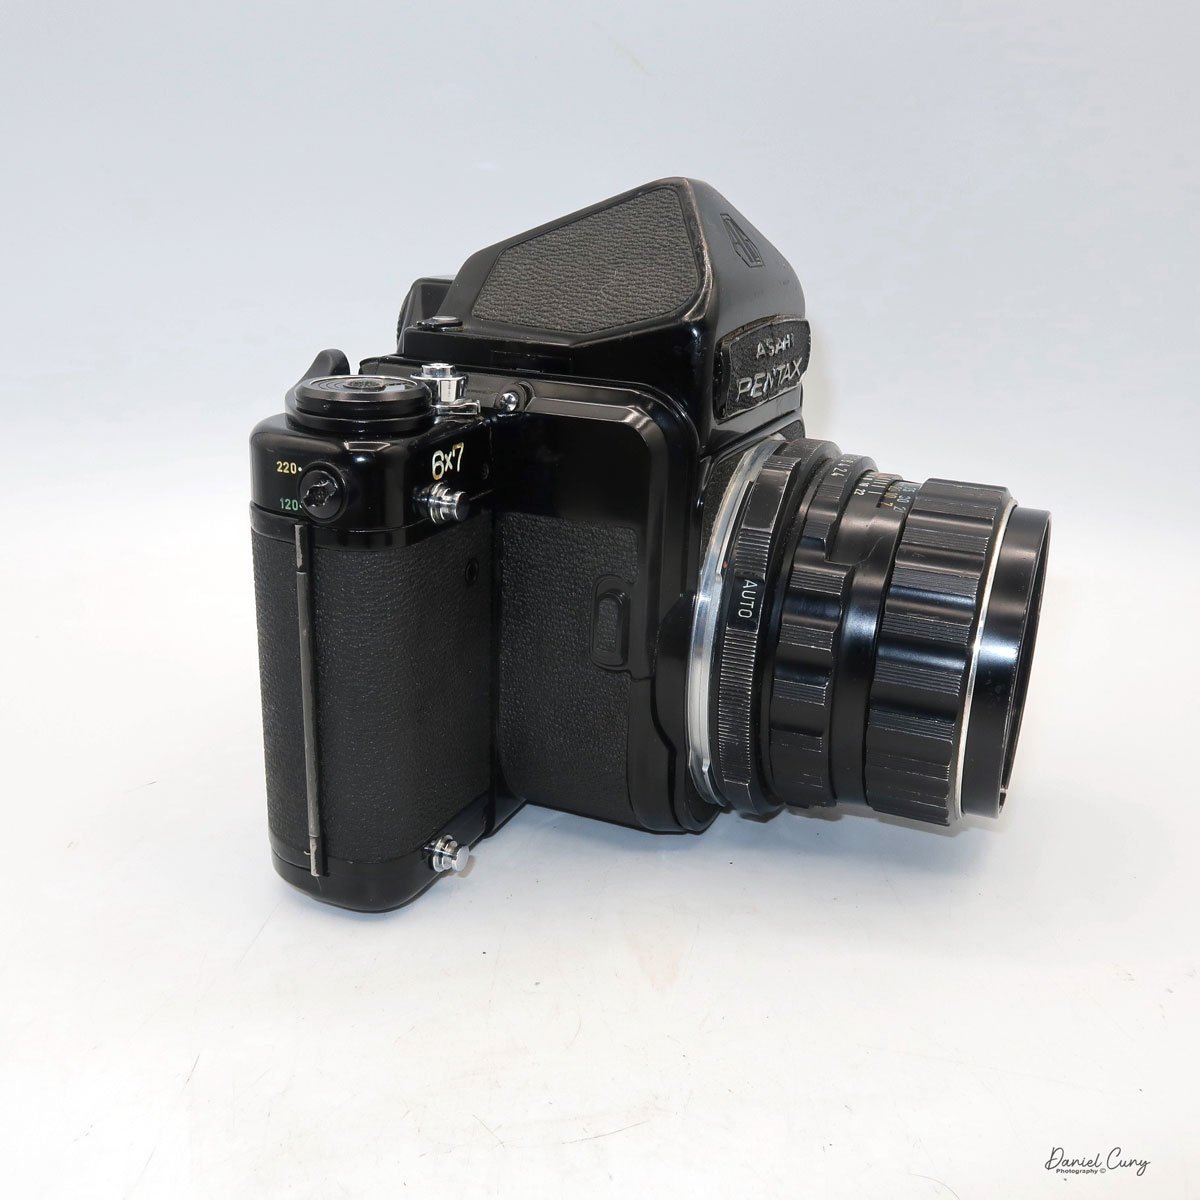
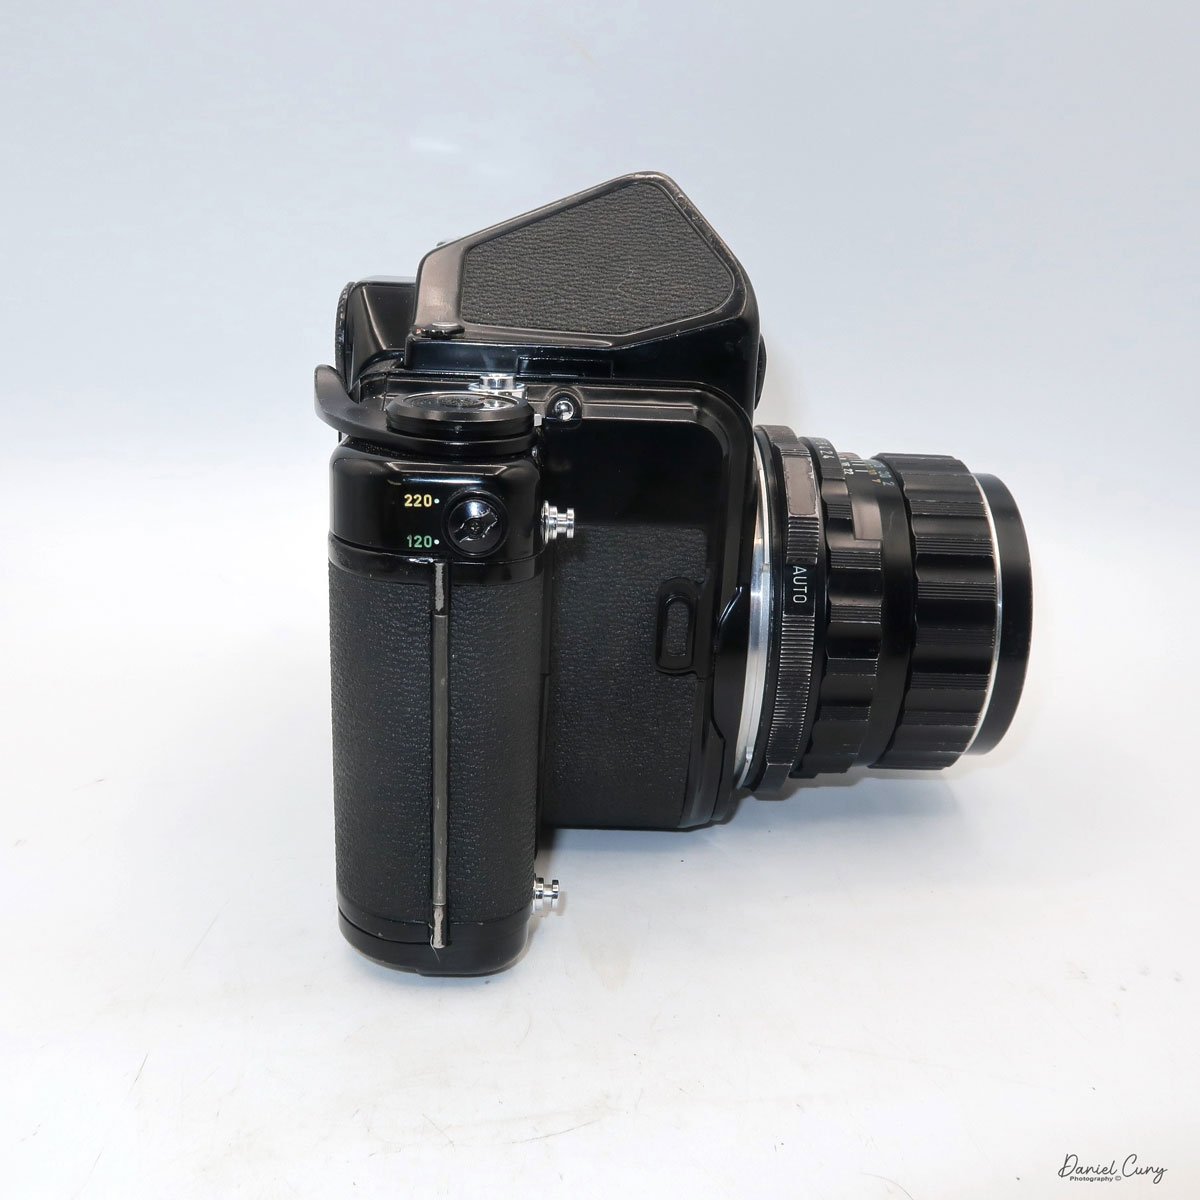
 The mirror lock-up switch is on the other side of the camera body, still on the front. Pressing this switch locks the mirror up to reduce vibration in the camera, which is good for longer exposures or using longer lenses that are more sensitive to camera movement. On the far right side of the camera body is a switch for using either 120 or 220 film.

The film advance lever is on the top, far right side of the camera, with the frame counter inside the center of the winding lever. There is a serrated dial that you can turn to change the frame counter if needed. This is also the knob that I turn to trick the camera, as mentioned previously. Right next to the film advance lever is the shutter release button, which can be locked by turning the outer ring from the white dot to the orange dot to "locked."  

 On top of the meter, a finder is an on/off switch used to turn the meter on. Two silver buttons must be pressed on either side of the camera body to remove the finder and put on a different finder. You can lift the finder off the camera body to replace it with a few different viewfinders available for the camera. The metered finder extends over the shutter speed dial, so when metering, you can change shutter speeds to adjust the meter settings. You should remove the lens before taking the viewfinders off the Pentax 6x7 cameras, then put the lens back on the body once the viewfinder has been reattached.

To load film into the camera, pull down on the silver tab on the left side to open the back door. Two locking switches are on the bottom of the camera, just under where the film reels go. These need to be unlocked, allowing you to pull them down to load the take-up and fresh roll of film into the camera body. Once the film is in the camera, turn them to the locked position to keep them in place. Bring the leader to the take-up spool, thread it into the slot,  and advance the film to start the film advance. Bring the arrow on the film leader to the arrow next to the 120 at the top of the shutter curtain, close the back, and wind until the camera stops. You're now at frame 1 and ready to take 10 photos on a roll of 120 film.

I wanted to put the wood handle on the camera before I took the camera out for a spin and tried it out. I always thought it was odd to have a grip on the camera's left side, as it's the left hand that I cradle under the lens for focus and setting the aperture. Let's give it a try because so many people think it's a great selling point for the camera.  The wood handle also has a cold shoe for a flash attachment or other items you might want to put, like an external meter.

 To put the handle on the camera, you need to unscrew the locking screw, which is located in the middle between the two areas that fit onto the camera lugs, which are on the top and bottom of the left side of the camera. Snap the handle into position and screw down the locking screw to lock the handle into position, which also presses a small knob on the camera in. To take it off, unscrew the knob and pull out the knob and slide the handle up to take the handle off. The handle won't fit on the right side.

 The camera has four lugs located on the front and in each corner. These can be used for the camera strap to carry the camera vertically or horizontally or to put the wood handle on one side and the strap on the other. There are many ways to carry the camera comfortably while lugging 5 pounds around.

My Results:

This time, I walked through the neighborhood, taking a few photos. While I was taking my normal photos, I ran into a good neighbor who is an artist. He was showing me his studio, so I took a picture or two around his studio, then proceeded to take some of the regular photos I do when trying a new camera. 

 Here are the results of my walk through the neighborhood.

Conclusion:

I had a lot of fun shooting with this camera, considerably more than anticipated. I used the wood handle more as a tool to walk around with the camera than to shoot with it because it made transporting a 5-pound camera easy. I had the strap on the camera, but found the handle easier.

 My lens is very sharp, and the camera felt comfortable in my hand. The focus was smooth and accurate, the transport was soft, and all the camera operations seemed effortless. 

 I'll need to look into other lenses for the camera and possibly a few other accessories, as this is a keeper camera for now.

 Thank you for taking a few minutes from your day to read about a fun and extensive camera system to use.

 Until next week, please be safe.

 Here's a link to my other camera reviews if you want to see some of the other cameras in my collection.

 If you're interested in some of the vintage cameras and accessory items I have for sale, please look at my online store: 

Kodak Beau Brownie Camera

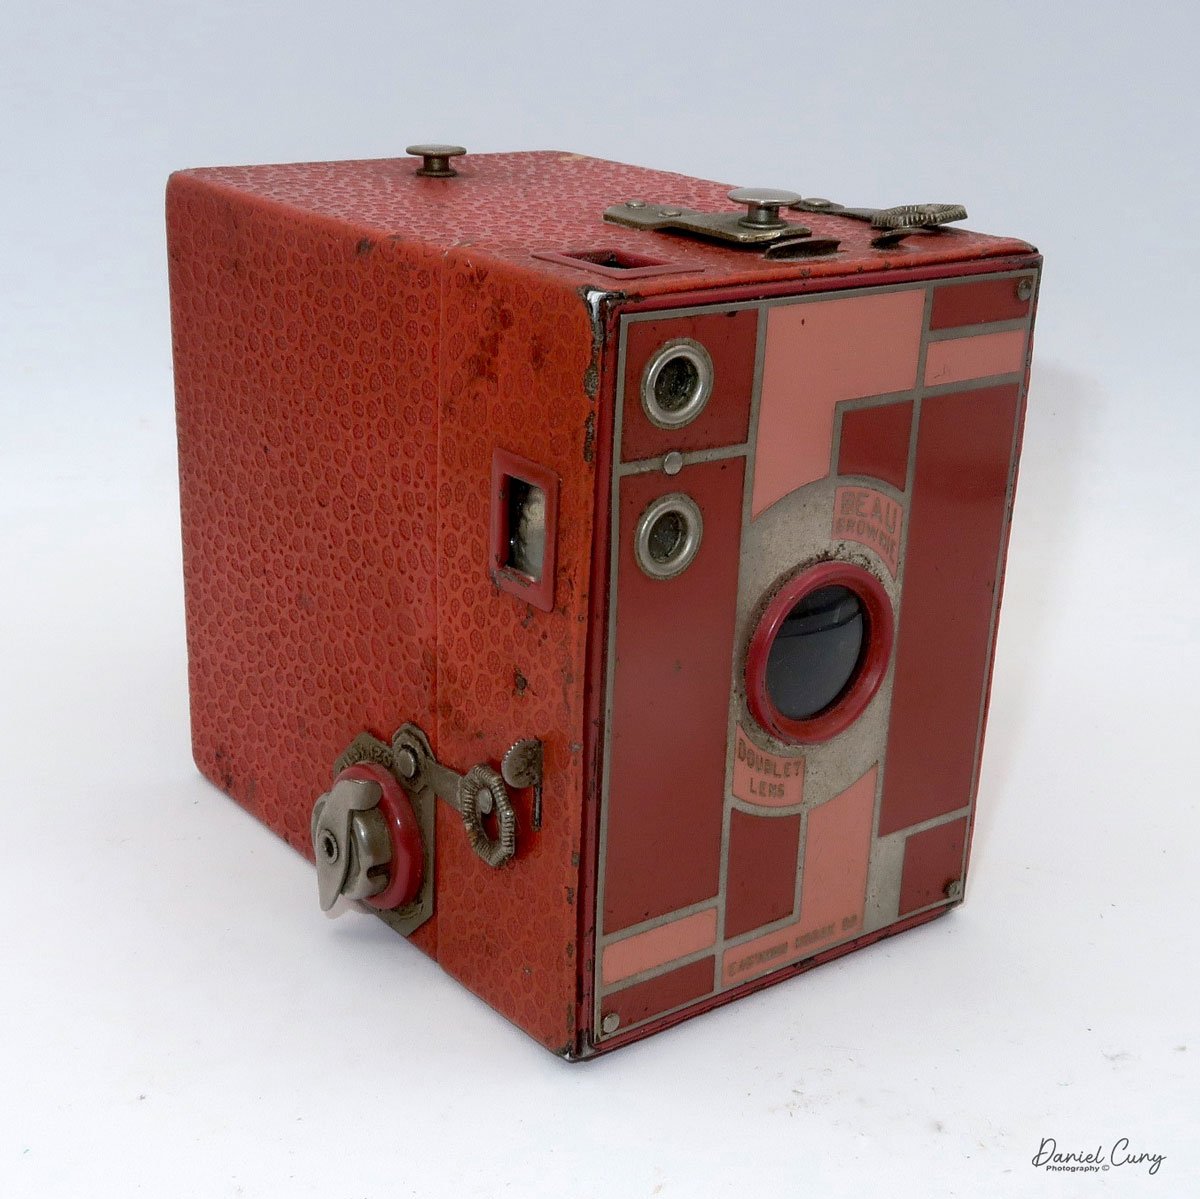
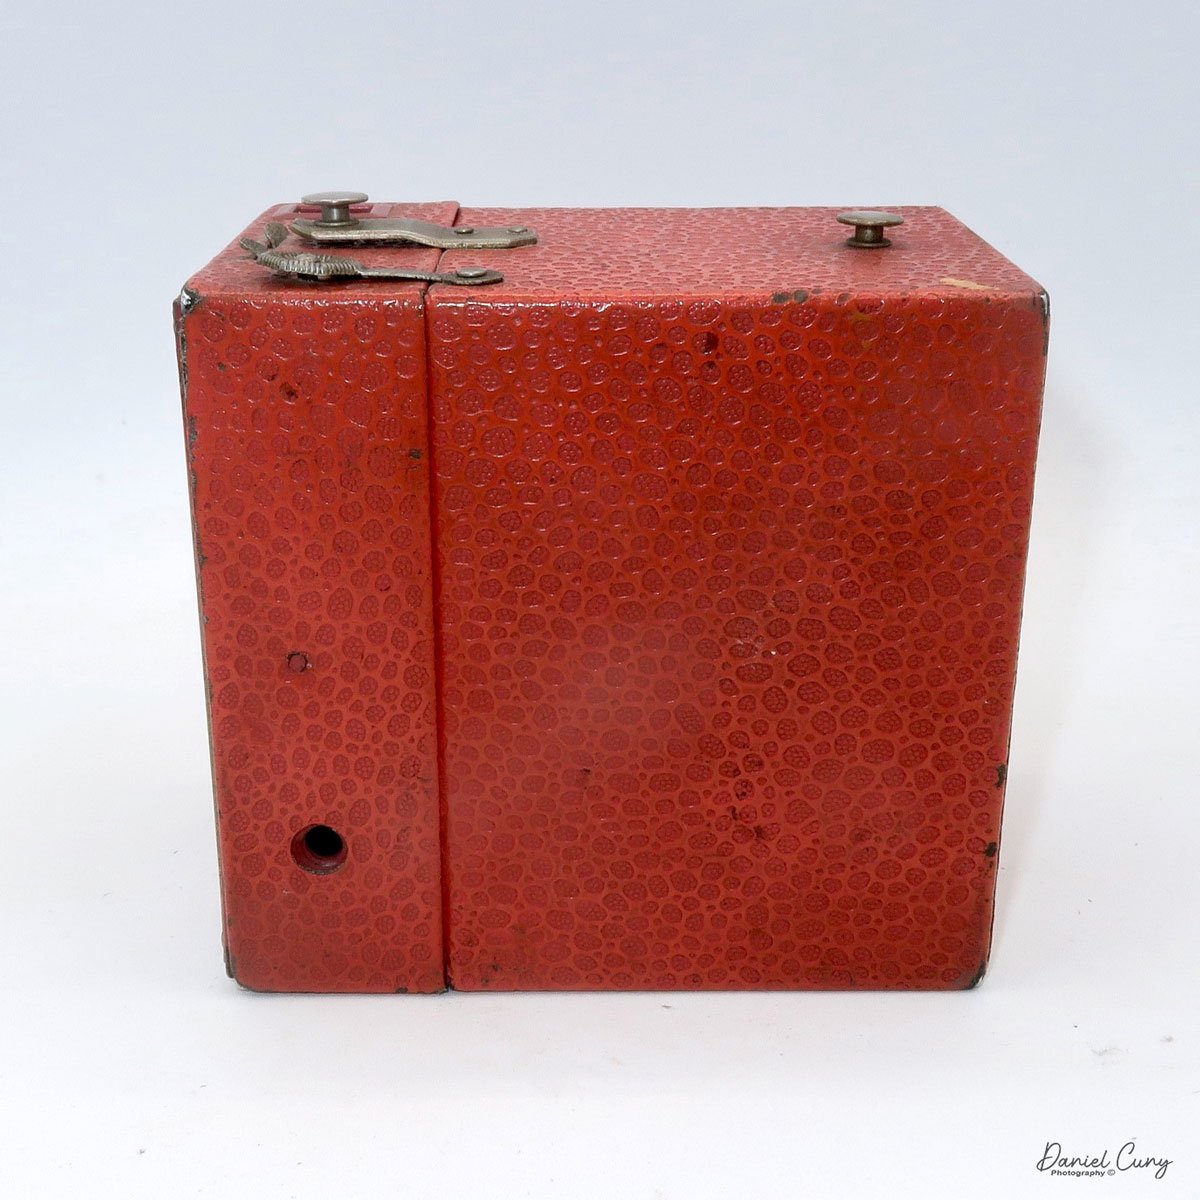
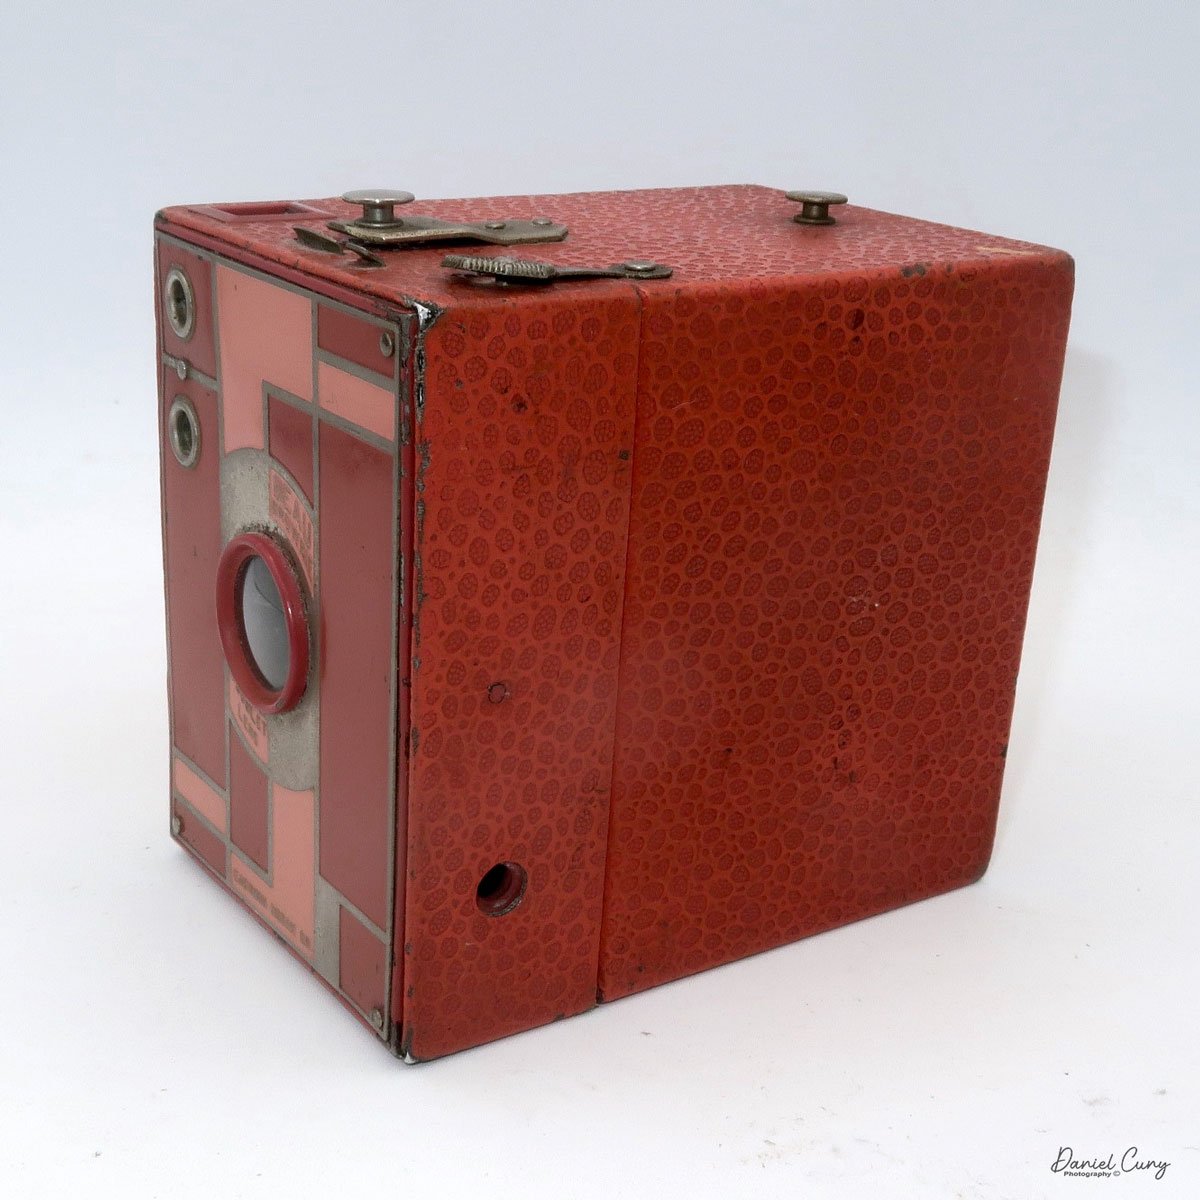
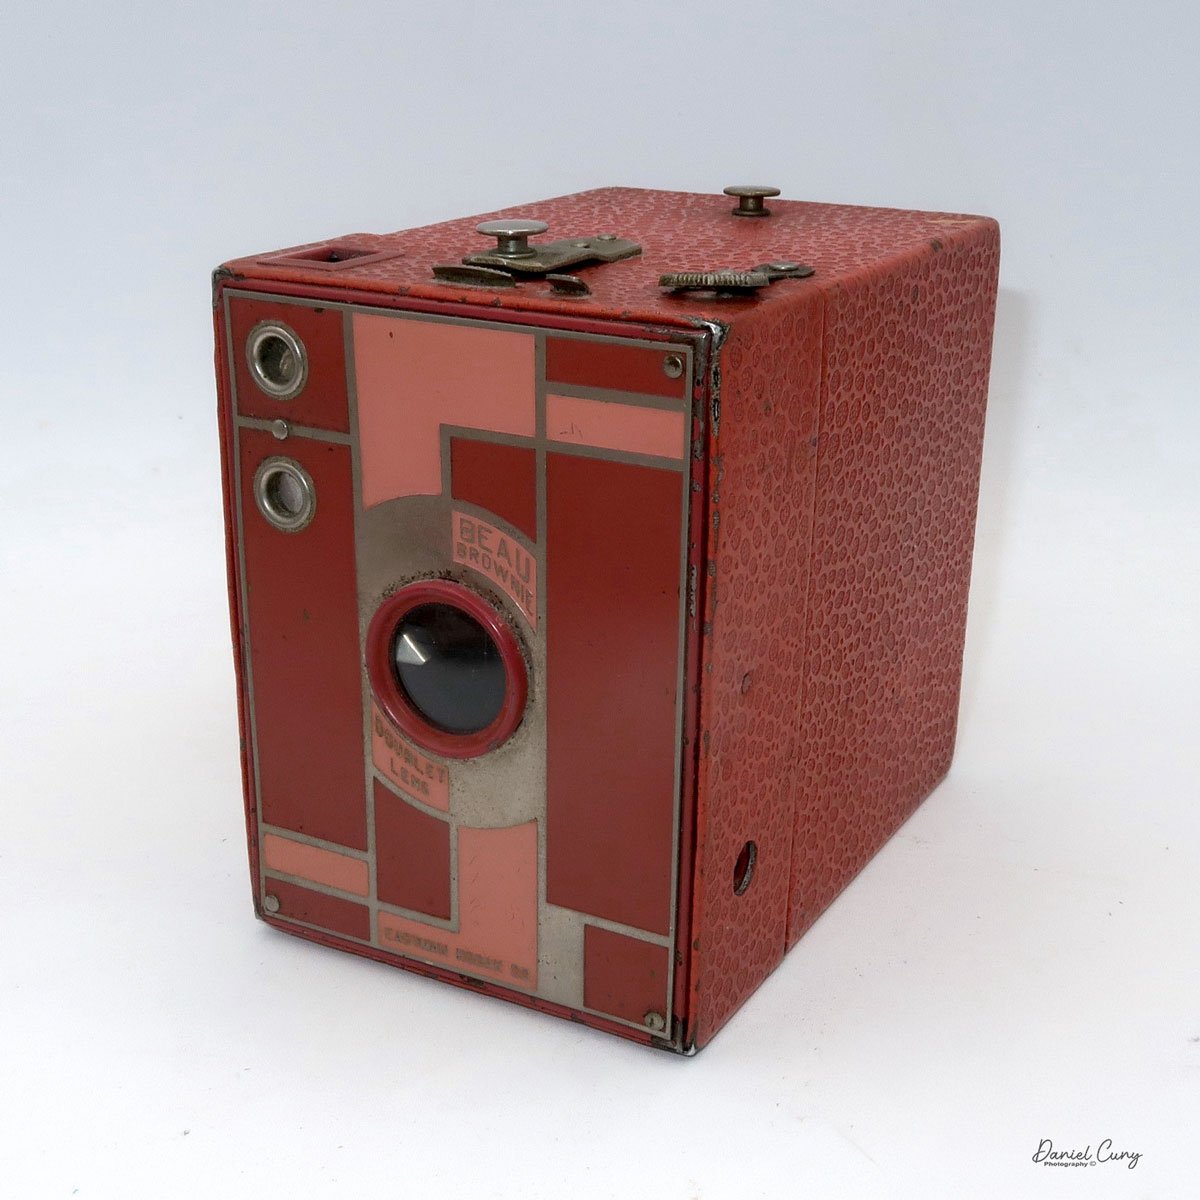
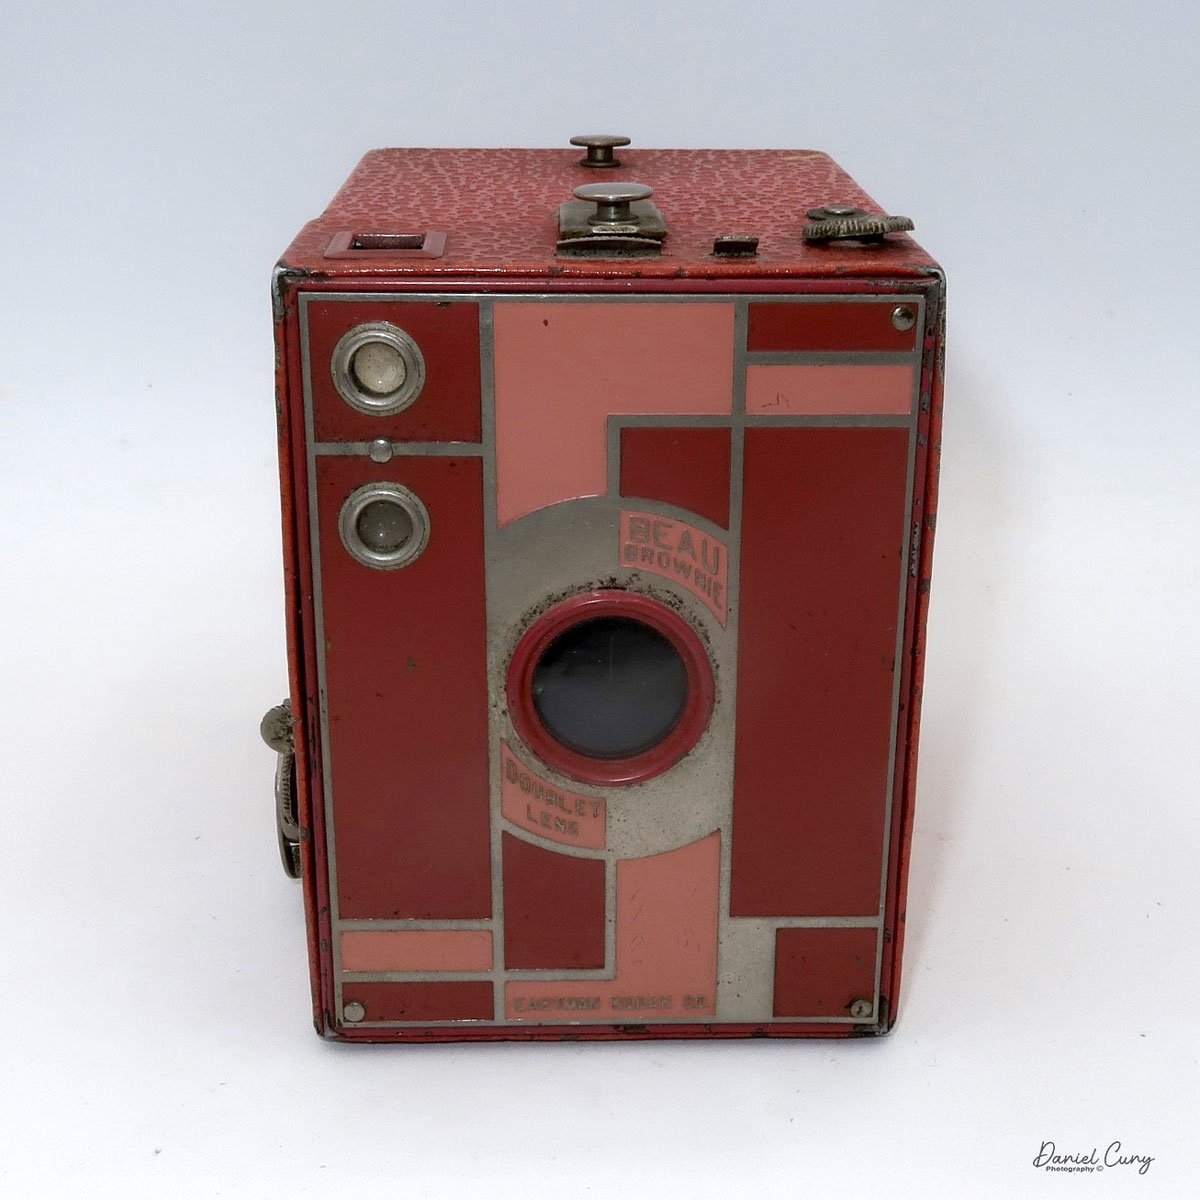
My Rose Beau Brownie Camera

To end the unofficial box camera month for my blog post, I was thinking about writing about a few different cameras, but my thoughts kept coming back to one specific model of Eastman Kodak camera, one of the most beautiful cameras made, the Beau Brownie camera.

 The two factors of the Beau Brownie line of cameras that I enjoy are the five different colors they come in: black, tan, blue, green, and the most sought-after rose. The art deco design by one of America's outstanding industrial designers, Walter Dorwin Teague, is also bundled into a very uncomplicated camera marketed more as a fashion statement than the ordinary black box camera. 

 George Eastman and his marketing team realized early on that to broaden the photographic marketplace, they needed to expand the scope of photographers using cameras. Until the early 1900s and into the 1910s, the vast majority of photographers were males due to the time-consuming process of making photographs. While Kodak didn't invent photography, much like Henry Ford, he sold cameras to the masses due to the newer methods of making glass plates easier to obtain and process, making roll films, film processing, and printing available to the masses.

My set of Nos. 2 Beau Brownie cameras

 In the late 1920s, Eastman Kodak started a relationship with Edwin Dorwin Teague, which forged a relationship and changed the design and quality of cameras for thirty to forty years until he died in the early 1960s.

The Relationship:

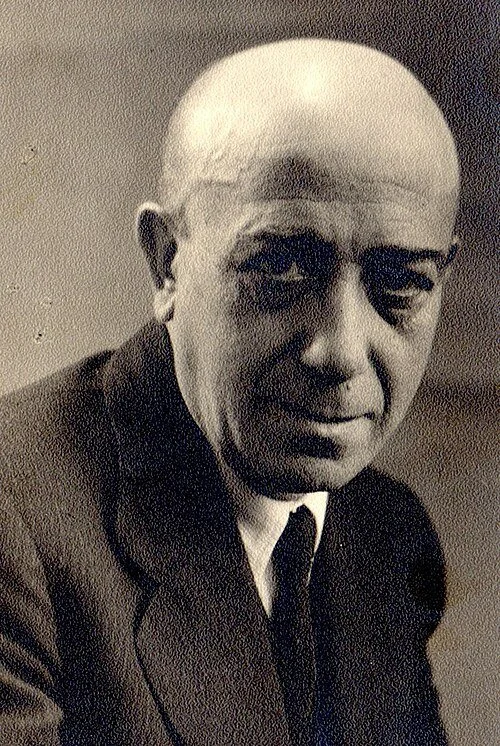
Walter Dorwin Teague, born Dec. 18, 1883, is often regarded as one of the pioneers of industrial design in America. He had a long and influential relationship with the Eastman Kodak Company. His collaboration with Kodak helped shape the visual and functional identity of the company's products, particularly its cameras, during the mid-20th century.

Portrait of Walter Dorwin Teague

 Teague, known for blending aesthetics with functionality, first worked with Kodak in the late 1920s. He continued influencing the company's product designs for several decades until his death on Dec. 5, 1960. His designs embodied the principles of streamlining, an artistic and engineering approach emphasizing smooth, flowing lines and modern, user-friendly aesthetics. Kodak sought to enhance its product appeal in an increasingly competitive market. Teague's expertise gave the company a fresh, contemporary design language that resonated with consumers.

 One of Teague's most iconic contributions to Kodak was the design of the Kodak Bantam Special, introduced in 1936. The Bantam Special was a masterpiece of Art Deco design, featuring a sleek, black enamel and chrome finish. It was visually striking, compact, and easy to use, aligning with Kodak's mission to make photography accessible to a broader audience. The camera became a symbol of modern design and demonstrated how industrial design could elevate consumer products beyond mere functionality.

Walter Teague designed Kodak Super Six-20 camera

 Teague's impact on Kodak extended beyond individual products; he played a key role in shaping the brand's overall aesthetic identity. His work helped Kodak establish a reputation for producing elegantly designed, high-quality, practical, and stylish cameras. His collaboration with Kodak set a precedent for integrating industrial design into mass-market consumer products, influencing Kodak's future designs and the broader field of product design.

 Beyond the Bantam Special, Teague worked on several other Kodak models, including the Kodak Baby Brownie and the Kodak Medalist. These cameras showcased his ability to balance form and function, making photography equipment more appealing and accessible to everyday users. His designs helped Kodak maintain its position as a camera industry leader, reinforcing its image as both innovative and consumer-friendly.

 Walter Dorwin Teague's relationship with Kodak was a testament to the power of industrial design in shaping consumer products. His work not only enhanced the usability and attractiveness of Kodak cameras but also set new standards for the role of design in consumer technology. Through this partnership, Teague left an enduring mark on both Kodak and the history of industrial design.

The Camera:

Beau Brownie cameras came in two sizes: the smaller Nos. 2, which takes 120 film, and the larger No. 2A, which takes 116 film. They were both introduced in October 1930 and ended production in 1933. However, the two rarer versions, the green and rose colors, were in production for 1 year, which ended in 1931. Luckily, I have all five colors in different sizes in my collection. I've had all five for many years, and this is the second time I've owned all five colors in both sizes. 

 The camera that I used for the blog post is the smaller Nos. 2 camera due to the easily accessible 120 film the camera uses. The Beau Brownie No. 2 camera is 4" tall by 3" wide or 3 3/8" wide if you include the film advance knob by 4 3/8" deep. The camera has a 6x9 negative size and weighs 14.1 oz.

 The larger Beau Brownie, Nos. 2A is 5" tall, by 3 3/8" wide, or 3 3/4" wide if you include the film winding knob, by 5" deep. The No. 2A film format is 2.5" x 4.25" on 116 film, weighing 1 lb.—3.8 oz. 

My Nos. 2A Rose Beau Brownie (L) and Nos. 2 (R). Note the size difference

Looking online, I found a Beau Brownie Camera Manual, which is where I look for manuals for the cameras in my collection. It's a fabulous website and something we all should support.

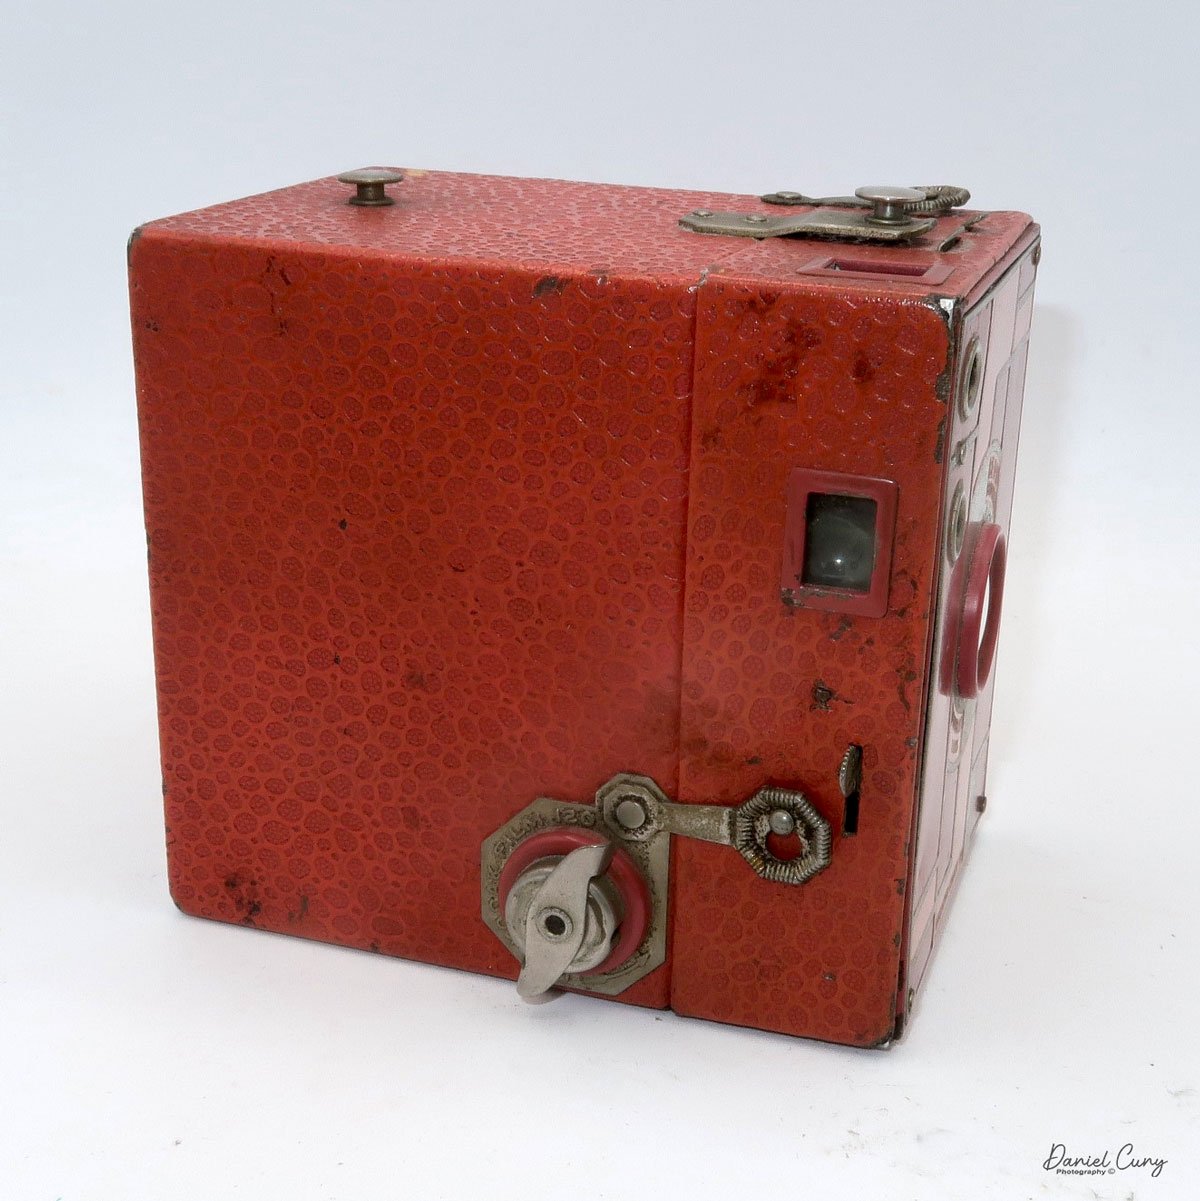
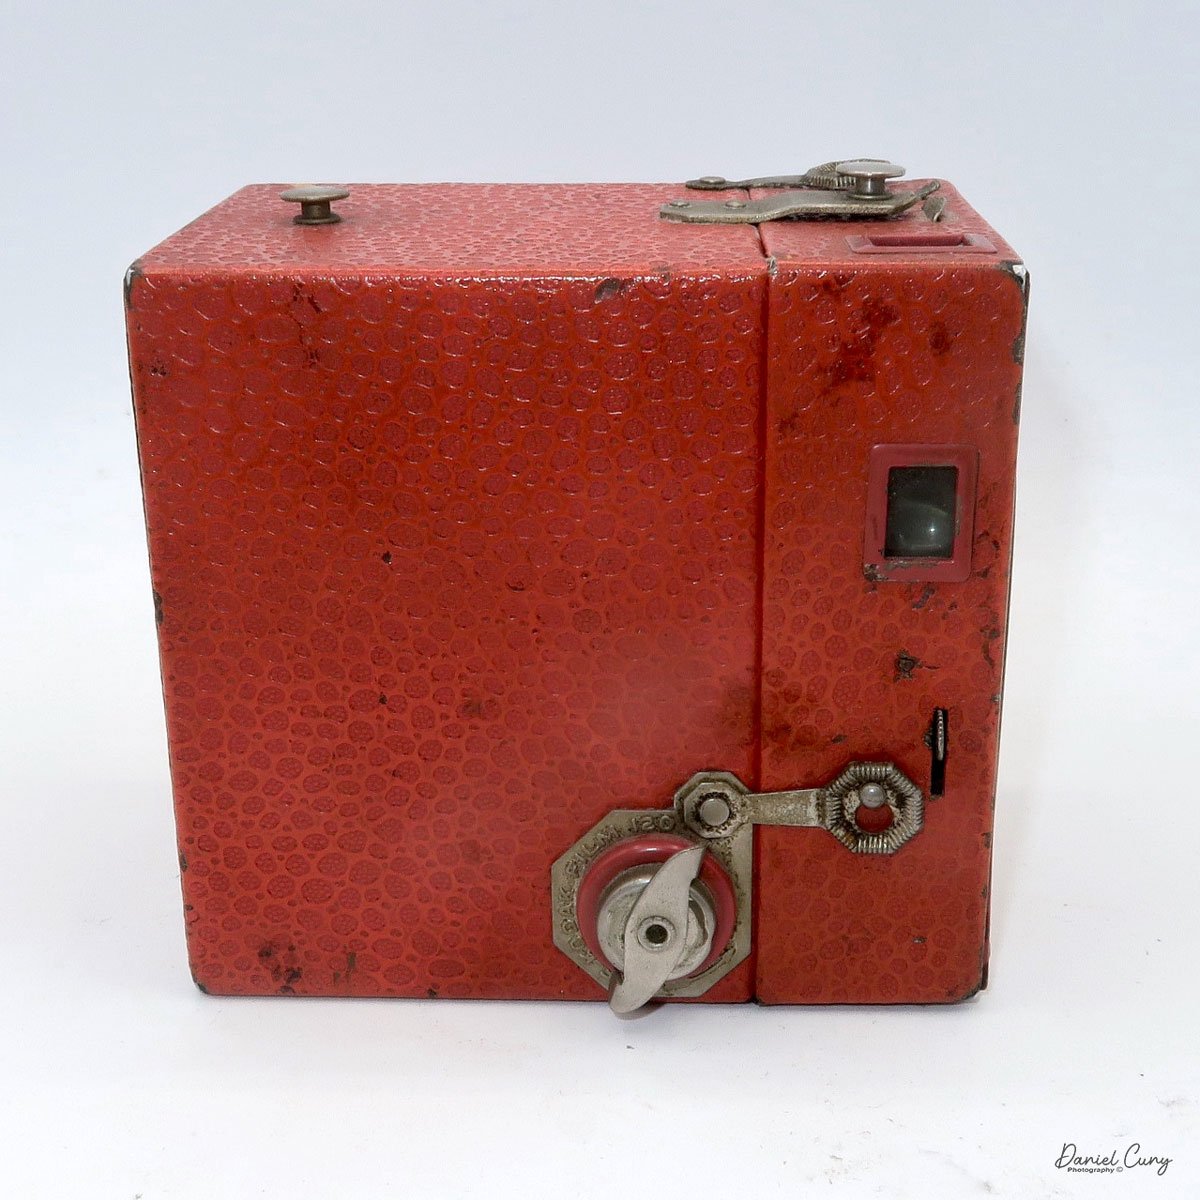
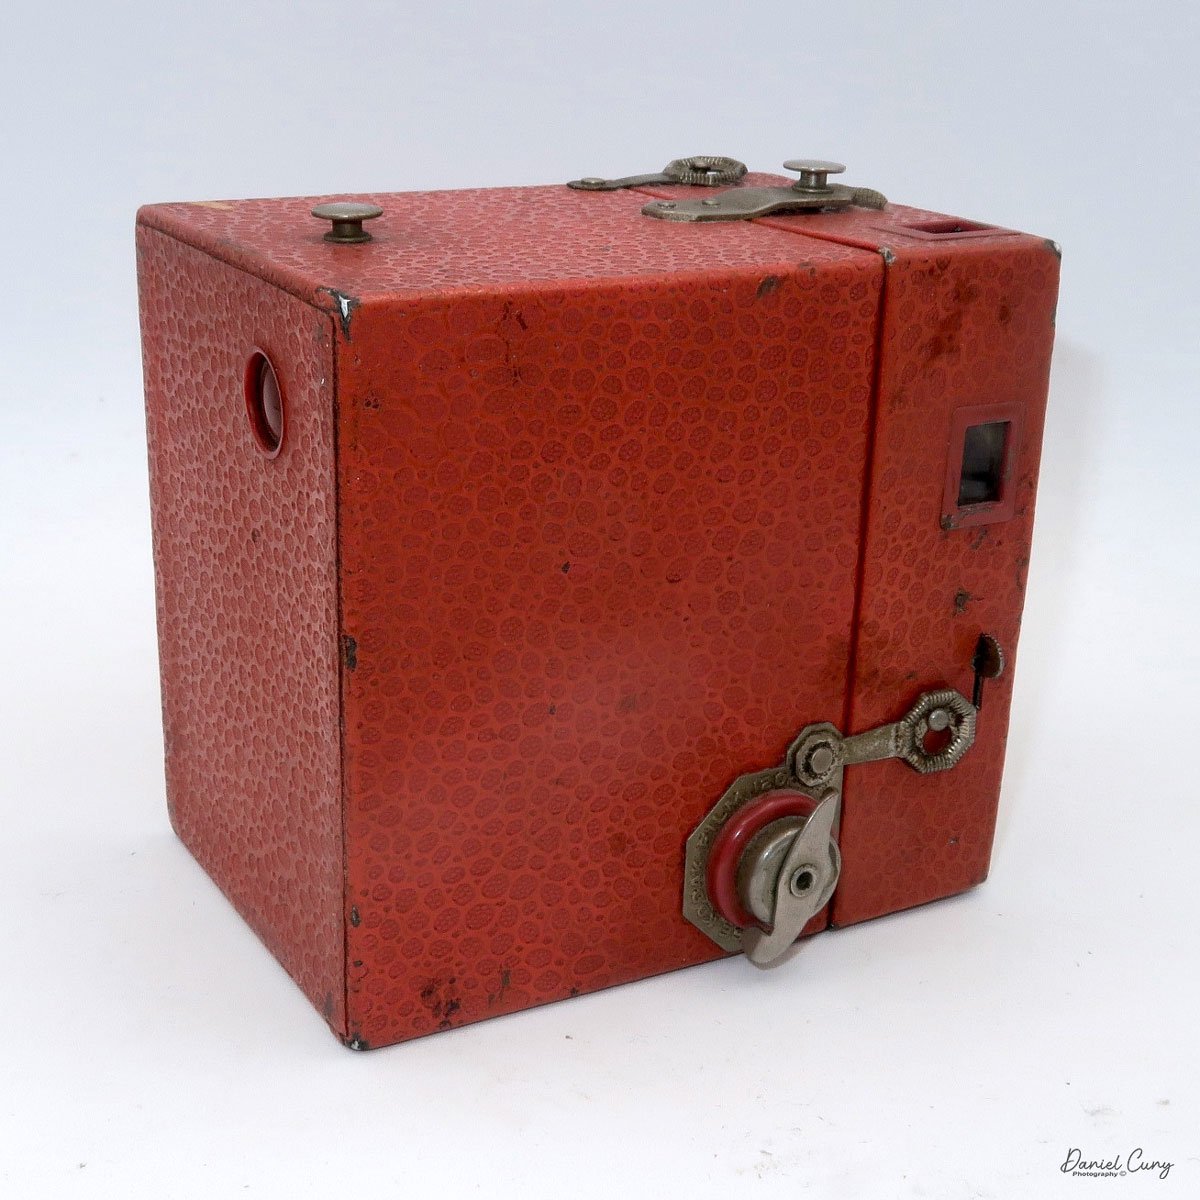
 The front of the camera has a beautiful, enameled Art Deco geometric design that is two-toned with an accent color to enhance the camera's beauty. The black version has a dark burgundy accent color. In contrast, the other colors have a lighter and darker version of the camera's color. The rest of the camera is made of thin metal material covered in pebbled imitation leather, the same color as the camera. The carrying handle is on the top of the camera, which is the same color as the camera's body.

Also, two round windows are used for the viewfinder on the front of the camera. The top circle is for viewing vertical-format photos from the top of the camera, and the bottom is used when you turn the camera on its side for horizontal-format photos. There is no focus on this meniscus doublet lens, so like many box-style cameras, the minimum focus is around 10 feet, but items around 8 feet may still be in focus.

 The Beau Brownie cameras have two latches securing the back of the camera to the front. One latch is on the top of the camera, and one is on the side of the camera. Before you open the camera, you'll need to pull out the winding knob, which is engaged with the film transport. The winding knob needs to be pulled out; otherwise, the camera's front and back won't slide apart easily.

Once you have the camera apart, you can load the roll of film into the camera. Take the empty film spool from the top of the camera and move it to the bottom. Ensure it's adequately engaged, which will move the film from frame to frame. The fresh, unexposed roll now gets loaded into the camera's top film holder. Break the tape holding the film together and pull the leader over the opening with the paper backing looking outwards. Feed the leader into the empty spool on the bottom and wind a bit so you know the film is transporting properly. Also, check that the film fits within the walls of the spool so it can be transported easily. Wind the film until you see arrows pointing outwards. Ince you see the arrows, put the back onto the camera, press the winding knob, and secure the two latches. Now wind the film until you see the #1 in the red window. That's the indication that you're ready to make the first exposures.

 There are only two controls for the camera, located on the top of the camera. There are two levers just in front of the handle. One is on the left, and the shutter speed controller is the smaller of the two controls. There are only two settings. When the lever is down, the camera is in "instant" mode and has a shutter speed of around 1/100 sec. Pulling that small lever up puts the camera in "B" or timed exposure mode. In this setting, you'll need to set the camera on some camera tripod or bracket to hold the camera still so as not to cause a blurry photo.

The other controller is the larger of the two levers that control the aperture settings. The lever can be in three positions to change the different apertures. When the lever is down, the camera has an approximate aperture of F11, the middle position is approximately F16, and the top position is approximately F22.


My Results:

I loaded the camera with Ilford 400 ISO/ASA film and walked through the neighborhood on a very overcast and sometimes rainy afternoon in February. The neighbors are getting used to the old man walking through the streets with an odd-looking camera in his hand, taking photos of houses, objects, or other items I find on my walks.

 Here's what I took.

Conclusion:

Other than the stunning beauty of this camera, it's a fundamental camera with minimal controls and a fixed Meniscus Doublet lens that takes a significant negative. According to the manual, the minimum focus is approximately 8-10 feet. My judgment of distance was off in some photos, as the images are out of focus.

 Overall, it was a fun camera to shoot with, and I'll need to take it out on a sunnier day to get more contrast images. There are a couple of filters available for the Beau Brownie, one of which is a portrait filter that allows for closer focus for portrait photos, so I'll need to dig through the box of old filters to see if I have one of the recommended filters to try on the camera.

 Thank you for taking a few minutes to read about one of the most beautiful cameras ever made. I'm truly honored to have one in my collection.

 Until next week, please be safe.