My Ensign Midget-Silver Jubilee camera
All of the Ensign Midget cameras have a fascinating look. With three models, the straightforward Model 22, to the more refined Models 33 & 55, featuring a diamond-shaped faceplate and a very Art Deco appearance. The one model that stood out to me with the most significant difference was the Ensign Midget-Silver Jubilee model, introduced in 1935 for the Silver Jubilee of King George V and Queen Mary. This model, in particular, holds a unique place in the history of Ensign cameras, being a rare and special edition.
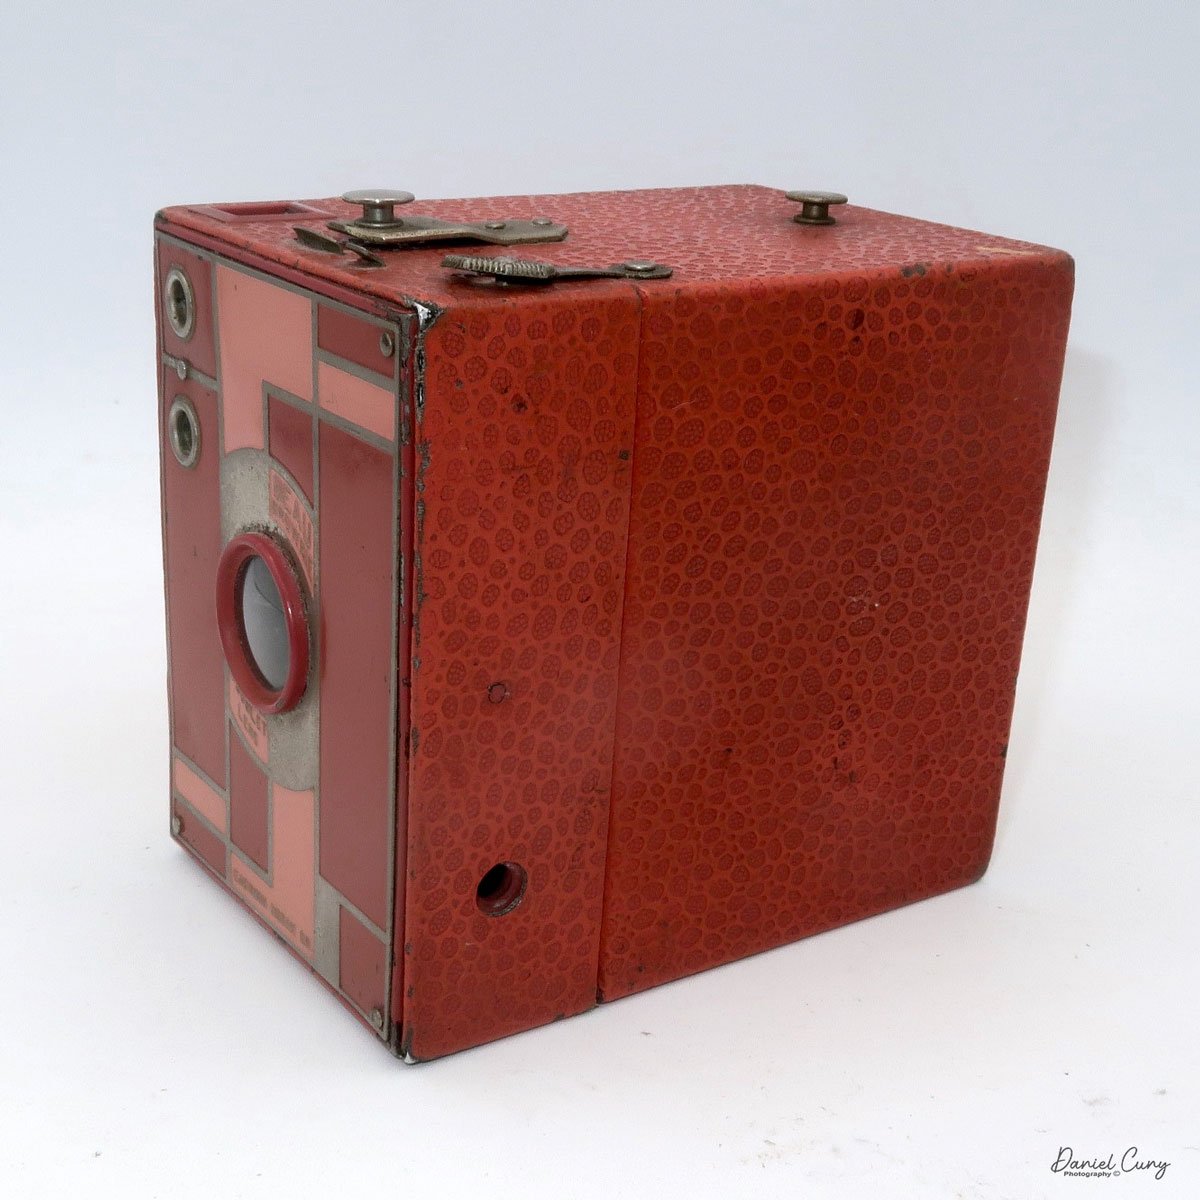
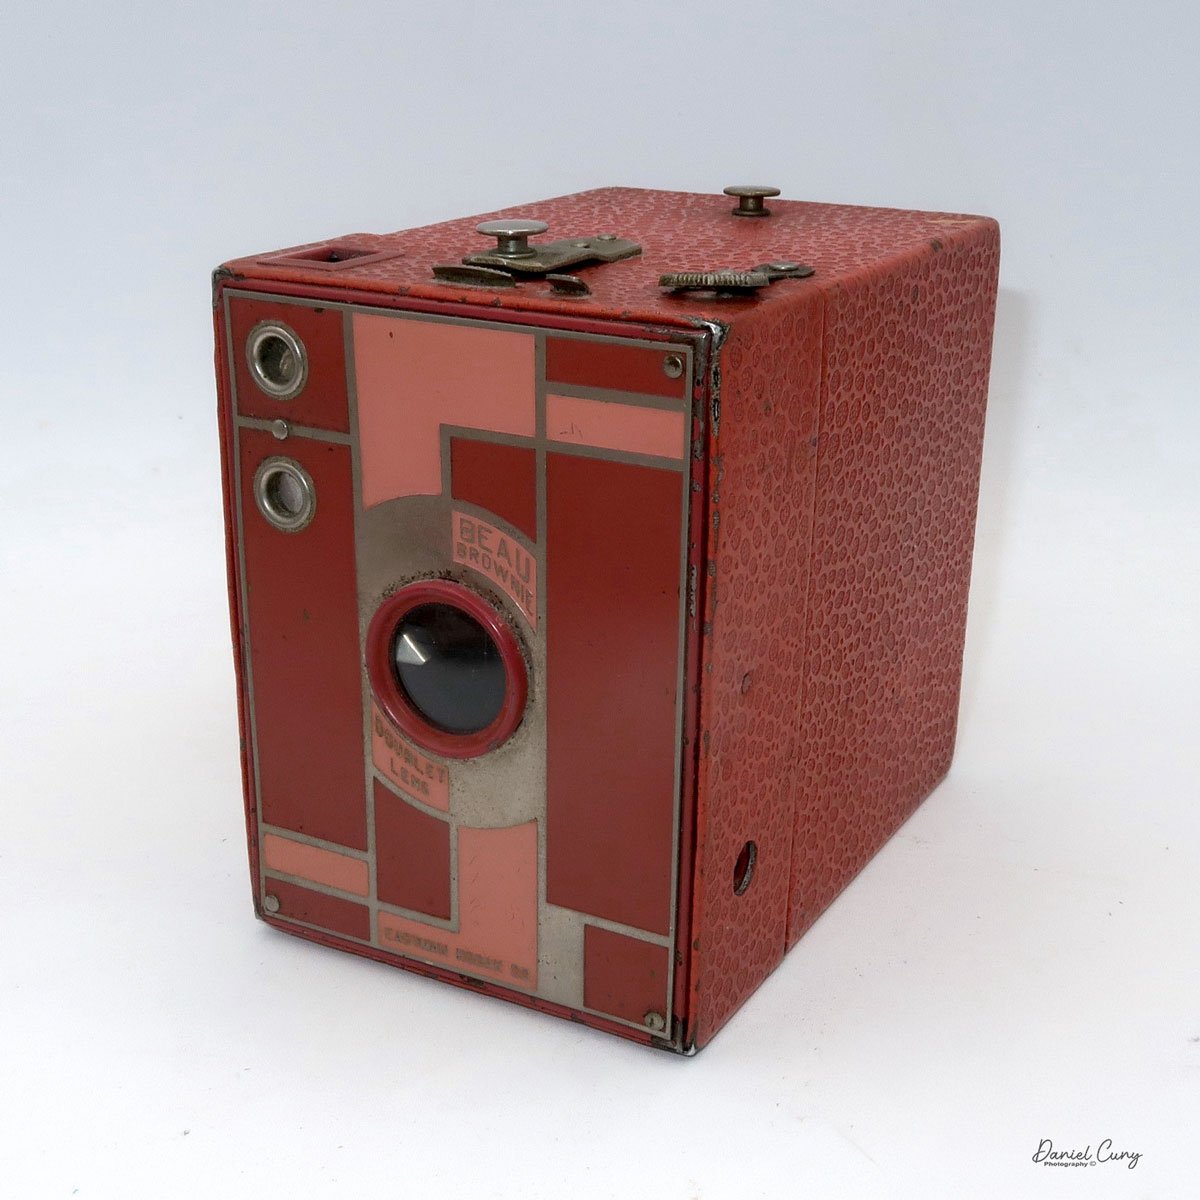
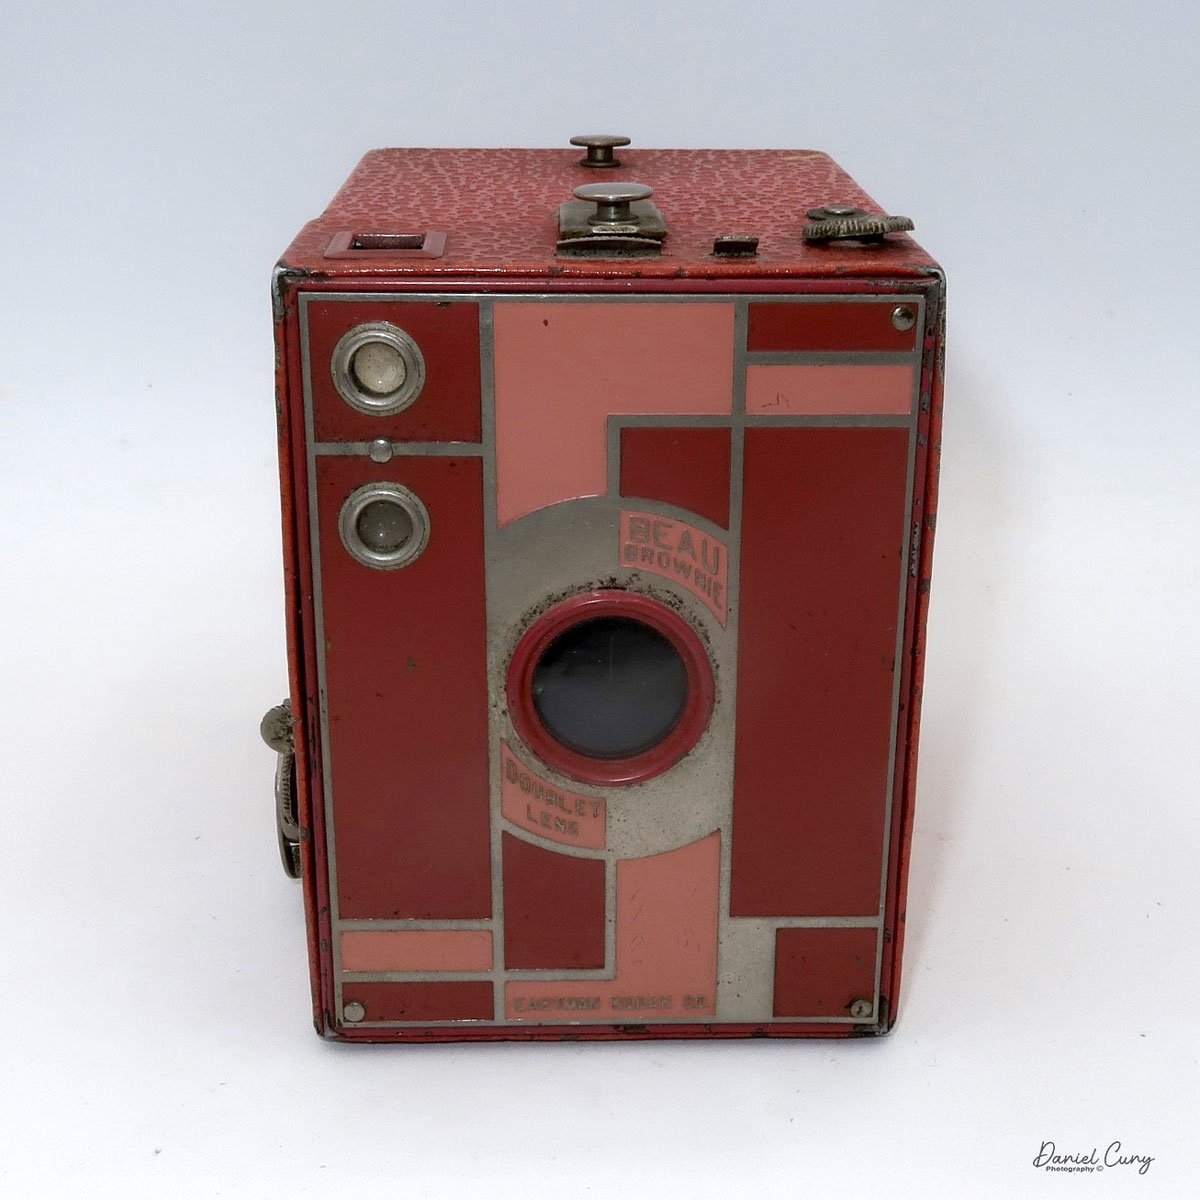
As I've mentioned several times, my love for the unusual, quirky, and vibrant cameras holds a very special place in my heart. The majority of my collection has something particularly peculiar about it. Whether the camera is a different color other than the drab black, ot it has a different film format, or an unusual faceplate, or some other oddity about it
The Ensign Midget, Model 55, Silver Jubilee camera in my collection is a relatively recent purchase. I have memories of reading about it in McKeown's Camera Price Guide, and I've come across a few at camera shows and online, but I never pulled the trigger and purchased one. However, when I finally acquired this model, it felt like a significant addition to my collection, a piece of history that I could now share with fellow enthusiasts.

Ensign Midget with slip-in case & manual
I found the Ensign Midget, Silver Jubilee model that I currently own online at a very reasonable price, which also included the protective cover and original manual, making it even more desirable. The only thing missing was the original box, which would have increased the price.
When the camera arrived, I was very pleased with its condition, as it was free of scrapes and dings, which are very common on a camera that is 90 years old. The camera's cover was clean, the faceplate still had a chrome shine, and the instruction manual was in superb condition. I was very pleased with the camera's condition, and it was in good working order, which was the icing on the cake, as they say.
In the UK, Kodak also produced a "Silver Jubilee" box camera, which is covered in white leatherette. While I'd love to have one of the Kodaks in my collection among the other colored box cameras I have, it'll be some time down the road for me.
History:
Ensign cameras represent a significant chapter in British photographic history. The company's roots date back to 1834, with the founding of Claudet & Houghton by George Houghton and Antoine Claudet, who initially dealt in optical glass. This enterprise evolved, eventually becoming George Houghton & Sons, which by the early 1900s was manufacturing cameras, such as the 'Ensign Simplex Auto'. By 1908, their Walthamstow factory was reportedly the largest camera manufacturing plant in the United Kingdom.

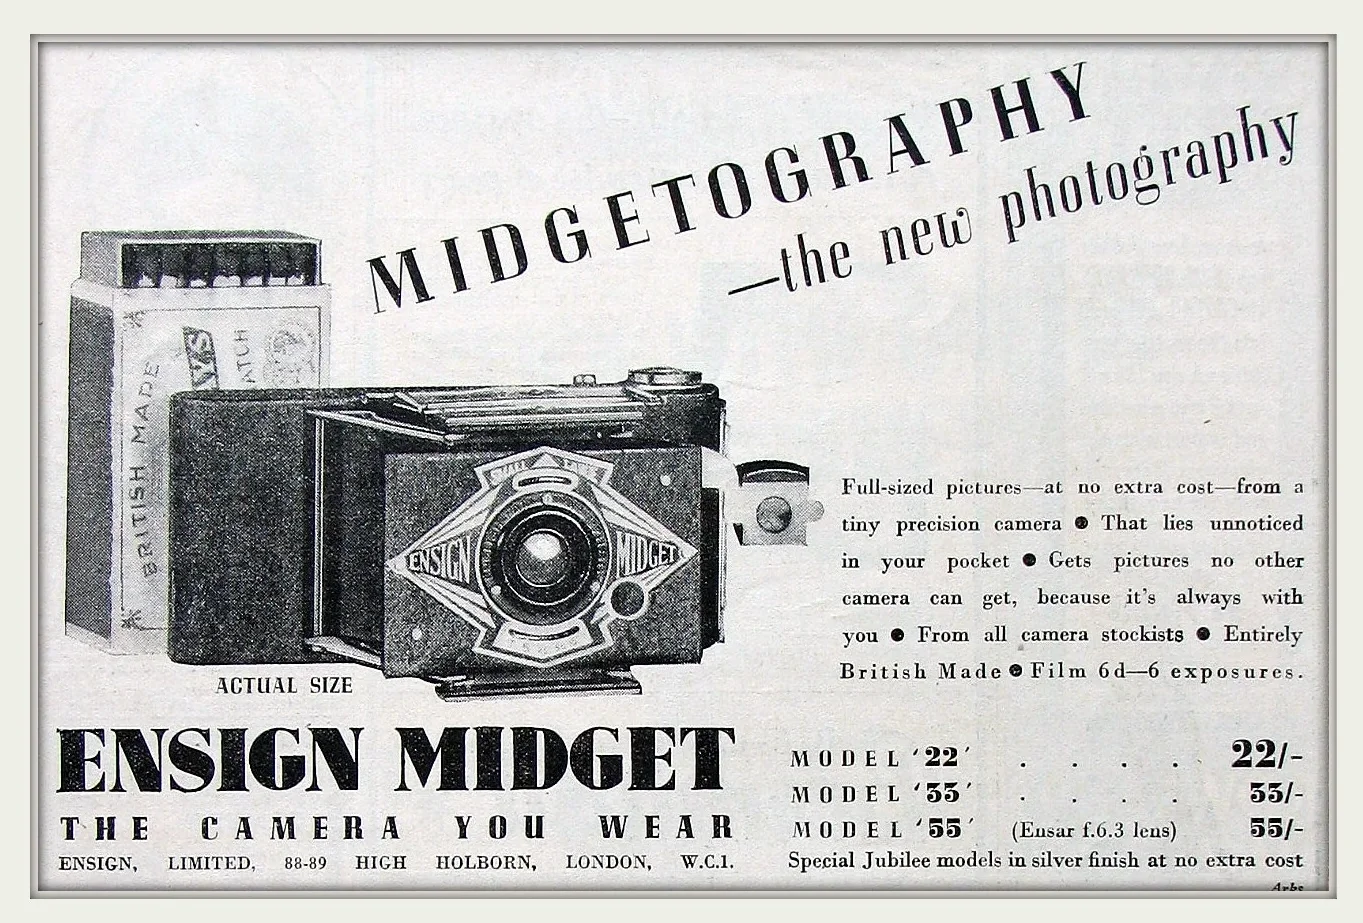
Ad for Ensign Midget camer
A significant turning point came in 1915 when Houghton merged with W. Butcher and Sons Ltd. to form the Houghton-Butcher Manufacturing Company. Throughout this period, they produced popular models, such as the Sanderson folding camera and the highly successful, compact Ensignette roll-film camera, introduced in 1909. The Ensign brand name grew so synonymous with their products that in 1930, the parent company was formally renamed Ensign Ltd.
Ensign became known for producing affordable, good-quality cameras that helped popularize photography among ordinary people in the 1920s and 1930s. They produced various formats, including folding roll-film cameras like the Popular Ensign and later models, such as the distinctively styled Ful-Vue, post-WWII.
The company faced turmoil during World War II; their London headquarters, Ensign House, was destroyed by bombing in 1940, and the sales wing was soon after wound up. Post-war, Ensign continued through several mergers, joining with Elliott & Sons to become Barnet Ensign Ltd. in 1945, and then with lens-maker Ross Ltd. to become Barnet Ensign Ross Ltd. in 1948. It finally operated as Ross Ensign Ltd. by 1951. Despite producing quality 1950s roll-film cameras, the company ultimately failed to embrace the emerging 35mm format. Production of still cameras ceased, and the Ross Ensign name faded away, with the company being dissolved around 1961.
Key Features and Models
The Midget was marketed with the slogan "Wear it Always—Like your Watch," emphasizing its petite size, which measures approximately 90mm × 45mm × 18mm when collapsed.
The camera came in three primary models, whose numbers originally corresponded to their price in shillings:
Model 22: The most basic version, typically featuring a fixed-focus meniscus lens and a simple two-speed shutter (Instantaneous/Time). It often lacked the top-folding frame finder found on higher models.
Model 33: An upgrade from the 22, this version typically featured a slightly better fixed-focus "All Distance" meniscus lens and a 3-speed shutter (e.g., 1/25, 1/50, 1/100 sec, plus T/B).
Model 55: The premium model featured a focusing Ensar f/6.3 Anastigmat lens with iris diaphragm control, enabling focus down to approximately 3 feet. Its shutter offered speeds up to 1/100 sec.
All models used the dedicated Ensign E10 roll film to produce six negatives measuring 35 mm × 45 mm—a format slightly larger than the standard 35 mm (Leica format). The cameras were constructed with a pressed steel body and leather bellows, featuring an Art Deco design with chrome accents on the struts.
The Midget family was very popular, but its production was ultimately halted in 1940/1941 as the company shifted its focus to wartime manufacturing. It was not returned to the product line after the war, as Ensign focused on the 120 film format instead of competing in the burgeoning 35mm market.
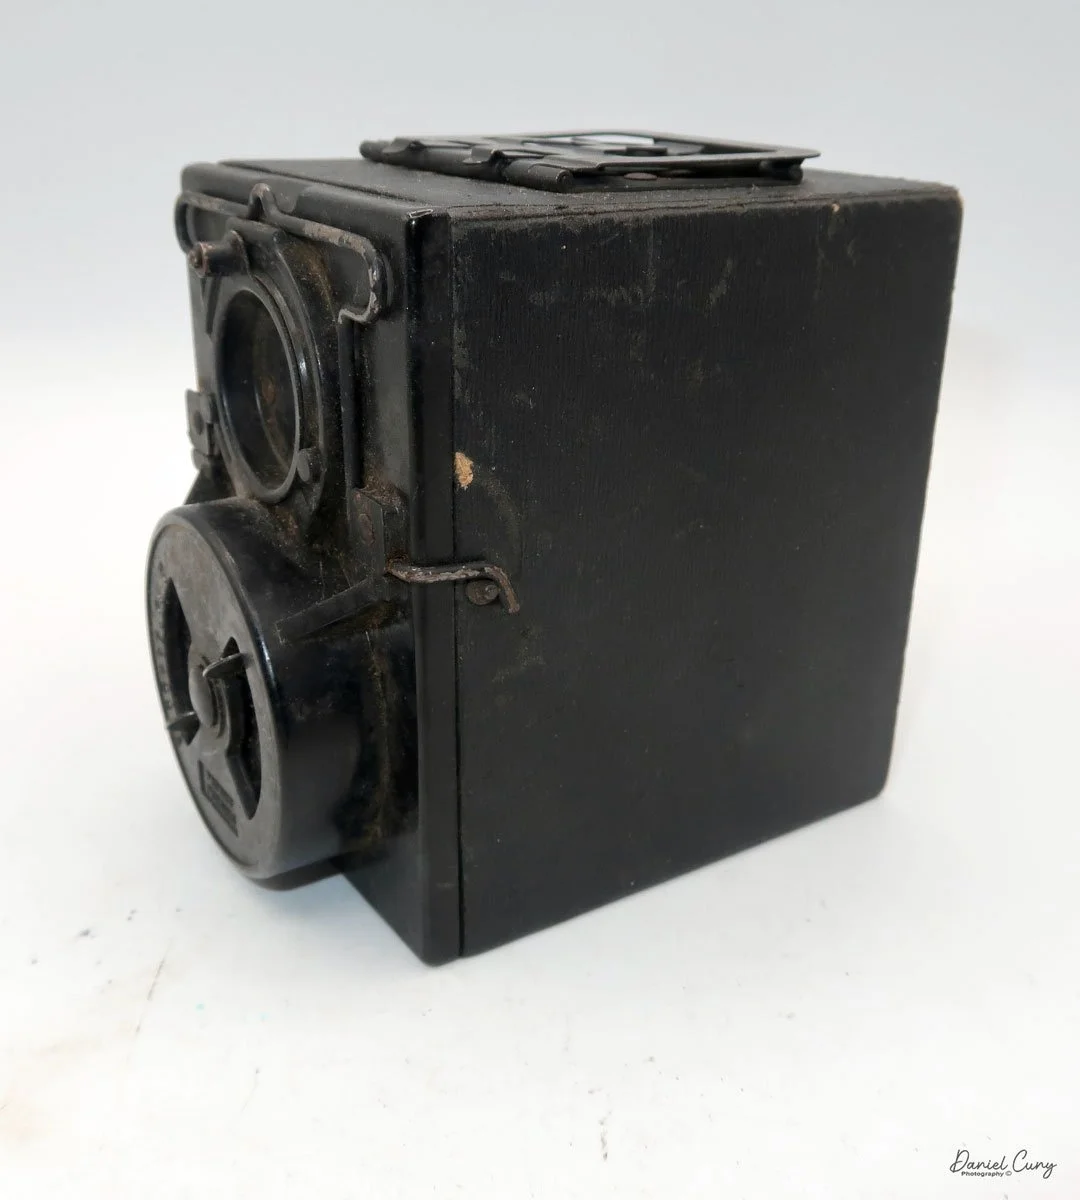
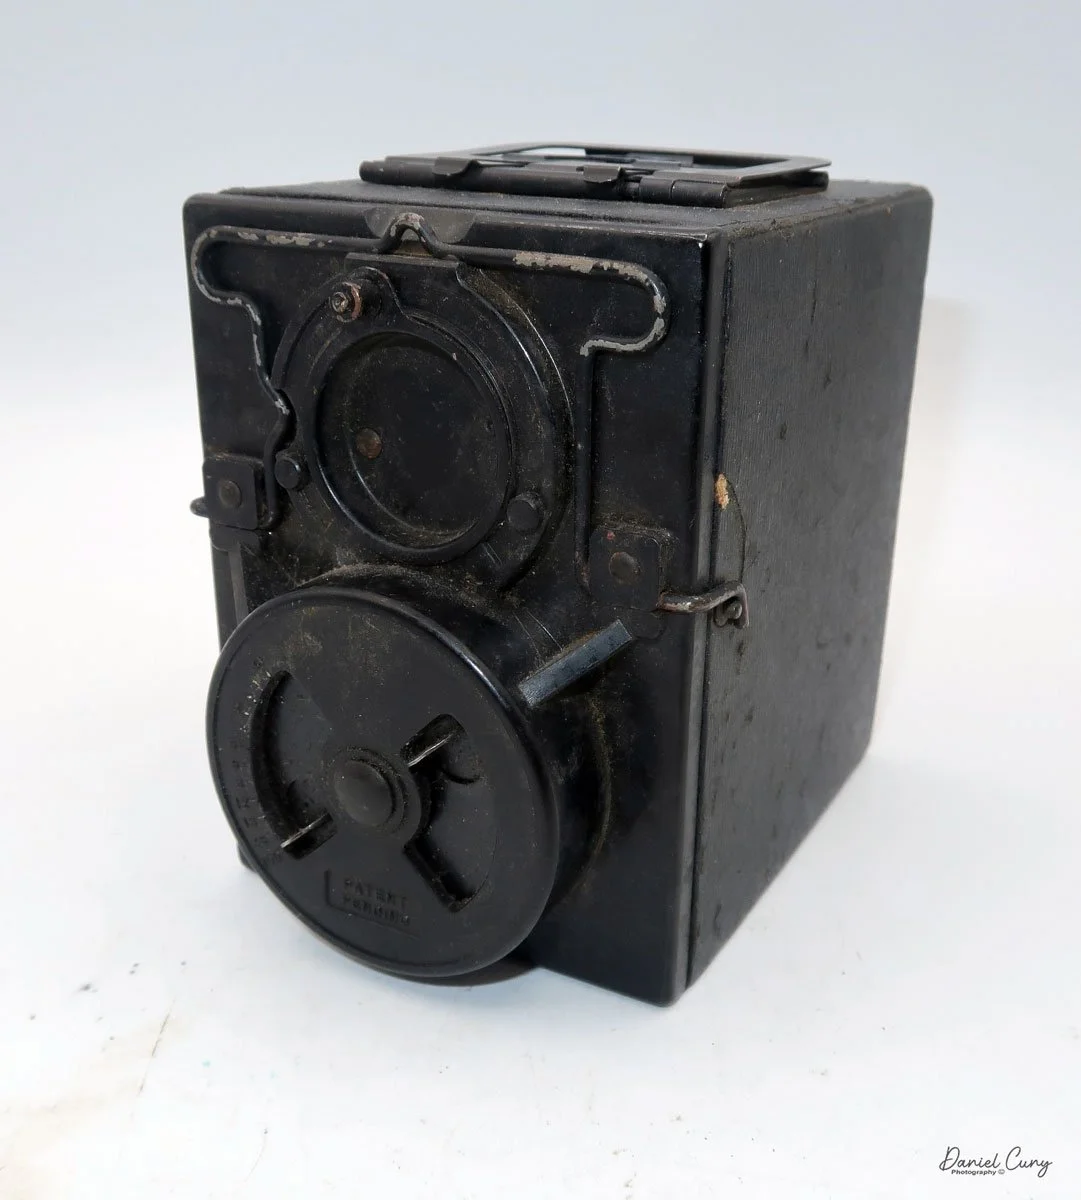
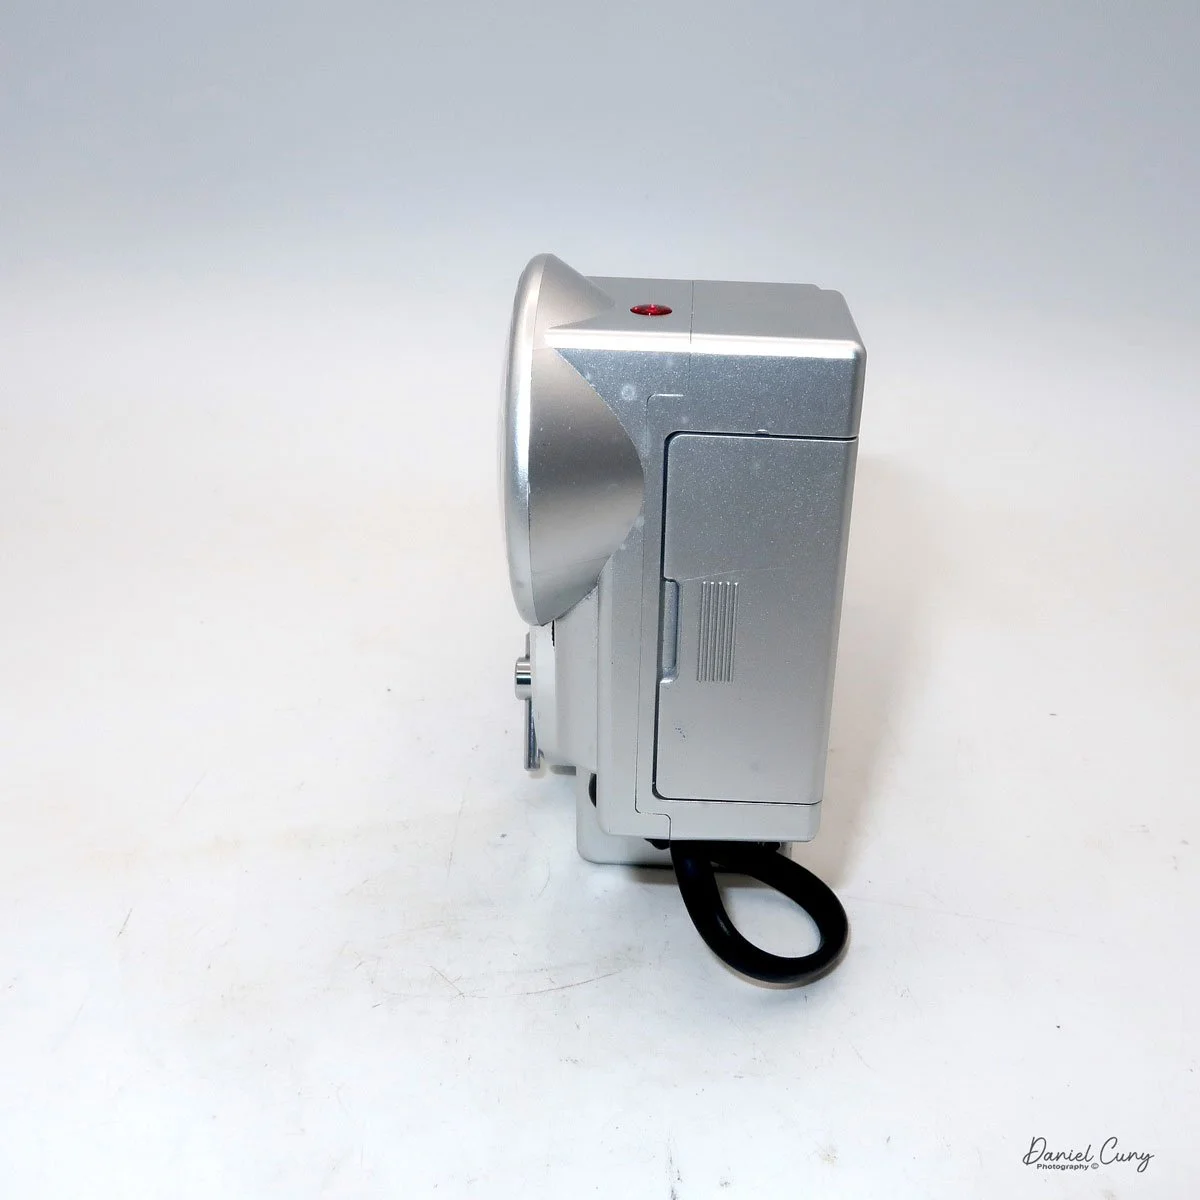
My Camera:
My Ensign Midget camera is 3.5" wide by 1.75" tall by 0.75" deep with the front lens collapsed, and 2.75" with the front lens extended and the black bellows of the camera exposed in its normal "picture-taking" position. My camera weighs in at a measly 5.9 ounces. As you can see, the slogan Ensign used, "Wear it Always—Like your Watch," was very informative. I'm thinking that if I had had one of these cameras back in 1935 and carried it in my pocket, it would have been so small that it might have been challenging to locate.


The camera has two struts on either side of the lens, which extend when the lens plate is pulled out for taking photos. Once you're finished taking the pictures and ready to close the camera, start by pulling the end of the struts closest to the lens out, away from the lens plate, to unlock them. Then, the lens plate can collapse back into the body when not in use.
Once you have the lens extended and ready to take photos, the front viewfinder unfolds upwards to make the front of the "Direct Vision Viewfinder as noted in the manual. Once the front is extended, the back of the camera houses a "flip up" eyepiece that completes the camera's Direct Vision Viewfinder which is to be used if you want eye-level viewing.


There is a "Brilliant View Finder, tucked into the side of the camera's body, which can be used for taking vertical images, then flipped out when taking a horizontal image. For vertical images, the Brilliant View Finder lens is tucked into the camera body with a small opening just below the word "Midget" on the right side of the camera's faceplate, as viewed from the front. It's evident once the Brilliant View Finder is flipped to use in the horizontal position.


On the right side of the camera, as you're holding it to take a photo, tucked behind the faceplate is the camera's shutter release. Also on the right side of the camera is a slide-out leg that props up the camera for taking vertical images. On the flip-up leg is the camera's serial number, which mine happens to be "H15871."


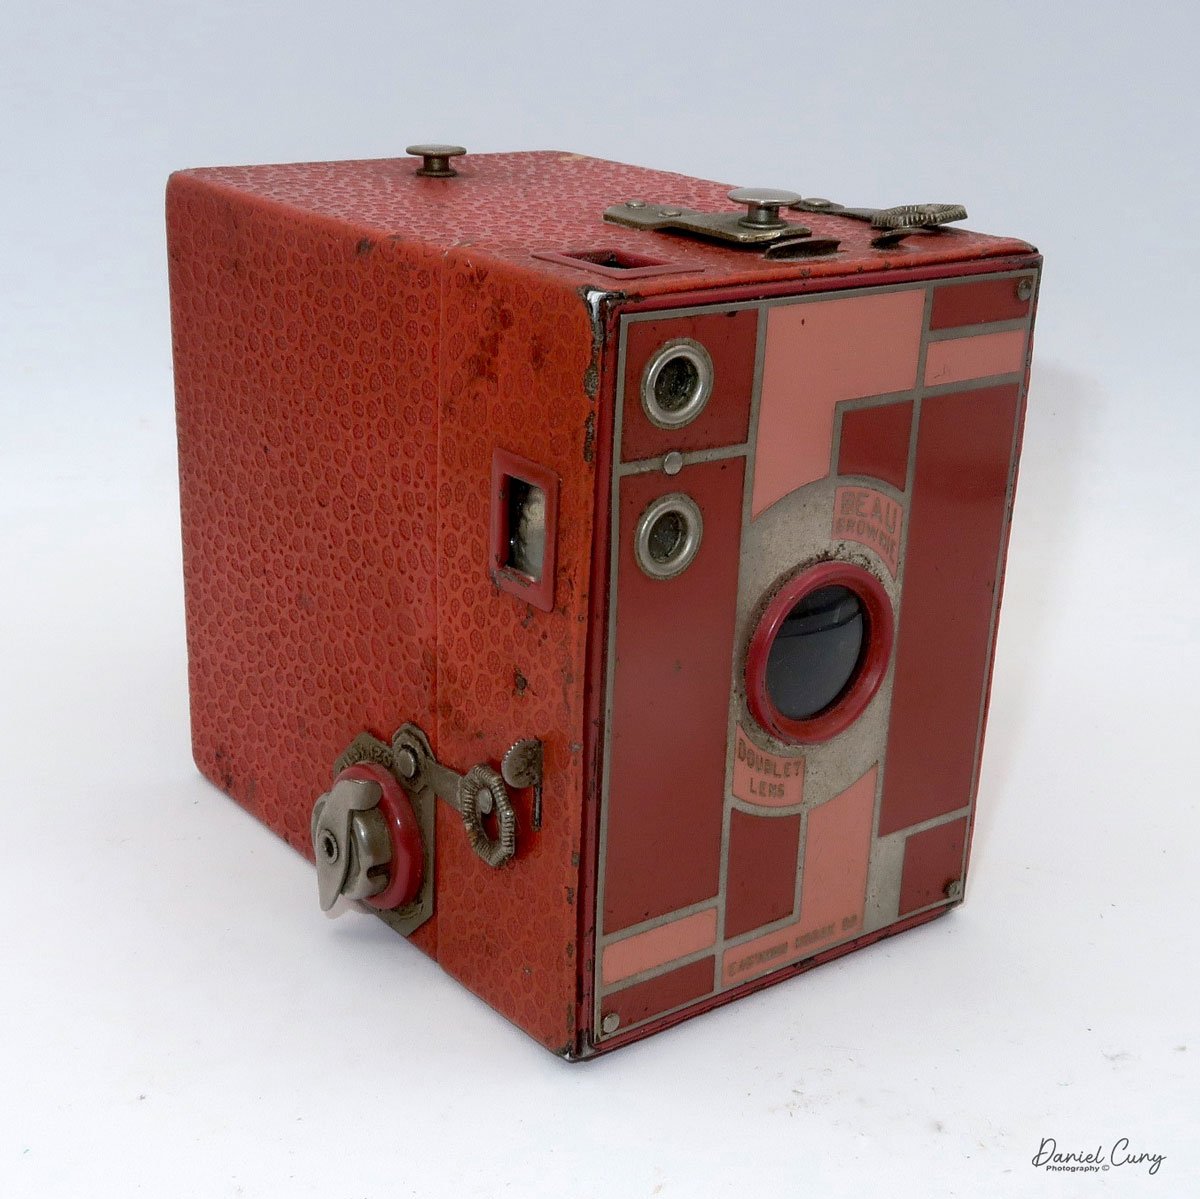
On the front of the camera are the settings for shutter speed, aperture, and focus distance. The Aperture settings are located along the top of the faceplate and range from f/6.3 to f/22, selected by moving a small slider just below the aperture numbers.
Around the F/6.3 "ENSAR" anastigmat lens are focusing distances for you to set. The distance lines up with a small bar that protrudes from the lens, with focus distances of 3" at the 12 o'clock position, 5' at the 3 o'clock position, 8' at the 6 o'clock position, 12' at the 9 o'clock position, and infinity, backing up towards the 12 o'clock position.
The shutter speeds of 1/100, 1/50, 1/25, "B", and "T" are set on the bottom of the faceplate, similarly to how the aperture settings are made, by sliding a small bar to the desired shutter speed.

Shutter, aperture and focus area on Ensign Midget camera
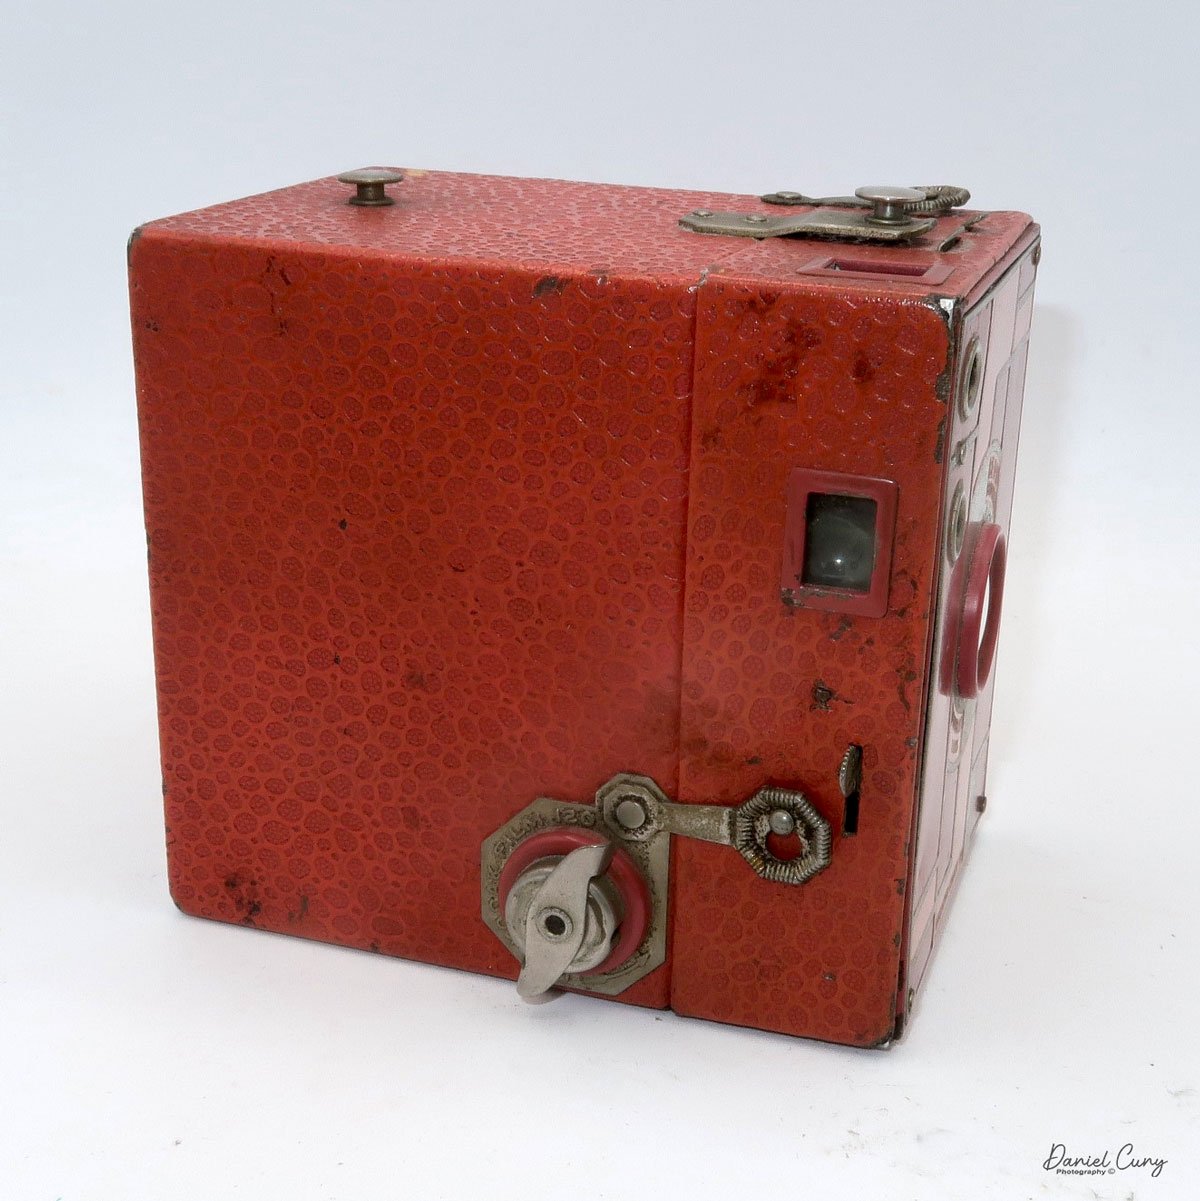
To open the back of the camera to load film, a locking mechanism on the left side must be pulled down. This slides a small bar that fits into a tiny opening, allowing the back of the camera to swing open and be removed from the camera.
You load the Ensign Midget just like any roll film camera, but unfortunately, this camera and the other Midget camera takes an odd-size film that is no longer available. Once the film was loaded, engage the feet into the hinges on the right side of the camera and close it up. Just be sure that when you lock the back of the camera, the small rod fits into the tiny hole, which holds it in place. If not engaged, the back will open.


My Results:
Unfortunately, I don't have film to use in this camera, due to its unique size and limited availability. Therefore, until I learn to cut and process film to use in the camera, this will remain a showpiece in my collection.
Conclusion:
The Ensign Midget, Silver Jubilee edition camera is a camera I've long desired to own and will be cherished in my collection. The silver crinkle finish on the camera is a lovely touch to an already beautifully designed and built camera—a real gem crafted during a heyday period in pre-World War II England.
Thank you for taking a few minutes to read about this fantastic, small, yet extremely well-built camera. One, I'm happy to give a prominent spot in my collection.
Click the link to read my other Camera Reviews.
If you're looking for a photo item, I have a wide selection of cameras, lenses, and camera parts available in my eBay store, Cuny's Cameras and Photo.
Until next week, please be safe.