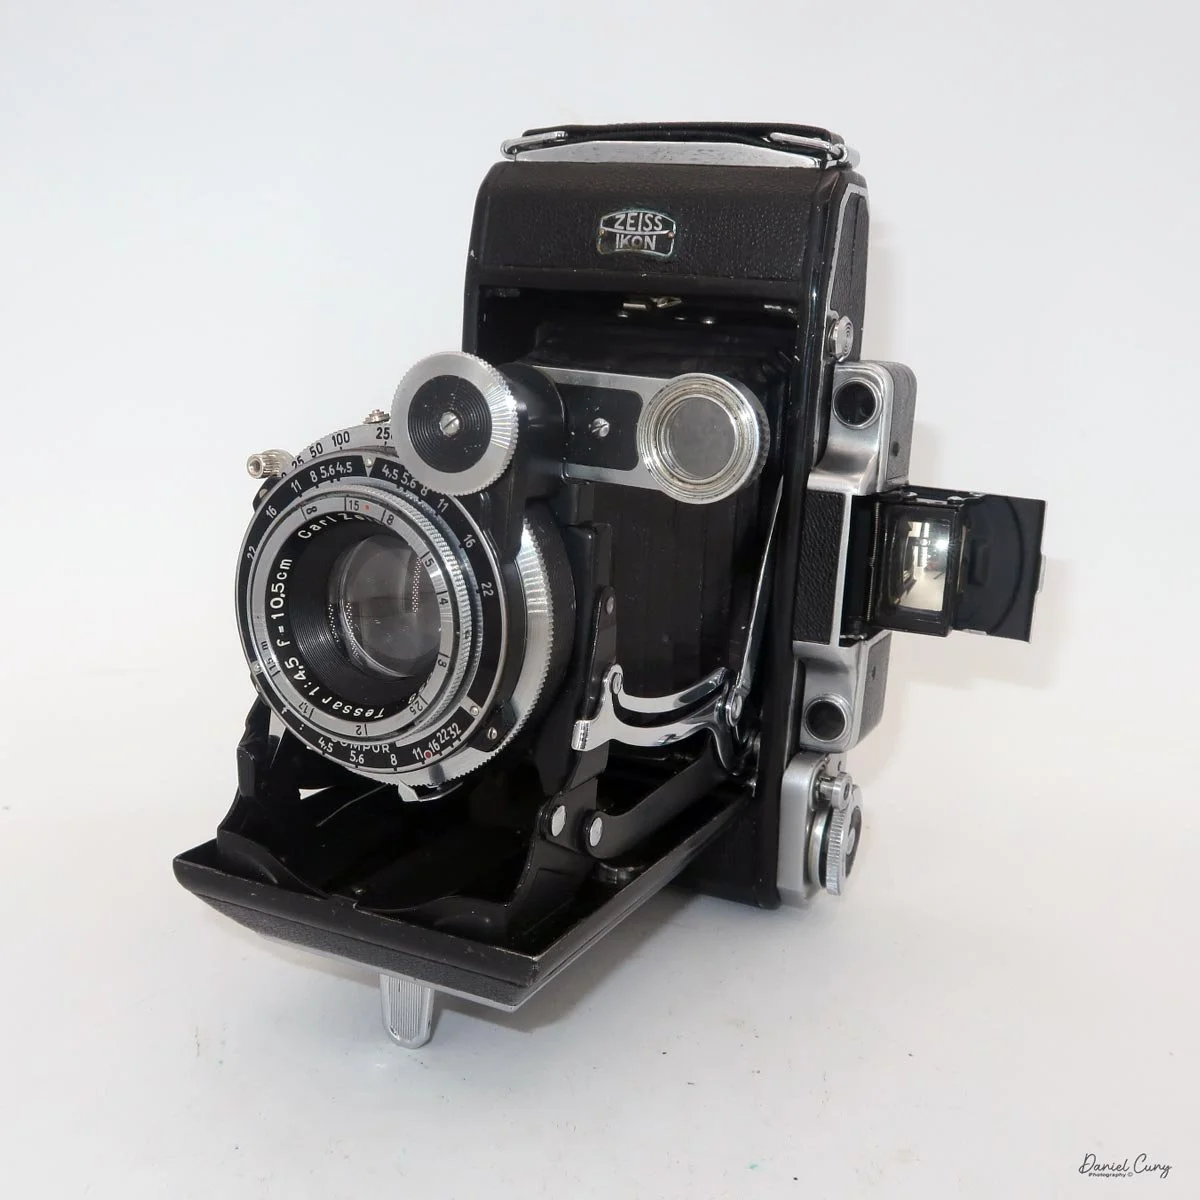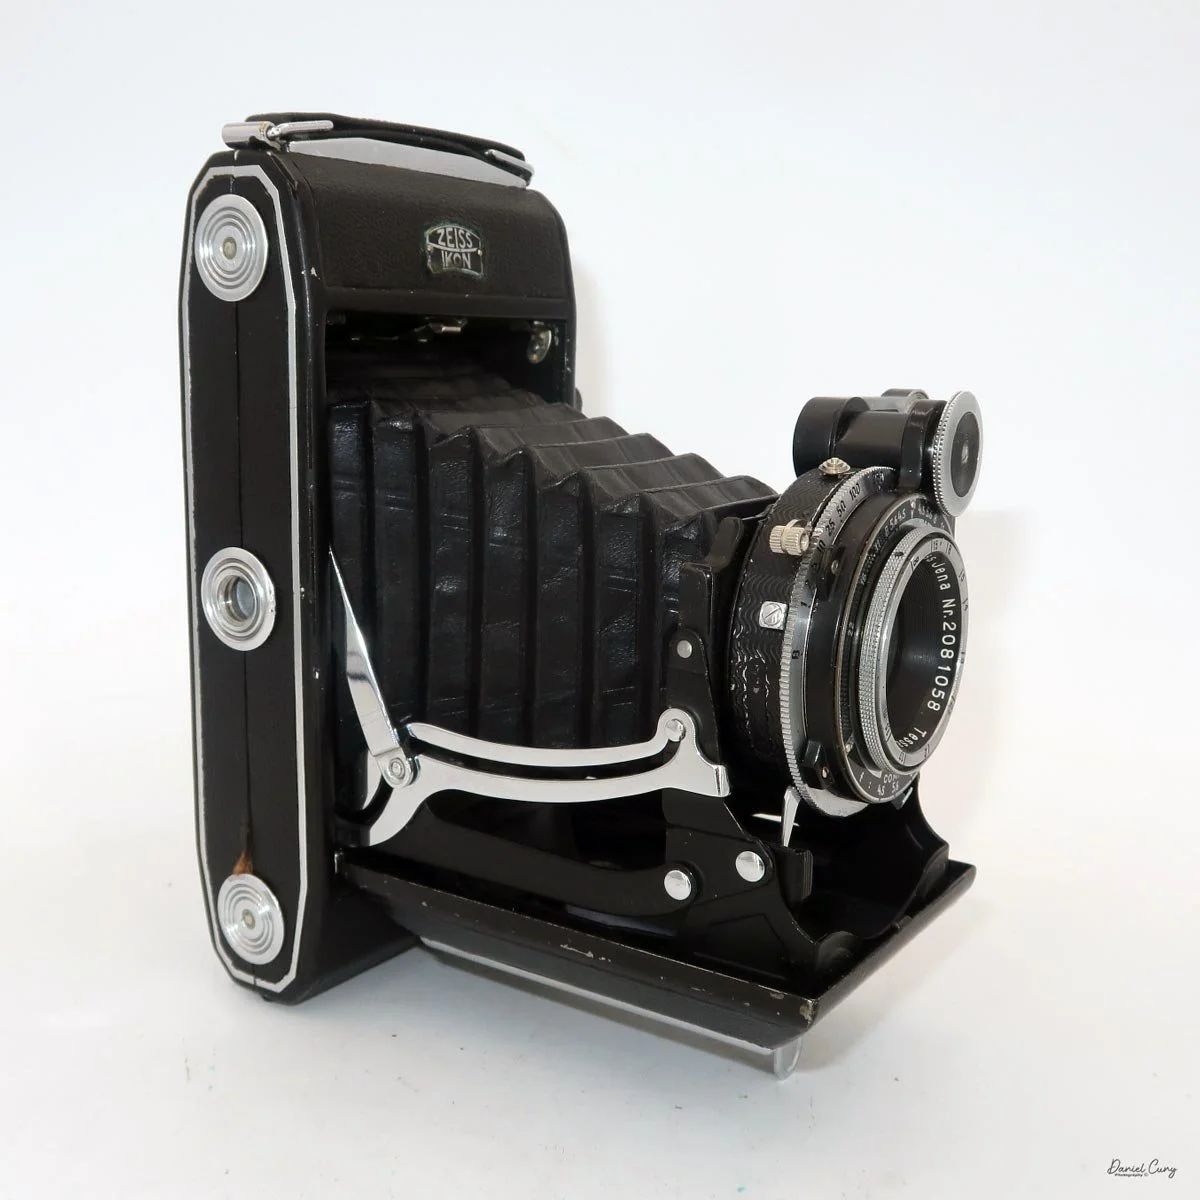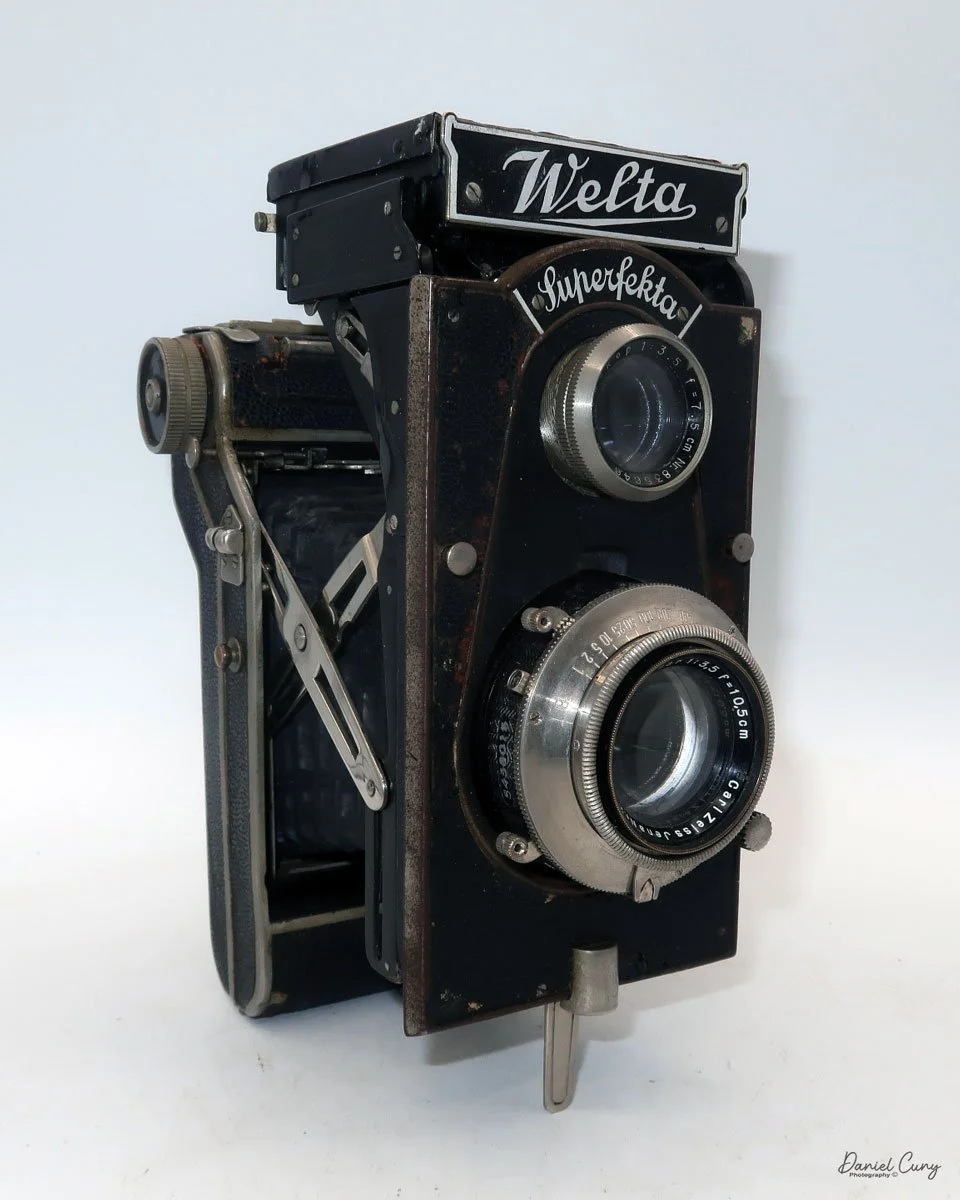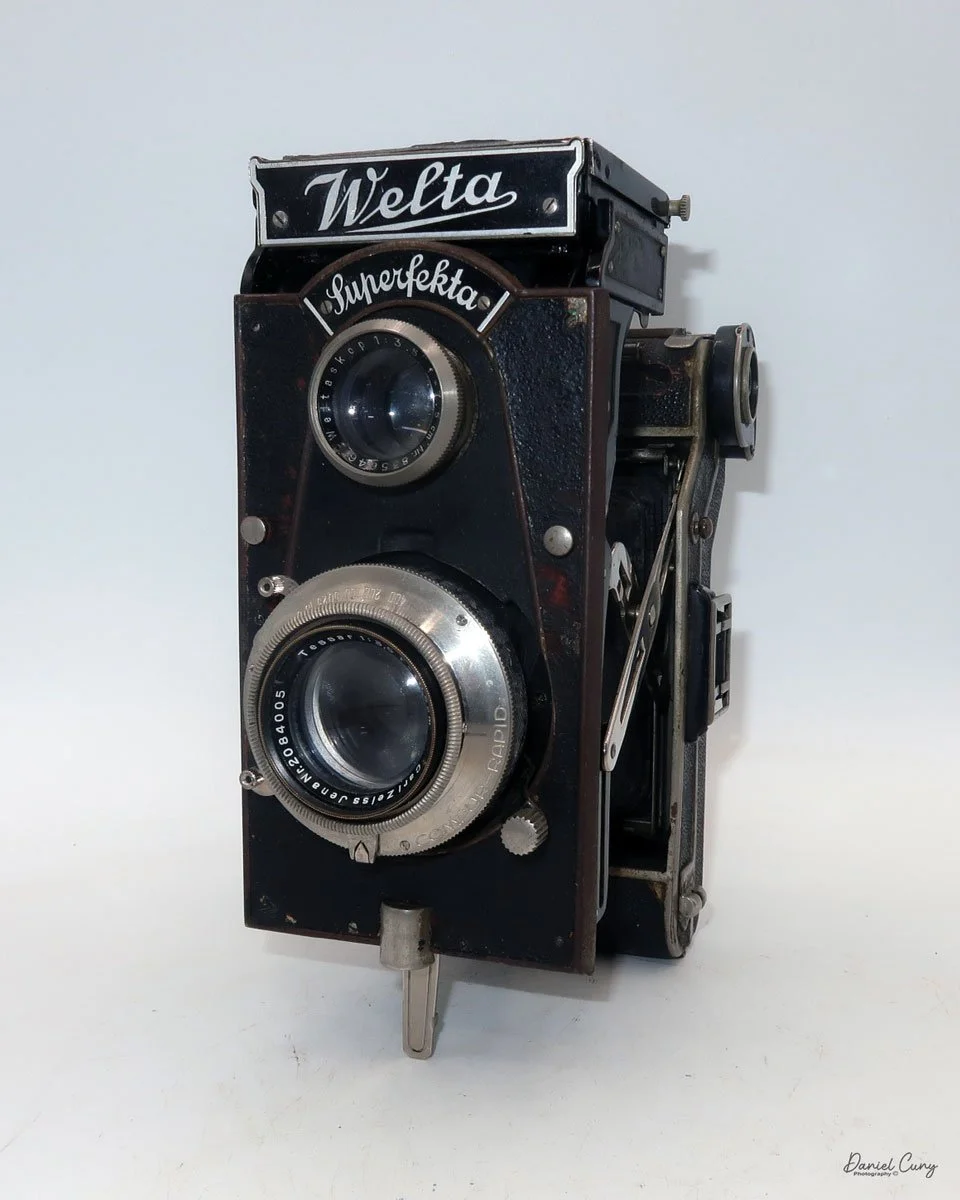
My Salmoiraghi Lexus camera
I truly don't remember purchasing this camera, so my best recollection is that it was part of a larger lot of cameras I purchased. What drew me to this particular camera, as with many others in my collection, wasn't the name or rarity of the camera, but the camera's color. The beautiful tan color, along with the colored bellows, are things that I'm drawn to.
The Salmoiraghi Lexus has been on my shelf for a few years, and it wasn't until this past weekend that I noticed it again. It was tucked away behind some other cameras in my collection.
Next week I'm traveling to Japan to do some camera and flea market shopping, hoping to find some treasures to write about in some of my upcoming blogs. I guess that about a thousand others are looking for the camera treasures while there, and figure, what better way to spend my time in Tokyo than to photograph the town, attend a few flea markets, and visit a few camera shops.
I was gathering items to take to a camera show in the suburbs of Seattle last week when I noticed it. I questioned whether I really wanted to take the camera, as I knew I would eventually want to write about it. I put the Salmoiraghi Lexes with many other items I was taking to the show, but in the back of my mind, my willingness to sell them was half-hearted.
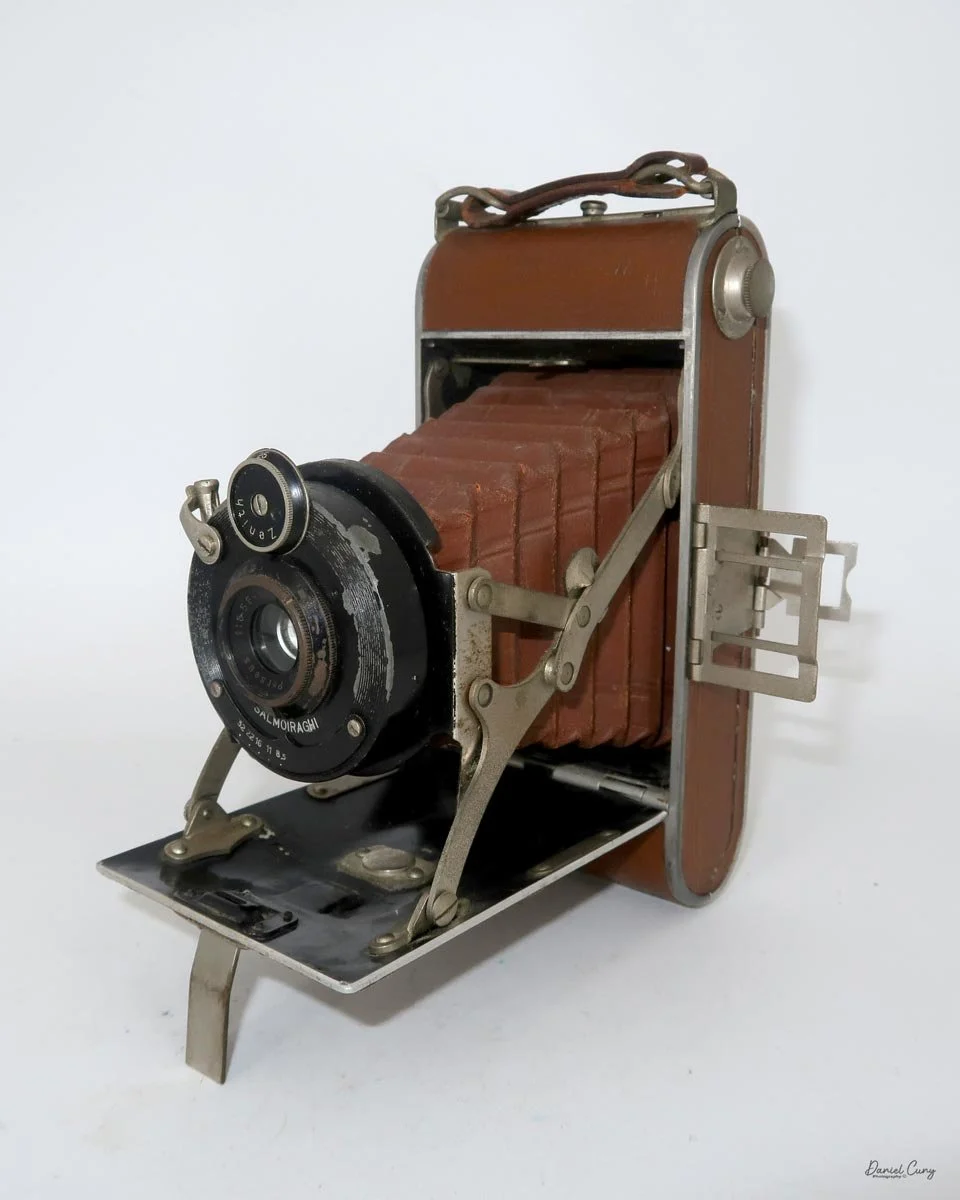
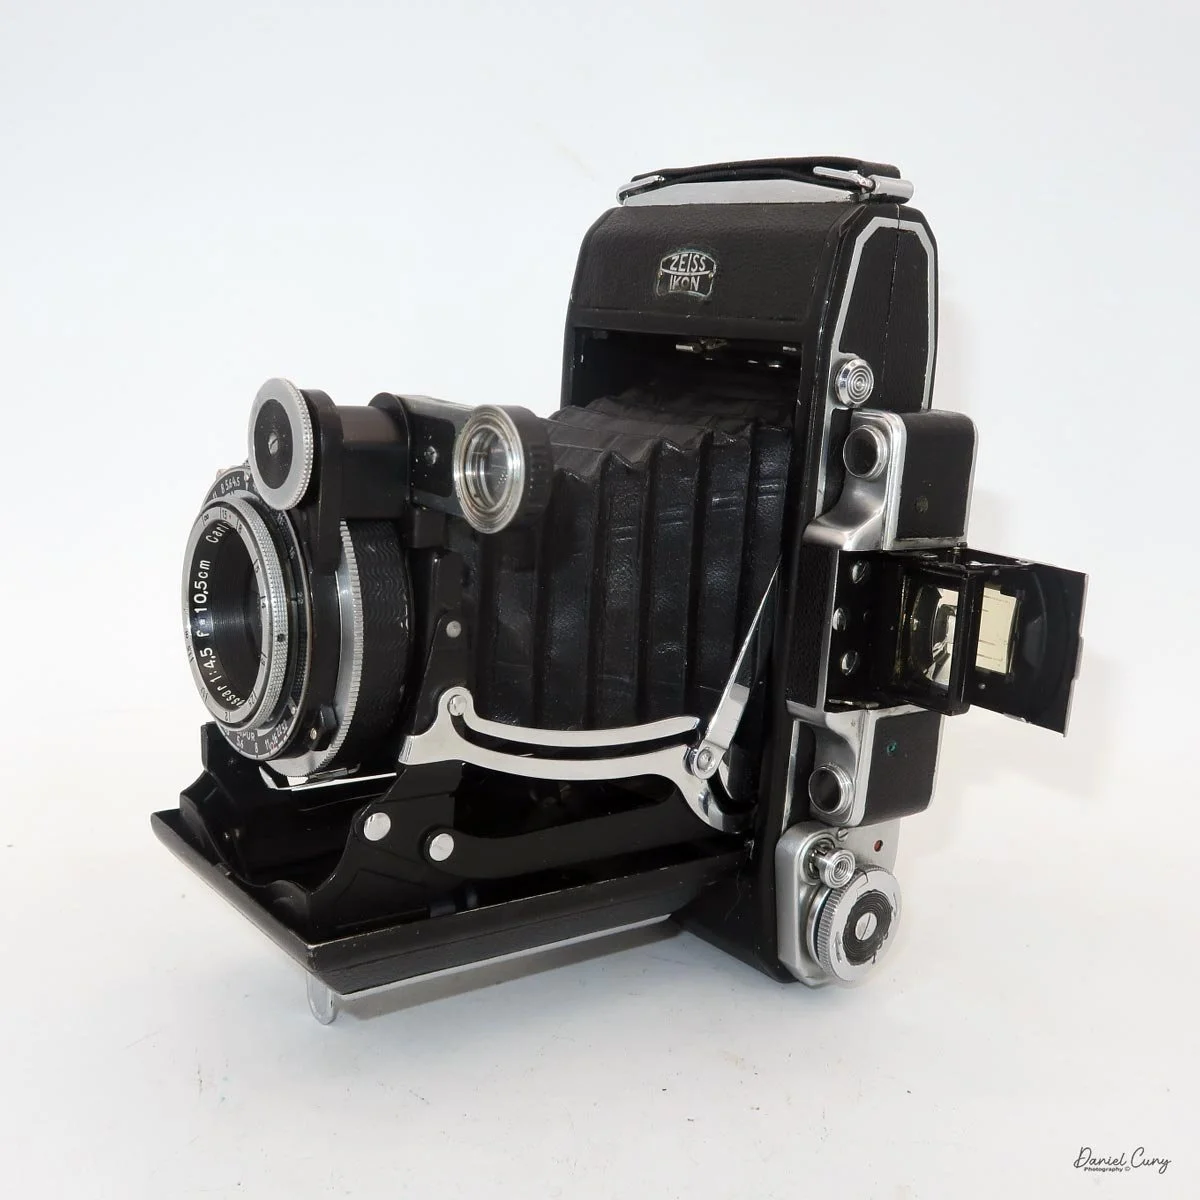
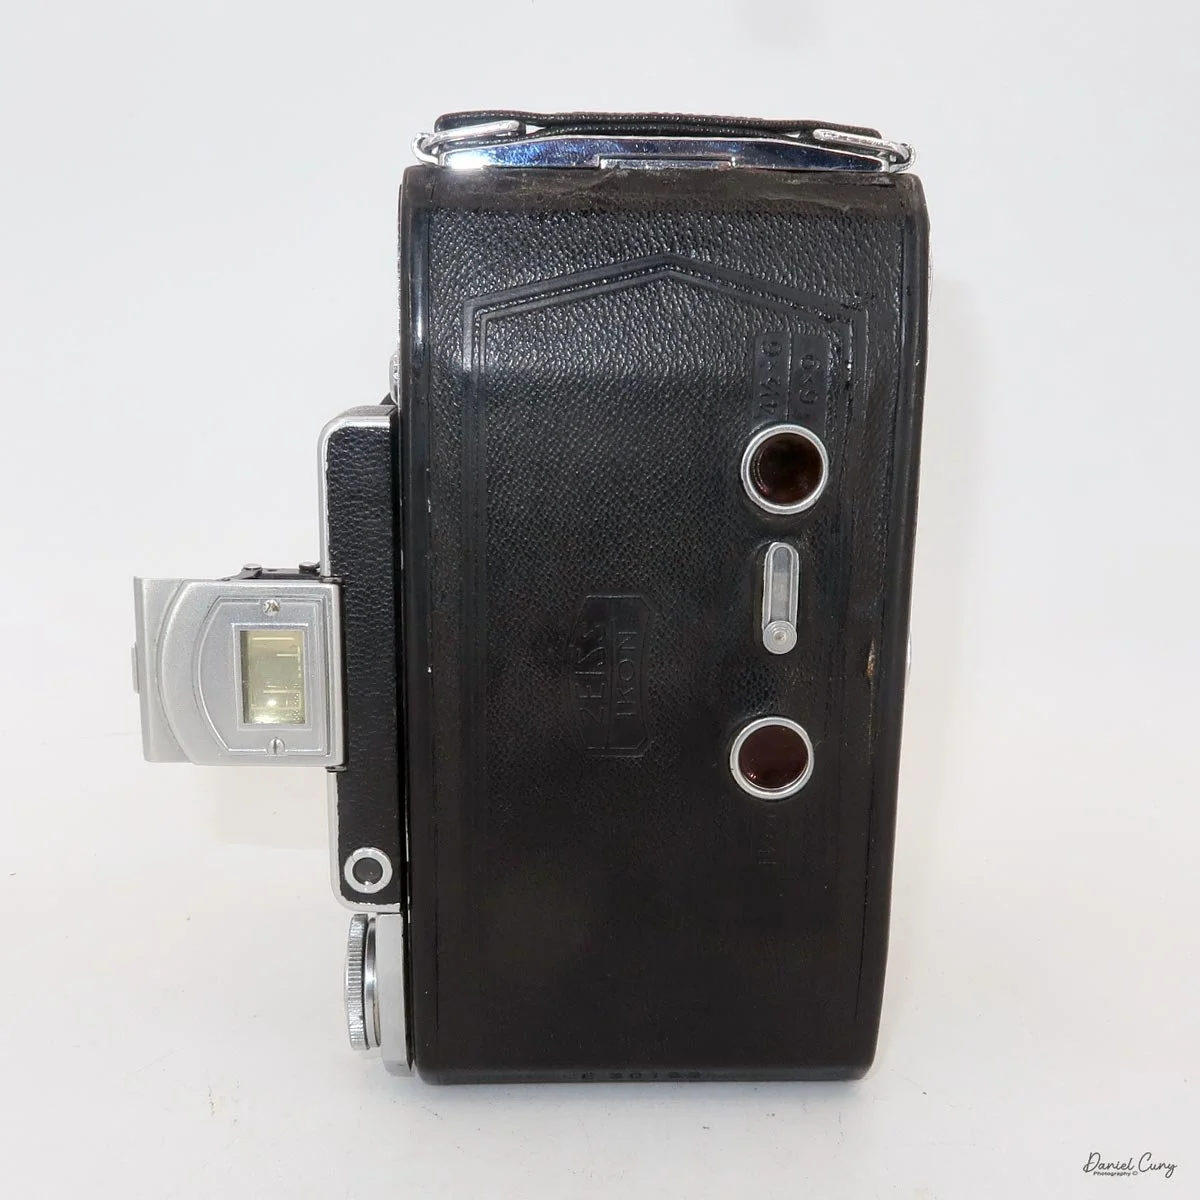
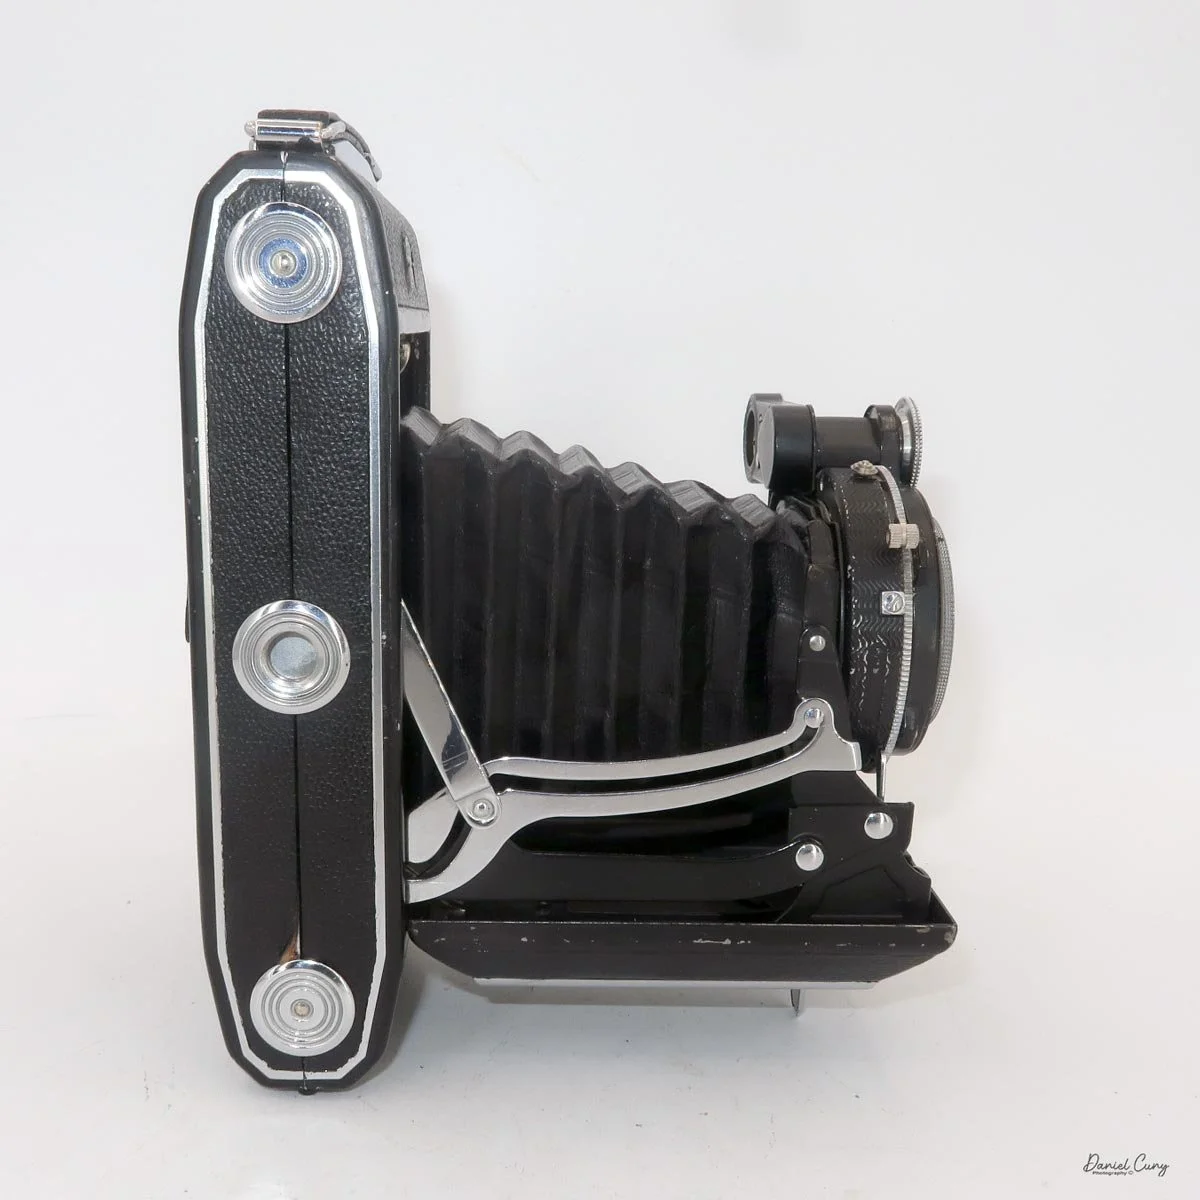
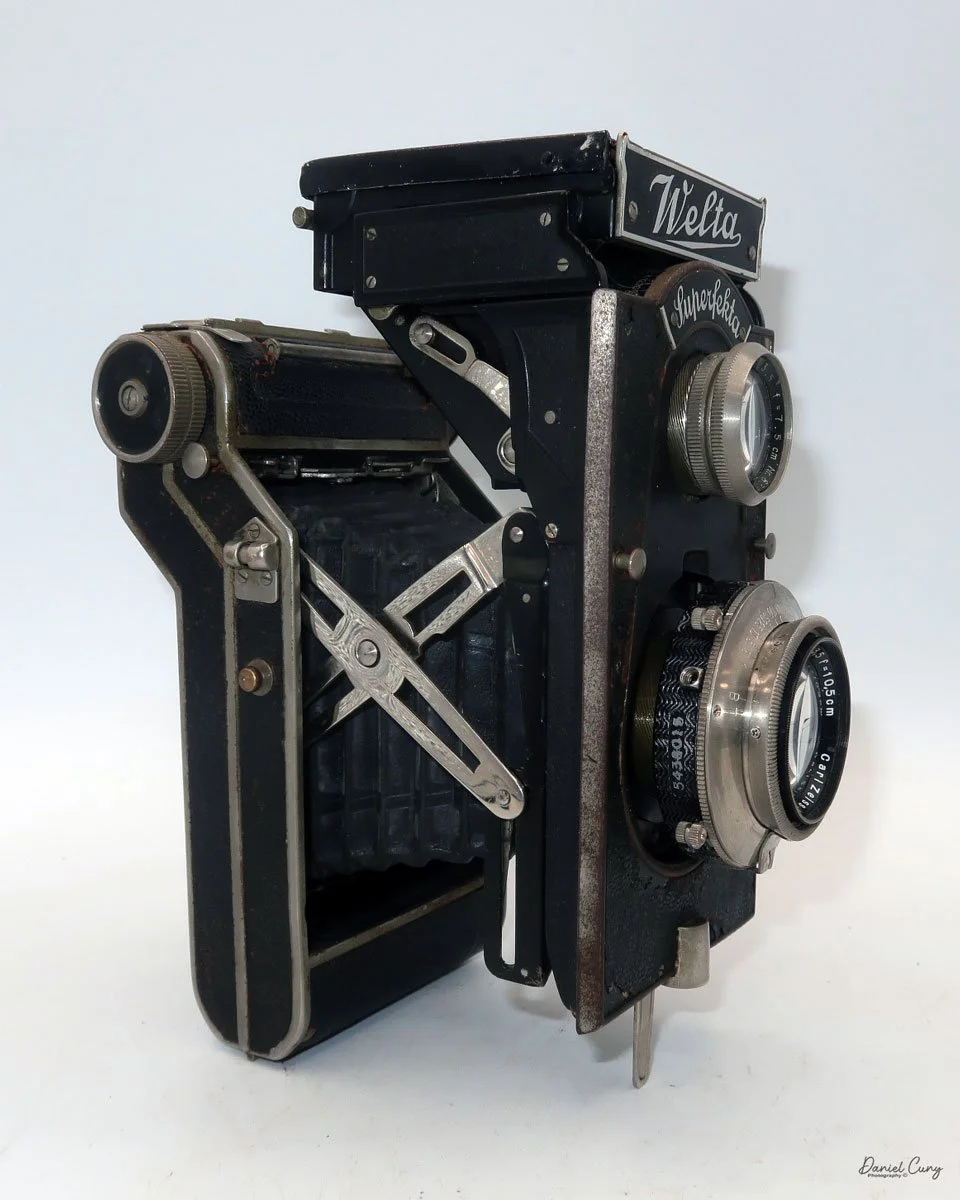
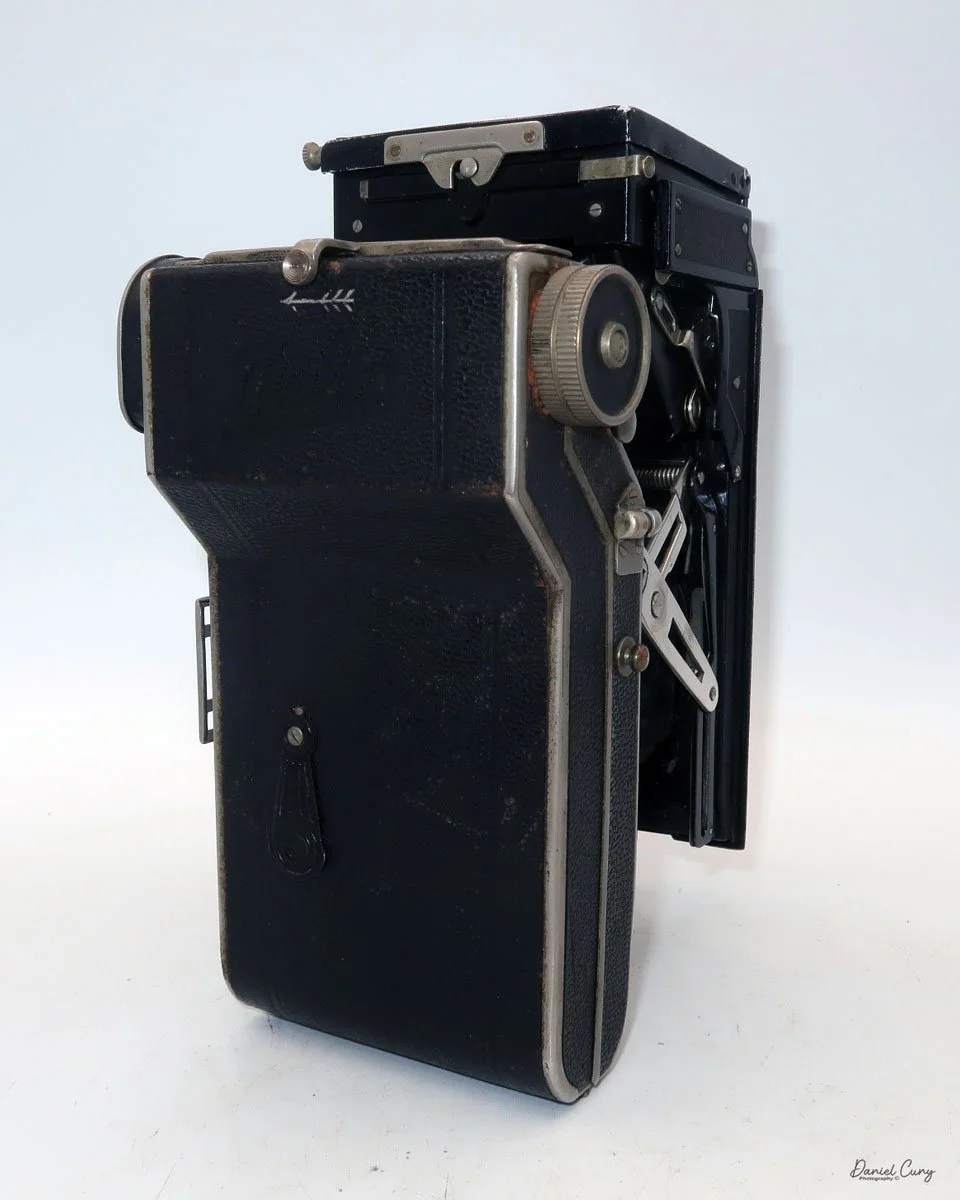
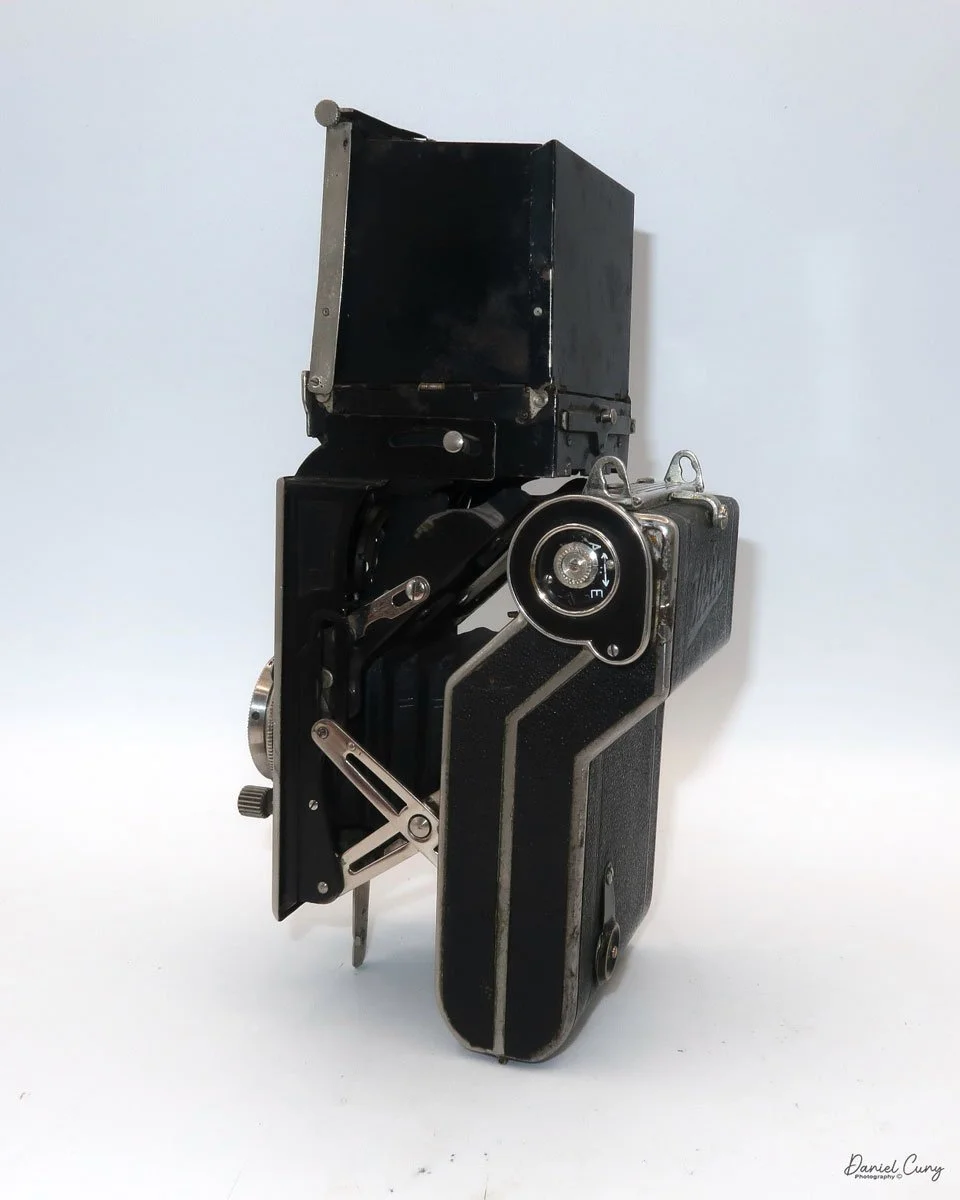
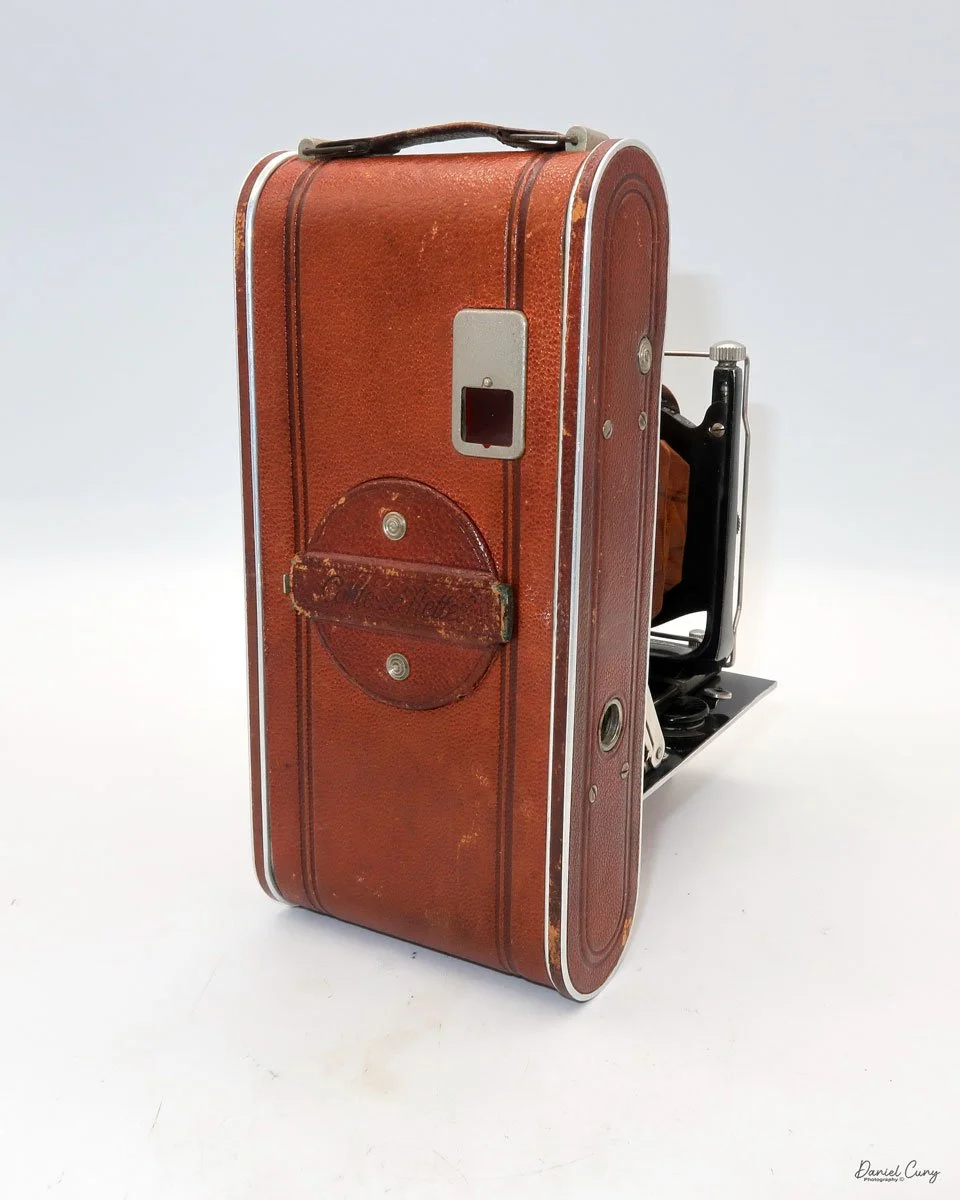
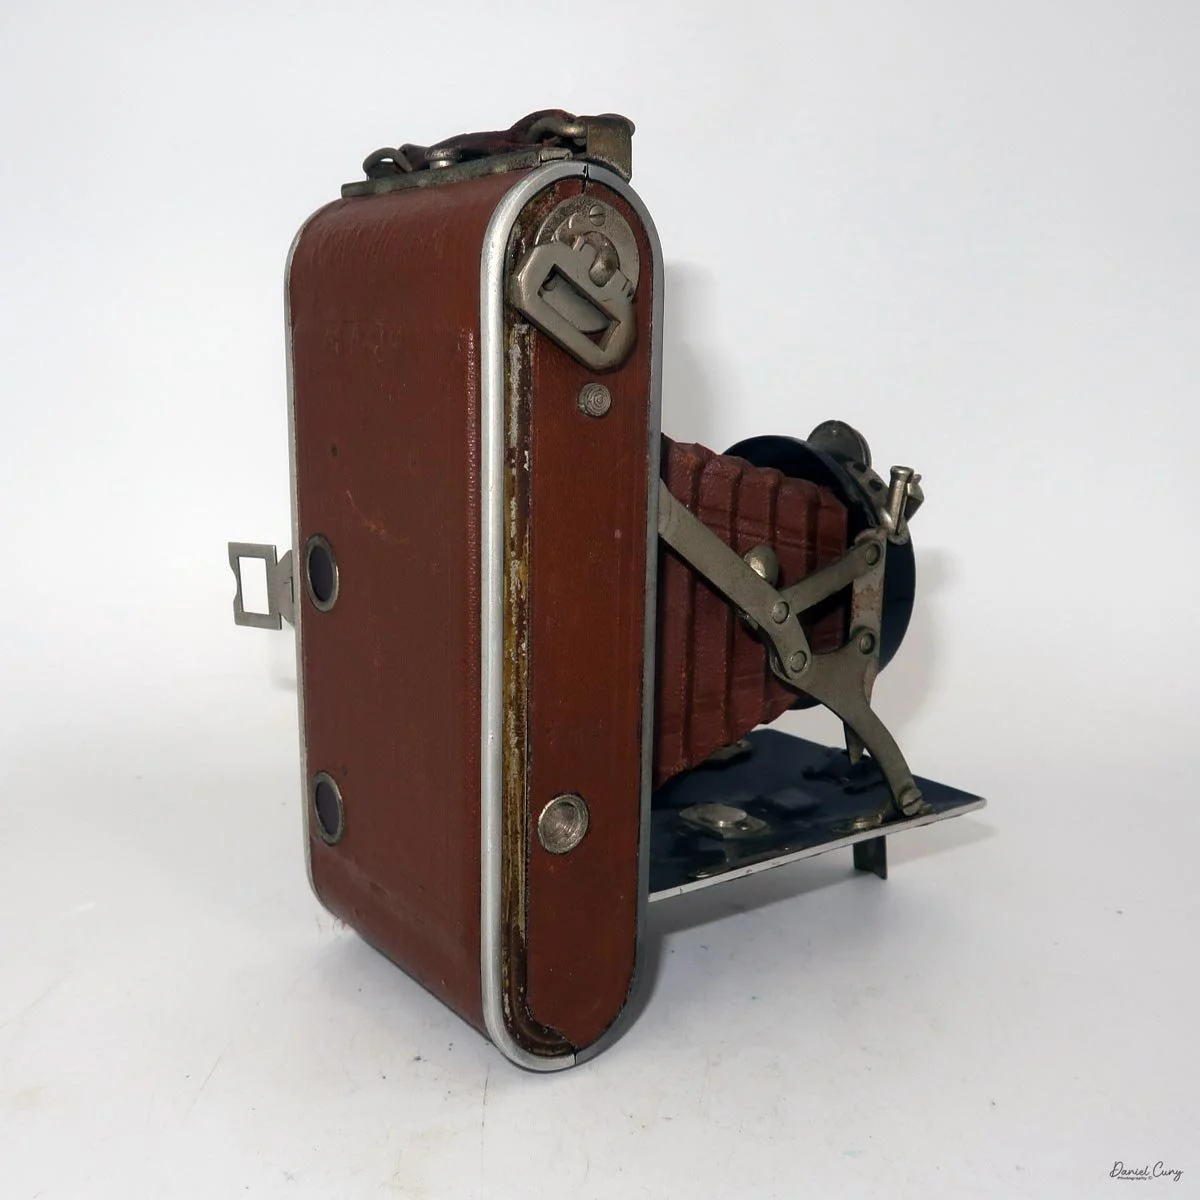
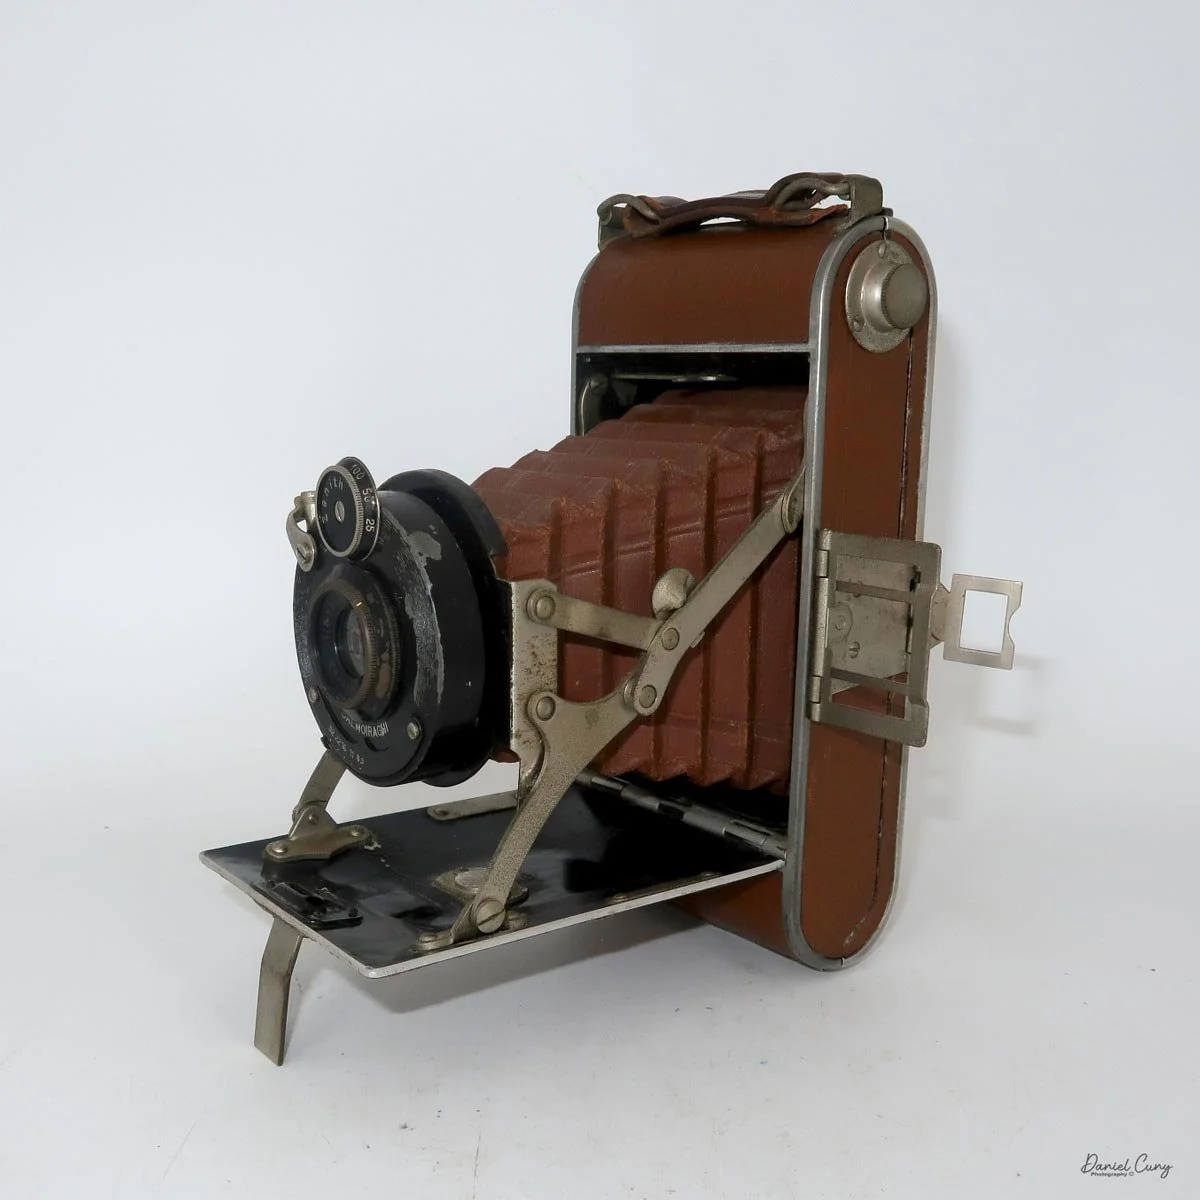
The other side of the Salmoiragi Lexus camera
As I was pulling cameras out of the boxes to put on my tables for the camera show, the Salmoraghi Lexus was unfolded and put out for sale. Some people casually looked at it, but there was no real interest in the camera. There were a few people who liked the colored camera, but that was about it.
In the back of my mind, I had already picked the camera I wanted to write about this week, but as I was putting away the cameras left over from the camera show, the Salmoiraghi Lexus just seemed like the camera to write about.
When I opened the camera, thinking about putting film in it so I could shoot with it for the blog, I checked the shutter to make sure it was working, but unfortunately, it's stuck open. So, at this point, I won't be able to photograph with it for the post. That's not Ideal, but what was gnawing at me was, What is a Salmoiraghi camera? I wasn't familiar with the brand at all, so I wanted to dig into the company and what this camera was all about.
As I was doing my research for the camera, there was very little reference information, but I found MisterMondo Italian Camera, which had a great selection on
History:
Salmoiraghi cameras are a small and somewhat obscure chapter in Italian camera history, remembered mainly for a few postwar experimental and medium-format designs rather than for mass-market success. Collectors often discuss the name because the surviving models are uncommon, visually distinctive, and tied to the period when Italian manufacturers were trying to build a domestic camera industry after World War II.
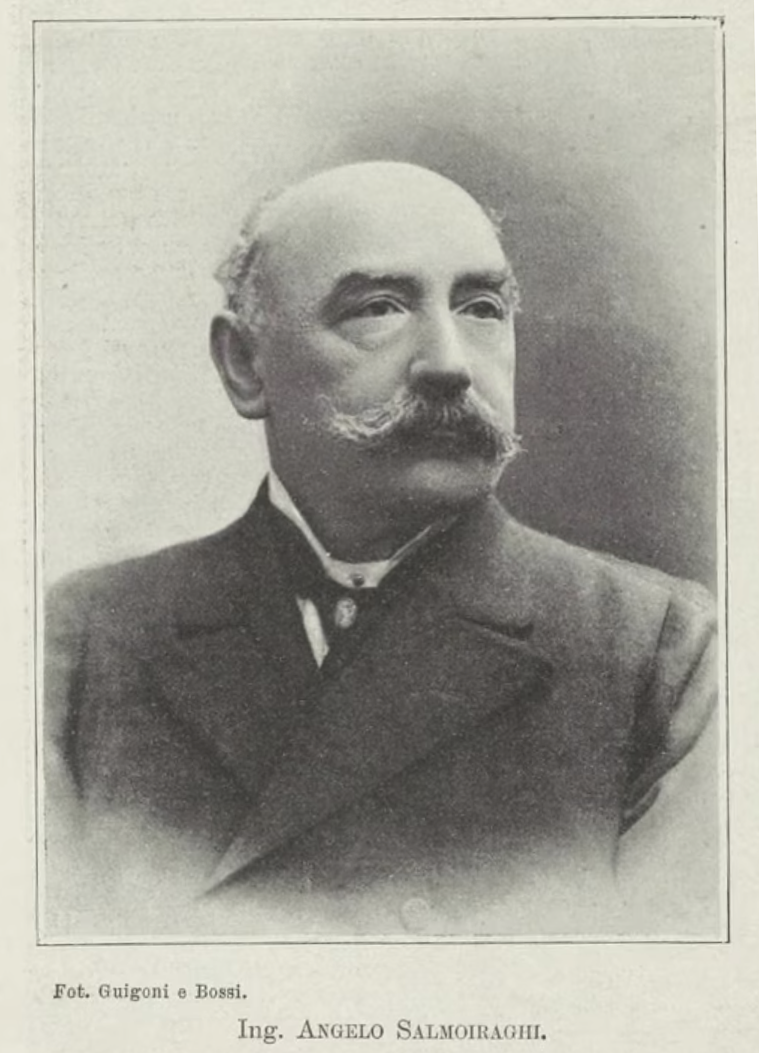
Angelo Salmoiraghi. (From website)
Salmoiraghi SpA, better known as La Filotecnica, began in Milan in 1865 when Angelo Salmoiraghi founded the Scuola-Officina Filotecnica. The school-workshop blended training, research, and production, reflecting Salmoiraghi's aim to turn precise scientific instrument making into an industrial enterprise. Over time, the company became associated with high-quality optical and surveying equipment, while keeping close ties to technical education and innovation. That early mix of craftsmanship and science helped establish La Filotecnica as a notable name in Italian instrument manufacturing.
The best-known Salmoiraghi-related camera from the collector world appears to be a medium-format model developed in Milan around 1946–47. Reports from collectors describe it as a "pseudo twin-lens reflex" camera, built with a Bakelite body and alloy fittings, placing it squarely in the immediate postwar era, when makers were using practical materials and inventive layouts to reduce cost and complexity. That design choice suggests a company experimenting with form as much as function, aiming to create a camera that looked modern and handled differently from the boxy standard models of the time.
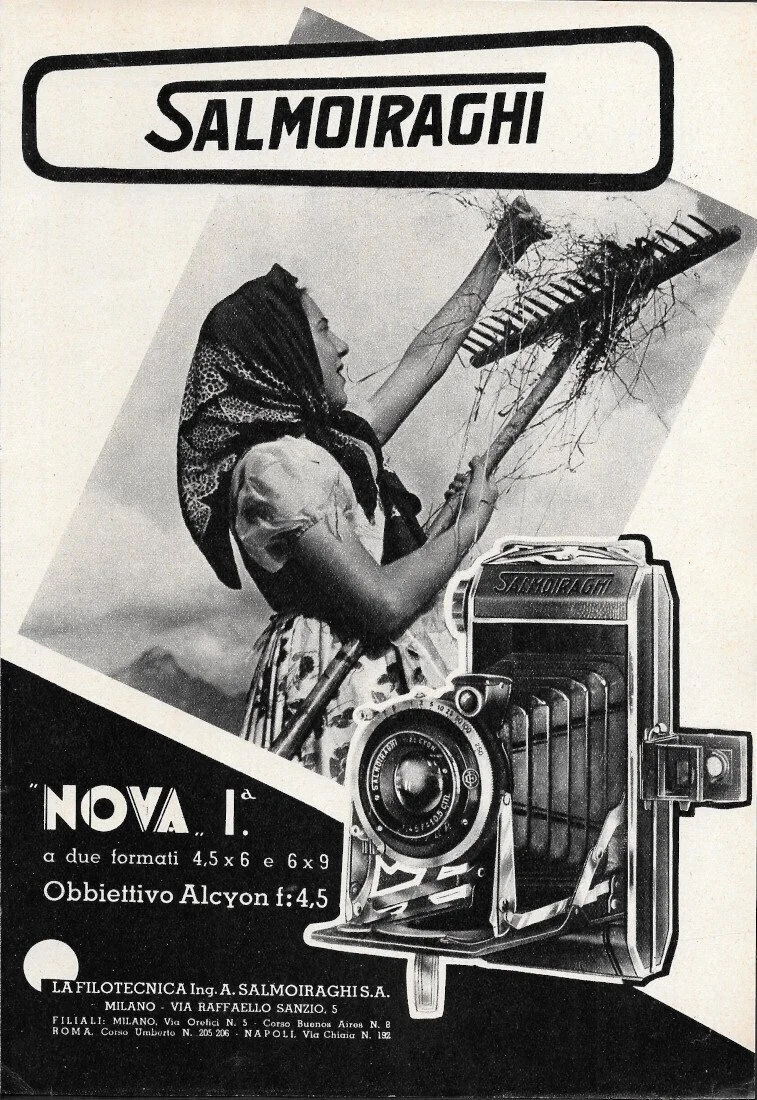
Italian advertisment for Salmoiraghi Nova I camera.
What makes Salmoiraghi interesting is not a long production line but the rarity of the surviving evidence. Unlike the big Italian optical firms that became widely known through lenses, projectors, or industrial products, Salmoiraghi cameras seem to have been limited-run products that left only a thin paper trail. Much of what is known today comes from collector discussions rather than catalogs or formal company histories, which is why exact model details and production numbers remain hard to pin down.
In that sense, Salmoiraghi cameras reflect a broader story in European camera manufacturing: many firms tried to enter the market in the 1940s and 1950s, but only a few scaled up successfully. Salmoiraghi's contribution appears to have been more inventive than influential, with its cameras now valued for their curiosity, design, and historical context. For photographers and collectors, they represent the optimism of a rebuilding Italian industry and the short-lived creativity of smaller makers trying to find a place beside better-known German and Japanese brands.
Today, Salmoiraghi cameras are mostly encountered in collections, forum posts, and auction listings. Their scarcity means they are better known to specialists than to the general public, but that rarity is exactly what gives them historical appeal.
My Camera:
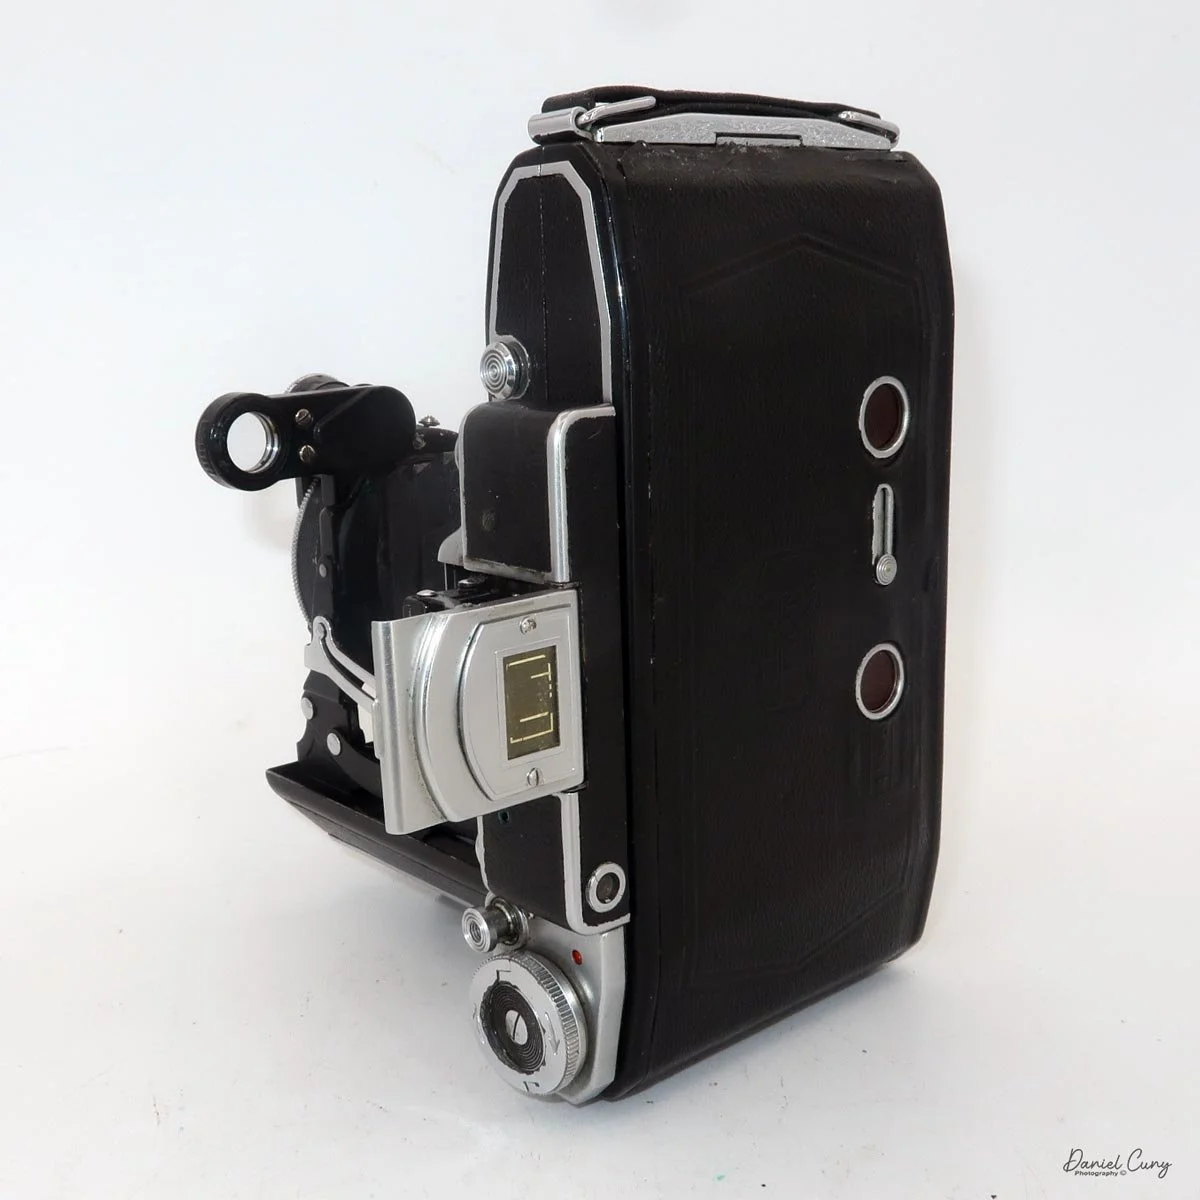
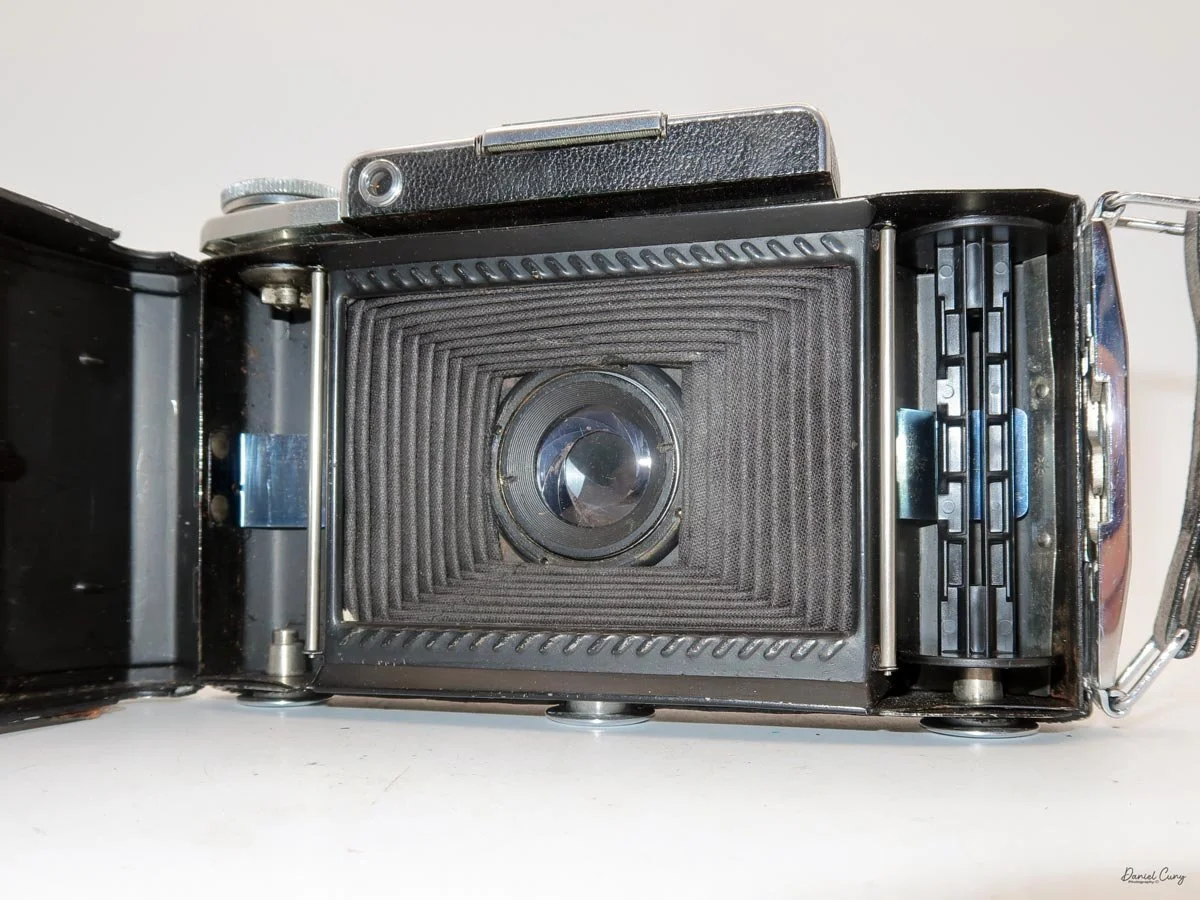
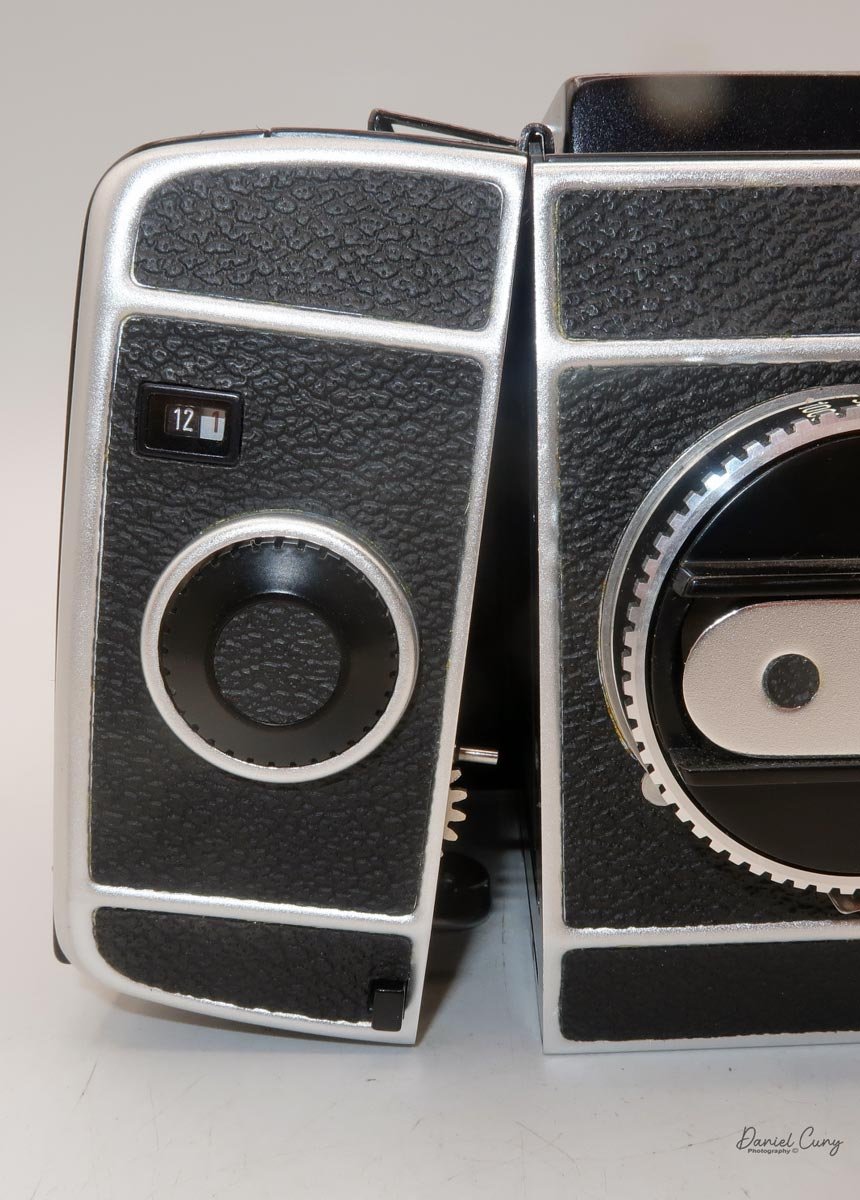
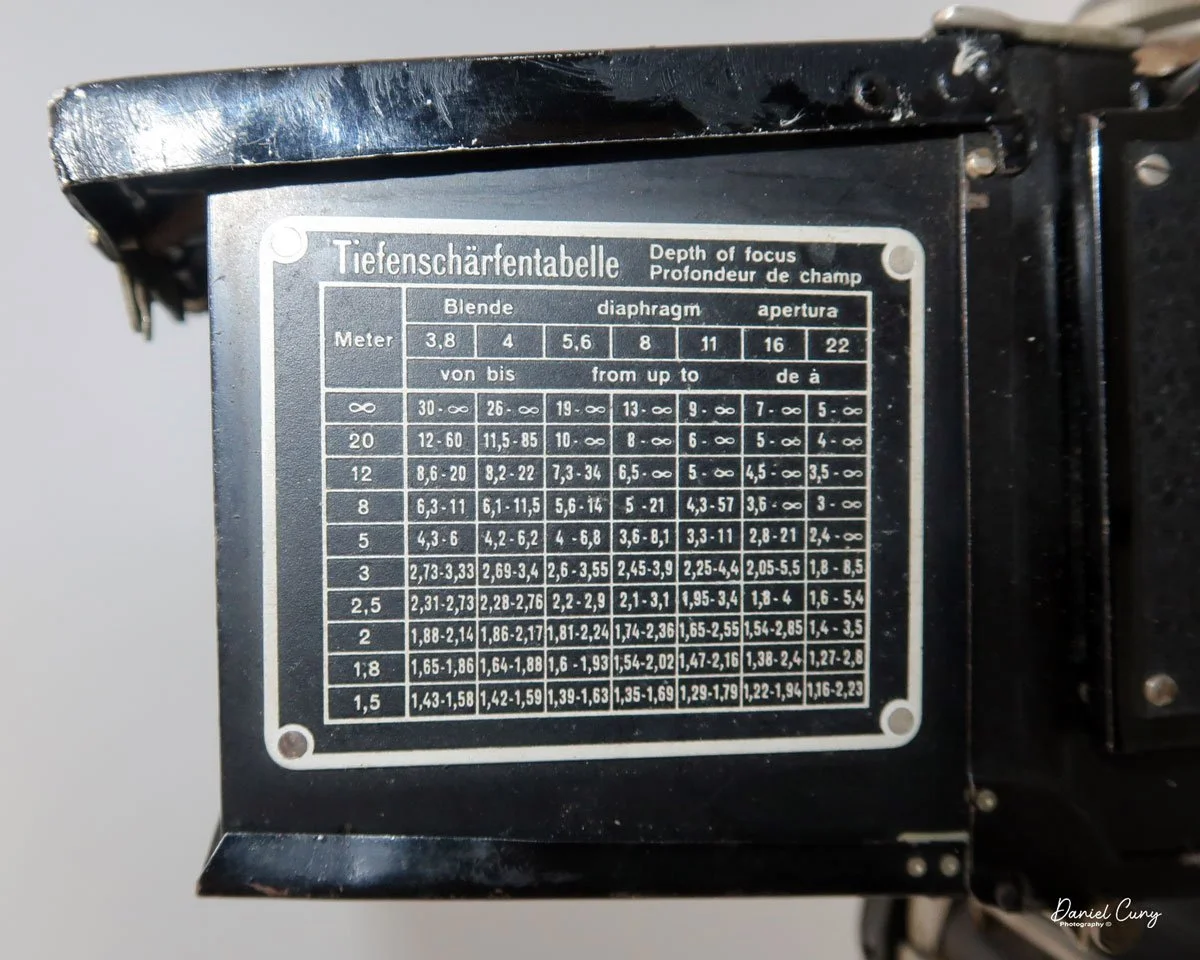
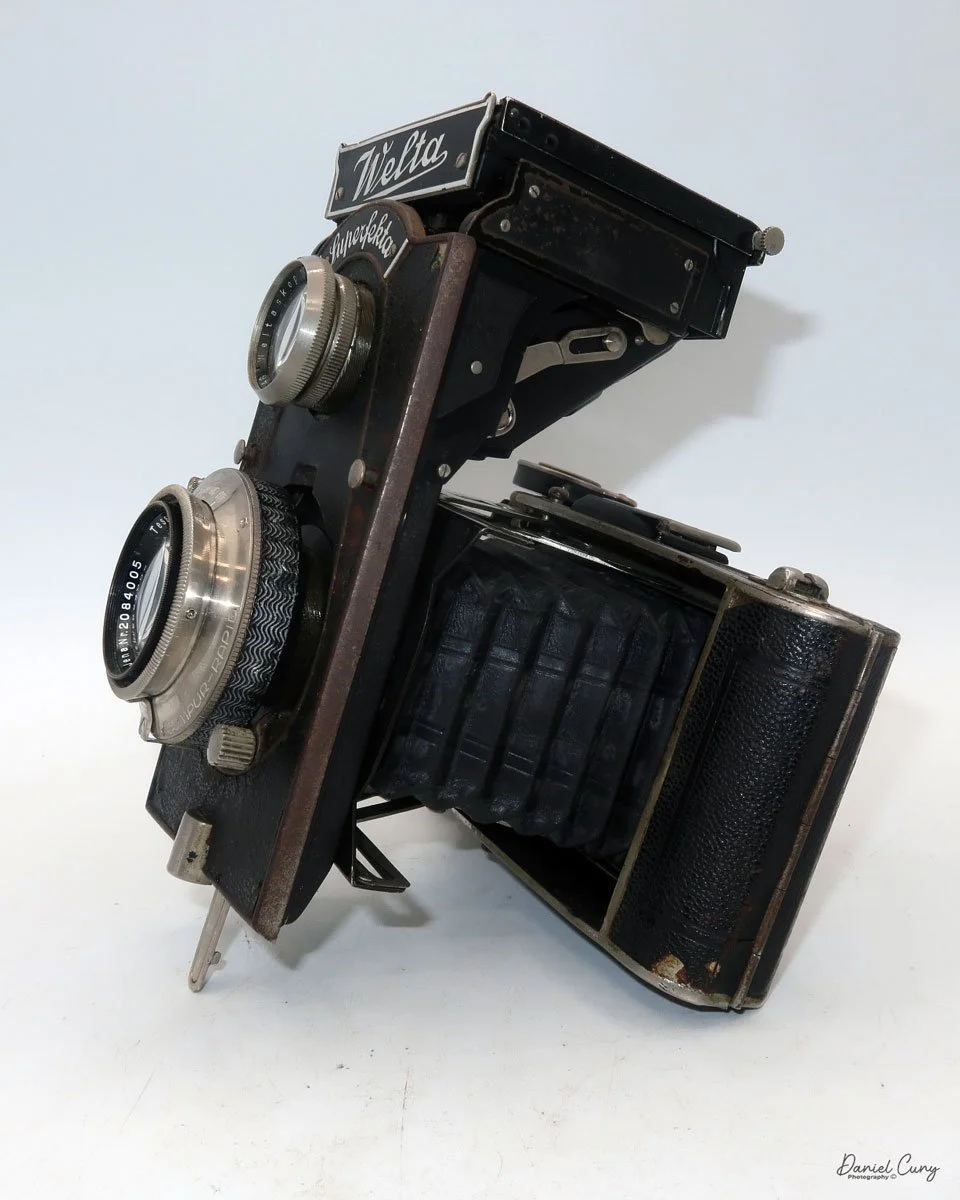
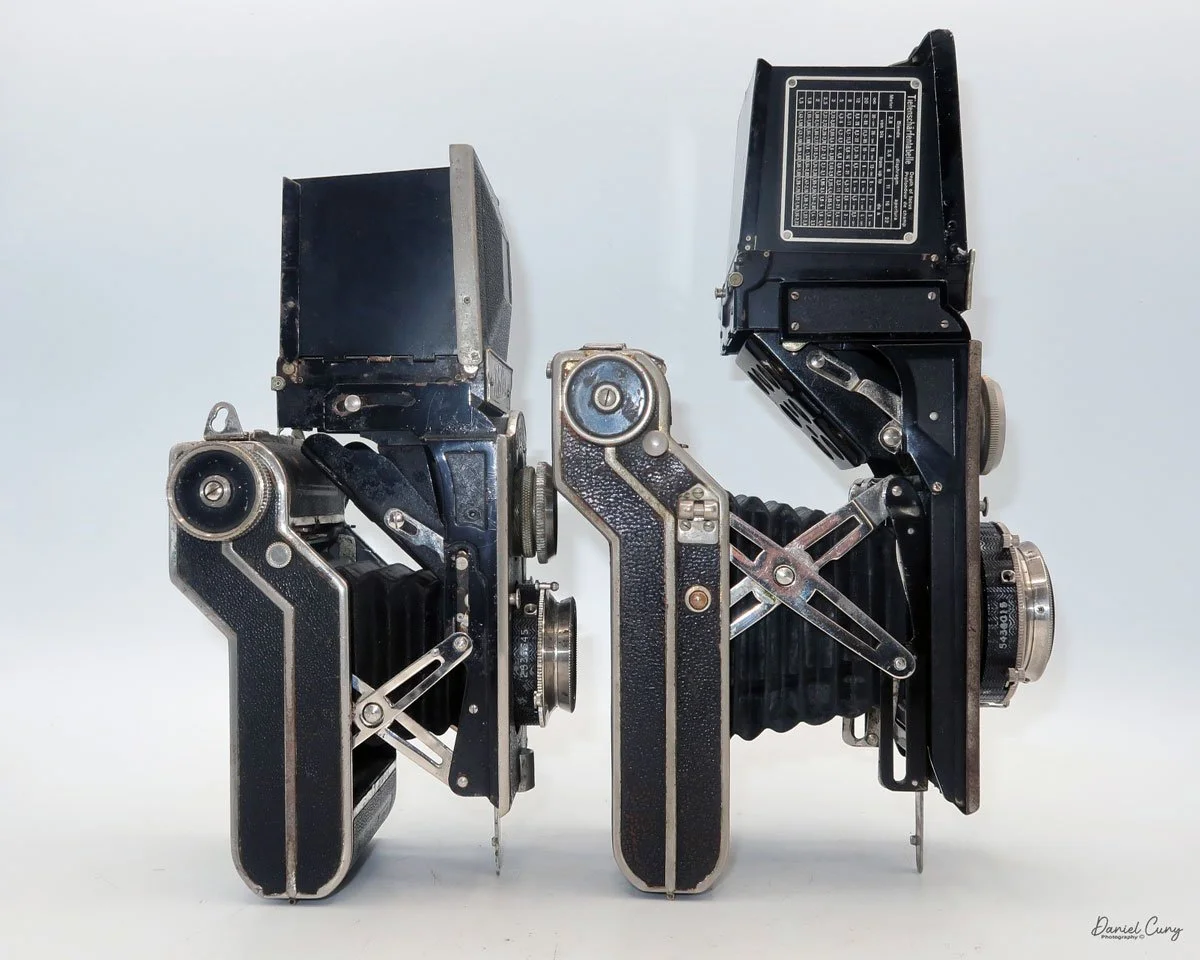
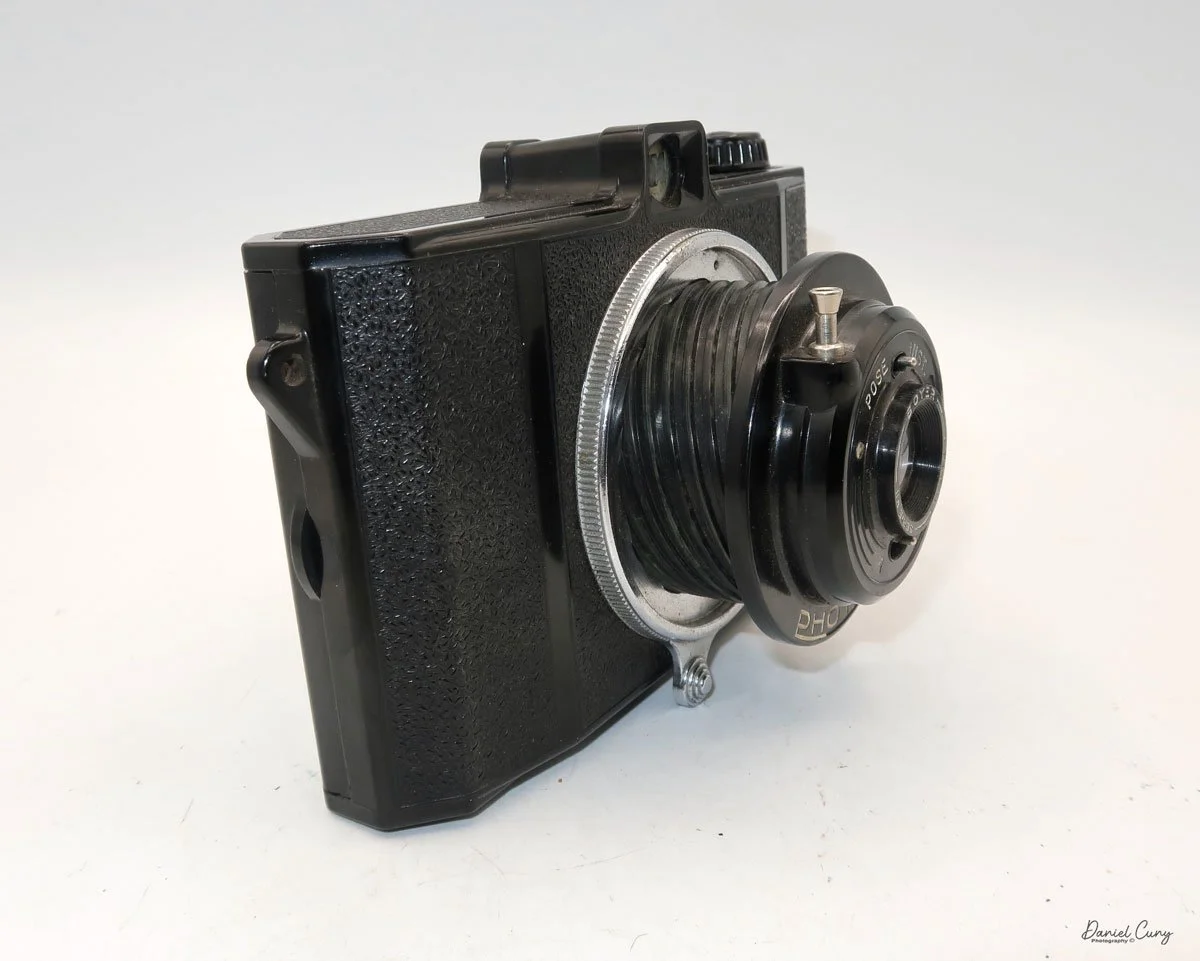
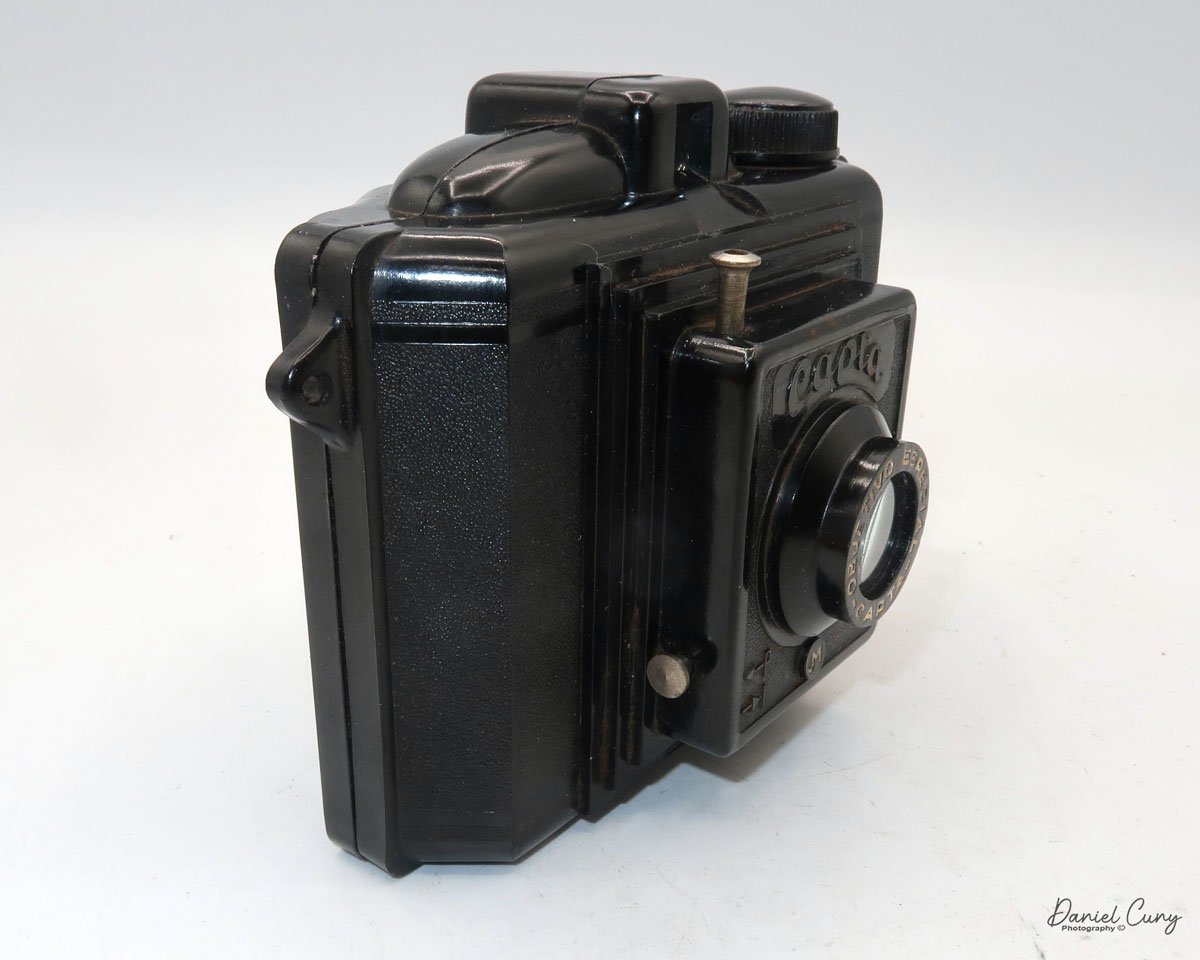
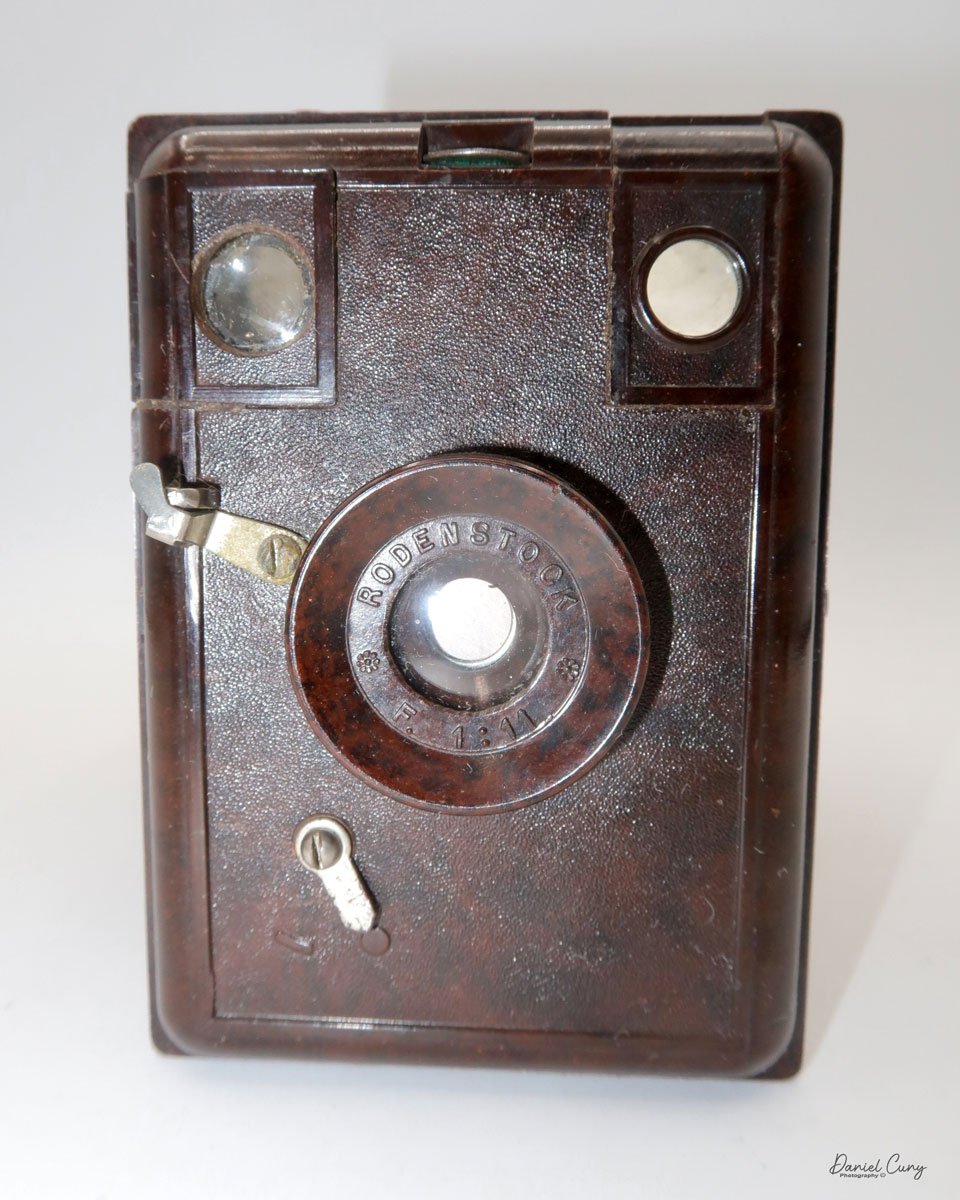
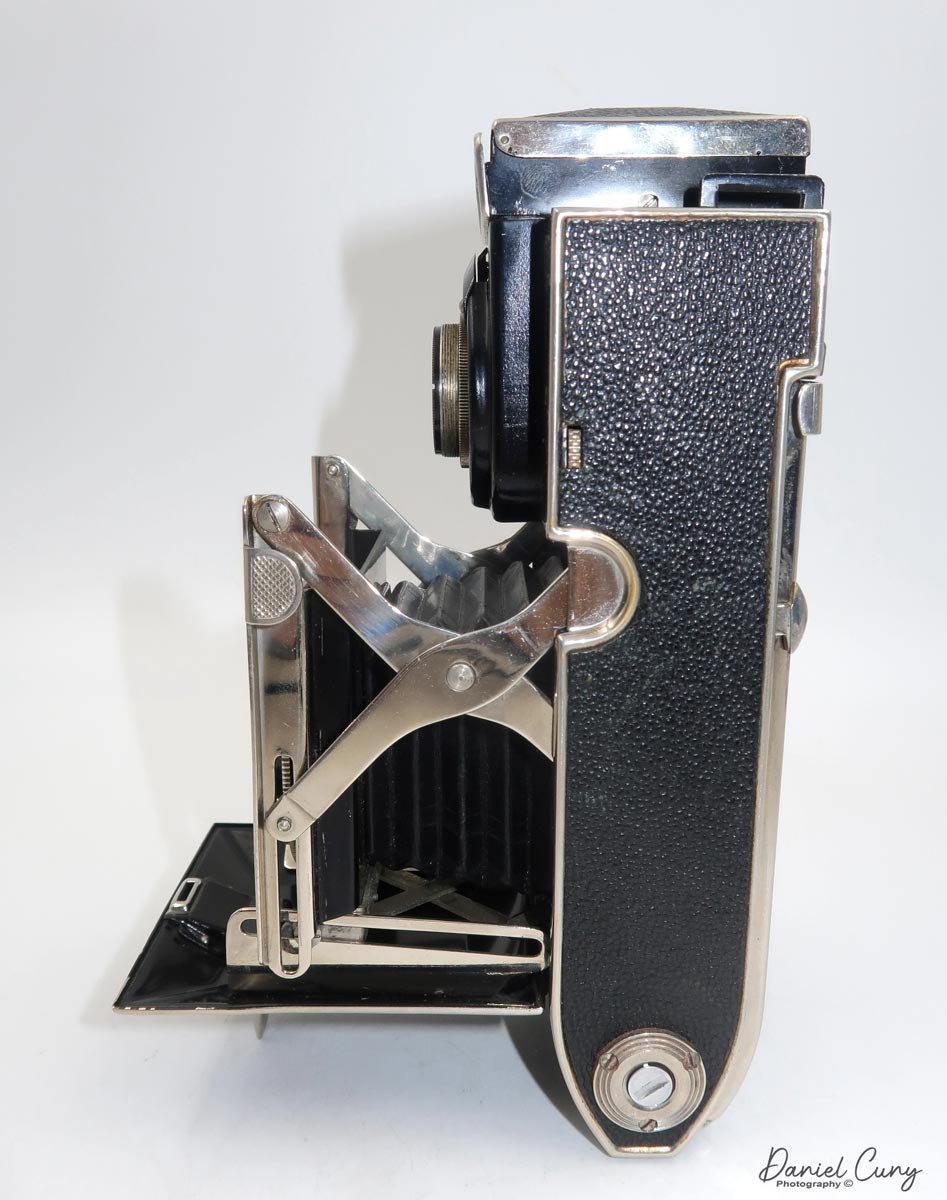
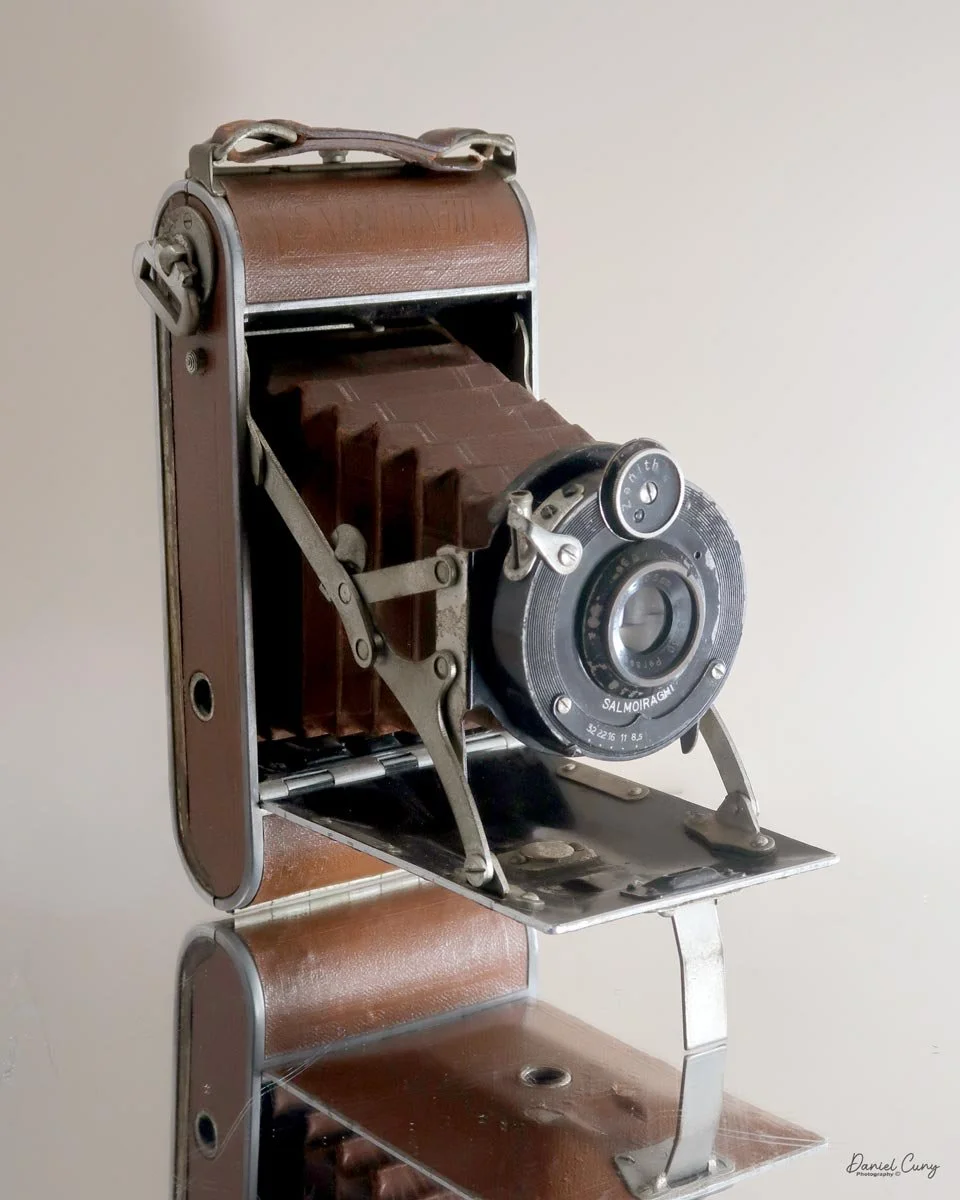
My Salmoiraghi Lexus camera is very similar to many of the other 120 film, 6x9cm folding medium-format cameras from this era. The camera is 6" long by 3" tall and 1.5" deep when closed, and 5.25" deep with the lens extended. The camera weighs 1 pound, 0.1 ounces, unloaded.
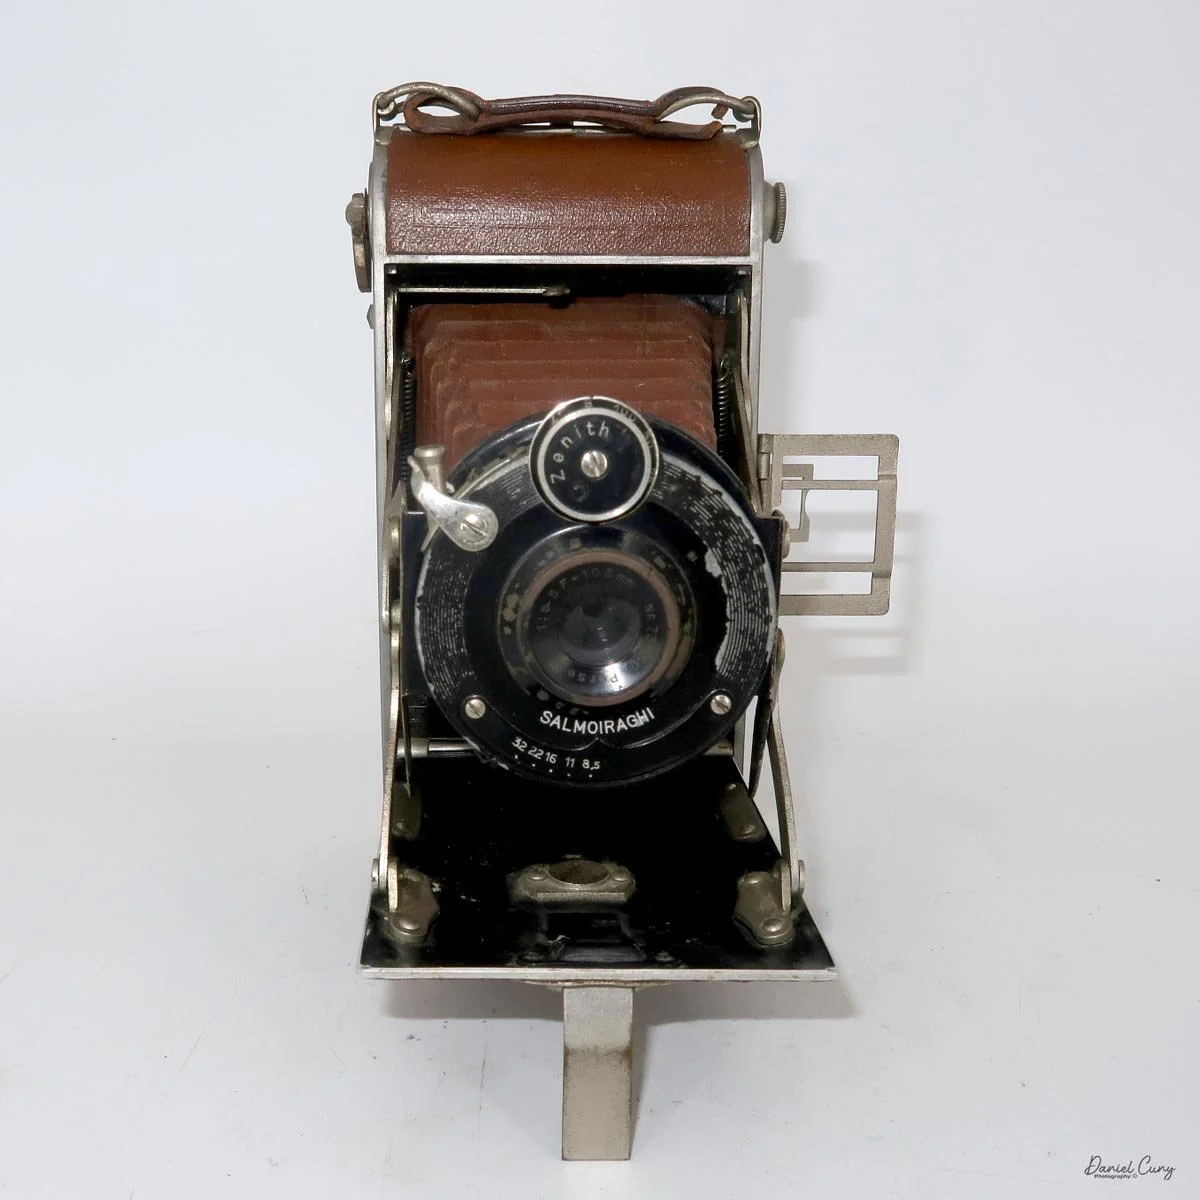
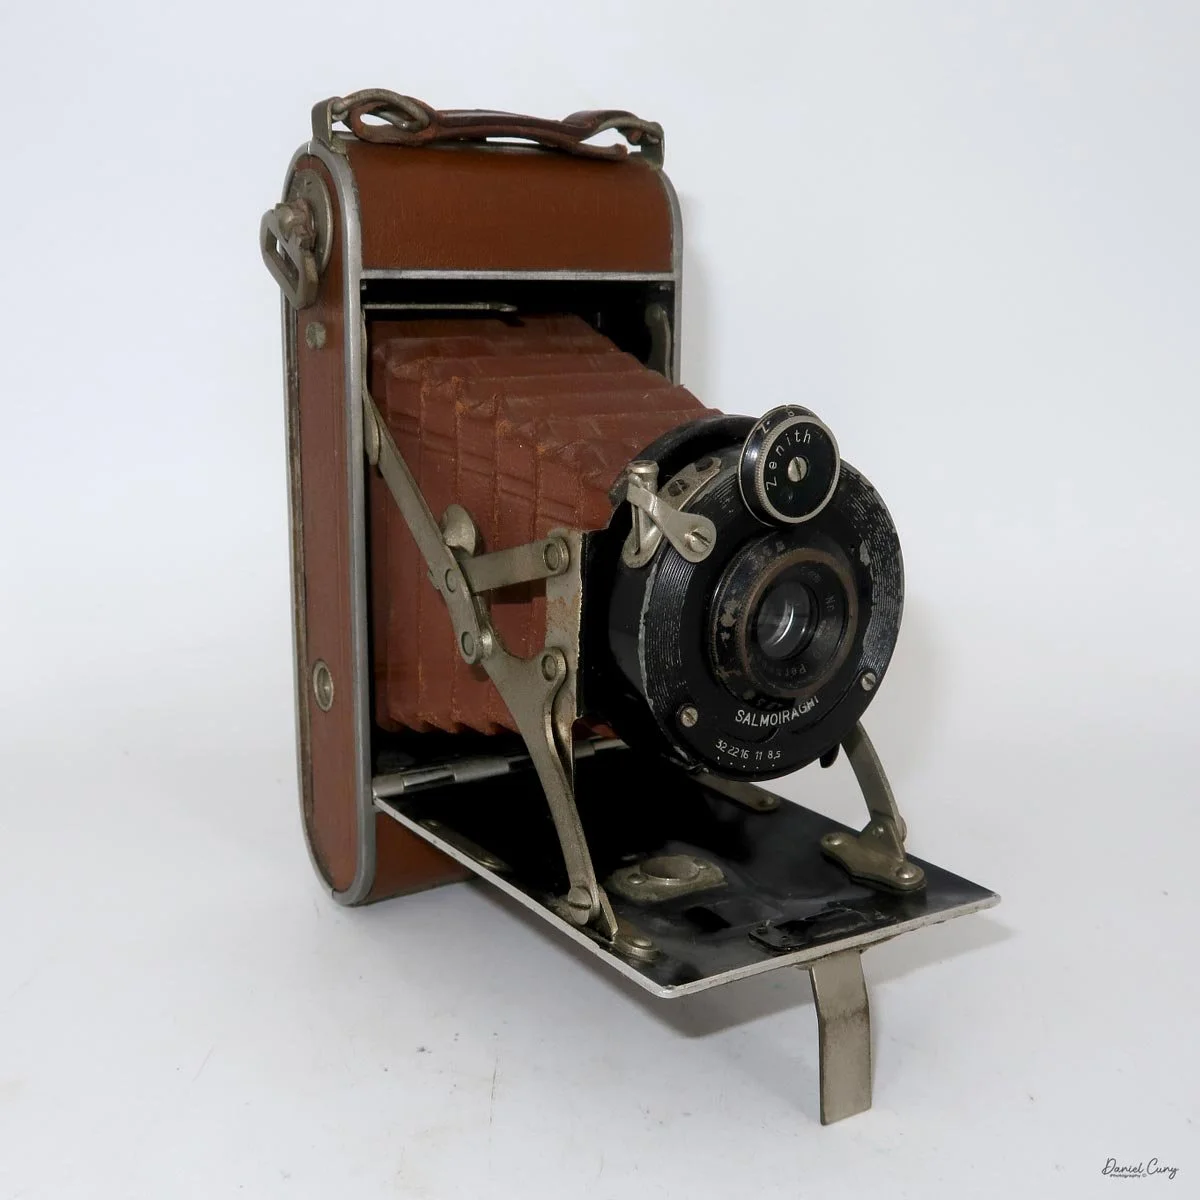
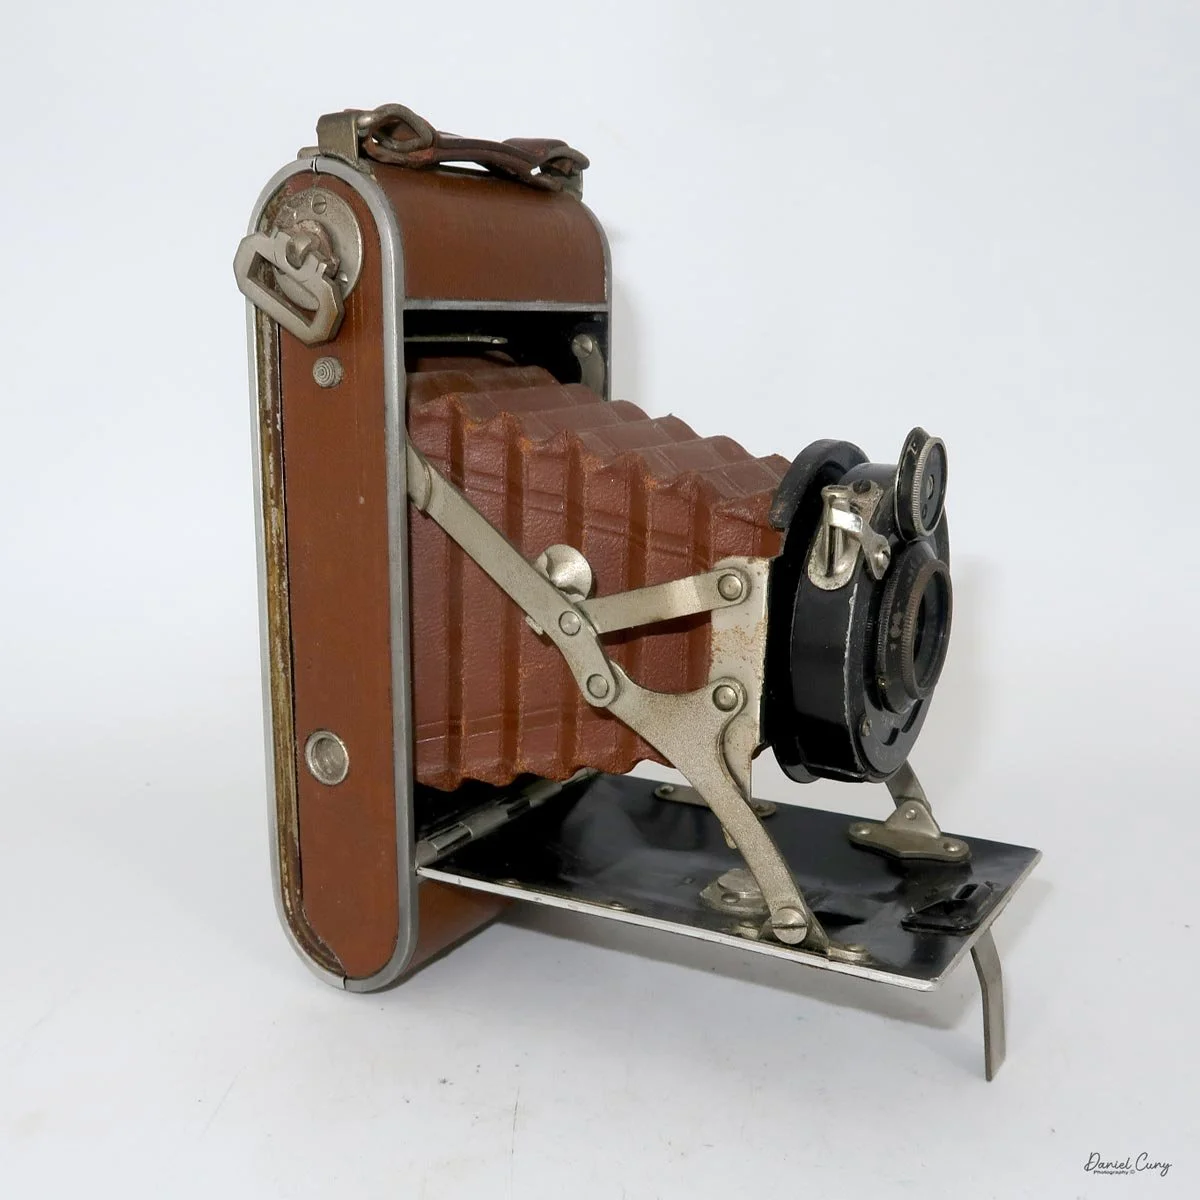

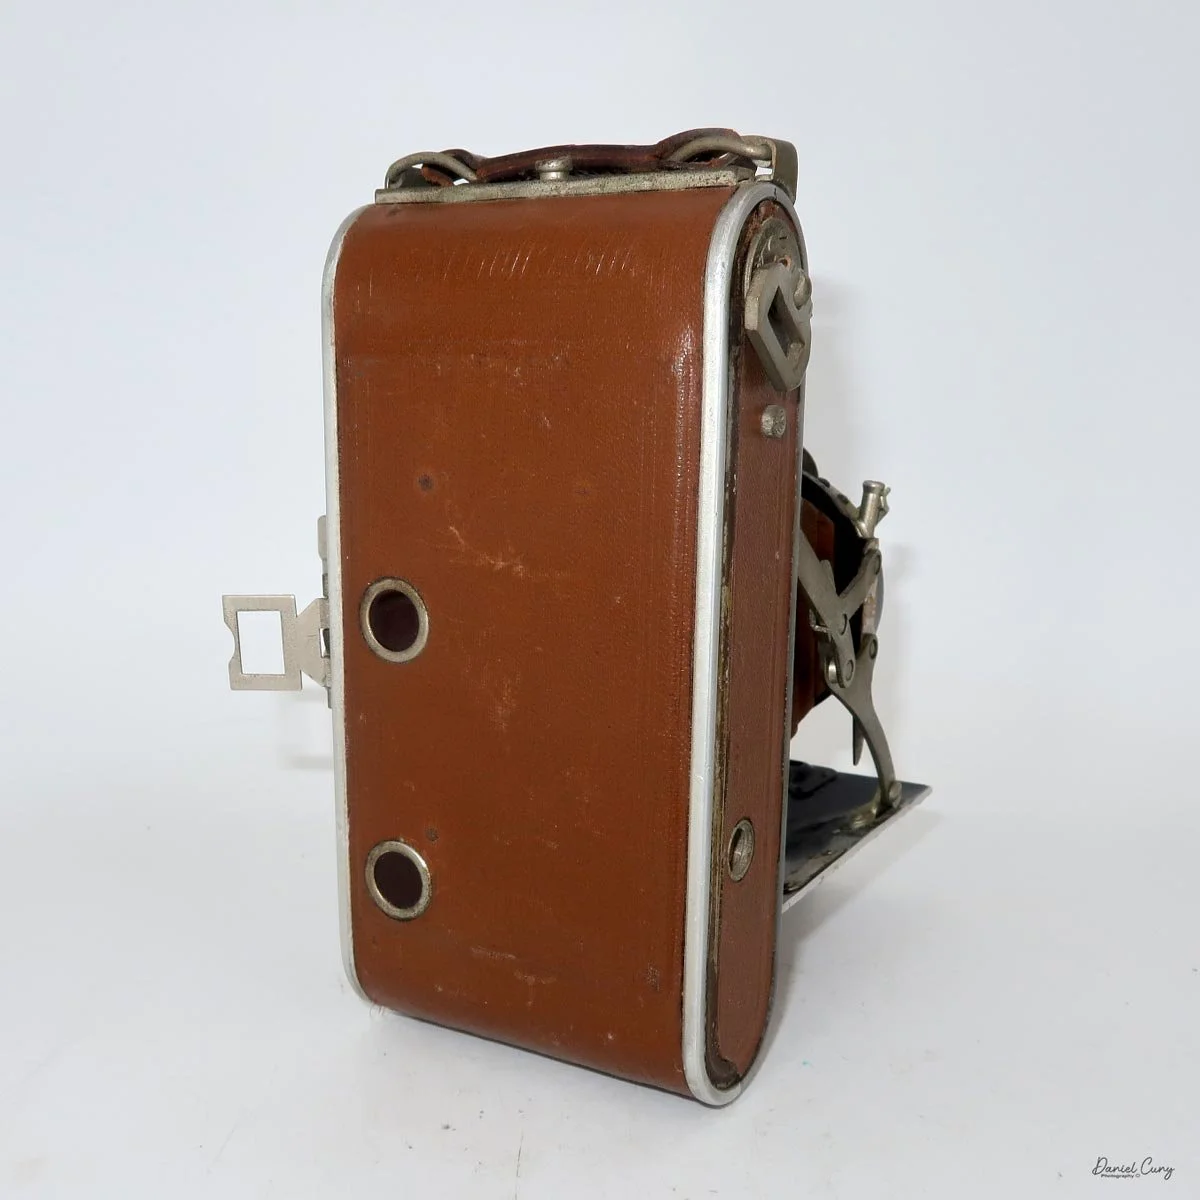
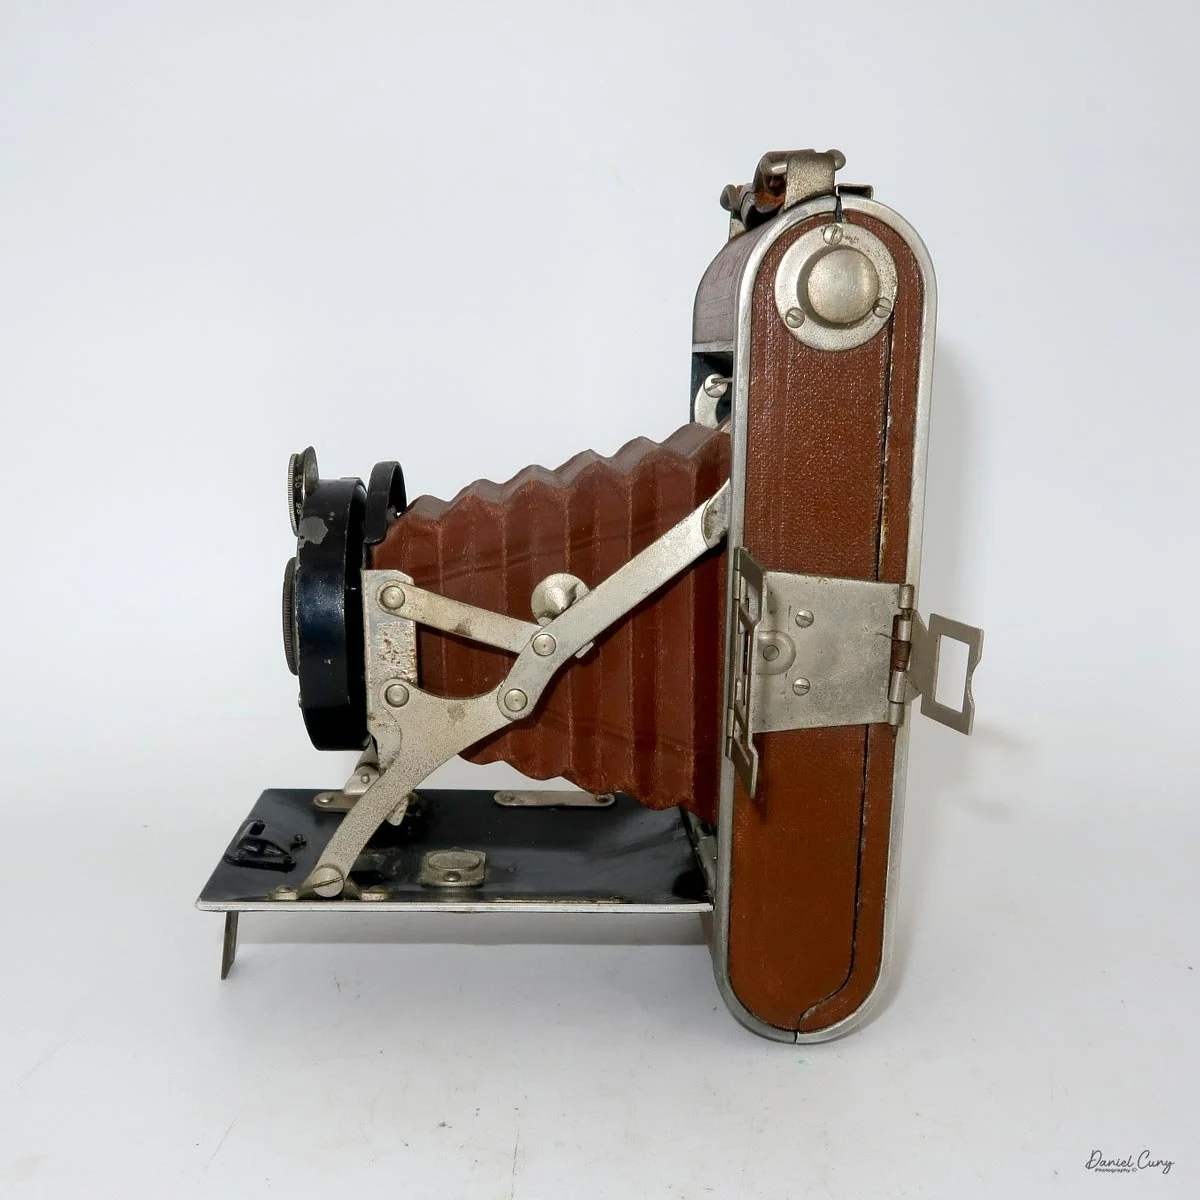
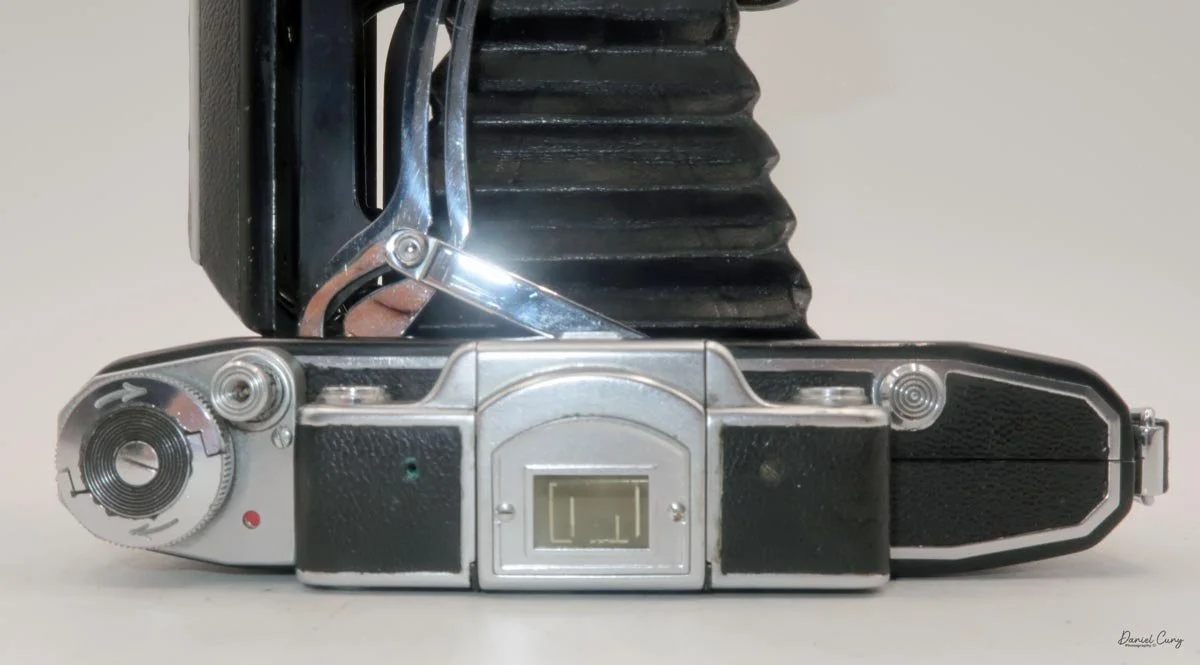
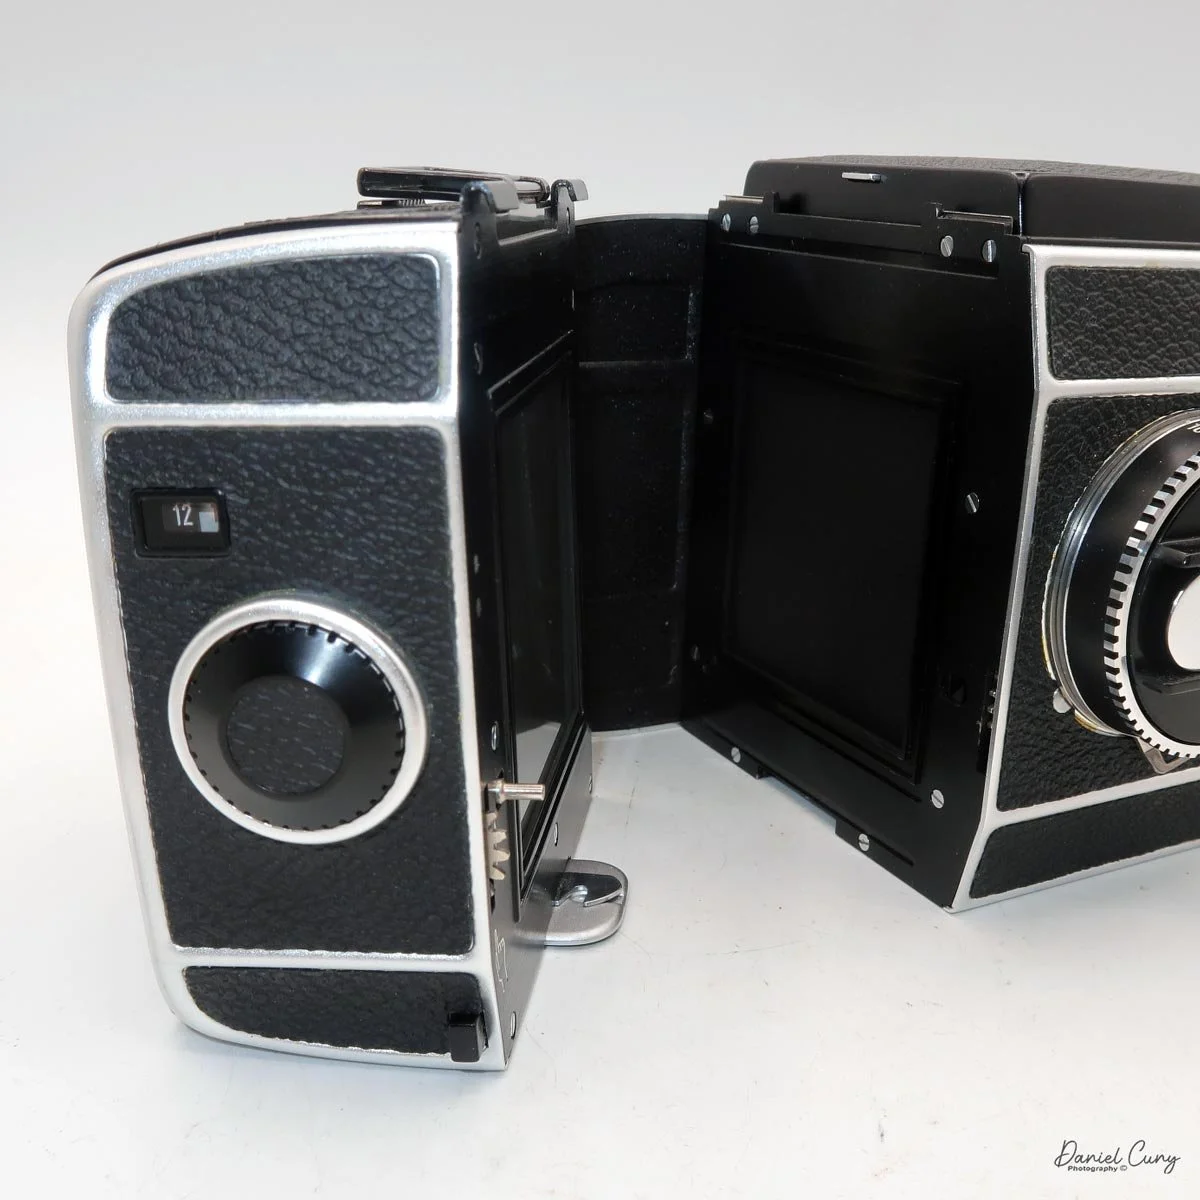
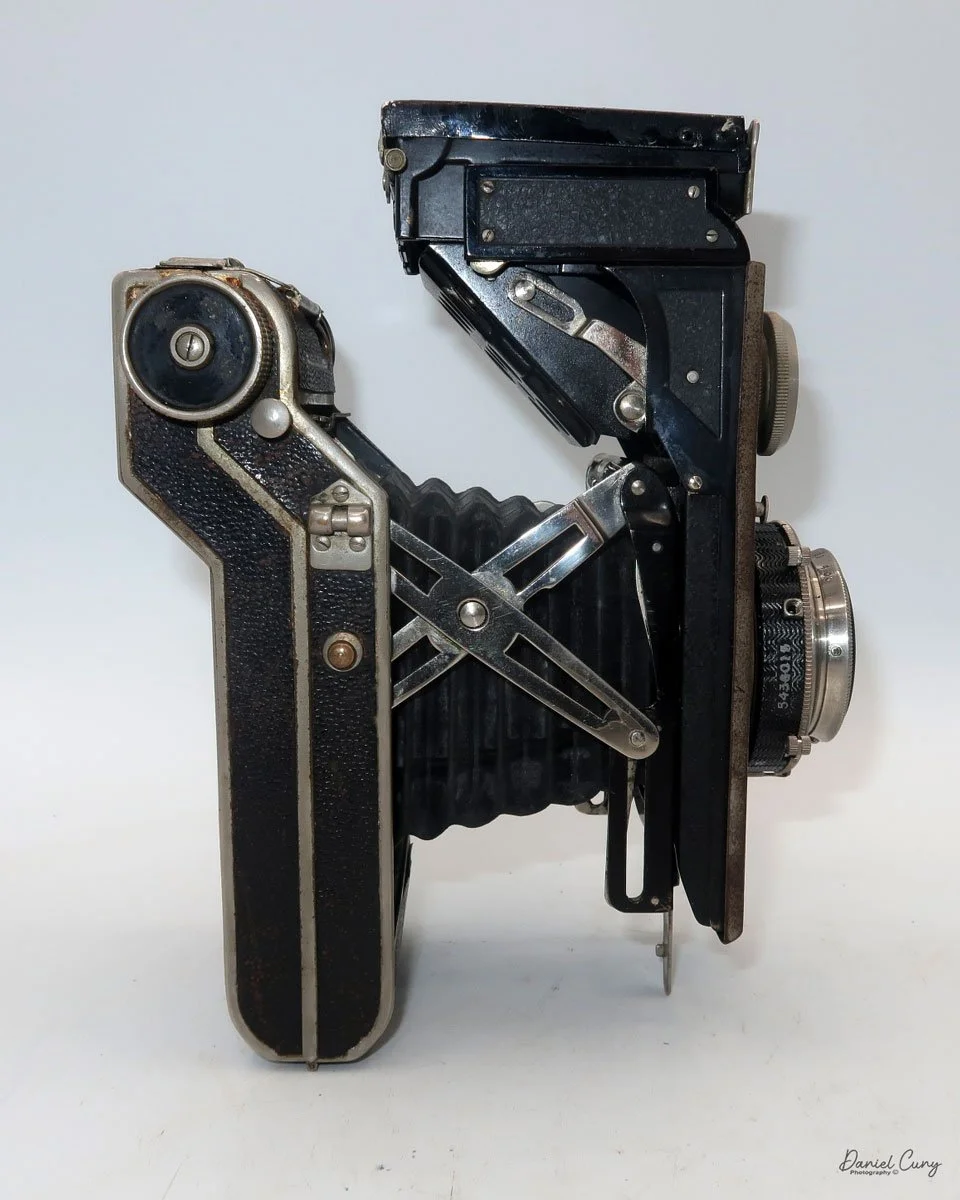
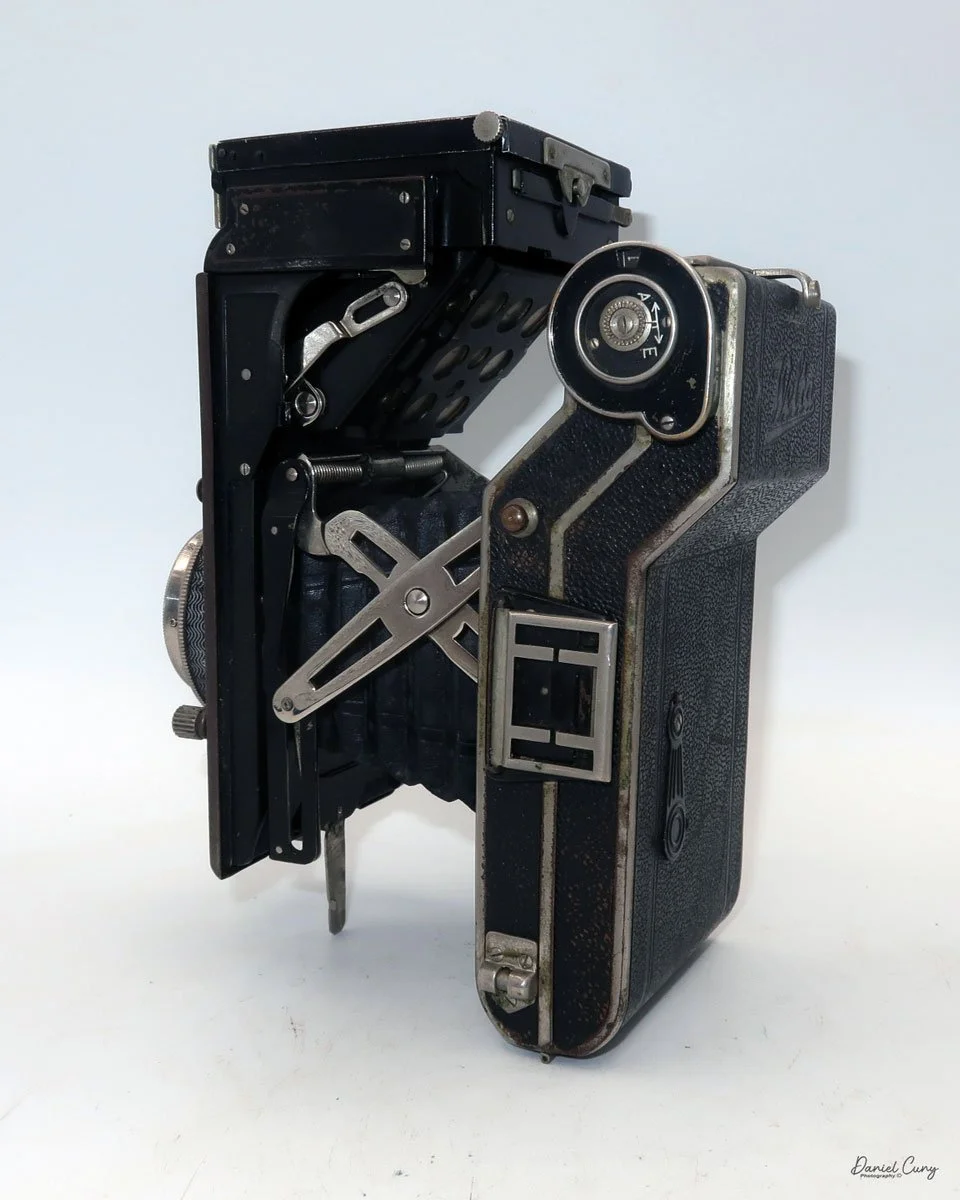
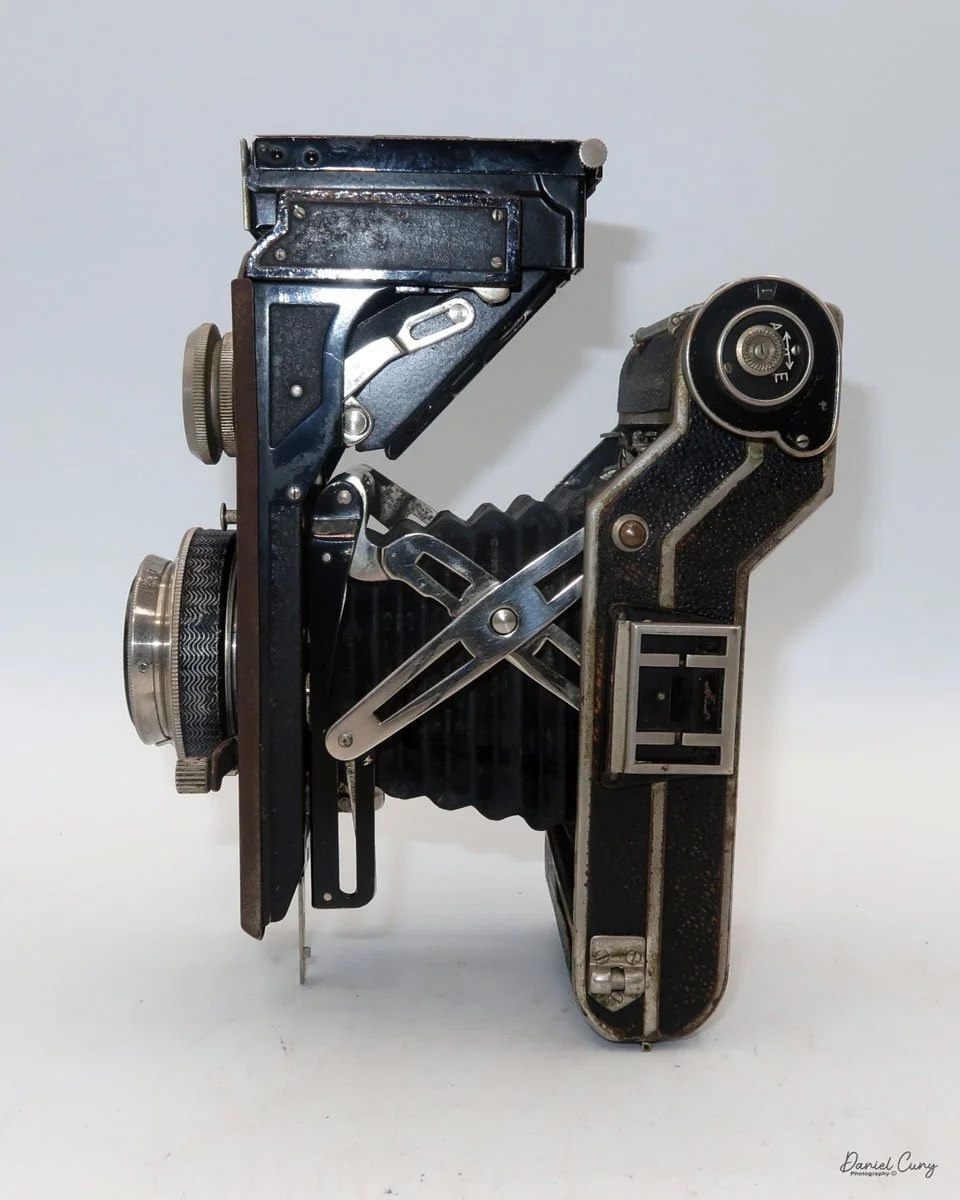
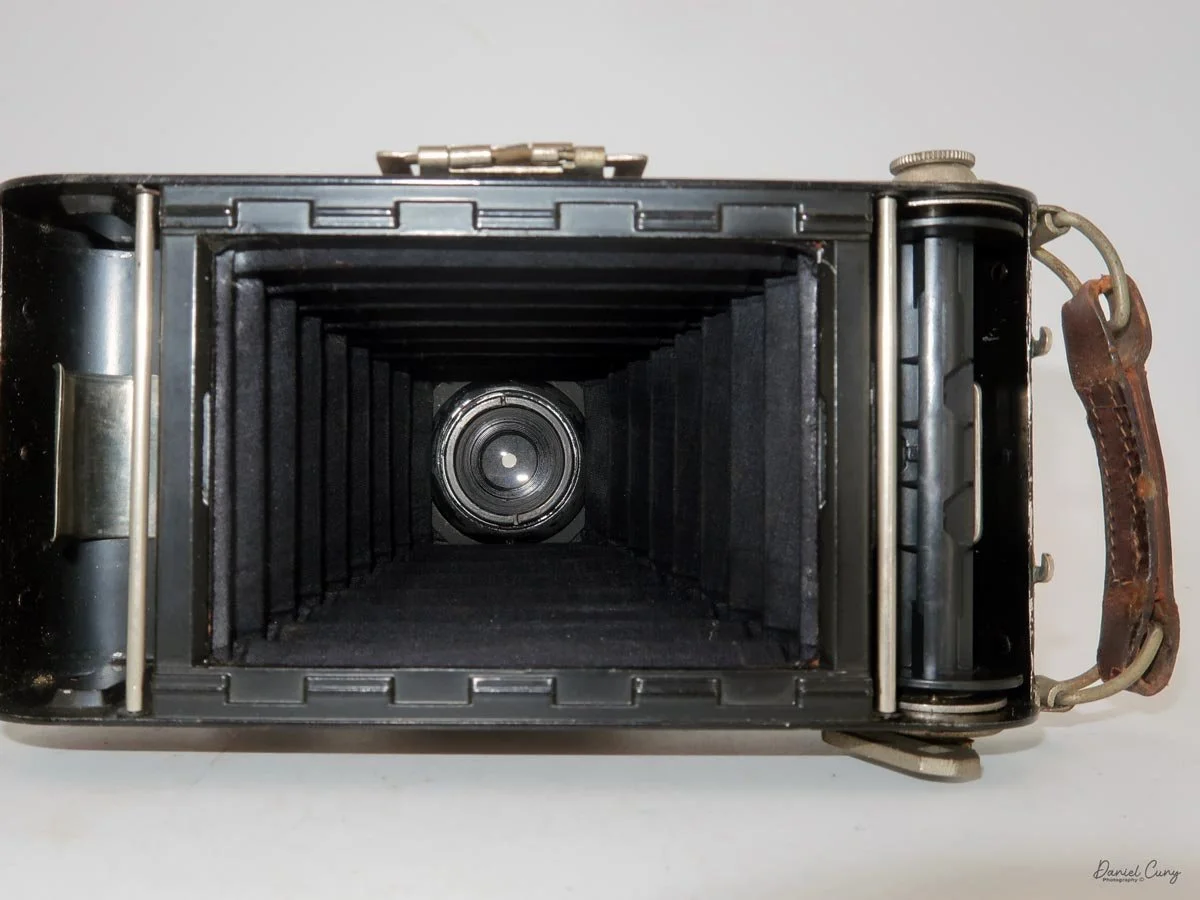
To open the front of the camera and extend the lens, on the side of the camera, close to the film winding knob, is a small button to press that opens the front, exposing the beautiful original brown bellows.
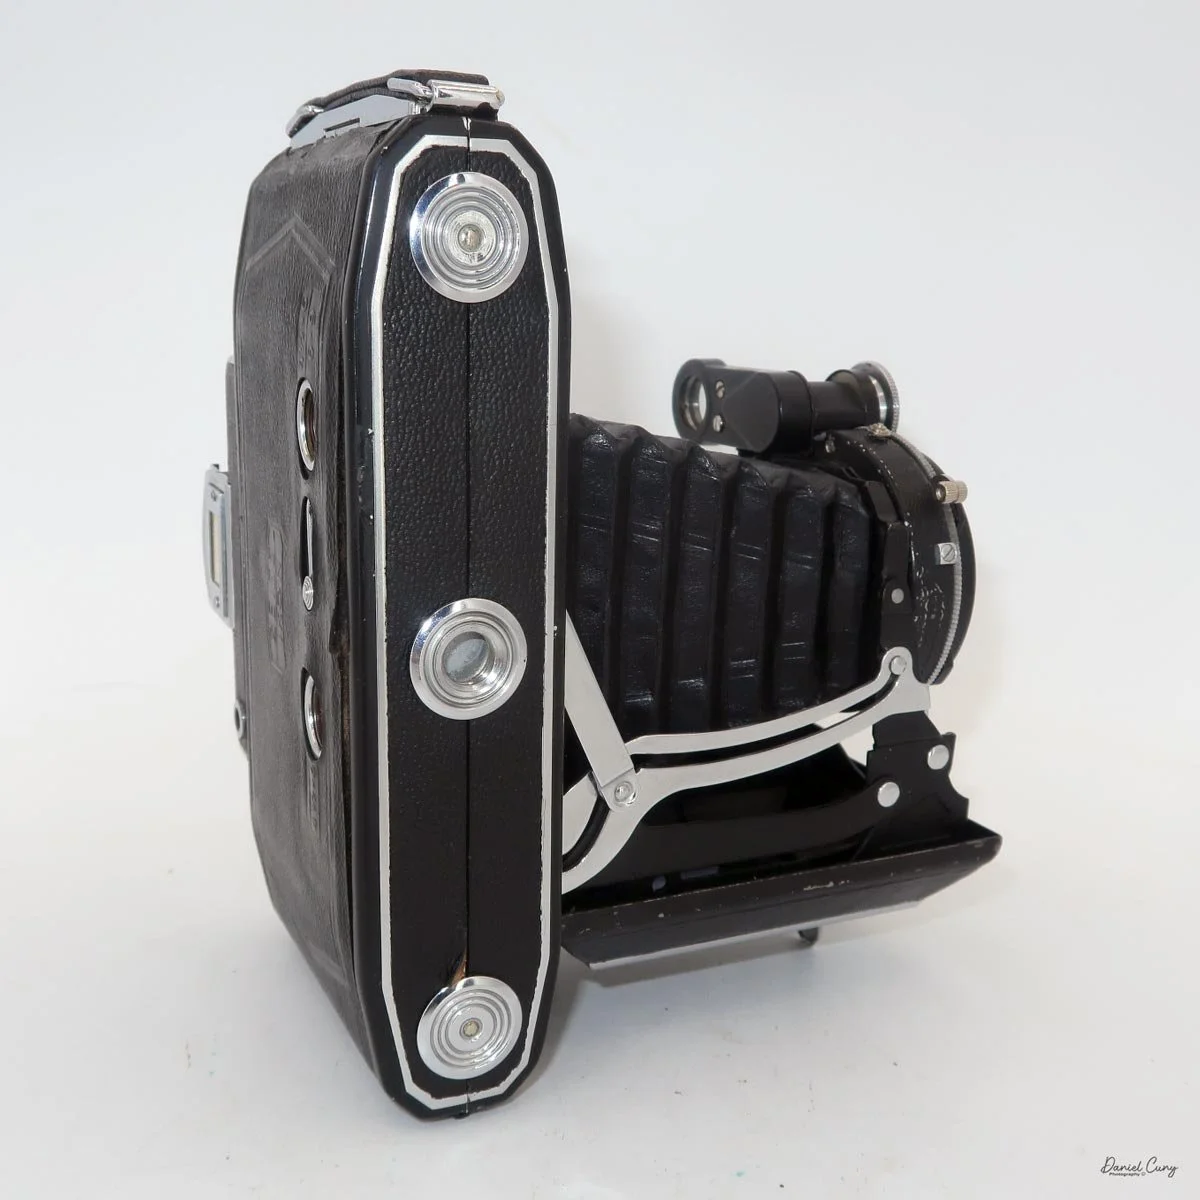
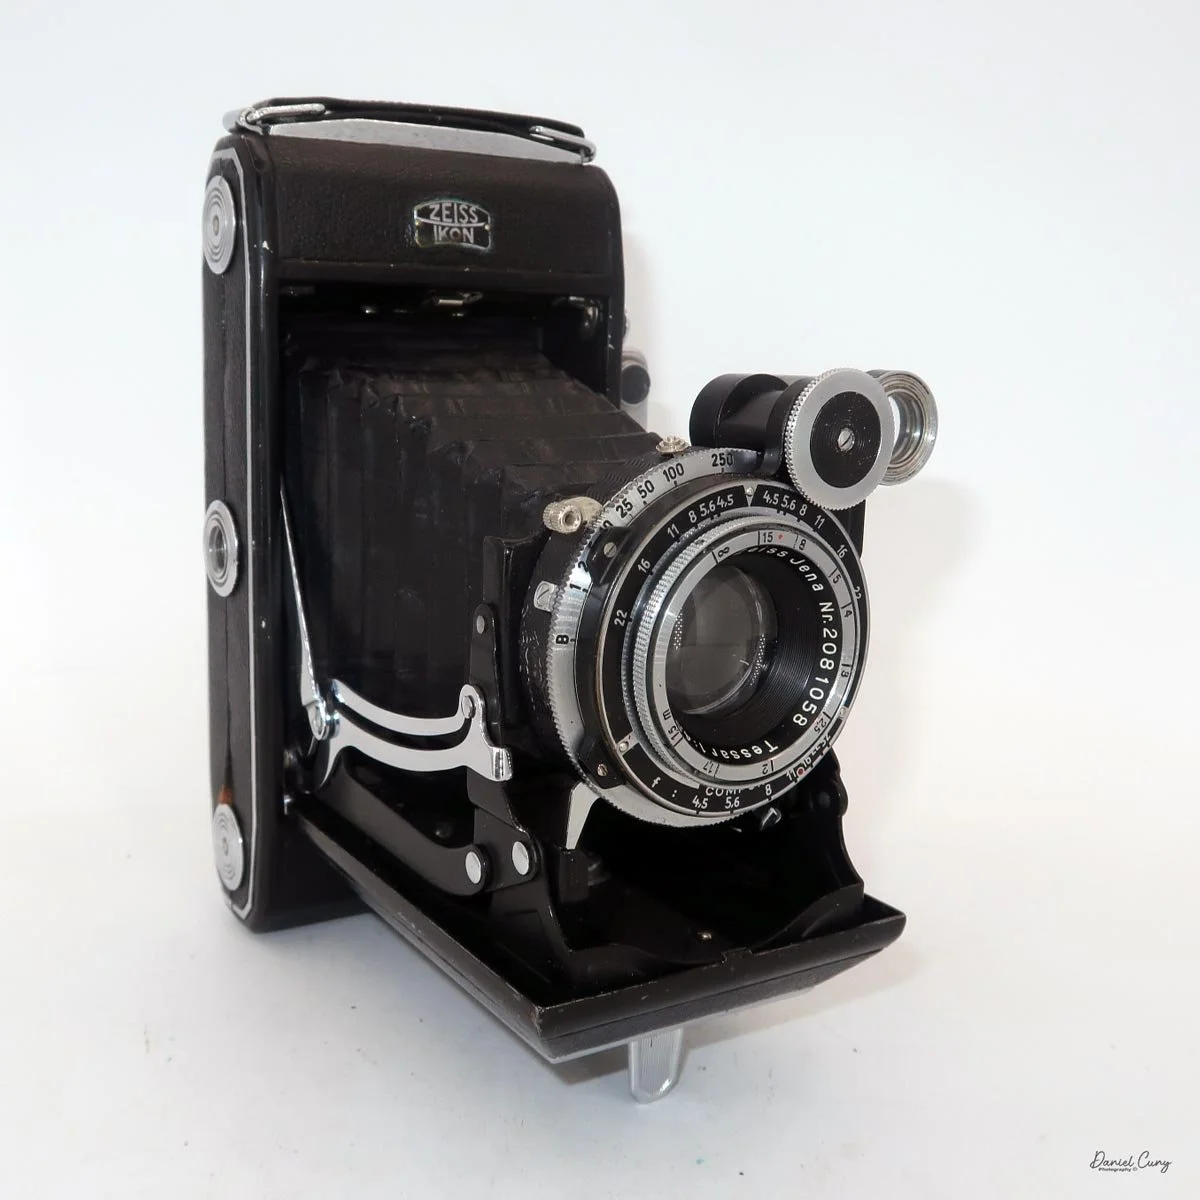
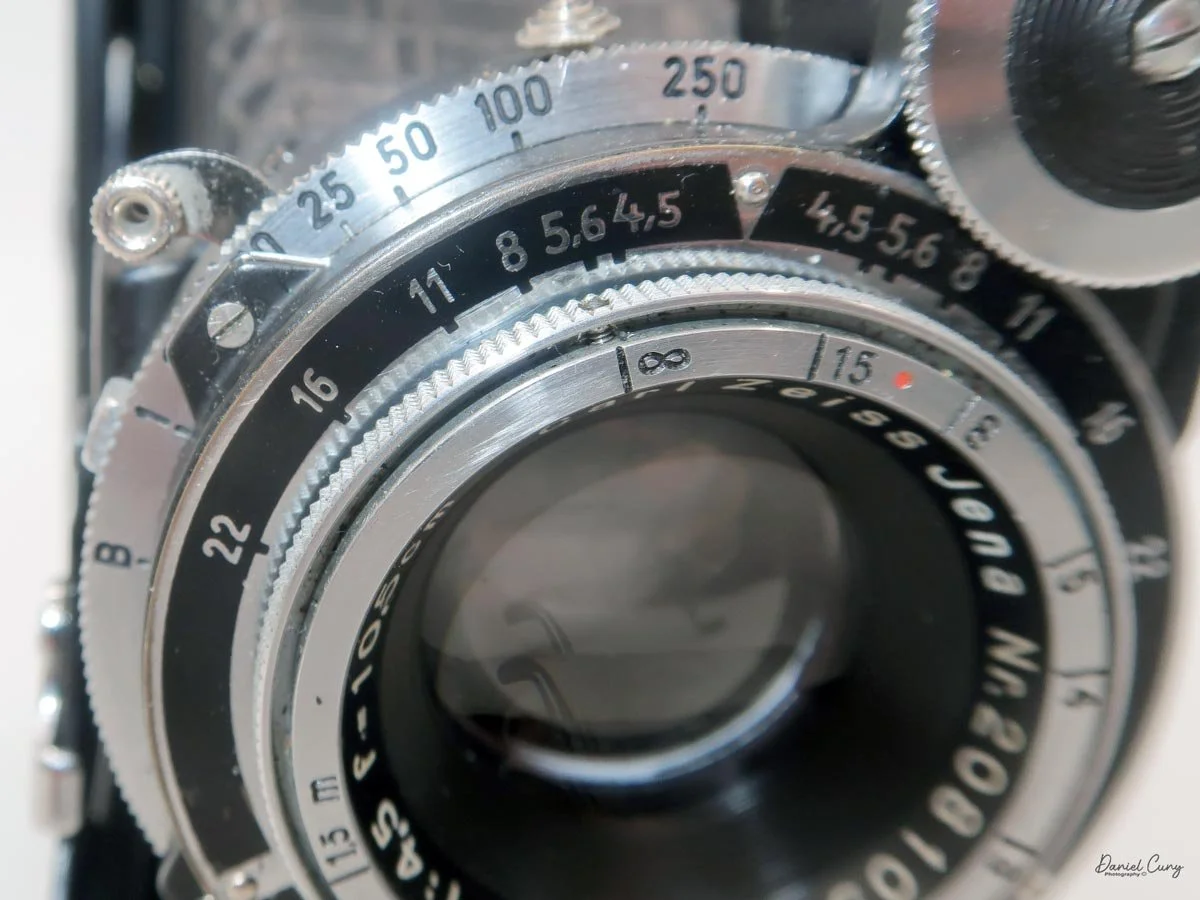
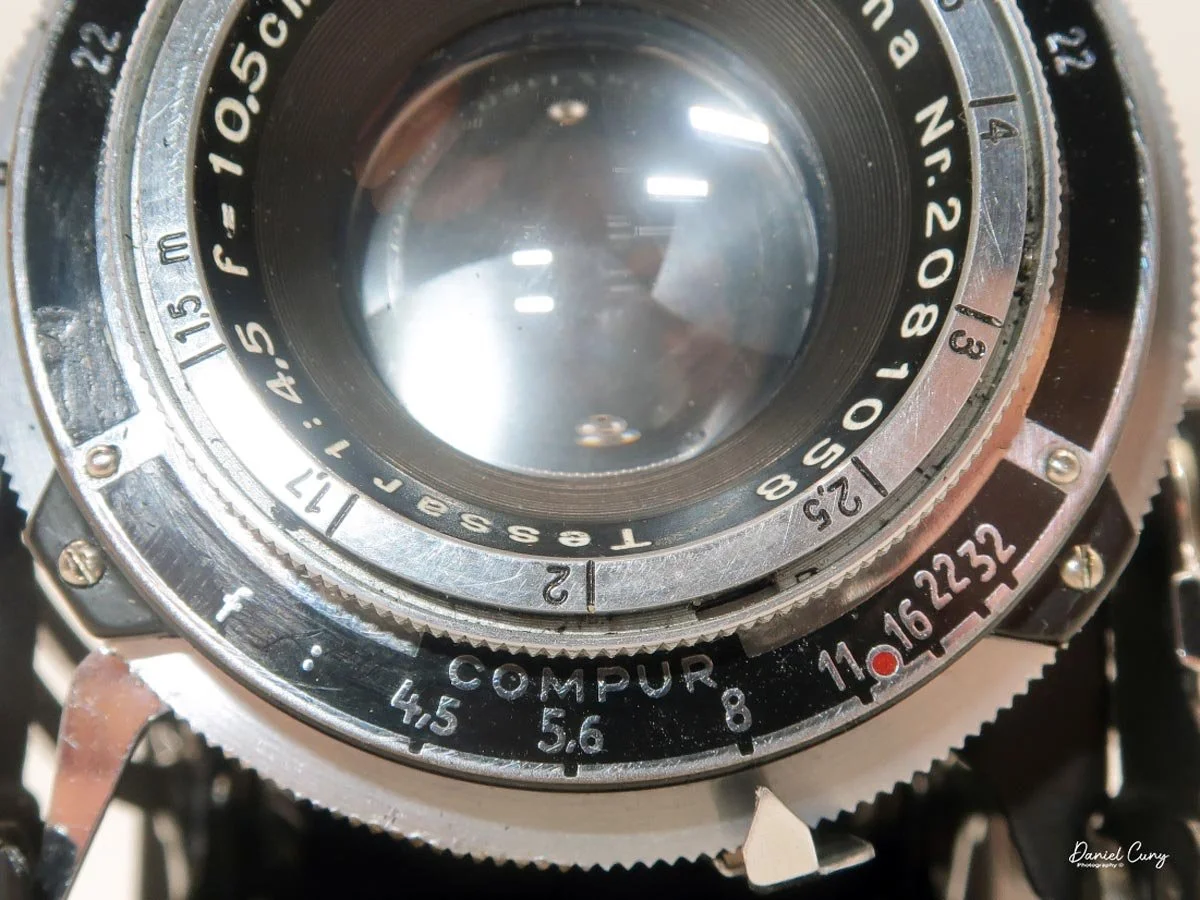
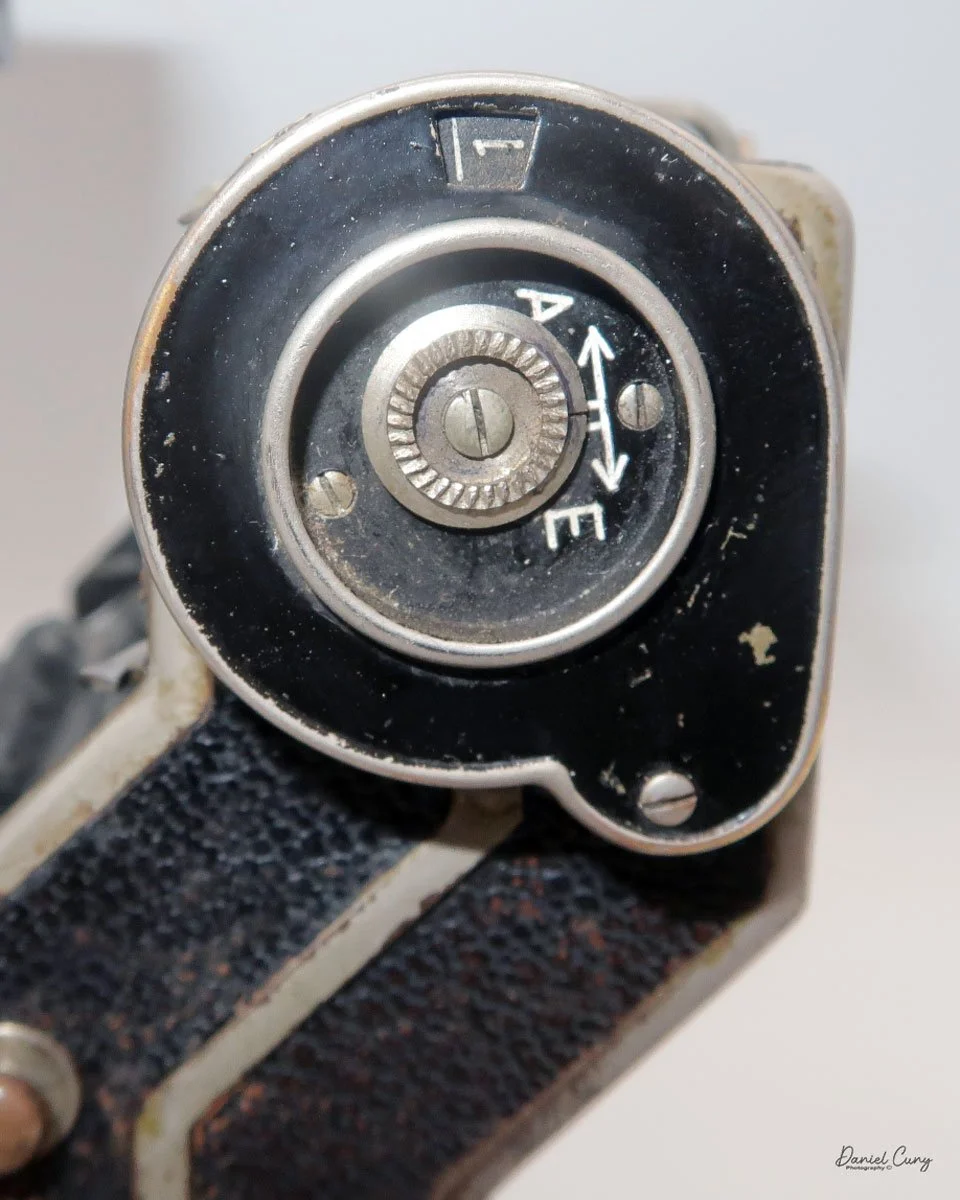
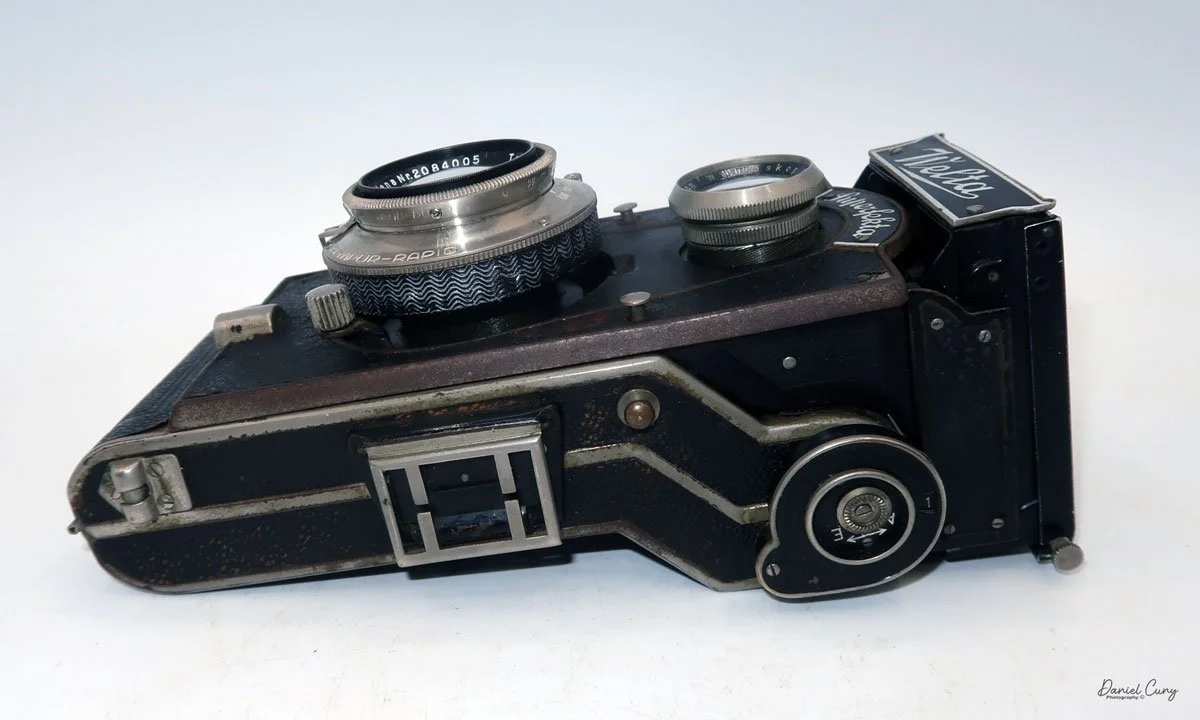
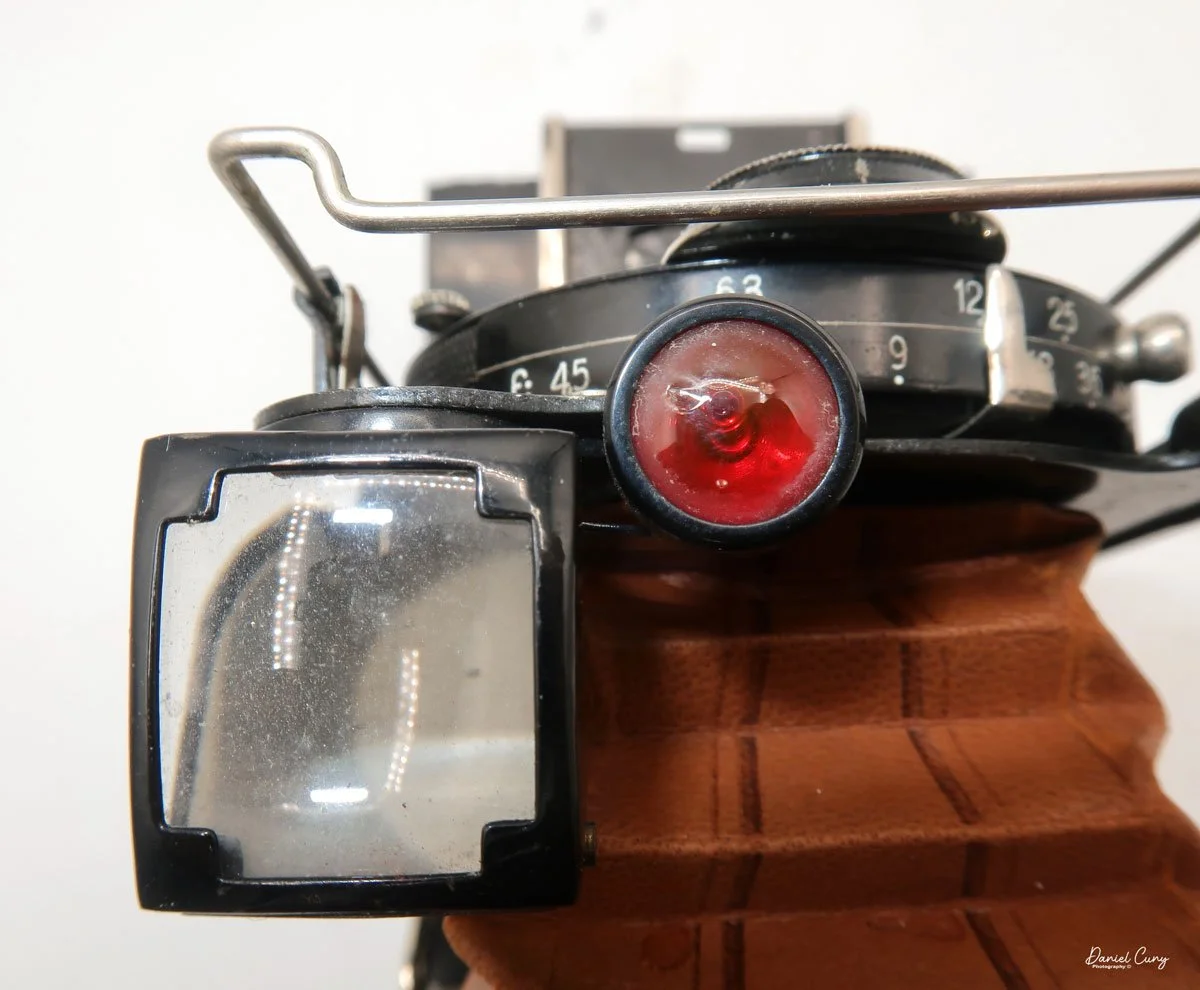
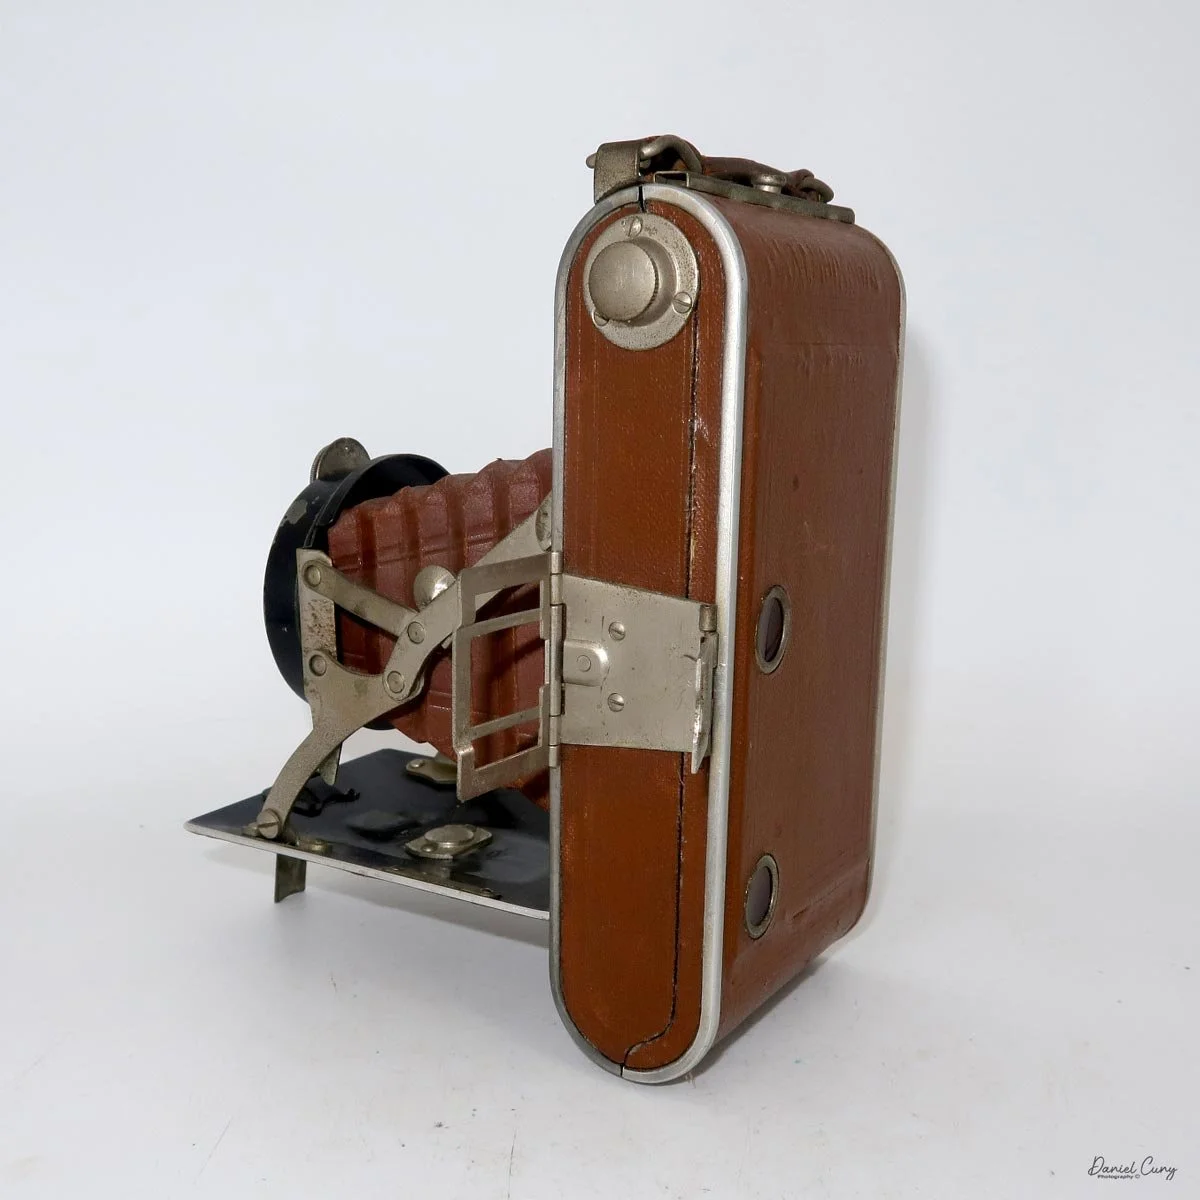
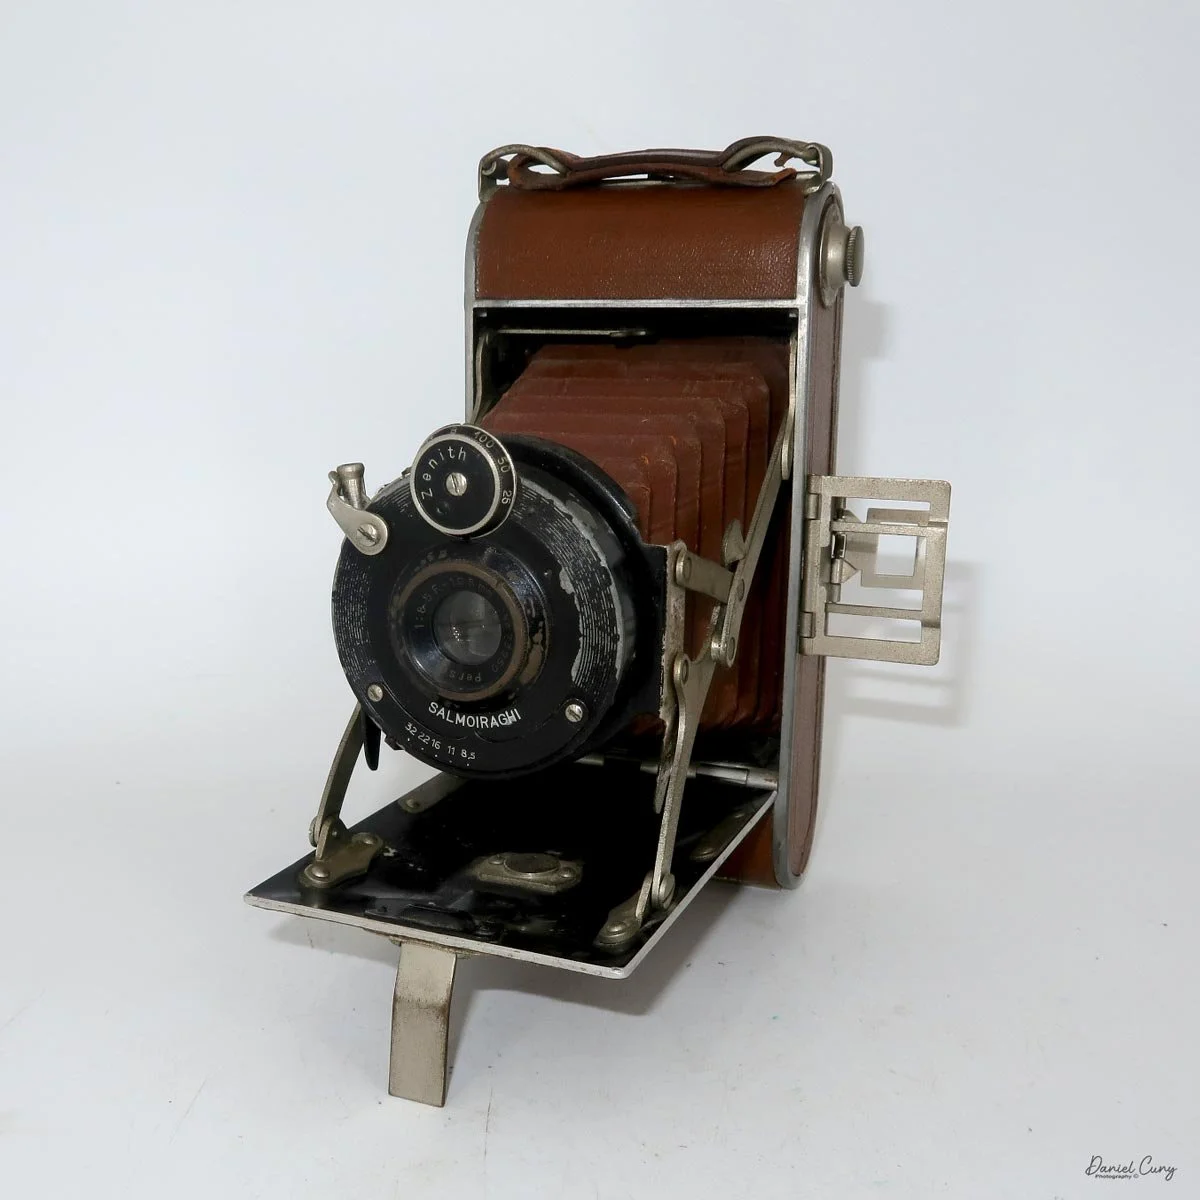
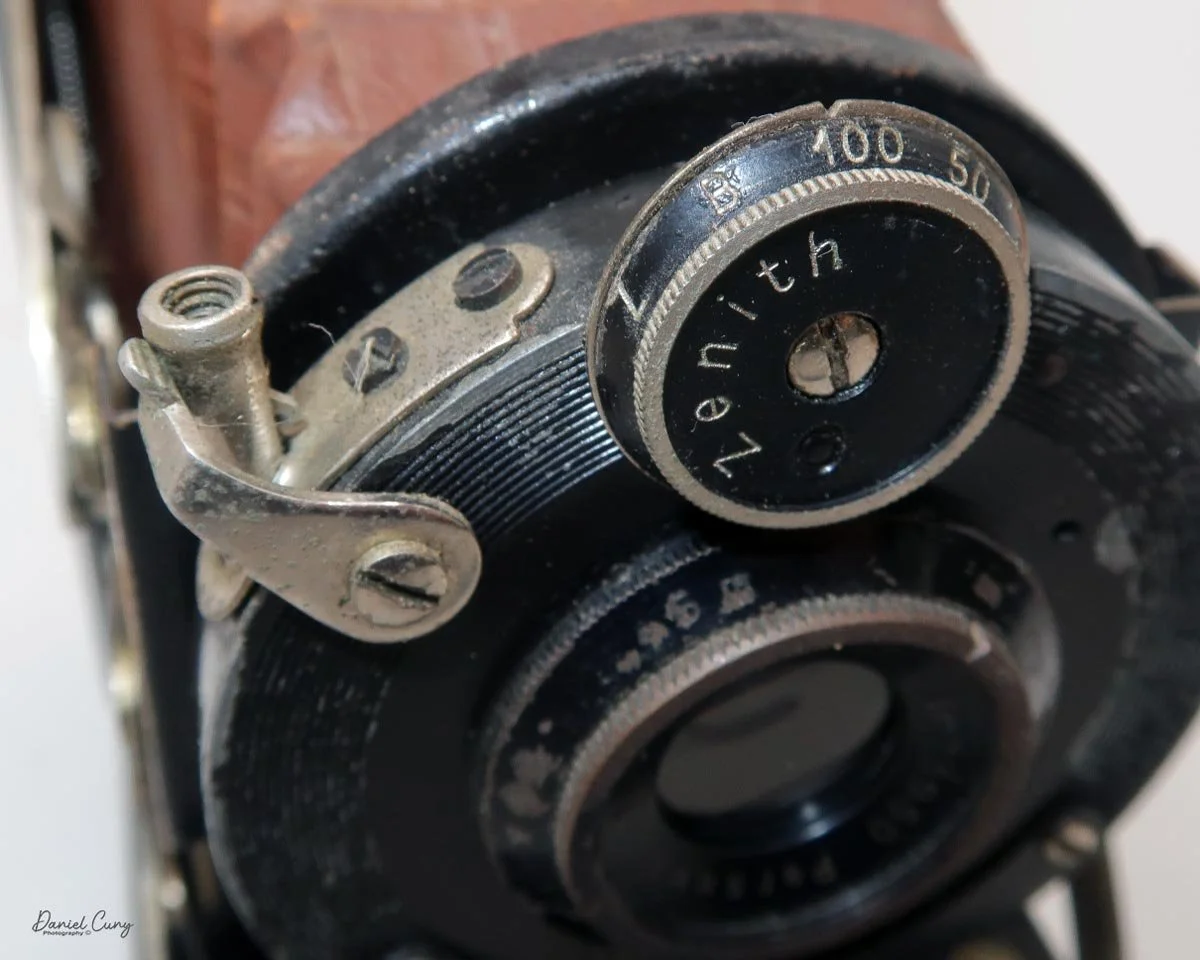
Looking at the front of the camera, the Salmoiraghi Lexus has a Perseus 105mm F/8.5 lens with aperture settings from F/8.5 to F/32, which can be set by a small sliding bar under the lens. The camera also has a Zenith shutter with speeds of 1/25, 1/50, 1/100, along with "B" and "Z" for timed exposures. Just to the right of the shutter speed selector, as you're holding the camera, is the shutter release. The shutter release also has a cable release socket for timed exposures.


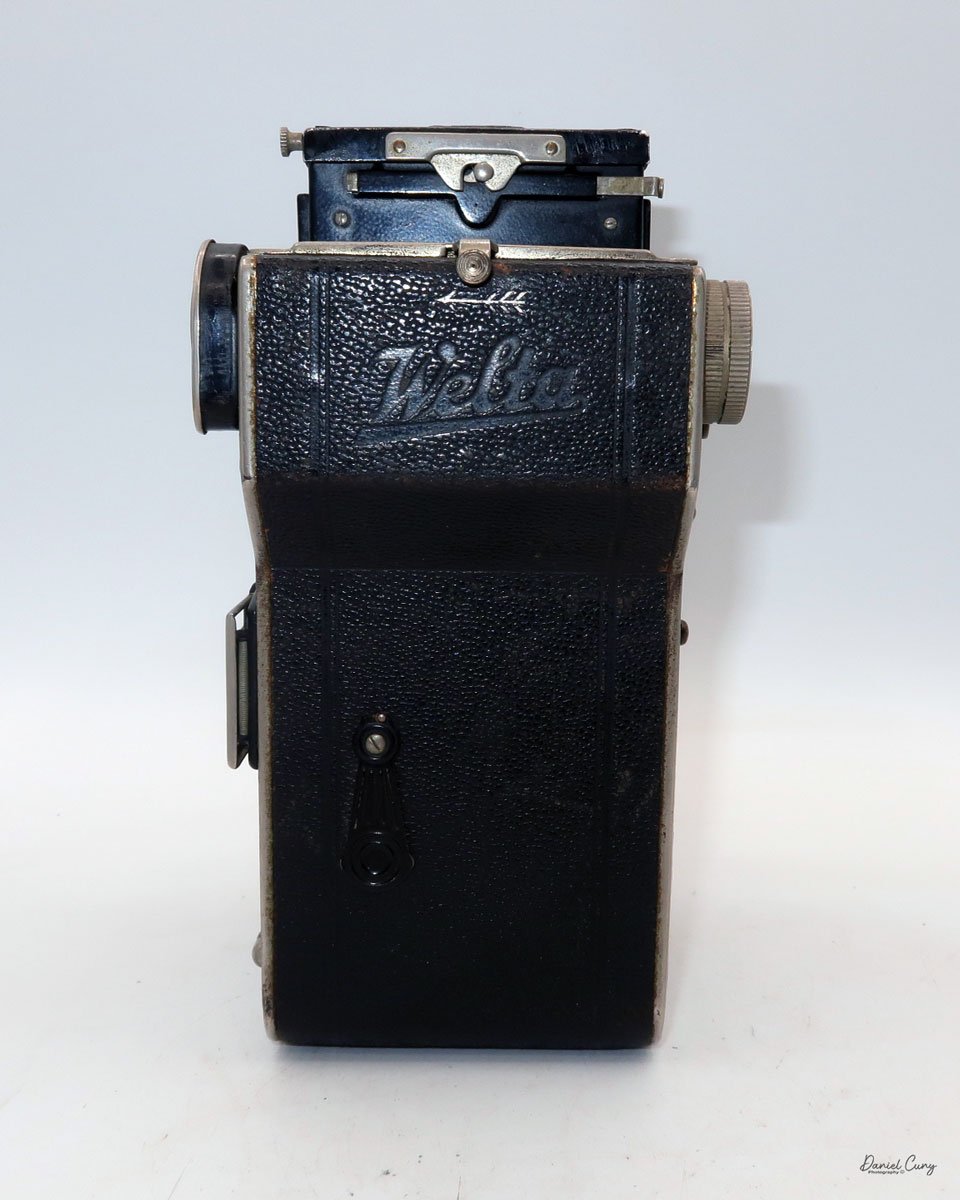
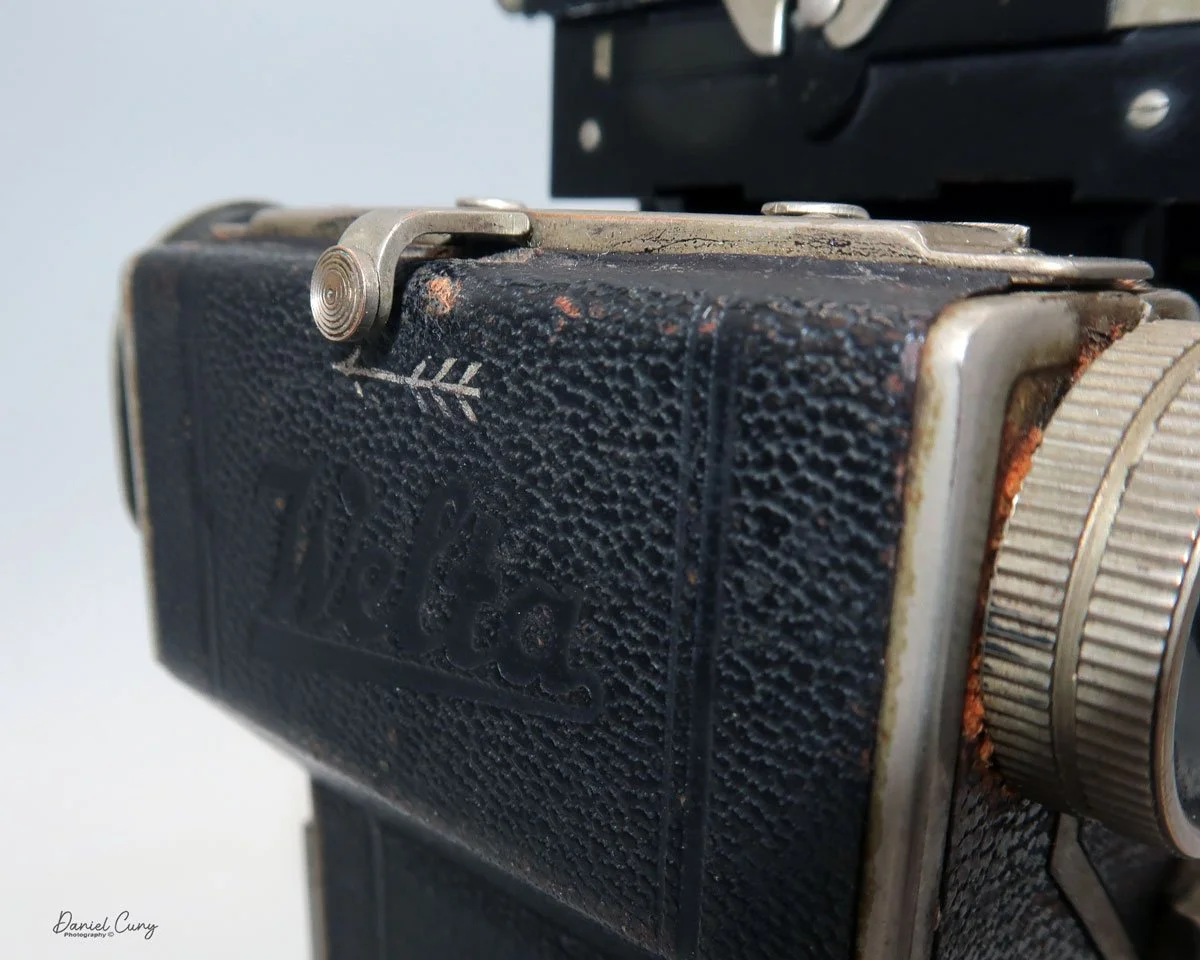
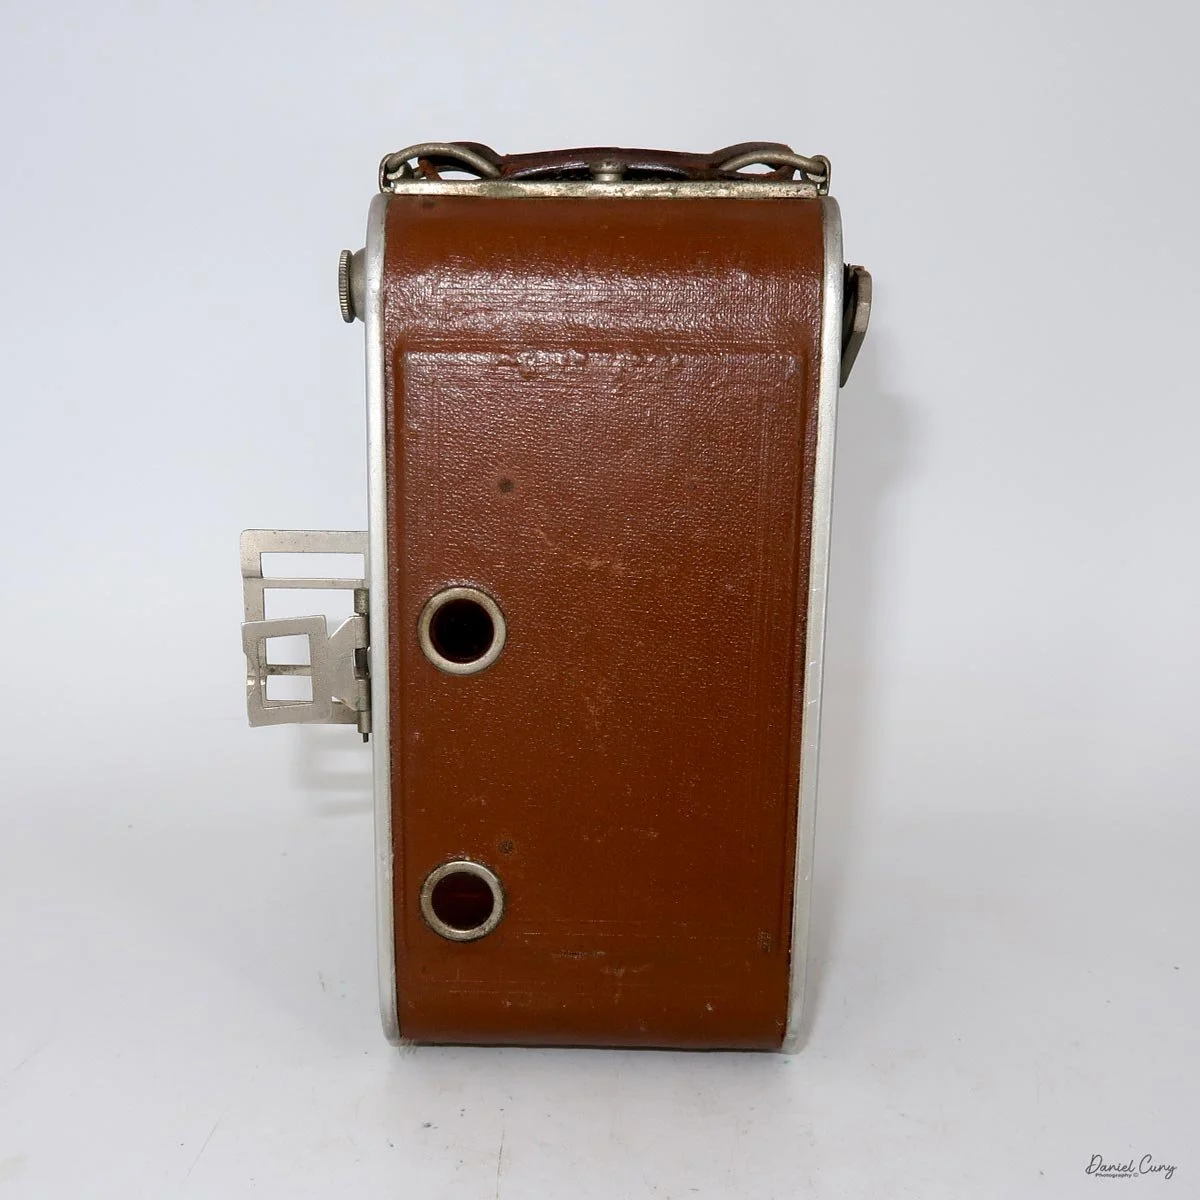
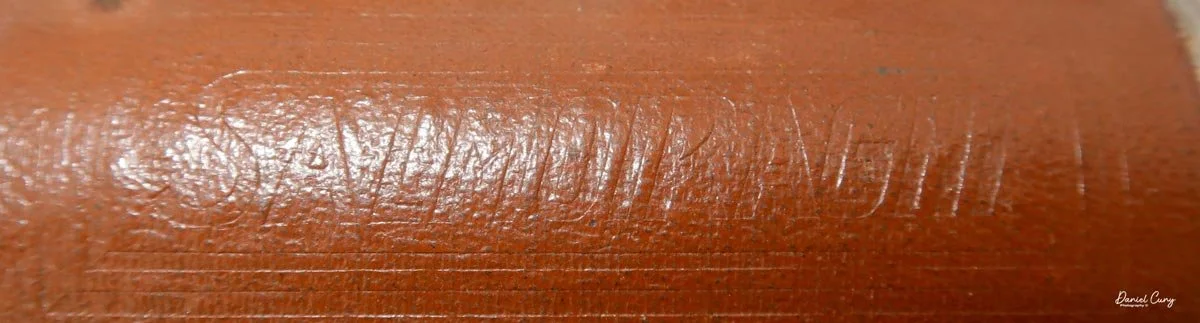
The name Salmoiraghi is also imprinted under the lens, embossed in the brown leather on the top front and rear.
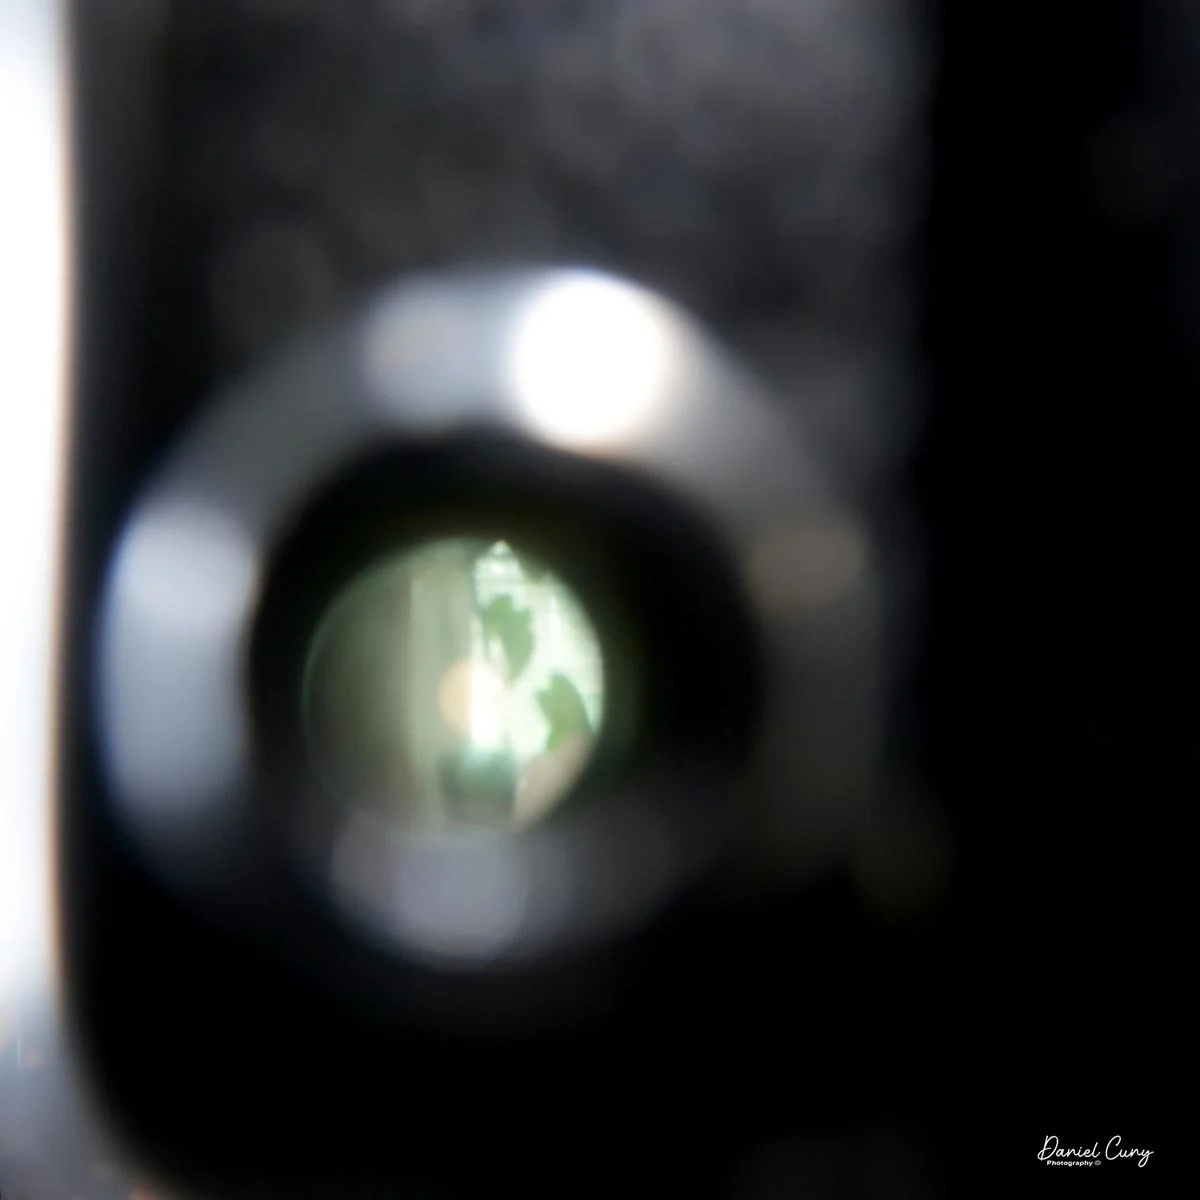
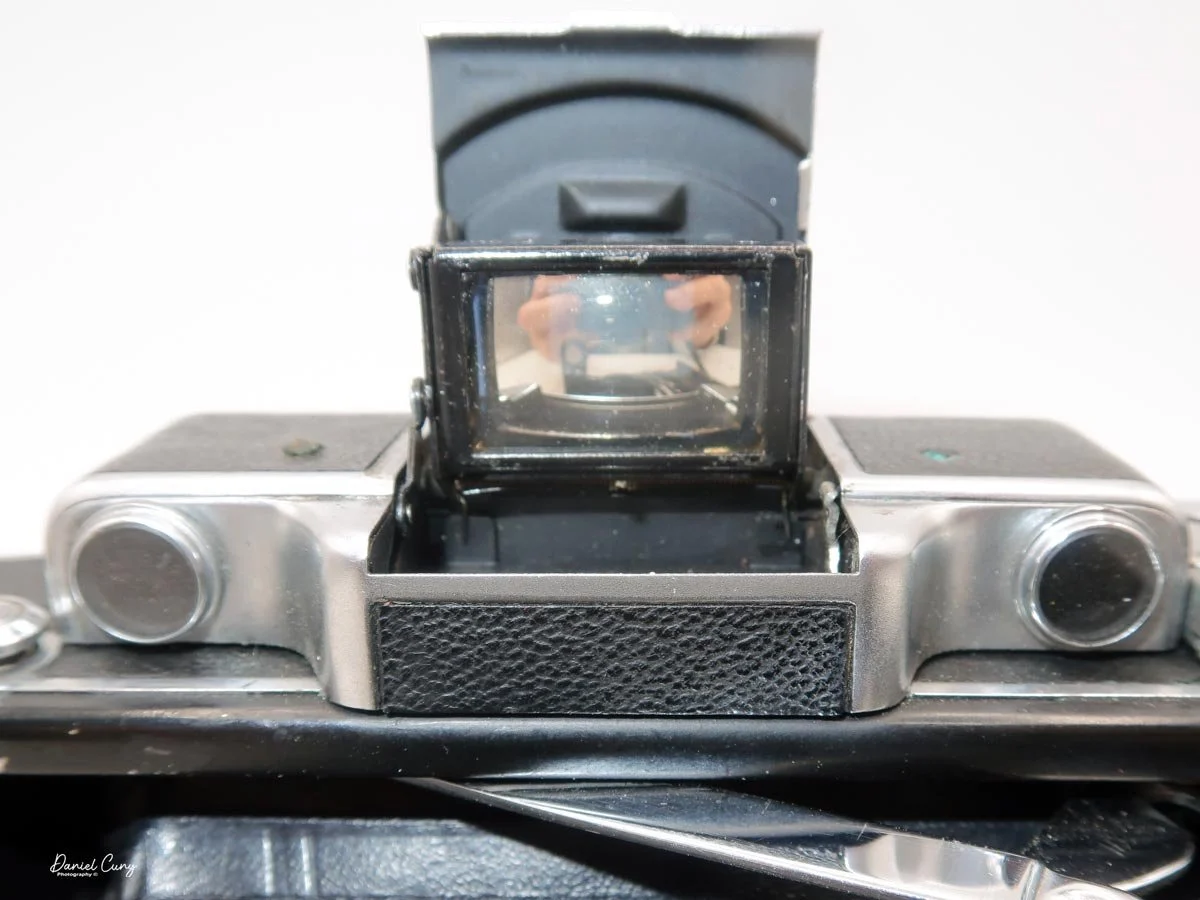
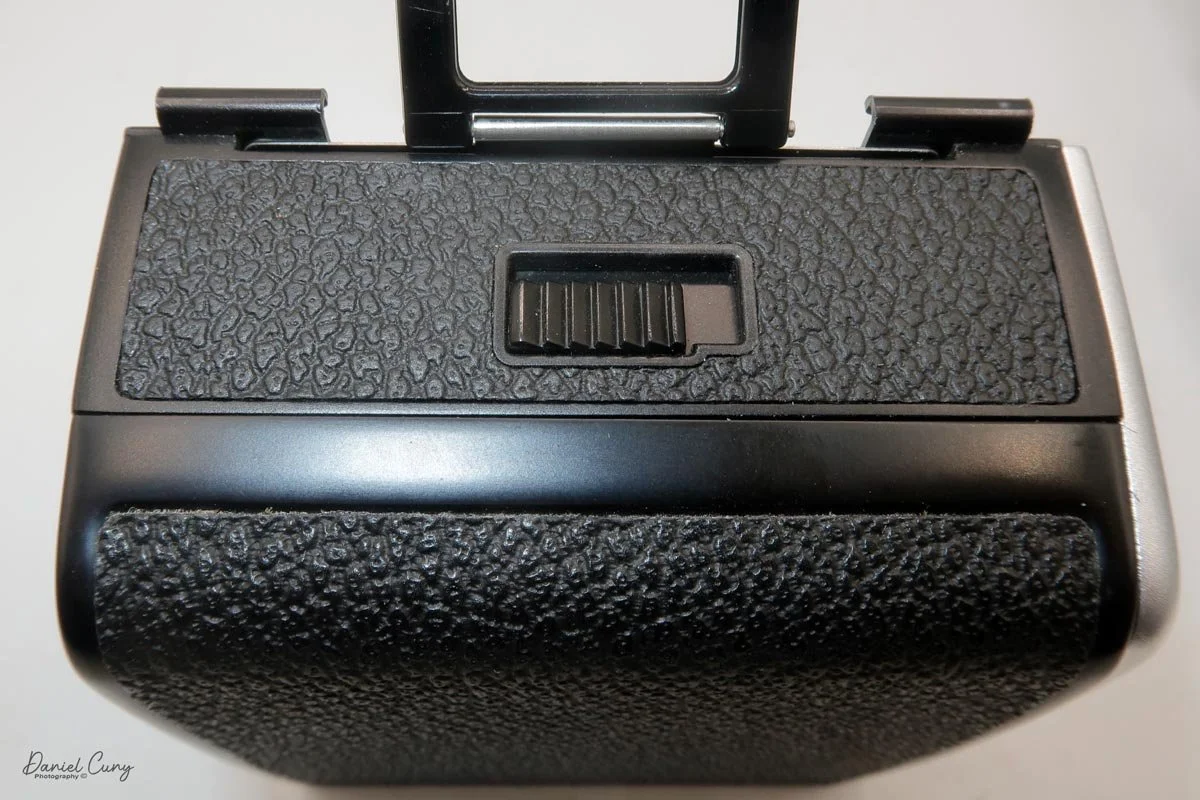
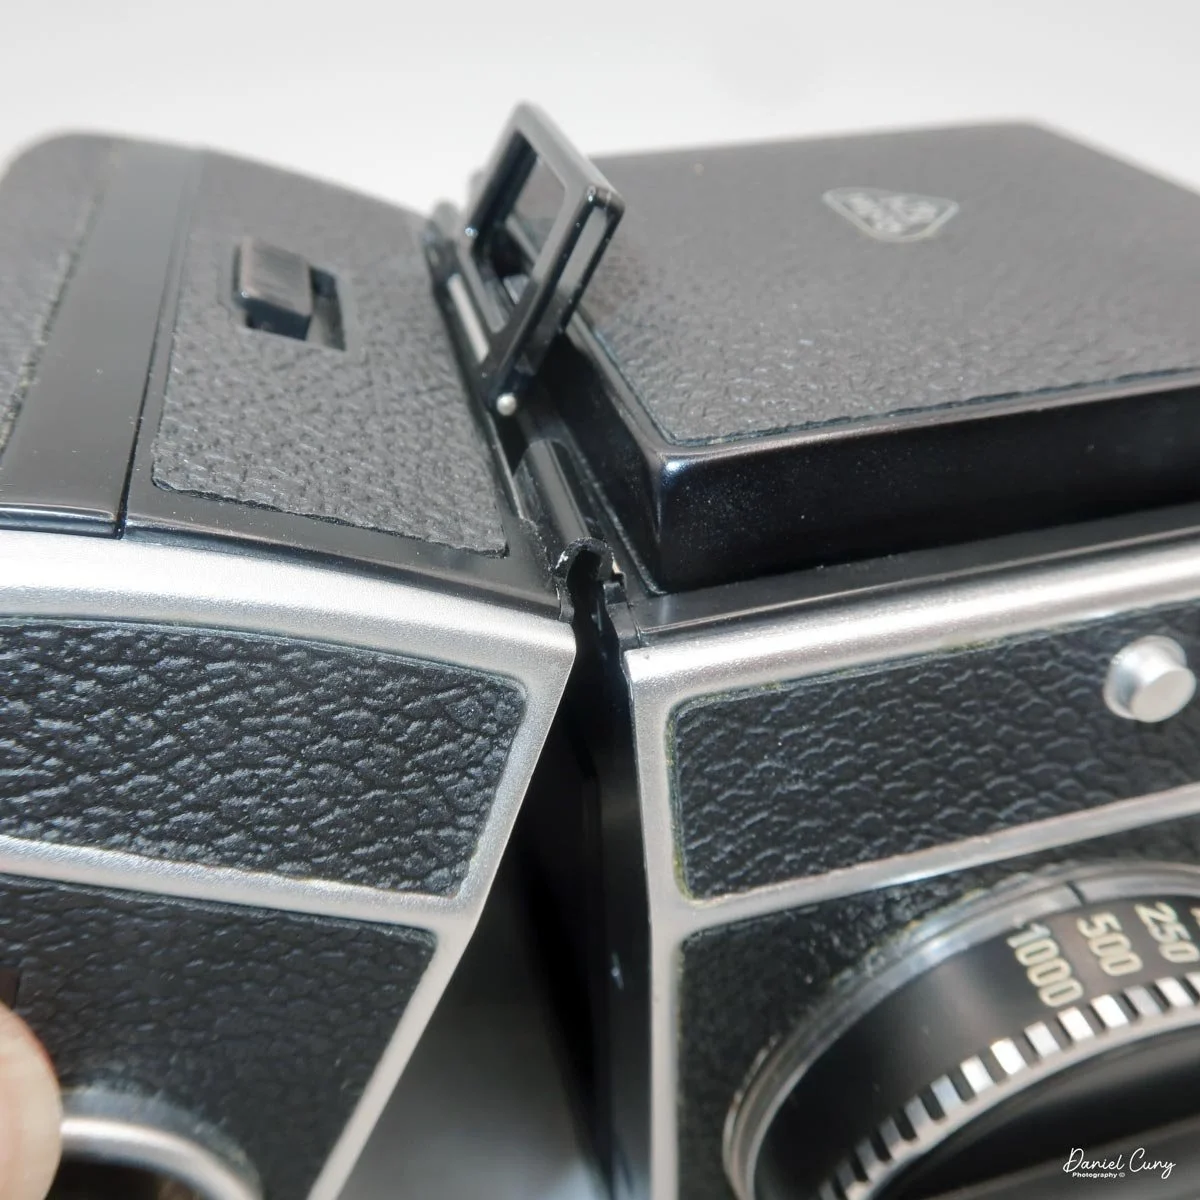
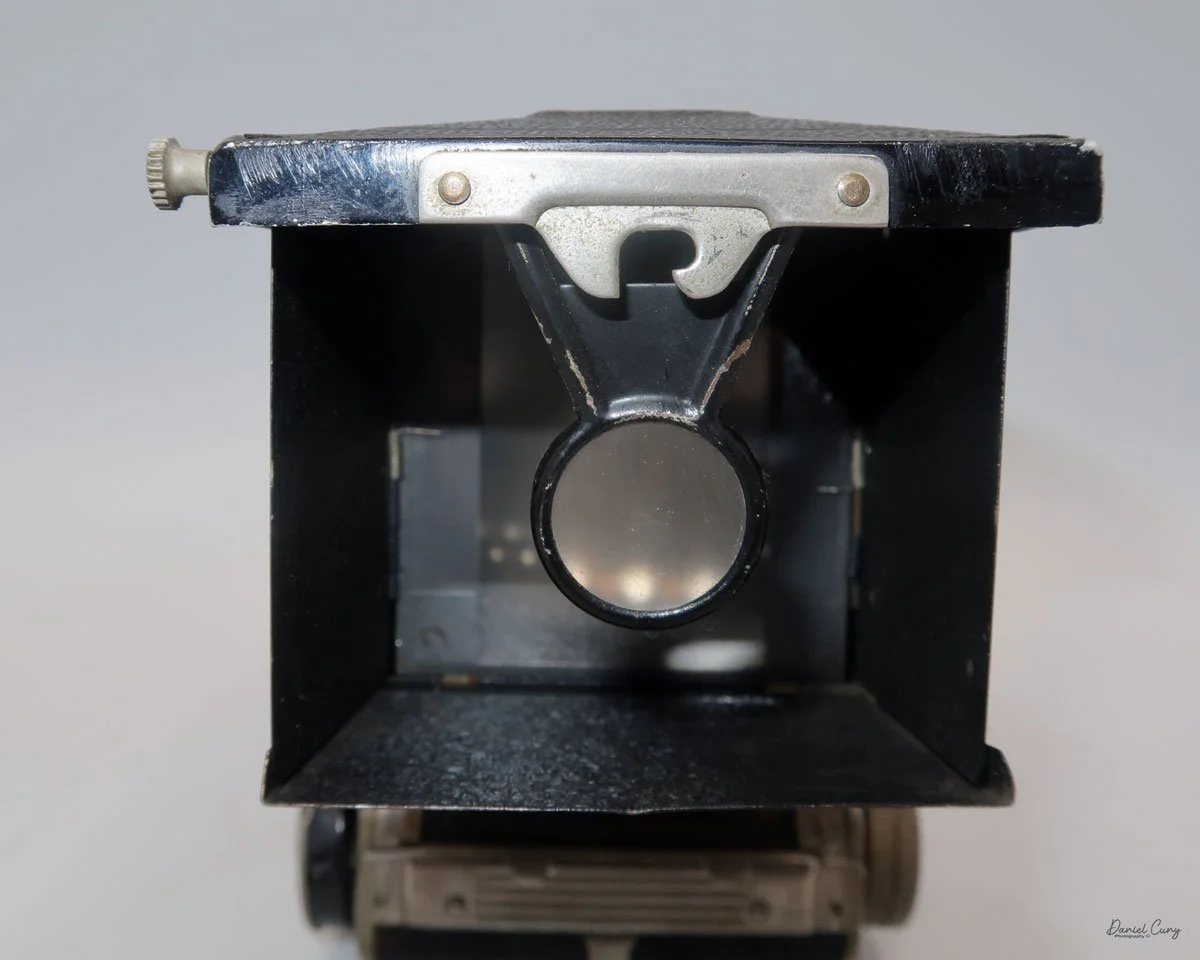
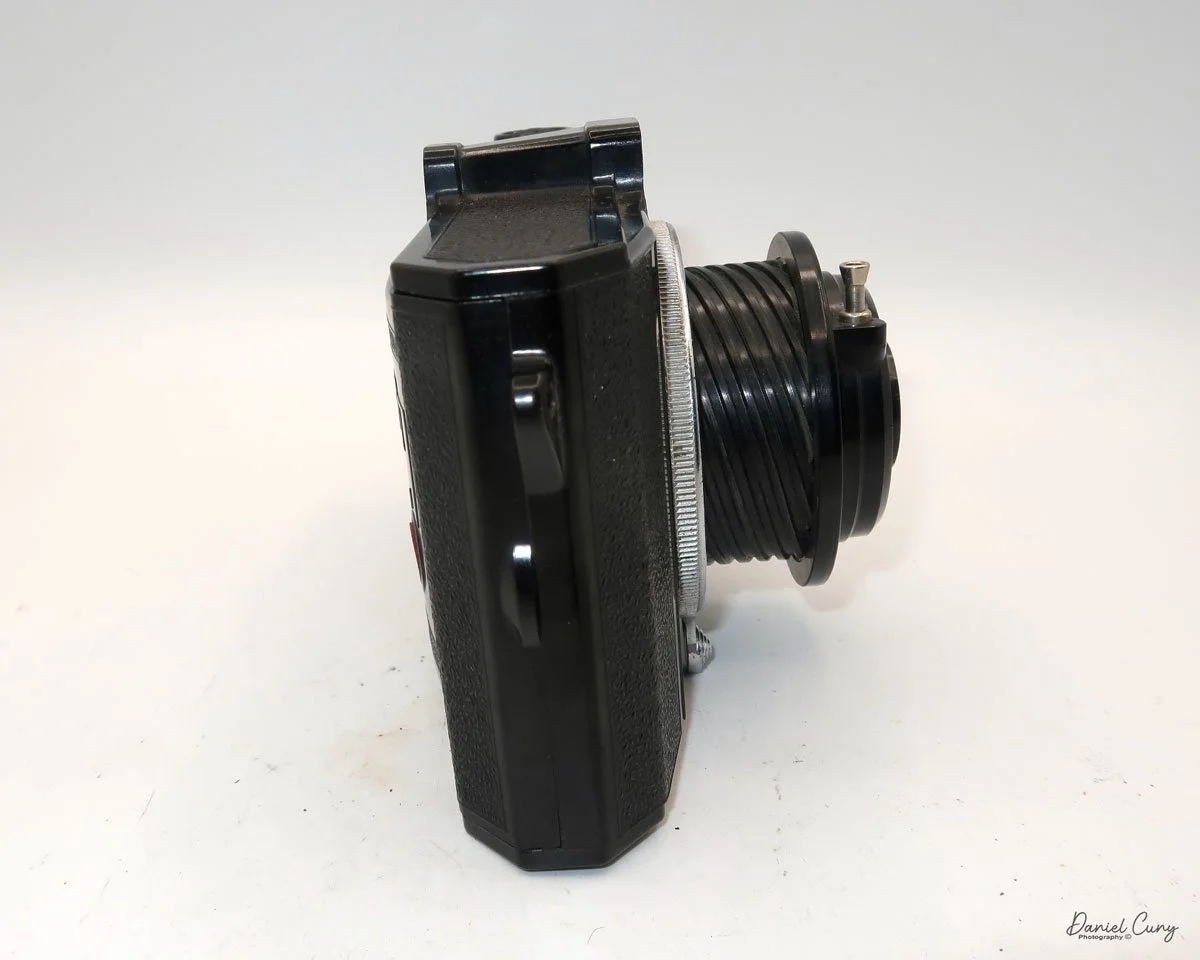
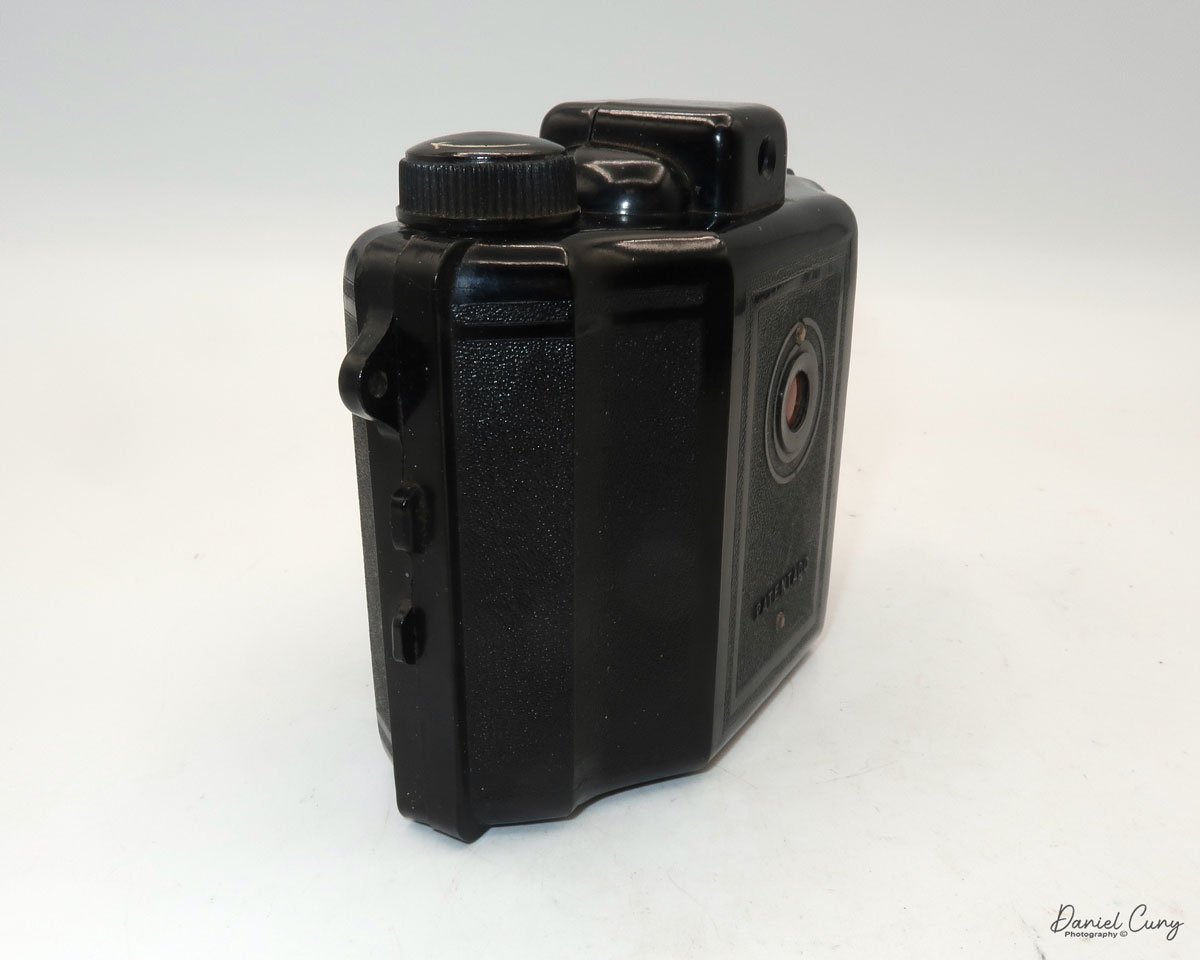
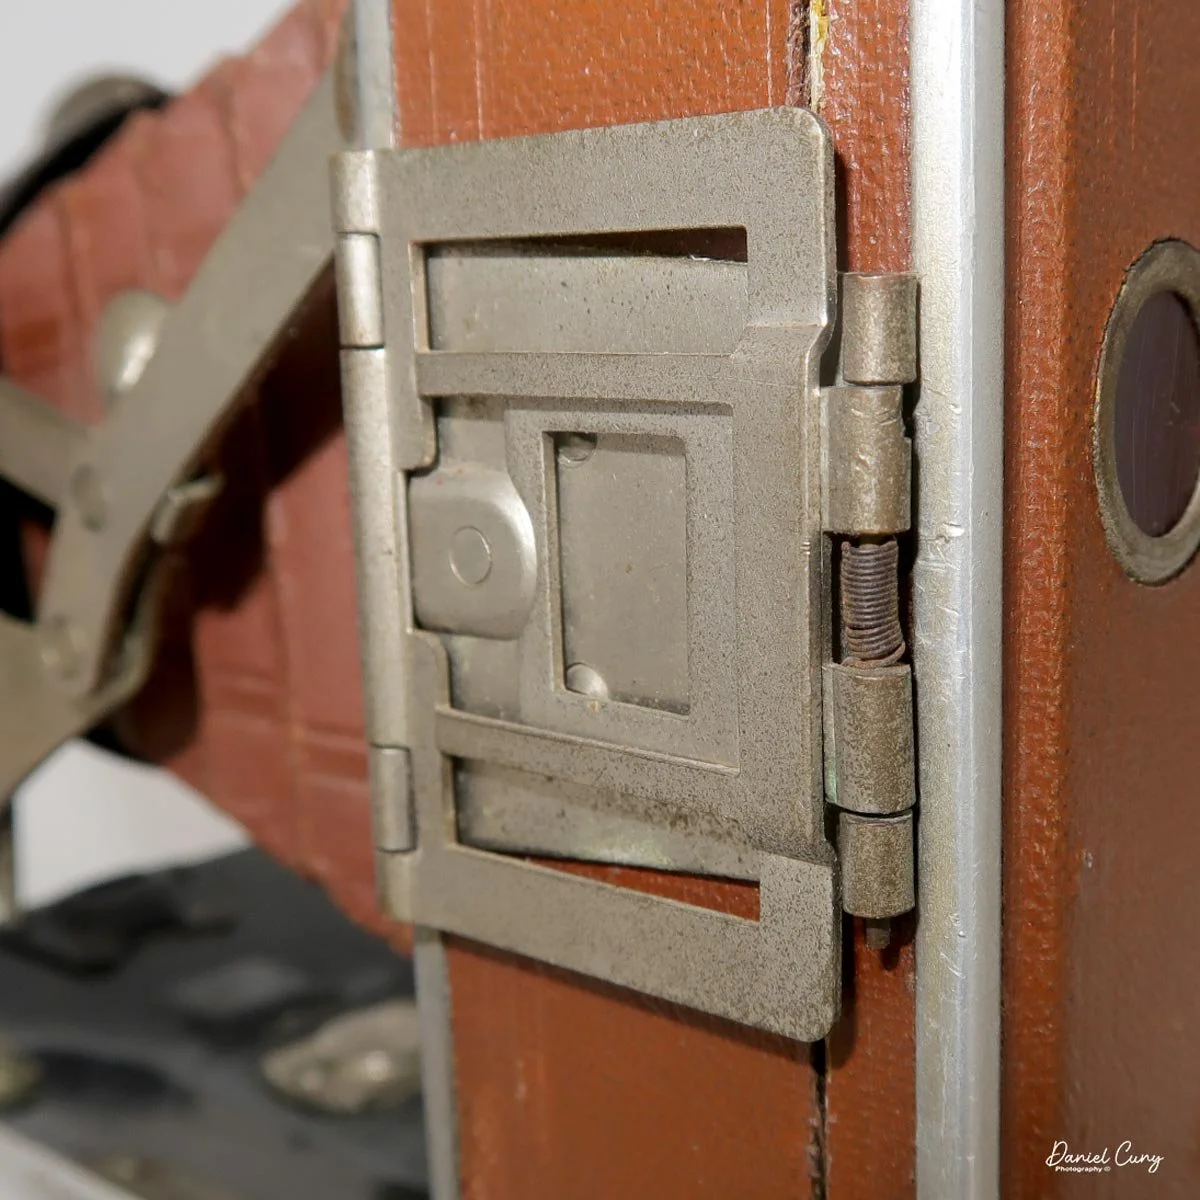
There isn't a waist-level finder on the Salmoiraghi Lexus, only an eye-level finder which can be unfolded from the side of the camera. The sports style finder isn't very thick, and on my camera, which is common, the rear, or at times the front, doesn't stand up straight and seems to lean.
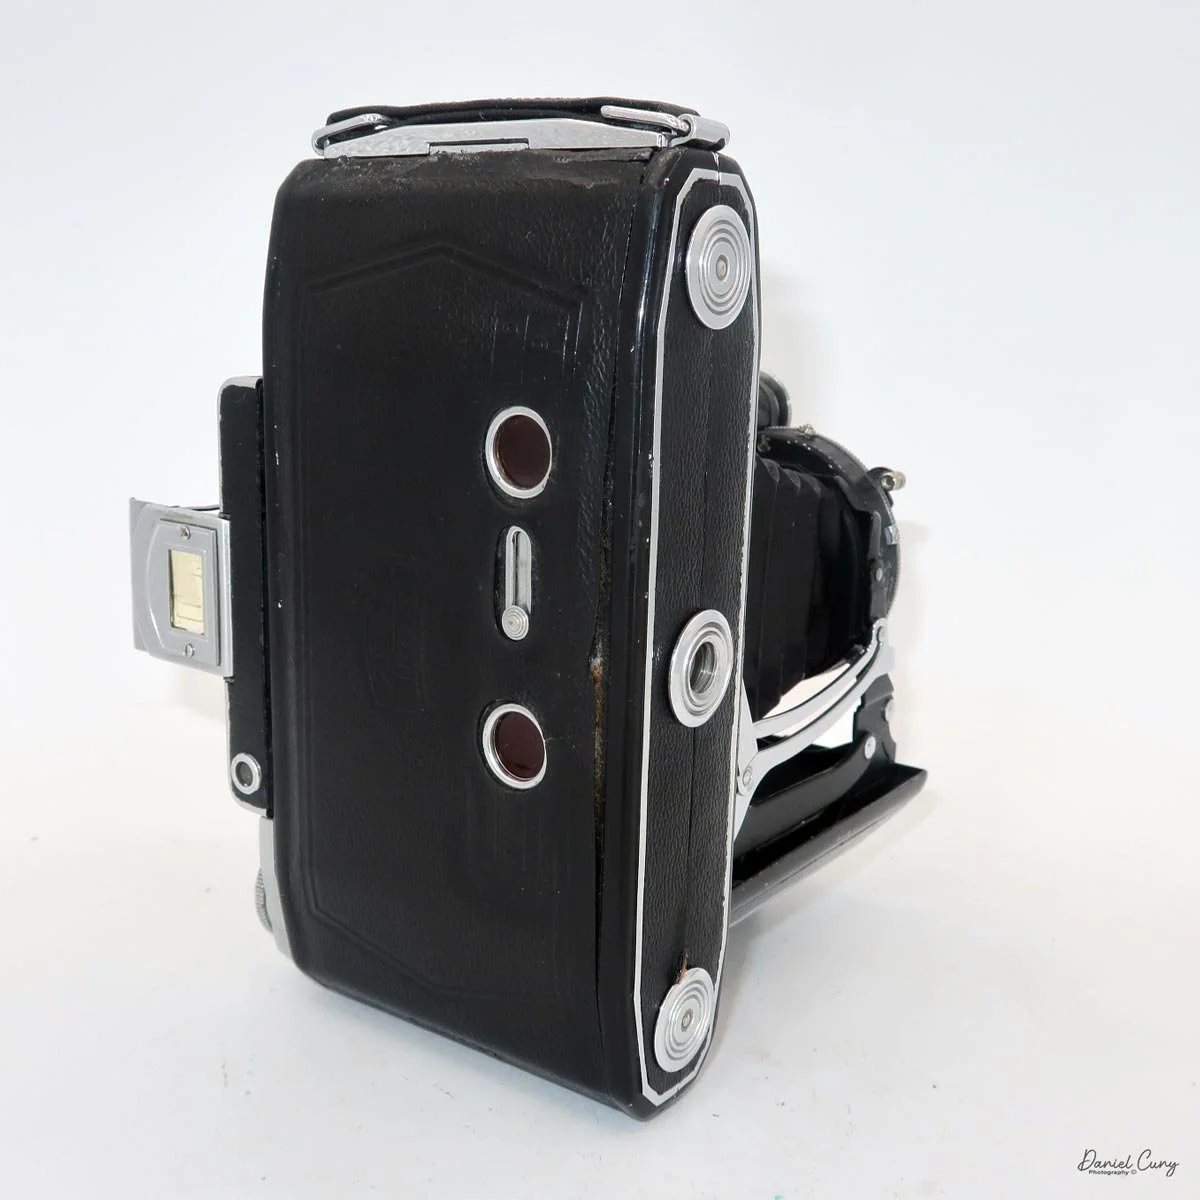
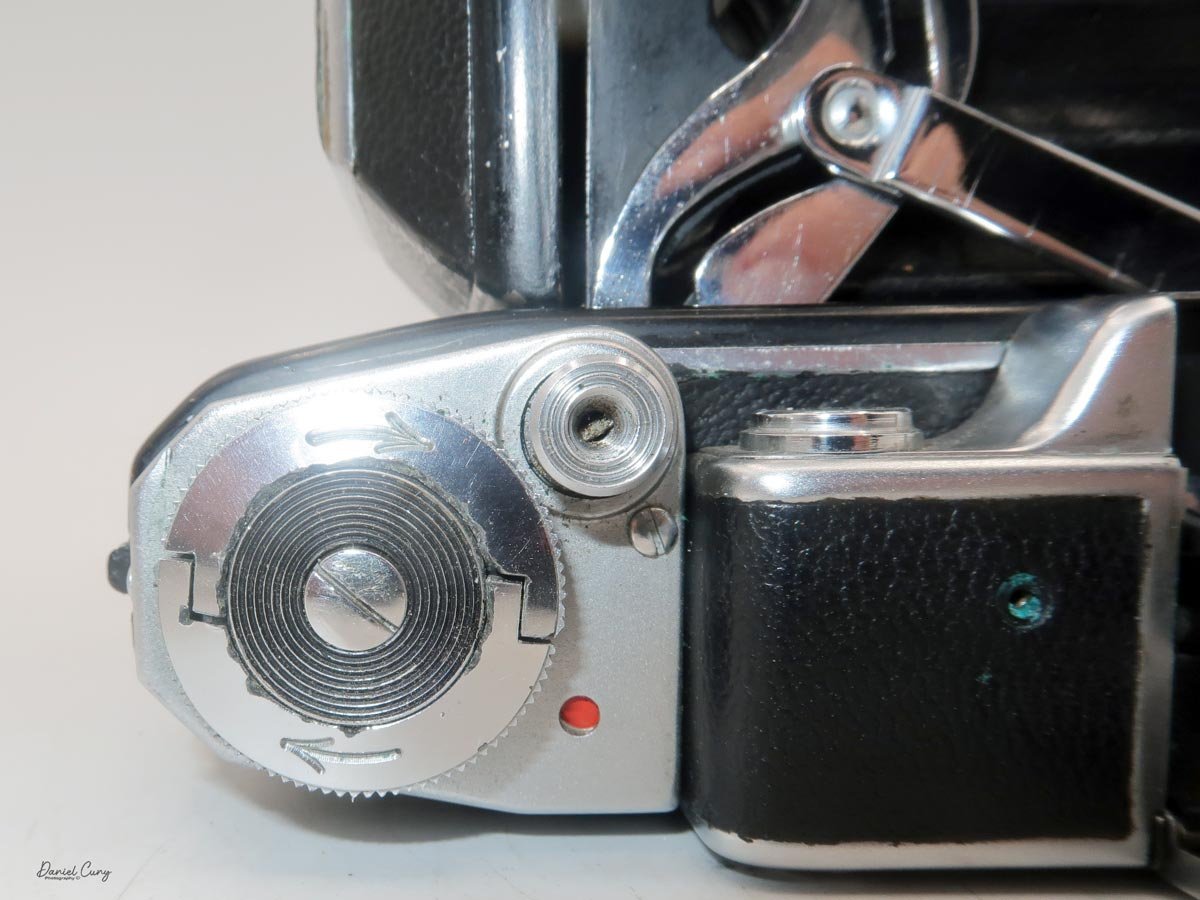
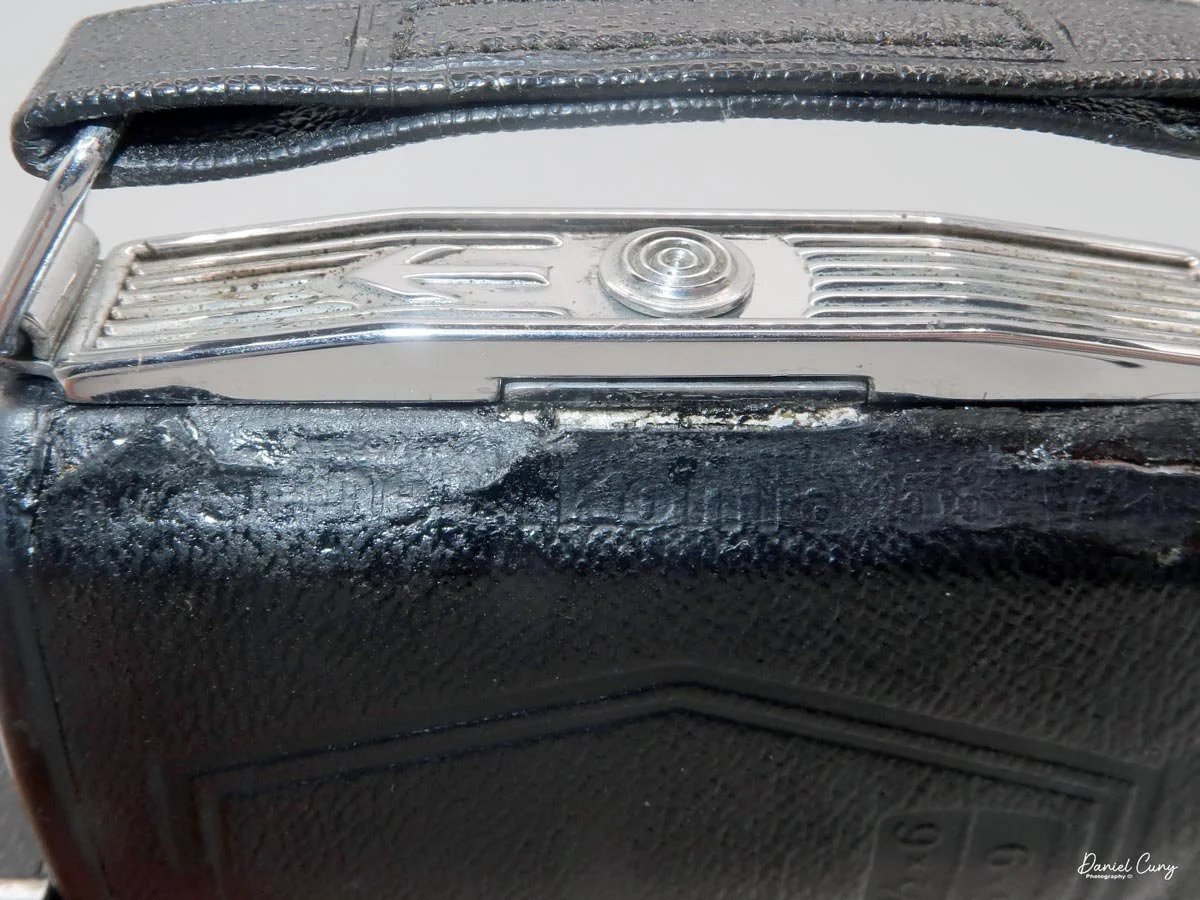
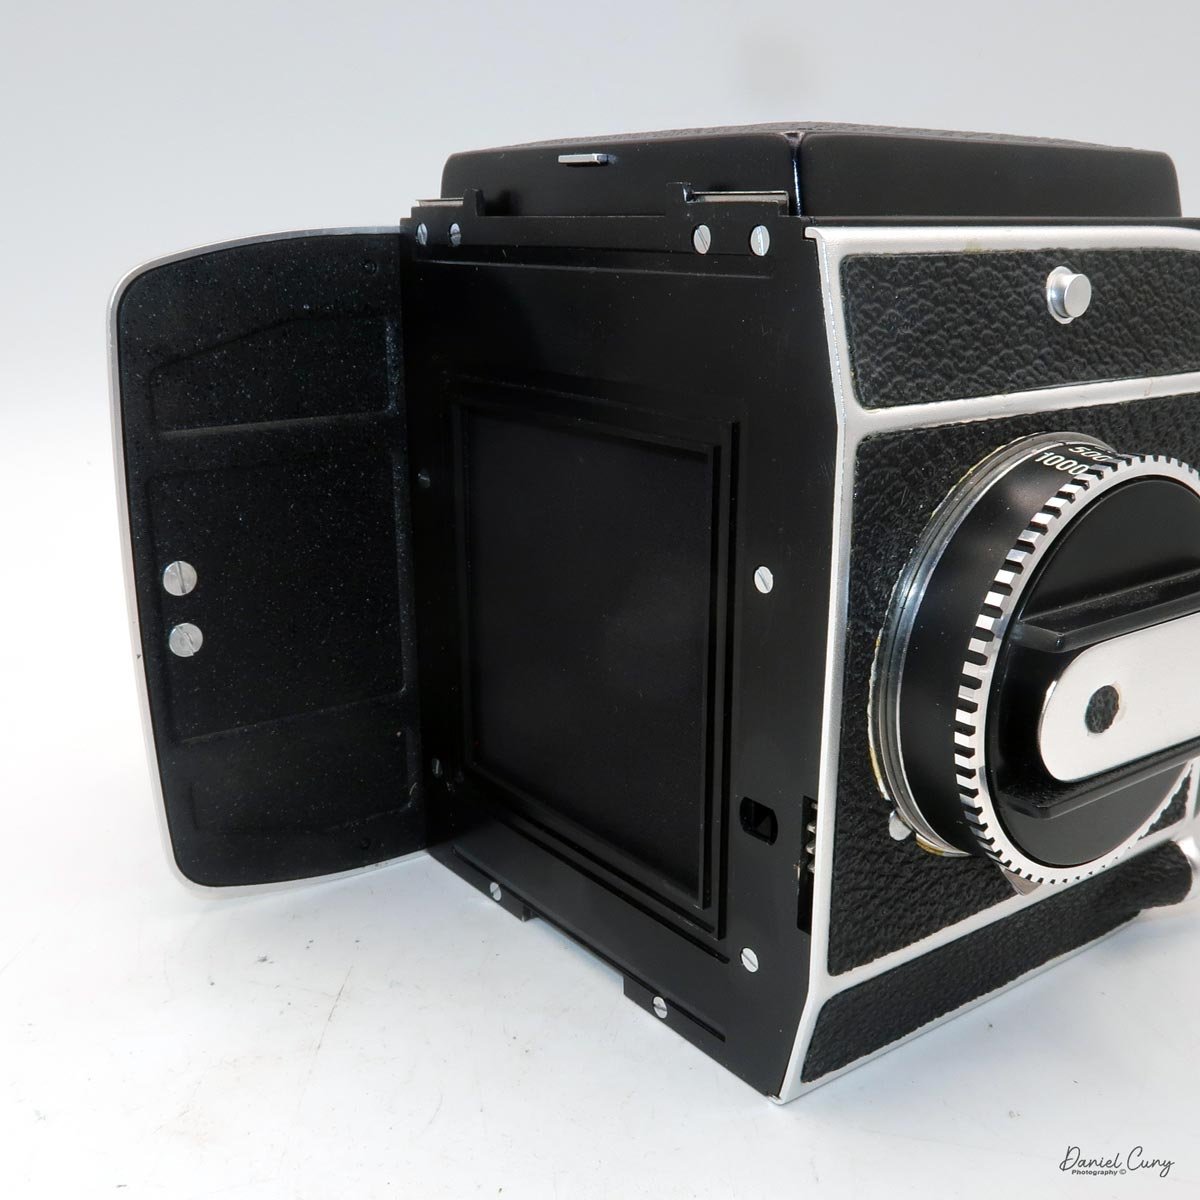
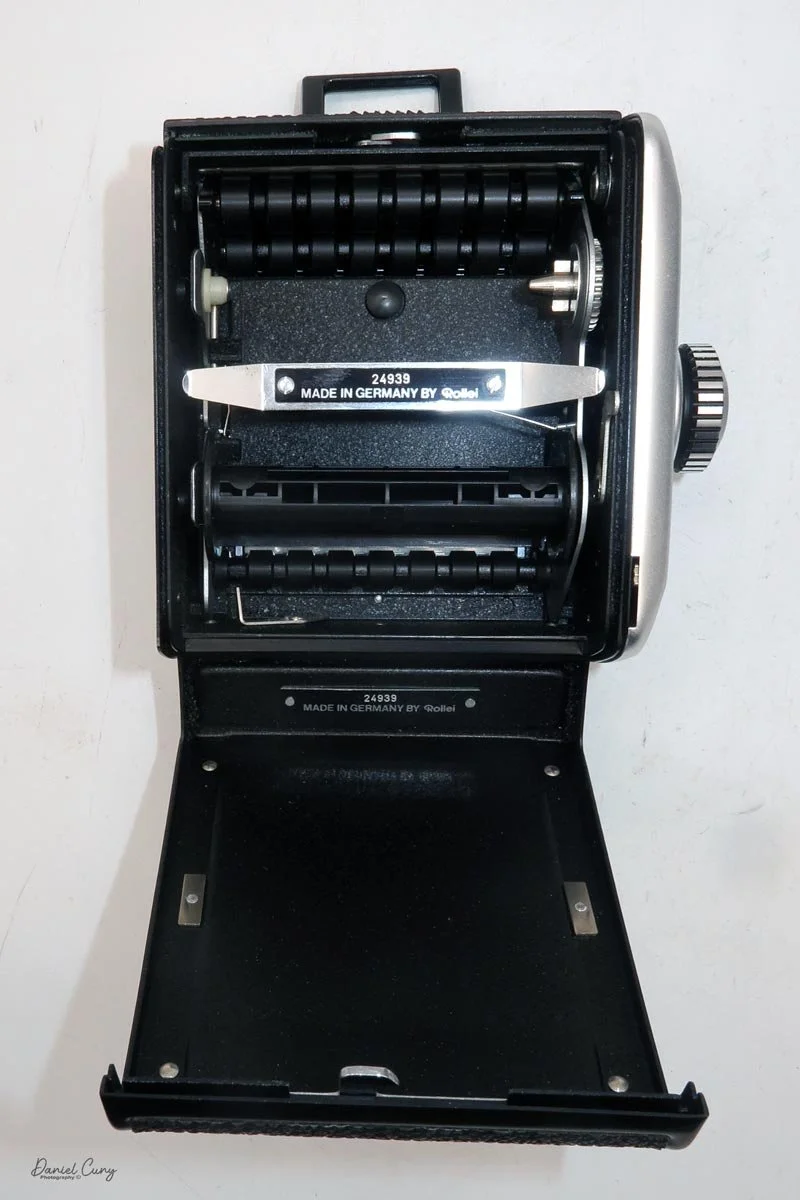
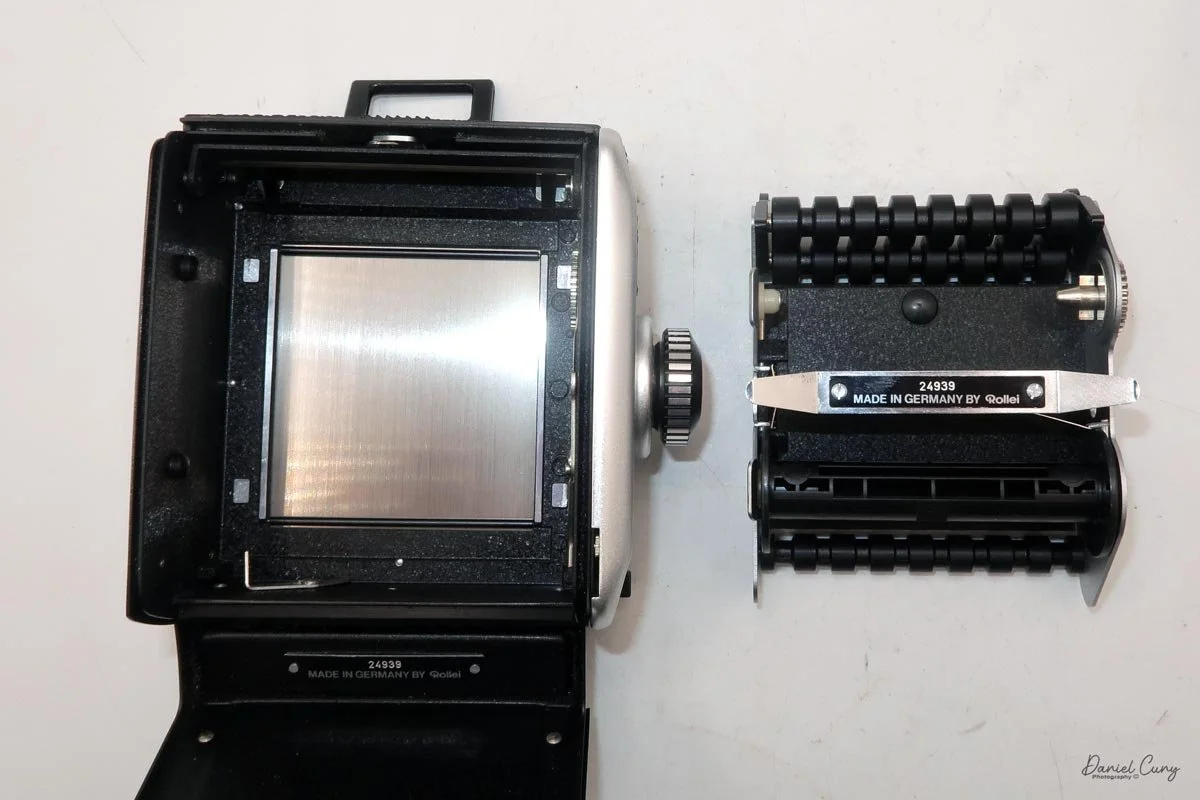
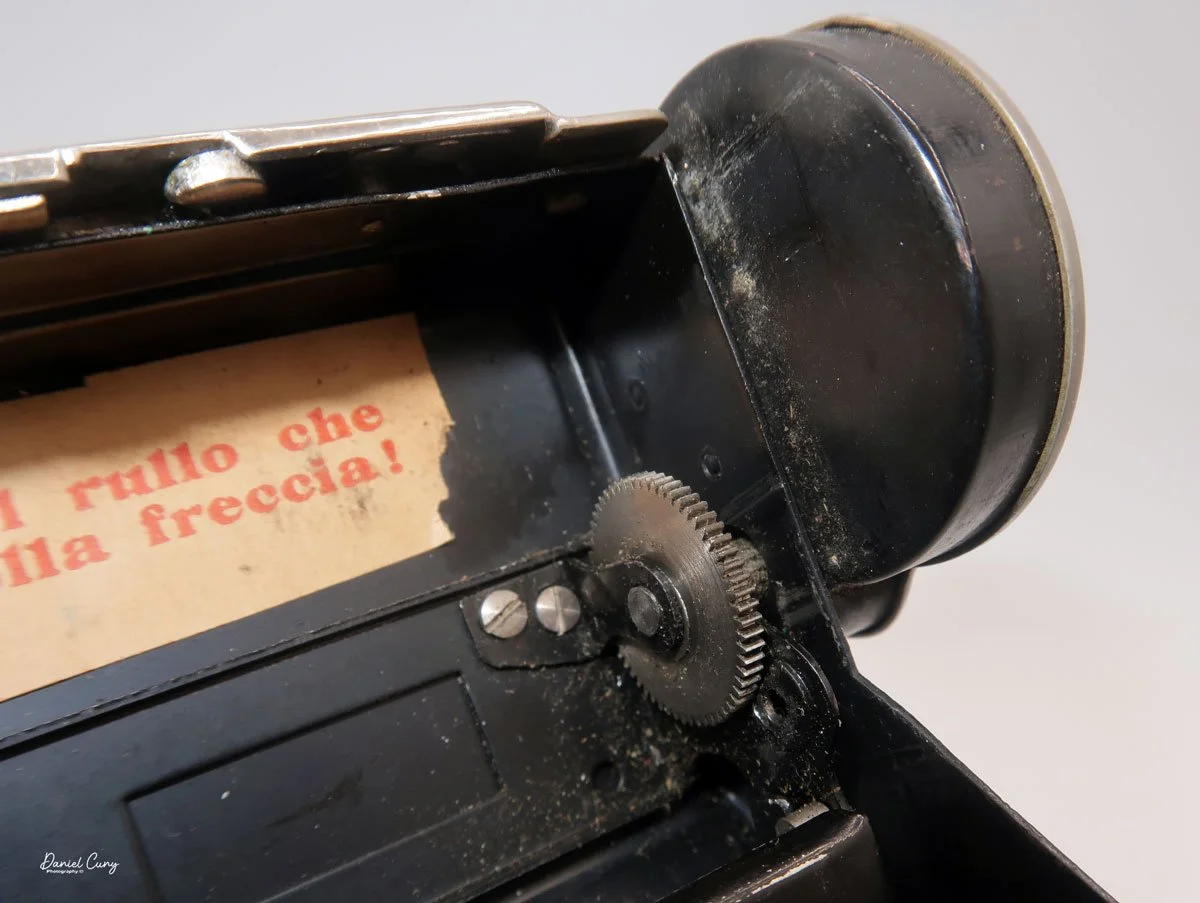
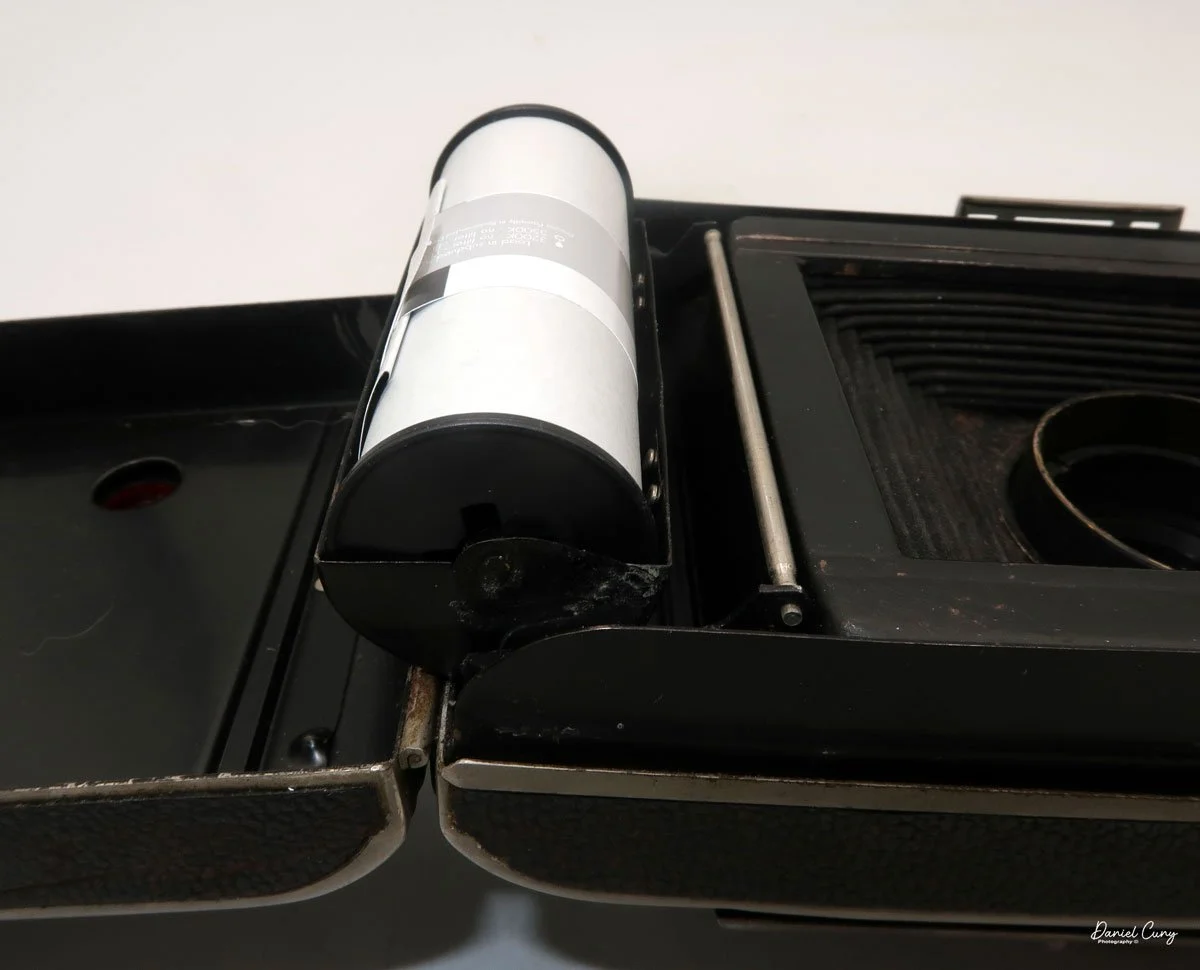
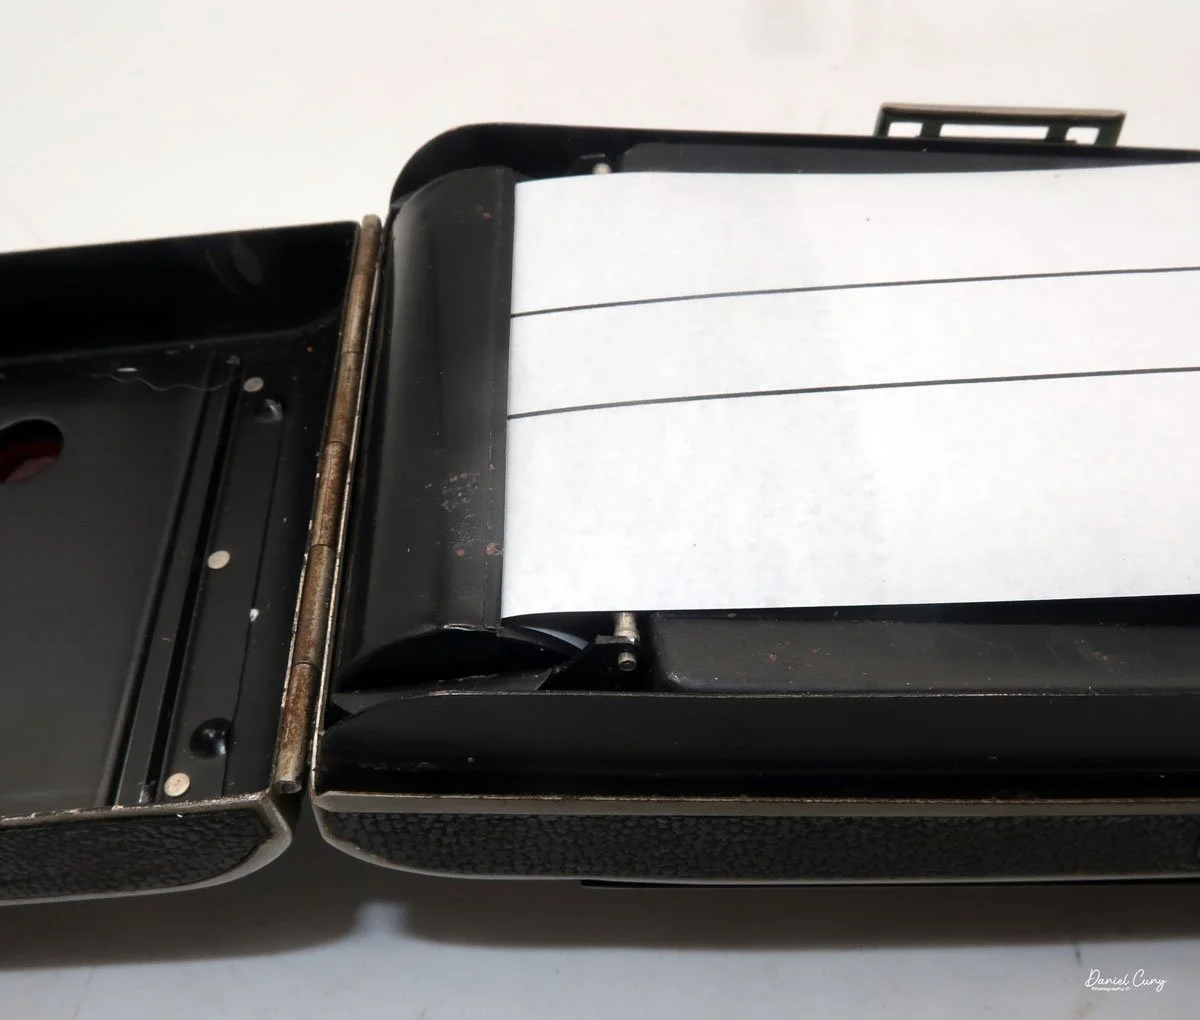
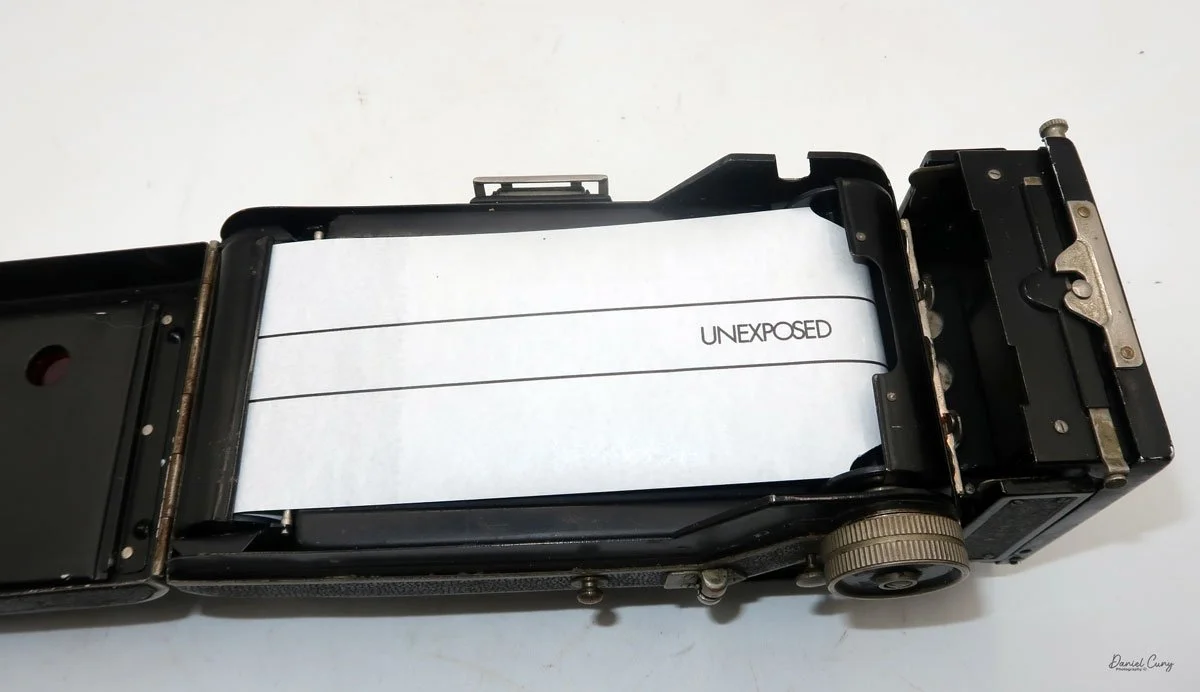
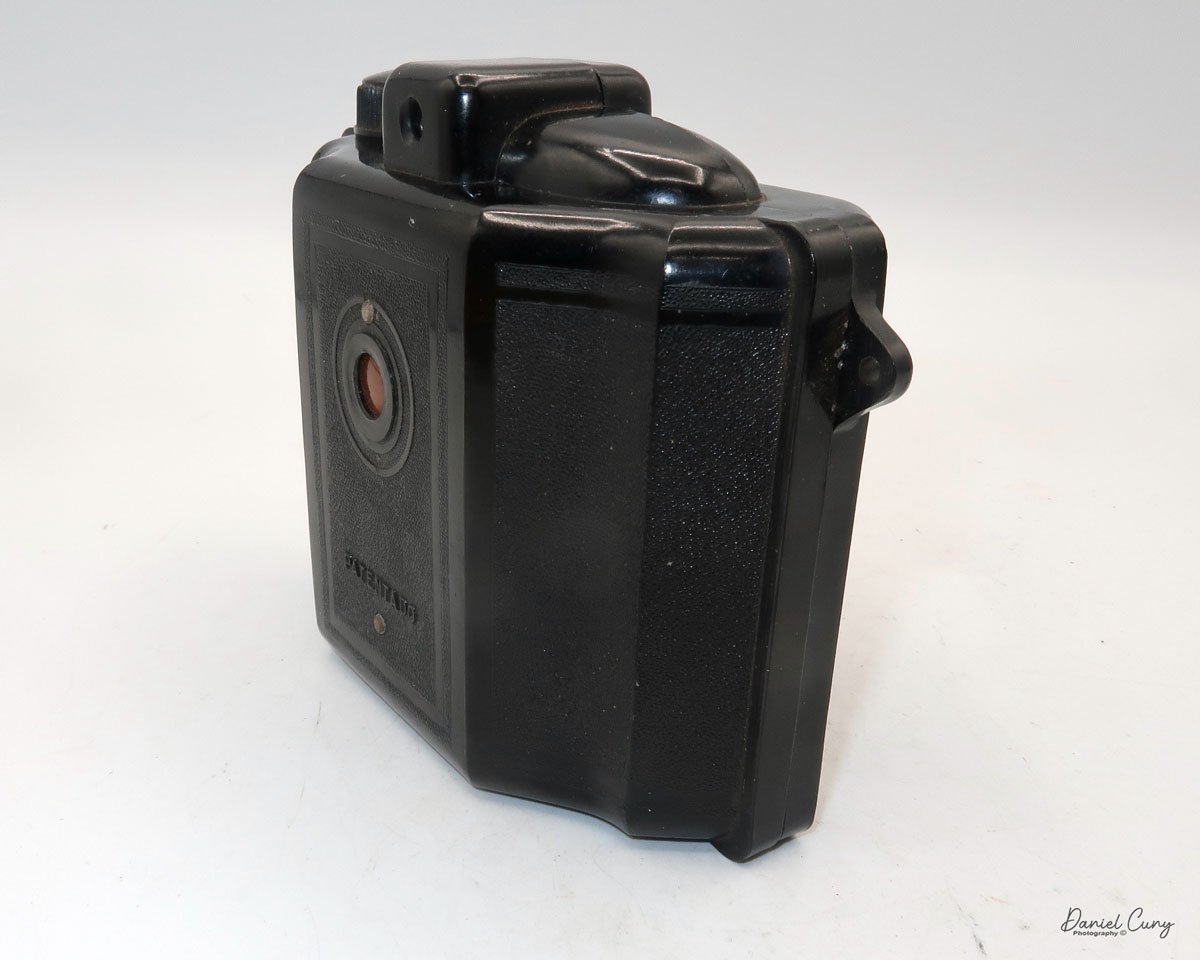
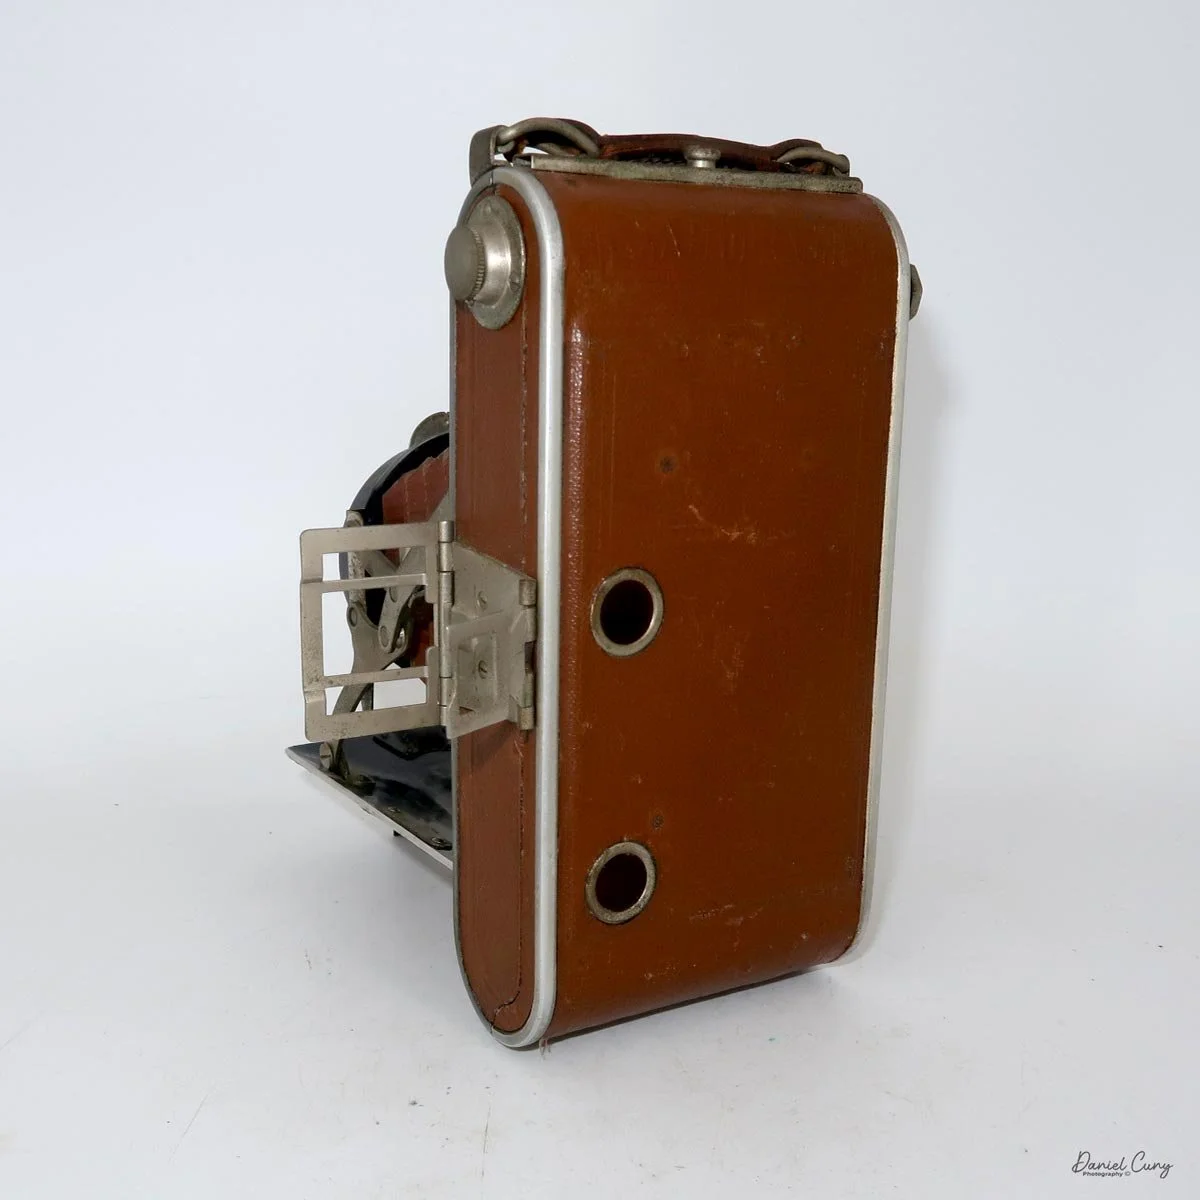
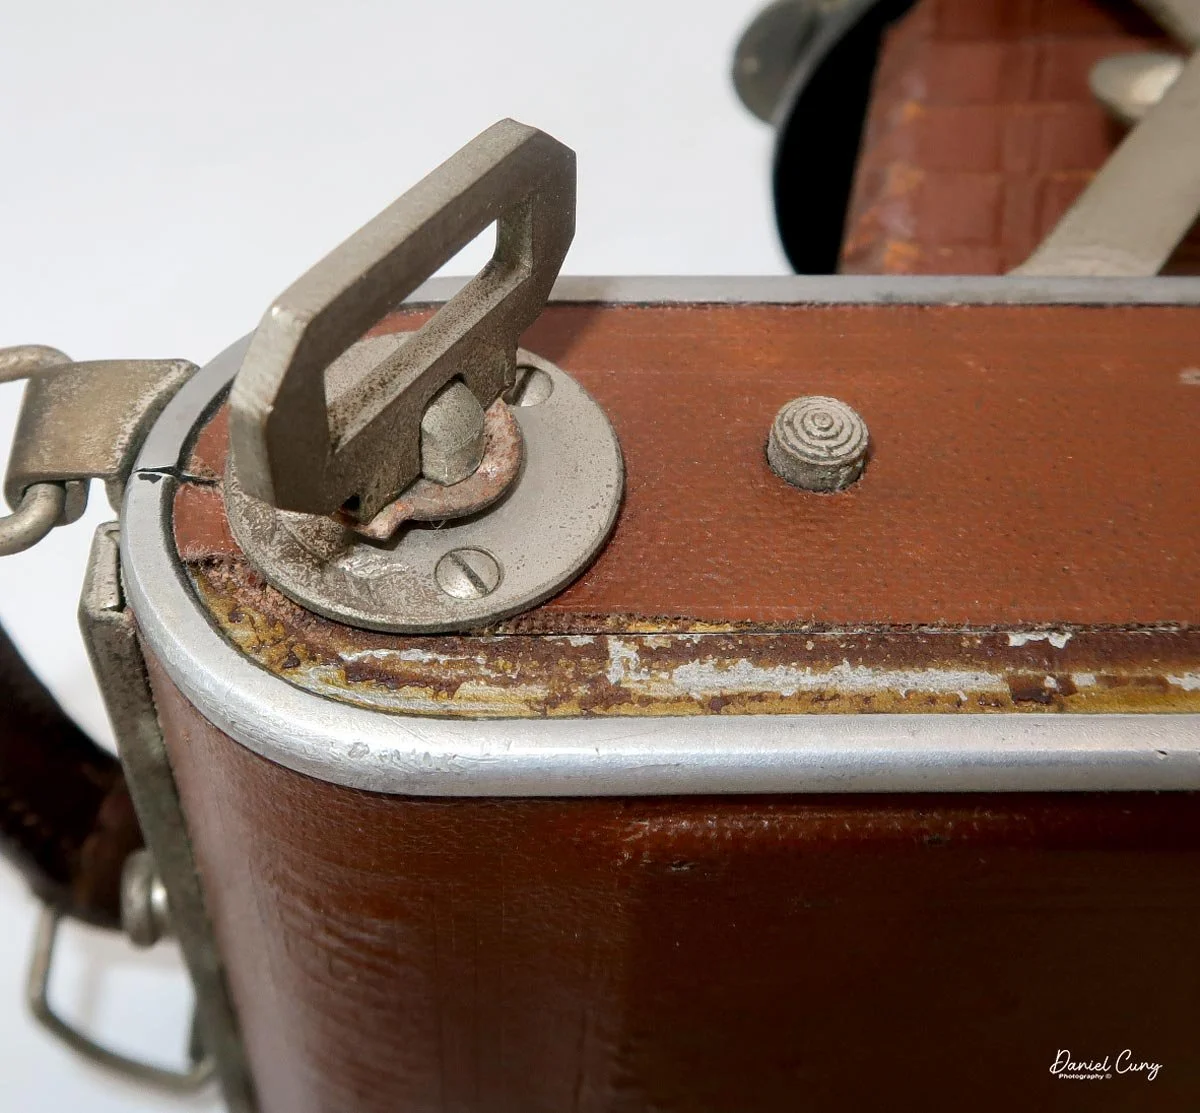
To open the back of the camera to load film, under the strap is a lever you slide over to unlock the back. Swing the back open to reveal a very standard film-loading system. The winding lever doesn't pull out to load the empty spool, but on the other side is a silver button that pulls up to load the spool.
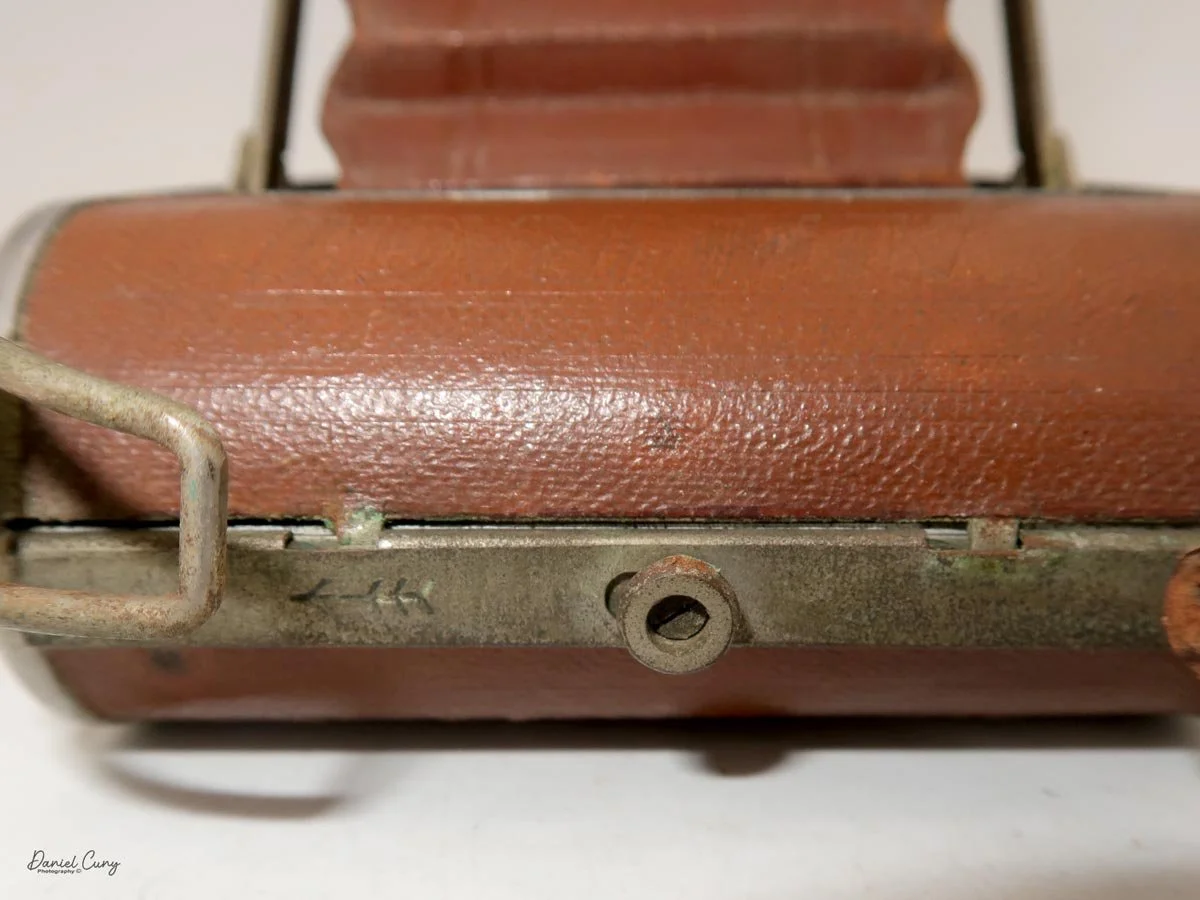
There's nothing on the other side to keep the new roll of film in place except a metal clip that wraps around the unexposed film and holds it in place.
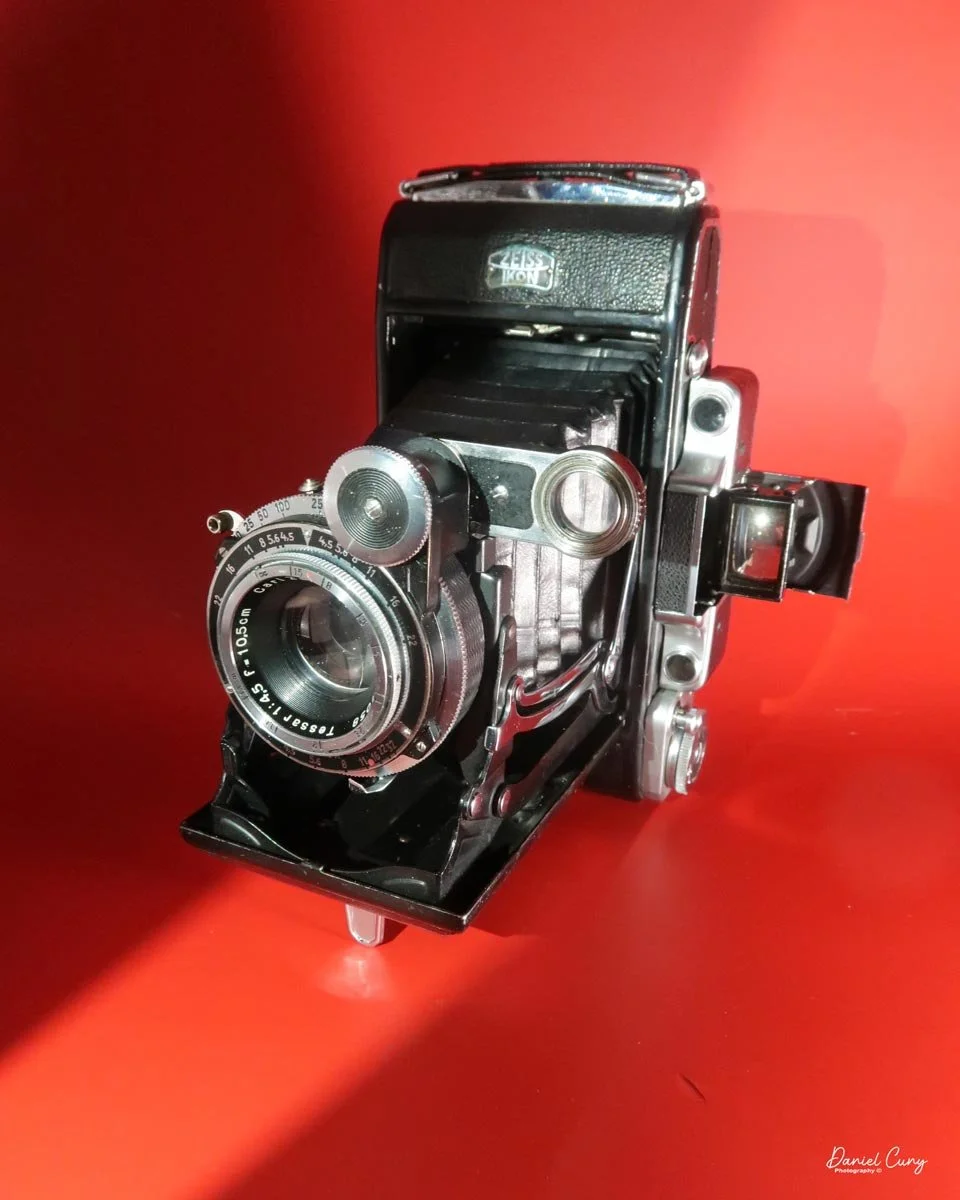
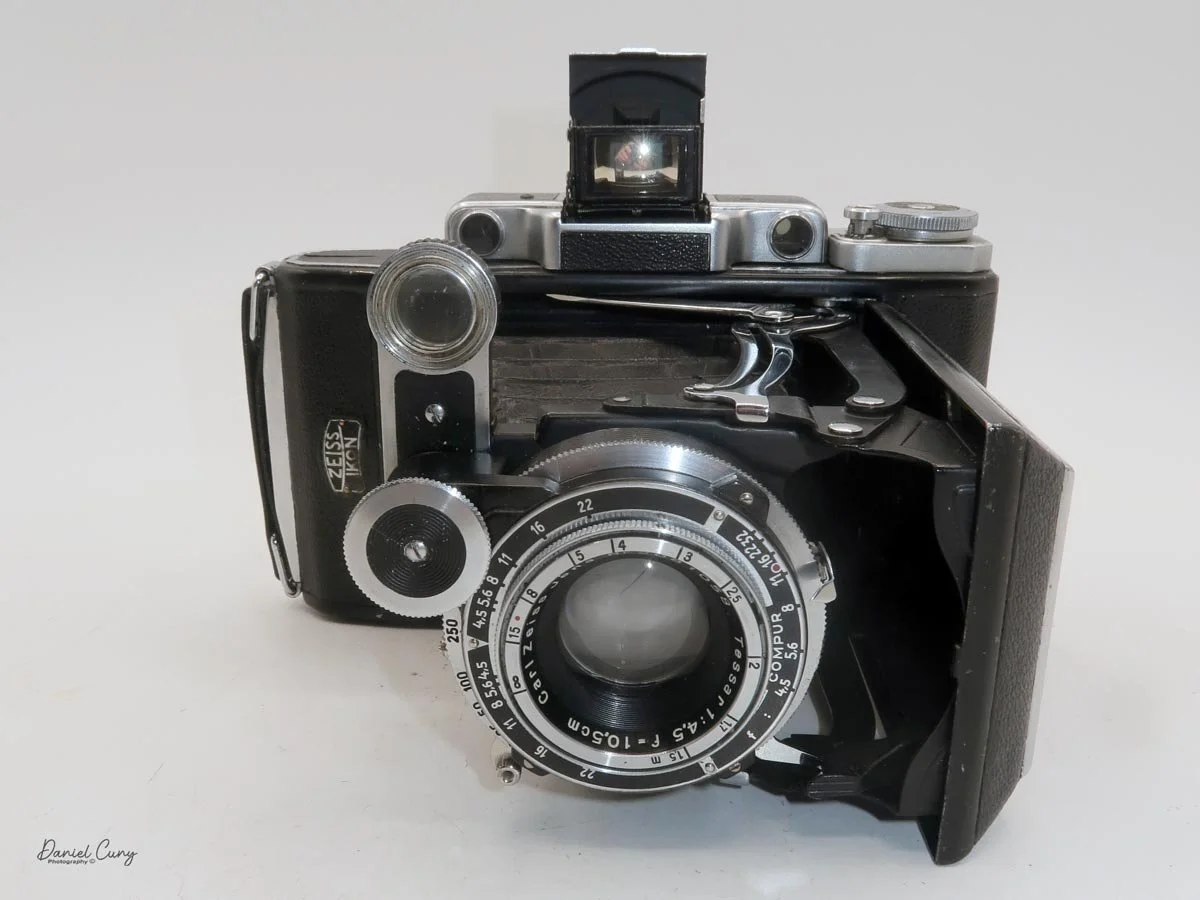
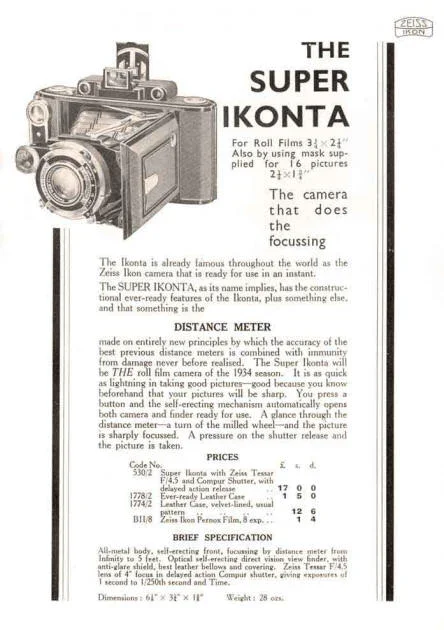
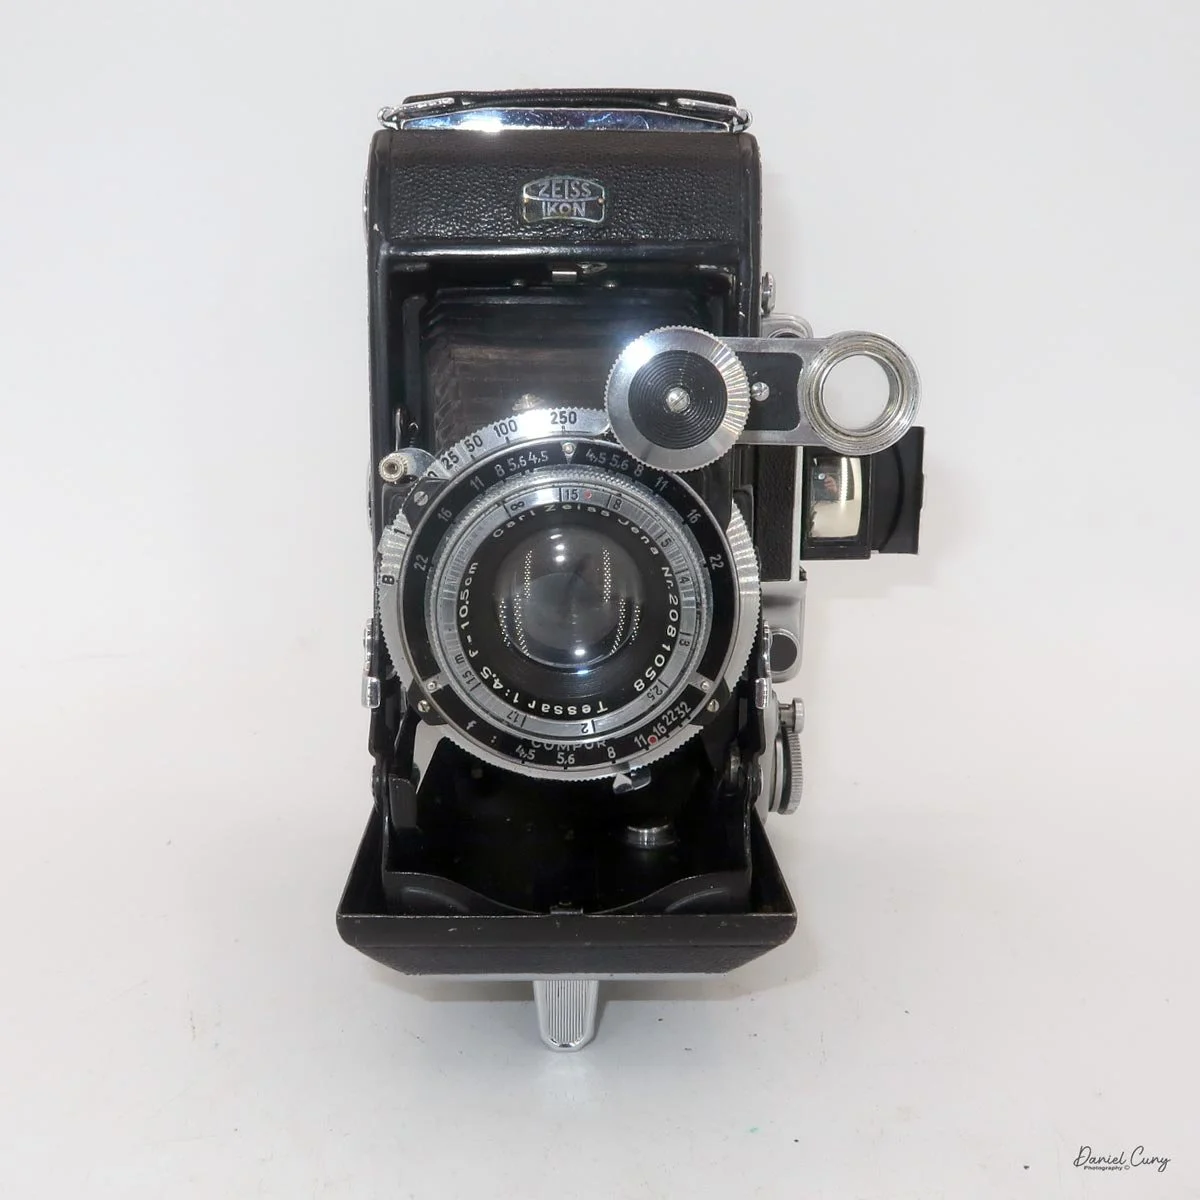
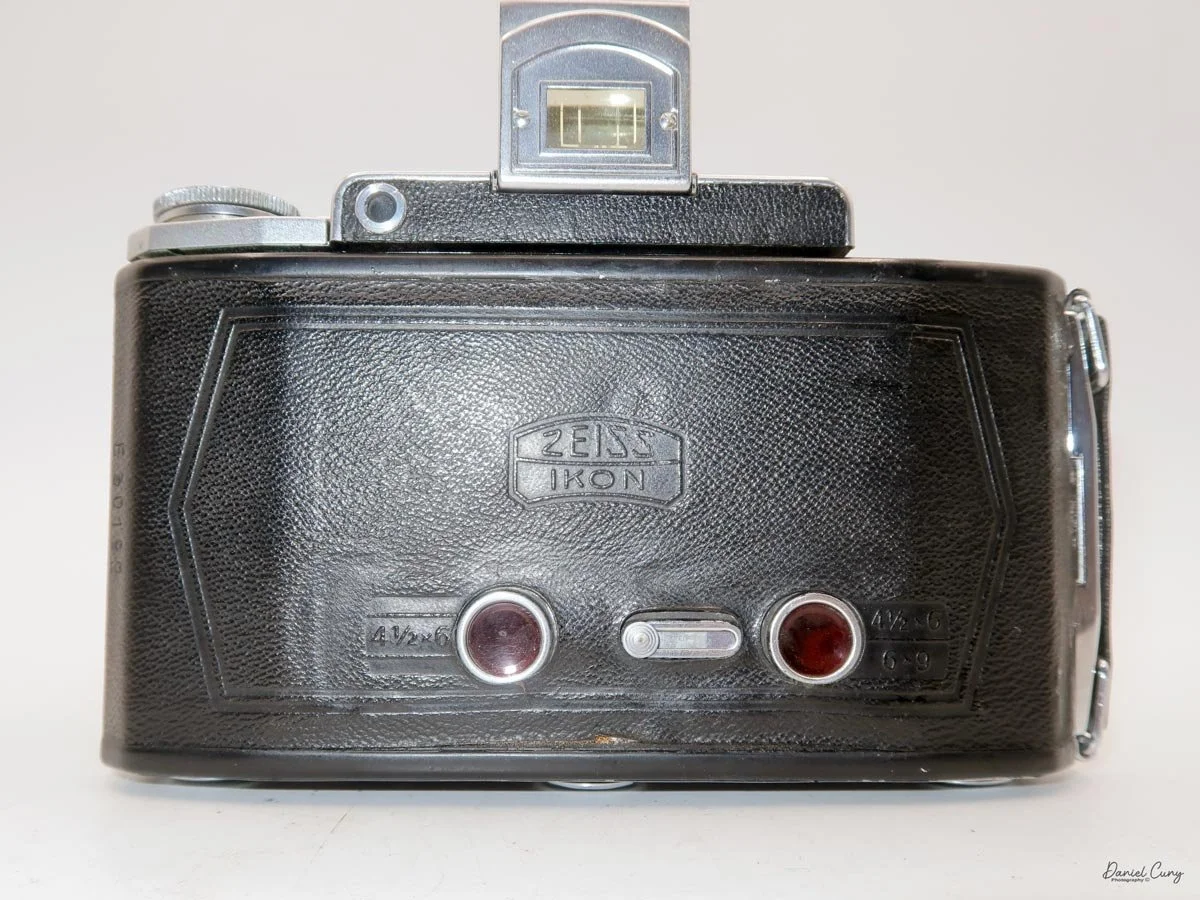
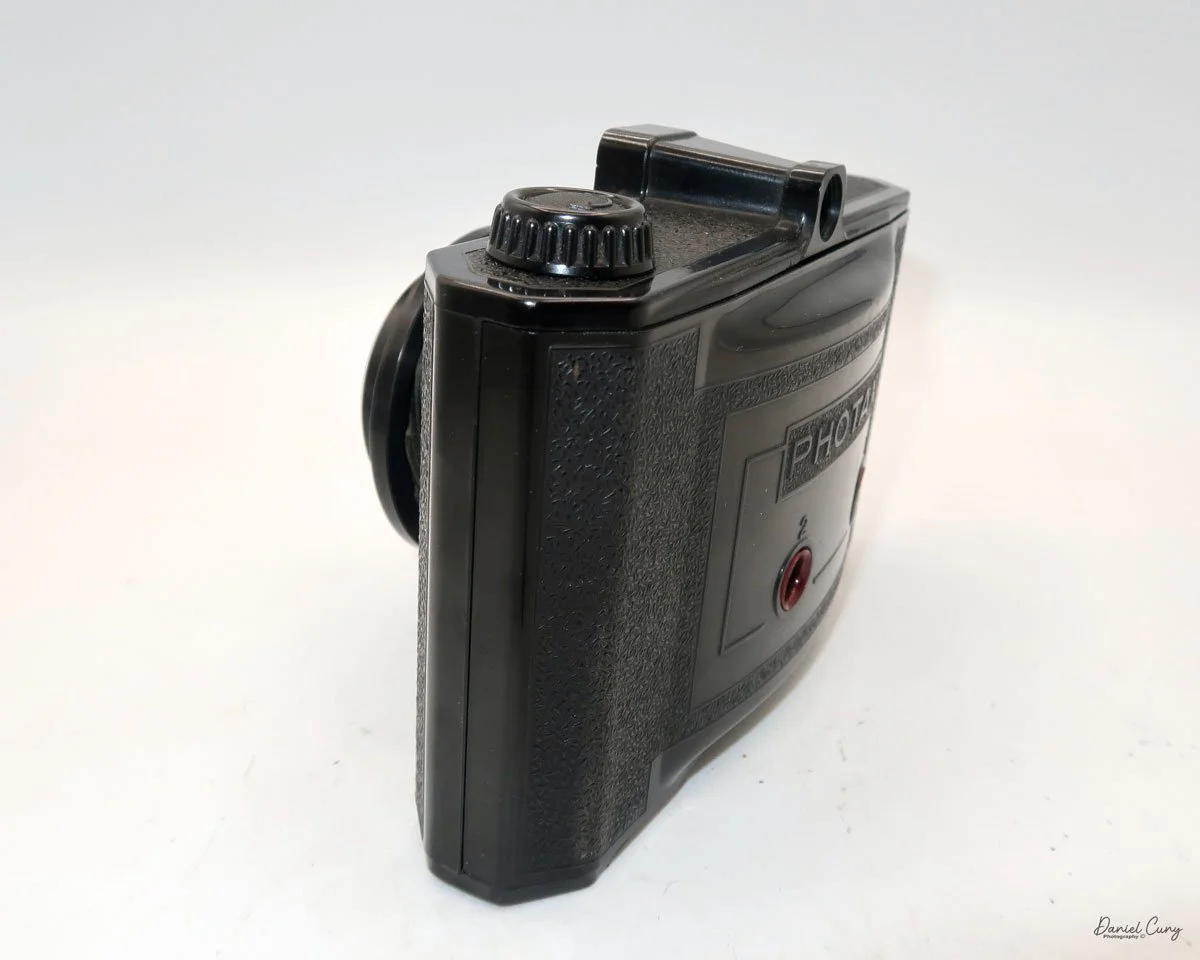
On the camera's back, two red windows generally indicate that the camera can handle multiple formats, as with the camera I wrote about last week, the Zeiss Ikon Super Ikonta 531/2. Generally, there would be an insert for the camera to do both 6x9cm and 6x4.5cm images on the 120 roll of film.
Looking at the pattern for the film guides on the back of the camera, there may have been an insert for the camera. There are indents evenly spaced across the back, which would indicate there may have been one, but my camera doesn't have one, and I can't find any online references to one.
Once the film is loaded in the camera, close the back of the camera, making sure it's latched, and wind the film to the first frame.
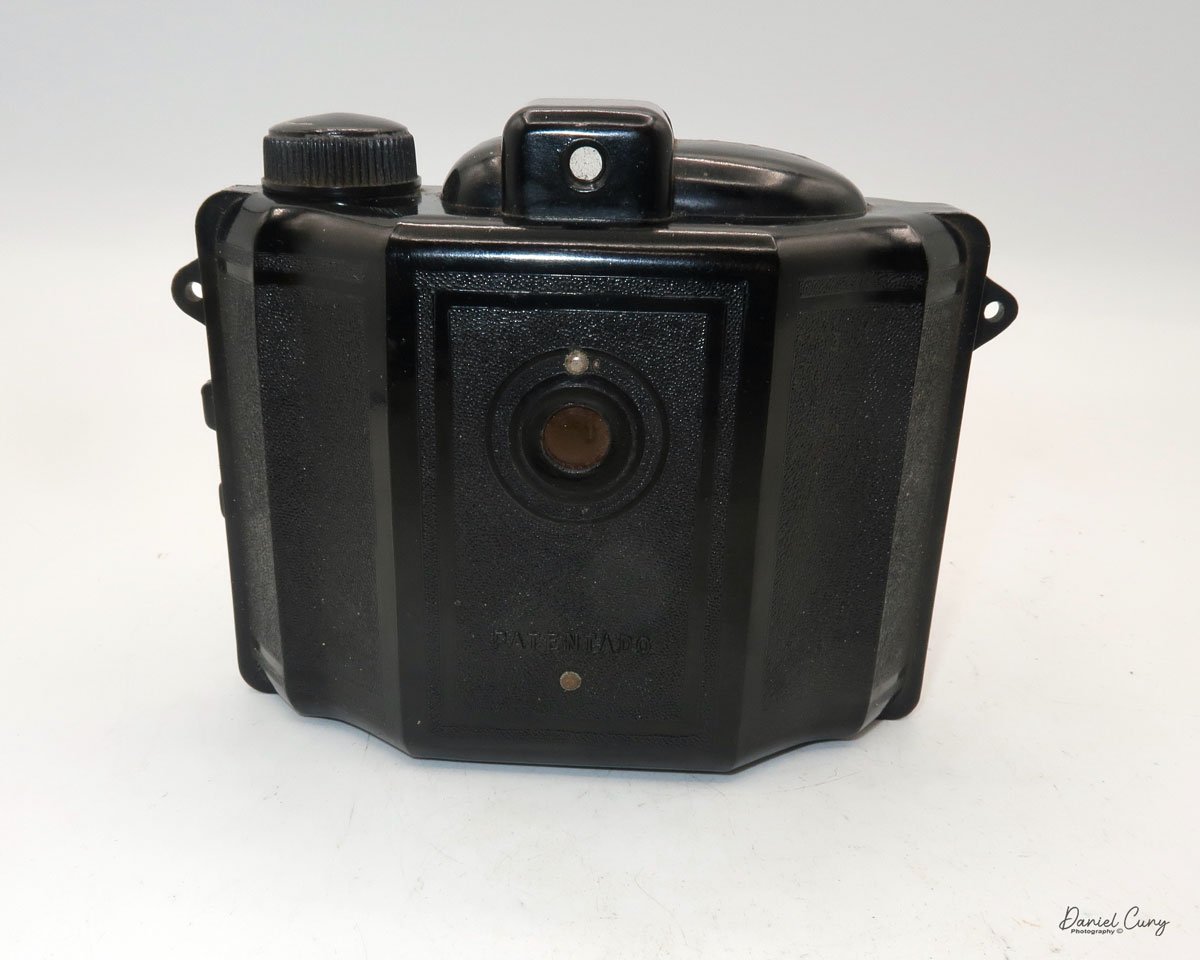
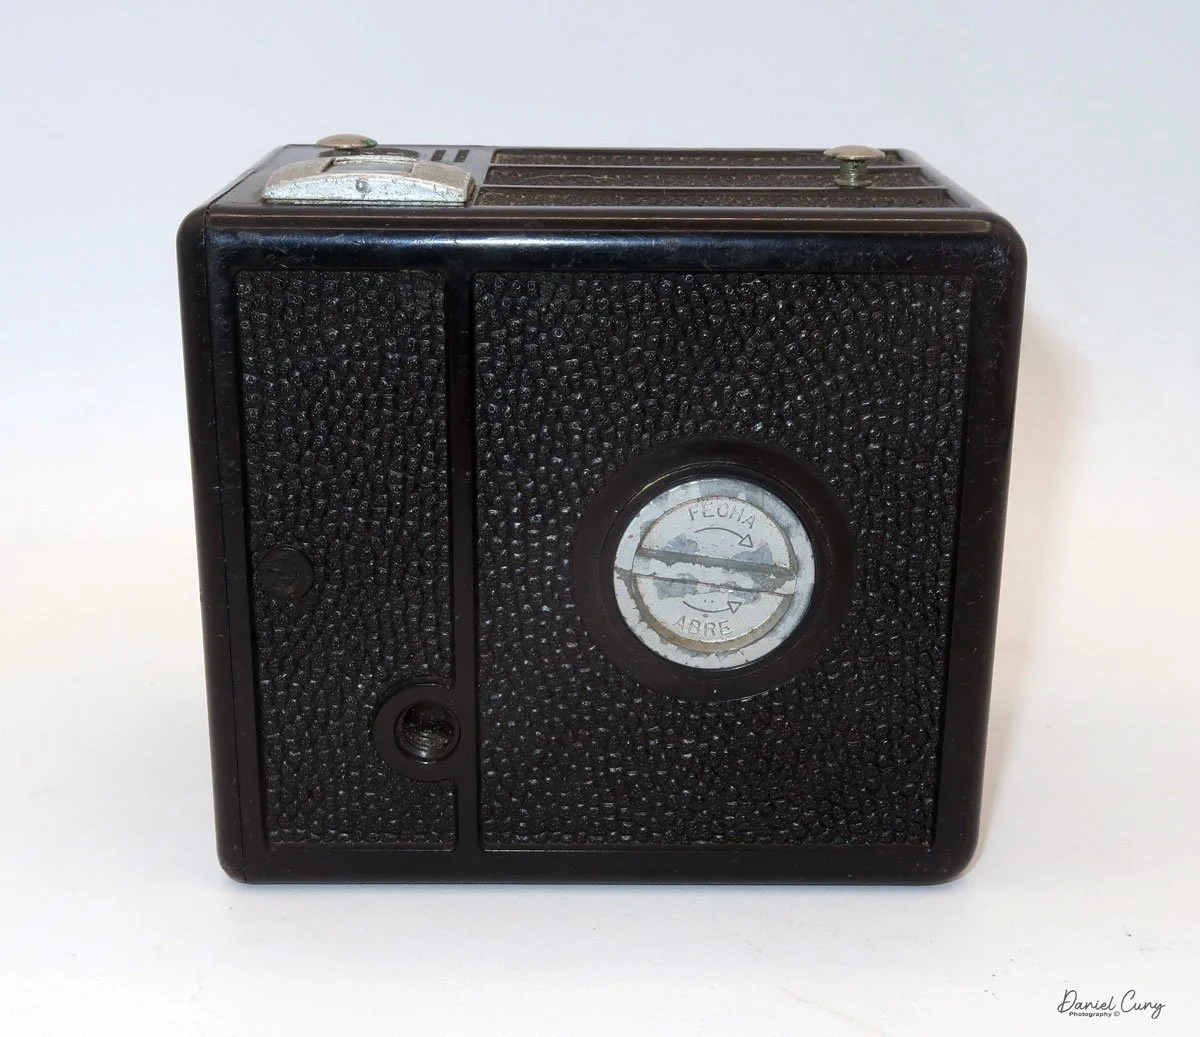
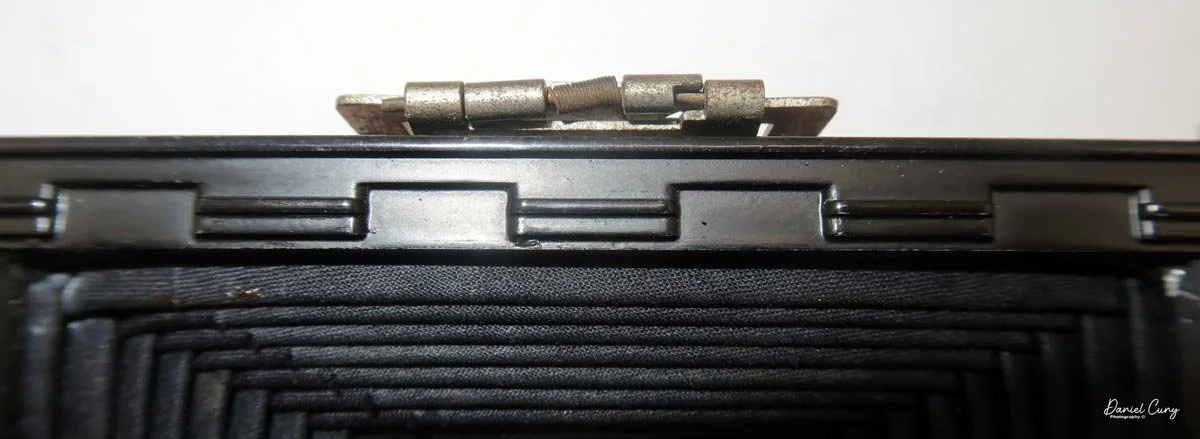
To close the front of the camera, there are two locking stops on the camera's struts, on either side, that need to be pressed in. By doing so, the front of the camera can collapse the lens and bellows back into the camera body.
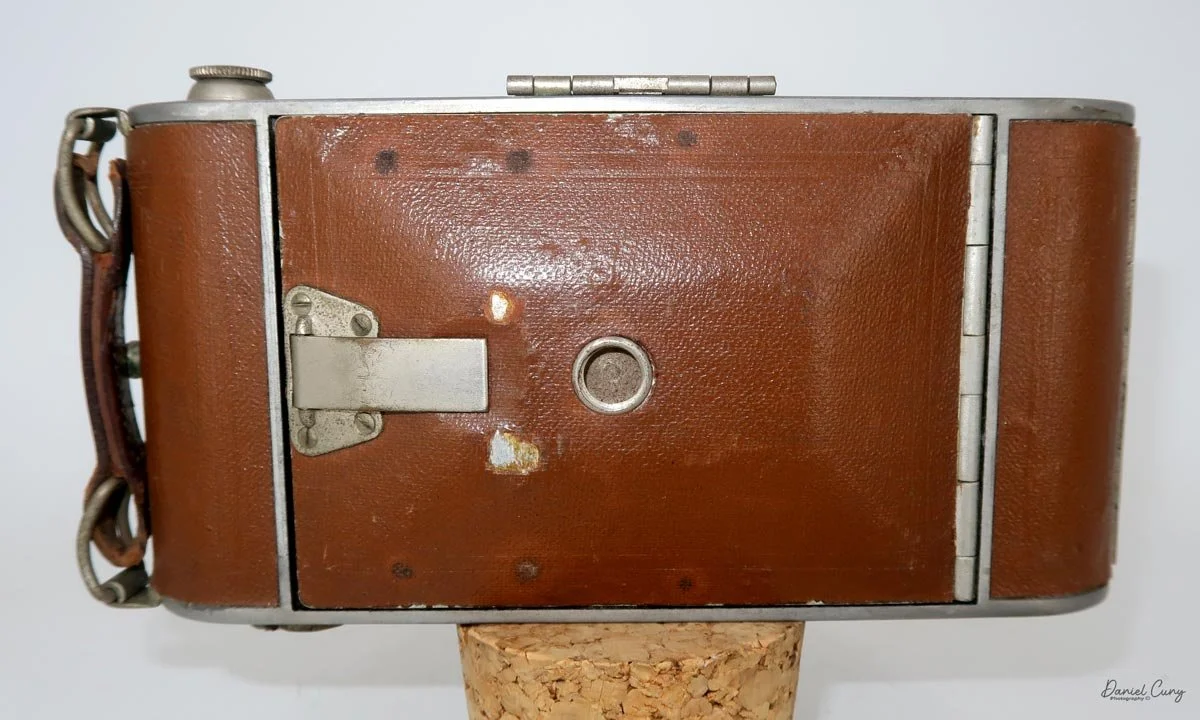
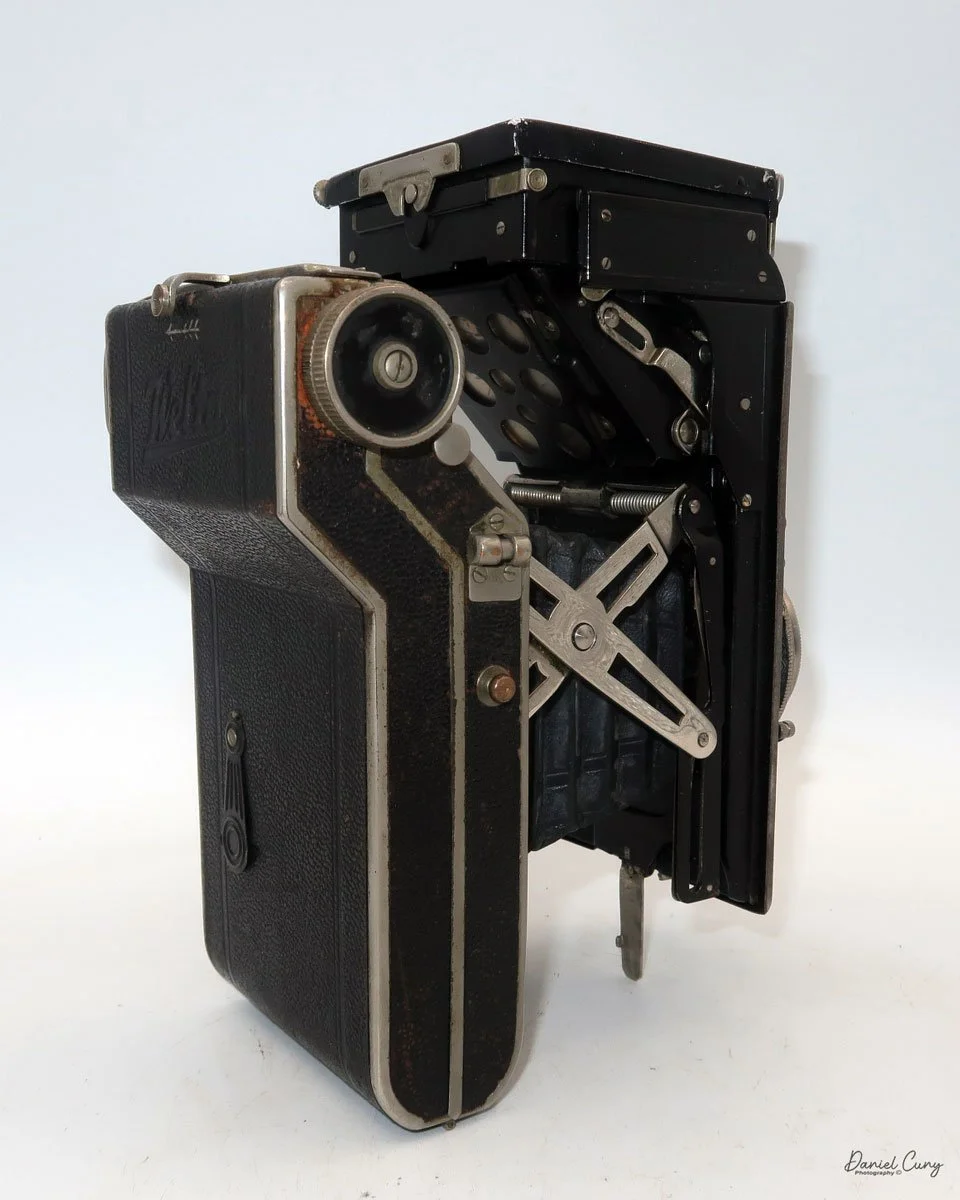
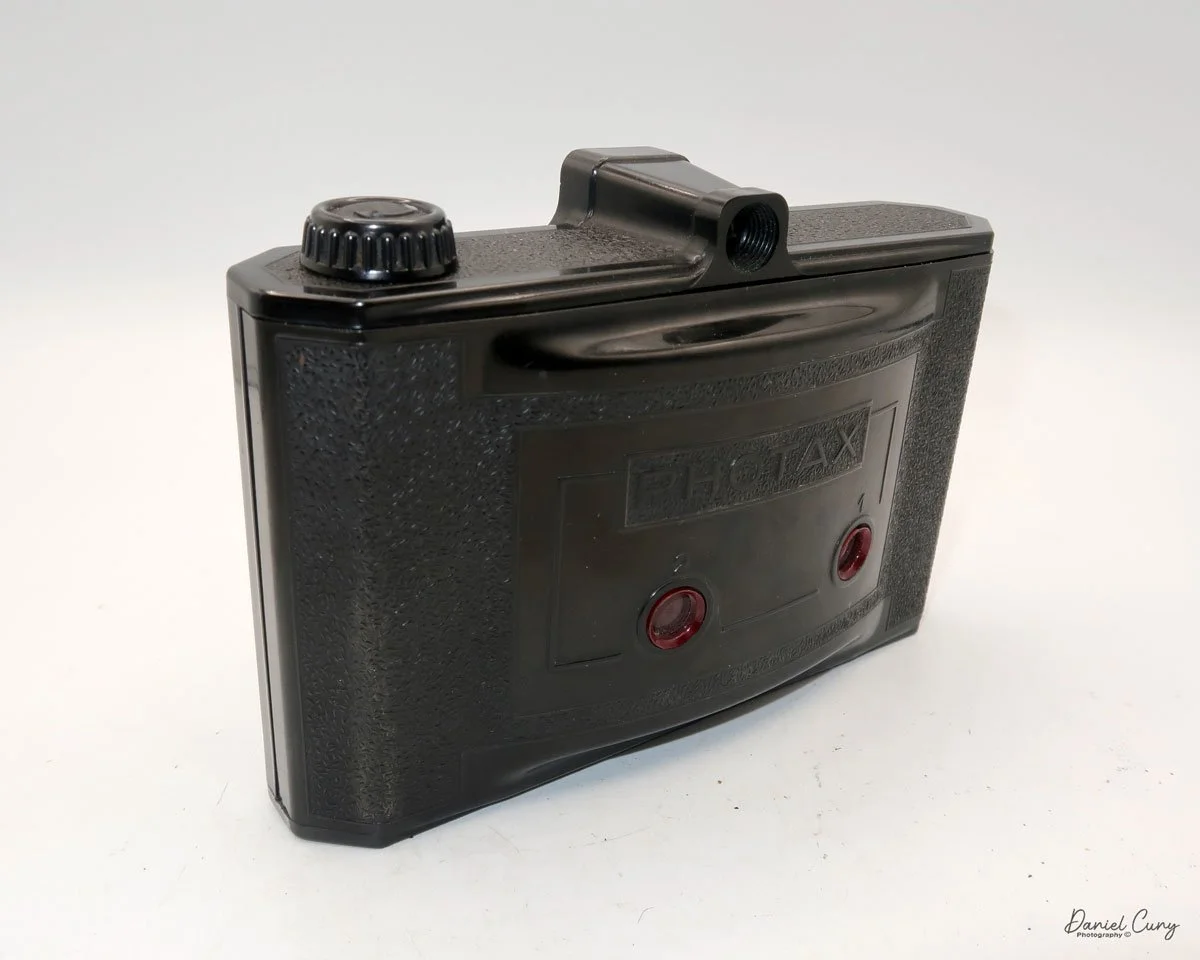
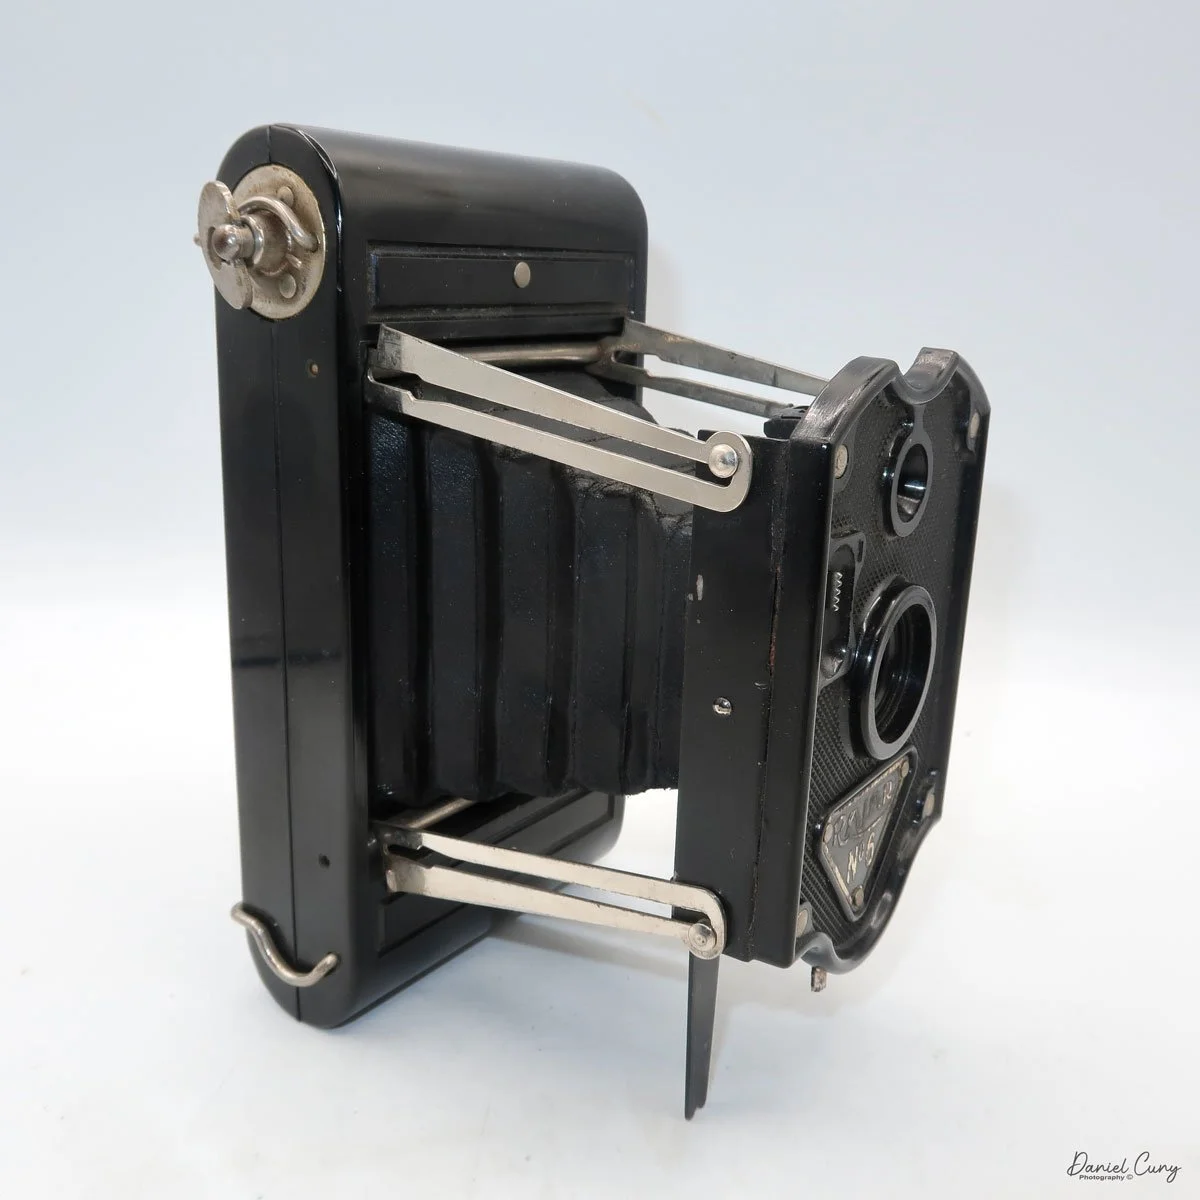
Front view of Salmoiraghi Lexus camera when closed.
Results:
Since the shutter on the Salmoiraghi Lexus camera is inoperable, I wasn’t able to shoot a roll of film through it.
I may try at some point to disassemble the shutter and get it back in working condition. If/when that happens, I’ll be sure to update the post with images.
Conclusion:
While I knew little about this camera when I purchased it, and really bought it for its wonderful color and matching bellows, I'm elated that I didn't sell it at the NW Camera show last weekend because of its rarity.
It's not really well-made and doesn't offer many features, but the scarcity of the camera made in Italy means this will be in my collection for the time being. I'm sure, as I get older and whittle down my collection, it'll pass to another collector, and I hope they understand its rarity in the world of camera collecting.
If you have questions or comments, please feel free to reach out to me; I'm always interested in discussing what you have in your collection, as well as the cameras I've reviewed.
Thank you for taking some time to learn more about this Italian camera. To me, what I enjoy about this camera is the wonderful brown leather covering and matching brown bellows.
Here are my other Camera Reviews.
Cuny's Cameras and Photos is my online eBay store where I sell some of the cameras I've reviewed, along with many other camera oddities I've stumbled upon in the past few years.
Until next week, please be safe.