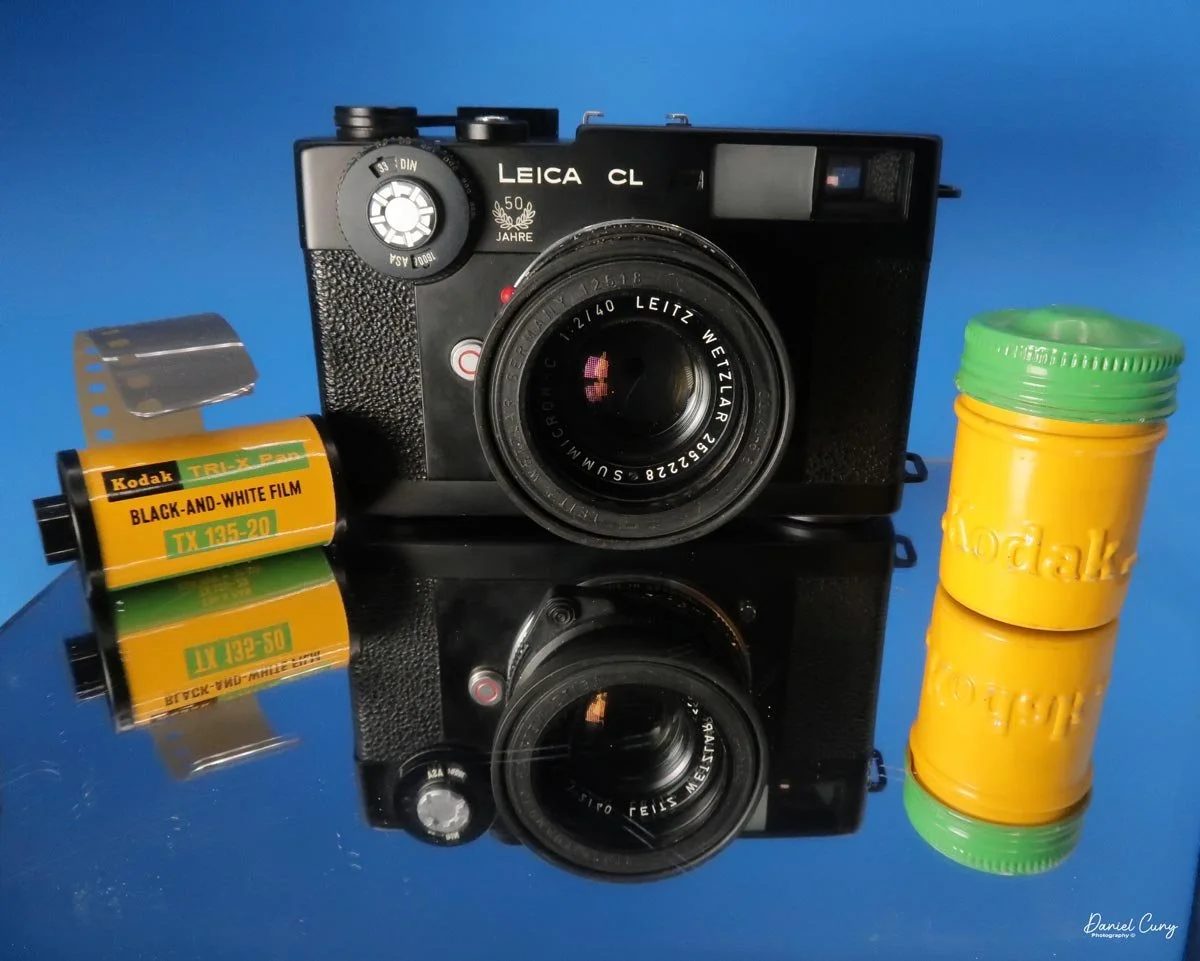
My Leica CL-50th Anniversary Edition Camera
I can remember when the Leica CL was first introduced. I was a junior in high school and attending concerts with my buddies. Because of its size, I thought it would be perfect to take to shows to photograph bands. It was small, compact, and had incredible optics.
At the time, I shot Nikon, which was a bit bigger and heavier, and the idea of a smaller, lighter camera intrigued me.
Unfortunately, I had a few obstacles to overcome to get one. The first and foremost was the price. At around $450.00 for the camera body with the 40mm lens, I needed to save a lot before I could afford it, especially while also buying records, paying for a car, and going to concerts. Something needed to give.
For me personally, another drawback of the Leica CL was the lack of longer lenses for the body. At the time of release, they offered a 40mm and a 90mm, which they recommended, but for the shows I was photographing, I sometimes needed up to a 200mm. The 40mm or 90mm would be OK for some of the work, but I liked getting a bit closer to the performers, so the longer lens was very desirable.
A good friend of mine, Greg Copeland, was an early adopter of the Olympus OM system and purchased his right after it was introduced in 1973. After I played with his for a while, I started to prefer shooting with a slightly bigger camera, as my hands just seemed to overlap the camera, and it didn't feel comfortable. As a result, the thought of owning a Leica CL subsided.
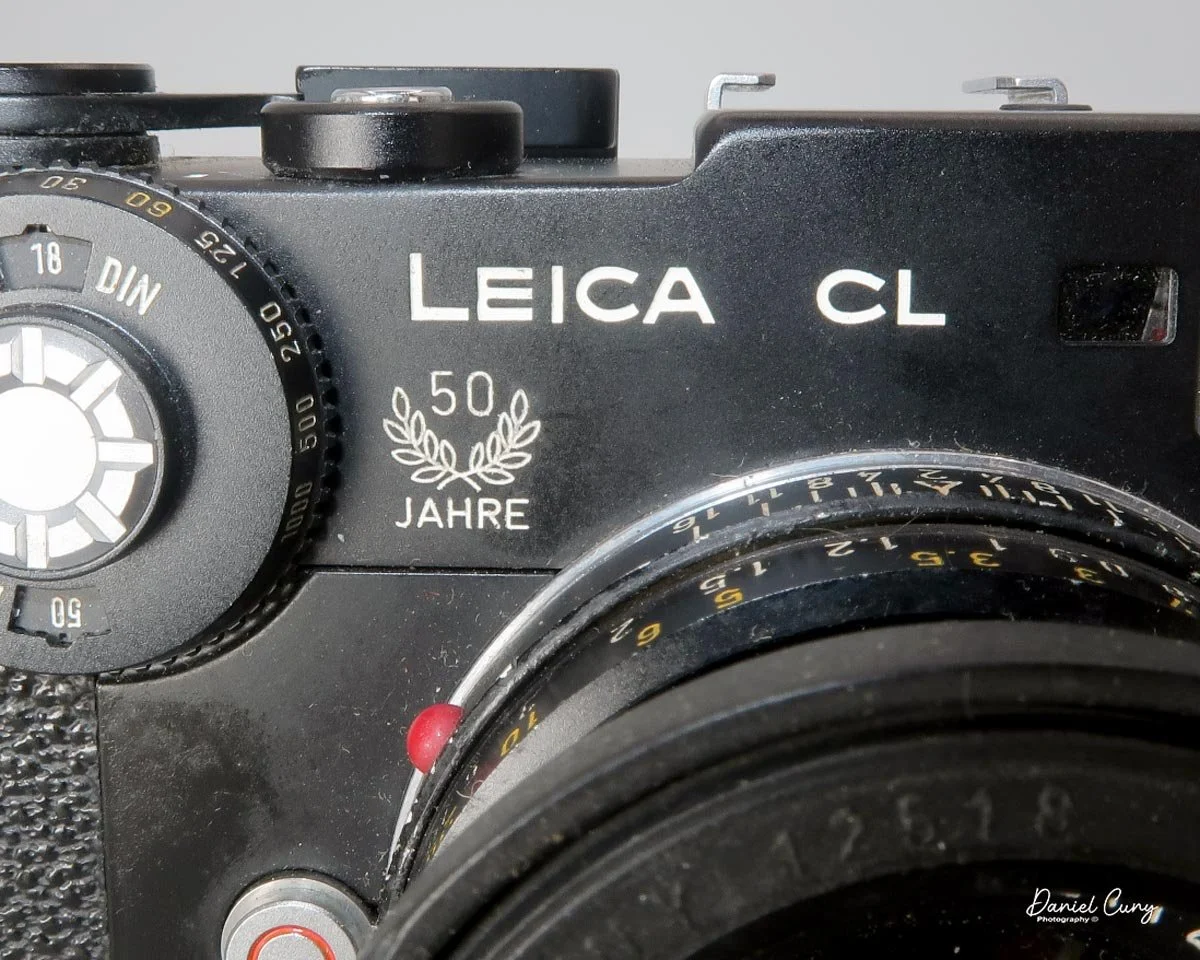
Leica CL 50th Anniversary
Minolta introduced their version of the Leica CL, the Minolta CLE, in 1980, when I was working at a camera store in the San Francisco Bay Area. I briefly considered buying it through the employee purchase program, but I wasn't a big fan of Minolta cameras. Also, being married and having a two-year-old put a little damper on spending a lot of money on camera gear.
Jump almost 40 years into the future, and an opportunity to purchase a Leica CL with the fitted leather case and Leitz Summicron-C 40mm f/2 lens dropped into my lap. I was in a camera store in a small Midwest town on a business trip, and as I was looking in one of the showcases, there it was.
The owner at the time said he was having a difficult time selling it, and he would make me a good deal on it if I were interested. He said the meter wasn't working, but it did come with the hood, lens cap, and case. He threw out a price that was too good to pass up. I thought about it for a few minutes and started playing with it. It seemed in great condition, except for the meter, so I bought the camera and took it home.
History of Leica CL & Minolta CLE
The partnership between Leitz (the maker of Leica cameras) and Japanese manufacturer Minolta during the 1970s birthed two of the most fascinating rangefinders in photographic history: the Leica CL and the Minolta CLE. Conceived during a period of financial instability for Leica, this collaboration aimed to produce a compact, accessible entry point into the legendary M-mount system.
Introduced in 1973, the Leica CL (Compact Leica) was designed by Leitz but manufactured in Japan by Minolta. It represented a radical departure from traditional Leica design. Weighing considerably less than its sibling, the polarizing Leica M5, the CL featured a vertically traveling cloth focal-plane shutter and a unique through-the-lens (TTL) light meter positioned on a pivoting arm that swung out of the way just before the shutter fired. To accompany the camera, Leitz introduced two compact, budget-friendly lenses: the 40mm f/2 Summicron-C and the 90mm f/4 Elmar-C.
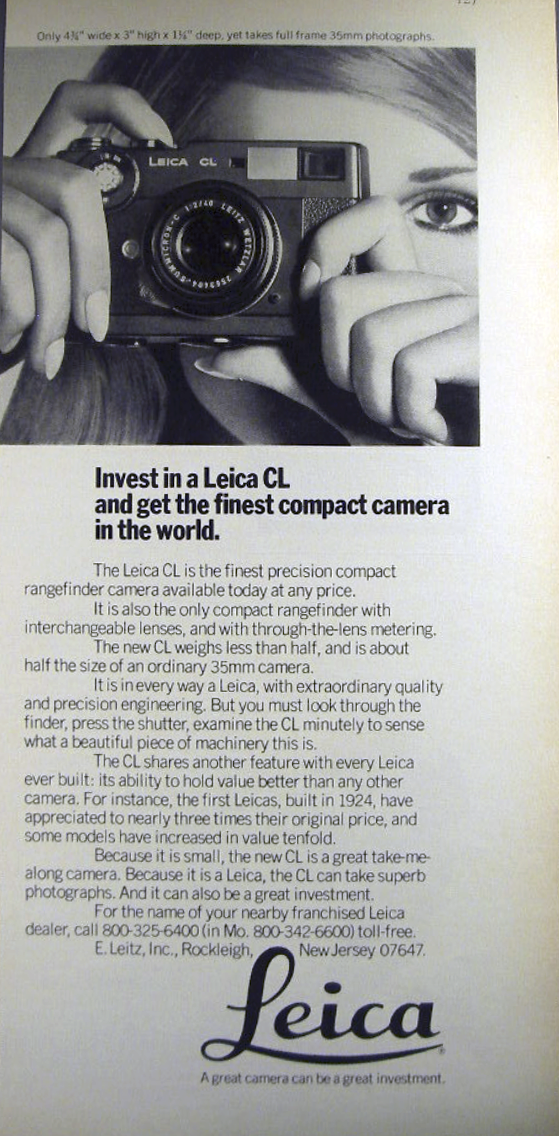
Leica CL Advertisement
The CL was a massive commercial success. However, its popularity became a double-edged sword. It sold so well that it reportedly cannibalized sales of the far more expensive M5, prompting Leitz to discontinue the CL prematurely in 1976 after producing roughly 65,000 units. Minolta also sold its own domestic version during this time, the Leitz Minolta CL, which was functionally identical.
After the partnership dissolved, Minolta built on the CL and engineered a true technological marvel: the Minolta CLE (Compact Leica Electronic), released in 1980.
While it retained the M-mount and a similar form factor, the CLE was entirely Minolta's creation and represented a massive leap forward. It replaced the CL's mechanical shutter and swinging meter arm with an advanced electronic stepless shutter and a cutting-edge silicon photodiode system.
Most impressively, the CLE introduced aperture-priority auto-exposure and TTL off-the-film flash metering—features that would not appear on a true Leica M body until the M7 arrived over two decades later. Minolta paired the CLE with three exceptional M-Rokkor lenses: a 28mm f/2.8, a 40mm f/2, and a 90mm f/4. Despite its technological superiority, the CLE had a relatively short production run and was discontinued in 1985. Today, both cameras remain highly sought after by film enthusiasts as capable, lightweight alternatives to traditional M-system rangefinders.
My Camera
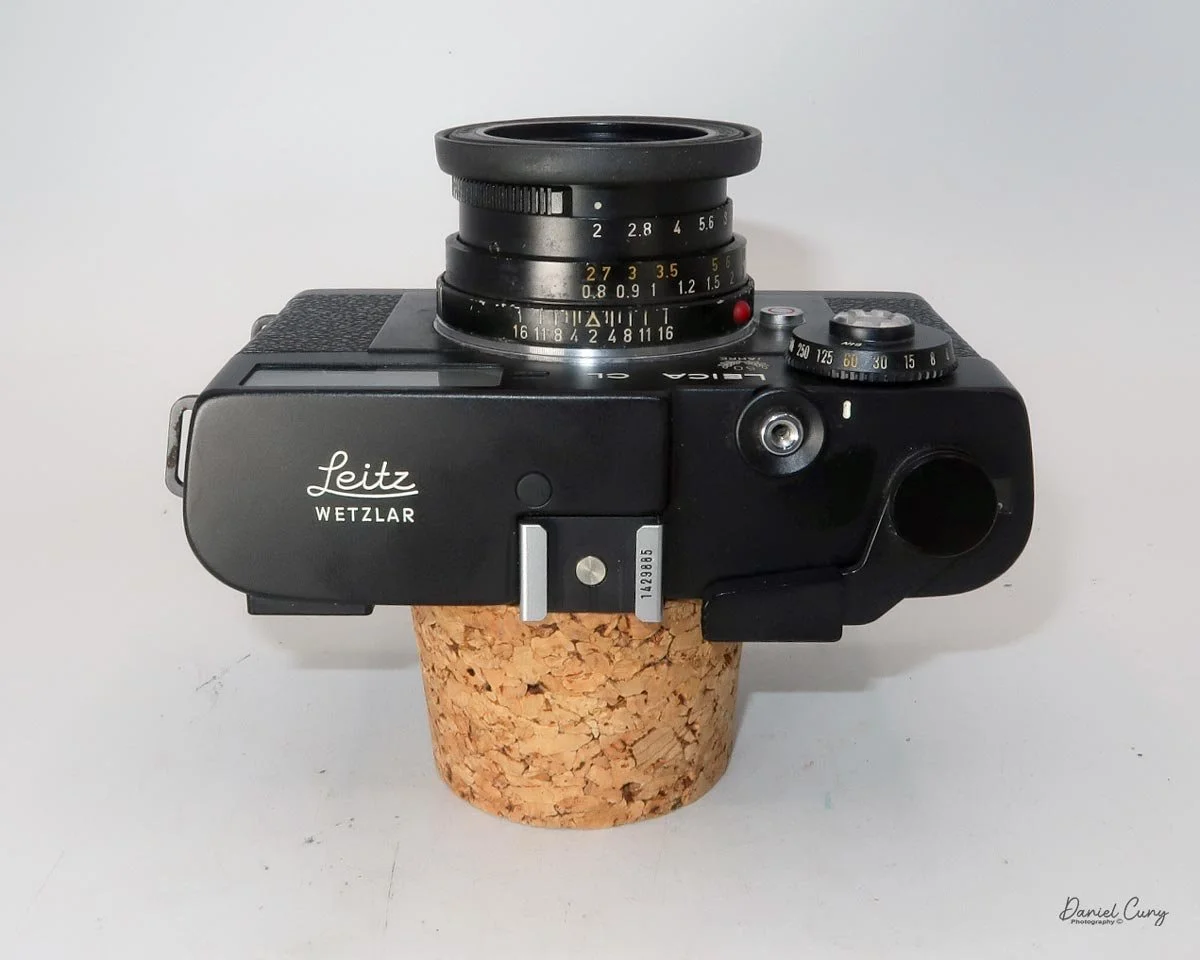
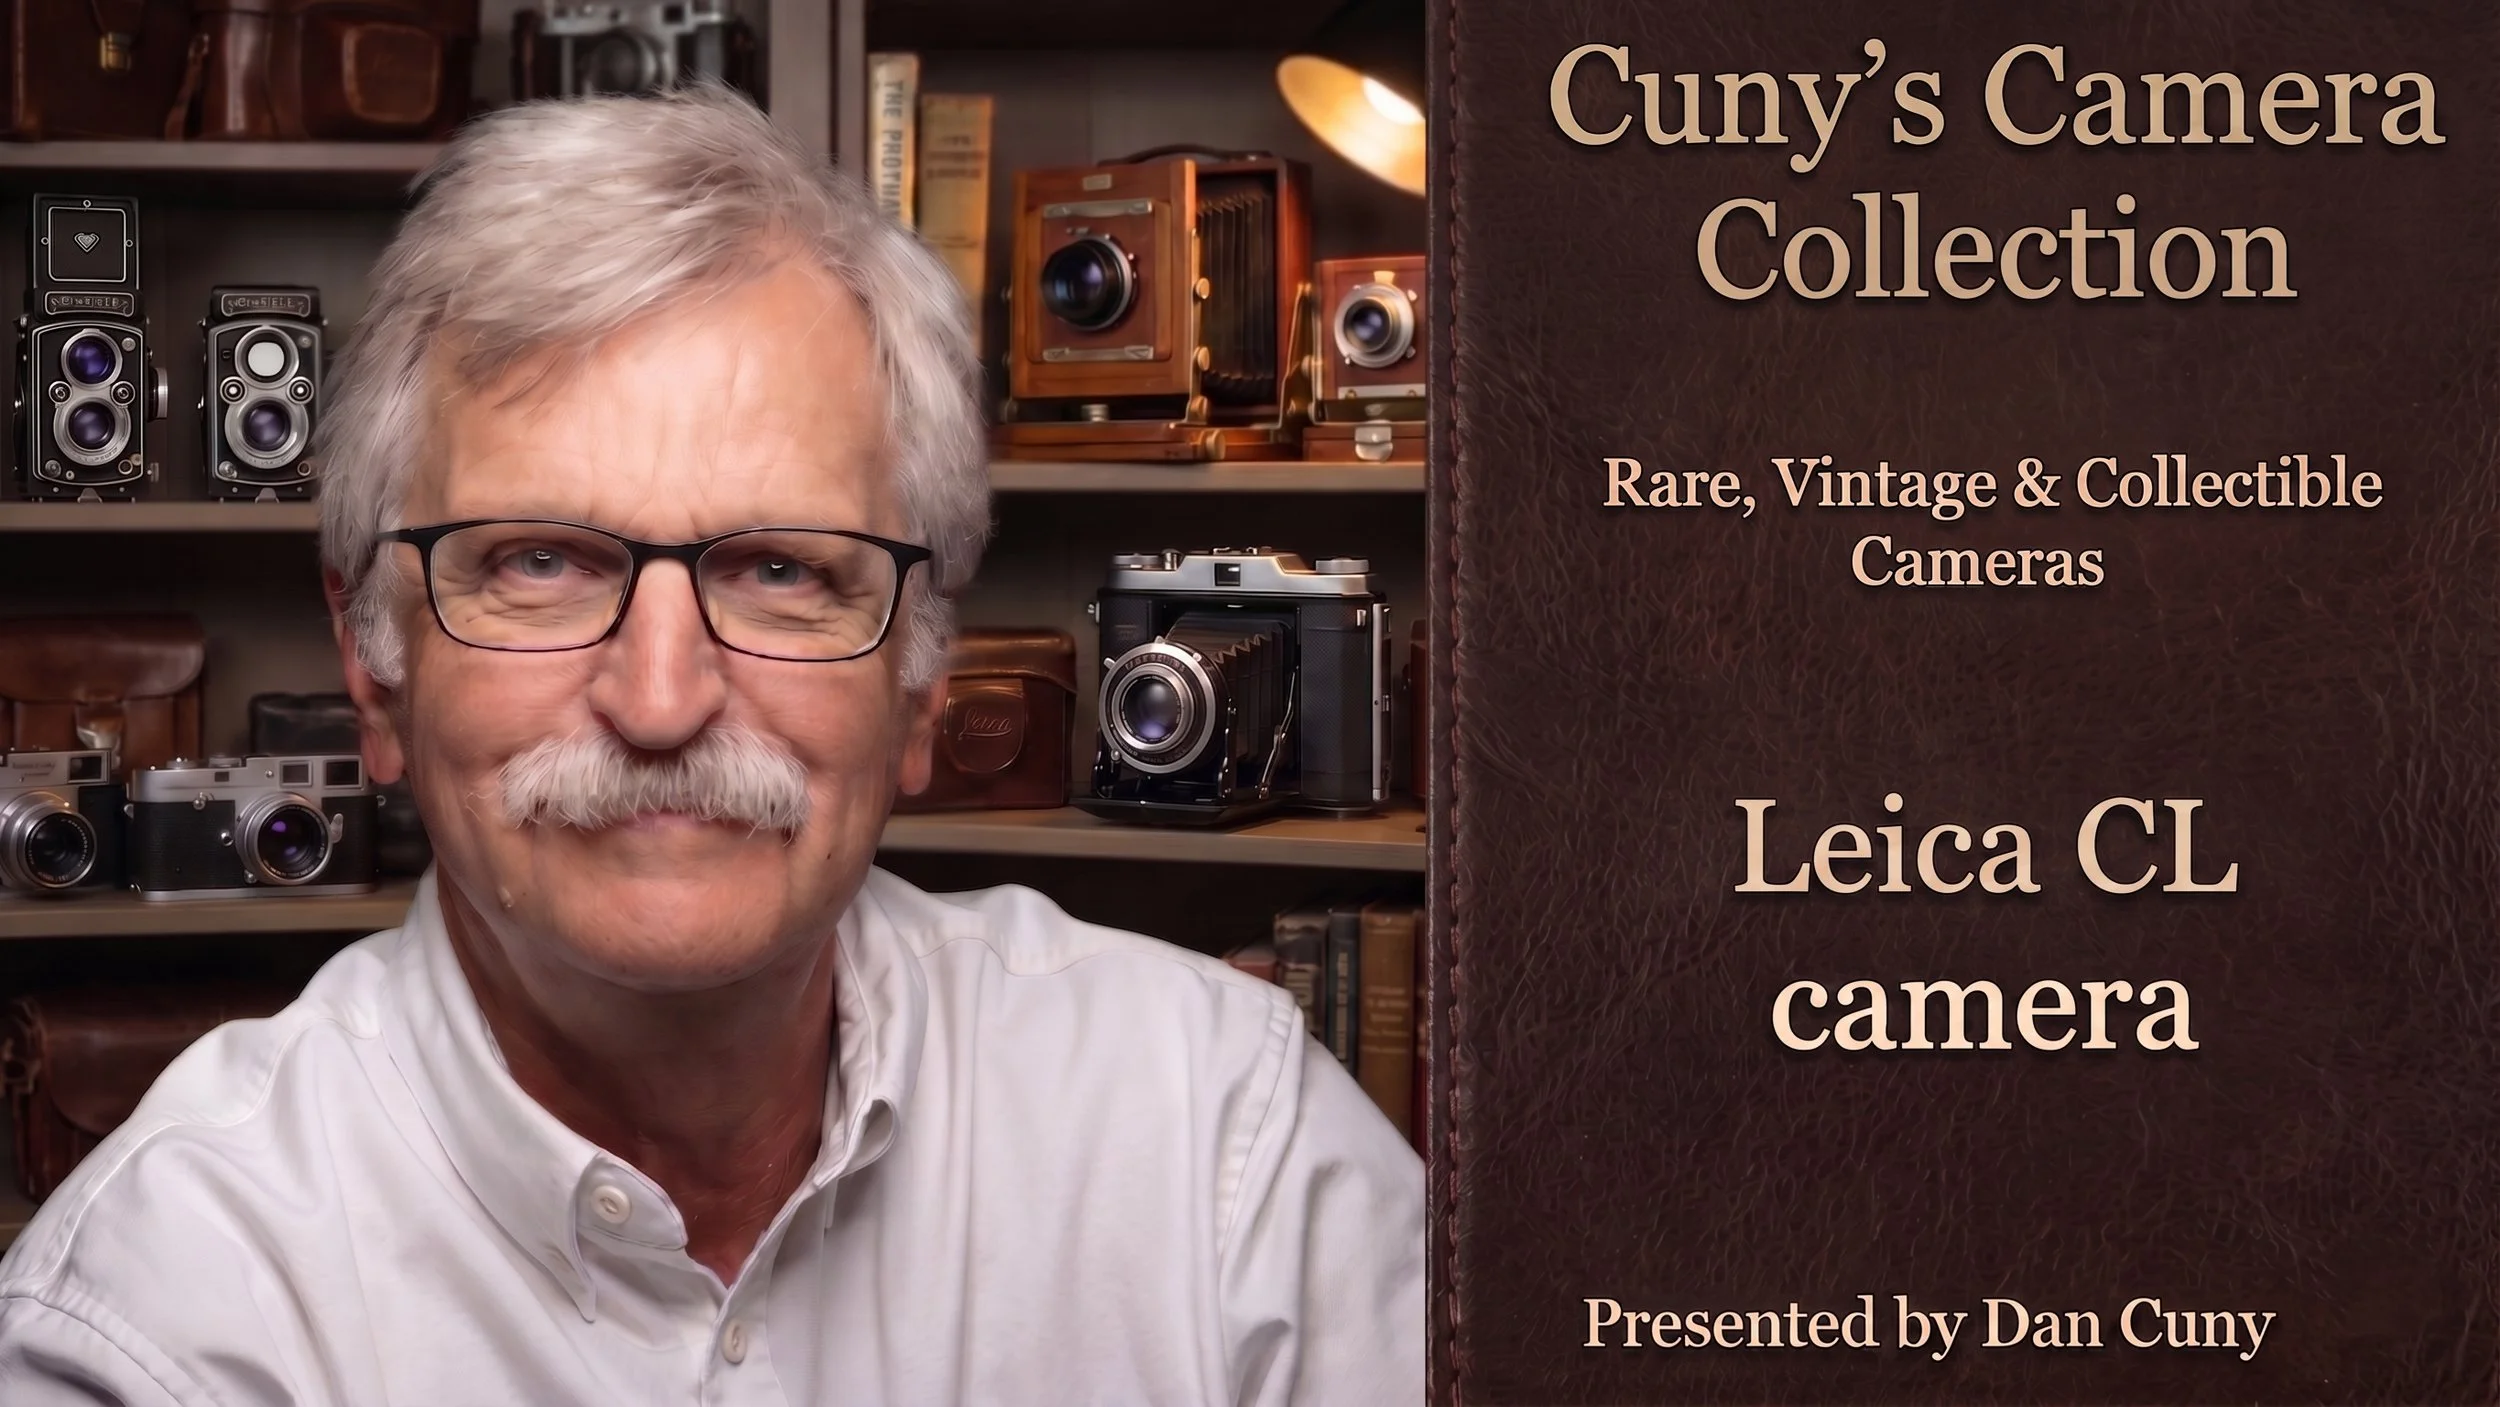
My Leica CL is a 50th-anniversary model with the stamp under the "Leica CL" name on the front. On the back of the camera body is engraved 487-L. The Leica CL is 4.75" wide by 3" tall by 2.5" deep, with the Leitz Summicron-C 40mm f/2 lens. The camera weighs 1 pound, 2 ounces with the hood and lens cap, and without film. The body serial number is 1429885, and the lens serial number is 2552228.
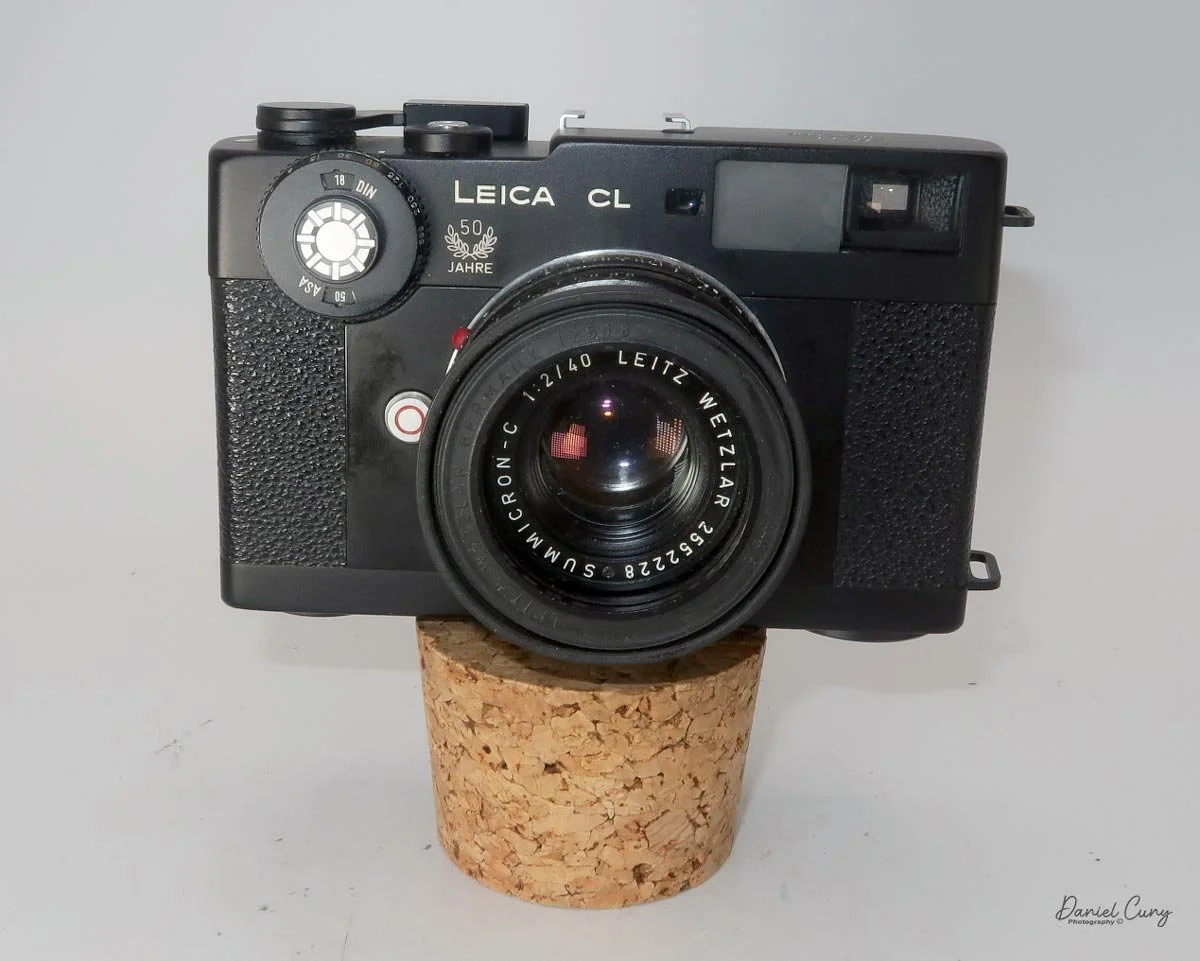
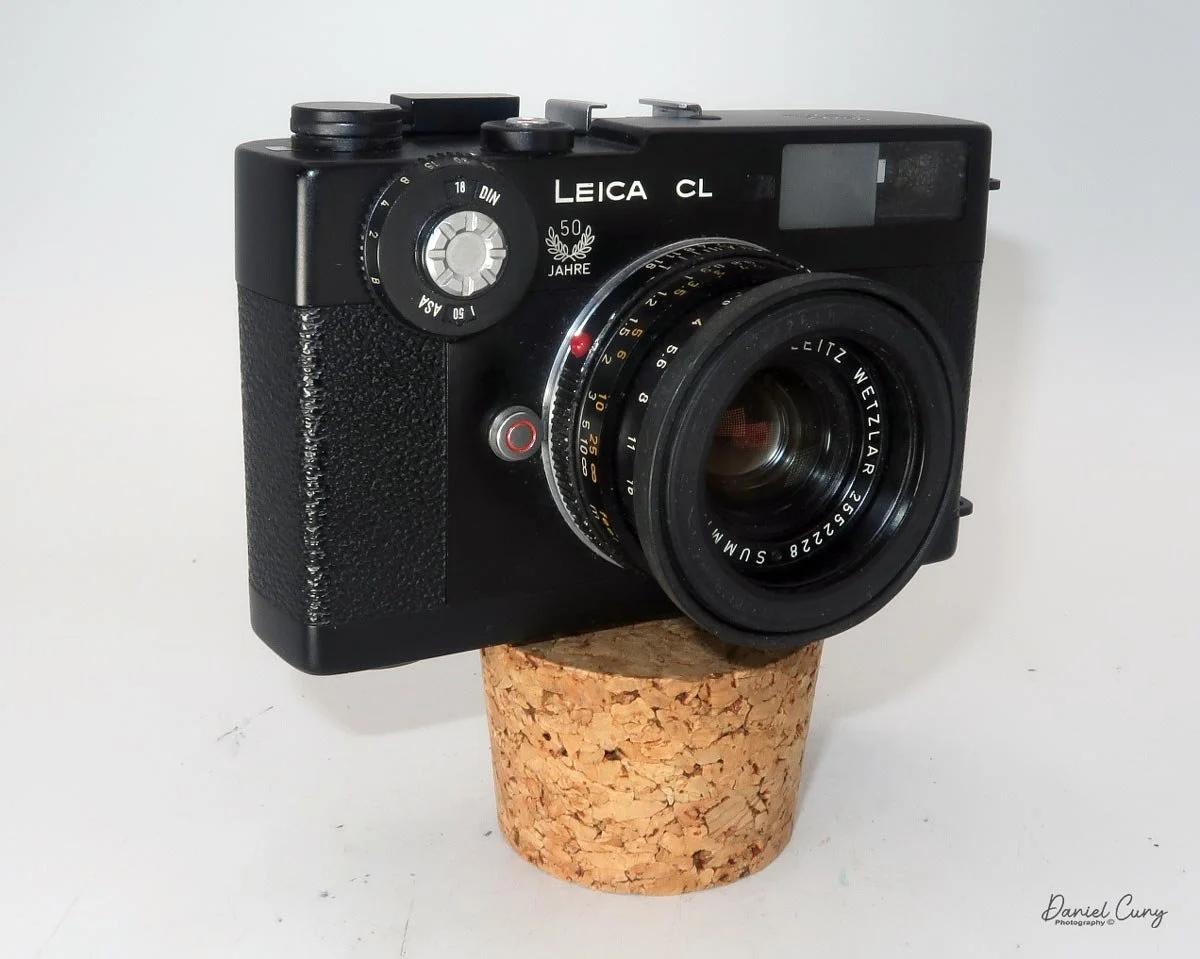
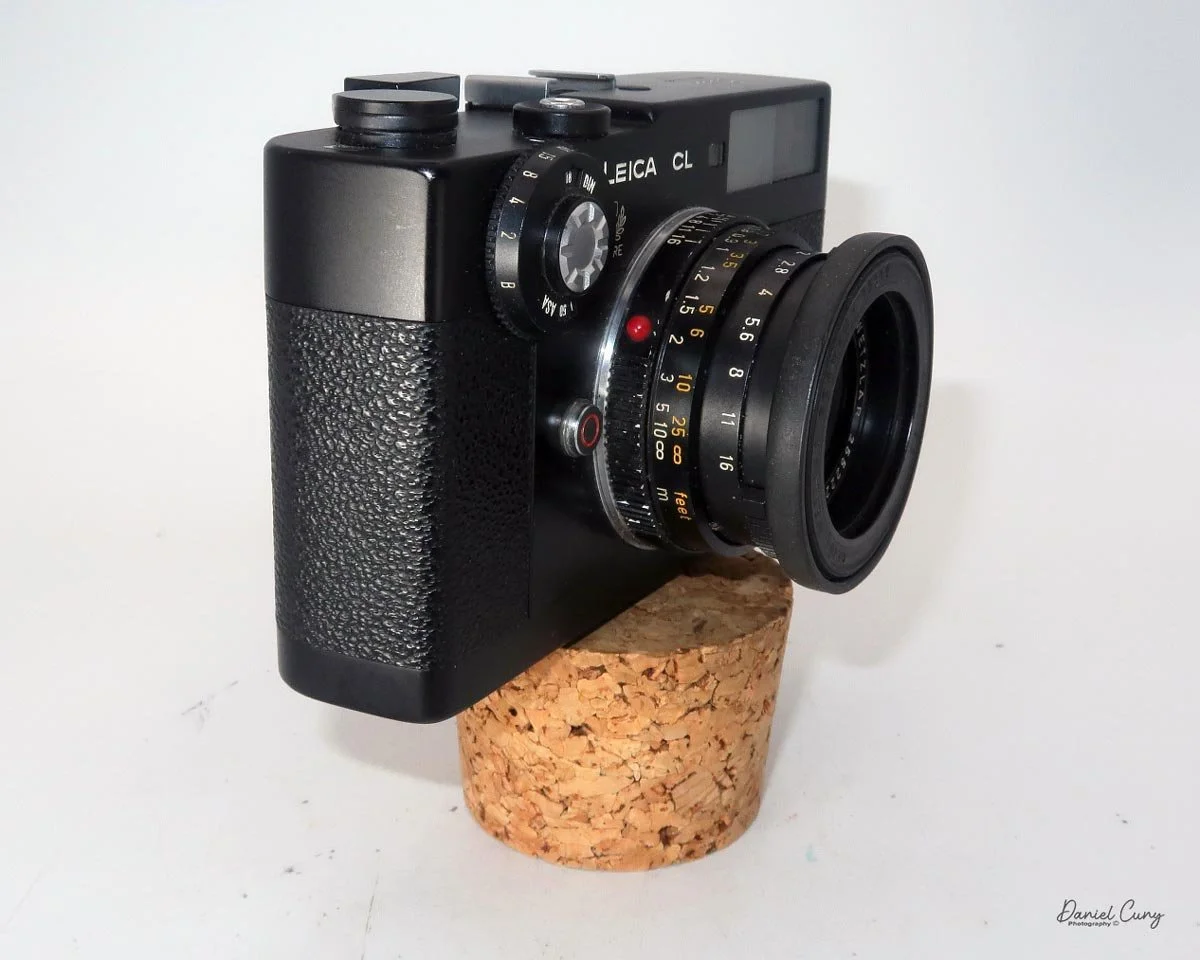
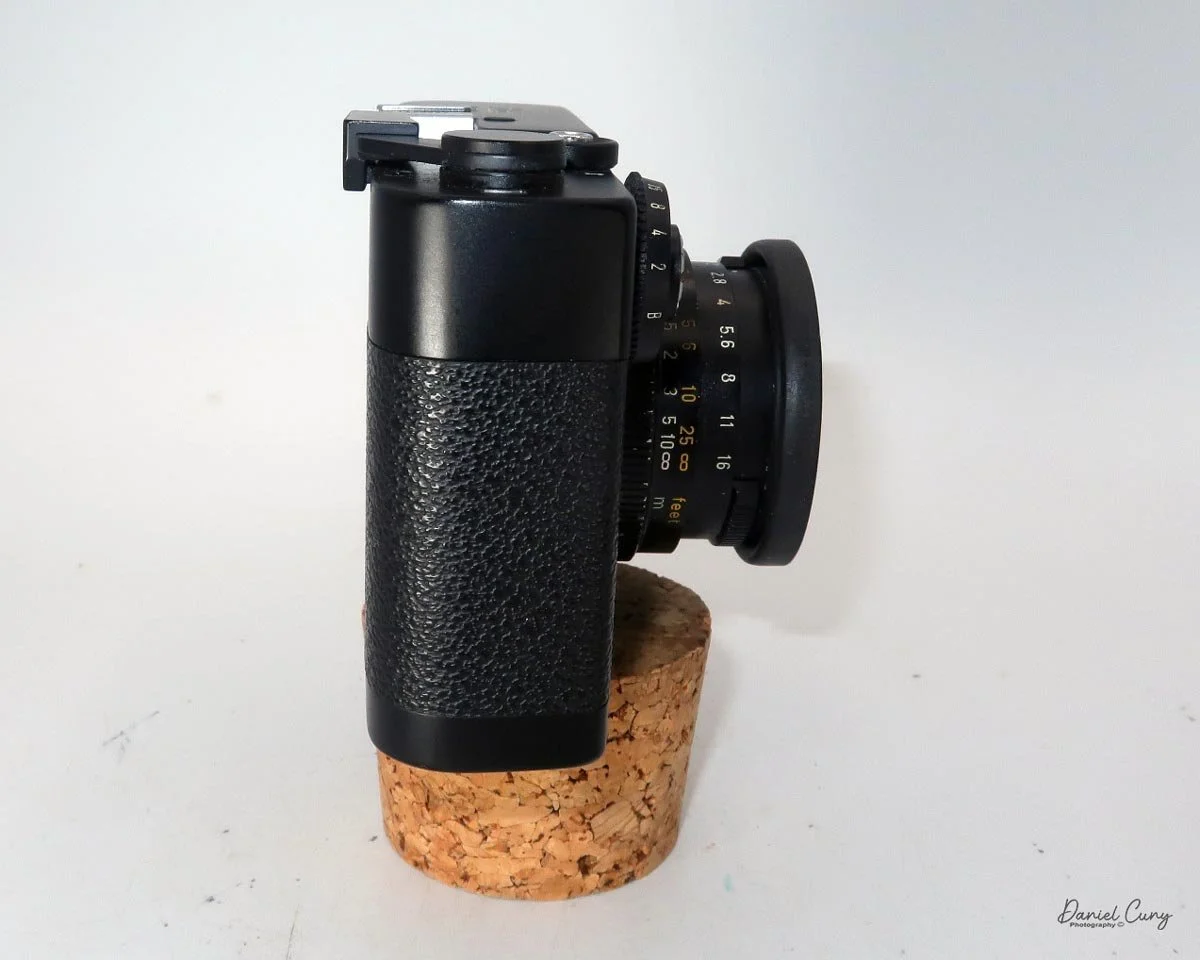
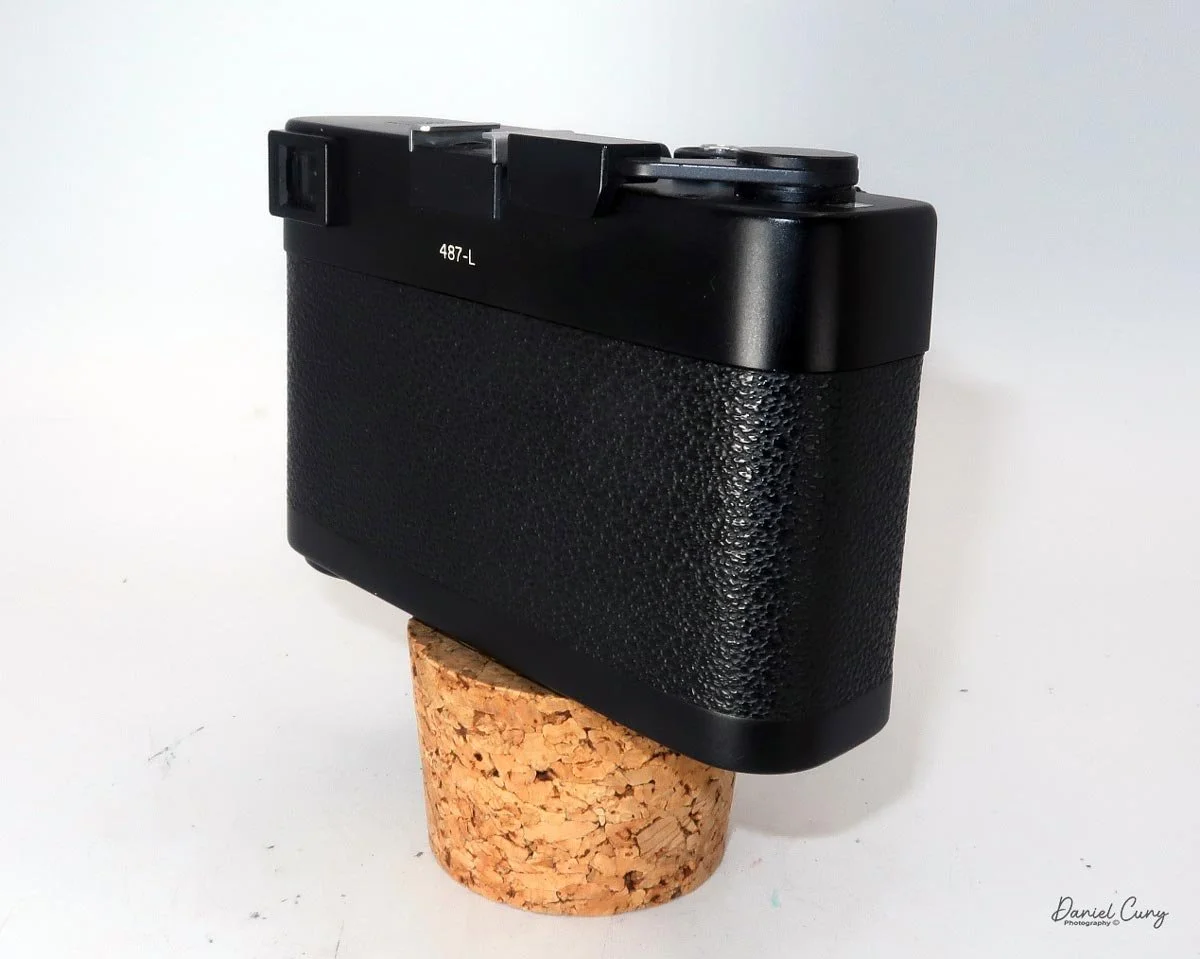
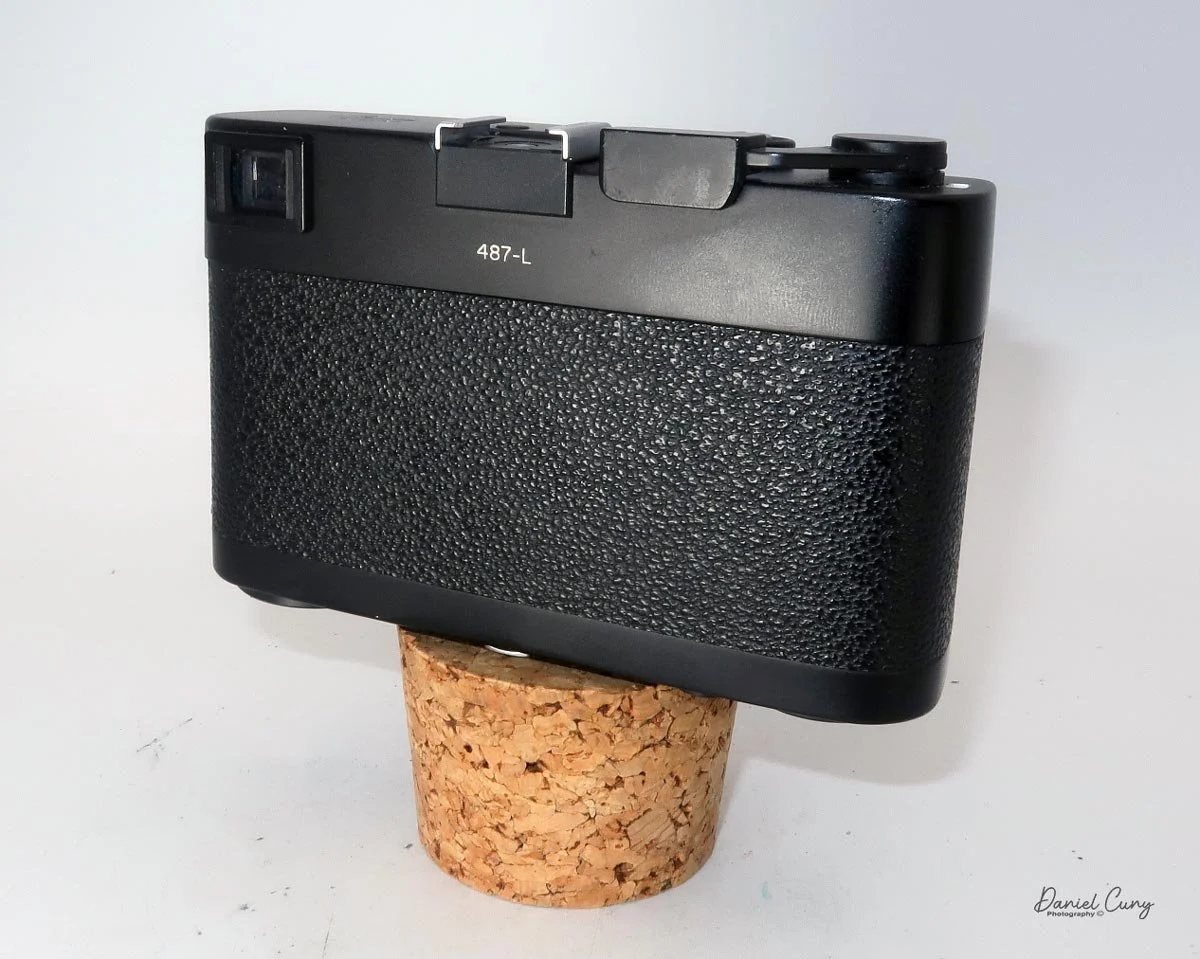
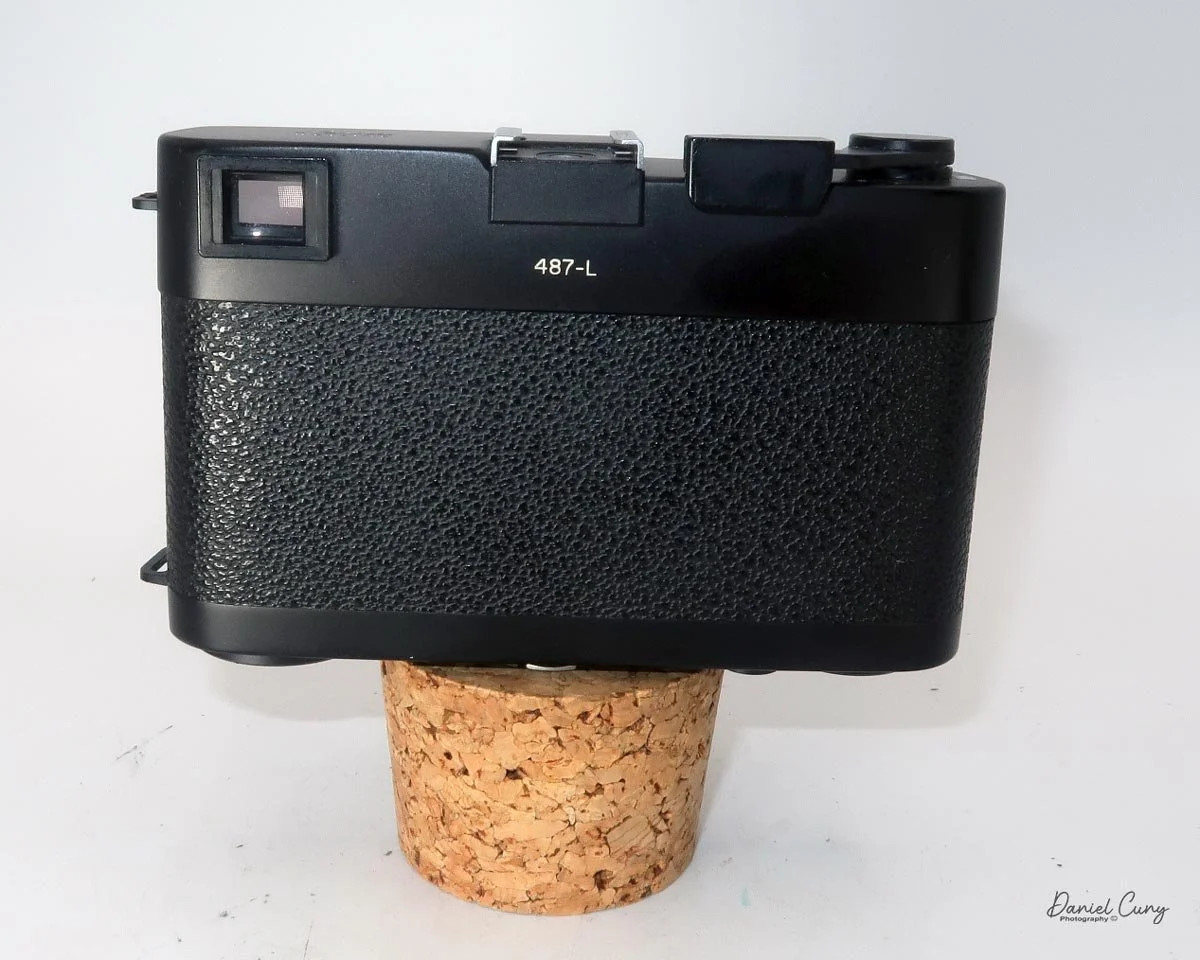
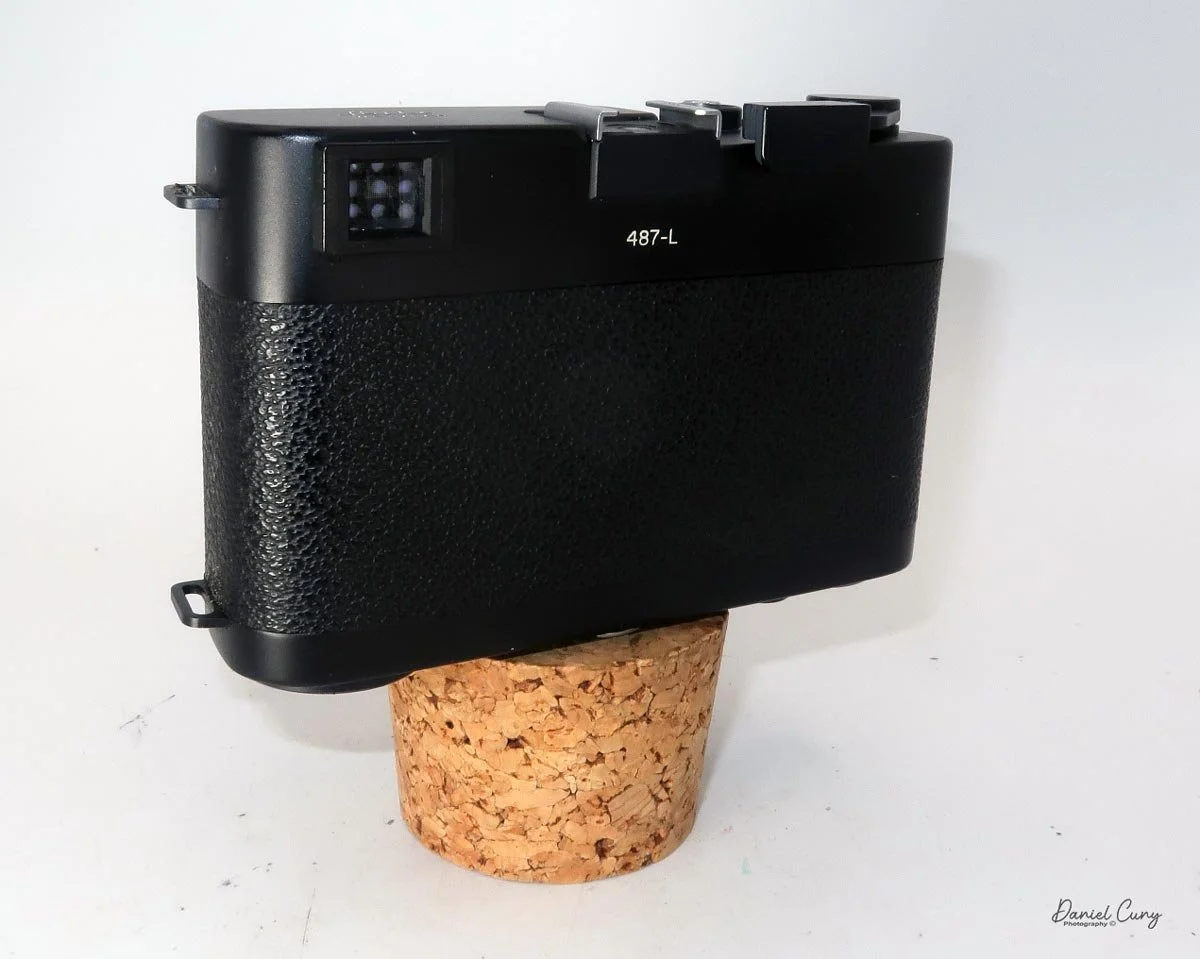
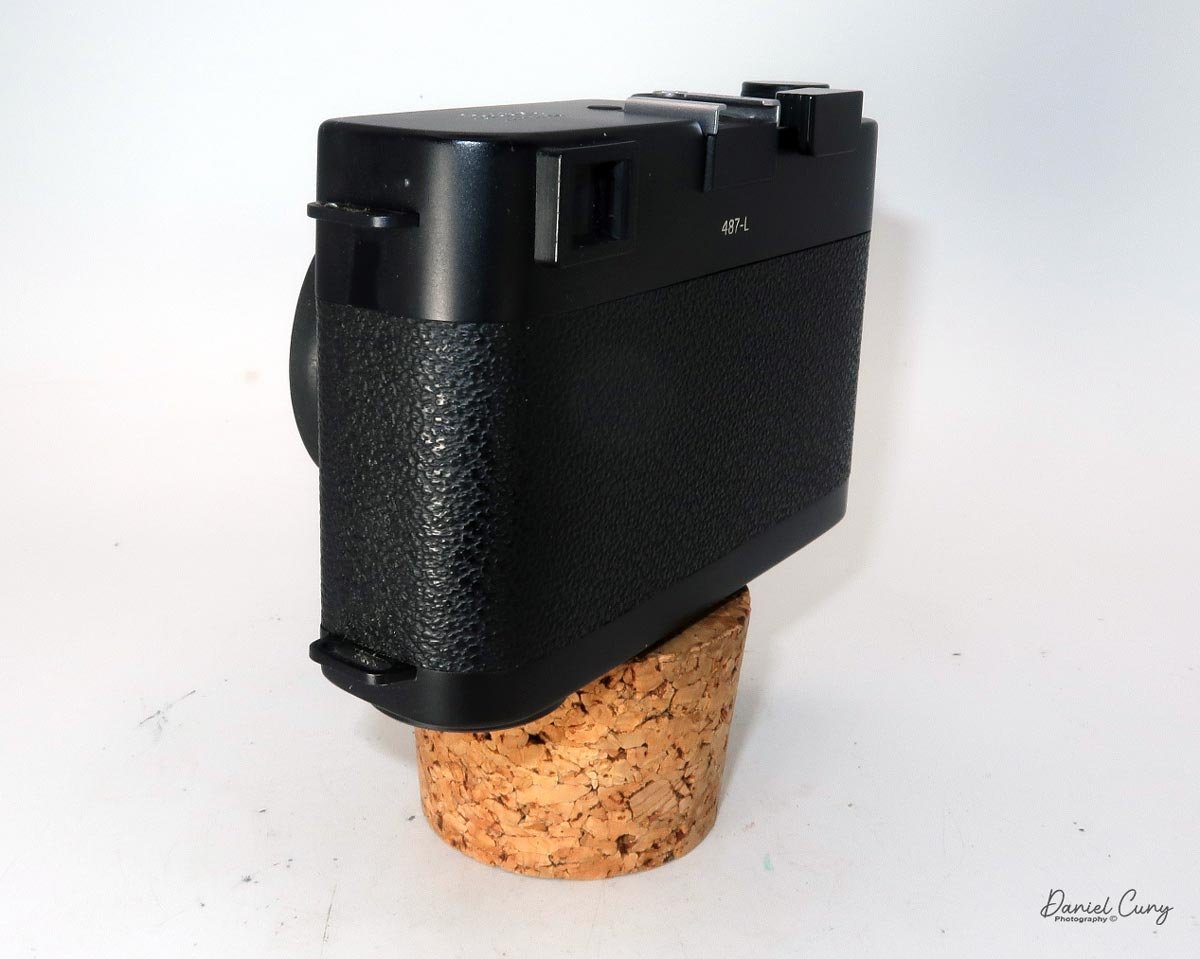
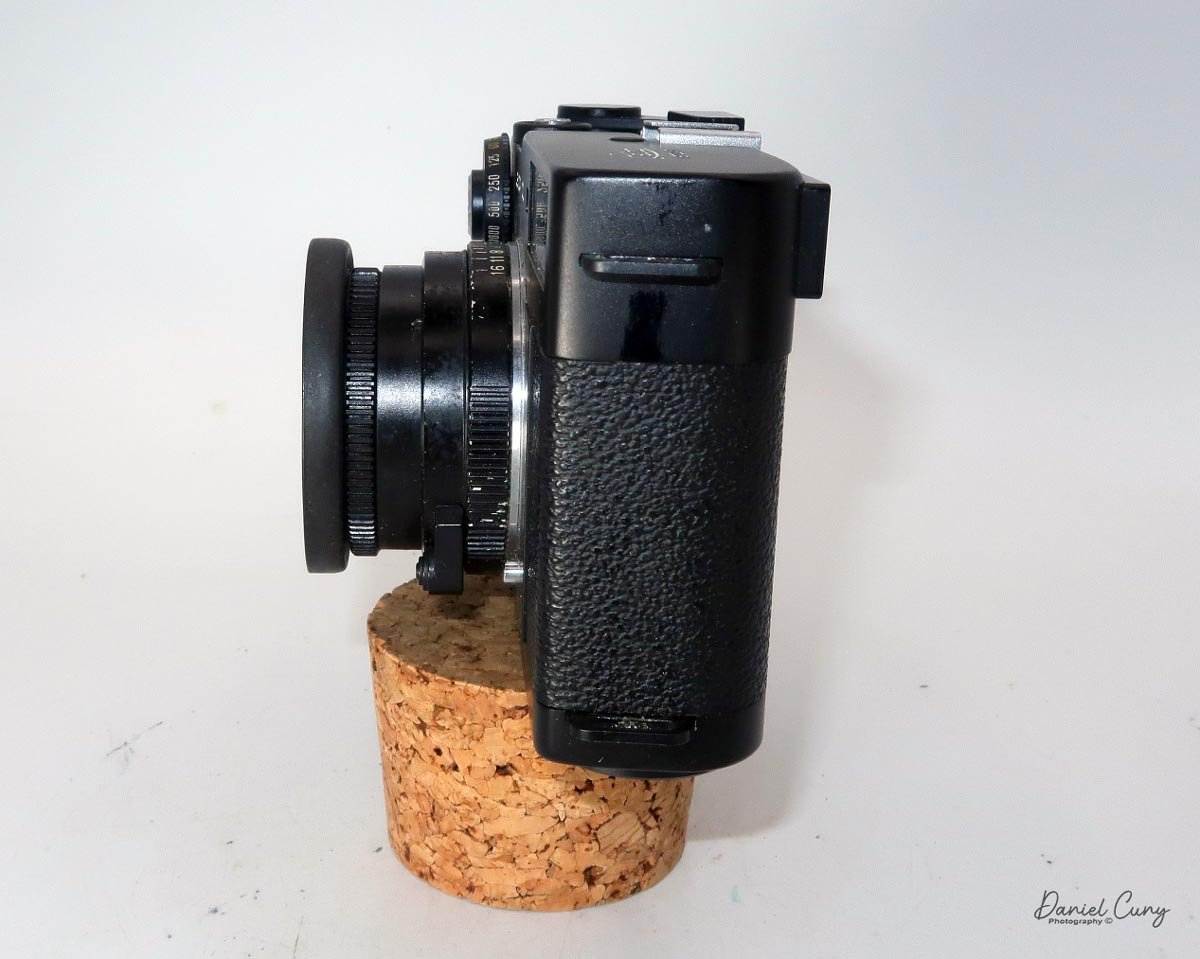
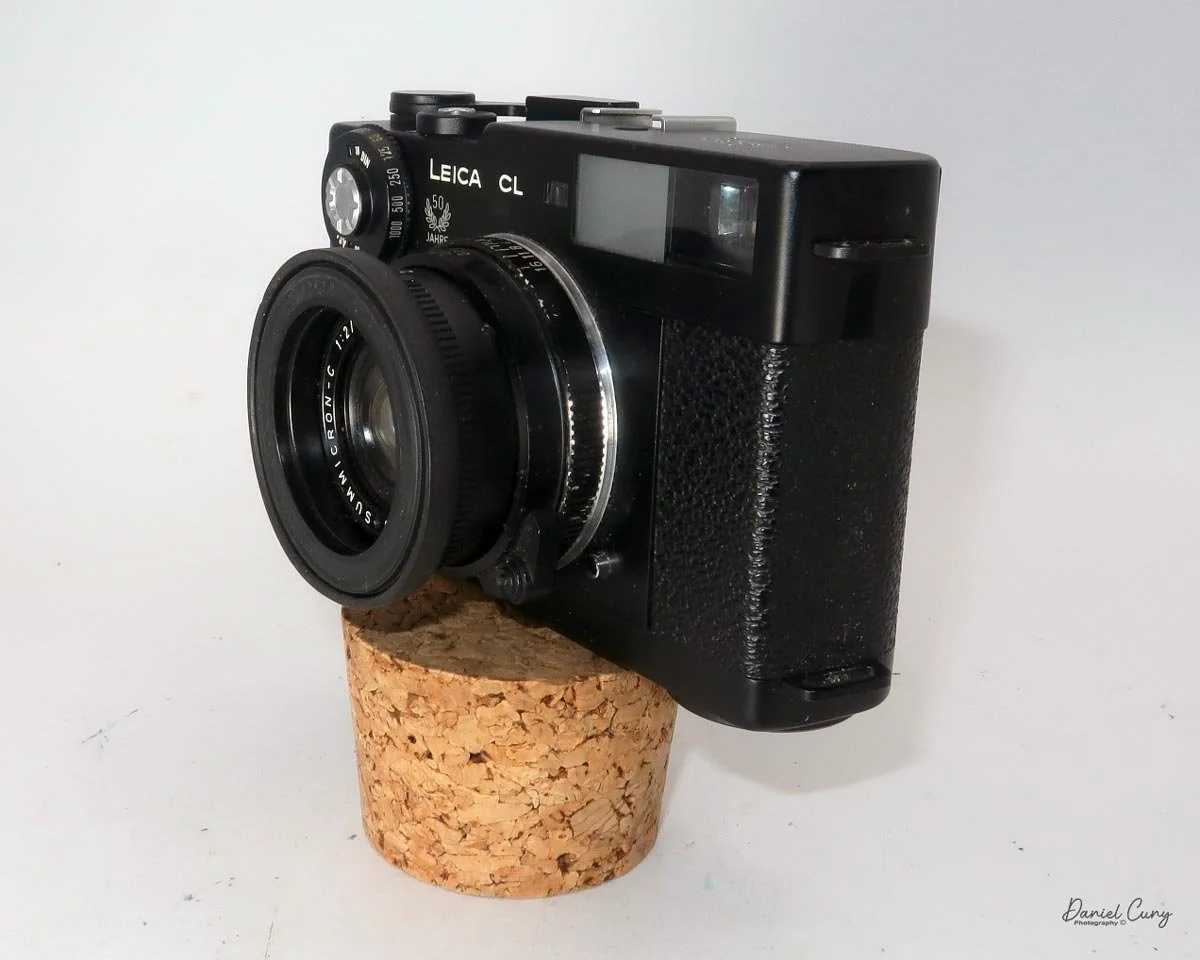
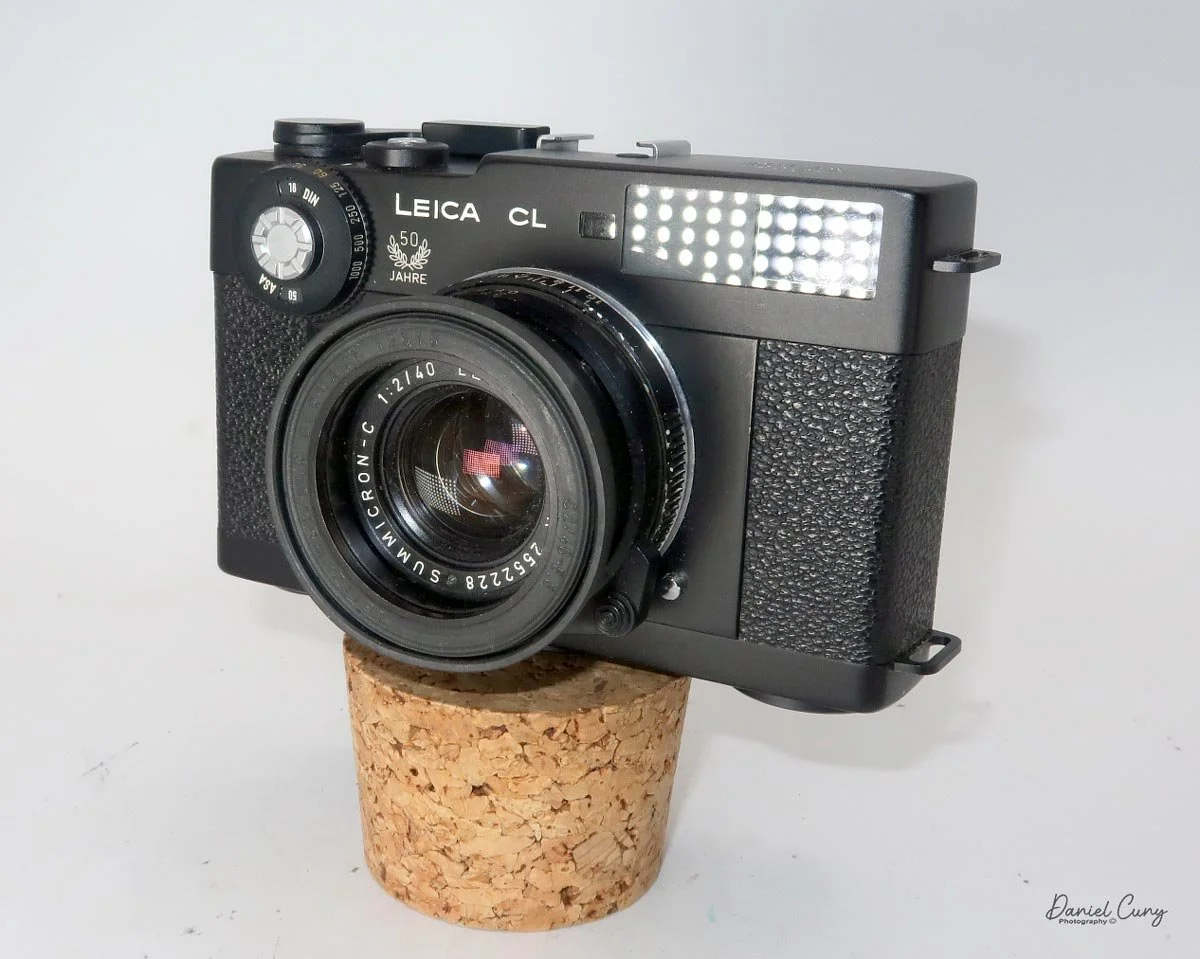
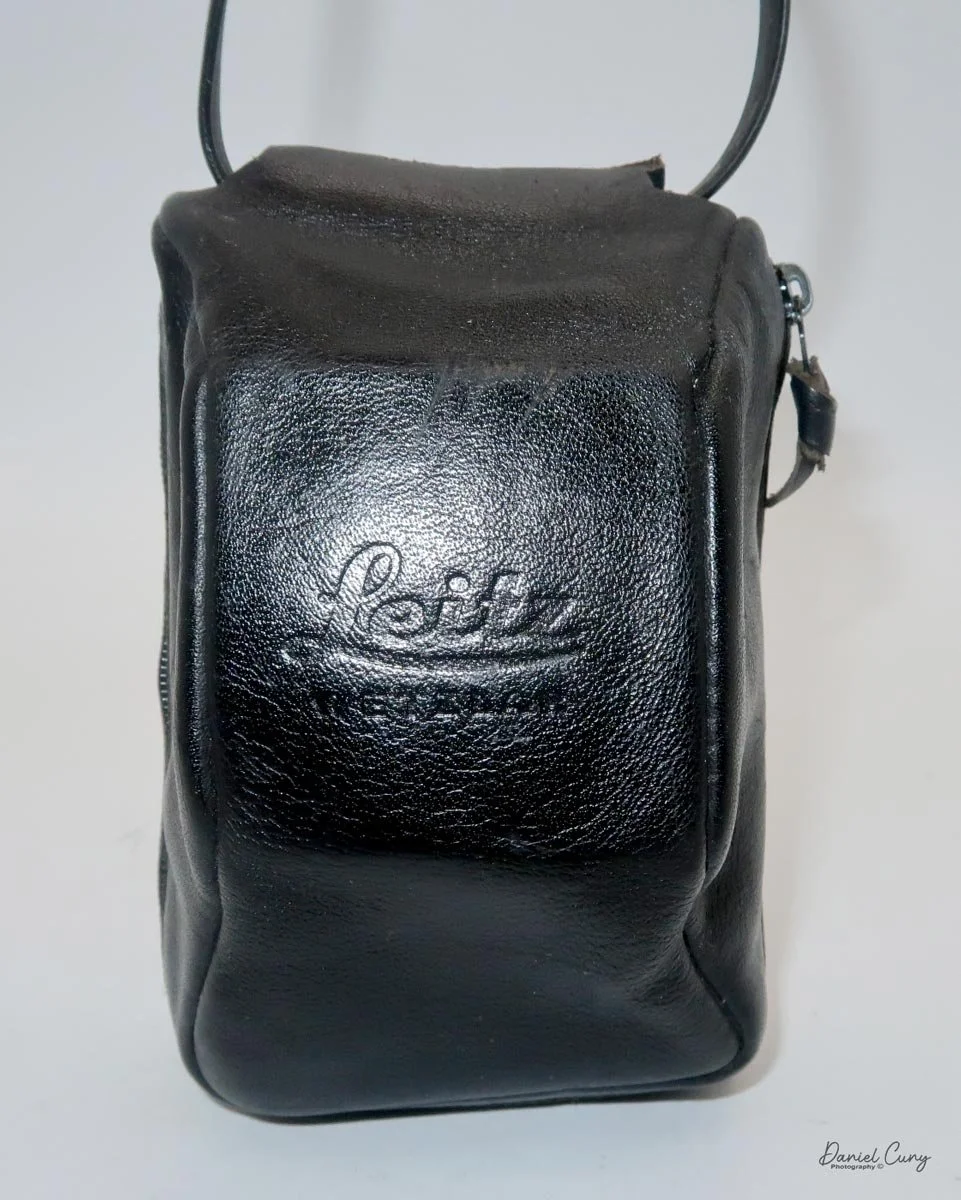
My Leica CL also has a vertical hanging, fitted leather case with "Leica Wetzlar" embossed on the front. I'm not a big fan of how the soft case works with the camera, as I find it gets in my way when using the camera. It does offer protection, so that's a plus.
Looking at the top of the camera, the Leica CL is rather plain. From left to right, there is the "Leitz Wetzlar" logo, a hot shoe for the flash, the shutter release (threaded for a cable release), a white line for setting the shutter speed, and a film winding lever.
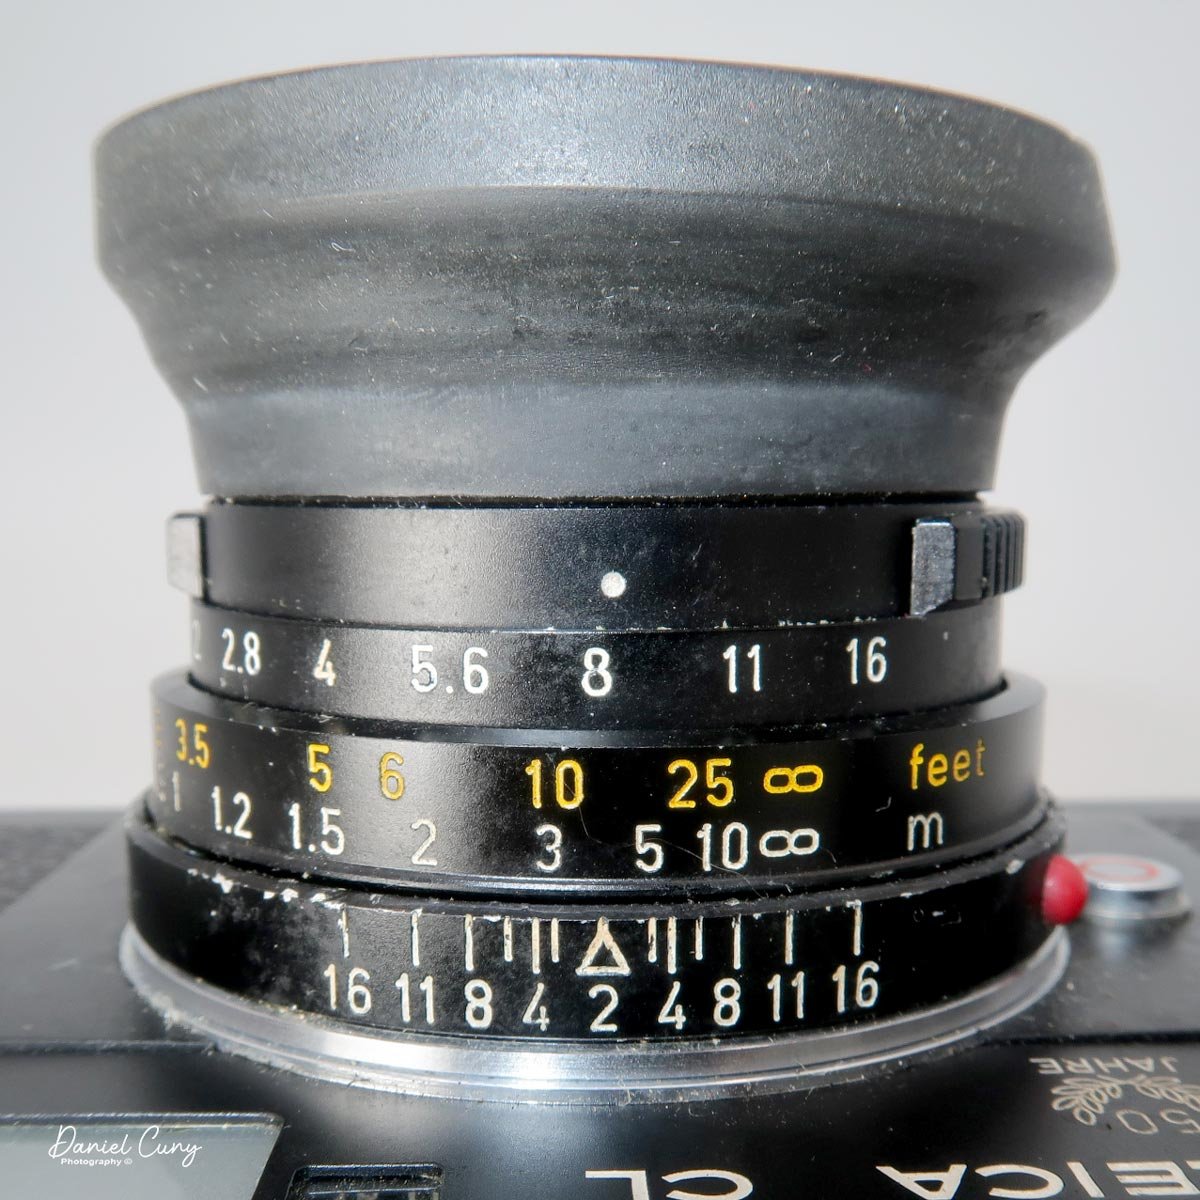
Most exposure controls are on the front of the camera body or lens. In the upper left corner of the camera, as you face it, is the shutter speed wheel, which has speeds from 1/1000 to 1/2 (no 1 sec. exposure setting) and "B" for timed exposures. The shutter speed is set by turning the outer wheel to the desired speed, which is aligned with the small white line on the camera body. Some people get confused because the white line isn't directly above the shutter speed number, but slightly to the left. Make sure you set the shutter speed to the white line, and not at the top of the dial.
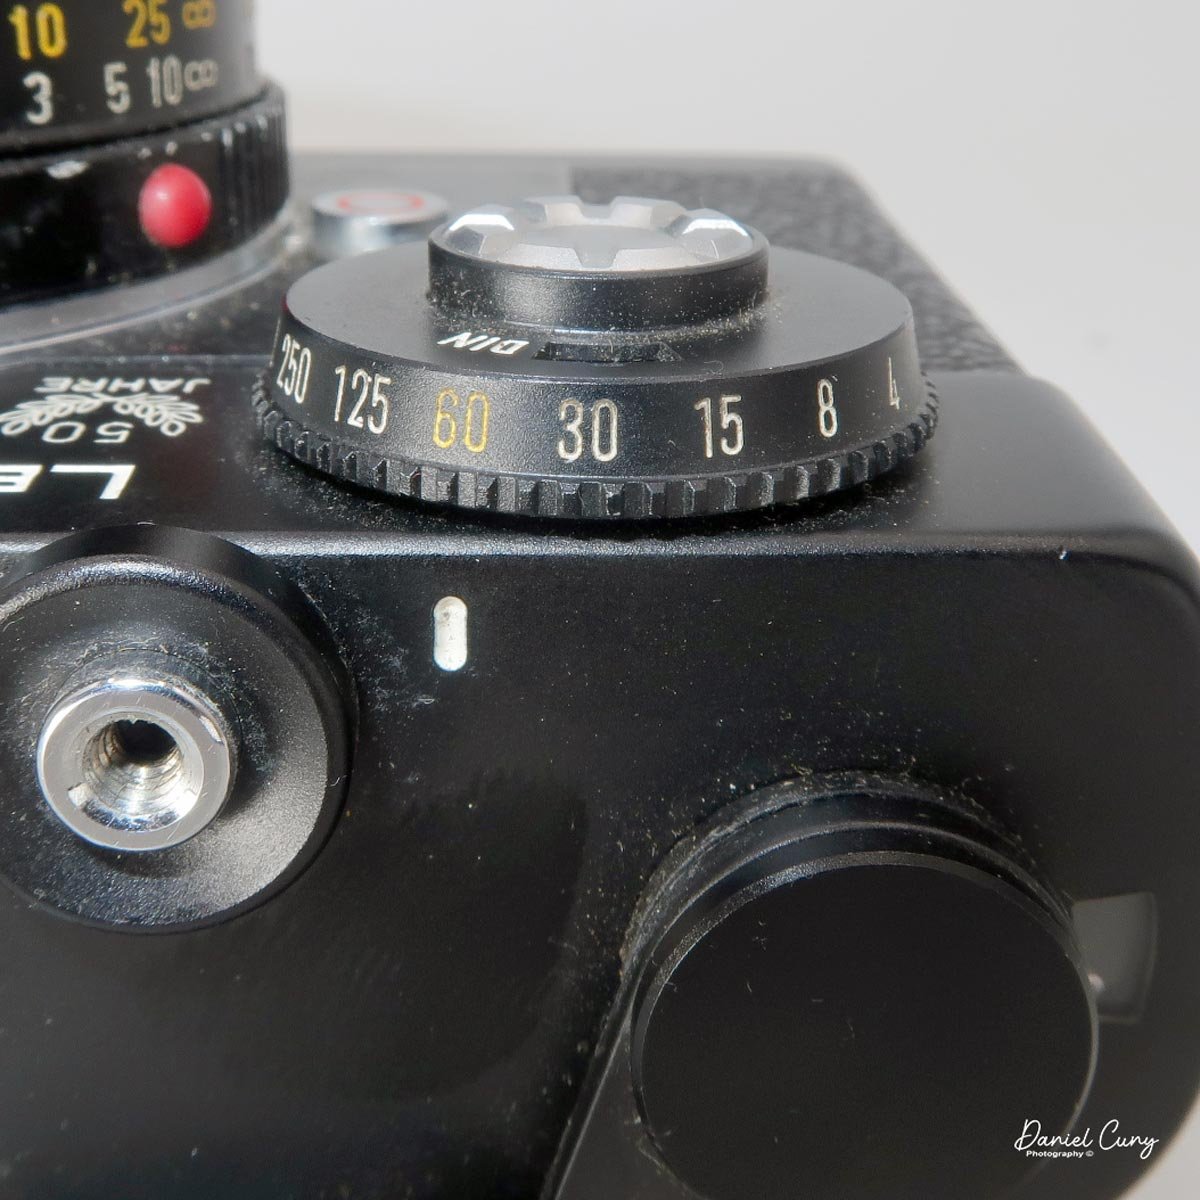
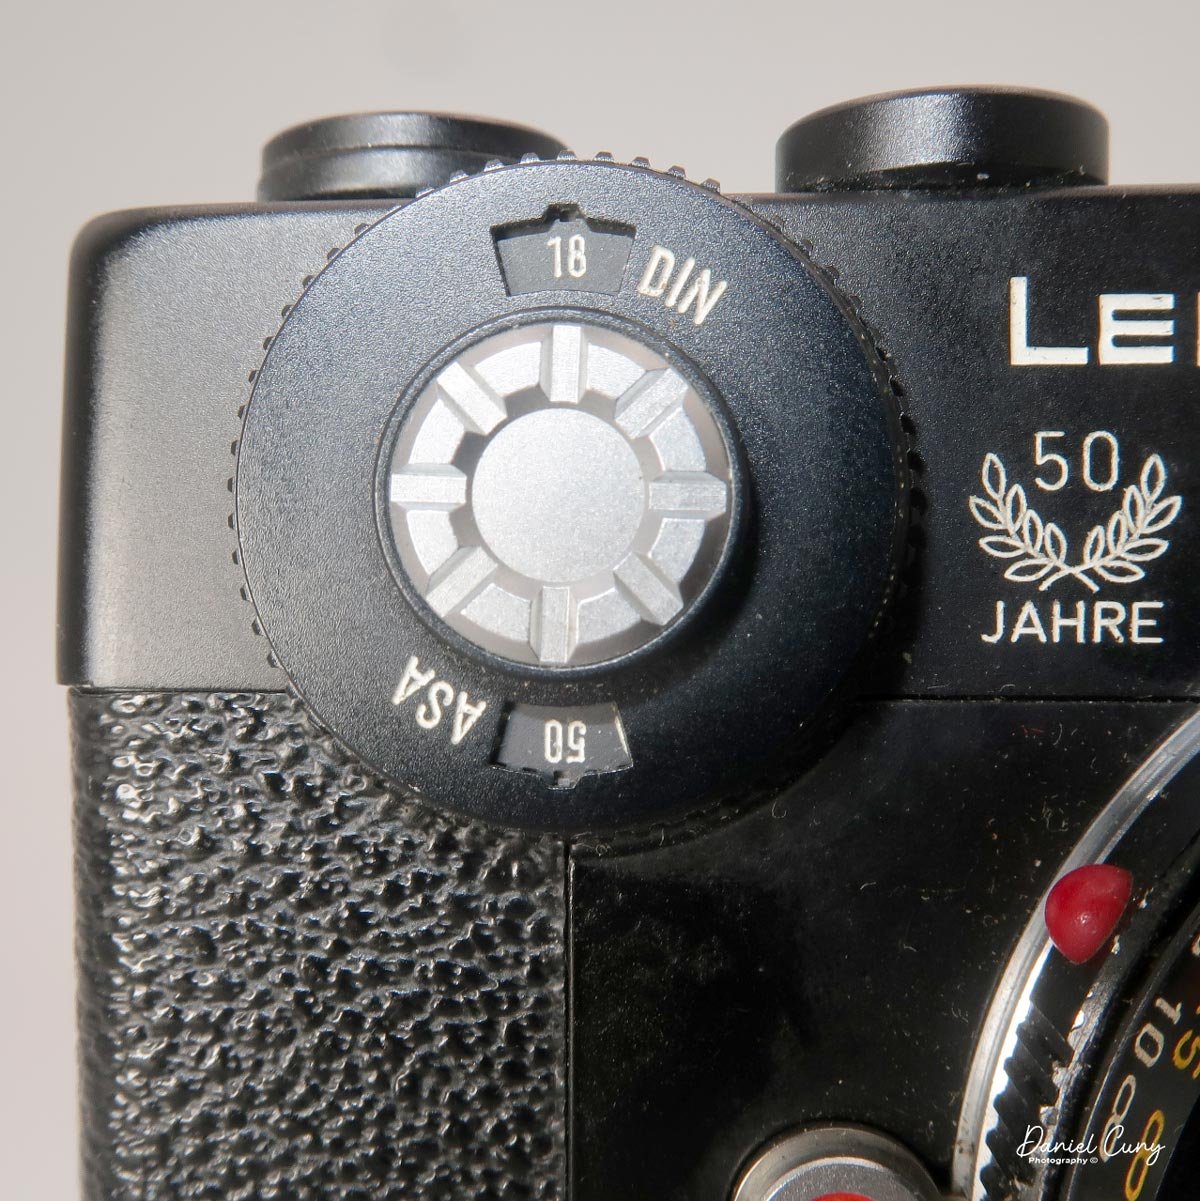
Inside the shutter speed dial is the ASA or DIN (ISO) setting for the internal light meter. Set the ASA by turning the chrome wheel with the pad of your finger or thumb to the desired film speed.
Below the shutter speed wheel is a smaller round button with a red circle, which is the lens release button. Press the button and turn the lens counterclockwise a short distance until the red dot latches to the red circle, then remove the lens. To attach the lens, match the red dot on the lens to the red circle, then turn the lens clockwise until it clicks into place and locks onto the camera body.
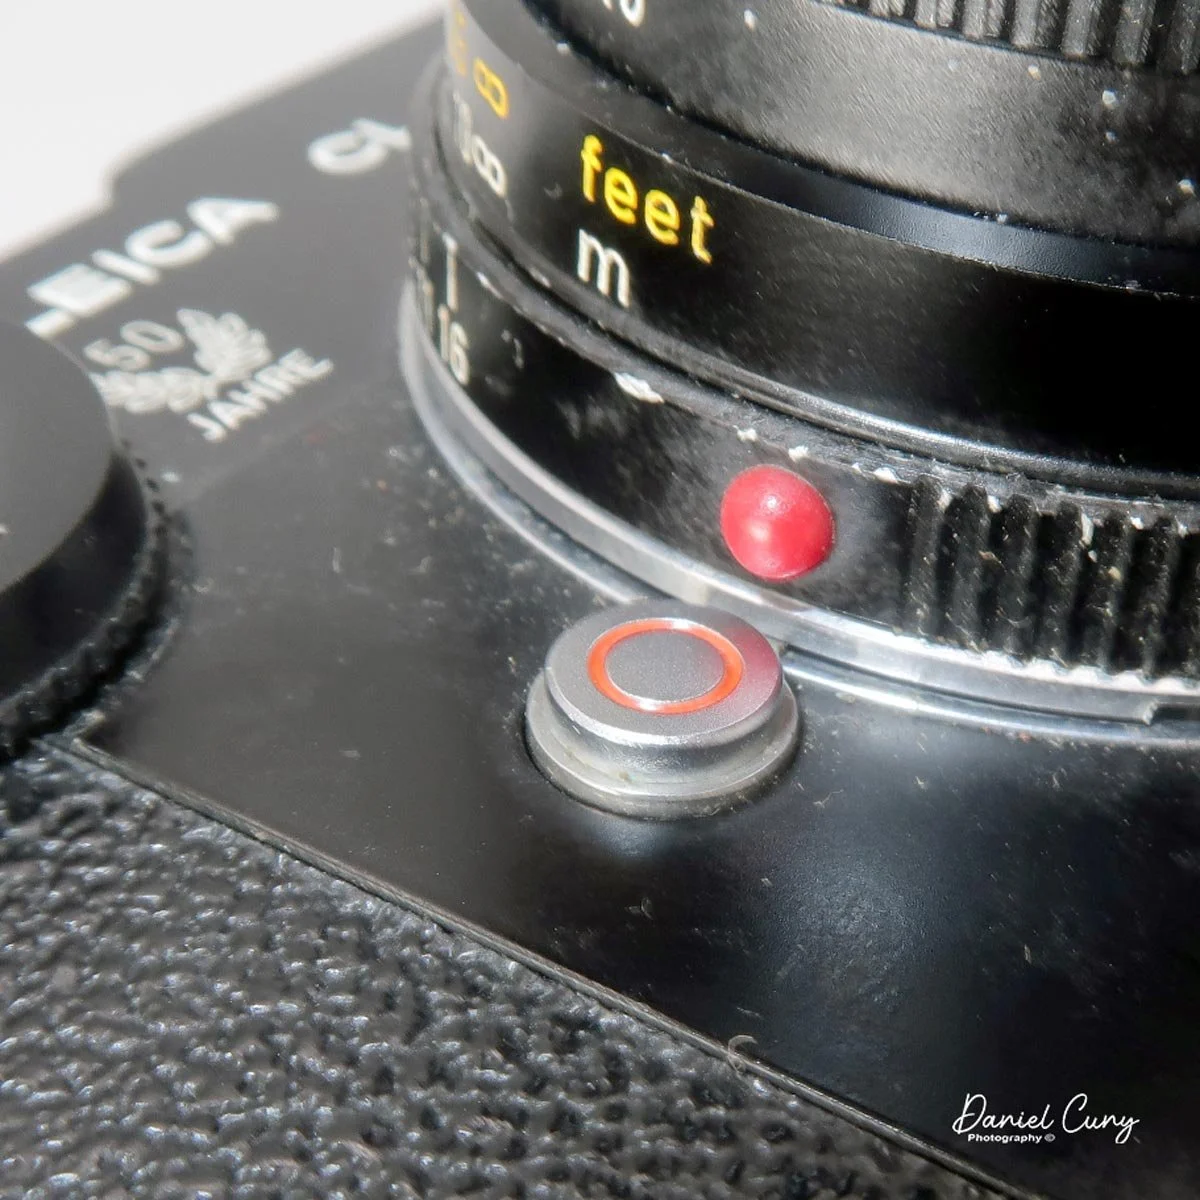
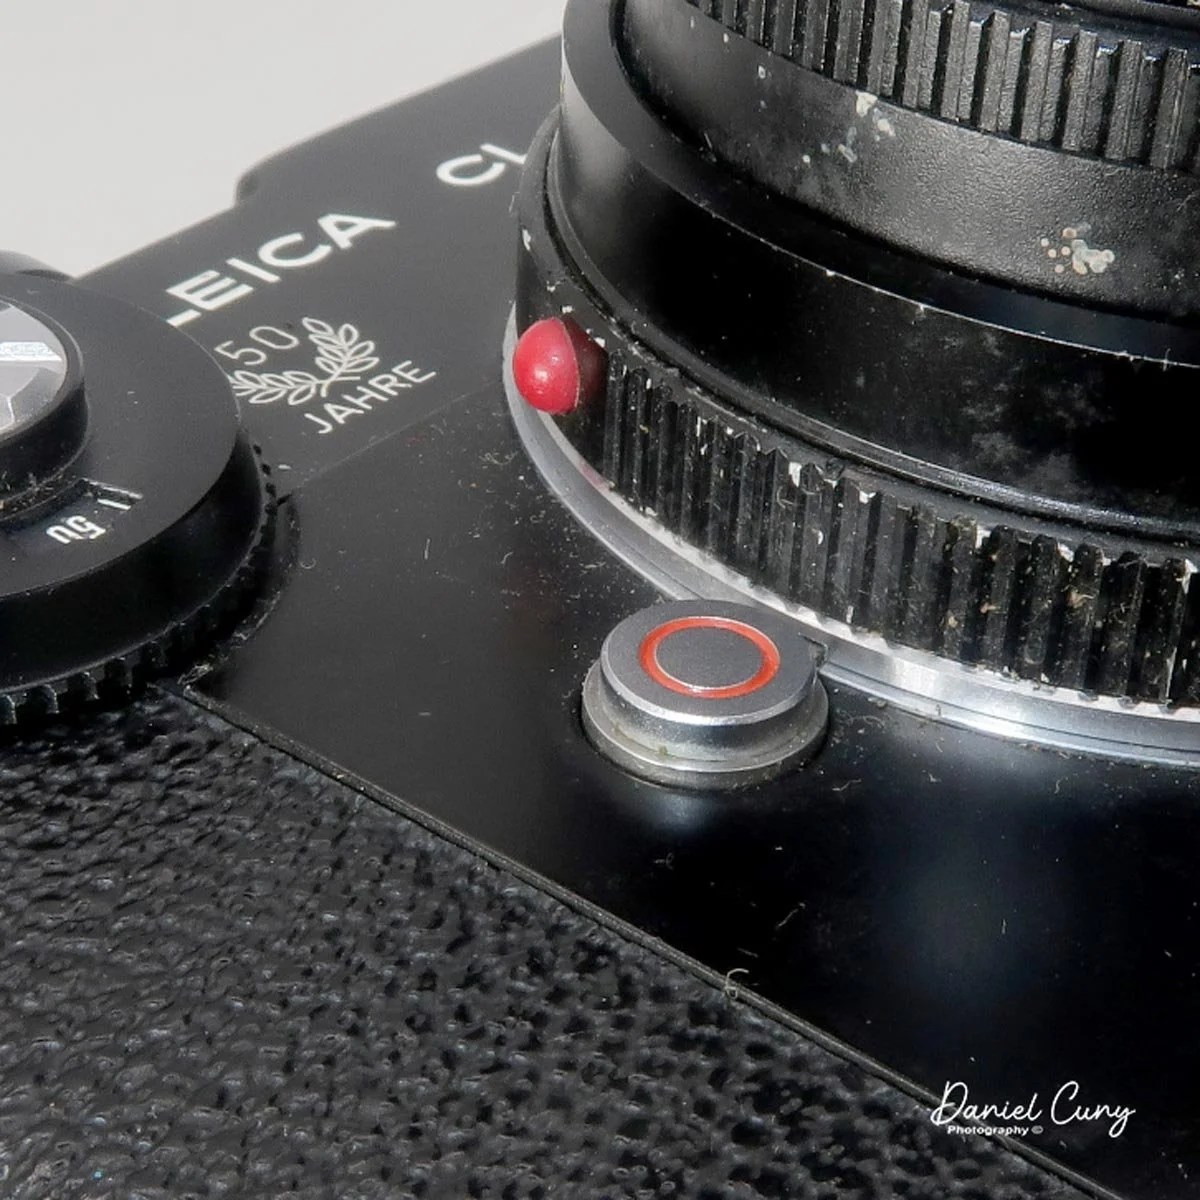
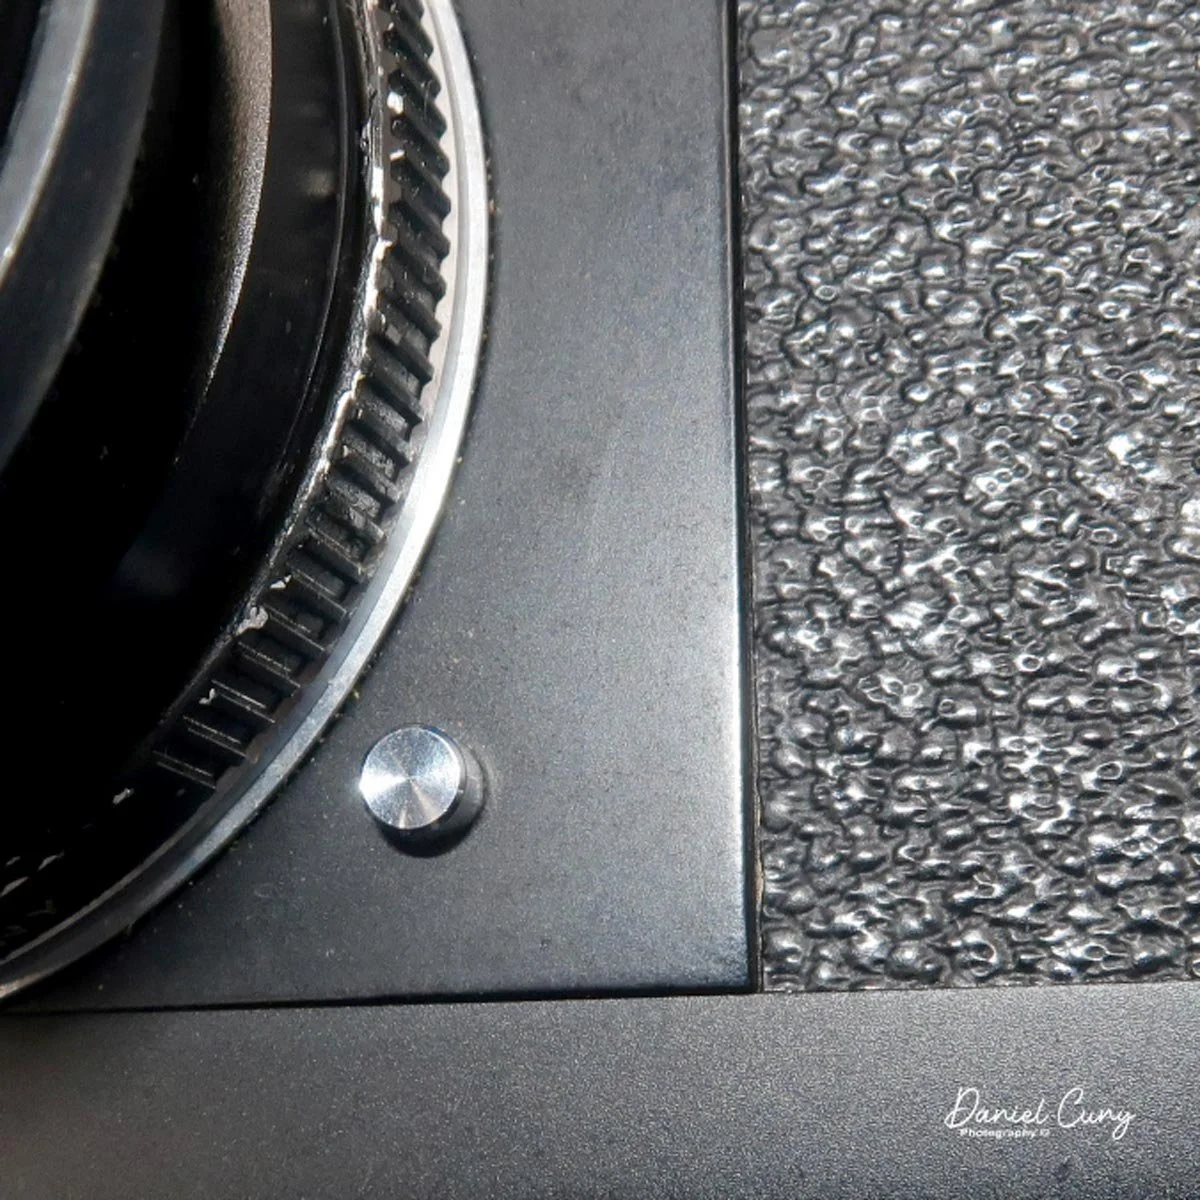
On the opposite side of the lens is an even smaller chrome button: the "battery test" button for the light meter. Unfortunately, the light meter on my camera isn't working, so it's not something I use when shooting with the Leica CL.
On the lens is the focus knob, which is a larger knob on the bottom, and the aperture settings, which are located towards the front of the lens. I also have a rubber lens hood and a plastic lens cap that fits onto the hood; both came with the camera kit.
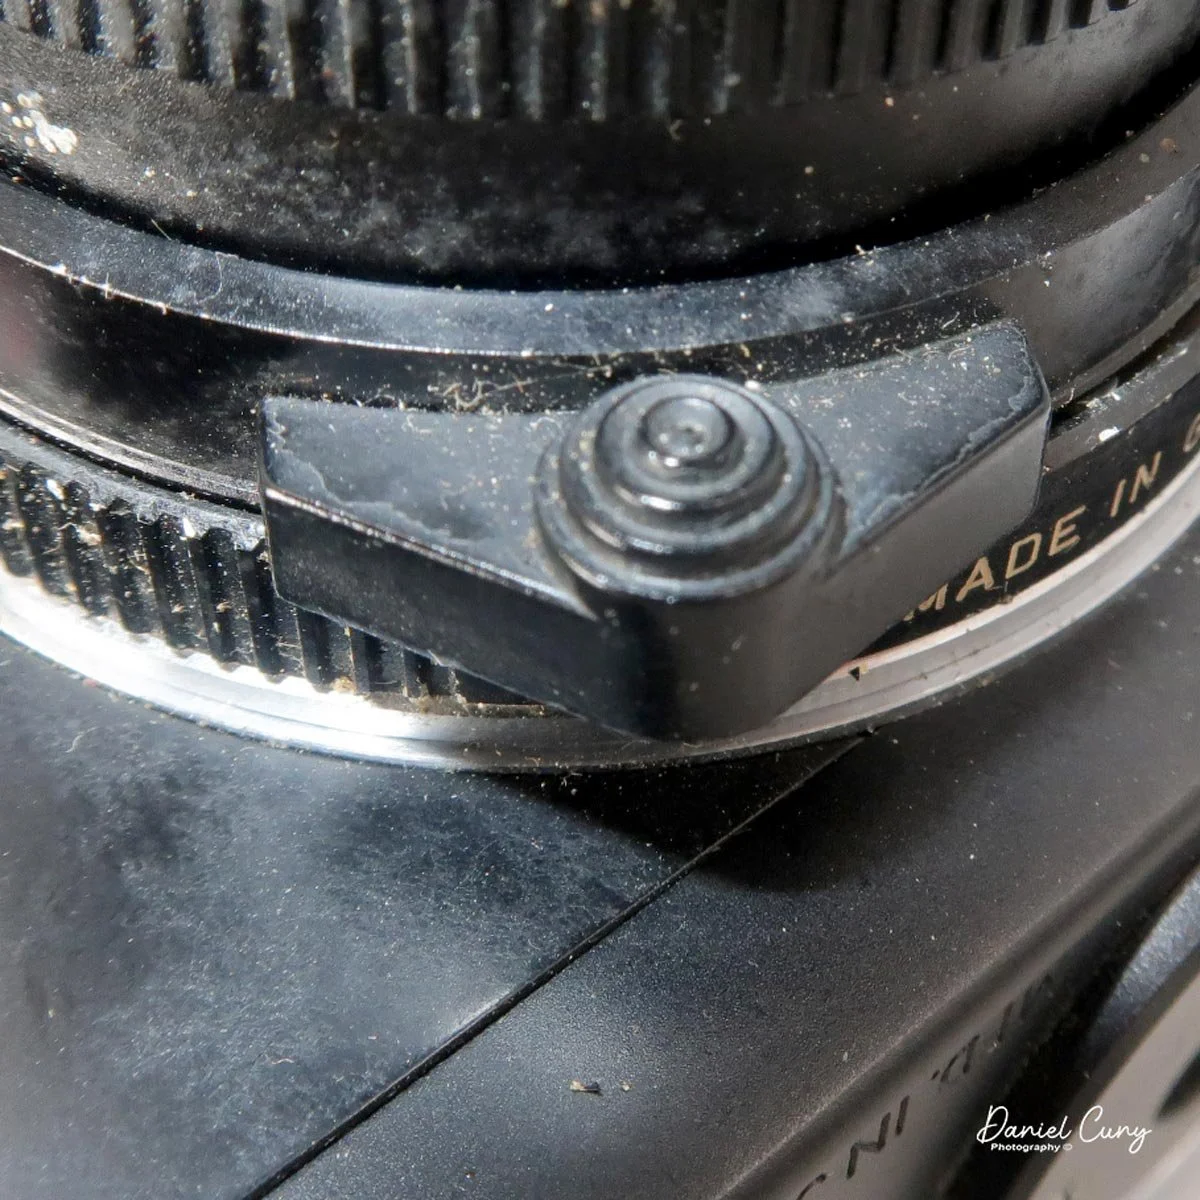
Looking through the viewfinder, there are several things to look at. In the middle is the bright rangefinder. This is a wonderful and very easy rangefinder. The image looks sharper (to me) when you bring the lines together in the yellowed area of the rangefinder. I'm generally not a big fan of rangefinders, but I do really like how this one performs.
It also has internal lines for a 40mm and 50mm lens. Along the top of the finder is the shutter speed, with a red bar sliding to the set shutter speed, which is easily adjusted with your forefinger rolling along the shutter speed selector.
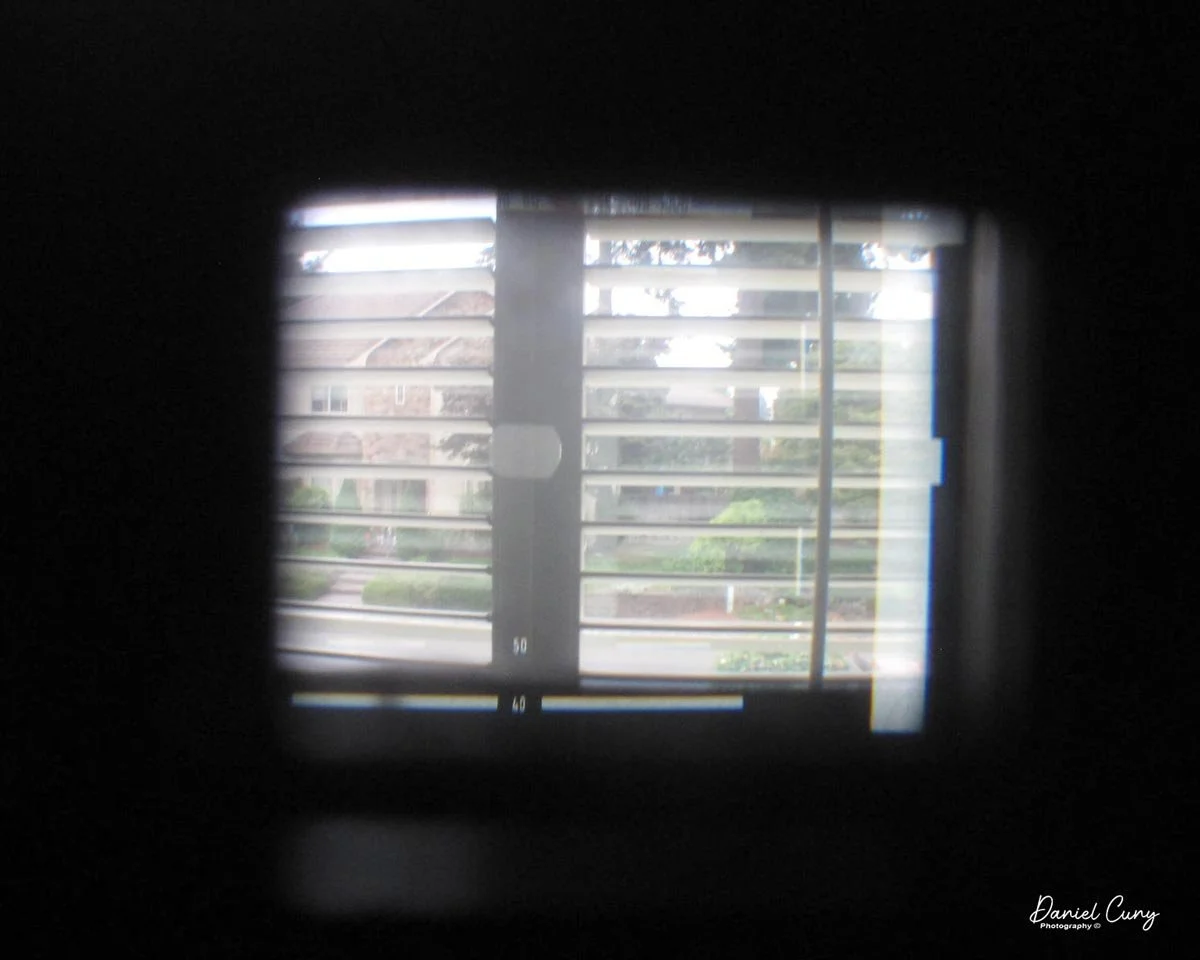
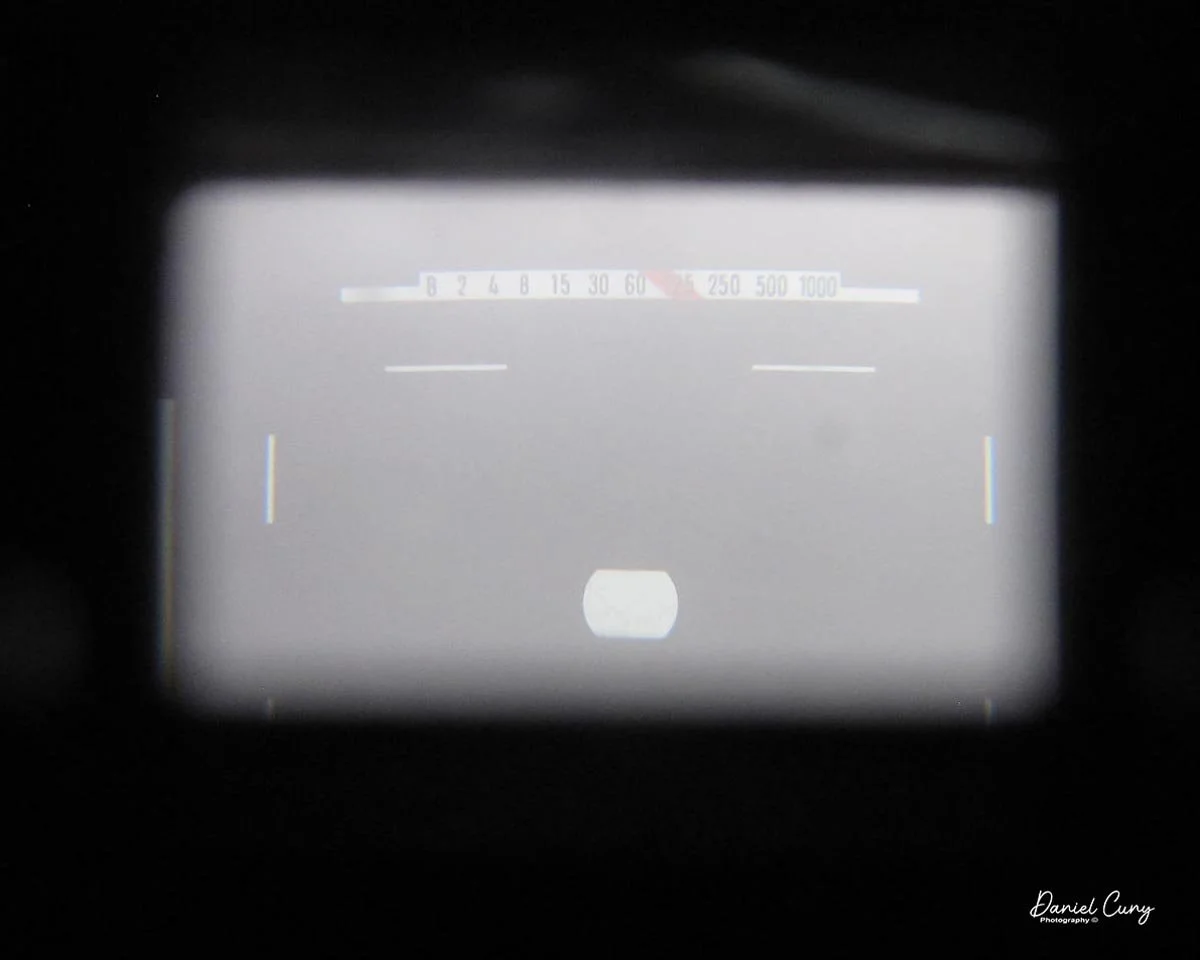
On the right side of the viewfinder is the light meter. Leica interestingly designed the camera: when you wind it, a small hinged arm with a CDS sensor drops down in front of the vertically traveling focal plane shutter. This is what meters your exposures. As you change the shutter speed/aperture combination and the ASA setting, a bar moves up or down until it's in the center "cutout" area. When it's in the middle of the "cutout" area, the meter tells you it's properly exposed.
When you click the shutter, the CDS sensor moves up just before the shutter opens and closes, exposing the film. Then, when you wind the film to the next exposure, the CDS sensor pulls back down and is ready to meter your next frame. If you haven't wound to the next frame and the winding lever is in close to the body, the meter is off. I also noticed that when you move the shutter speed dial to 1/2 sec. or "B", a red dot appears in the meter area. My best guess is that it's a longer exposure warning.
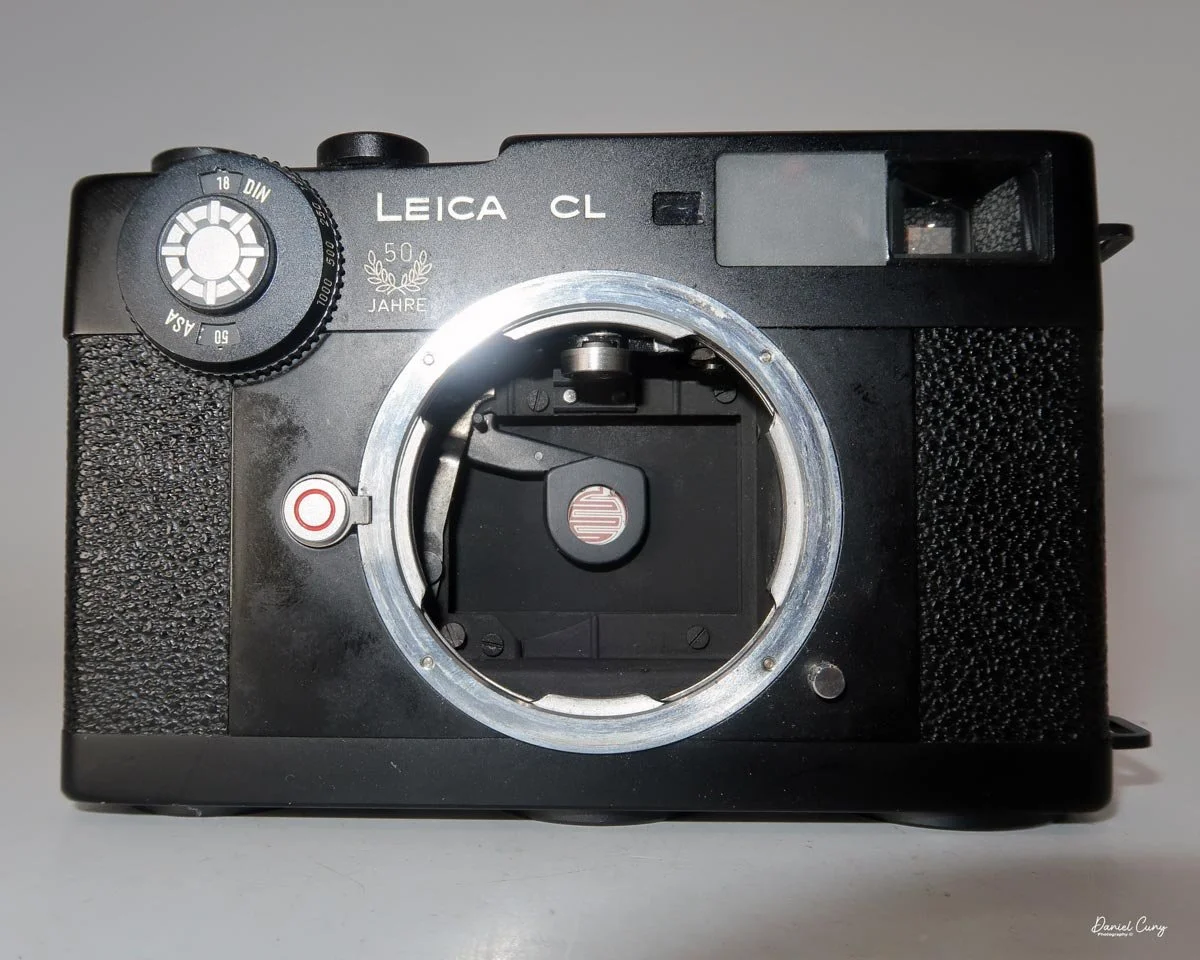
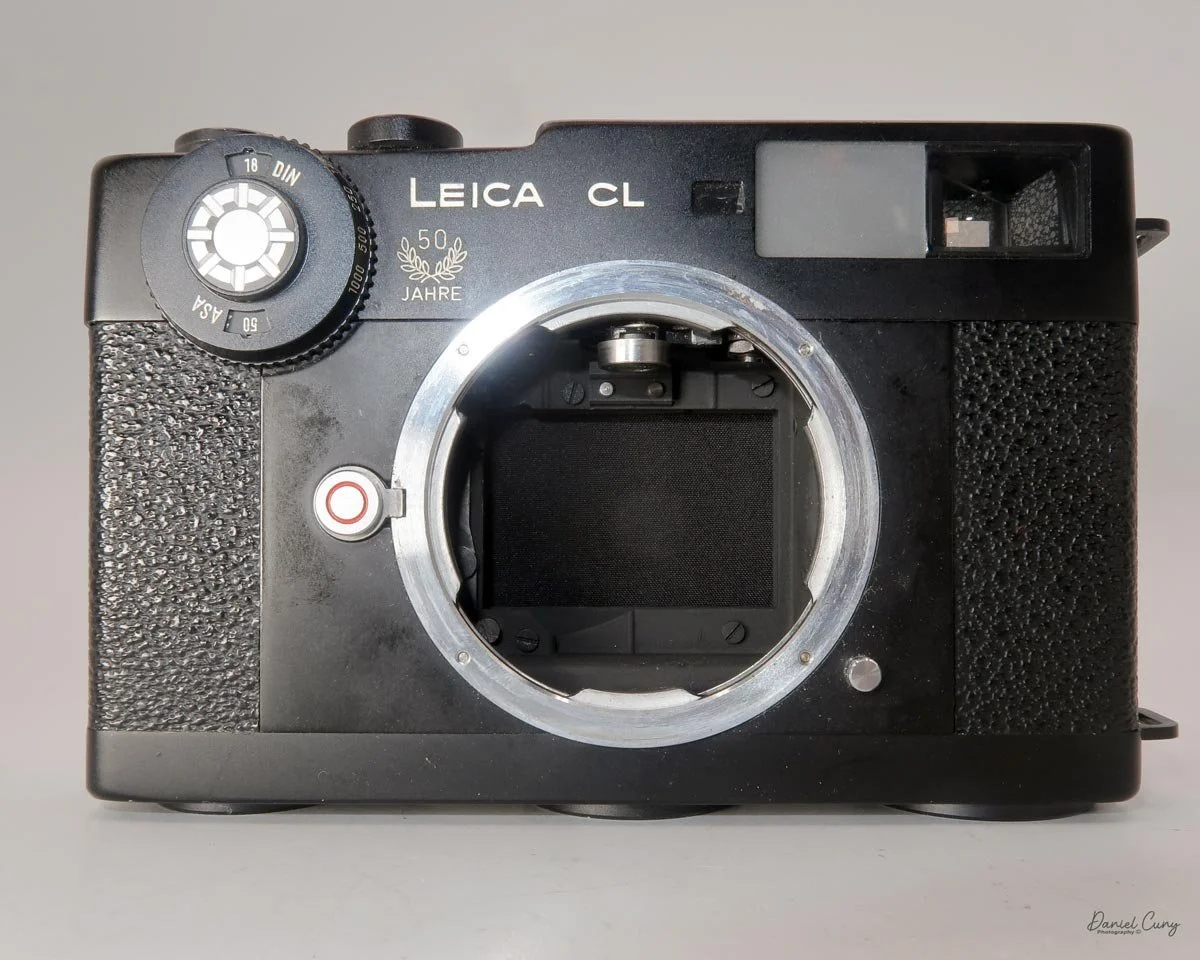
To remove the camera back to load the film, on the bottom of the camera in the center, there is a knob that you lift and turn until it stops. Then, slide the camera back down to slide the back off the camera body. Once you've done that, the pressure plate is hinged to the camera body, not the back of the film door you just removed.
Put your film cassette in the left-side film chamber, flip down the pressure plate, and thread the lead into the grey clips on the take-up spool. Advance the film a bit to make sure it's caught and traveling across the shutter. Flip back the pressure plate, slide the camera back under the grooves on the front of the camera, sliding it all the way onto the camera body, and lock the film back onto the camera body.
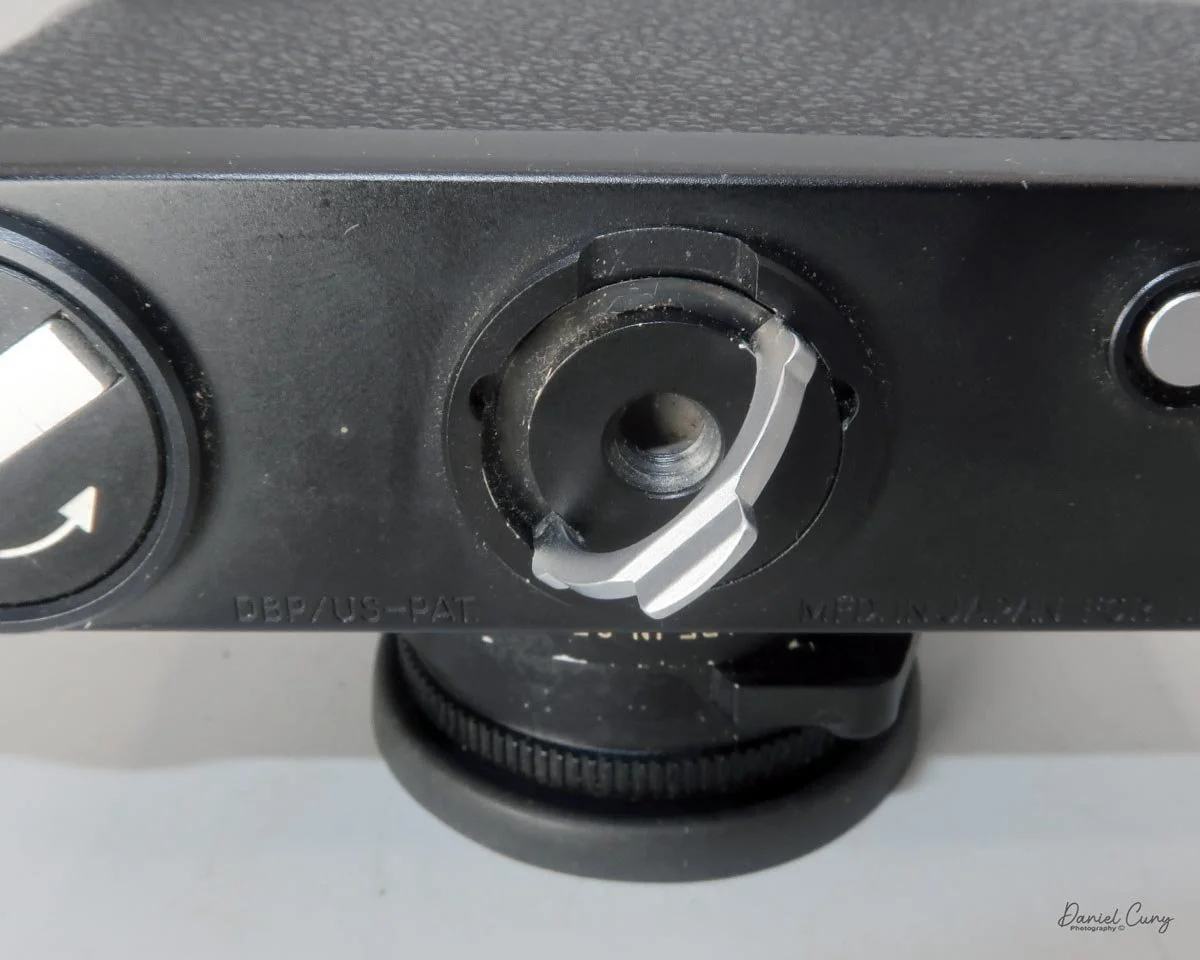
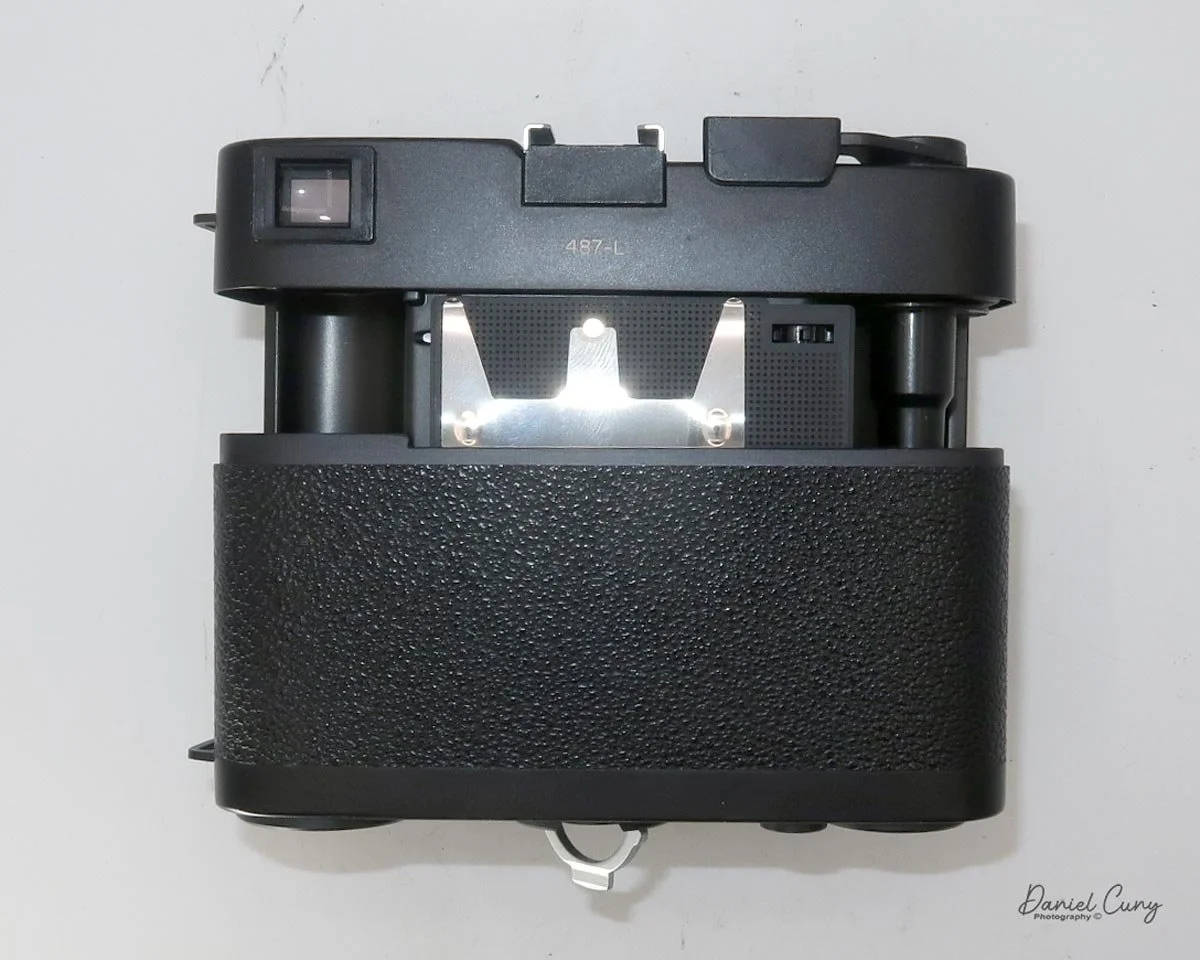
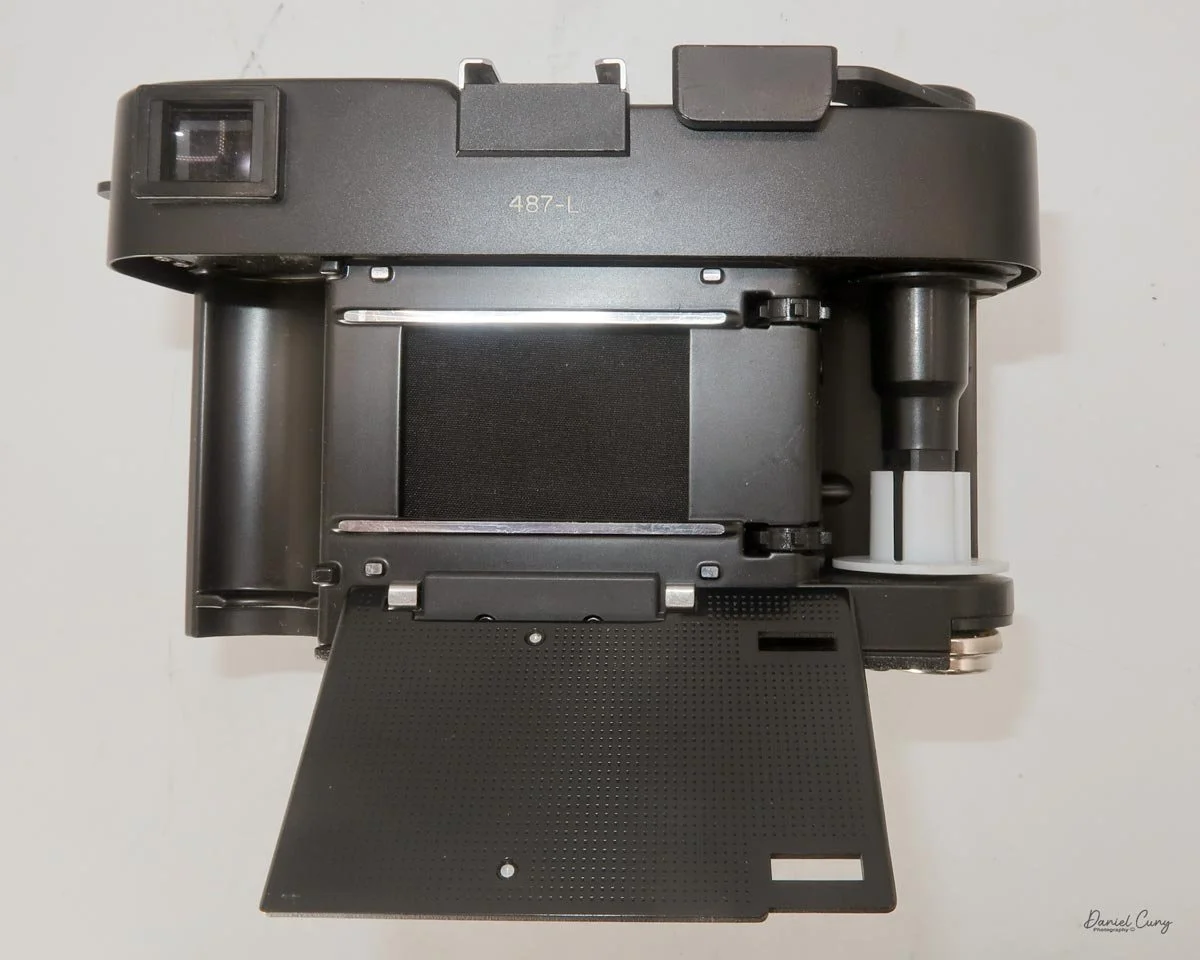
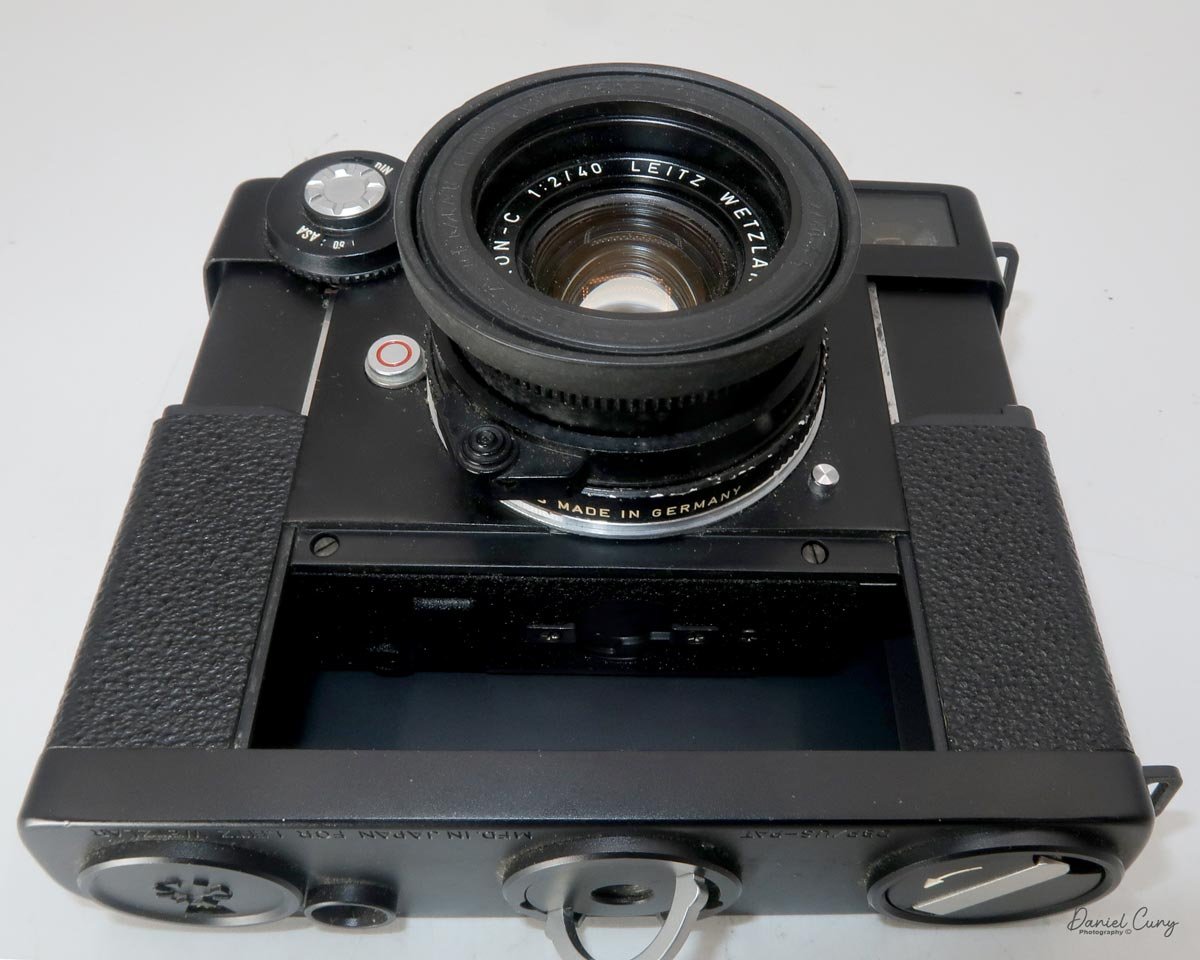
The bottom of the film door also has the rewind crank and rewind button to unlock the film transport wheel, plus a small film reminder on the other side of the rewind crank.
I have a few rolls of outdated Plus-X film dated to June 1976, which I have in both 36 and 20 exposures that I'm selling in my store on eBay, so I loaded a roll of 20 exposures into the camera, set my external light meter to ISO 50, and went for a walk around the neighborhood to see how the camera would perform.
My Results
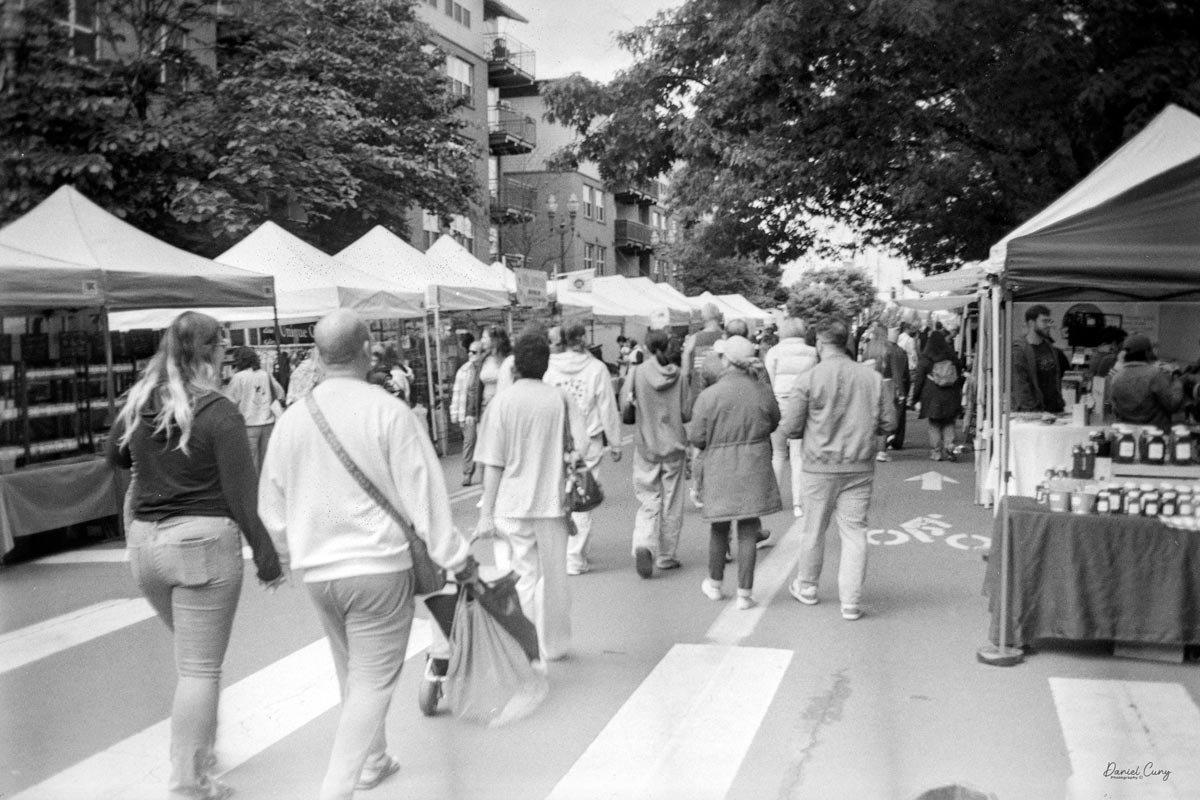
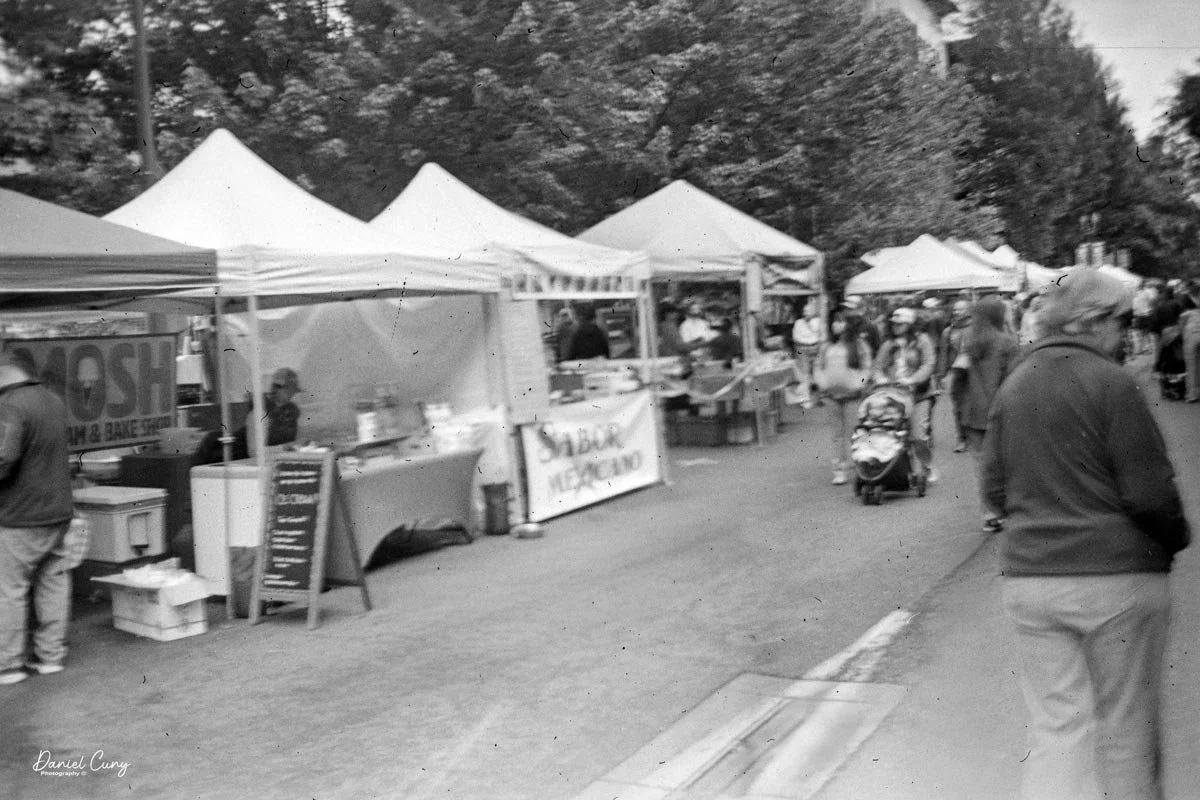
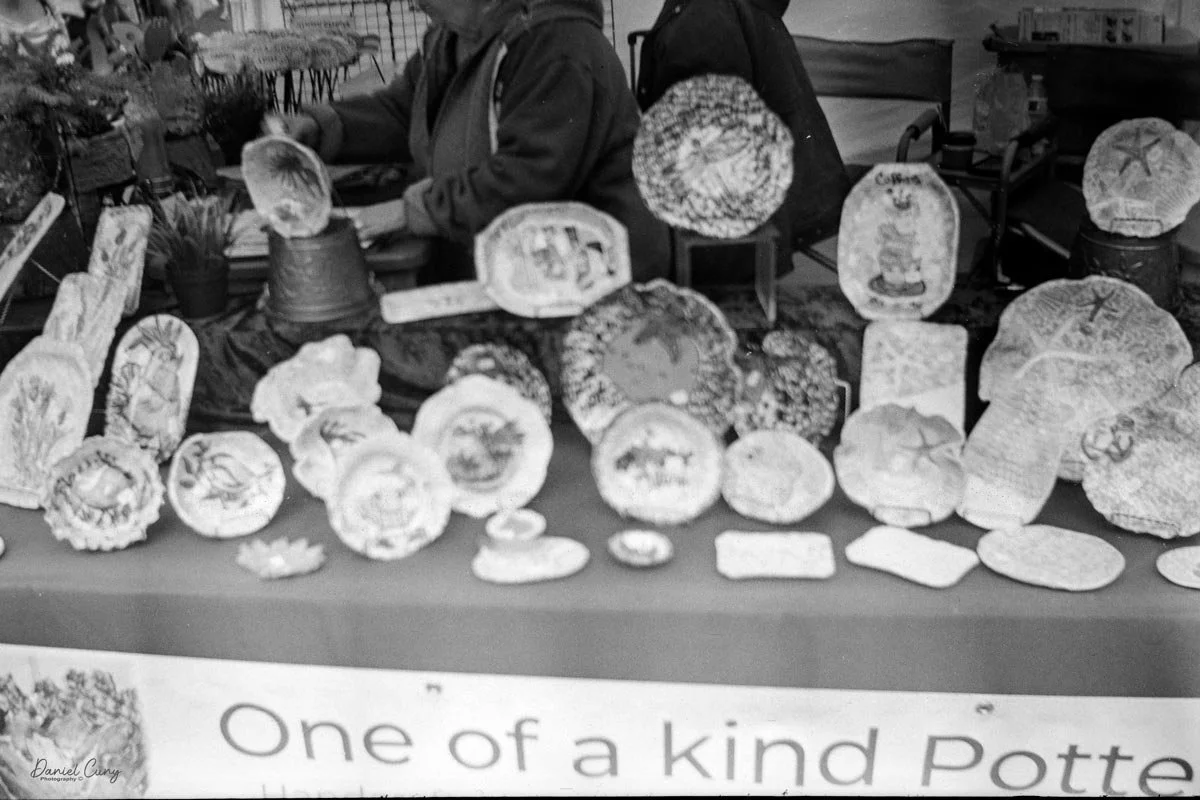
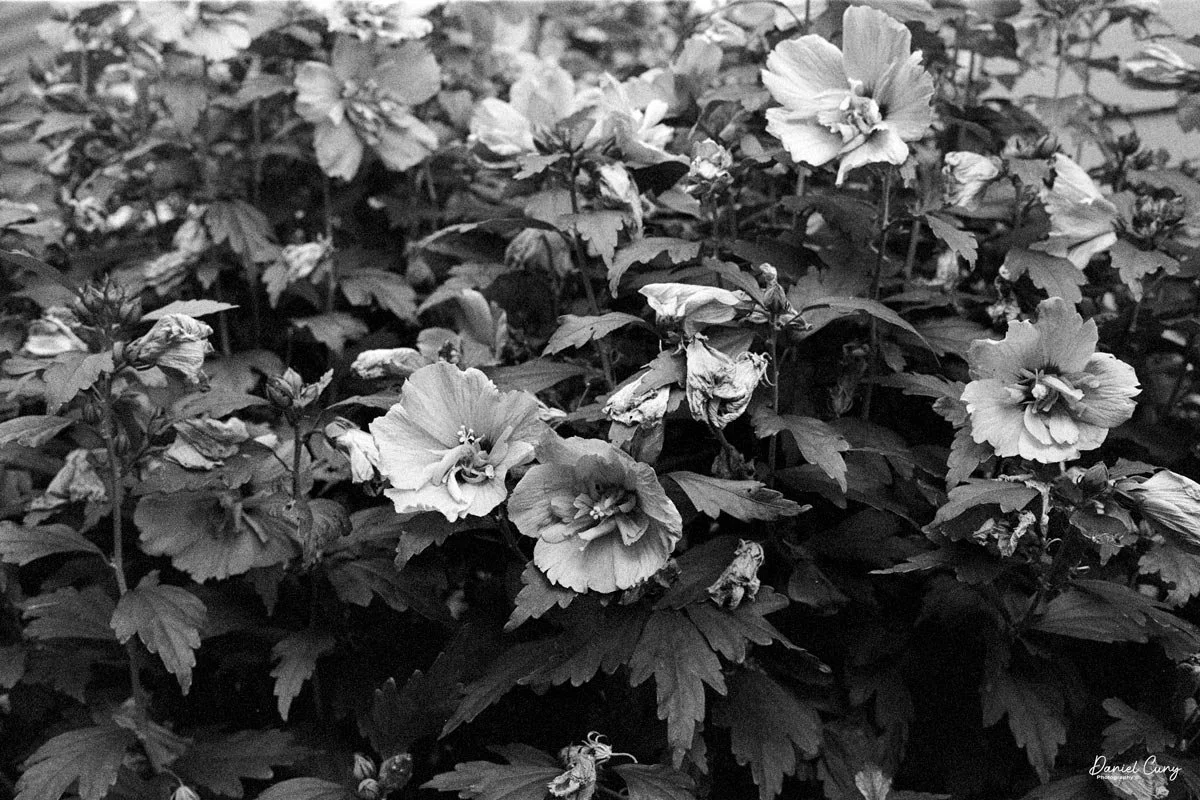
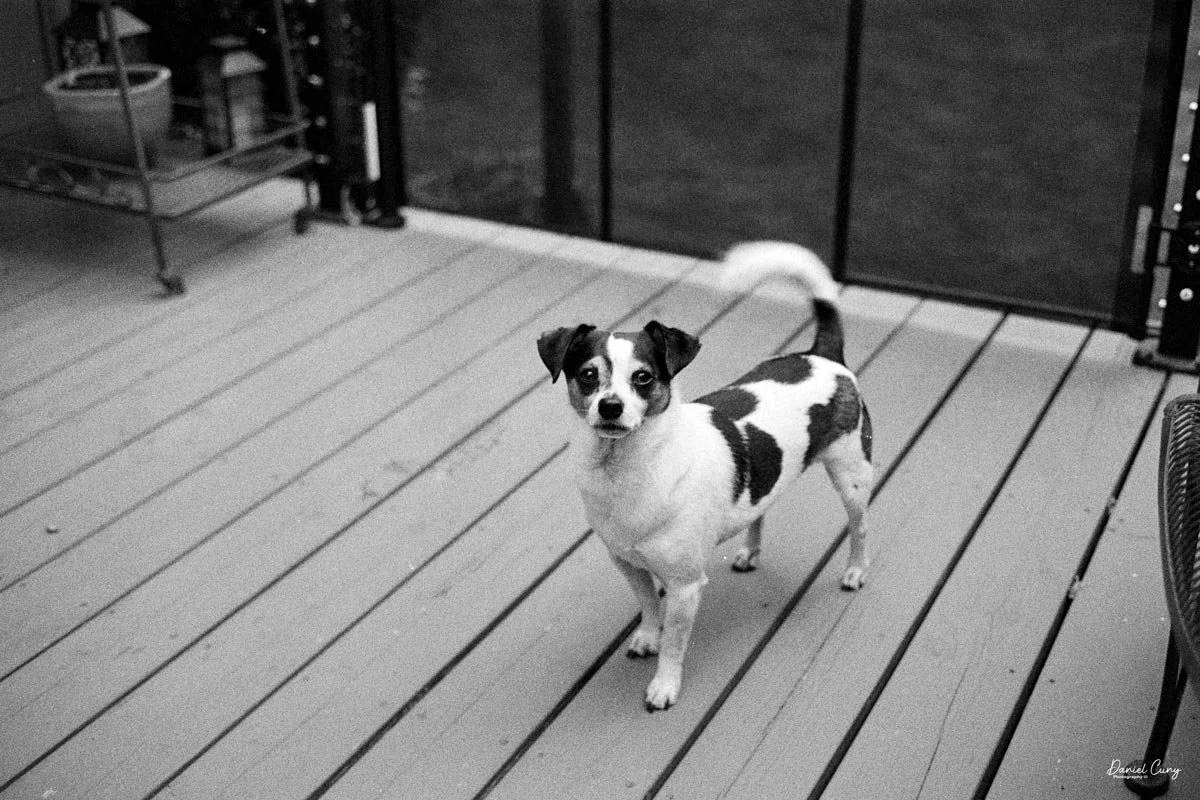
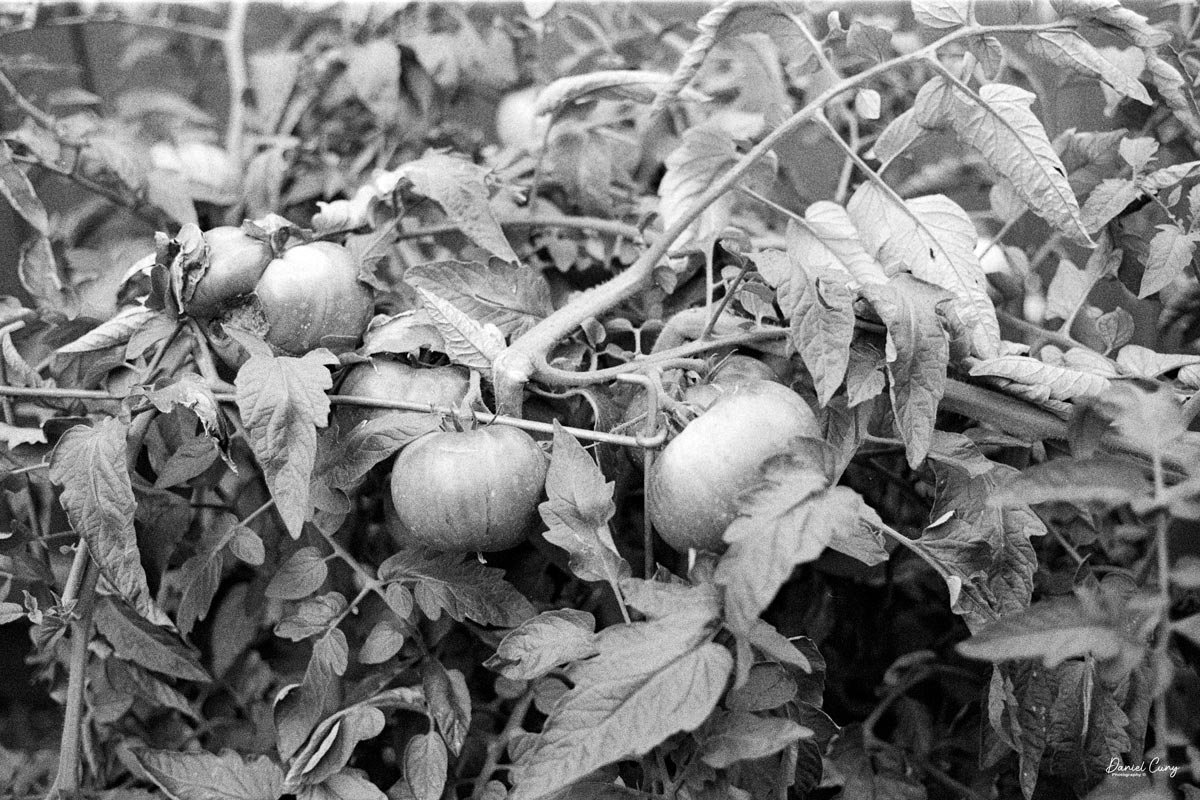
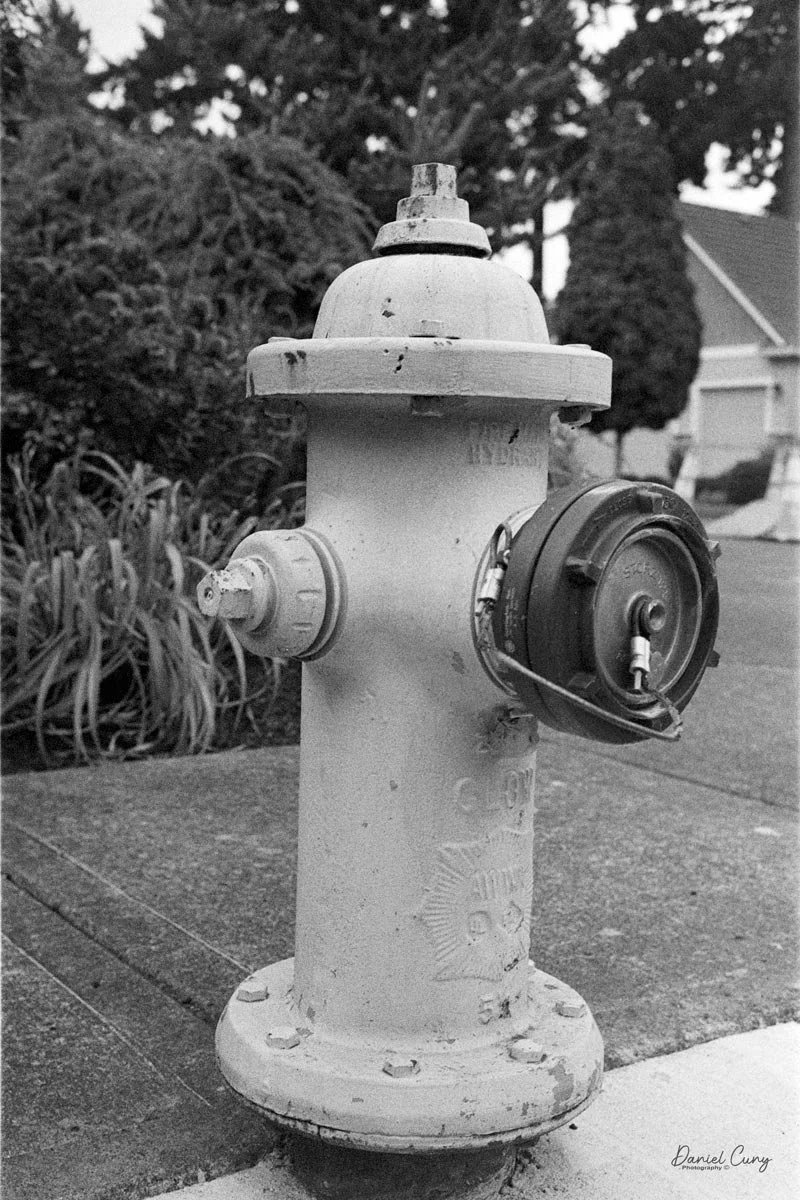
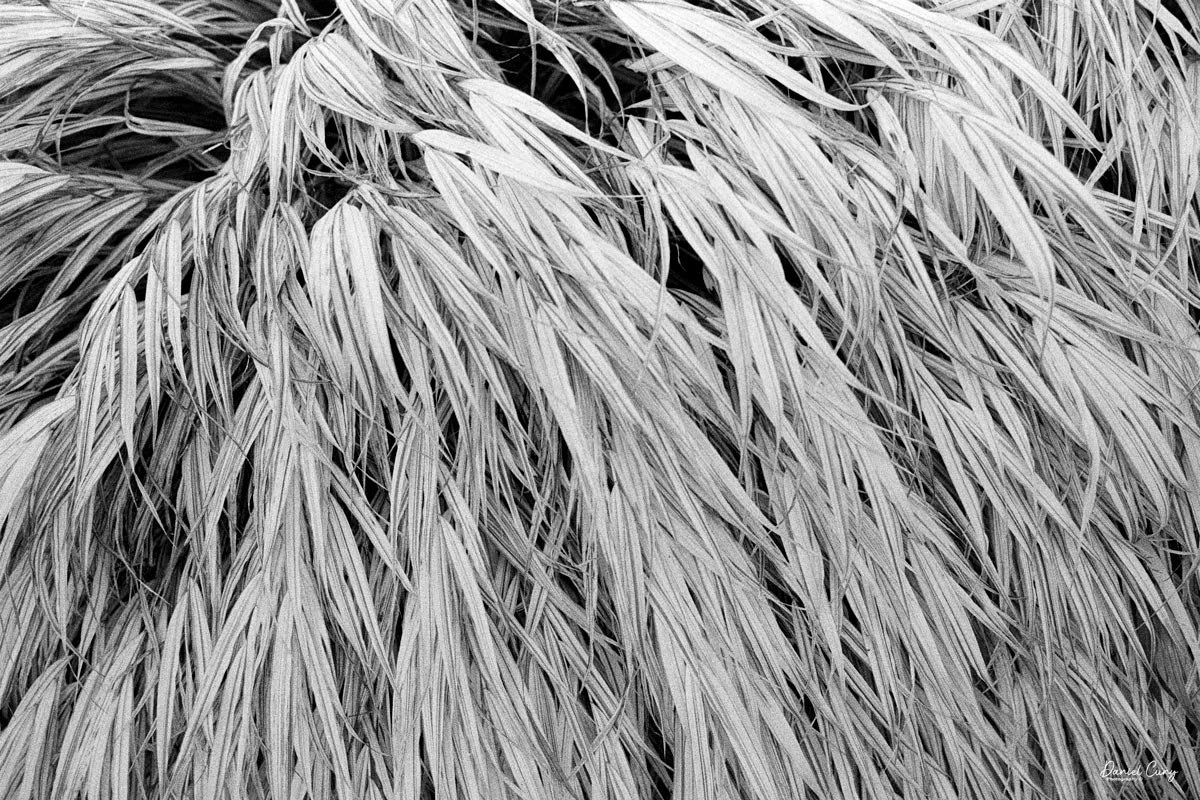
After walking the neighborhood and taking photos of many of the usual subjects to keep it somewhat consistent, I went home and processed the film. Here are some of the images I took on my walk.
Conclusion
I enjoyed many things about using the Leica CL. First and foremost was the focusing. I really enjoyed how the rangefinder reacted to the images I selected. It made it easy to focus, especially in busy areas with a lot of detail.
The second thing I enjoyed about the camera was the image quality. Similar to the Contarex "Bullseye" camera, this lens is very sharp. I kind of marvel at how sharp these images are. Maybe it's because I try so many different cameras with average or below-average optics, but when you get a sharply focused photo, they just jump out at you.
The camera case (to me) was a real pain. Having the case flop around when I'm using the camera was a negative experience. In the future, instead of latching the case through the strap, I'll put the strap on the camera and wrap the case around it for protection. When I unzip the case, I'll put it in my pocket. That's a more desirable solution for me.
One other thing I noticed from the last few cameras shot with the expired Plus-X film I have is that I kind of like the grain of the film. It's a bit chunkier than the newer films, which I kind of enjoy and remember from my earlier days of shooting.
Overall, my experience with the Leica CL was very positive. I would have liked an internal meter, but for the price I paid for the camera, lens, and case, I'm very happy and can use an external meter or guess exposures, which is pretty easy.
Are you interested in other cameras? Here are some of my other Camera Reviews.
Check out my Cuny's Camera Collection YouTube channel, where I am putting together video overviews of the cameras I write about. Be sure to subscribe and like the channel, too!
Cuny's Cameras and Photos is my online eBay store, where you will find some of the cameras I have reviewed, along with a wide range of other cameras, lenses, and items from my collection that I am thinning out.
Until next week, please be safe.