Leica CL Camera-50th Anniversary Edition

My Leica CL-50th Anniversary Edition Camera

I can remember when the Leica CL was first introduced. I was a junior in high school and attending concerts with my buddies. Because of its size, I thought it would be perfect to take to shows to photograph bands. It was small, compact, and had incredible optics.

 At the time, I shot Nikon, which was a bit bigger and heavier, and the idea of a smaller, lighter camera intrigued me.

 Unfortunately, I had a few obstacles to overcome to get one. The first and foremost was the price. At around $450.00 for the camera body with the 40mm lens, I needed to save a lot before I could afford it, especially while also buying records, paying for a car, and going to concerts. Something needed to give.

 For me personally, another drawback of the Leica CL was the lack of longer lenses for the body. At the time of release, they offered a 40mm and a 90mm, which they recommended, but for the shows I was photographing, I sometimes needed up to a 200mm. The 40mm or 90mm would be OK for some of the work, but I liked getting a bit closer to the performers, so the longer lens was very desirable.

 A good friend of mine, Greg Copeland, was an early adopter of the Olympus OM system and purchased his right after it was introduced in 1973. After I played with his for a while, I started to prefer shooting with a slightly bigger camera, as my hands just seemed to overlap the camera, and it didn't feel comfortable. As a result, the thought of owning a Leica CL subsided.
Leica CL 50th Anniversary

 Minolta introduced their version of the Leica CL, the Minolta CLE, in 1980, when I was working at a camera store in the San Francisco Bay Area. I briefly considered buying it through the employee purchase program, but I wasn't a big fan of Minolta cameras. Also, being married and having a two-year-old put a little damper on spending a lot of money on camera gear.

 Jump almost 40 years into the future, and an opportunity to purchase a Leica CL with the fitted leather case and Leitz Summicron-C 40mm f/2 lens dropped into my lap. I was in a camera store in a small Midwest town on a business trip, and as I was looking in one of the showcases, there it was.

 The owner at the time said he was having a difficult time selling it, and he would make me a good deal on it if I were interested. He said the meter wasn't working, but it did come with the hood, lens cap, and case. He threw out a price that was too good to pass up. I thought about it for a few minutes and started playing with it. It seemed in great condition, except for the meter, so I bought the camera and took it home.

History of Leica CL & Minolta CLE

The partnership between Leitz (the maker of Leica cameras) and Japanese manufacturer Minolta during the 1970s birthed two of the most fascinating rangefinders in photographic history: the Leica CL and the Minolta CLE. Conceived during a period of financial instability for Leica, this collaboration aimed to produce a compact, accessible entry point into the legendary M-mount system.

 Introduced in 1973, the Leica CL (Compact Leica) was designed by Leitz but manufactured in Japan by Minolta. It represented a radical departure from traditional Leica design. Weighing considerably less than its sibling, the polarizing Leica M5, the CL featured a vertically traveling cloth focal-plane shutter and a unique through-the-lens (TTL) light meter positioned on a pivoting arm that swung out of the way just before the shutter fired. To accompany the camera, Leitz introduced two compact, budget-friendly lenses: the 40mm f/2 Summicron-C and the 90mm f/4 Elmar-C.
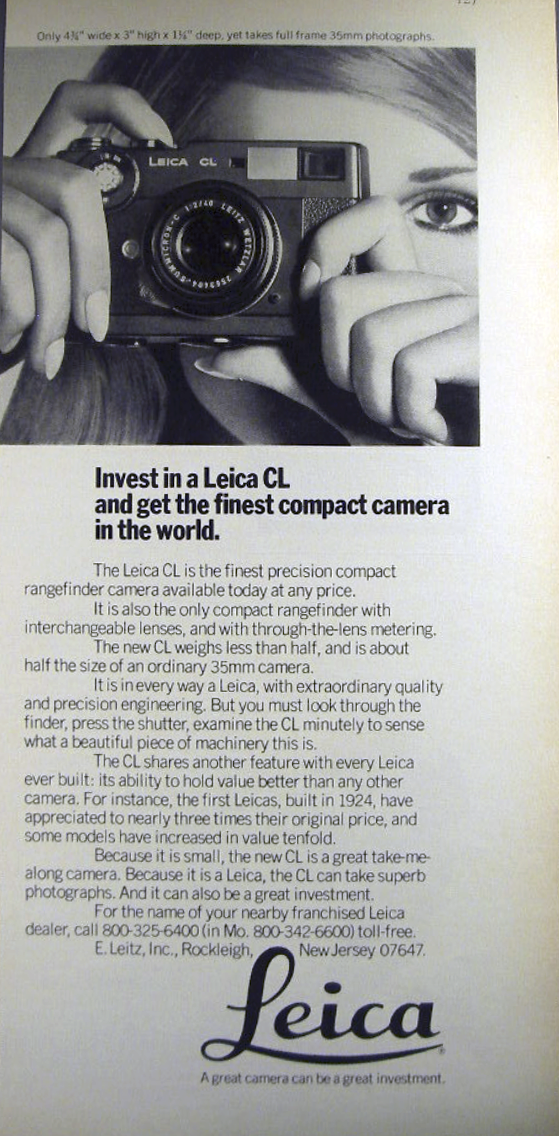
Leica CL Advertisement

 The CL was a massive commercial success. However, its popularity became a double-edged sword. It sold so well that it reportedly cannibalized sales of the far more expensive M5, prompting Leitz to discontinue the CL prematurely in 1976 after producing roughly 65,000 units. Minolta also sold its own domestic version during this time, the Leitz Minolta CL, which was functionally identical.

 After the partnership dissolved, Minolta built on the CL and engineered a true technological marvel: the Minolta CLE (Compact Leica Electronic), released in 1980.

 While it retained the M-mount and a similar form factor, the CLE was entirely Minolta's creation and represented a massive leap forward. It replaced the CL's mechanical shutter and swinging meter arm with an advanced electronic stepless shutter and a cutting-edge silicon photodiode system.

 Most impressively, the CLE introduced aperture-priority auto-exposure and TTL off-the-film flash metering—features that would not appear on a true Leica M body until the M7 arrived over two decades later. Minolta paired the CLE with three exceptional M-Rokkor lenses: a 28mm f/2.8, a 40mm f/2, and a 90mm f/4. Despite its technological superiority, the CLE had a relatively short production run and was discontinued in 1985. Today, both cameras remain highly sought after by film enthusiasts as capable, lightweight alternatives to traditional M-system rangefinders.

My Camera

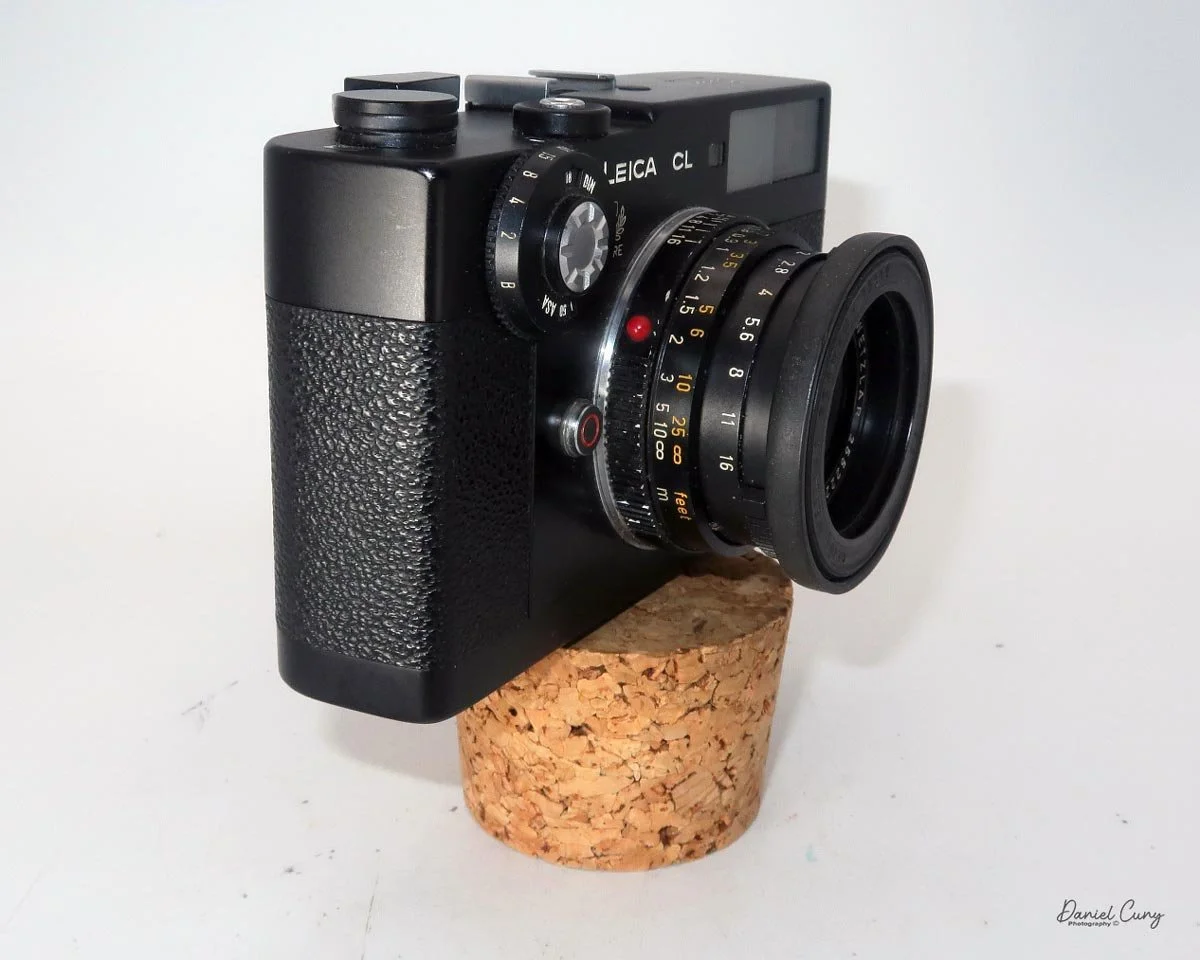
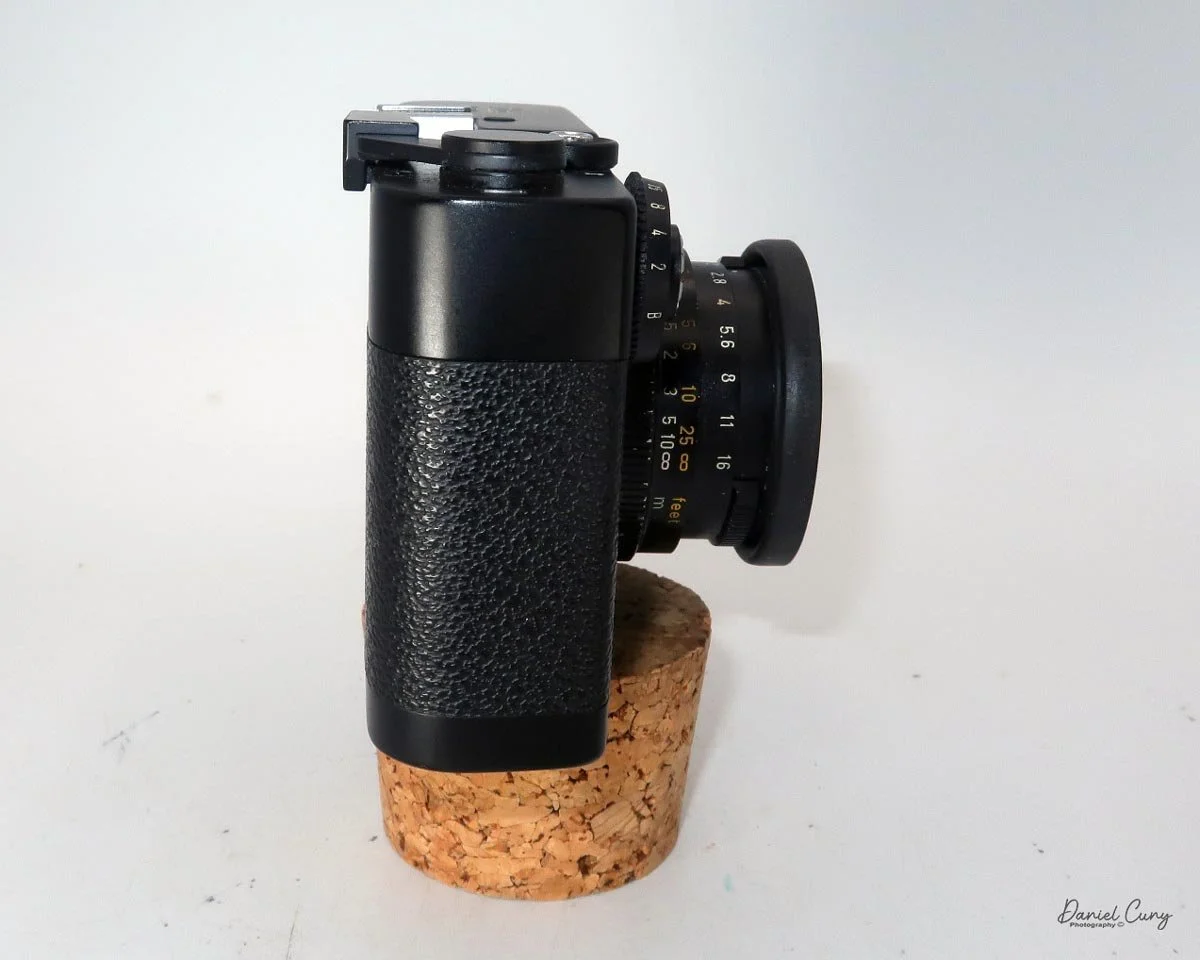
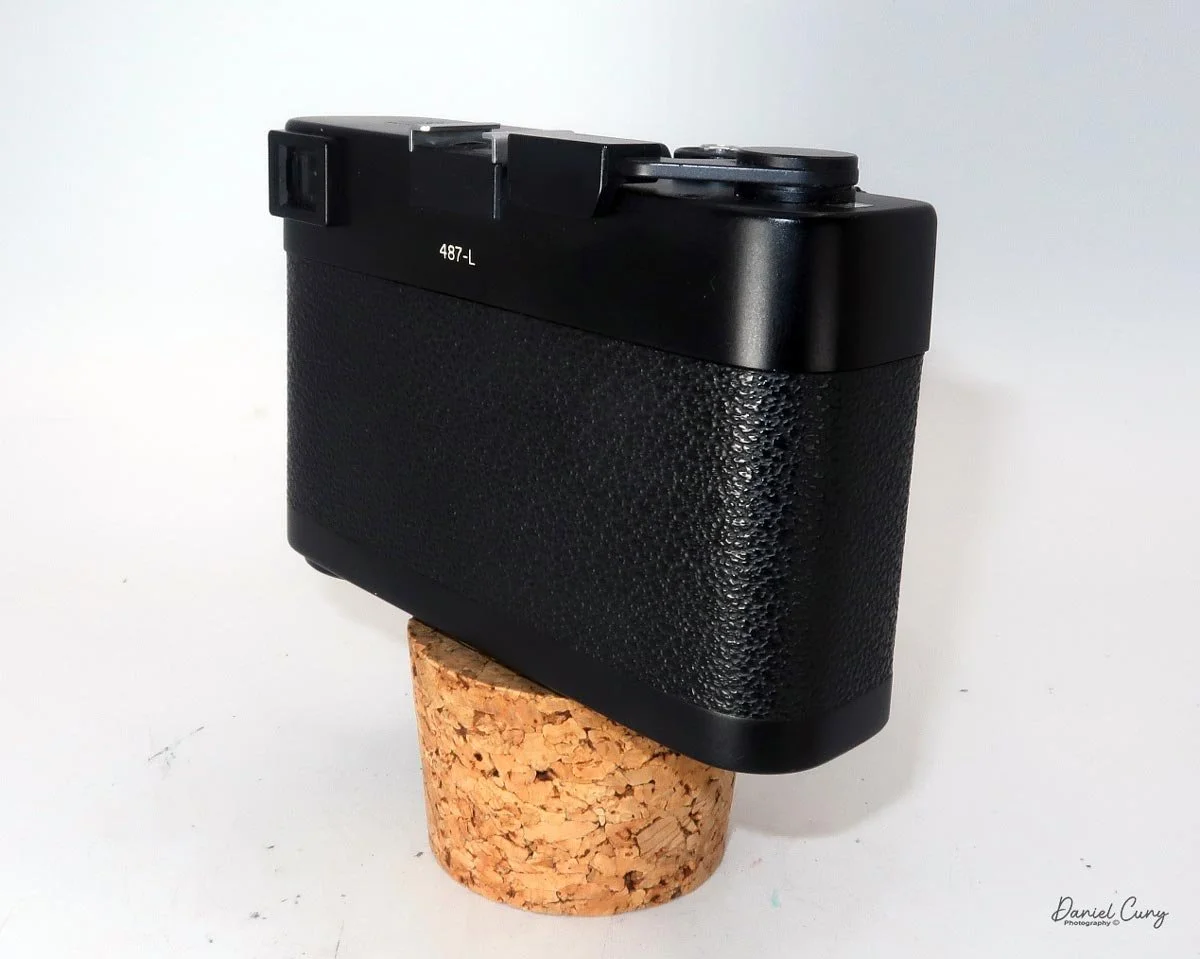
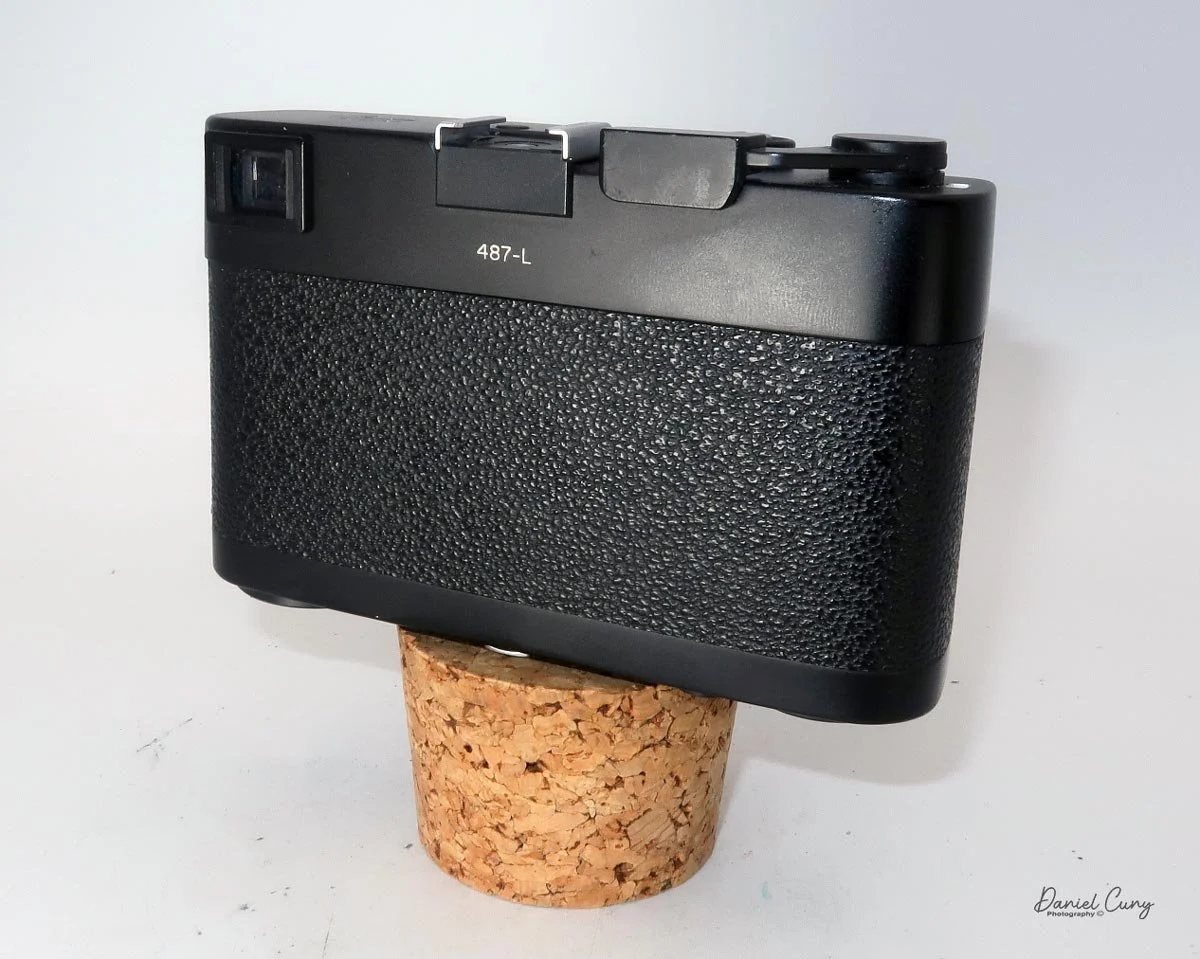
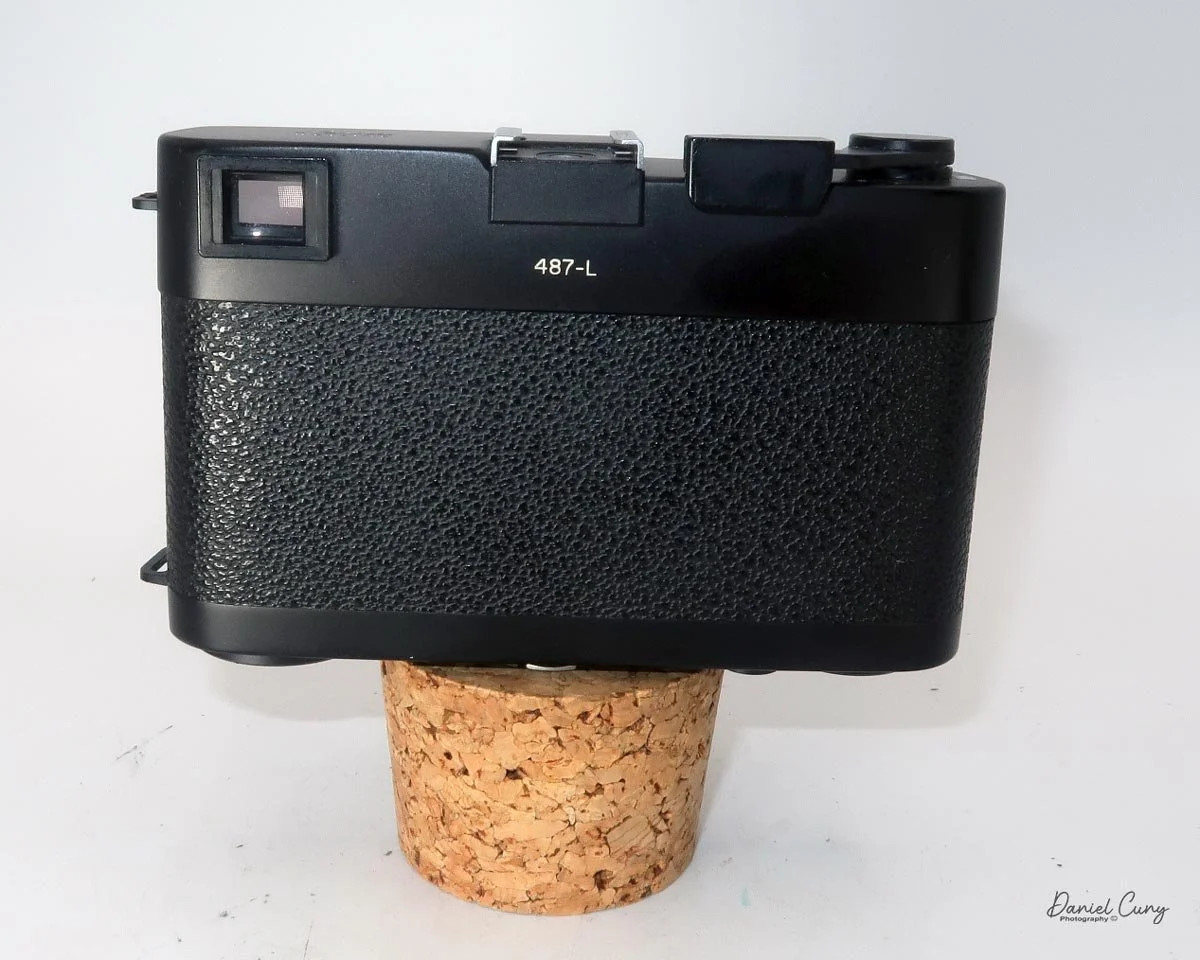
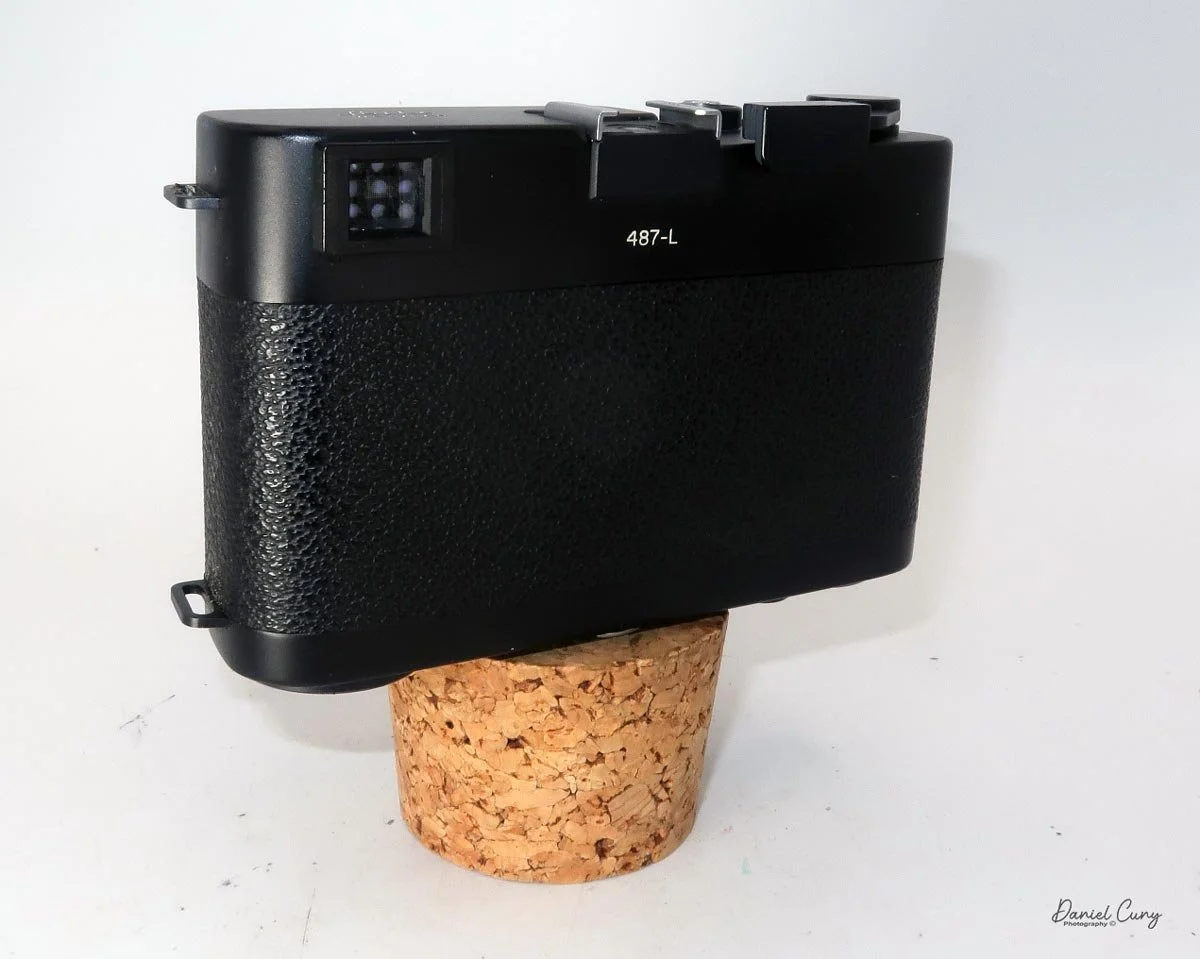
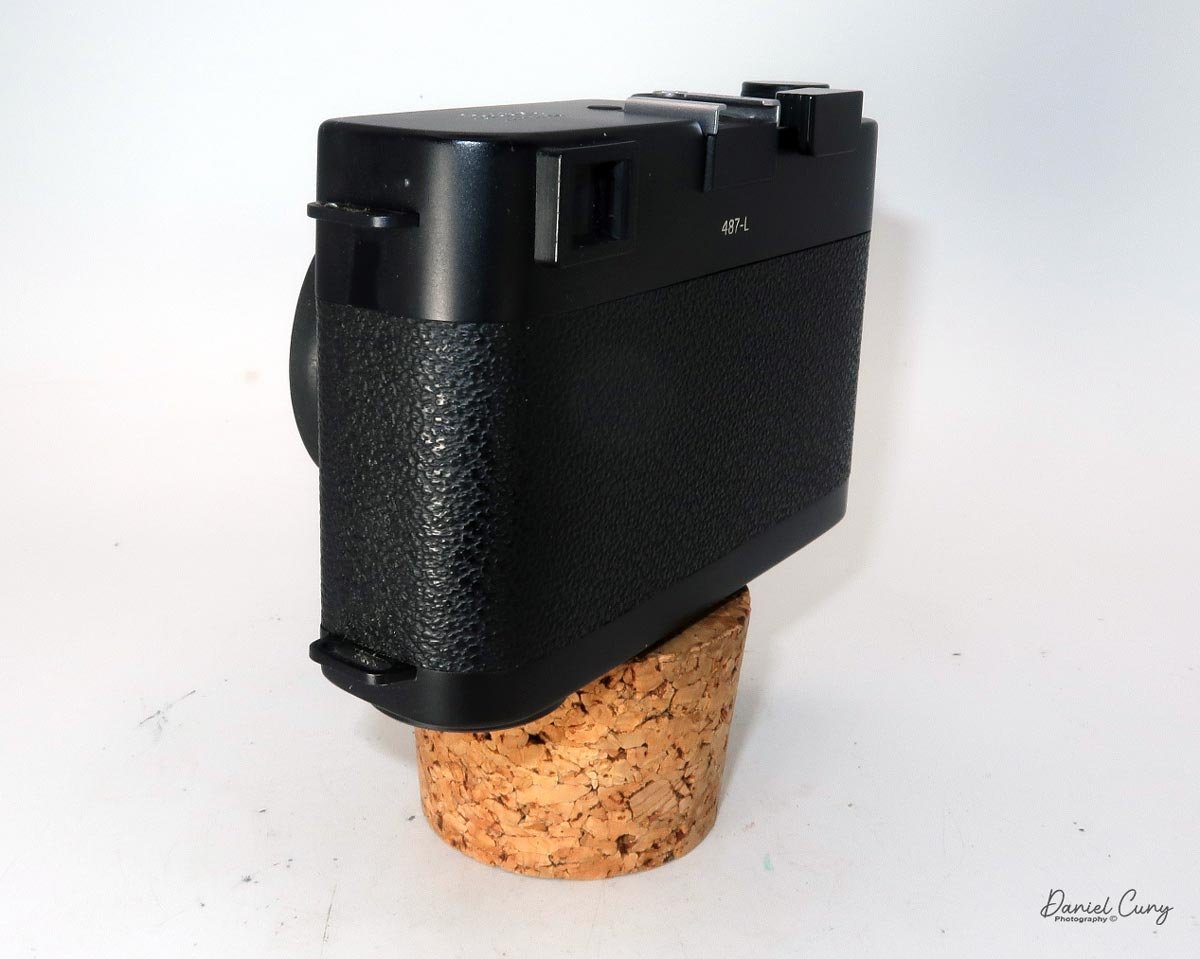
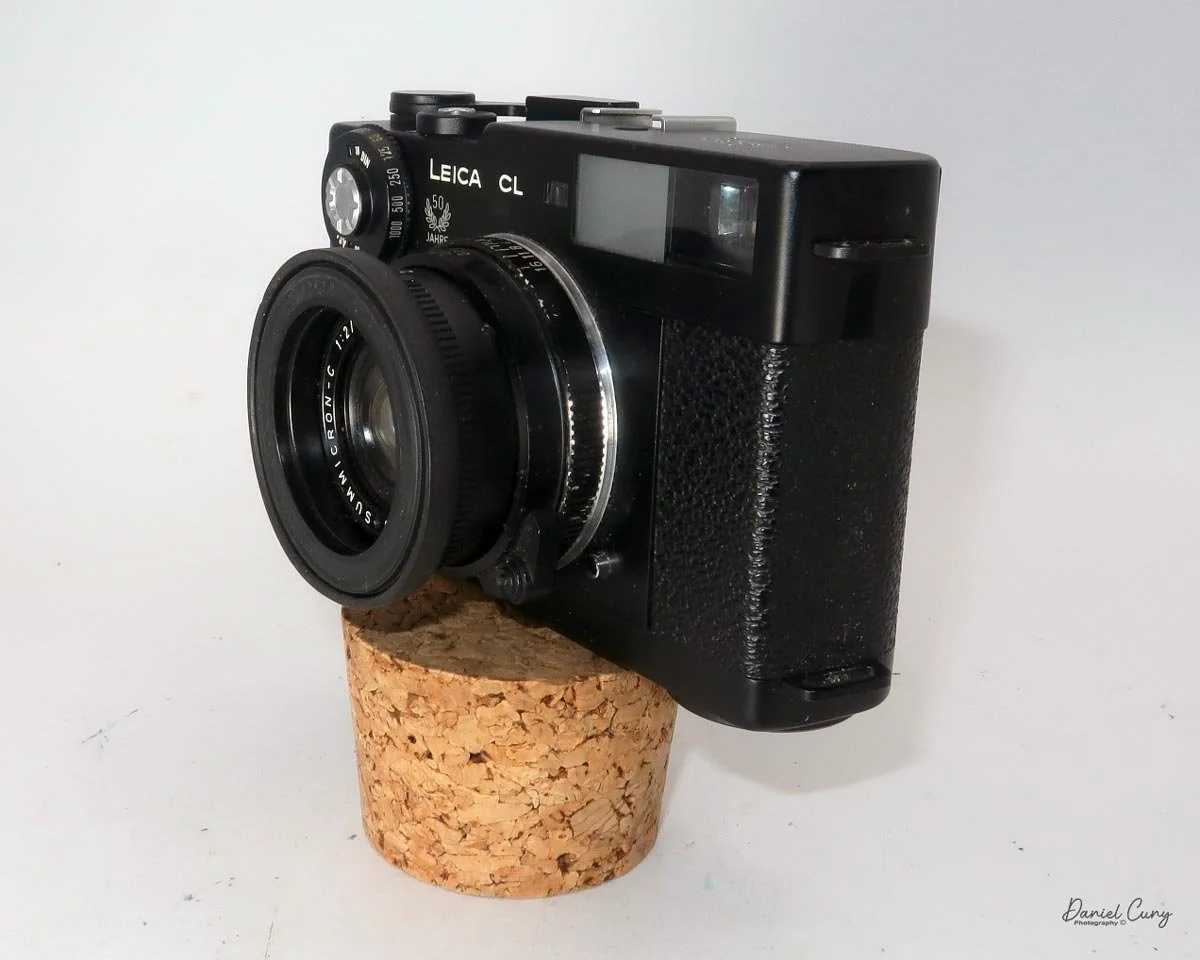
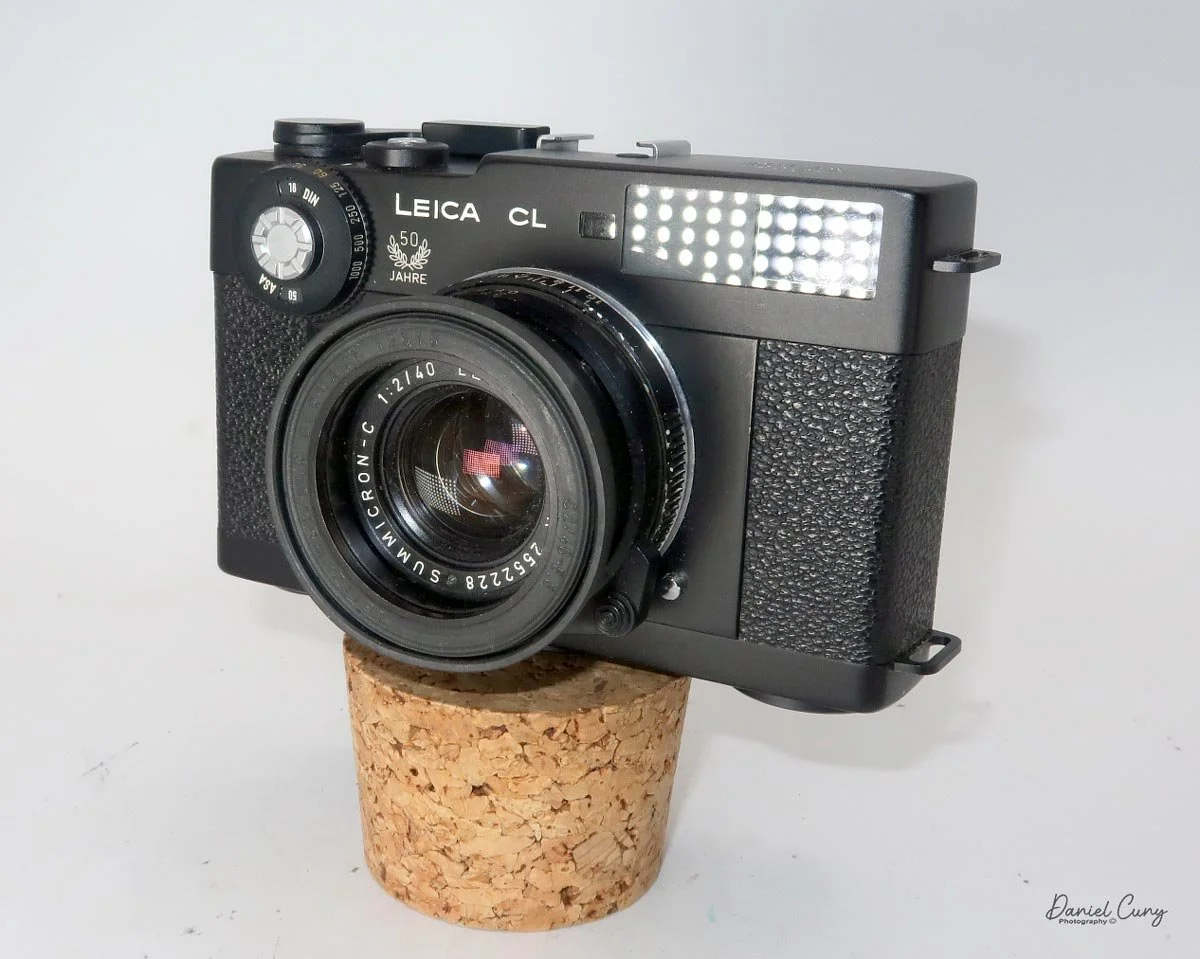
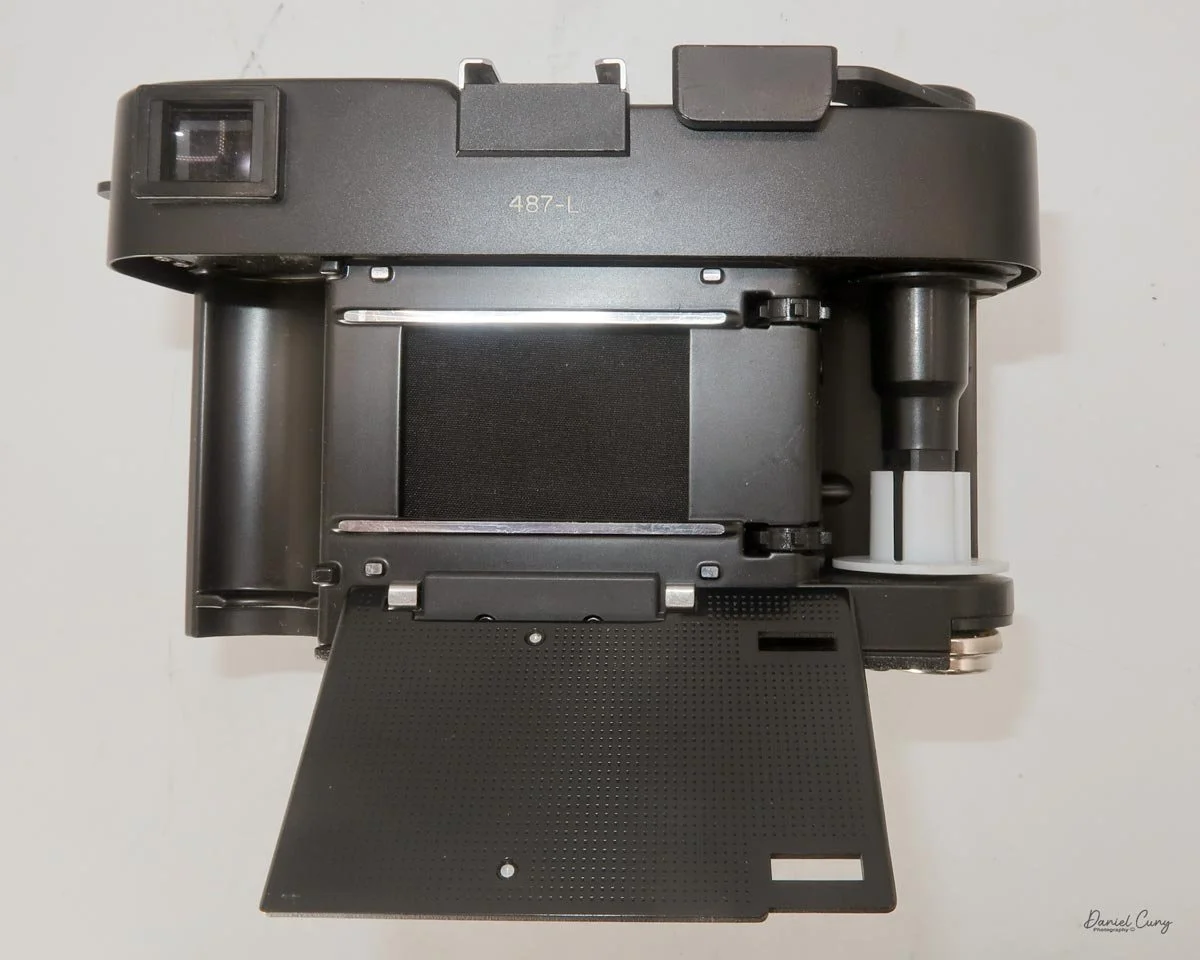
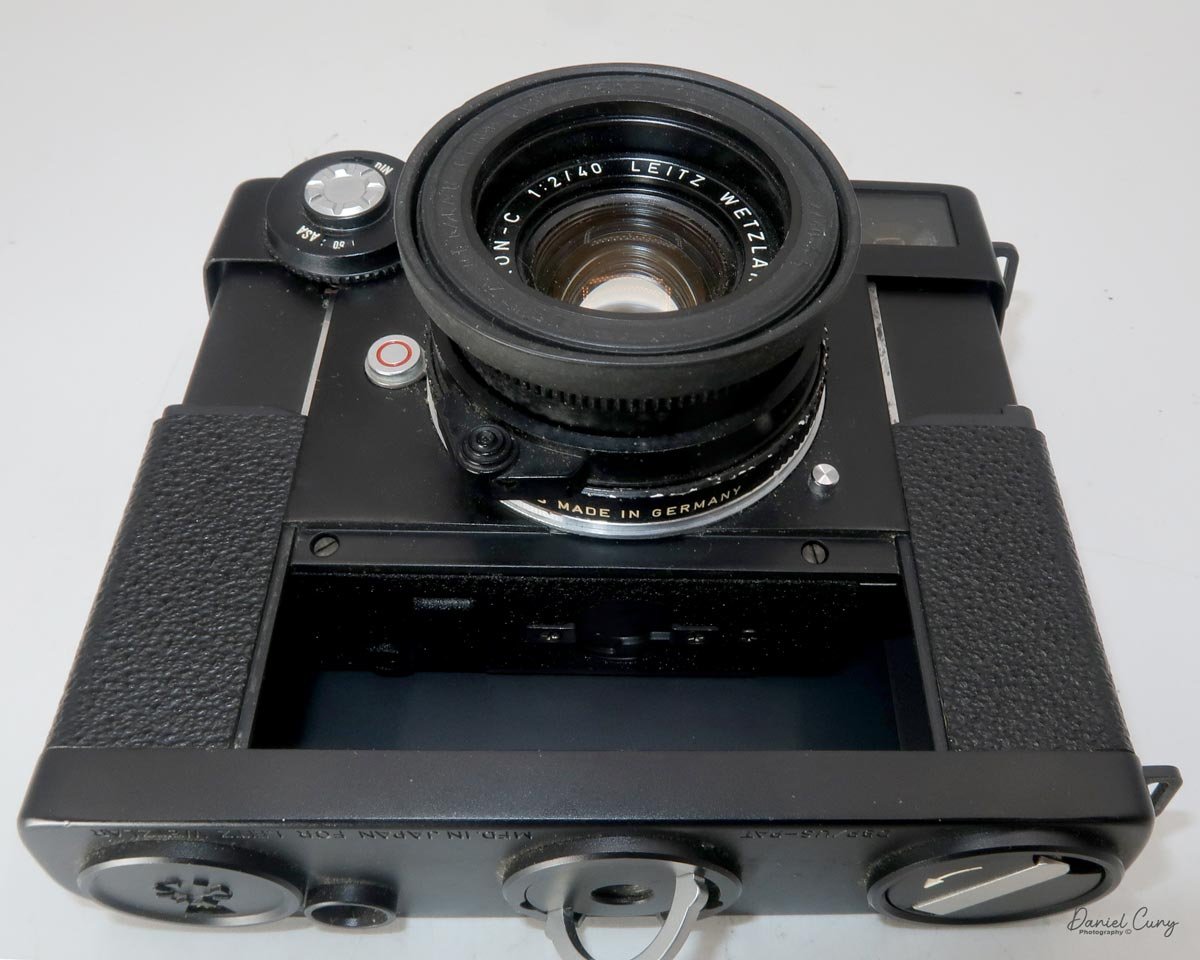
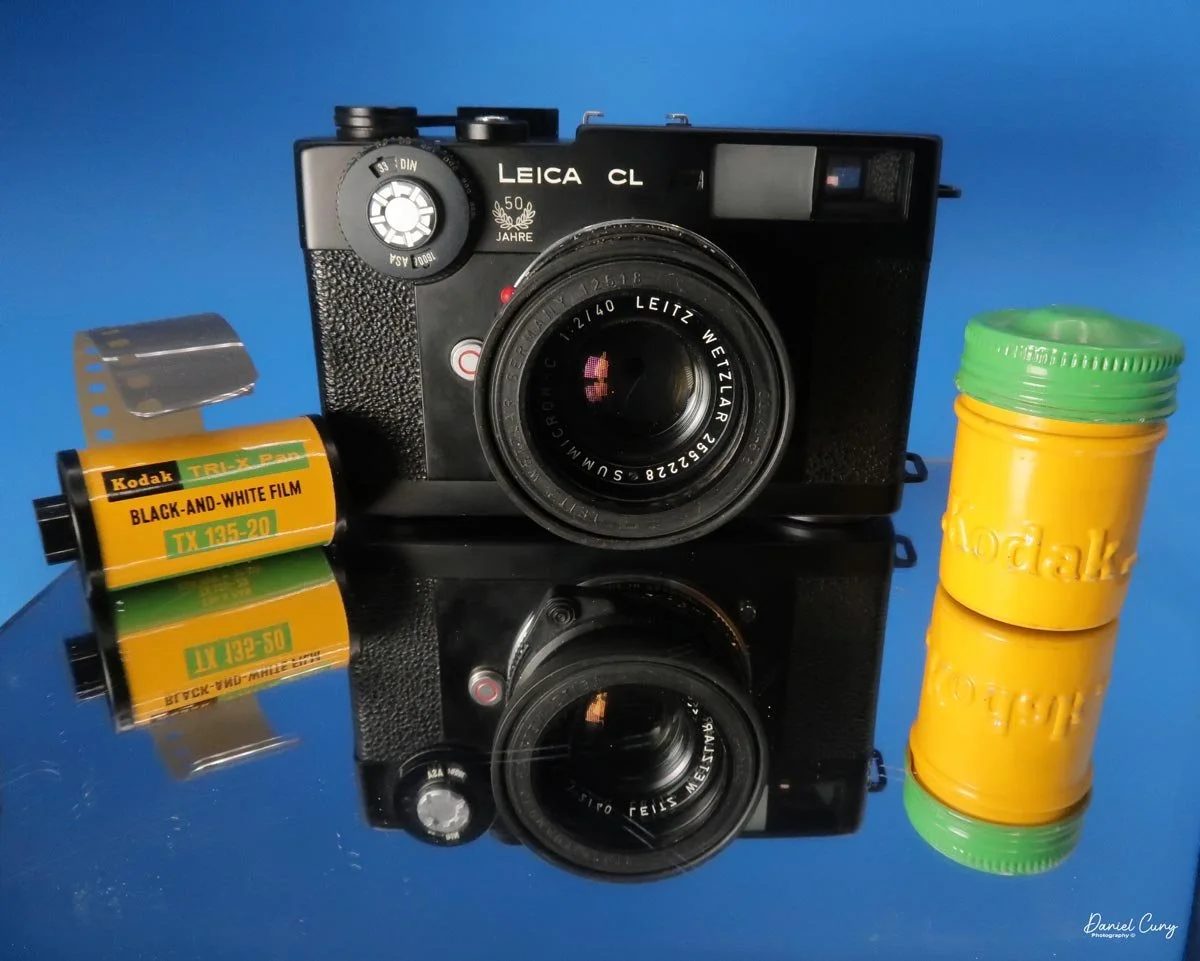
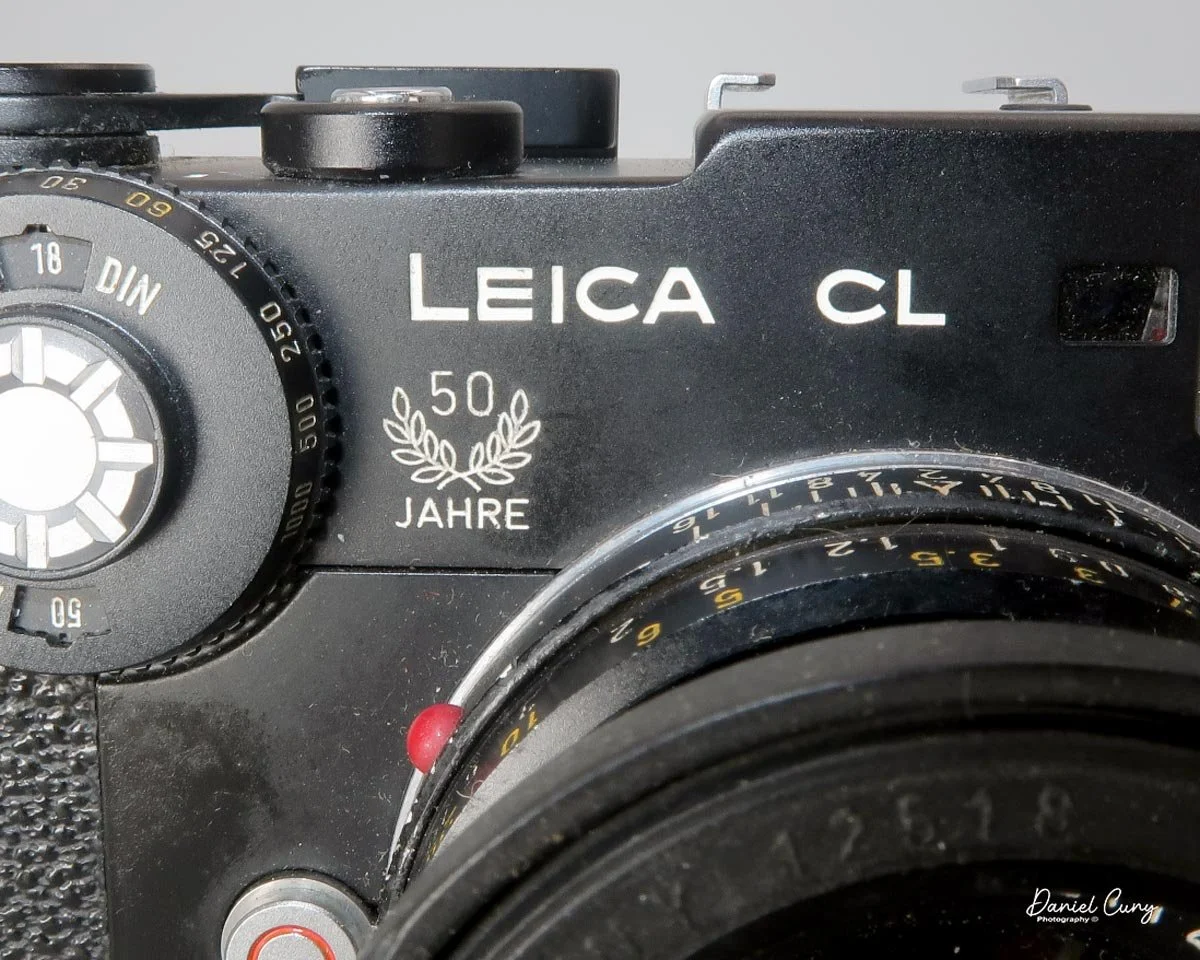
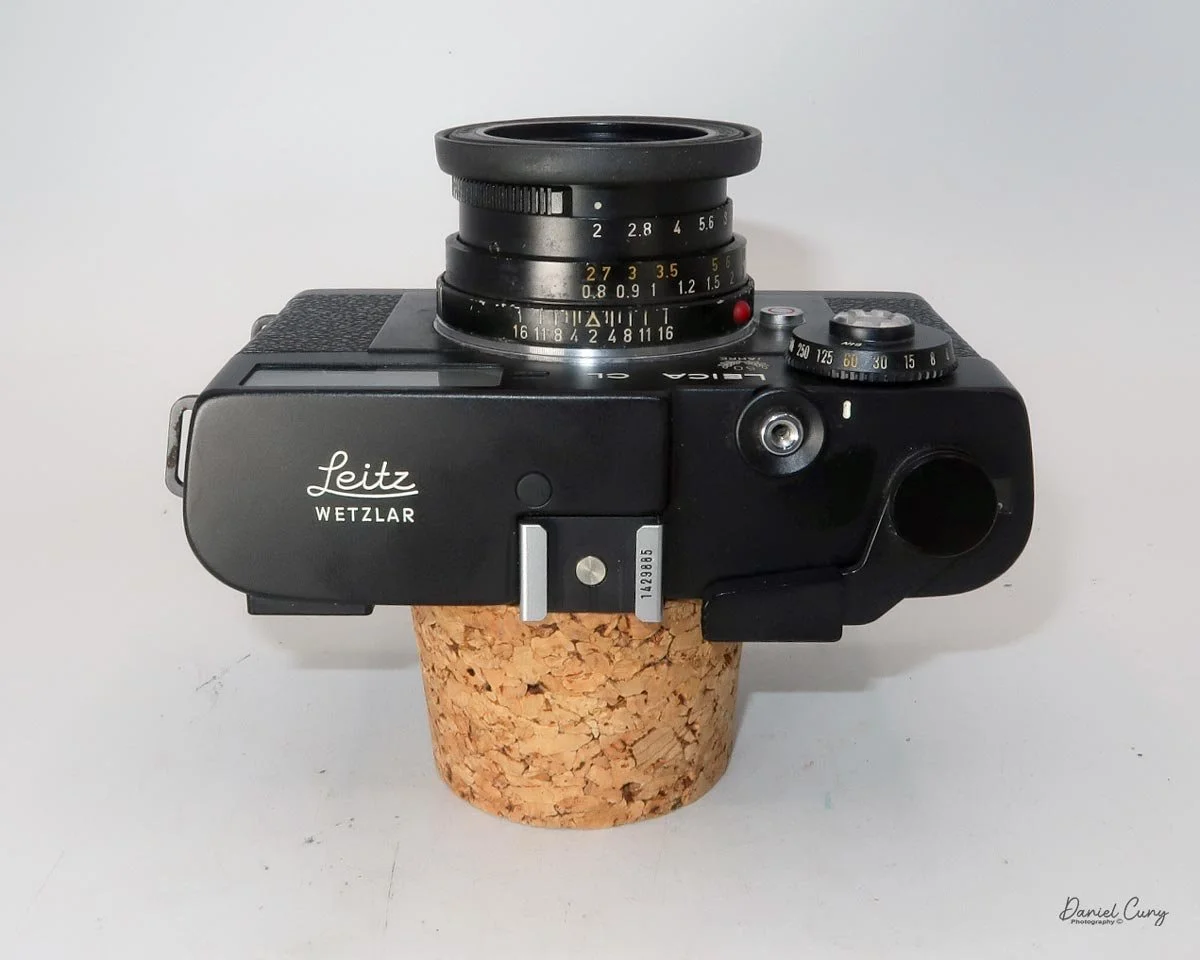
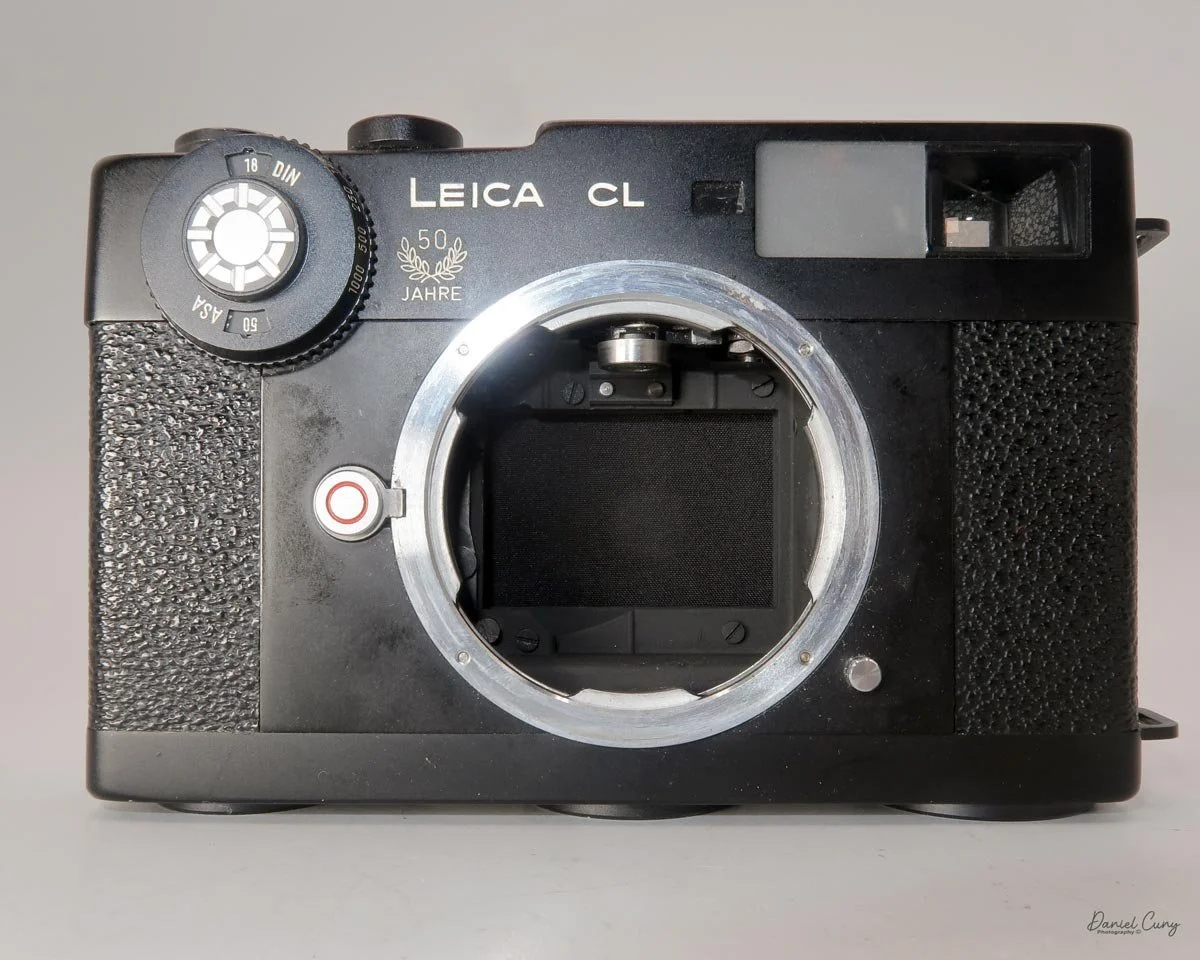
My Leica CL is a 50th-anniversary model with the stamp under the "Leica CL" name on the front. On the back of the camera body is engraved 487-L. The Leica CL is 4.75" wide by 3" tall by 2.5" deep, with the Leitz Summicron-C 40mm f/2 lens. The camera weighs 1 pound, 2 ounces with the hood and lens cap, and without film. The body serial number is 1429885, and the lens serial number is 2552228.
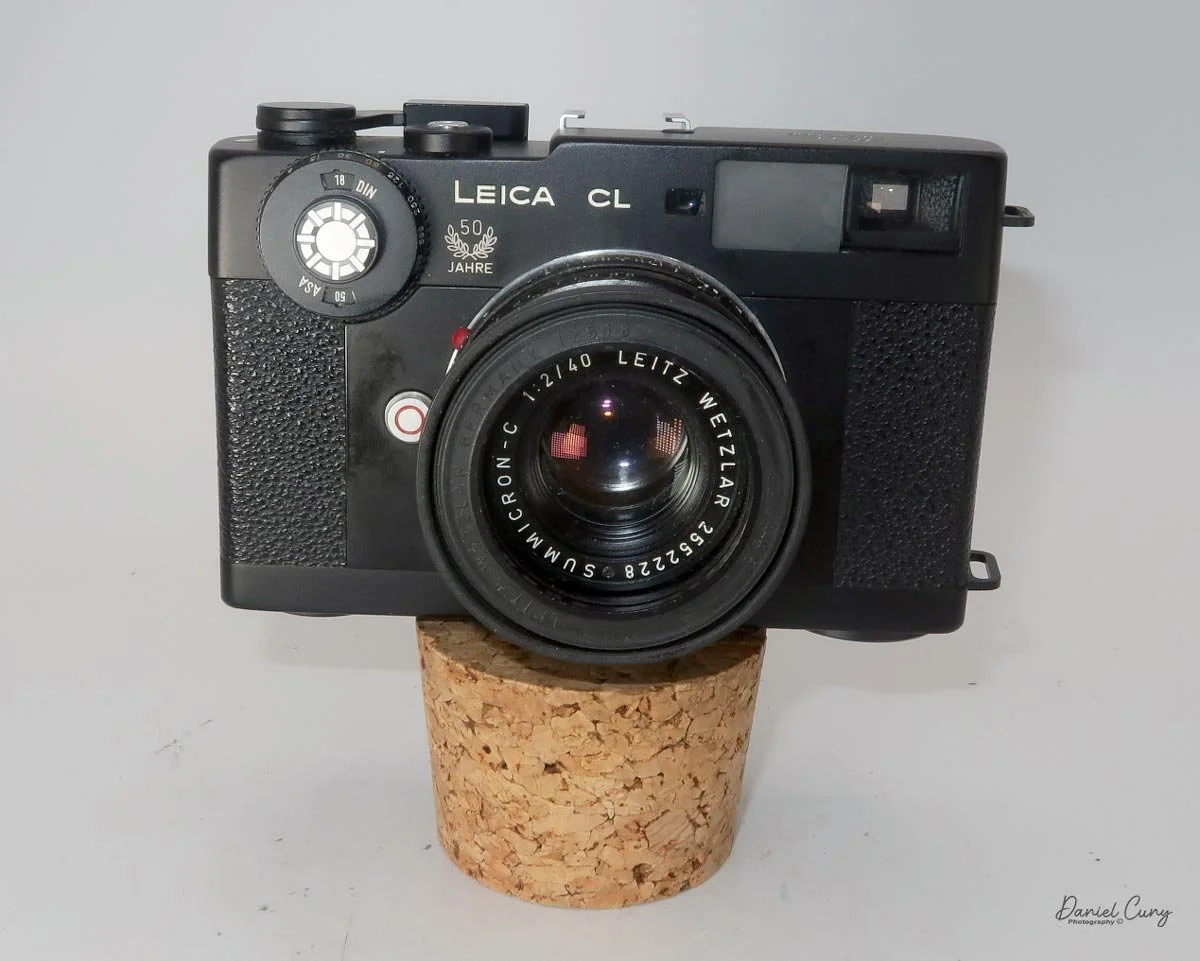
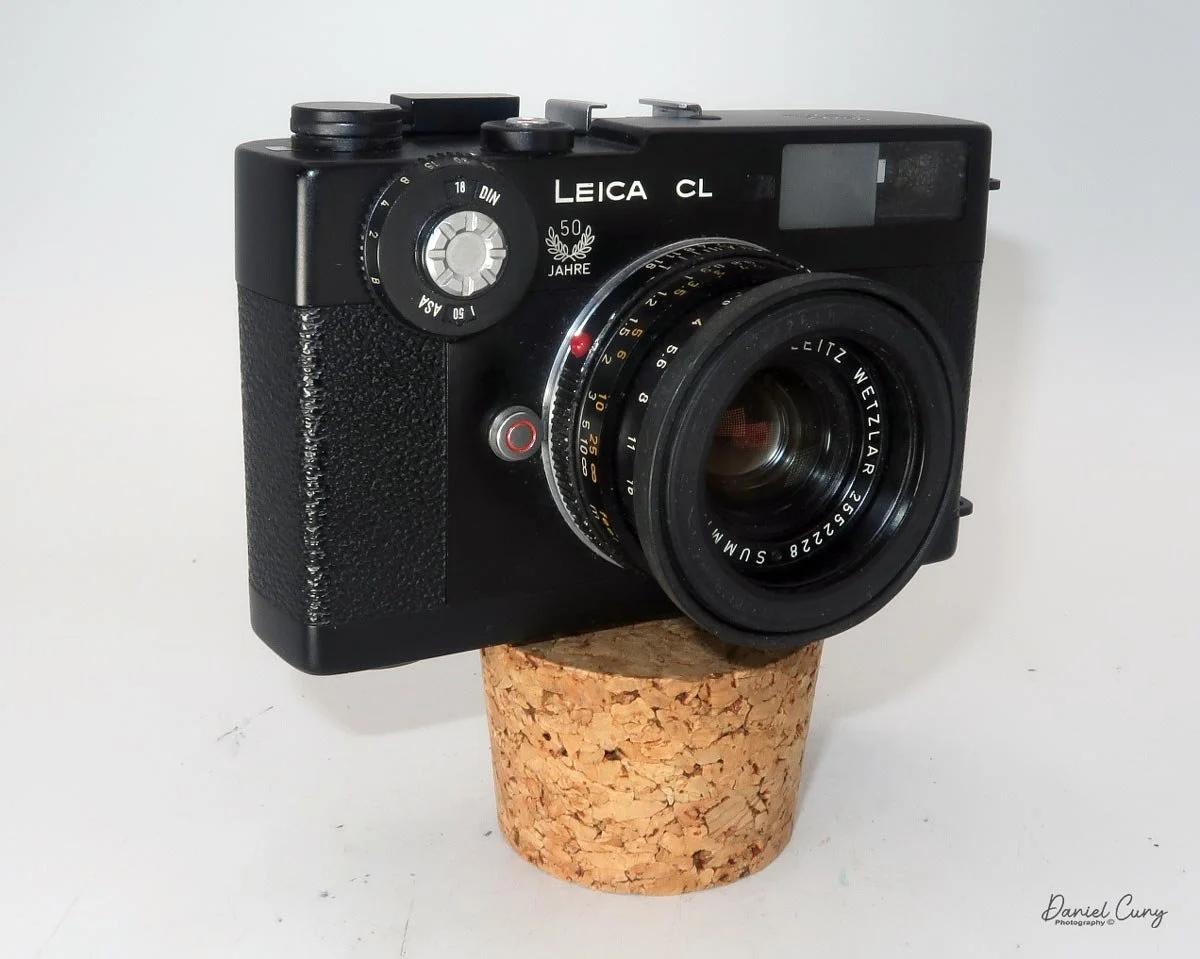
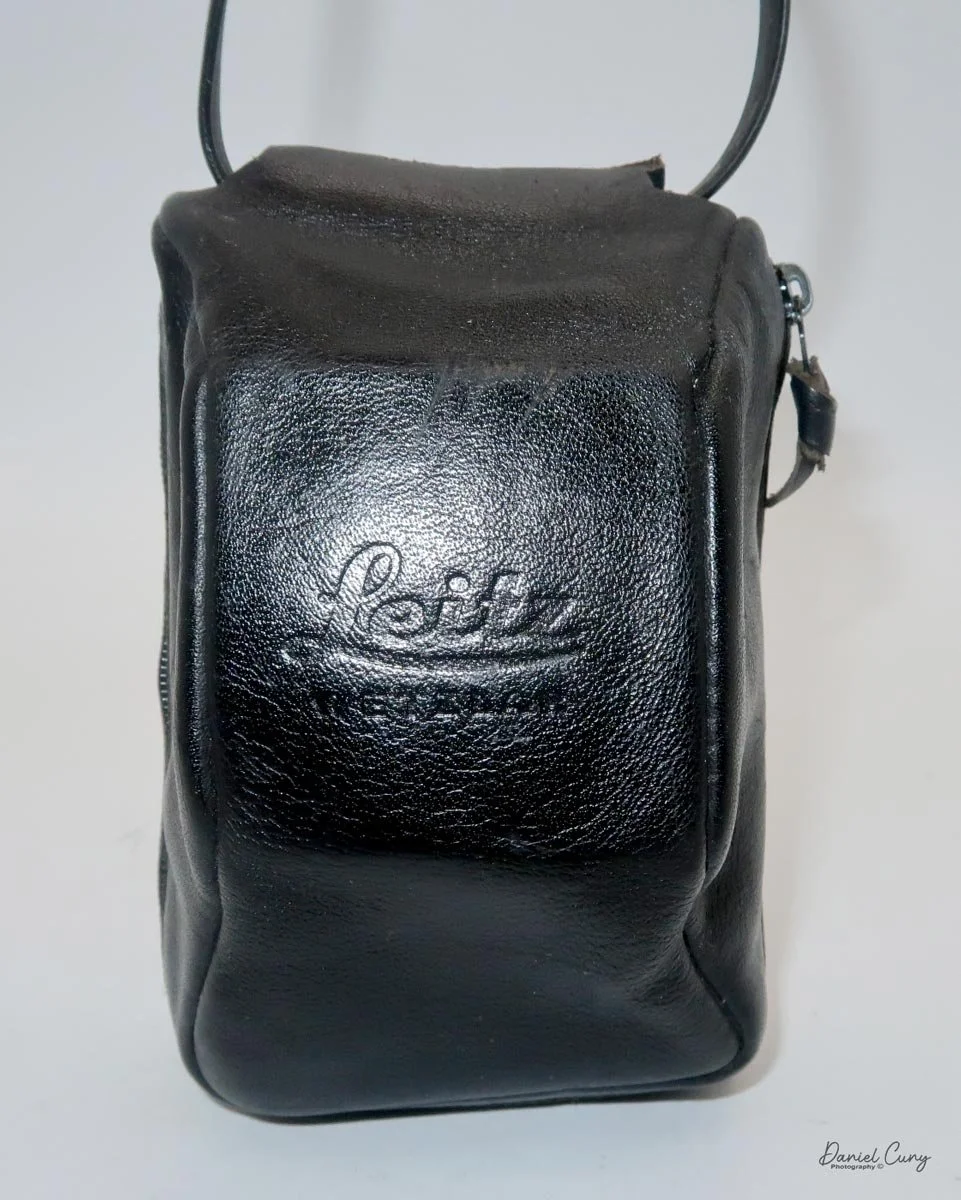
My Leica CL also has a vertical hanging, fitted leather case with "Leica Wetzlar" embossed on the front. I'm not a big fan of how the soft case works with the camera, as I find it gets in my way when using the camera. It does offer protection, so that's a plus.

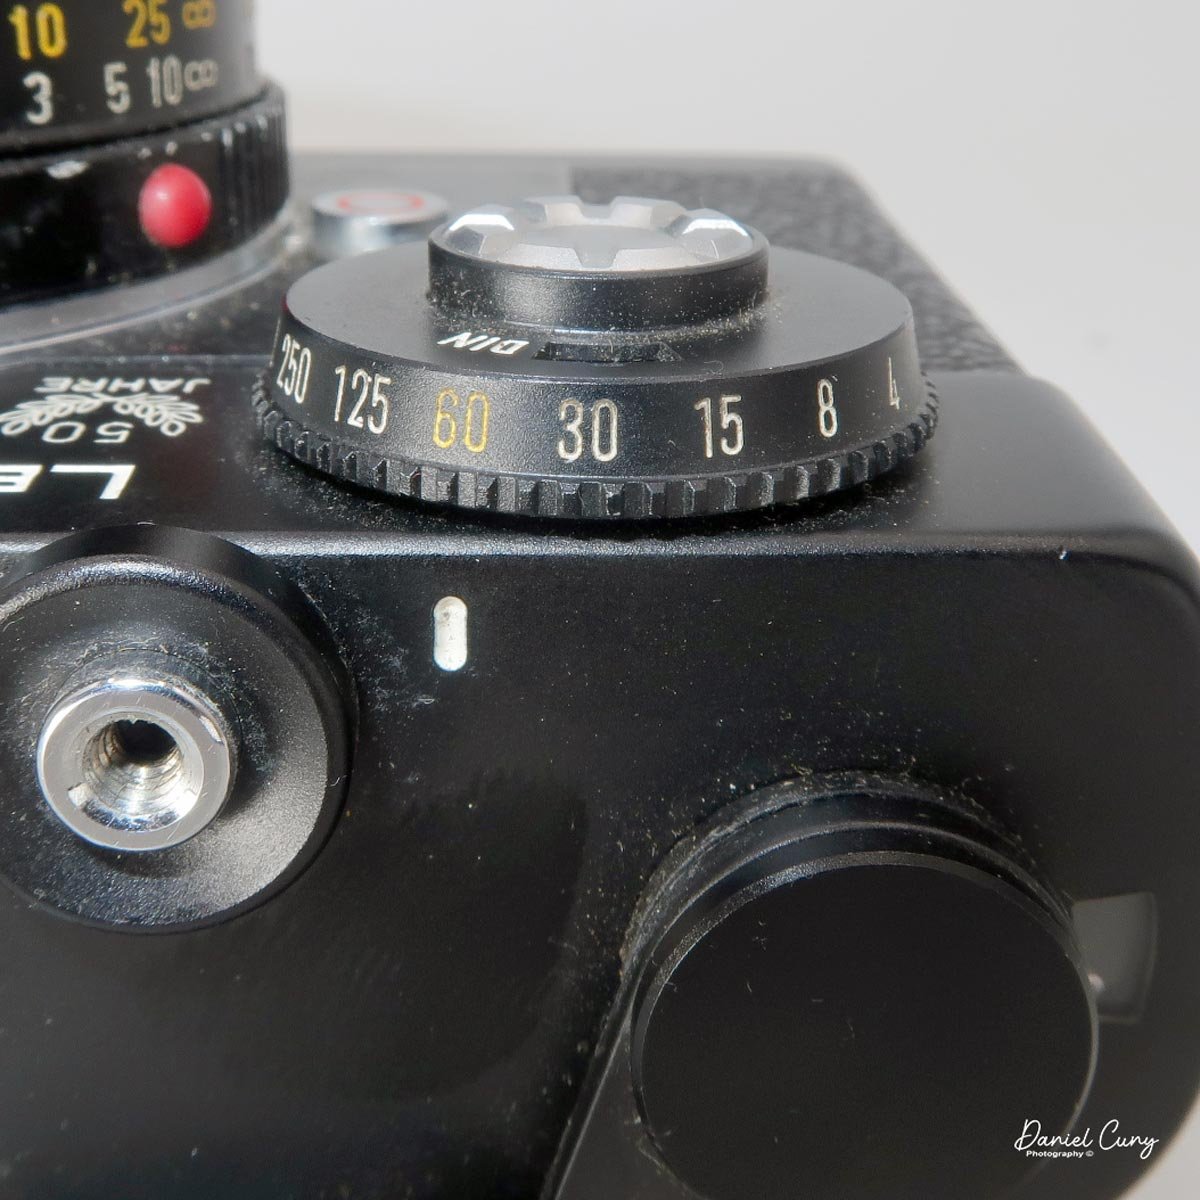
 Looking at the top of the camera, the Leica CL is rather plain. From left to right, there is the "Leitz Wetzlar" logo, a hot shoe for the flash, the shutter release (threaded for a cable release), a white line for setting the shutter speed, and a film winding lever.

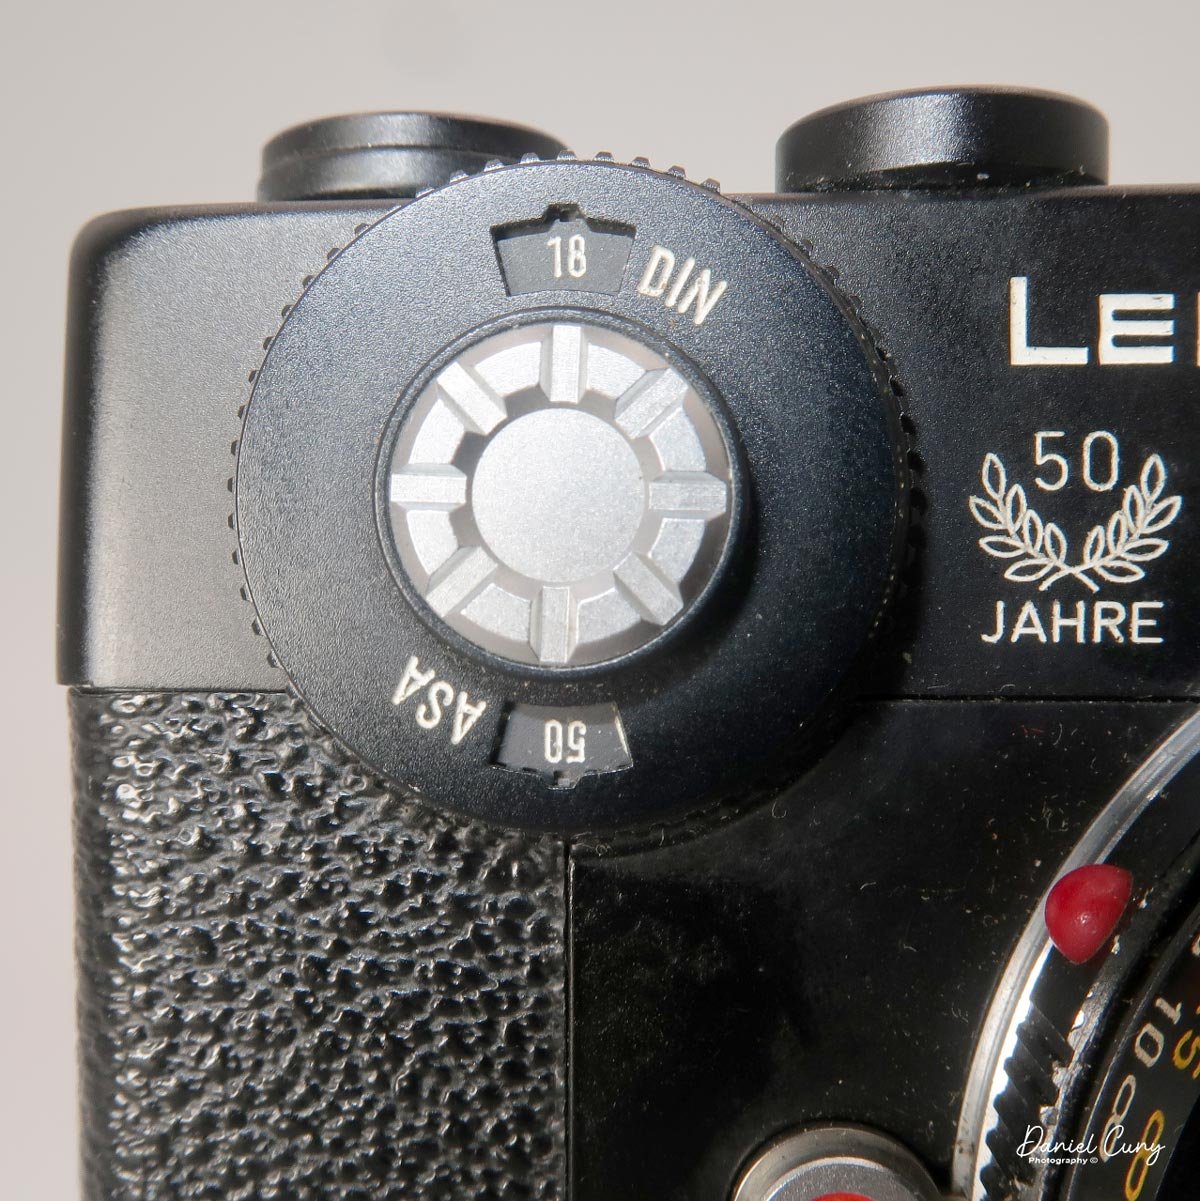
 Most exposure controls are on the front of the camera body or lens. In the upper left corner of the camera, as you face it, is the shutter speed wheel, which has speeds from 1/1000 to 1/2 (no 1 sec. exposure setting) and "B" for timed exposures. The shutter speed is set by turning the outer wheel to the desired speed, which is aligned with the small white line on the camera body. Some people get confused because the white line isn't directly above the shutter speed number, but slightly to the left. Make sure you set the shutter speed to the white line, and not at the top of the dial.
Inside the shutter speed dial is the ASA or DIN (ISO) setting for the internal light meter. Set the ASA by turning the chrome wheel with the pad of your finger or thumb to the desired film speed.

 Below the shutter speed wheel is a smaller round button with a red circle, which is the lens release button. Press the button and turn the lens counterclockwise a short distance until the red dot latches to the red circle, then remove the lens. To attach the lens, match the red dot on the lens to the red circle, then turn the lens clockwise until it clicks into place and locks onto the camera body.
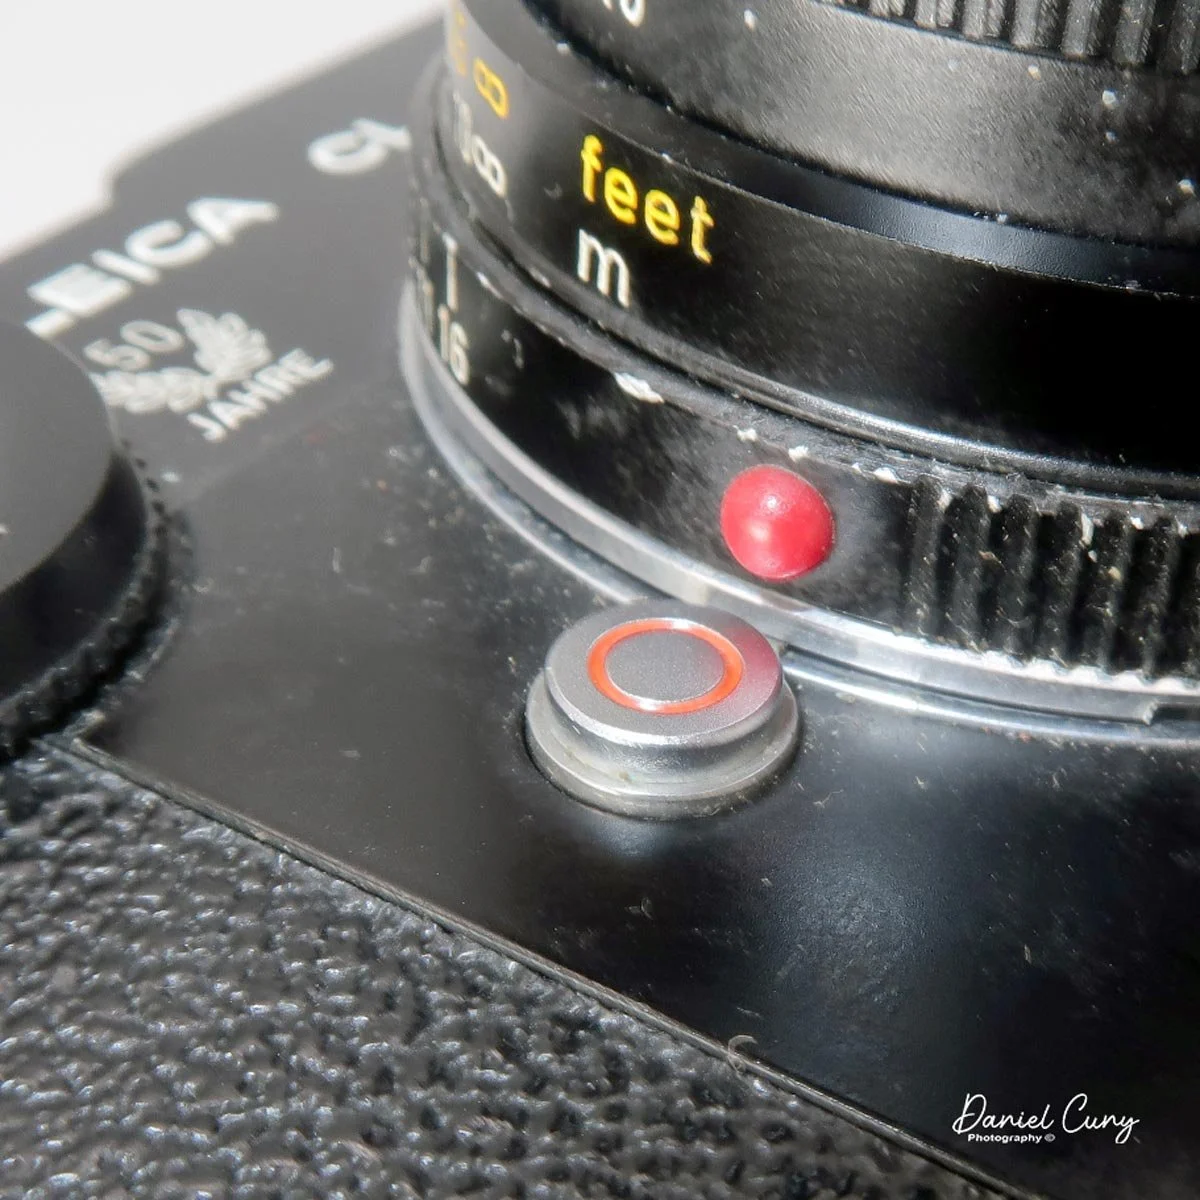
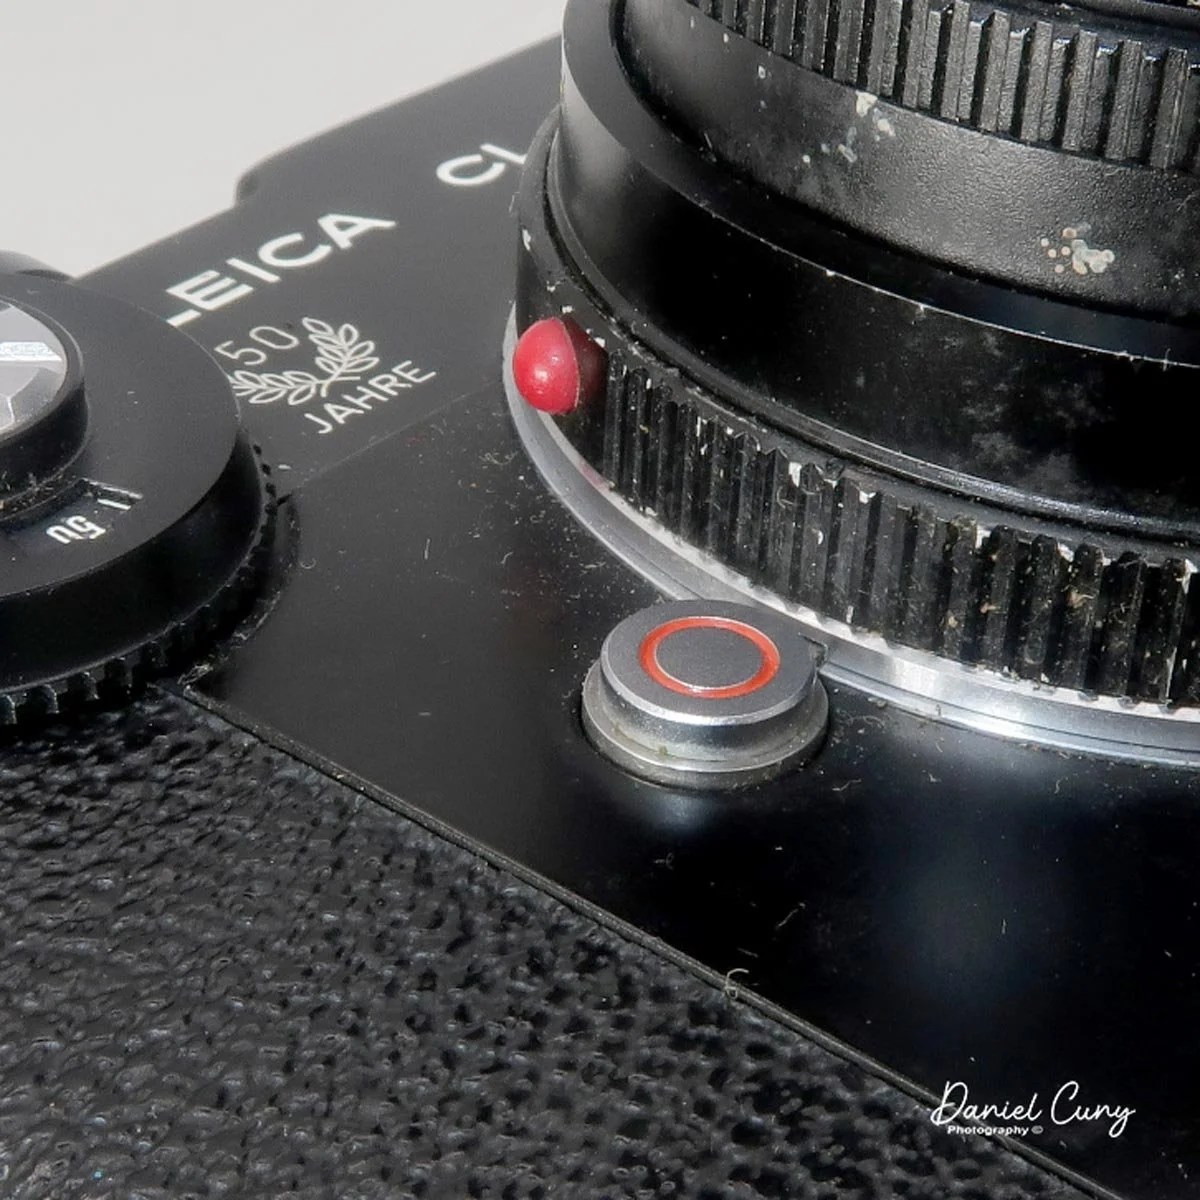
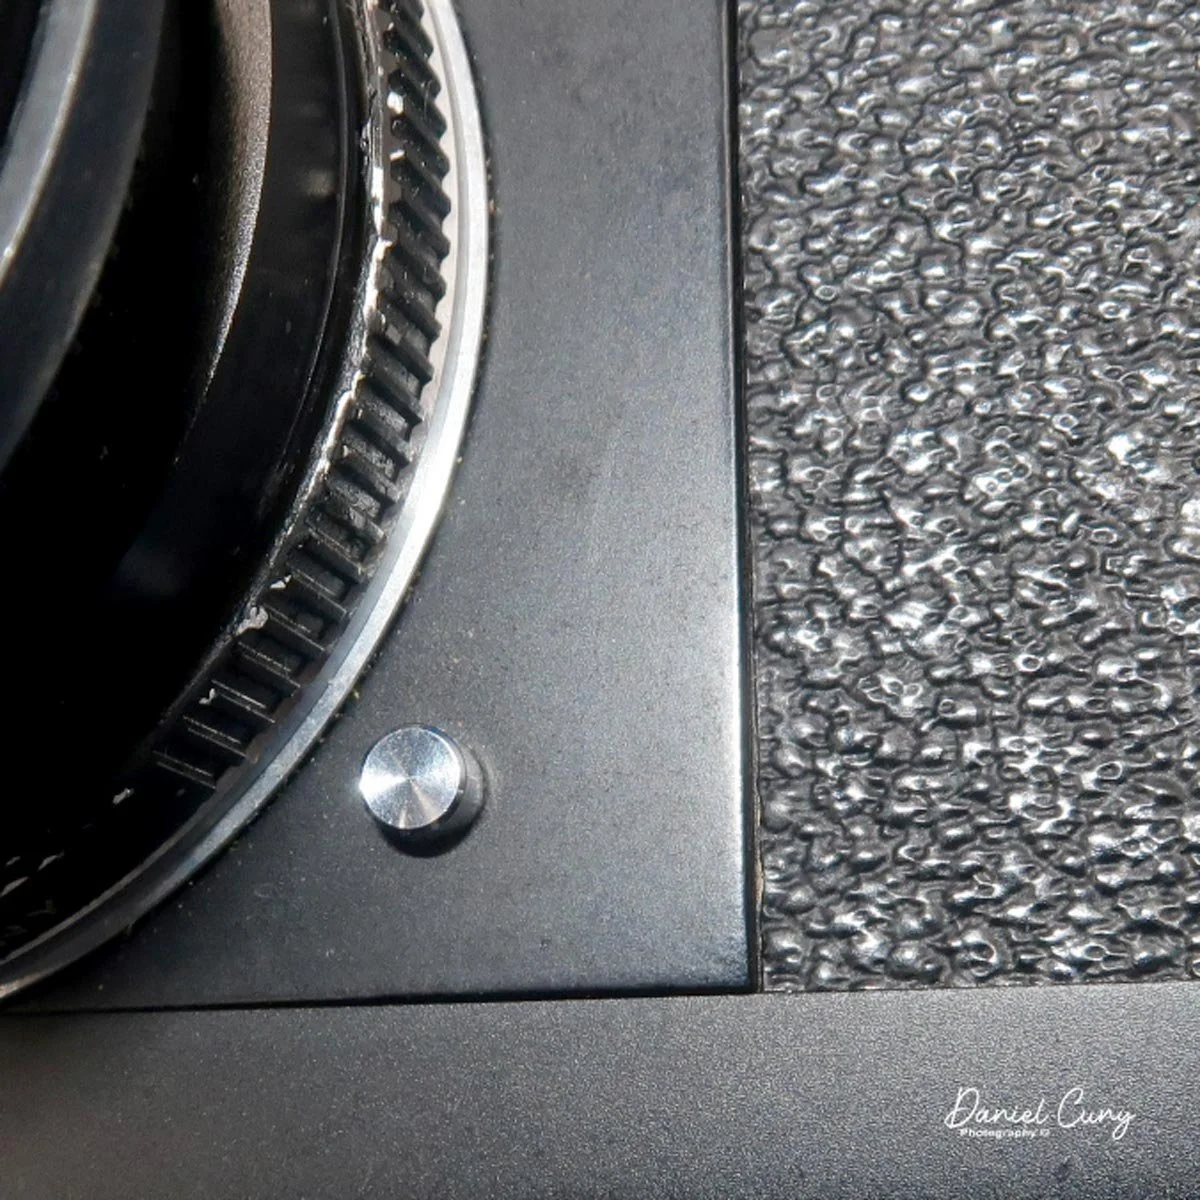
On the opposite side of the lens is an even smaller chrome button: the "battery test" button for the light meter. Unfortunately, the light meter on my camera isn't working, so it's not something I use when shooting with the Leica CL.

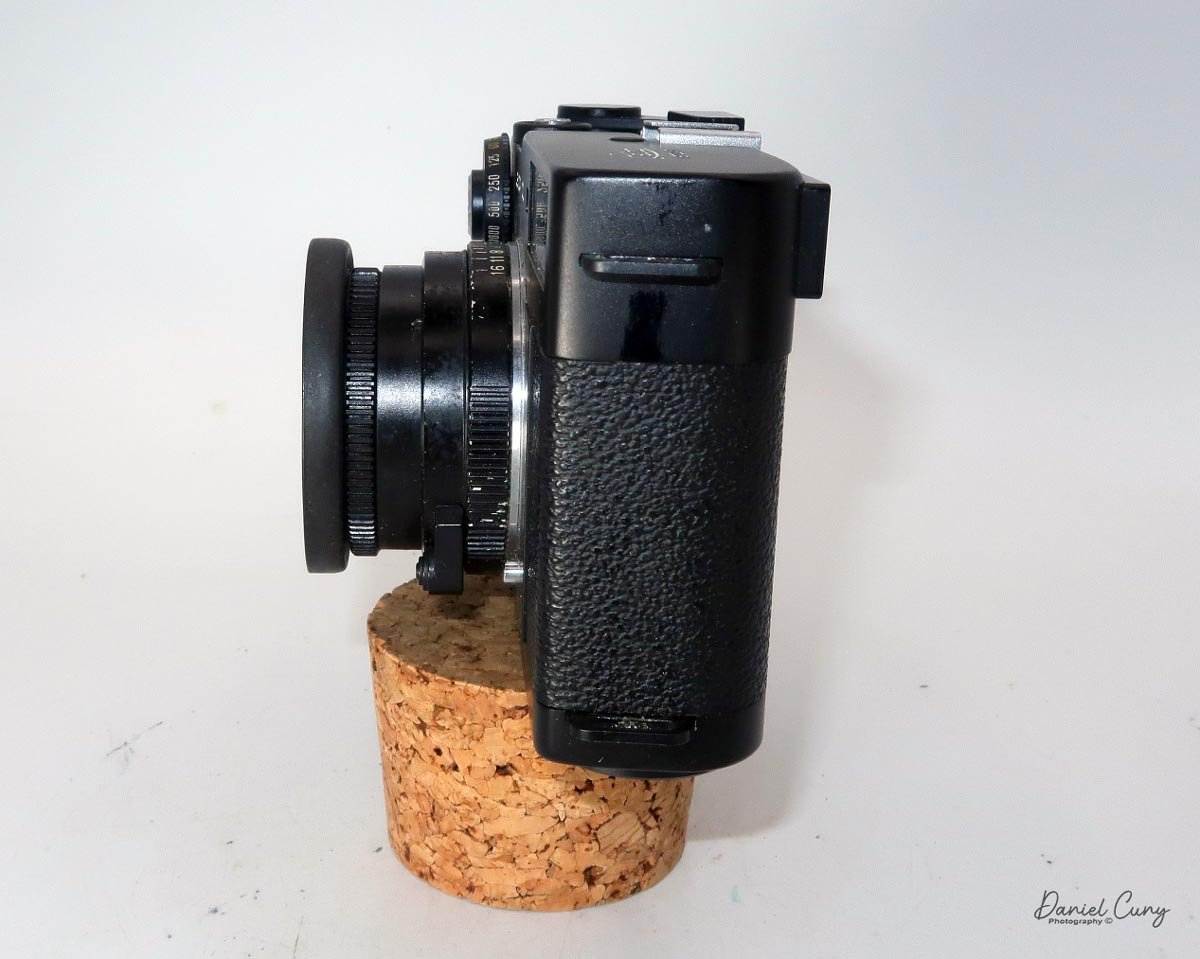
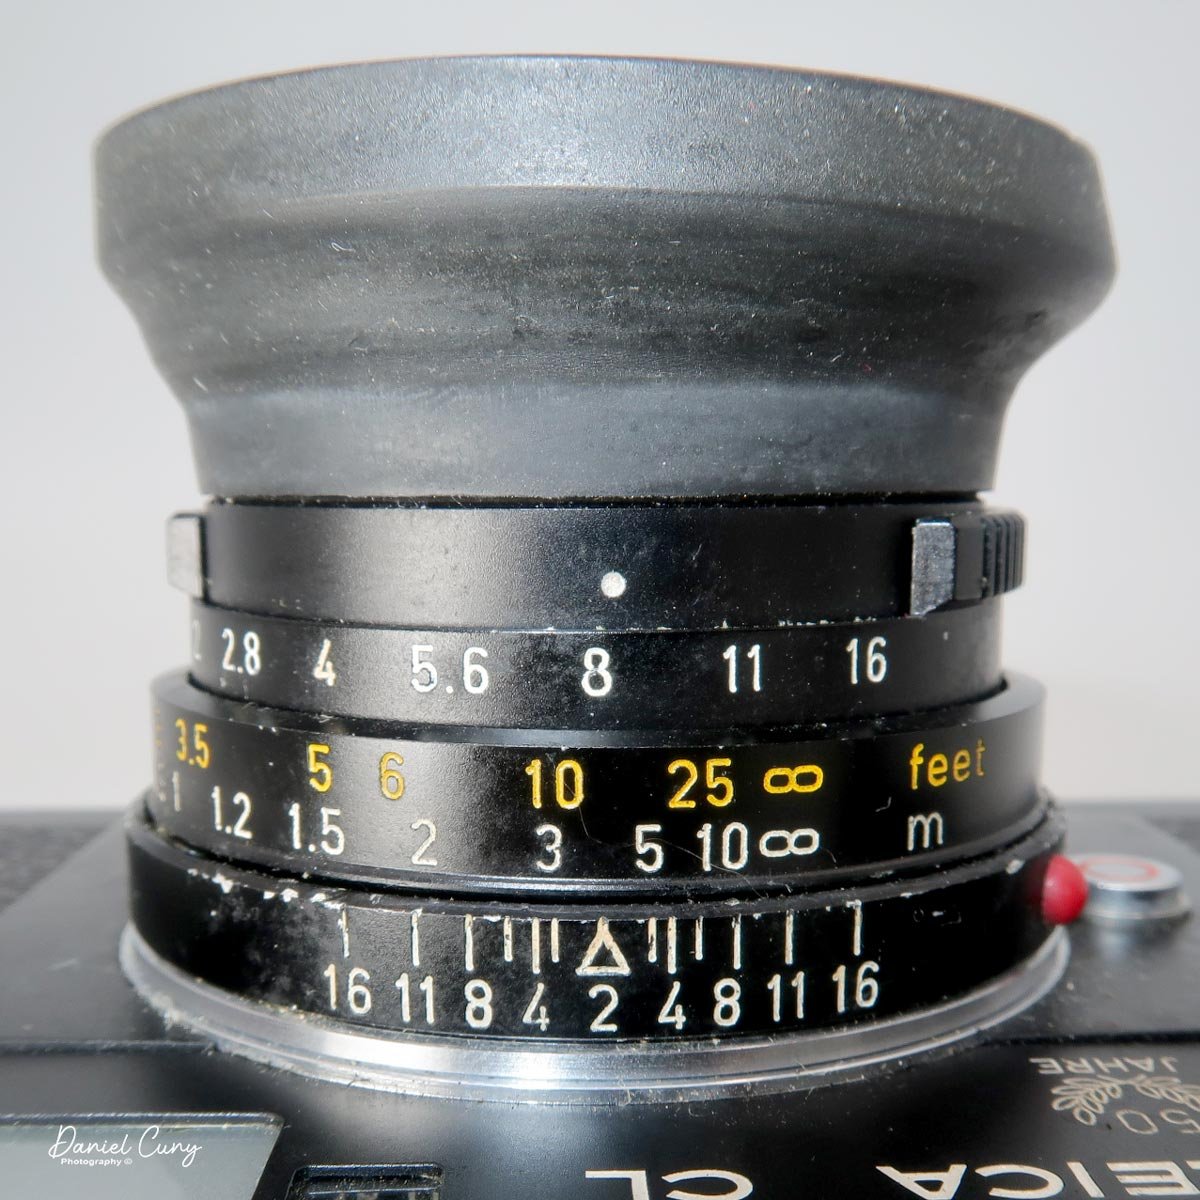
 On the lens is the focus knob, which is a larger knob on the bottom, and the aperture settings, which are located towards the front of the lens. I also have a rubber lens hood and a plastic lens cap that fits onto the hood; both came with the camera kit.
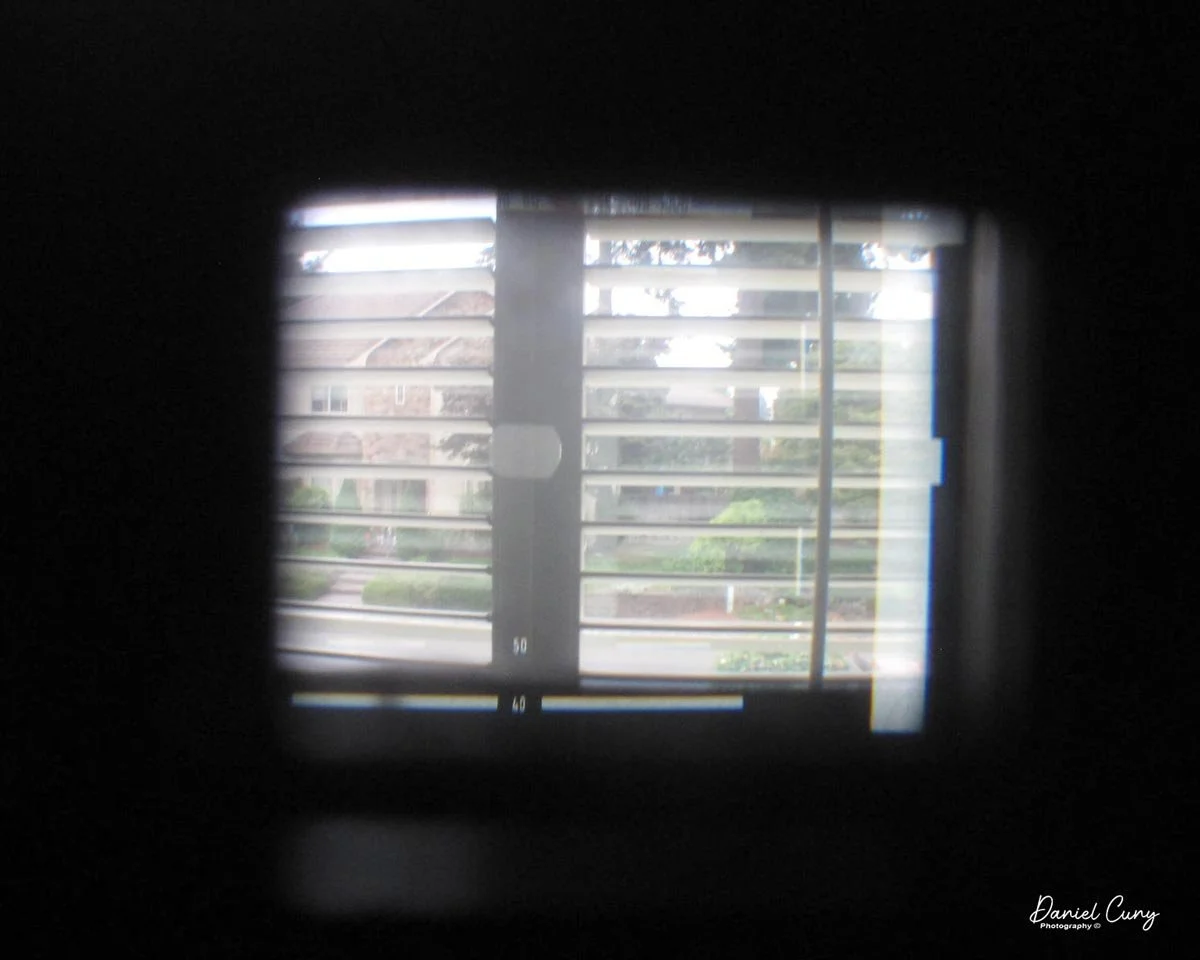
Looking through the viewfinder, there are several things to look at. In the middle is the bright rangefinder. This is a wonderful and very easy rangefinder. The image looks sharper (to me) when you bring the lines together in the yellowed area of the rangefinder. I'm generally not a big fan of rangefinders, but I do really like how this one performs.

 It also has internal lines for a 40mm and 50mm lens. Along the top of the finder is the shutter speed, with a red bar sliding to the set shutter speed, which is easily adjusted with your forefinger rolling along the shutter speed selector.
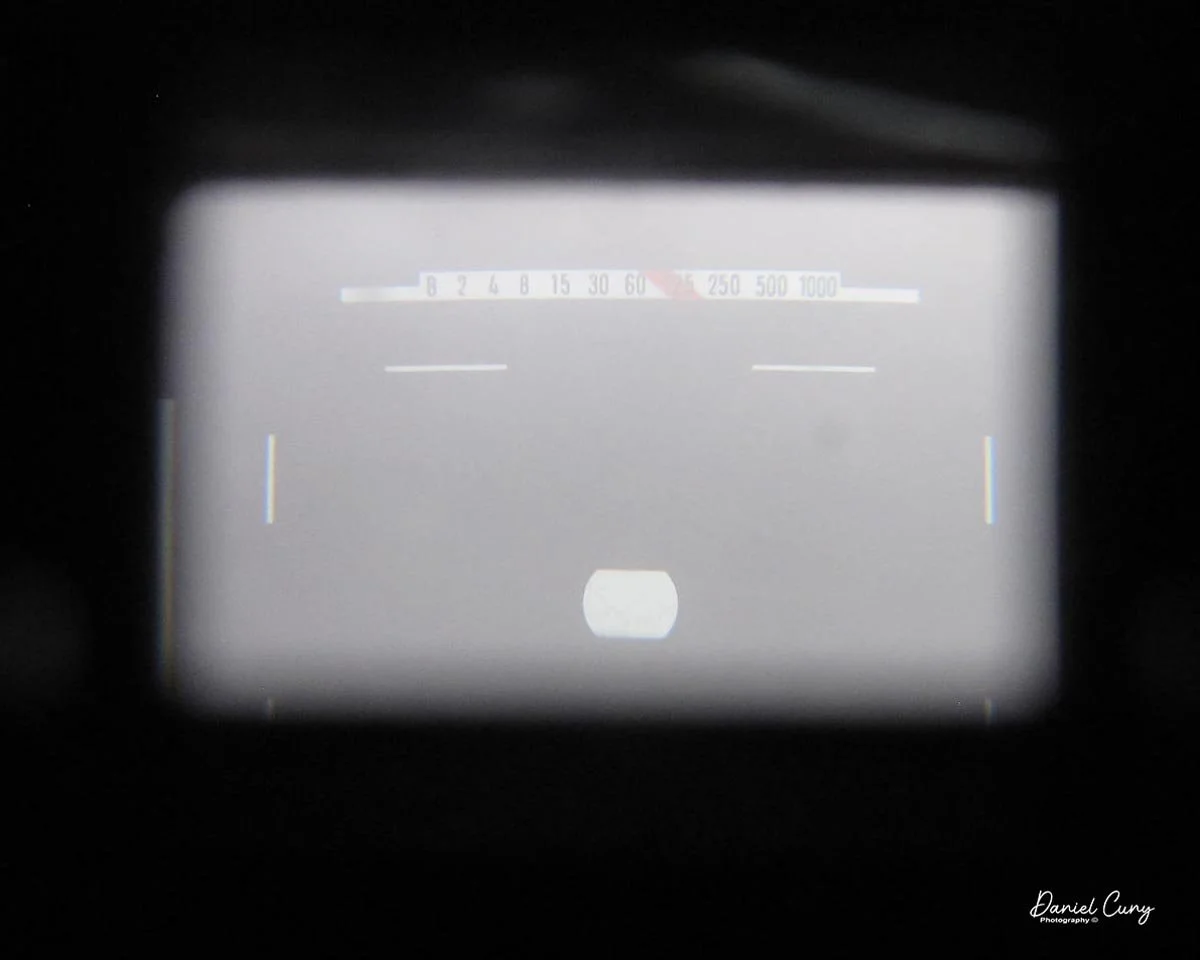
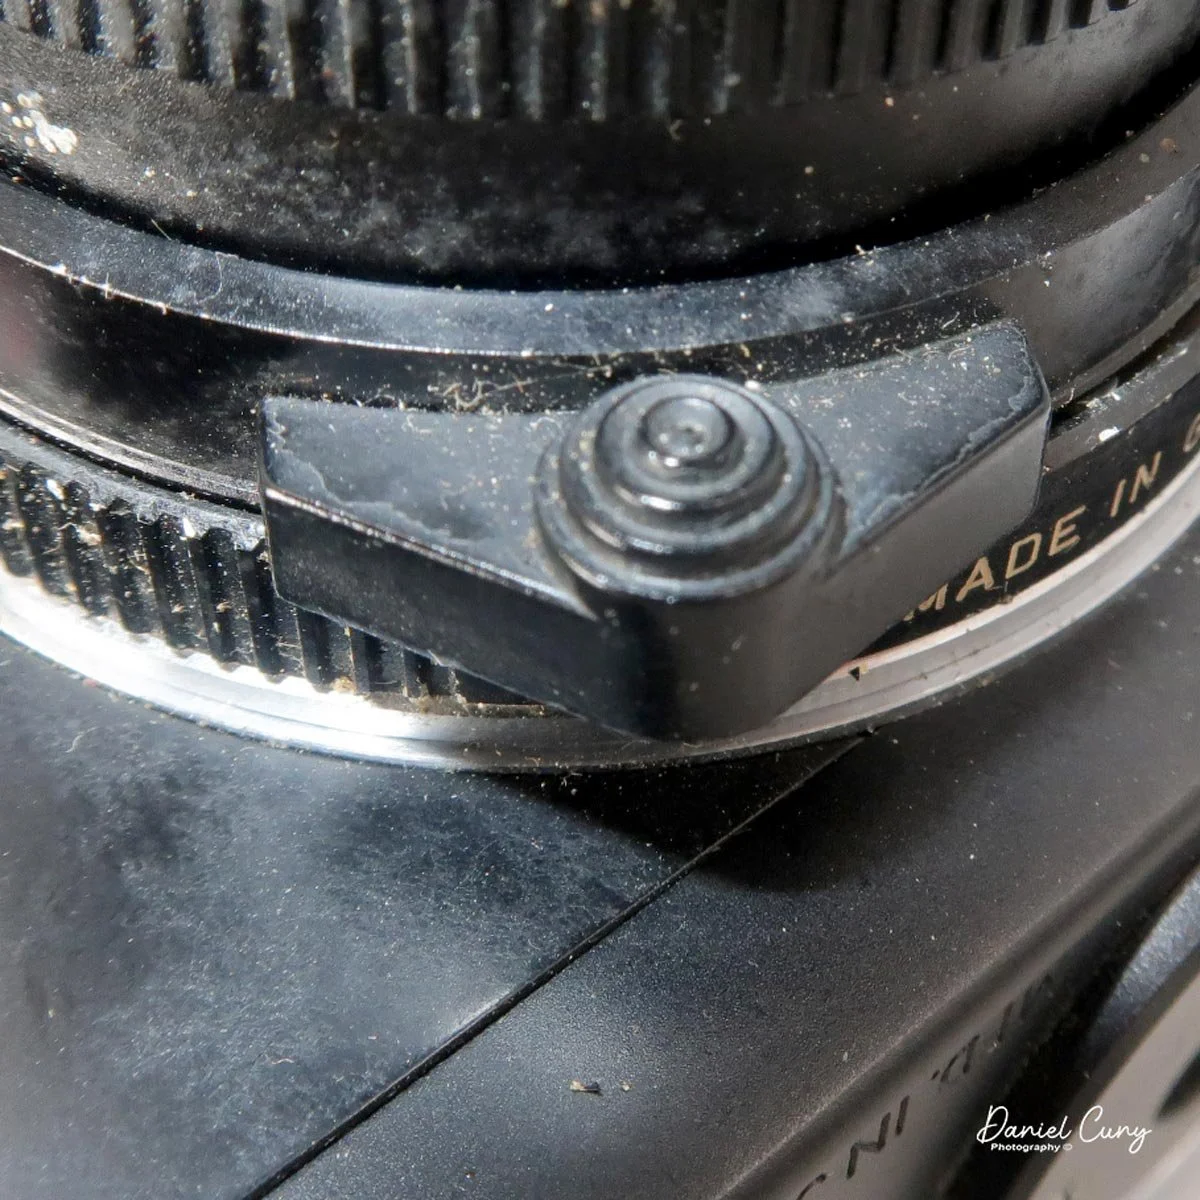
On the right side of the viewfinder is the light meter. Leica interestingly designed the camera: when you wind it, a small hinged arm with a CDS sensor drops down in front of the vertically traveling focal plane shutter. This is what meters your exposures. As you change the shutter speed/aperture combination and the ASA setting, a bar moves up or down until it's in the center "cutout" area. When it's in the middle of the "cutout" area, the meter tells you it's properly exposed.

 When you click the shutter, the CDS sensor moves up just before the shutter opens and closes, exposing the film. Then, when you wind the film to the next exposure, the CDS sensor pulls back down and is ready to meter your next frame. If you haven't wound to the next frame and the winding lever is in close to the body, the meter is off. I also noticed that when you move the shutter speed dial to 1/2 sec. or "B", a red dot appears in the meter area. My best guess is that it's a longer exposure warning.
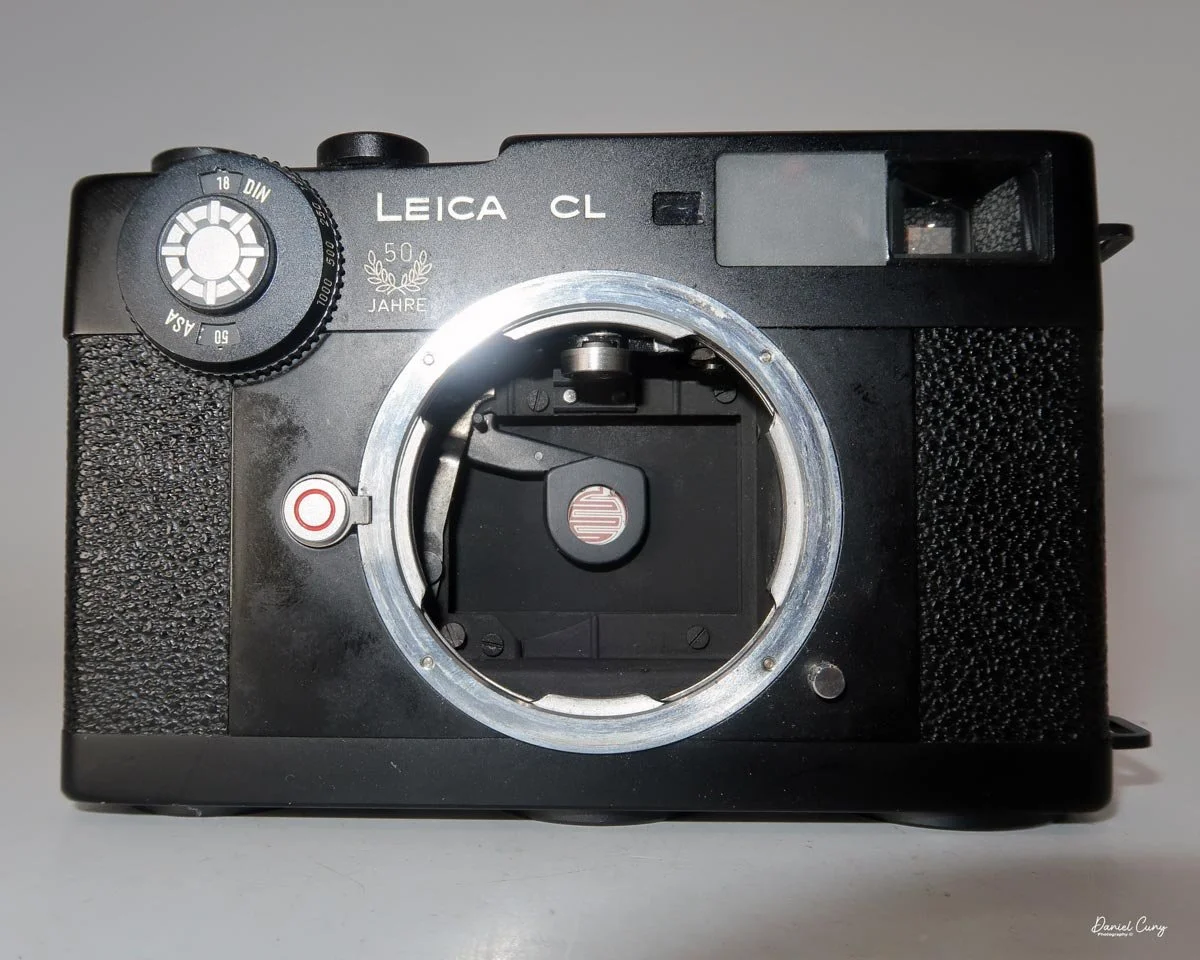
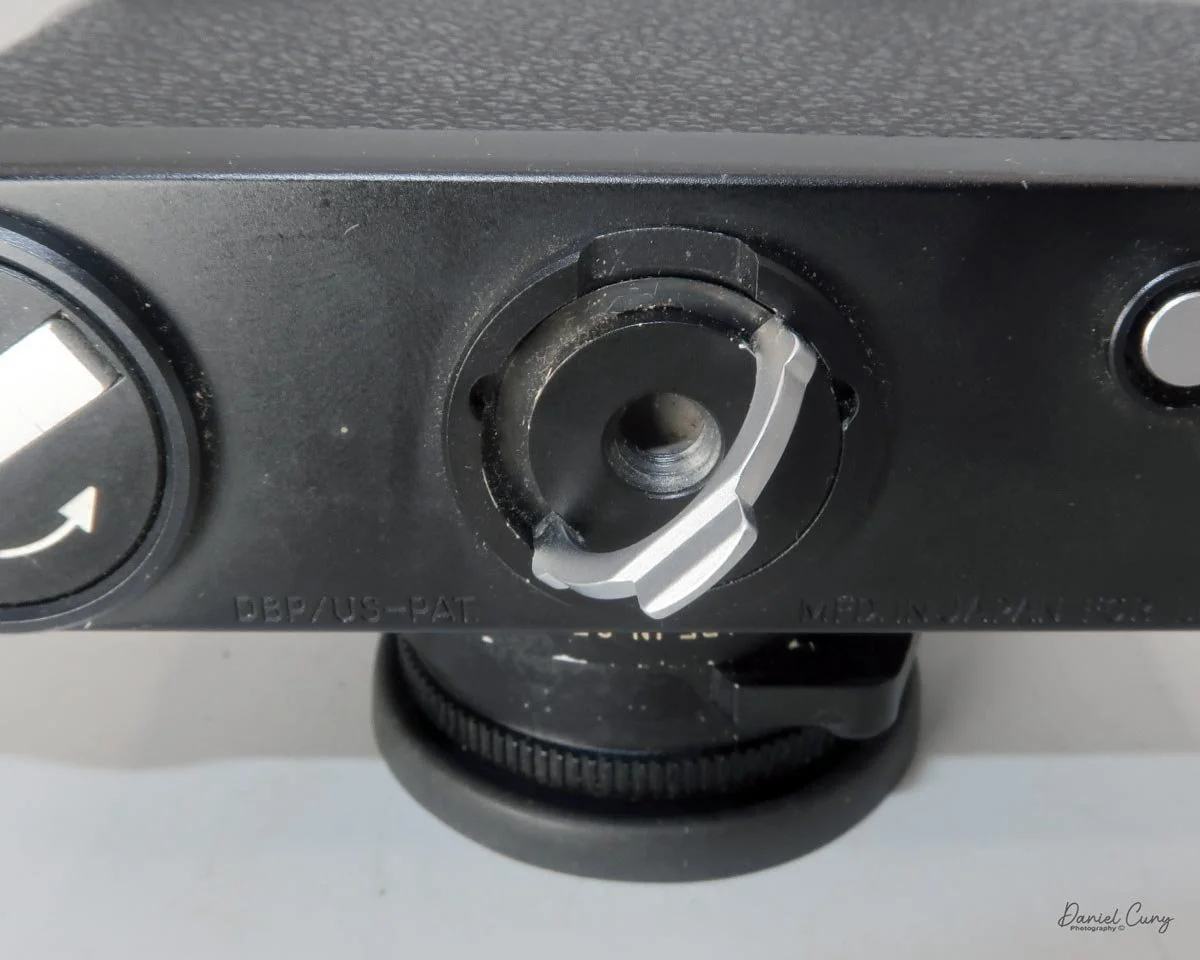
To remove the camera back to load the film, on the bottom of the camera in the center, there is a knob that you lift and turn until it stops. Then, slide the camera back down to slide the back off the camera body. Once you've done that, the pressure plate is hinged to the camera body, not the back of the film door you just removed.

 Put your film cassette in the left-side film chamber, flip down the pressure plate, and thread the lead into the grey clips on the take-up spool. Advance the film a bit to make sure it's caught and traveling across the shutter. Flip back the pressure plate, slide the camera back under the grooves on the front of the camera, sliding it all the way onto the camera body, and lock the film back onto the camera body.
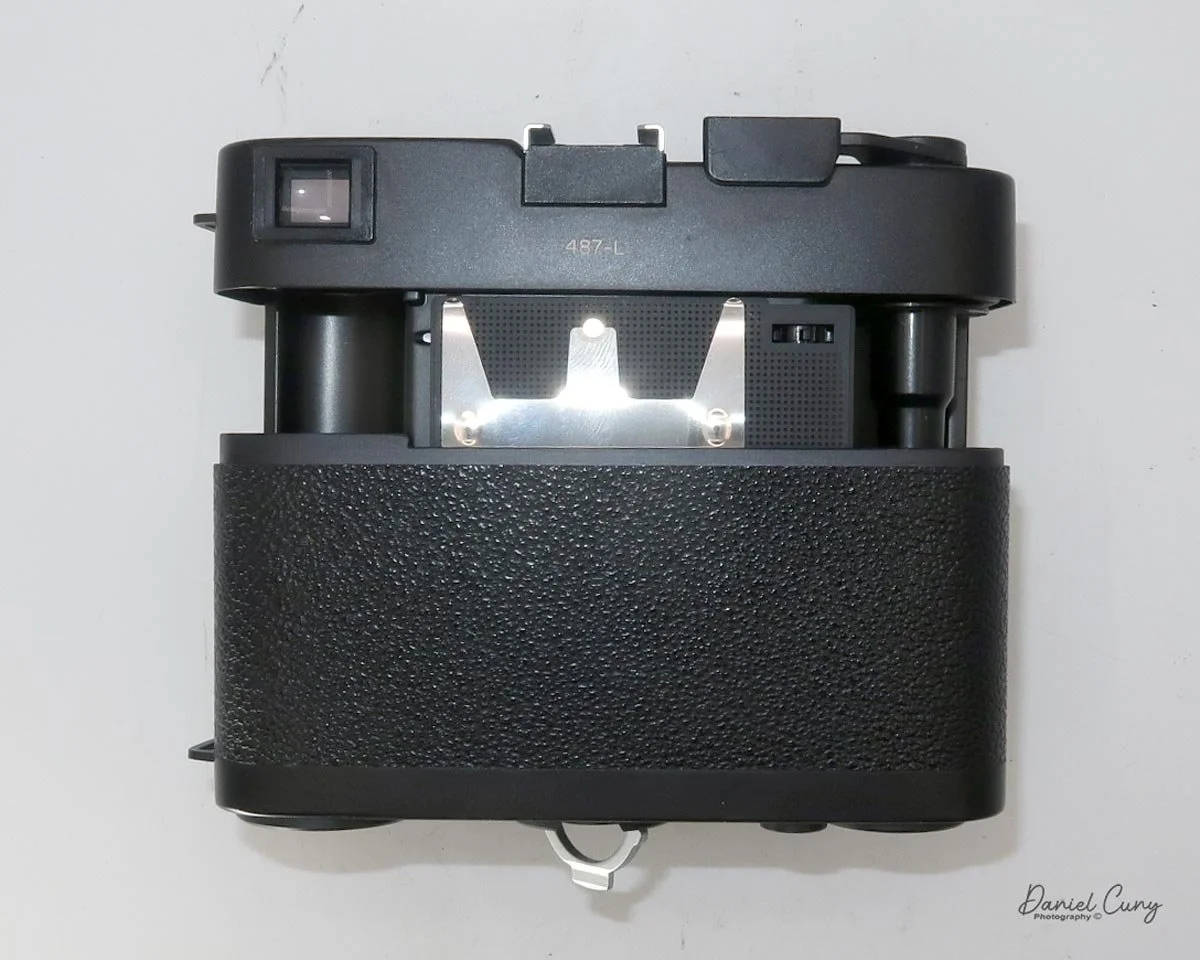
The bottom of the film door also has the rewind crank and rewind button to unlock the film transport wheel, plus a small film reminder on the other side of the rewind crank.

 I have a few rolls of outdated Plus-X film dated to June 1976, which I have in both 36 and 20 exposures that I'm selling in my store on eBay, so I loaded a roll of 20 exposures into the camera, set my external light meter to ISO 50, and went for a walk around the neighborhood to see how the camera would perform.
 My Results

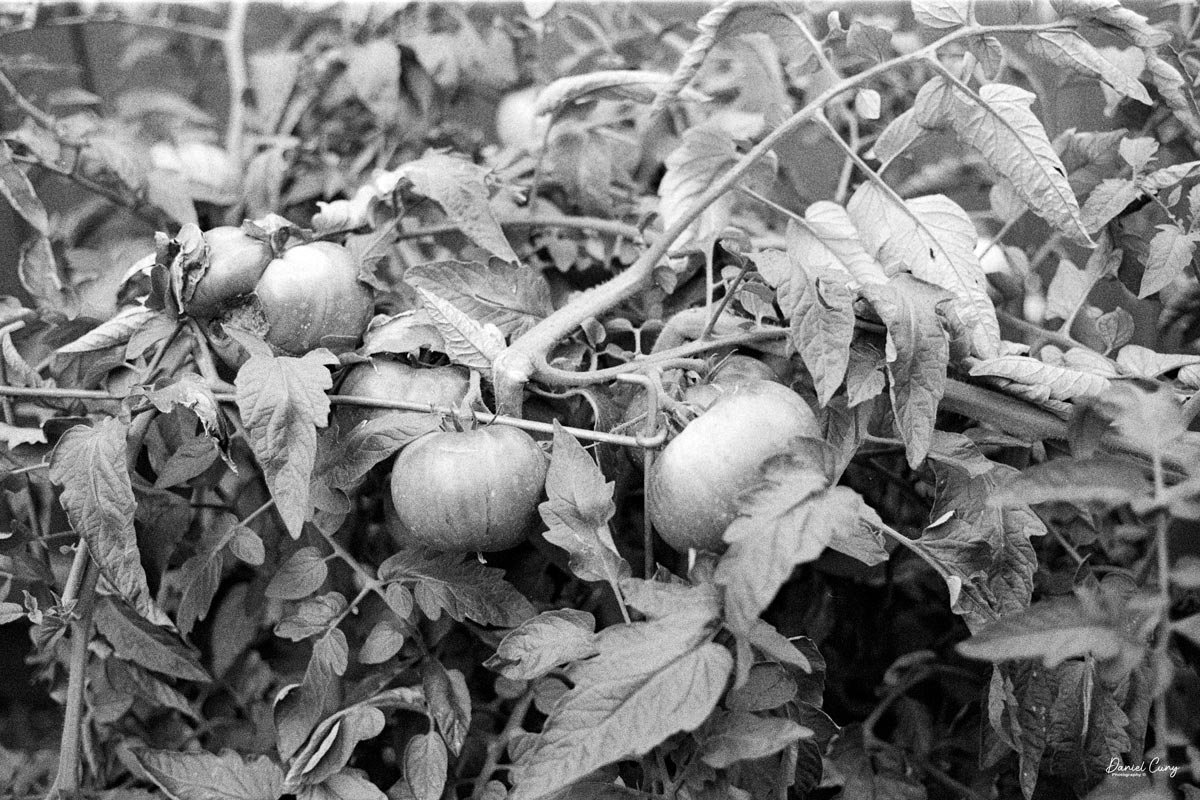
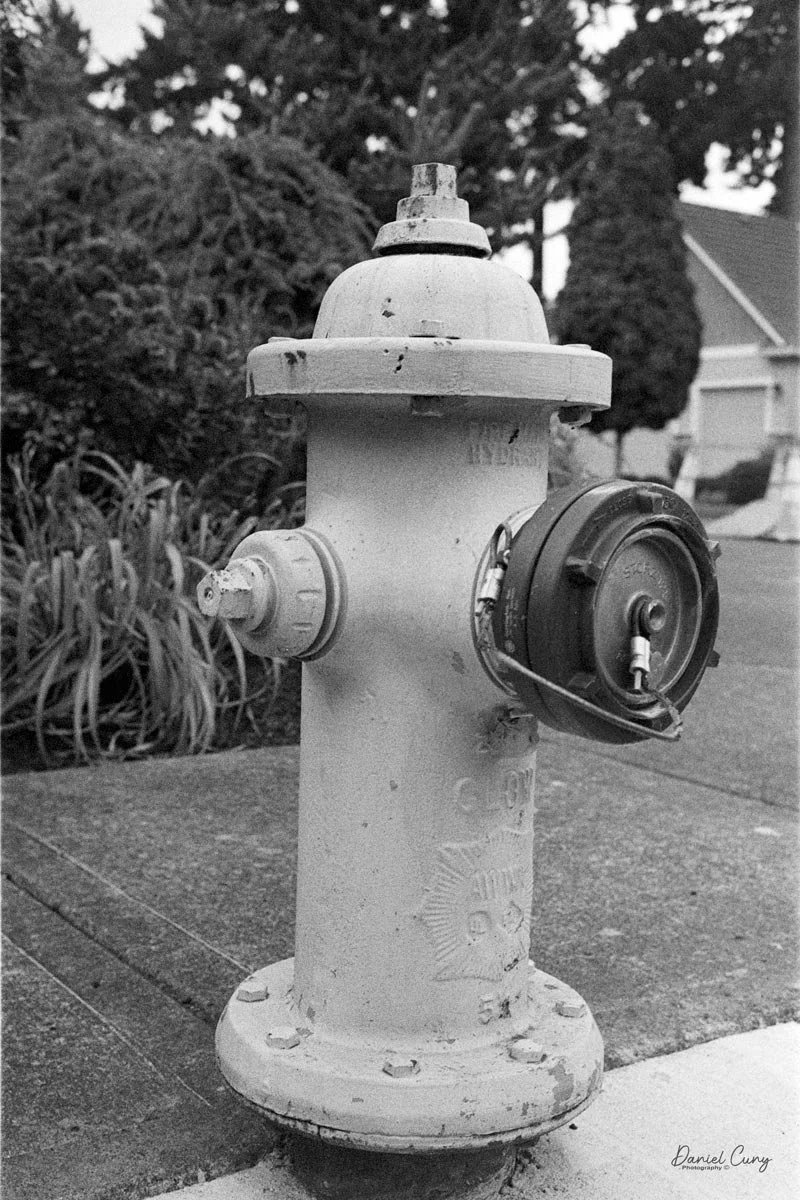
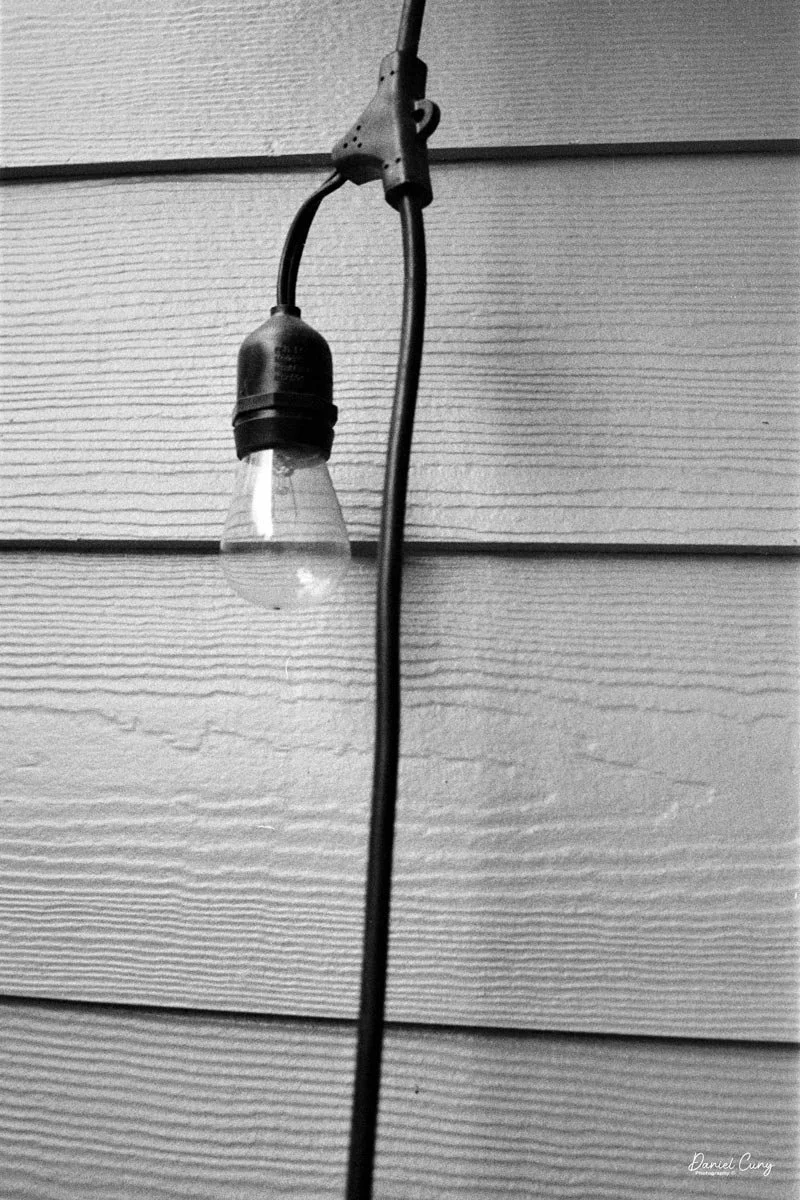
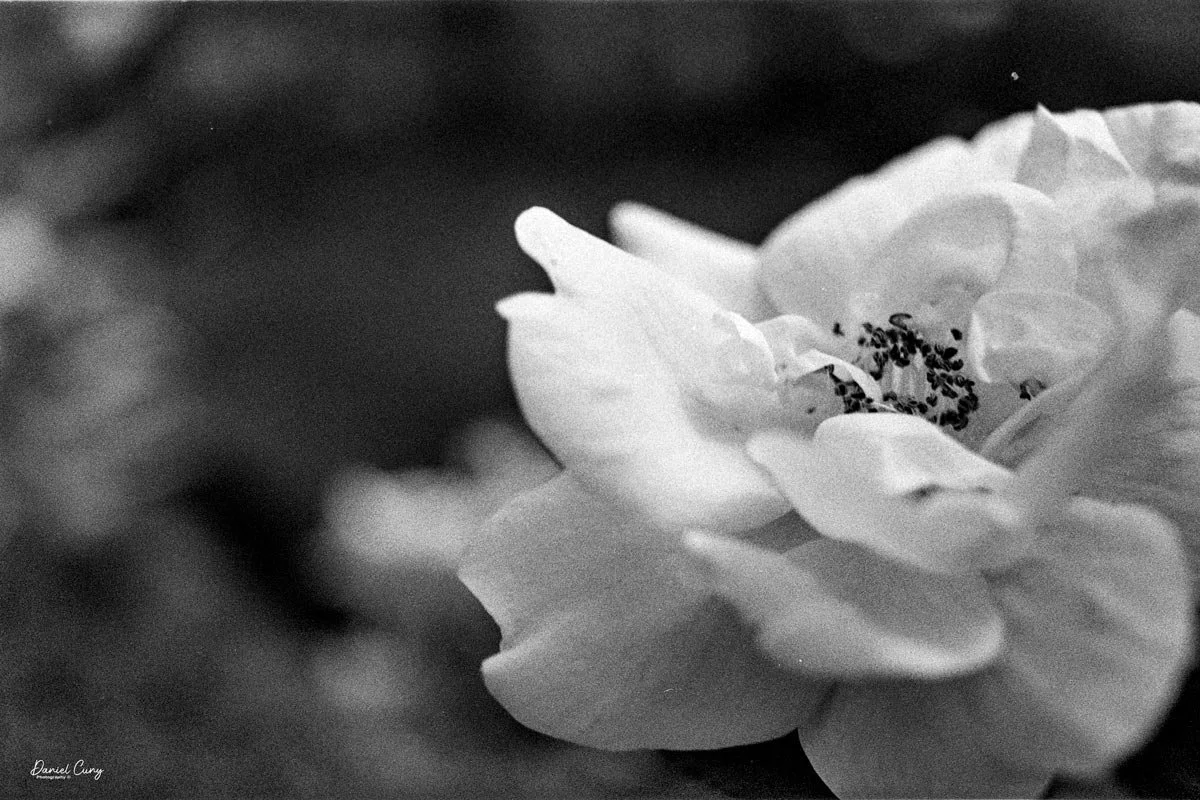
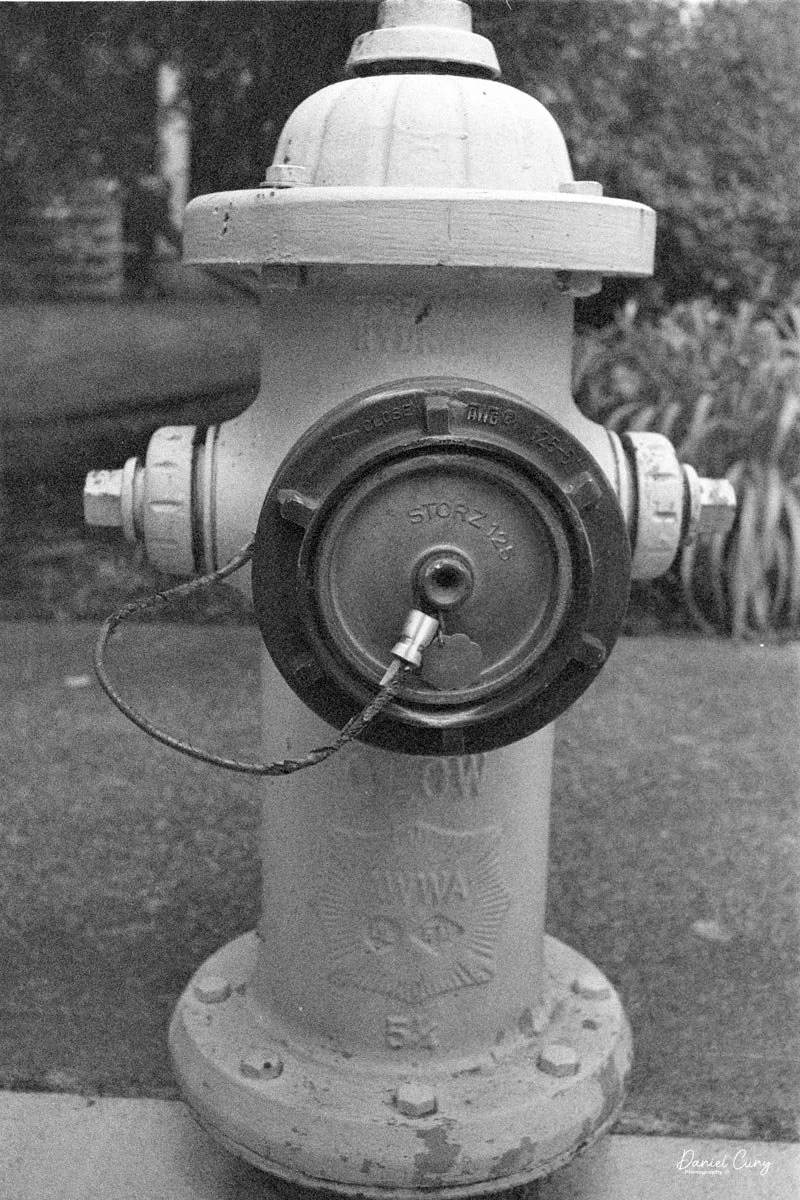
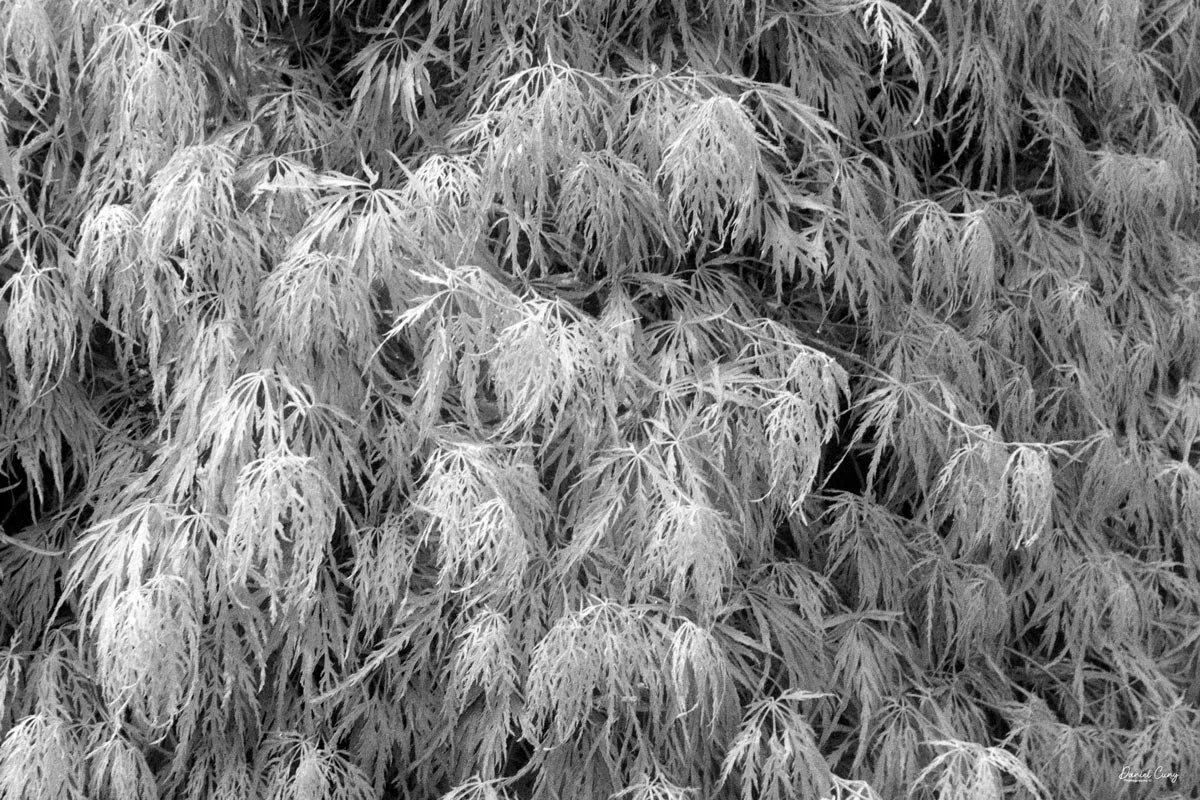
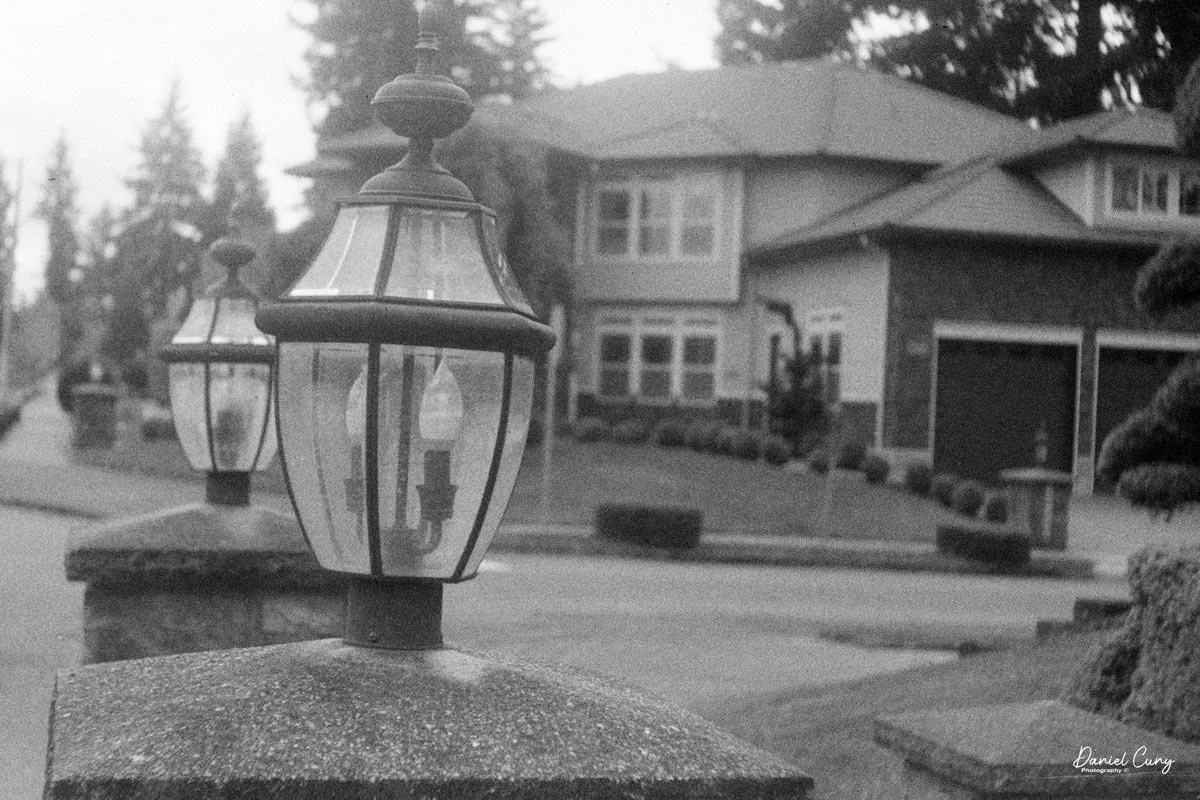
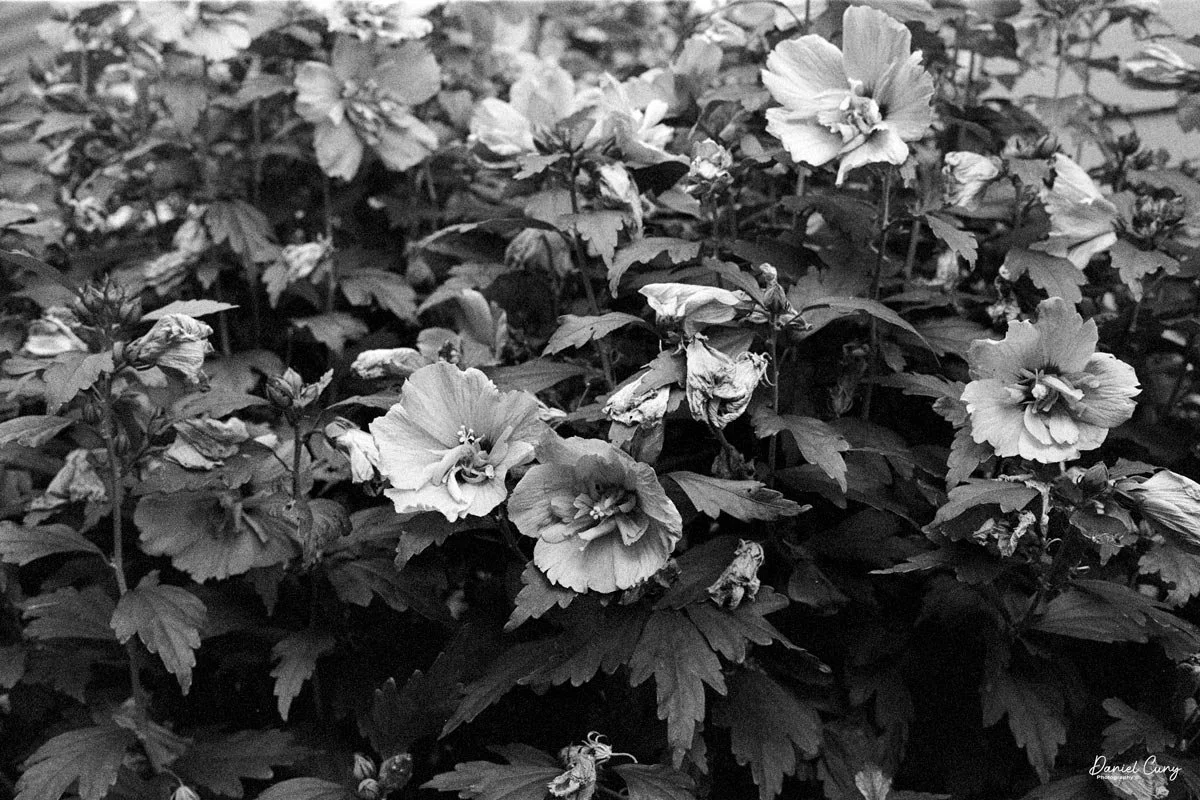
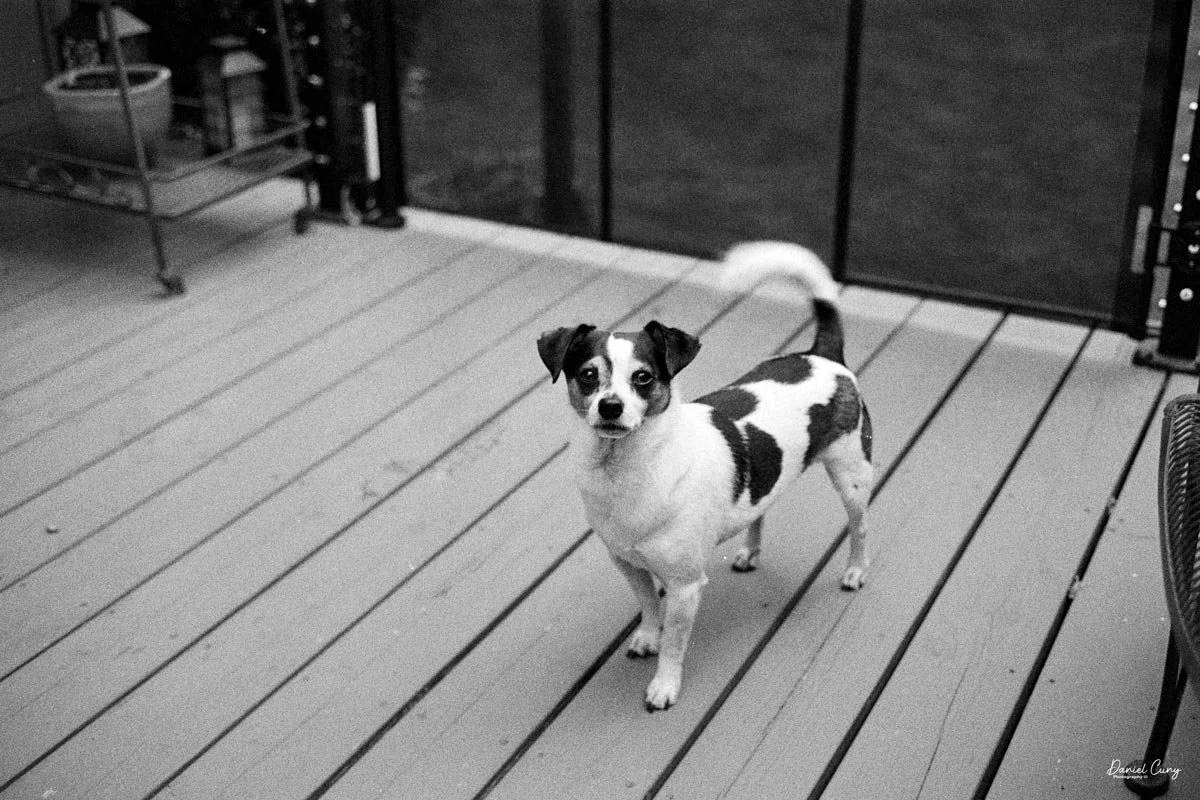
After walking the neighborhood and taking photos of many of the usual subjects to keep it somewhat consistent, I went home and processed the film. Here are some of the images I took on my walk.
Conclusion

I enjoyed many things about using the Leica CL. First and foremost was the focusing. I really enjoyed how the rangefinder reacted to the images I selected. It made it easy to focus, especially in busy areas with a lot of detail.

 The second thing I enjoyed about the camera was the image quality. Similar to the Contarex "Bullseye" camera, this lens is very sharp. I kind of marvel at how sharp these images are. Maybe it's because I try so many different cameras with average or below-average optics, but when you get a sharply focused photo, they just jump out at you.

 The camera case (to me) was a real pain. Having the case flop around when I'm using the camera was a negative experience. In the future, instead of latching the case through the strap, I'll put the strap on the camera and wrap the case around it for protection. When I unzip the case, I'll put it in my pocket. That's a more desirable solution for me.

 One other thing I noticed from the last few cameras shot with the expired Plus-X film I have is that I kind of like the grain of the film. It's a bit chunkier than the newer films, which I kind of enjoy and remember from my earlier days of shooting.

 Overall, my experience with the Leica CL was very positive. I would have liked an internal meter, but for the price I paid for the camera, lens, and case, I'm very happy and can use an external meter or guess exposures, which is pretty easy.

 Are you interested in other cameras? Here are some of my other Camera Reviews.

 Check out my Cuny's Camera Collection YouTube channel, where I am putting together video overviews of the cameras I write about. Be sure to subscribe and like the channel, too!

 Cuny's Cameras and Photos is my online eBay store, where you will find some of the cameras I have reviewed, along with a wide range of other cameras, lenses, and items from my collection that I am thinning out.

 Until next week, please be safe.
 

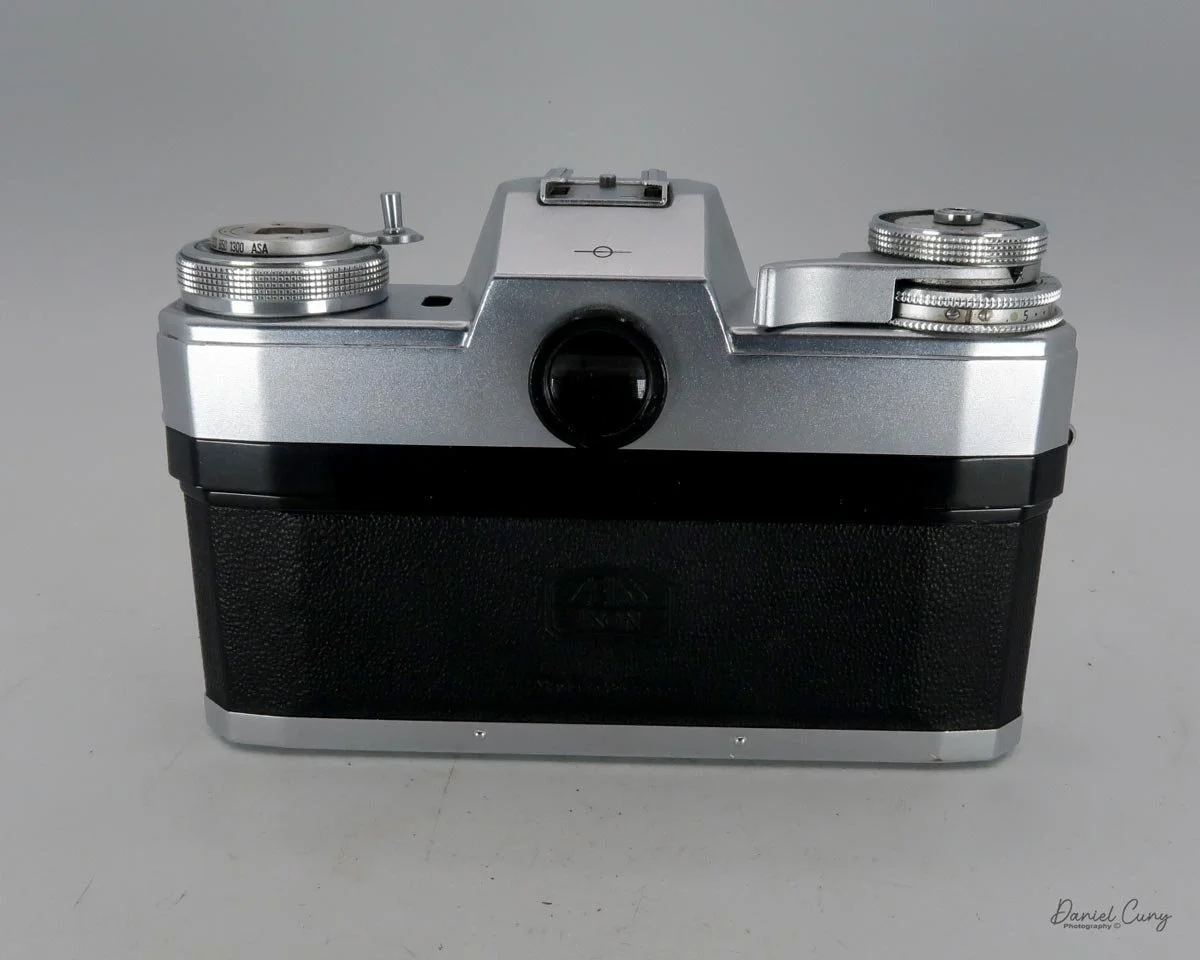
Zeiss Ikon Contarex "Bullseye" camera

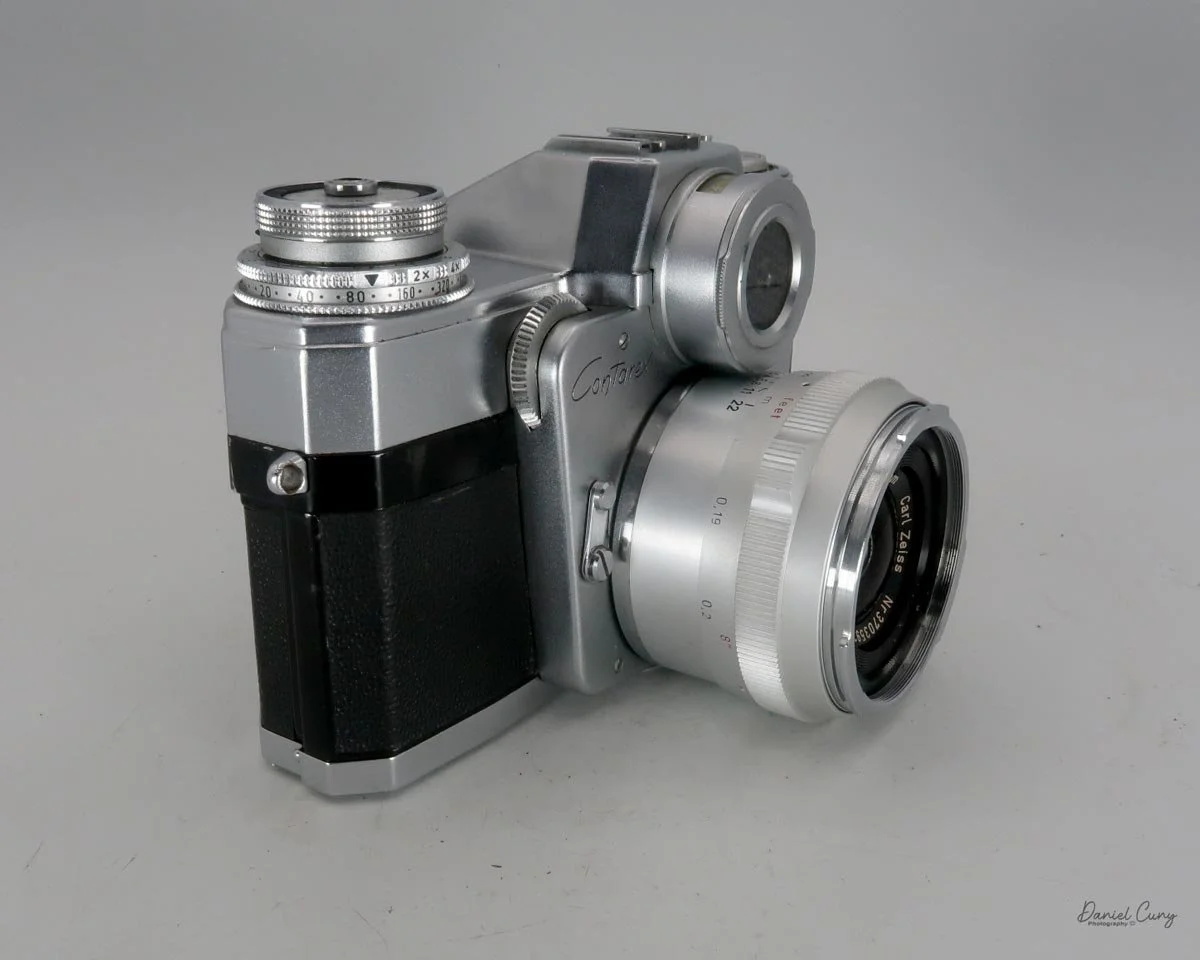
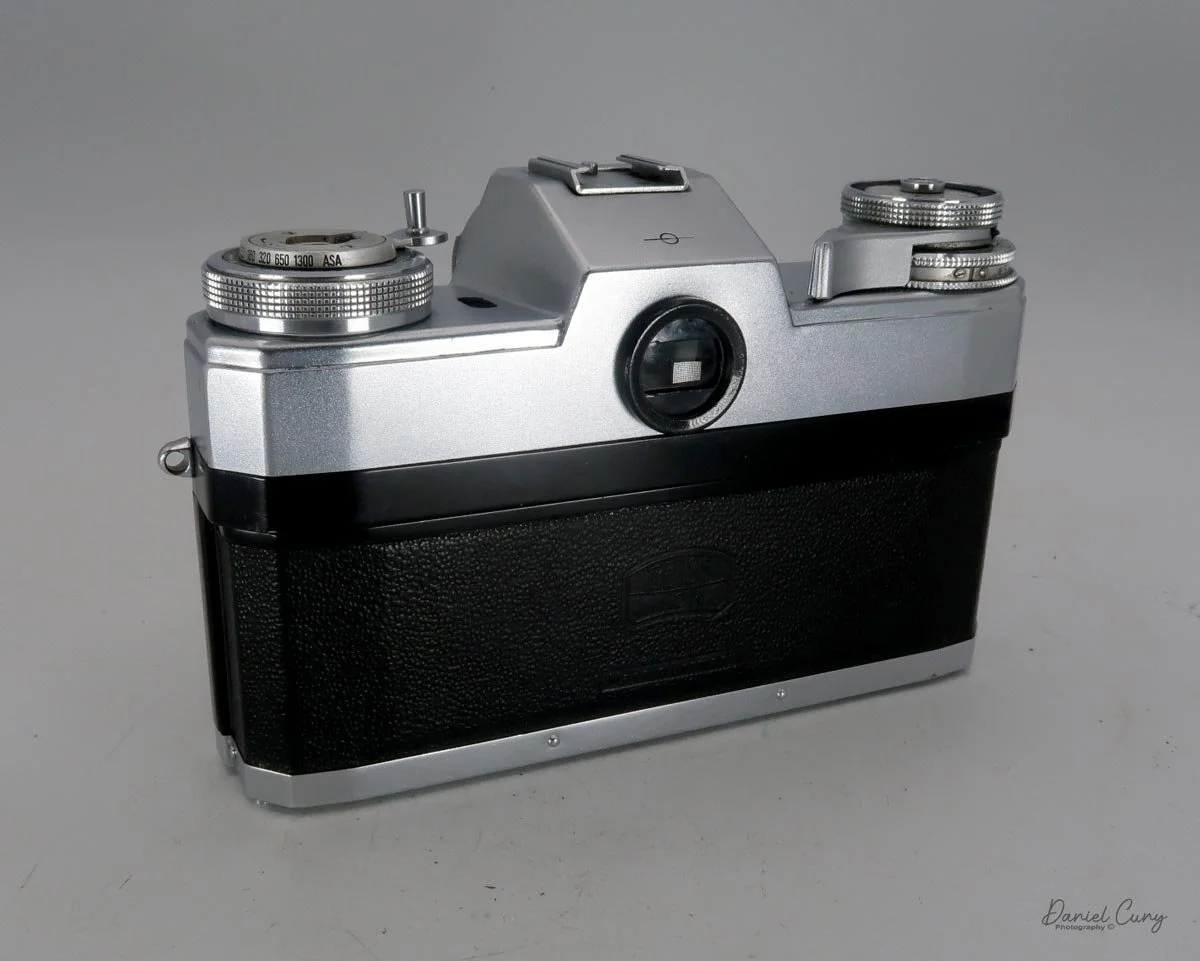
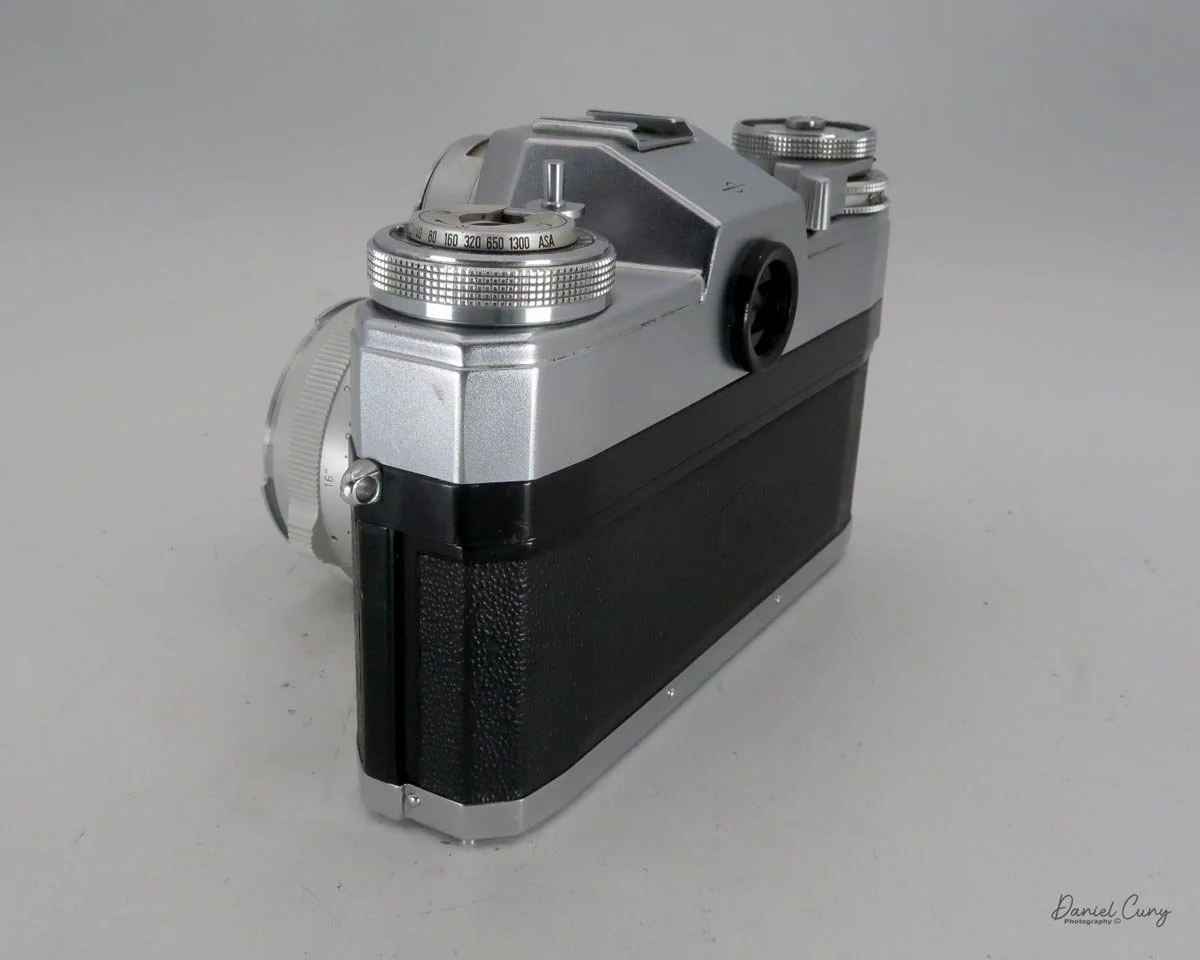
My Zeiss Ikon Contarex “Bullseye” camera

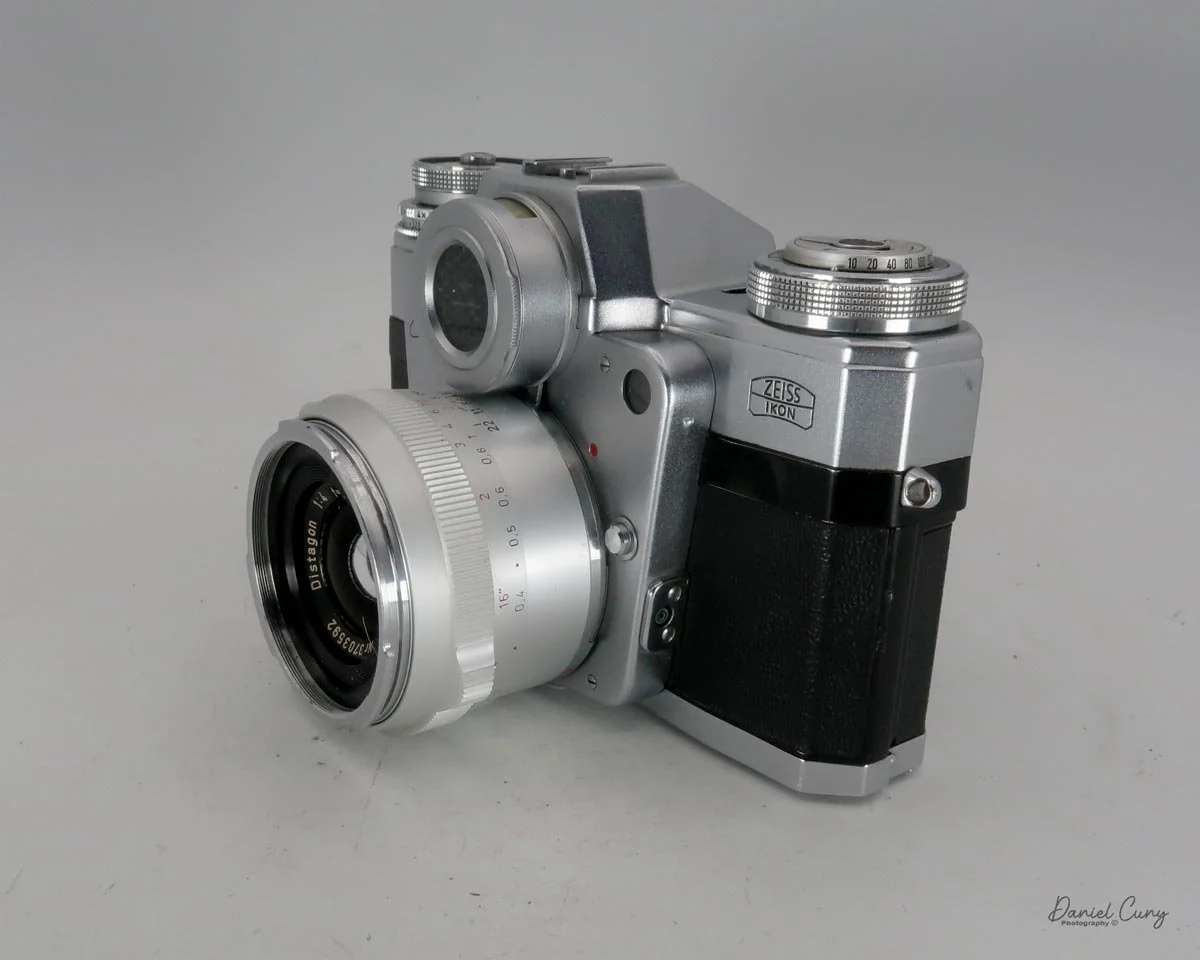
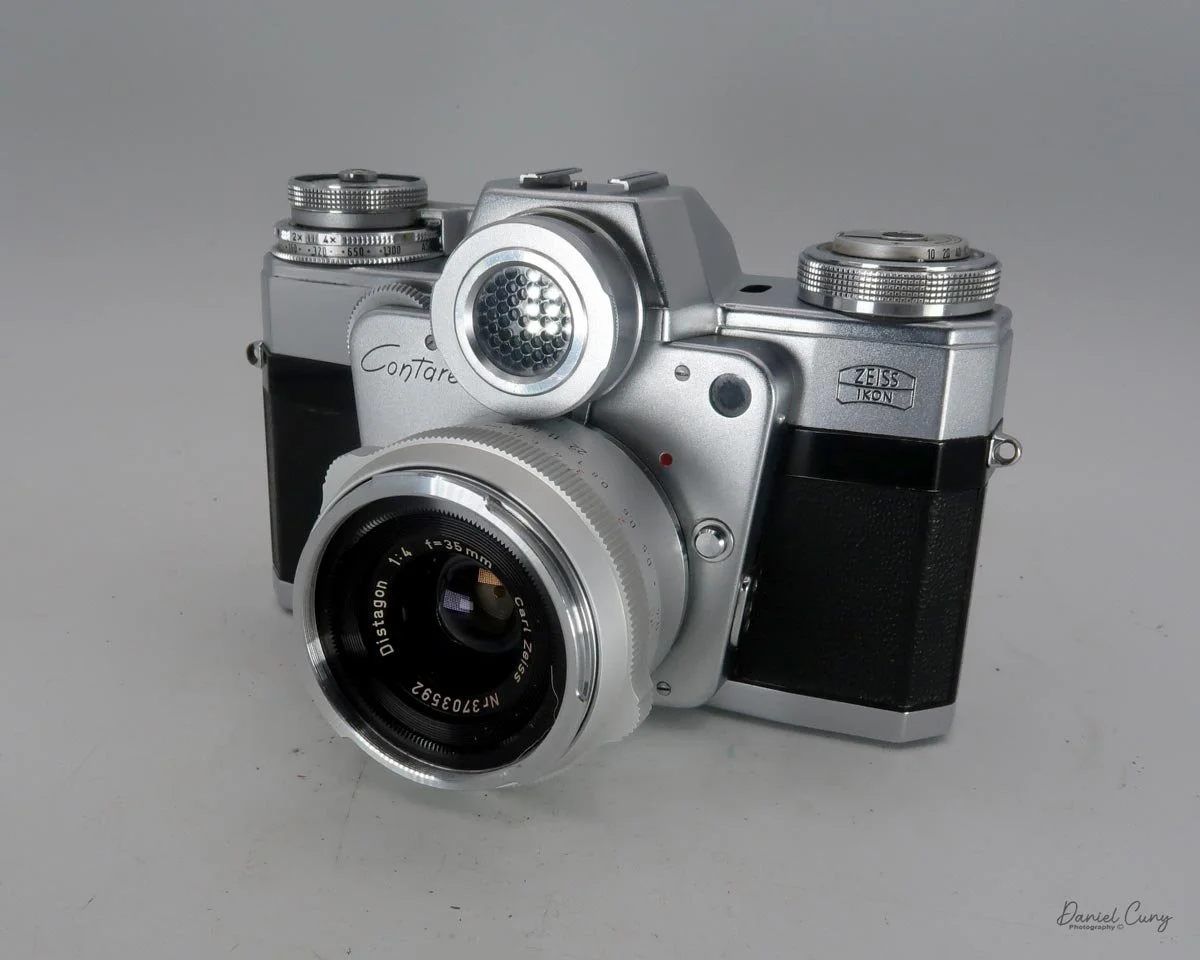
Ever since I started collecting cameras, way back in the late 1970s, maybe even the early 1980s, the Zeiss Ikon Contarex, "Bullseye" or "Cyclops" camera has been on my radar to hopefully someday have in my collection. These were the times when my wife and I were newly married, and money was always tight—living paycheck to paycheck.

I can remember seeing the Contarex camera in magazines and other collecting or historical publications. Always in the back of my mind, I thought this was one of the most beautiful cameras ever made. The bulging "eye" over the lens made the camera seem otherworldly, futuristic, and more like an art piece than a camera.

Seeing it many times in McKeown's Cameras price book, which I would devour constantly, soaking in the information on the different camera designs and companies from around the world that produced odd and unique cameras, it was the Contarex that always stood out as an icon for camera collectors.

Fast forward 35 years. It was sometime in the early to mid-2010s when I had the opportunity to purchase one of these wonders of a camera. With extra income to spend on expanding my collection and selling off some cameras, I pulled the trigger at a camera show in the San Francisco Bay Area, where we lived at the time, on a wonderful, working Contarex with the fitted case.

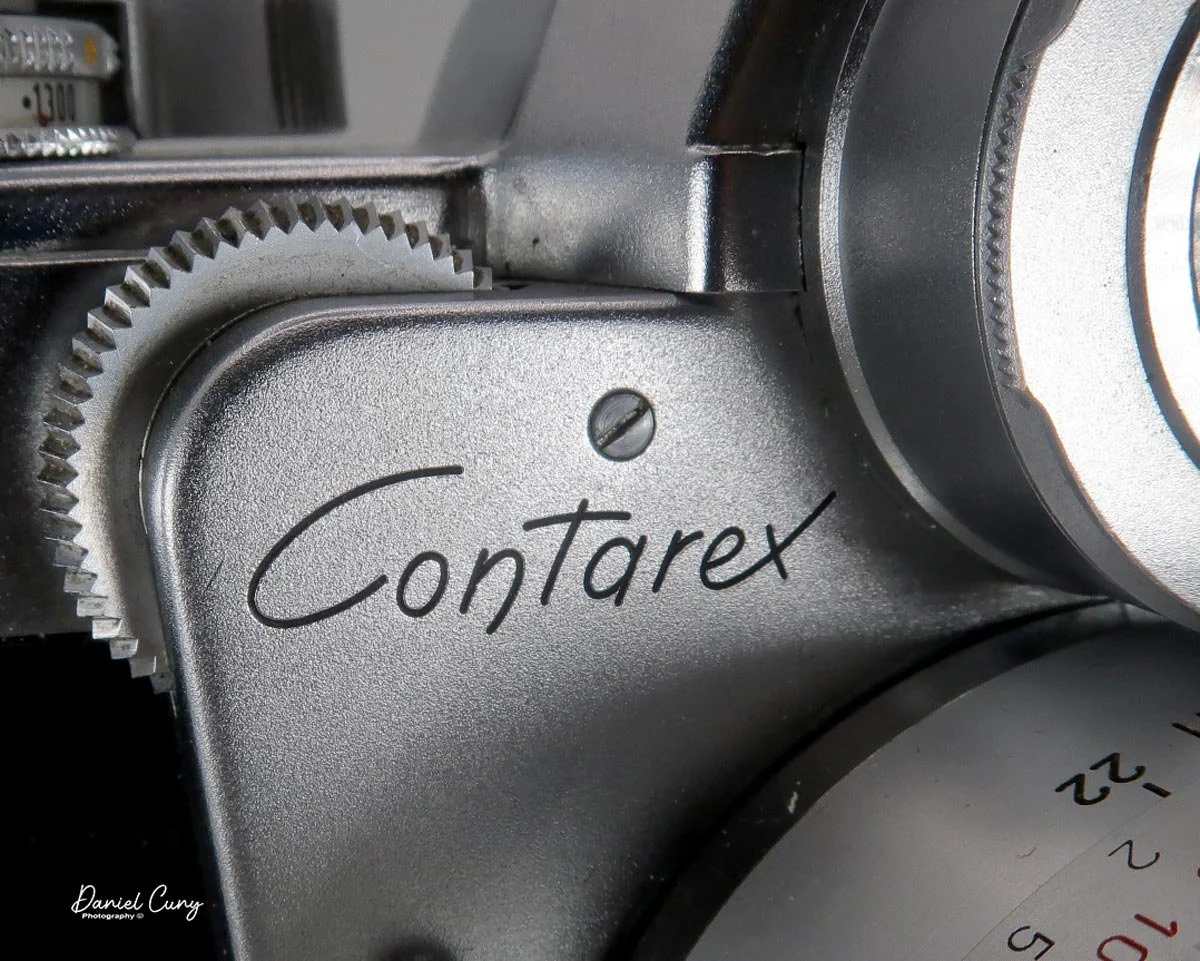
Contarex nameplate

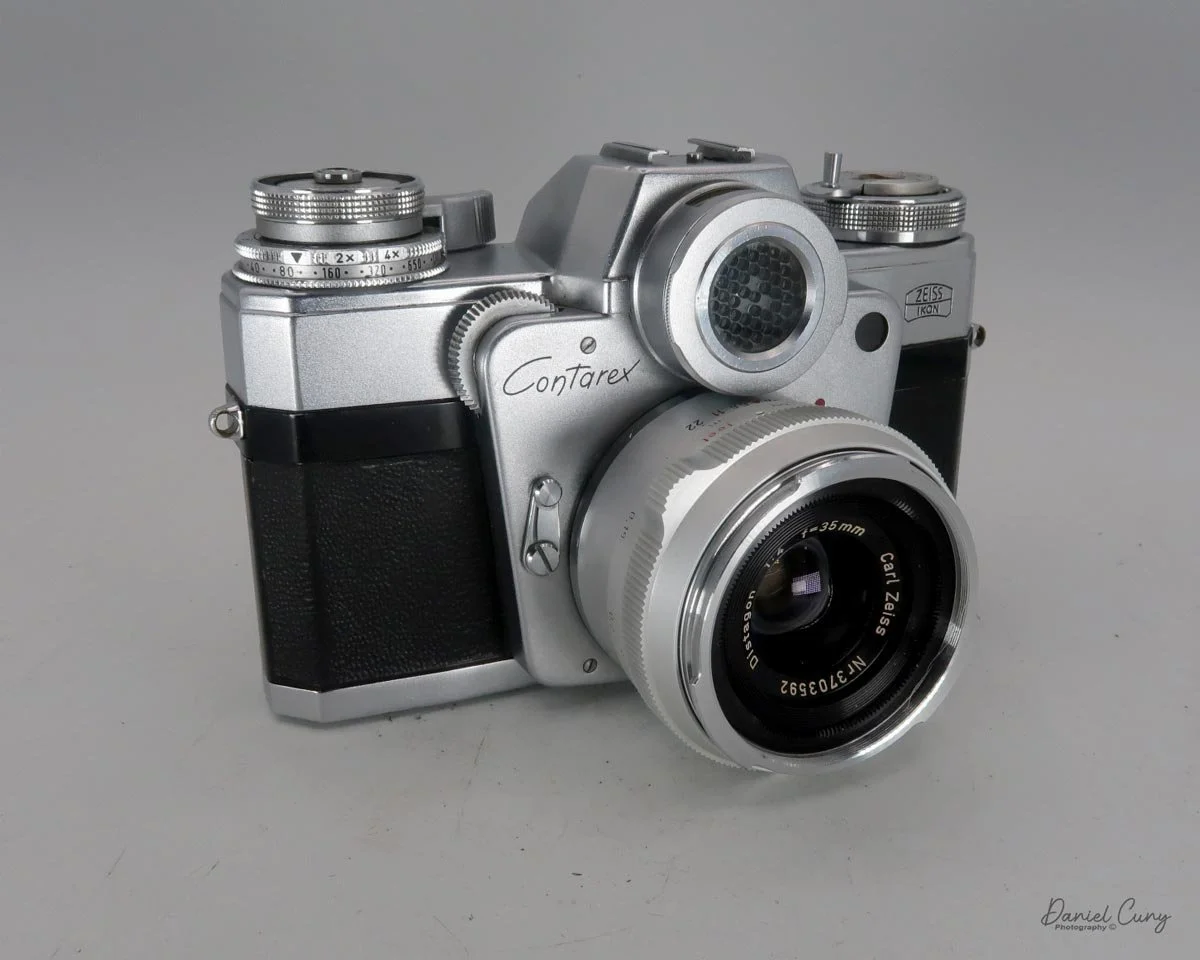
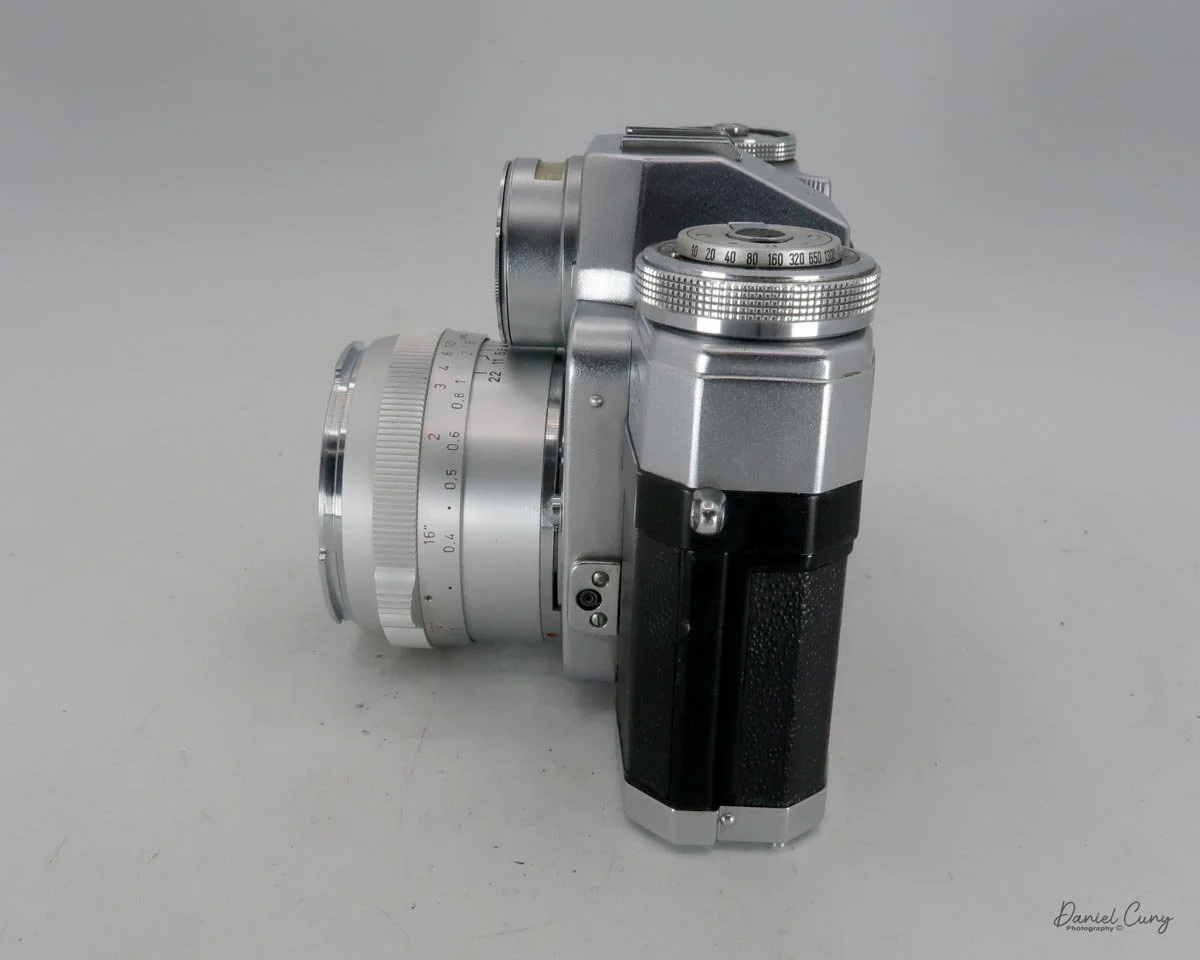
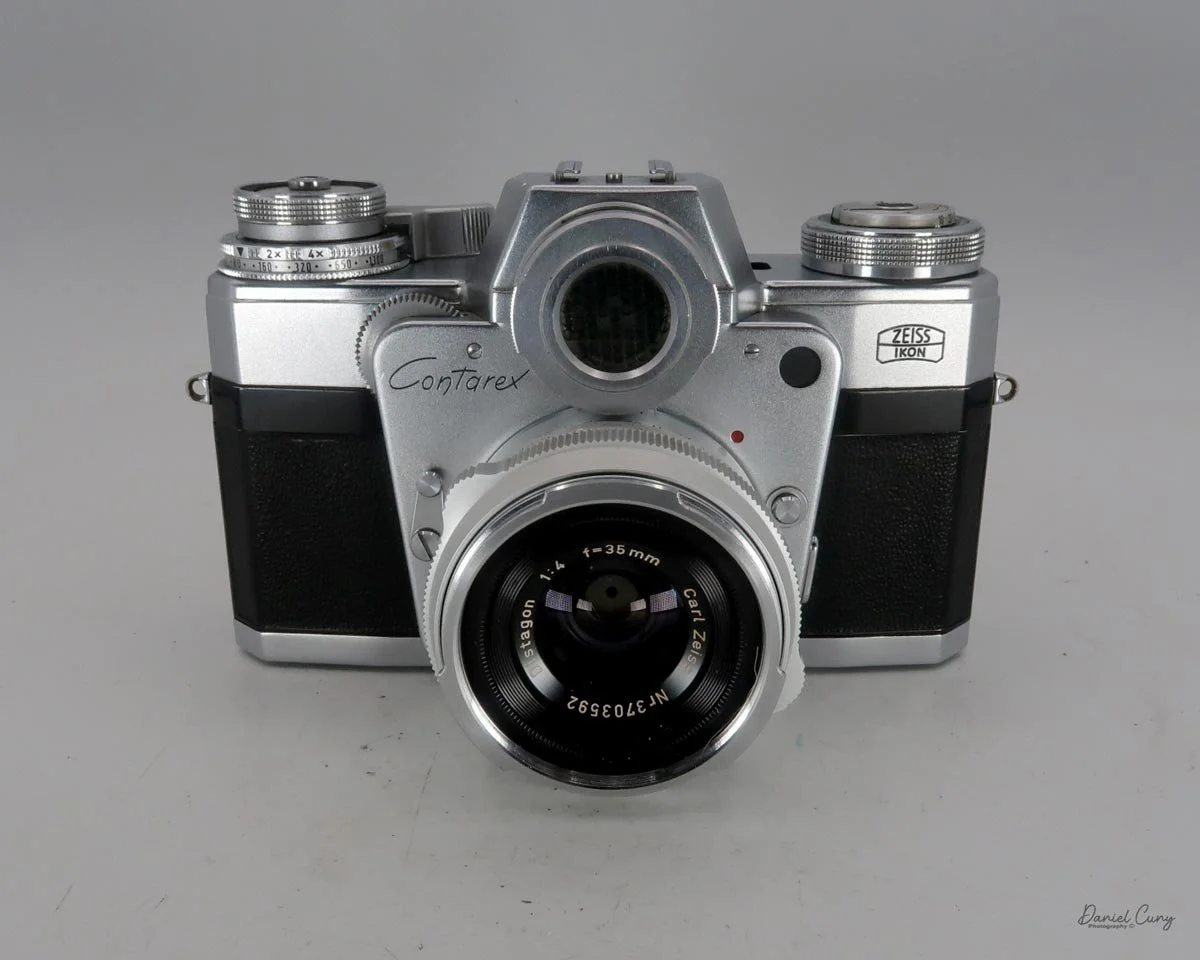
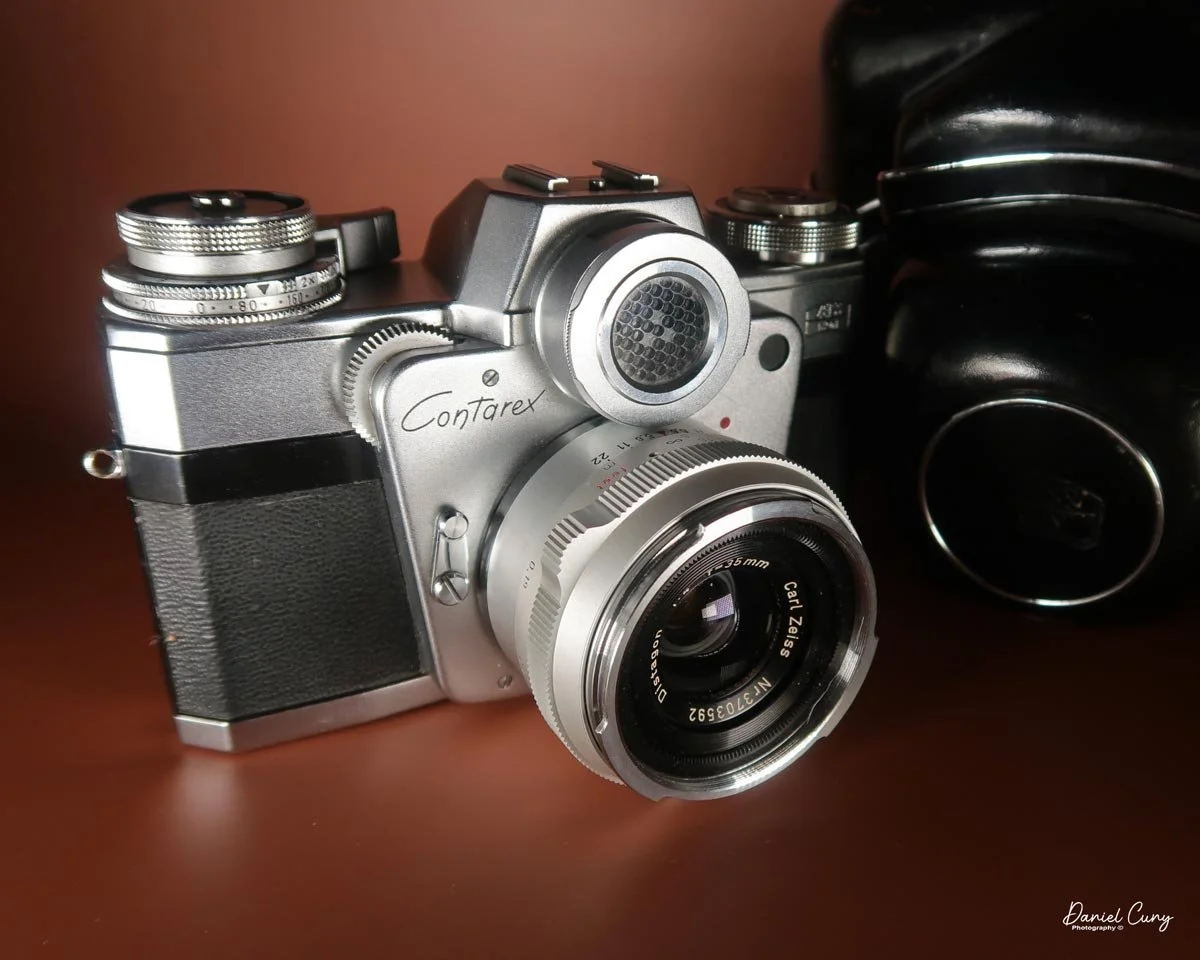
The camera came with the slightly wide Zeiss Distagon 35mm f/4 lens, which was fairly slow, but there are two items I liked about this lens. It's wide—not as wide as I'd like, but it also focuses closer than most lenses. The lens can focus down to 7.5 inches from the subject, almost making it a macro lens. Not quite, but much closer than the standard lens.

The Contarex also has a working meter, which is somewhat rare for a selenium meter system on a camera made in the late 1950s to early 1960s. I also enjoy a more "hefty" camera, since I was mainly raised using the older Nikon F system. Along with having larger hands, these cameras feel more comfortable to me.

I remember when the Olympus OM system camera hit the market in the 1970s. I'd wrap my hands around the smaller body and lenses, and it always made me feel like I was suffocating the camera as my hand enveloped them. Same with the Pentax ME system when they came out, so having a larger camera body and lens has always seemed right to me.

The Contarex camera is extremely solid, well-built, over-engineered, and somewhat weighty. The Contarex has some real heft to it. One thing I wasn't aware of was the camera's build quality, which I discuss below in the history section.


History of the Contarex Cameras

The Zeiss Ikon Contarex, introduced at Photokina in 1958 and hitting the market in 1960, stands as one of the most ambitious and notoriously over-engineered 35mm single-lens reflex (SLR) cameras ever manufactured. Conceived in 1954 under the internal designation "Contax IV," the Contarex was designed by Edgar Sauer as Zeiss Ikon's definitive professional 35mm SLR, intended to replace the Contax IIa and IIIa and, in the company's words, cater to "any photographic task whatsoever."

With rising Japanese powerhouses, the Contarex system was Zeiss Ikon's no-holds-barred flagship—a mechanical tour de force that commands immense respect (and sometimes frustration) in the vintage collecting community today.

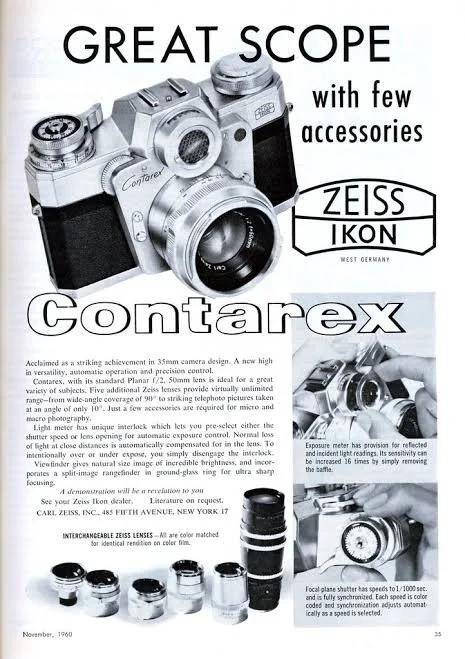
Zeiss Ikon Contarex camera advertisment

The first model in the lineup earned the nicknames "Bullseye" and "Cyclops" due to the prominent, circular selenium light meter window mounted directly in front of the pentaprism. This meter wasn't just cosmetic; it represented a massive mechanical achievement. The Contarex I was the first 35mm SLR to feature a focal-plane shutter with direct light meter coupling. The camera mechanically linked the shutter speed, aperture, and film speed settings via a highly complex system of internal cords and pulleys.

While the interchangeable Carl Zeiss lenses produced for the Contarex are still legendary for their sharpness, contrast, and uncompromising build quality, the camera bodies themselves are incredibly intricate. The original Bullseye contains nearly 1,100 individual parts, including roller bearings in the aperture mechanism. Interestingly, the lenses lack traditional aperture rings; instead, the aperture is controlled by a milled wheel on the camera body itself, which directly interfaces with the bayonet mount.

Because of their sheer mechanical complexity, they require highly specialized technicians for servicing—simply removing the top plate requires dismantling 43 separate components. A working selenium meter is often a strong indicator that a specific body hasn't been abused over the decades. For anyone running an online shop or writing historical reviews, finding a fully functional Contarex at a global market is a massive victory, offering rich material for a blog deep-dive or video overview.

Another notoriously delicate quirk is the rewind mechanism. Instead of a direct shaft, it uses a series of tiny gears, making it smooth but highly vulnerable to impact damage. Additionally, interchangeable magazine backs allowed mid-roll film swapping, cementing its status as a true professional system camera.

Despite its brilliance, the sheer cost ($499 in 1961), heavy weight, and complicated nature of the Contarex meant it never dominated the market quite like the simpler Japanese alternatives. Zeiss Ikon eventually produced several variations, including the Contarex Special, Professional, and the electronic Super, before ceasing production in the early 1970s. Today, these chrome behemoths remain a fascinating pinnacle of mid-century German engineering—heavy, beautiful, and incredibly rewarding to study and restore.

My Camera

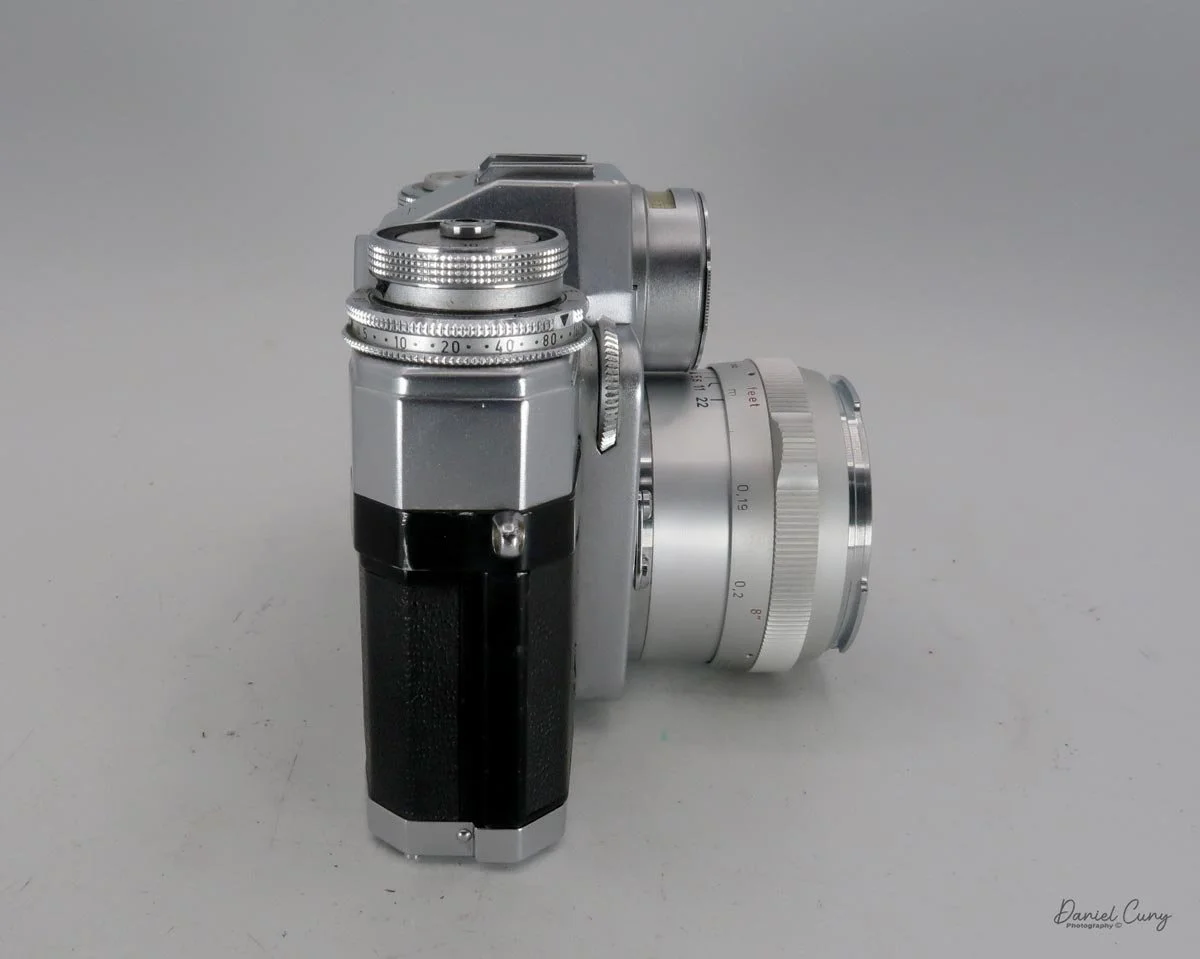
My Zeiss Ikon Contarex camera is 4" tall by 6" wide by 4" deep with the Zeiss Distagon 35mm f/4 lens, and weighs in at 2 pounds, 8.8 ounces. My camera body serial number is T89707, and the lens serial number is 3703592. You can find the instruction manual for the Zeiss Contarex at Mike Butkus's website, www.CameraManuals.org.

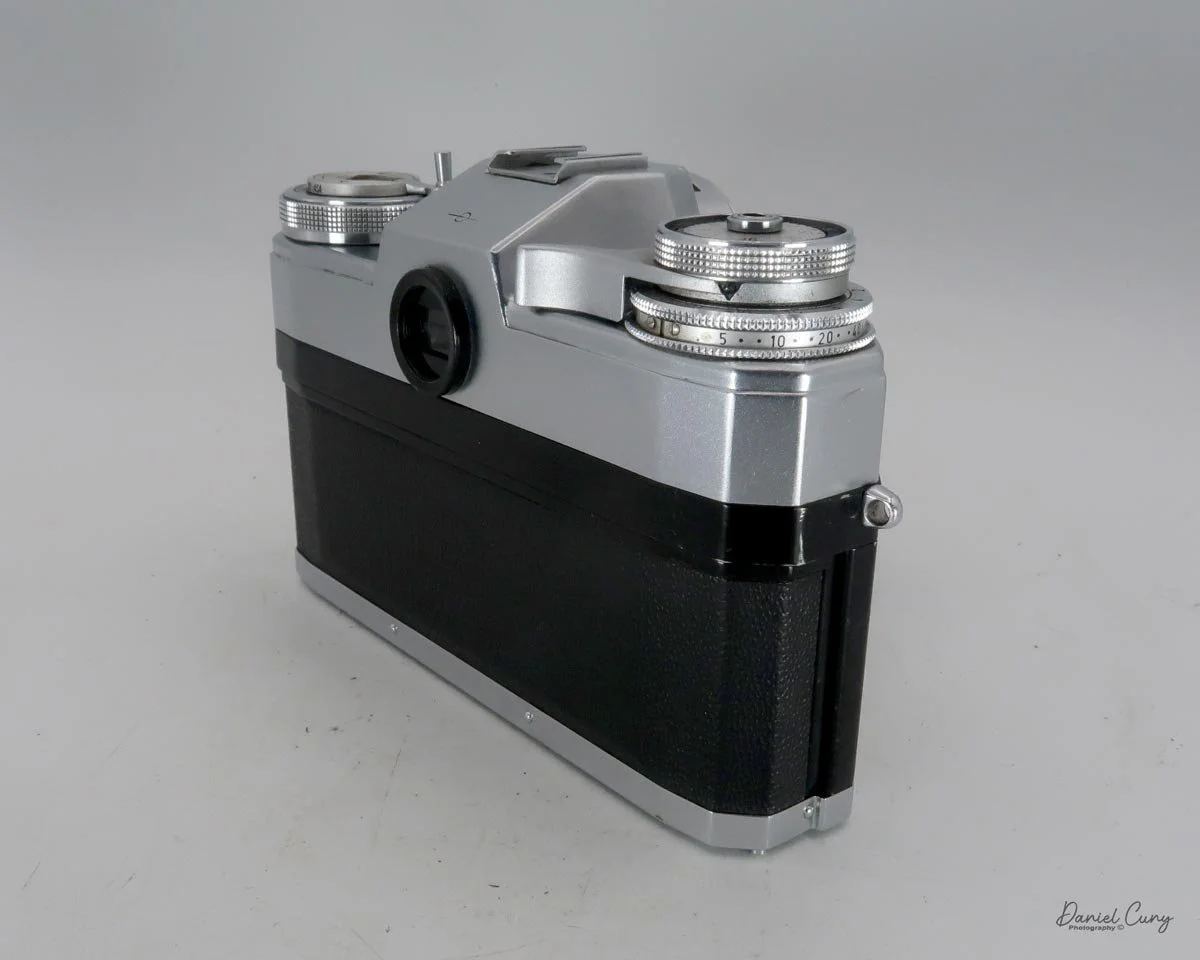
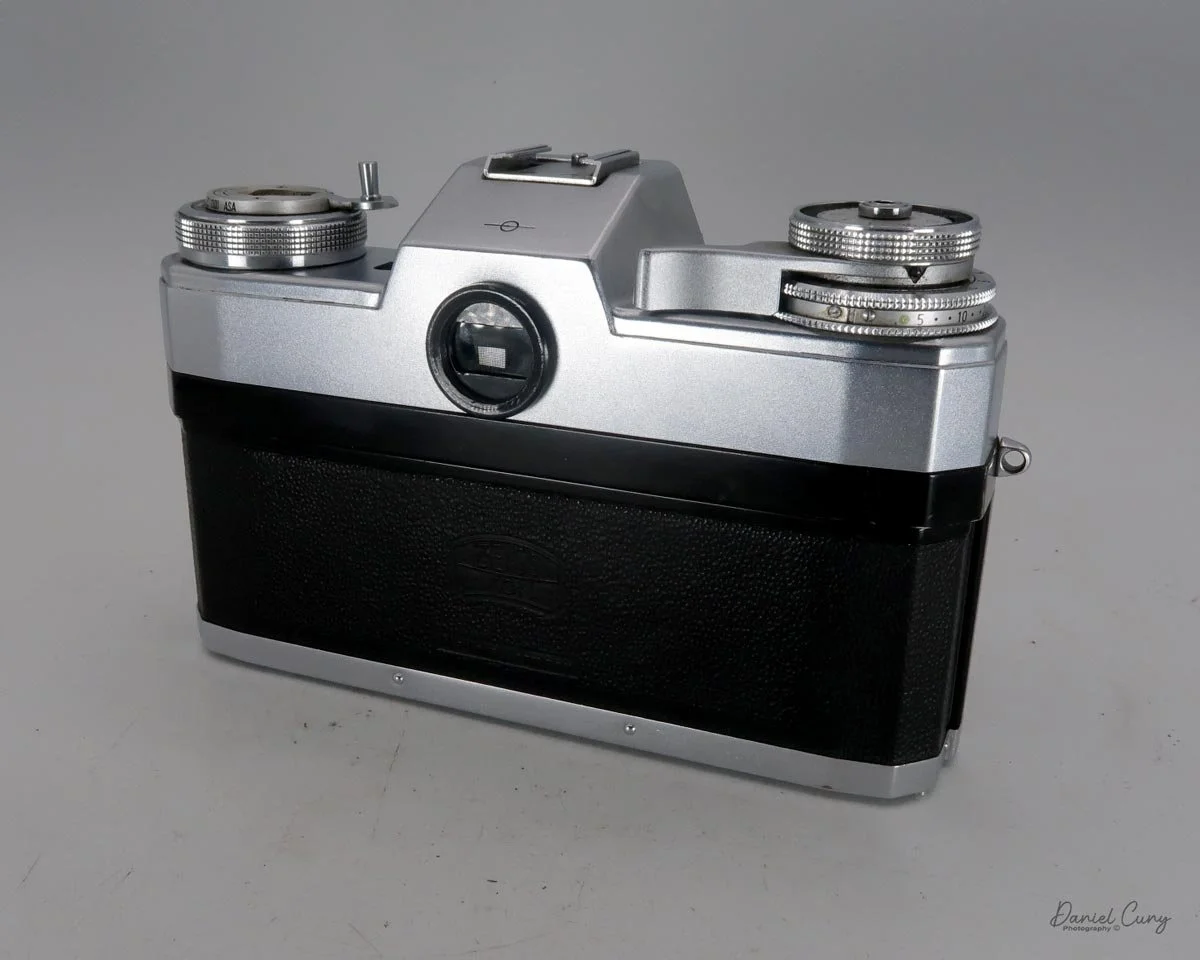
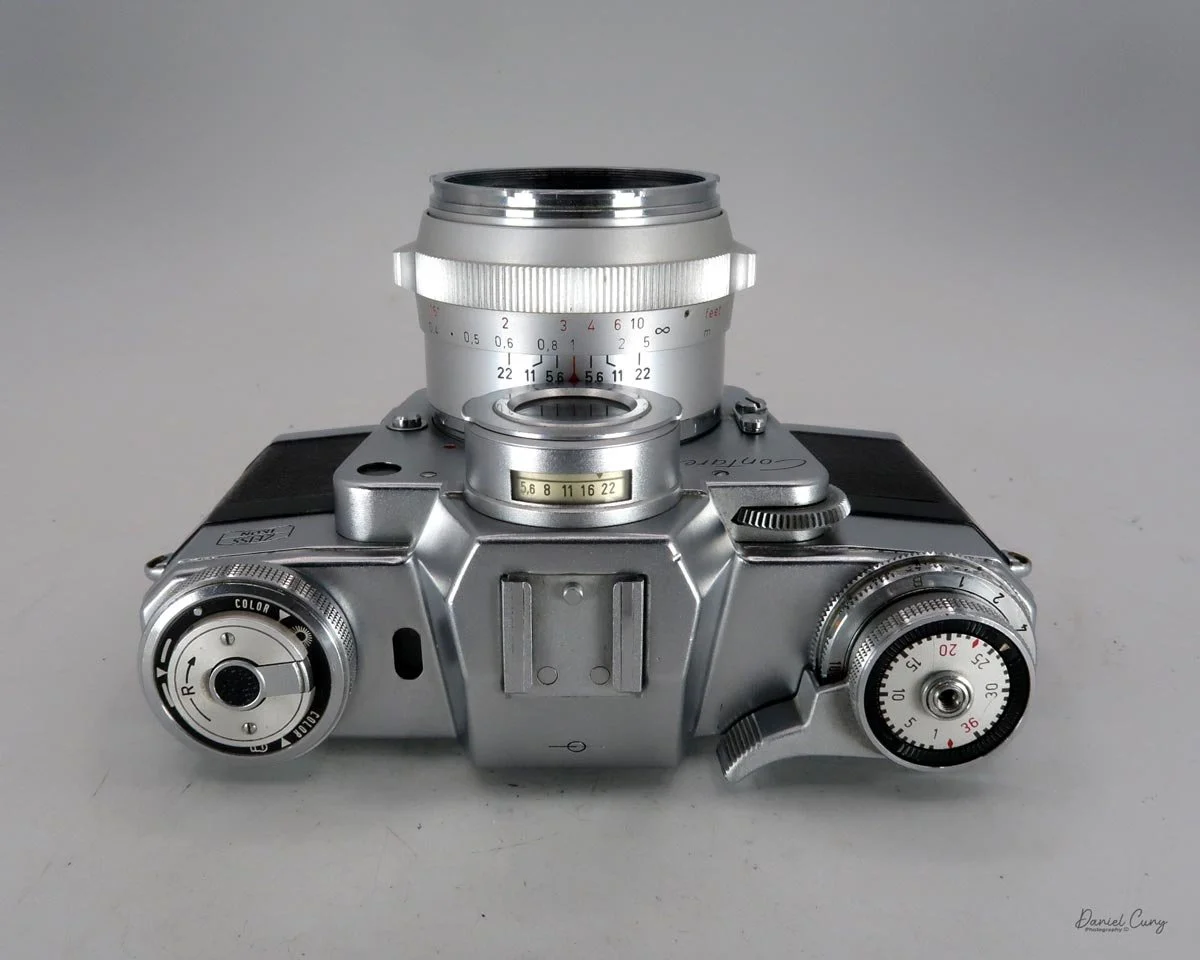
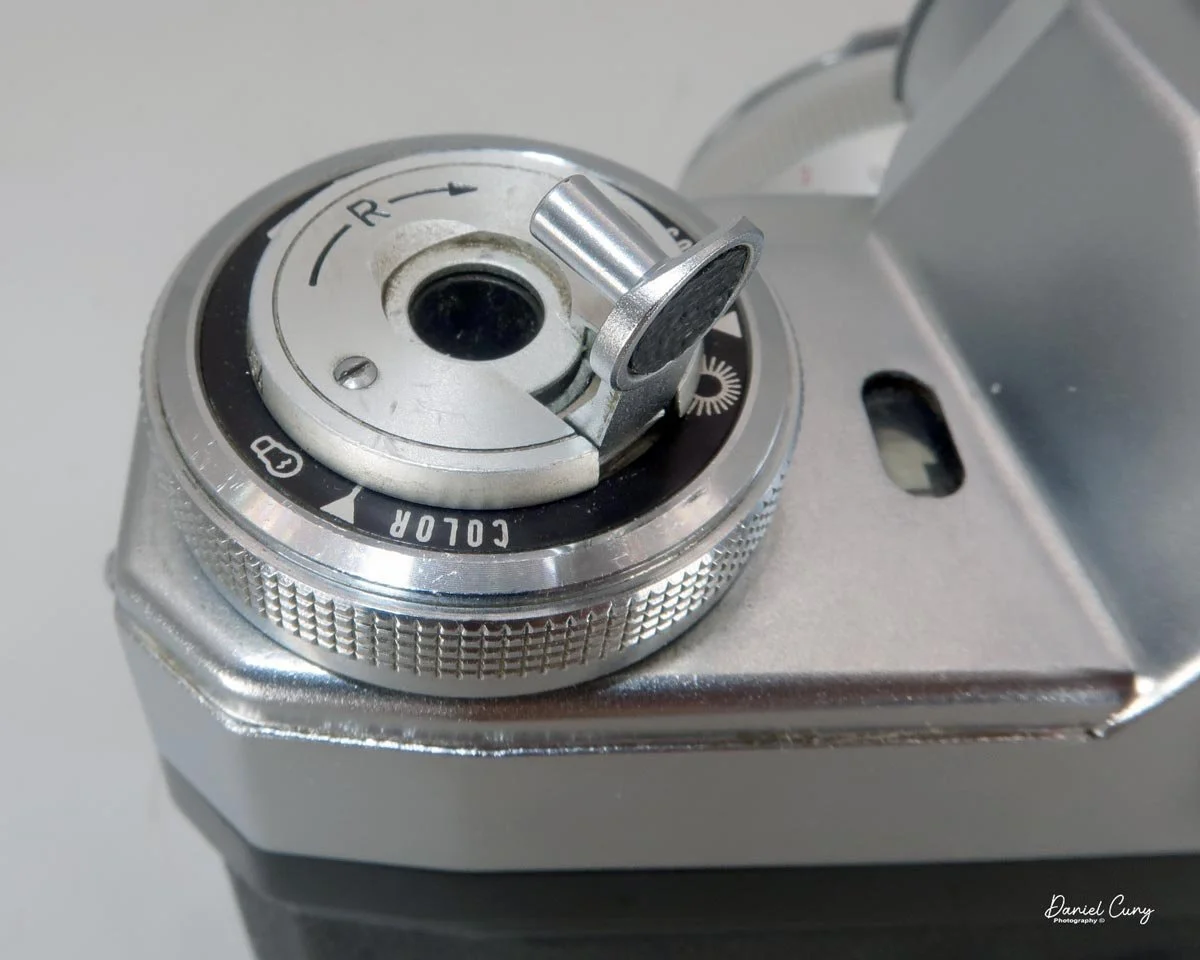
Looking at the top of the camera, going from left to right, is the camera's rewind knob with a flip-up lever, along with a directional arrow indicating which way to turn the wheel when it's time to rewind your film. There is also an indicator or reminder of what ASA (ISO) you have in the camera.

To the right of the rewind knob is an external light meter window. This is the same as you'll see in the viewfinder, only it's to be used if you're setting up from your waist and want to get the meter settings before you put the camera to your eye.

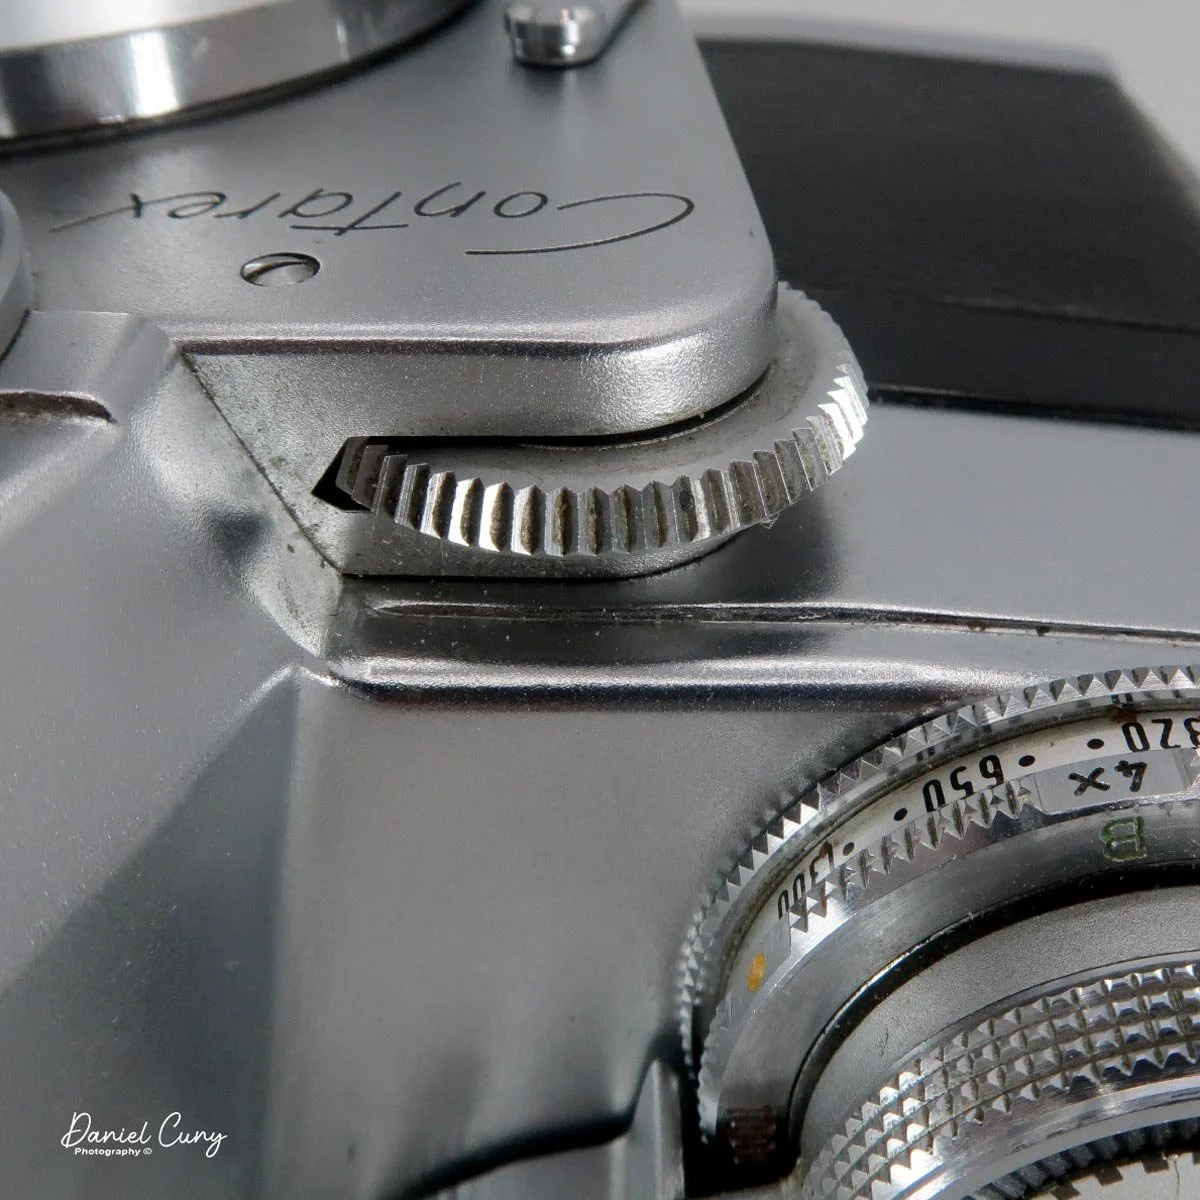
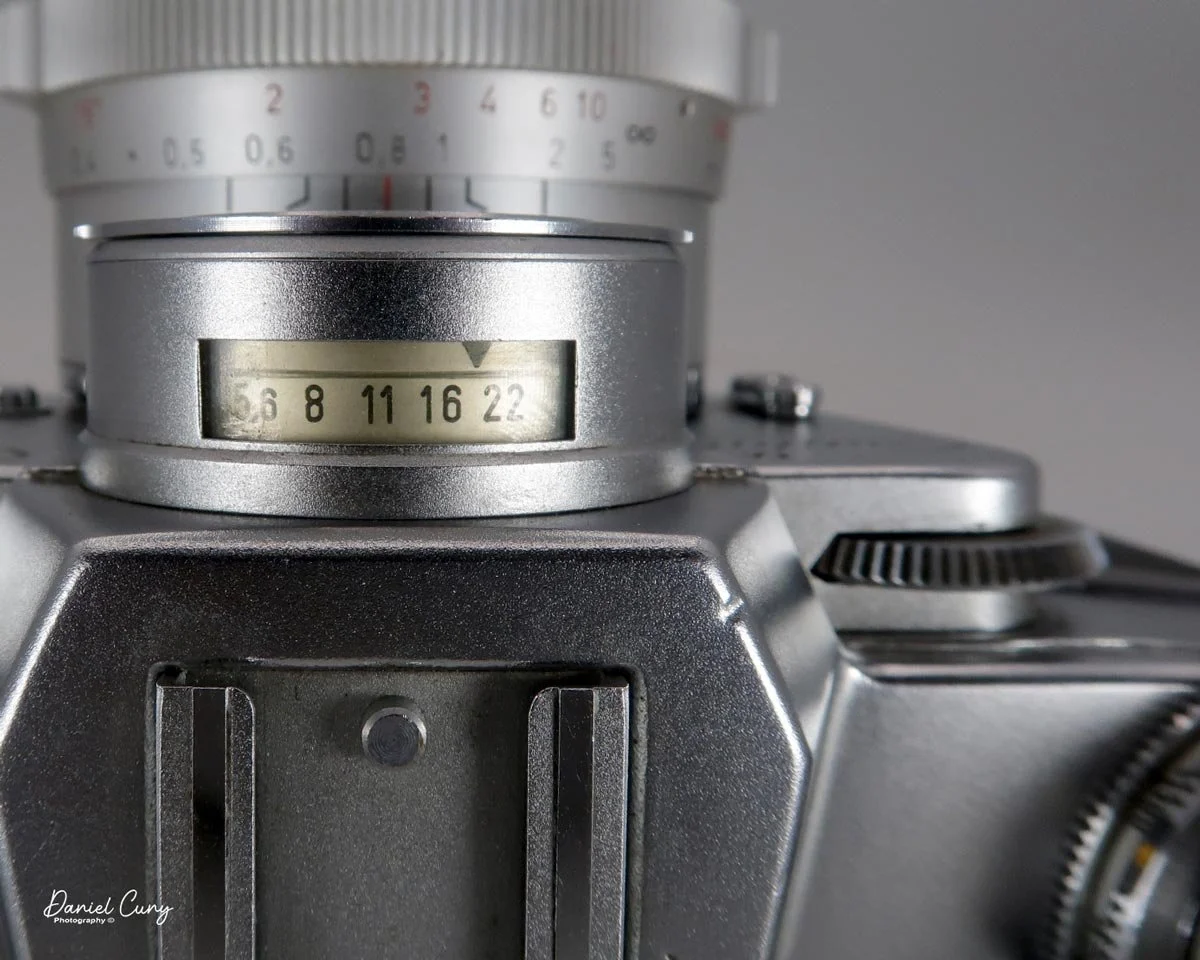
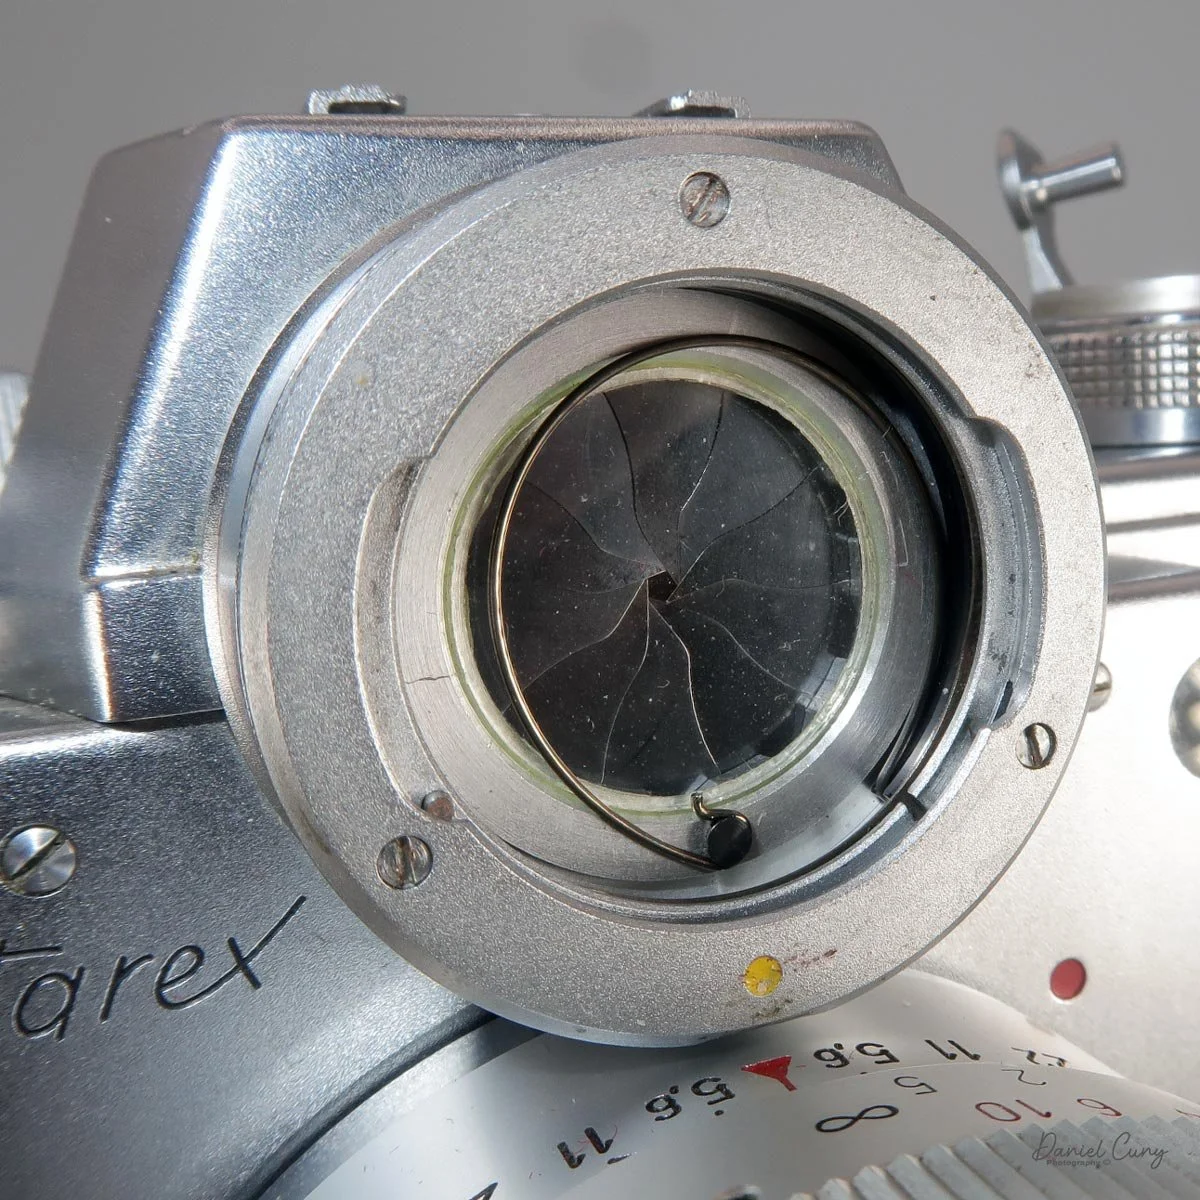
On the very top of the camera is the accessory shoe, used for a flash unit or for an accessory viewfinder which would be used for the widest 21mm lens available. Just in front of the accessory shoe is the "Bullseye" or "Cyclops" meter. Inside the meter are the aperture settings, which are controlled by a knurled ring just to the right of the meter and on the front of the camera body.

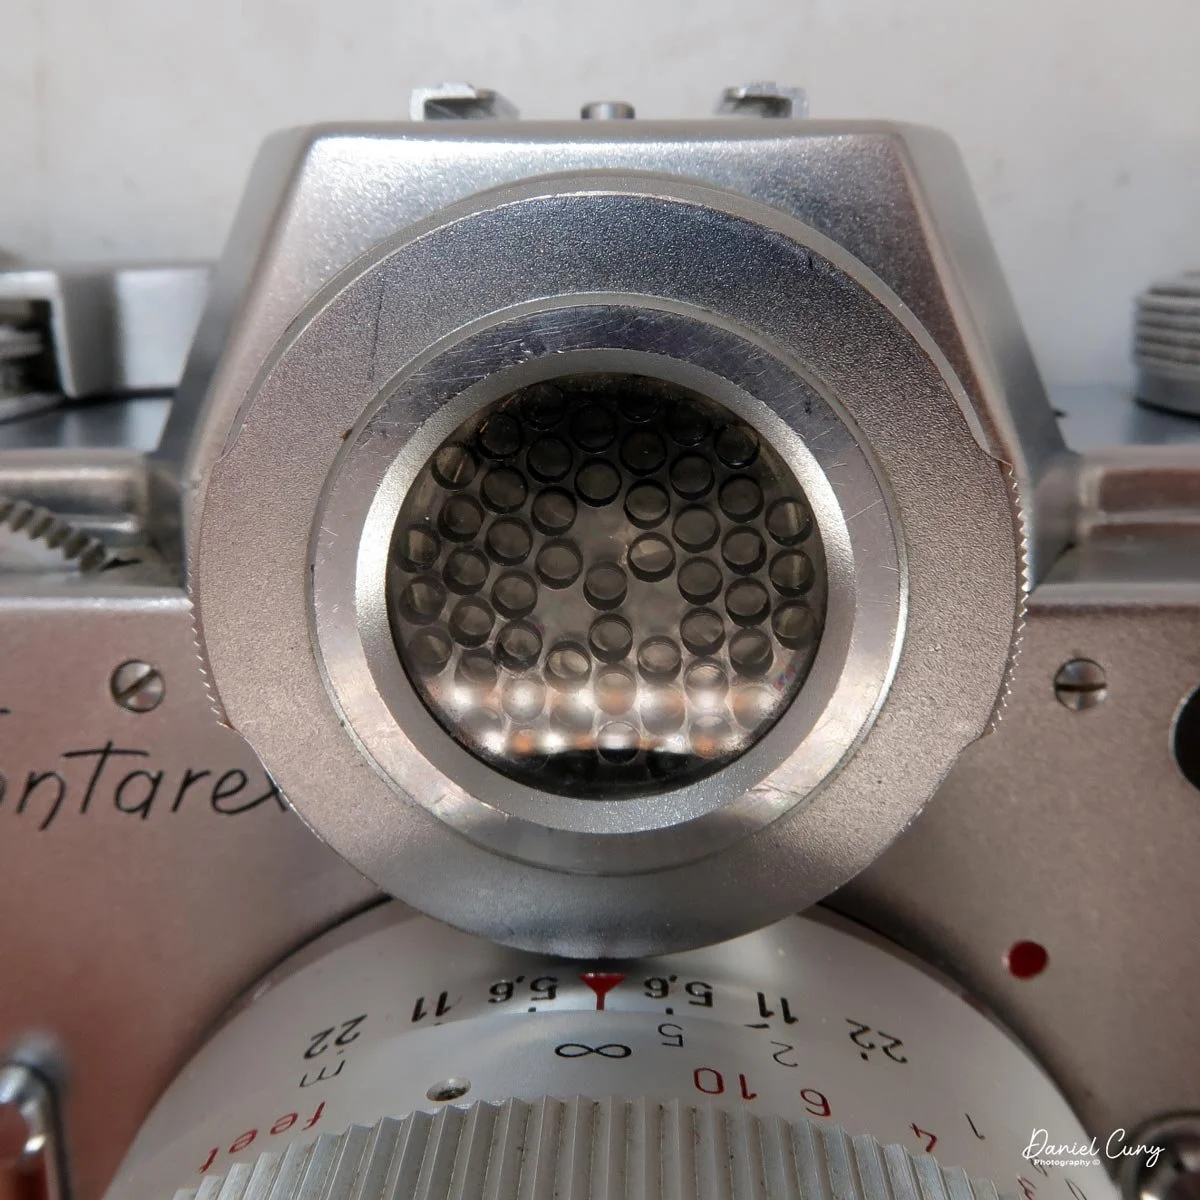
Turning this wheel sets the aperture setting, and it will also set the internal aperture needed to make the exposure. This will be transferred through the camera body, setting the proper aperture on the lens through its internal pulley system. You can remove the front of the meter housing, which has a honeycomb appearance, to expose the meter aperture, along with the pulley that activates it.

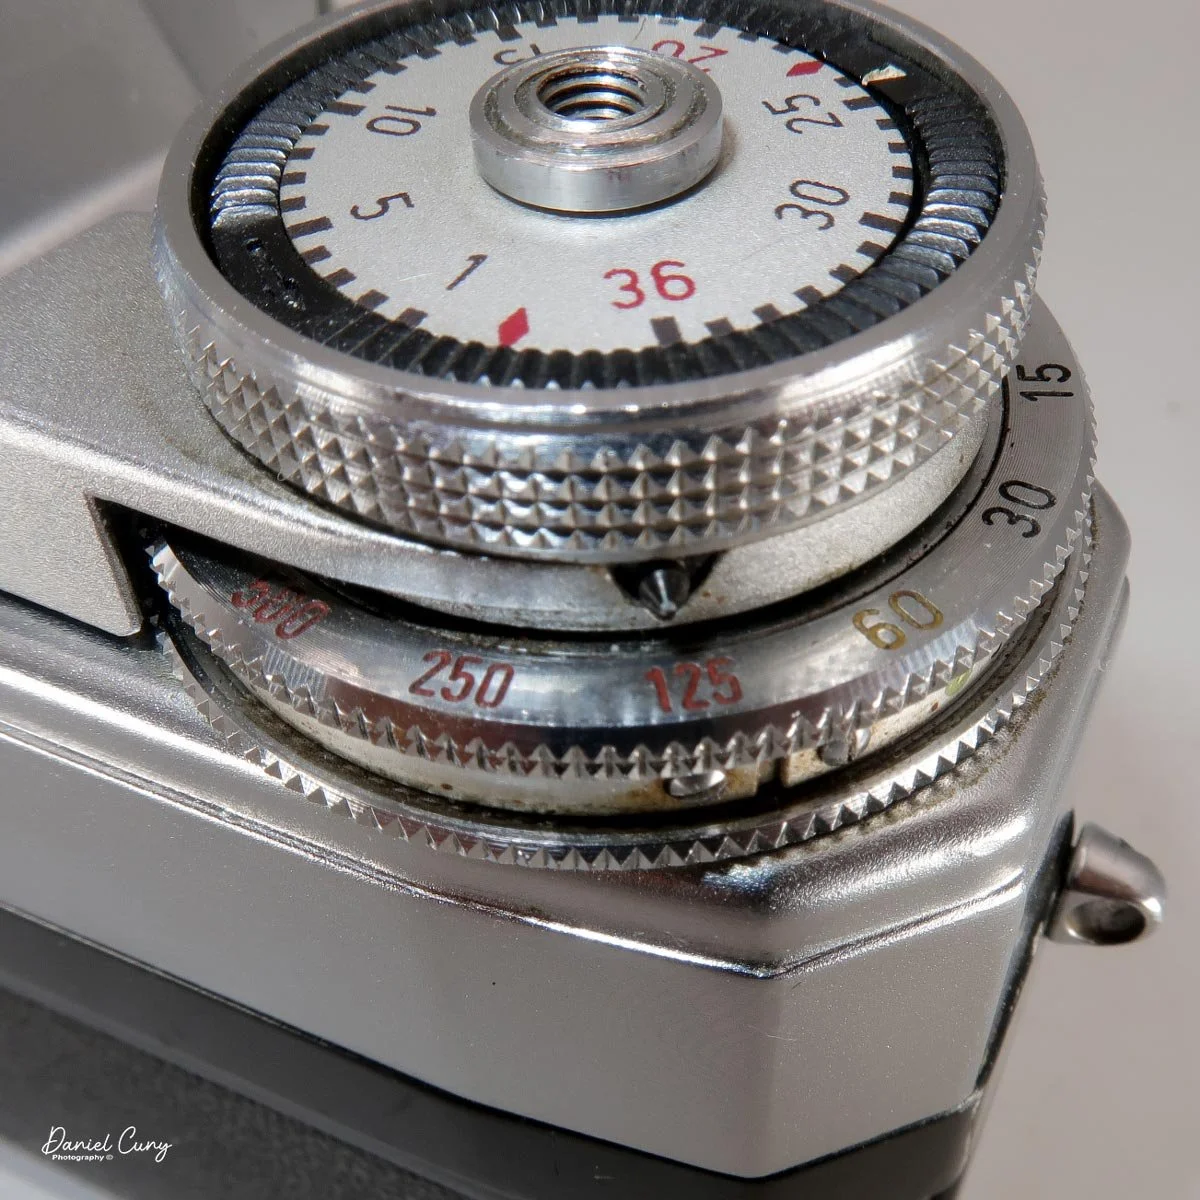
Just behind the aperture wheel on the front of the camera is the film winding lever, which sits on top of the shutter speed selector. Inside the winding lever is the camera's shutter release, which can accept a cable release for longer exposures. The shutter speed selector has a range of shutter speeds from 1/1000–1 sec, including "B" for timed exposures.

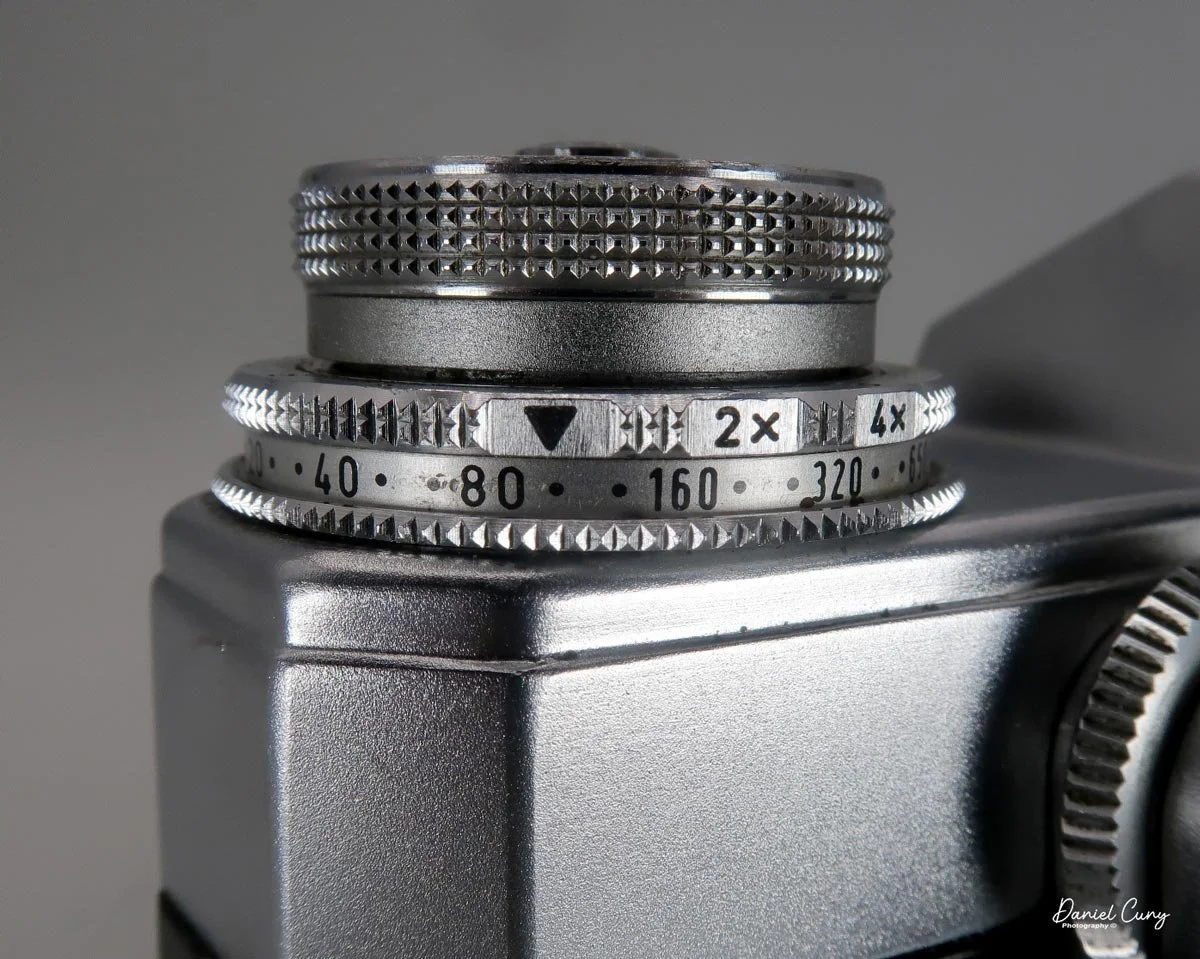
Just under the shutter speed selector is the ISO (ASA) settings. To set the ISO, lift on the shutter speed wheel and turn the dial to set the meter to the proper ISO. The ASA range is from 50–1300. There are also 2x and 4x settings if you want to overexpose in low-light situations purposely.

On the front of the camera, just under the aperture control wheel, is the camera's self-timer, which has a maximum delay of 12 seconds. It can be shorter, provided you don't pull the lever all the way to the maximum amount. On the other side of the lens, on top, is a light window for the internal meter.

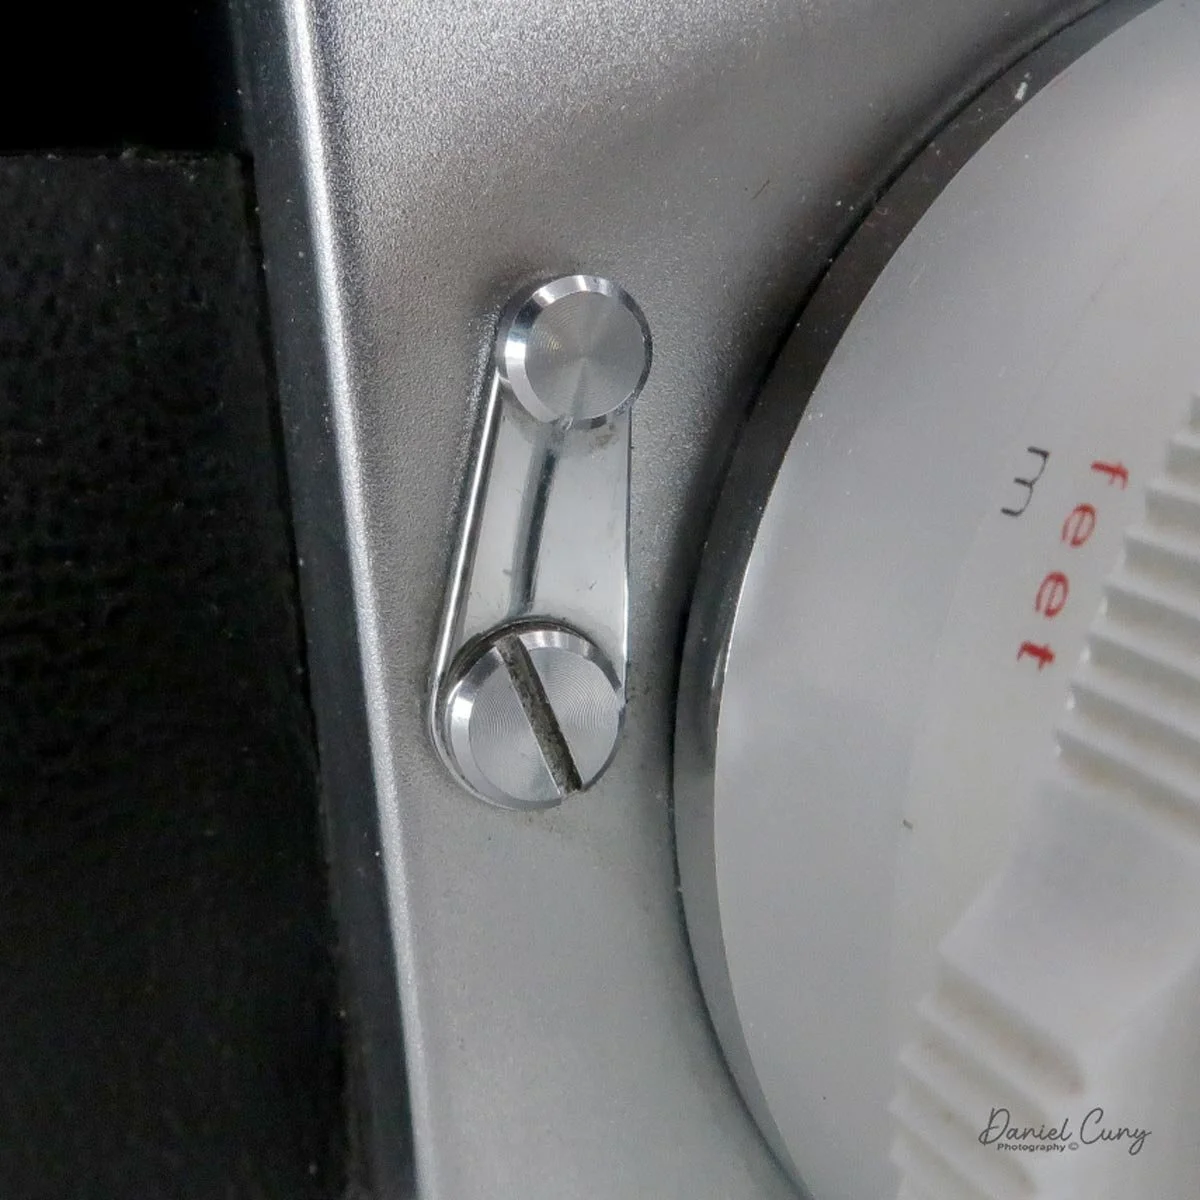
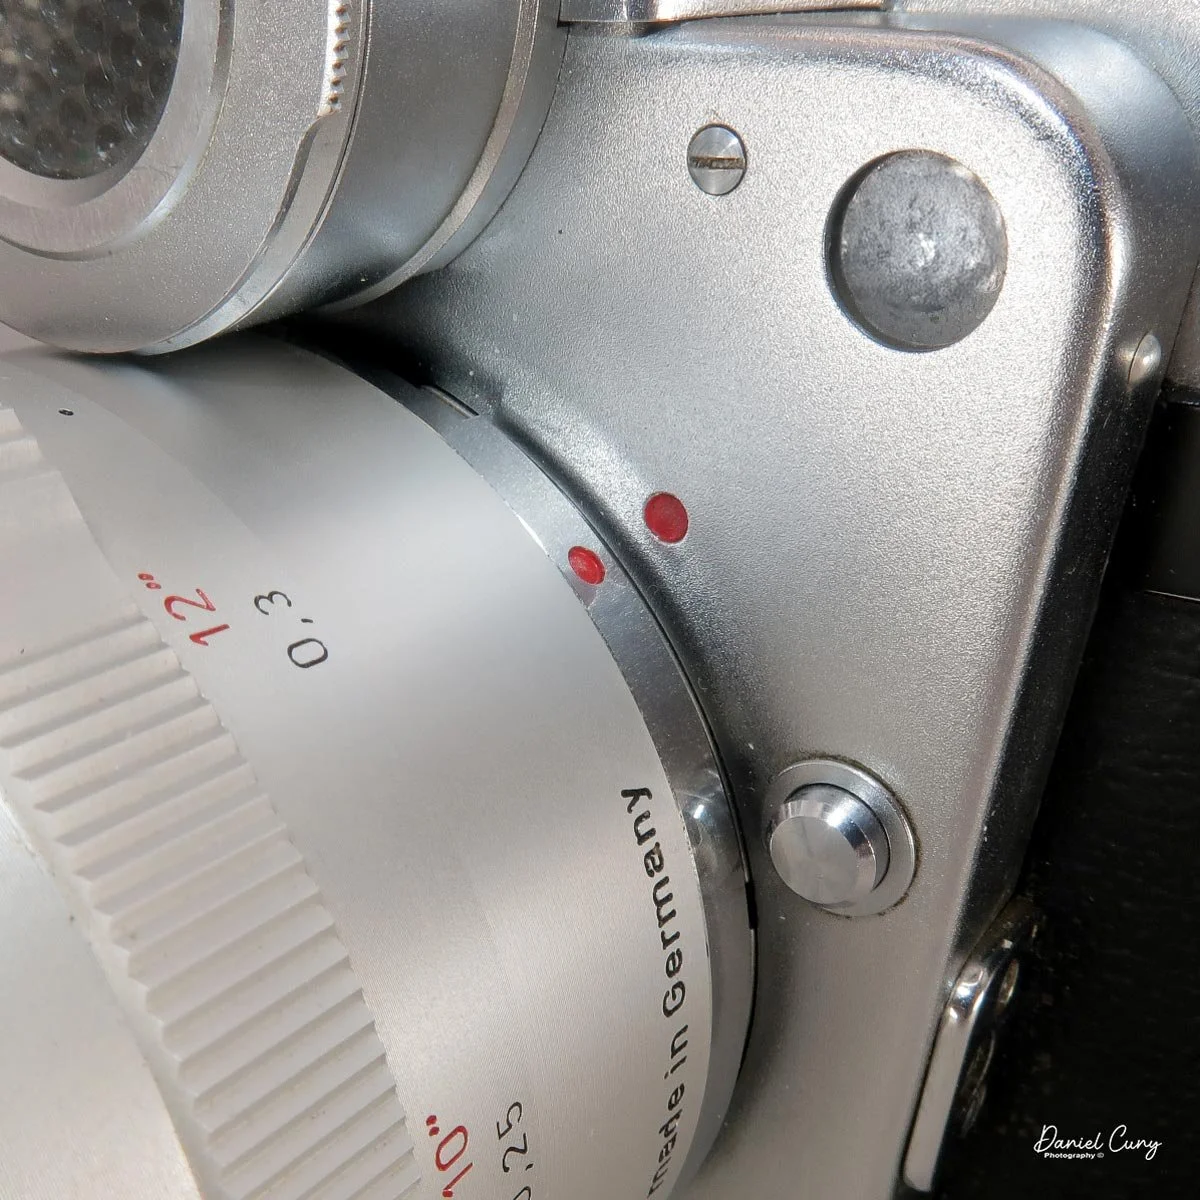
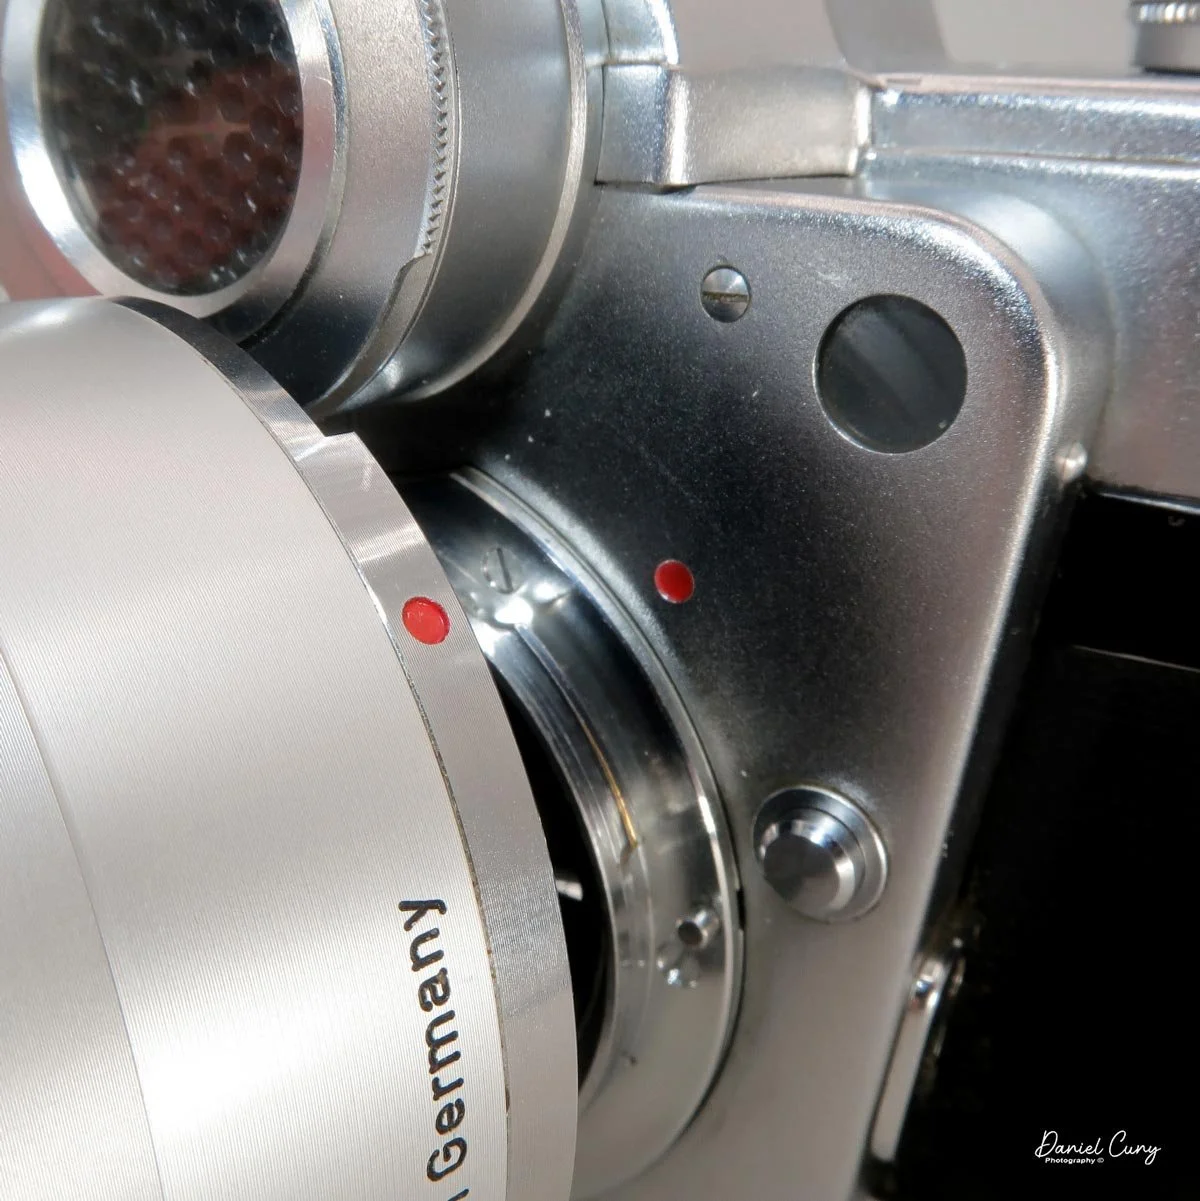
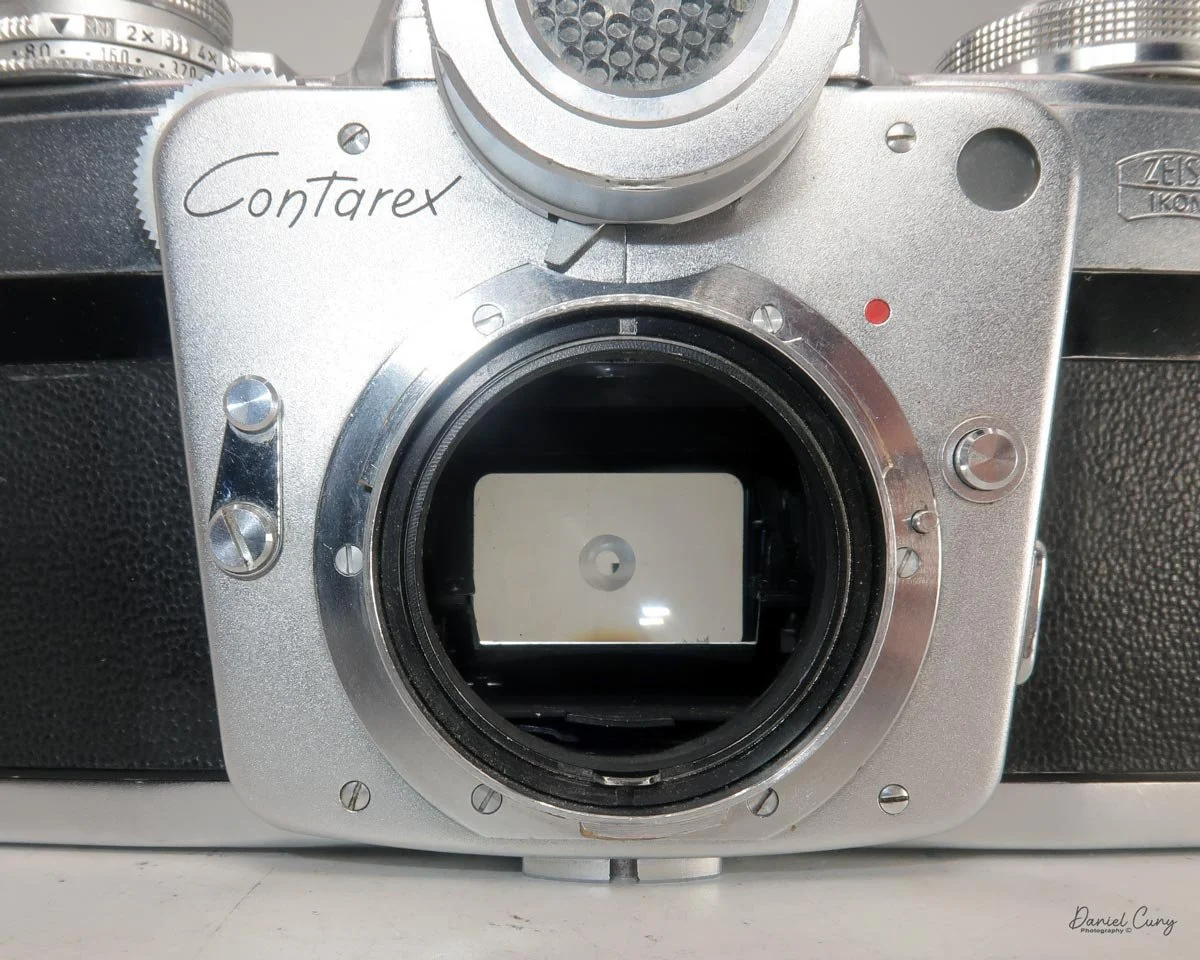
Under the light window is the button to remove the lenses. Press in and turn the lens counterclockwise to remove the lens. To mount the lens, match up the two red dots and turn clockwise until the lens clicks into place. On the side, next to the lens release button, is the flash sync terminal, which is where you'll connect the flash cable, since the camera doesn't have a hot shoe for the flash.

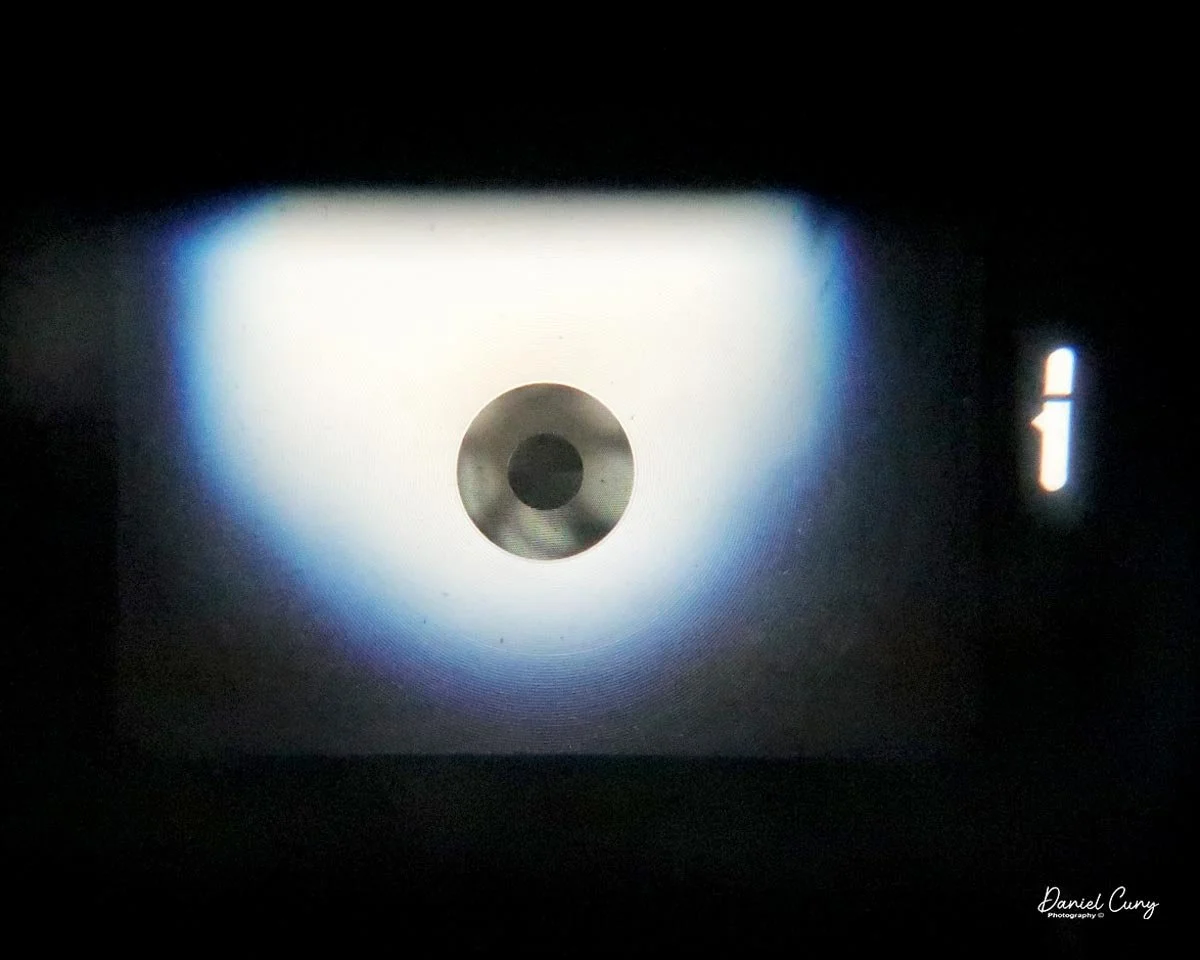
Looking through the camera's viewfinder on the rear of the camera, you'll see the three different focusing types incorporated into the focusing screen. On the outer portion is ground glass, in the very middle is the split image, and circling the split image is a microprism focusing area. Some people have difficulty with the split image, especially with slower lenses, where one of the halves blacks out and they cannot find the vertical or horizontal line to bring together. That's caused by the pupil of your eye not being centered in the focusing screen. If you move the camera up or down, you'll notice this changes from top to bottom, but once centered, the split image becomes whole, and you'll be able to focus more easily.

On the right side of the focus screen is the meter window. Inside the meter window is a line. The goal of proper metering is to get the line in the middle for a properly exposed image. When the line is above the cutout area on the left, you're overexposing, and when below, you're underexposing. The meter allows you to set either the shutter speed, then move the aperture wheel to line up the exposure, or you can set the aperture and move the shutter speed to get the meter needle in the center. It all depends on whether you want to stop action (shutter speed) or get more/less depth of field (aperture).

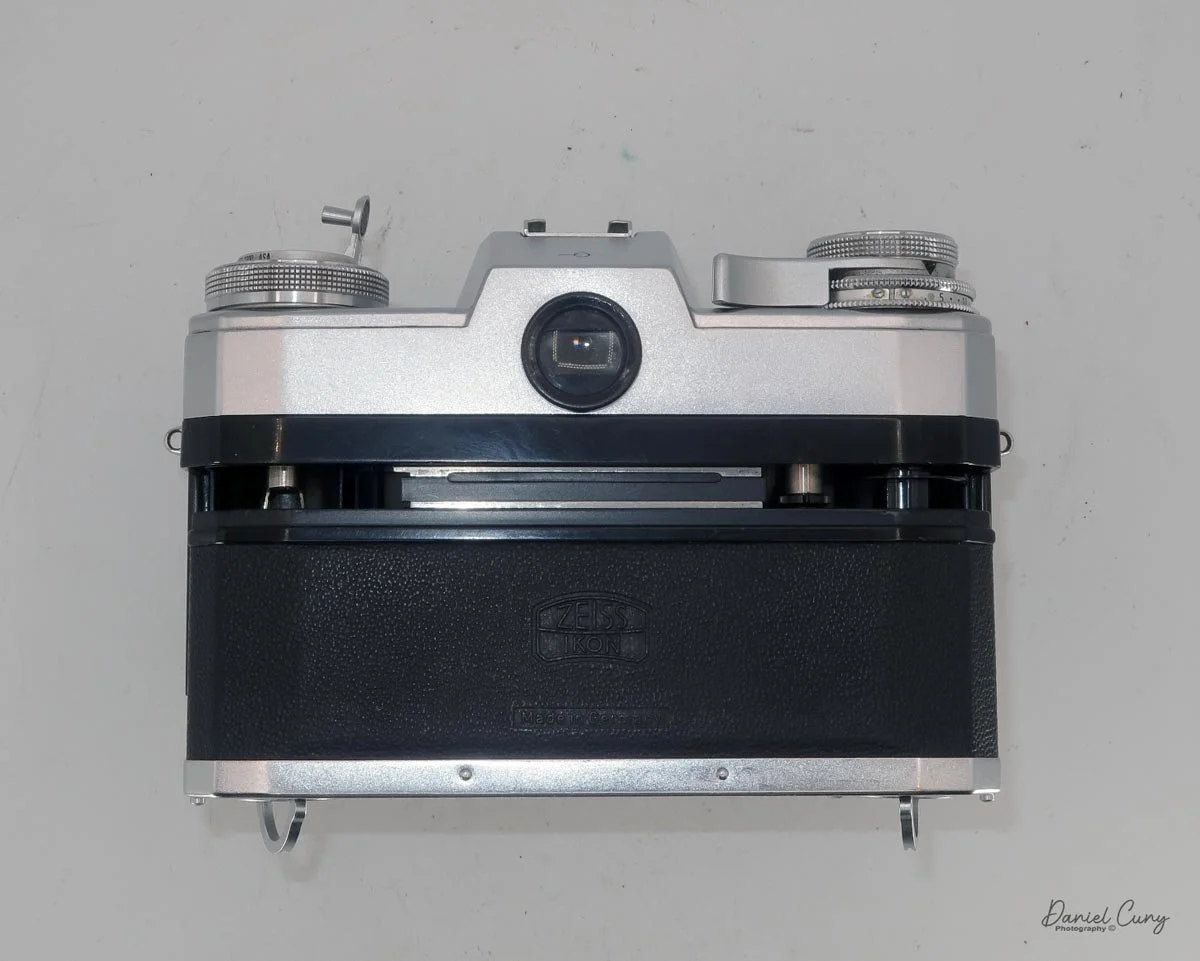
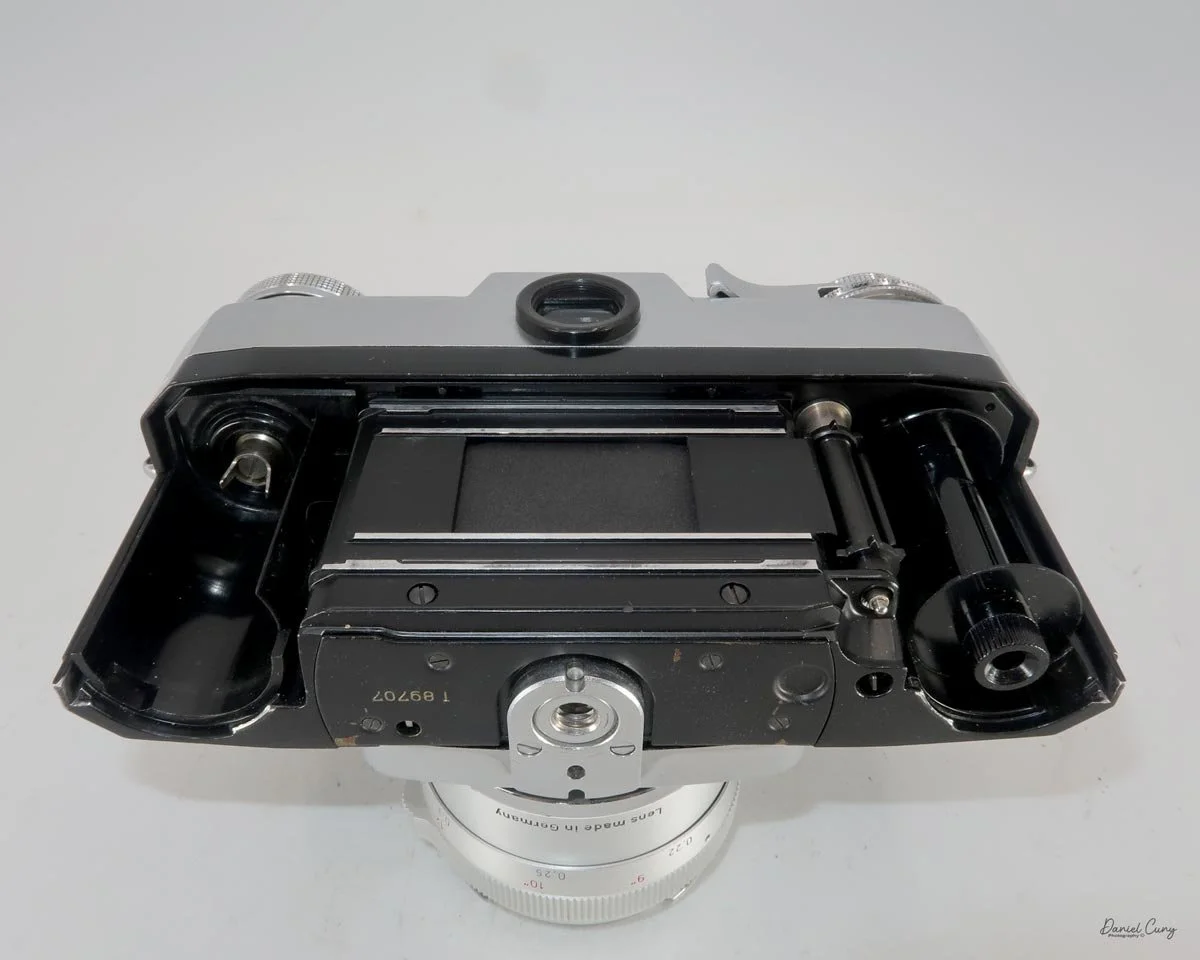
To open the camera to load film, there are two latches on the bottom of the camera that need to be turned, which allow you to slide the back off the camera and expose the film chamber. Once the back is removed, you'll load the 35mm film like you would any other 35mm camera. Once the film is loaded, put the film back into the grooves in the camera body, and slide the back up and into position on the back of the camera. Once it's on, lock the two latches and flip down the handles so the camera sits flush.

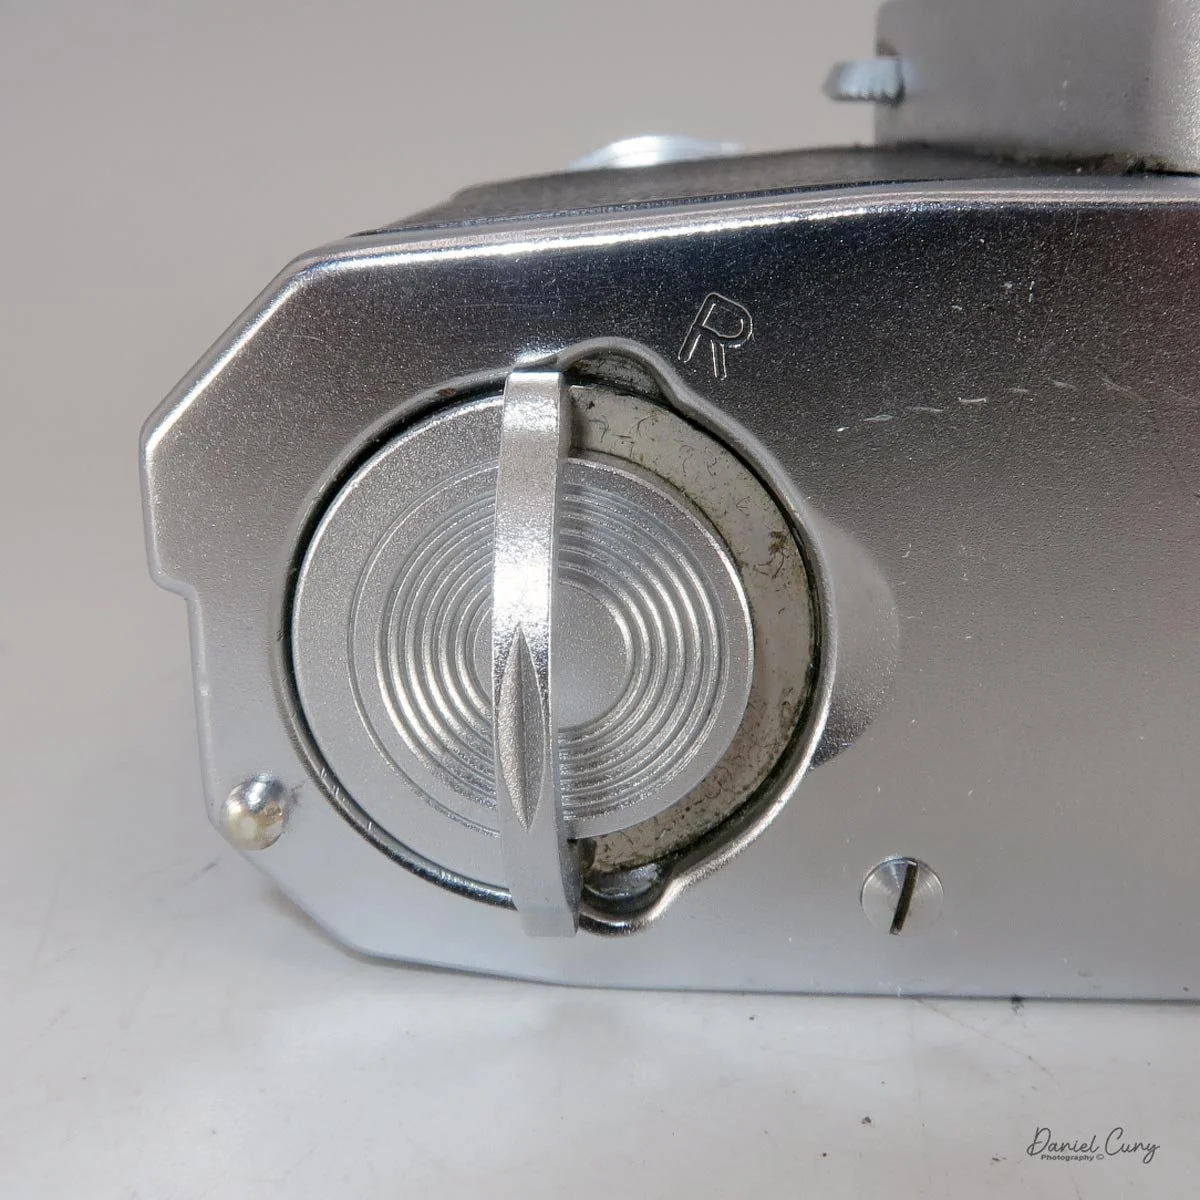
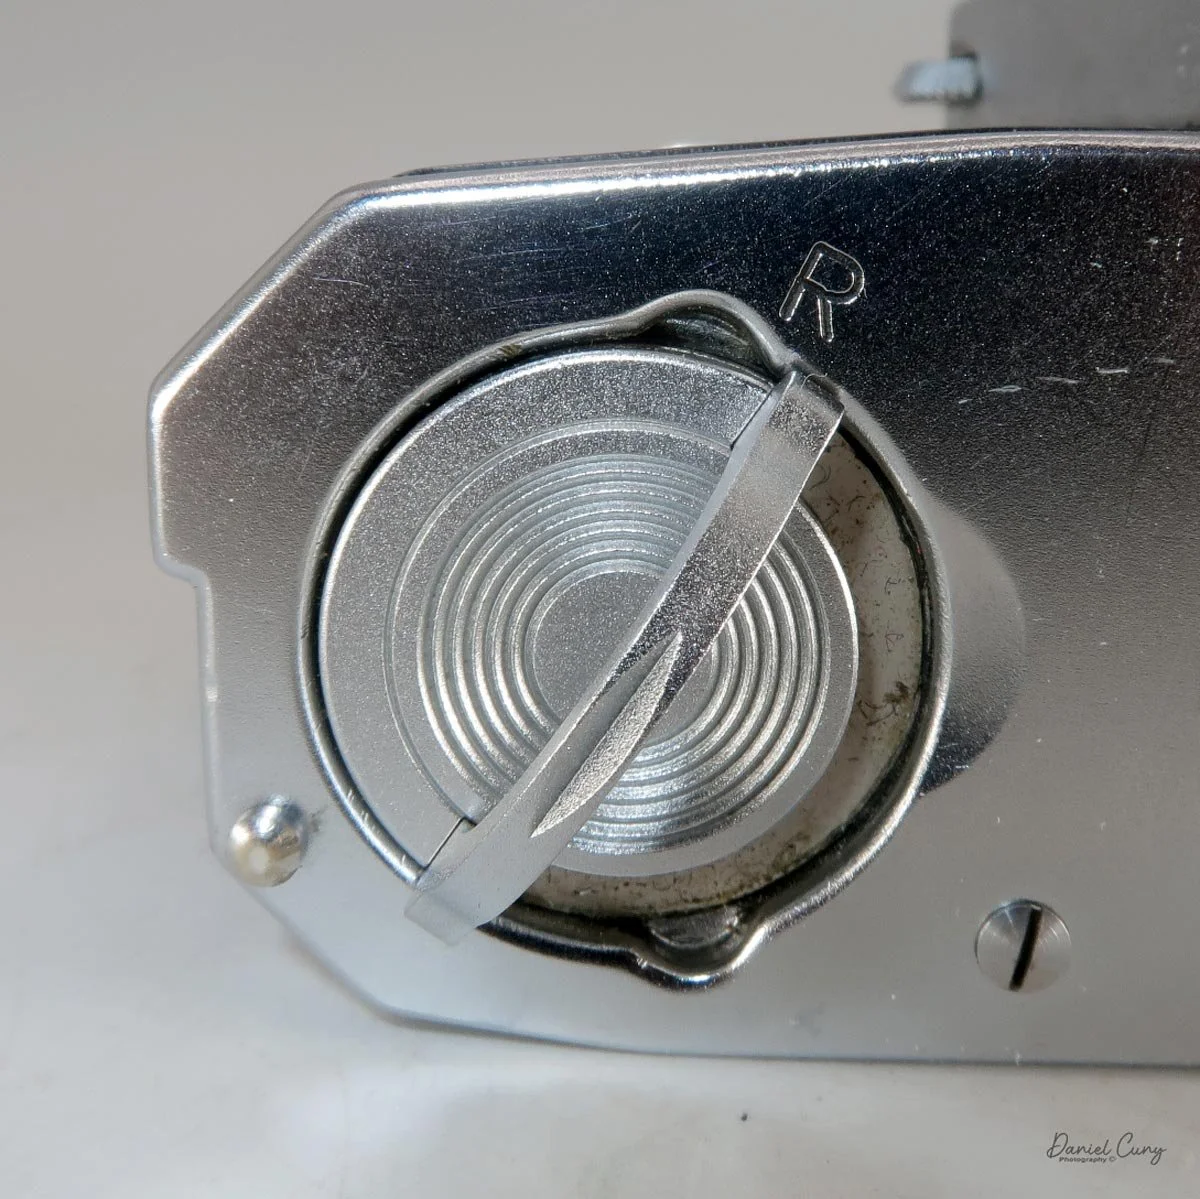
When you get to the end of the roll, and it's time to rewind the film back into the cassette, one of the latches on the bottom of the camera has an "R" for rewind. Lift the handle of this latch only, and turn the lever until the handle is pointing at the "R" (for rewind). Flip up the handle on the rewind knob and rewind the film back into the 35mm cassette. Once the film is rewound, turn both levers to the open position, take the back off the camera, and remove the film for processing.

Now that we have film loaded into the camera, let's take it for a walk around the neighborhood and see how the camera performs.

My Results

I didn't have any fresh film to shoot through the Zeiss Ikon Contarex camera, but I did—and still do—have some outdated film from 1976, Plus-X 135 film, which I took from the inventory I have from my online store.

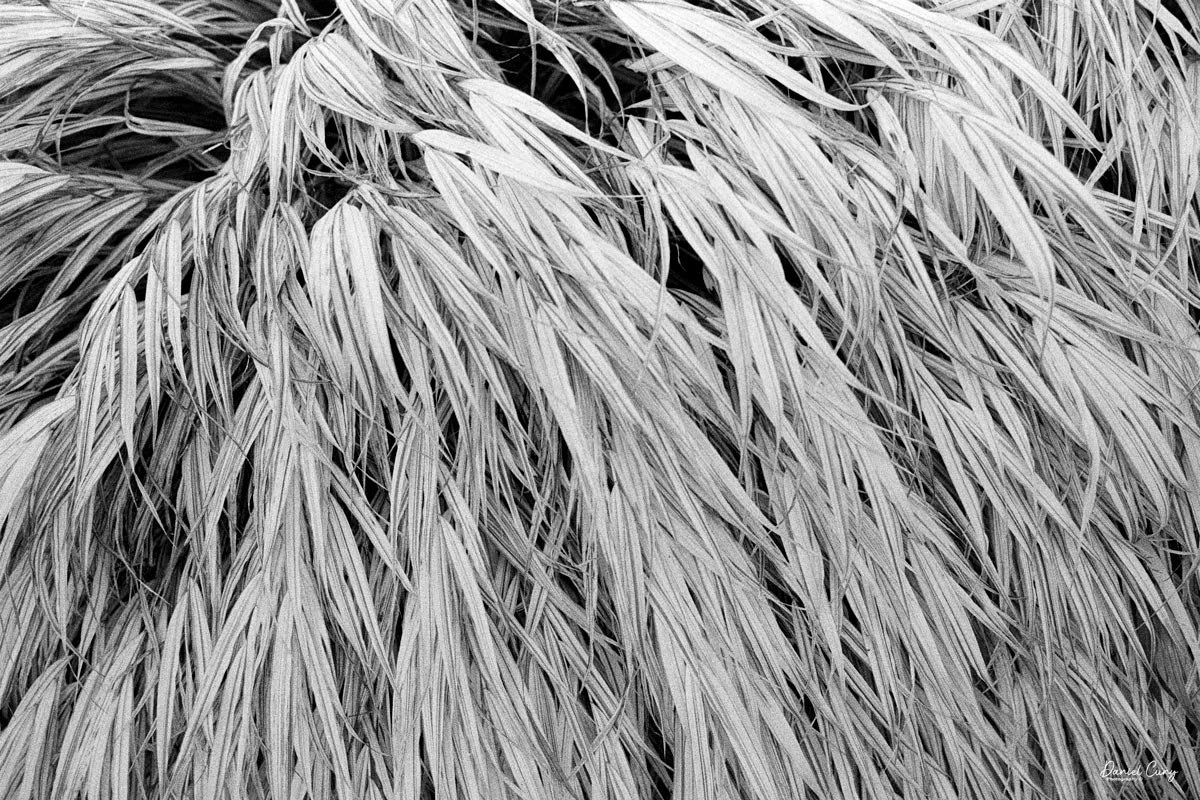
 Shooting the film at approximately ISO 50 and processing the film in Rodinal at 1:25, here are the results I achieved with the camera.

Conclusion

The camera performed flawlessly. While this was the first time actually shooting with the Contarex camera, I was surprised at how close you could focus with the lens. All of the images were handheld, and the day was somewhat overcast so that the images would be a bit flat in the lighting, but overall, the camera and lens were fantastic.

 The aperture wheel and light meter worked as they should, and the lens's sharpness is incredible. While the camera is big and heavy for many, it felt very comfortable in my hands.

I now understand why so many people enjoyed using this camera, as it is over-engineered and almost impossible to get serviced. While mine is working well, I'll definitely be taking the camera for many more walks shooting film with it.

 Here are some of my other Camera Reviews.

 Check out my Cuny's Camera Collection YouTube channel, where I am putting together video overviews of the cameras I write about. Be sure to subscribe and like the channel, too!

 Cuny's Cameras and Photos is my online eBay store, where you will find some of the cameras I have reviewed, along with a wide range of other cameras, lenses, and items from my collection that I am thinning out.

 Until next week, please be safe.
 

Welta Welti camera

My Welta Welti camera

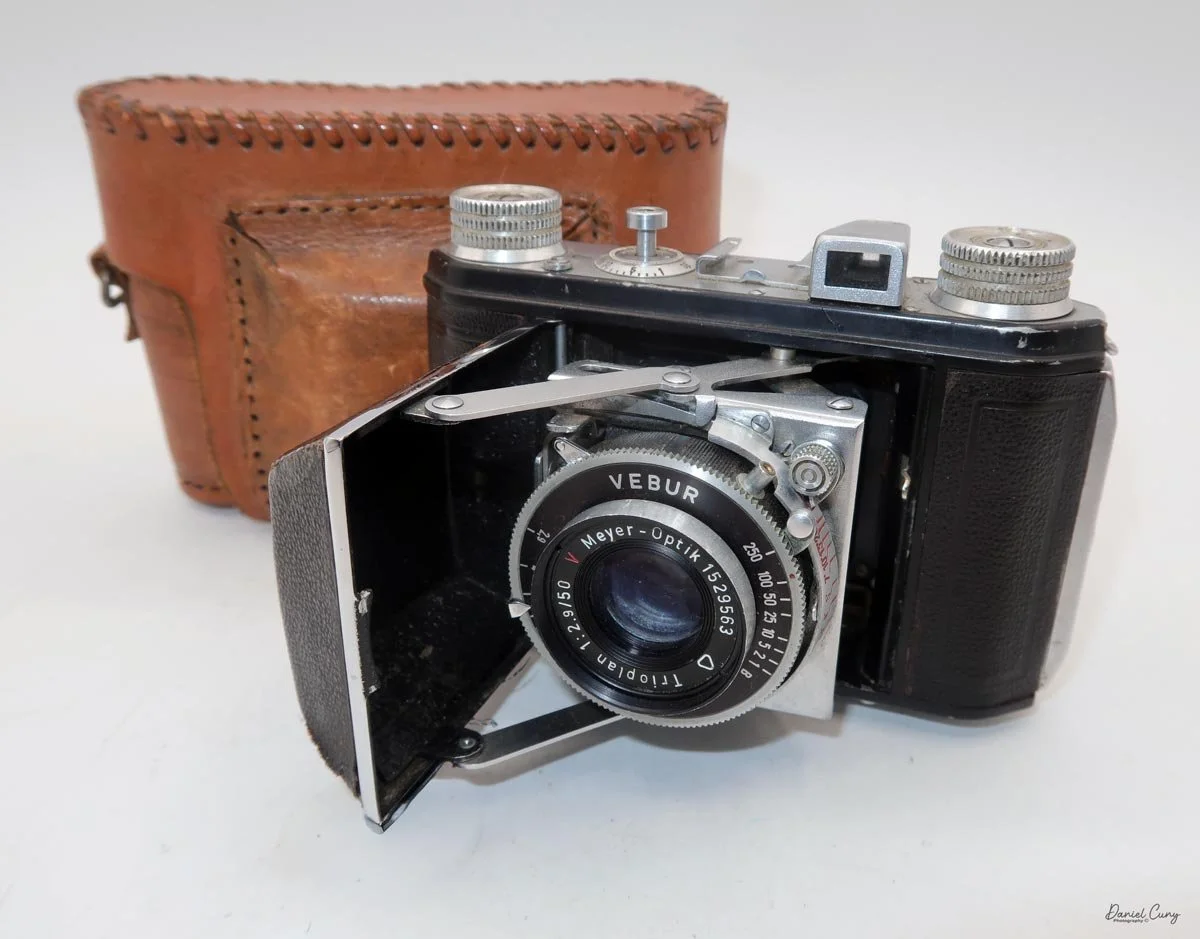
While looking for a camera to discuss in this week's camera collecting blog, I was unpacking cameras I took to the recent camera show outside of Seattle, and I picked up a nondescript leather case for one of them. Opening the case to see which camera it was, it turned out to be a fairly plain-looking 35mm folding camera. 

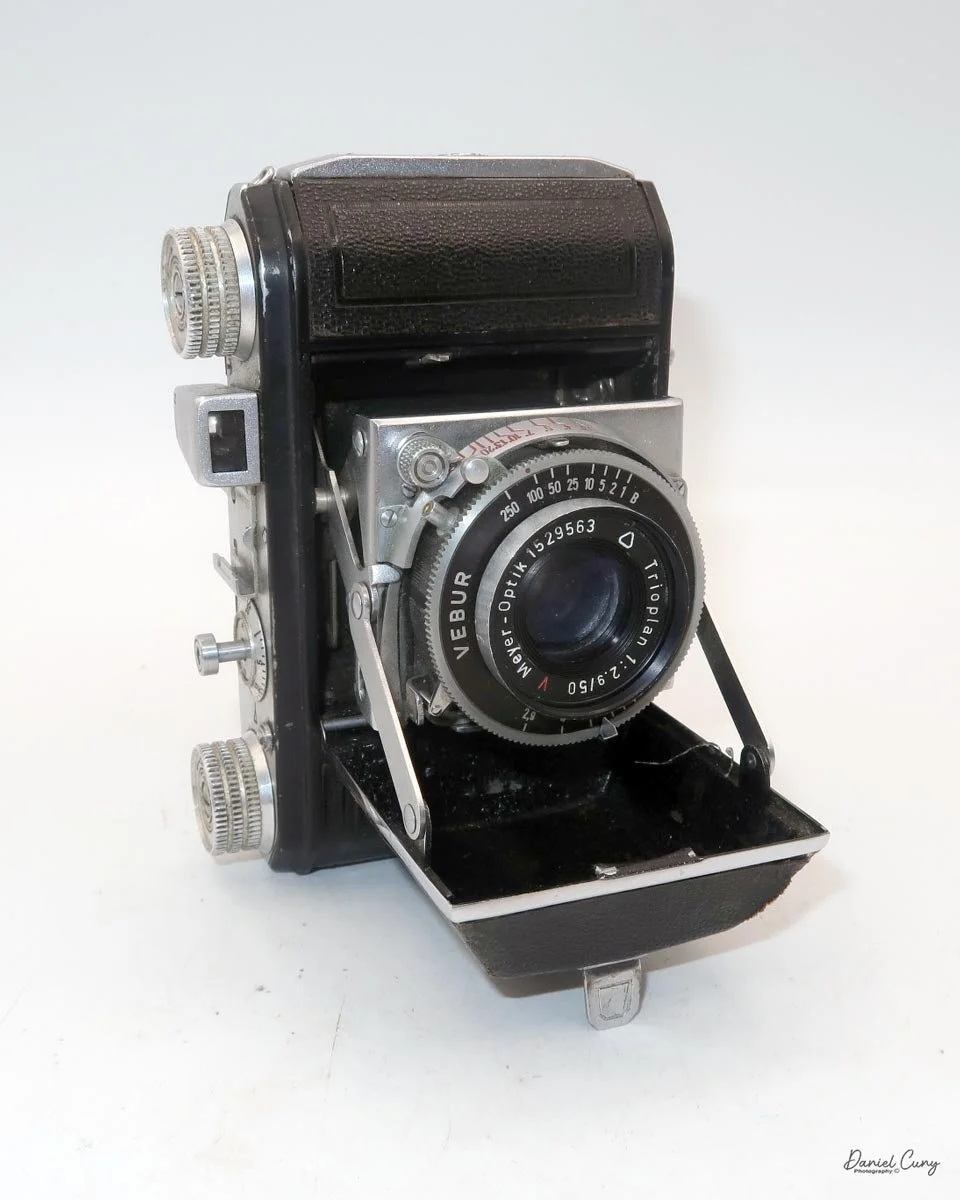
 I opened the camera to see which one it was, but nothing was screaming the manufacturer to me. The only few telltale signs I could see were the words "Germany USSR Occupied" in gold embossed letters, along with "Made in Germany" embossed into the leather. There was also the number 1 inside a triangle and the numbers 37/373/1001 embossed into the leather on the back of the film door.
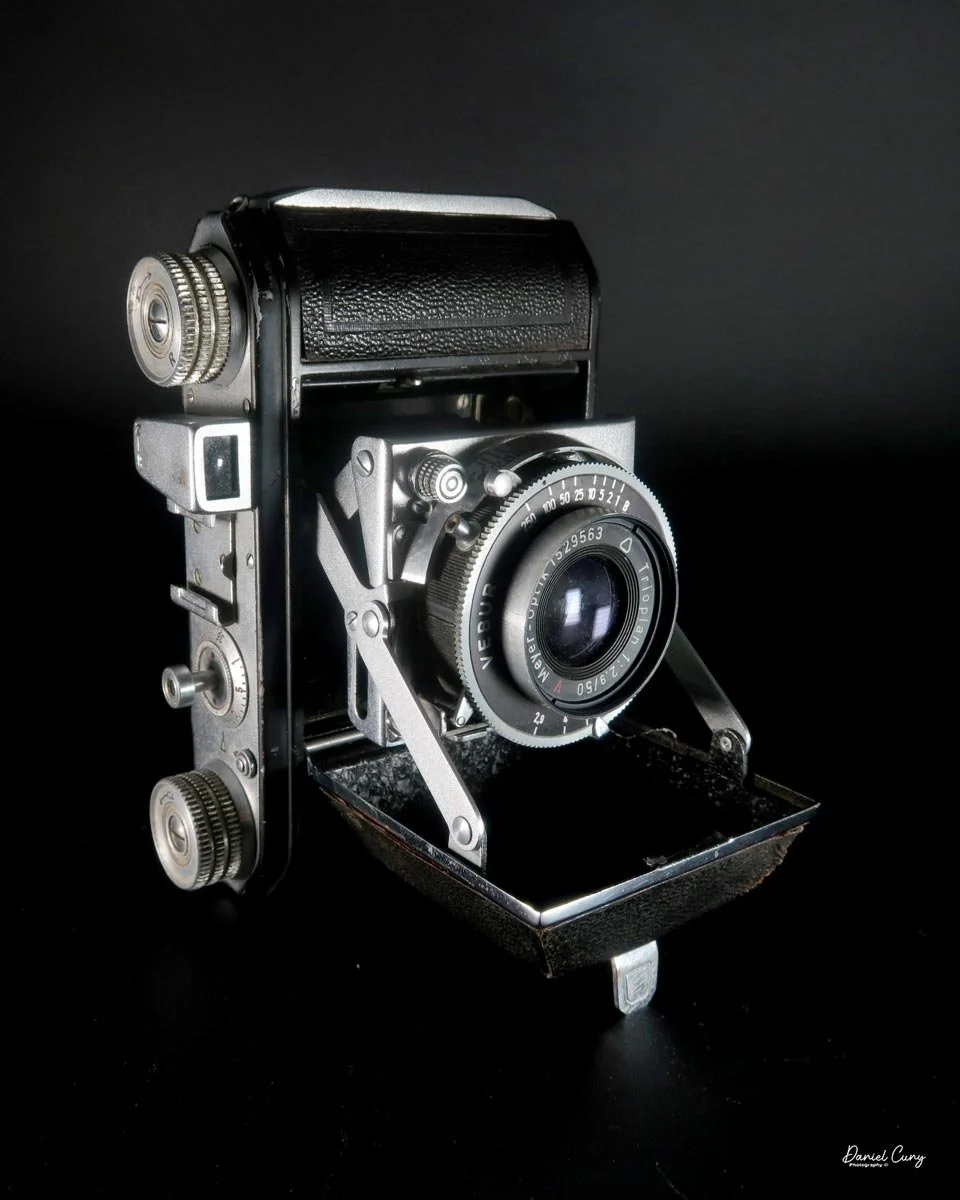
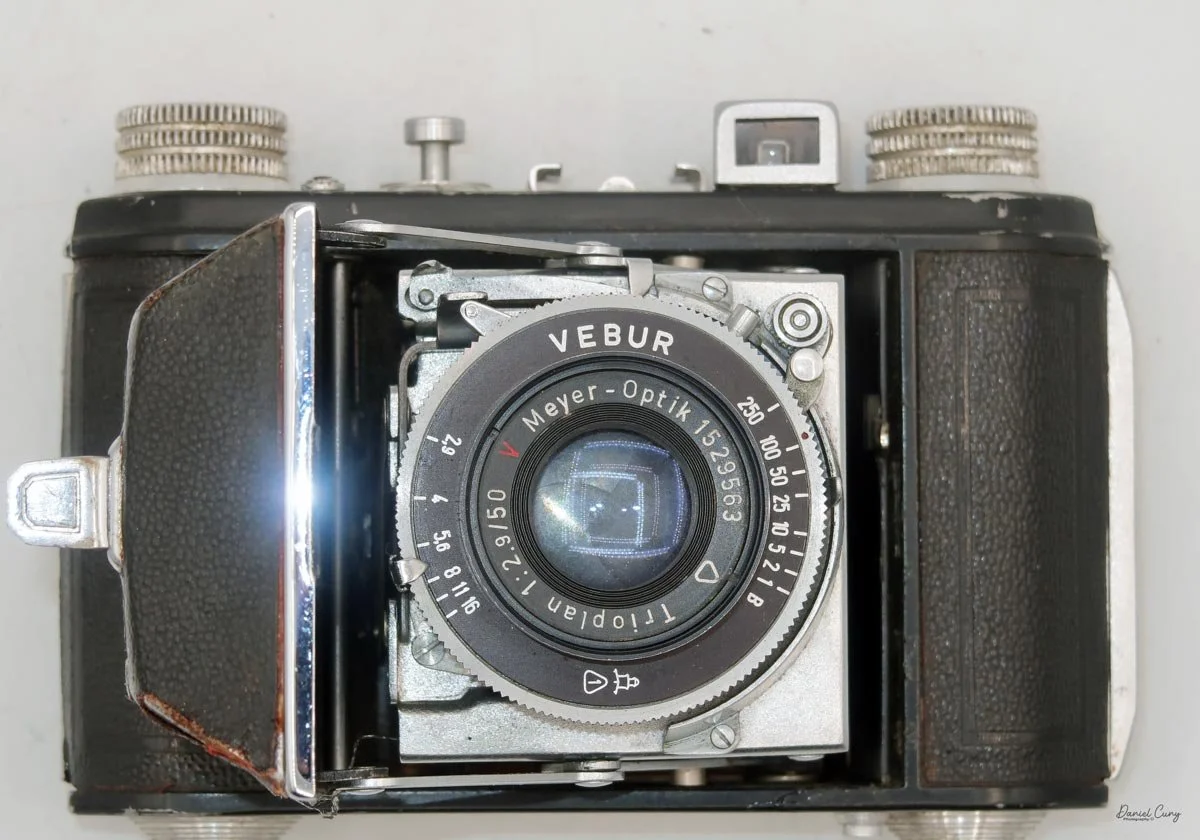
 Opening the door to see what lens the camera had, it wasn't what I expected. Unlike a Schneider or Zeiss lens, the camera has a less popular Meyer Optik lens in a Vebur shutter.

 Now I was more perplexed about the brand of camera I was holding. I researched the information I had, and I found that I was holding a Welta Welti camera made soon after WWII.

My Welta Welti camera with leather case.

 Usually, on cameras of this era, the manufacturer's name is embossed on the side of the camera, close to the film door. I looked at the camera again, and it was either worn off from use or never there in the first place.

 Testing the camera's shutter, it worked at all speeds, and the aperture was smooth and functioning as it should. The lens was clean, and the transport seemed in good condition, so for the week I go camera shopping in Tokyo, and being a fan of Welta cameras, like the Perfekta and Superfekta, I found the camera to write about for this week's blog post.

History:

 For those of us who spend our days restoring, shooting, and studying vintage cameras, the name Welta carries a distinct weight—both literally and figuratively. Founded in 1914 by Walter Waurich and Theodor Weber in Freital, Germany, the company originally operated under the moniker Waurich & Weber. By 1919, the "Welta" trademark was born, marking the beginning of a remarkable, albeit turbulent, chapter in the history of photography.

 Welta quickly earned a sterling reputation during the 1920s and 30s. At a time when German optical and mechanical engineering set the global standard, Welta held its own against titans like Zeiss Ikon. They mastered the folding camera format, producing medium format workhorses outfitted with top-tier Compur shutters and stunning optics from Schneider-Kreuznach or Carl Zeiss. For a working photographer or a serious enthusiast, a Welta meant uncompromising precision wrapped in a beautifully crafted, leather-bound brass body.

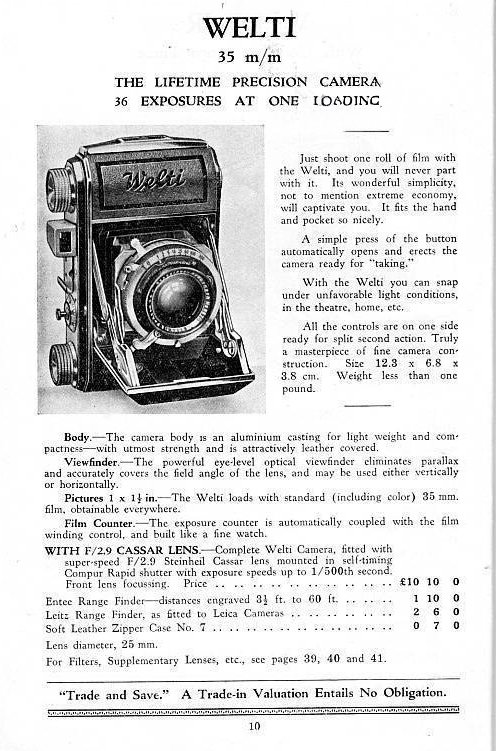
 As the 1930s progressed, the photographic landscape shifted dramatically as the 35mm film format gained popularity. Competitors were releasing compact, pocket-sized folding 35mm cameras, most notably the Kodak Retina. Welta's brilliant response was the Welti.

 Introduced in 1935, the Welti was a marvel of compact engineering. It wasn't just a scaled-down medium format folder; it was a purpose-built 35mm instrument. With its incredibly robust struts, precision-focusing helix, and satisfyingly dense, all-metal heft, the Welti proved that "compact" didn't mean compromising on professional-grade durability. It remains the perfect embodiment of Welta's meticulous design philosophy.

 The devastation of World War II completely altered Welta's trajectory. Finding itself in the Soviet occupation zone (later East Germany), the company was nationalized in 1946, becoming VEB Welta-Kamerawerke. Despite this massive structural shift, the Freital factory continued to produce incredible cameras, including refined post-war iterations of the Welti, the Weltax, and the Belmira.

 However, as the East German government moved to consolidate its optical industries to compete on the global stage, Welta was eventually absorbed by VEB Kamera-und Kinowerke Dresden in 1959, which later evolved into the massive Pentacon conglomerate.

 By the mid-1960s, the Welta name faded into history. Yet, when you hold a Welti today, you are holding a defiant piece of history—a tactile testament to a specialized factory that, for a few brilliant decades, built some of the finest folding cameras the world had ever seen.

My Camera:

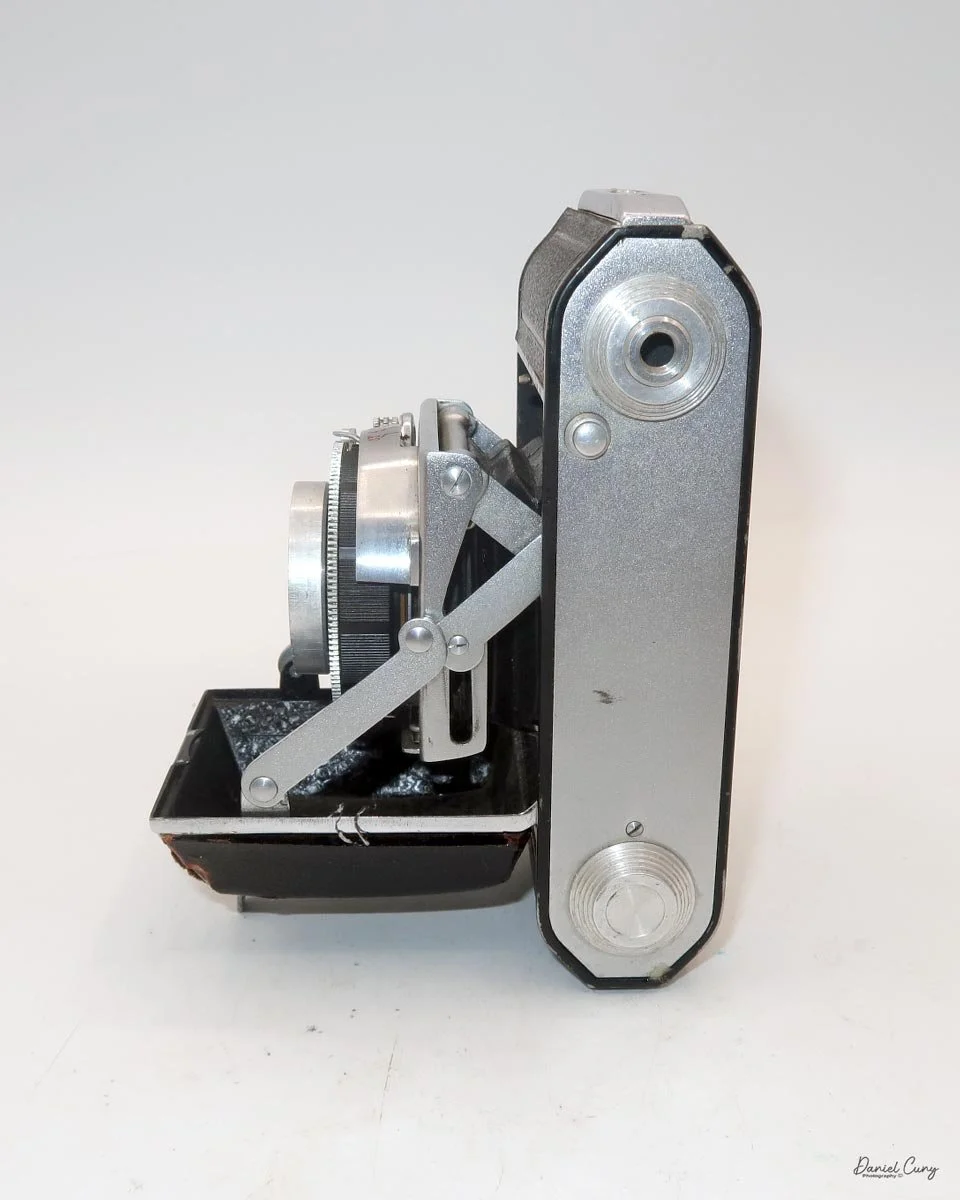
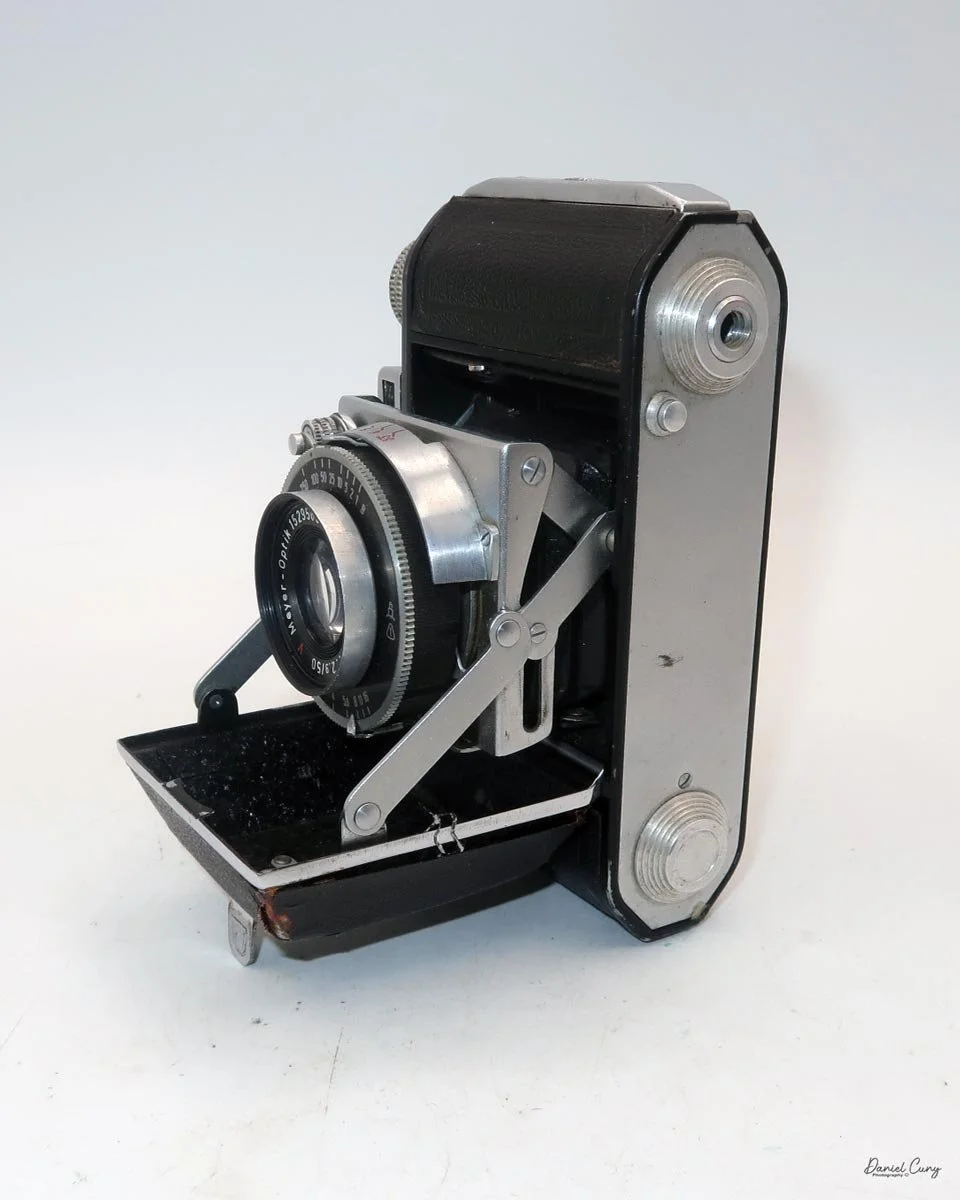
 My Welta Welti camera is similar in size and shape to the Kodak Retina cameras. The camera is 4.5" wide by 3.5" tall by 2" deep with the lens retracted, and 3.5" deep with the lens door open and the lens in the normal "taking" position. The Welta Welti weighs 1 pound, 2.9 ounces.

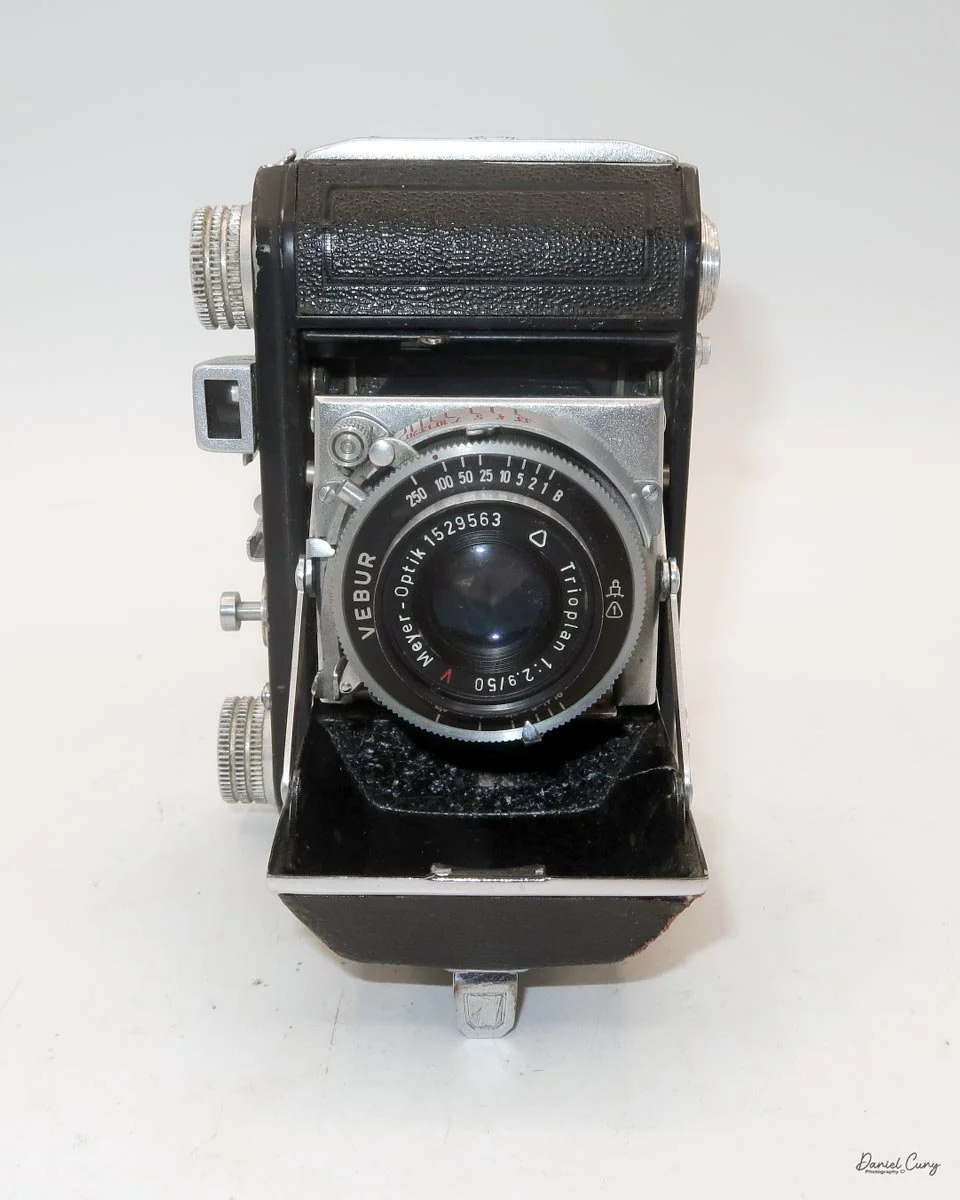
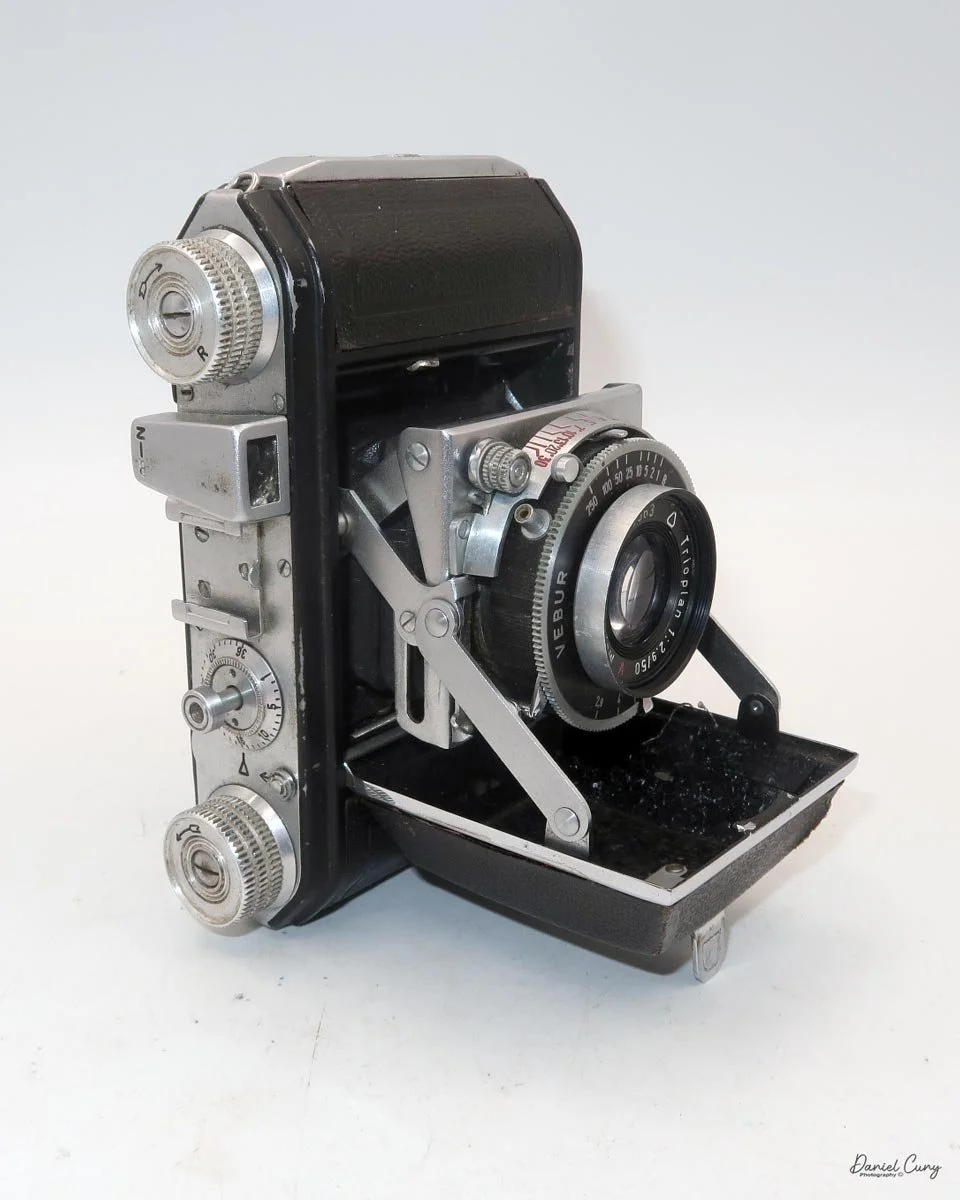
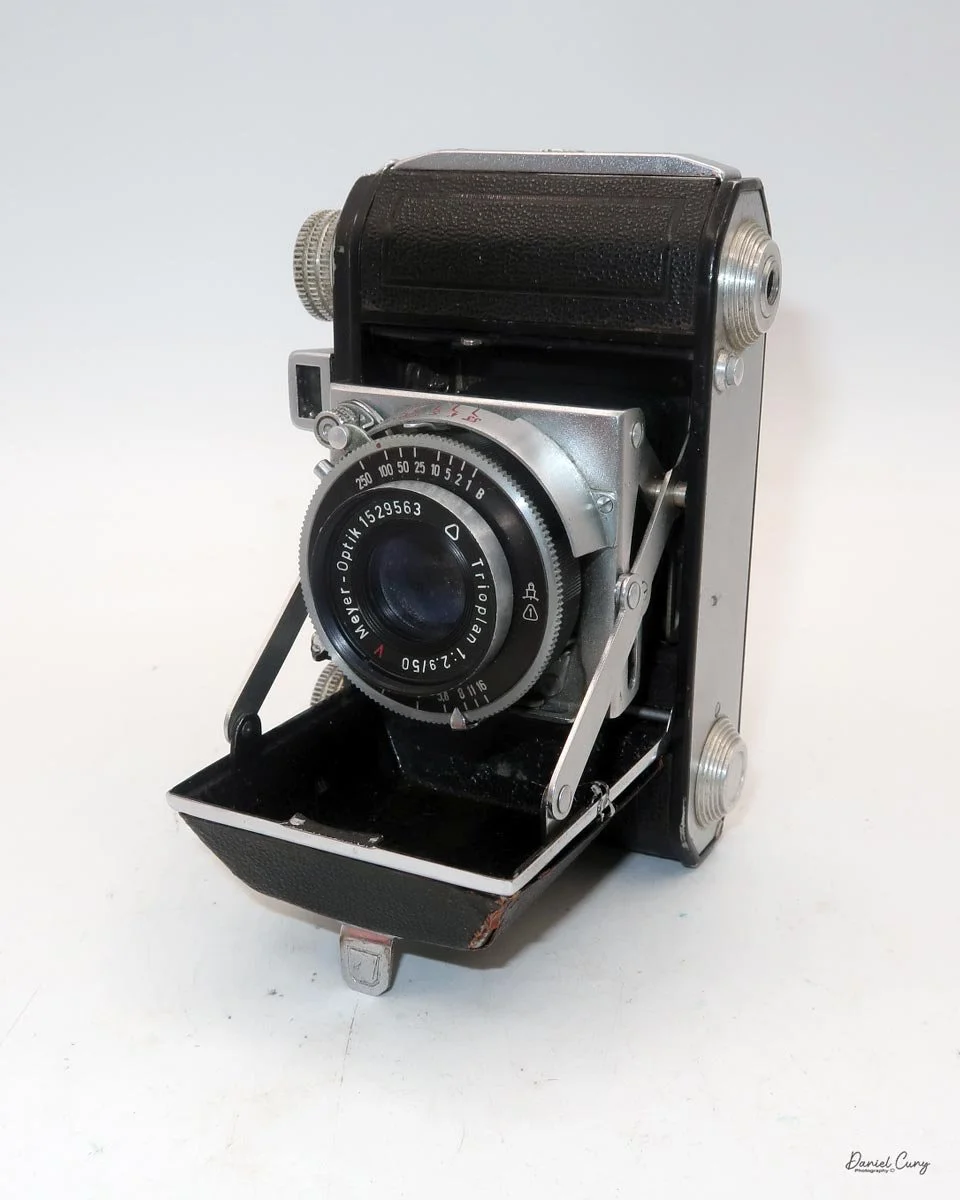
To open the lens door, press a small button at the bottom of the camera, and the lens door opens, exposing a Meyer-Optik Trioplan 50mm f2.9 lens (serial # 1529563), in a Vebur shutter at the end of a small bellows that extends, then the front door is opened.

 The shutter speeds range from 1/250 to 1 second, along with "B" for timed exposures. To set the shutter speed, turn a knurled ring on the outside of the shutter, lining up the desired shutter speed with the red dot on the ring. Just behind the shutter speed selector is the shutter cockling lever. You'll need to pull the lever over each time you're going to make an exposure, as there is no automatic shutter cocking mechanism on the Welta Welti camera.

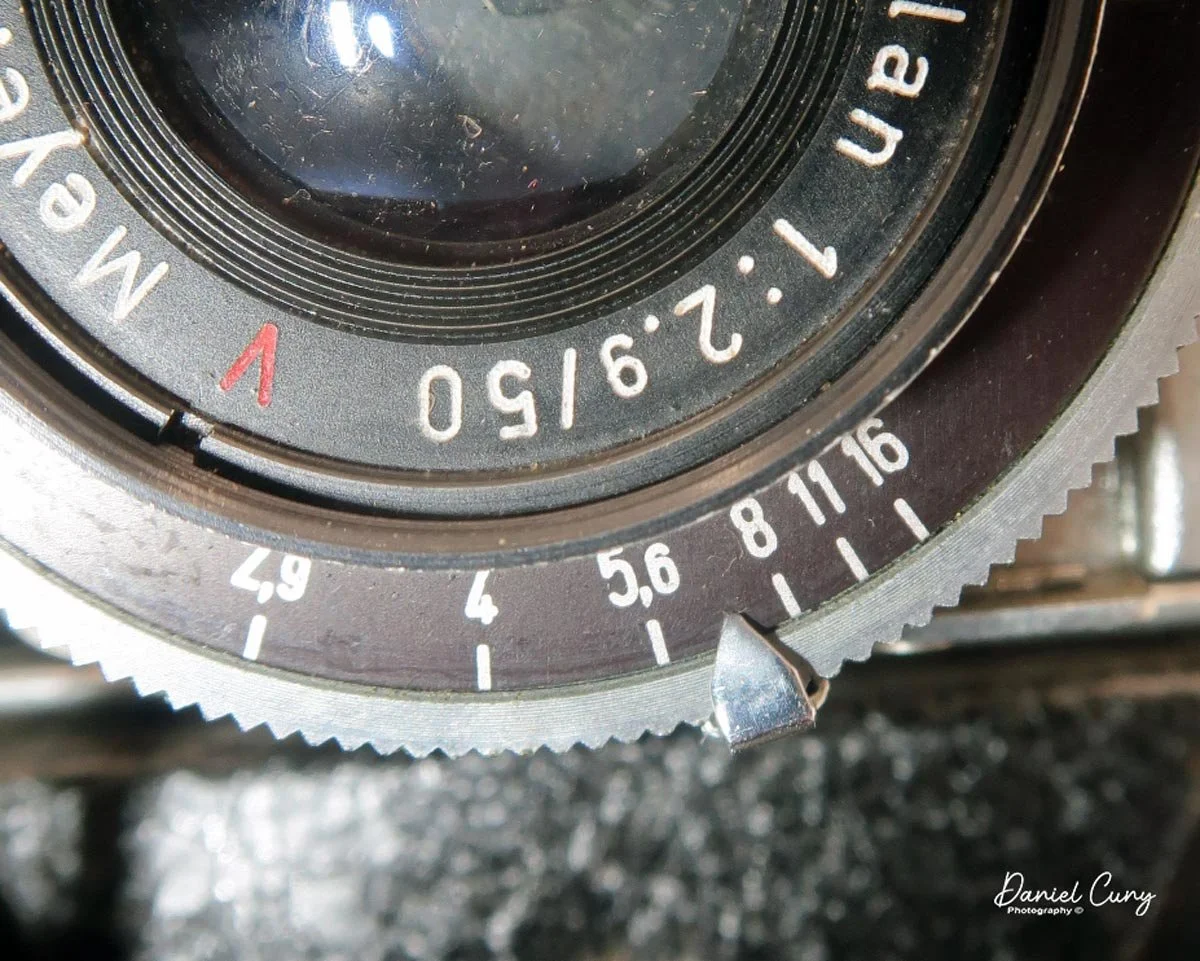
The aperture on my Welta Welti camera ranges from F/2.9 to 16 and is set by a sliding lever under the shutter, below the lens.

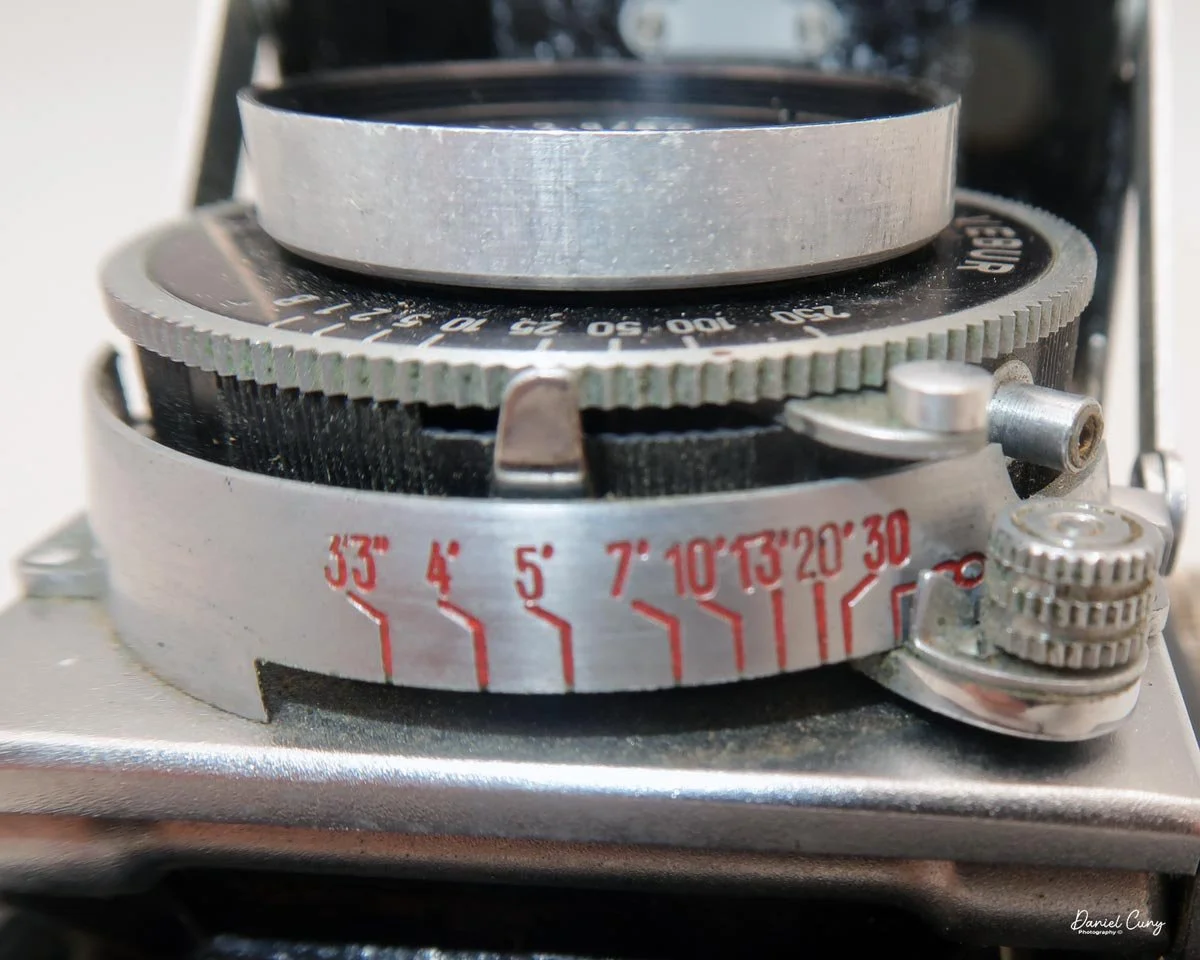
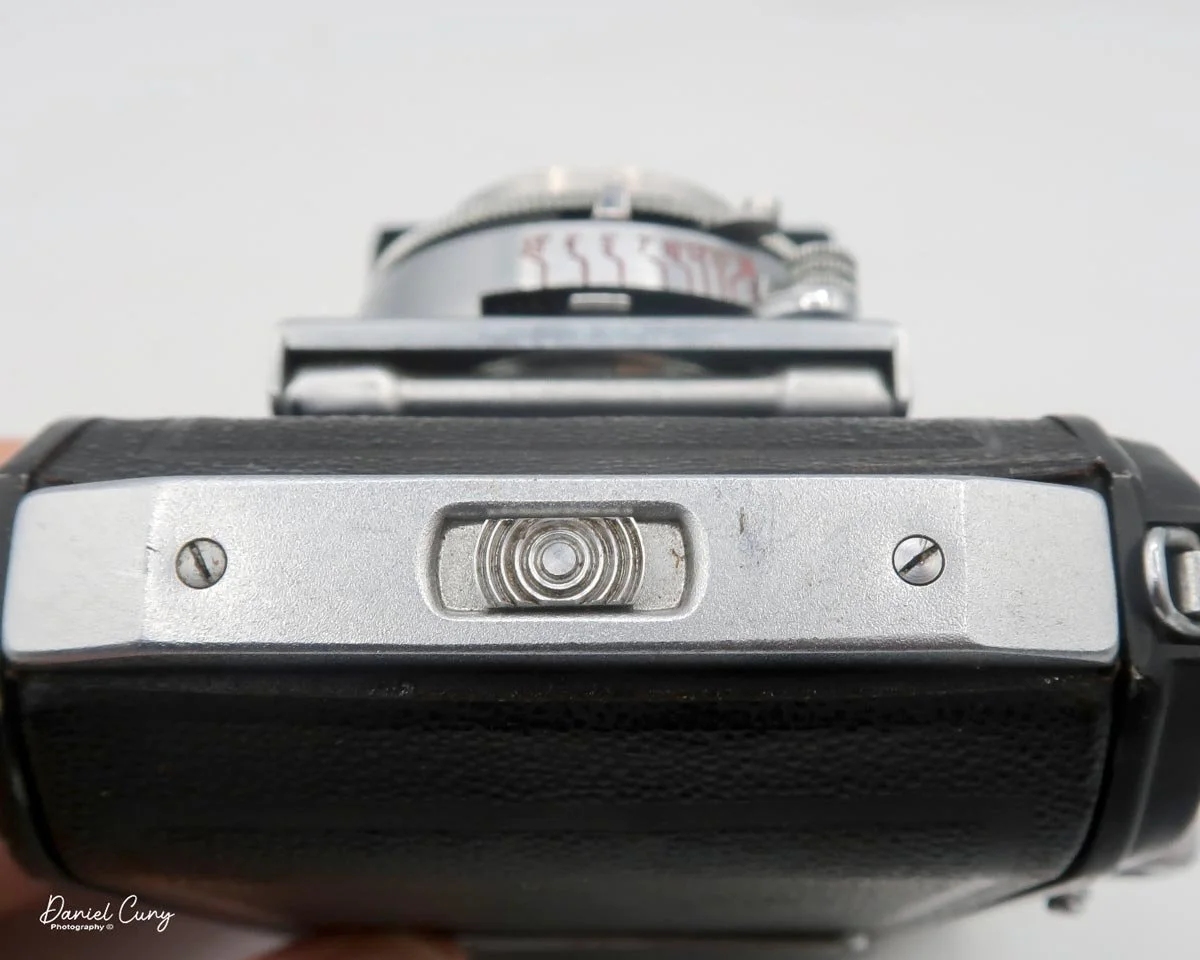
 On the back of the lensboard is a large knob that serves as the focusing lever for the camera. There is no rangefinder or internal focusing on the camera, so the distances you set are just guesses. Sliding the knob to the left or right focuses the lens. The lens can focus as close as 3.3 feet to infinity. At the end of the focus knob is a small pointer that sets the desired distance. 

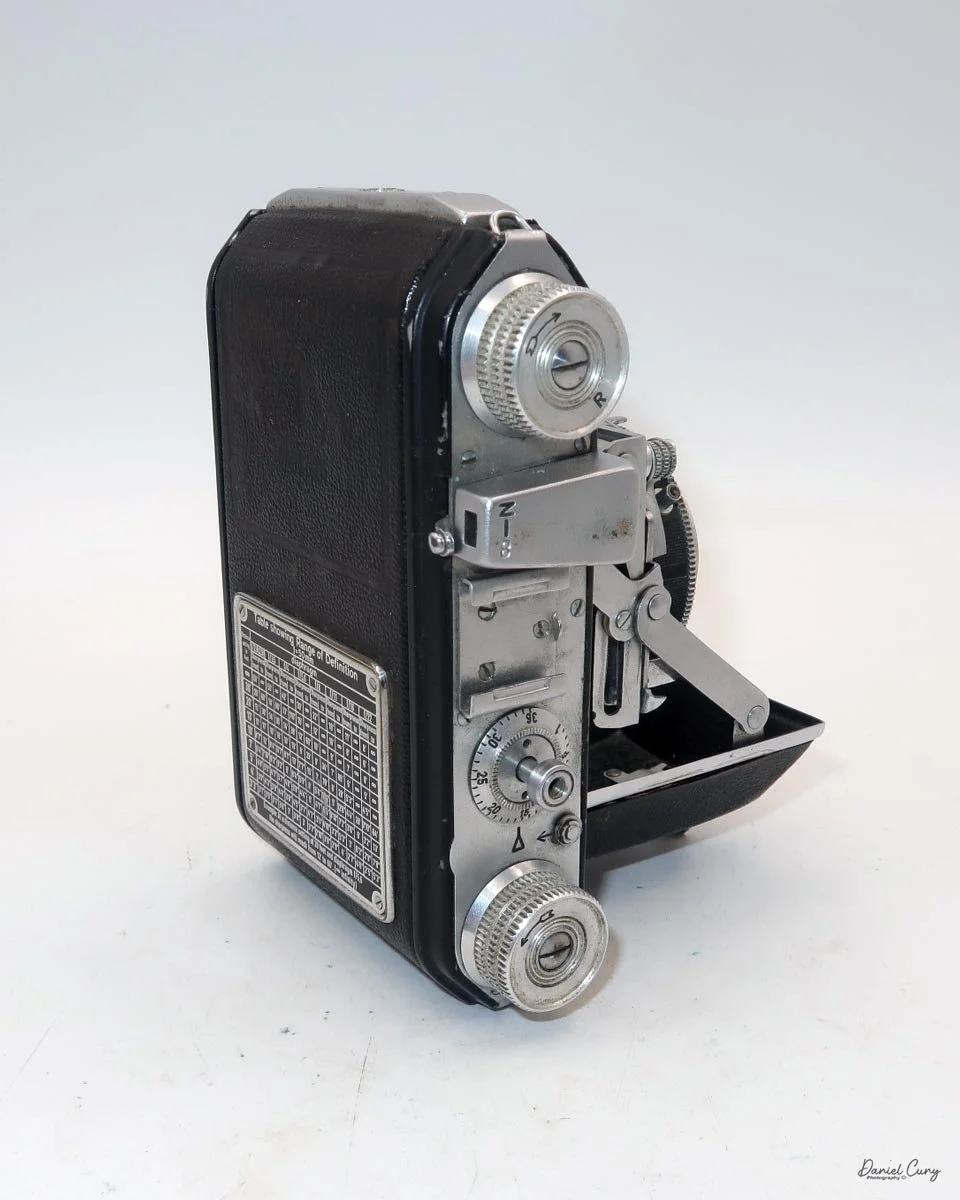
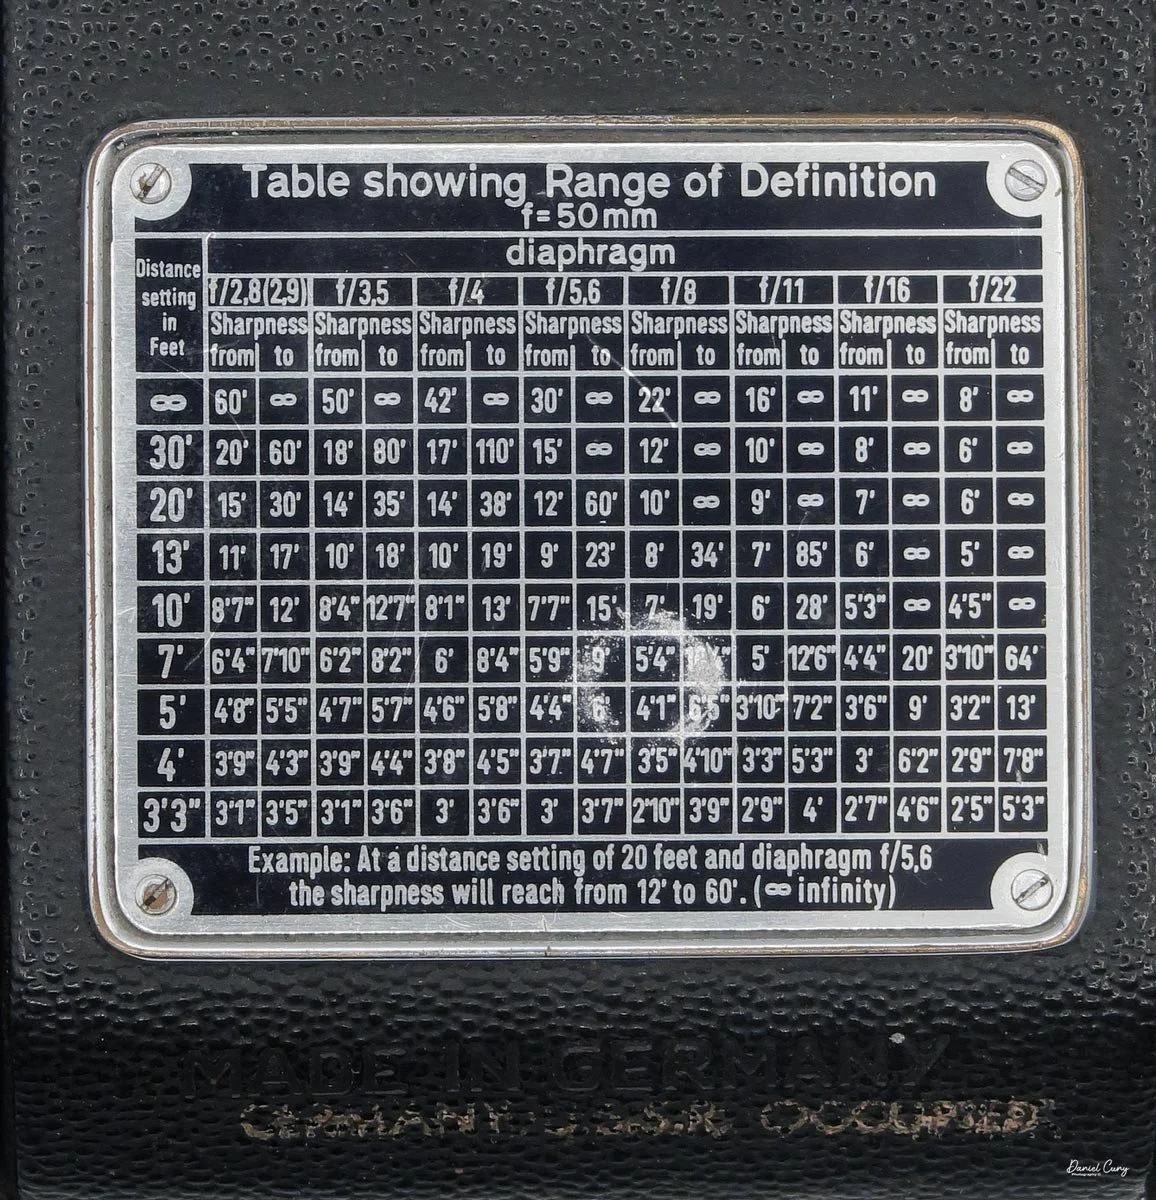
 On the back of the camera is a depth-of-field scale that shows the minimum and maximum distances that will be in focus, depending on the distance the camera is focused to and the aperture set on the camera. 

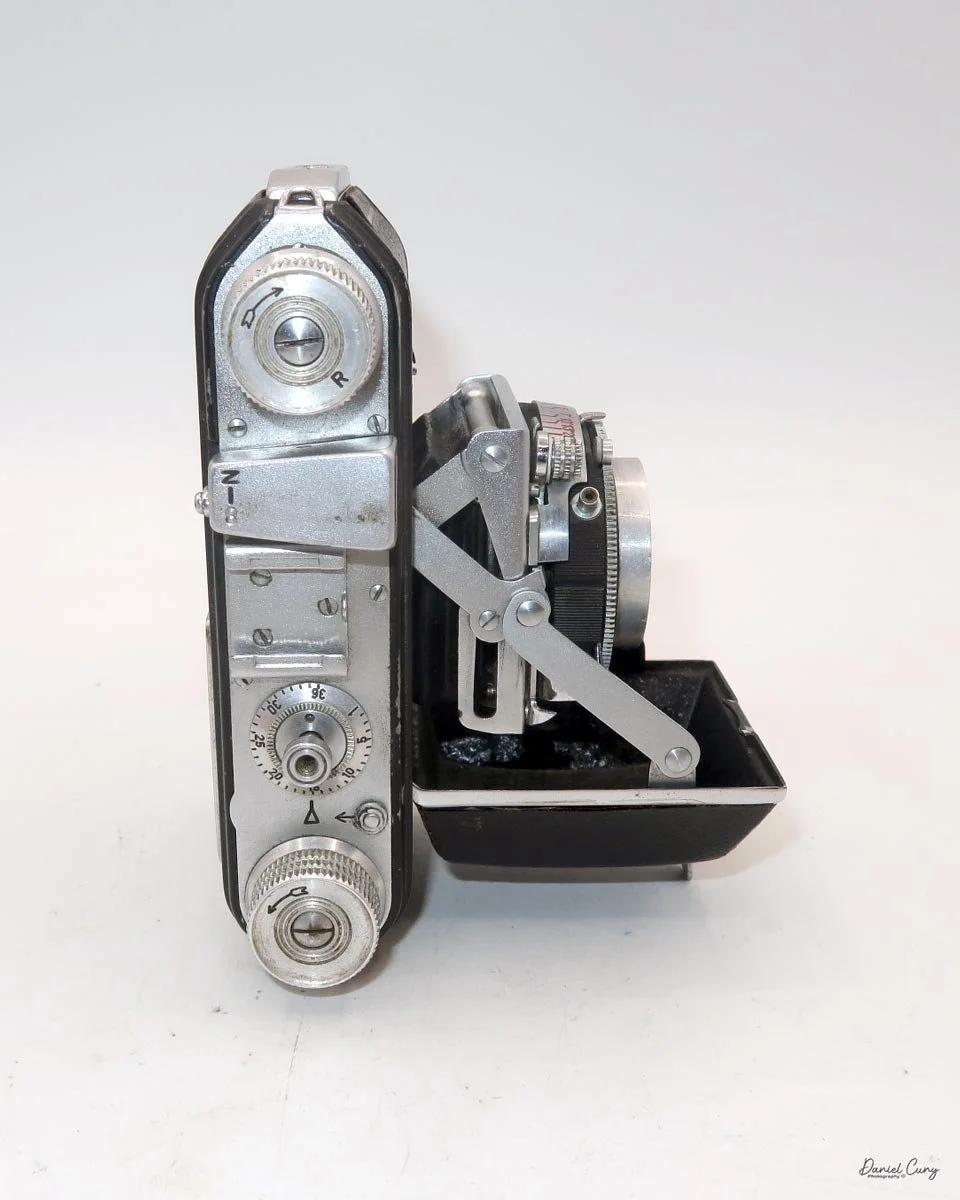
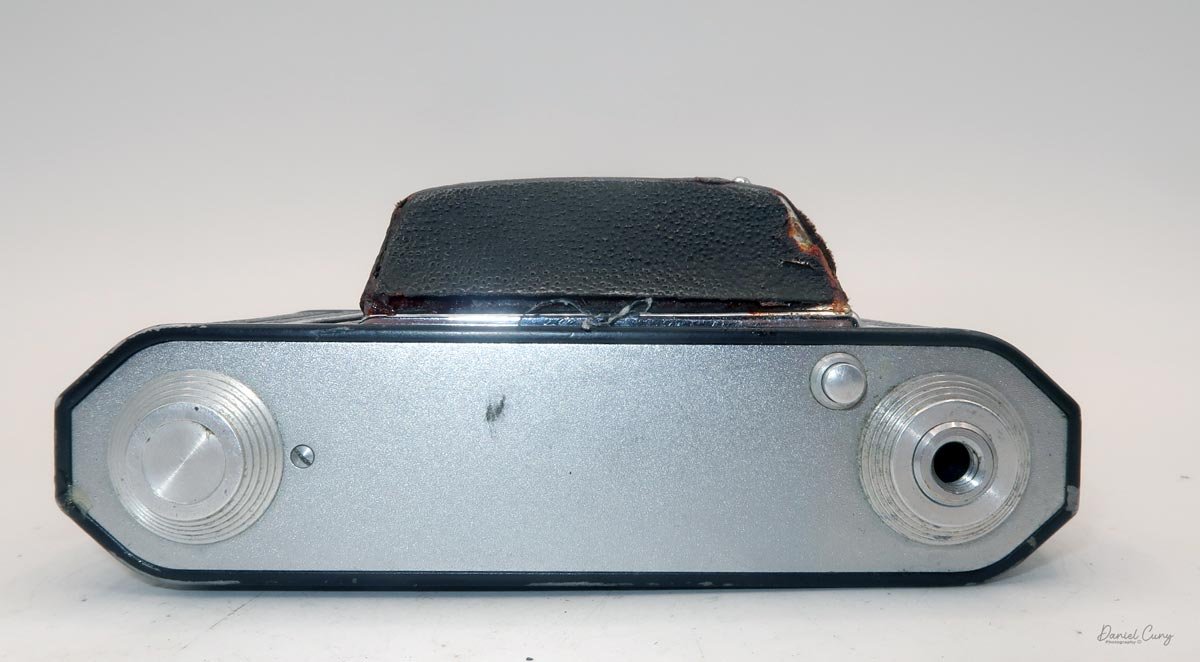
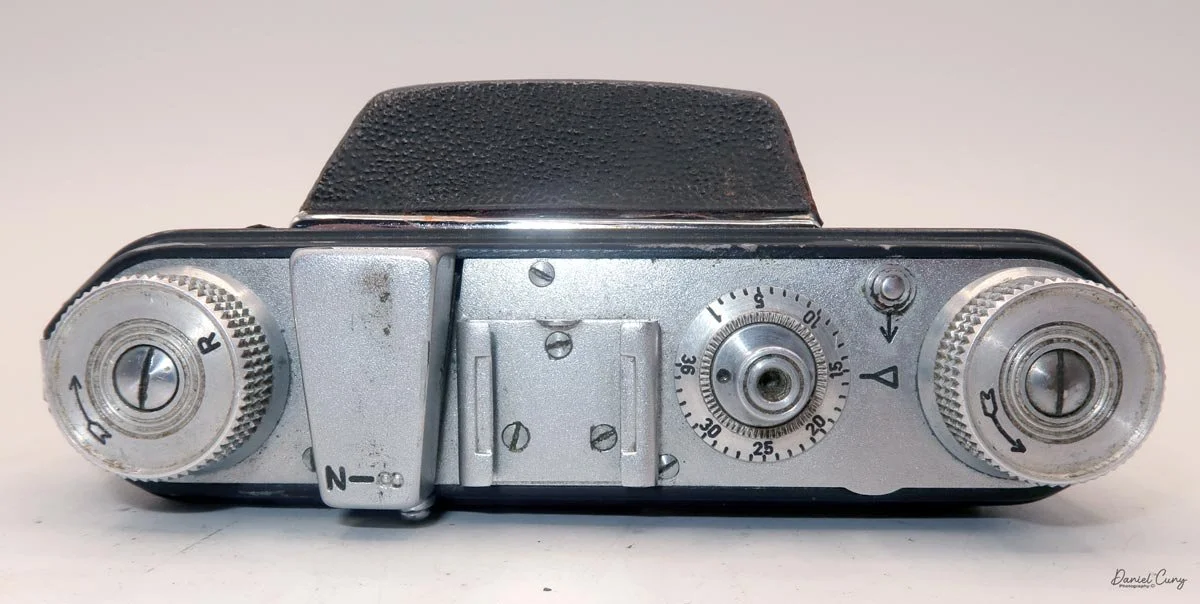
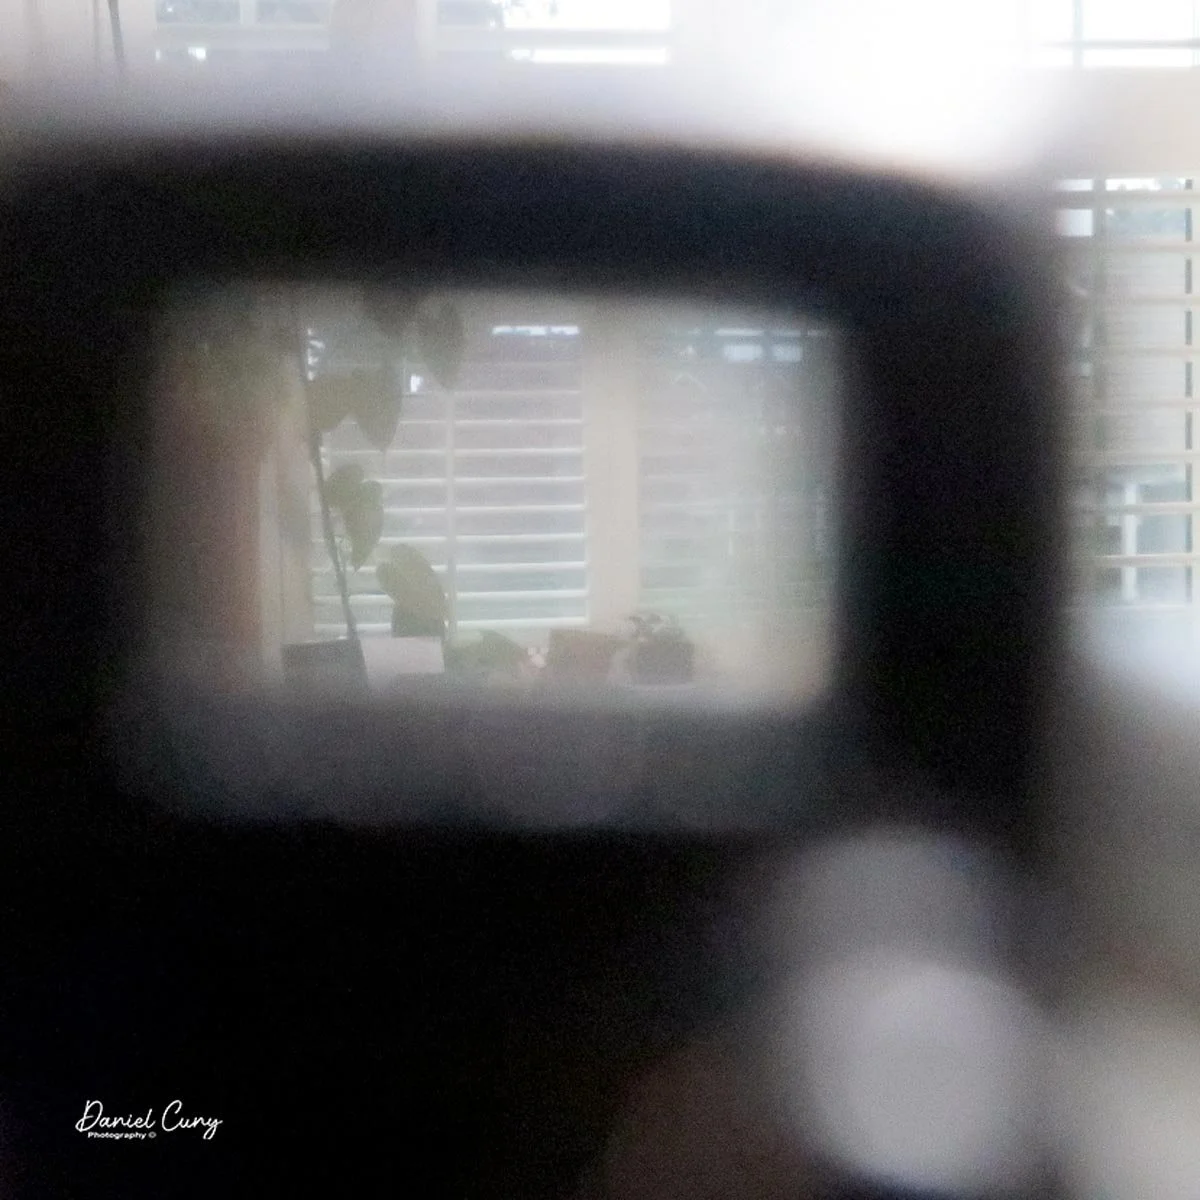
 Looking at the top of the camera, from left to right, is the rewind knob, the viewfinder used to view and frame your image. The viewfinder has a small lever under it that allows it to be pointed level for landscape images and to point down slightly for closer portrait images.

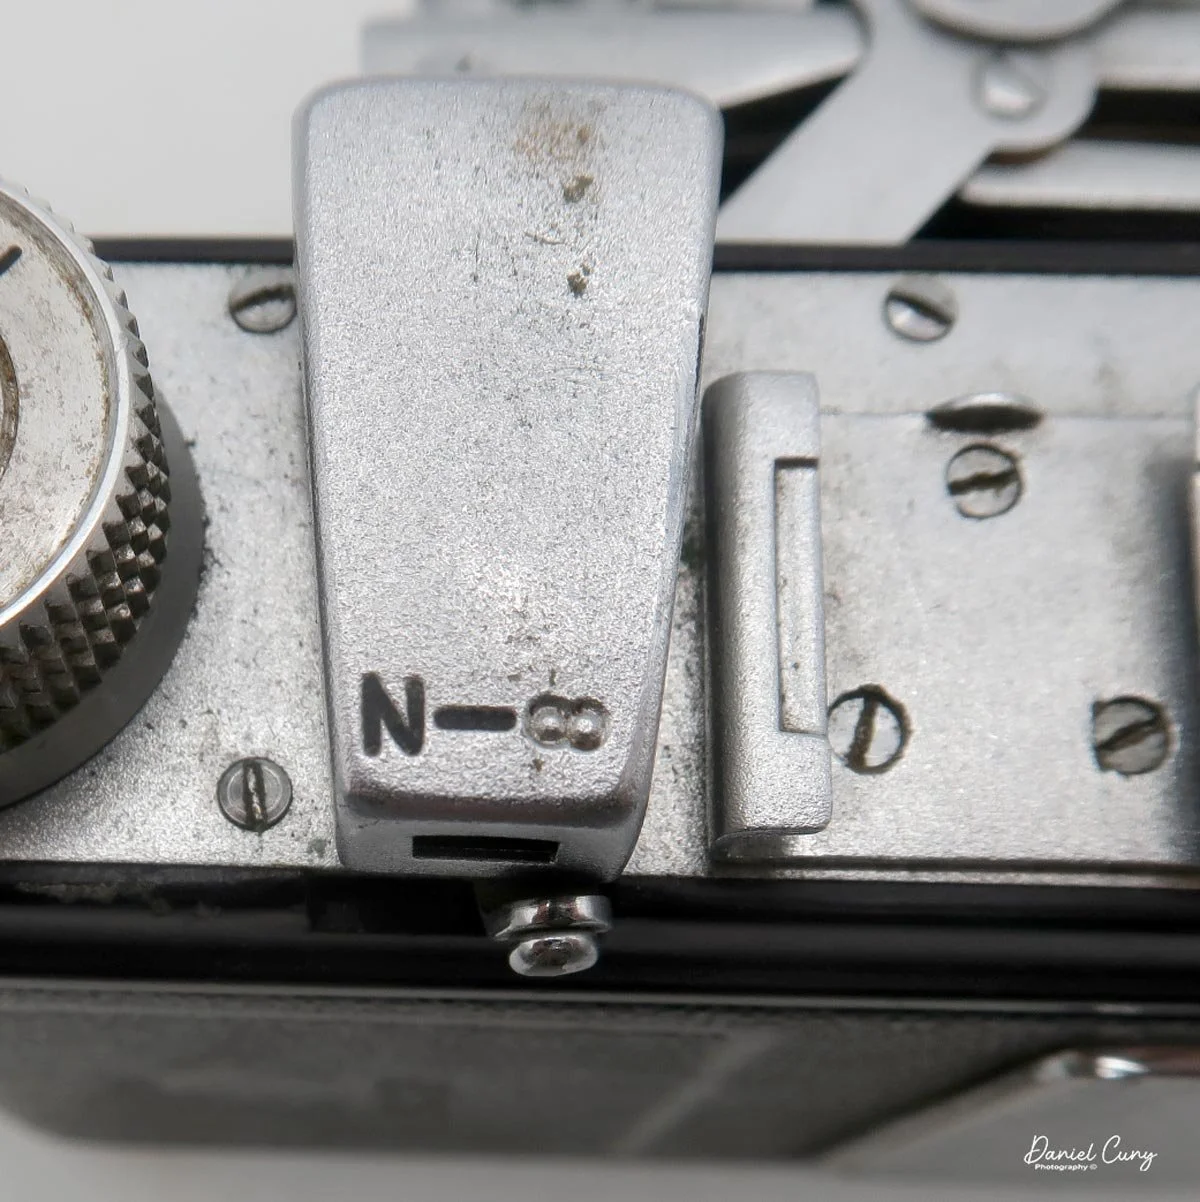
To the right of the viewfinder is a cold shoe that can be used for a separate rangefinder to aid in focus distance or a flash for indoor or night photographs. Moving on to the shutter release inside the frame counter, a small sliding button to unlock the film drive gear for film advance and rewind, and on the far right-hand side is the film winding knob with an arrow on the top showing the direction you turn it to advance the film to the next frame.

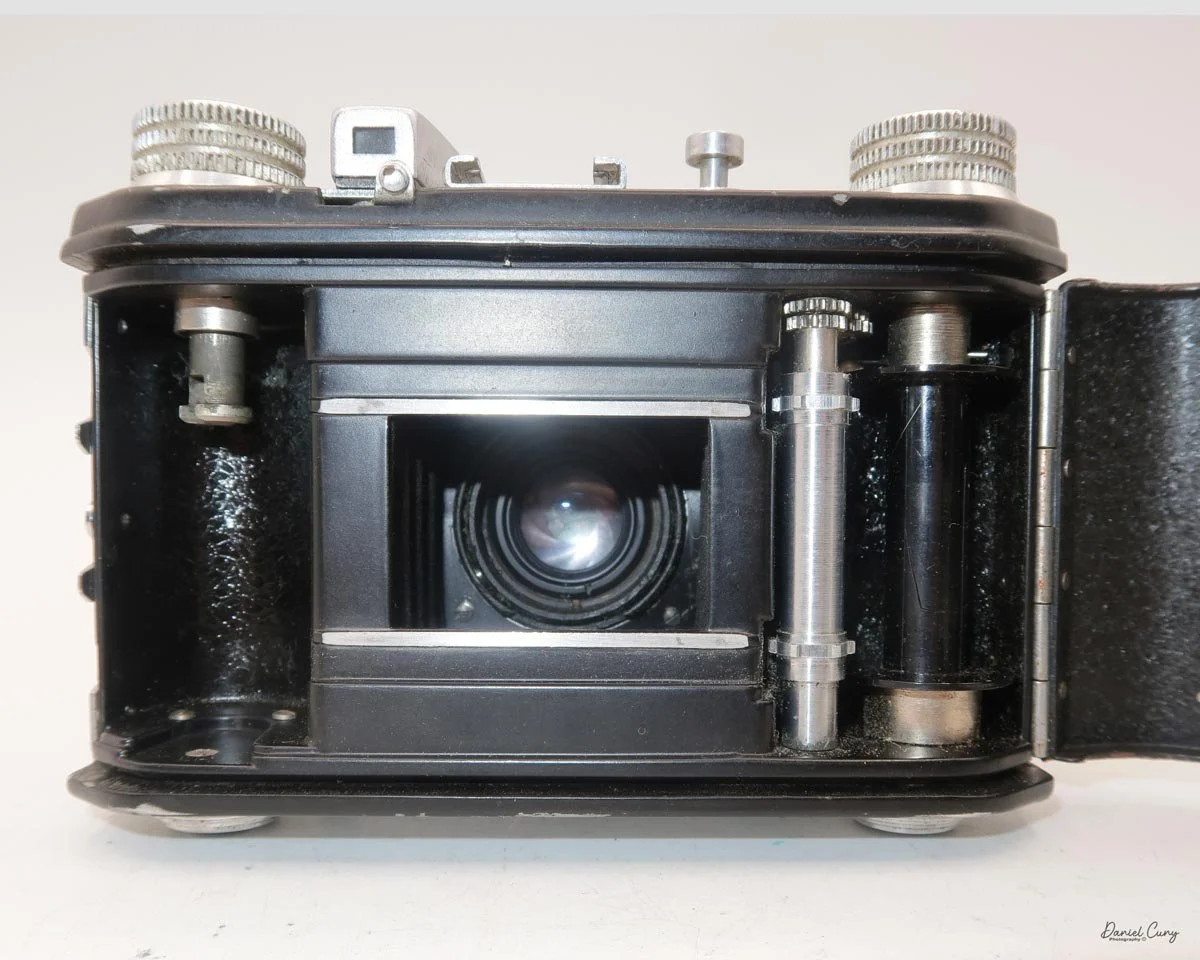
 On the left side of the Welta Welti camera is a lever that opens the film door for loading and unloading film. Opening the film door exposes the inside of the shutter. The camera has a standard film-loading area for a 35mm camera. The take-up spool is on the right side, and right next to it is the silver film drive gear. On the back of the camera door is the pressure plate. Once the film has been exposed, slide back the small lever between the film winding knob and the frame counter, which makes the film drive gear free-moving and allows you to rewind the film into the film cassette without tearing up the sprocket holes.

To close the lens door for transportation, press down on the two angled struts on the side of the lens; the lens and film door will begin to retract into the camera body. Just press it all the way back until you hear a clicking sound, which means the door is shut and won't pop back open by accident. 


My Results:

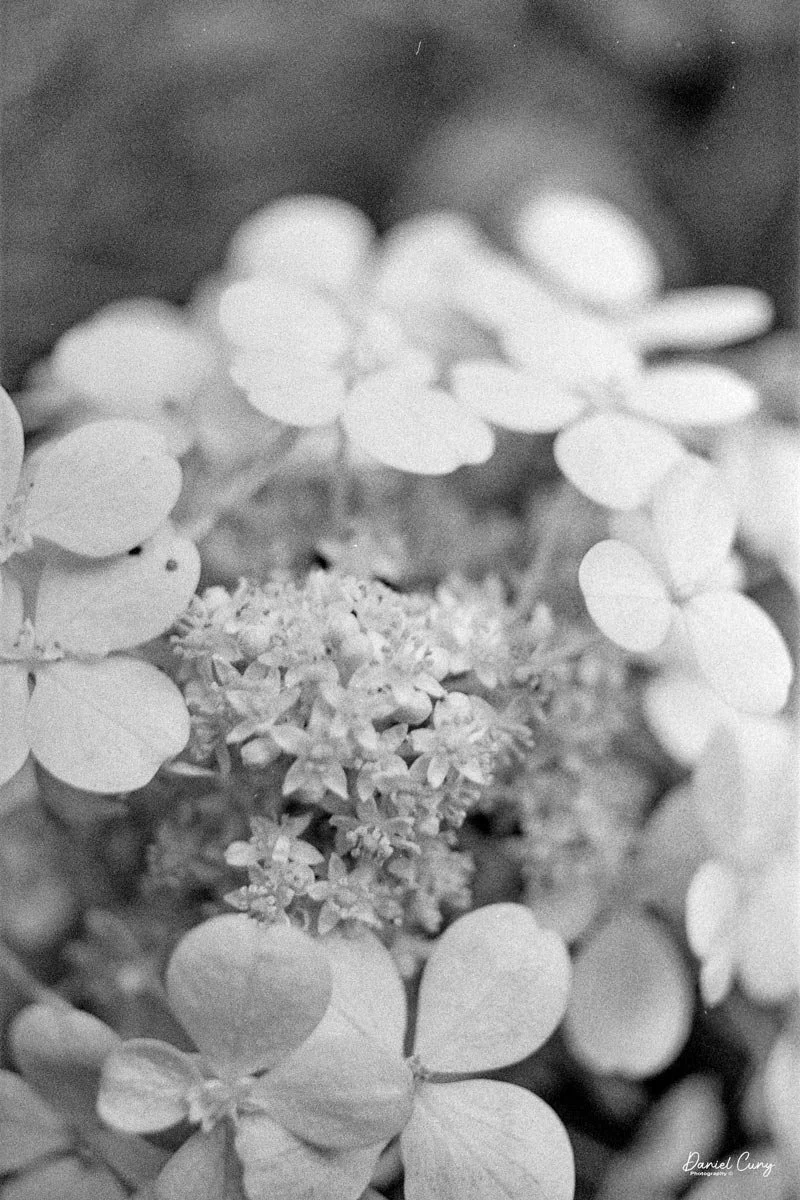
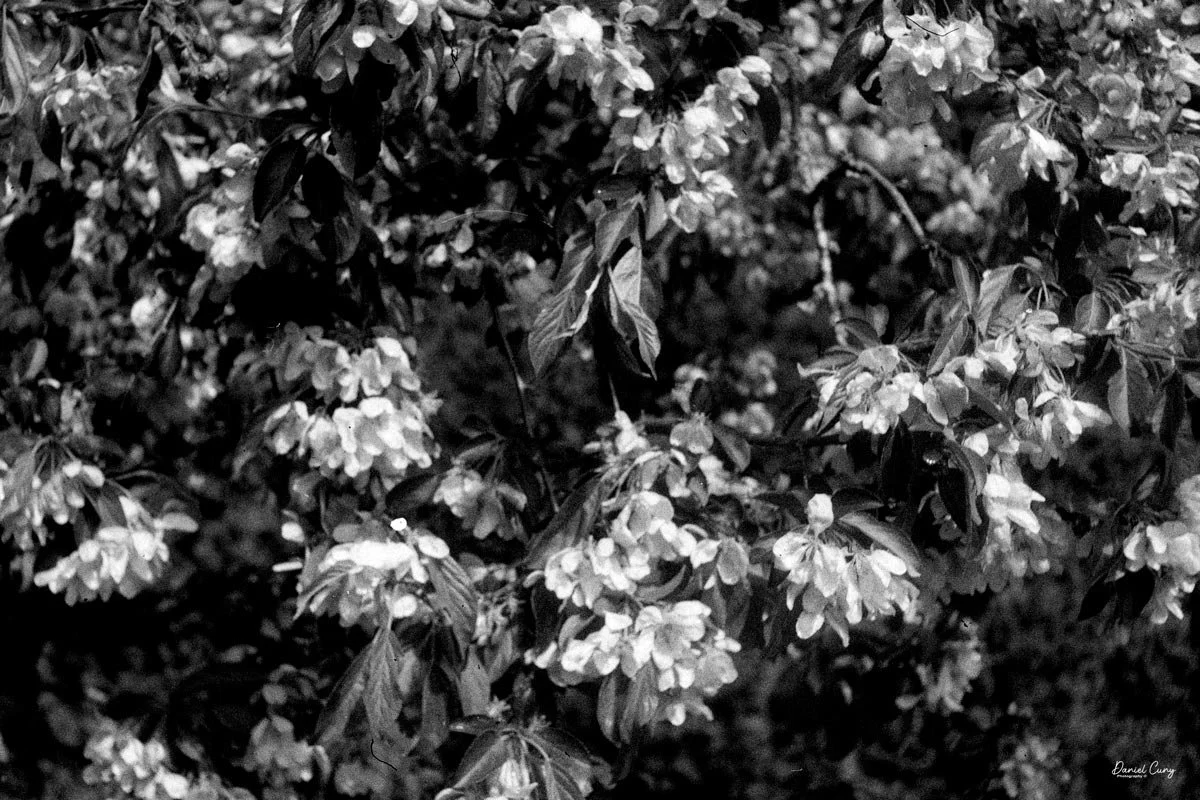
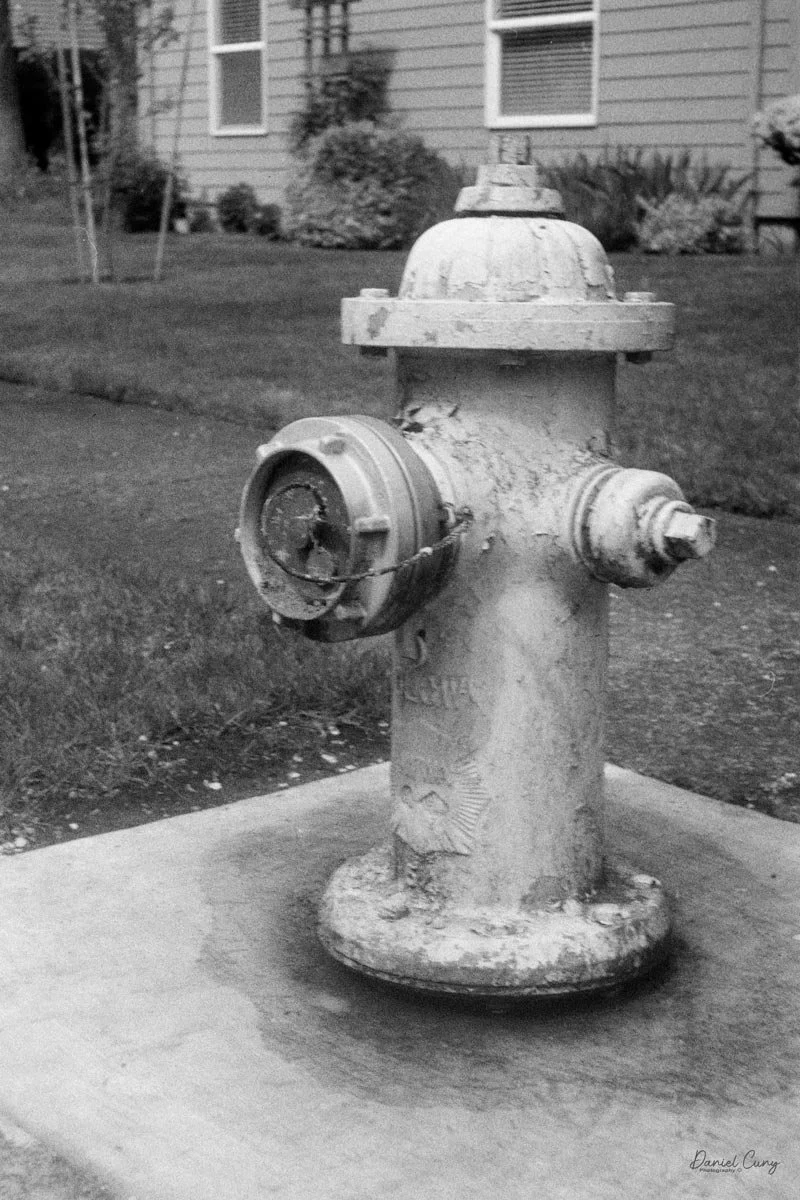
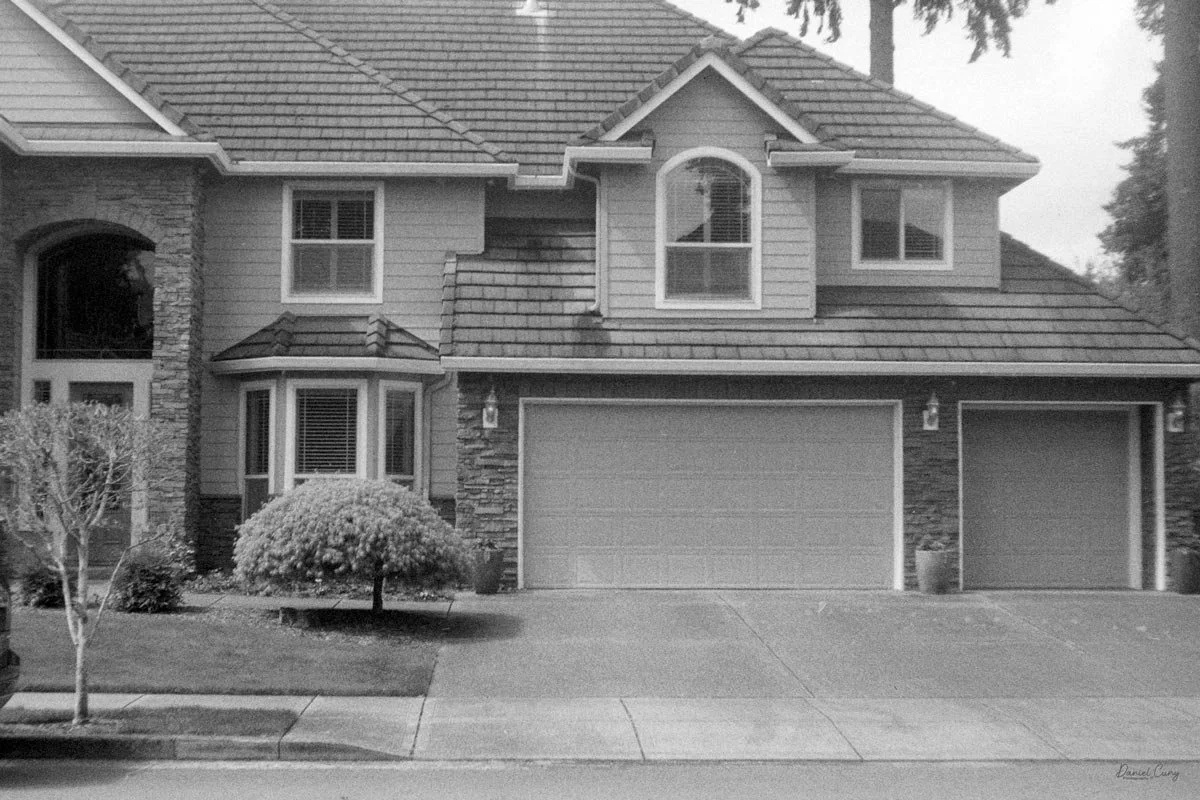
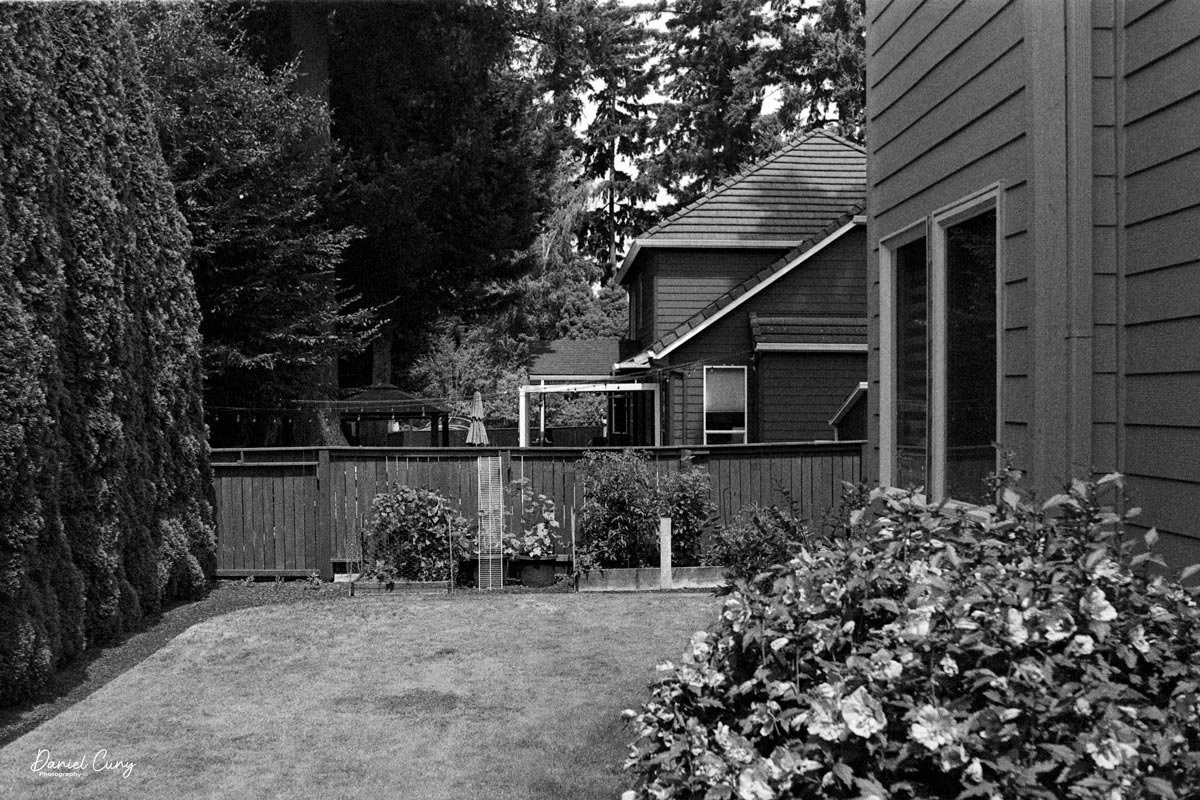
 I have some 200 ISO film in my bulk loader, which I enjoy using, especially for testing 35mm cameras, as I can roll a shorter roll of film into the film cassette and not use up a full roll of 36 exposures for my blog. Rolling about 20 frames into the film cassette, I took the camera for a nice spring day walk through the neighborhood.

 The flowers and trees are blooming, and the sun is shining. Here are a few of the images I got with the Welta Welti camera.

 Conclusion:

 Looking at the images, they turned out better than I anticipated. The exposures were good, and the focus was enough to produce sharp images, so I'm fairly good at judging distance to the subjects and setting the proper focus distance. I understand that having an external rangefinder for the camera would be helpful, but it would also slow down the process.

 The transport was smooth along with the film rewind. The viewfinder is pretty small, and with glasses, it made it a bit more difficult. That, along with having to remember to cock the shutter each time, was the only real drawback to the camera.

 The Welta Welti is similar to other 35mm cameras from this era, like the Kodak Retina. They are small, pocketable 35mm cameras with a nice range of shutter speeds and good optics. I now understand why I brought the camera to the camera show. It's a nice camera, but I'll probably put it up on my online store for someone else to enjoy.

 Thank you for taking some time from your day to read about this compact 35mm camera made in the late 1940s to early 1950s. Here's a link to the Welta Welti manual. Thanks to Butkus.org.

 I'd love to hear from you about this or any of the other Camera Reviews I've done.

 Cuny's Cameras and Photos is my online eBay store where I sell cameras I've written about, along with other camera oddities I've accumulated over my 50-plus years collecting photo items. 

 I'm taking next week off for my trip to Japan, so I'll see you in a couple of weeks. Please be safe.