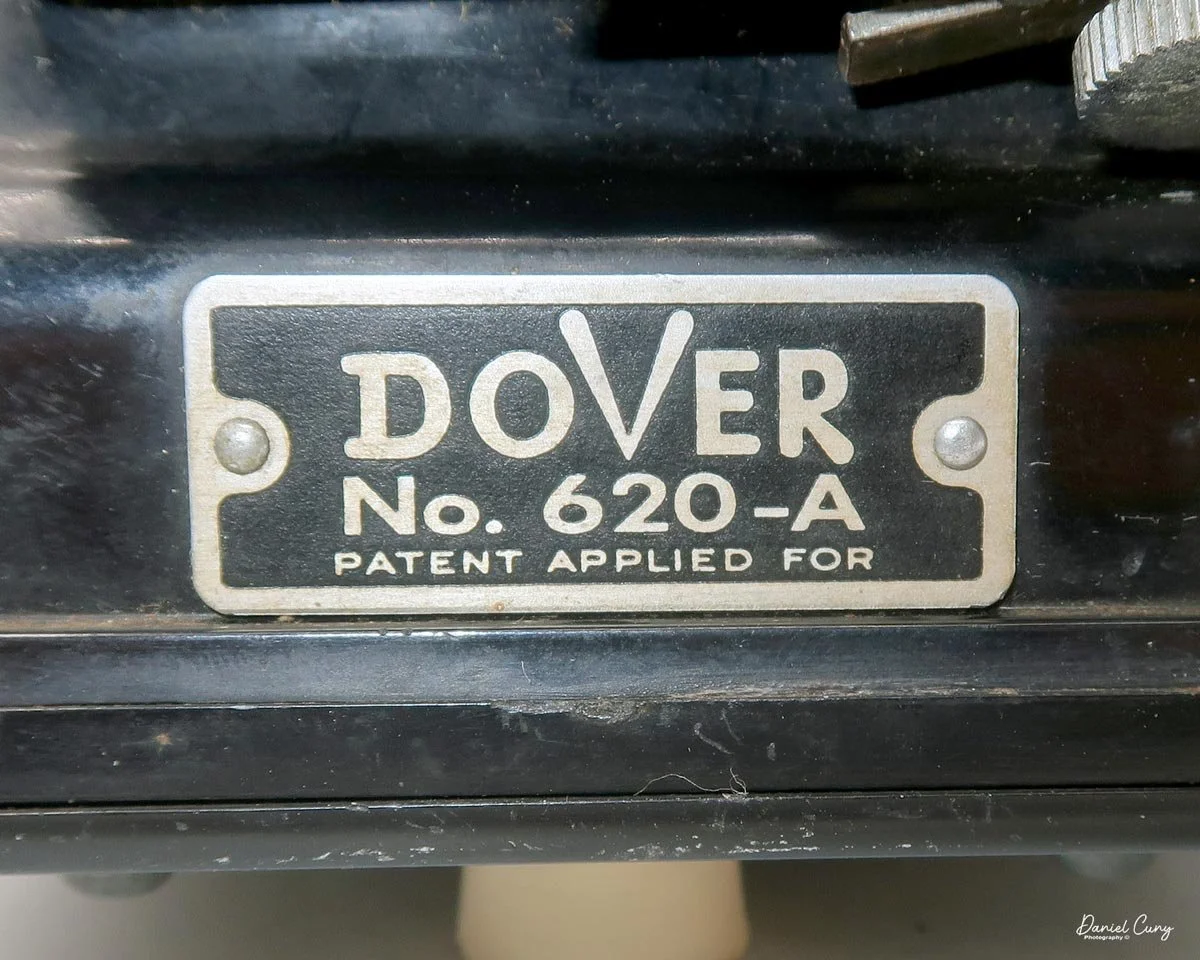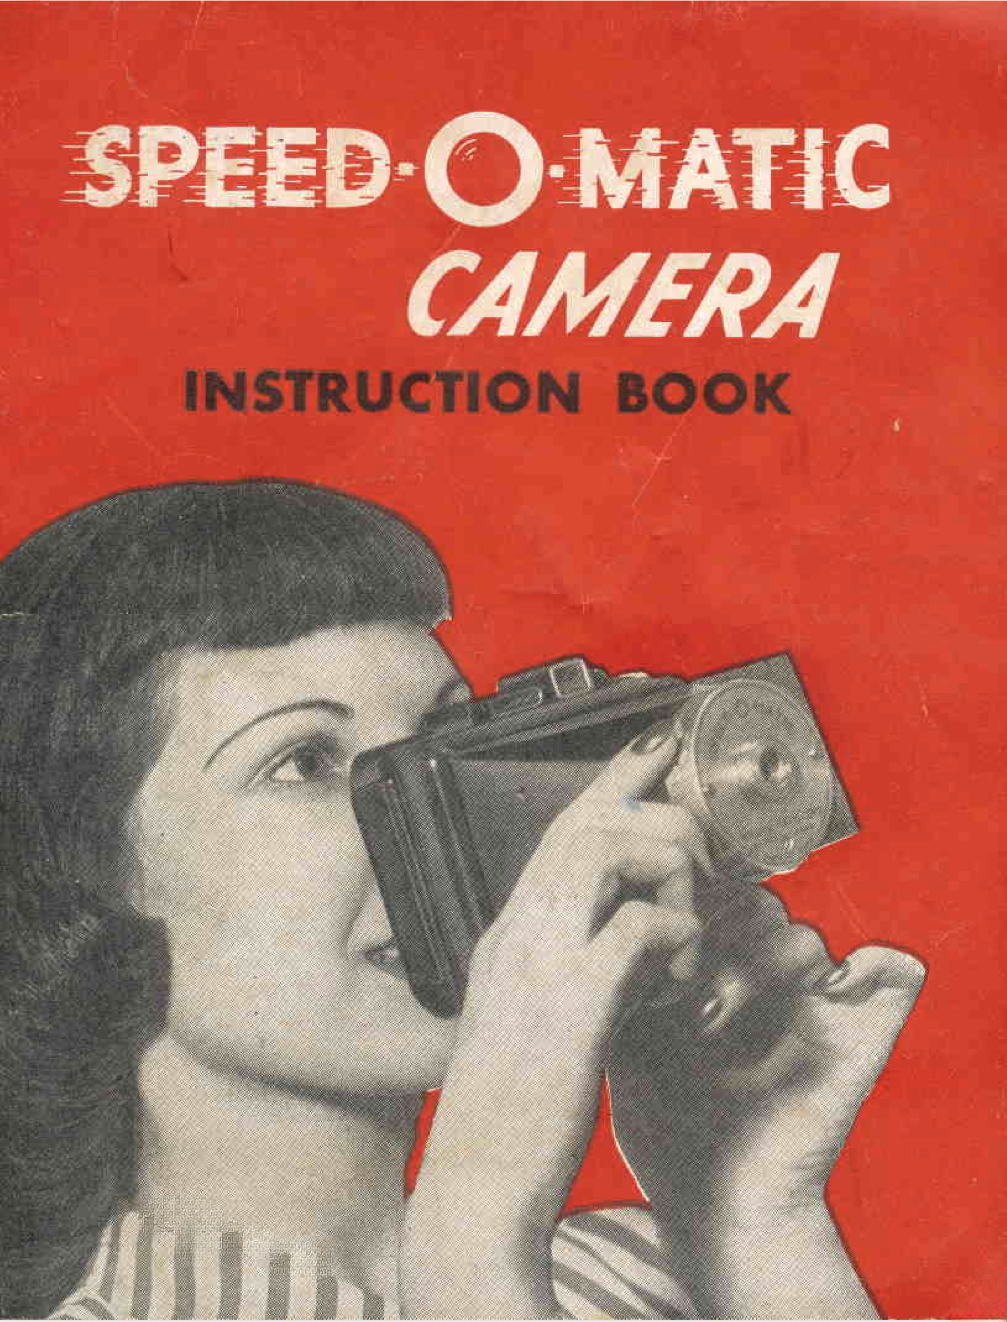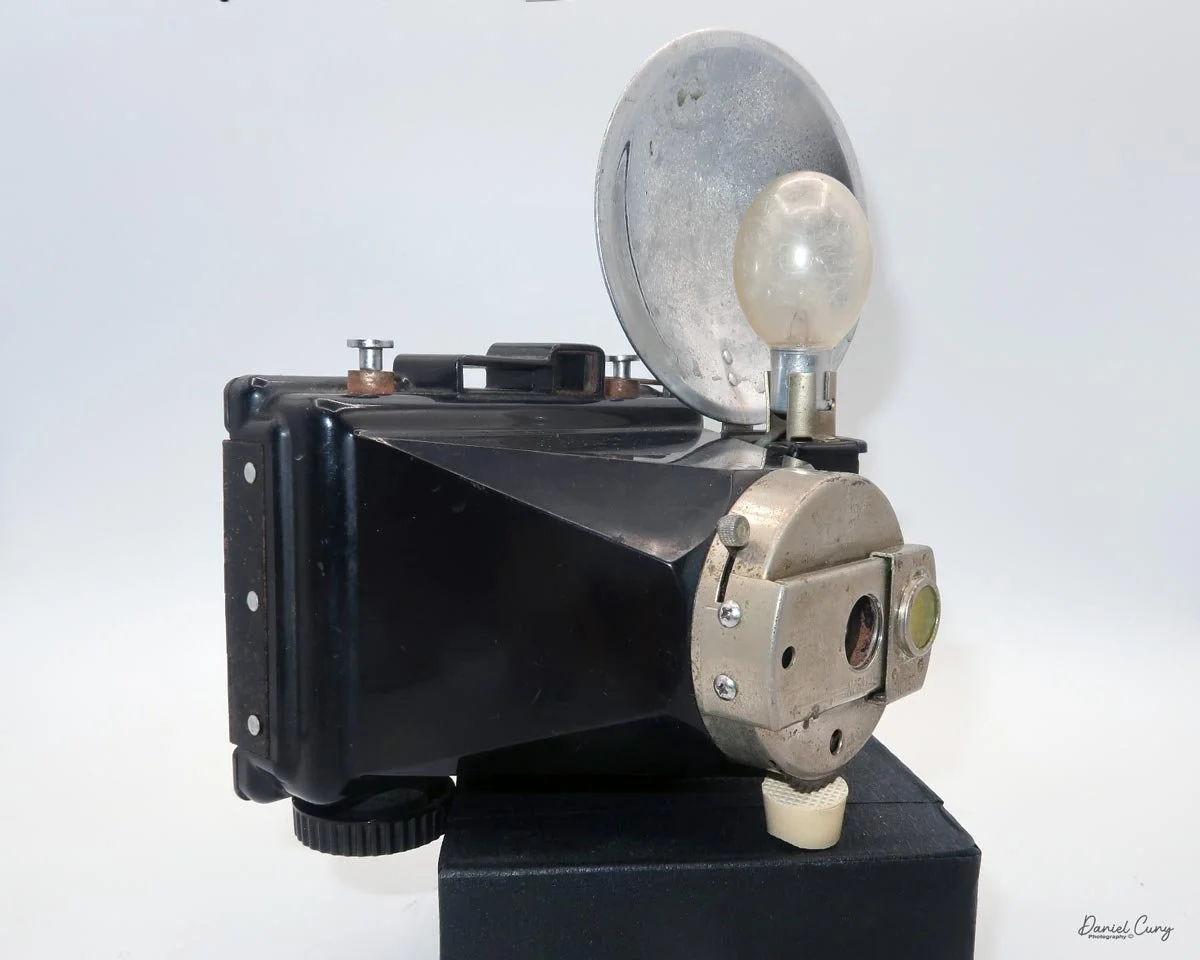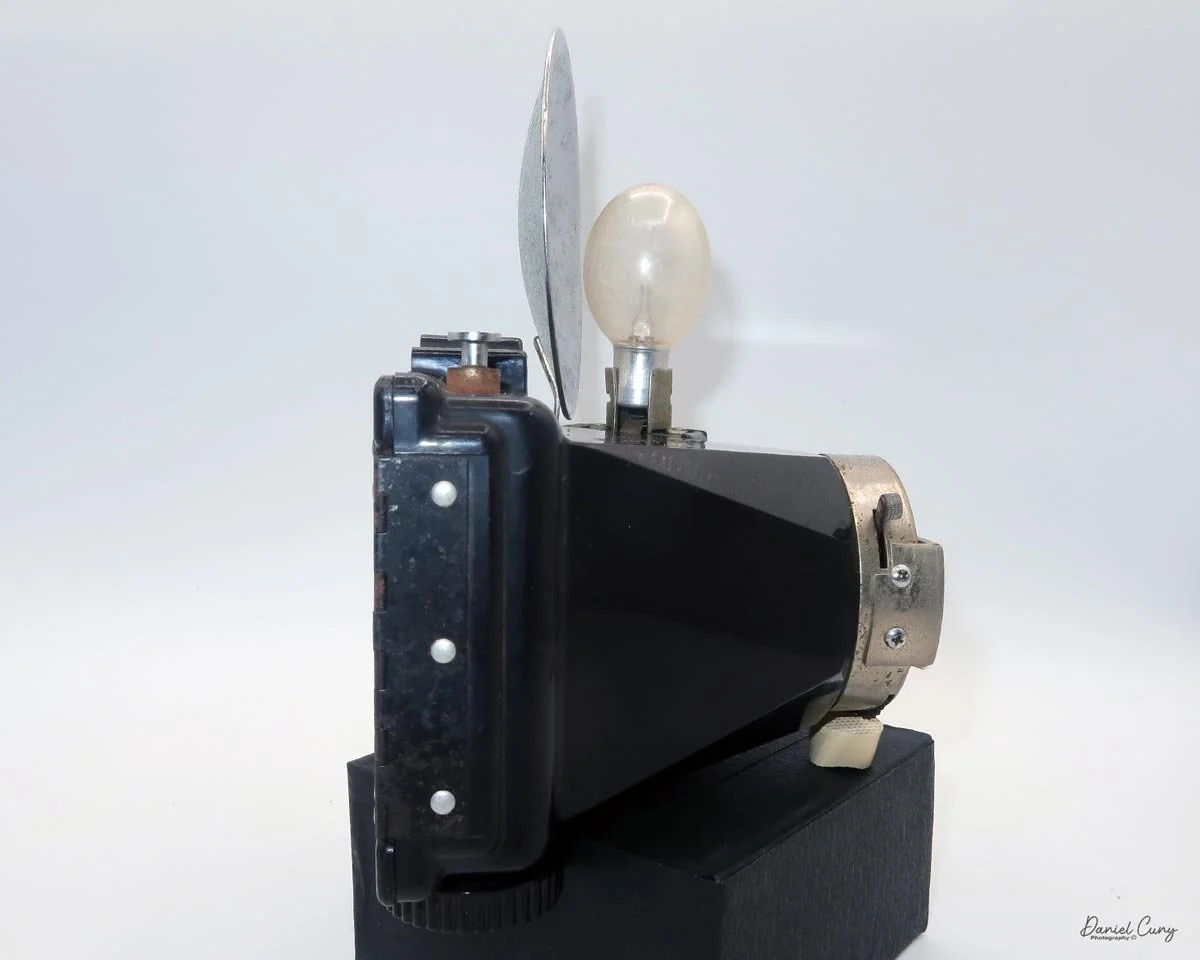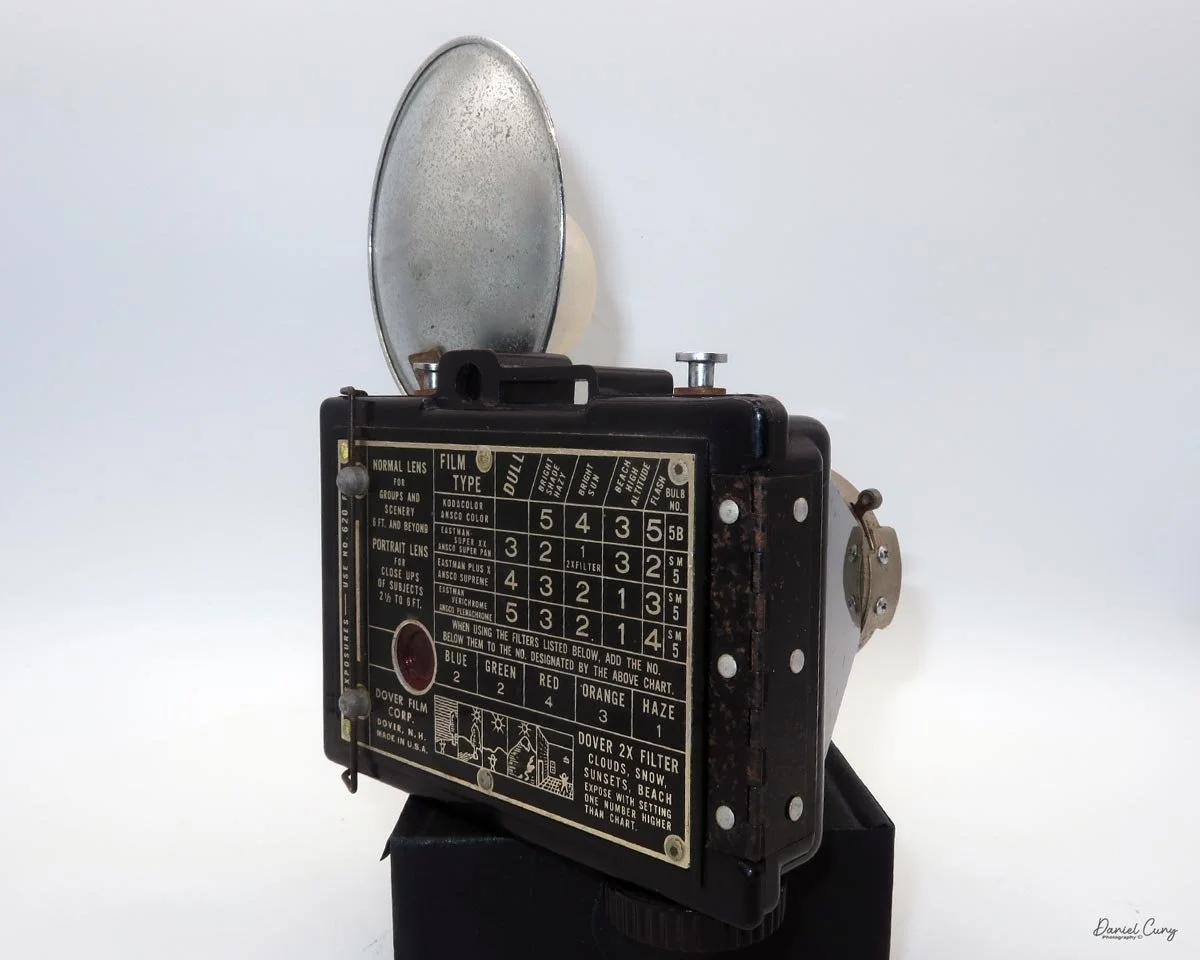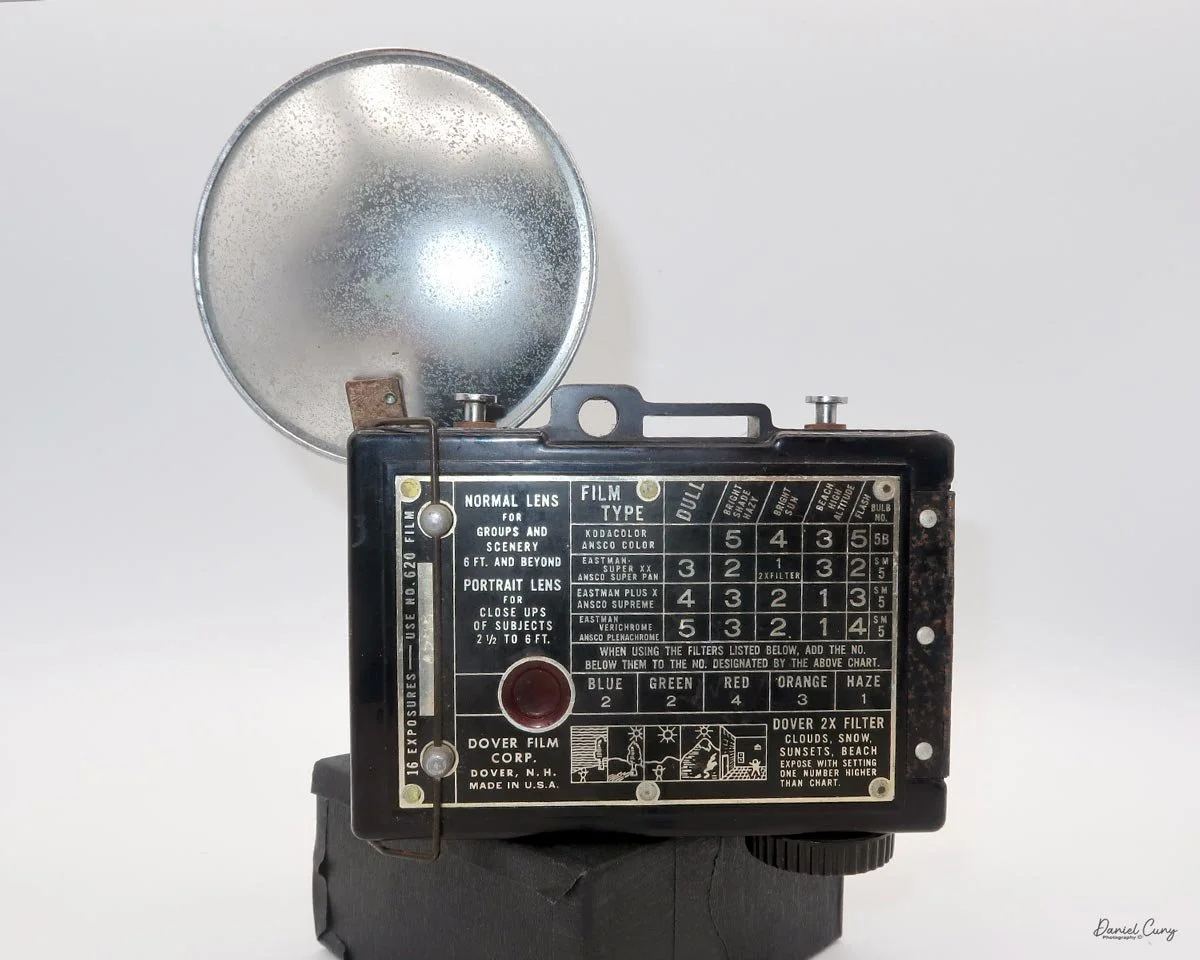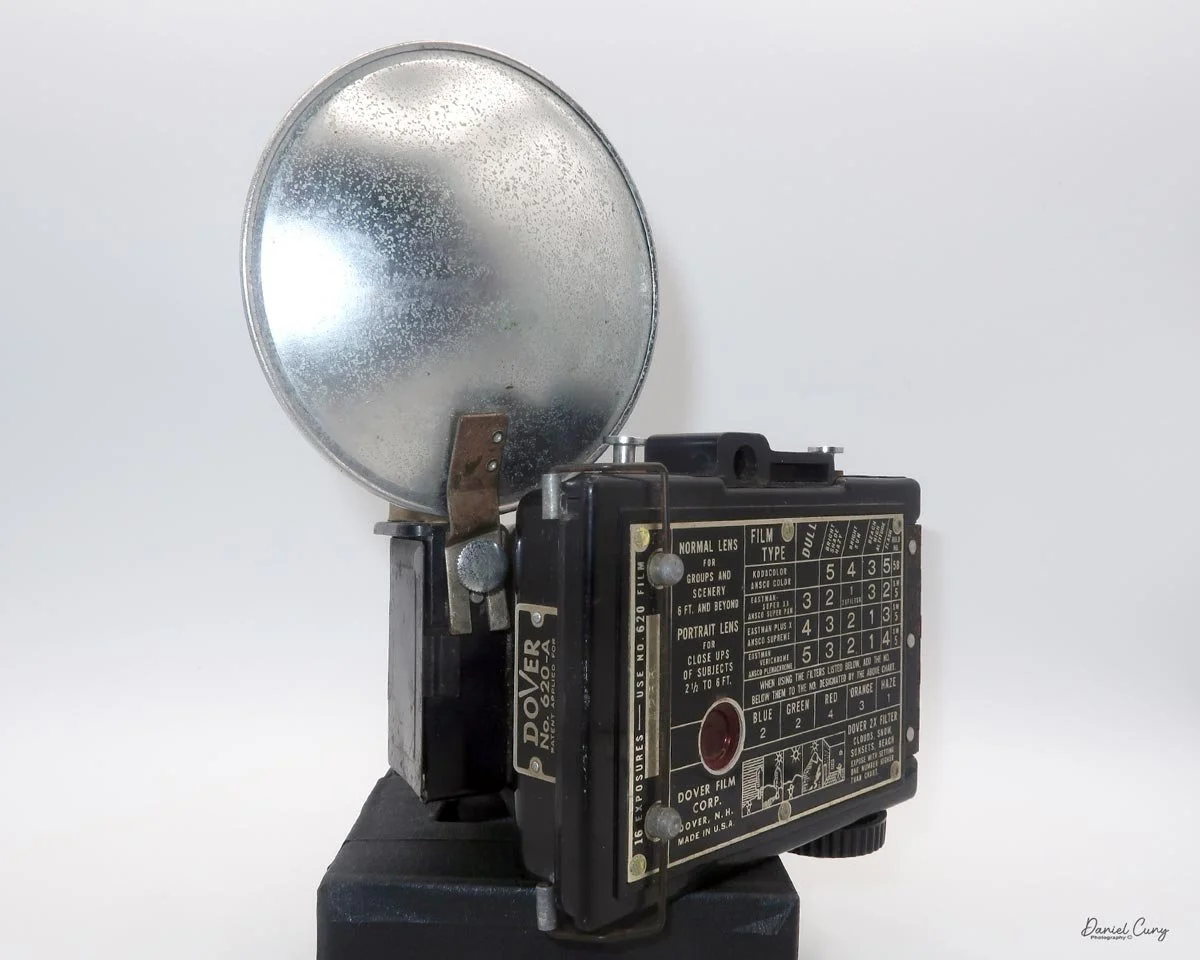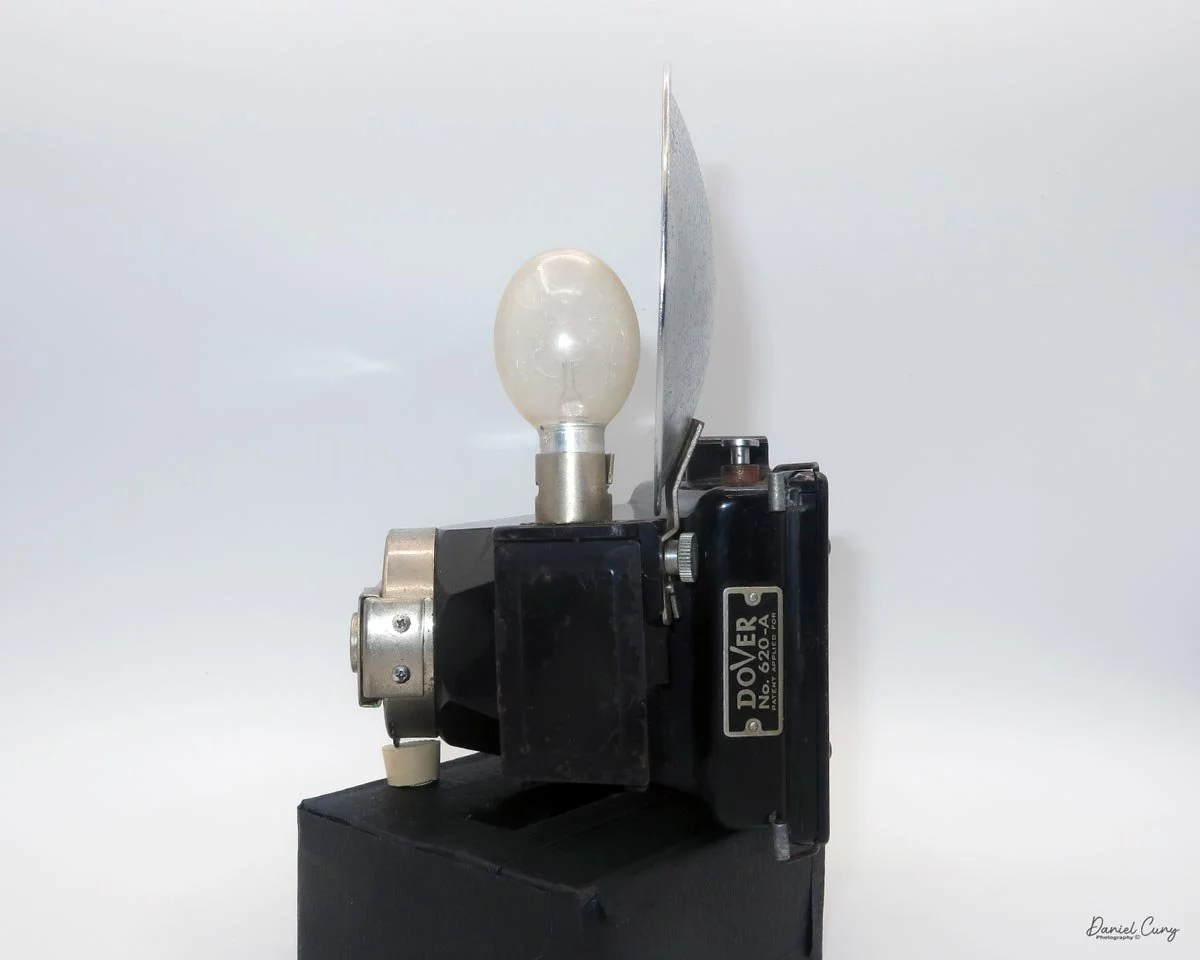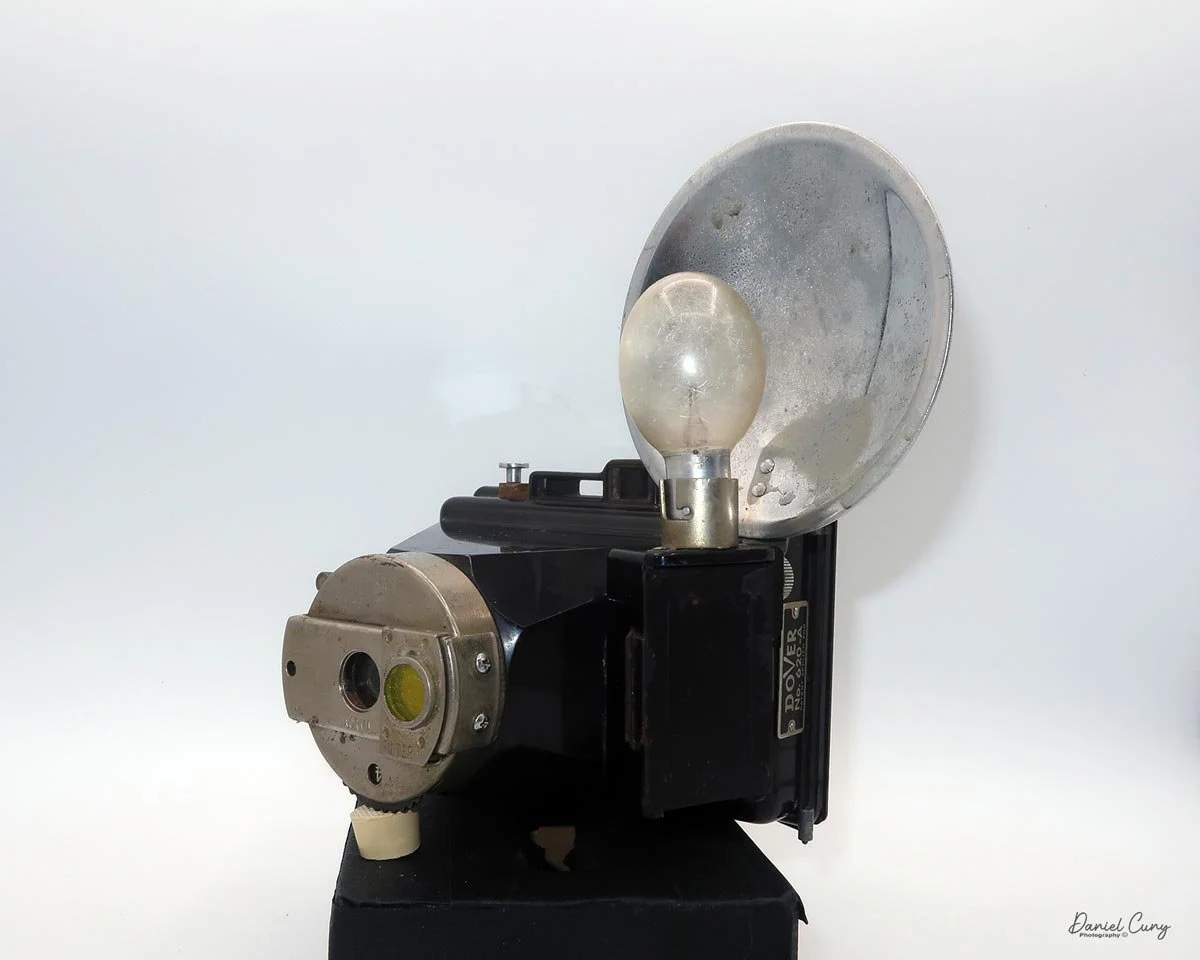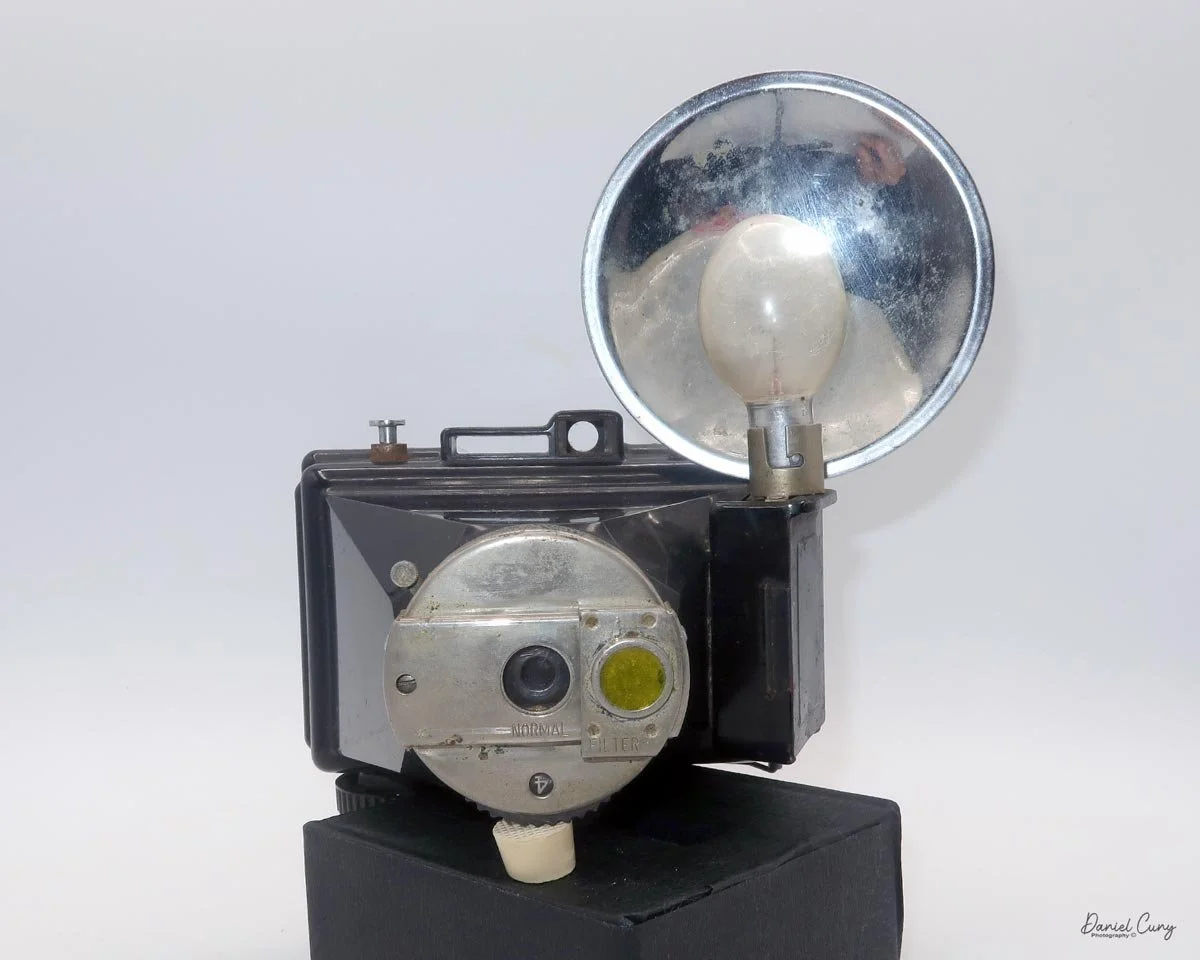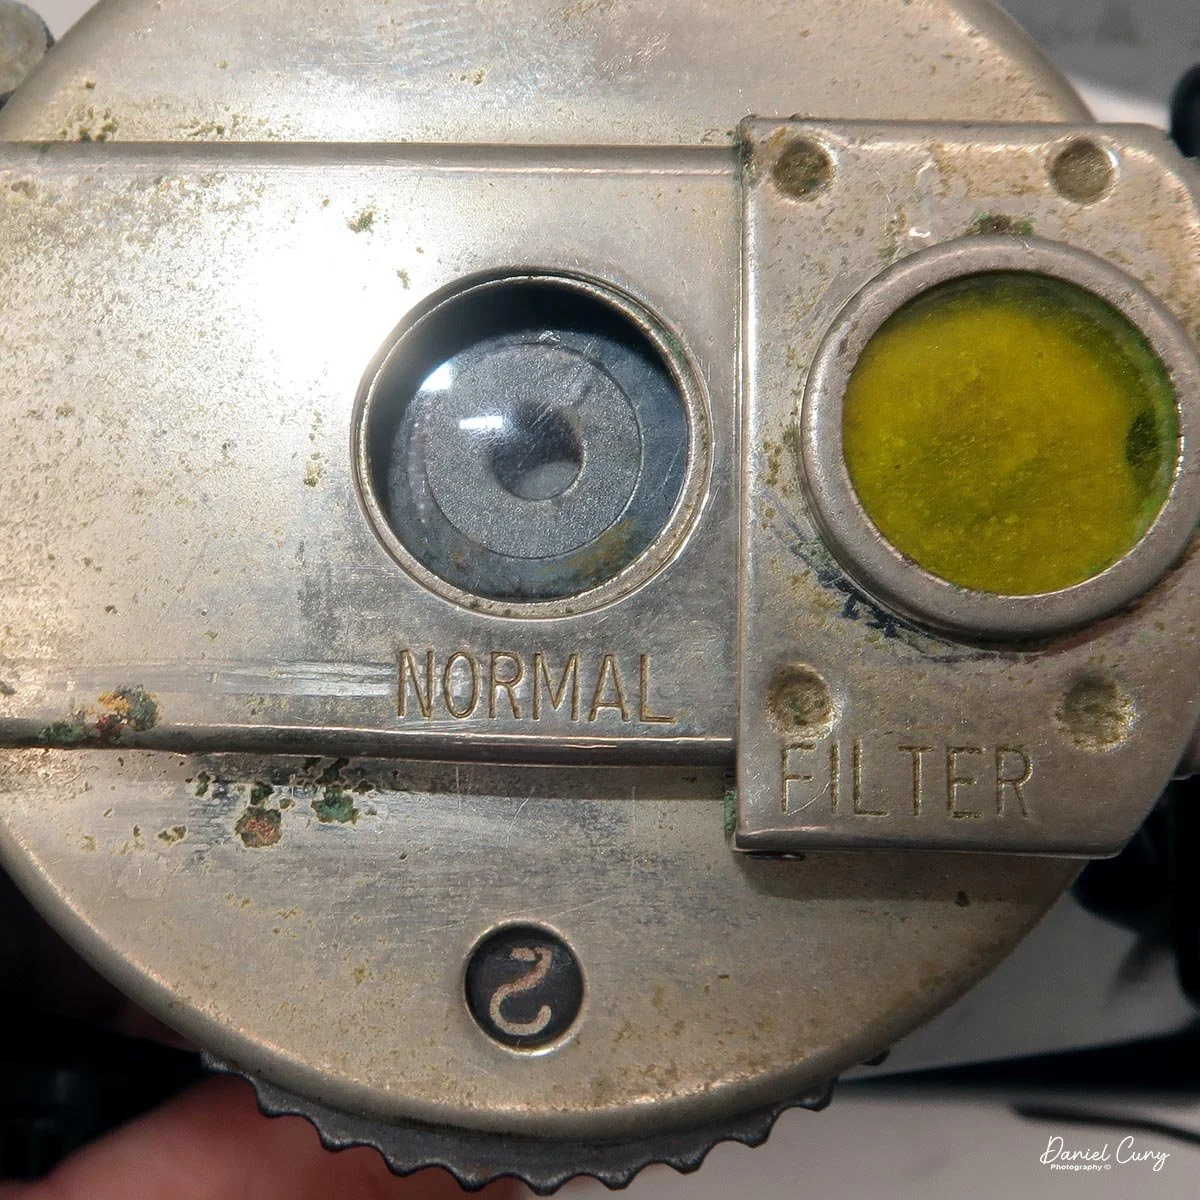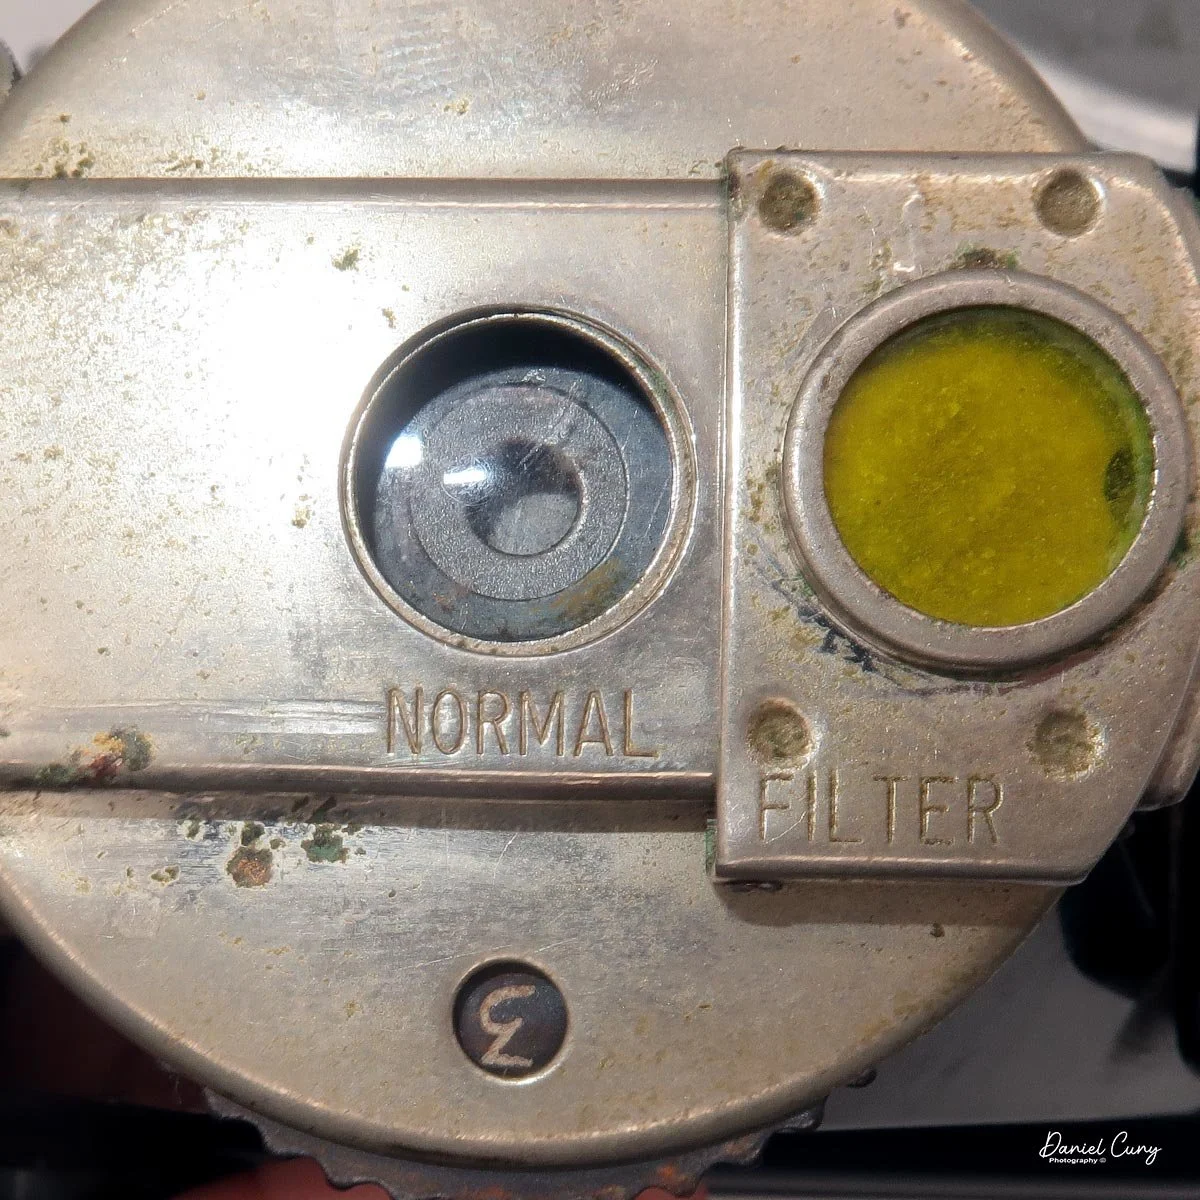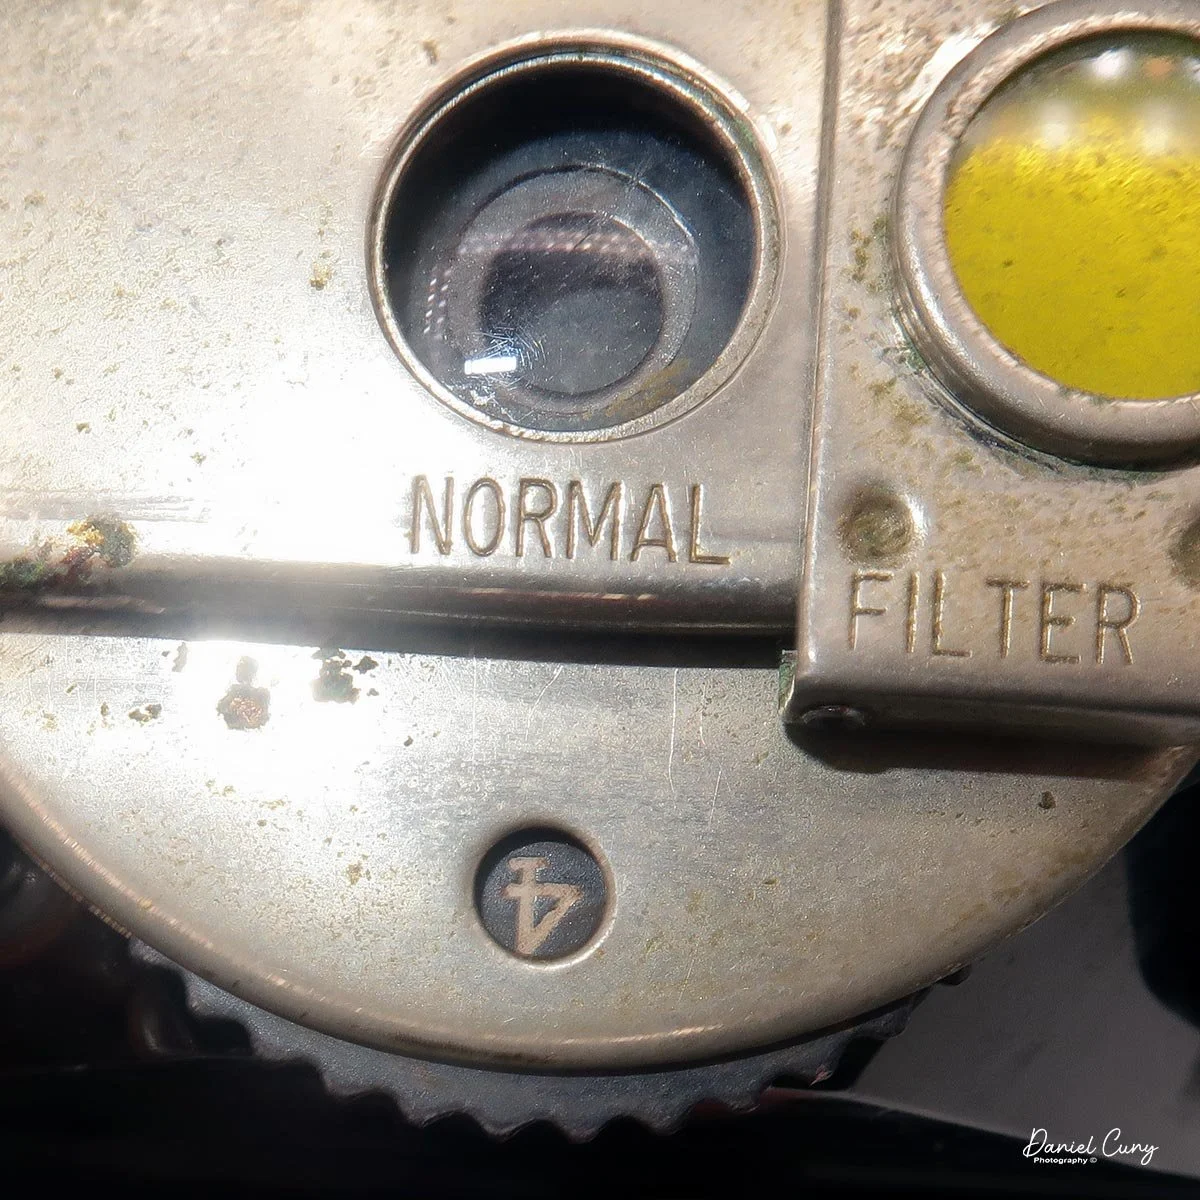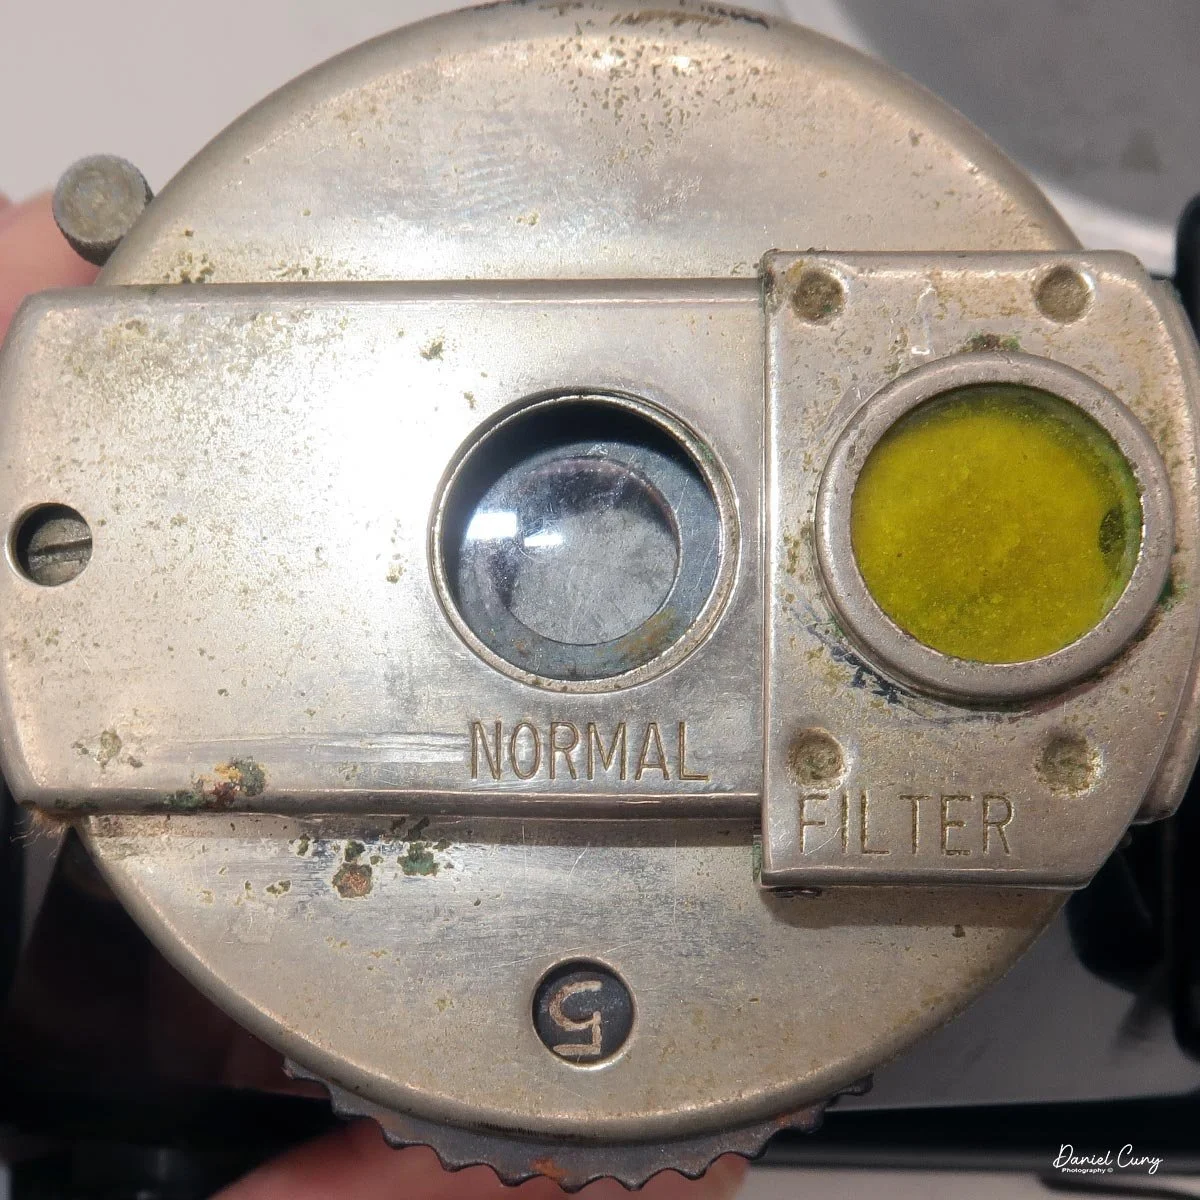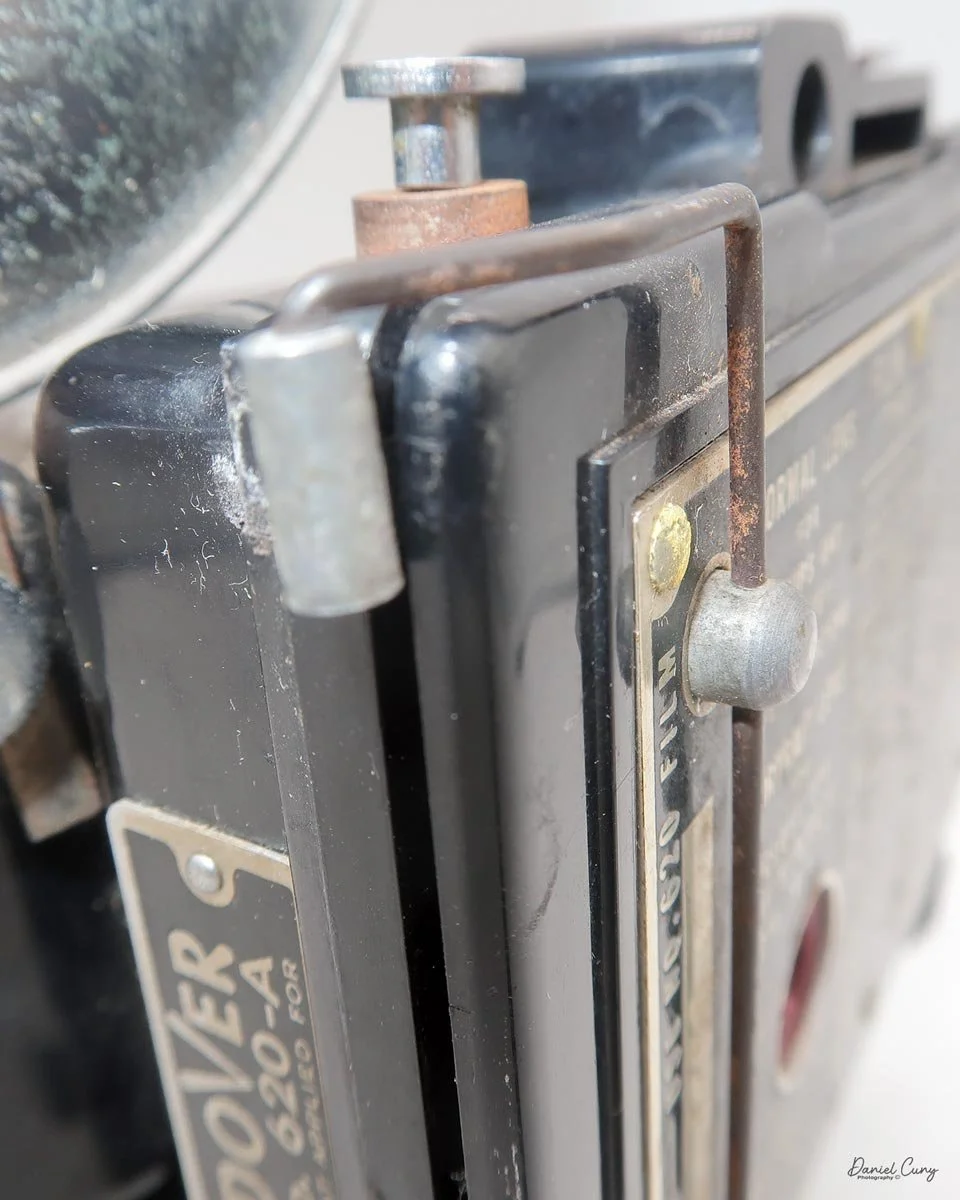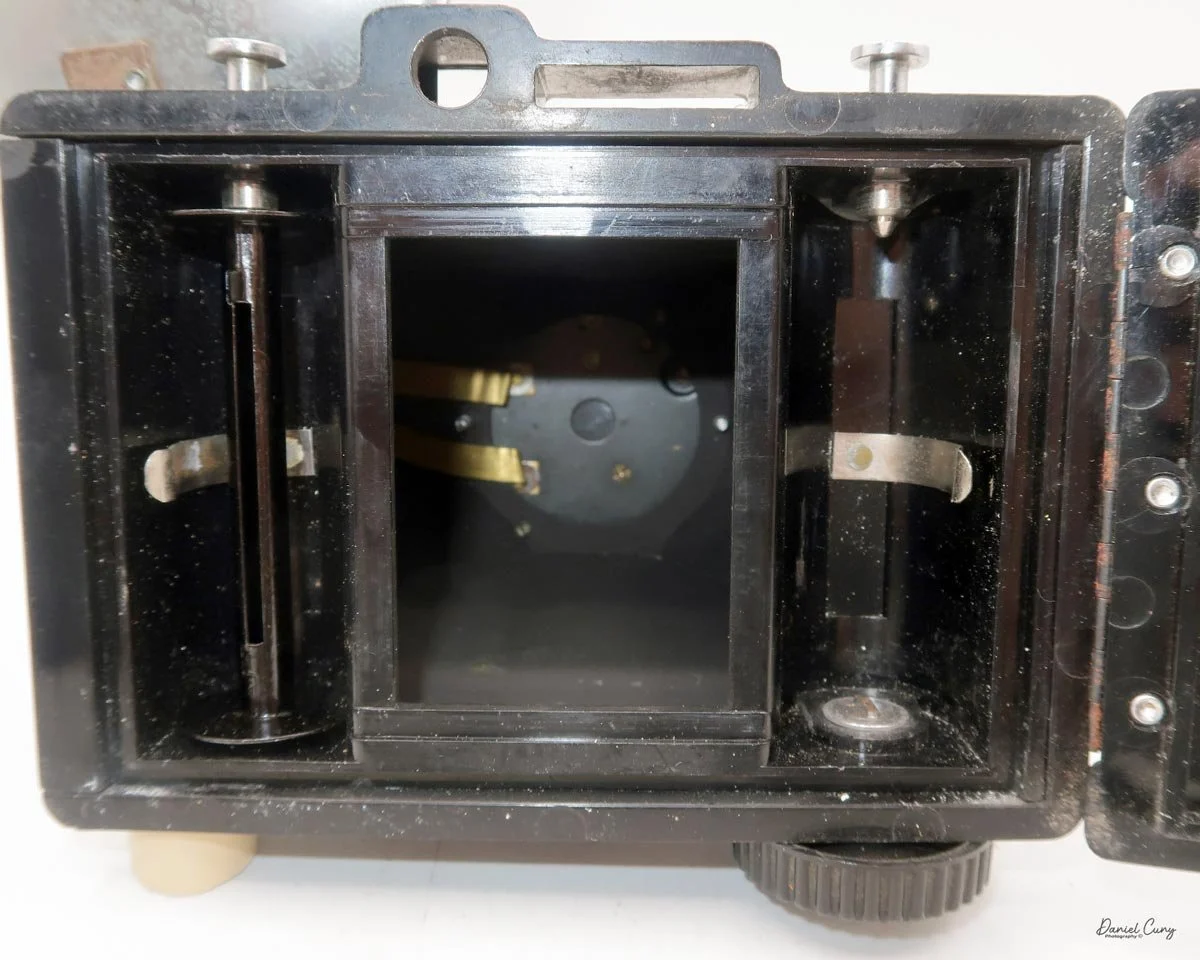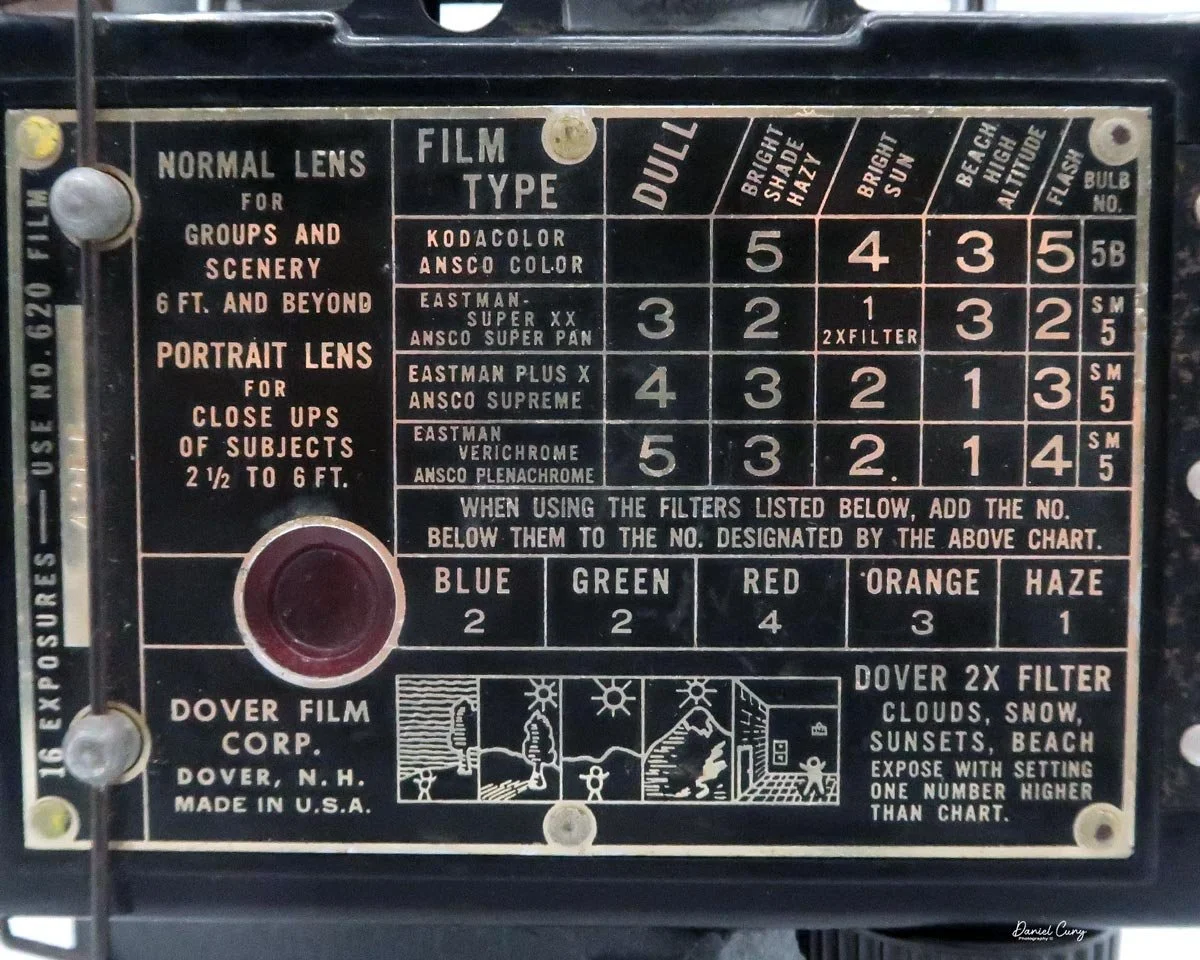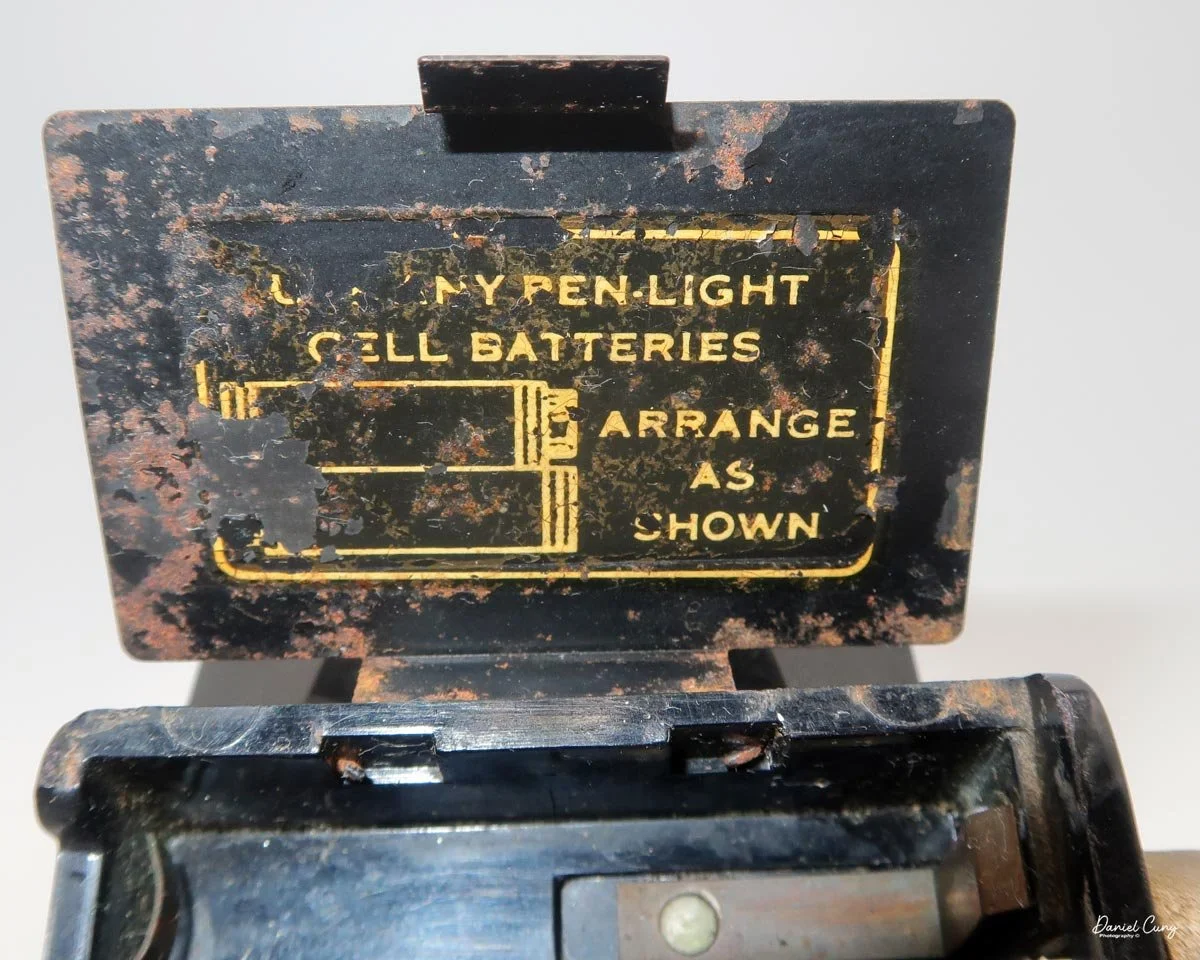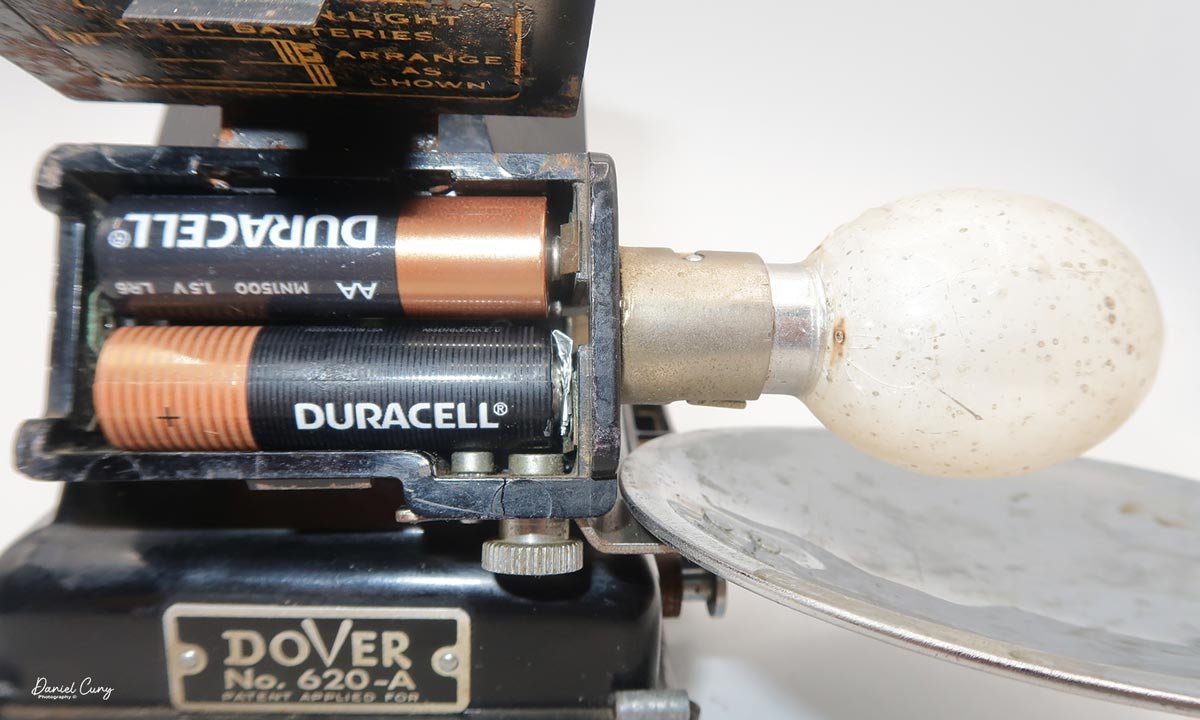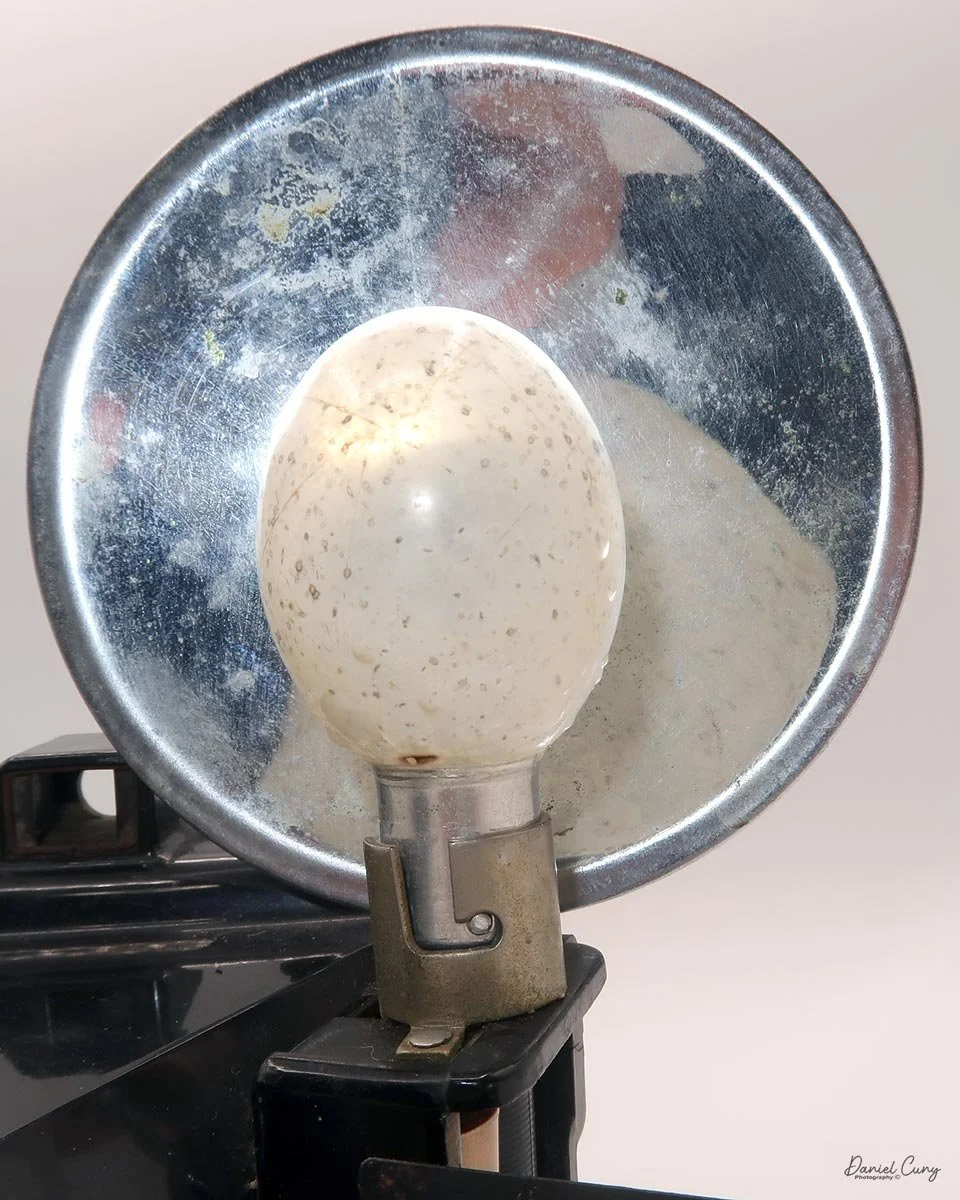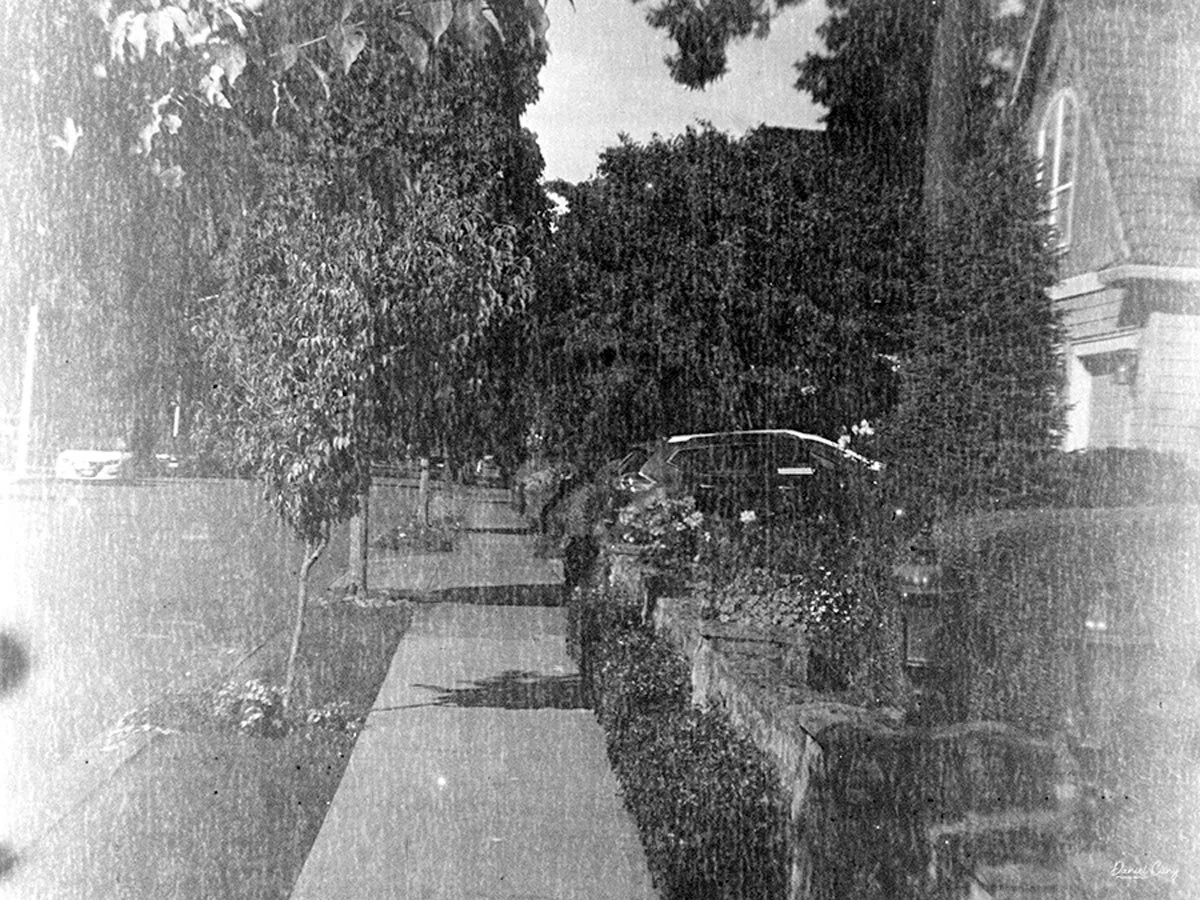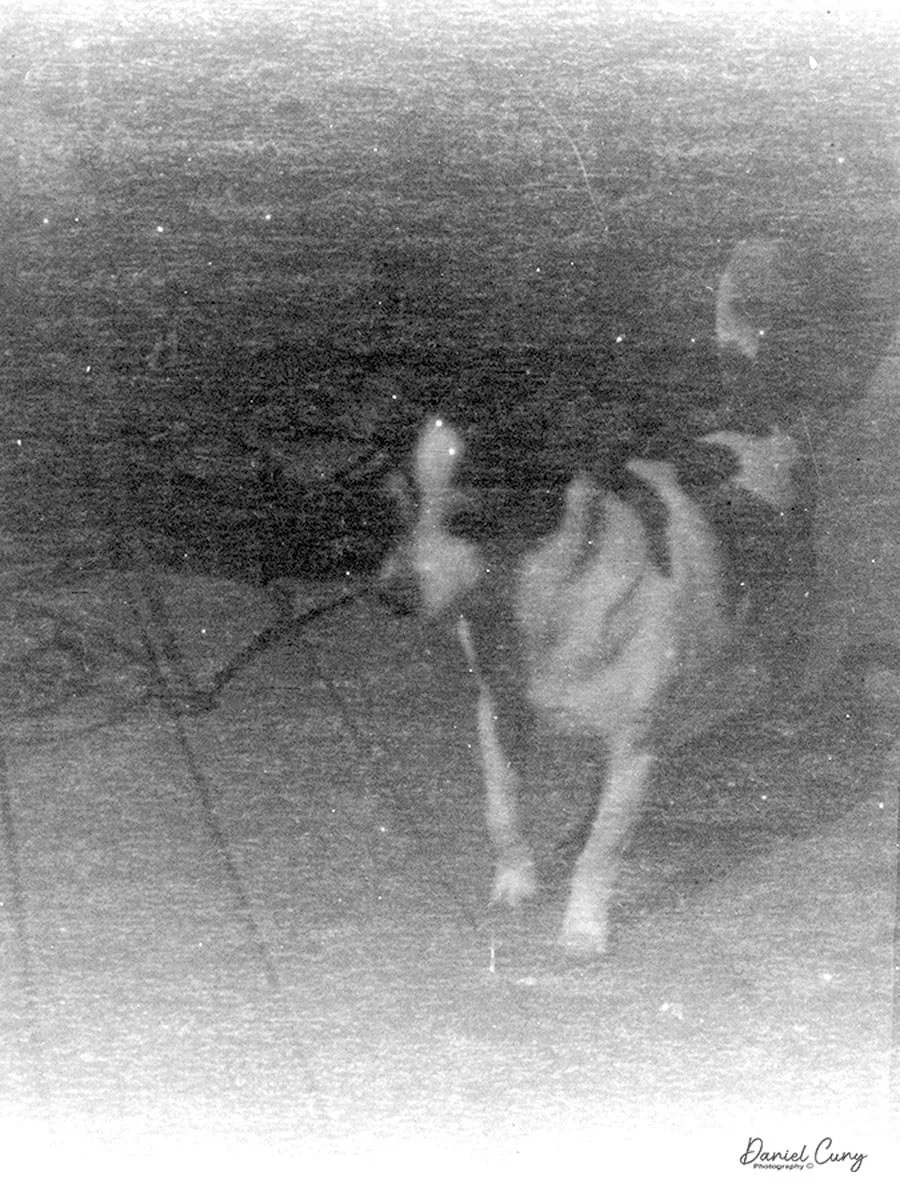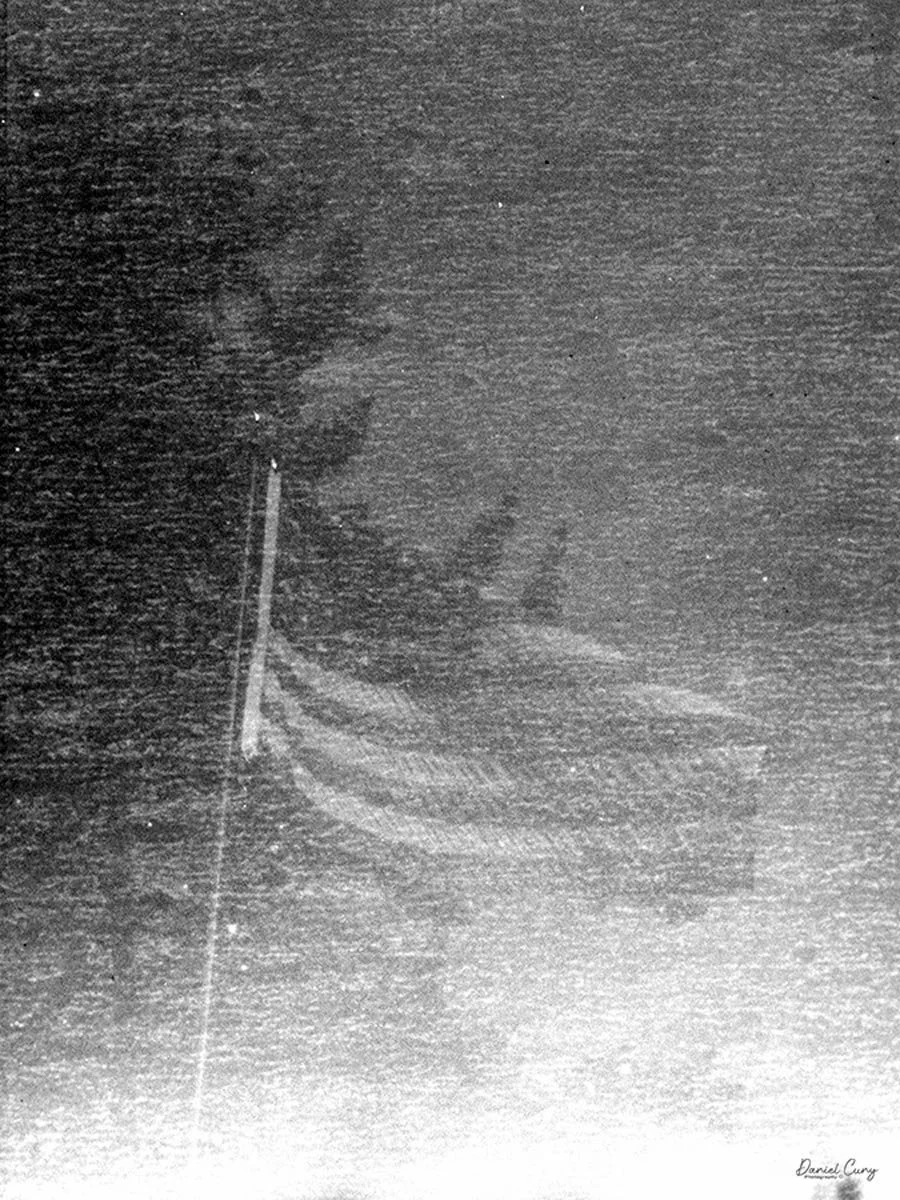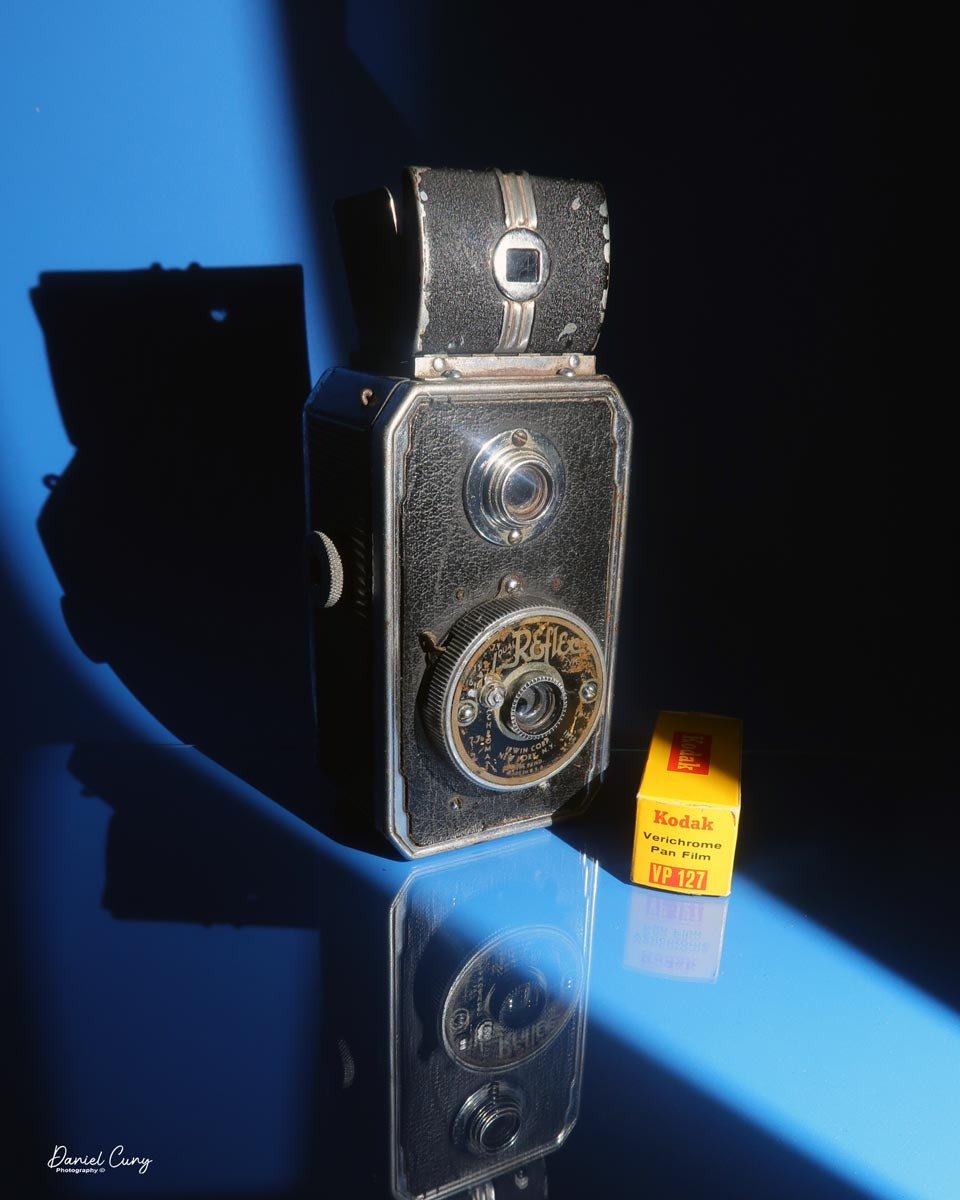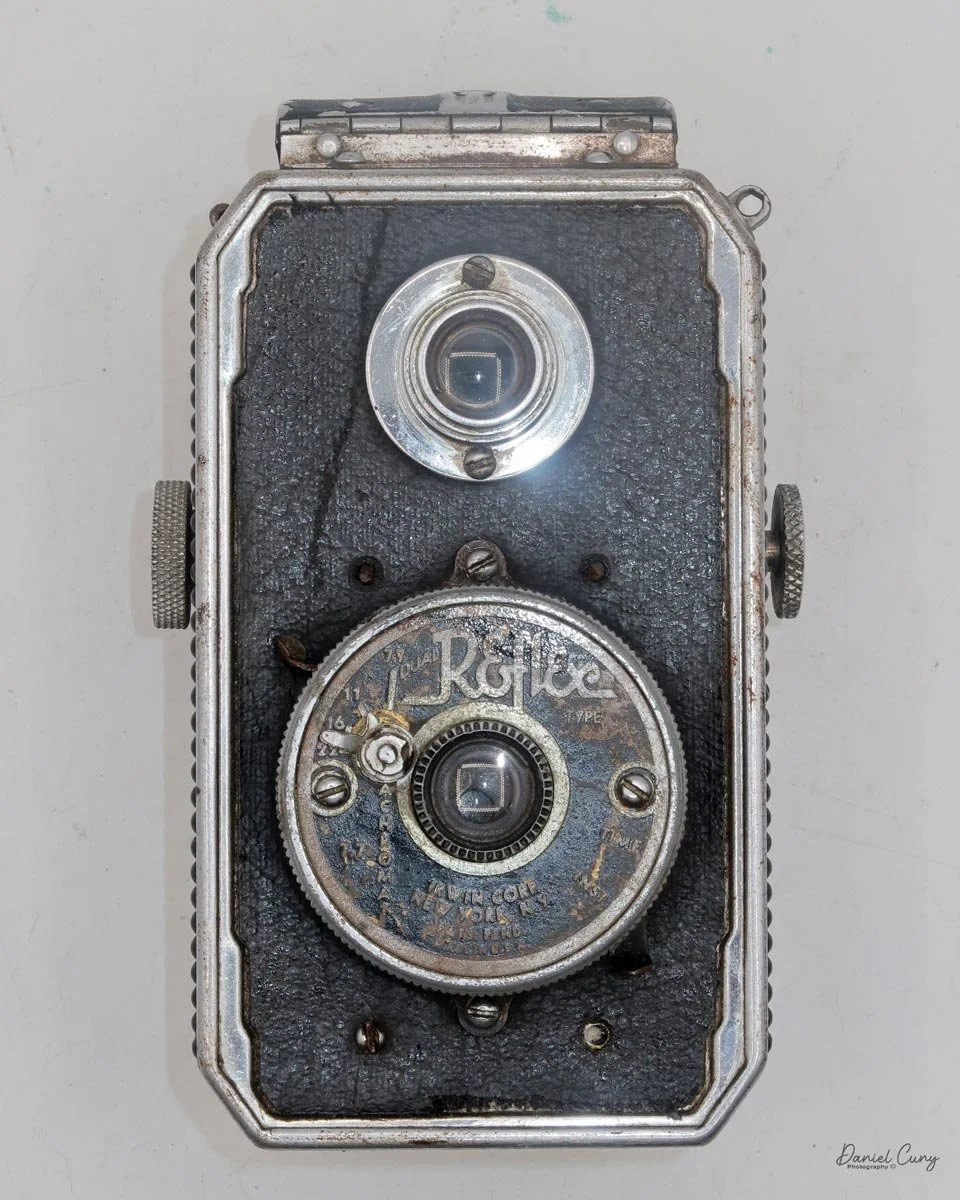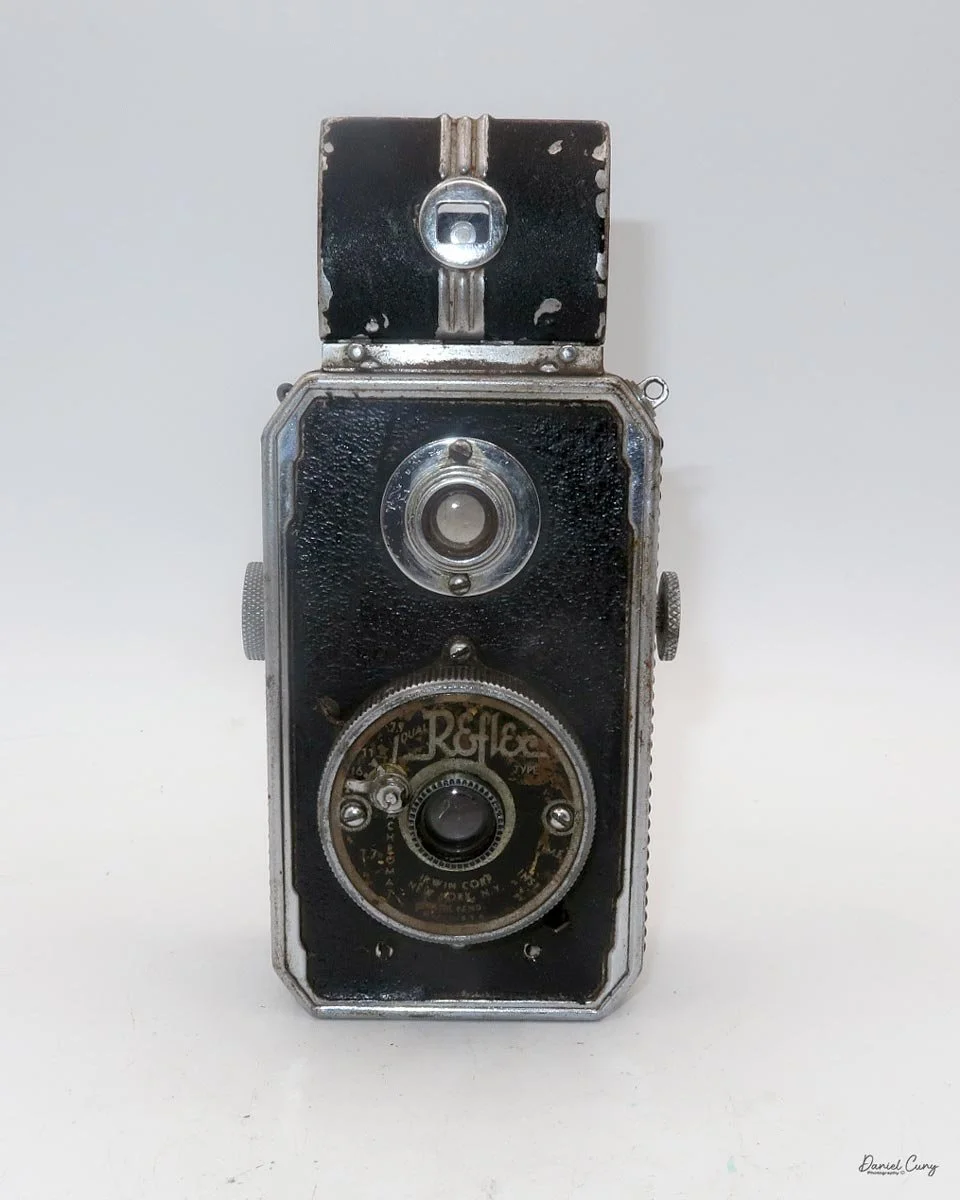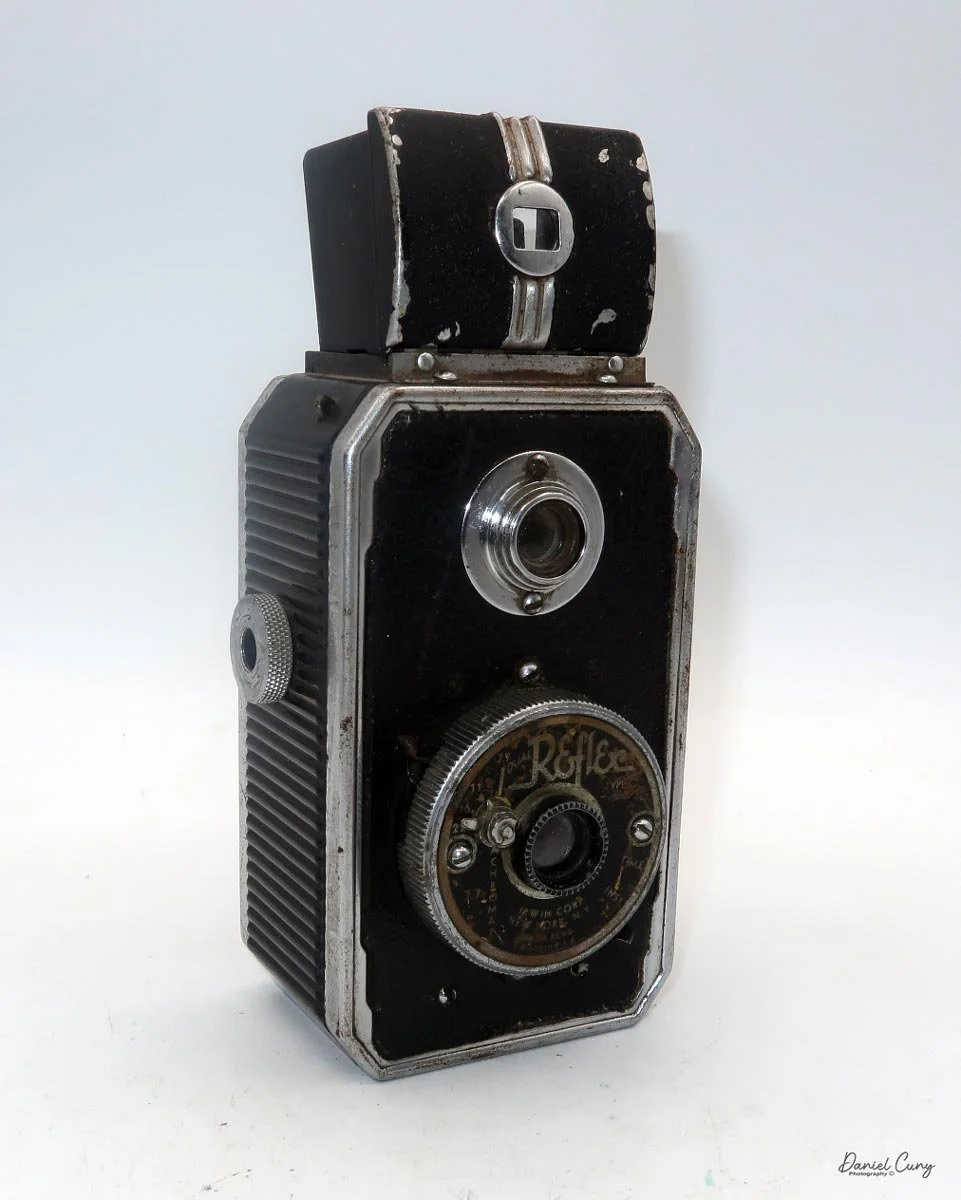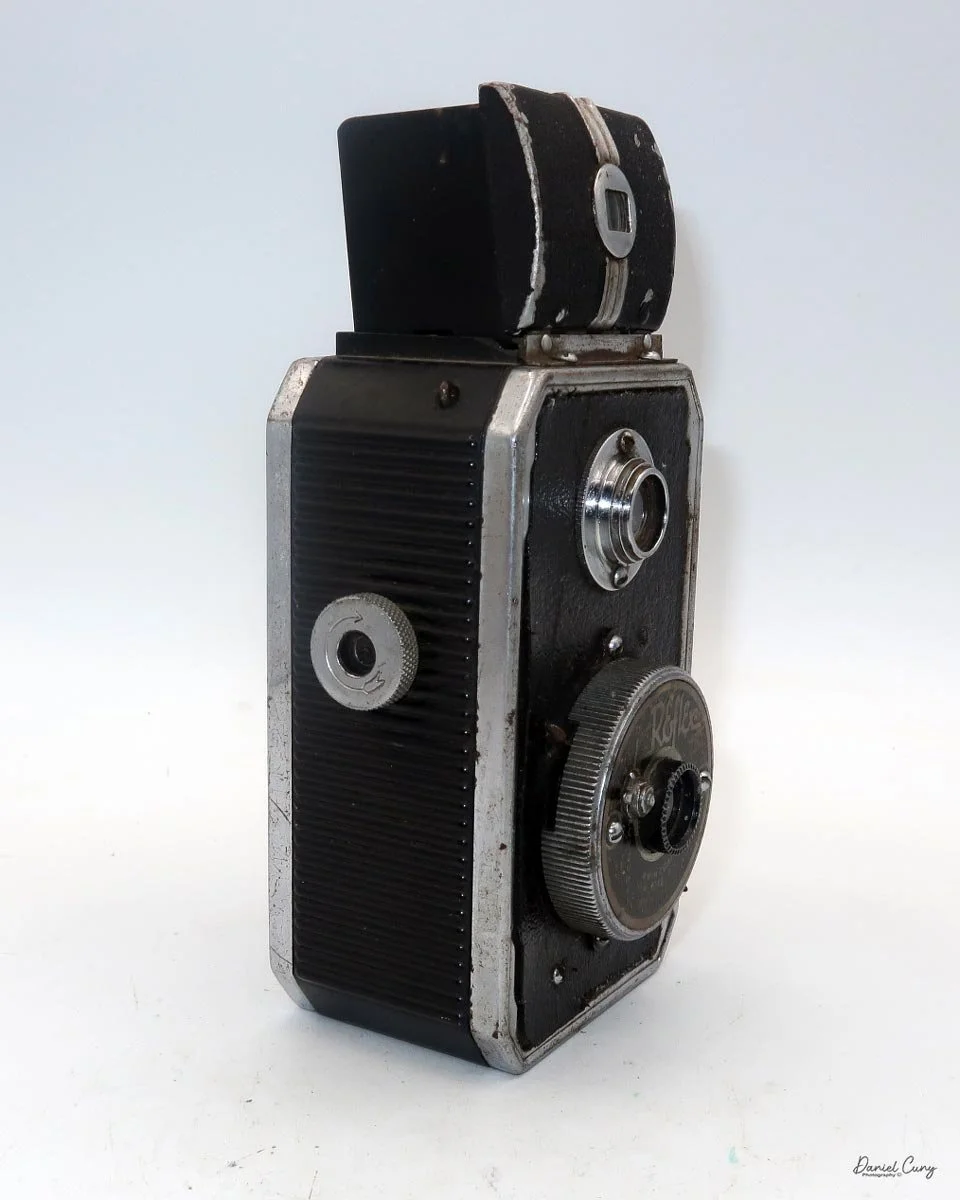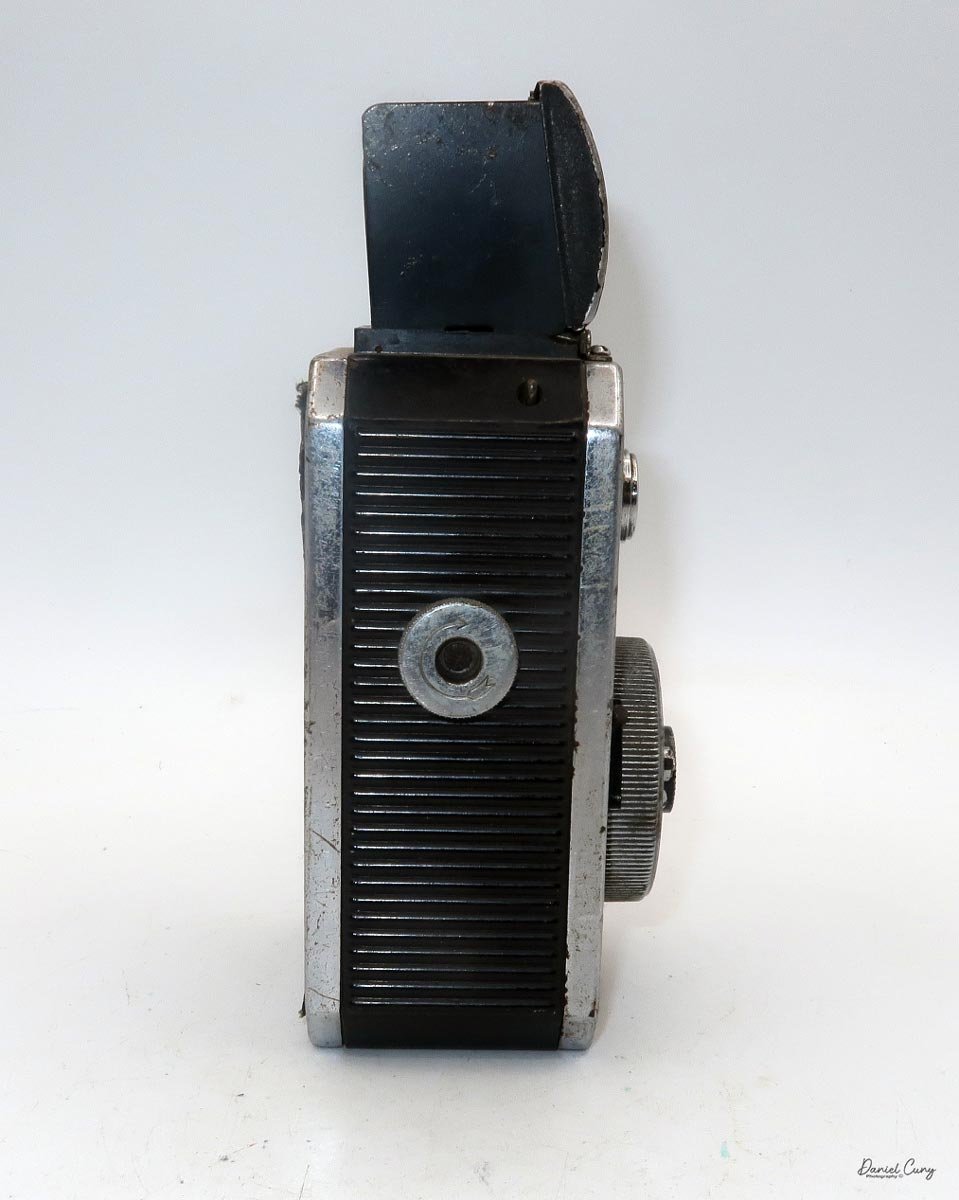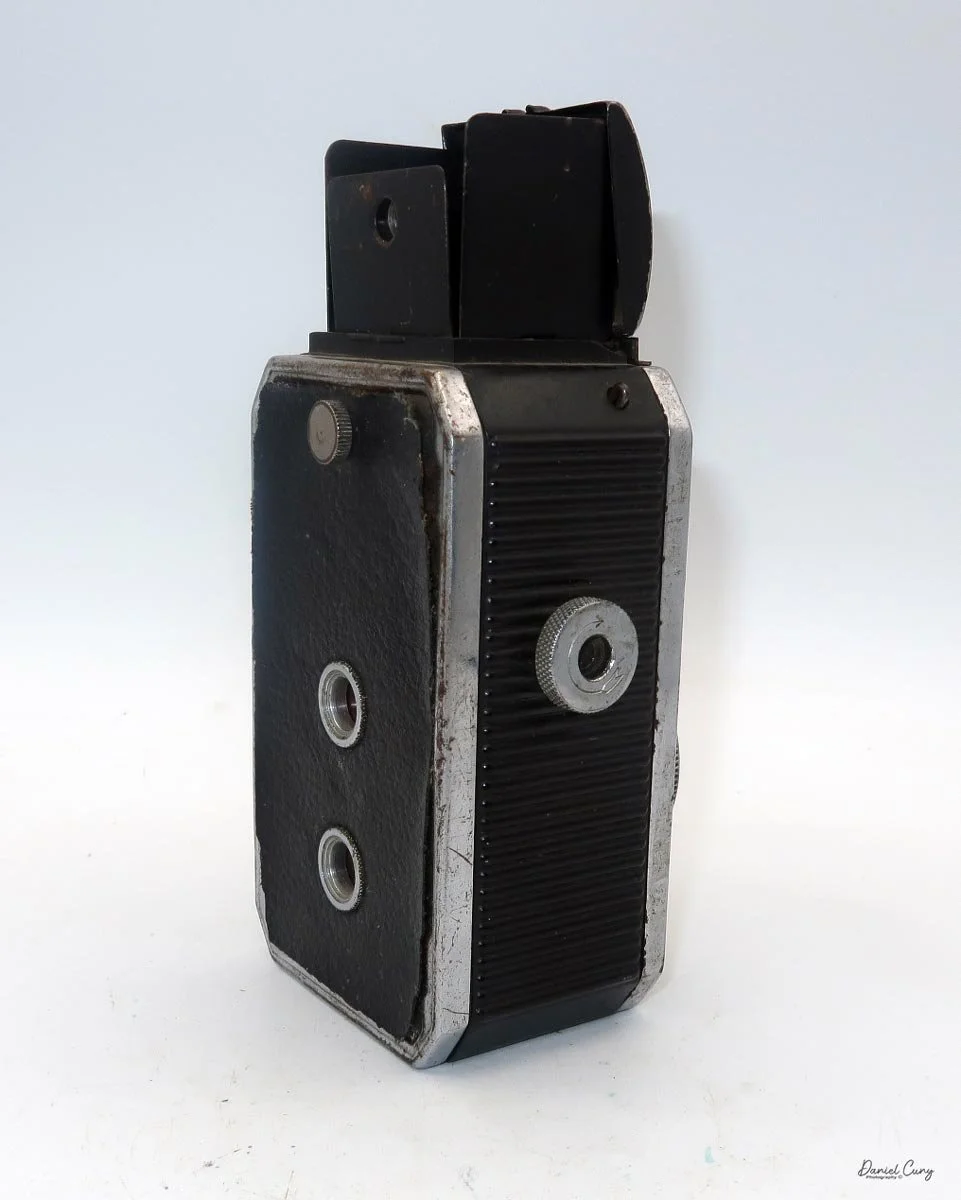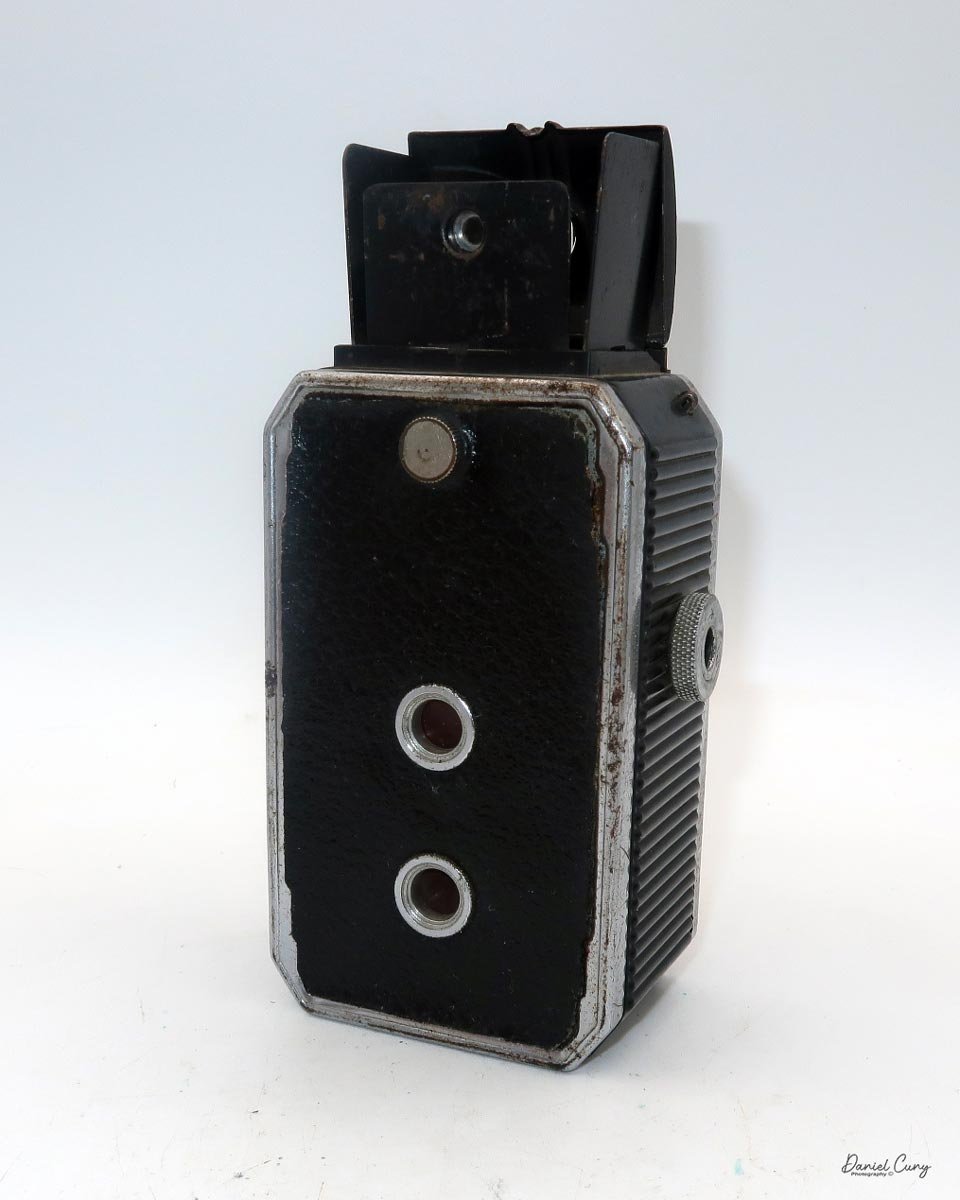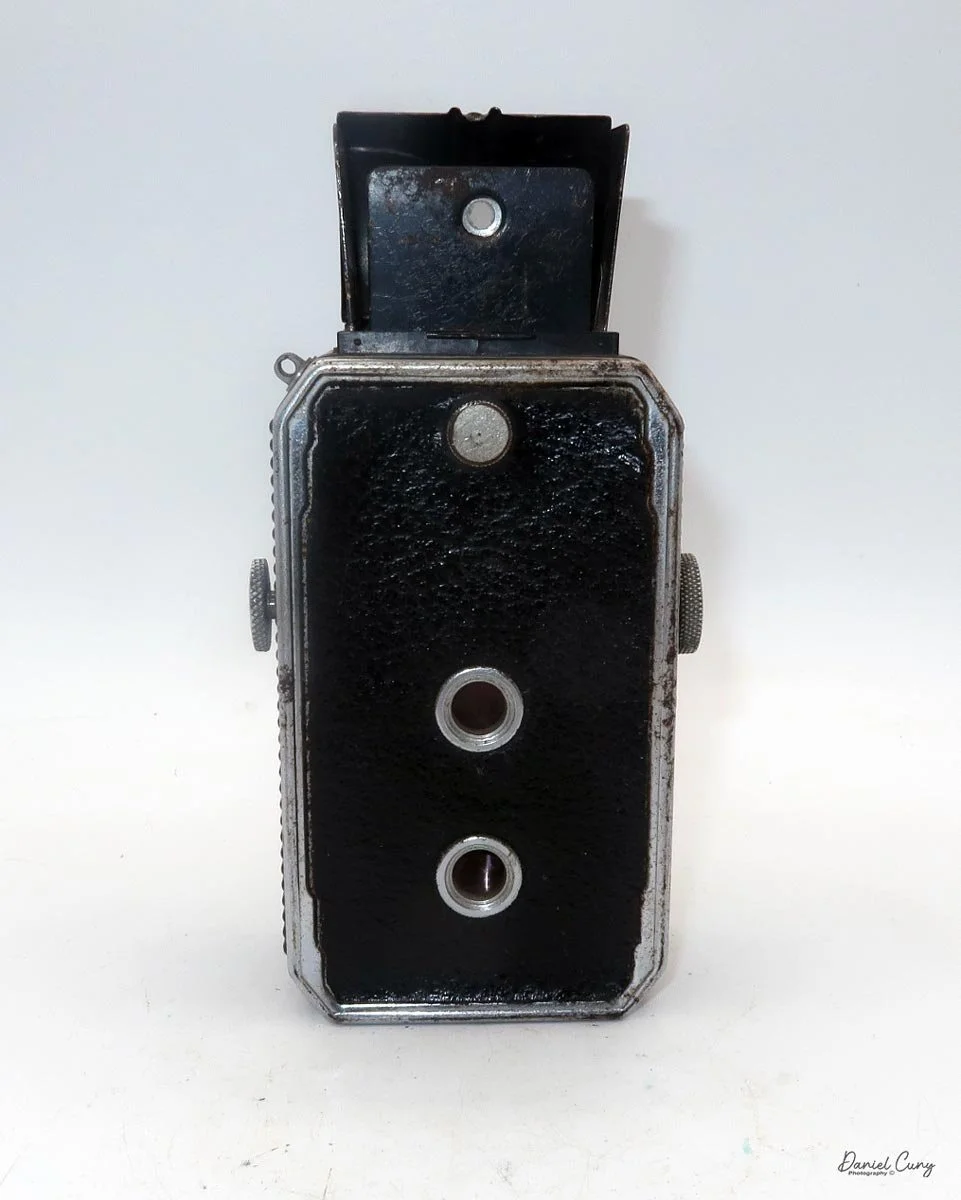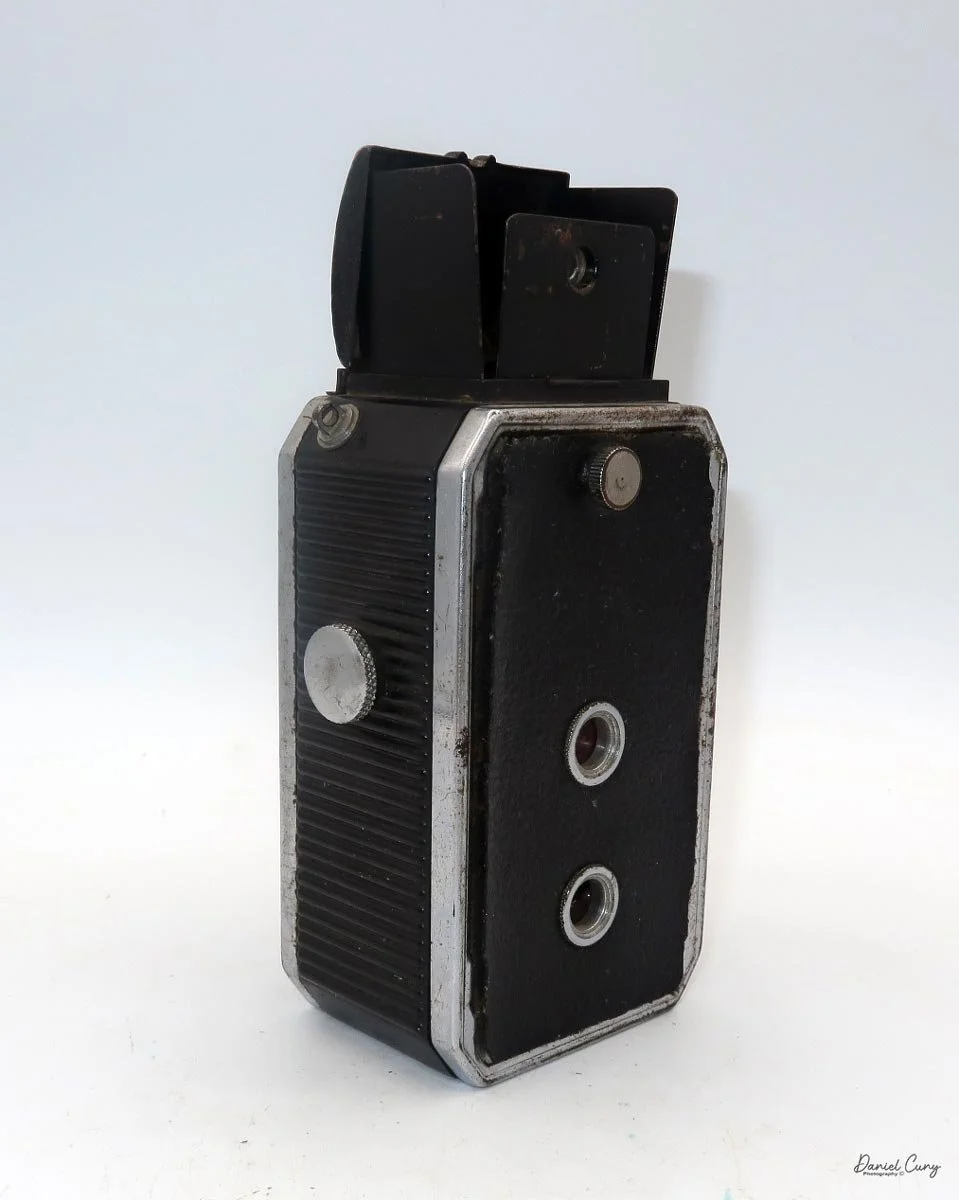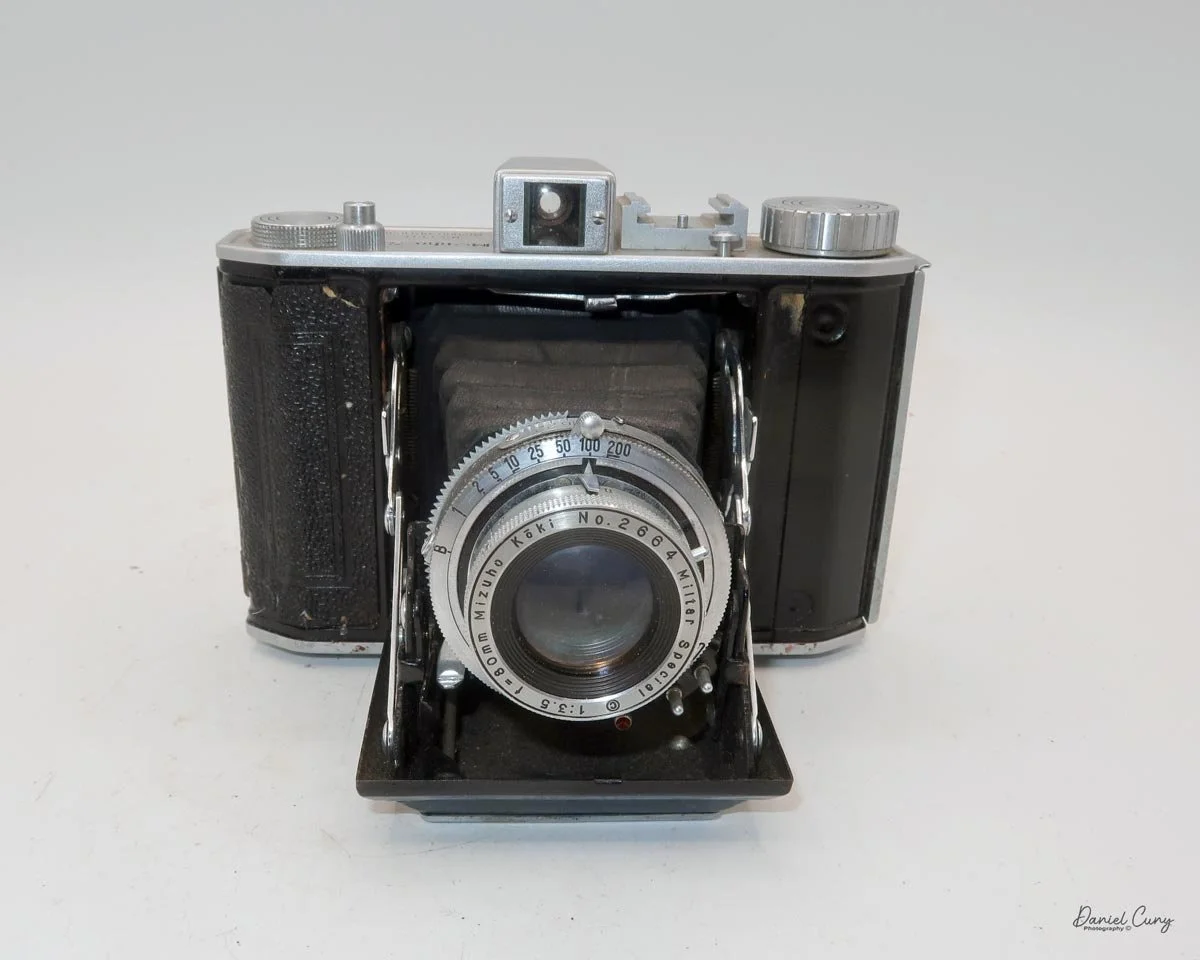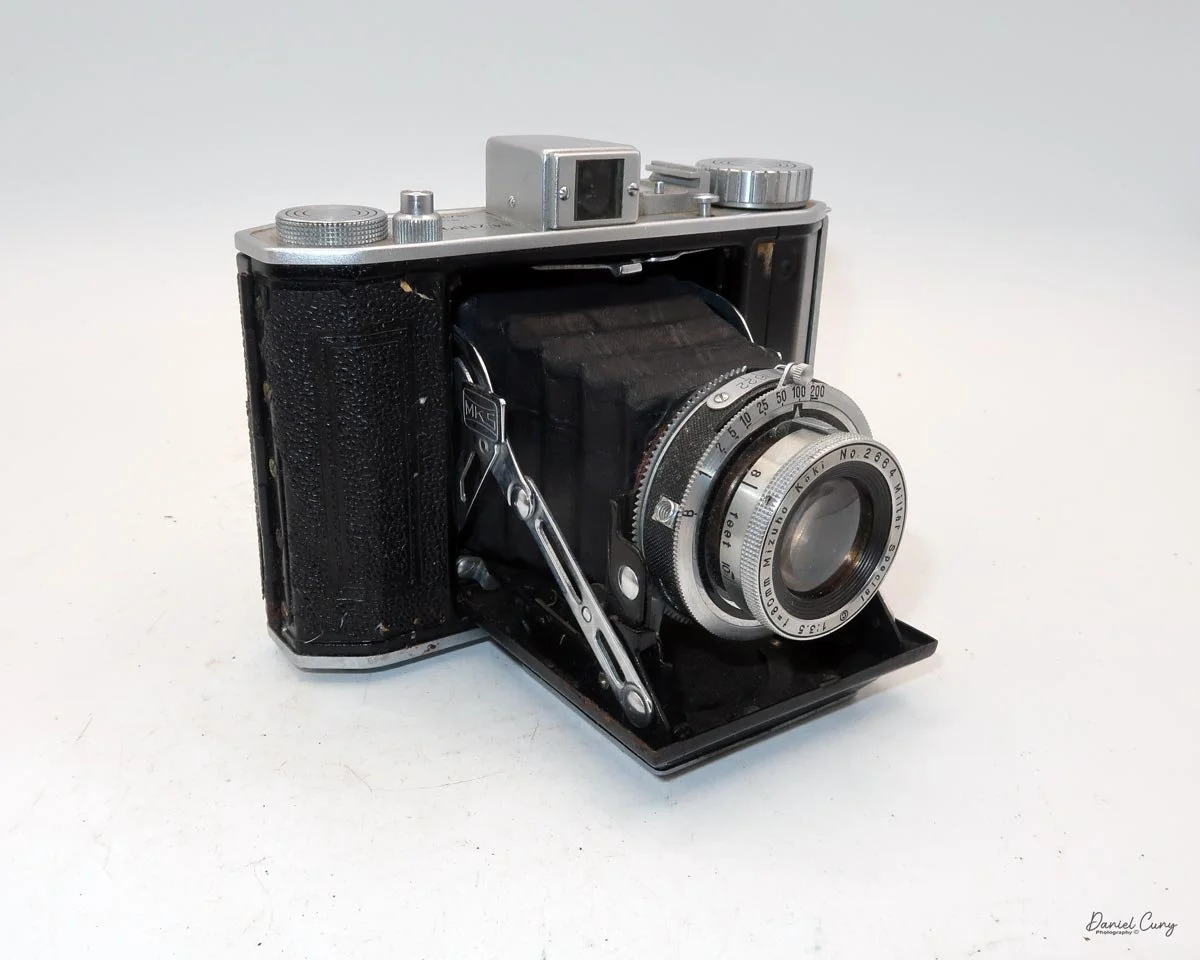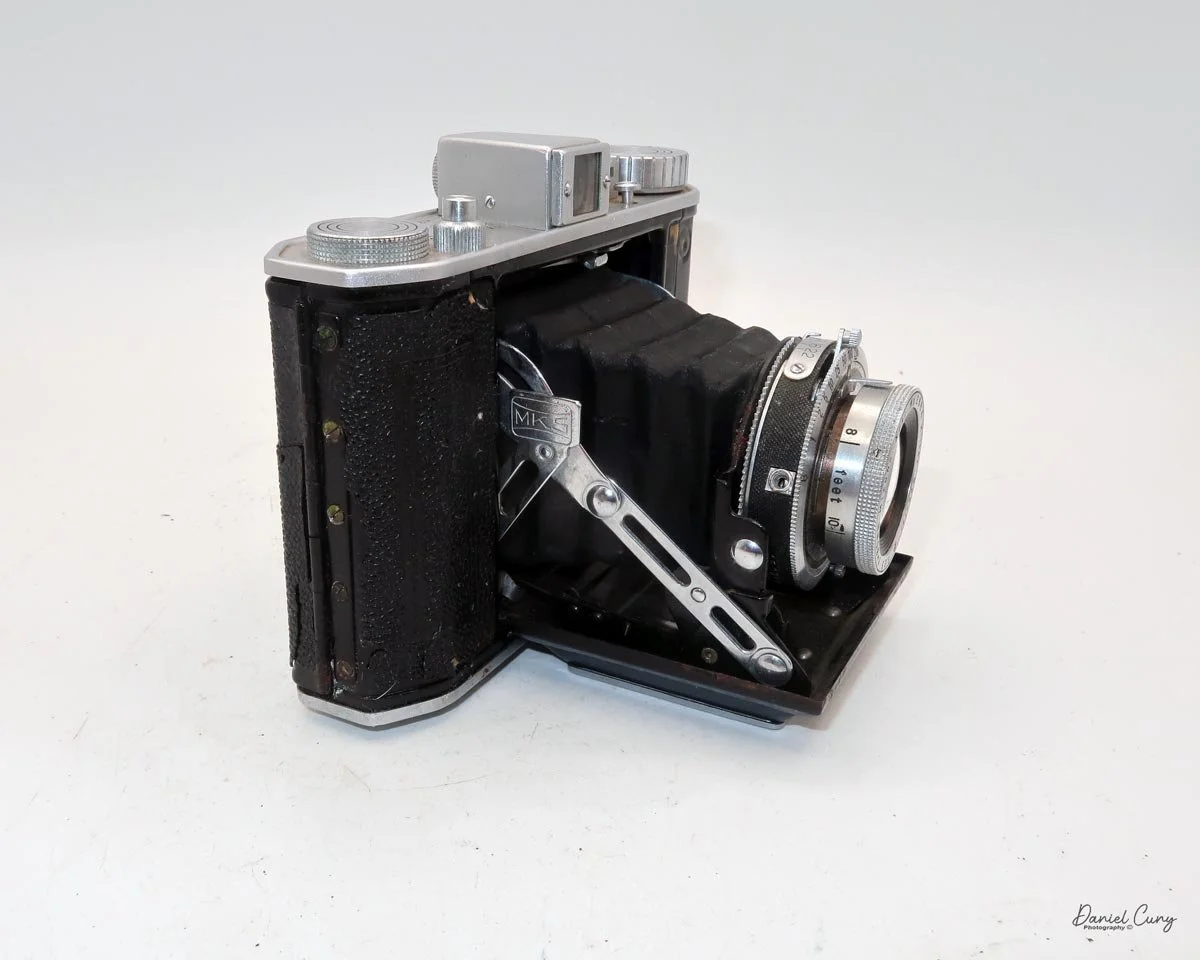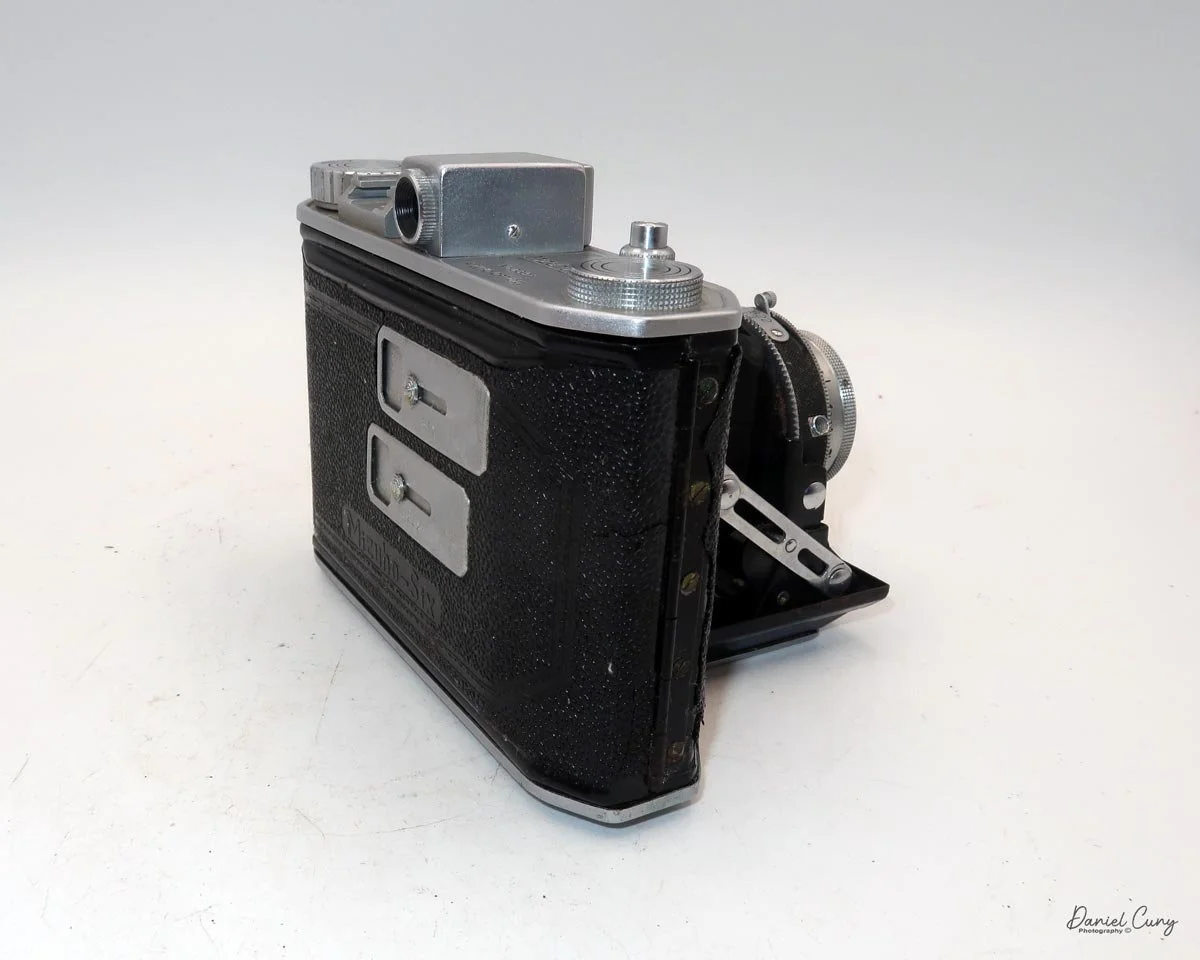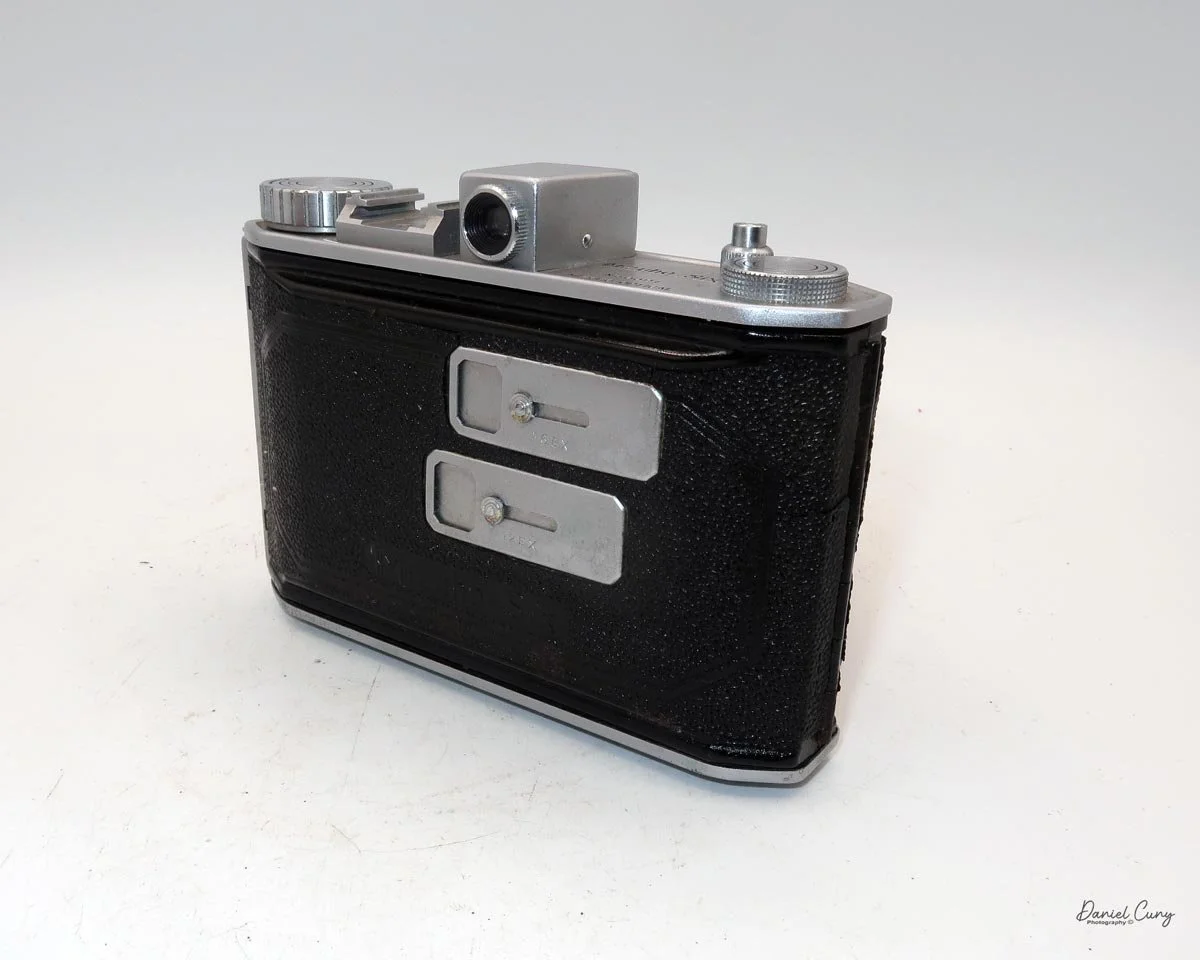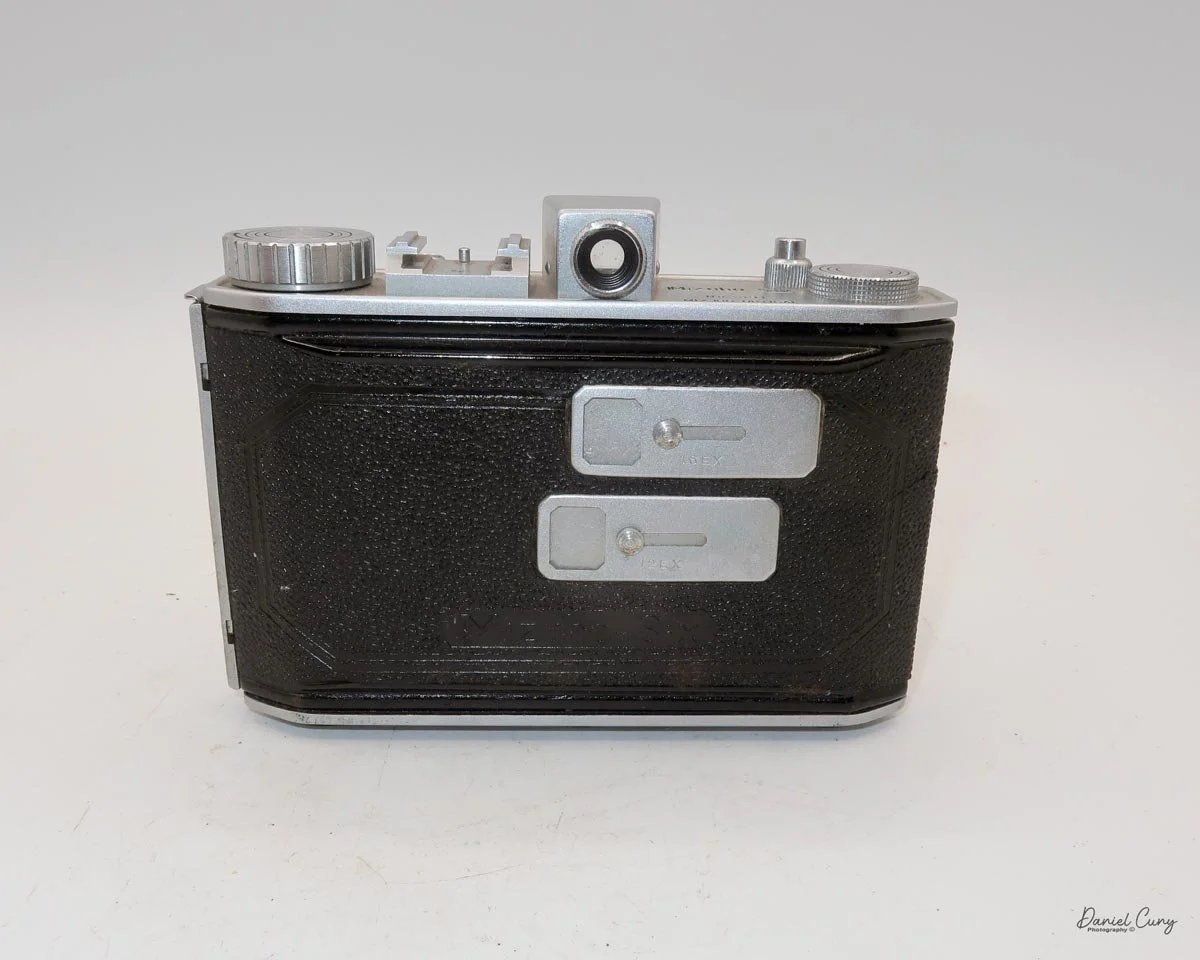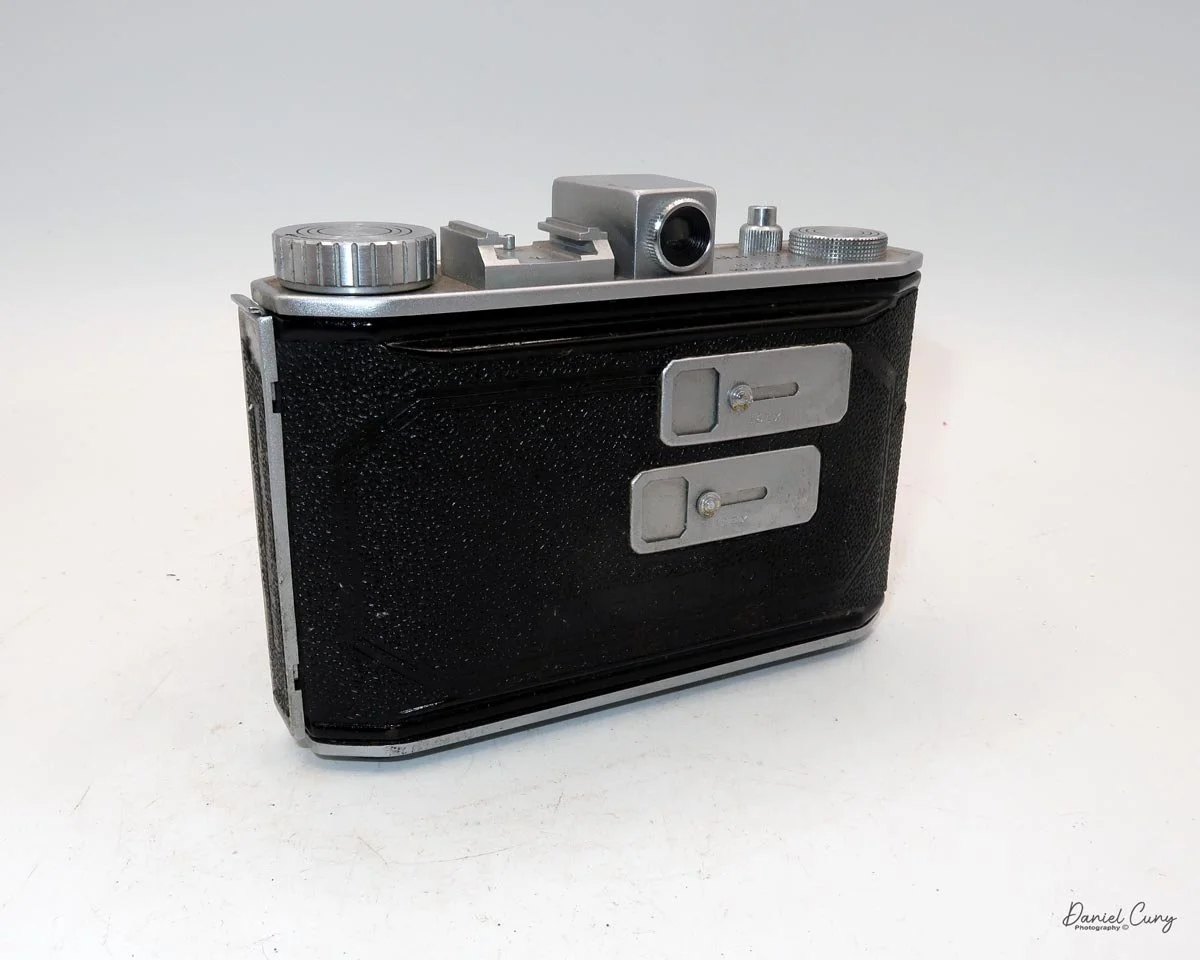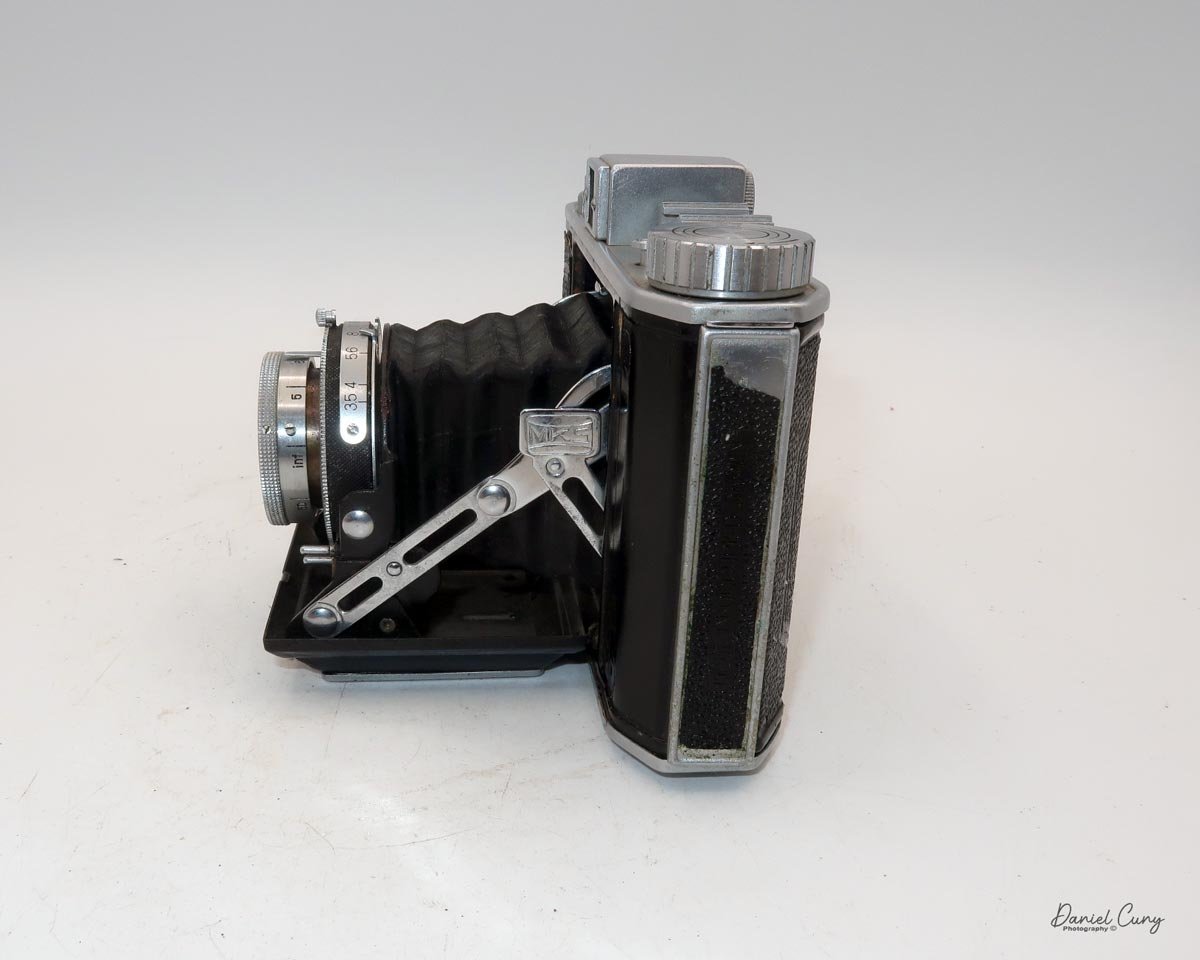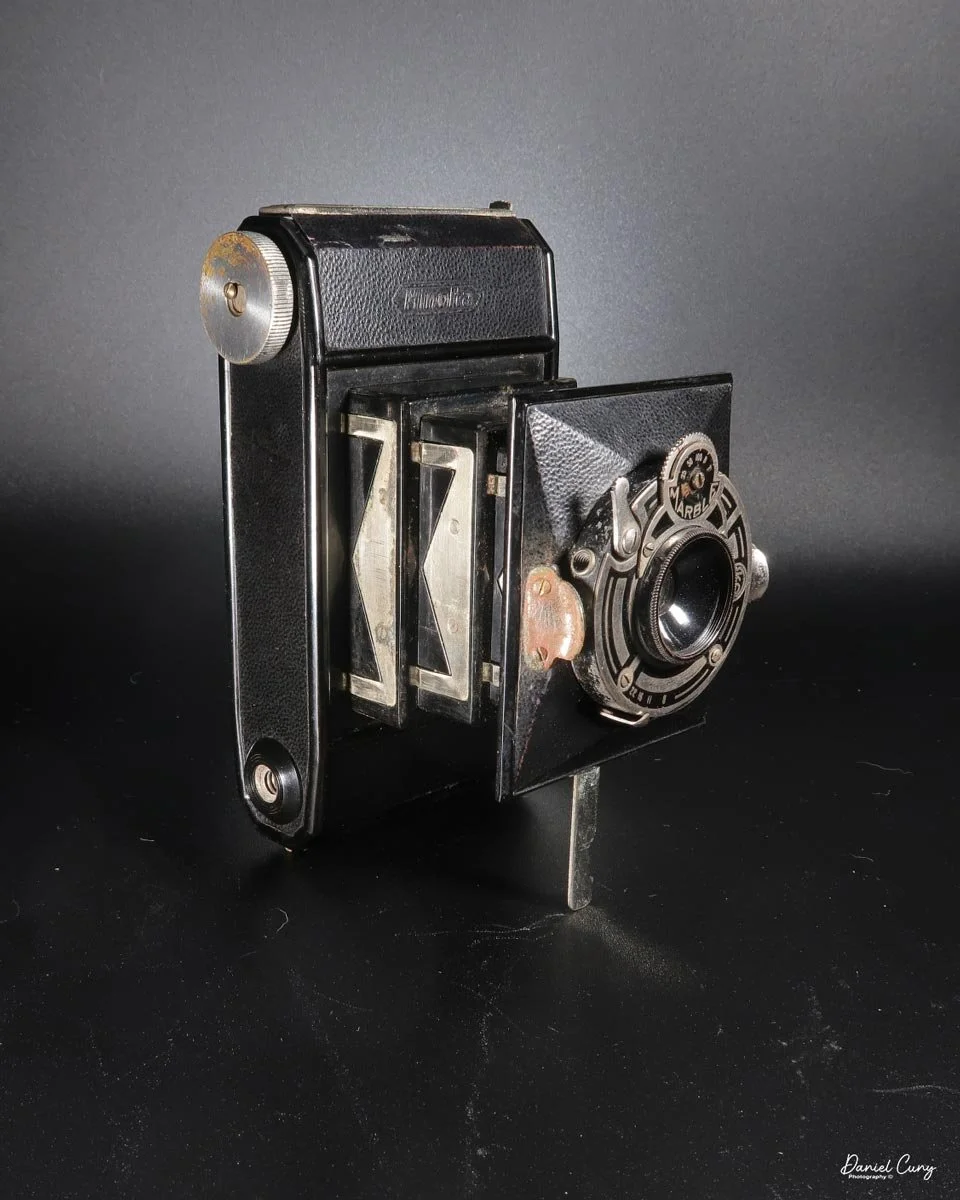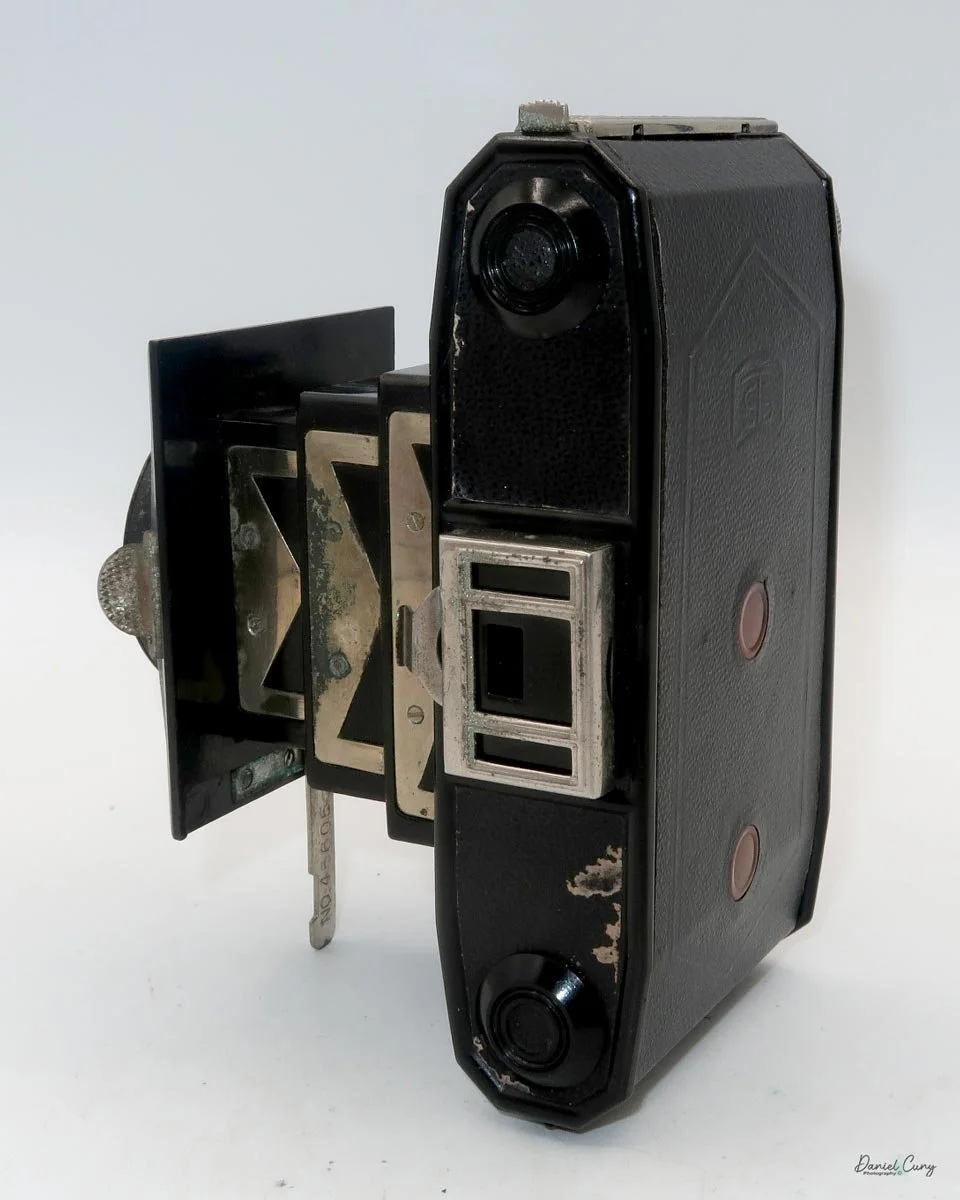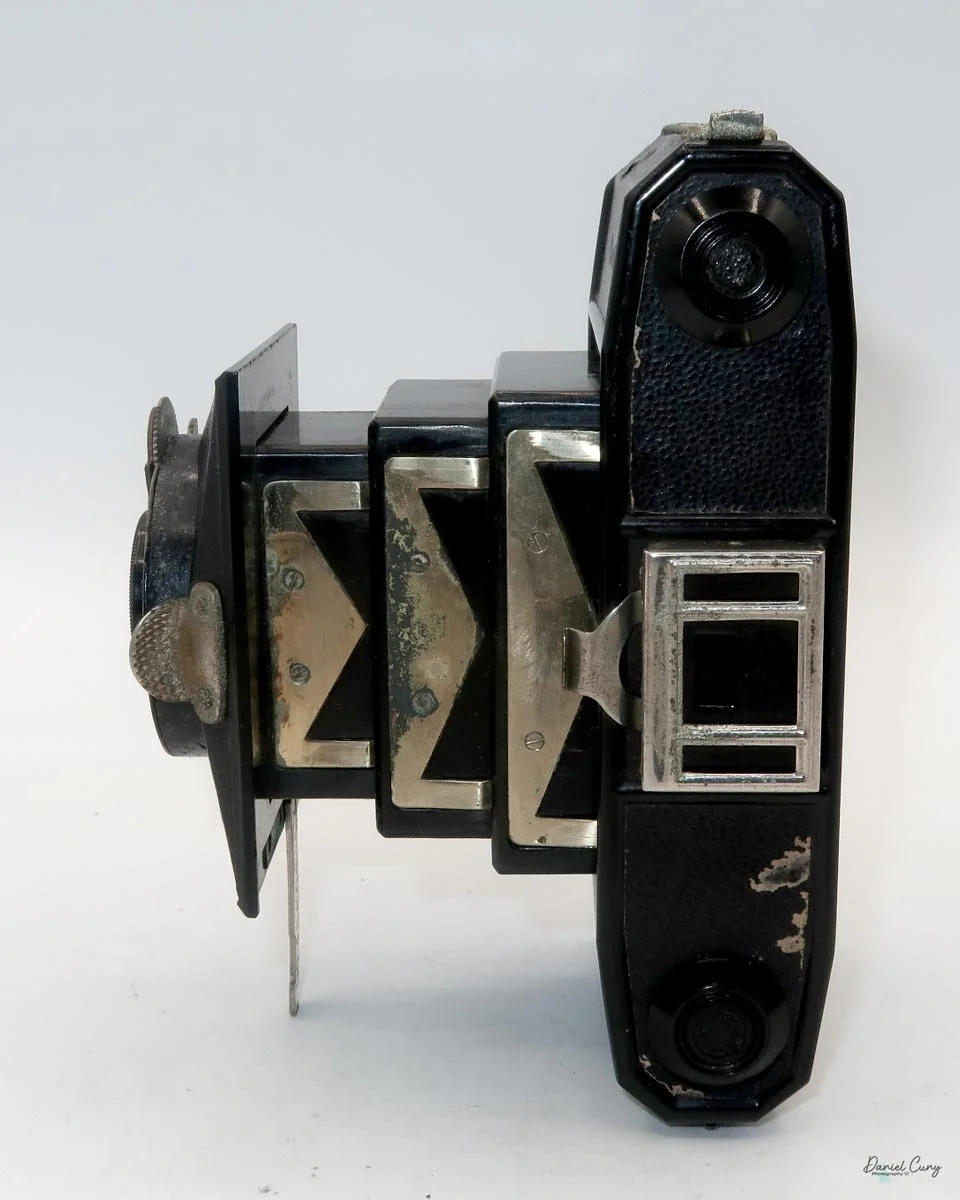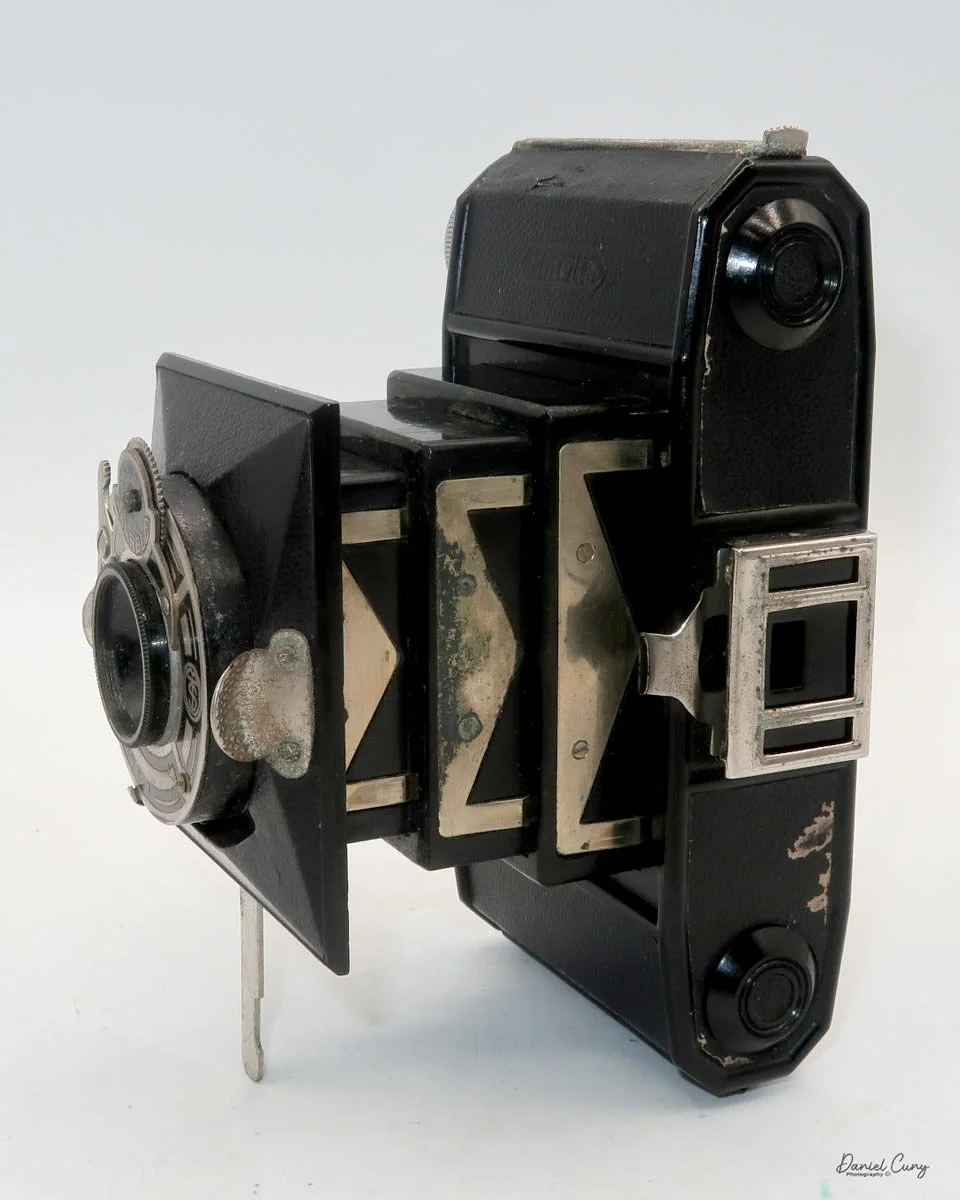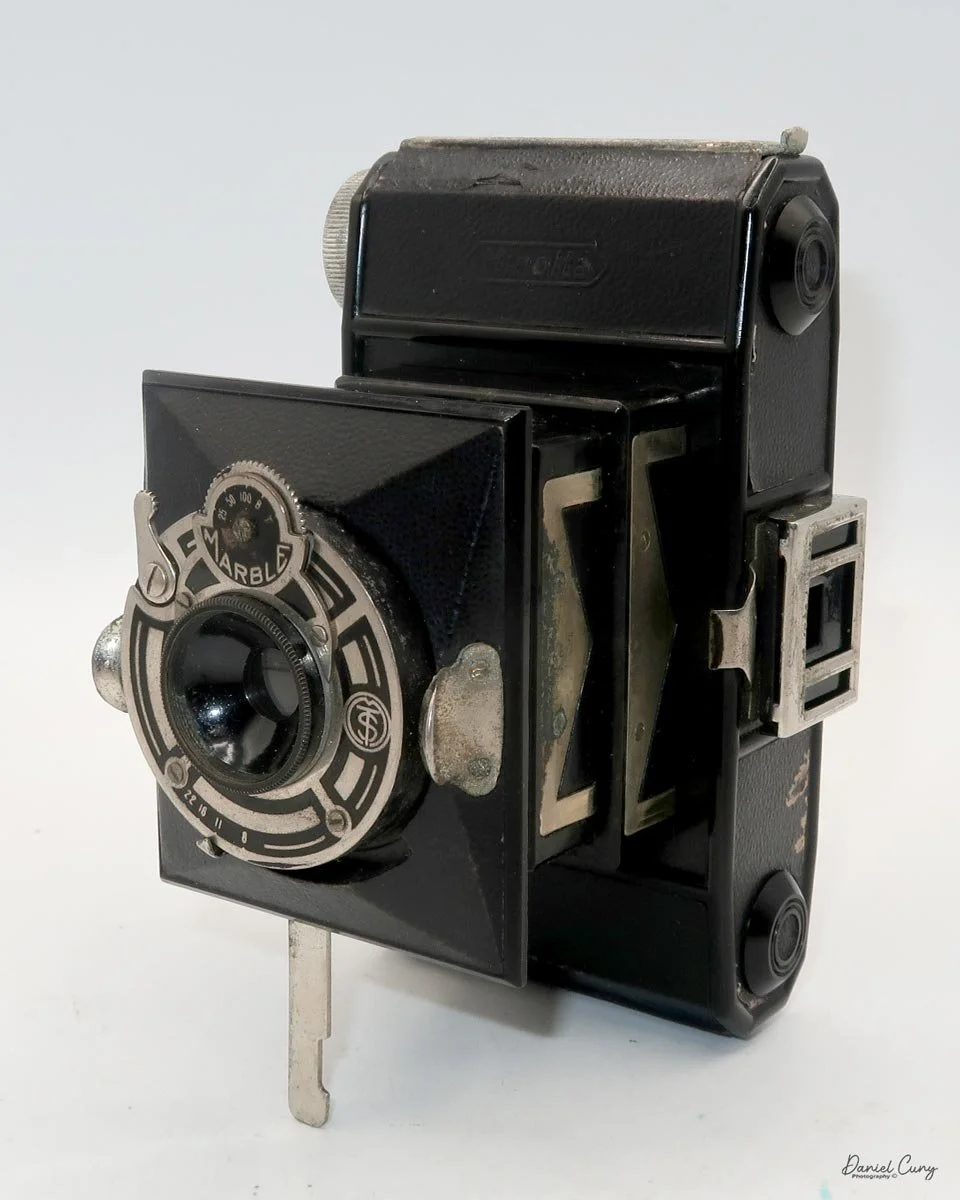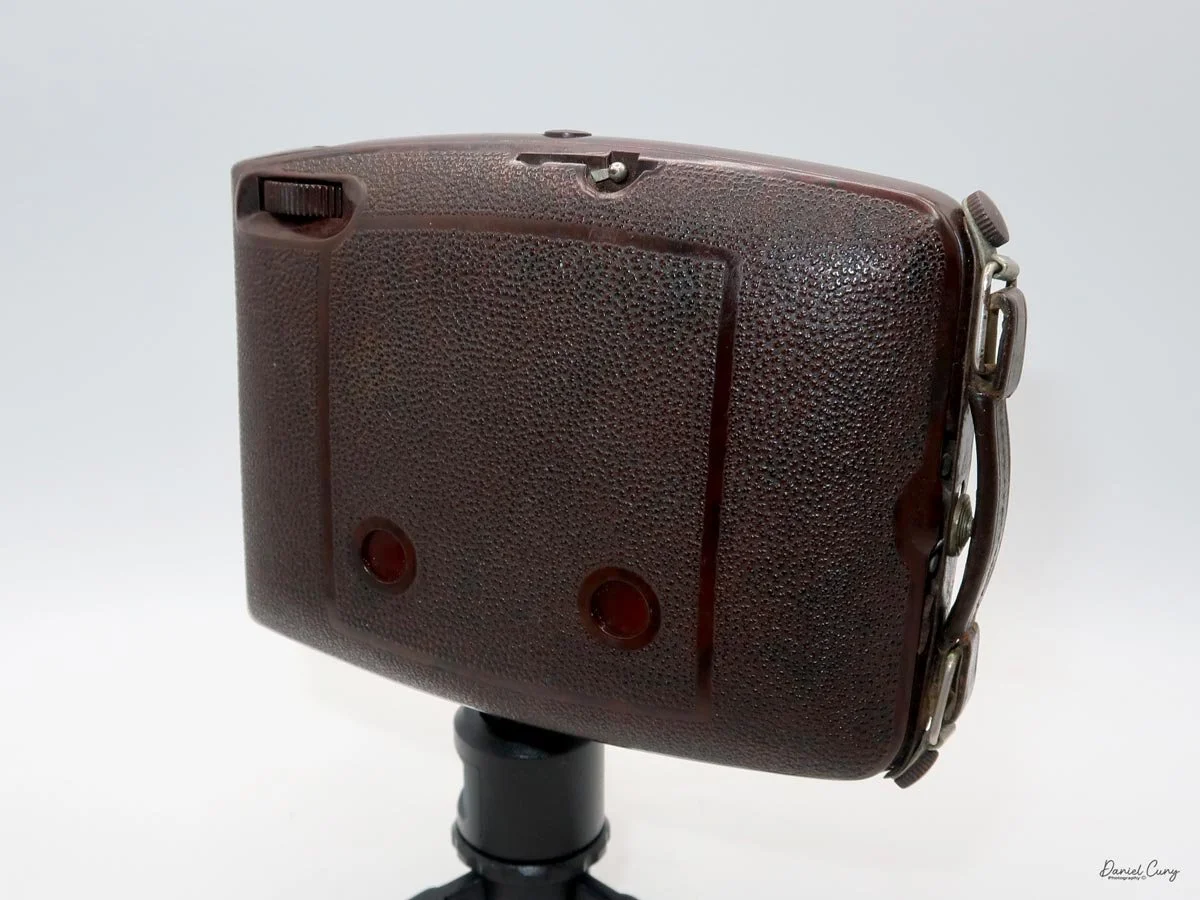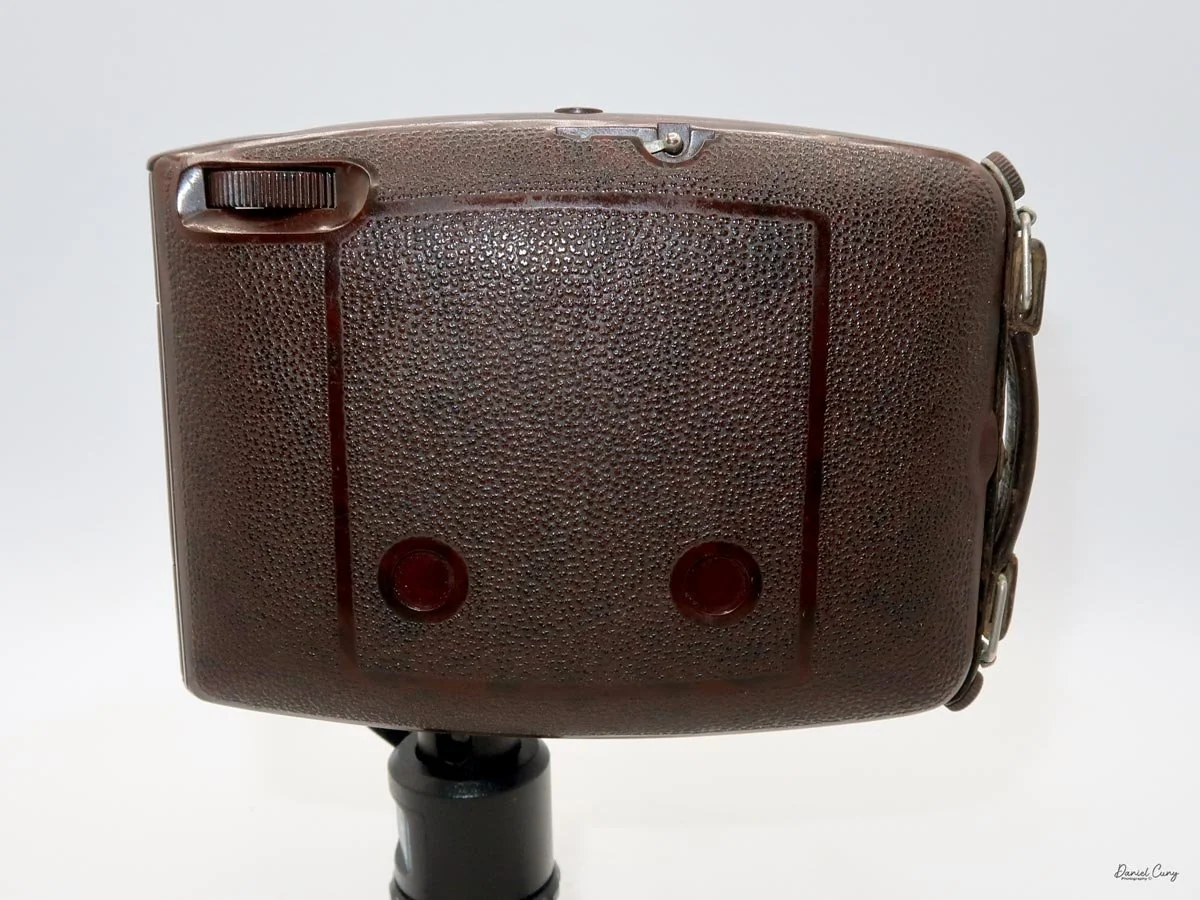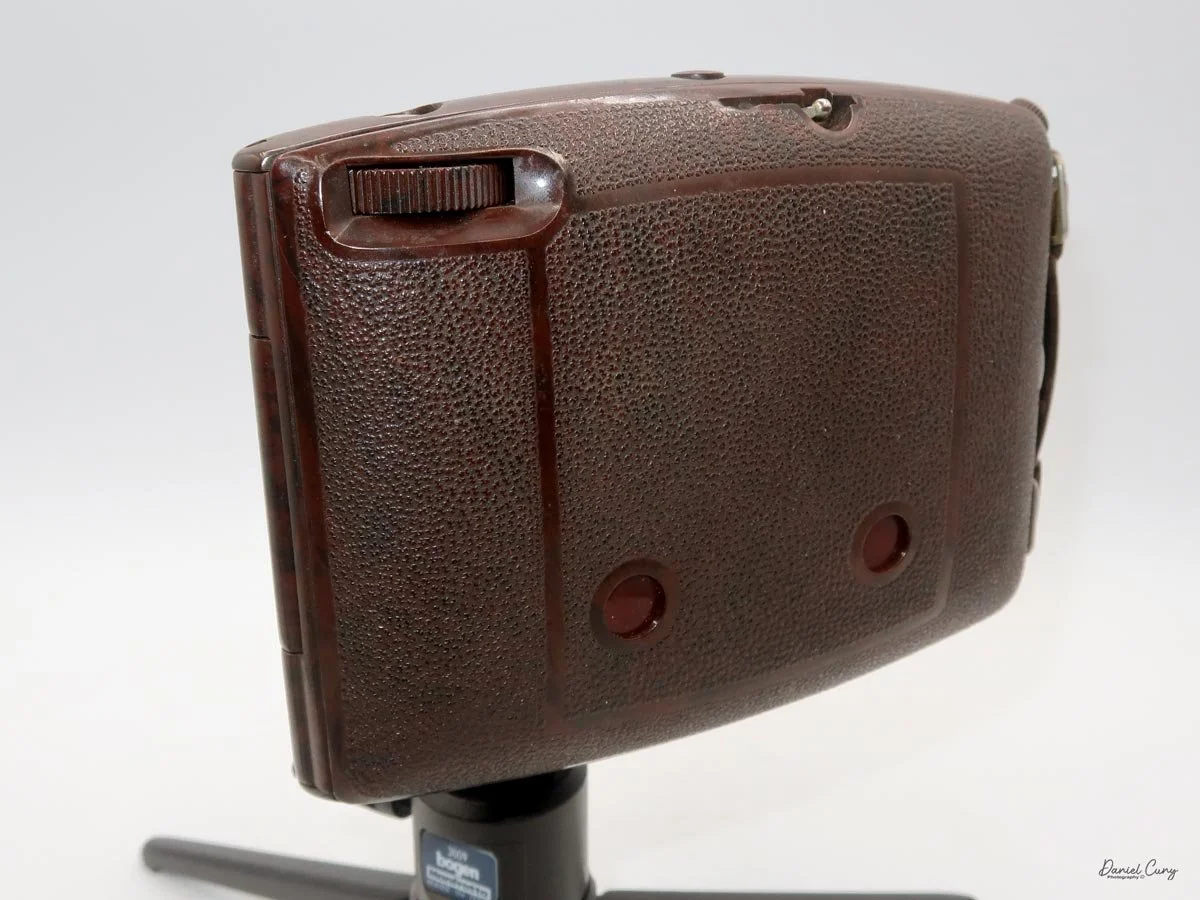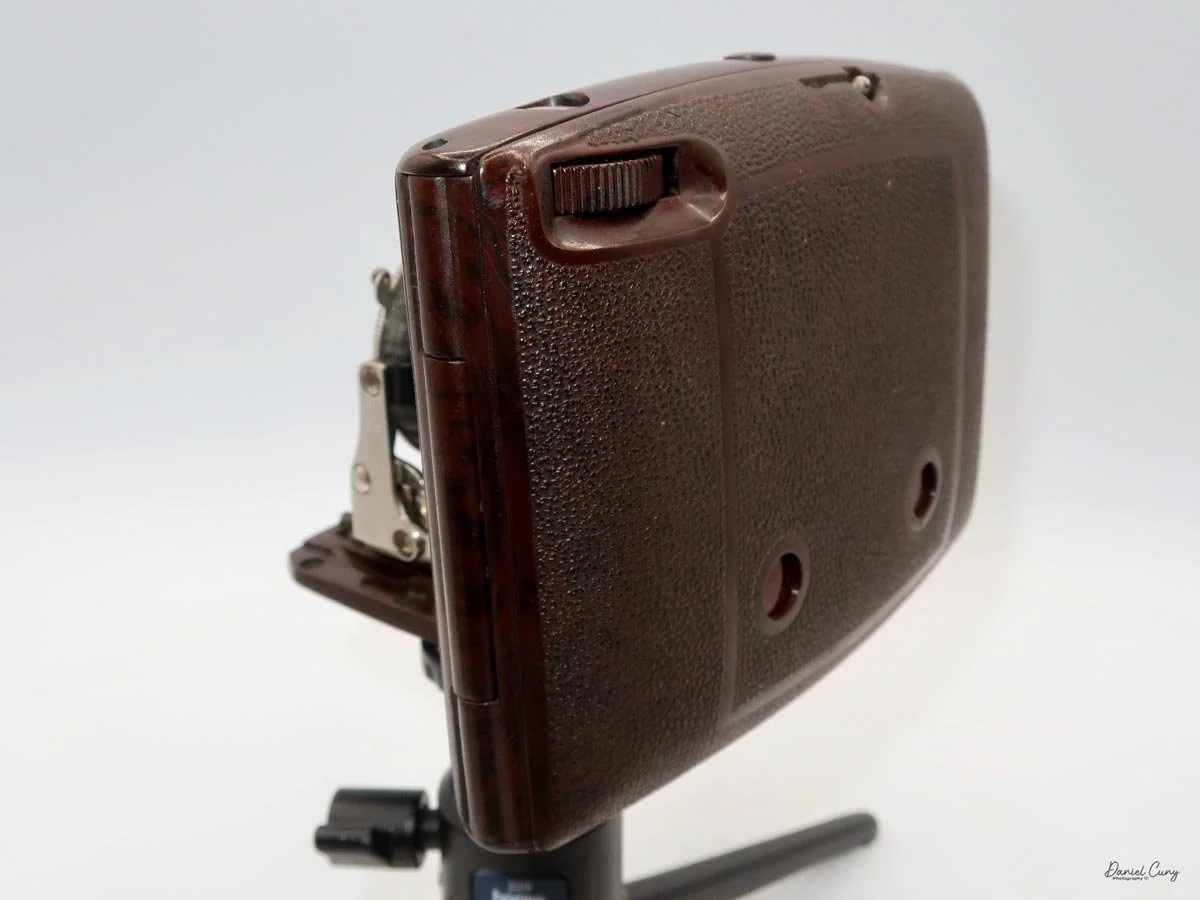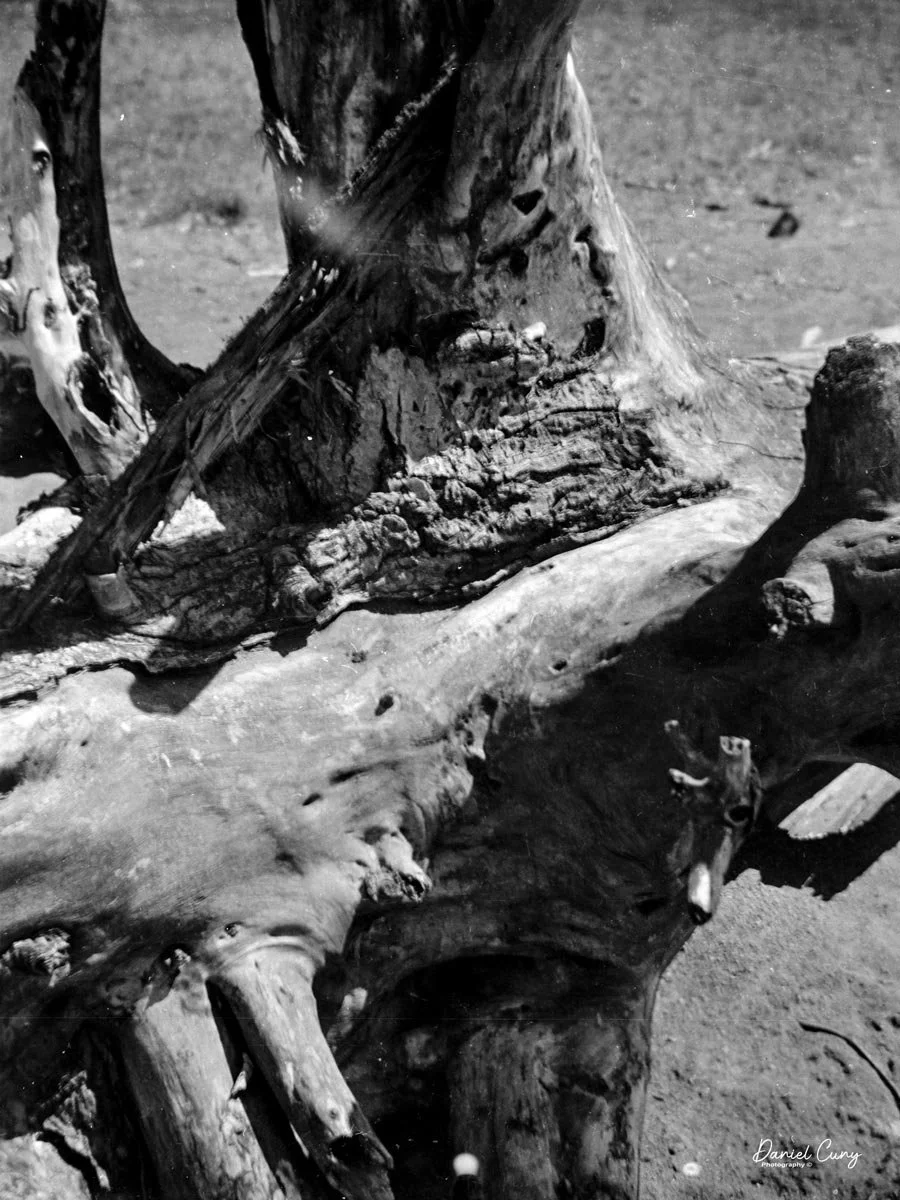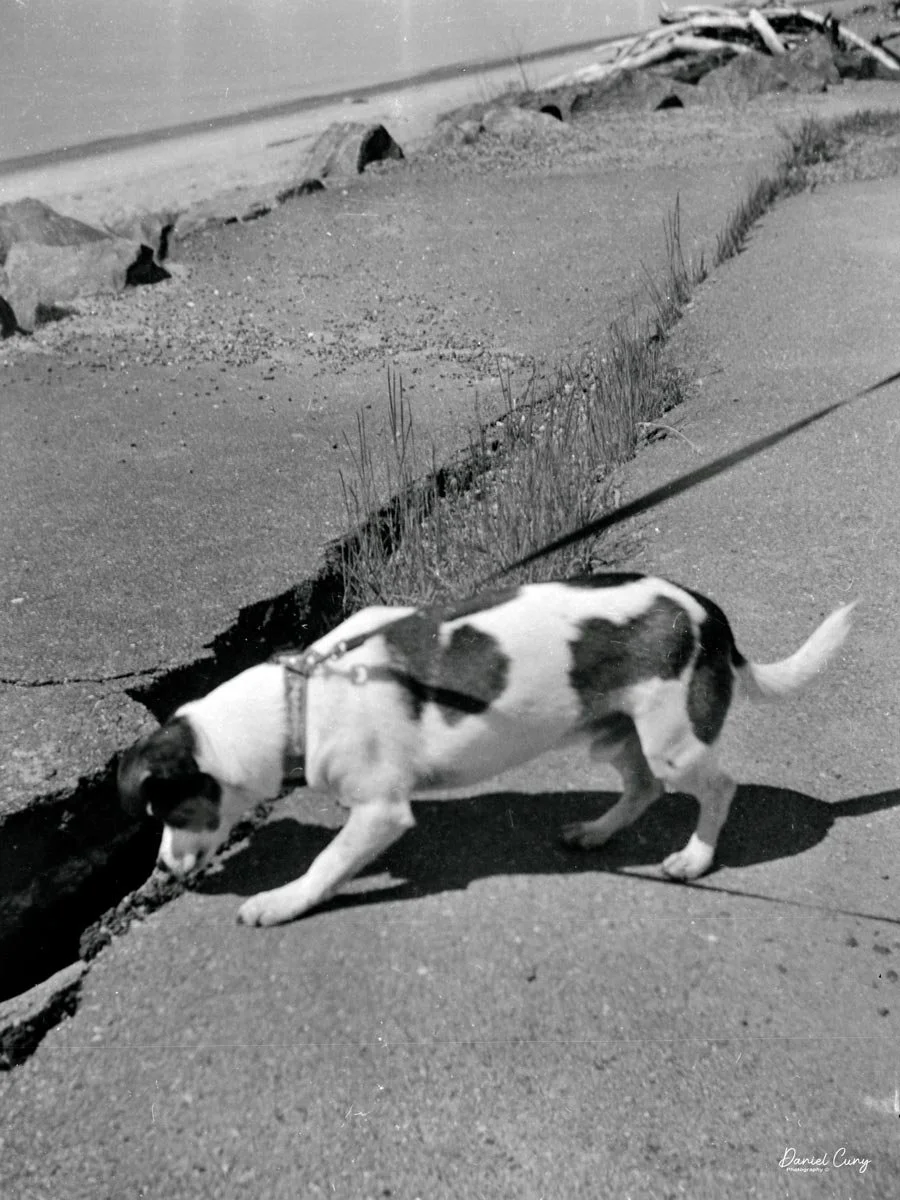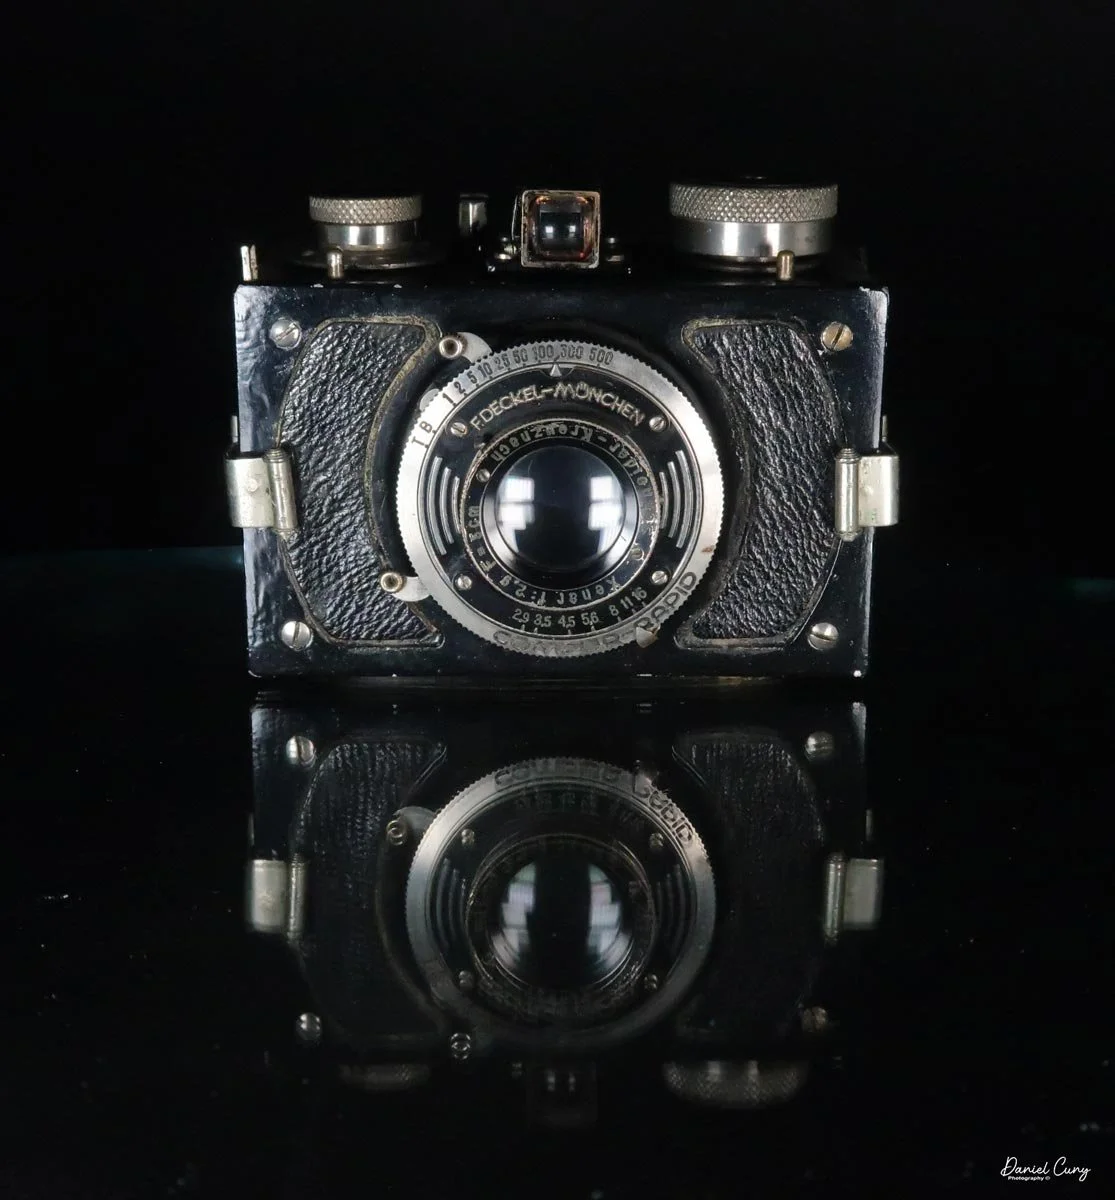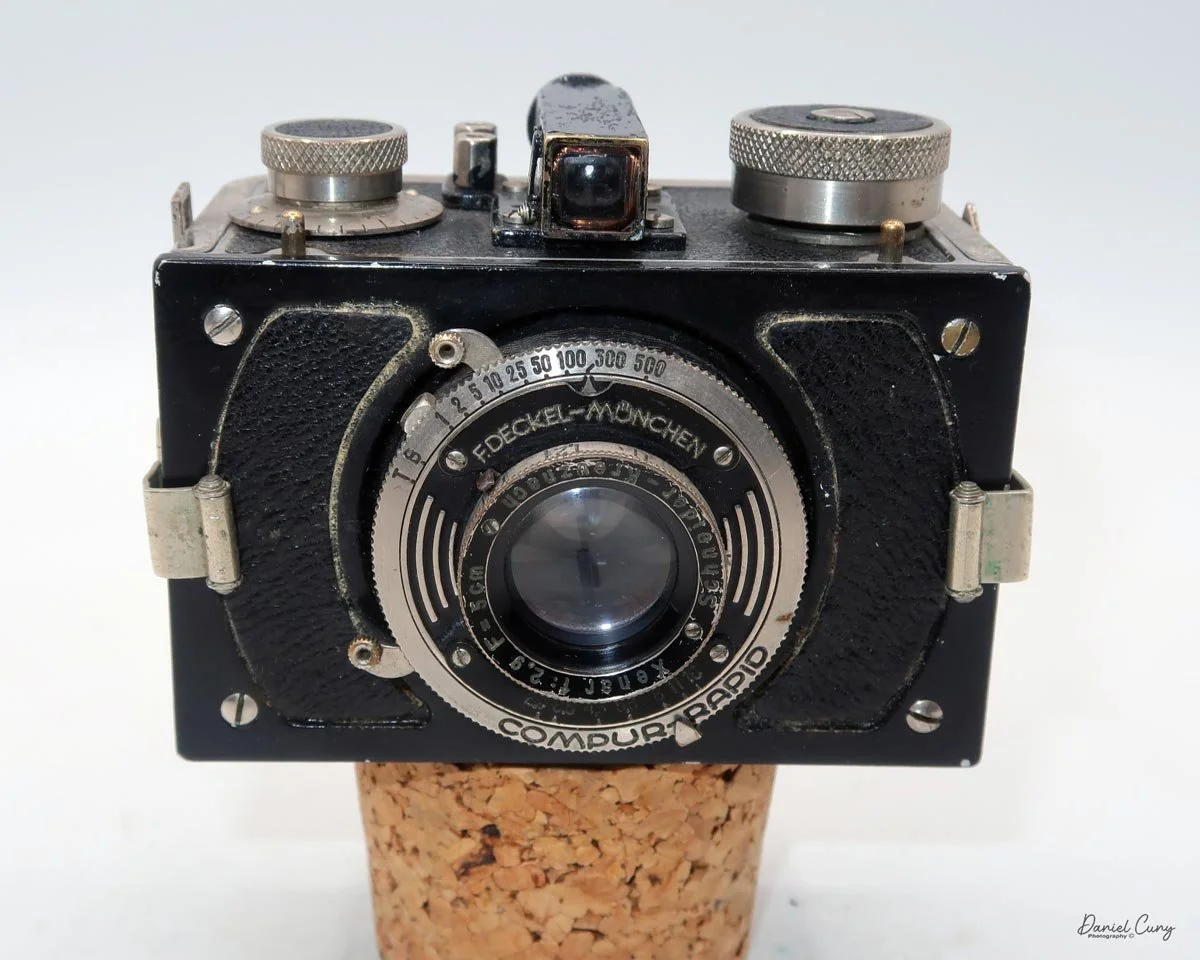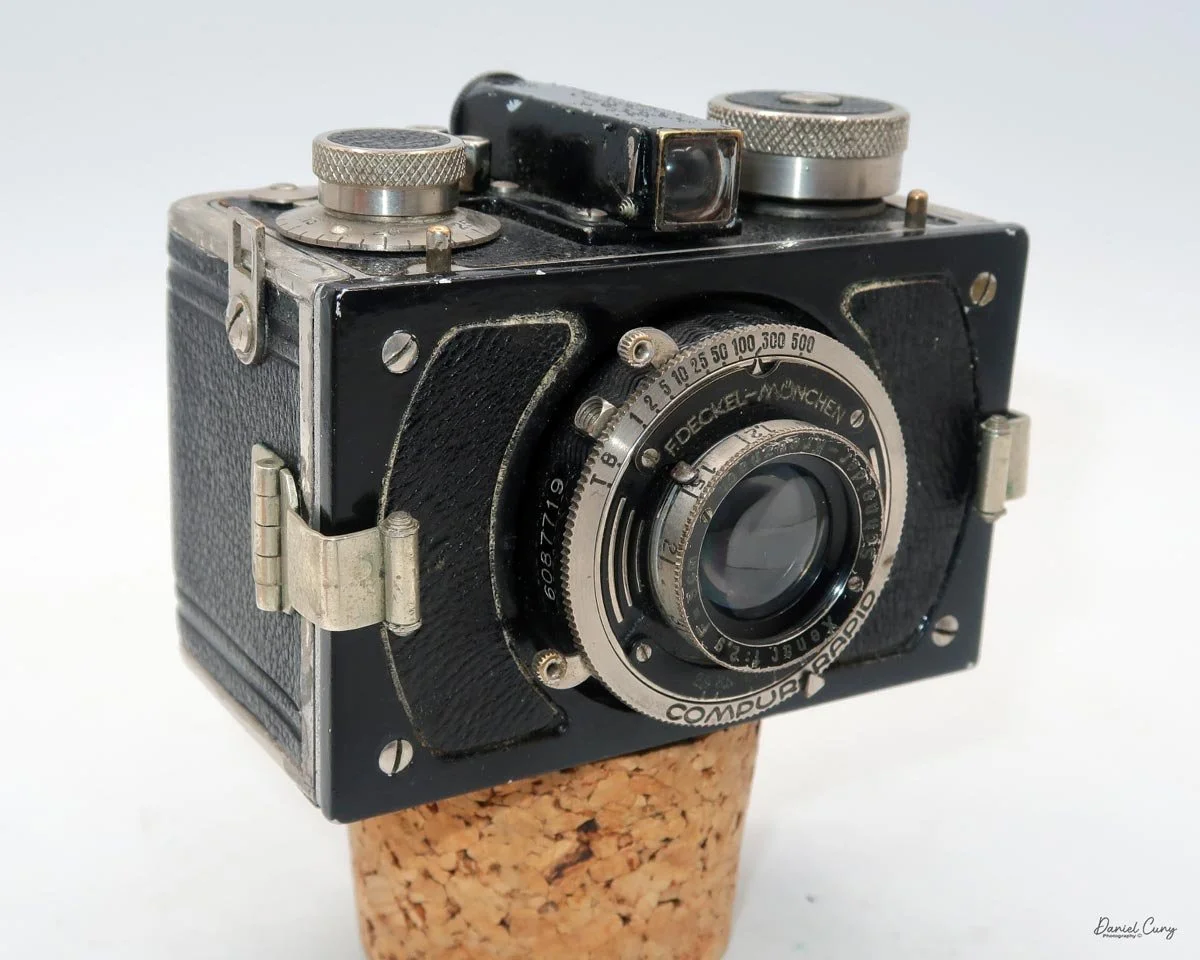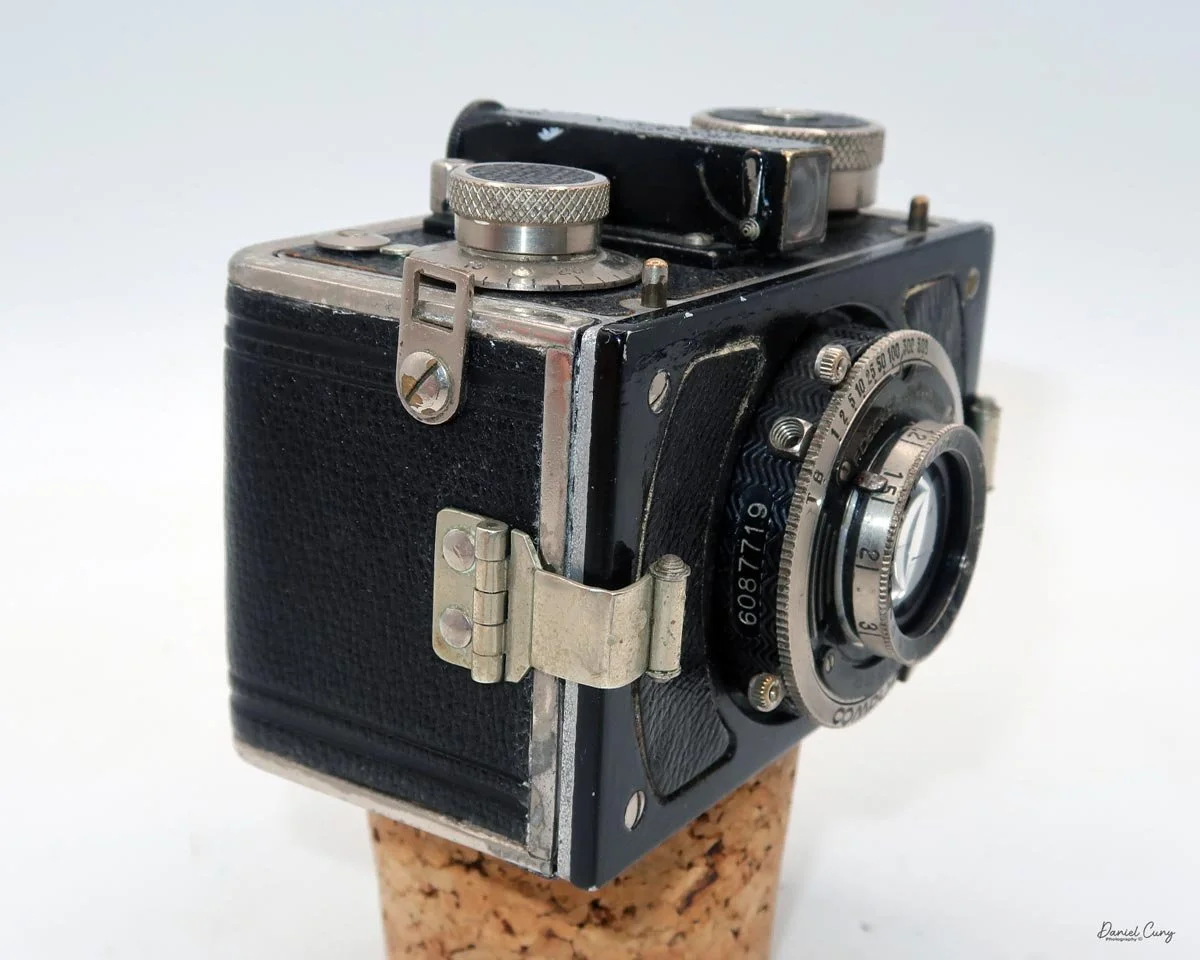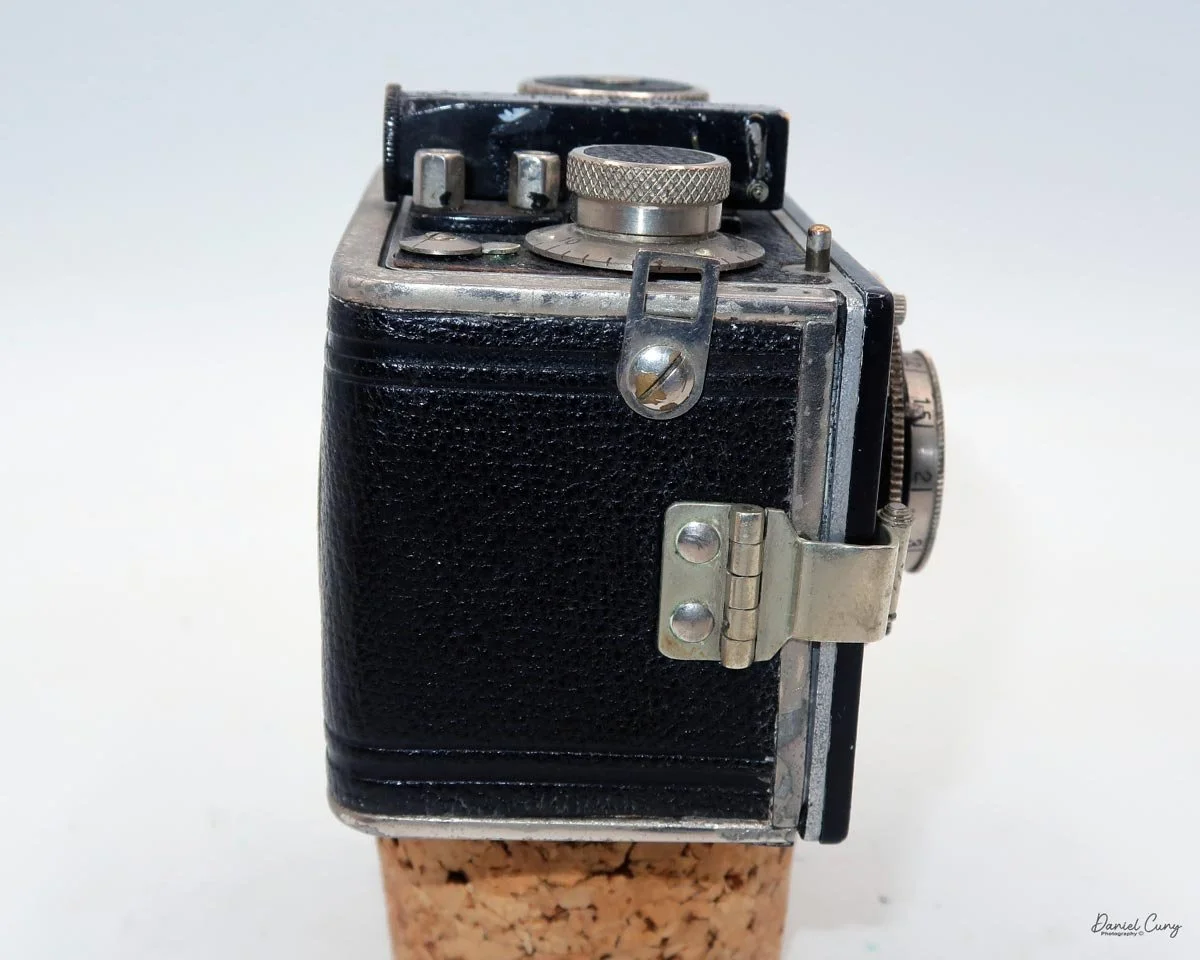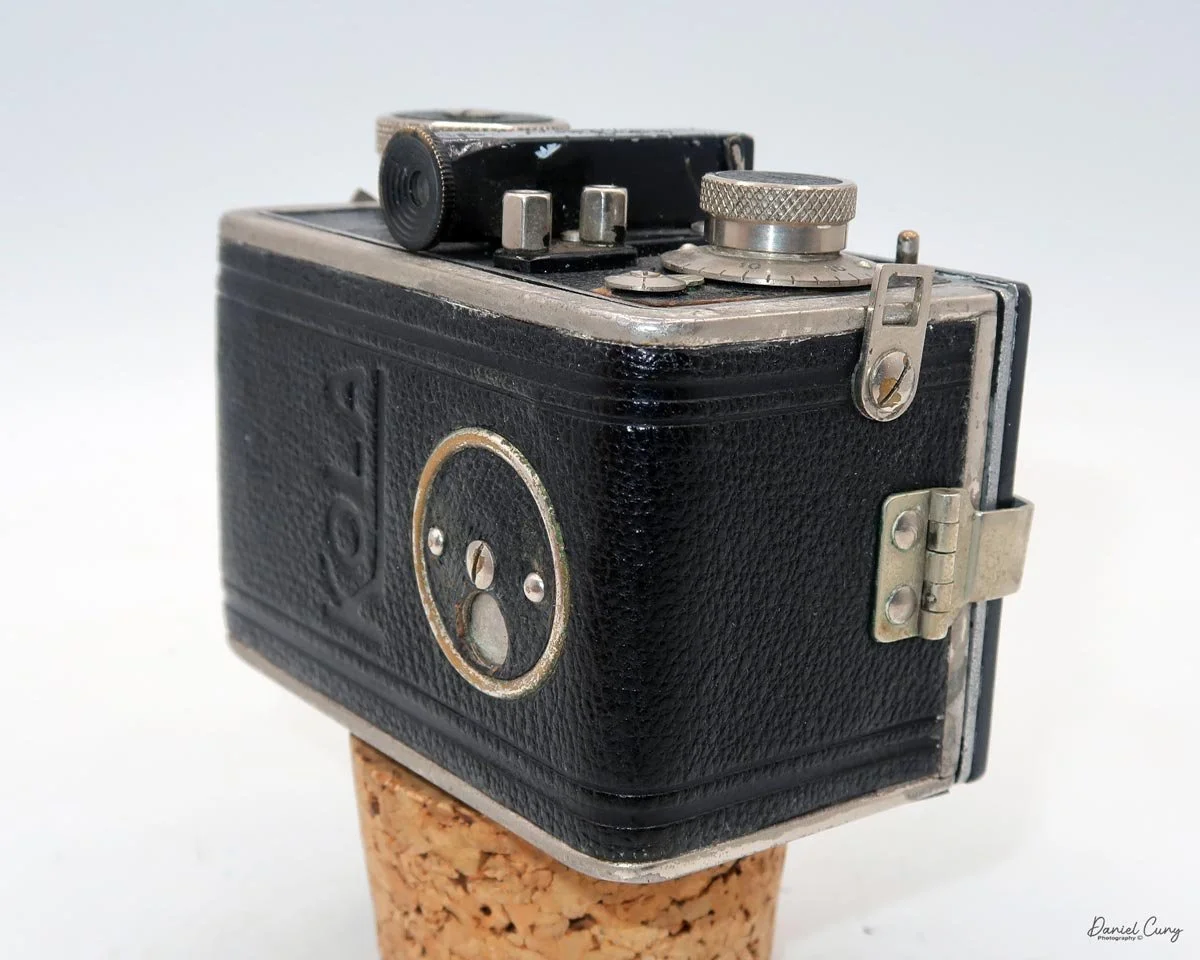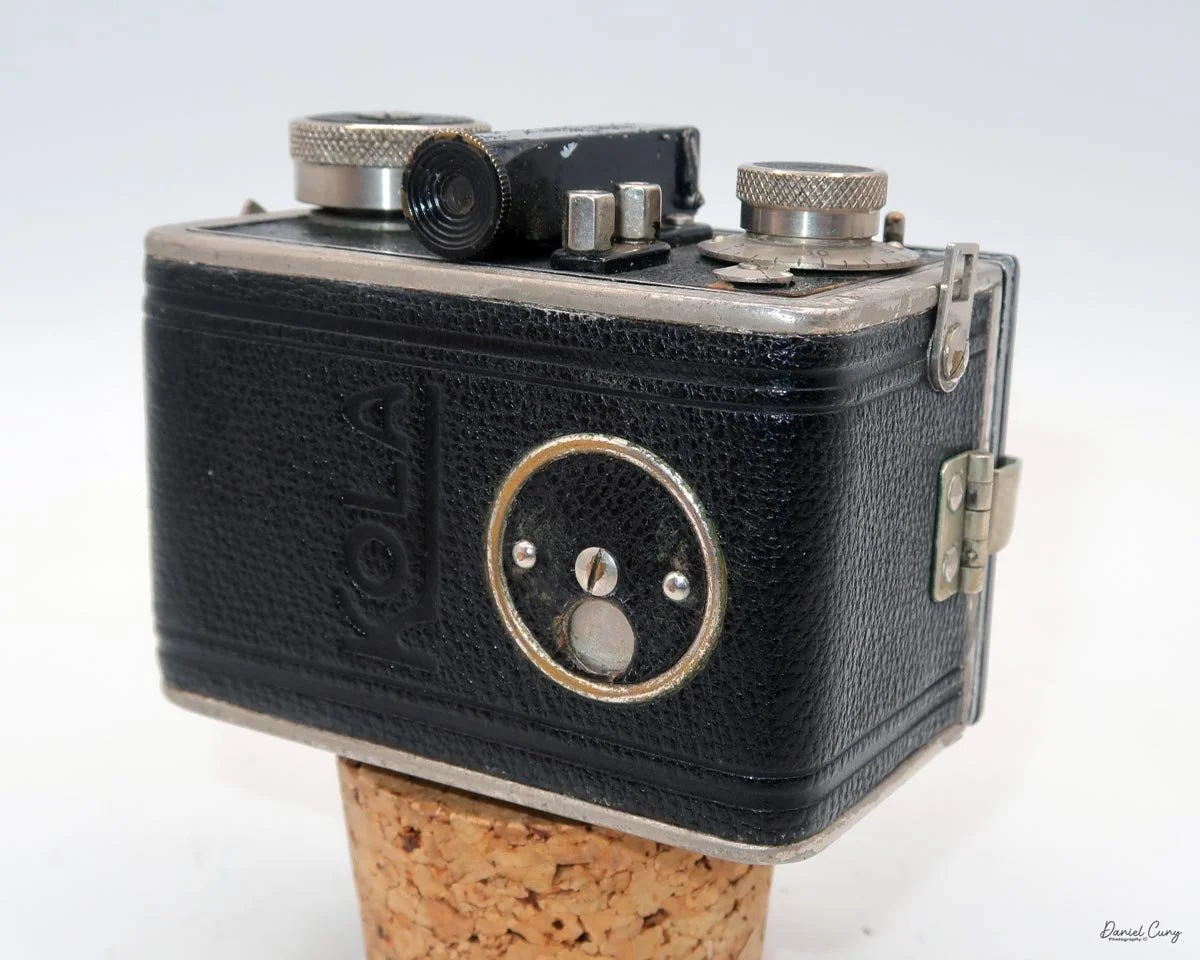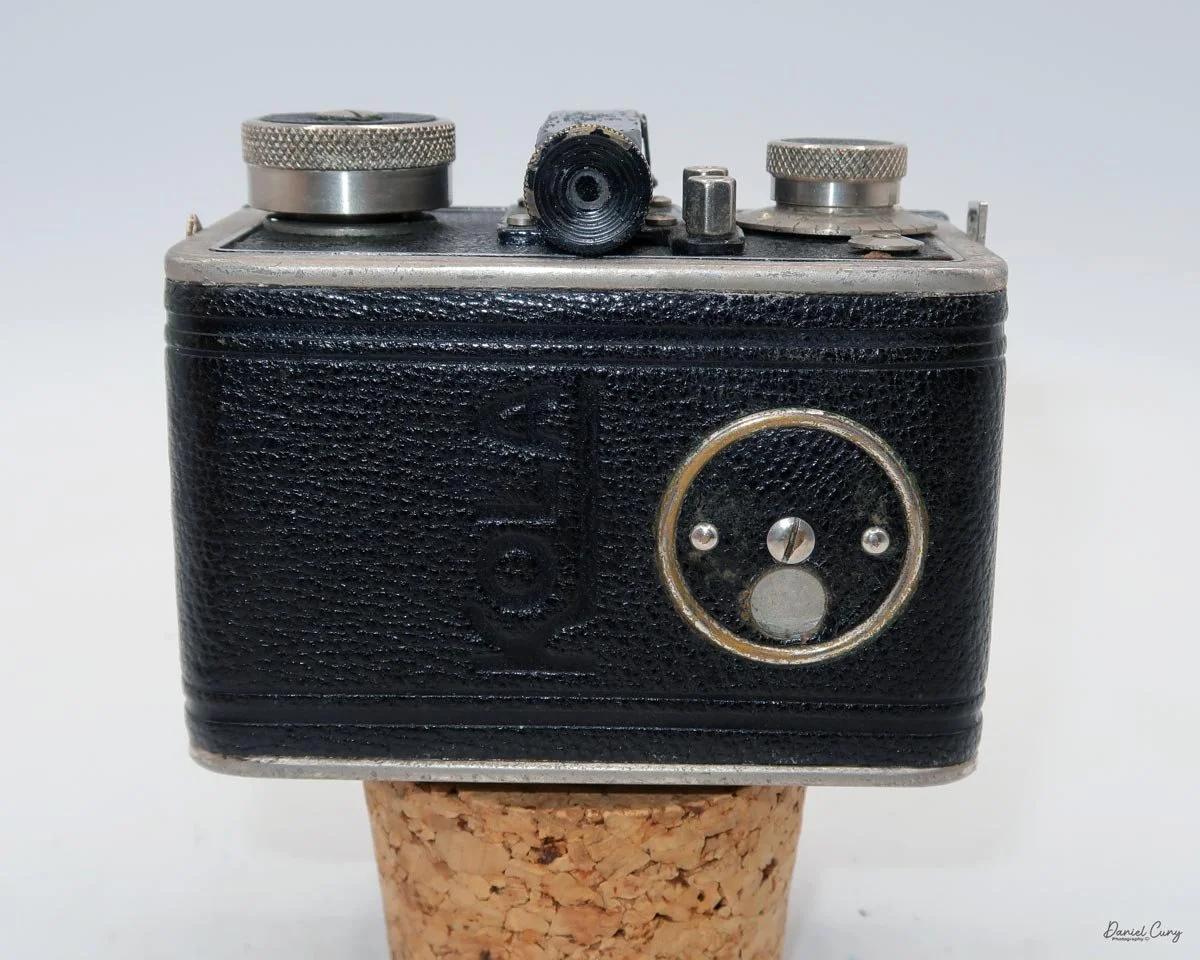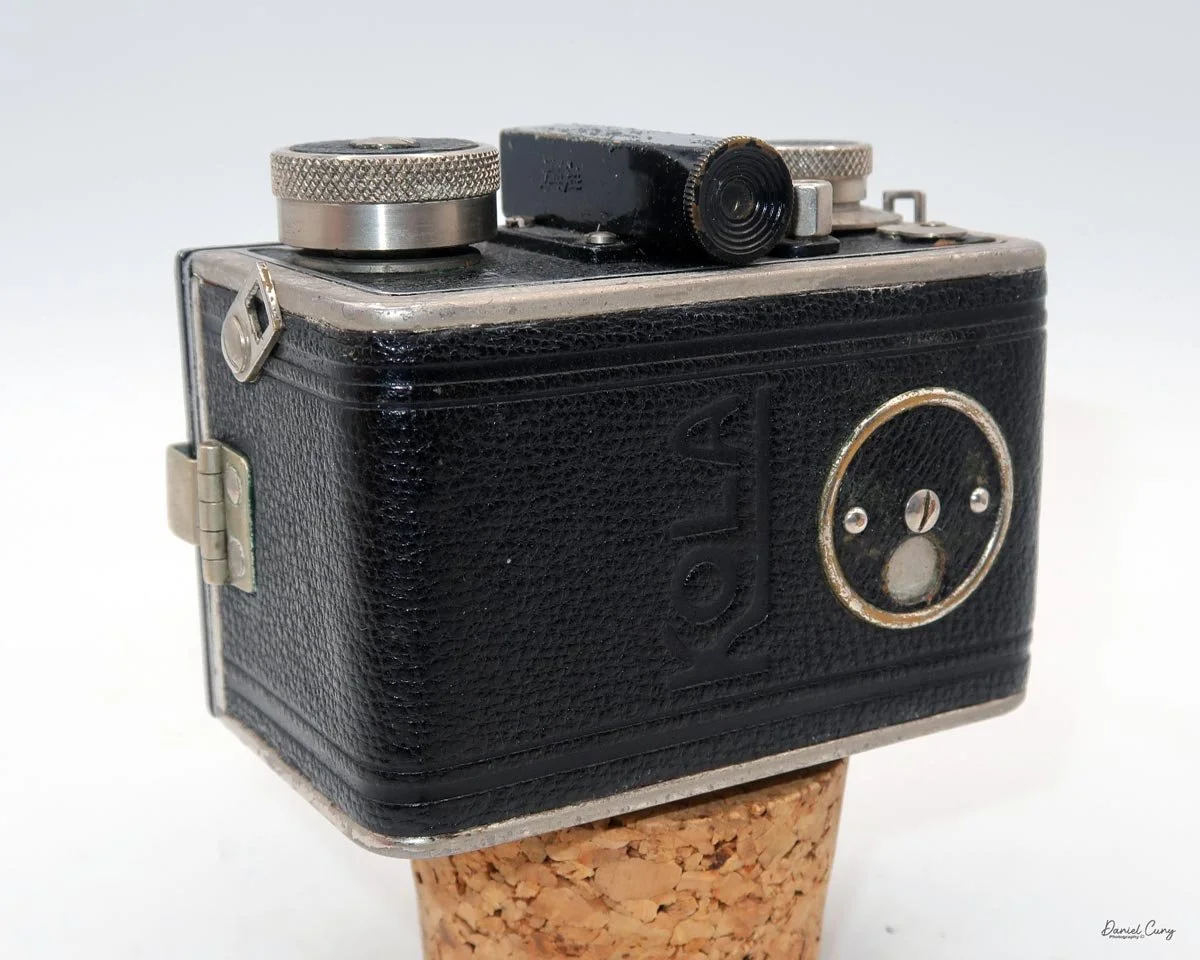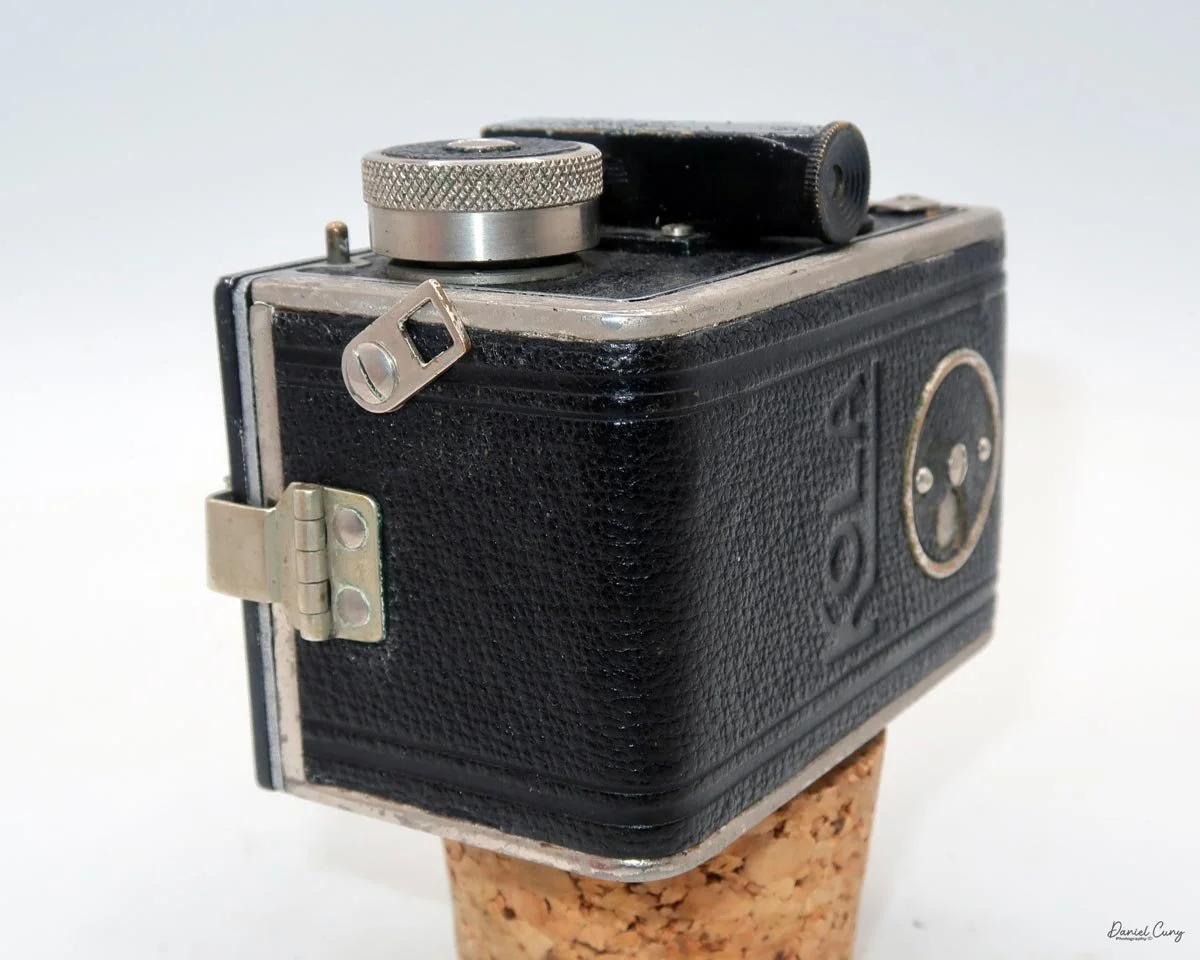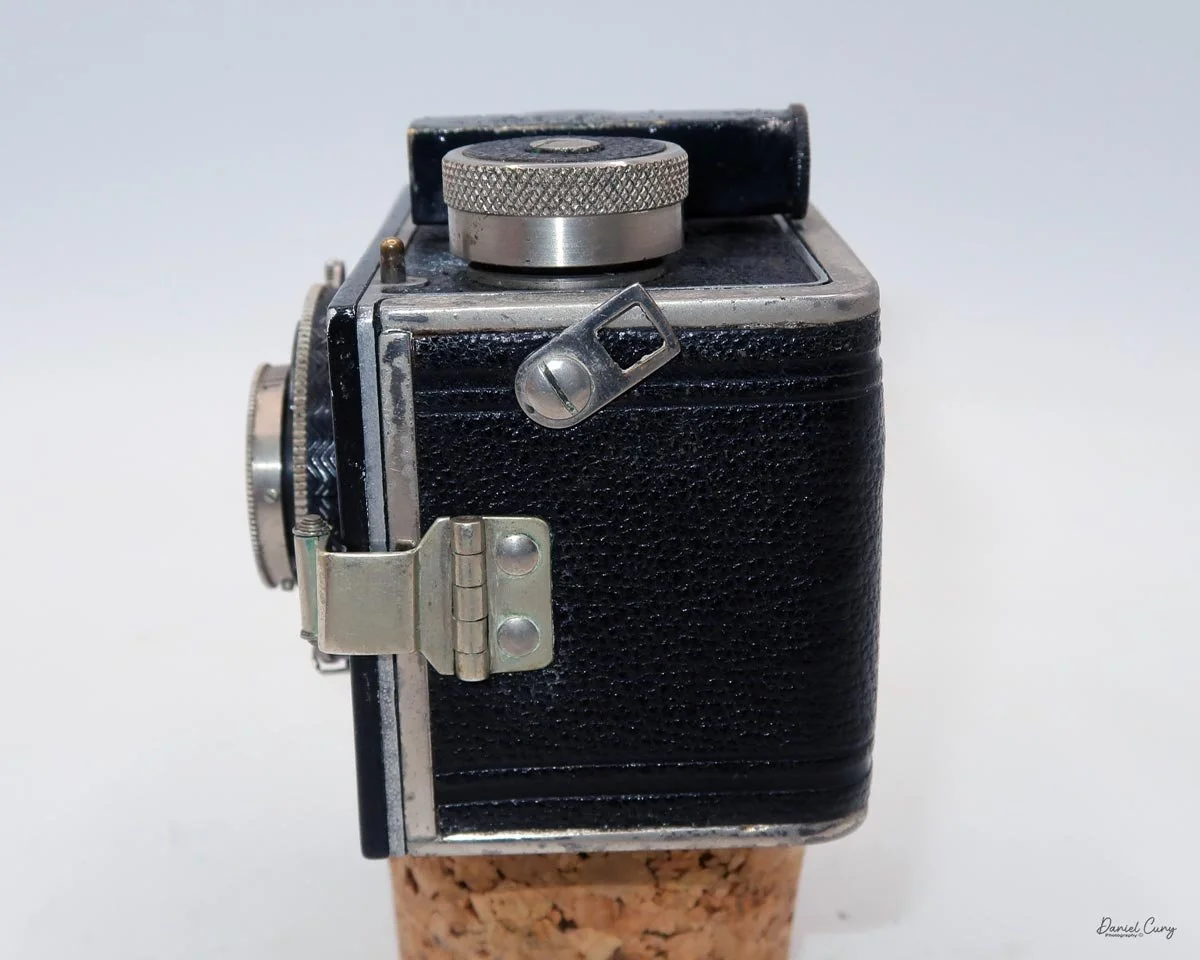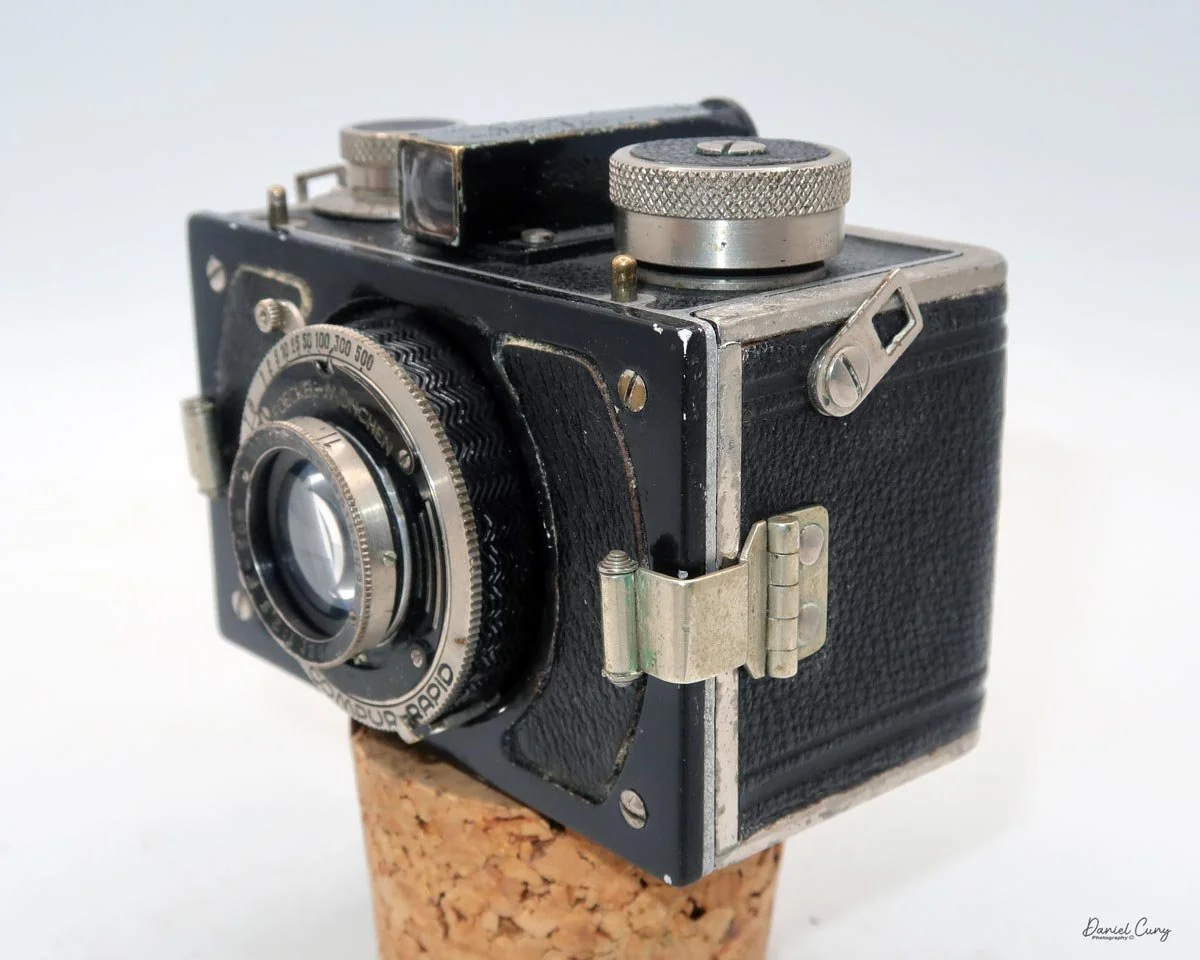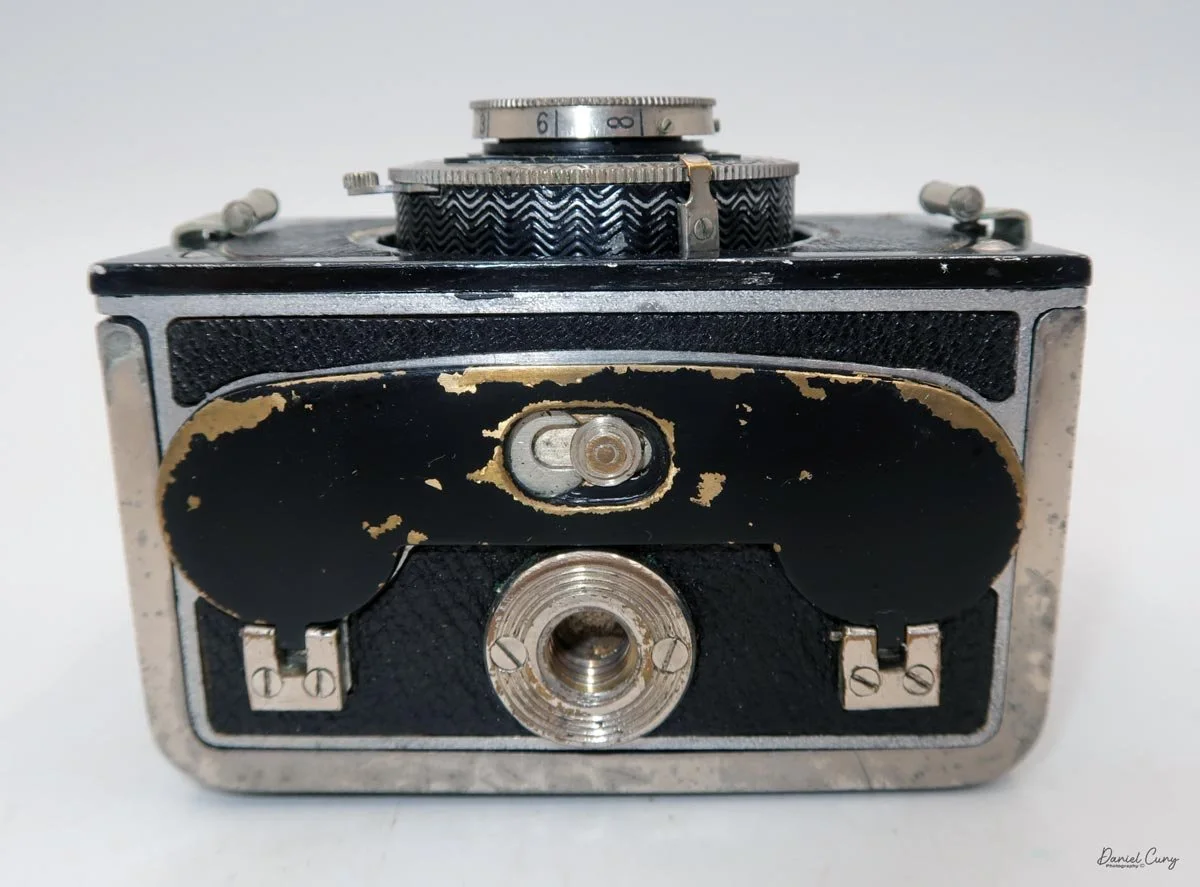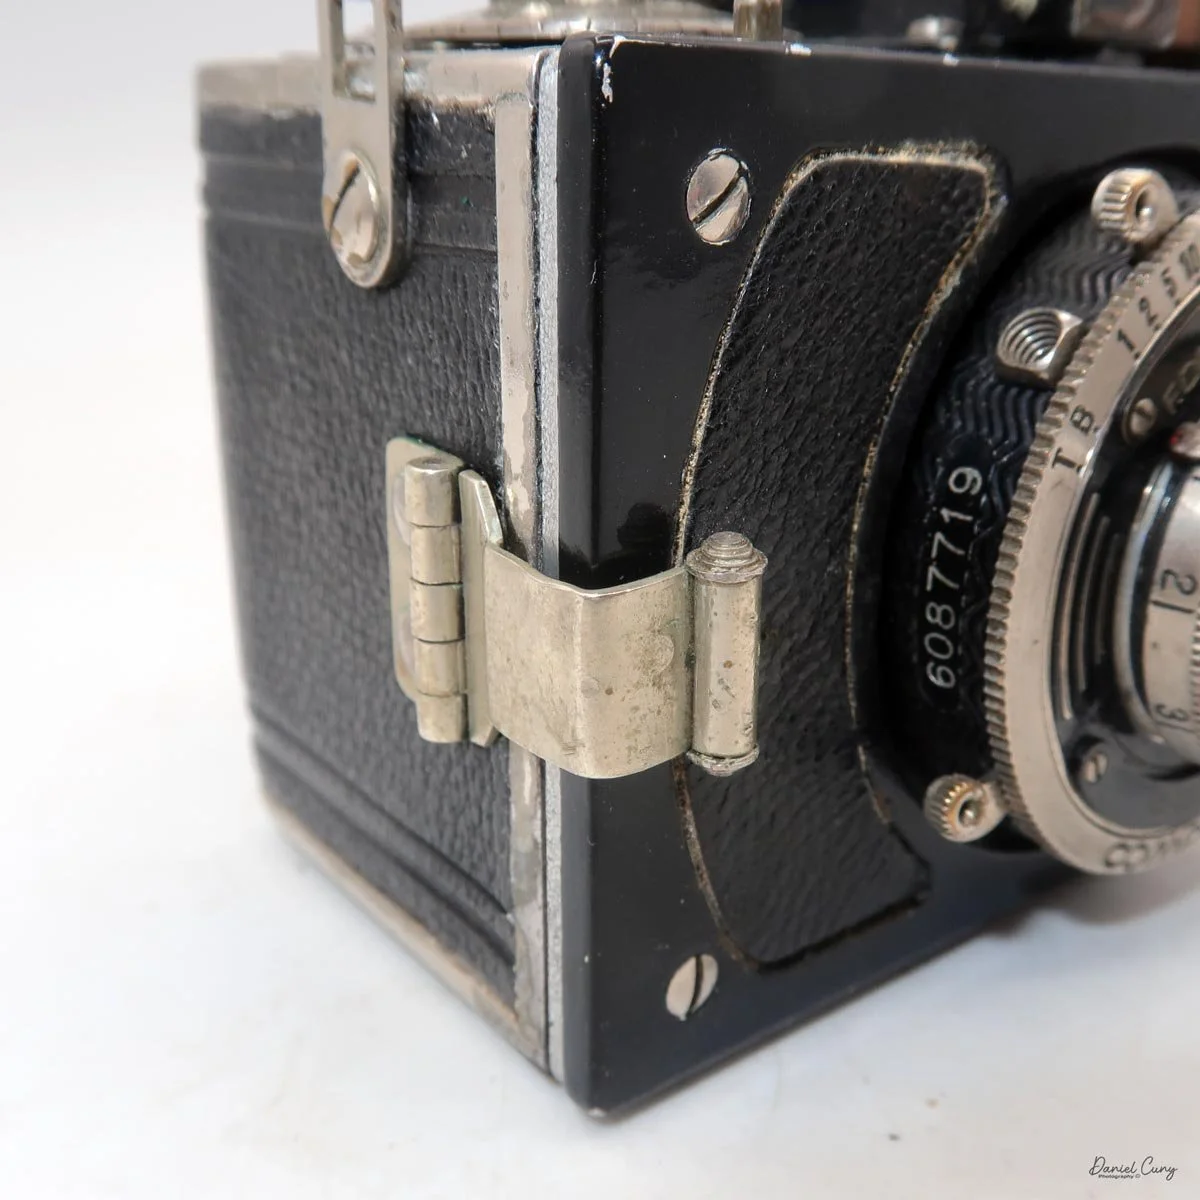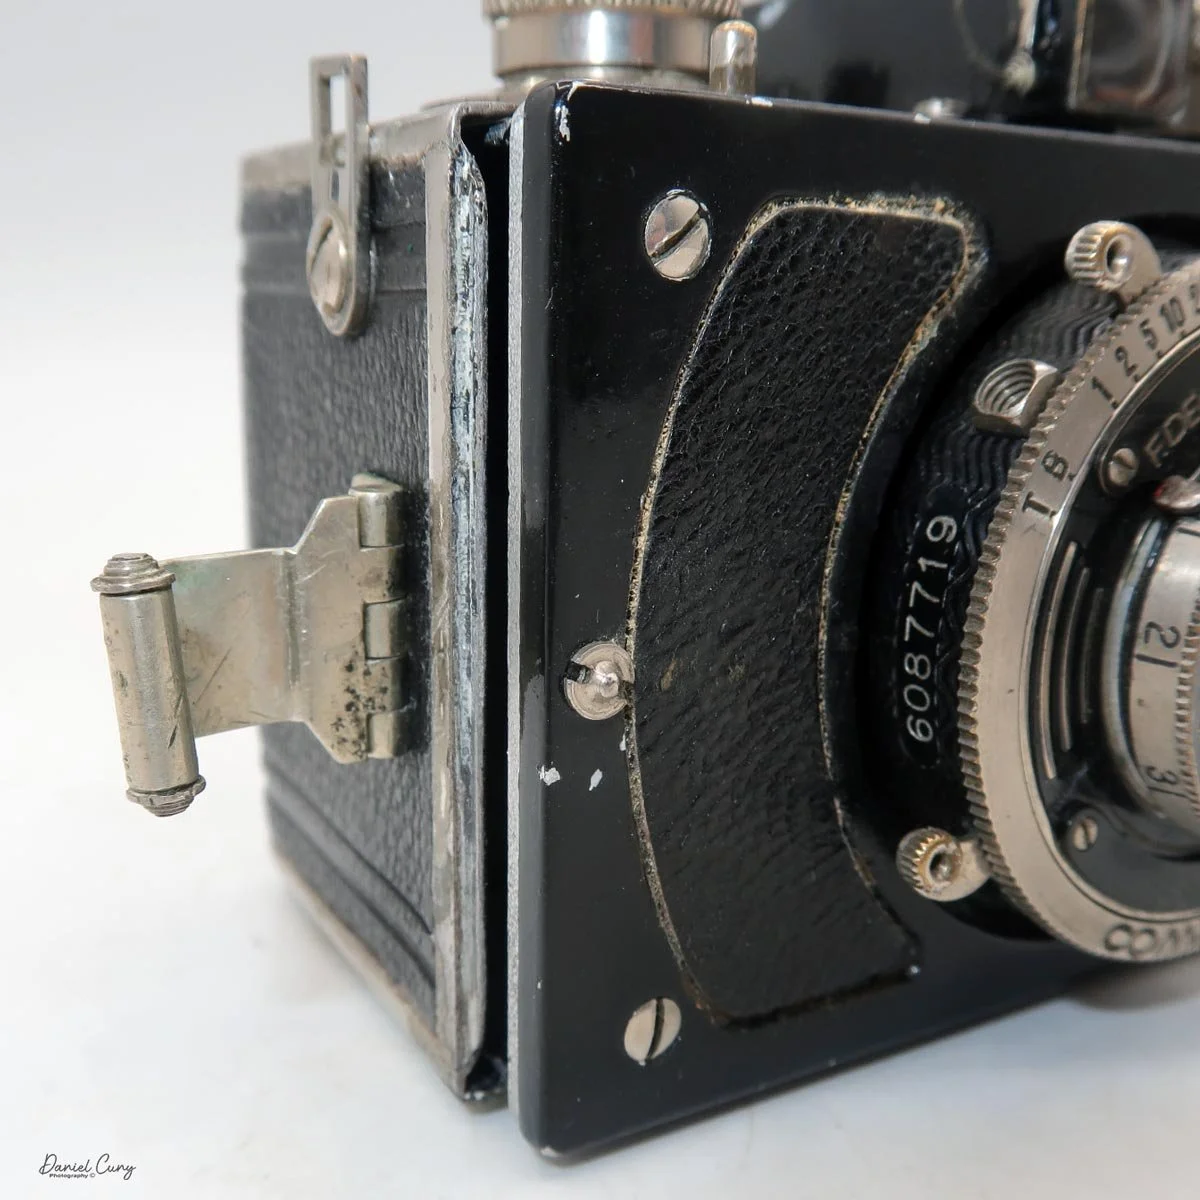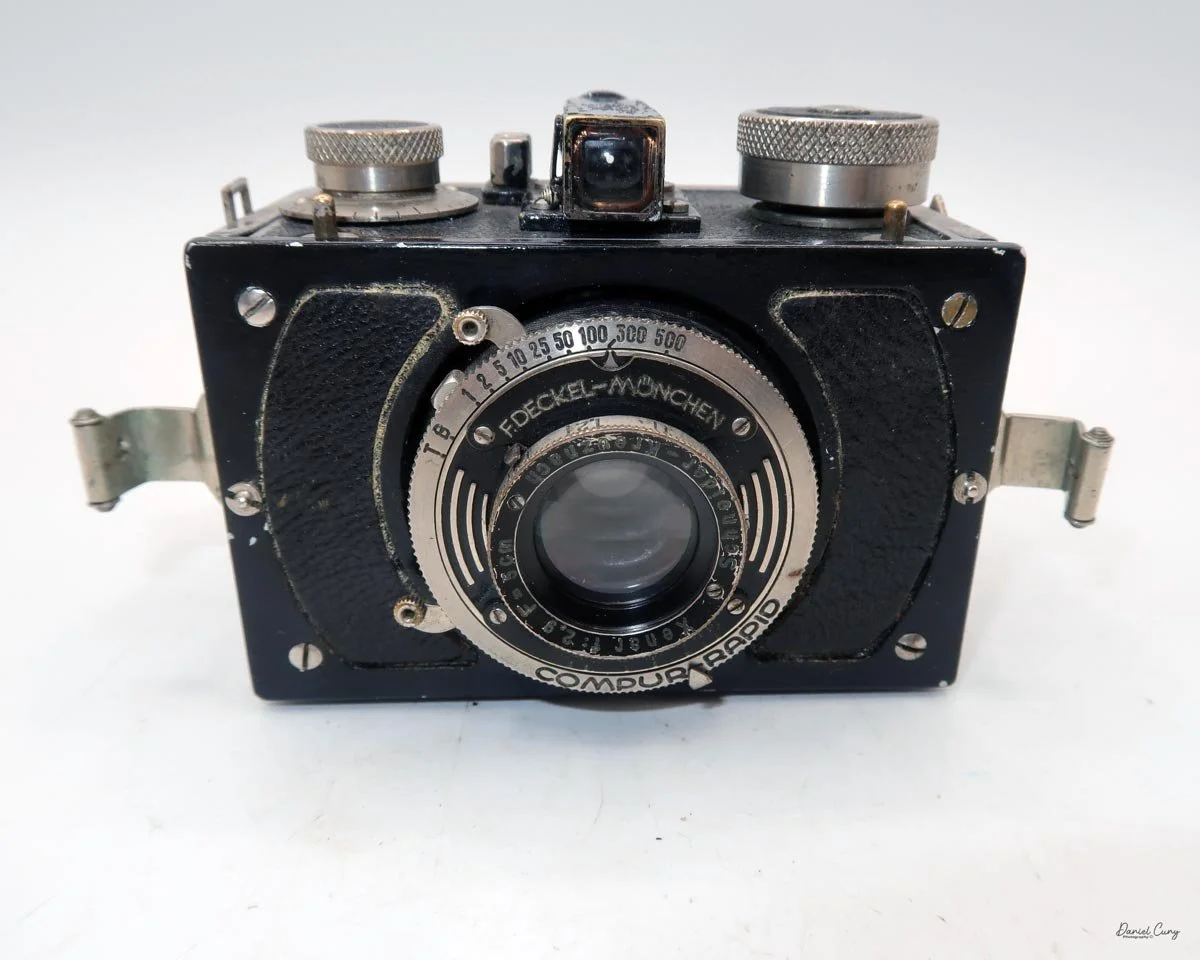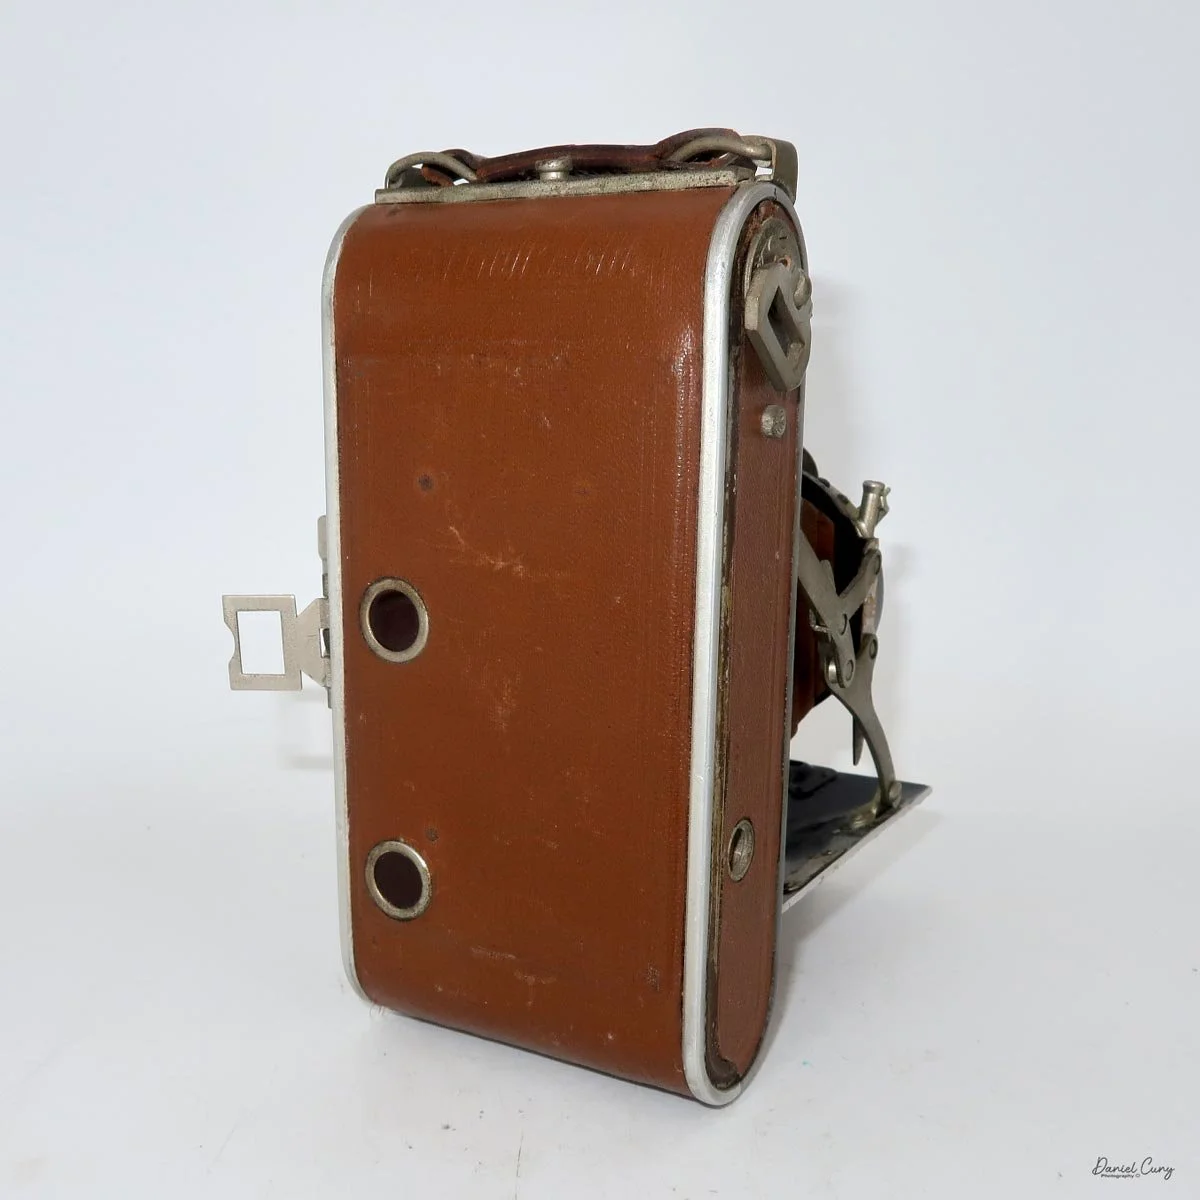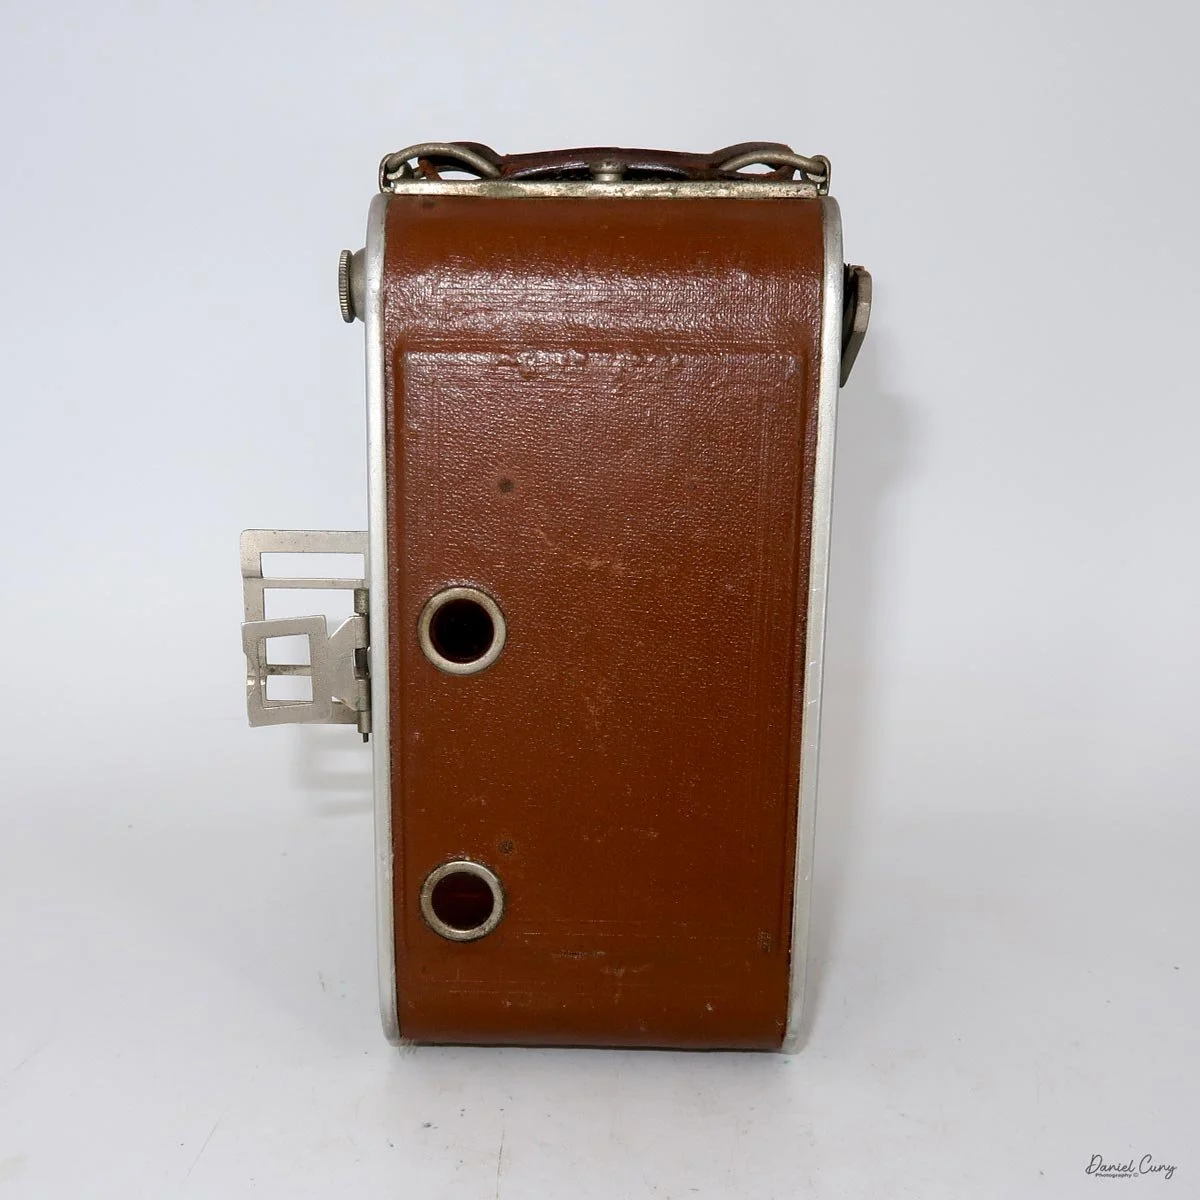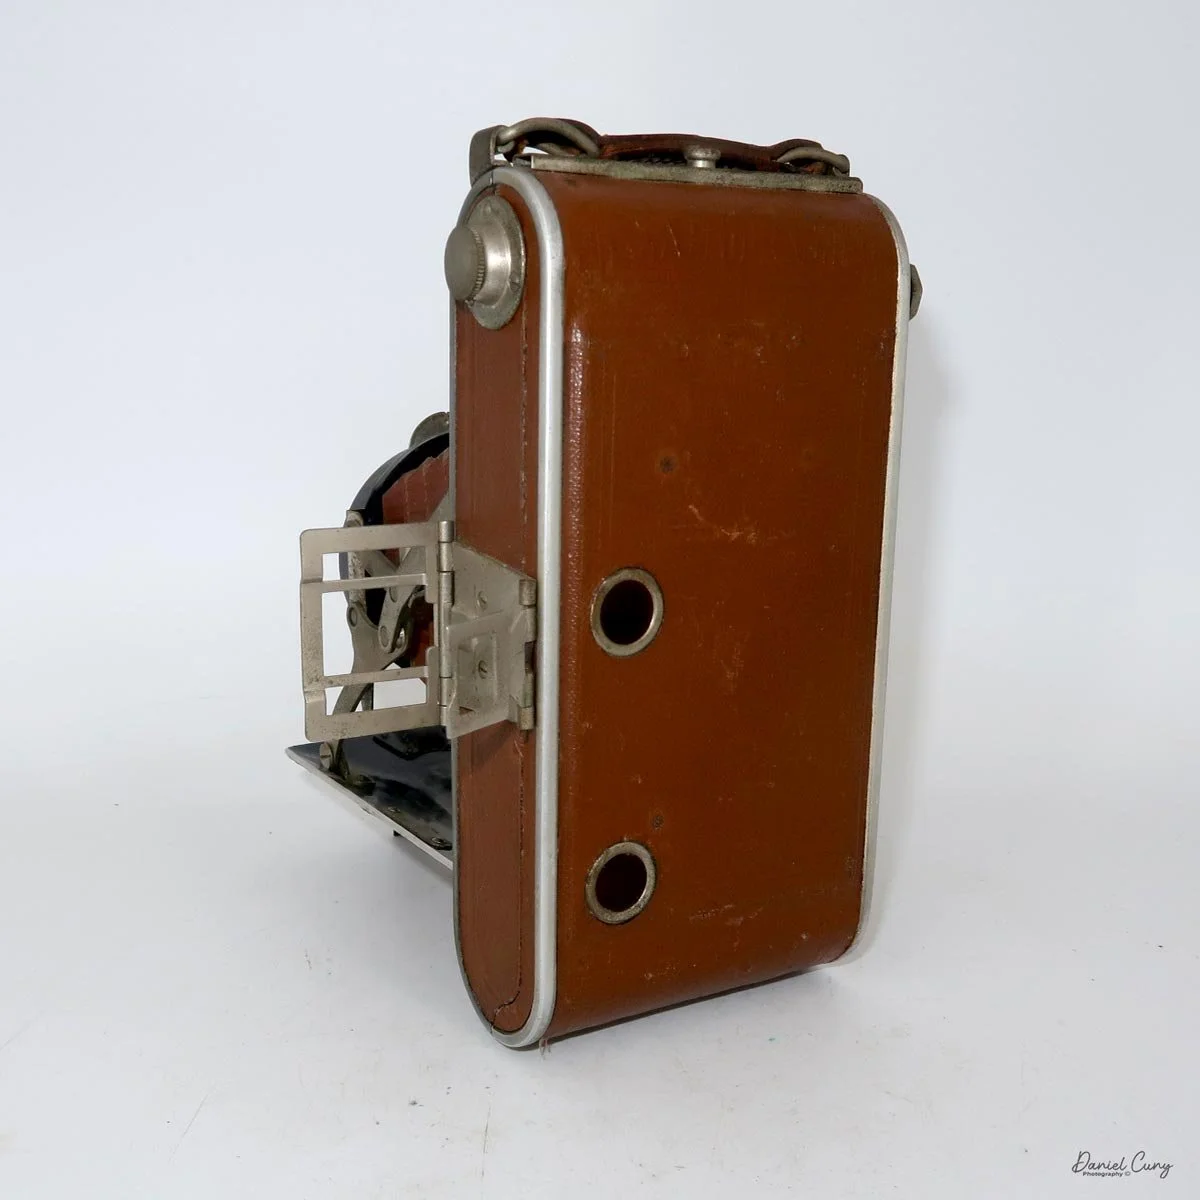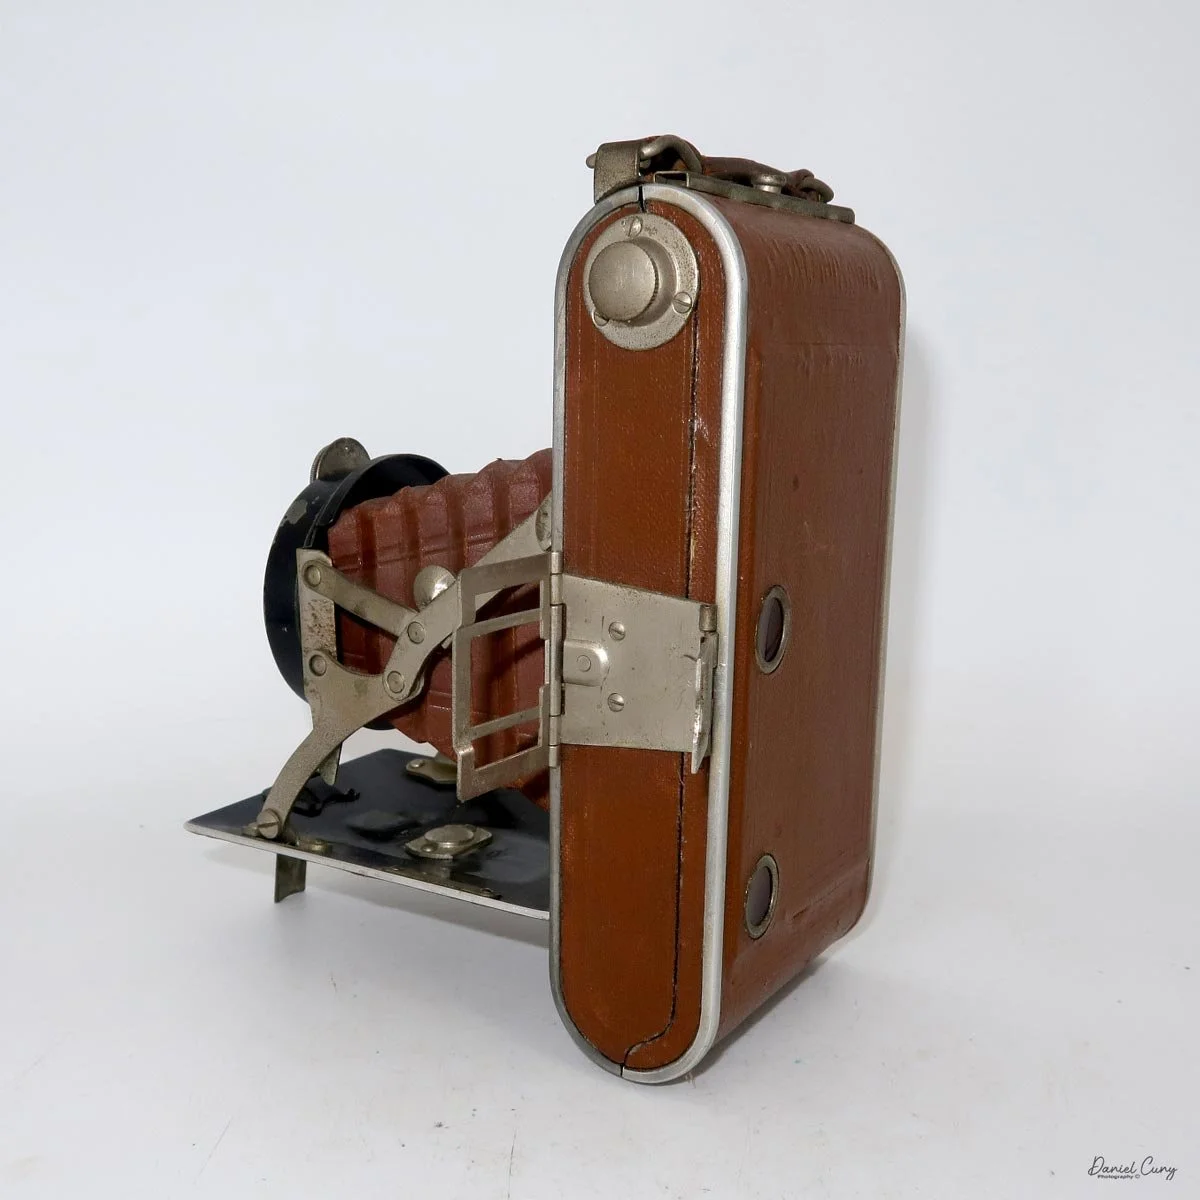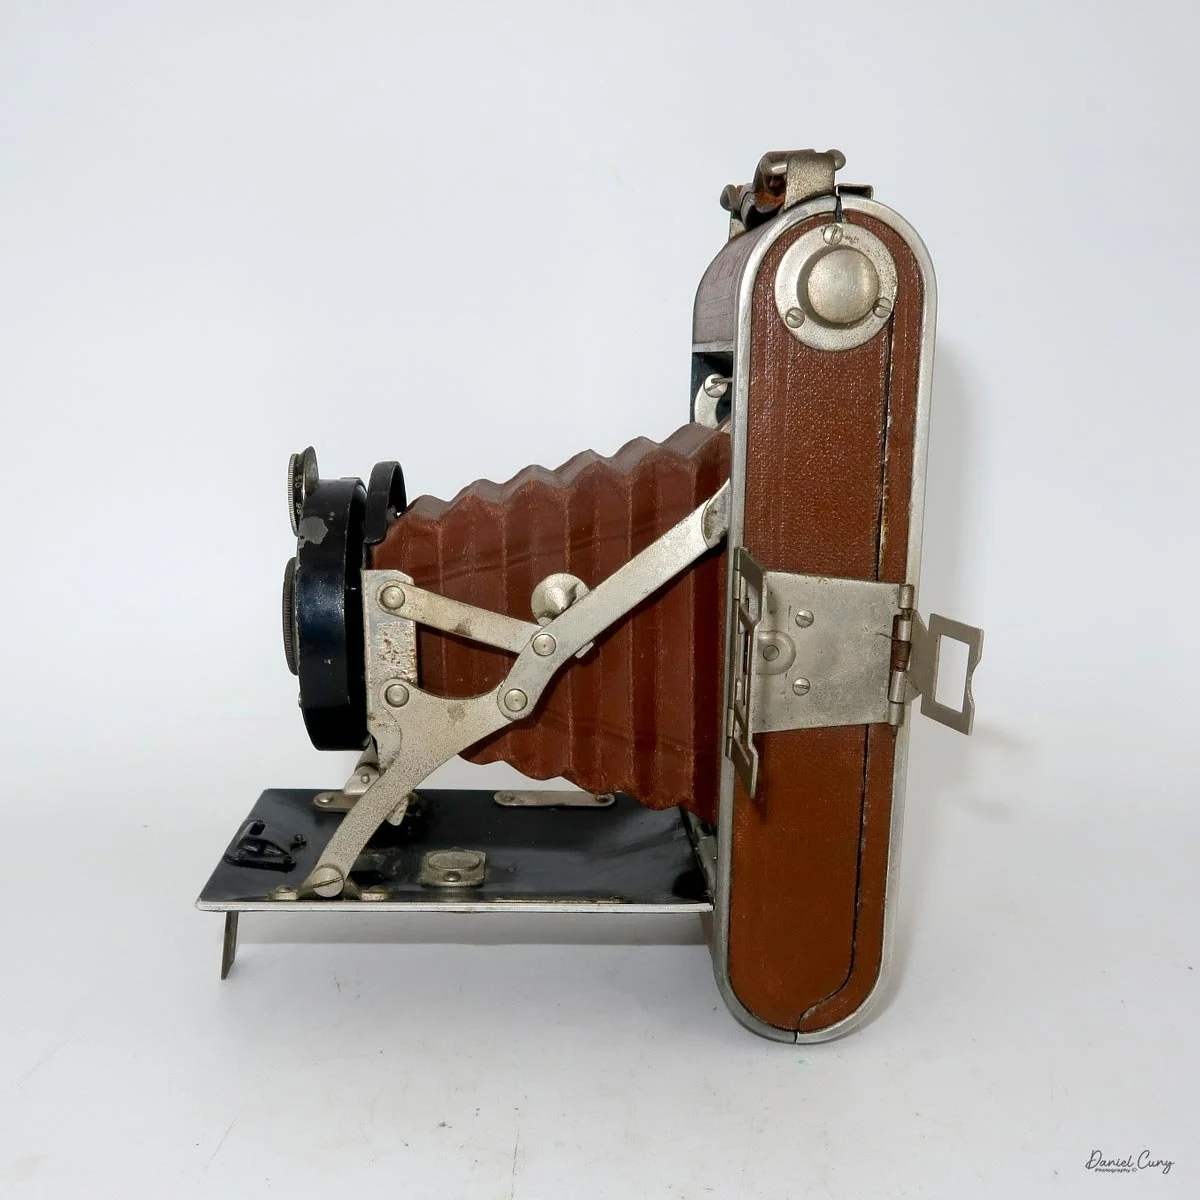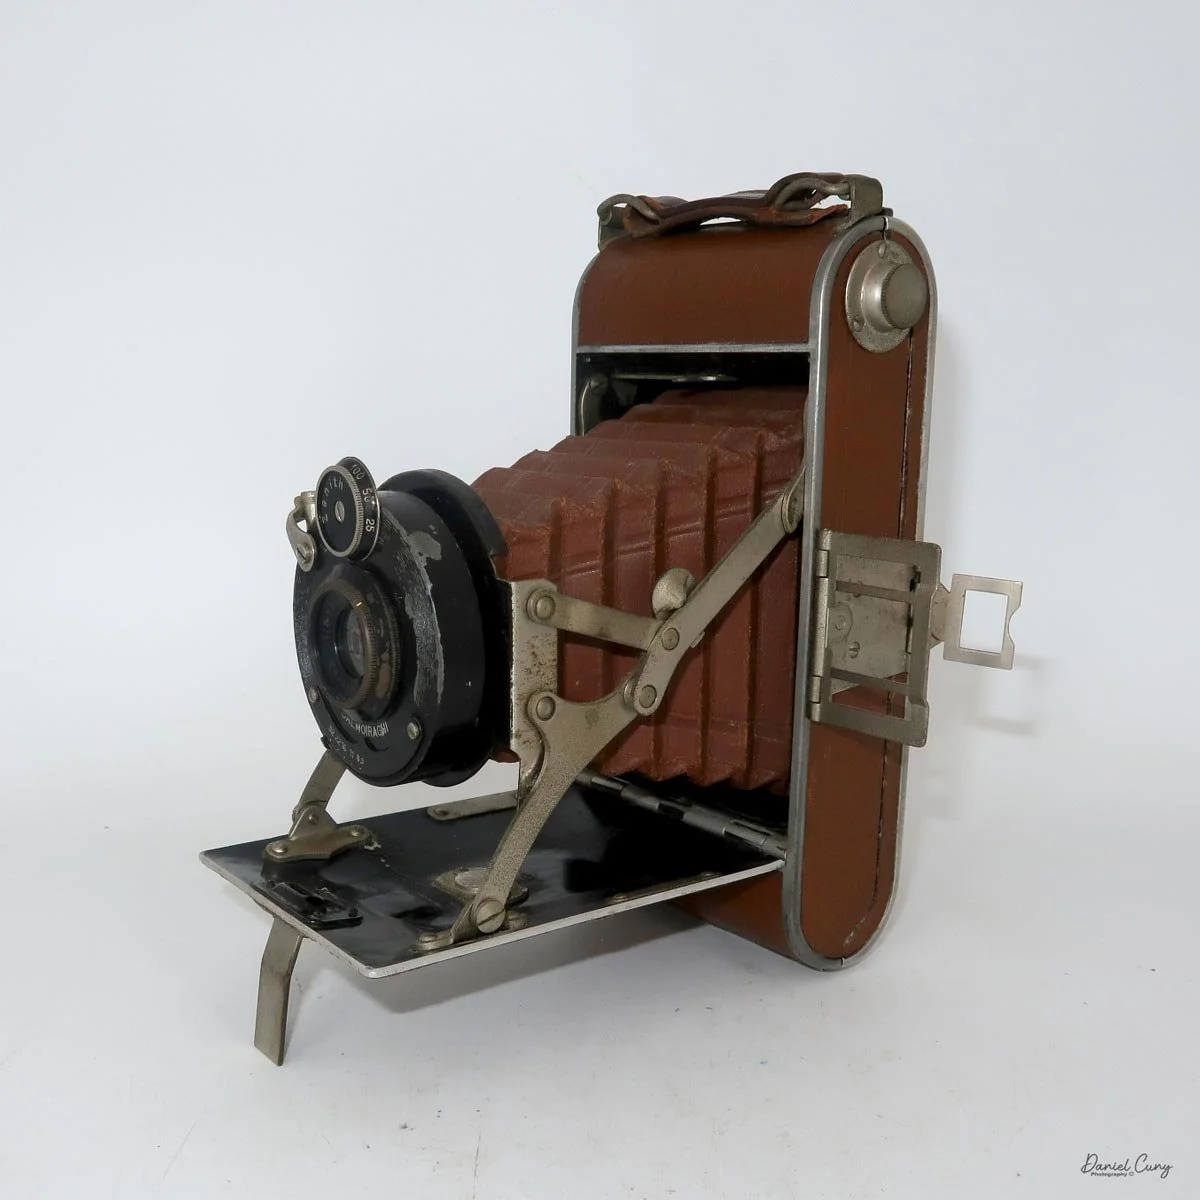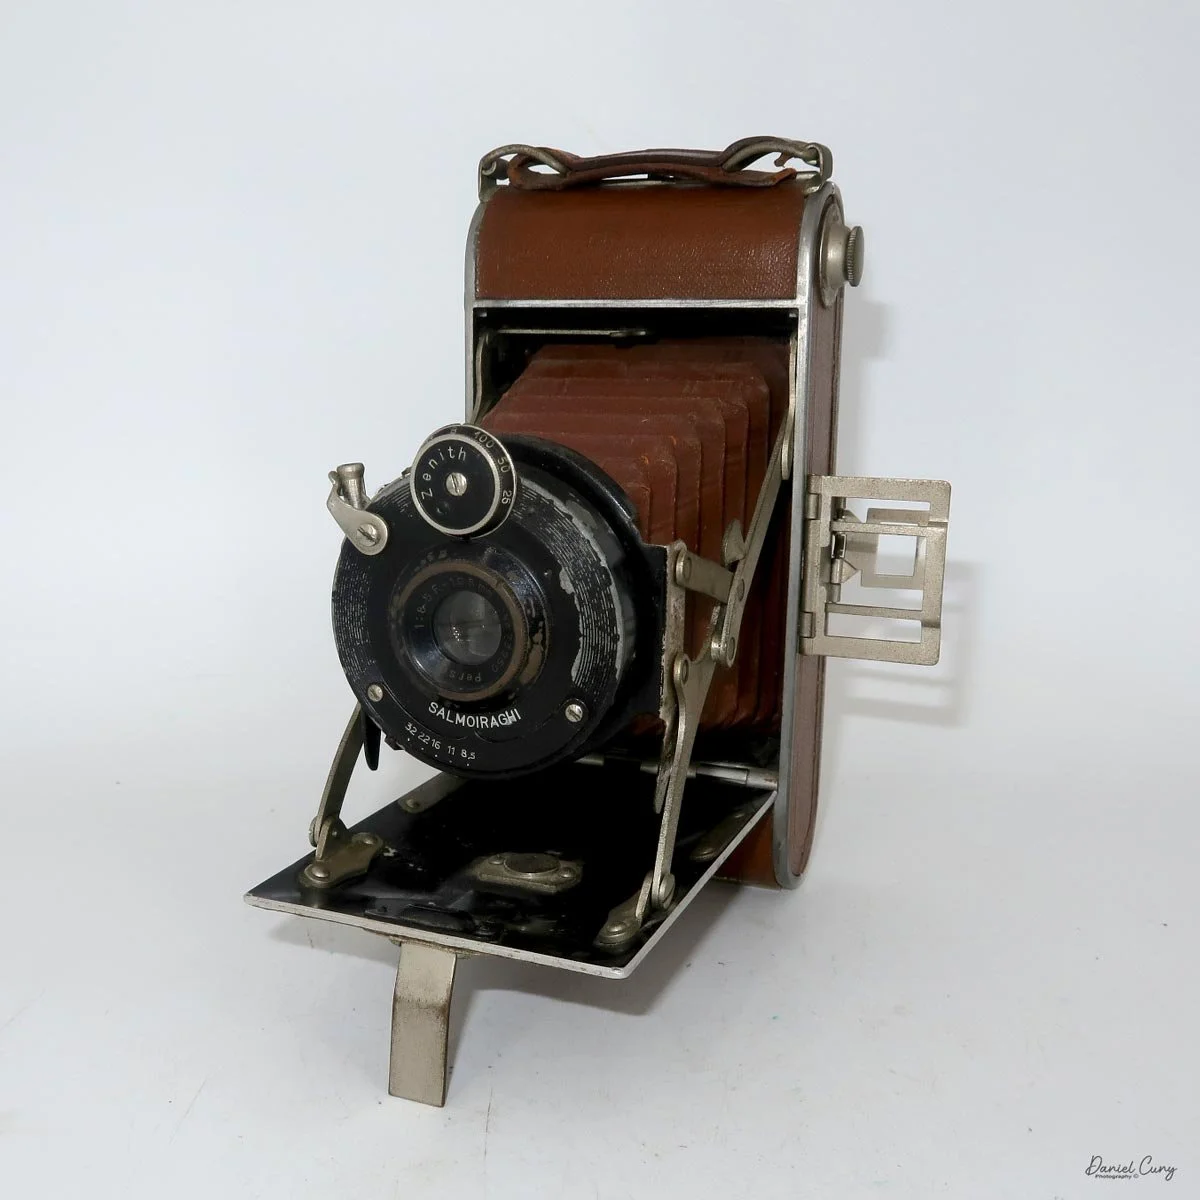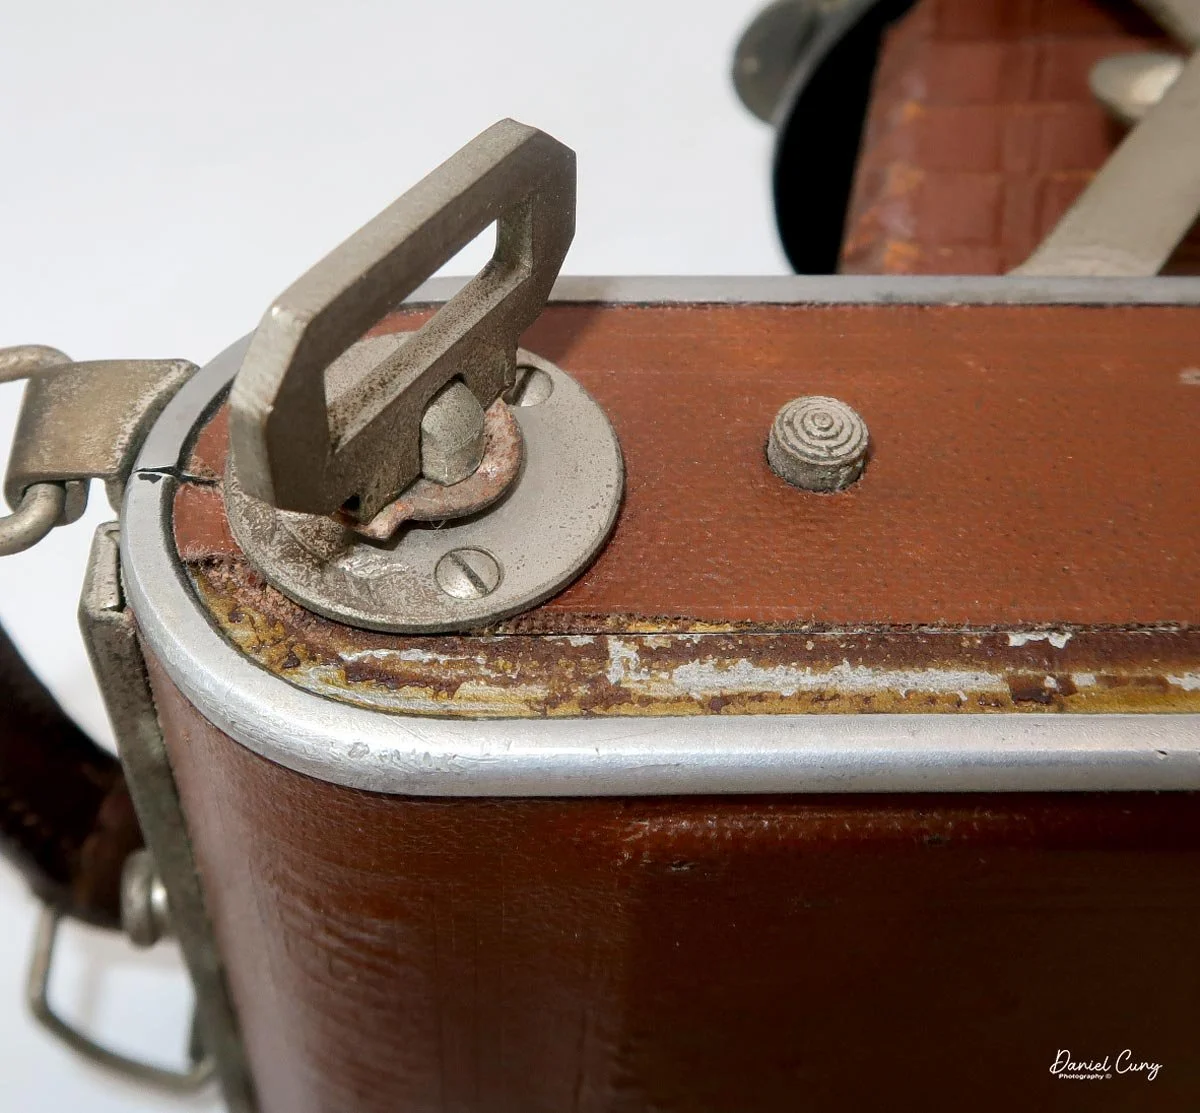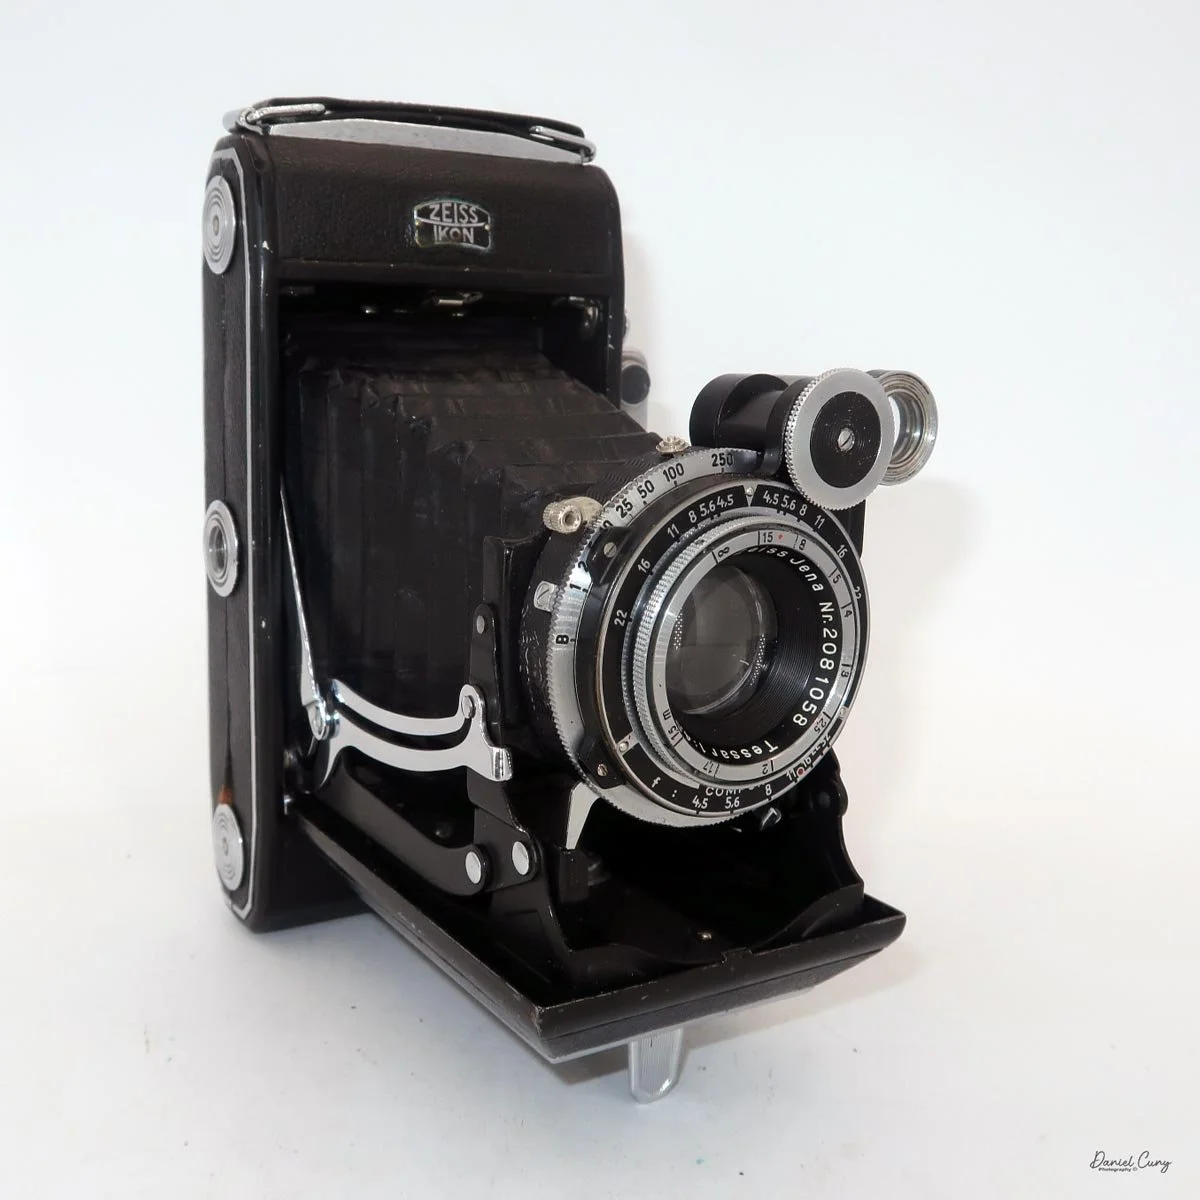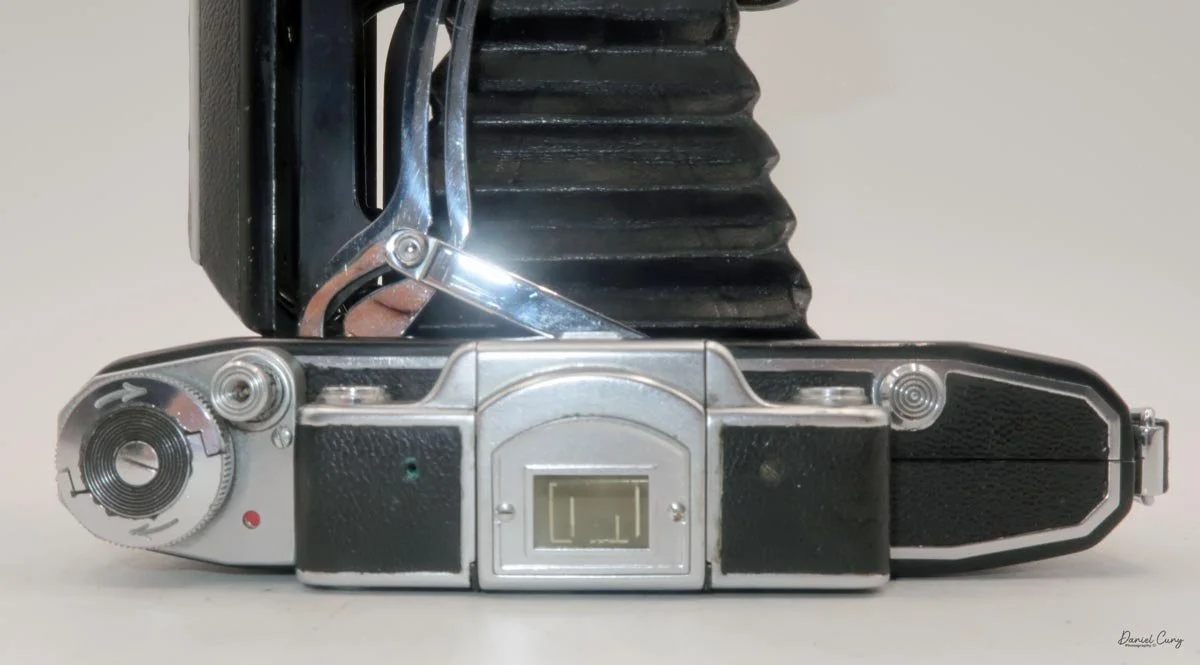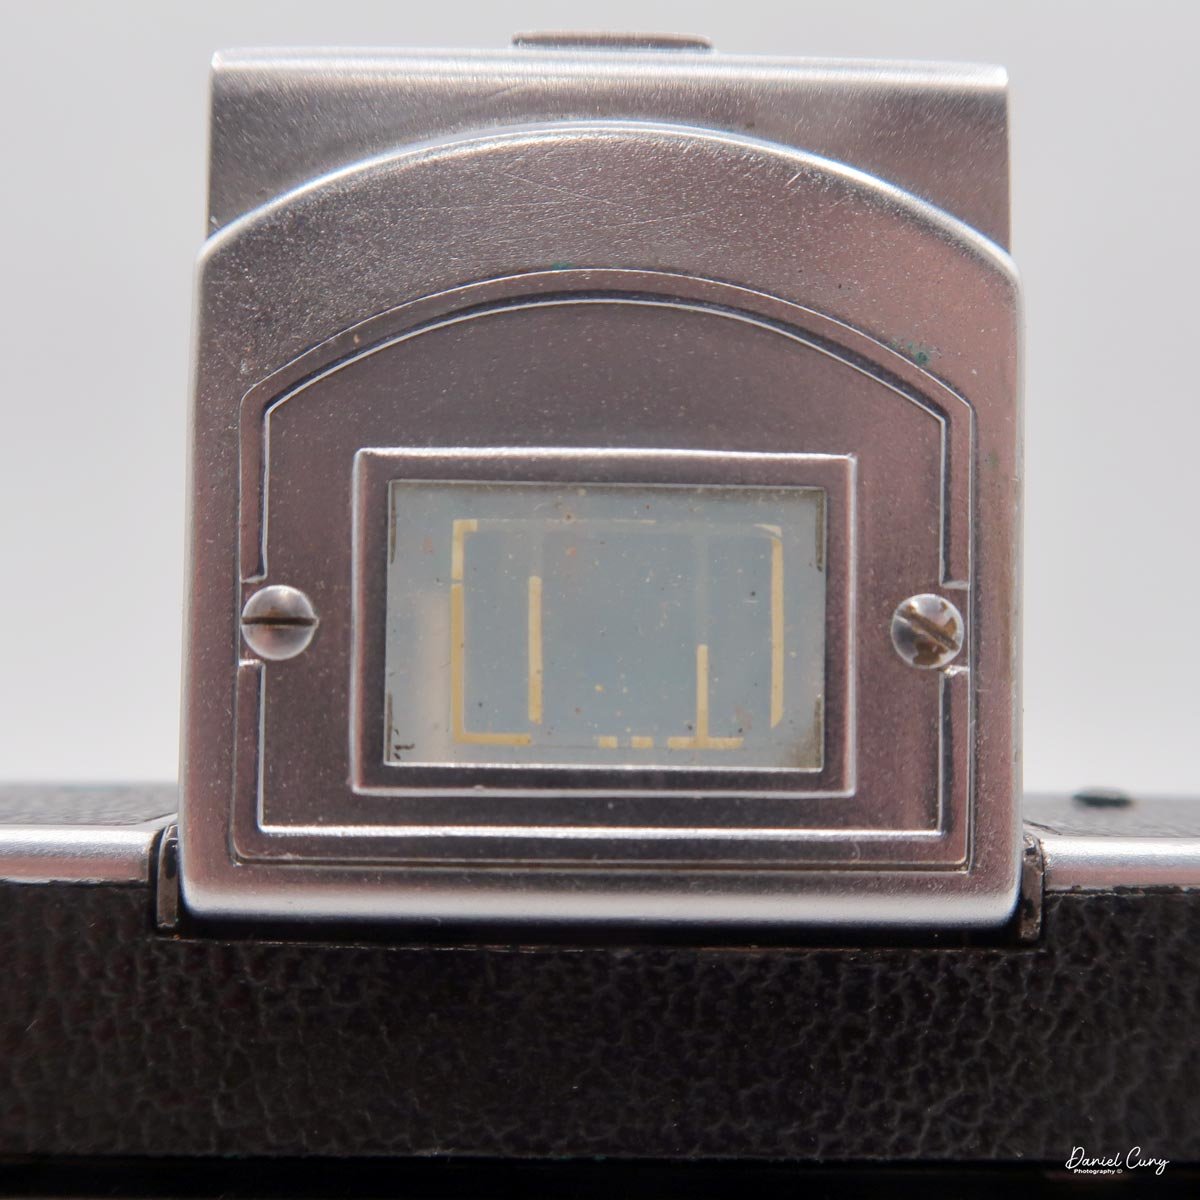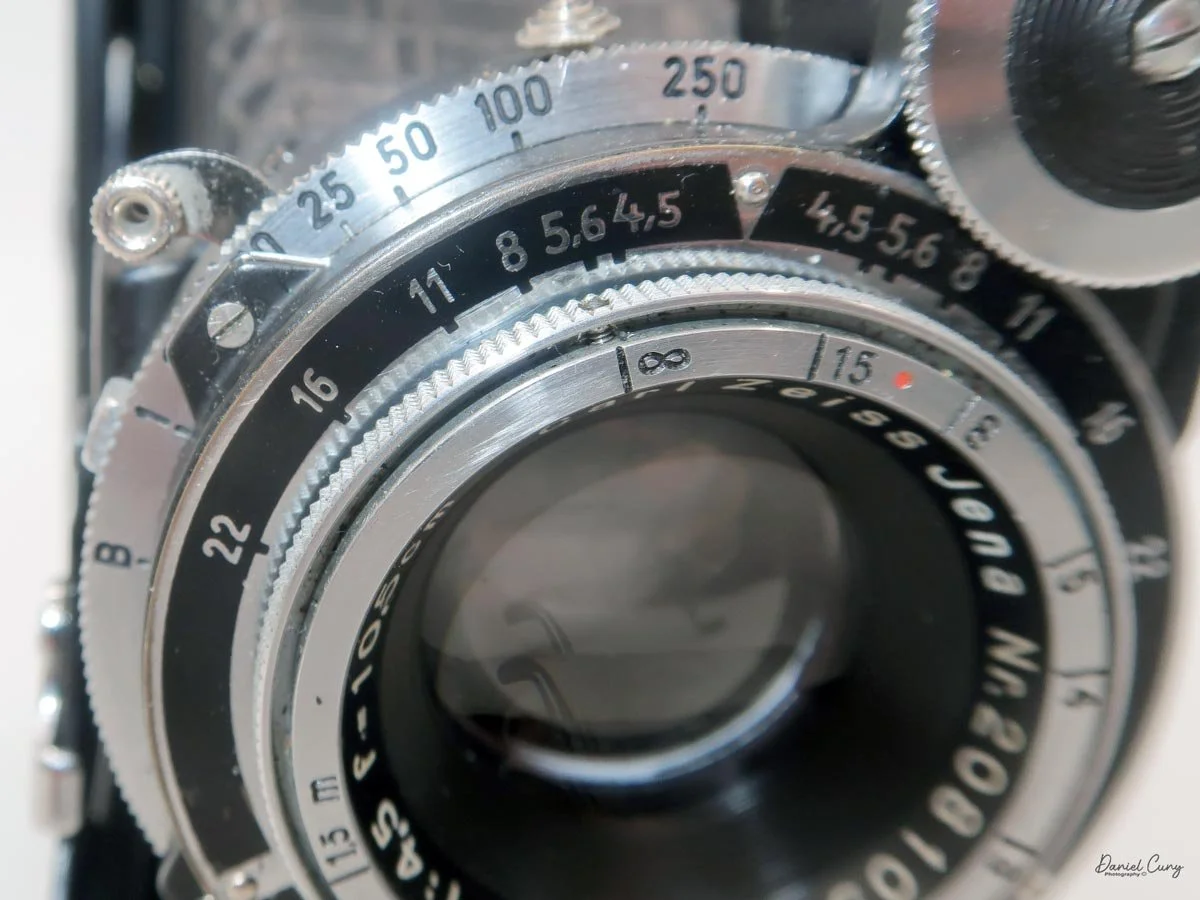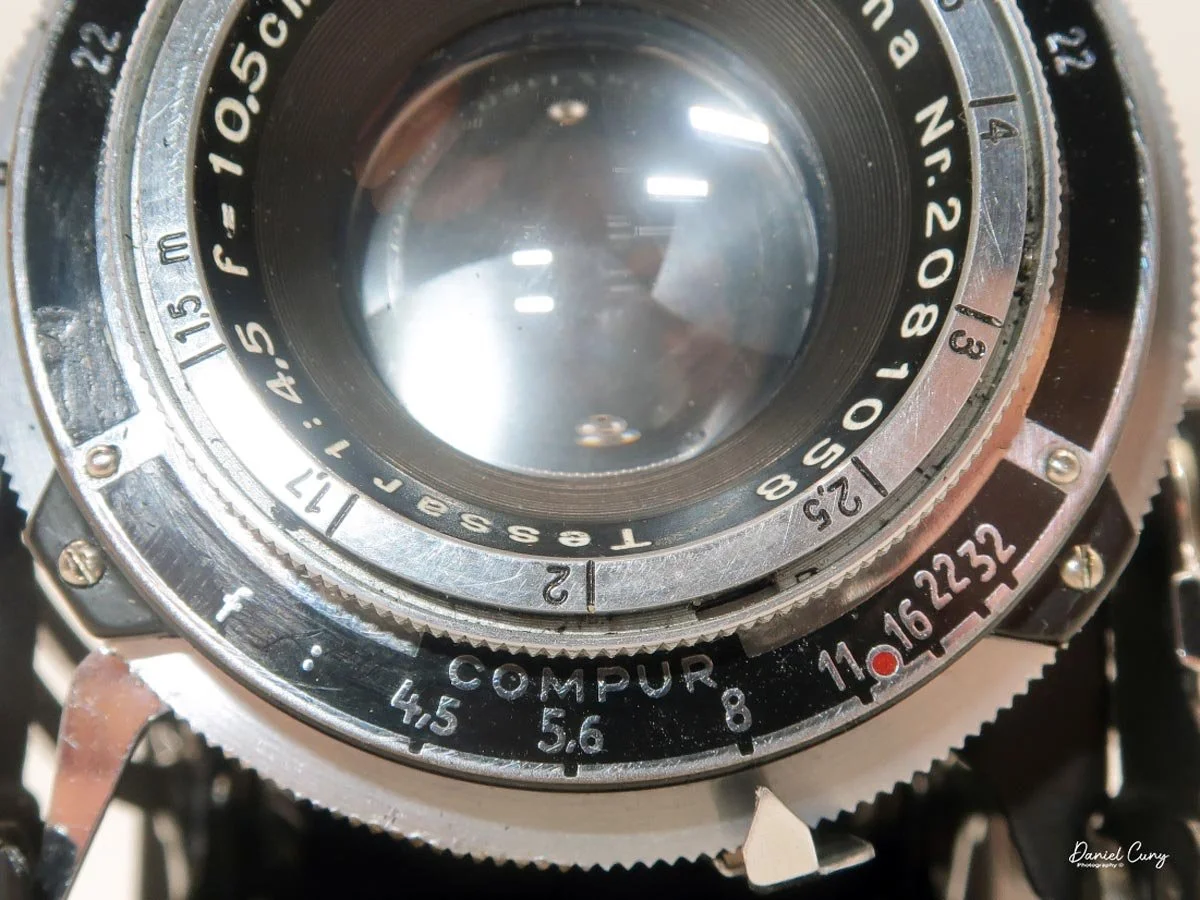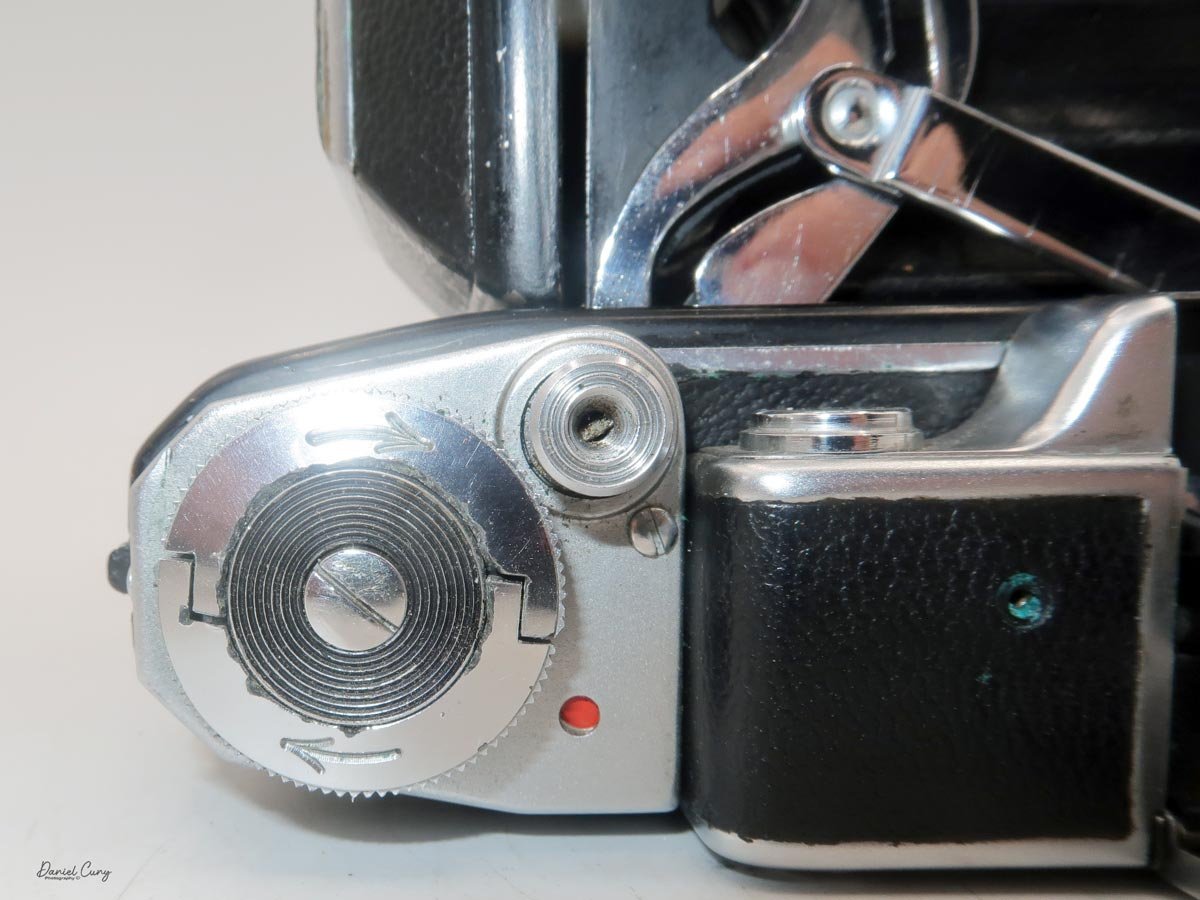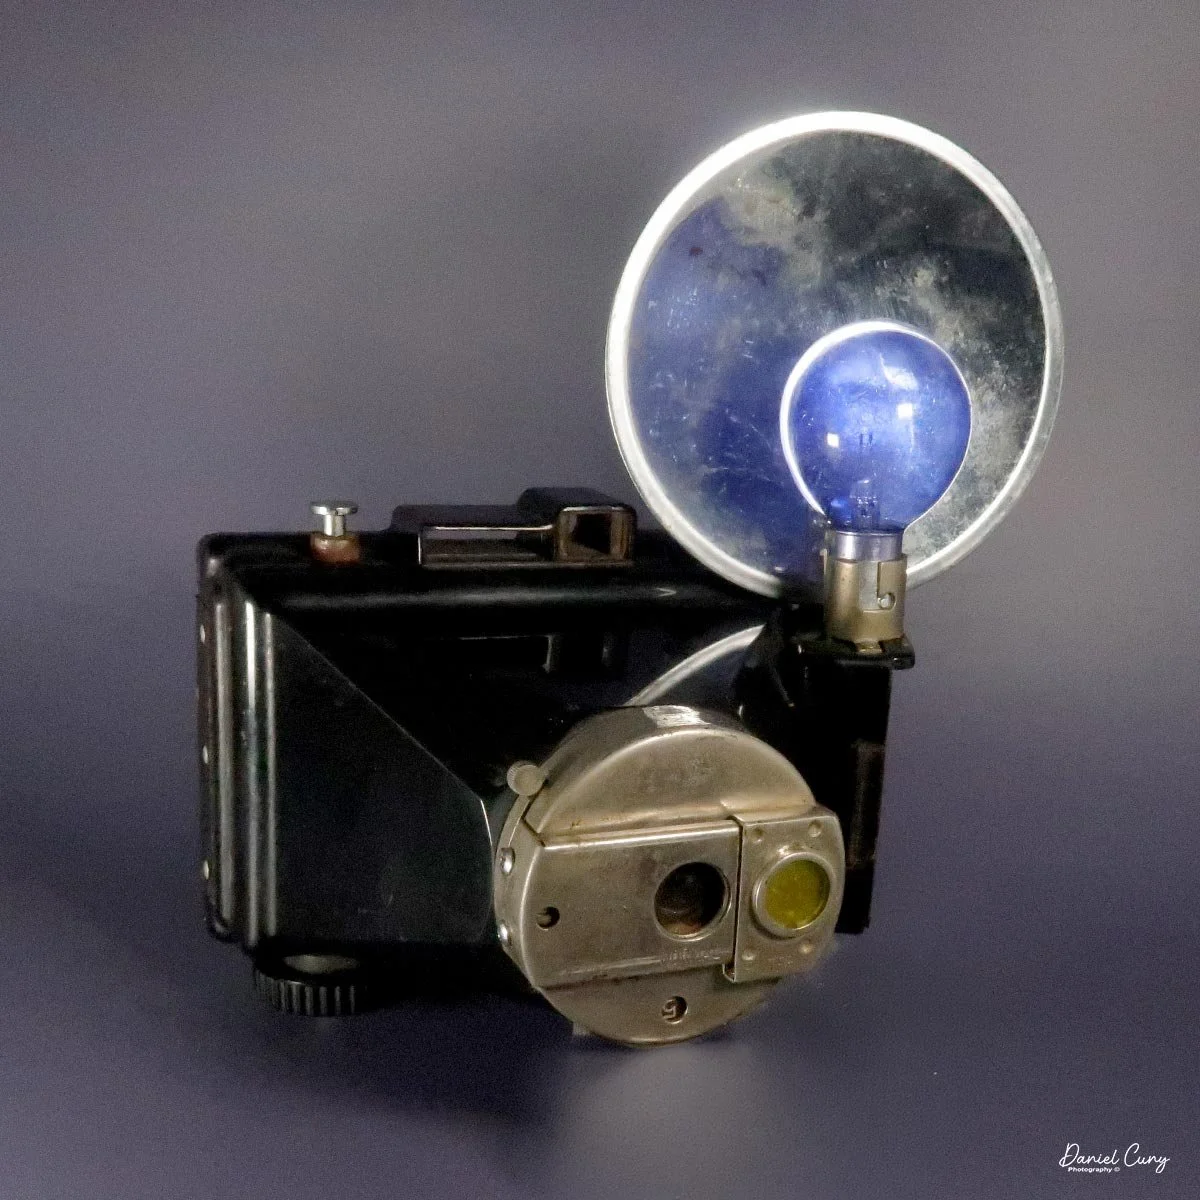
Minolta Vest camera

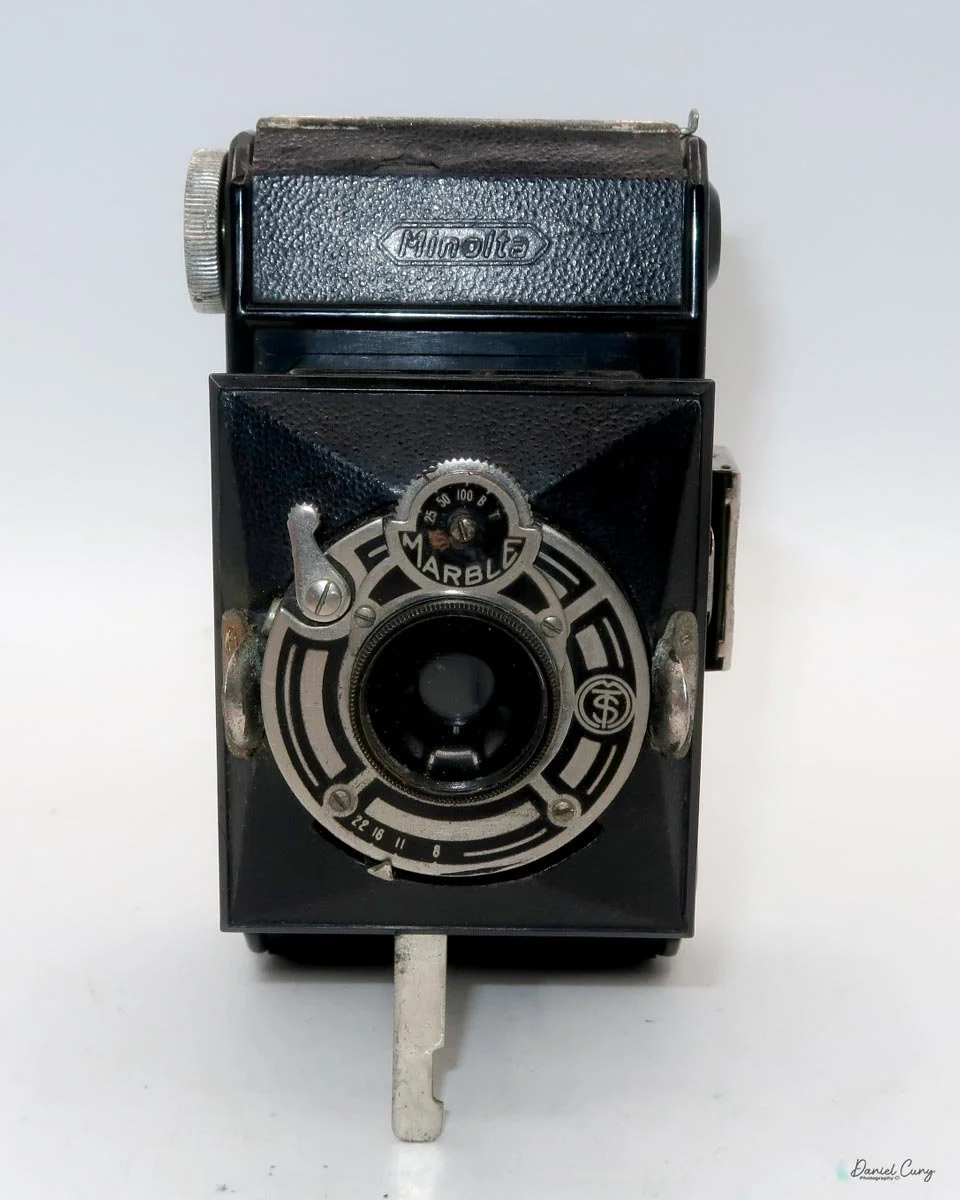
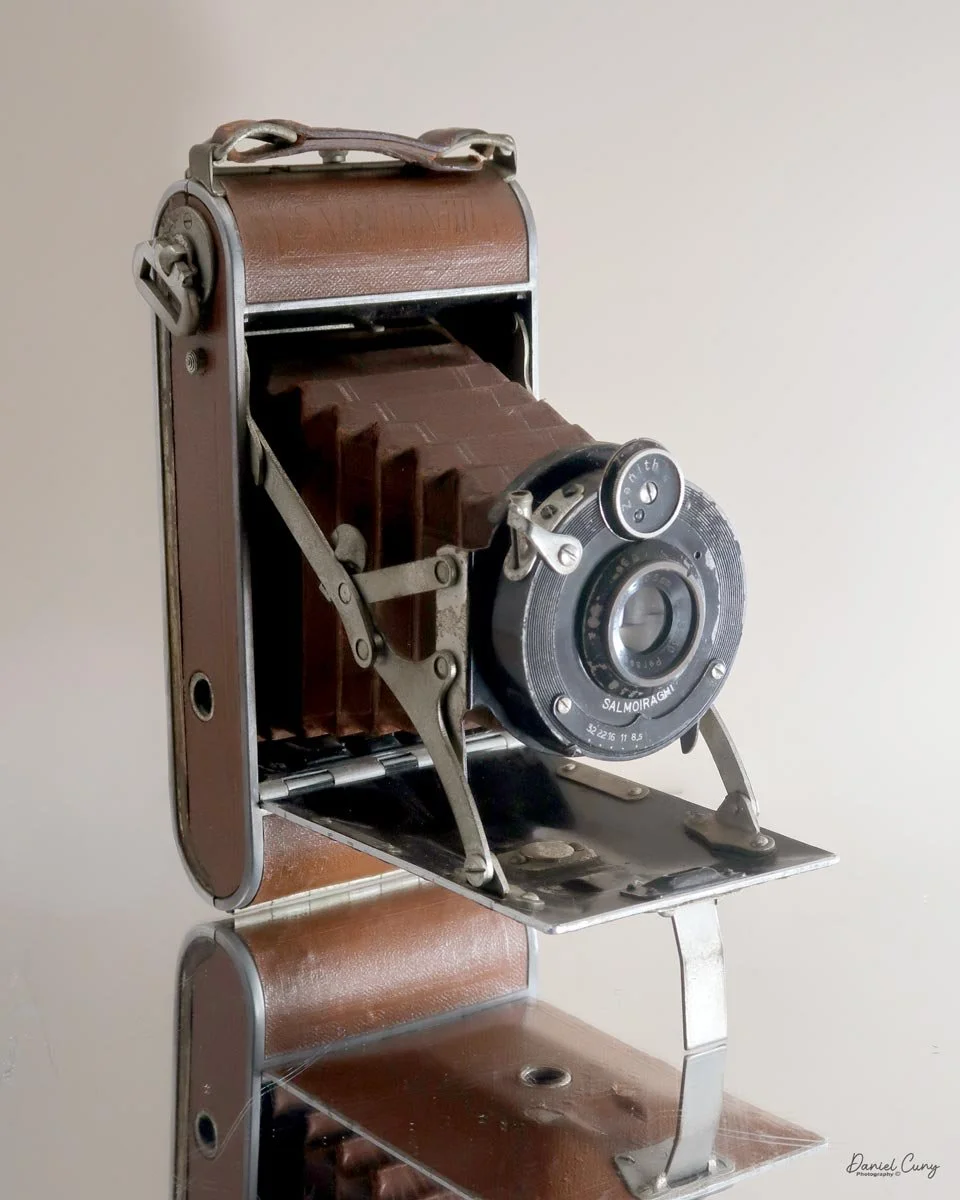
My Minolta Vest camera

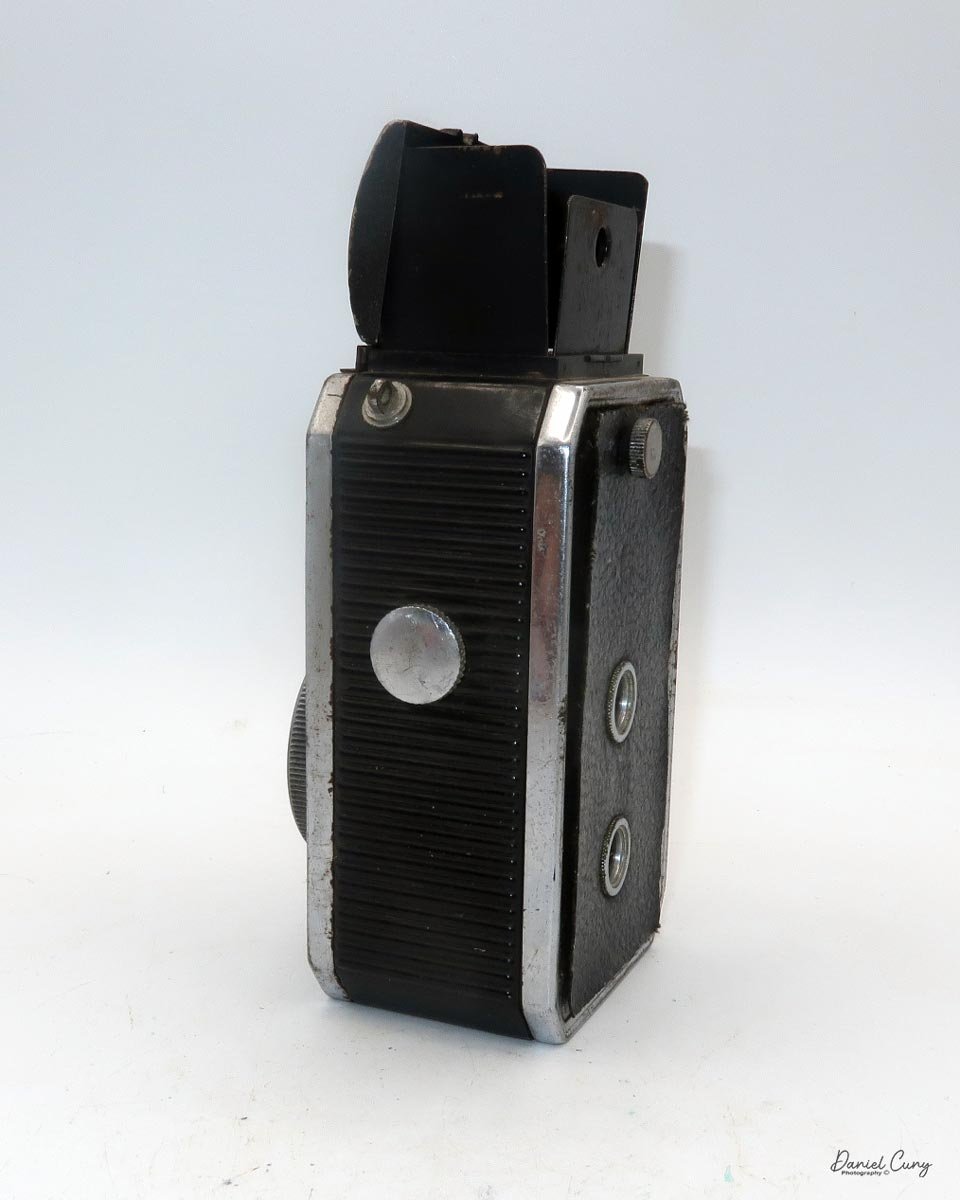
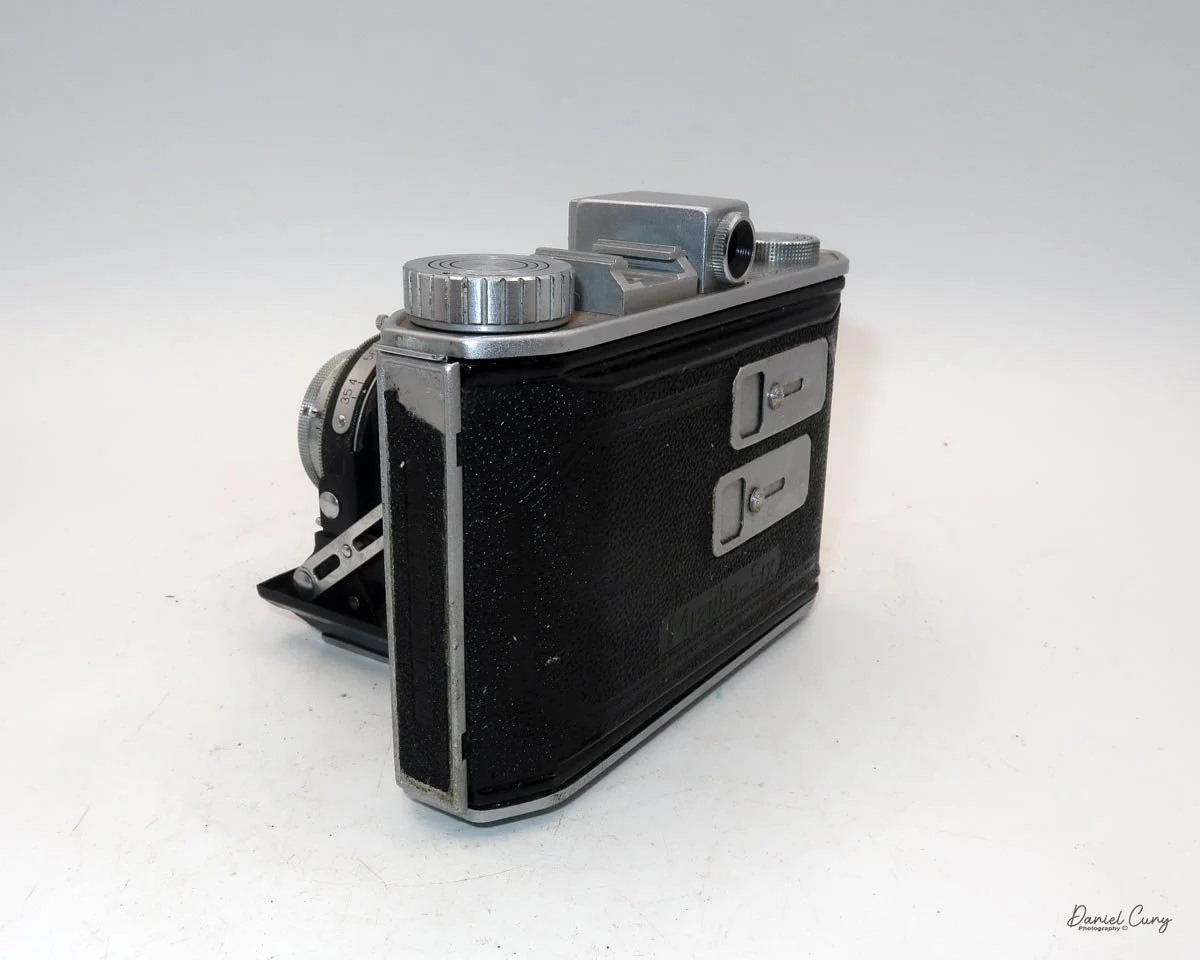
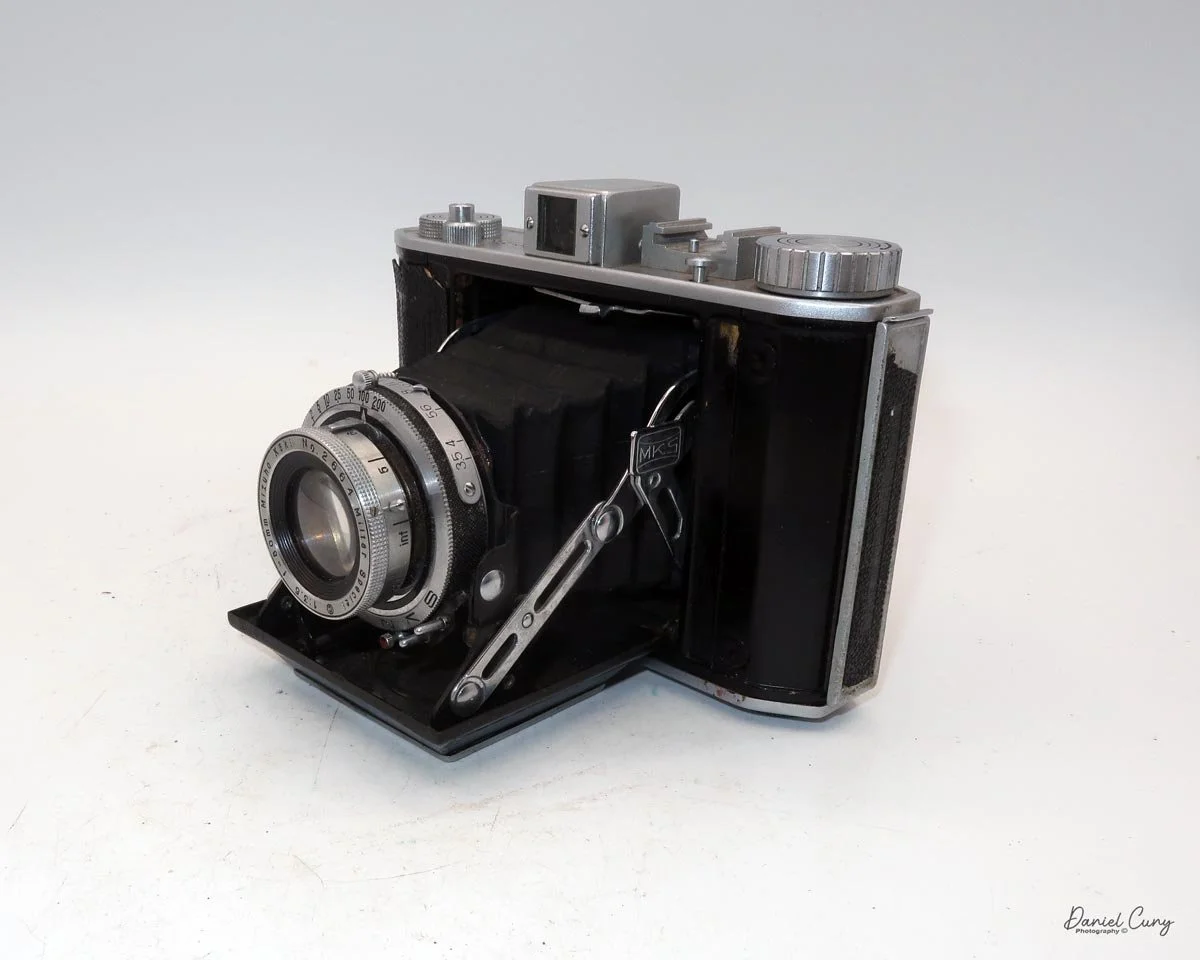
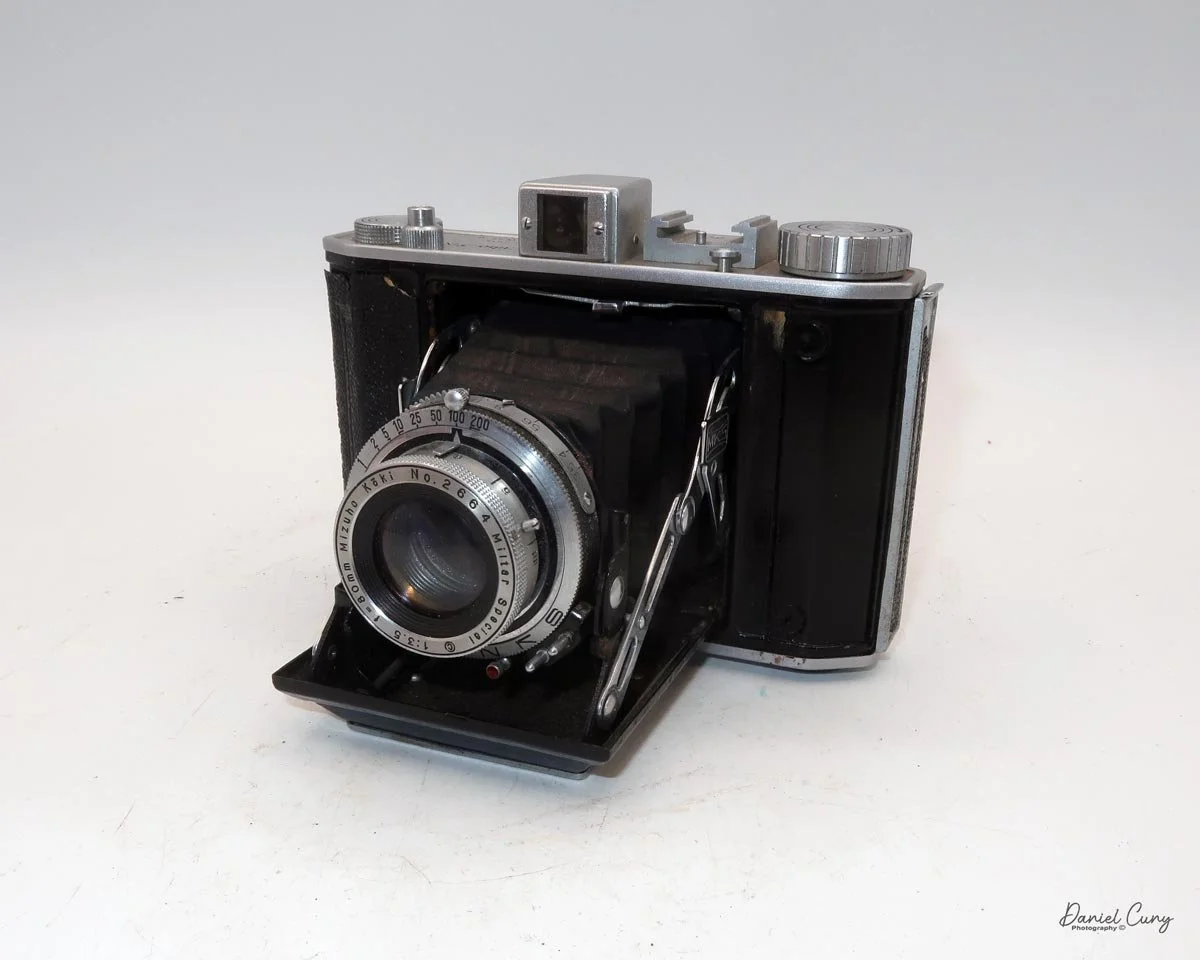
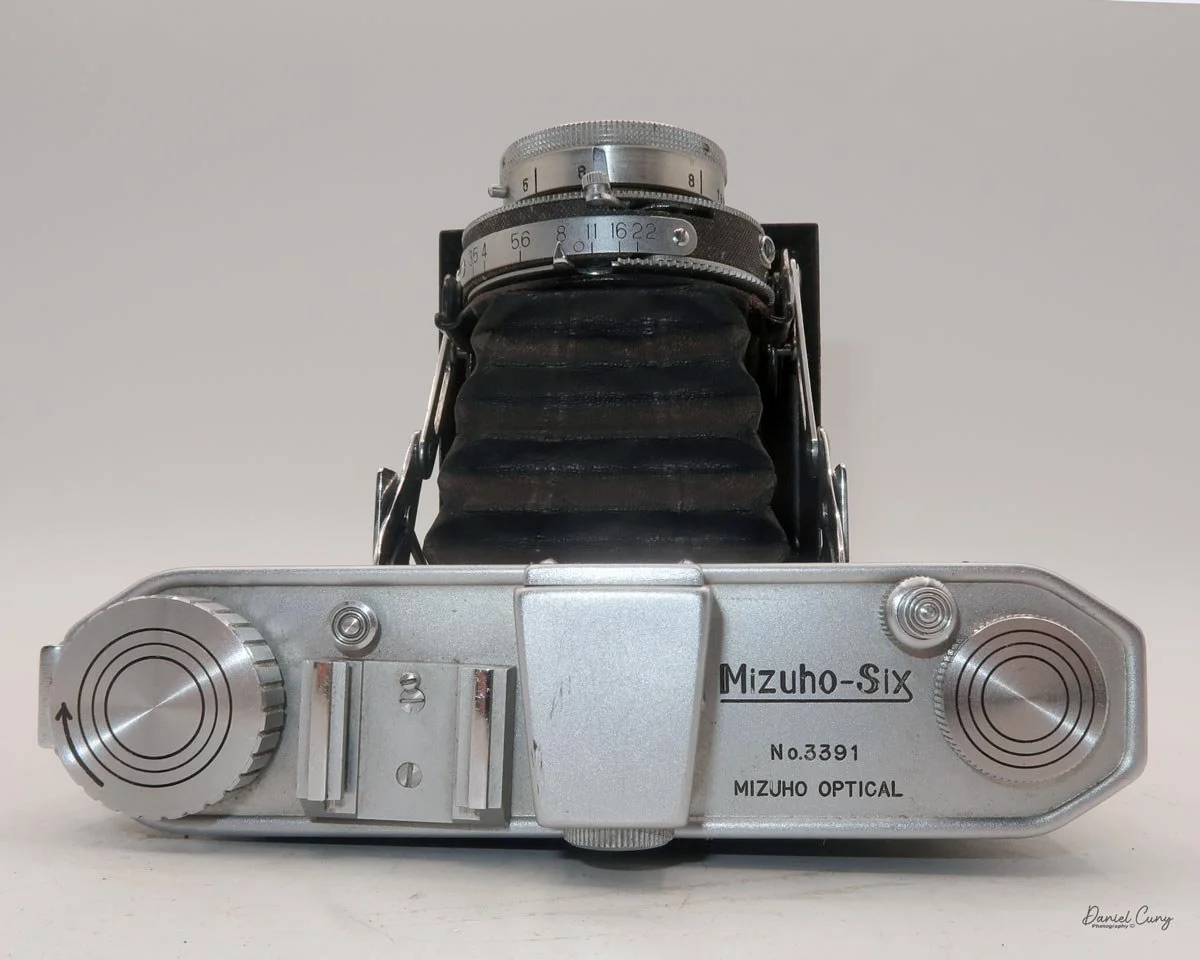
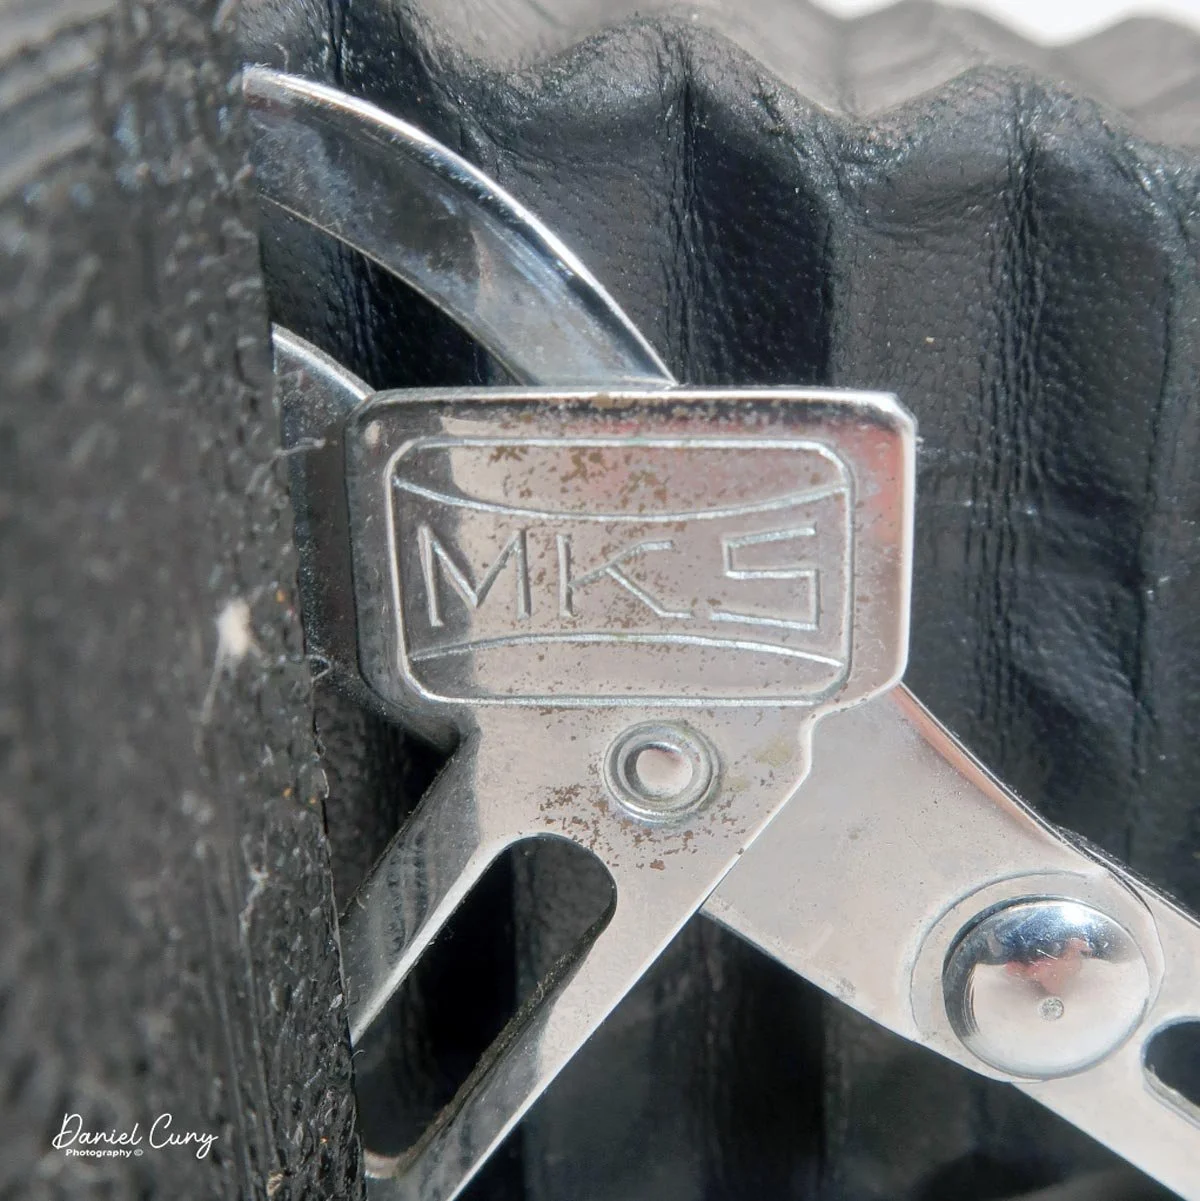
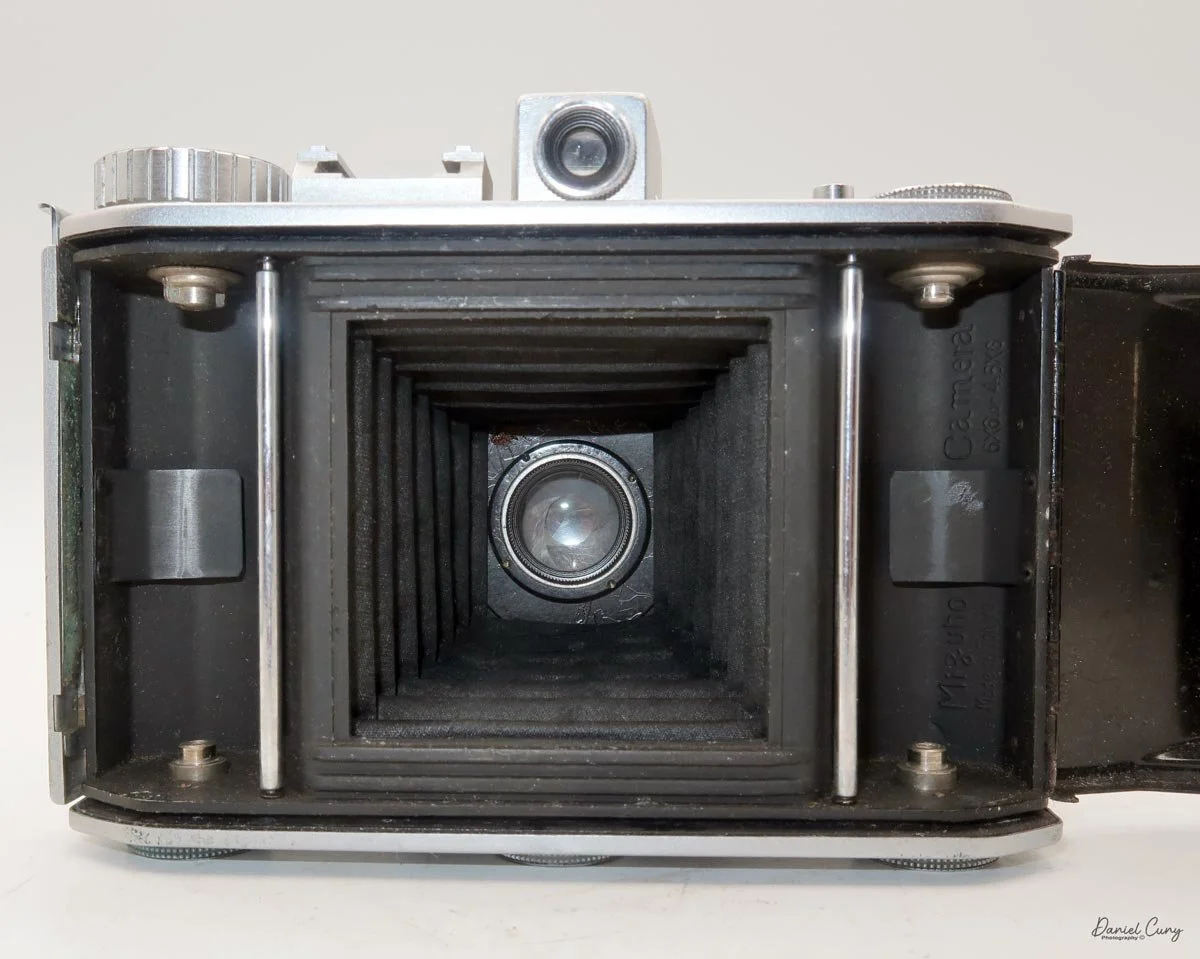
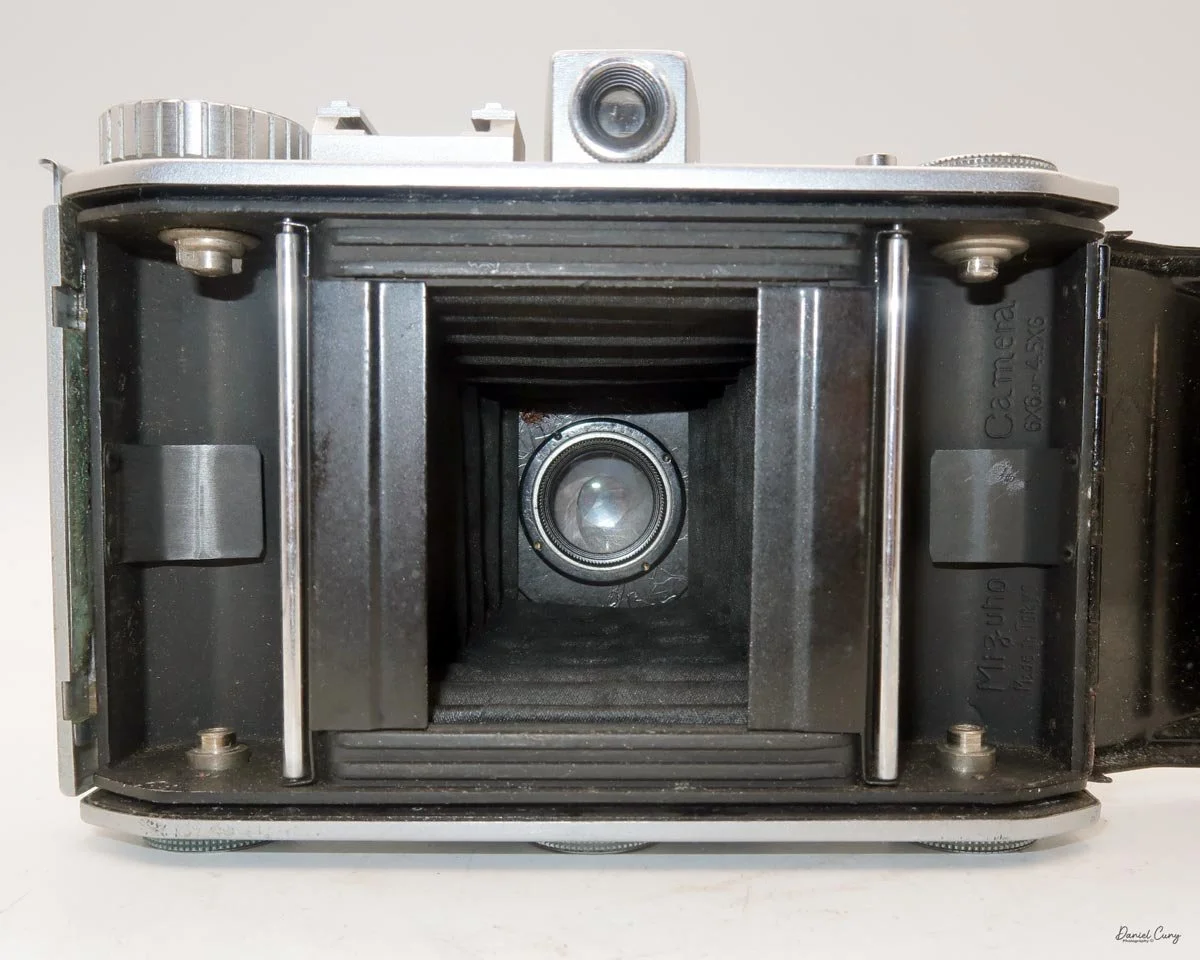
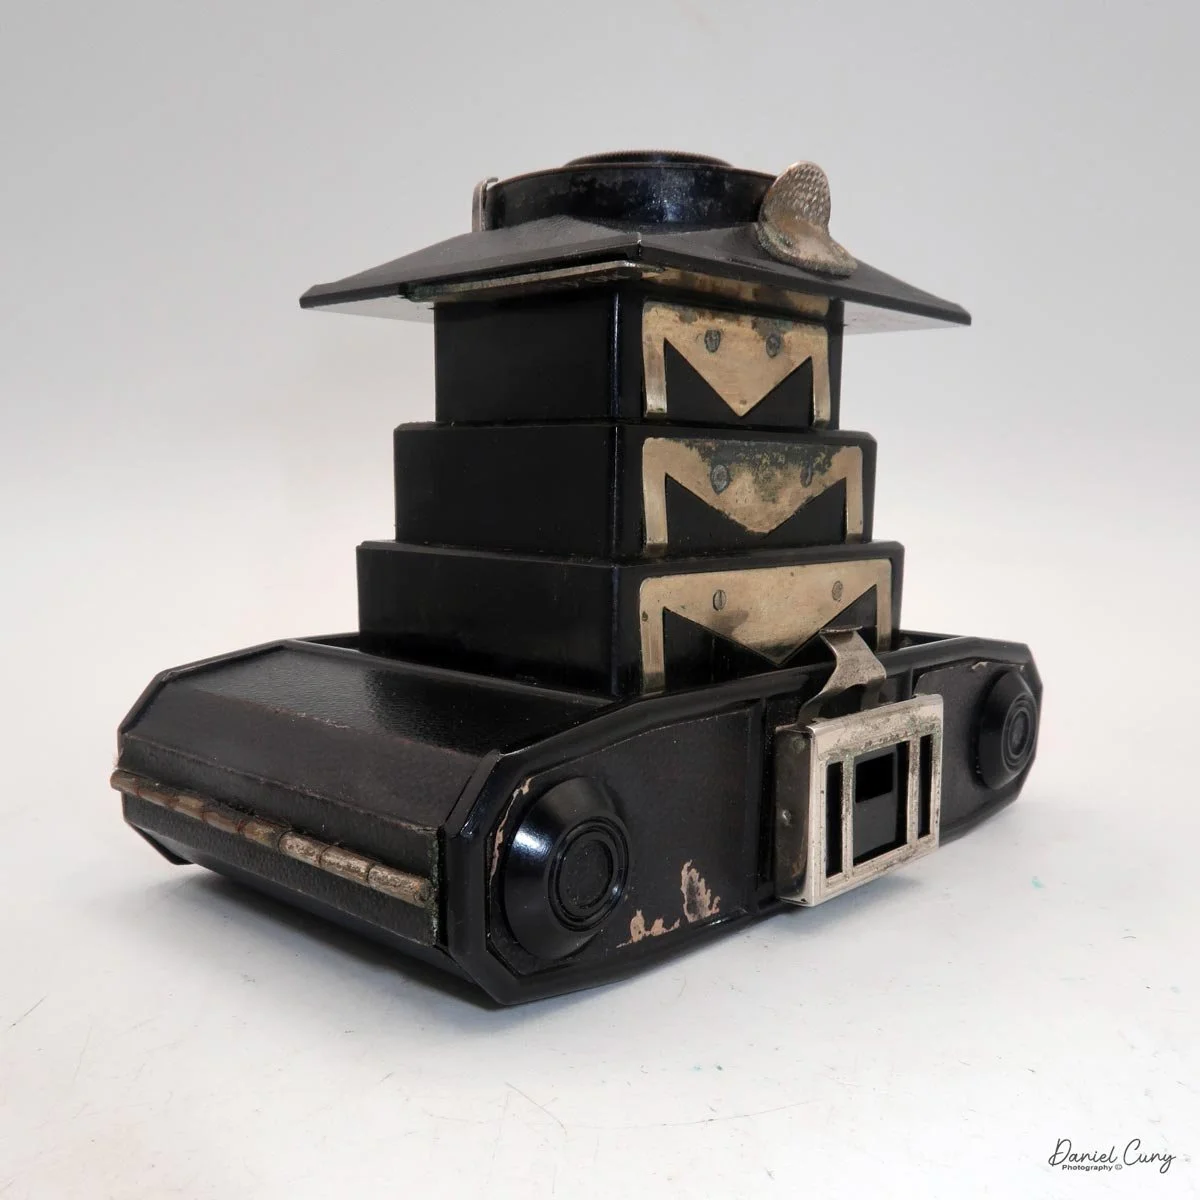
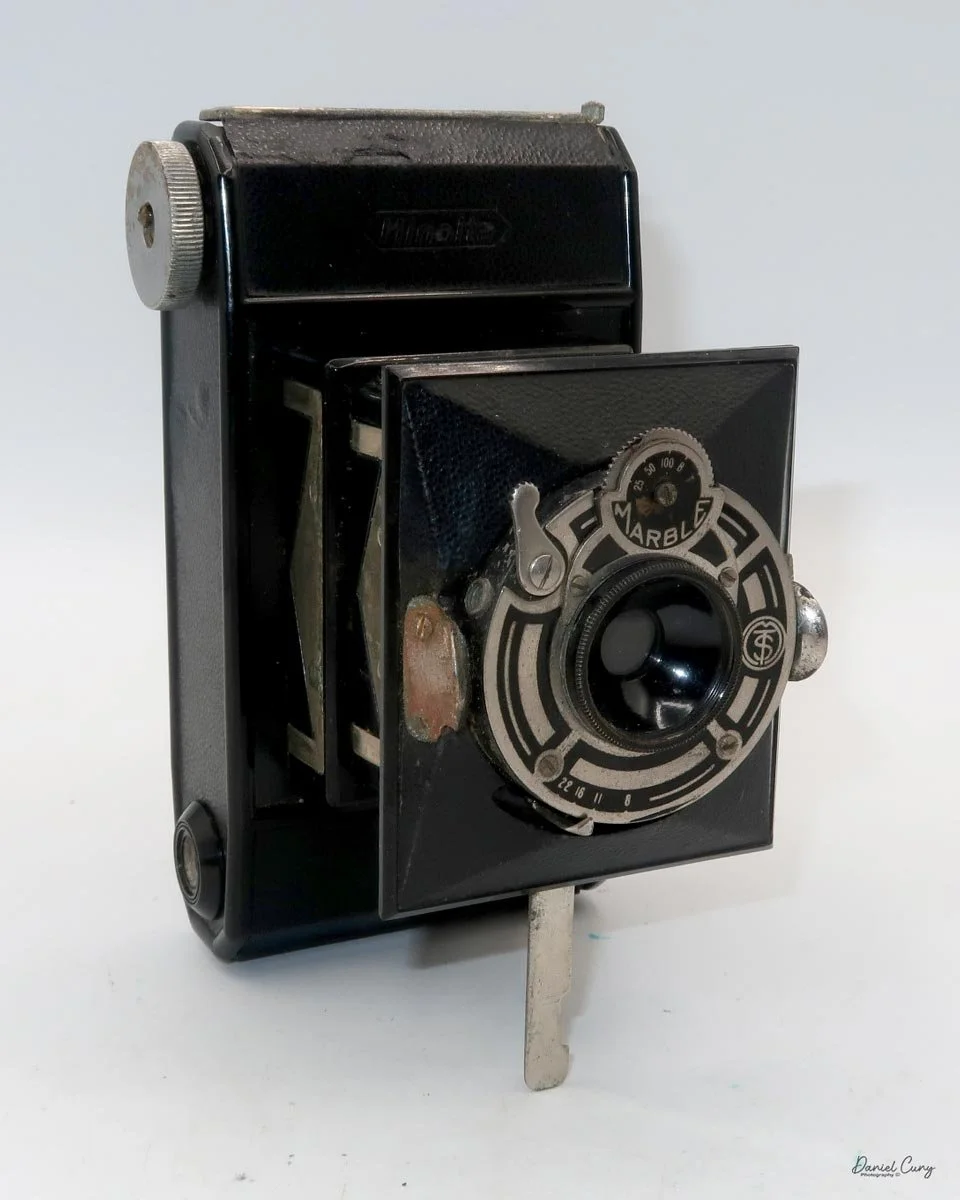
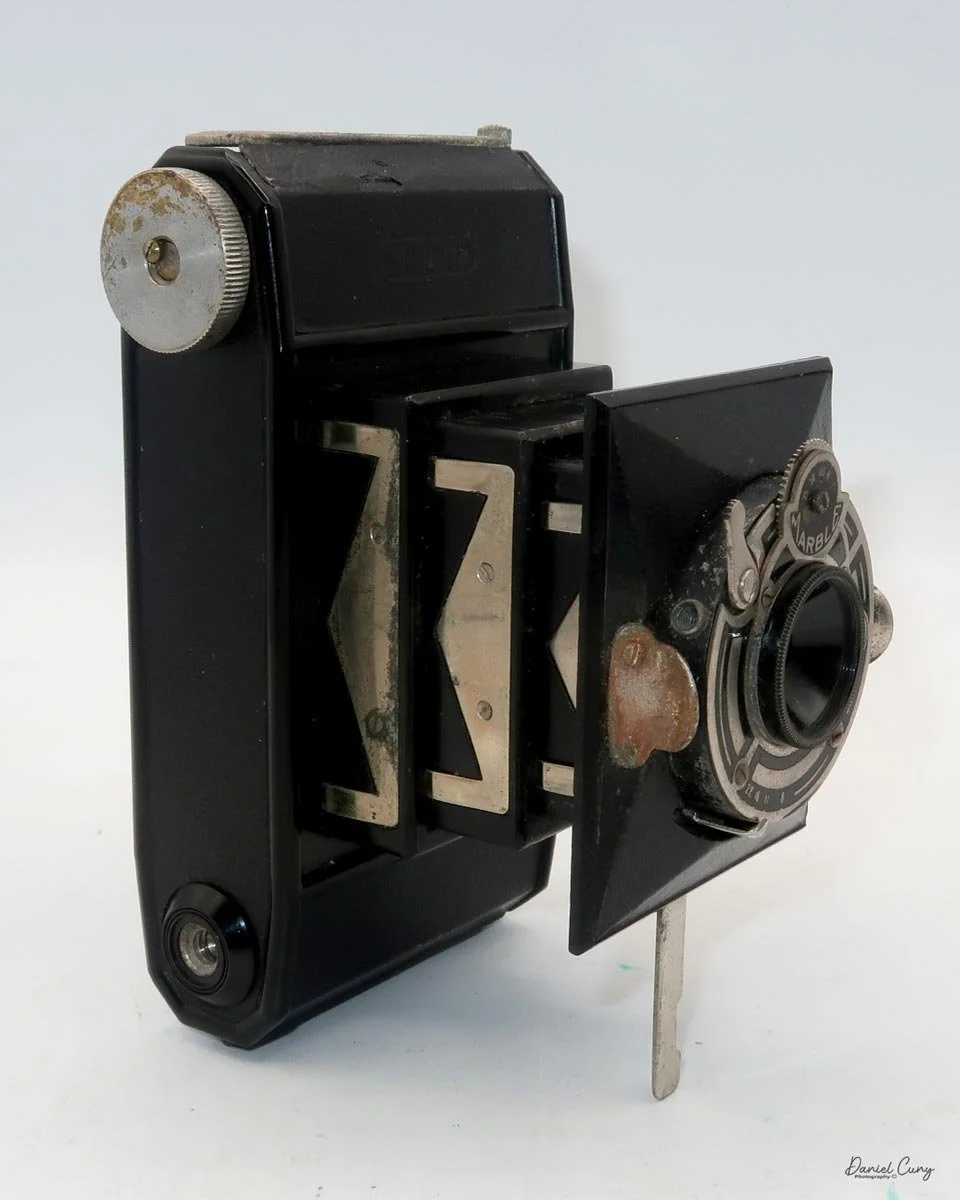
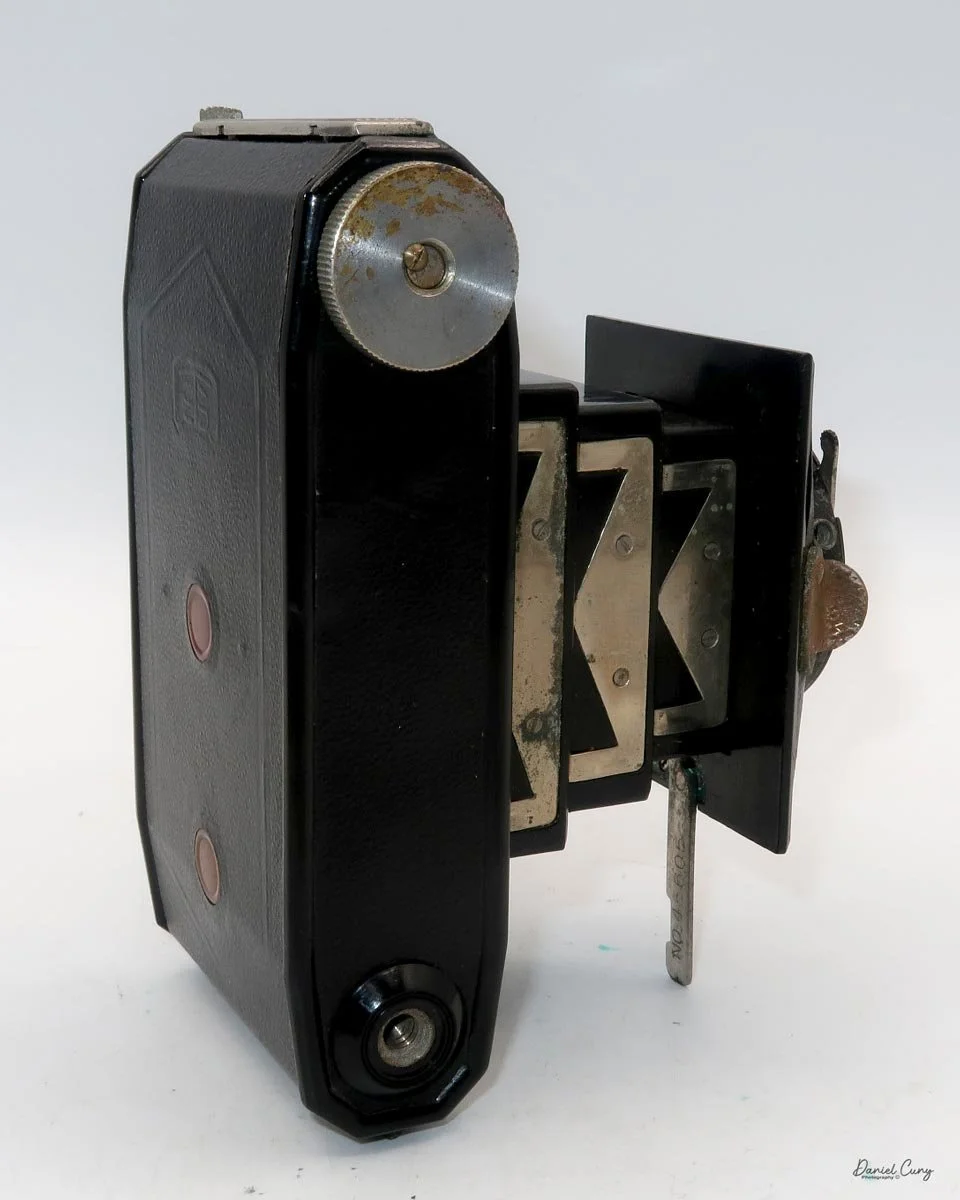
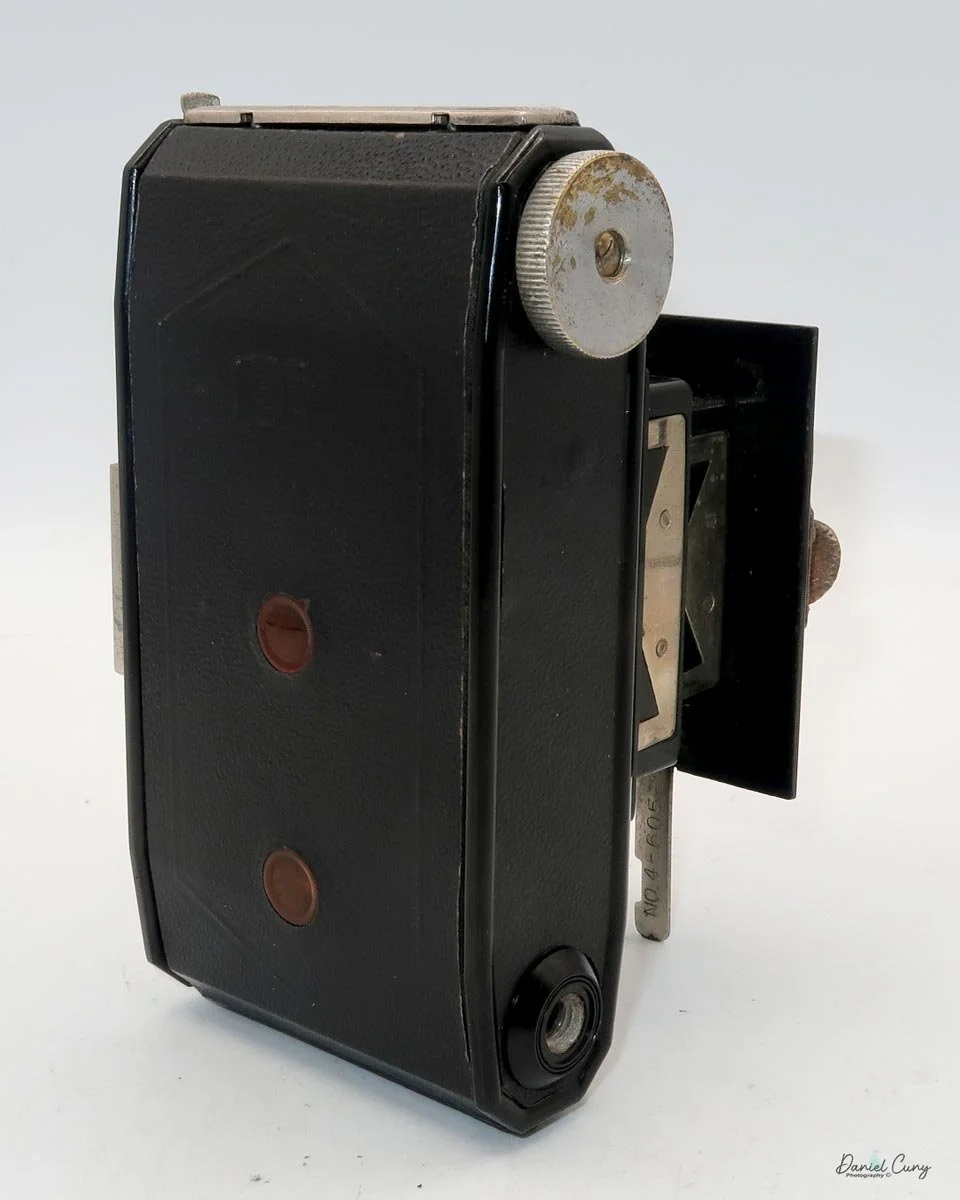
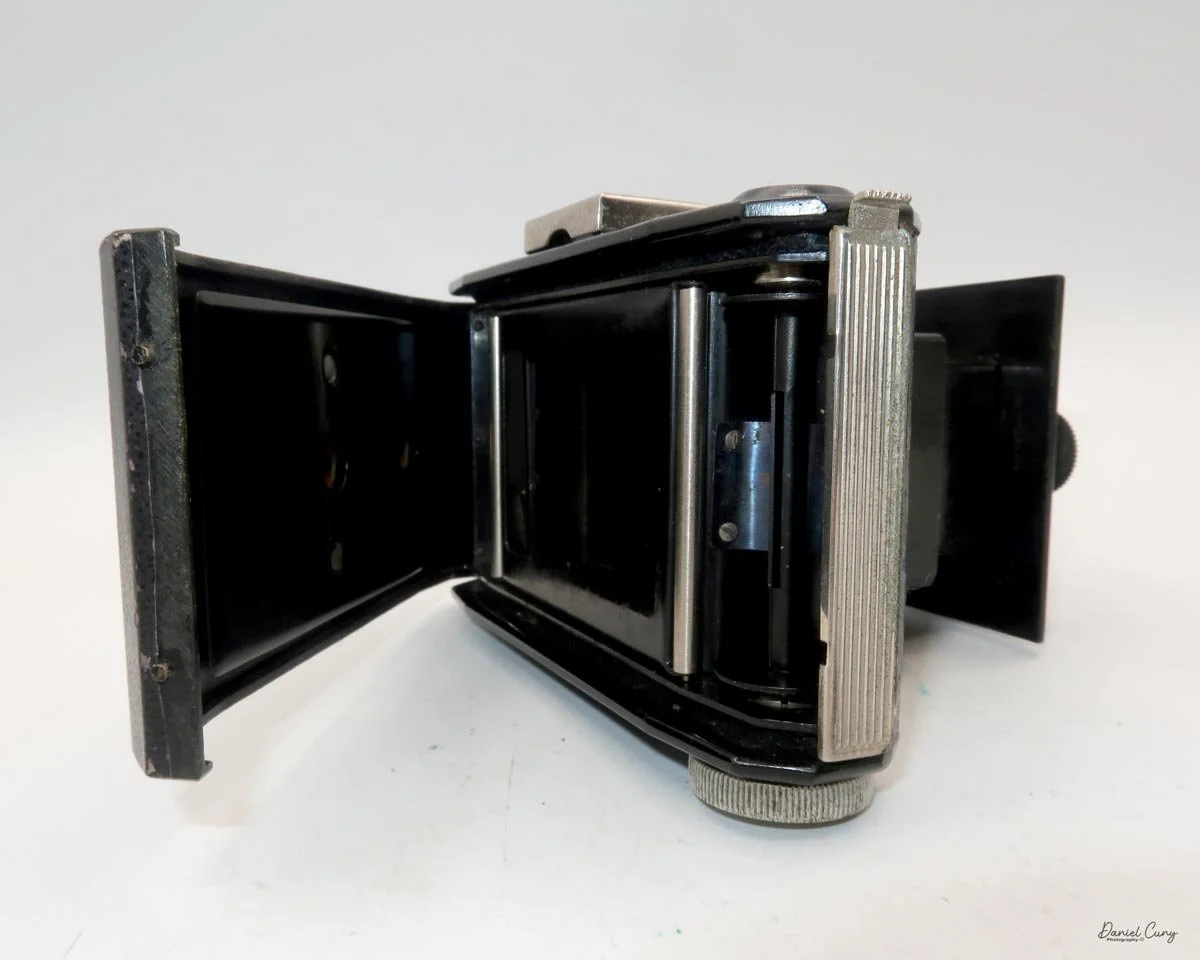
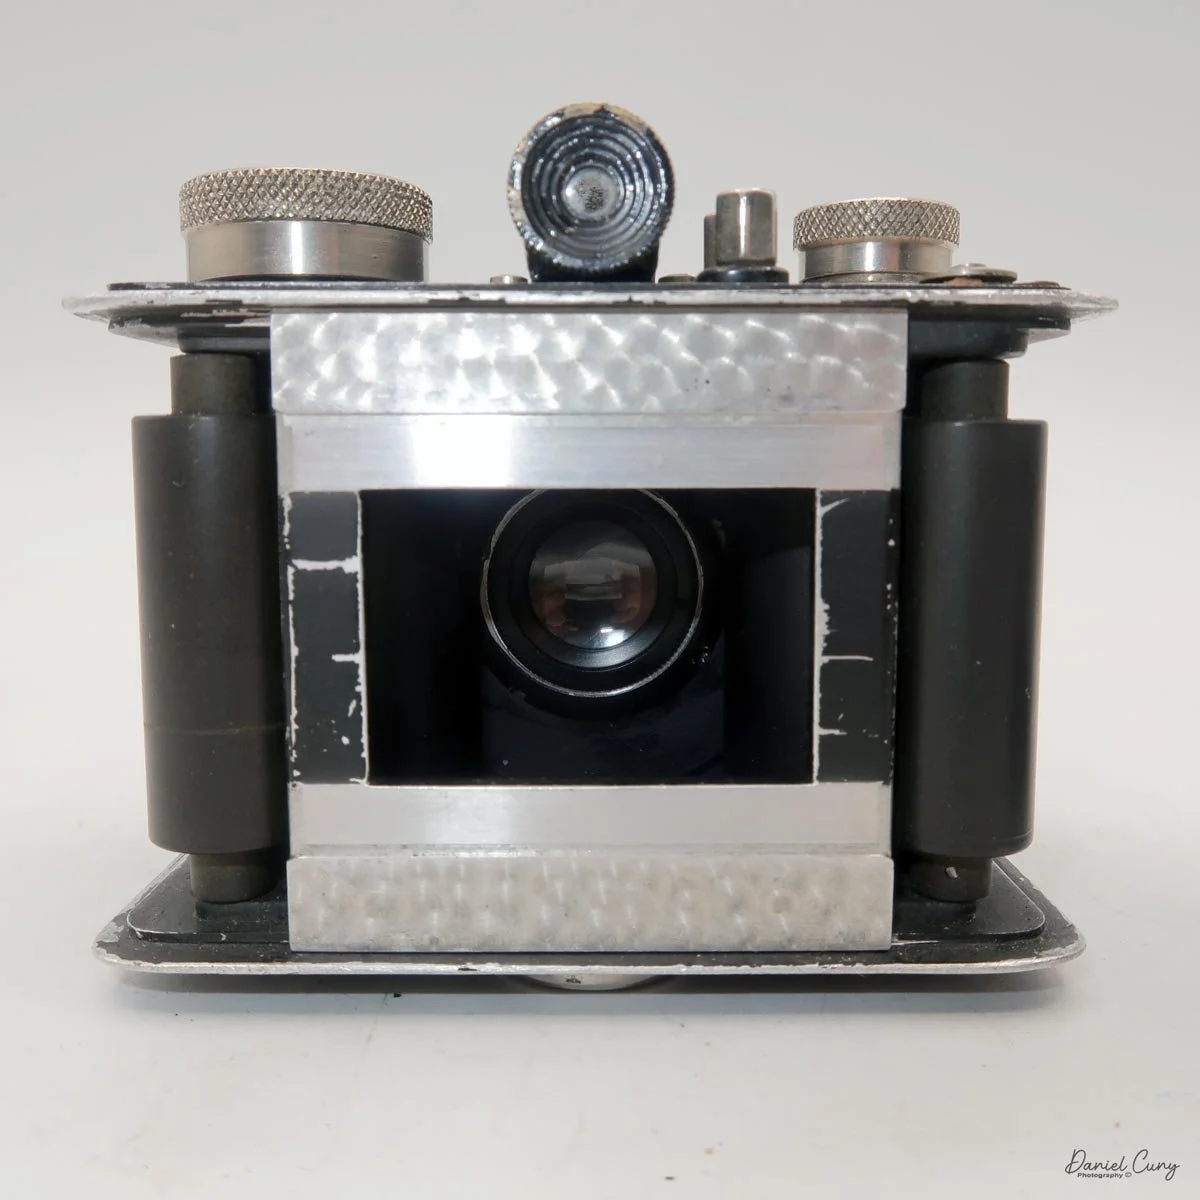
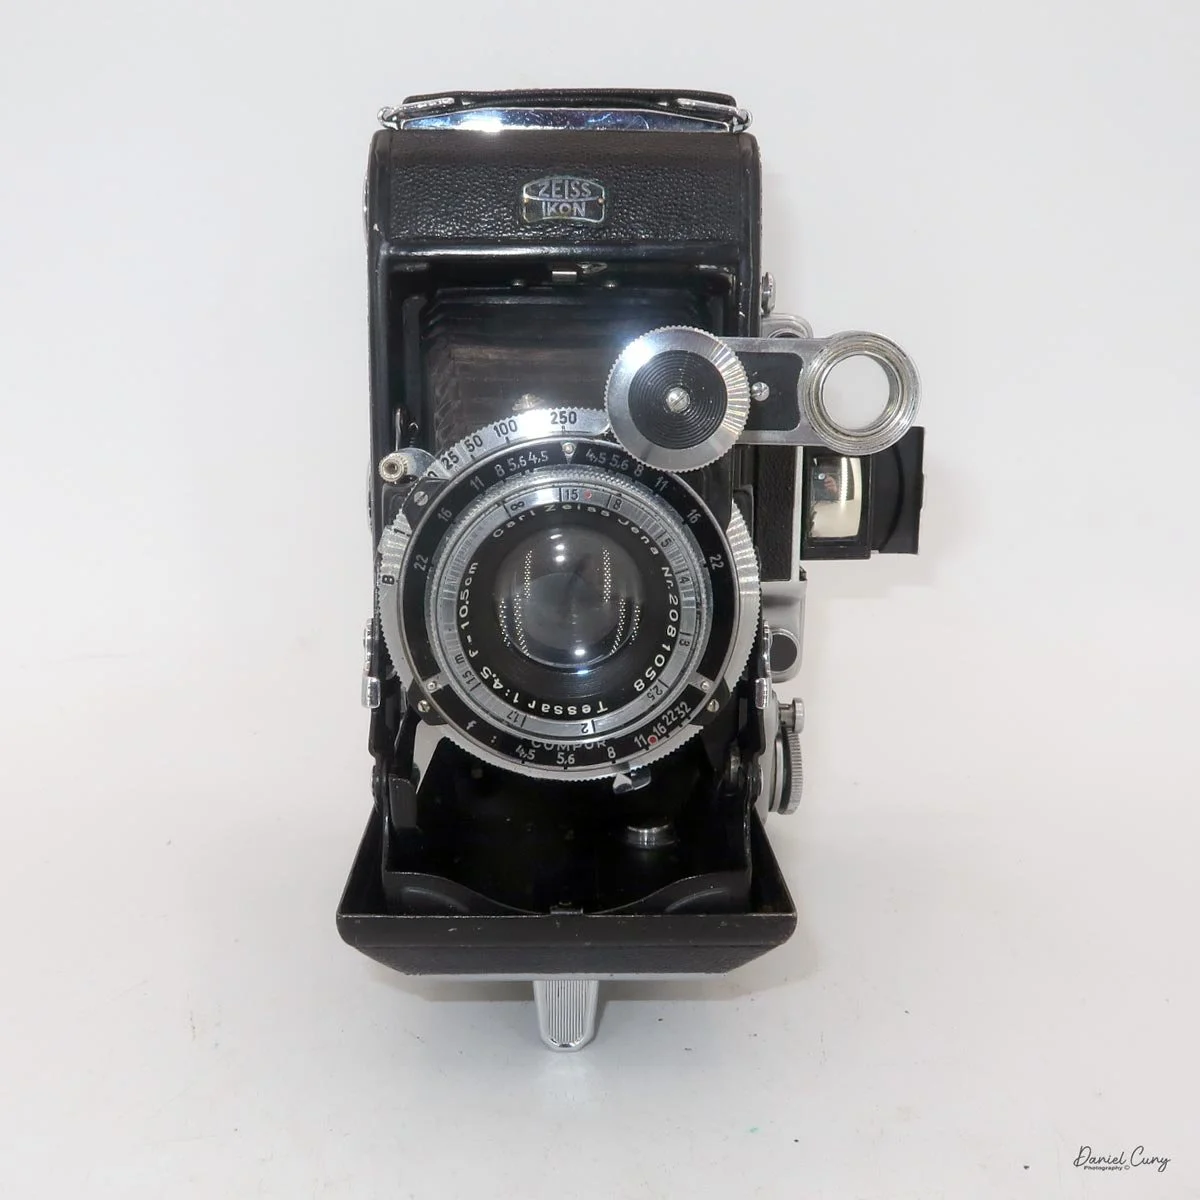
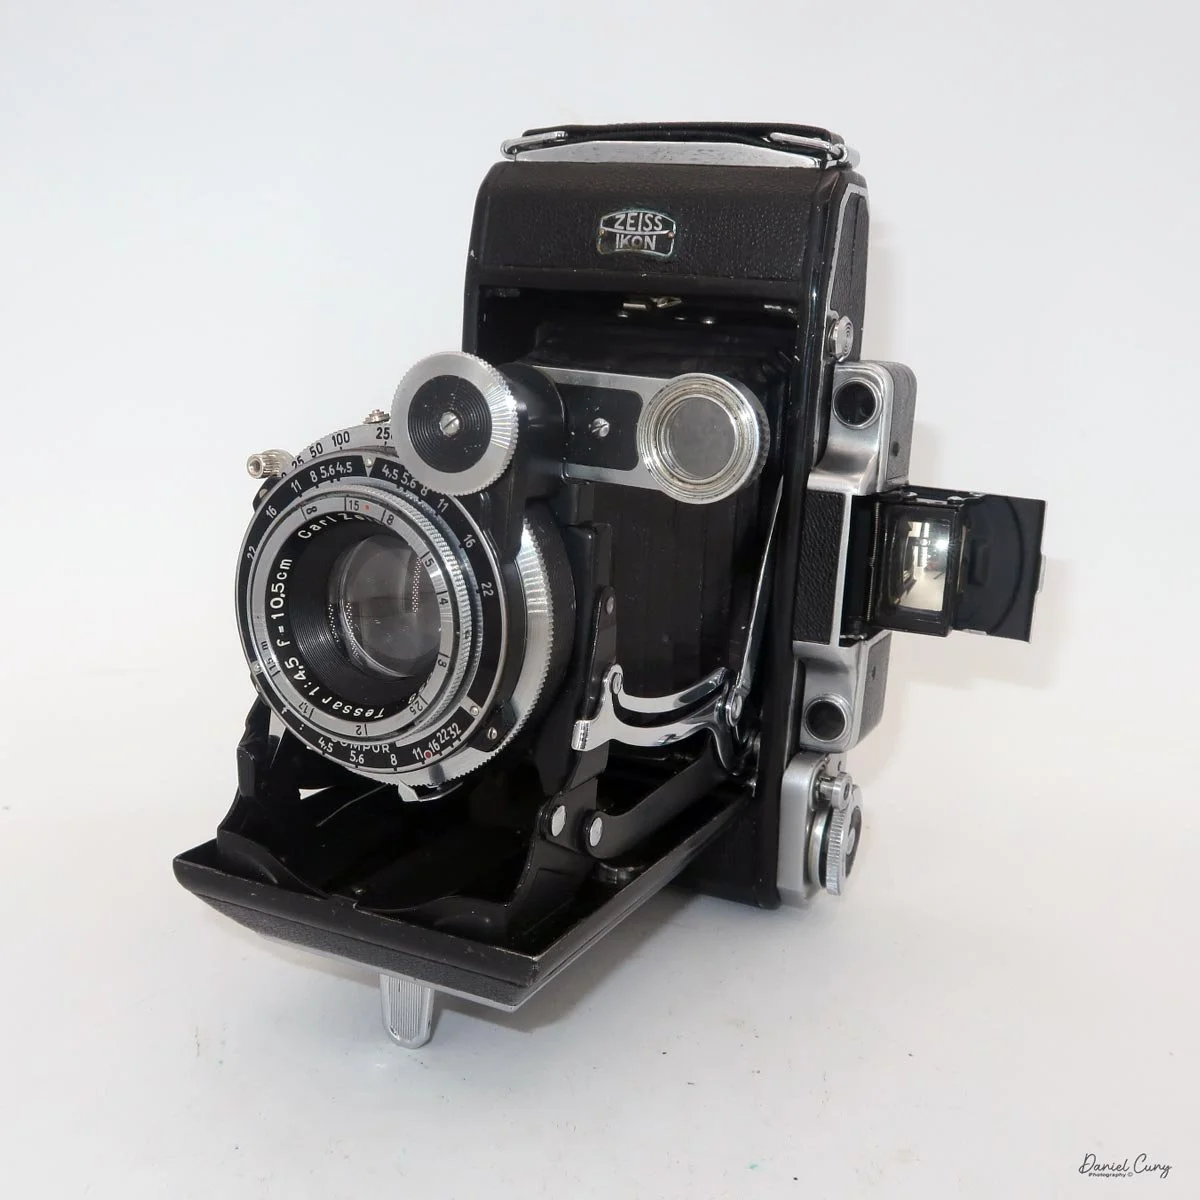
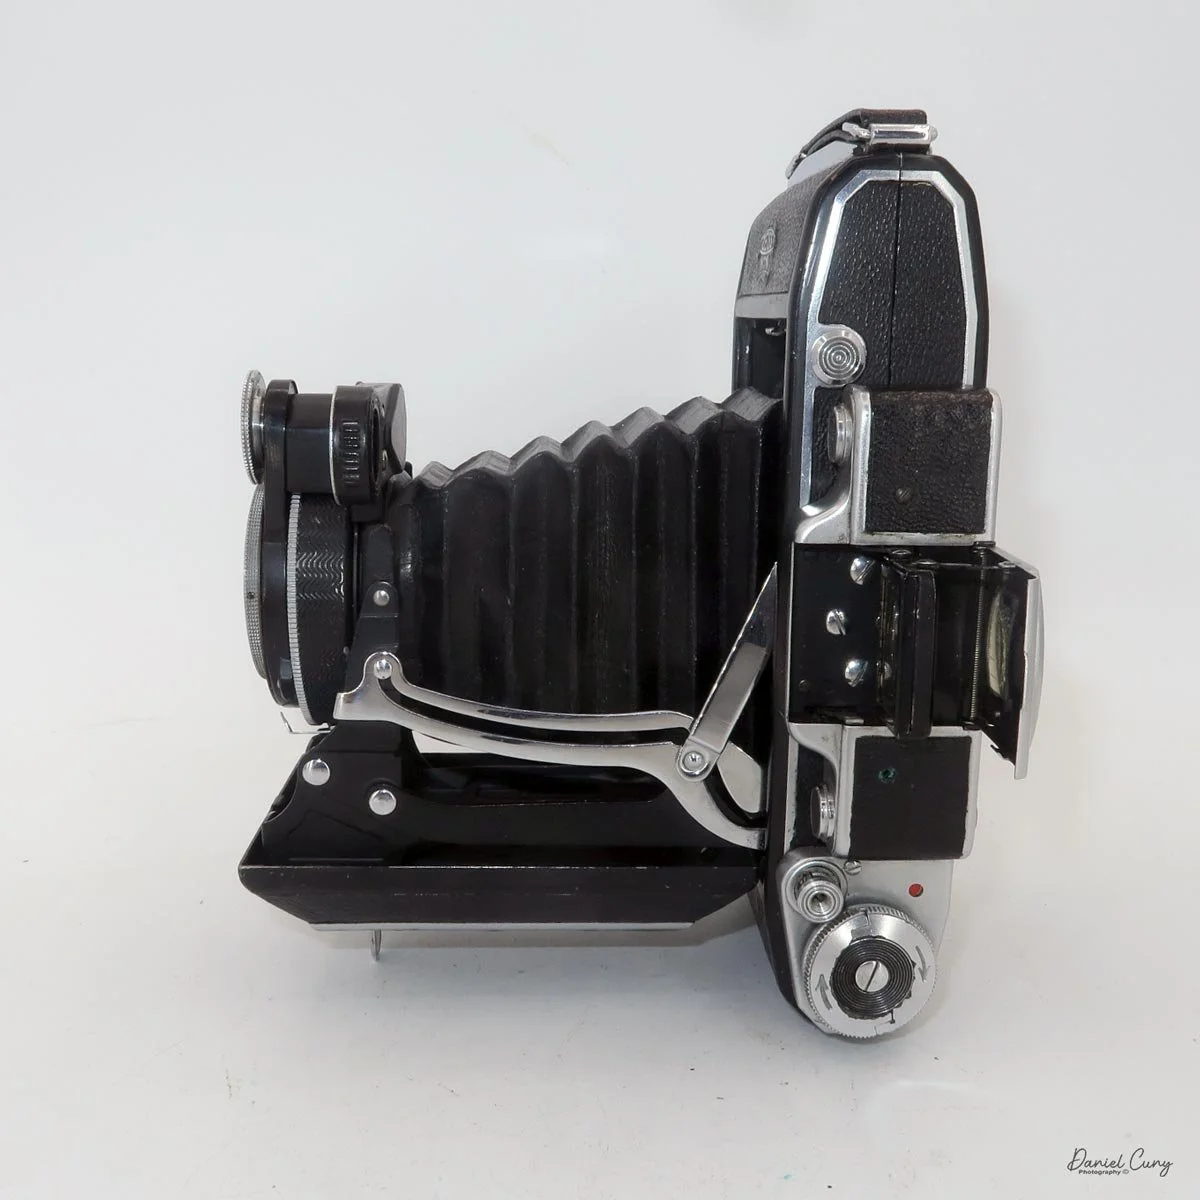
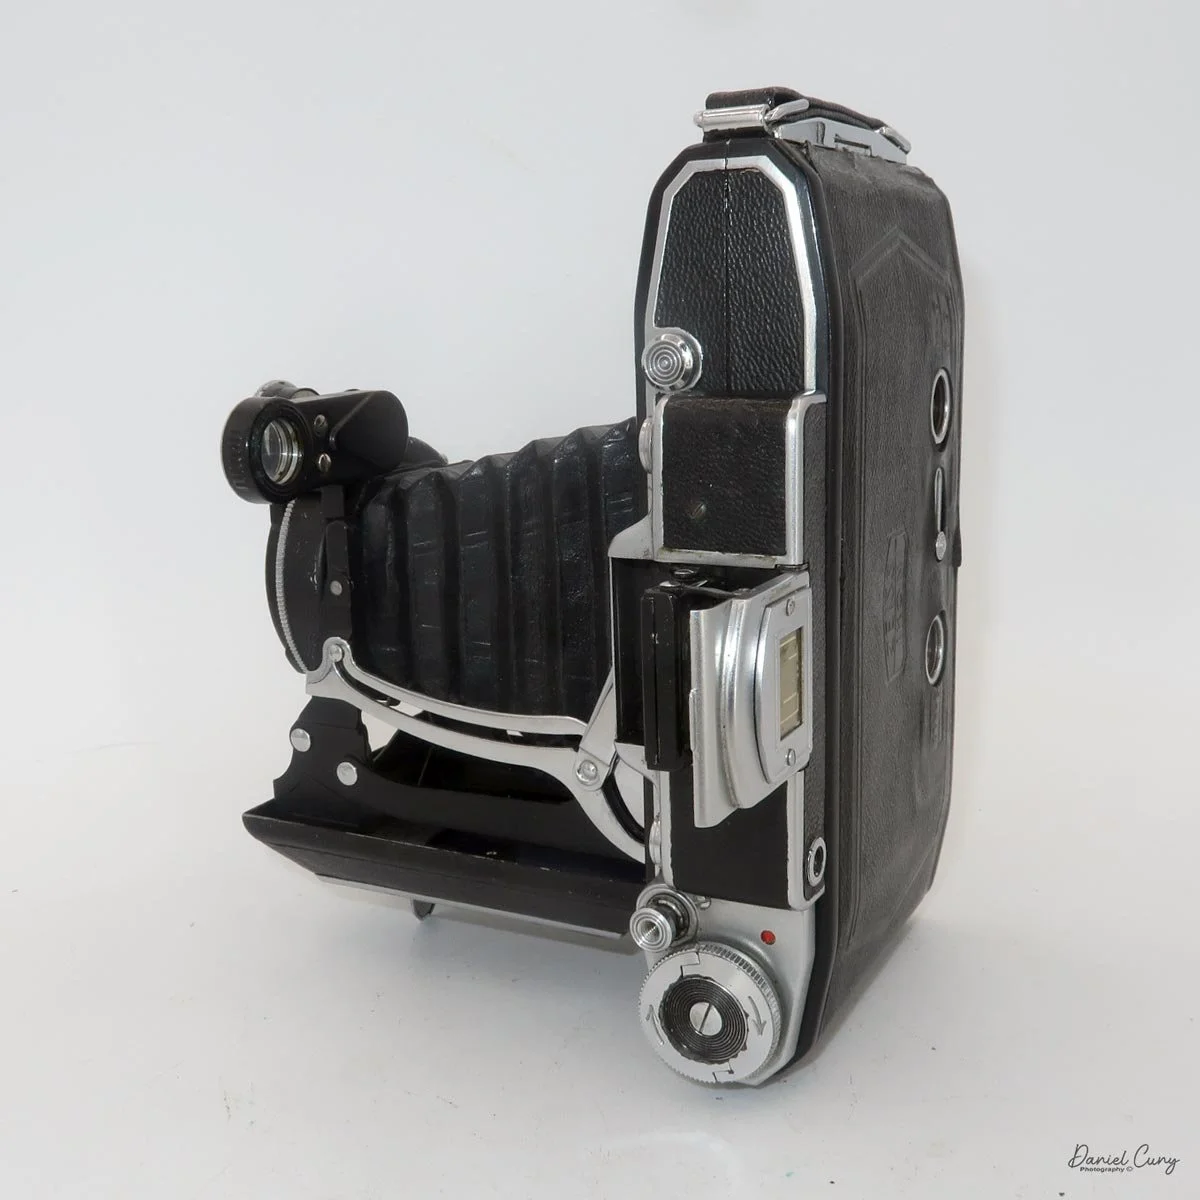
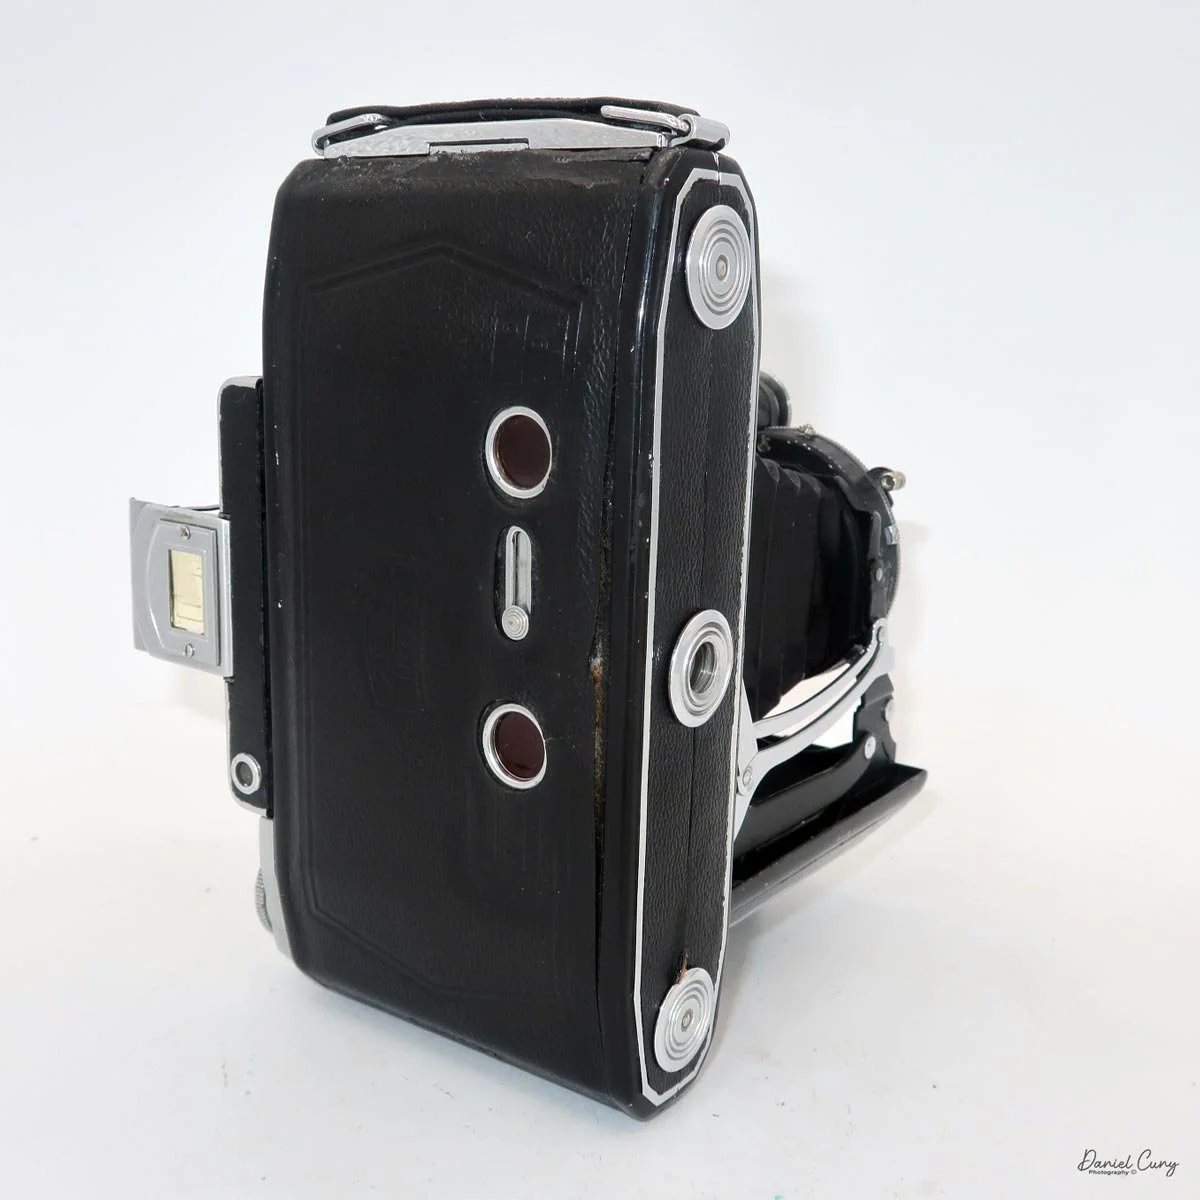
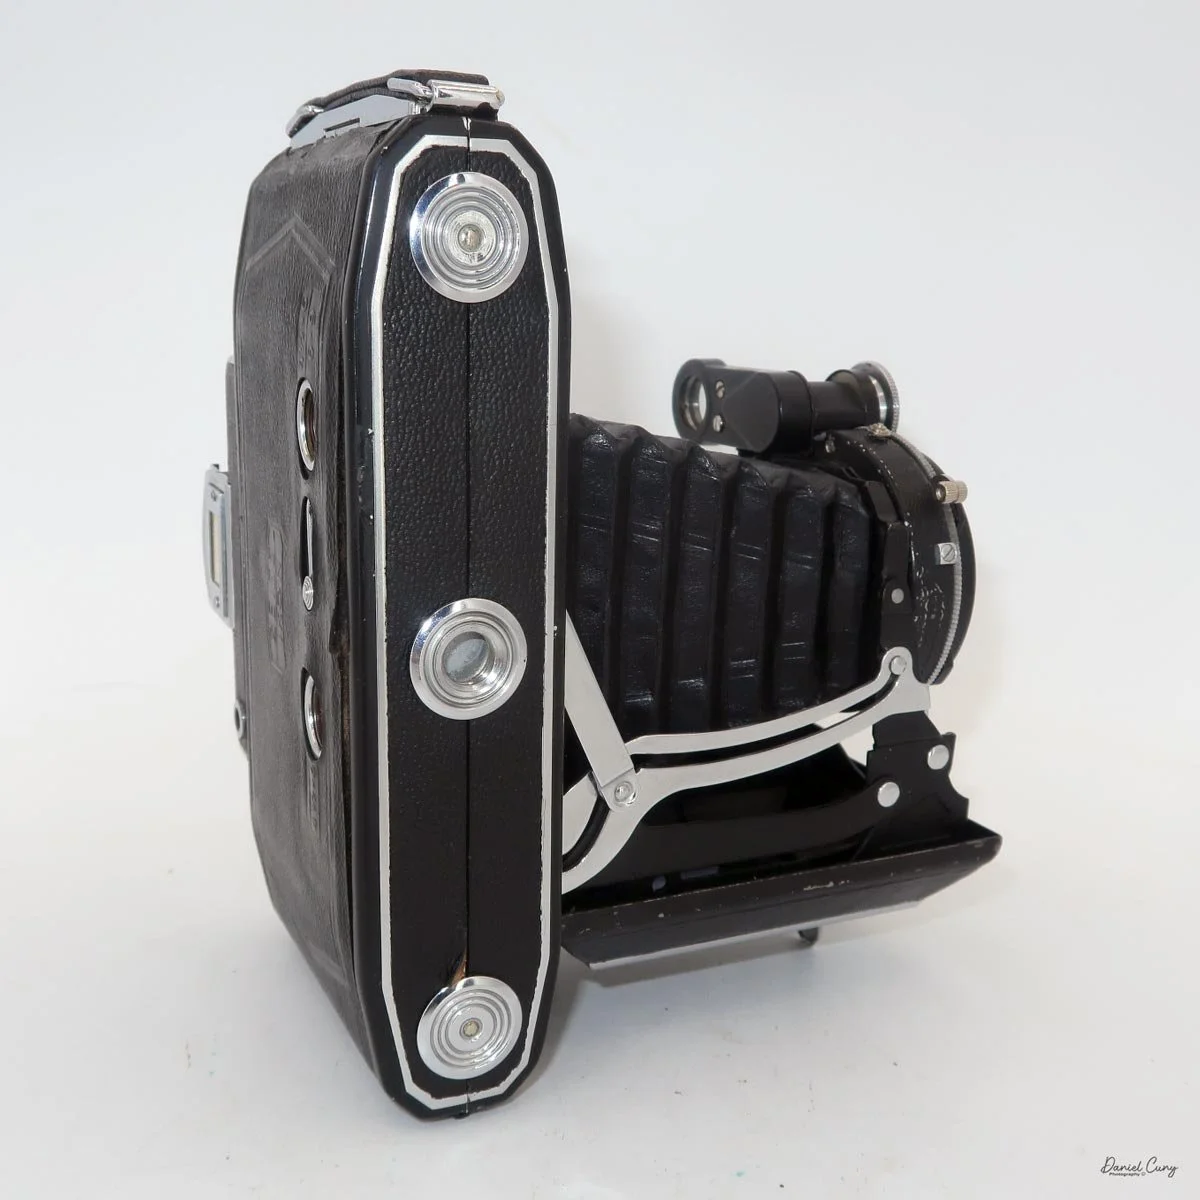
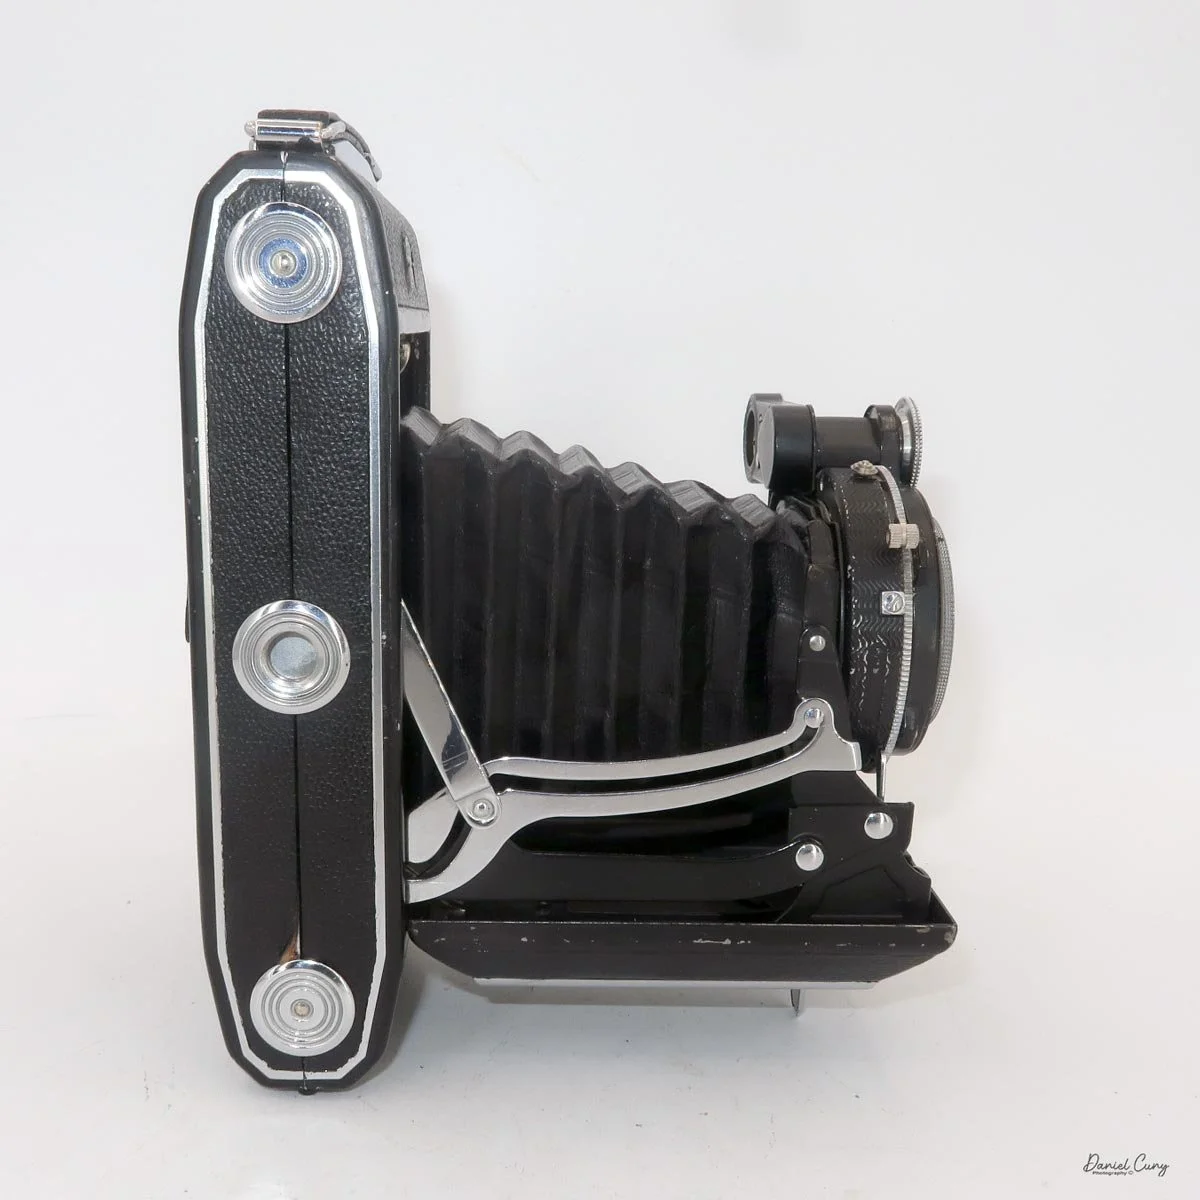
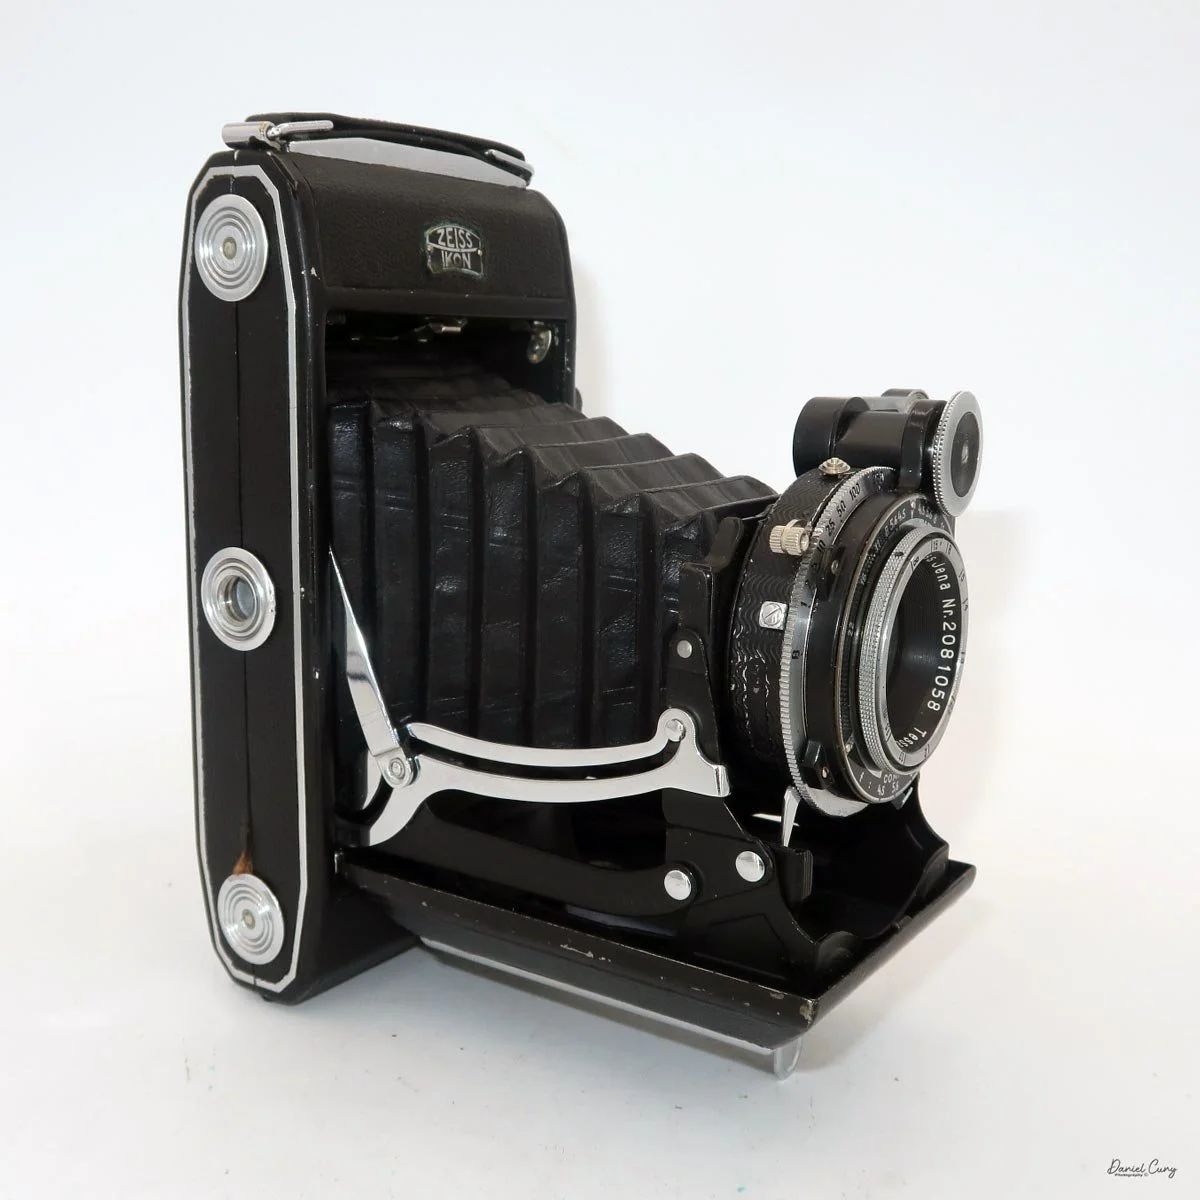
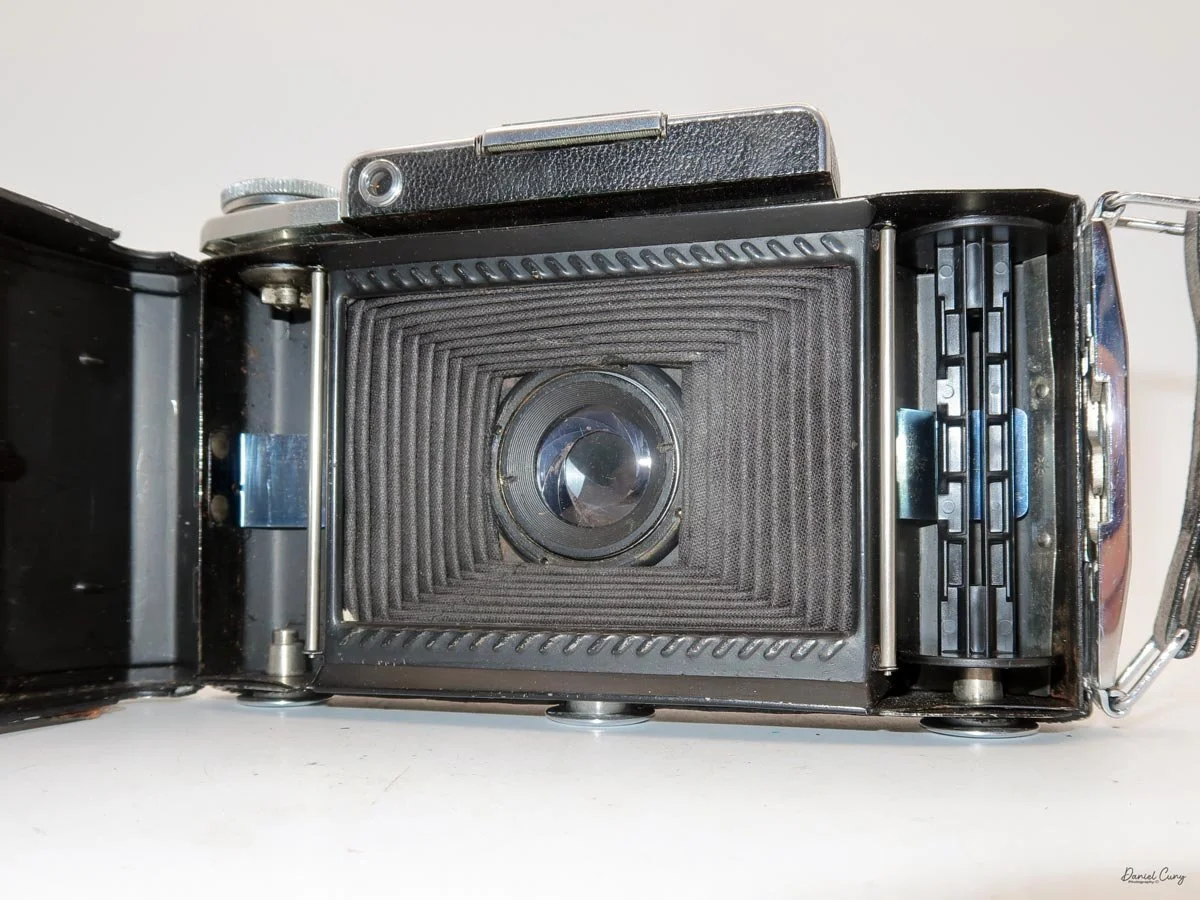
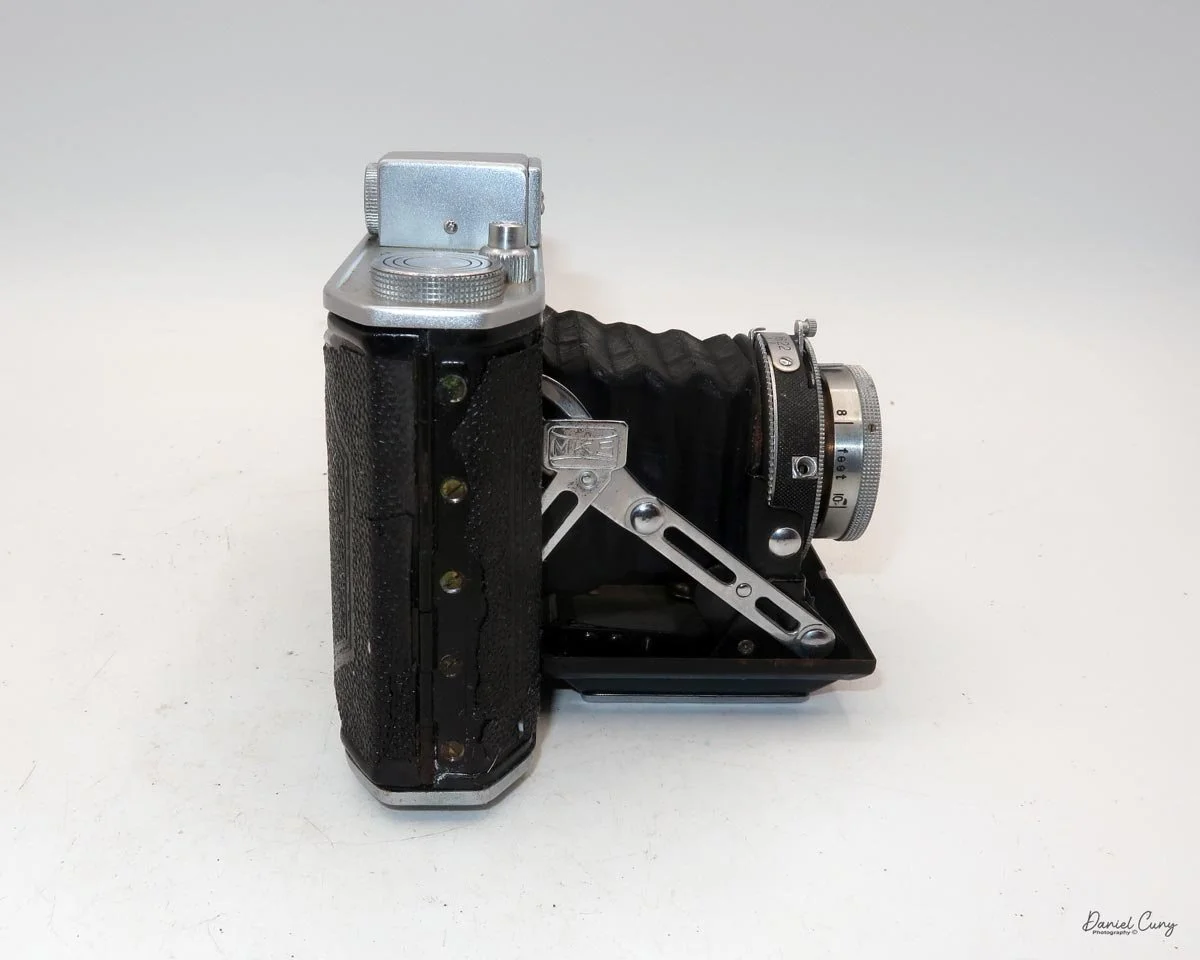
My interest in the Minolta Vest began a few months ago when I saw a post on Facebook. What I like most about the camera is its similarity to the Minolta Six. Both cameras use a three-tier, stacked metal bellows system that extends and collapses, unlike the standard cloth- or leather-covered cardboard bellows found on most cameras.

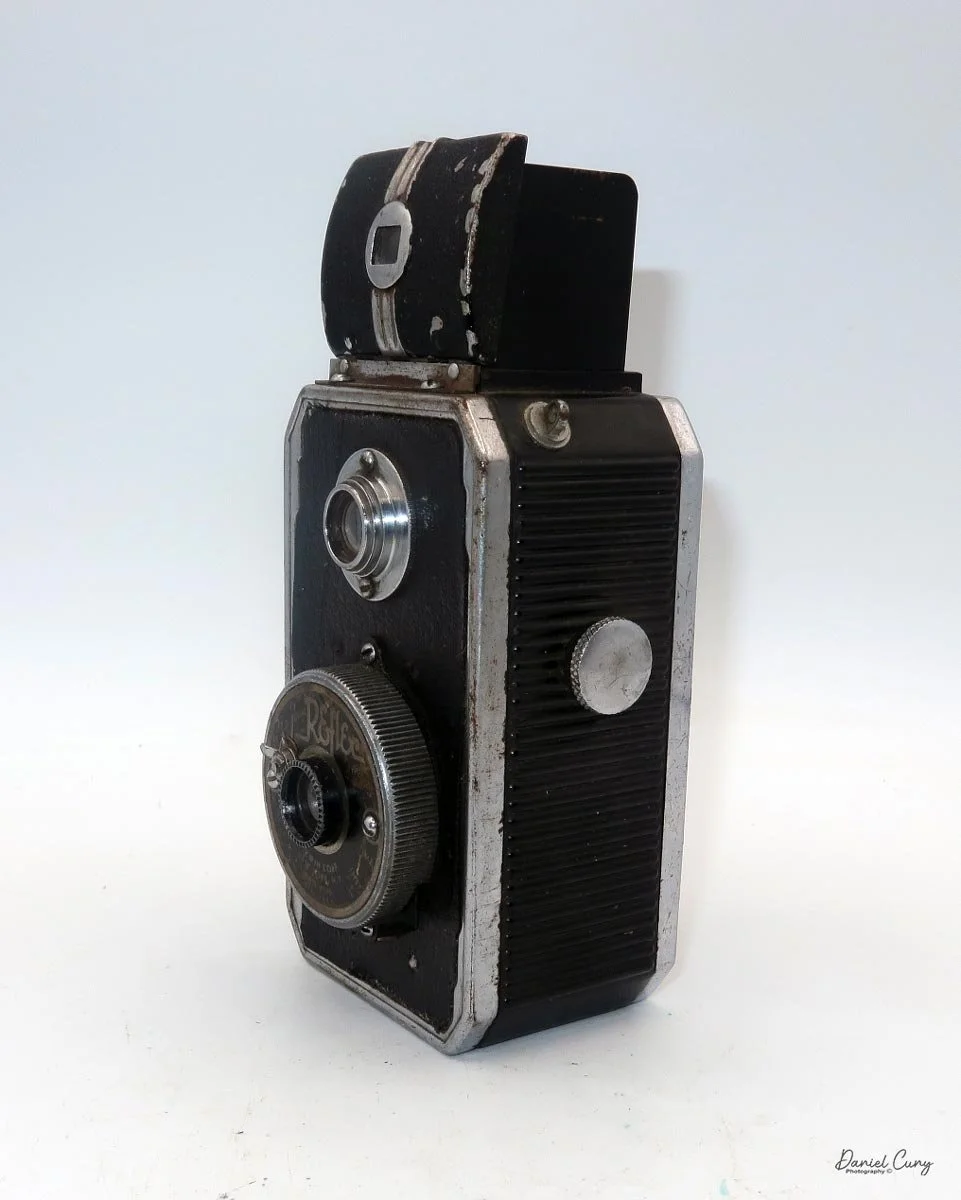
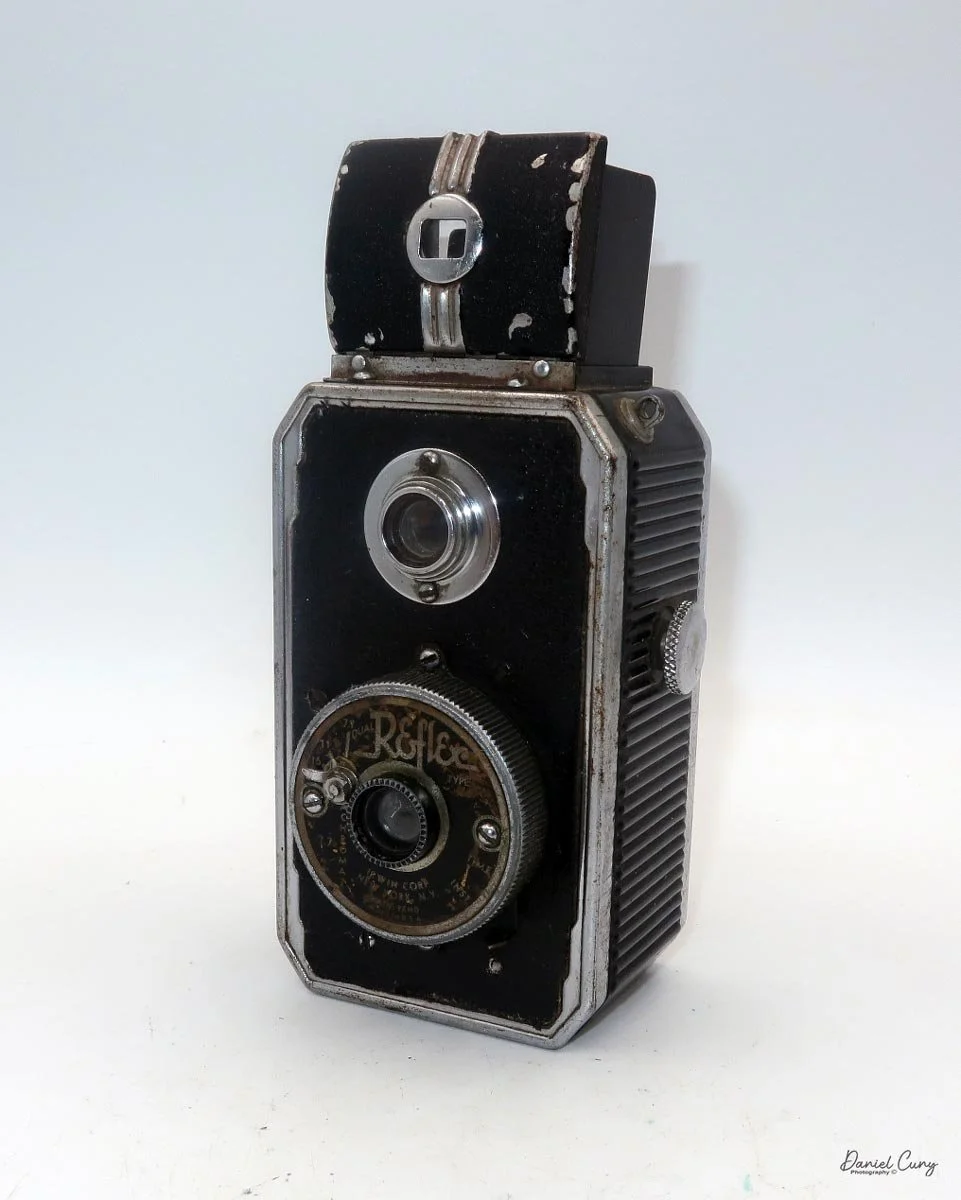
 When I first pulled out the lens on either the Minolta Six or the Minolta Vest, the metal stacking bellows reminded me of a Japanese pagoda. Both cameras have a beautiful chrome pattern set against stark black Bakelite, giving them a strong Art Deco appearance. It's the artistry and attention to detail that you don't see in cameras produced today.

 Knowing about this early Minolta camera with metal stacking bellows, I made a point of keeping an eye out for one during my trip to Tokyo a few weeks ago.

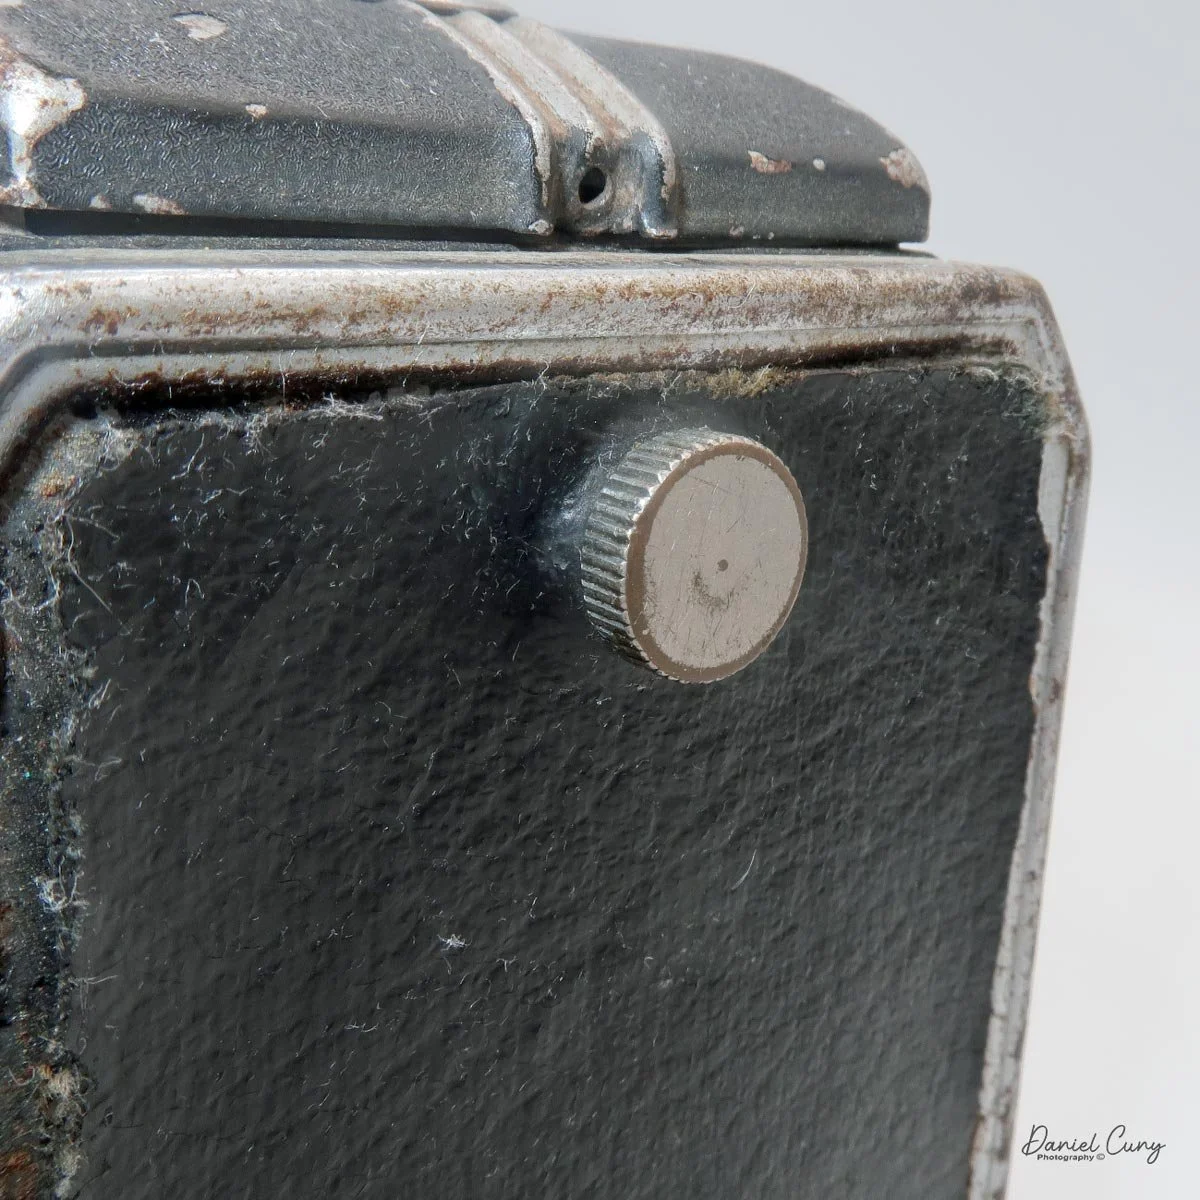
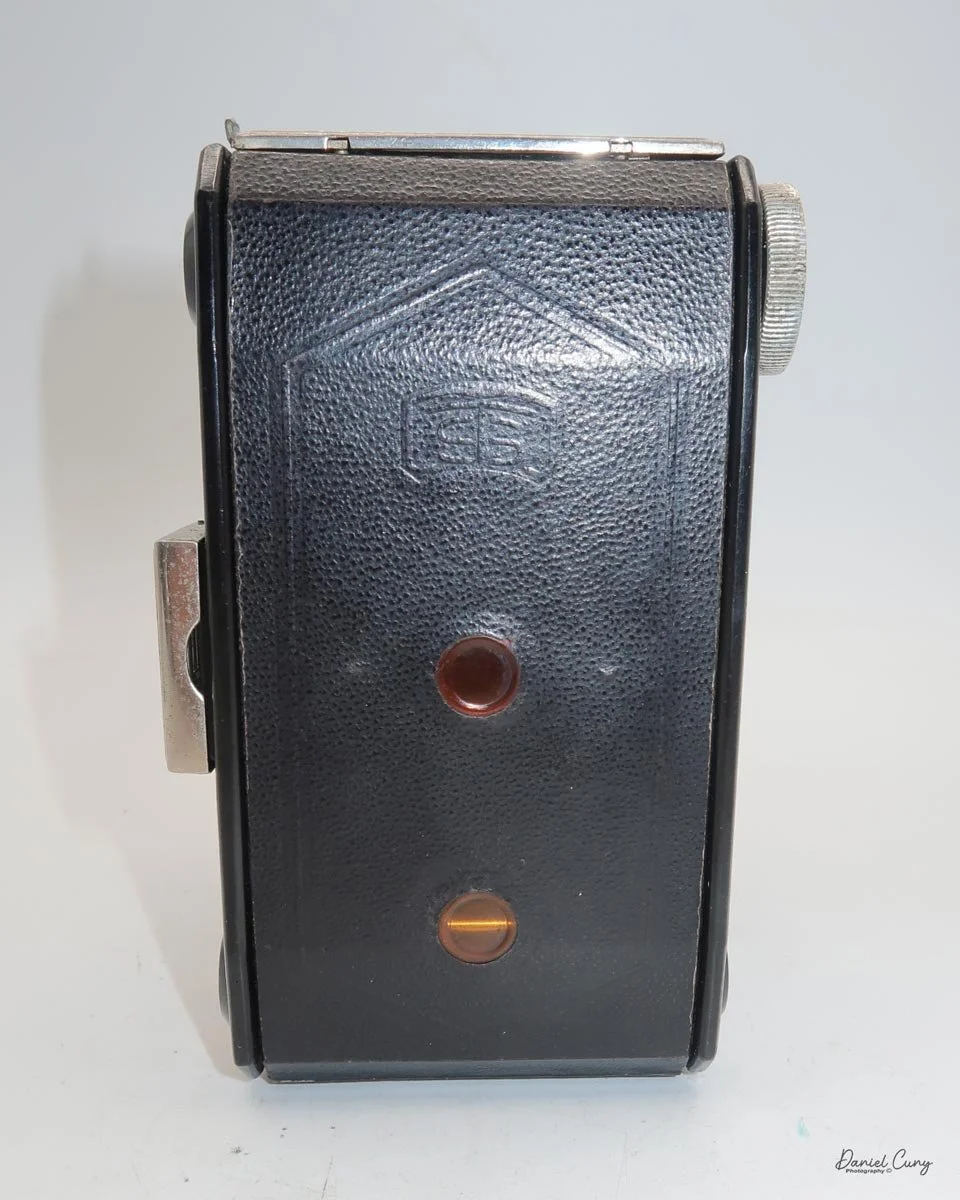
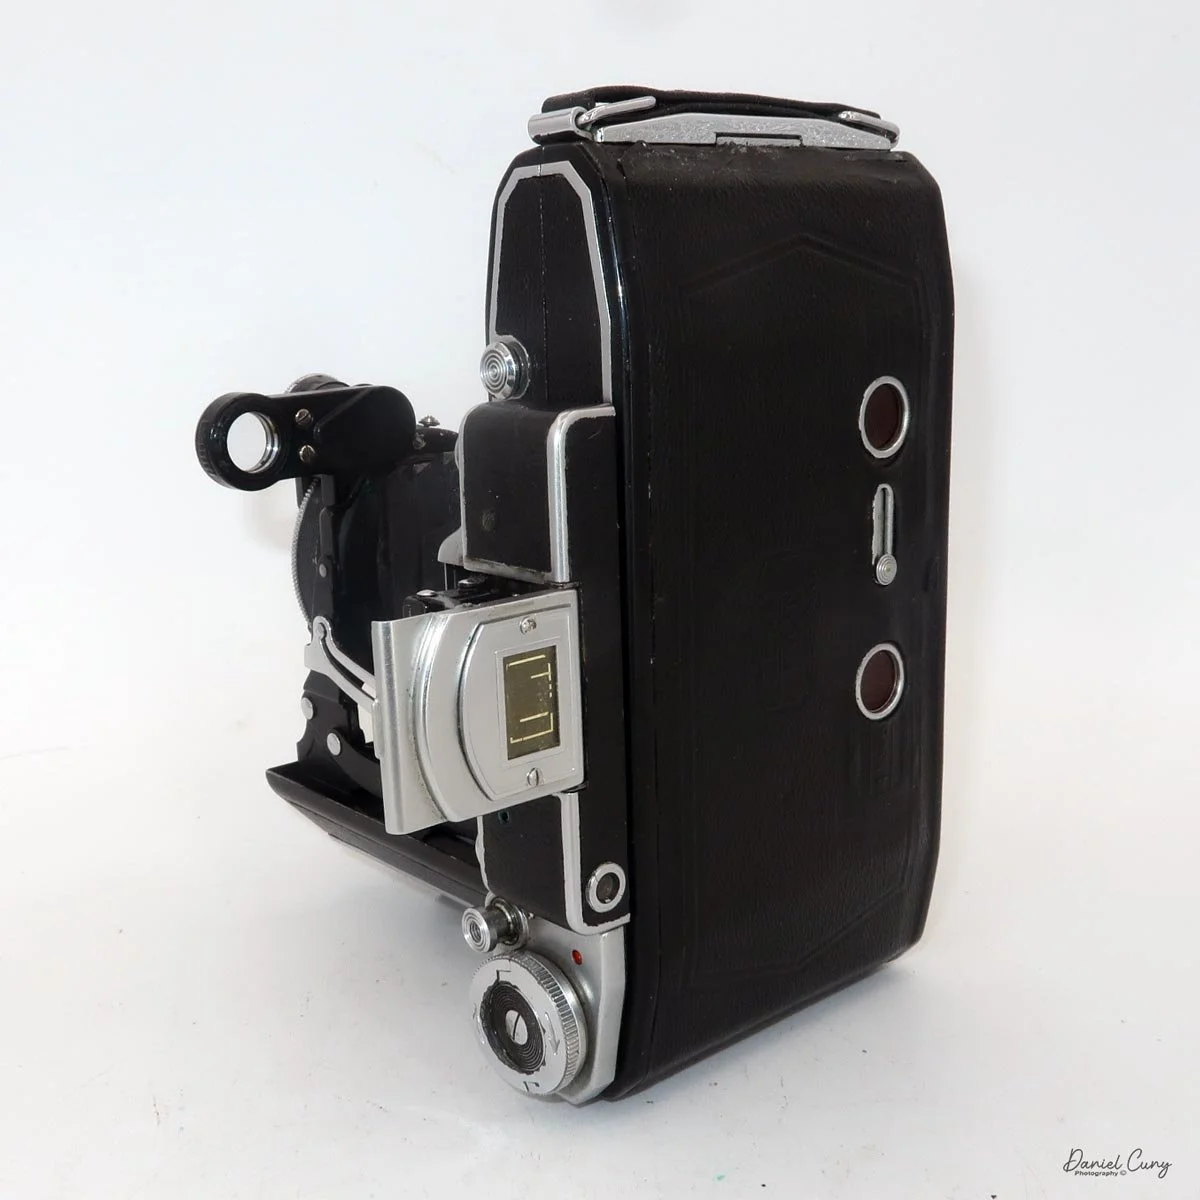
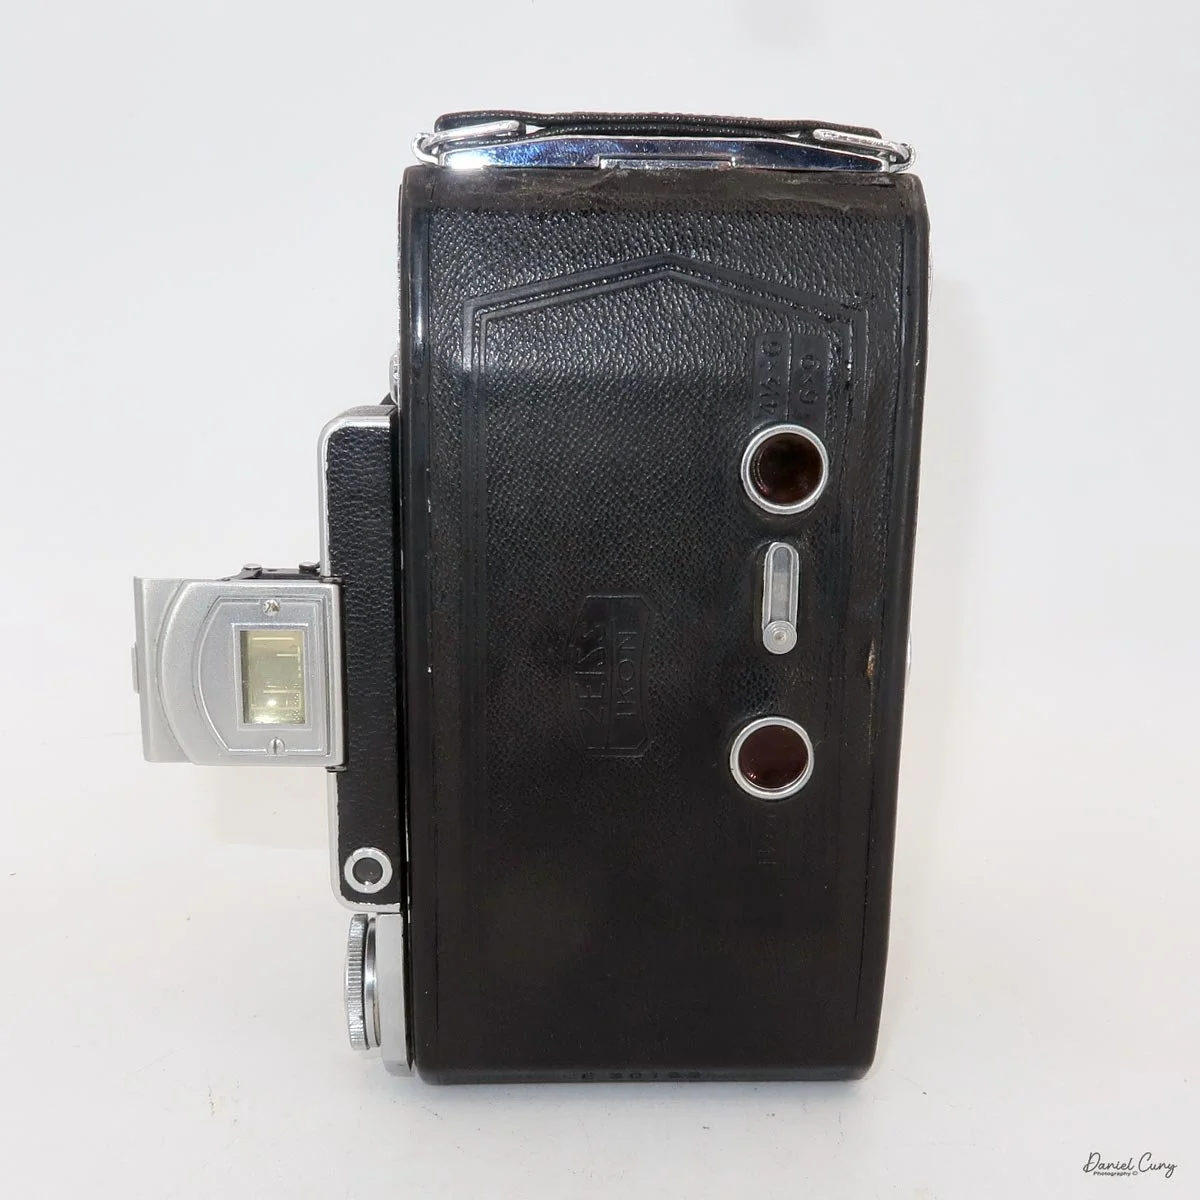
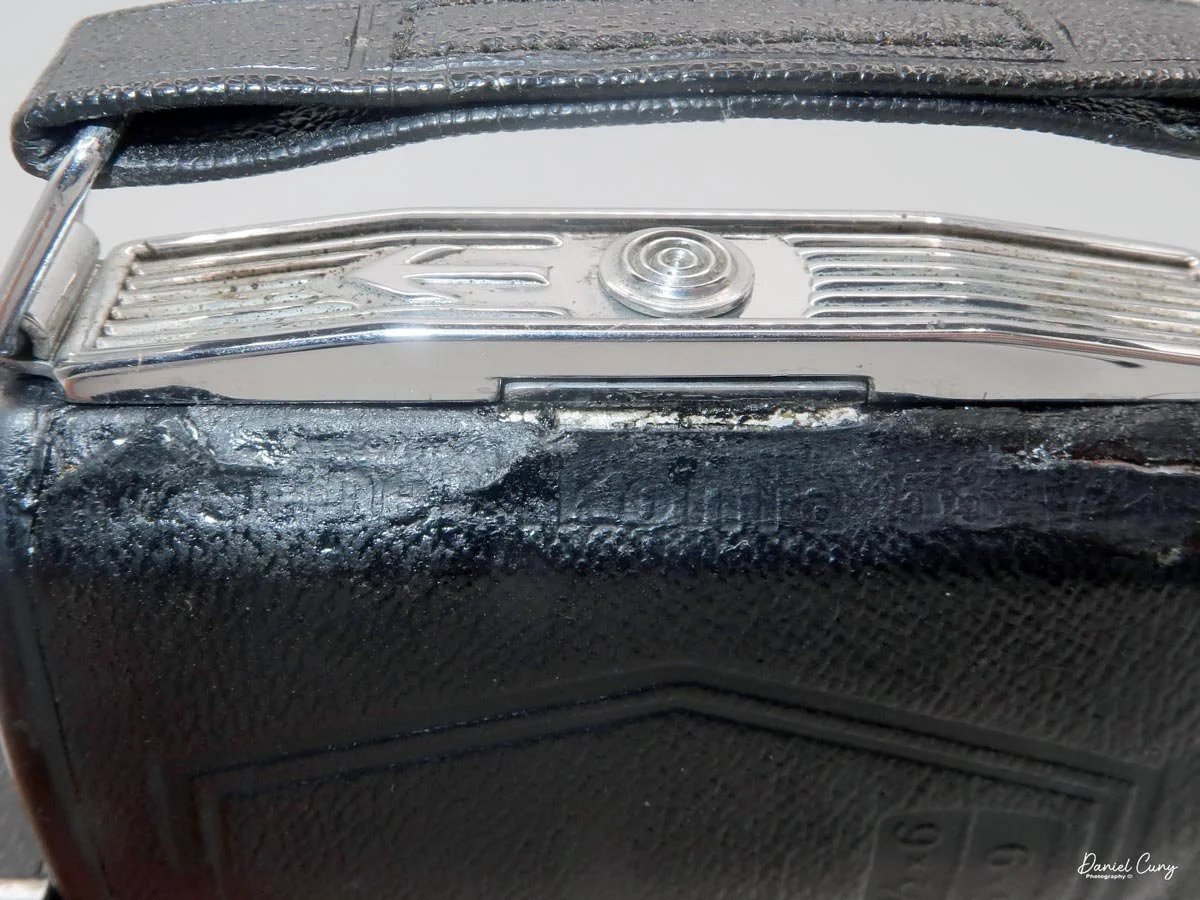
 Fate was on my side, and I found a Minolta Vest in decent condition at the Tokyo City flea market. As I walked past one of the many hundreds of stalls, I noticed one of the vendors had a few cameras on his table. When I picked up the camera, I saw the Minolta name embossed on the back. Then, as I pulled the lens away from the camera body and the metal stacked bellows appeared, I was filled with excitement and joy.

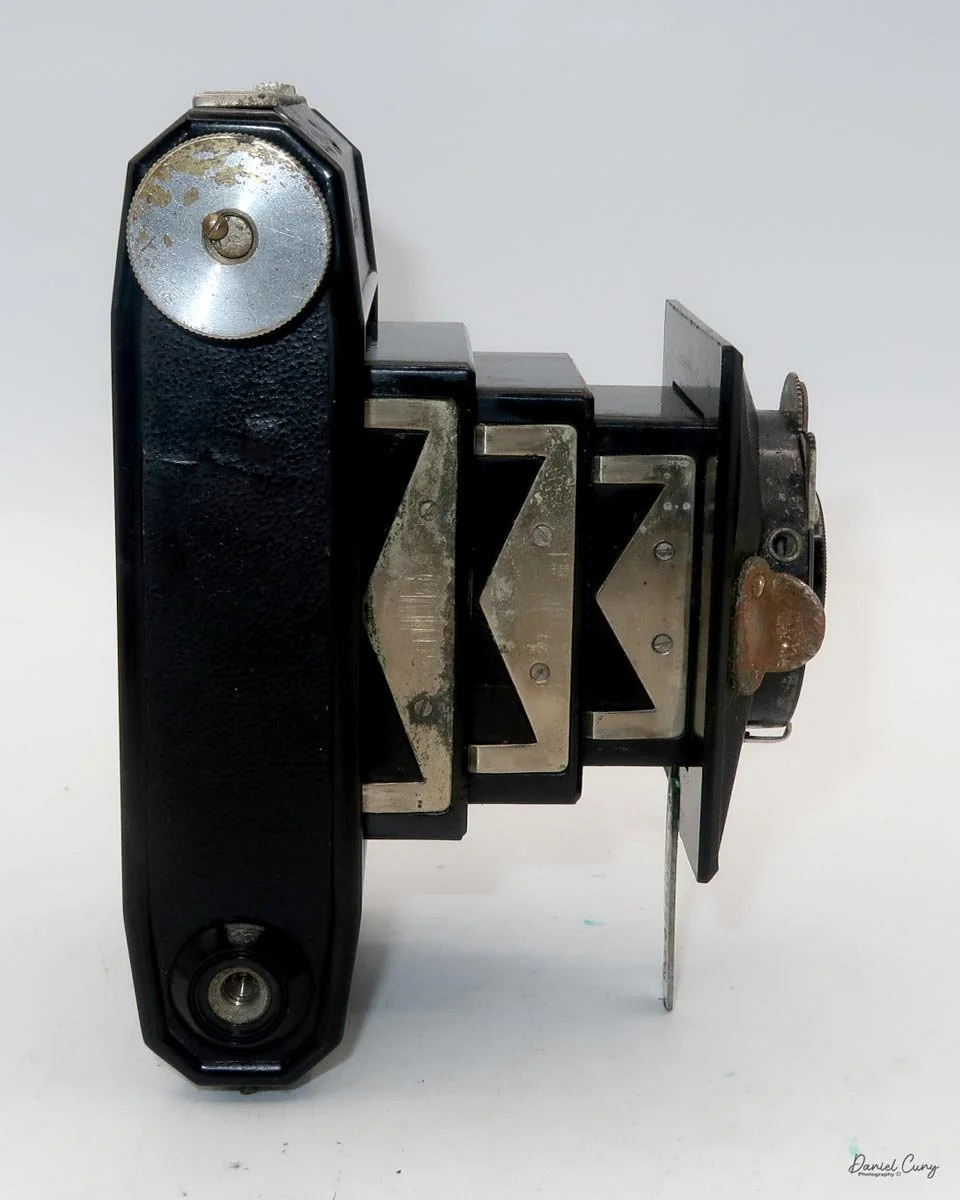
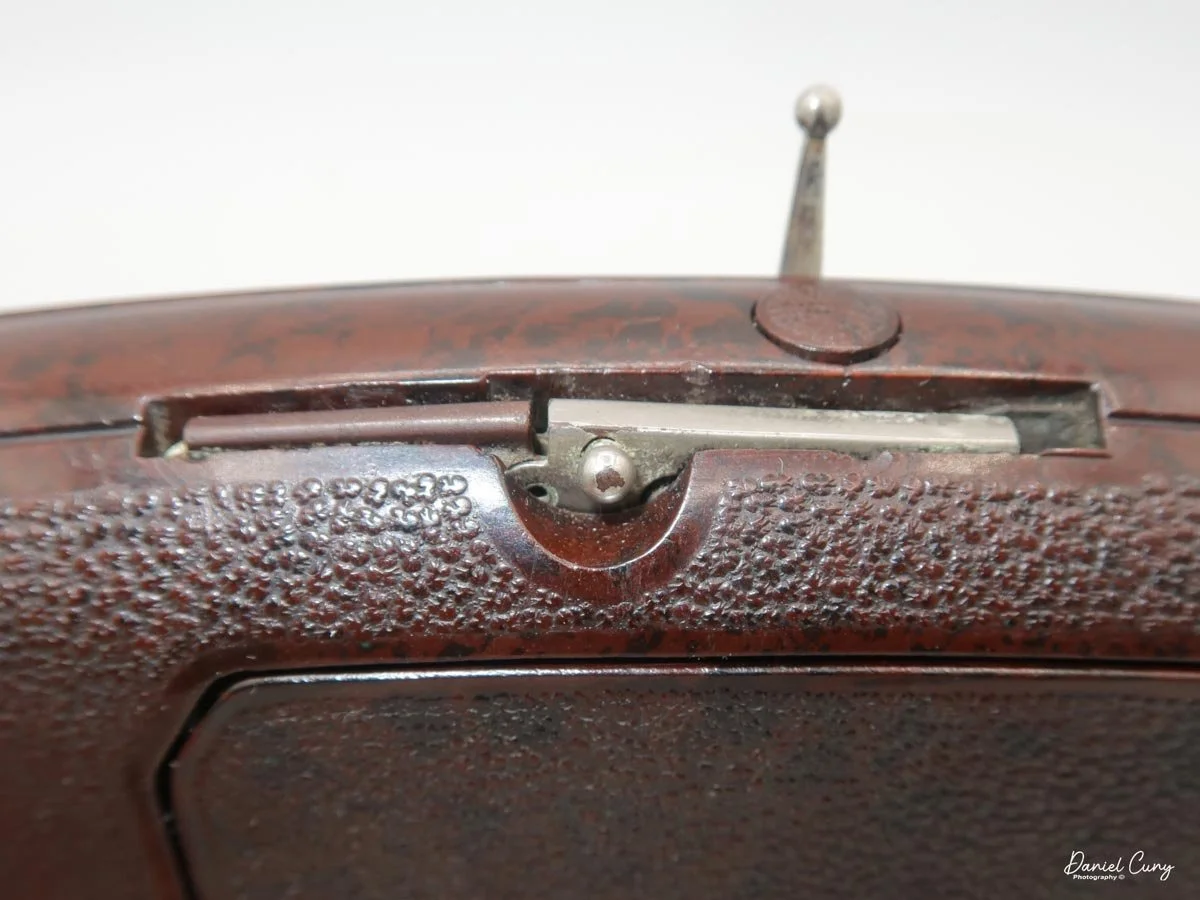
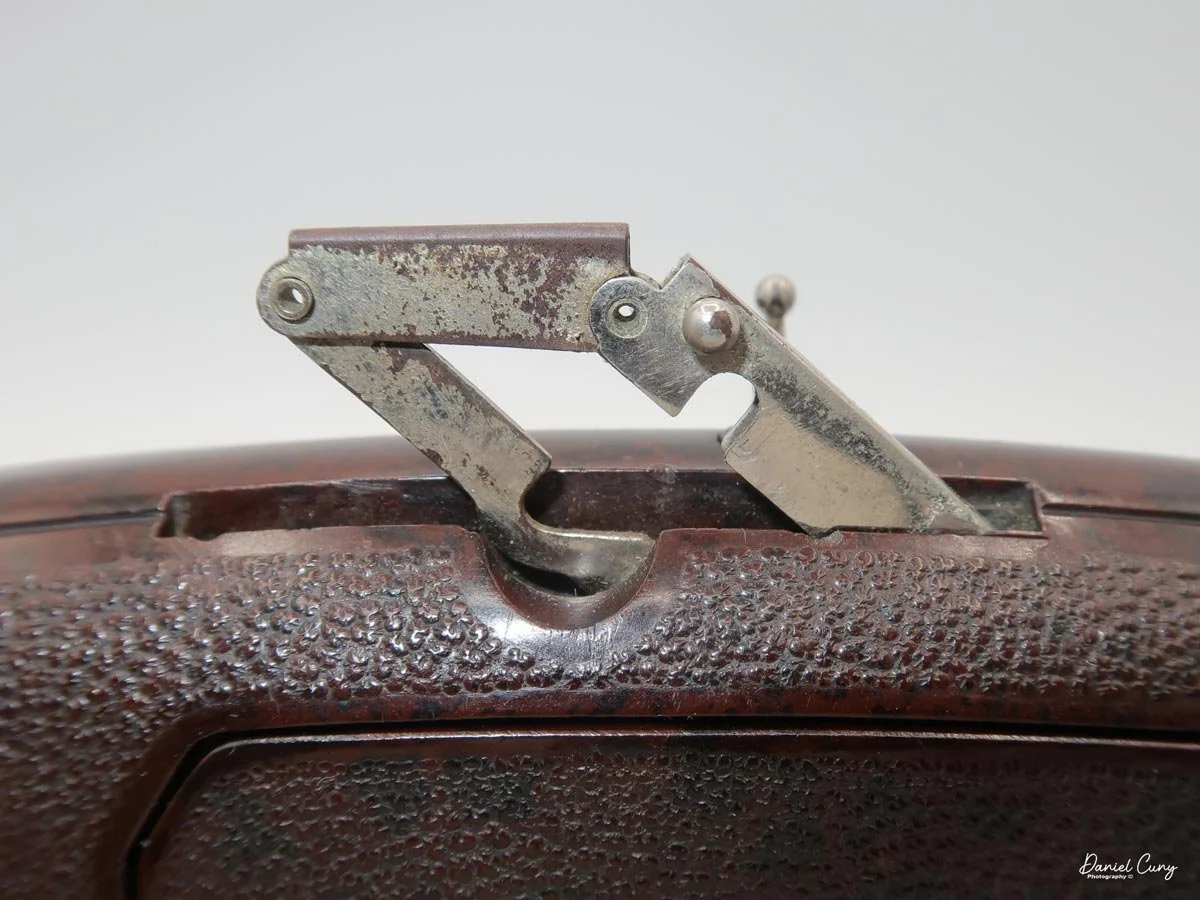
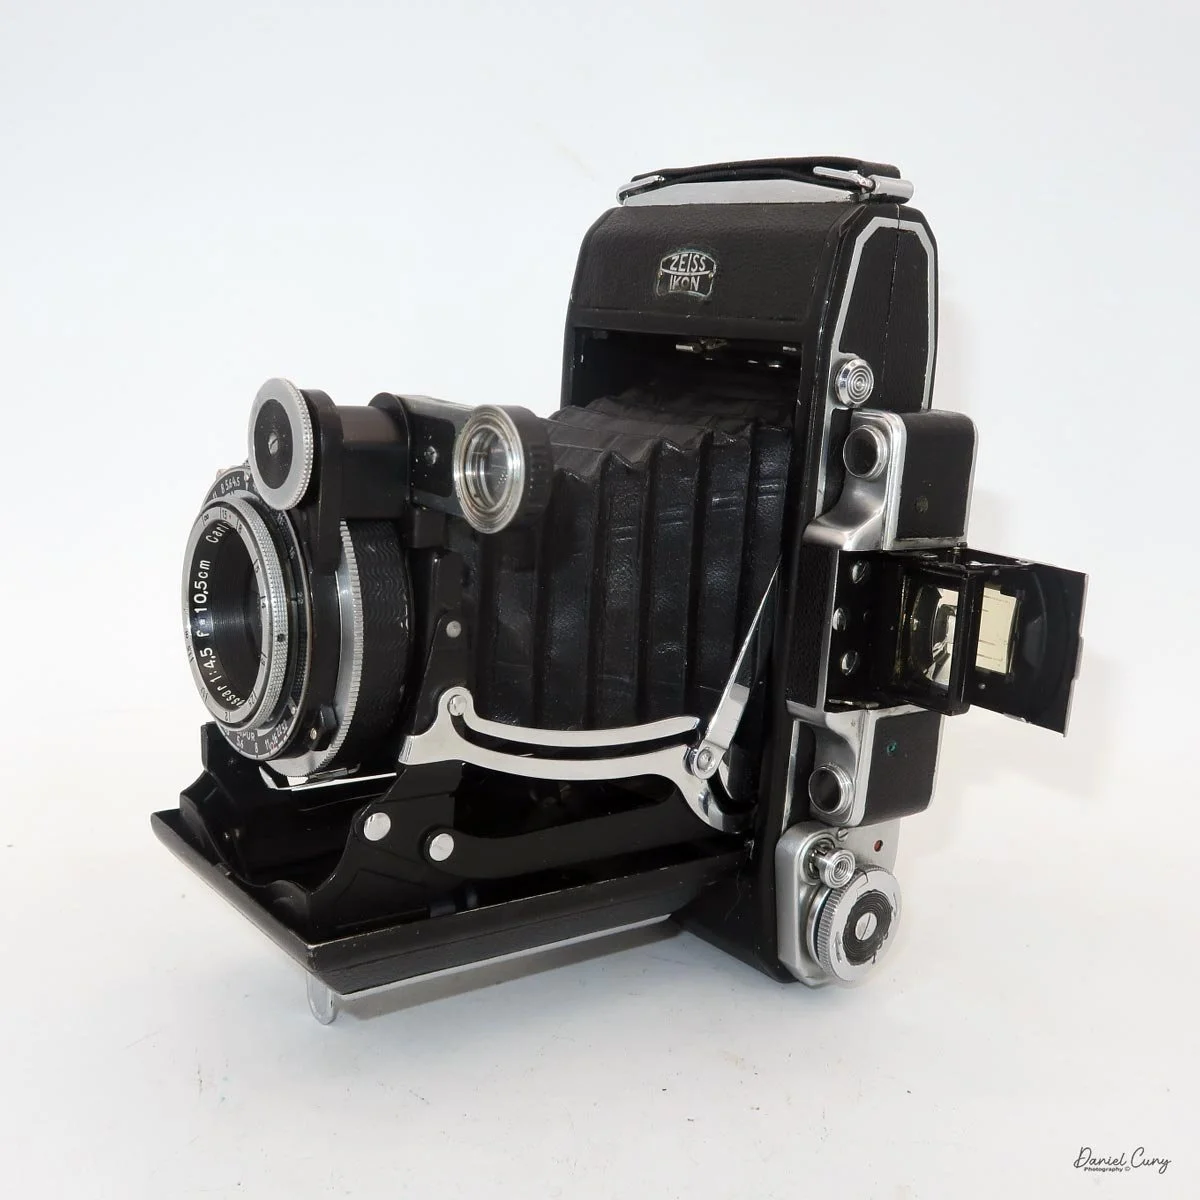
Minolta Vest rigid stacking bellows that resemble a Pagoda

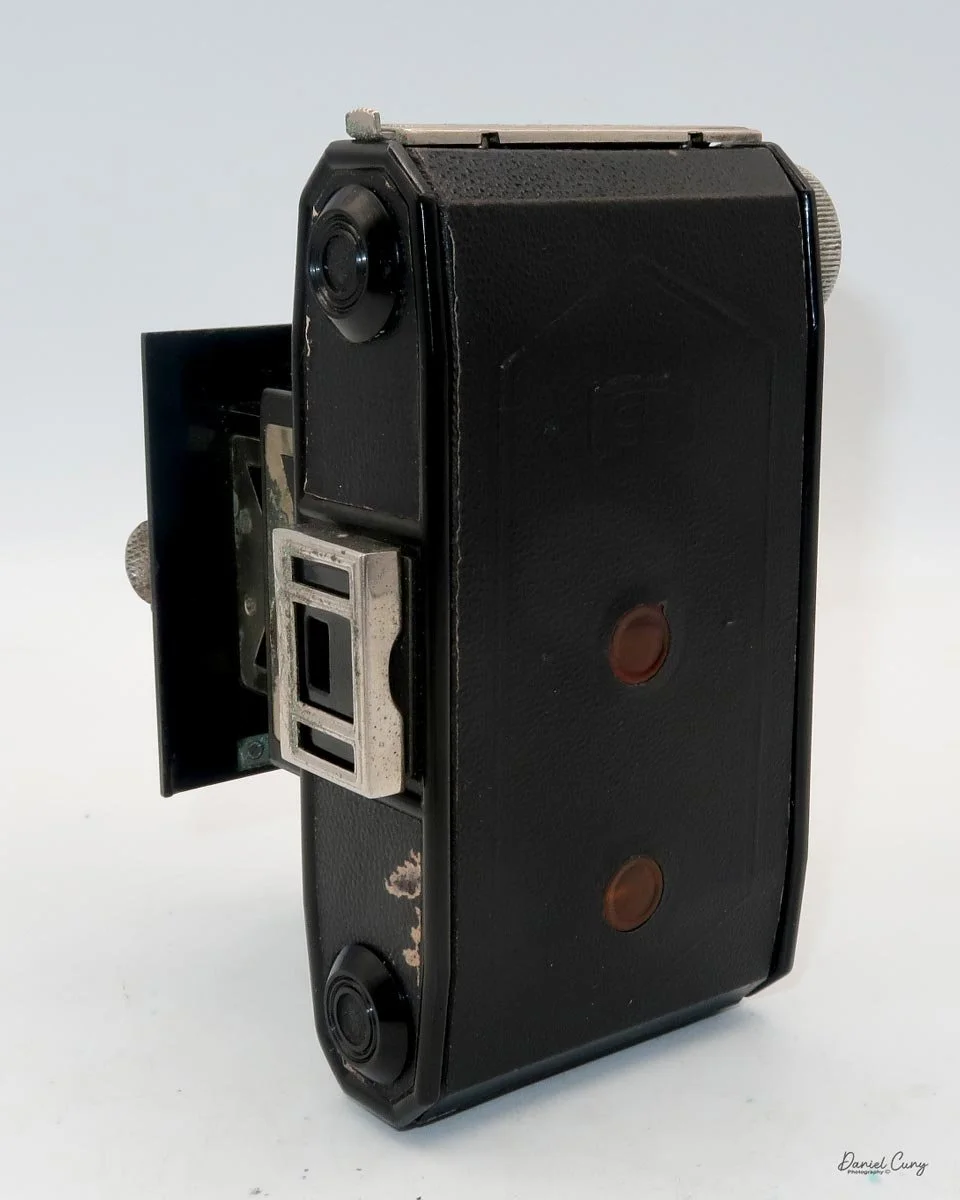
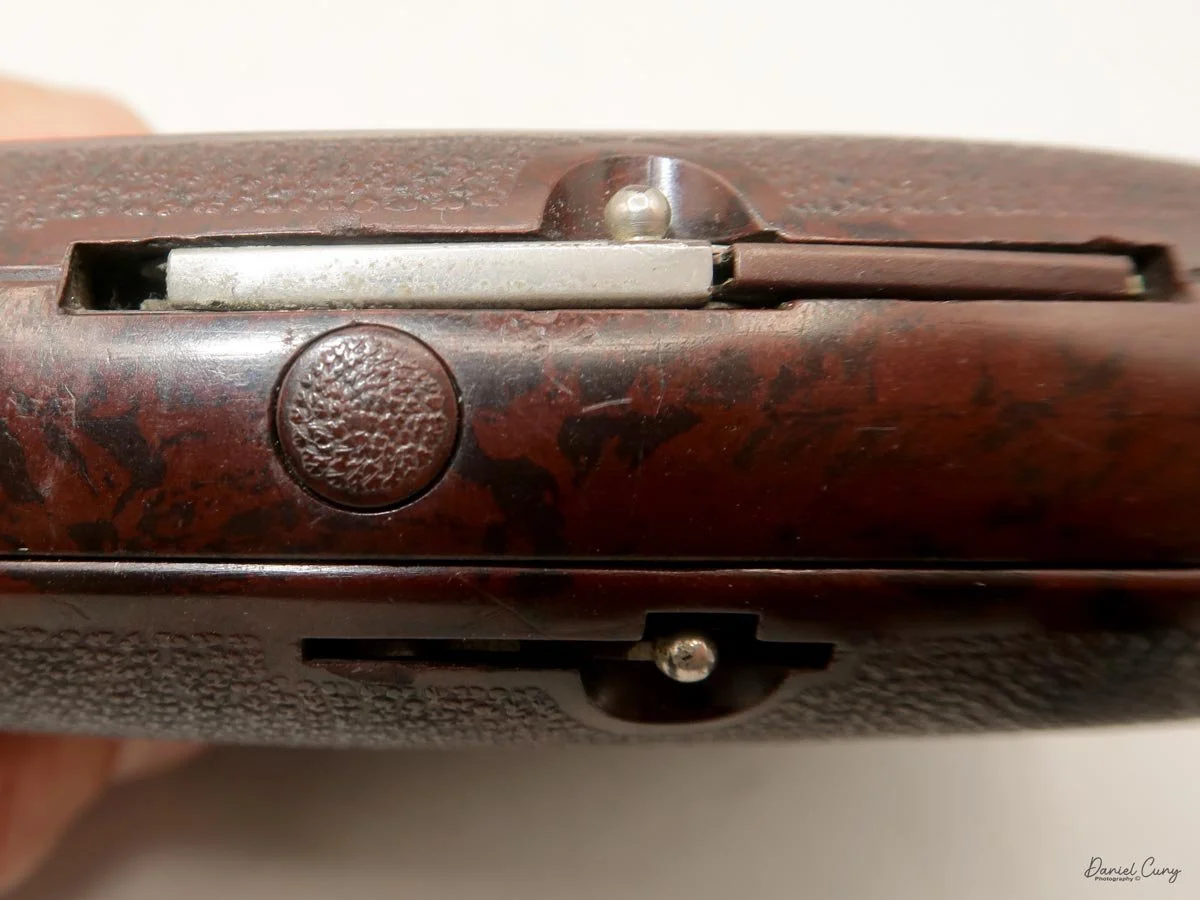
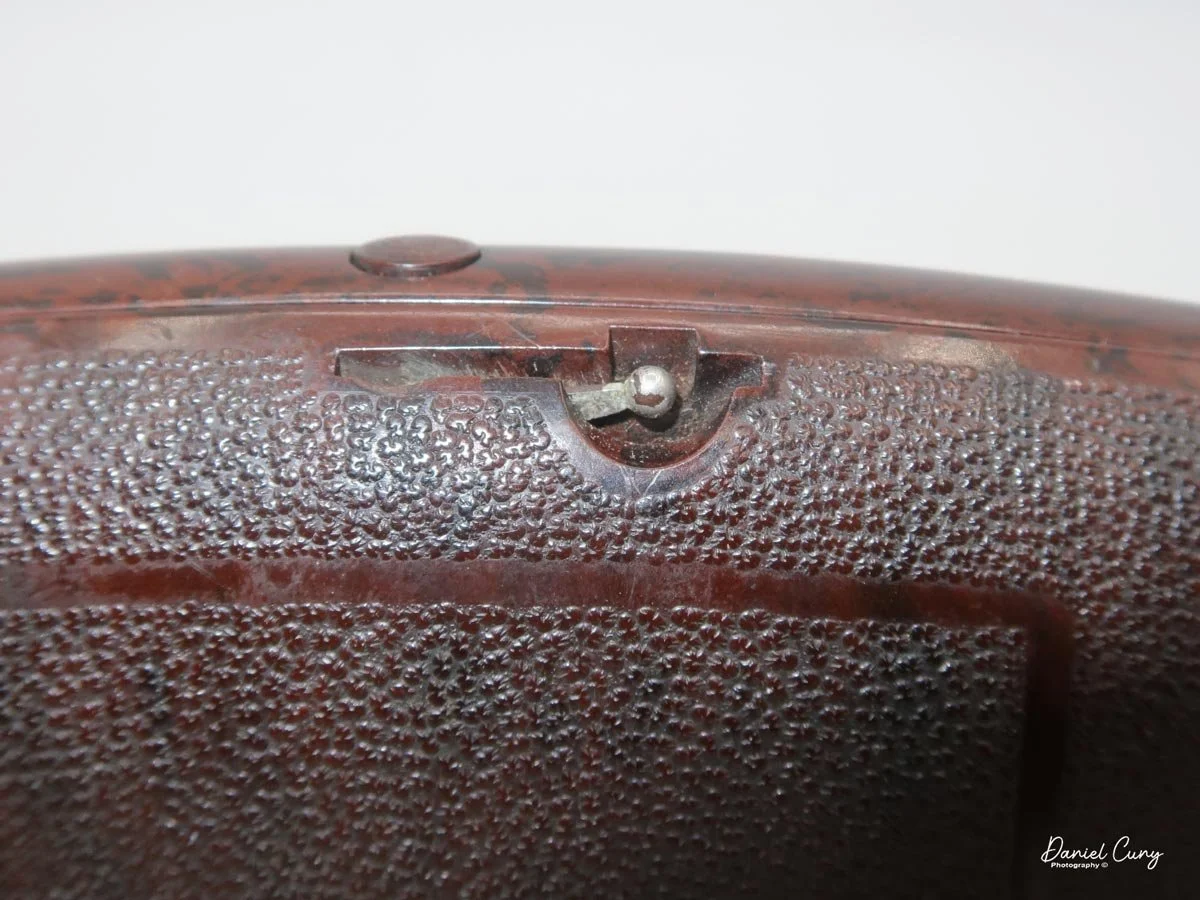
 There are two metal grips on either side of the lens that you use to pull it away from the camera body. The stacked bellows were somewhat stiff, with a bit of corrosion on the chrome, but with a little coaxing, the lens fully extended. I played with the shutter system, and it fired, but inconsistently. Sometimes the shutter would fire when the release was pressed, and sometimes it wouldn't. That was a bit of a disappointment, but not a dealbreaker.

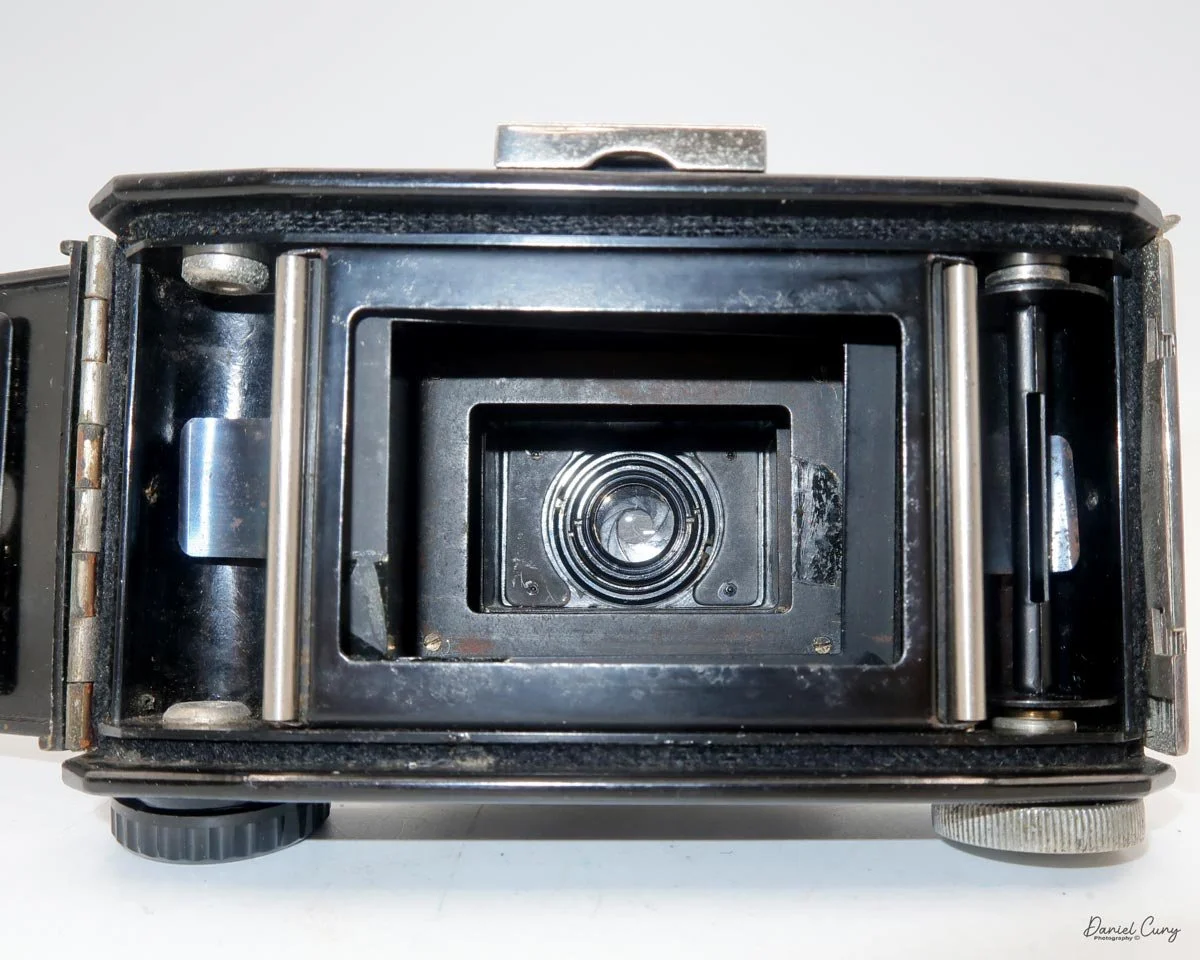
 The lens appeared to be fine, and the aperture moved smoothly as it opened and closed. The lens was a bit difficult to return to the closed position, as I expected due to bellows corrosion, but with a bit of effort, it did retract.

 There were a few other cameras I was interested in on his table, so I gathered the two or three items I wanted and asked for the price. After a bit of negotiating using my phone to translate, we agreed on a price. I put the items in my backpack and, with a grin on my face and knowing I'd be writing a blog post about the camera, wandered off to see what other treasures I could find at that terrific, bustling flea market.

Early History

 Minolta began as a small but ambitious Japanese camera business in 1928, founded by Kazuo Tashima under the name Nichi-Doku Shashinki Shōten. From the start, the company was shaped by a fascination with German optics and camera design, and its earliest products reflected that influence. In 1929, Minolta introduced its first camera, the Nifcalette, a folding roll-film model that showed the company's early dependence on imported components and foreign technical models. Even so, it marked the beginning of a distinctly Japanese camera maker that would soon develop its own identity.

 The company adopted the name Minolta in 1931, a move that signaled a more confident and modern direction. The name was meant to evoke mechanisms, instruments, optics, and lenses, and it captured the firm's growing ambition to become more than a reseller of products influenced by foreign markets. During the early 1930s, Minolta gradually moved from imitation toward originality, developing folding cameras that were practical, attractive, and increasingly self-reliant in design. By 1933, the company had introduced its first camera under the Minolta name, a moment that helped establish the brand as a serious presence in Japan's emerging camera industry.

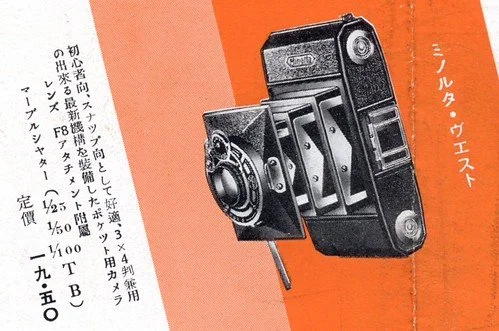
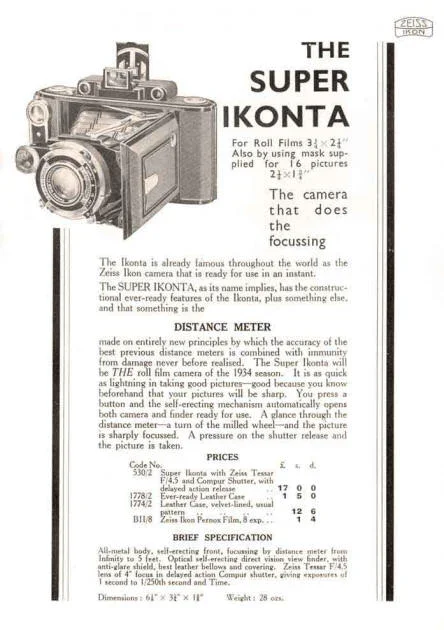
Advertisment for Minolta Vest

 Before World War II, Minolta was still a relatively young company, but it was already building the foundations of its future reputation. Models such as the Minolta Vest in 1934 and the Minolta Flex in 1937 demonstrated the brand's expanding technical range. The Flex was especially notable as Japan's second twin-lens reflex camera, placing Minolta among the more innovative camera makers of the era. These prewar years were important not because Minolta dominated the market, but because they revealed a company learning quickly, adapting foreign ideas, and steadily refining its own manufacturing skills.

 World War II disrupted Japanese industry, and like many camera makers, Minolta faced a difficult transition as the country shifted toward wartime production. After the war, the company entered a new phase of growth. Japan's postwar recovery created strong demand for precision optical equipment, and Minolta was well-positioned to benefit. In the 1950s, the company moved into 35mm camera production, a crucial step that aligned it with the global photography market. Minolta's postwar cameras gained attention for their solid engineering and user-friendly design, helping the brand earn a stronger international reputation.

 Over time, Minolta became known for more than just reliable film cameras. It developed a reputation for innovation in metering, automation, and eventually autofocus, especially in the late twentieth century. But those later successes were rooted in the company's early decades: a period of experimentation, persistence, and gradual technical maturity. The story of Minolta before and after World War II is really the story of a company that began by studying the best ideas from abroad, then turned those lessons into a lasting photographic identity.

My Camera

 The camera was built between 1934 and just before World War II, with production ending in 1940.

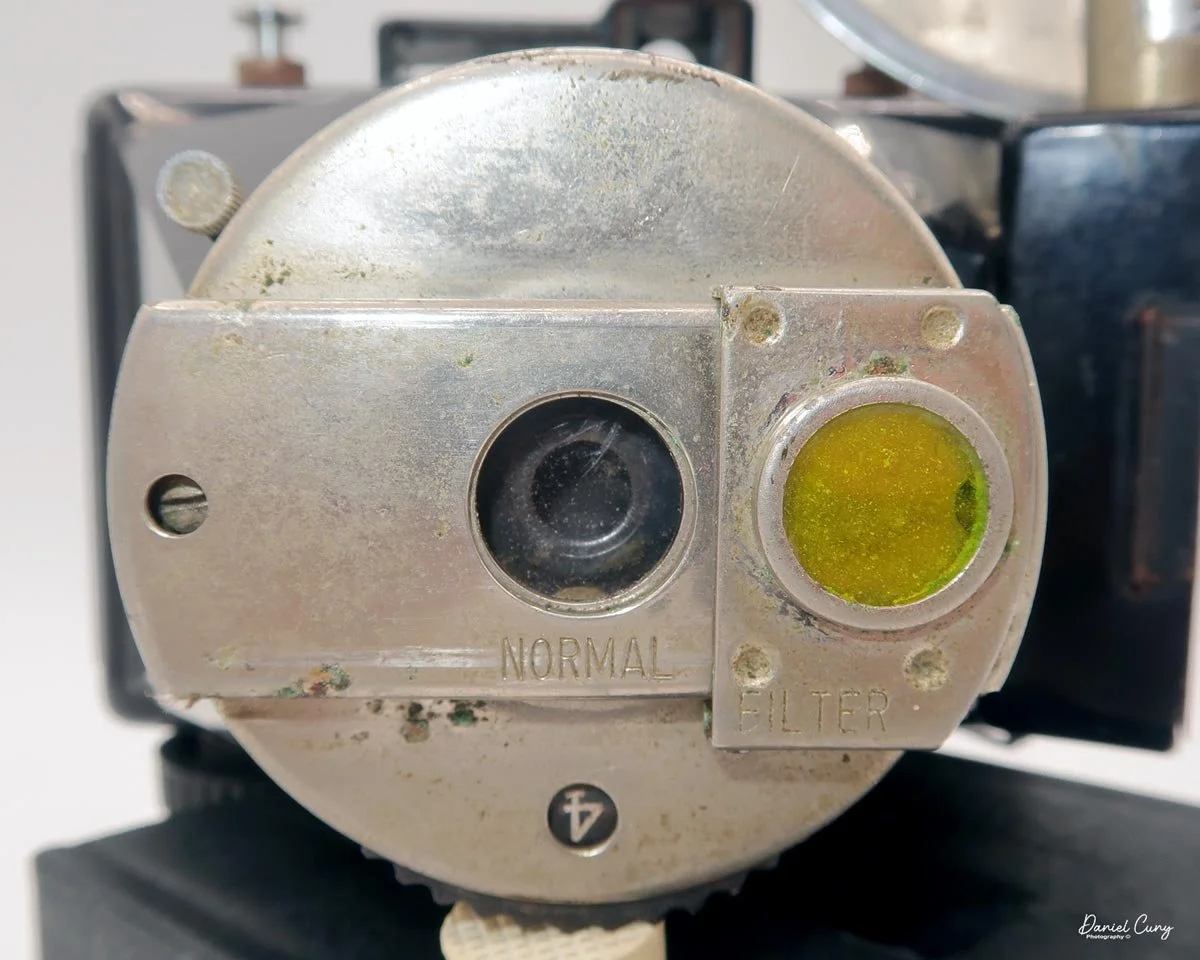
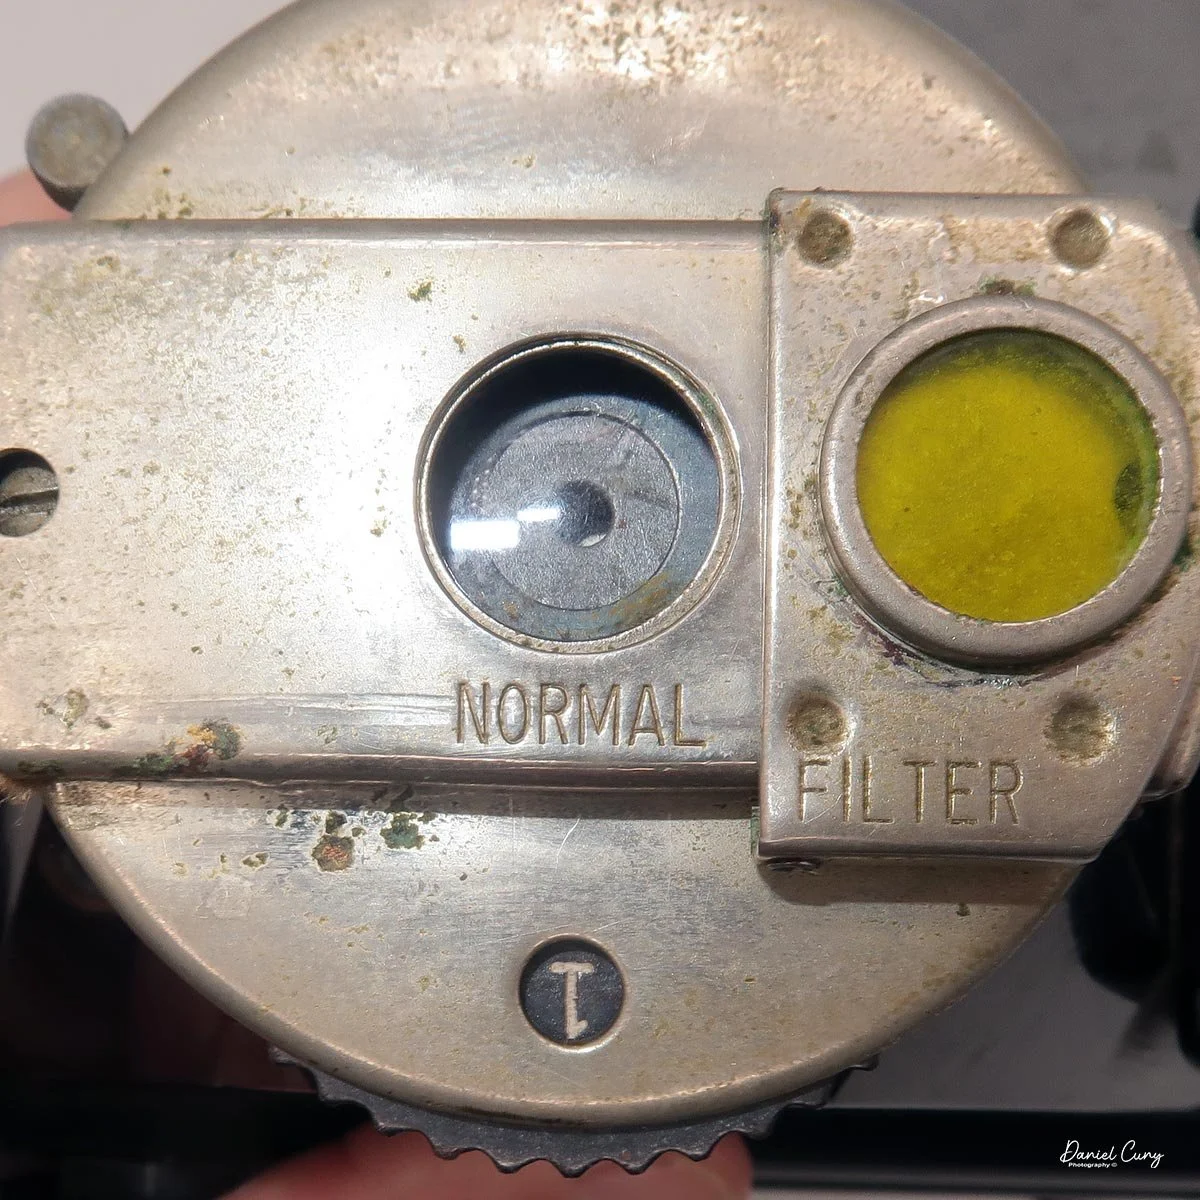
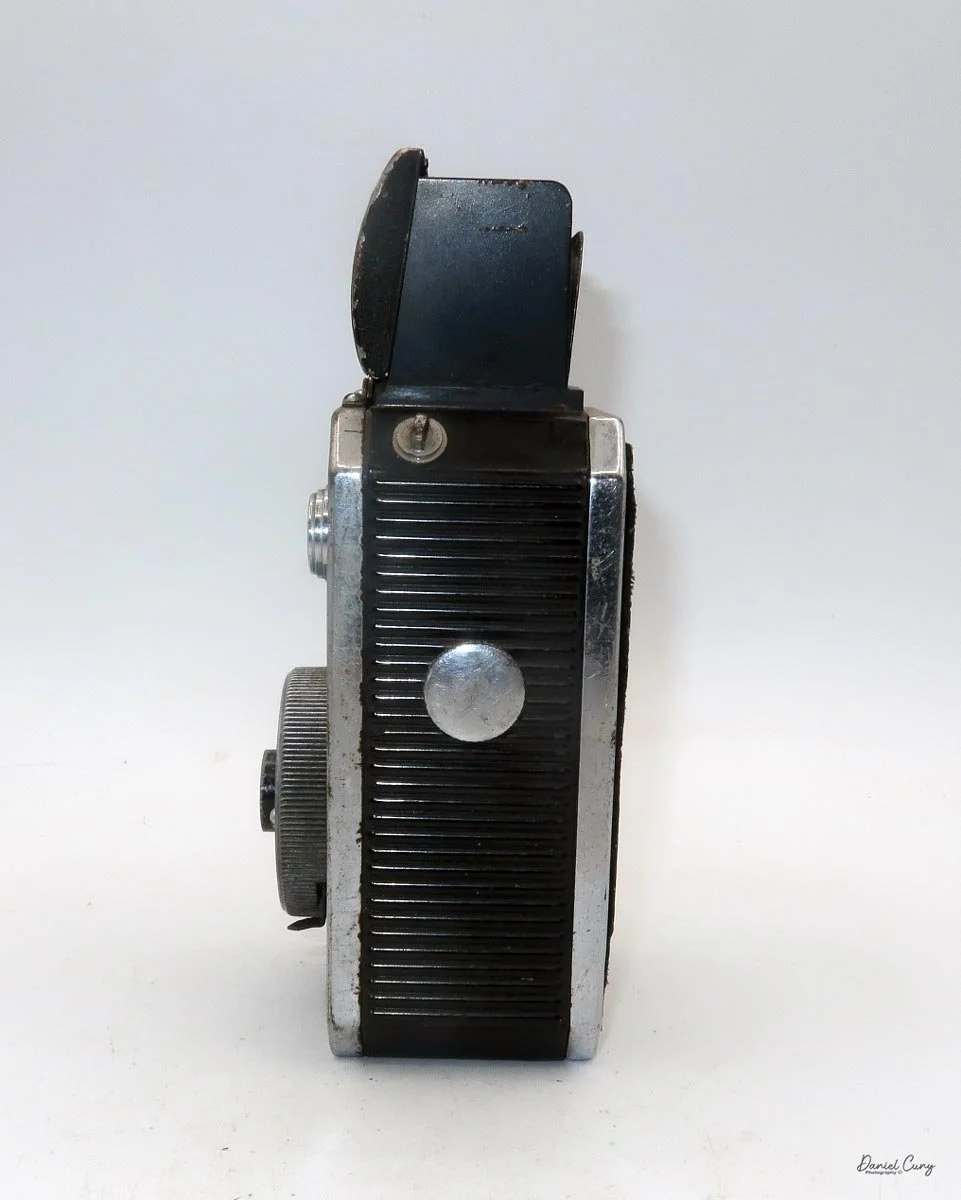
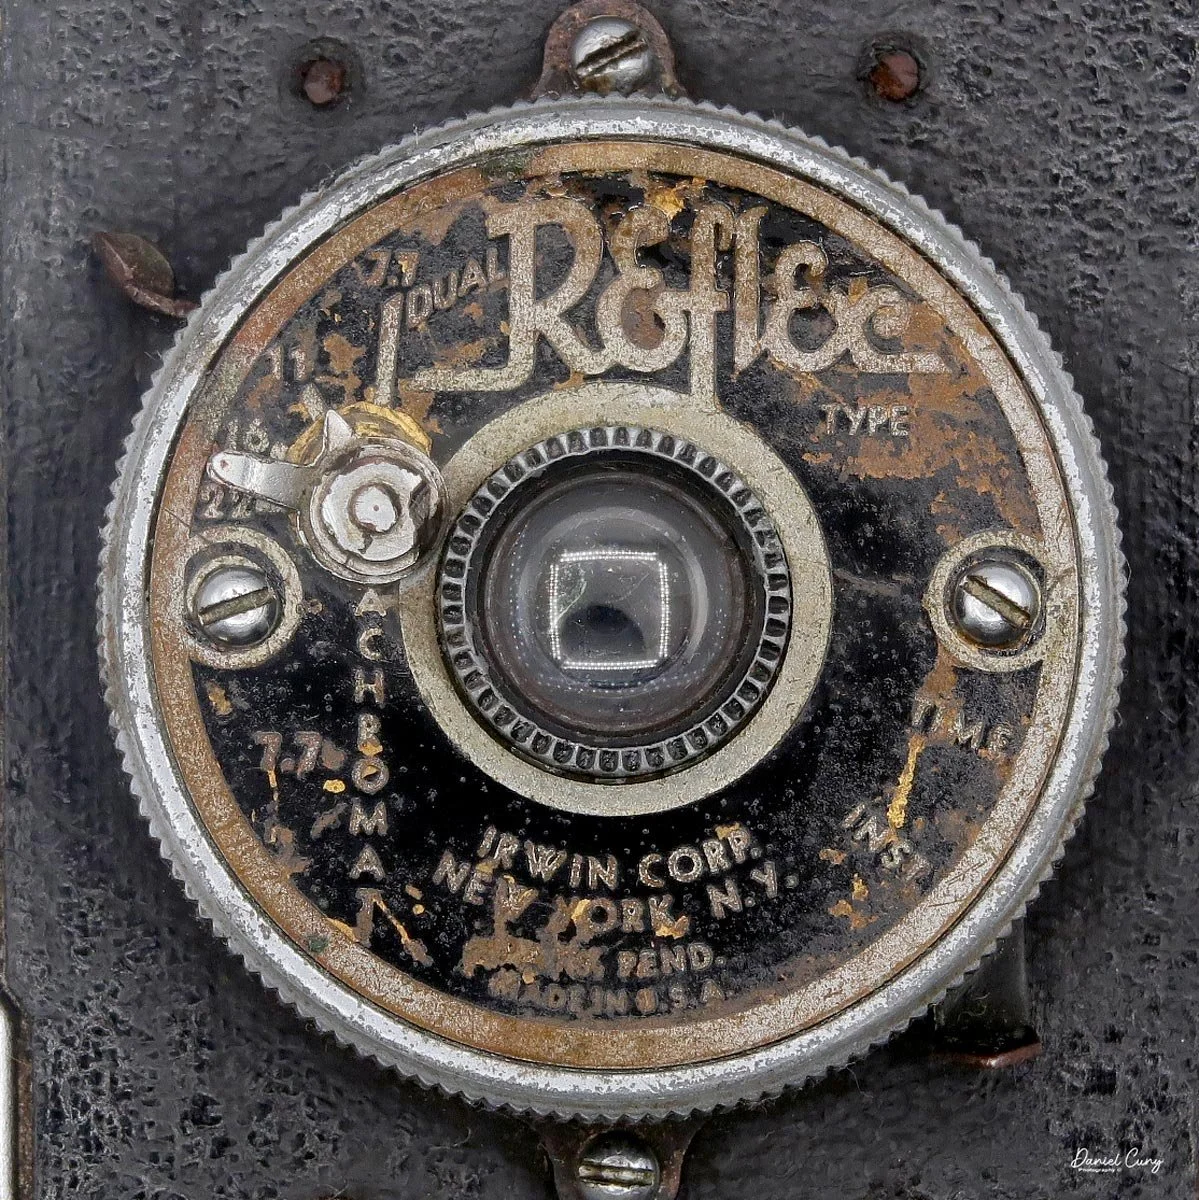
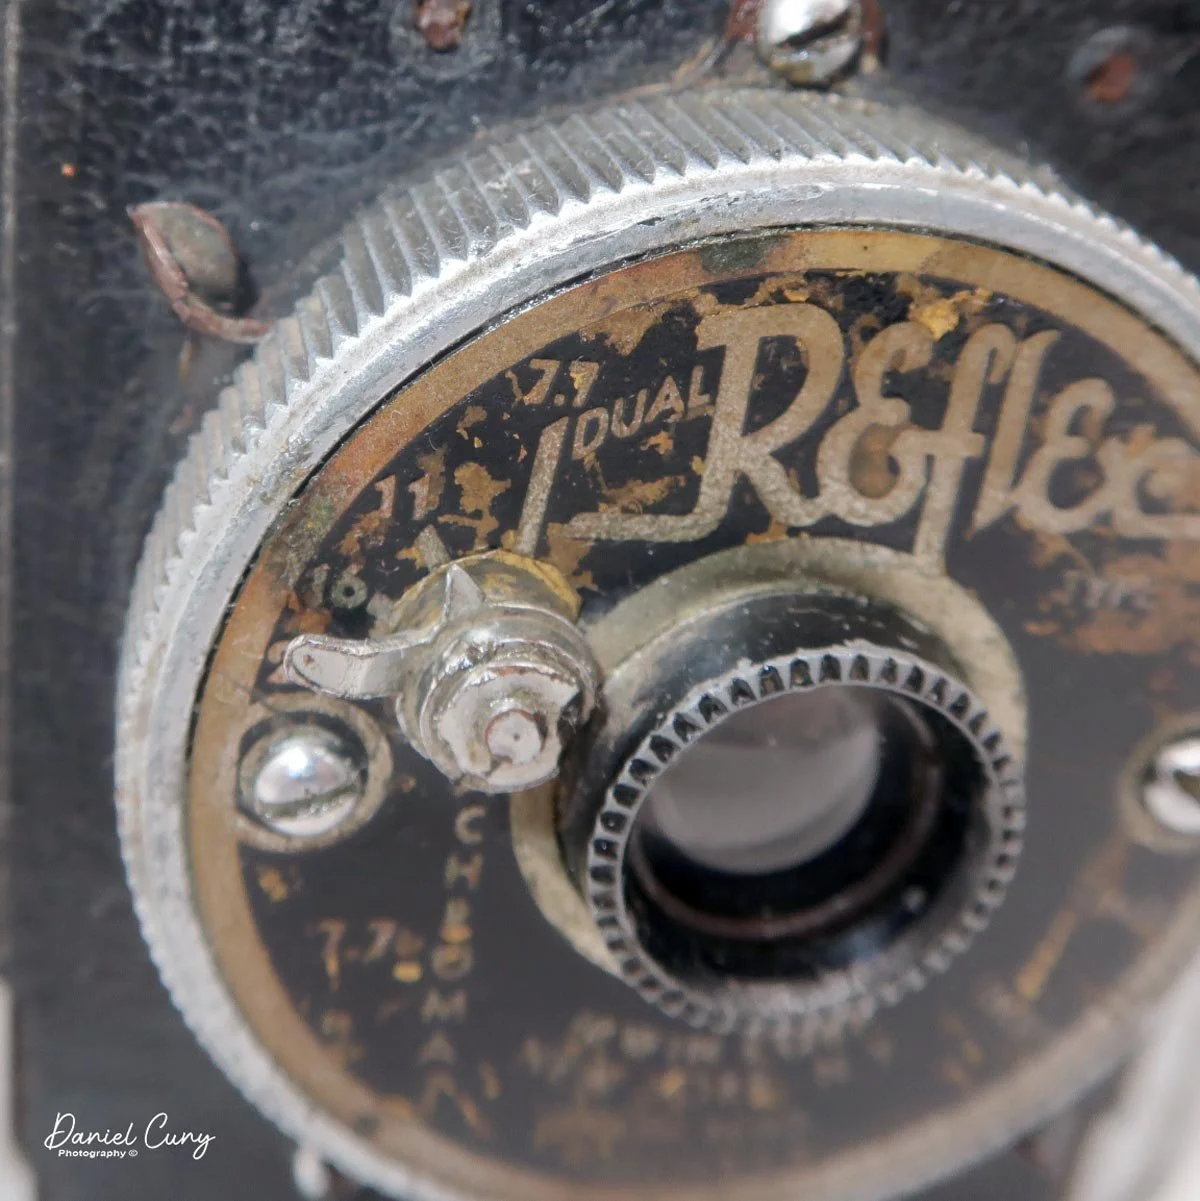
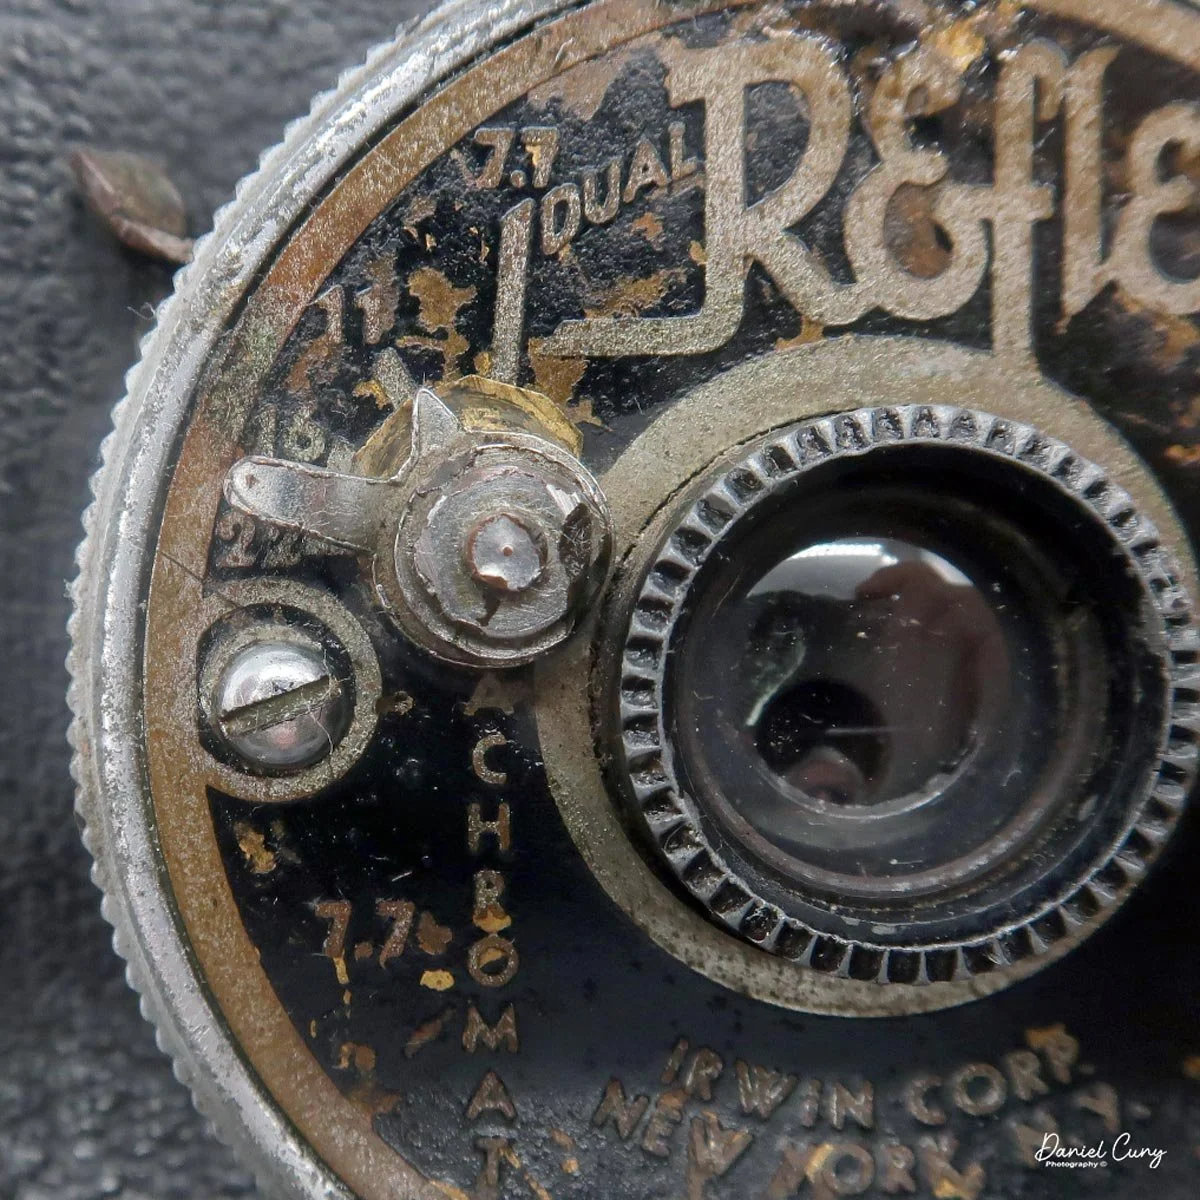
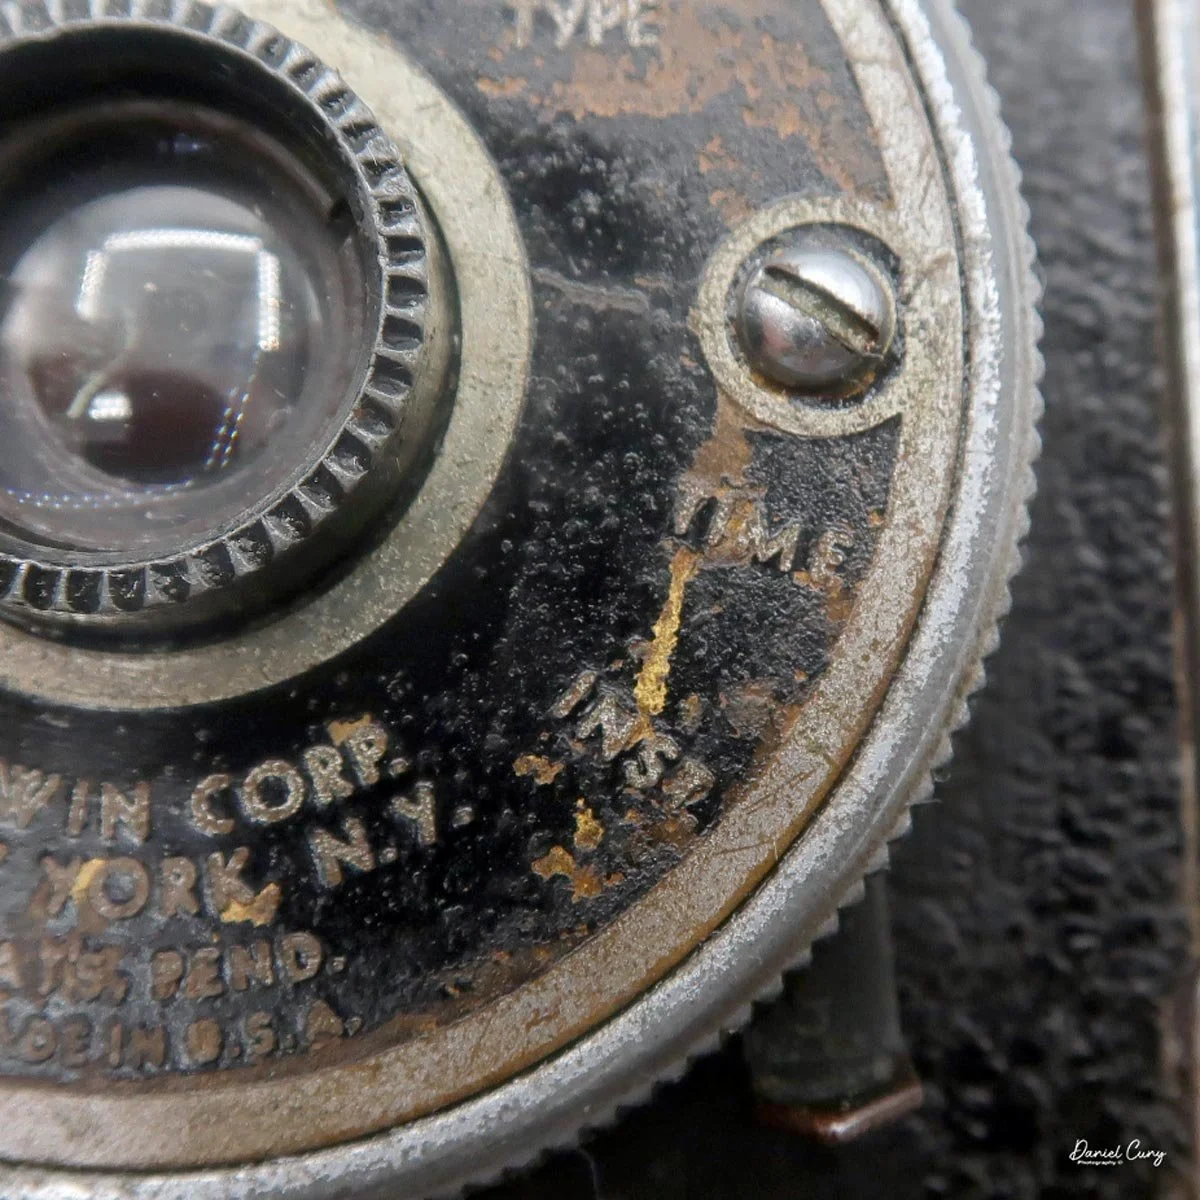
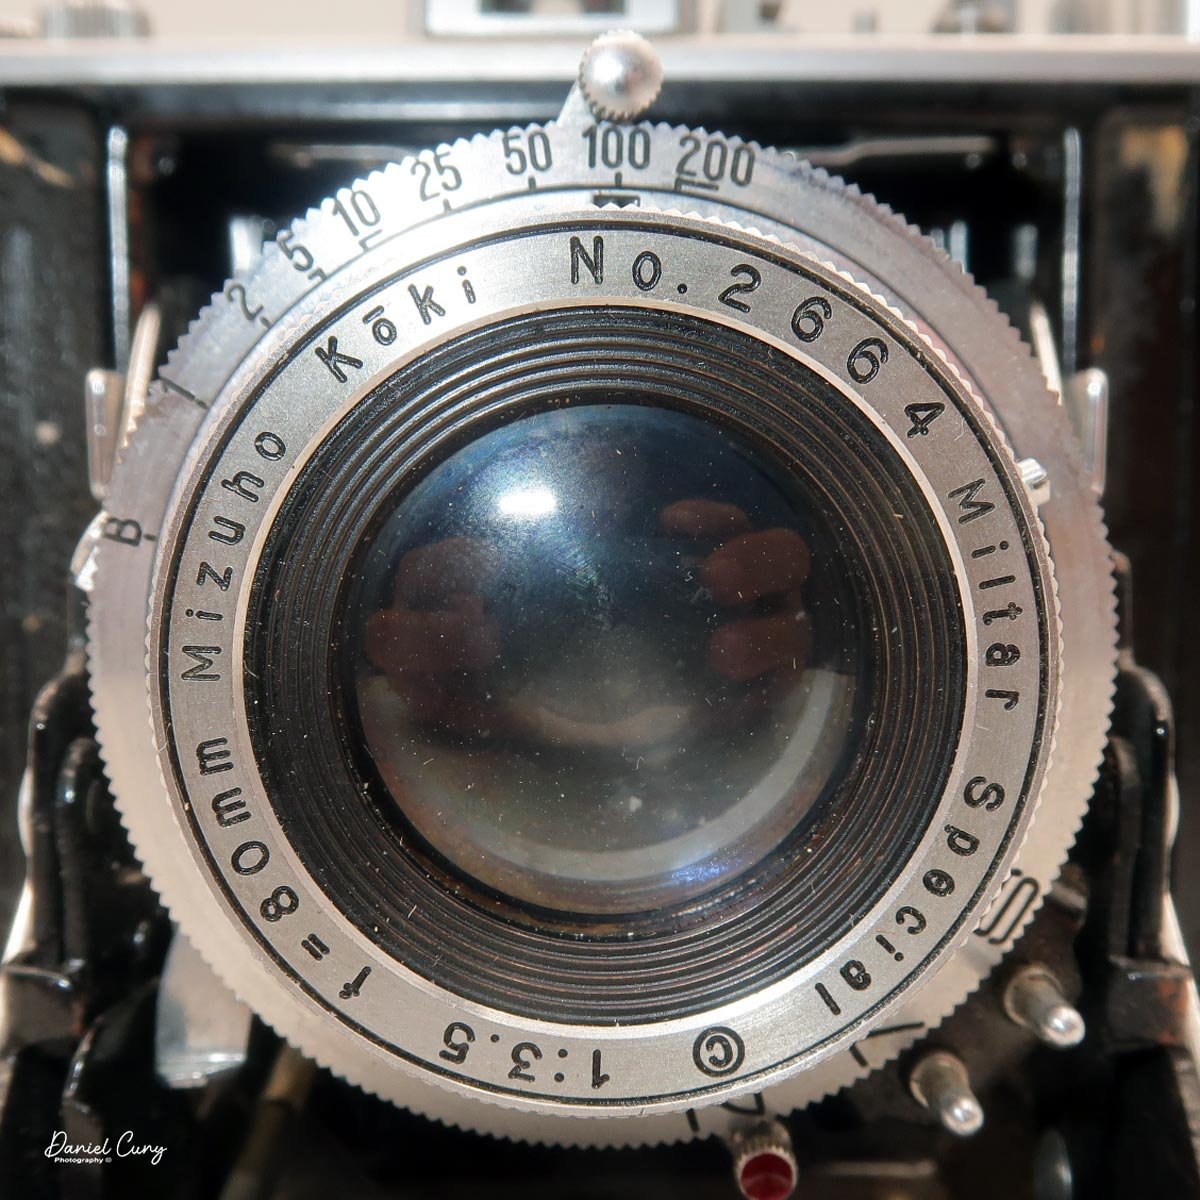
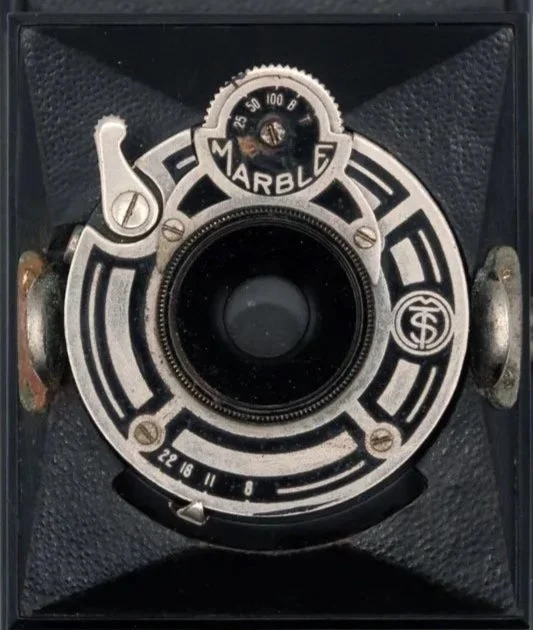
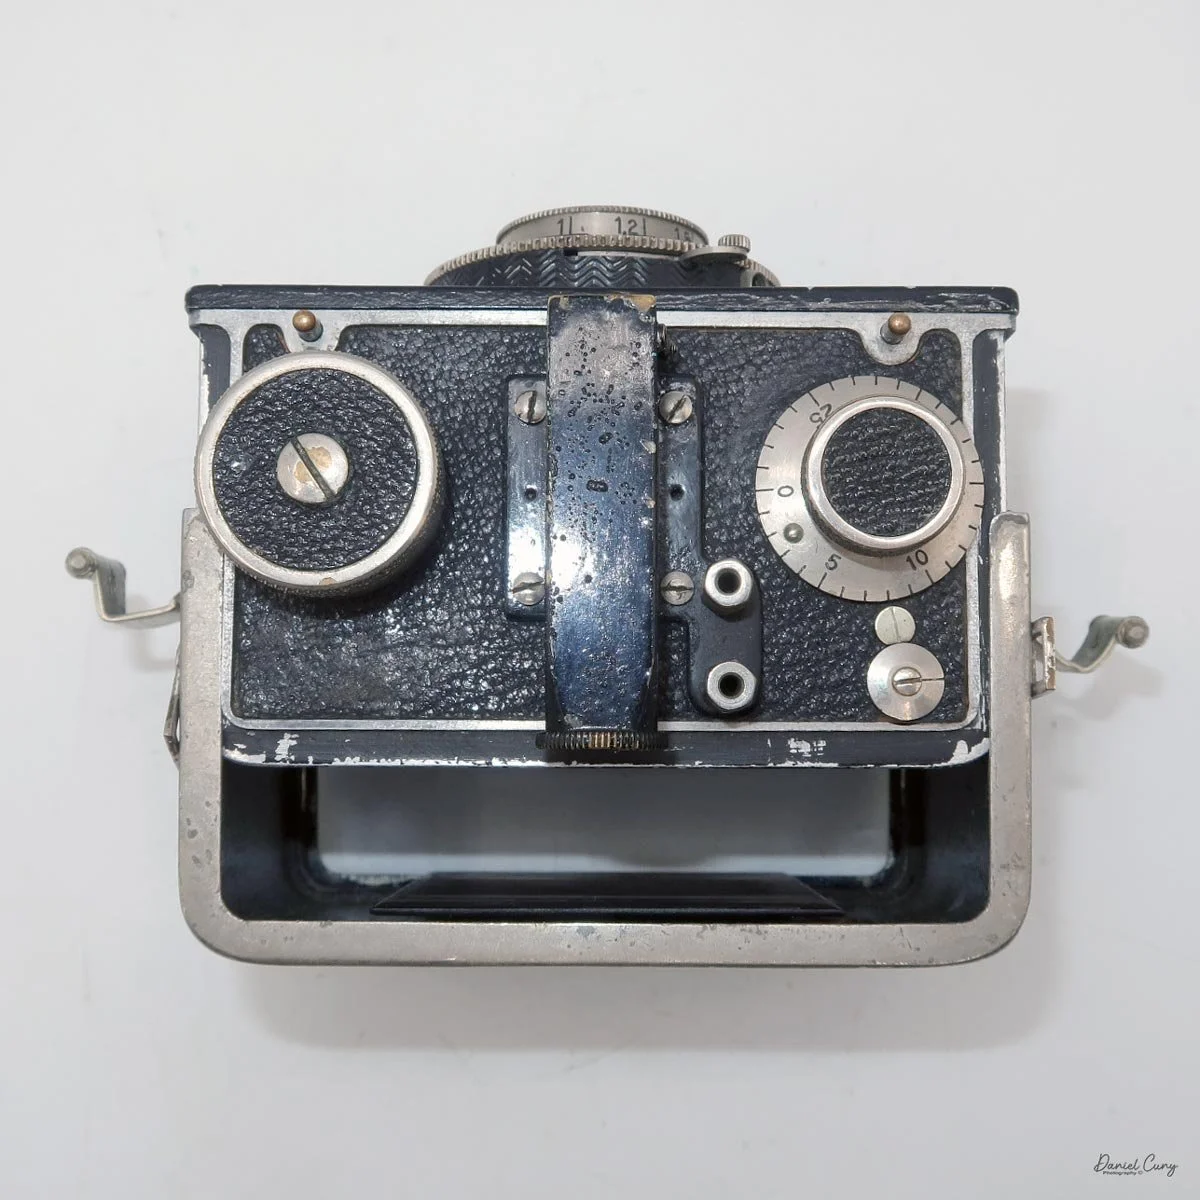
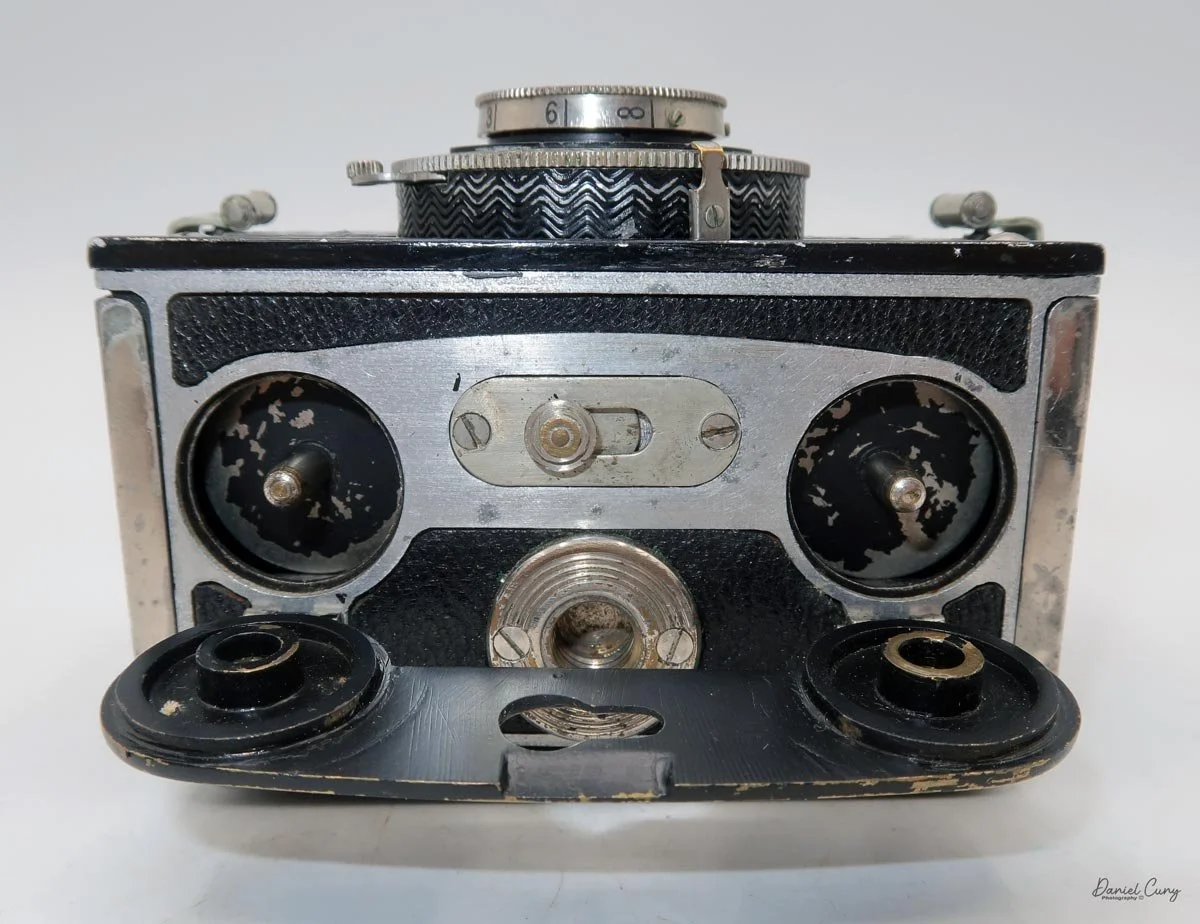
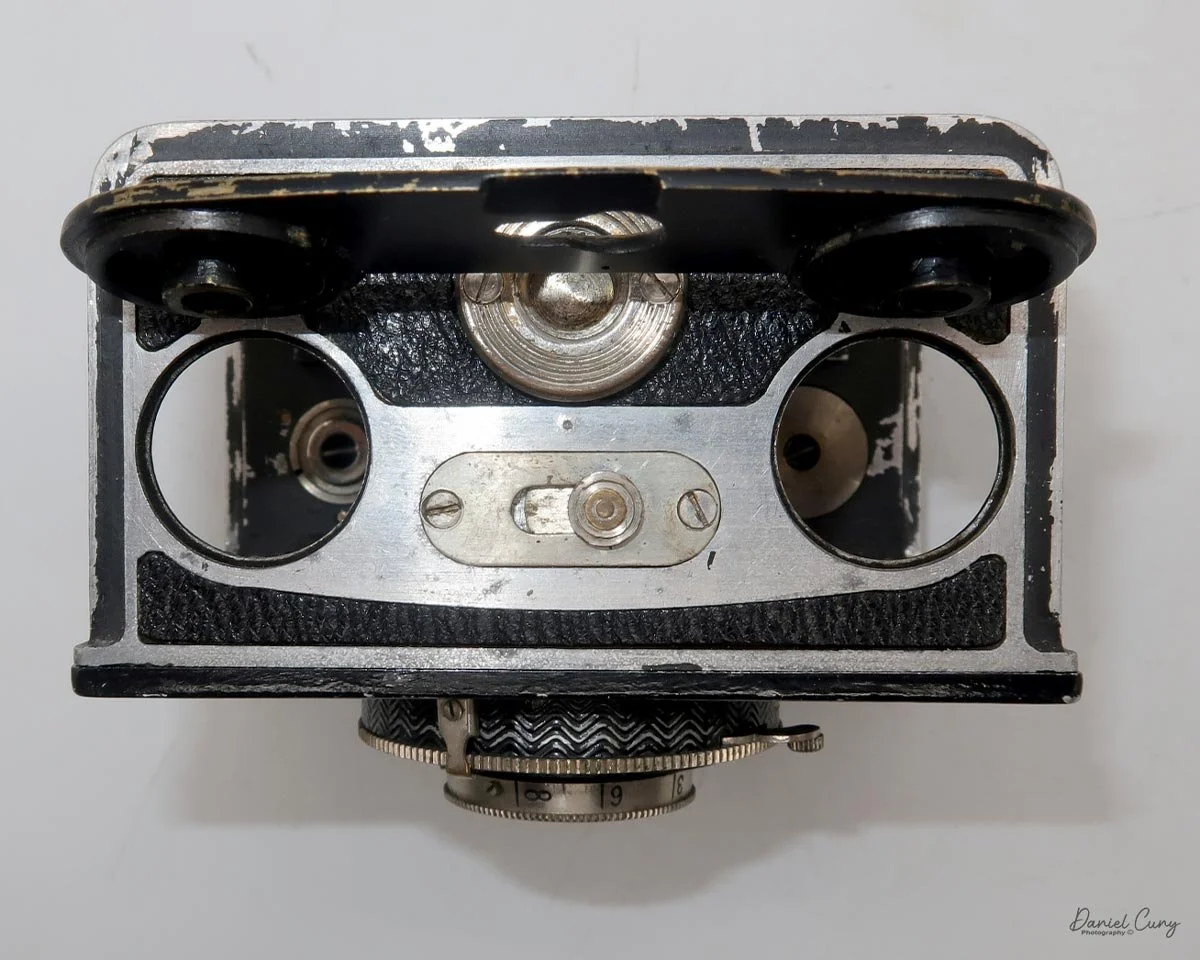
 The Minolta Vest is a fairly simple and basic camera. There aren't many frills, except for the beautiful three-tier stacking bellows system. The camera is one of the early examples made from Bakelite. It is also known as the Minolta Best or Minolta Marble, due to the prominent Everset Marble shutter on the camera's face.

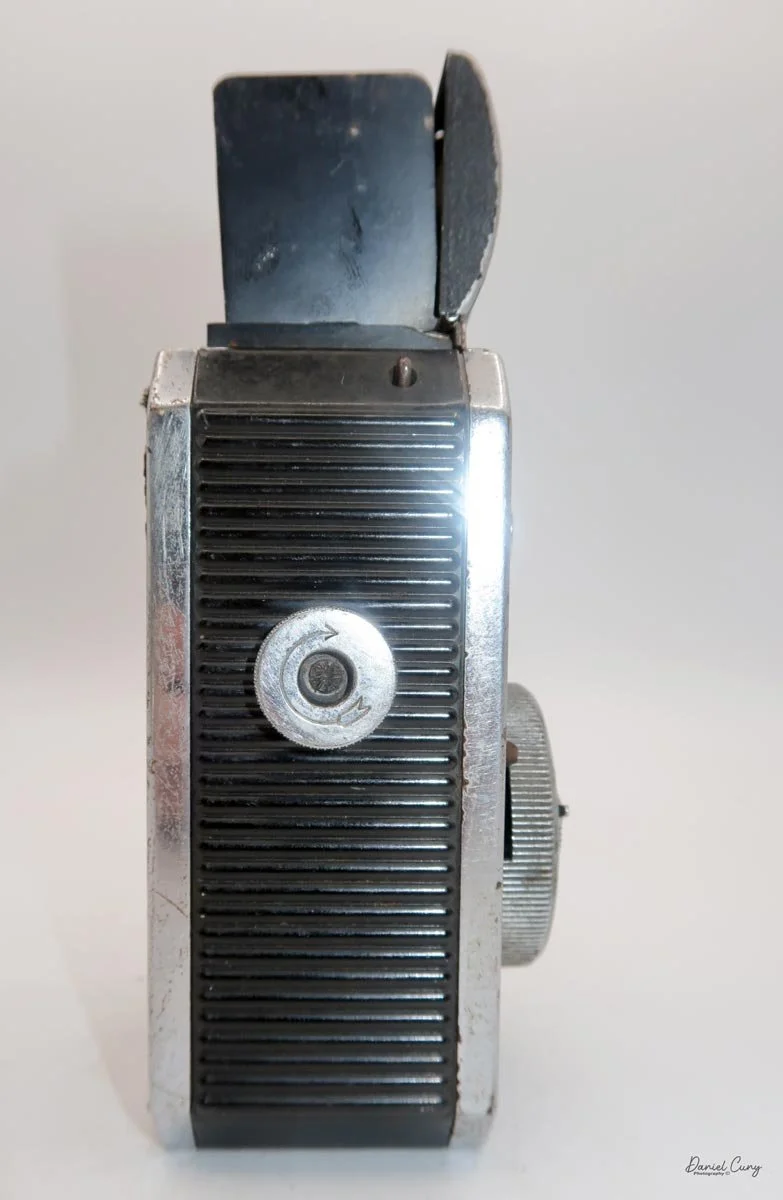
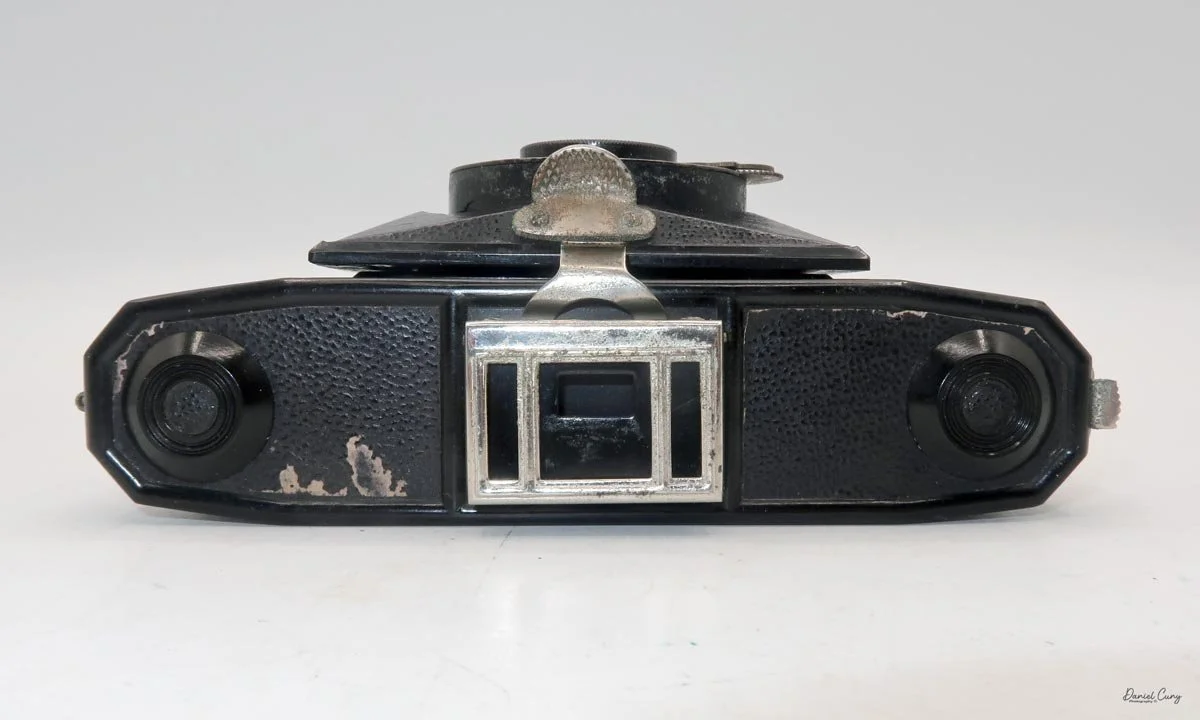
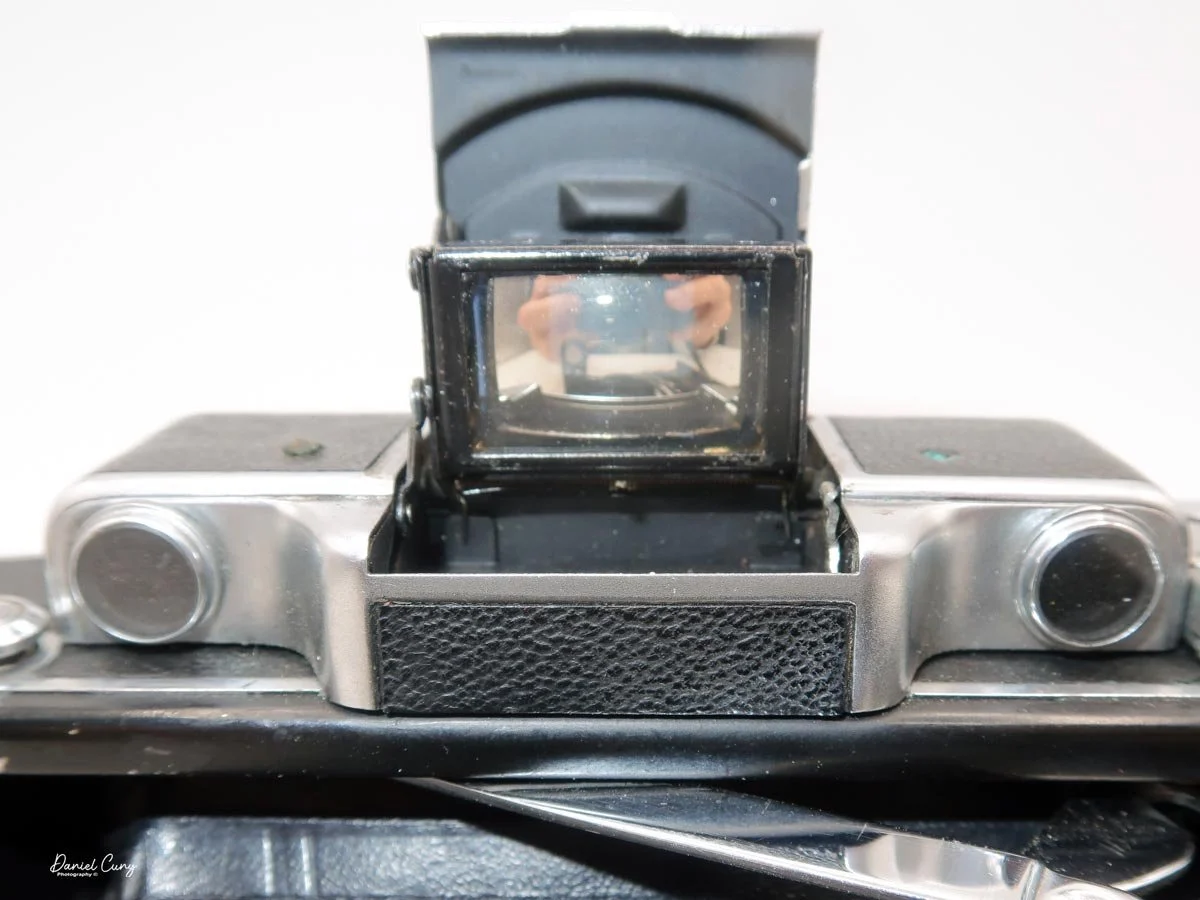
It's also a compact camera, measuring 5.25 inches wide by 3 inches tall without the metal viewfinder extended, and 4 inches with it extended, by 2 inches deep with the lens retracted into the camera body, and 3.75 inches with the three-tier Bakelite bellows extended. 

The Minolta Vest camera's serial number is stamped on the leg that extends, allowing the camera to stand vertically. My camera is serial number 45605.

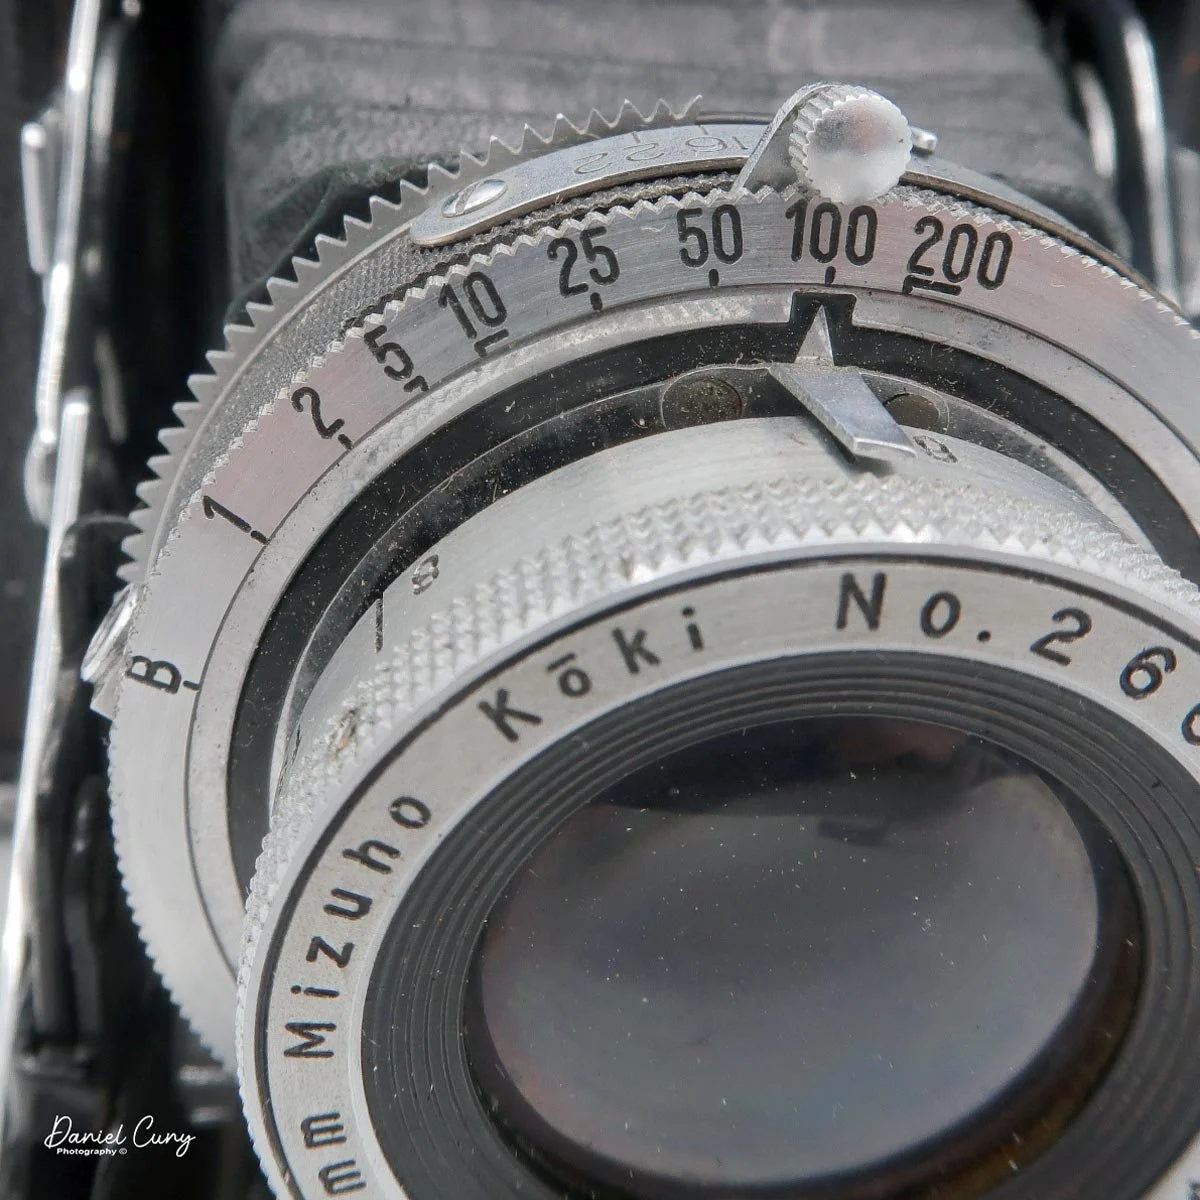
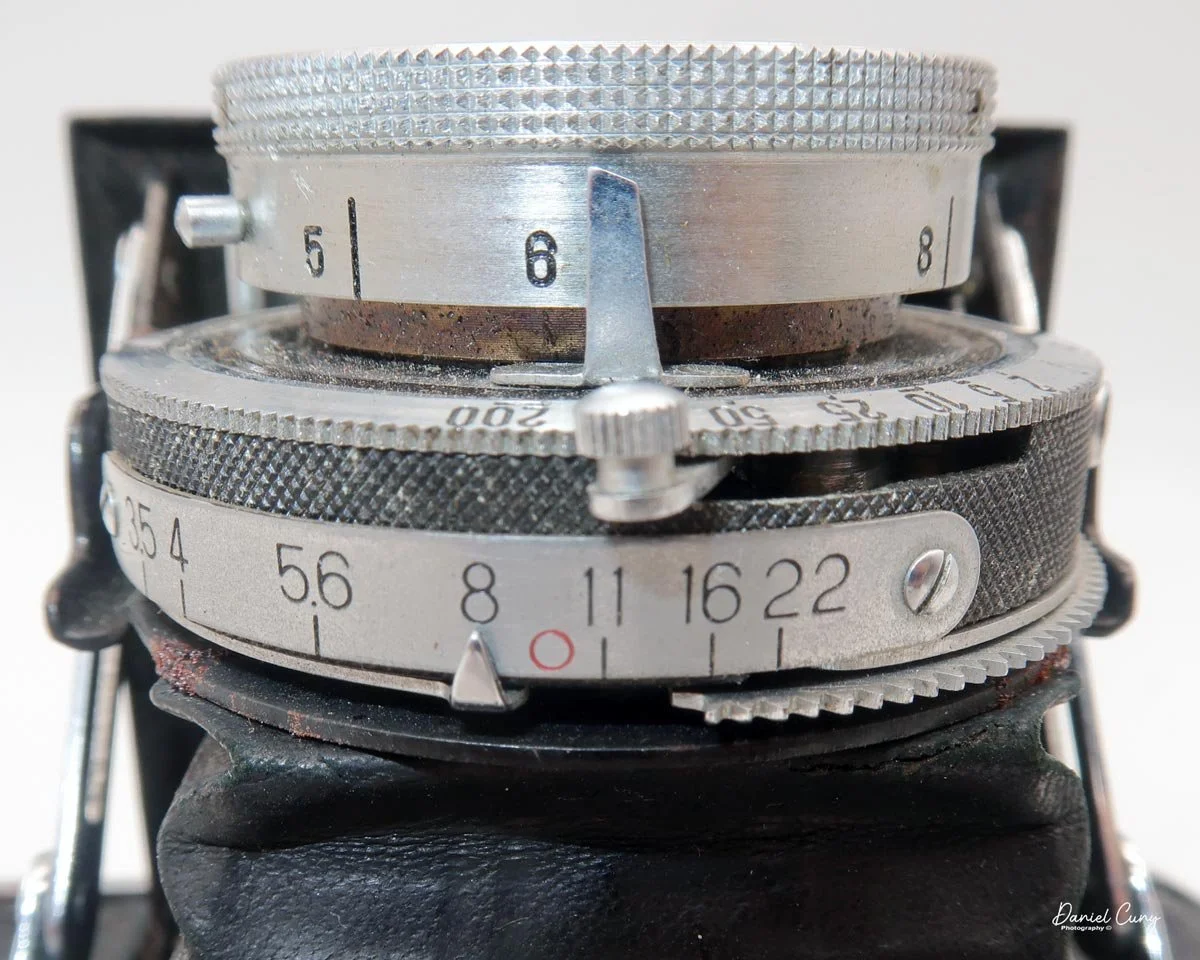
 The Marble shutter has three shutter speeds: 1/100, 1/50, and 1/25, along with B and T. The shutter is set via a wheel on the top of the lens, and it's just to the right of the lens as you're holding it to take a photo. As mentioned previously, my camera's shutter doesn't fire consistently. It works best at 1/100 and fires pretty regularly at that speed. At 1/50 and 1/25, it takes two or three tries for the shutter to fire, so I'll need to keep that in mind when I take the camera out for a shoot.

Shutter release, shutter speeds, and aperture settings on the Minolta Vest camera

The nondescript lens, which I'm guessing is approximately 75mm, has a maximum aperture of f/8 and extends to f/22. The aperture is set via a sliding lever under the lens.

I believe my camera is one of the earlier examples because the shutter looks different from those on others I've seen. There is no "Patents Nippon" on the face, and the design has an earlier Art Deco appearance. 

 Like many earlier models, the lens is fixed focus, whereas I have seen other models with a focusable lens and a maximum aperture of f/4.5.

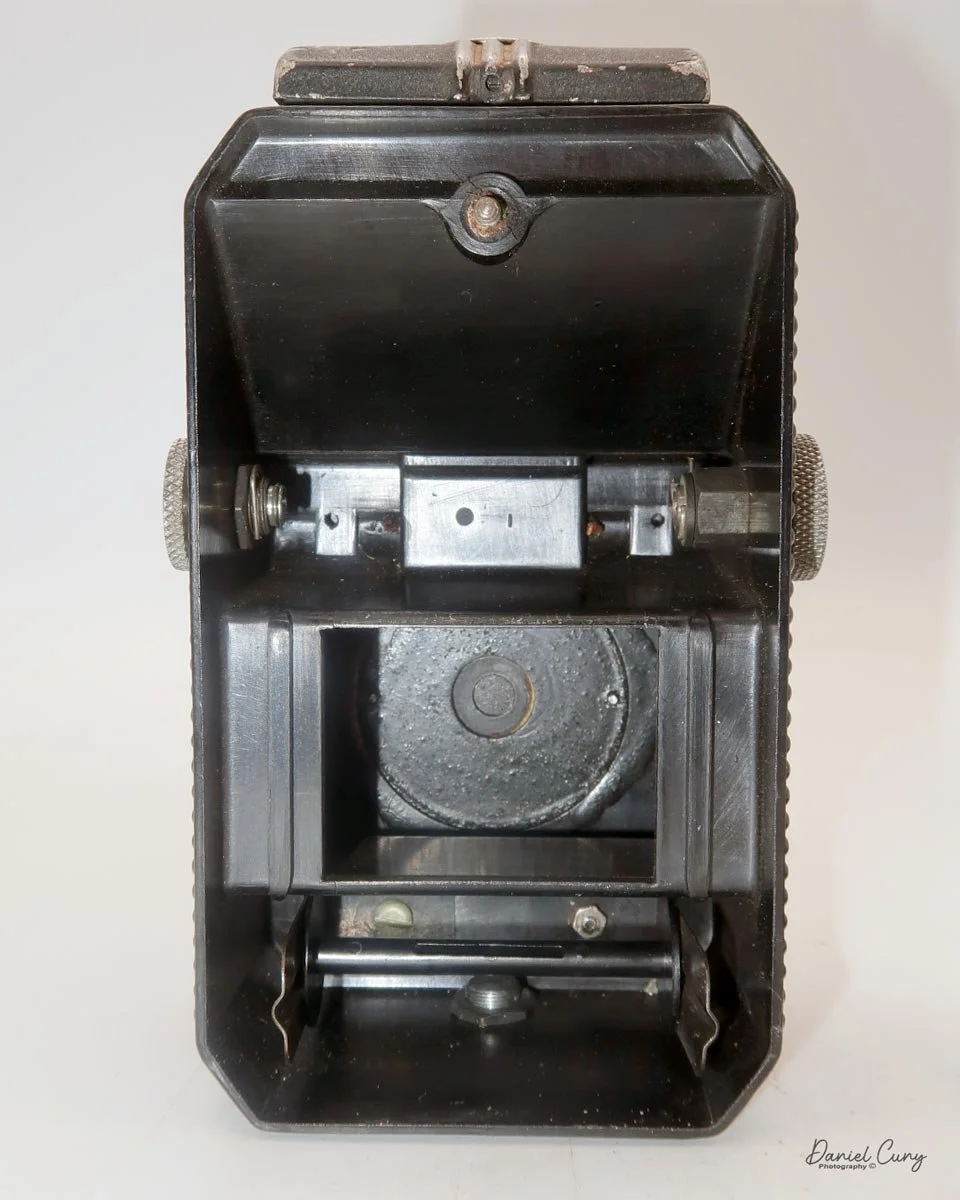
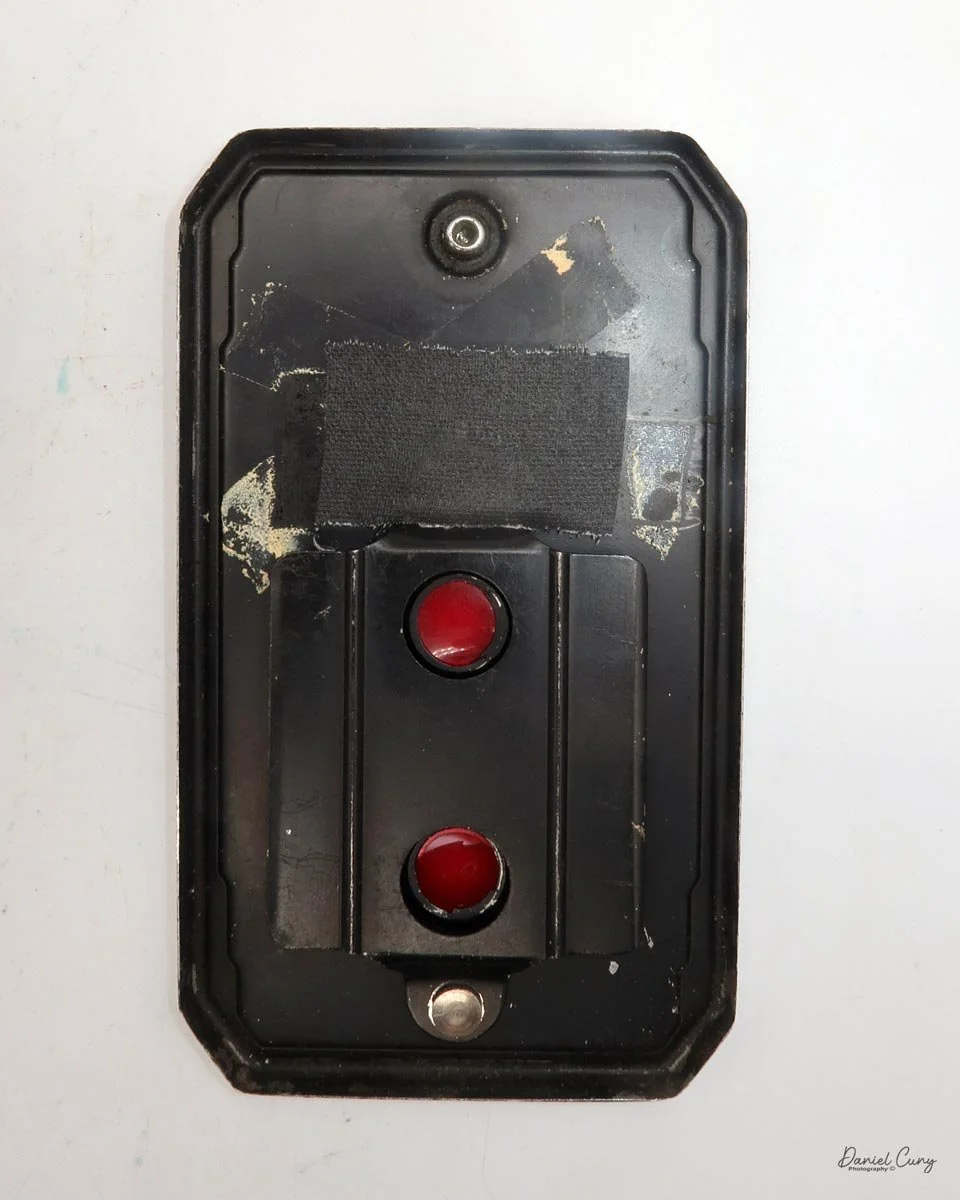
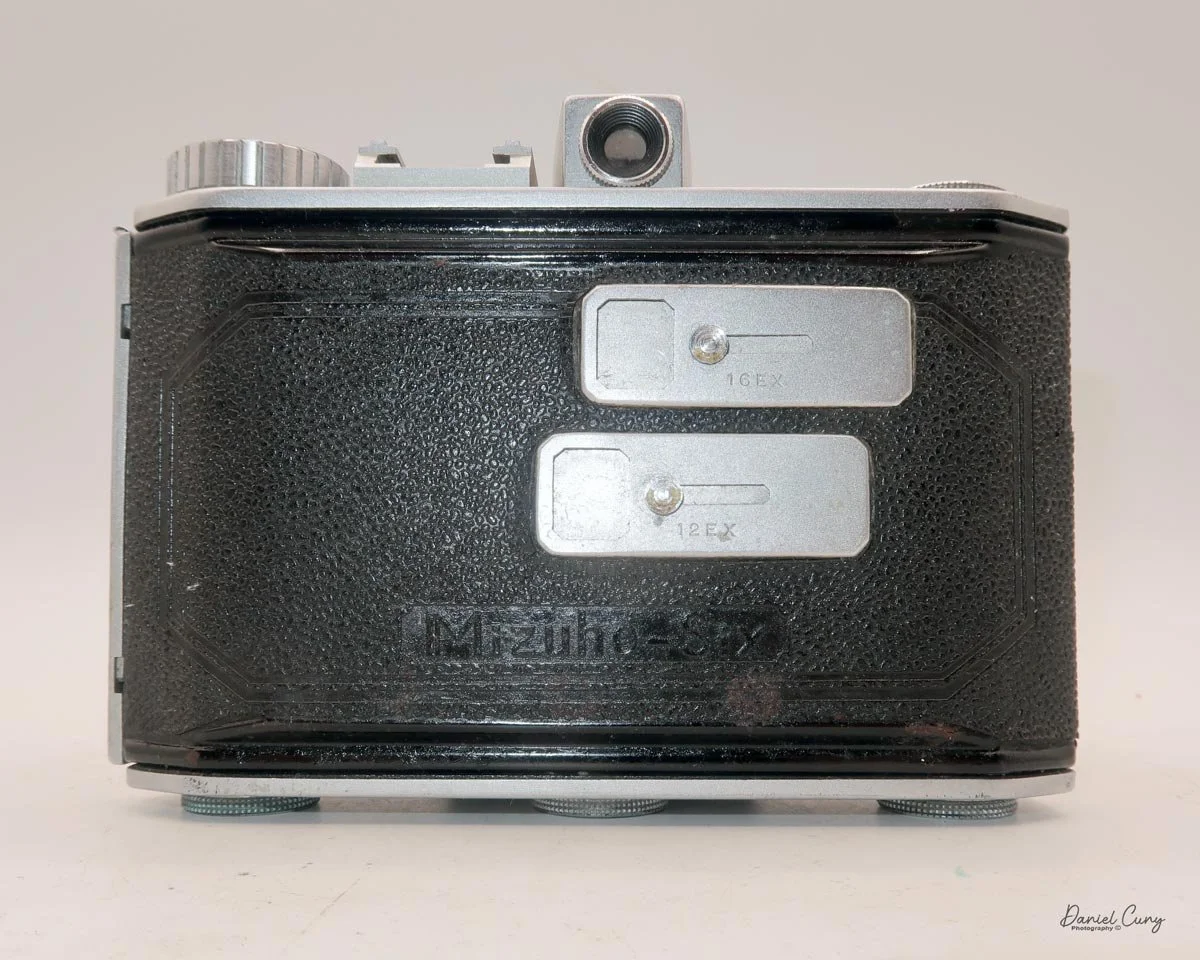
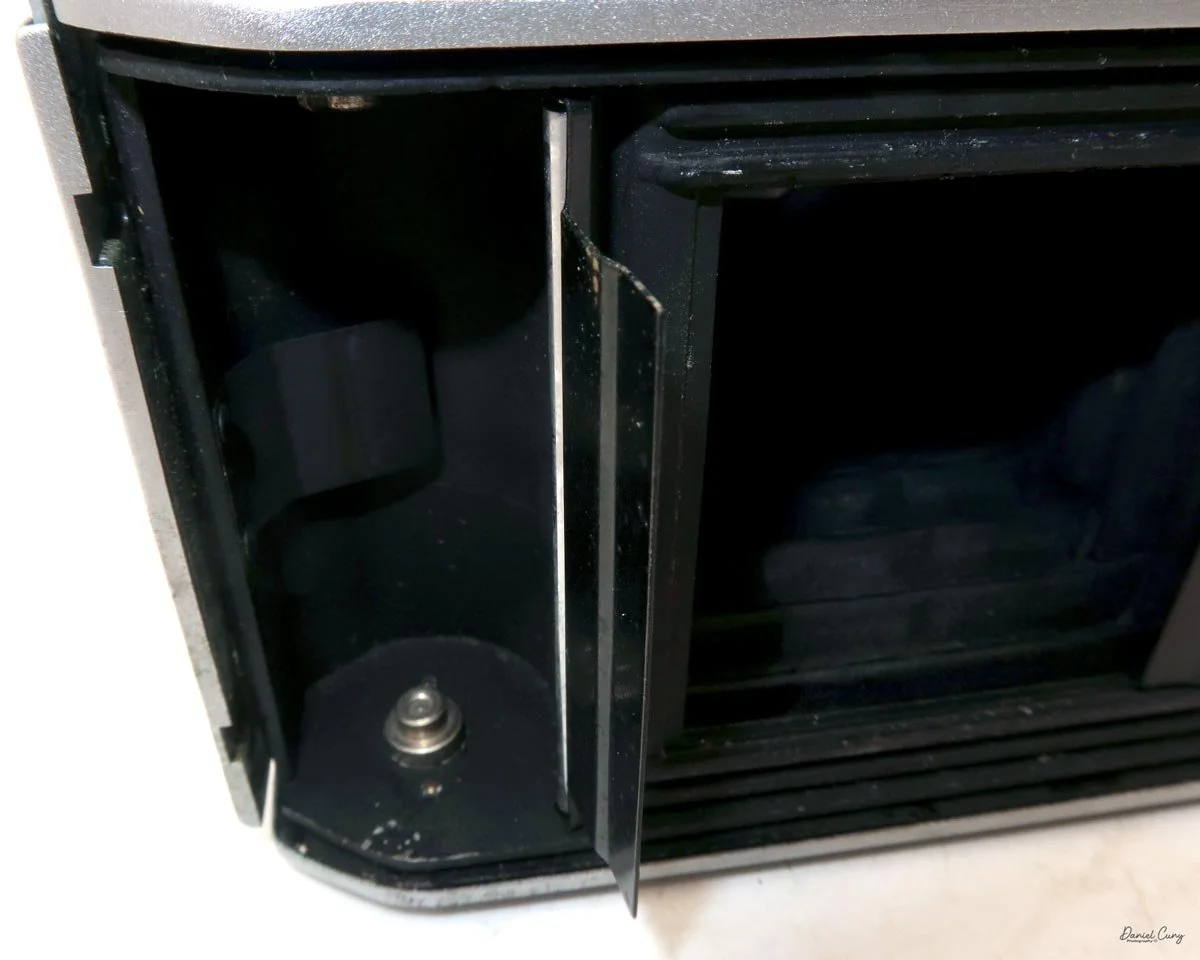
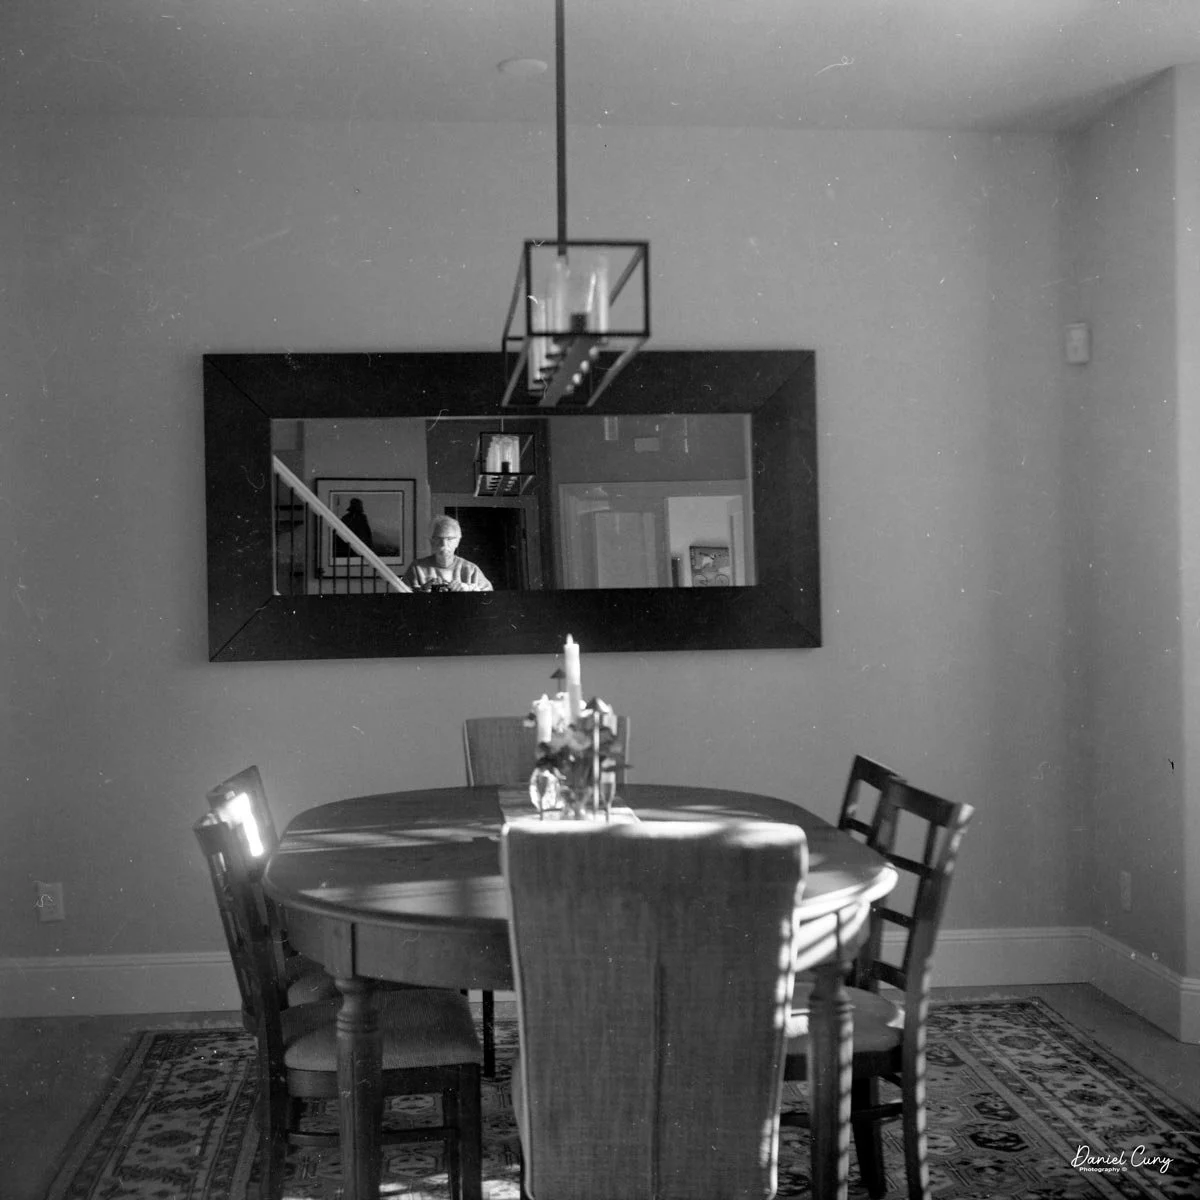
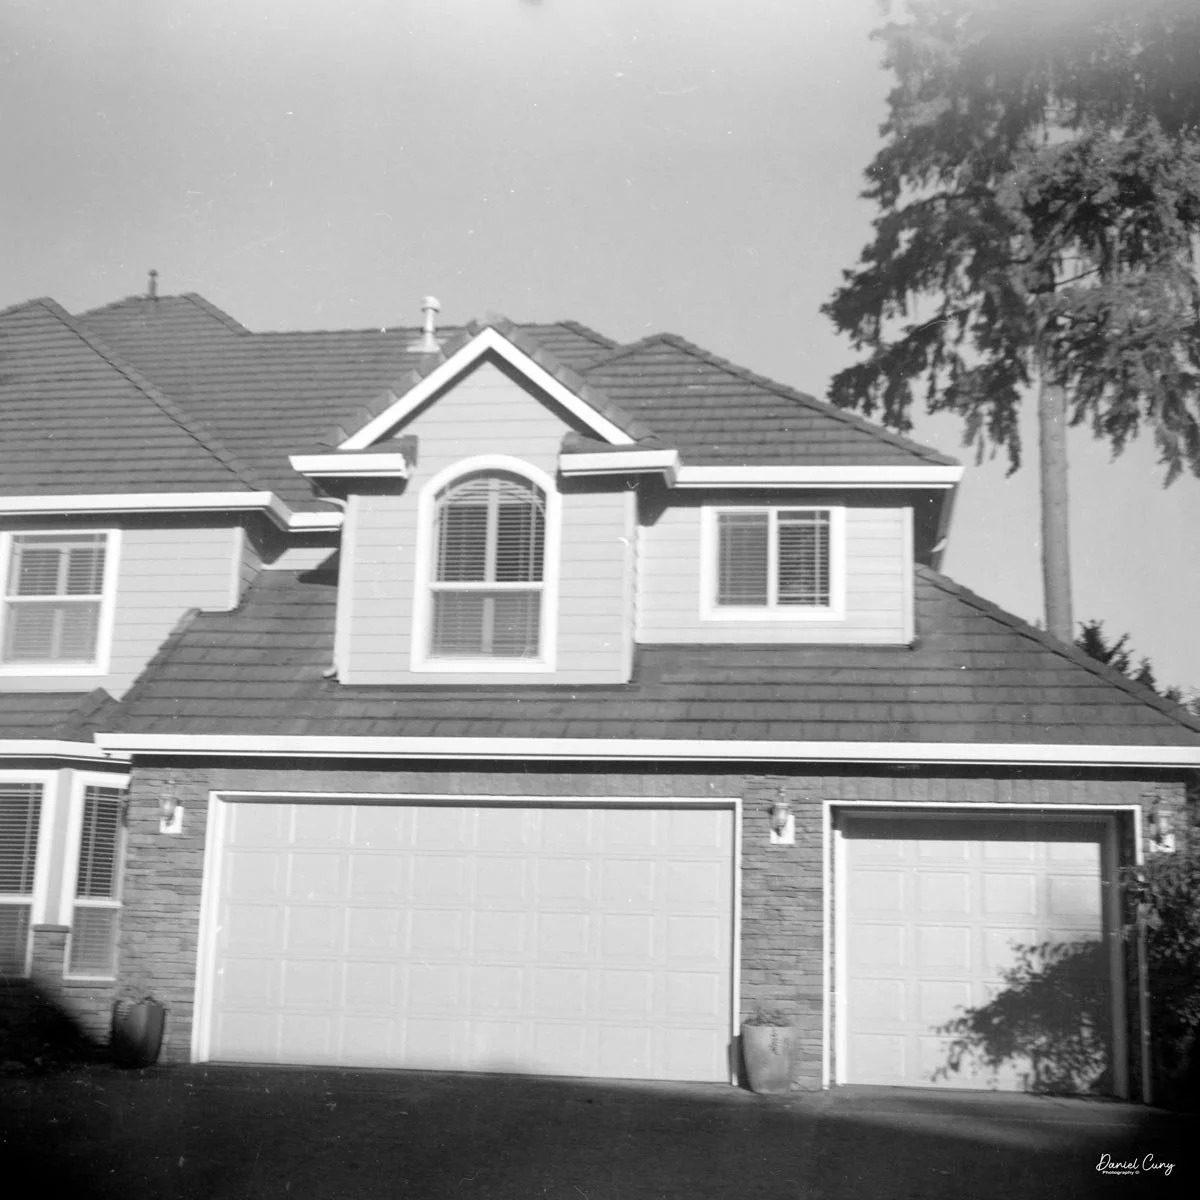
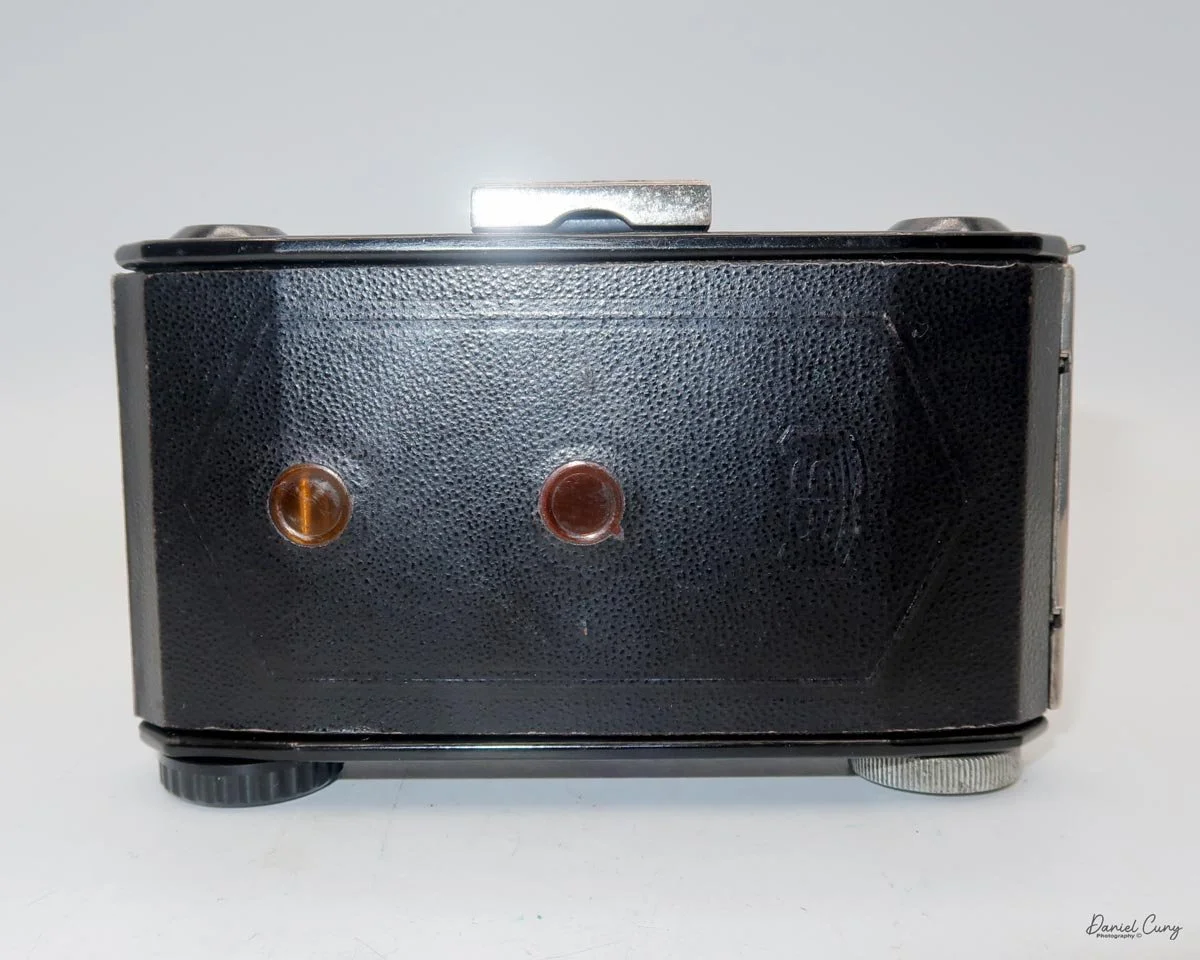
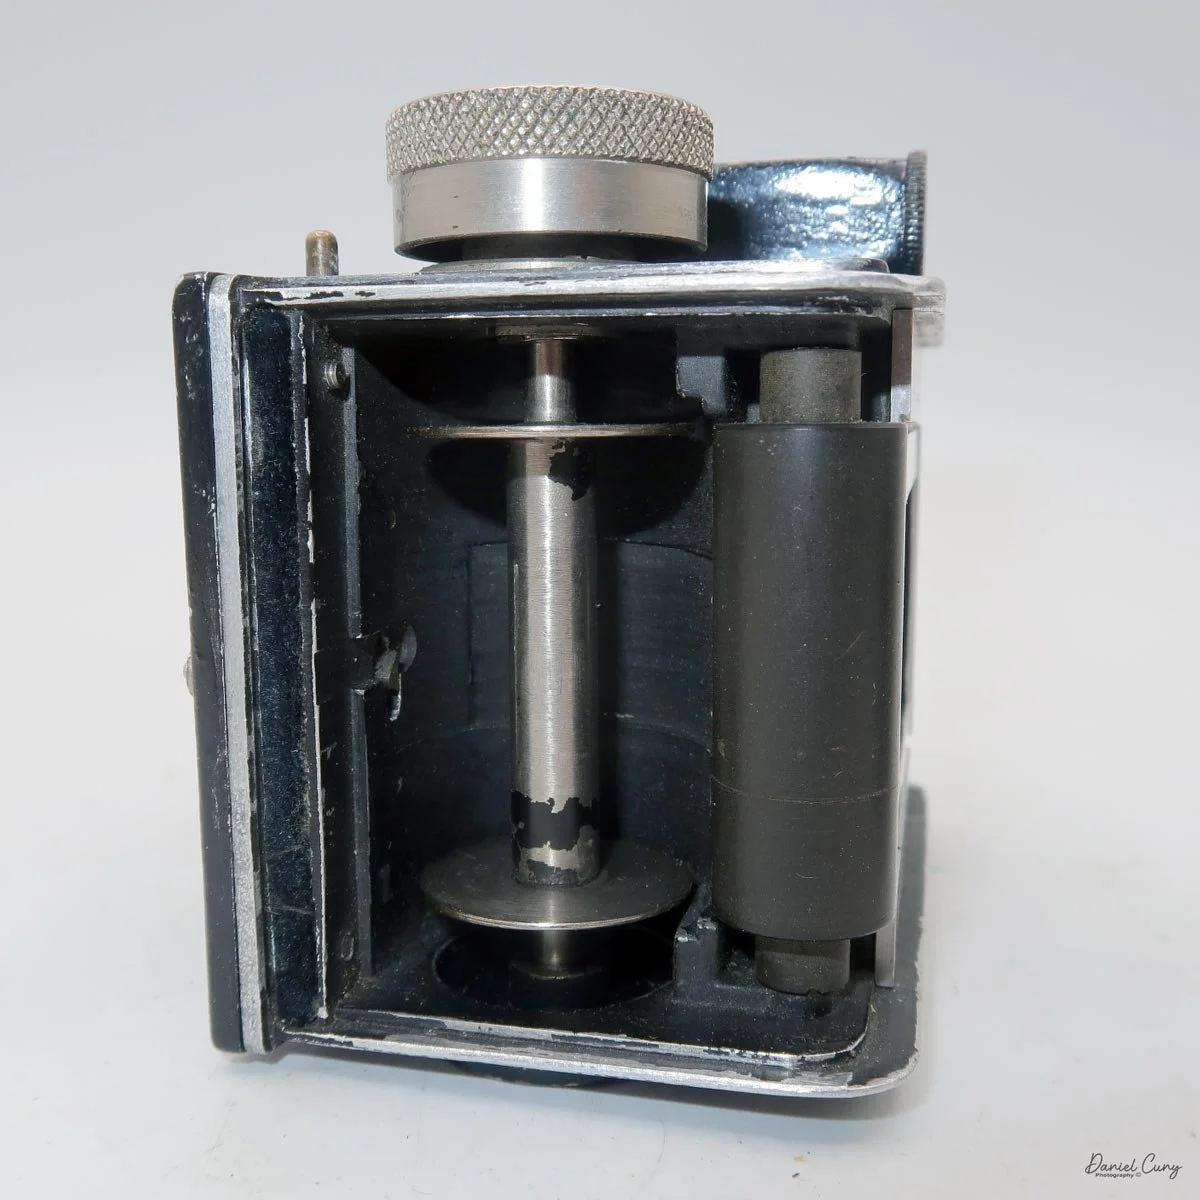
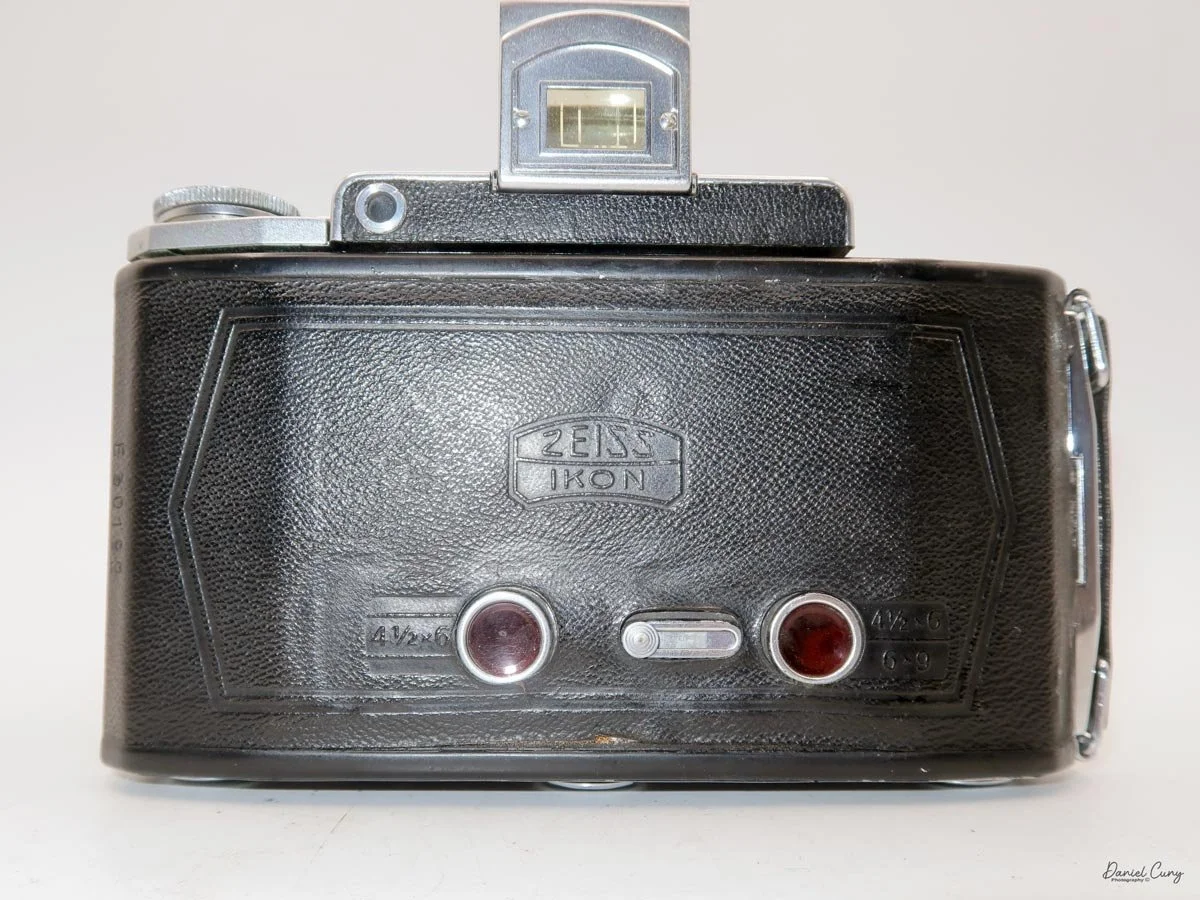
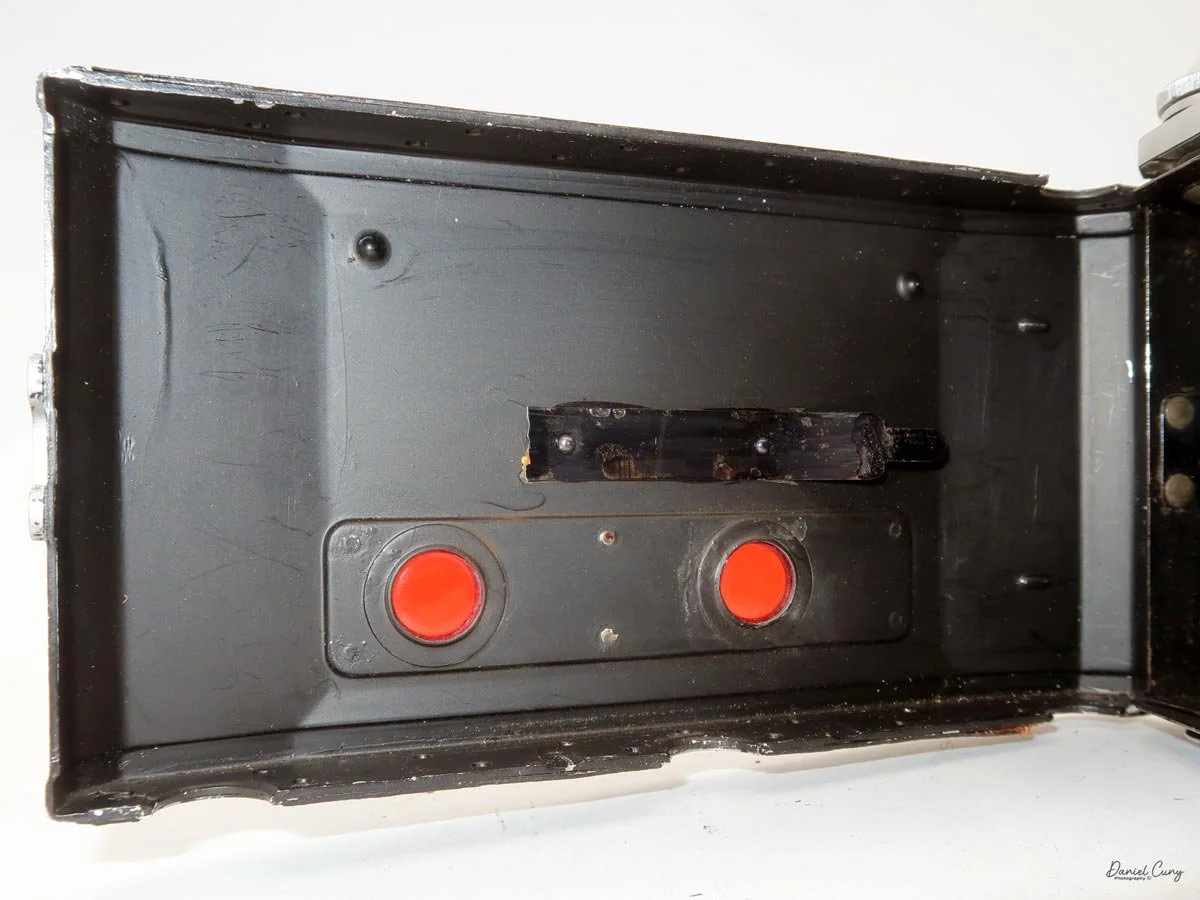
 Looking at the back of the camera, there are two red windows, which indicate to me that the film format is 3 x 4 cm. Opening the back of the camera, which is done by pulling up a small knob at the end, opens the rear door. When doing so, it shows that the camera's format is 6 x 4.5 cm, so there must have been an insert in the camera to change the format. My camera doesn't have the insert, so mine will always be 6 x 4.5 cm.

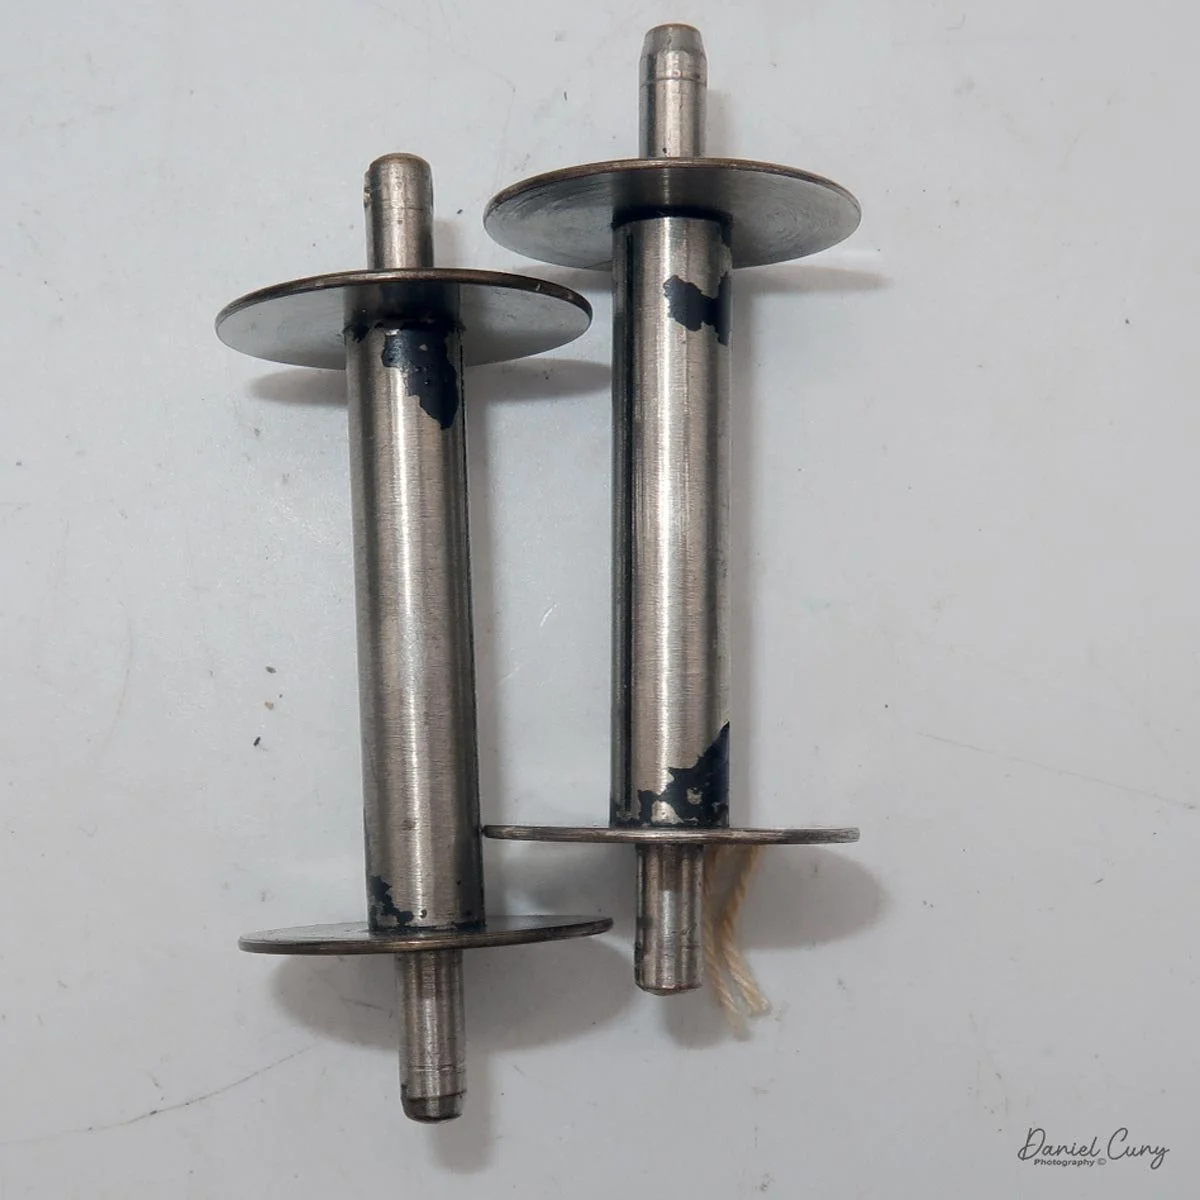
Once the back is open, you load the camera just like you would any roll-film camera by putting the empty spool on the take-up side, which has the film advance knob. Put the fresh, unexposed film on the other side, slip the film leader into the slot on the take-up reel, and wind the knob, making sure the film is transporting until you see the arrows pointing outward. Close the film back, and wind until you see the number one in the center red window.

 Now that the film is loaded in the camera and my wife and I are headed to the local farmer's market, it's time for me to take some photos and see how this camera performs.

Click on the image to view video


My Results

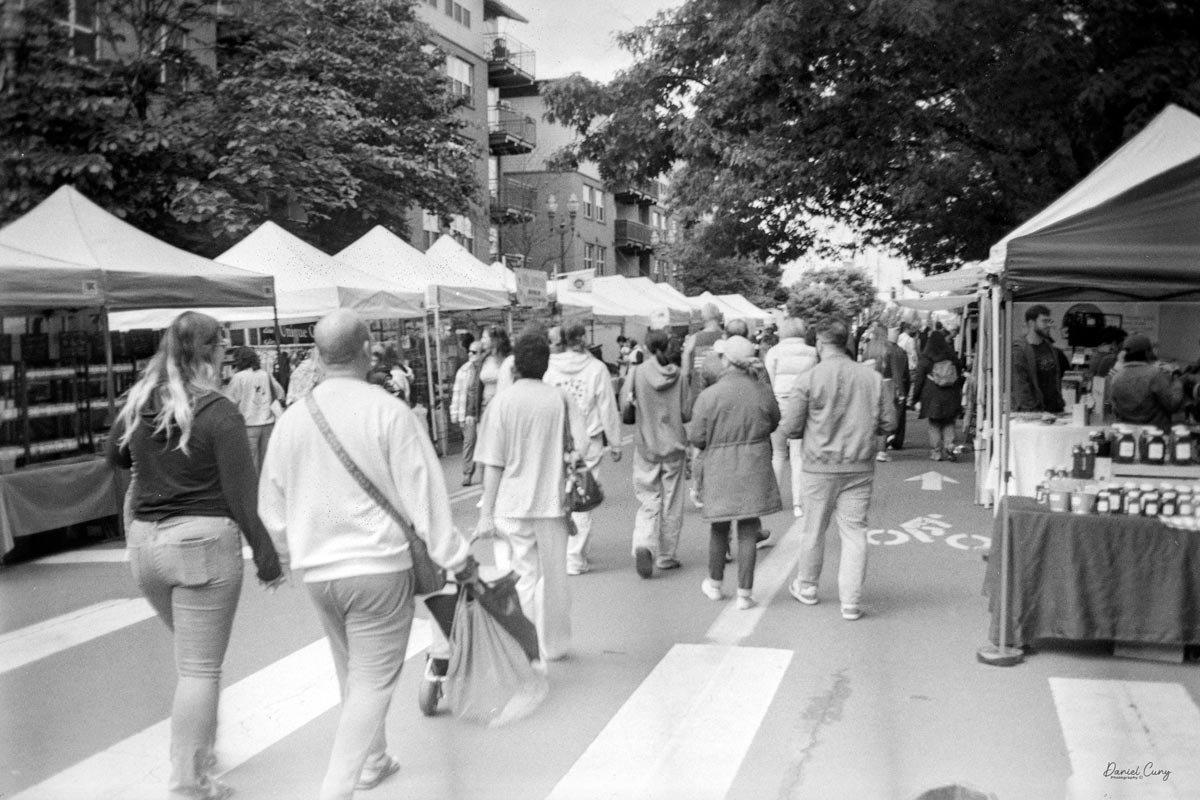
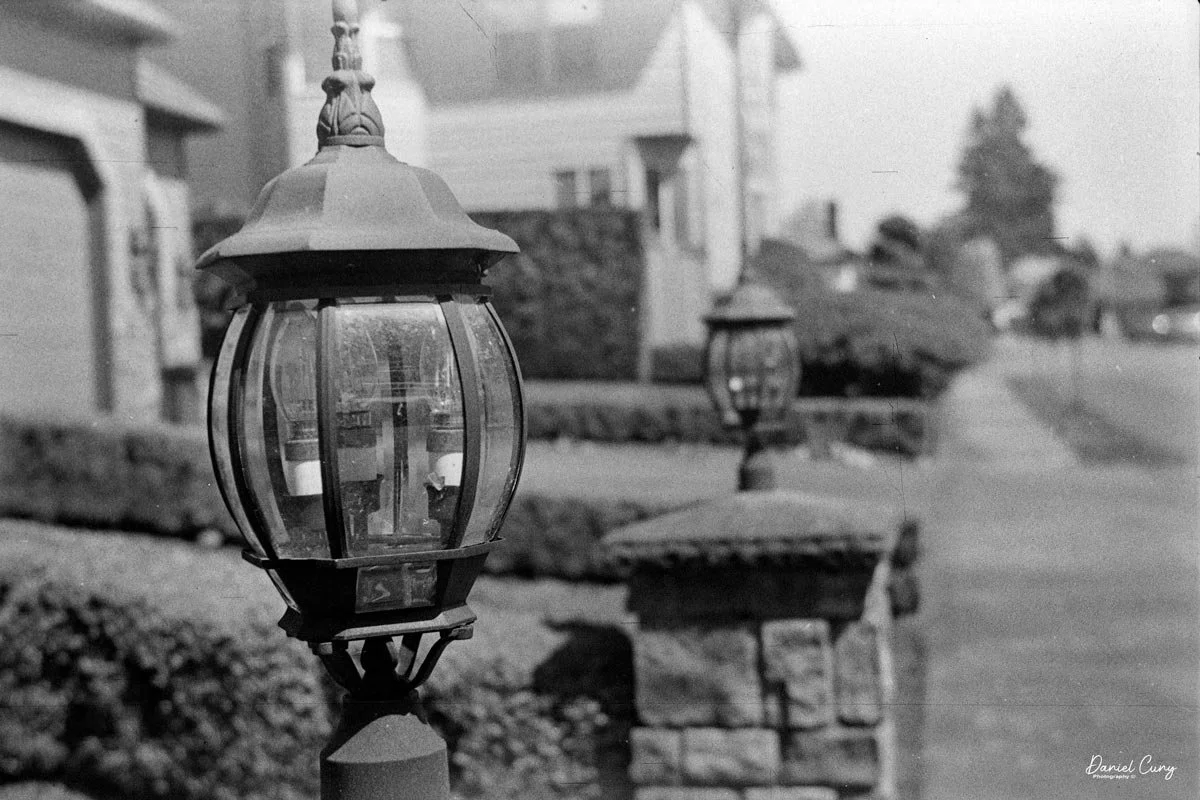
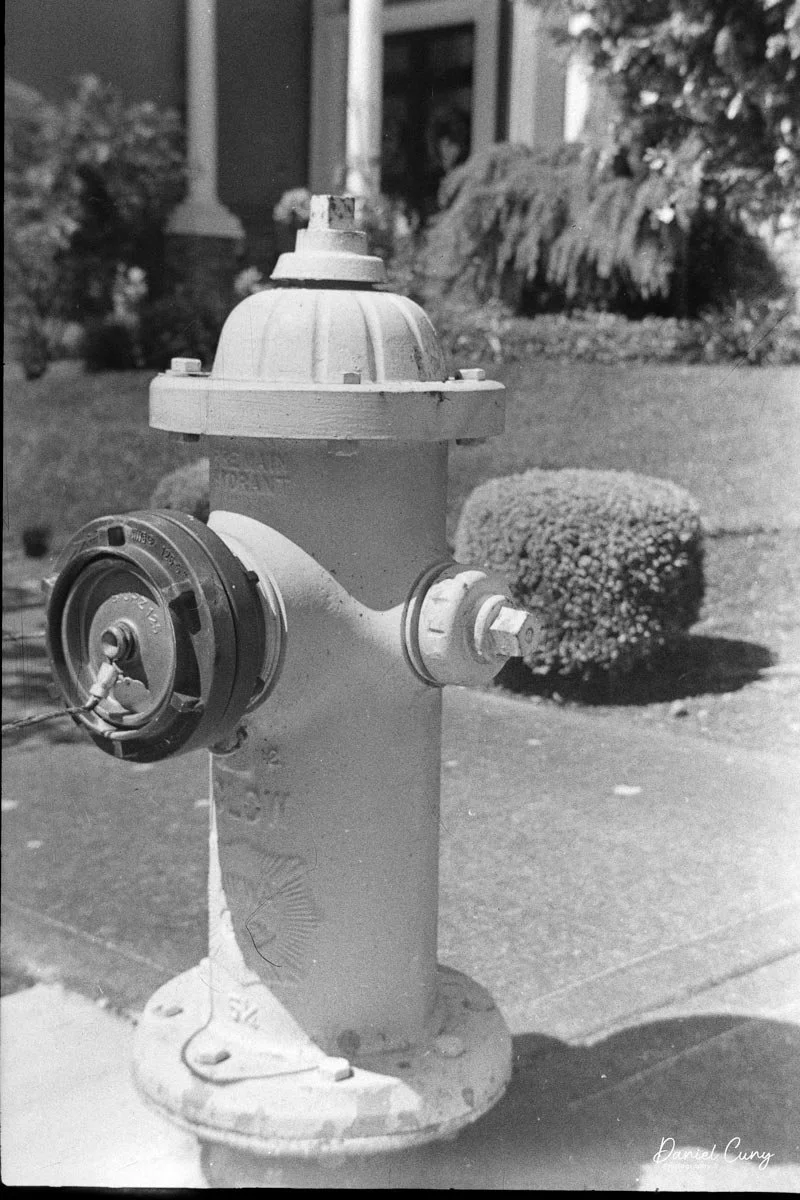
 Using a light meter and 100 ISO film in the camera, the recommended setting was 1/100 at f/7.1. I needed to fudge it a bit and shoot at 1/100 at f/8, and hope for the best.

 As previously mentioned, there is no focus on this camera, and I tried to be about 10 feet from the subjects when taking images.

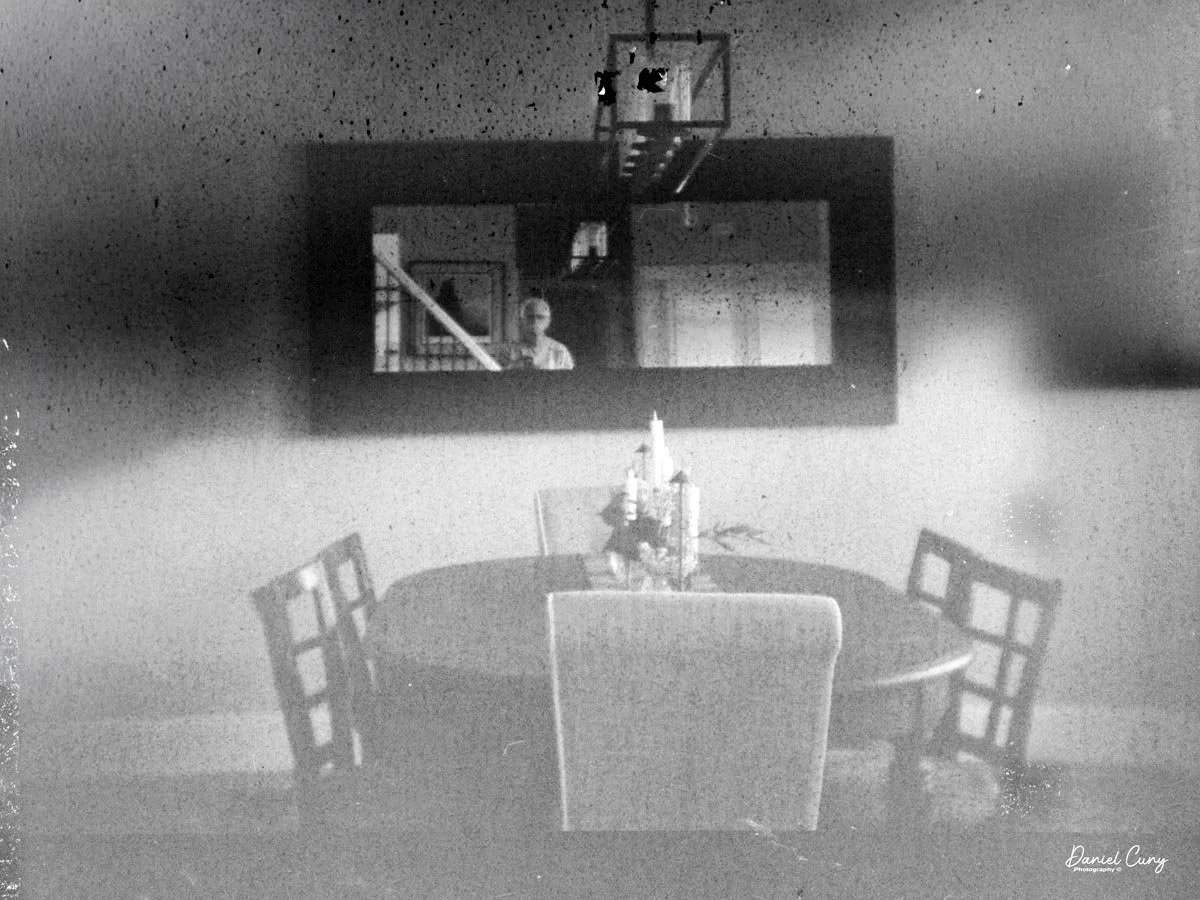
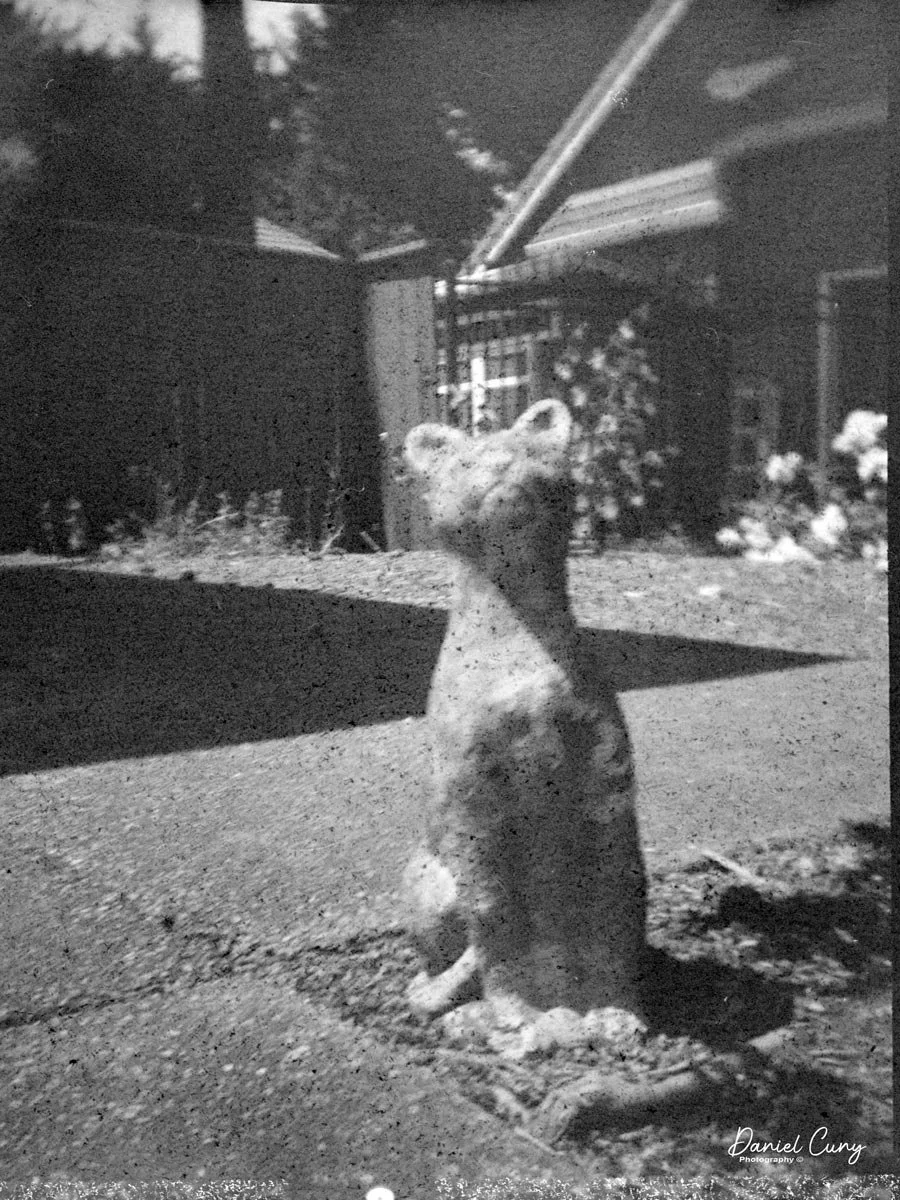
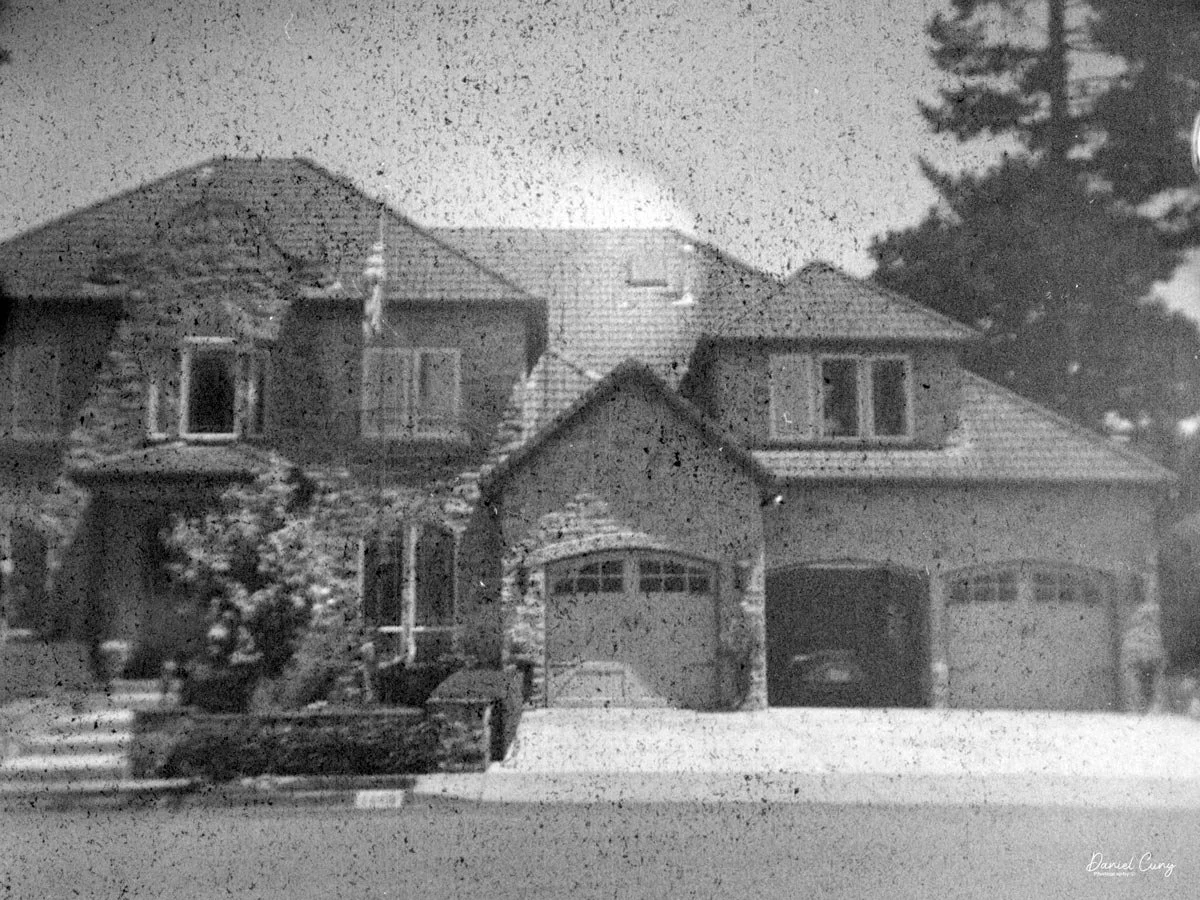
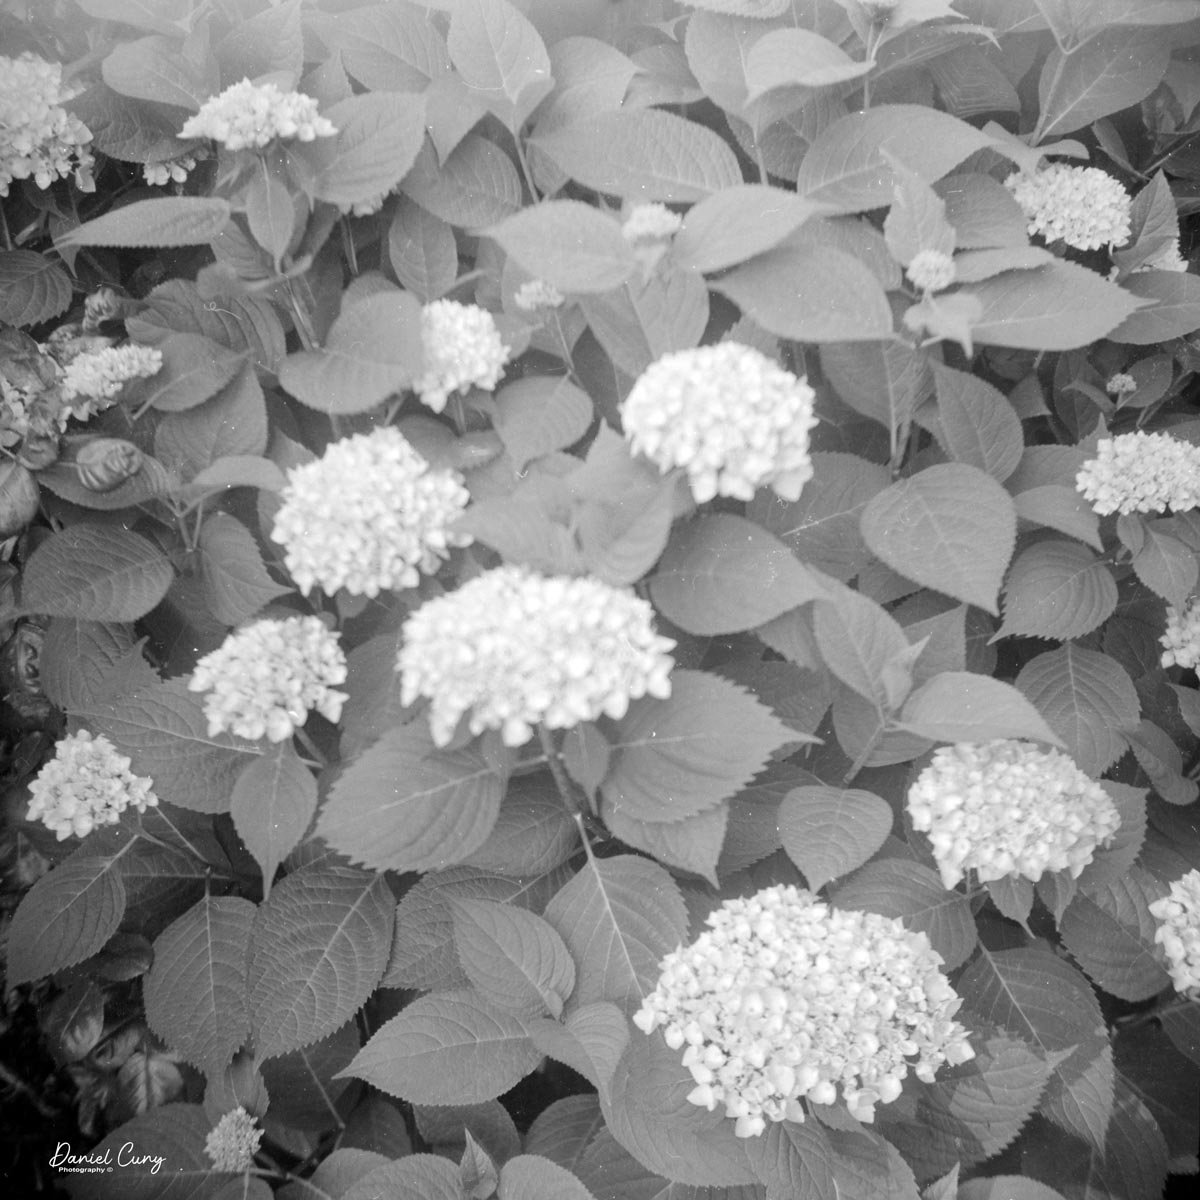
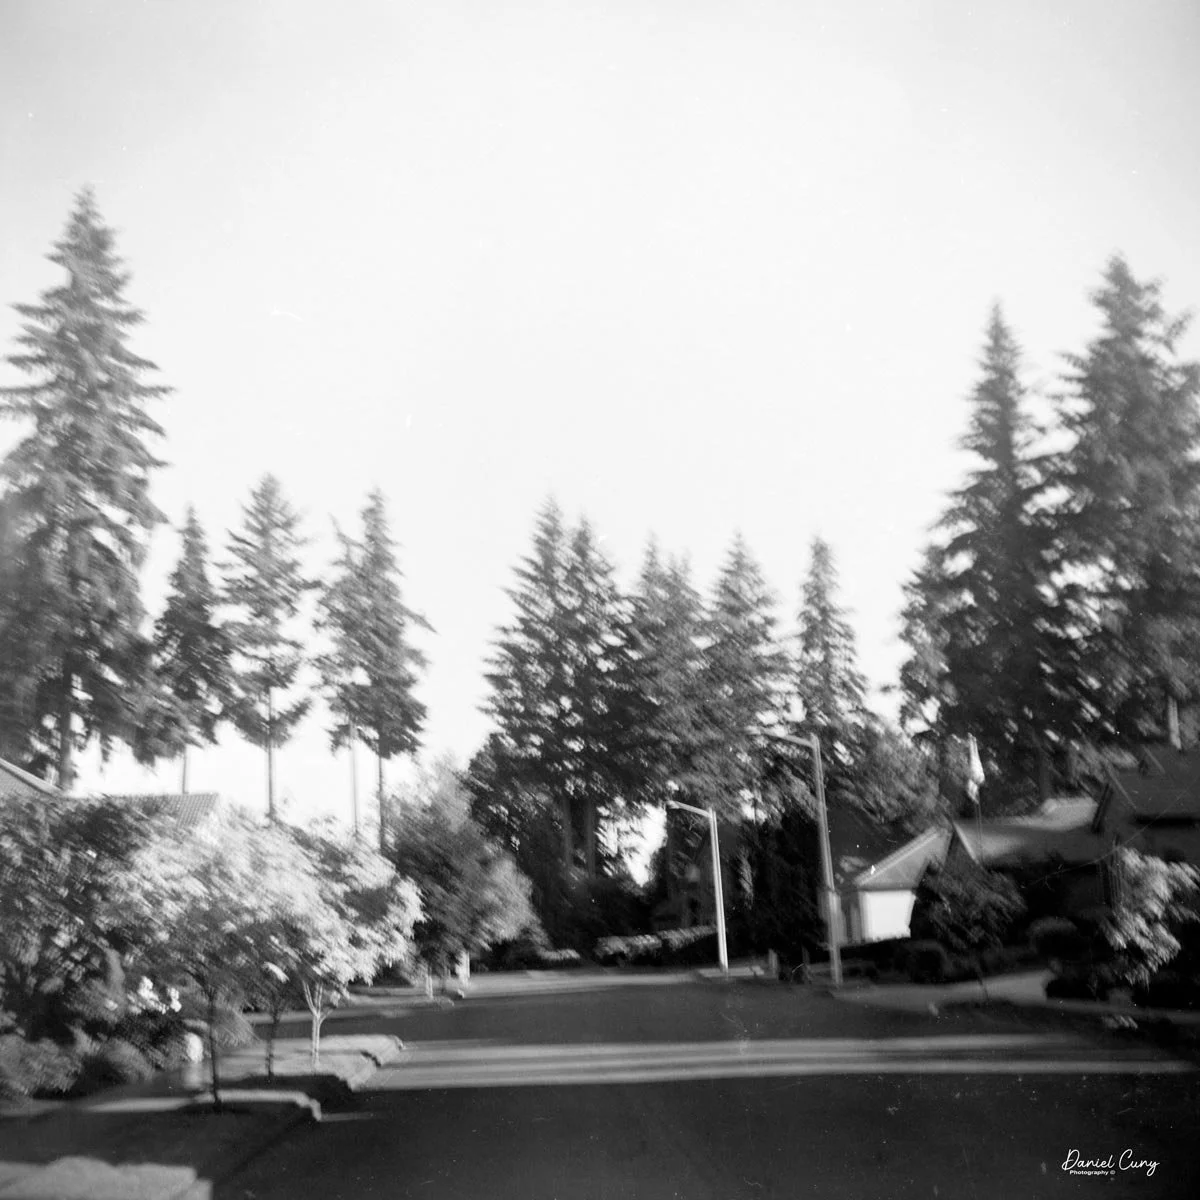
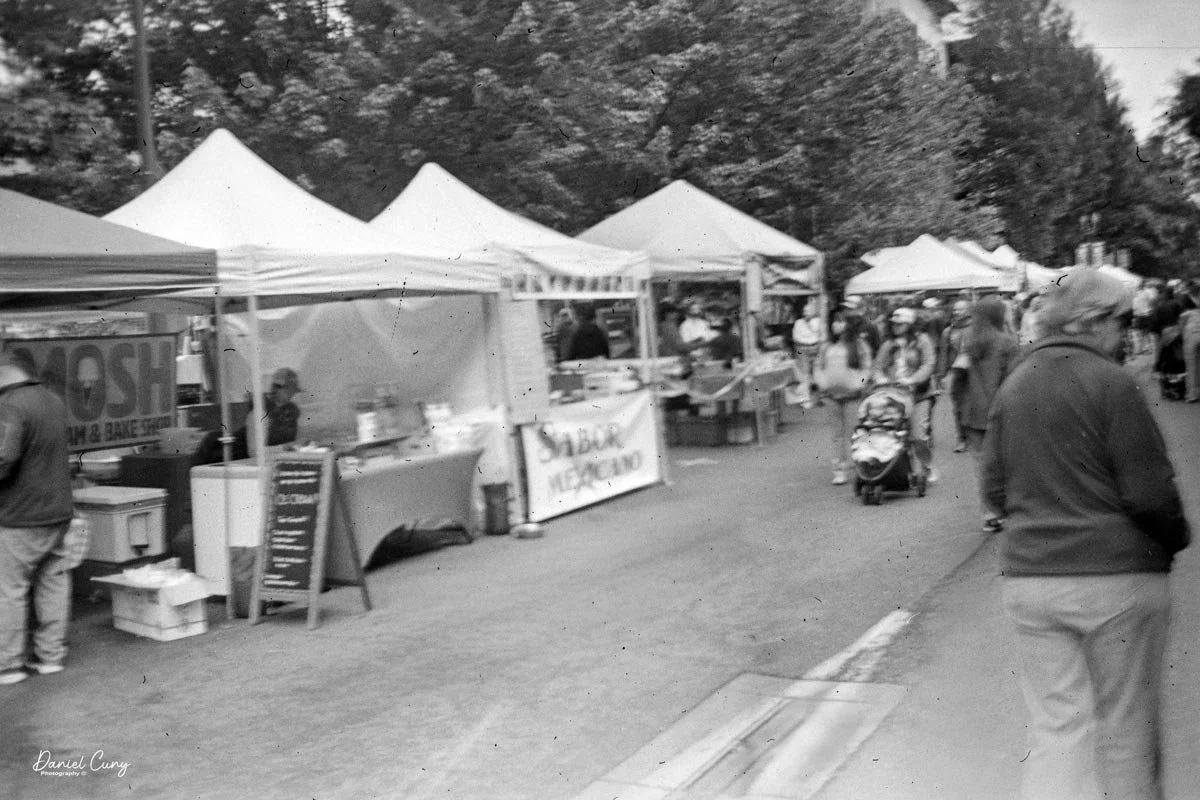
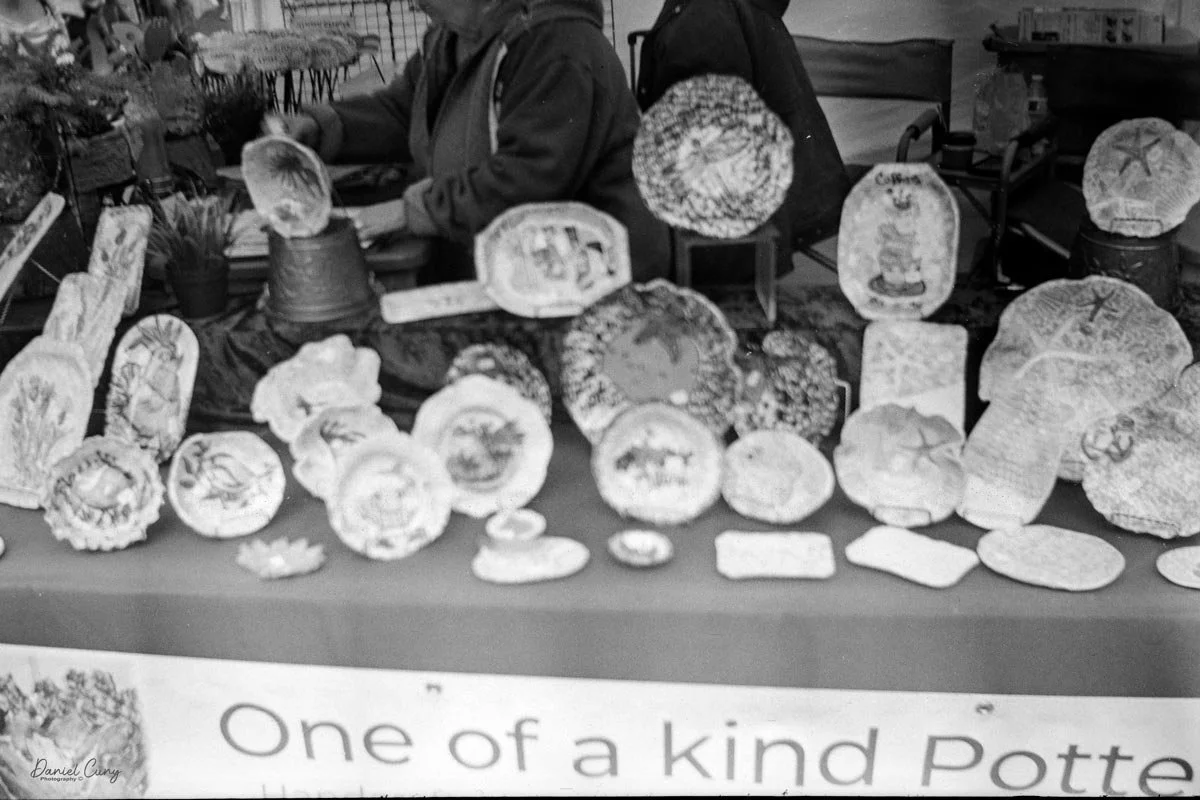
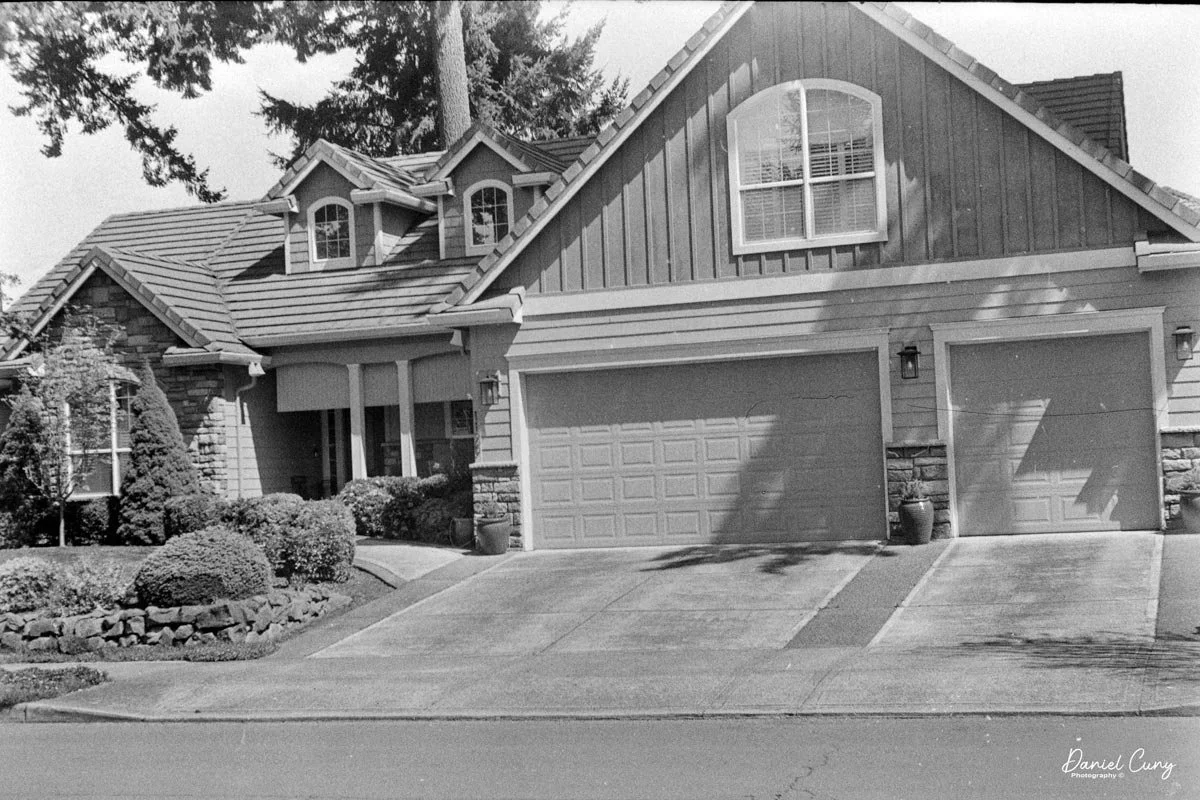
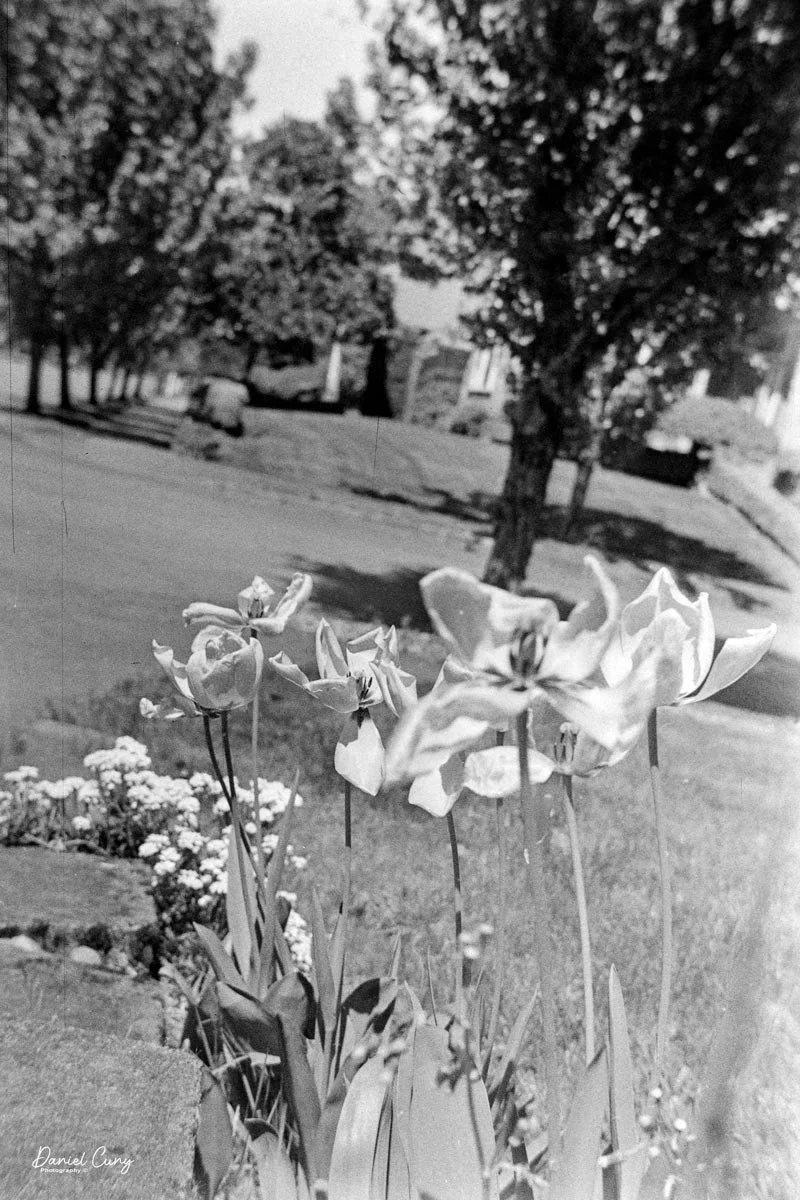
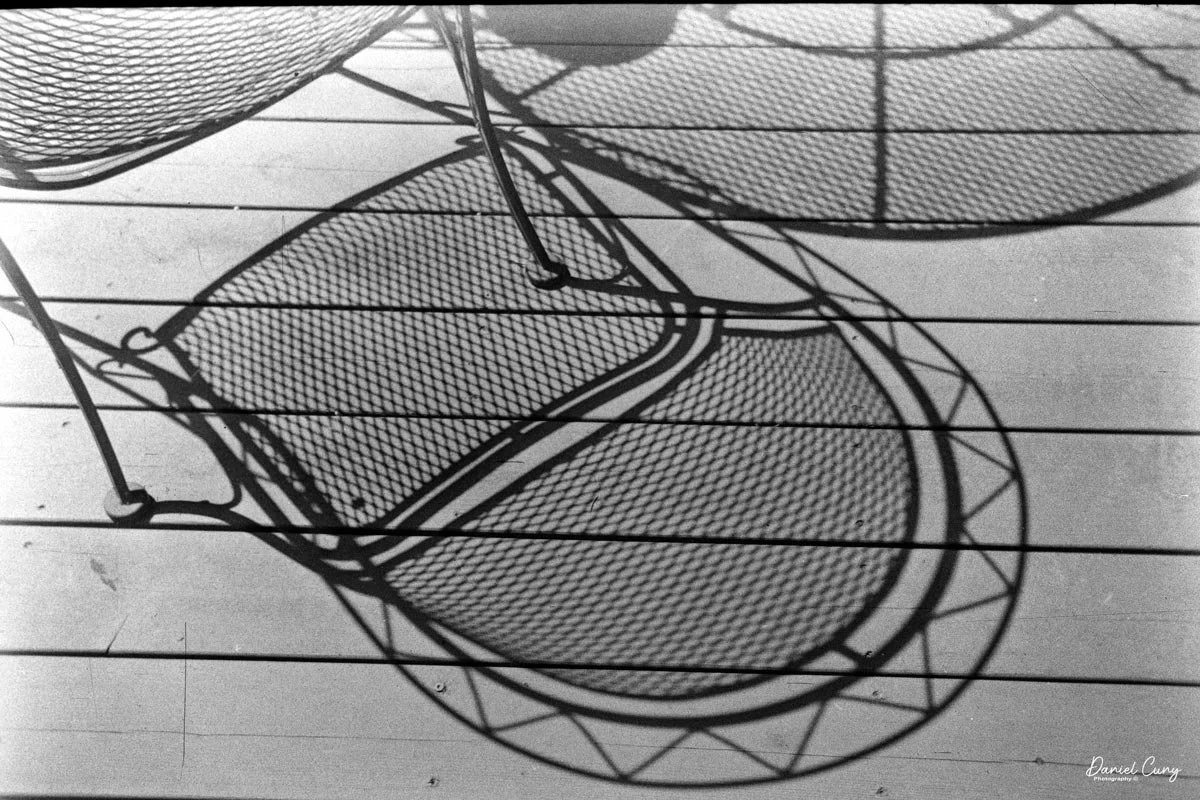
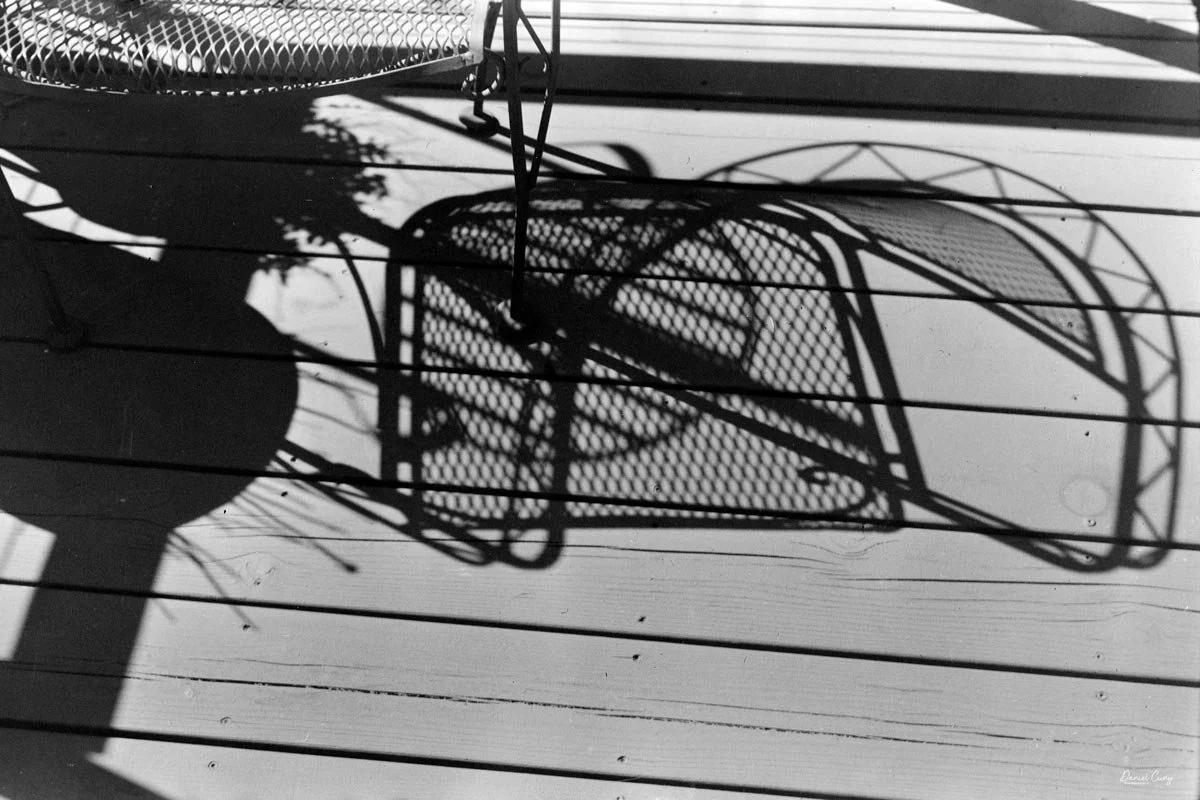
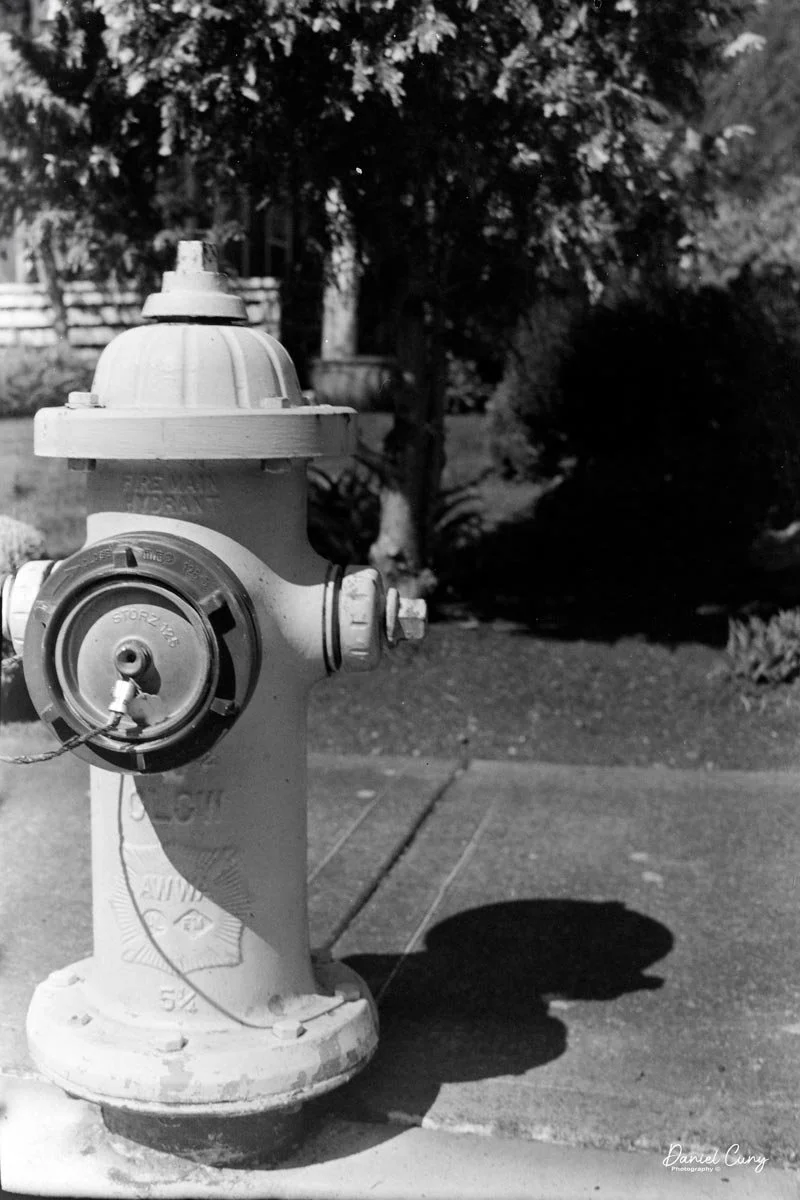
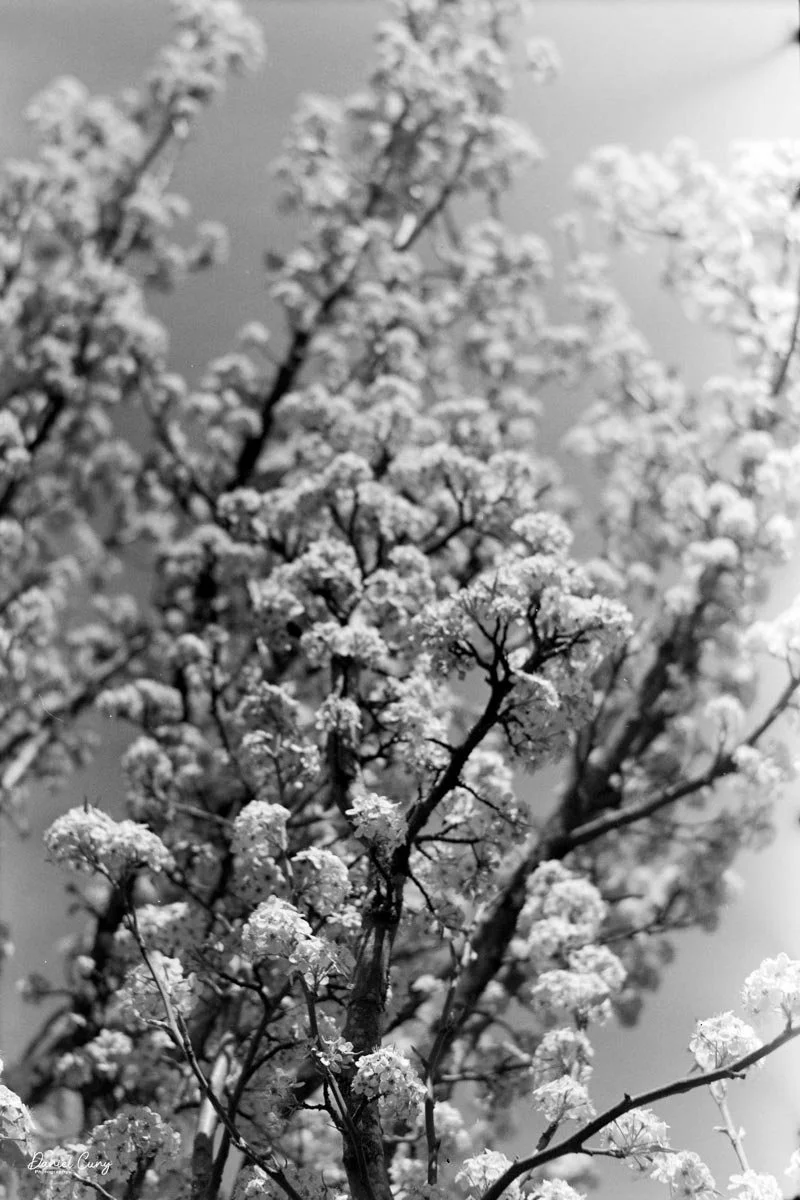
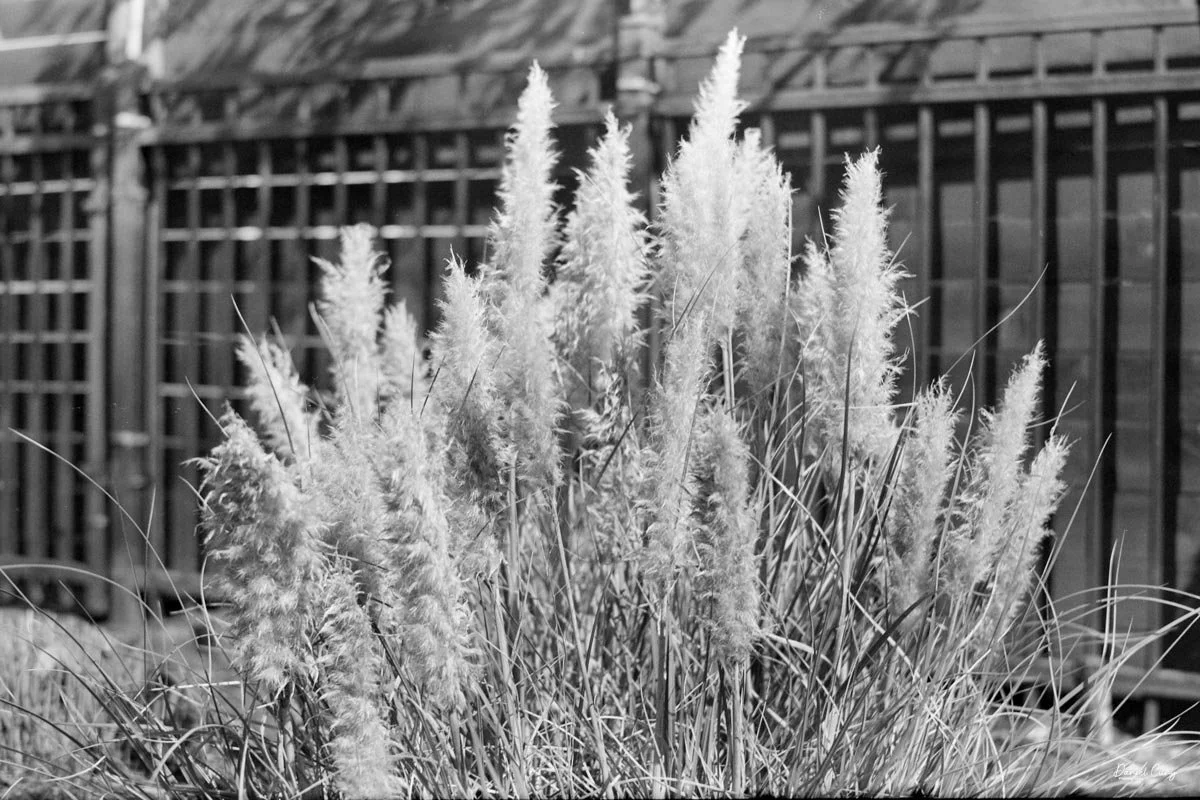
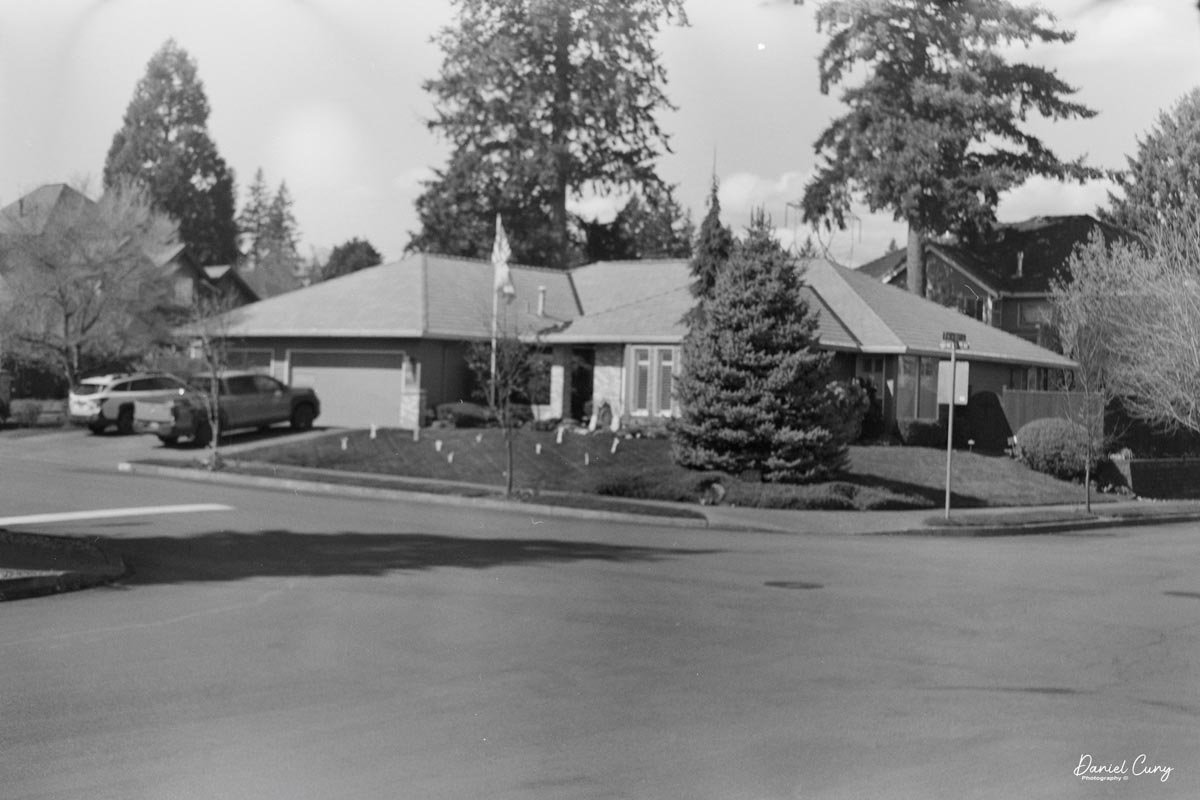
 Here are some of the results:

Conclusion

 As I scan the images from the farmers' market, some turned out better than others. I'm not sure what was going on, but some of the photos are sharper than others. I didn't pull out and push back the lens once I got to the farmers' market; I pulled the lens away from the camera body and adjusted the settings to the lighting conditions.

 There were a couple of times when I set the shutter to 1/50, but the focus was pretty inconsistent in many of the images. I was expecting slightly better results. Maybe there were a couple of times when there was some movement, especially since the shutter is a bit wonky and the images look unfocused.

Who knows what this camera has been through over the past 90 years, but all in all, it was fun to shoot with. The bellows look amazing, and I was complimented on the camera a few times as we walked through the farmers' market, so that was fun.

 Thank you for taking the time to learn a bit about this early example of a Bakelite camera from Japan, made in the early to late 1930s.

 I'd love to hear from you regarding this or some of my other camera reviews.

 Cuny's Camera and Photos is my online eBay store, where I sell some of the cameras reviewed, along with other camera and photo odds and ends.

 Until next week, please be safe.

Ebner camera

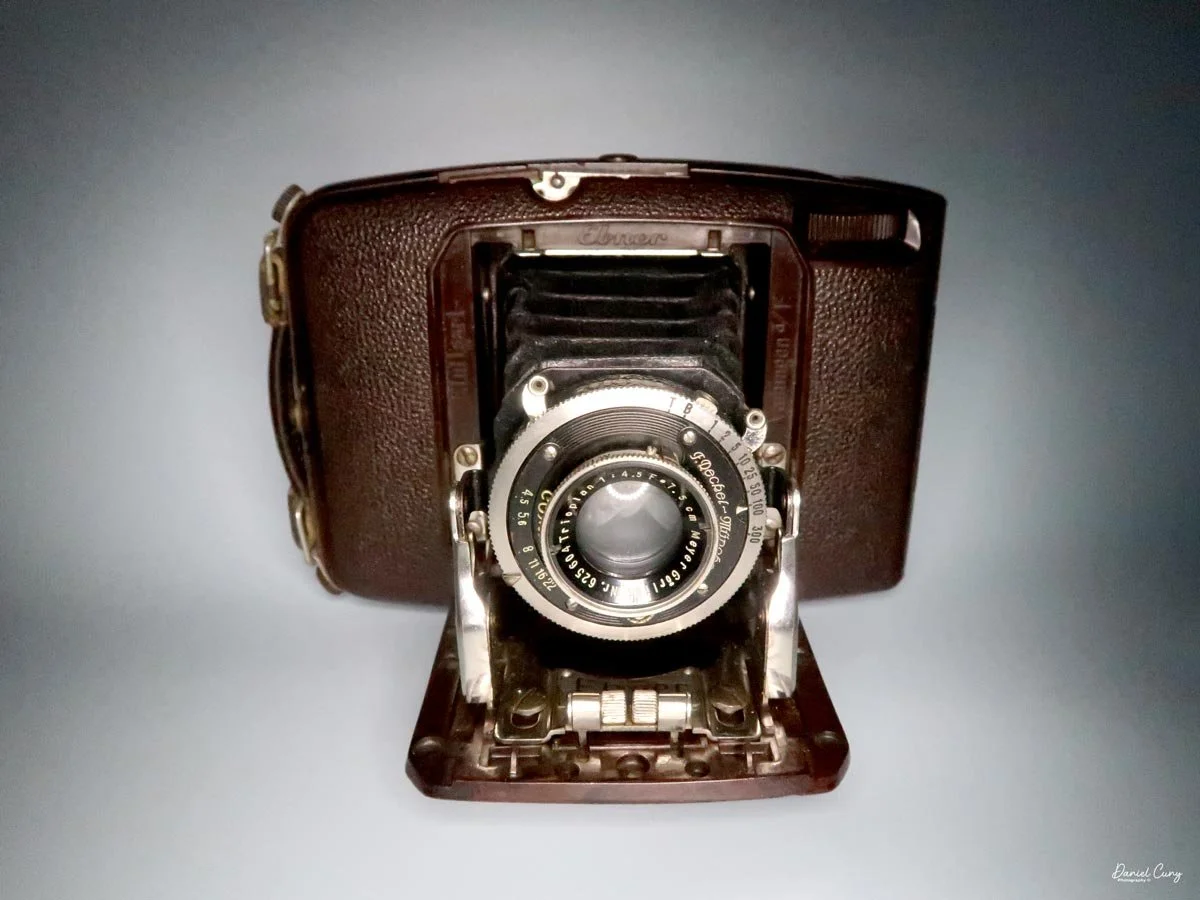
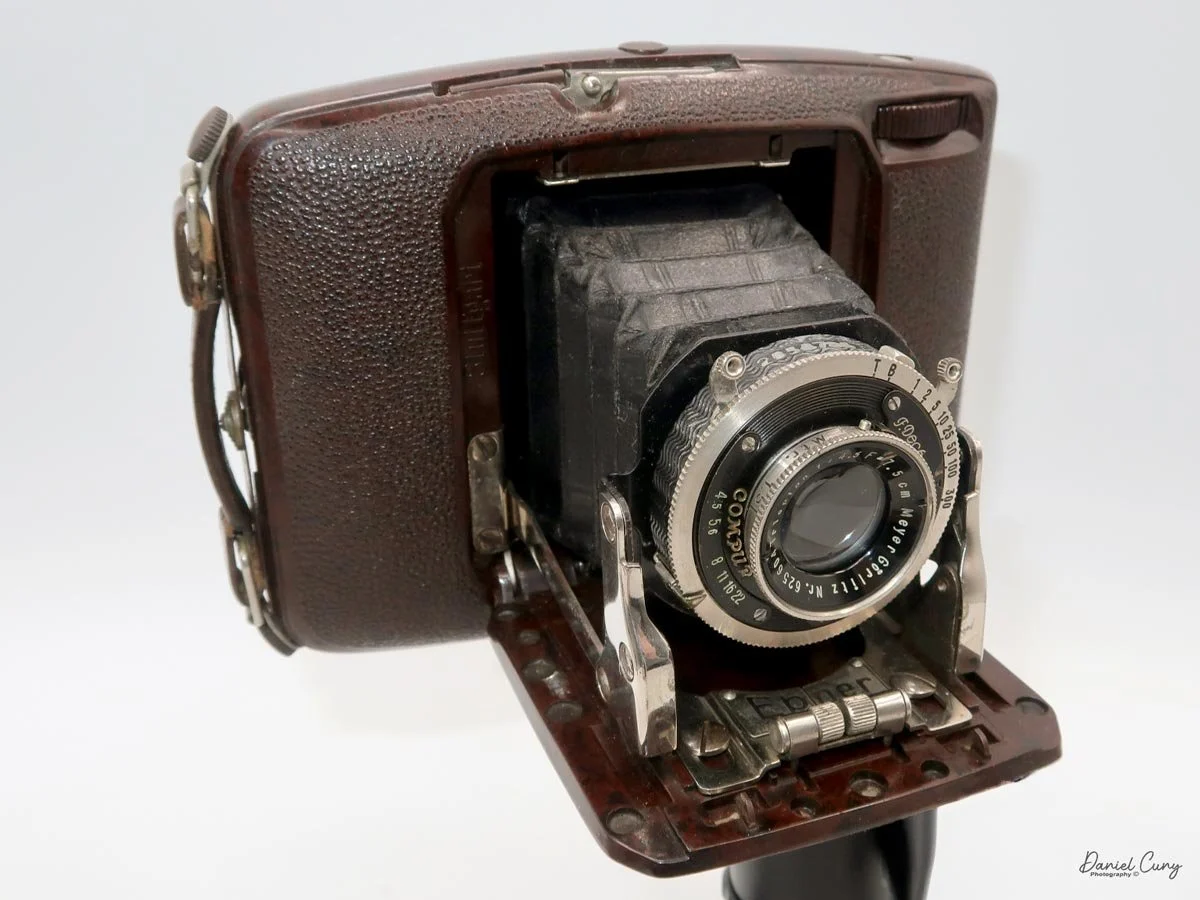
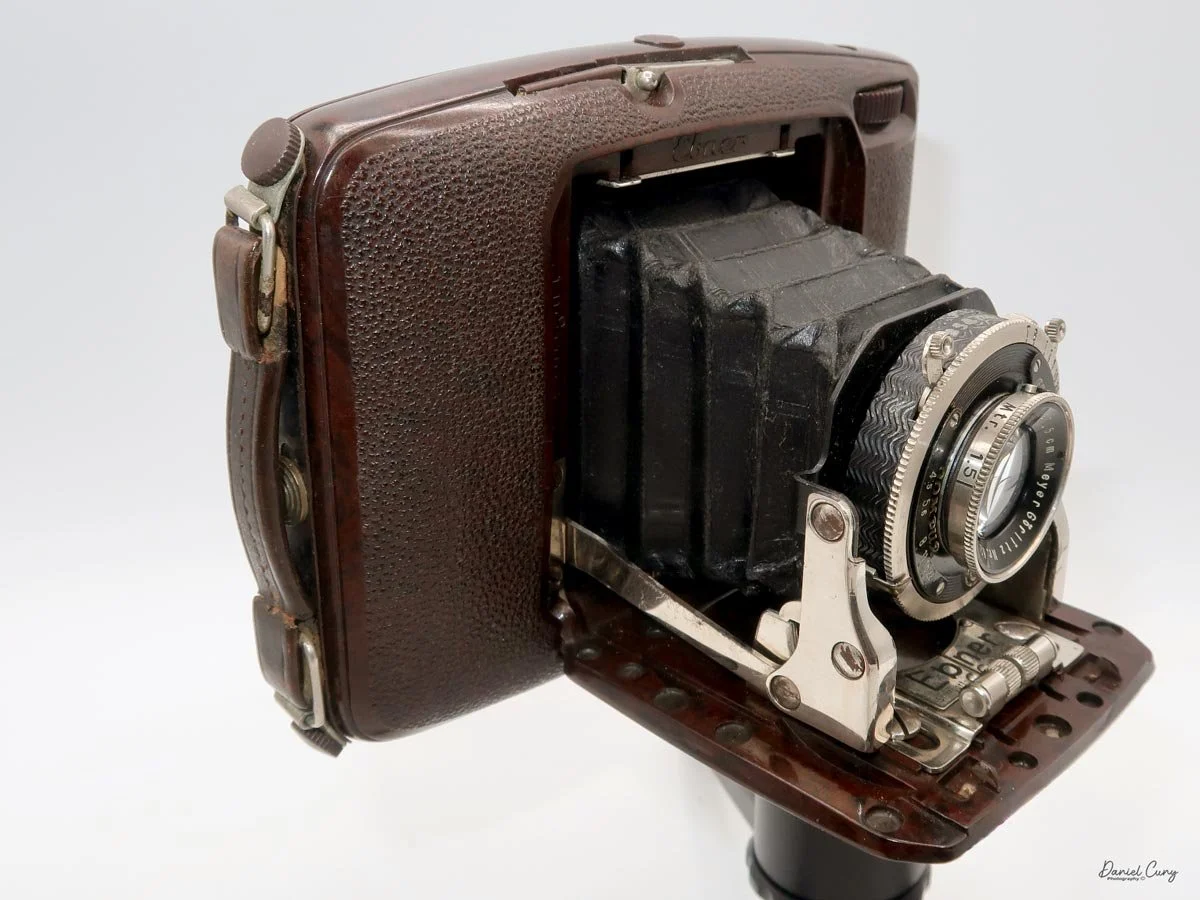
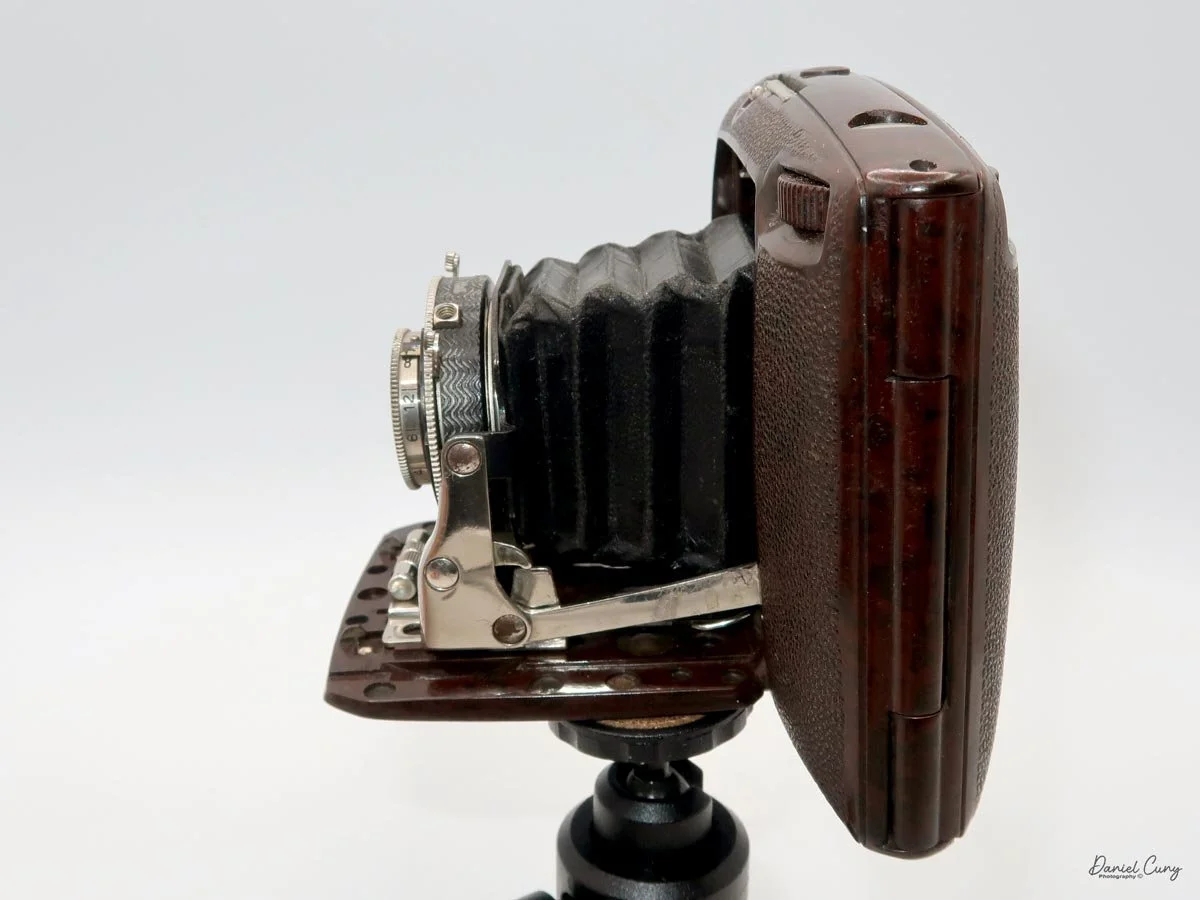
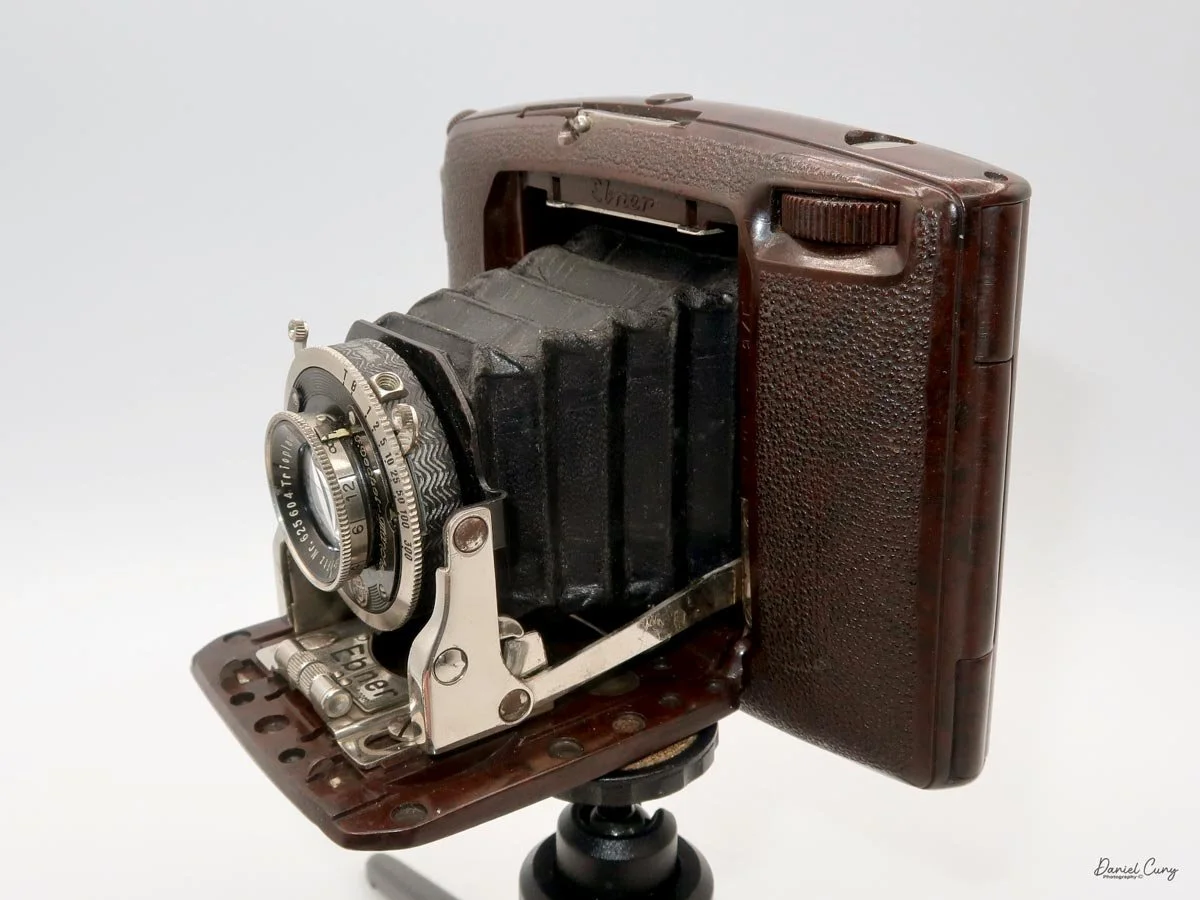
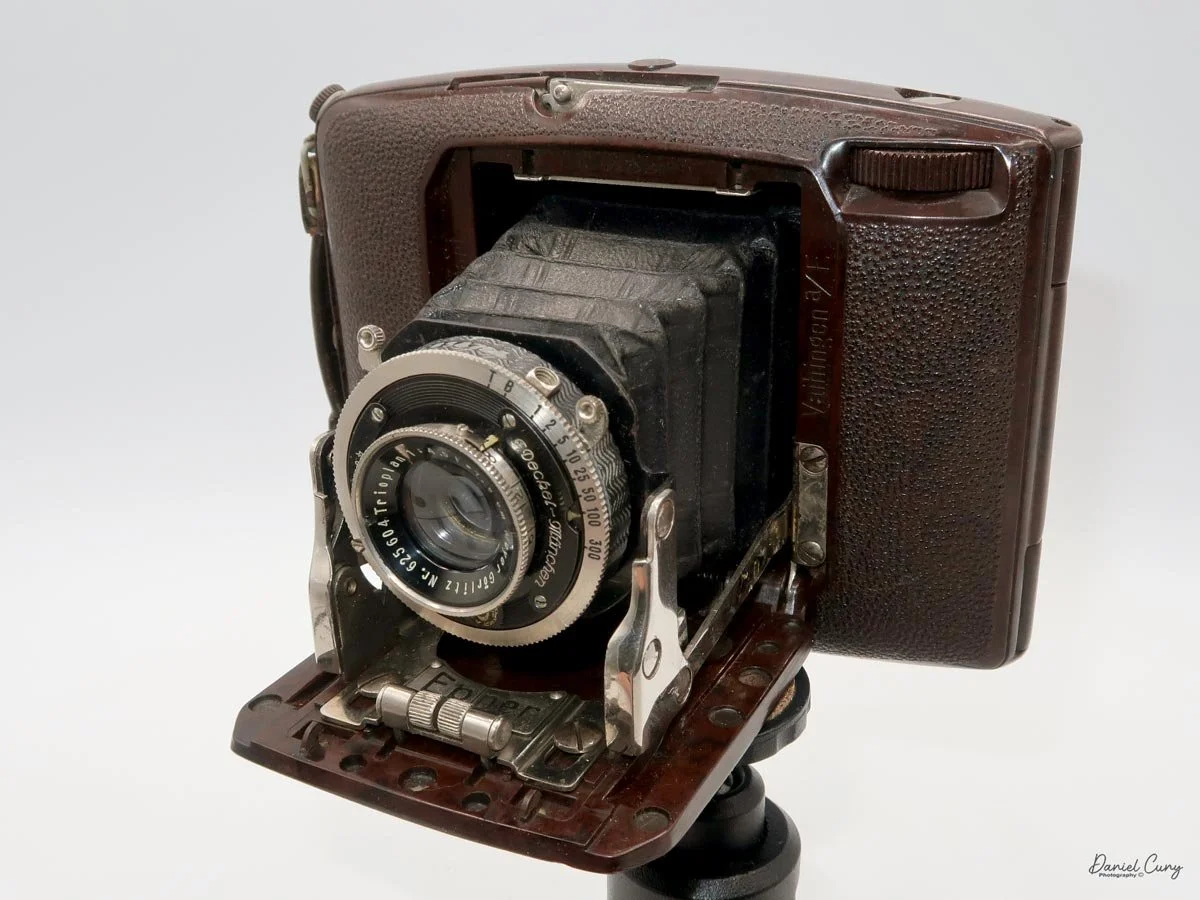
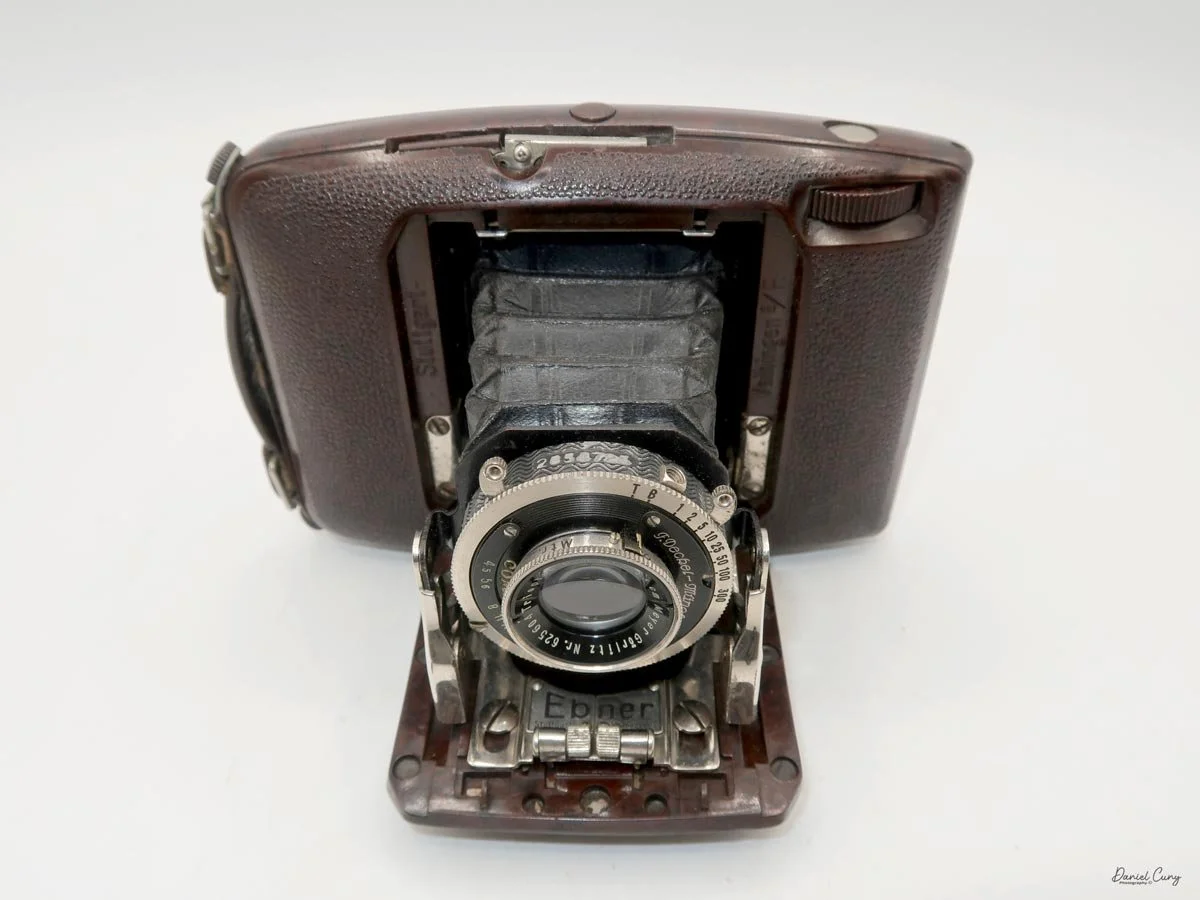
My Ebner 6x4.5cm camera

During my trip to Tokyo, Japan, a couple of weeks ago, I was in Kitamura's flagship store, looking at their "bargain" cameras, which in itself is a treasure trove of used cameras, when I spotted a brown Bakelite camera sitting on one of their shelves. The camera was a "folding" style camera. Still, I had never seen a camera like it, so immediately I wanted to see it, and with any luck, take it home with me, provided the price wasn't outrageous. I scanned the camera price and converted it from Yen to US dollars; it wasn't outrageous, so I wanted to see it and learn more.

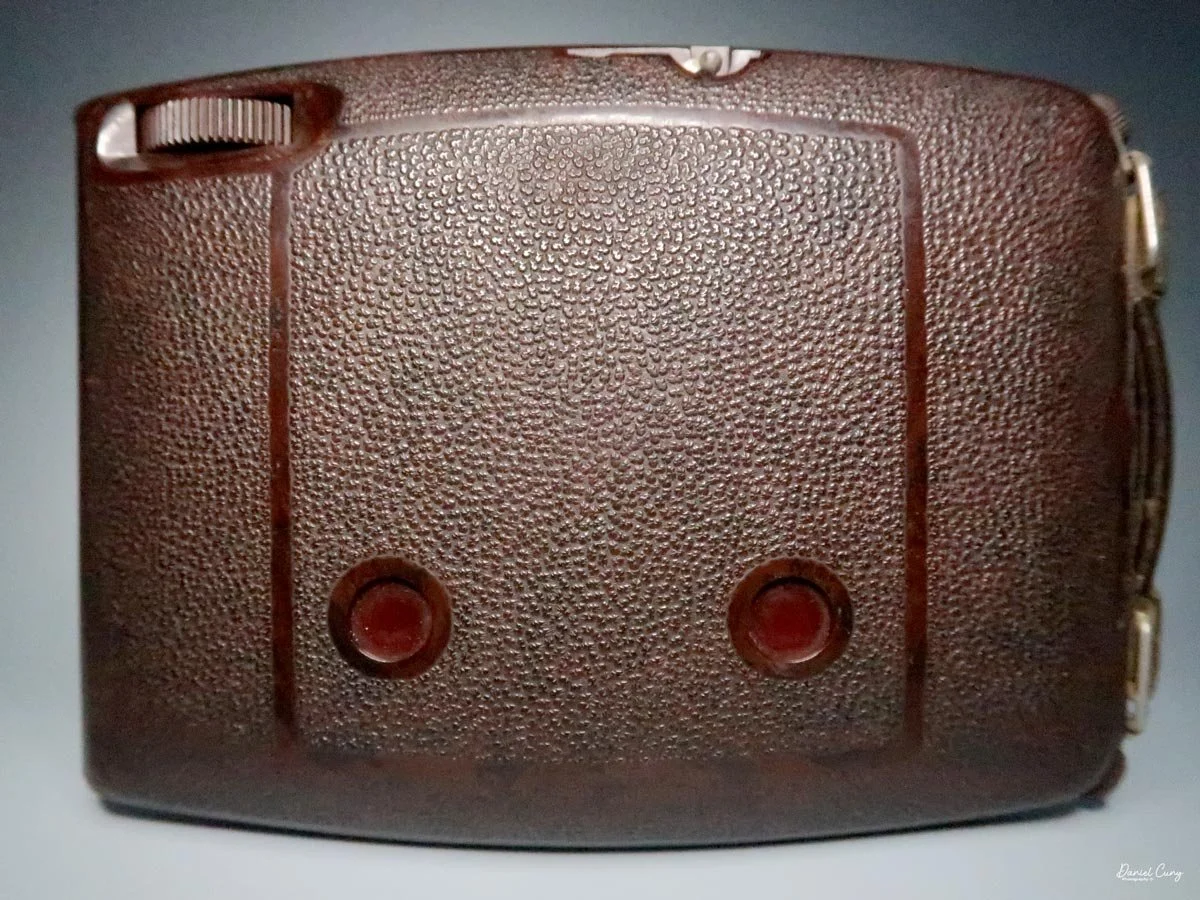
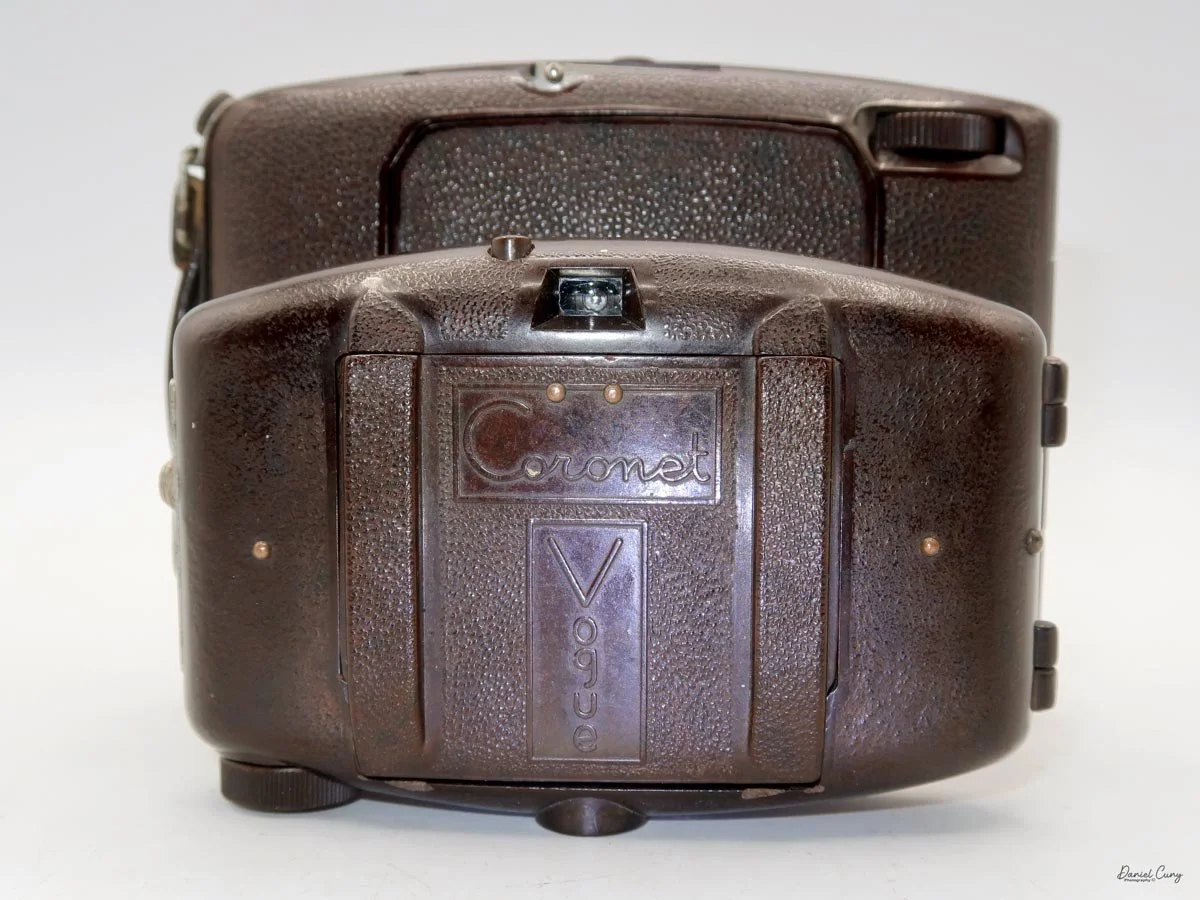
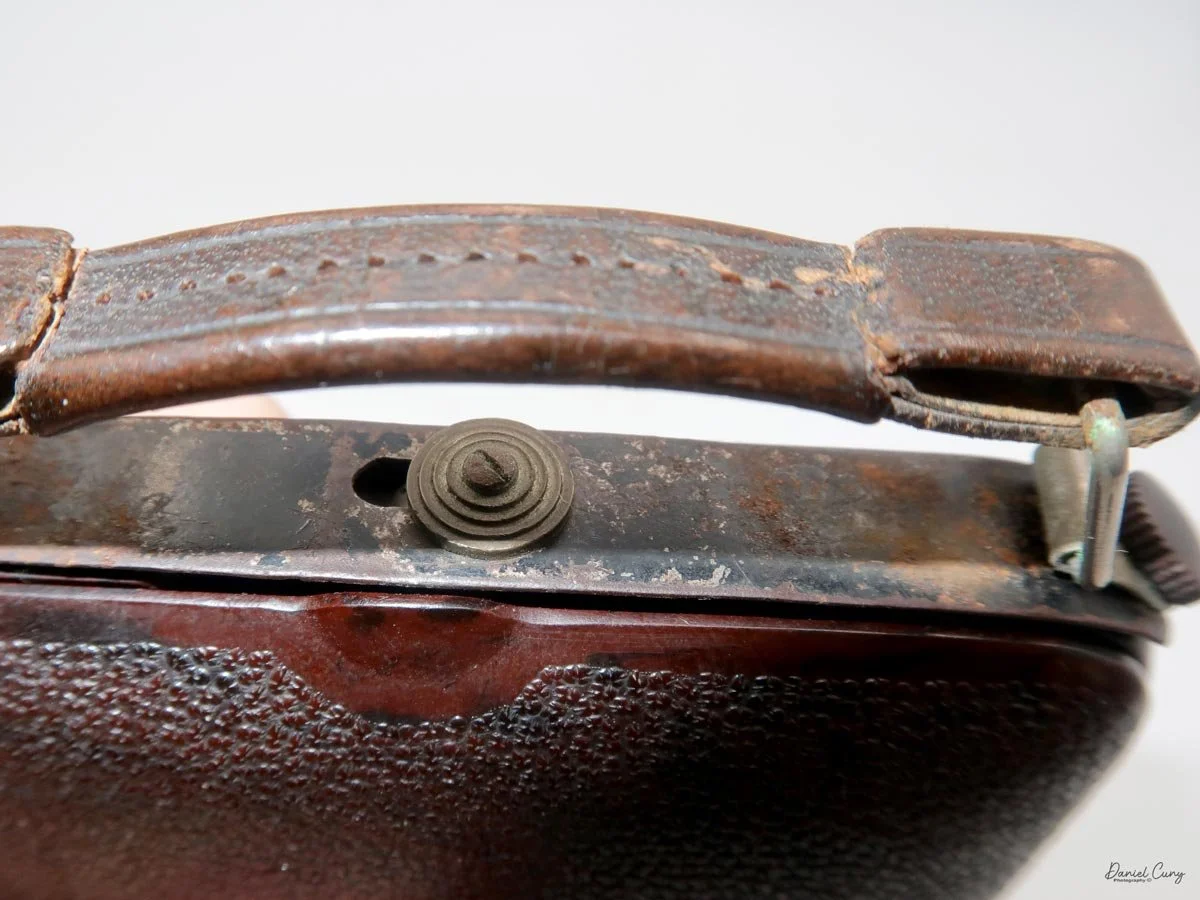
 The things that caught my eye at first was the beautiful, rich brown color, the wonderful pebbled texture of the body, and the very sleek design. To me, the camera just sang to me in its design. Since my eyes almost always go to anything "colored" when I look at cameras, it reminded me of the Coronet Vogue. Then, scanning the shelf below, they also found the Coronet Vogue. which I had seen in a few different flea markets in both Paris and London, but the asking price was always too high (in my opinion) for the camera, so I passed them up.

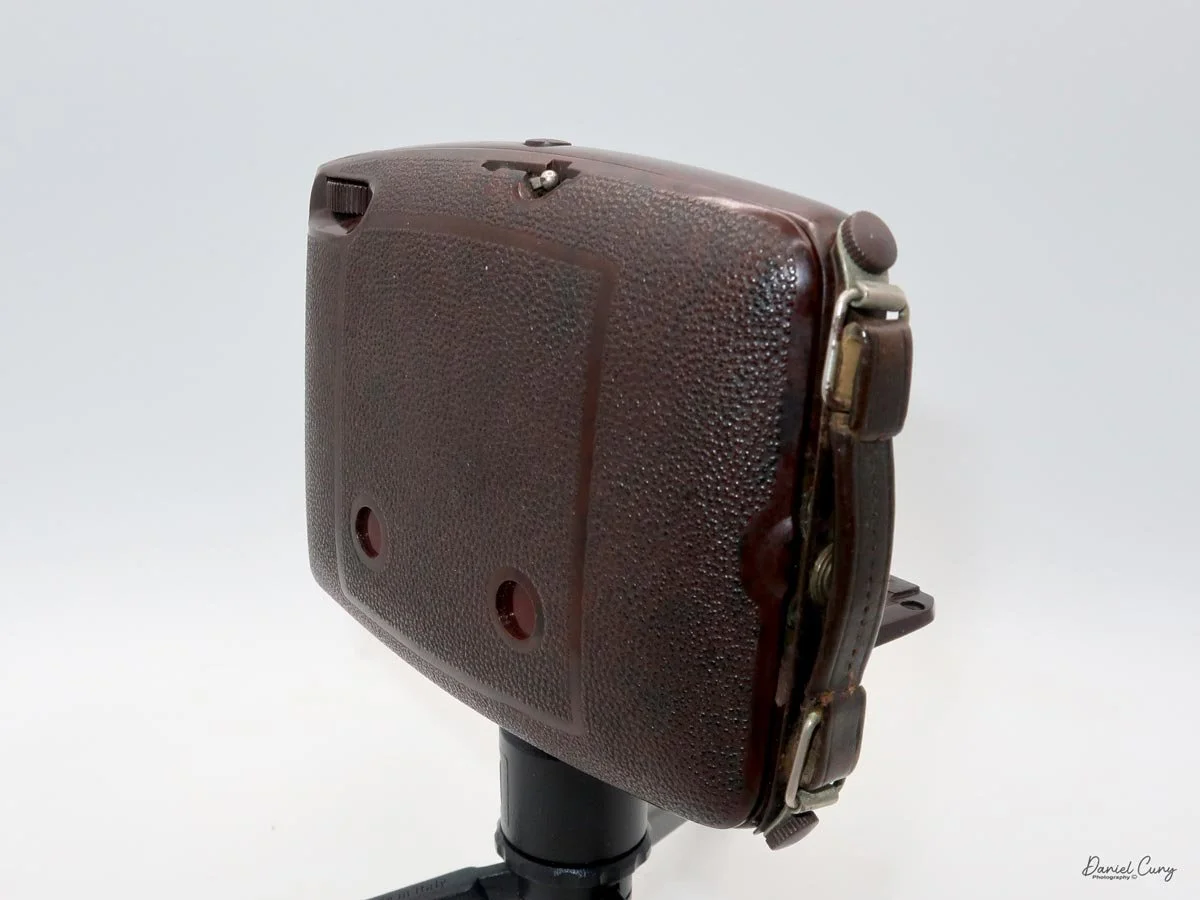
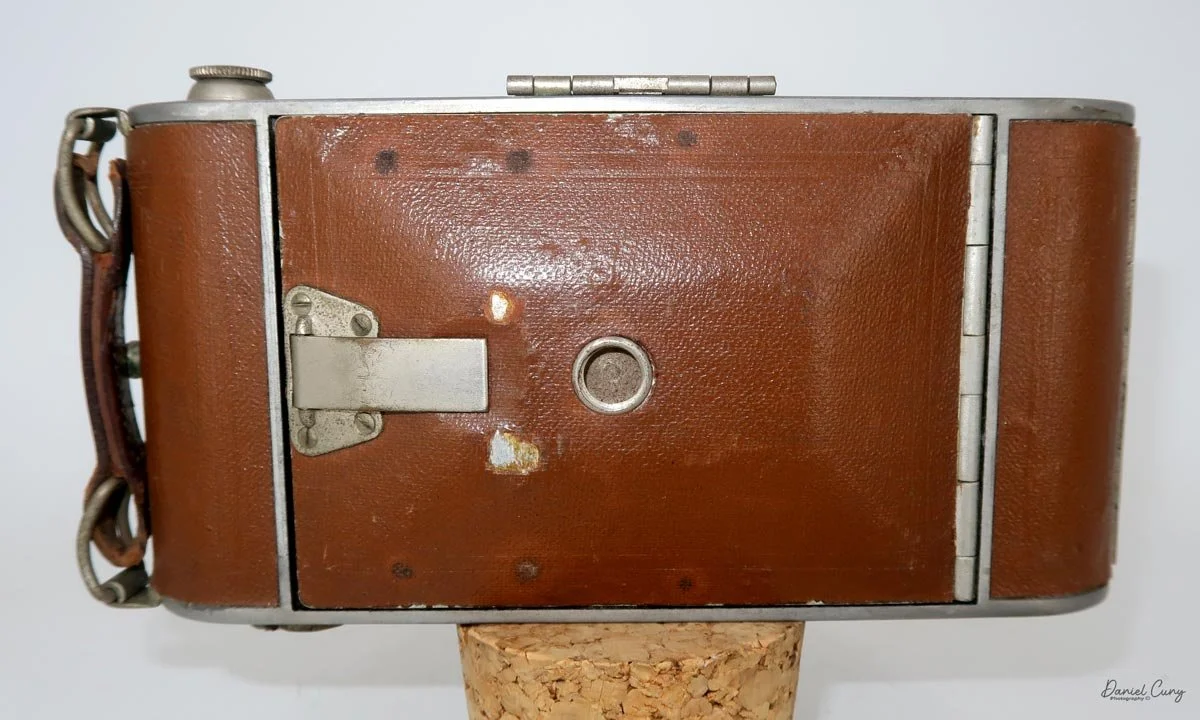
Back side with beautiful pebble finish on the Ebner camera

 At this point in my camera search, there were 3-4 cameras I wanted to look at, so I went up to one of the salespeople on the floor and showed them the items I was interested in. Very patiently, he pulled the 4 items from the shelves and placed them on a camera mat on one of the glass display cases in the shop.

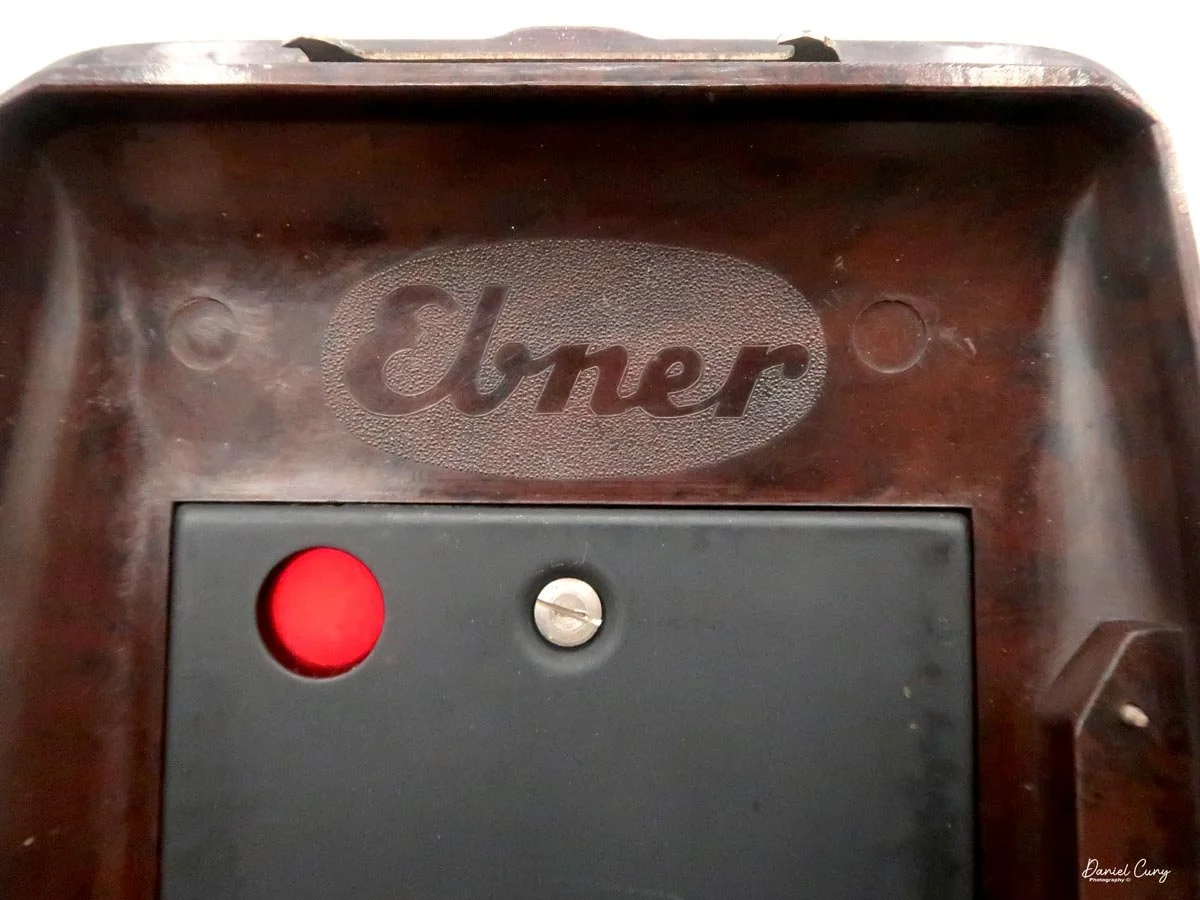
 Opening the Ebner camera first, I hadn't seen it before and don't recall it in McKeown's Camera Guide. I don't have the few hundred thousand cameras memorized. It wasn't until I opened the back of the camera and noticed the name "Ebner" that I realized the camera's brand. It still hadn't jogged my memory or sounded familiar.

Similarities of the Ebner and Coronet Vogue cameras.

 As I looked over the camera, the shutter worked, the aperture slid around the lens and changed size, and the lens was fairly clean. It didn't have mold, mildew, or fungus as I shone a penlight through the lens, and I didn't see pinholes in the bellows, so all in all, the camera was a "keeper" to me.

 The Coronet Vogue camera had some issues. It had a replacement black bellows rather than the original brown matching bellows, and the side struts of the camera didn't work properly. But the camera was inexpensive, and the shutter worked, so I believe at some point later this year I will write about it. To me, the similarity in the design and style of both the Ebner and Coronet Vogue cameras is striking.

 The similarities make sense to me, especially since Ebner stopped producing cameras in 1935. Still, other camera companies, like Pontiac and Gallus, produced very similar cameras with the same sleek design. I'm confident that since the Coronet Vogue was introduced in 1936, they recognized that this sleek, Bakelite camera design would benefit their sales, and they produced it.

History:

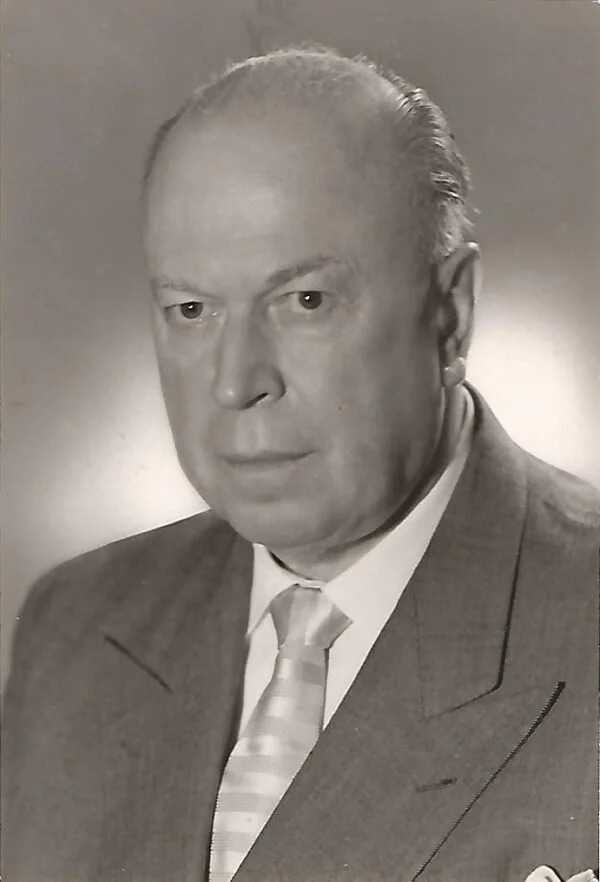
 Albert Ebner & Co. was a small but interesting German manufacturer that moved from audio and electrical products into cameras during the early 1930s. Albert Ebner, born in 1891 in Bad Cannstatt, had already founded earlier companies before his name became associated with the camera firm that collectors remember today.

Portrait of Albert Ebner

 The company's background was in turntable motors, gramophone parts, and related household electrical goods. After earlier business setbacks and reorganizations, Ebner returned to Bad Cannstatt and formed a new Albert Ebner & Co., often abbreviated AECO, which broadened into vacuum cleaners, fans, and other electrical products before experimenting with cameras.

 Ebner's camera output was very limited. The firm produced only two folding models: a 6x9 cm camera on 120 film and a smaller 4.5x6 cm model on Kodak 620 film, both made around 1933 to 1935. These cameras had no special model names beyond their image size, which makes them especially plain in naming but distinctive in construction.

 What set them apart was their design. Both cameras used a marbled brown Bakelite body, a material associated with the radio and record-player industries, and they paired that shell with a Compur leaf shutter and lenses from makers such as Meyer-Gorlitz. That gives the Ebner cameras a streamlined Art Deco look that feels more industrially designed than mass-market consumer.

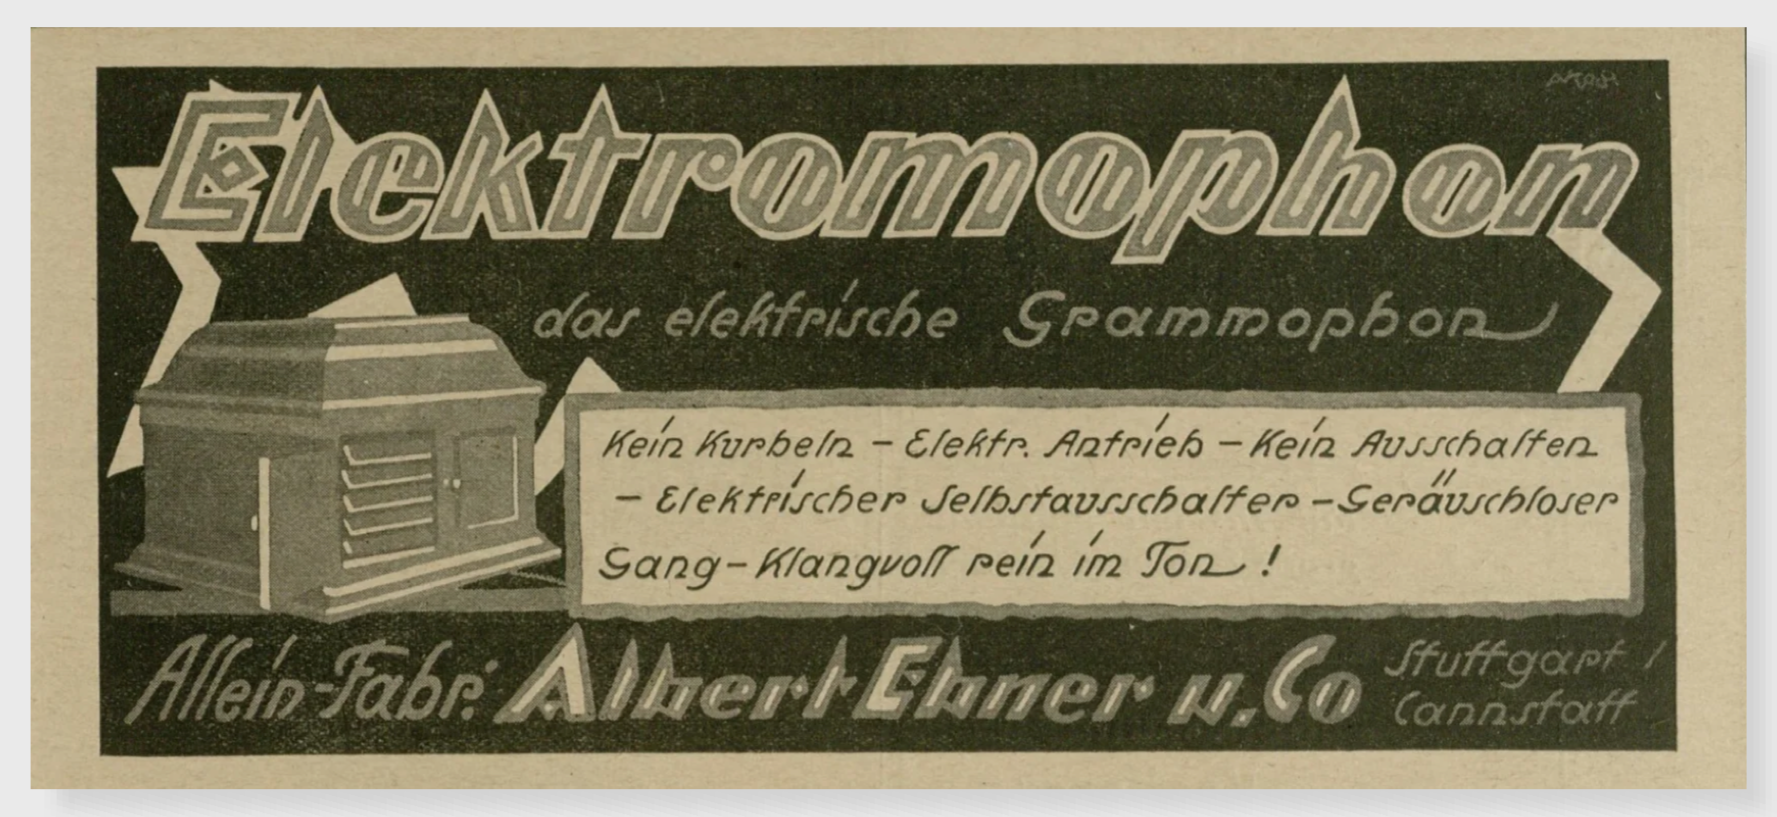
German advertising.

 The larger 6x9 version used standard 120 film, while the 4.5x6 version used 620 film, an unusual choice for a German maker of the time. Collectors also note that the cameras were sold mostly in Germany and that production was brief, with the company apparently ending camera manufacture by 1935. Because so few were made, surviving examples are relatively scarce today.

 Ebner's camera venture did not last long. Still, it fits a broader pattern of early 20th-century firms adapting existing expertise in Bakelite and mechanical assembly to camera production. After the camera period ended, Albert Ebner's business life continued in audio through the later Perpetuum-Ebner merger. In contrast, the cameras remained a short-lived sideline that now attracts collectors and historians.

My Camera:

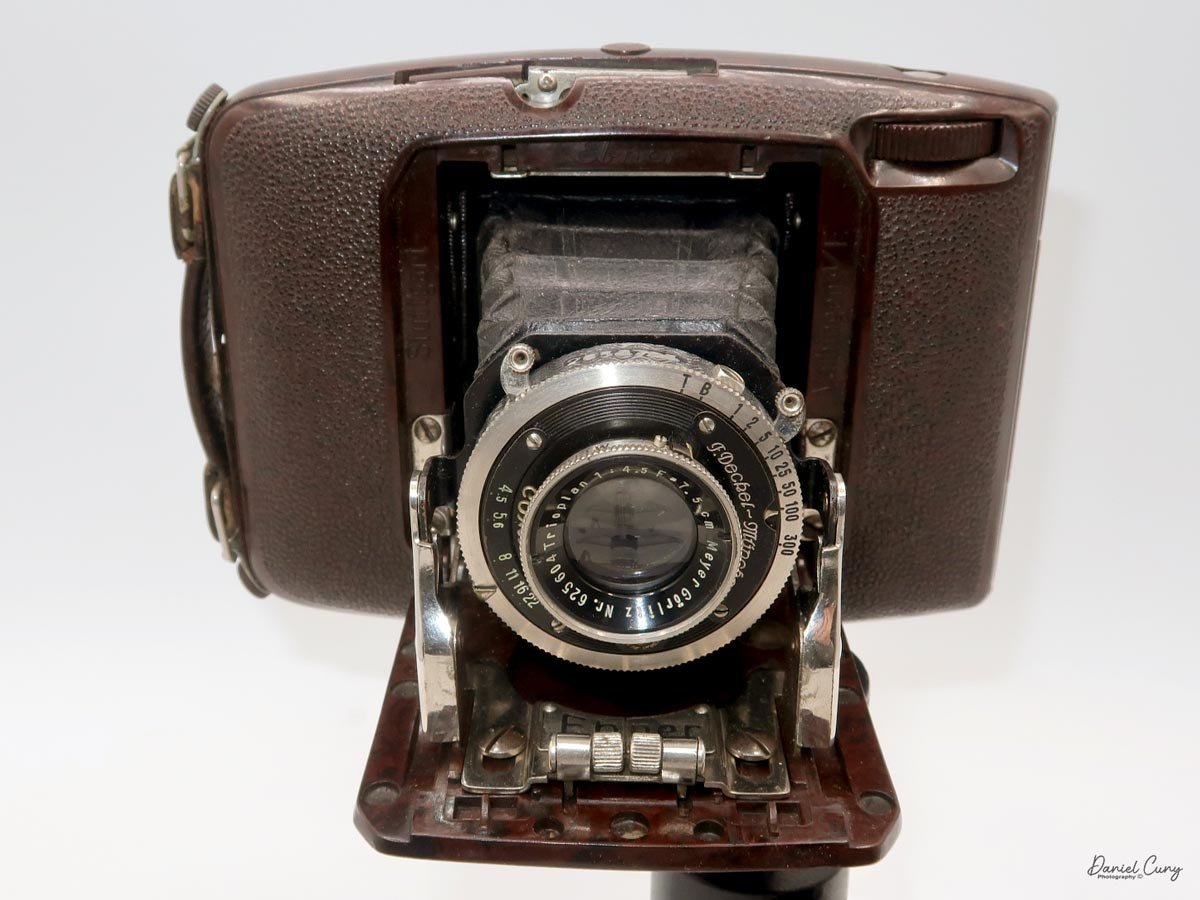
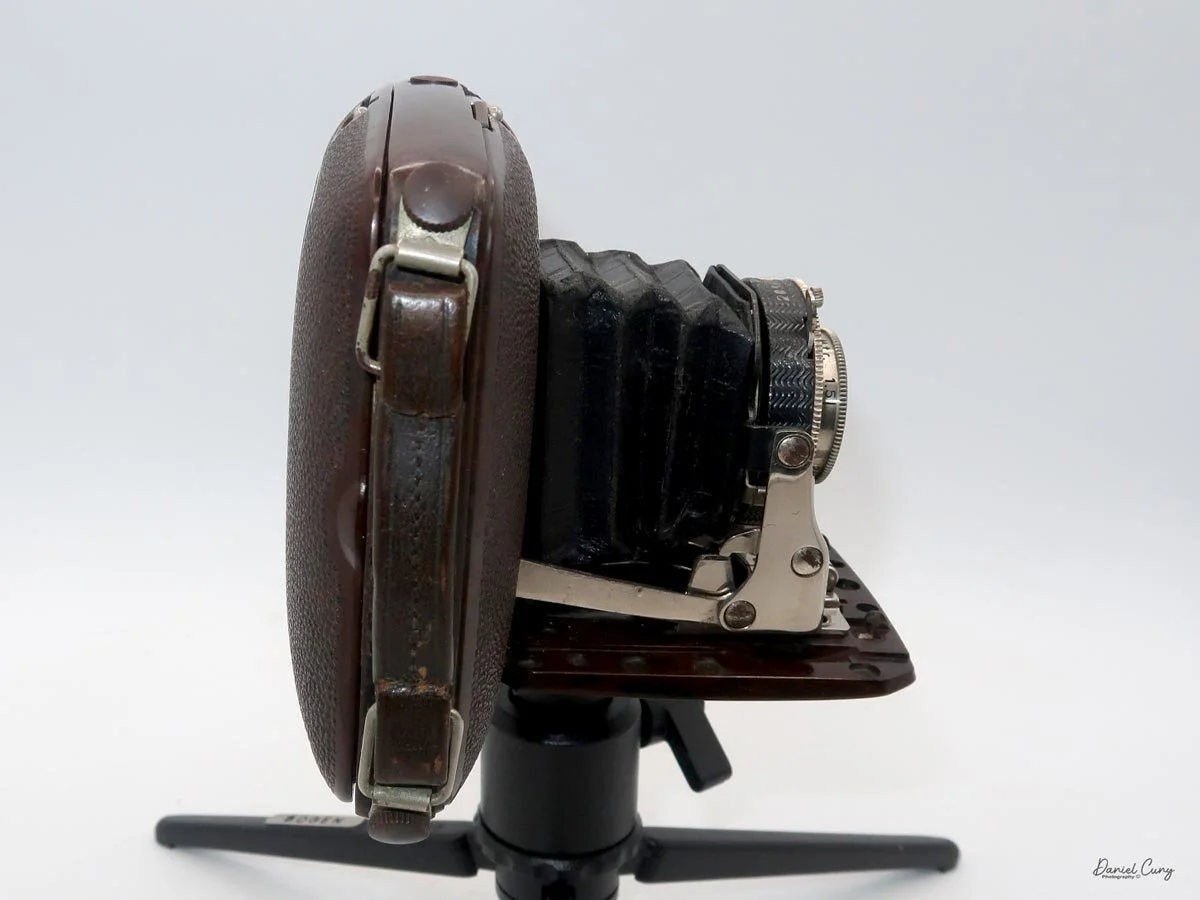
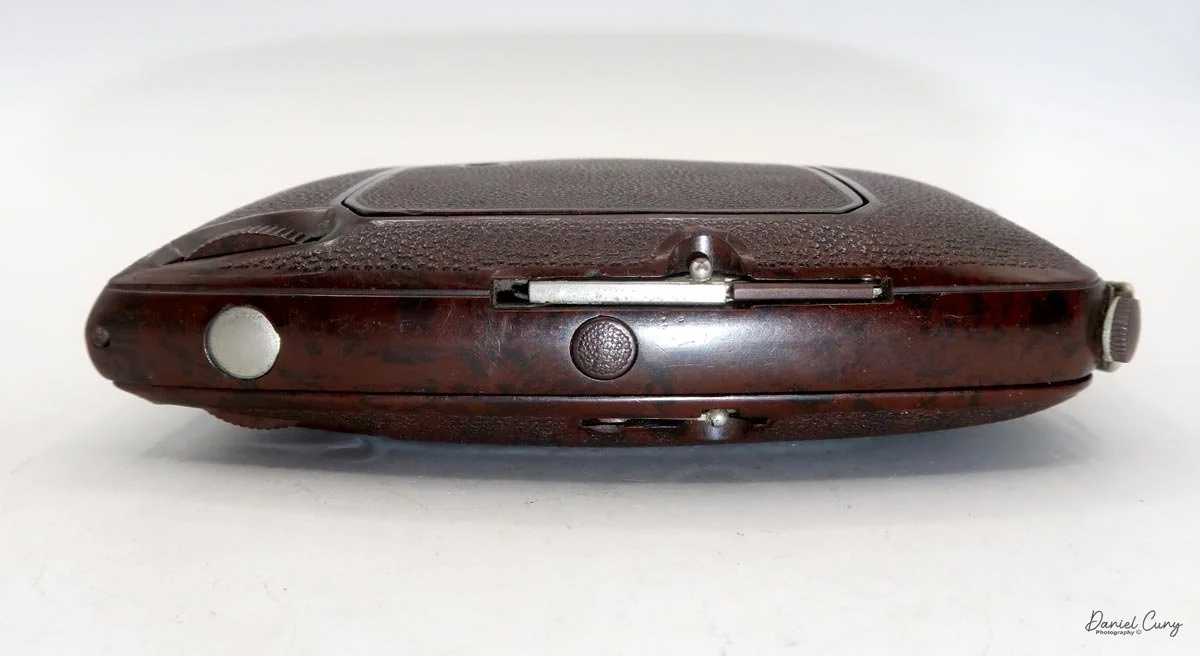
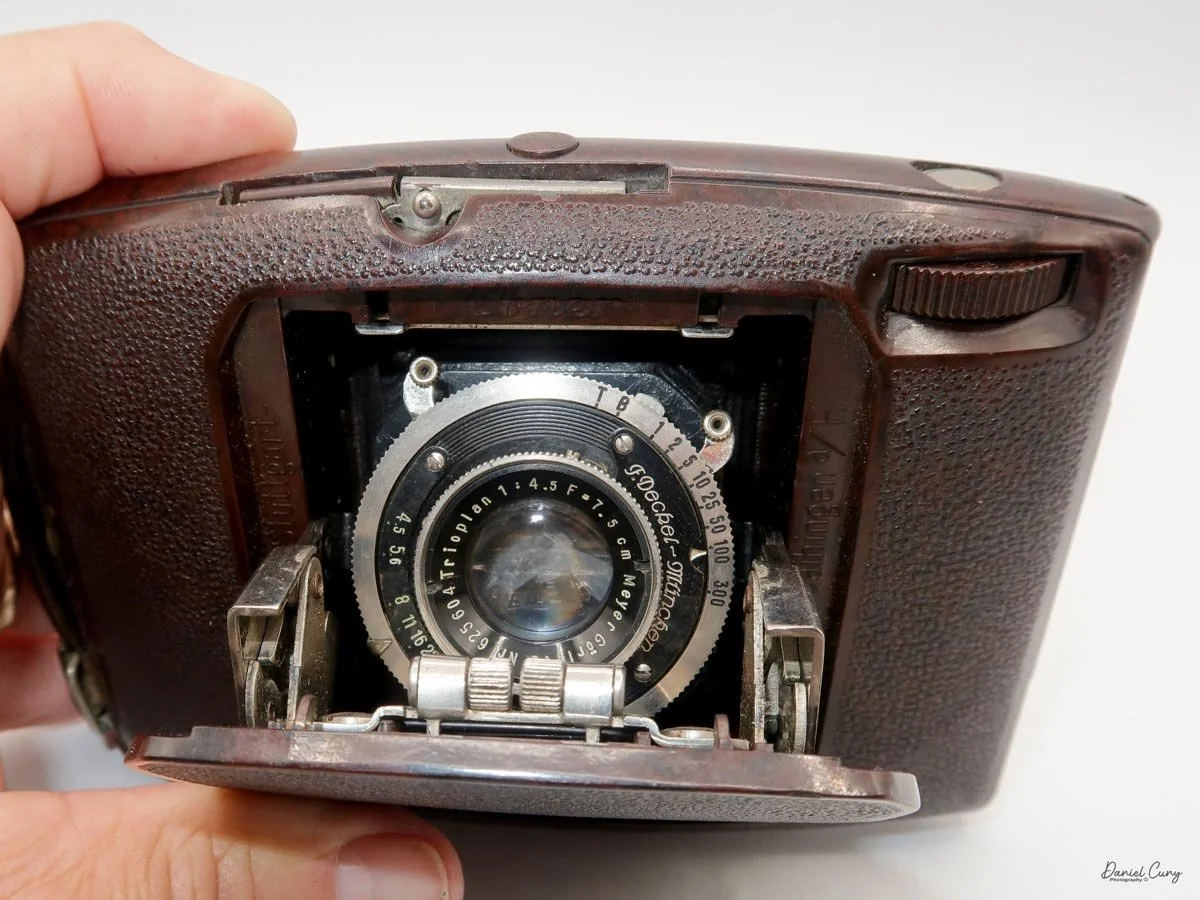
 My Ebner 6x4.5cm camera is 4.25" tall with the retractable viewfinder down, and 5" tall with the viewfinder in the upright, viewing position. It's also 5.5 wide and 1.25" deep with the lens retracted, and 4" with the lens extended and in the normal taking position. The camera weighs 1 pound 0.7 ounces without film loaded inside. 

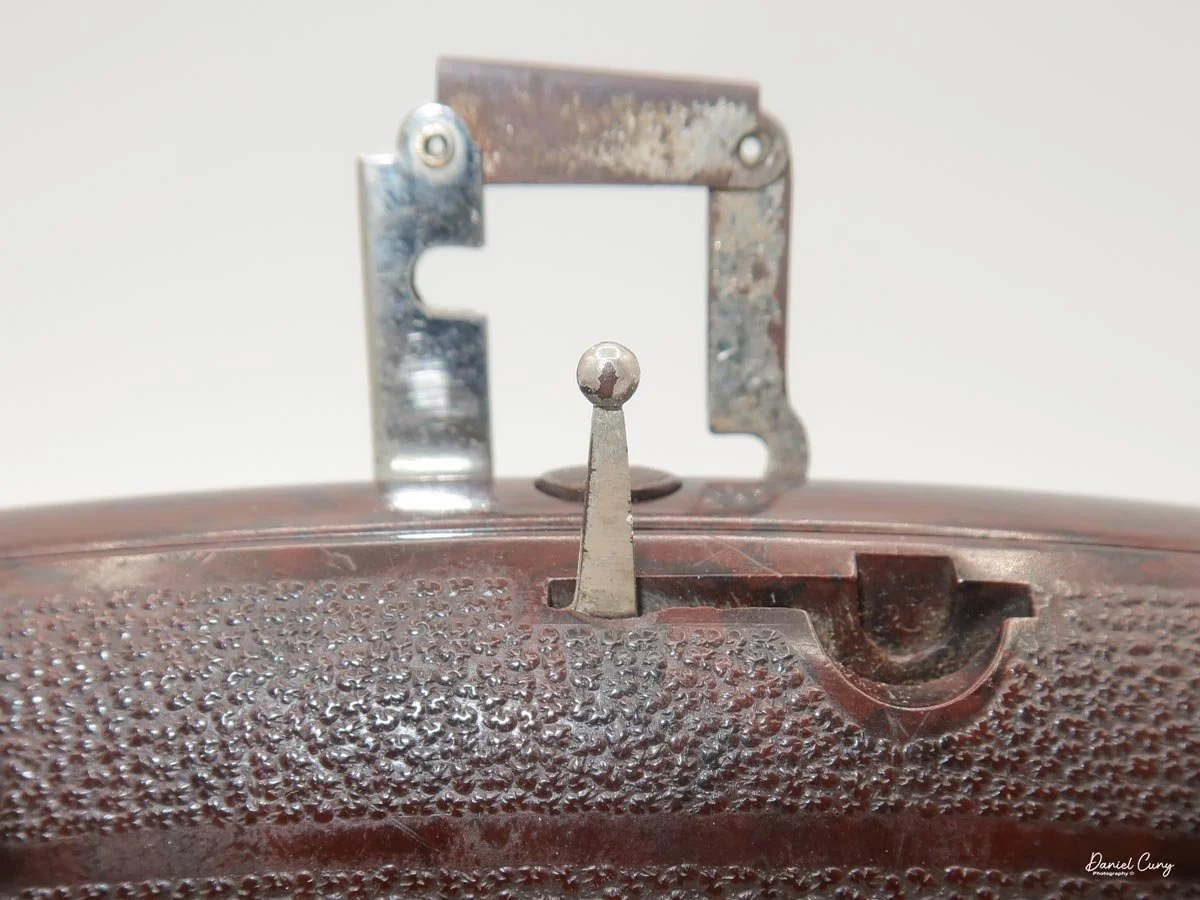
To open the Ebner camera, on the top of the camera is a button between the retractable front viewfinder, which pulls up from the camera body to produce a vertical rectangle. and a small pbar with a ball on the end used as the rear portion of the viewfinder. This bar is also retracted into the camera body. Once the button is pressed, the front door housing the lens, bellows, and shutter springs from the camera body.

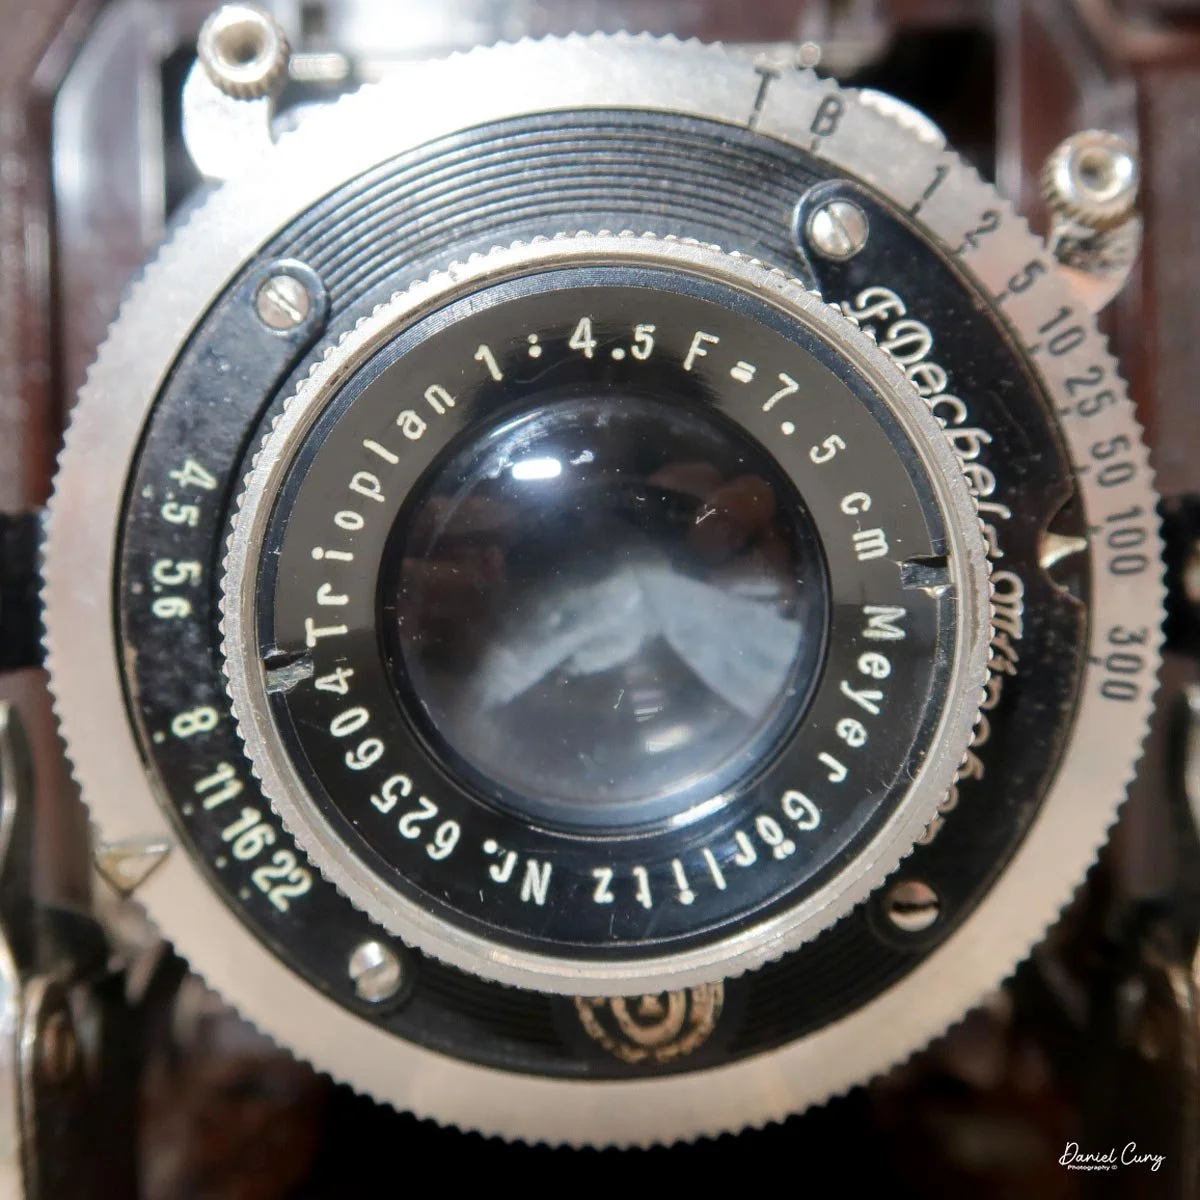
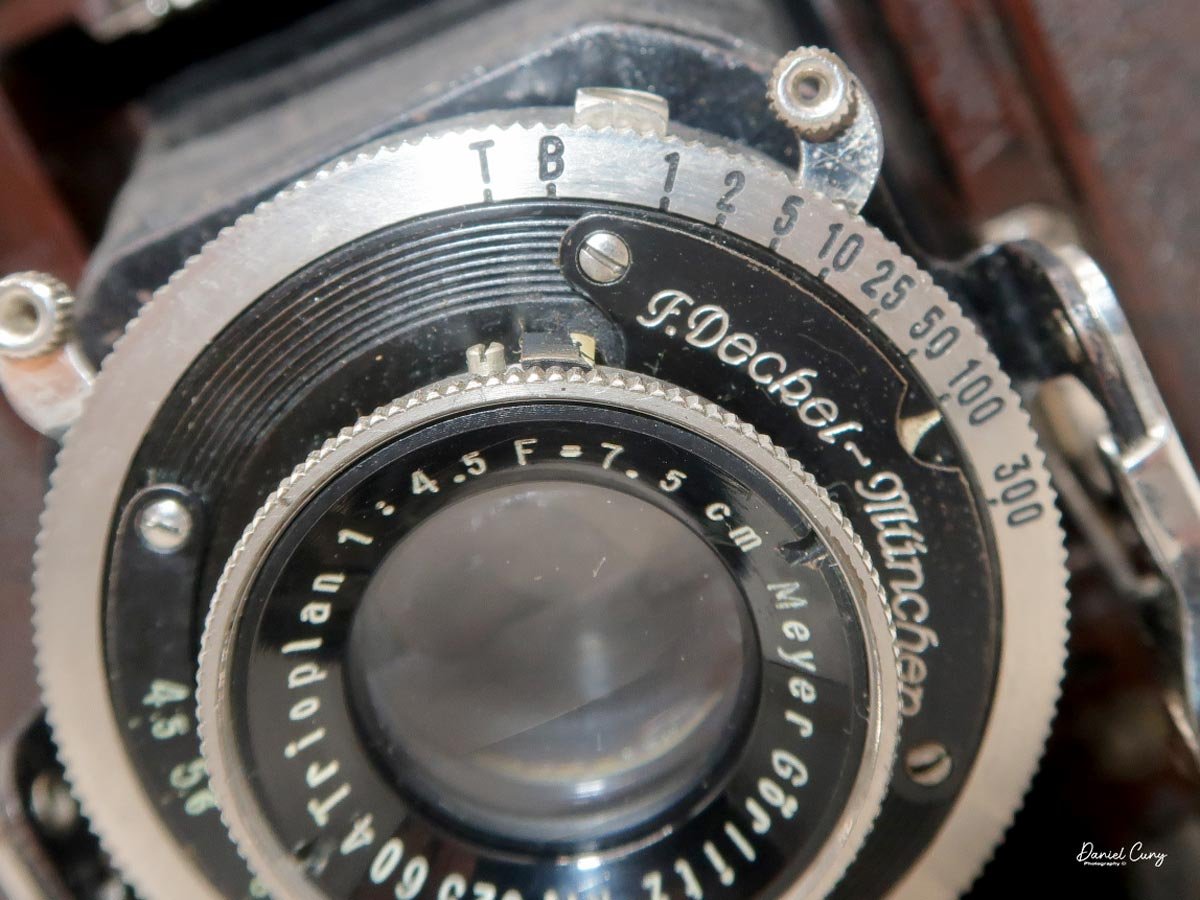
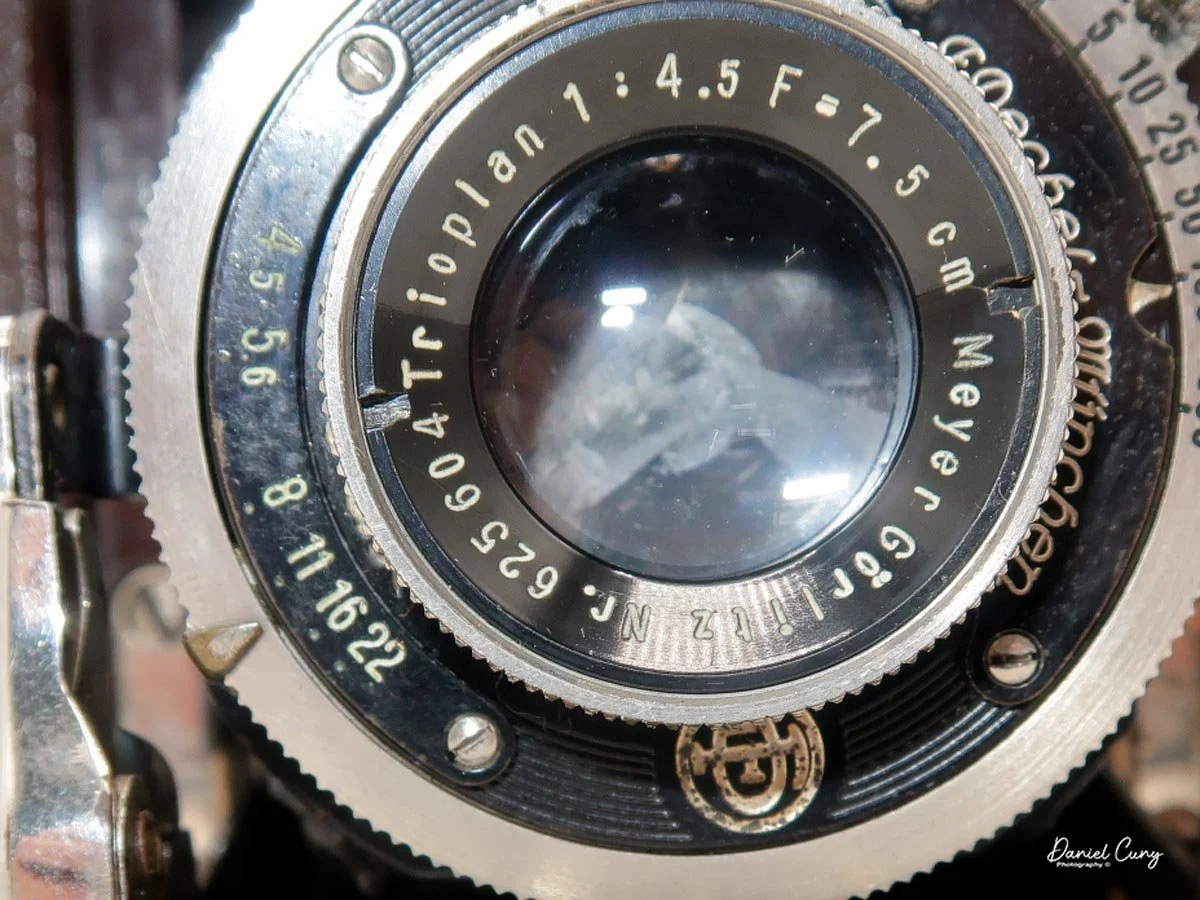
The Ebner I own has a Meyer-Goerlitz 7.5cm F/4.5 lens (SN 625604), with a Compur shutter, ranging from 1/300 to 1 second, plus "T" and "B". There were several different lens and shutter combinations for the camera. The aperture range is from F/4.5 to 22. 

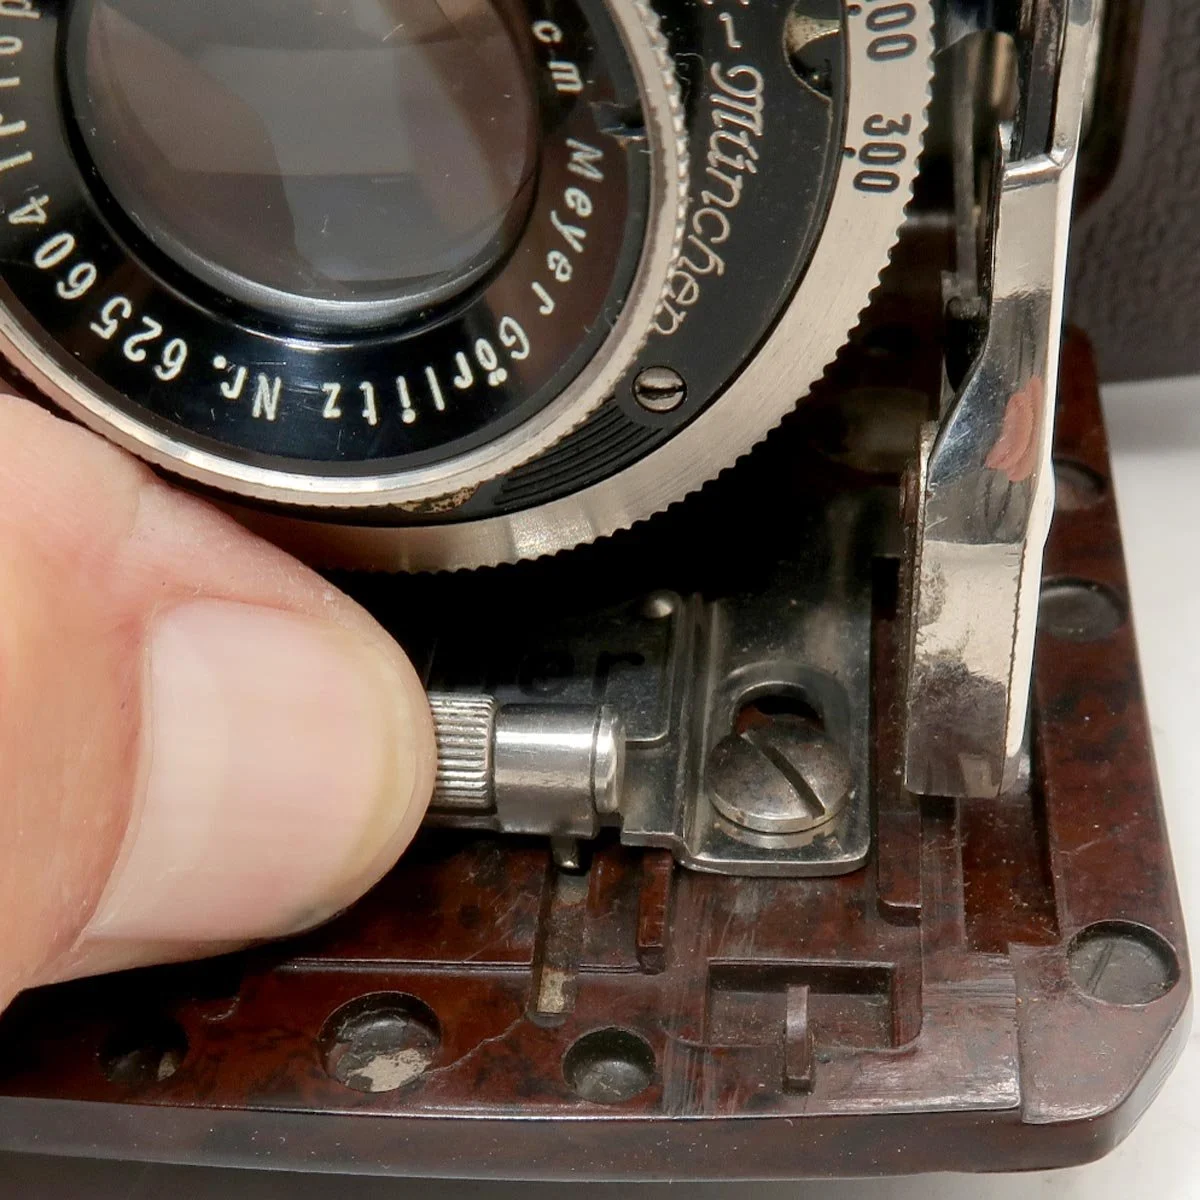
 Setting the shutter speed is done by turning a ring on the outer portion of the lens, and the aperture is set by sliding a lever with a pointing end to the desired aperture setting under the lens. Also, the shutter is cocked by one lever at the top of the shutter and released by another lever on the side of the shutter. Focusing the lens is done by rotating the lens itself to the desired focus distance in meters, as seen on the top of the lens.

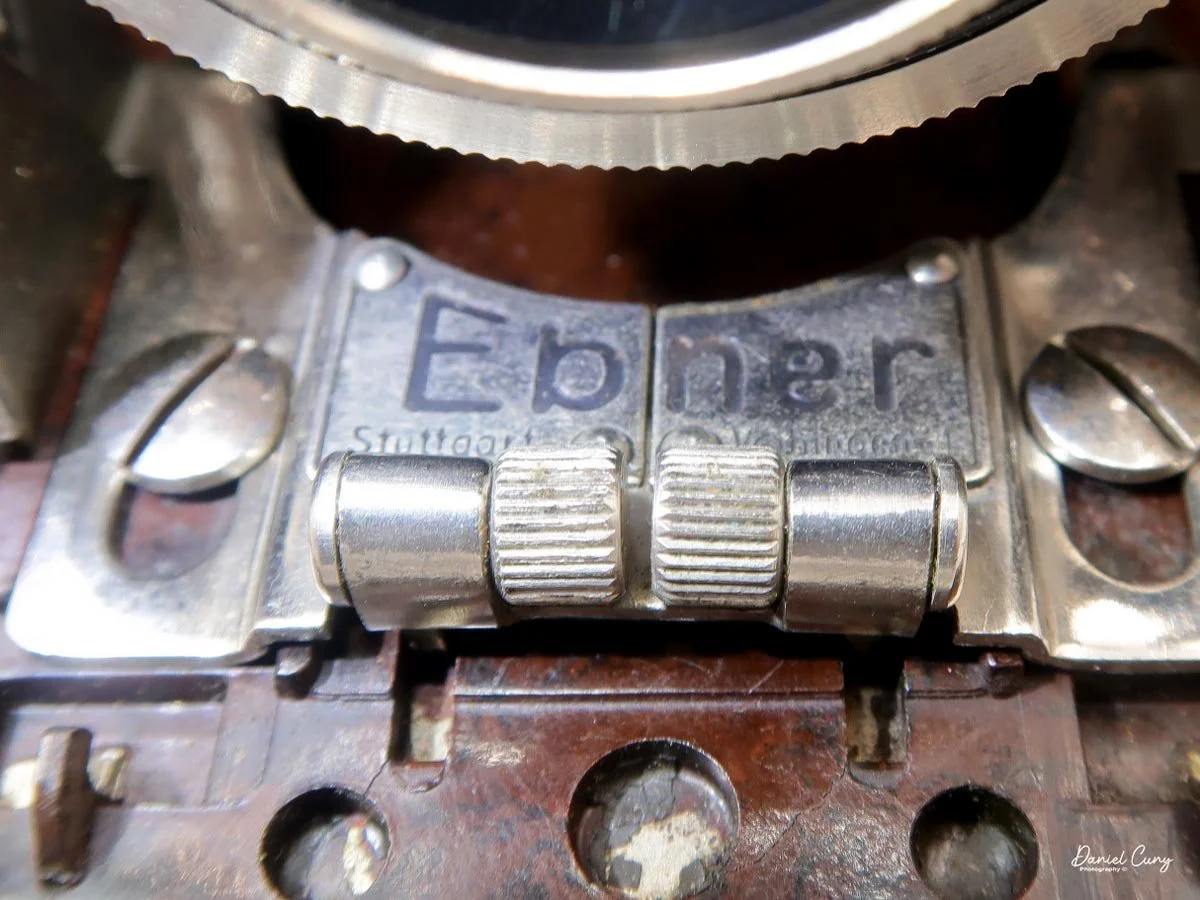
To close the camera for transport, there is a bar at the bottom of the lens bed, just in front of the "Ebner" plate. Press these bars towards the camera body; the lens board releases, allowing you to tilt the board back up and into the camera body. It will click when the lens board is locked into position.

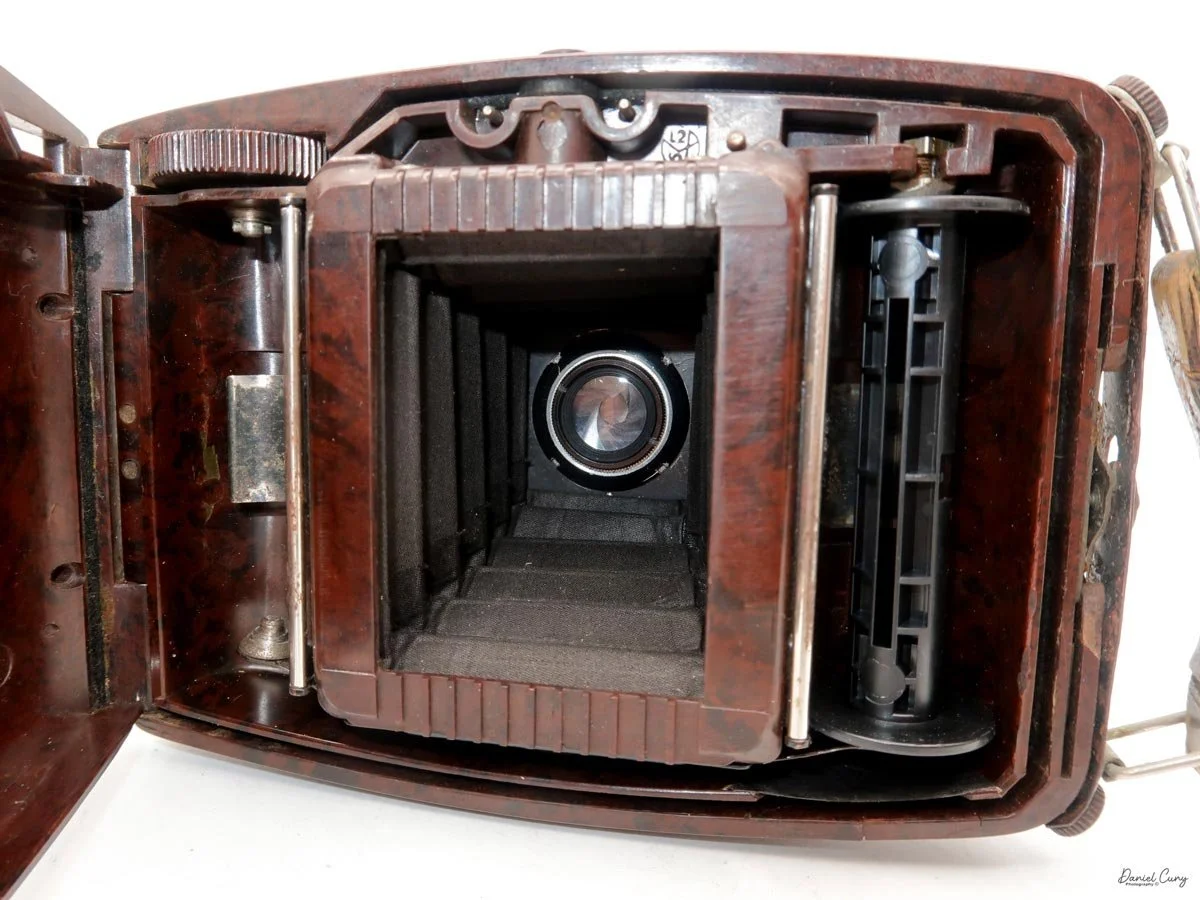
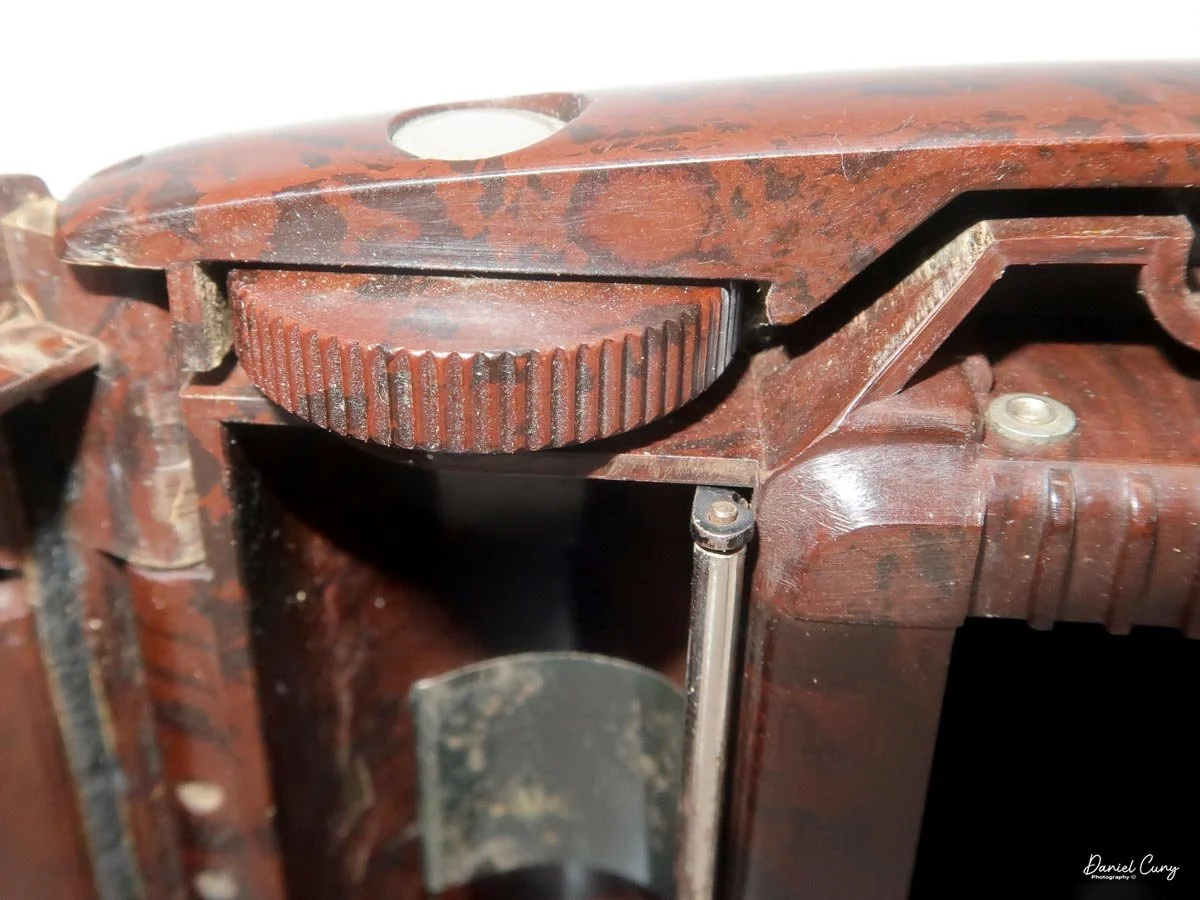
Opening the film back to load film is done by sliding the locking lever, which is located under the camera's strap. Once unlocked, you can slide the door open to reveal the camera's film chamber. Once opened, you'll see the vertical format 6x4.5 film area. The new film goes on the right side of the camera, and you'll transfer the empty spool from the right side to the left, where the film's winding wheel is located. My camera didn't have an empty spool, so I needed to supply the camera with one.

  Looking at the film holders' pins, the camera takes 620 film, but I accidentally loaded the camera's take-up chamber with 120 film, and it fit. Generally, when I try to put 120 in a 620 camera, the spools don't fit, or they don't turn because the pins are too small to grab the 120 spool. Let's see if I can load a roll of 120 film in the camera. Interestingly, this camera: the 120 film fits a bit snug, but the film advance engaged with the spool, and the film wound smoothly.

Since the camera is 6x4.5cm, with two red windows on the back, this symbolizes that you start with the number one in the first window, take your photo, and then wind the film until the number one shows up in the second window. You do this with the whole roll, which ends with the number eight showing in the second window, giving you sixteen images per roll of film.

 Once the film was loaded in the camera and the "start" arrows were showing, I closed the back of the camera, and my daughter, her dog, Bean. I went for a walk along the Columbia River and took photos with the camera. The camera is very "pocketable" and travels extremely well.

 Let's see how the images turned out.


The Results:

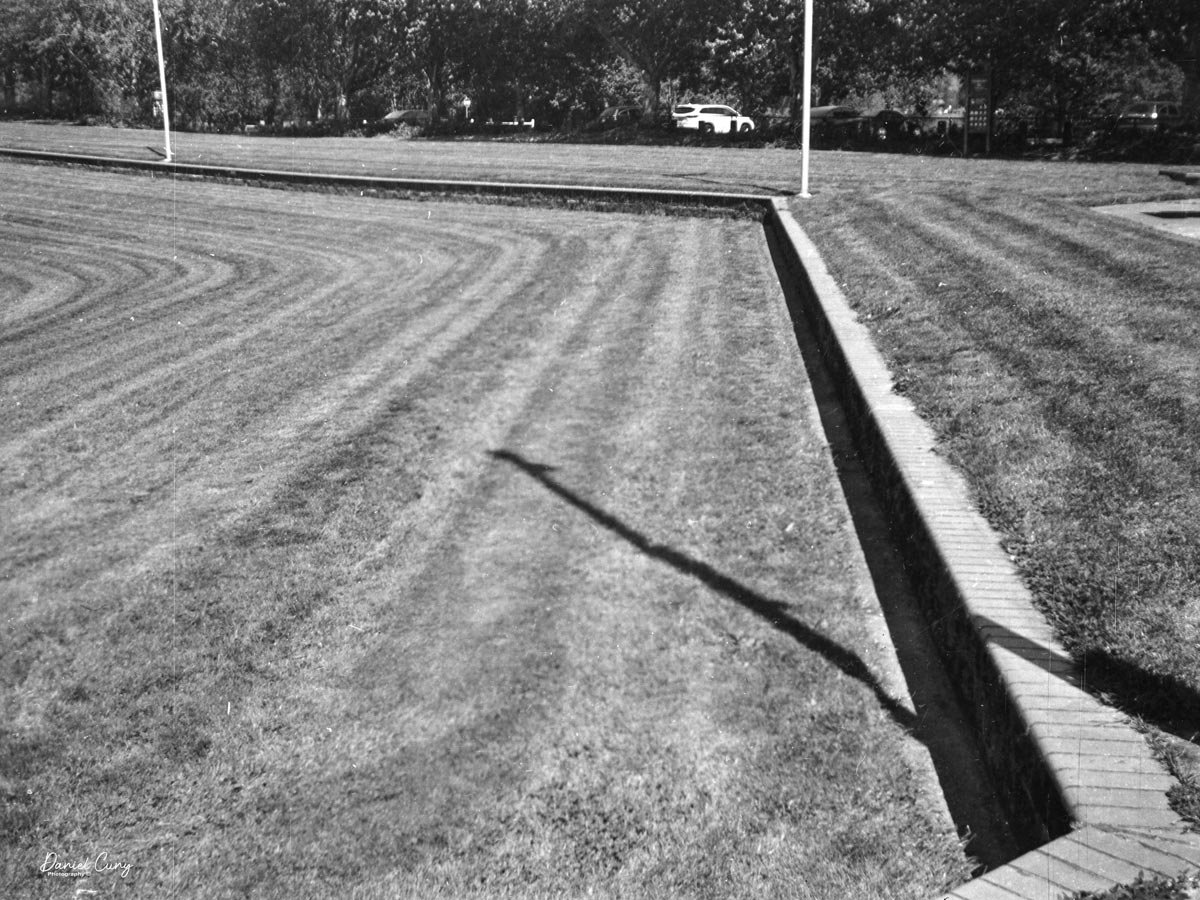
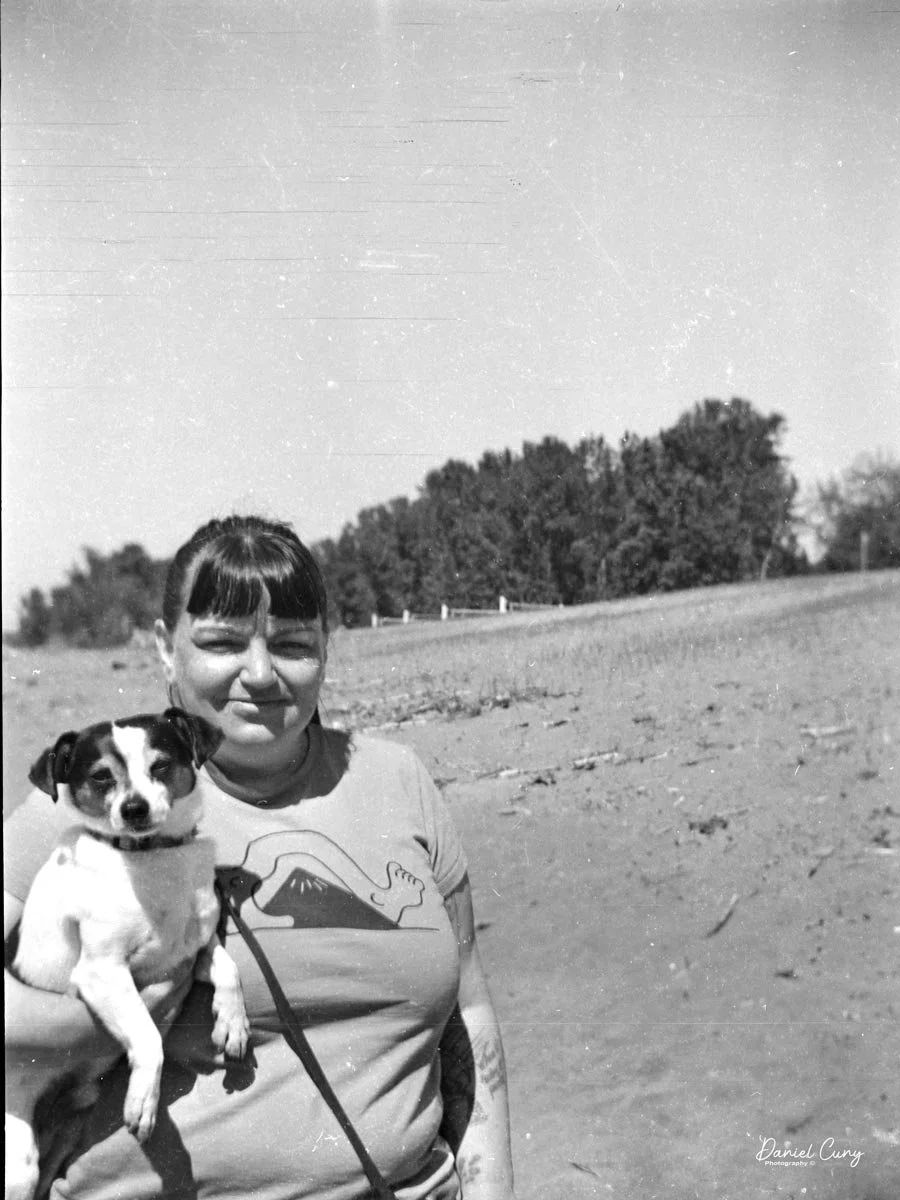
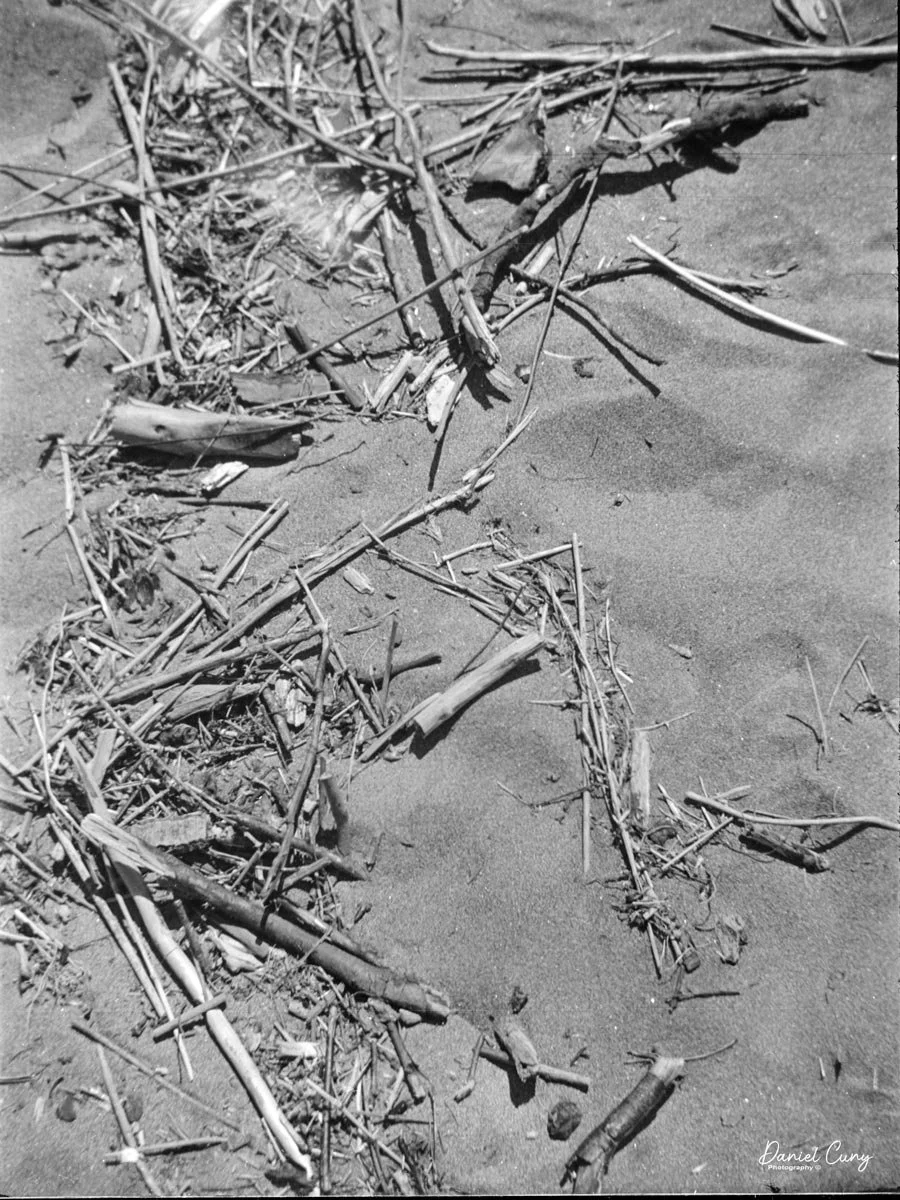
 The results aren't bad, but not the sharpest images either, especially compared to the Kolar Kola camera. I may have missed the focus distance, but most of the photos are sharp enough for an 8x10. Here are some of the images I took while walking the Columbia River with my daughter and Bean, her dog. 

Conclusion:

 There are several things I really like about the camera. Still, the thing I enjoyed most about this camera is its thinness when traveling. It's so thin compared to other medium-format cameras; for me, it makes it fun to use. Not being bulky or clumsy and being fairly lightweight make this camera a real pleasure to carry around.

 The brown pebble finish is also a bonus in my opinion, adding more to the camera than leather and chrome alone. It has a very appealing feel and firmness that make the camera fun to hold.

Designers in the 1930s were still in the Art Deco period. They had a real sense of classical design, which they implemented in their products. It makes me even more want to buy a 3D printer to experiment with designs and textures, which I feel are lacking in today's designs.  

 Thank you for taking the time to learn a bit about this very classic and rare camera made in Stuttgart, Germany, in the early to mid-1930s.

 I'd love to hear from you, so if you have a comment or one of your own, please share it with us here.

 Here are my other Camera Reviews.

 Cuny's Camera and Photos is my online eBay store where you might find one (or many) of the cameras I've reviewed, along with other camera and photo items I've picked up or hoarded over the many years in the business.

 Until next week, please be safe.

Kolar Kola camera

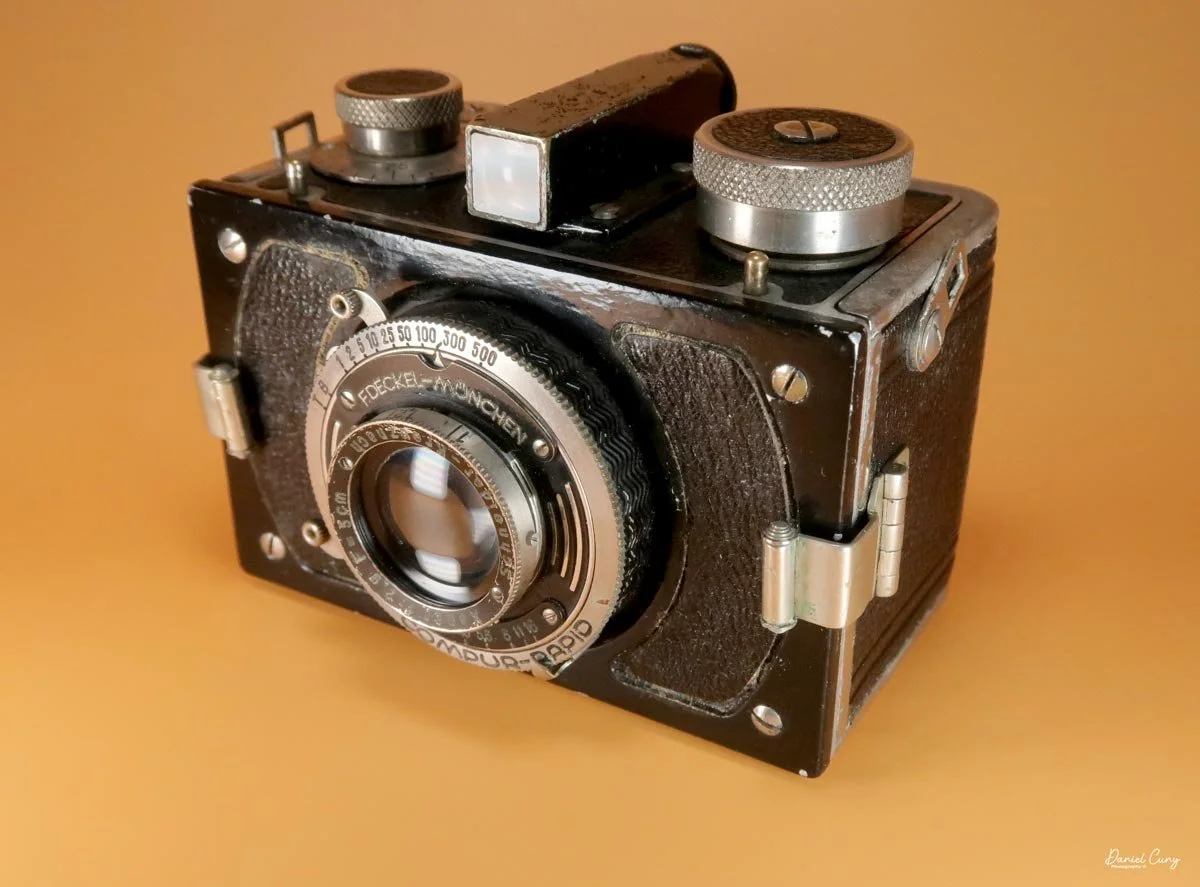
My Kolar Kola camera

I didn’t write a blog post last week because I was in Tokyo camera shopping and hoping to find something odd and unusual to write about in the coming weeks. I was successful in that search, and this week’s camera is one I bought at one of my favorite used camera stores in Japan, Kitamura Camera in the Shinjuku area of Tokyo. Kitamura has several locations, but this was their flagship store.

 Kitamura Camera is an impressive multi-floor store with just about everything a camera lover could want, from a photo studio to film sales and processing. The most impressive parts for me were the two used-camera floors. The fourth floor had an outstanding collection of rare Leica cameras and lenses, Nikon rangefinders and lenses, Hasselblad gear, and other medium format cameras and lenses. The third floor was where I spent the most time. That was their bargain floor, with many lesser-known cameras and others that were not quite perfect.

 They also had Leicas and Nikons there, but some had small defects or were not fully functional. These were not the kind of “junk” cameras you often see in used camera stores, where lenses have fungus and shutters no longer fire. These were cameras most people would probably buy for parts, but Kitamura still presented them in a much more appealing way.

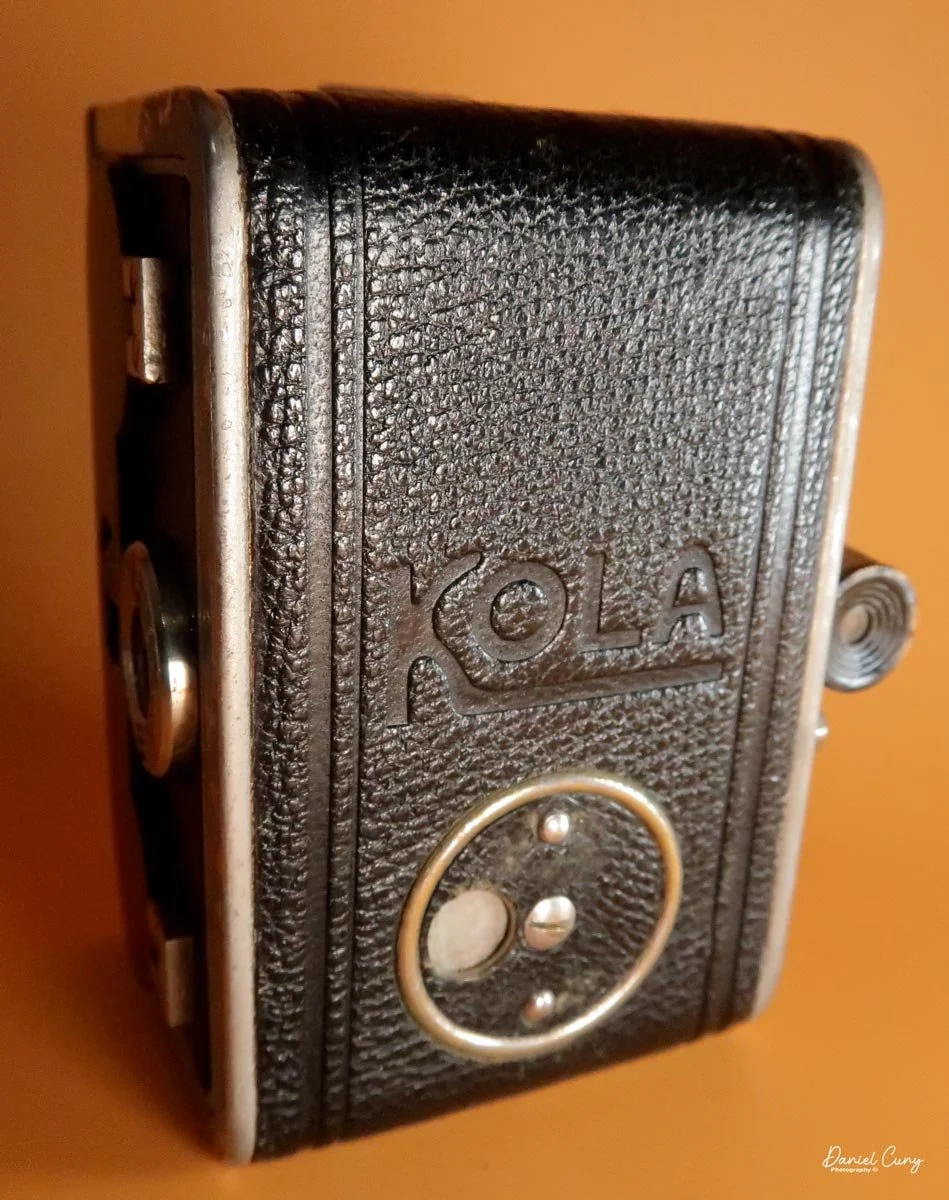
 That third floor is where I found this week’s camera: an odd cube-shaped camera called the Kola. I had never heard of it before. When I checked it out, the lens was clean, the shutter fired at all speeds, the film spools were still in the camera, and the price was very reasonable.

Back side of my Kolar Kola camera

 At first glance, I thought it might be a 127 film camera because of the film spools, but the frame size was marked 24 x 36, which meant it was a 35mm camera. That made me think it may have used paper-backed 35mm film, similar to the way some Bolta cameras were loaded.

It was certainly unusual enough to catch my attention, so I bought it along with a few other treasures from the shop. I planned to do the research later, but for the moment I set it aside and kept exploring the store. I knew I would be back before leaving Japan.

 Later that day, back at my hotel, the first camera I pulled out was the Kola. I wanted to know more about it right away. I soon learned that the camera was made in Czechoslovakia by a small and relatively obscure camera maker in the 1930s.

 Many examples I found online show Kola cameras in a 4 x 4 cm format on 127 film. Some earlier versions have a barrel lens, and the lenses I found were usually marked f/3.5 or f/4.5. I also found references to a paper-backed 35mm version. In my research, I saw that some Kola cameras used special 35mm cassettes and a different geared spool, but that spool arrangement did not match the camera I own.

 Here is a little more about the maker.

History

Václav Kolář was a significant, if short-lived, figure in prewar Czechoslovak camera manufacturing. Based in the Modřany district of Prague, Kolář operated his workshop during a period of experimentation and innovation in European photography. In the 1930s, small makers like Kolář were trying to compete with German giants such as Zeiss Ikon and Voigtländer.

 Kolář’s history appears to have been one of rapid innovation followed by financial difficulty. His company focused on precision engineering and often produced cameras that were mechanically sophisticated for their price point. However, the economic pressure of the Great Depression and fierce competition from Germany eventually led to bankruptcy in the mid-1930s. Today, his cameras are considered hidden gems of Central European camera history, prized for their rarity and distinctive design.

 His product line was surprisingly varied for such a small workshop. One of his best-known cameras was the Kola-Diar, a box-shaped roll-film camera. It was designed to be compact and practical, often using 127 film or unperforated 35mm film, which later gave it a bit of a spy-camera reputation among collectors. It featured a collapsing lens mount and a rugged build that stood out from the folding cameras of the period.

 Another notable model was the Kola-Flex, a twin-lens reflex camera made largely of Bakelite. Unlike many pseudo-TLR cameras of the era, the Kola-Flex often featured gear-linked lenses, allowing for more accurate focusing through the top viewfinder. Kolář also produced the Kolex, a traditional folding plate camera, and the Box-Reflex, an entry-level Bakelite model. These cameras were typically fitted with lenses bearing Kolář’s own names, such as Rekolar, Kolyt, and Kolar-Anastigmat, and were often paired with reliable German shutters like the Vario or Compur.

 Kolář’s legacy lies in his pioneering work in the Czech tradition of fine mechanical camera building. His designs showed that Czechoslovak workshops could produce serious photographic equipment, helping lay the groundwork for the later nationalized industry that would produce the Flexaret series.

My Camera

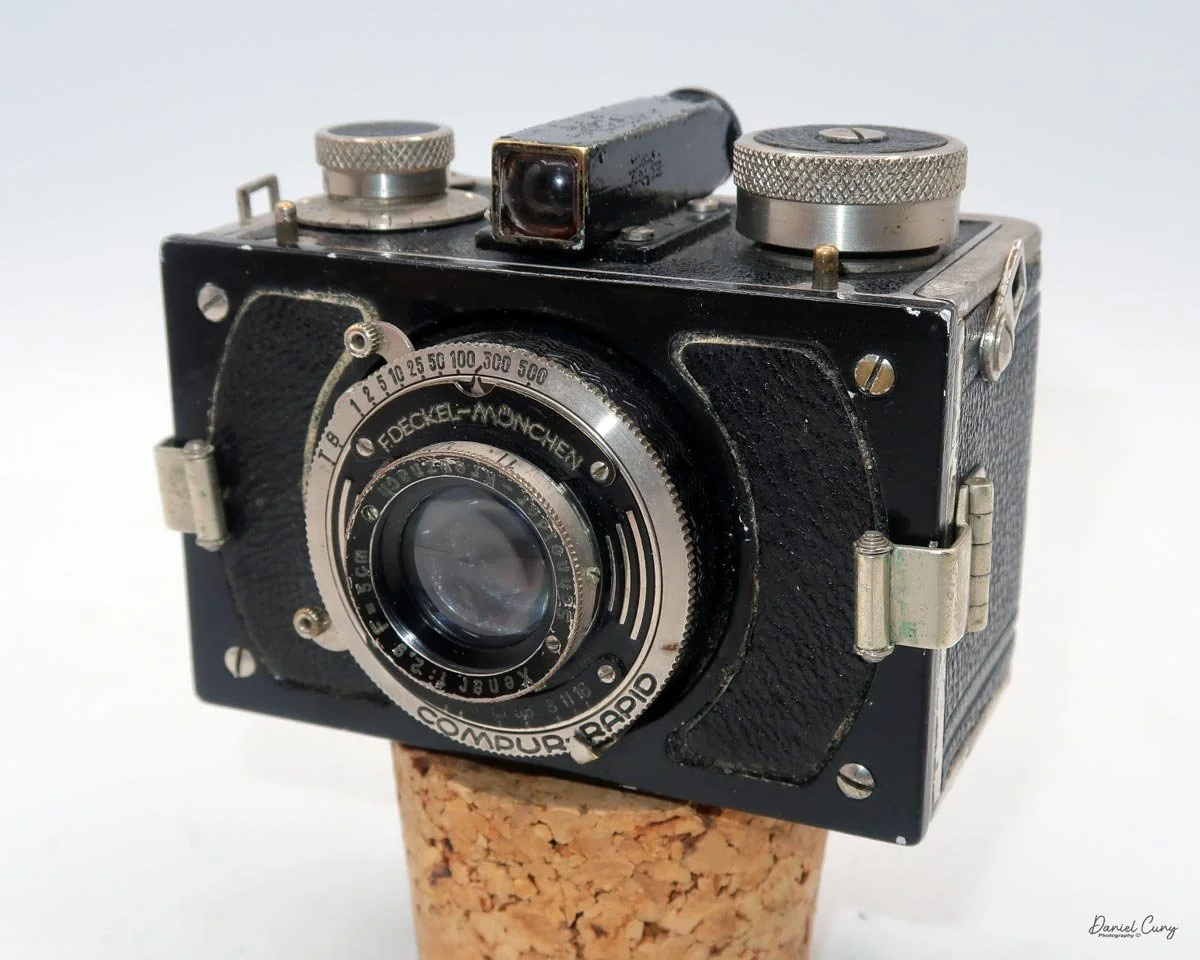
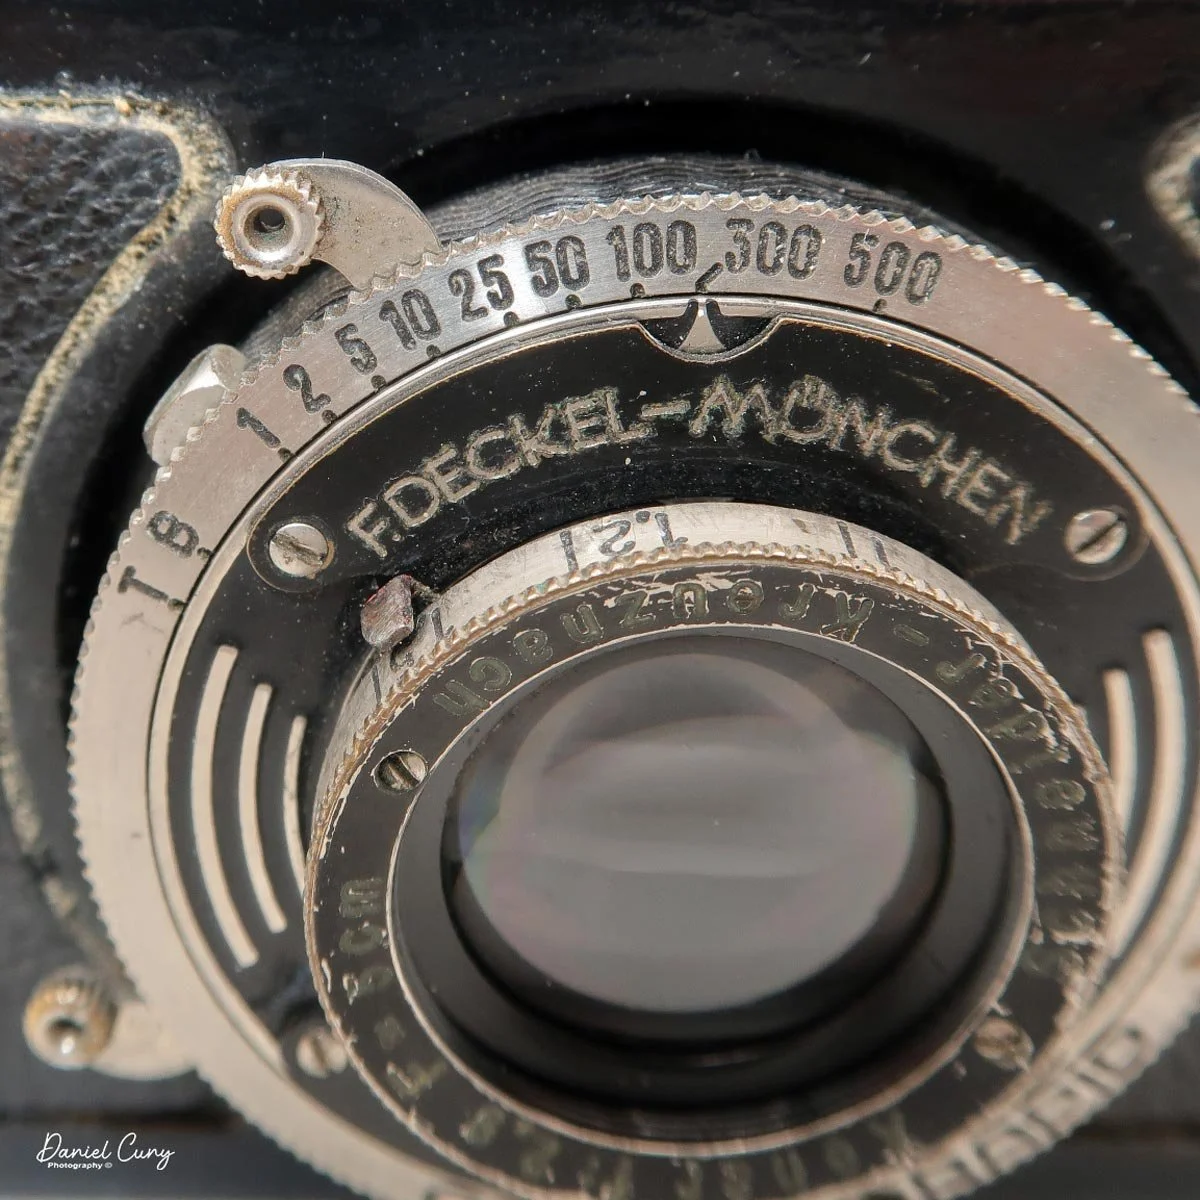
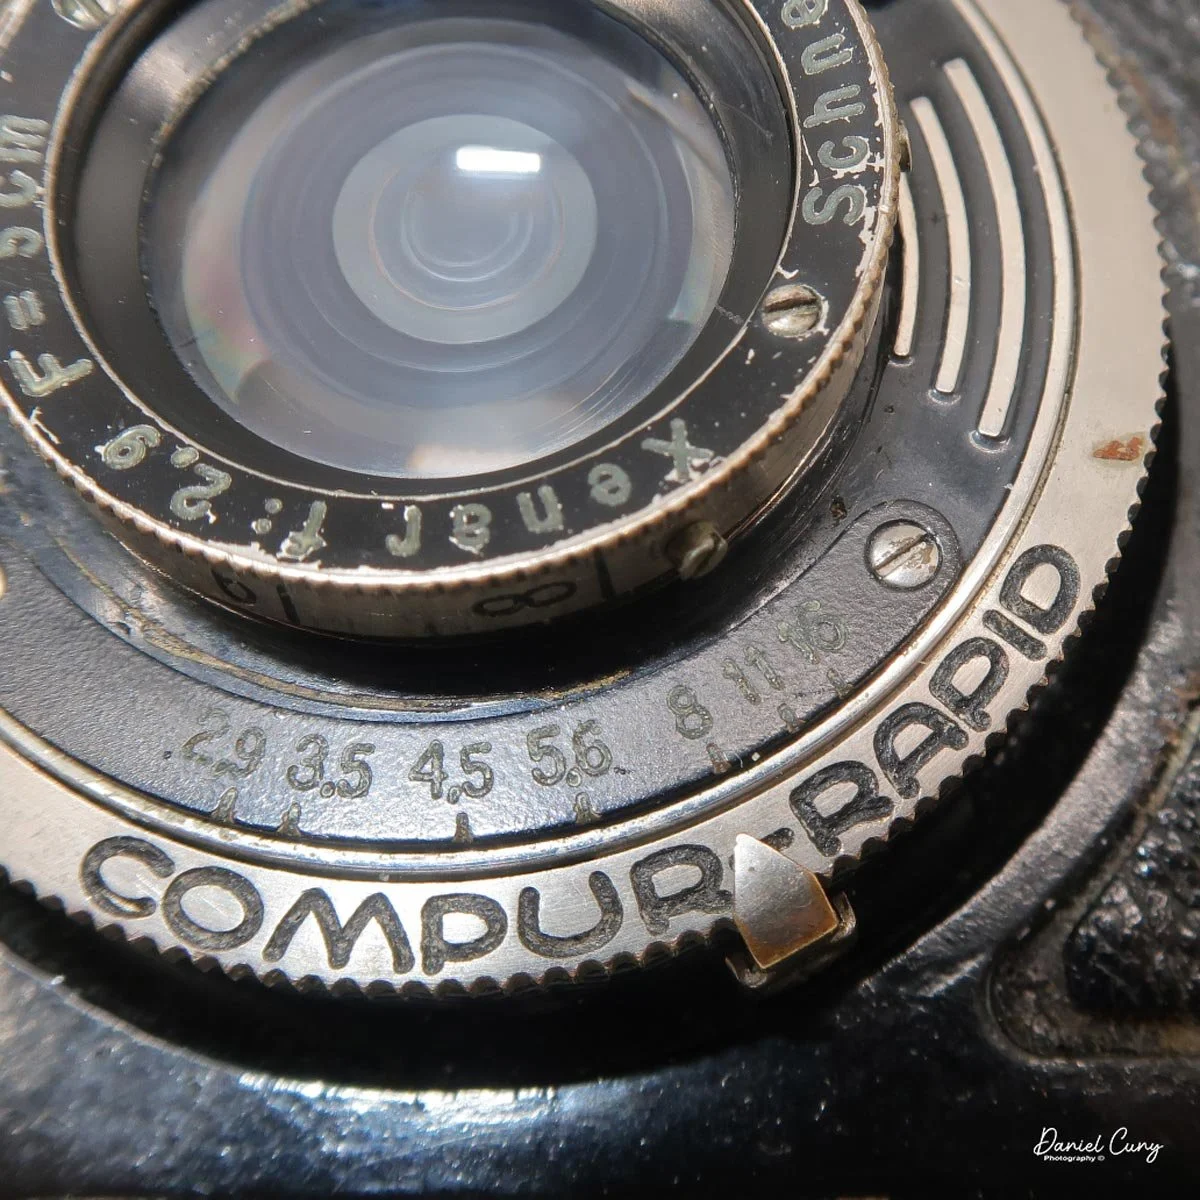
My Kolar Kola camera measures 3.5 inches wide, 3 inches tall, and 2.75 inches deep. It weighs 1 pound, 1.7 ounces, and has serial number 740 stamped into the back of the camera. It is fitted with a Schneider Xenon 5cm f/2.9 lens in a Comur-Rapid shutter. The shutter speeds range from 1/500 second to 1 second, with T and B settings for timed and bulb exposures. There is a cable release socket next to the shutter cocking lever on the top of the shutter, and the shutter release is positioned low at about the 8 o’clock position.

In my research, I found that many Kola cameras use a helical focus system mounted behind the shutter mechanism, but mine is a front-element focus model, meaning the lens itself rotates. Focus distances are marked on the outer ring of the lens in meters.

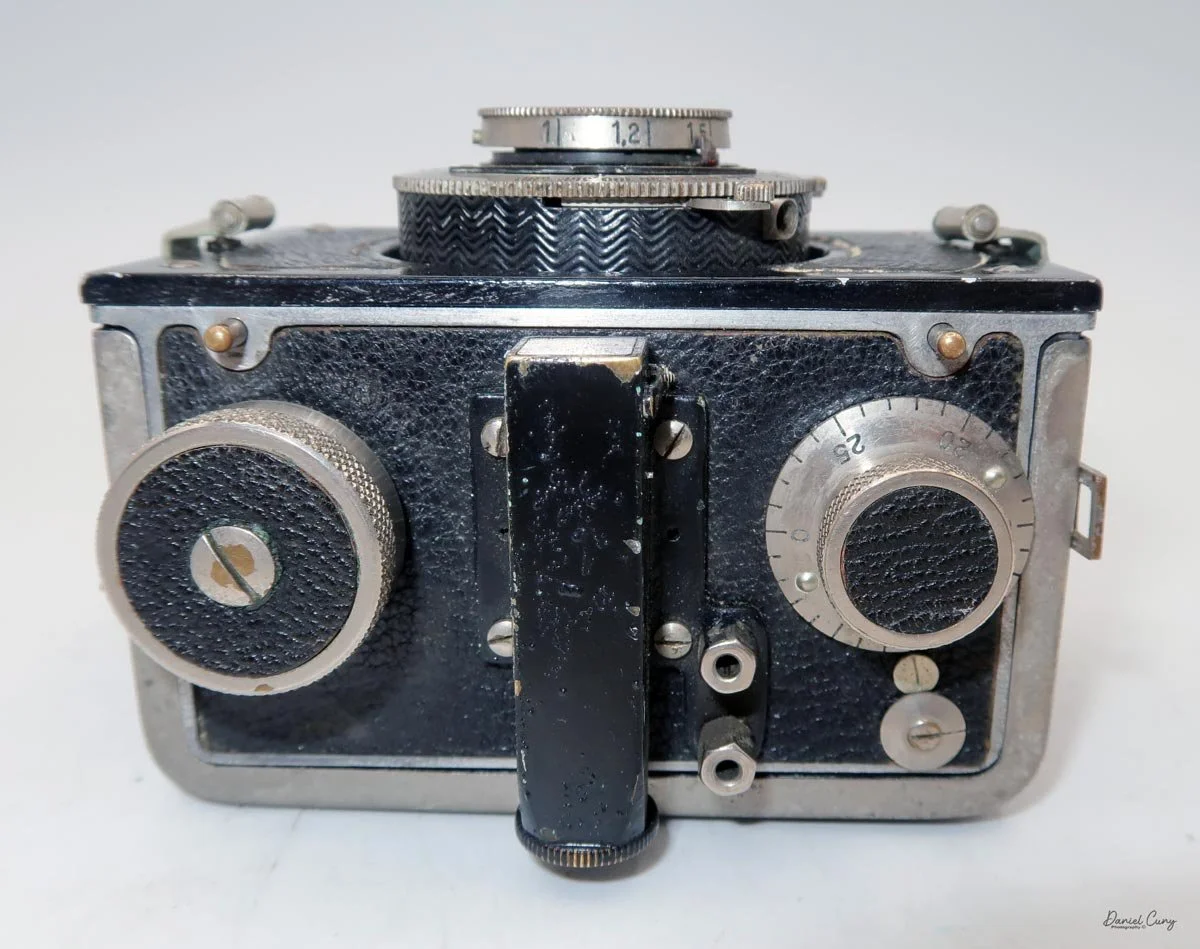
On top of the camera, from left to right, there is a large winding knob that advances the film clockwise. In the middle is a very small optical viewfinder, which is especially hard for me to use since I wear glasses. To the right of that are two small raised openings that can accept a cold shoe, much like the Nagle Pupille camera. An accessory rangefinder can be mounted there for critical focus.

 To the right of the cold-shoe area is the frame counter, located inside the knob that holds the film in place. Behind the frame counter is a small round indicator attached to the wheel inside the film chamber. As the film moves across that wheel during winding, the indicator turns, and each full rotation advances the frame counter.

The more I look at this camera, the more similarities I see between the Kola and the Nagel Pupille camera. Both have helical-focus variations, both offer an accessory shoe for a rangefinder, and both have a solid, well-made feel.

 To open the back and load film, there are two clips on either side of the camera that hold the back to the body. Pull those clips back, and the rear cover slides off, exposing the film chamber.

This is where the camera becomes especially interesting. There were already two spools inside, and they were just a little shorter than a 127 spool. The exposed frame area is 24 x 36, so the camera is definitely a 35mm model. My first idea was to use 127 backing paper with bulk-loaded 35mm film, but when I tried the 127 spools, they actually fit into the camera. Not perfectly, since the winding and holding knobs sit slightly higher, perhaps by about 1/16 inch, but they did fit.

I removed the 35mm spools that came with the camera and loaded it with 127 film I already had. On the back of the camera there is a red window, so I hoped I would be able to see the numbers pass by as I took pictures. If not, I could use the frame counter and the rotating wheel to estimate the proper spacing for 35mm-sized exposures on a roll of 127 film. I knew there would be some waste because the 127 film is wider than the image area the camera is using.

On the bottom of the camera there is a hinged door that allows the spools to be inserted into the body. The 35mm spools that came with the camera are too wide to fit through that opening, so if I were to use paper-backed 35mm film, I would need to open the hinged door to get the spools inside. The door is secured by a sliding latch that locks it in place.

Once the 127 film was loaded, I slid the back onto the camera body, latched the two clips, and headed out to make some photographs.

Results

With a roll of 127 film loaded, I walked through the neighborhood taking photos of the usual subjects to see how the Kola performed. At first, I guessed at the distance between frames, and that worked well enough. The frame counter behaved exactly as expected.

 Here are the results from my neighborhood walk.

Conclusion

WOW! I was very impressed with the sharpness and ease of use of this camera. The viewfinder is small and a bit difficult to use, especially for me since I wear glasses, but the sharpness of the images and the smooth film advance made up for the camera’s quirks.
 It would have been better to shoot 35mm film, since that would have avoided wasting image area the way 127 film does here. However, the hassle of paper-backed 35mm film, plus the unusual spool setup, made the wasted film area easier to accept.

 I am still puzzled by this particular Kola. It has a faster f/2.9 lens than the f/3.5 or f/4.5 lenses I found in my research, and it is also a 35mm version with spools that differ from those that came with the camera. That mystery makes it even more interesting to me.

 I am really happy with the results this Kola camera produced, and I am glad I found such a special camera on my trip to Tokyo.

 Here are my other Camera Reviews.

 Stop by Cuny’s Cameras and Photos to see what I have for sale in my eBay online store. It is filled with camera accessories, and you may even find a camera or two that I have reviewed in the past.

 Thank you for taking the time to learn about this small powerhouse of a camera made by a company in Czechoslovakia for such a short period of time. I am very happy to have one in my collection.

 Until next week, please be safe.


Salmoiraghi Luxus camera

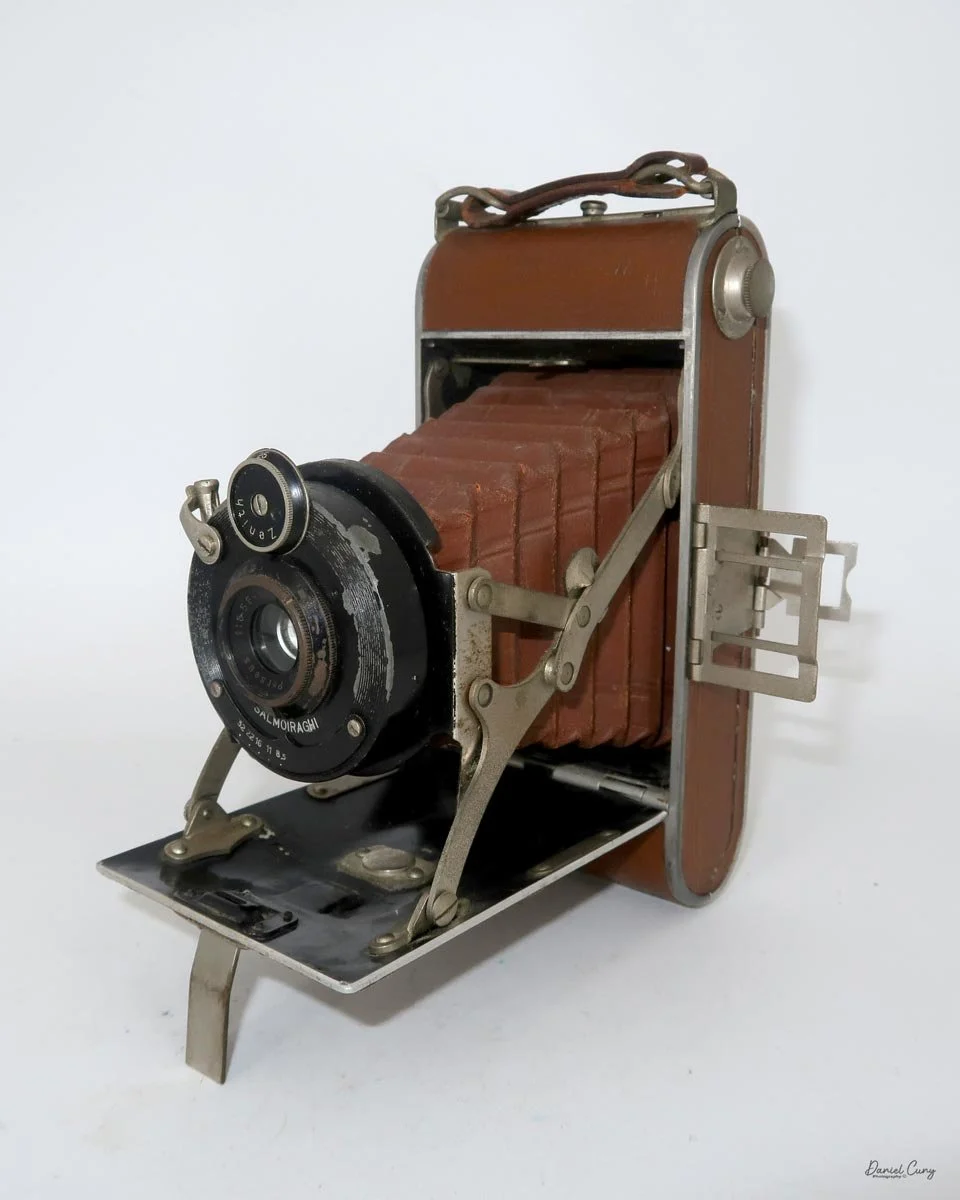
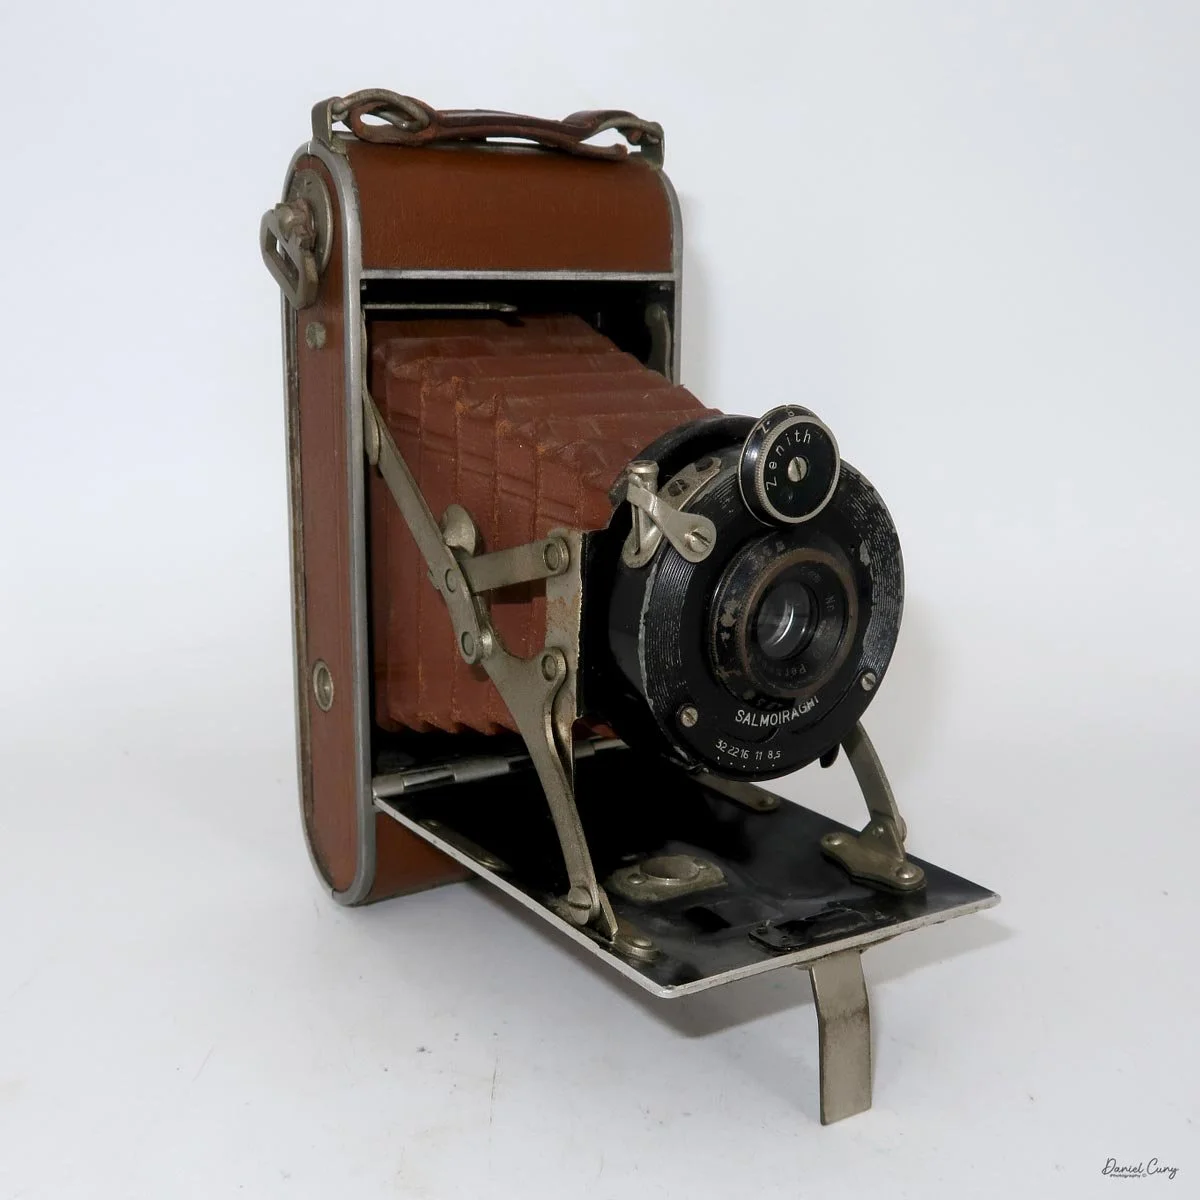
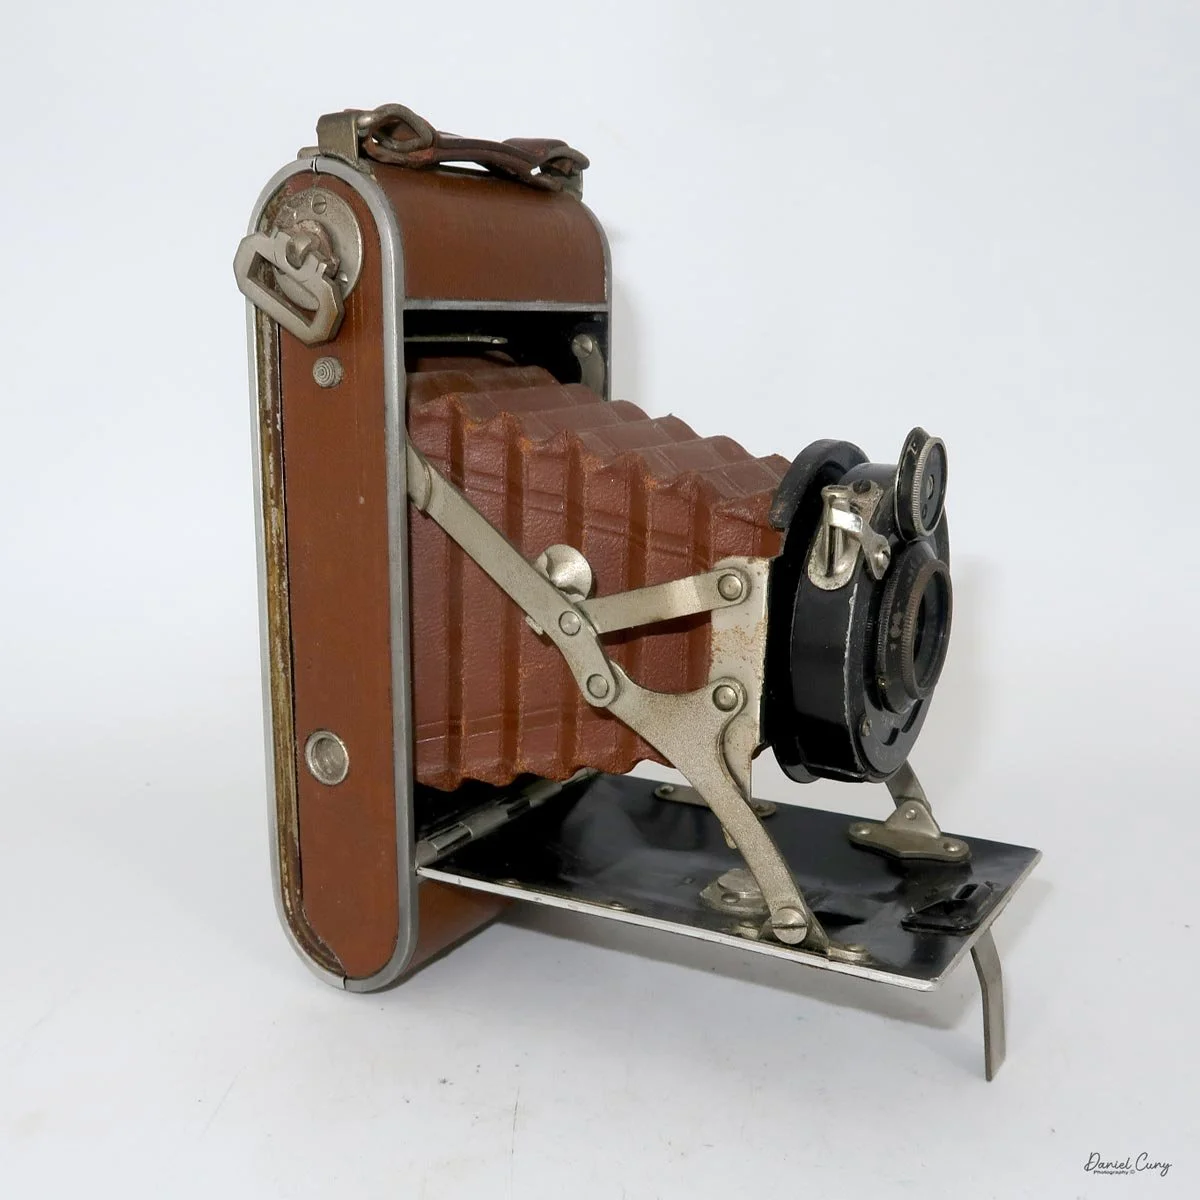
My Salmoiraghi Lexus camera

I truly don't remember purchasing this camera, so my best recollection is that it was part of a larger lot of cameras I purchased. What drew me to this particular camera, as with many others in my collection, wasn't the name or rarity of the camera, but the camera's color. The beautiful tan color, along with the colored bellows, are things that I'm drawn to.

 The Salmoiraghi Lexus has been on my shelf for a few years, and it wasn't until this past weekend that I noticed it again. It was tucked away behind some other cameras in my collection. 

 Next week I'm traveling to Japan to do some camera and flea market shopping, hoping to find some treasures to write about in some of my upcoming blogs. I guess that about a thousand others are looking for the camera treasures while there, and figure, what better way to spend my time in Tokyo than to photograph the town, attend a few flea markets, and visit a few camera shops.

 I was gathering items to take to a camera show in the suburbs of Seattle last week when I noticed it. I questioned whether I really wanted to take the camera, as I knew I would eventually want to write about it. I put the Salmoiraghi Lexes with many other items I was taking to the show, but in the back of my mind, my willingness to sell them was half-hearted.

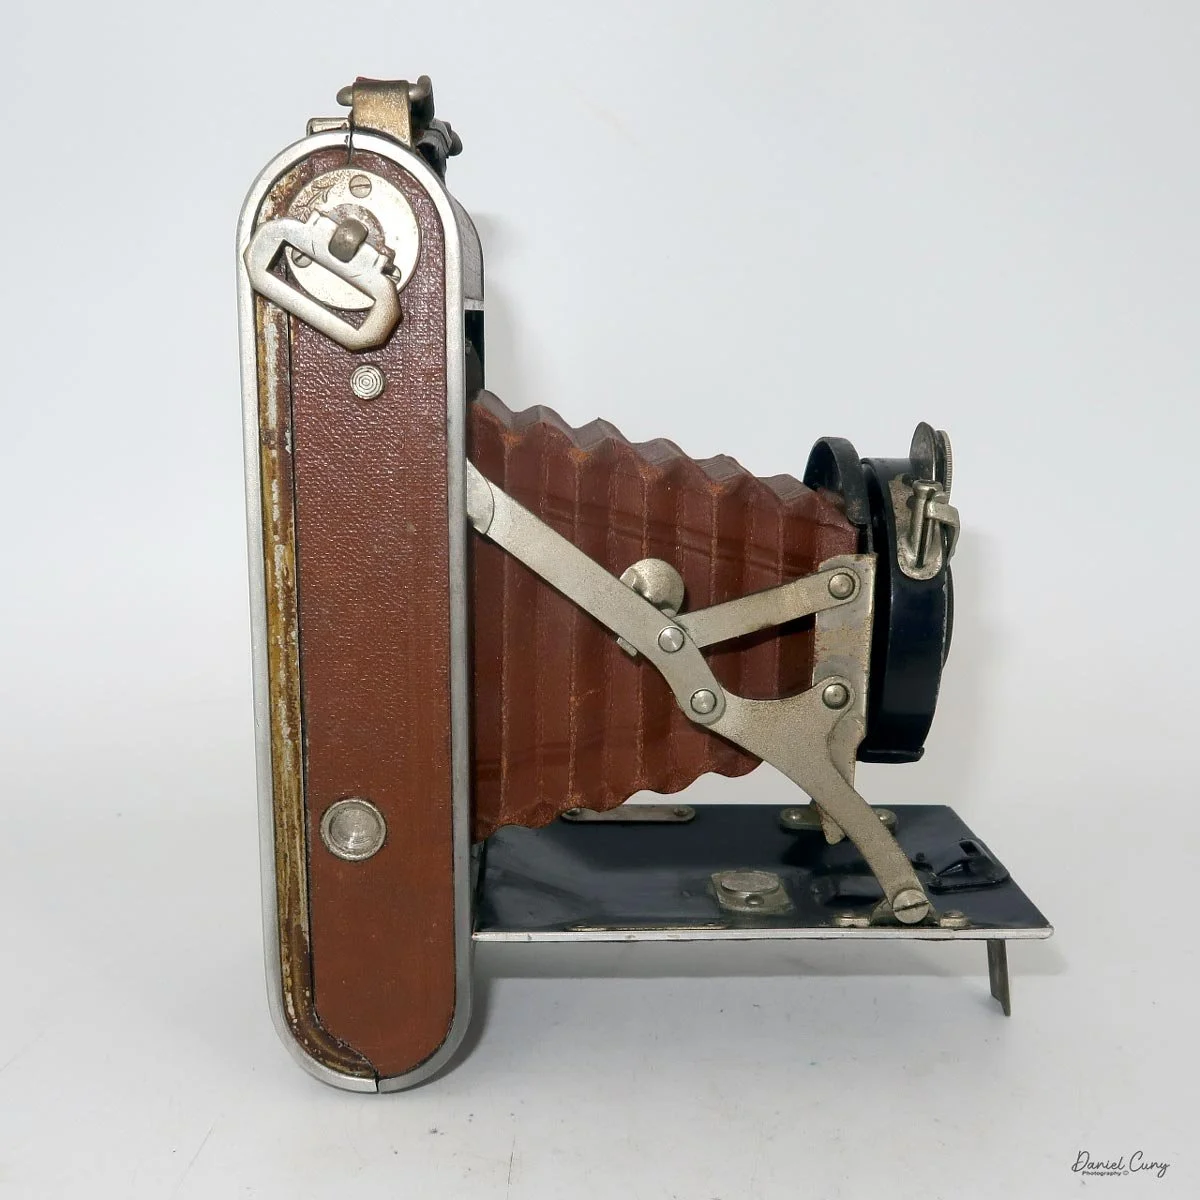
The other side of the Salmoiragi Lexus camera

 As I was pulling cameras out of the boxes to put on my tables for the camera show, the Salmoraghi Lexus was unfolded and put out for sale. Some people casually looked at it, but there was no real interest in the camera. There were a few people who liked the colored camera, but that was about it.

 In the back of my mind, I had already picked the camera I wanted to write about this week, but as I was putting away the cameras left over from the camera show, the Salmoiraghi Lexus just seemed like the camera to write about. 

 When I opened the camera, thinking about putting film in it so I could shoot with it for the blog, I checked the shutter to make sure it was working, but unfortunately, it's stuck open. So, at this point, I won't be able to photograph with it for the post. That's not Ideal, but what was gnawing at me was, What is a Salmoiraghi camera? I wasn't familiar with the brand at all, so I wanted to dig into the company and what this camera was all about.

 As I was doing my research for the camera, there was very little reference information, but I found MisterMondo Italian Camera, which had a great selection on 

History:

 Salmoiraghi cameras are a small and somewhat obscure chapter in Italian camera history, remembered mainly for a few postwar experimental and medium-format designs rather than for mass-market success. Collectors often discuss the name because the surviving models are uncommon, visually distinctive, and tied to the period when Italian manufacturers were trying to build a domestic camera industry after World War II.

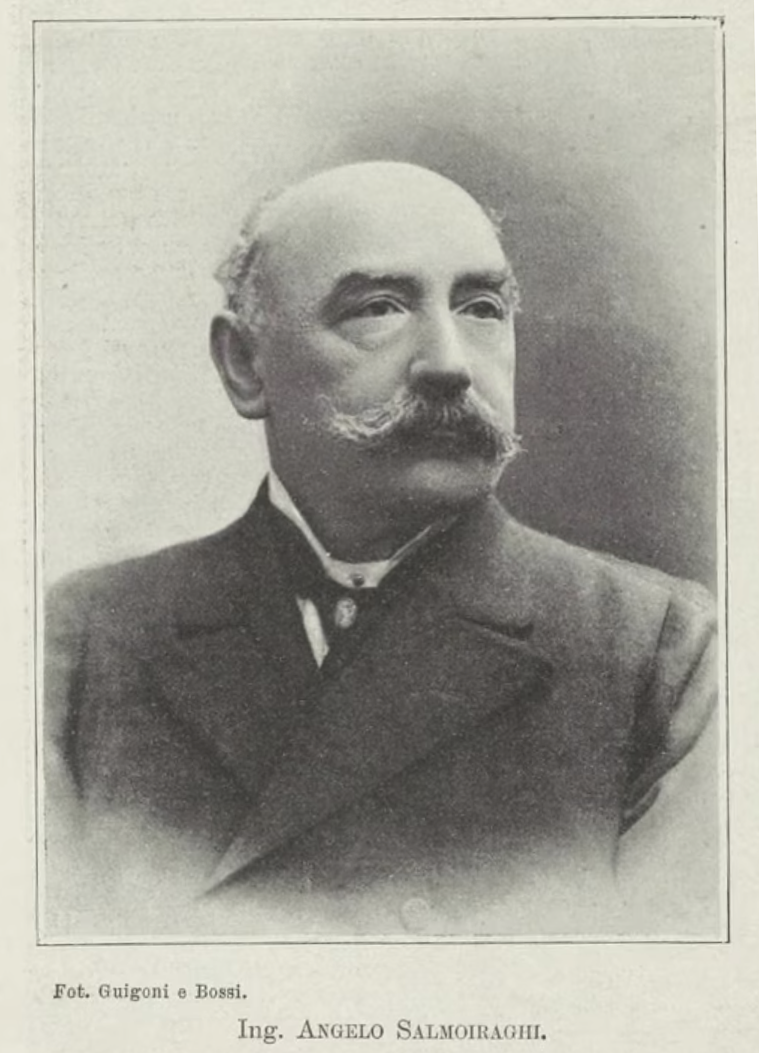
Angelo Salmoiraghi. (From website)

 Salmoiraghi SpA, better known as La Filotecnica, began in Milan in 1865 when Angelo Salmoiraghi founded the Scuola-Officina Filotecnica. The school-workshop blended training, research, and production, reflecting Salmoiraghi's aim to turn precise scientific instrument making into an industrial enterprise. Over time, the company became associated with high-quality optical and surveying equipment, while keeping close ties to technical education and innovation. That early mix of craftsmanship and science helped establish La Filotecnica as a notable name in Italian instrument manufacturing.

 The best-known Salmoiraghi-related camera from the collector world appears to be a medium-format model developed in Milan around 1946–47. Reports from collectors describe it as a "pseudo twin-lens reflex" camera, built with a Bakelite body and alloy fittings, placing it squarely in the immediate postwar era, when makers were using practical materials and inventive layouts to reduce cost and complexity. That design choice suggests a company experimenting with form as much as function, aiming to create a camera that looked modern and handled differently from the boxy standard models of the time.

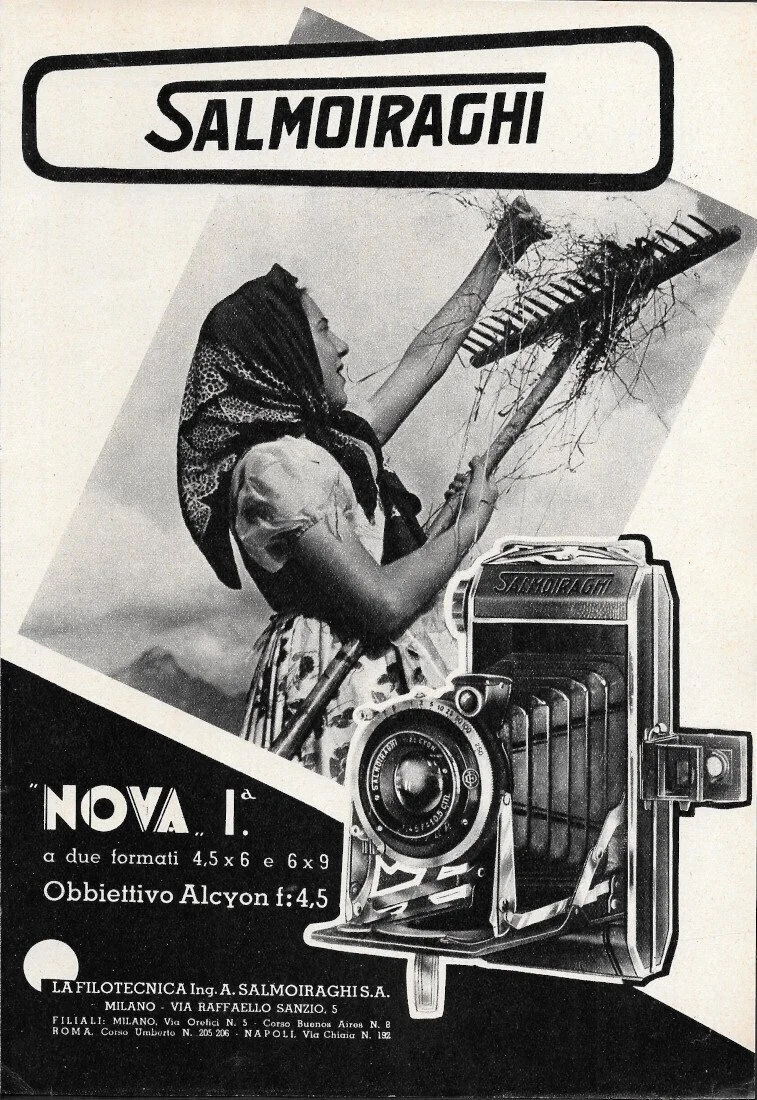
Italian advertisment for Salmoiraghi Nova I camera.

 What makes Salmoiraghi interesting is not a long production line but the rarity of the surviving evidence. Unlike the big Italian optical firms that became widely known through lenses, projectors, or industrial products, Salmoiraghi cameras seem to have been limited-run products that left only a thin paper trail. Much of what is known today comes from collector discussions rather than catalogs or formal company histories, which is why exact model details and production numbers remain hard to pin down.

 In that sense, Salmoiraghi cameras reflect a broader story in European camera manufacturing: many firms tried to enter the market in the 1940s and 1950s, but only a few scaled up successfully. Salmoiraghi's contribution appears to have been more inventive than influential, with its cameras now valued for their curiosity, design, and historical context. For photographers and collectors, they represent the optimism of a rebuilding Italian industry and the short-lived creativity of smaller makers trying to find a place beside better-known German and Japanese brands.

 Today, Salmoiraghi cameras are mostly encountered in collections, forum posts, and auction listings. Their scarcity means they are better known to specialists than to the general public, but that rarity is exactly what gives them historical appeal.

My Camera:

 My Salmoiraghi Lexus camera is very similar to many of the other 120 film, 6x9cm folding medium-format cameras from this era. The camera is 6" long by 3" tall and 1.5" deep when closed, and 5.25" deep with the lens extended. The camera weighs 1 pound, 0.1 ounces, unloaded.

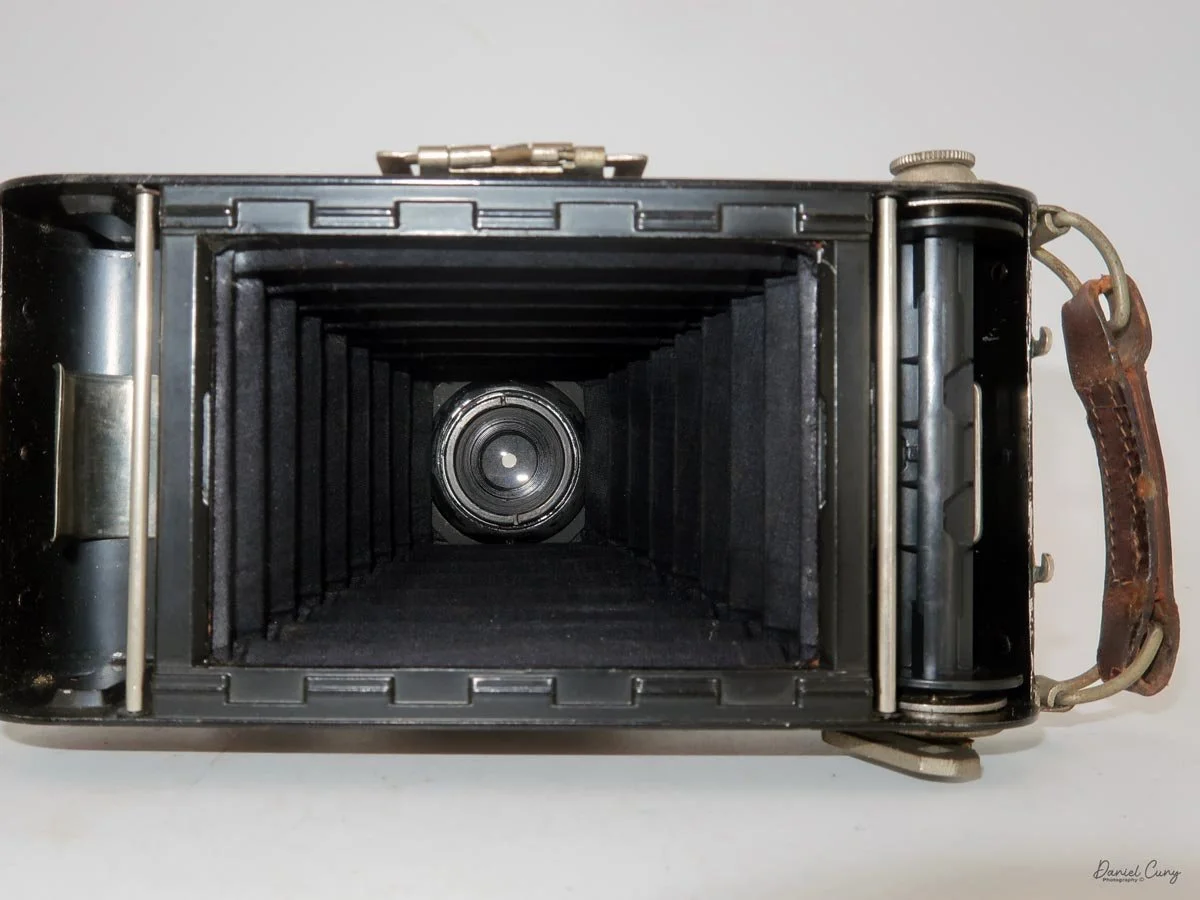
To open the front of the camera and extend the lens, on the side of the camera, close to the film winding knob, is a small button to press that opens the front, exposing the beautiful original brown bellows.

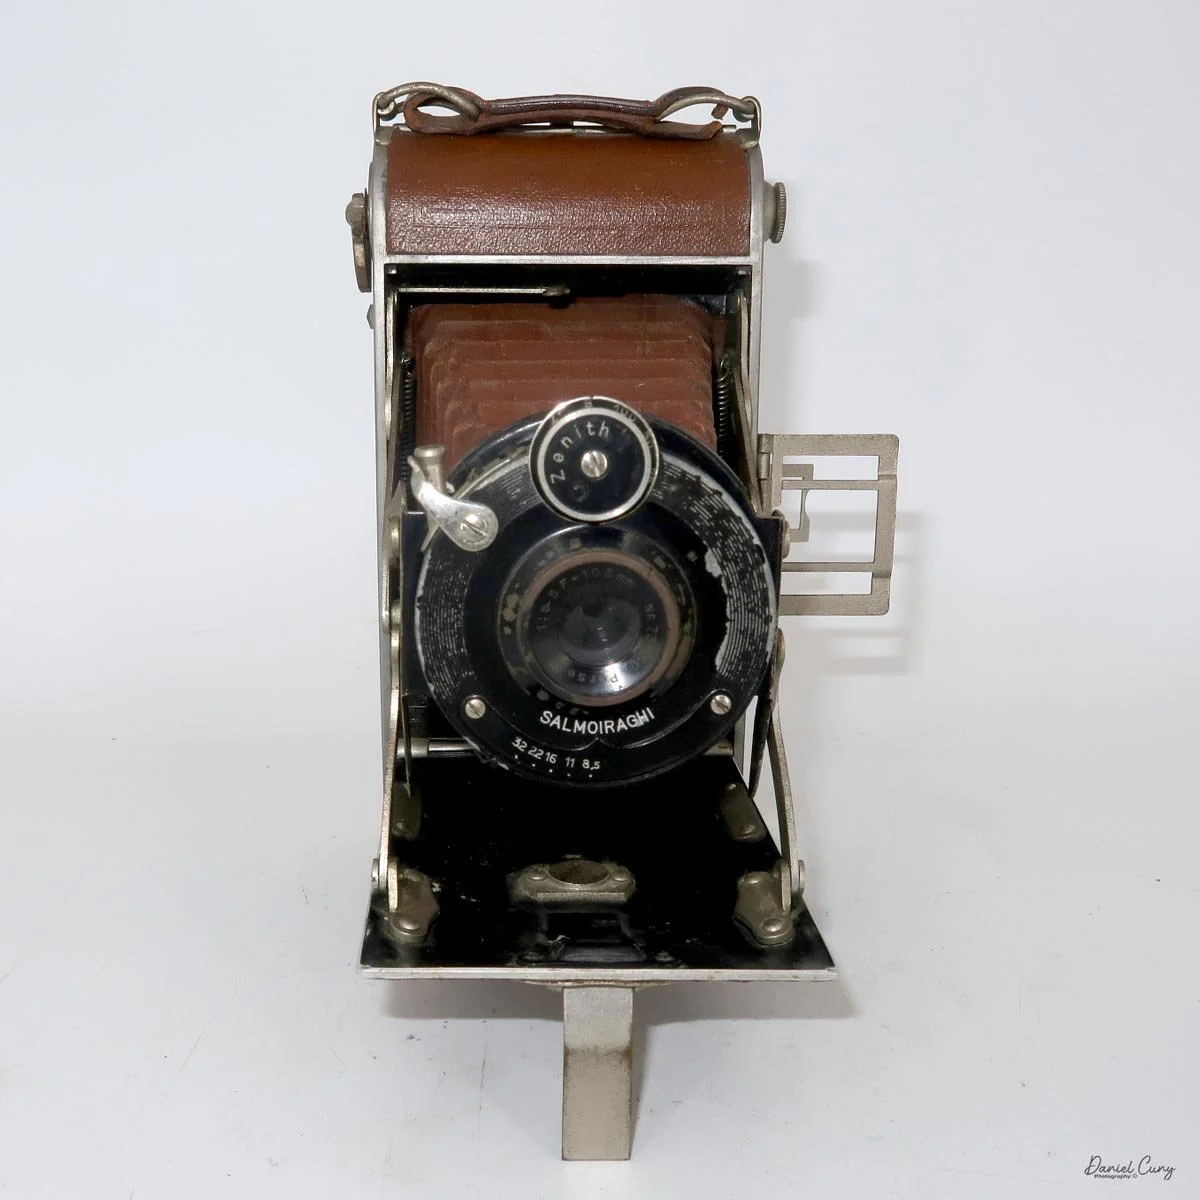
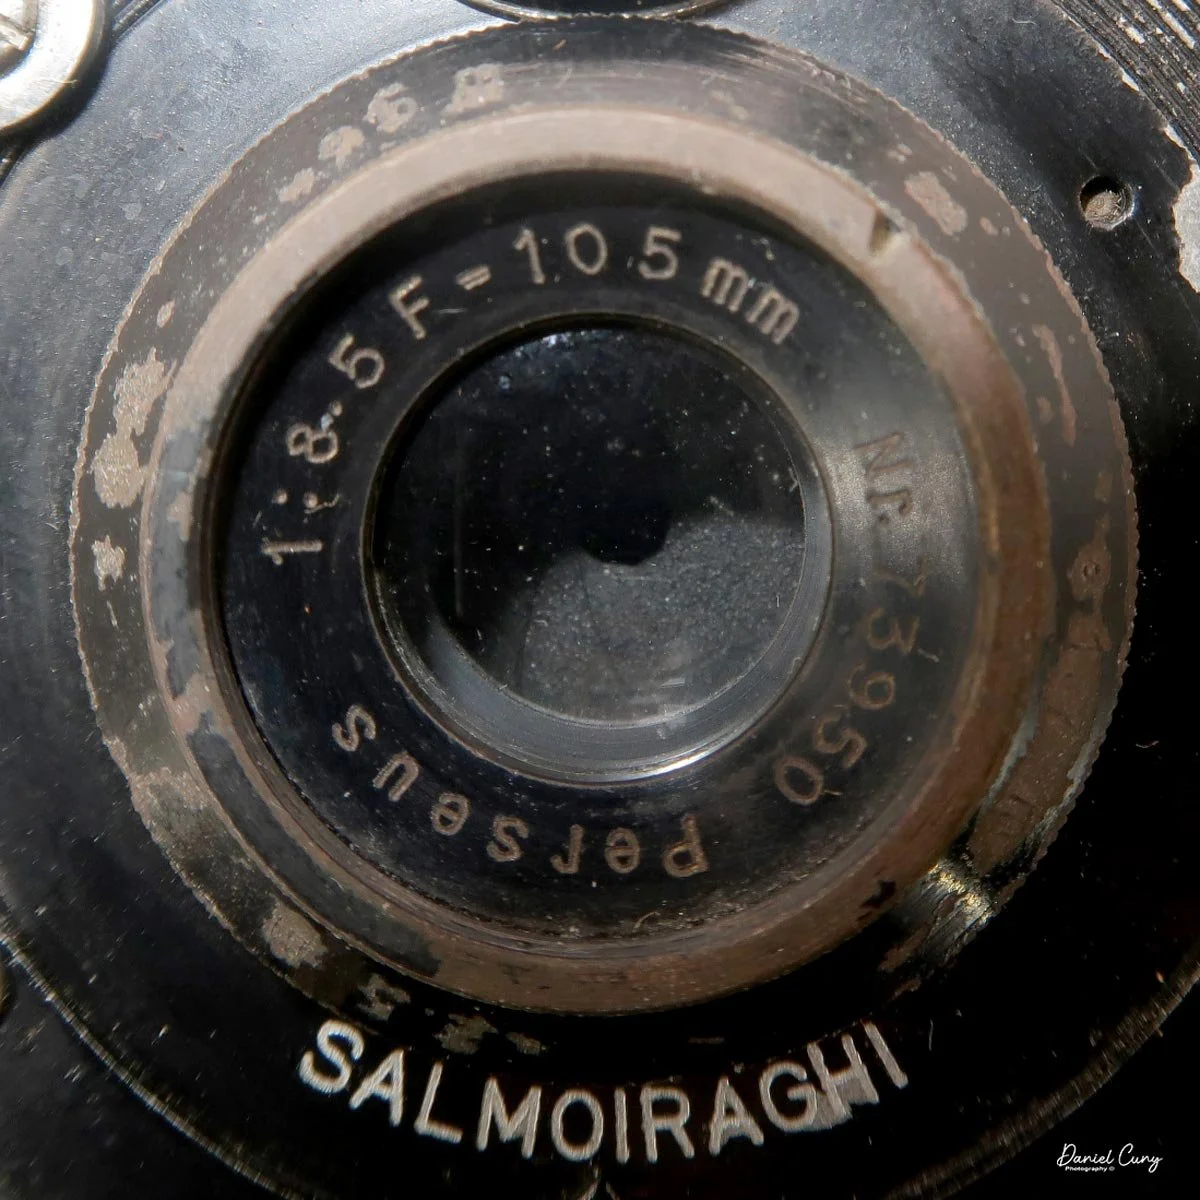
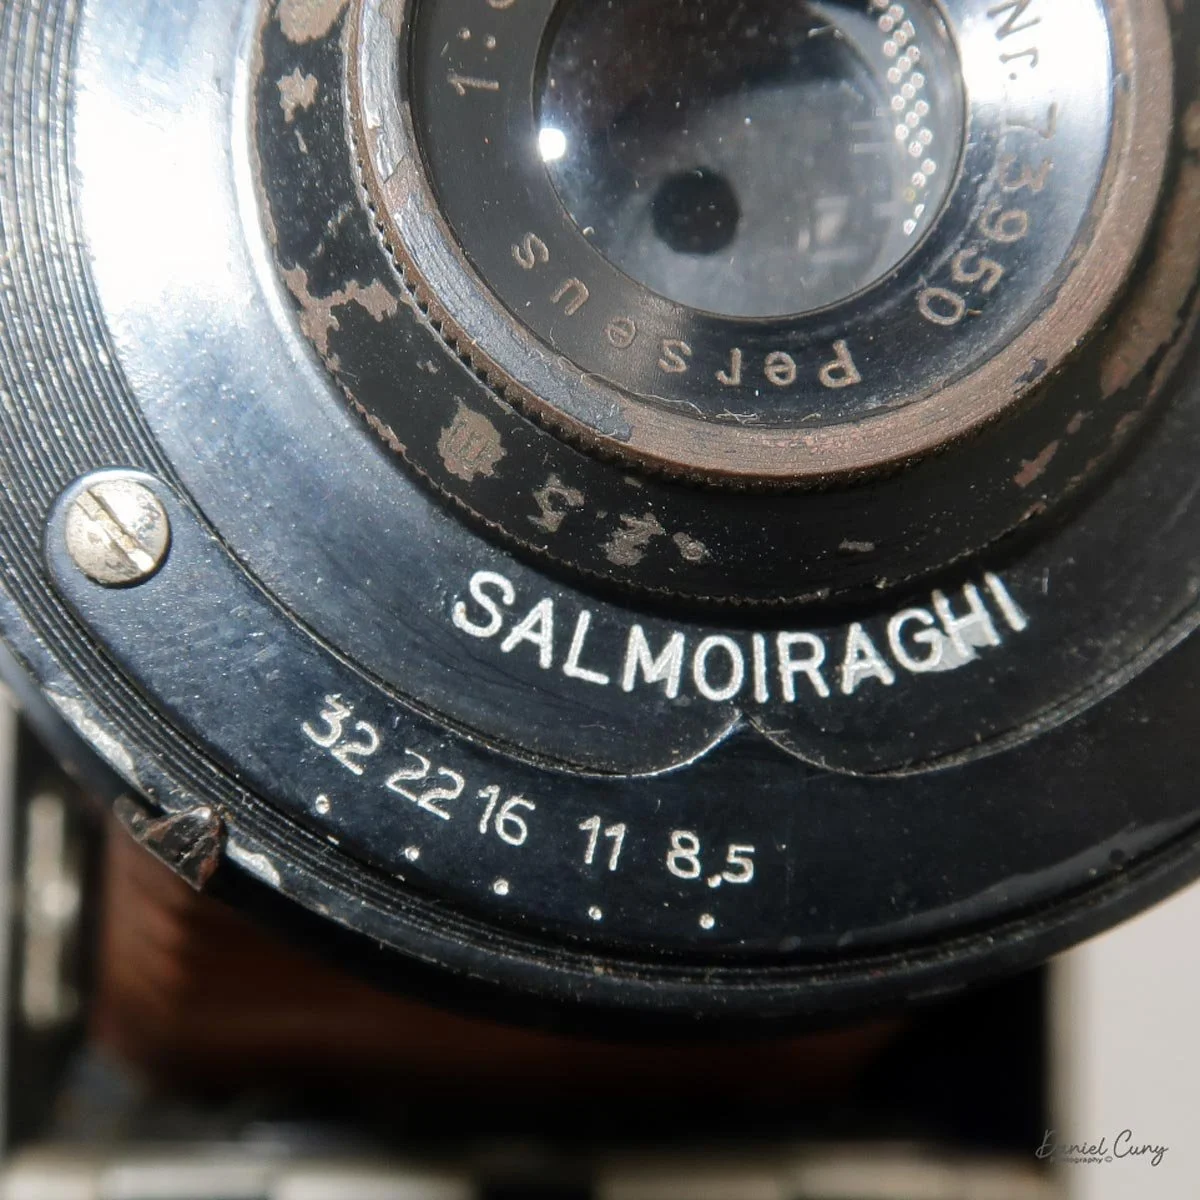
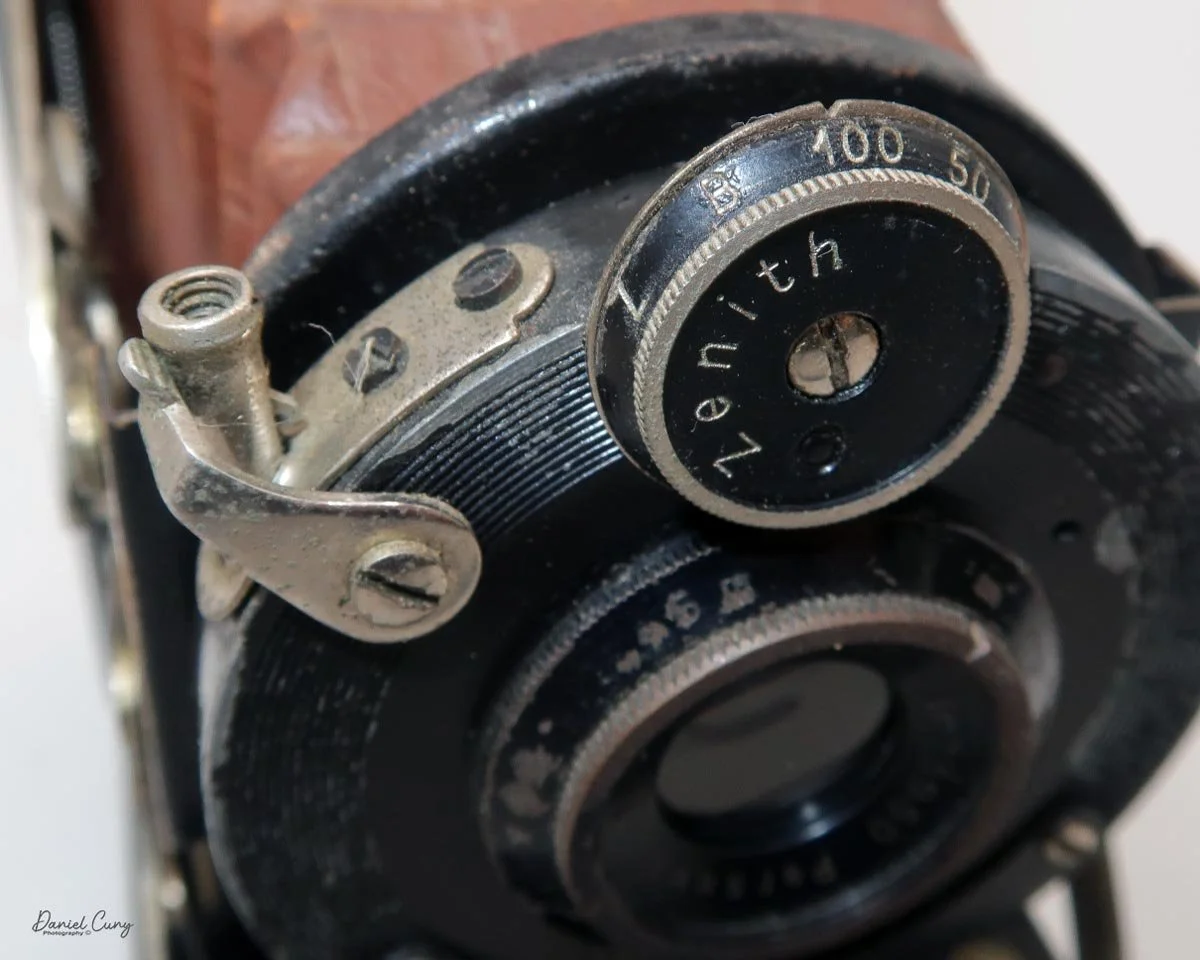
 Looking at the front of the camera, the Salmoiraghi Lexus has a Perseus 105mm F/8.5 lens with aperture settings from F/8.5 to F/32, which can be set by a small sliding bar under the lens. The camera also has a Zenith shutter with speeds of 1/25, 1/50, 1/100, along with "B" and "Z" for timed exposures. Just to the right of the shutter speed selector, as you're holding the camera, is the shutter release. The shutter release also has a cable release socket for timed exposures.

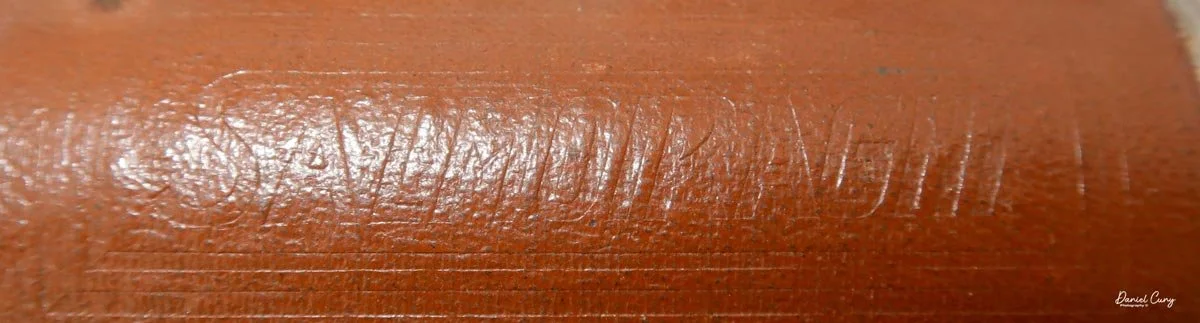
The name Salmoiraghi is also imprinted under the lens, embossed in the brown leather on the top front and rear.

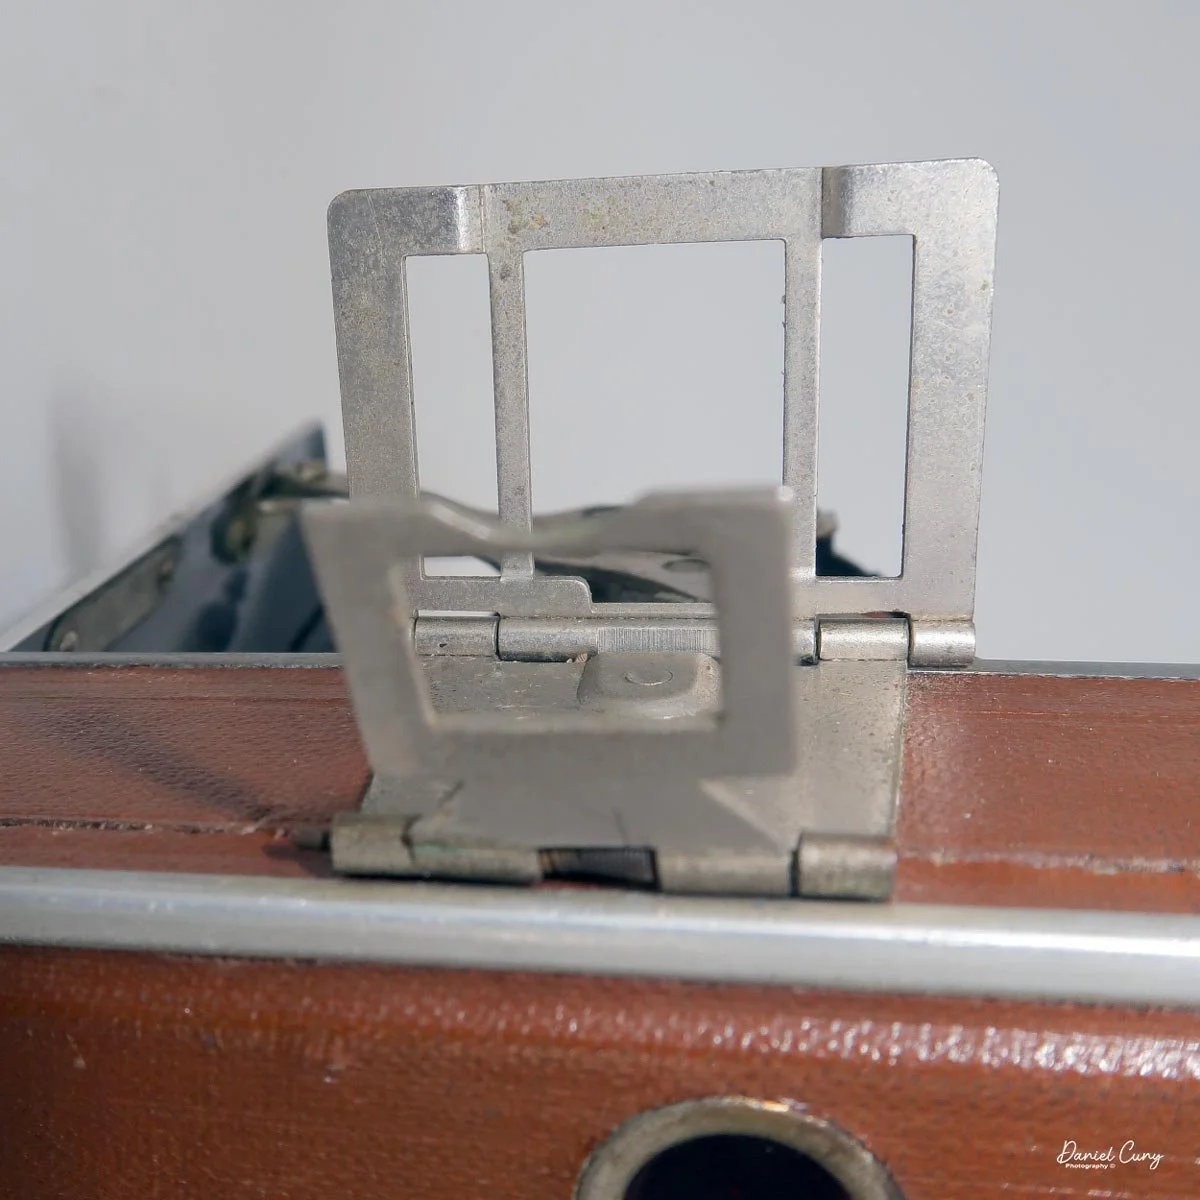
 There isn't a waist-level finder on the Salmoiraghi Lexus, only an eye-level finder which can be unfolded from the side of the camera. The sports style finder isn't very thick, and on my camera, which is common, the rear, or at times the front, doesn't stand up straight and seems to lean.

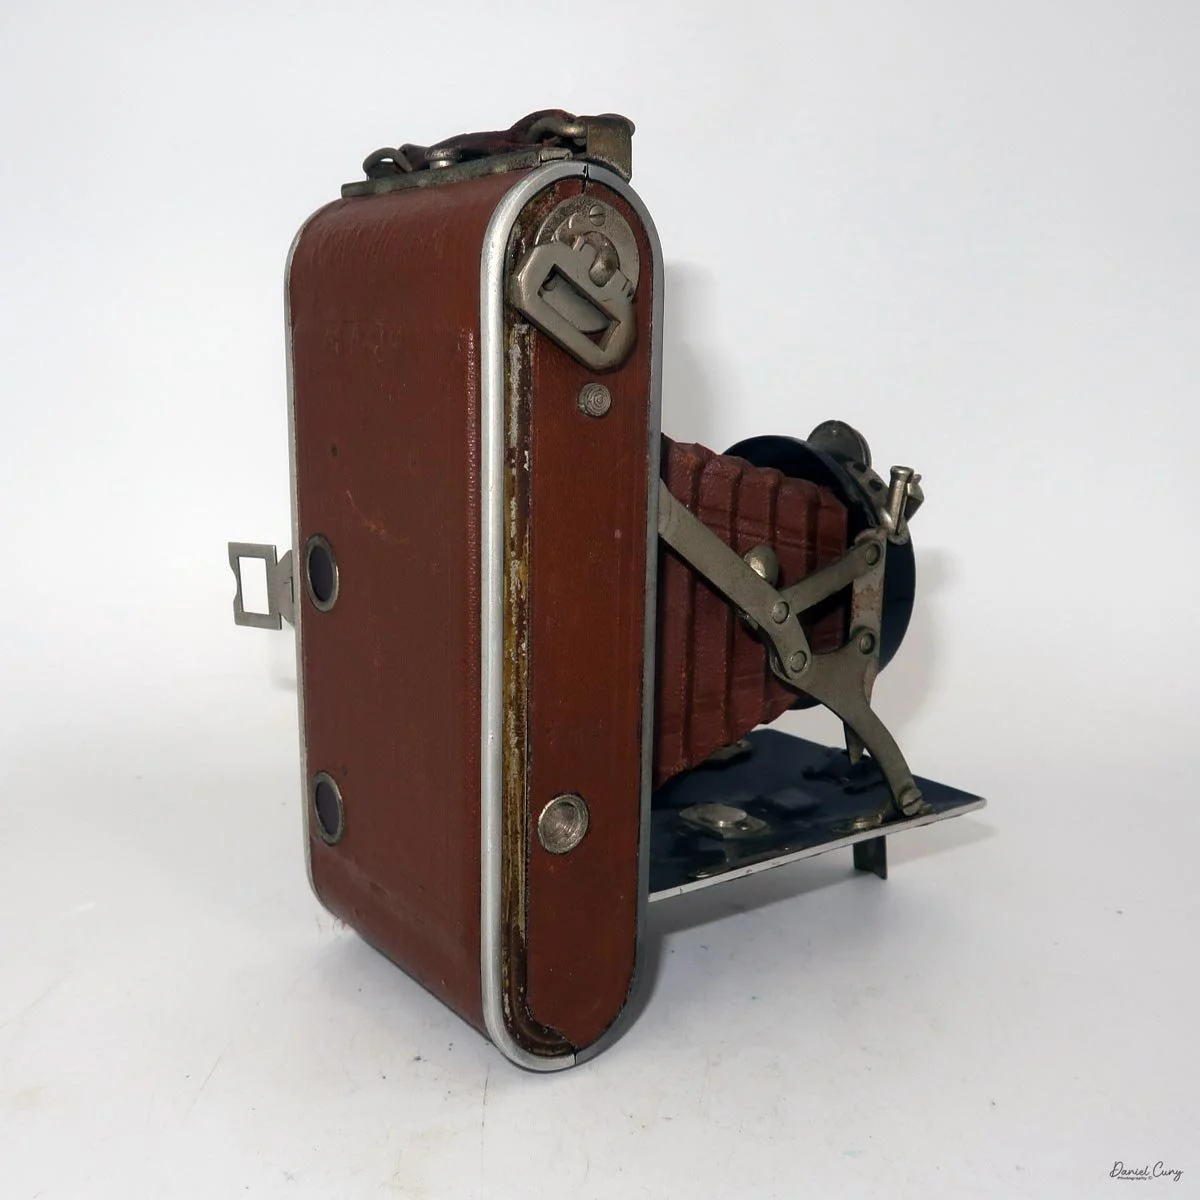
 To open the back of the camera to load film, under the strap is a lever you slide over to unlock the back. Swing the back open to reveal a very standard film-loading system. The winding lever doesn't pull out to load the empty spool, but on the other side is a silver button that pulls up to load the spool.

There's nothing on the other side to keep the new roll of film in place except a metal clip that wraps around the unexposed film and holds it in place.

 On the camera's back, two red windows generally indicate that the camera can handle multiple formats, as with the camera I wrote about last week, the Zeiss Ikon Super Ikonta 531/2. Generally, there would be an insert for the camera to do both 6x9cm and 6x4.5cm images on the 120 roll of film. 

 Looking at the pattern for the film guides on the back of the camera, there may have been an insert for the camera. There are indents evenly spaced across the back, which would indicate there may have been one, but my camera doesn't have one, and I can't find any online references to one.

Once the film is loaded in the camera, close the back of the camera, making sure it's latched, and wind the film to the first frame.

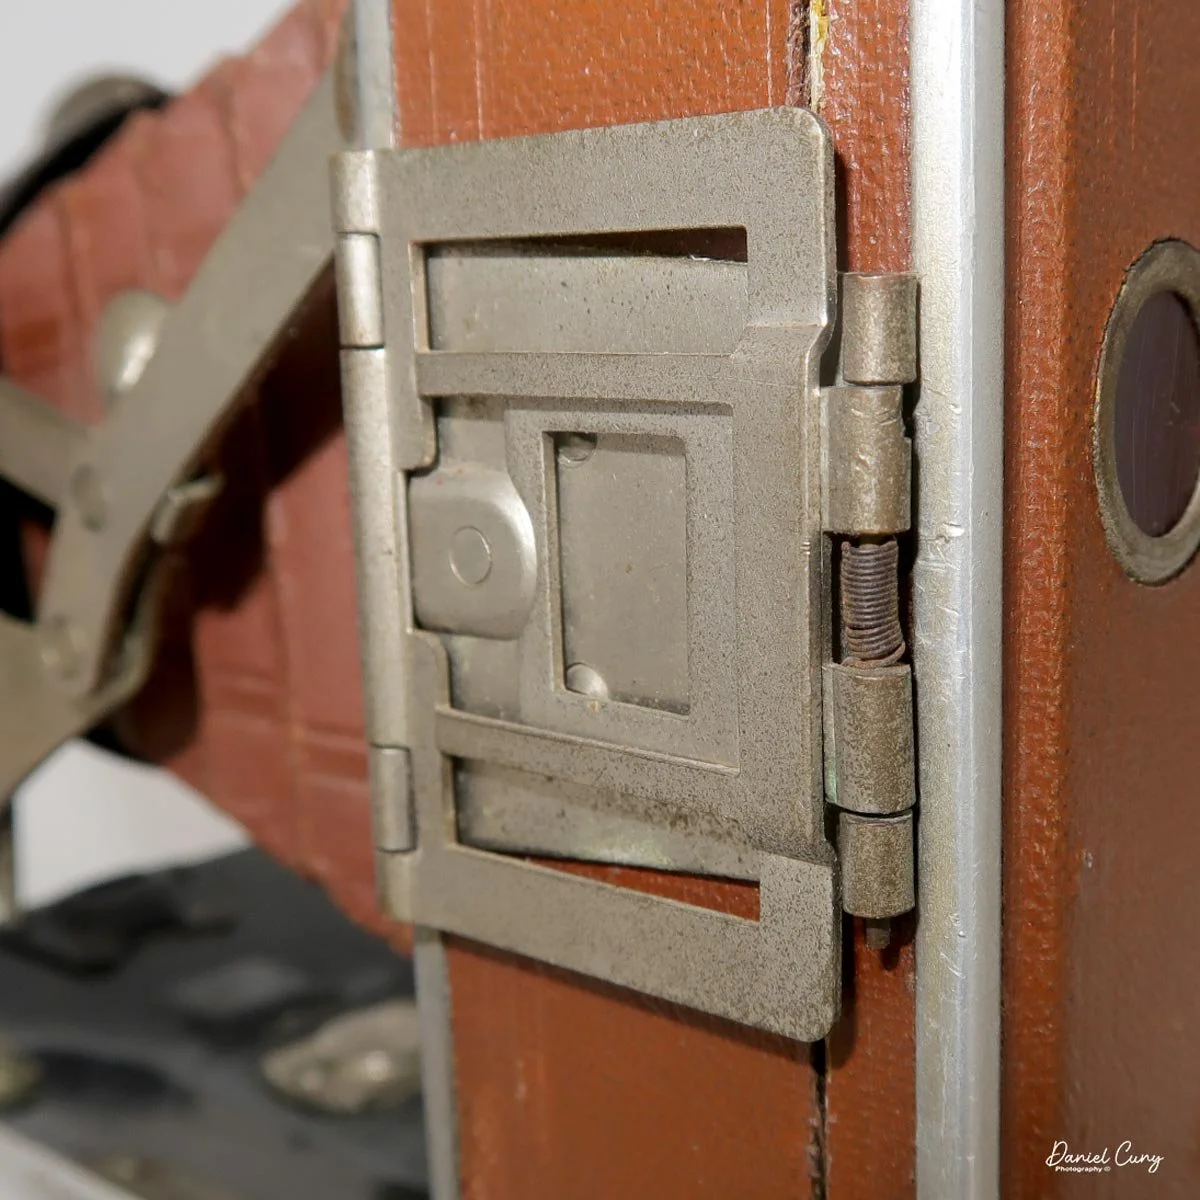
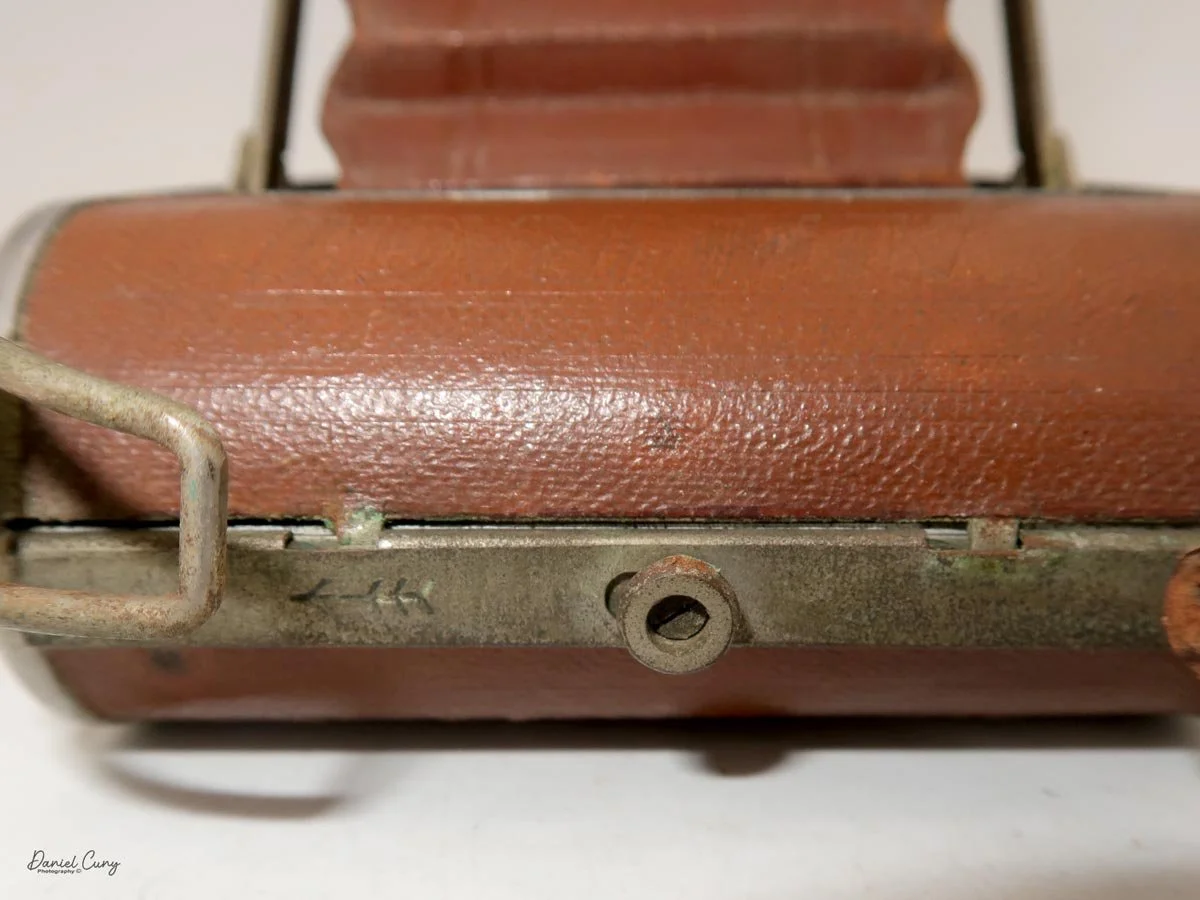
 To close the front of the camera, there are two locking stops on the camera's struts, on either side, that need to be pressed in. By doing so, the front of the camera can collapse the lens and bellows back into the camera body.

Front view of Salmoiraghi Lexus camera when closed.

Results:

Since the shutter on the Salmoiraghi Lexus camera is inoperable, I wasn’t able to shoot a roll of film through it.

I may try at some point to disassemble the shutter and get it back in working condition. If/when that happens, I’ll be sure to update the post with images.

Conclusion:

 While I knew little about this camera when I purchased it, and really bought it for its wonderful color and matching bellows, I'm elated that I didn't sell it at the NW Camera show last weekend because of its rarity.

 It's not really well-made and doesn't offer many features, but the scarcity of the camera made in Italy means this will be in my collection for the time being. I'm sure, as I get older and whittle down my collection, it'll pass to another collector, and I hope they understand its rarity in the world of camera collecting.

 If you have questions or comments, please feel free to reach out to me; I'm always interested in discussing what you have in your collection, as well as the cameras I've reviewed.

 Thank you for taking some time to learn more about this Italian camera. To me, what I enjoy about this camera is the wonderful brown leather covering and matching brown bellows.

 Here are my other Camera Reviews.

 Cuny's Cameras and Photos is my online eBay store where I sell some of the cameras I've reviewed, along with many other camera oddities I've stumbled upon in the past few years.

 Until next week, please be safe.

Zeiss Ikon Super Ikonta 531/2

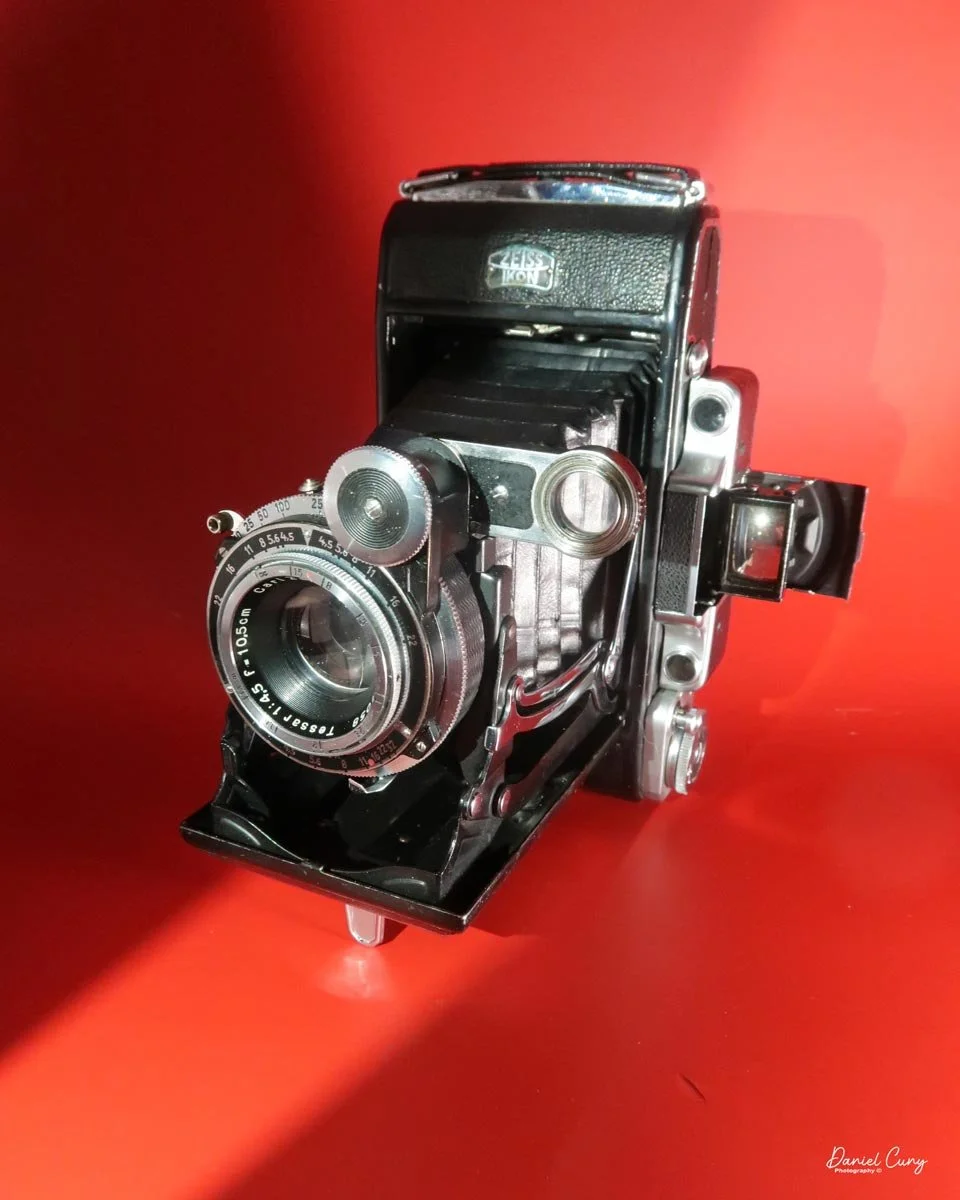
My Zeiss Ikon Super Ikonta 530/2 camera

Walking through flea markets, garage sales, or camera shows, I always stop to look at what Zeiss cameras they have, and the cameras that I always pick up to look over are any of the Zeiss Ikon Super Ikonta cameras. Not only because they look impressive even when closed, but also because I'm always struck by how well-made and intricate they are for a camera that's 90 years old.

 To me, the Super Ikonta cameras are like looking at a masterpiece of art. They are timeless in their form, compactness, and mechanical intricacies. When closed, they are compact and sturdy. They have a heft to them that you know they were manufactured to last a long time.

 Zeiss Ikon made four different Super Ikonta styles. There were the smaller models in 6x4.5 or 6x6cm formats, then they also made a larger, specifically longer version that shot 6x9, and a rare version that shot 6x11cm. The 6x9cm version came with a metal insert that reduced the image size to 6x4.5, essentially allowing the photographer to get twice as many images on the 120 roll film loaded in the camera.

 Having owned both in my life, I'm torn between them. On the one hand, I prefer the longer negatives, so the 6x9cm version is appealing, but it's also a bit bigger to carry. The more compact 6x6cm version is a terrific camera to carry when you travel. They are compact, fit in your pocket, have wonderful optics, and use a rangefinder to focus.

 Looking at the cameras on my shelf for a camera to write about, the Zeiss Ikon Super Ikonta 530/2 was a camera I recently got back from a full CLA, so I knew, or at least hoped there wouldn't, or shouldn't be an issue putting film in the camera and running a roll of film through it. 

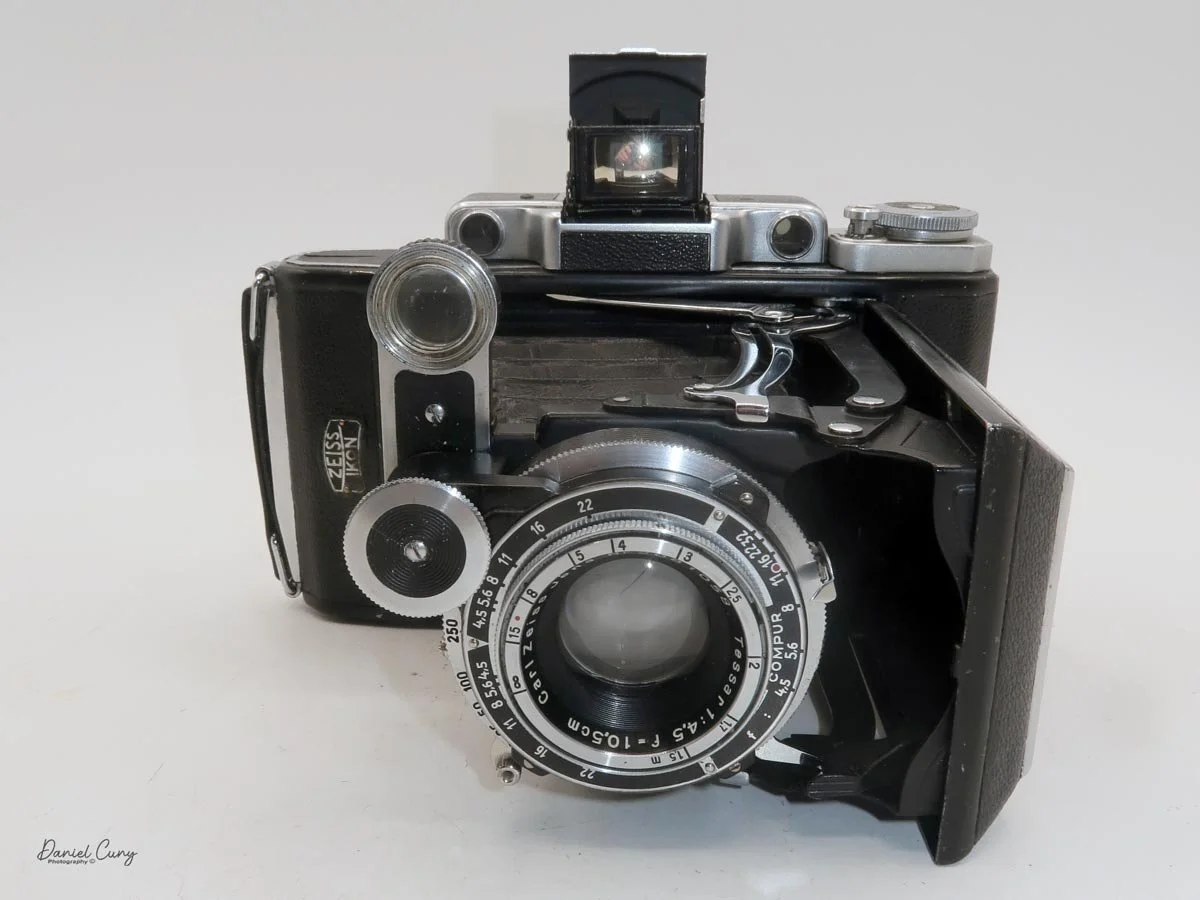
Horizontal view of my Zeiss Ikon Soper Ikonta 530/2 camera

 The camera I had purchased almost a year ago was from an online auction. I saw it at the auction along with a few other cameras, placed a fairly low bid, and won it. The camera was shipped to me, and upon inspection, I noticed the shutter wasn't working. It worked at higher speeds, but the camera needed servicing, so I sent it for CLA.

 My camera came back from the technician and looked flawless. The rangefinder was bright and accurate, the lens was bright, the focus was smooth, and the lens popped out of the camera as if it were new. 

 Whenever I see a Zeiss Ikon Super Ikonta or another rangefinder folding camera, the first thing I check is the shutter to see if it's opening/closing, especially at slower speeds. Then I check the focus to see how smoothly the lens and focus knob turn. It seems that many of the cameras have very stiff focusing, so when the camera came back, and the focus knob turned so nicely, I must have had a large grin on my face, as this was a new experience for me: a smooth focus.

 With all that said, it was time to put a fresh roll of 120 film into the camera and take a walk through the neighborhood on a wonderful spring afternoon. The sun was out, and so many of the trees and flowers were in bloom, it was the ideal opportunity to take my newly CLA'D Zeiss Ikon Super Ikonta for a spin.

Brief History of the Zeiss Ikonta Cameras:

 Zeiss Ikon and the Ikonta cameras sit at an important crossroads in European camera history. Formed in 1926 from the merger of four major German makers—Contessa-Nettel, Ernemann, Goerz, and Ica—Zeiss Ikon became one of the largest and most influential camera companies in the world, backed by the Carl Zeiss optical tradition.

 The Ikonta line emerged around 1929 as Zeiss Ikon's premium folding-camera family. It was introduced in several sizes, including 6x4.5, 6x6, and 6x9 roll film frames, and represented the company's effort to rationalize and modernize the crowded product lines inherited from the merger. These cameras were built as elegant folders: compact when closed, but capable of producing high-quality medium-format images when opened.

 What made Ikonta especially significant was its market position. Zeiss Ikon used better lenses and more refined construction on Ikonta models, while cheaper versions sometimes carried the related Ikomat name. The line became closely associated with Carl Zeiss lenses, such as the Tessar, which helped the cameras earn a strong reputation for sharpness and image quality.

 A major step forward came with the Super Ikonta series, introduced in 1933. The "Super" name indicated the addition of a coupled rangefinder, making focusing far easier and more accurate than the original scale-focusing Ikontas. That innovation helped define some of the best prewar folding cameras available.

 Production continued through the war years and into the postwar period, but folding cameras gradually lost favor as photography shifted toward more modern fixed-lens designs and 35mm systems. Even so, Ikonta and Super Ikonta remain admired today for their craftsmanship, portability, and classic Zeiss optical quality.

My Camera:

 My Zeiss Ikon Super Ikonta 531/2 is 7" wide by 4" tall and 2 "deep when the lens is retracted, and it's 5" tall when you open the camera, and the viewfinder pops up, and 5.5" deep when the lens is extended. The camera weighs 1 pound 15 ounces without the case or film loaded. My serial number is E30192.

The Zeiss Ikon Super Ikonta 531/2 camera has several different options for lens and shutter combinations:

  • Tessar 10.5 cm f/4.5 in a Compur shutter. This combination is the best-documented early setup for the 530/2, especially on black-enamel versions from the early 1930s.

  • Triotar 10.5 cm f/4.5 in a Klio shutter. Some early examples were fitted this way, making it a less common but real configuration.

  • Tessar 10.5 cm f/4.5 in a Klio shutter. At least one documented example shows this pairing, indicating that Zeiss Ikon used multiple shutters during the model's production.

  • Later or related Super Ikonta variants appear with Tessar lenses in Compur Rapid or Synchro-Compur shutters, though those are more typical of later Super Ikonta models.

Looking at the top of the camera, on the right side of the rangefinder, is a button that opens the camera when it's closed. According to the Zeiss Ikon Super Ikonta manual. Hold the camera in your right hand, with the front slightly pointed down. Press the button, and the camera should open slightly. Then pull down on the front cover so the bellows and lens extend to the taking position. Once the lens is extended, you'll need to swing the arm holding the small round lens into place so you can use the rangefinder for focusing. Also, when you open the camera, the Albada (sports) finder springs open. Look through the Albada finder; it has lines for both 6x9cm images in a horizontal format and for 6x4.5cm images for a vertical subject.

Now that the camera is open, you're ready to make exposures once the film is loaded, which we'll get to in just a moment. The shutter and aperture settings are located around the lens. Shutter speeds from 1/250 to 1 sec, plus "B," are set by turning the ring to the desired speed. The aperture is set by sliding the arrowed lever at the bottom of the lens to the desired aperture, which ranges from F/4.5 to F/32 on my camera.

 The focus wheel is on the front of the swing arm you moved over for the rangefinder, just above the lens when the camera is in the vertical position. For focusing, look through the small window on the back of the camera. Turn the dial to use rangefinder focus, which includes a small yellow area in the middle of the finder. When out of focus, the subject will appear as two images. Your main subject, and a second image in the yellow area. Turn the wheel until both images merge into one, indicating the subject is now in focus. 

Set your shutter speed and aperture setting, and don't forget to cock the shutter. The shutter release is on the top, left side of the camera. Press the shutter release, which will trip the shutter via a series of linkages that run along the bottom of the lens bed. Just behind the shutter release is a small window. When the window is grey, the shutter has been tripped, and you'll need to turn the film winding lever until the small window turns red. At this point, you can re-cock the shutter and release it. 

To open the back of the camera to load film, under the camera's handle is a small slider with an arrow pointing toward the opening. Slide the small knob in the direction of the arrow, and the camera back will open. Load the film as you would any 120 roll film camera, roll the film so the "start" arrows are showing, then close the back of the camera, and wind the film advance knob so the number 1 shows up in the appropriate window on the back of the camera. 

There are two red widows on the back of the camera: one for 6x9cm images and one for 6x4.5 cm images, if you have the metal insert in. If you have the insert in the camera, you'll use both windows for film advance, as you would with a 127 film camera with two windows. Stop at the number 1 on the far right window, then take your photo. Wind the film until the number 1 appears in the second window on the left, then take your photo. Then wind the film until the number 2 shows up on the first window on the right side, and so on through the number 8. For 6x9cm images, you'll get 8 exposures per roll; for 6x4.5, 16.

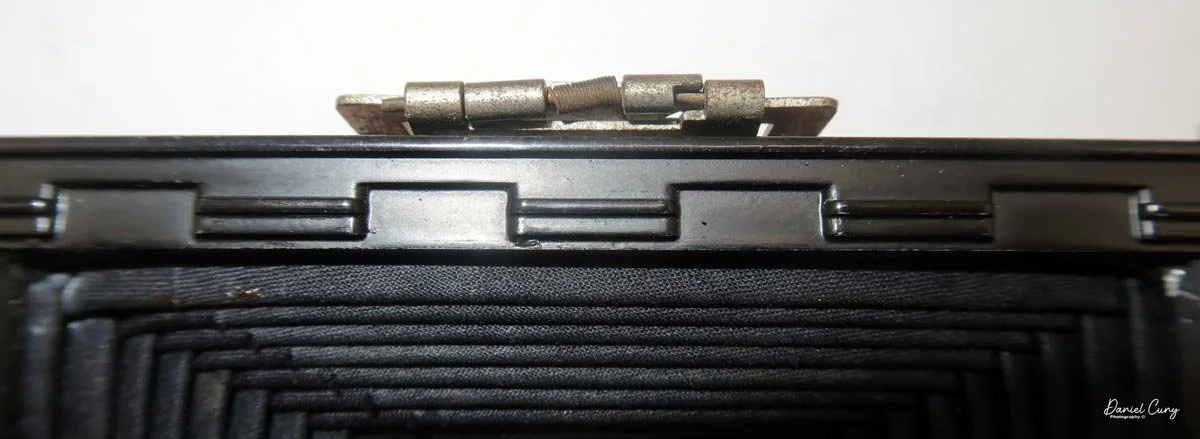
 To close the camera for transport, slide the arm you extended for focus back over the bellows. Holding the camera with both hands, press in on the locking arms on the struts to lock the bellows and lens into place; the bed will collapse a bit. Fold the lens back into the camera until the camera clicks closed, then flip down the Albana finder.

My Images:

 Let's take a look at how the images turned out. Here are a few of the images I took with the Zeiss Ikon Super Ikonta camera.

Conclusion:

 The first few images were incredibly sharp, well-exposed, and as I expected. I noticed that towards the end of the roll, the images became softer and less sharp, which concerned me. What did I do wrong?

 To give some background, I had eye surgery on my right eye, which is my dominant eye, about a year or two ago. When I went to see the eye doctor, I could barely make out details with my right eye, so surgery was necessary. Since then, it's gotten a bit better, but not as good as it used to be. Now I'm getting used to putting the camera up to my left eye, which is considerably better than my right. It still feels awkward, but it's my new normal.

Missing pressure plate

 I thought this contributed to the images being soft. Then I remember what a good friend, Mike Eckman, said a few weeks ago when we were discussing image sharpness. He said that he had a similar instance and noticed that the film's pressure plate was missing. At this point, I opened the back of the camera, and sure enough, the pressure plate was missing. 

 How could I miss that when I'm loading the camera? You get so used to looking at and loading cameras that you miss that a camera doesn't have a pressure plate.

 At this point, I'm sure I could manufacture one out of something like thin foamcore and just cut out circles for the red window. Still, it's a lot of fun to use, and the images are incredible. I'll chalk it up as a learning experience and double-check to be sure they have the pressure plate from now on.

 Here are some of the other Camera Reviews I've done.

 Cuny's Cameras and Photos is my online eBay store where I sell some of the cameras I've reviewed, along with other camera accessories, lenses, etc.

 Please feel free to comment on this or any of the other camera reviews I've done. I'd love to hear from you.

 Until next week, please be safe.


Fujifilm FinePix 4700 Zoom

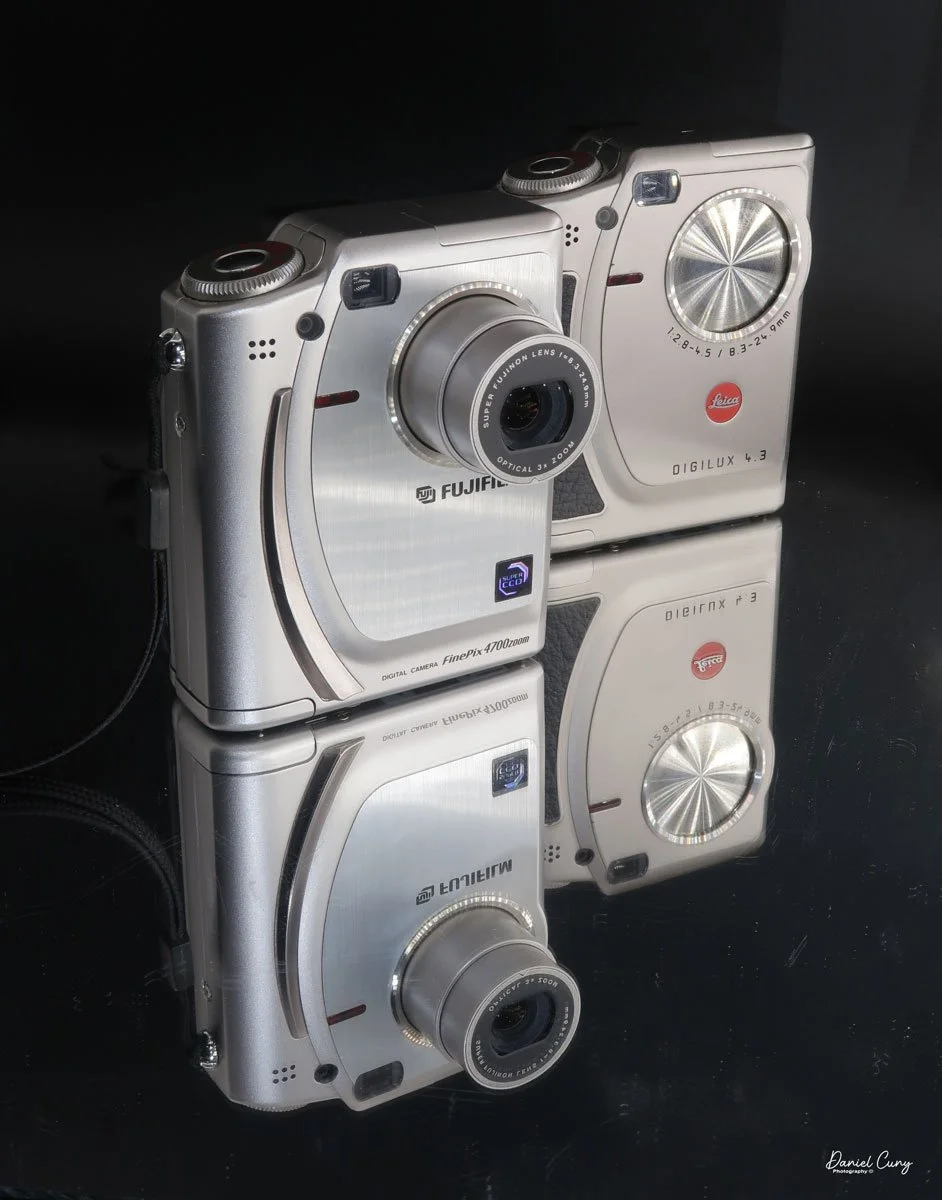
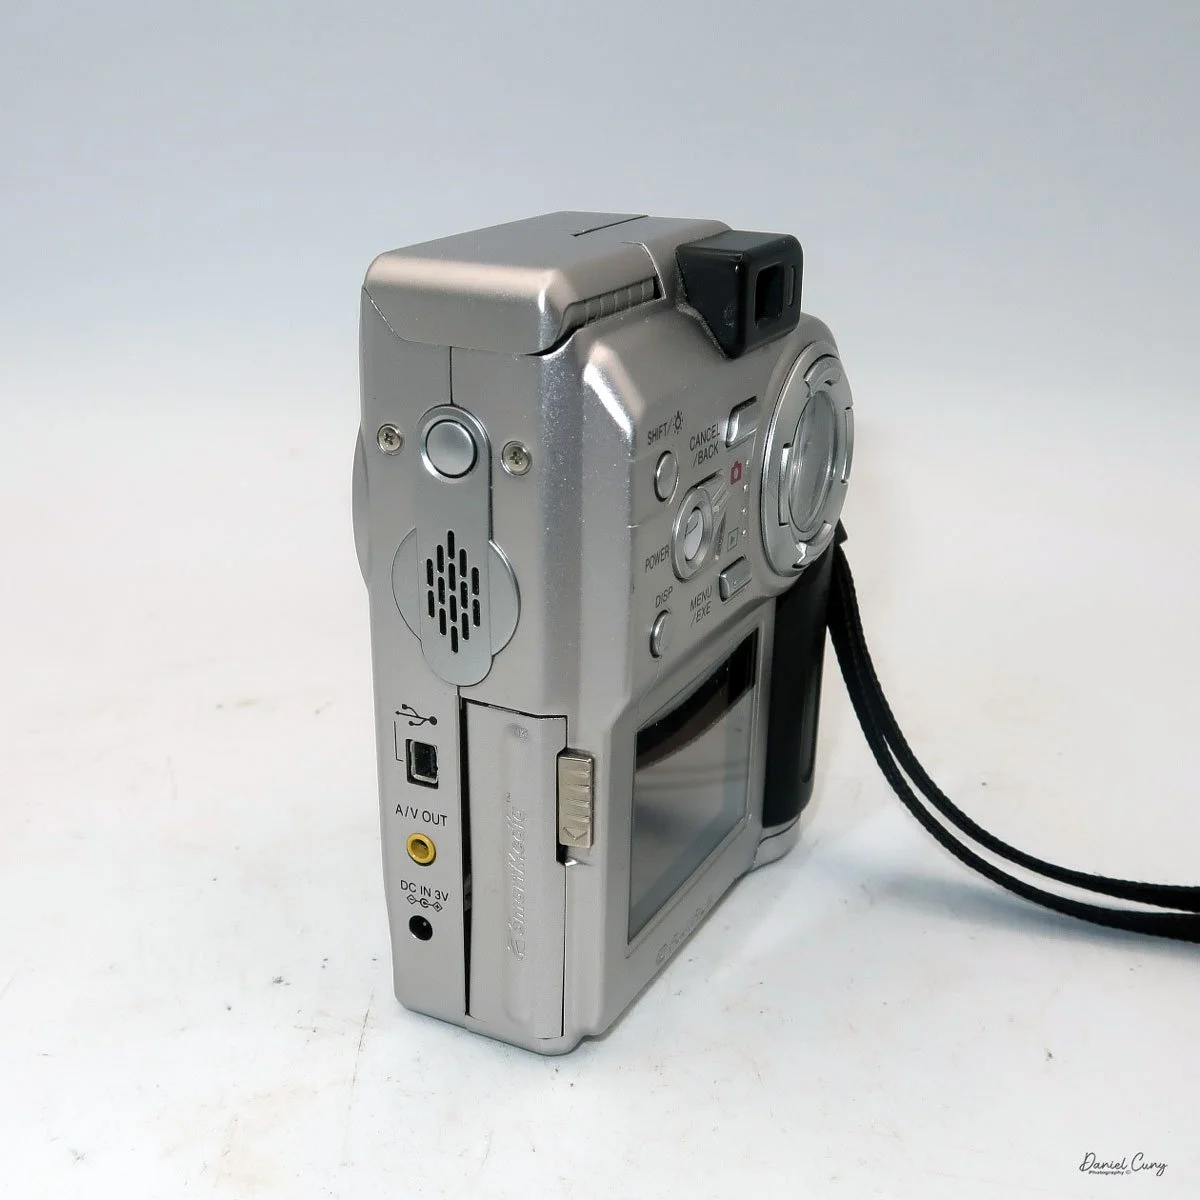
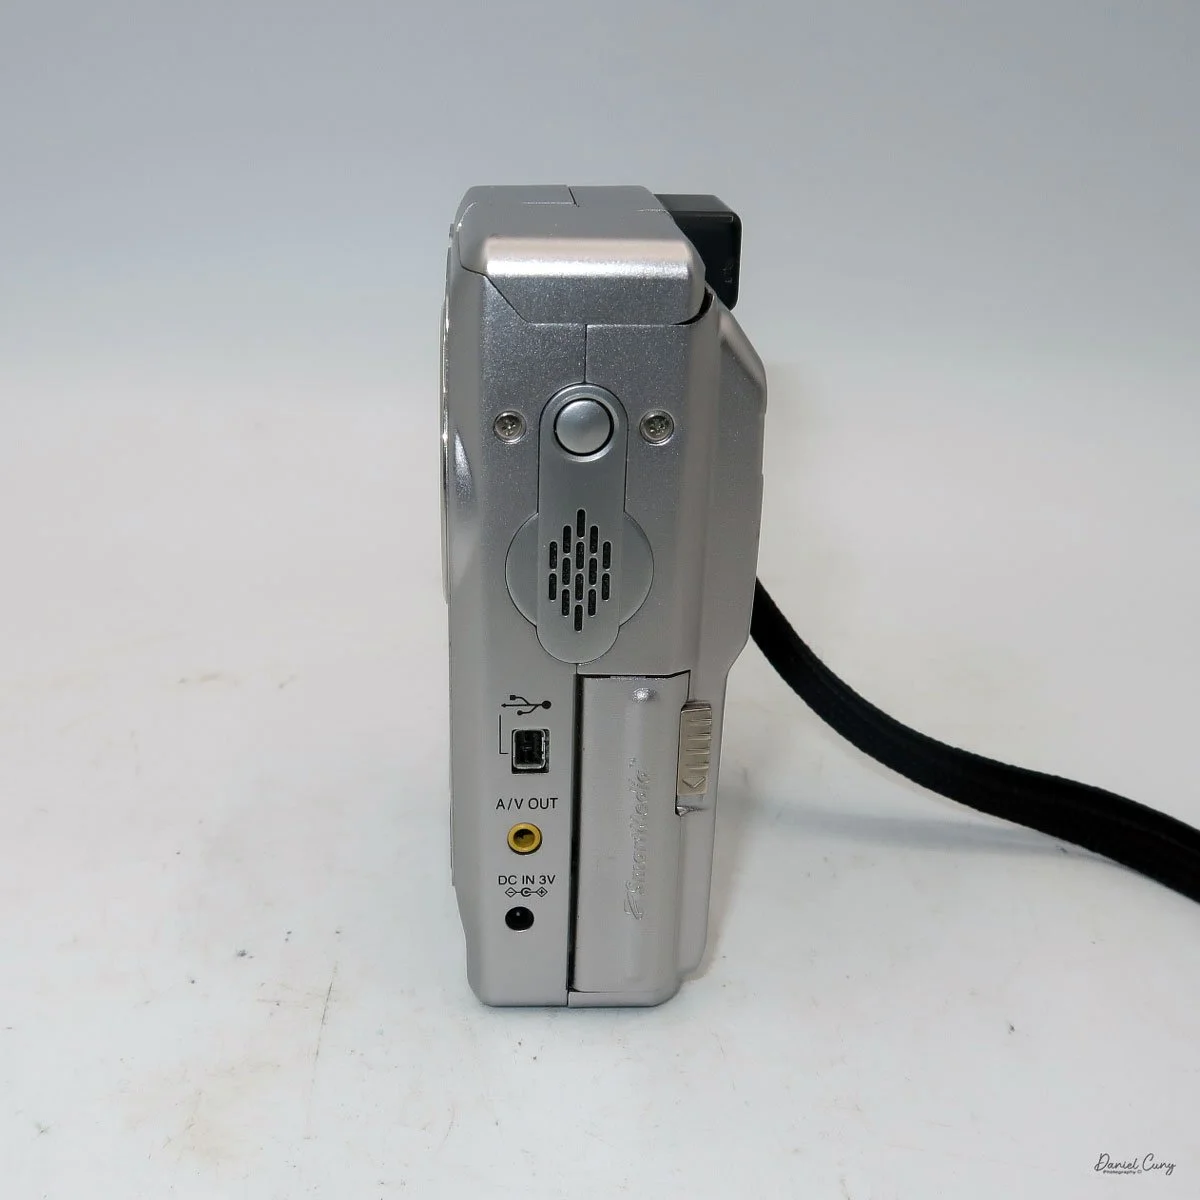
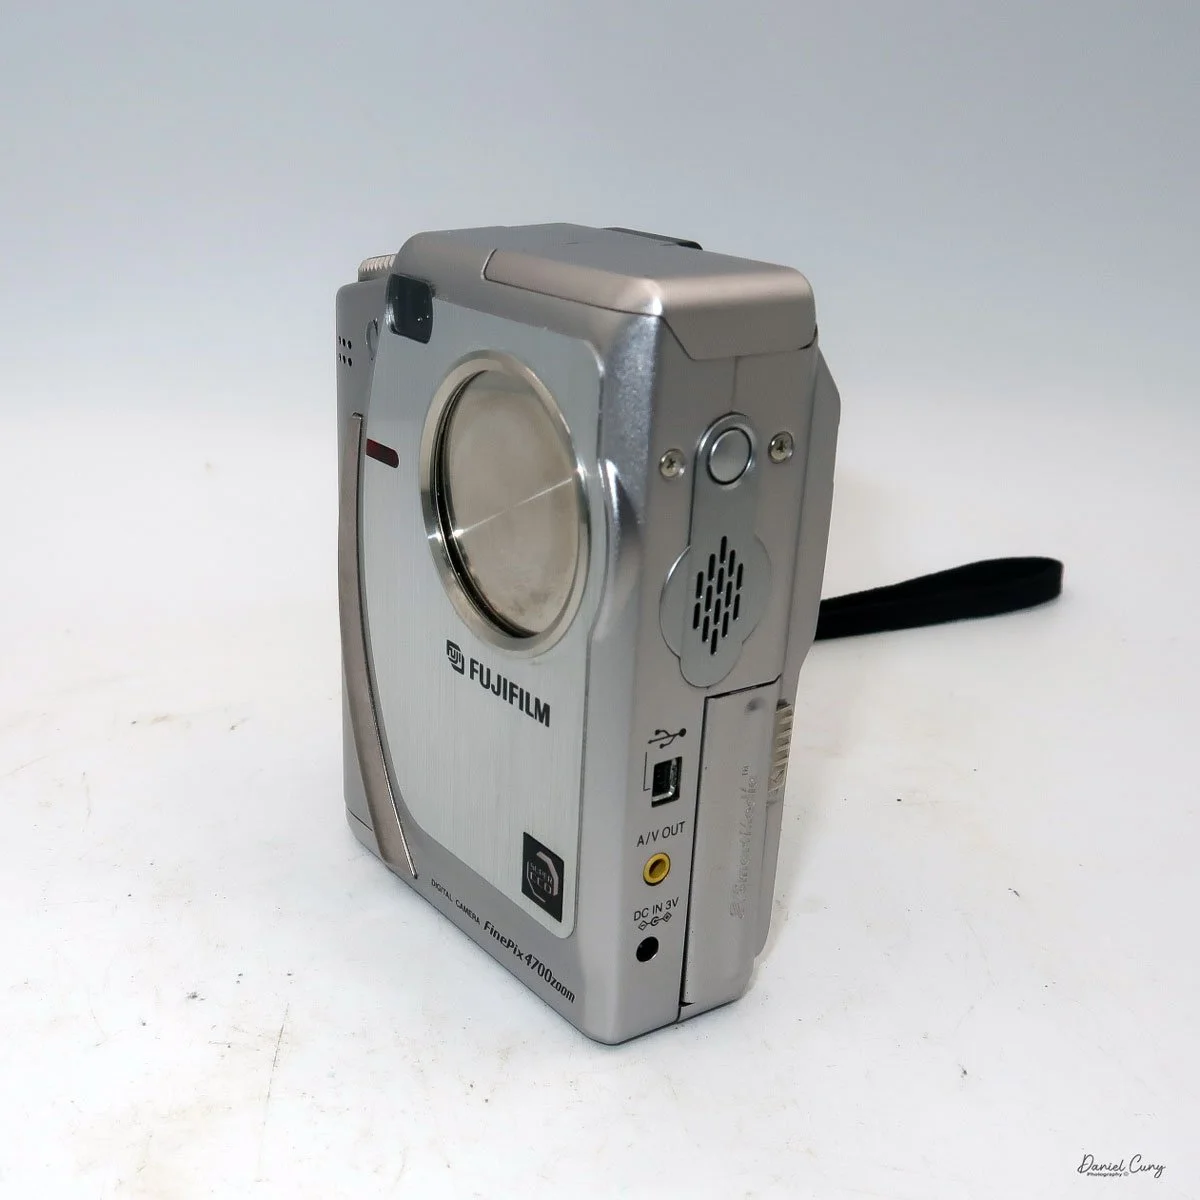
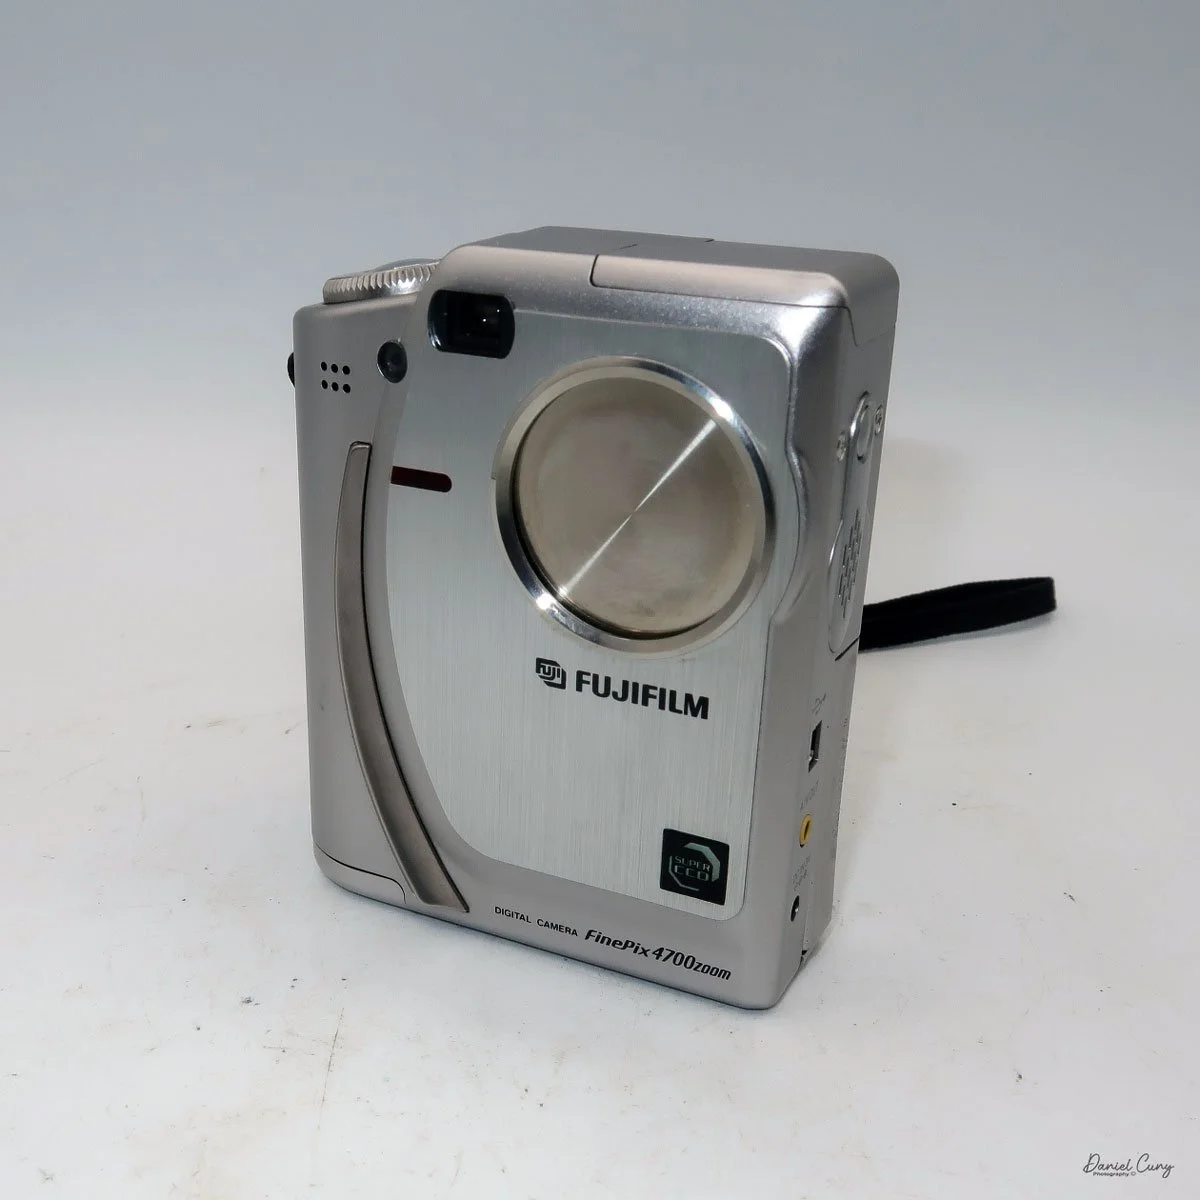
My Fujifilm FinePix 4700 Zoom and Leica Digilux 4.3 cameras

Sometime in late October or early November 2025, I was sitting back at my desk, looking at some of the cameras around me and thinking about cameras to write about for this blog. There was one camera on the top shelf above my desk that has always piqued my interest, and one that I've had for 15 years or so, but it wasn't a film camera; it was a relatively early digital camera. I hadn't included a digital camera in my blog, but that's going to change.

 To start 2026, it would be a nice change of pace if we went away from traditional film cameras and focused on some of the early digital cameras in my collection. With that said, for January, I'm picking four early digital cameras and writing about them. 

 Focusing on the early digital camera in my collection brought me unexpected challenges that were difficult to navigate at times. For many of the cameras I'm reviewing this month, I had to get my mind, and even more challenging, a computer, the computer's hardware, and software back into the late 1990s to early 2000s. Sharing these experiences can make readers feel connected and motivated to explore vintage digital cameras themselves, especially potential buyers interested in the history behind these devices.

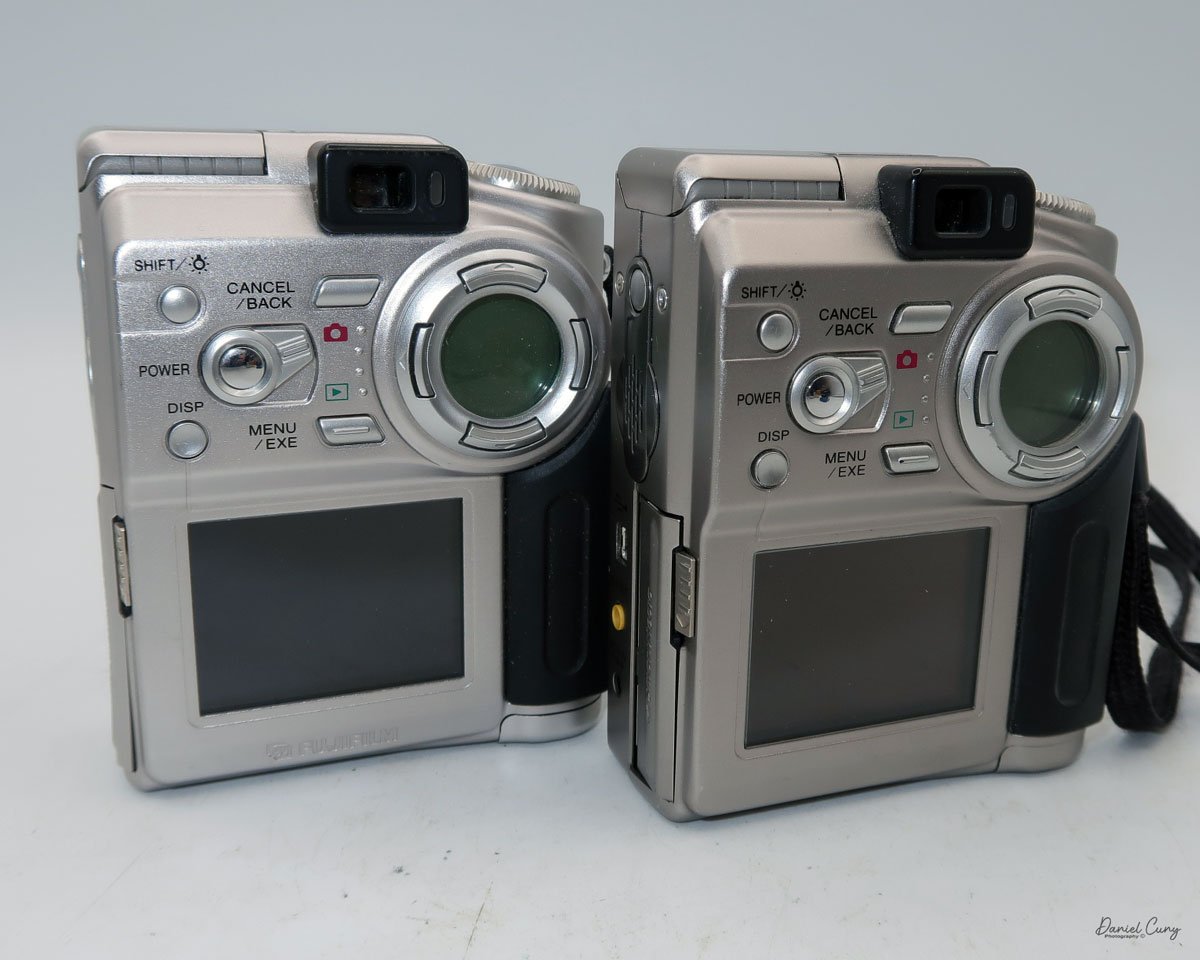
Rear view of Fujifilm FinePix 4700 zoom & Leica Digilux 4.3

 The first camera I'm going to discuss isn't as challenging as some of the cameras I'll be writing about later this month. My difficulties are mainly because I'm still working out some hardware issues with the computer, which I'll discuss in my write-up about the cameras. 

 All of the cameras are in good working condition. Aside from their specific camera menus, which are very basic compared to what we have now, the computer issues have been considerably more challenging and, at times, very frustrating, especially when finding a computer from that timeframe that functions. Still, I'll discuss that when the camera comes into play.

 It is also interesting that Fujifilm makes cameras for other brands. The two most well-known camera companies, Hasselblad and Leica, have had cameras made for them by Fujifilm. The Hasselblad XPan was produced in partnership with Fujifilm. Also, their "H" series lenses and viewfinder were developed with Fujifilm's involvement. 

 As you can see in the photos of the cameras above, the Fujifilm FinePix 4700 zoom is rebranded as the Leica Digilux 4.3. This was the third camera that Leica rebranded. The first was the original Digilux, Digilux Zoom, and  Digilux 4.3

The Company:

 Fujifilm's history in Japan mirrors the country's own journey through modernization, war, recovery, and technological reinvention. The company was founded in 1934 as Fuji Photo Film Co., Ltd., established by the Japanese government to create a domestic photographic film industry and reduce reliance on imports, particularly from Germany and the United States. Its first factory opened in Minami-Ashigara, near Mount Fuji, which inspired the company's name and enduring brand identity.

 In its early years, Fujifilm focused on mastering the complex chemistry of photographic film, producing black-and-white film, photographic paper, and motion picture film. During World War II, like many Japanese industrial firms, it was drawn into wartime production, supplying optical and imaging materials for military use. The war left Japan's economy devastated, but Fujifilm survived and quickly pivoted back to civilian products during the postwar recovery.

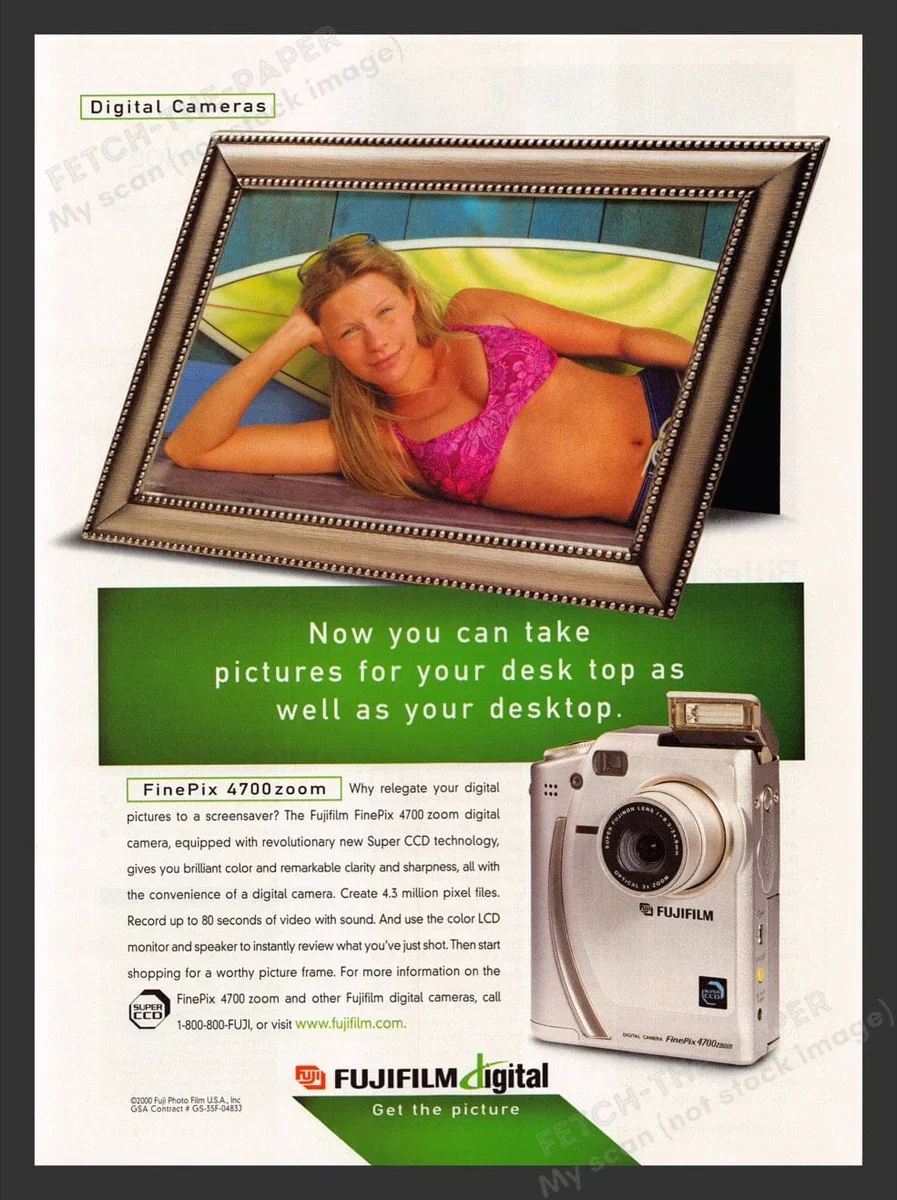
Fujifilm FinePix 4700 zoom advertisment

 The 1950s and 1960s marked a period of rapid growth. As Japan rebuilt and consumer culture expanded, photography became increasingly popular. Fujifilm introduced color film to the domestic market and steadily improved its quality, competing both domestically and internationally with companies such as Kodak. At the same time, the firm diversified into related fields, including magnetic tape, optical lenses, and X-ray film, laying the groundwork for its future resilience.

 During Japan's high-growth era of the 1970s and 1980s, Fujifilm became a global brand. It invested heavily in research and development, embracing advanced chemical engineering and precision manufacturing. These capabilities allowed the company to move beyond consumer photography into medical imaging, printing systems, and industrial materials. Fujifilm's strong export orientation also reflected Japan's emergence as a significant technological power.

 The late 1990s and early 2000s posed an existential challenge: the rapid decline of photographic film amid the rise of digital imaging. While many traditional film companies struggled, Fujifilm undertook one of the most notable corporate transformations in modern Japanese business history. Drawing on its expertise in chemistry and materials science, it diversified aggressively into healthcare, pharmaceuticals, cosmetics, electronic materials, and data storage. The company officially changed its name to Fujifilm Holdings Corporation in 2006 to reflect this broader mission.

 Today, Fujifilm remains a symbol of Japanese adaptability and long-term thinking. While it still honors its photographic heritage, its core businesses now lie in healthcare, imaging, and advanced materials. From its origins near Mount Fuji to its global presence, Fujifilm's history illustrates how a Japanese company can evolve with changing times while preserving technical excellence and cultural identity.

My Camera:

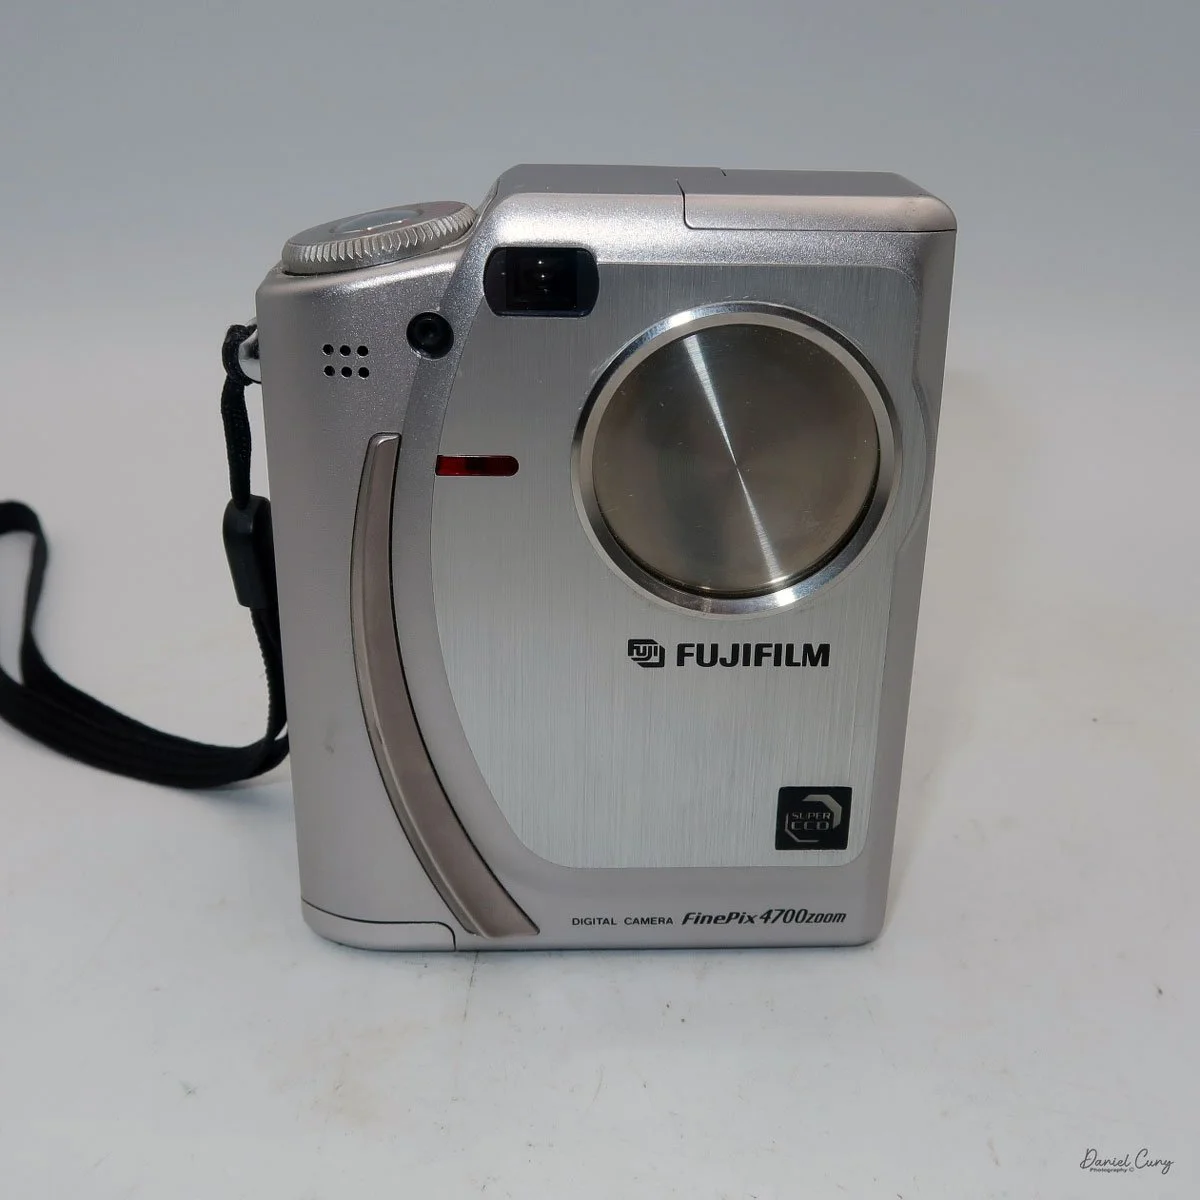
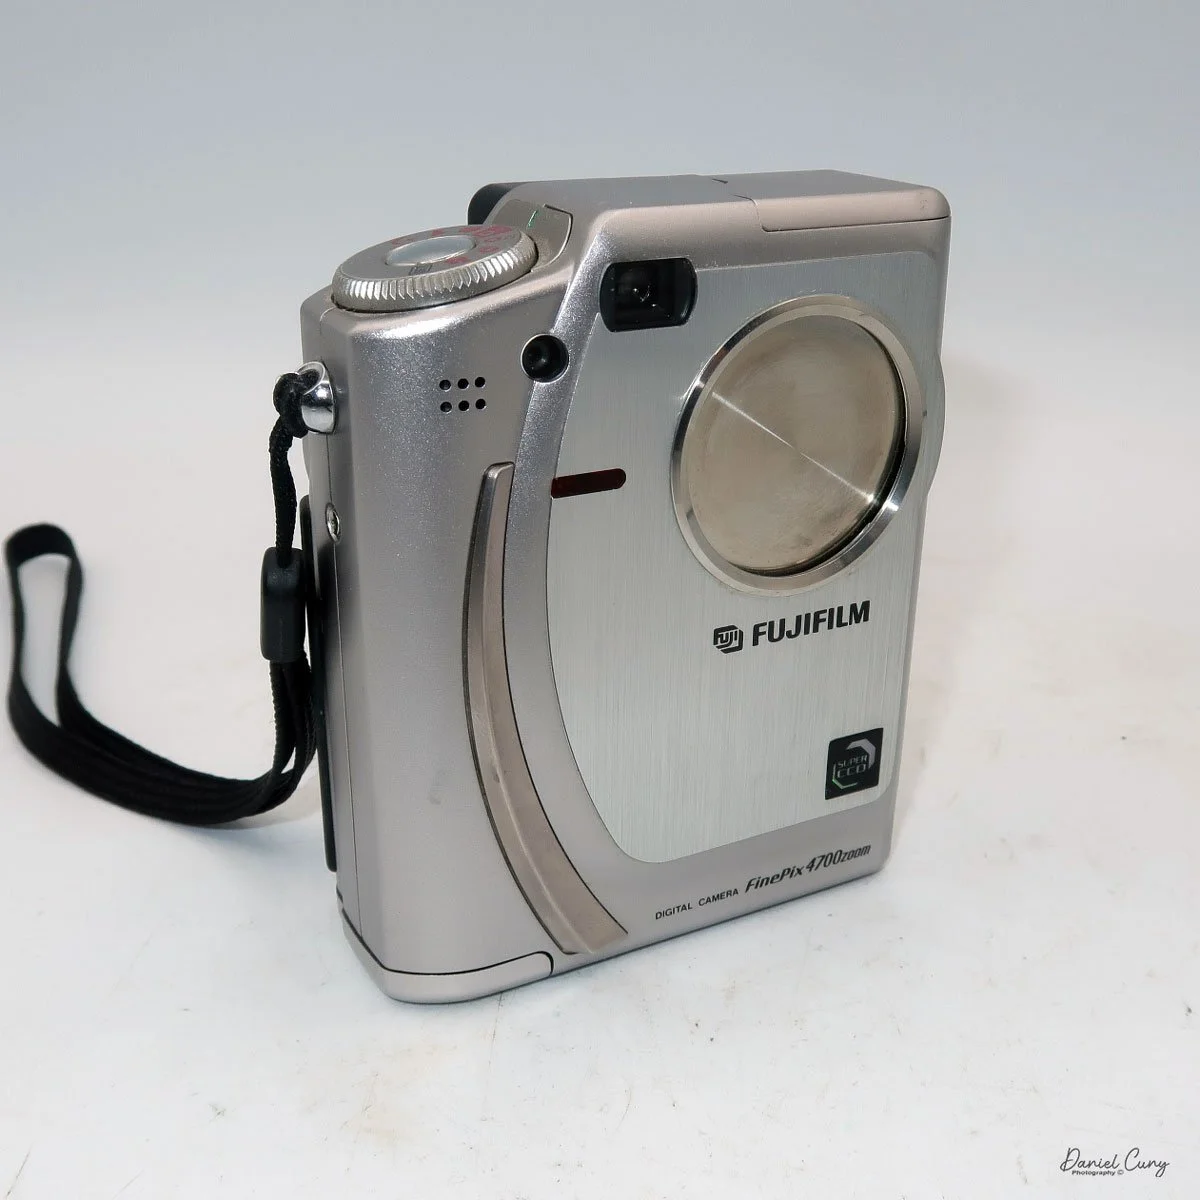
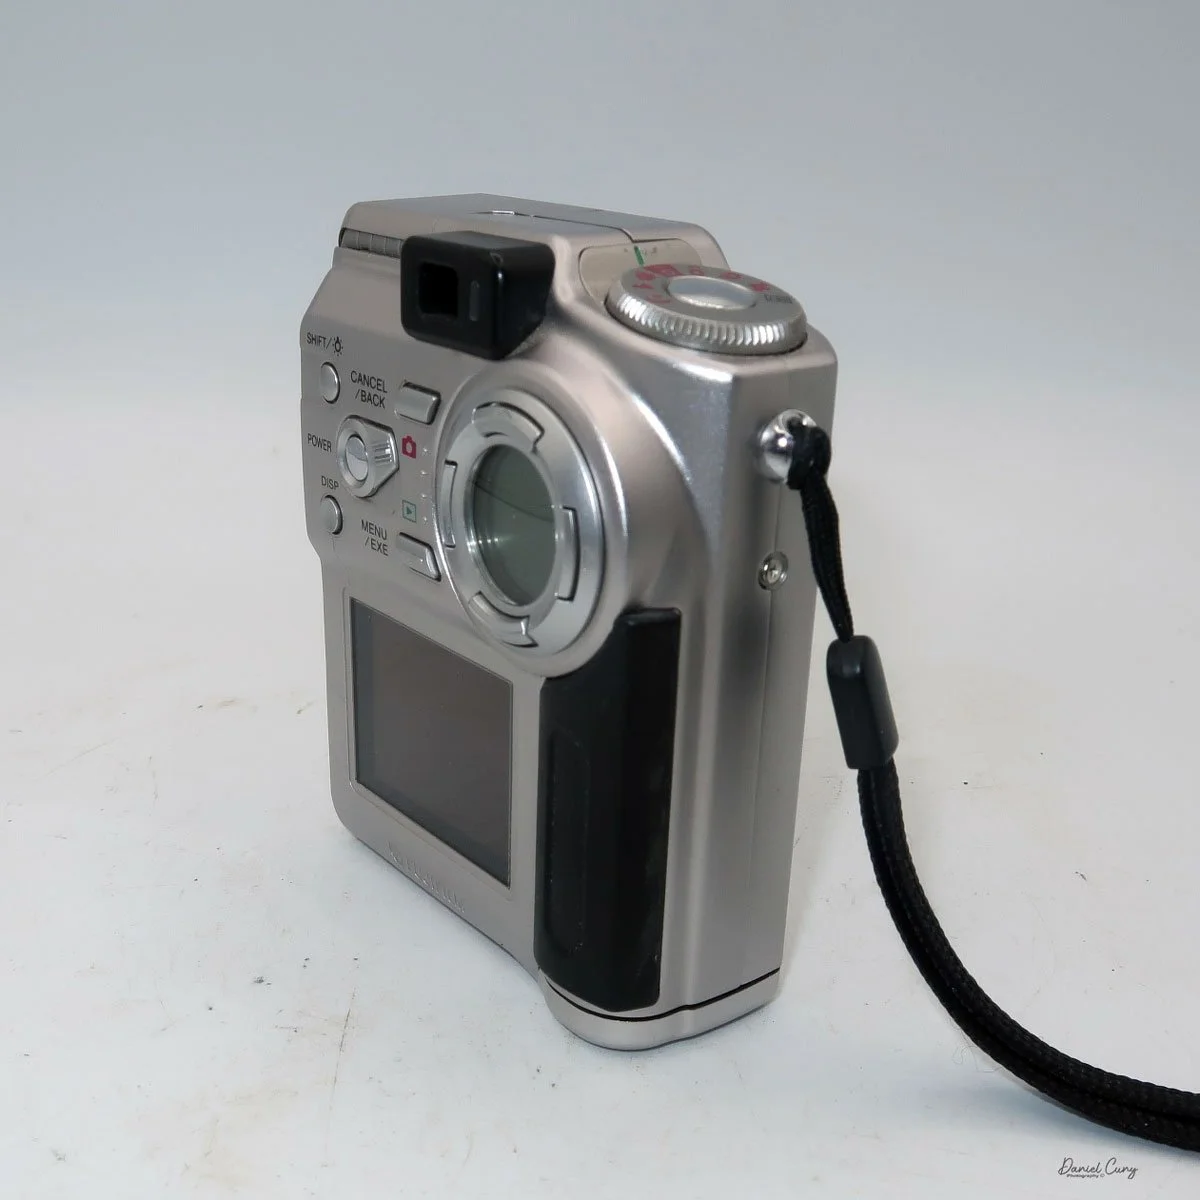
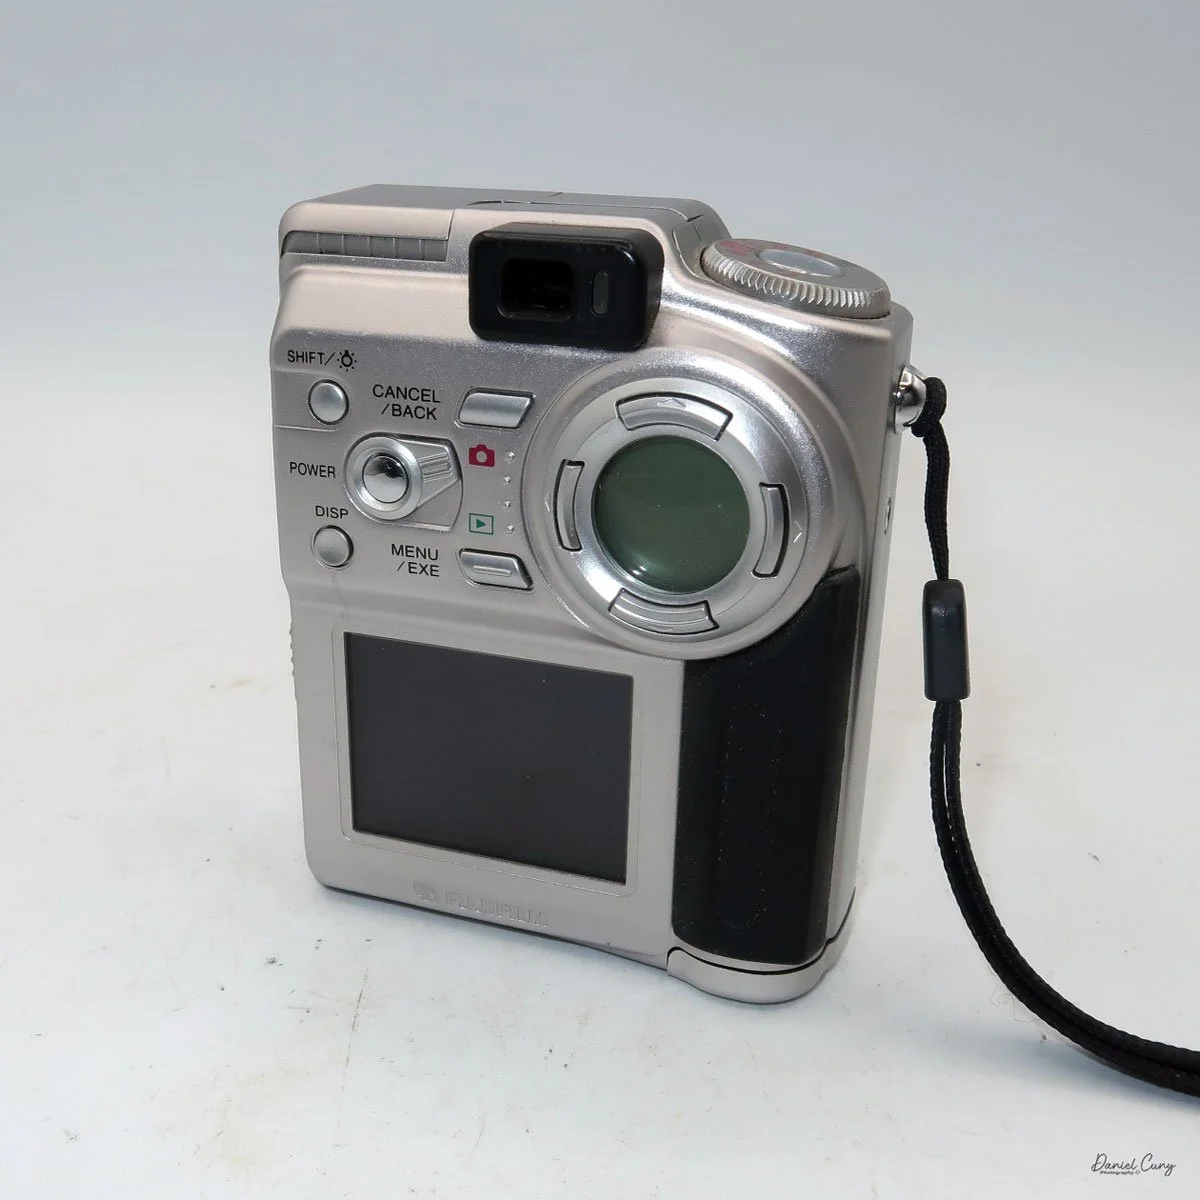
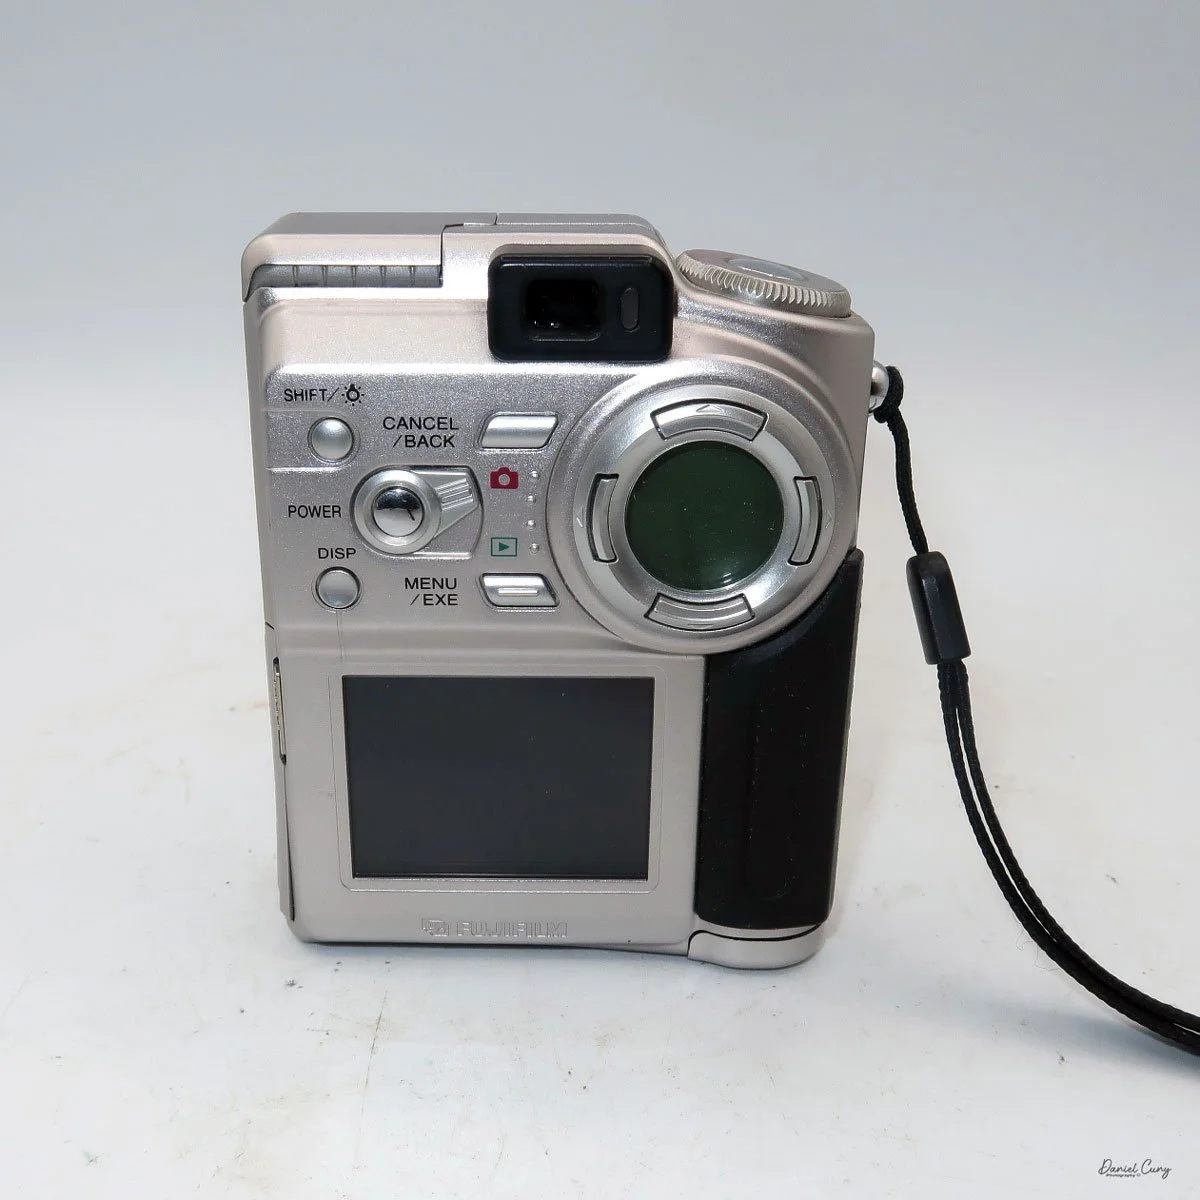
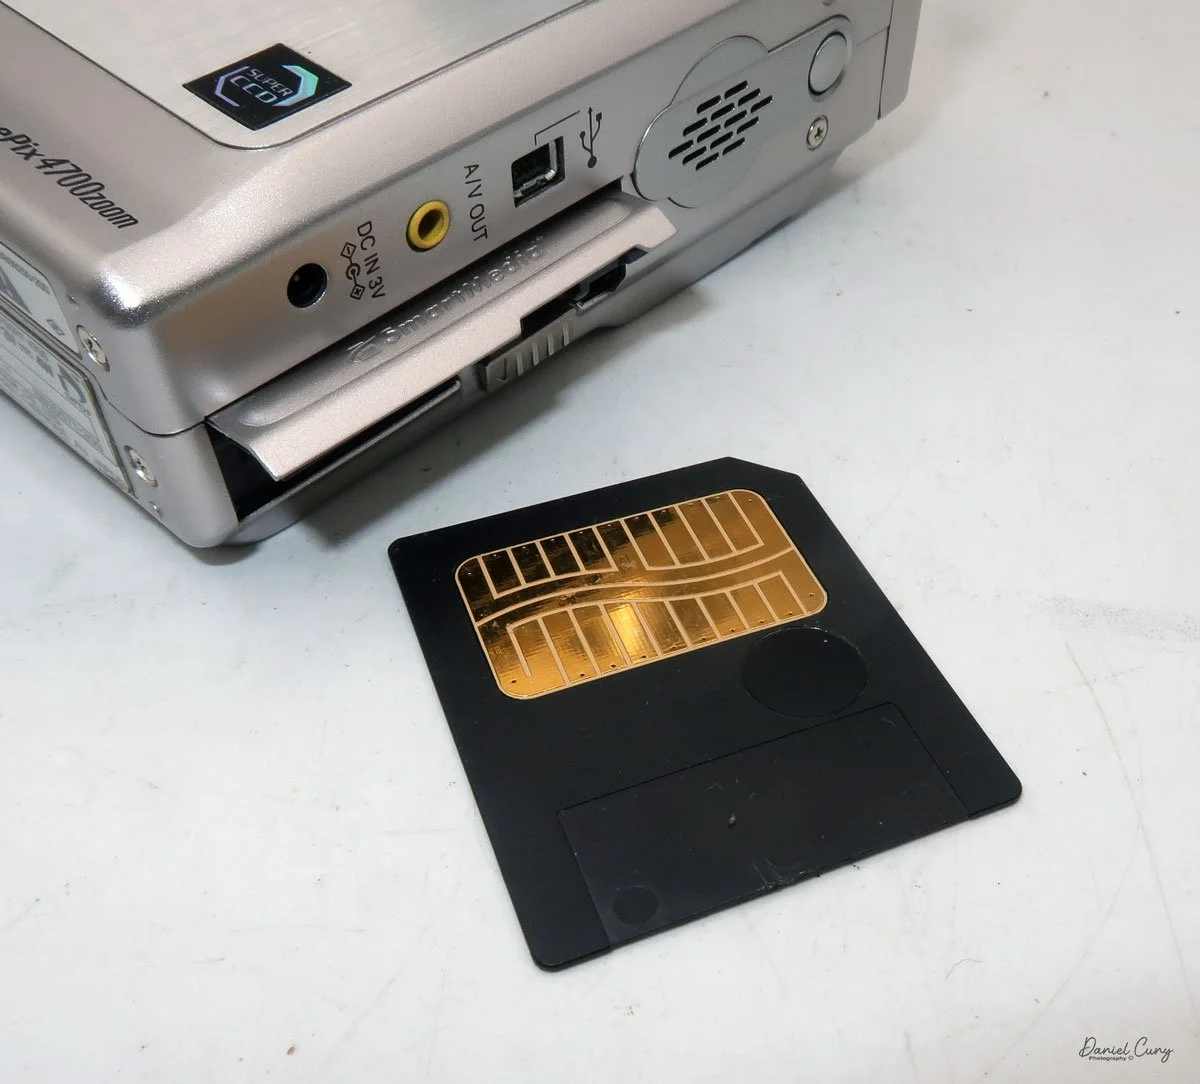
 The Fujifilm FinePix 4700 zoom may be the highest resolution digital camera I'll be writing about this month, coming in at a whopping 2mp, with a 1/1.7" SuperCCD imaging sensor which can produce a maximum resolution of 2400 x 1800-sized JPEGs on a Smart Media Card. The Fujifilm FinePix 4700 zoom has a Super Fujinon 8.3-24.9mm lens with a maximum aperture of f/2.8 to f/4.5. This 3x zoom lens is the 35mm equivalent of a 36-108mm lens.

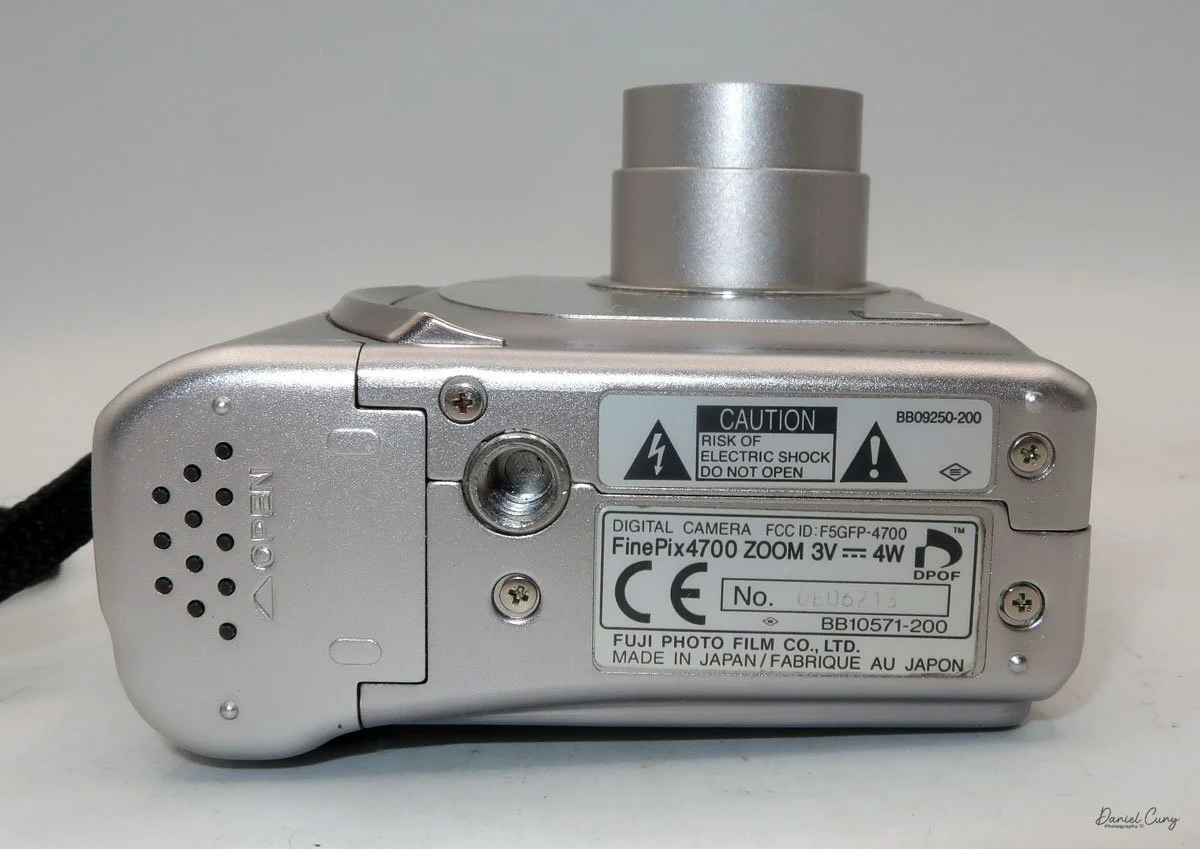
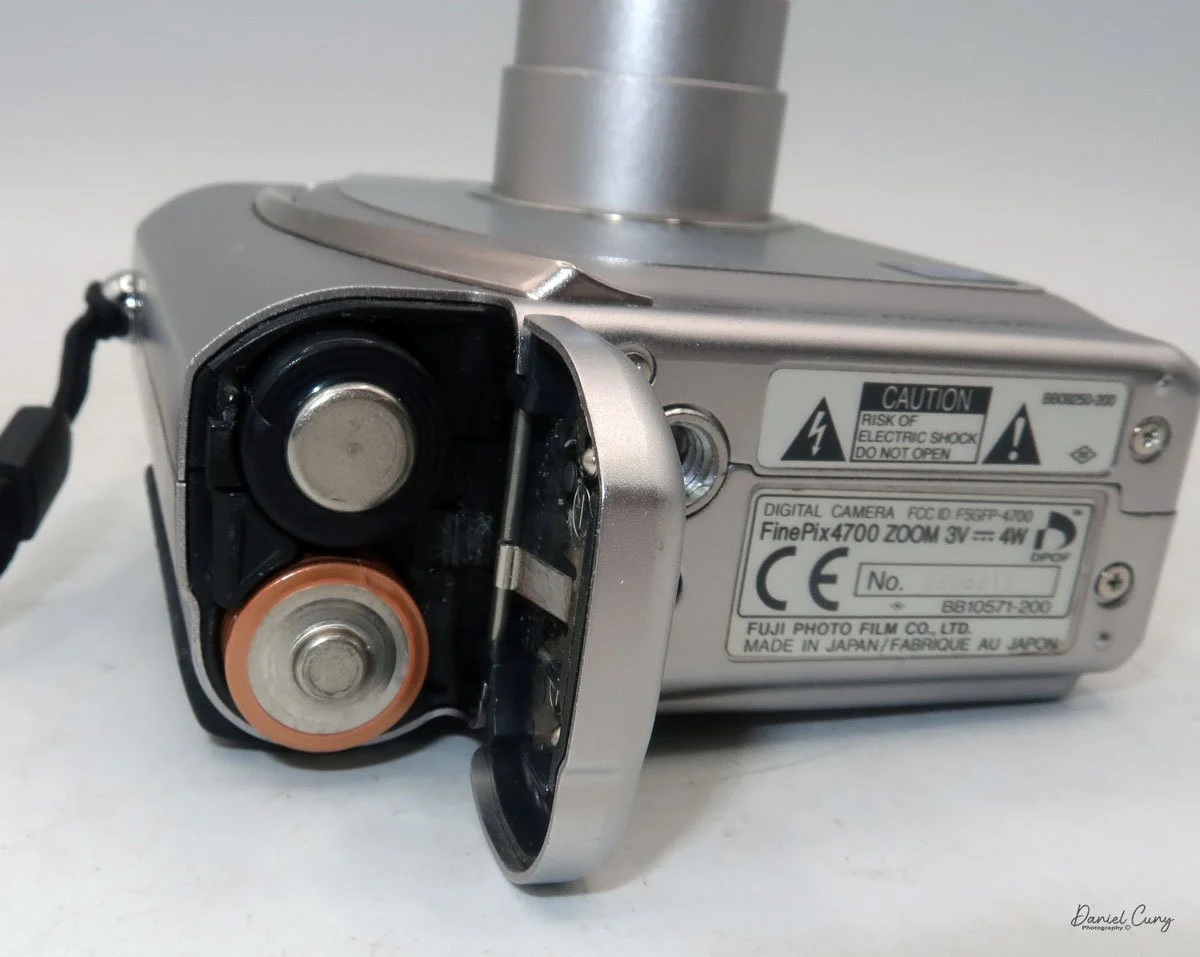
 While the Fujifilm FinePix 4700 zoom is an unconventional vertical-format camera in stature, it is very easy to hold and use. The dimensions of the camera are 4" tall by just a bit over 3" wide by 1.5" thick, and it weighs in at 10.8 ounces with the two "AA" batteries that power the camera.

I don't want to get into the full minutia of everything the camera has to offer and go into each specific button and control, but instead talk about the basic controls of the camera and how I generally use this style of camera, which is similar to probably 95% of the intended users. If you want to look at specifics and know what each button does, you can go online and find a copy of the Fujifilm FinePix 4700 instruction manual.

 Let's start at the beginning. To put in the 2 "AA" batteries, on the bottom of the camera is the battery door. Slide the cover outward, and the door will swing open. Insert the 2 "AA" batteries as shown on the battery lid, then close the lid and slide it back to close the battery door. 

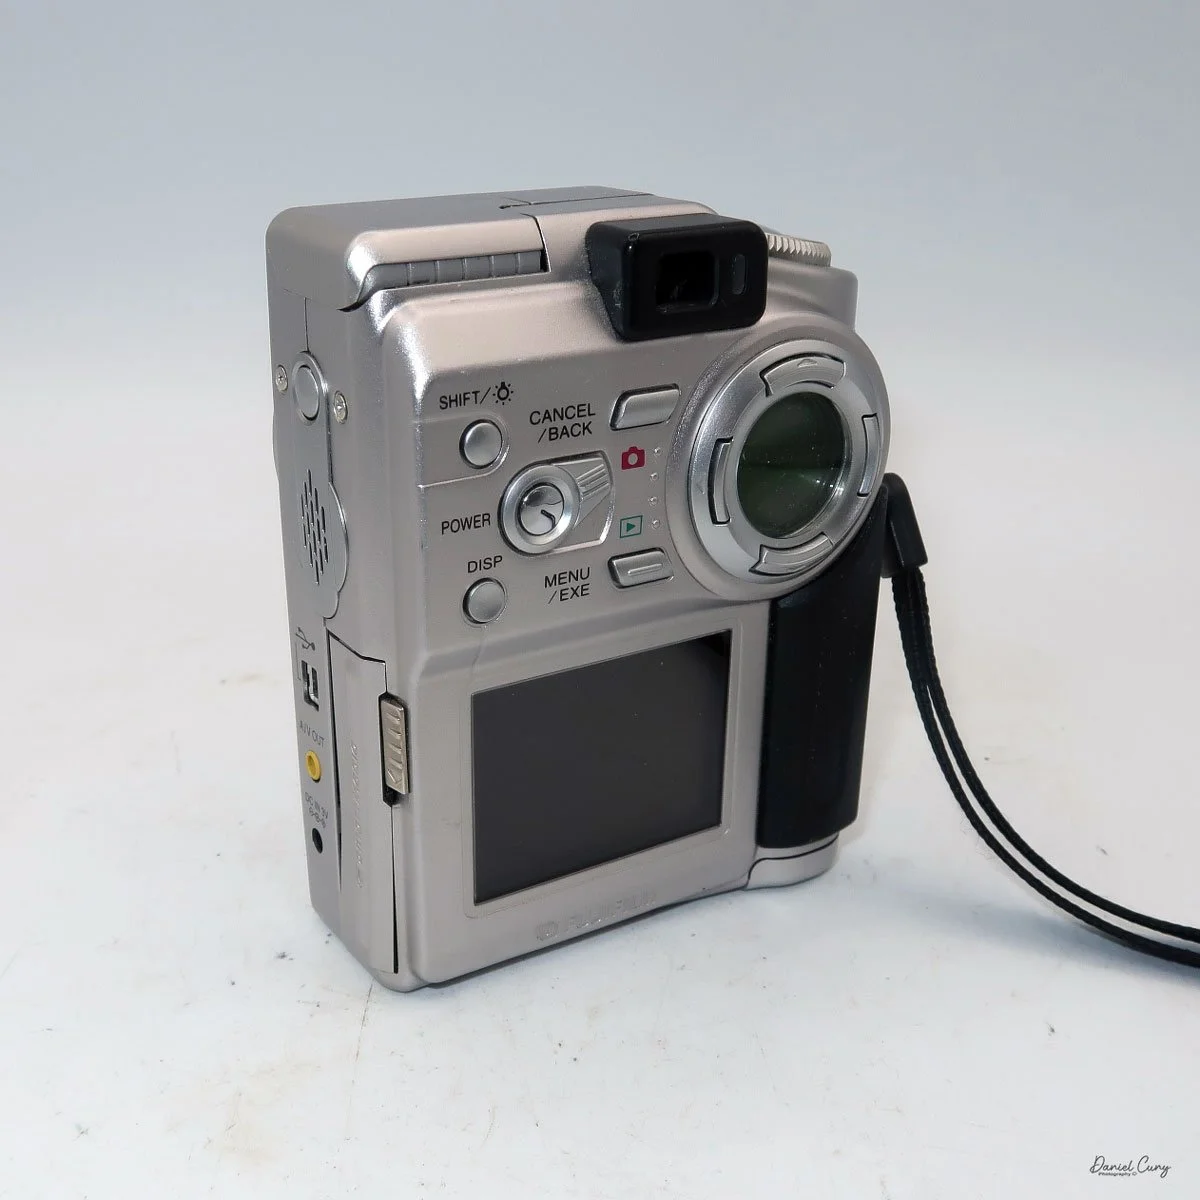
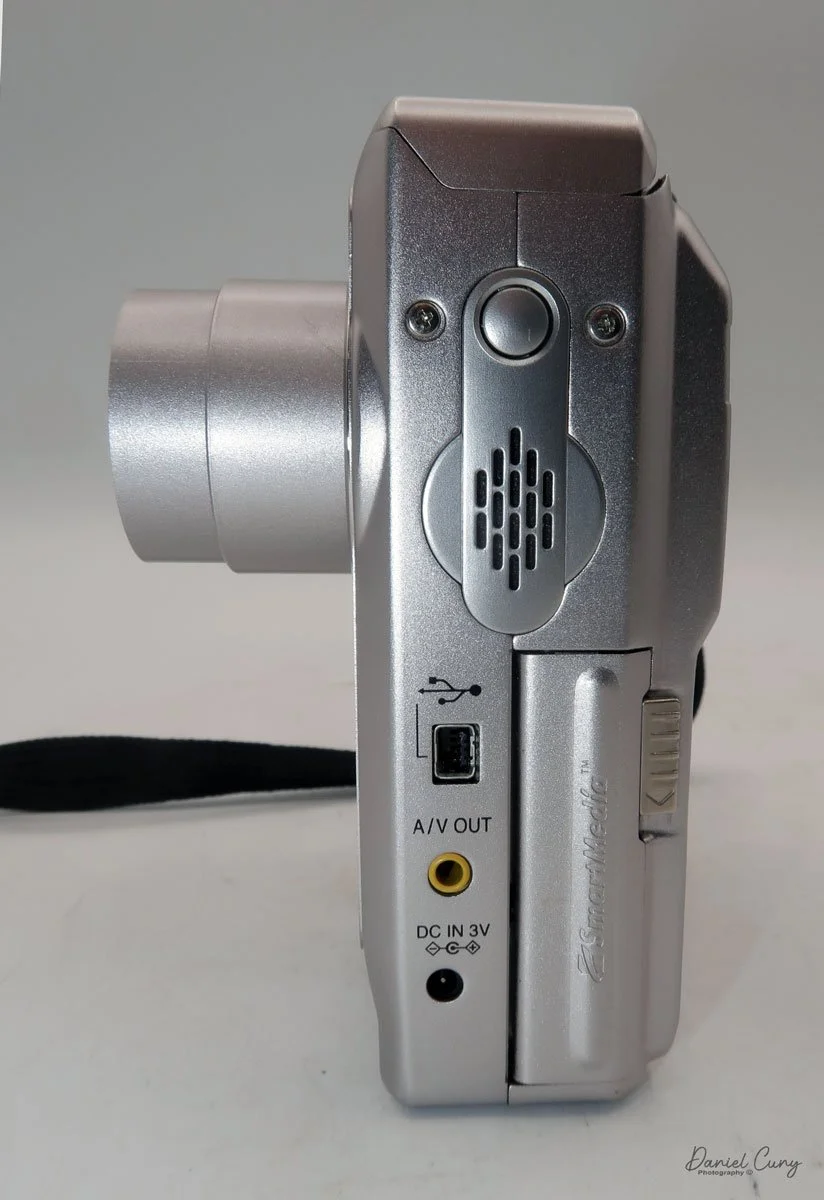
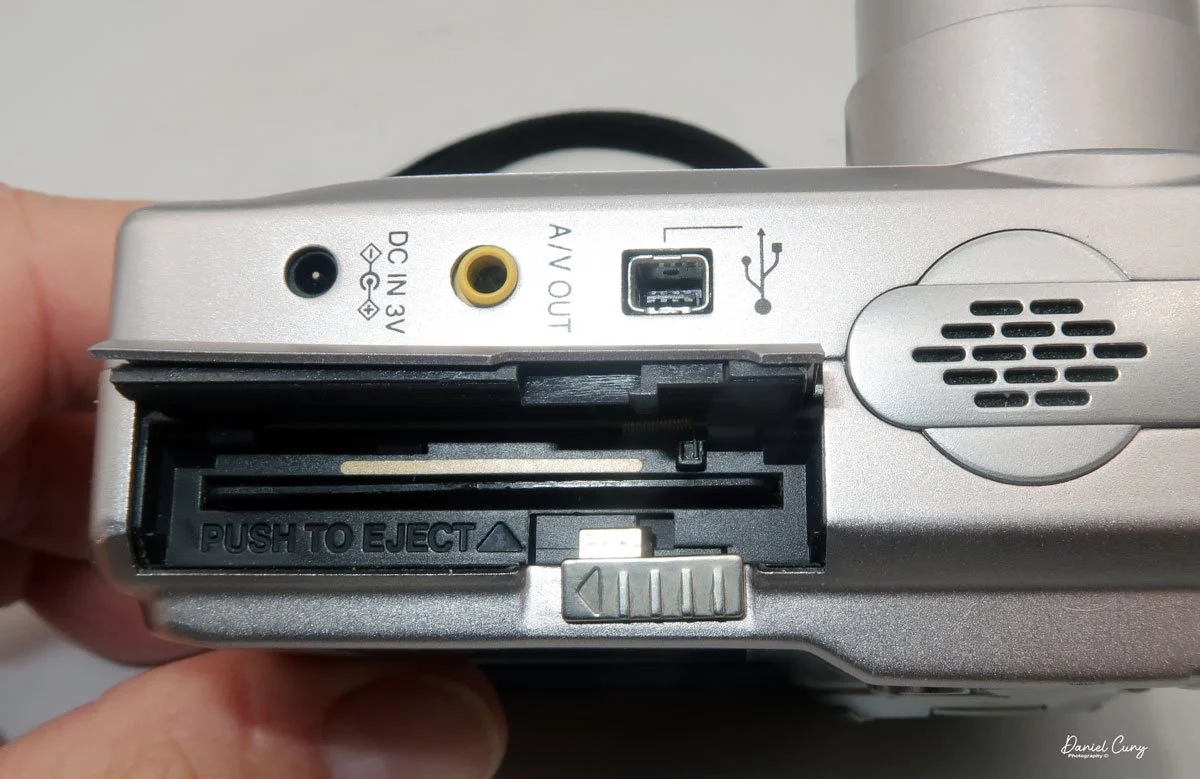
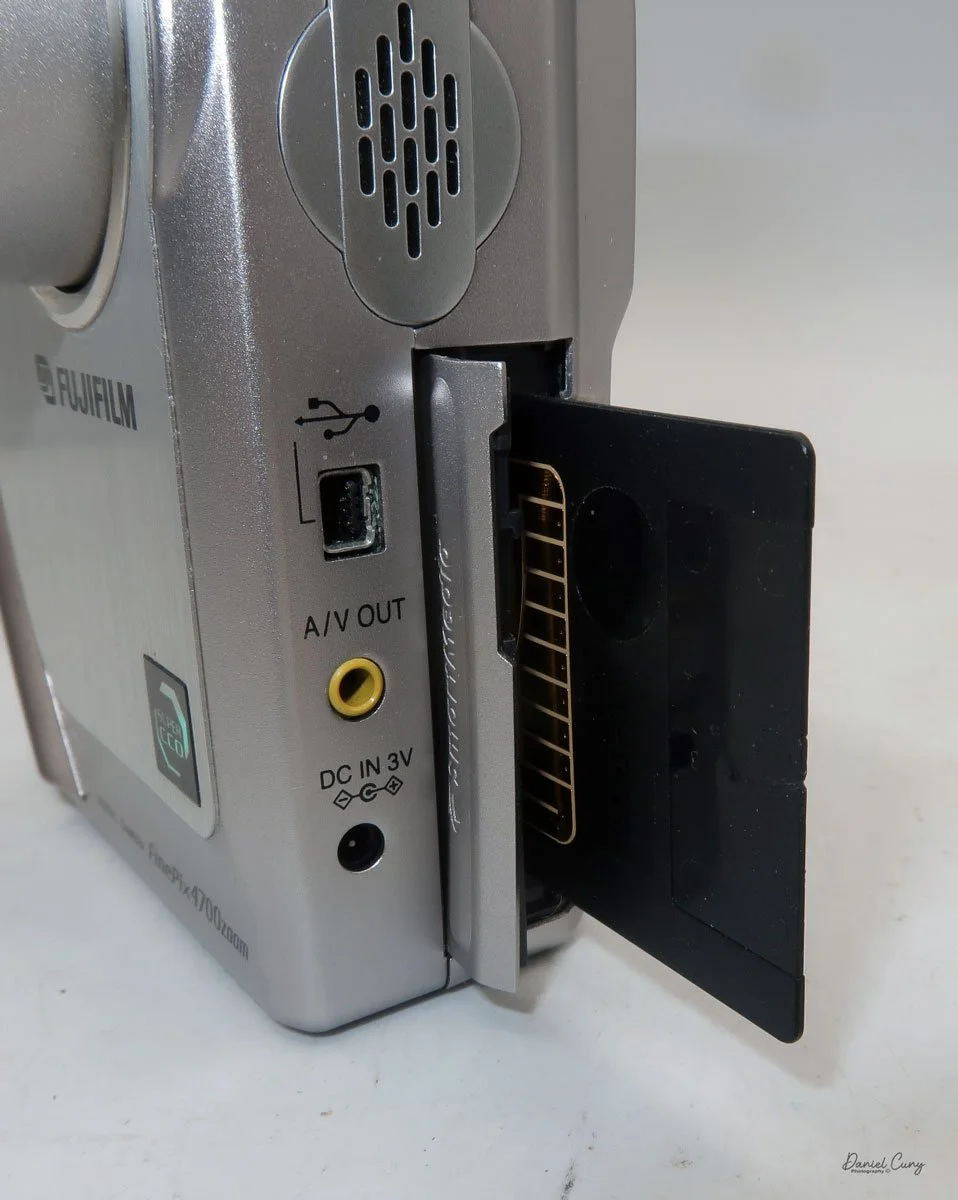
On the left side of the camera is the door where you put in the Smart Media card. Flip the small button downwards to open the memory card door. Insert the memory card so the brass portion faces the front of the camera, and press it in all the way until it stays in the camera. To release the memory card, push it in a bit, as it's spring-loaded, and it will pop out, so you can grab it and pull it out of the camera. Once the memory card is inserted in the camera, you can close the memory card door.

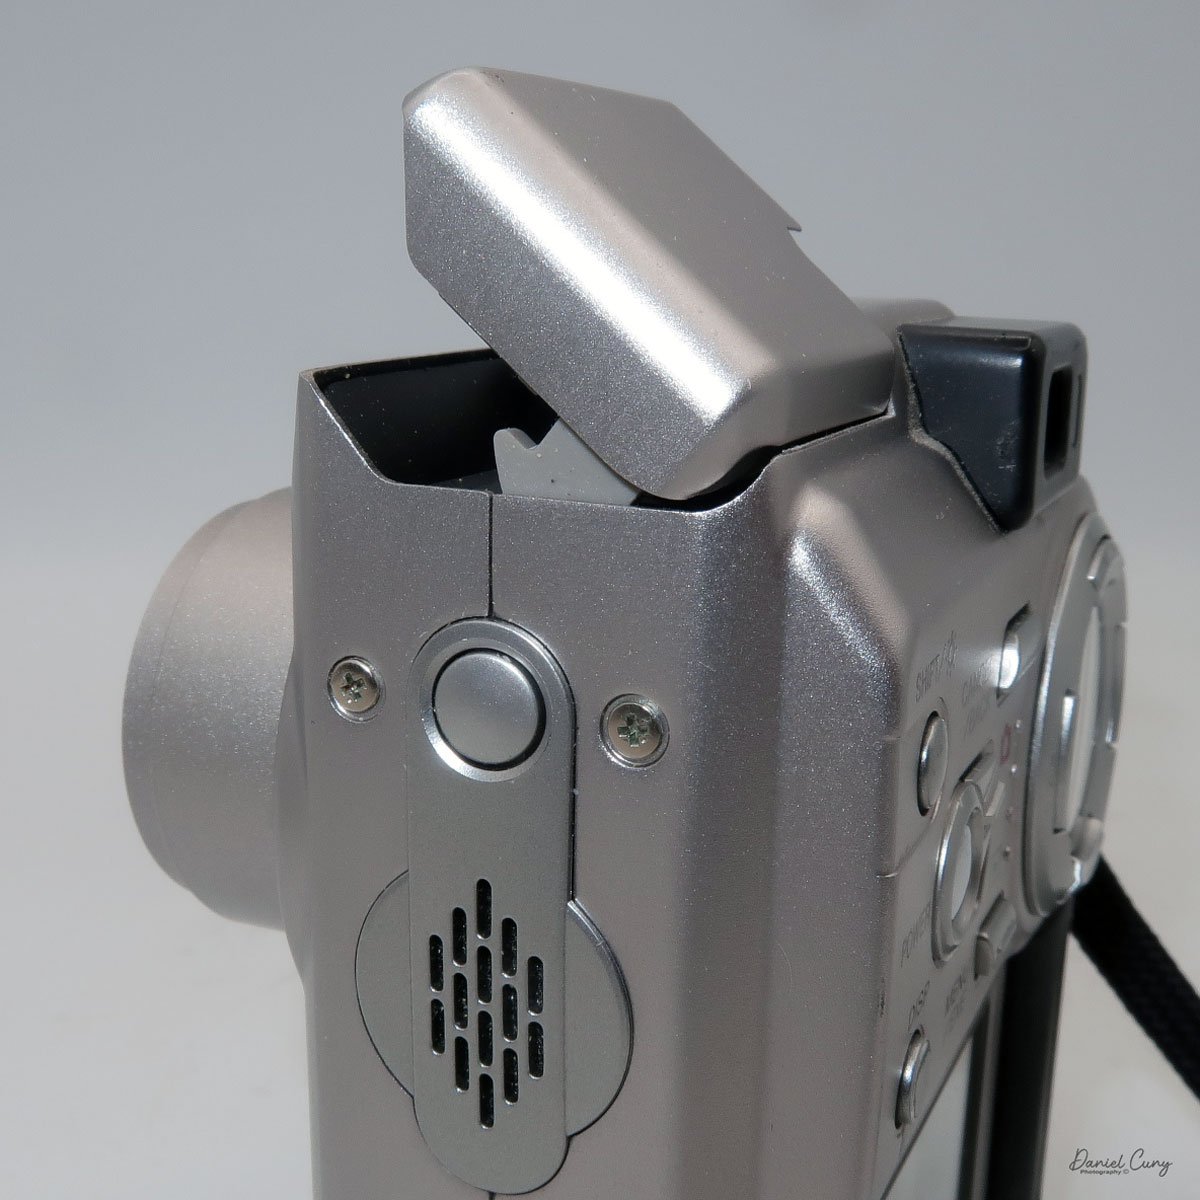
 Above the memory card door is a small speaker; above that is a small button to turn on the flash, which will pop up after the button is pressed. Also on the left side are ports for a charging device, A/V out, and a USB port.

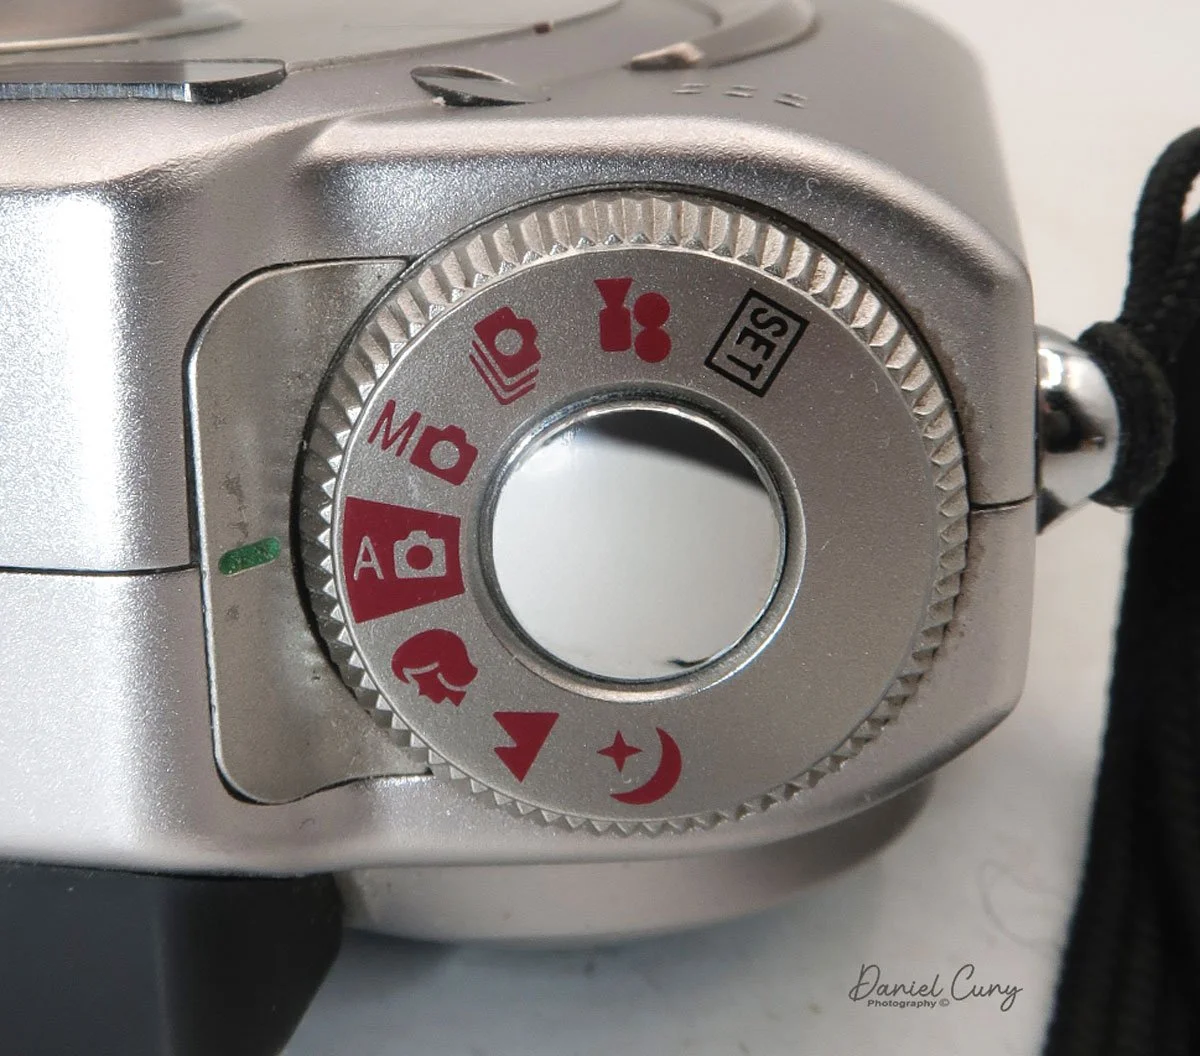
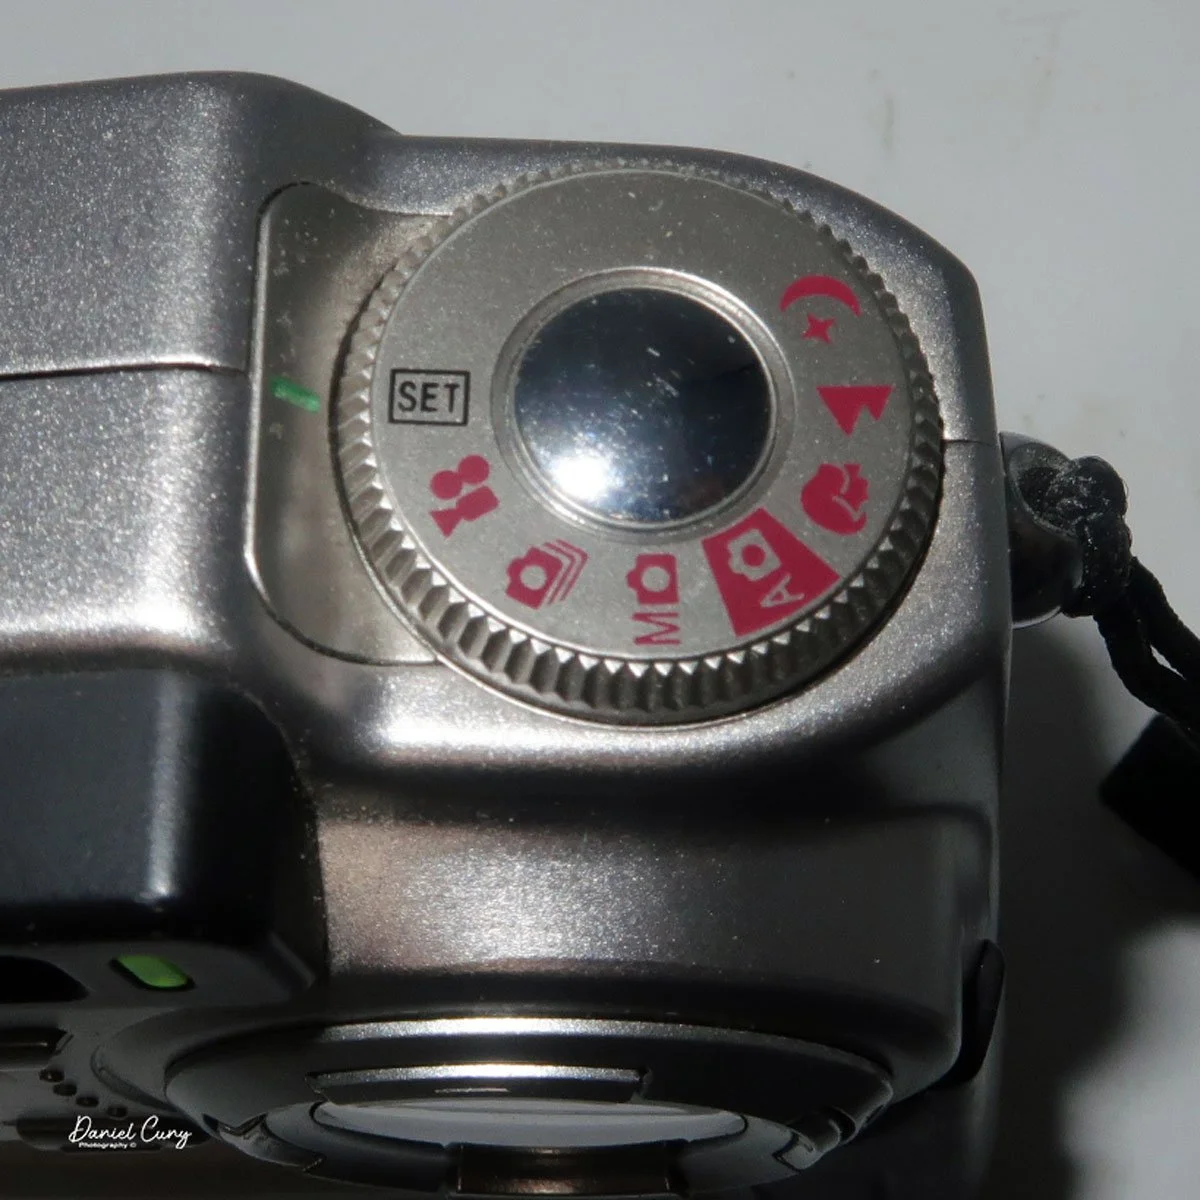
Two main areas control the camera: the selector on top of the camera, which surrounds the shutter release button, and the back of the camera, which is the main control center.

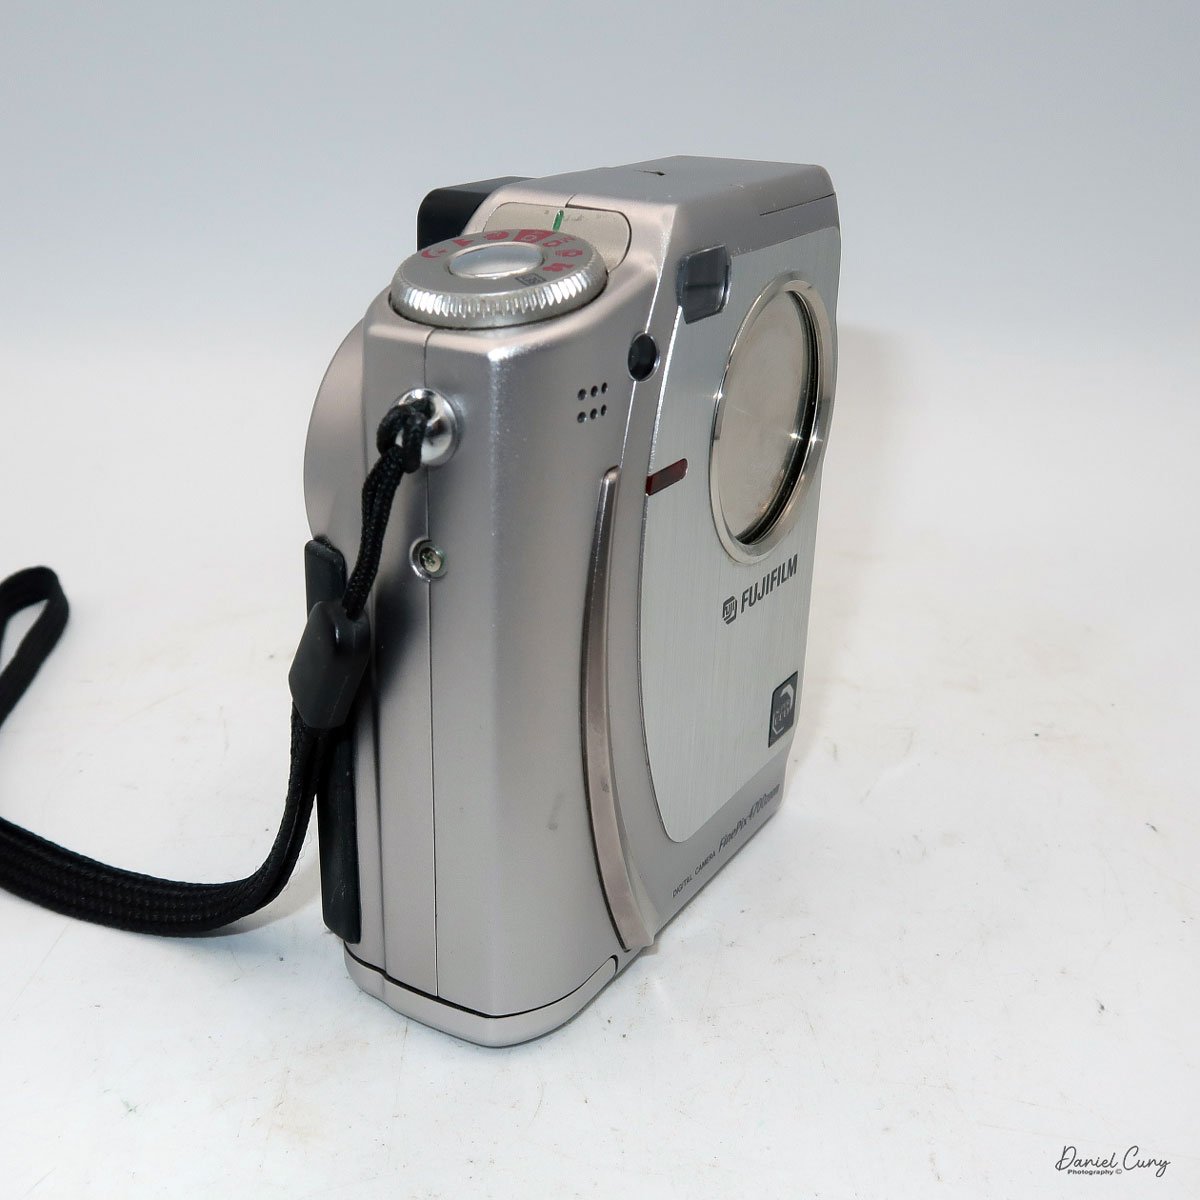
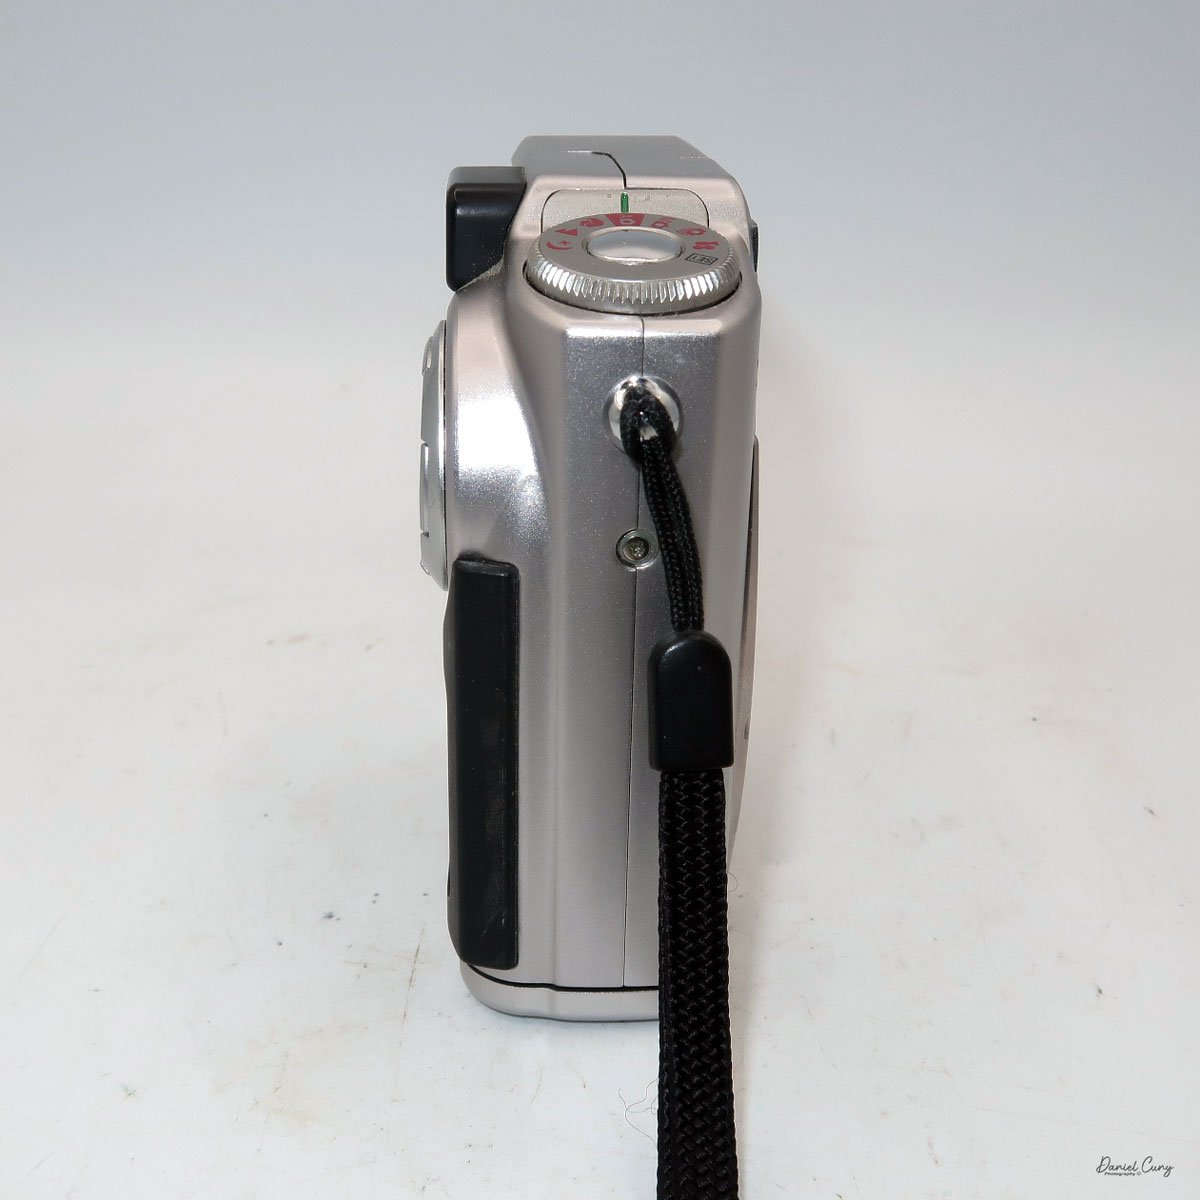
 The top controls the camera's shooting mode. Looking around the dial, from top to bottom, is Set (some of the main camera settings are set here, with controls from the camera's back). The next is Video Mode, then Multi Mode  (continuous shooting), Manual Mode, Auto Mode (the primary setting in red), Portrait Mode, Landscape Mode, and Night Mode. Initially, you'll want to put the camera into "set" mode so you can adjust basic settings.

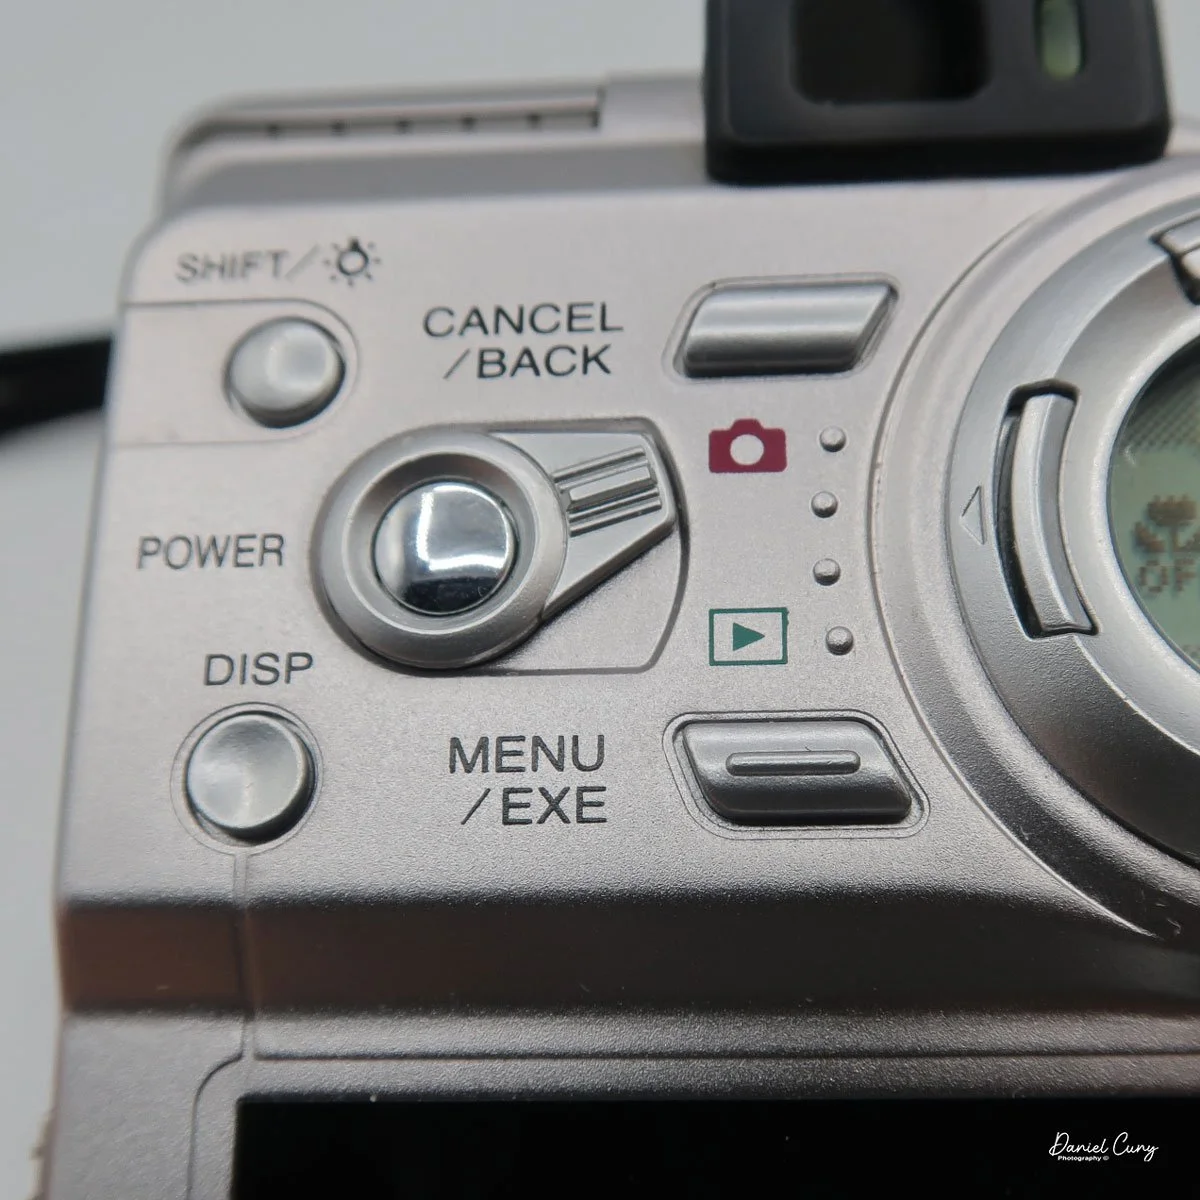
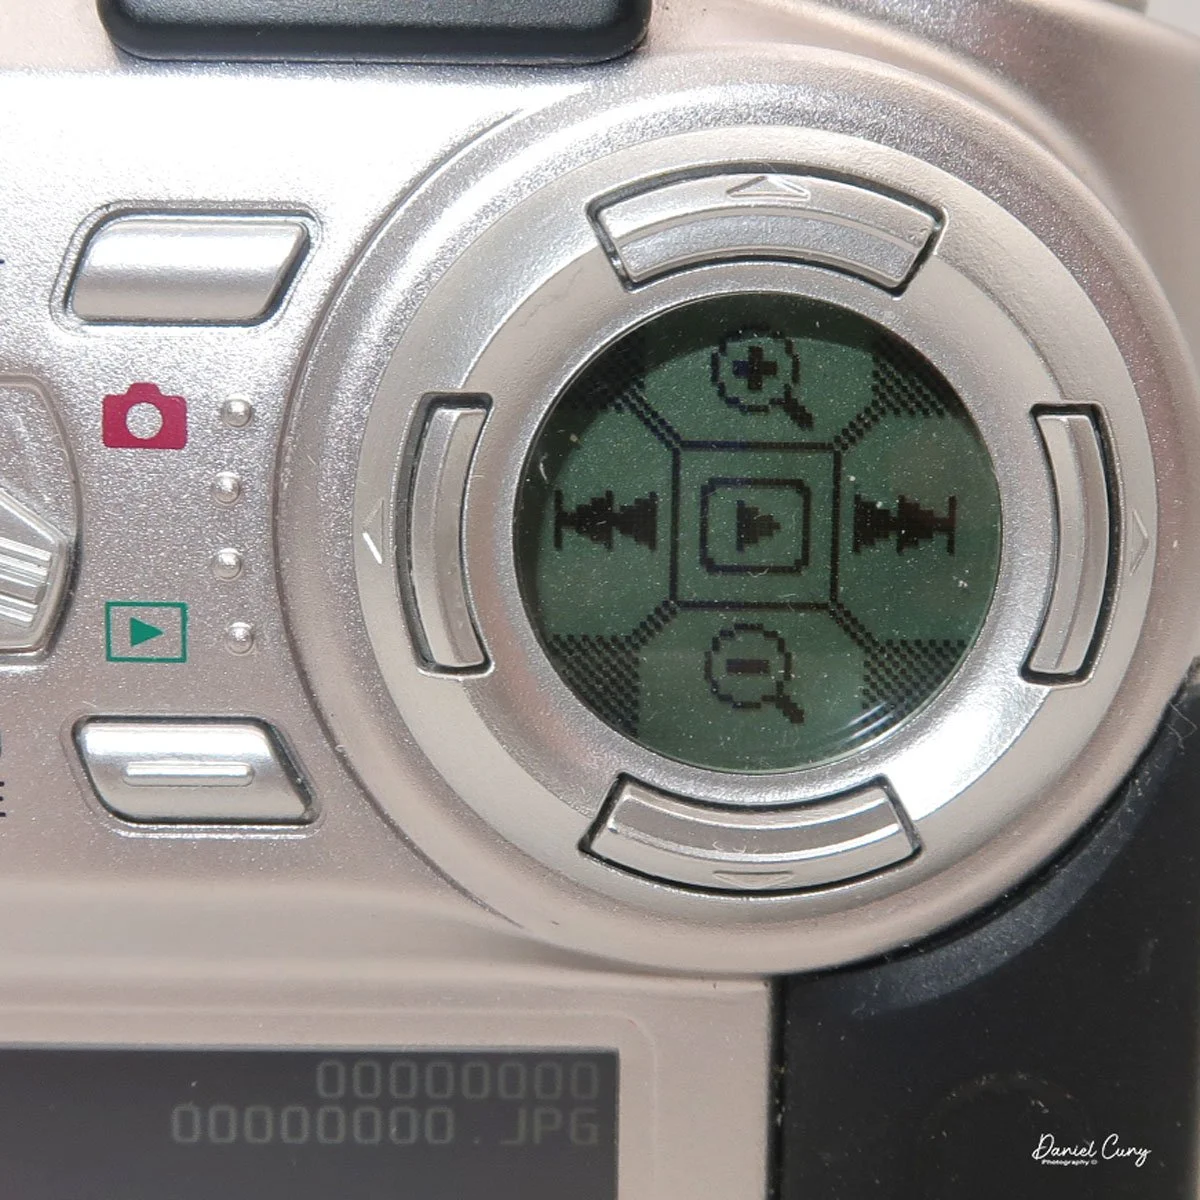
On the back of the camera are many different buttons, along with two separate screens. One circular screen in the upper right of the camera with directional controls that control certain items once the camera is on and the mode is selected. Located on the lower portion of the camera's backside is a larger 2" rectangular screen with a resolution of 130,000 pixels, which is also used in the "set up" process, along with displaying the image after it is taken.

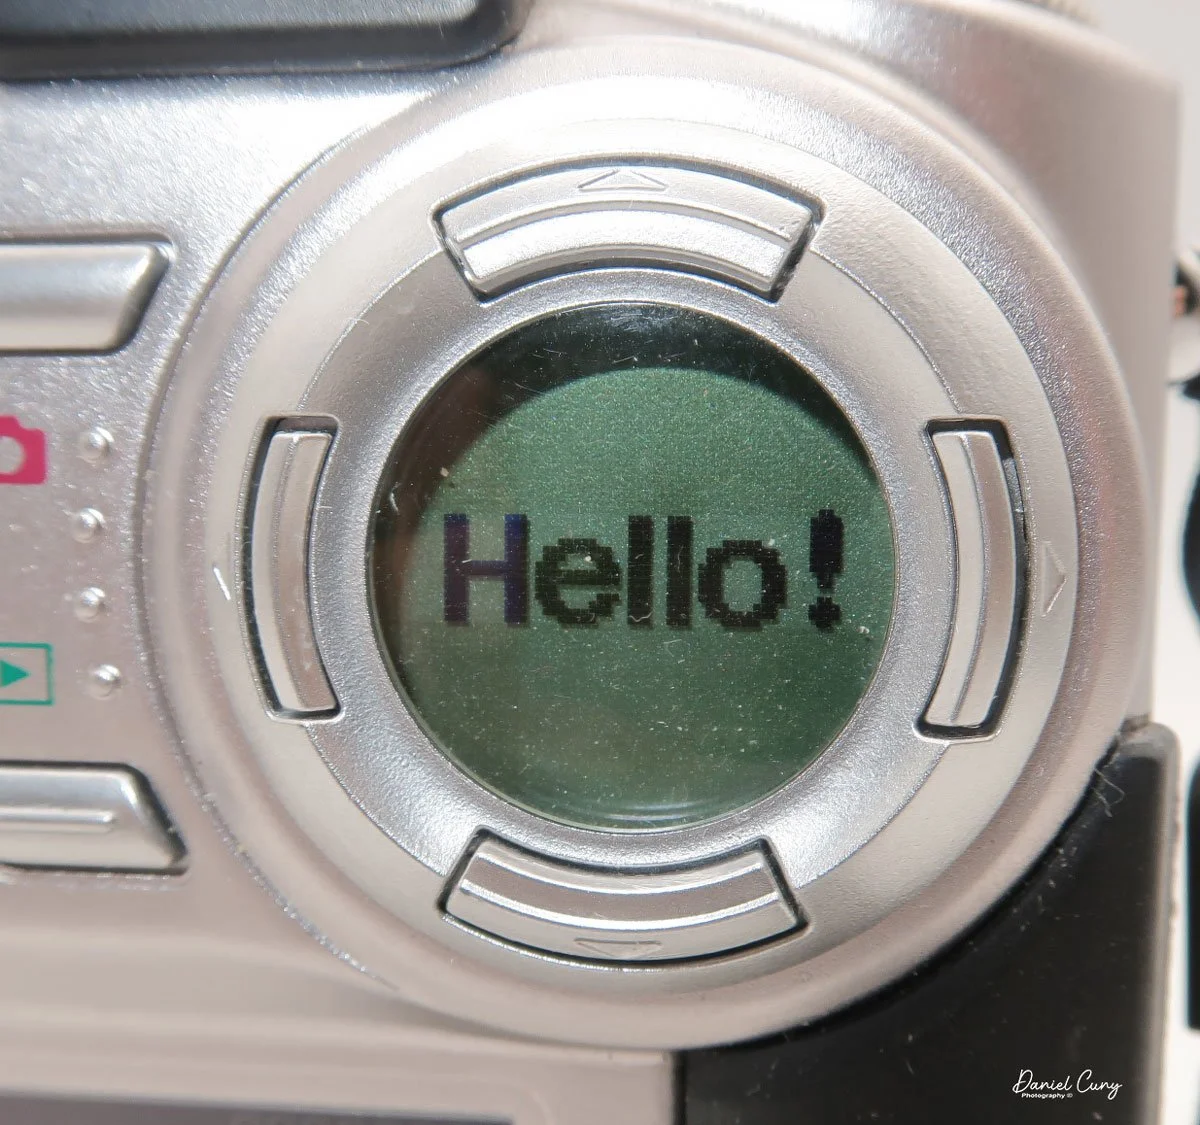
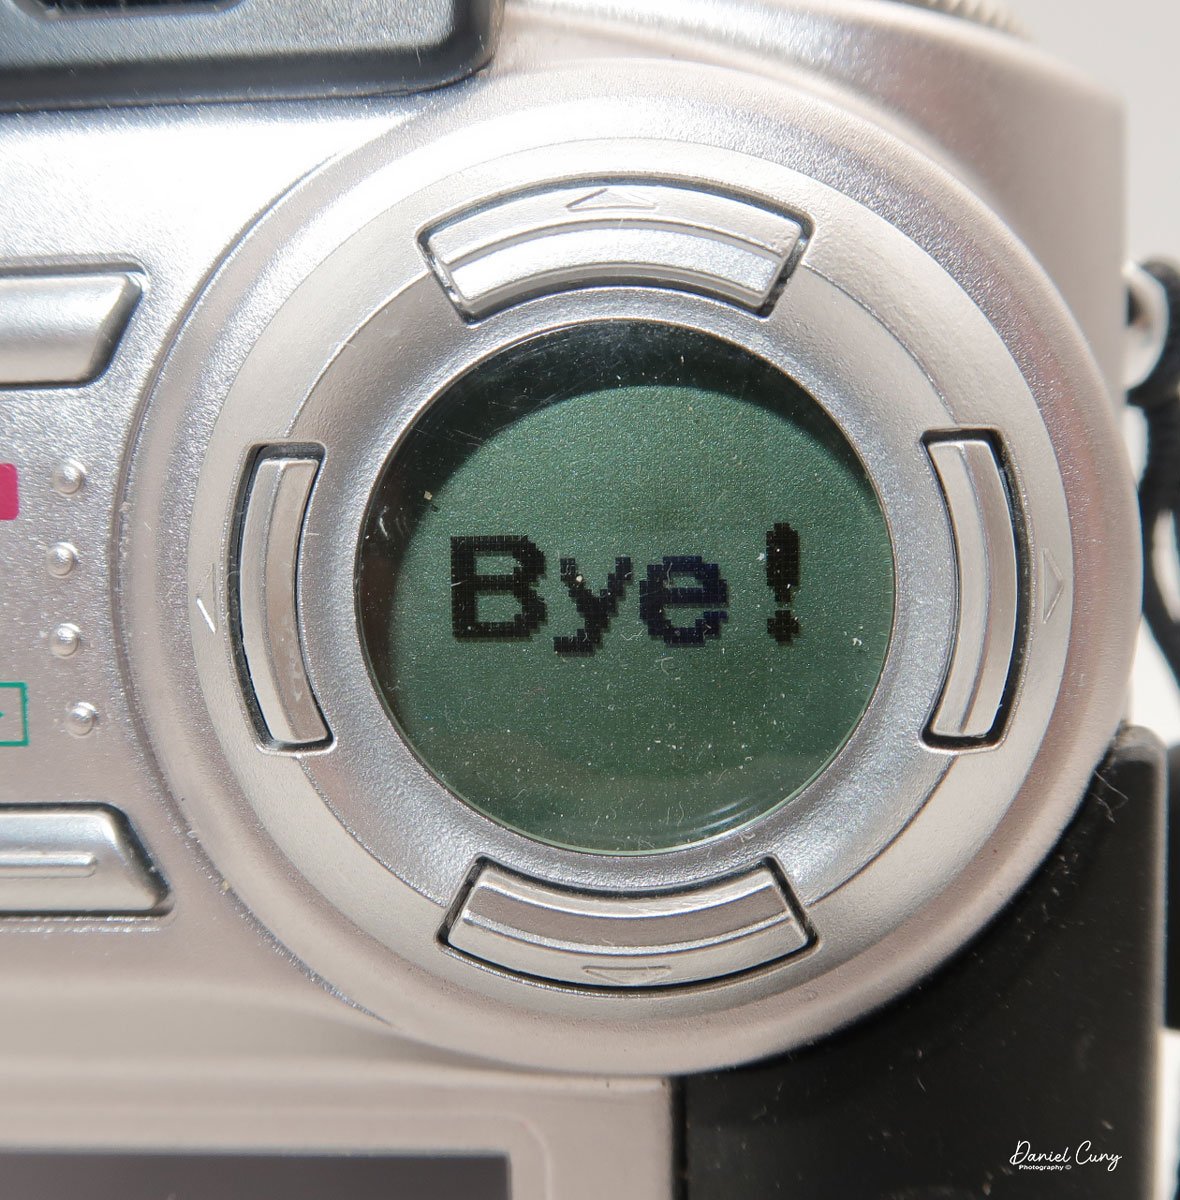
 Above the 2" screen is a series of five buttons along with a sliding pointer to a red camera or an arrow within a box. Making sure the camera is in the "Set" mode on the top wheel, put the slider to the "red camera", and press the power button inside the slider. One of my favorite things about this camera happens at this point. Inside the circular window you'll see "Hello!" illuminated inside the circular window, and the 2" screen is now in the "setup" mode. When you turn off the camera, "Bye" will appear in the window.

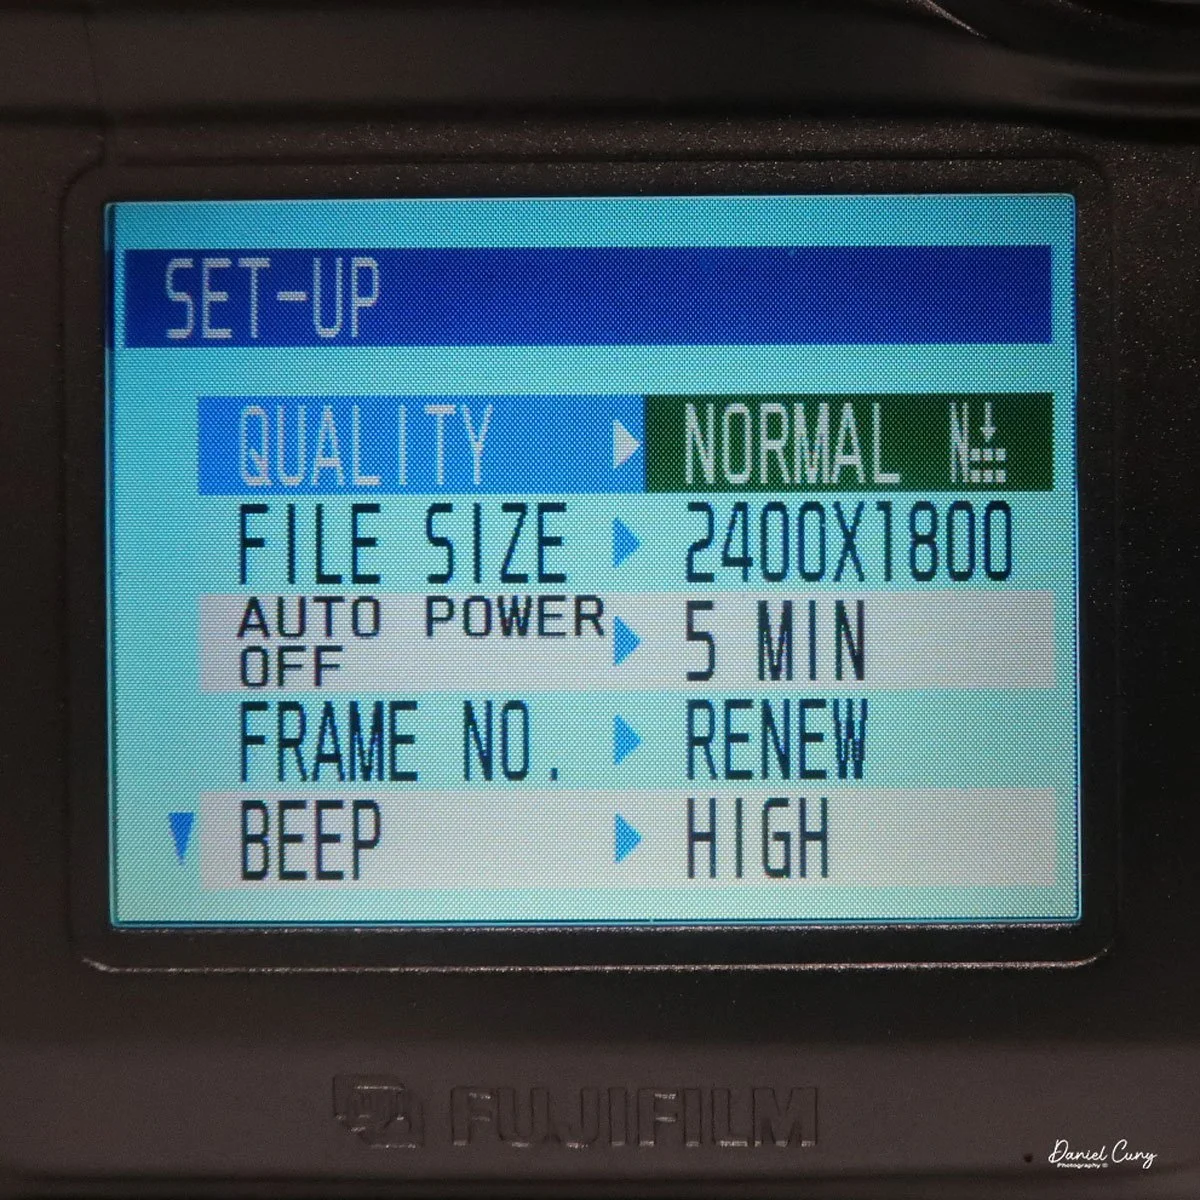
Here is where you'll set the image quality to Basic, Normal, or Fine by moving the directional buttons around the circular window. Next is file size, 640x480, 1280x960, or 2400x1800. Within each file size, you can choose to shoot in Basic, Normal, or Fine, giving you file sizes anywhere from 44kb in Basic and in 640x480 resolution, to 1.9mb shooting in 2400x1800 resolution and in Fine.

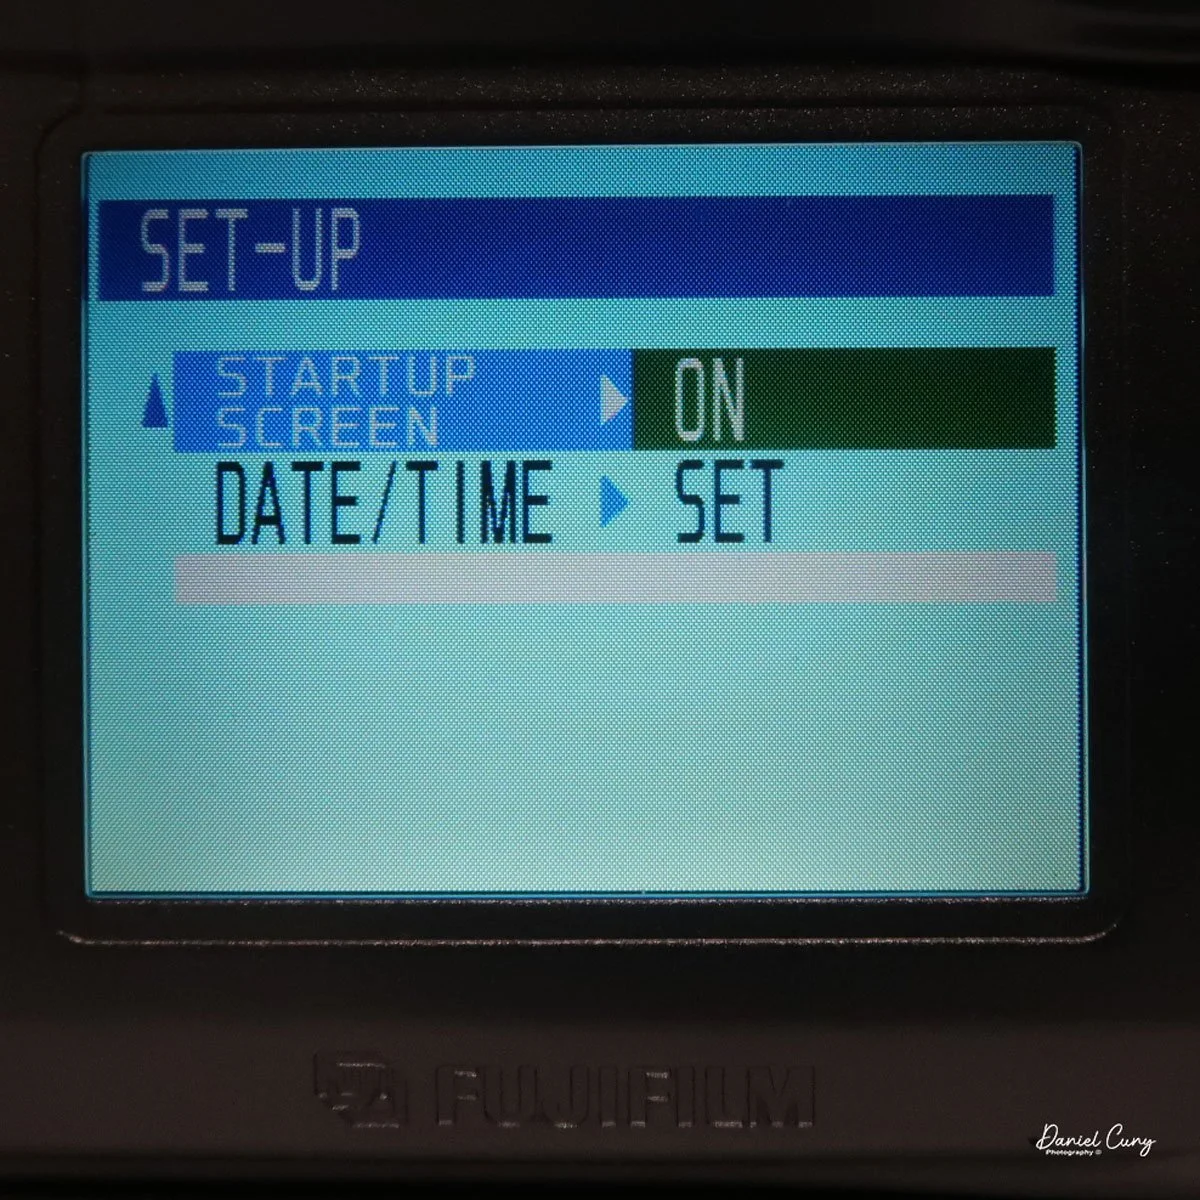
 Next is the "auto-off" setting, which is either 5 or 2 minutes, or No. Then moving down to "Frame No." with either Renew or Cont., then below that is "Beep" which can be High, Low, or Off, onto the second page and to "start up scree" either On or Off, and last on the setup screen is setting the Date. Once you make any of these choices, the button on the back of the camera, which has "Menu/Exe", is the button to press to make the changes desired.

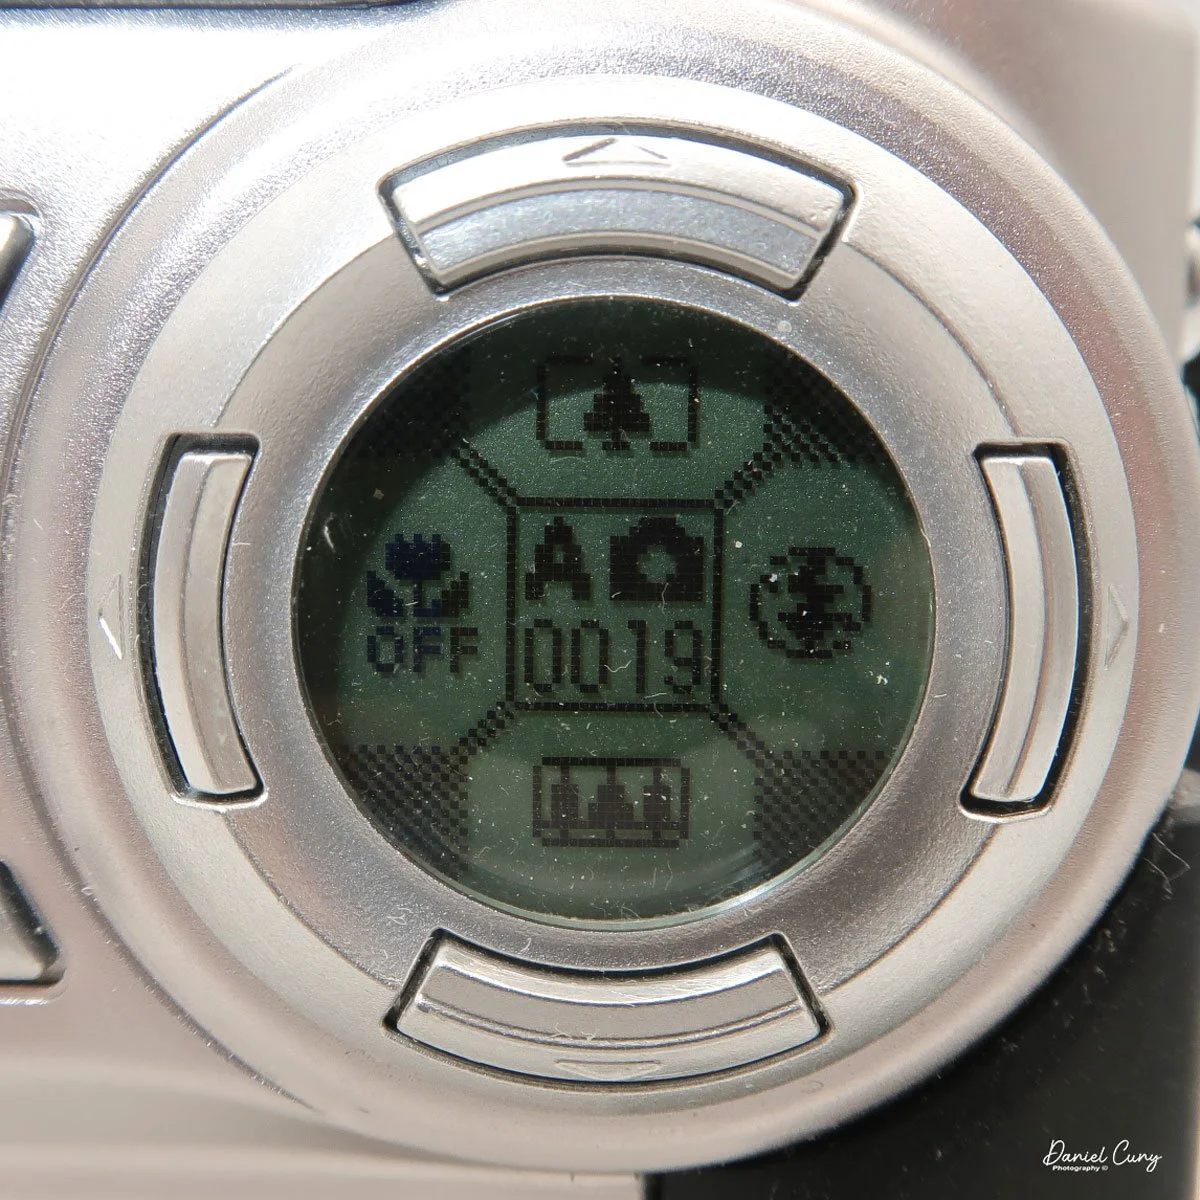
With the camera still in "red camera" mode, when you move the top dial to a specific shooting mode, like Portrait or Auto, the lens door slides over and the lens extends from the camera. Now you're in shooting mode, with the camera actually recording images to the memory card. When you're in the "shooting" mode, you'll see information inside the round directional window with details on the zoom function with the buttons pointing up or down, the macro setting on the left side of the window, and the flash setting on the right, and in the center is what "mode" you're in and the frame count.

 Just above the control buttons on the back of the camera is an optical viewfinder to look through to frame your image. You can also click on the "display" button, which will activate the "live video" feed on the 2" monitor on the back of the camera. Also on the back of the camera is a button for the Menu/Exe functions. This button sets the menu item you want to control. In the upper-left corner is a button labeled Shift and a light bulb. It allows you to light up the round window while also seeing other settings within the camera.

These are the basics for using the camera, since it is a sophisticated little camera. You have the option of manual focus, over/under exposure, flash over/under exposure, focus lock, rear screen brightness, white balance settings, image sharpening, and metering types like spot, average, and multi metering, which is the most common for this camera.  I didn't even touch on the video capabilities of this camera, which were relatively plentiful for a small digital camera from this era.


My Results:

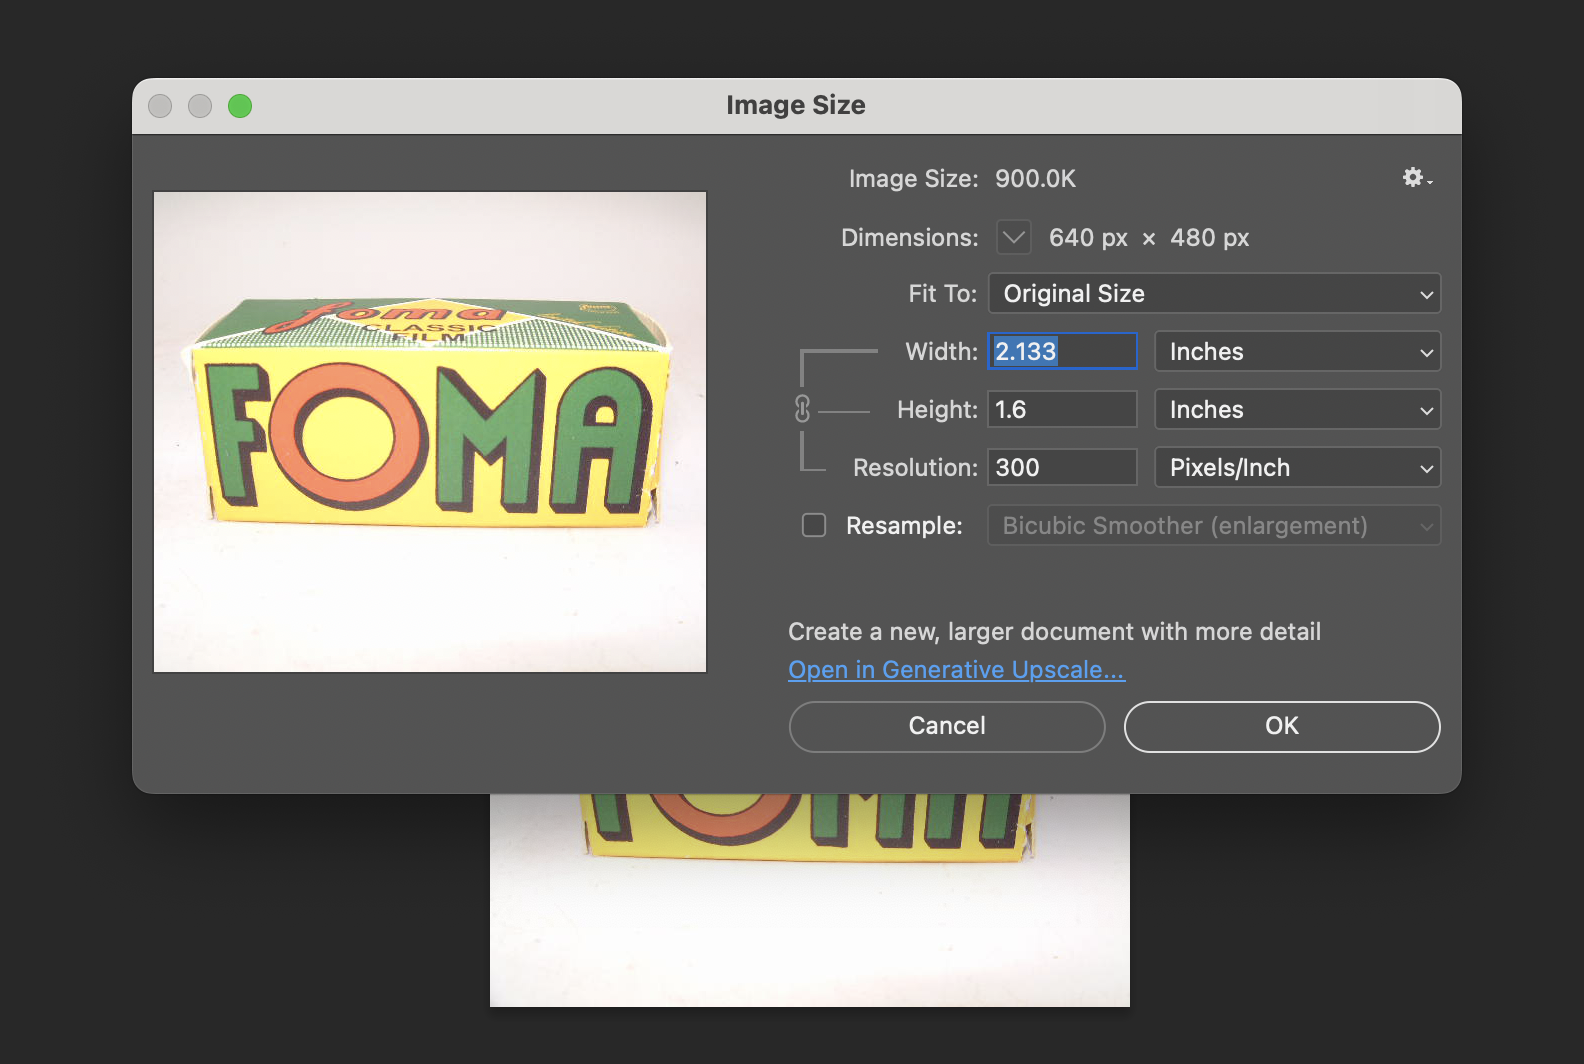
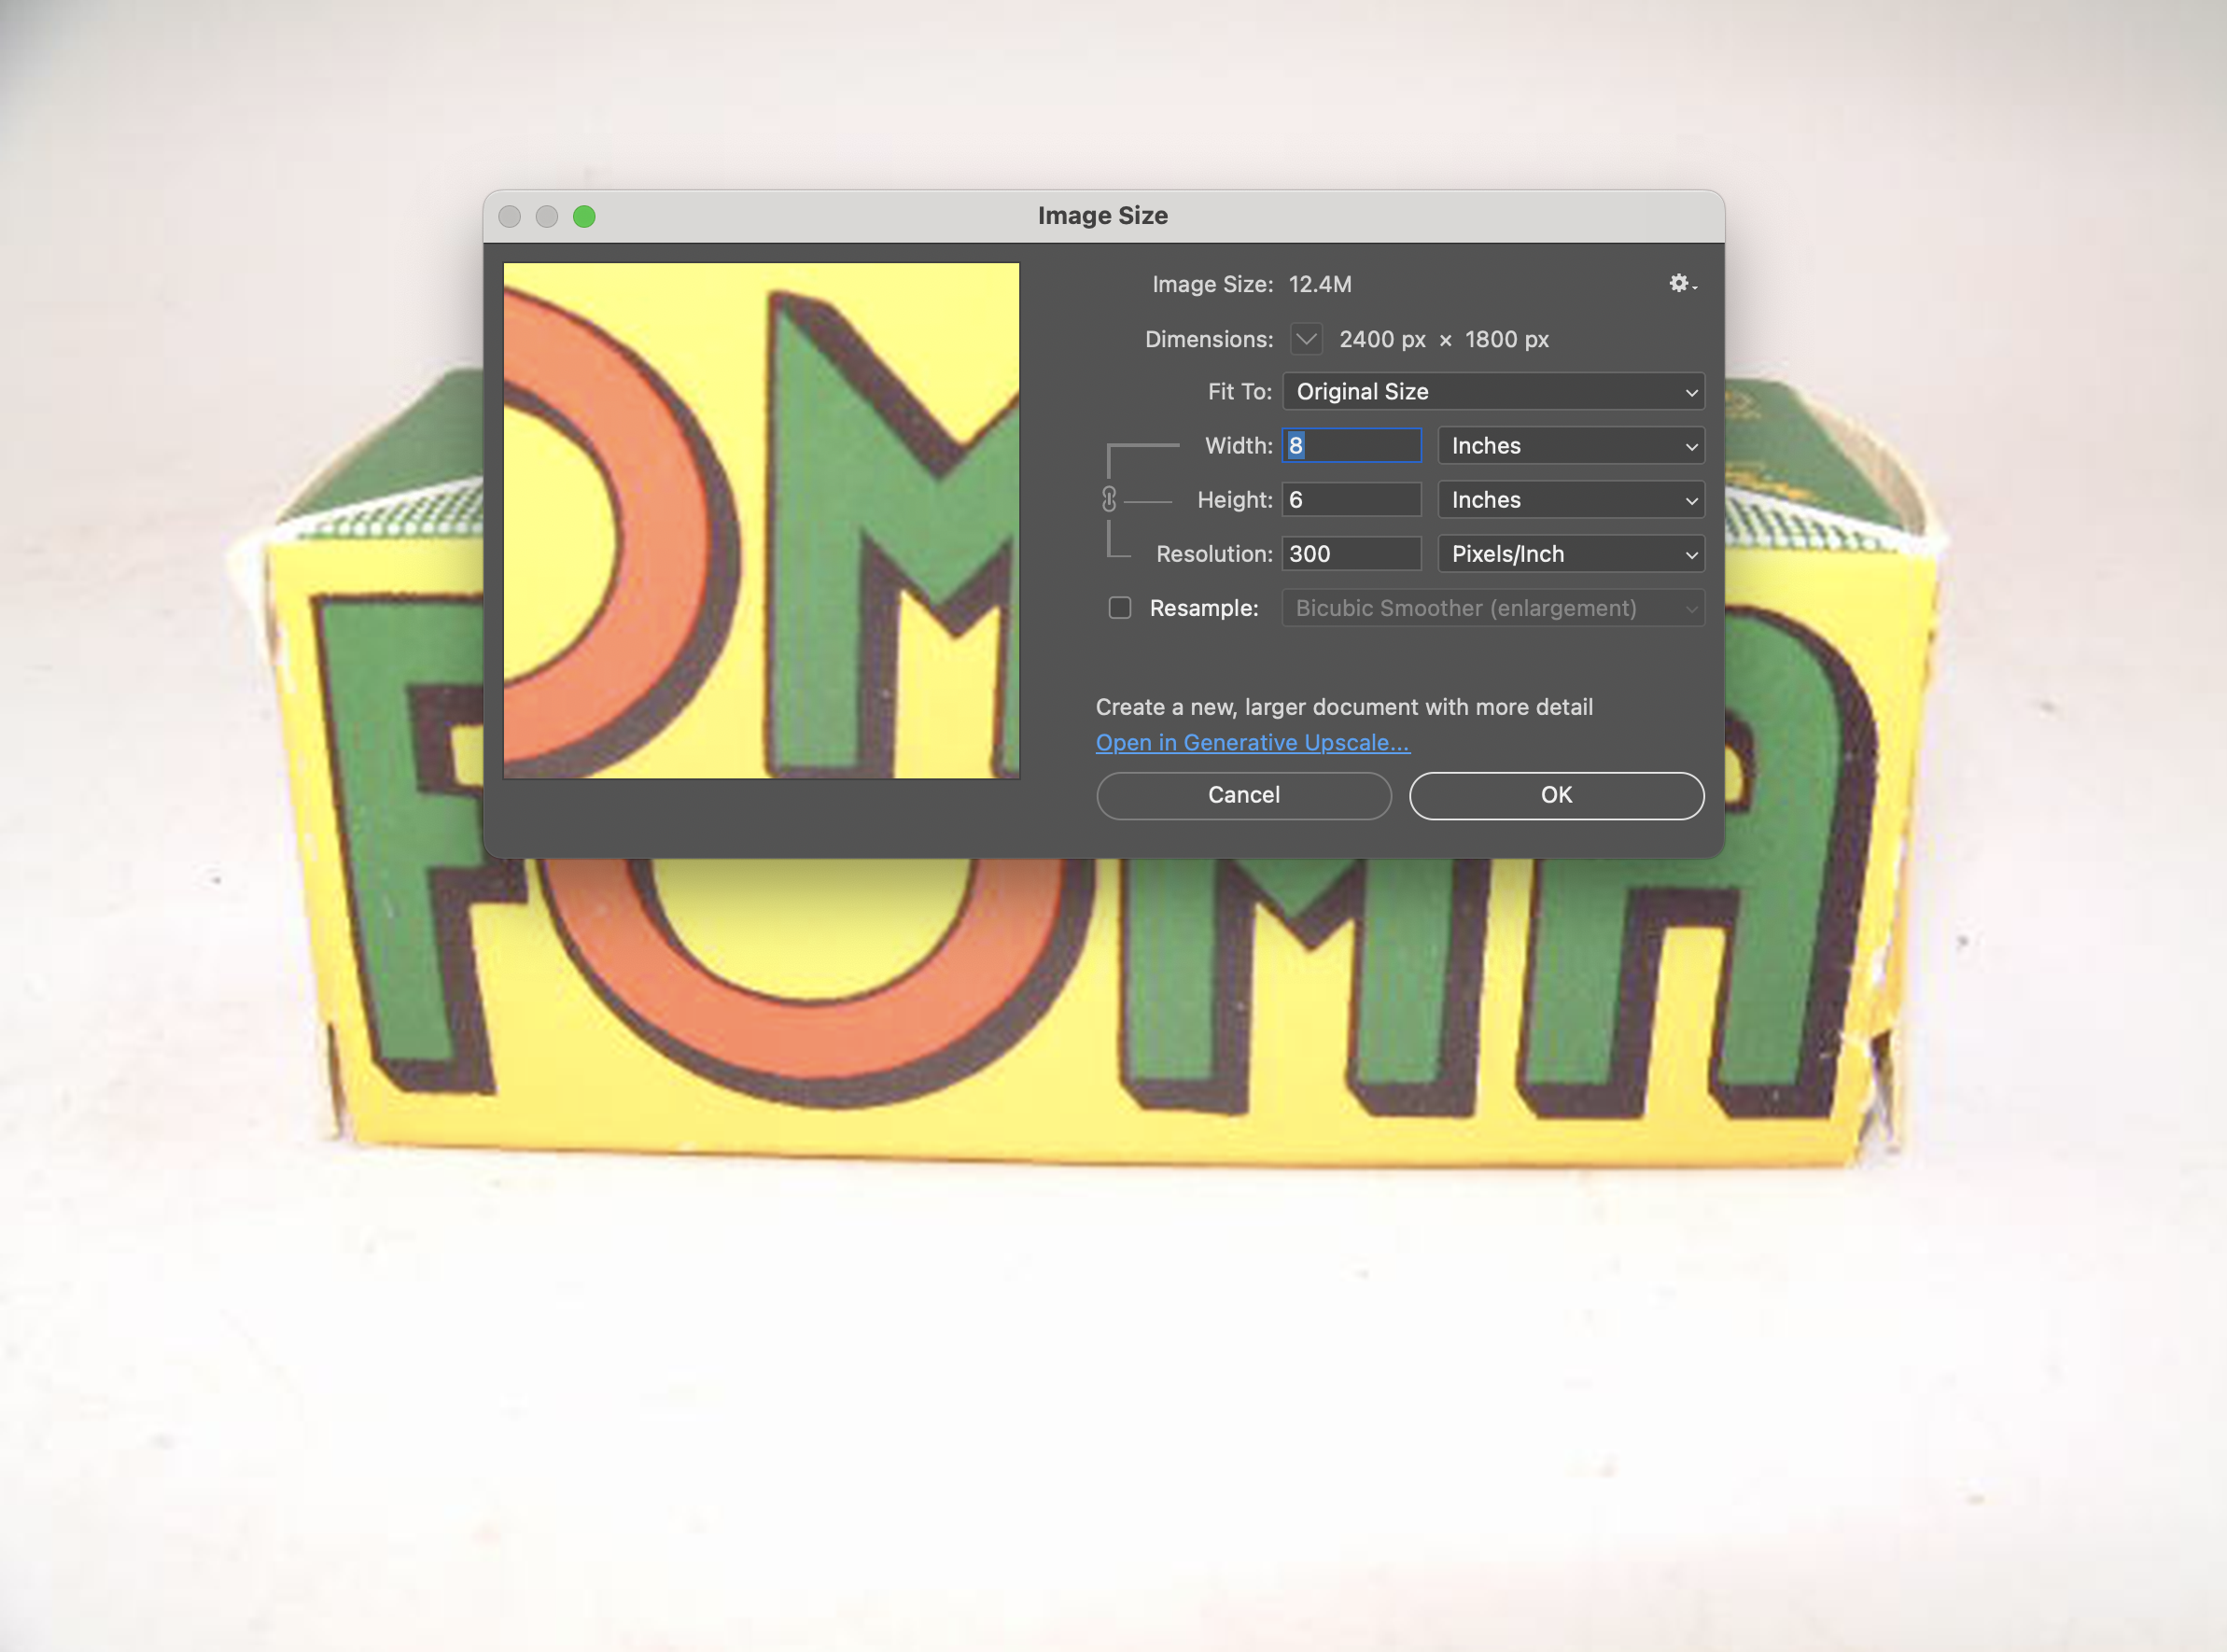
 To look at the different resolutions and shooting modes, I photographed a film box in my portable studio to compare image quality. I'm sure there's going to be a vast difference since the smallest file is only 44kb and the largest is 1.9mb.

Here are some screenshots in Photoshop showing the image size of the smallest and largest files taken with the Fujifilm FinePix 4700 zoom.

I also took a regular and macro shot, which you can see here.

Then I used the camera at our New Year's Eve get-together with some neighbors. I'll have to admit, I haven't made it to Midnight for many years.

Conclusion:

 It's nice to pull out some of the older digital cameras and run them through their paces every once in a while. The camera is compact, easy to use, and fun to shoot with. While there are many drawbacks to cameras from this era, such as file size, and in many cases the phone you have takes better photos, it often lacks many of the controls a real camera has (yet).

 Thank you for taking the time to travel back in time about 25 years, when digital cameras were coming into their own and putting film companies out of business, except for Fujifilm, which diversified and actually embraced digital.

 Feel free to look through my other Camera Reviews.

 I also have an online eBay store, Cuny's Cameras and Photo, where I sell many of the cameras I've reviewed, along with other cameras, lenses, and camera accessories. If you find something there, please let me know, and I'll offer a nice discount.

 Until next week, please be safe.