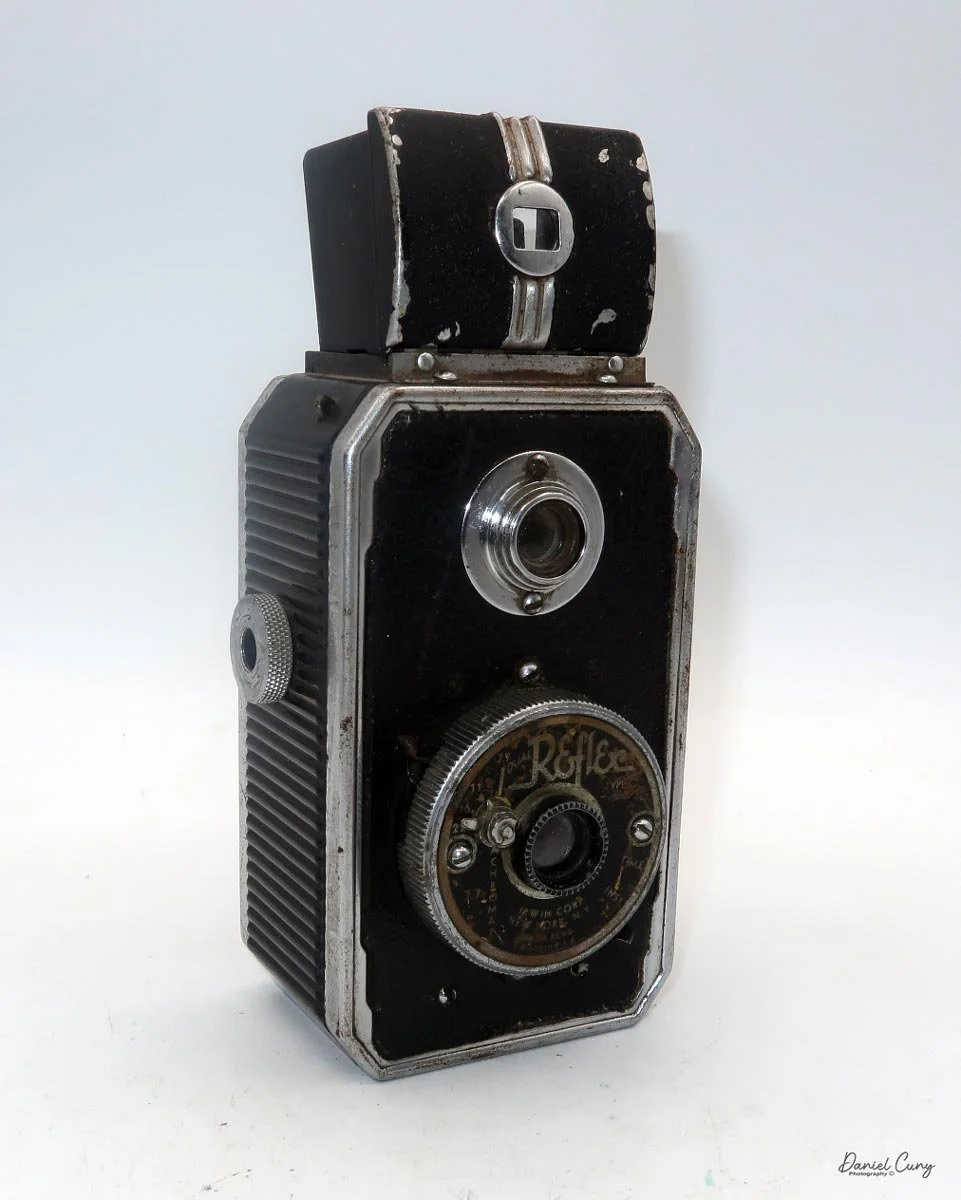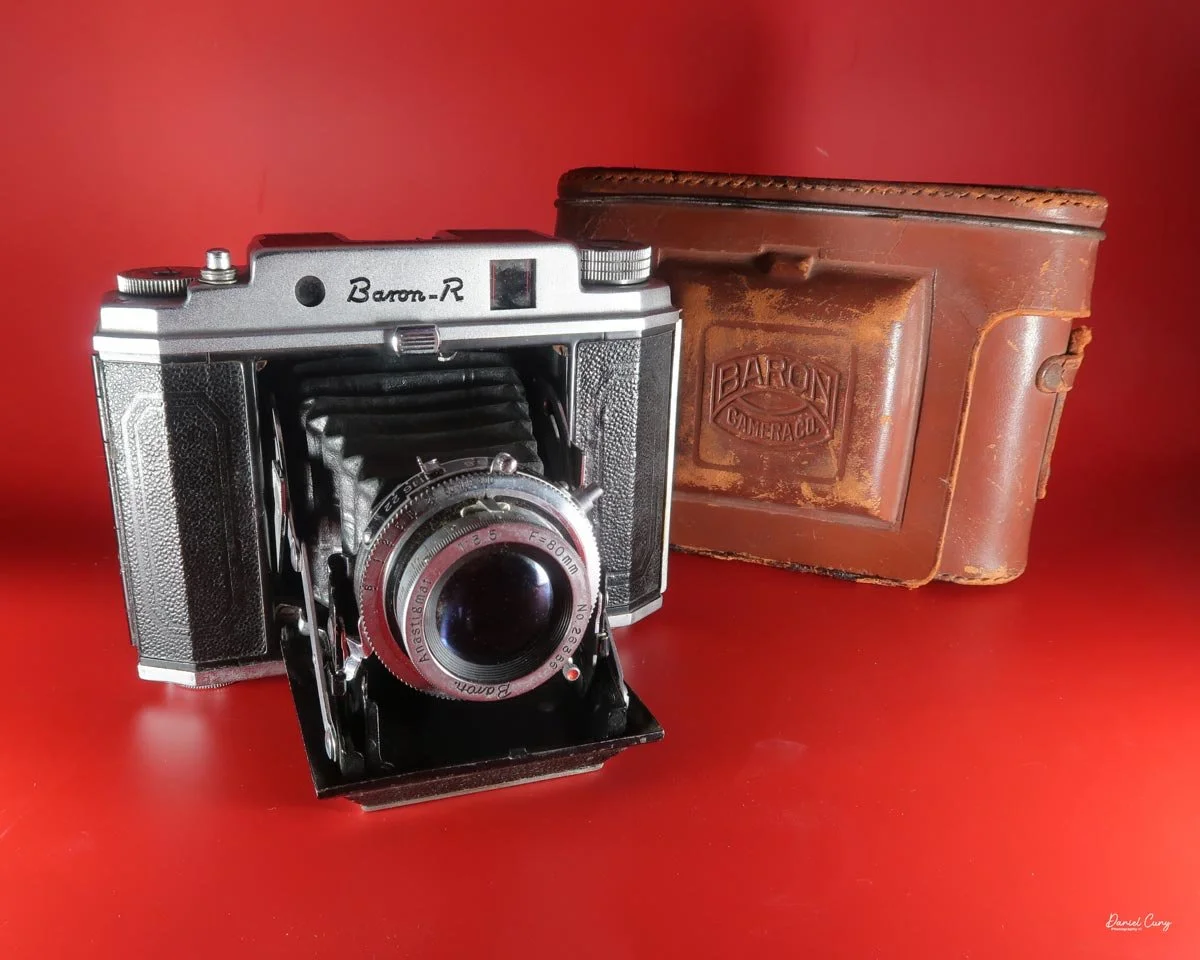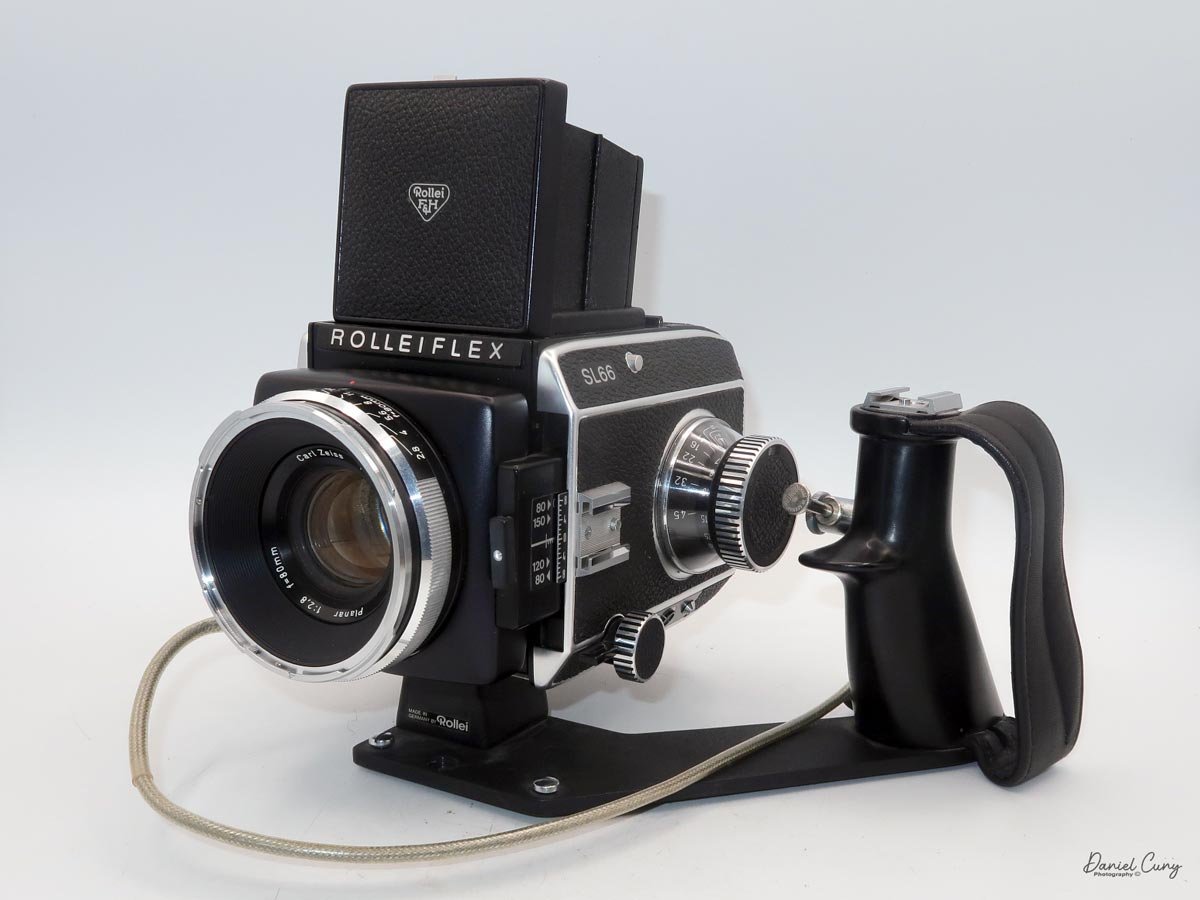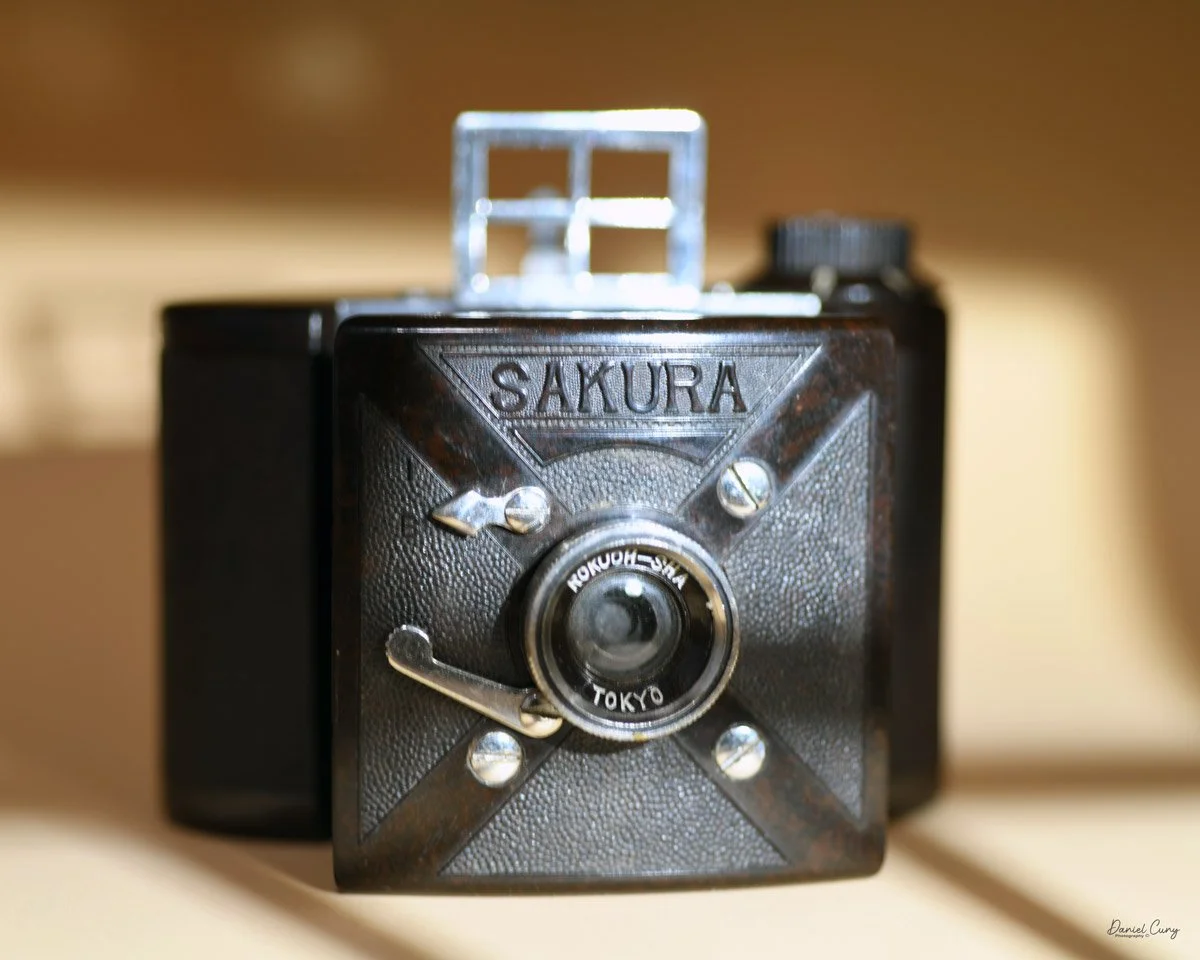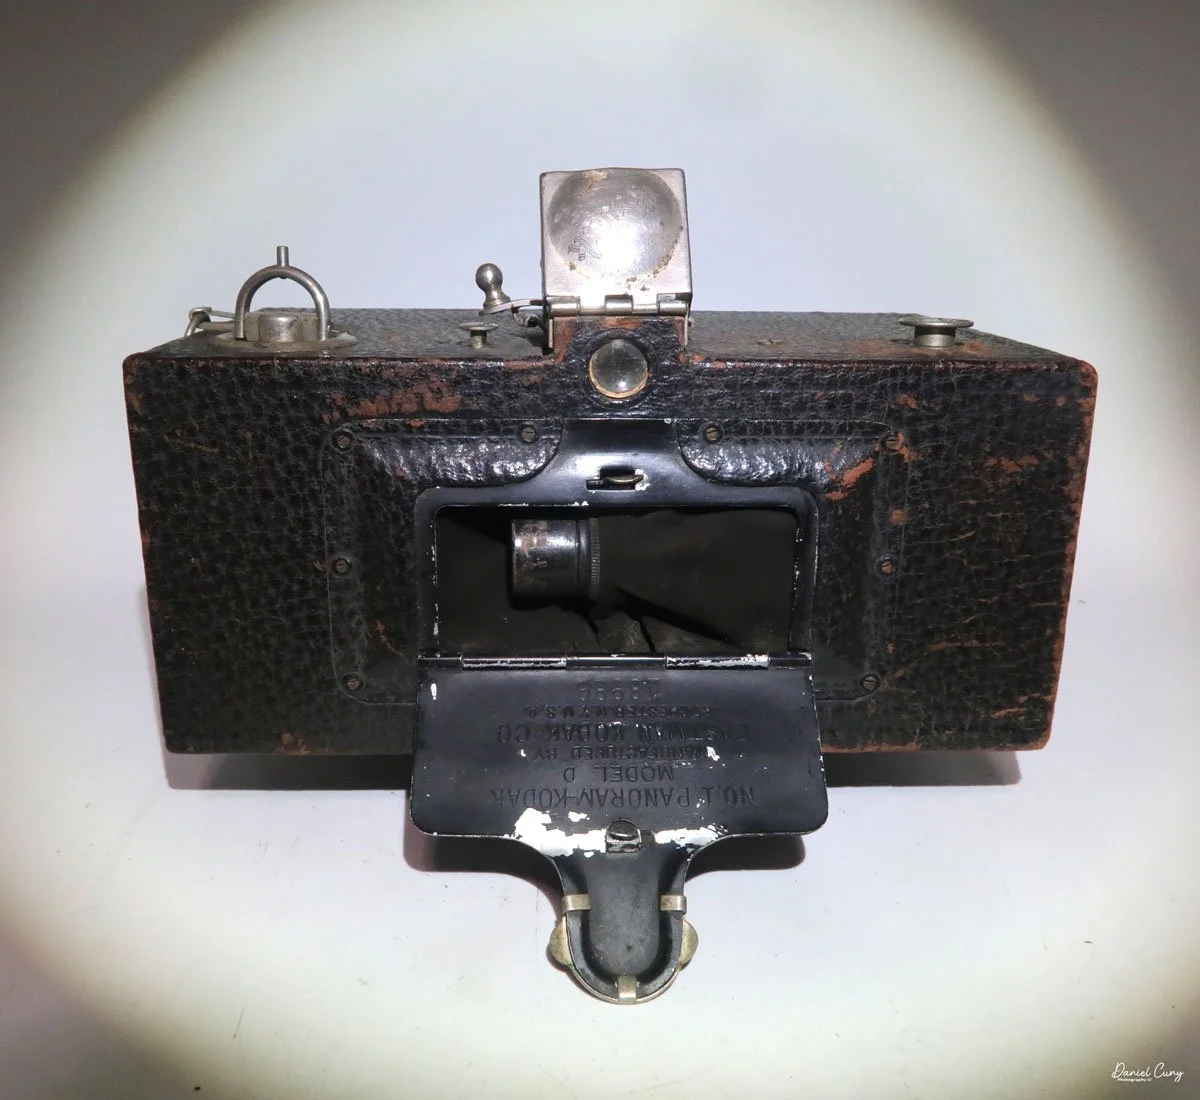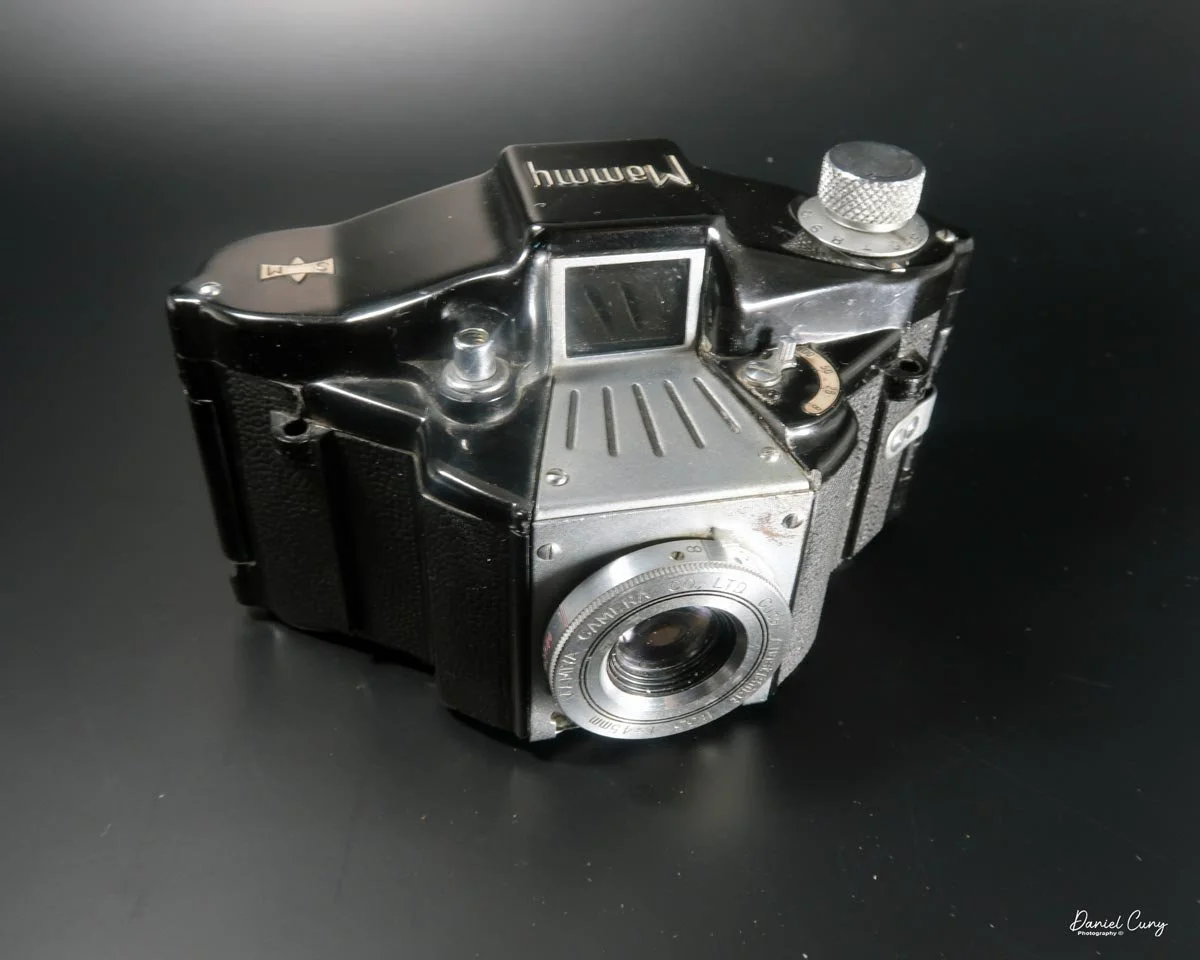
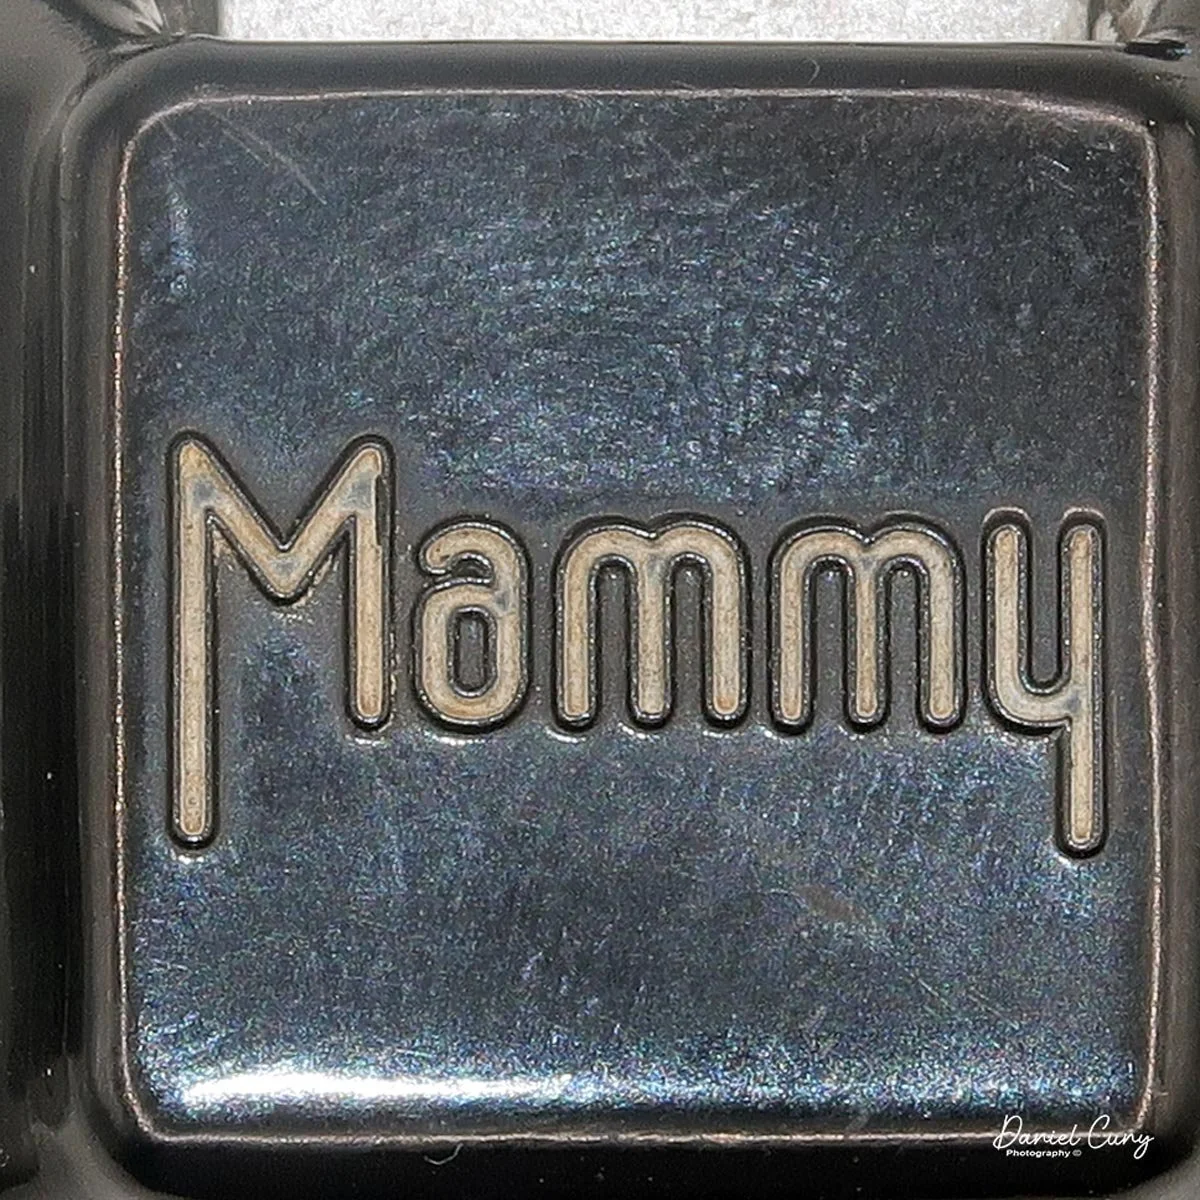
My Mamiya Mammy camera
It was on my first trip to Kitamura Camera's massive seven-story flagship store in Tokyo that I came across the camera for this week's camera-collecting blog: the Mamiya Mammy. It was on the third floor "bargain" area, tucked away in one of the corner showcases, where I spotted the camera.
Asking the salesperson to take the camera from the showcase, he placed it on one of the lower, central showcases for me to look it over, along with other cameras I was considering purchasing.
Having read the massive, latest version of McKeown's Camera from 2005-2006 several times over, I remember seeing and reading about the Mamiya Mammy camera and was intrigued by its shape.
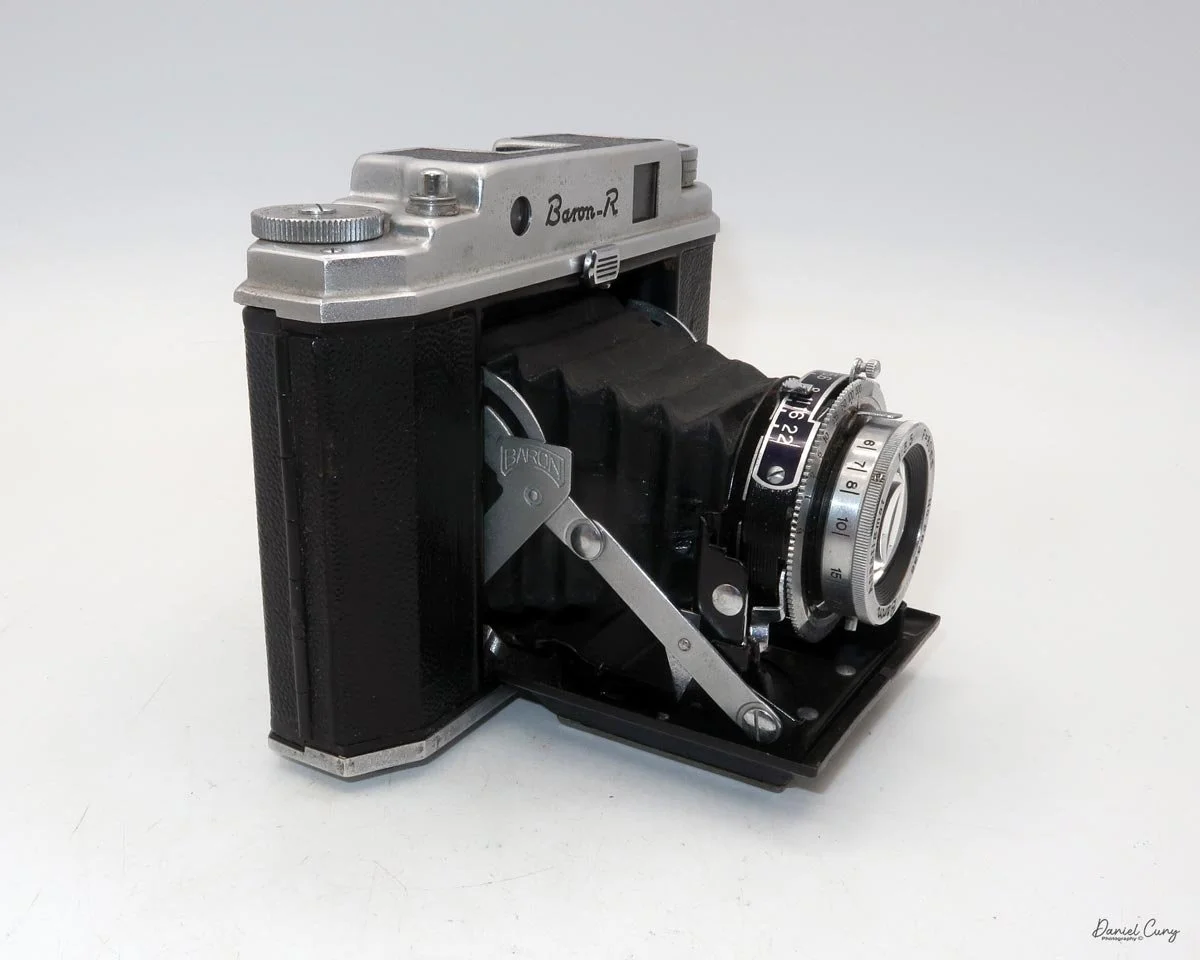
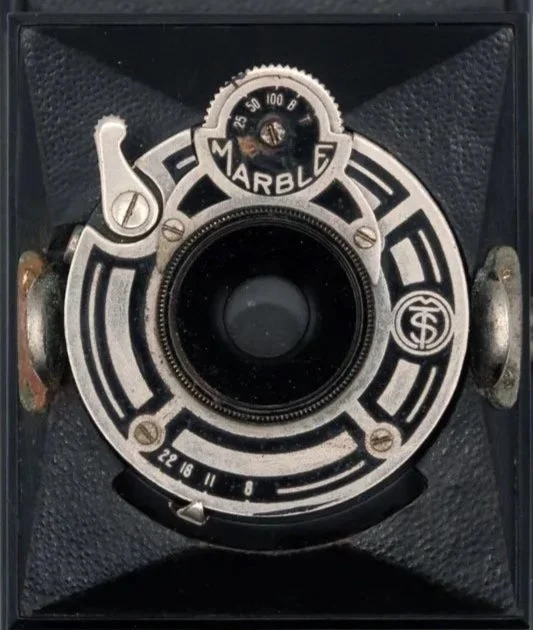
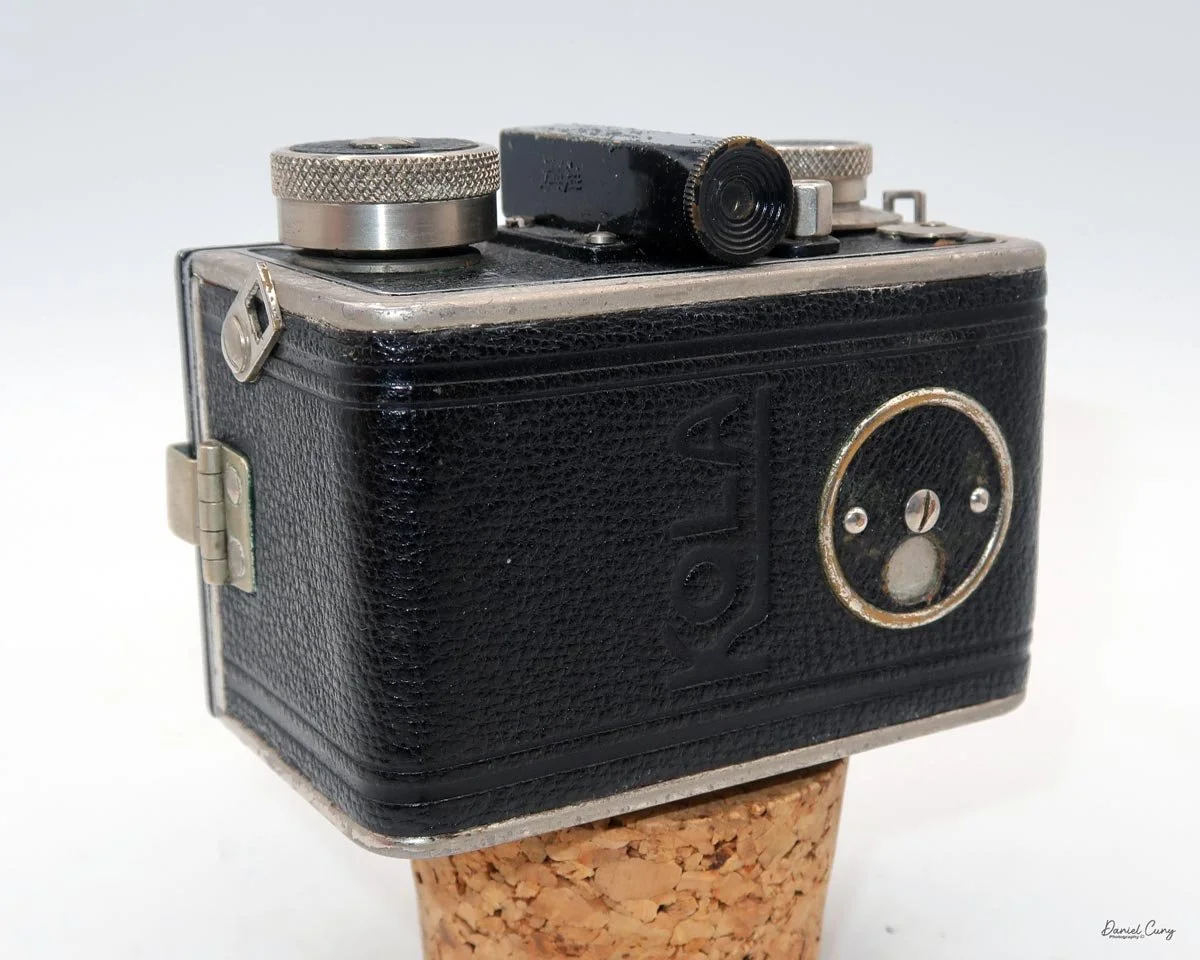
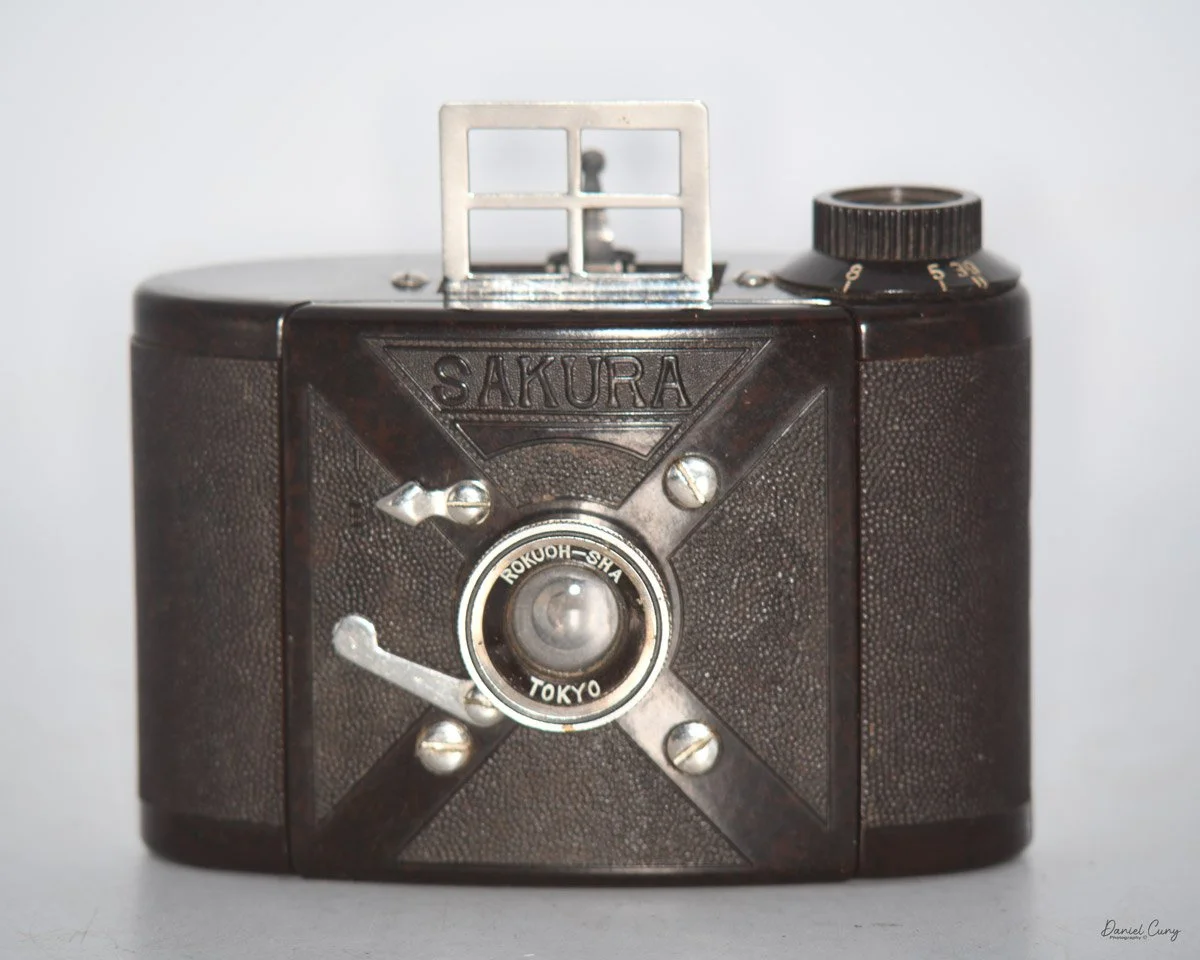
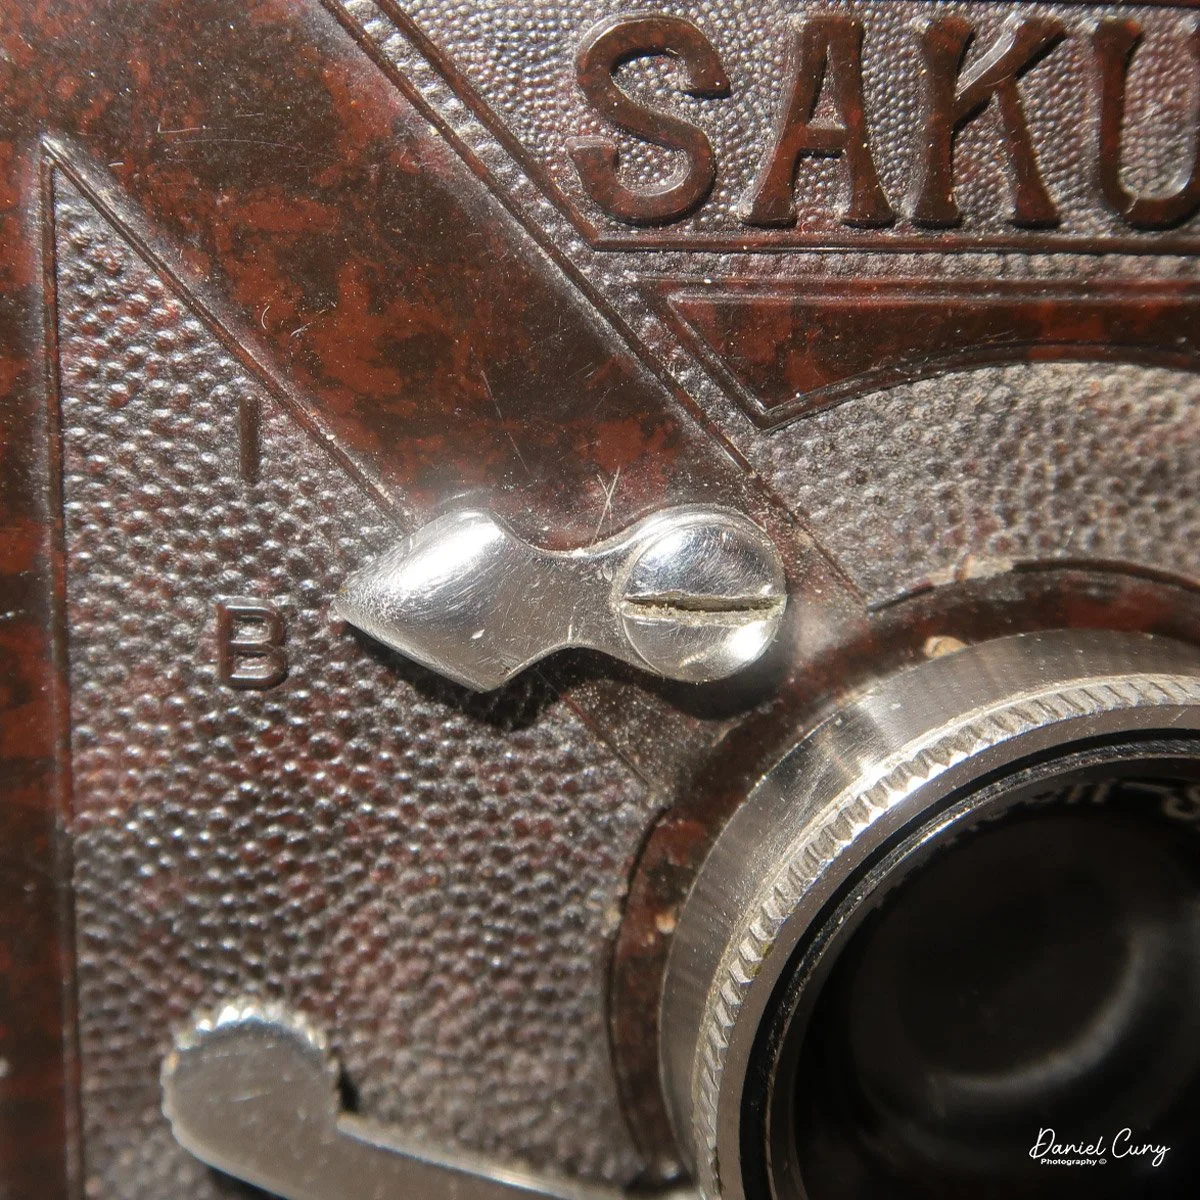
It wasn't until I physically saw the Mamiya Mammy camera in the showcase that I realized the one thing that drew me to it was simply the text on the top. The extended leg on one of the M's matches the length of the "Y," and the rounded double "m's" in the center are a classic design.
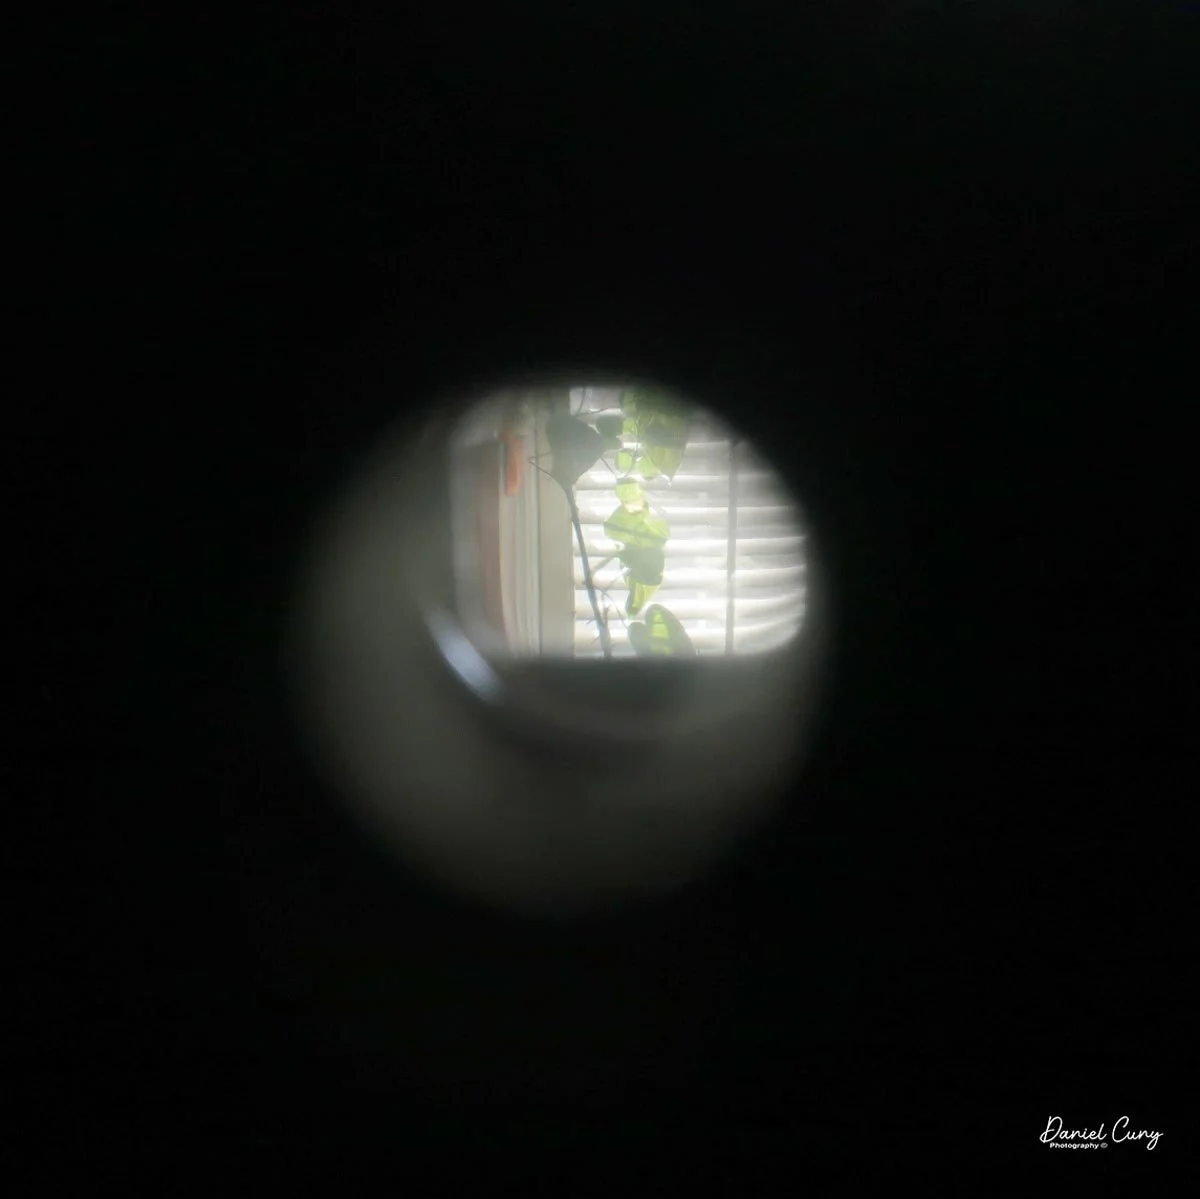
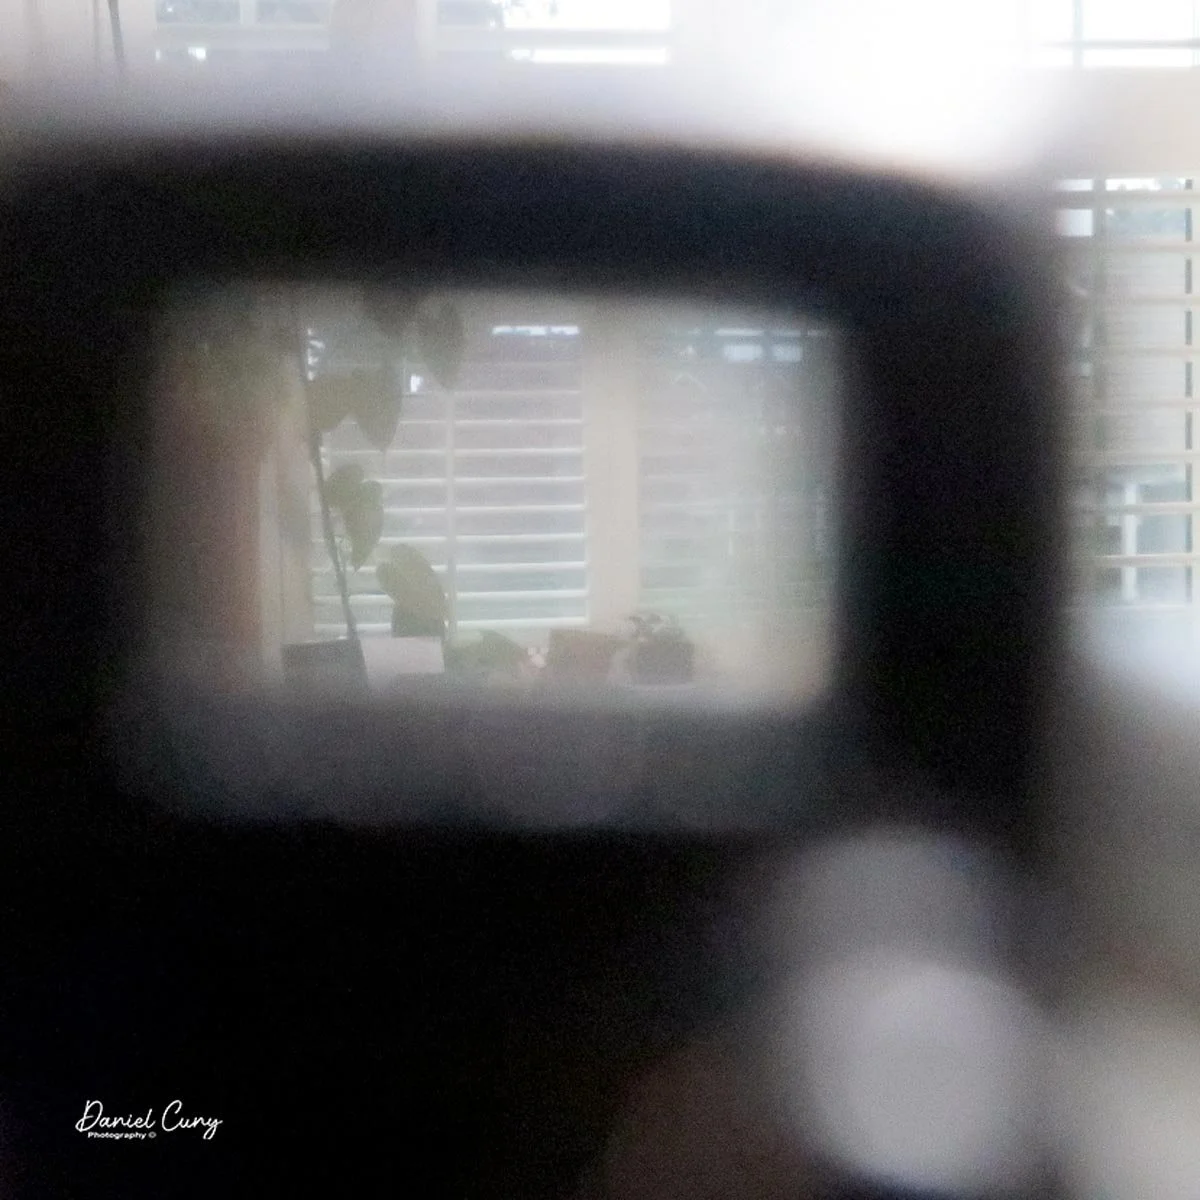
At this time, I was actually holding a camera I had only seen in books. Not only did the camera's odd shape, classic text on top, and compactness give me joy, but I could also feel the excitement of holding one of these gems in my hands, operating the shutter, and looking through the camera's viewfinder. The tactile enjoyment of finding where the specific controls are located on the camera and adjusting the shutter speeds.

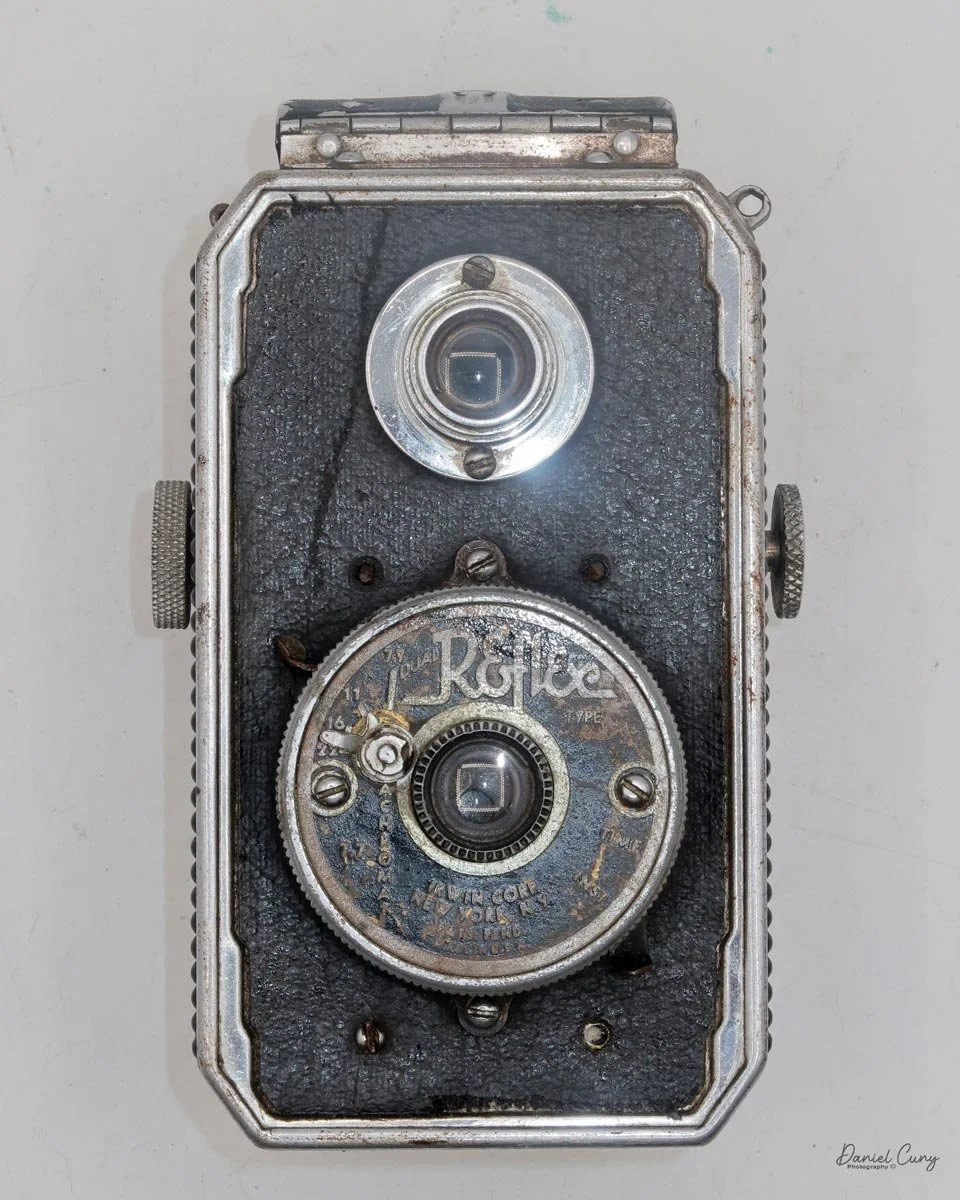
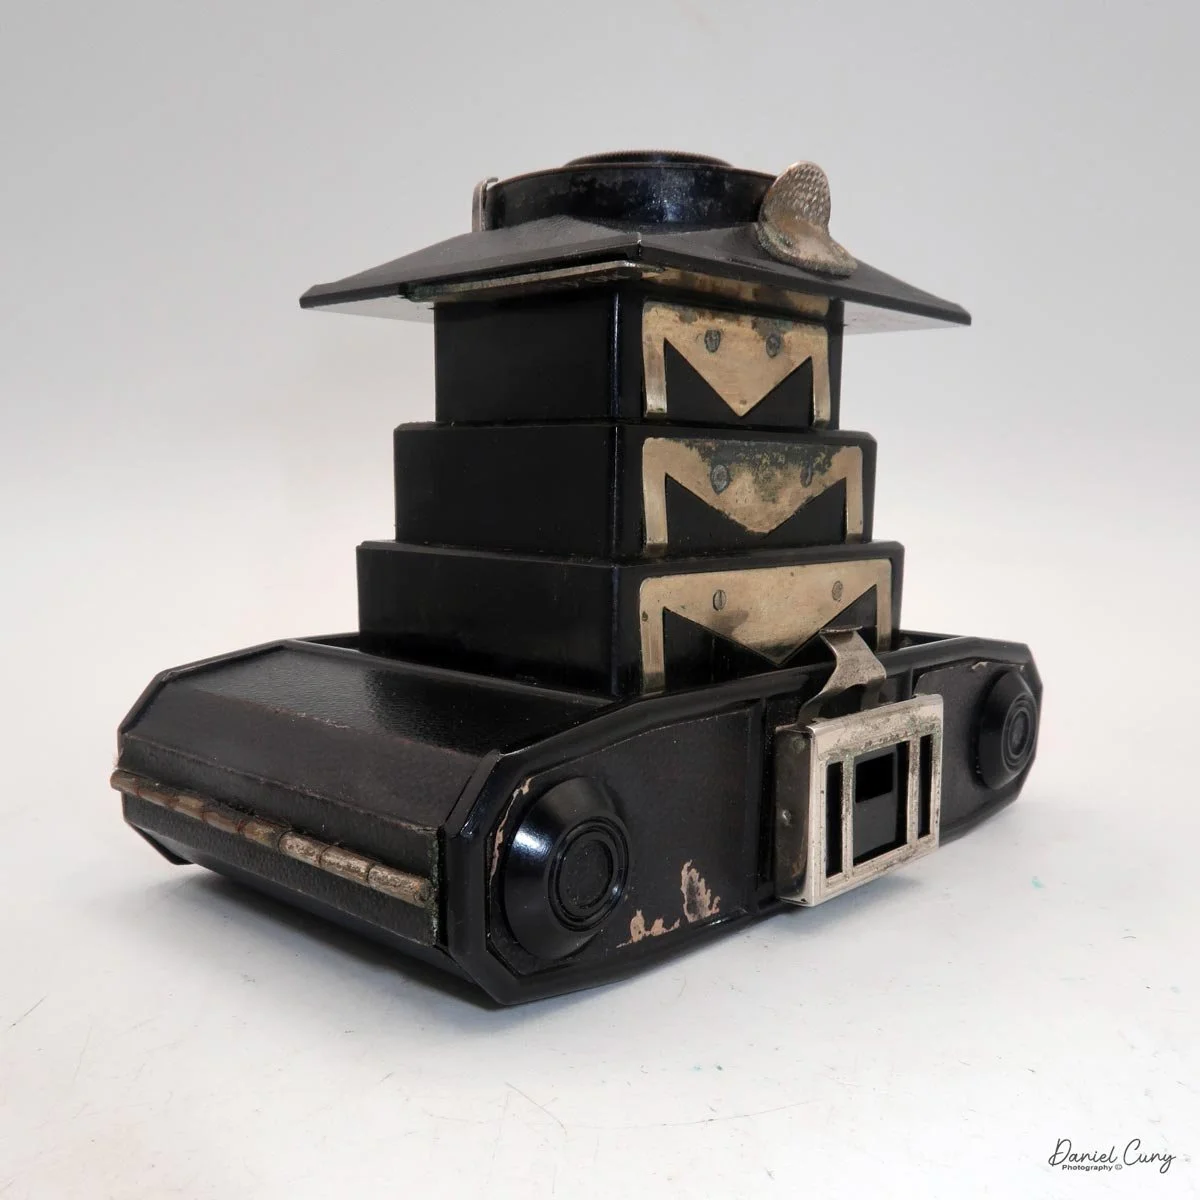
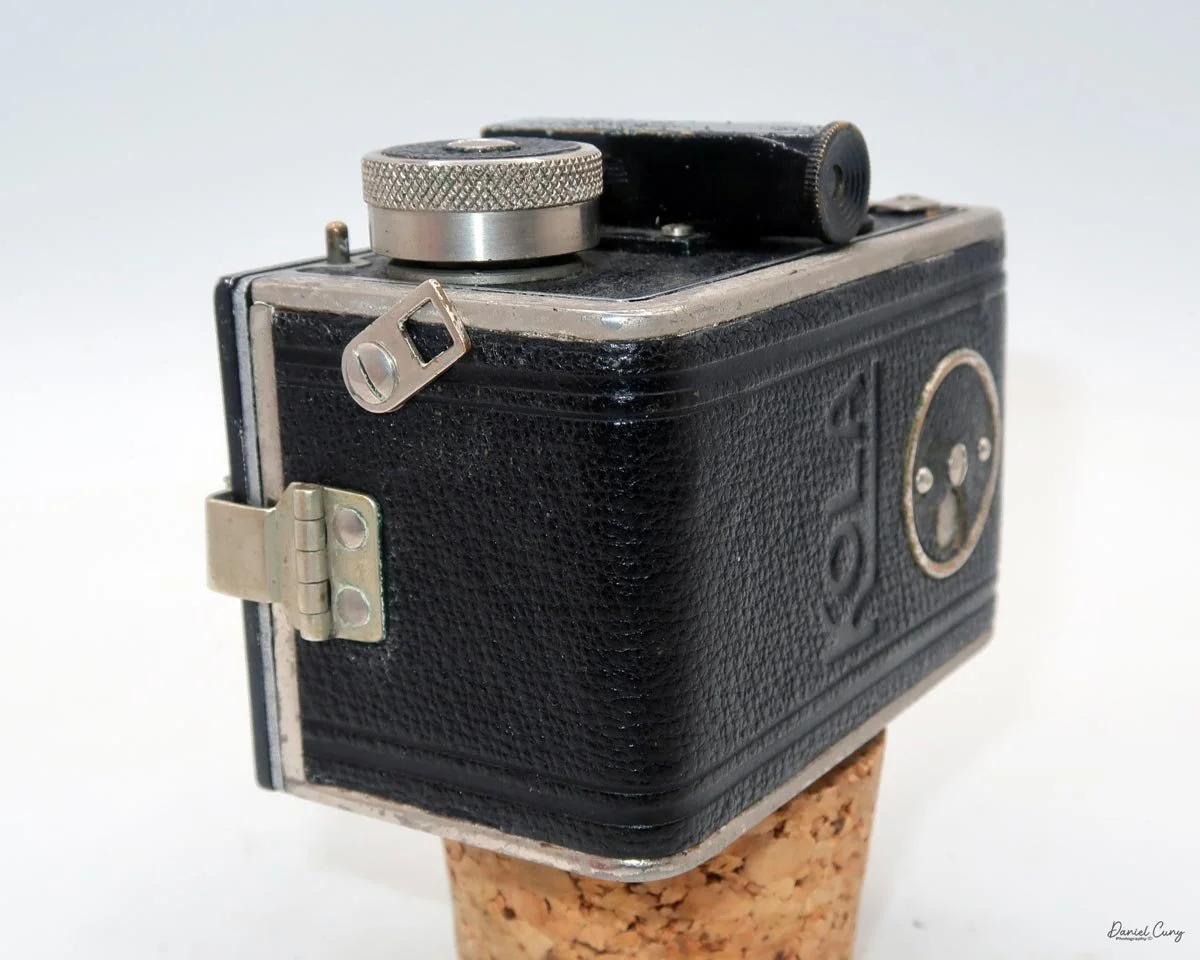
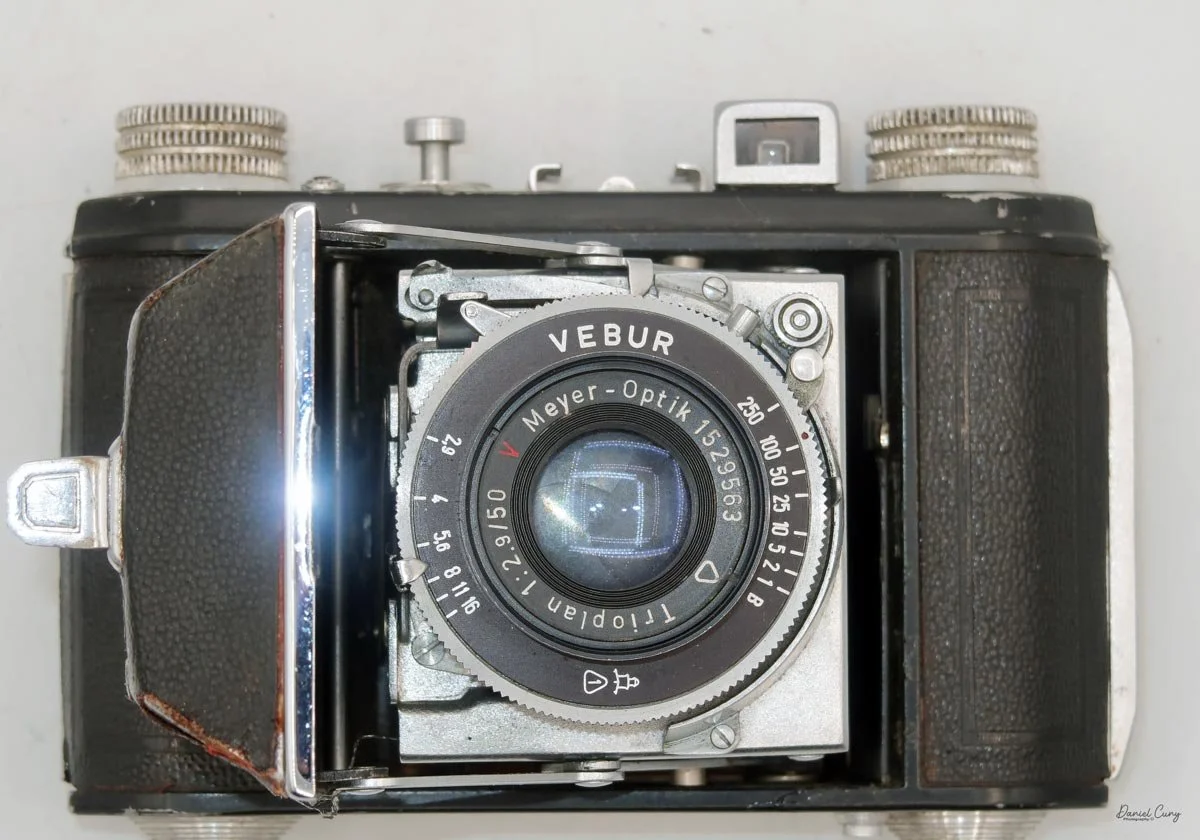
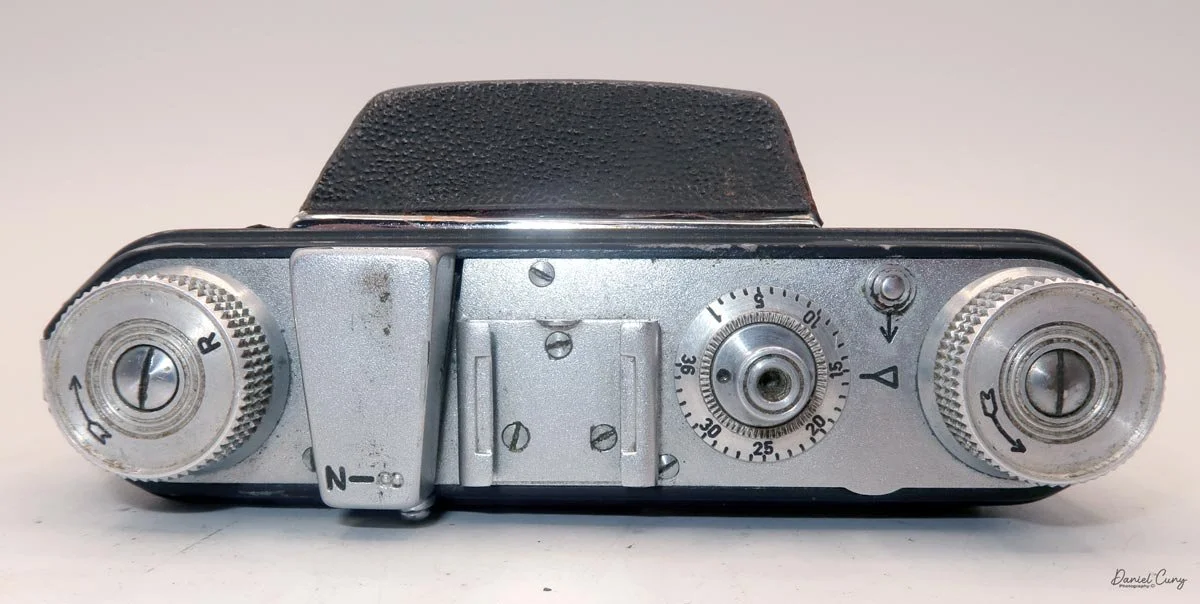
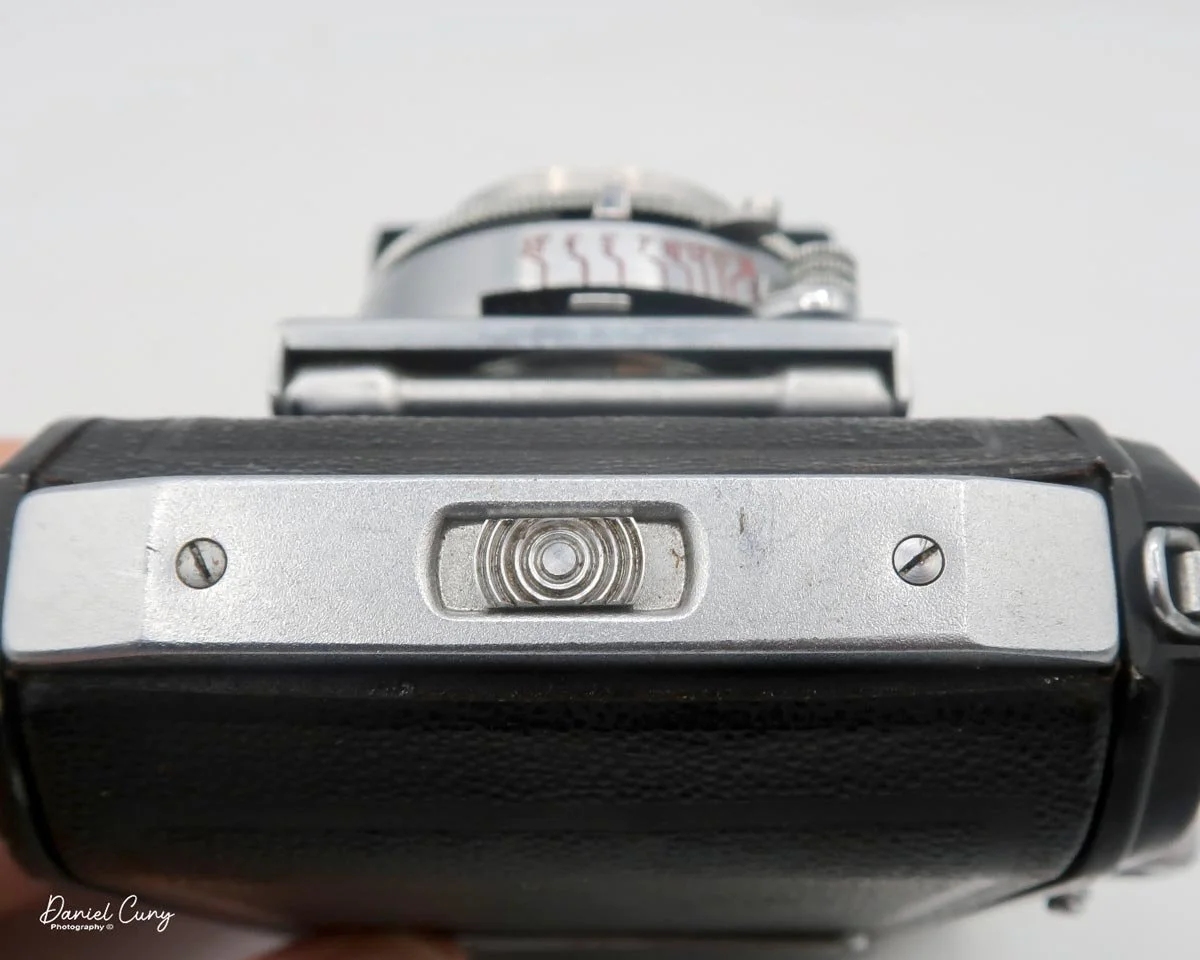
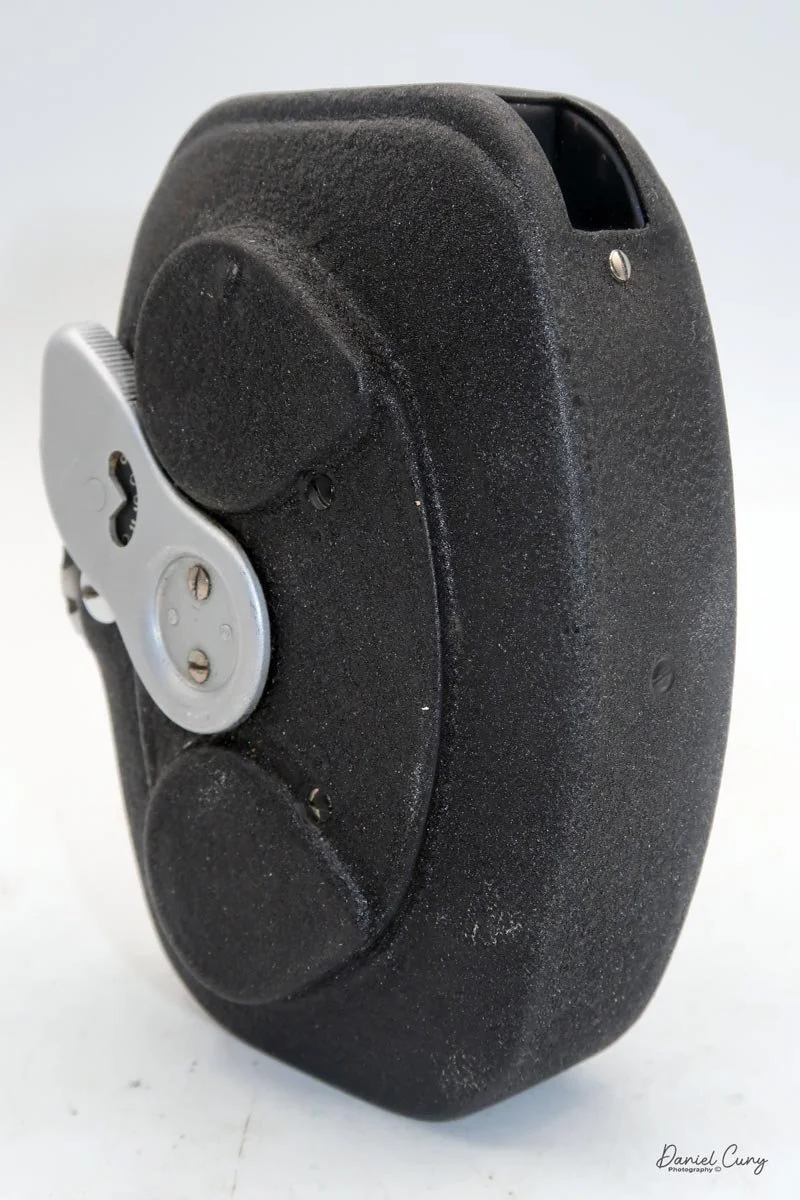
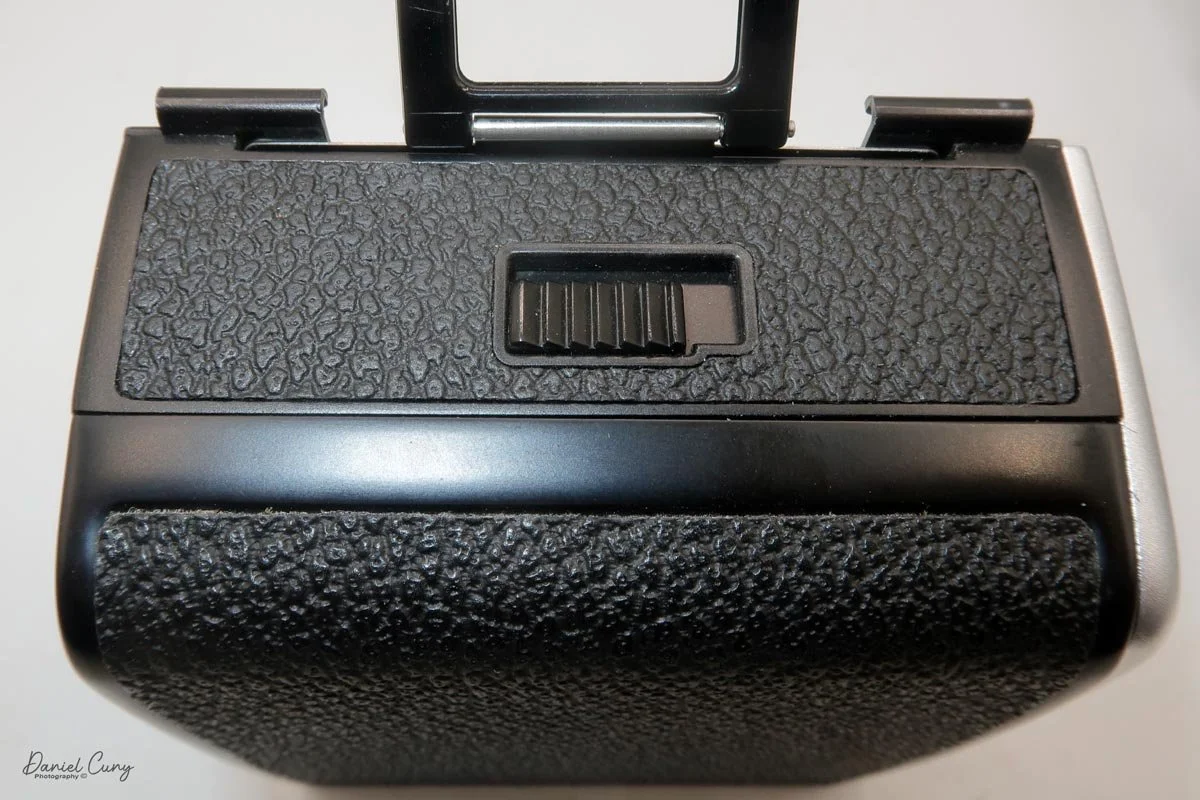
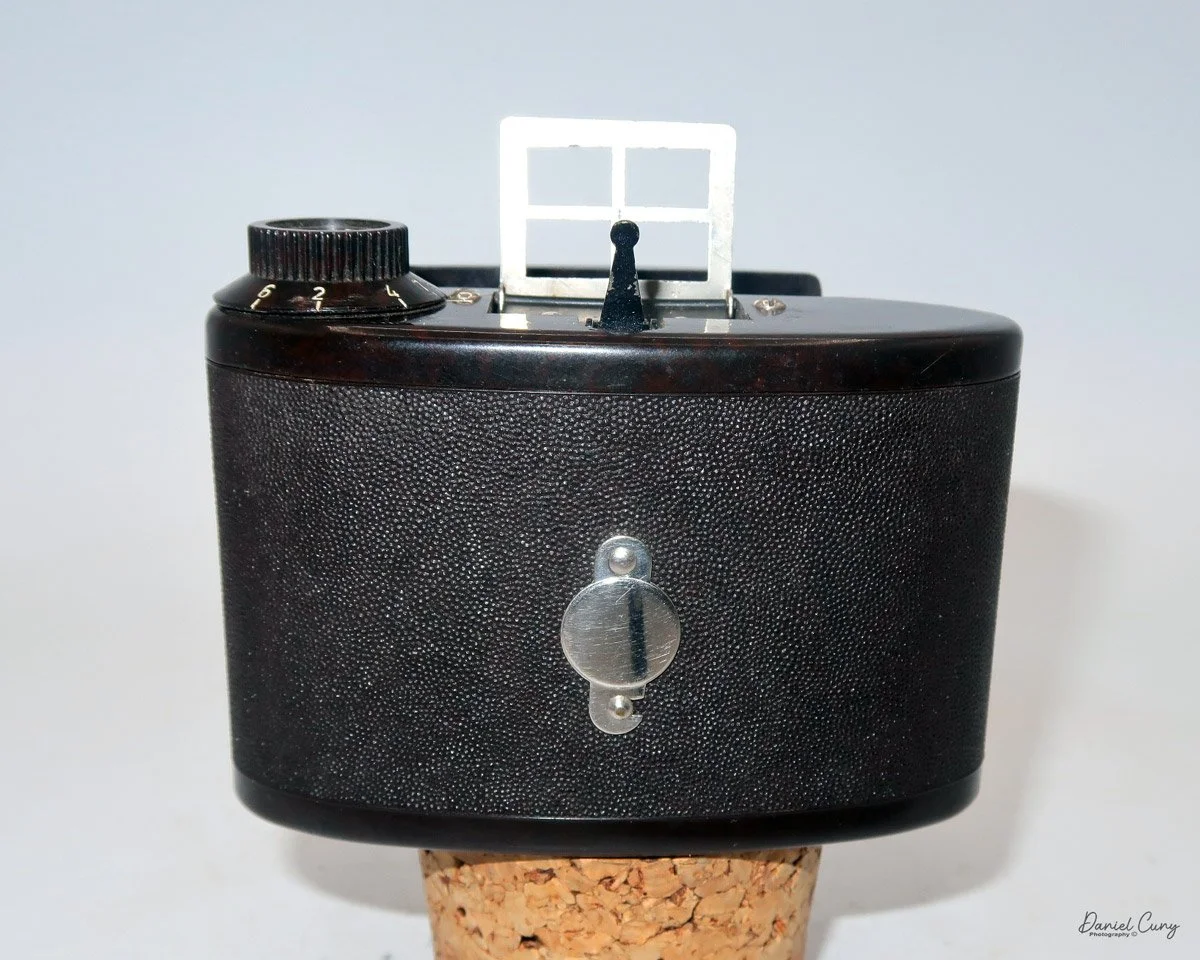
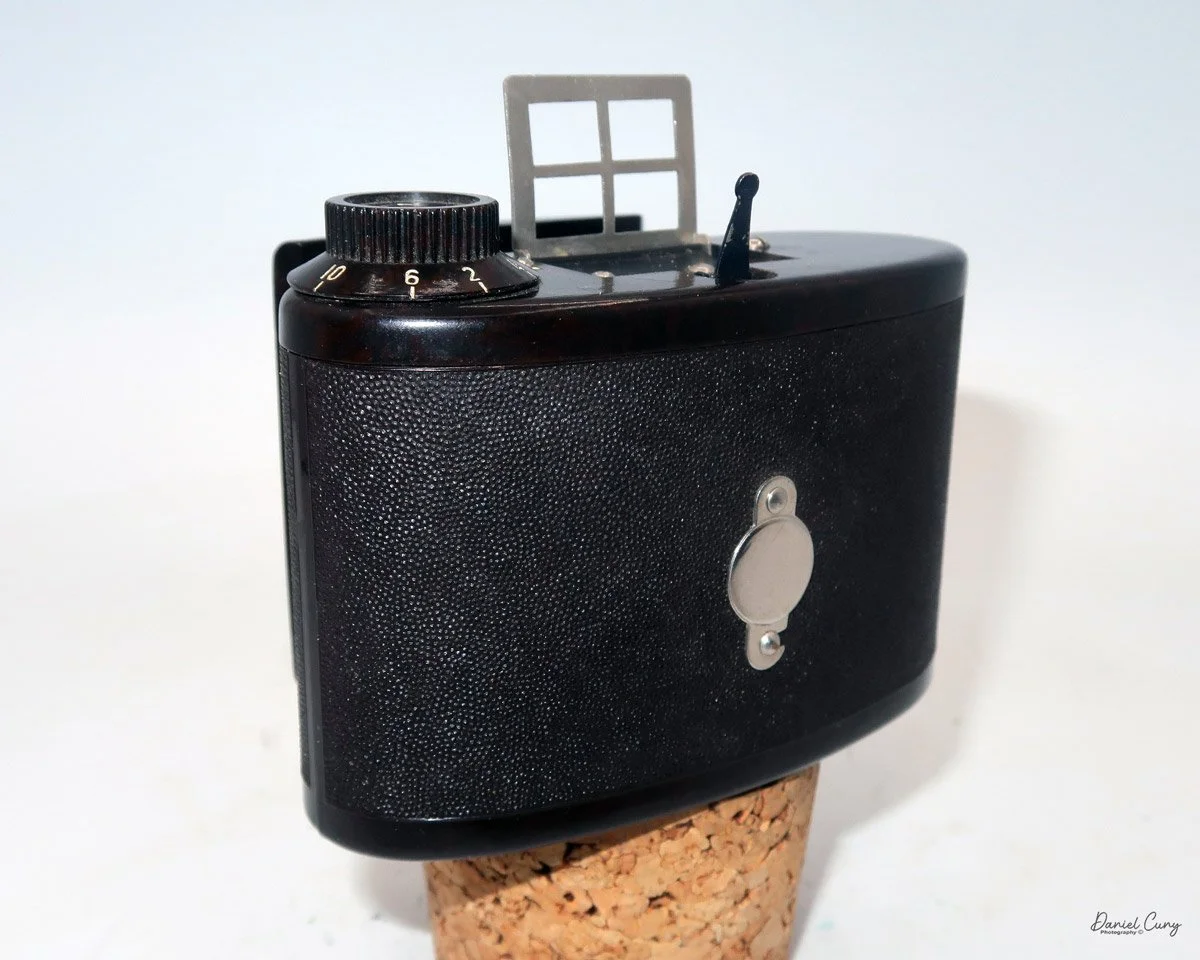
Top view of Mamiya Mammy camera
This may sound odd to some, but for me having an unknown, but sought after camera in my hands, getting familiar with the controls and hearing the distinct "click" sound of the shutter are enjoyment to me.
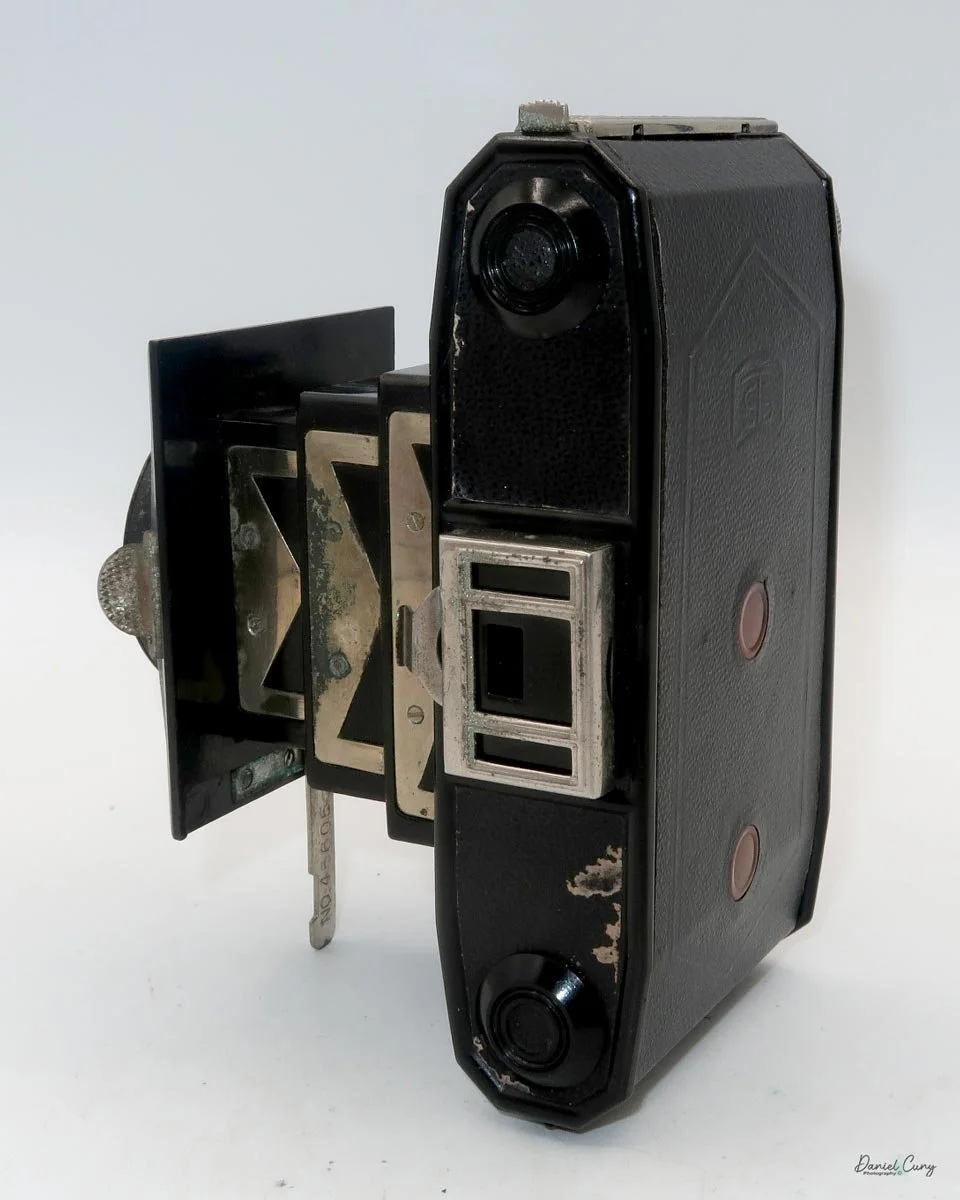
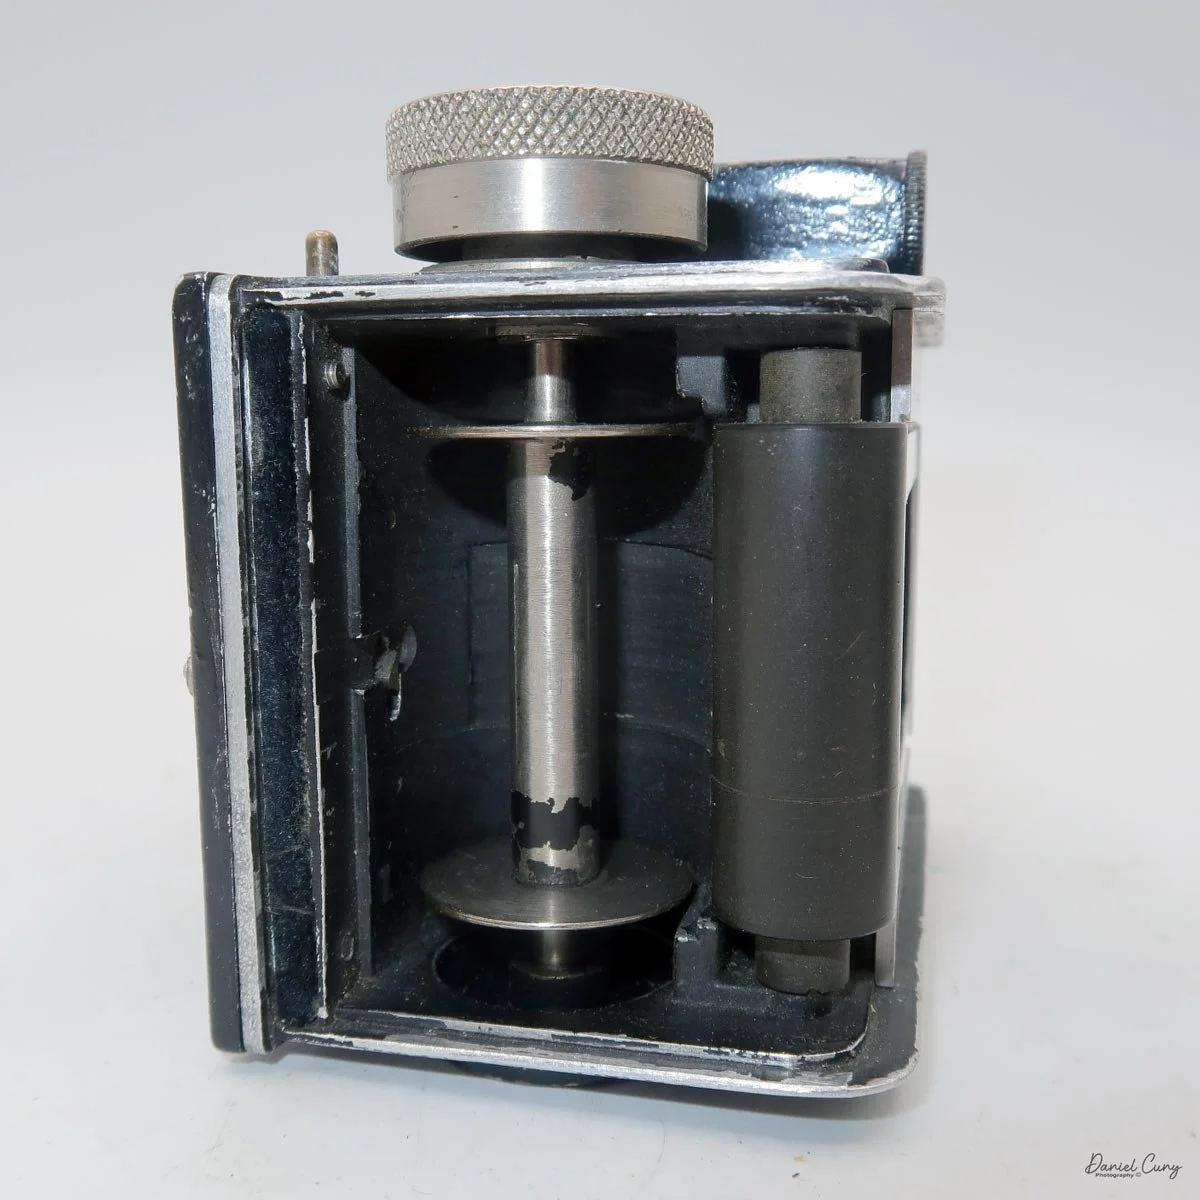
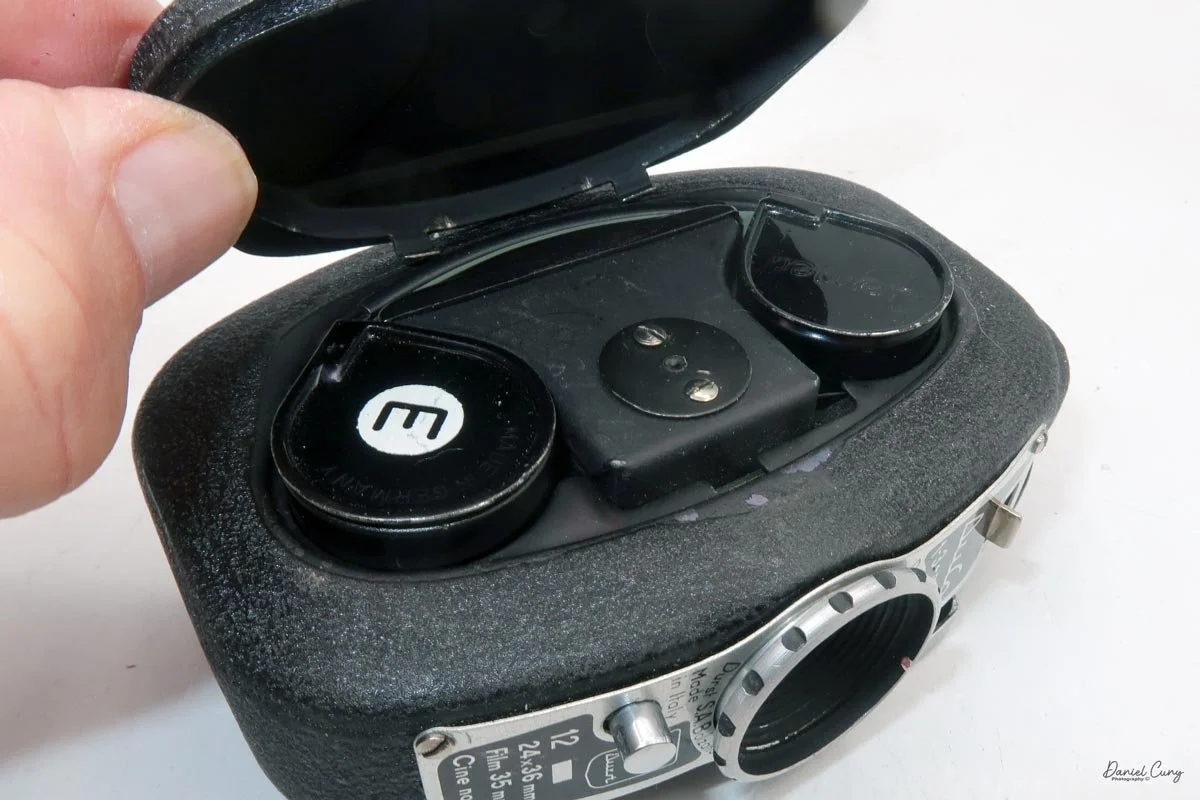
While the camera appeared to be in tiptop shape, upon further inspection the shutter didn't always open and close as it should. Opening the back of the camera, there were no cassettes or empty film reels left behind, so it took me a minute to realize the camera was a Bolta film camera due to the odd shaped take up connector. It was considerably thicker than a normal film spool. But the price of the camera was extremely low, so I decided to snatch it up and take it home with me along with several other cameras from the shop.
I've always been intrigued but the Bolta style of cameras like the Mamiya Mammy camera, due to the compactness and smaller size they range in. I have a few other Bolta cameras in my collection, the very rare Inoca Stereo camera, the Photovit from Germany and, Start camera from Japan. The last two I still need to review soon.
History:
Mamiya Camera Company began in 1940 as Mamiya Koki Seisakusho, founded by businessman Tsunejiro Sugawara and engineer Seiichi Mamiya. Its early identity was shaped by a blend of business ambition and technical ingenuity, and the company’s first camera, the Mamiya Six, established the medium-format direction that would define much of Mamiya’s reputation.
The Mamiya Six was a folding 6x6 camera introduced as the company’s first product, and it stood out for an unusual focusing system in which the film plane moved rather than the lens. That design reflected the inventive approach that became a hallmark of the brand. The camera was successful enough to lay the groundwork for Mamiya’s later expansion into other formats.
From: The Collectors Guide to Japanese Cameras
World War II disrupted the company’s early growth. Mamiya’s Tokyo facilities were destroyed during the war, forcing a major rebuild afterward. In the immediate postwar period, production resumed under difficult conditions, and sales were initially limited to Allied personnel rather than the Japanese public.
In the late 1940s, Mamiya began broadening its lineup. It built Japan’s first flash-synchronized twin-lens reflex camera, the Mamiyaflex, in 1948, and followed with its first 35mm camera, the Mamiya 35-I, in 1949. Around this time, the company also started producing more of its own components, including shutters and lenses, which helped it reduce dependence on suppliers and strengthen its manufacturing base.
By 1950, the company had incorporated as Mamiya Camera Company, Ltd., and by 1951 it was listed on the Tokyo Stock Exchange. These milestones show how quickly Mamiya moved from a small postwar camera maker into a recognized industrial company. Its early history is especially important because it set up the medium-format specialization and engineering reputation that later made Mamiya a major name among serious photographers.
In short, Mamiya’s early story is one of innovation, wartime disruption, and steady recovery. From the Mamiya Six to the Mamiyaflex and the Mamiya 35-I, the company built its identity through practical design and technical originality.
My Camera:
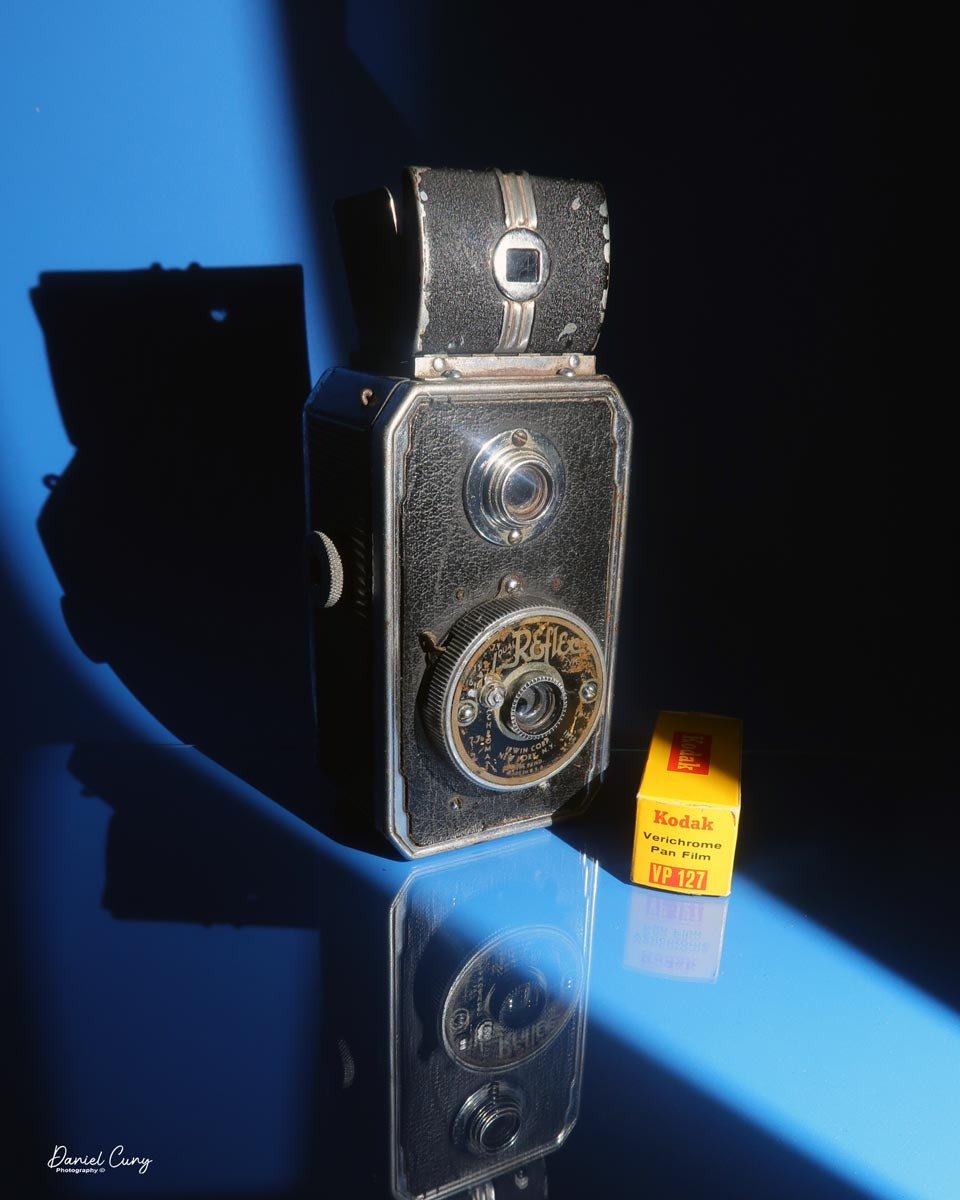
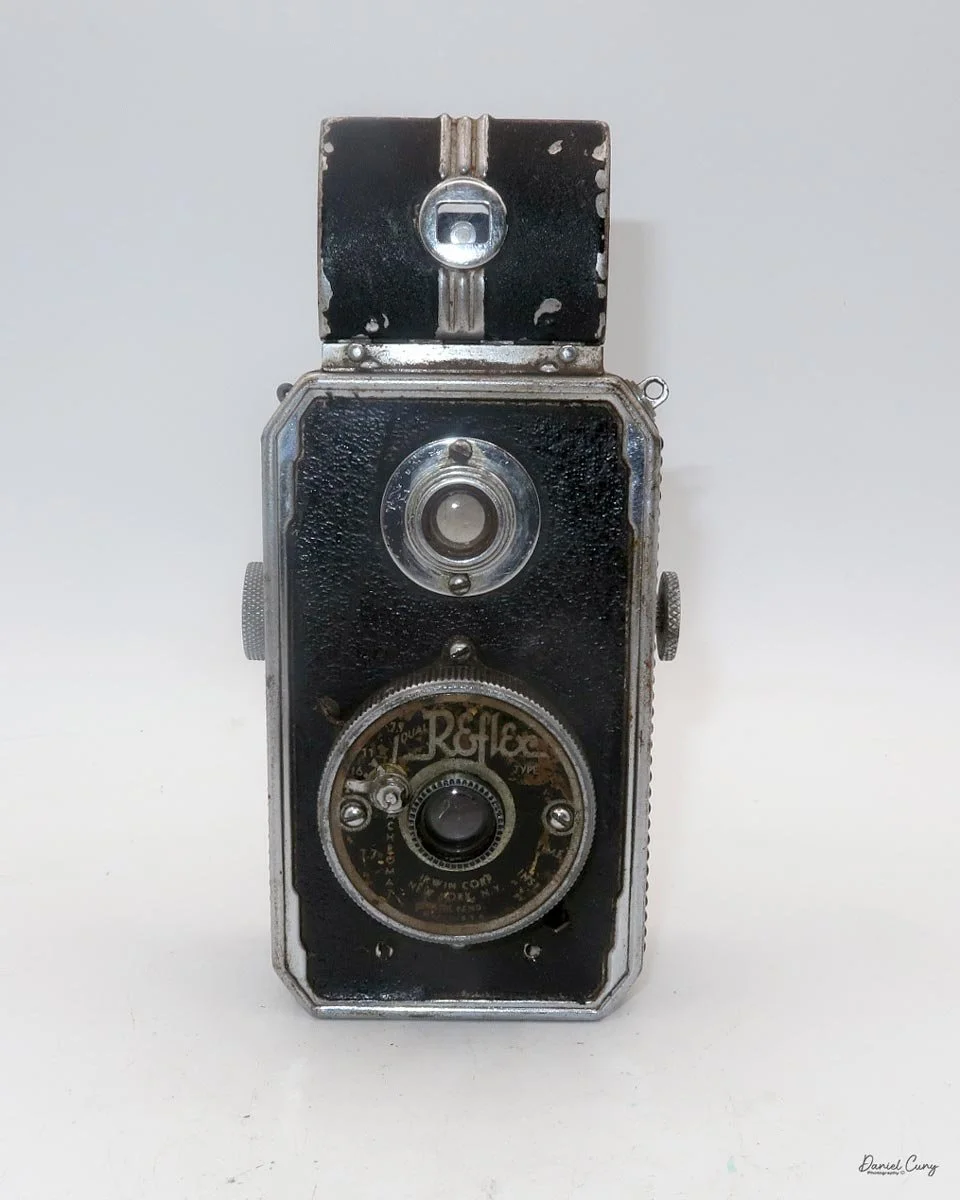
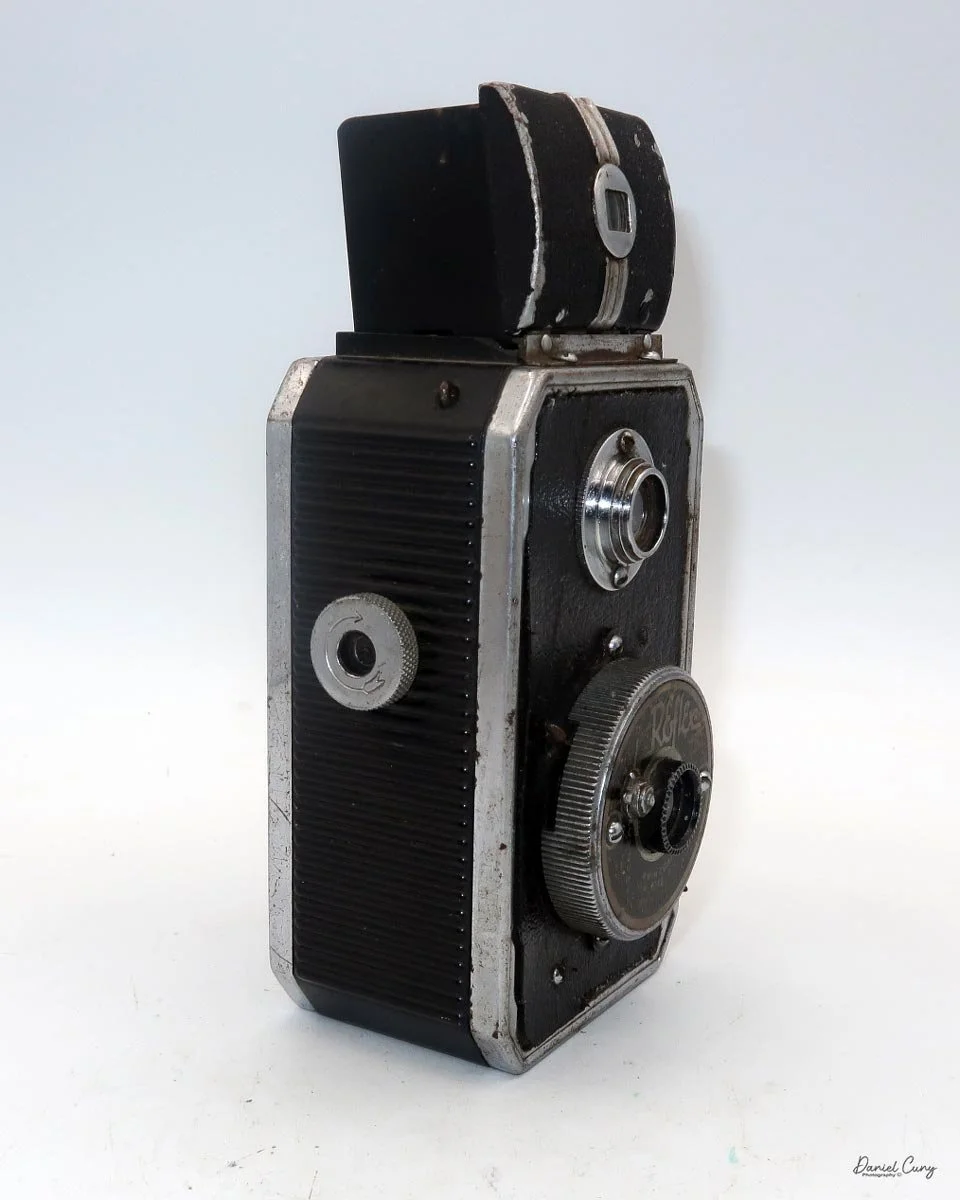
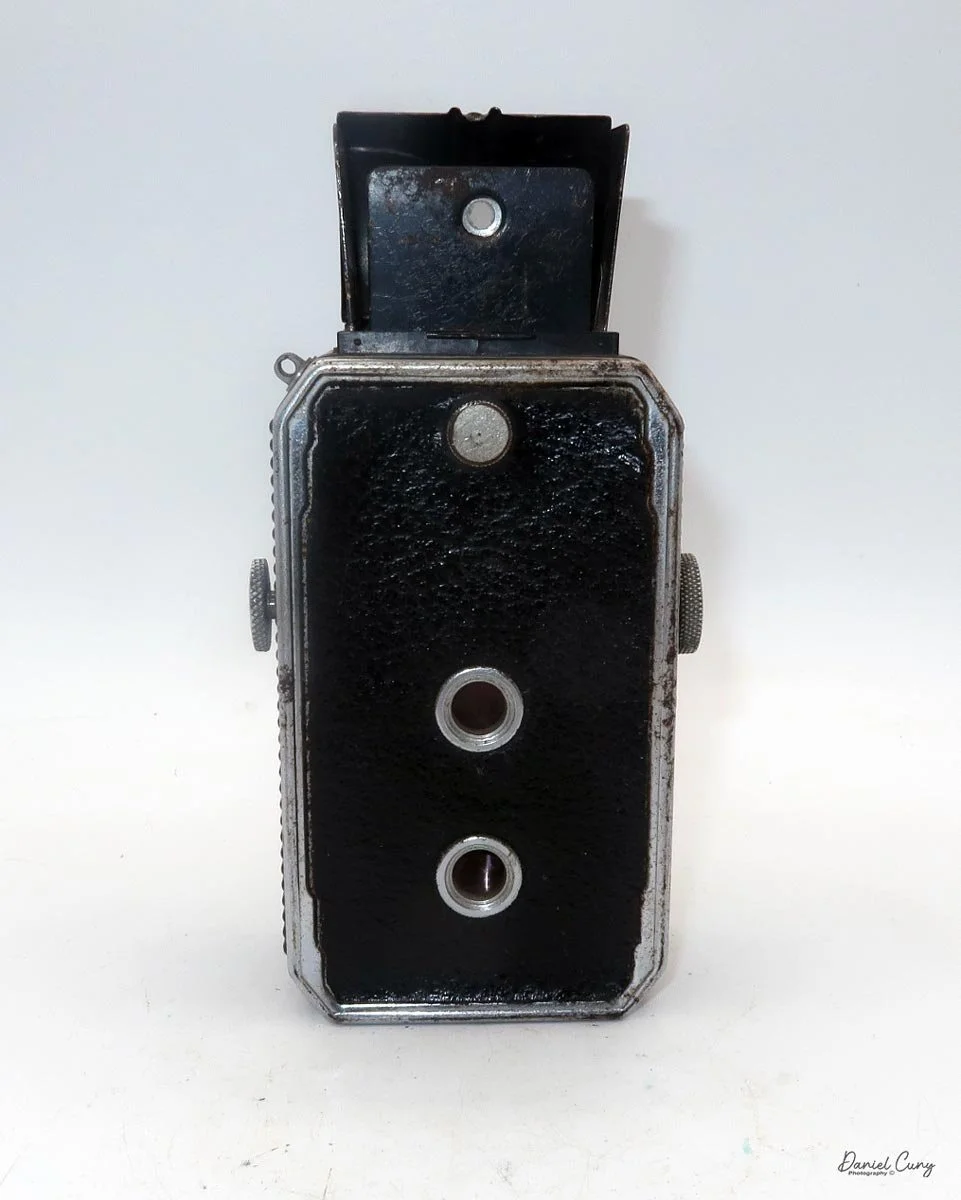
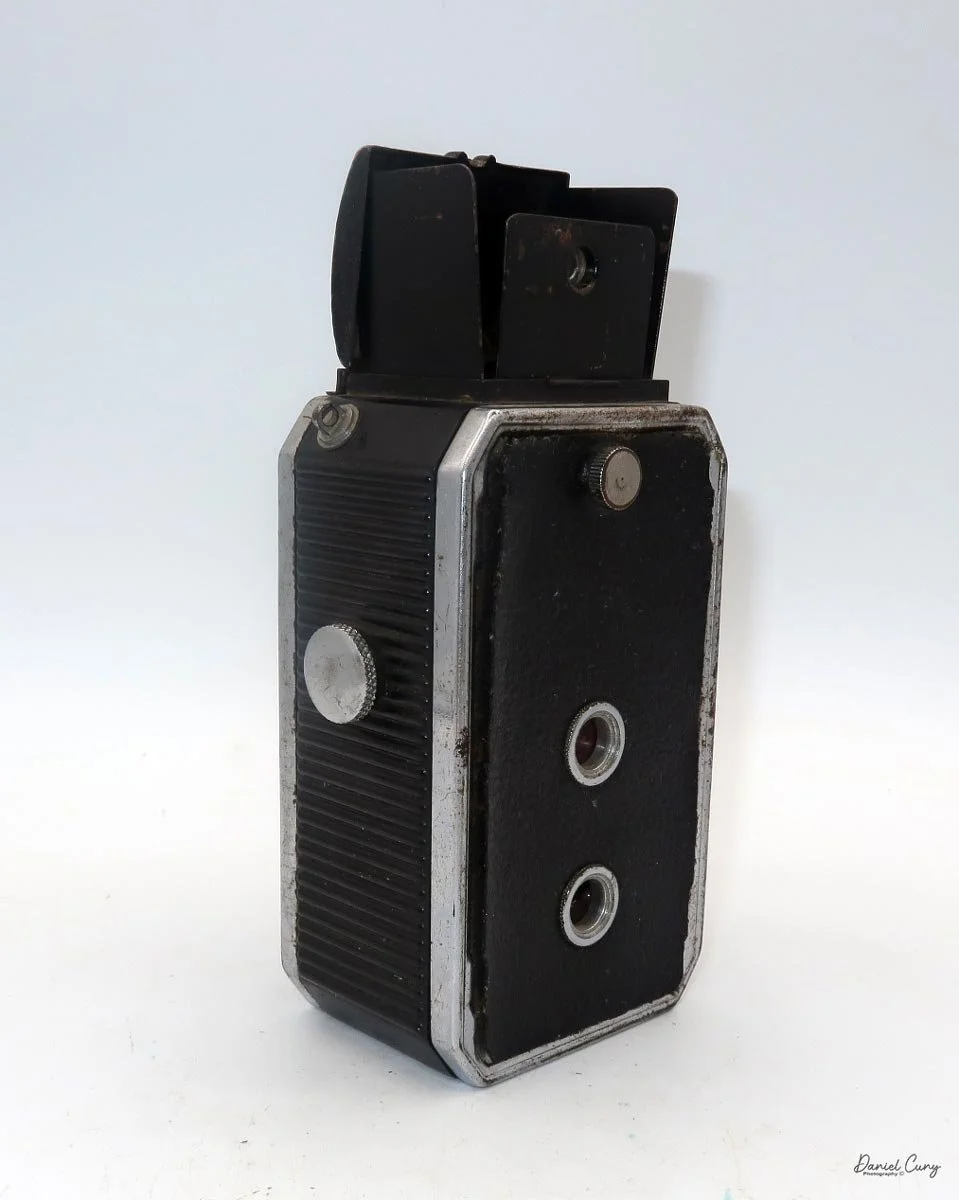
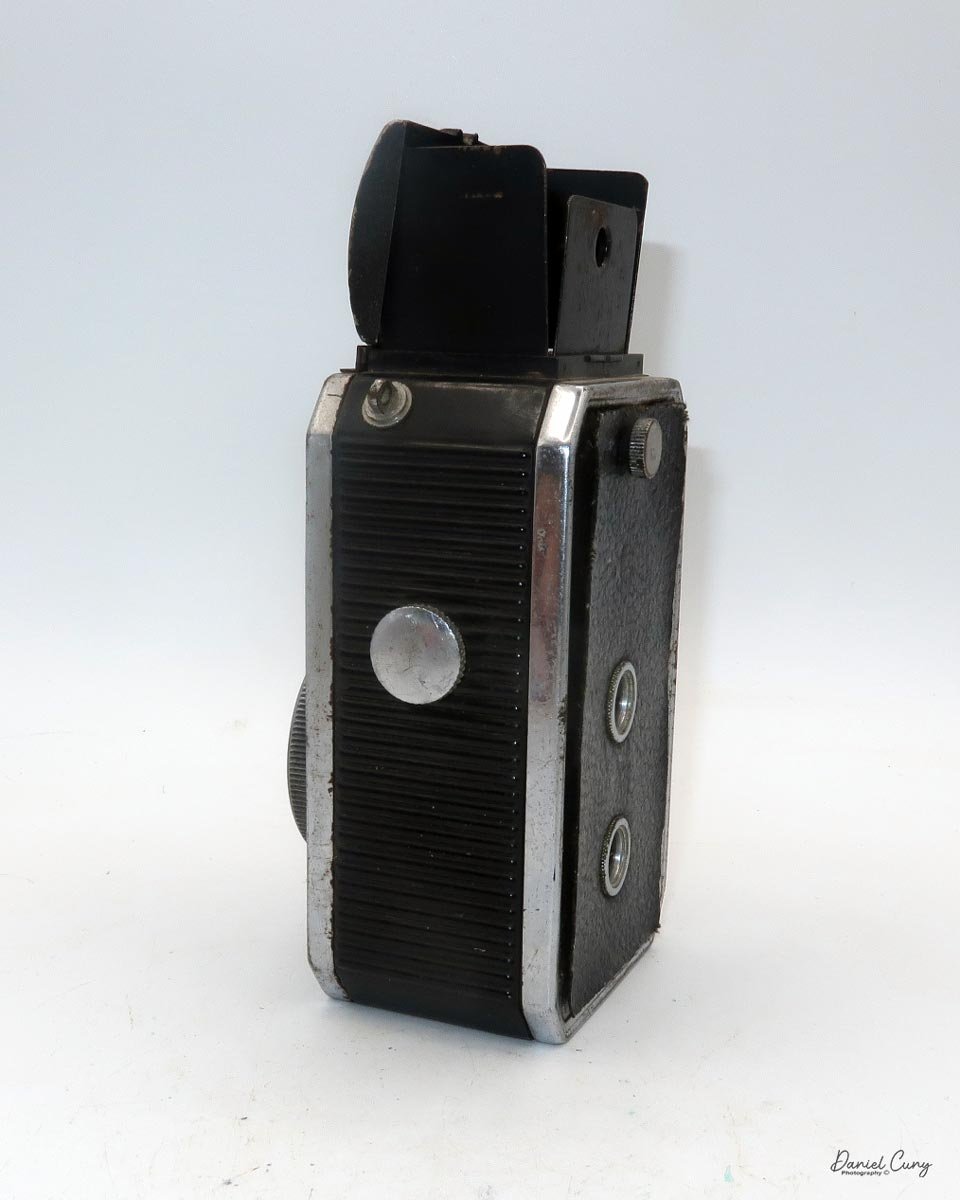
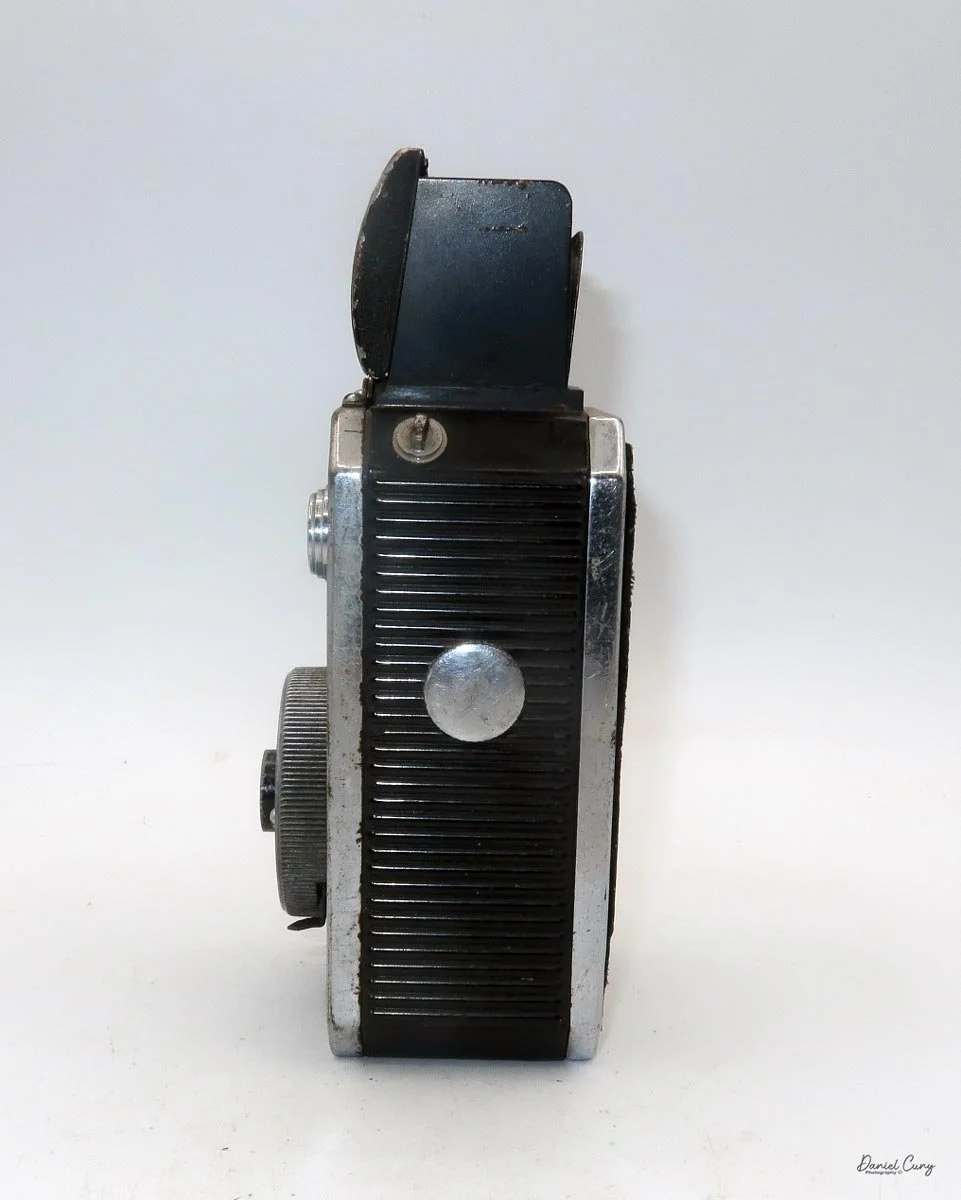
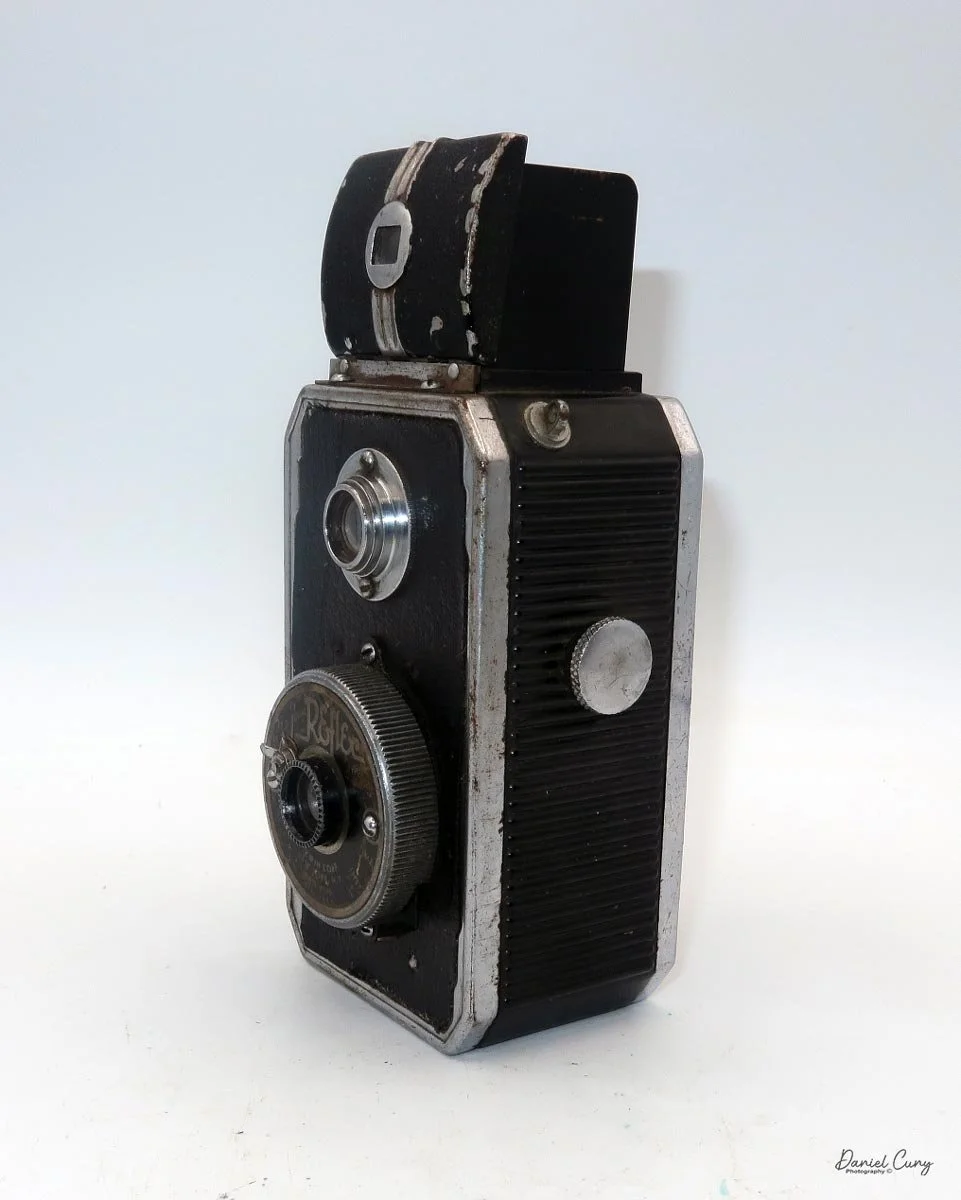
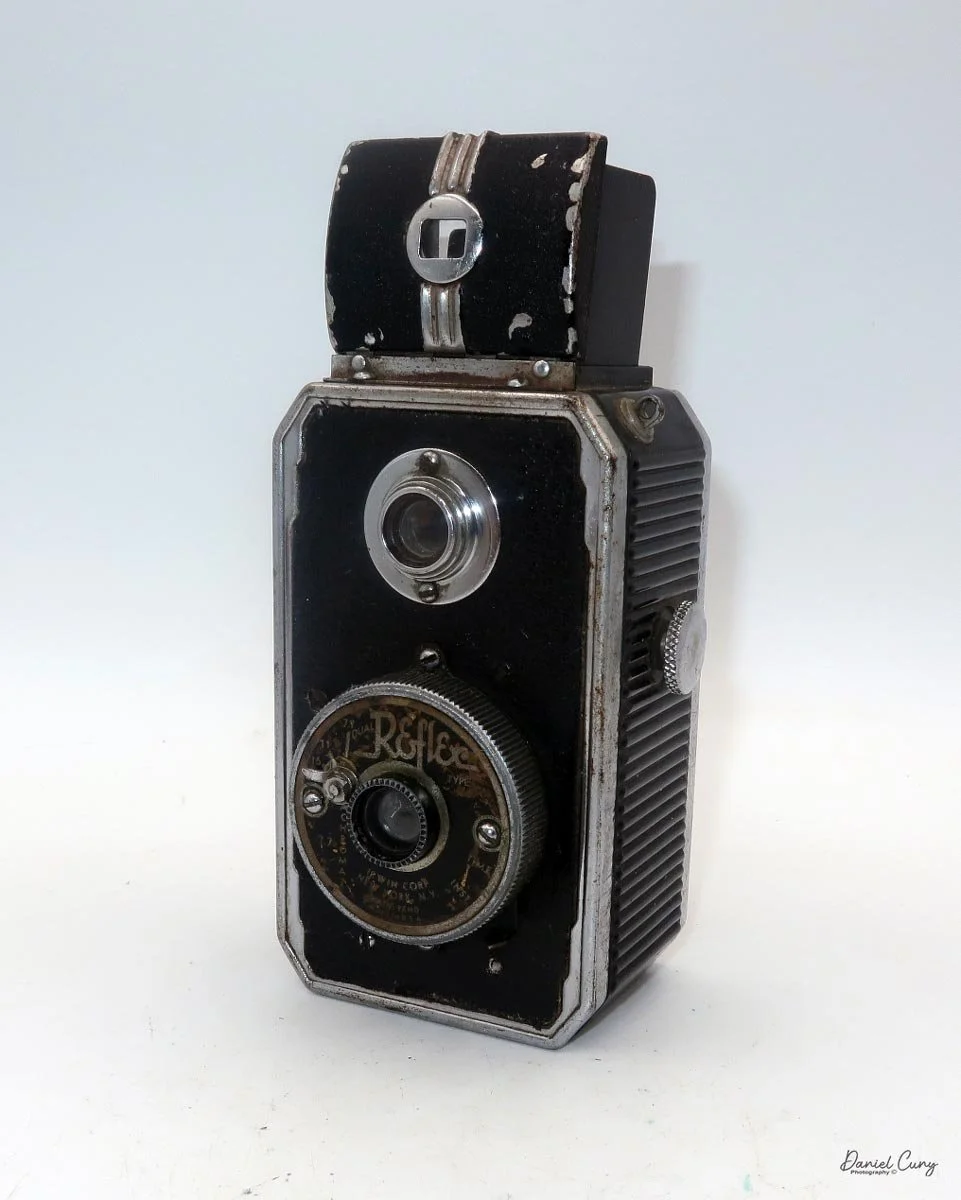
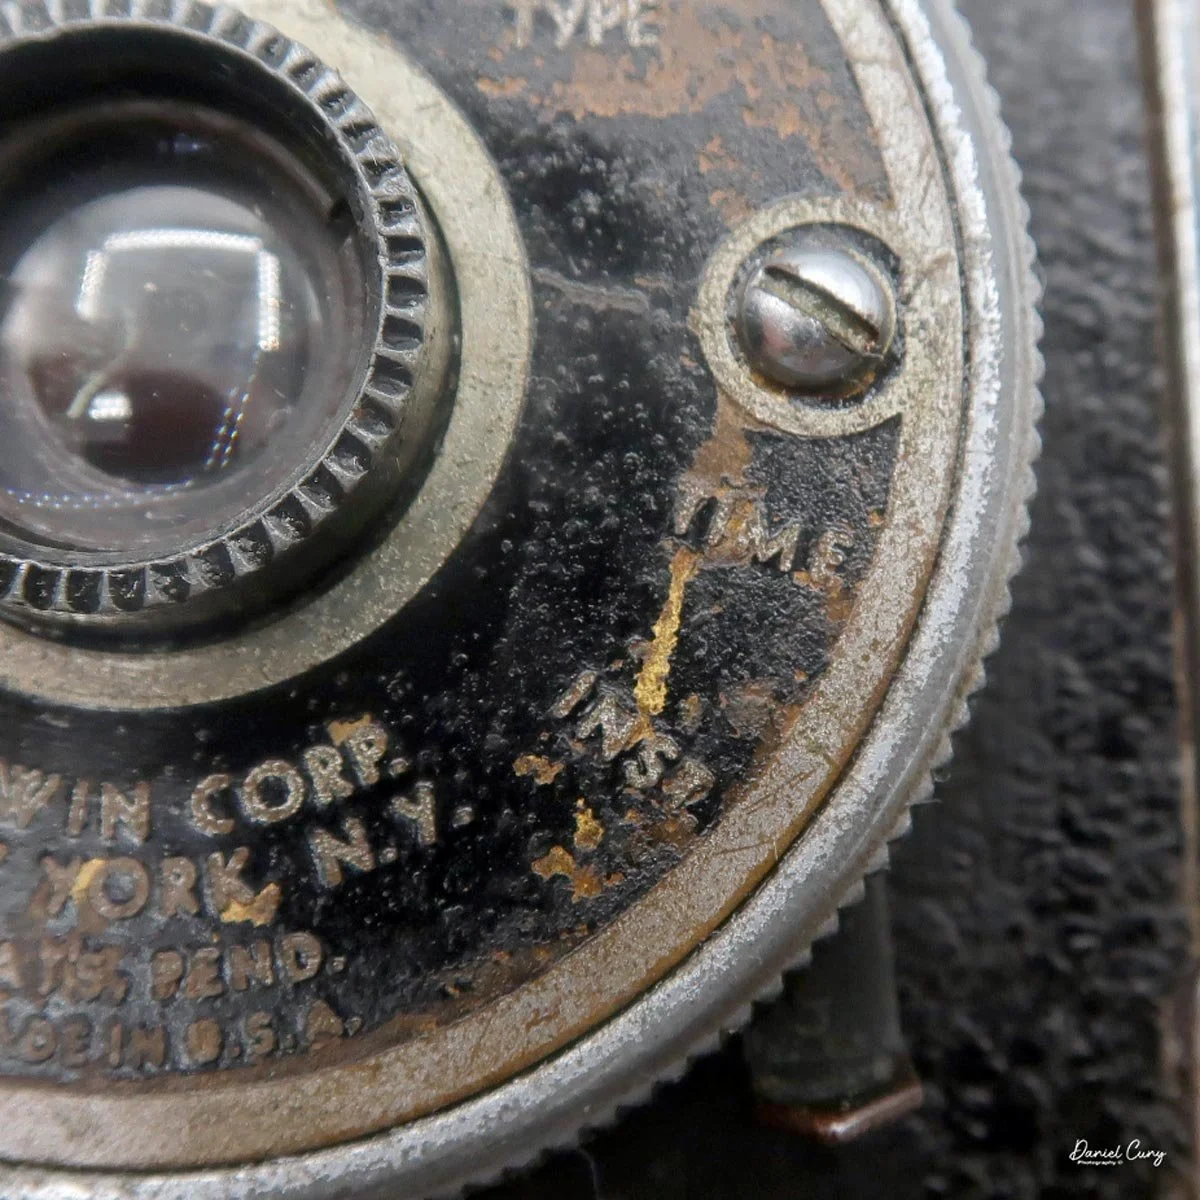
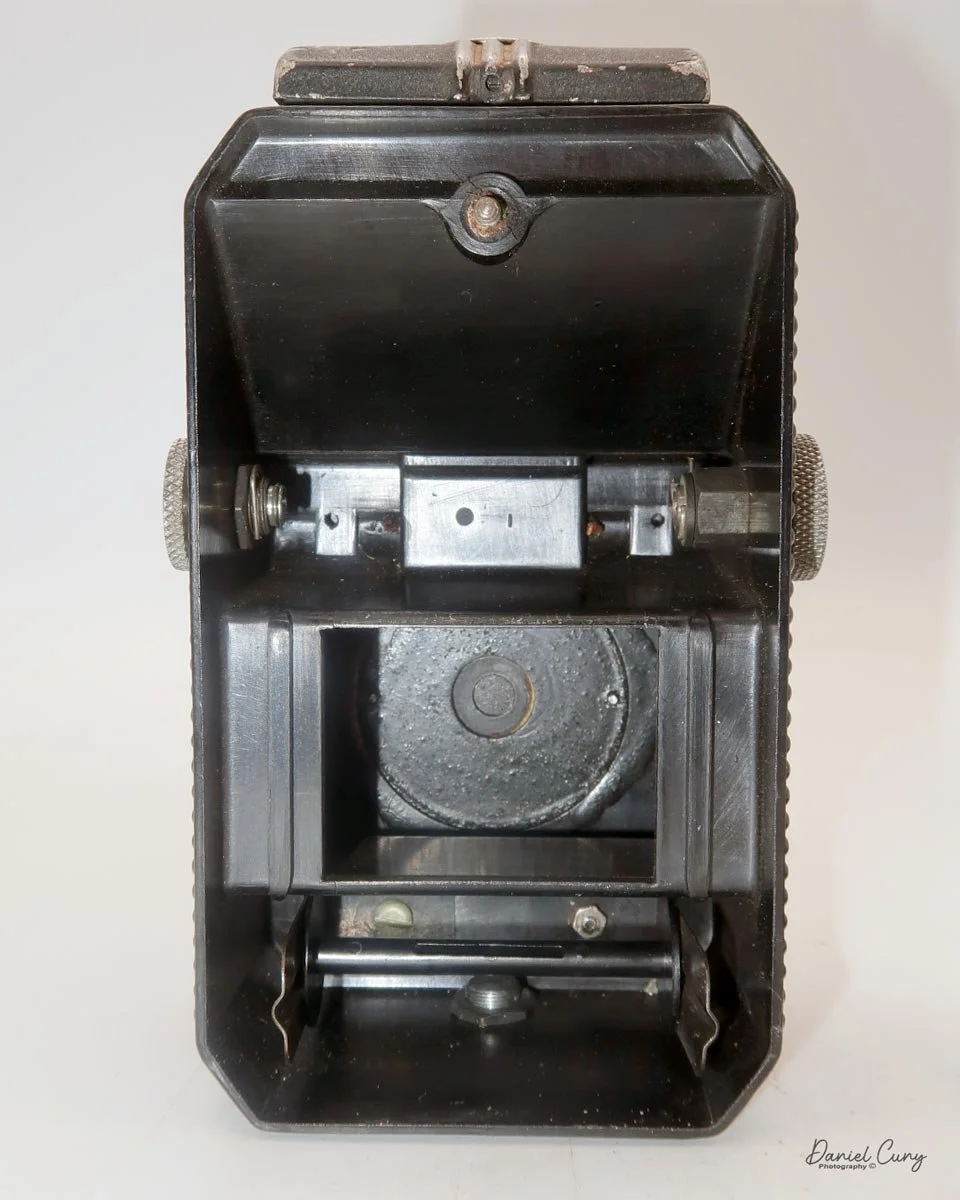
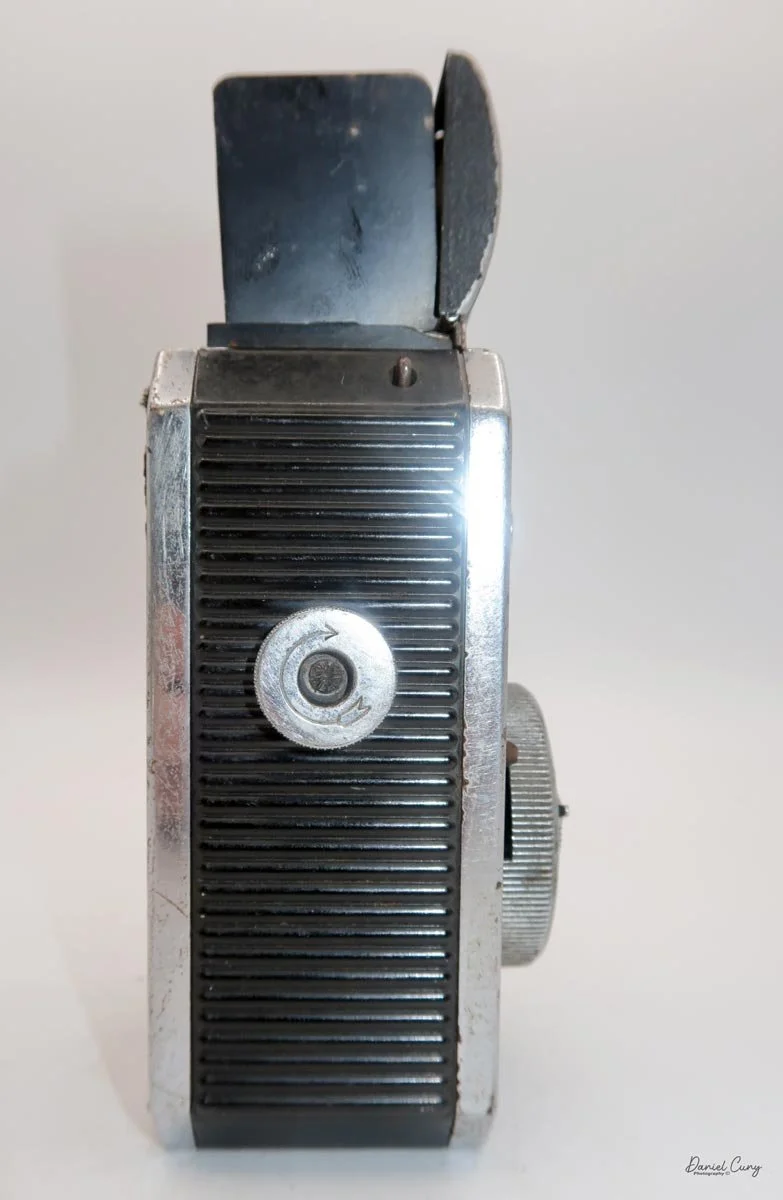
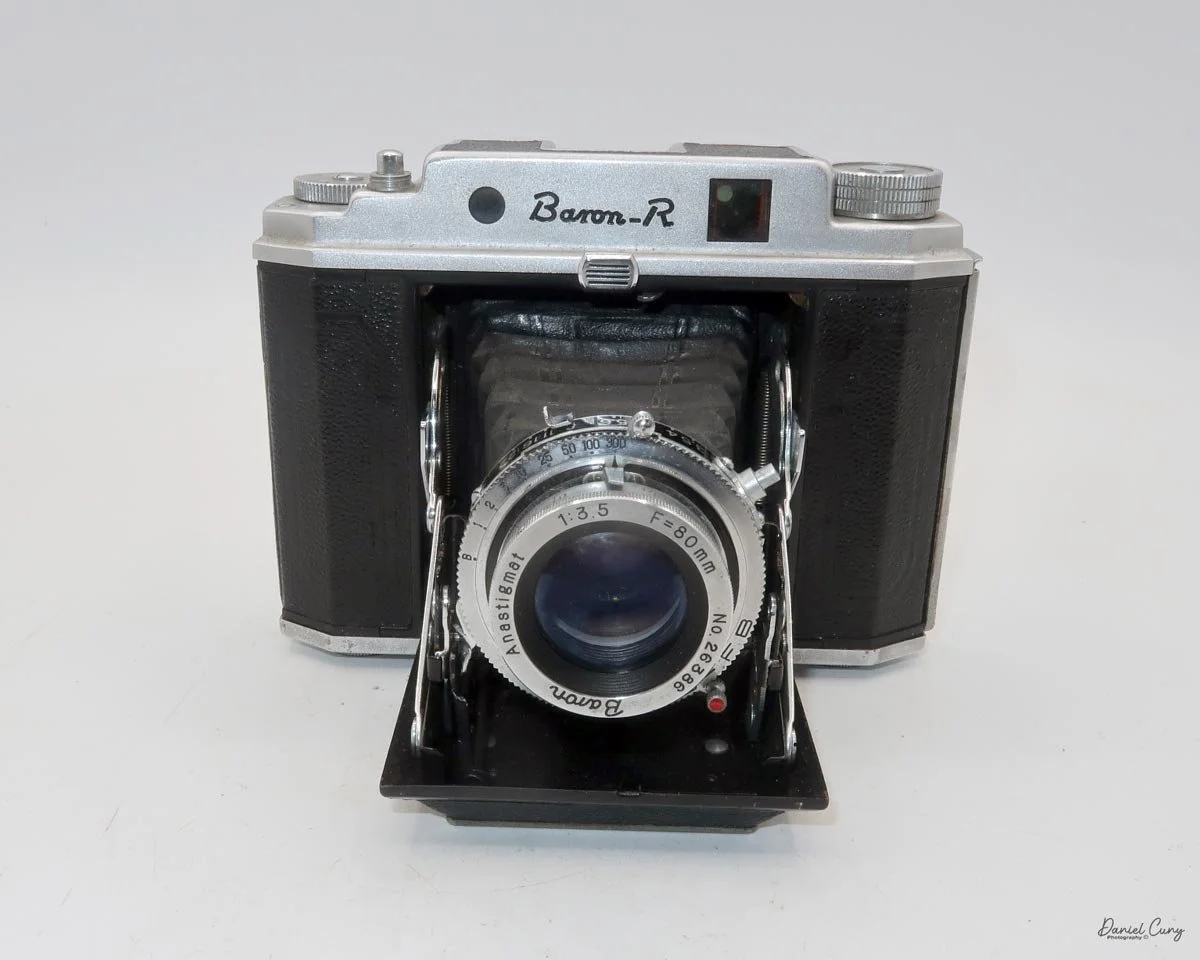
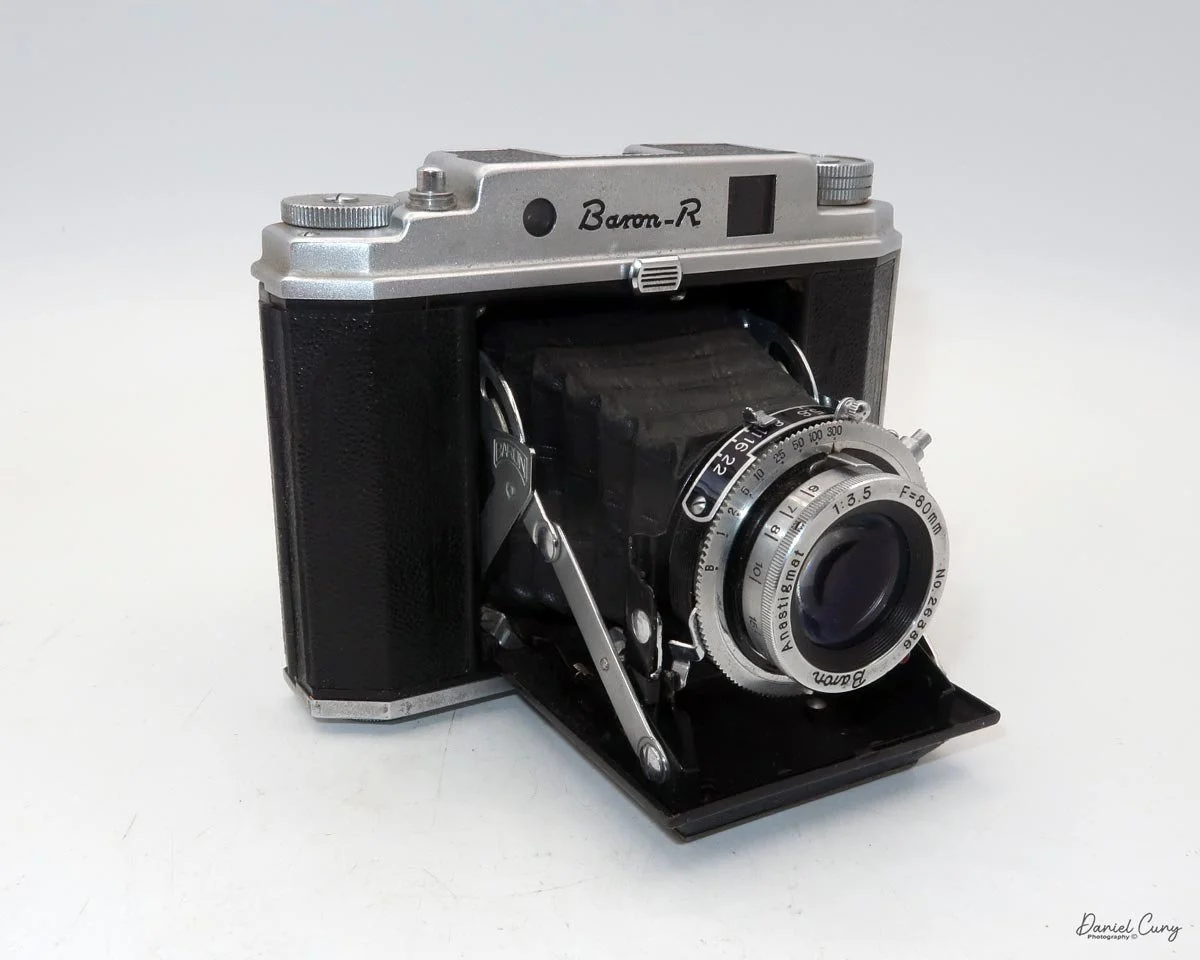
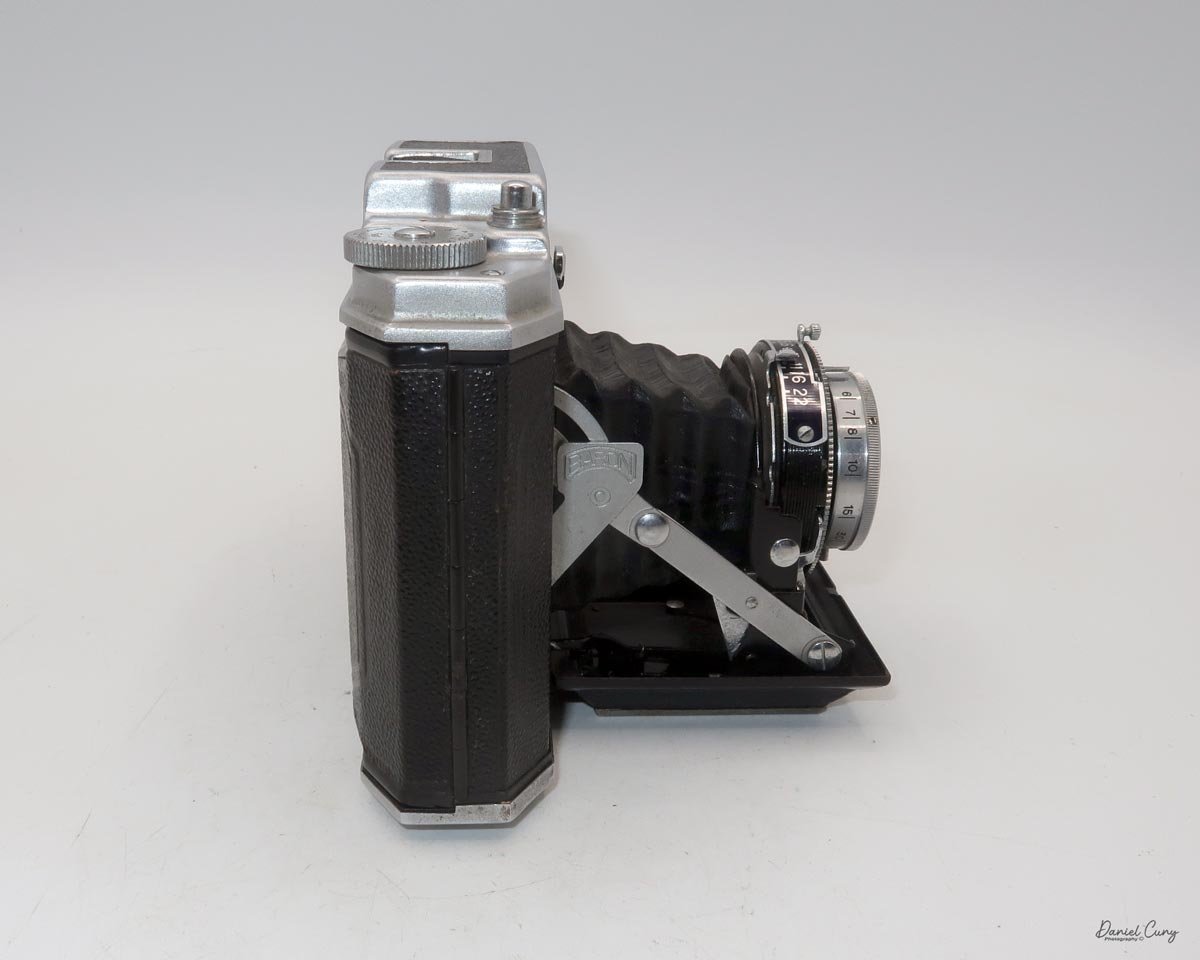
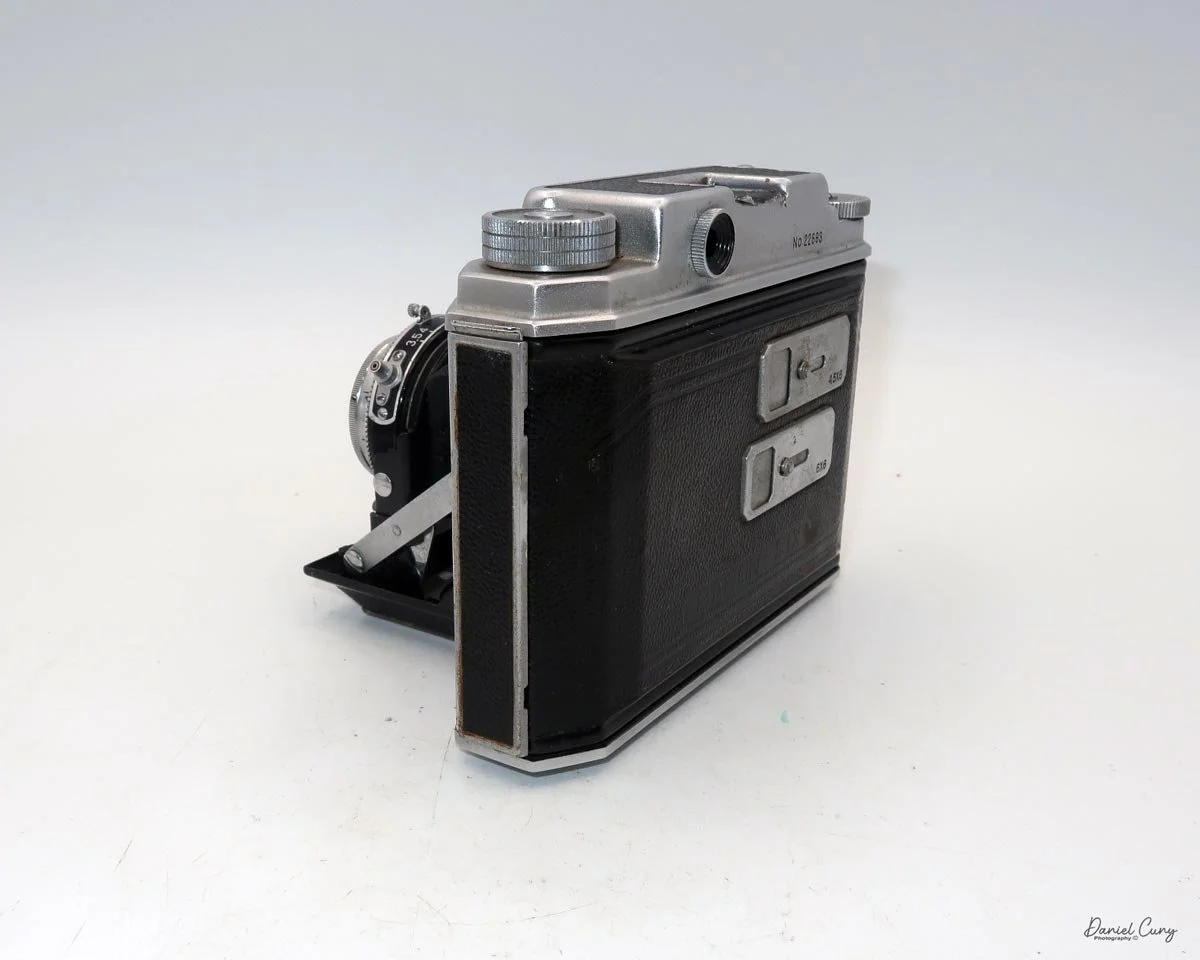
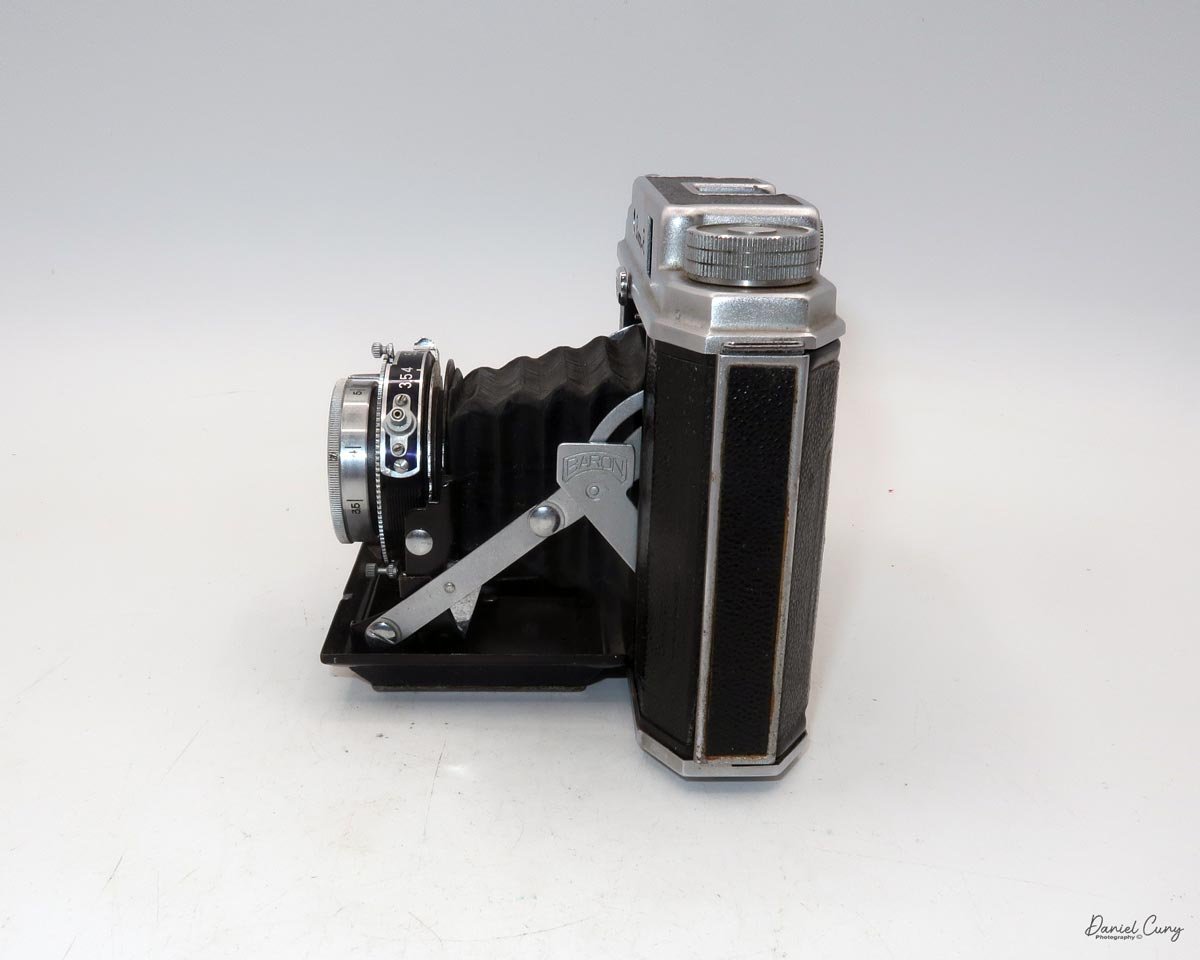
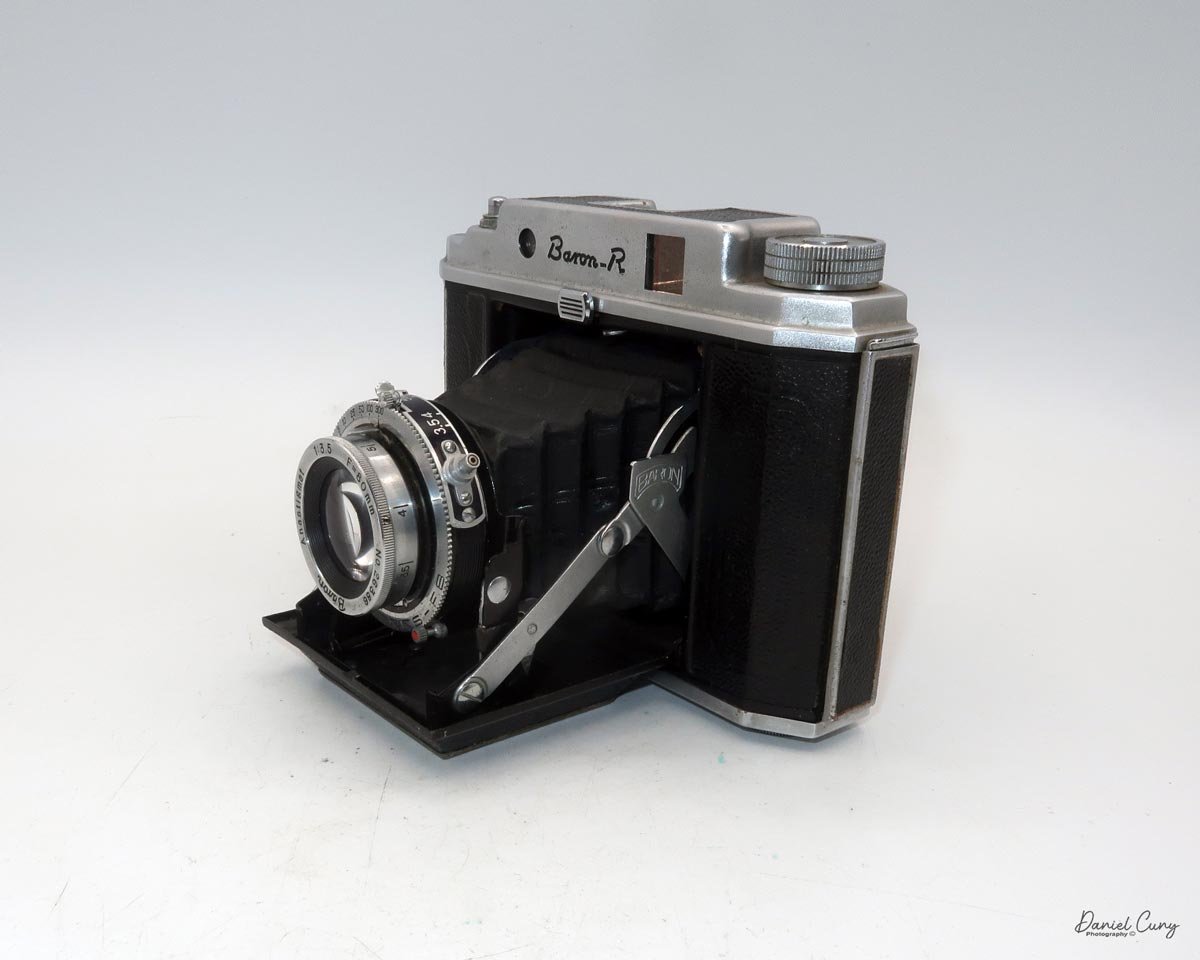
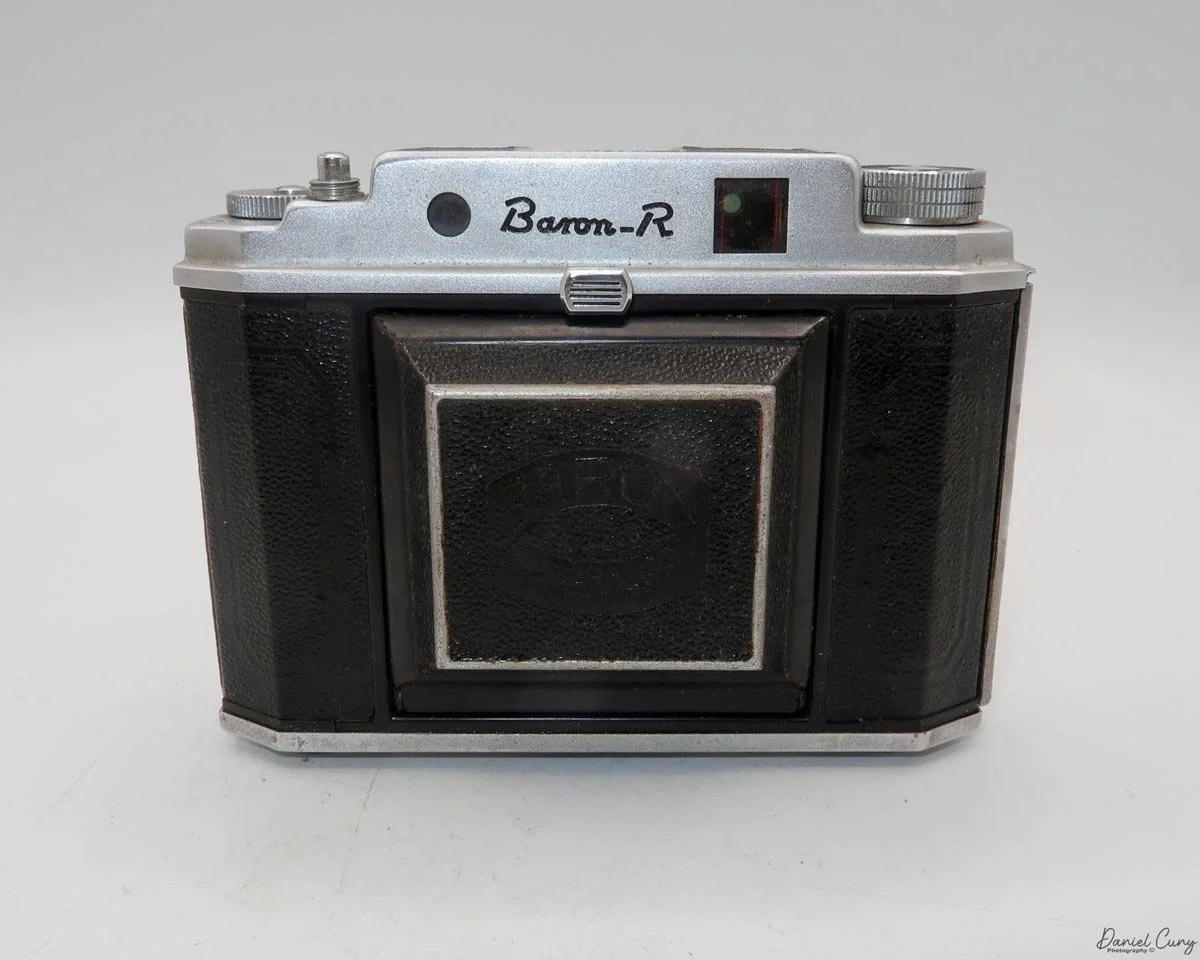
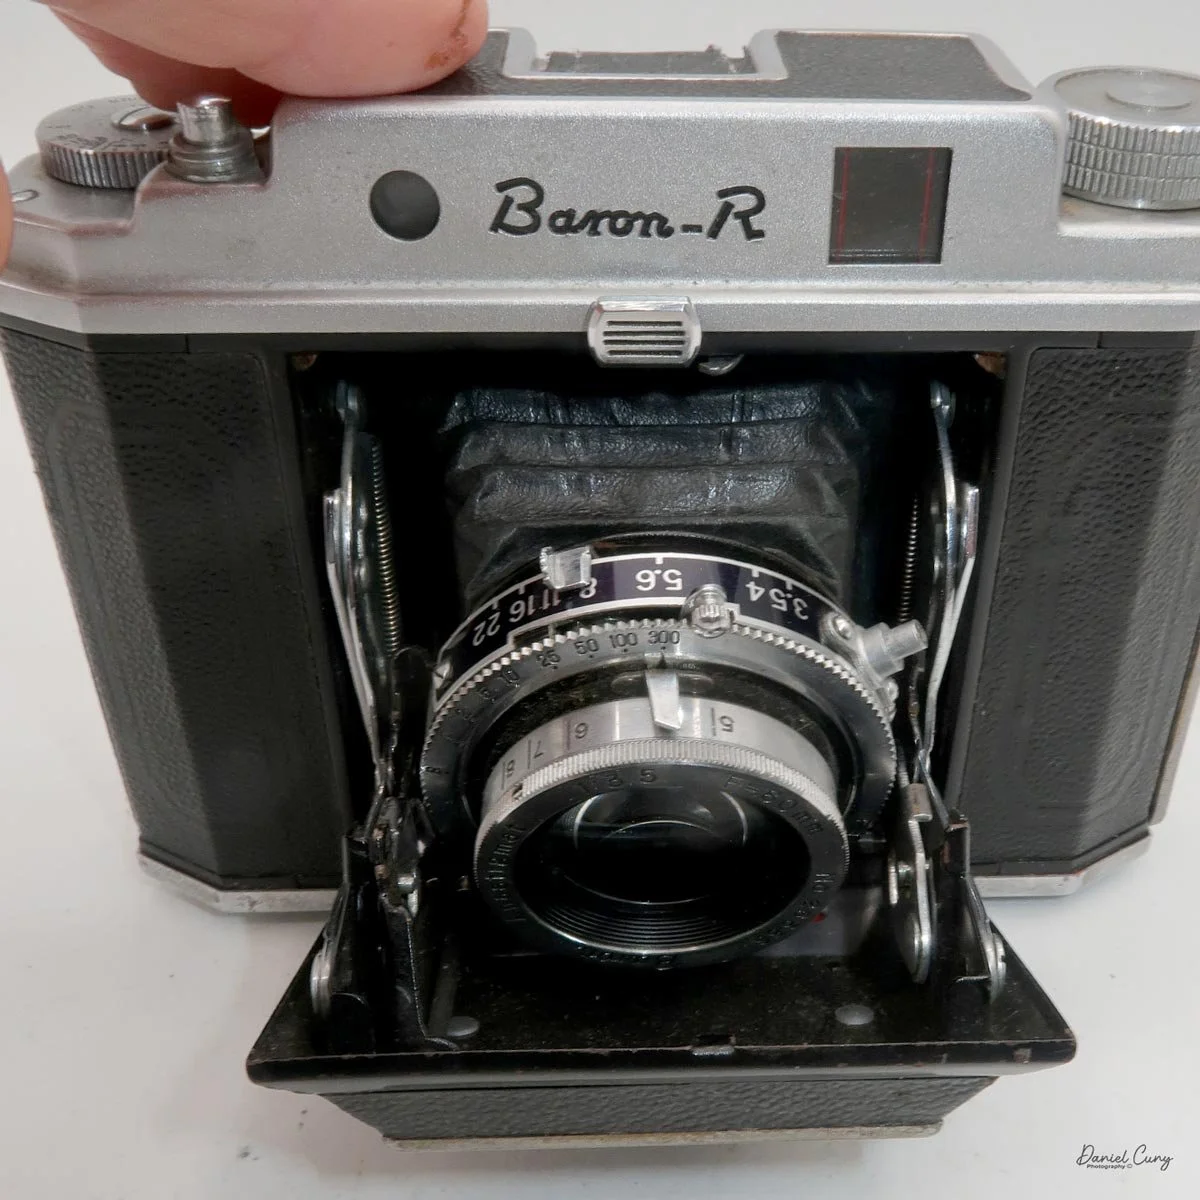
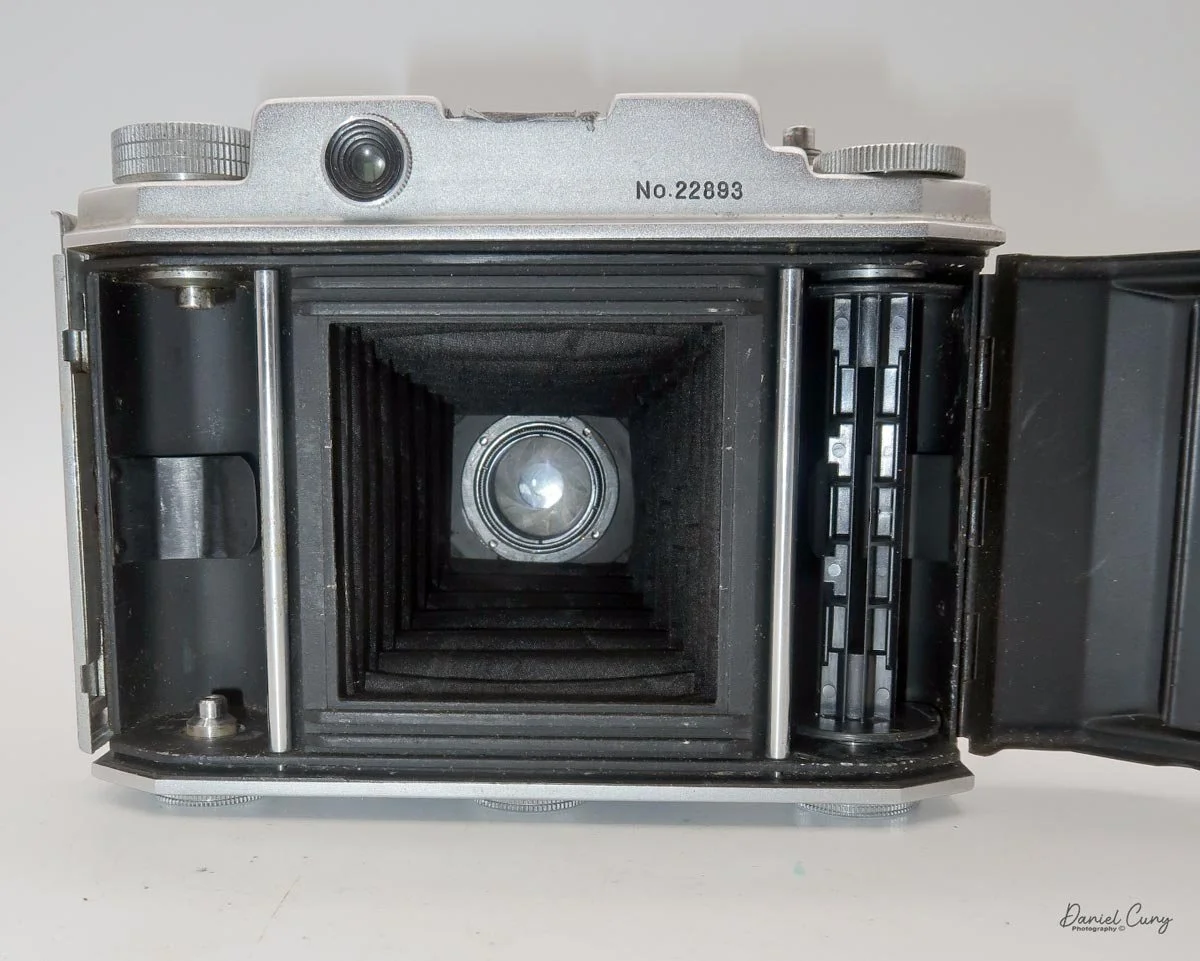
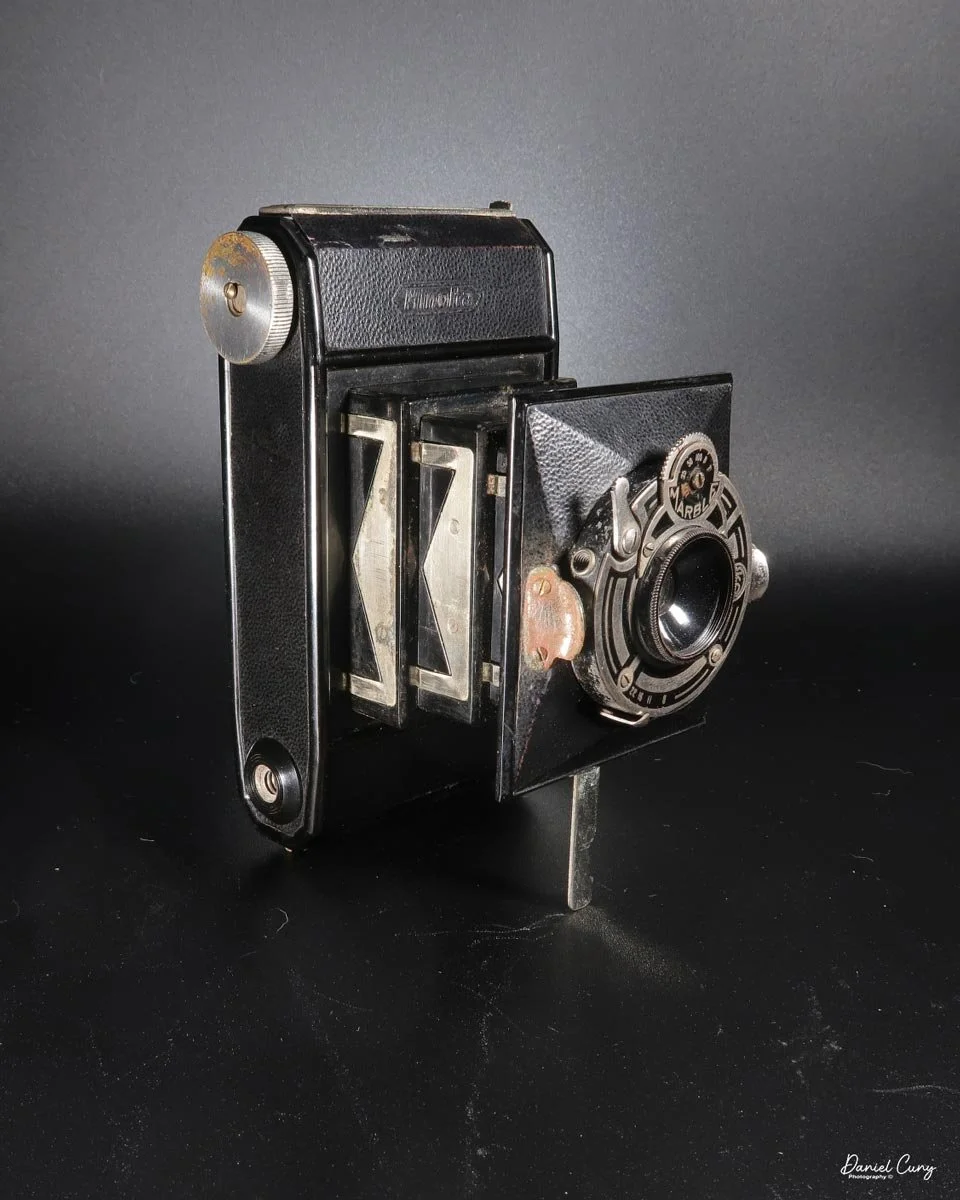
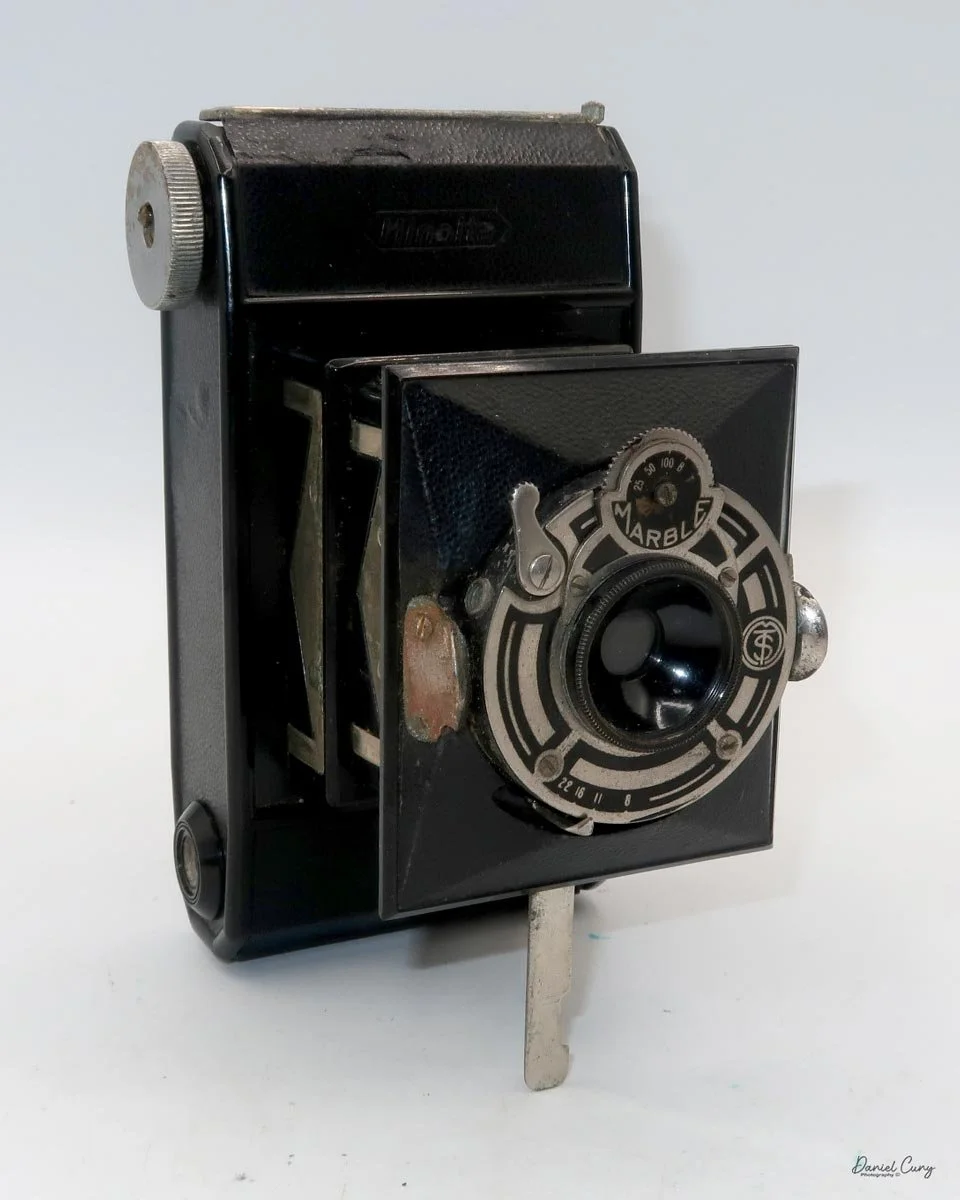
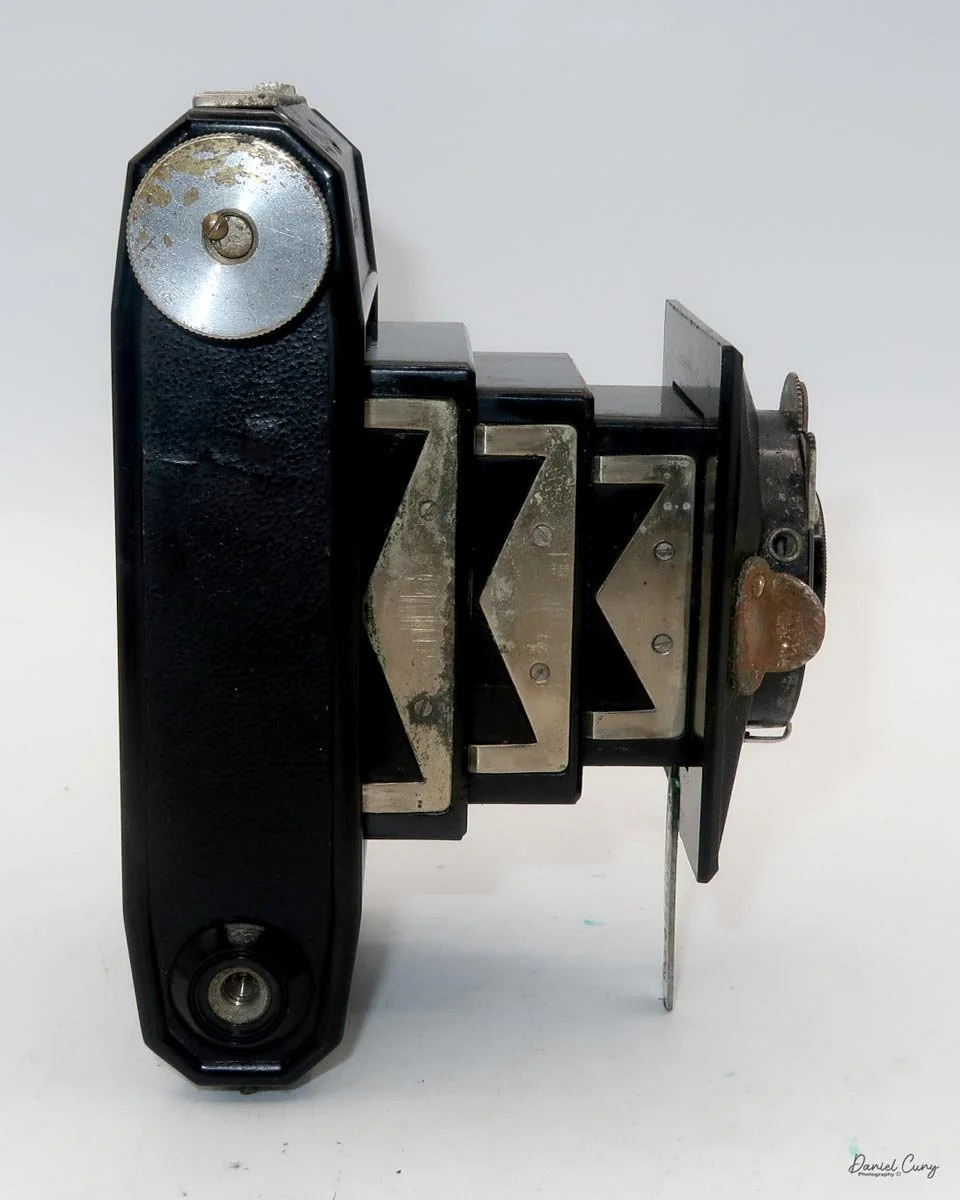
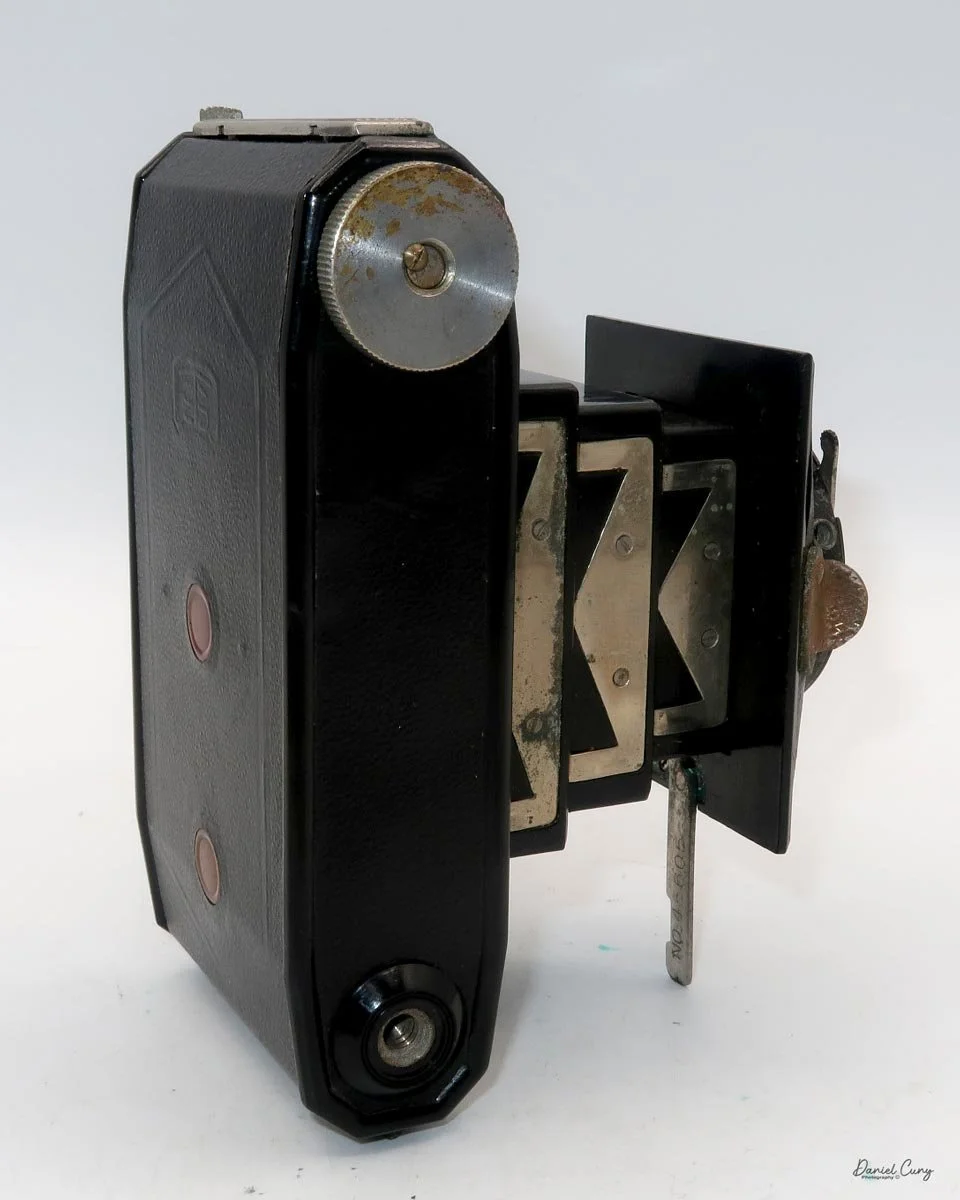
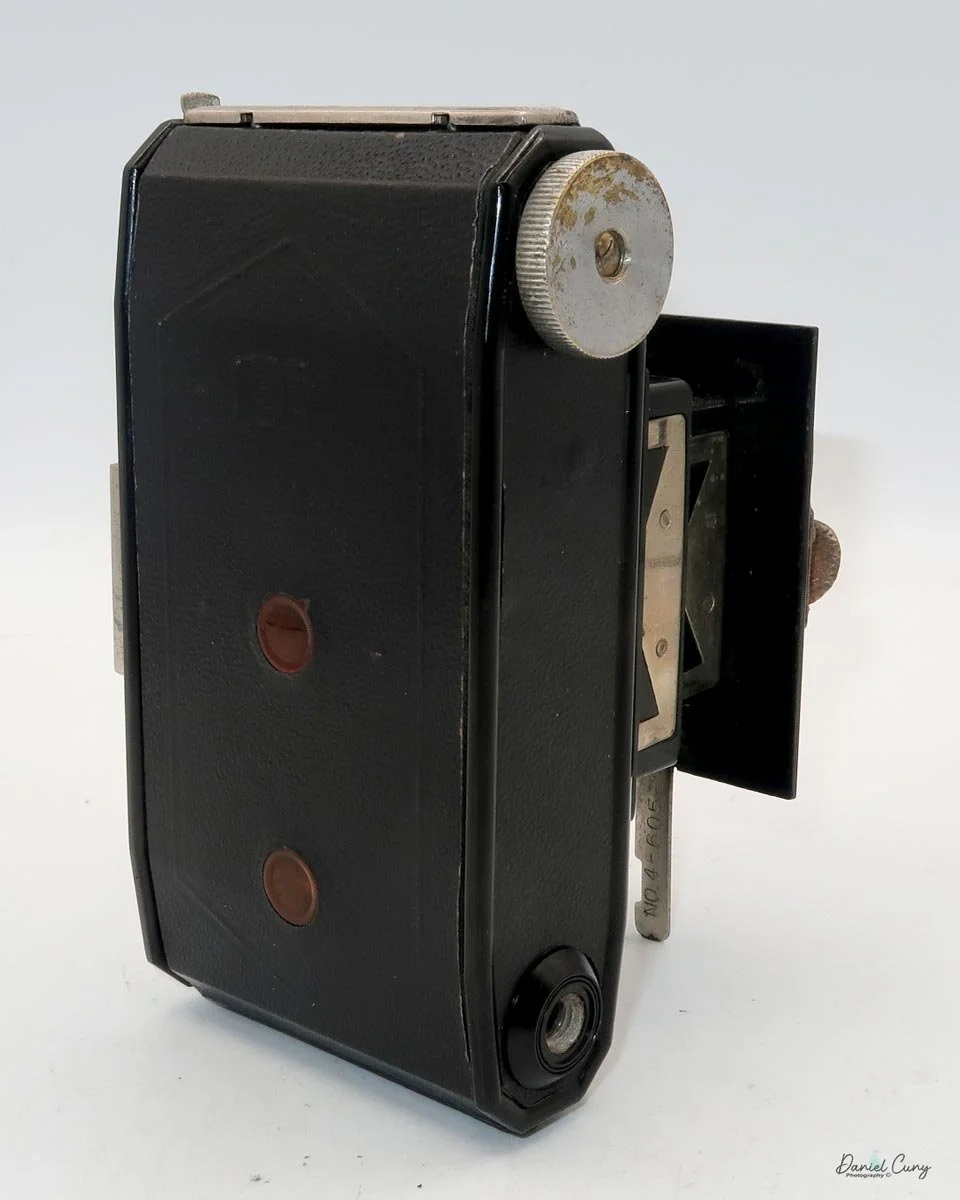
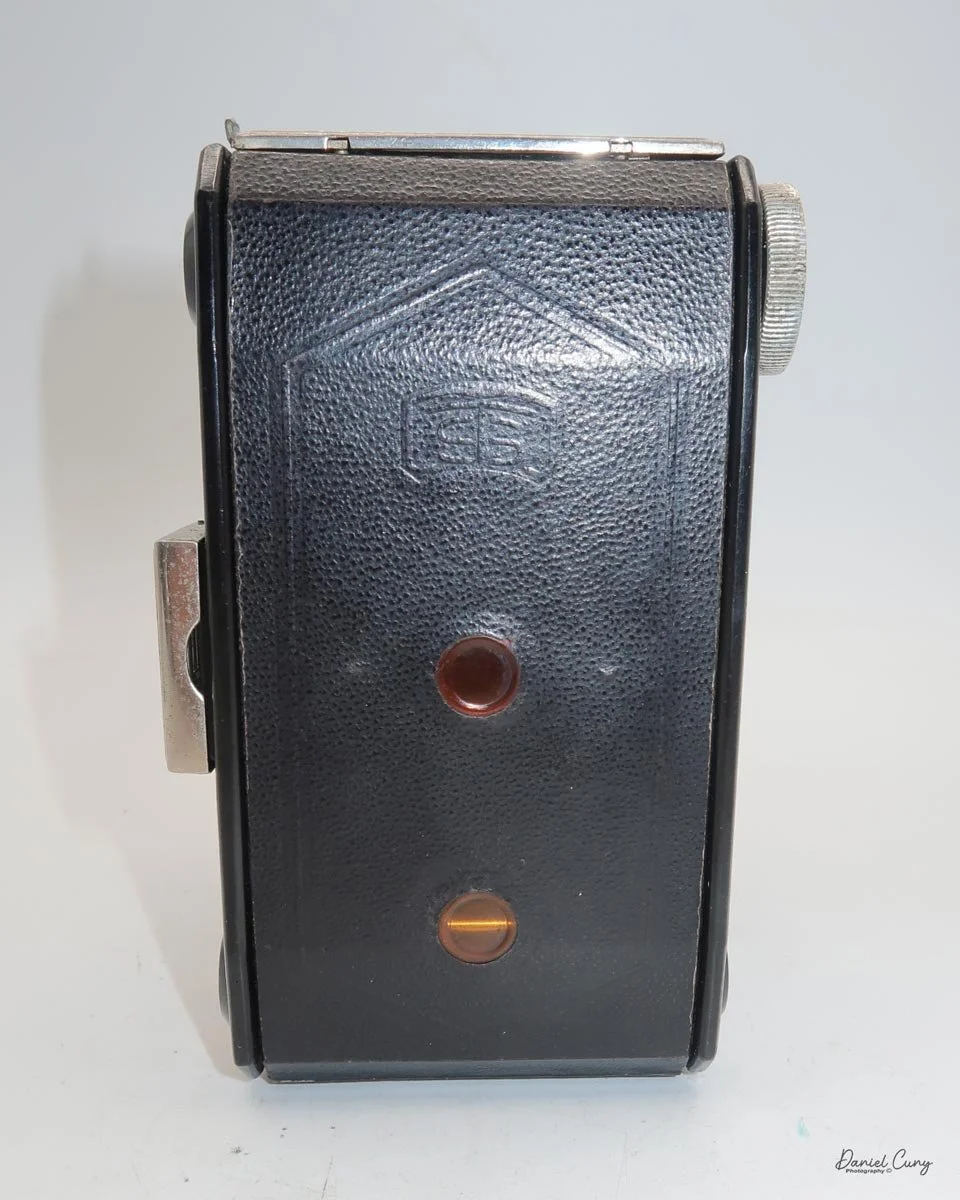
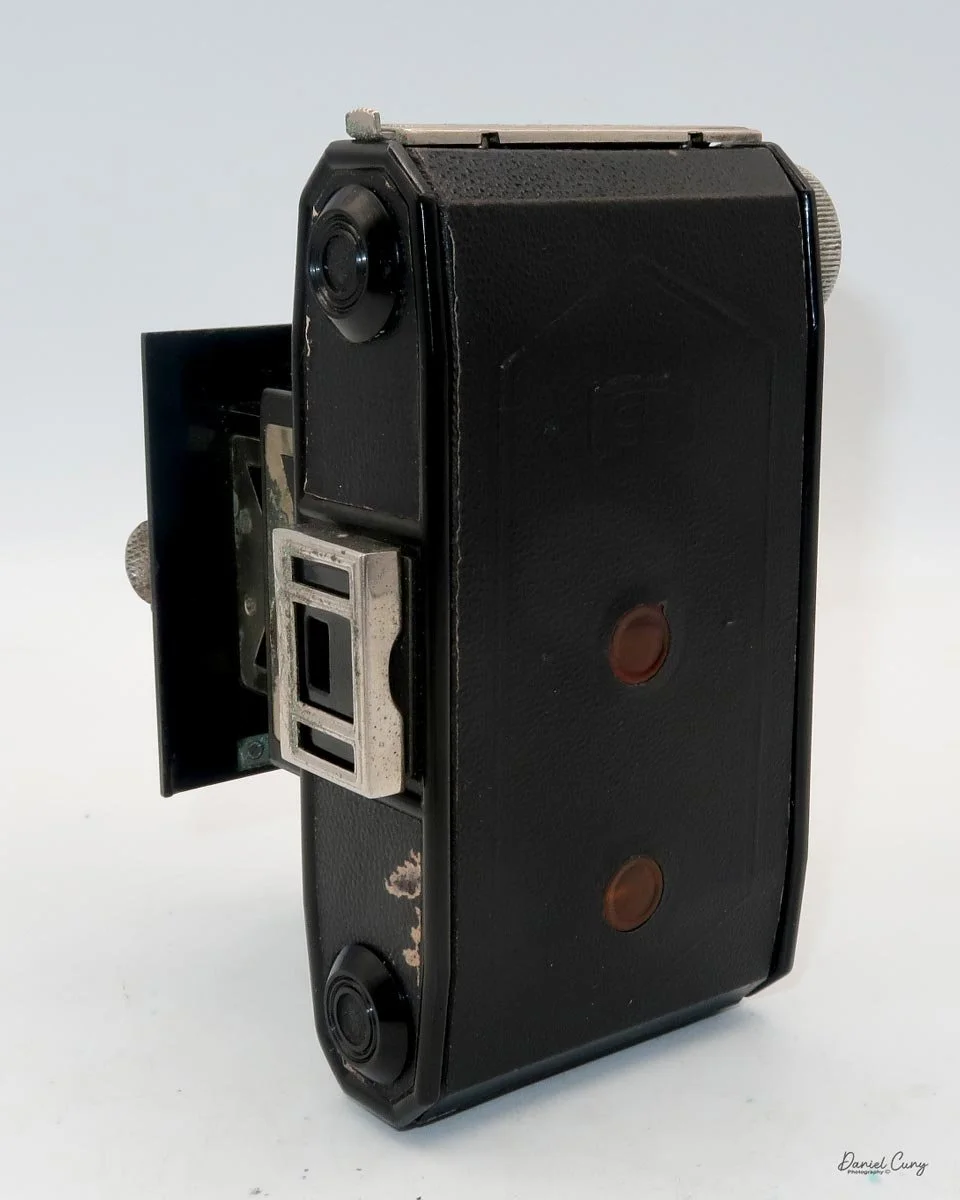
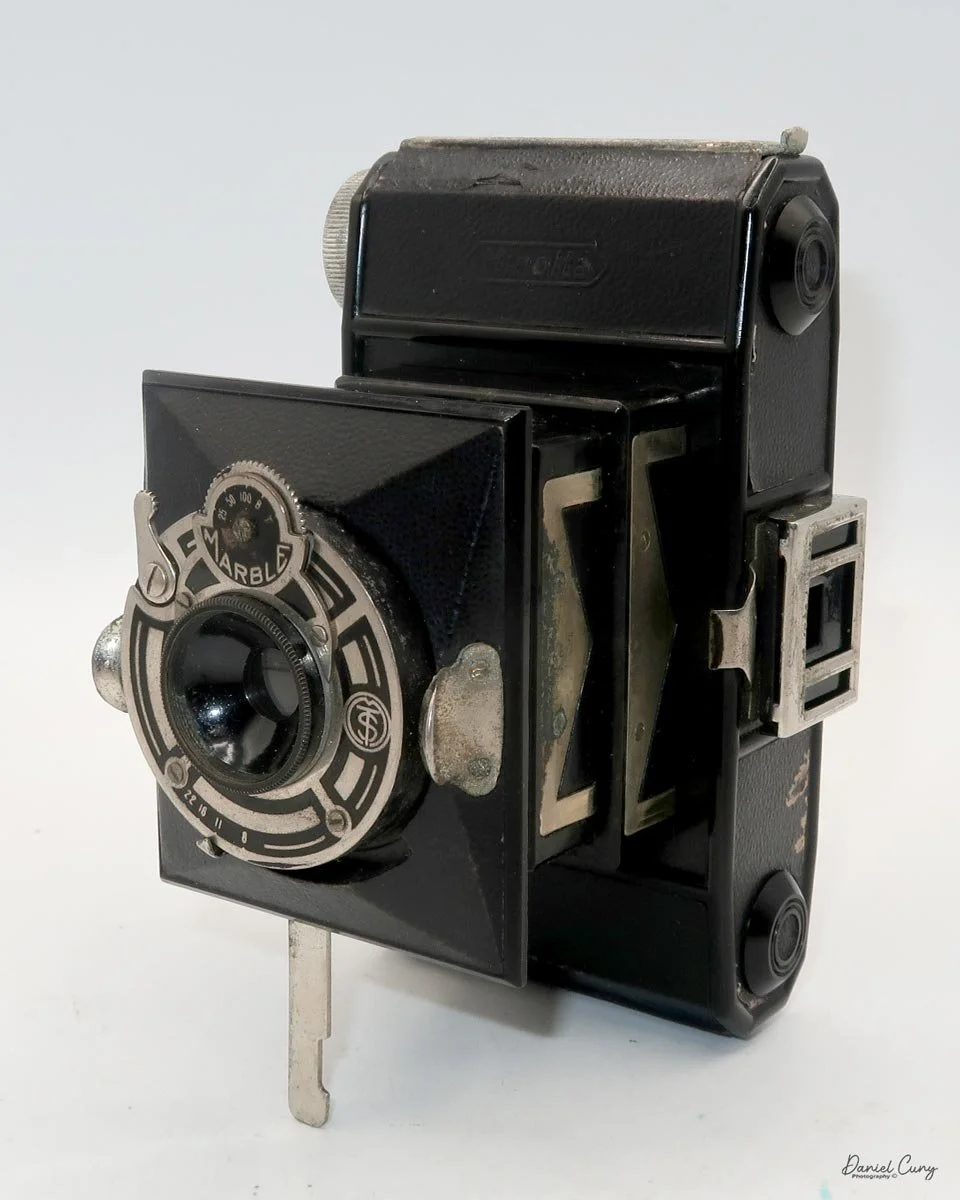
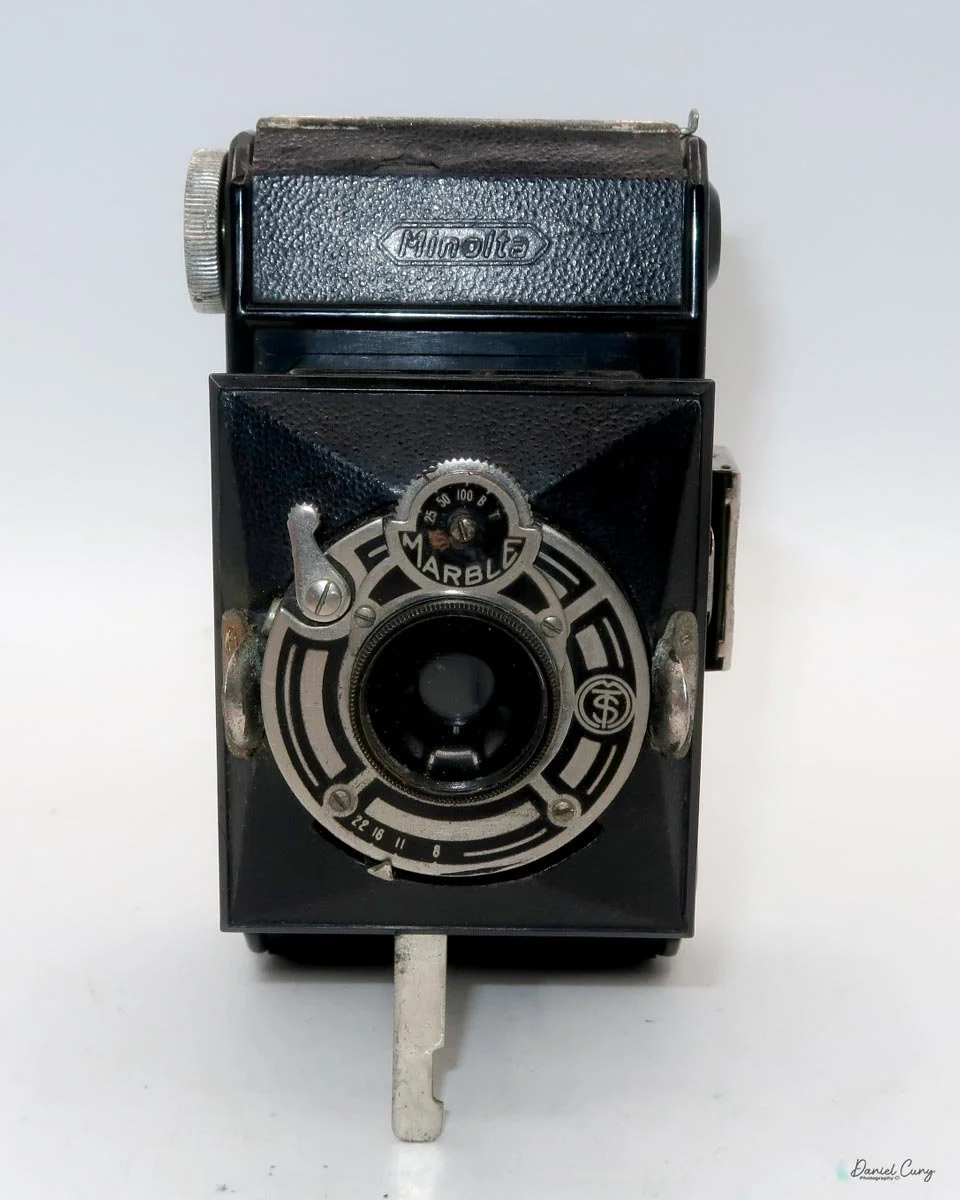
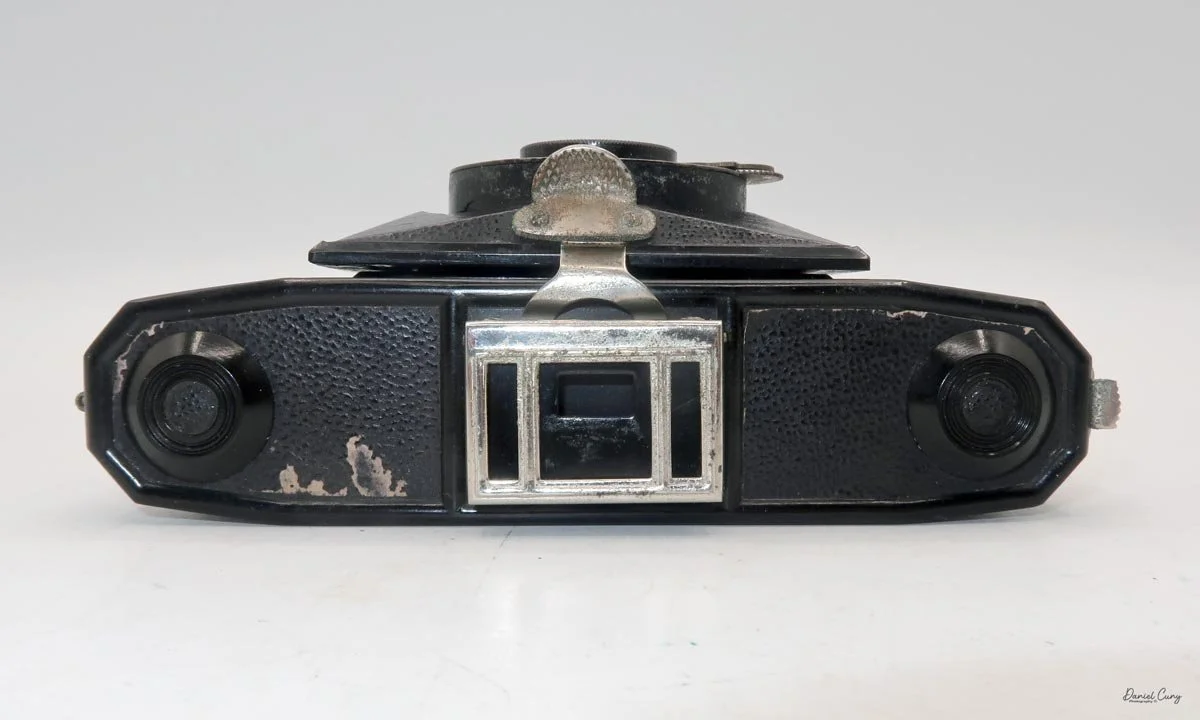
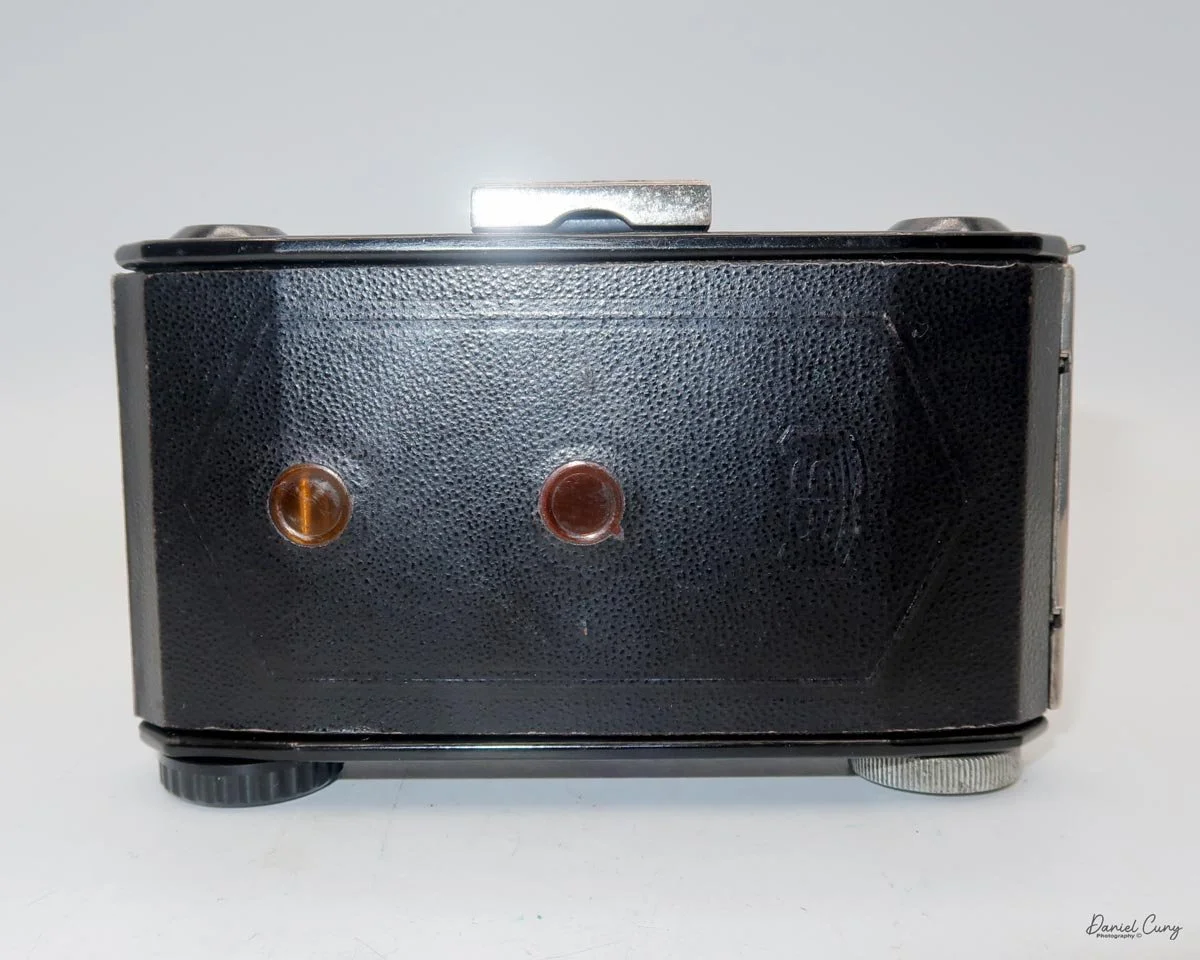
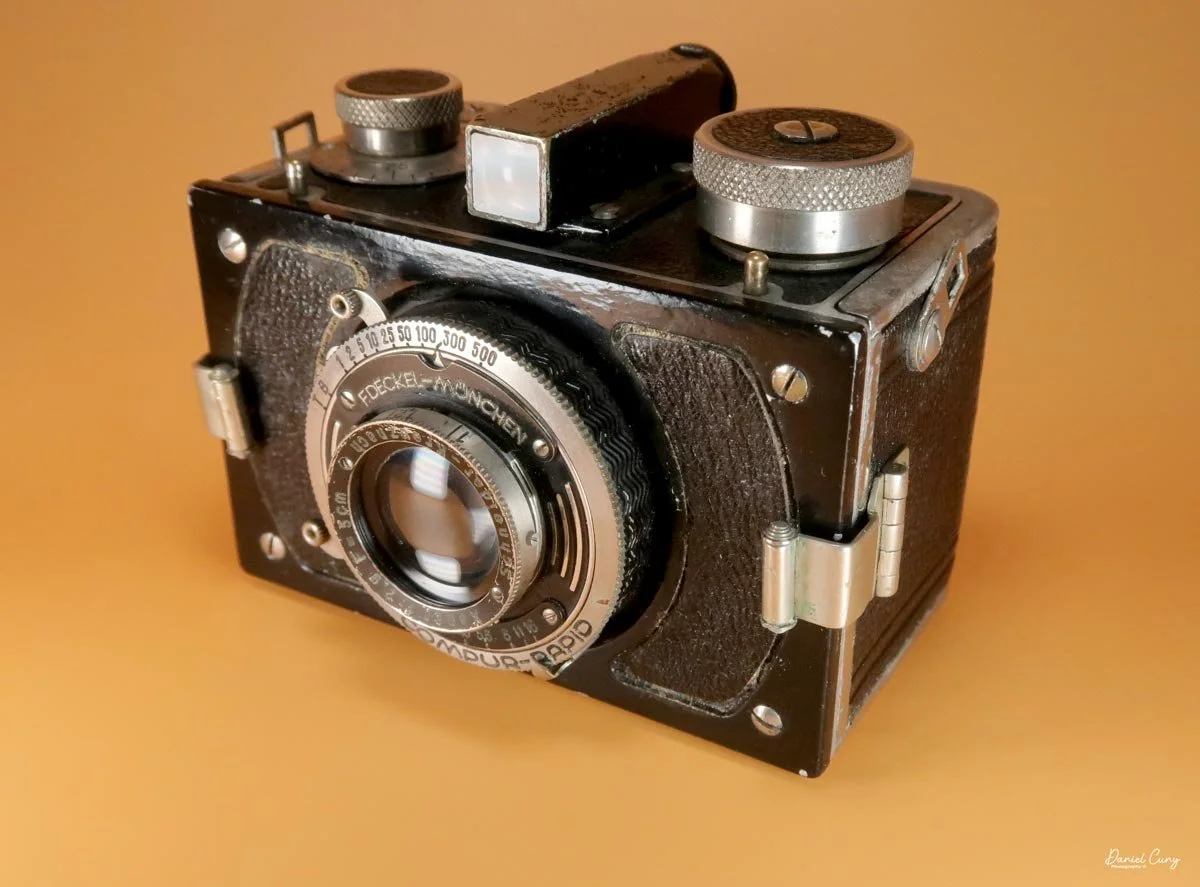
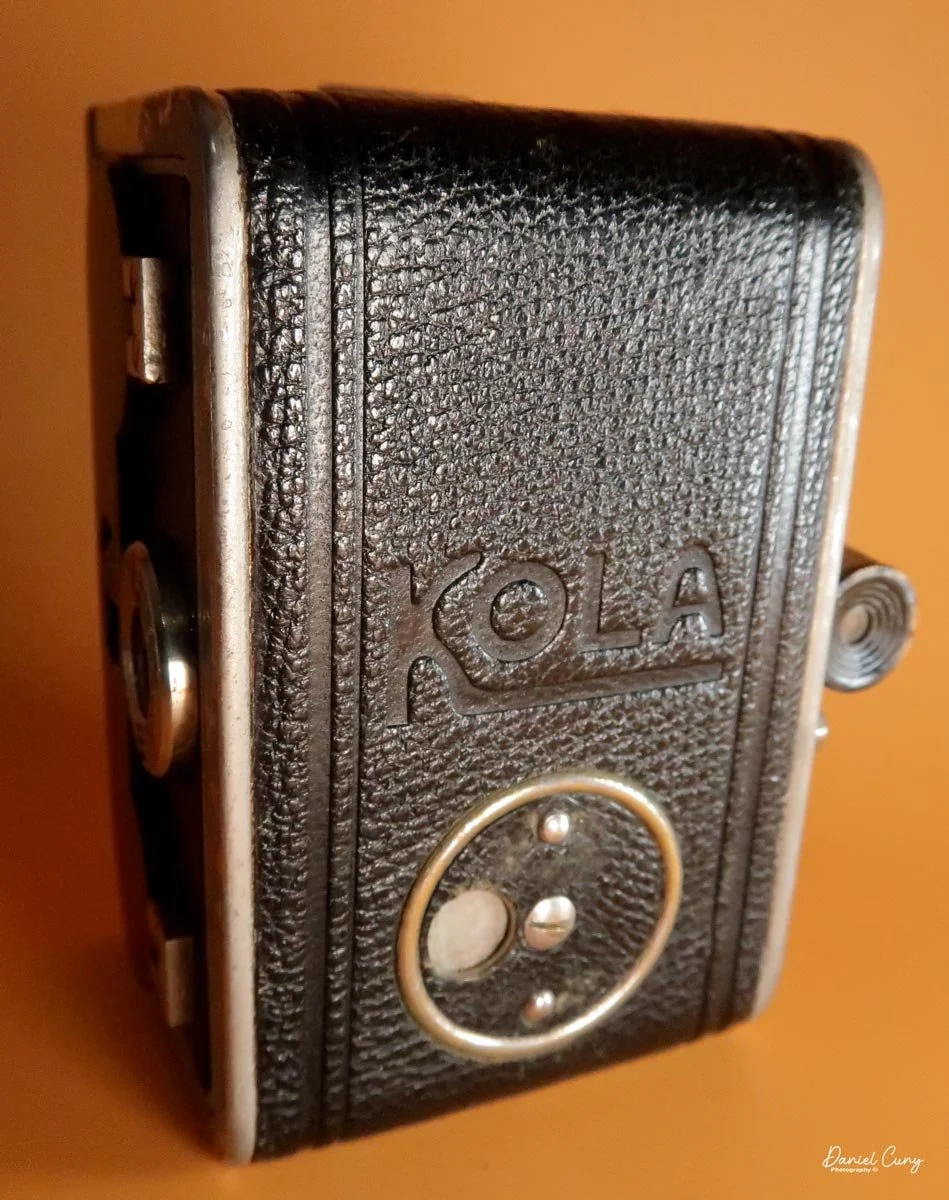
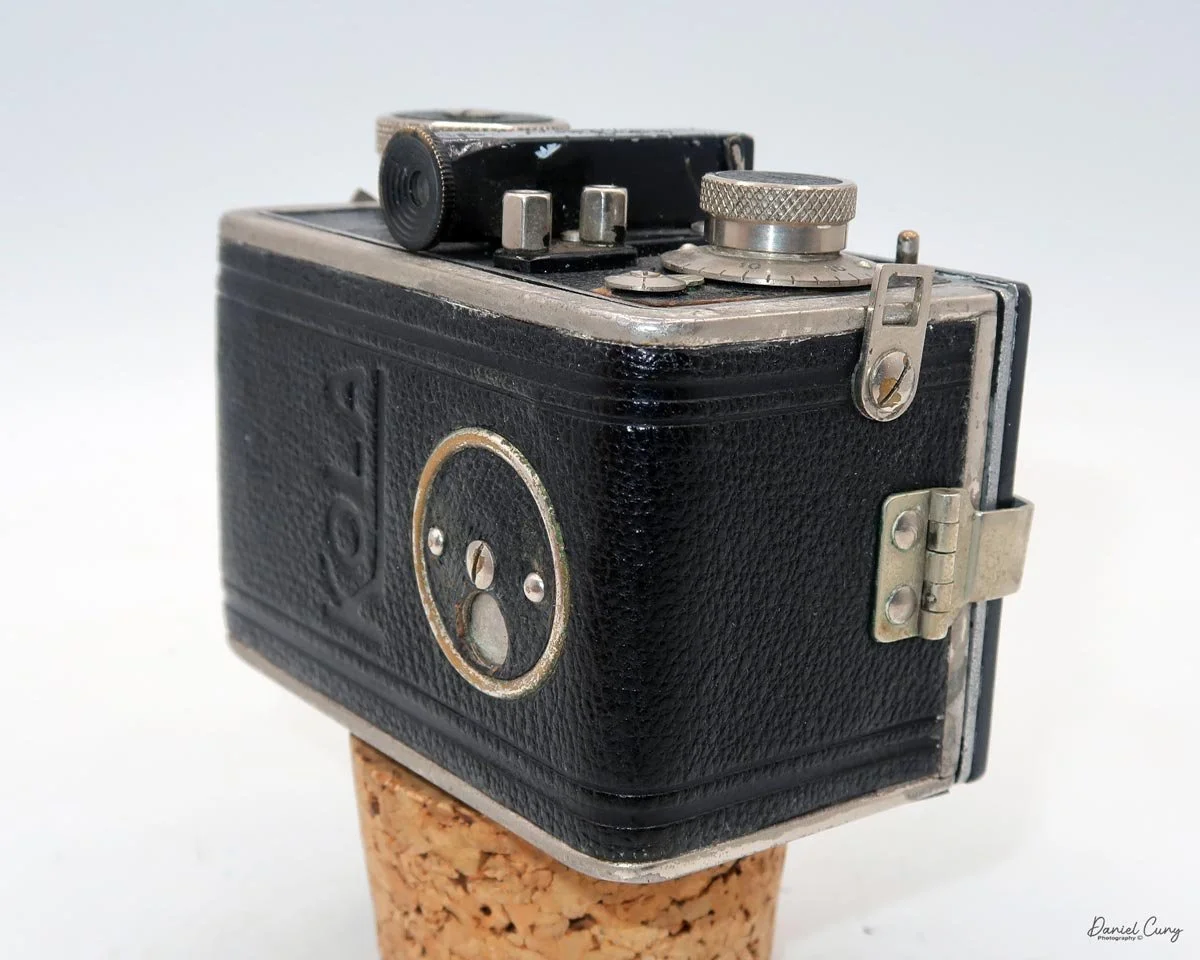
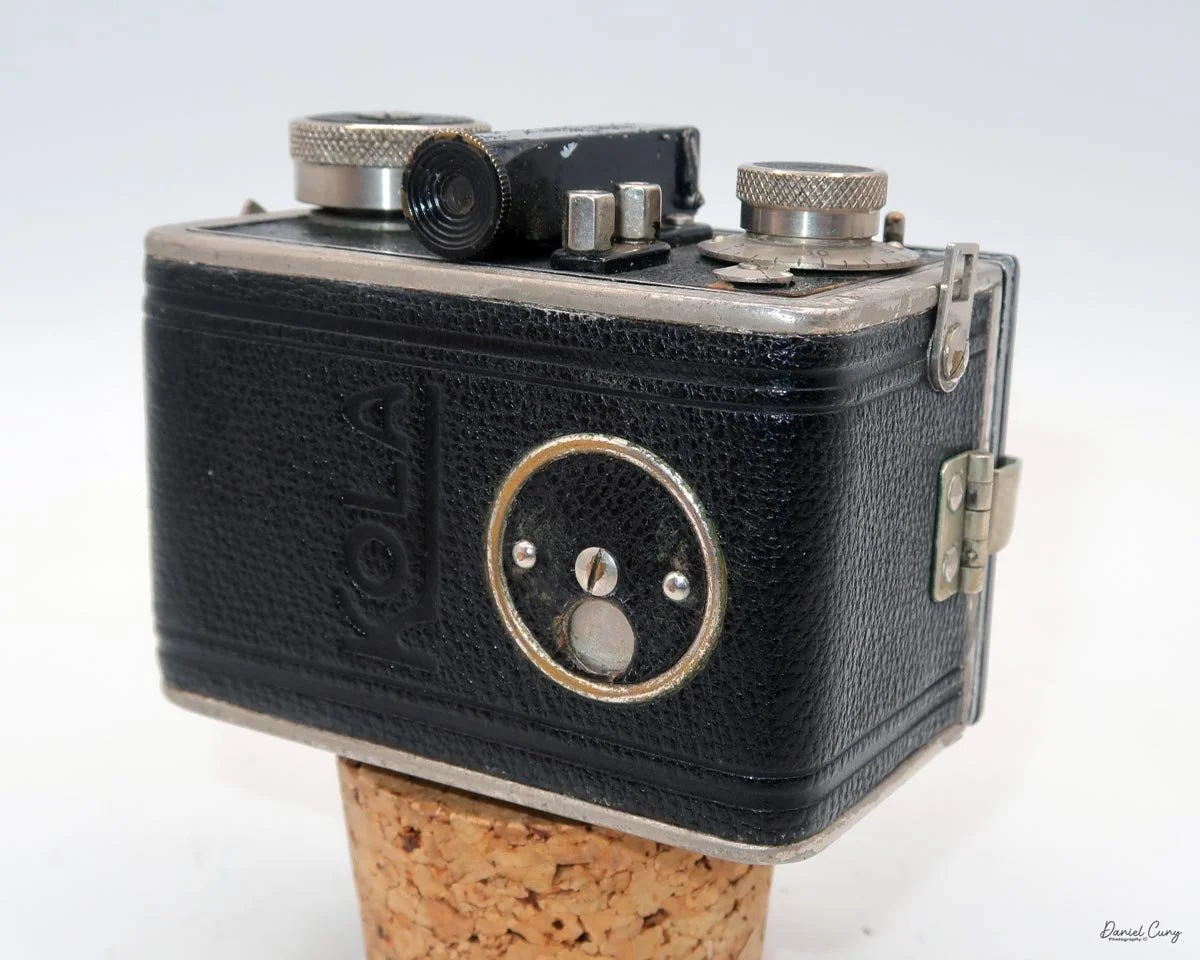
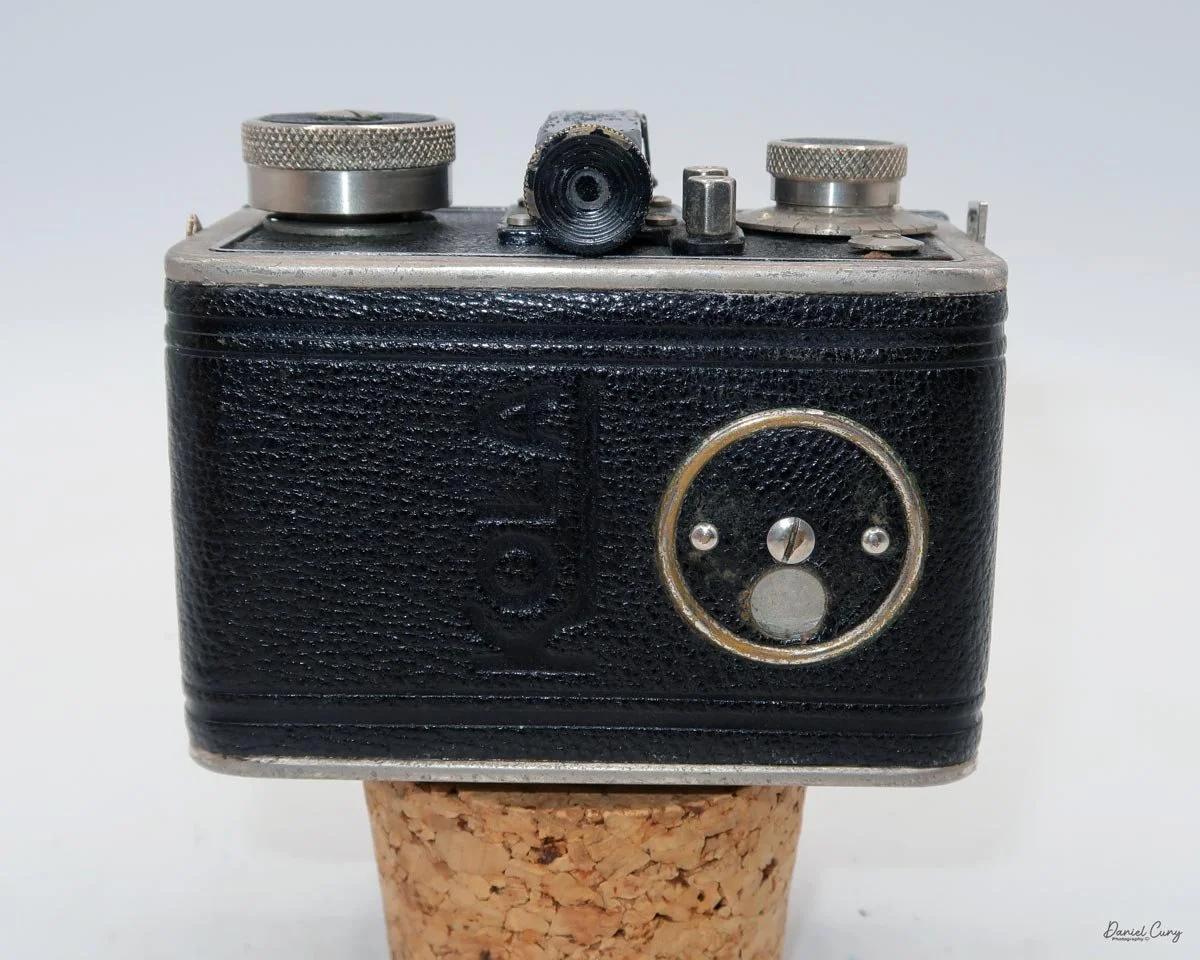
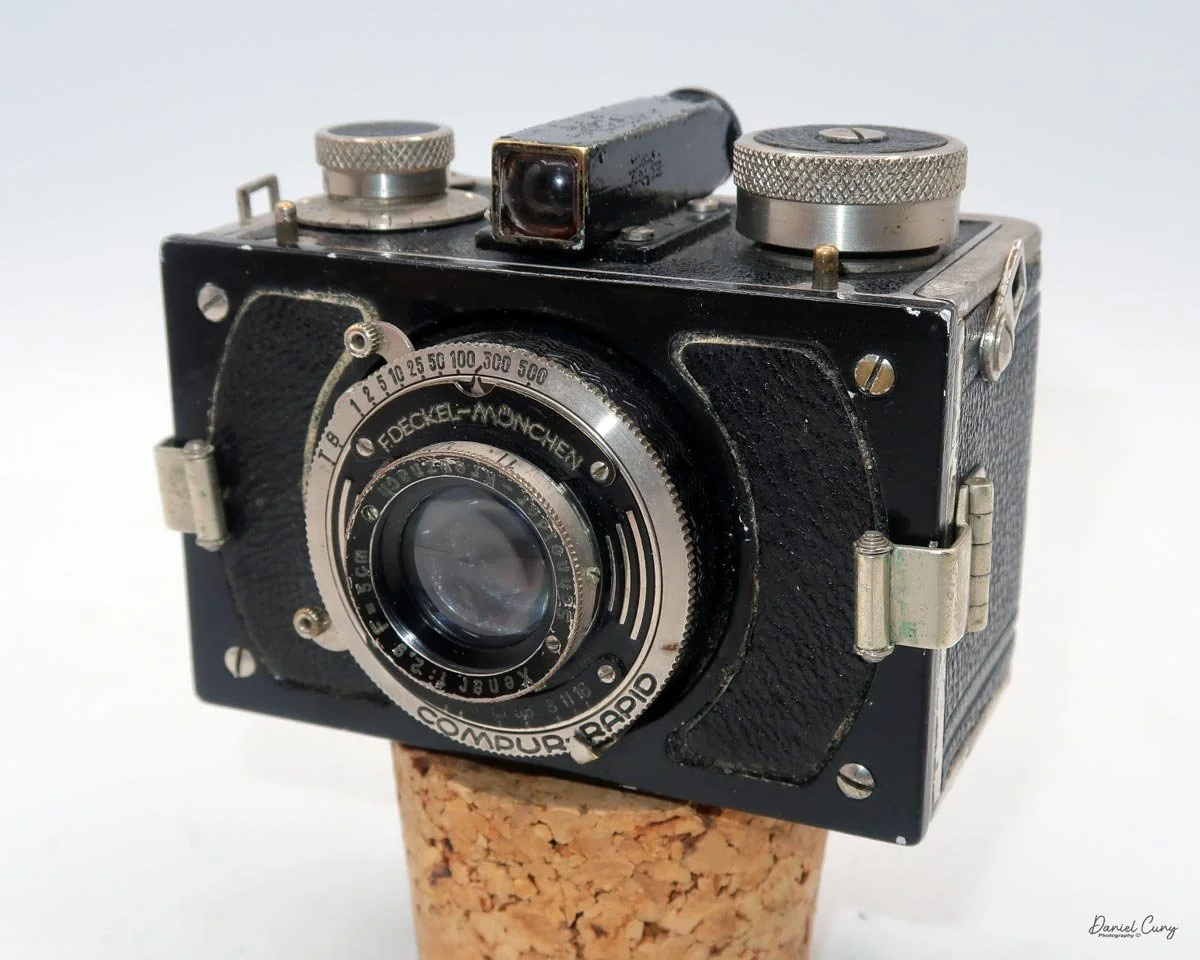
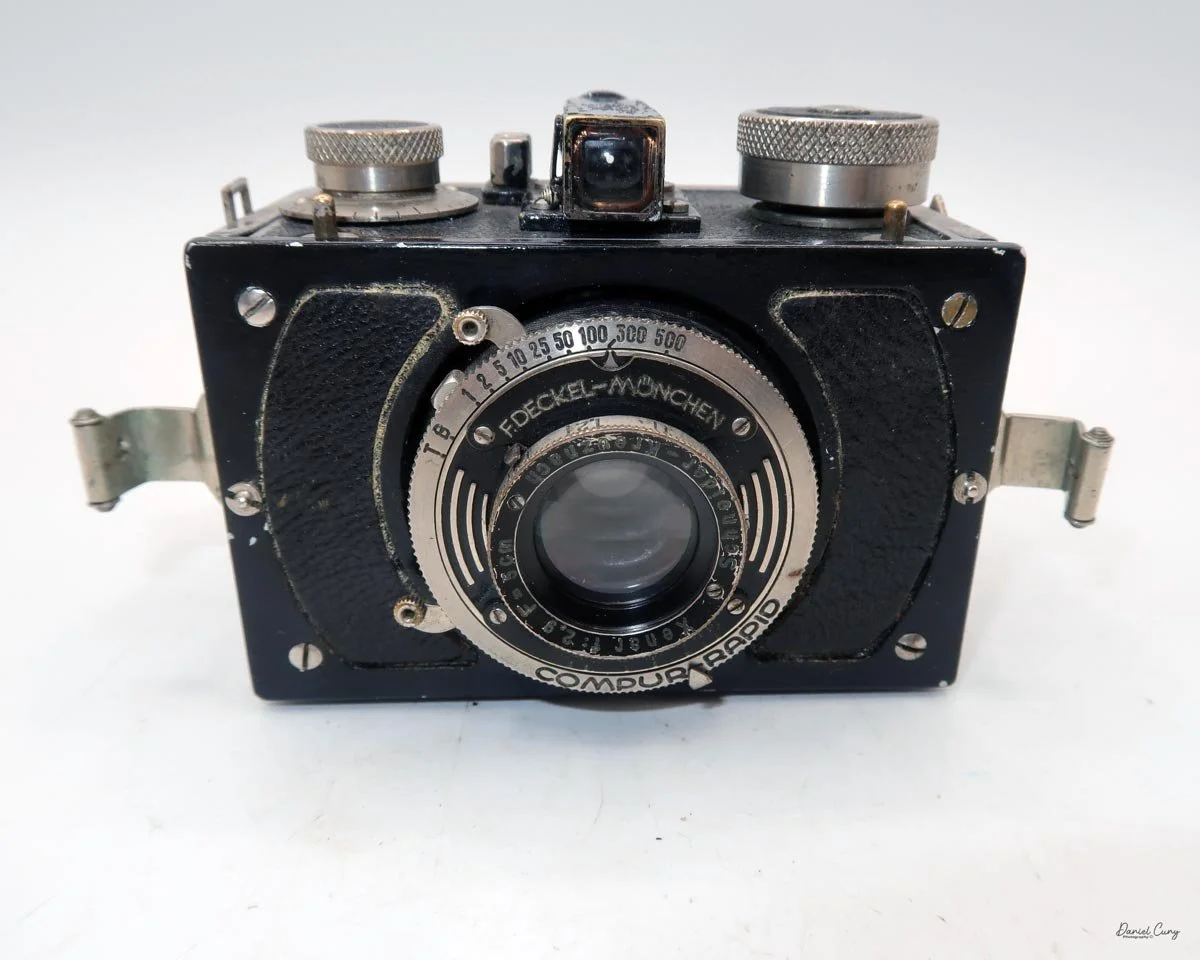
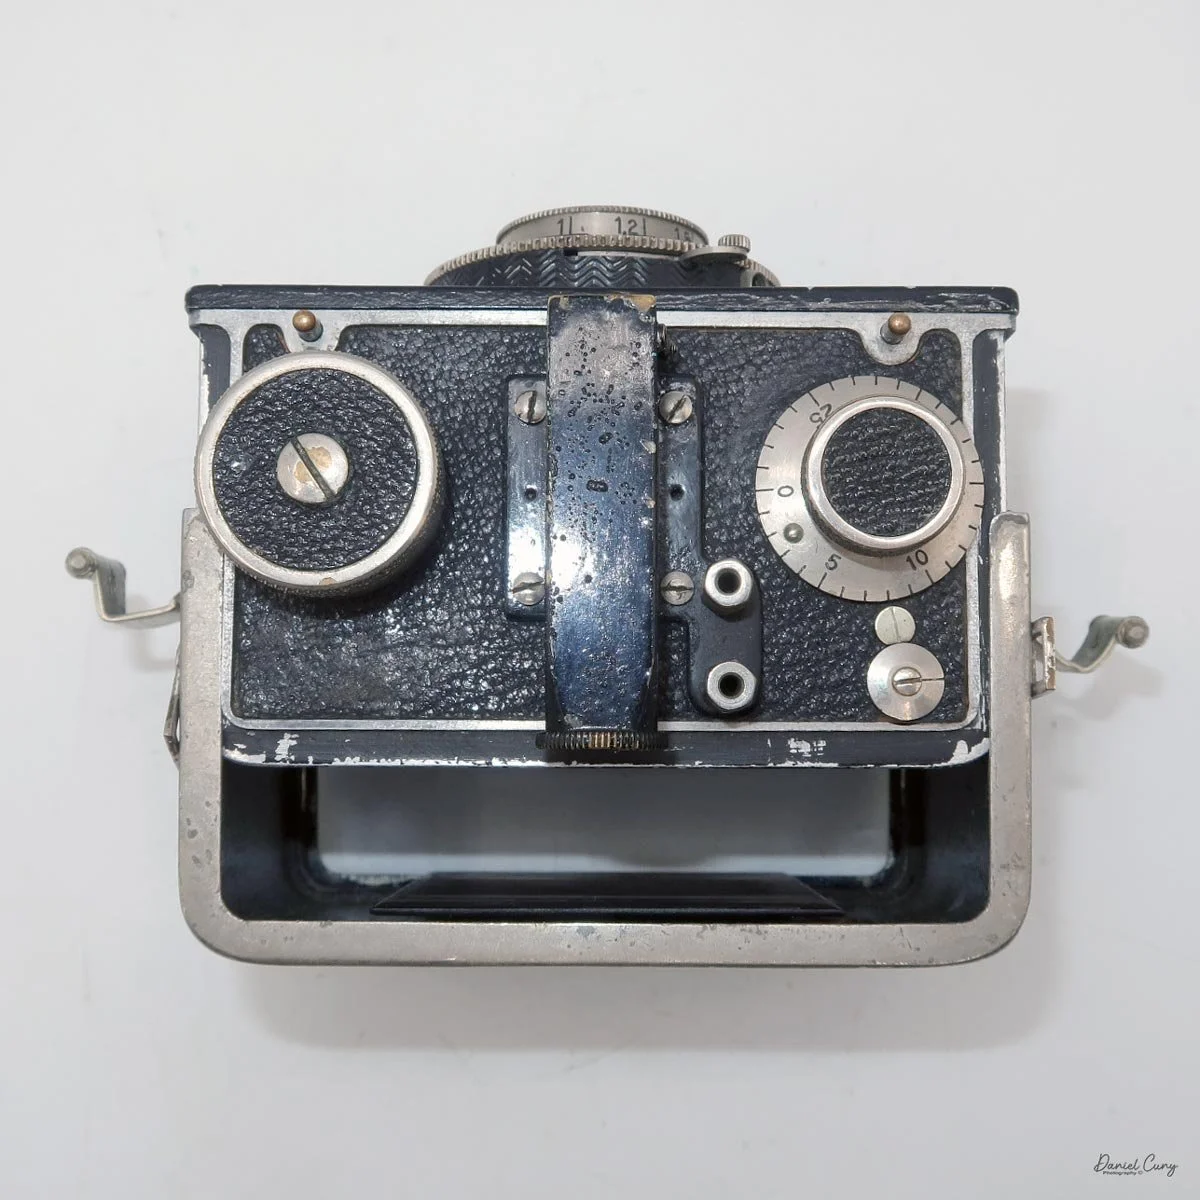
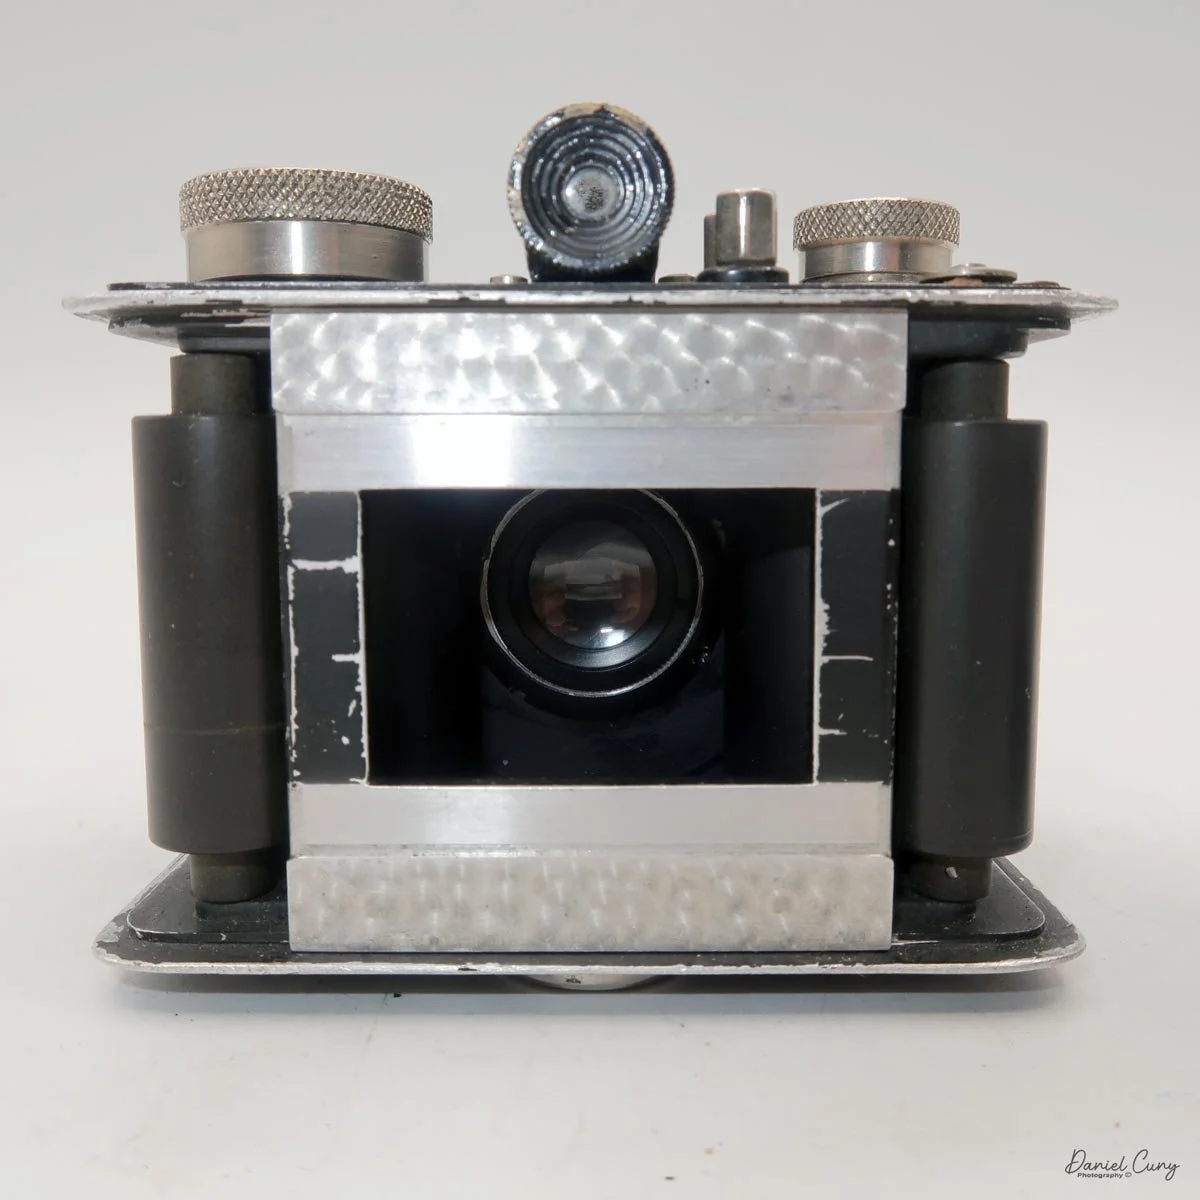
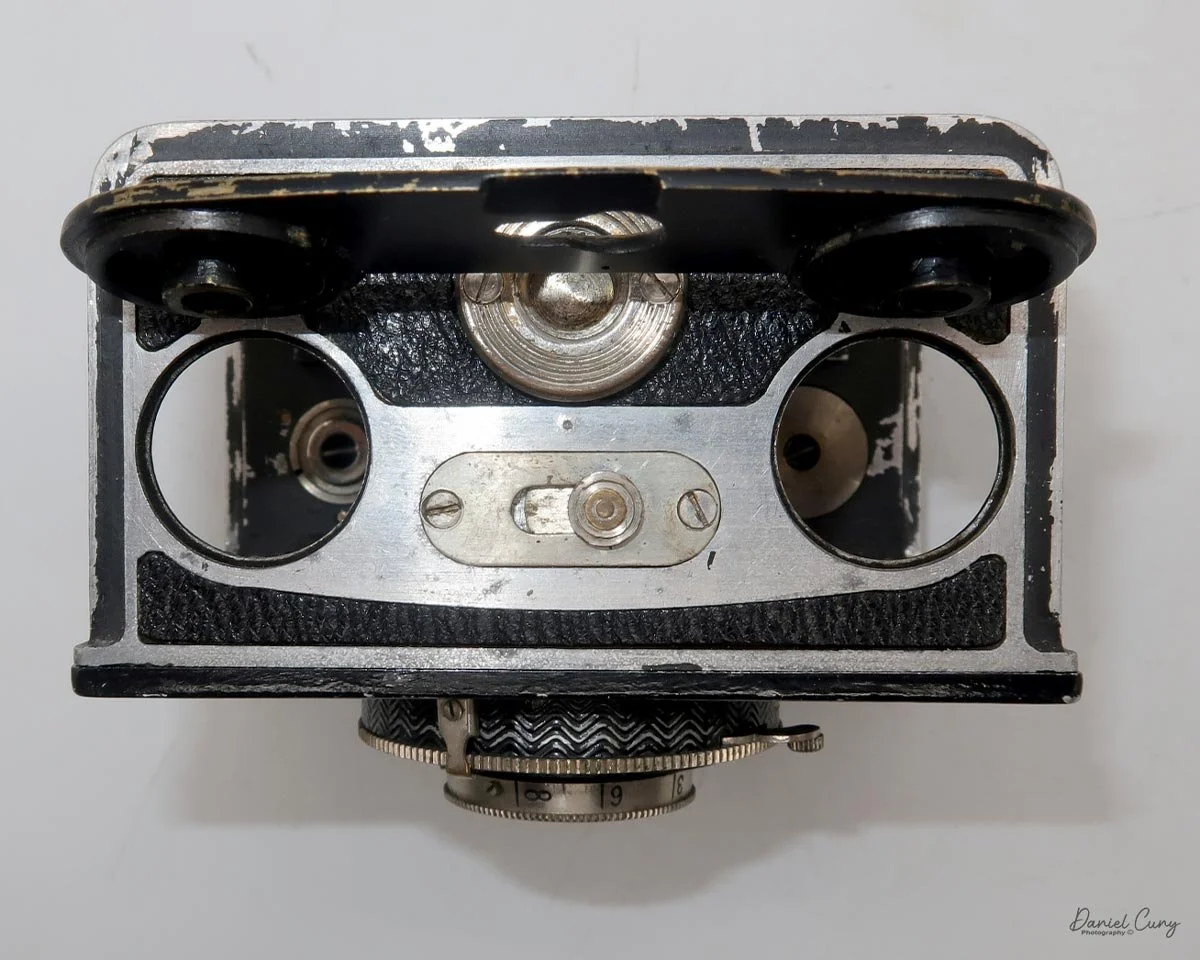
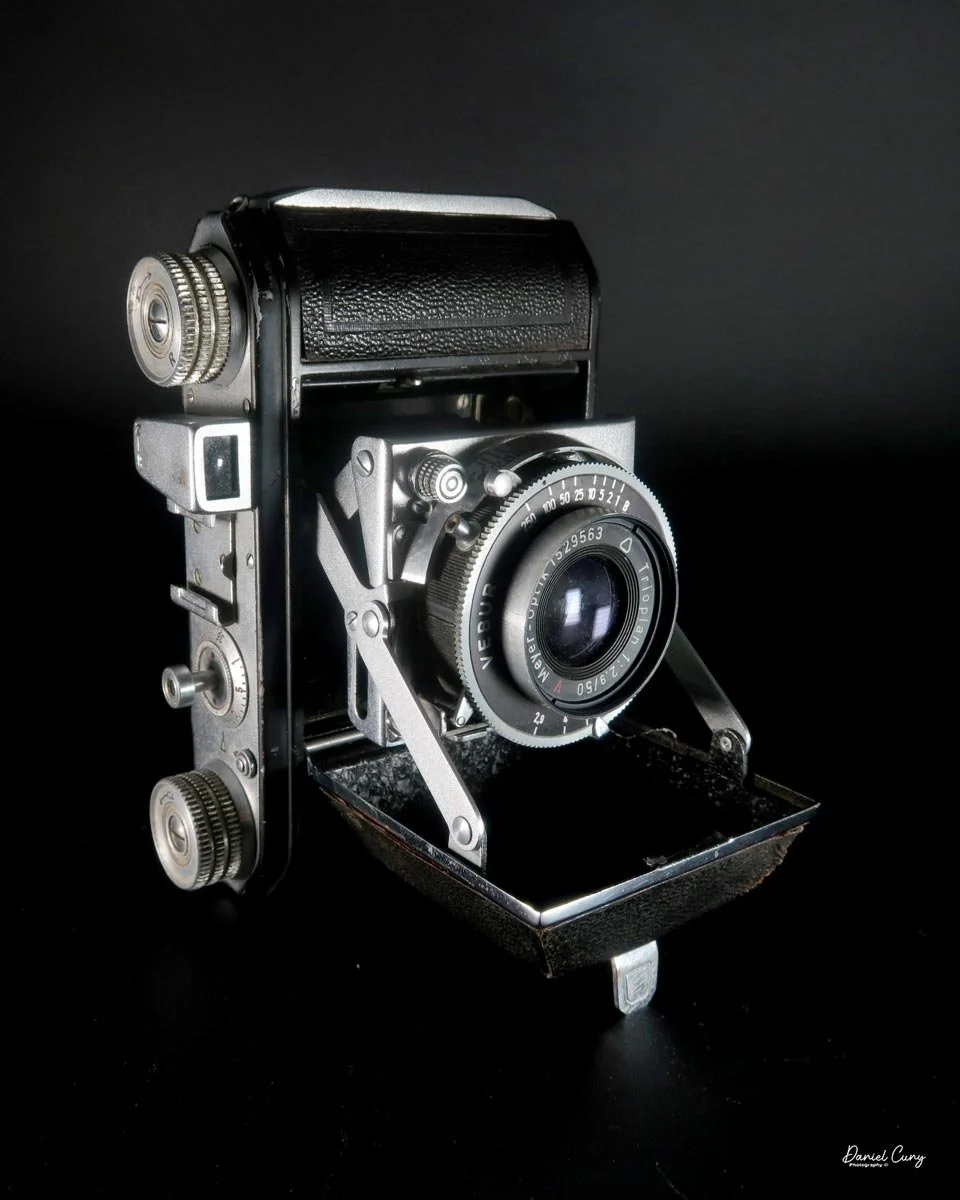
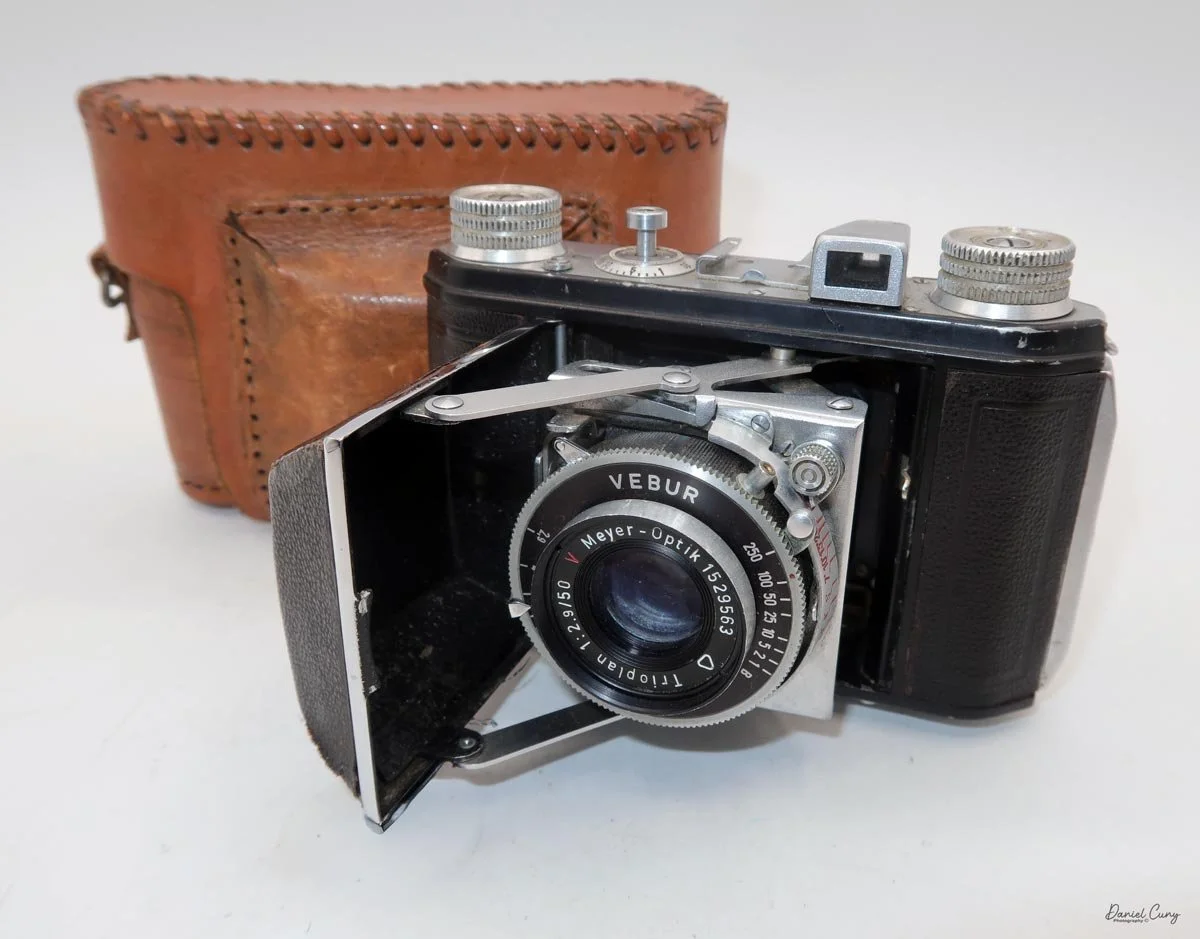
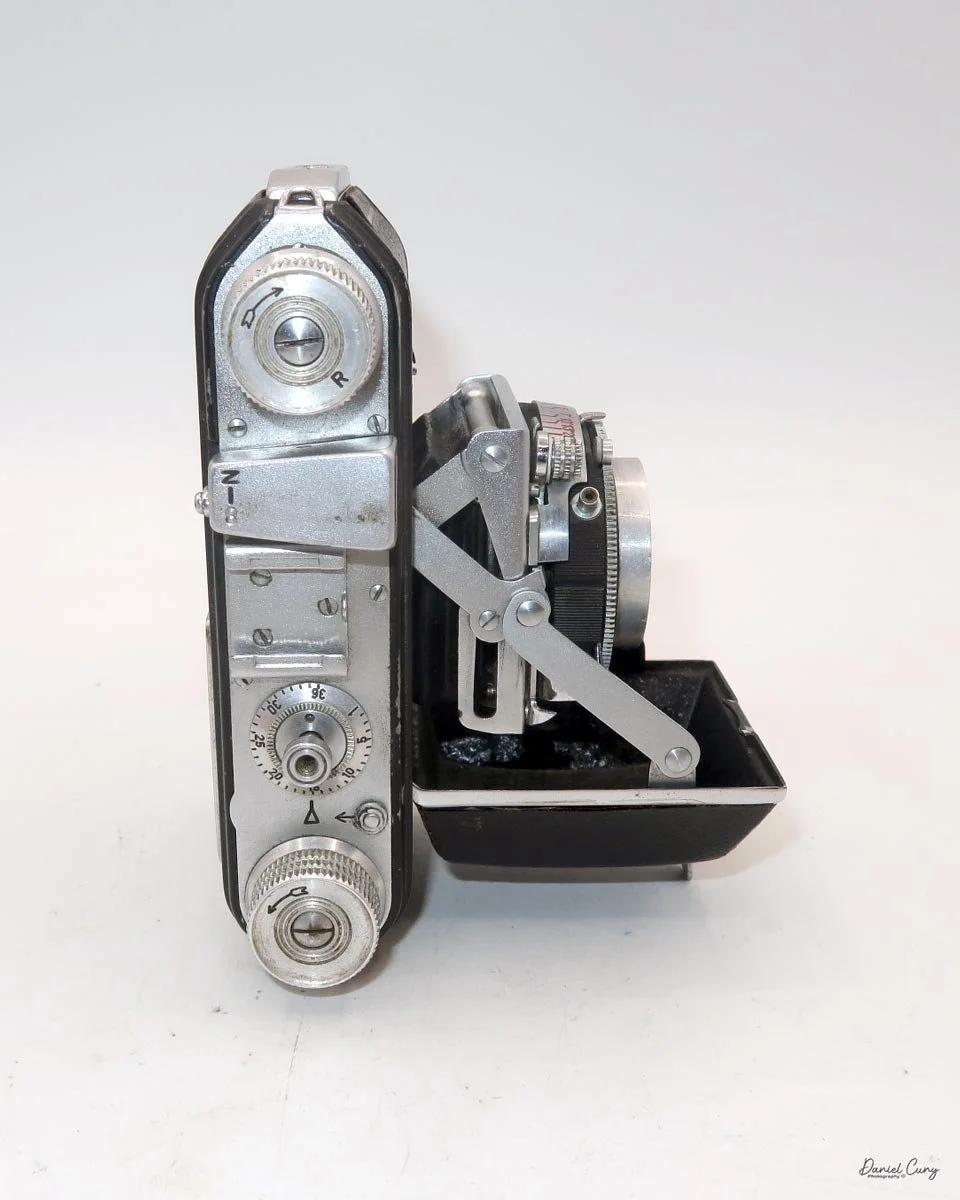
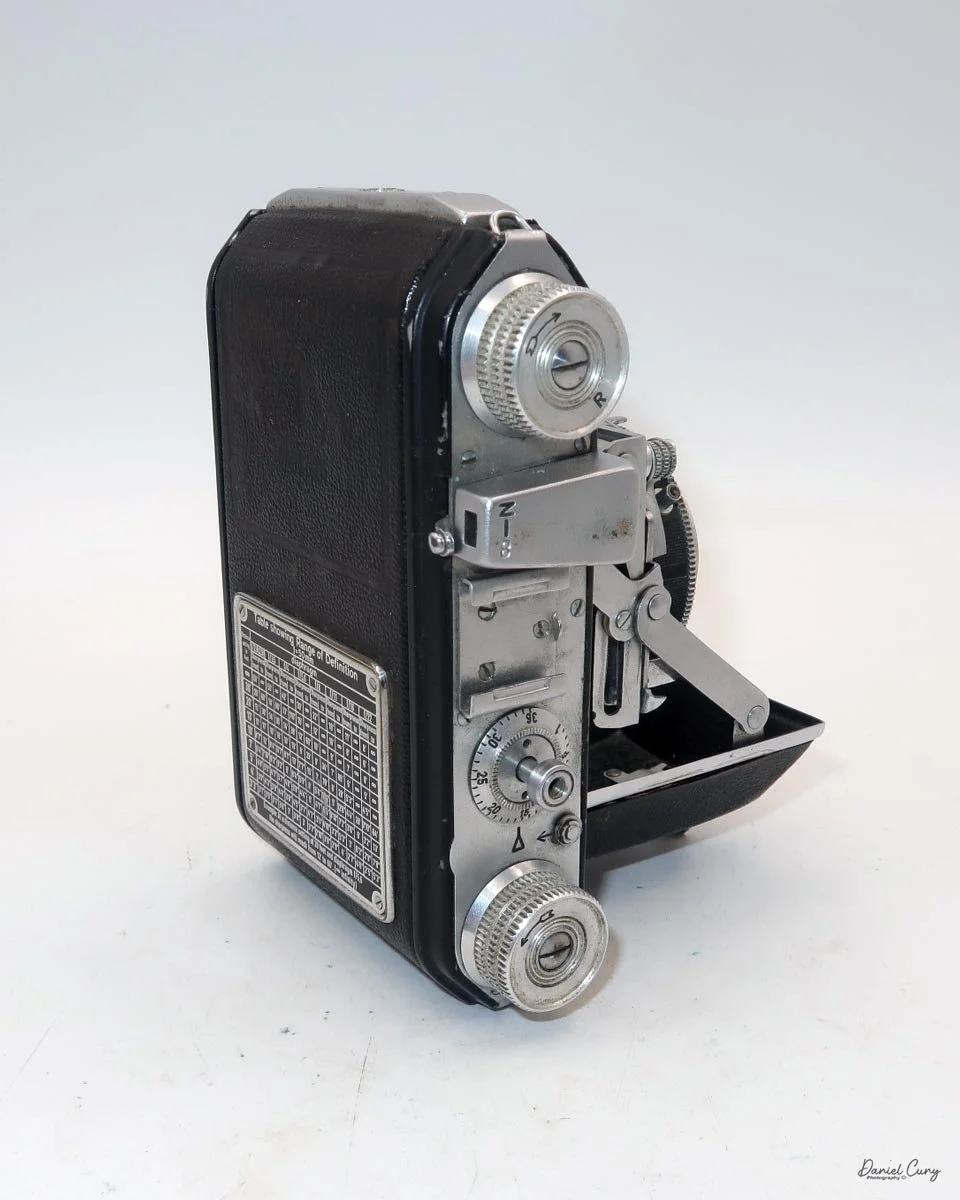
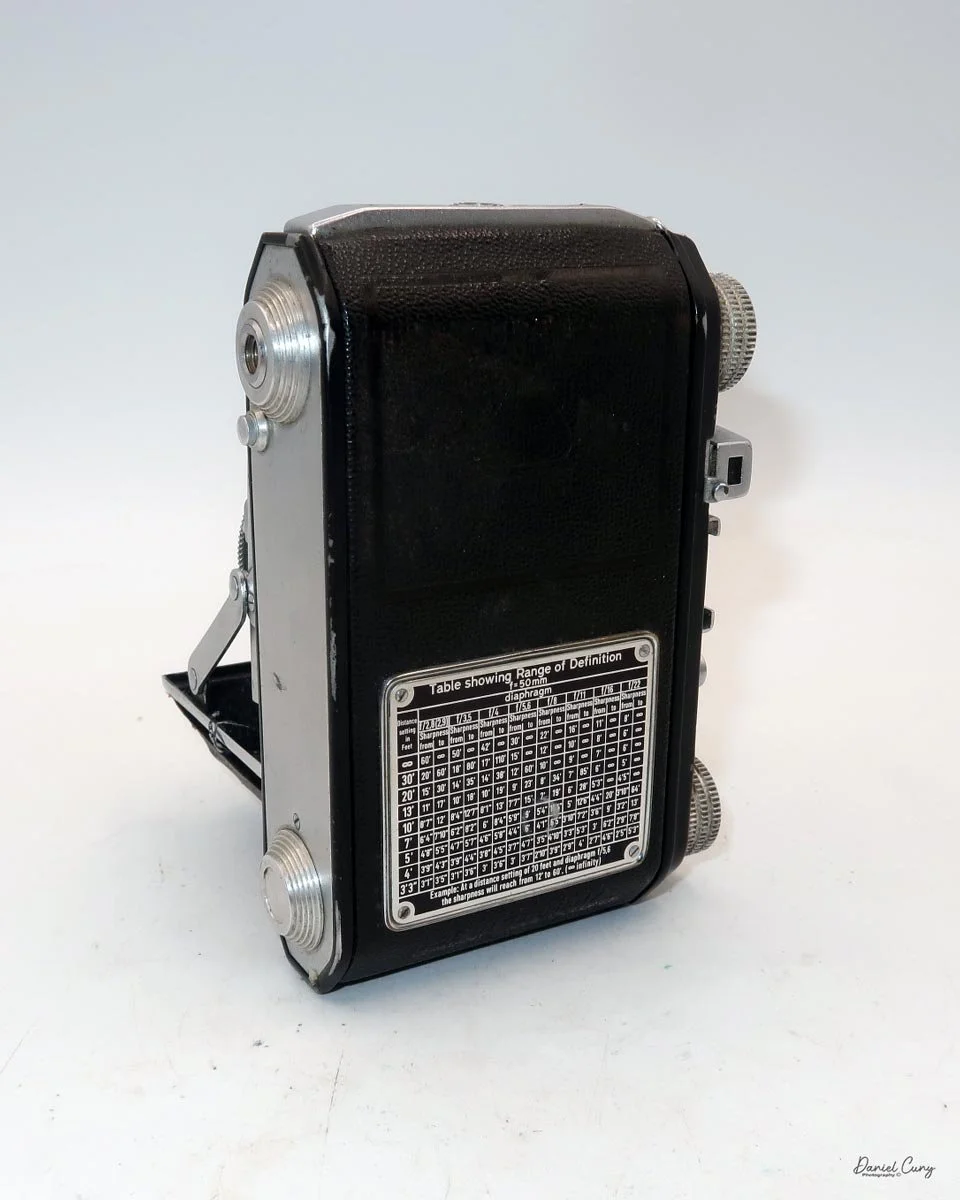
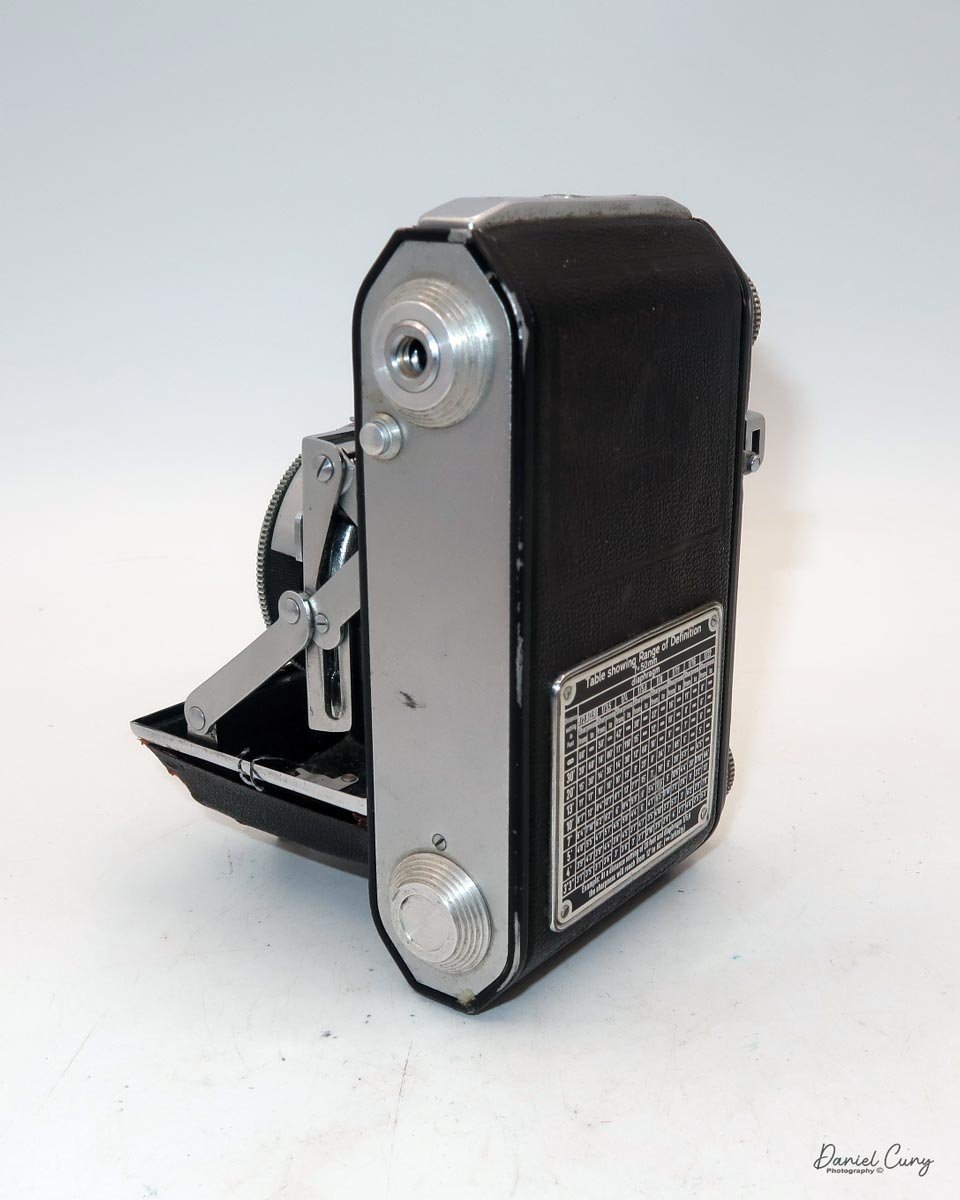
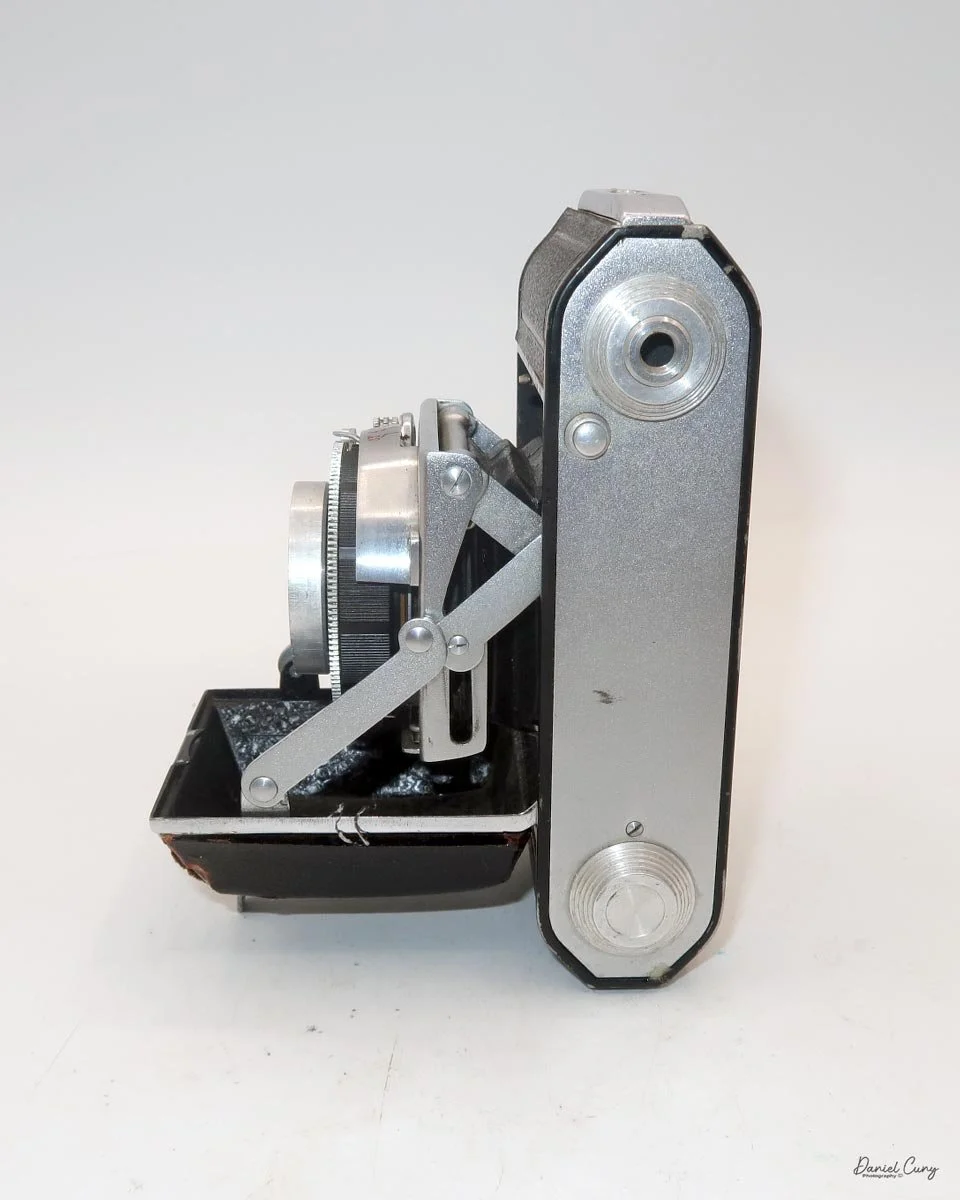
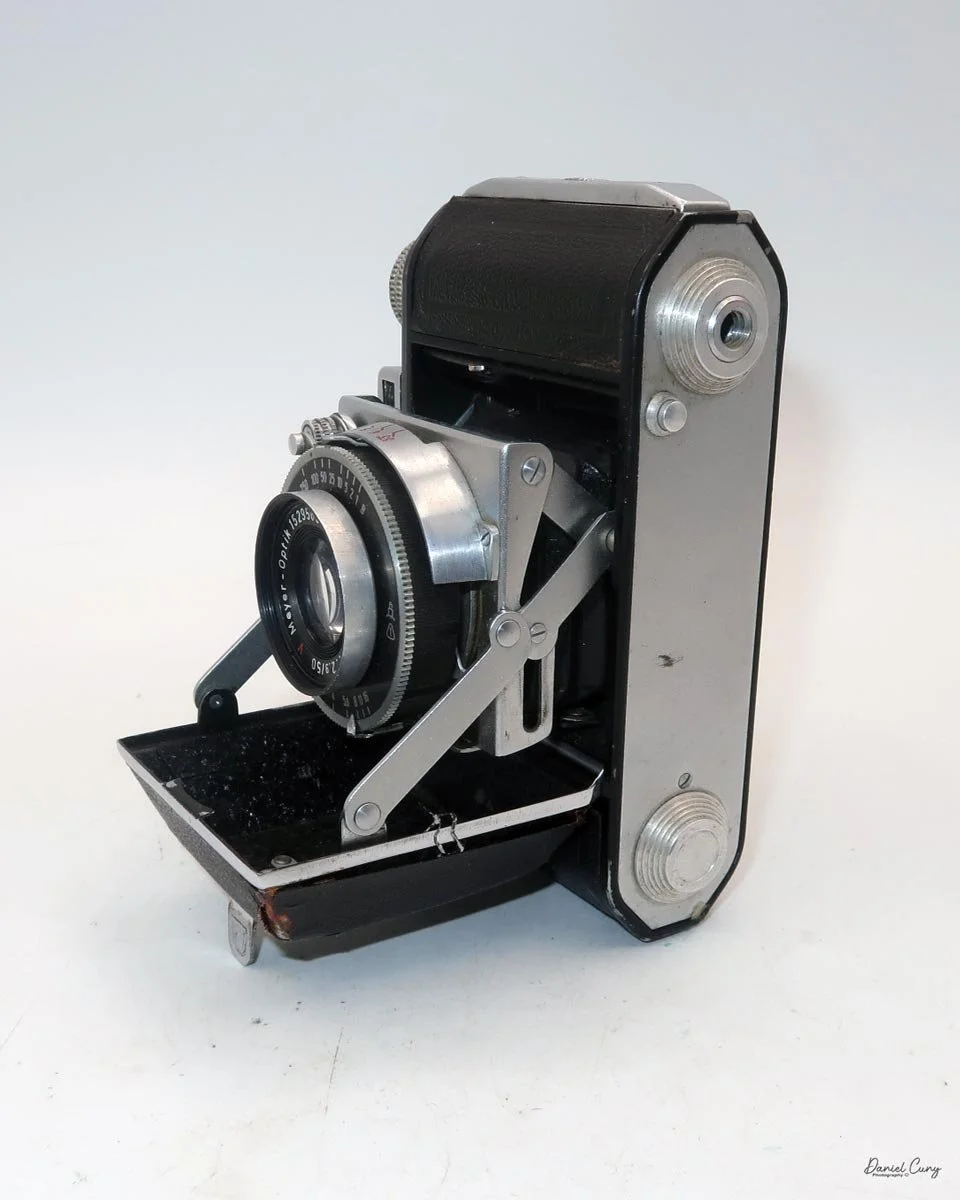
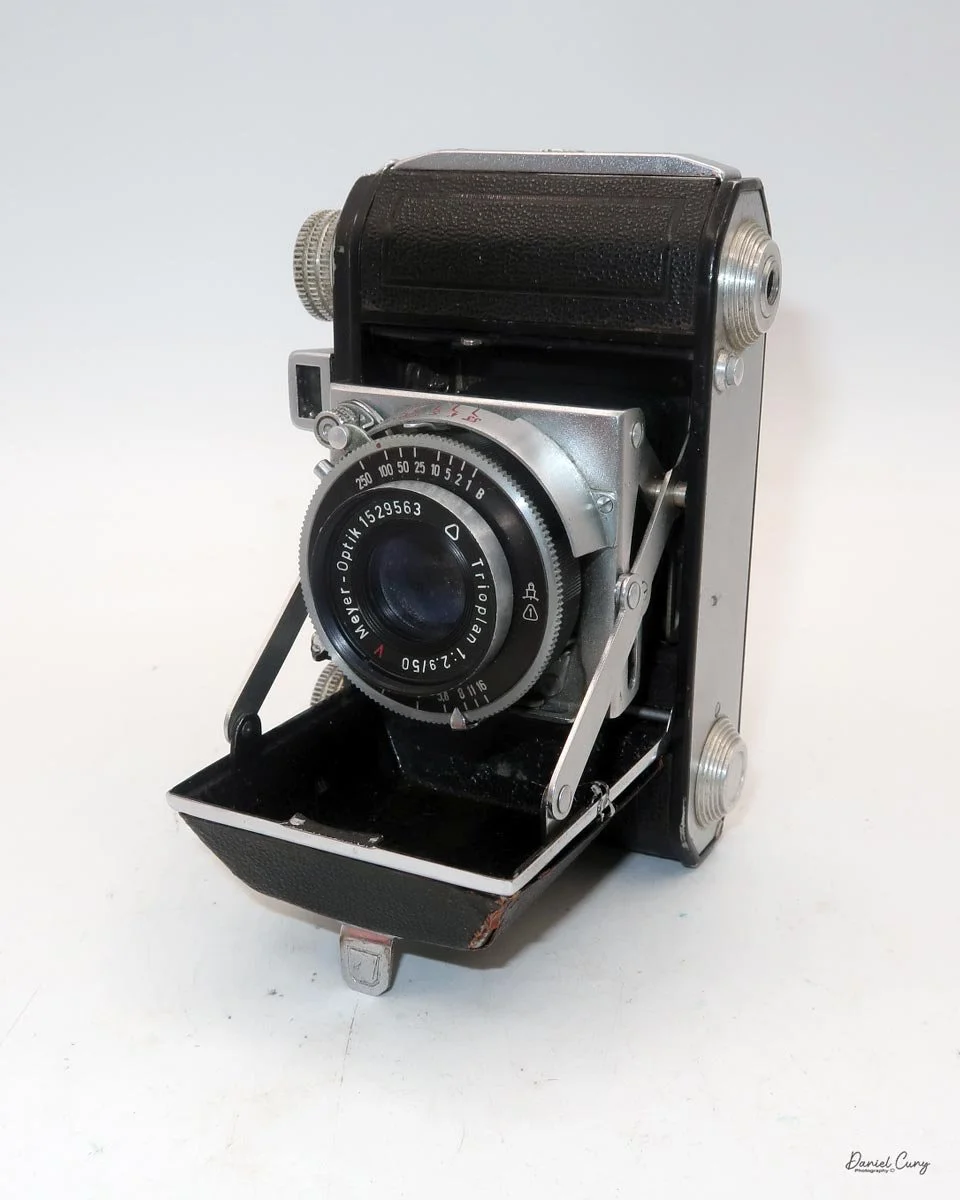
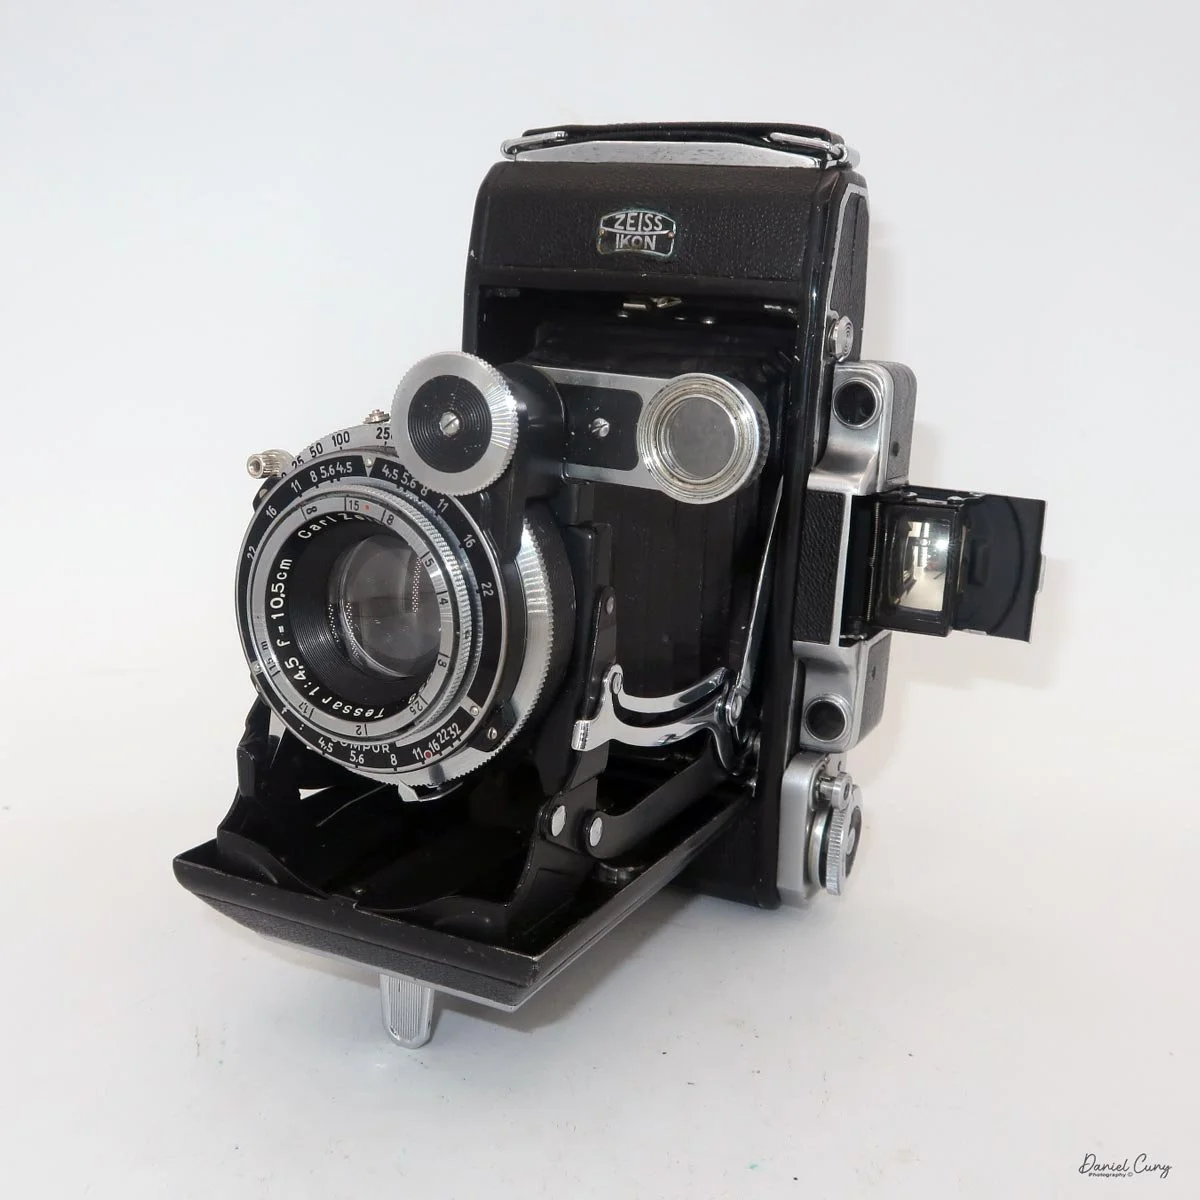
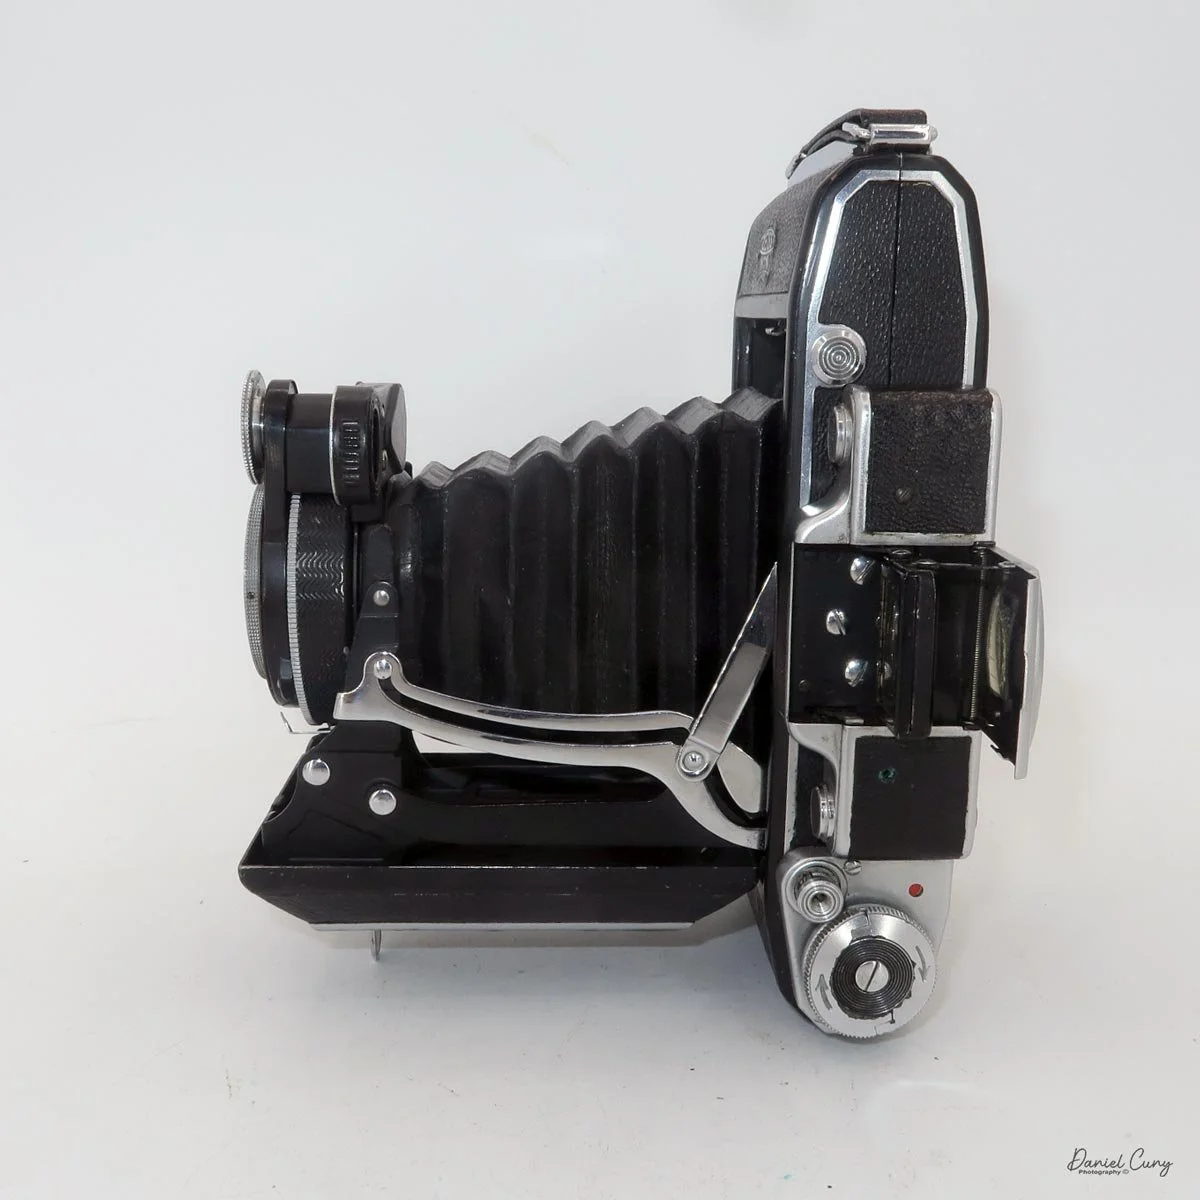
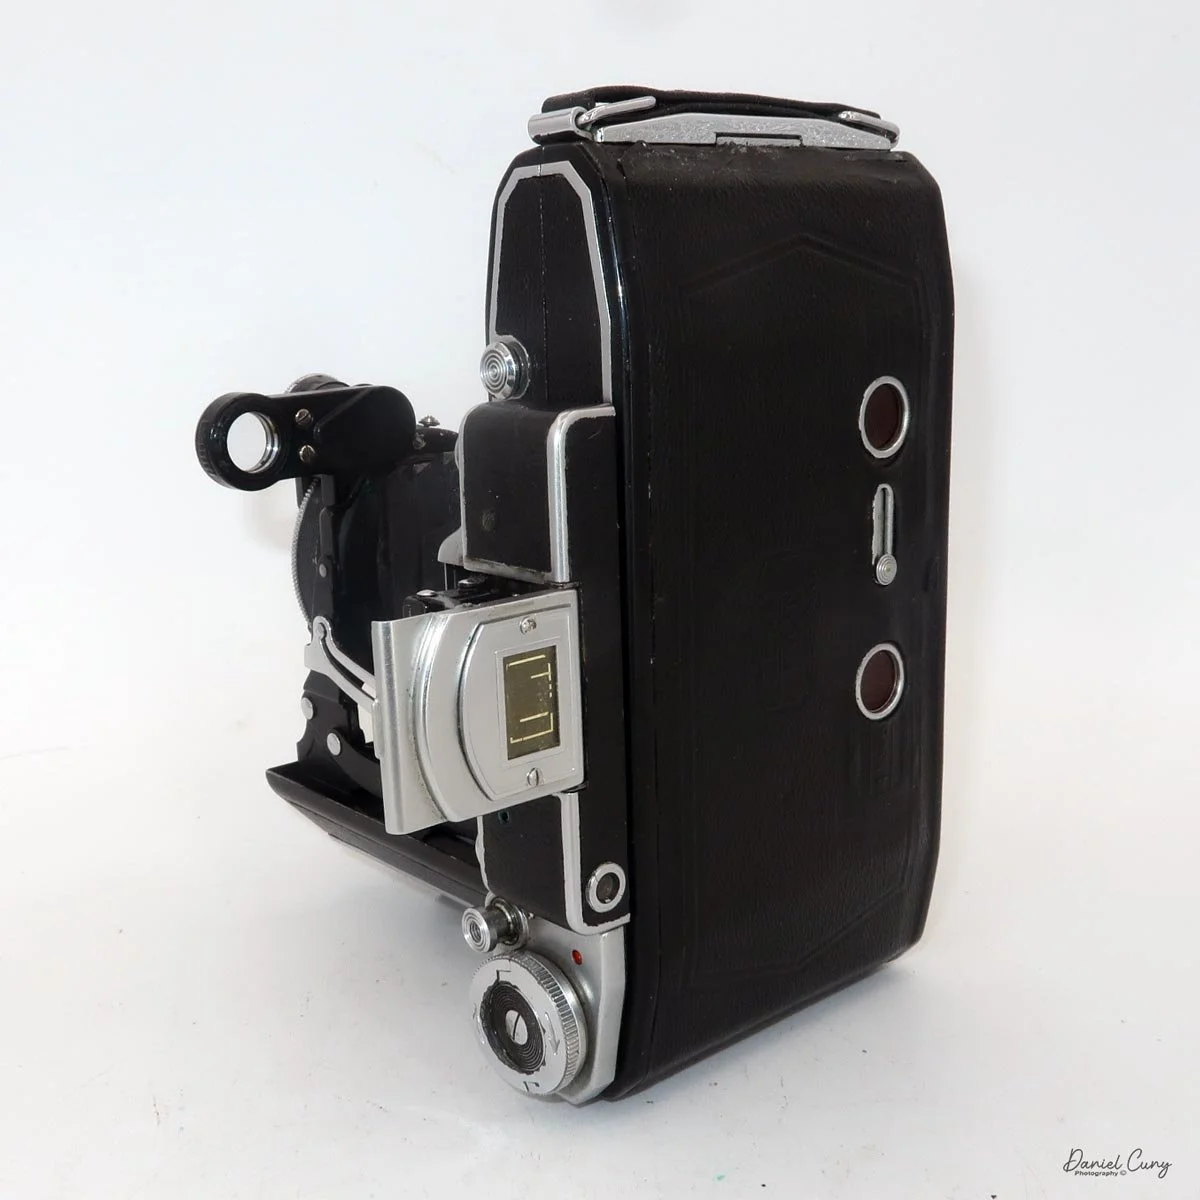
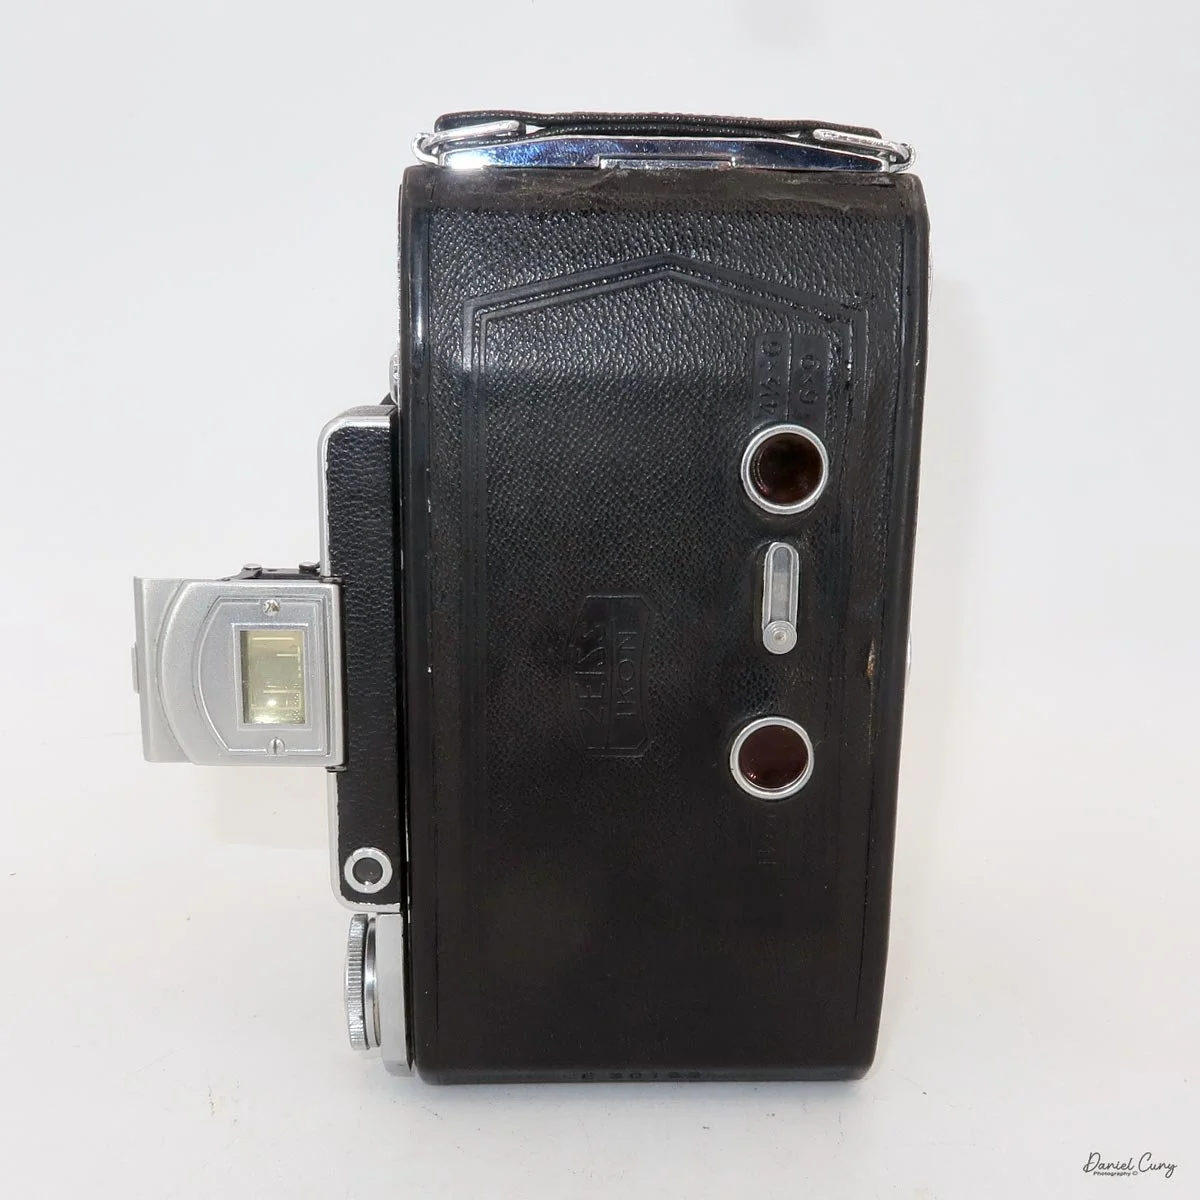
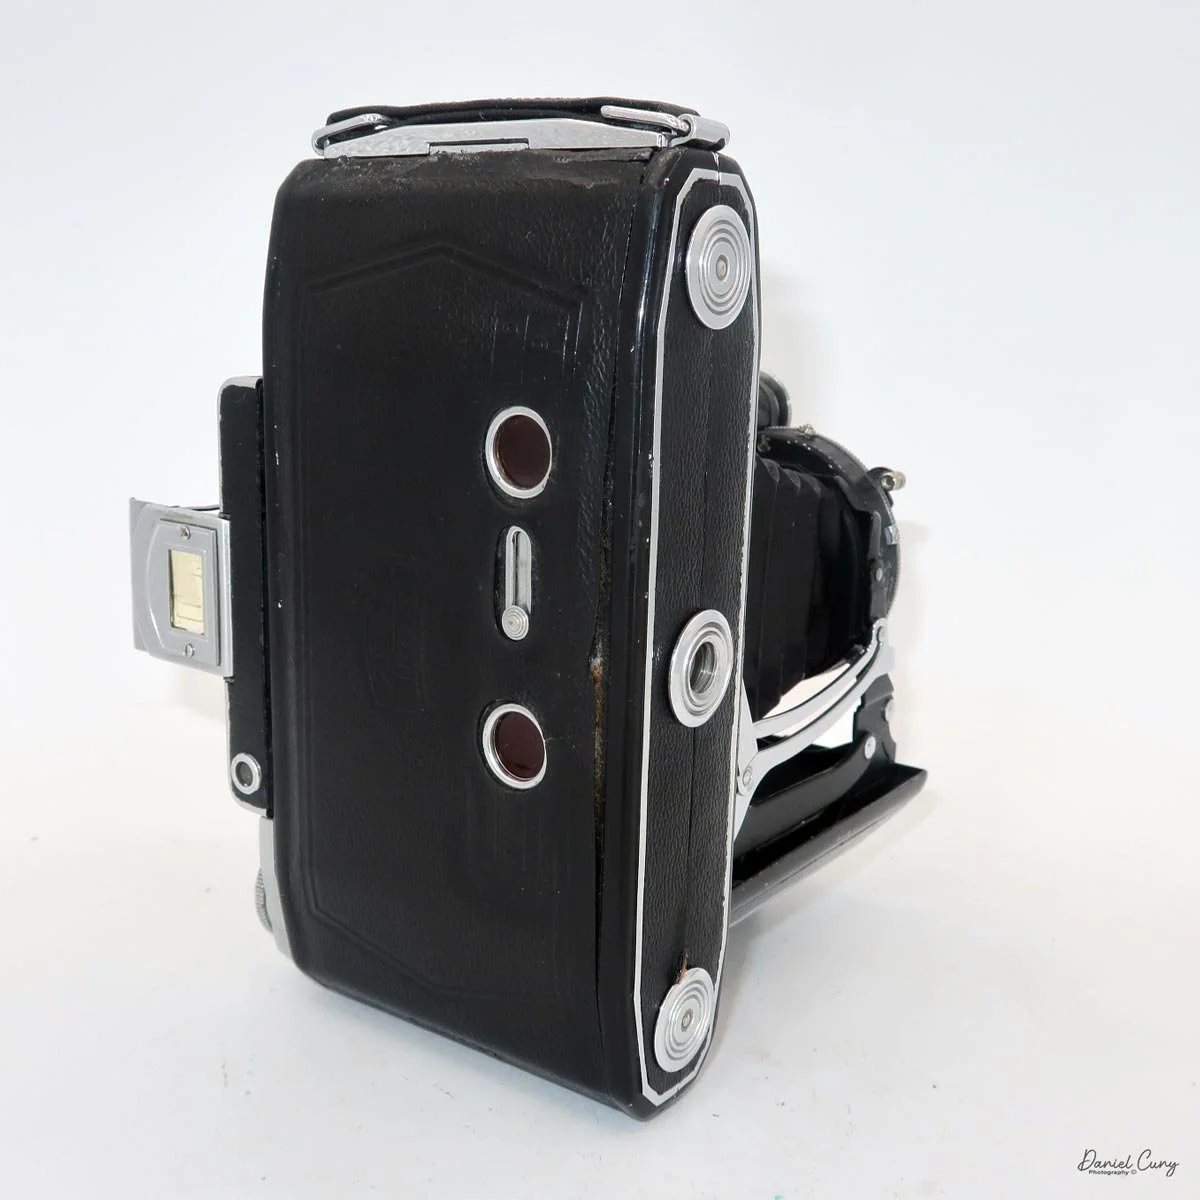
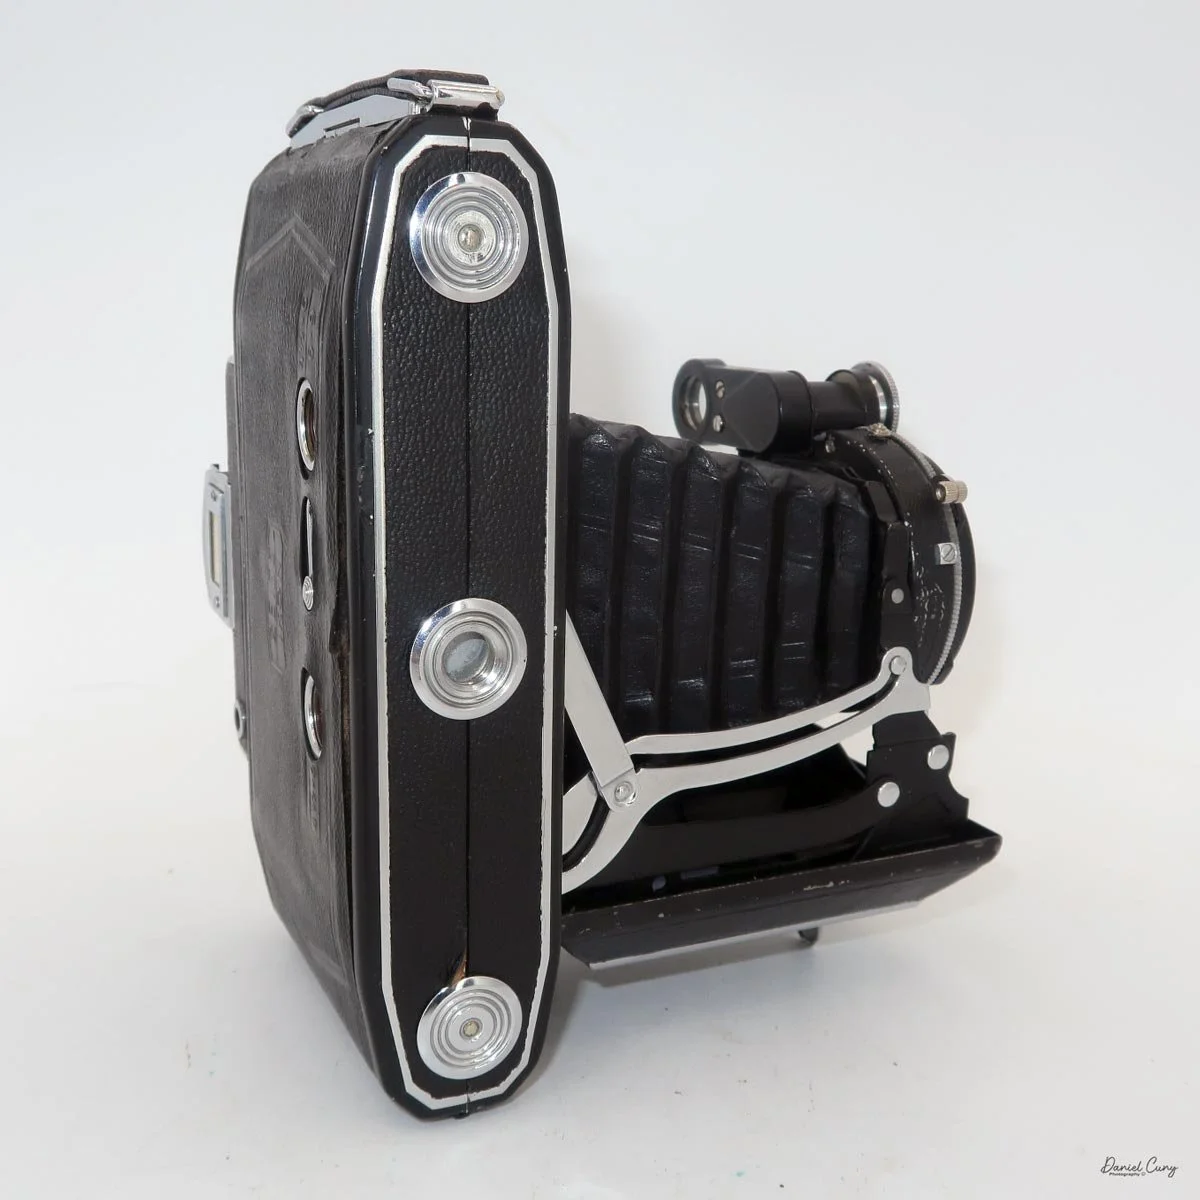
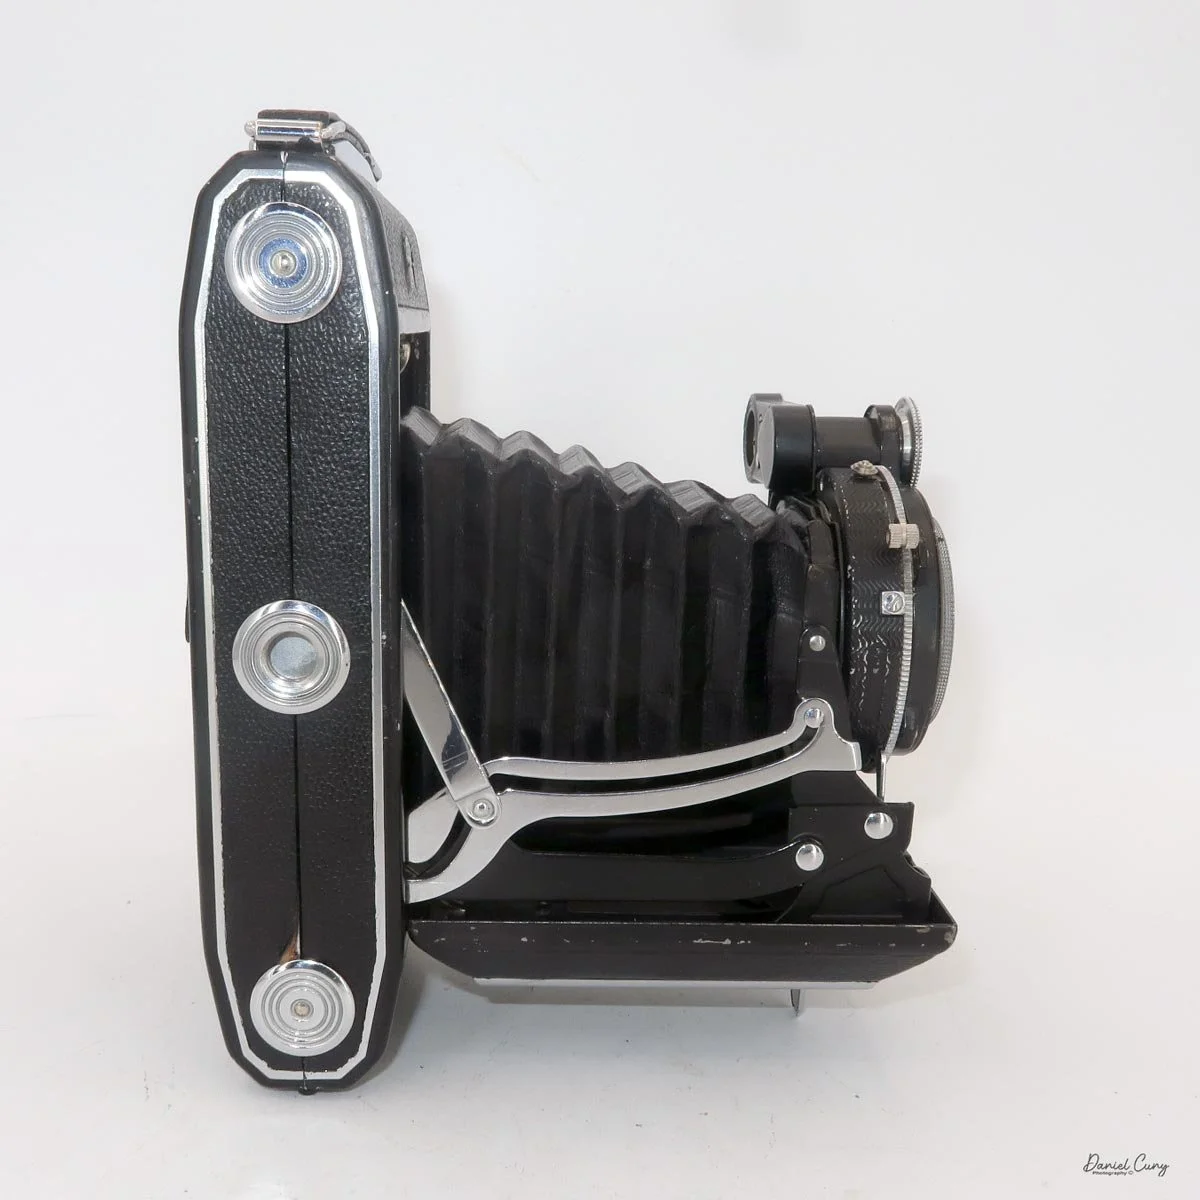
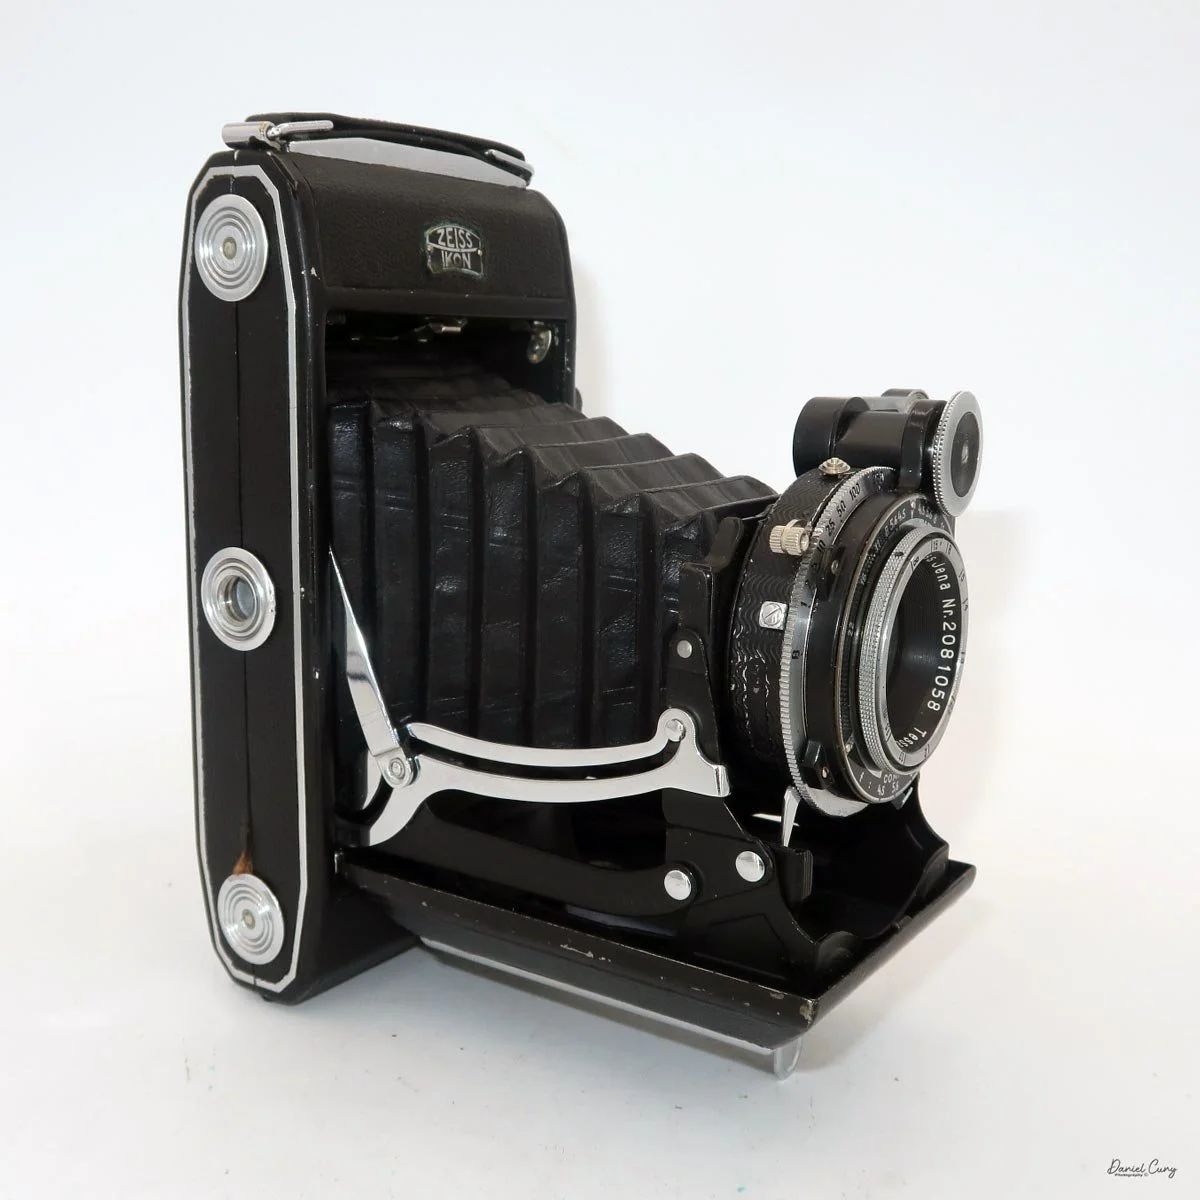
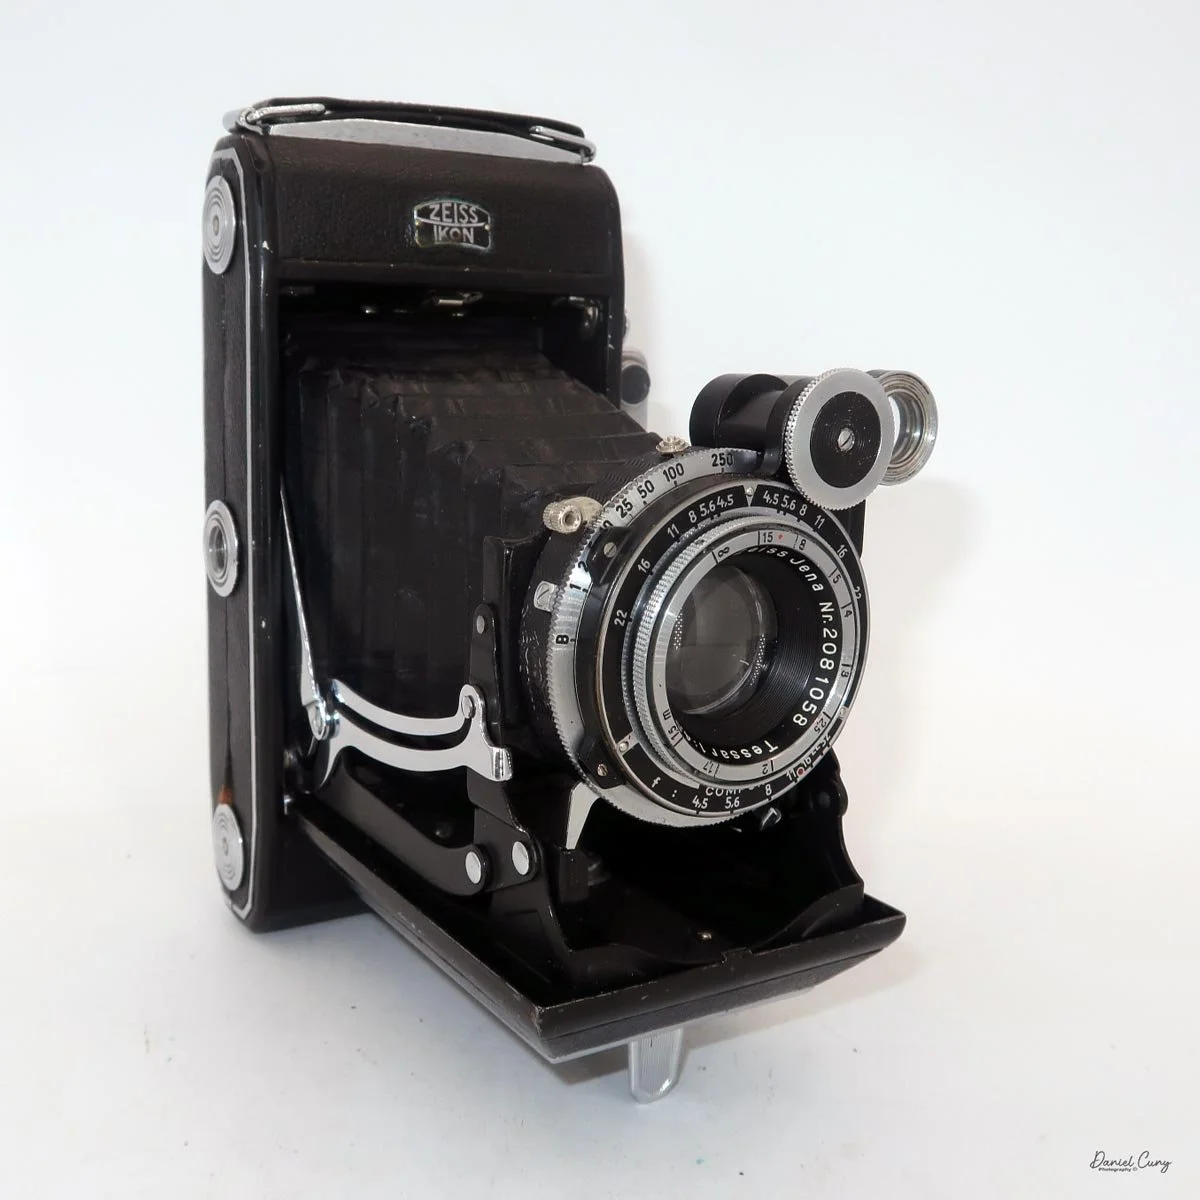
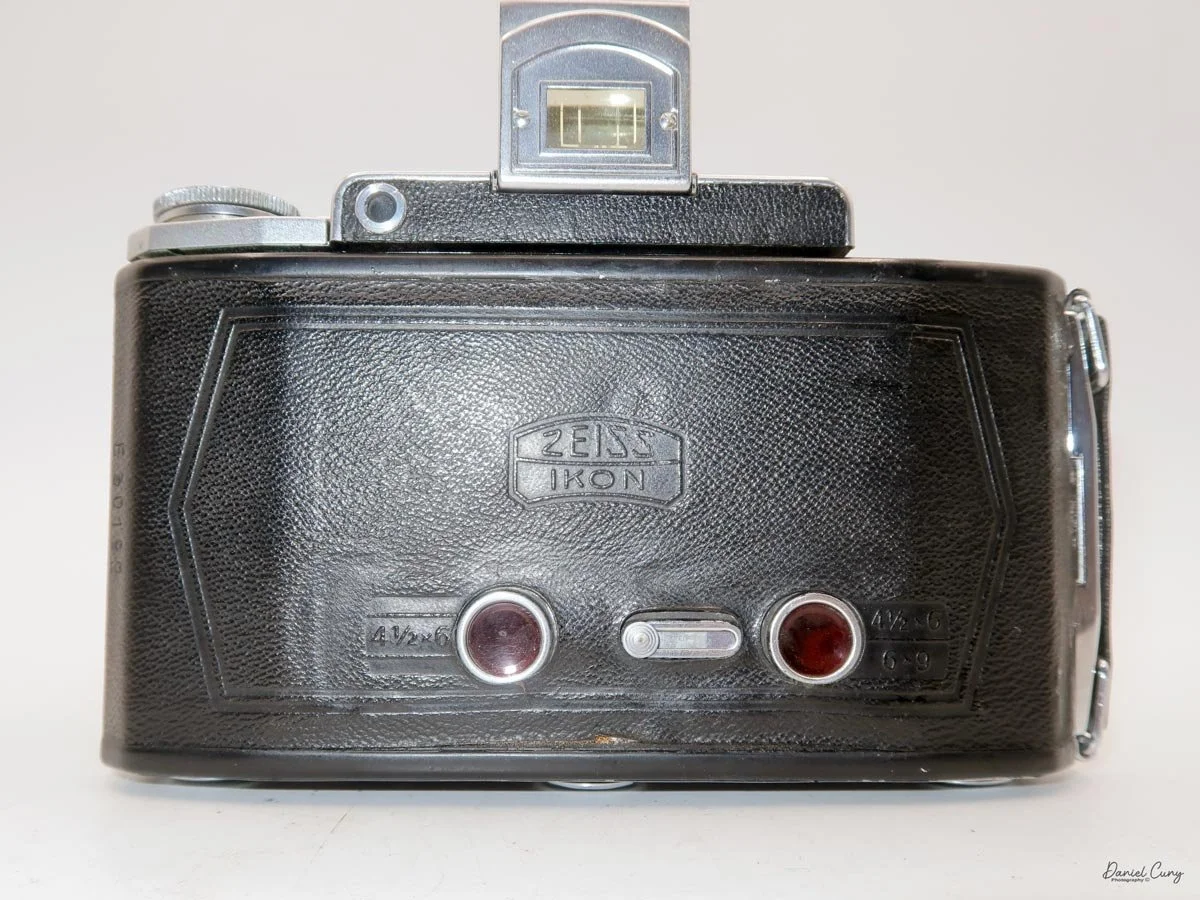
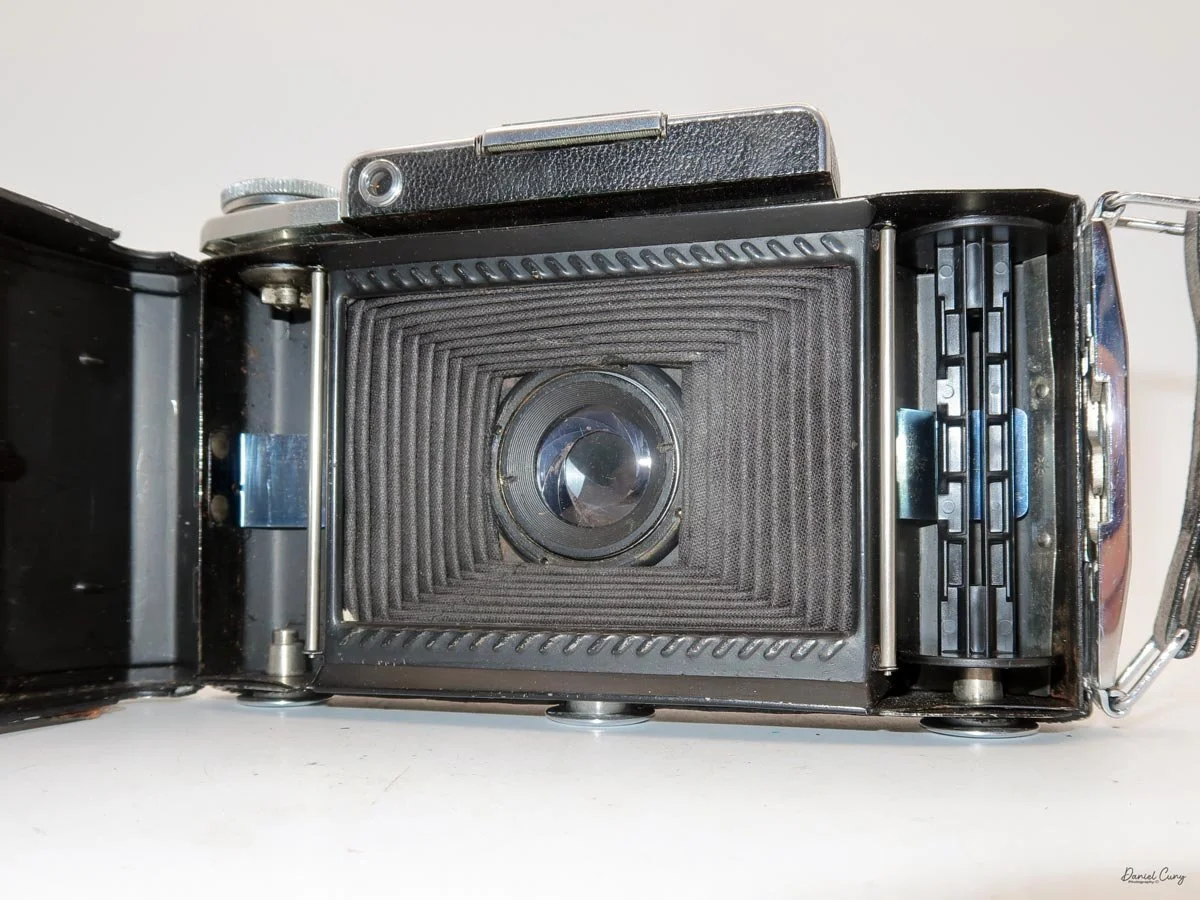
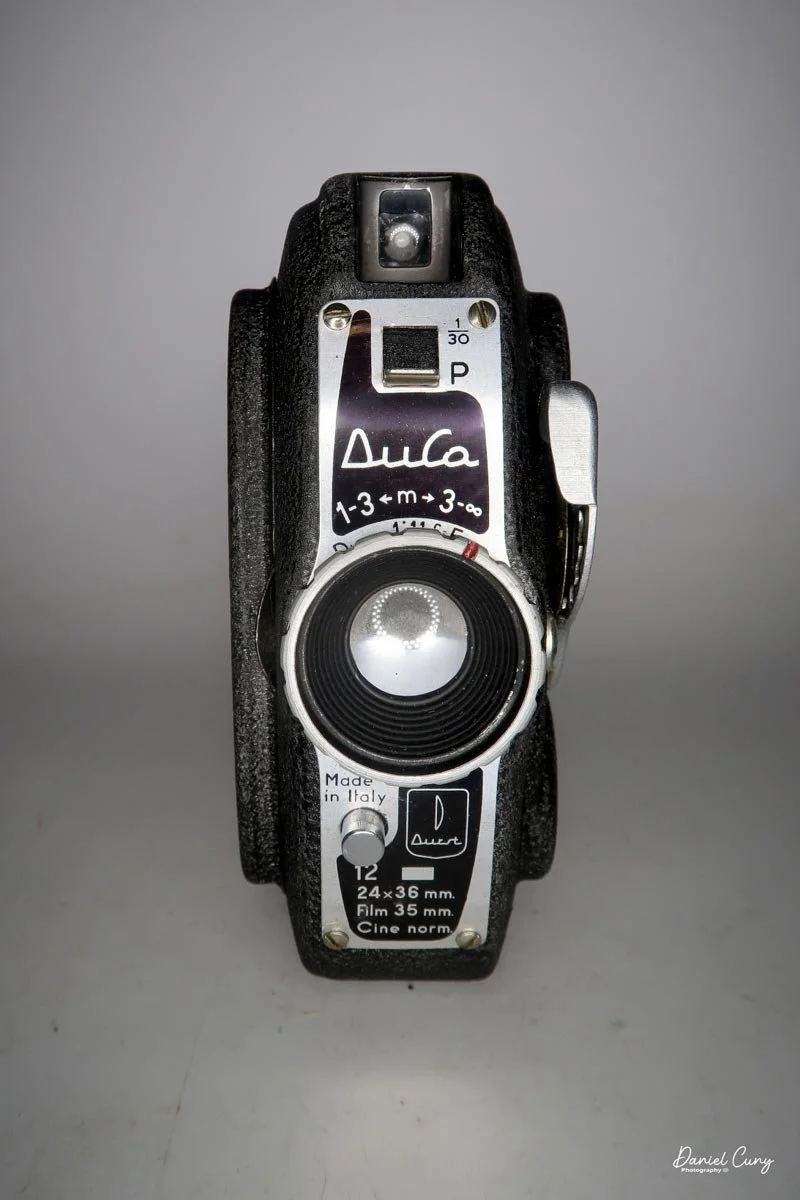
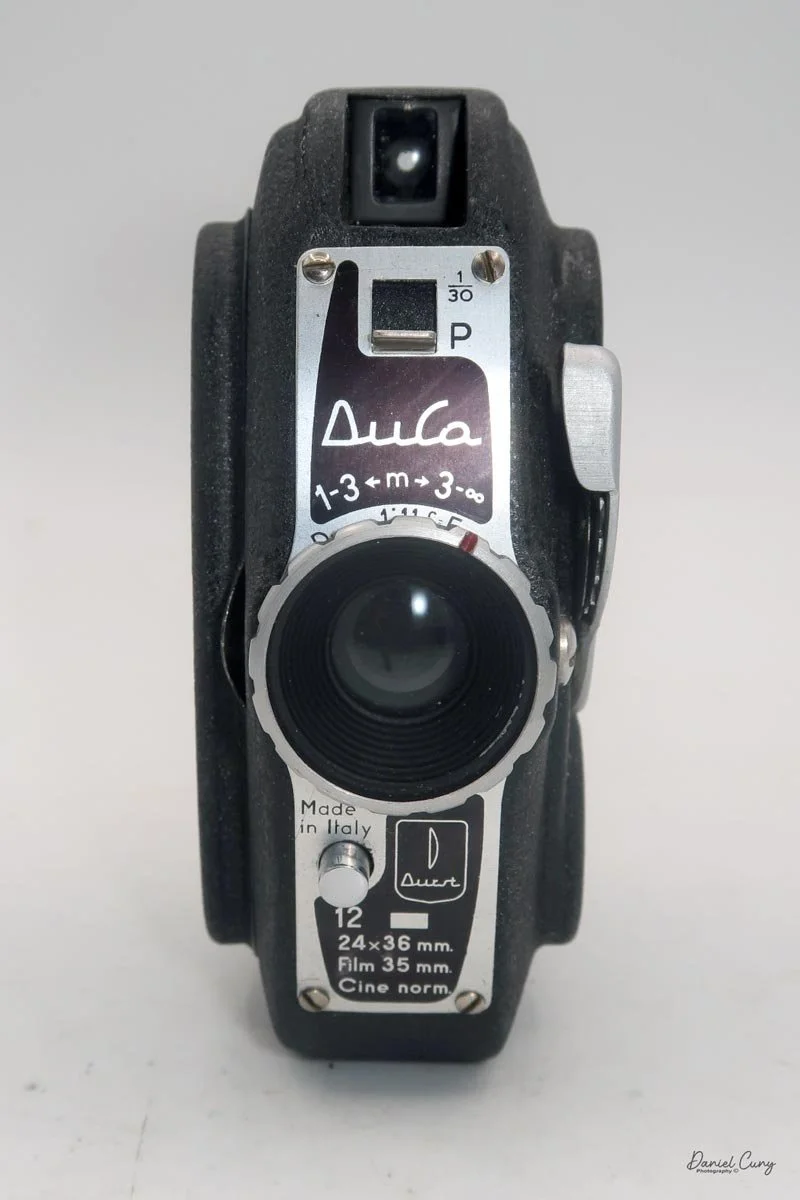
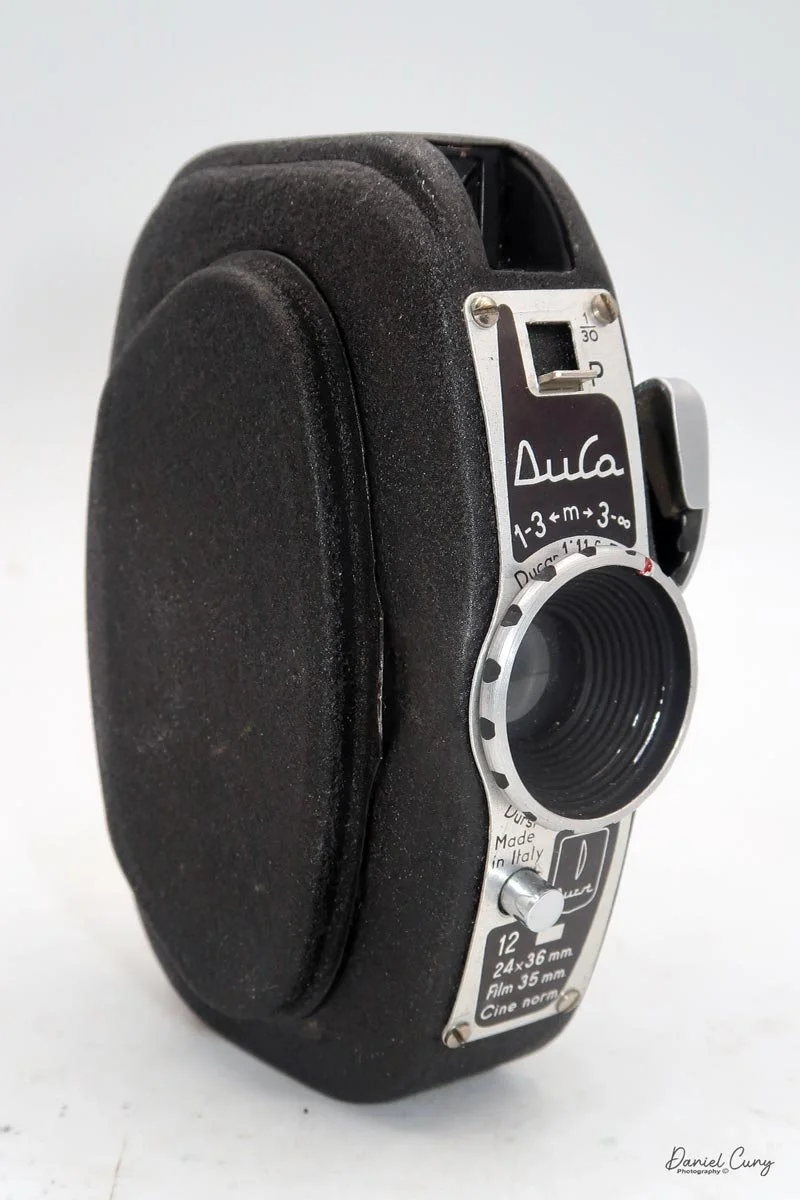
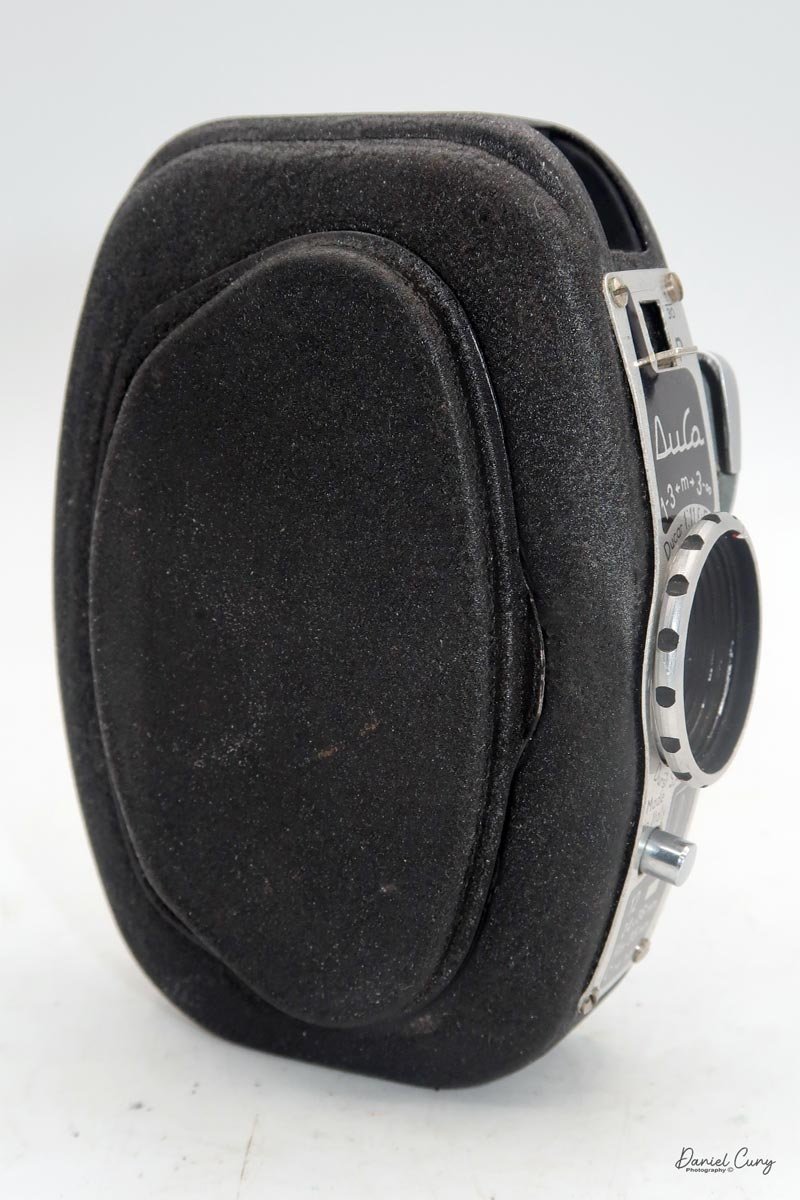
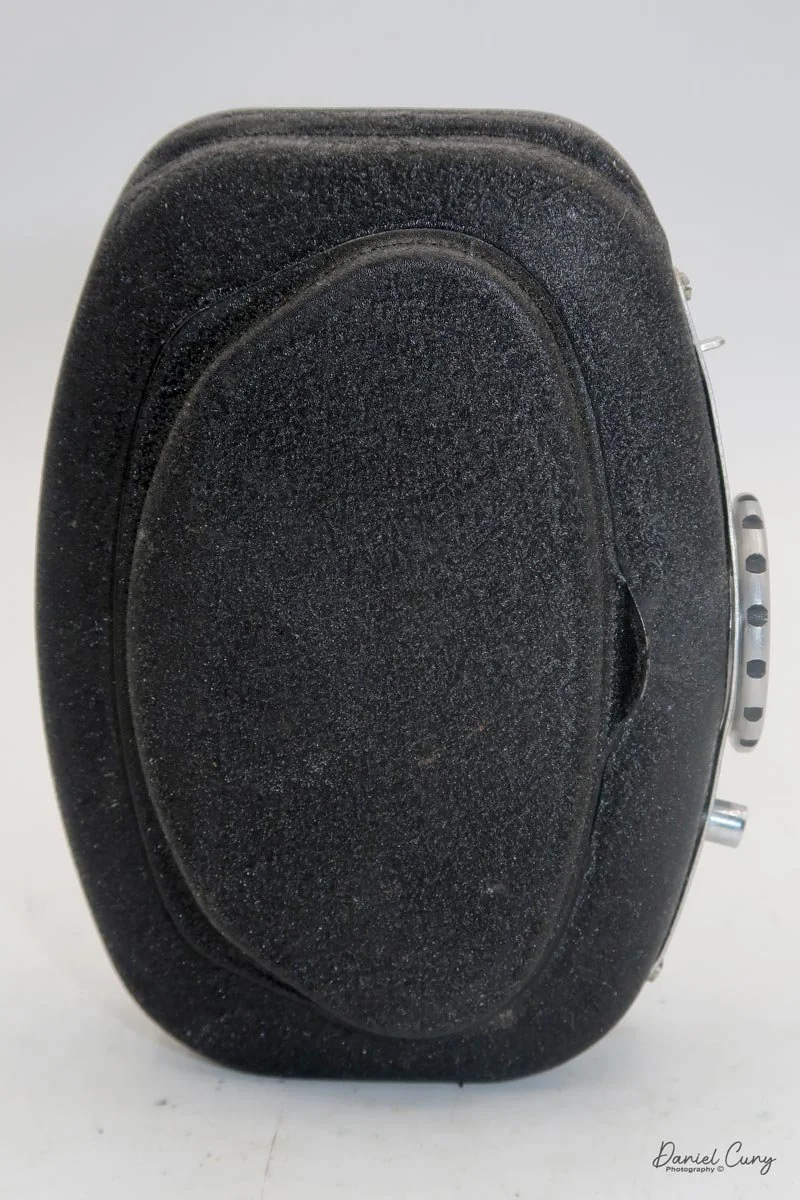
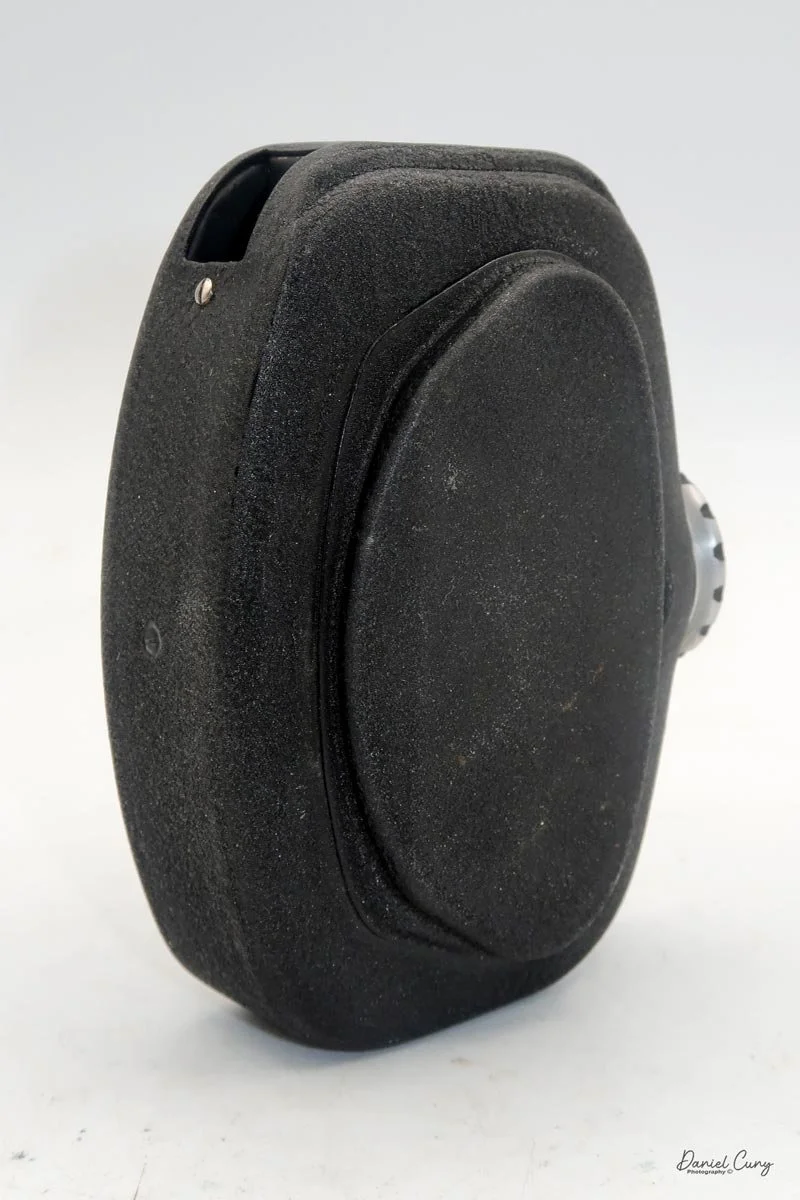
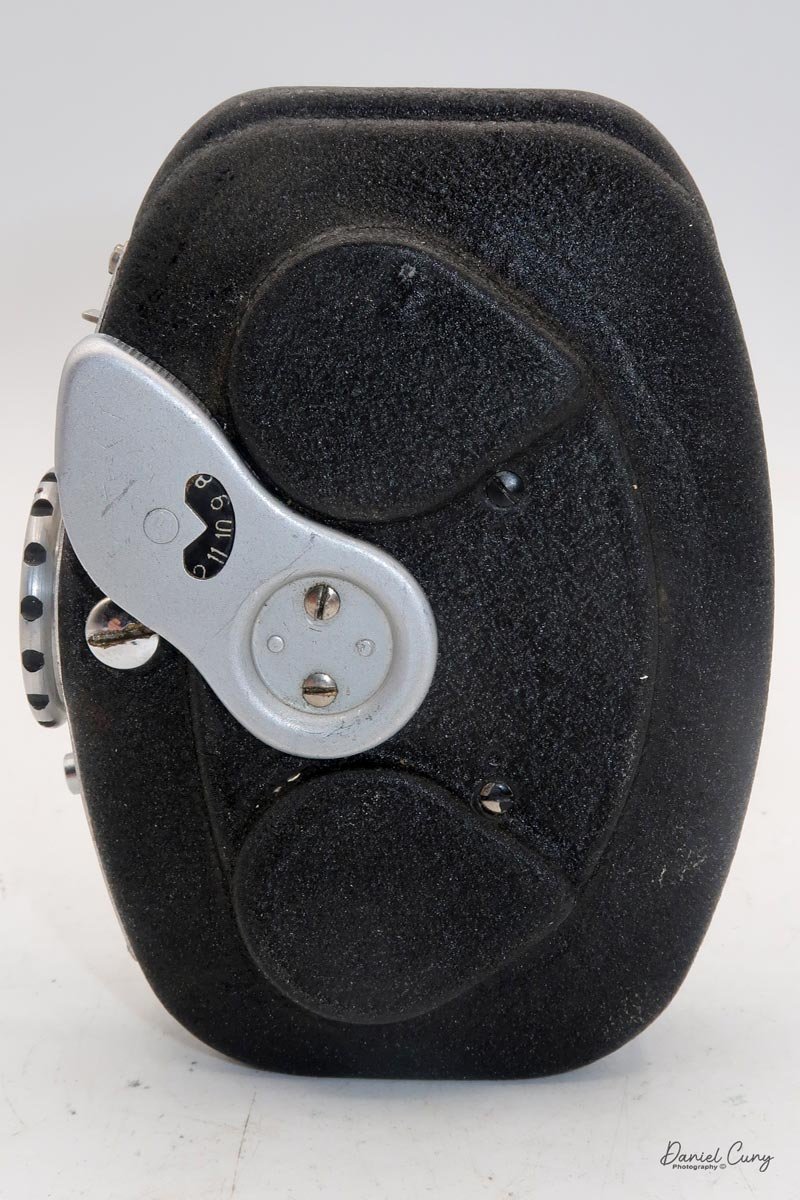
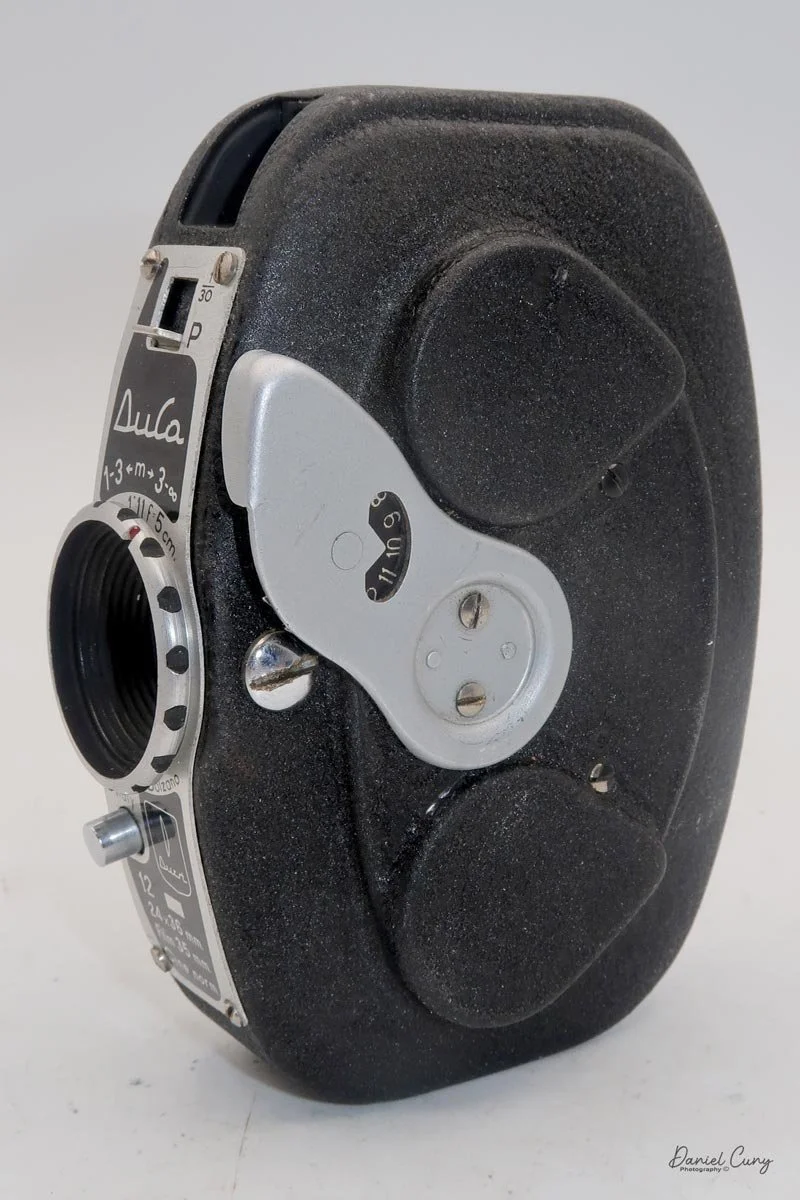
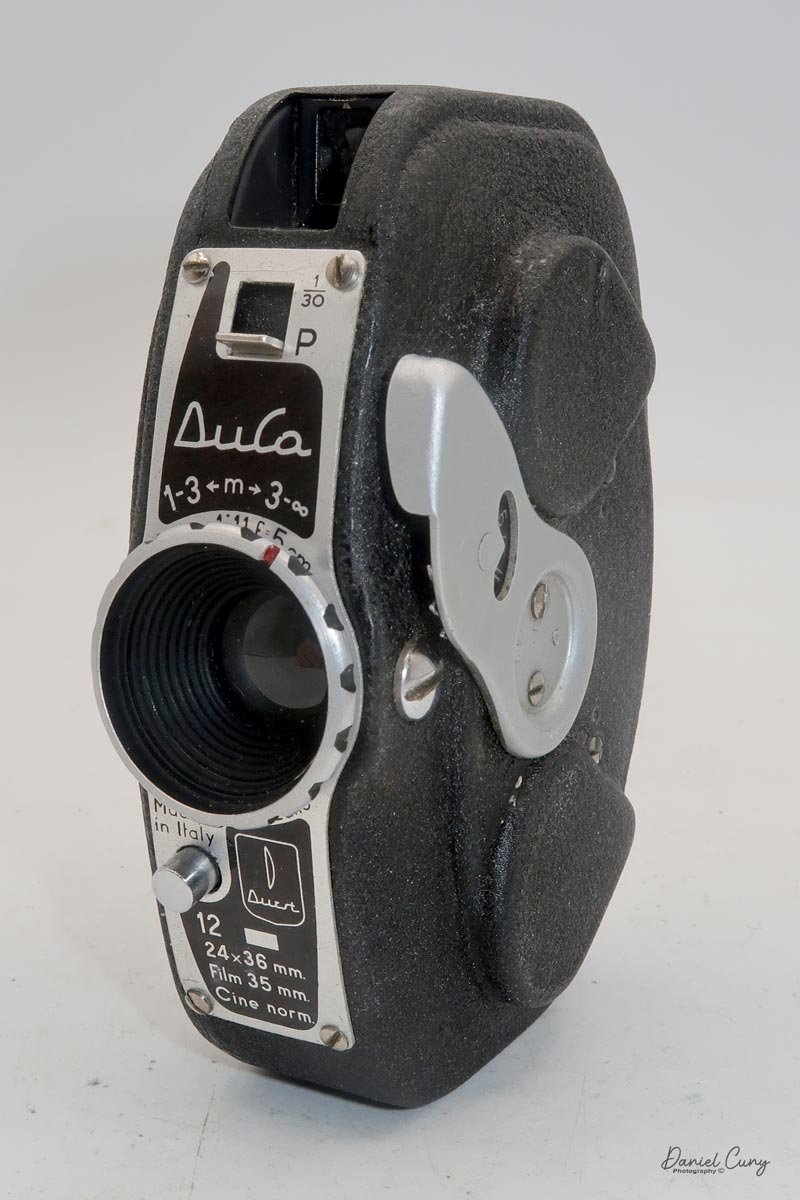
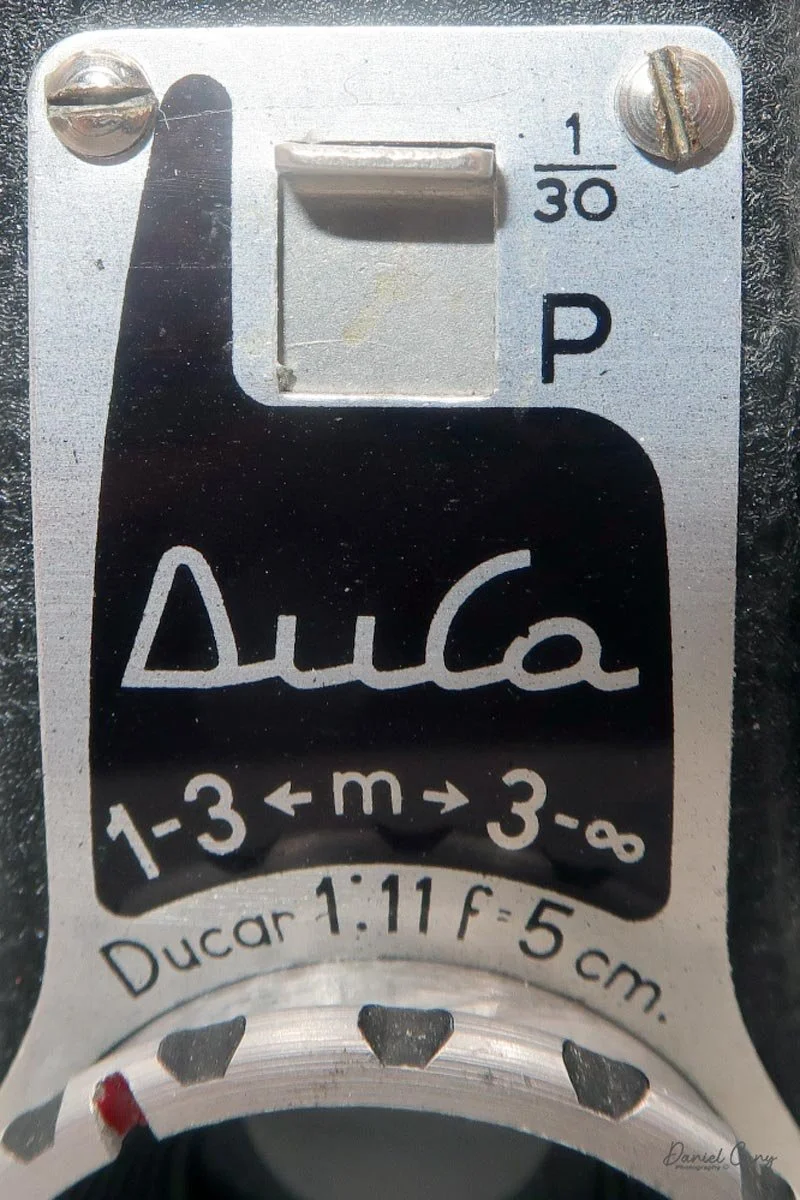
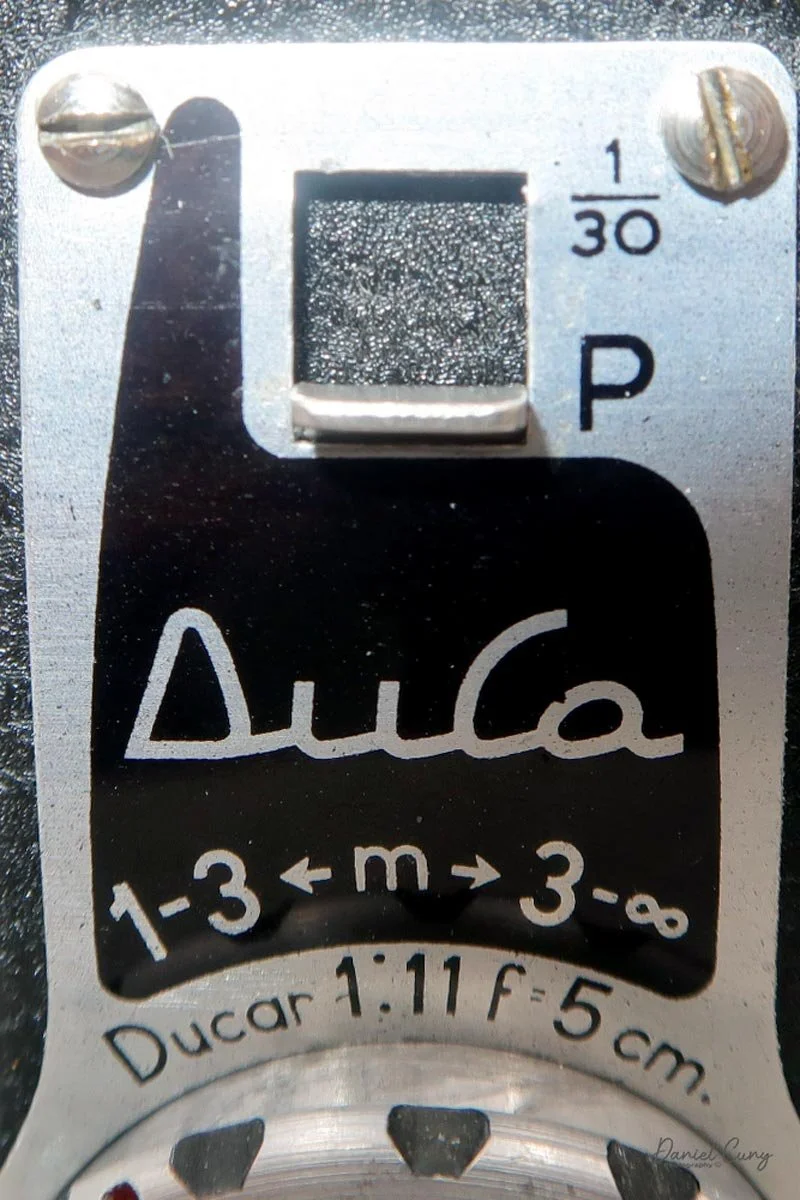
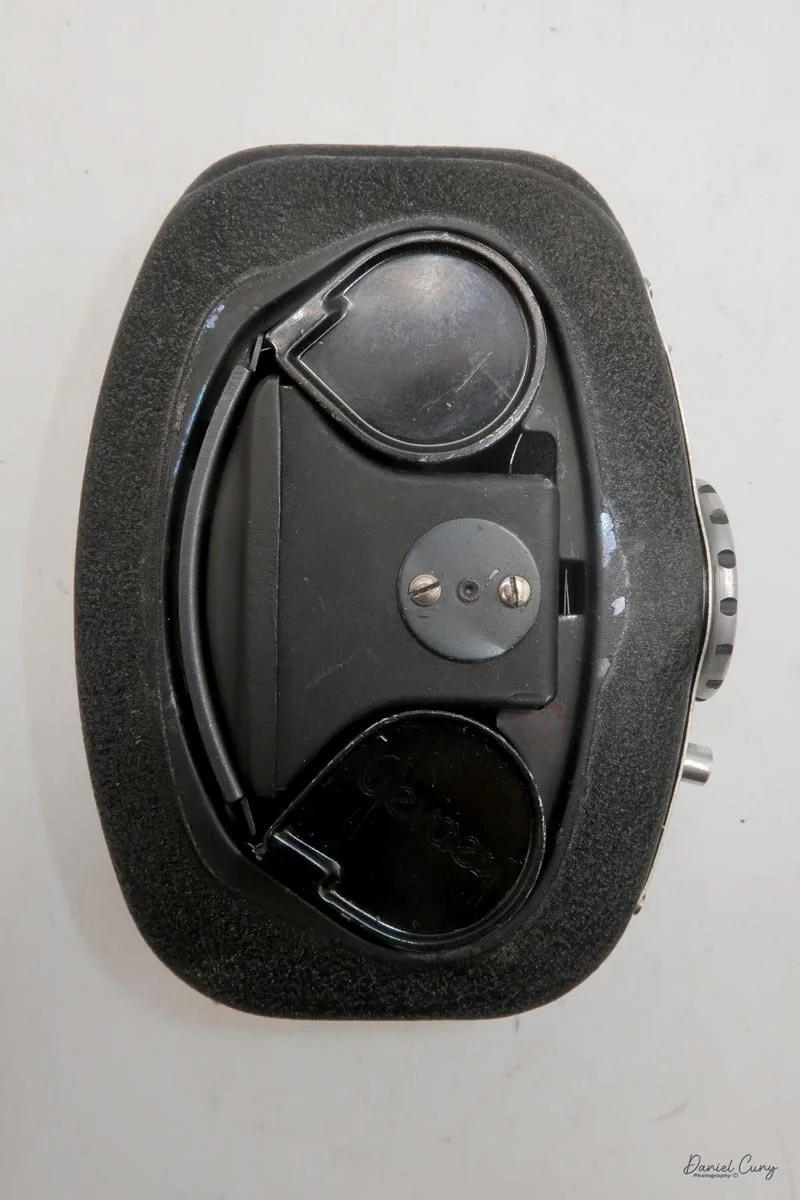
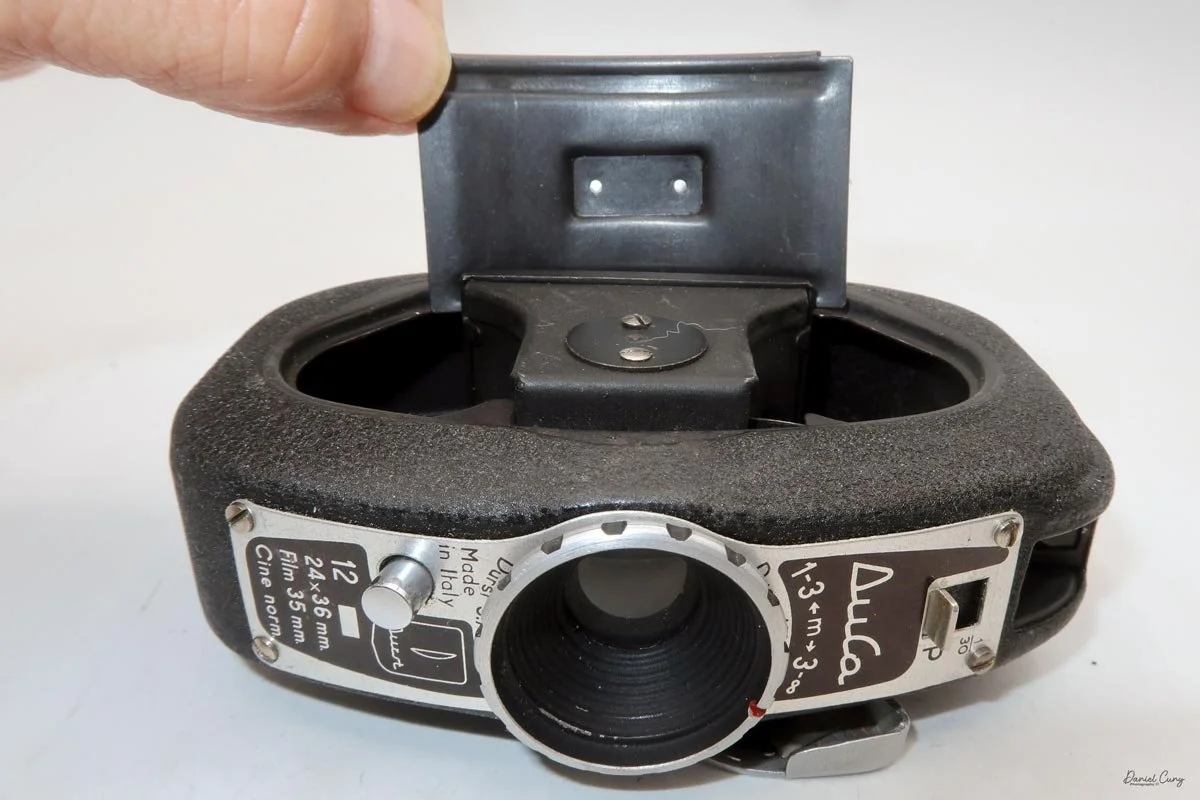
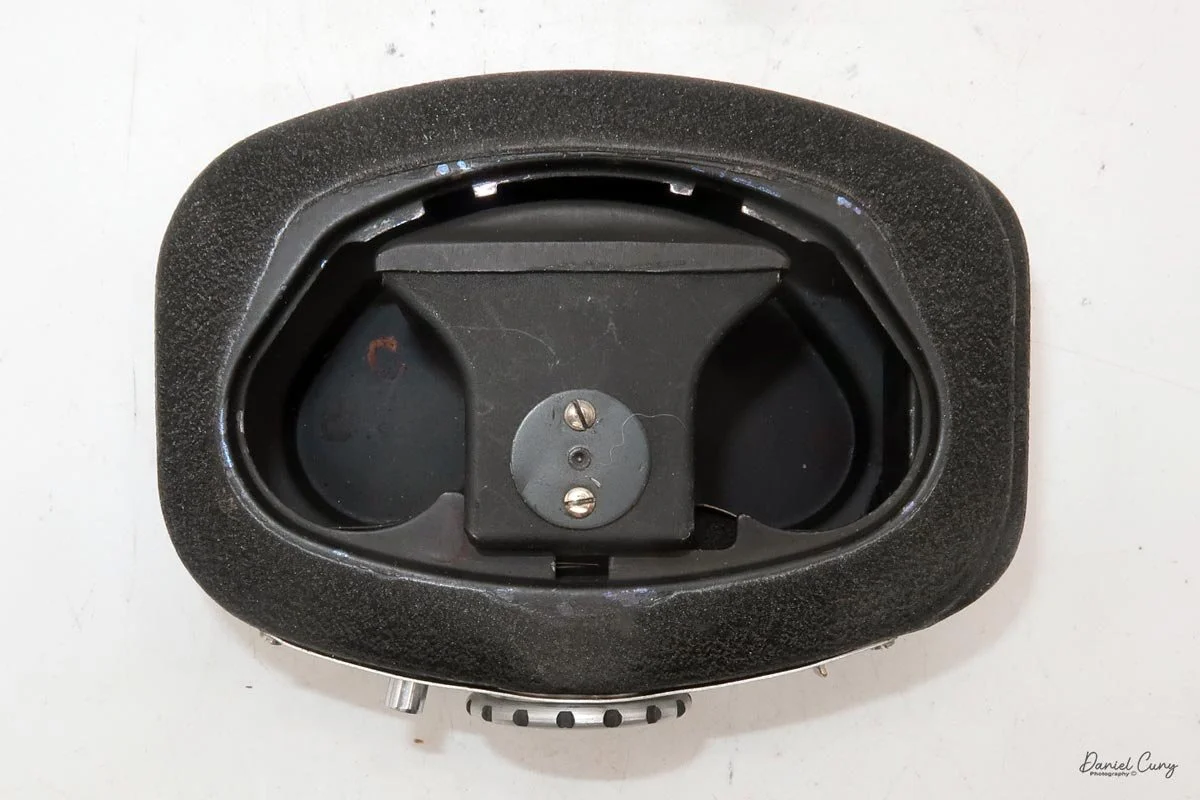
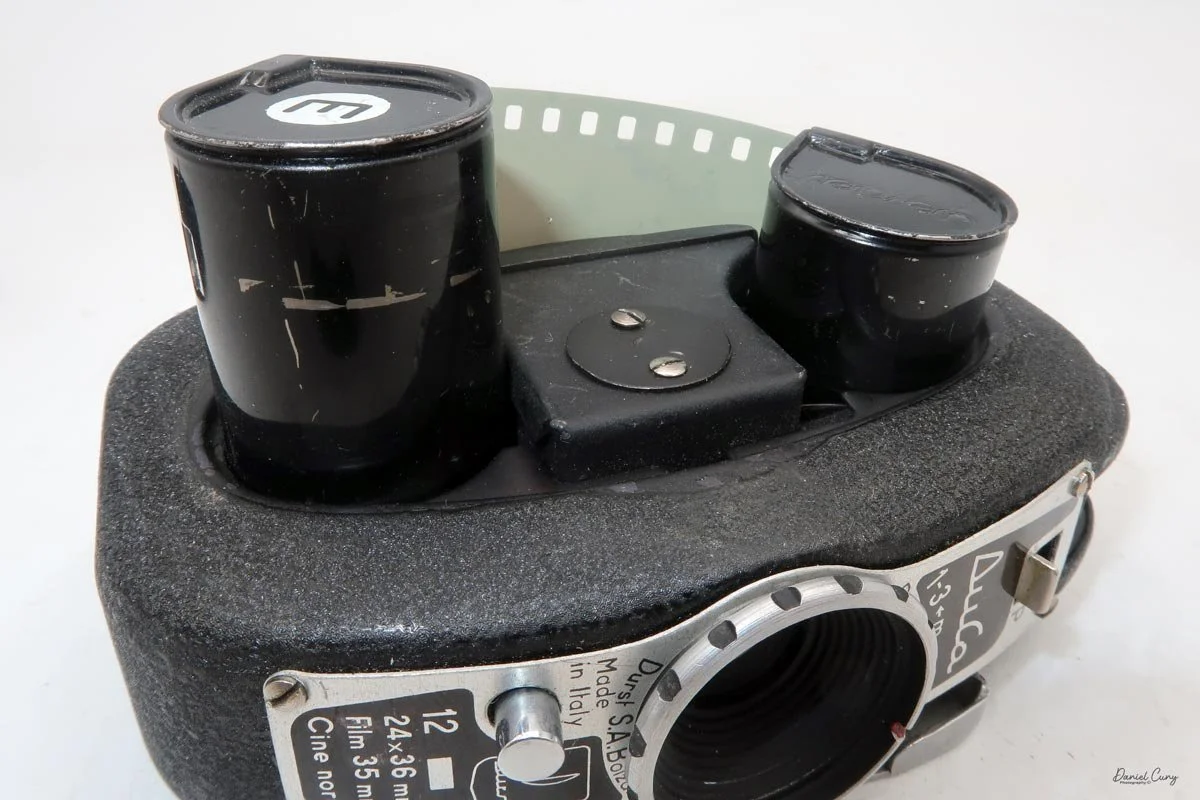
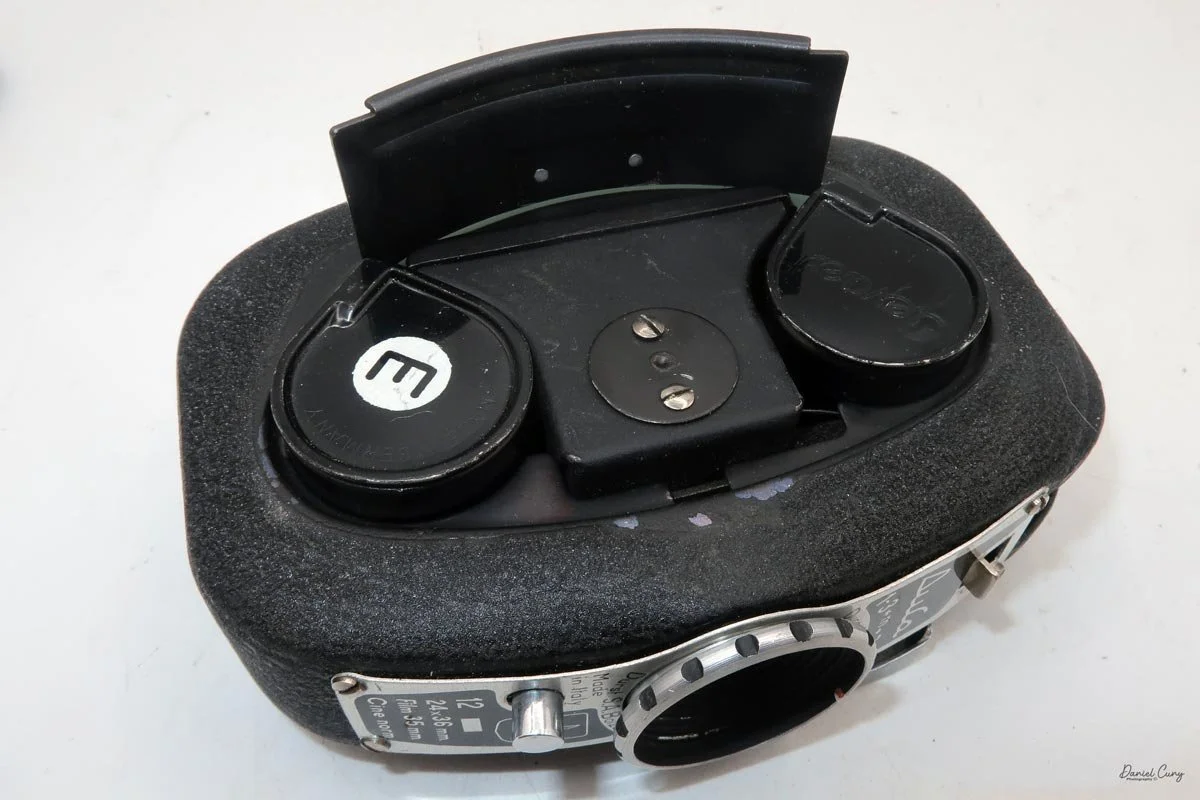
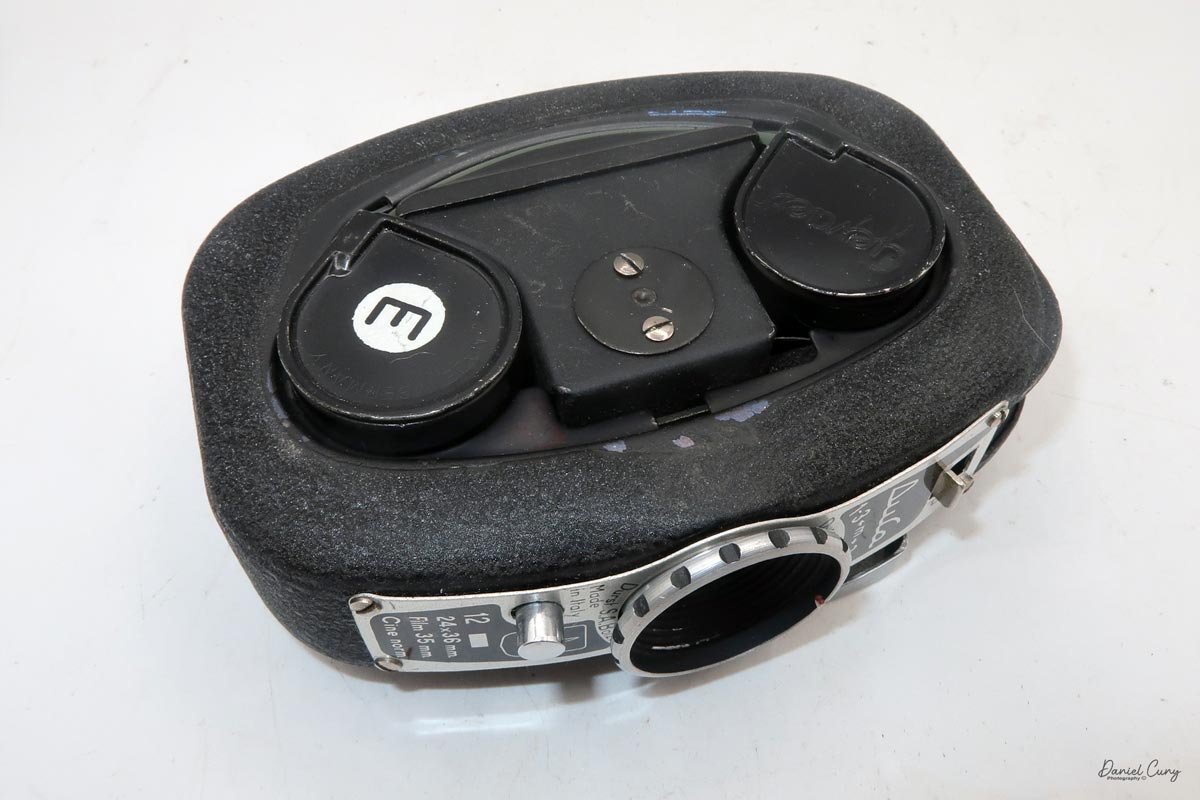
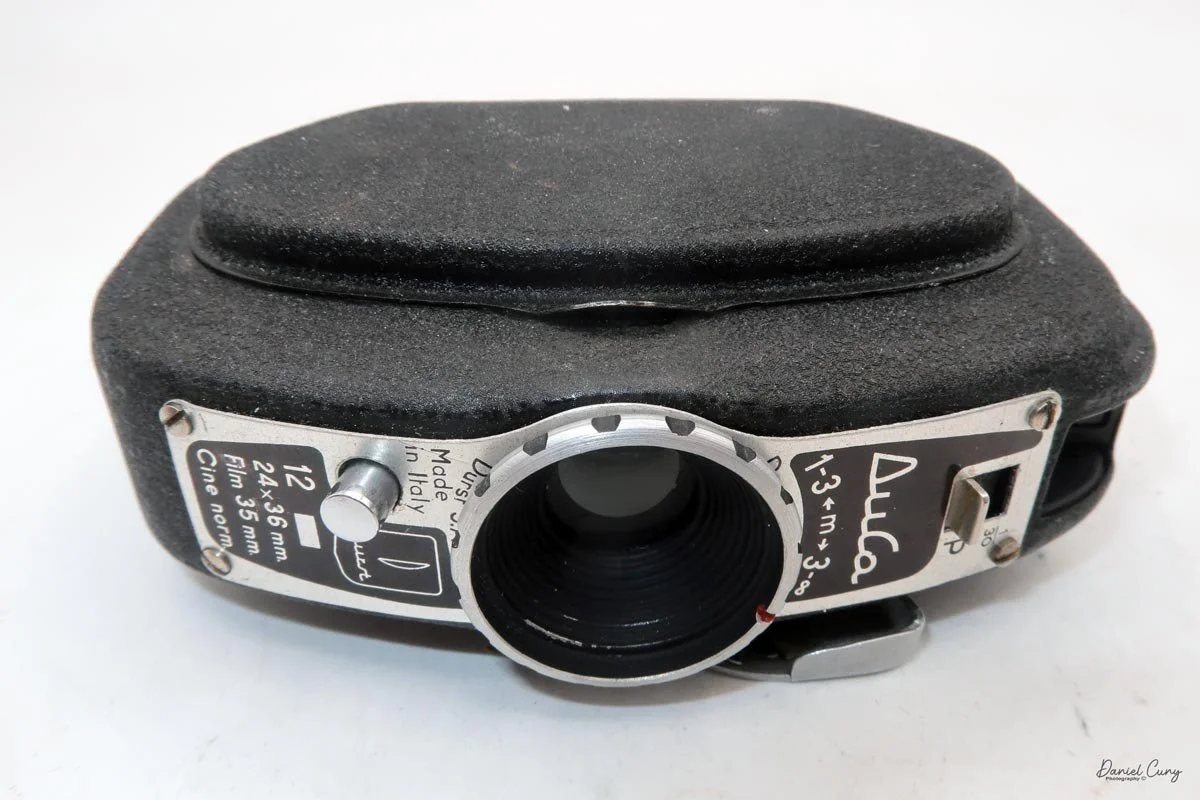
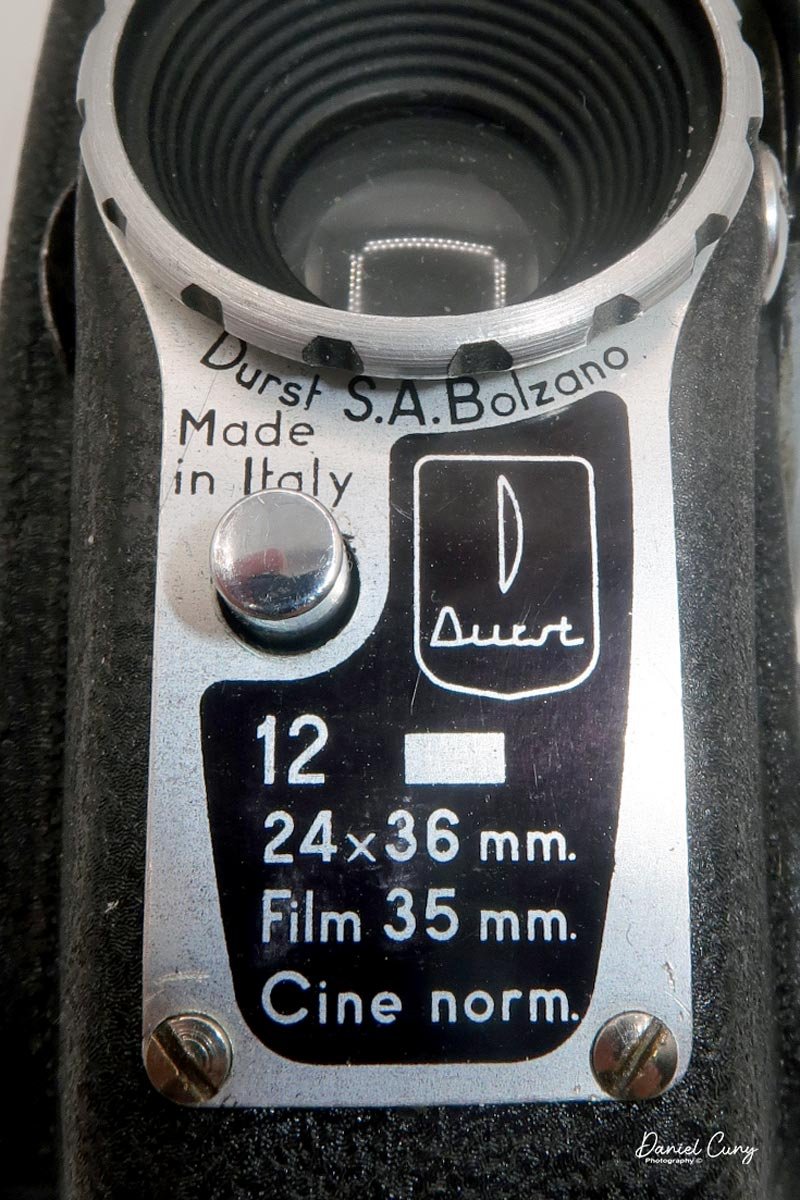
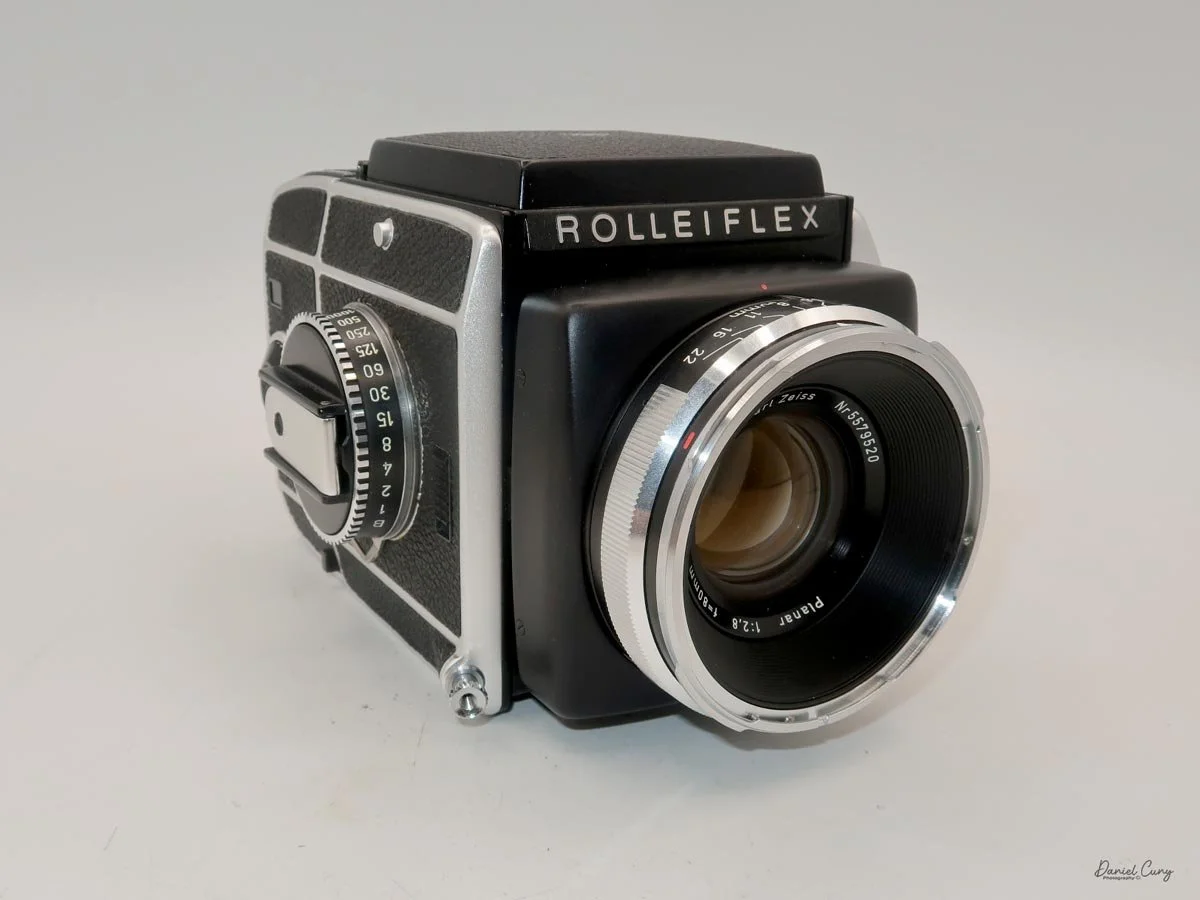
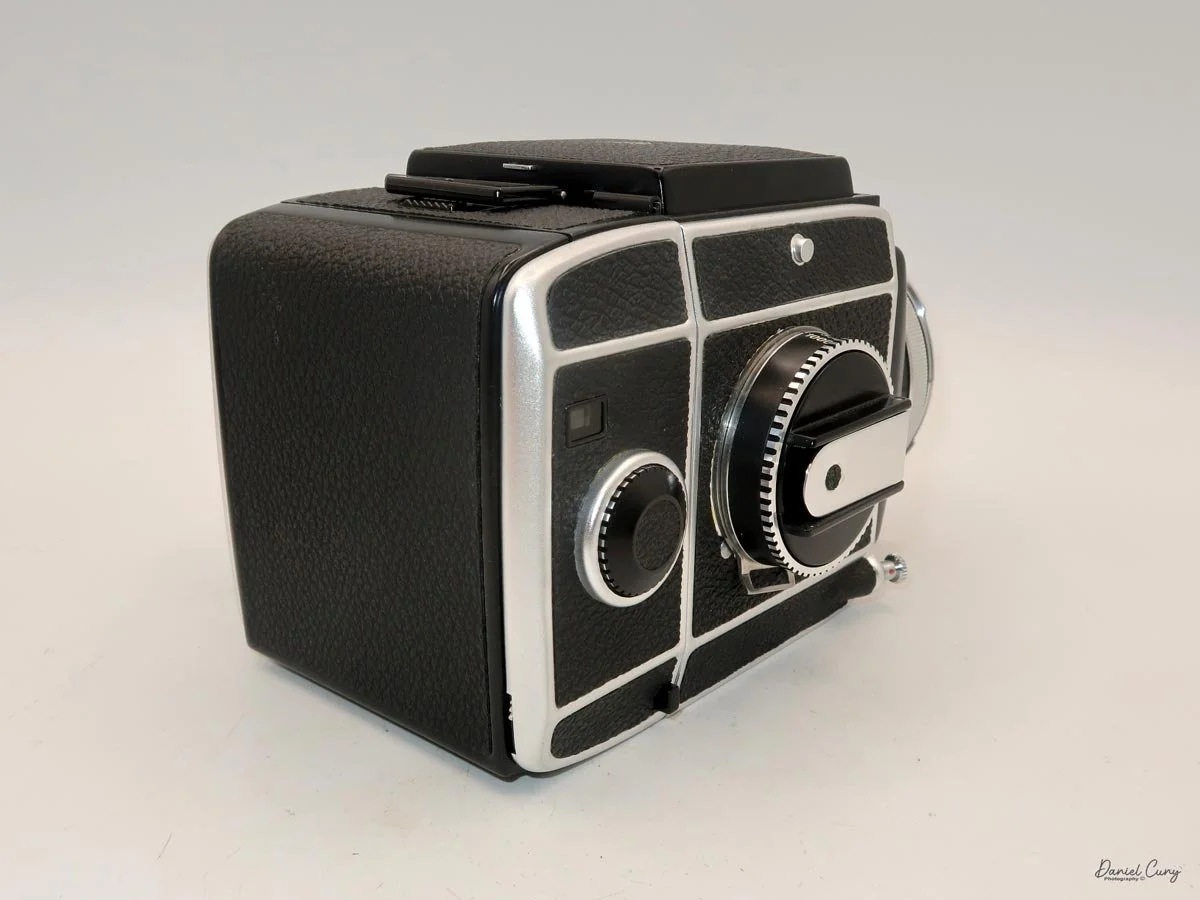
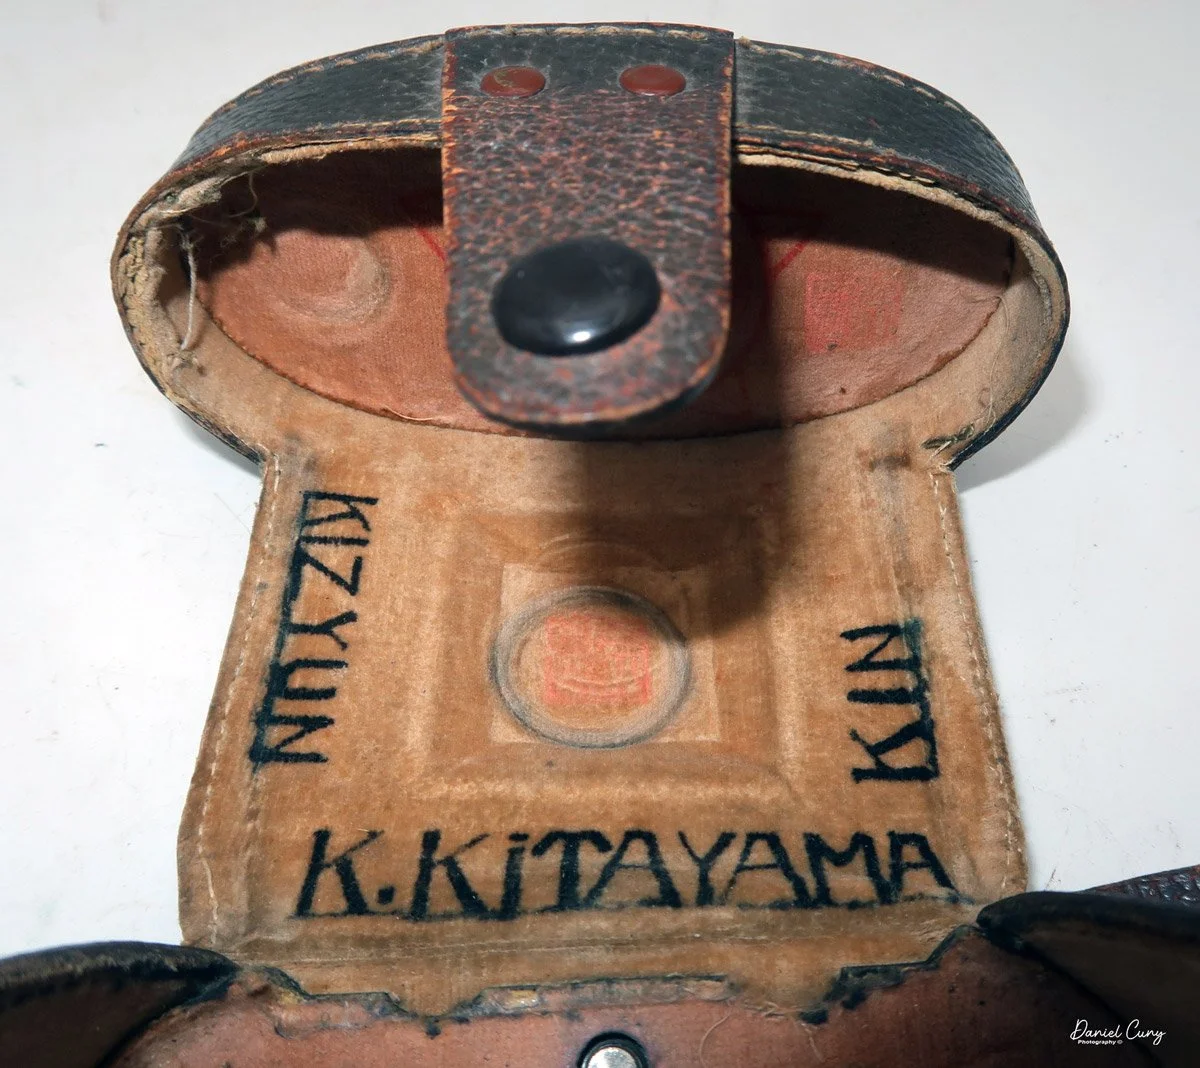
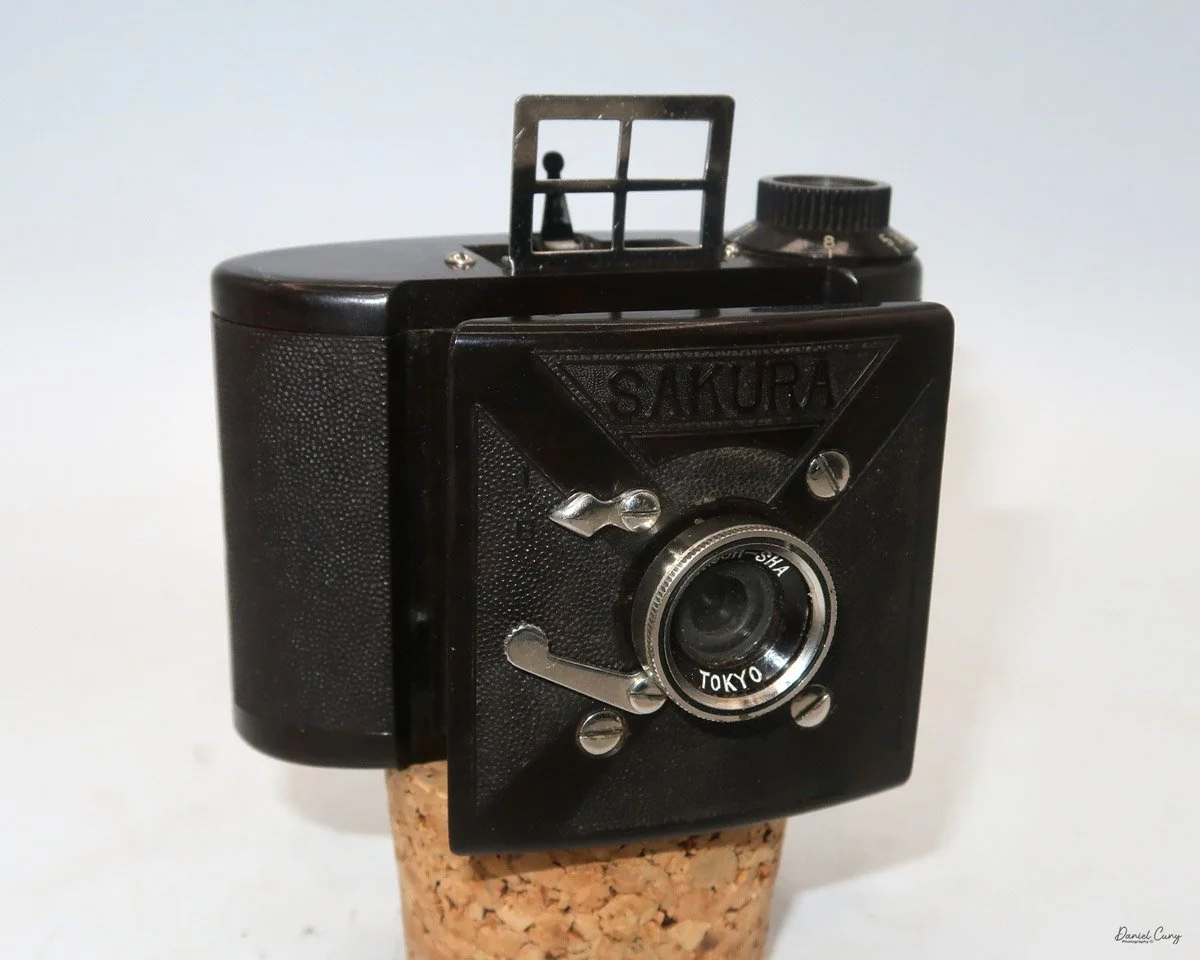
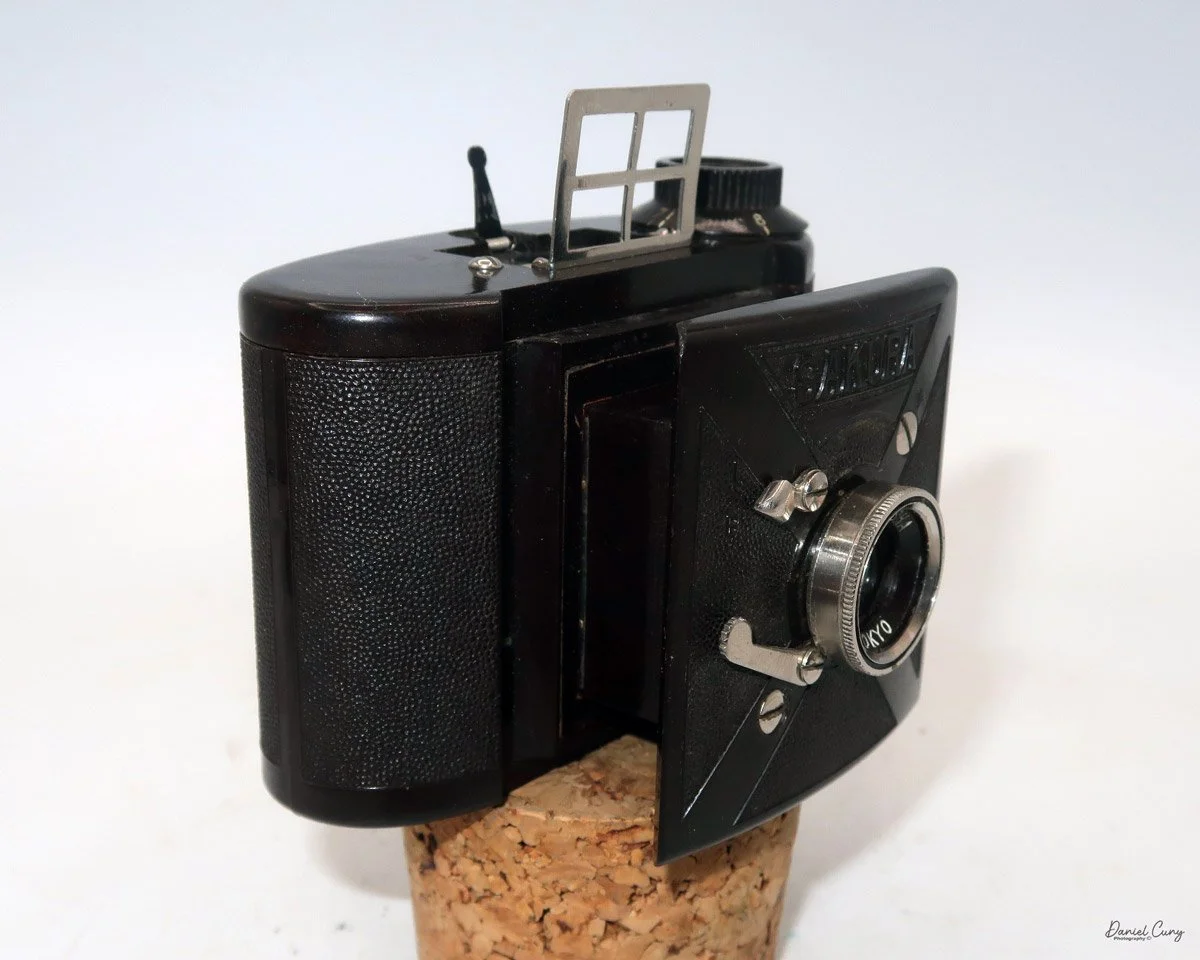
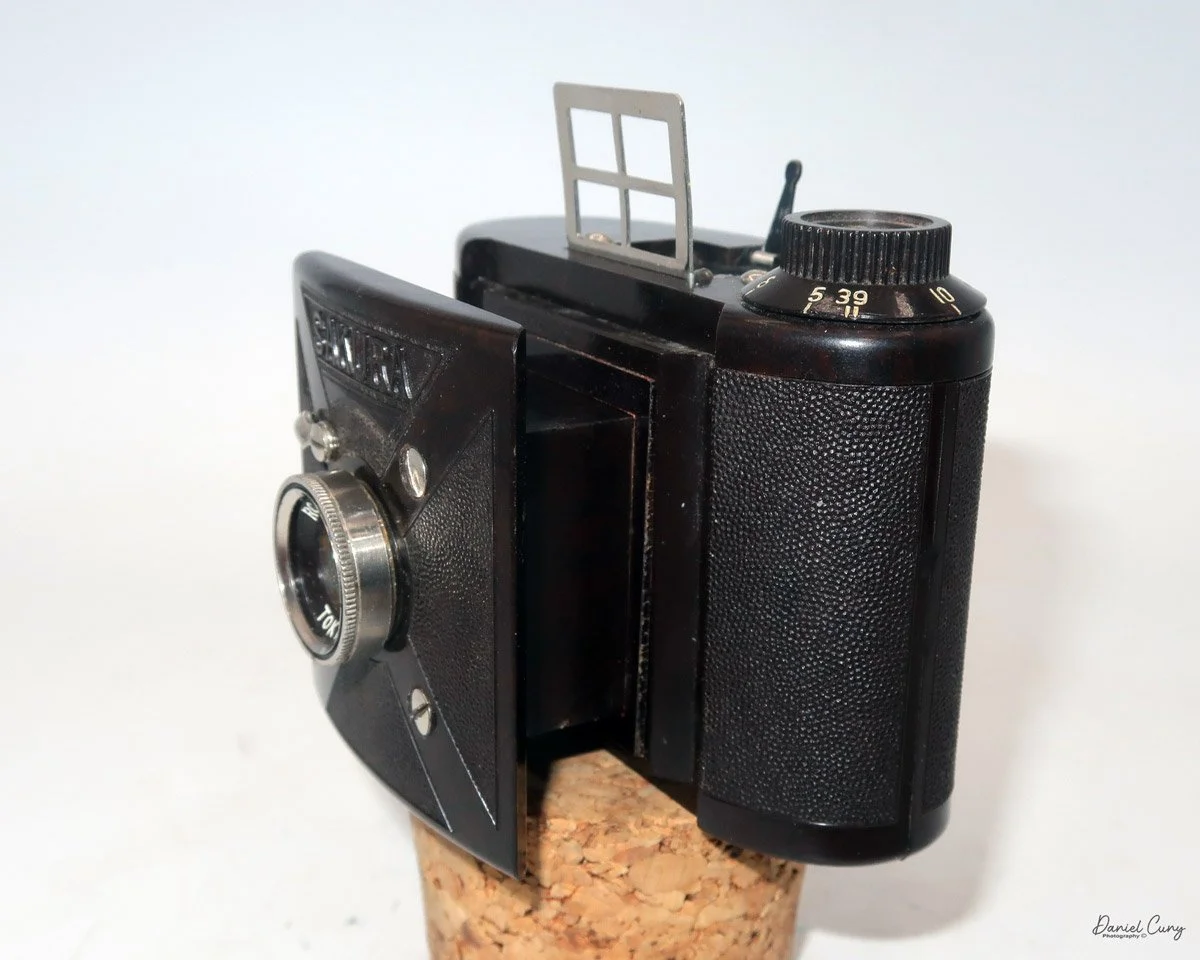
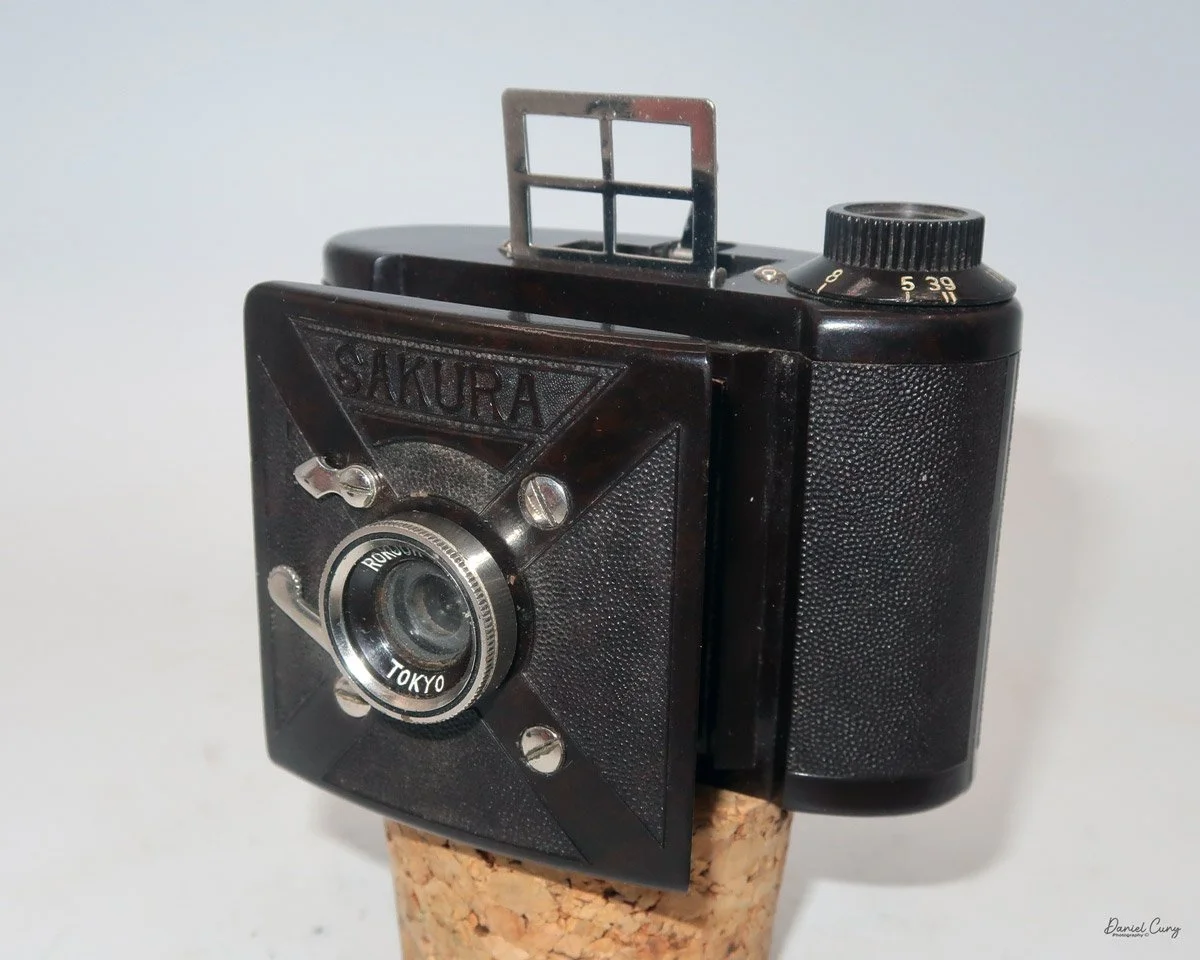
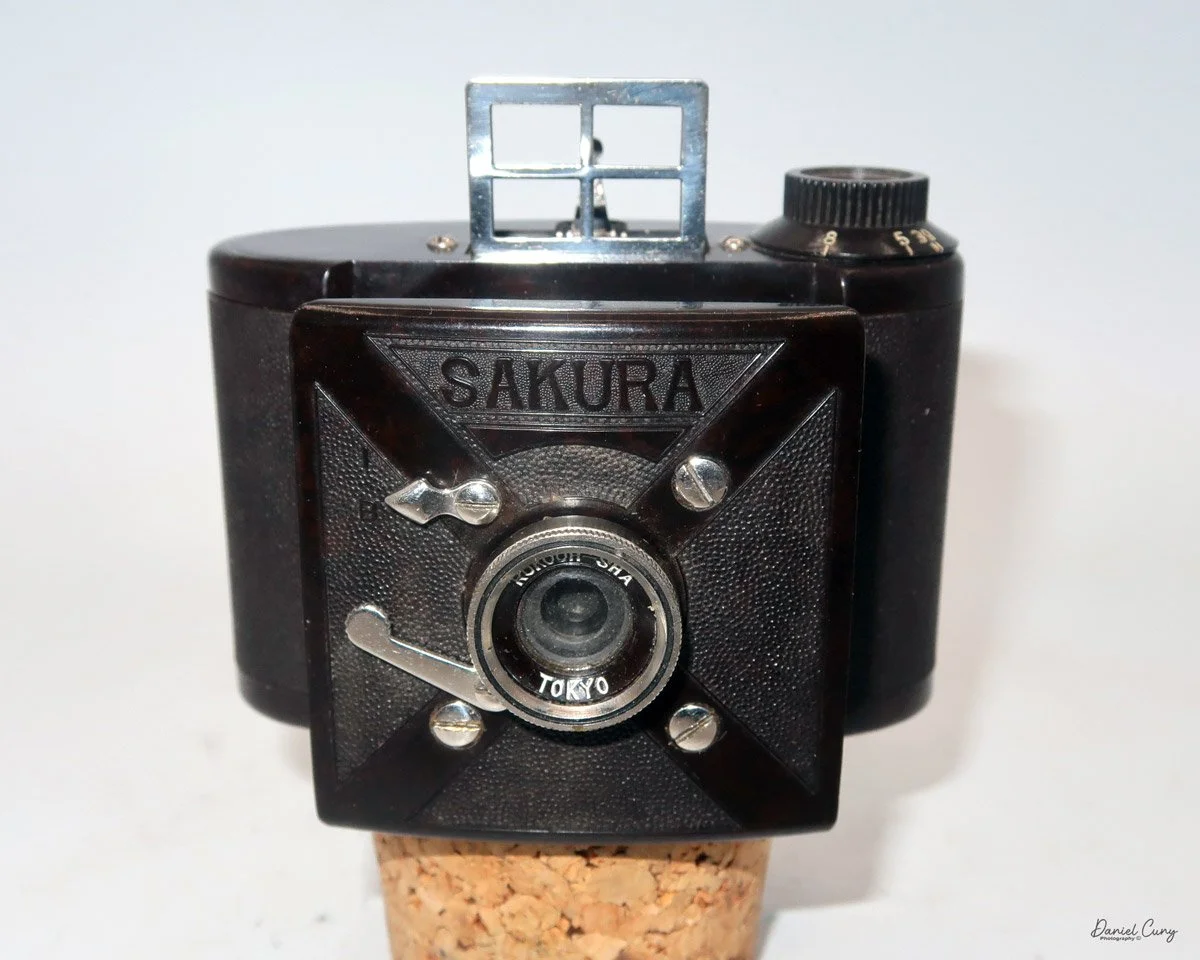
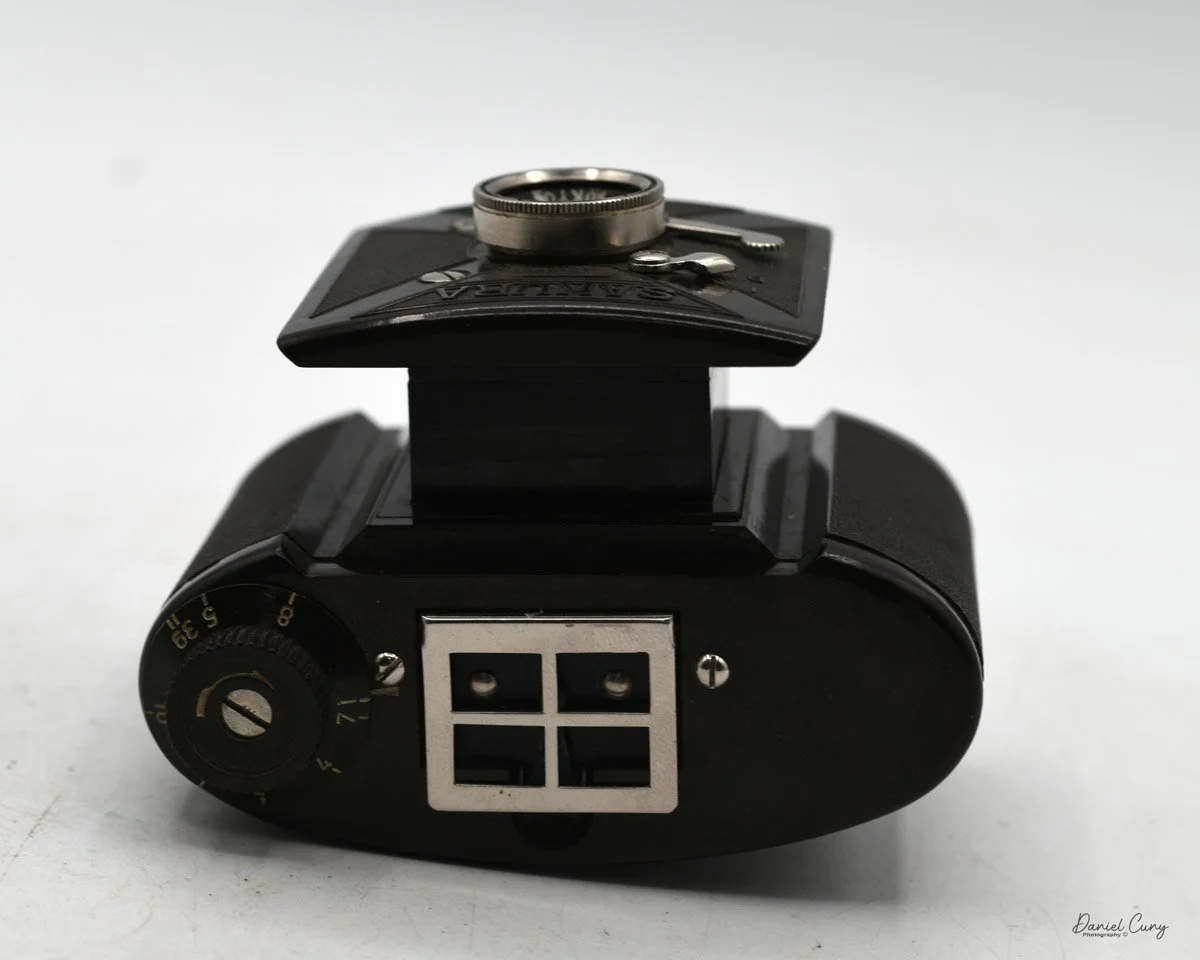
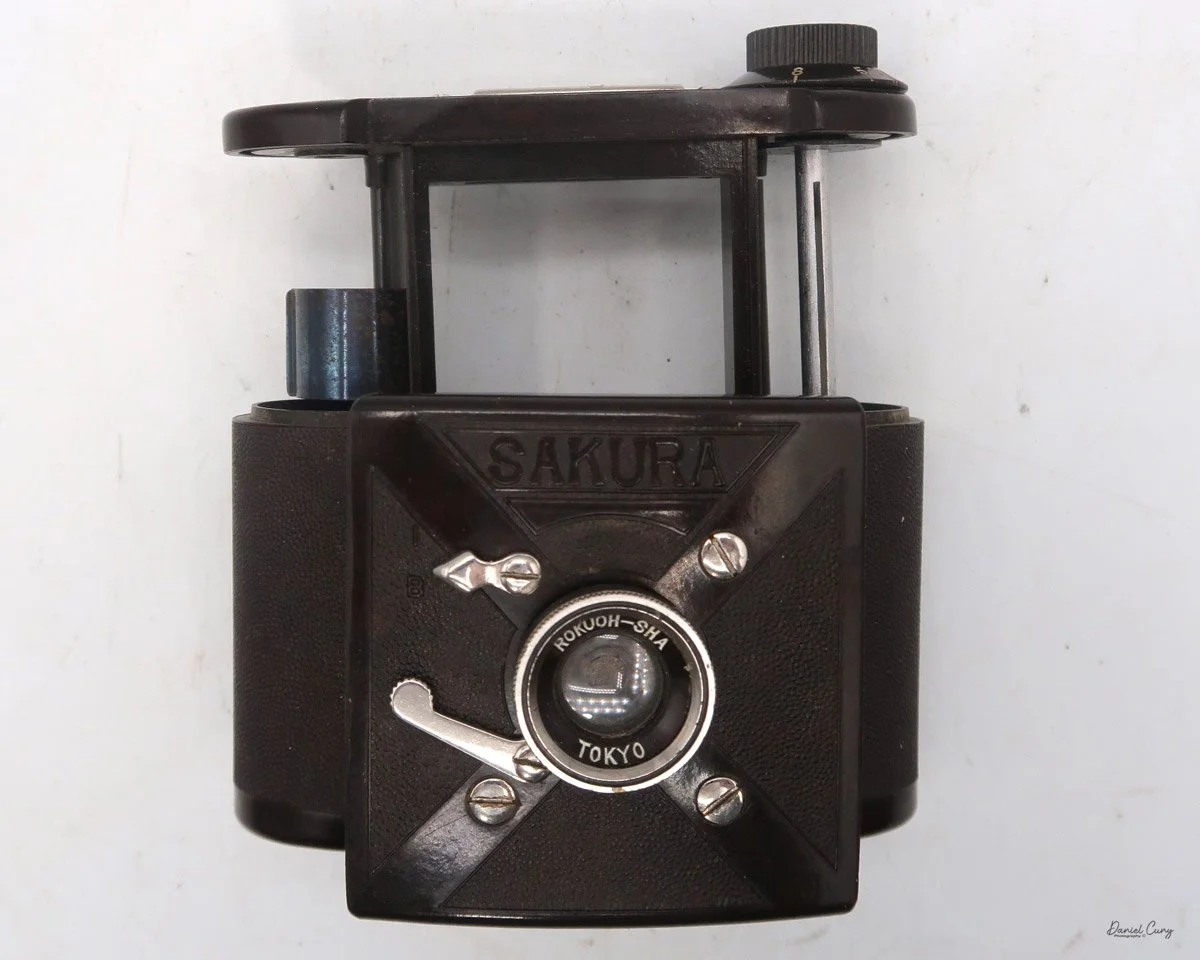
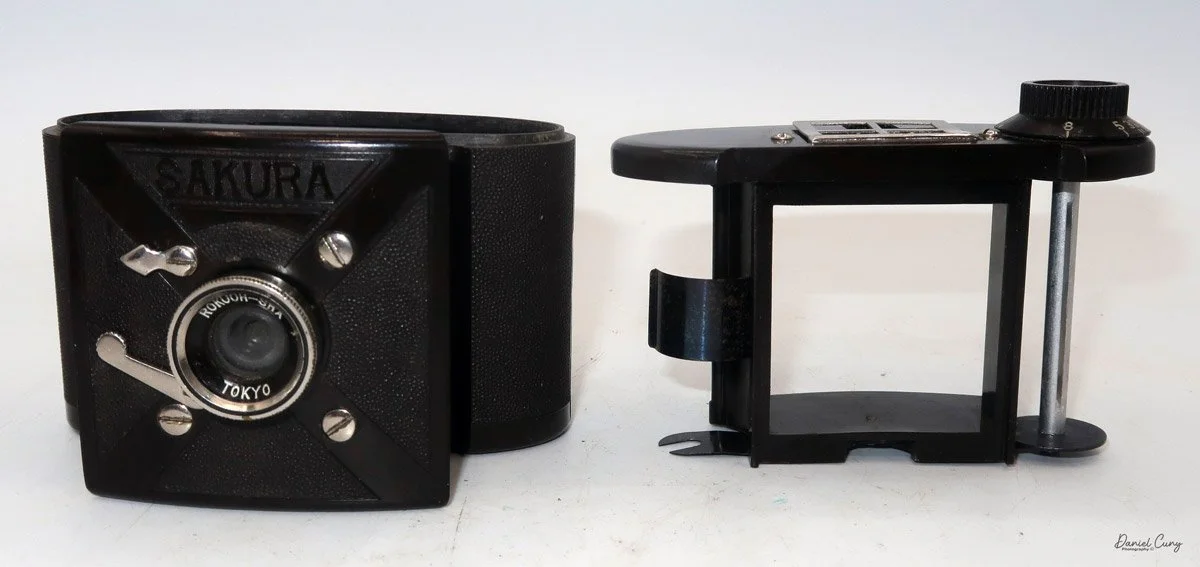
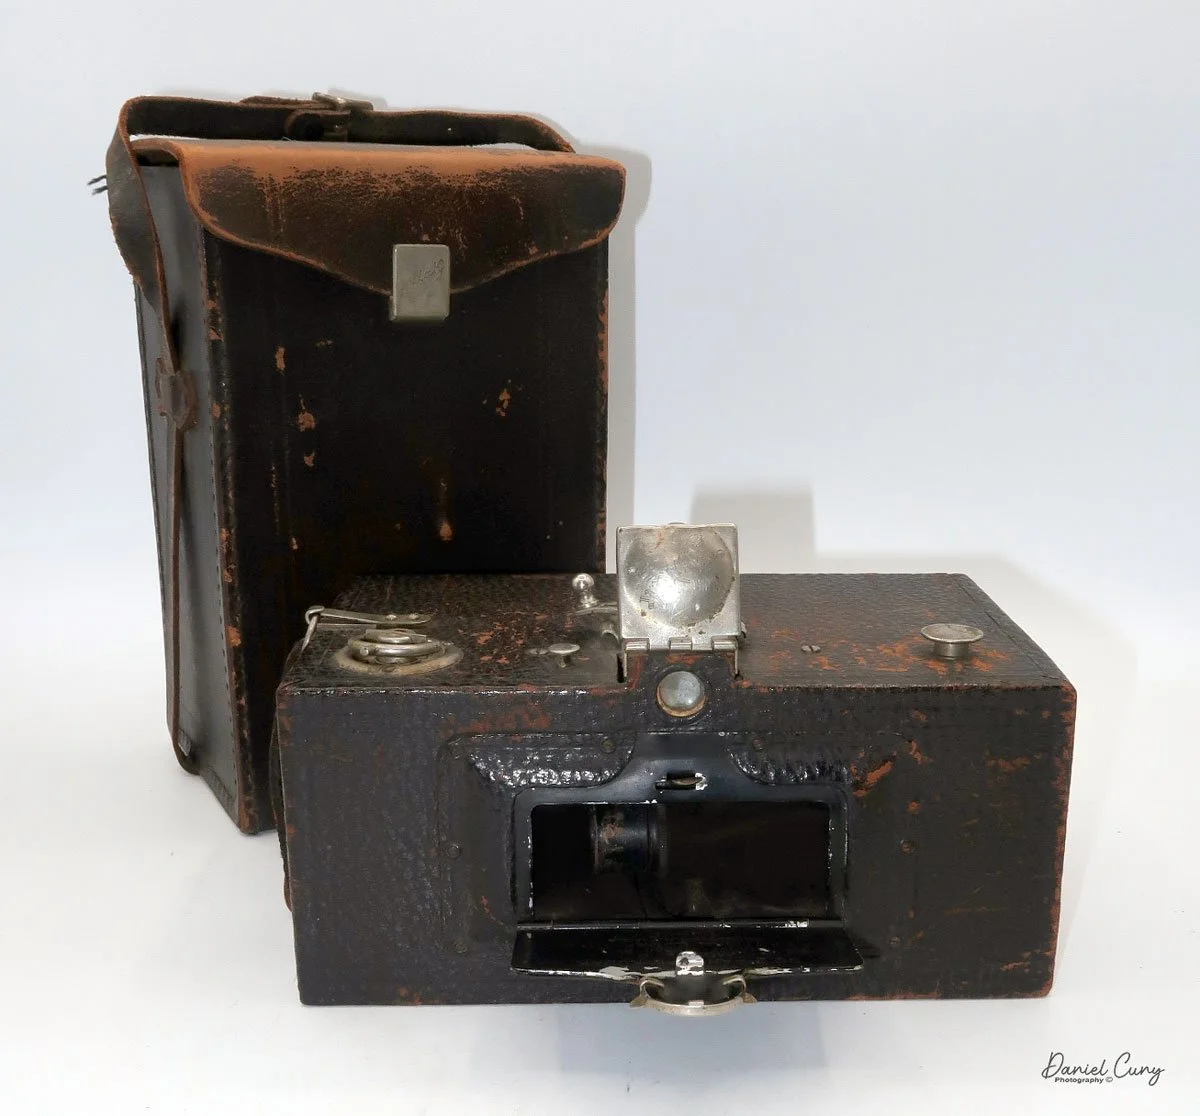
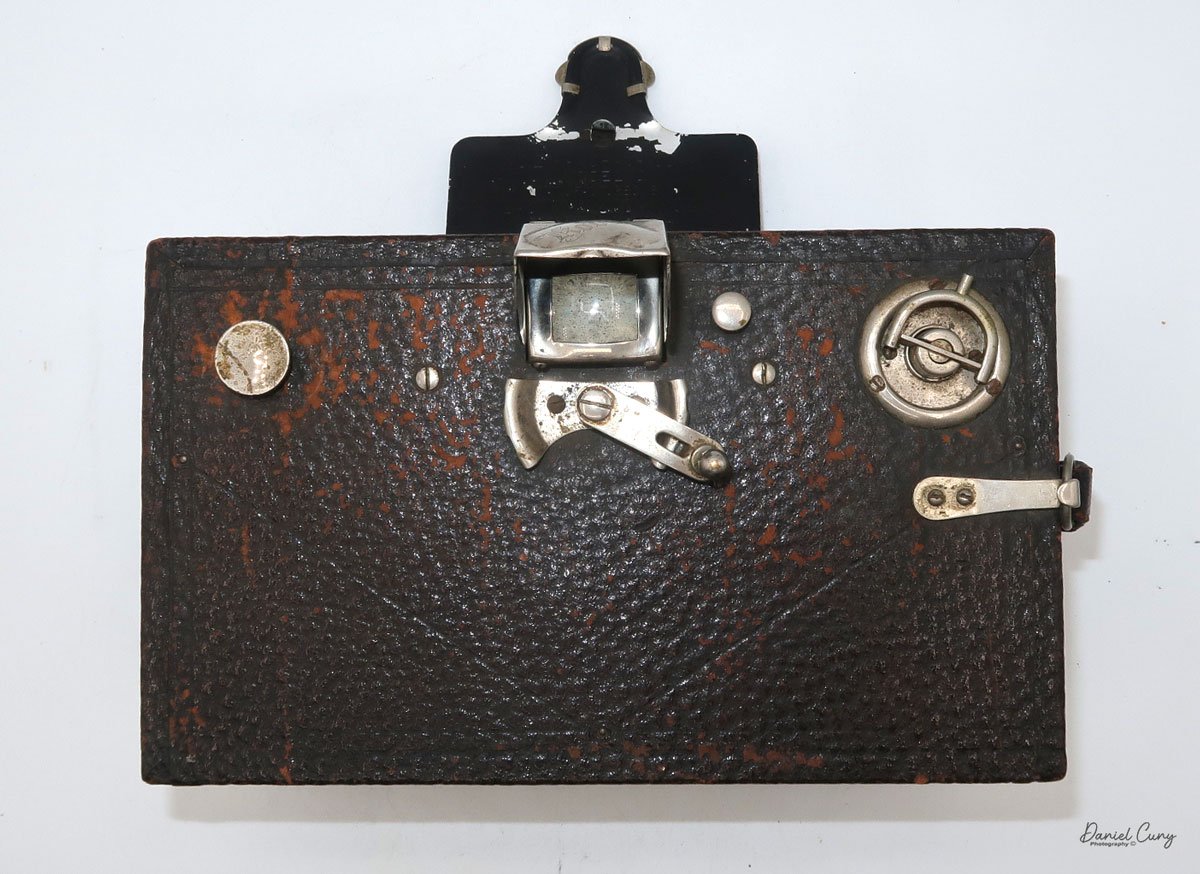
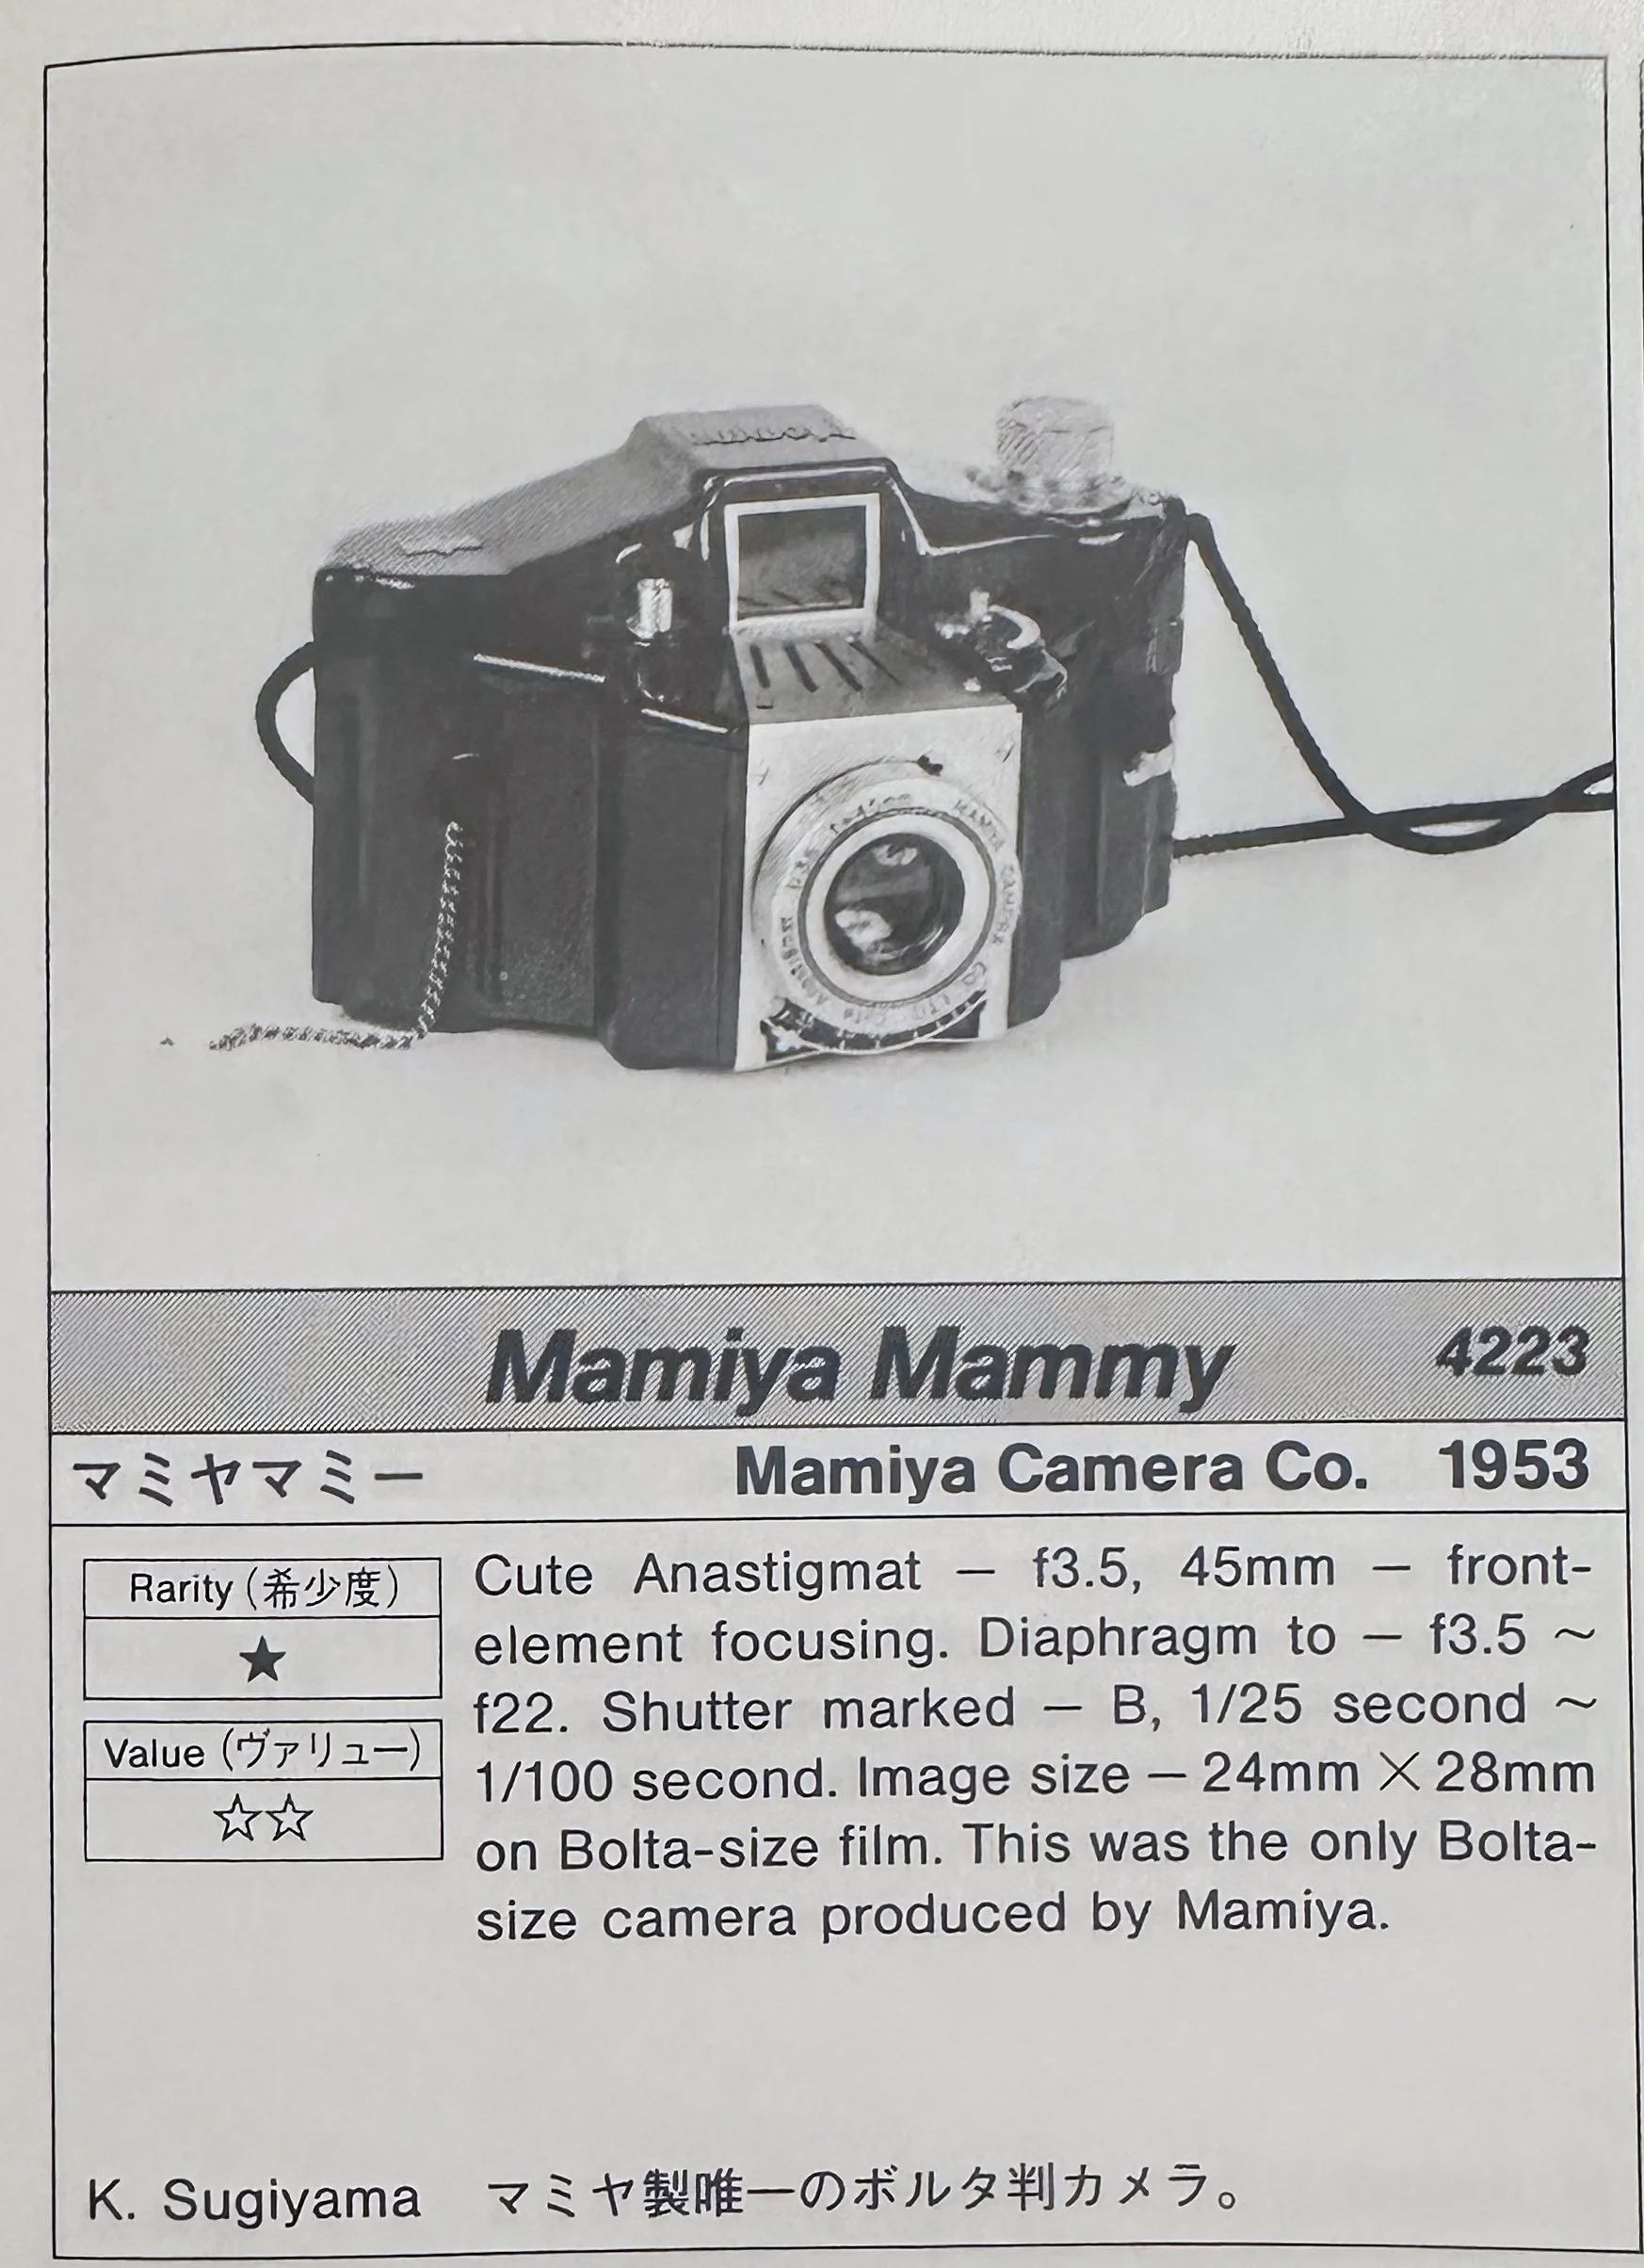
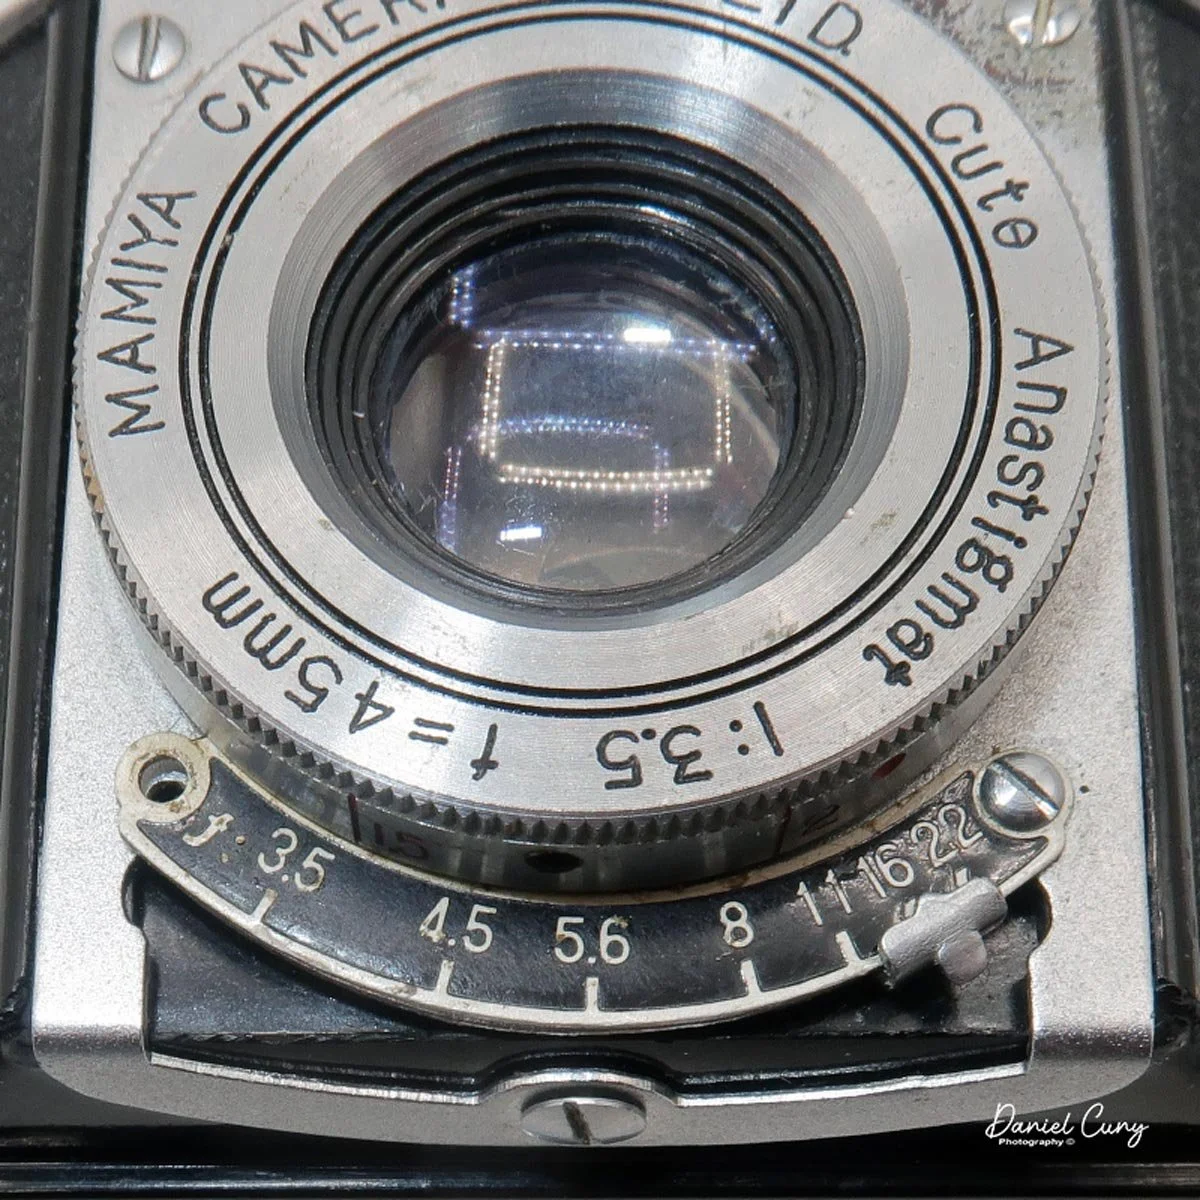
My Mamiya Mammy camera is a small, compact camera made of Bakelite, with chrome accents along the top of the lens area, around the front viewfinder, the winding knob, shutter release, and lens. The camera was built in early 1953, soon after the end of World War II, during Japan's rebuilding. It was the only Bolta film camera produced by Mamiya.
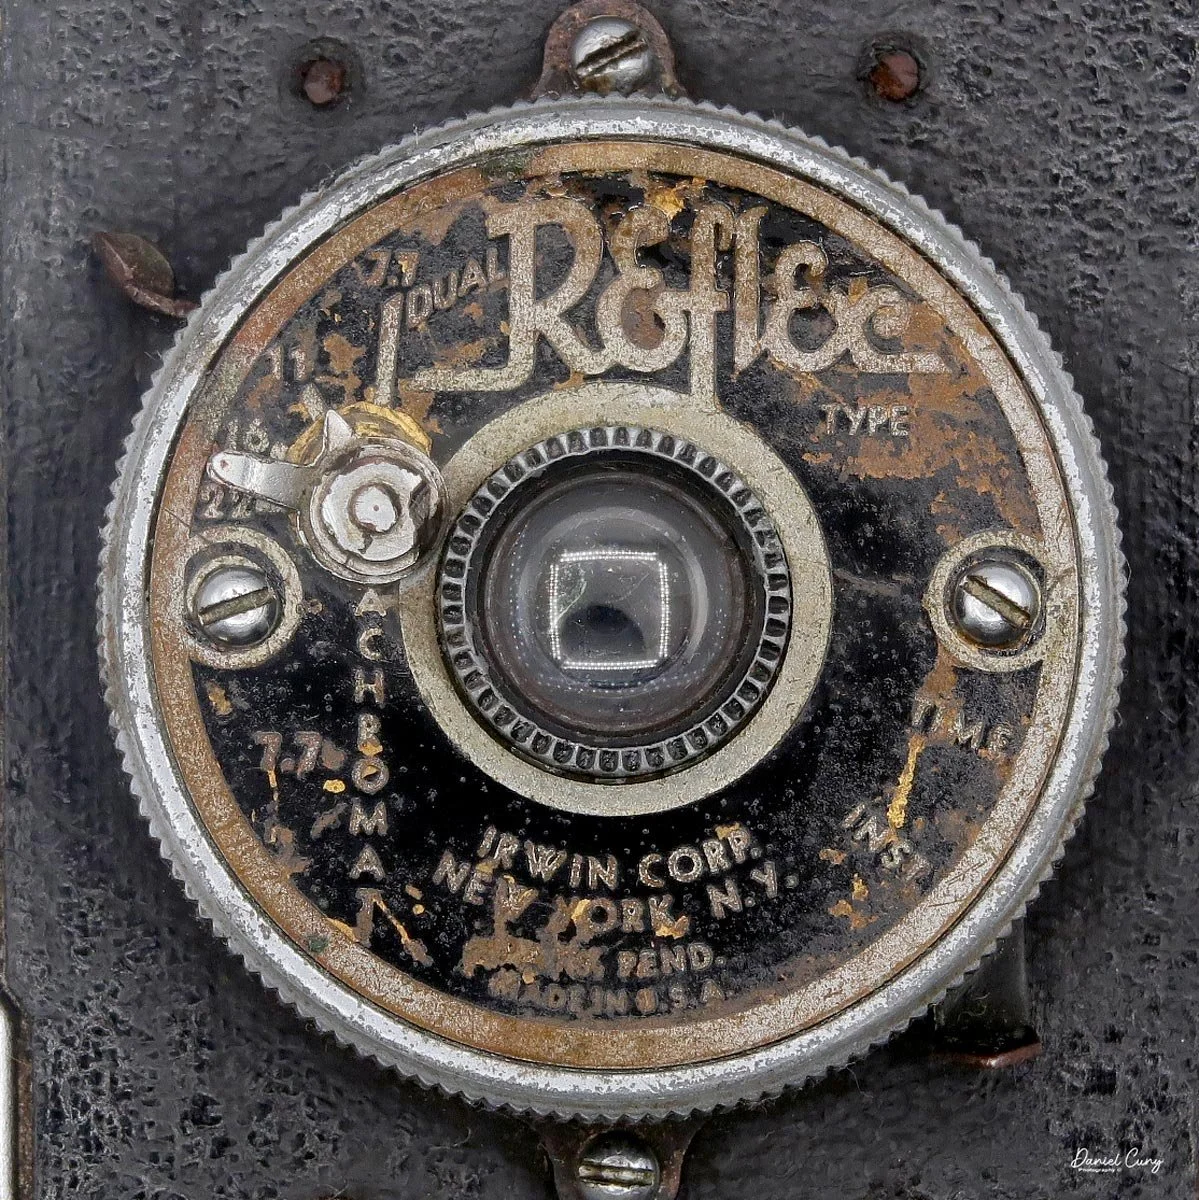
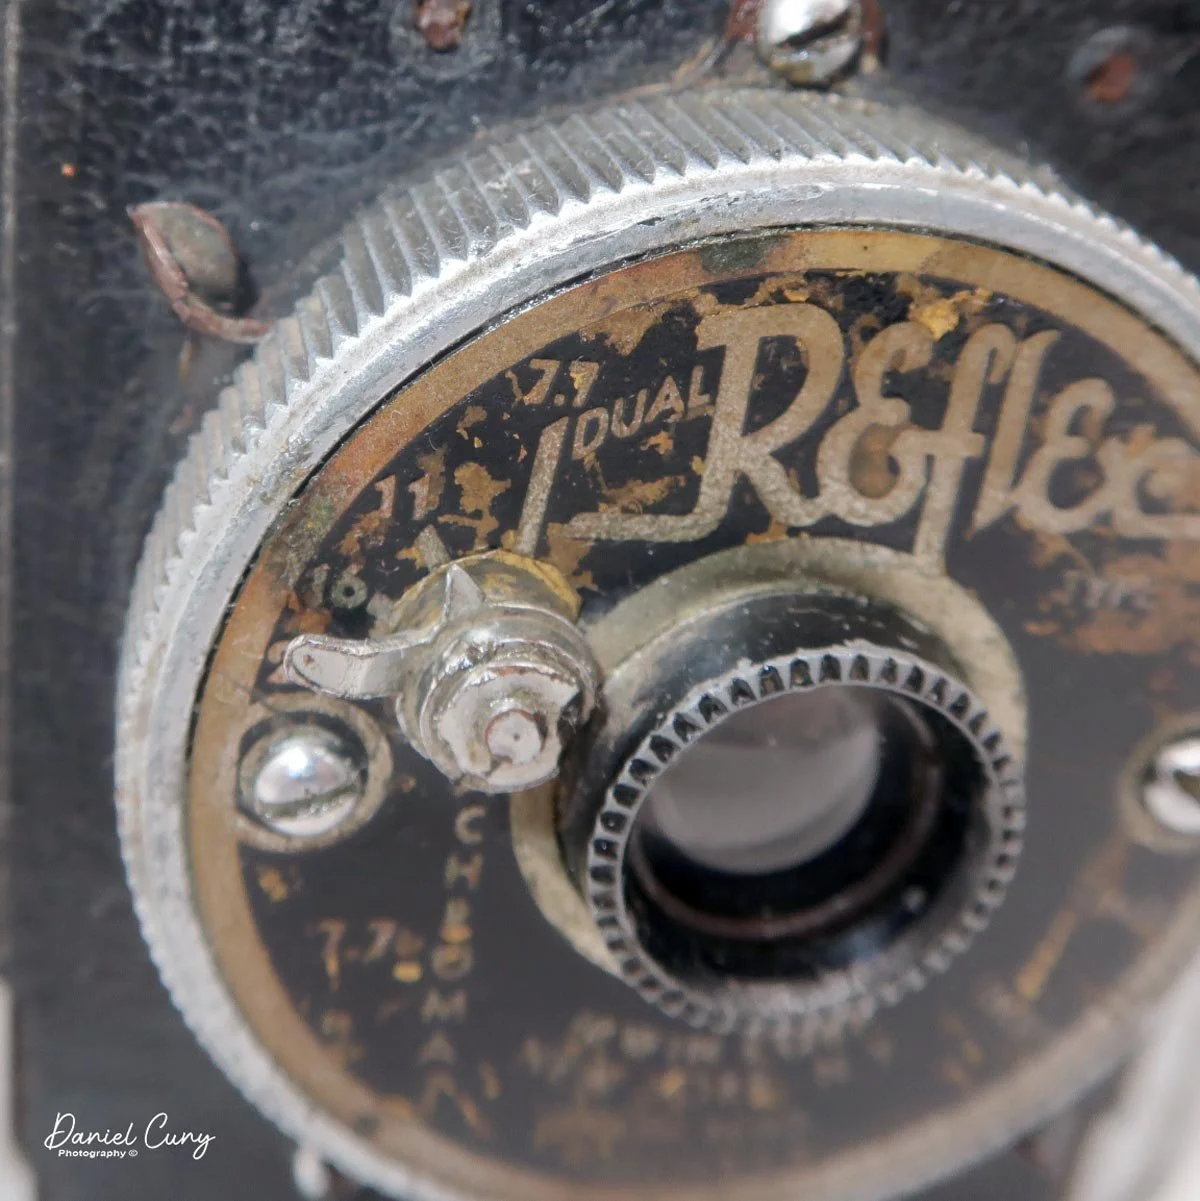
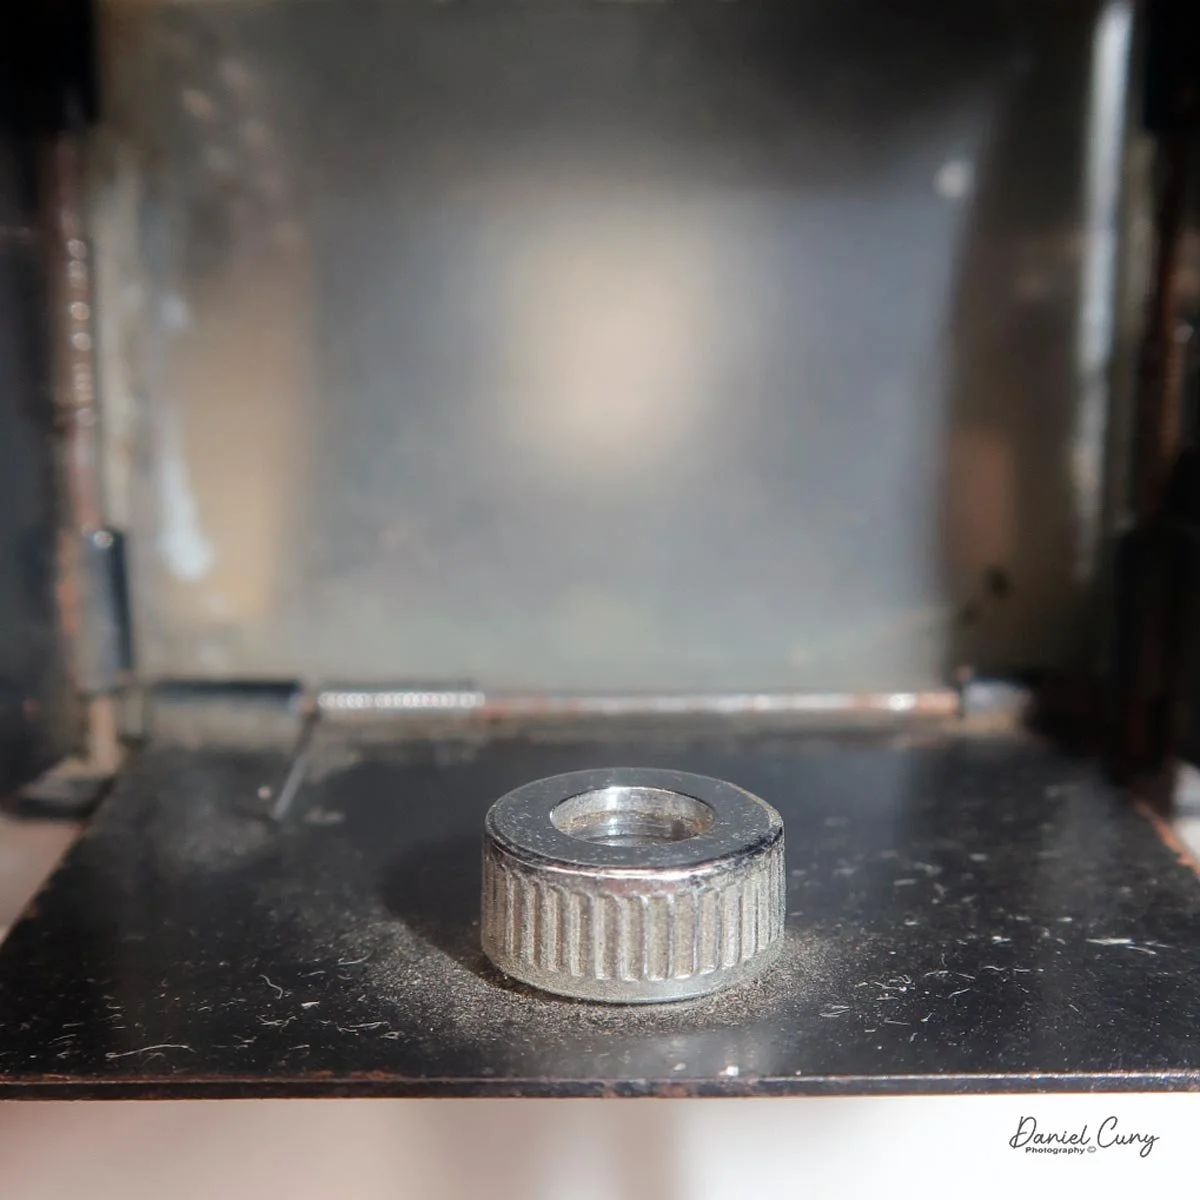
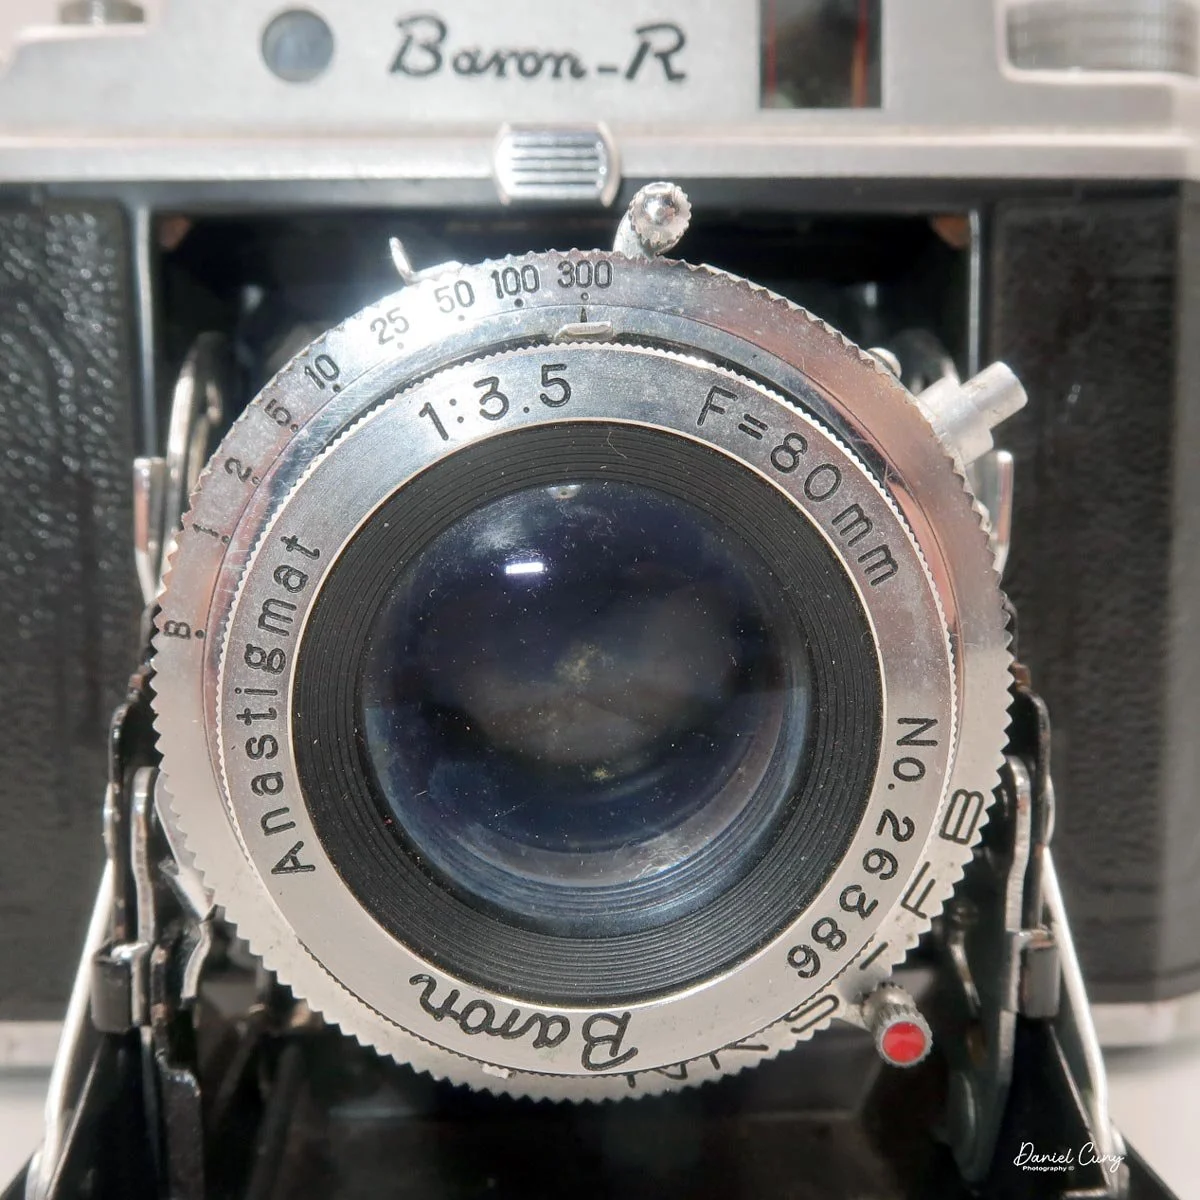
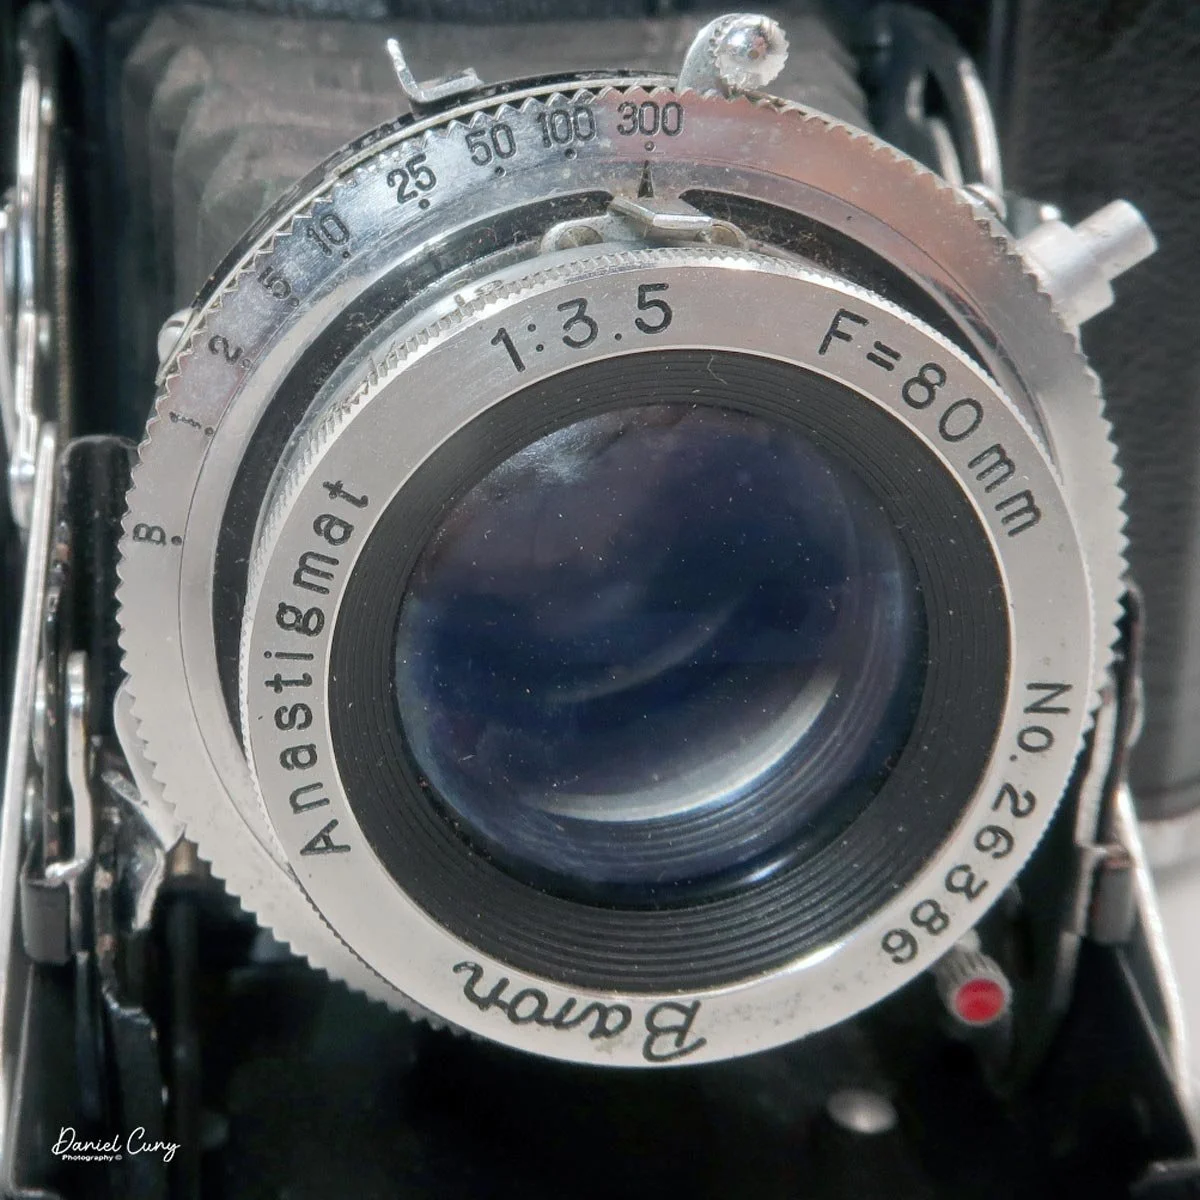
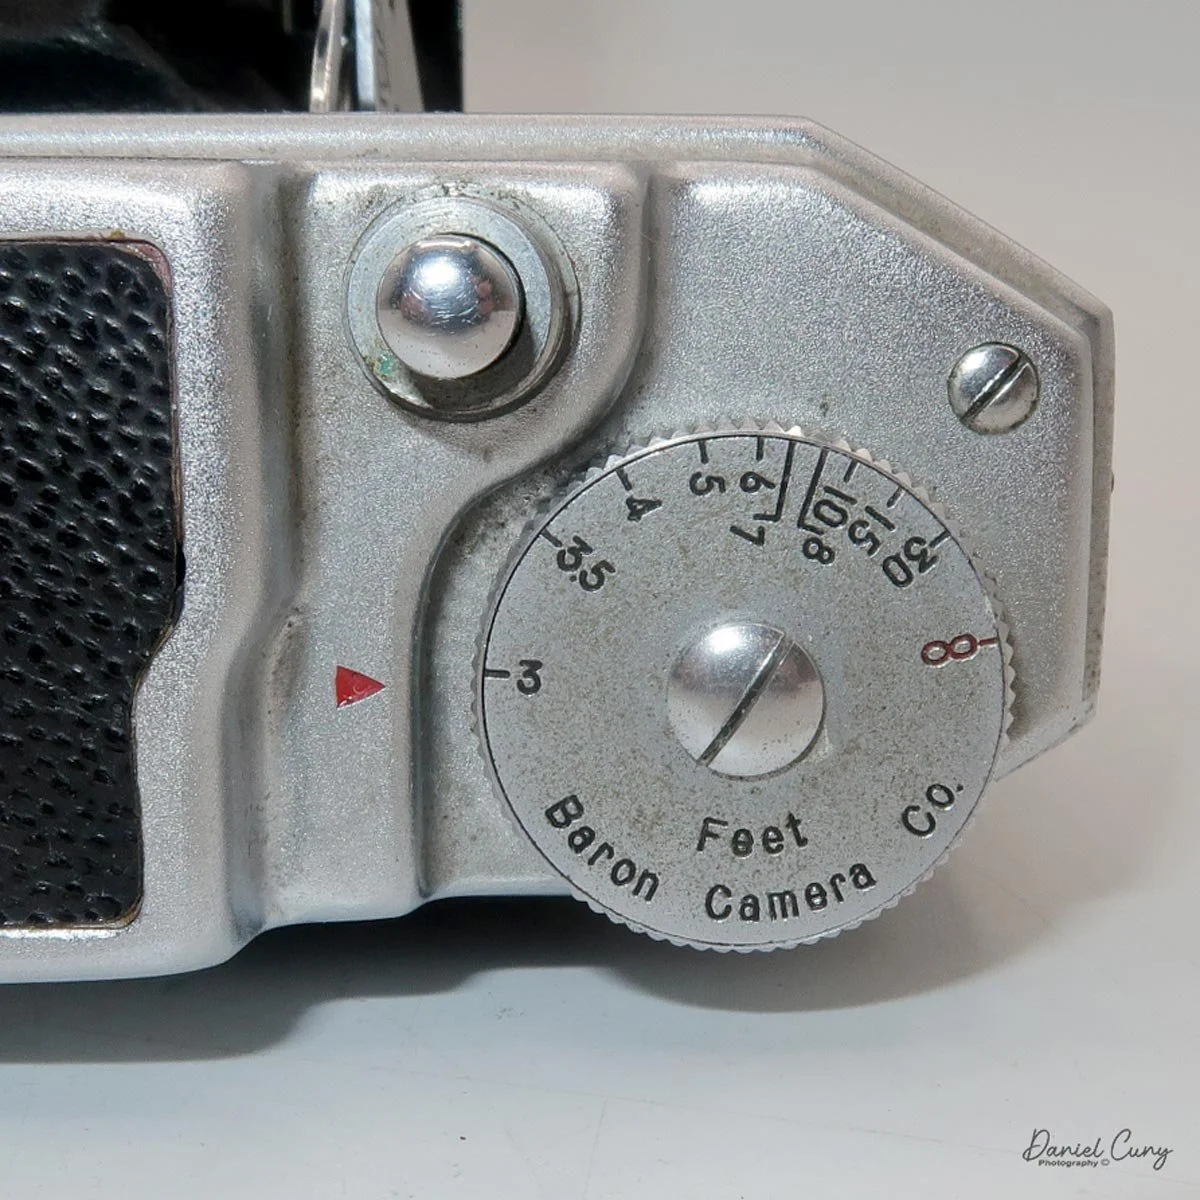
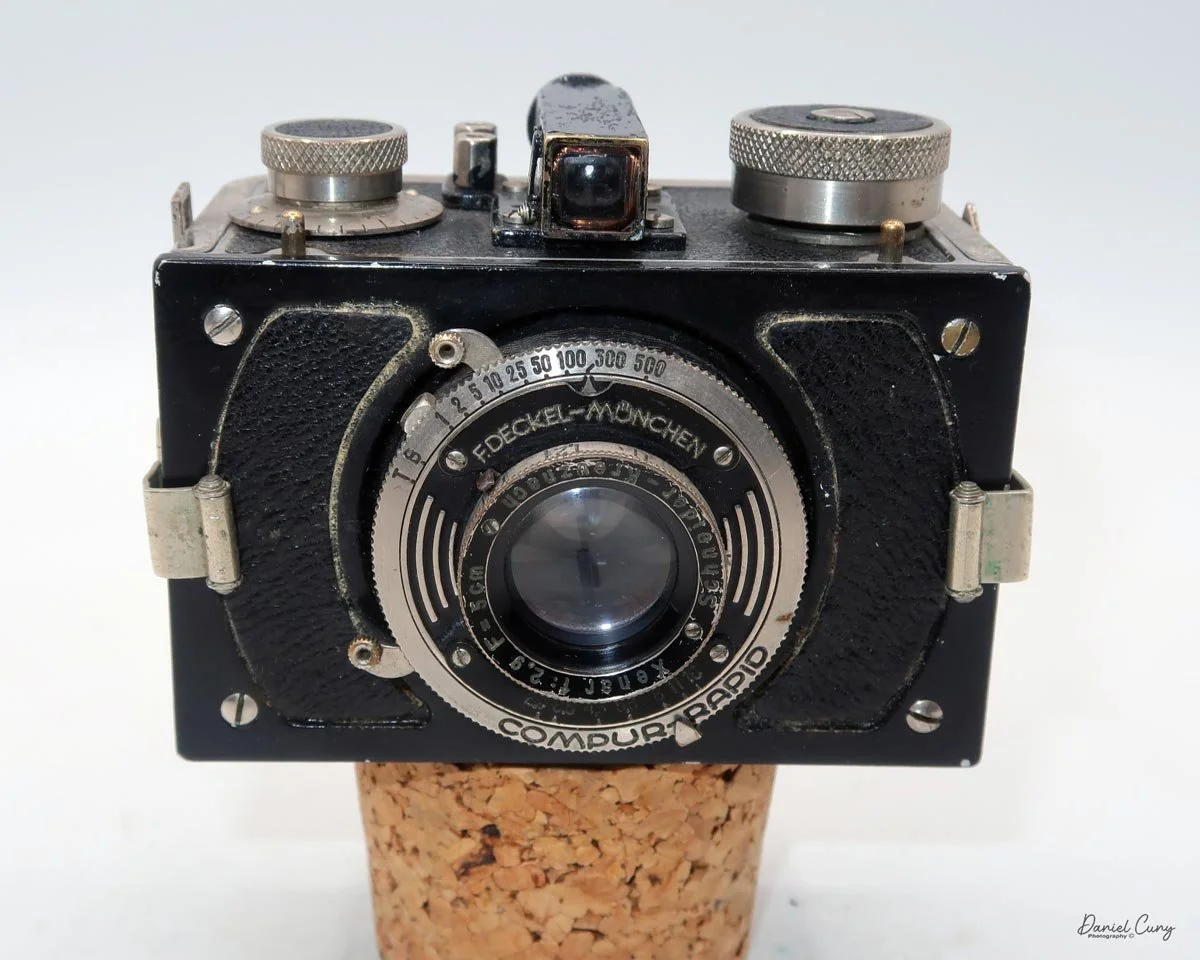
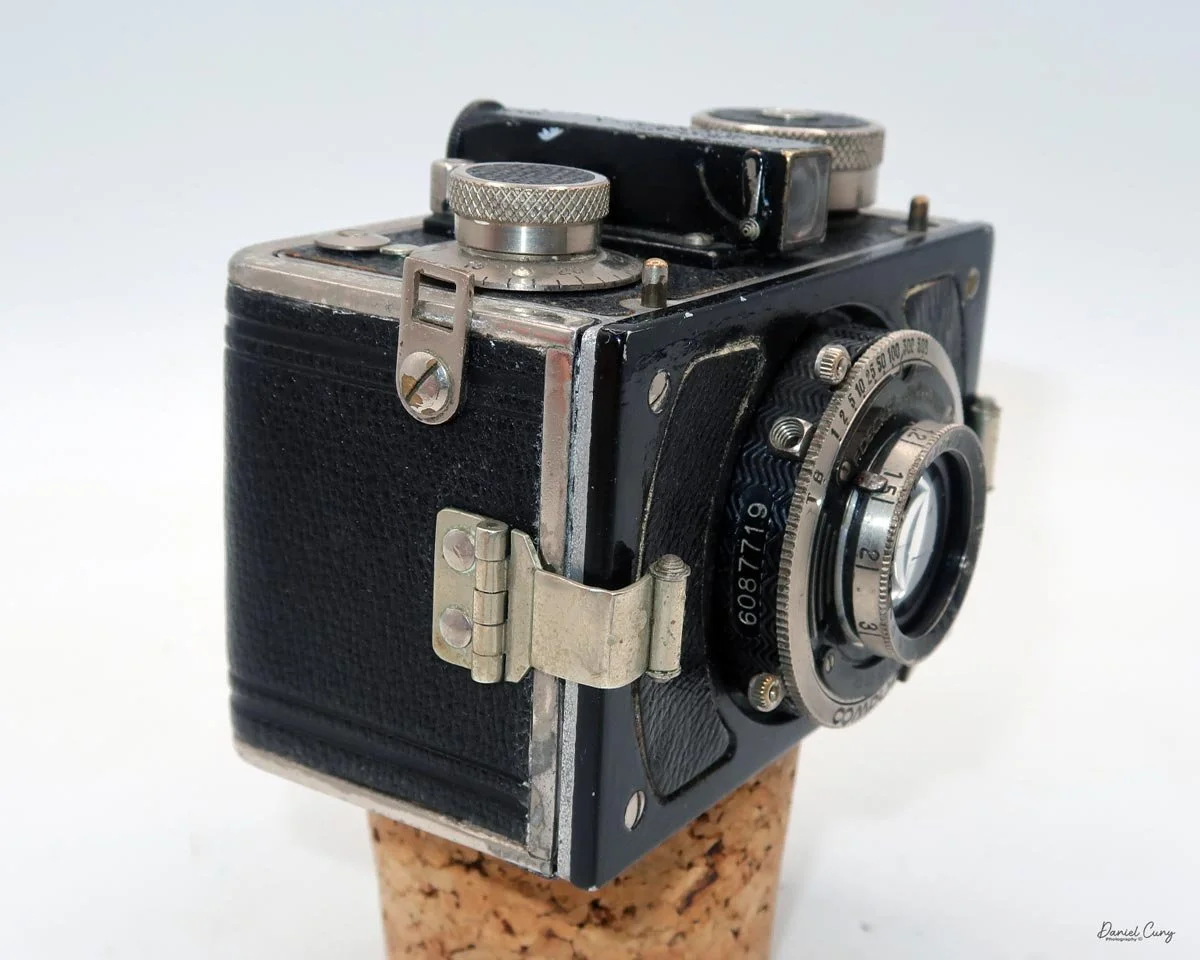
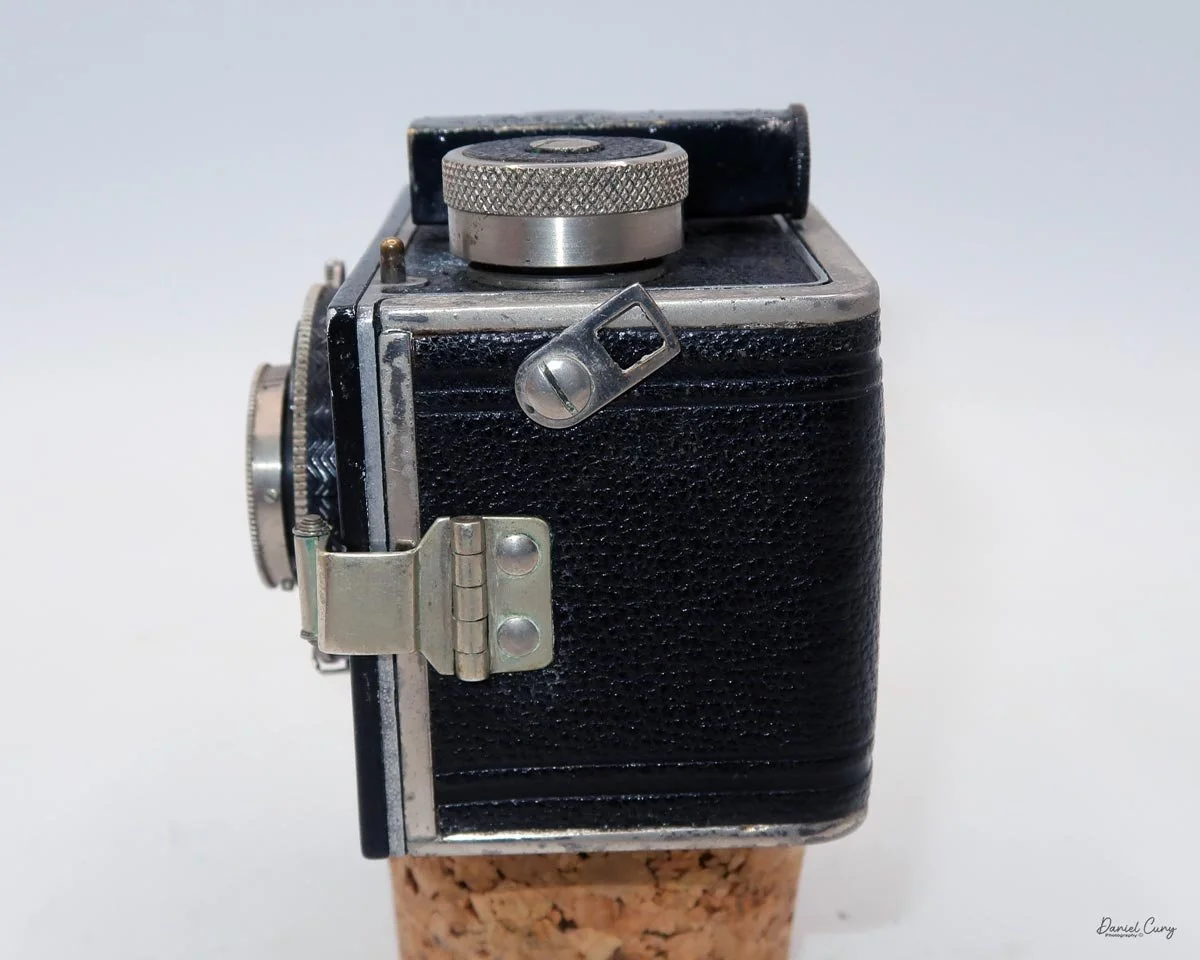
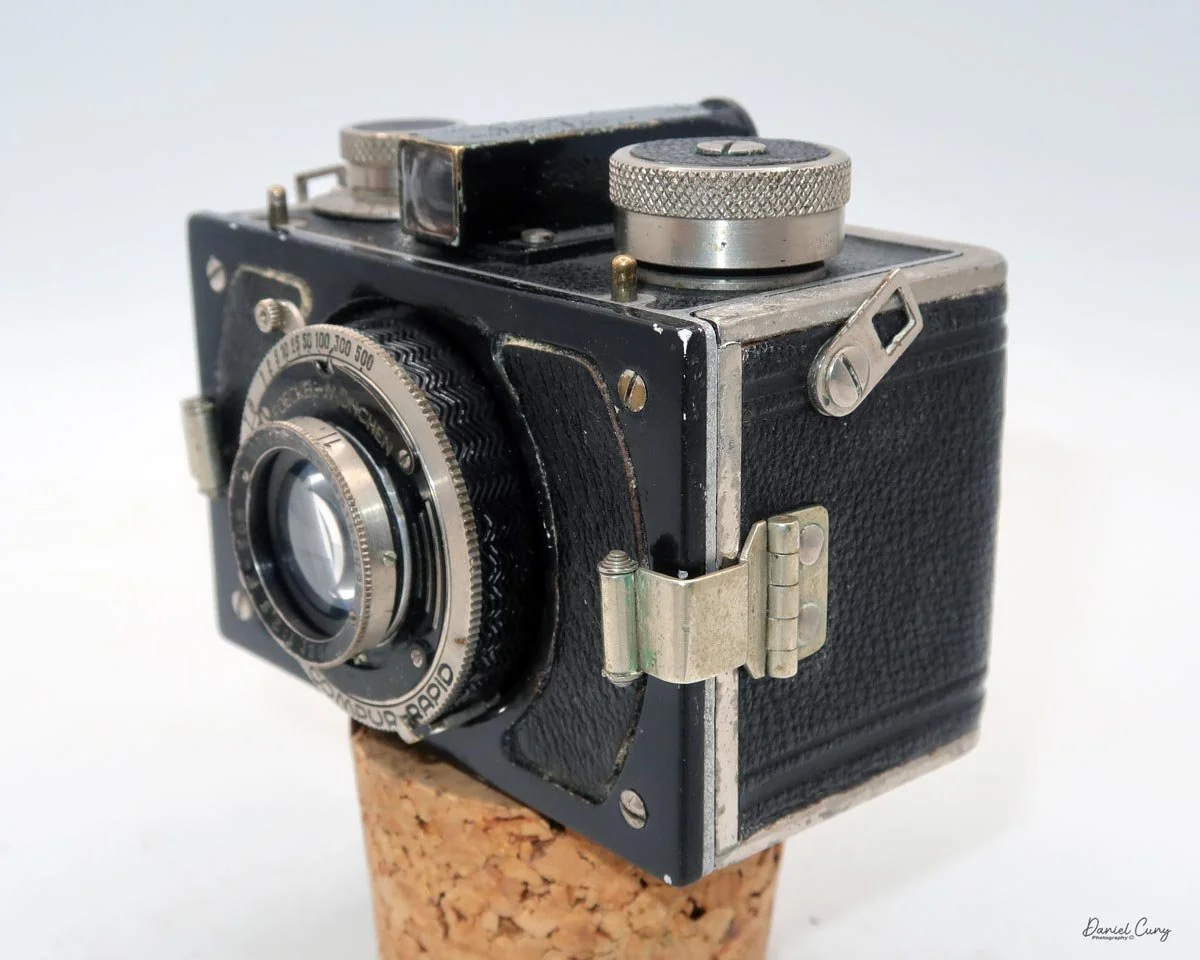
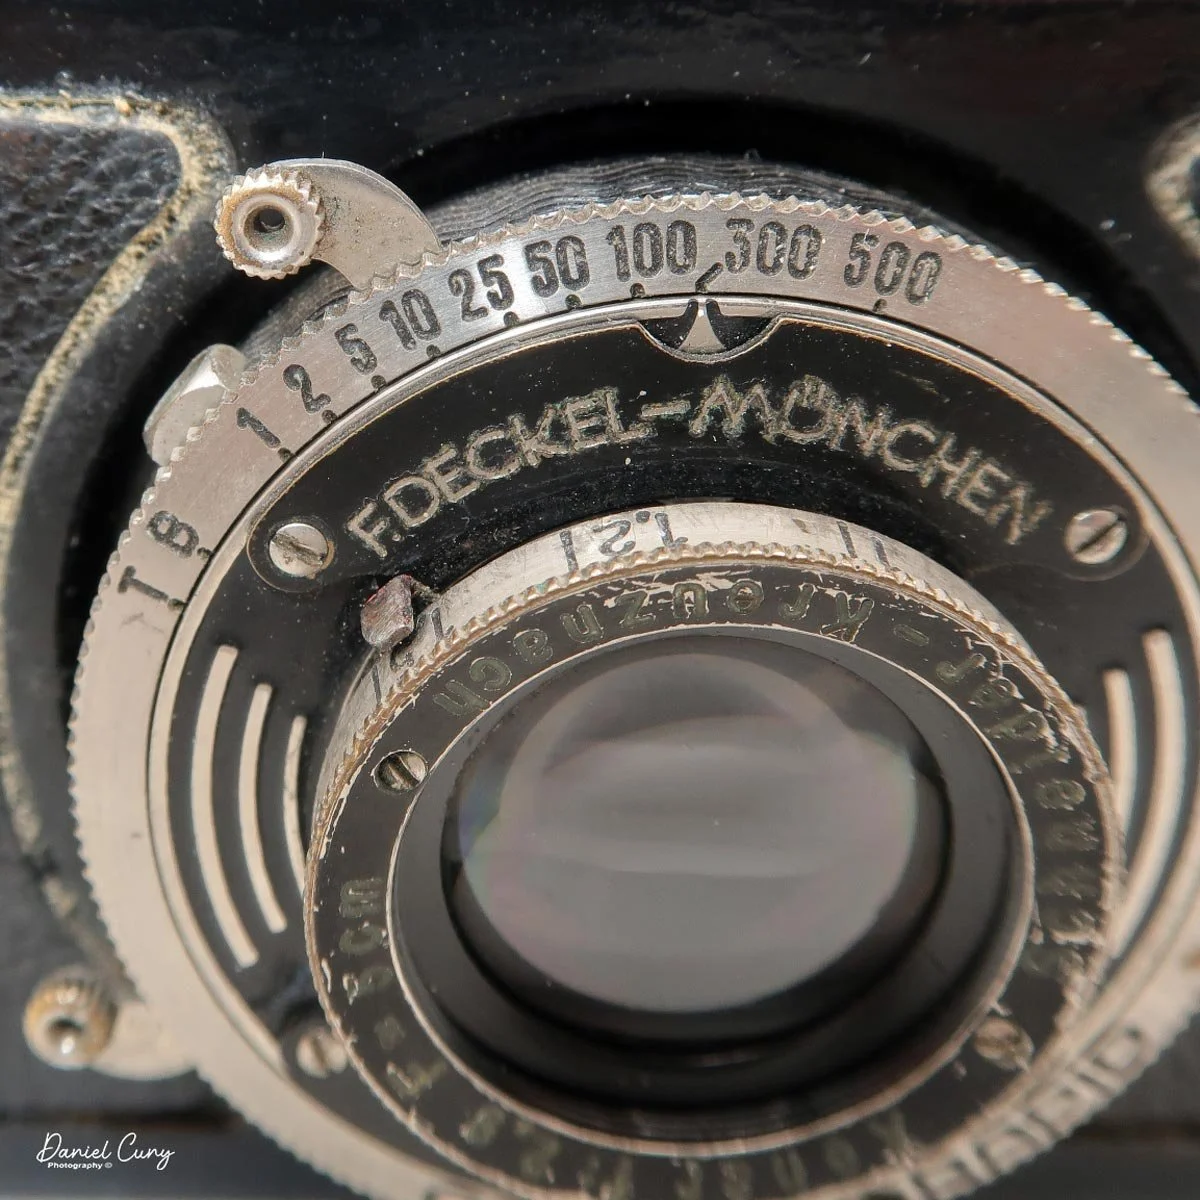
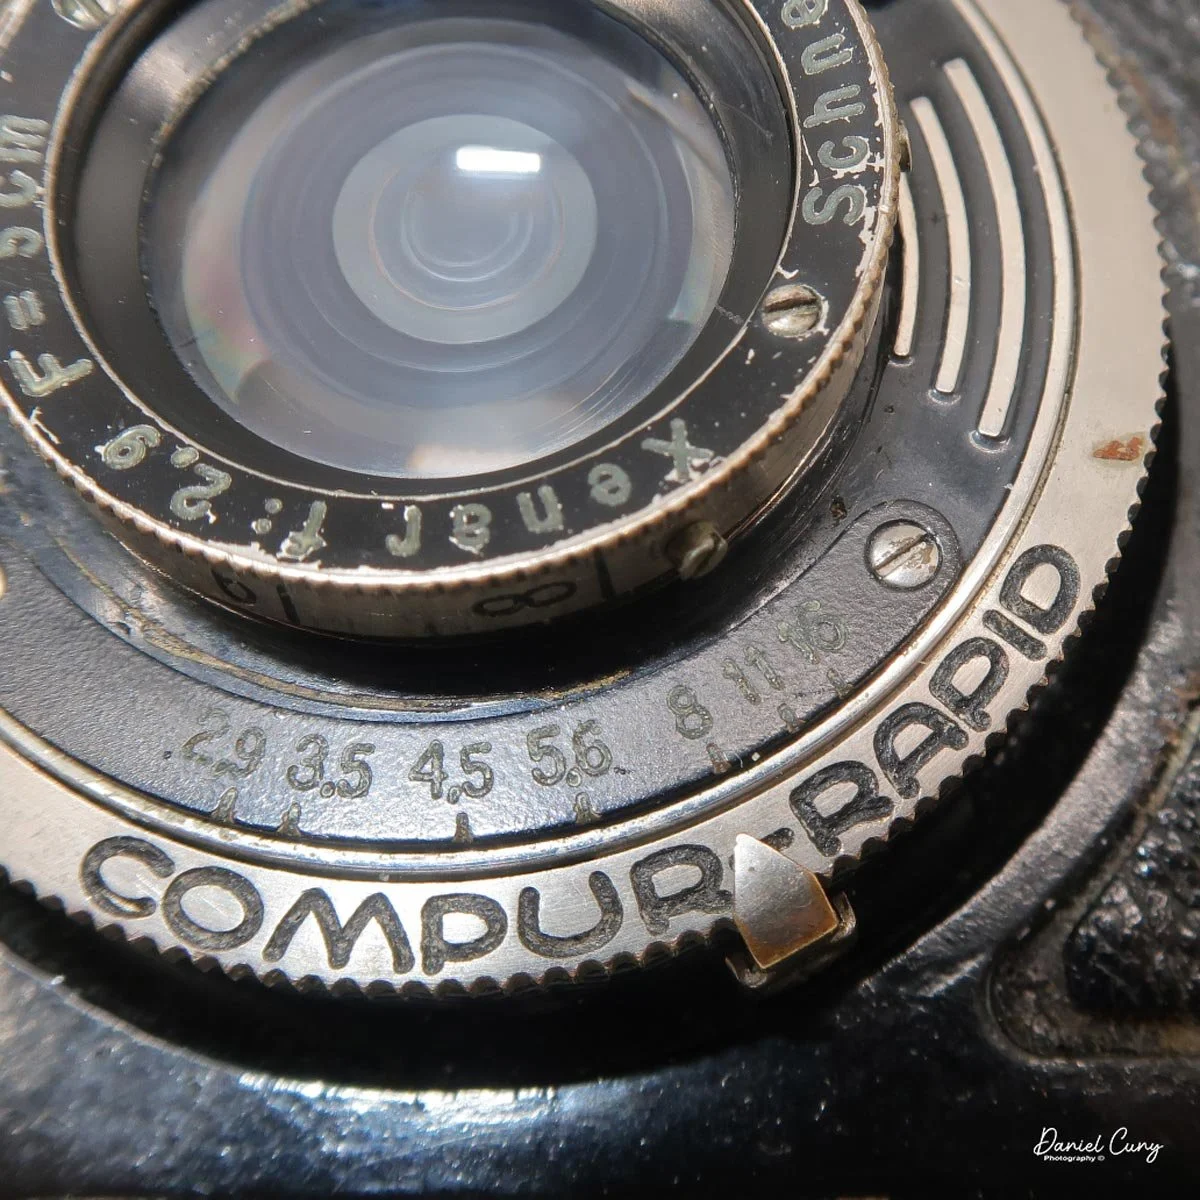
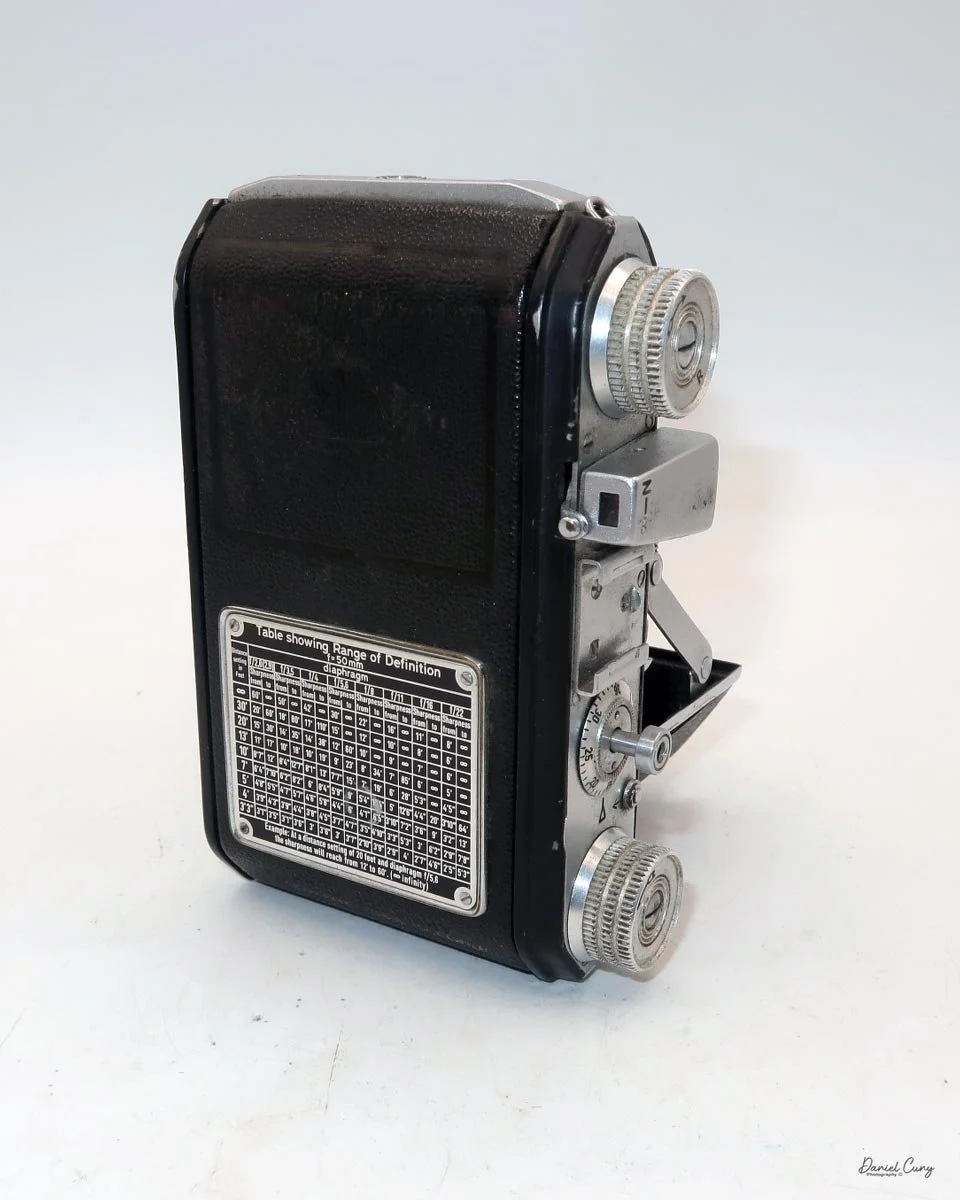
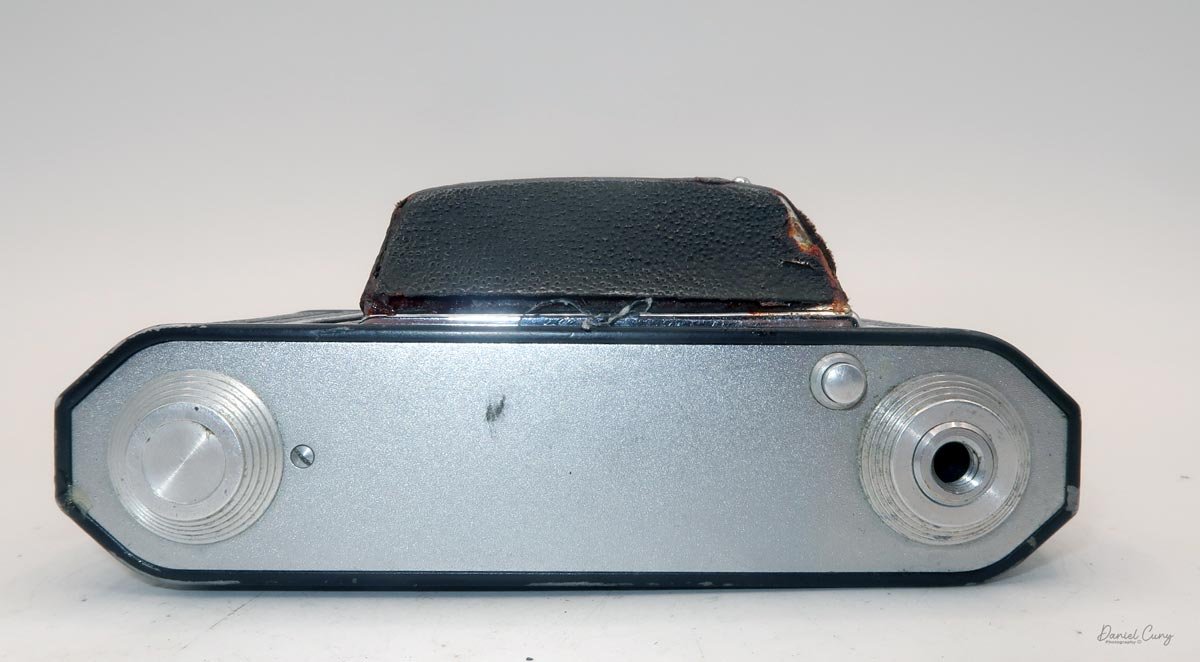
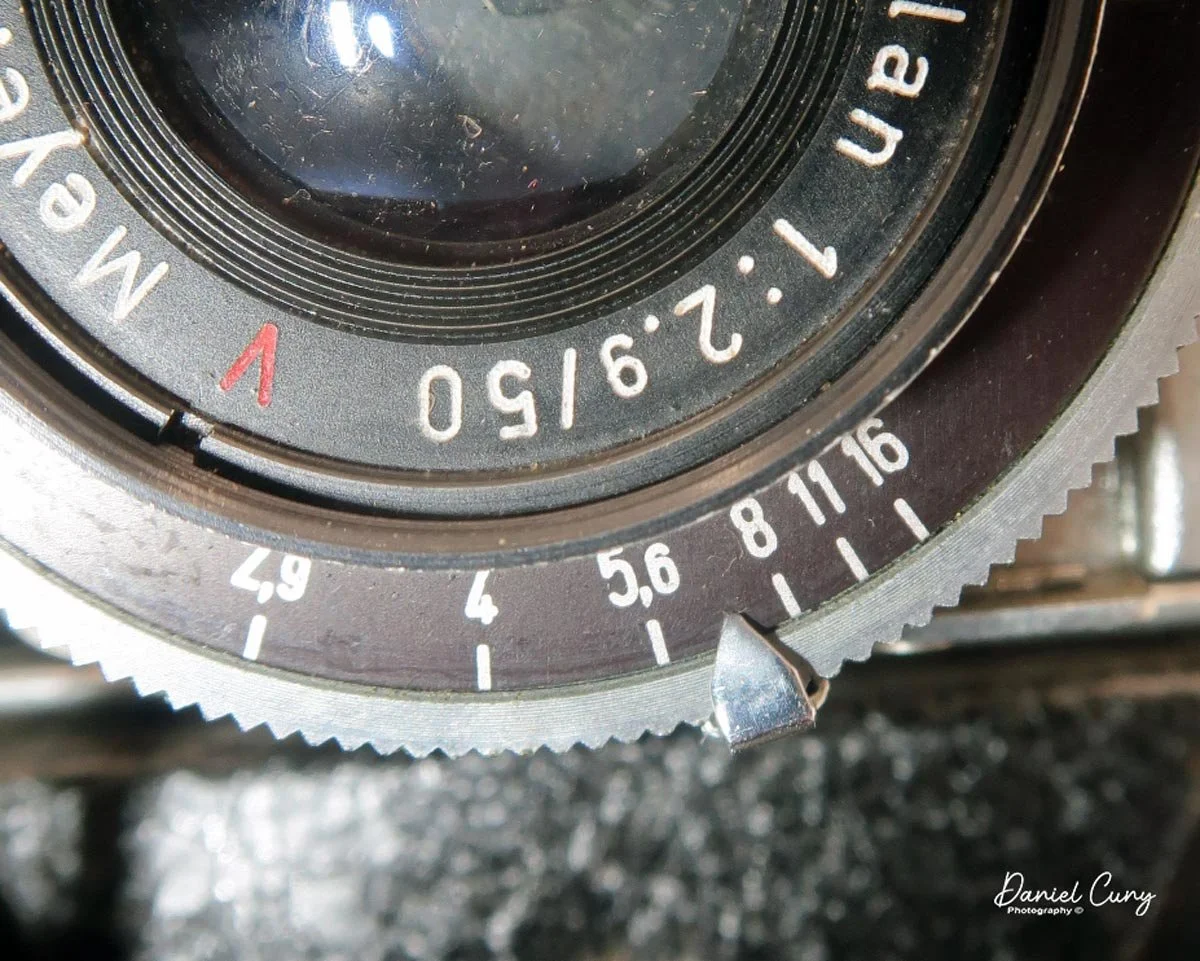
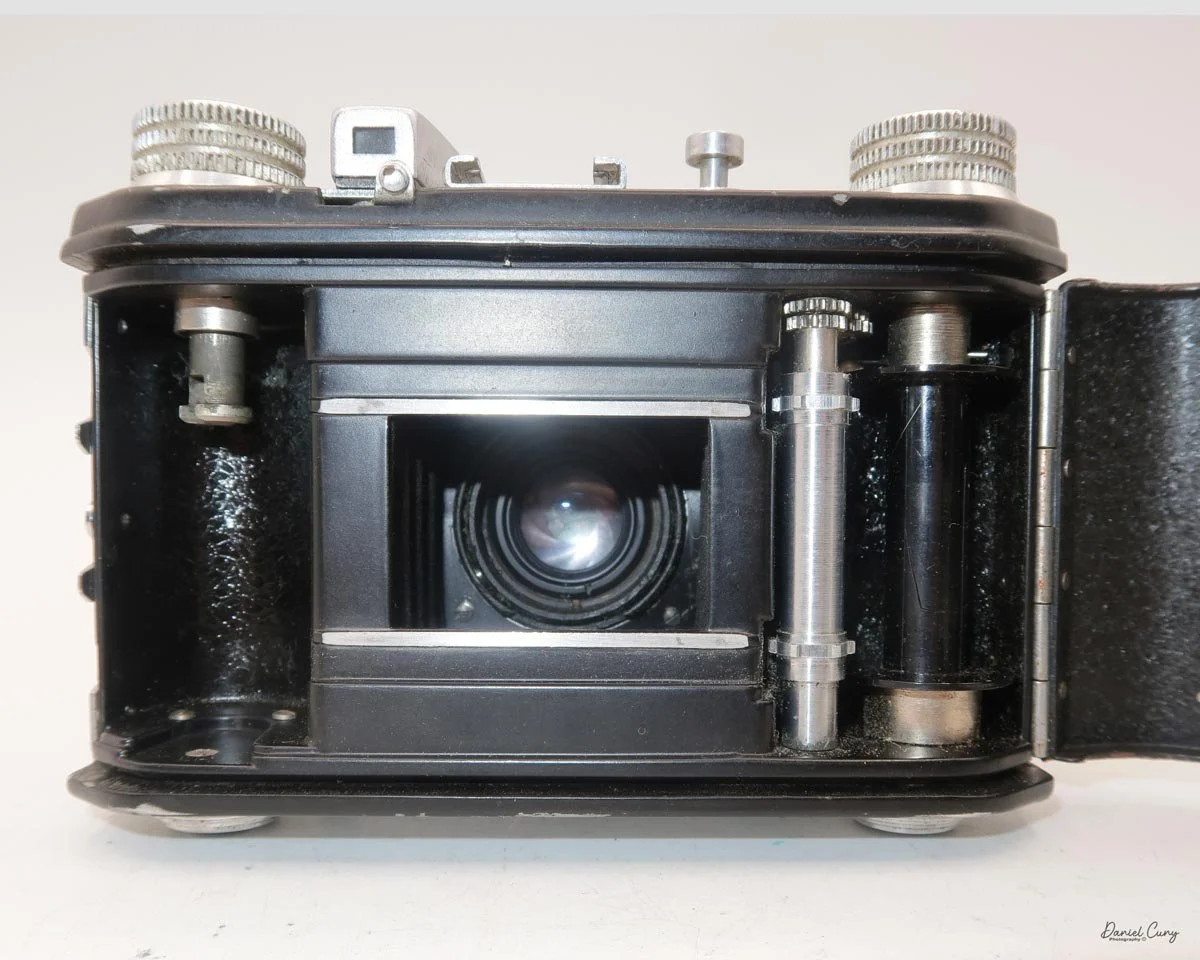
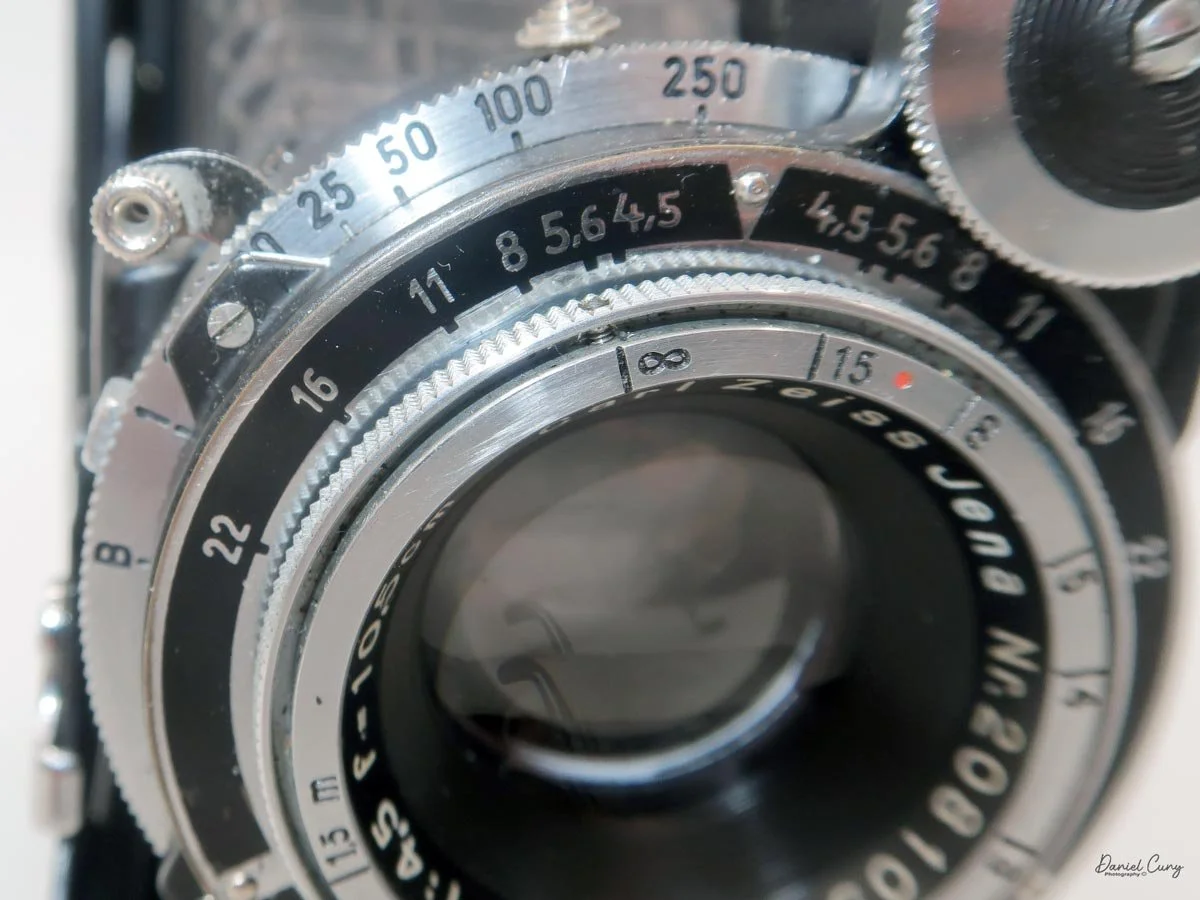
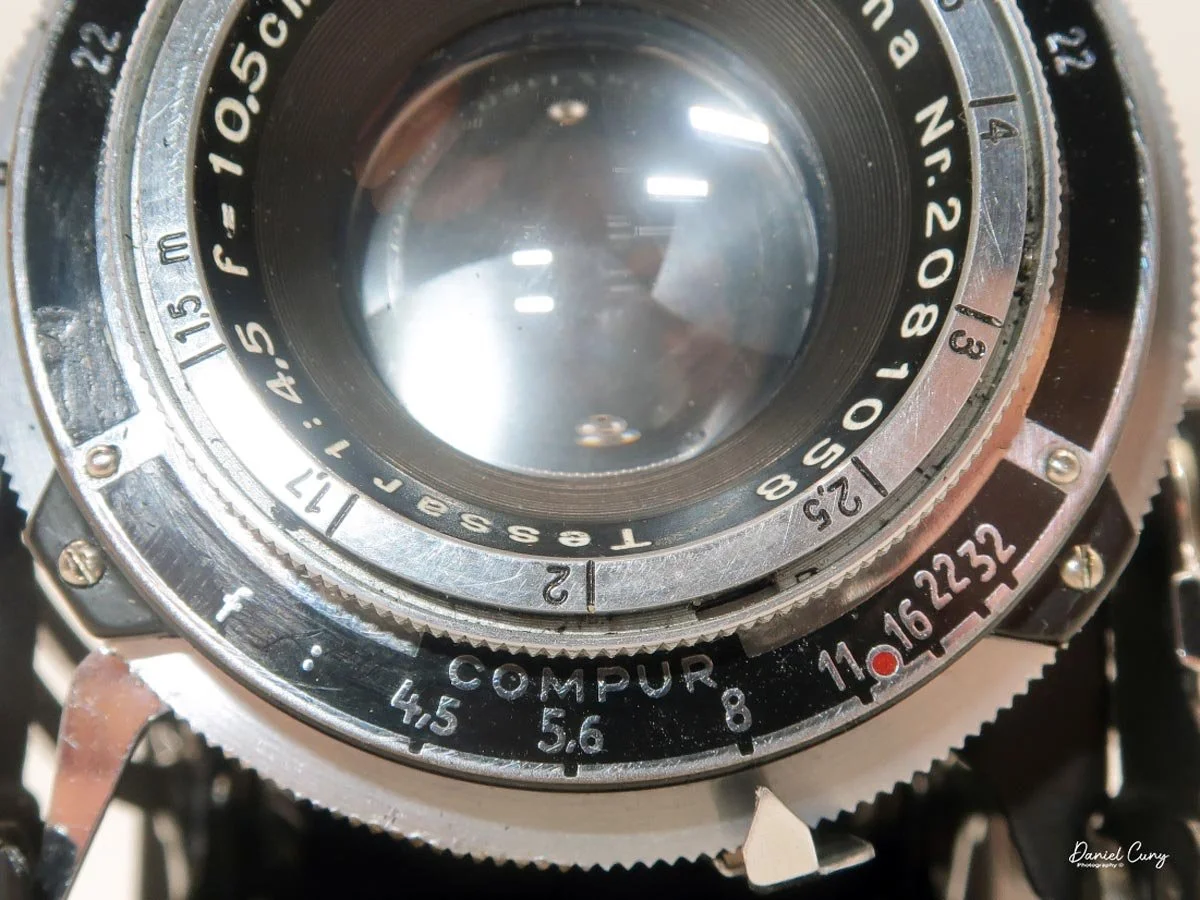
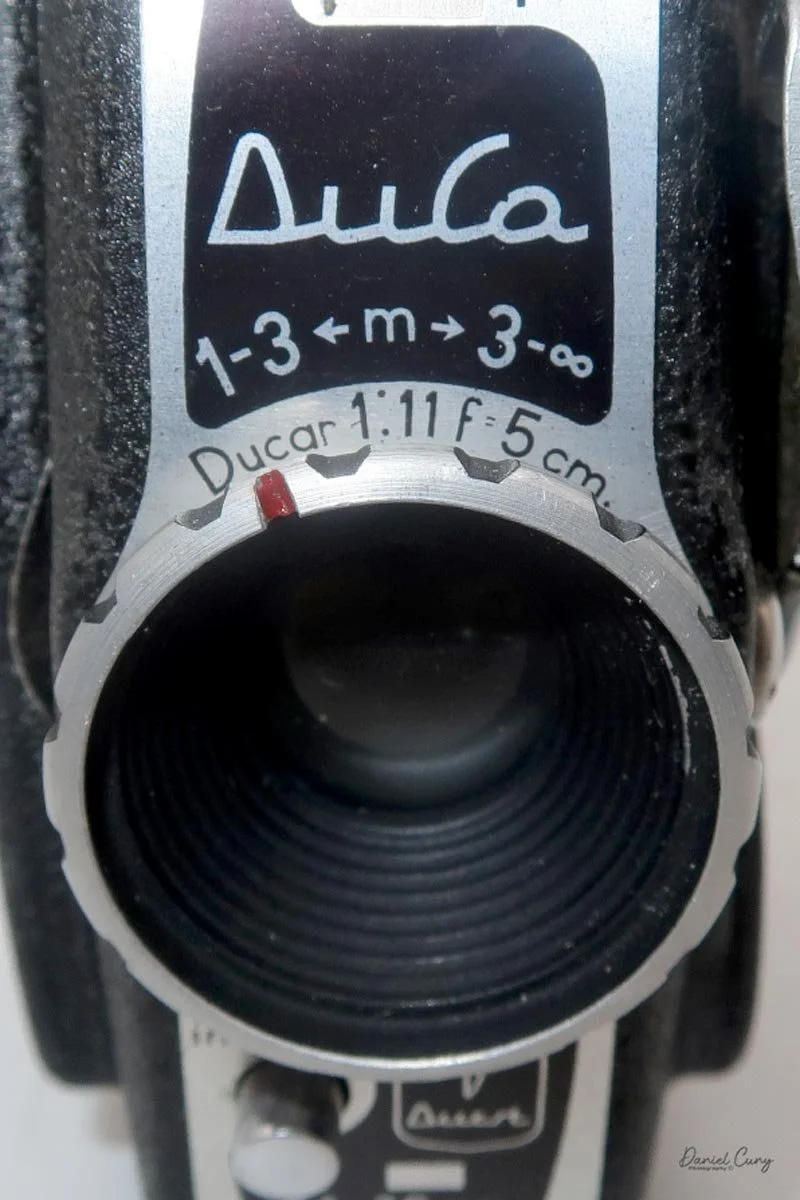
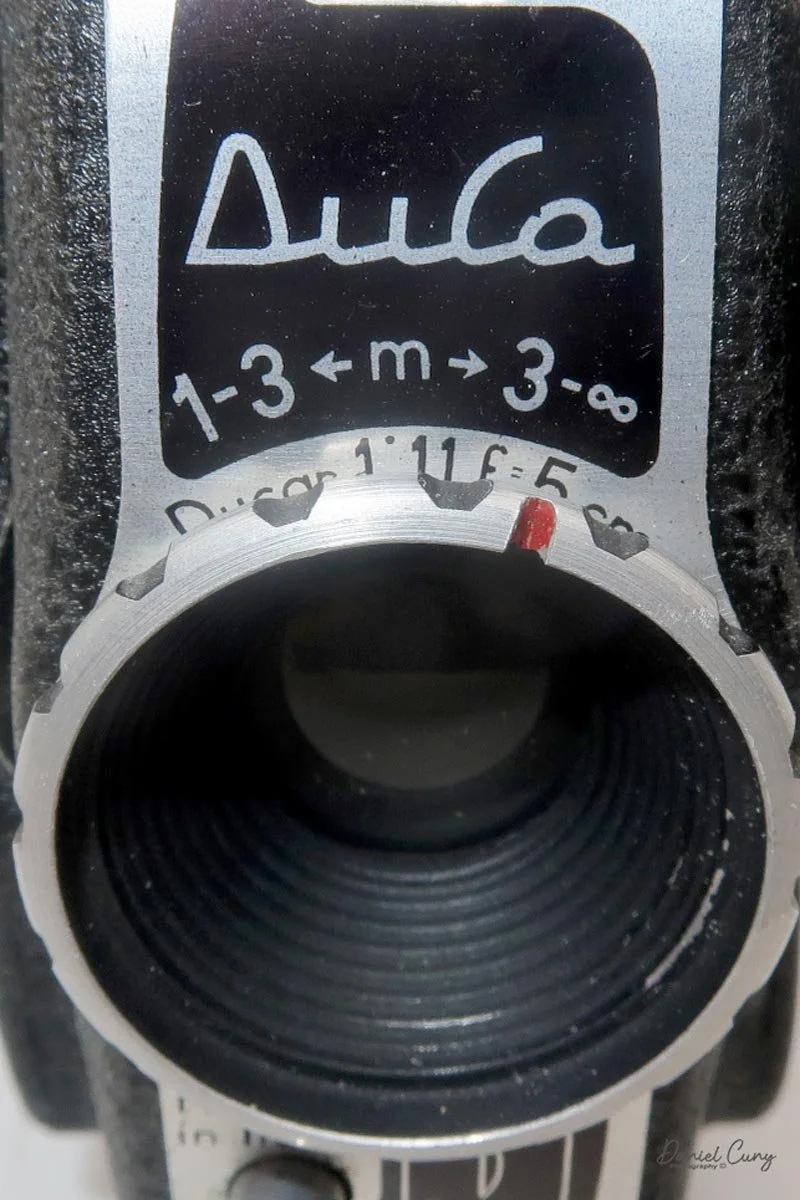
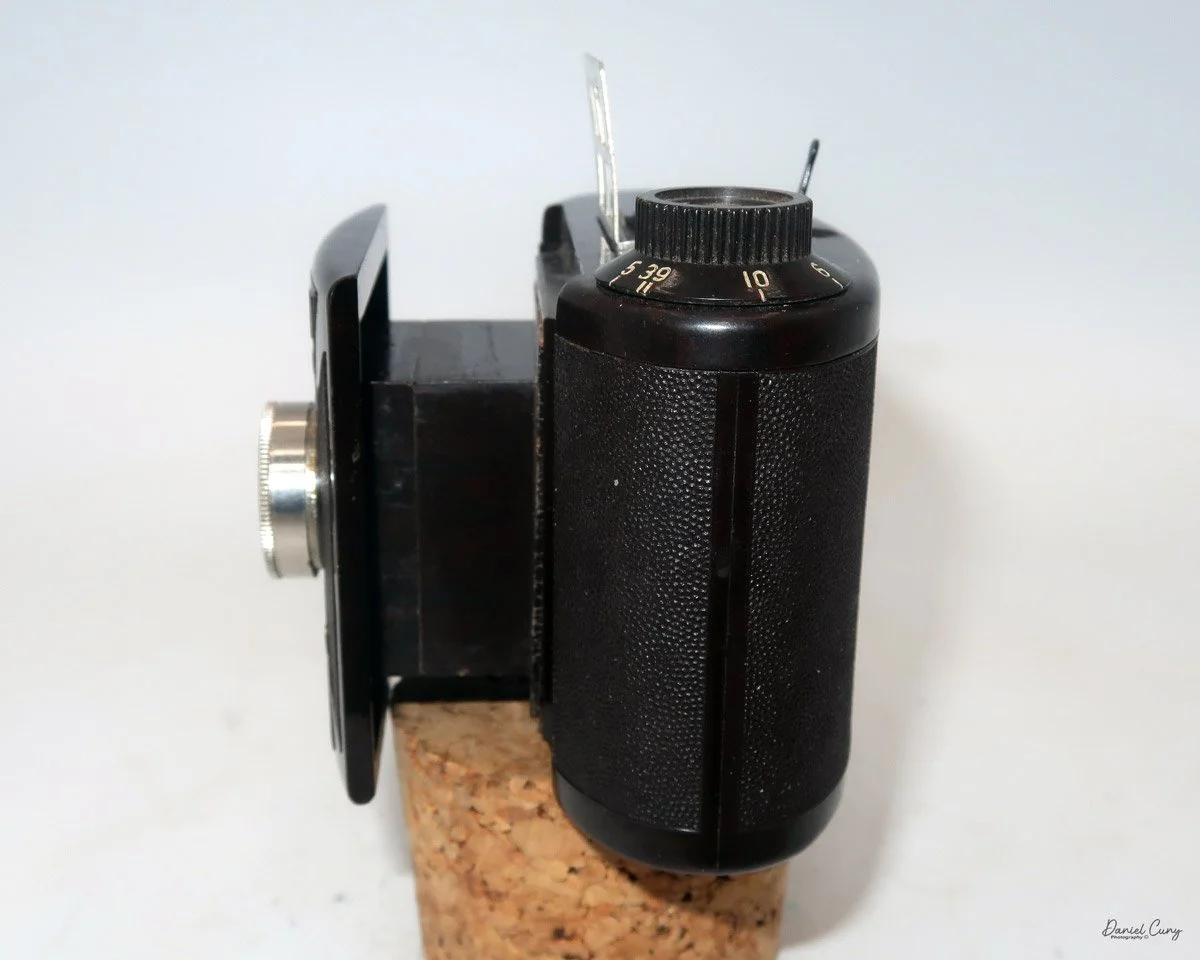
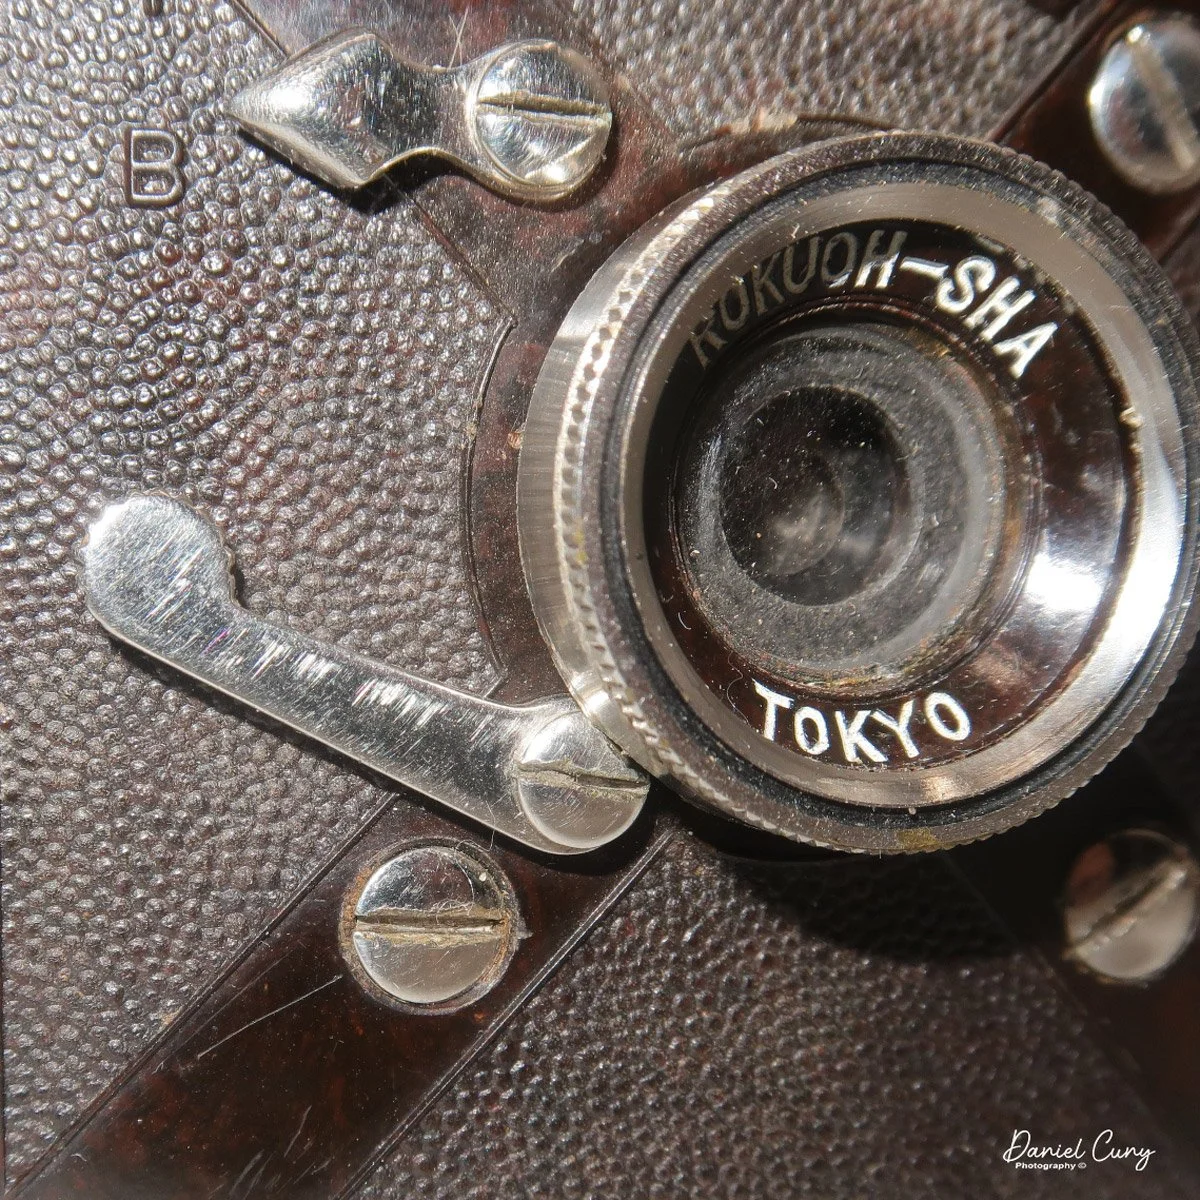
The Mammy camera is 4.5" wide by 2.5" deep and 2.5" tall, weighing only 6.6 ounces without film loaded in the camera. The camera houses a Mamiya Camera Company LTD. Cute Anastigmat 45mm f/3.5 lens, which is focusable by turning the lens until you approximate the distance to your subject, and with a minimum focus distance of 2 meters to infinity.

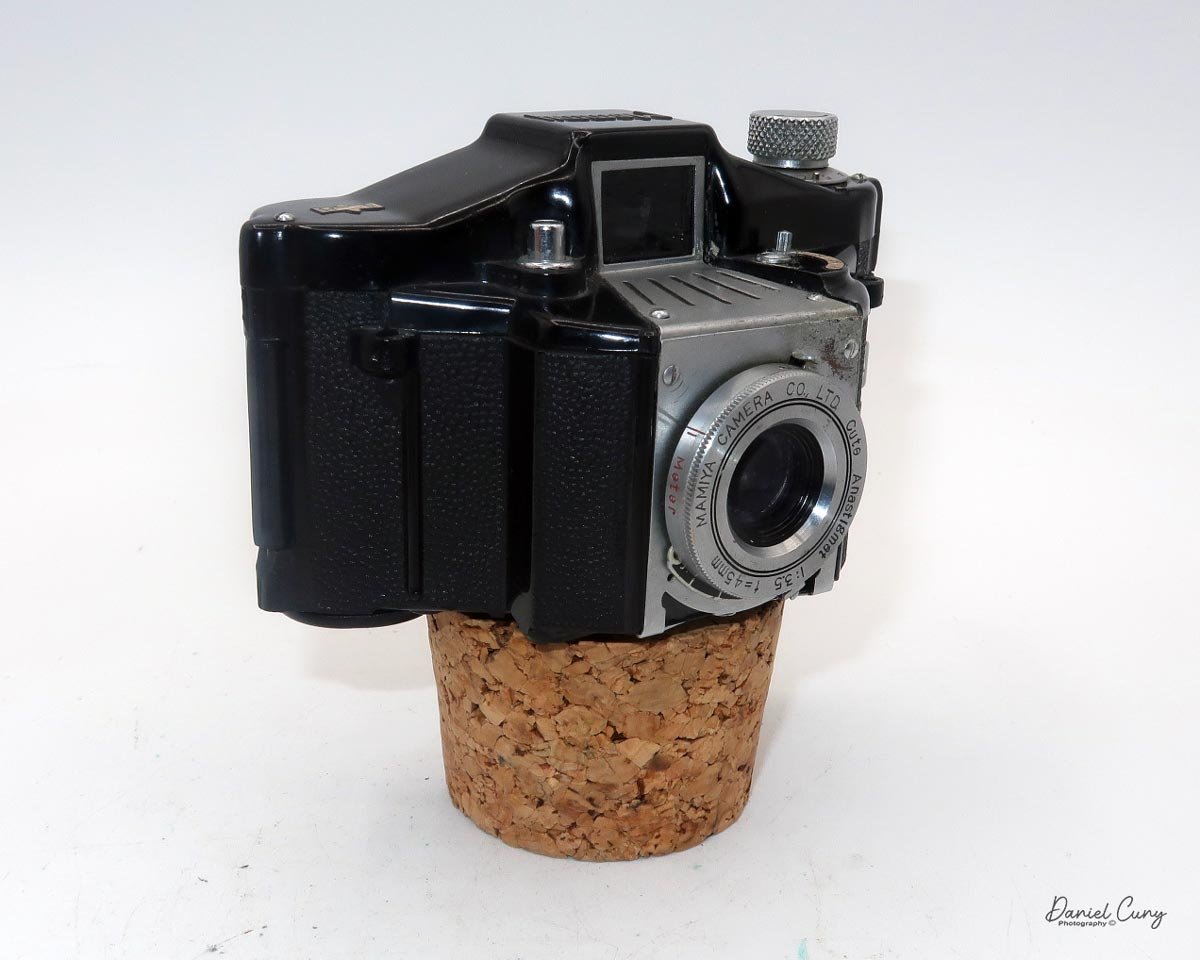


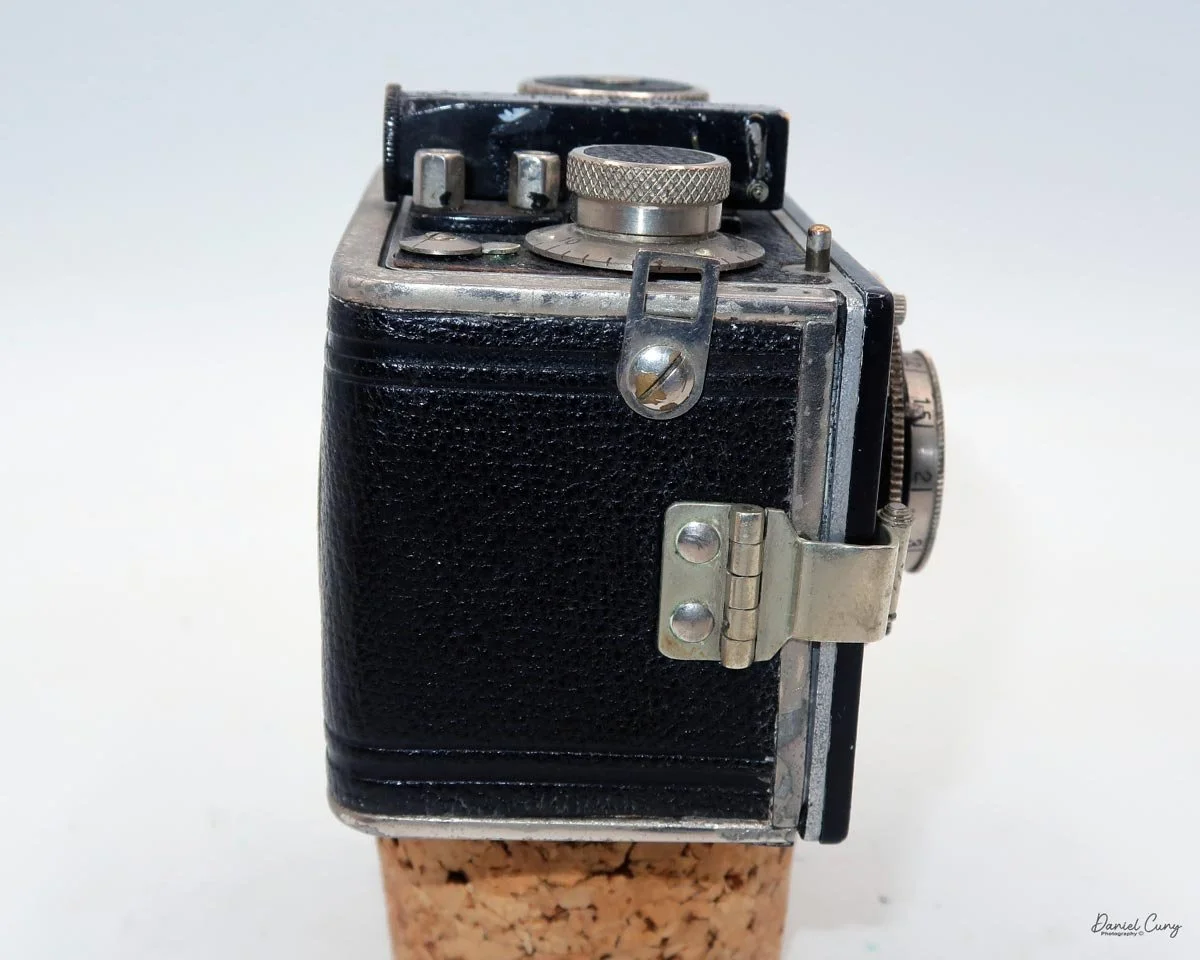
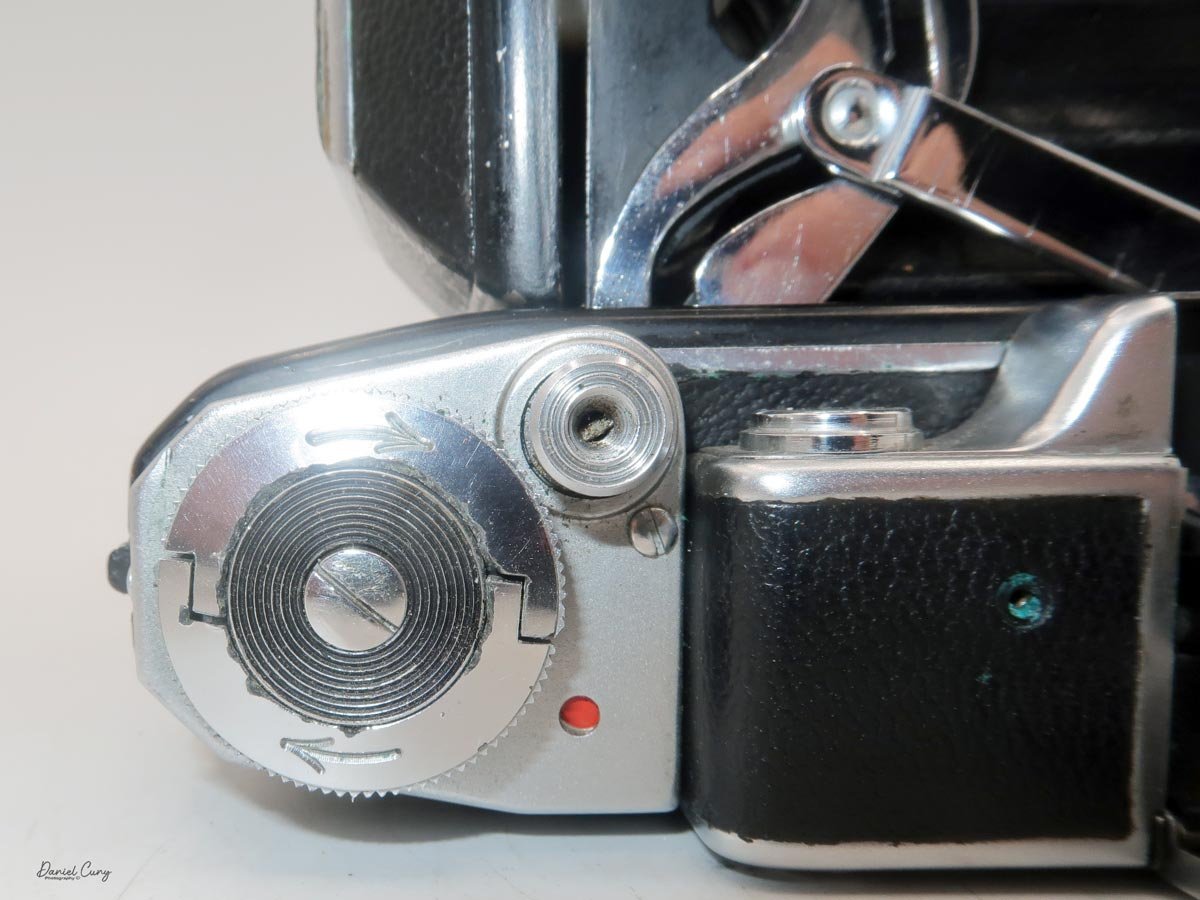
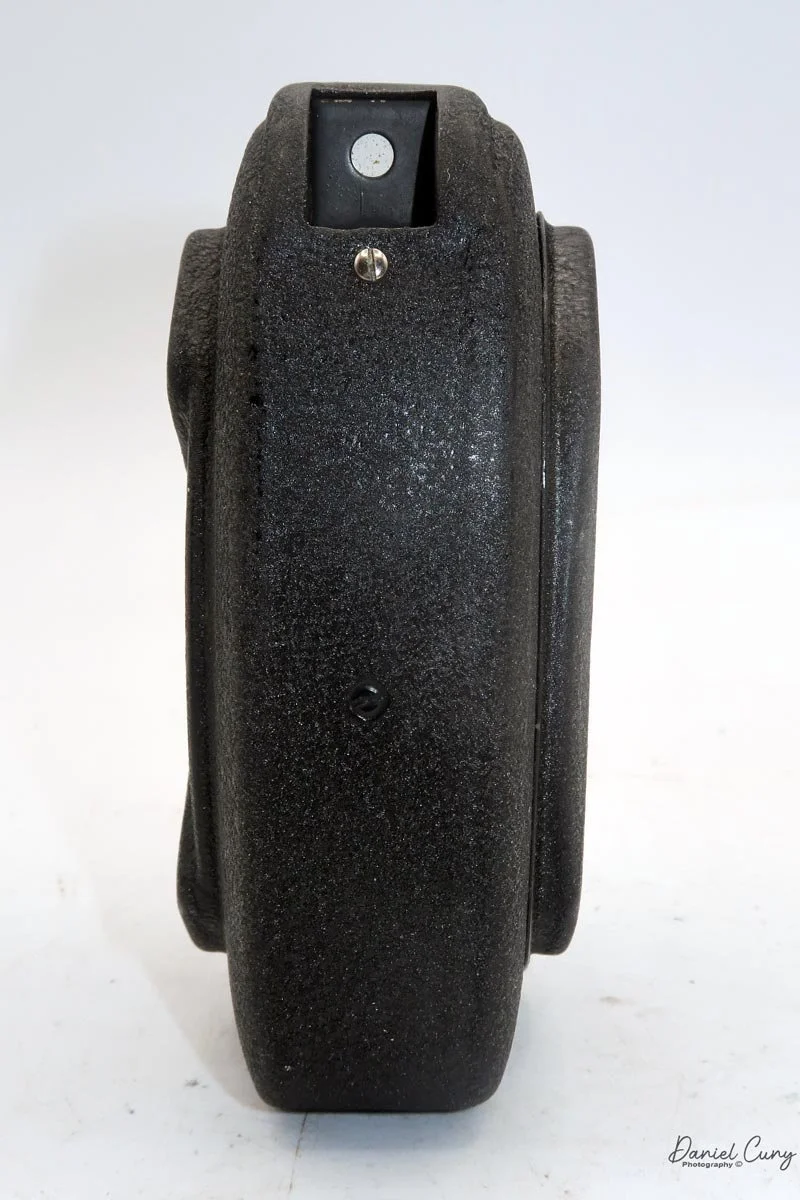
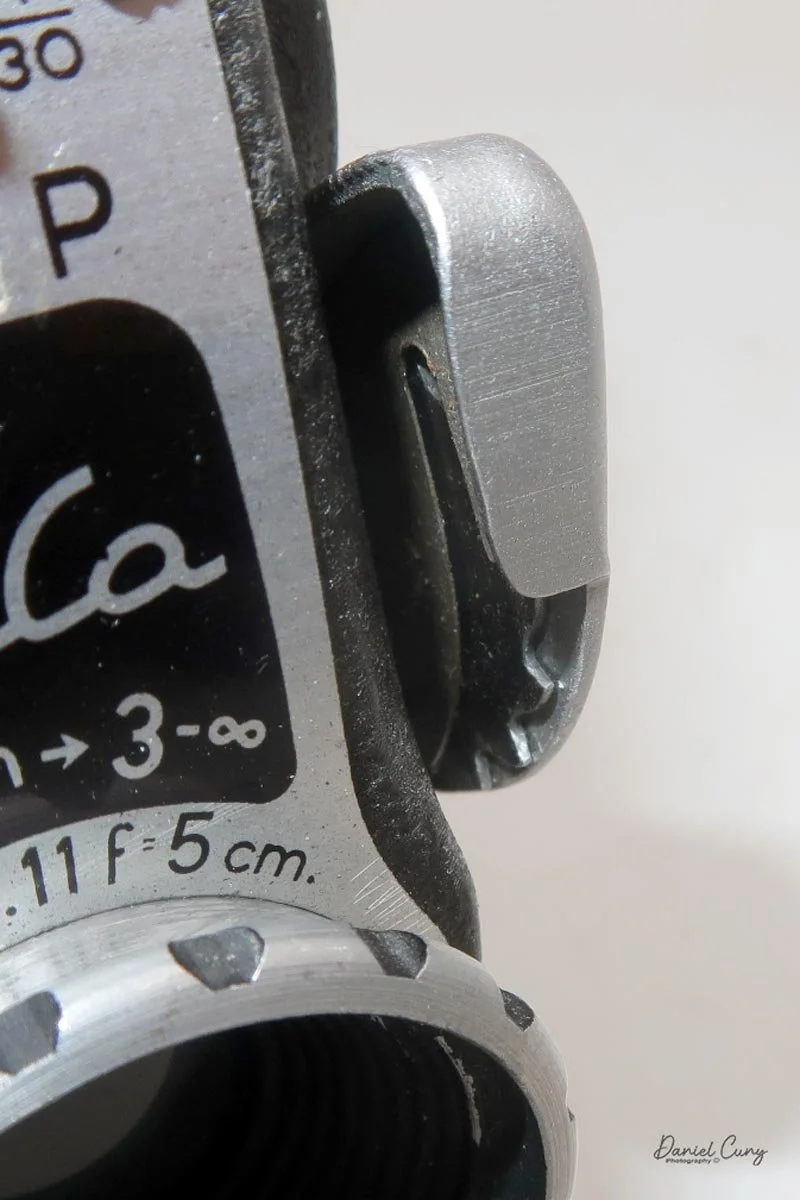
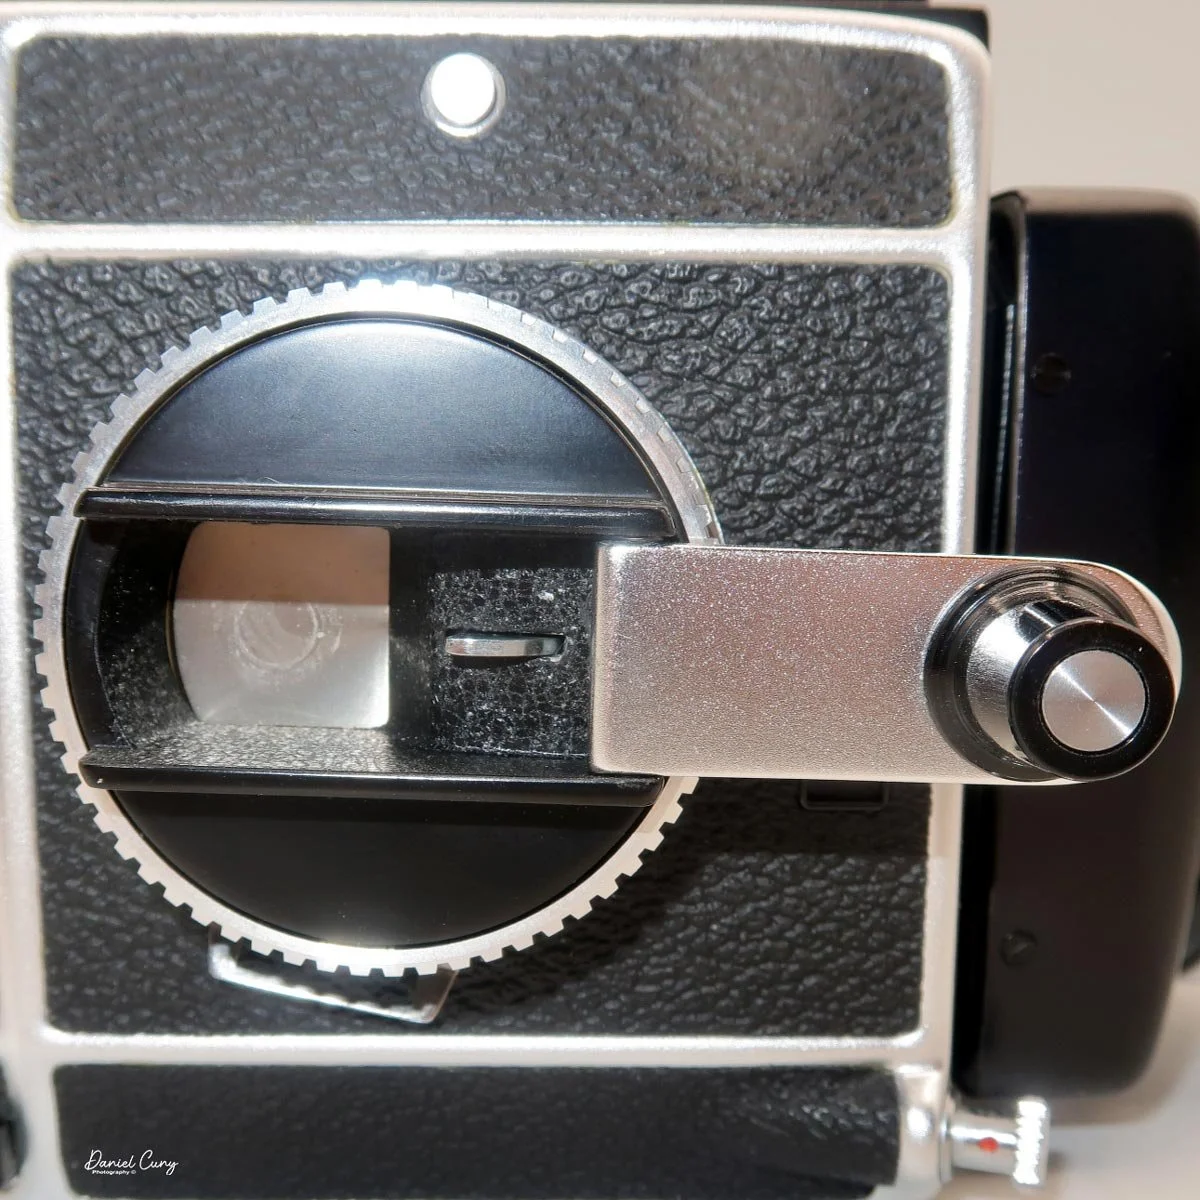
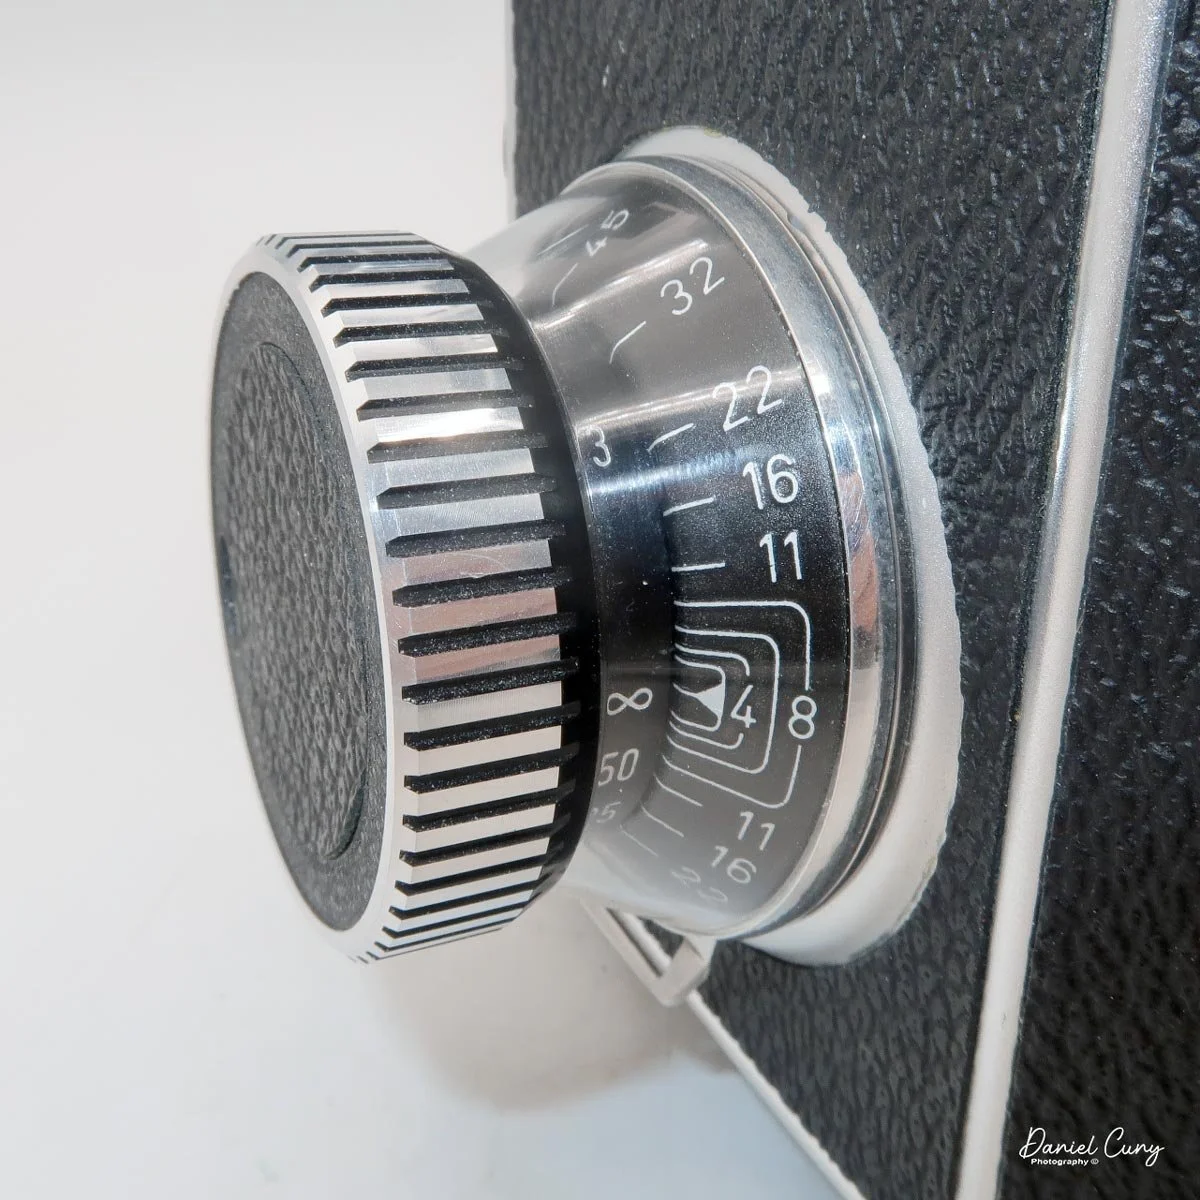
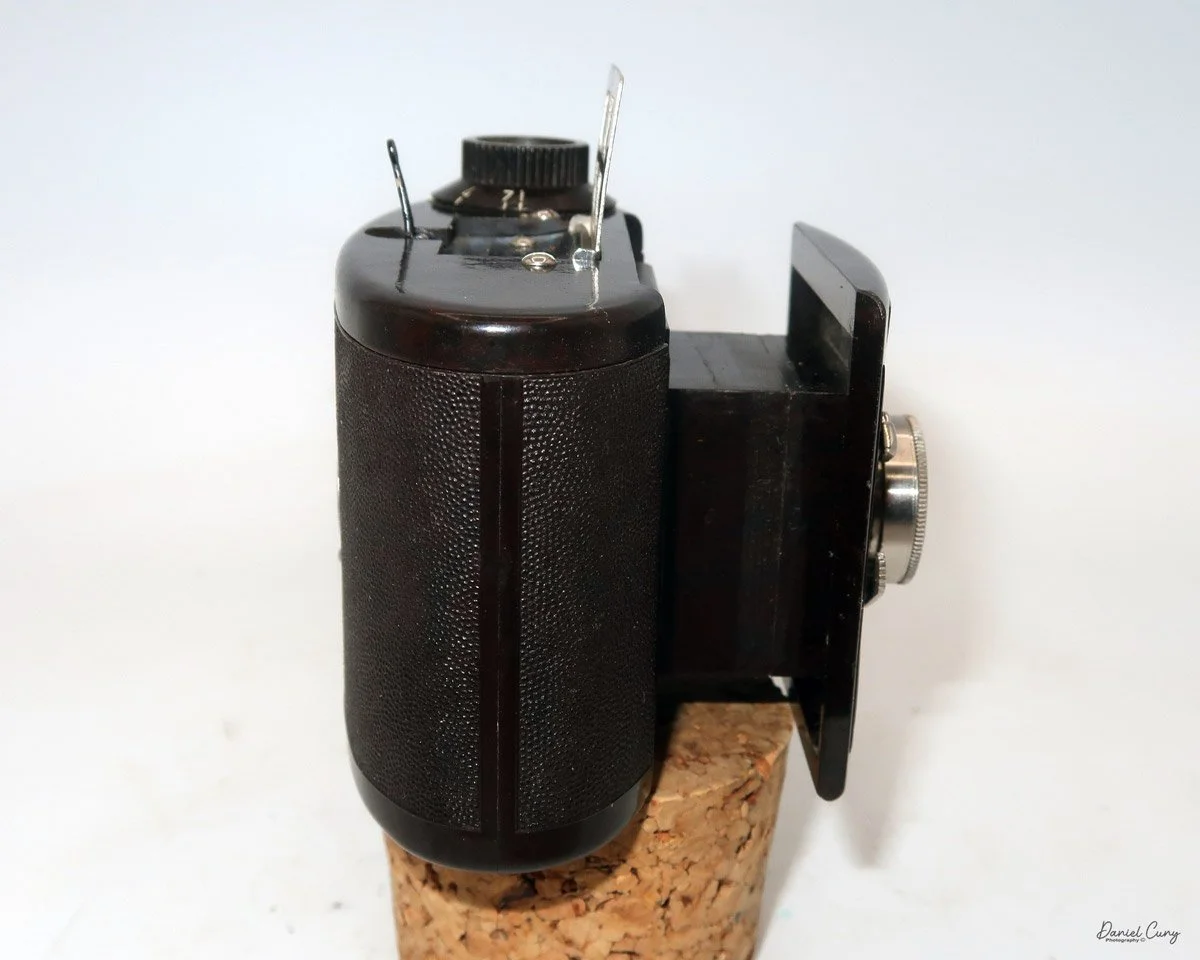
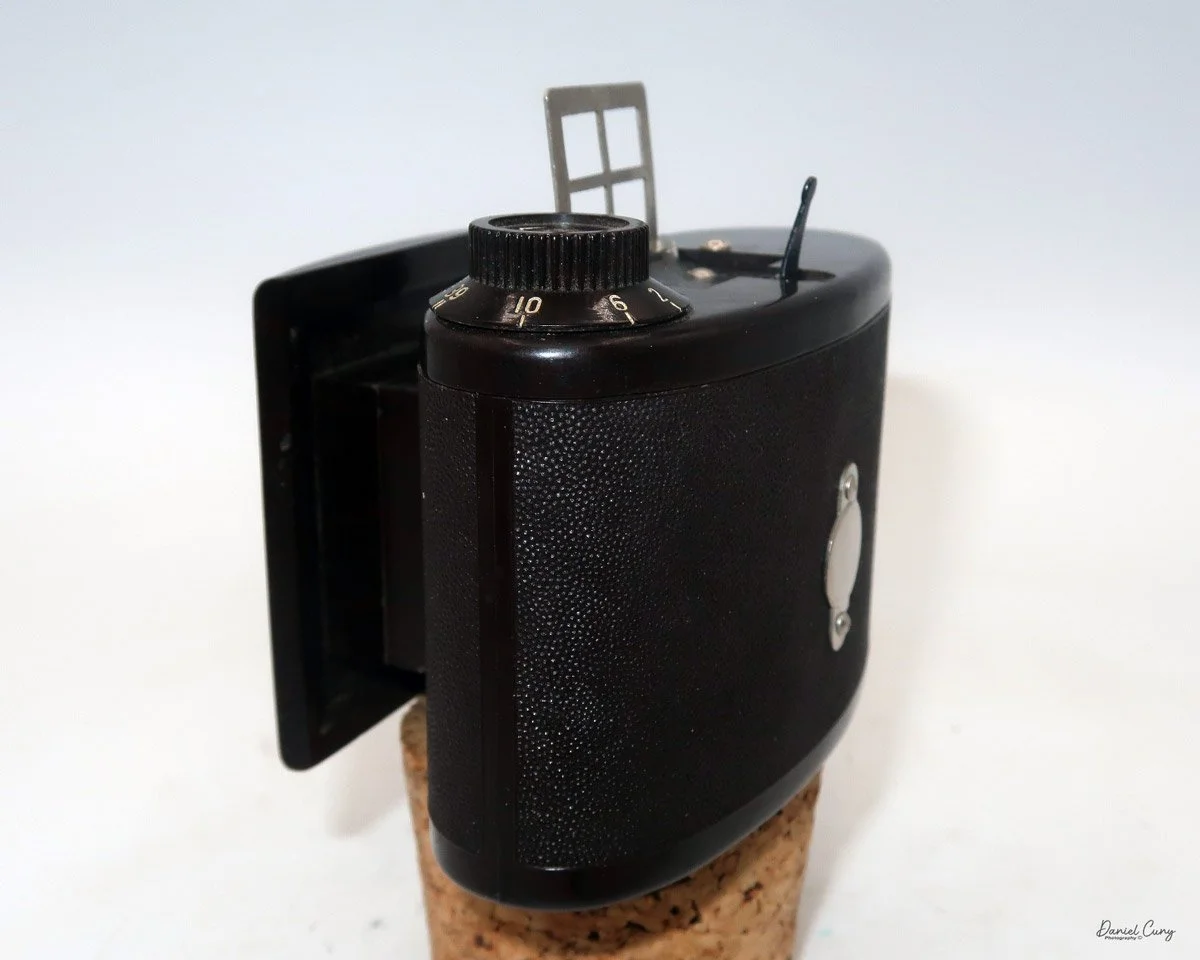
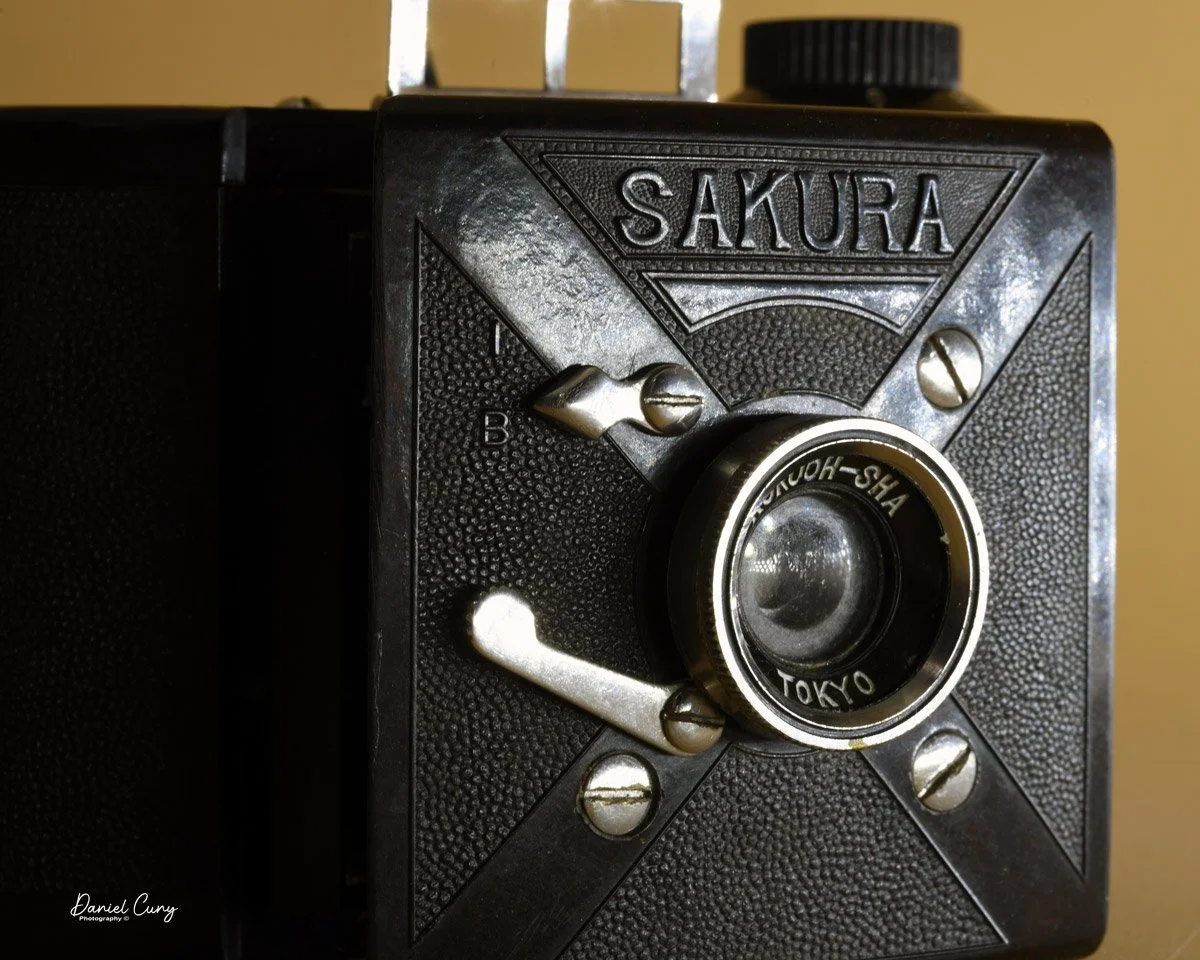
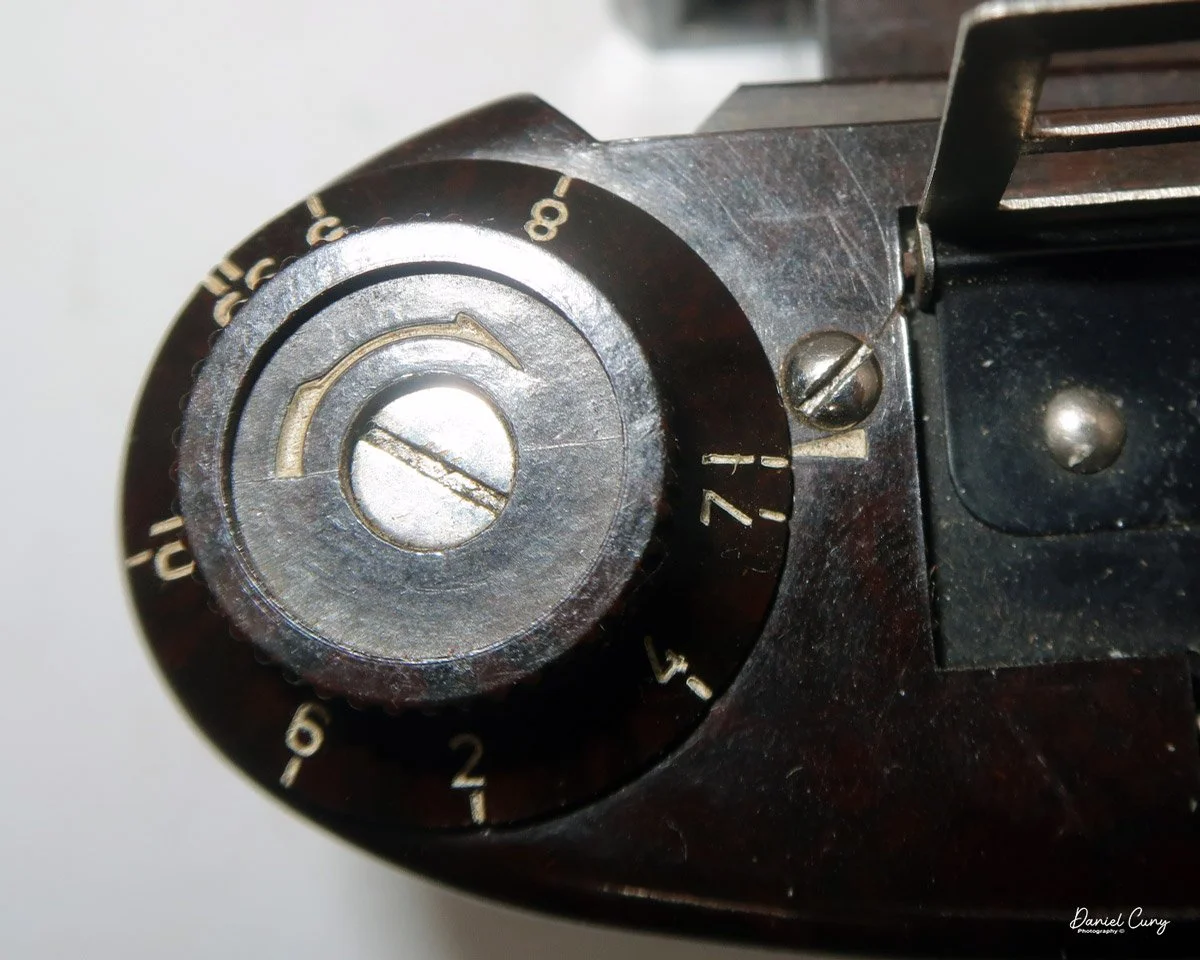
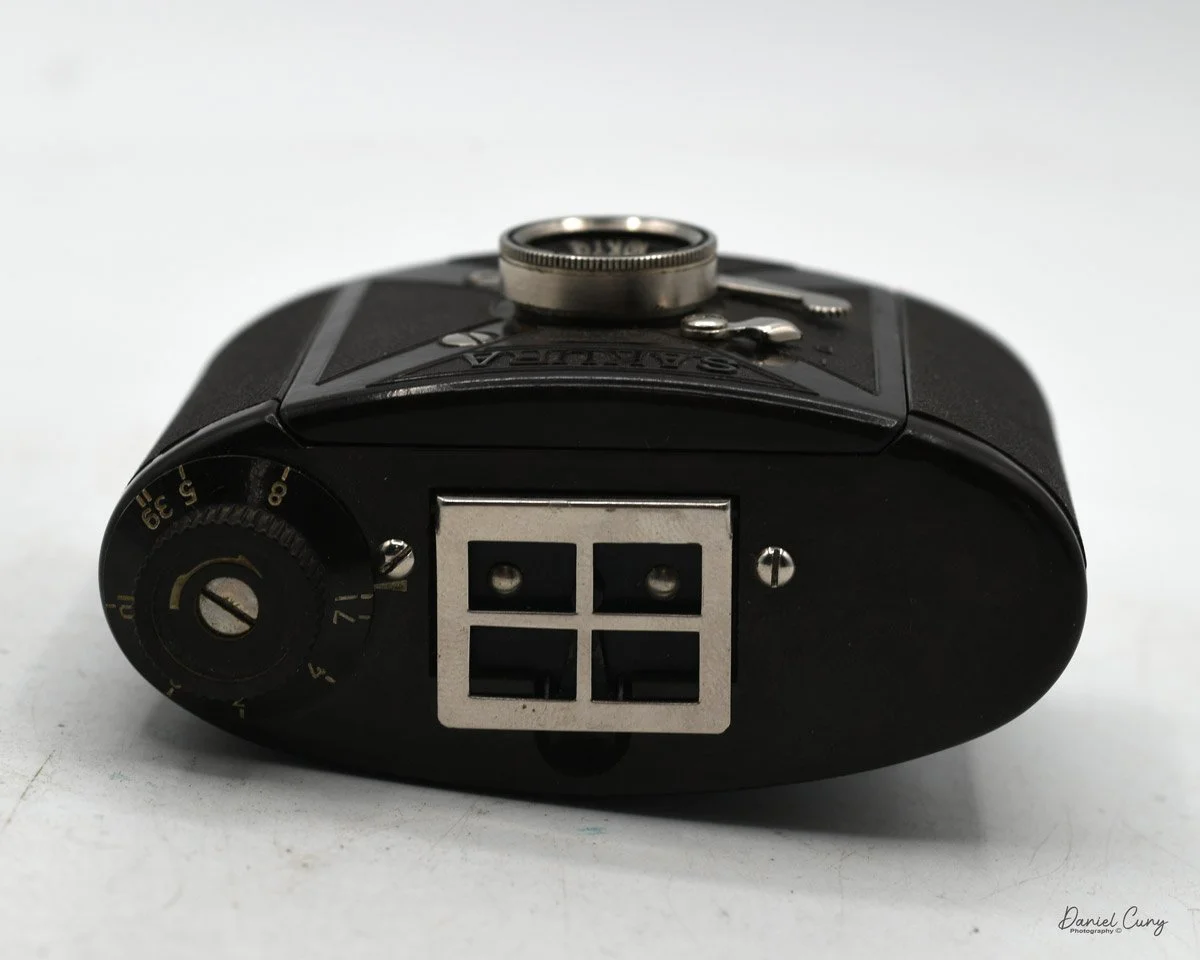
The camera offers three shutter speeds, of 1/100, 1/50, and 1/25, along with "B" for timed exposures. The shutter speed selector is on top of the lens housing on the left side of the camera and is selected by turning a lever to the desired speed.
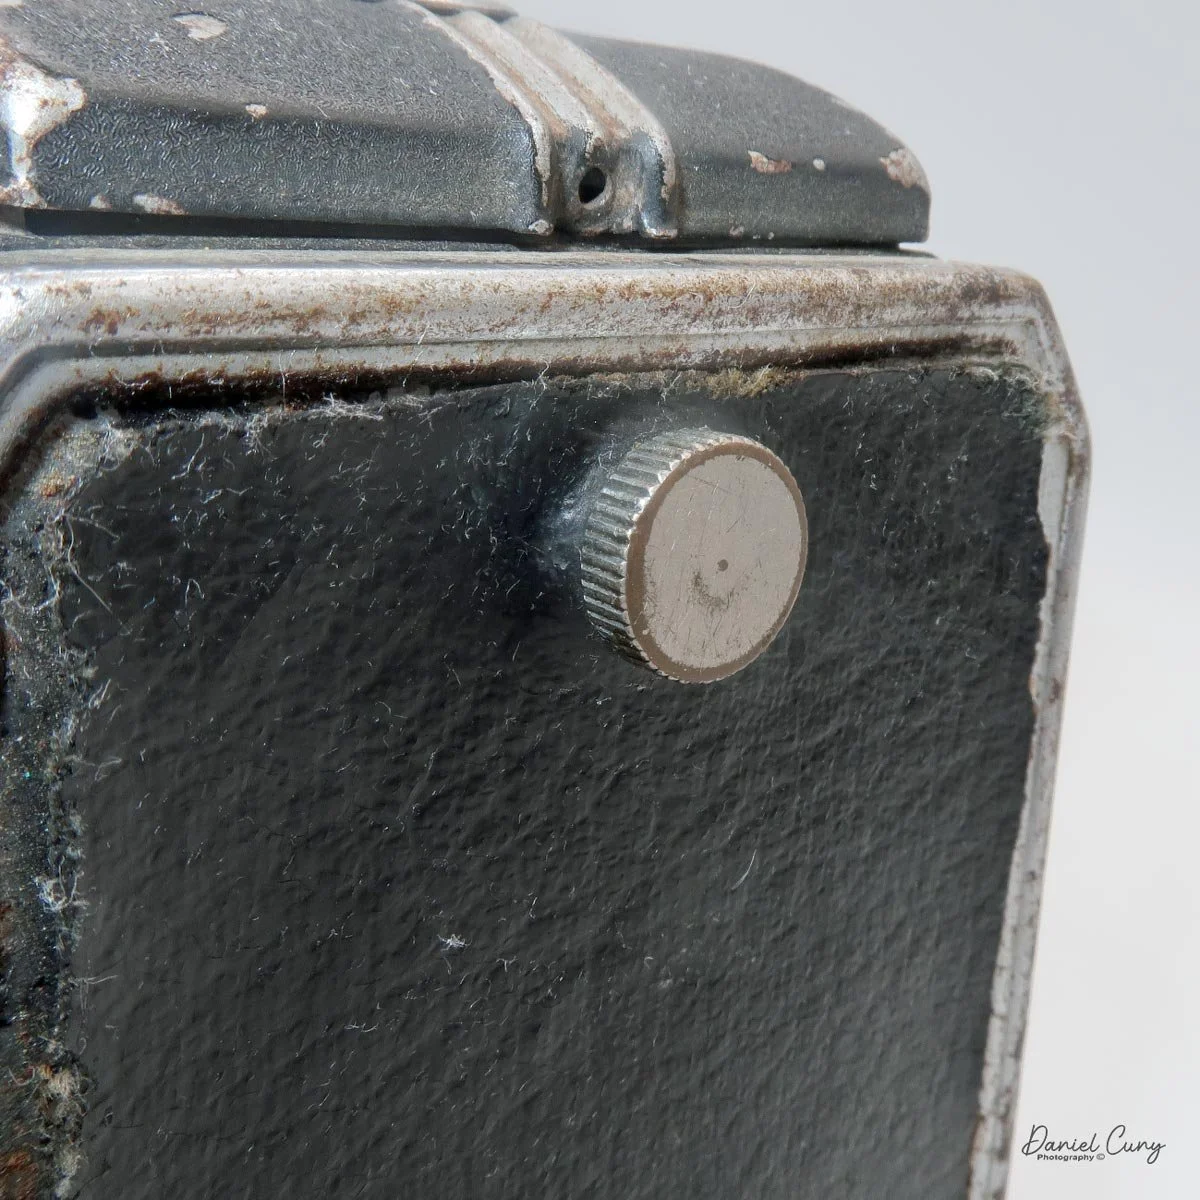
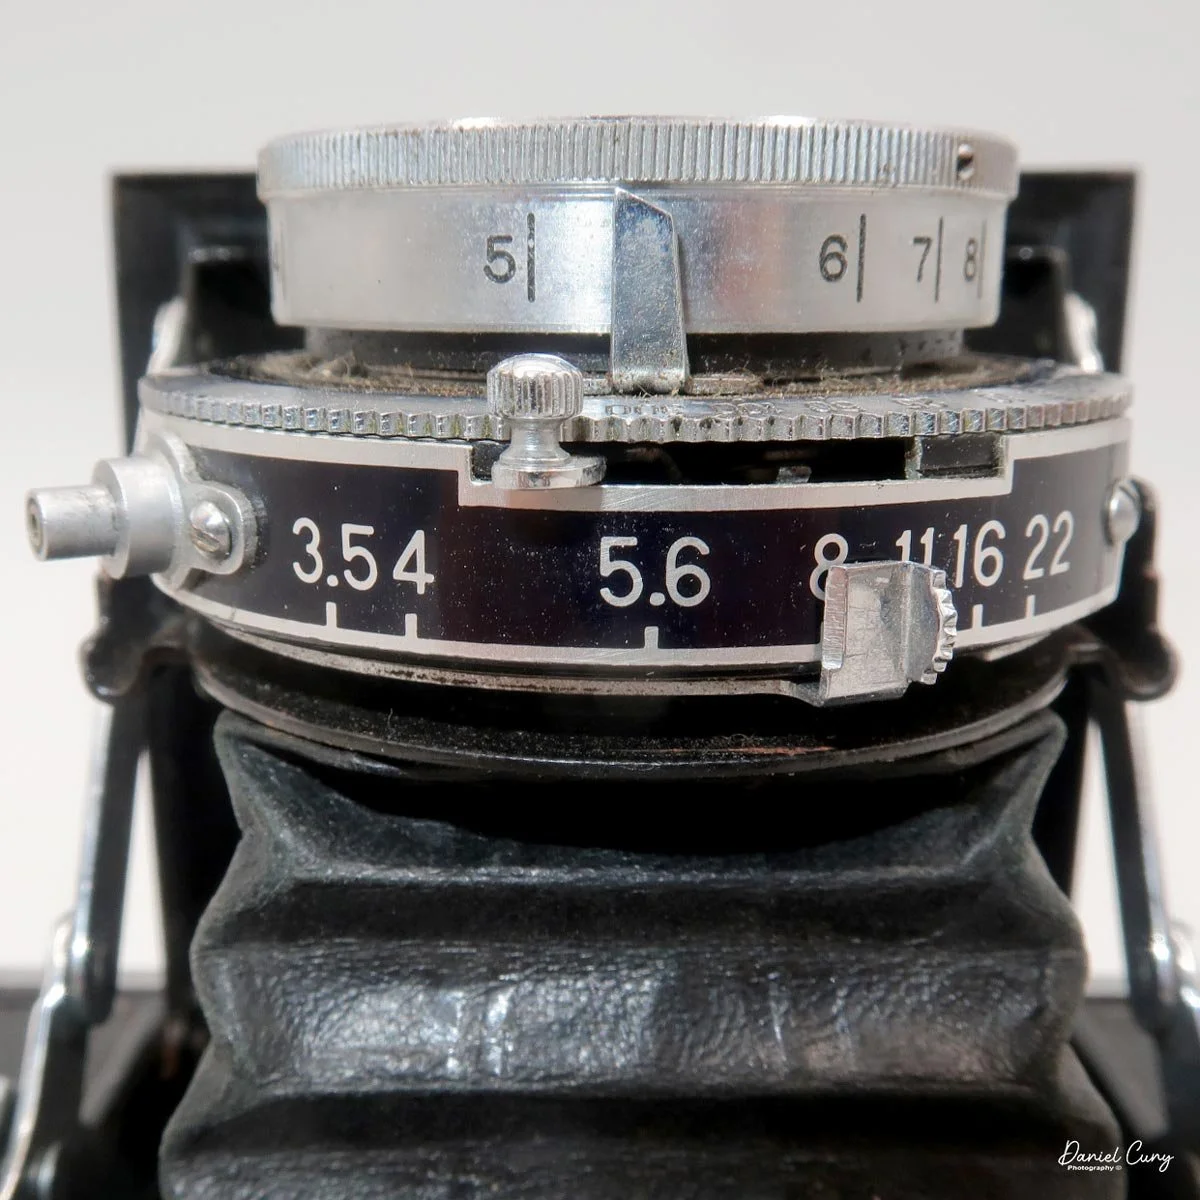
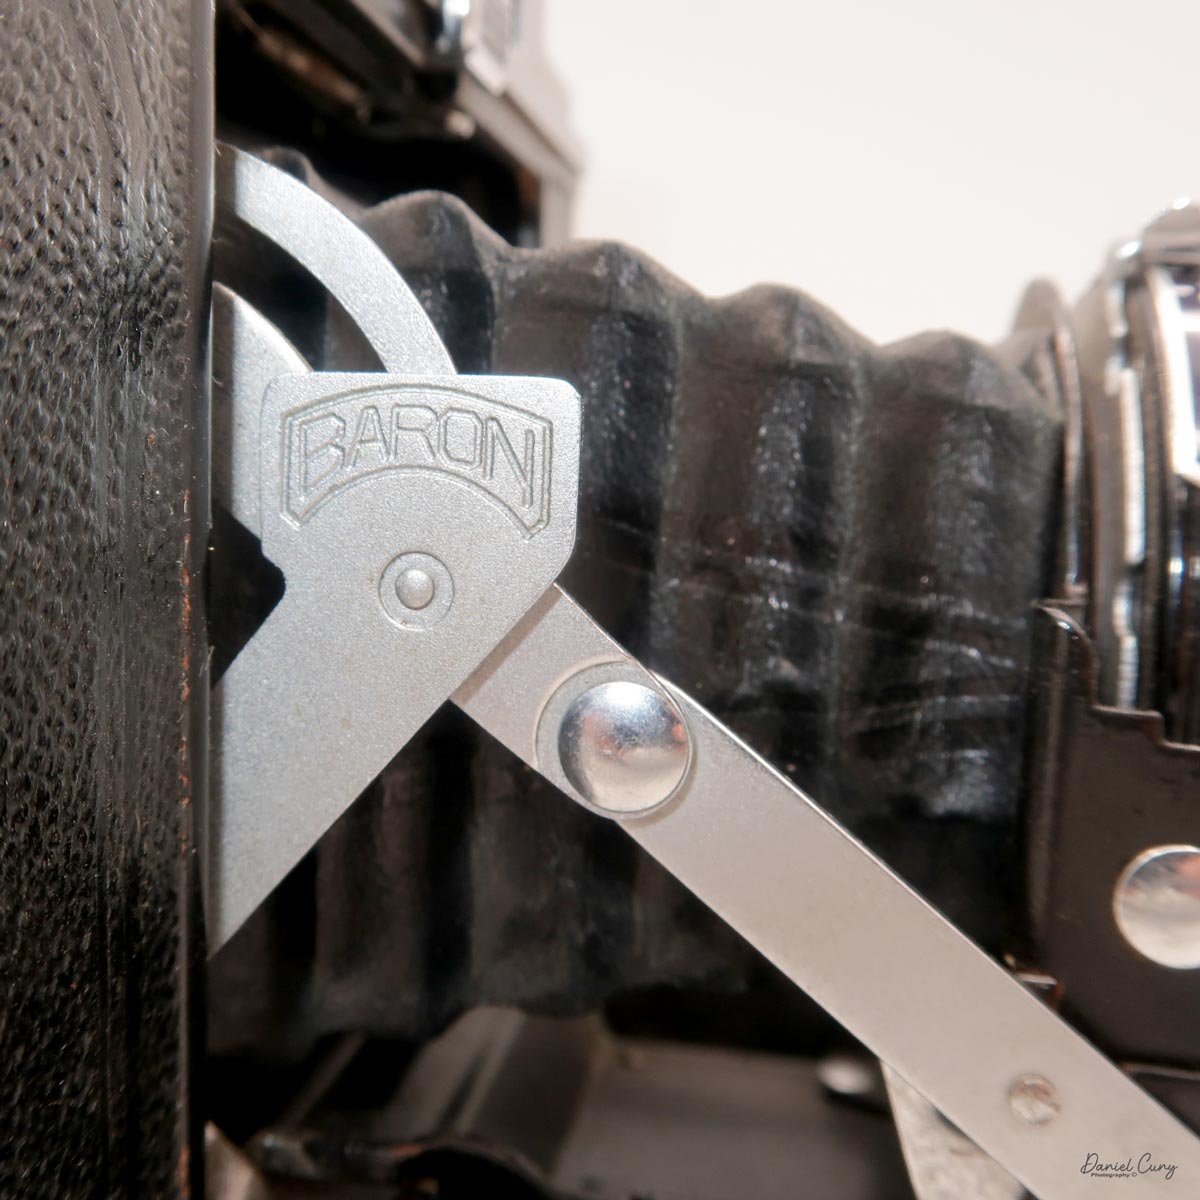
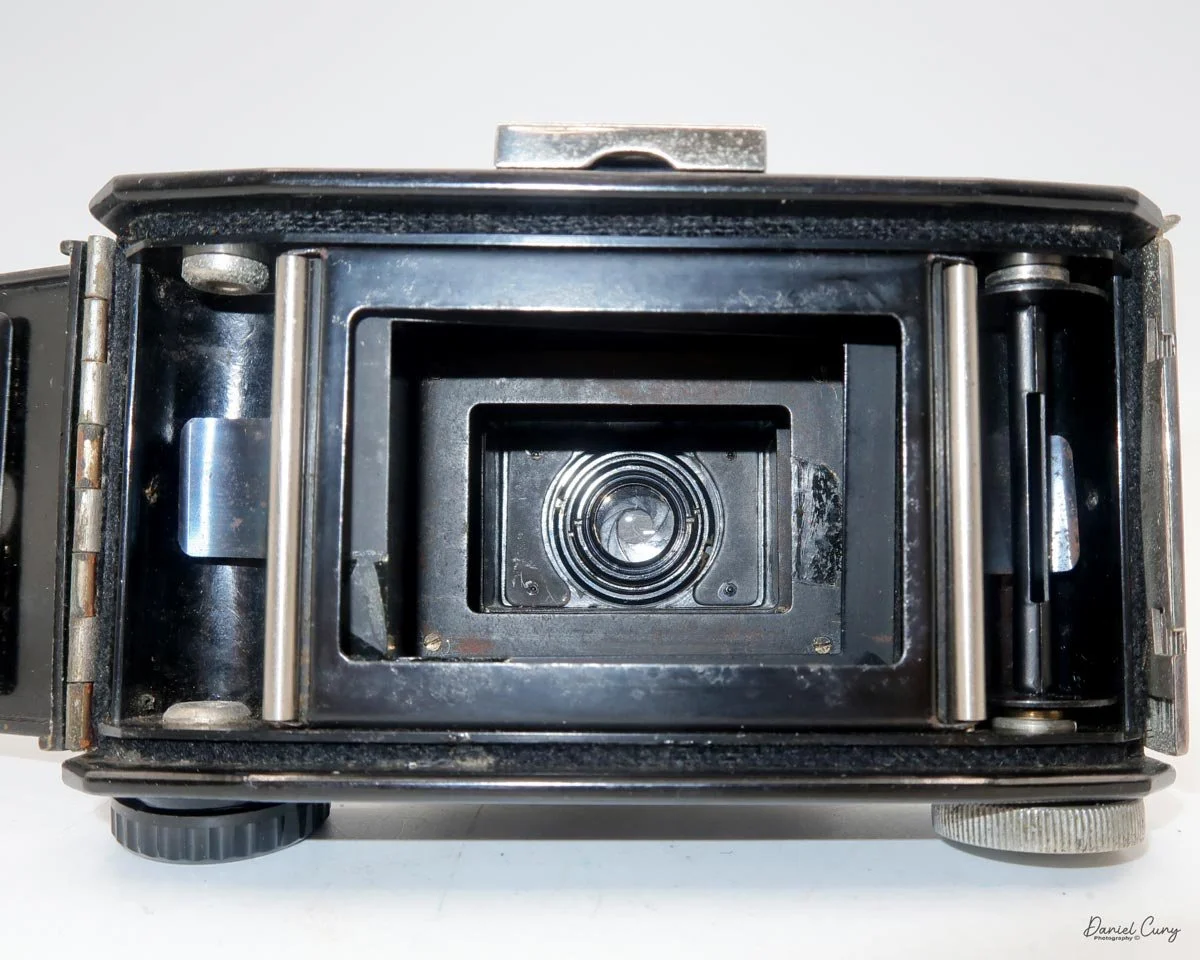
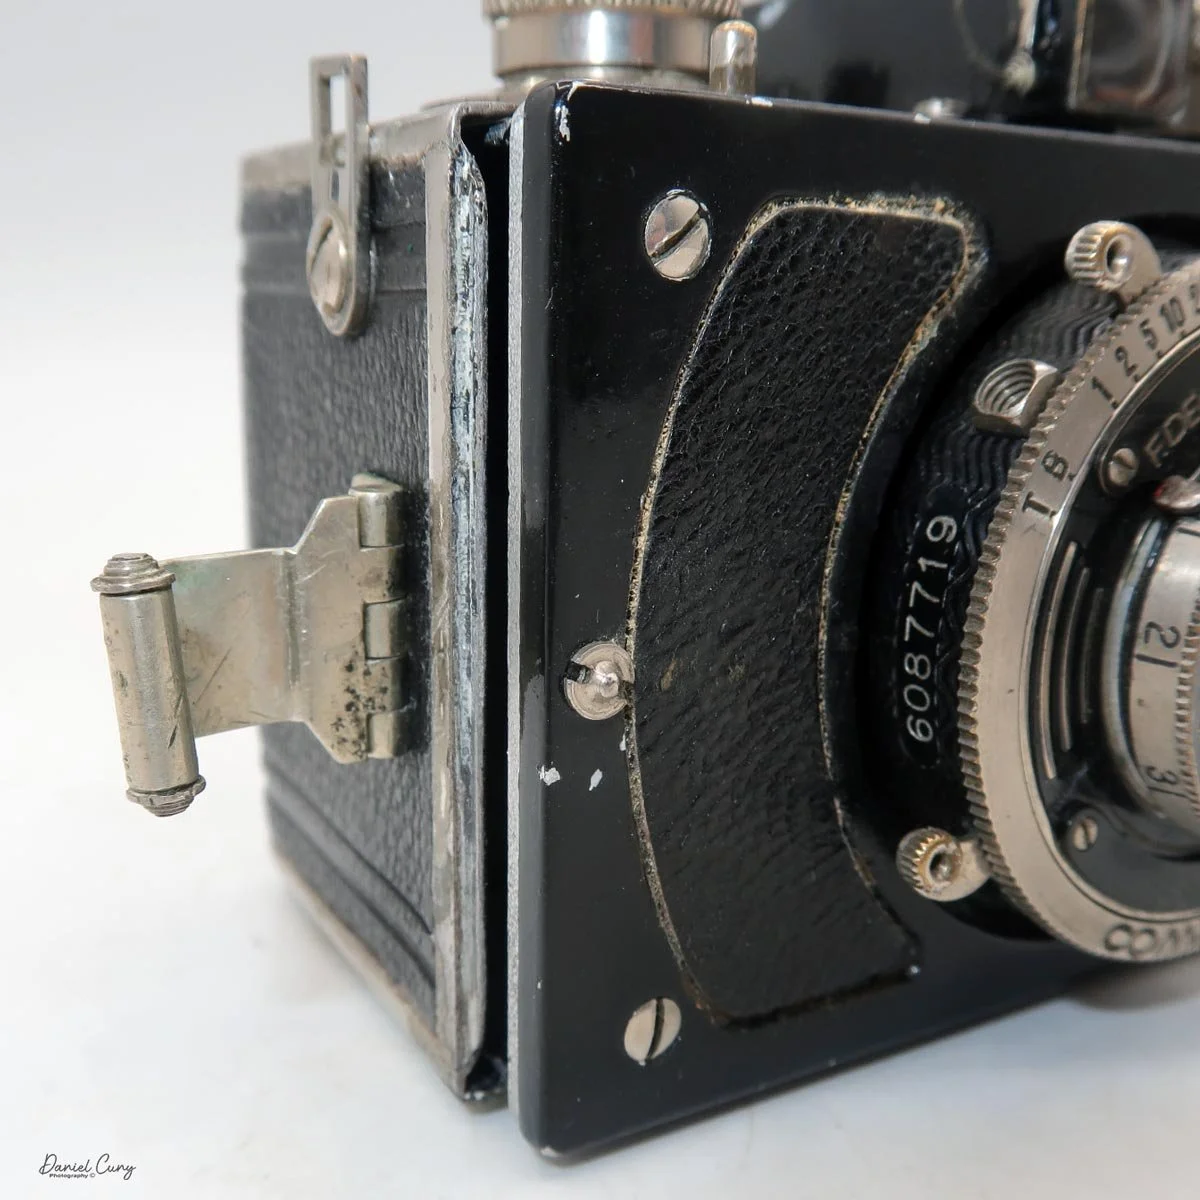
The Mammy camera has an aperture range from F/3.5 to F/22. Under the lens is the aperture selector. Slide the small arrow to the desired aperture settings. It wasn't until I started taking photos of the aperture settings that I noticed one of the screws holding the aperture plate on the camera was missing. The shutter release is located on the right side of the lens housing, opposite side of the shutter speed selector.


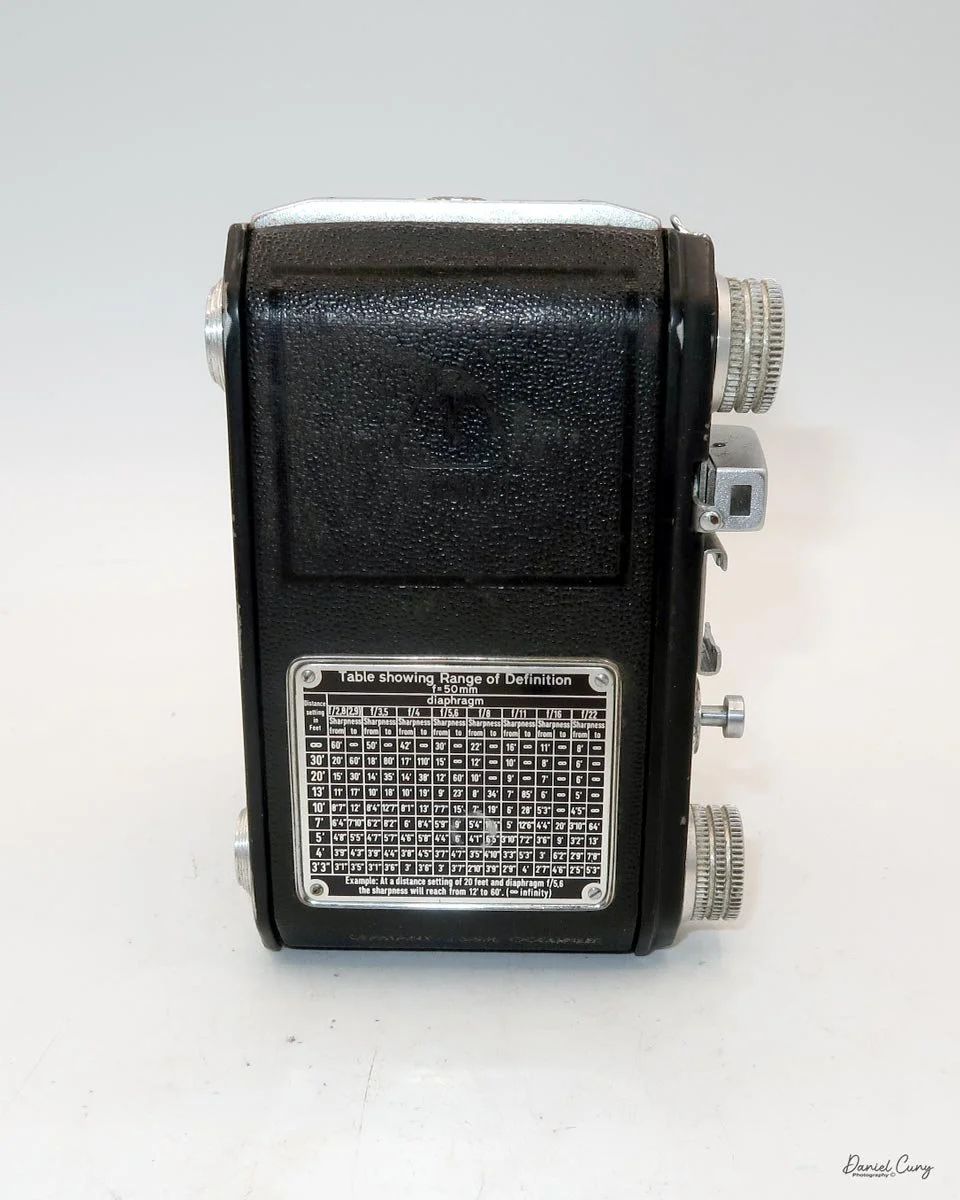
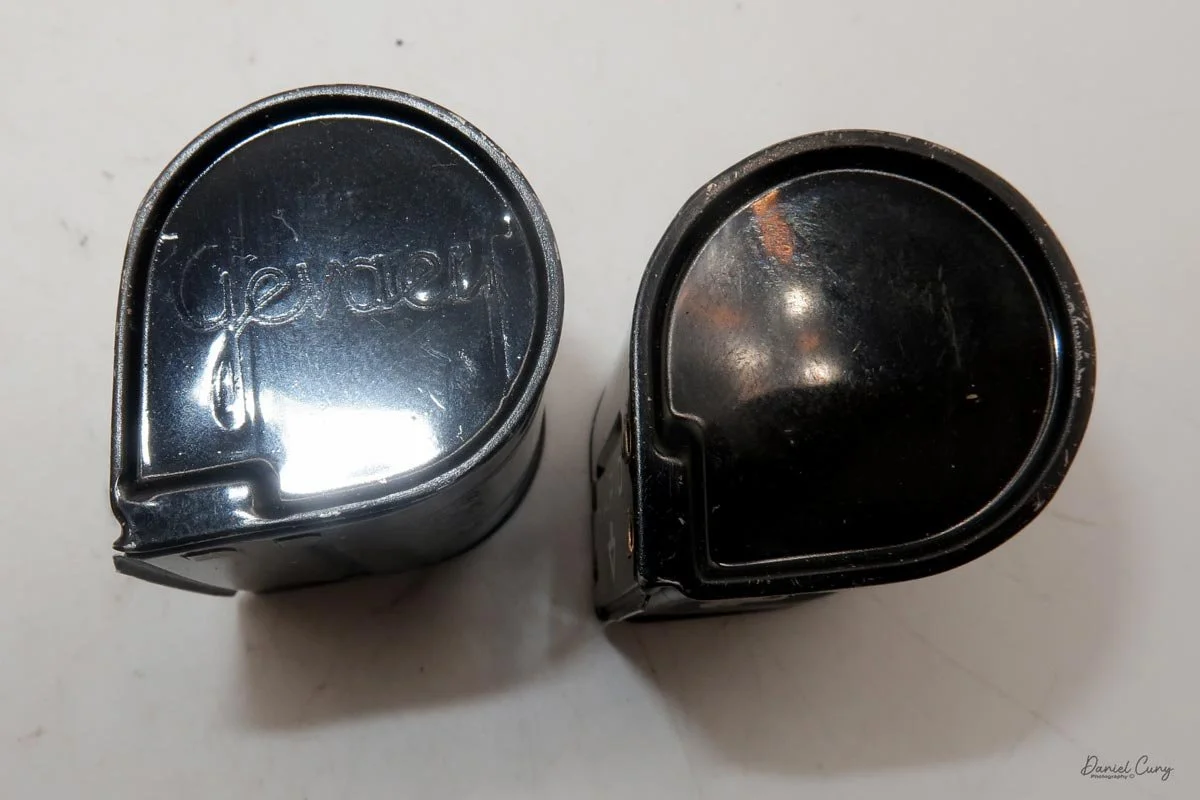
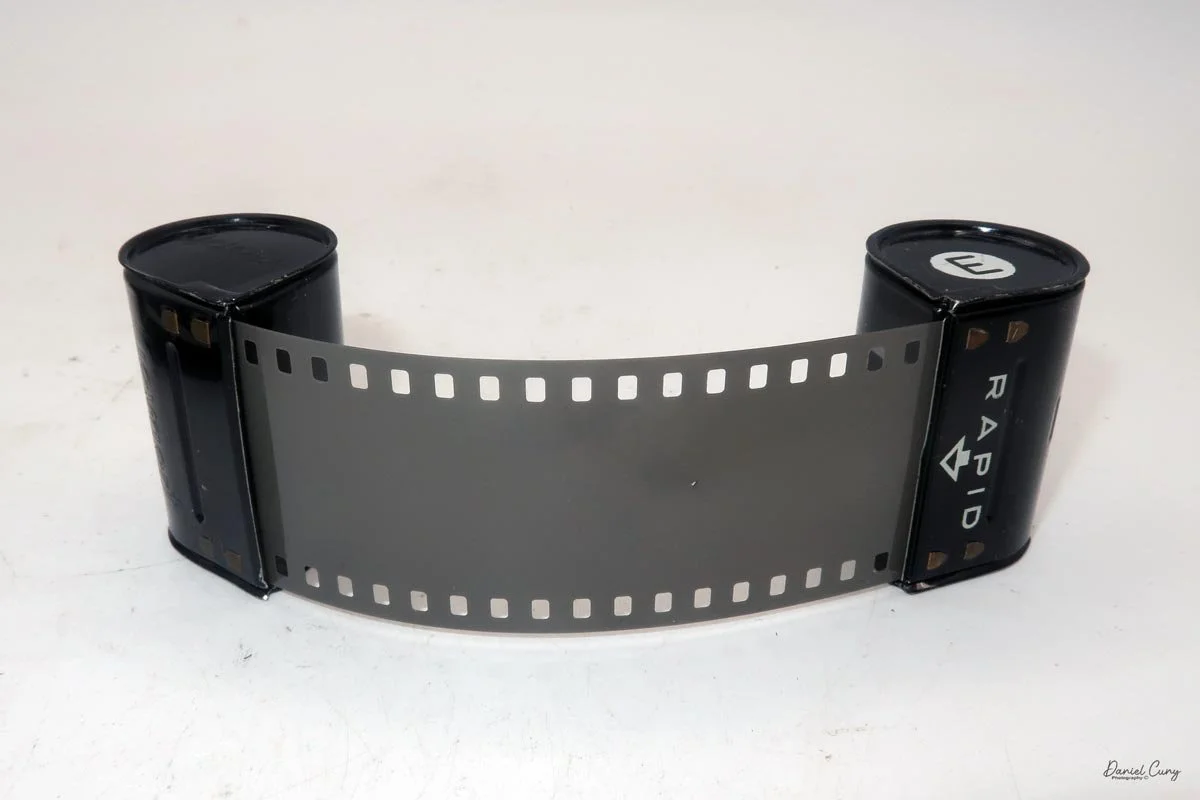
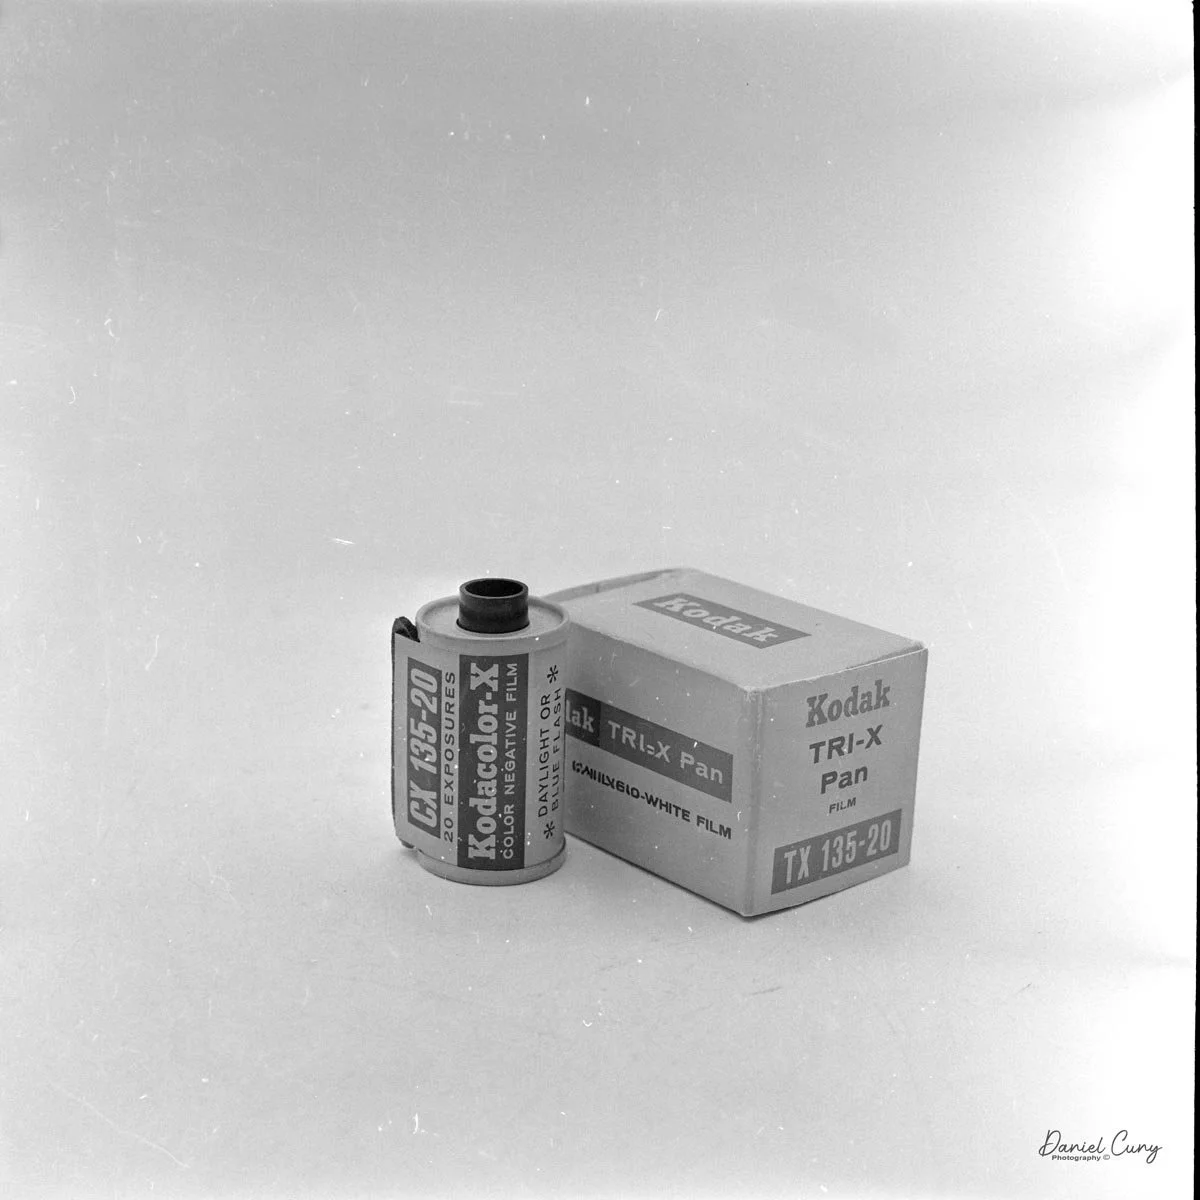
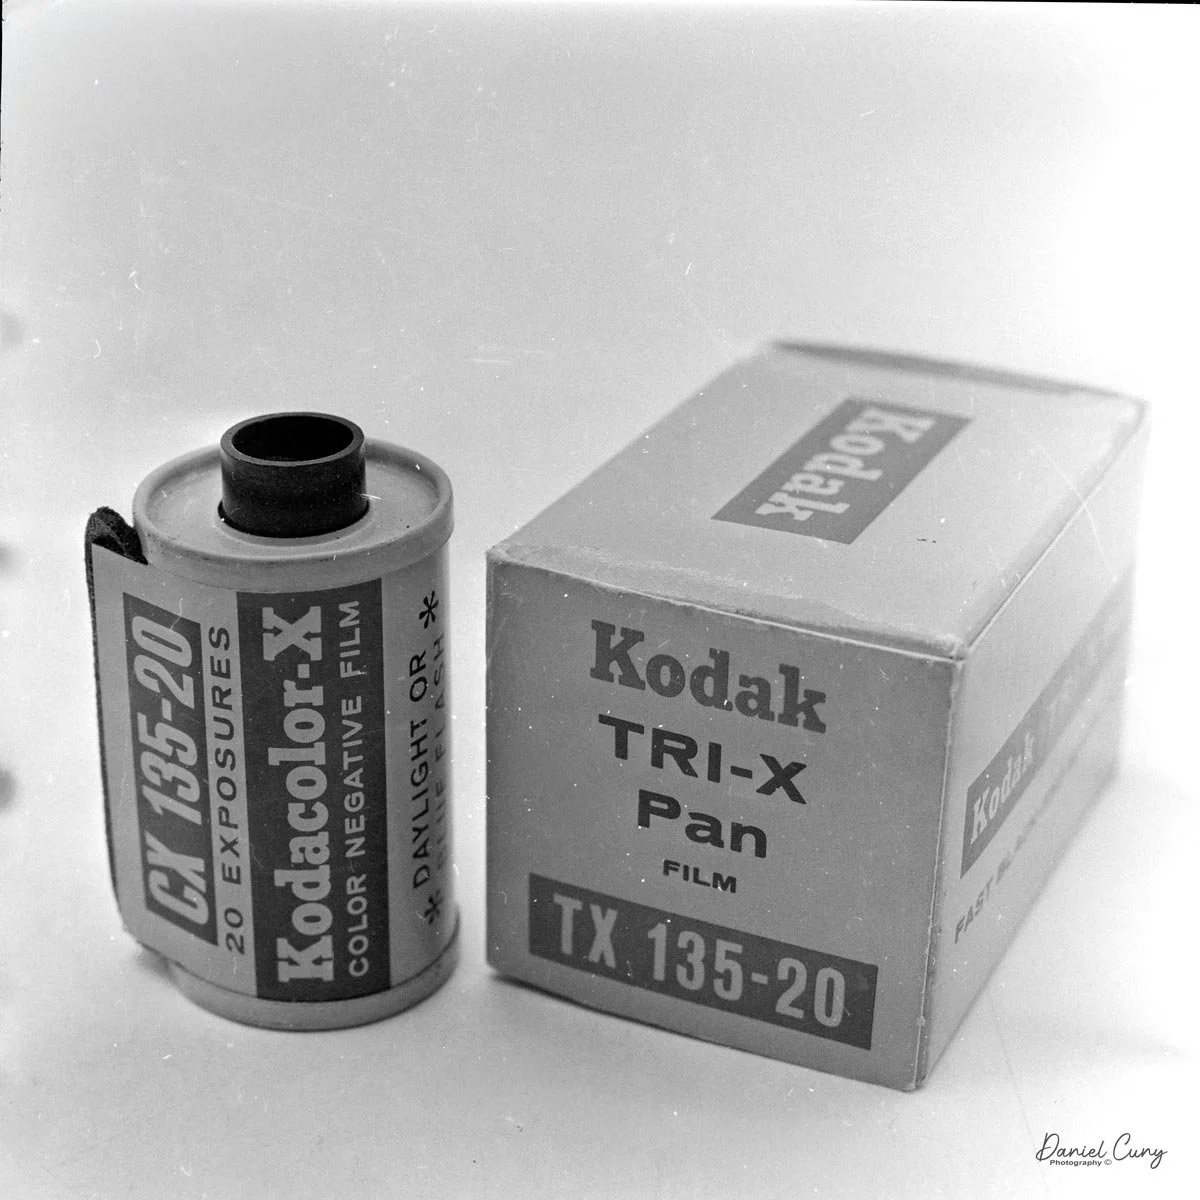
The Mamiya Mammy camera uses paperbacked Bolta film which was invented by Bolta-Werks in Germany in 1936 for their Boltavit model camera. Bolta film was paperbacked unperforated 35mm film which used a red window system on their camera to count the frame numbers. This was less expensive than using perforated film of the time.
Bolta film also became popular in Japan when a Japanese company produced a camera named Boltax in the late 1930s. Bolta sized cameras became very popular during the 1940s and into the 1950s due to the cost difference in films at the time. Bolta film was similar to any roll film camera like 127 or 828 film and was sold in paper backed rolls
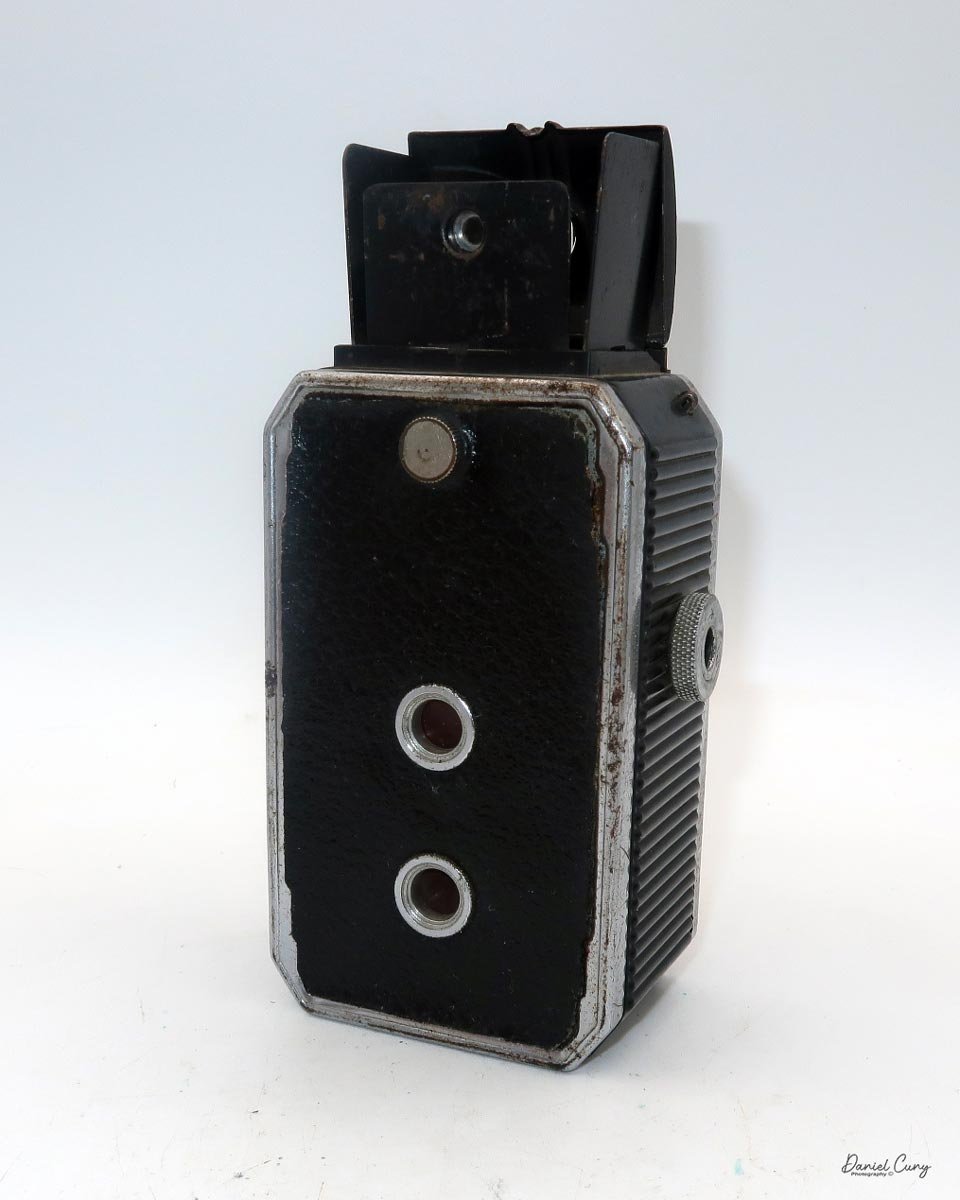
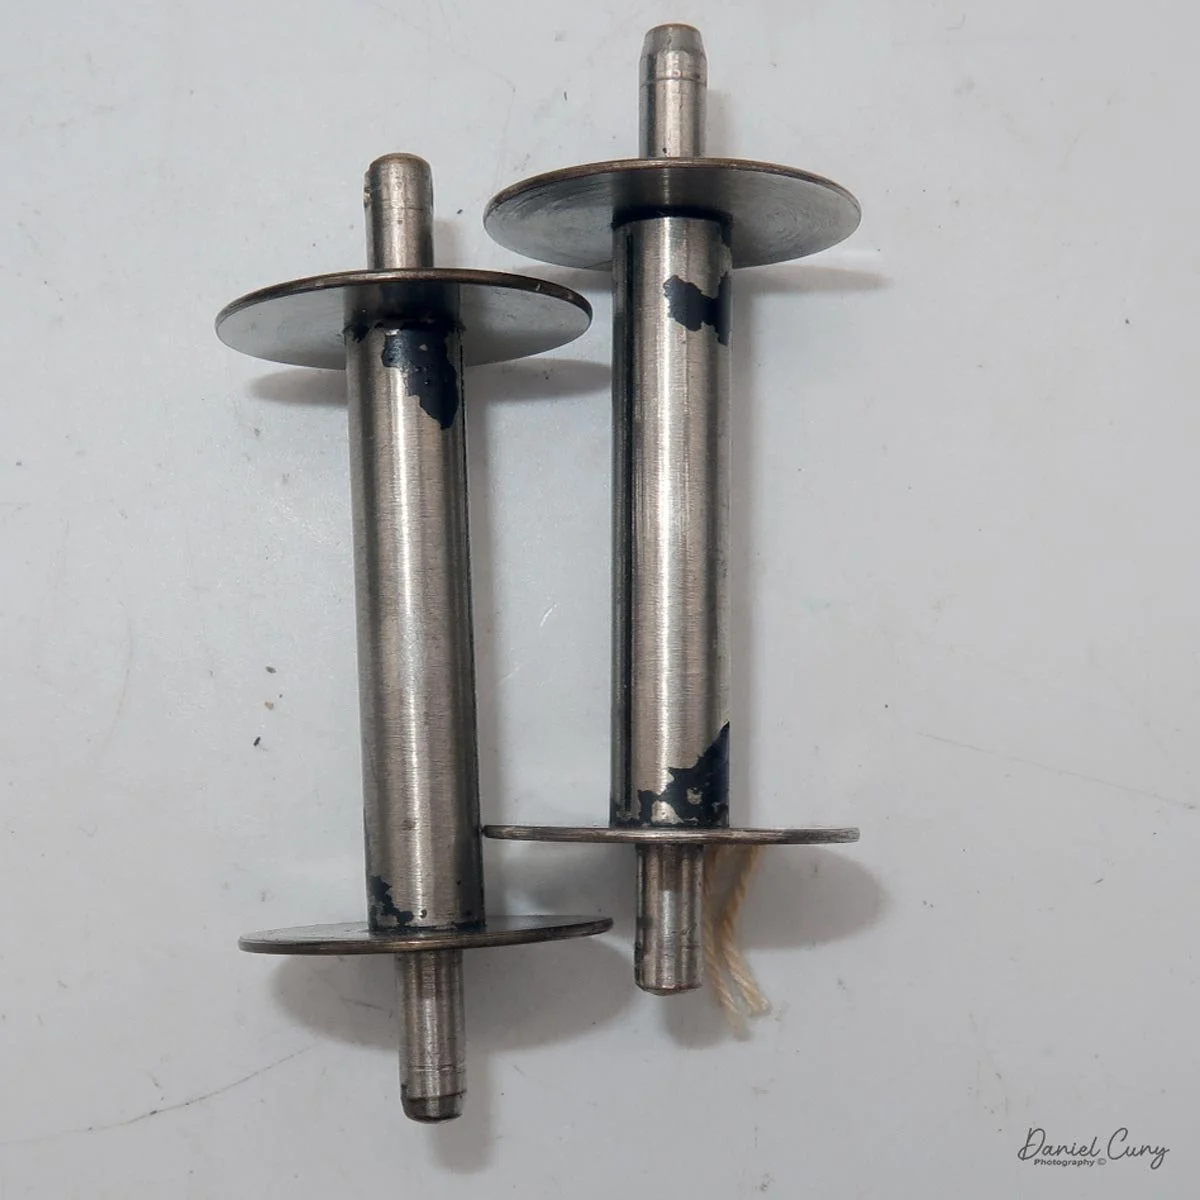
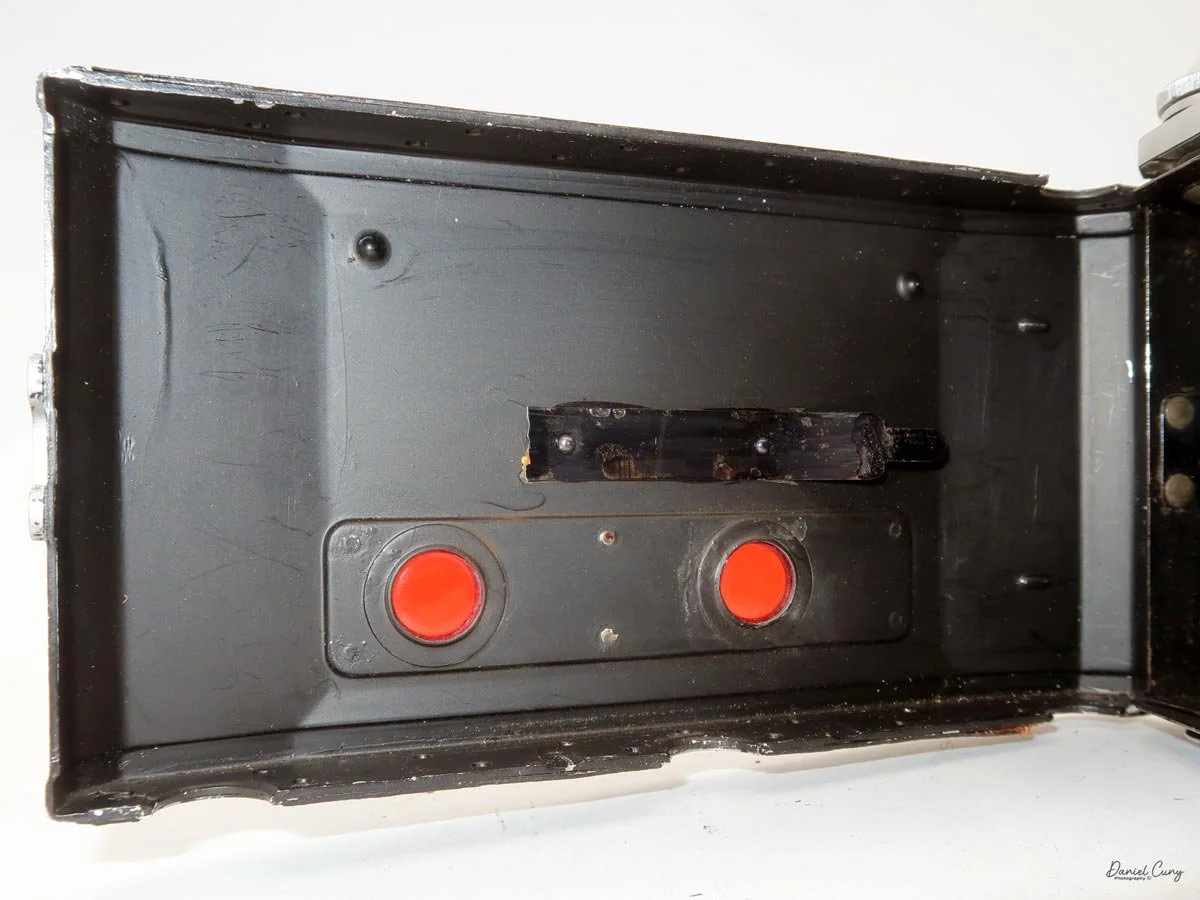
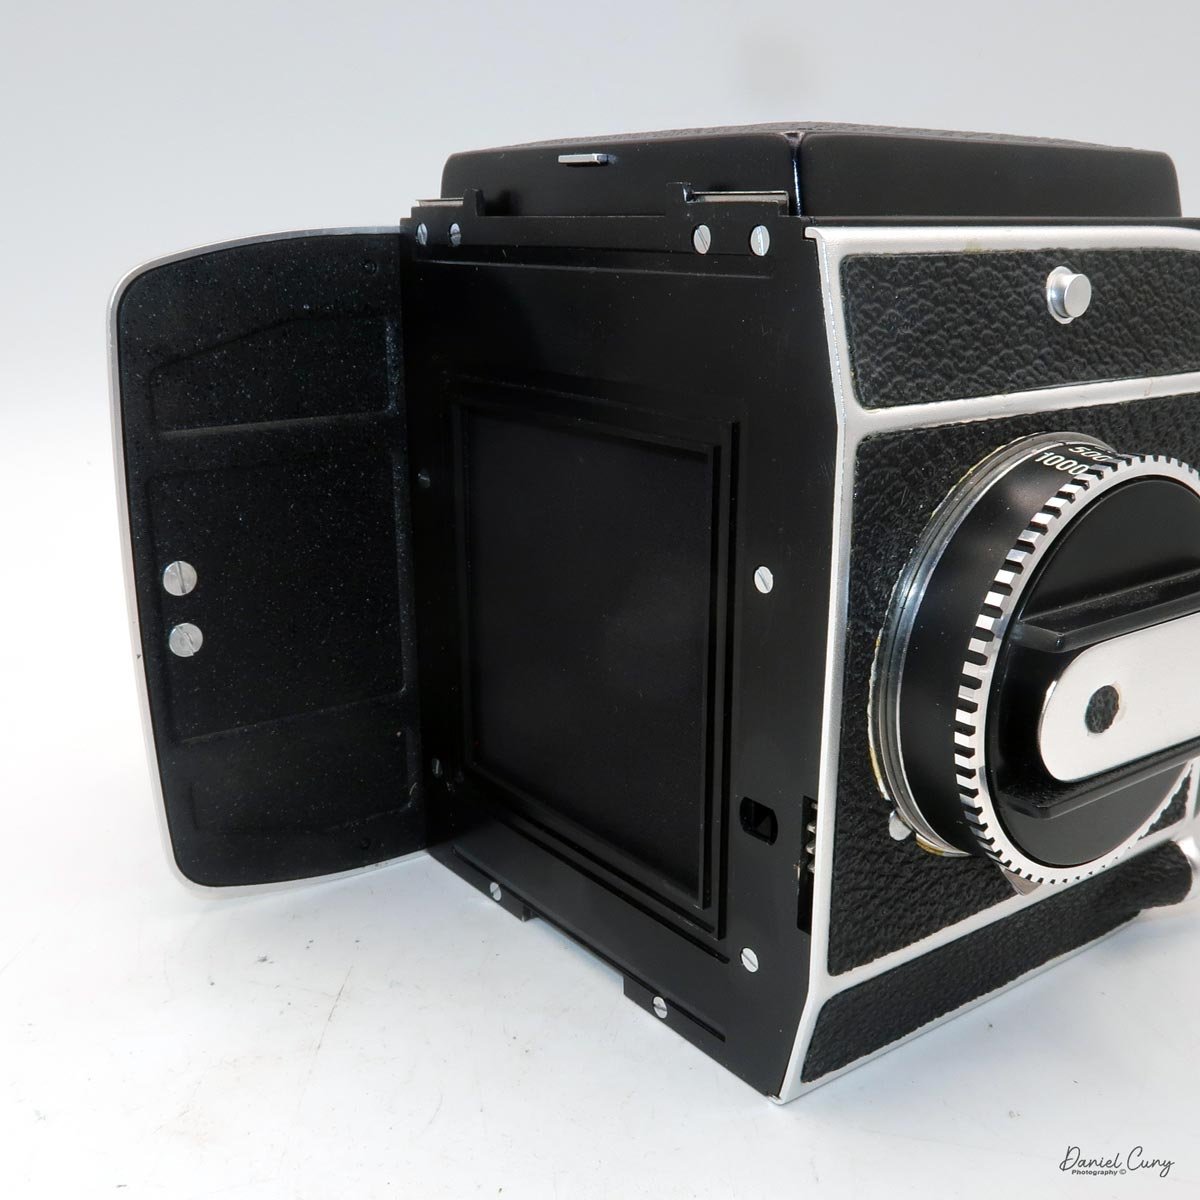
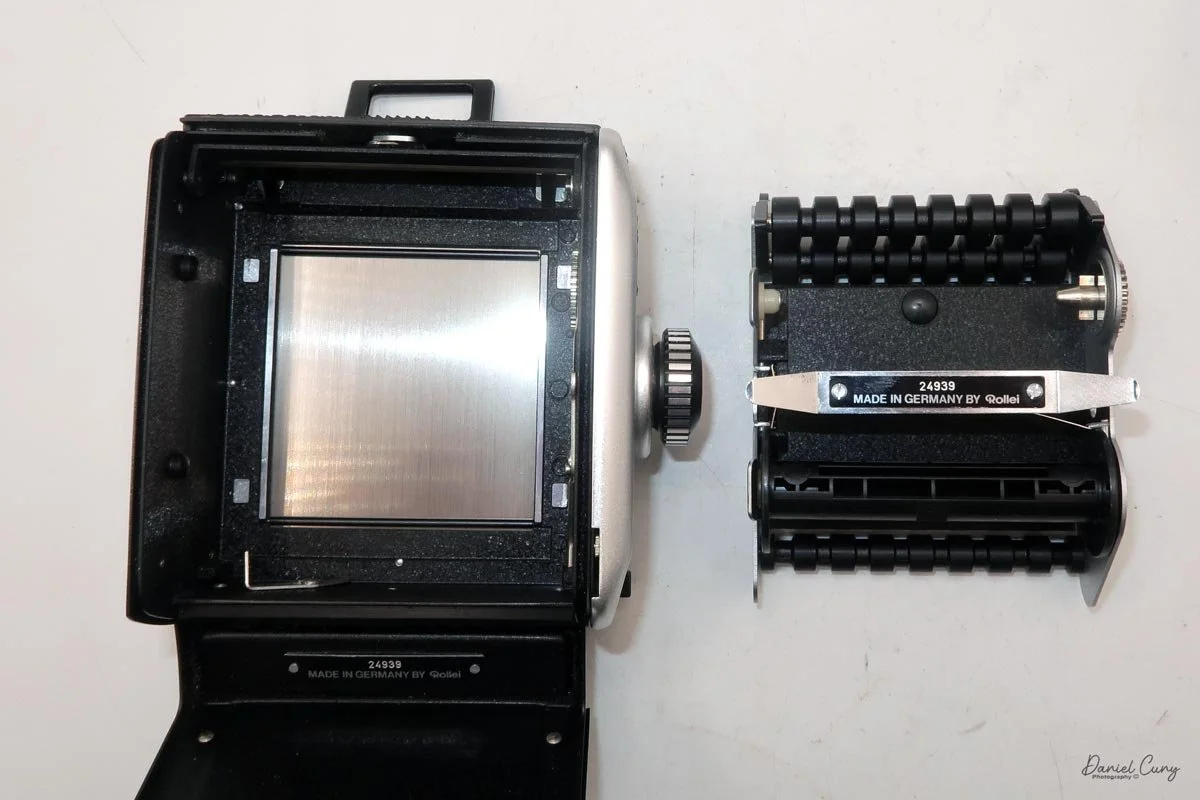
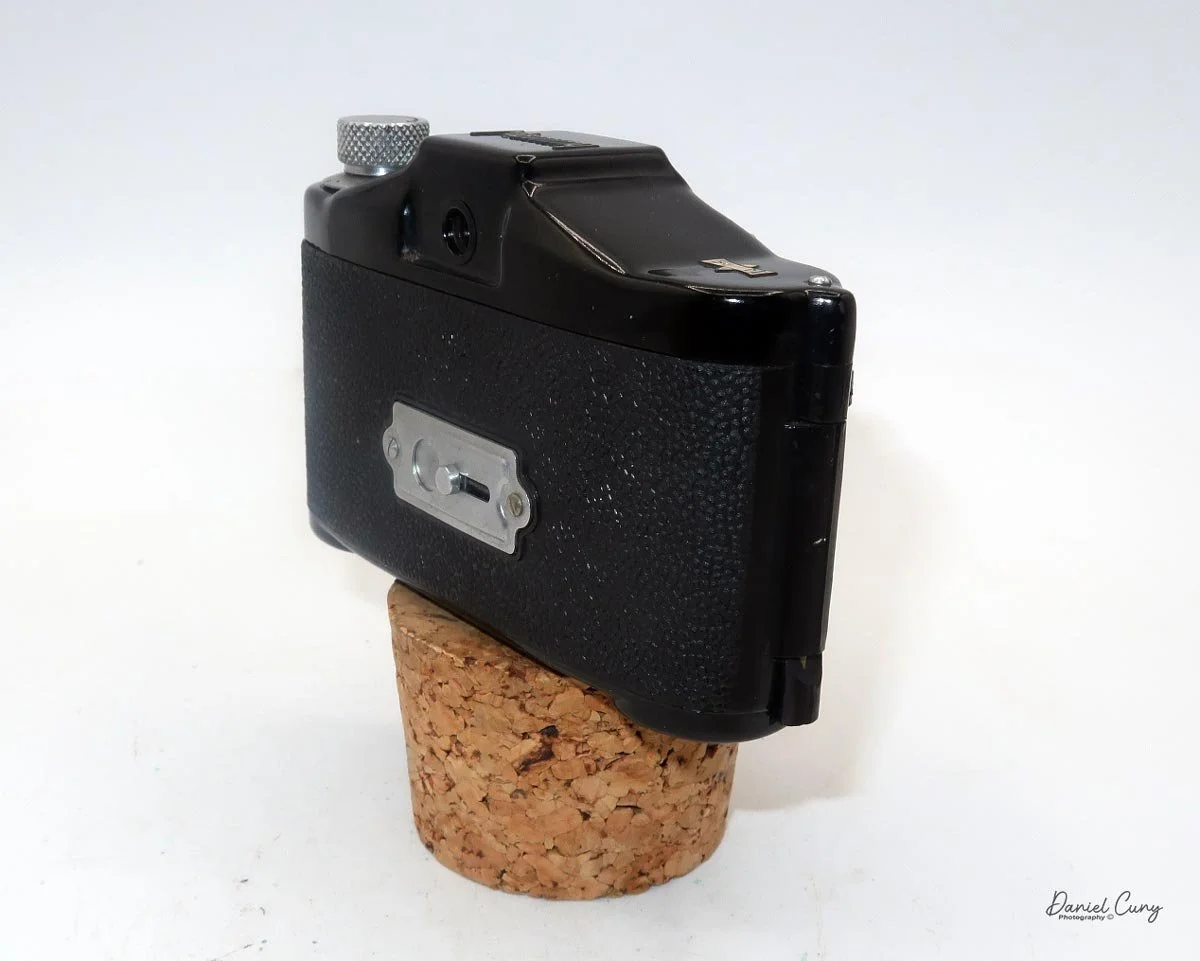
My Mamiya Mammy camera doesn't have an empty spool or cassette used in Bolta cameras from the time. I do however have a Photovit camera which uses special Bolta cassettes to house the film. Inside these cassettes is a spool that would fit into the Mamiya Mammy camera which has a much larger end on the spool to fit into the camera.


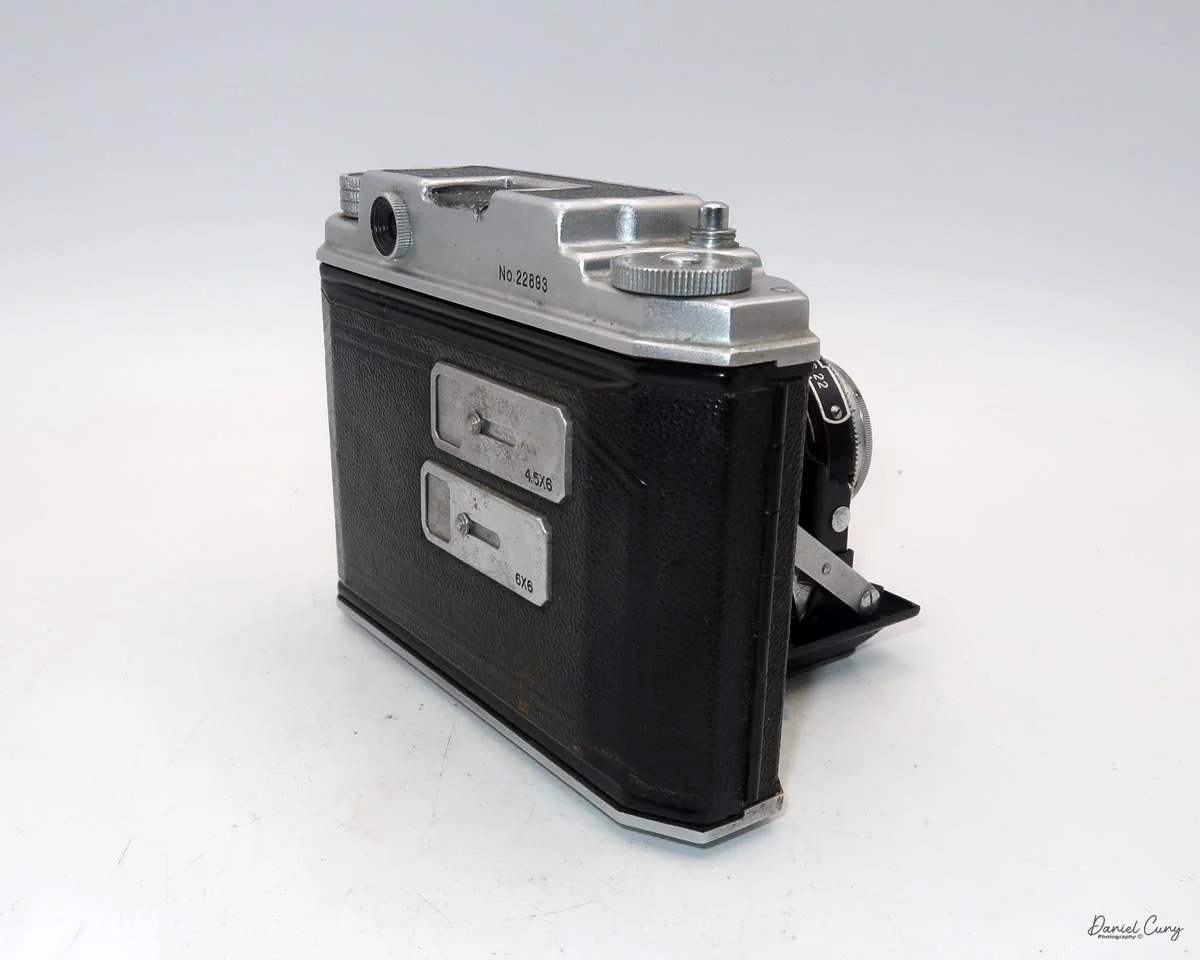
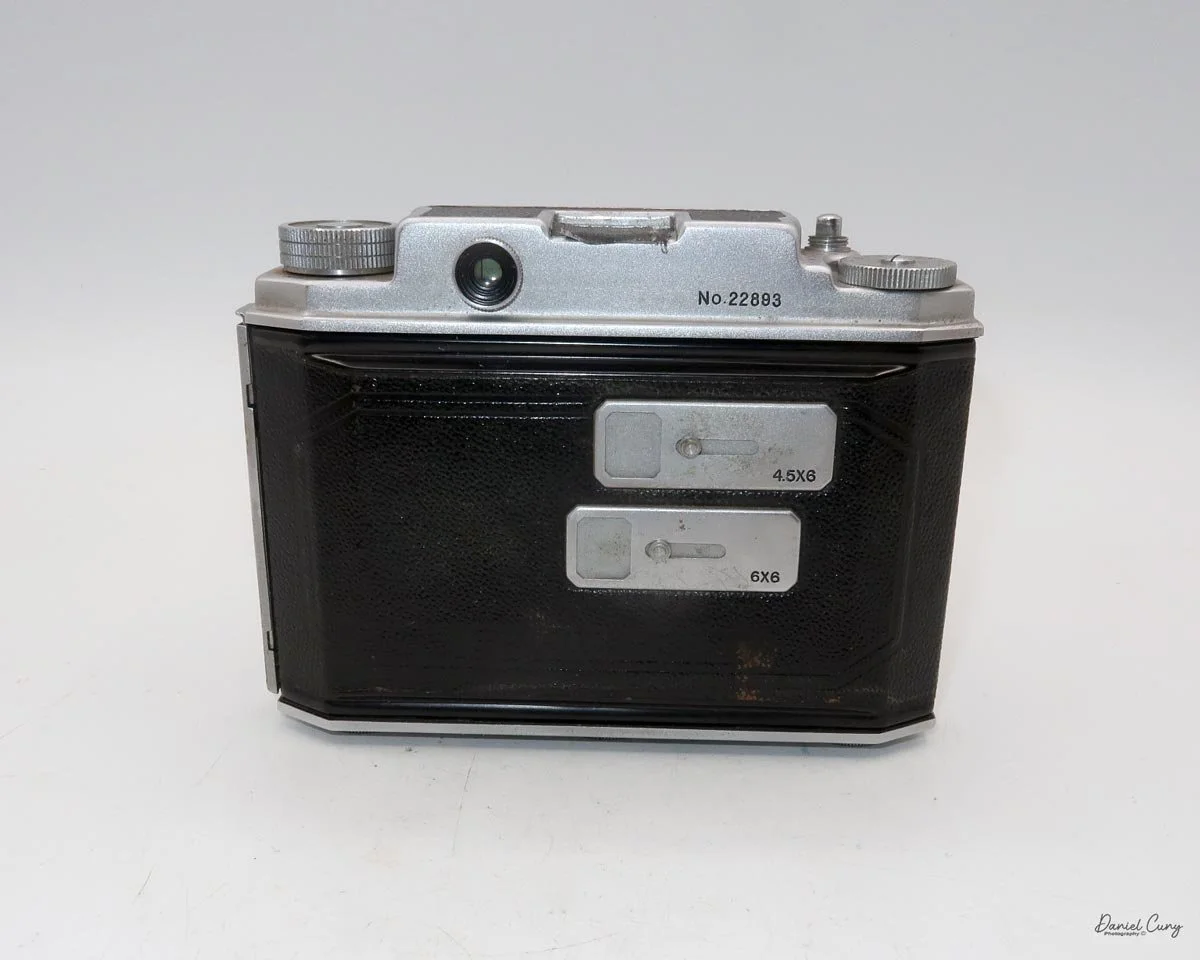
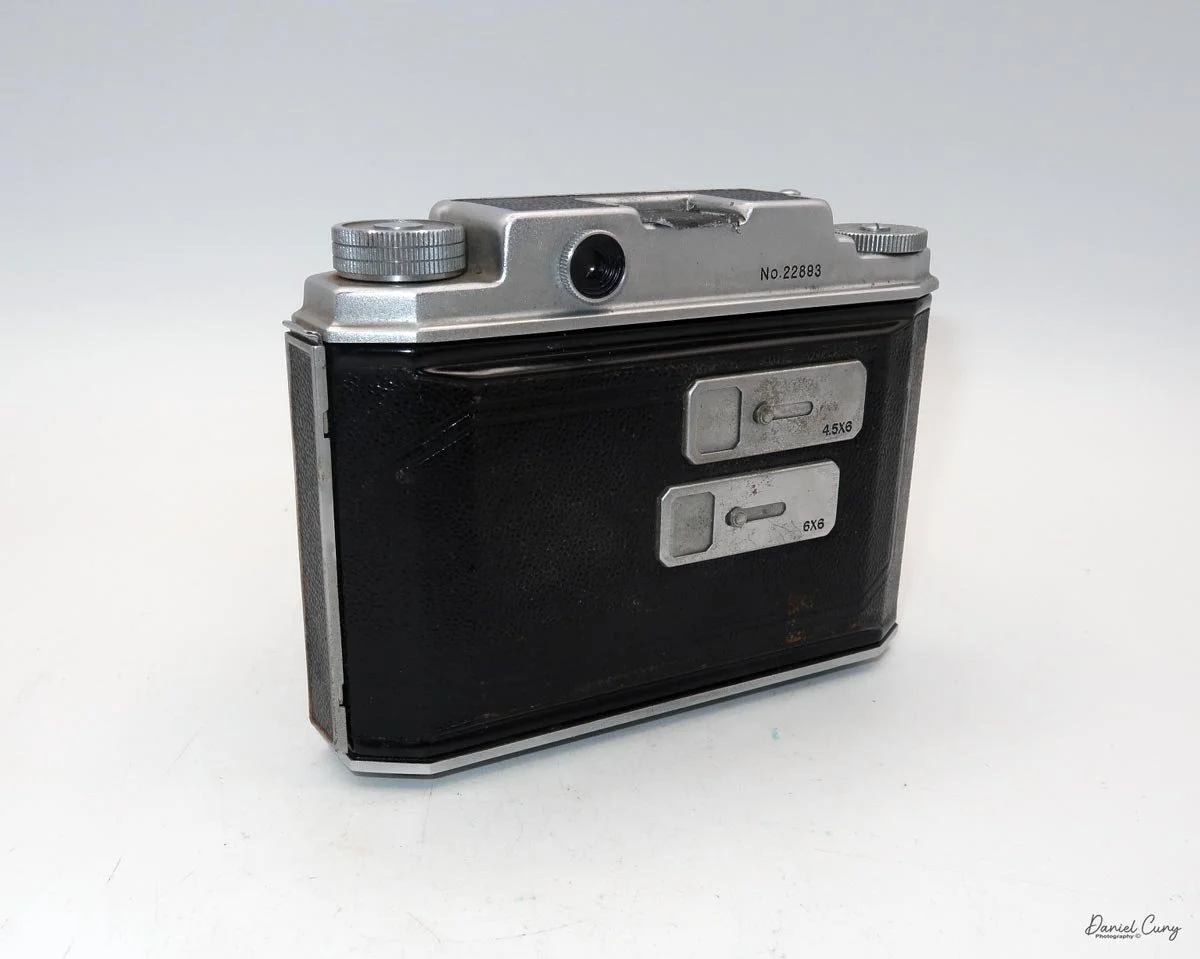
Most Bolta camera have a similar film format to 35mm, 24x36mm. Some Japanese Bolta cameras such as the Rich-Ray cameras who made Bolta cameras have a film format 24x24mm, but the Mamiya Mammy camera has a film format of 24x28mm.
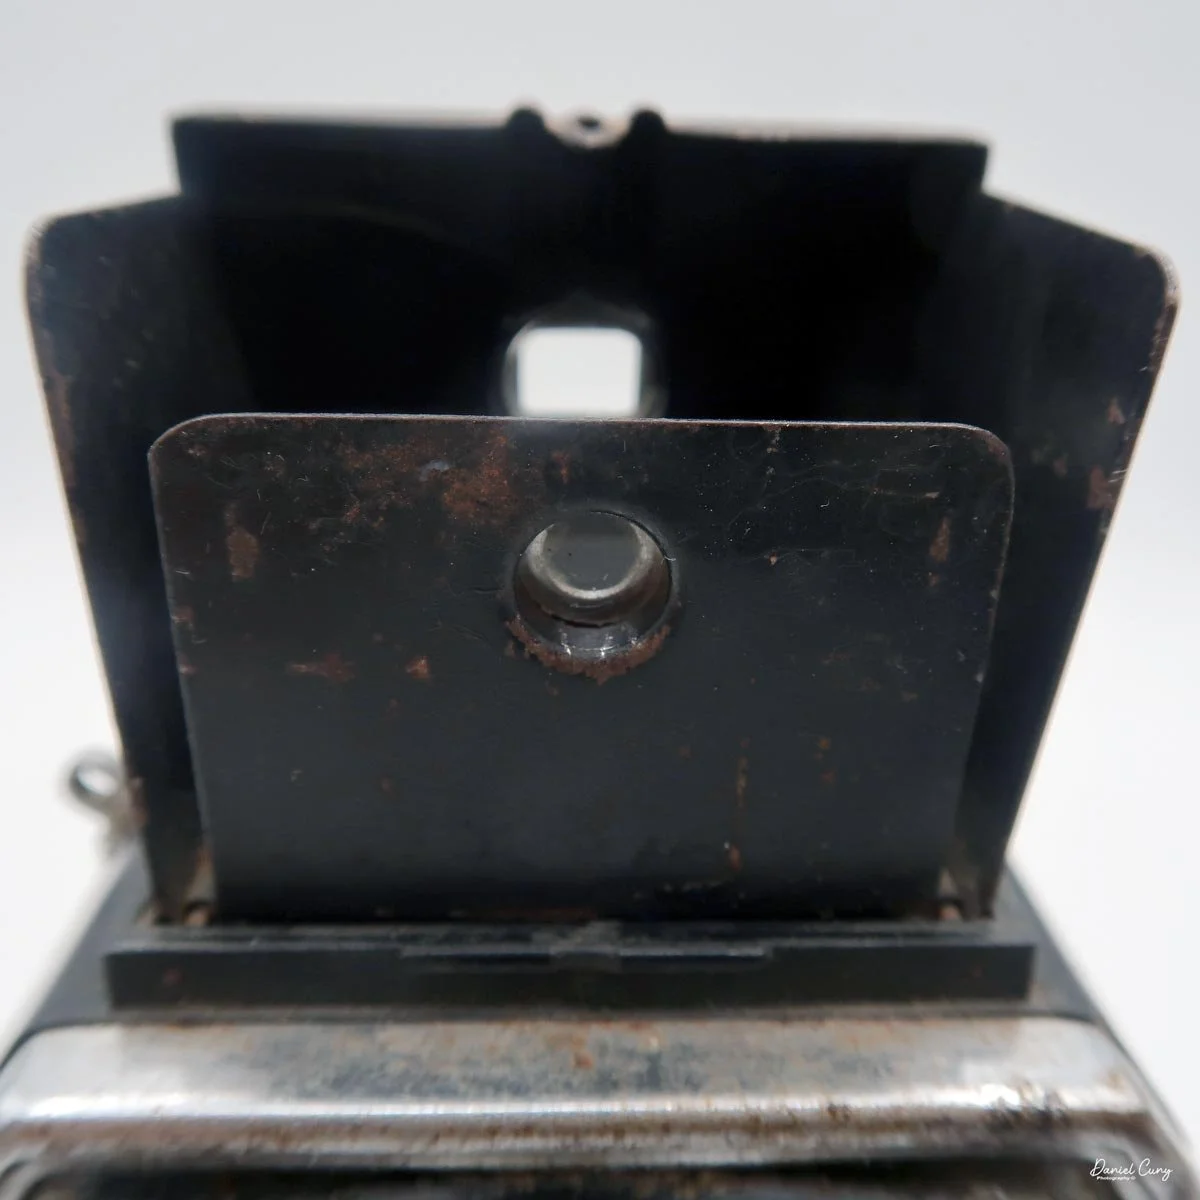
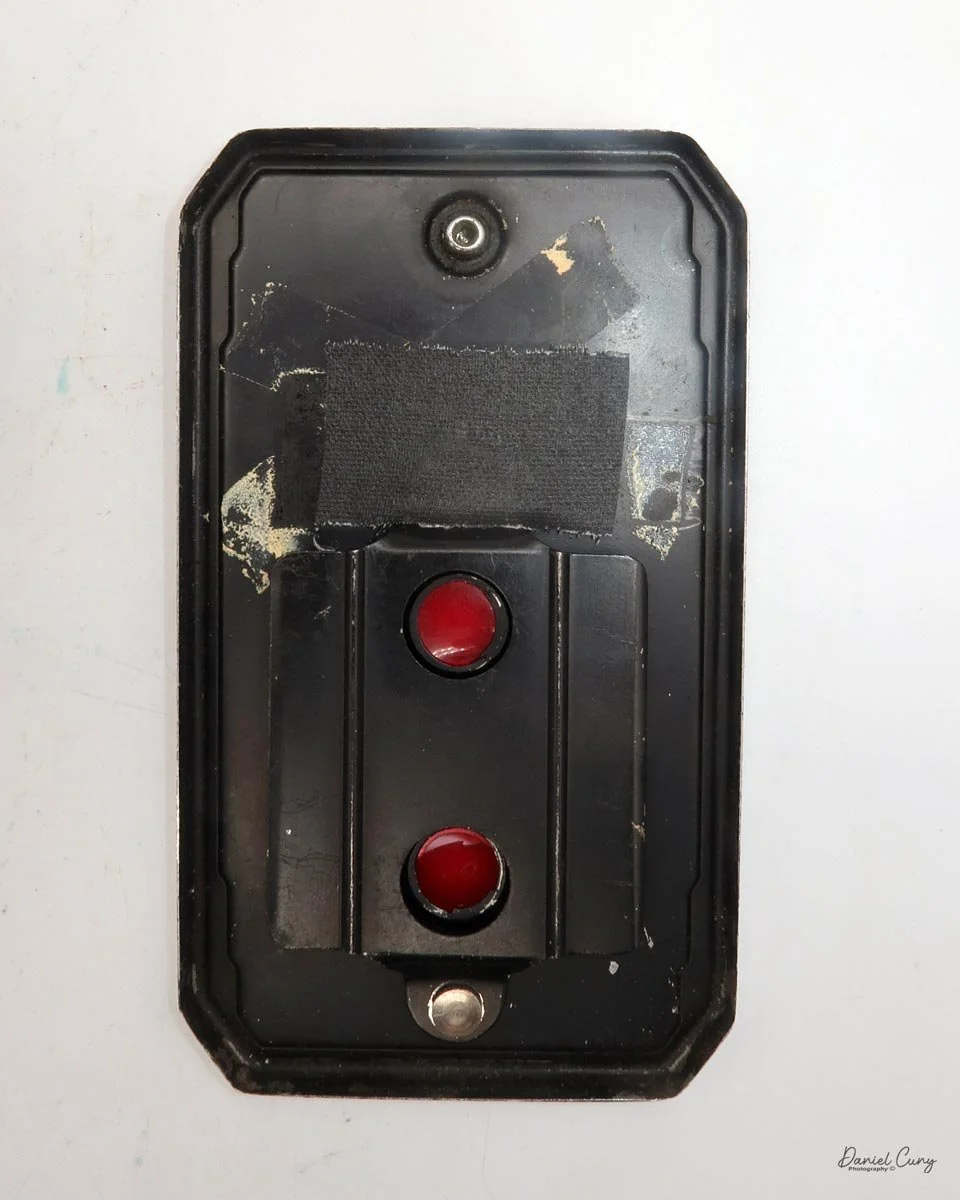
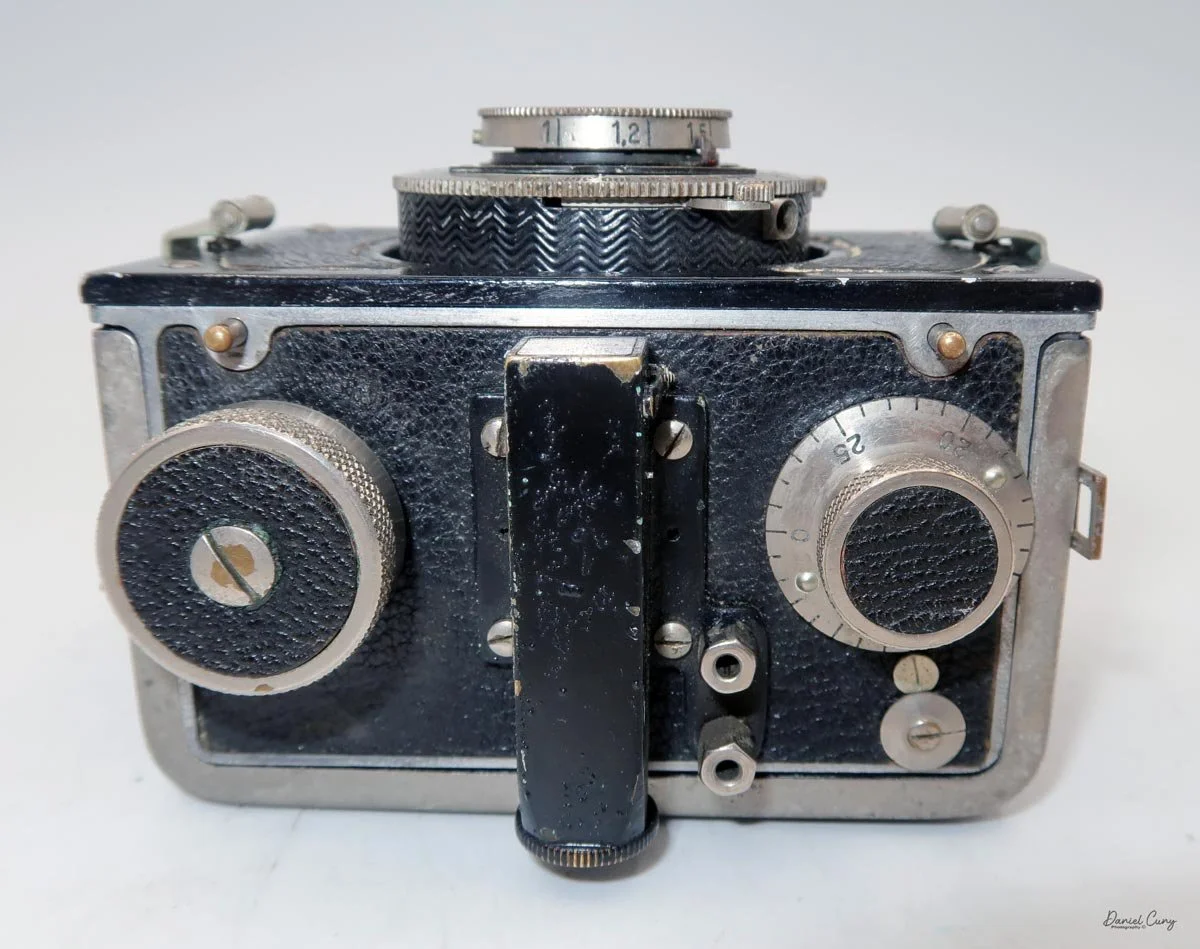
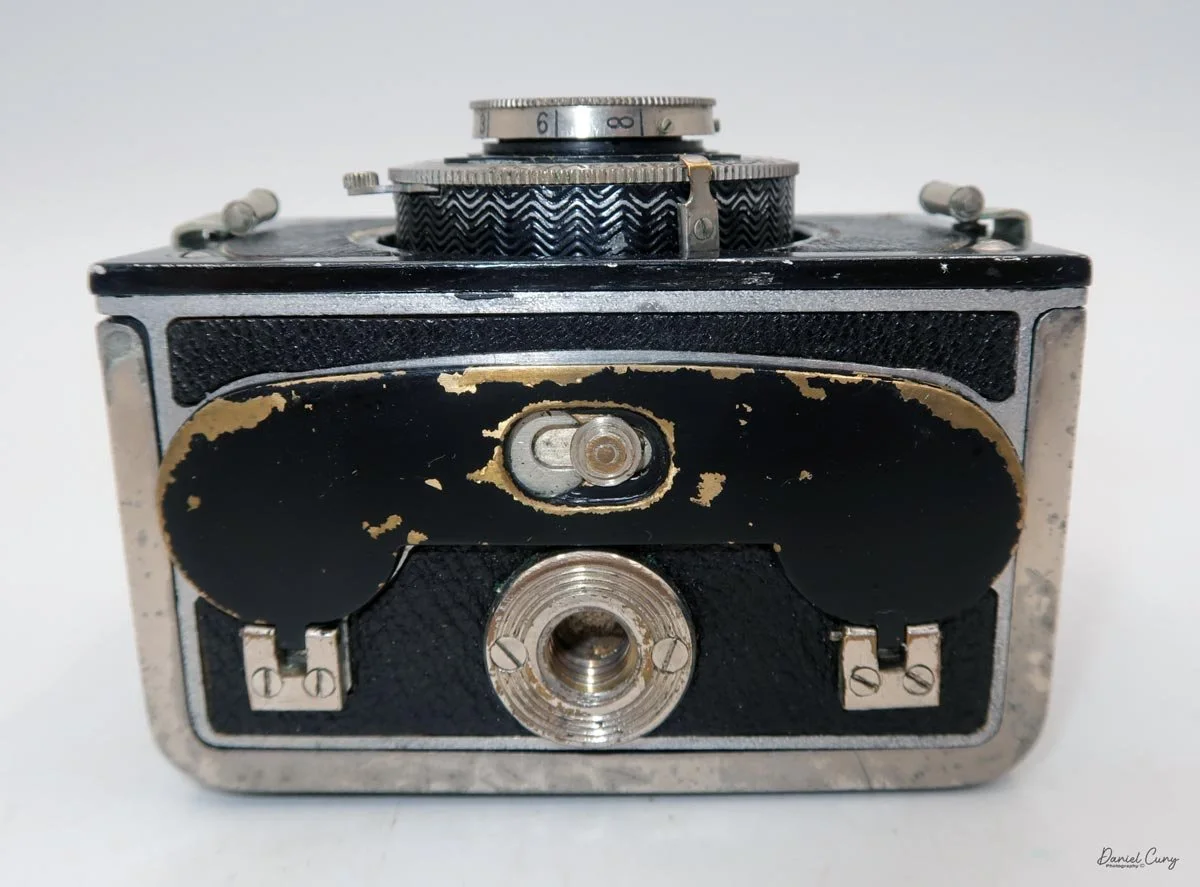
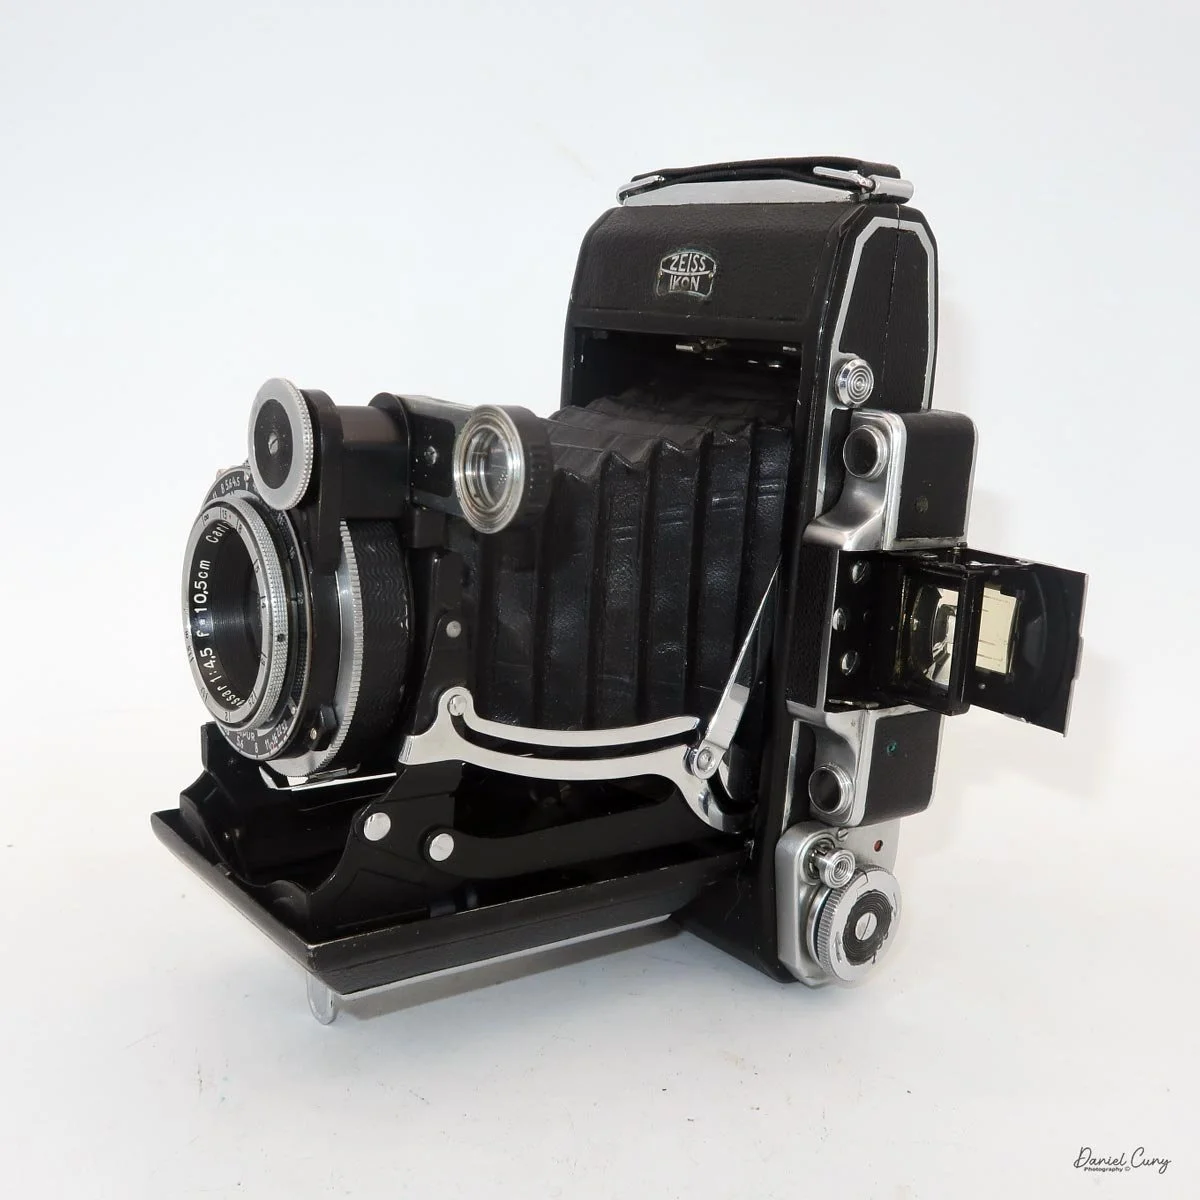
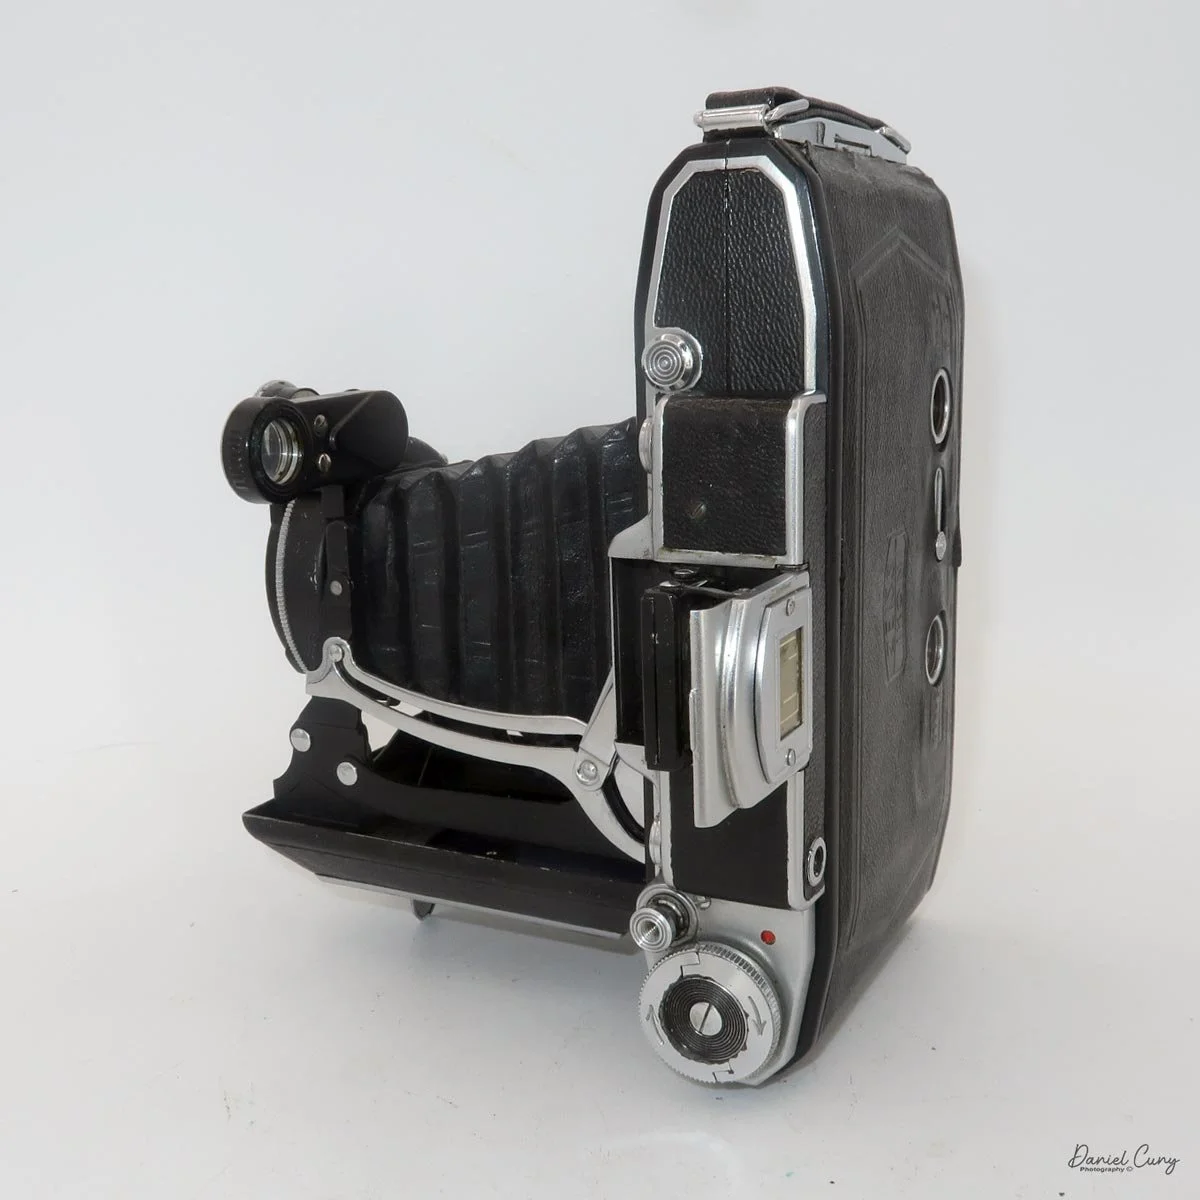
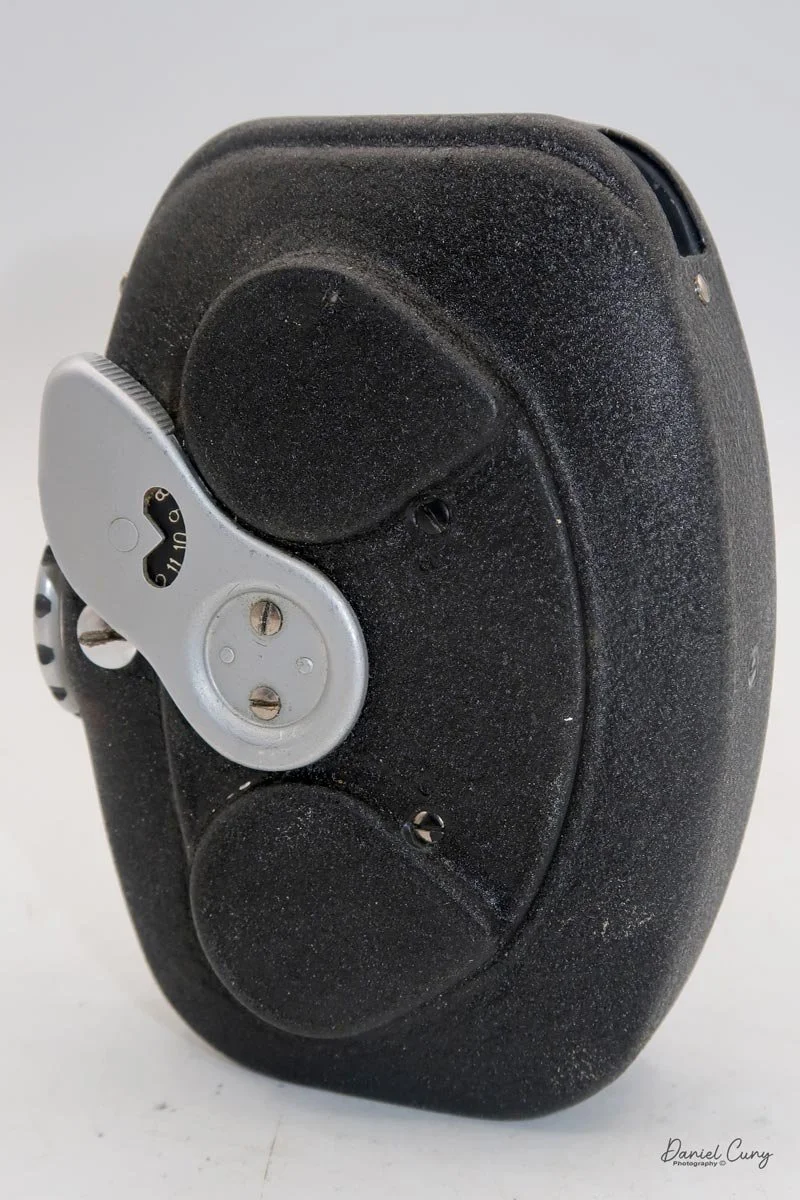
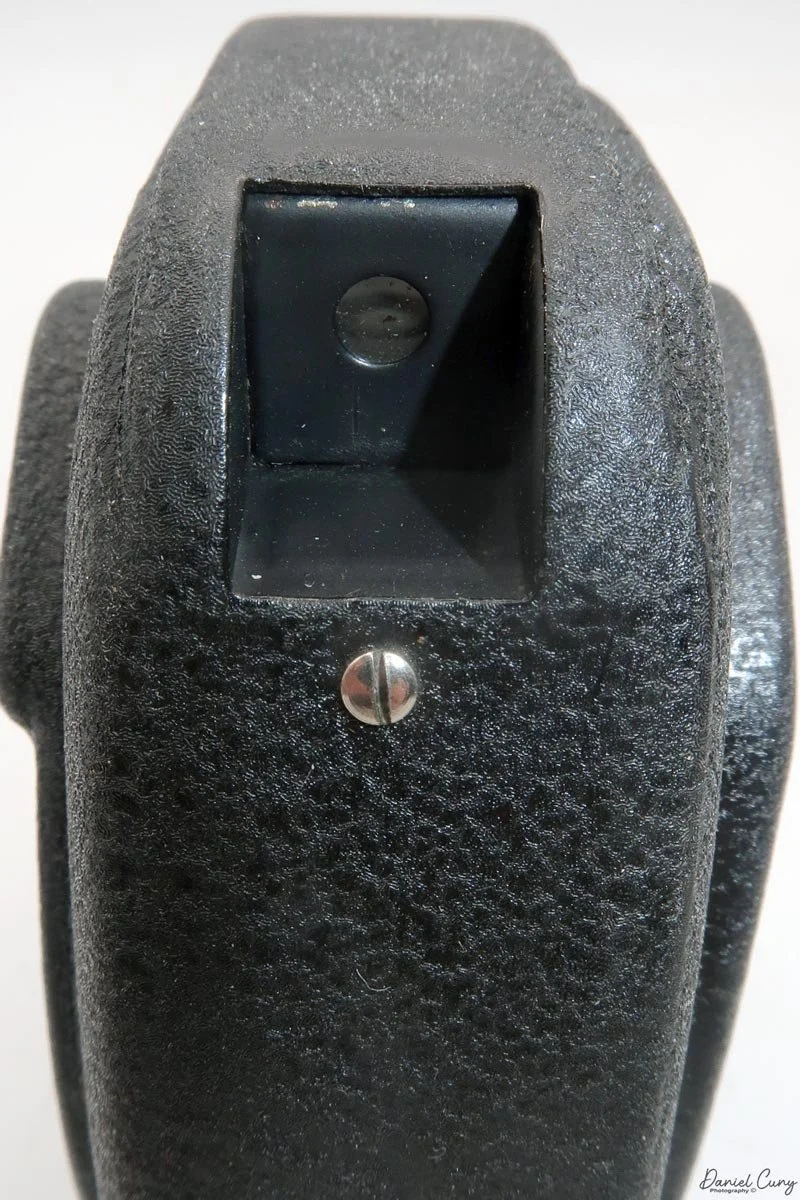
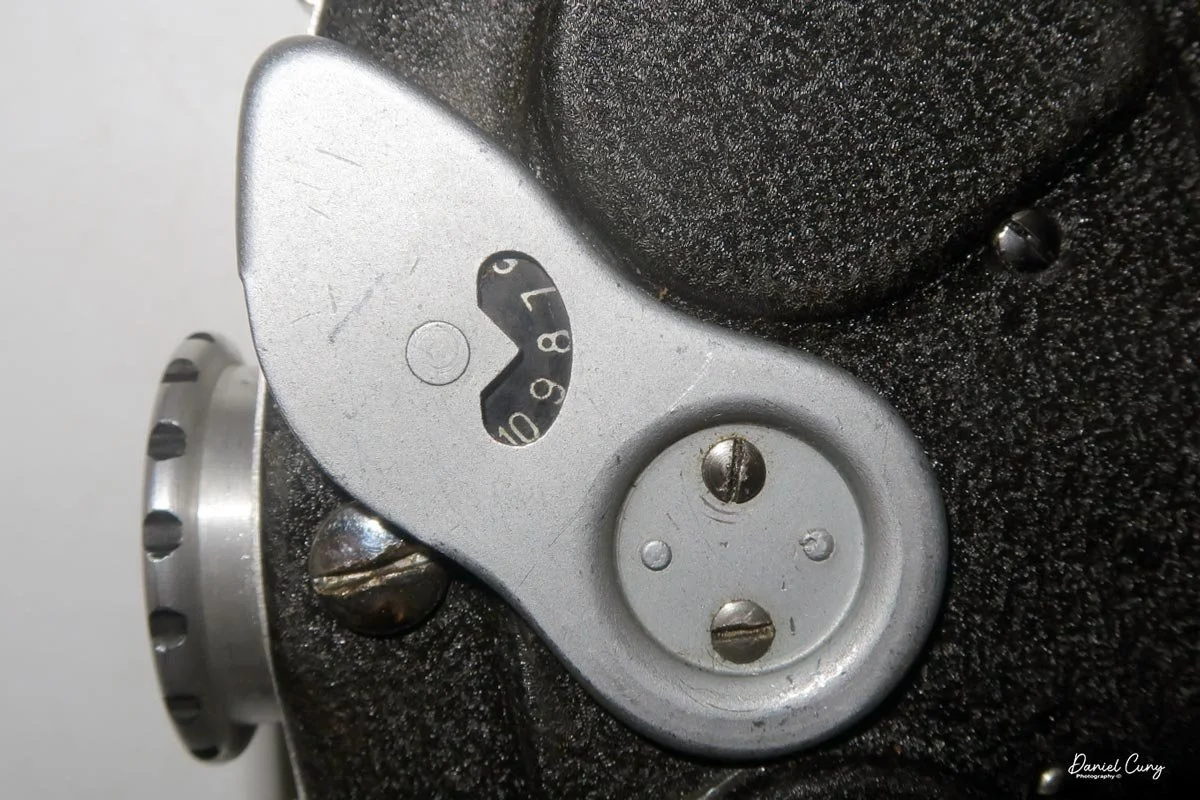
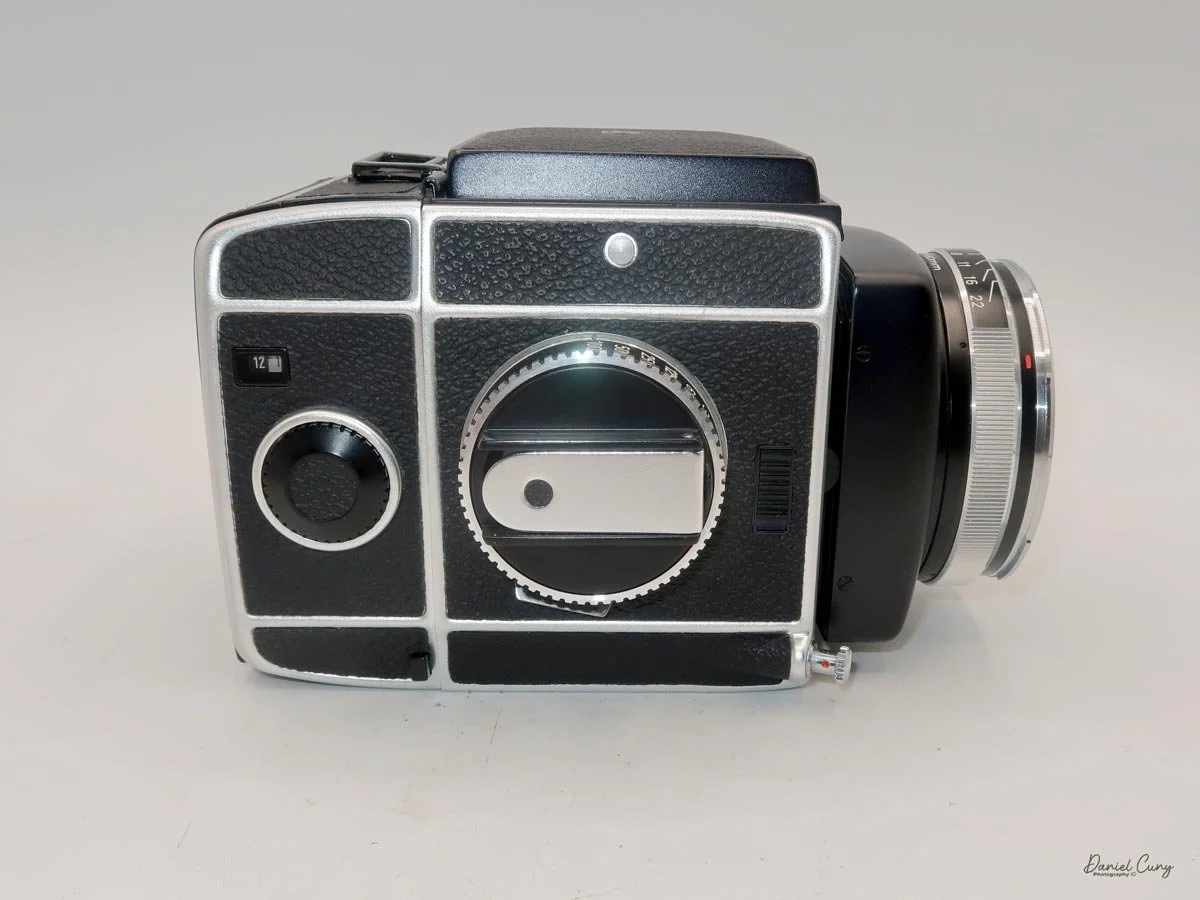
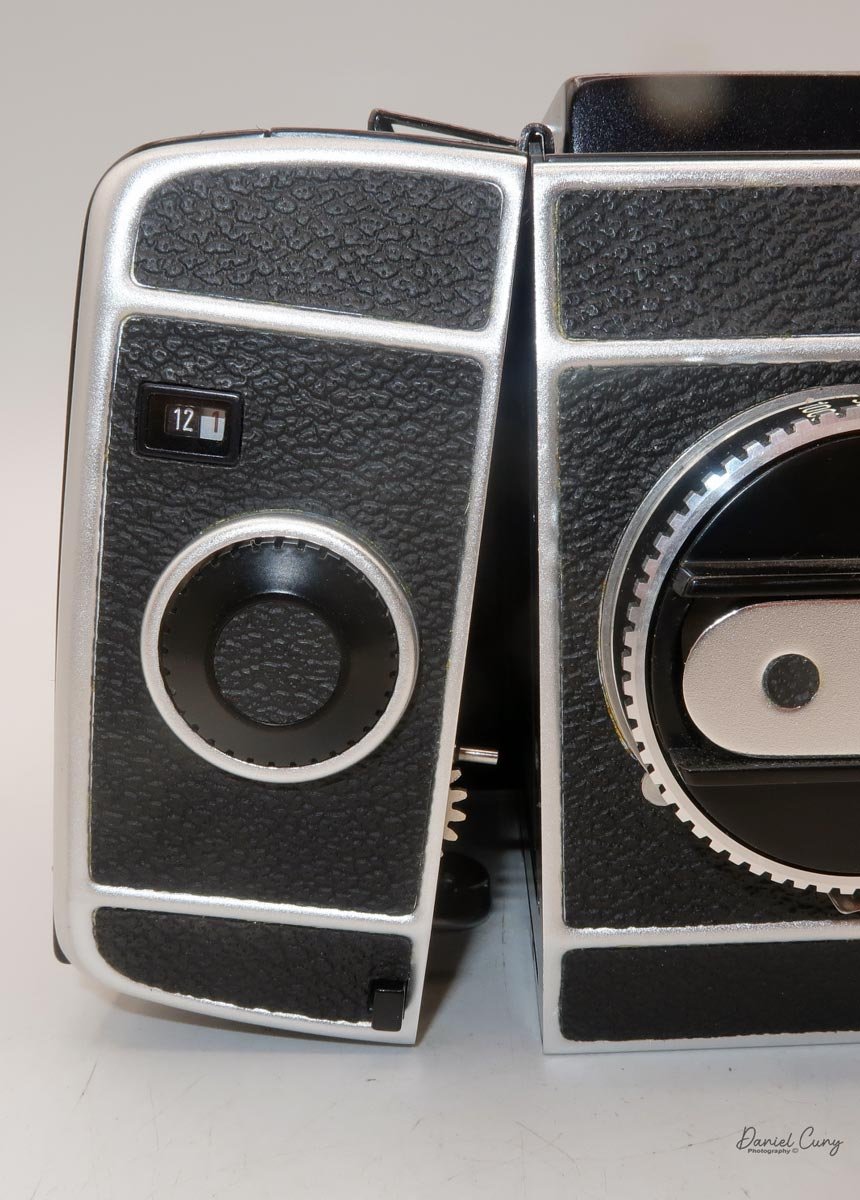
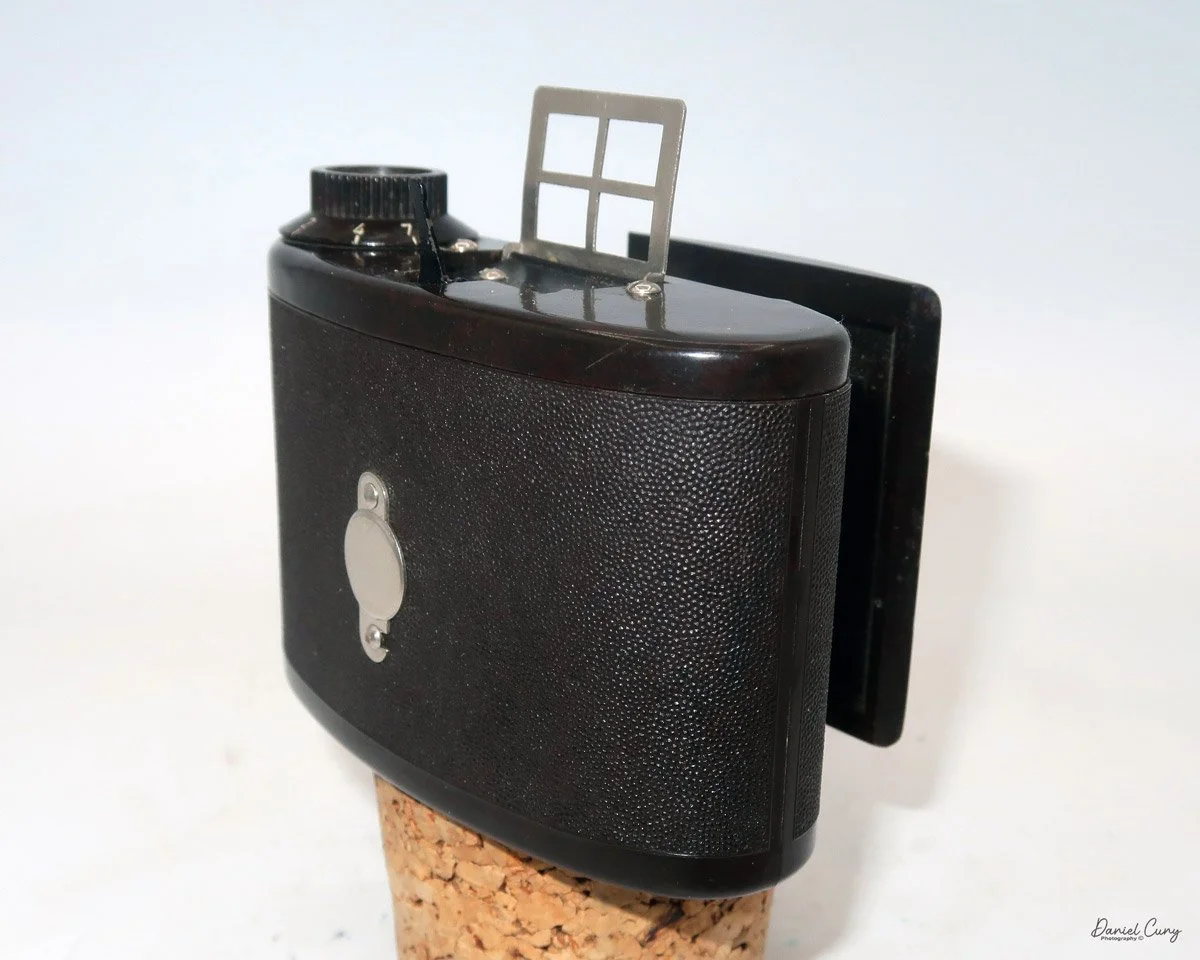
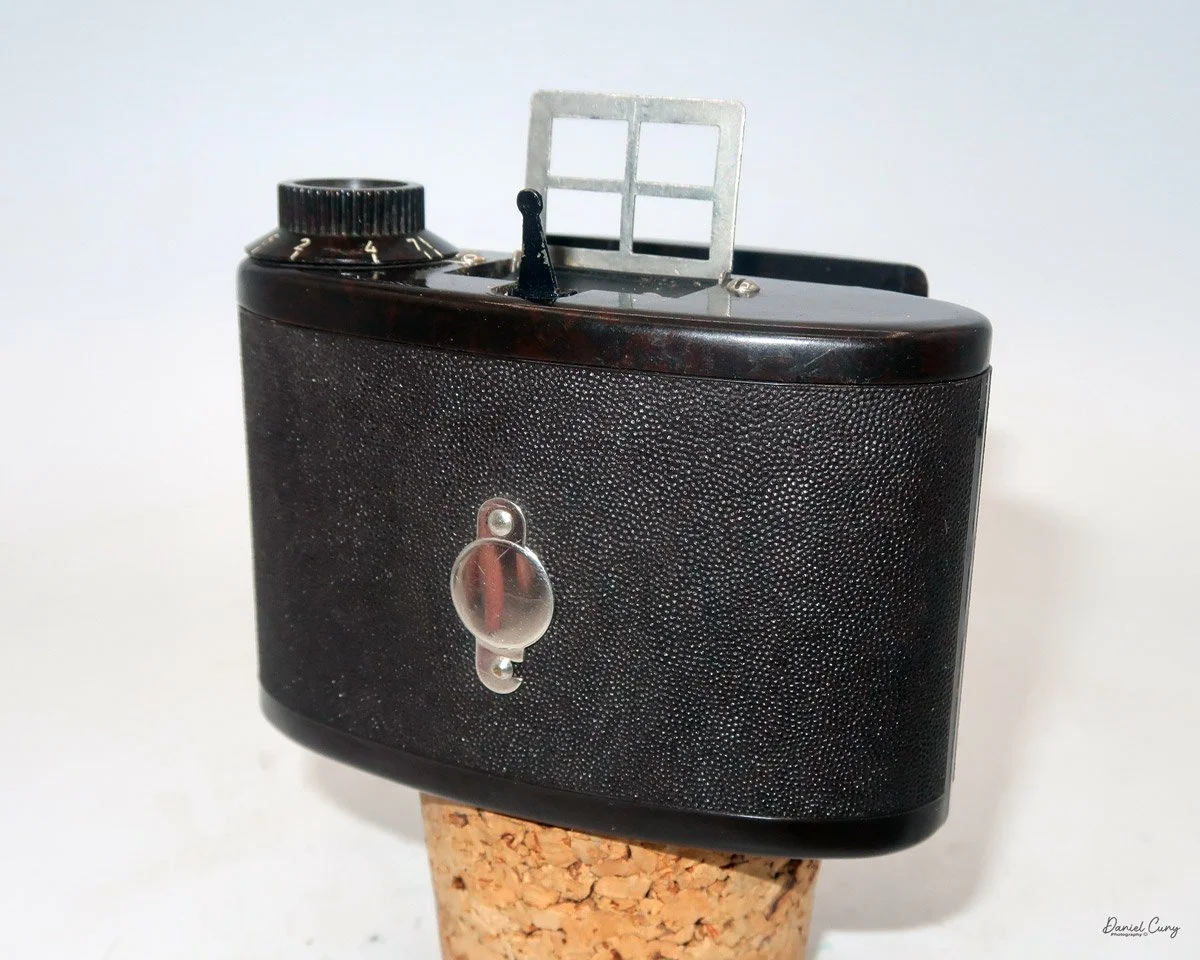
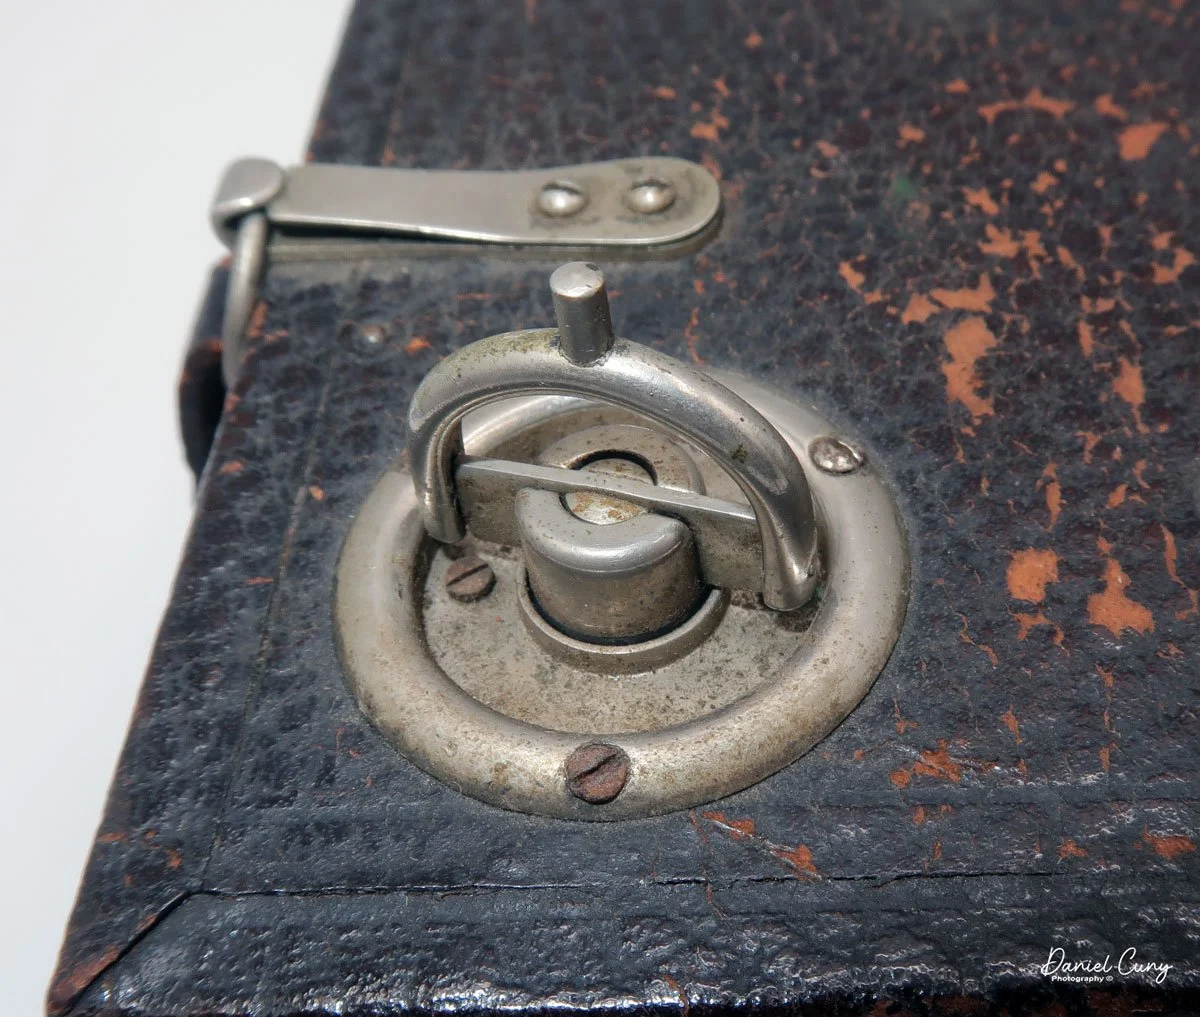
I find that odd because Mamiya Mammy camera does have a red window on the back of the camera, but the film advance knob on the camera, which also cocks the shutter on the camera, stops after cocking the shutter. So unless you have the numbers set exactly in the red window, the red window frame counting system is no needed. Also, there a frame counter along the outside of the film advance knob which advances when you wind the film to the next frame.
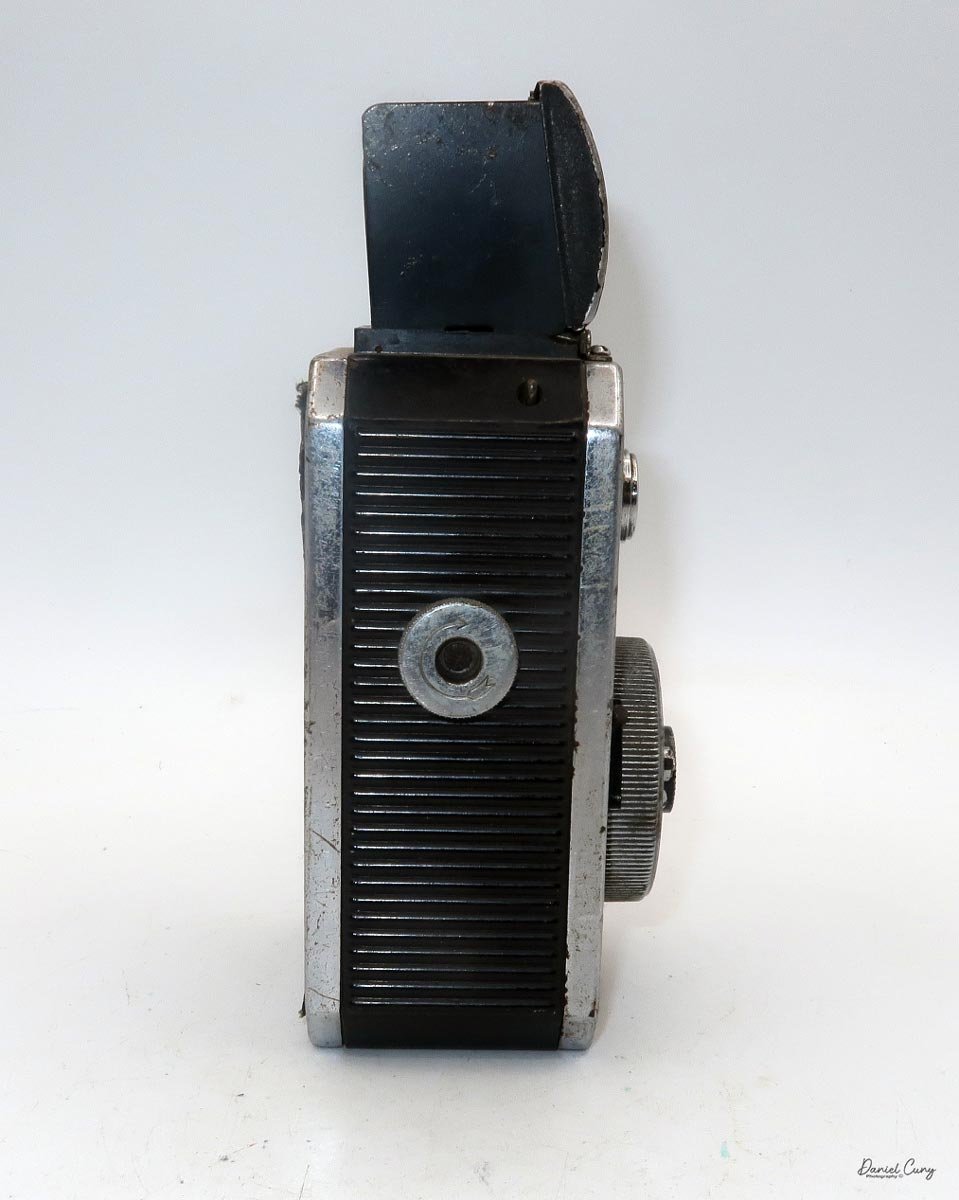
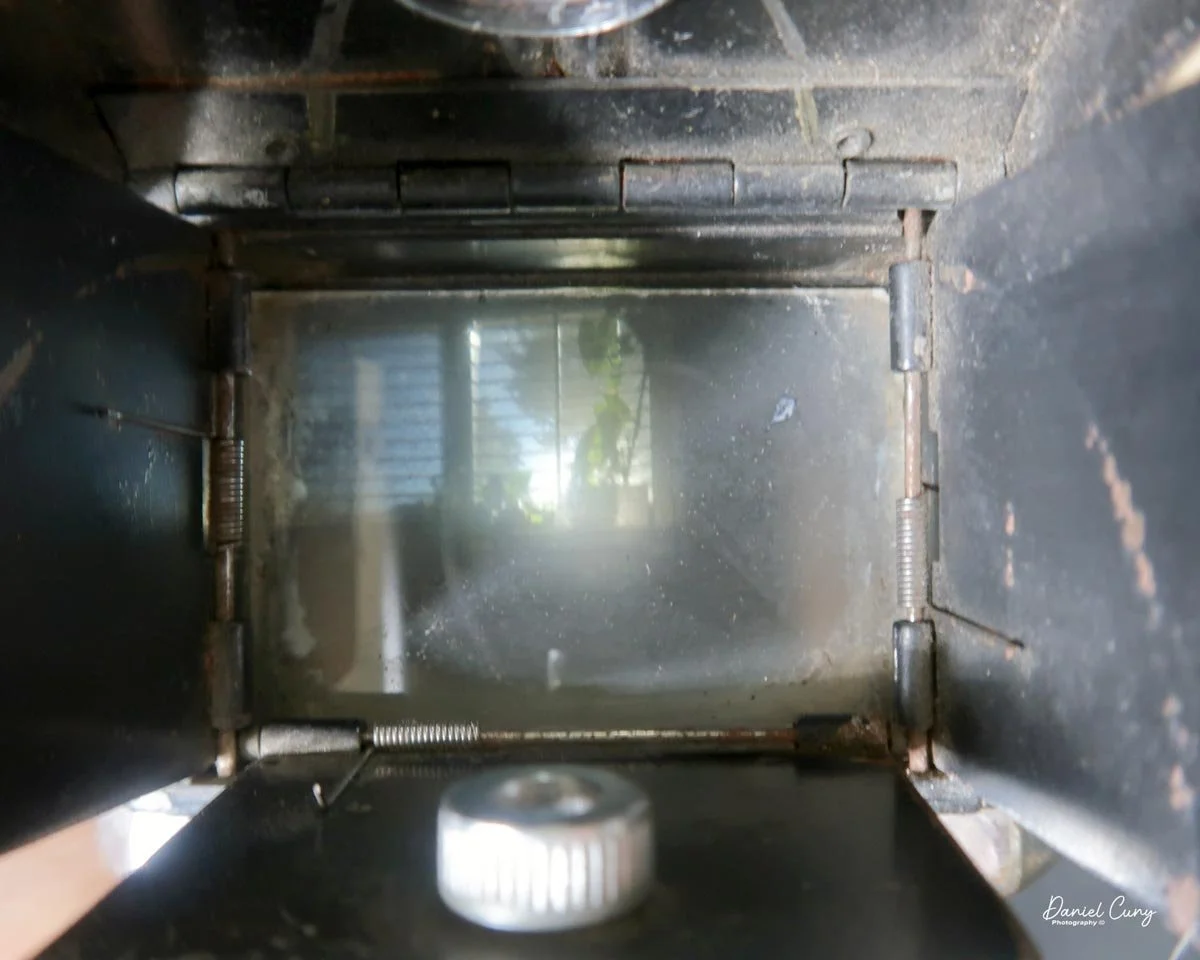
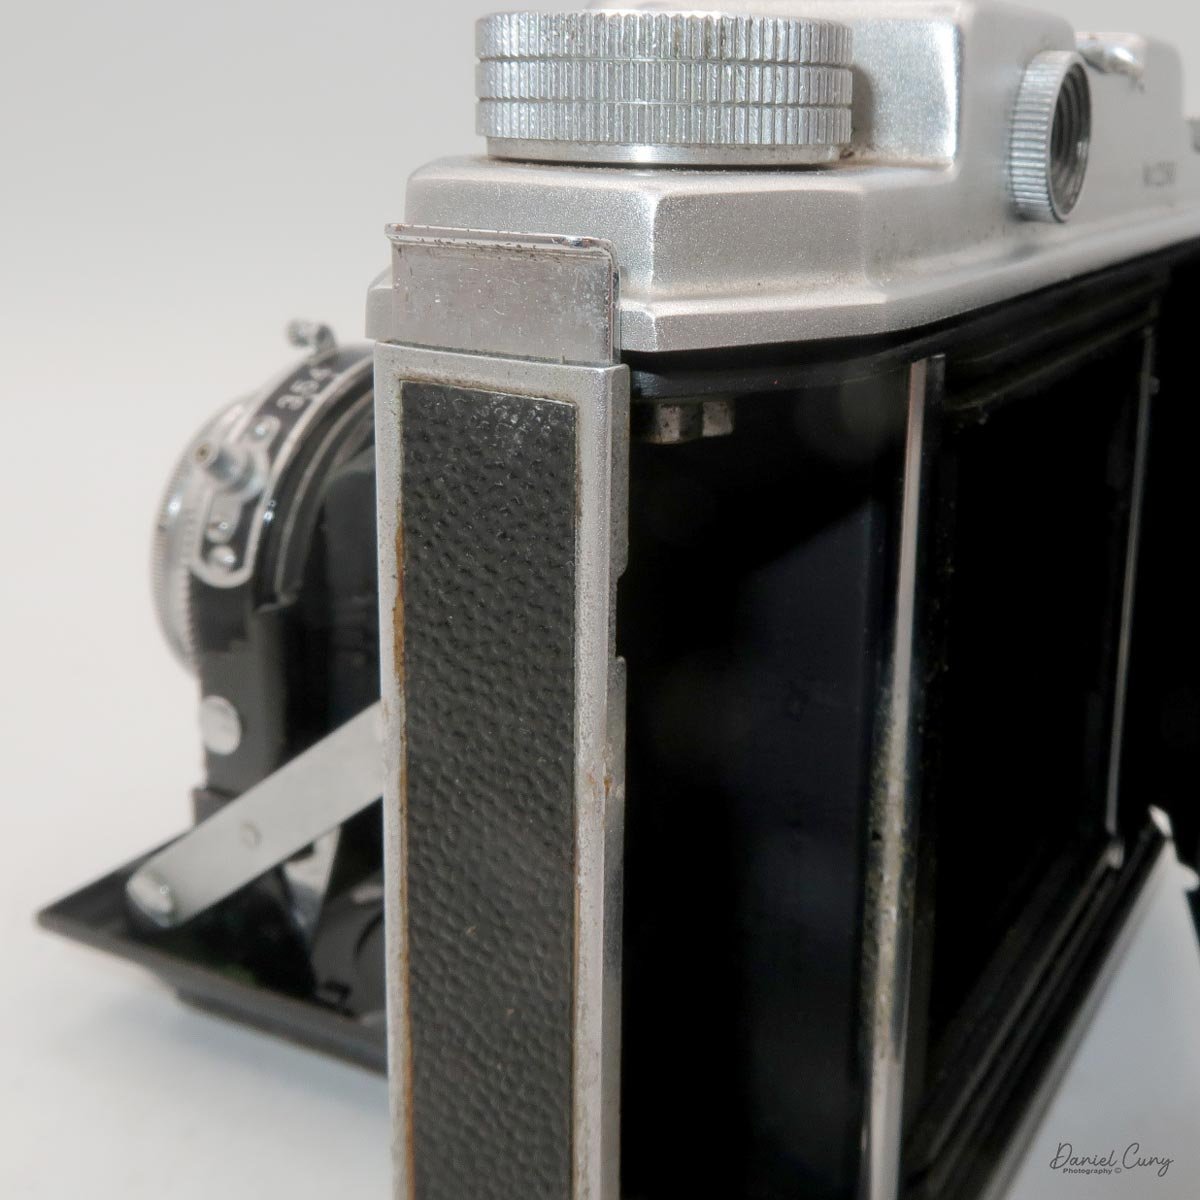
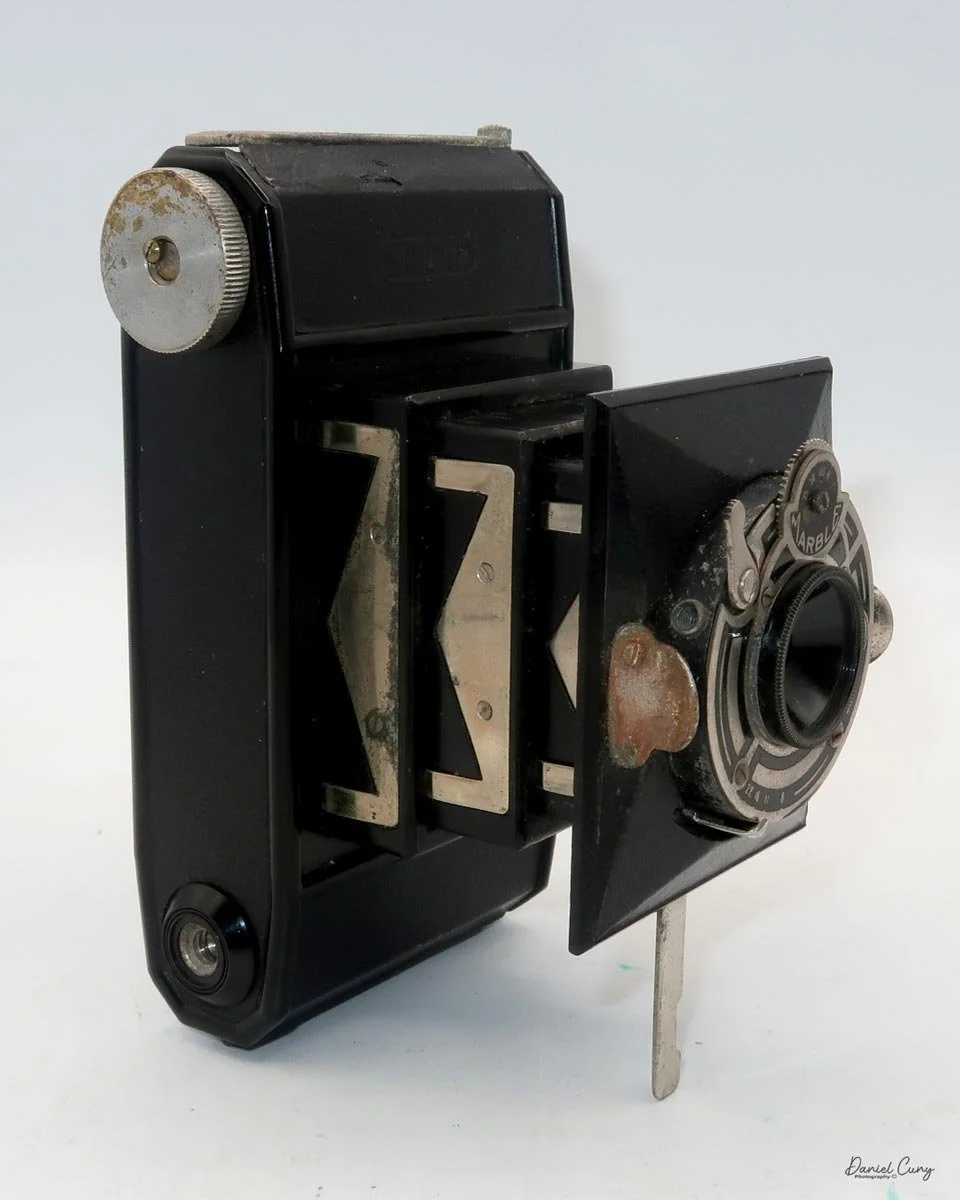
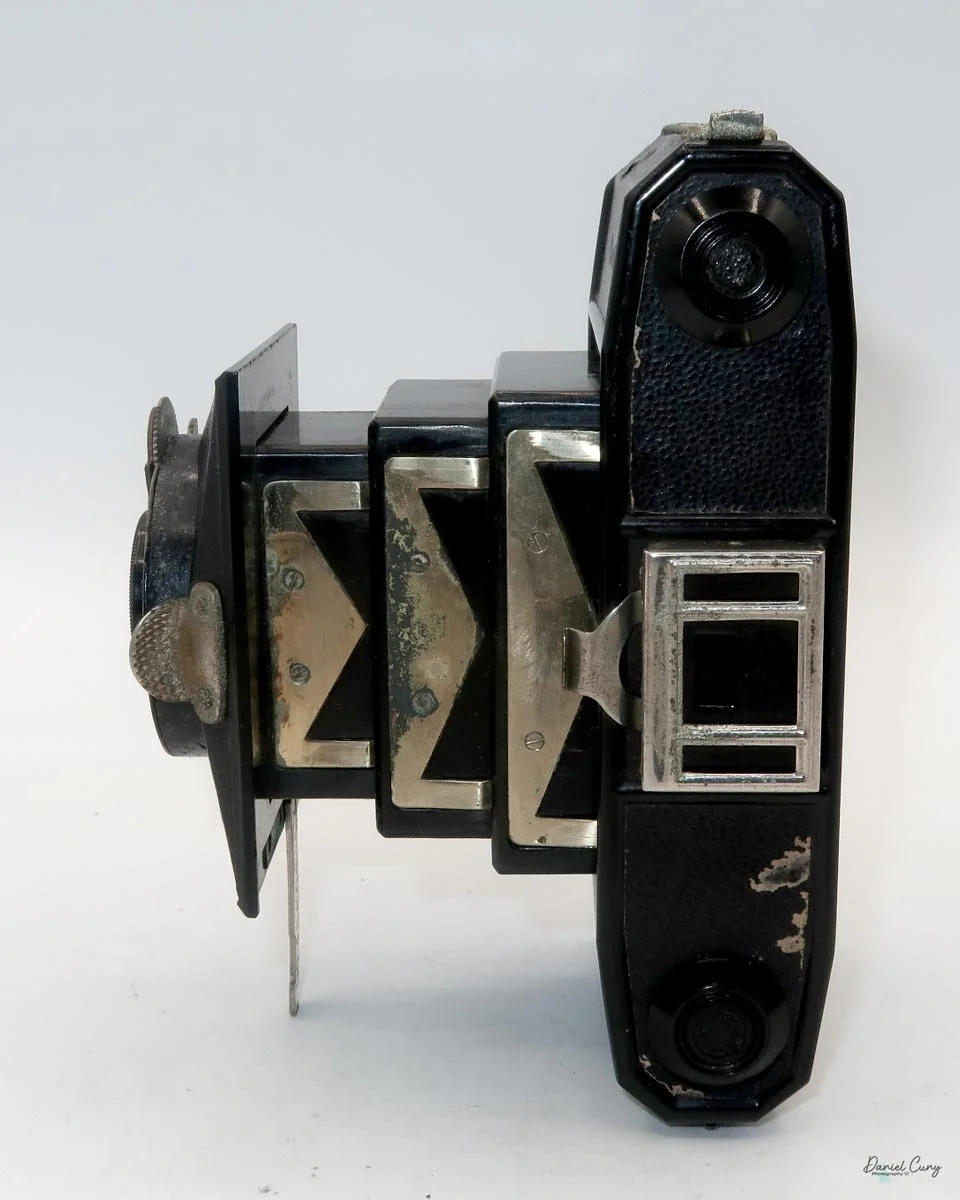
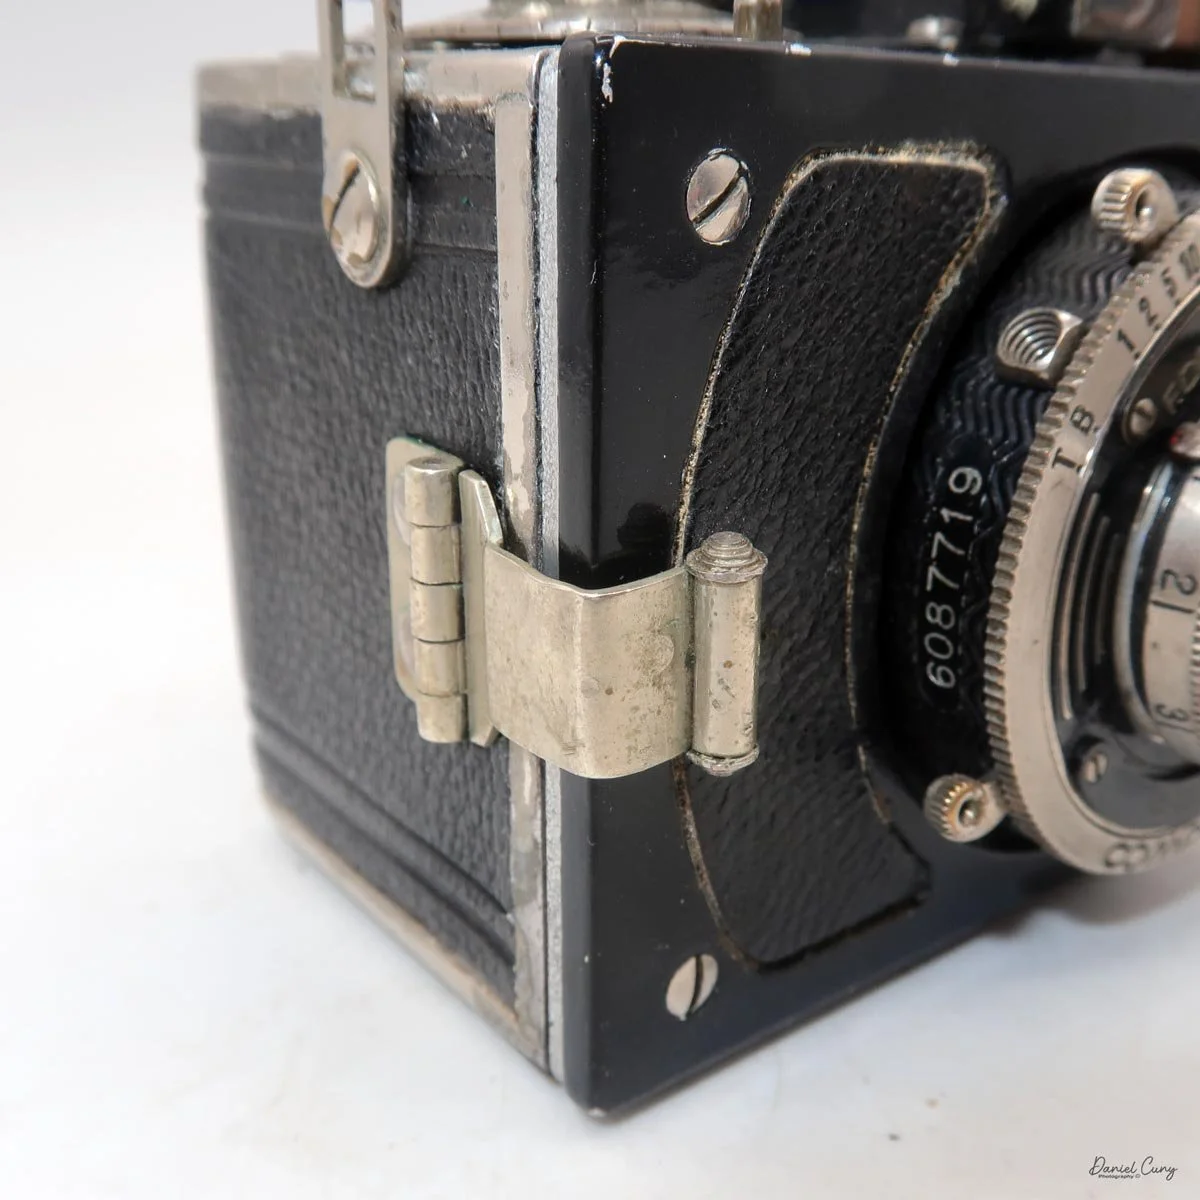
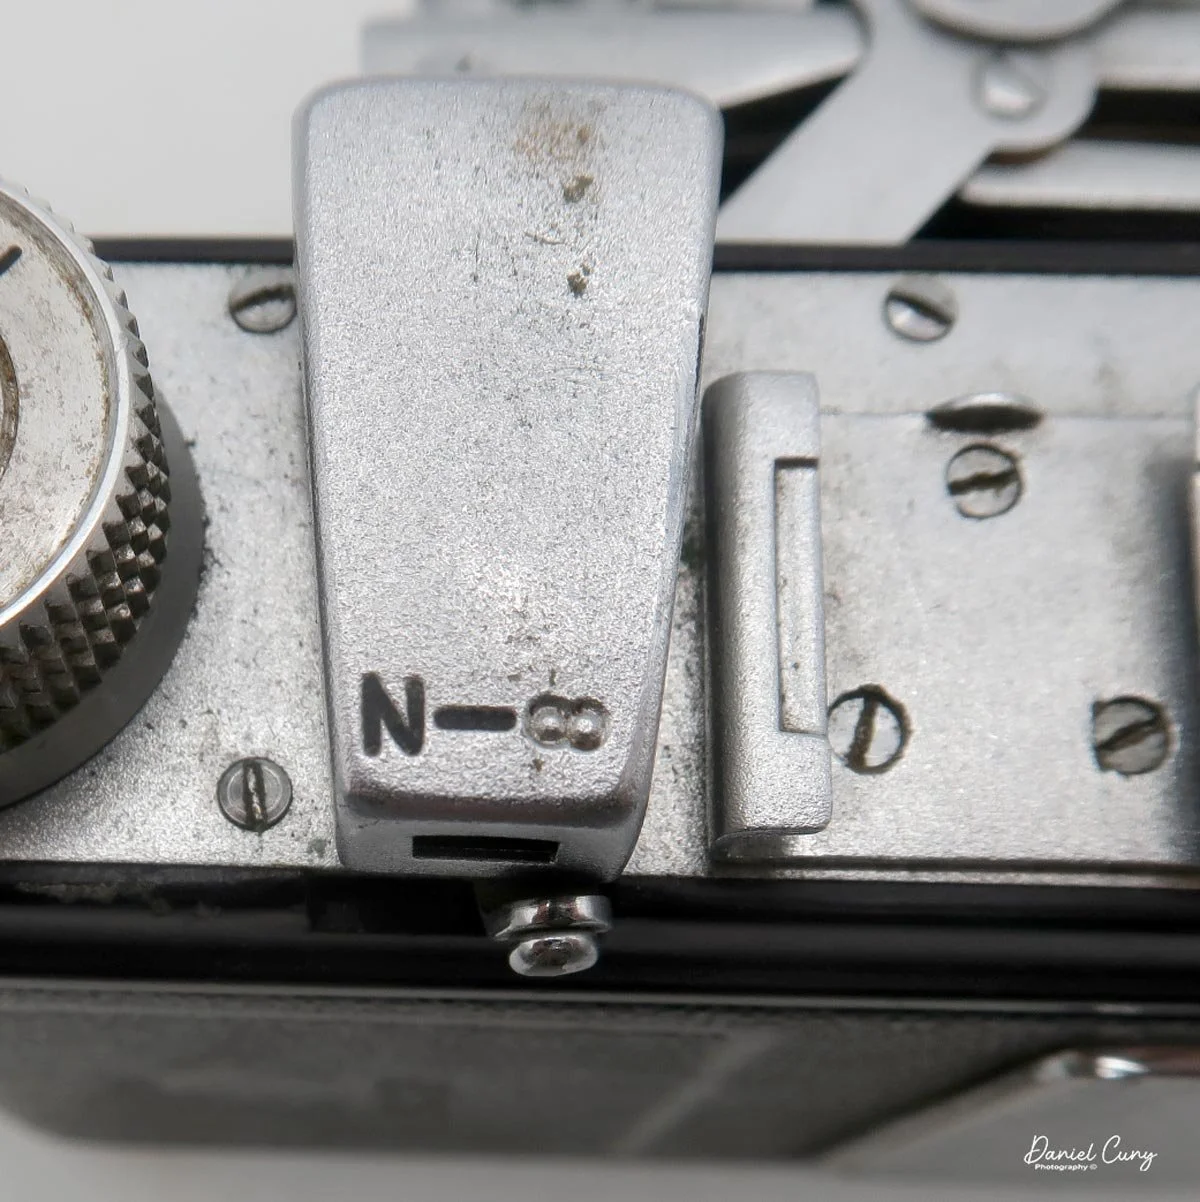
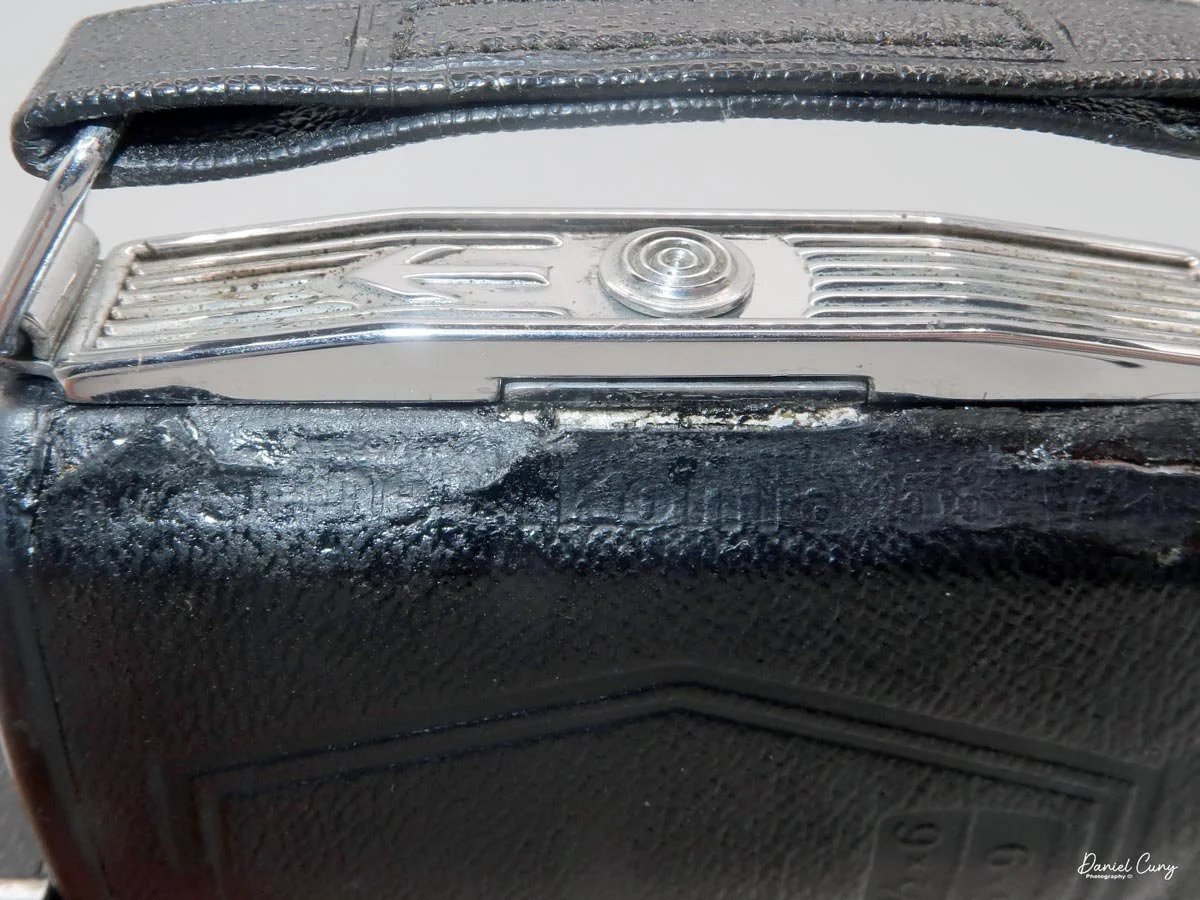
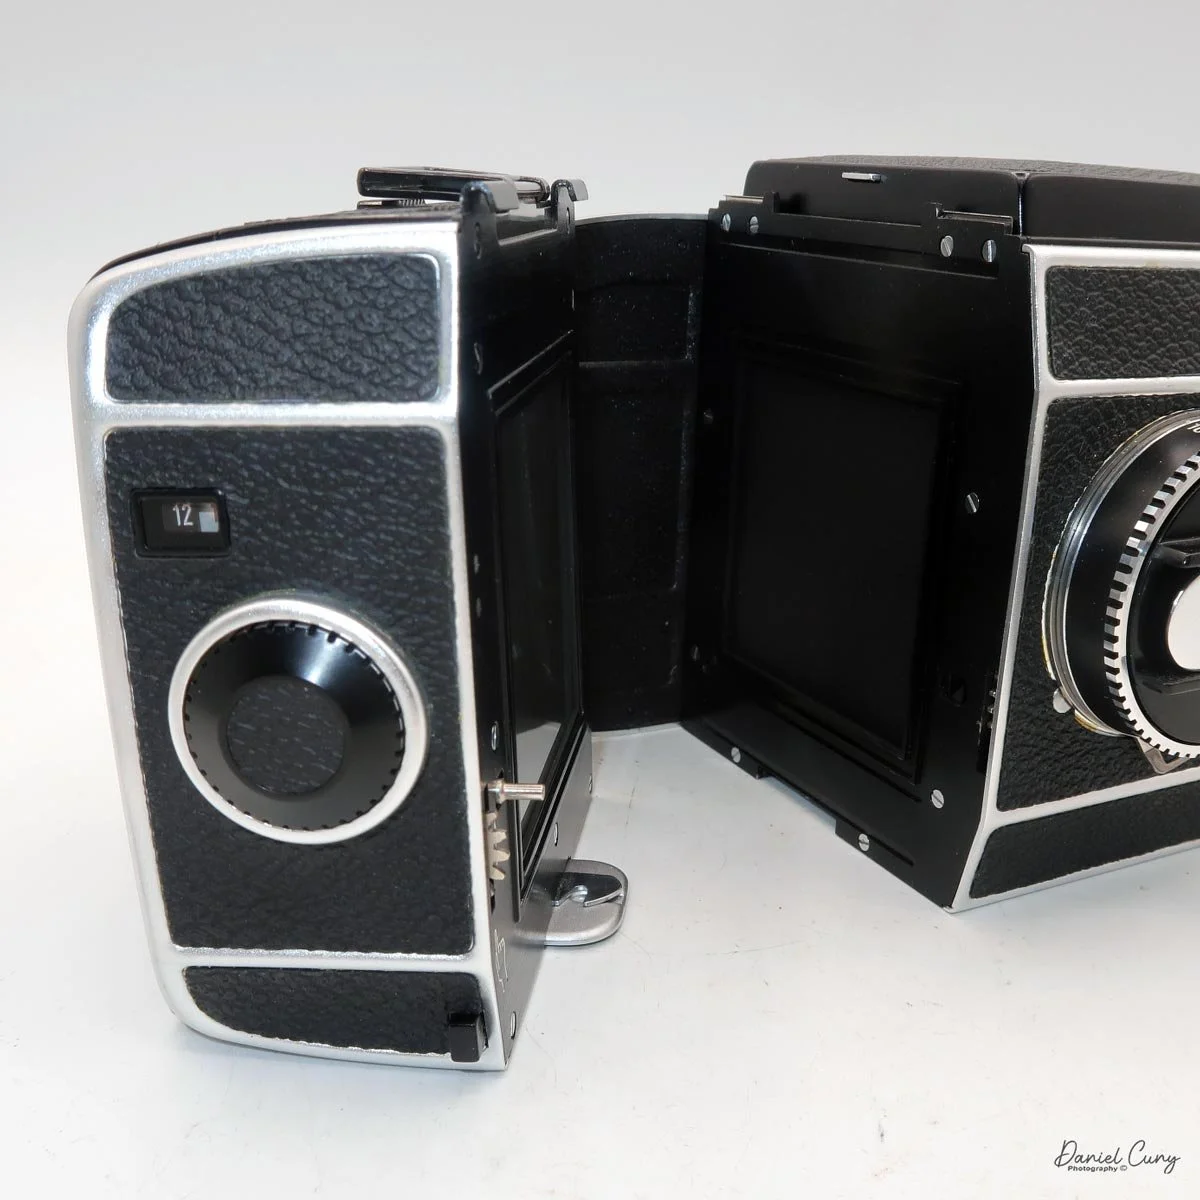
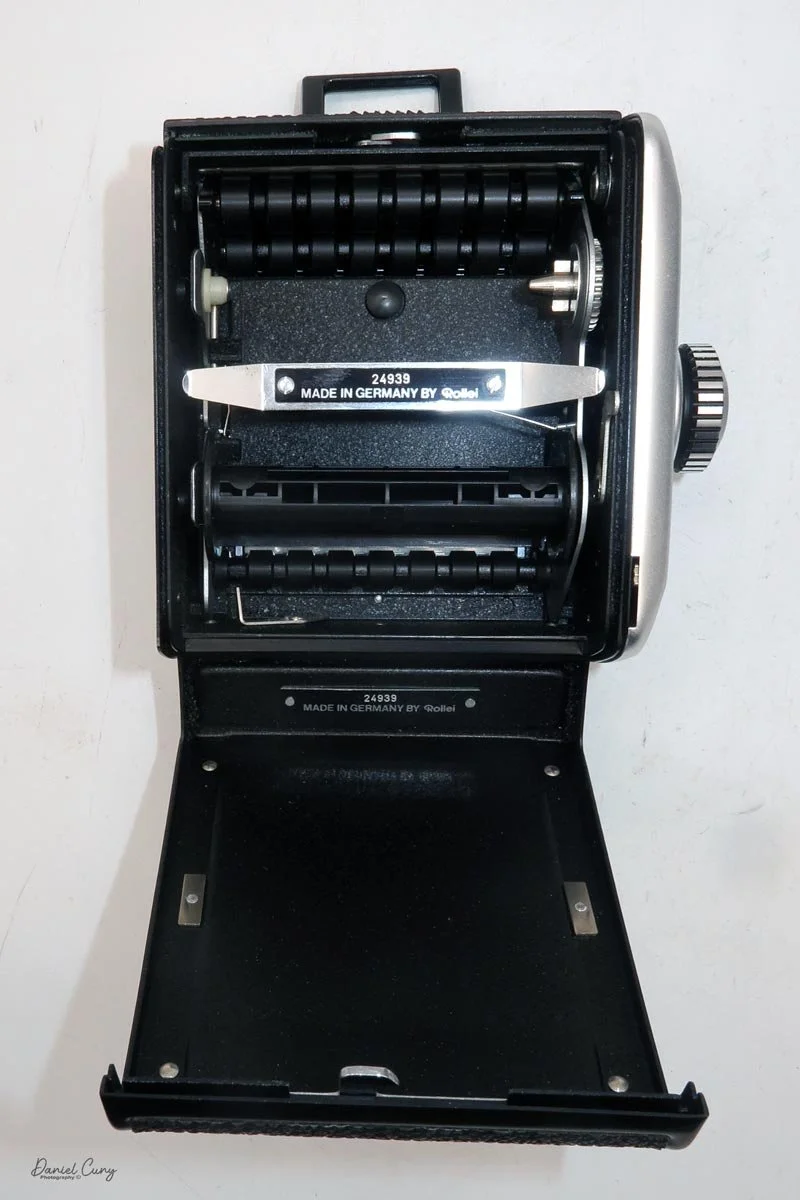
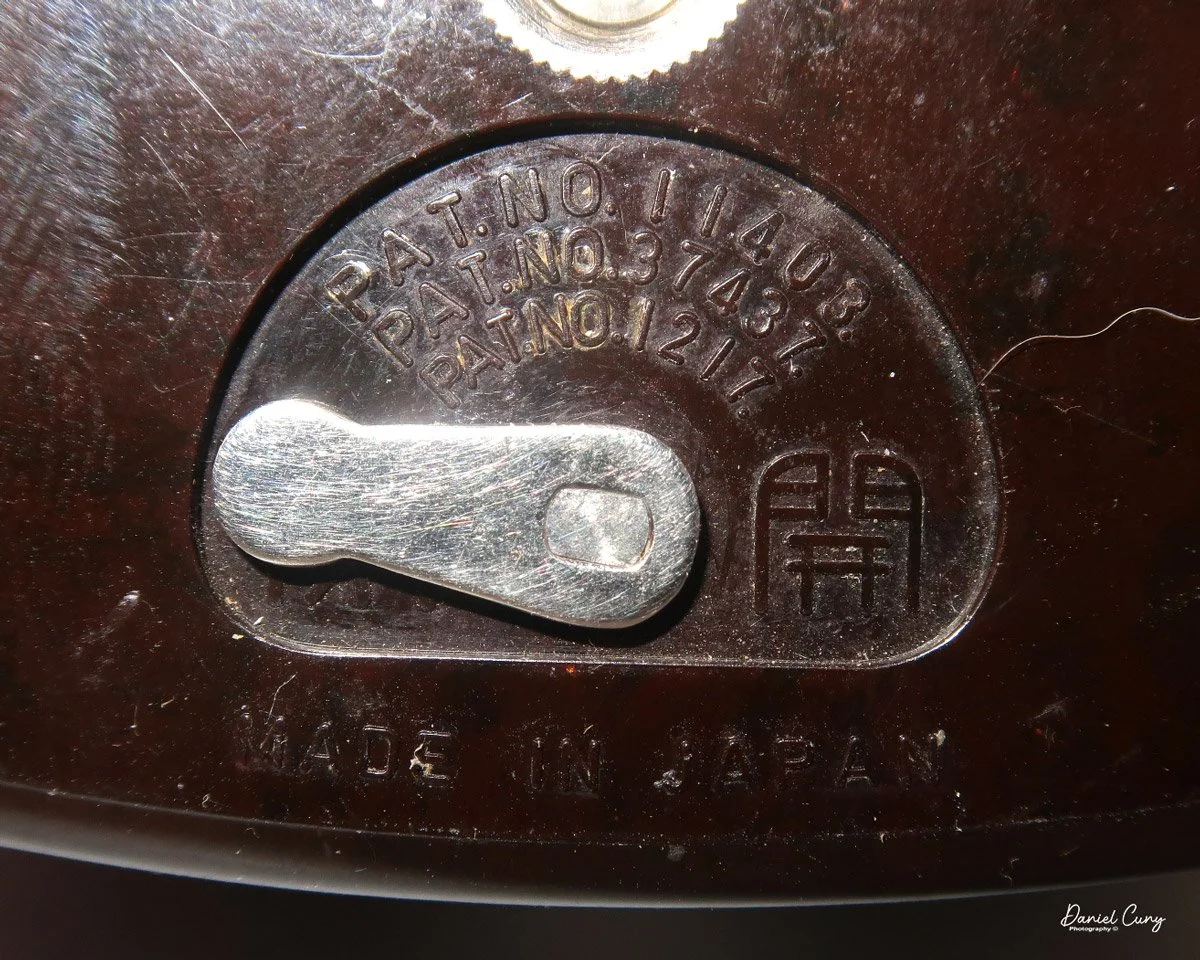
To open the camera to load film, there is a spring clip on the left side of the camera which holds the front and rear together. Just pulling the back away from the camera body opens the back door, exposing the film chamber of the Mamiya Mammy camera.


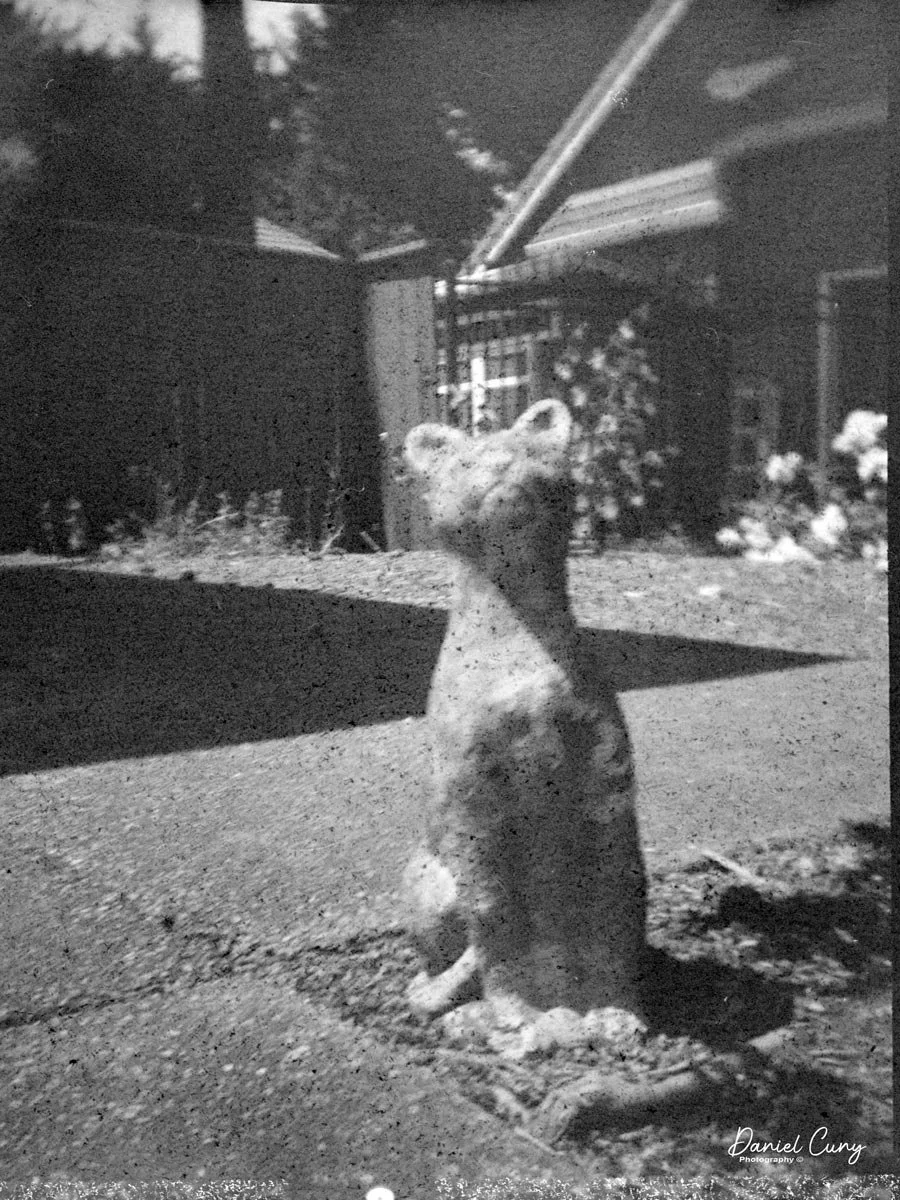
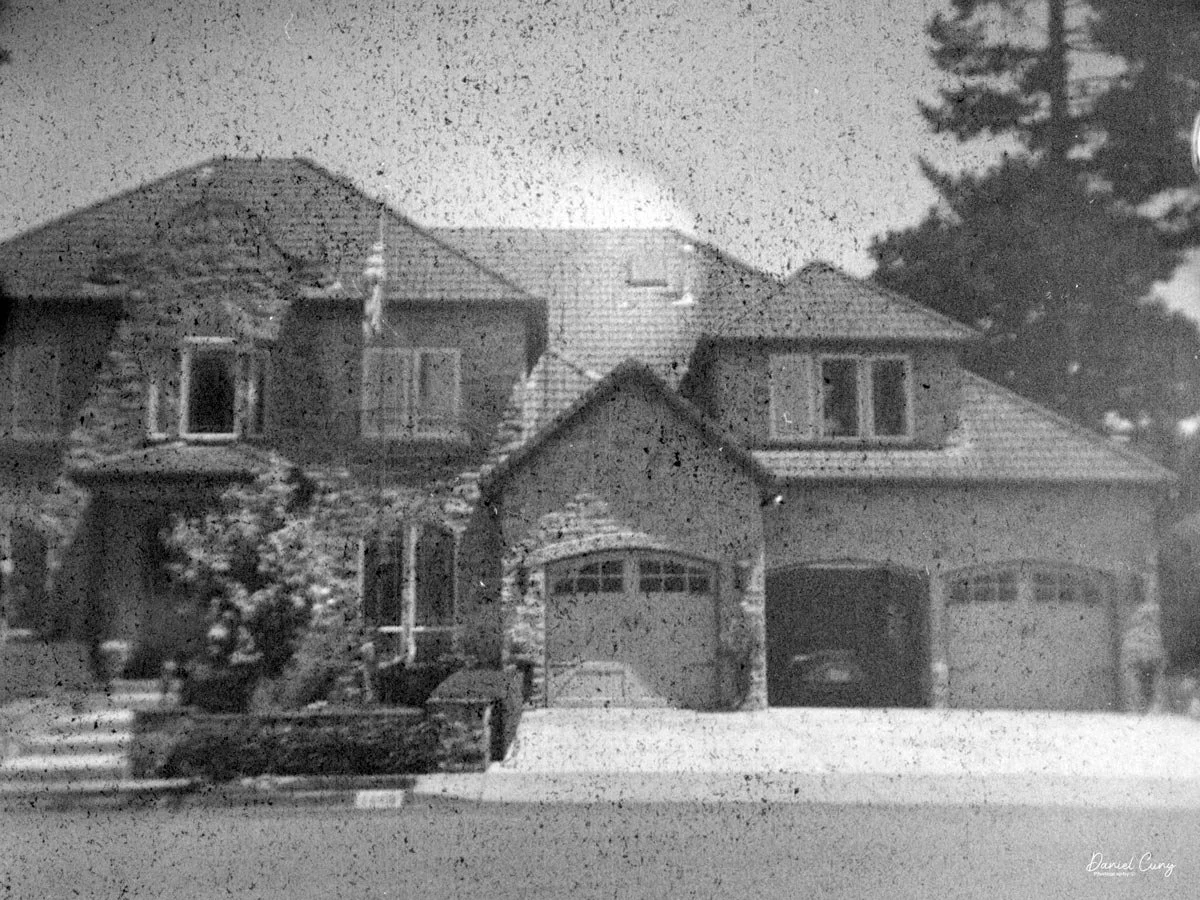
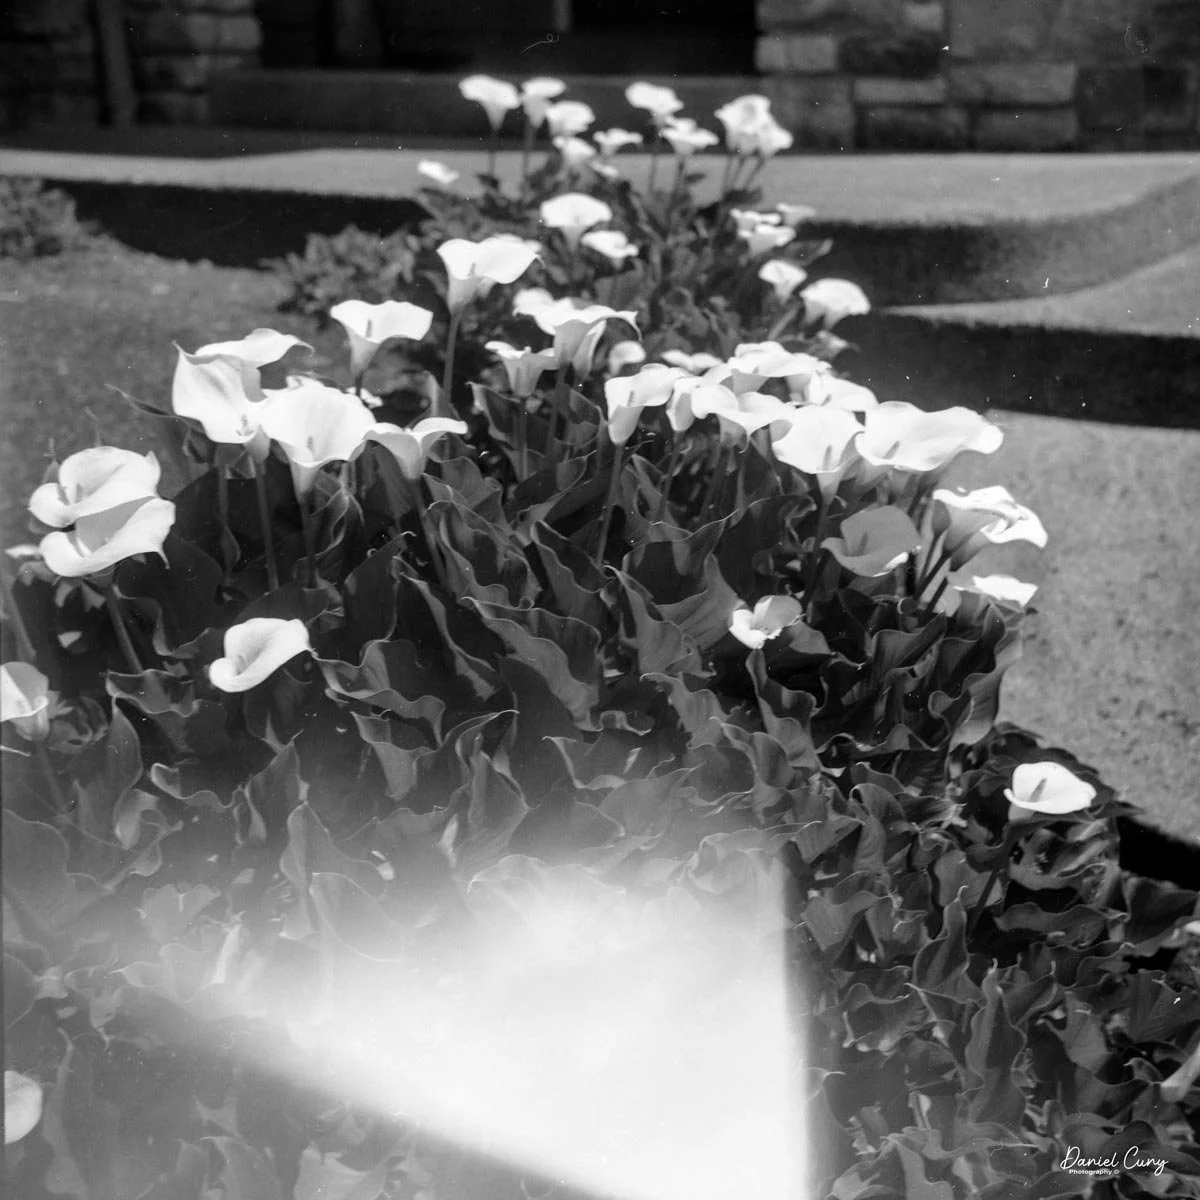
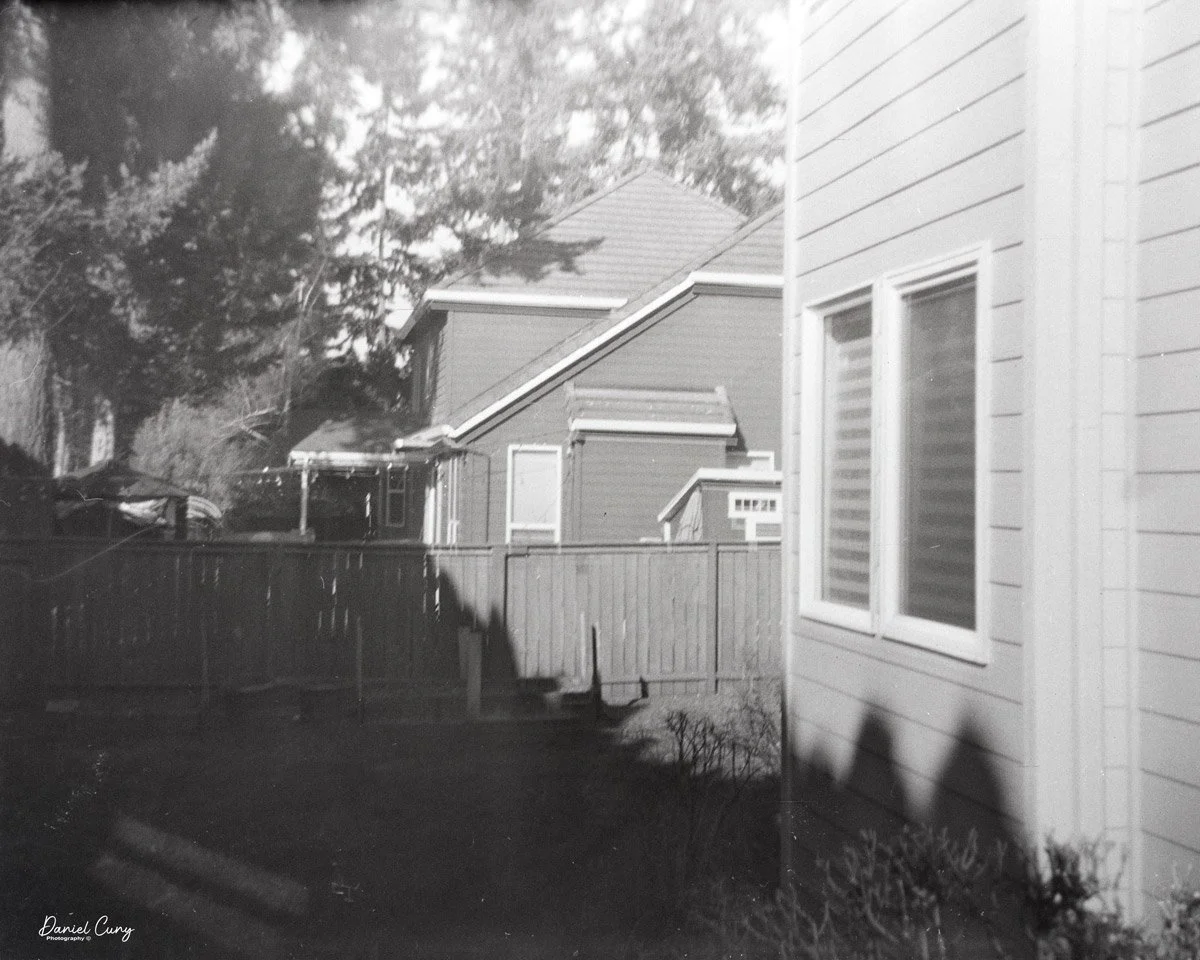
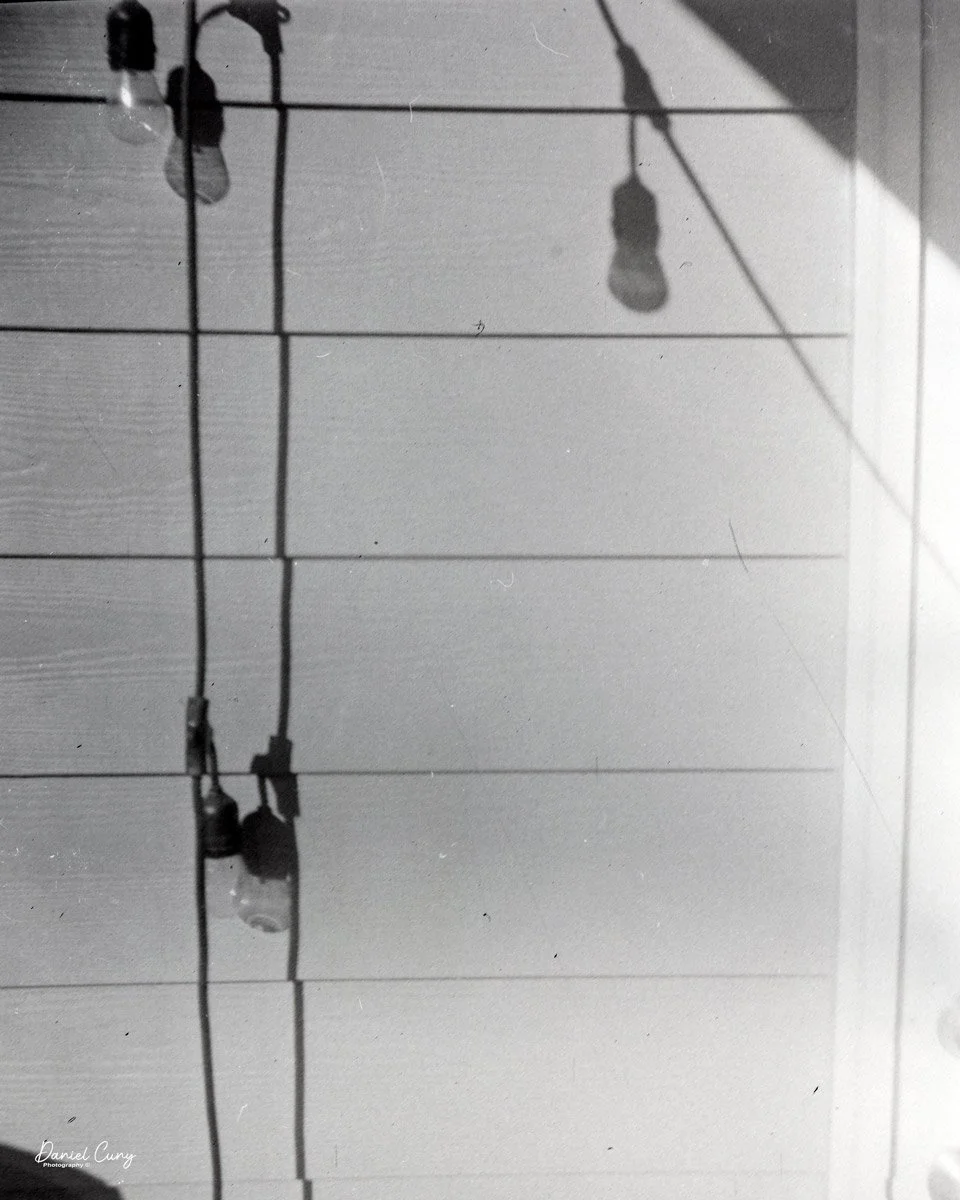
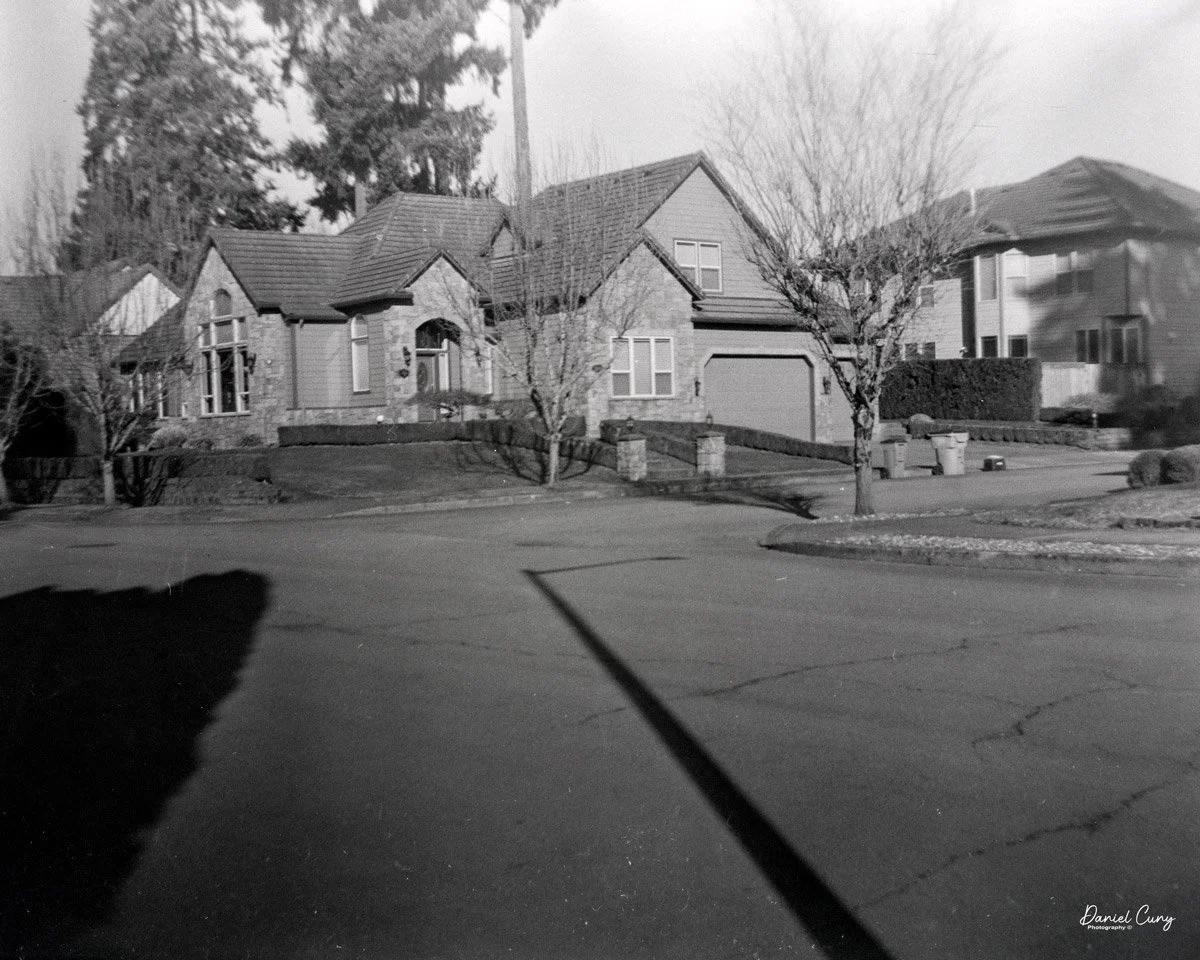
Unfortunately, the shutter on my Mamiya Mammy is extremely sluggish, so even if I were to make some paper-backed 35mm film to load into the camera, I'm afraid the images wouldn't turn out because of the faulty shutter.
Possibly in the future, if I can get the shutter working as it should, I do have some paper backing from some 828 film, and I'll load some 35mm film onto one of the Photvit spools and see if I can get the camera to make some images. But for this article, I'm sorry I won't be able to shoot with it.
Conclusion:
The Mamiya Mammy is a camera I'm very happy to have in my collection. Having worked for Mamiya America Corp for many years, I hold almost any Mamiya camera dear to my heart. I do have to say, with all honesty, there are a few Mamiya cameras I doubt I'll own just due to my time working in camera shops. Cameras like the 1000DTL or 500DTL were ones I'd see almost daily. The sheer amount of them I saw over those almost twenty years, I seriously doubt I'd purchase.

Then there are some Mamiya cameras that I love owning. Any of the Mamiya RB, or RZ system cameras, some of the later 645 cameras, and of course, my all-time favorite medium format camera, and one that's eluded me, is the Mamiya 7II. WOW, what a beautiful camera.
Thank you for taking Time from your day to read about this Bolta-style camera made in the early 1950s by one of the major camera companies to come out of Japan.
Here are my other Camera Reviews.
Cuny's Camera and Photos is my online eBay store where you can find some of the previously reviewed cameras for sale, along with other cameras, lenses, and photo oddities I've accumulated over the past 50 years of collecting.
I'll be taking next week off due to a holiday my wife and I will be taking to celebrate our 50th wedding anniversary.
Until next week, please be safe.