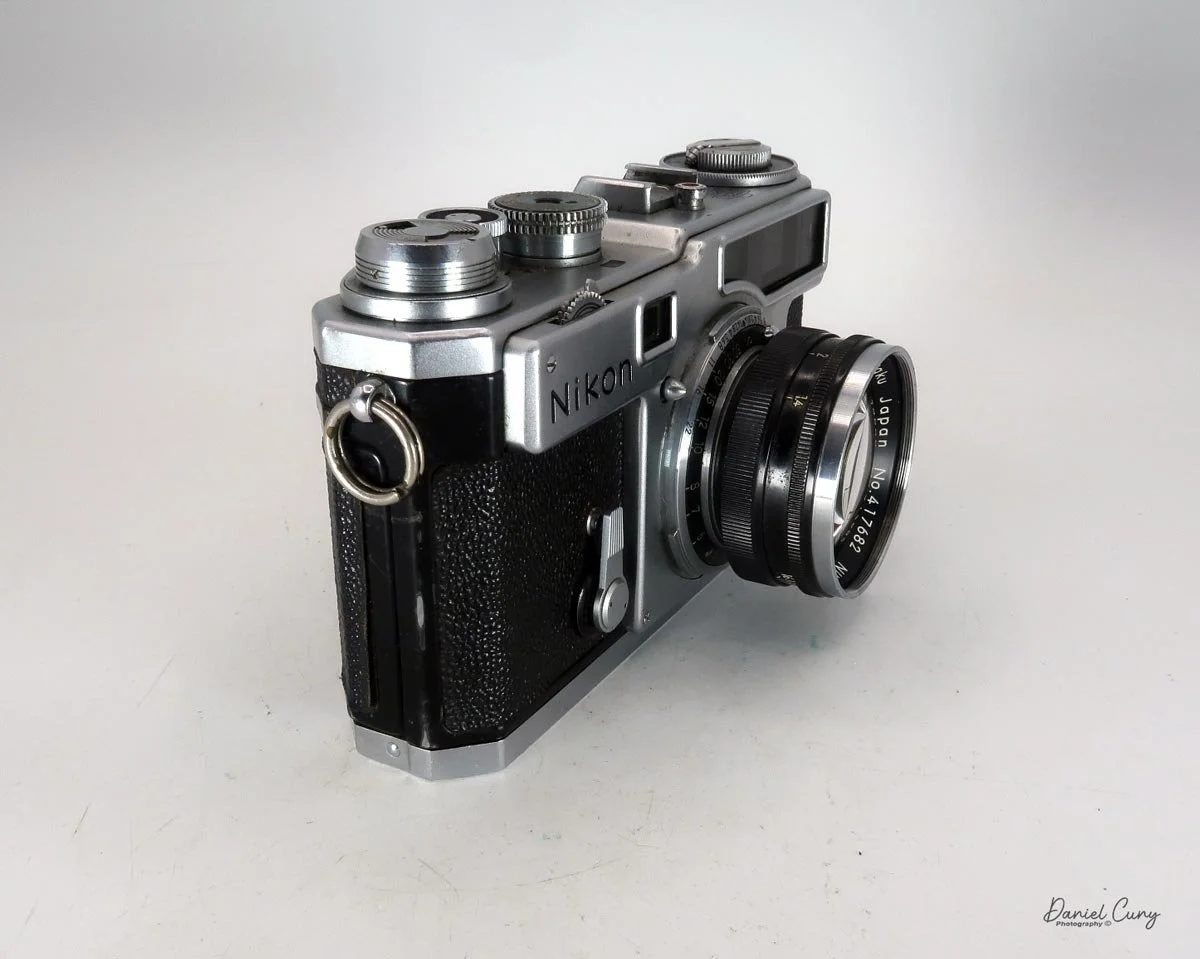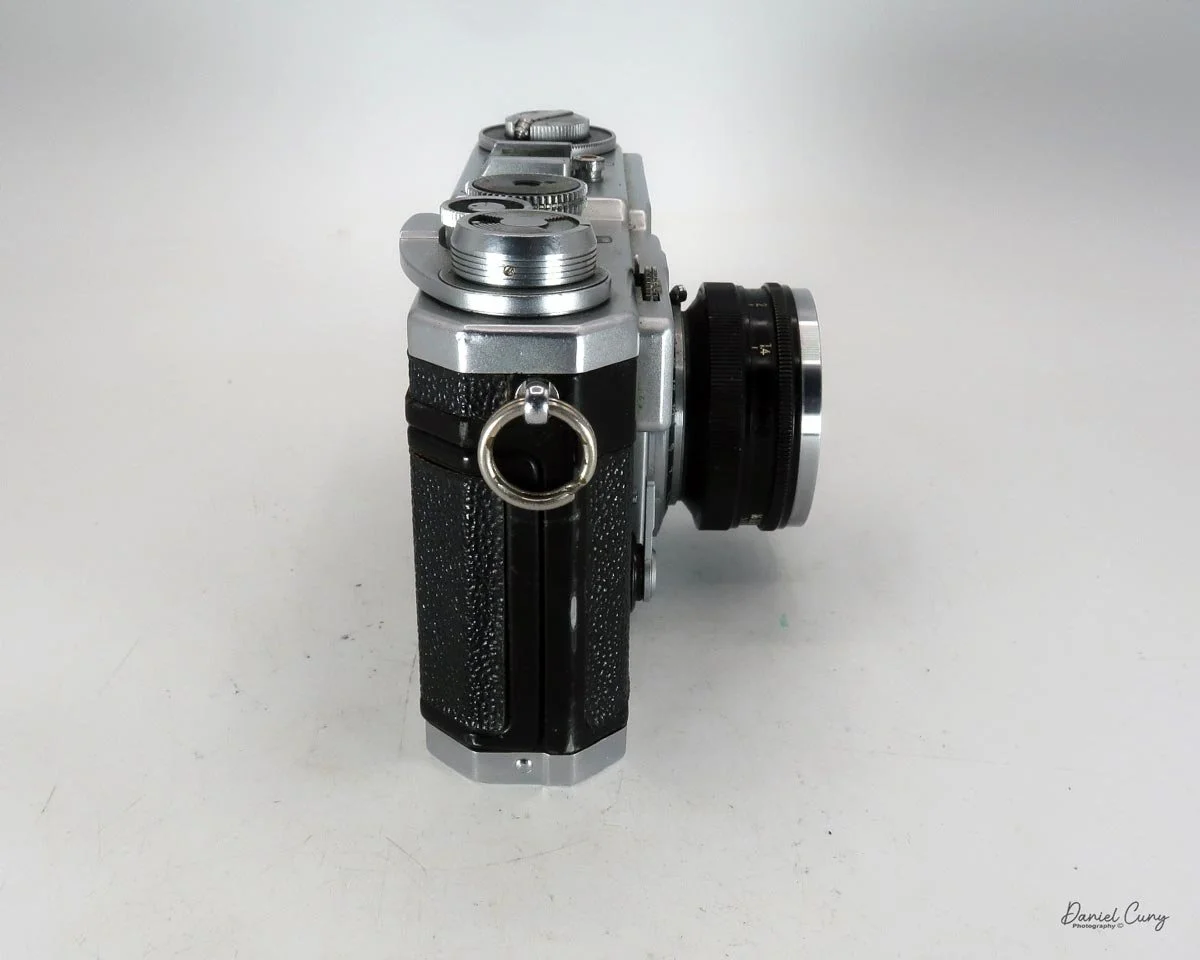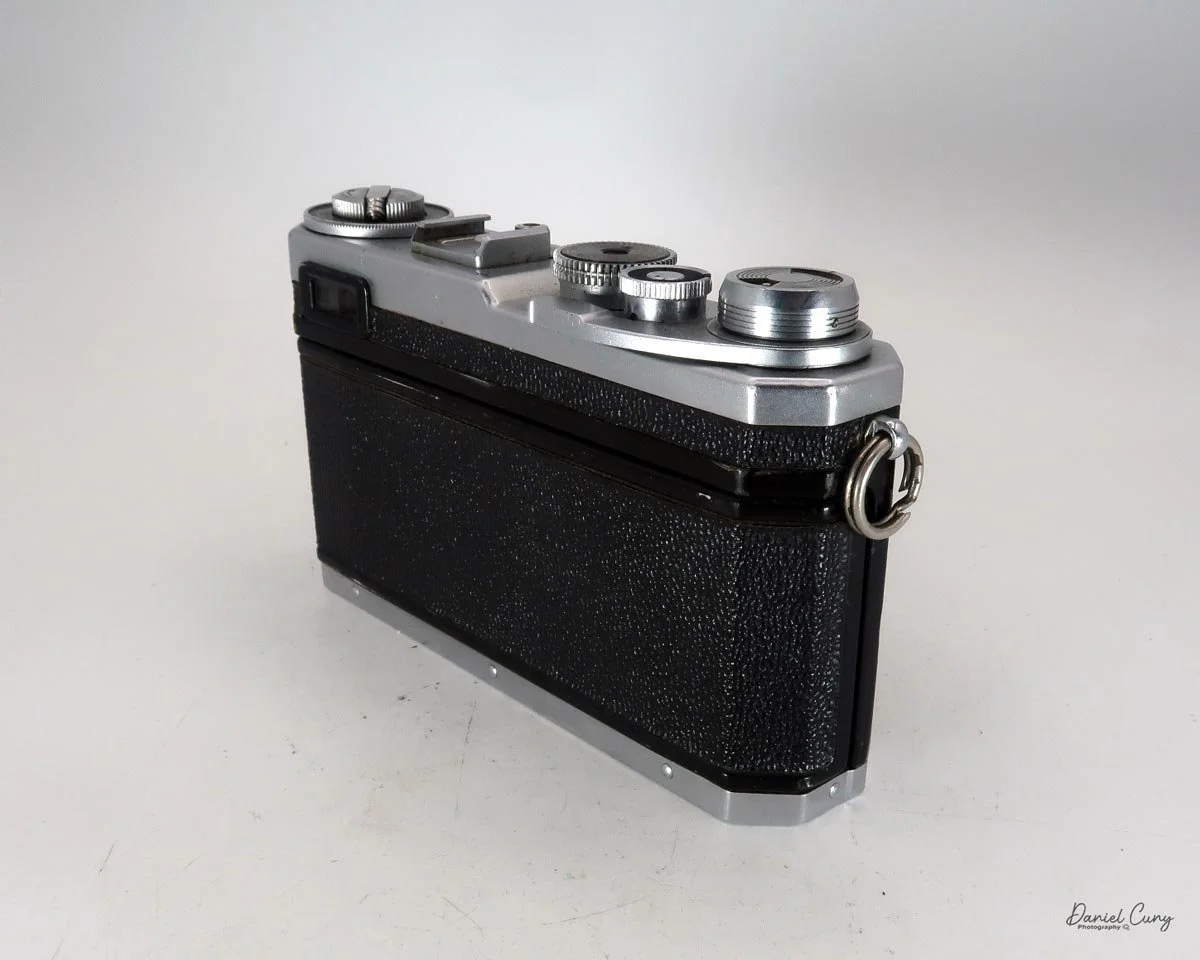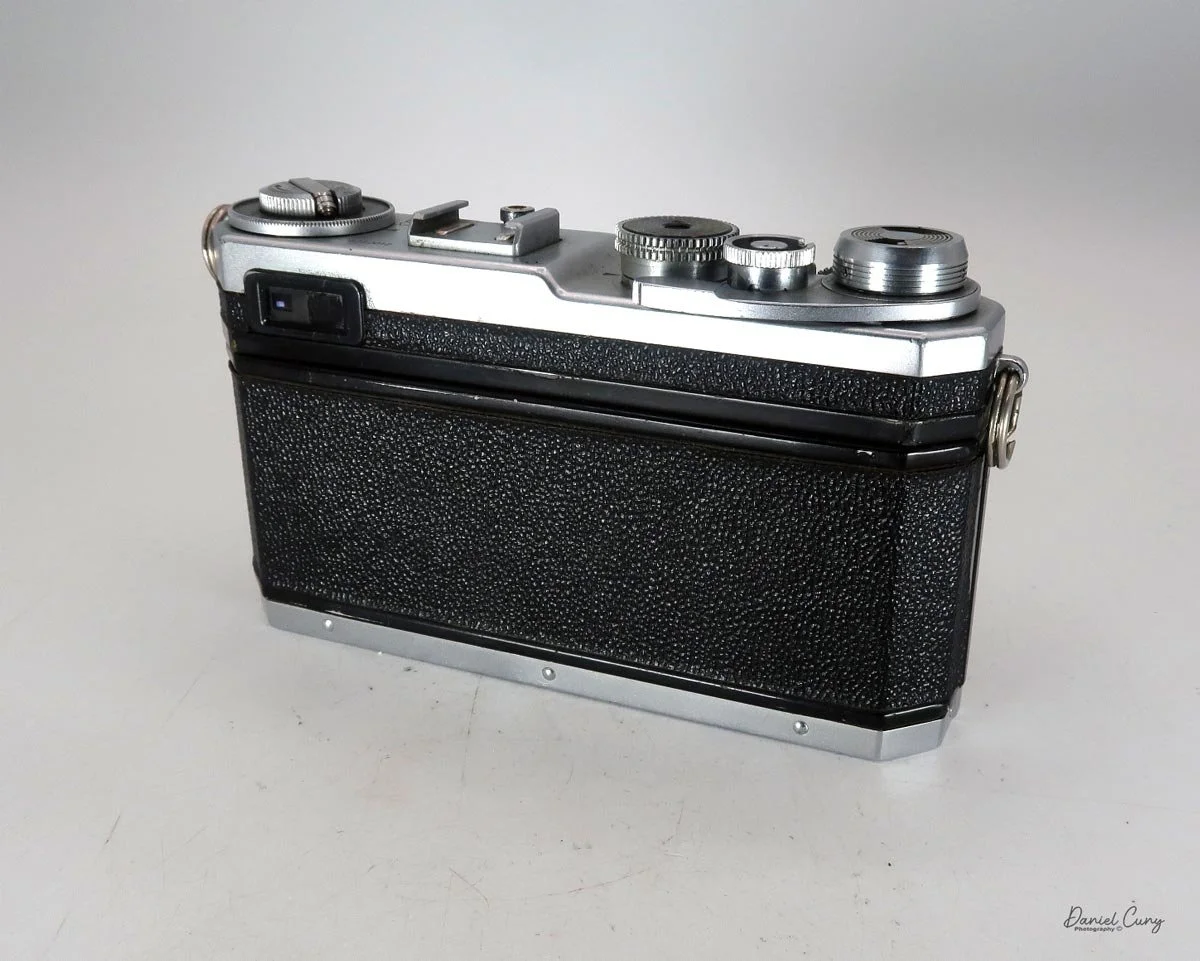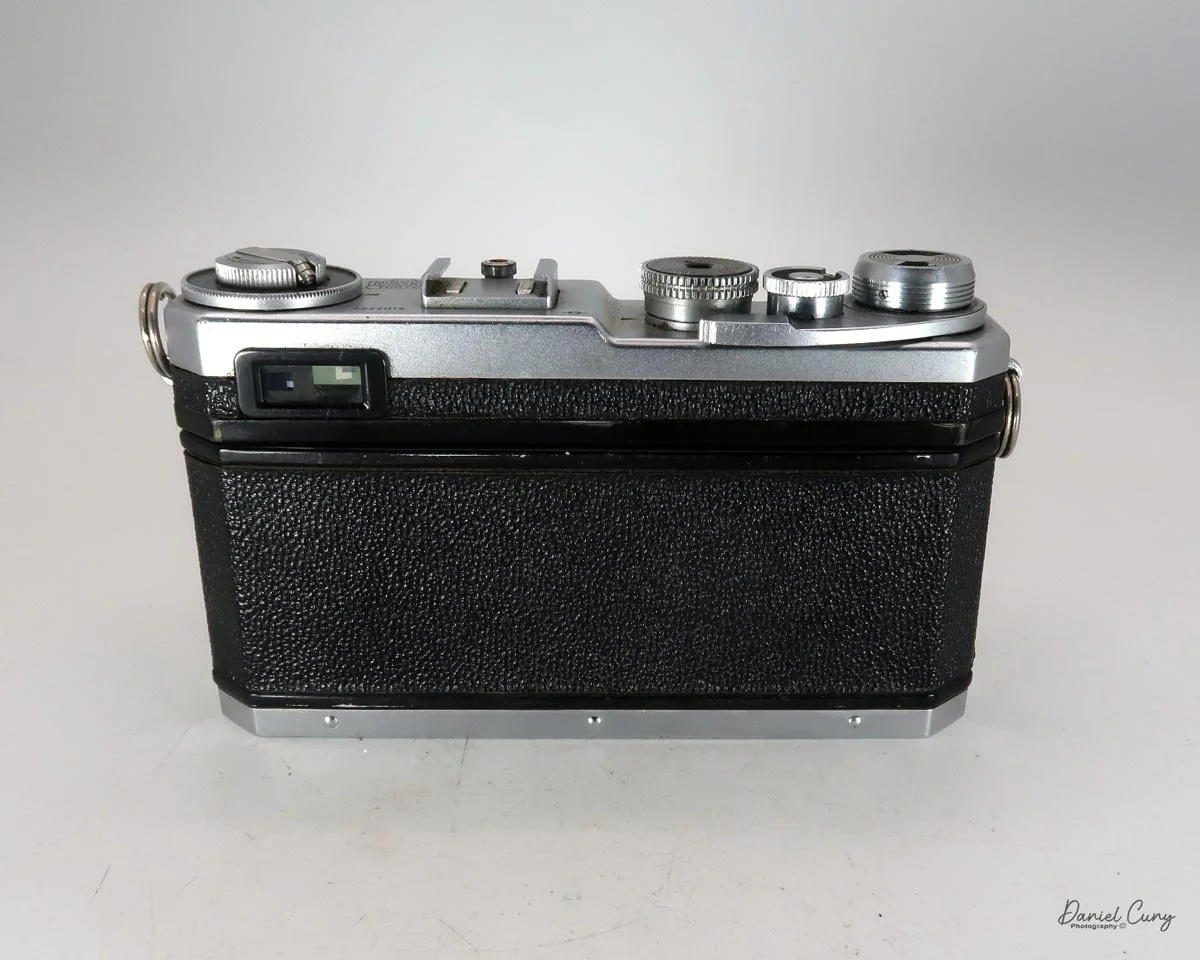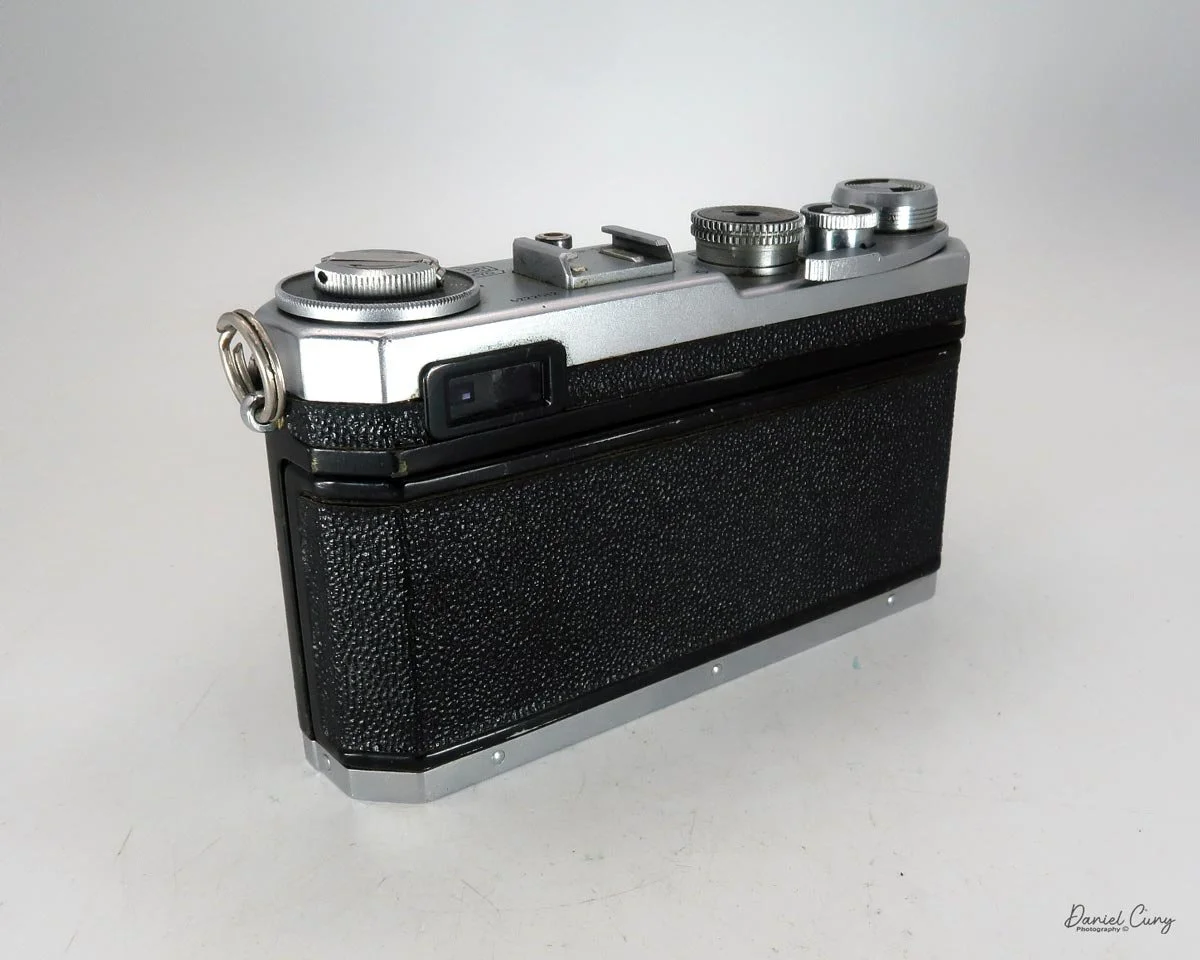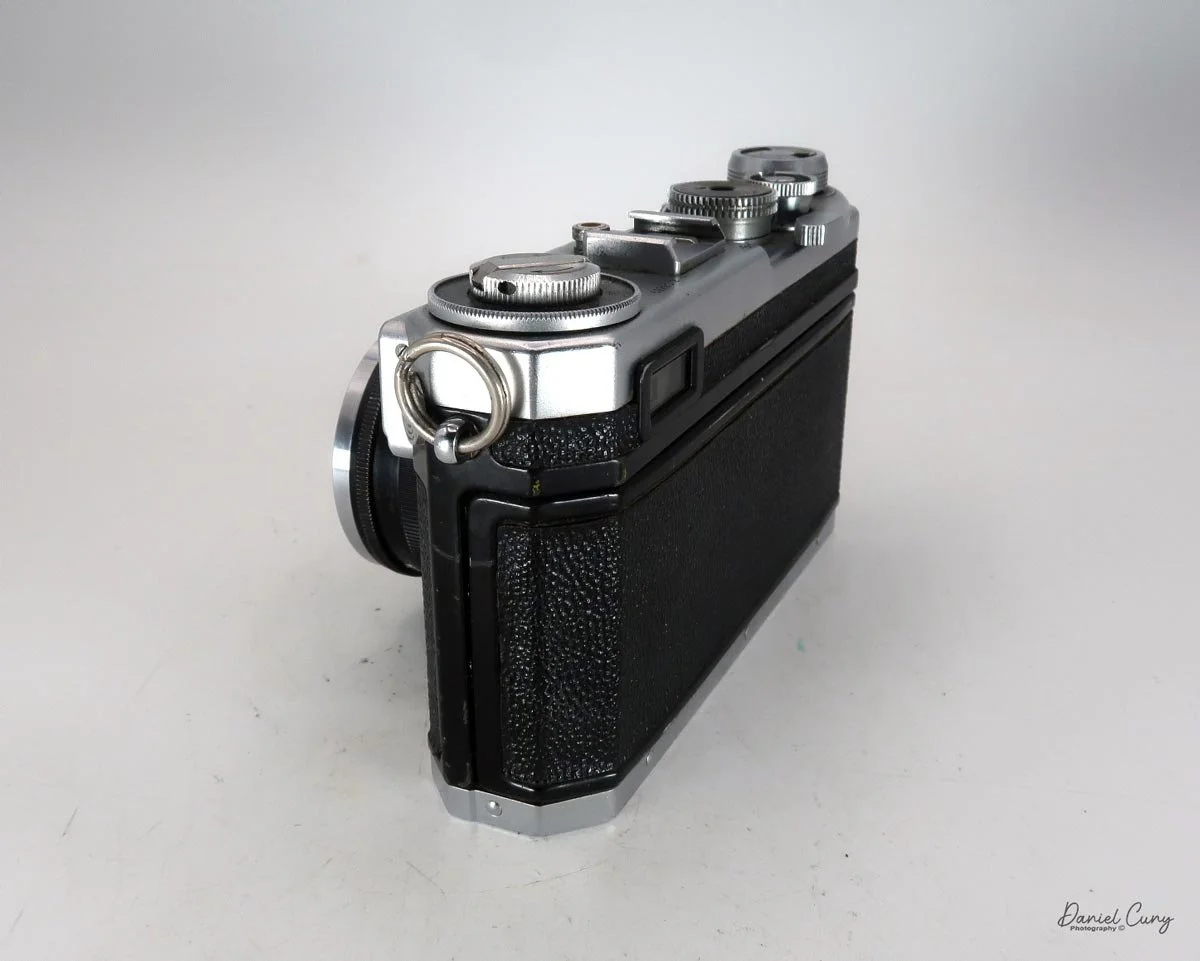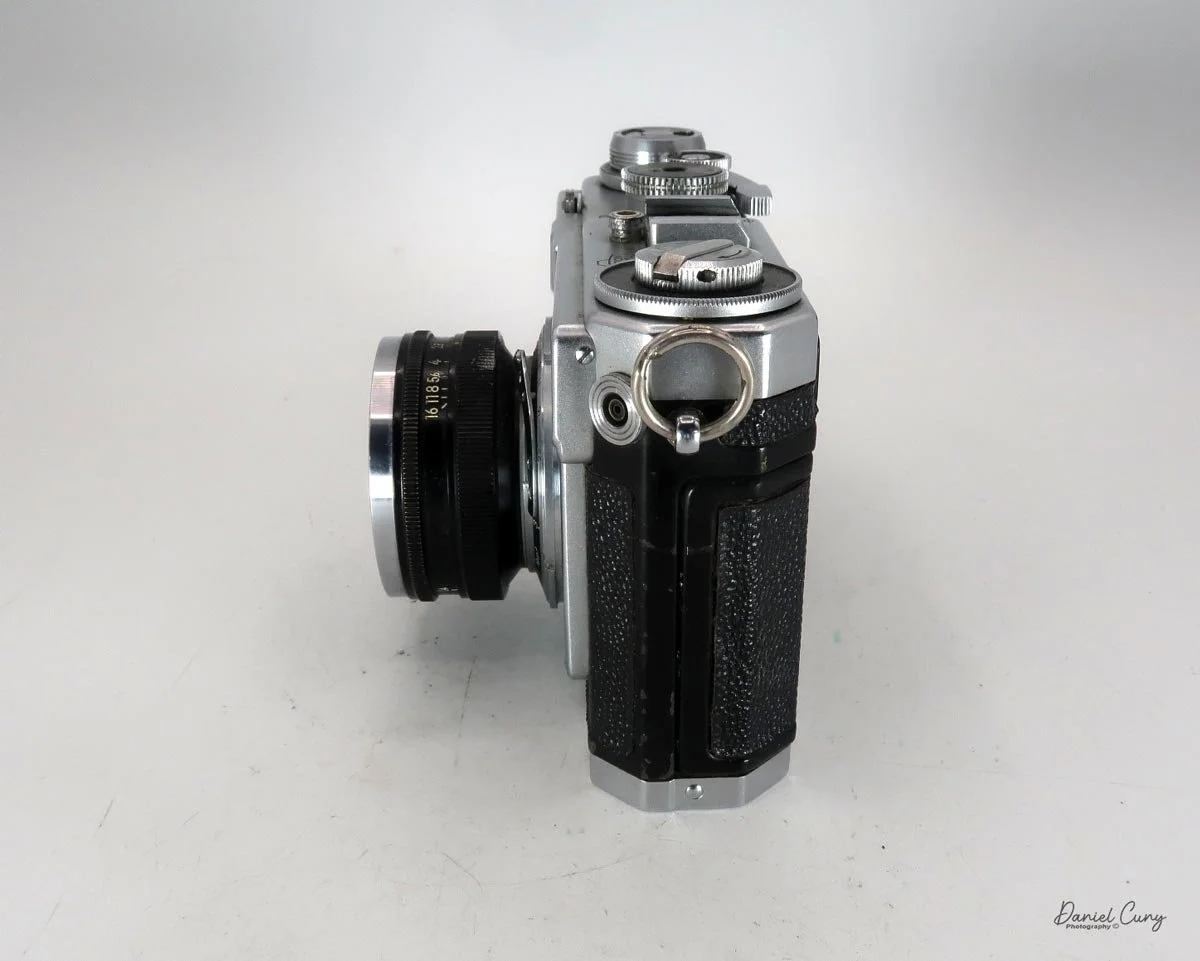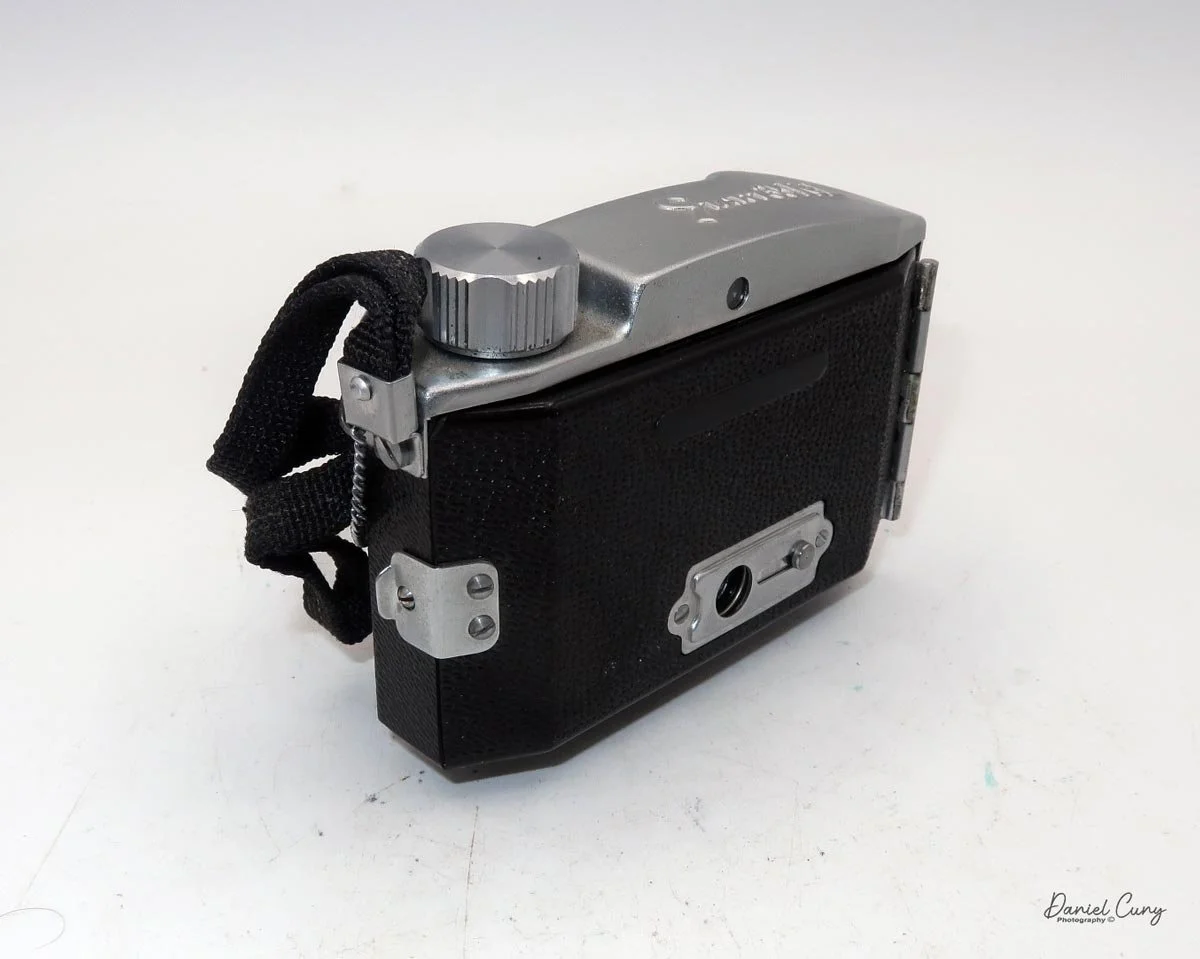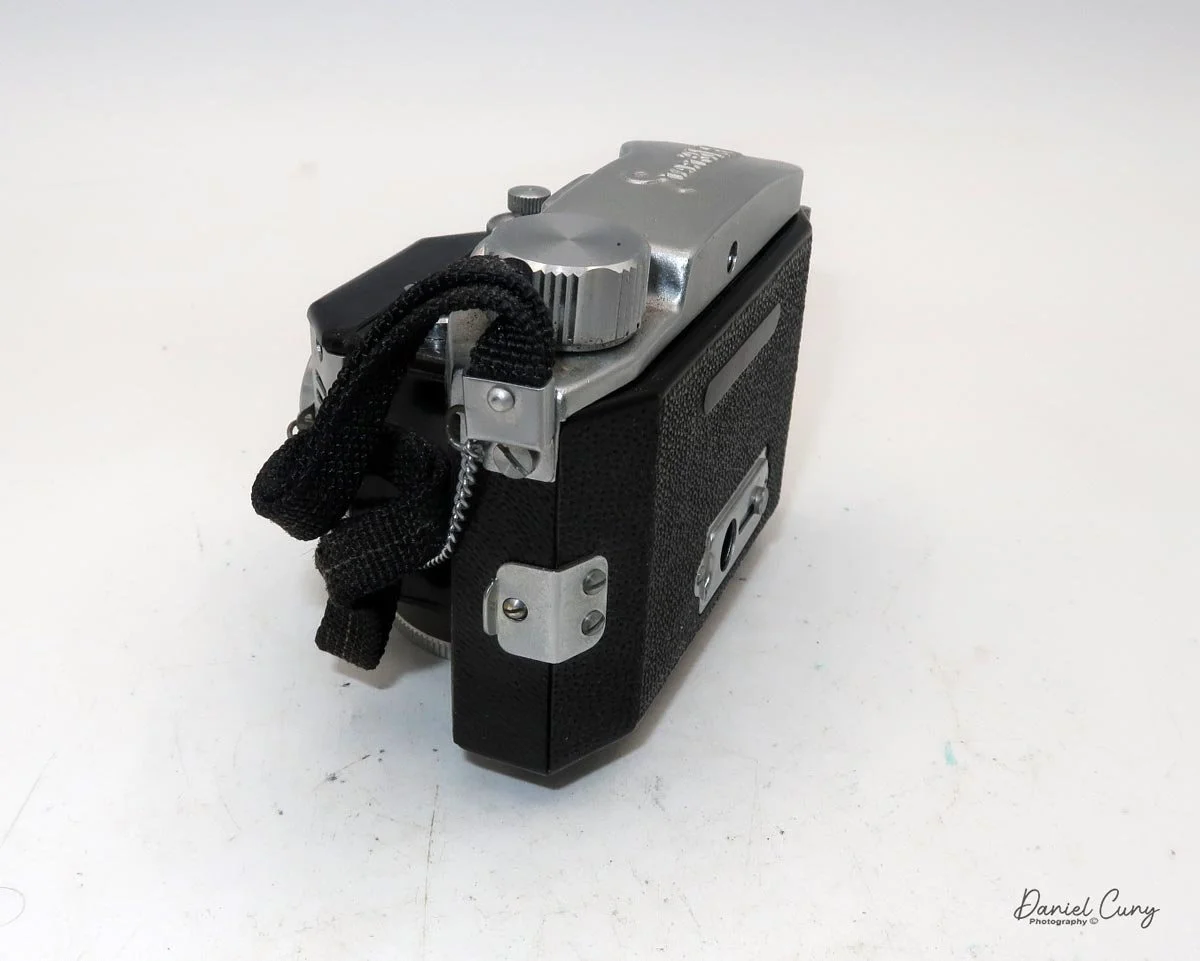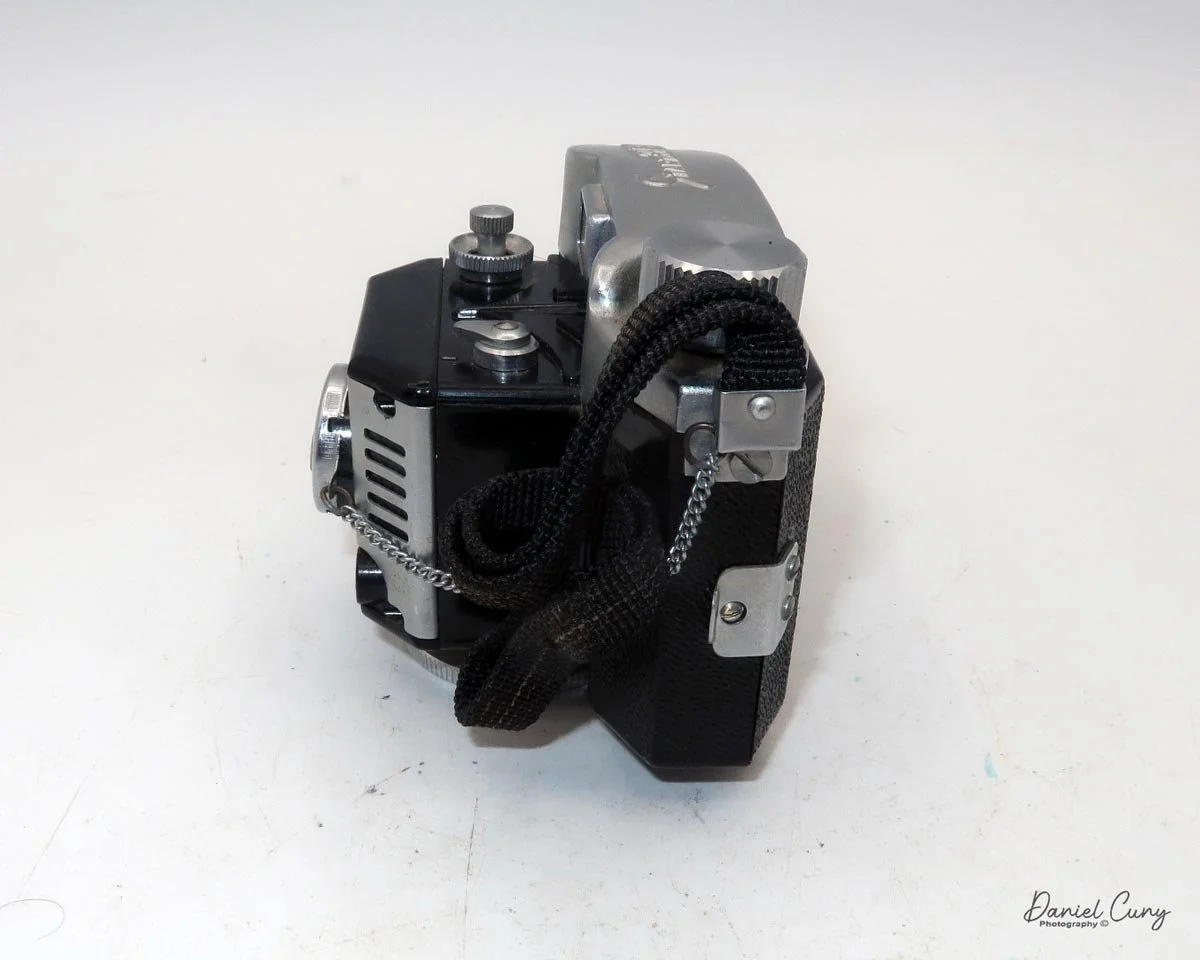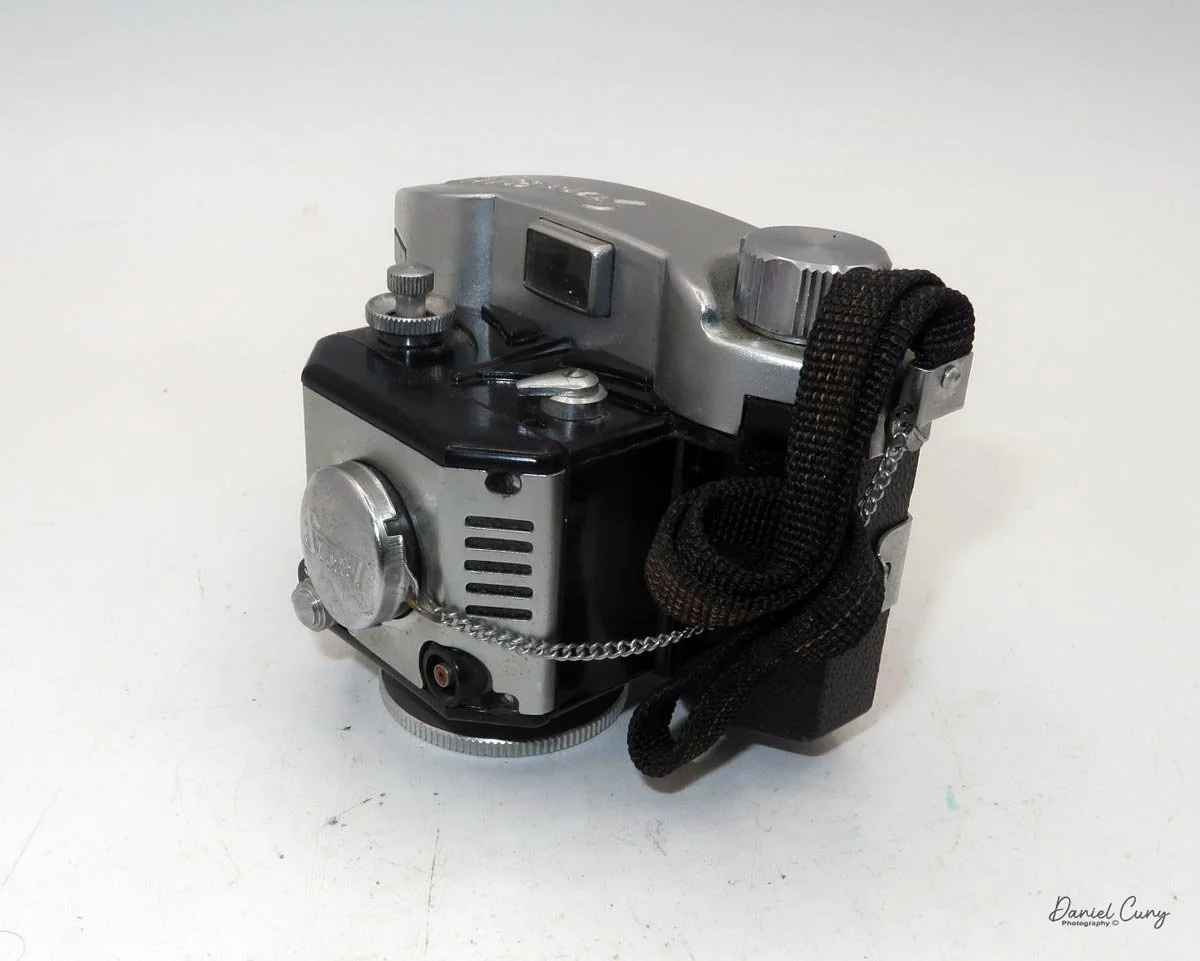
Nikon SP camera

My Nikon SP camera

As a Nikon photographer since my early career—starting with Nikkormat cameras and moving on to the Nikon F series in the early 1970s—the early Nikon rangefinder cameras have always intrigued me. I view them not necessarily as "shooting" cameras, but more from a collector's perspective.

 I believe this is due to how I learned photography. Having grown up with SLR cameras, I feel more comfortable with a larger, brighter viewfinder. I always found it difficult to focus a rangefinder-style camera, especially in darker, low-light situations. Finding the yellow area to bring into focus was always a challenge for me. However, as I became more accustomed to them, I learned to look for someone's eye, the edge of a leaf, or any sharp contrast to bring the two images into one.

 When you shoot with a rangefinder-style camera, you (or at least I do) really appreciate its quieter shutter system. You only hear the low click of the camera's shutter opening and closing, without a mirror clunking up and down during the exposure. This can be extremely helpful, especially when photographing someone in a quiet setting. I learned this the hard way when I was photographing a musician in a small, café-style venue. My SLR was way too noisy, and some of the audience actually shushed me. It was very embarrassing, to say the least!

 Another advantage of the rangefinder style is its compactness. Because these cameras lack a mirror system, they are considerably smaller, less bulky, and lighter. This goes for their lenses, too. Their compact nature allows a photographer to either pack more gear into the space normally reserved for an SLR, or use a smaller bag—saving your shoulders and back from the strain of a large, heavy system.

 I was lucky when I found my Nikon SP. While I already owned several different Nikon rangefinders at the time—mainly earlier models like the S and S2—the SP was always out of reach due to the financial responsibilities of raising a family and owning a home.
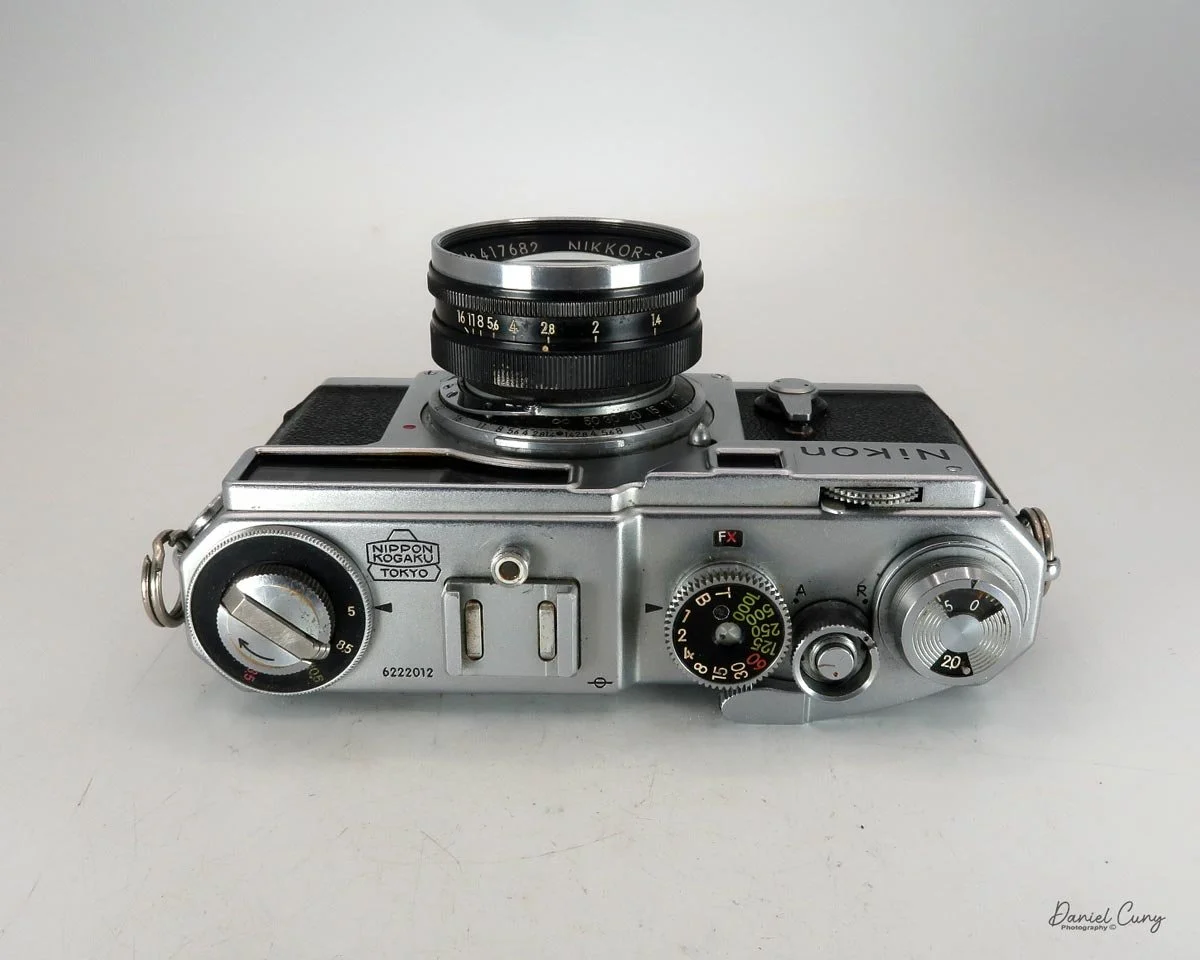
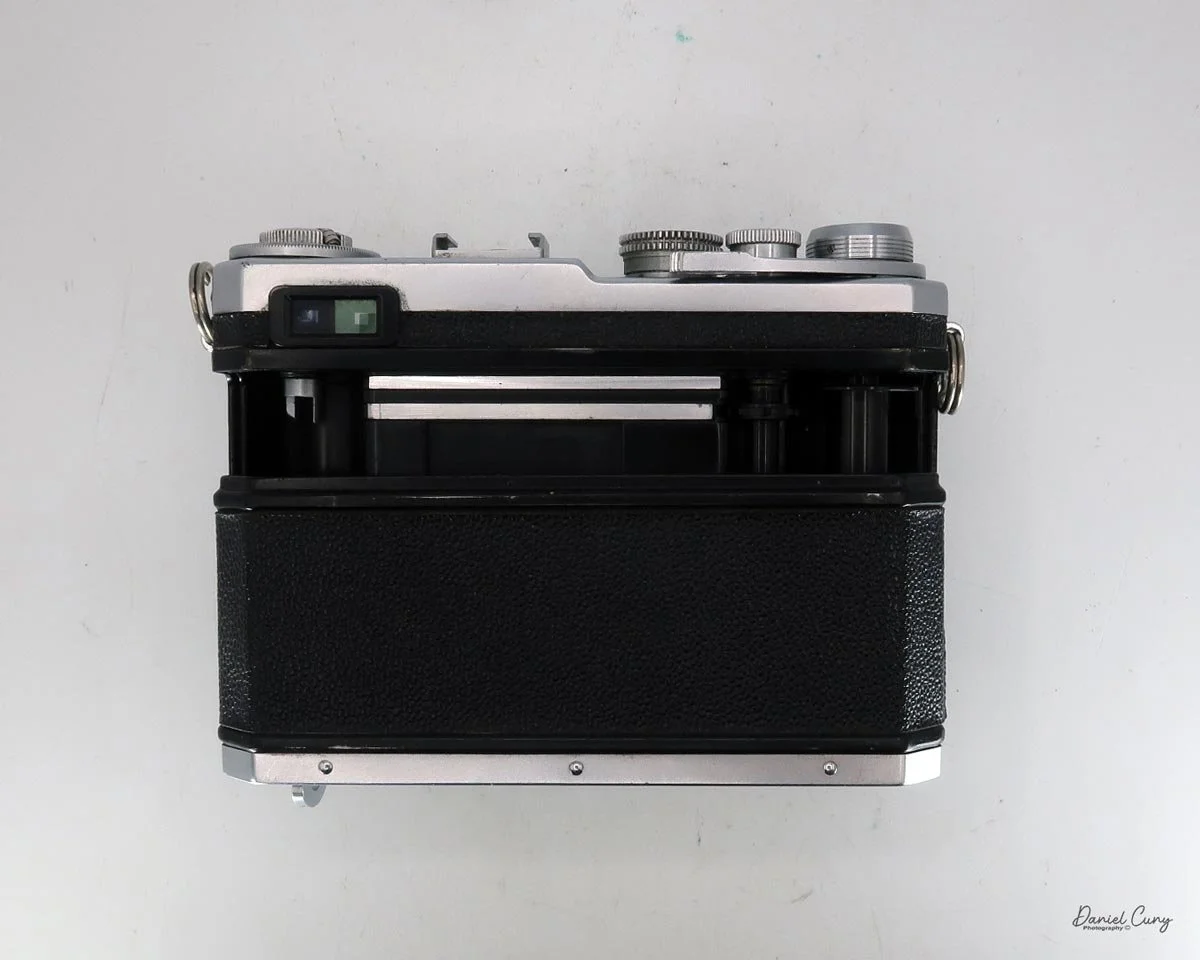
Top view of the Nikon SP camera

After several years, with a bit more financial freedom, I found a Nikon SP in great working condition. The shutter appeared to have been serviced, and while the camera had its normal slight scratches and small dings, it was selling for a great price. I pulled the trigger and purchased it, hoping to shoot with it more often.

 When the Nikon SP arrived, it was in exactly the condition I expected from the photos. The lens was very clean and even included a protective filter from a different manufacturer, which had done a great job keeping the glass free of scratches. The camera felt incredibly comfortable in my hands, especially after holding so many Nikon SLRs over the years. Now, it was just a matter of reacquainting myself with the rangefinder and the dual viewfinder—which I knew might be a challenge following my recent eye surgery.

 The surgery has made me more of a "left-eyed" shooter, as the sharpness in my right eye had been failing for years. While the procedure helped, my vision isn't quite what it was 20 or 30 years ago. It's not a big deal; it just means getting used to bringing the camera up to my left eye after using my right for so long. At the very least, my images have been sharper ever since I made the switch.

 I really enjoy taking my Nikon SP out for a spin a few times a year. In fact, I'm somewhat shocked I haven't written about it before now! During the week, I often brainstorm which camera to feature in my next blog. Last week, the SP popped into my head, and I felt there was no better time to write about one of my absolute favorites.

History

Nikon's rangefinder cameras began as a postwar effort by Nippon Kogaku to enter the 35mm market. They quickly became the foundation of the brand's reputation for precision optics and rugged construction. The original Nikon, later called the Nikon I, was approved in 1946, manufactured starting in 1948, and sold later that year. It used a Contax-inspired mount and a compact rangefinder body that looked unlike anything else coming out of Japan at the time.
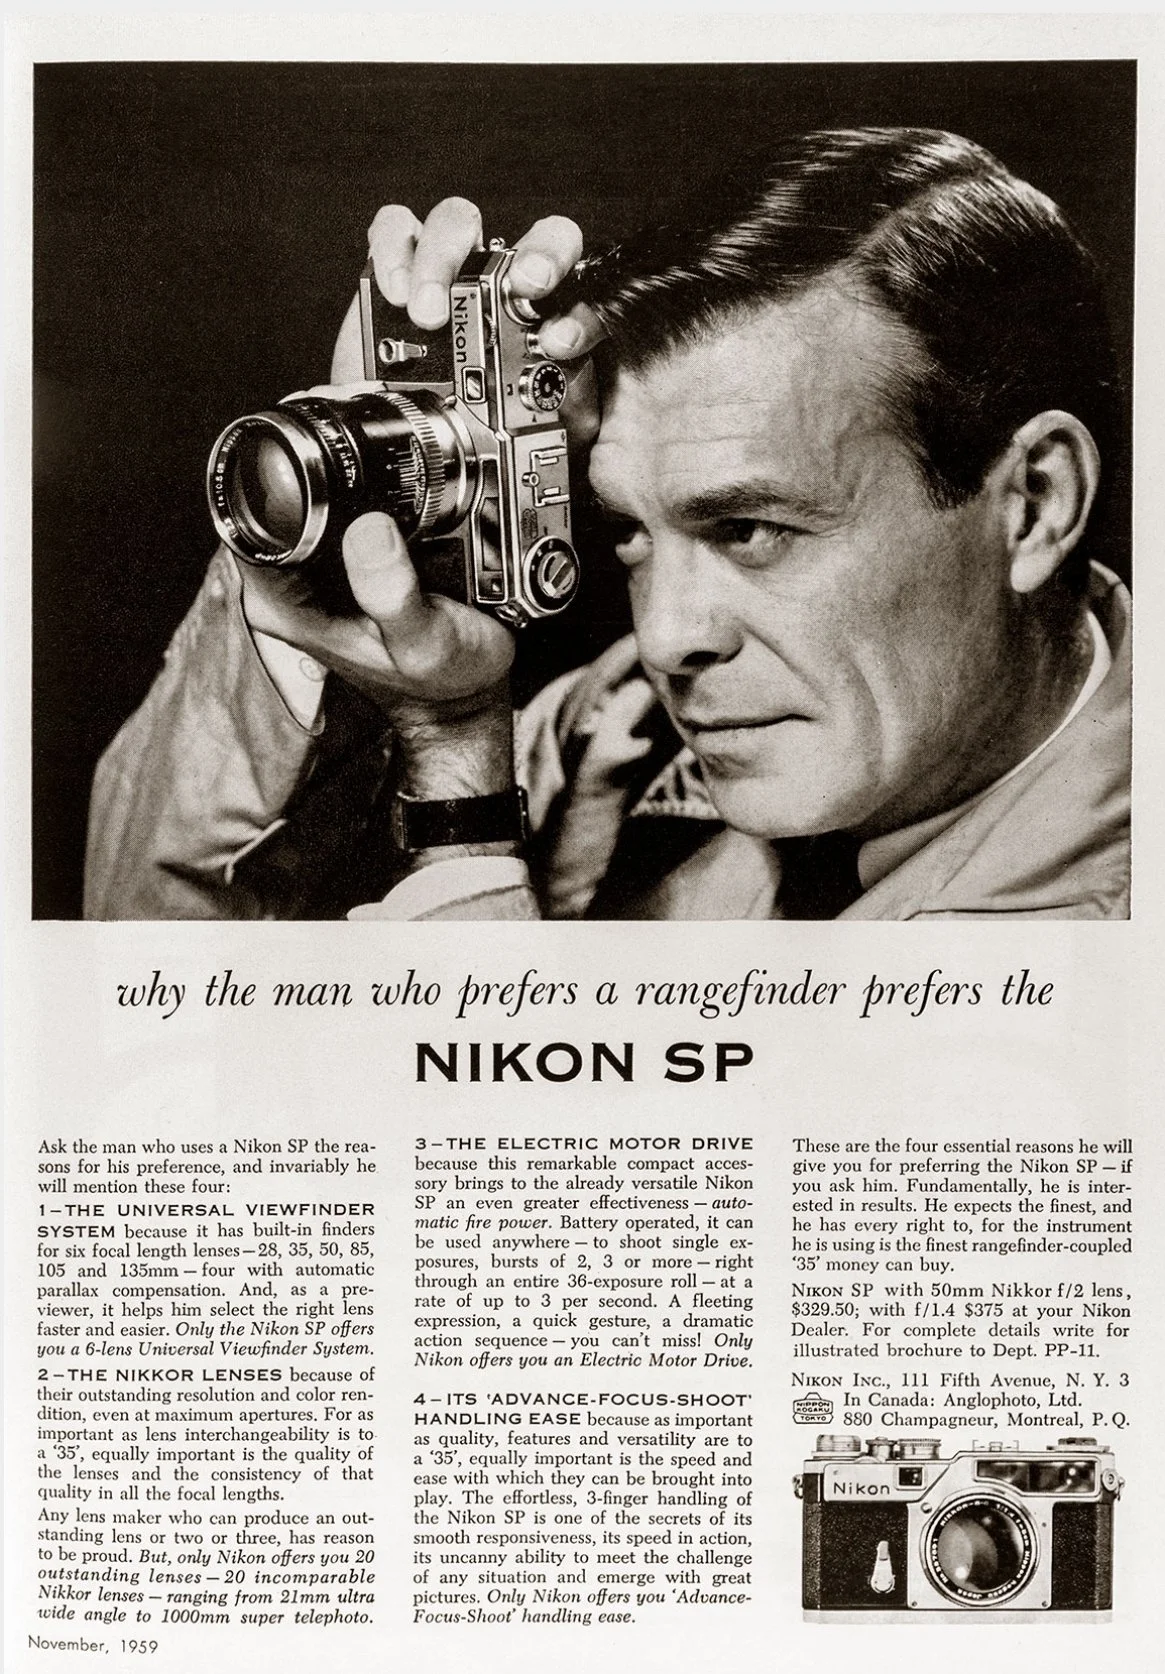
Advertisment for Nikon SP camera

 A key early turning point came with the Nikon M in 1949. Nikon had originally used a 24 x 32mm frame size, but export concerns pushed the company to revise the film gate and related mechanics. This created the M with a 24 x 34mm format that was more acceptable in overseas markets. That change helped Nikon gain traction outside Japan, especially as American photographers began to notice the quality of Nikkor lenses in the early 1950s.

 The 1951 Nikon S was the model that broadened Nikon's presence in the West, establishing the company as a serious contender in professional photography. Nikon kept refining the line throughout the 1950s with the S2, S3, S4, and SP, gradually improving usability and standardizing the full 24 x 36mm frame from the S2 onward. The SP, in particular, became one of the most admired Nikon rangefinders because of its advanced finder system and professional ambitions.

 What made these cameras historically important was not only the bodies themselves but also the Nikkor lenses mounted on them. Reports from photographers and magazines such as Life helped spread the idea that Japanese lenses could rival or surpass the best German optics, which was a major shift in postwar camera culture. Nikon rangefinders also became associated with news and documentary work, building credibility before the company moved into reflex cameras.

 By the late 1950s, Nikon had already used lessons from its rangefinders to shape the 1959 Nikon F, and rangefinder production soon faded as SLRs took over the professional market. Today, Nikon rangefinders are prized by collectors for their place in camera history, their engineering, and their role in Nikon's rise from a strictly optical manufacturer to a global photographic powerhouse.

My Camera

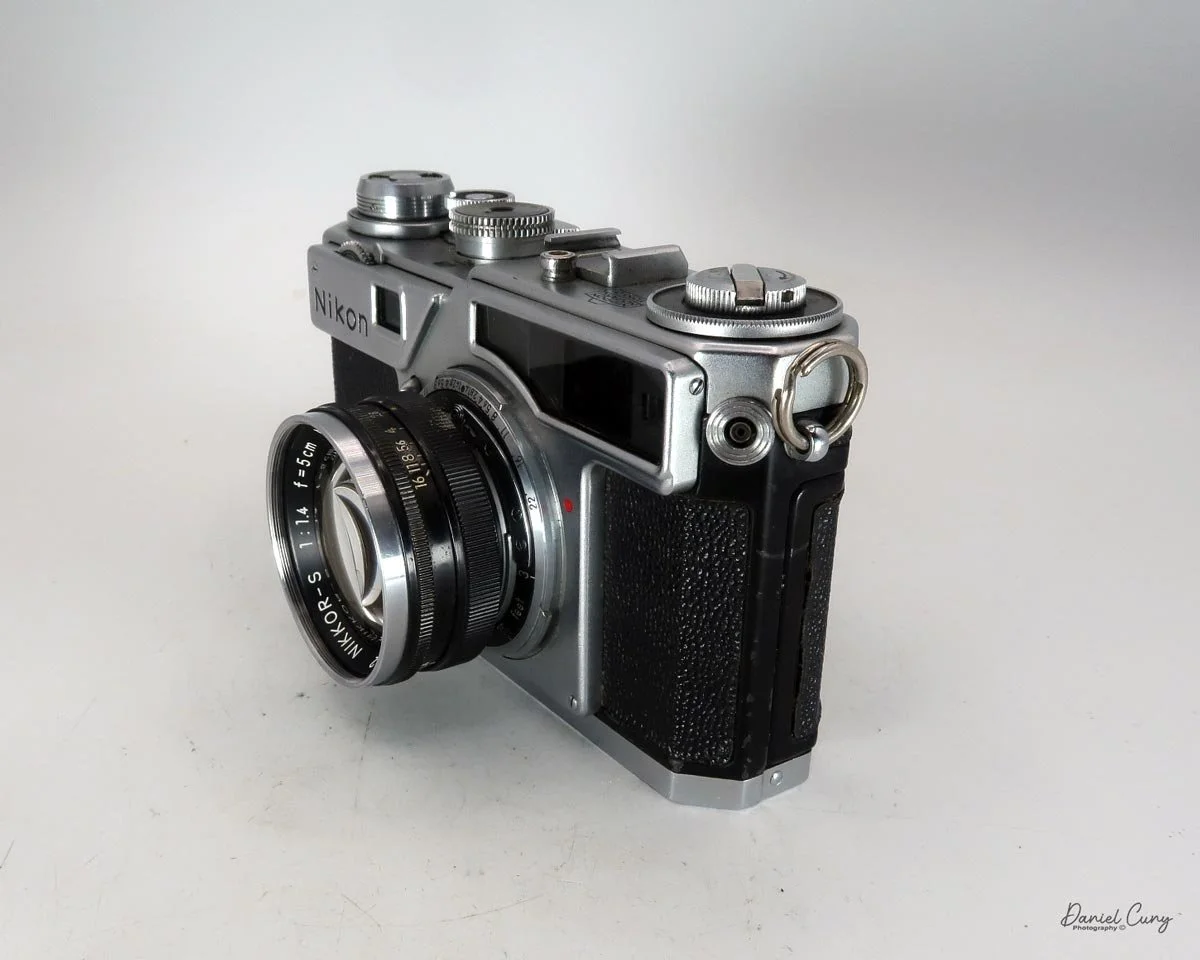
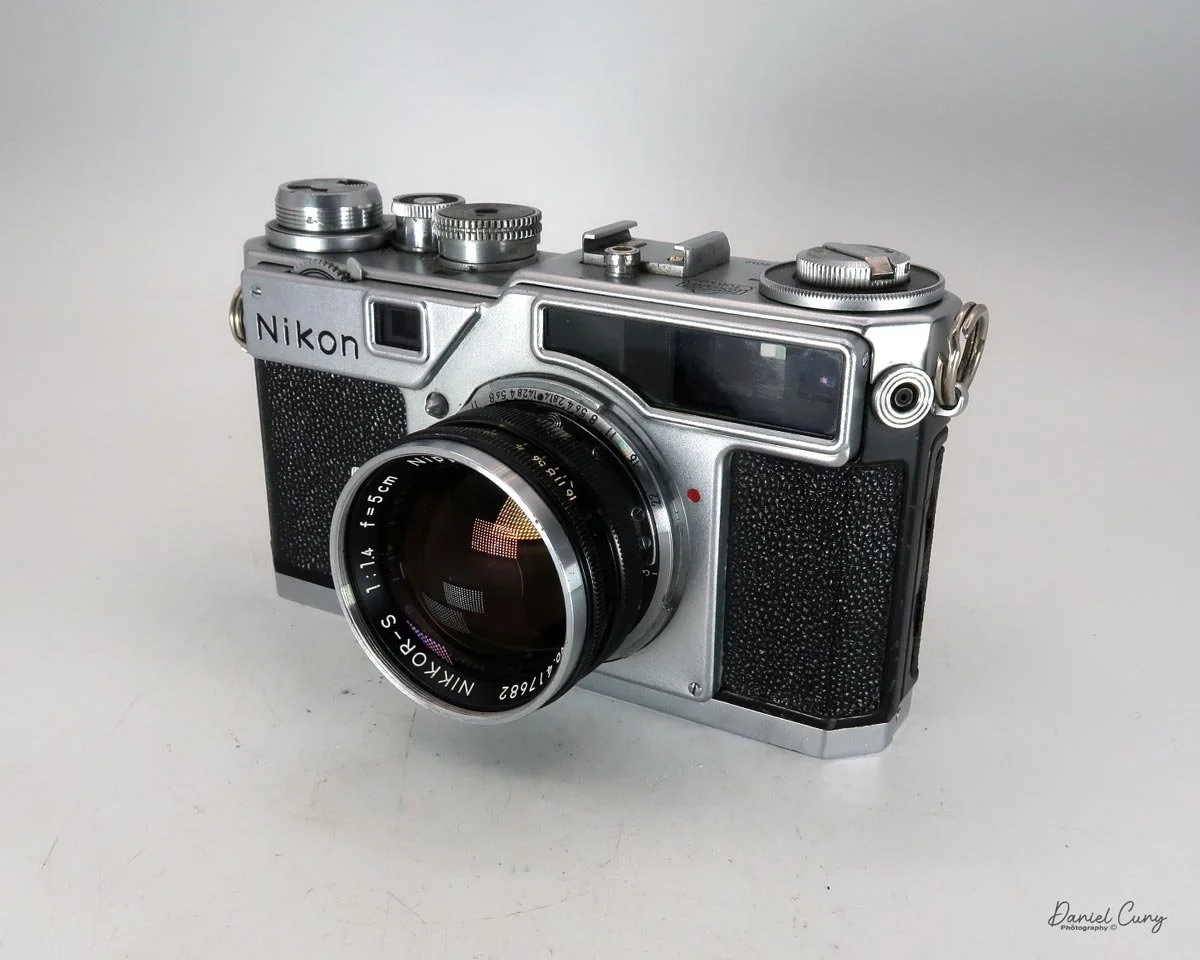
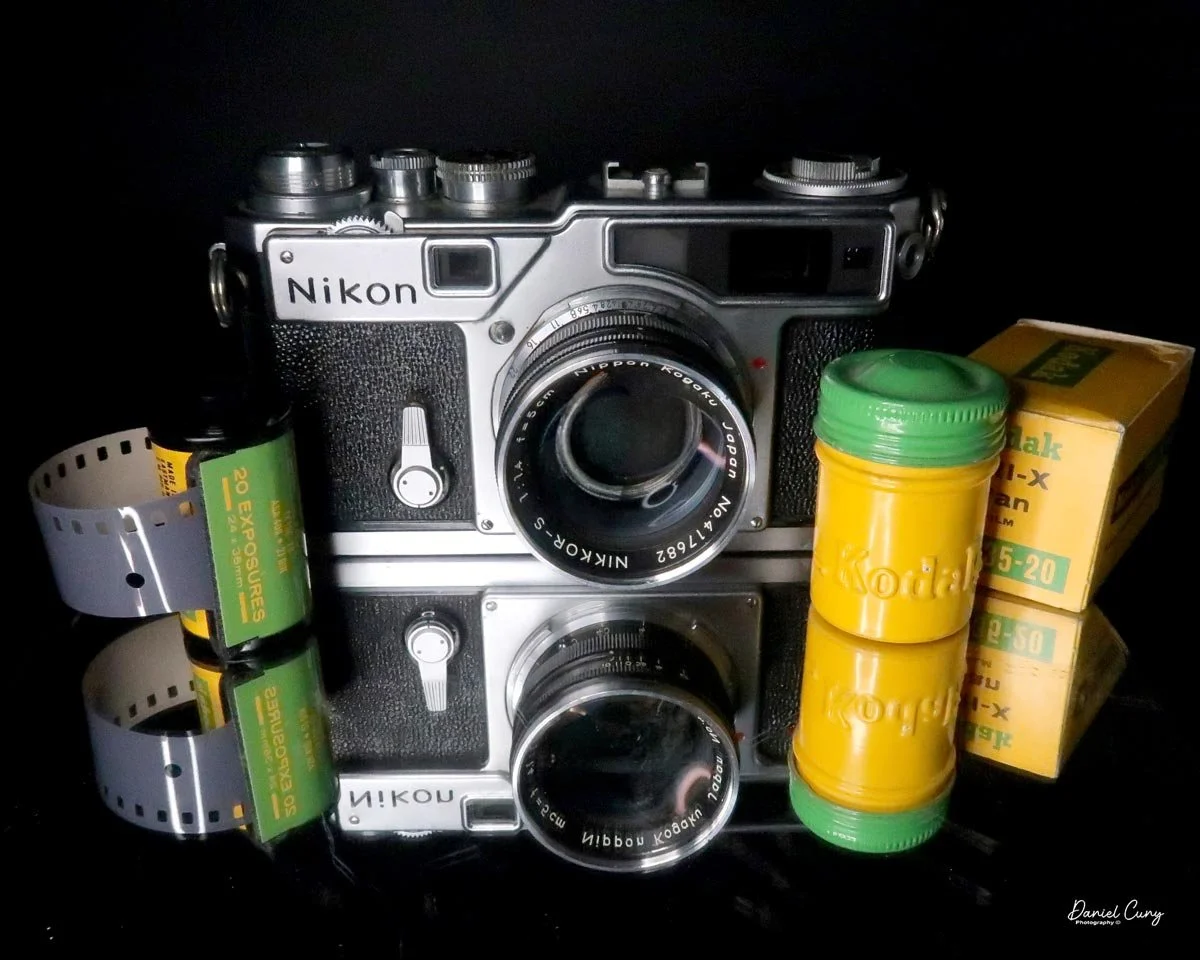
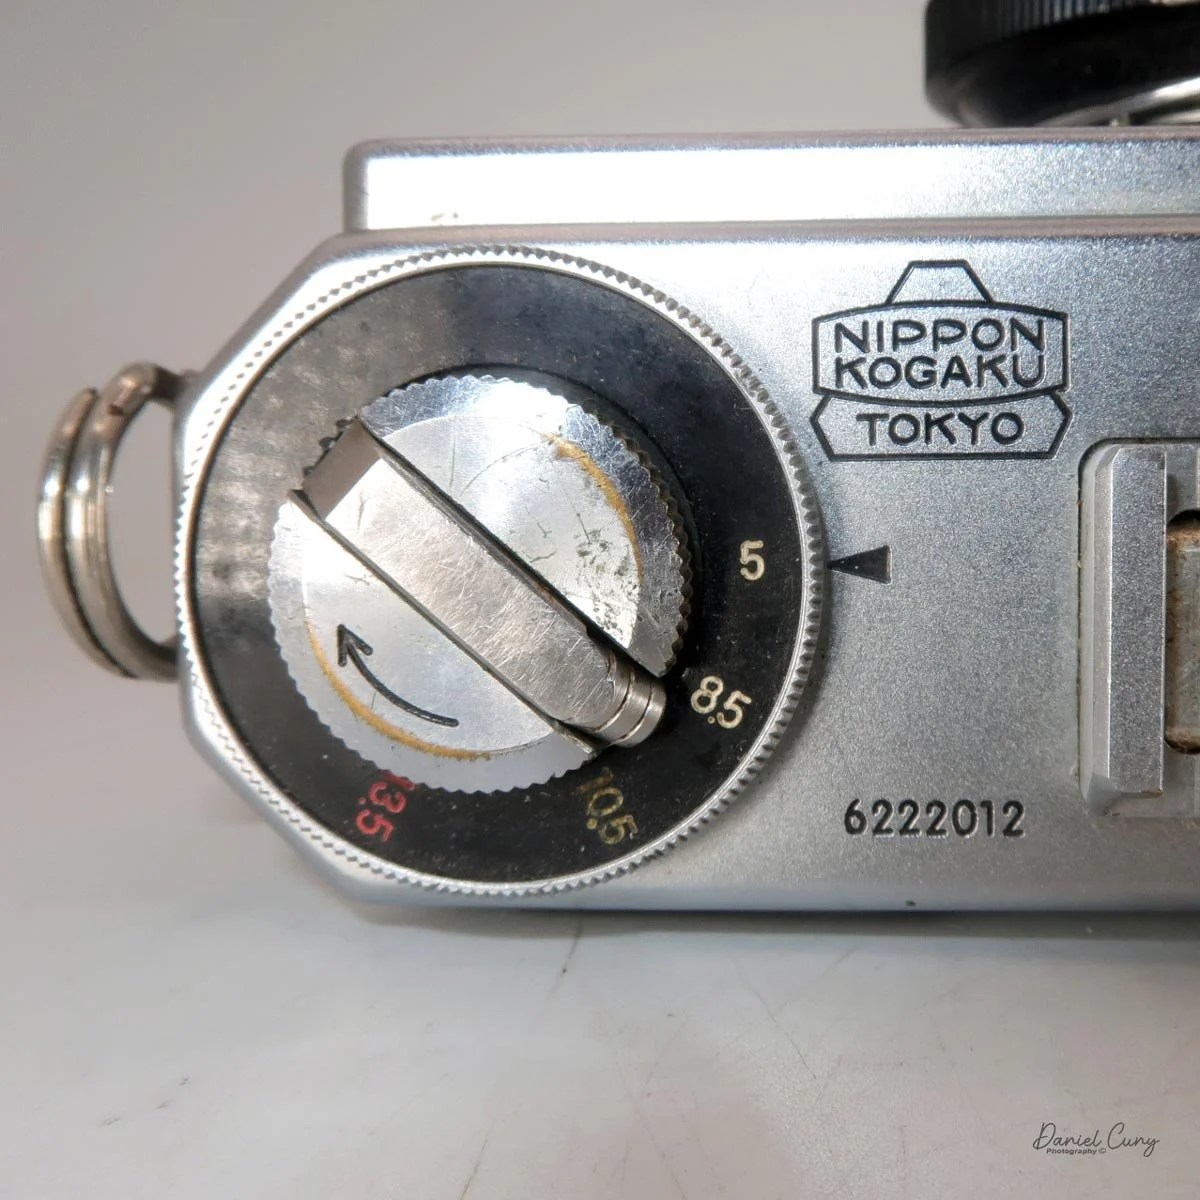
When I received the Nikon SP, it came with the bottom portion of its leather case, though I chose not to include it in the blog photos. My Nikon SP is serial #6222012. The camera measures 5.5" wide (including the strap lugs) by 3.25" tall and 2.5" deep. It's paired with a Nippon Kogaku Nikkor-S 5cm f/1.4 lens, serial #417682. The lens also features a chrome Kenko UV filter specifically made for the Nikkor 1.4, which is stamped directly on the filter ring (not pictured). To adjust the aperture, you turn the ring on the front of the lens.
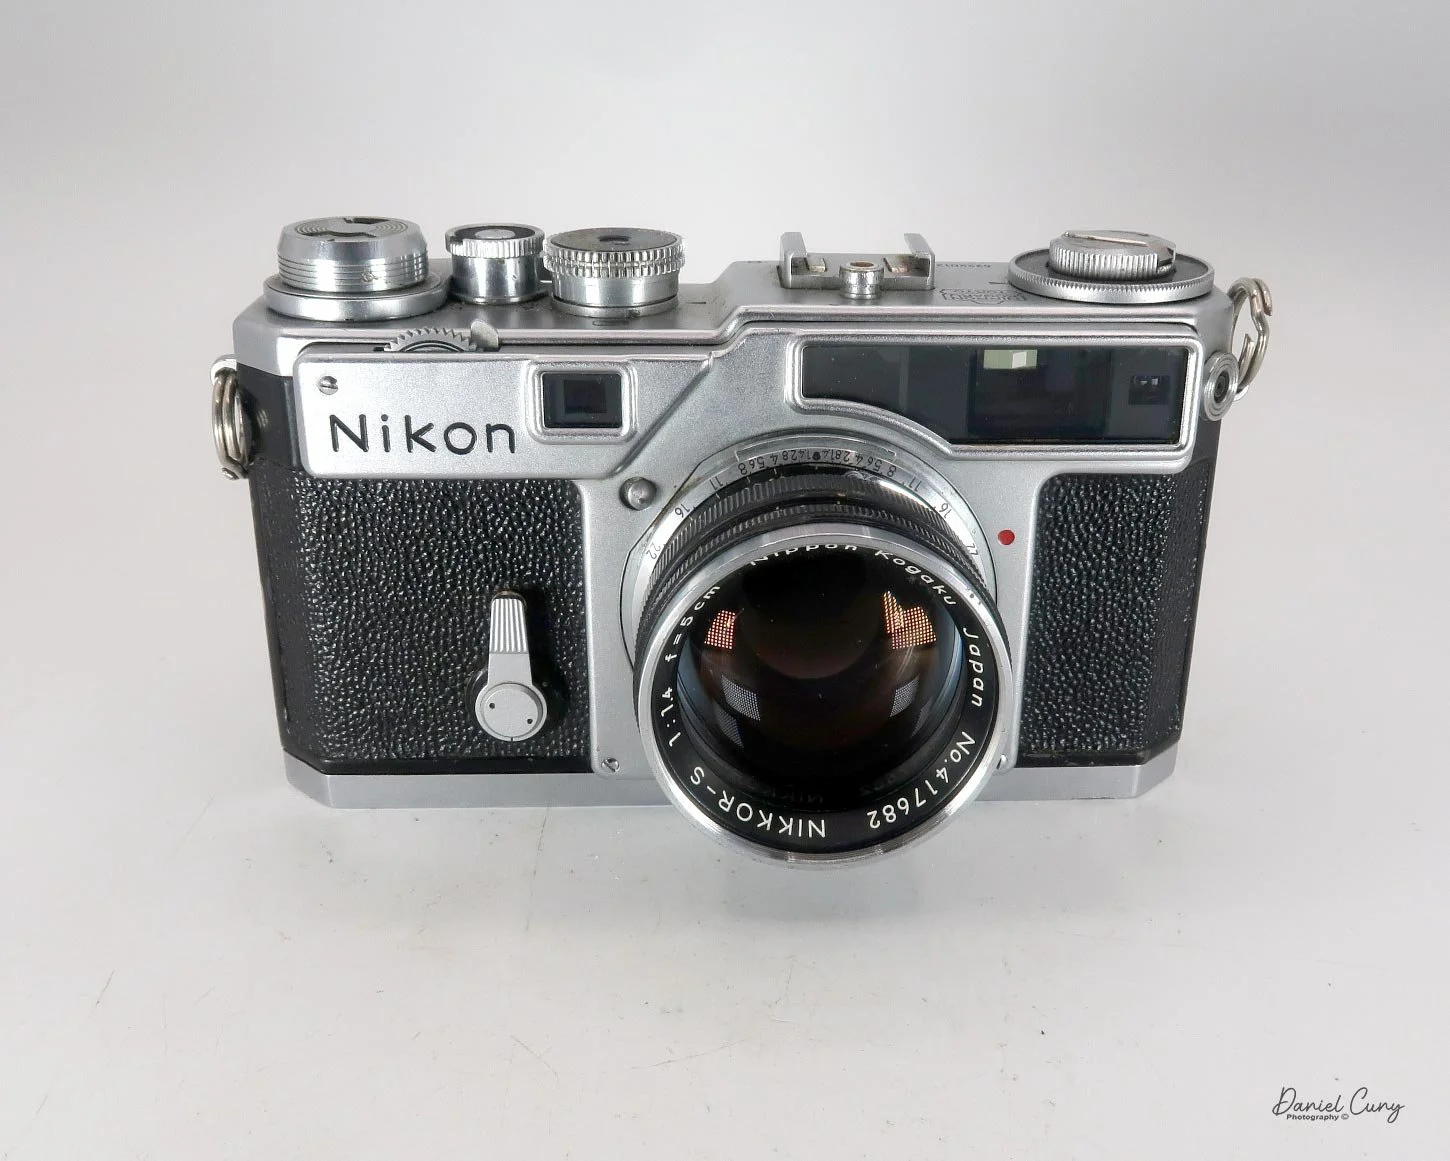
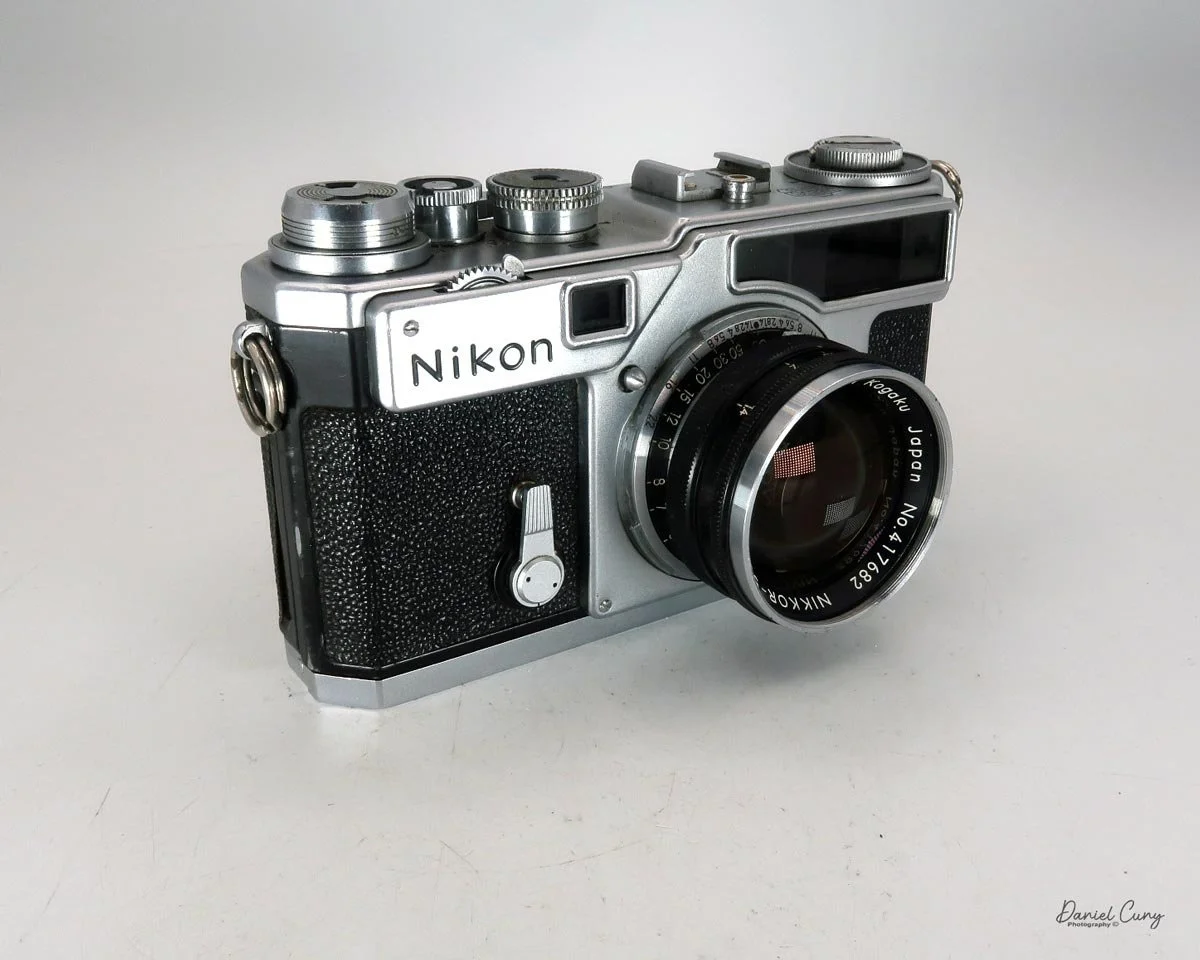
On the front of the camera body is the self-timer—the SP was actually the first model Nikon equipped with this feature. You pull down the lever and press the small button behind it to activate the 10-second delay.

 To remove the lens, locate the small lever just behind the focus ring. Press it in toward the camera body, which allows the lens to be twisted and removed—exactly like the Contax system. To reattach a lens, match the red dot and small tab on the lens to the red dot on the camera body, then turn clockwise until it locks securely into place.
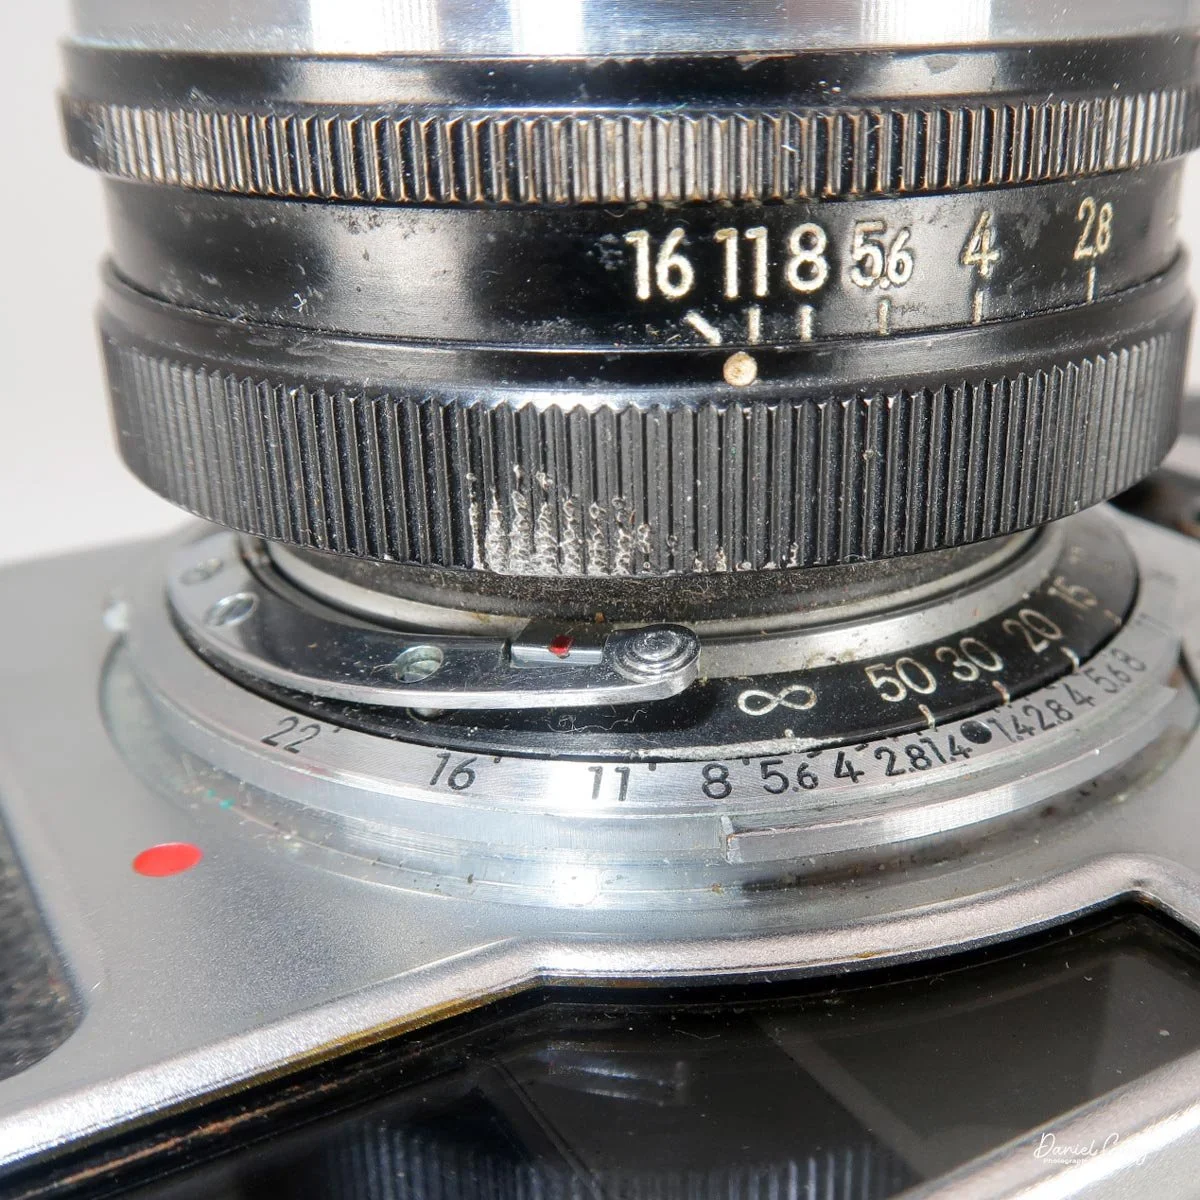
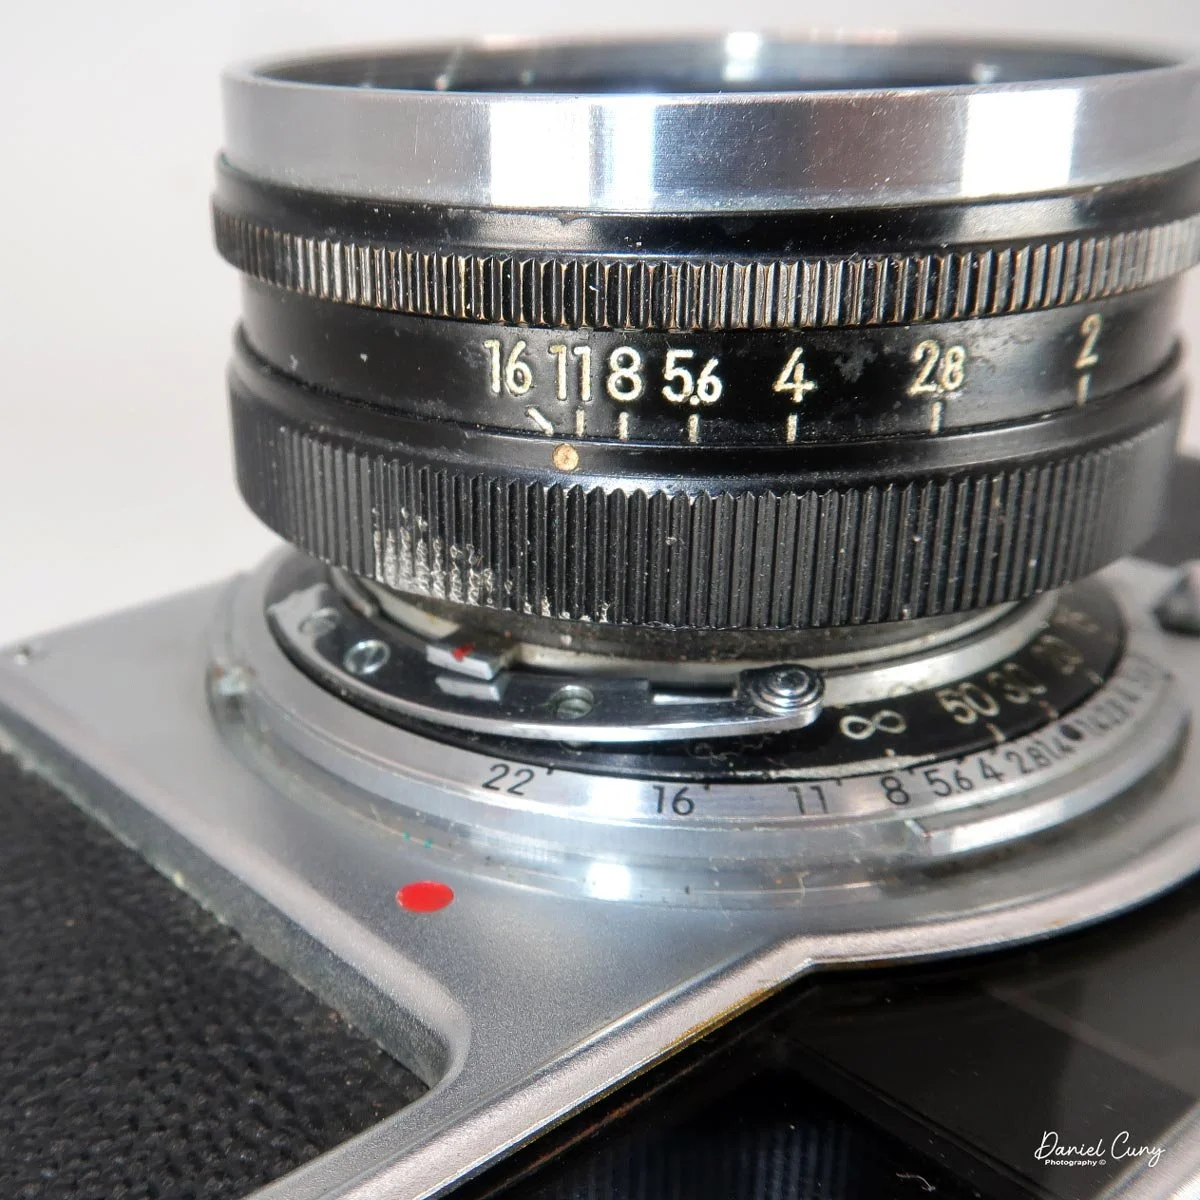
Looking at the top plate, the Nikon SP closely resembles the later Nikon F, except for a wheel on the far left. This wheel adjusts the viewfinder frame lines depending on the focal length of the lens you're using. The settings cover 5cm, 8.5cm, 10.5cm, and 13.5cm lenses. Nestled inside this collar is the film rewind crank. (I'll touch more on the viewfinder a bit later in the article.)

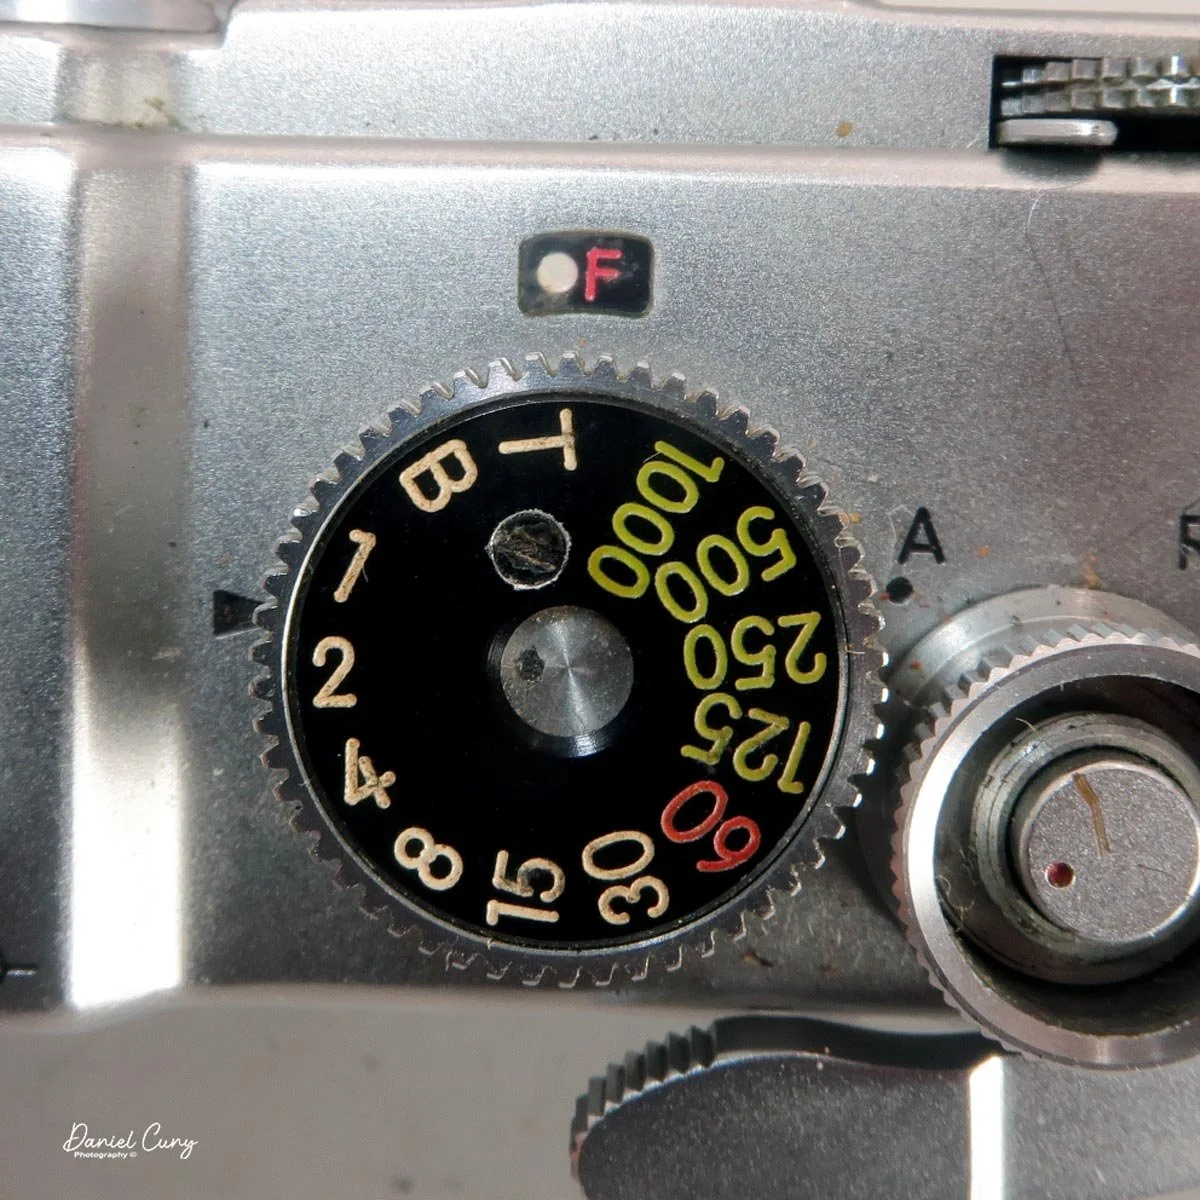
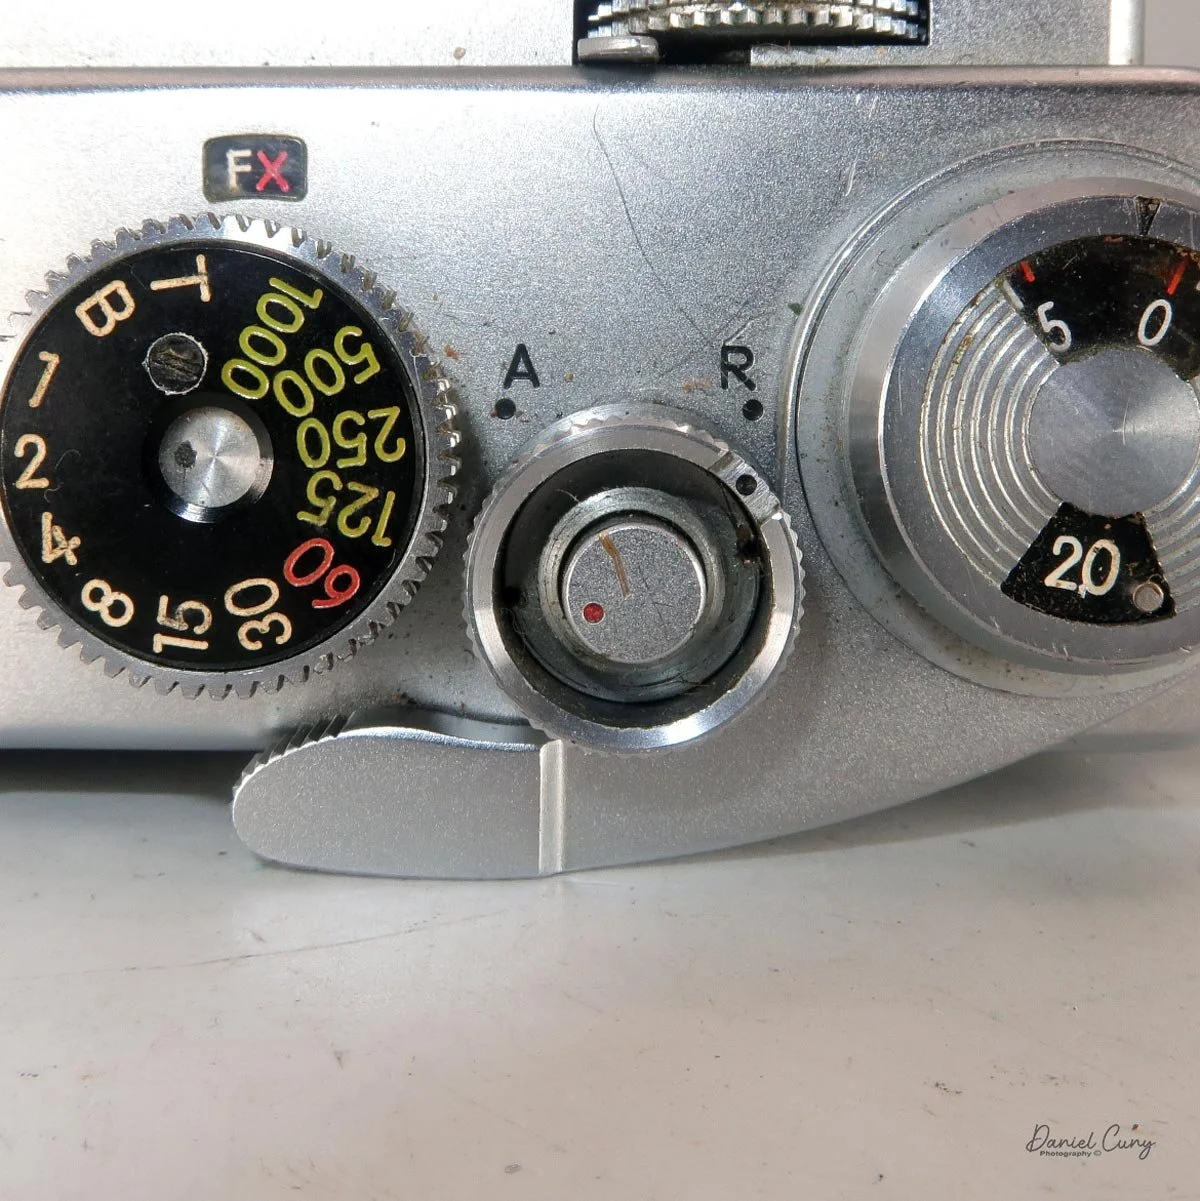
Next to the viewfinder selector wheel is the accessory shoe for a flash, and to the right of that sits the very familiar shutter speed dial. It offers speeds ranging from 1 second to 1/1000th of a second, along with "B" (Bulb) and "T" (Time) settings. Lifting the outer ring on the shutter speed selector adjusts the flash synchronization: "FX" is for standard electronic flash, while the white dot, red dot, and white "F" settings are for syncing various types of vintage flash bulbs.
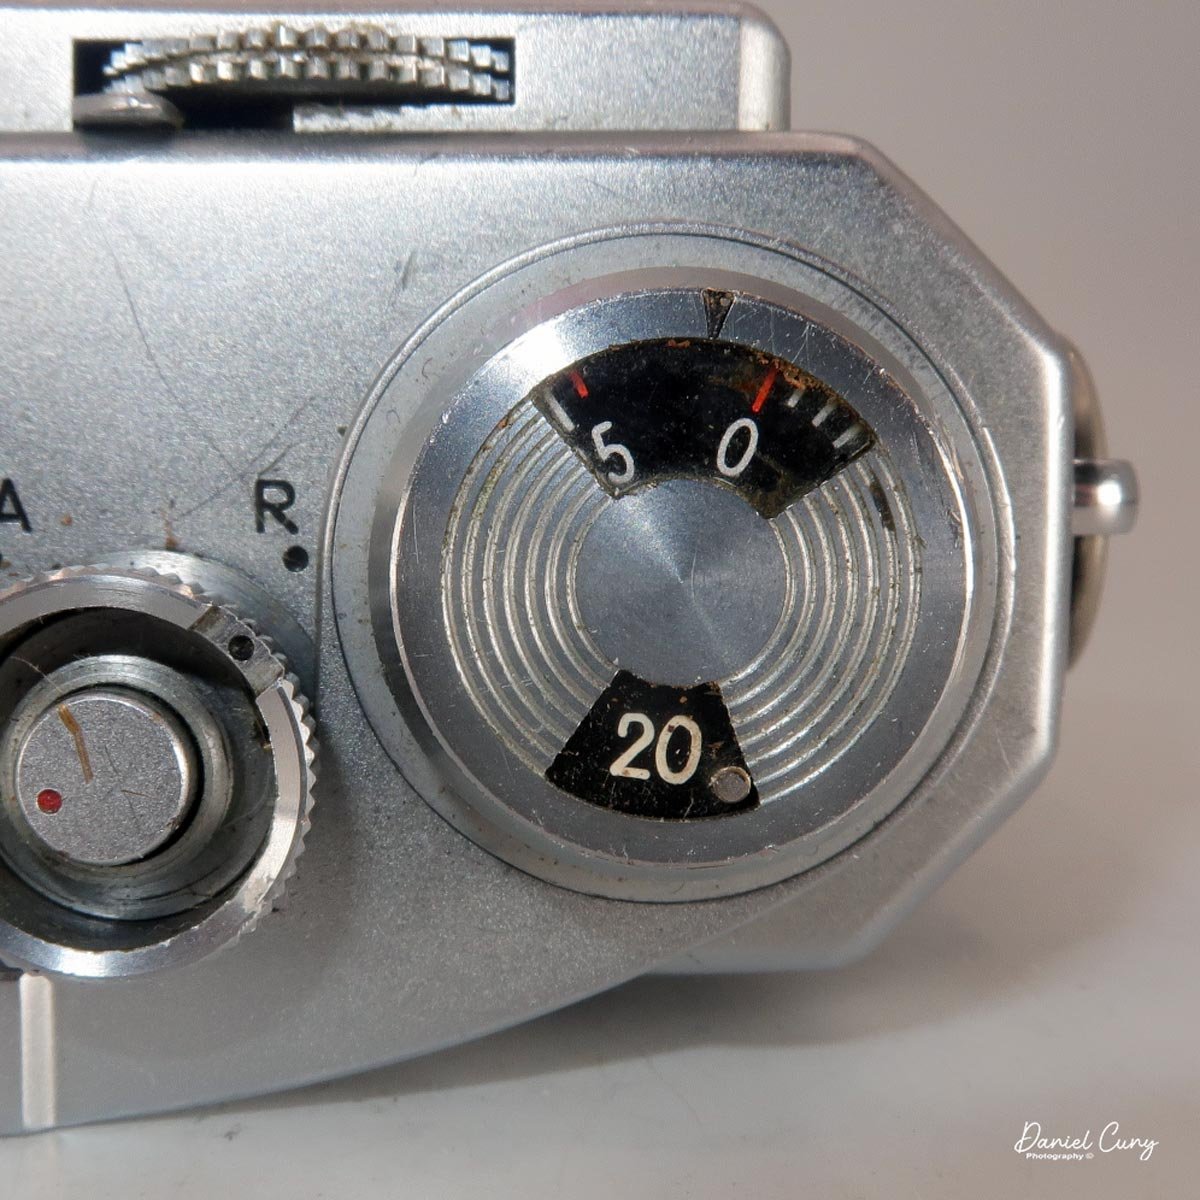
To the right of the shutter speed dial is the shutter release button. As with many Nikon F cameras, this button features a red dot. Because the release is directly geared into the transport system—which drives the film from the cassette to the take-up spool—this red dot rotates as you advance the film (though it will turn even if the camera is empty). Around the shutter release is another collar with a black dot. During standard shooting, it should point to "A" (Advance). Turning this collar to "R" (Rewind) releases the camera's drive gear, allowing you to wind the film back into the cassette without tearing the sprockets.

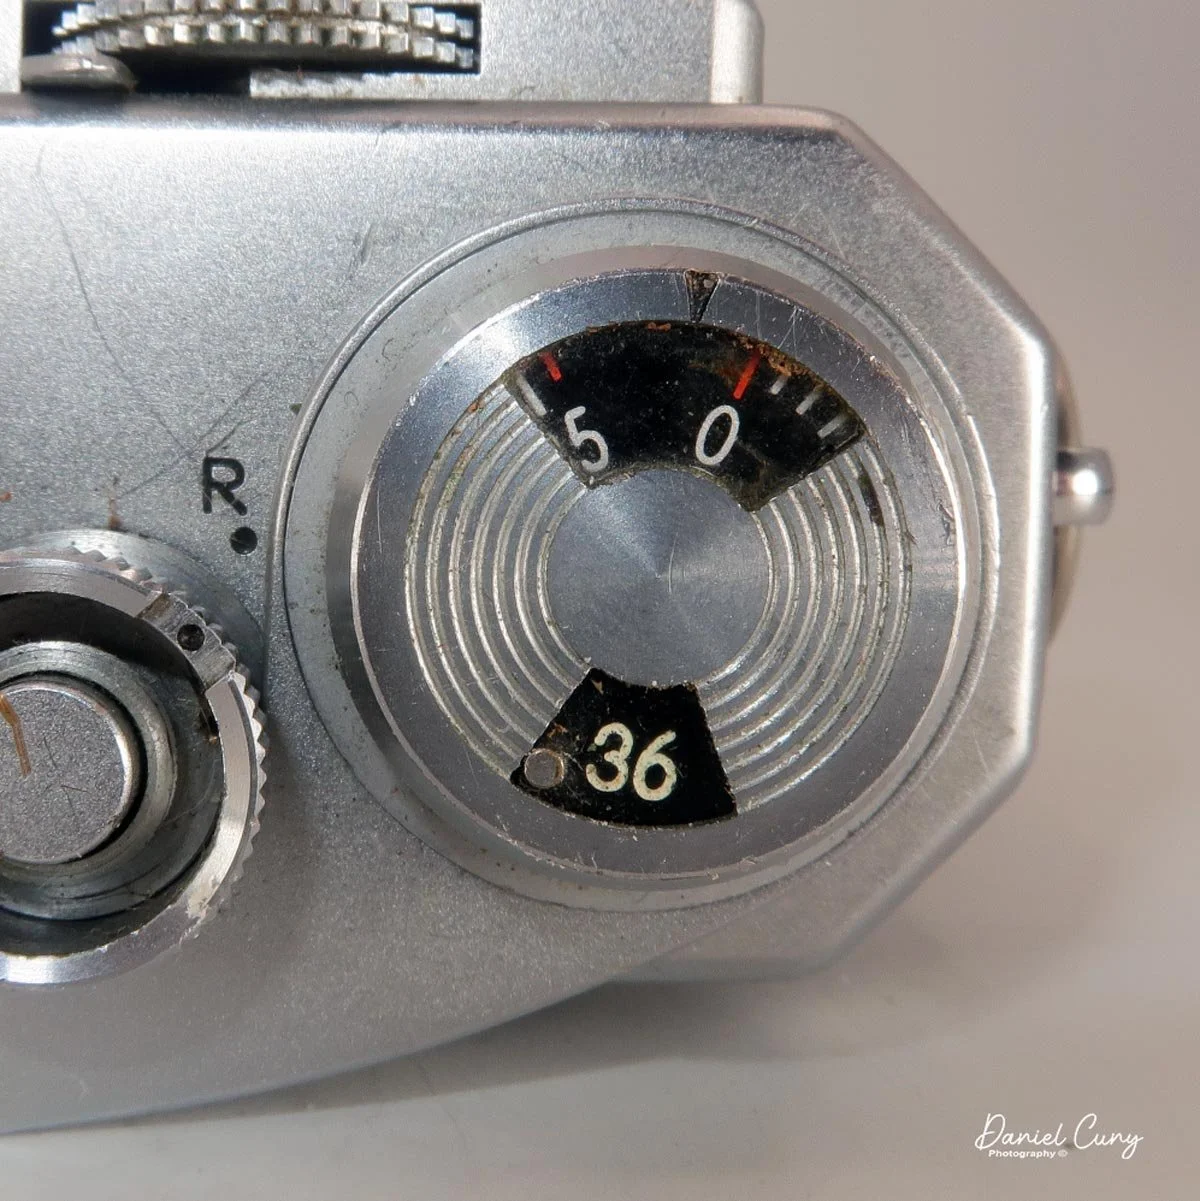
 On the far right of the top plate sits the film advance lever, which features two small windows. The forward window is your frame counter, indicating which exposure you're on. The rear window acts as a reminder for whether you loaded a 20- or 36-exposure roll, set by flipping a small tab from one side to the other. And yes, for those wondering—it wasn't until the early 1980s that film manufacturers started producing 24-exposure rolls; before then, 20-exposure rolls were the standard short option!

 At the very front of the top plate, on the right side, is the camera's focusing wheel. You can focus the lens using this wheel, a mechanism borrowed directly from the Contax system that inspired these cameras. When the lens is set to infinity, it locks into position. To unlock it, press down on the small tab just behind the focusing wheel. This frees up the wheel, allowing you to dial in your focus. Once unlocked, you also have the option to focus normally by turning the lens barrel, if you prefer.
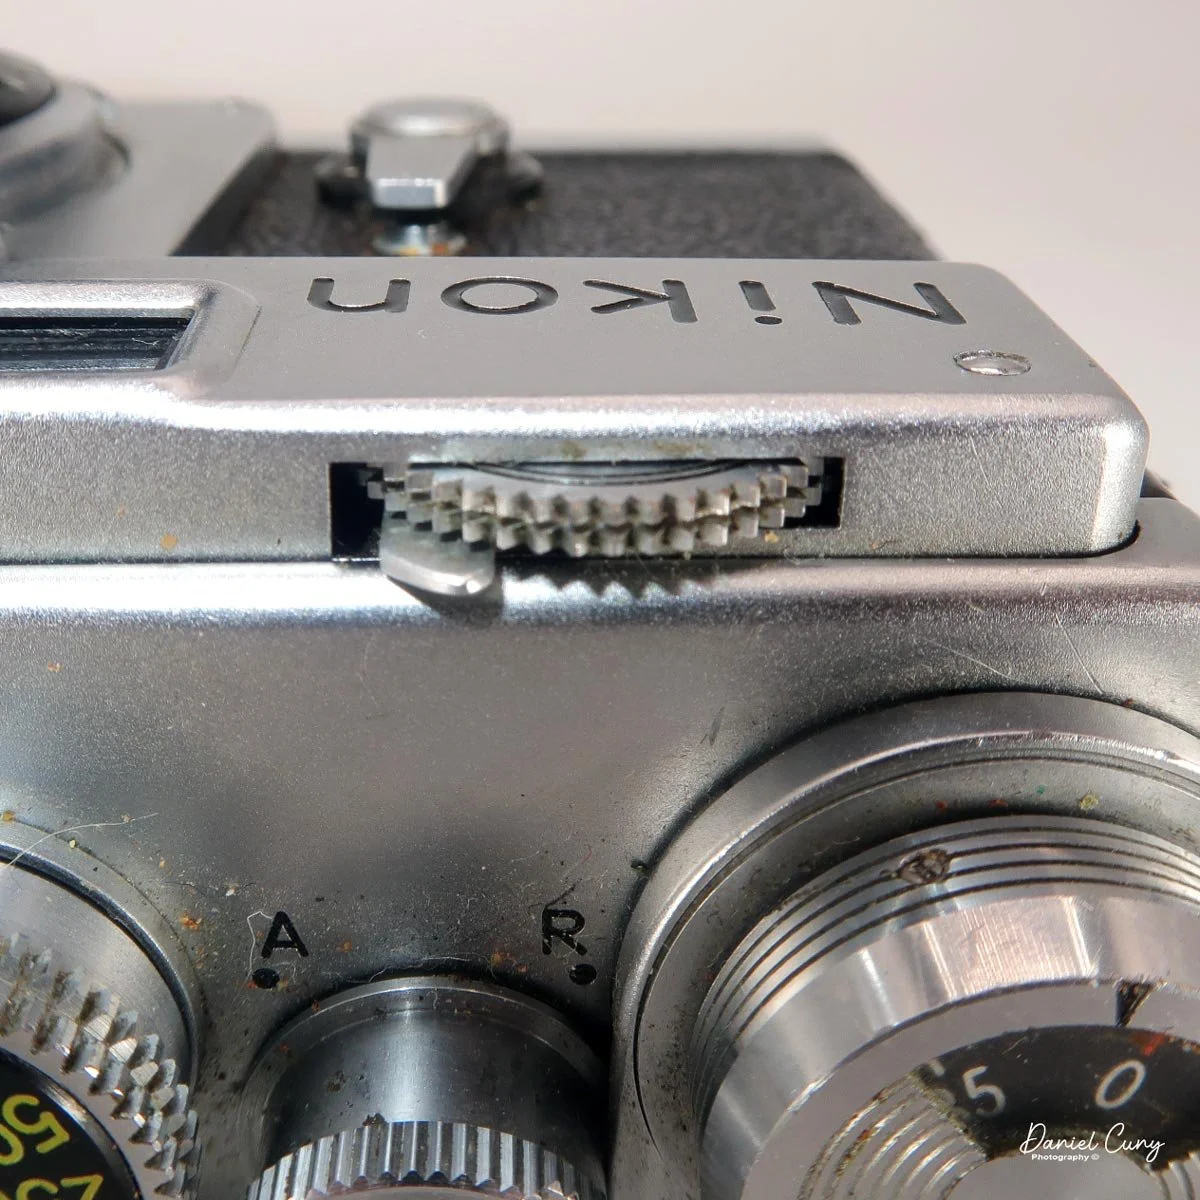
The upper left side of the camera back houses the SP's famous dual viewfinders. The finder on the right is the standard rangefinder for the lenses mentioned earlier: 5cm, 8.5cm, 10.5cm, and 13.5cm. As you turn the collar around the rewind crank, different bright lines appear in this window. Each frame line is added as you select a longer focal length, with the 13.5cm lines appearing in red to match the marking on the collar. Brilliantly, these frame lines are parallax-corrected as you focus closer to your subject.
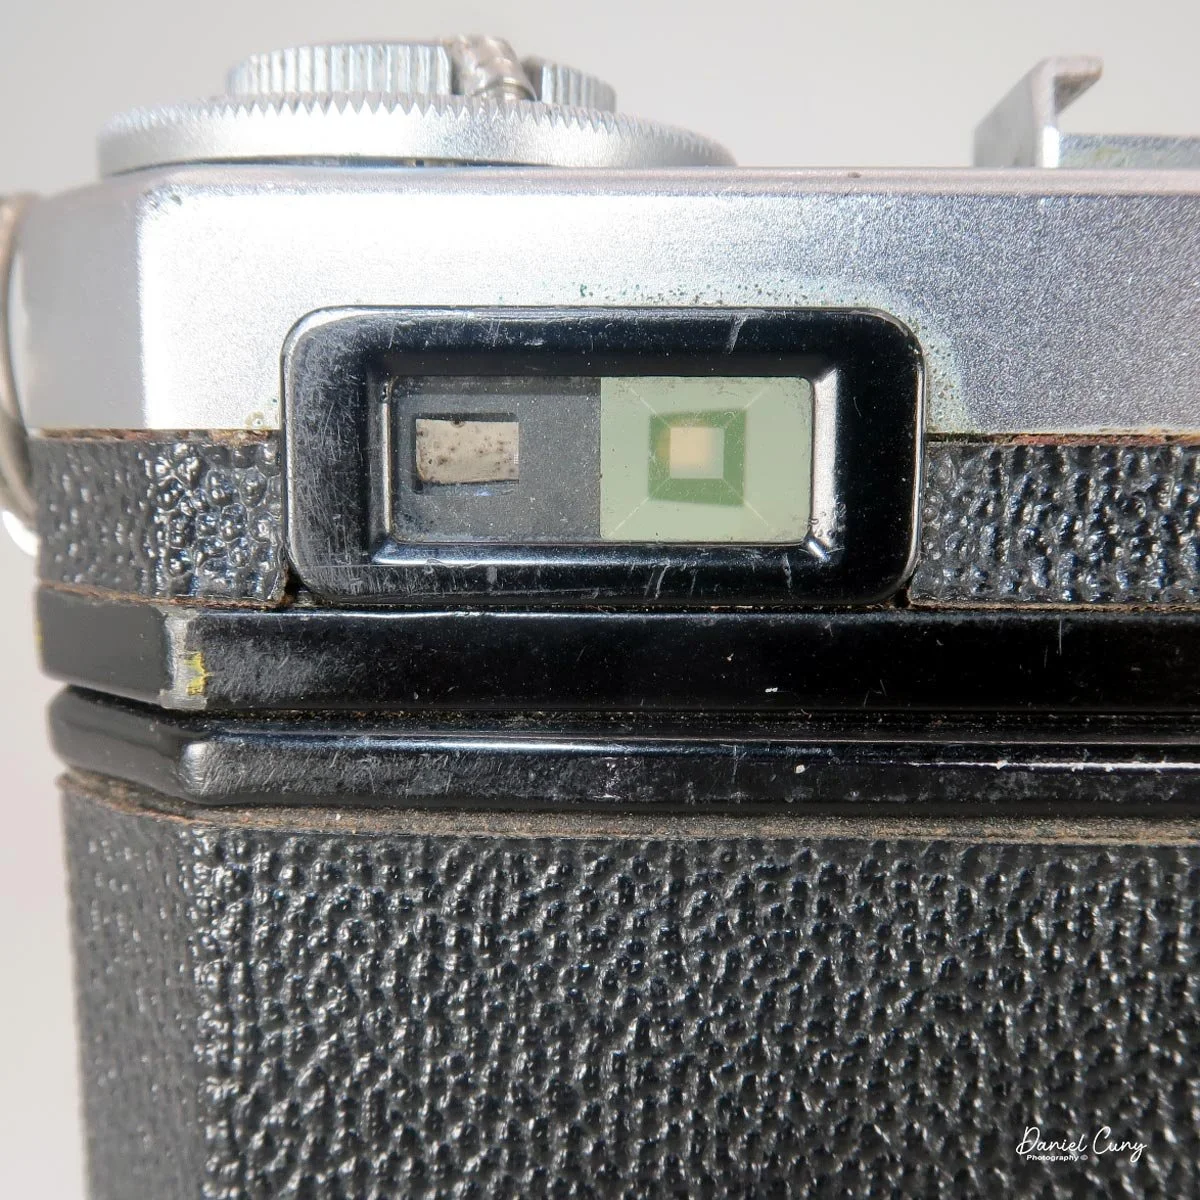
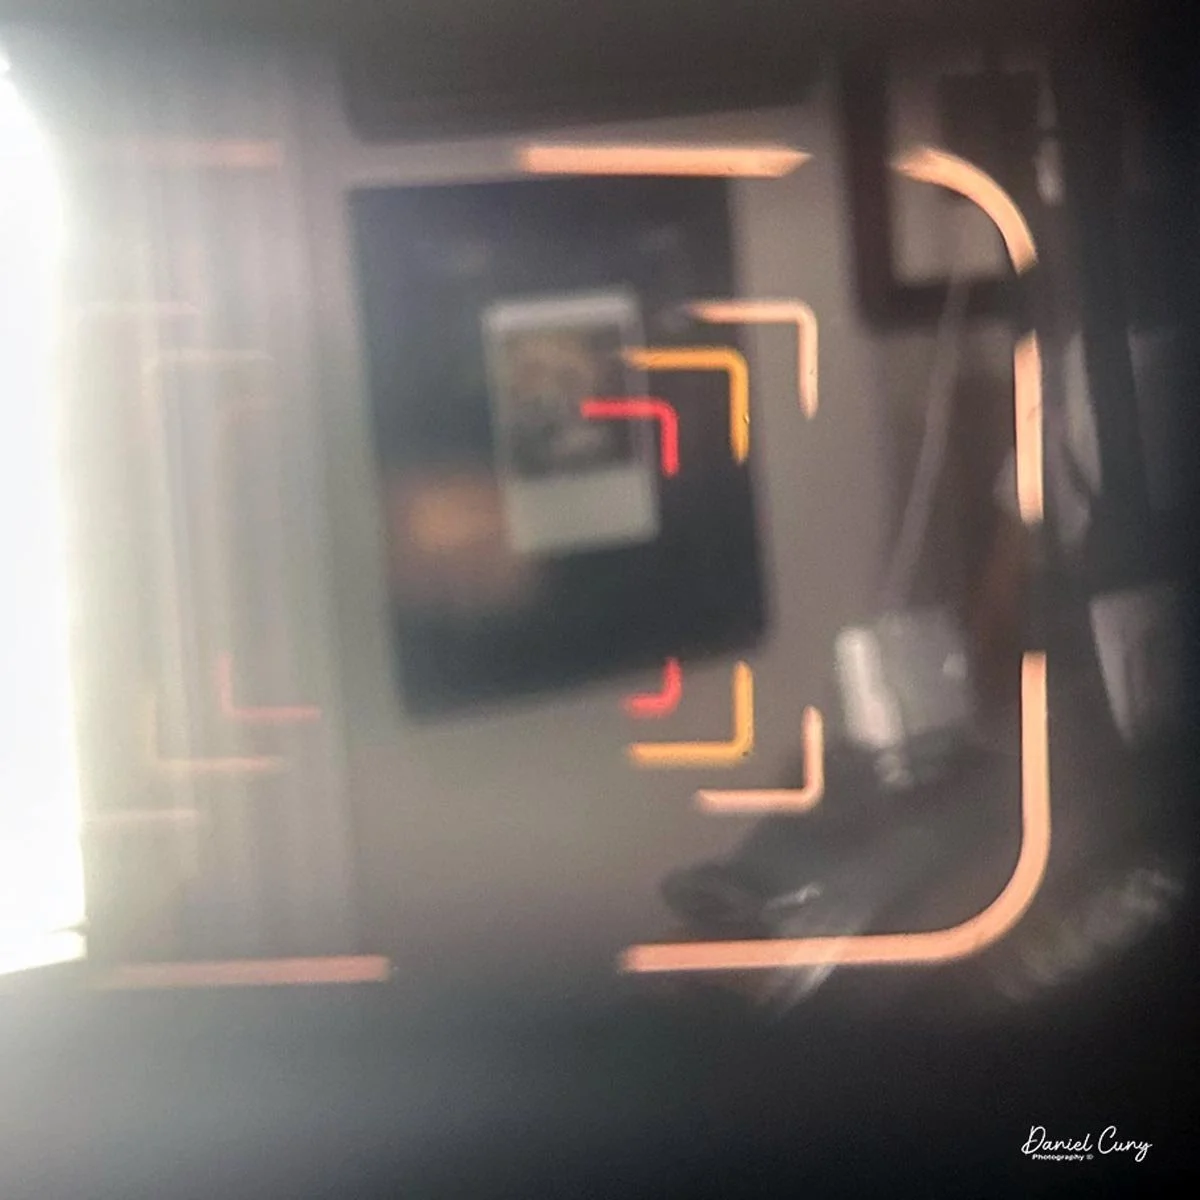
The viewfinder on the left is a bit smaller and is dedicated to 2.8cm and 3.5cm wide-angle lenses, featuring black frame lines for each. While Nikon also manufactured ultra-wide 2.5cm and 2.1cm lenses at the time, as well as telephotos longer than 13.5cm, those required separate accessory finders that slid into the shoe on top of the camera.

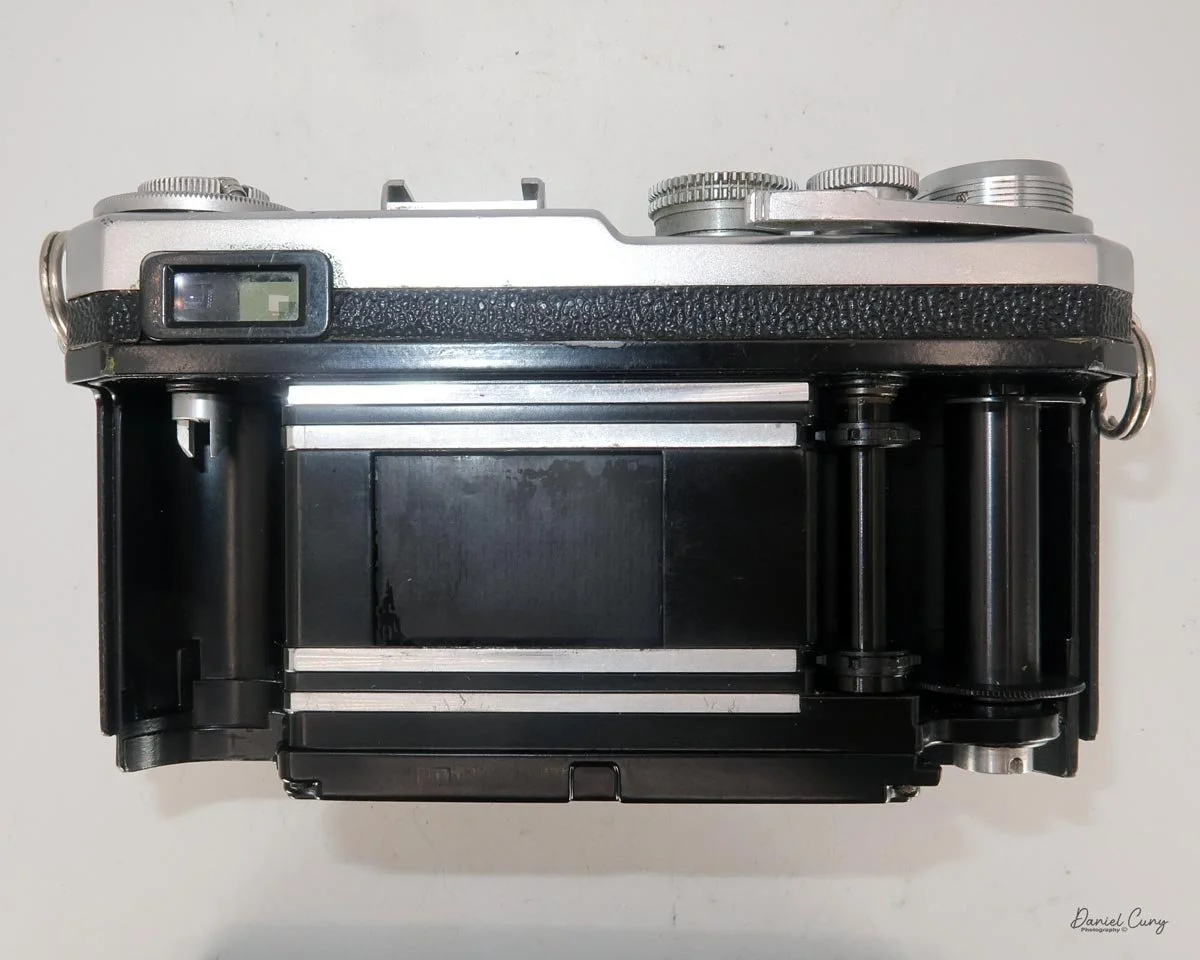
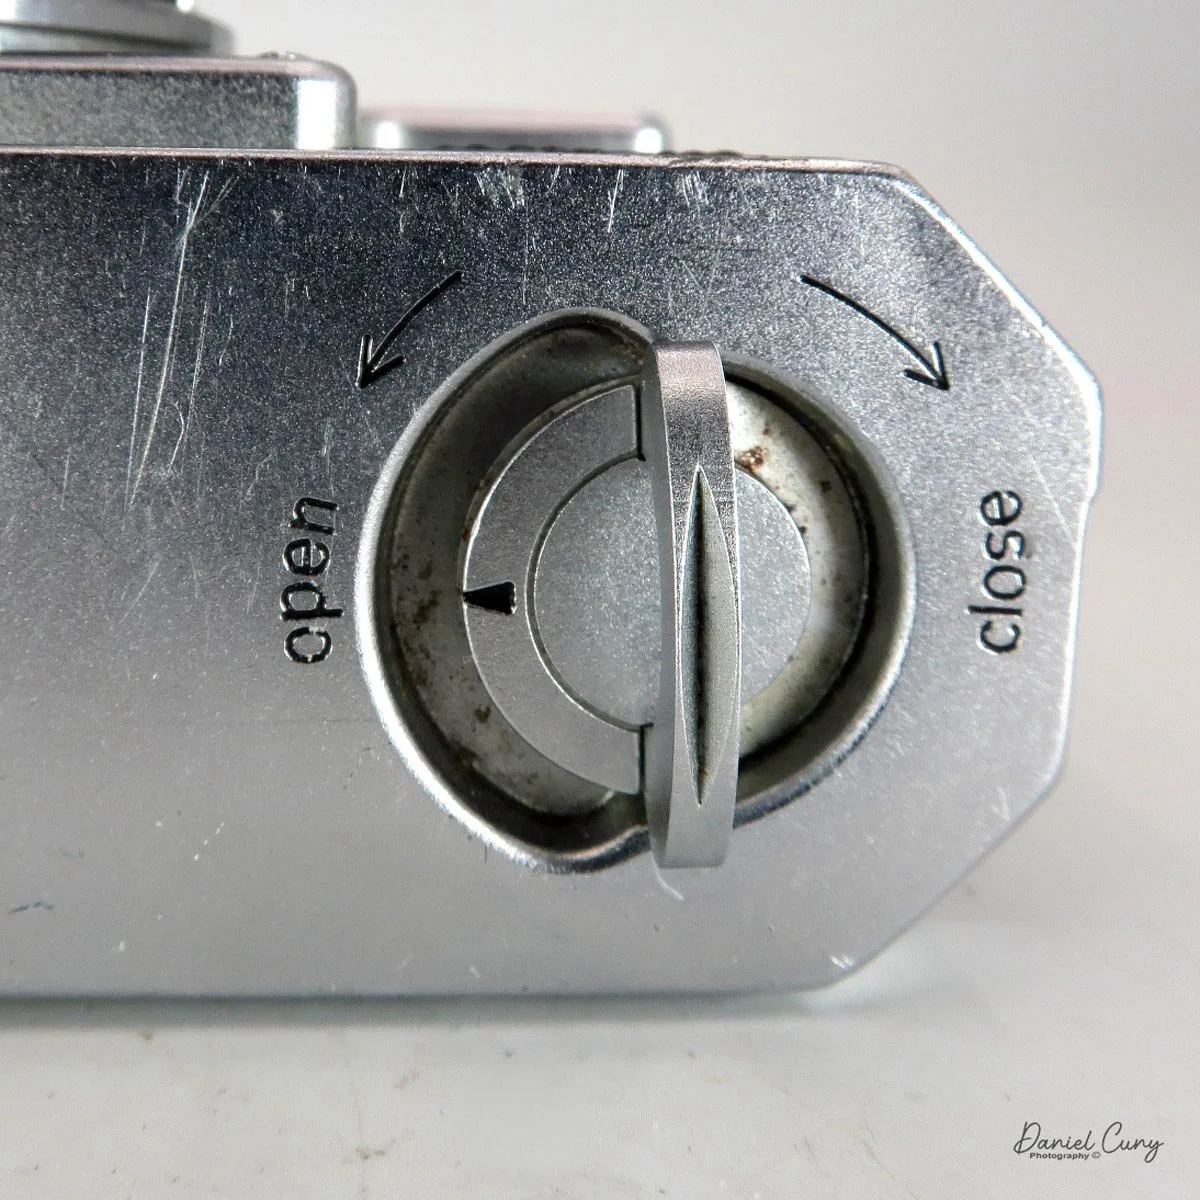
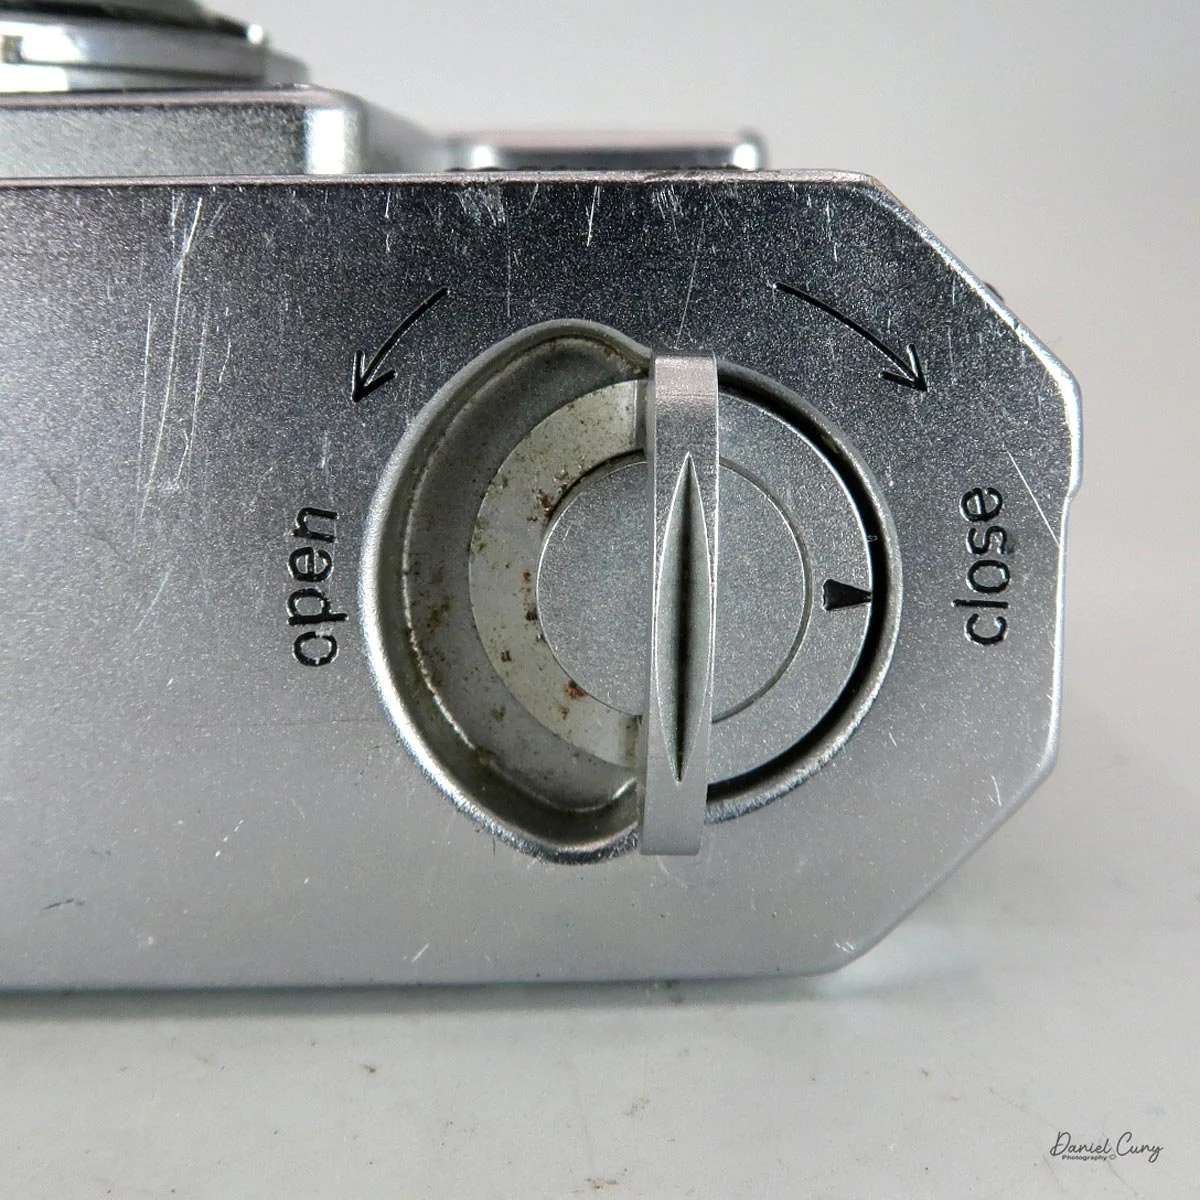
 On the bottom of the camera is the locking lever used to remove the back for film loading. Turn the dial from "Close" to "Open," and the entire back slides down along its tracks to expose the film chamber. (This design is shared across all Nikon rangefinder and Nikon F bodies.) After loading your film like any standard 35mm camera, align the back on the rails, slide it up into place, and lock it tight. At this point, you're ready to shoot! The bottom plate also houses a standard tripod socket and an ASA reminder dial. (For younger shooters, ASA was the predecessor to ISO and uses the same sensitivity scale.)
My Results

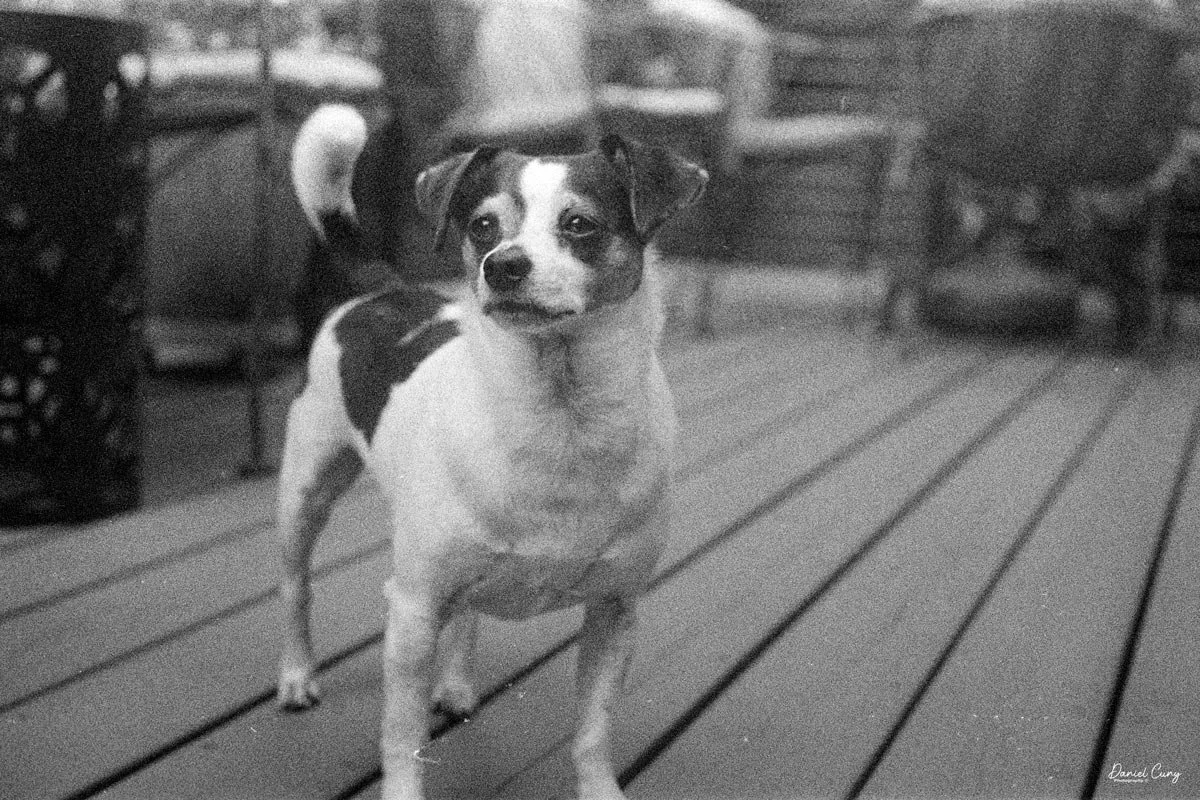
I didn't have much 35mm black-and-white film left in my fridge after our last vacation, but I did find an expired roll of Kodak Tri-X from 1970. I figured it would be the perfect roll to load into the Nikon SP for a spin around the neighborhood.

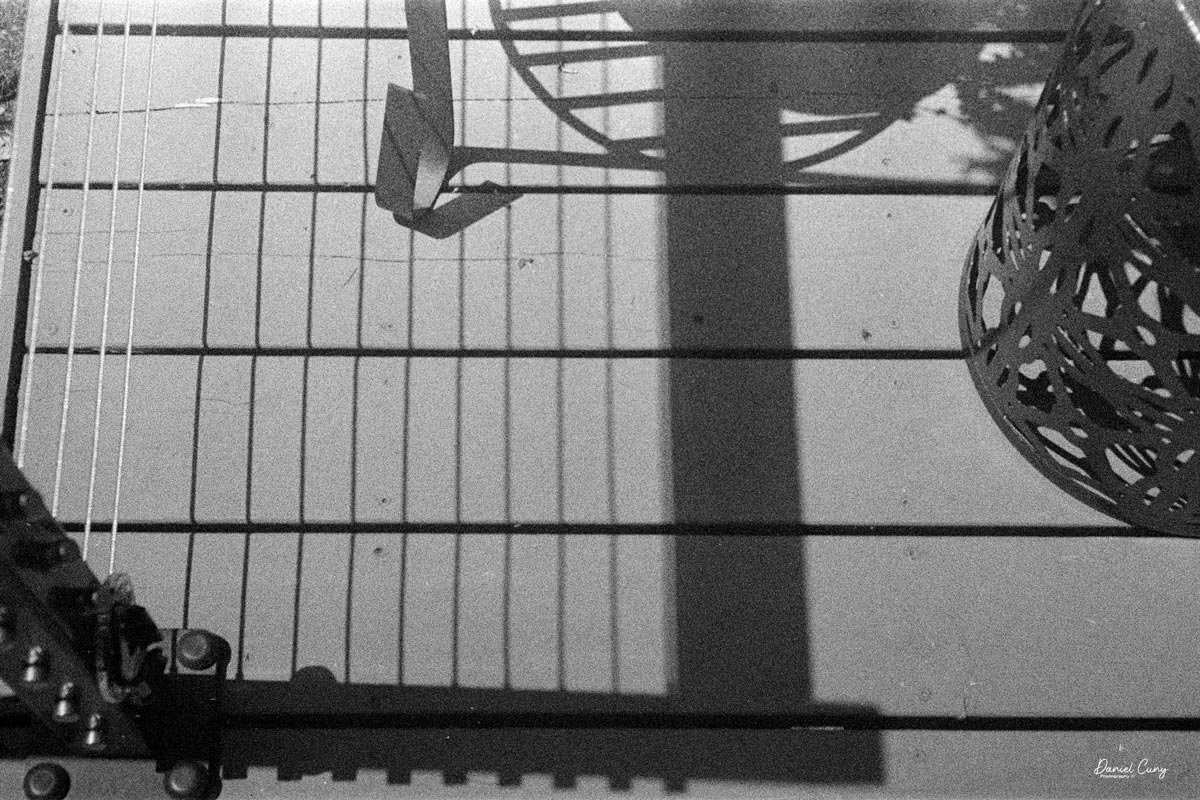
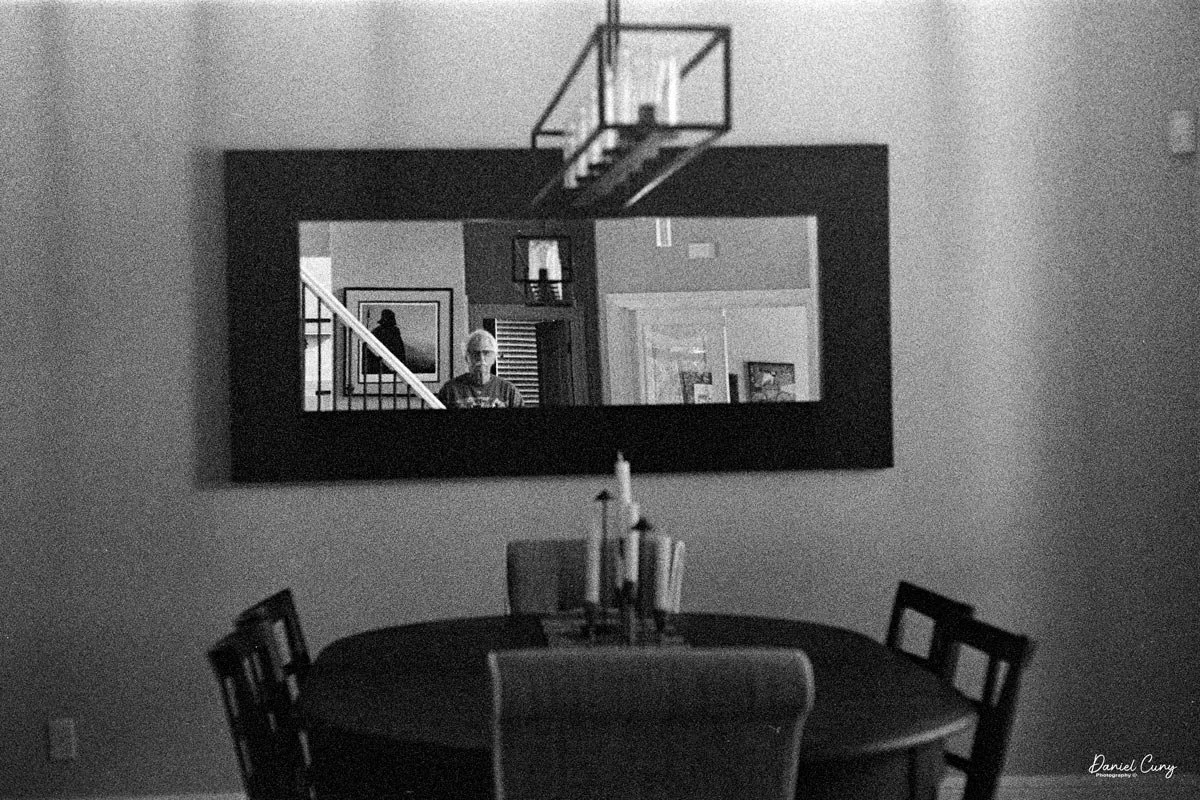
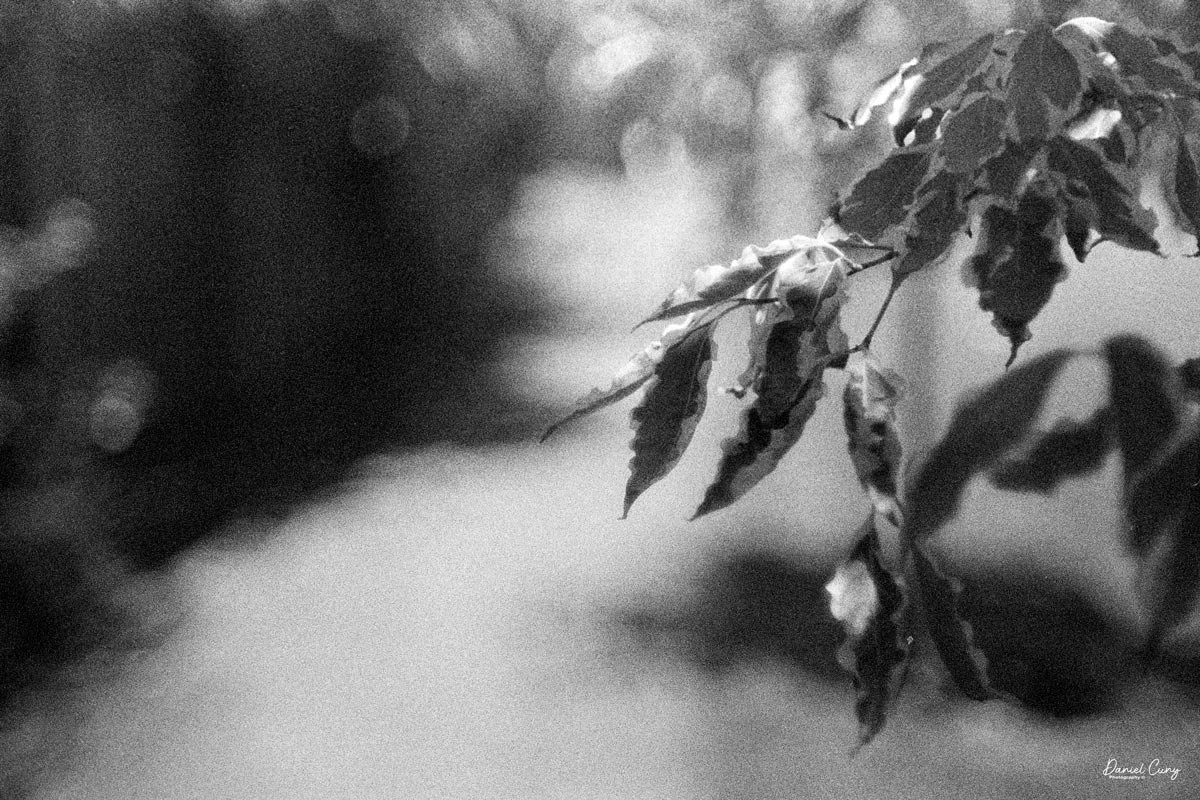
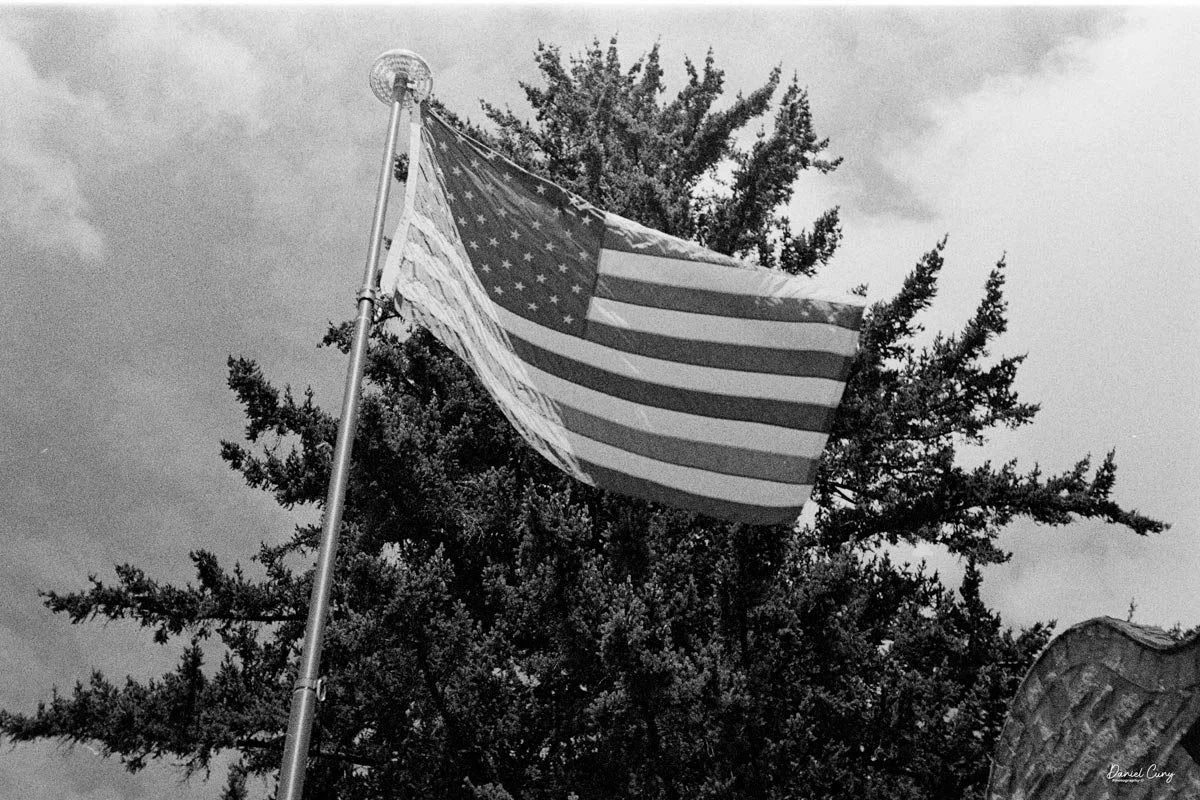
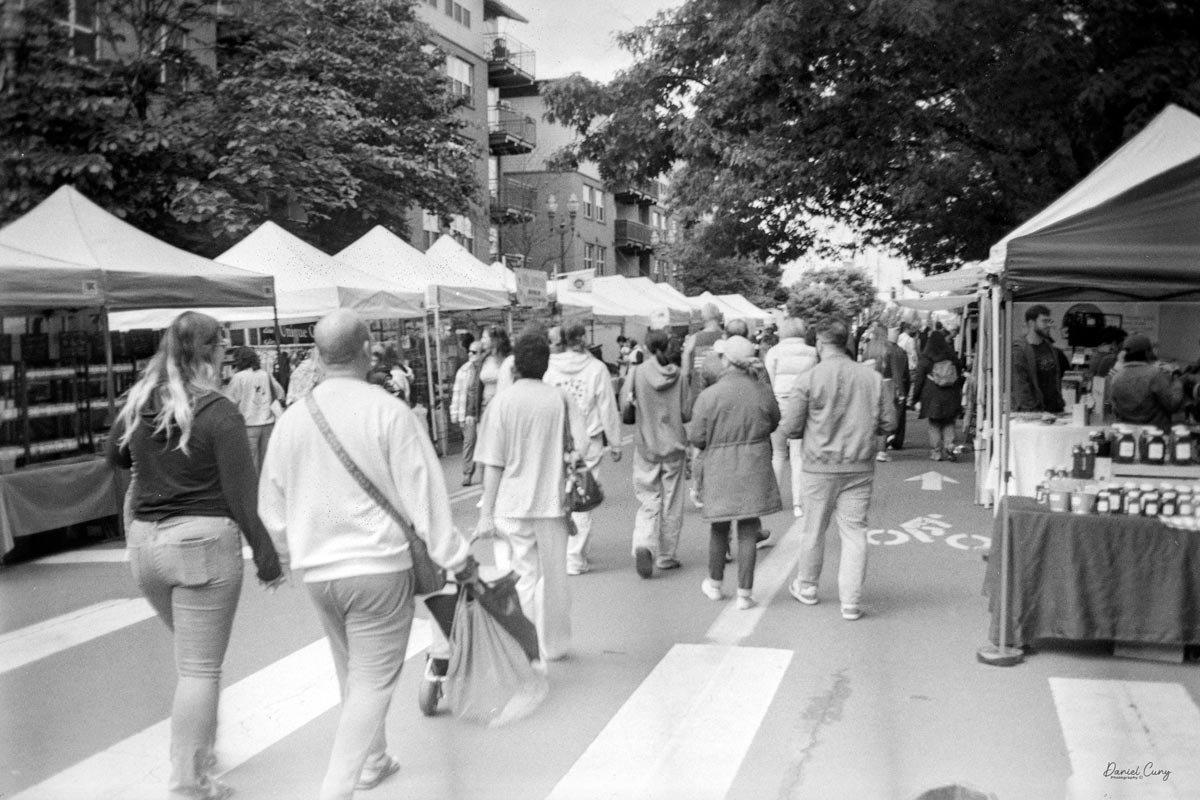
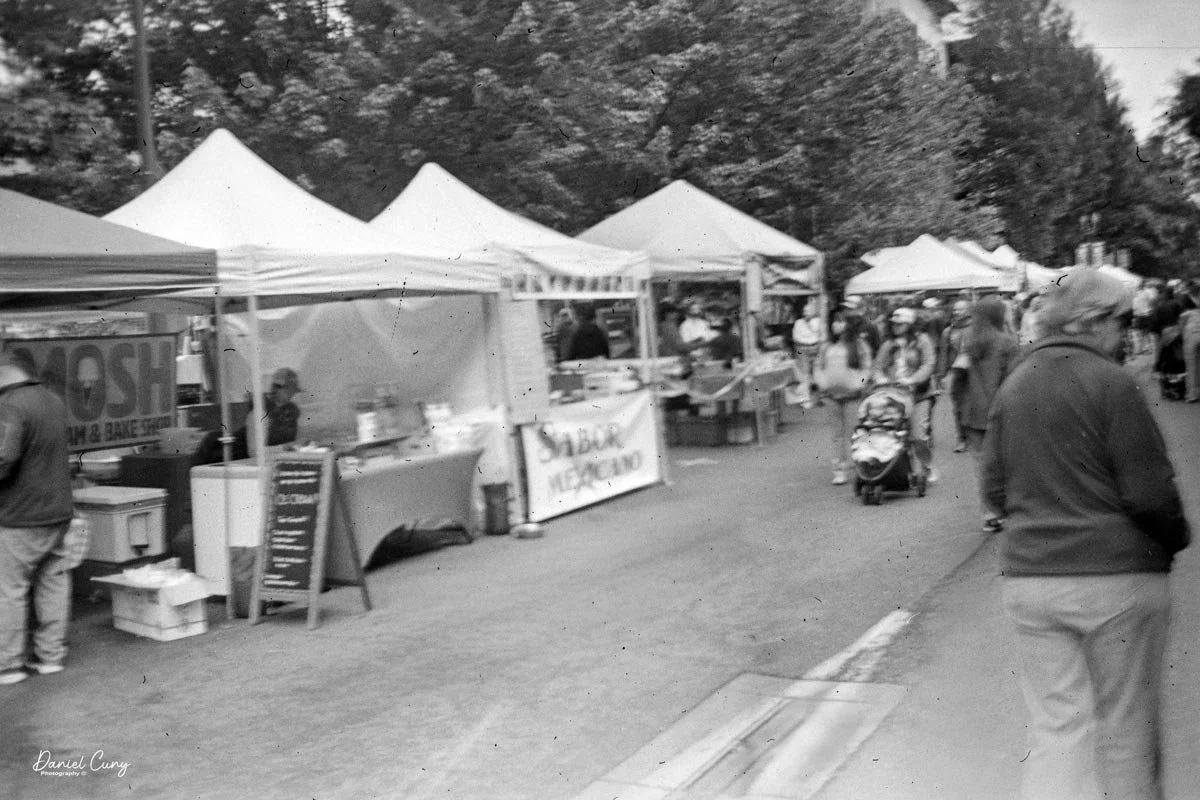
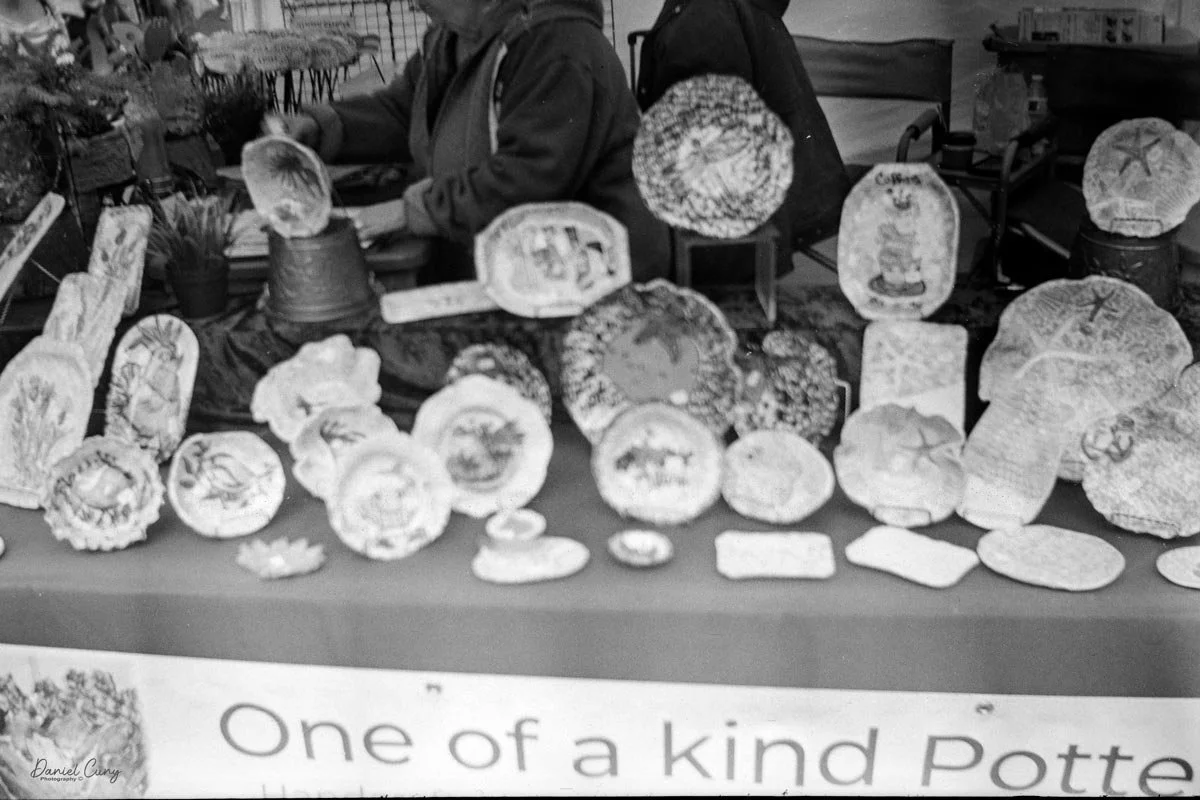
Here are the results from my walk:
Conclusion

Even though I've shot with this camera in the past, I still get a thrill every time I take it out. It has a wonderful, comfortable feel in the hand—especially for someone who has been a dedicated Nikon user for so many years. The rangefinder is bright, and both the focusing and film transport are incredibly smooth. Overall, the camera worked like a charm.

 The images turned out beautifully sharp, and I loved the aesthetic of shooting such an old roll of Tri-X. I had forgotten how grainy—in a good way—that film can be. I even processed it in Rodinal, which normally retains a bit more of a "fine grain" structure, but the classic Tri-X texture pushed through anyway, and I really enjoyed the results.

 Thank you for taking the time to read about the Nikon SP. As the first true model in Nikon's line of "professional" cameras, it laid the groundwork for why the brand became so beloved by working photographers around the world.

 Here are some of my other Camera Reviews.

Check out my Cuny's Camera Collection YouTube channel, where I am putting together video overviews of the cameras I write about. Be sure to subscribe and like the channel, too!

Cuny's Cameras and Photos is my online eBay store, where you will find some of the cameras I have reviewed, along with a wide range of other cameras, lenses, and items from my collection that I am thinning out.

 Until next week, please be safe.
 

Start 35 K-II Camera

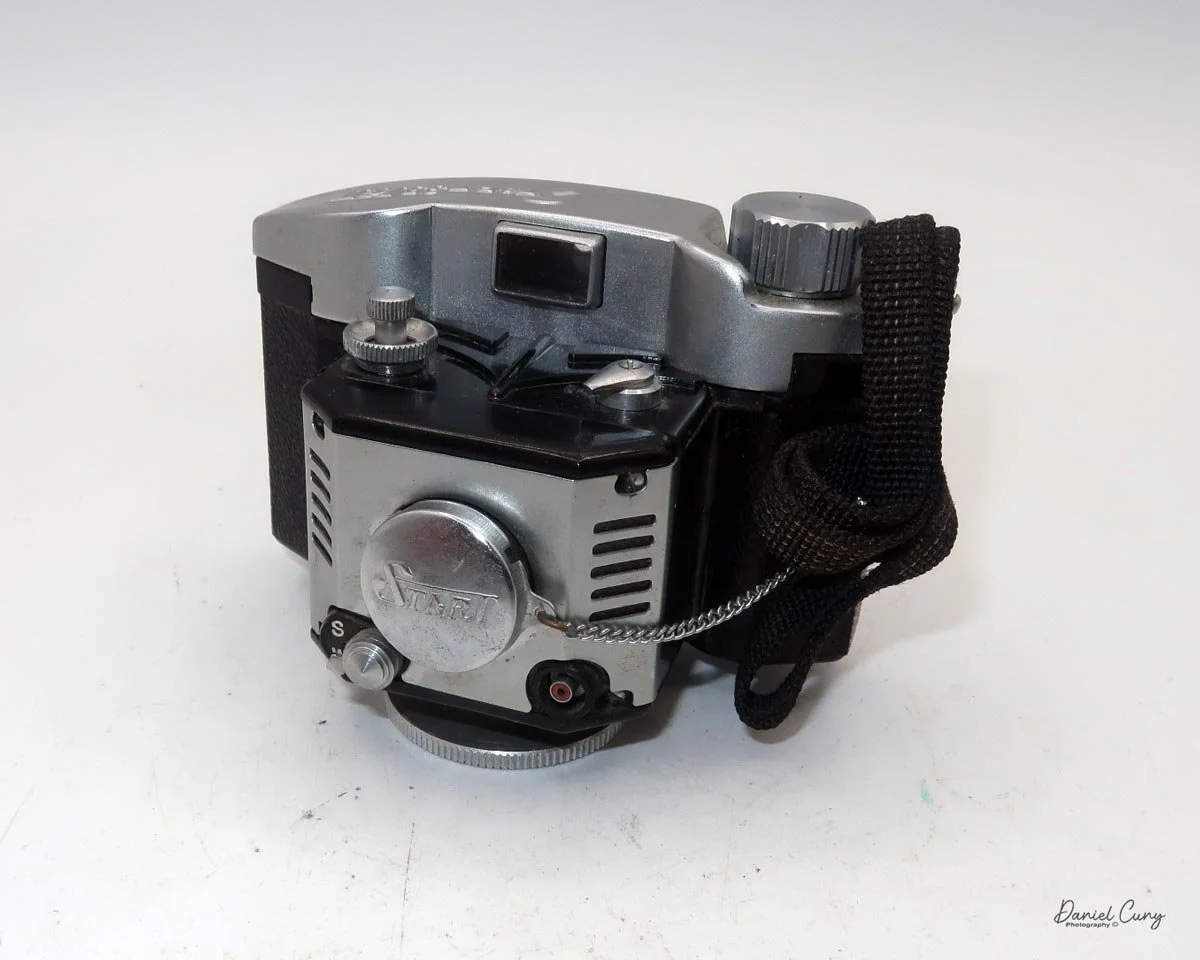
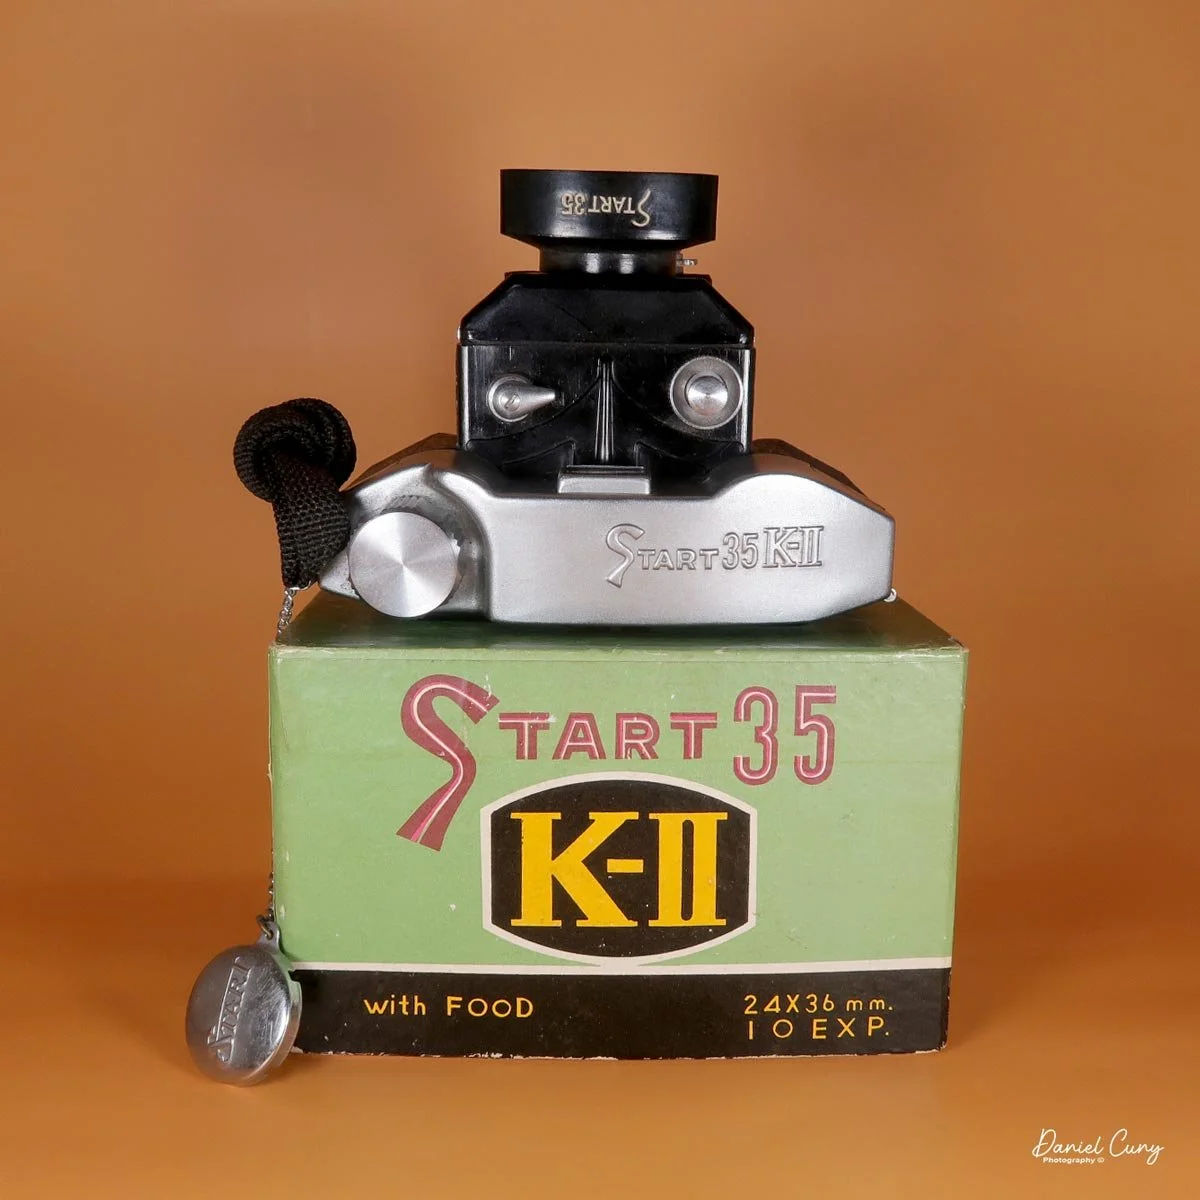
My Start 35 K-II camera with hood and complete box

I can remember when I purchased the Start 35 K-II camera because it was part of a fairly modest camera lot. There were several miniature and subminiature cameras in the group. All of the cameras came with fitted cases, and some even included their original boxes, which I think adds to a camera’s collectability.

 There were other examples of the Start series at camera shows, online, and in books, and I have always enjoyed the chrome and black Bakelite construction of the camera. To me, it has a modernist, almost space-age look. I suppose that was the style they were aiming for, especially for a camera built in the early 1950s.

 When I unpacked the camera lot, I found a few extra items in the box that I wasn’t expecting. While the Start 35 K-II camera itself does not have a fitted case, it did include the “Start” plastic lens hood, along with an aluminum item that appears to be some sort of stand or screw-in accessory used to hold a case onto a camera. The aluminum “stand” is much larger than a typical case-holding screw, so my guess is that it was probably used as a display stand in someone’s collection, since it seems too large to be anything else.

Start 35 K-II camera on stand. I still chuckle at “with Food” on the box.

 Another interesting detail about this camera still makes me smile whenever I see it: the box. The box itself is in wonderful condition, but just below the attractive graphics and the camera’s name, it says “with Food.” I have no idea what that means, or why it would appear on the box of a camera.

 The only explanation I can think of is that it was lost in translation. Perhaps the camera came with rolls of film, or a single roll of film, and the wording “with Food” was meant to indicate that the camera came with something it would consume. Other than that, I really do not know why that phrase appears on the box.

 The Start 35 K-II uses Bolta film, which during this period was a paper-backed 35mm film sold in short rolls and generally less expensive than standard 35mm film. Some cameras used special cassettes for Bolta film, but many Japanese cameras that used Bolta film relied on a special spool with a larger receptacle that fit into the camera, similar in concept to other roll-film systems such as 127 and 828.

History

Ikko Sha Co. Ltd. was a small Japanese camera maker active in the early postwar years, best remembered today for its Start 35 family of compact viewfinder cameras. While it never became a major household name like Canon or Nikon, the company is a good example of the many modest Japanese firms that helped shape the country’s camera boom after World War II.

 The Start 35 line appears to have begun around 1950, when Ikko Sha introduced a Bakelite 35mm camera designed for 24x24mm exposures on Bolta film rolls. That was followed by the Start 35 K in 1952, which added a hinged back door, and later by the Start 35 K-II around 1958, which brought flash synchronization, a metal top plate, a 24x36mm exposure area, and lens-surround caps. These incremental changes suggest a company refining a simple, practical product rather than chasing a wide model range.

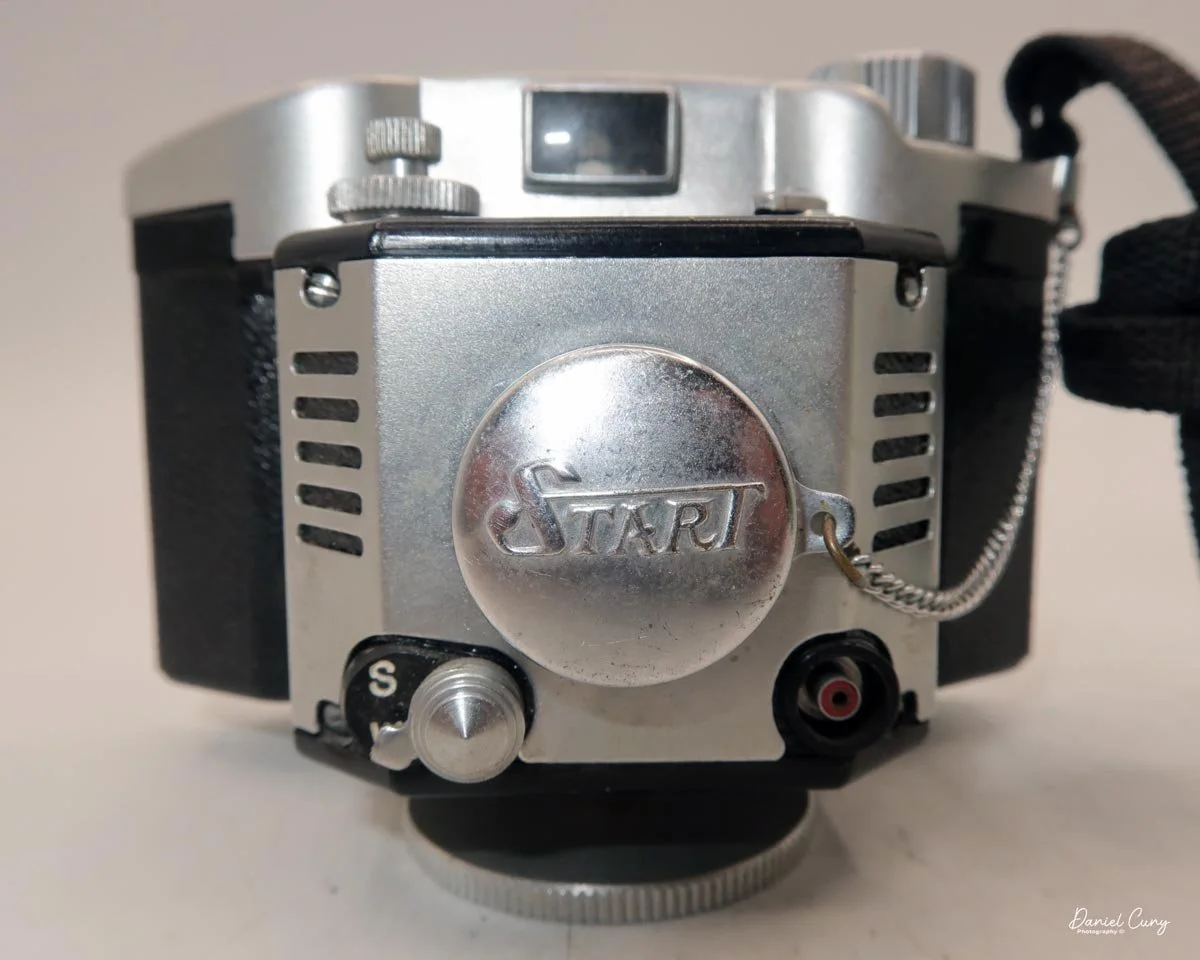
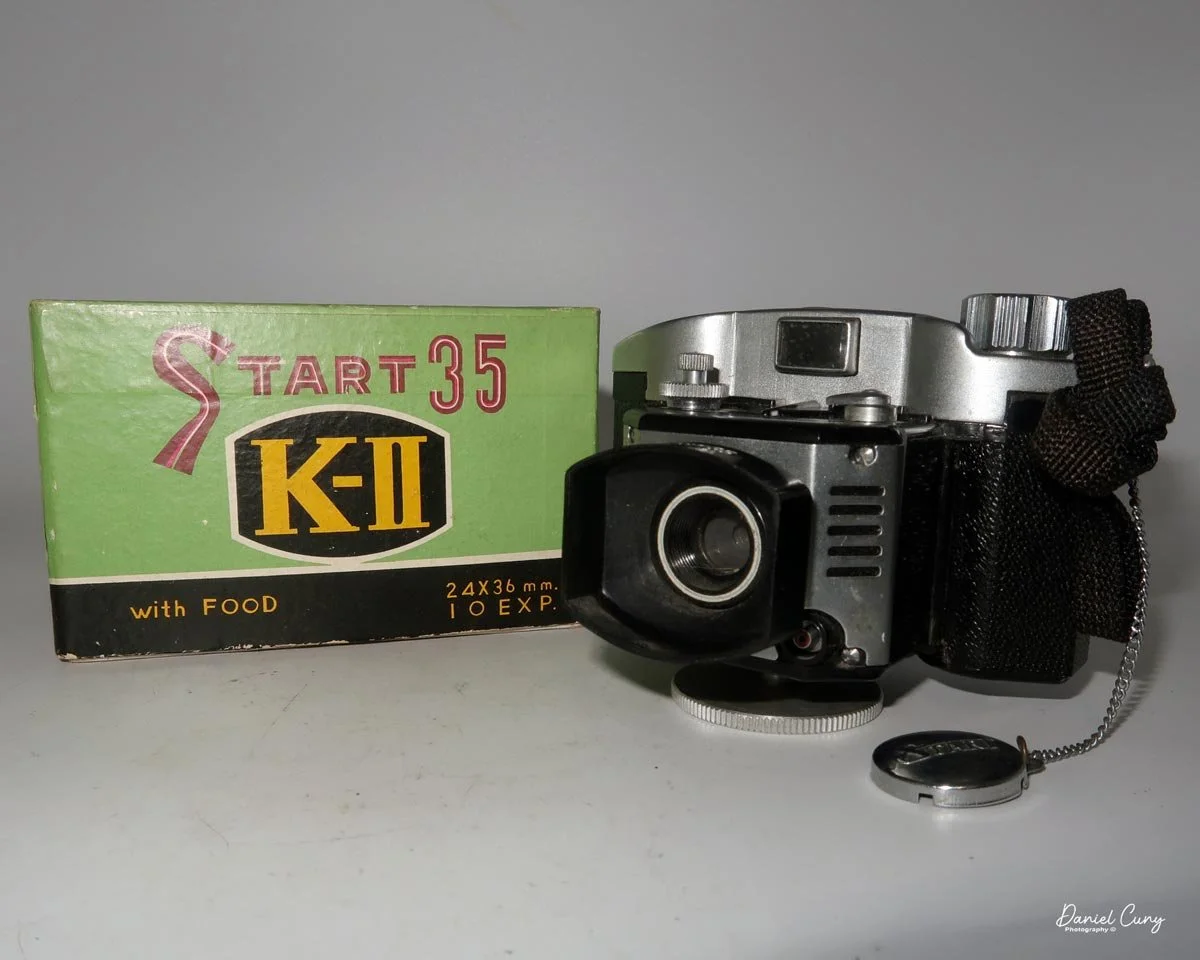
Front view of Start 35 K-II camera with embossed lens cap

 Ikko Sha’s place in camera history comes as much from context as from production volume. Postwar Japan produced dozens of small camera firms, many of them serving the growing demand for inexpensive 35mm cameras at home and abroad. Ikko Sha belonged to that energetic ecosystem, where innovation often came through compact designs, clever packaging, and steady model revisions rather than large-scale manufacturing power.

 For collectors, Ikko Sha cameras are appealing because they are uncommon and clearly rooted in a transitional moment in photographic history. The Start 35 series shows how Japanese manufacturers experimented with materials, formats, and user features before the industry consolidated around stronger global brands. A camera like the Start 35 K-II may be modest, but it captures the ingenuity of an era when even small firms could leave a lasting mark on the collecting world.

 Today, surviving Ikko Sha cameras are mostly encountered in collections, auctions, and enthusiast write-ups rather than in mainstream histories. That scarcity only adds to their charm, especially for collectors who enjoy tracing the overlooked branches of Japanese camera development.

My Camera

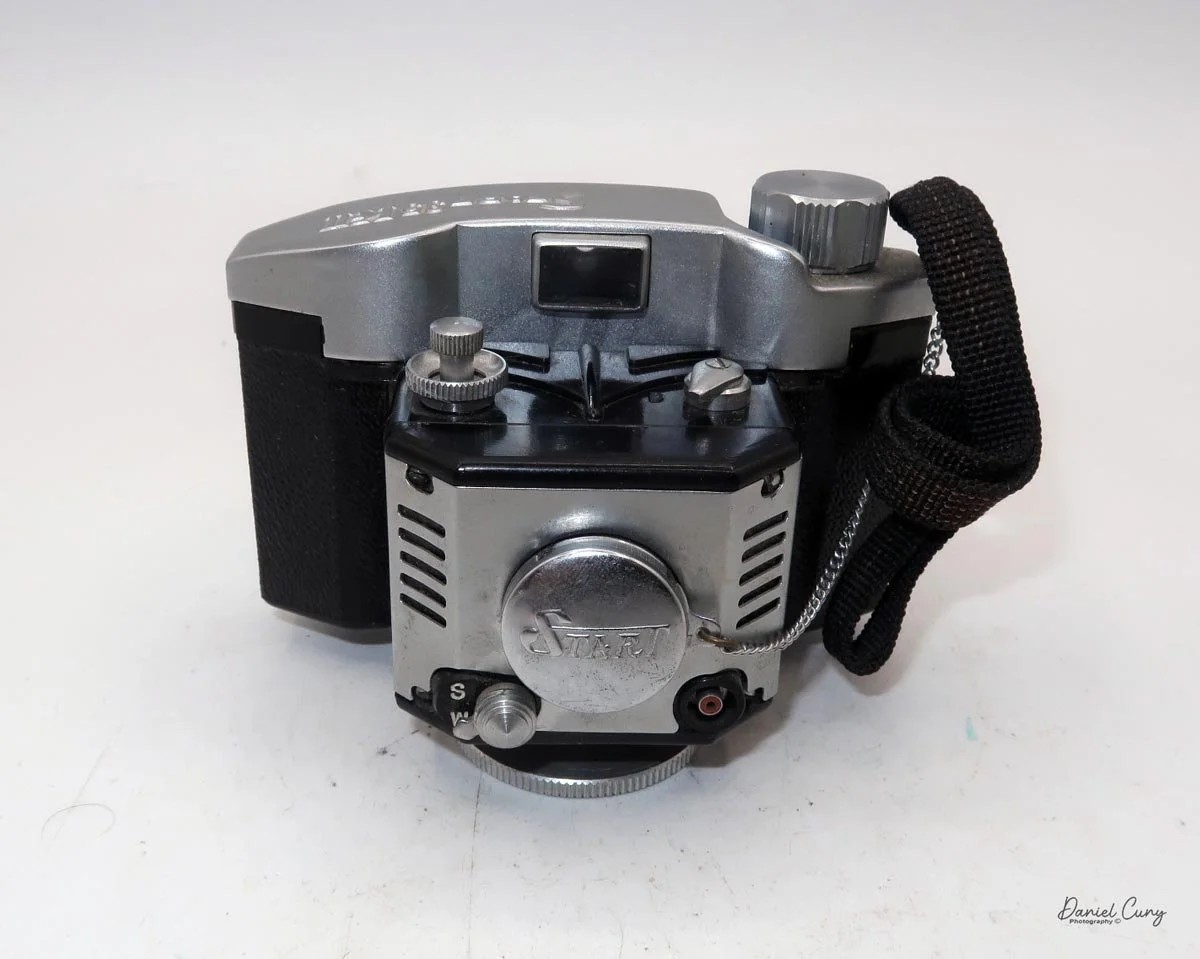
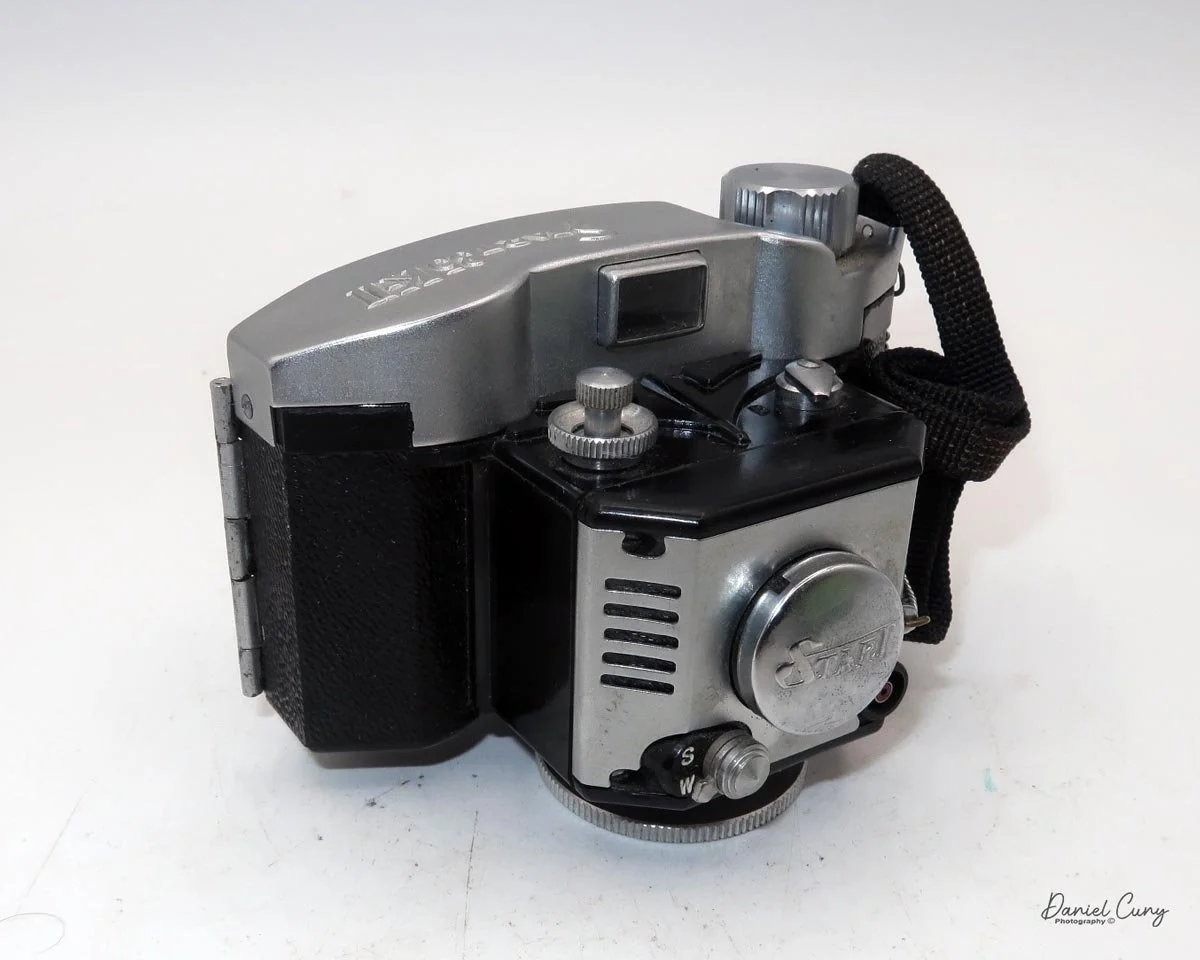
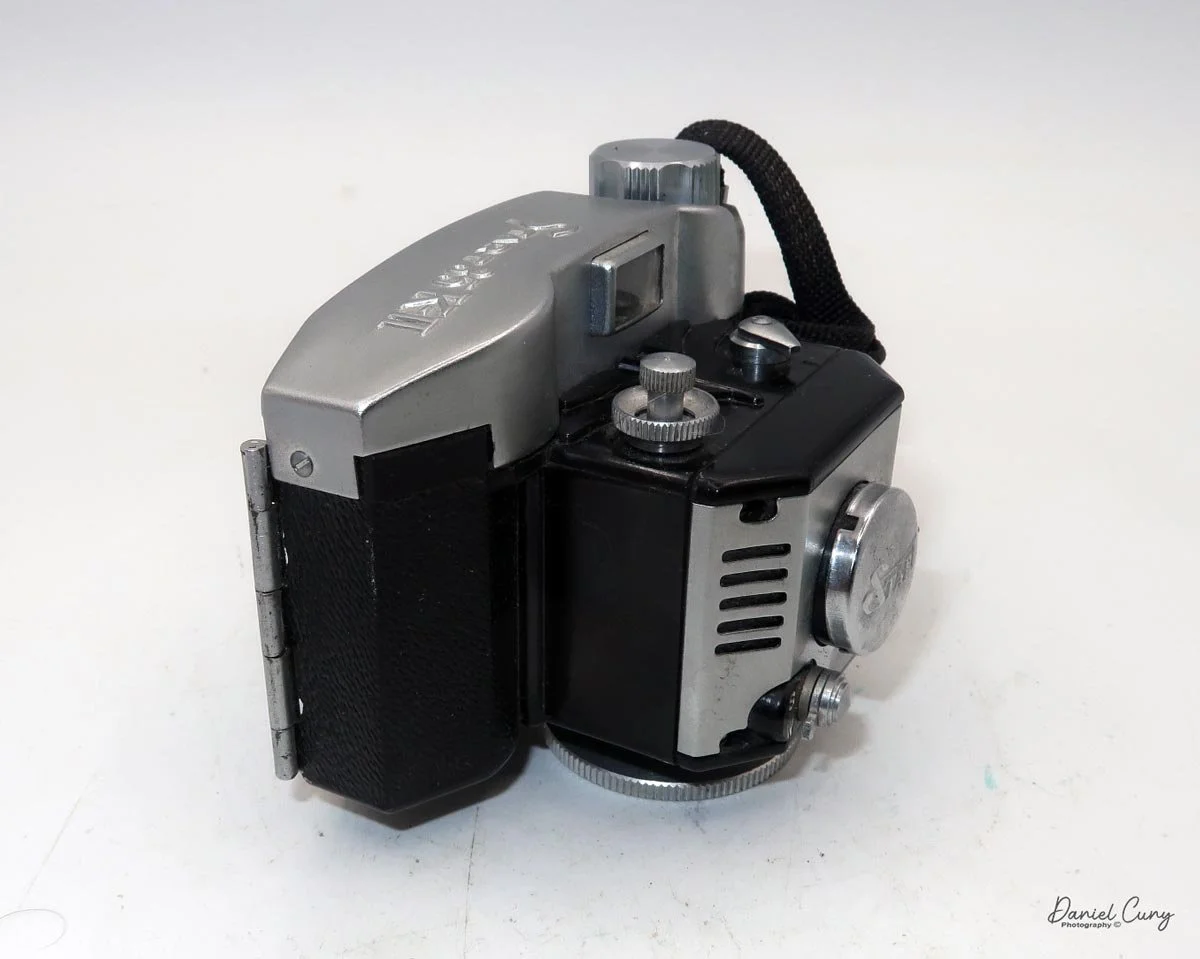
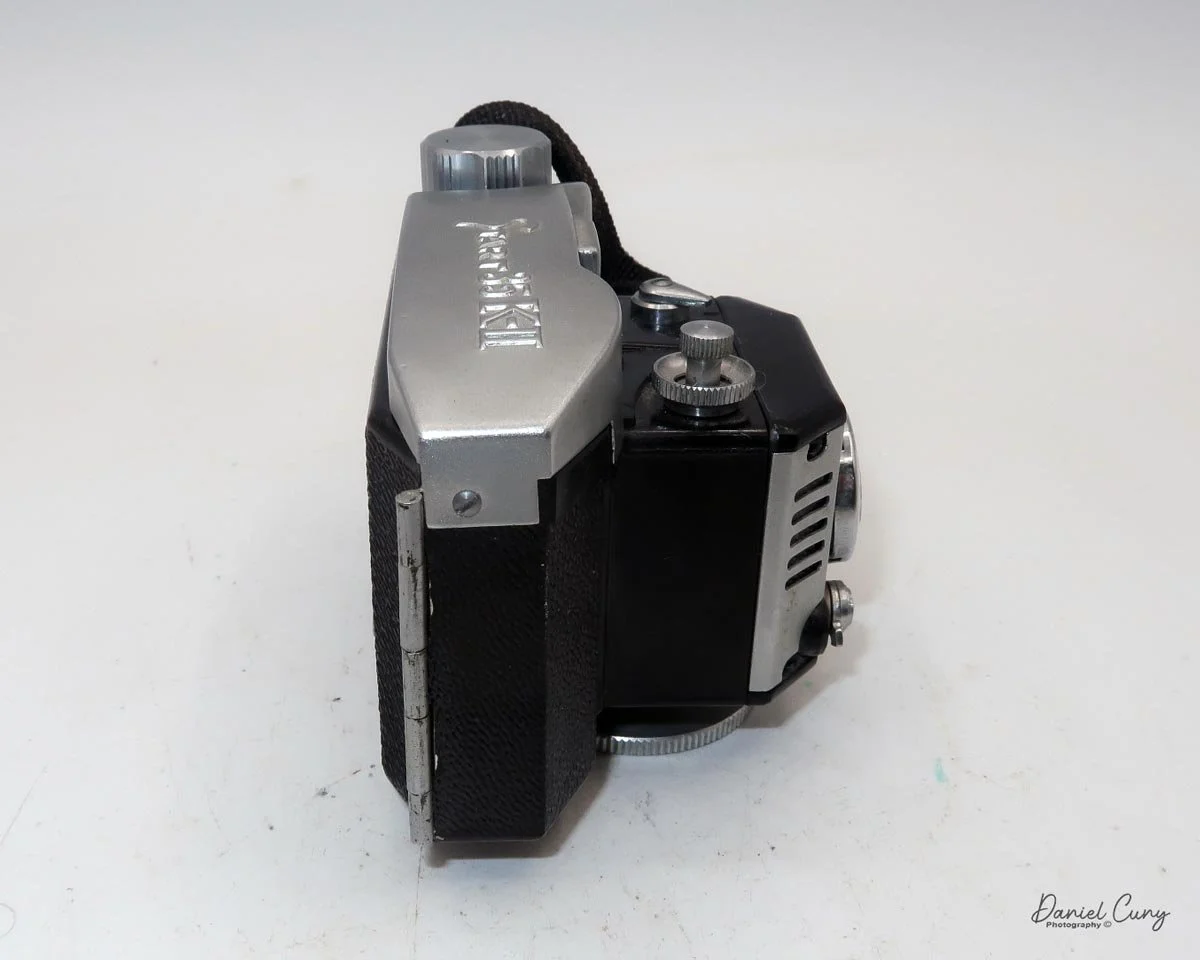
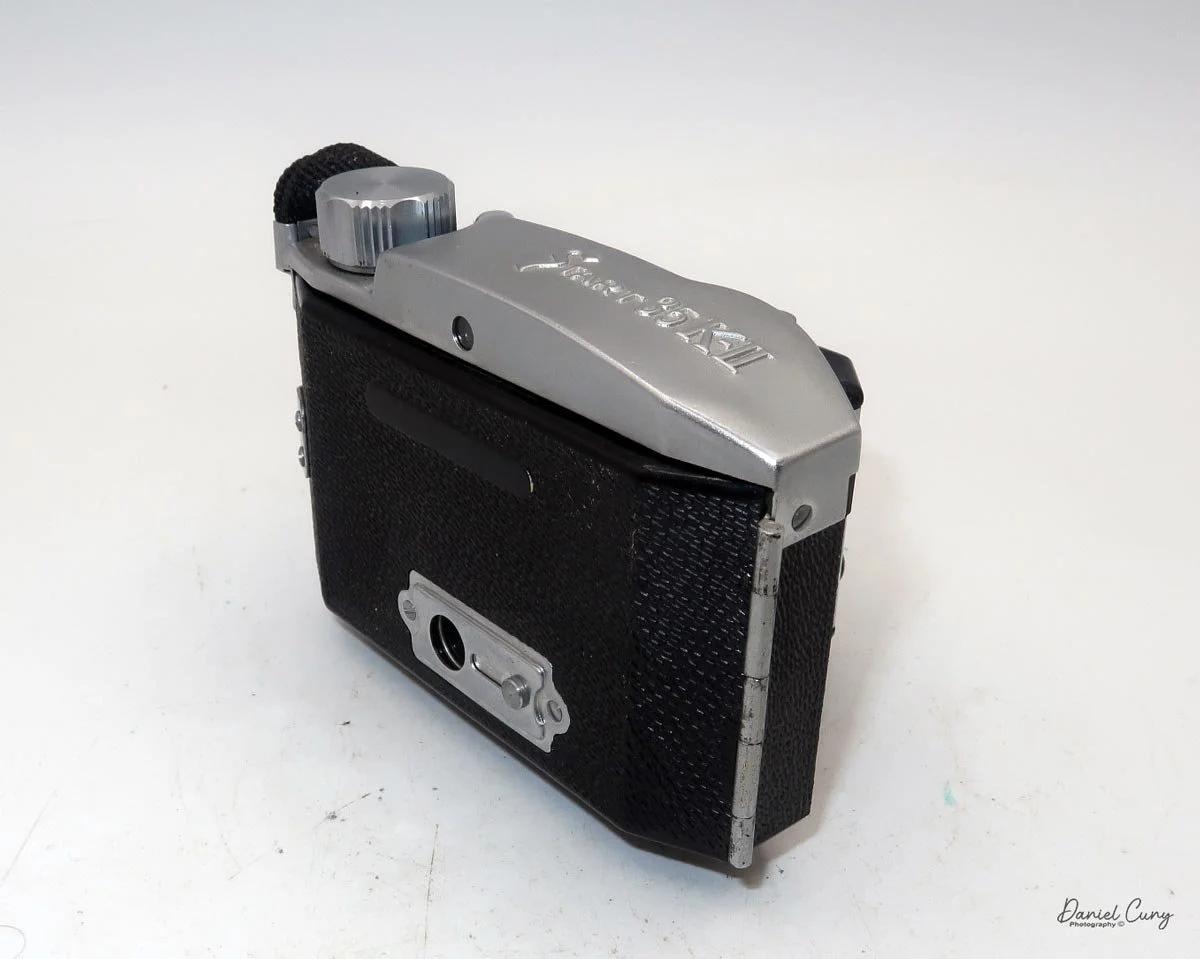
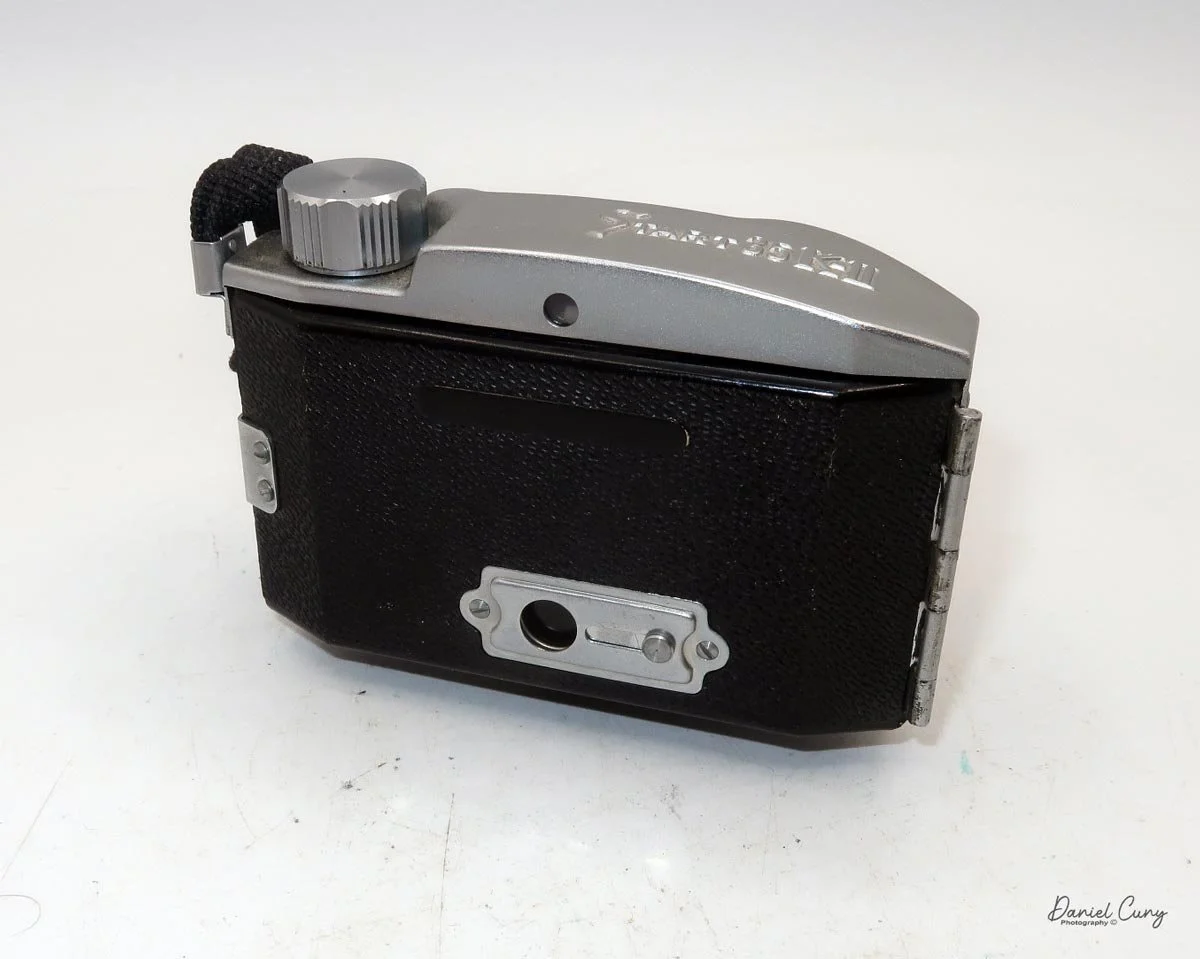
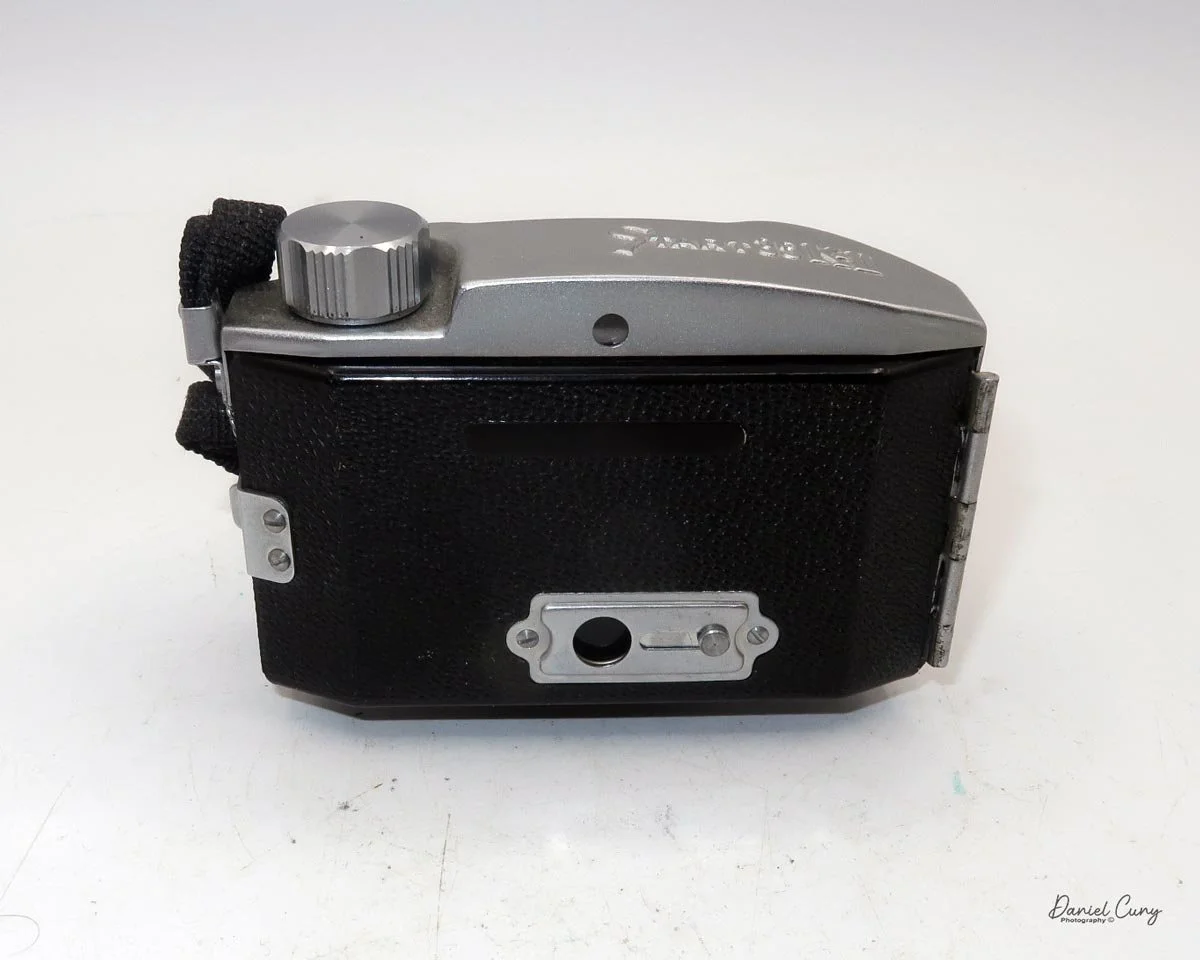
My Start 35 K-II camera measures 4 inches wide by 2.25 inches tall and 2.5 inches deep, not including the attached lens hood. The camera weighs 6.6 ounces without film loaded. It is made of black Bakelite with an aluminum top covering the viewfinder, and the metal also wraps around the lens with five slots on either side, giving the camera a modernist look.

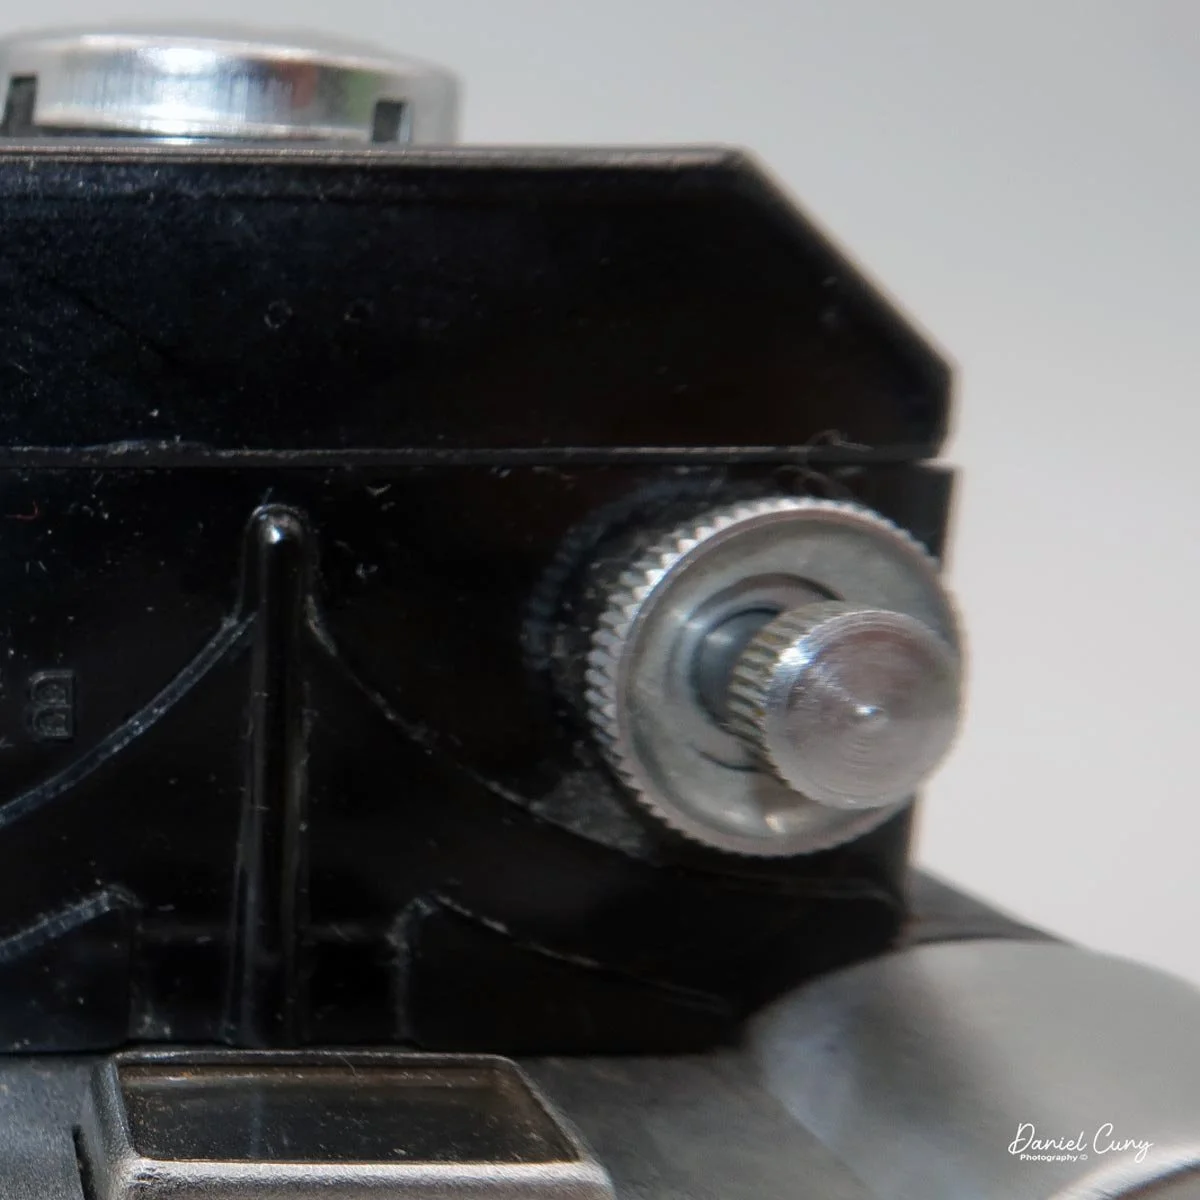
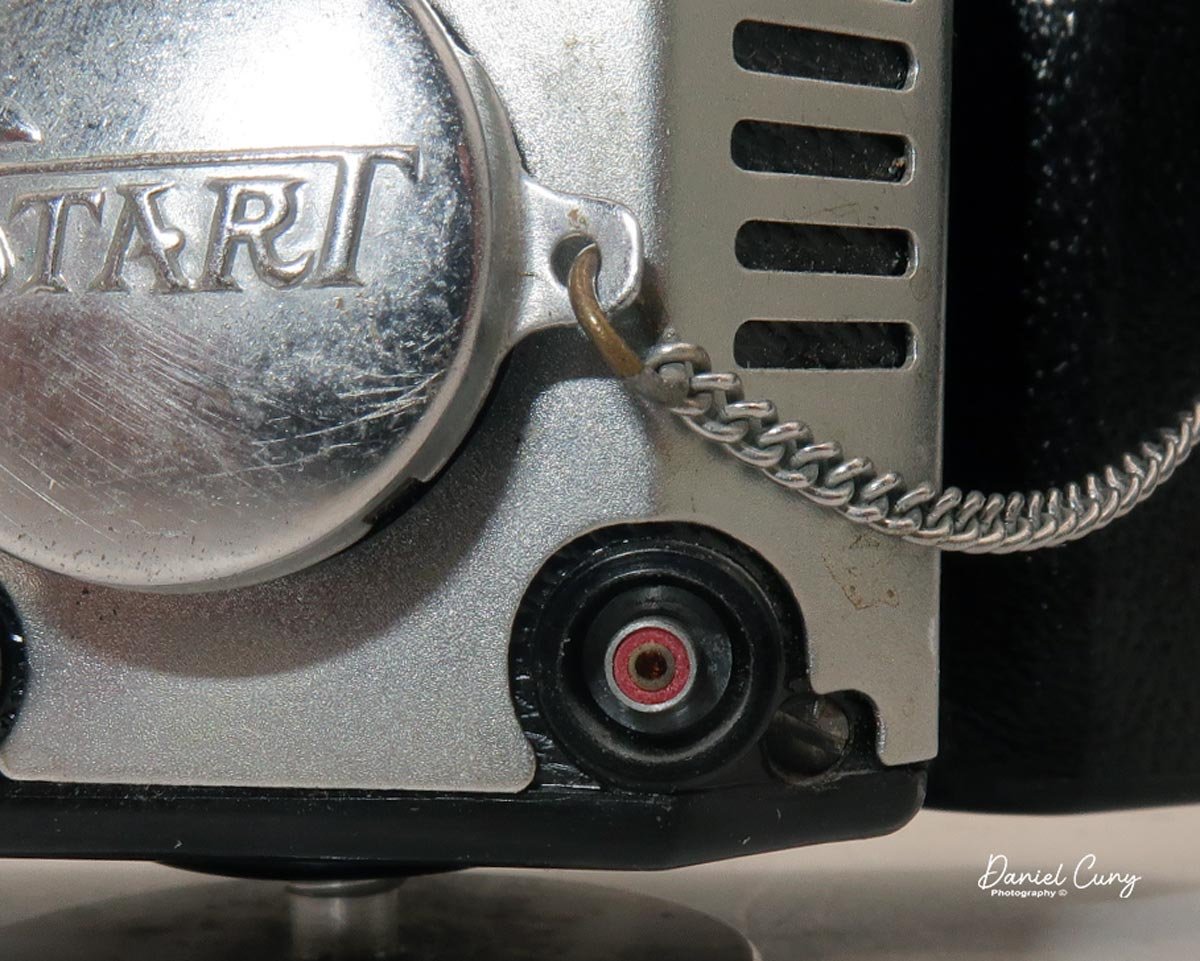
On the left side of the camera is a nylon wrist strap attached next to the film winding knob. Also attached to the strap is a metal chain with a metal lens cap embossed with a stylized “START” logo. On the bottom of the camera is a tripod socket, along with “Made in Japan” embossed into the Bakelite.

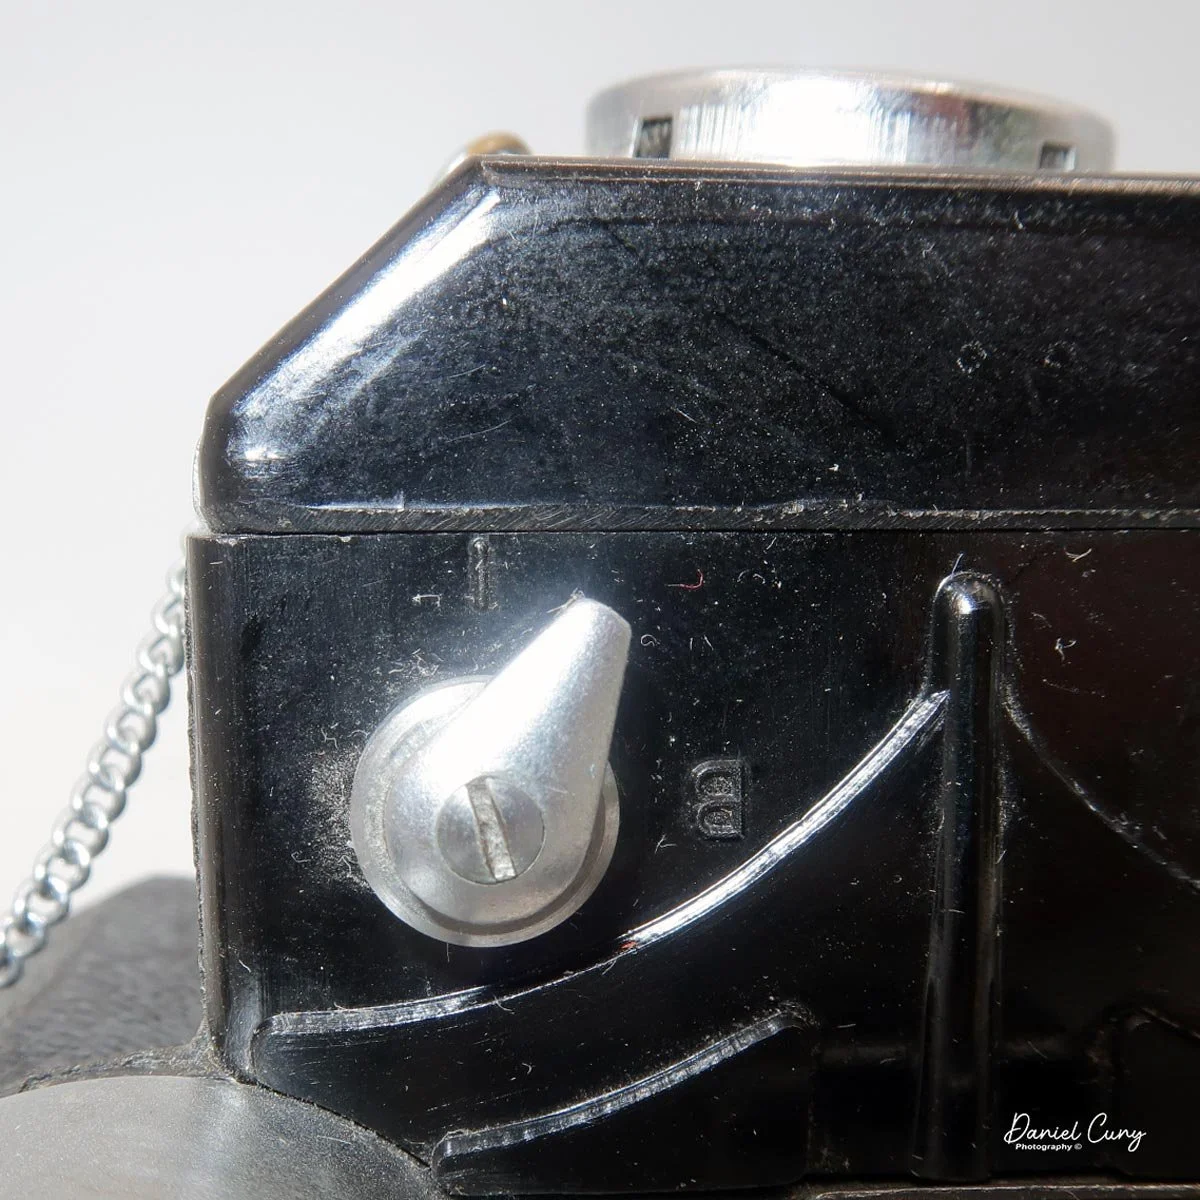
 The camera is very basic when it comes to controls. The shutter release is on the top right of the camera, located on the extending lens portion, and on the opposite side is the shutter control switch. You have the option of either “I” for instant or “B” for timed exposures.

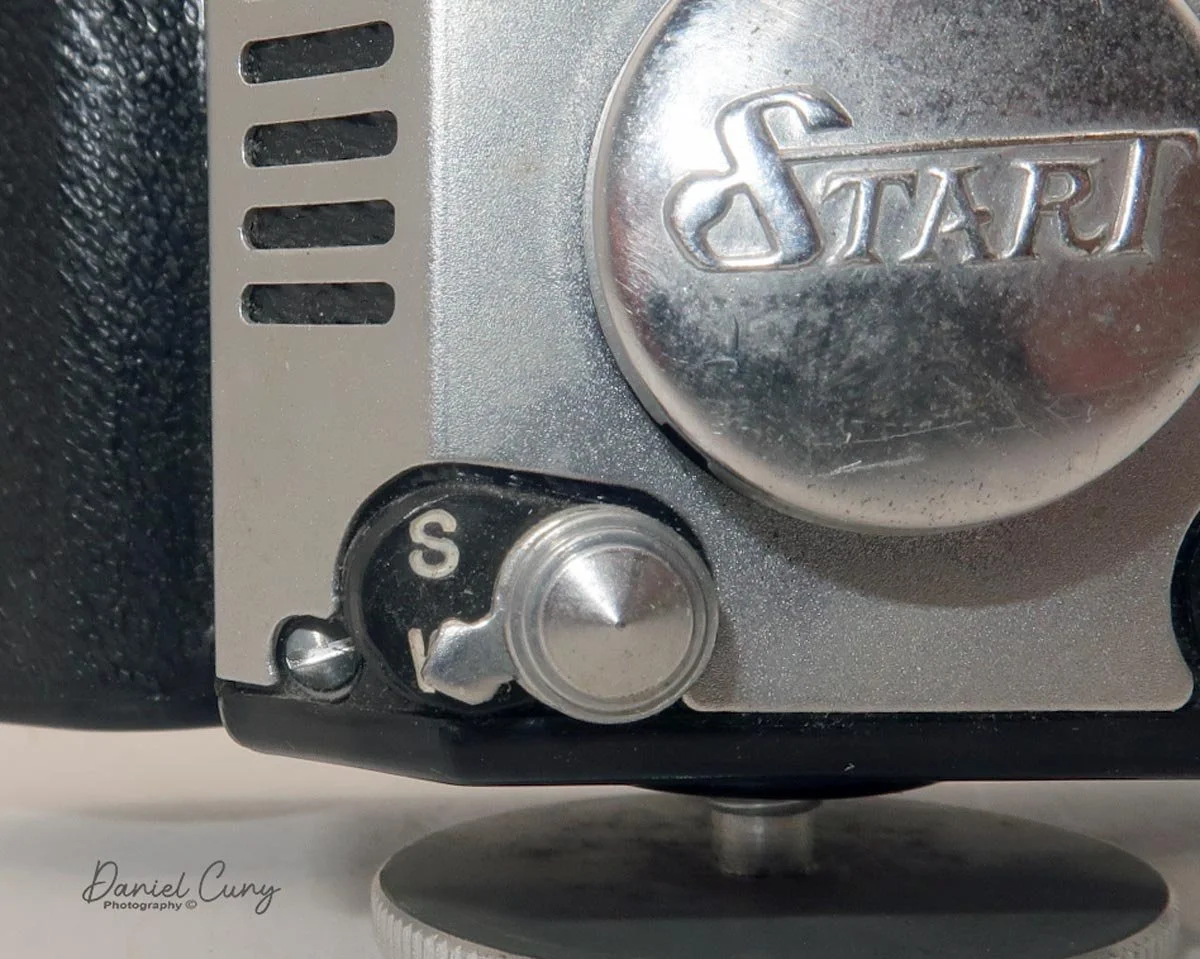
The lens is fixed and cannot be focused. Under the lens, on the left side, are two aperture settings, “W” and “S.” “W” is wider open, and switching to the “S” setting selects a smaller aperture. On the left side of the camera is a PC socket for flash. Since there is no accessory shoe, you need to use a bracket if you want to use flash with the Start 35 K-II.

 To open the camera for loading film, there is a simple latch on the left side that opens the back and exposes the film chamber. On the right side, you place a fresh roll of Bolta film, bring the leader across to the left, and thread it into the take-up spool. Start winding to make sure the film is seated properly, then close the back and advance the film until you see the number 1 in the window on the back of the camera.

 My Results

Since I do not have Bolta film, I used some bulk 35mm film and leftover paper backing from 127 film, which I cut down to fit the Bolta reels I have.

 Taping a short roll of 35mm film onto the paper backing in total darkness was not the easiest task, but it was manageable if most of the prep work was done ahead of time and the process was carefully thought through before turning off the light.

 I also loaded the film into the camera in the dark to make sure I had not made any mistakes when attaching the paper backing to the 35mm film. I knew the numbers on the backing paper would not line up exactly, so I simply guessed how many turns to advance the film.

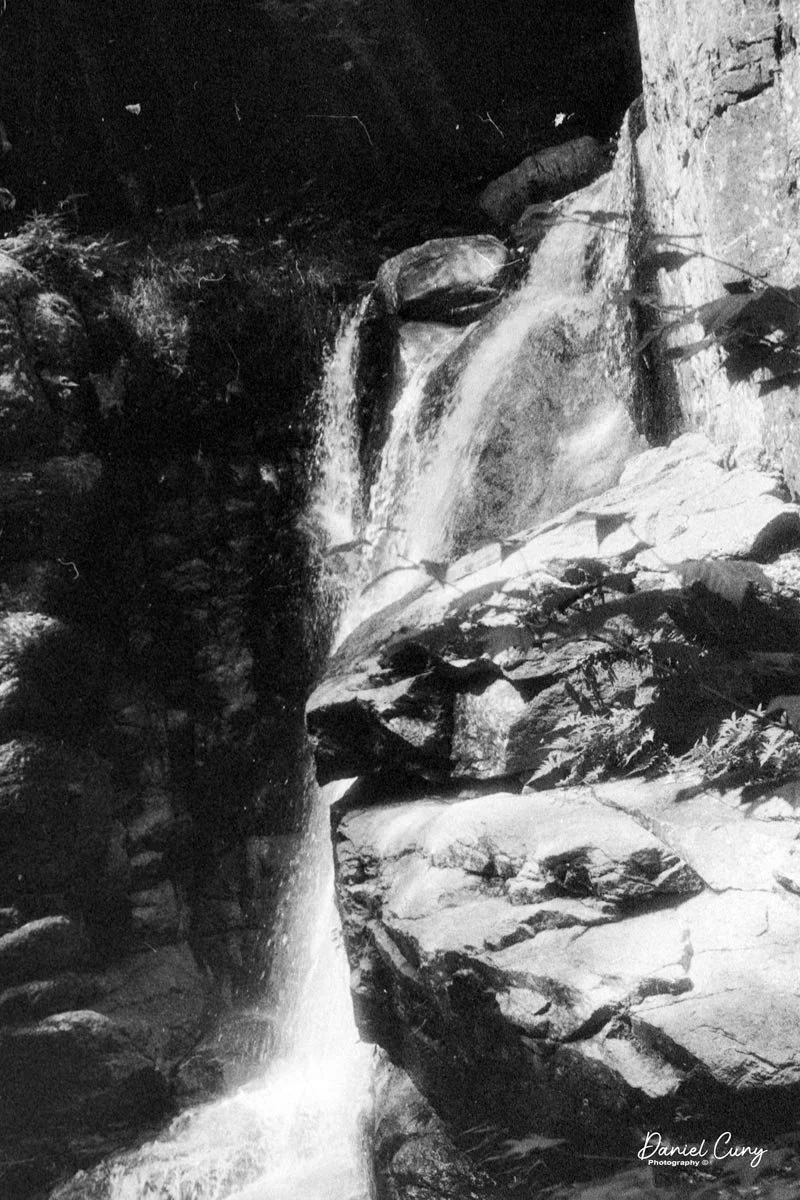
 With film in the camera, I took it to a local waterfall and walked through the neighborhood to make a few photographs.

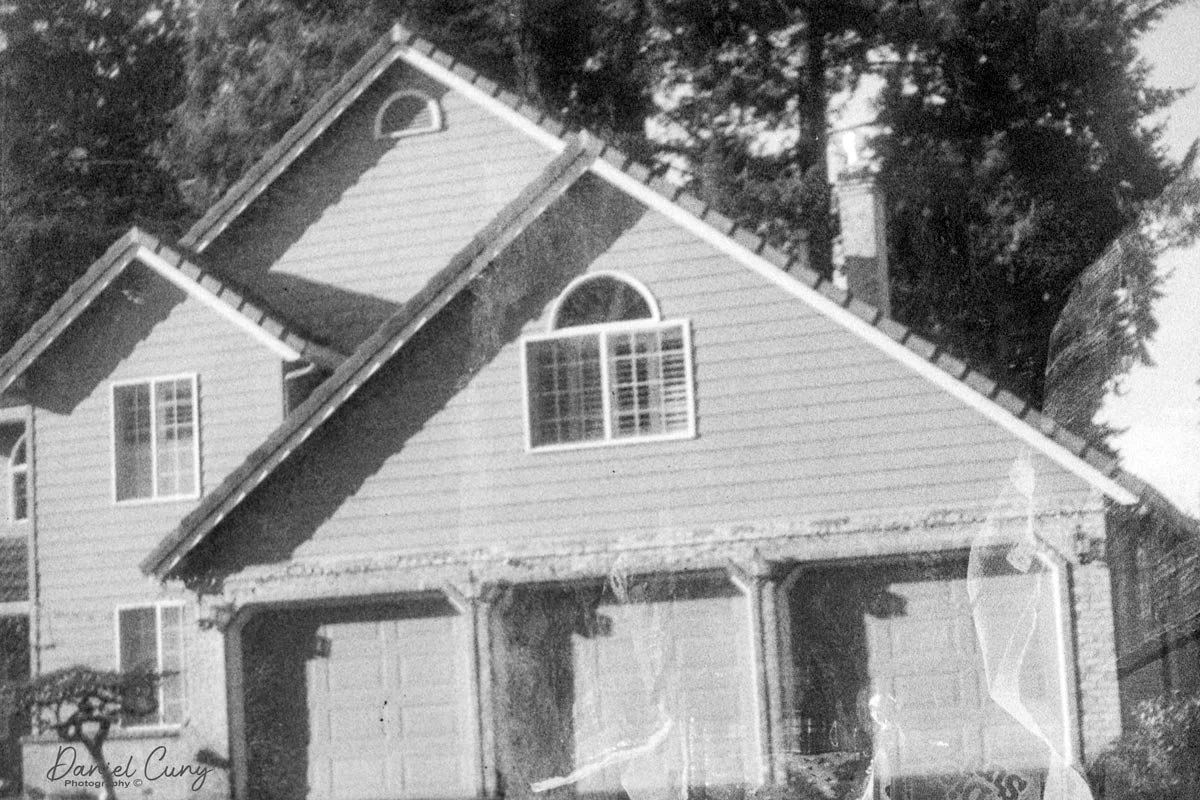
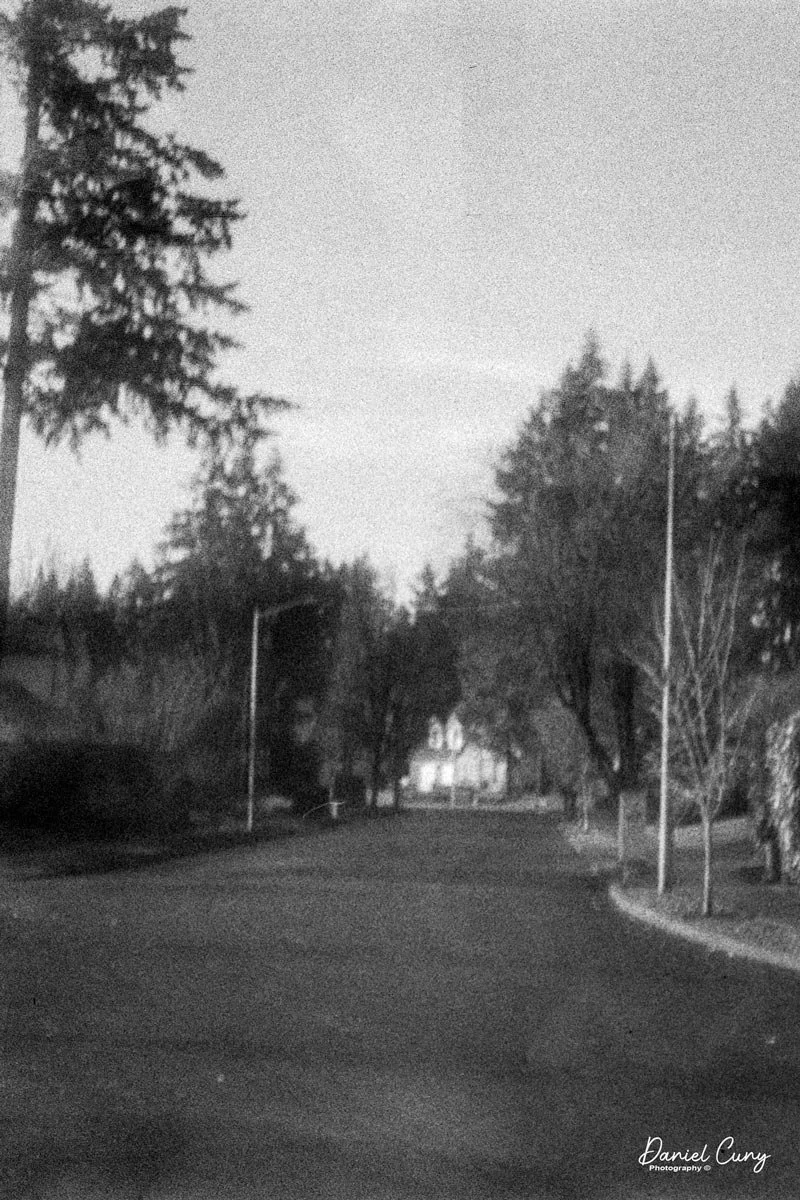
 Here are the results from the Start 35 K-II camera:

Conclusion:

While the images from the Start 35 K-II were sharper than I expected, something must have gone wrong in processing, or perhaps light leaked through the paper backing, because there are some strange light streaks on many of the images. My guess is that it was operator error, most likely related to the paper-backing process.

 The next time I review a Bolta film camera, I will try to do a better job with the paper-backing method. Overall, though, the camera is pretty nice, easy to use, and produces some nice images for a camera that is close to 70 years old.

 Thank you for taking the time to learn about this unusual Bolta film camera made in the late 1950s.

 Here are some of my other Camera Reviews.

 Check out my YouTube channel, where I am putting together video overviews of the cameras I write about. Be sure to subscribe and like the channel, too.

 Cuny’s Cameras and Photos is my online eBay store, where you will find some of the cameras I have reviewed, along with a wide range of other cameras, lenses, and items from my collection that I am thinning out.

 Until next week, please be safe.
 

Minolta Vest camera

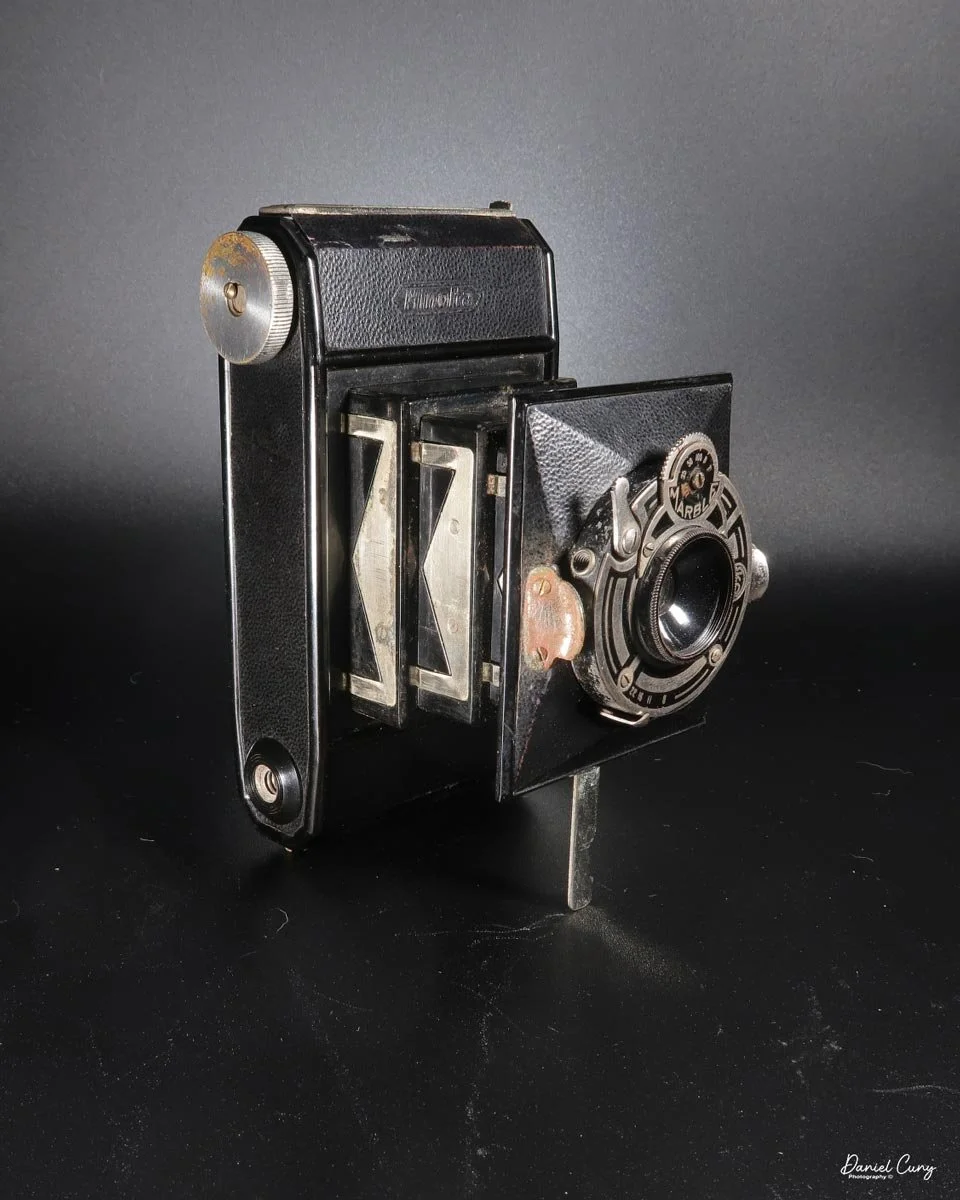
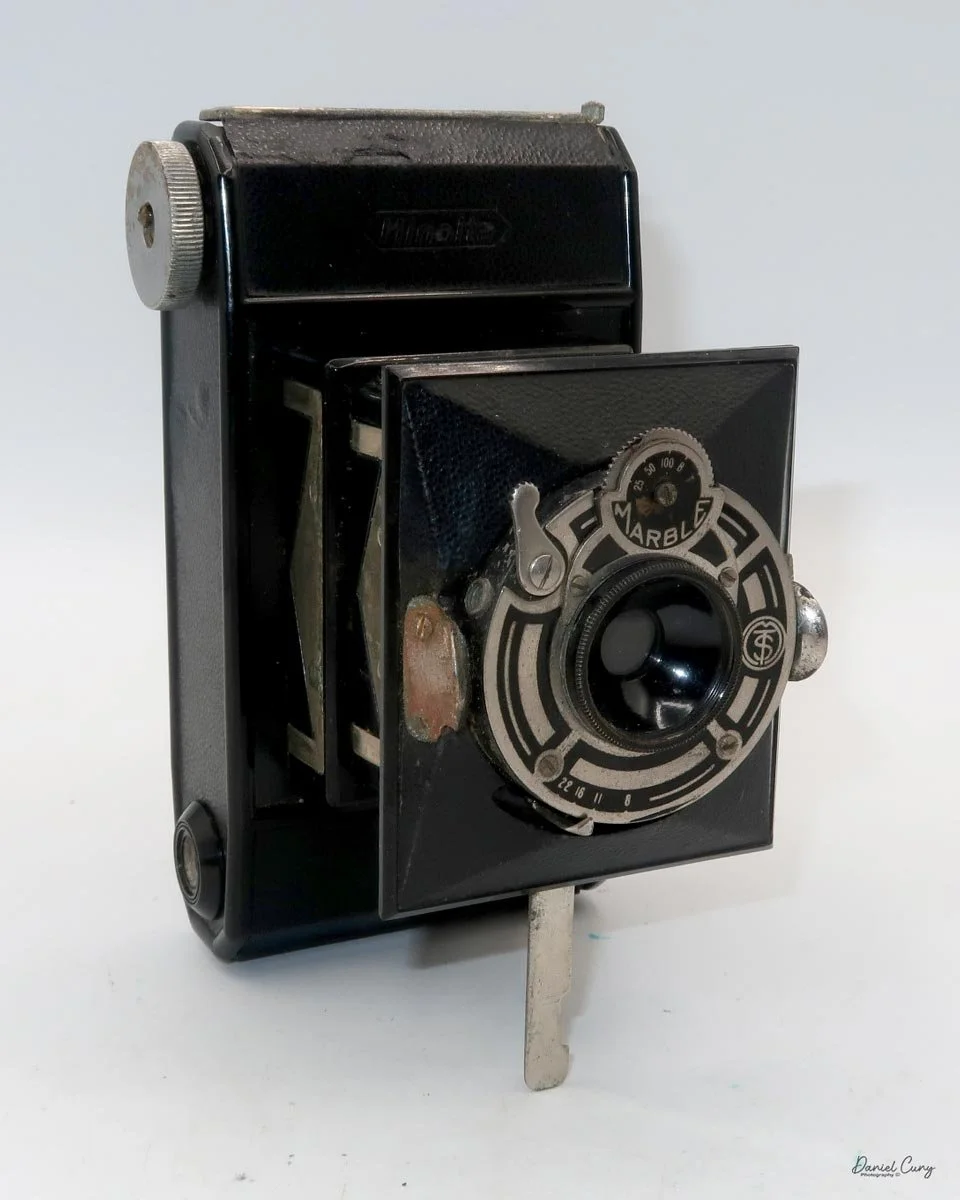
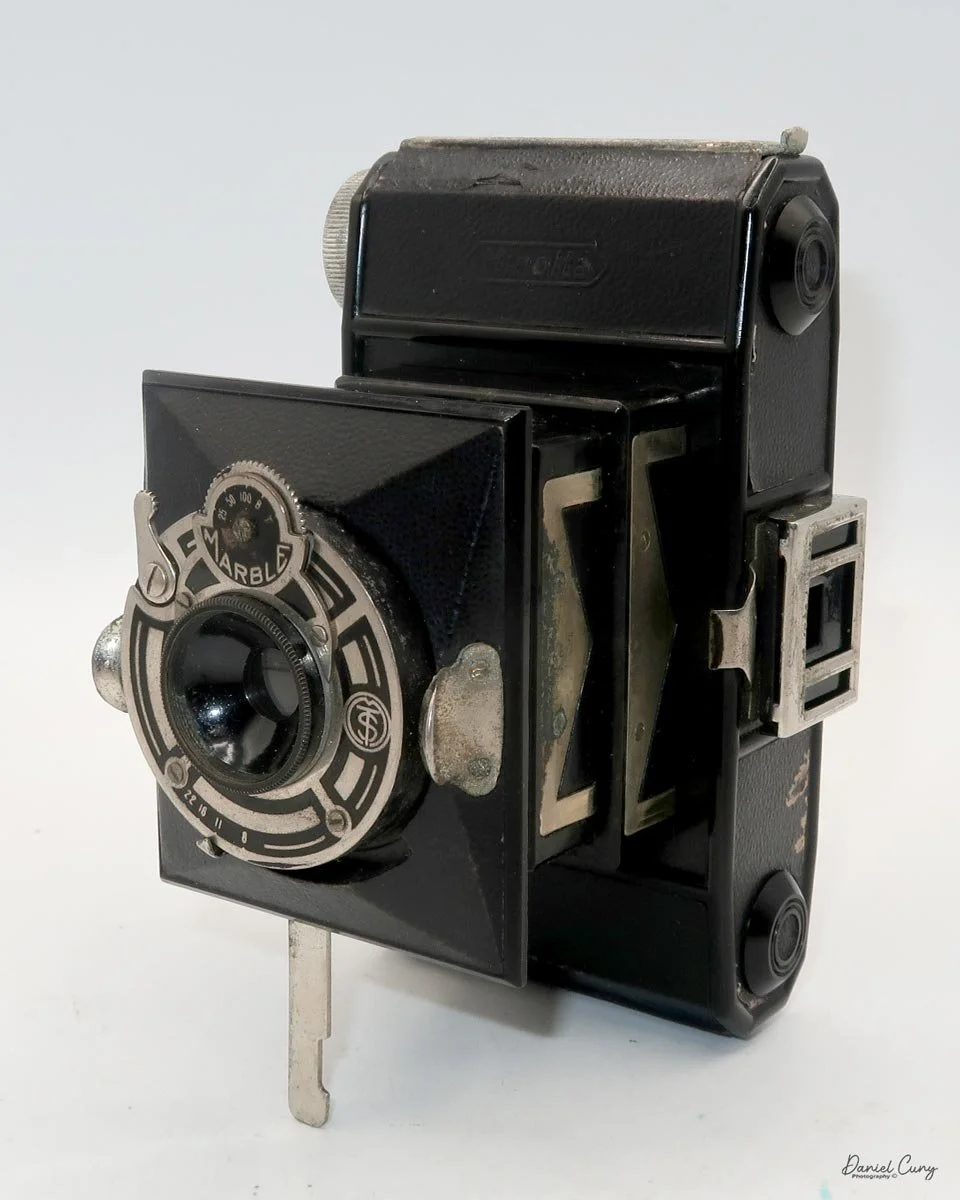
My Minolta Vest camera

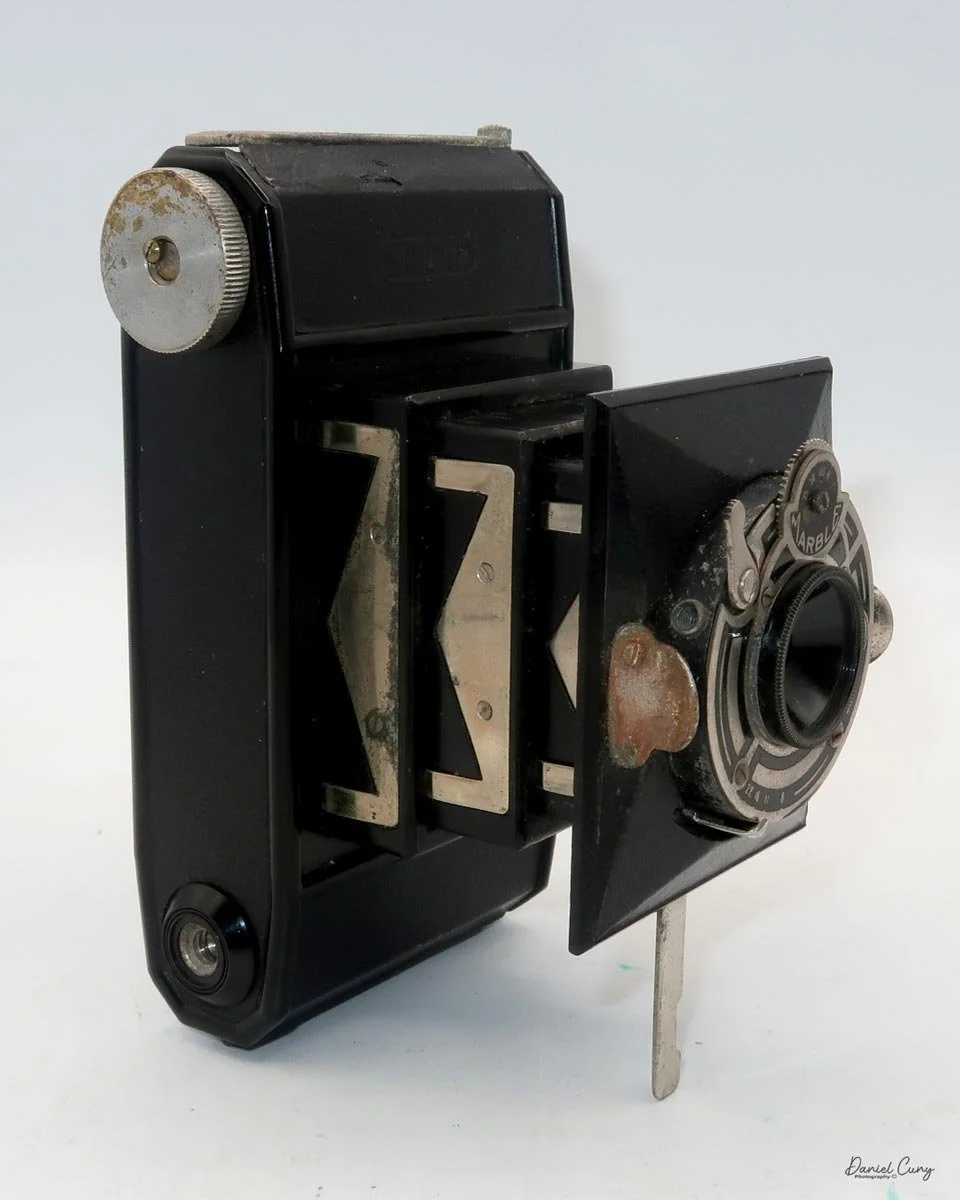
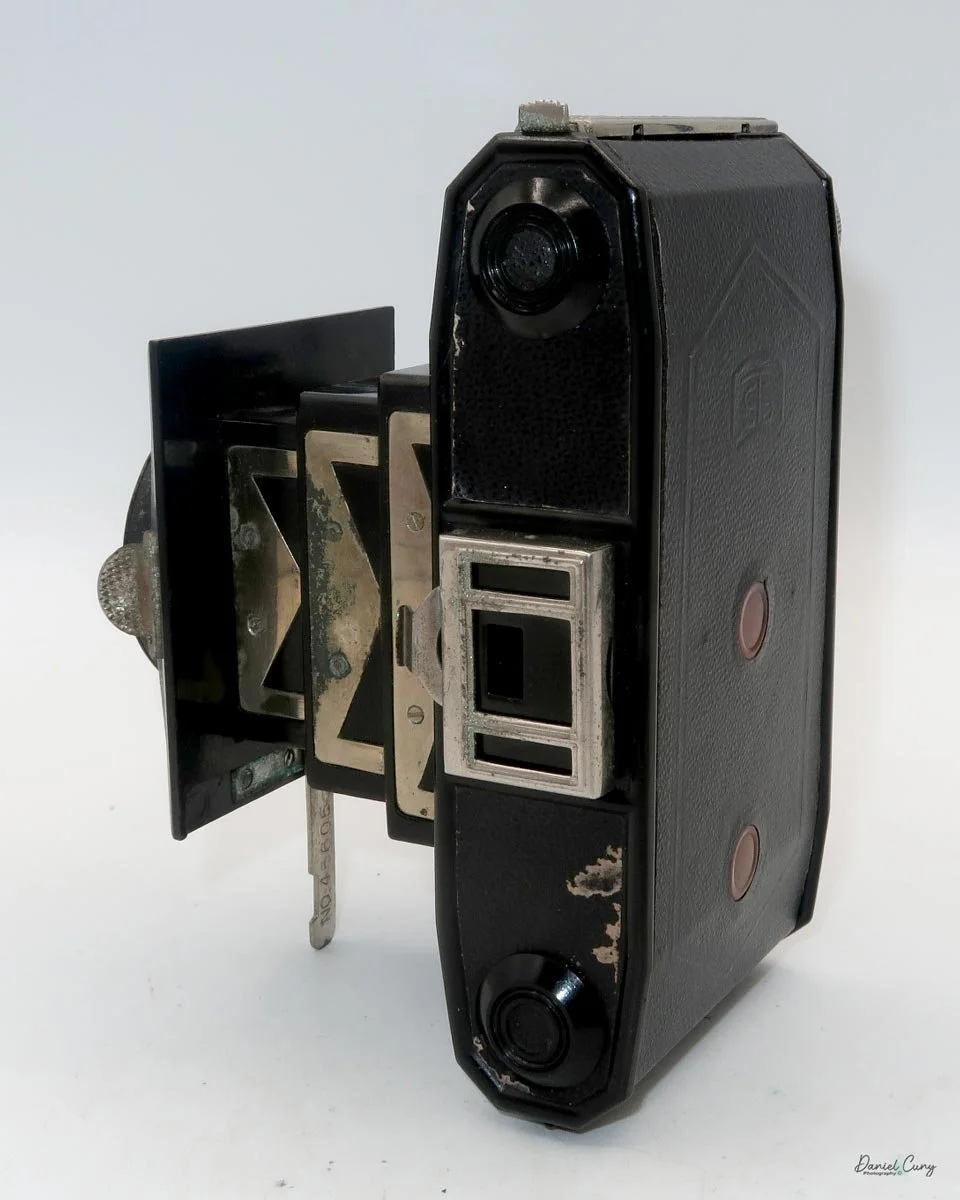
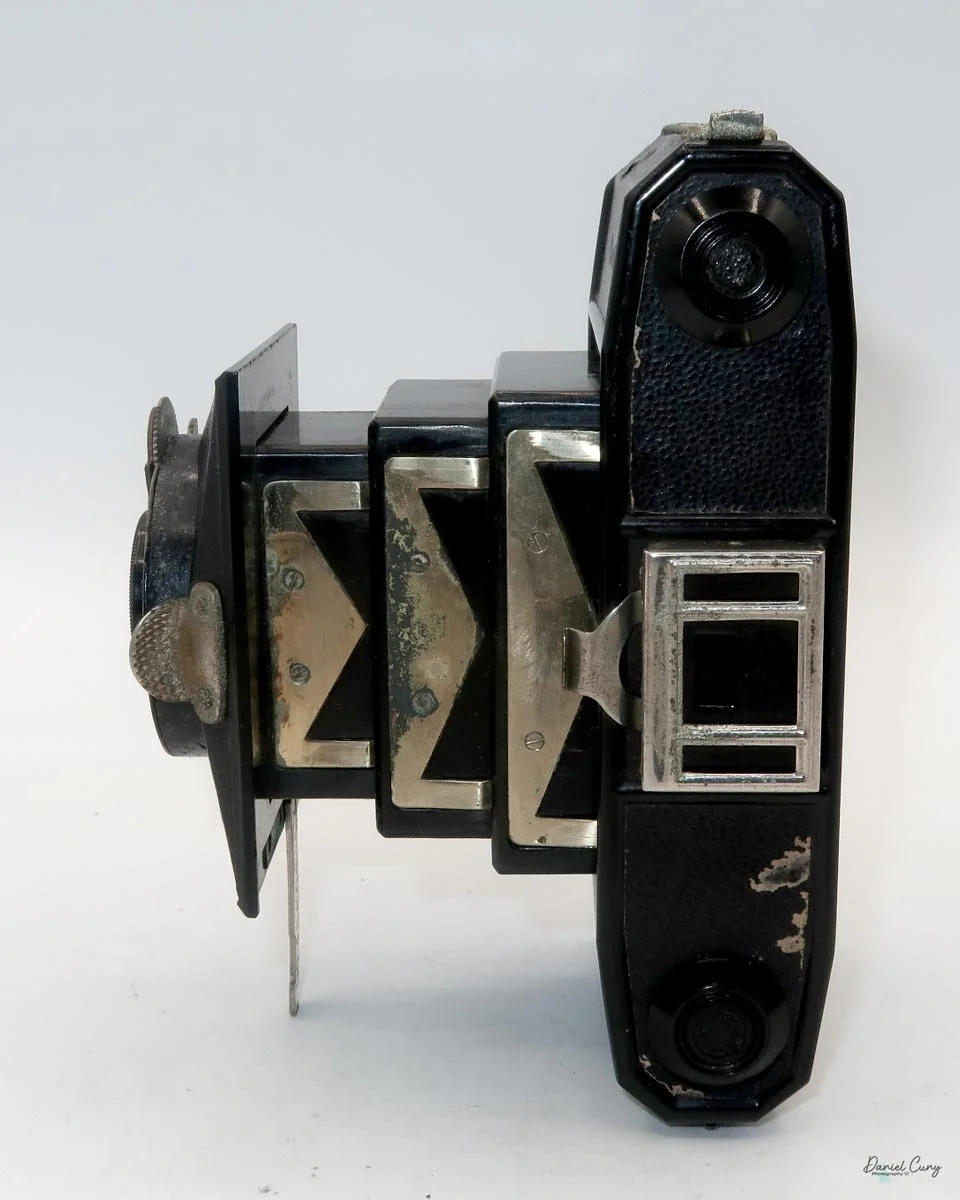
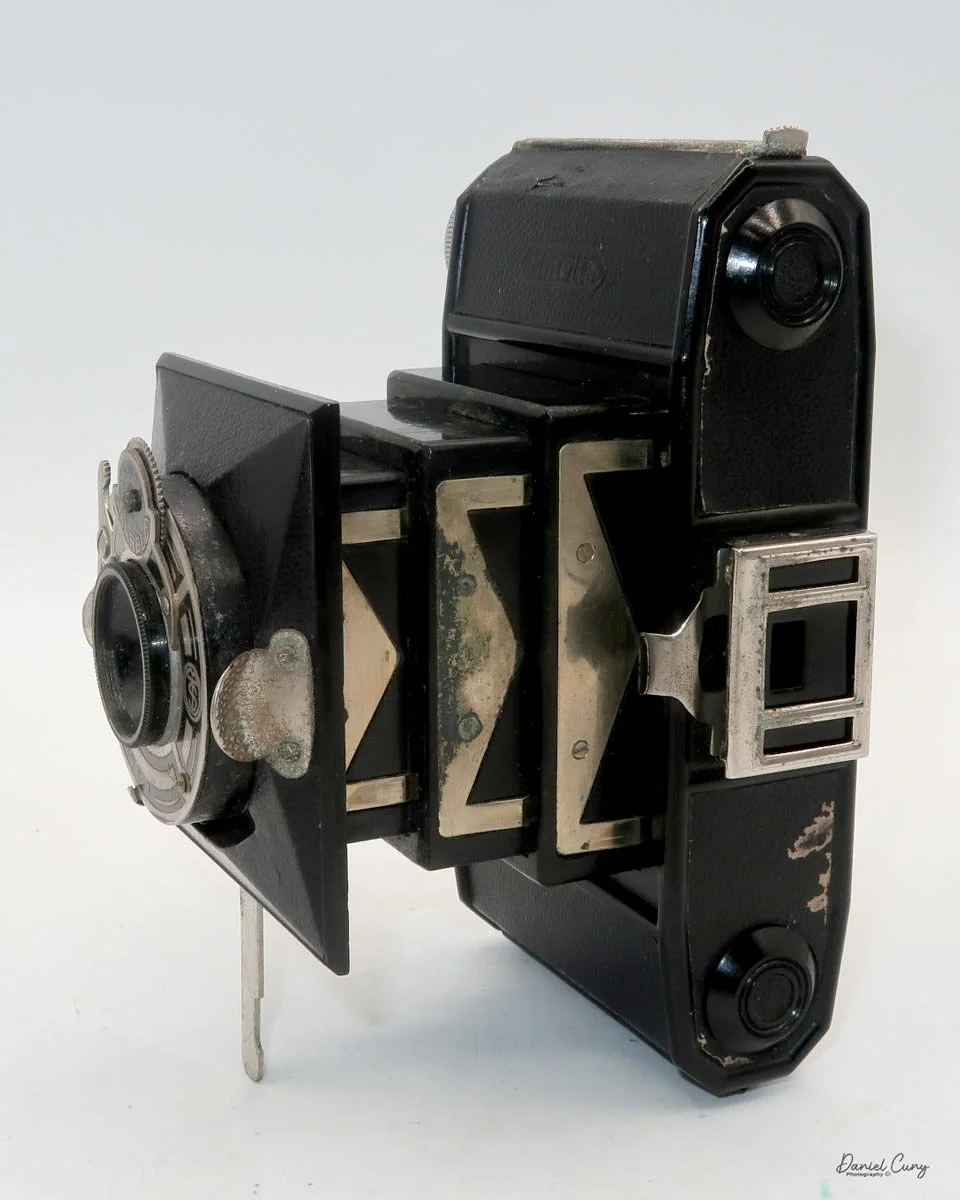
My interest in the Minolta Vest began a few months ago when I saw a post on Facebook. What I like most about the camera is its similarity to the Minolta Six. Both cameras use a three-tier, stacked metal bellows system that extends and collapses, unlike the standard cloth- or leather-covered cardboard bellows found on most cameras.

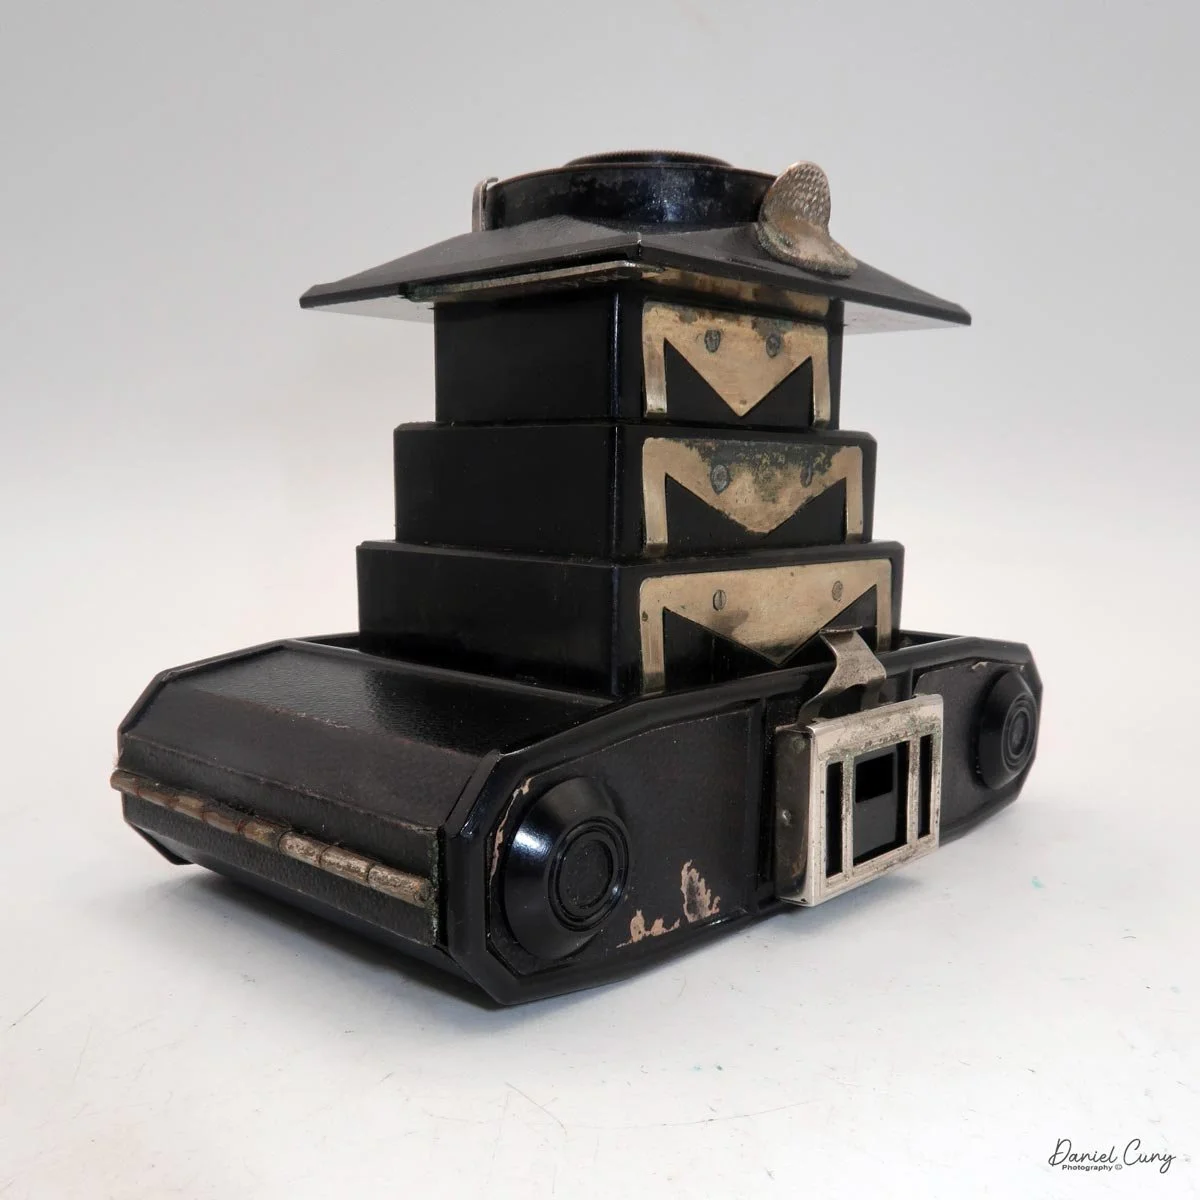
 When I first pulled out the lens on either the Minolta Six or the Minolta Vest, the metal stacking bellows reminded me of a Japanese pagoda. Both cameras have a beautiful chrome pattern set against stark black Bakelite, giving them a strong Art Deco appearance. It's the artistry and attention to detail that you don't see in cameras produced today.
 Knowing about this early Minolta camera with metal stacking bellows, I made a point of keeping an eye out for one during my trip to Tokyo a few weeks ago.

 Fate was on my side, and I found a Minolta Vest in decent condition at the Tokyo City flea market. As I walked past one of the many hundreds of stalls, I noticed one of the vendors had a few cameras on his table. When I picked up the camera, I saw the Minolta name embossed on the back. Then, as I pulled the lens away from the camera body and the metal stacked bellows appeared, I was filled with excitement and joy.

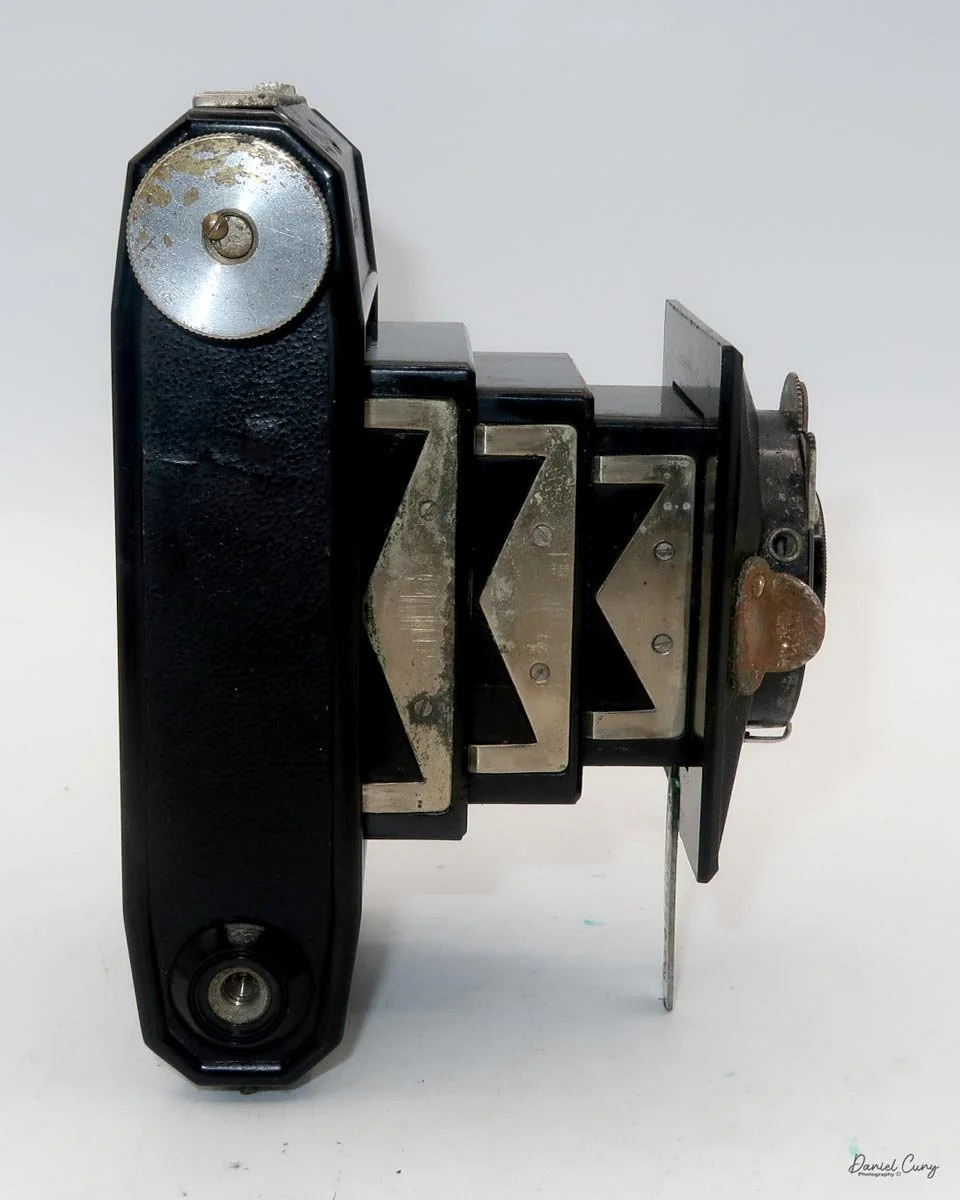
Minolta Vest rigid stacking bellows that resemble a Pagoda

 There are two metal grips on either side of the lens that you use to pull it away from the camera body. The stacked bellows were somewhat stiff, with a bit of corrosion on the chrome, but with a little coaxing, the lens fully extended. I played with the shutter system, and it fired, but inconsistently. Sometimes the shutter would fire when the release was pressed, and sometimes it wouldn't. That was a bit of a disappointment, but not a dealbreaker.

 The lens appeared to be fine, and the aperture moved smoothly as it opened and closed. The lens was a bit difficult to return to the closed position, as I expected due to bellows corrosion, but with a bit of effort, it did retract.

 There were a few other cameras I was interested in on his table, so I gathered the two or three items I wanted and asked for the price. After a bit of negotiating using my phone to translate, we agreed on a price. I put the items in my backpack and, with a grin on my face and knowing I'd be writing a blog post about the camera, wandered off to see what other treasures I could find at that terrific, bustling flea market.

Early History

 Minolta began as a small but ambitious Japanese camera business in 1928, founded by Kazuo Tashima under the name Nichi-Doku Shashinki Shōten. From the start, the company was shaped by a fascination with German optics and camera design, and its earliest products reflected that influence. In 1929, Minolta introduced its first camera, the Nifcalette, a folding roll-film model that showed the company's early dependence on imported components and foreign technical models. Even so, it marked the beginning of a distinctly Japanese camera maker that would soon develop its own identity.

 The company adopted the name Minolta in 1931, a move that signaled a more confident and modern direction. The name was meant to evoke mechanisms, instruments, optics, and lenses, and it captured the firm's growing ambition to become more than a reseller of products influenced by foreign markets. During the early 1930s, Minolta gradually moved from imitation toward originality, developing folding cameras that were practical, attractive, and increasingly self-reliant in design. By 1933, the company had introduced its first camera under the Minolta name, a moment that helped establish the brand as a serious presence in Japan's emerging camera industry.

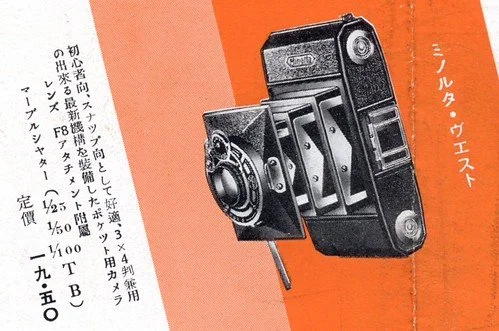
Advertisment for Minolta Vest

 Before World War II, Minolta was still a relatively young company, but it was already building the foundations of its future reputation. Models such as the Minolta Vest in 1934 and the Minolta Flex in 1937 demonstrated the brand's expanding technical range. The Flex was especially notable as Japan's second twin-lens reflex camera, placing Minolta among the more innovative camera makers of the era. These prewar years were important not because Minolta dominated the market, but because they revealed a company learning quickly, adapting foreign ideas, and steadily refining its own manufacturing skills.

 World War II disrupted Japanese industry, and like many camera makers, Minolta faced a difficult transition as the country shifted toward wartime production. After the war, the company entered a new phase of growth. Japan's postwar recovery created strong demand for precision optical equipment, and Minolta was well-positioned to benefit. In the 1950s, the company moved into 35mm camera production, a crucial step that aligned it with the global photography market. Minolta's postwar cameras gained attention for their solid engineering and user-friendly design, helping the brand earn a stronger international reputation.

 Over time, Minolta became known for more than just reliable film cameras. It developed a reputation for innovation in metering, automation, and eventually autofocus, especially in the late twentieth century. But those later successes were rooted in the company's early decades: a period of experimentation, persistence, and gradual technical maturity. The story of Minolta before and after World War II is really the story of a company that began by studying the best ideas from abroad, then turned those lessons into a lasting photographic identity.

My Camera

 The camera was built between 1934 and just before World War II, with production ending in 1940.

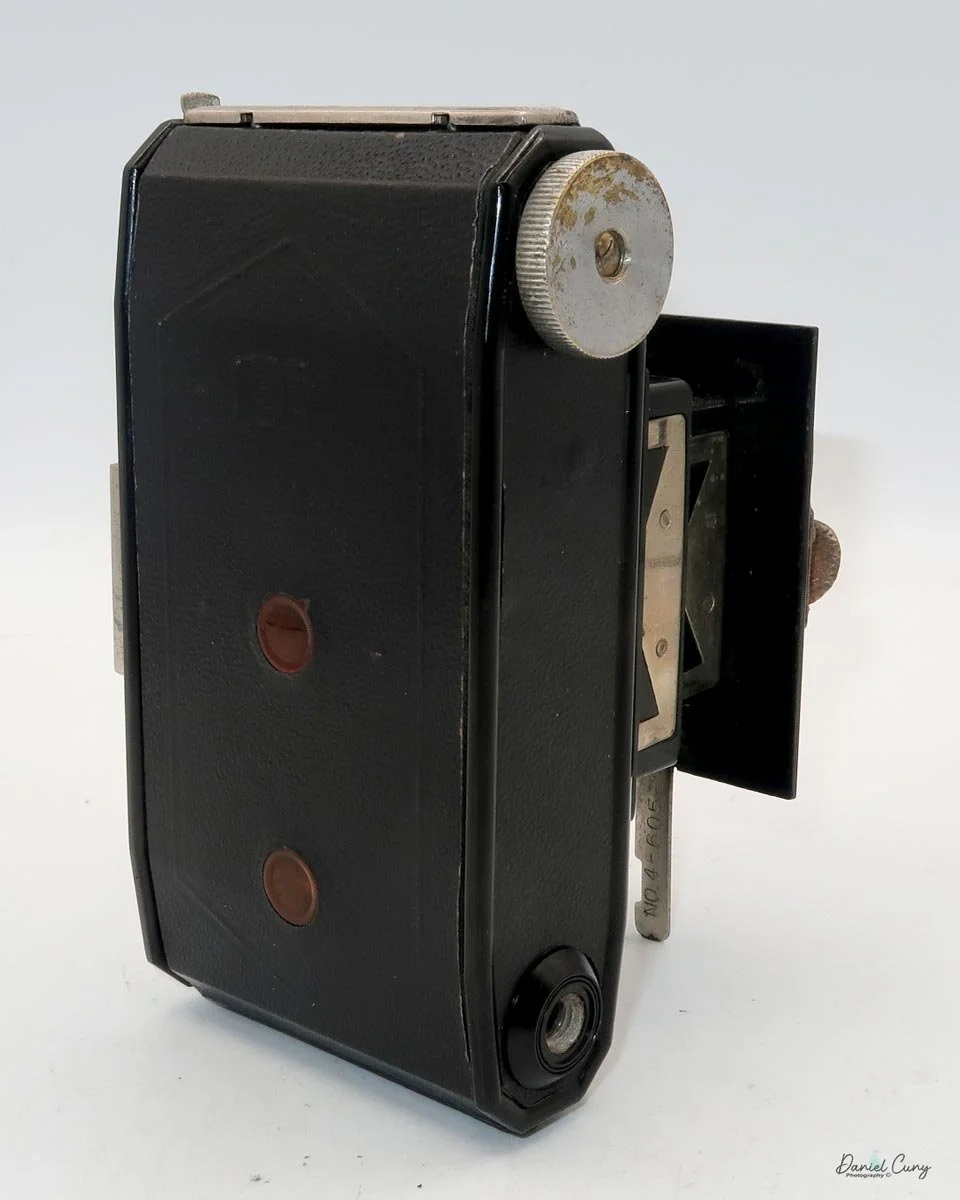
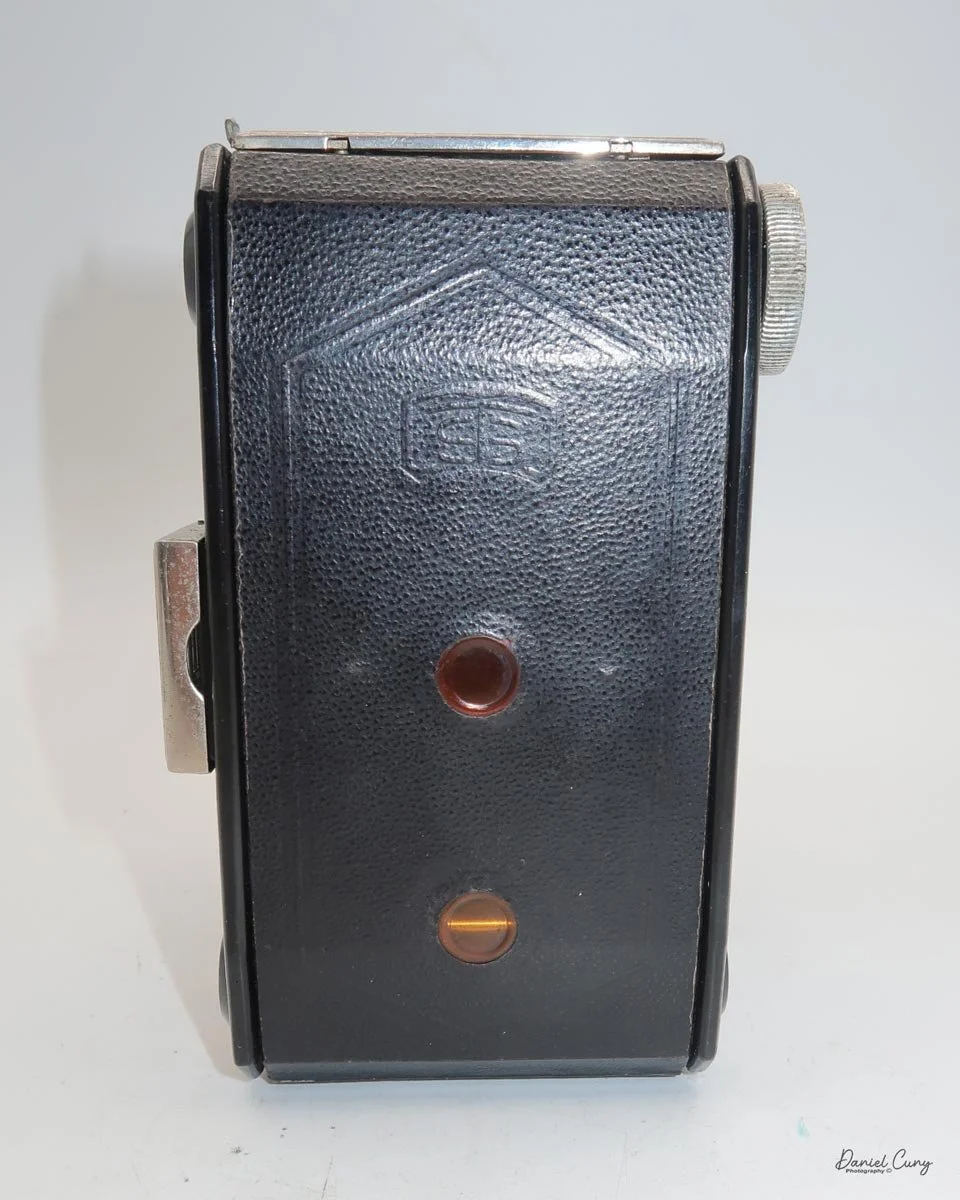
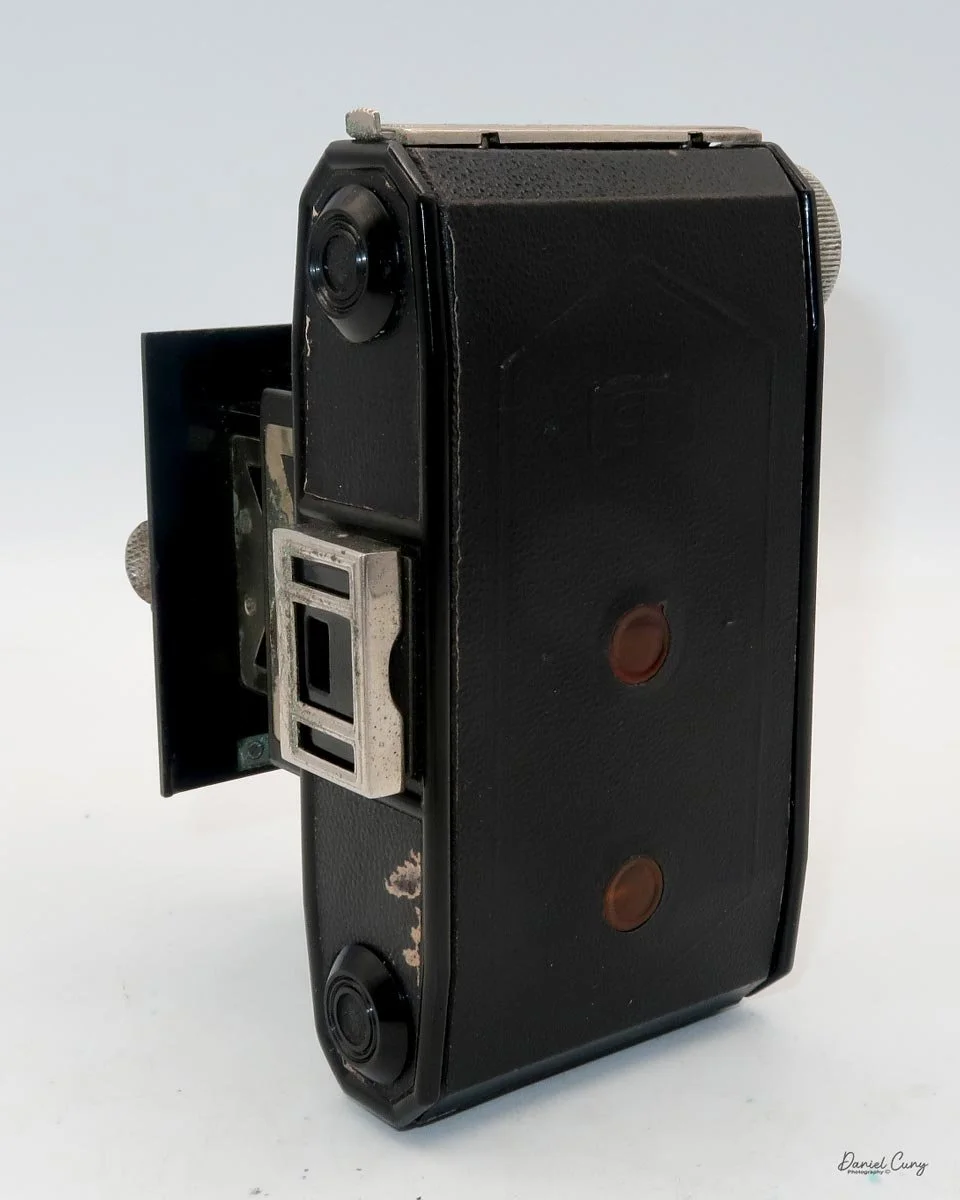
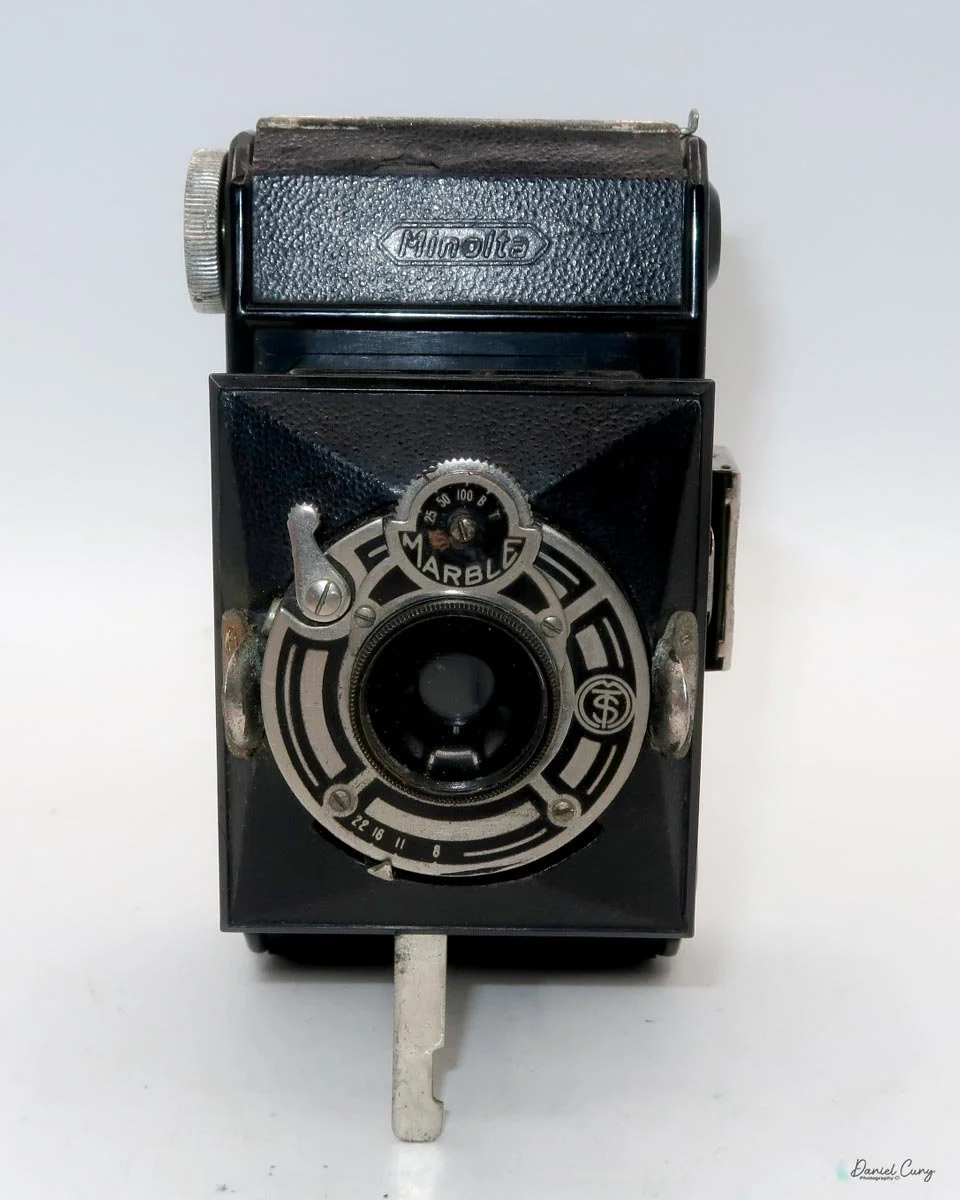
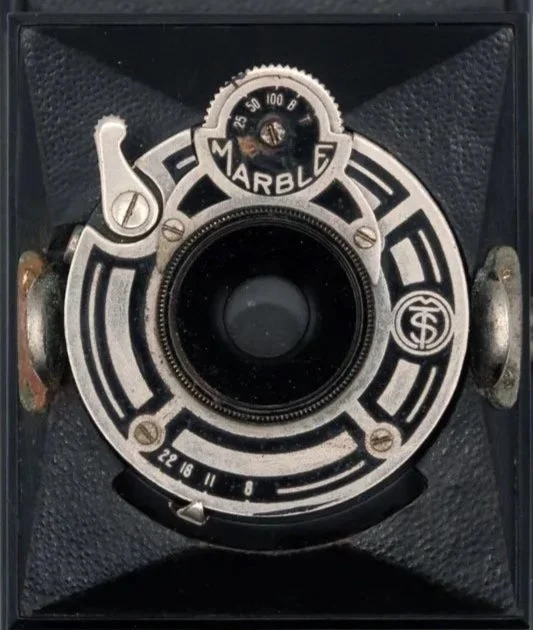
 The Minolta Vest is a fairly simple and basic camera. There aren't many frills, except for the beautiful three-tier stacking bellows system. The camera is one of the early examples made from Bakelite. It is also known as the Minolta Best or Minolta Marble, due to the prominent Everset Marble shutter on the camera's face.

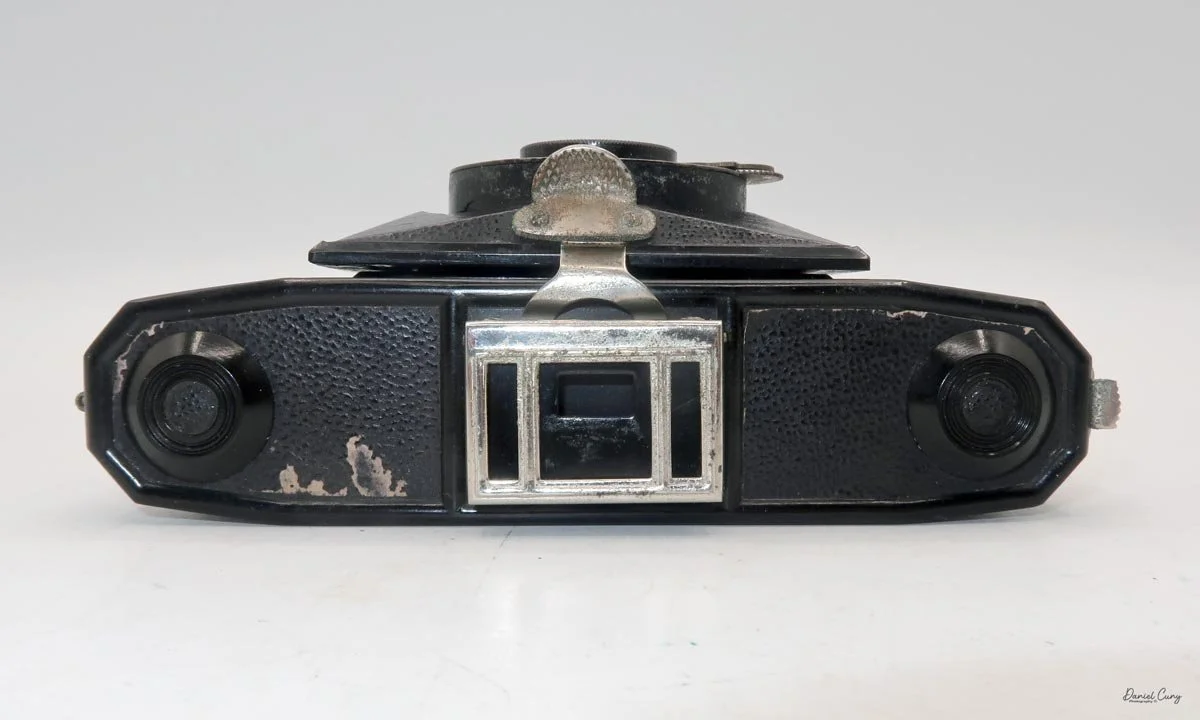
It's also a compact camera, measuring 5.25 inches wide by 3 inches tall without the metal viewfinder extended, and 4 inches with it extended, by 2 inches deep with the lens retracted into the camera body, and 3.75 inches with the three-tier Bakelite bellows extended. 

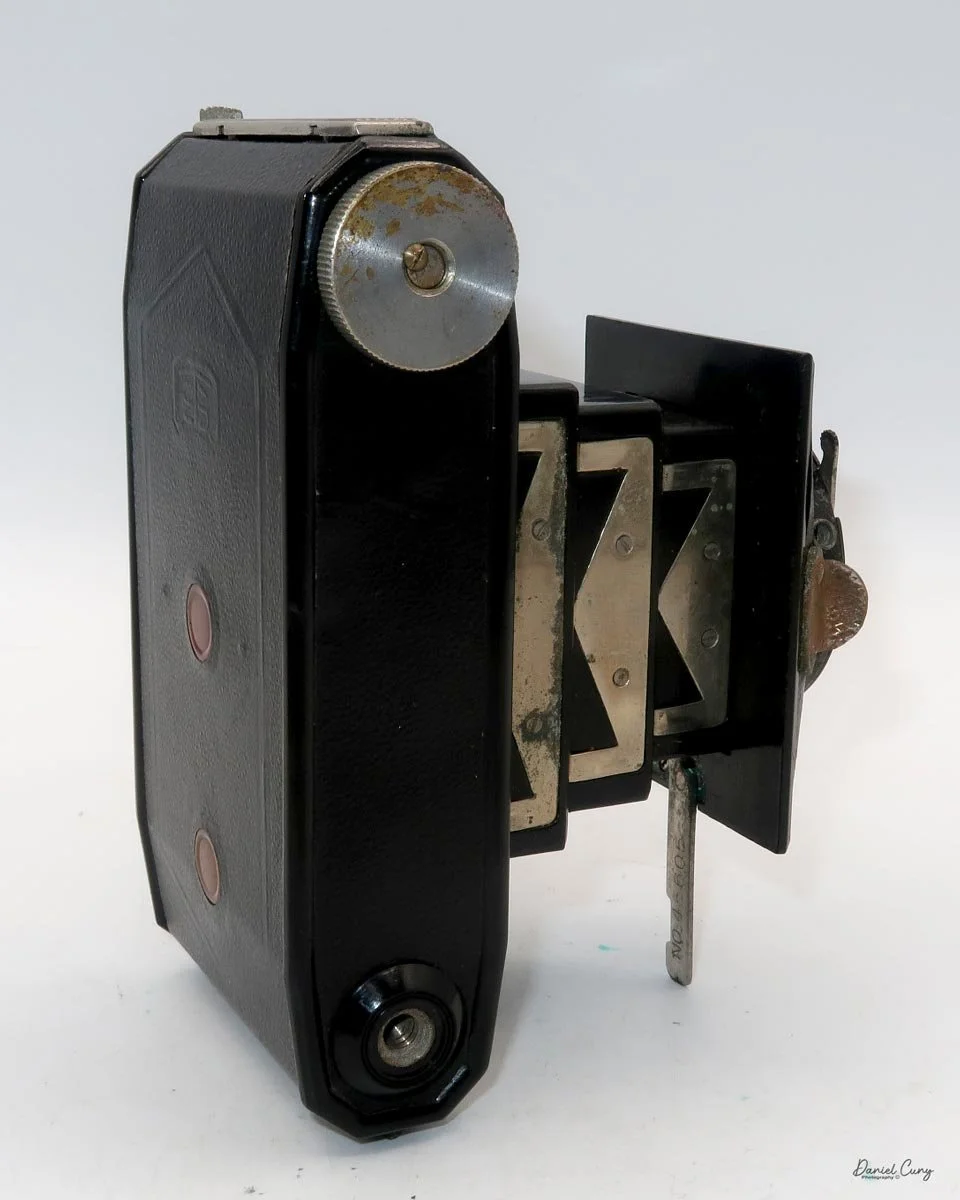
The Minolta Vest camera's serial number is stamped on the leg that extends, allowing the camera to stand vertically. My camera is serial number 45605.

 The Marble shutter has three shutter speeds: 1/100, 1/50, and 1/25, along with B and T. The shutter is set via a wheel on the top of the lens, and it's just to the right of the lens as you're holding it to take a photo. As mentioned previously, my camera's shutter doesn't fire consistently. It works best at 1/100 and fires pretty regularly at that speed. At 1/50 and 1/25, it takes two or three tries for the shutter to fire, so I'll need to keep that in mind when I take the camera out for a shoot.

Shutter release, shutter speeds, and aperture settings on the Minolta Vest camera

The nondescript lens, which I'm guessing is approximately 75mm, has a maximum aperture of f/8 and extends to f/22. The aperture is set via a sliding lever under the lens.

I believe my camera is one of the earlier examples because the shutter looks different from those on others I've seen. There is no "Patents Nippon" on the face, and the design has an earlier Art Deco appearance. 

 Like many earlier models, the lens is fixed focus, whereas I have seen other models with a focusable lens and a maximum aperture of f/4.5.

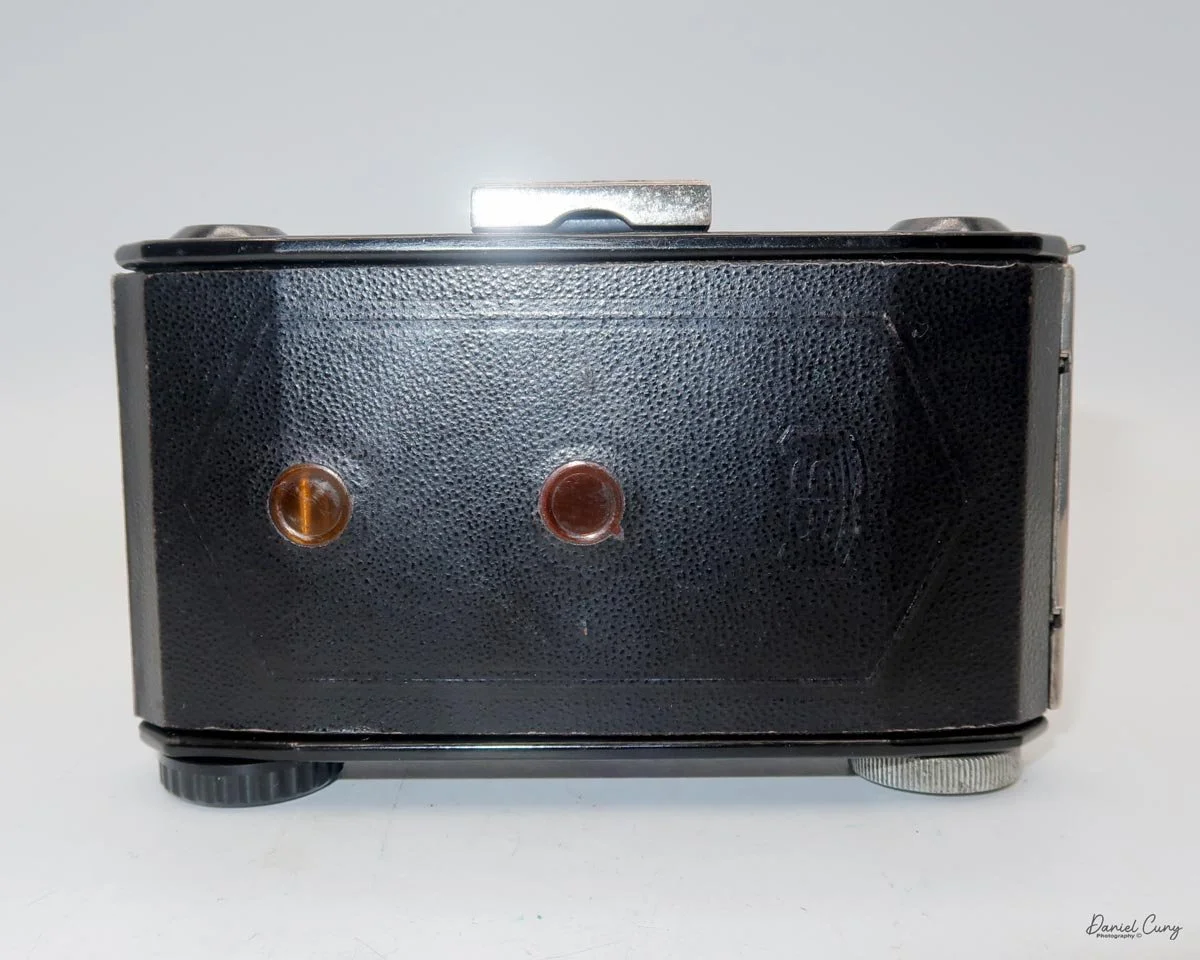
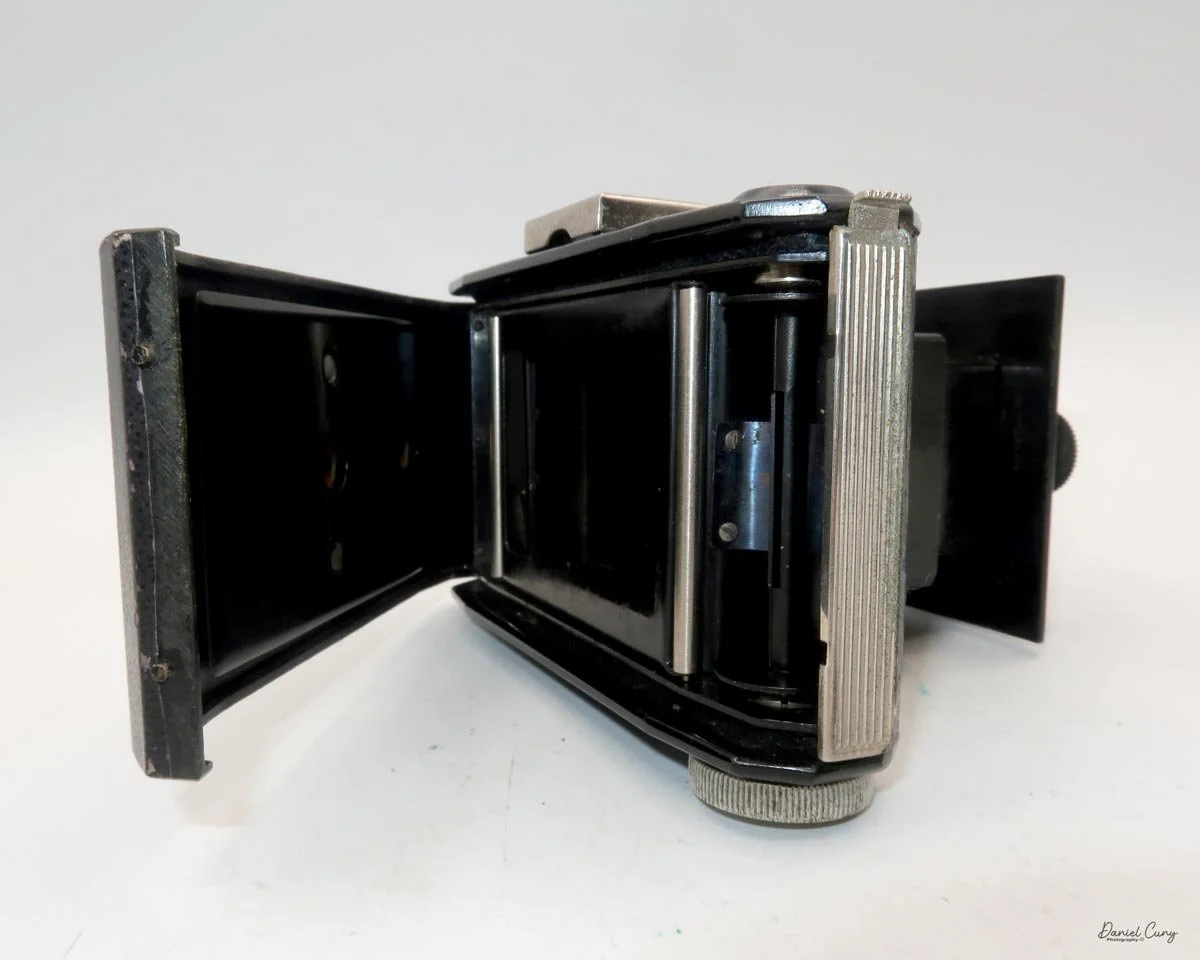
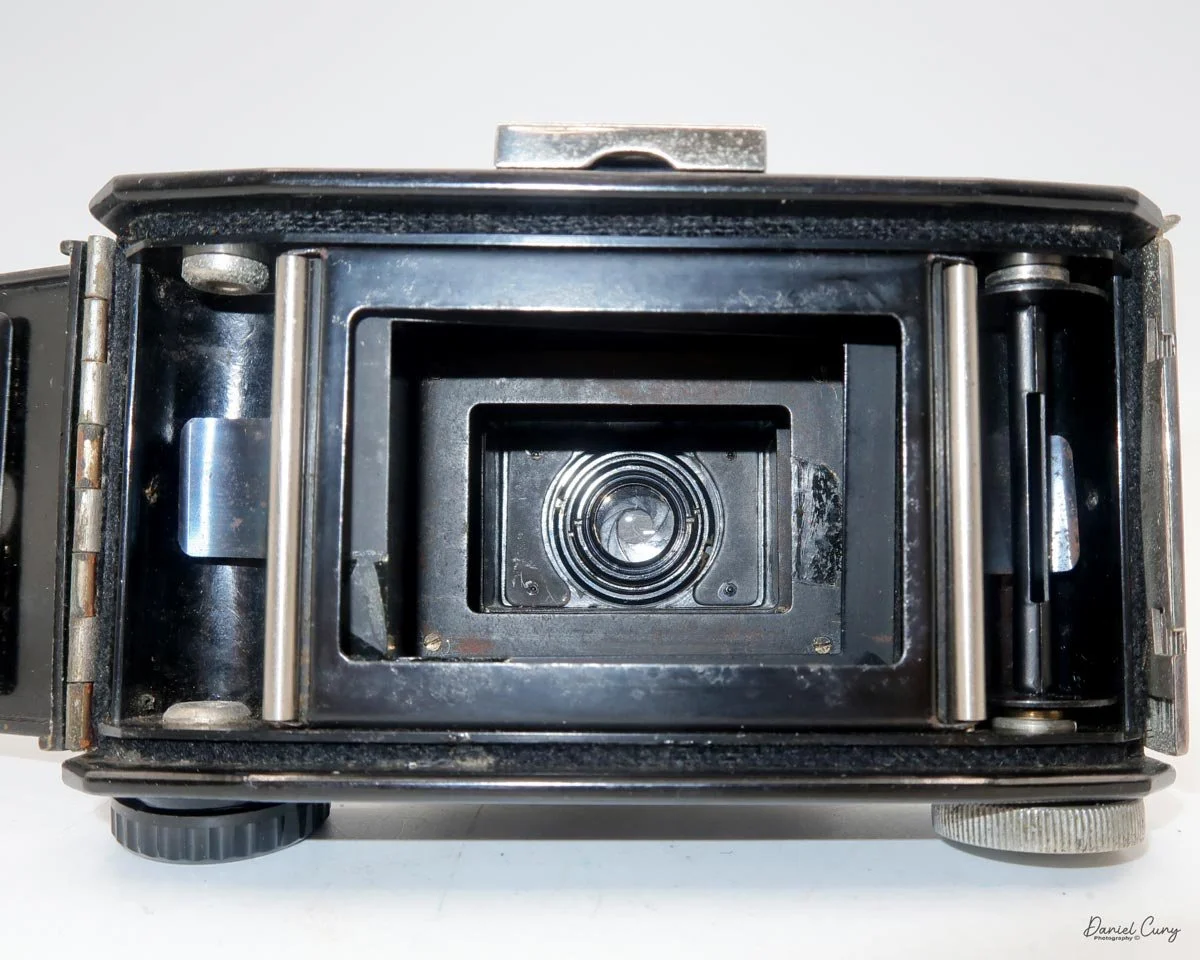
 Looking at the back of the camera, there are two red windows, which indicate to me that the film format is 3 x 4 cm. Opening the back of the camera, which is done by pulling up a small knob at the end, opens the rear door. When doing so, it shows that the camera's format is 6 x 4.5 cm, so there must have been an insert in the camera to change the format. My camera doesn't have the insert, so mine will always be 6 x 4.5 cm.

Once the back is open, you load the camera just like you would any roll-film camera by putting the empty spool on the take-up side, which has the film advance knob. Put the fresh, unexposed film on the other side, slip the film leader into the slot on the take-up reel, and wind the knob, making sure the film is transporting until you see the arrows pointing outward. Close the film back, and wind until you see the number one in the center red window.

 Now that the film is loaded in the camera and my wife and I are headed to the local farmer's market, it's time for me to take some photos and see how this camera performs.

Click on the image to view video


My Results

 Using a light meter and 100 ISO film in the camera, the recommended setting was 1/100 at f/7.1. I needed to fudge it a bit and shoot at 1/100 at f/8, and hope for the best.

 As previously mentioned, there is no focus on this camera, and I tried to be about 10 feet from the subjects when taking images.

 Here are some of the results:

Conclusion

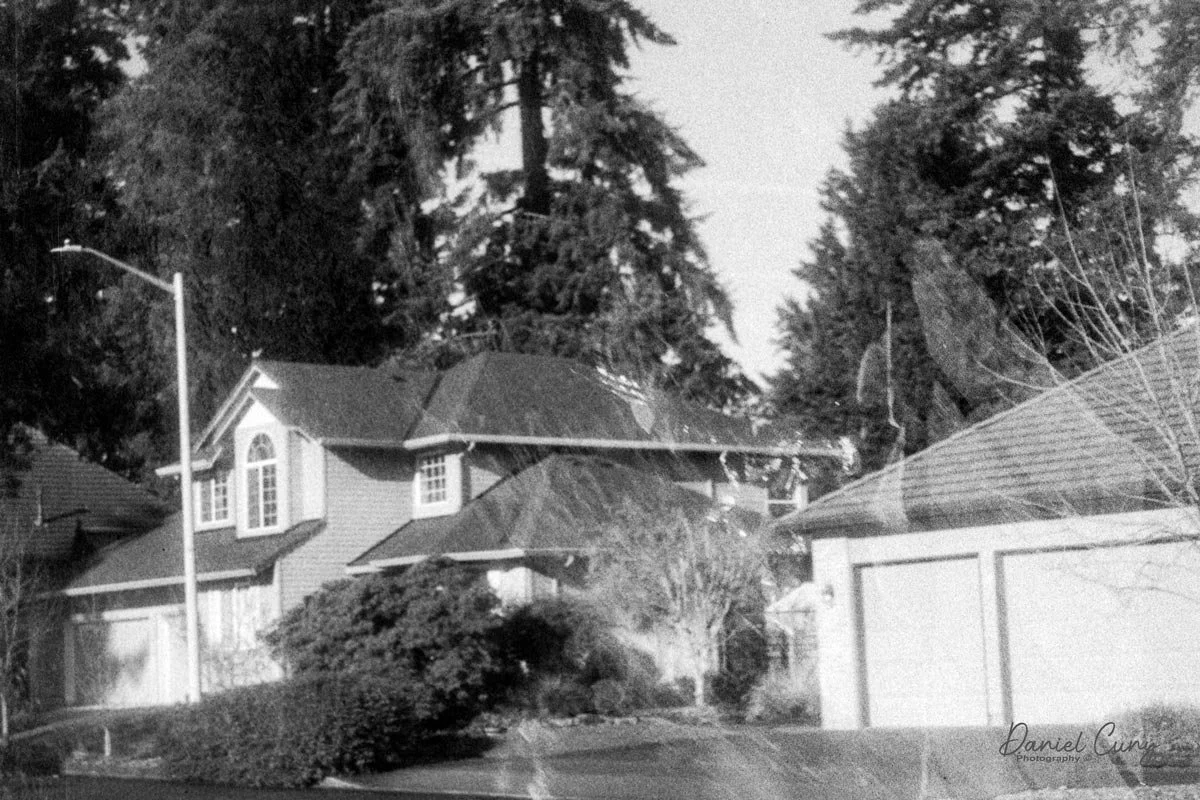
 As I scan the images from the farmers' market, some turned out better than others. I'm not sure what was going on, but some of the photos are sharper than others. I didn't pull out and push back the lens once I got to the farmers' market; I pulled the lens away from the camera body and adjusted the settings to the lighting conditions.

 There were a couple of times when I set the shutter to 1/50, but the focus was pretty inconsistent in many of the images. I was expecting slightly better results. Maybe there were a couple of times when there was some movement, especially since the shutter is a bit wonky and the images look unfocused.

Who knows what this camera has been through over the past 90 years, but all in all, it was fun to shoot with. The bellows look amazing, and I was complimented on the camera a few times as we walked through the farmers' market, so that was fun.

 Thank you for taking the time to learn a bit about this early example of a Bakelite camera from Japan, made in the early to late 1930s.

 I'd love to hear from you regarding this or some of my other camera reviews.

 Cuny's Camera and Photos is my online eBay store, where I sell some of the cameras reviewed, along with other camera and photo odds and ends.

 Until next week, please be safe.