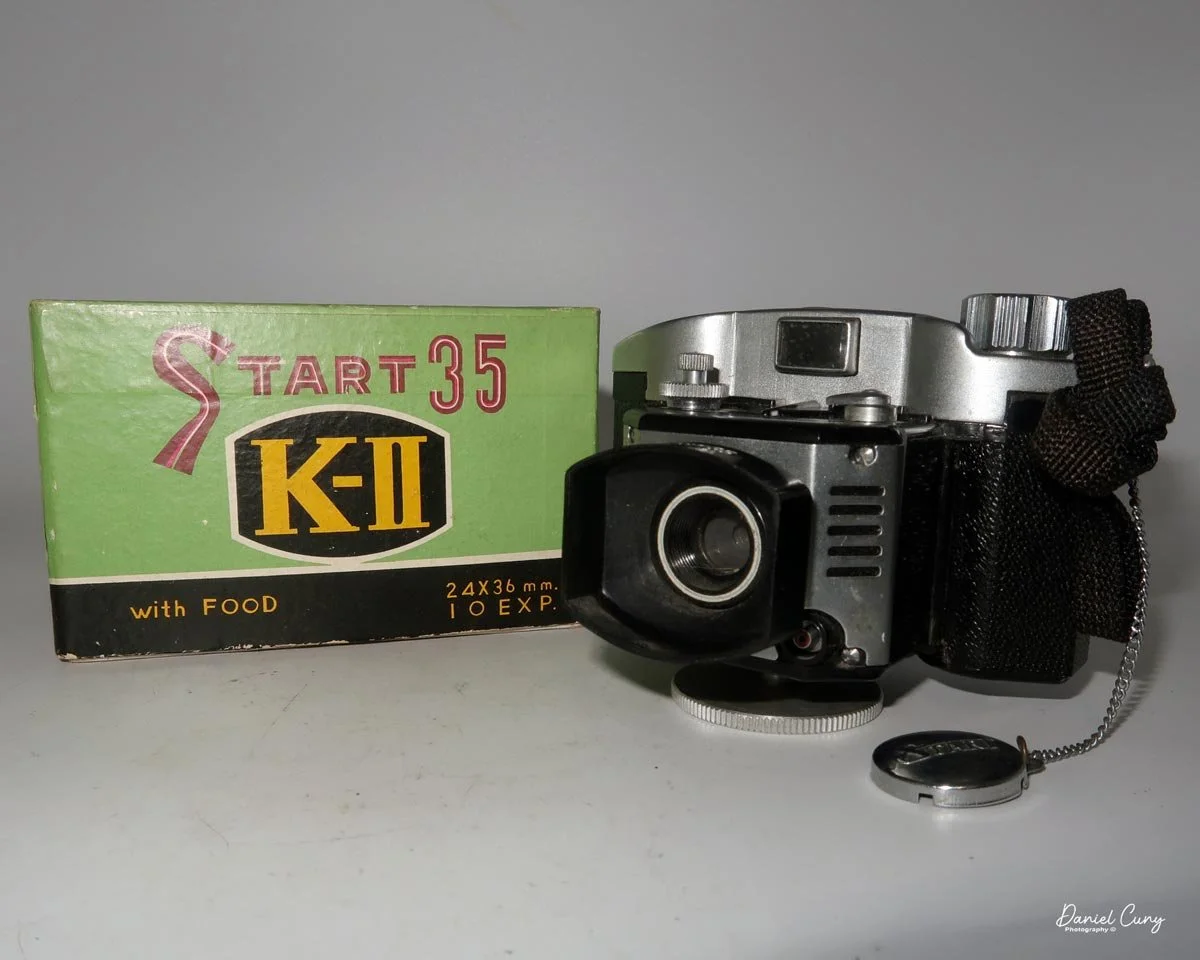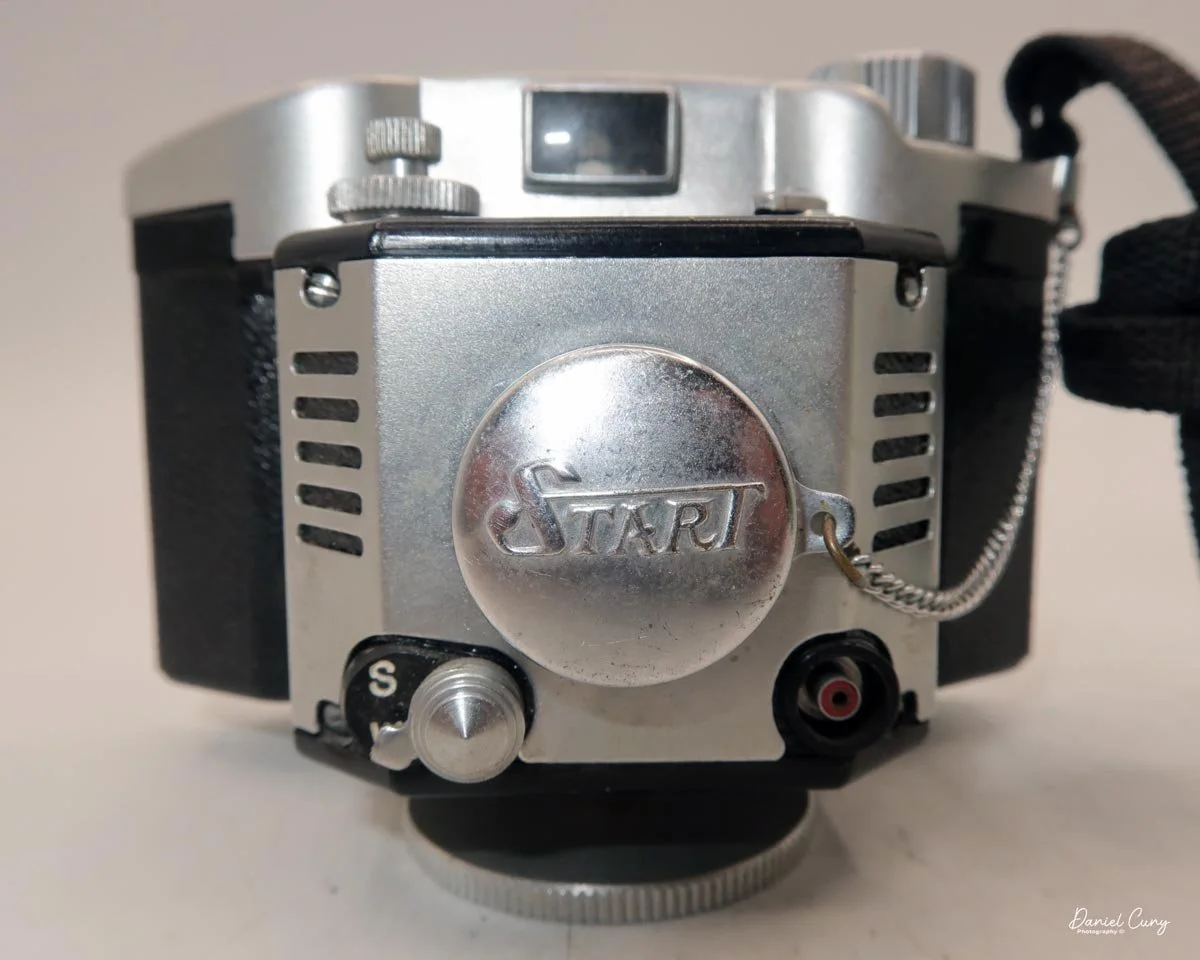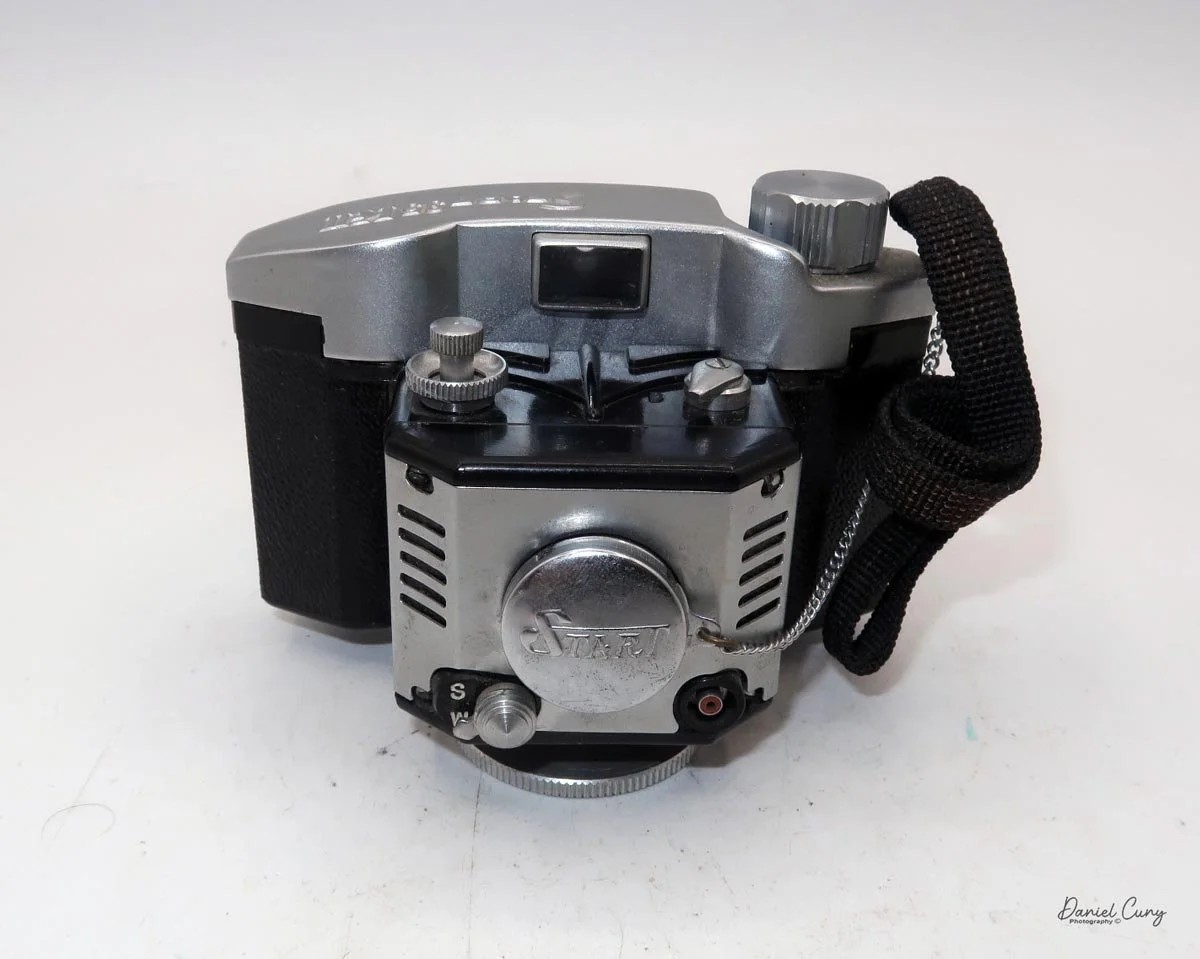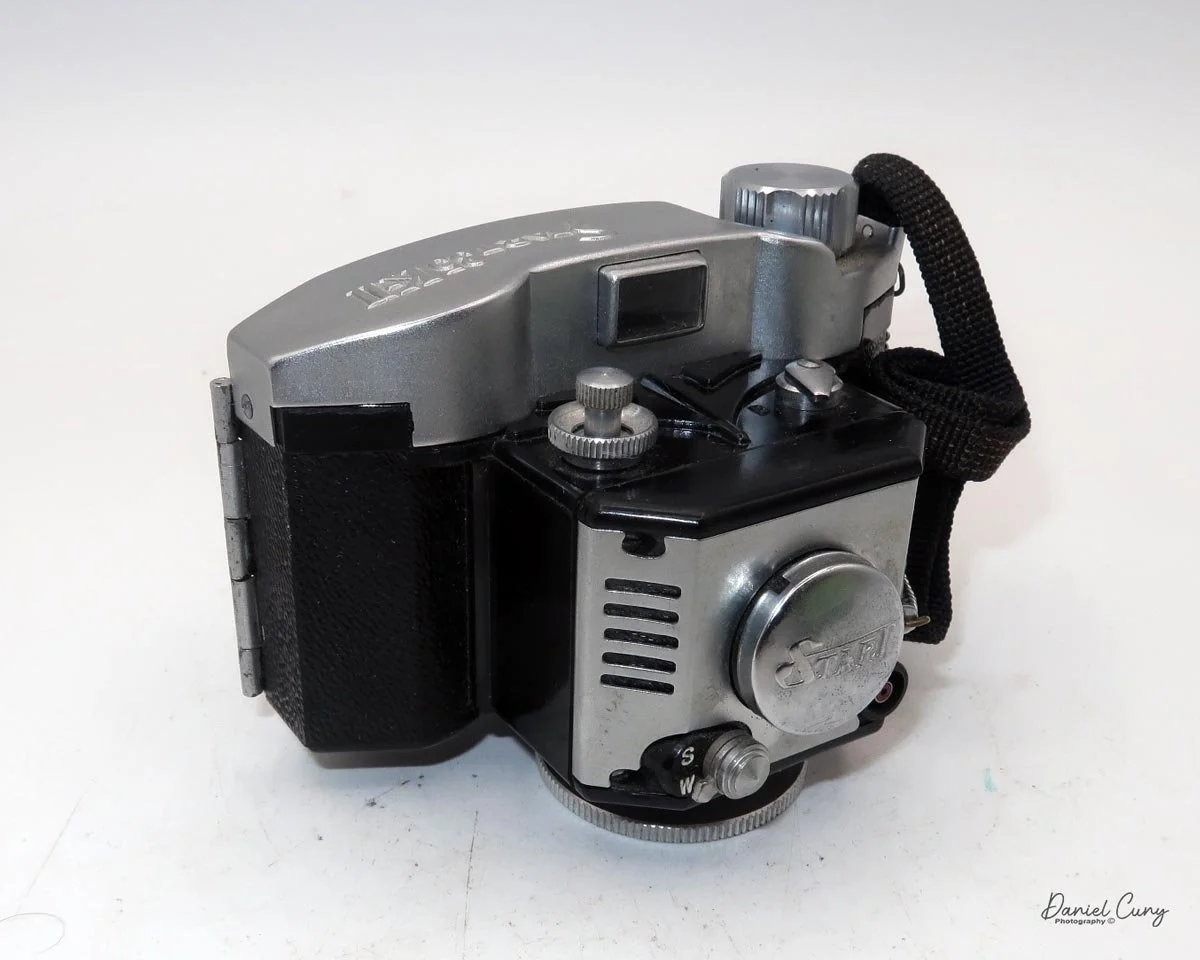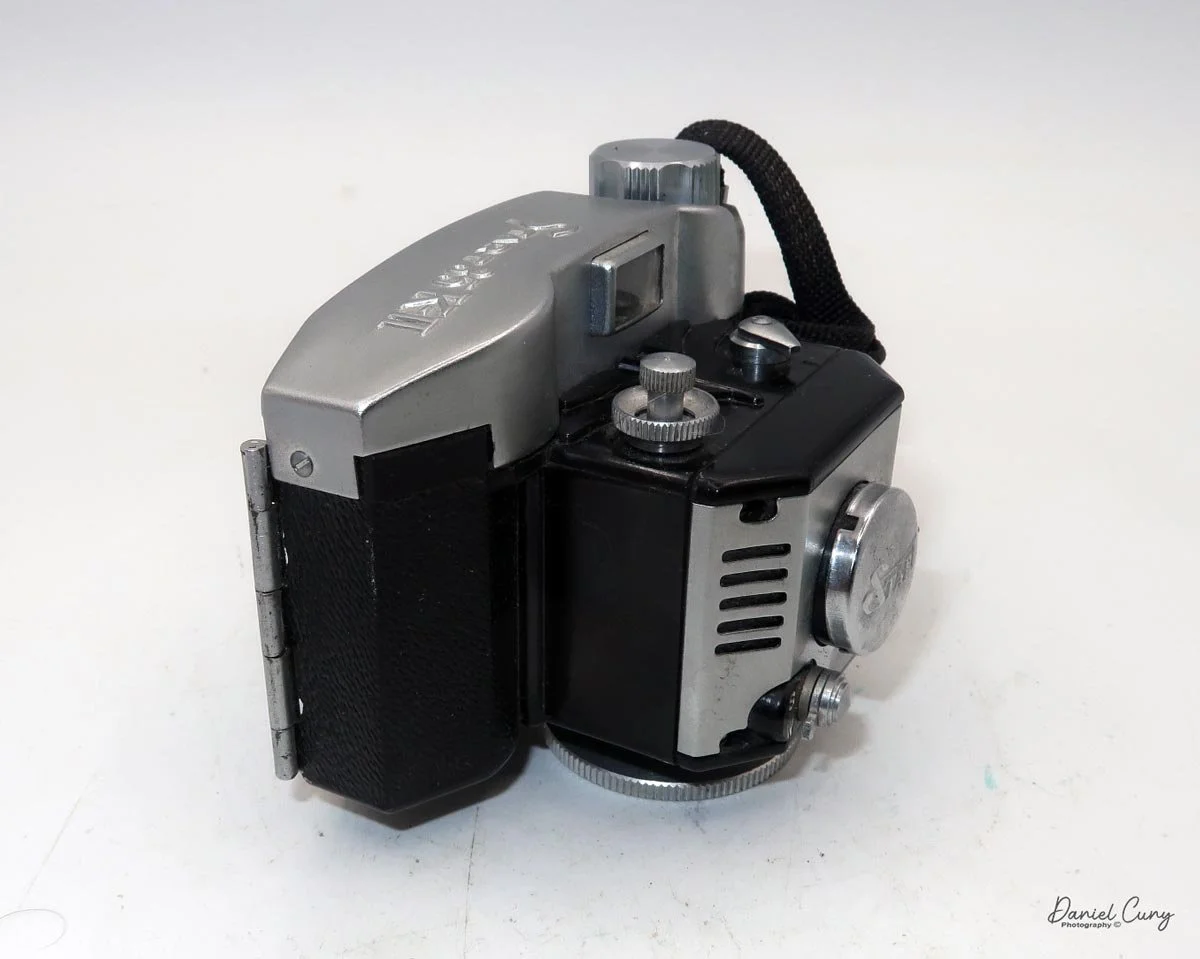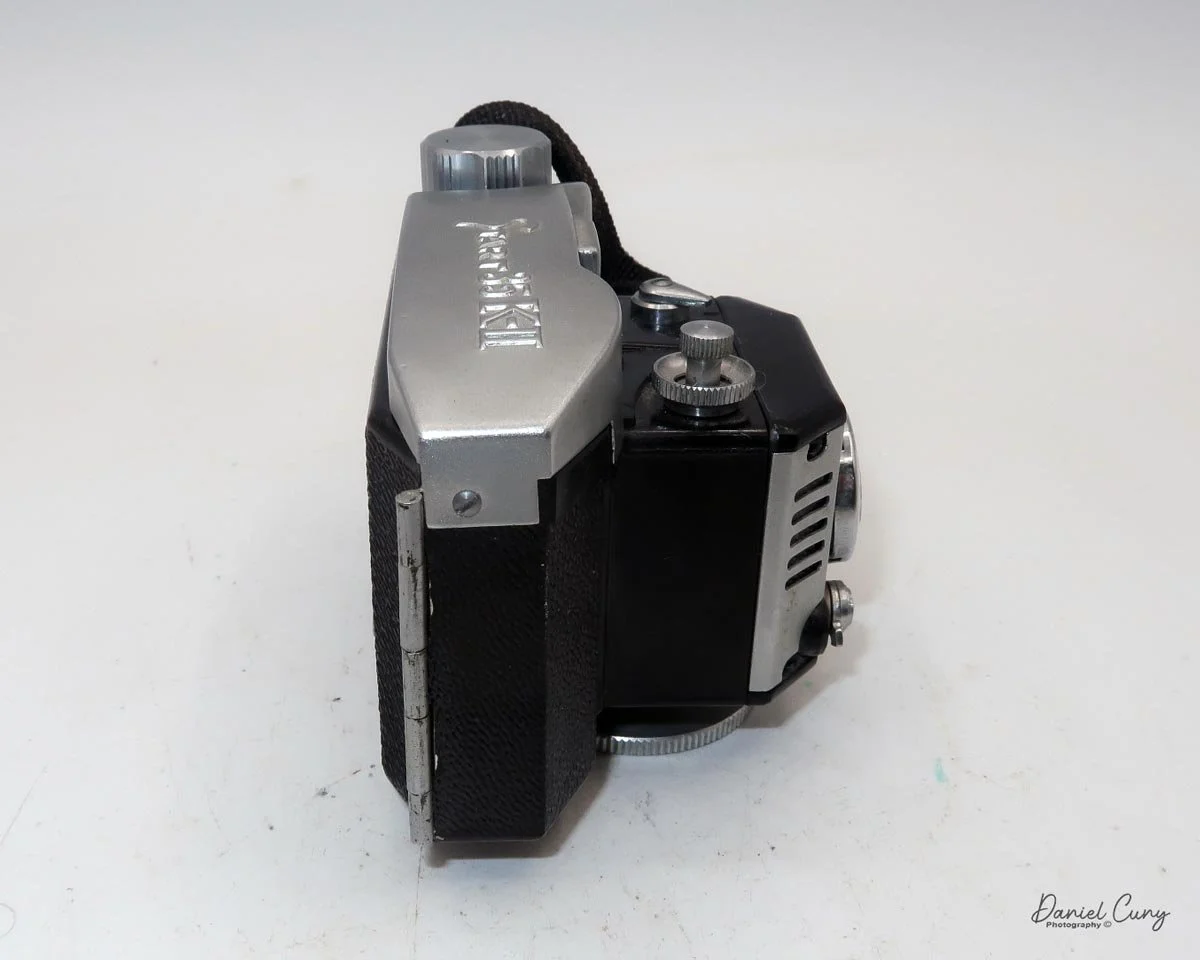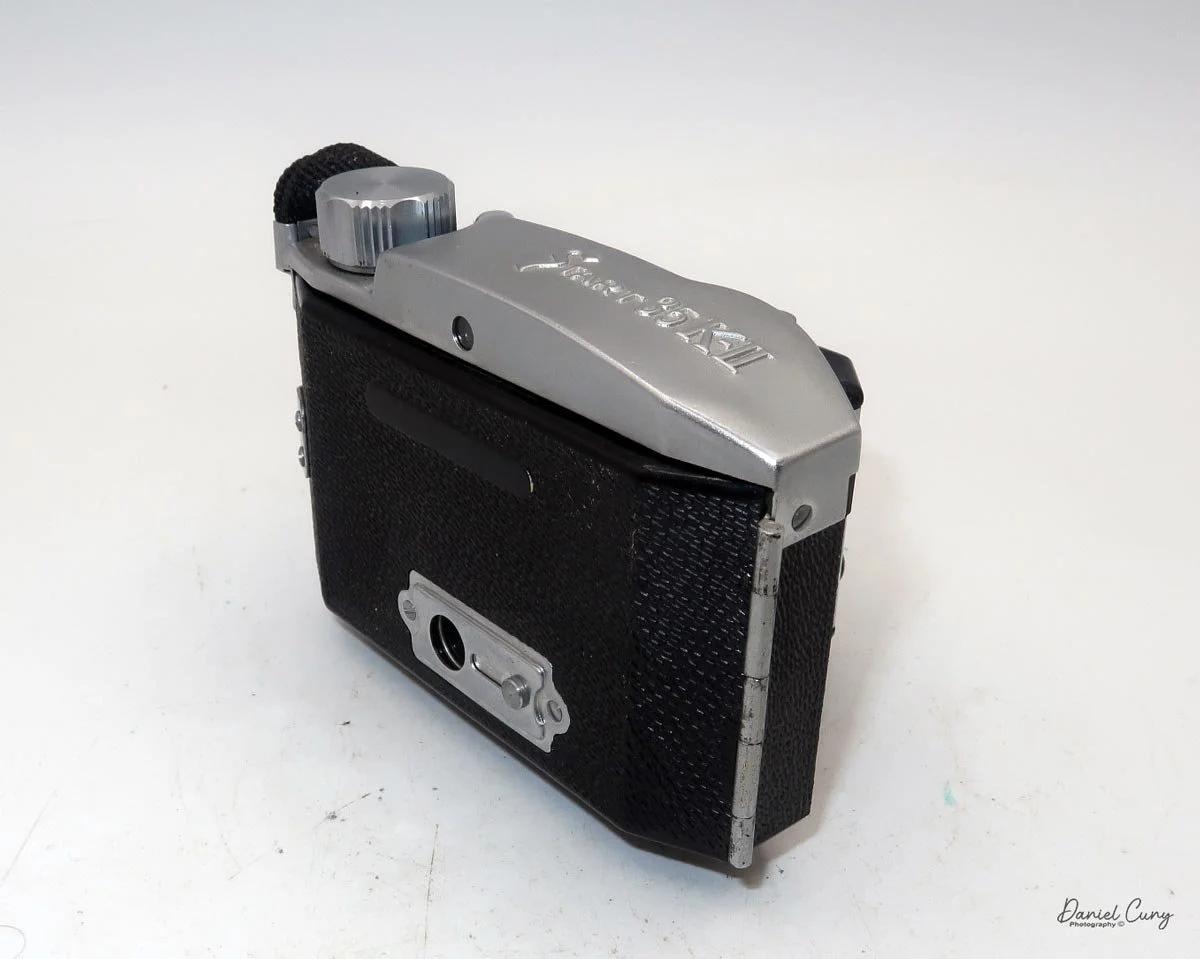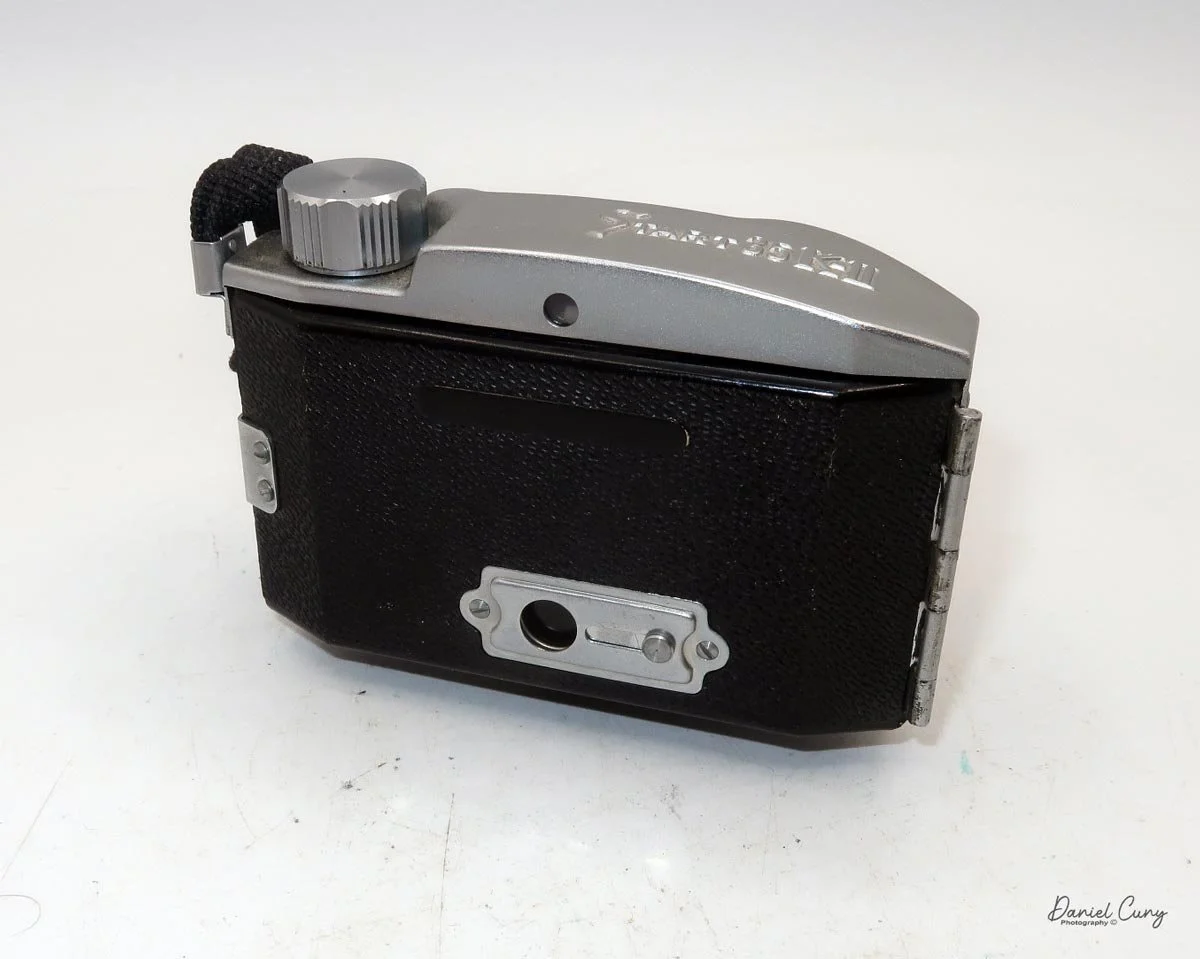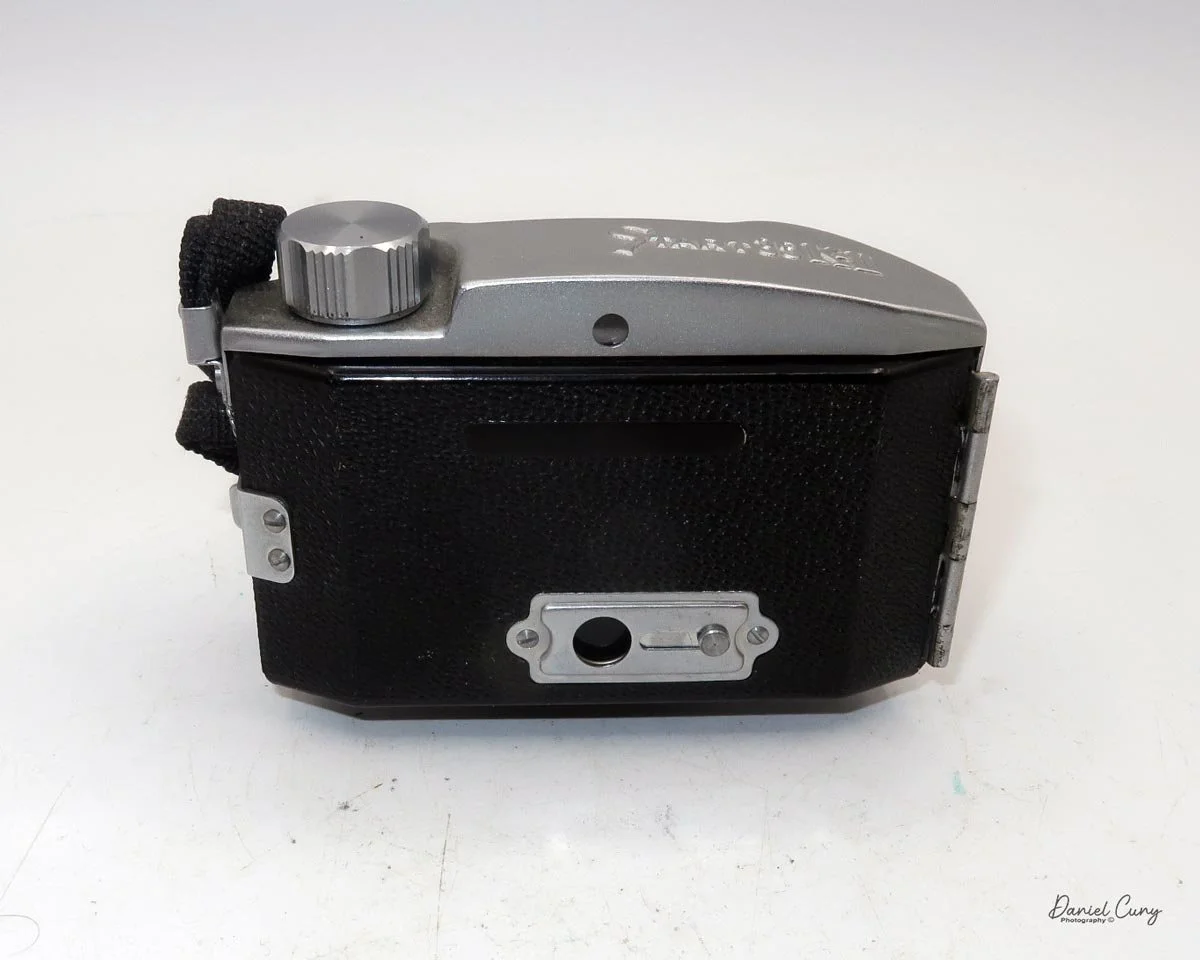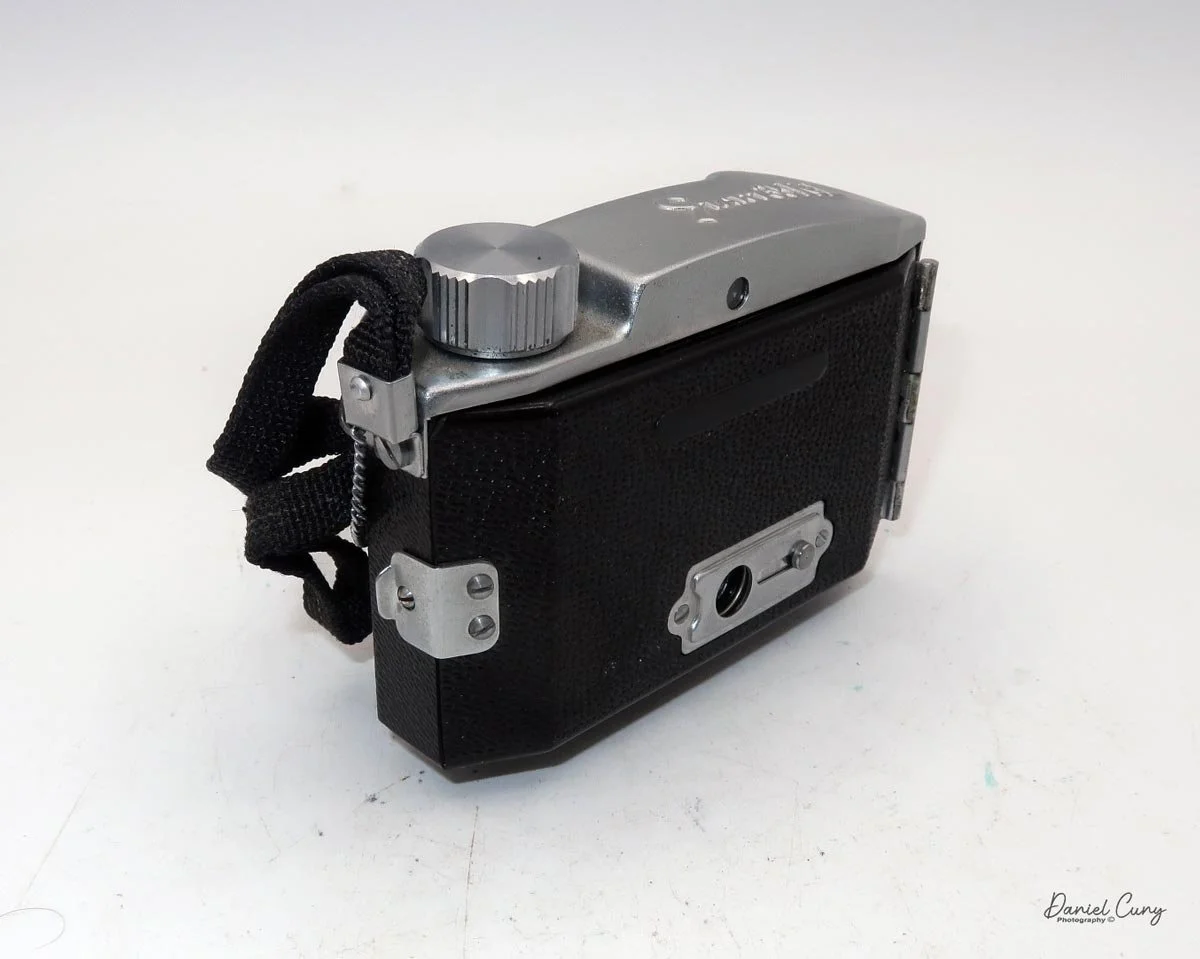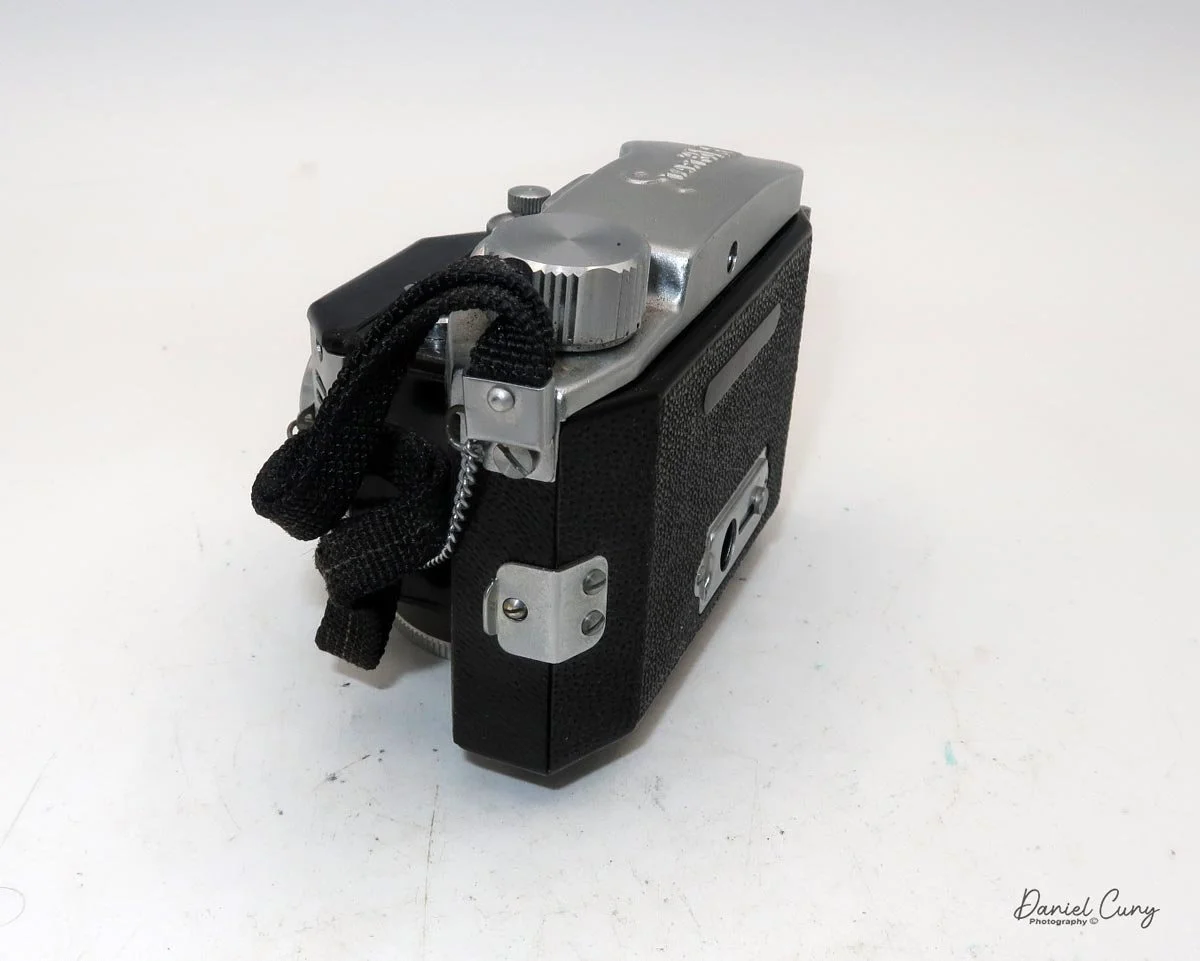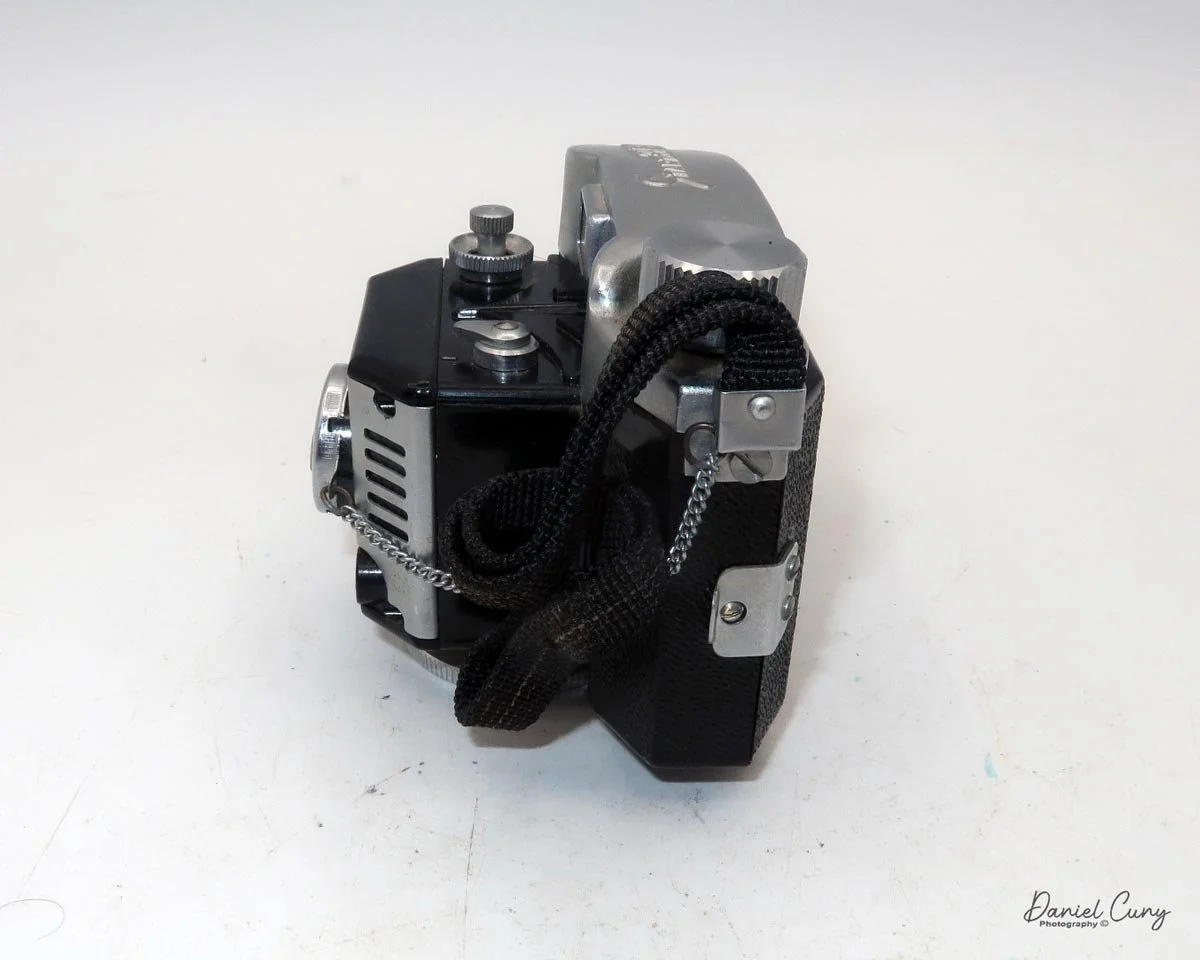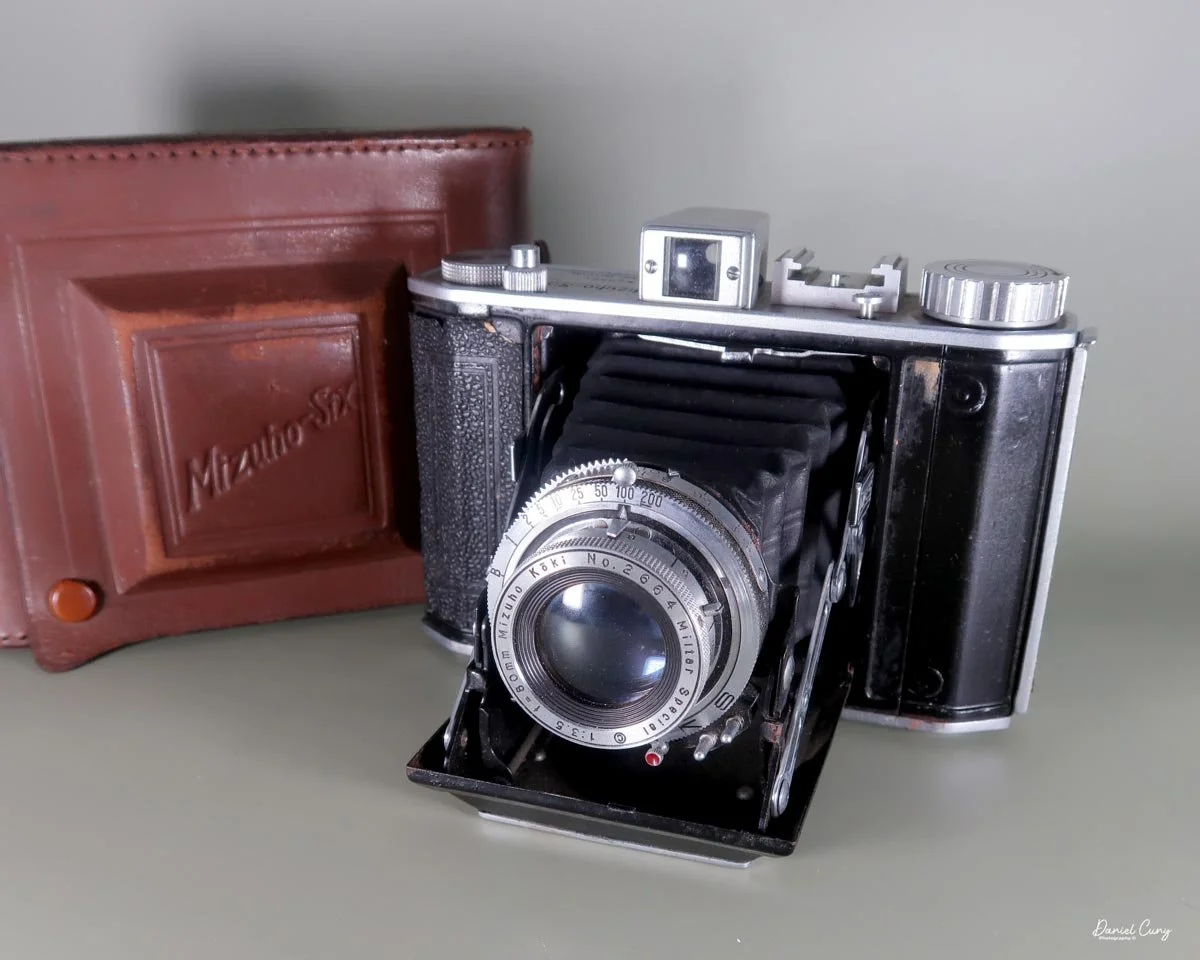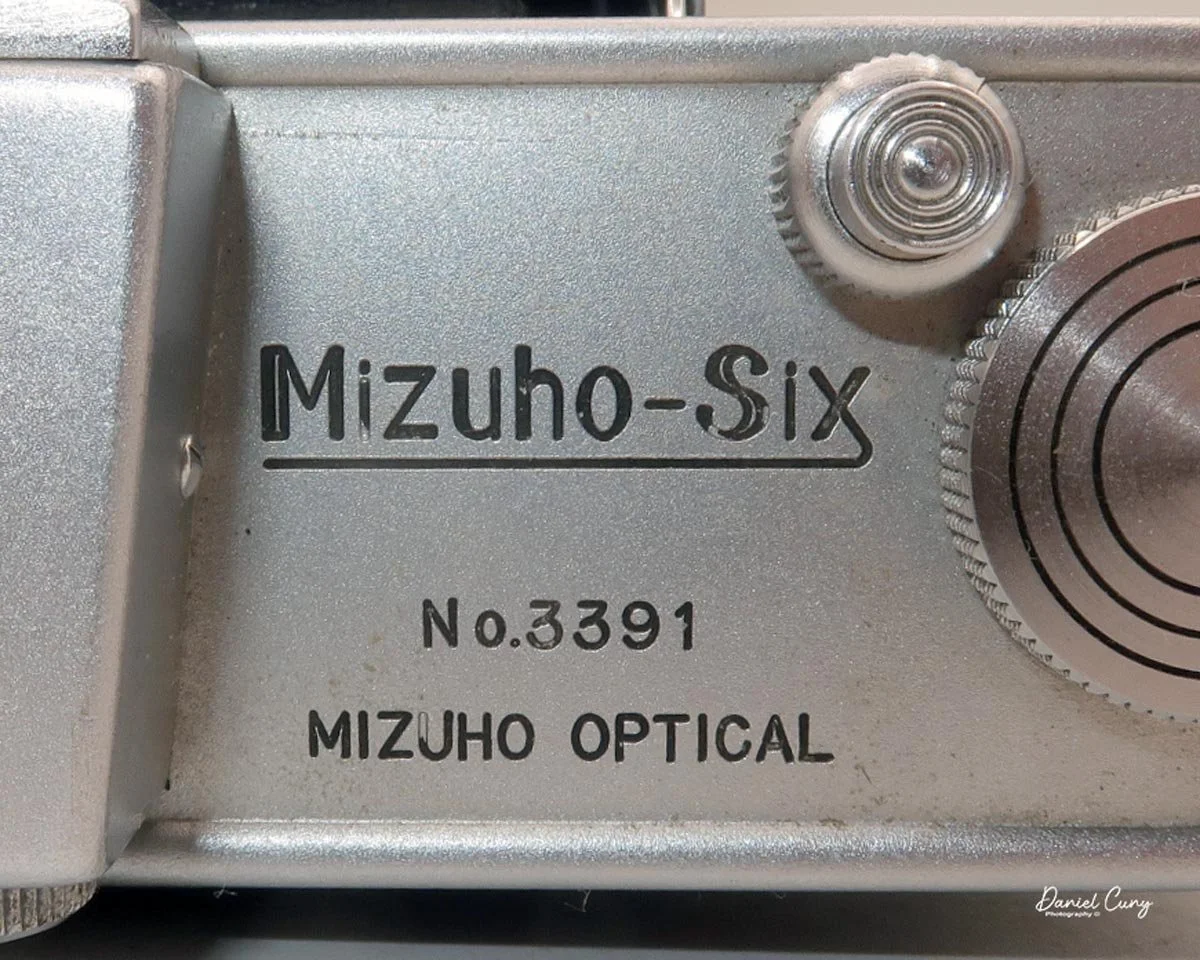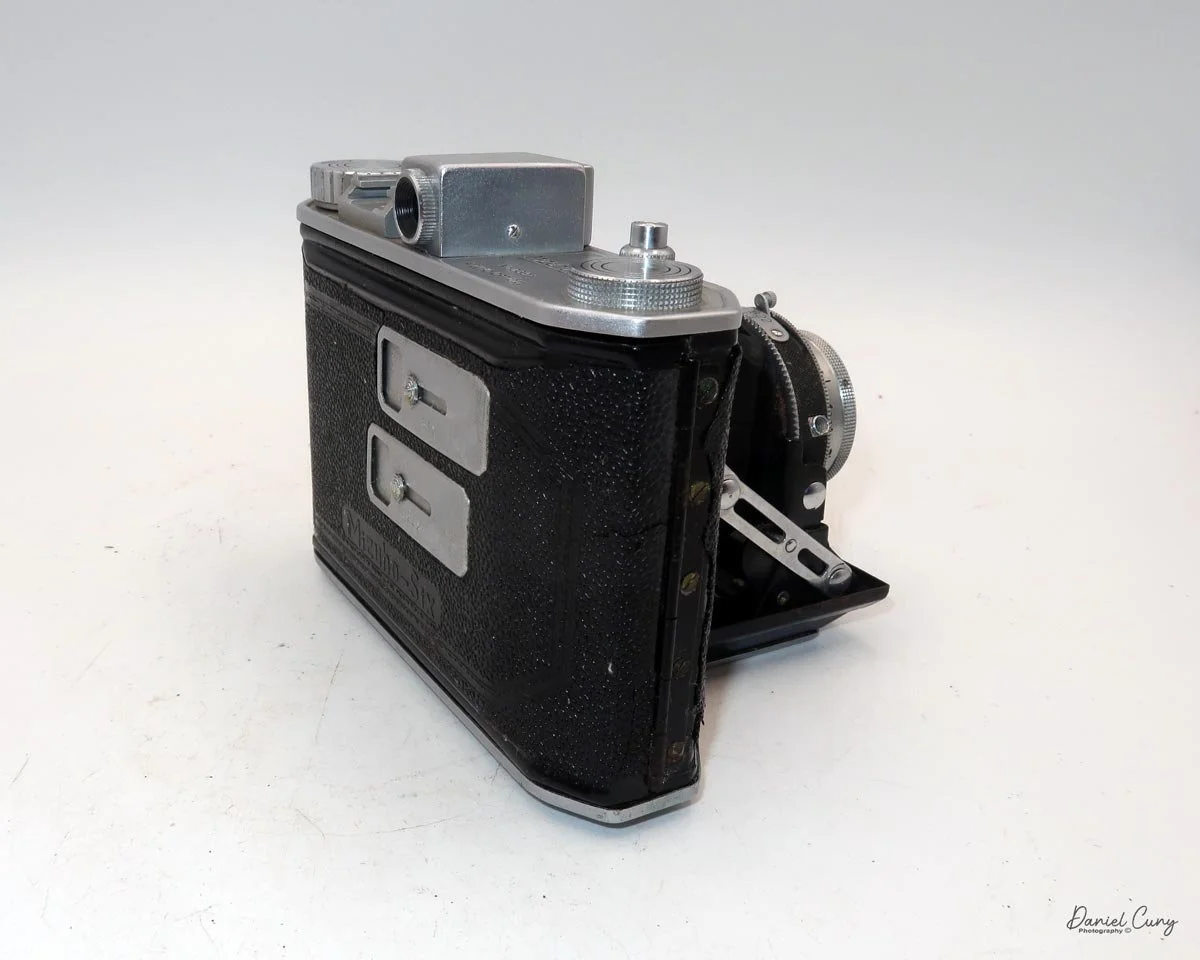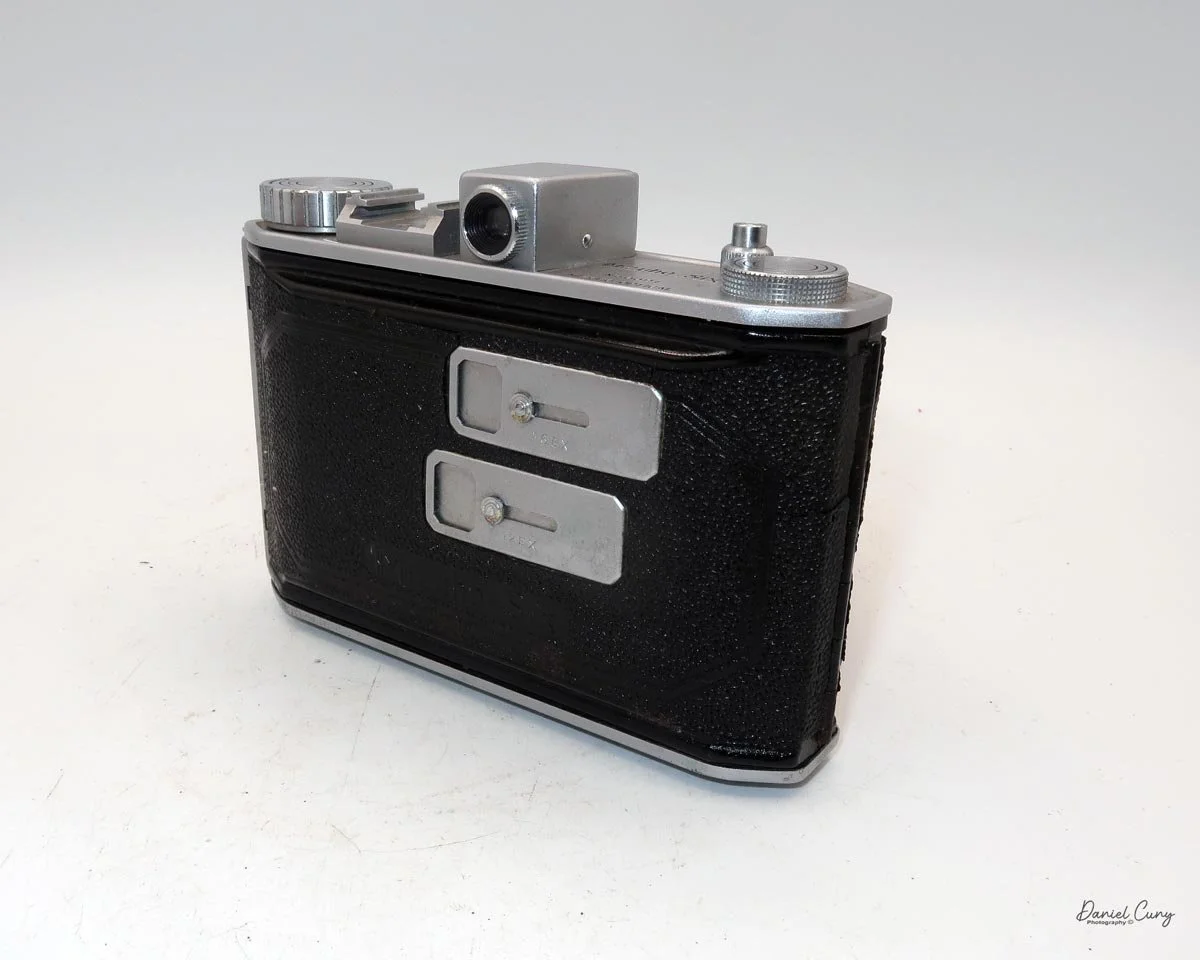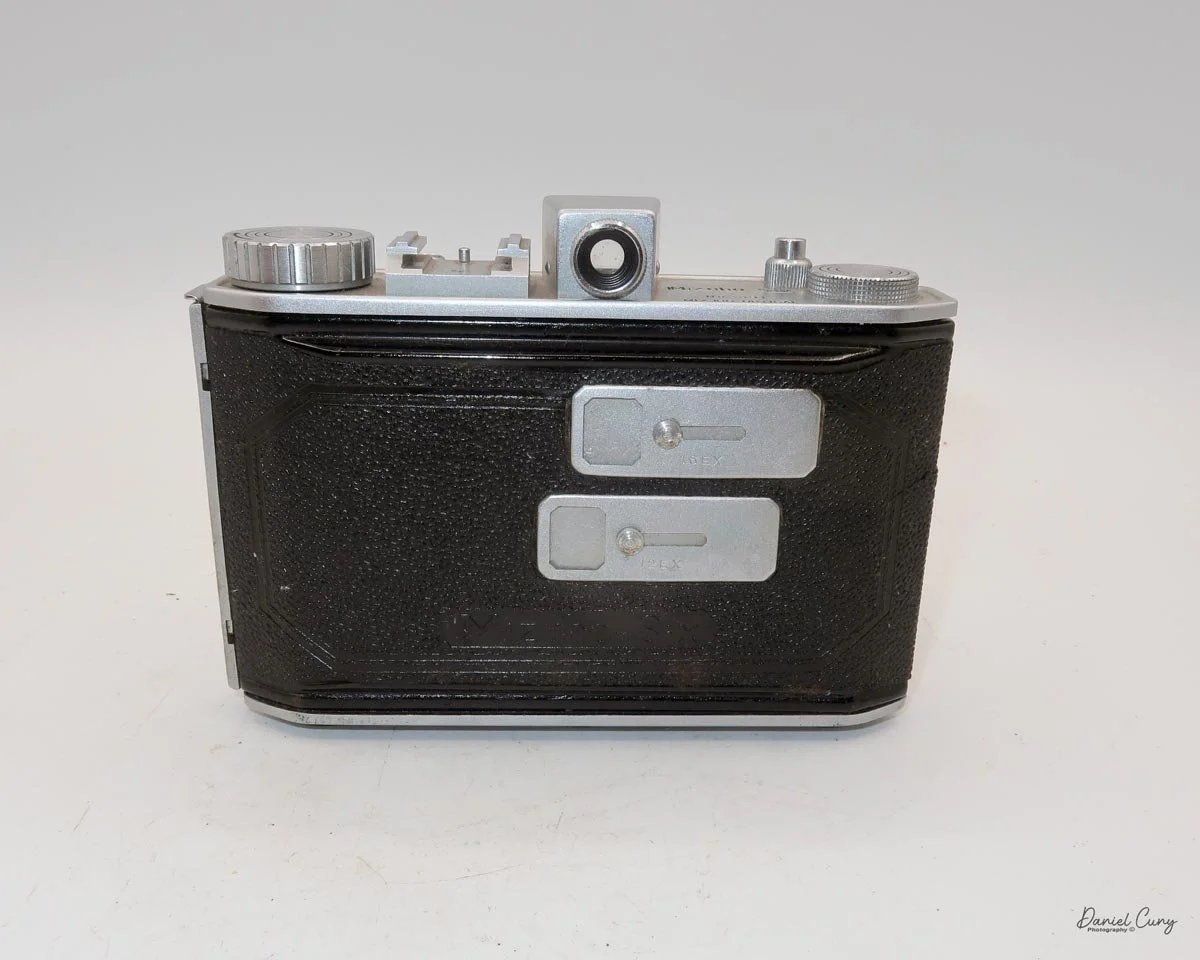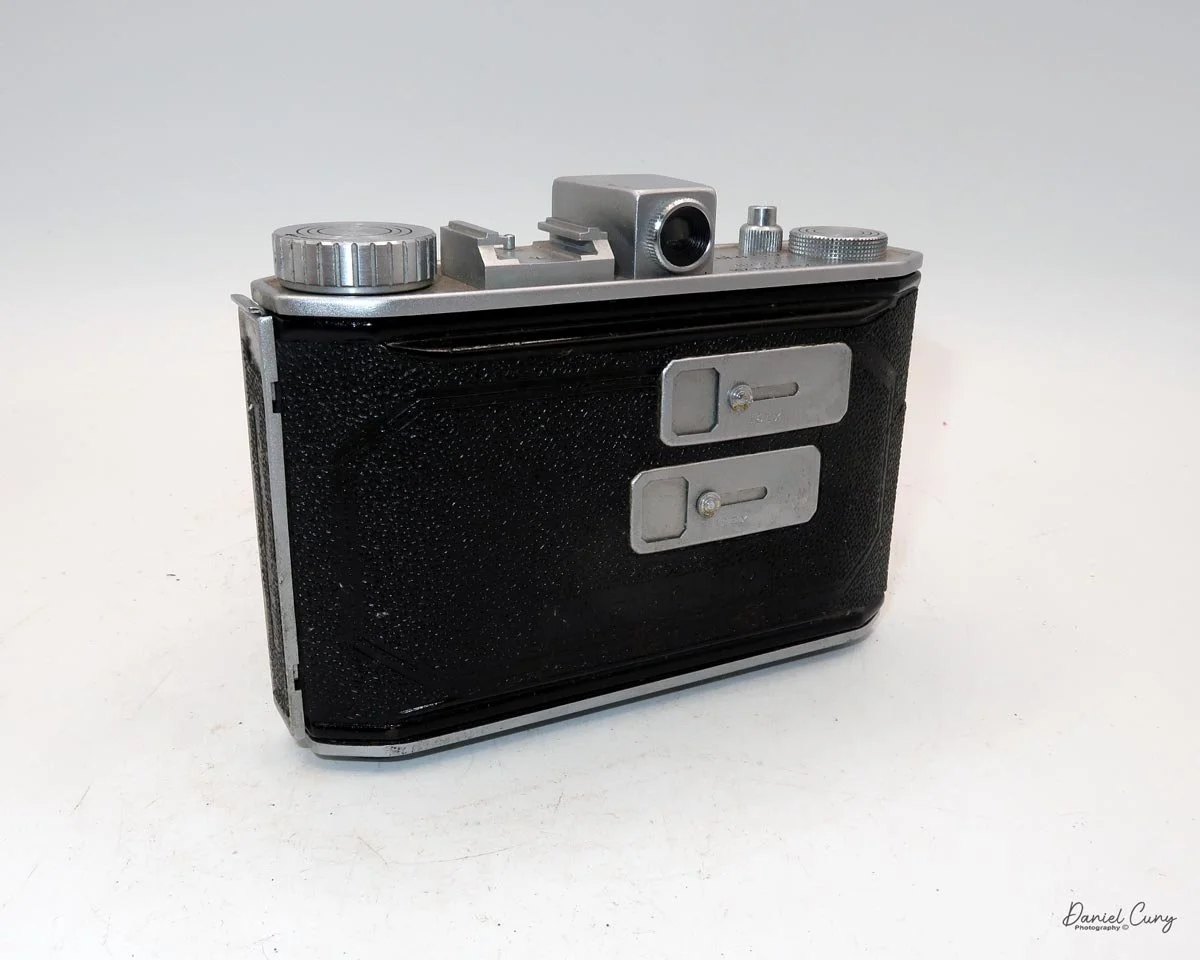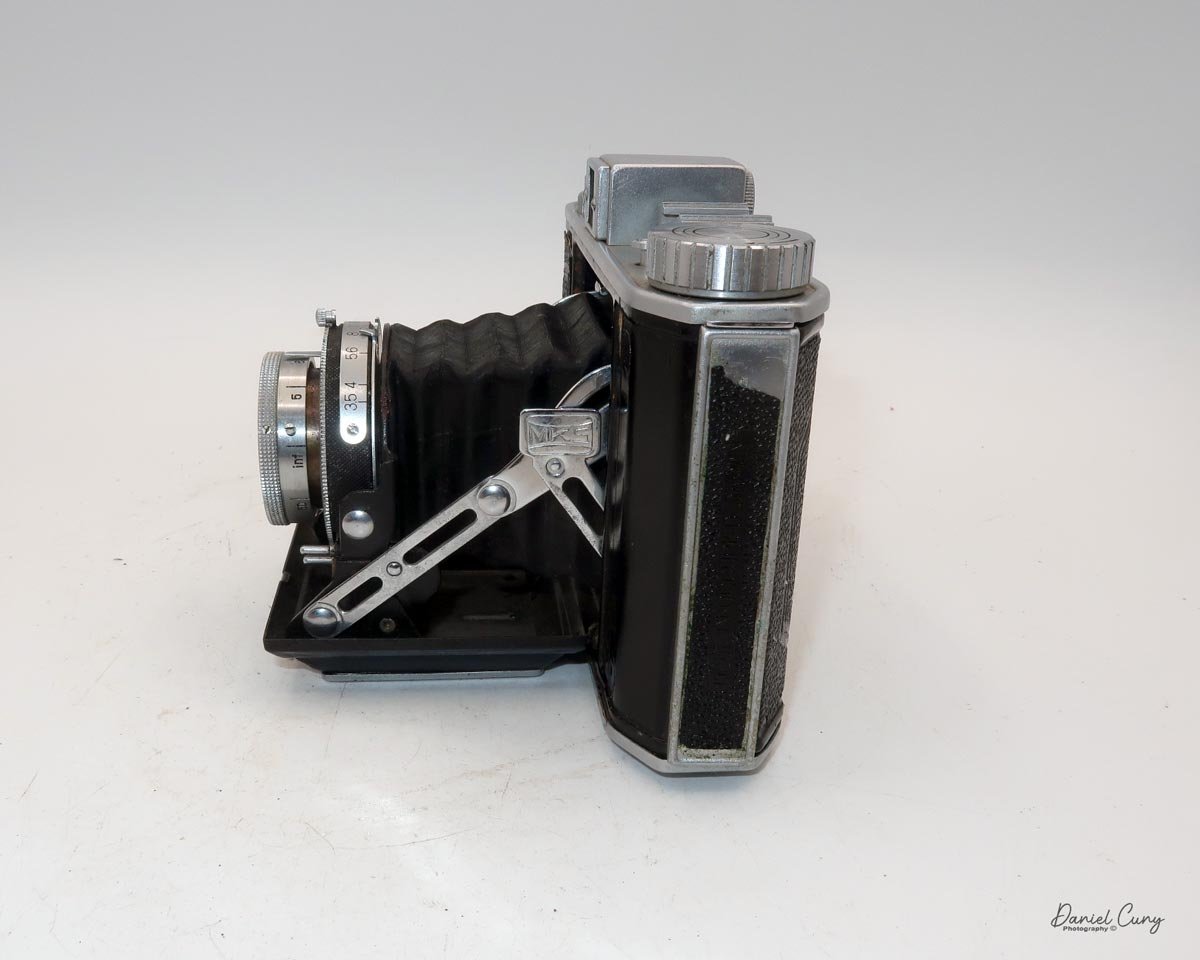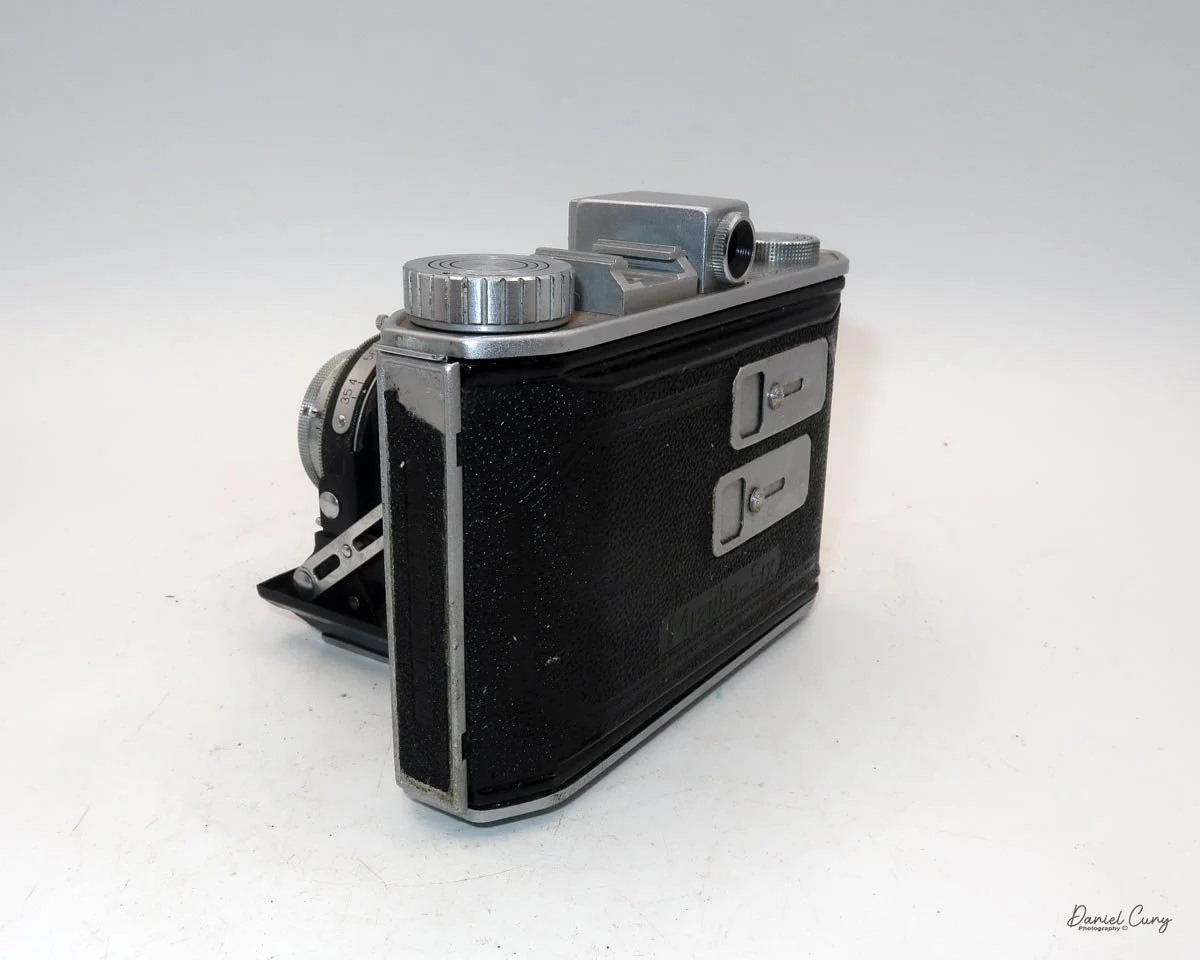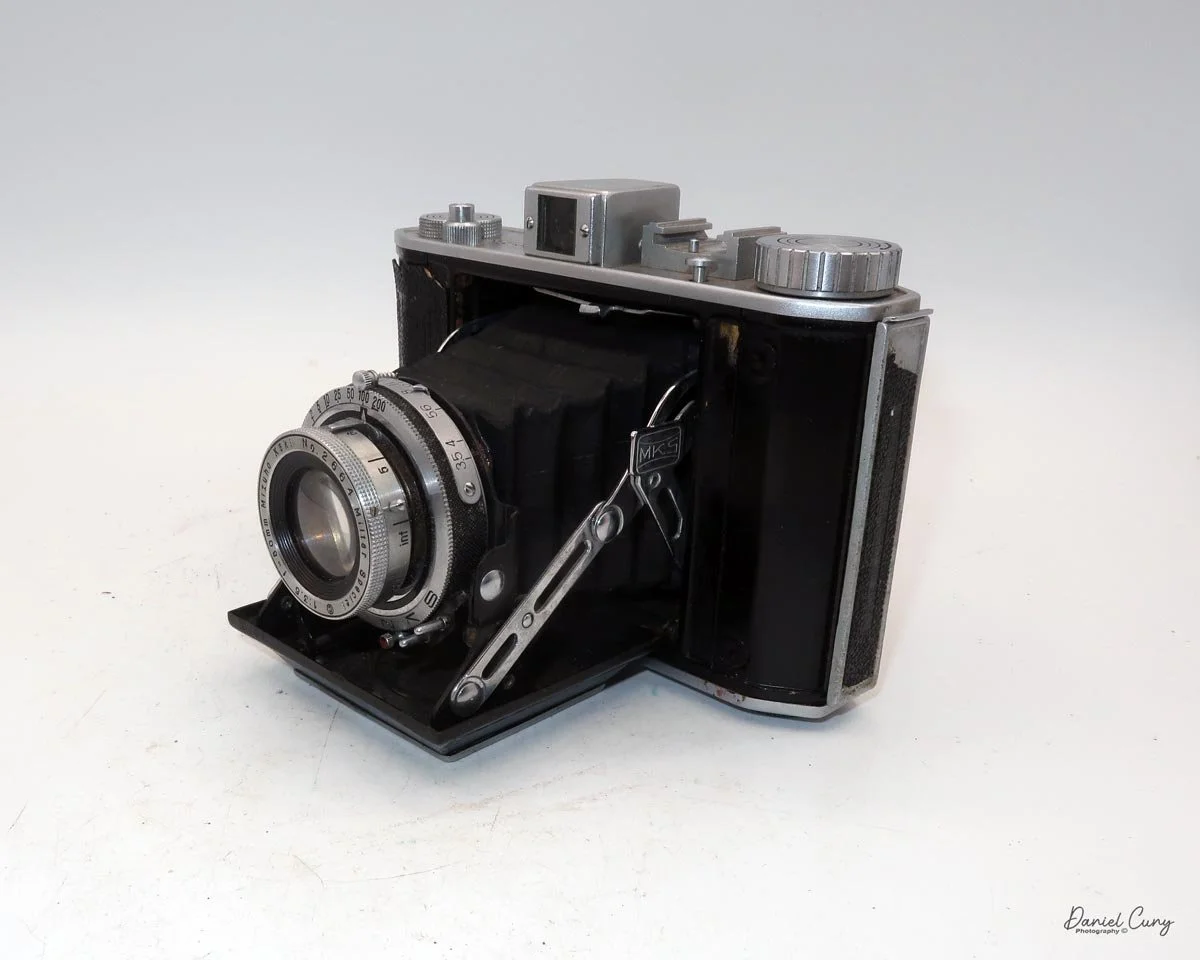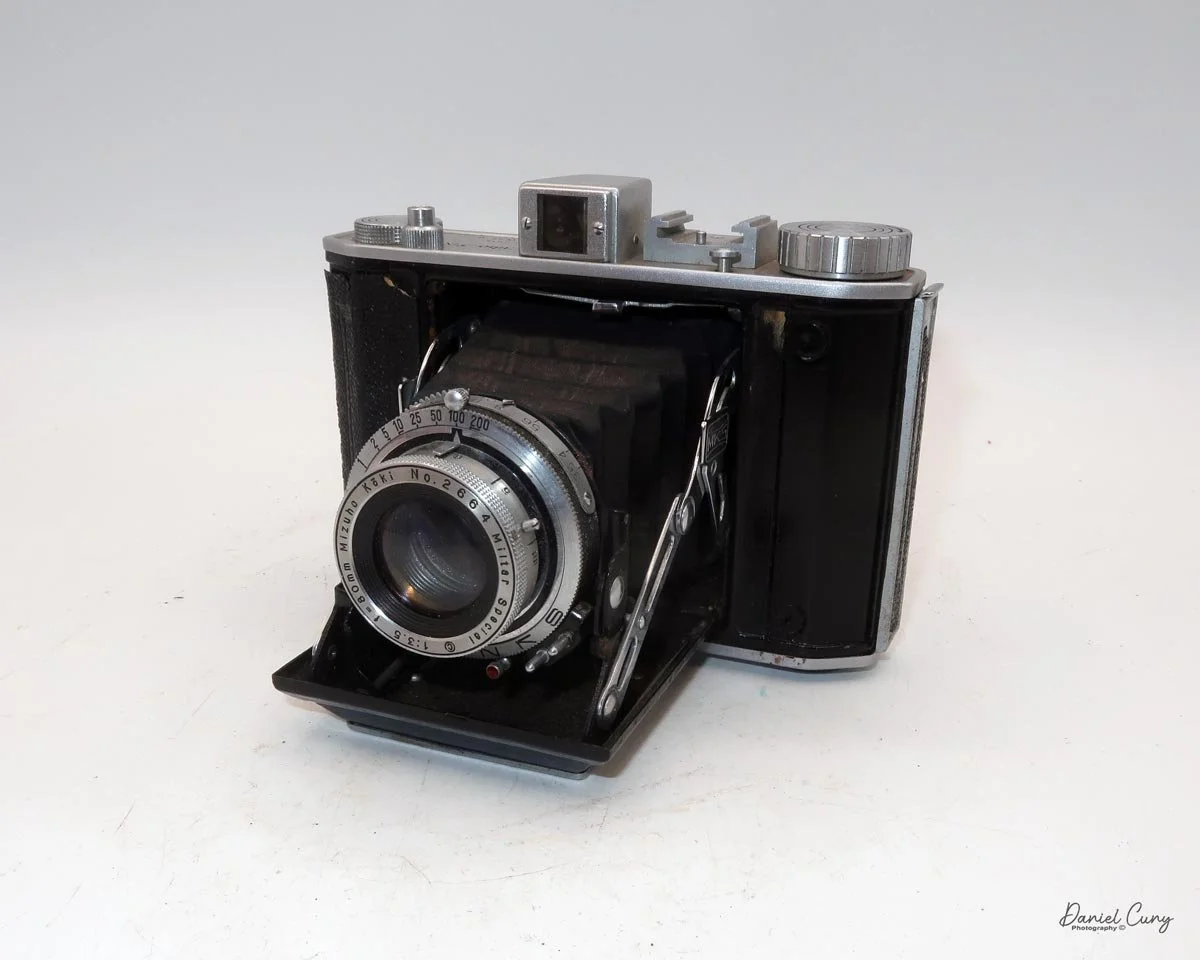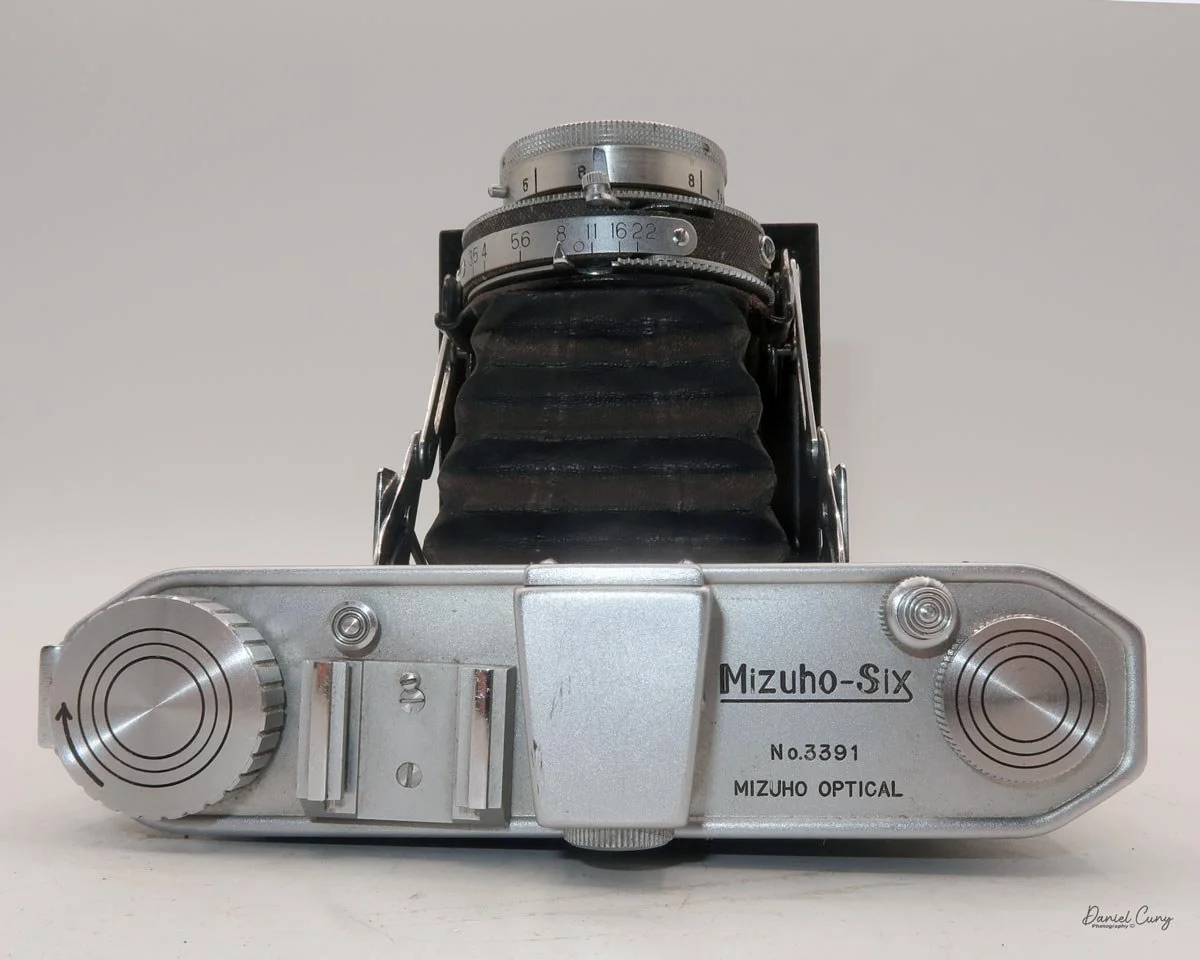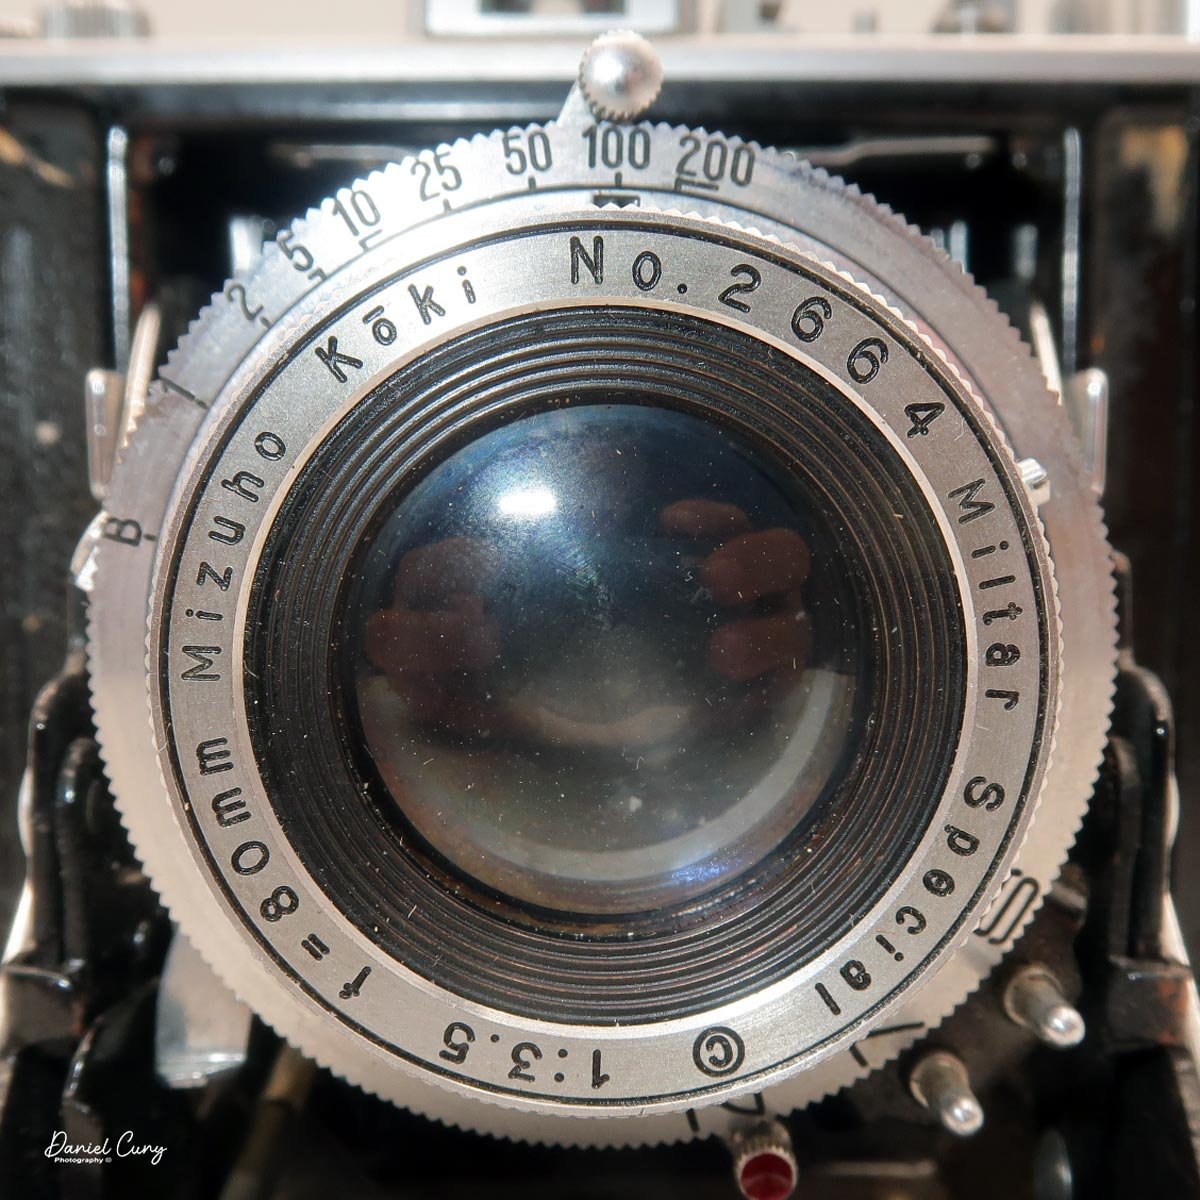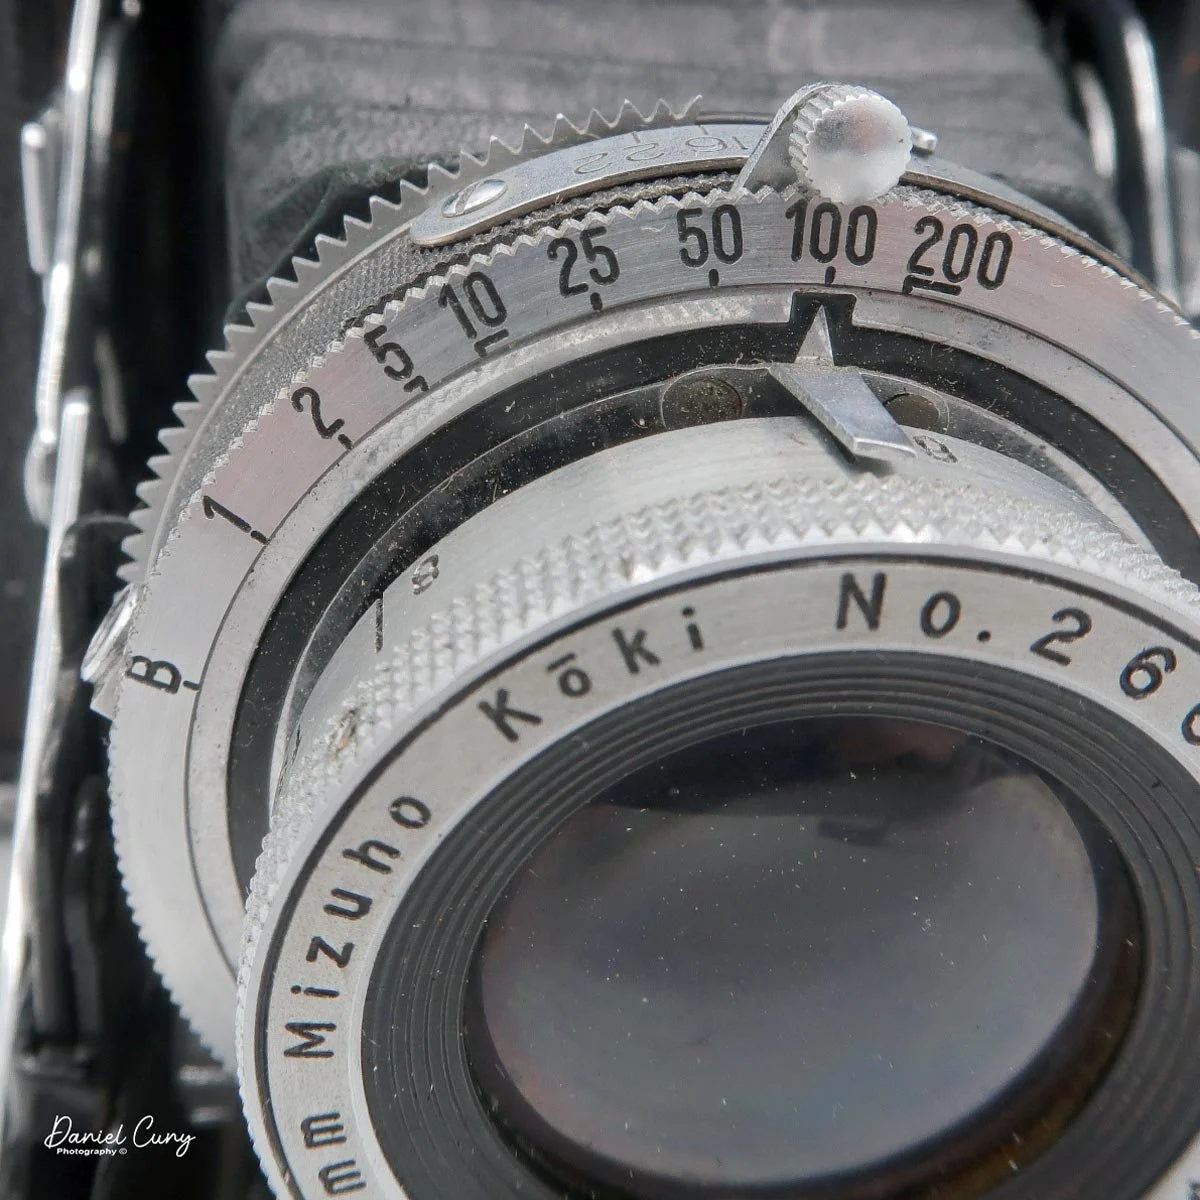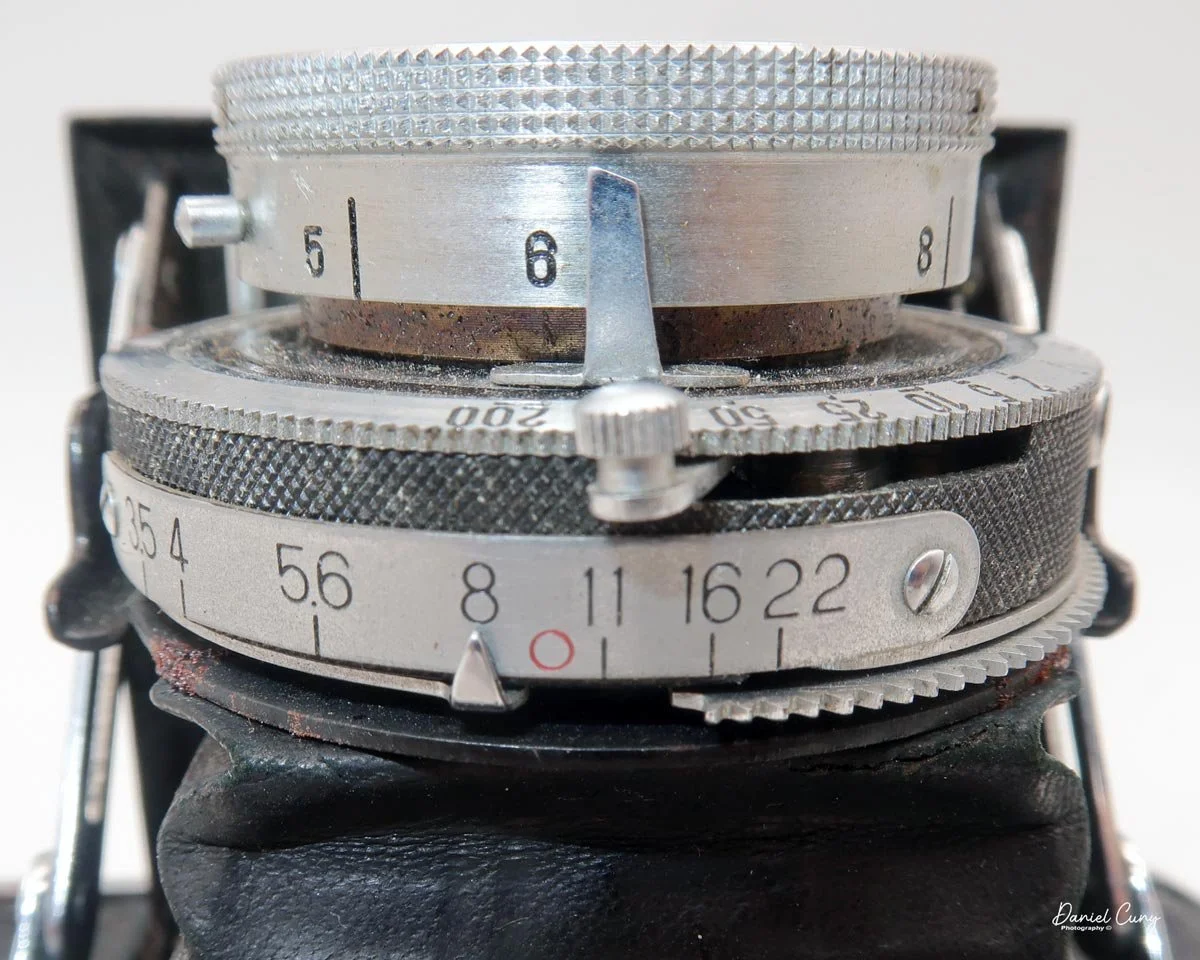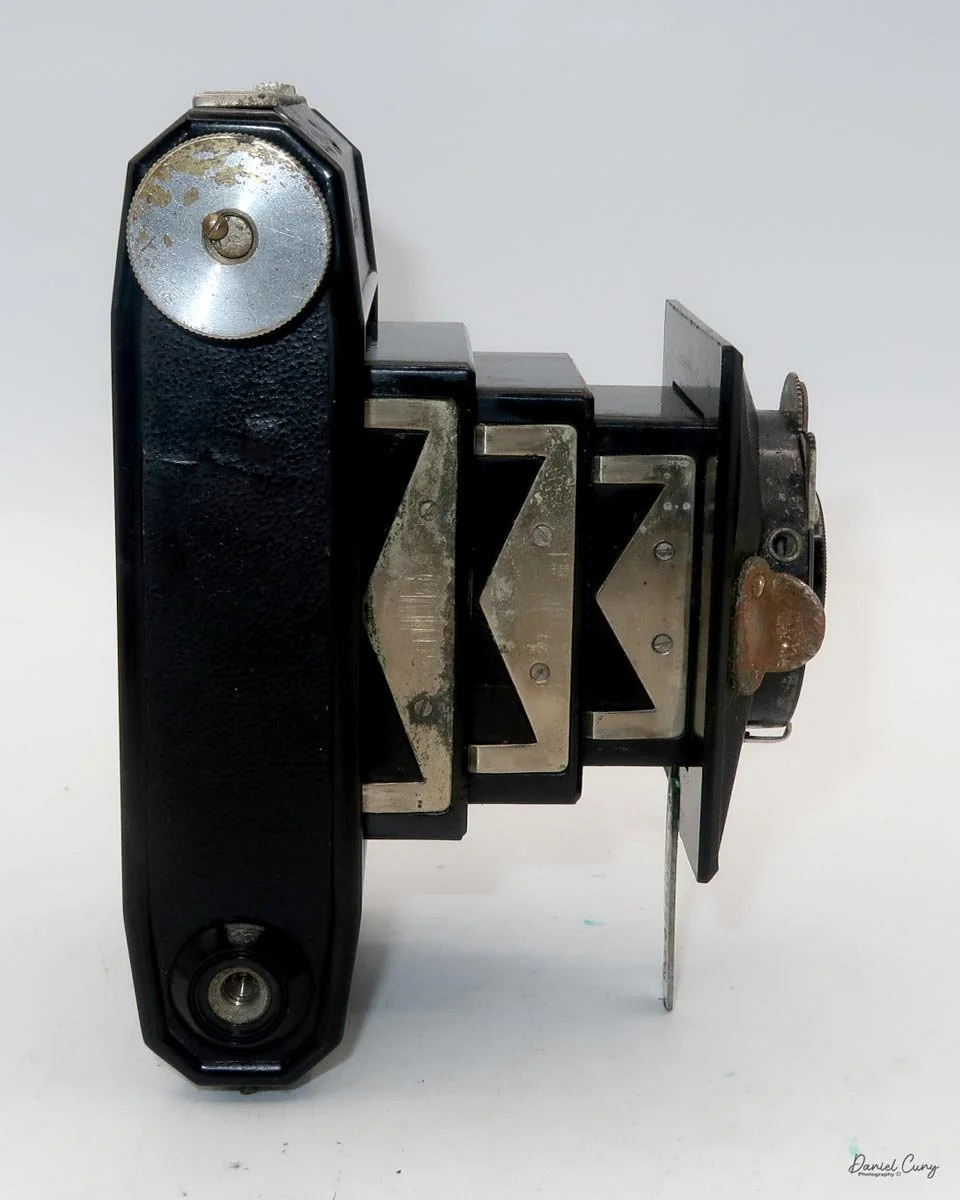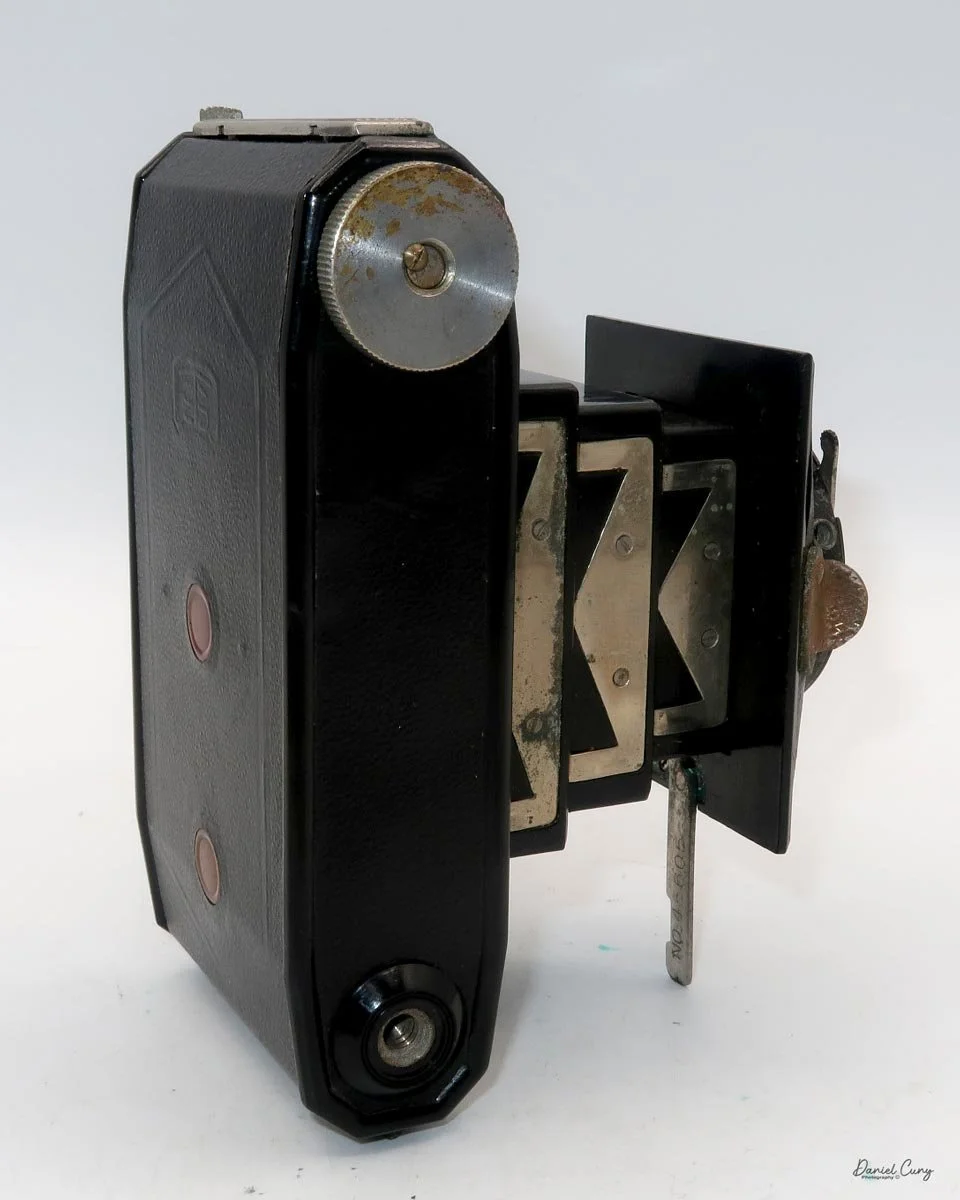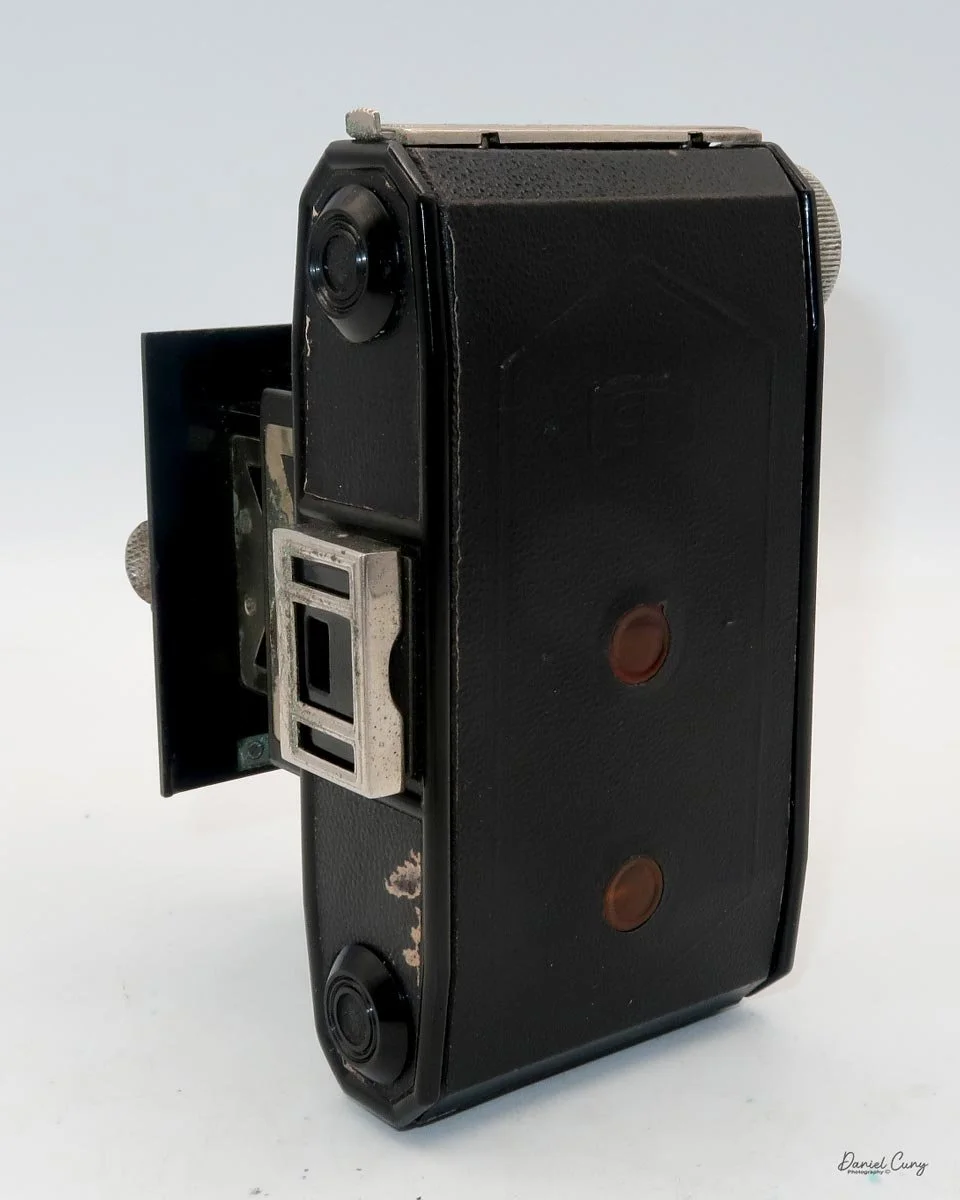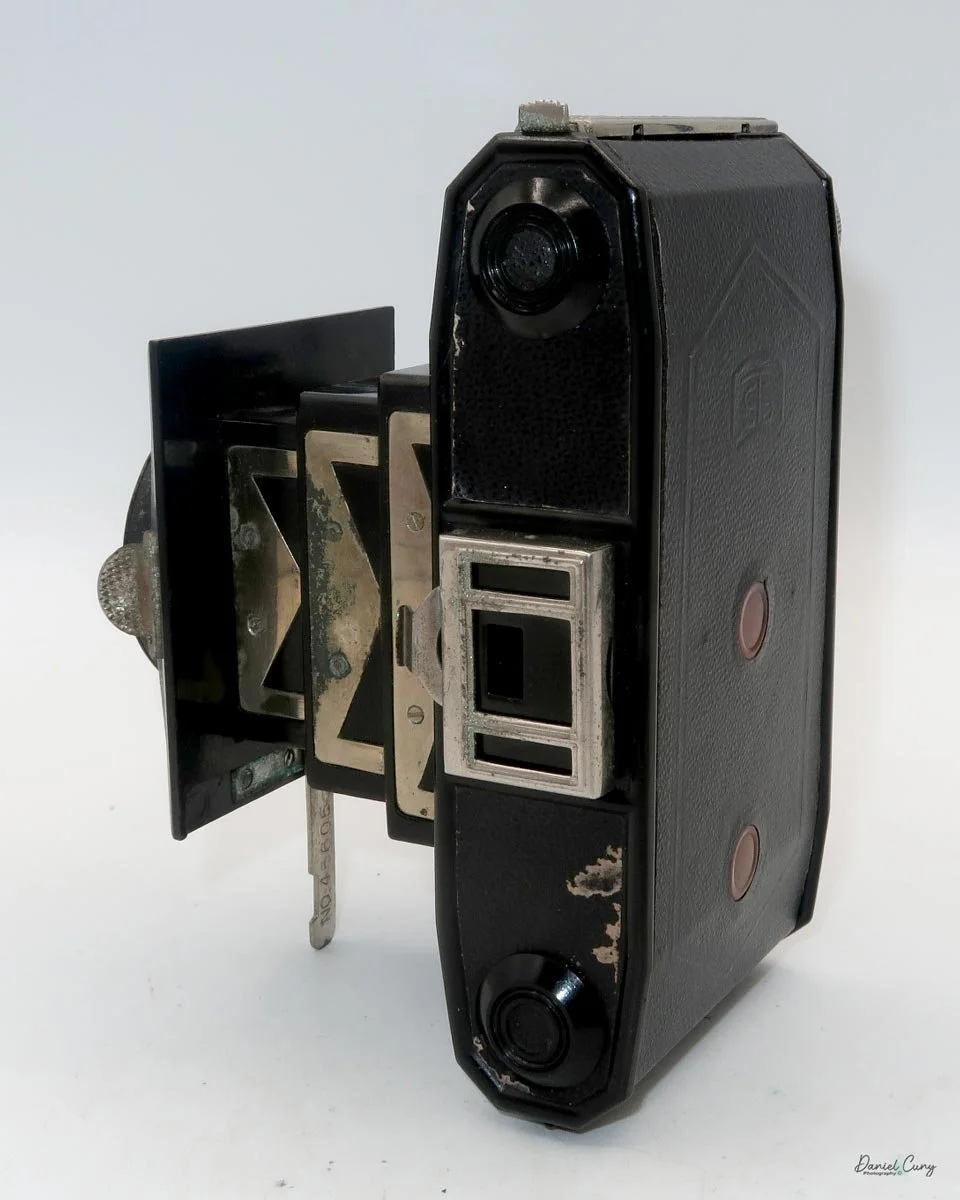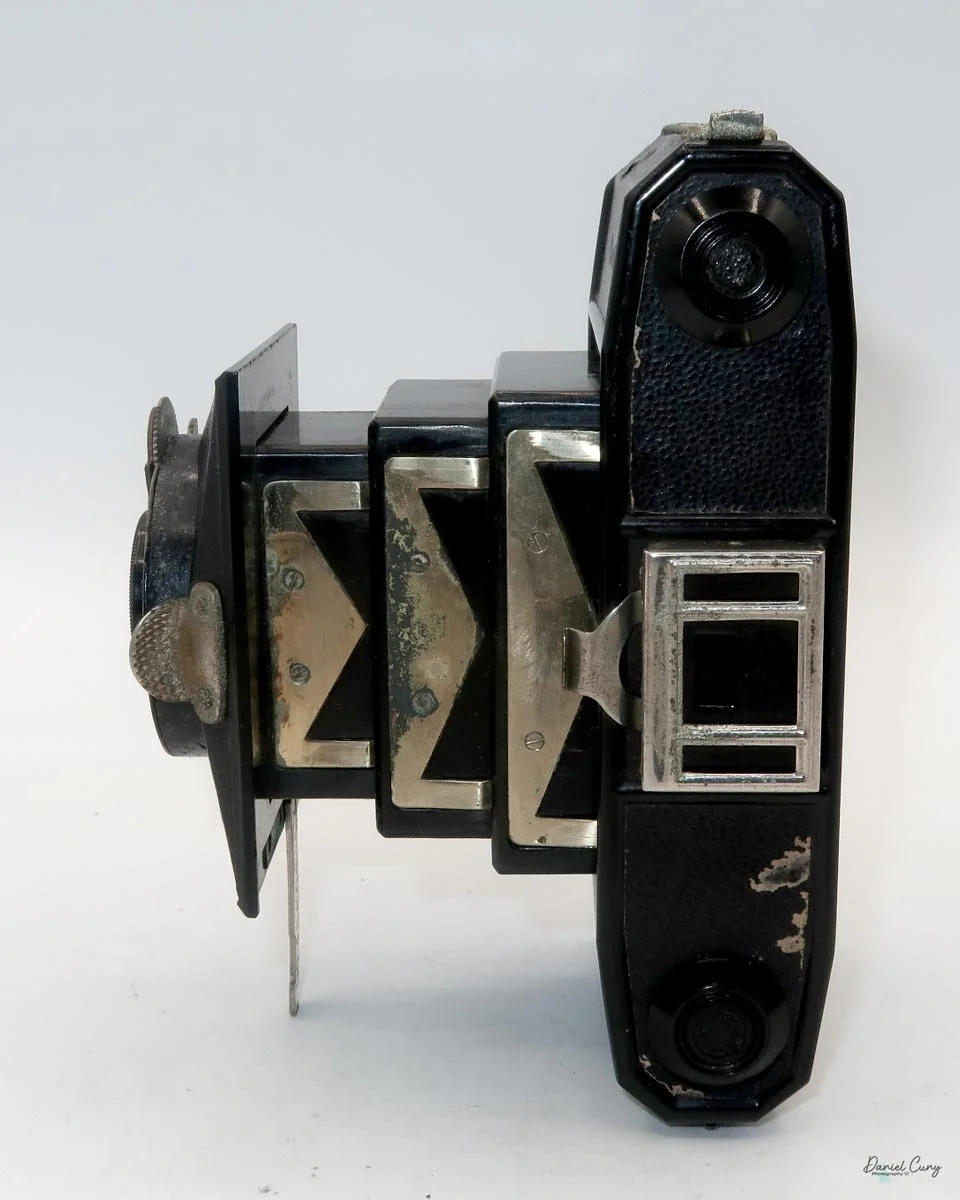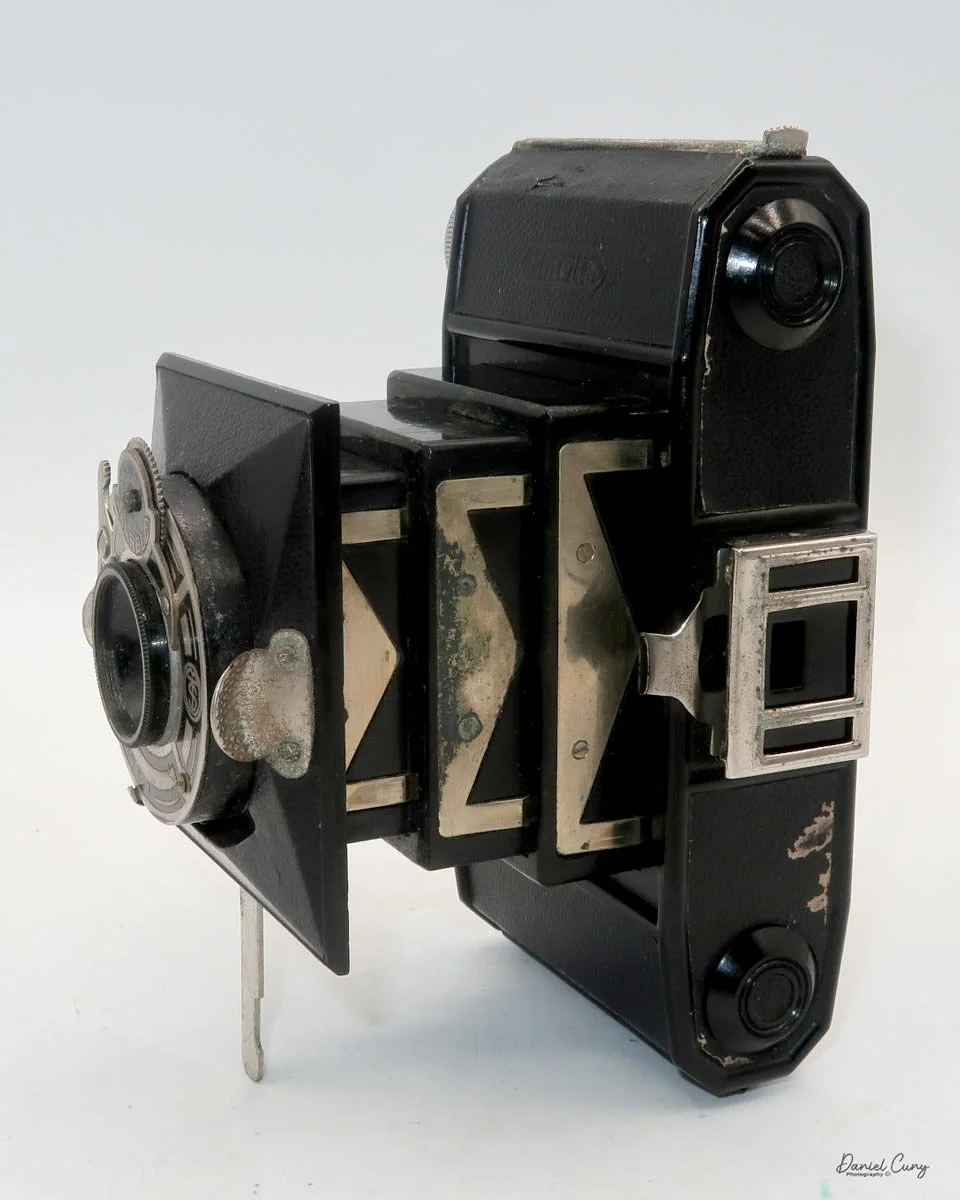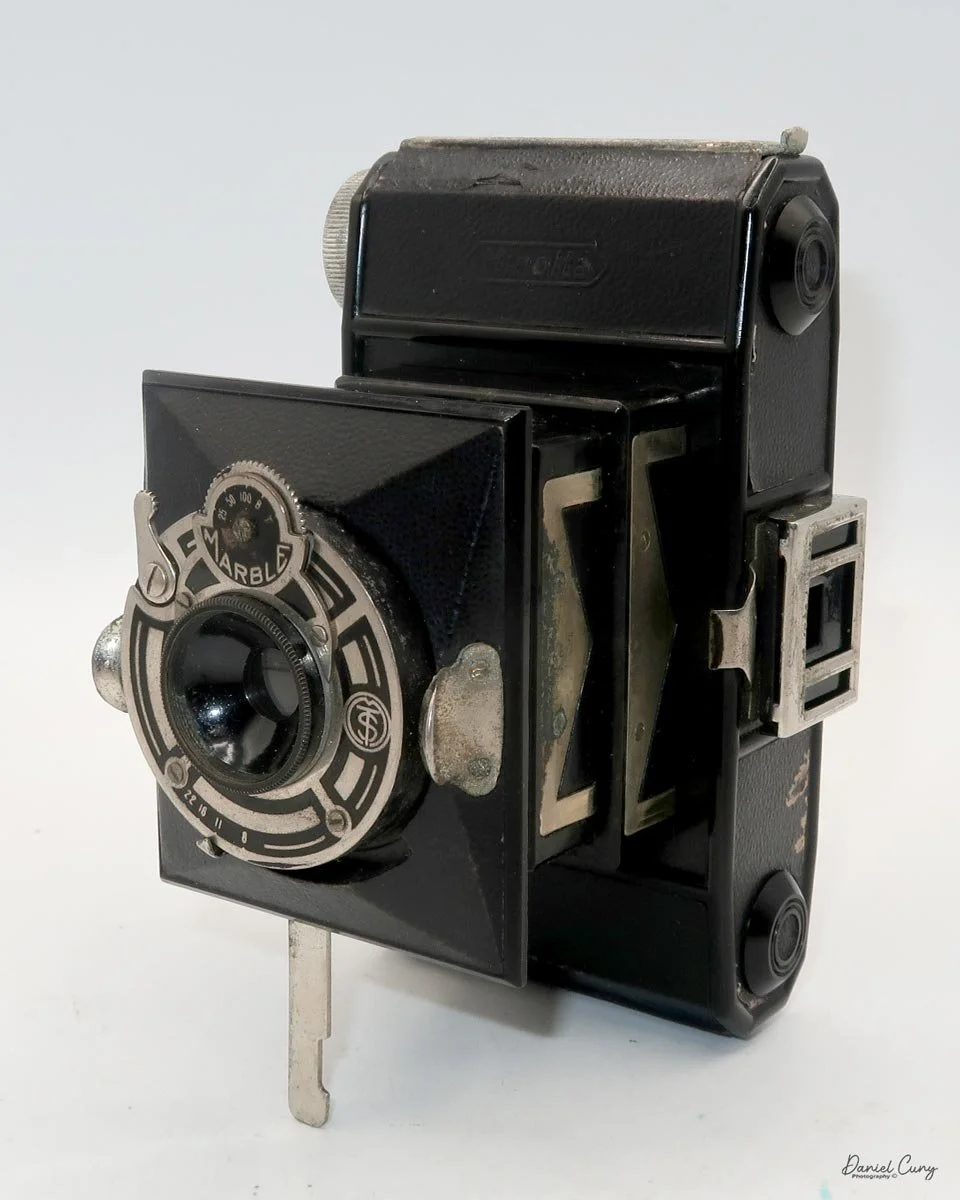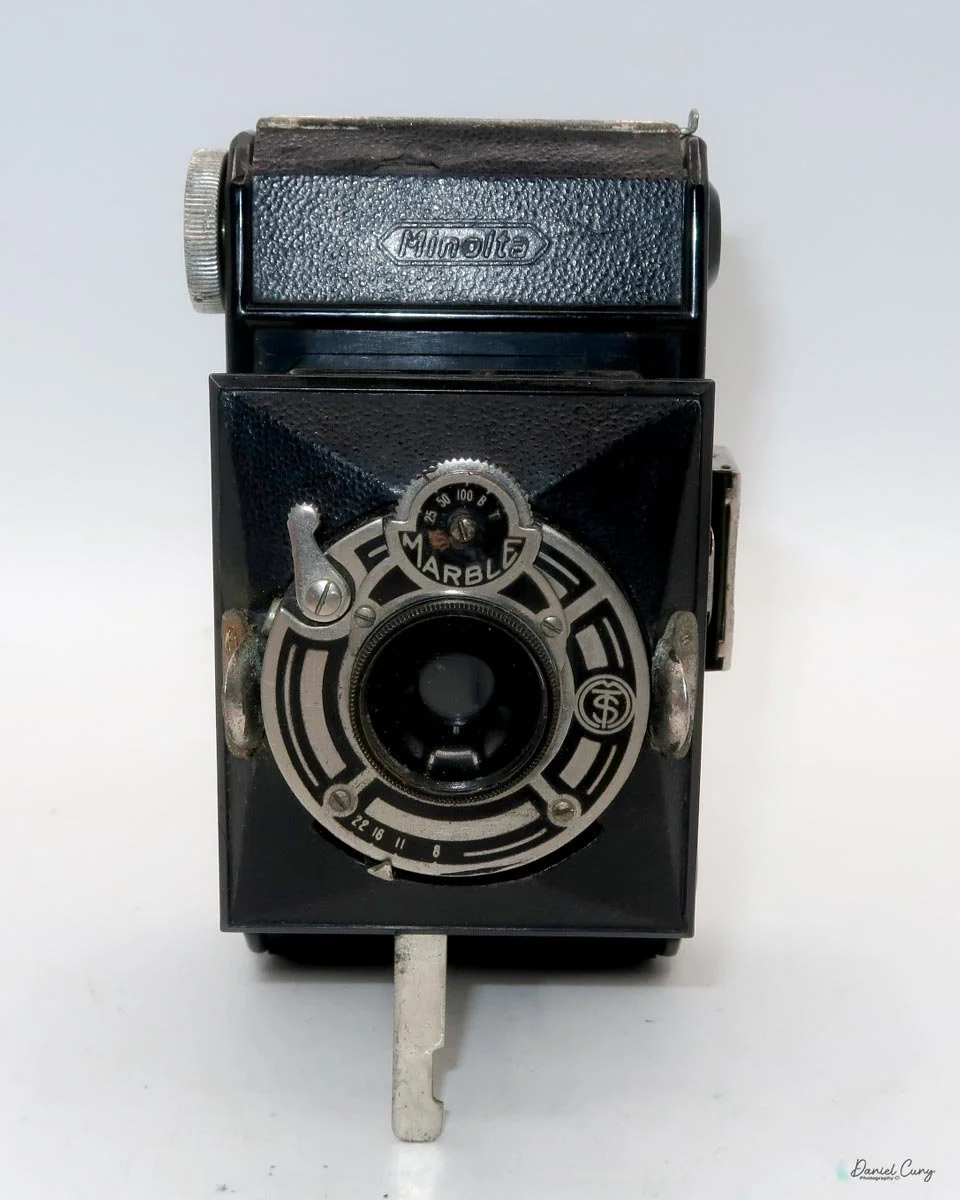
Minolta Vest camera

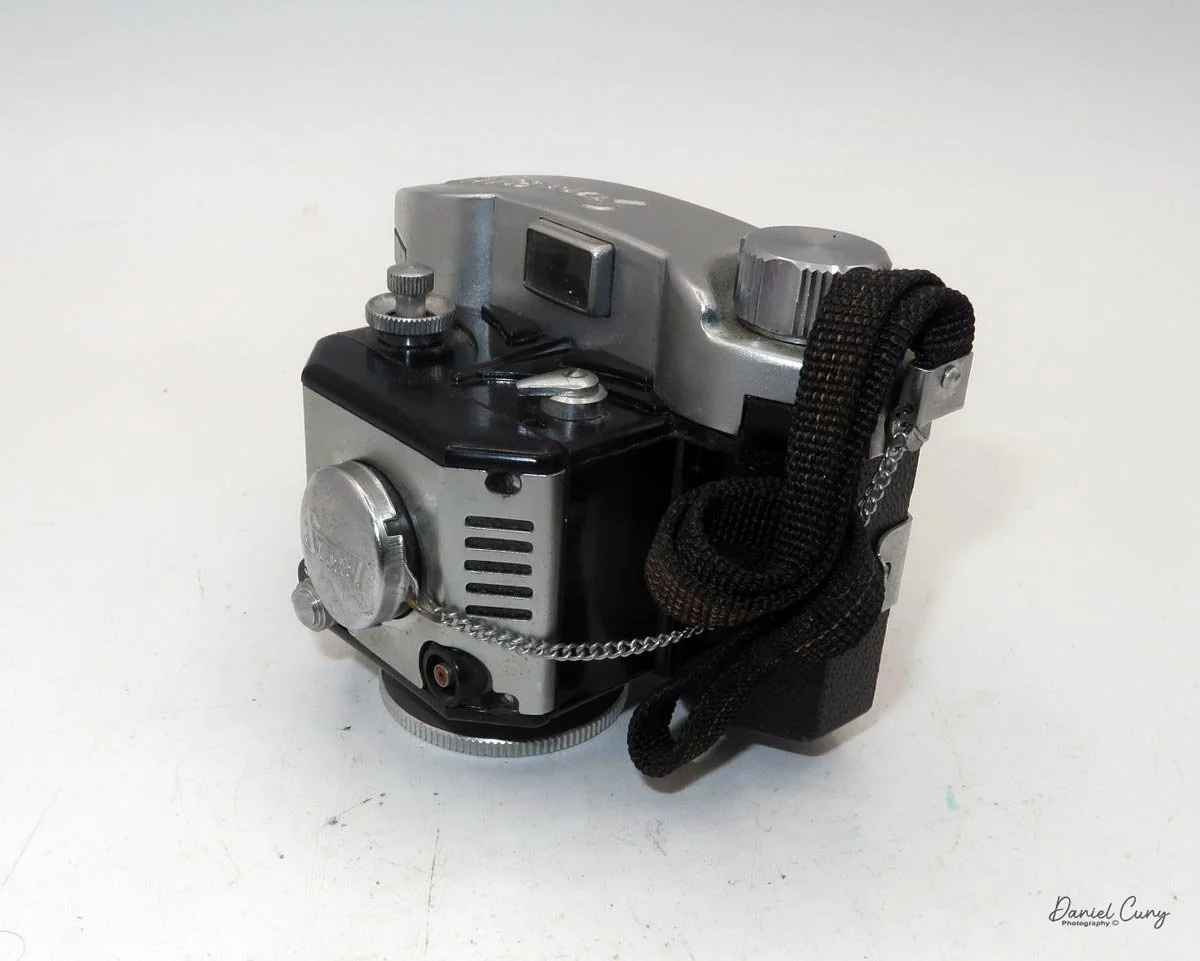
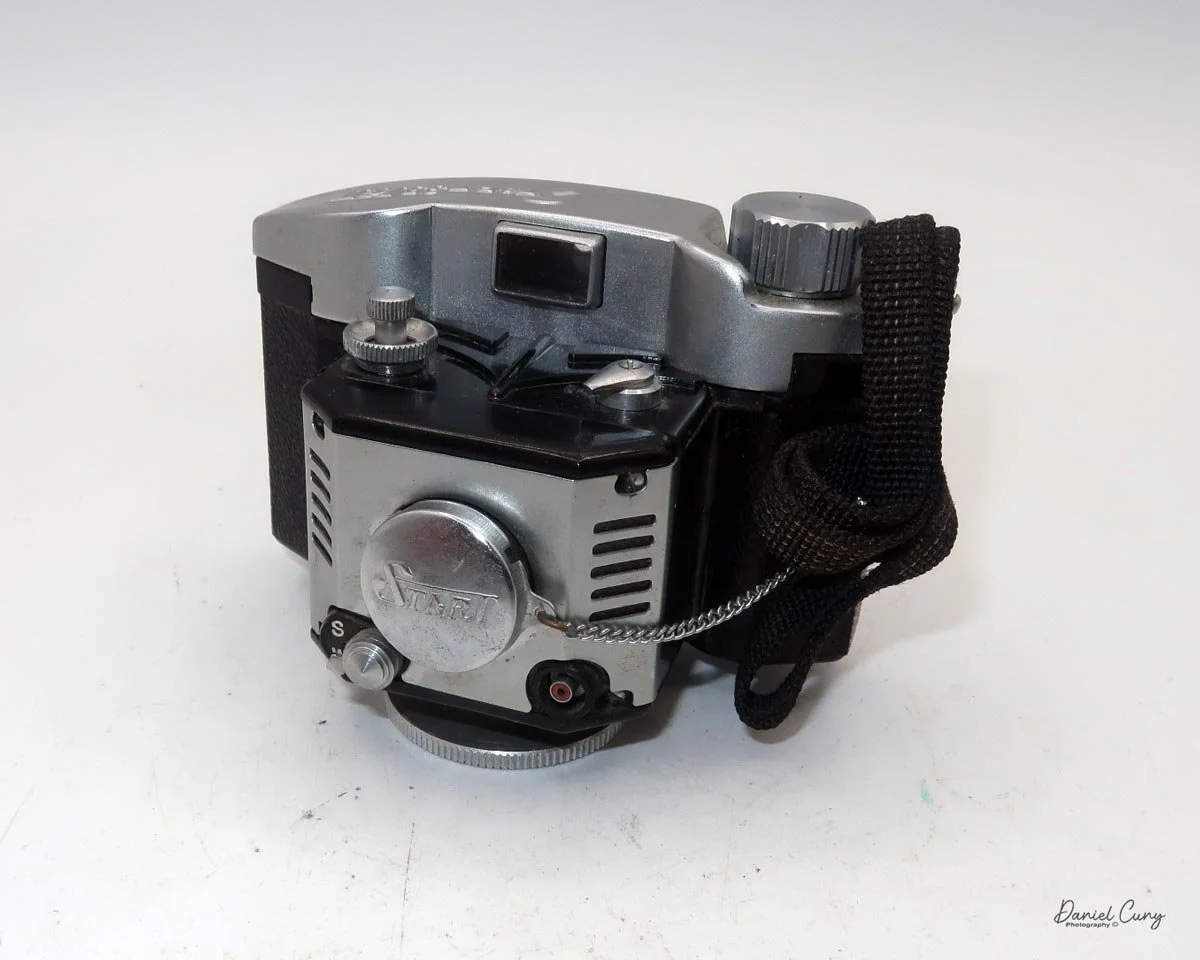
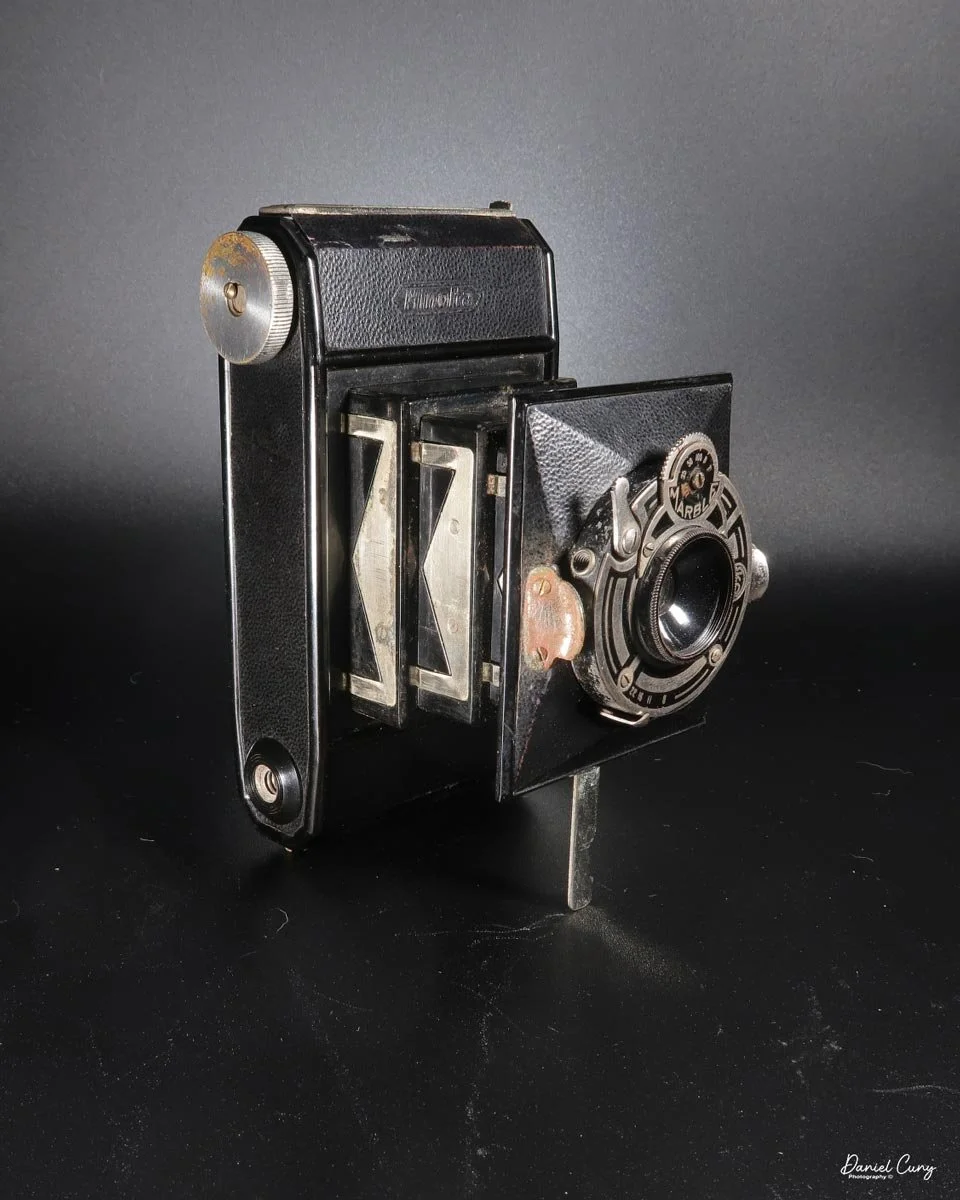
My Minolta Vest camera

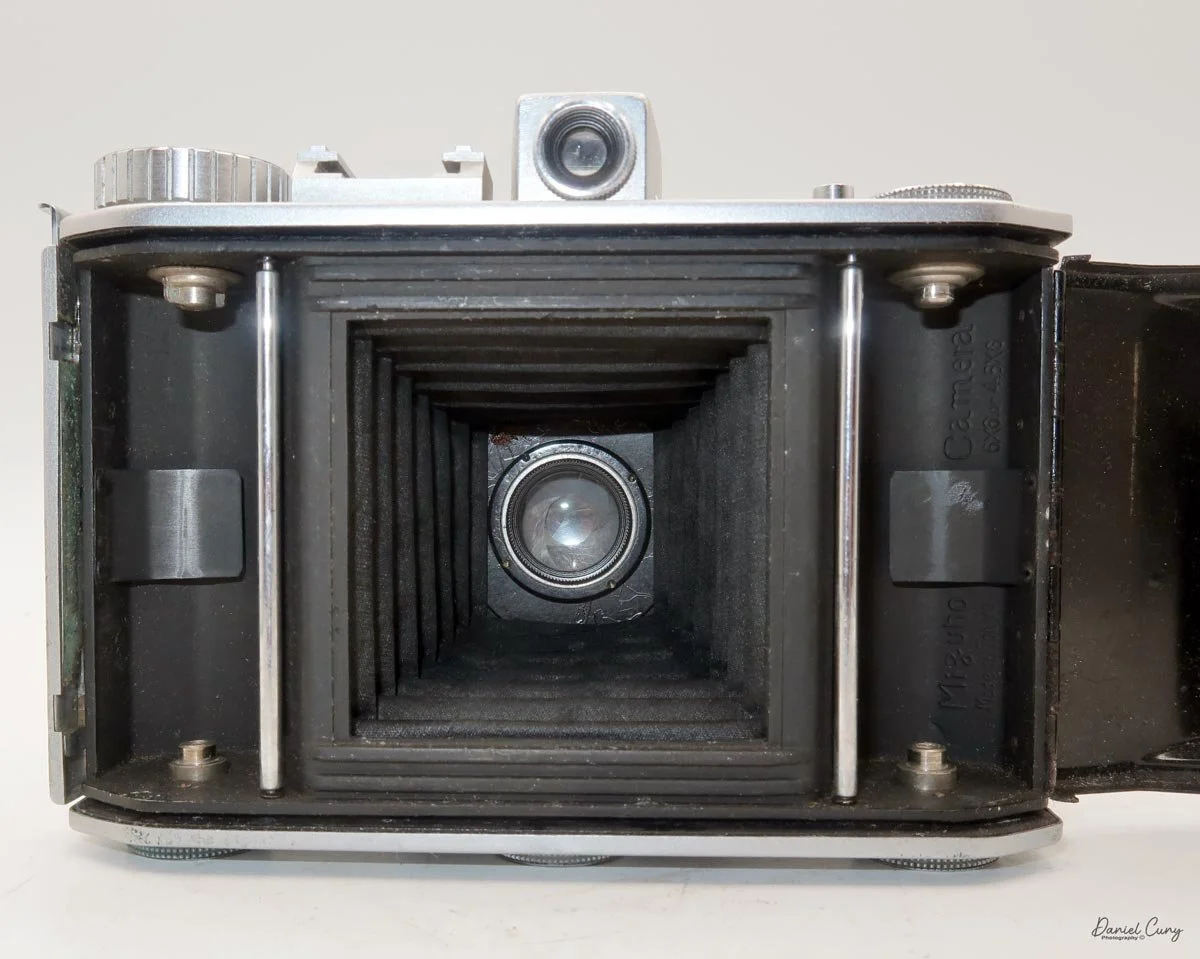
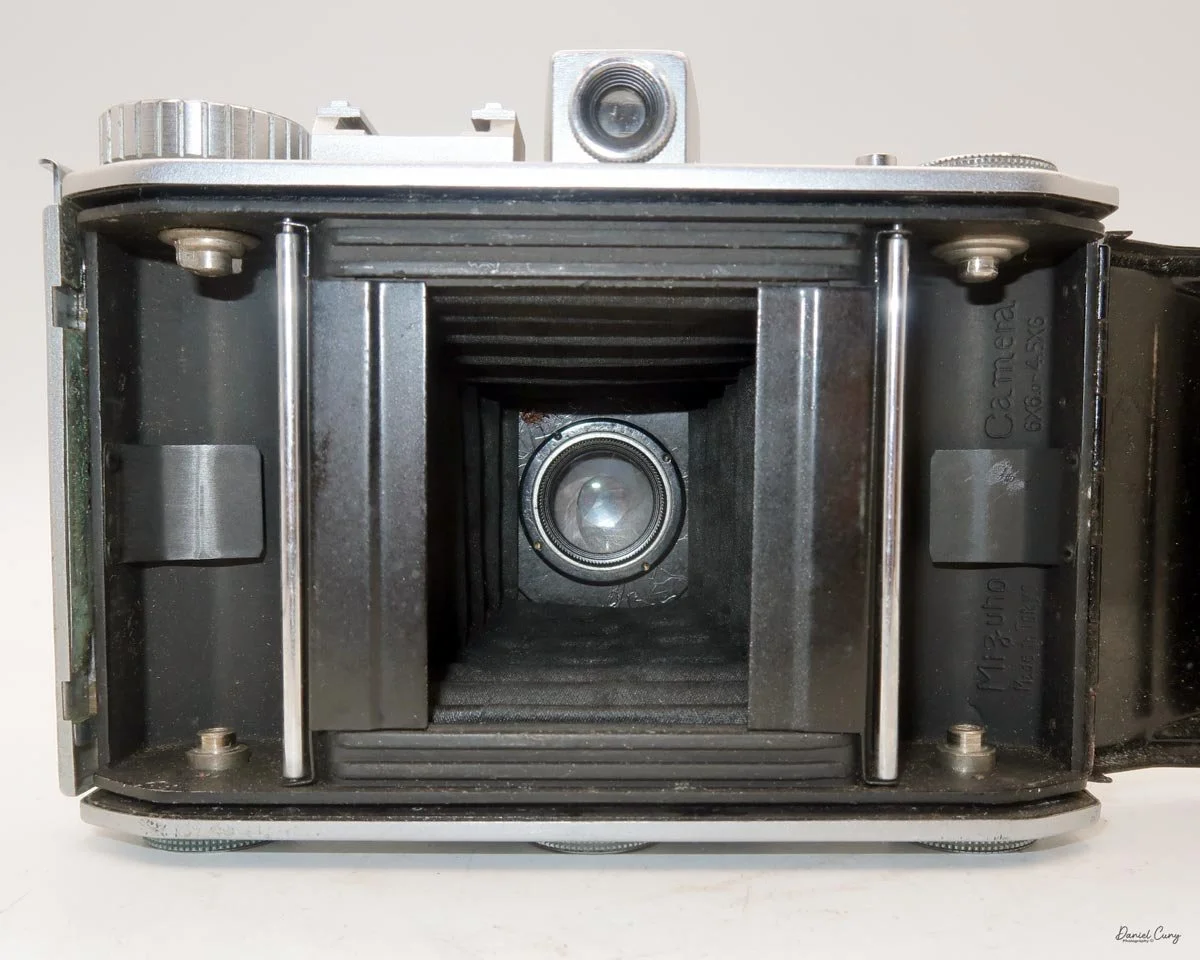
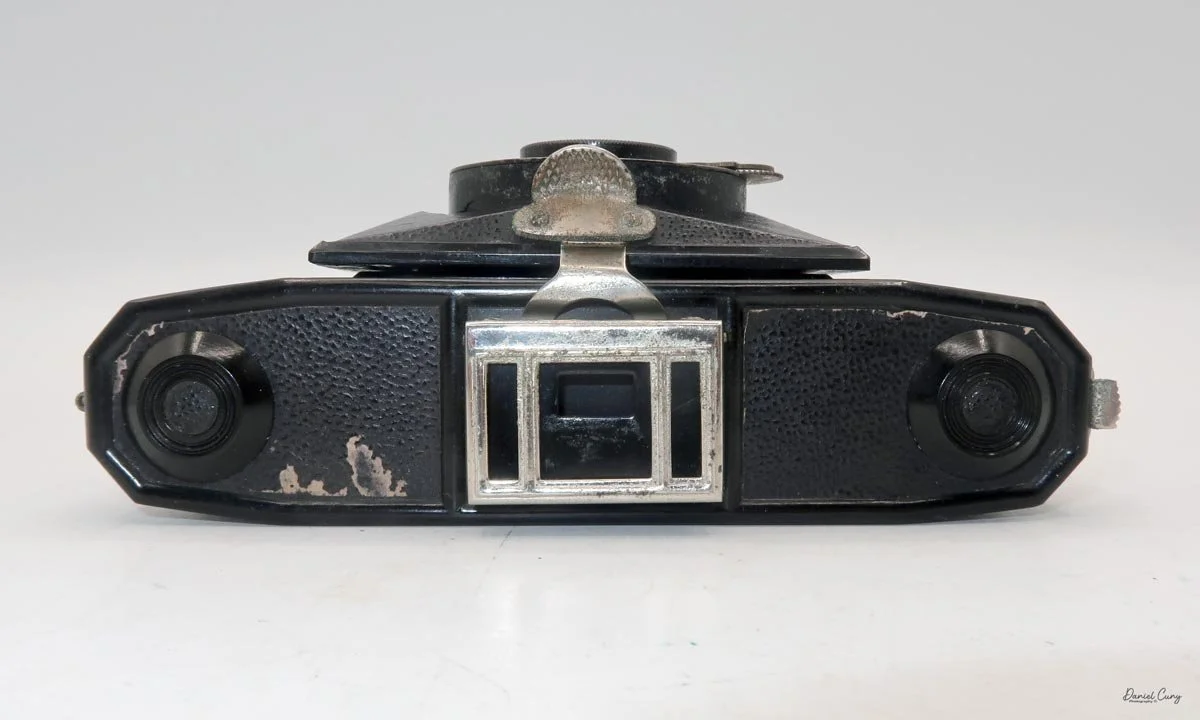
My interest in the Minolta Vest began a few months ago when I saw a post on Facebook. What I like most about the camera is its similarity to the Minolta Six. Both cameras use a three-tier, stacked metal bellows system that extends and collapses, unlike the standard cloth- or leather-covered cardboard bellows found on most cameras.

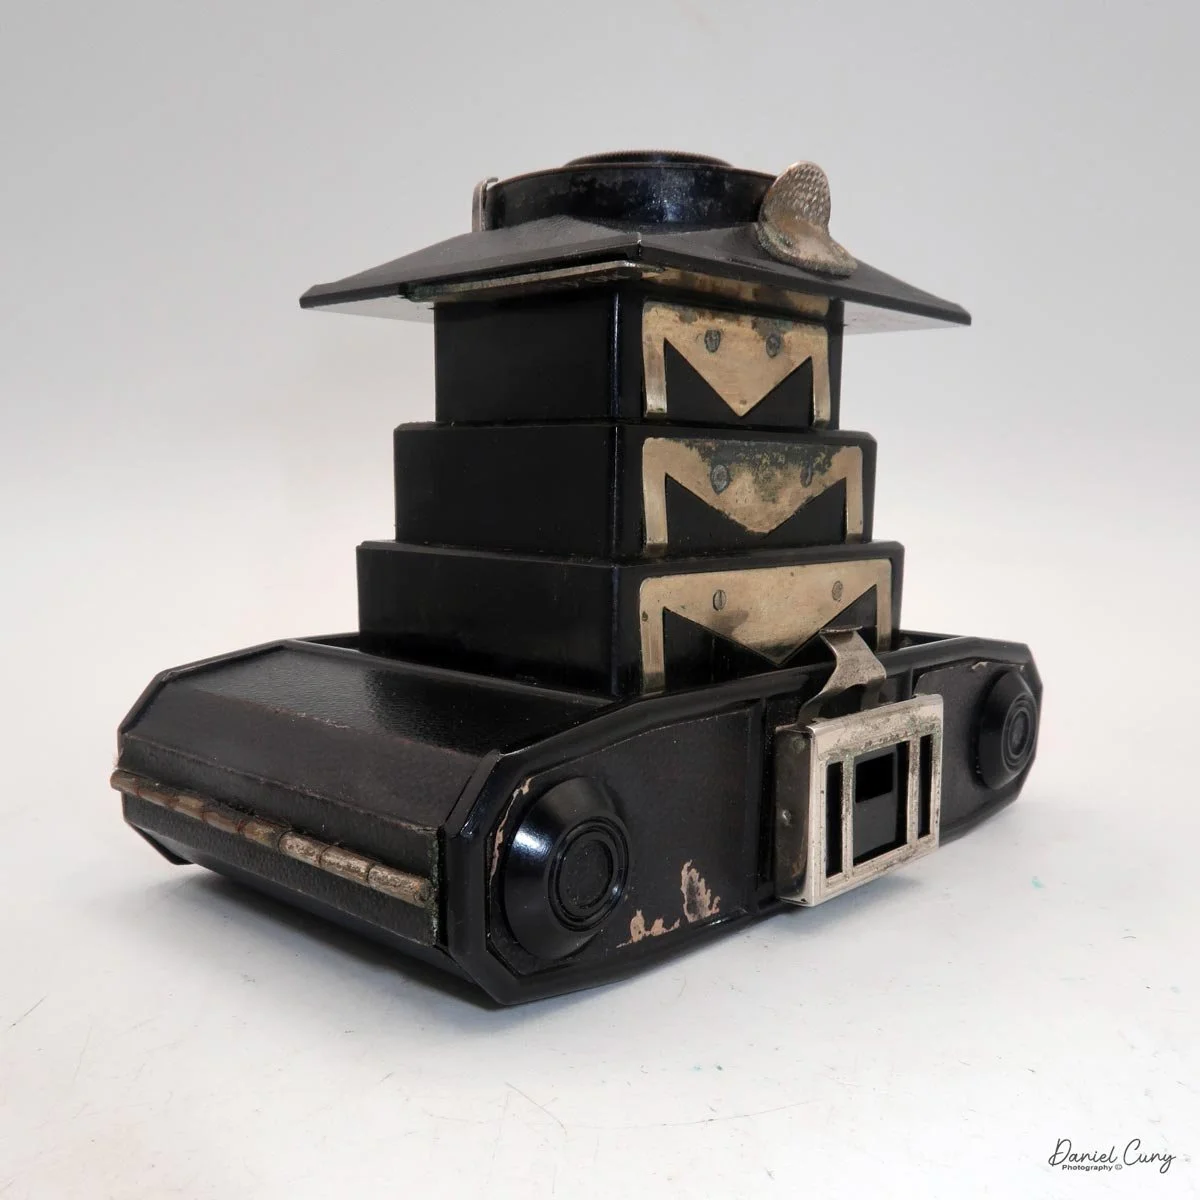
 When I first pulled out the lens on either the Minolta Six or the Minolta Vest, the metal stacking bellows reminded me of a Japanese pagoda. Both cameras have a beautiful chrome pattern set against stark black Bakelite, giving them a strong Art Deco appearance. It's the artistry and attention to detail that you don't see in cameras produced today.

 Knowing about this early Minolta camera with metal stacking bellows, I made a point of keeping an eye out for one during my trip to Tokyo a few weeks ago.

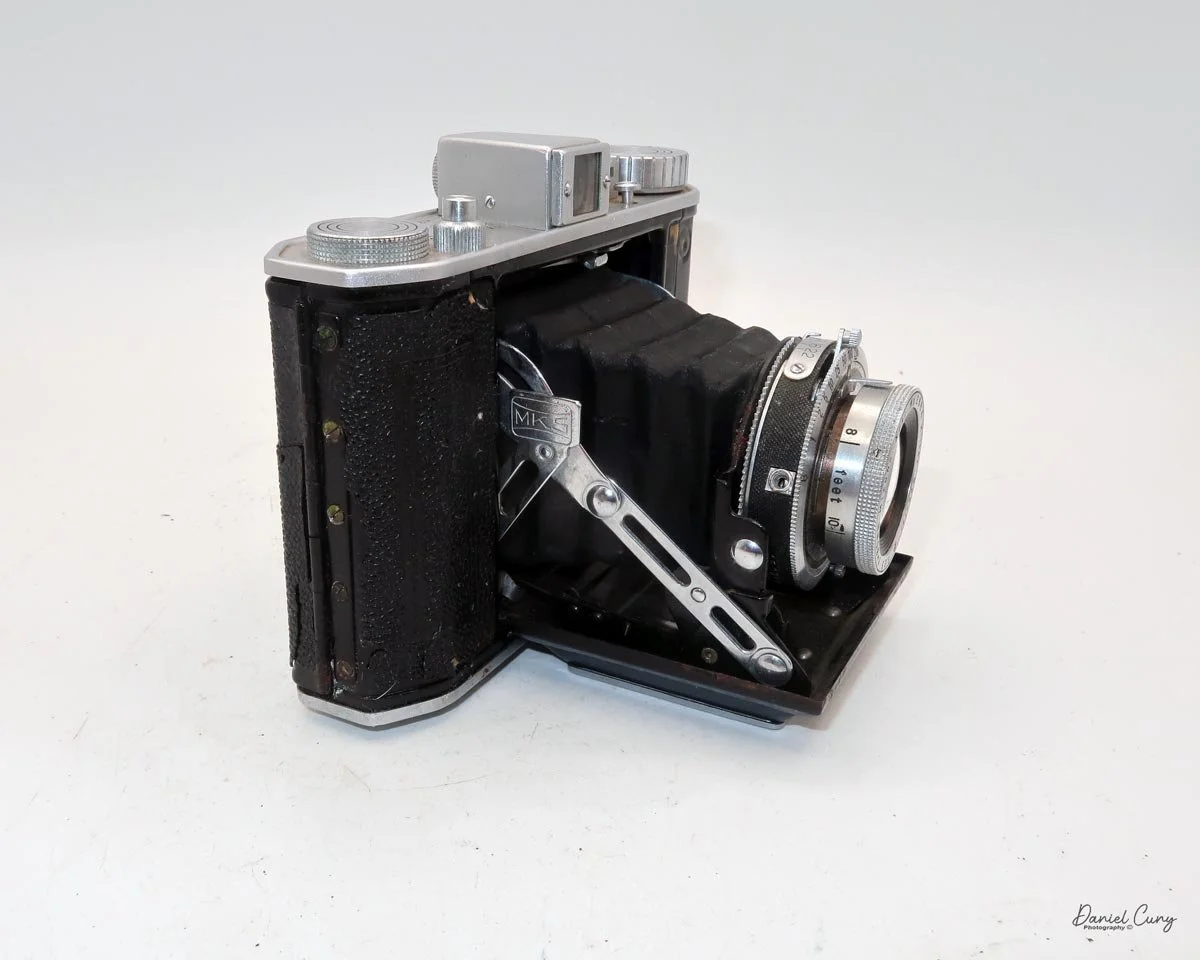
 Fate was on my side, and I found a Minolta Vest in decent condition at the Tokyo City flea market. As I walked past one of the many hundreds of stalls, I noticed one of the vendors had a few cameras on his table. When I picked up the camera, I saw the Minolta name embossed on the back. Then, as I pulled the lens away from the camera body and the metal stacked bellows appeared, I was filled with excitement and joy.

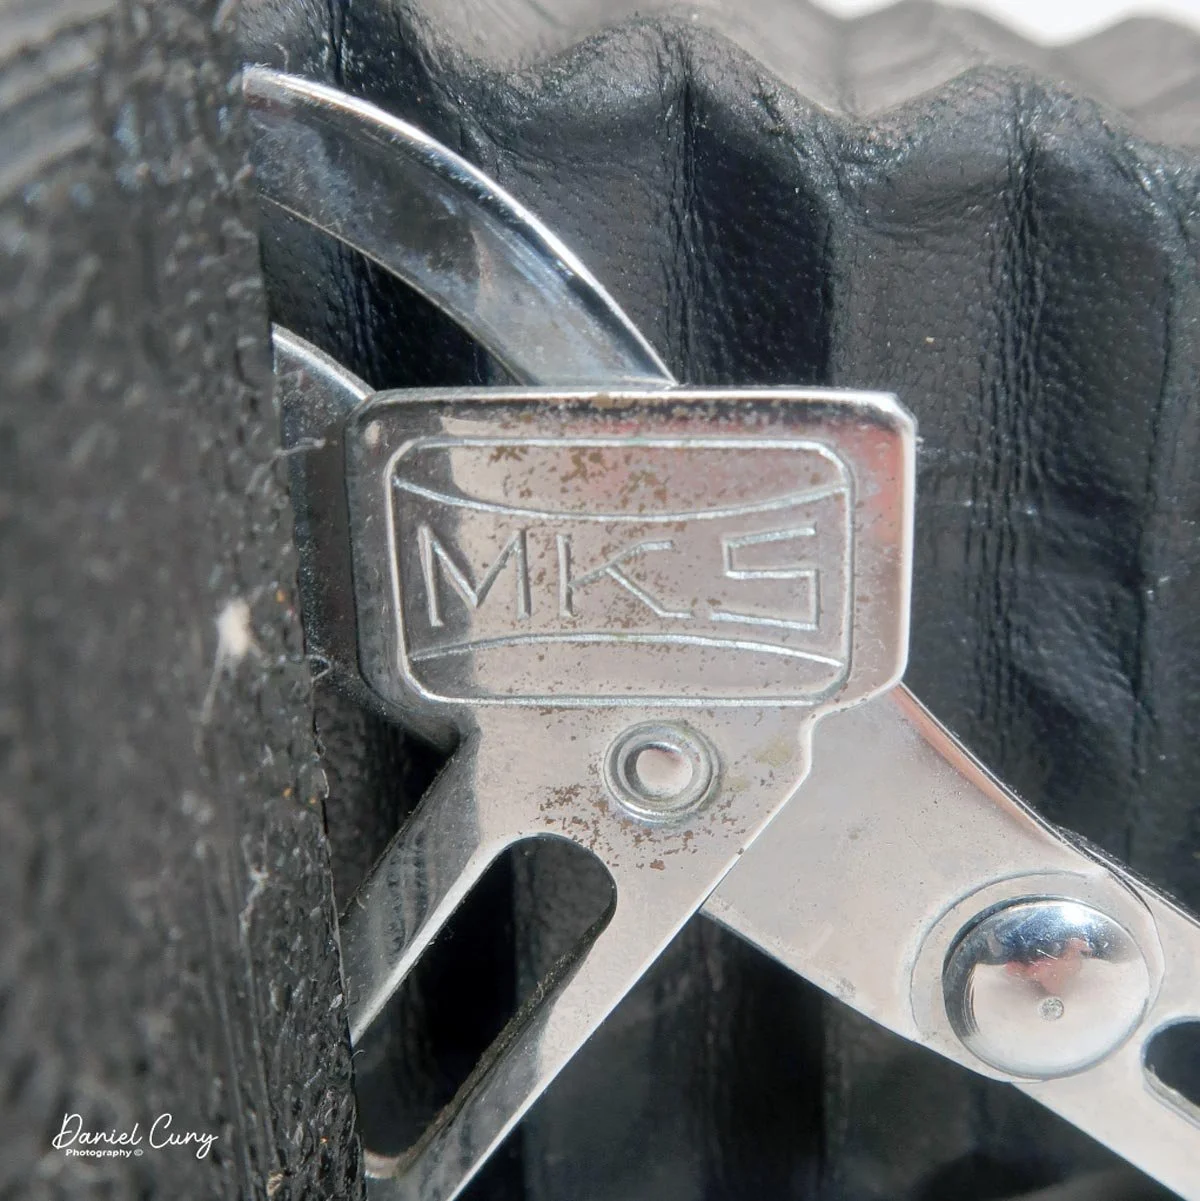
Minolta Vest rigid stacking bellows that resemble a Pagoda

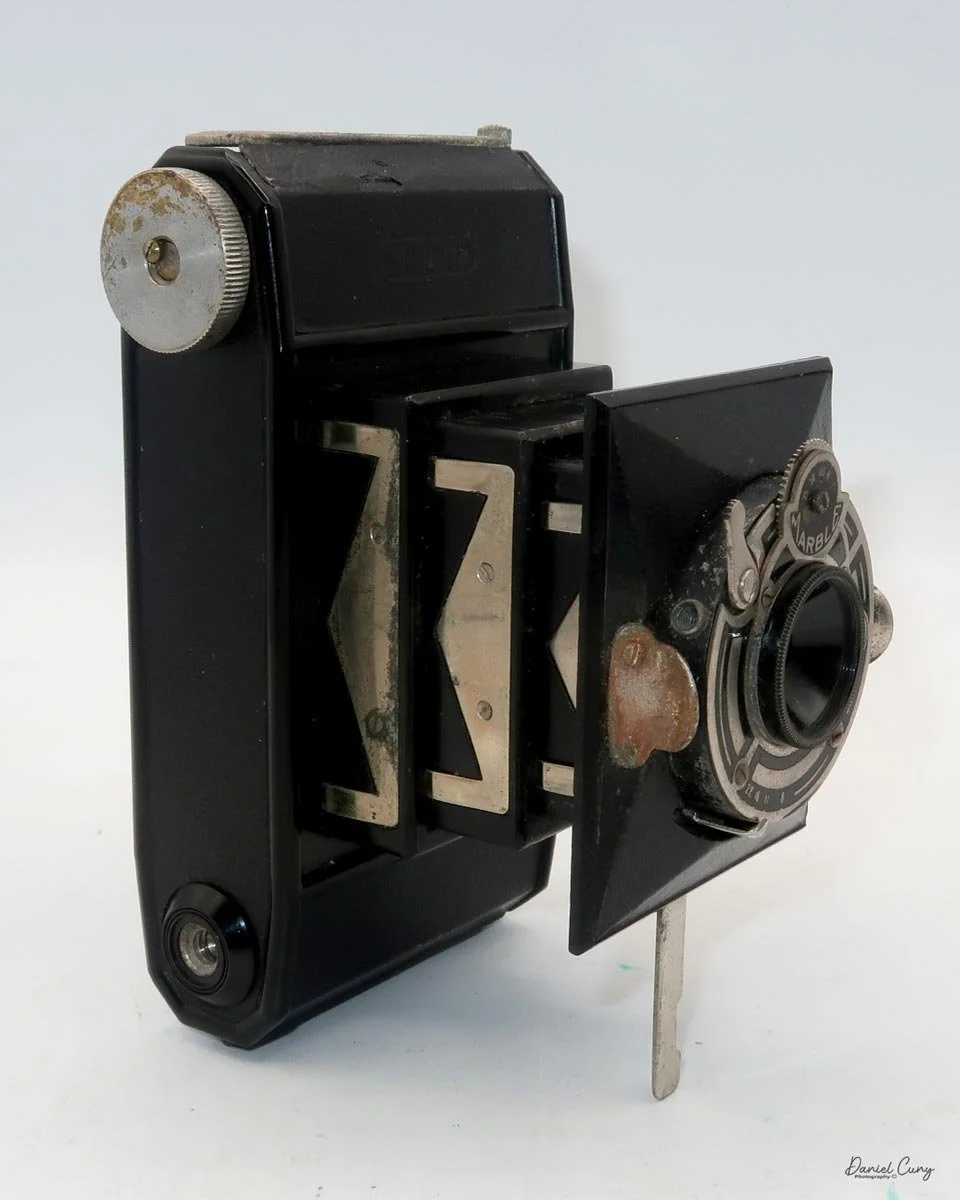
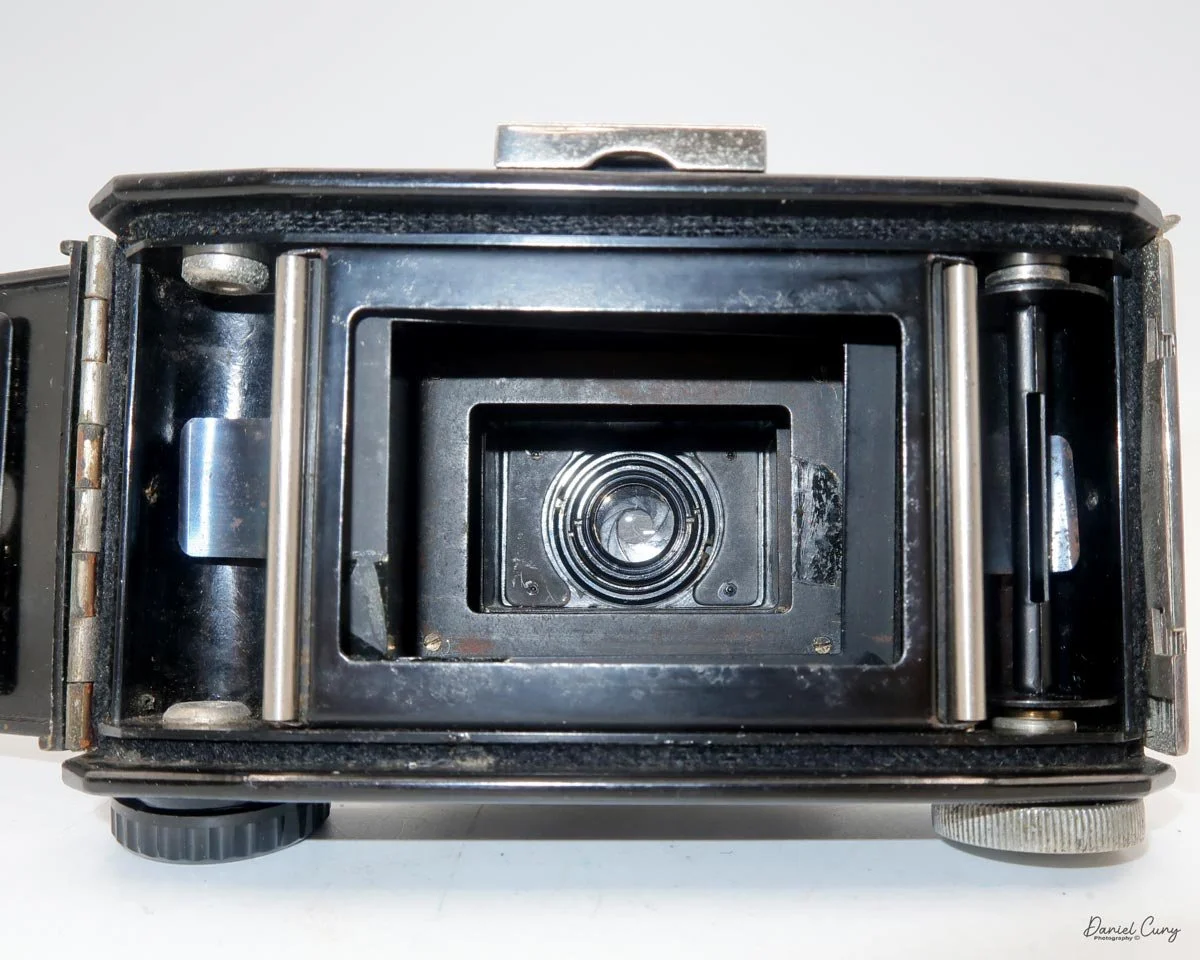
 There are two metal grips on either side of the lens that you use to pull it away from the camera body. The stacked bellows were somewhat stiff, with a bit of corrosion on the chrome, but with a little coaxing, the lens fully extended. I played with the shutter system, and it fired, but inconsistently. Sometimes the shutter would fire when the release was pressed, and sometimes it wouldn't. That was a bit of a disappointment, but not a dealbreaker.

 The lens appeared to be fine, and the aperture moved smoothly as it opened and closed. The lens was a bit difficult to return to the closed position, as I expected due to bellows corrosion, but with a bit of effort, it did retract.

 There were a few other cameras I was interested in on his table, so I gathered the two or three items I wanted and asked for the price. After a bit of negotiating using my phone to translate, we agreed on a price. I put the items in my backpack and, with a grin on my face and knowing I'd be writing a blog post about the camera, wandered off to see what other treasures I could find at that terrific, bustling flea market.

Early History

 Minolta began as a small but ambitious Japanese camera business in 1928, founded by Kazuo Tashima under the name Nichi-Doku Shashinki Shōten. From the start, the company was shaped by a fascination with German optics and camera design, and its earliest products reflected that influence. In 1929, Minolta introduced its first camera, the Nifcalette, a folding roll-film model that showed the company's early dependence on imported components and foreign technical models. Even so, it marked the beginning of a distinctly Japanese camera maker that would soon develop its own identity.

 The company adopted the name Minolta in 1931, a move that signaled a more confident and modern direction. The name was meant to evoke mechanisms, instruments, optics, and lenses, and it captured the firm's growing ambition to become more than a reseller of products influenced by foreign markets. During the early 1930s, Minolta gradually moved from imitation toward originality, developing folding cameras that were practical, attractive, and increasingly self-reliant in design. By 1933, the company had introduced its first camera under the Minolta name, a moment that helped establish the brand as a serious presence in Japan's emerging camera industry.

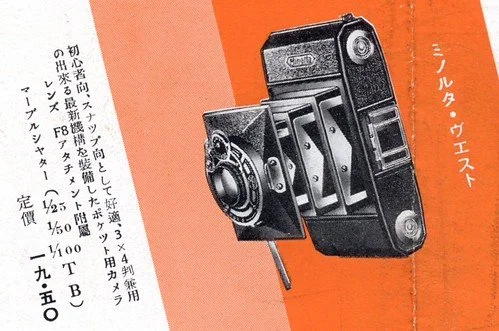
Advertisment for Minolta Vest

 Before World War II, Minolta was still a relatively young company, but it was already building the foundations of its future reputation. Models such as the Minolta Vest in 1934 and the Minolta Flex in 1937 demonstrated the brand's expanding technical range. The Flex was especially notable as Japan's second twin-lens reflex camera, placing Minolta among the more innovative camera makers of the era. These prewar years were important not because Minolta dominated the market, but because they revealed a company learning quickly, adapting foreign ideas, and steadily refining its own manufacturing skills.

 World War II disrupted Japanese industry, and like many camera makers, Minolta faced a difficult transition as the country shifted toward wartime production. After the war, the company entered a new phase of growth. Japan's postwar recovery created strong demand for precision optical equipment, and Minolta was well-positioned to benefit. In the 1950s, the company moved into 35mm camera production, a crucial step that aligned it with the global photography market. Minolta's postwar cameras gained attention for their solid engineering and user-friendly design, helping the brand earn a stronger international reputation.

 Over time, Minolta became known for more than just reliable film cameras. It developed a reputation for innovation in metering, automation, and eventually autofocus, especially in the late twentieth century. But those later successes were rooted in the company's early decades: a period of experimentation, persistence, and gradual technical maturity. The story of Minolta before and after World War II is really the story of a company that began by studying the best ideas from abroad, then turned those lessons into a lasting photographic identity.

My Camera

 The camera was built between 1934 and just before World War II, with production ending in 1940.

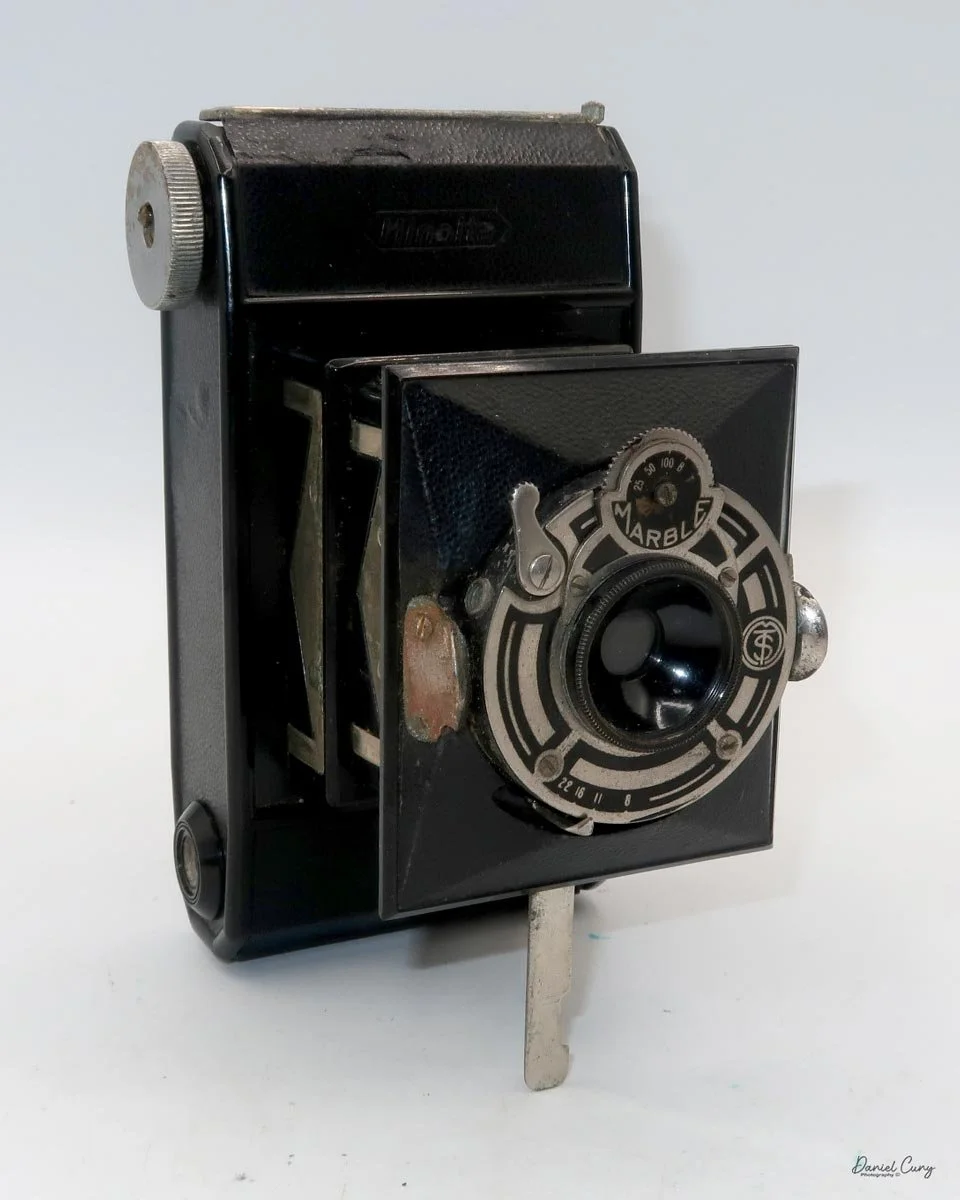
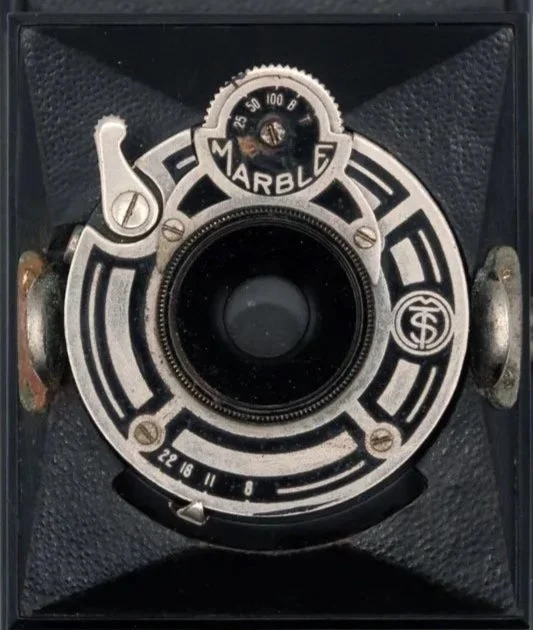
 The Minolta Vest is a fairly simple and basic camera. There aren't many frills, except for the beautiful three-tier stacking bellows system. The camera is one of the early examples made from Bakelite. It is also known as the Minolta Best or Minolta Marble, due to the prominent Everset Marble shutter on the camera's face.

It's also a compact camera, measuring 5.25 inches wide by 3 inches tall without the metal viewfinder extended, and 4 inches with it extended, by 2 inches deep with the lens retracted into the camera body, and 3.75 inches with the three-tier Bakelite bellows extended. 

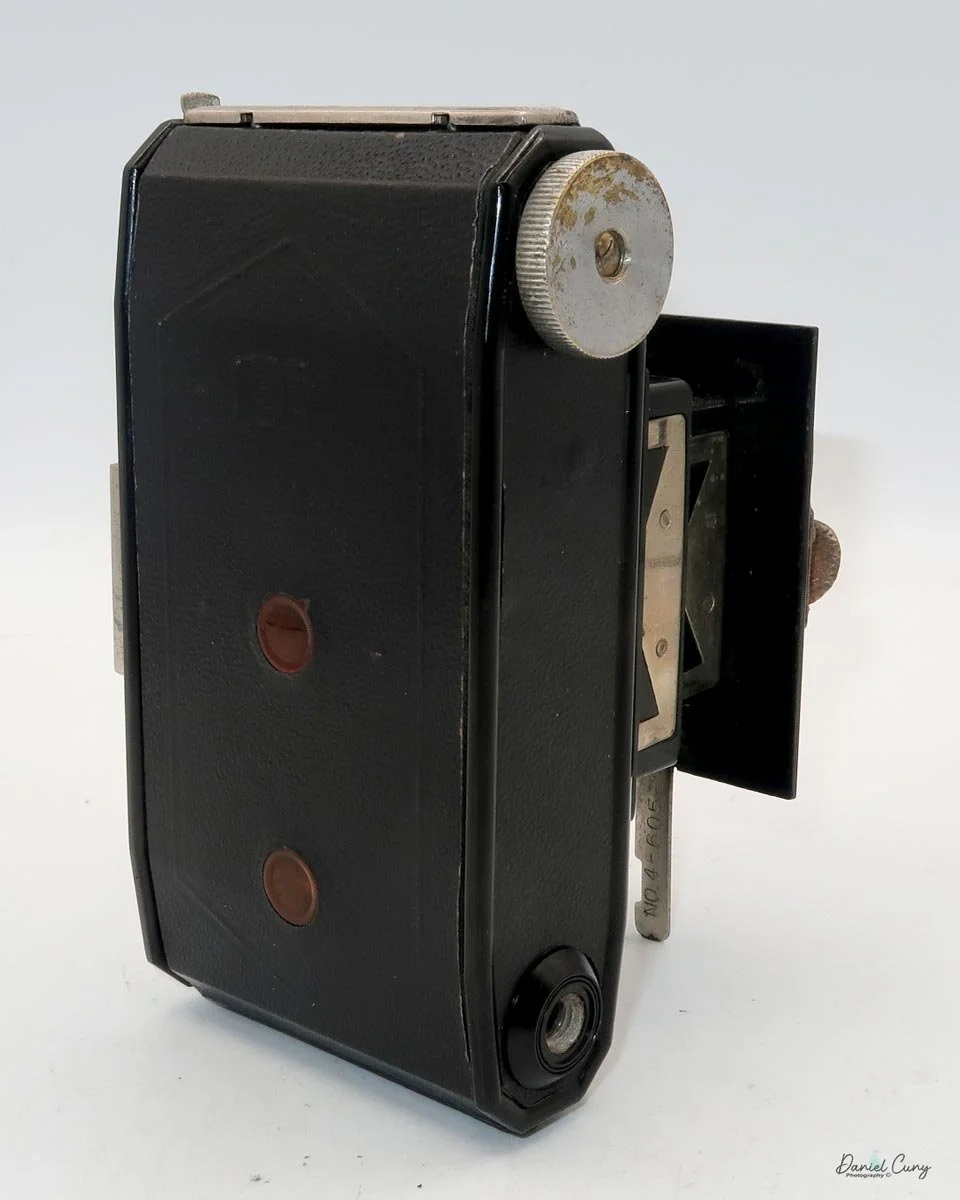
The Minolta Vest camera's serial number is stamped on the leg that extends, allowing the camera to stand vertically. My camera is serial number 45605.

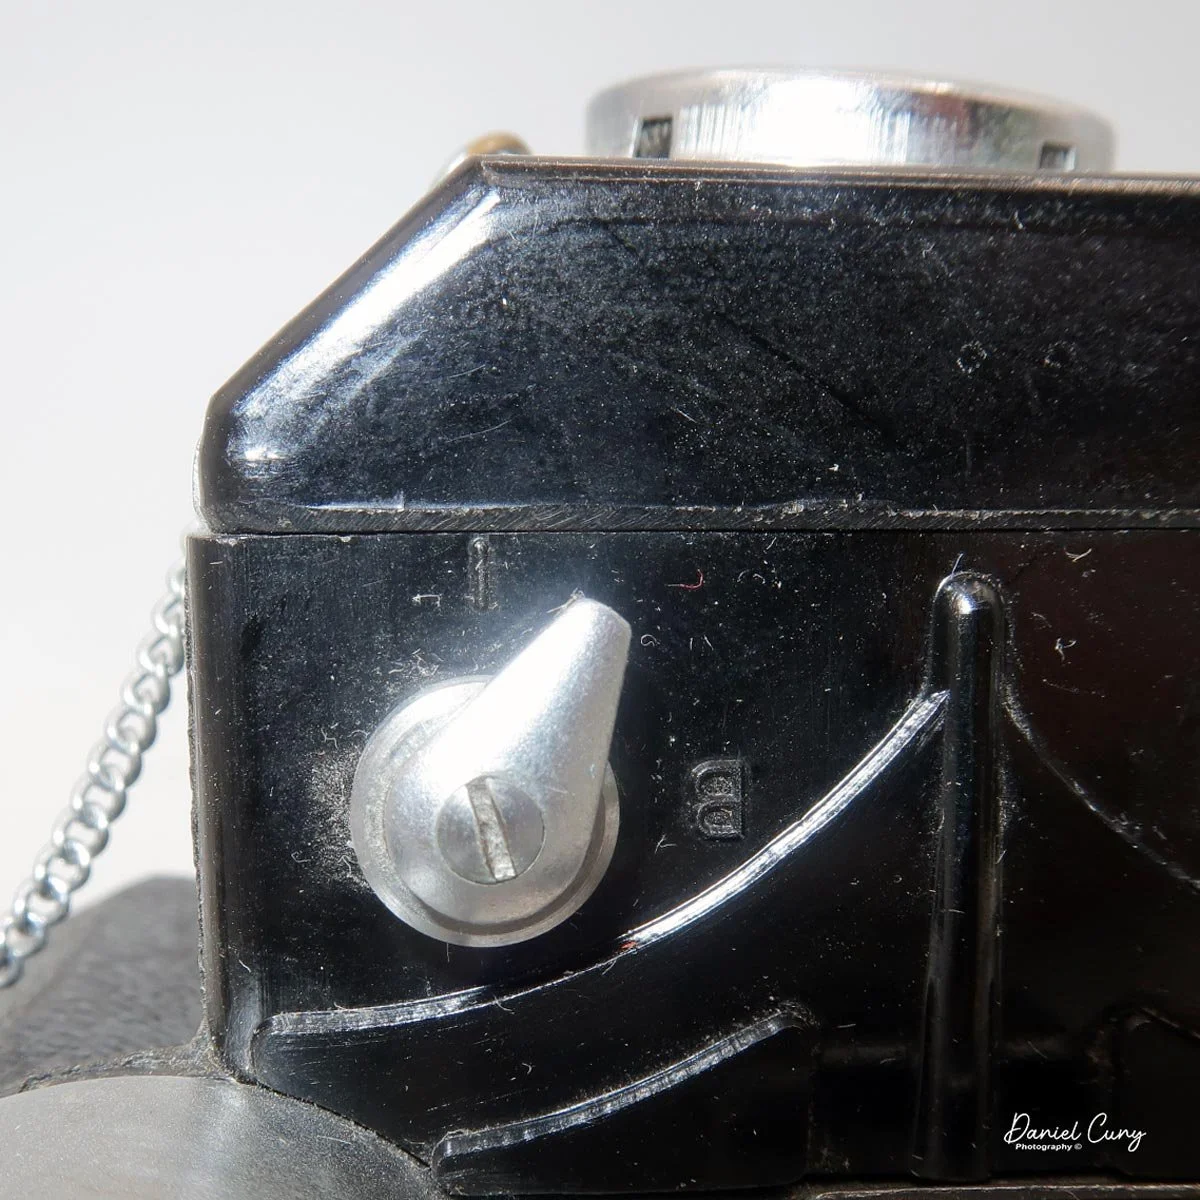
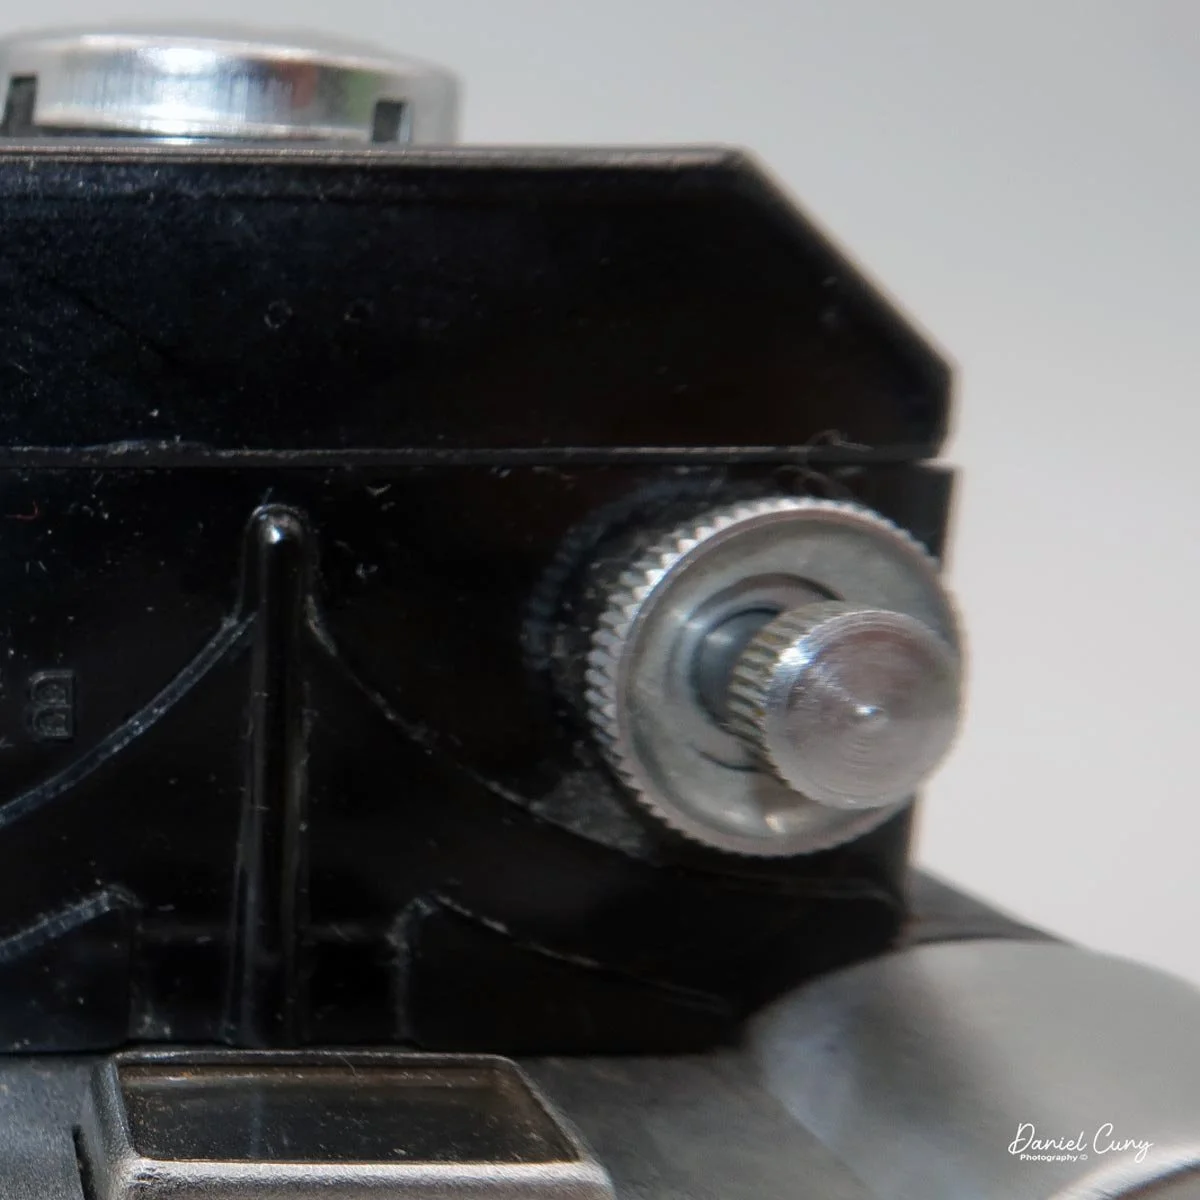
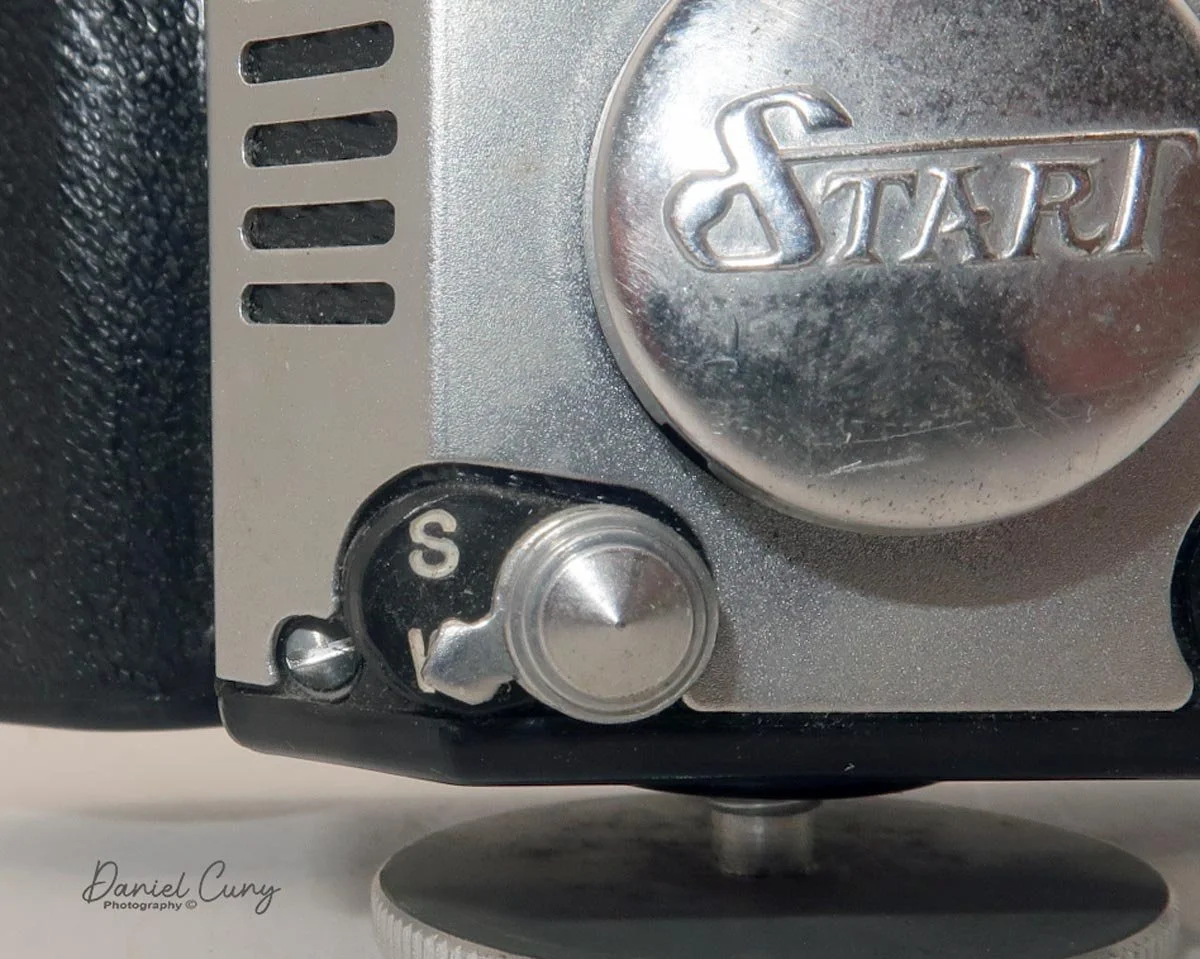
 The Marble shutter has three shutter speeds: 1/100, 1/50, and 1/25, along with B and T. The shutter is set via a wheel on the top of the lens, and it's just to the right of the lens as you're holding it to take a photo. As mentioned previously, my camera's shutter doesn't fire consistently. It works best at 1/100 and fires pretty regularly at that speed. At 1/50 and 1/25, it takes two or three tries for the shutter to fire, so I'll need to keep that in mind when I take the camera out for a shoot.

Shutter release, shutter speeds, and aperture settings on the Minolta Vest camera

The nondescript lens, which I'm guessing is approximately 75mm, has a maximum aperture of f/8 and extends to f/22. The aperture is set via a sliding lever under the lens.

I believe my camera is one of the earlier examples because the shutter looks different from those on others I've seen. There is no "Patents Nippon" on the face, and the design has an earlier Art Deco appearance. 

 Like many earlier models, the lens is fixed focus, whereas I have seen other models with a focusable lens and a maximum aperture of f/4.5.

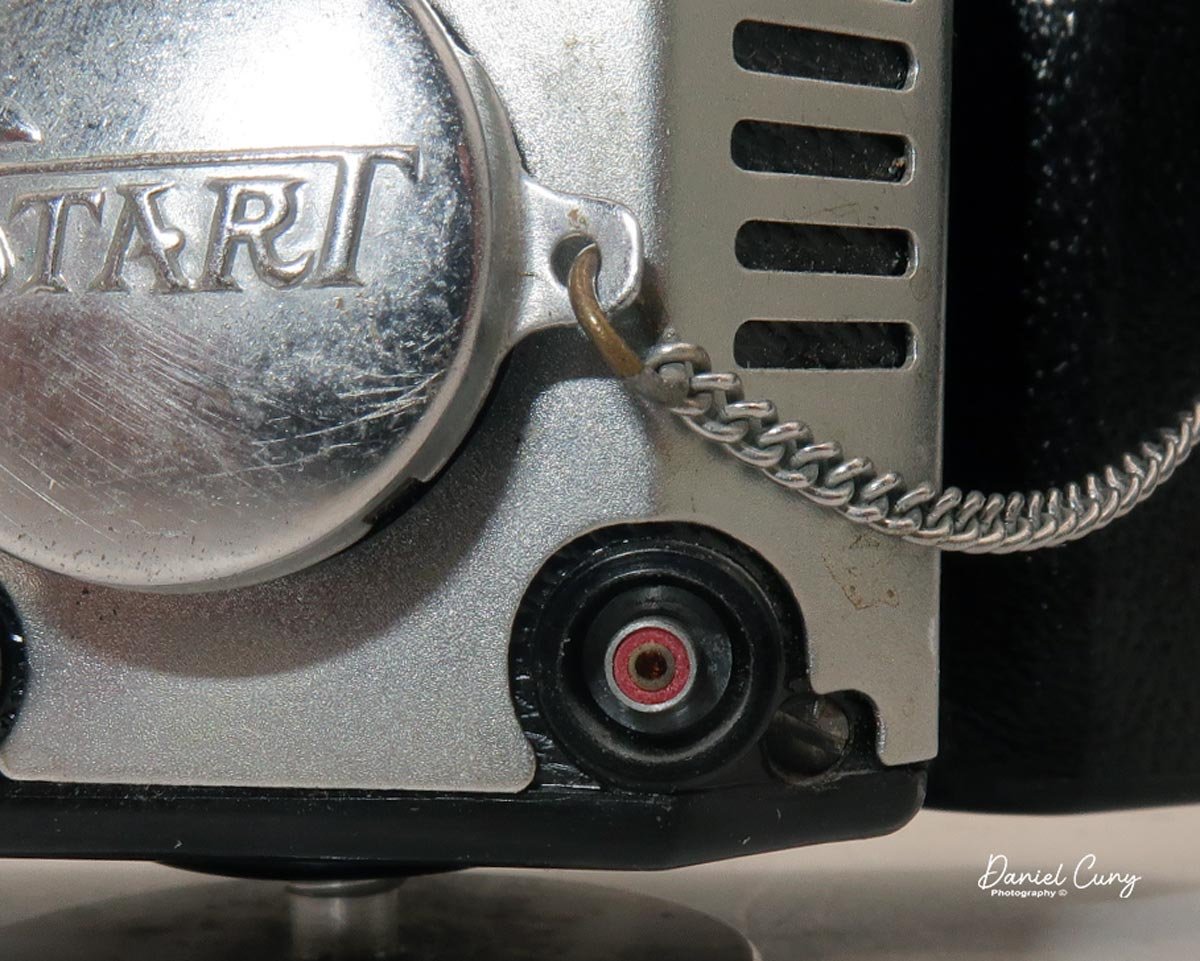
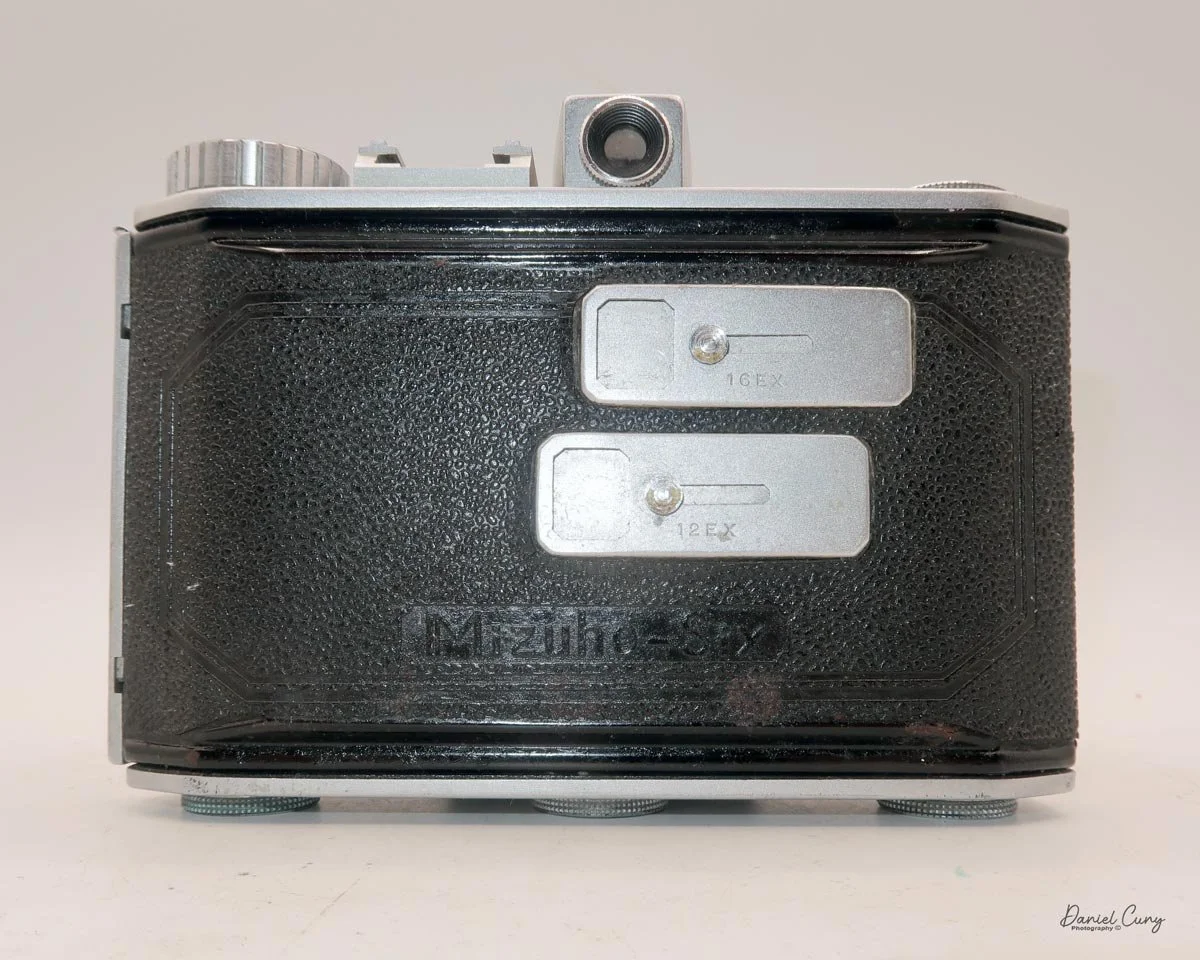
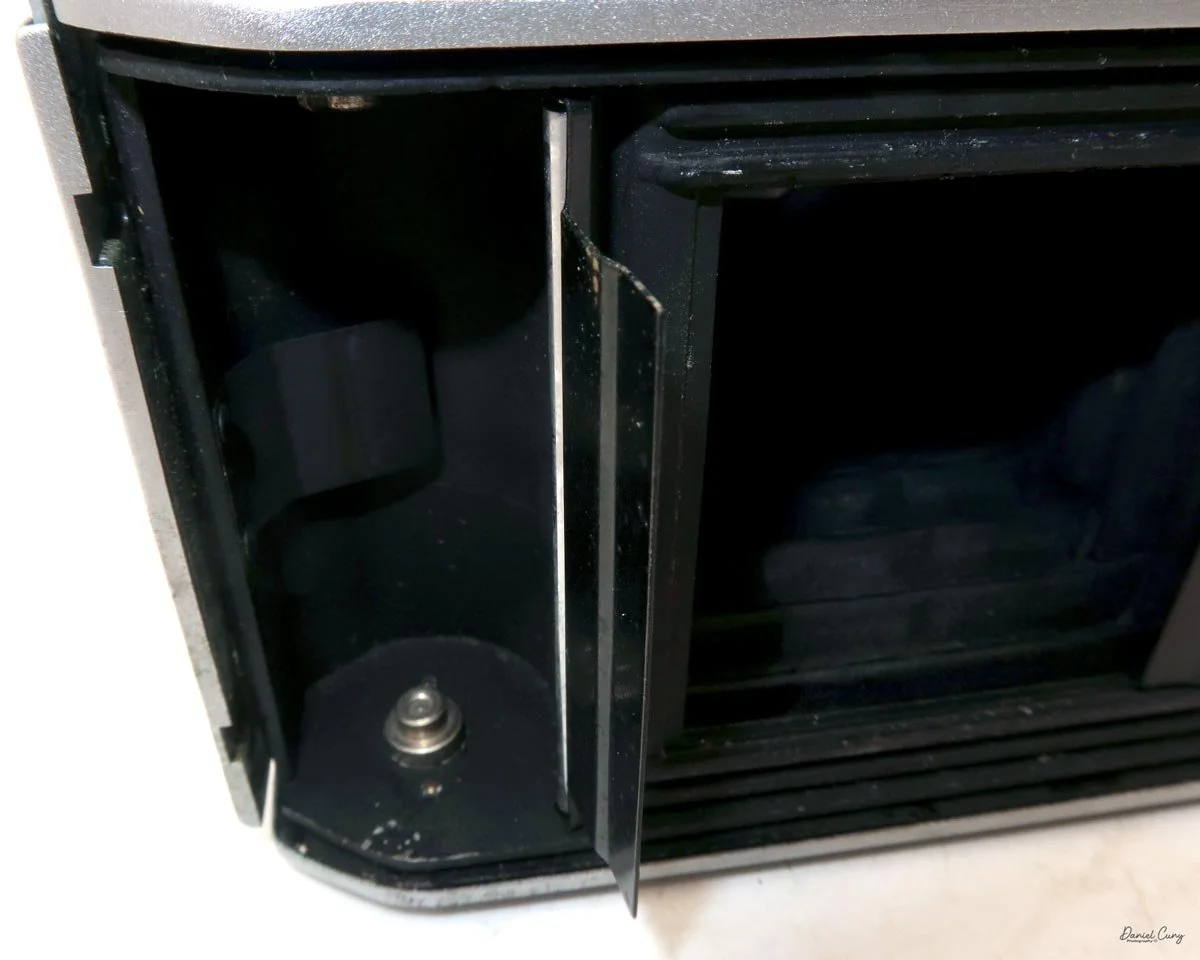
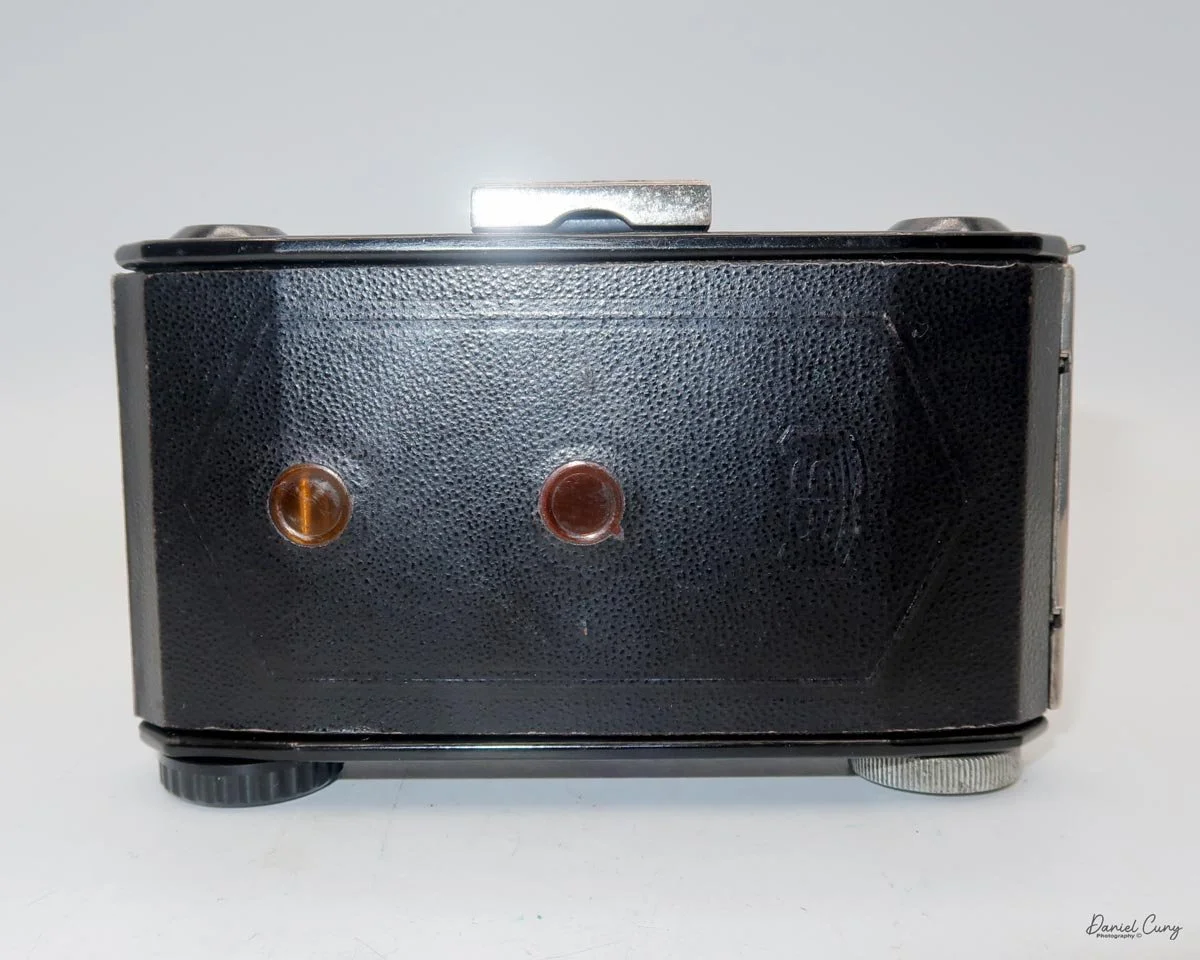
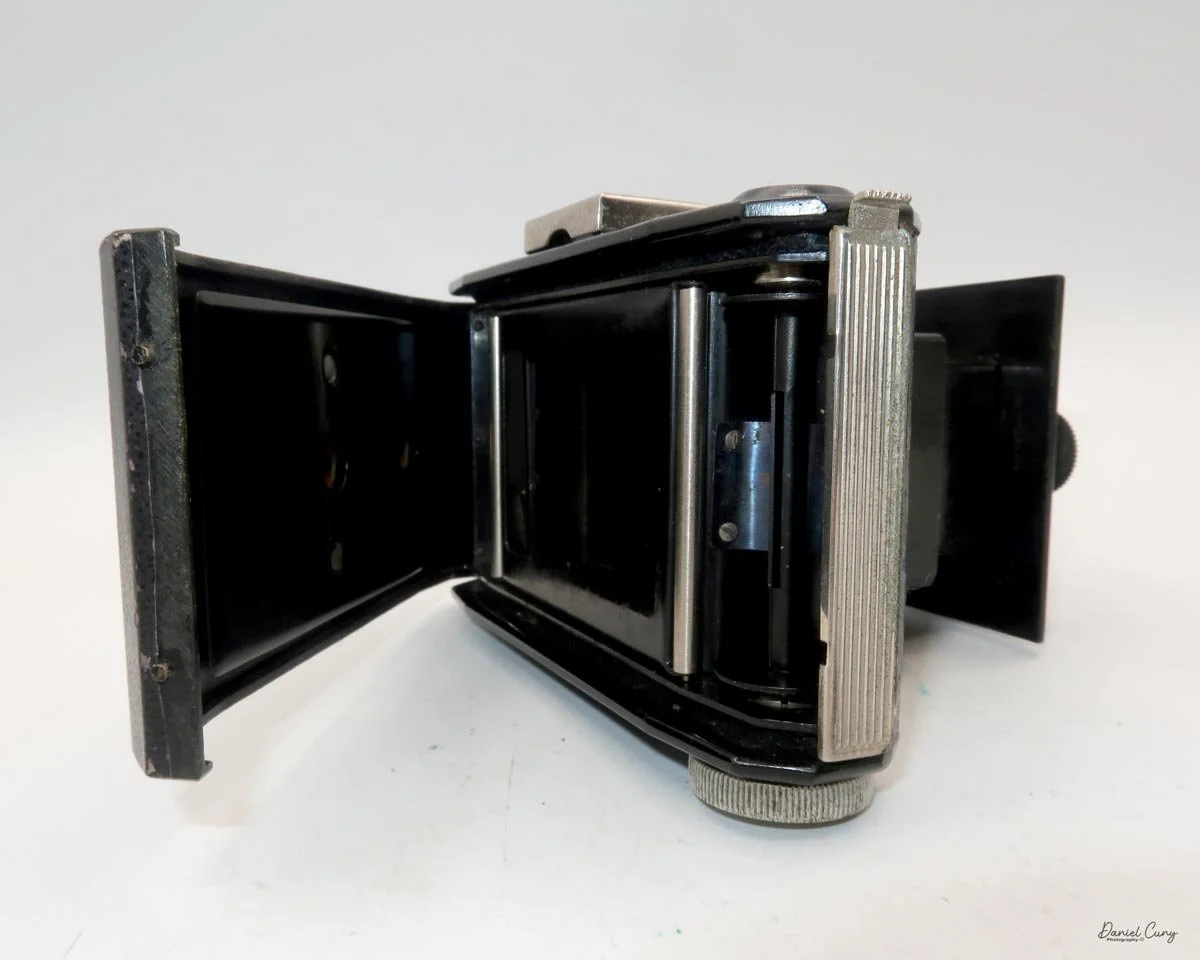
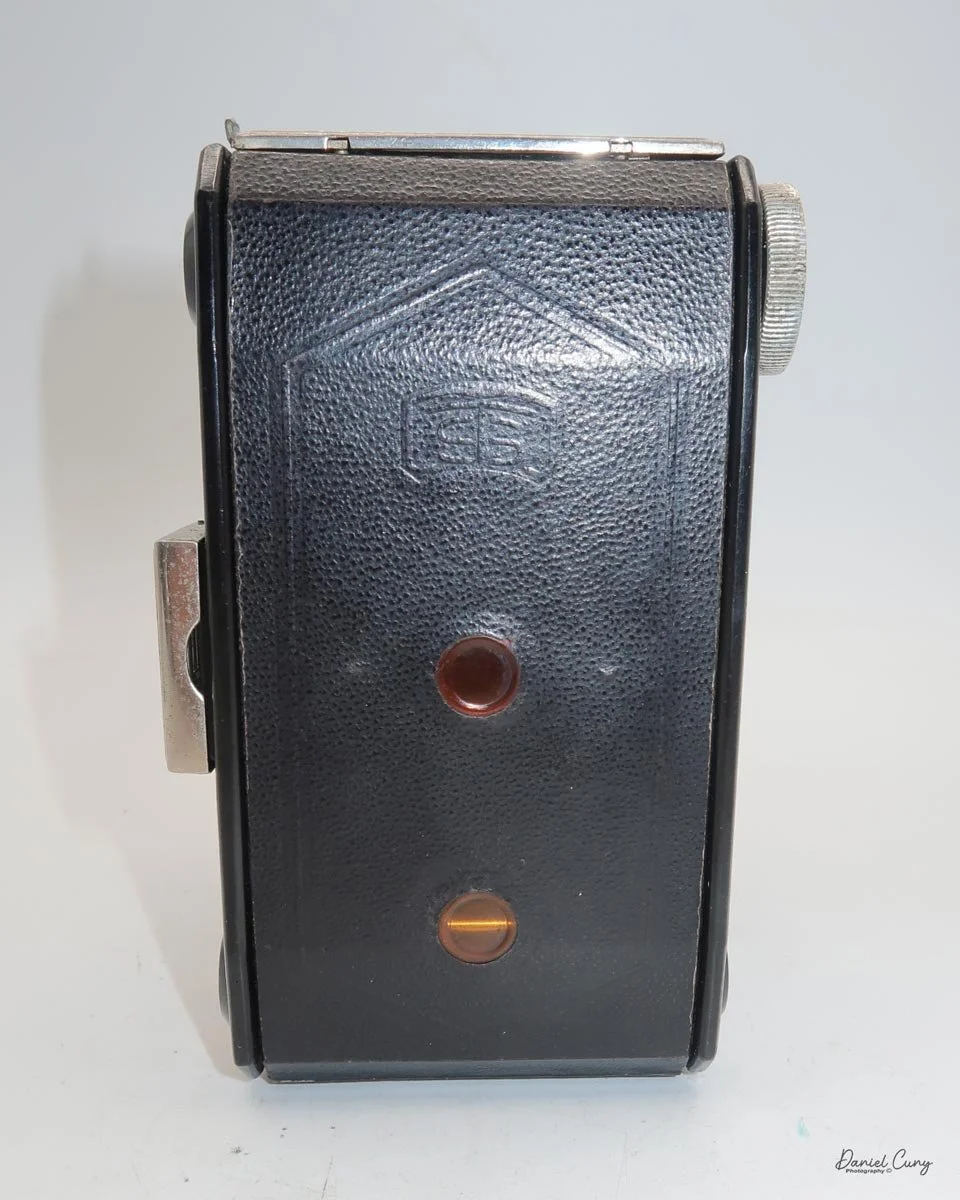
 Looking at the back of the camera, there are two red windows, which indicate to me that the film format is 3 x 4 cm. Opening the back of the camera, which is done by pulling up a small knob at the end, opens the rear door. When doing so, it shows that the camera's format is 6 x 4.5 cm, so there must have been an insert in the camera to change the format. My camera doesn't have the insert, so mine will always be 6 x 4.5 cm.

Once the back is open, you load the camera just like you would any roll-film camera by putting the empty spool on the take-up side, which has the film advance knob. Put the fresh, unexposed film on the other side, slip the film leader into the slot on the take-up reel, and wind the knob, making sure the film is transporting until you see the arrows pointing outward. Close the film back, and wind until you see the number one in the center red window.

 Now that the film is loaded in the camera and my wife and I are headed to the local farmer's market, it's time for me to take some photos and see how this camera performs.

Click on the image to view video


My Results

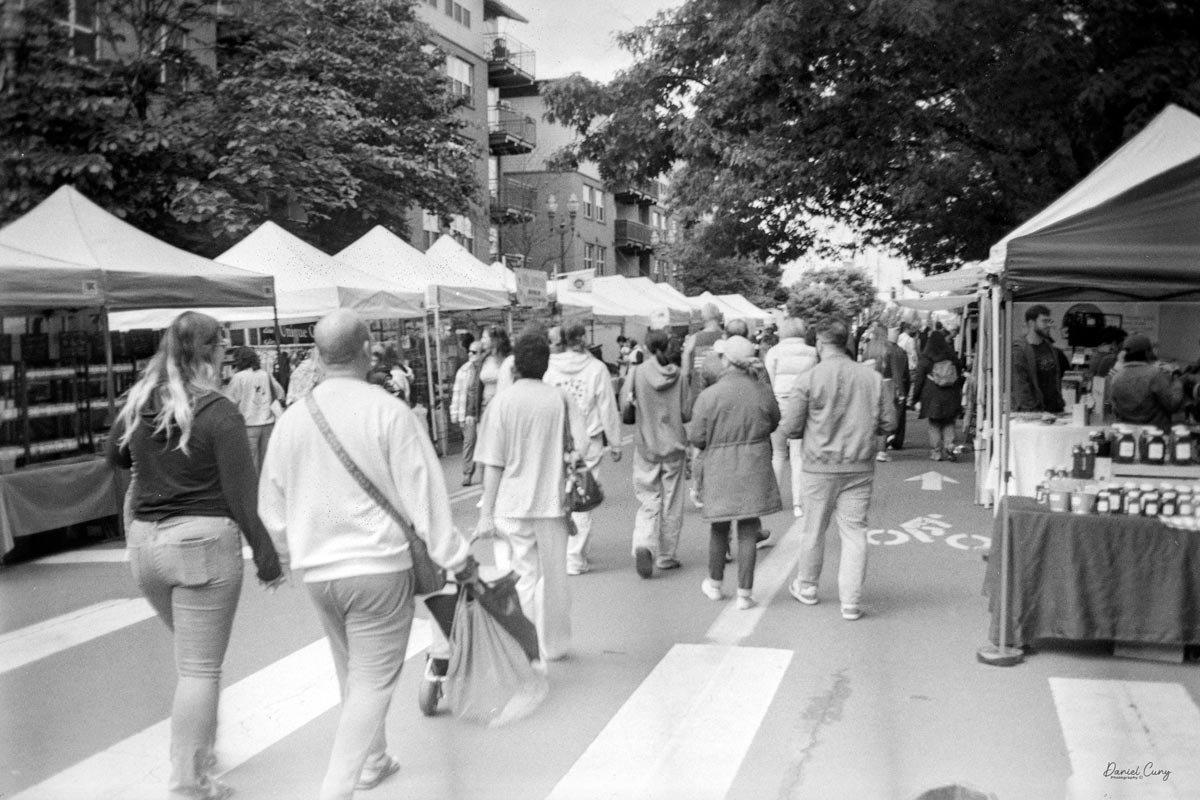
 Using a light meter and 100 ISO film in the camera, the recommended setting was 1/100 at f/7.1. I needed to fudge it a bit and shoot at 1/100 at f/8, and hope for the best.

 As previously mentioned, there is no focus on this camera, and I tried to be about 10 feet from the subjects when taking images.

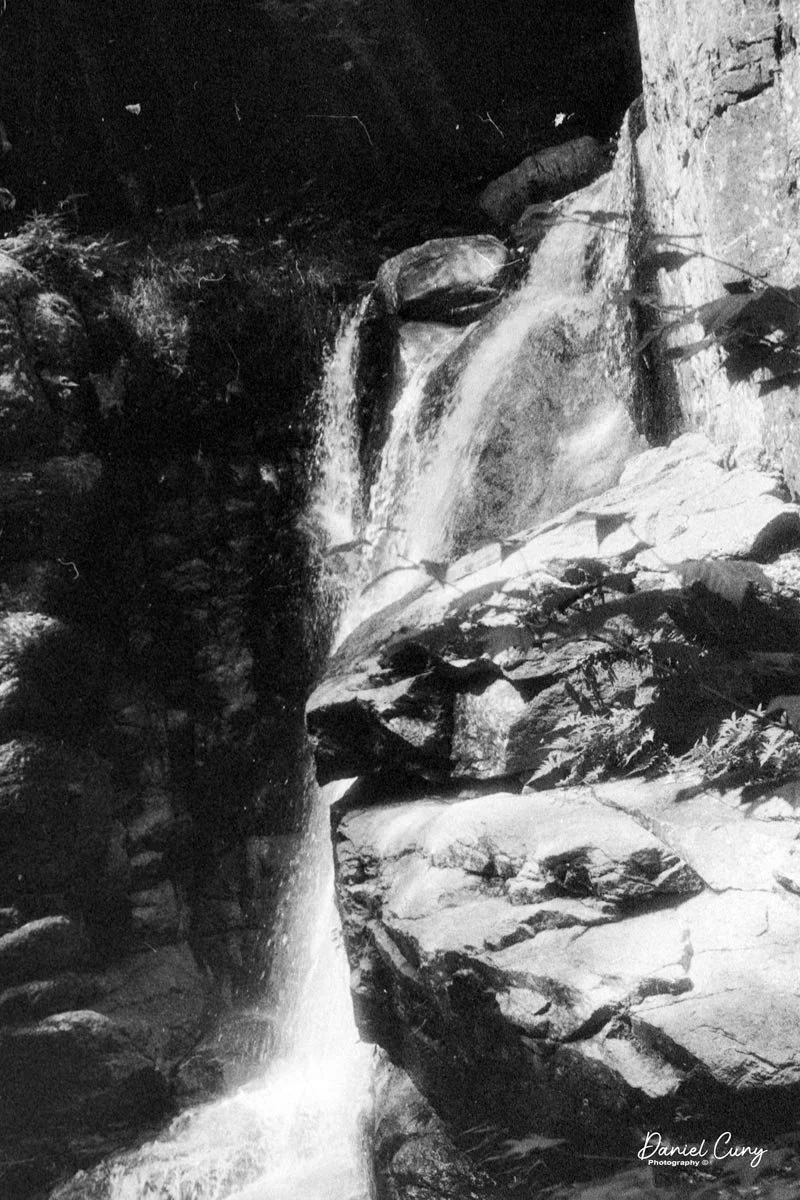
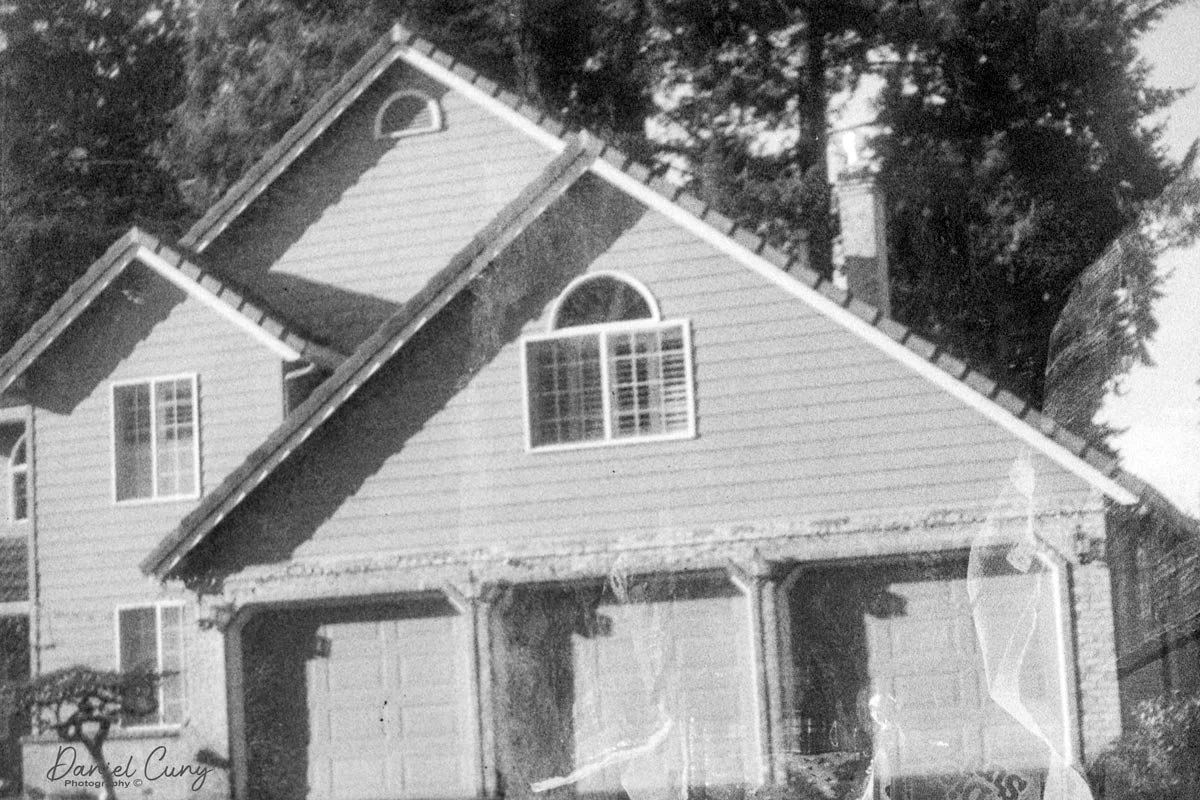
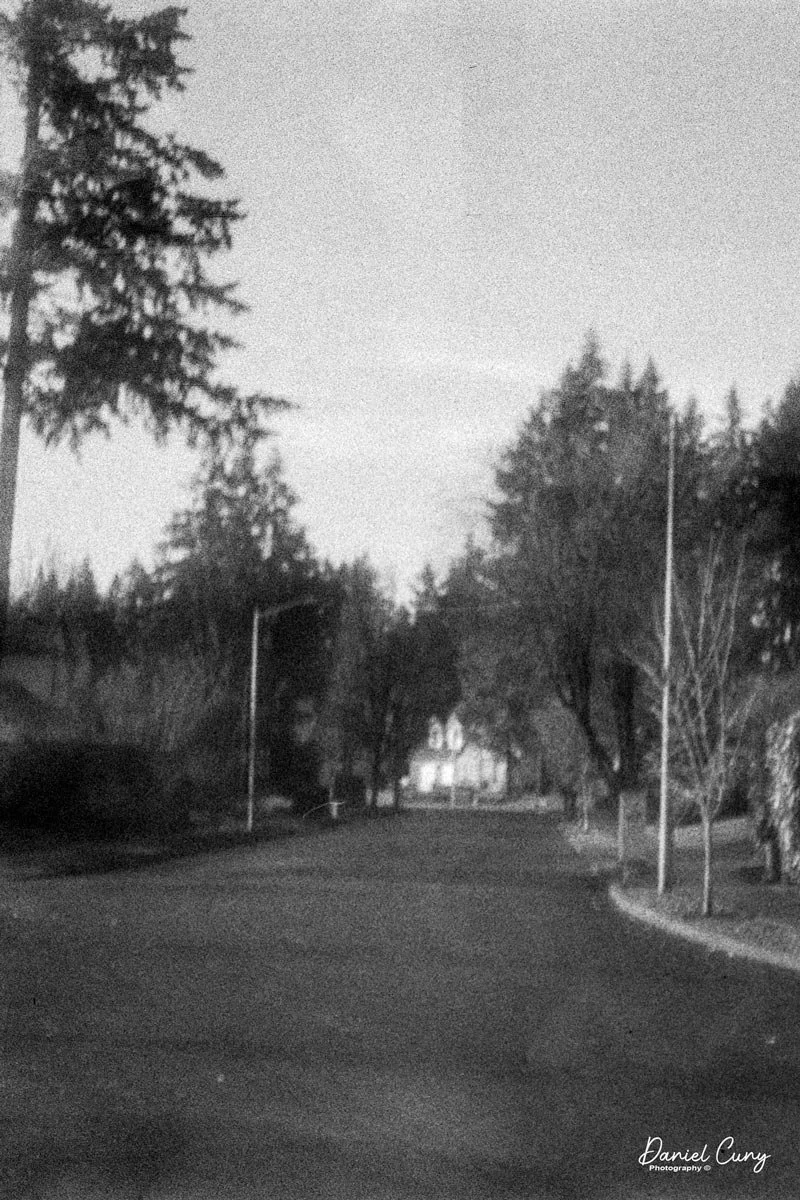
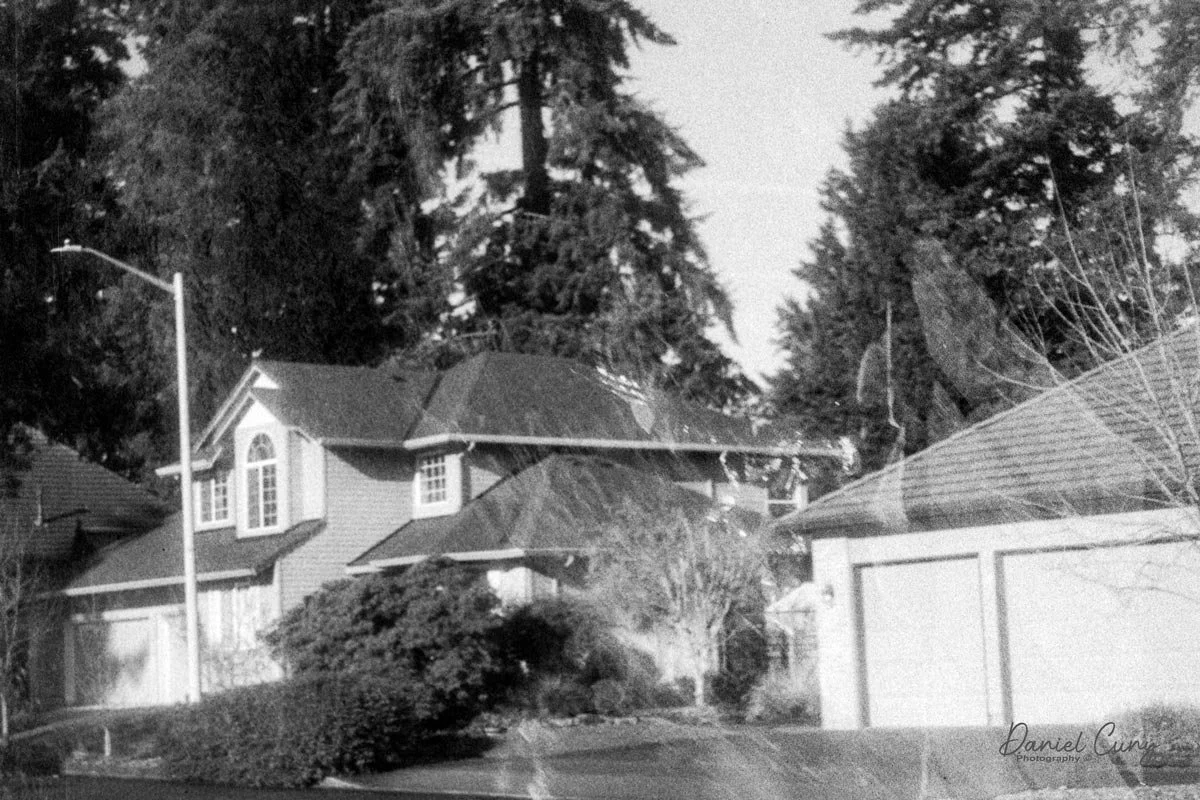
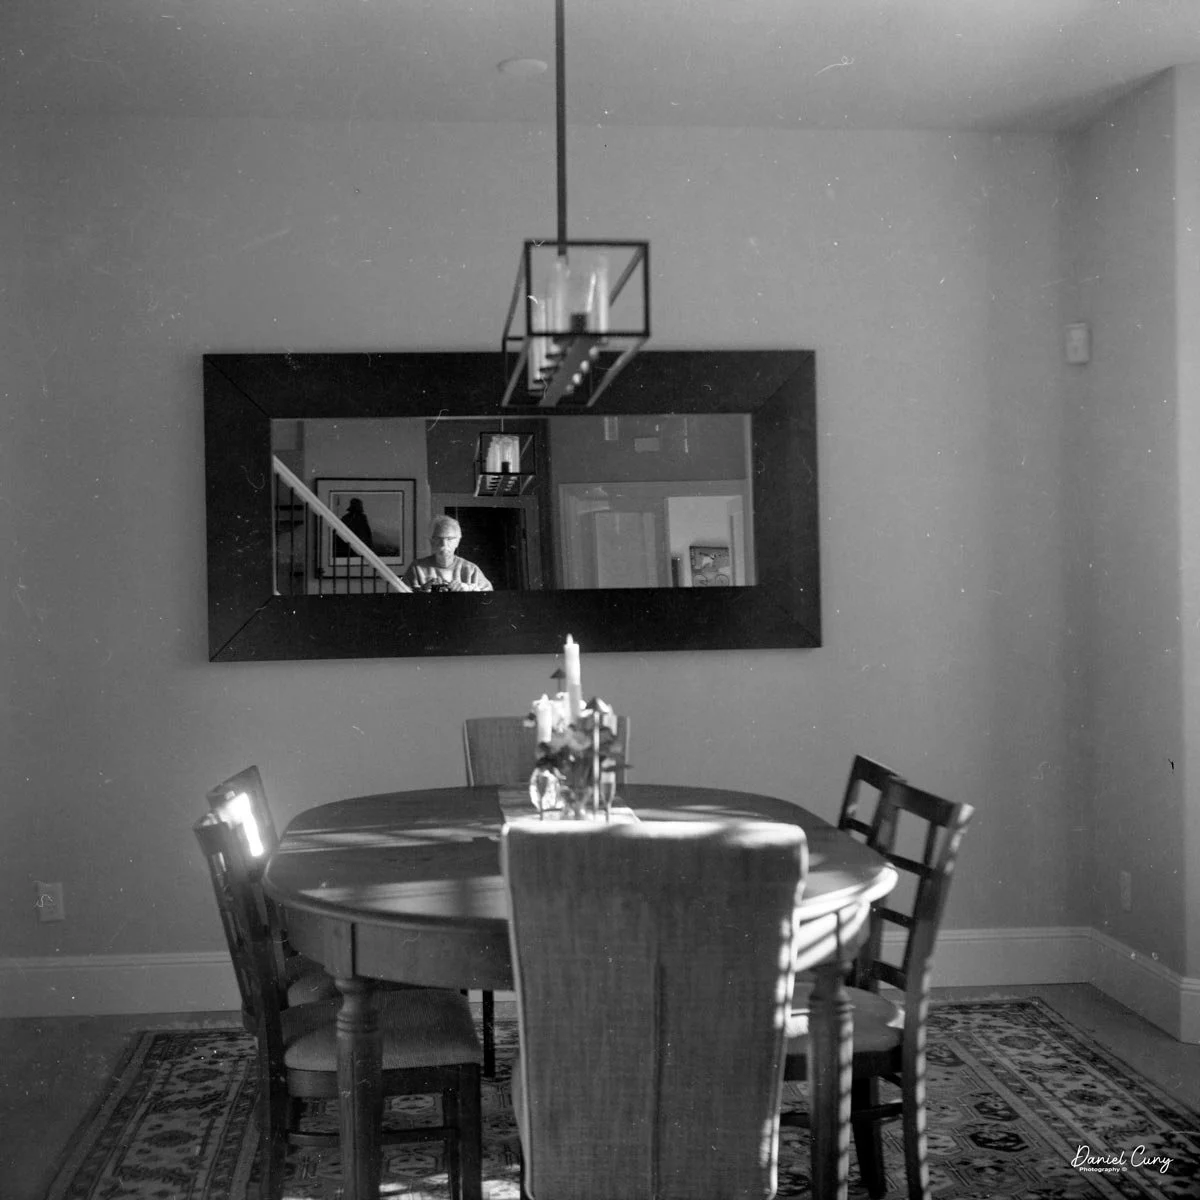
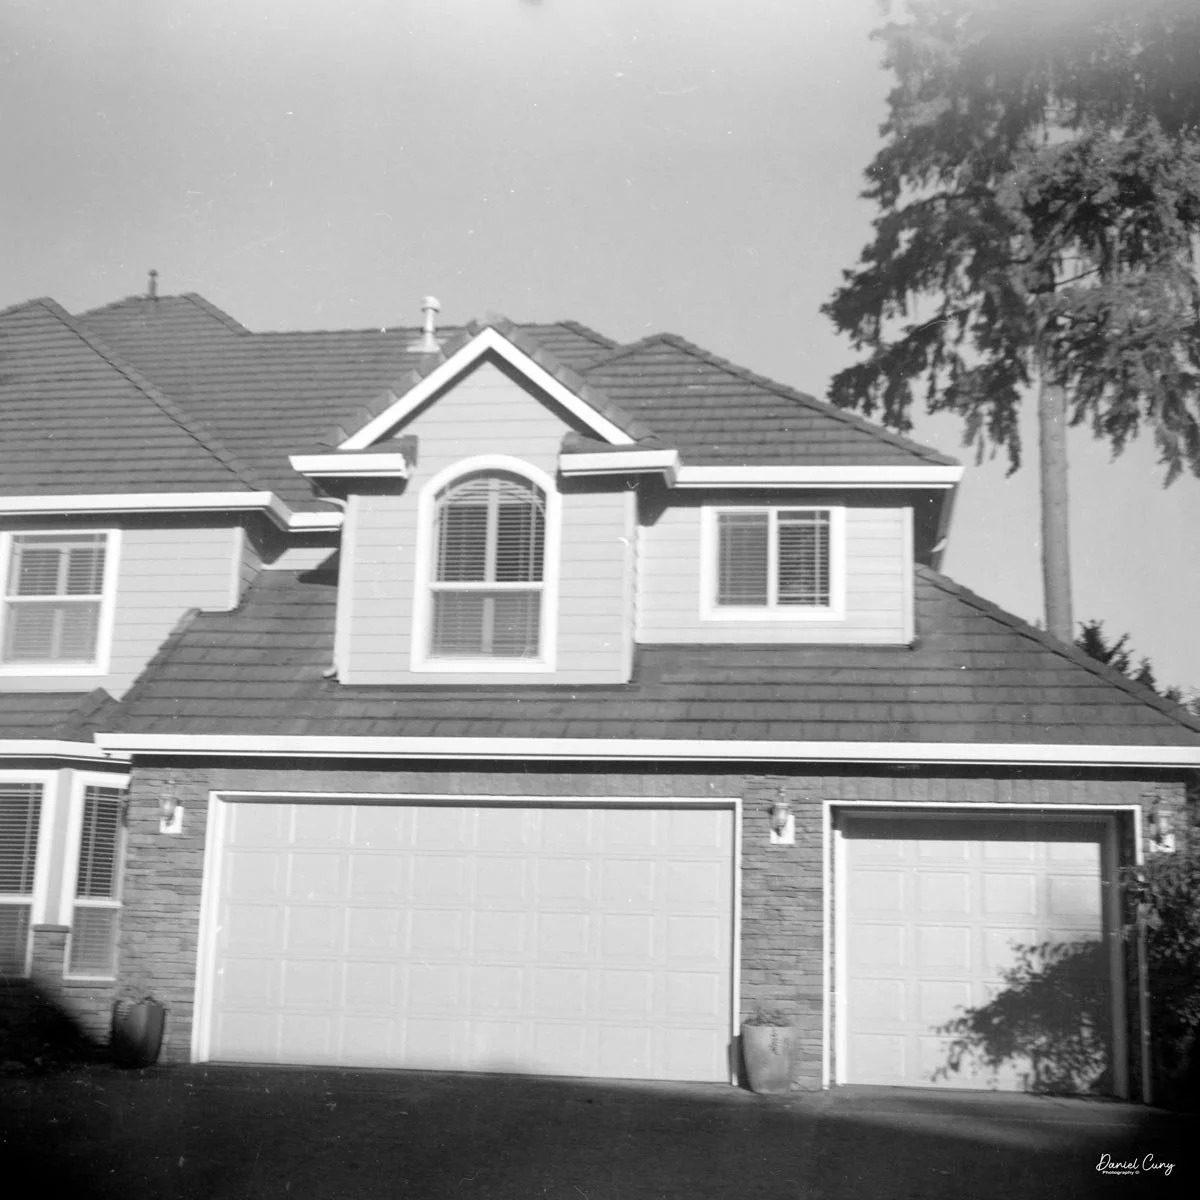
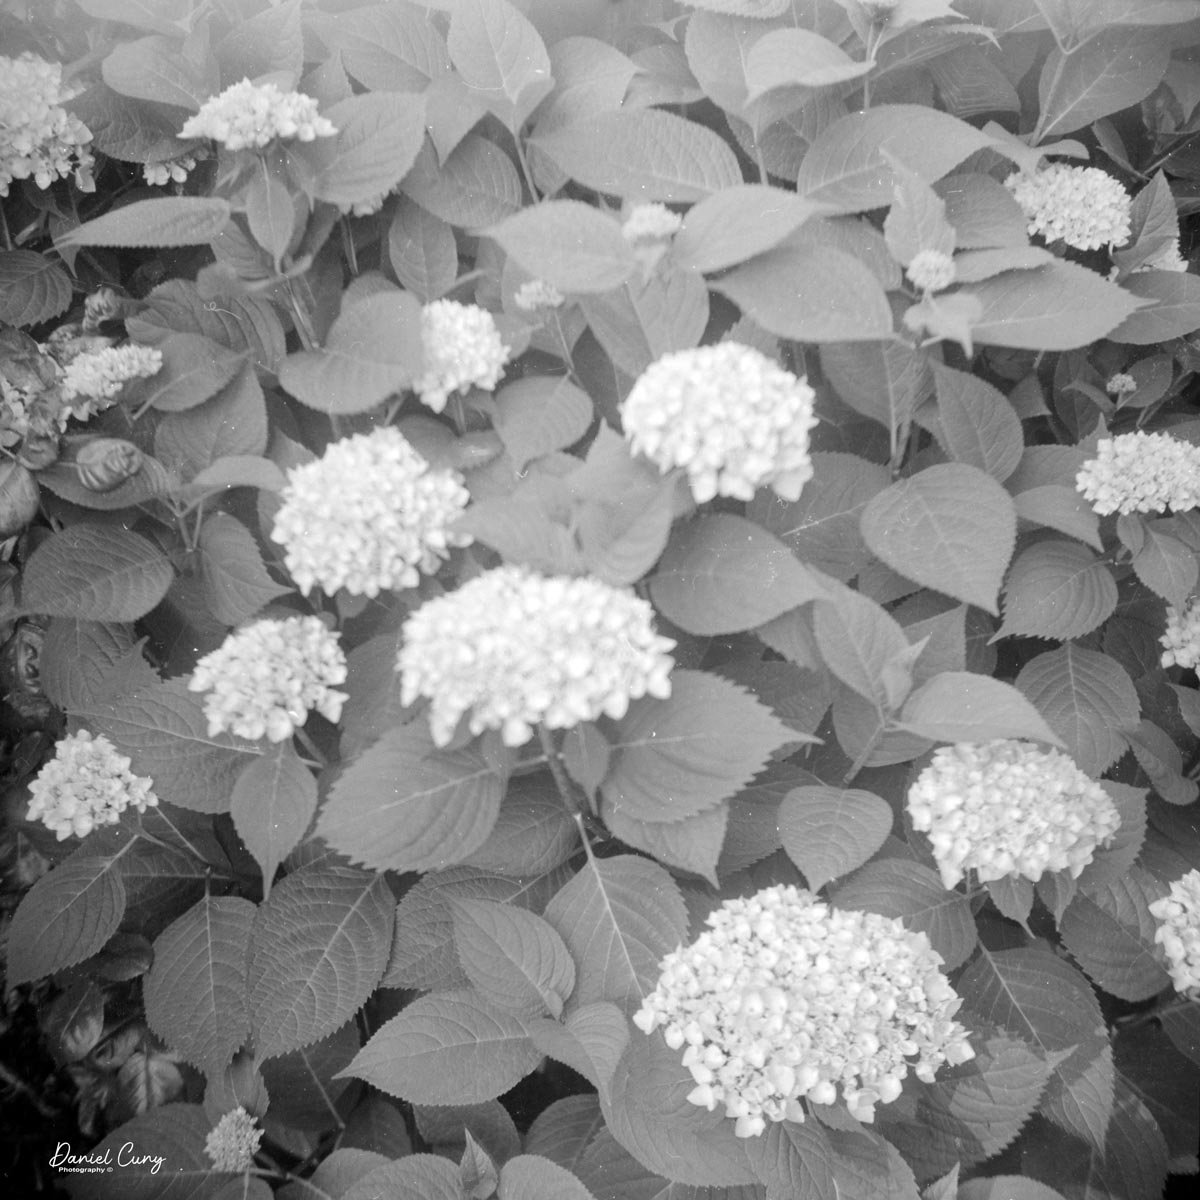
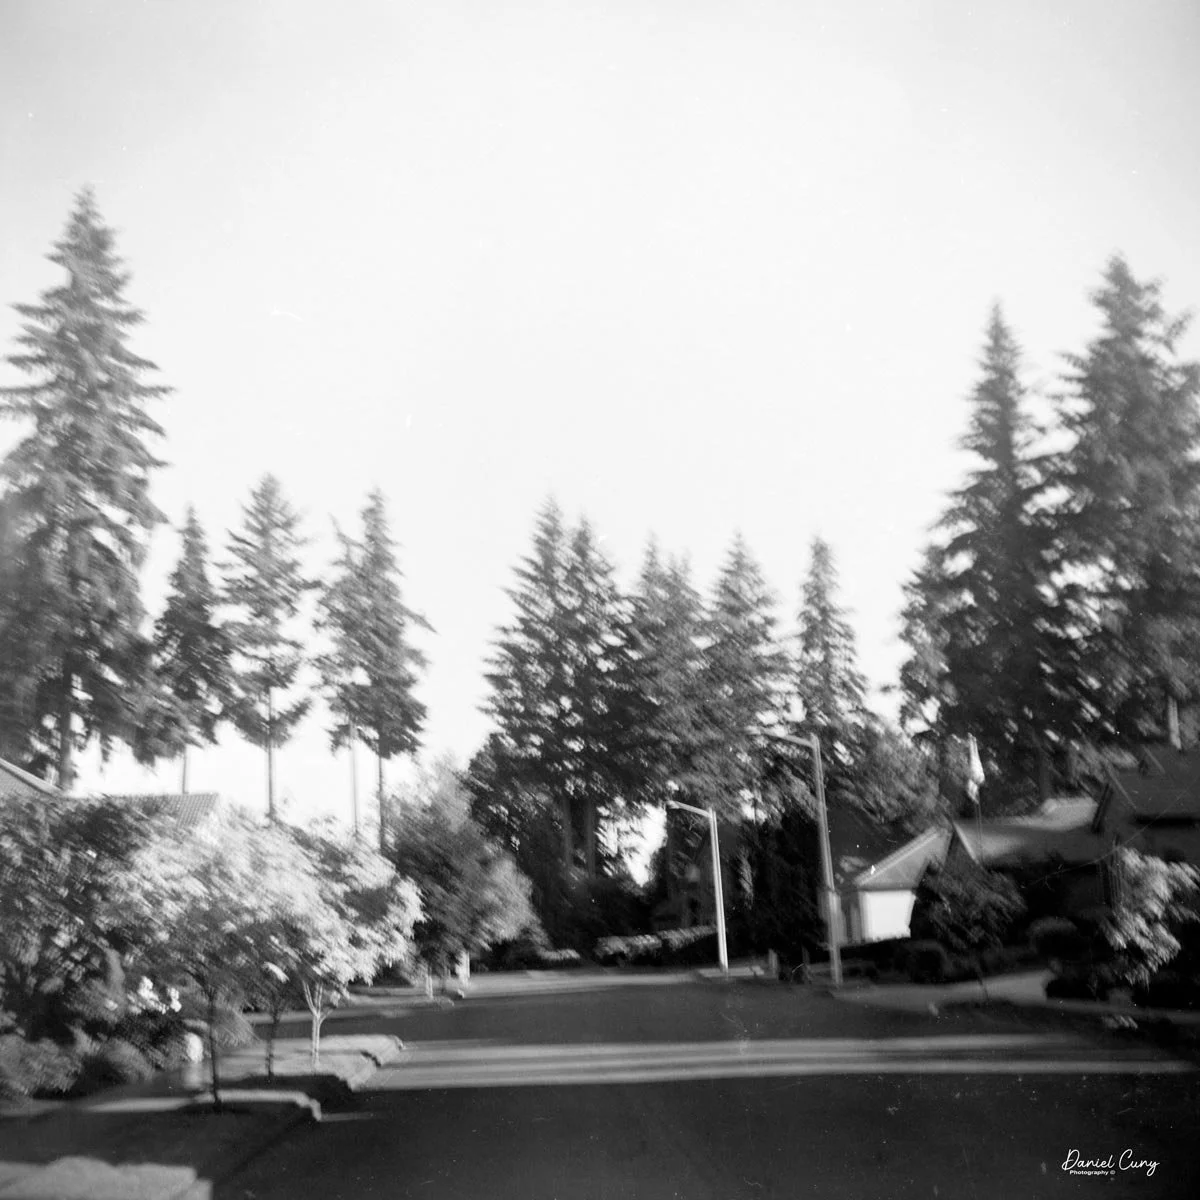
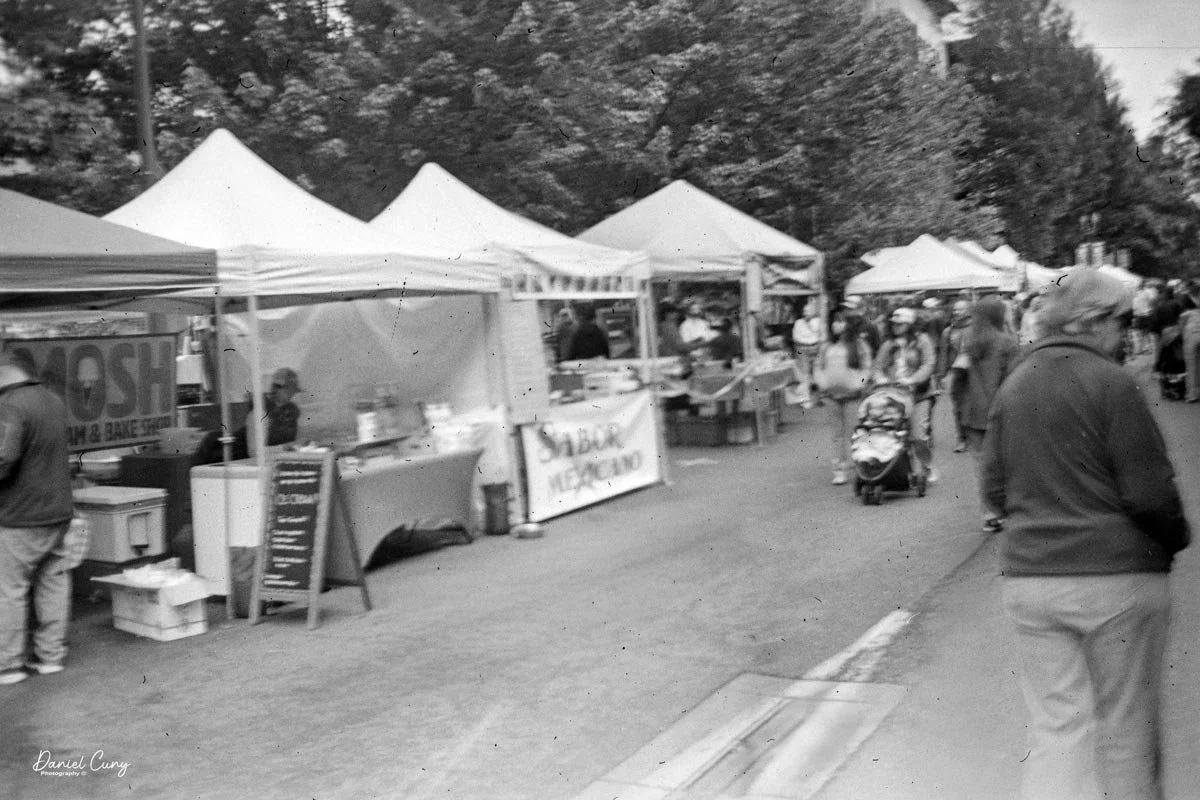
 Here are some of the results:

Conclusion

 As I scan the images from the farmers' market, some turned out better than others. I'm not sure what was going on, but some of the photos are sharper than others. I didn't pull out and push back the lens once I got to the farmers' market; I pulled the lens away from the camera body and adjusted the settings to the lighting conditions.

 There were a couple of times when I set the shutter to 1/50, but the focus was pretty inconsistent in many of the images. I was expecting slightly better results. Maybe there were a couple of times when there was some movement, especially since the shutter is a bit wonky and the images look unfocused.

Who knows what this camera has been through over the past 90 years, but all in all, it was fun to shoot with. The bellows look amazing, and I was complimented on the camera a few times as we walked through the farmers' market, so that was fun.

 Thank you for taking the time to learn a bit about this early example of a Bakelite camera from Japan, made in the early to late 1930s.

 I'd love to hear from you regarding this or some of my other camera reviews.

 Cuny's Camera and Photos is my online eBay store, where I sell some of the cameras reviewed, along with other camera and photo odds and ends.

 Until next week, please be safe.
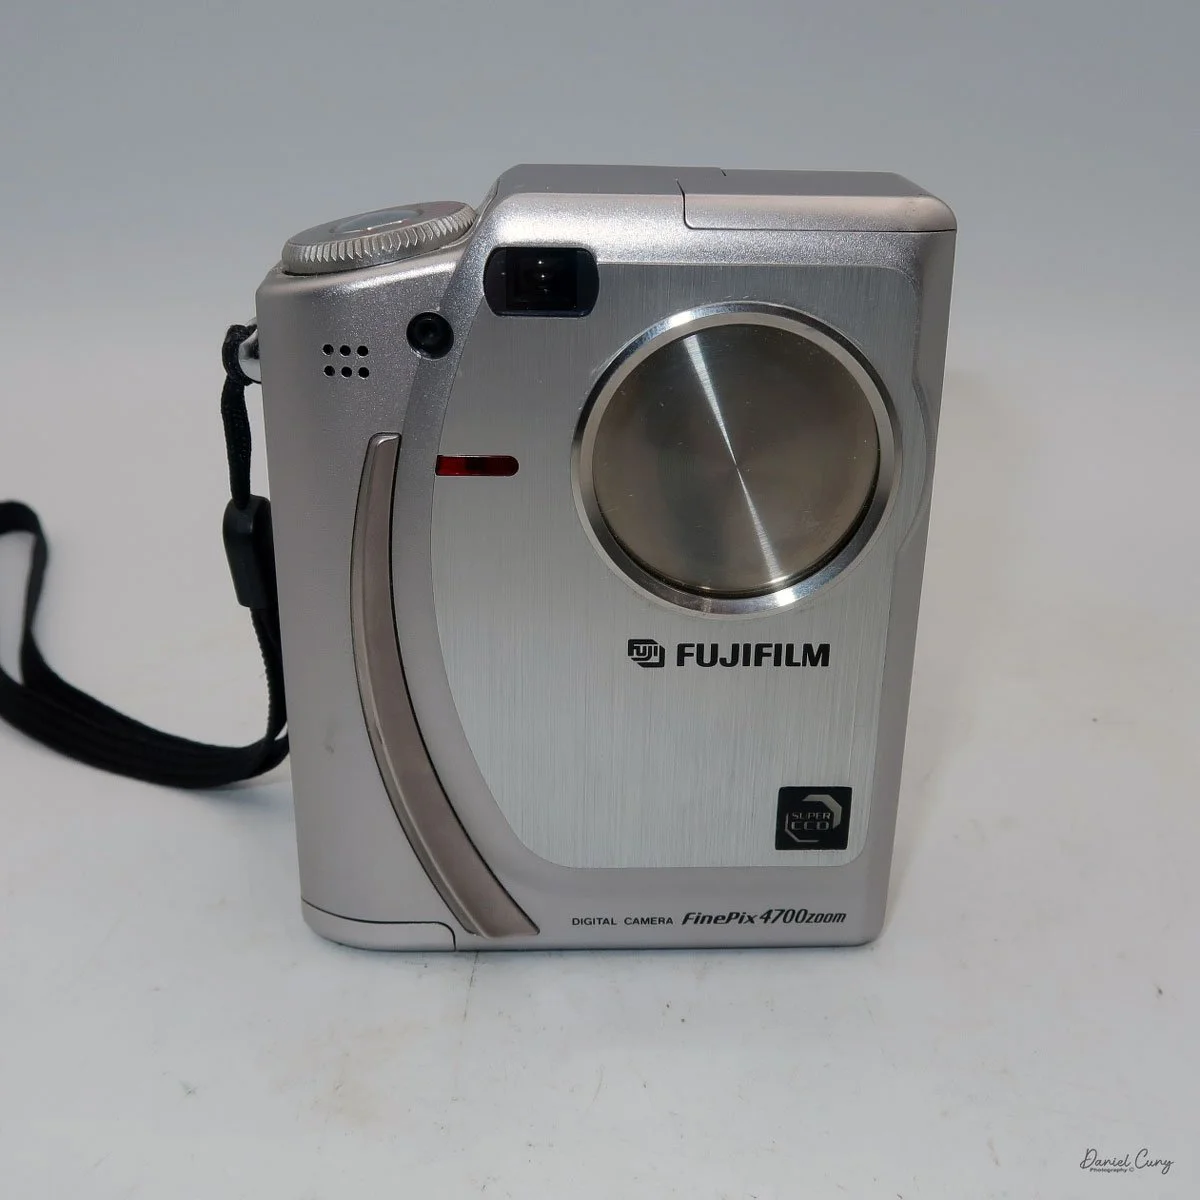
Fujifilm FinePix 4700 Zoom

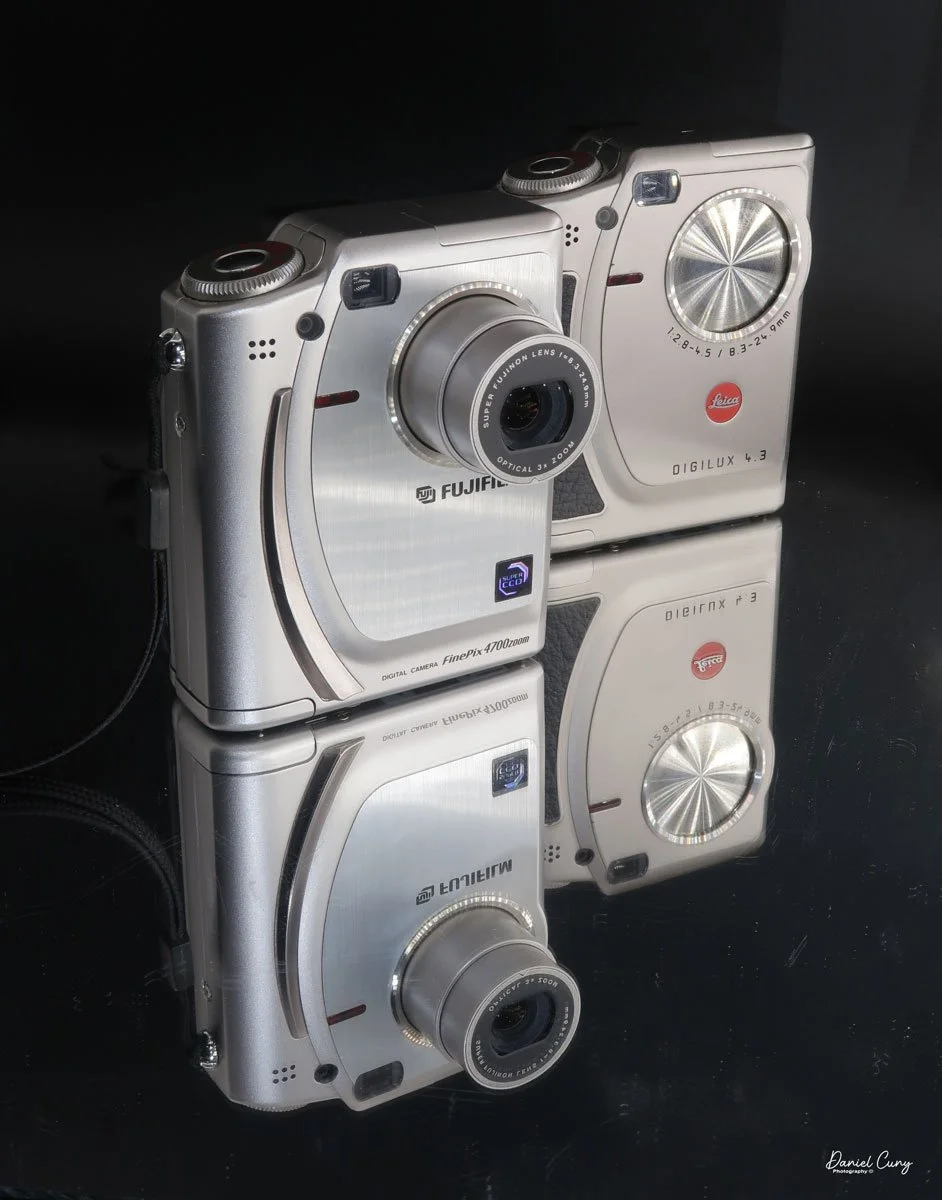
My Fujifilm FinePix 4700 Zoom and Leica Digilux 4.3 cameras

Sometime in late October or early November 2025, I was sitting back at my desk, looking at some of the cameras around me and thinking about cameras to write about for this blog. There was one camera on the top shelf above my desk that has always piqued my interest, and one that I've had for 15 years or so, but it wasn't a film camera; it was a relatively early digital camera. I hadn't included a digital camera in my blog, but that's going to change.
 To start 2026, it would be a nice change of pace if we went away from traditional film cameras and focused on some of the early digital cameras in my collection. With that said, for January, I'm picking four early digital cameras and writing about them. 
 Focusing on the early digital camera in my collection brought me unexpected challenges that were difficult to navigate at times. For many of the cameras I'm reviewing this month, I had to get my mind, and even more challenging, a computer, the computer's hardware, and software back into the late 1990s to early 2000s. Sharing these experiences can make readers feel connected and motivated to explore vintage digital cameras themselves, especially potential buyers interested in the history behind these devices.

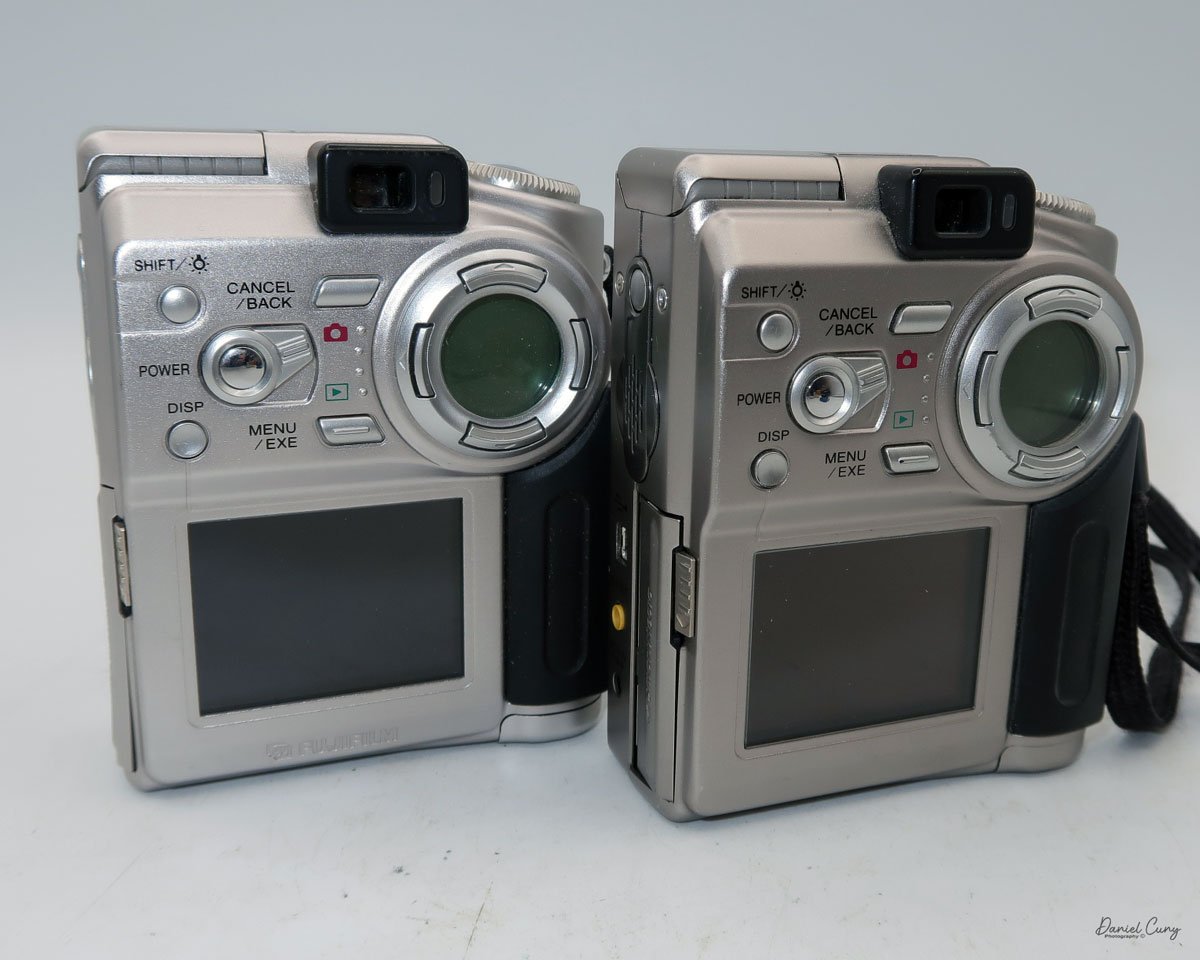
Rear view of Fujifilm FinePix 4700 zoom & Leica Digilux 4.3

 The first camera I'm going to discuss isn't as challenging as some of the cameras I'll be writing about later this month. My difficulties are mainly because I'm still working out some hardware issues with the computer, which I'll discuss in my write-up about the cameras. 

 All of the cameras are in good working condition. Aside from their specific camera menus, which are very basic compared to what we have now, the computer issues have been considerably more challenging and, at times, very frustrating, especially when finding a computer from that timeframe that functions. Still, I'll discuss that when the camera comes into play.

 It is also interesting that Fujifilm makes cameras for other brands. The two most well-known camera companies, Hasselblad and Leica, have had cameras made for them by Fujifilm. The Hasselblad XPan was produced in partnership with Fujifilm. Also, their "H" series lenses and viewfinder were developed with Fujifilm's involvement. 

 As you can see in the photos of the cameras above, the Fujifilm FinePix 4700 zoom is rebranded as the Leica Digilux 4.3. This was the third camera that Leica rebranded. The first was the original Digilux, Digilux Zoom, and  Digilux 4.3

The Company:

 Fujifilm's history in Japan mirrors the country's own journey through modernization, war, recovery, and technological reinvention. The company was founded in 1934 as Fuji Photo Film Co., Ltd., established by the Japanese government to create a domestic photographic film industry and reduce reliance on imports, particularly from Germany and the United States. Its first factory opened in Minami-Ashigara, near Mount Fuji, which inspired the company's name and enduring brand identity.

 In its early years, Fujifilm focused on mastering the complex chemistry of photographic film, producing black-and-white film, photographic paper, and motion picture film. During World War II, like many Japanese industrial firms, it was drawn into wartime production, supplying optical and imaging materials for military use. The war left Japan's economy devastated, but Fujifilm survived and quickly pivoted back to civilian products during the postwar recovery.

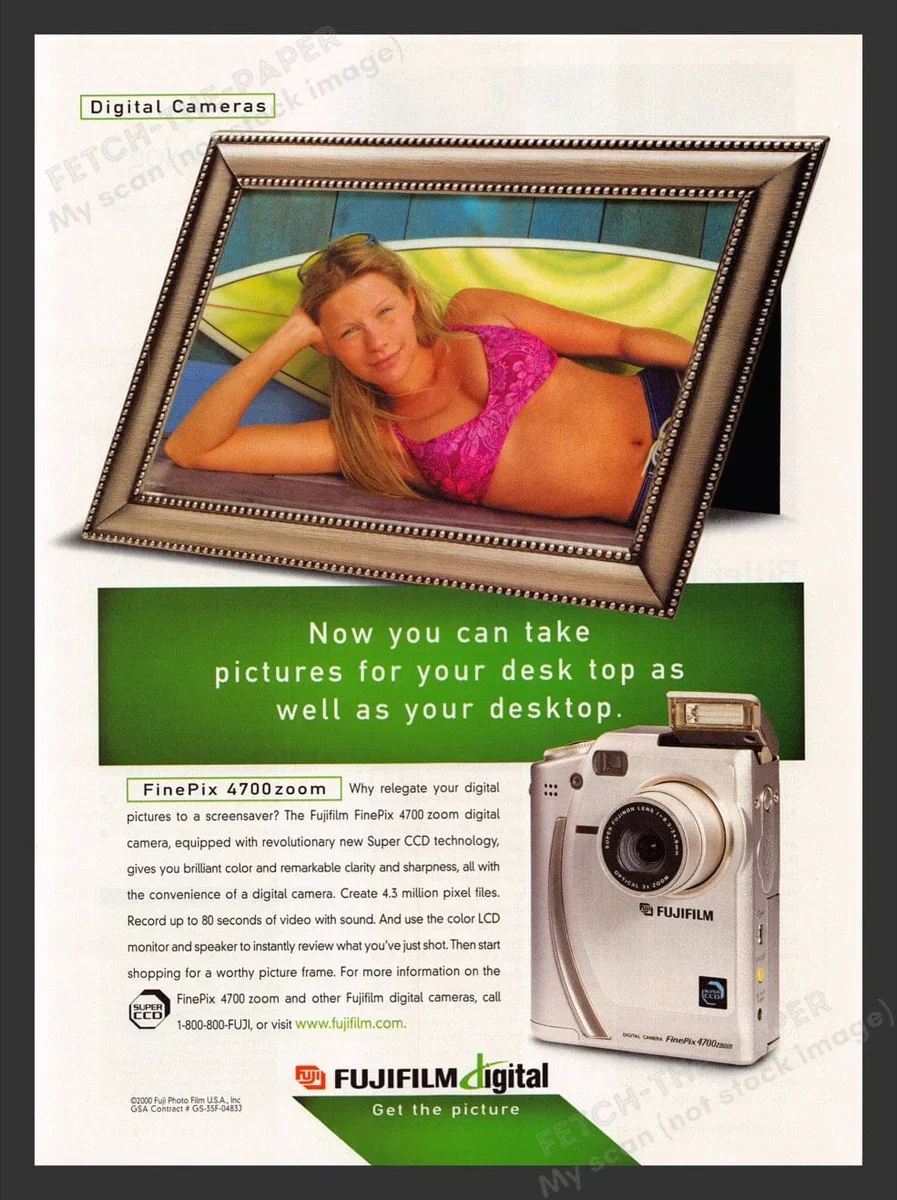
Fujifilm FinePix 4700 zoom advertisment

 The 1950s and 1960s marked a period of rapid growth. As Japan rebuilt and consumer culture expanded, photography became increasingly popular. Fujifilm introduced color film to the domestic market and steadily improved its quality, competing both domestically and internationally with companies such as Kodak. At the same time, the firm diversified into related fields, including magnetic tape, optical lenses, and X-ray film, laying the groundwork for its future resilience.

 During Japan's high-growth era of the 1970s and 1980s, Fujifilm became a global brand. It invested heavily in research and development, embracing advanced chemical engineering and precision manufacturing. These capabilities allowed the company to move beyond consumer photography into medical imaging, printing systems, and industrial materials. Fujifilm's strong export orientation also reflected Japan's emergence as a significant technological power.

 The late 1990s and early 2000s posed an existential challenge: the rapid decline of photographic film amid the rise of digital imaging. While many traditional film companies struggled, Fujifilm undertook one of the most notable corporate transformations in modern Japanese business history. Drawing on its expertise in chemistry and materials science, it diversified aggressively into healthcare, pharmaceuticals, cosmetics, electronic materials, and data storage. The company officially changed its name to Fujifilm Holdings Corporation in 2006 to reflect this broader mission.

 Today, Fujifilm remains a symbol of Japanese adaptability and long-term thinking. While it still honors its photographic heritage, its core businesses now lie in healthcare, imaging, and advanced materials. From its origins near Mount Fuji to its global presence, Fujifilm's history illustrates how a Japanese company can evolve with changing times while preserving technical excellence and cultural identity.

My Camera:

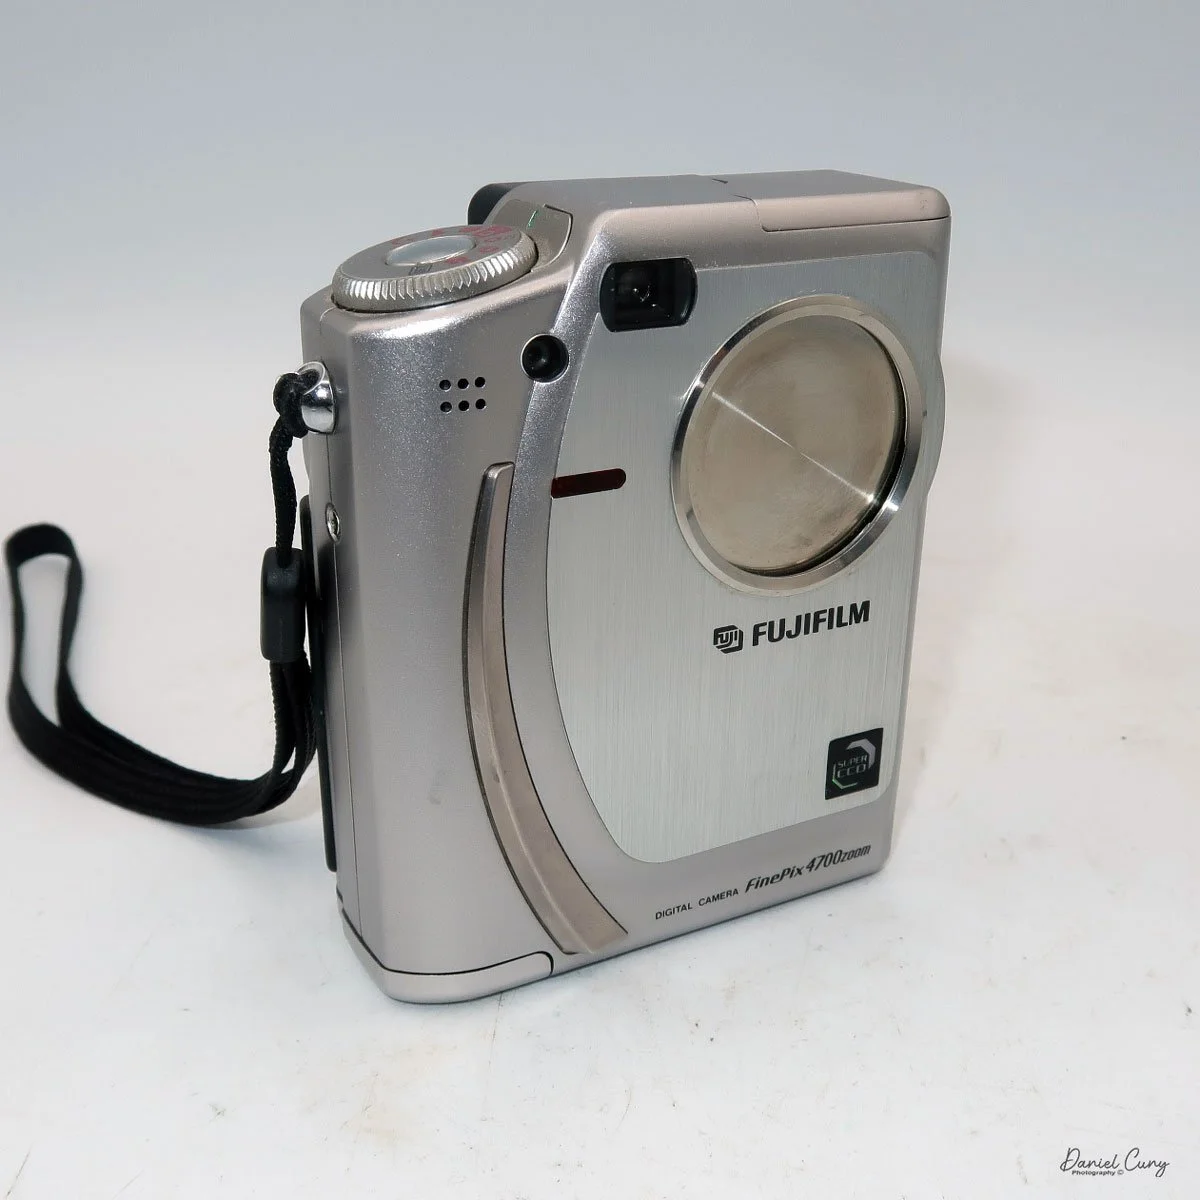
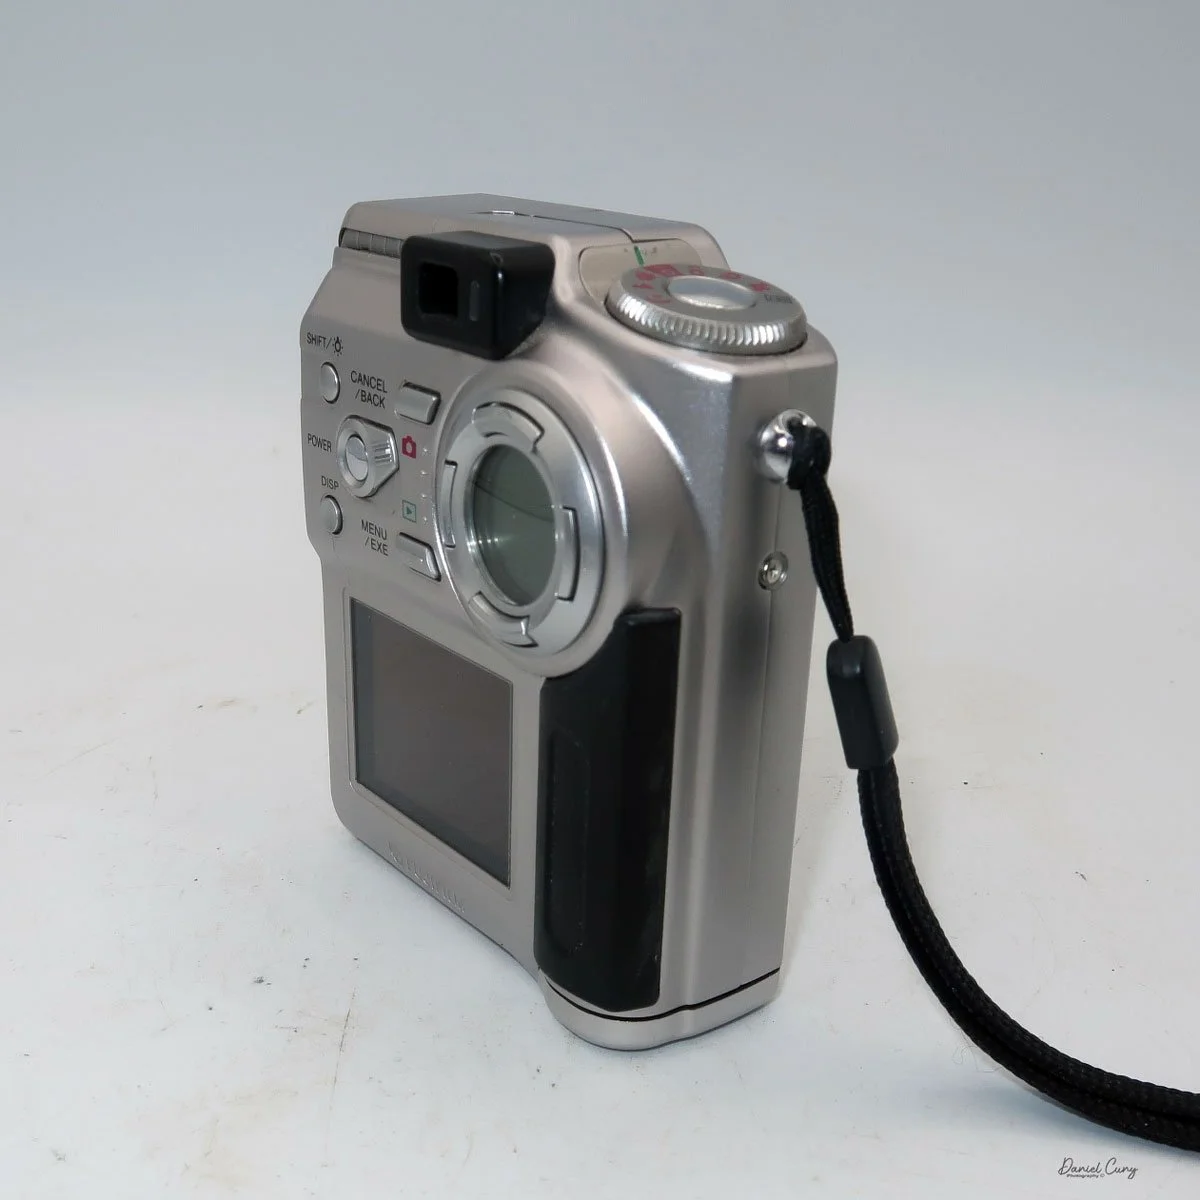
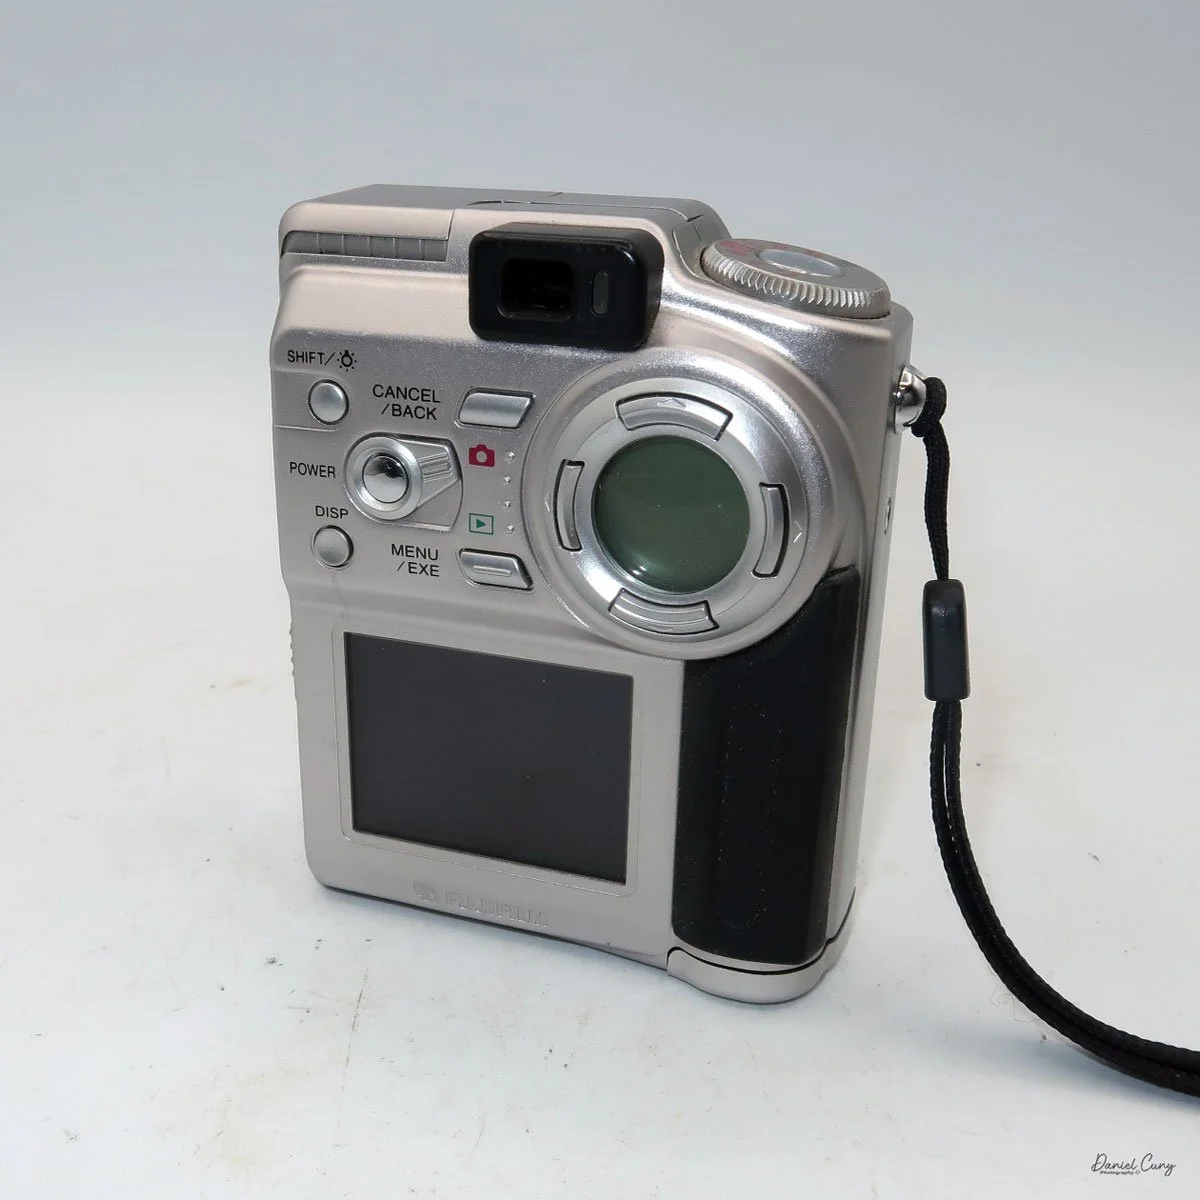
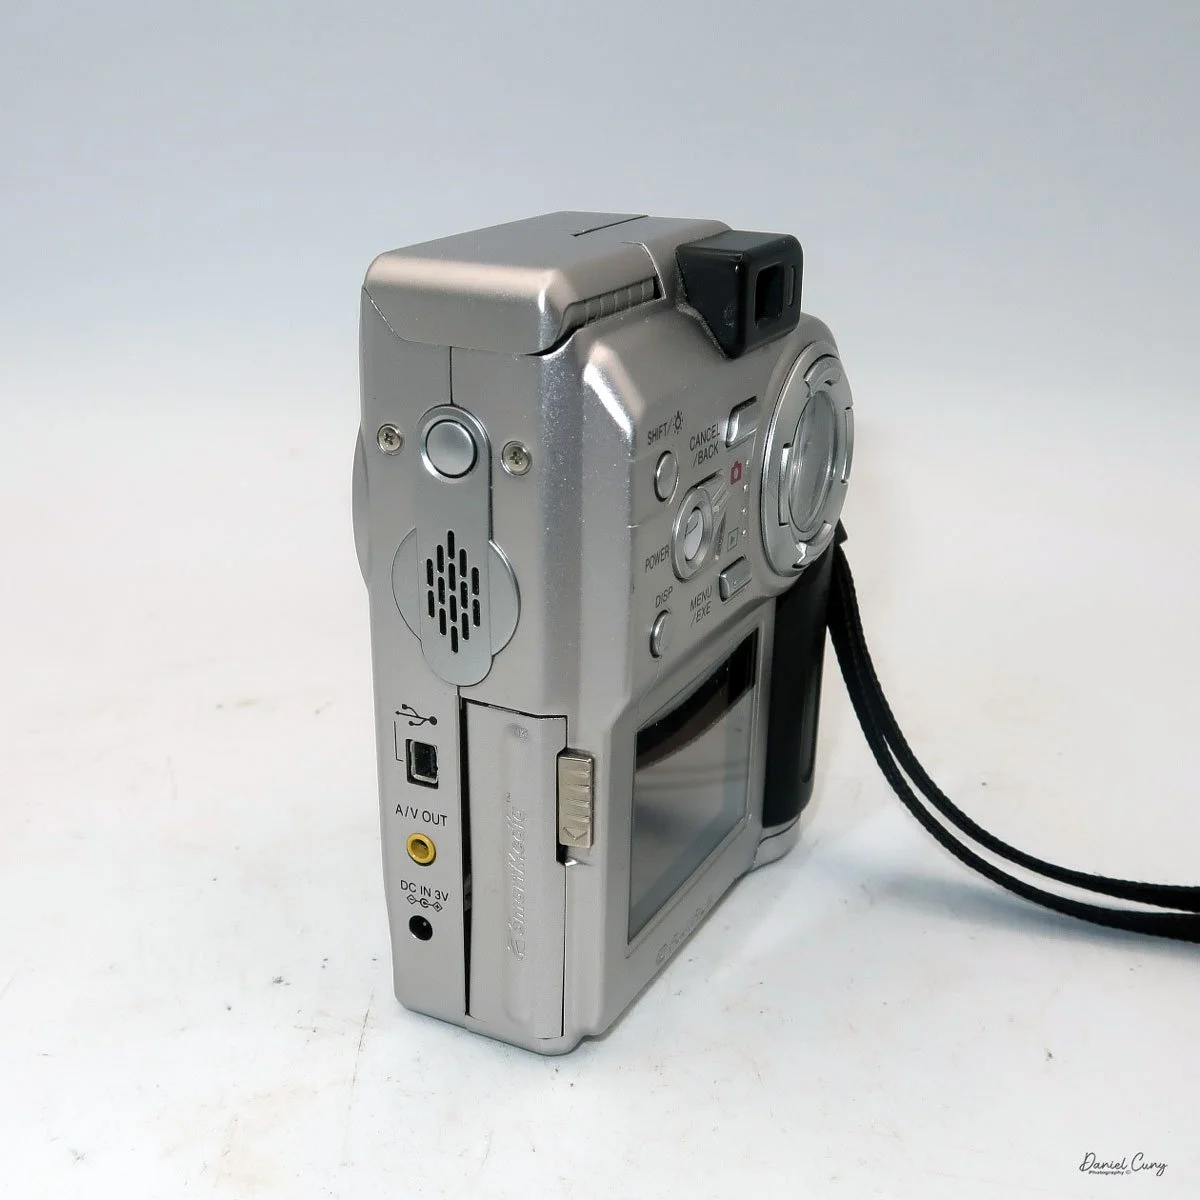
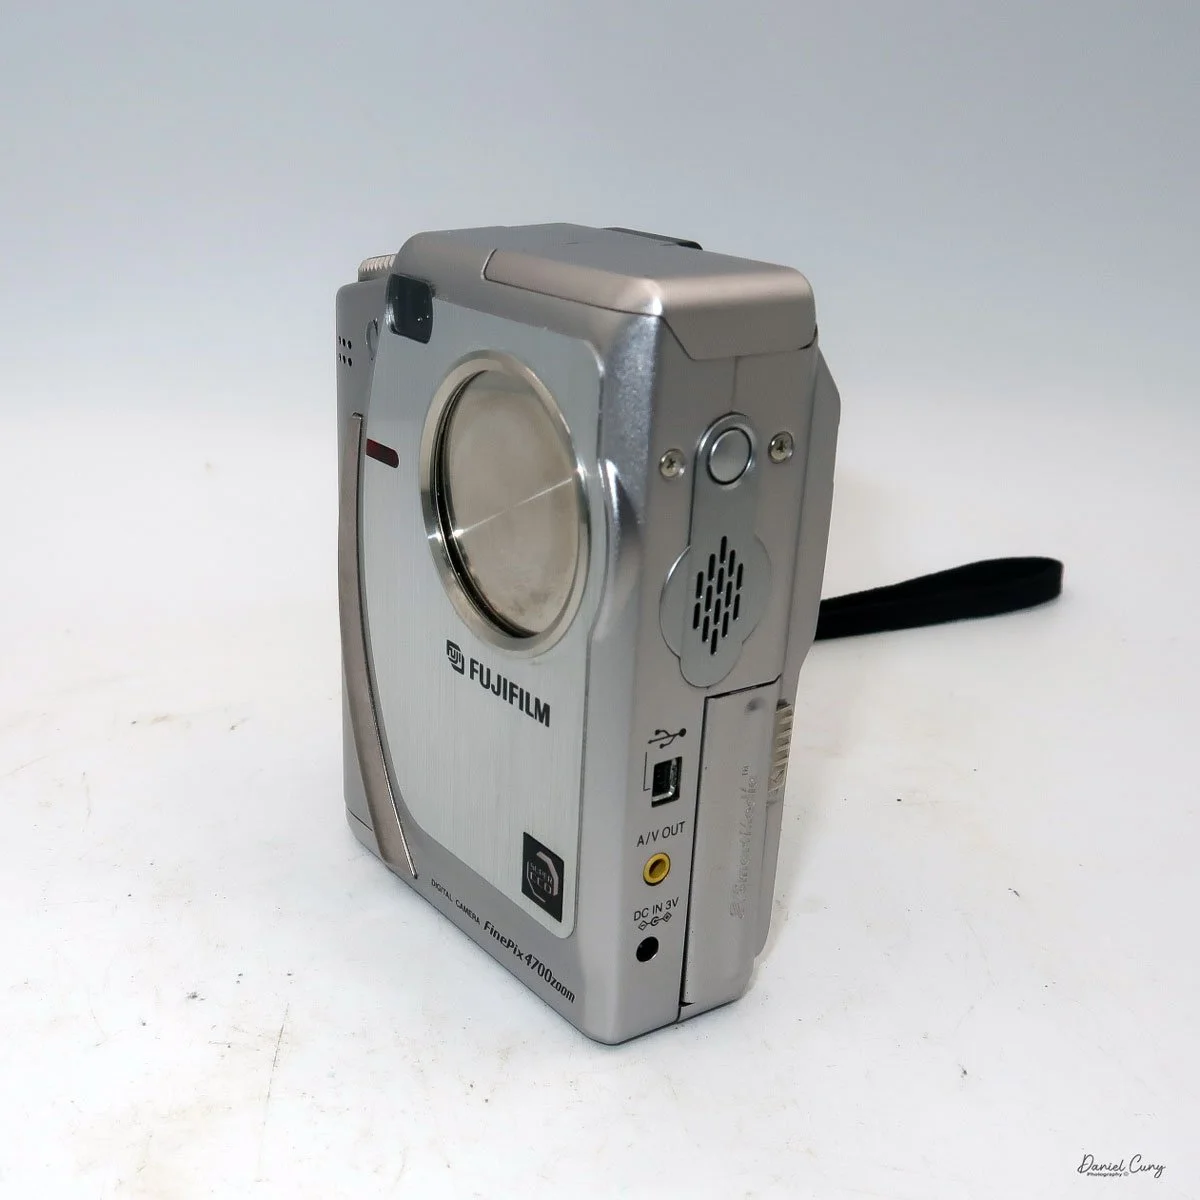
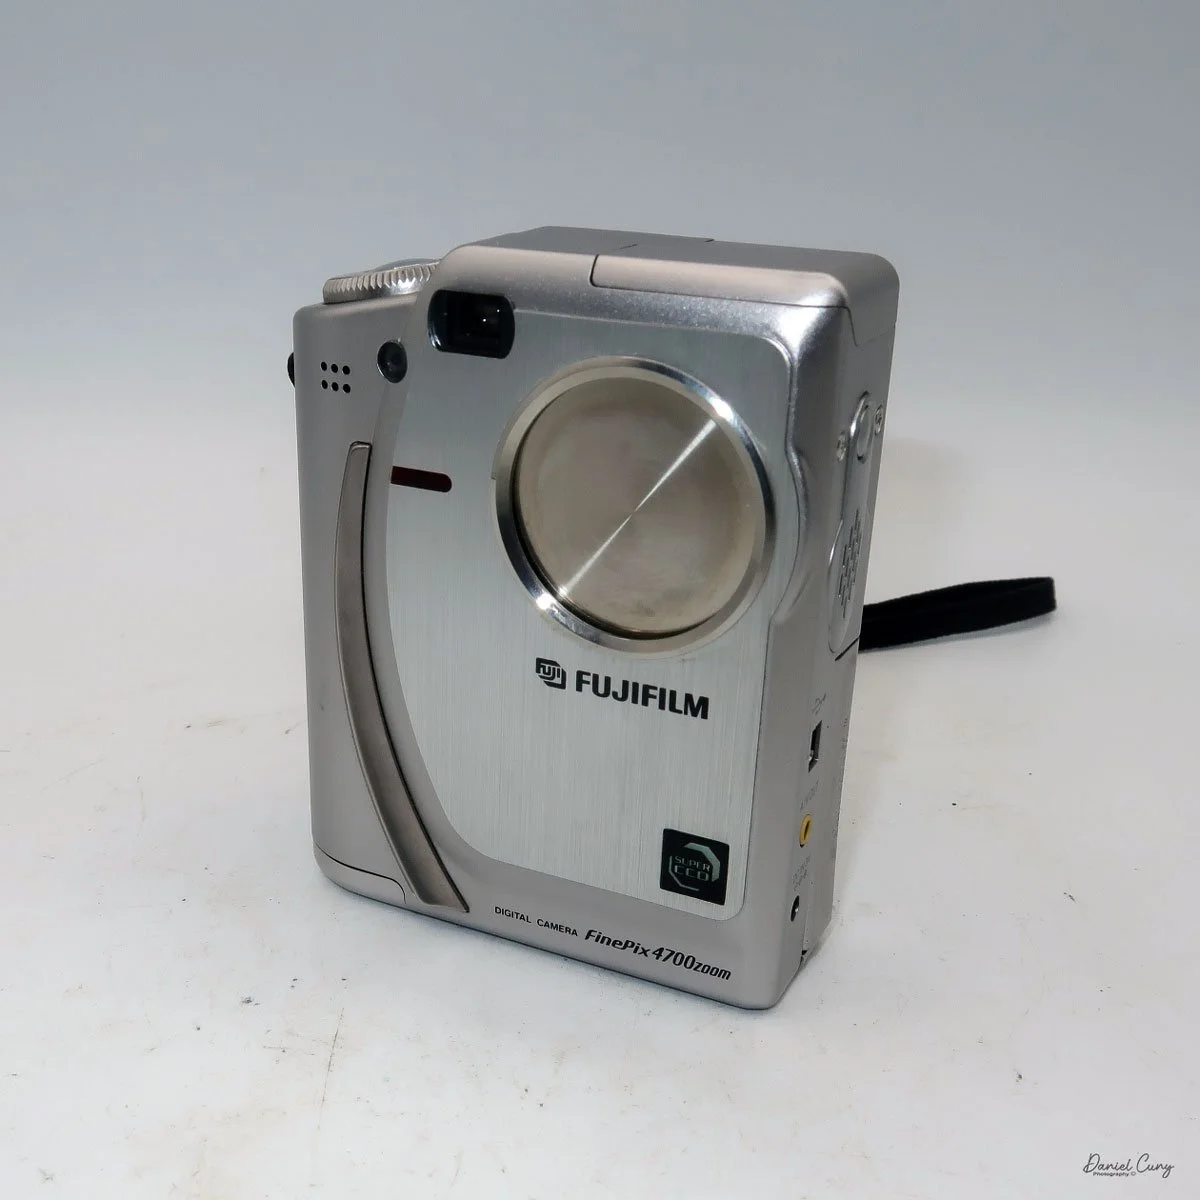
 The Fujifilm FinePix 4700 zoom may be the highest resolution digital camera I'll be writing about this month, coming in at a whopping 2mp, with a 1/1.7" SuperCCD imaging sensor which can produce a maximum resolution of 2400 x 1800-sized JPEGs on a Smart Media Card. The Fujifilm FinePix 4700 zoom has a Super Fujinon 8.3-24.9mm lens with a maximum aperture of f/2.8 to f/4.5. This 3x zoom lens is the 35mm equivalent of a 36-108mm lens.

 While the Fujifilm FinePix 4700 zoom is an unconventional vertical-format camera in stature, it is very easy to hold and use. The dimensions of the camera are 4" tall by just a bit over 3" wide by 1.5" thick, and it weighs in at 10.8 ounces with the two "AA" batteries that power the camera.

I don't want to get into the full minutia of everything the camera has to offer and go into each specific button and control, but instead talk about the basic controls of the camera and how I generally use this style of camera, which is similar to probably 95% of the intended users. If you want to look at specifics and know what each button does, you can go online and find a copy of the Fujifilm FinePix 4700 instruction manual.

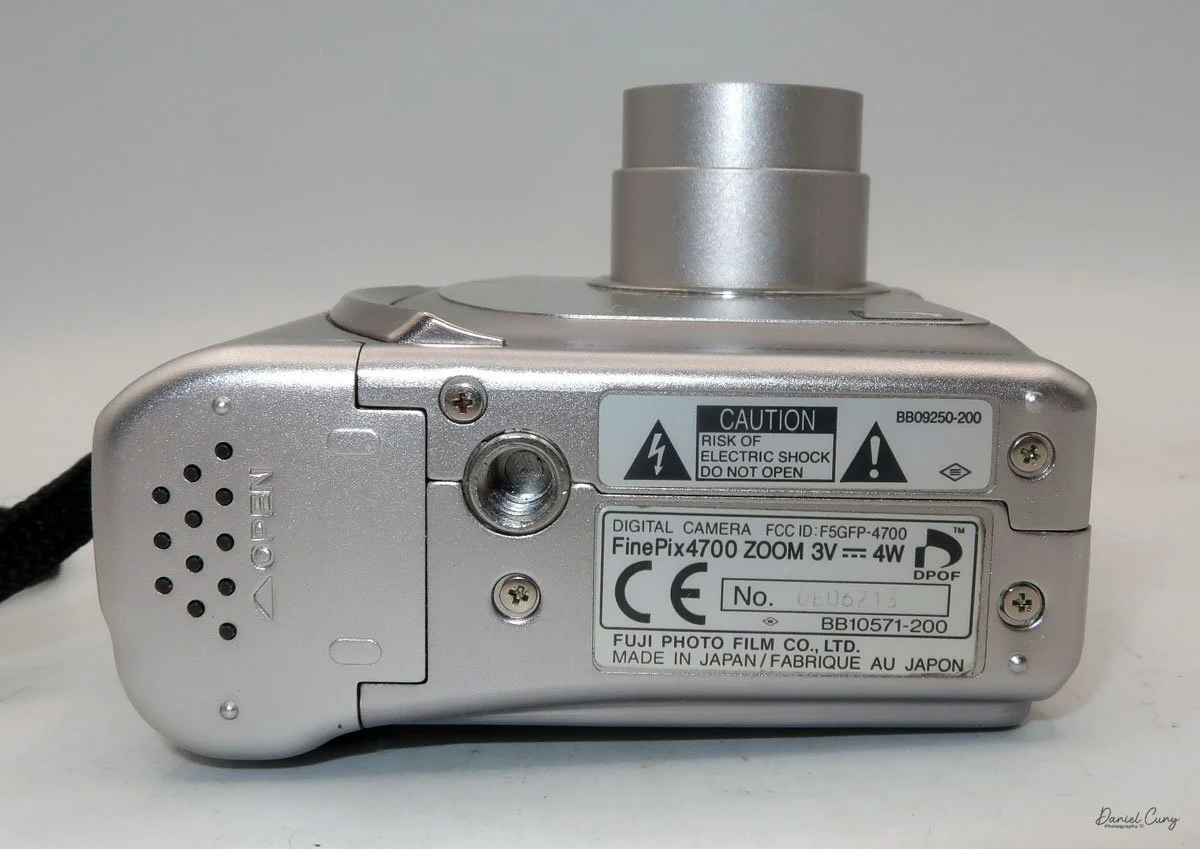
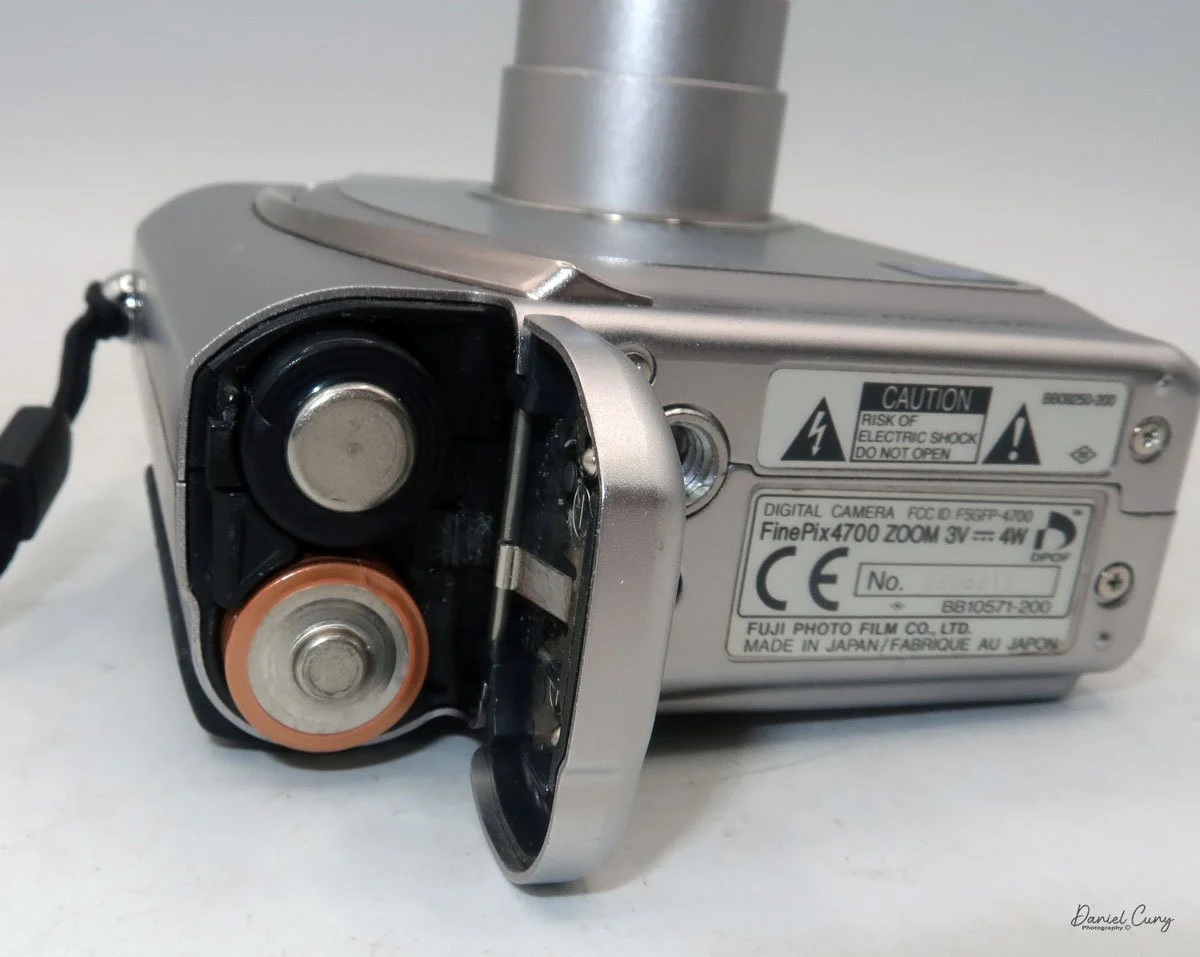
 Let's start at the beginning. To put in the 2 "AA" batteries, on the bottom of the camera is the battery door. Slide the cover outward, and the door will swing open. Insert the 2 "AA" batteries as shown on the battery lid, then close the lid and slide it back to close the battery door. 

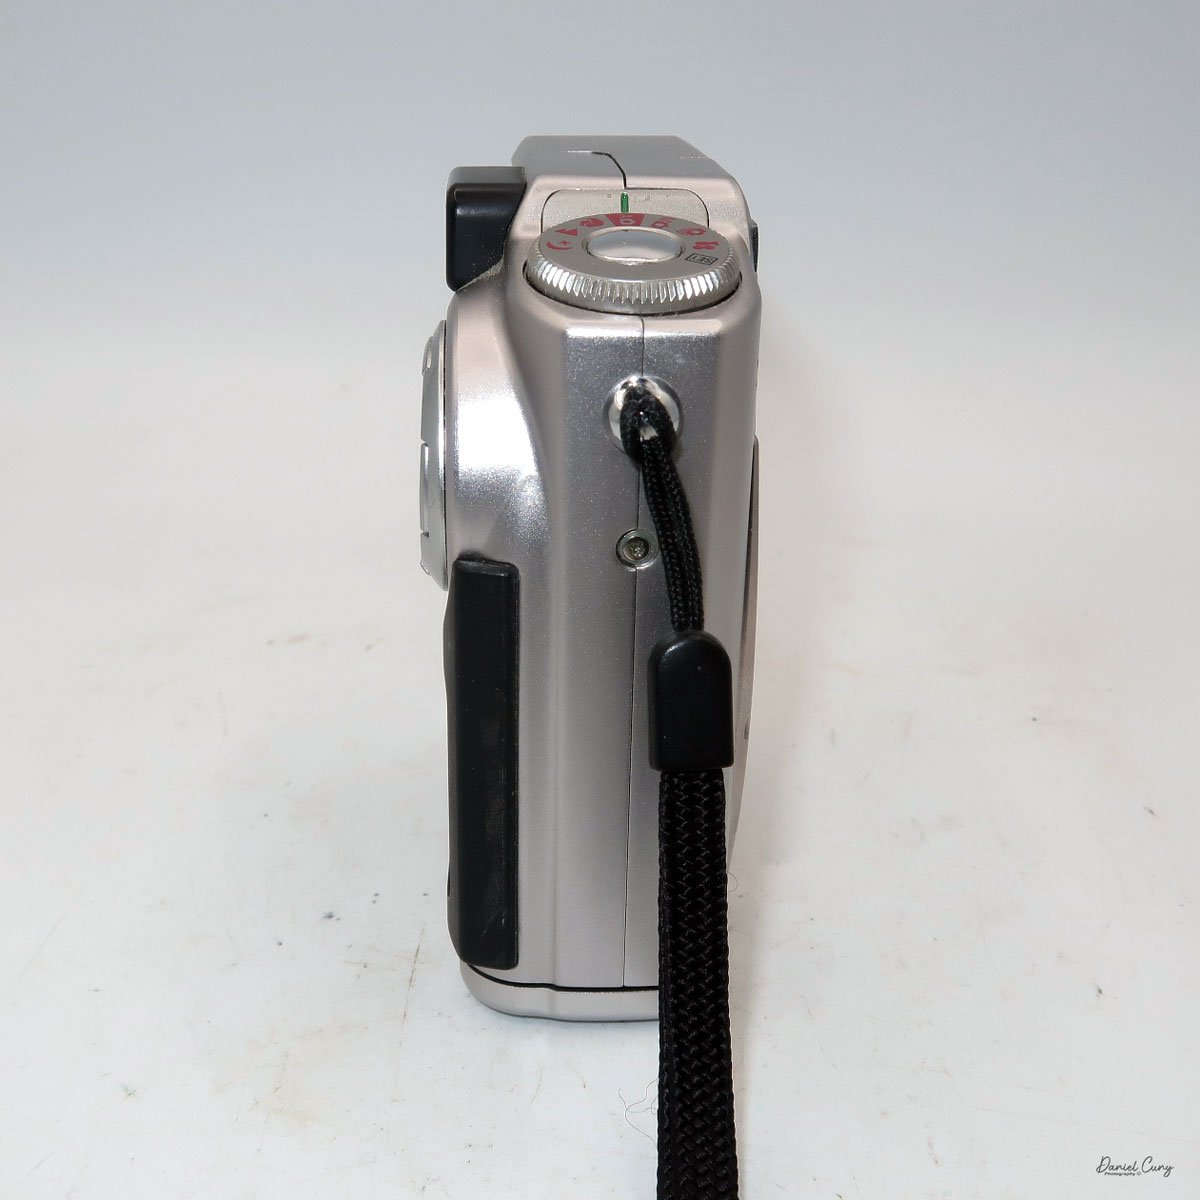
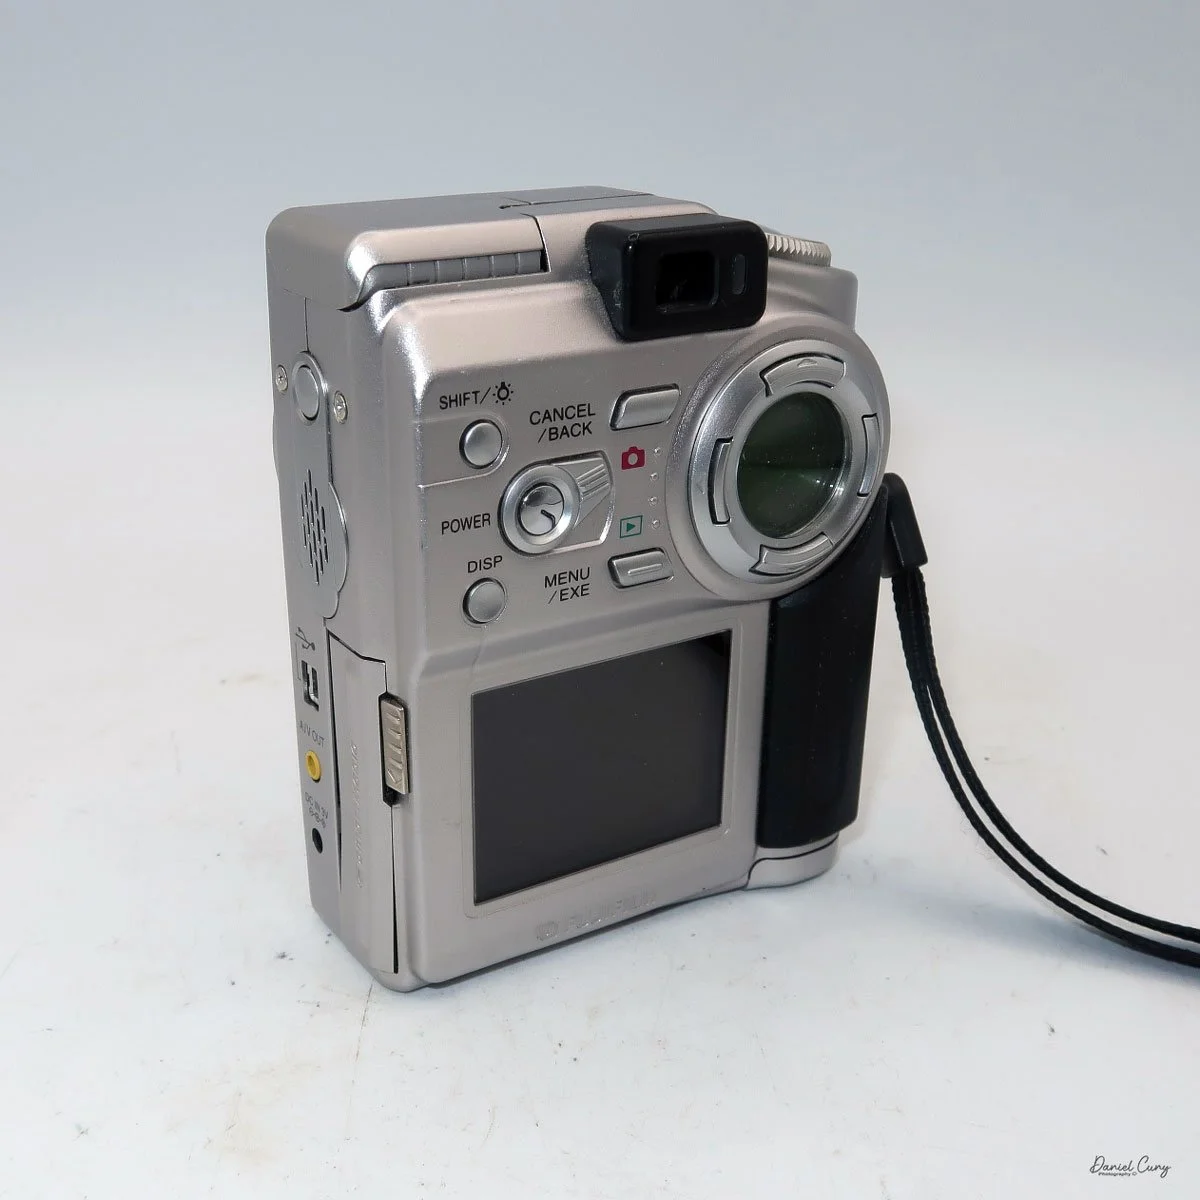
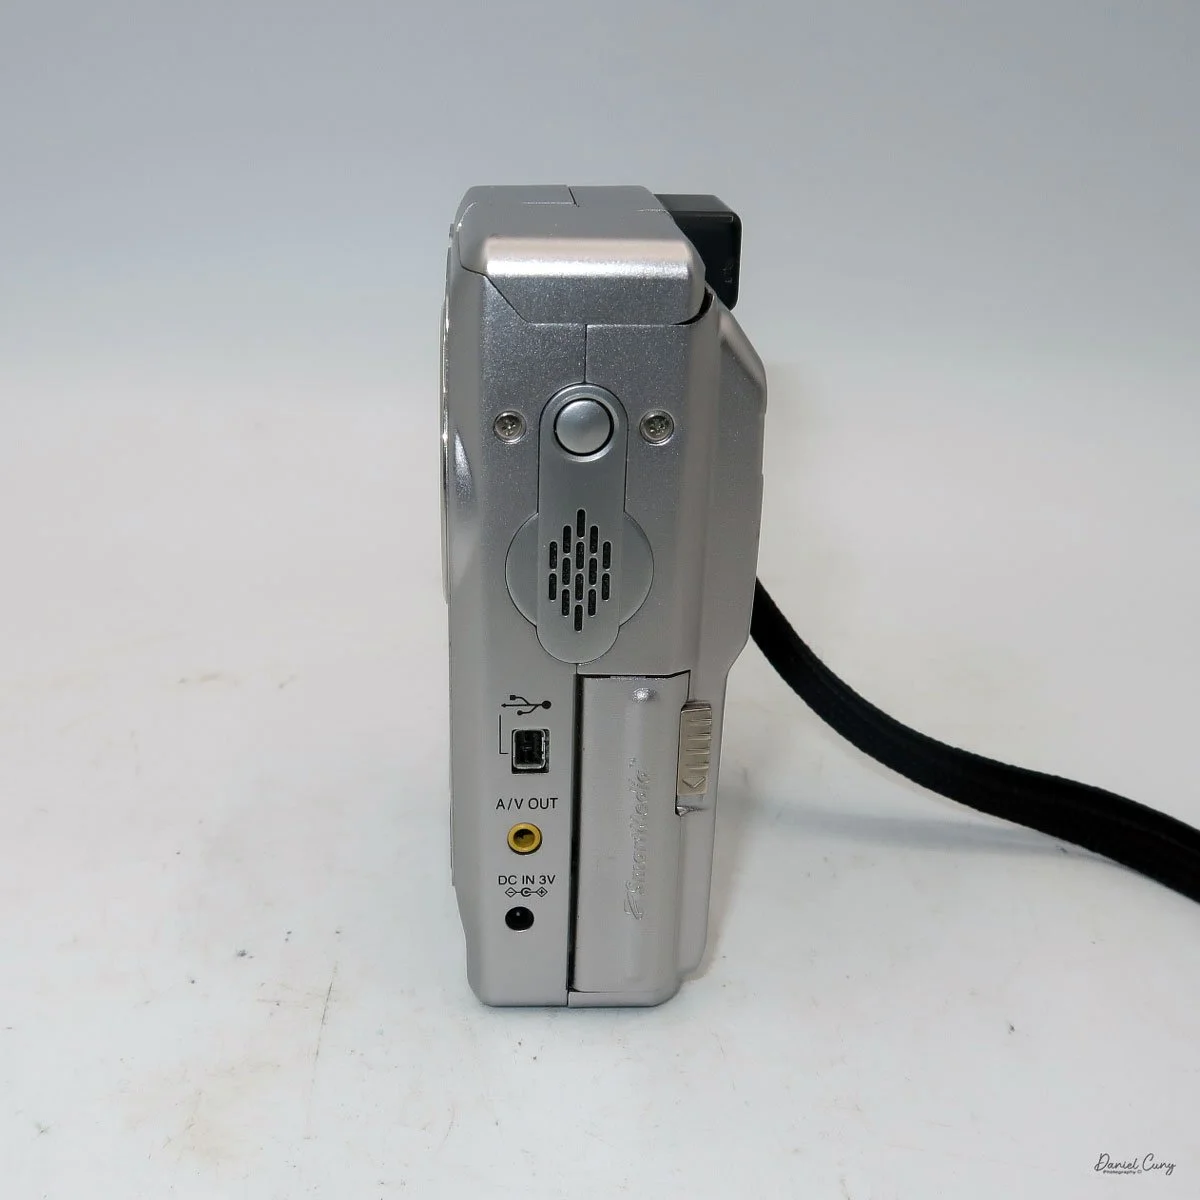
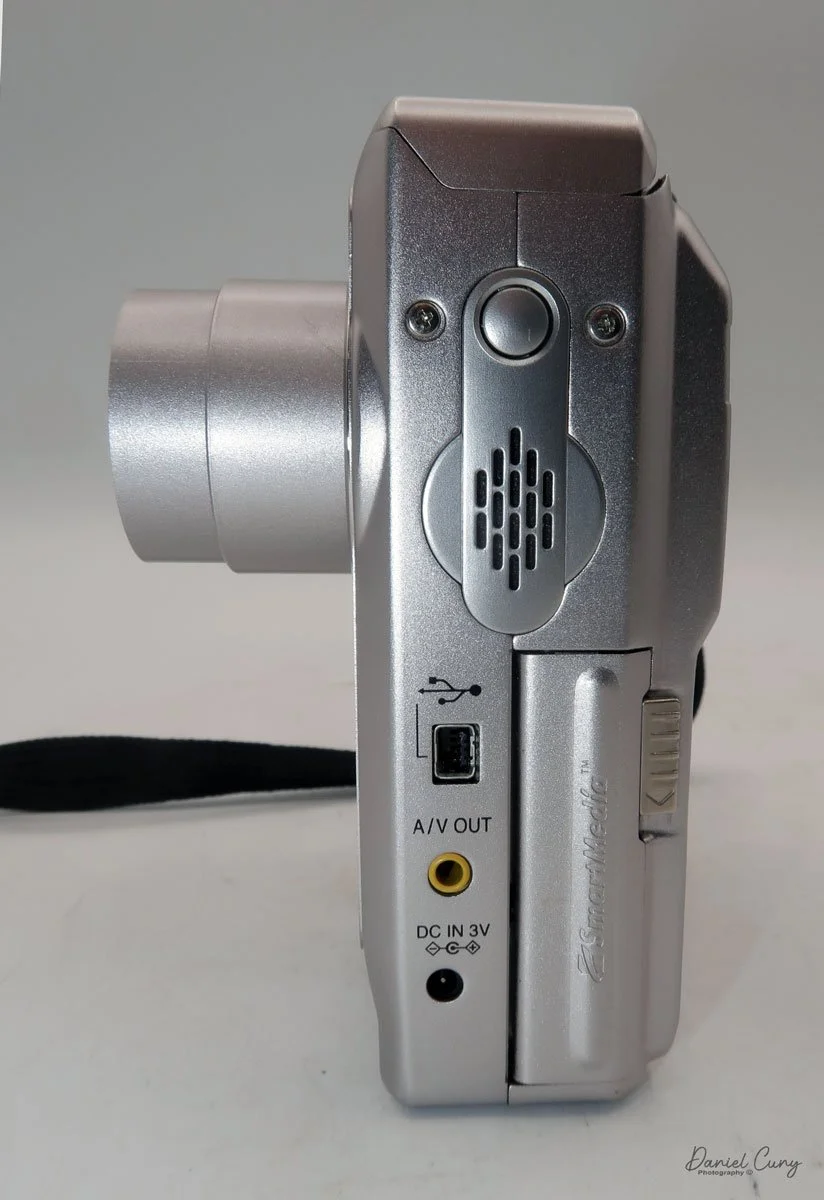
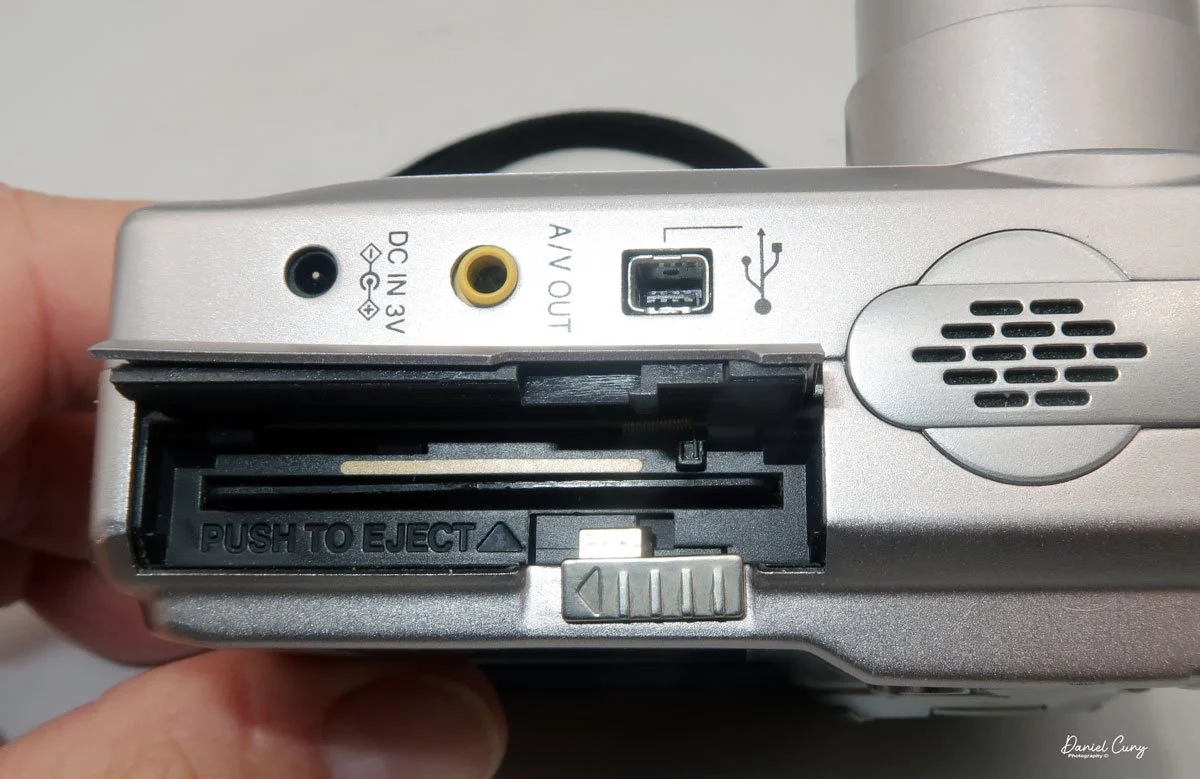
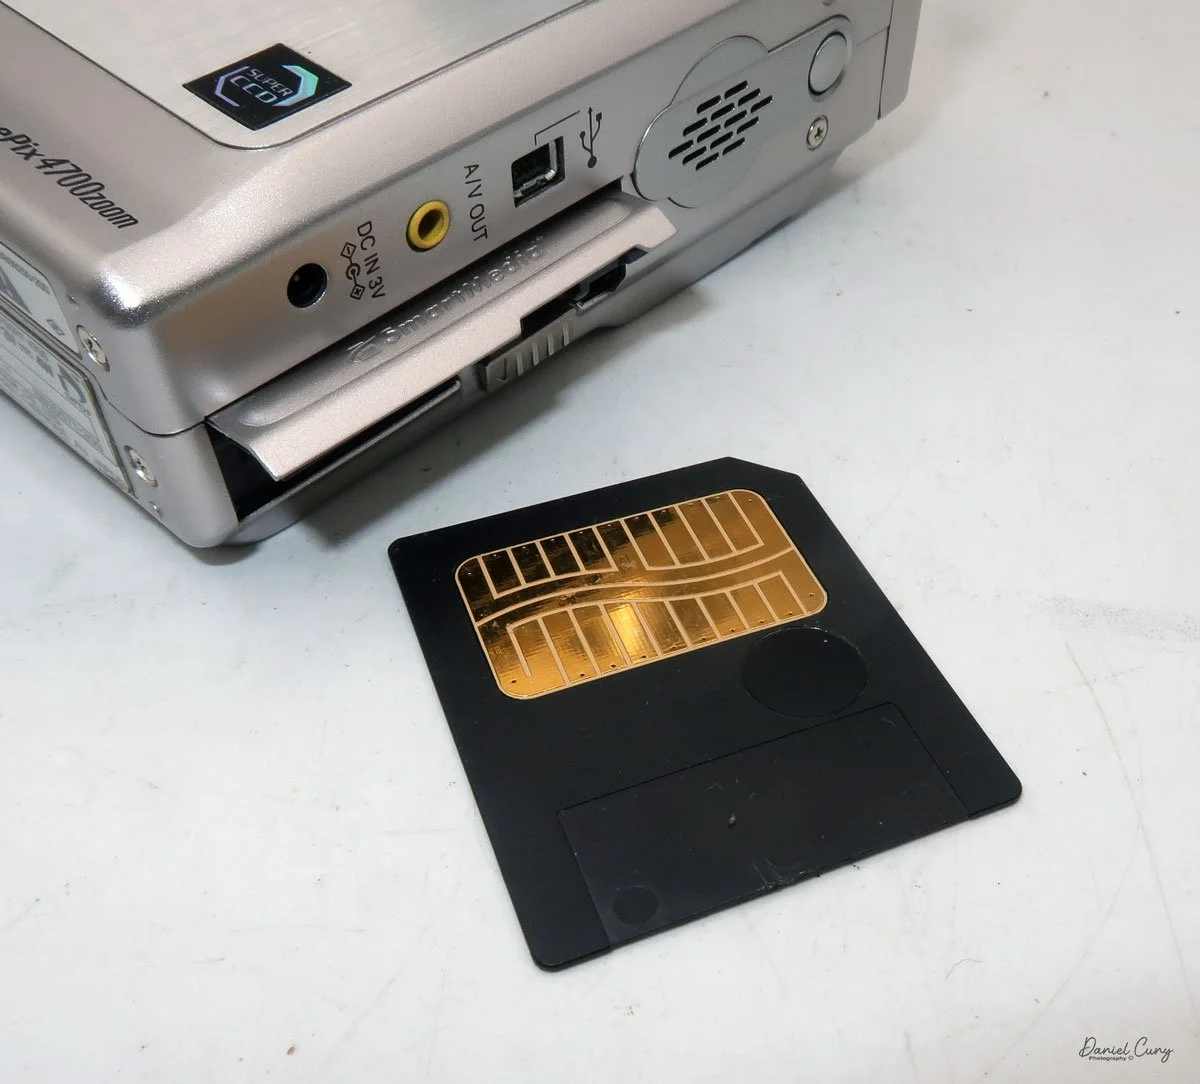
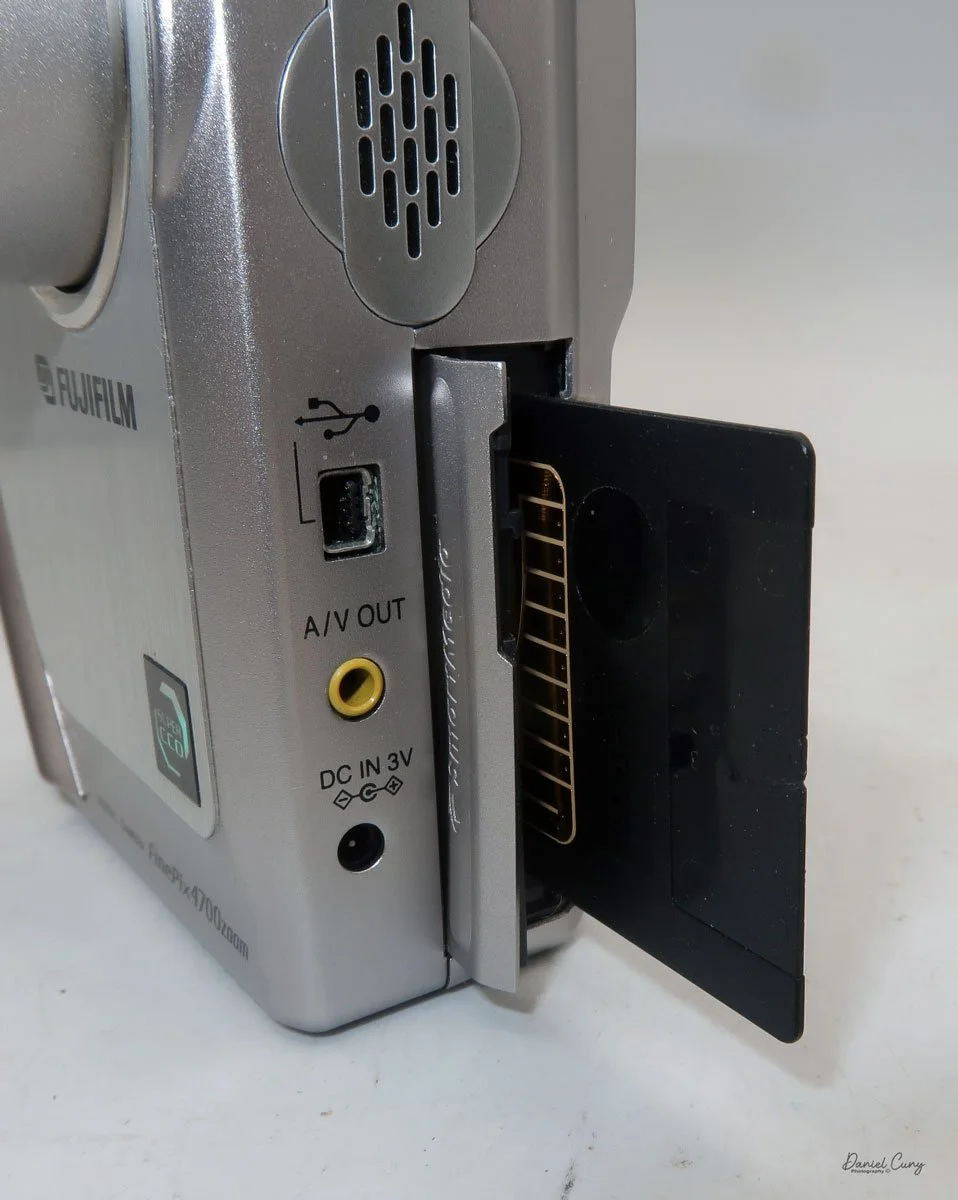
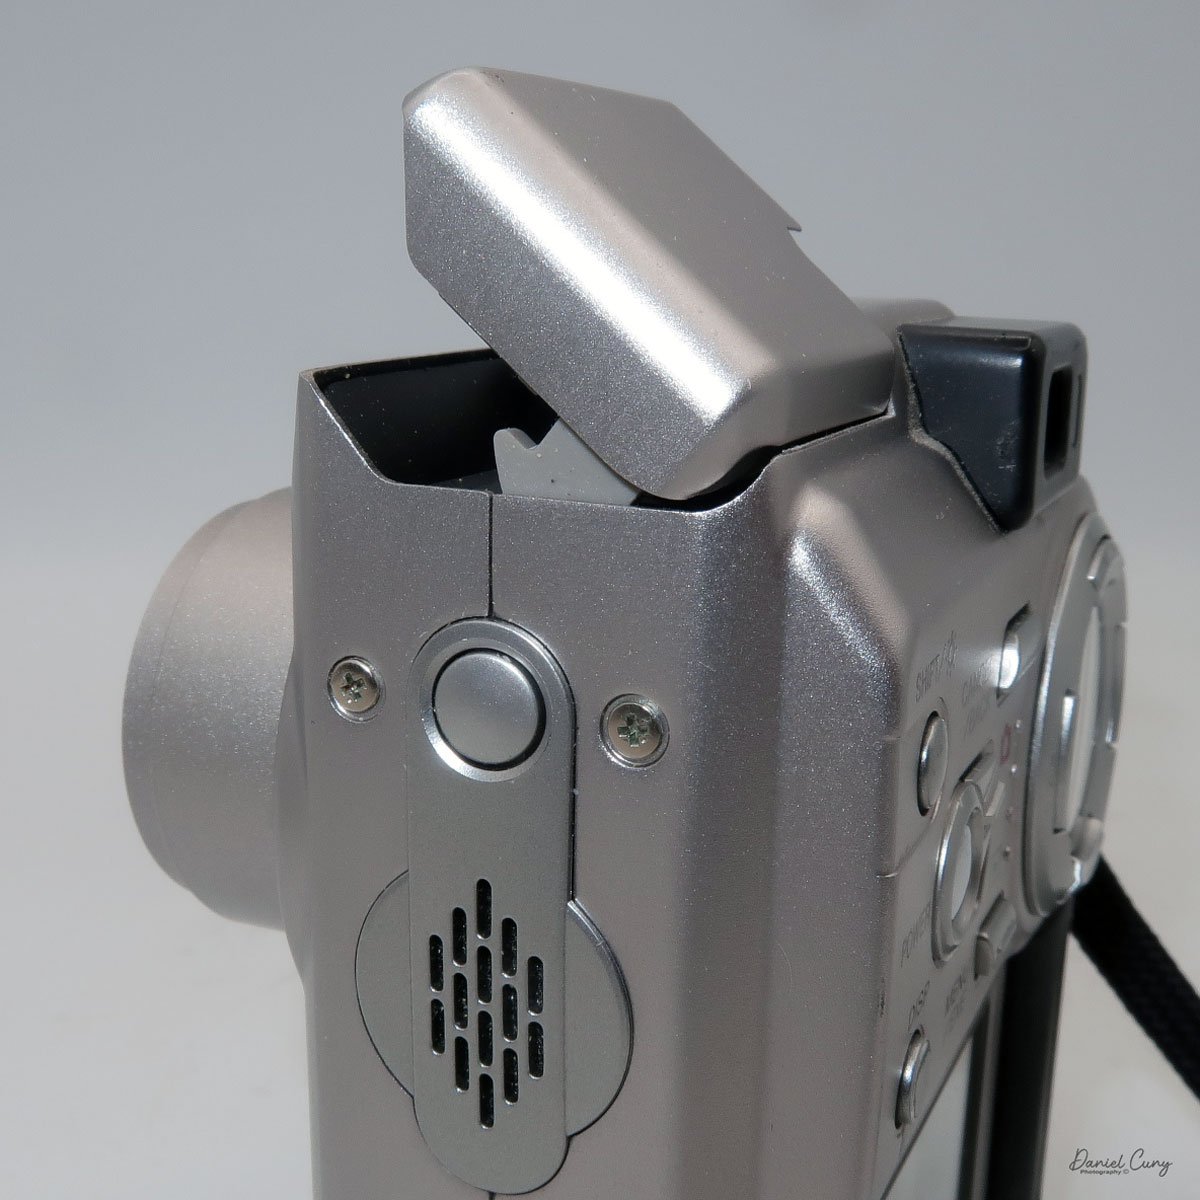
On the left side of the camera is the door where you put in the Smart Media card. Flip the small button downwards to open the memory card door. Insert the memory card so the brass portion faces the front of the camera, and press it in all the way until it stays in the camera. To release the memory card, push it in a bit, as it's spring-loaded, and it will pop out, so you can grab it and pull it out of the camera. Once the memory card is inserted in the camera, you can close the memory card door.

 Above the memory card door is a small speaker; above that is a small button to turn on the flash, which will pop up after the button is pressed. Also on the left side are ports for a charging device, A/V out, and a USB port.

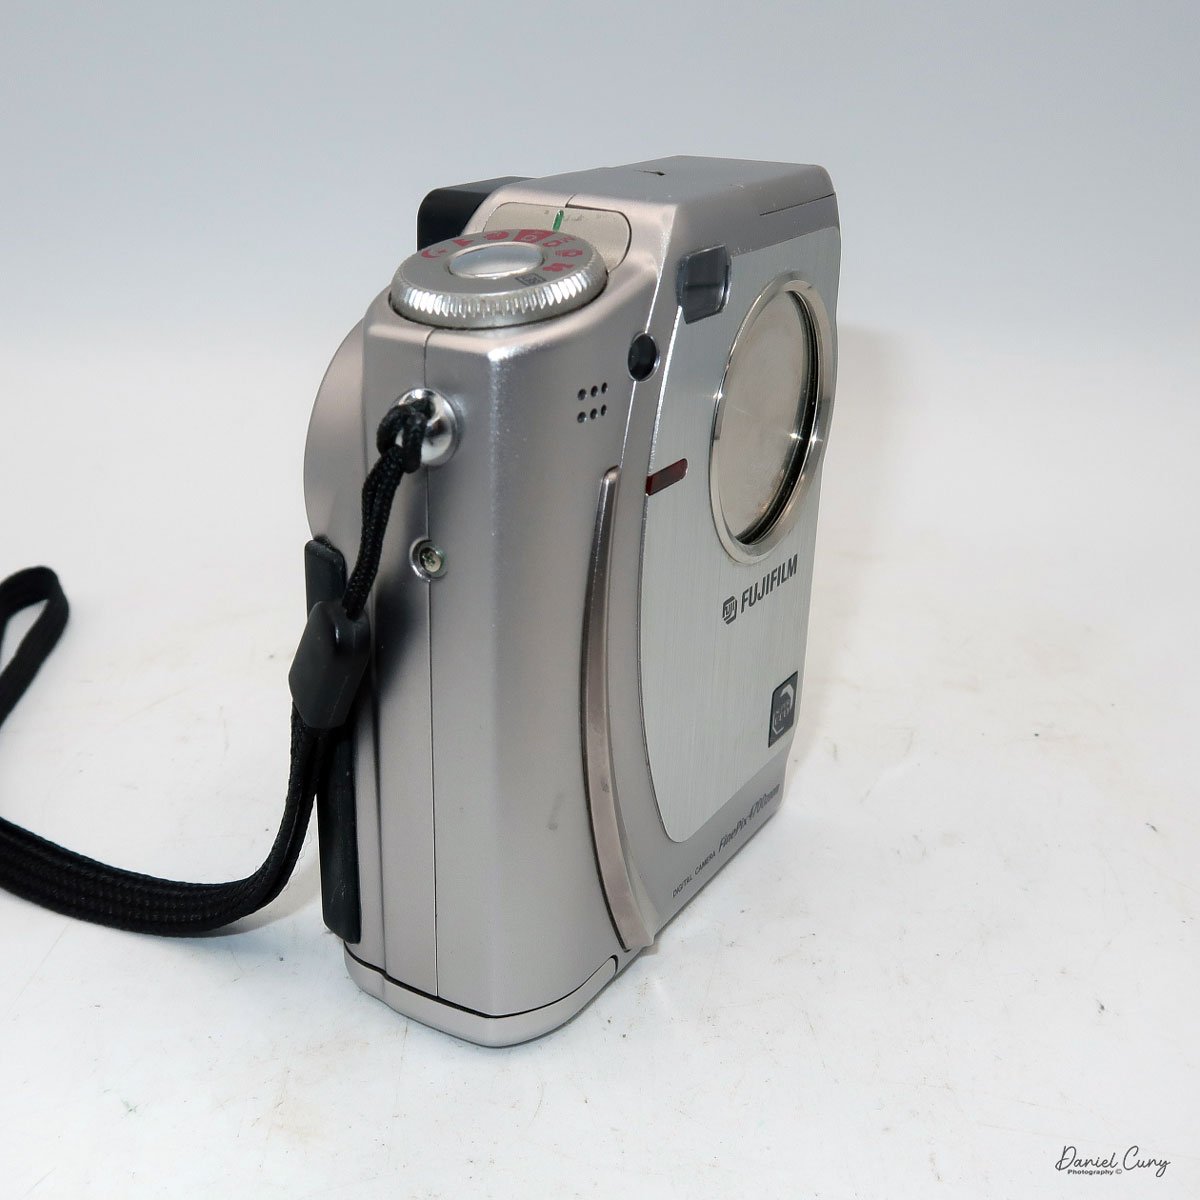
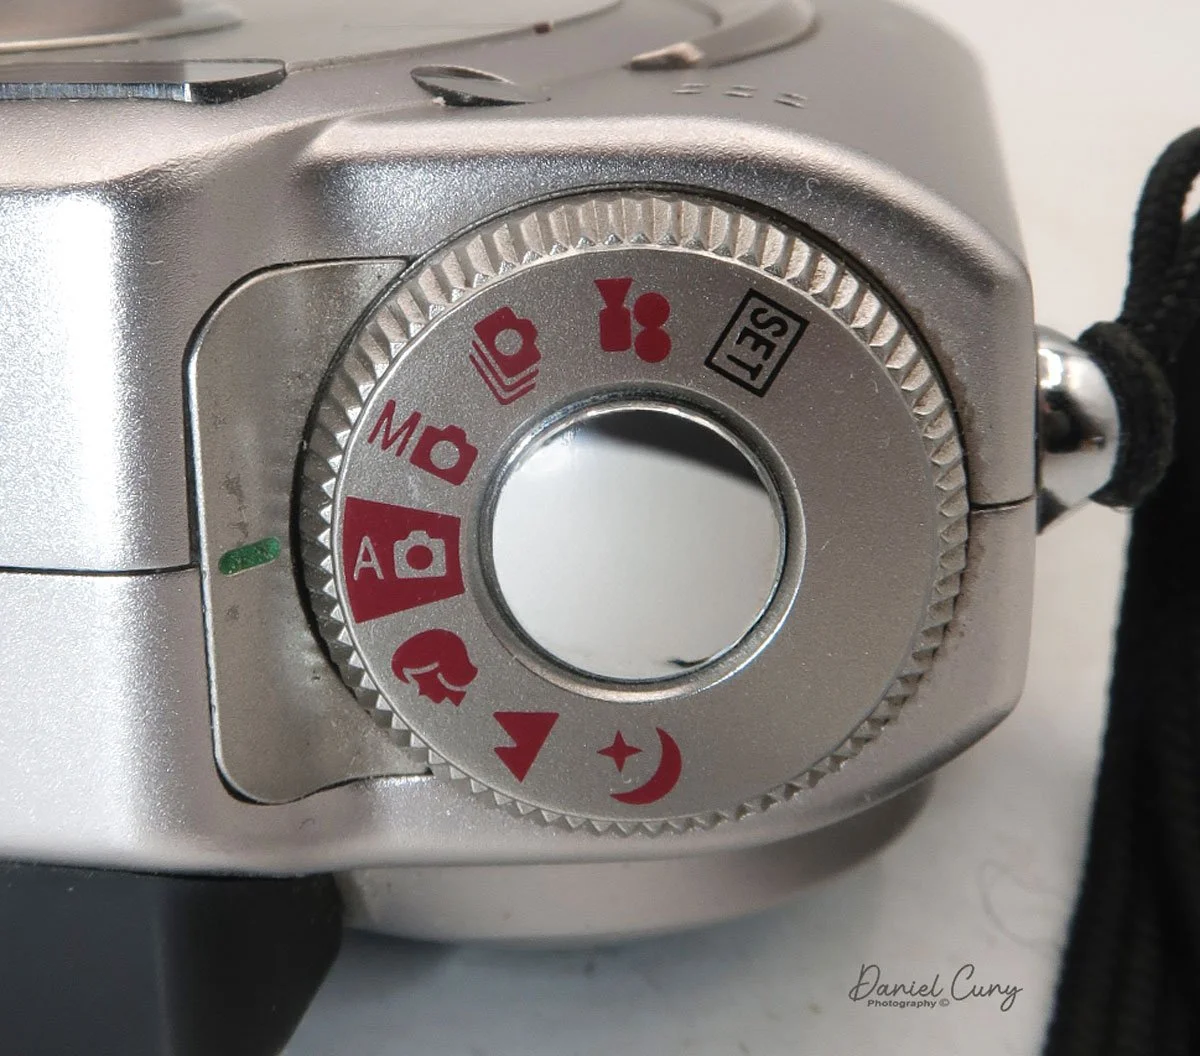
Two main areas control the camera: the selector on top of the camera, which surrounds the shutter release button, and the back of the camera, which is the main control center.

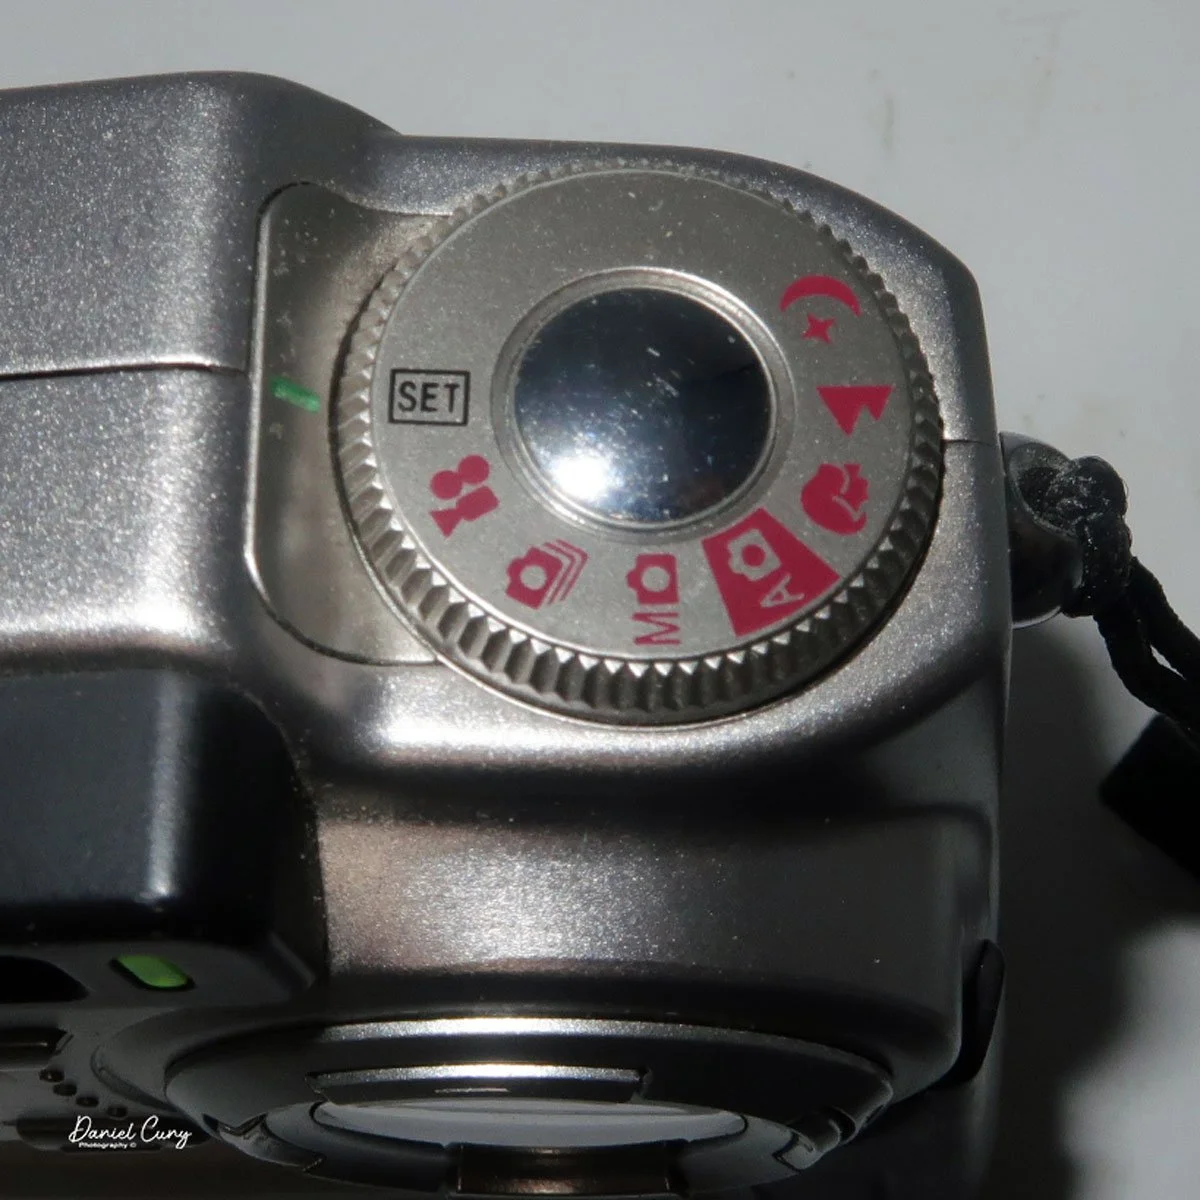
 The top controls the camera's shooting mode. Looking around the dial, from top to bottom, is Set (some of the main camera settings are set here, with controls from the camera's back). The next is Video Mode, then Multi Mode  (continuous shooting), Manual Mode, Auto Mode (the primary setting in red), Portrait Mode, Landscape Mode, and Night Mode. Initially, you'll want to put the camera into "set" mode so you can adjust basic settings.

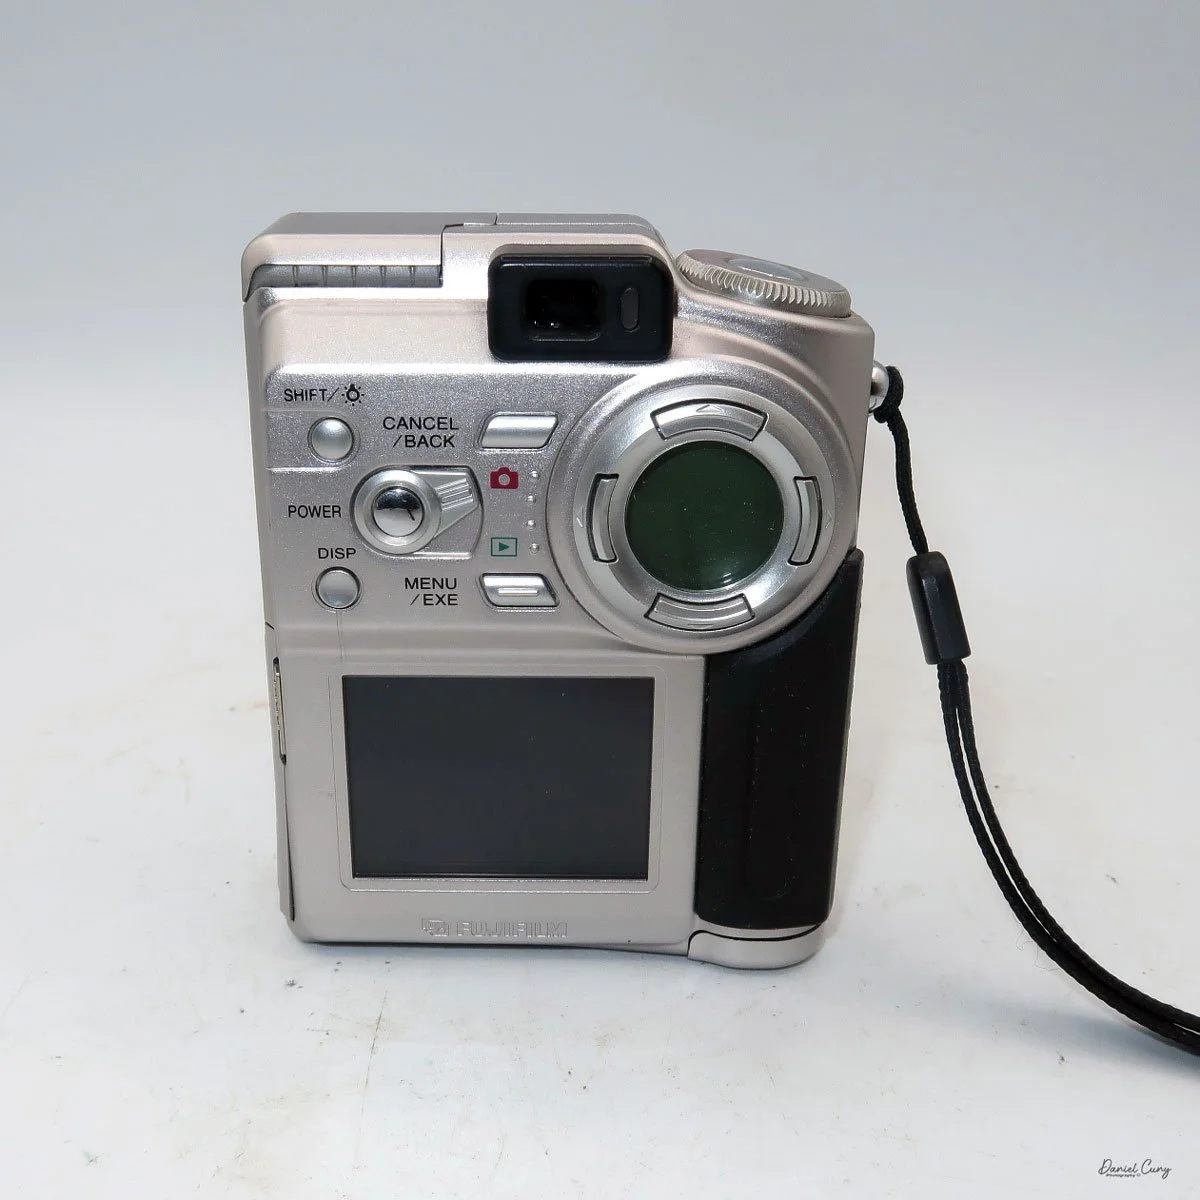
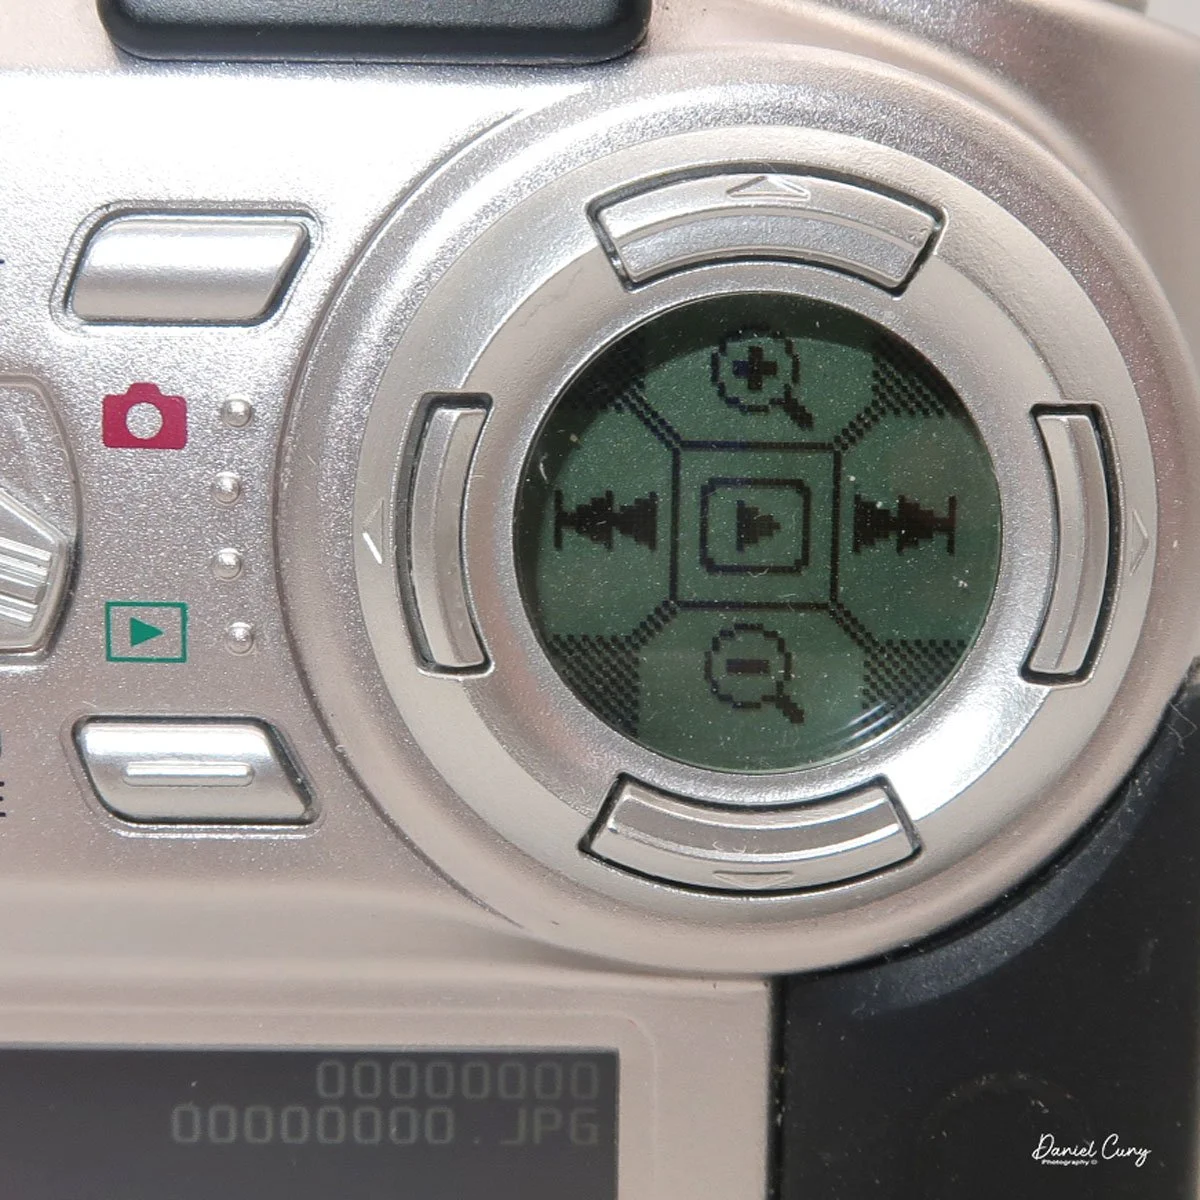
On the back of the camera are many different buttons, along with two separate screens. One circular screen in the upper right of the camera with directional controls that control certain items once the camera is on and the mode is selected. Located on the lower portion of the camera's backside is a larger 2" rectangular screen with a resolution of 130,000 pixels, which is also used in the "set up" process, along with displaying the image after it is taken.

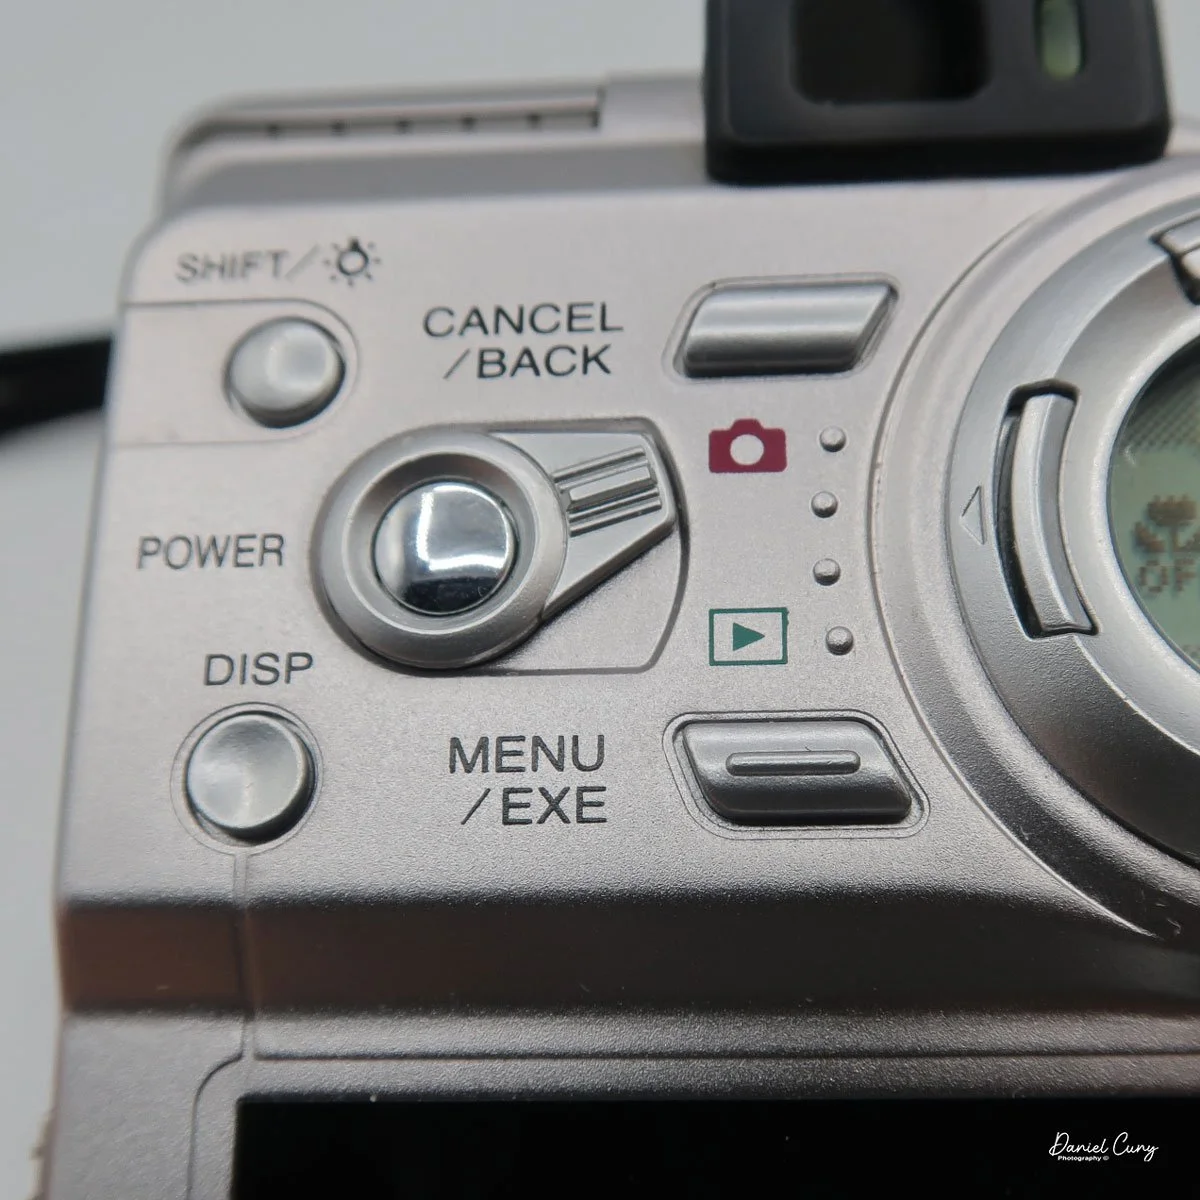
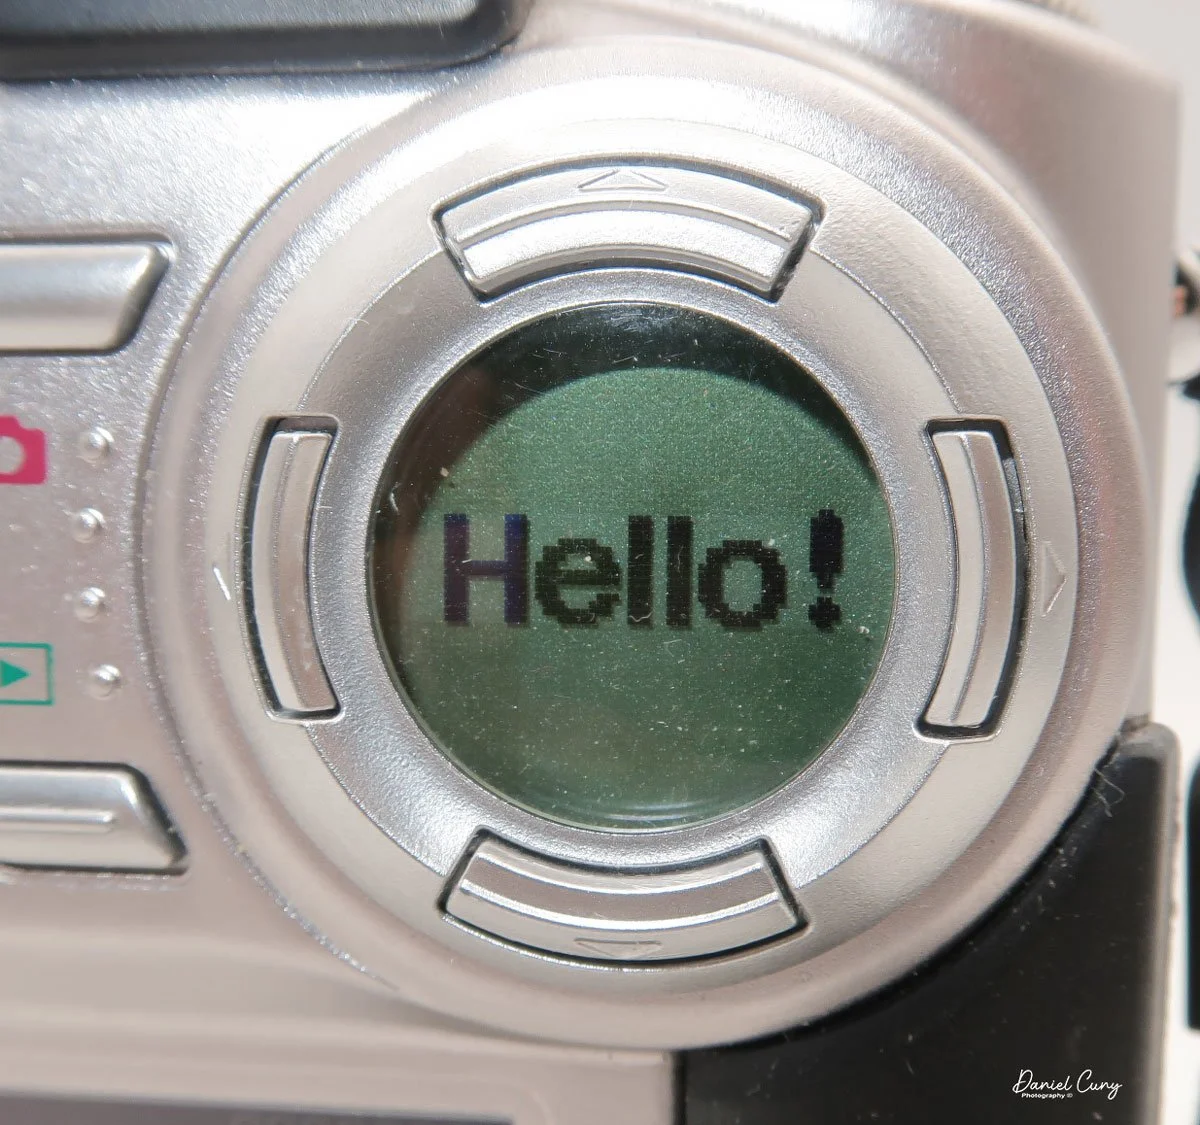
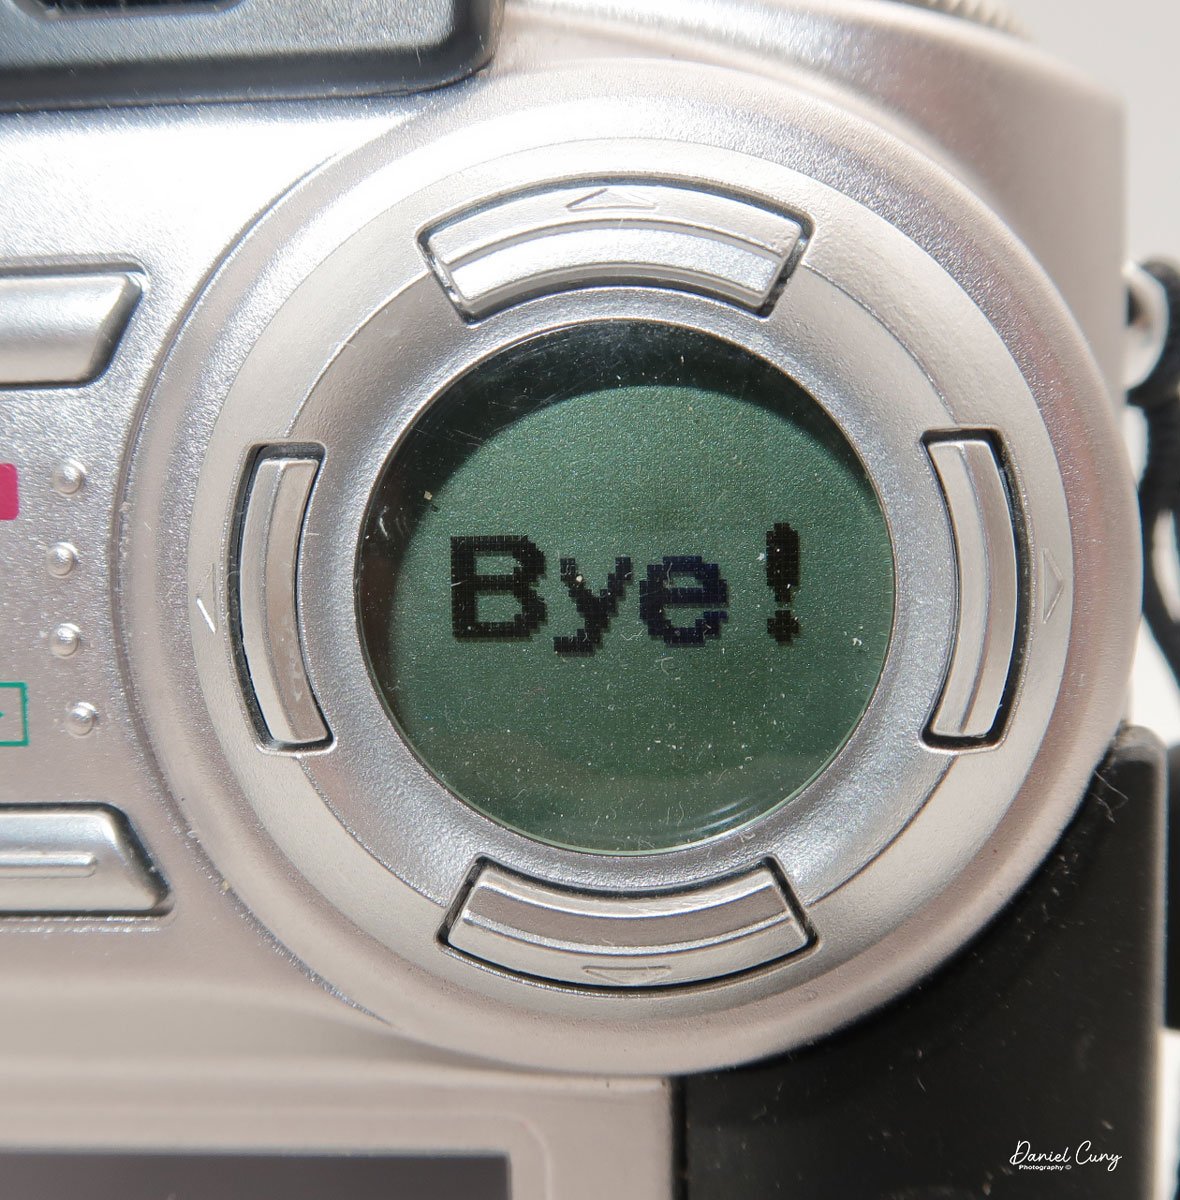
 Above the 2" screen is a series of five buttons along with a sliding pointer to a red camera or an arrow within a box. Making sure the camera is in the "Set" mode on the top wheel, put the slider to the "red camera", and press the power button inside the slider. One of my favorite things about this camera happens at this point. Inside the circular window you'll see "Hello!" illuminated inside the circular window, and the 2" screen is now in the "setup" mode. When you turn off the camera, "Bye" will appear in the window.

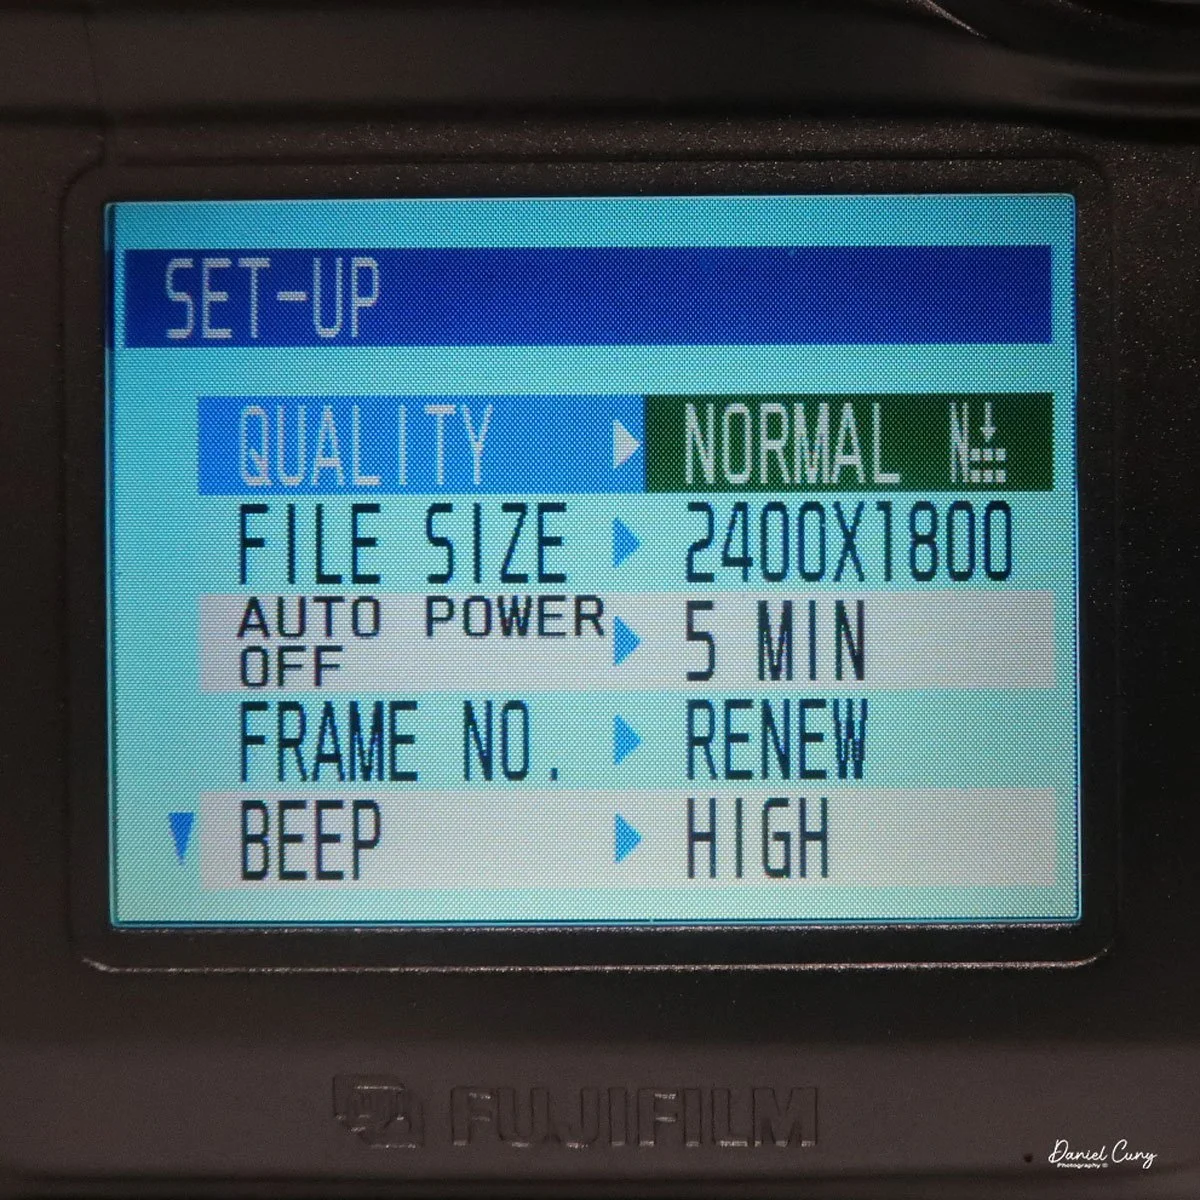
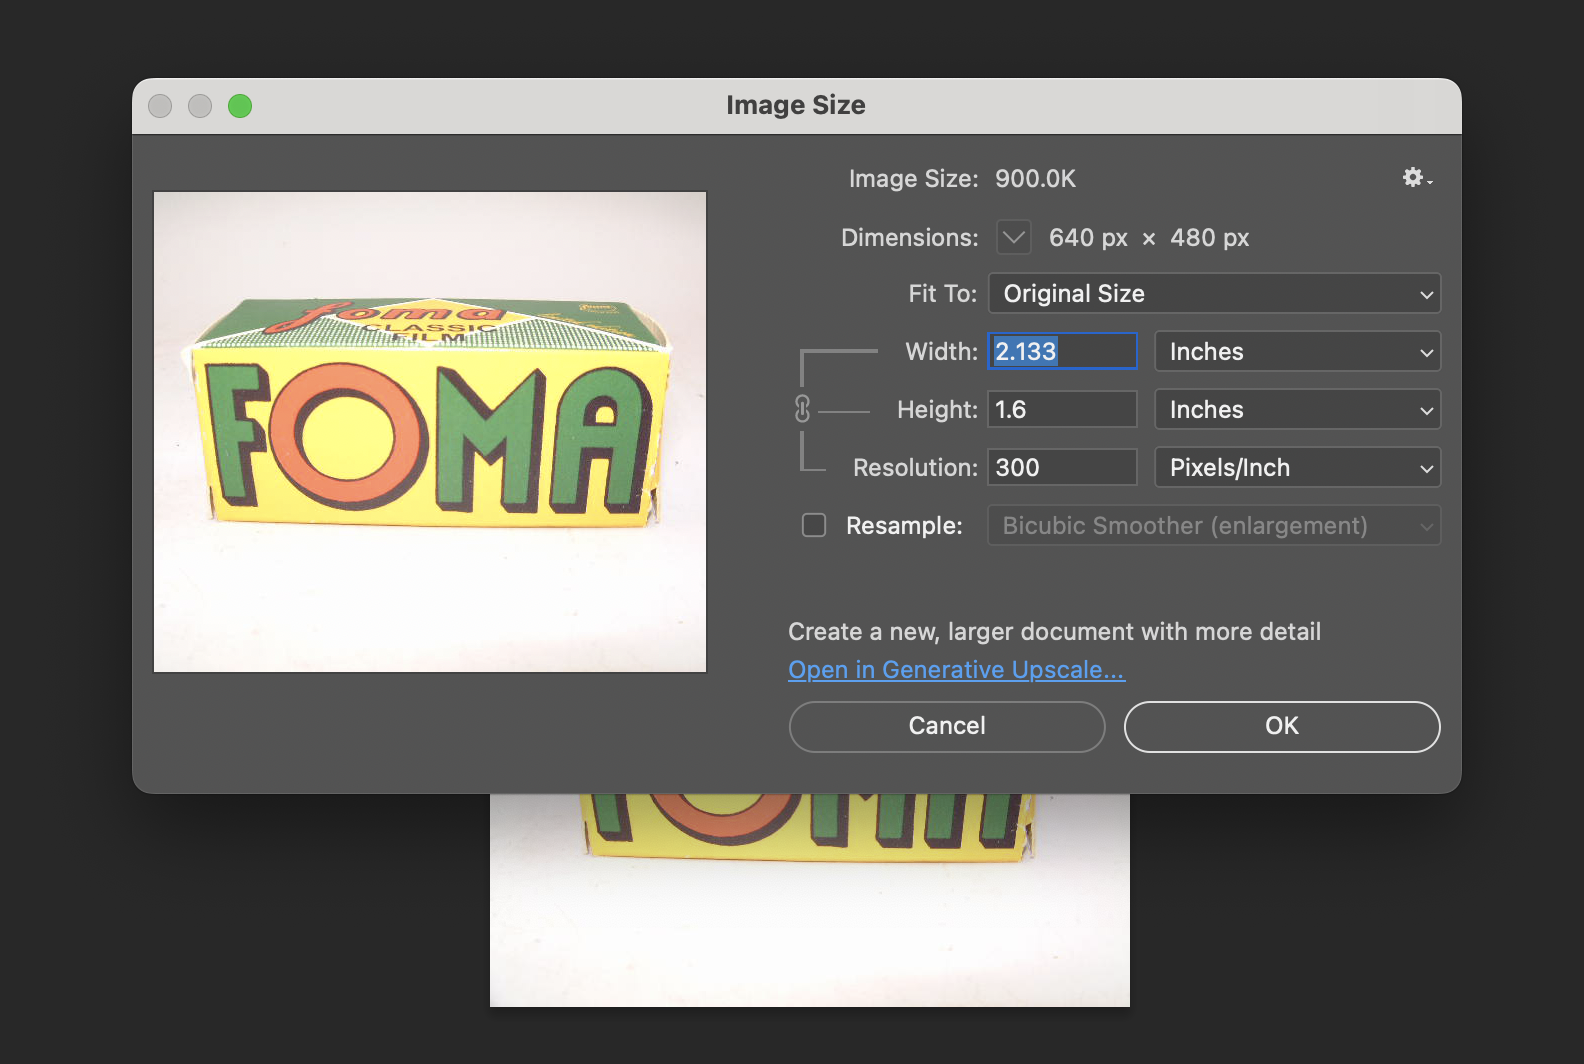
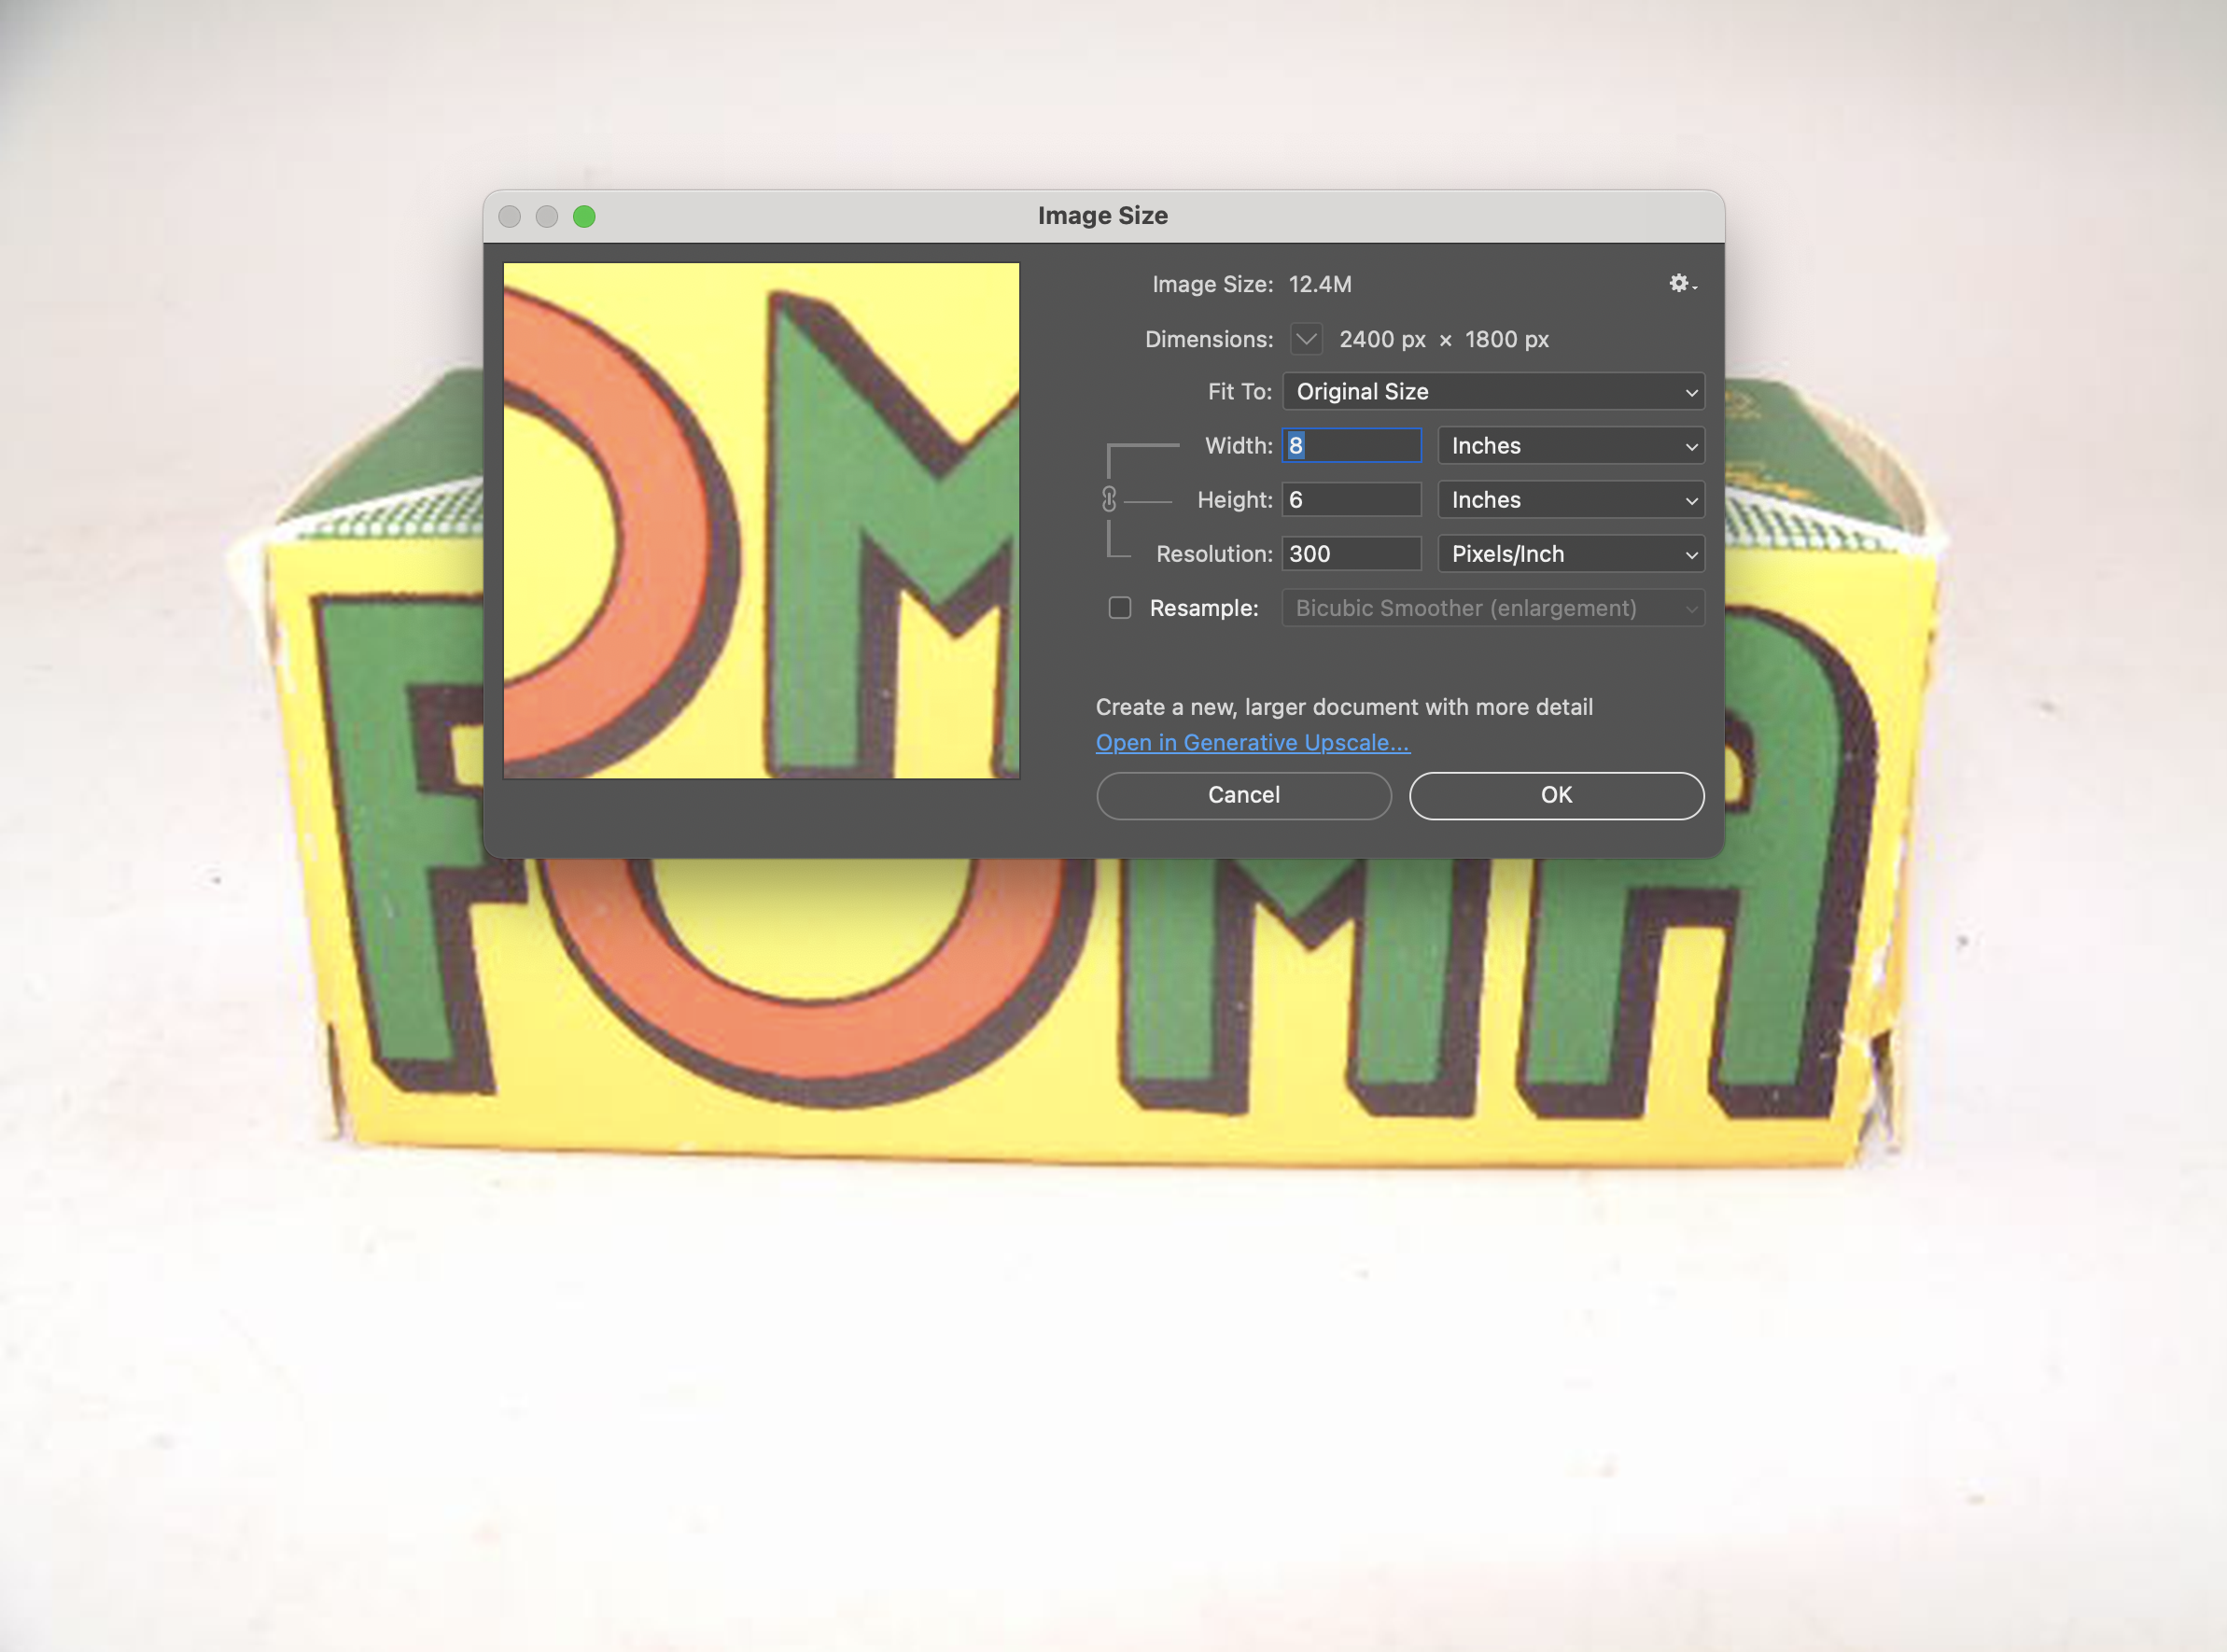
Here is where you'll set the image quality to Basic, Normal, or Fine by moving the directional buttons around the circular window. Next is file size, 640x480, 1280x960, or 2400x1800. Within each file size, you can choose to shoot in Basic, Normal, or Fine, giving you file sizes anywhere from 44kb in Basic and in 640x480 resolution, to 1.9mb shooting in 2400x1800 resolution and in Fine.

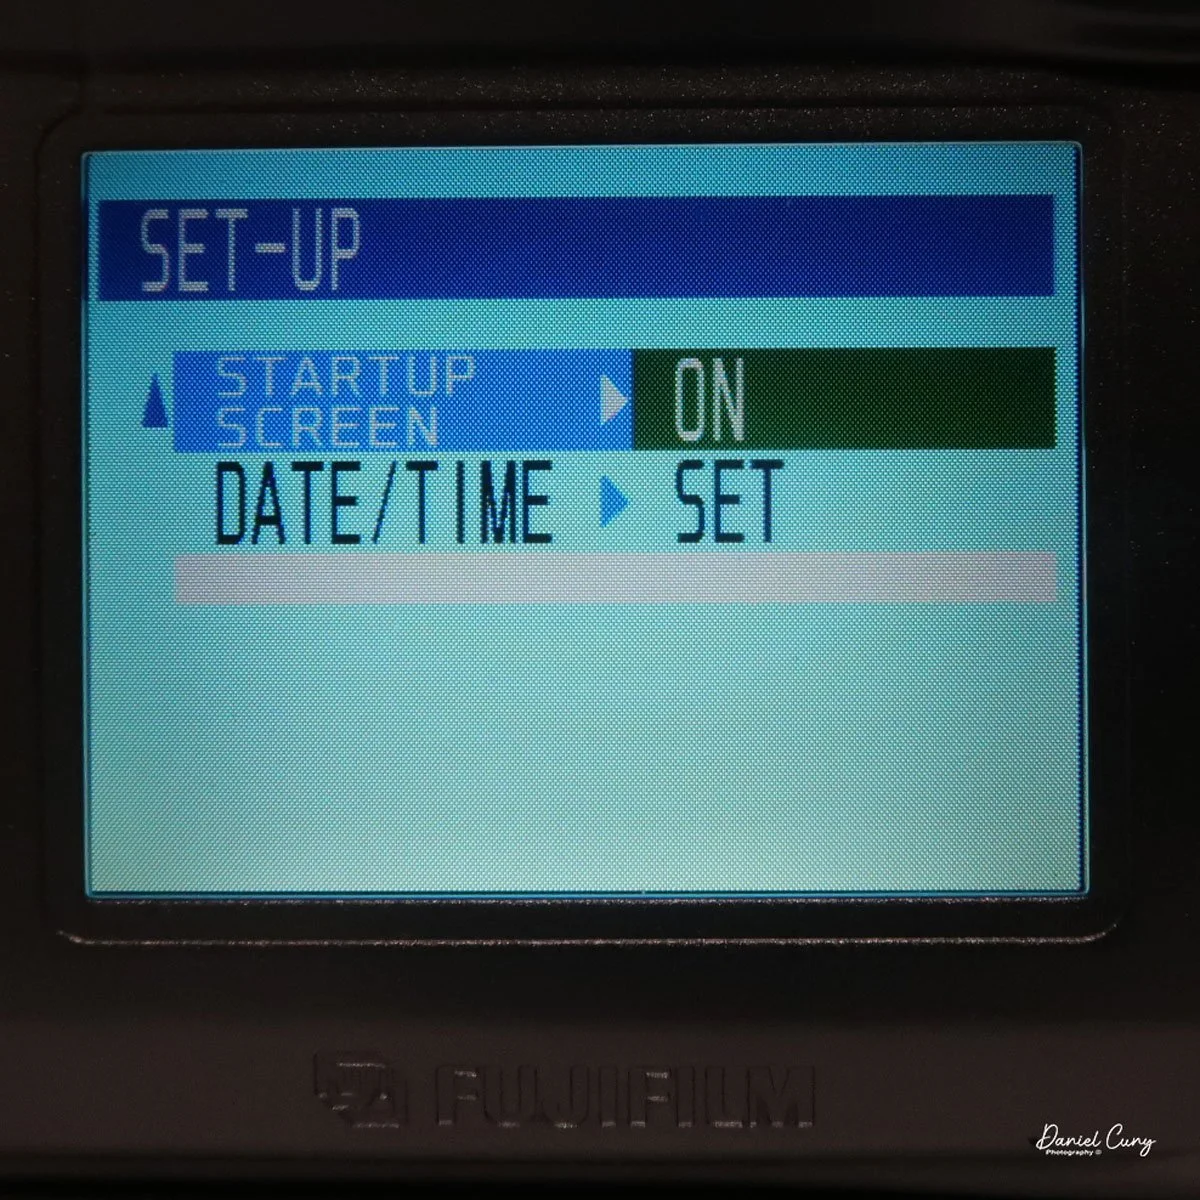
 Next is the "auto-off" setting, which is either 5 or 2 minutes, or No. Then moving down to "Frame No." with either Renew or Cont., then below that is "Beep" which can be High, Low, or Off, onto the second page and to "start up scree" either On or Off, and last on the setup screen is setting the Date. Once you make any of these choices, the button on the back of the camera, which has "Menu/Exe", is the button to press to make the changes desired.

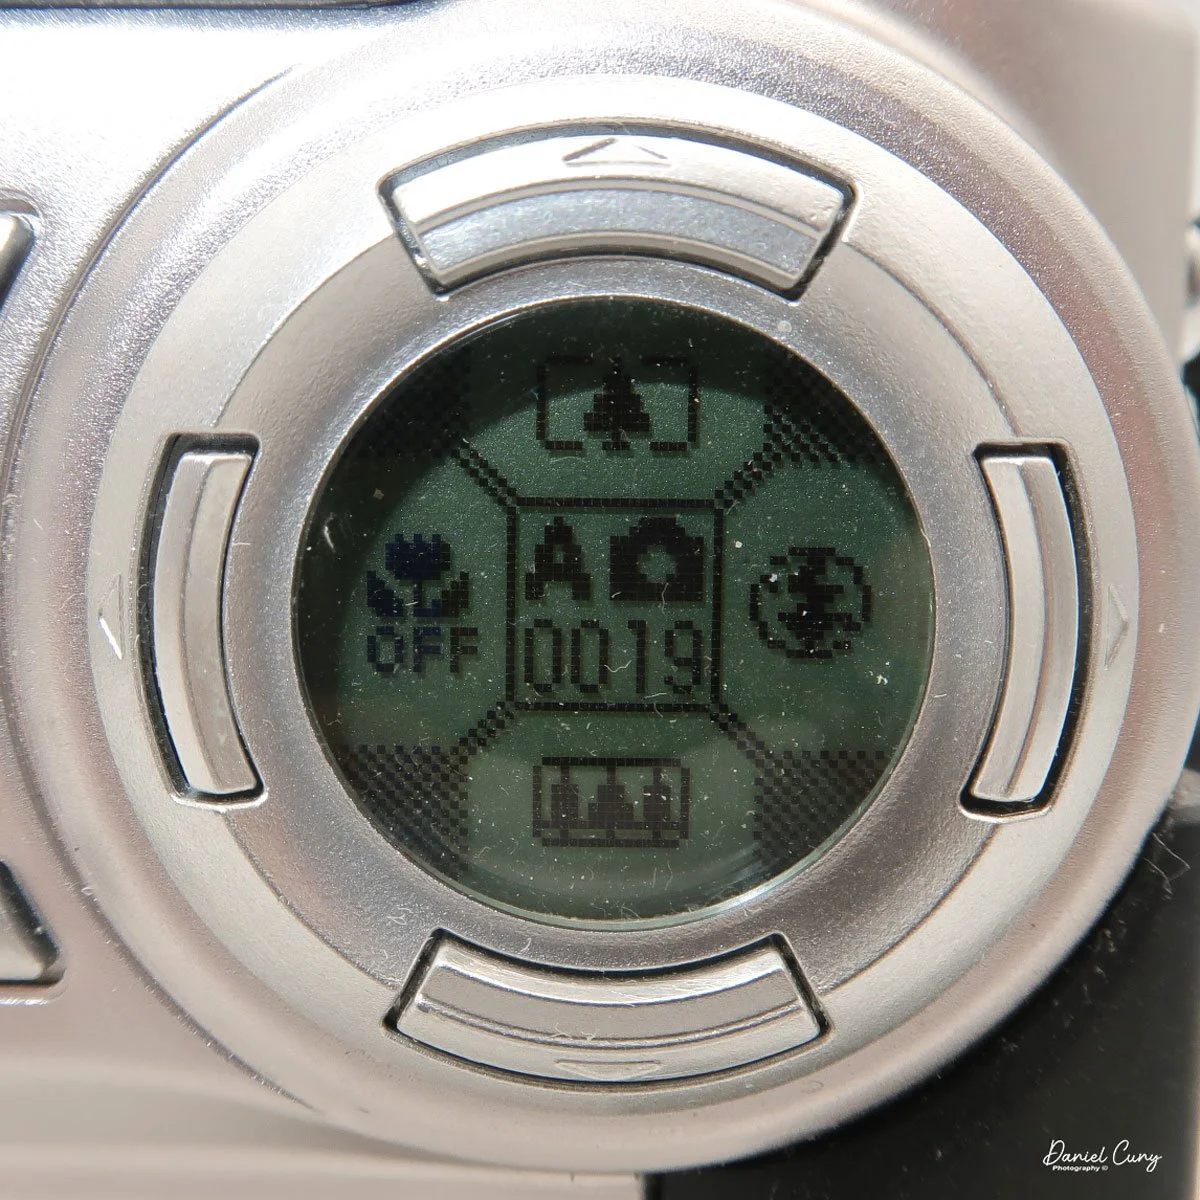
With the camera still in "red camera" mode, when you move the top dial to a specific shooting mode, like Portrait or Auto, the lens door slides over and the lens extends from the camera. Now you're in shooting mode, with the camera actually recording images to the memory card. When you're in the "shooting" mode, you'll see information inside the round directional window with details on the zoom function with the buttons pointing up or down, the macro setting on the left side of the window, and the flash setting on the right, and in the center is what "mode" you're in and the frame count.

 Just above the control buttons on the back of the camera is an optical viewfinder to look through to frame your image. You can also click on the "display" button, which will activate the "live video" feed on the 2" monitor on the back of the camera. Also on the back of the camera is a button for the Menu/Exe functions. This button sets the menu item you want to control. In the upper-left corner is a button labeled Shift and a light bulb. It allows you to light up the round window while also seeing other settings within the camera.

These are the basics for using the camera, since it is a sophisticated little camera. You have the option of manual focus, over/under exposure, flash over/under exposure, focus lock, rear screen brightness, white balance settings, image sharpening, and metering types like spot, average, and multi metering, which is the most common for this camera.  I didn't even touch on the video capabilities of this camera, which were relatively plentiful for a small digital camera from this era.


My Results:

 To look at the different resolutions and shooting modes, I photographed a film box in my portable studio to compare image quality. I'm sure there's going to be a vast difference since the smallest file is only 44kb and the largest is 1.9mb.

Here are some screenshots in Photoshop showing the image size of the smallest and largest files taken with the Fujifilm FinePix 4700 zoom.

I also took a regular and macro shot, which you can see here.

Then I used the camera at our New Year's Eve get-together with some neighbors. I'll have to admit, I haven't made it to Midnight for many years.

Conclusion:

 It's nice to pull out some of the older digital cameras and run them through their paces every once in a while. The camera is compact, easy to use, and fun to shoot with. While there are many drawbacks to cameras from this era, such as file size, and in many cases the phone you have takes better photos, it often lacks many of the controls a real camera has (yet).

 Thank you for taking the time to travel back in time about 25 years, when digital cameras were coming into their own and putting film companies out of business, except for Fujifilm, which diversified and actually embraced digital.

 Feel free to look through my other Camera Reviews.

 I also have an online eBay store, Cuny's Cameras and Photo, where I sell many of the cameras I've reviewed, along with other cameras, lenses, and camera accessories. If you find something there, please let me know, and I'll offer a nice discount.

 Until next week, please be safe.