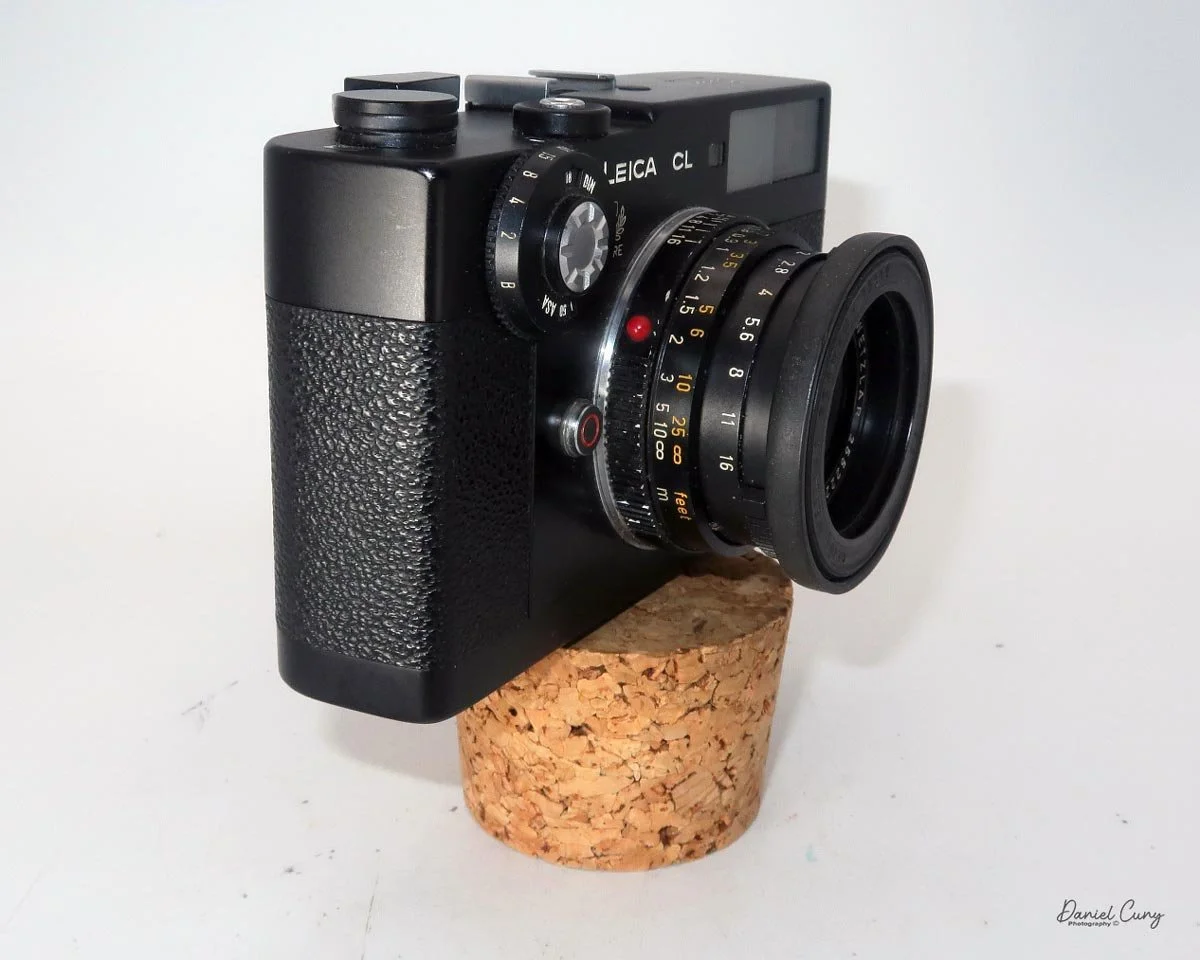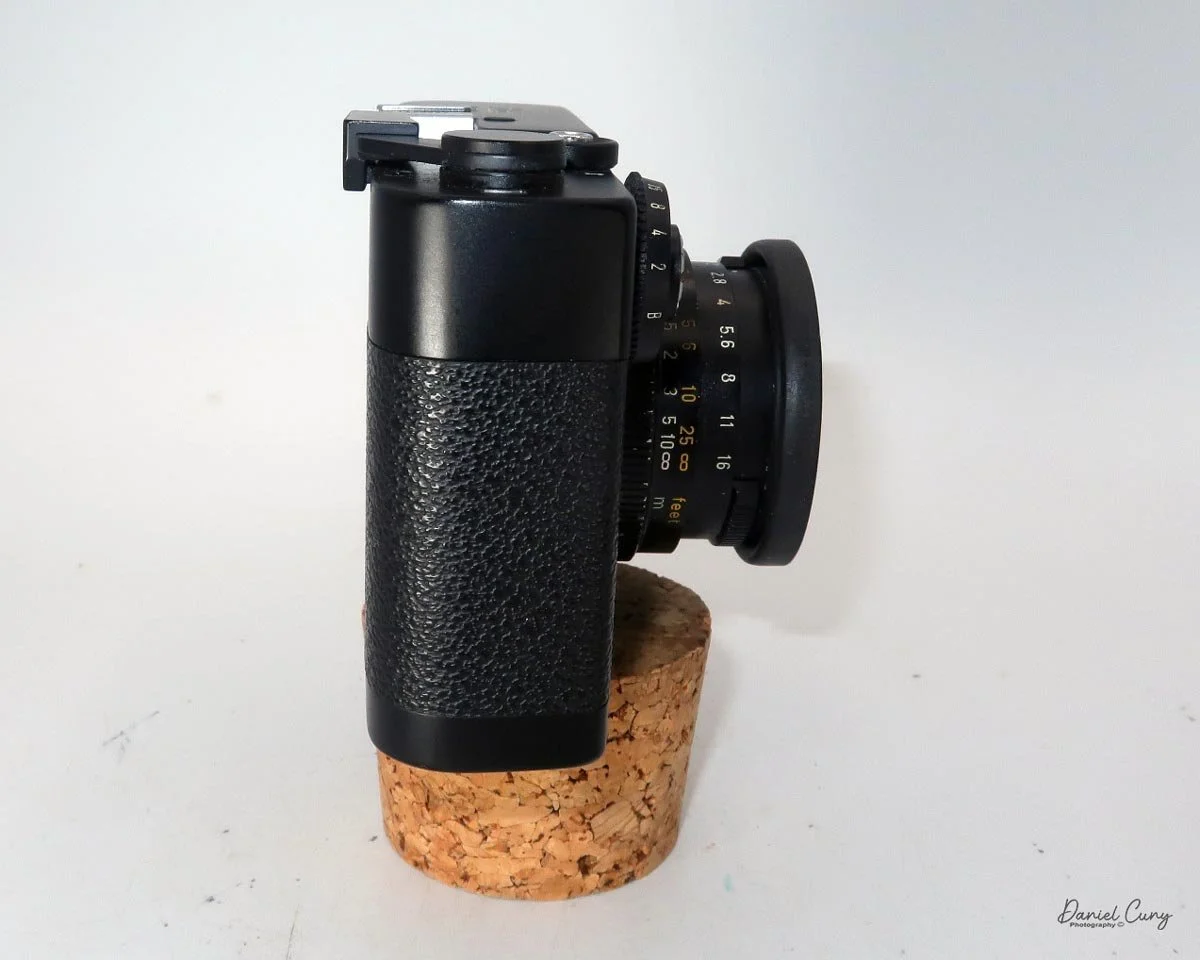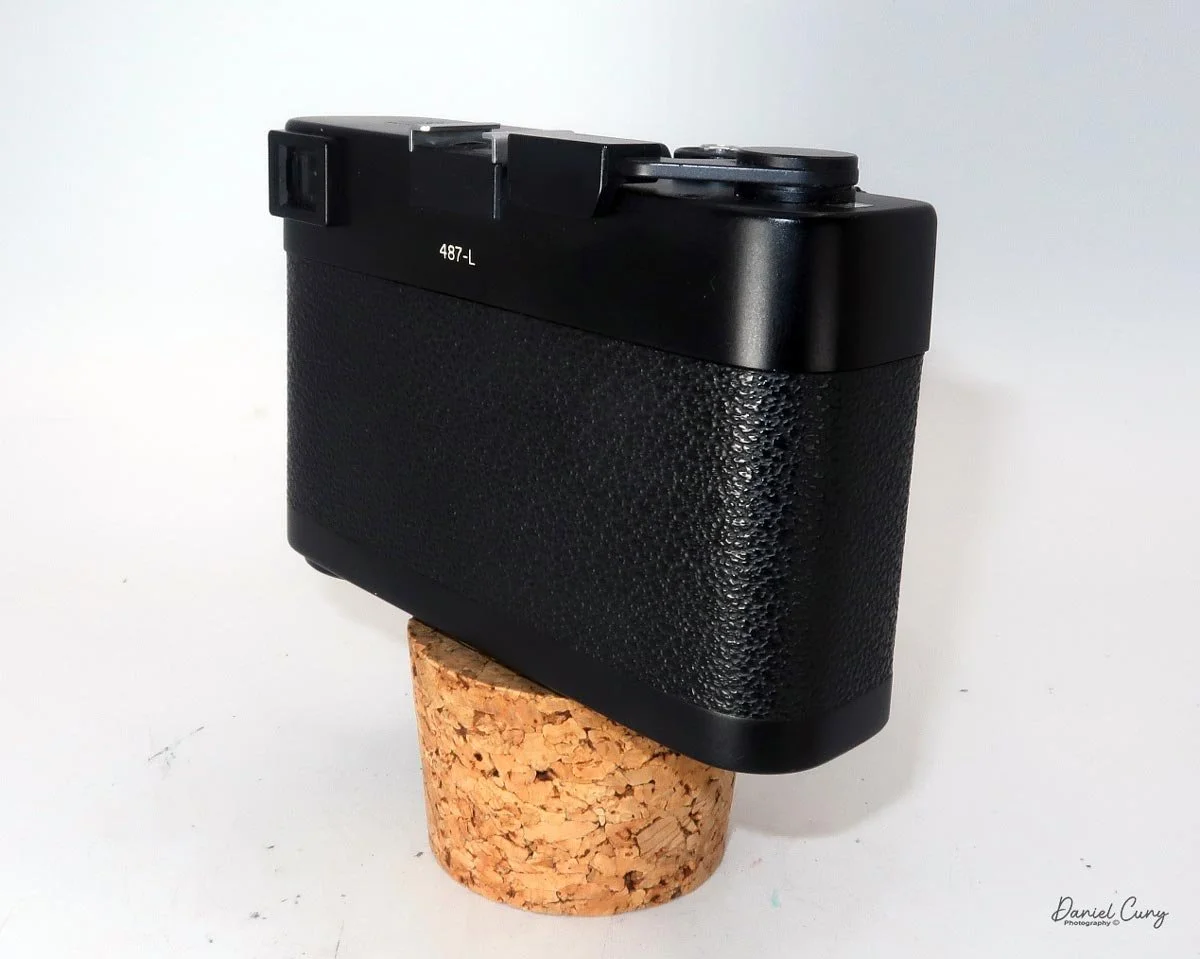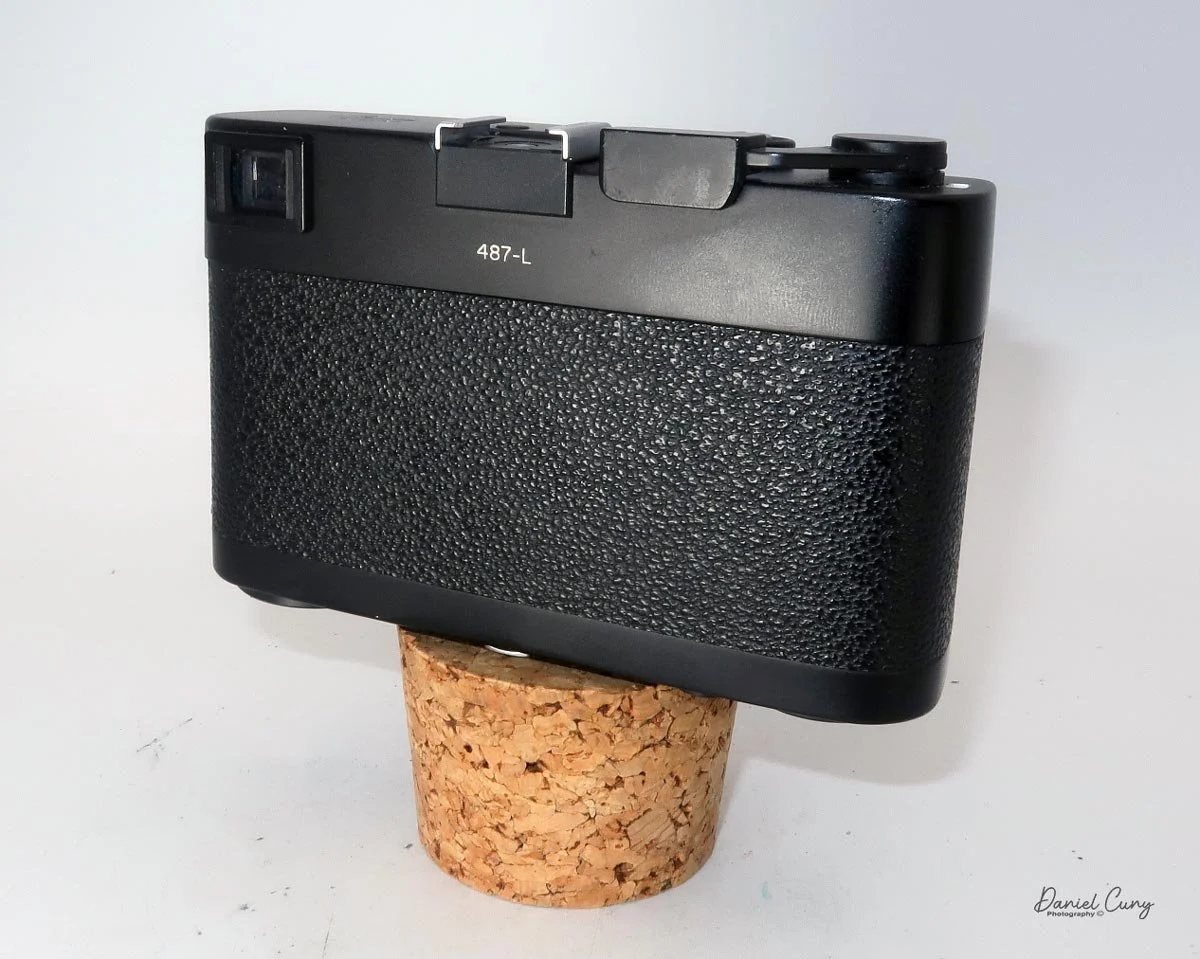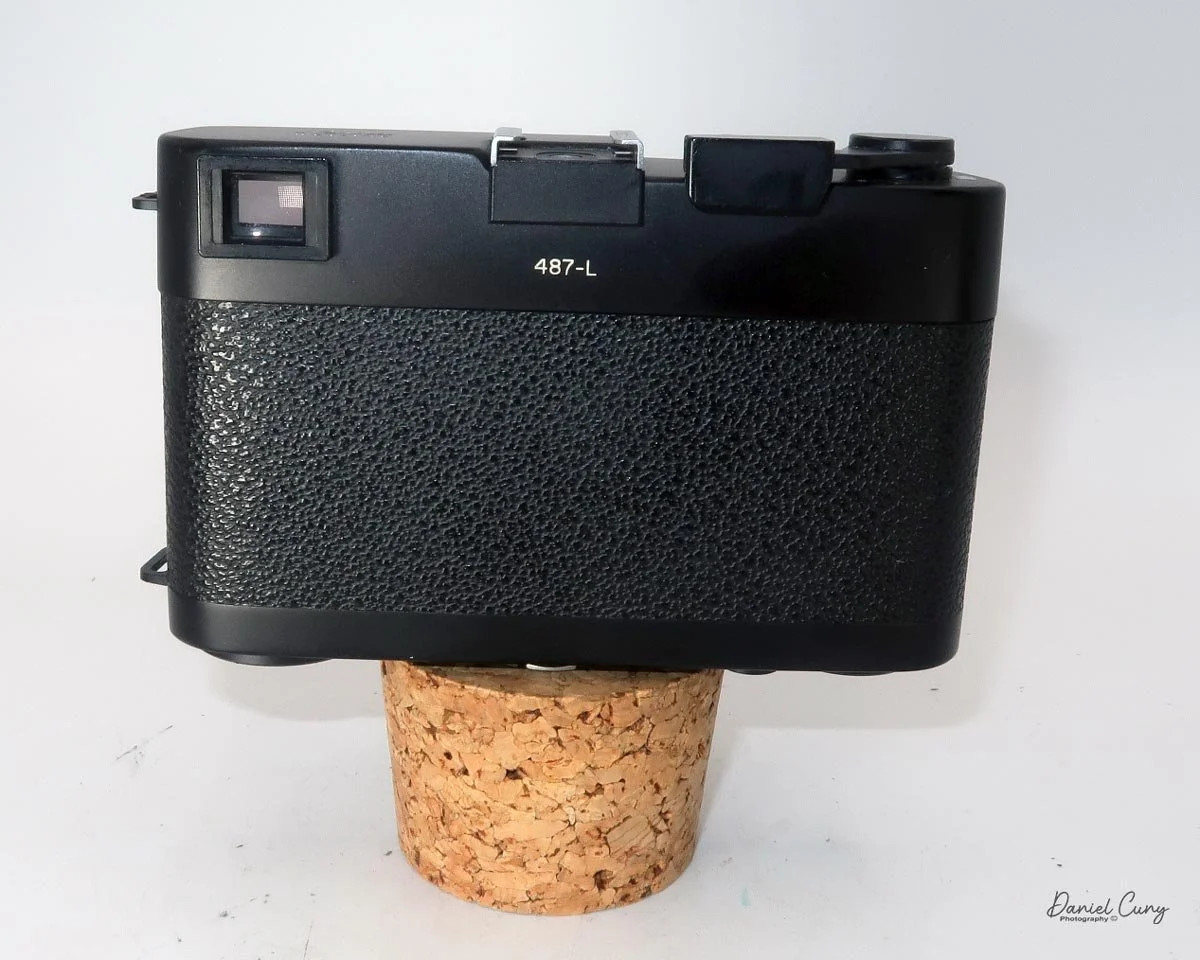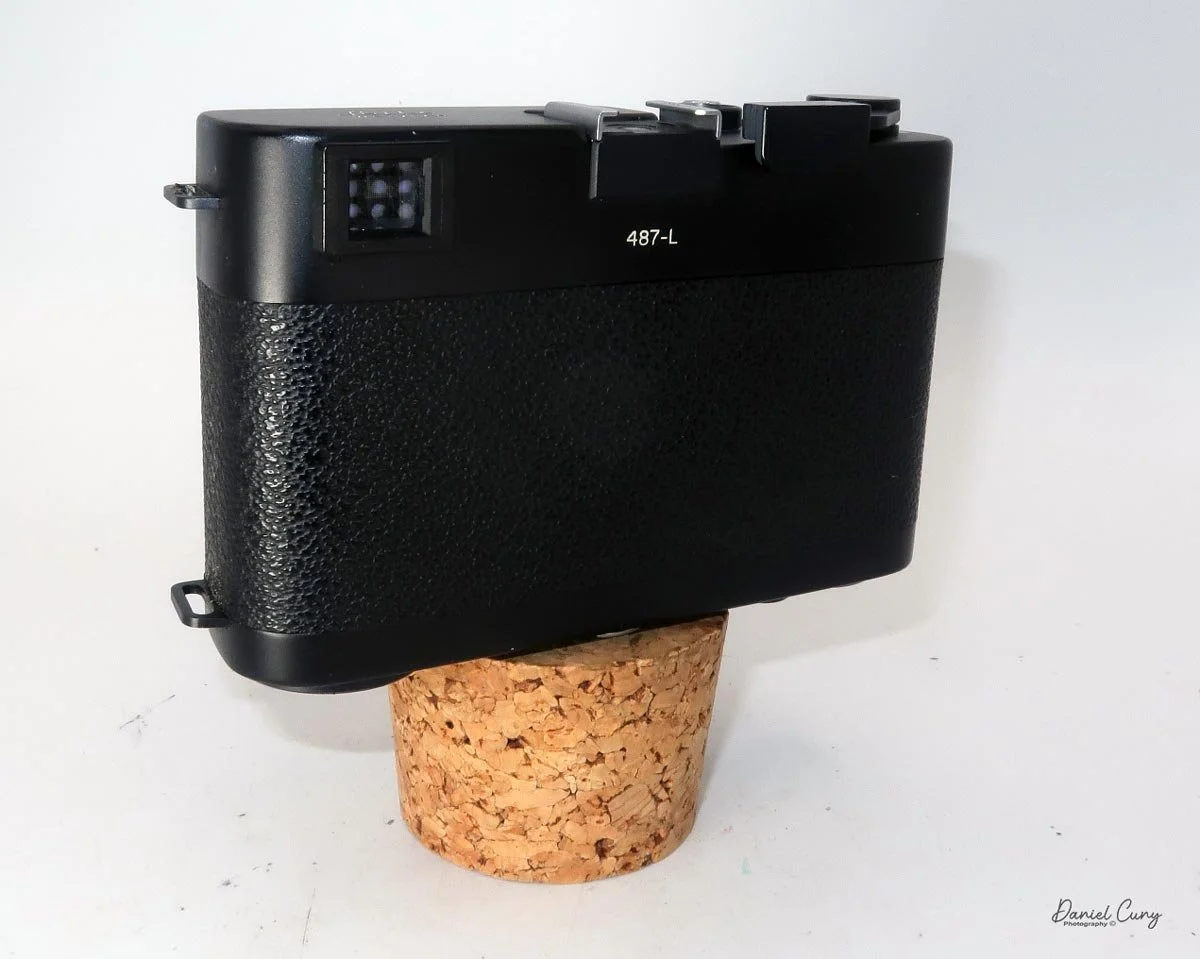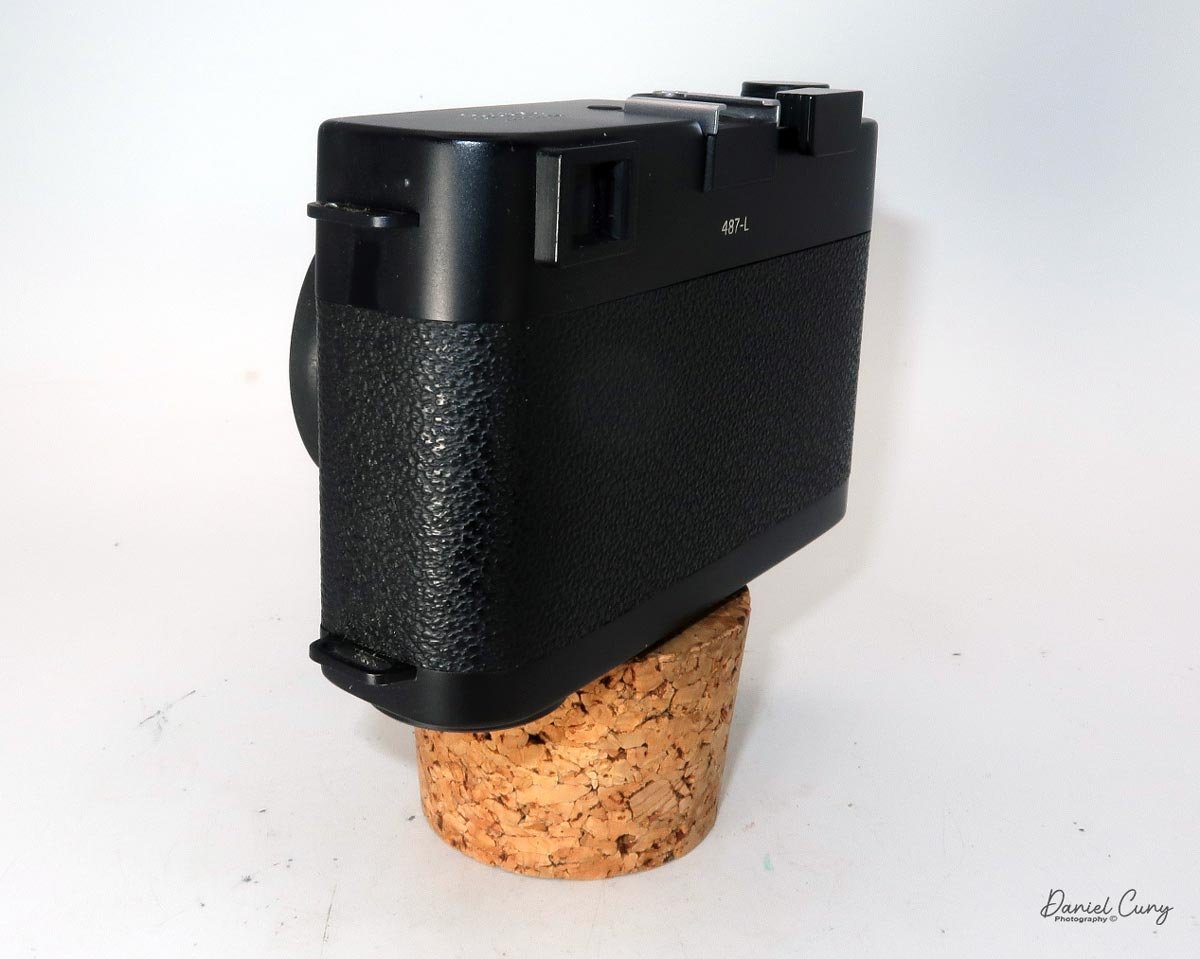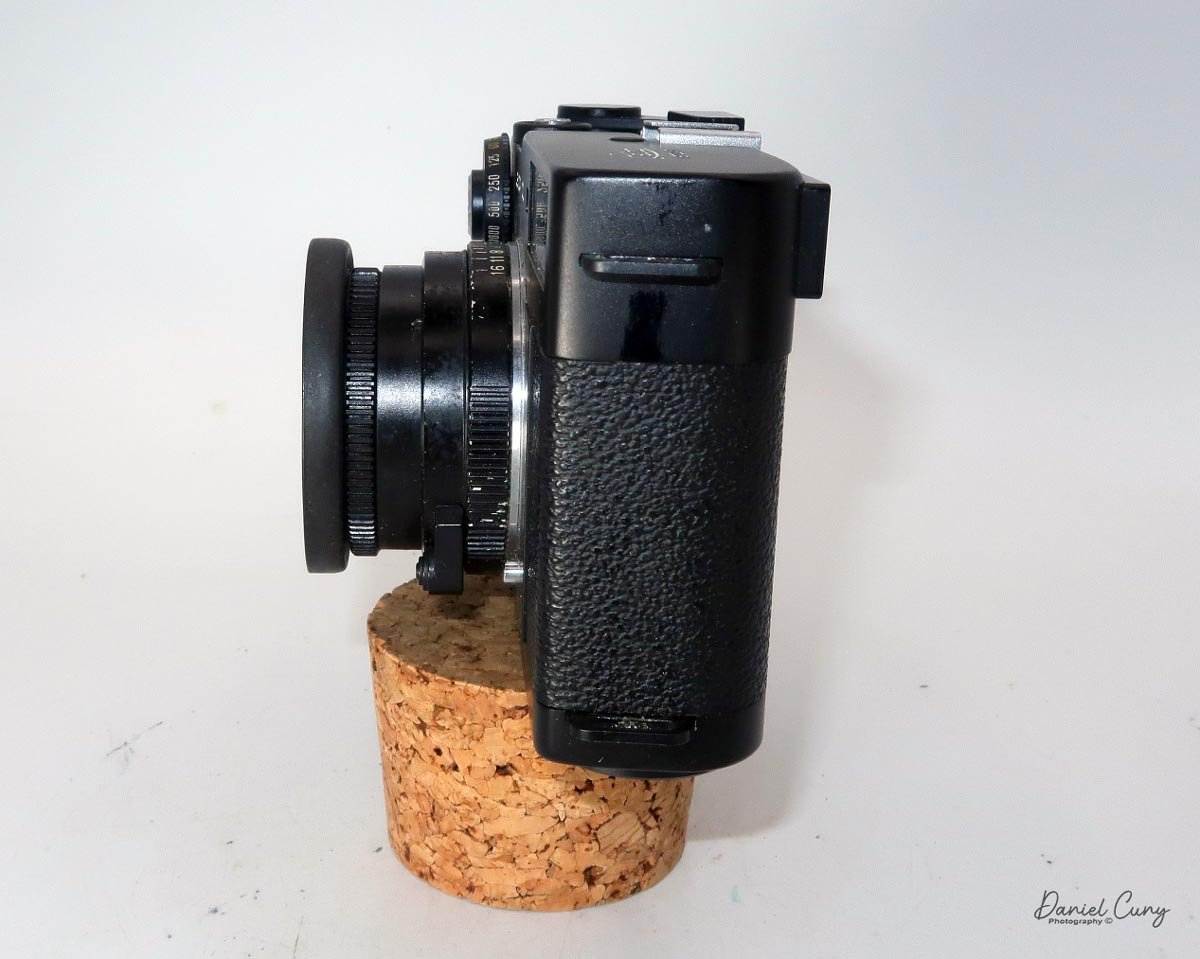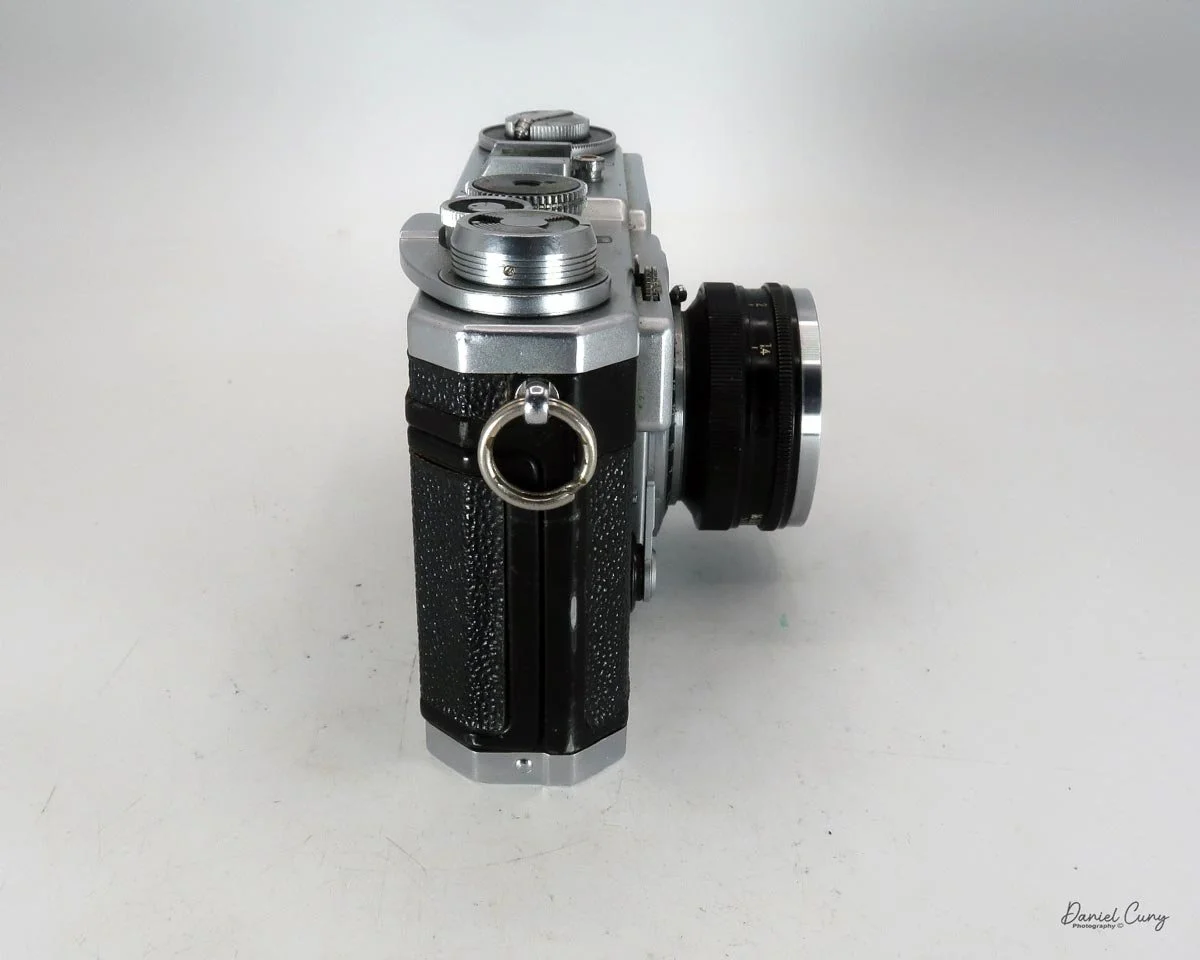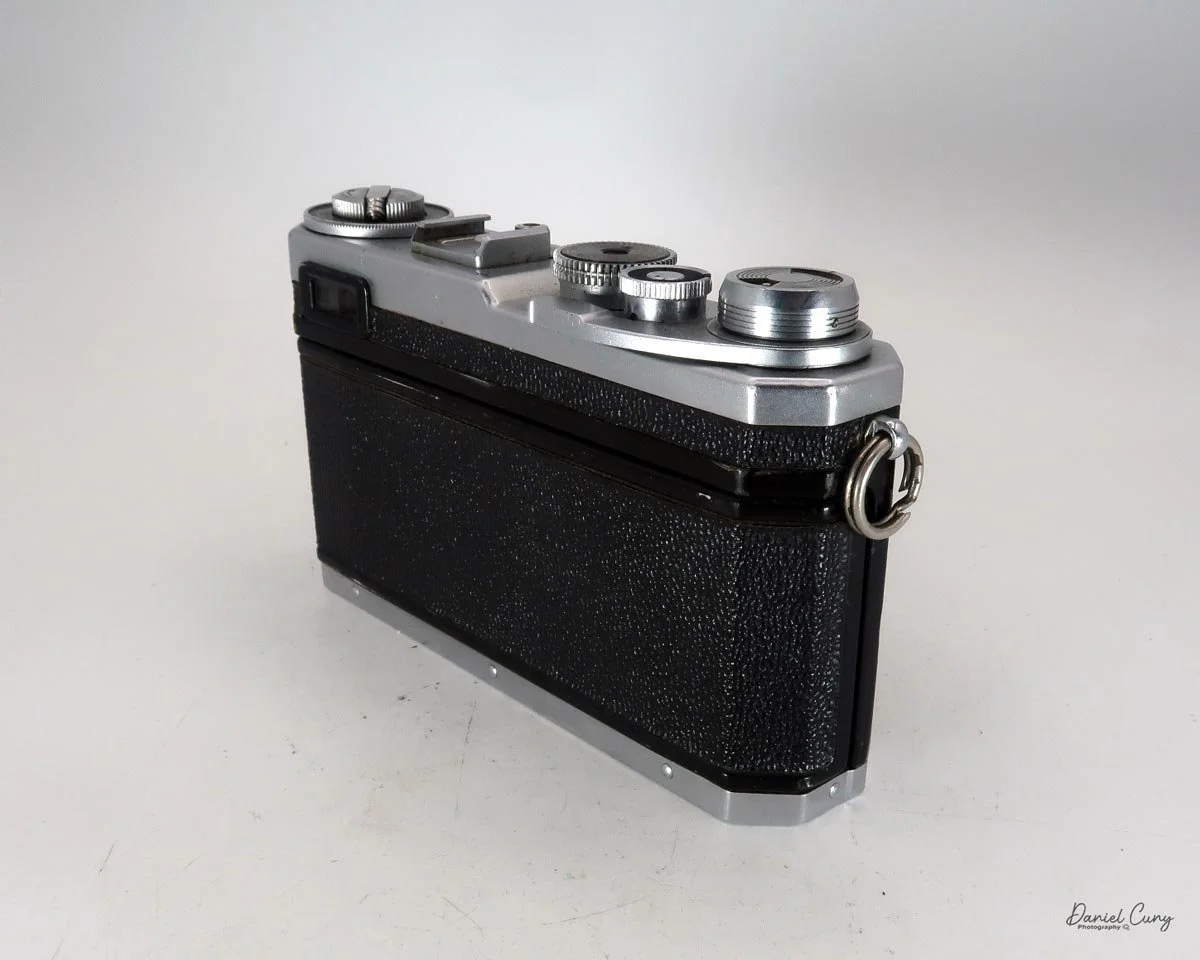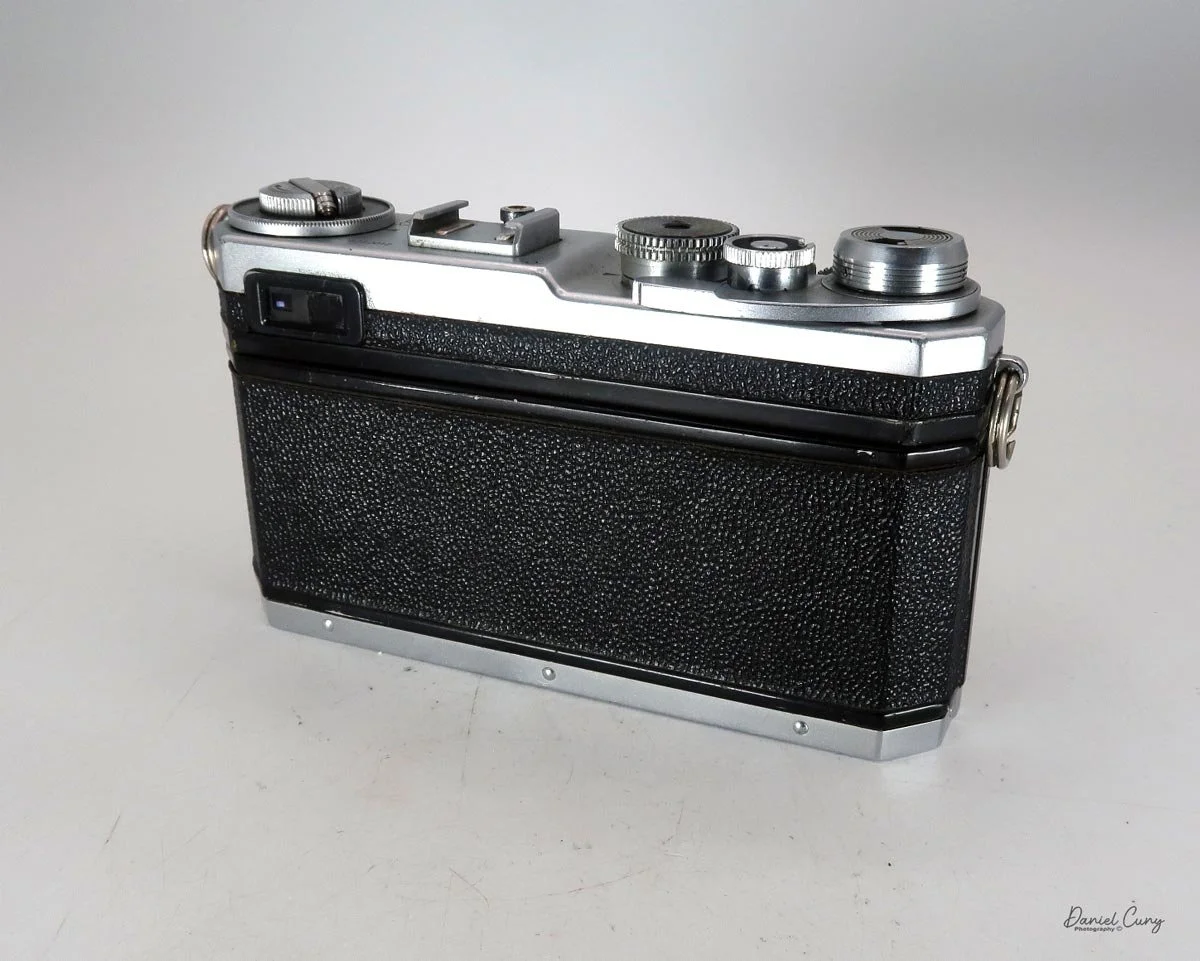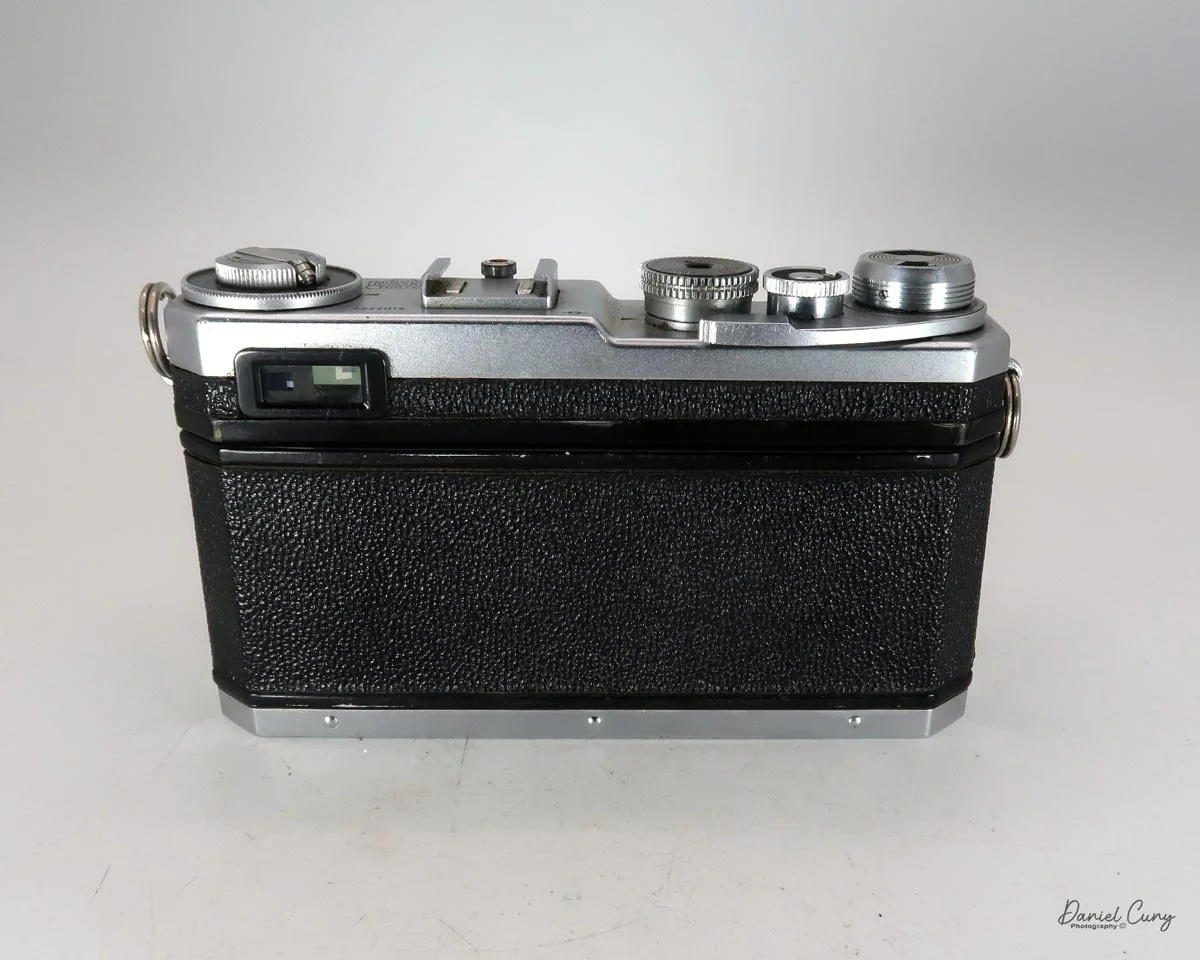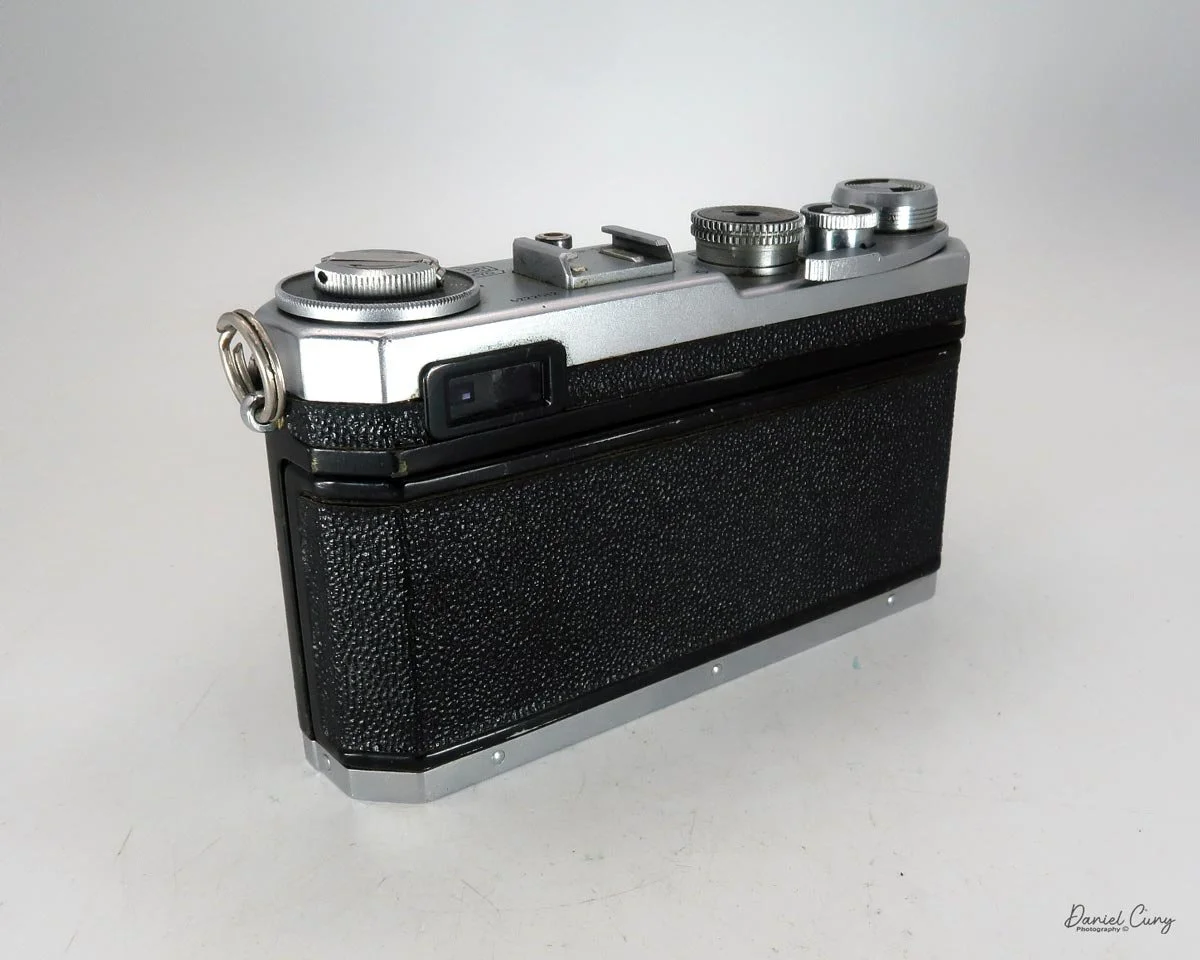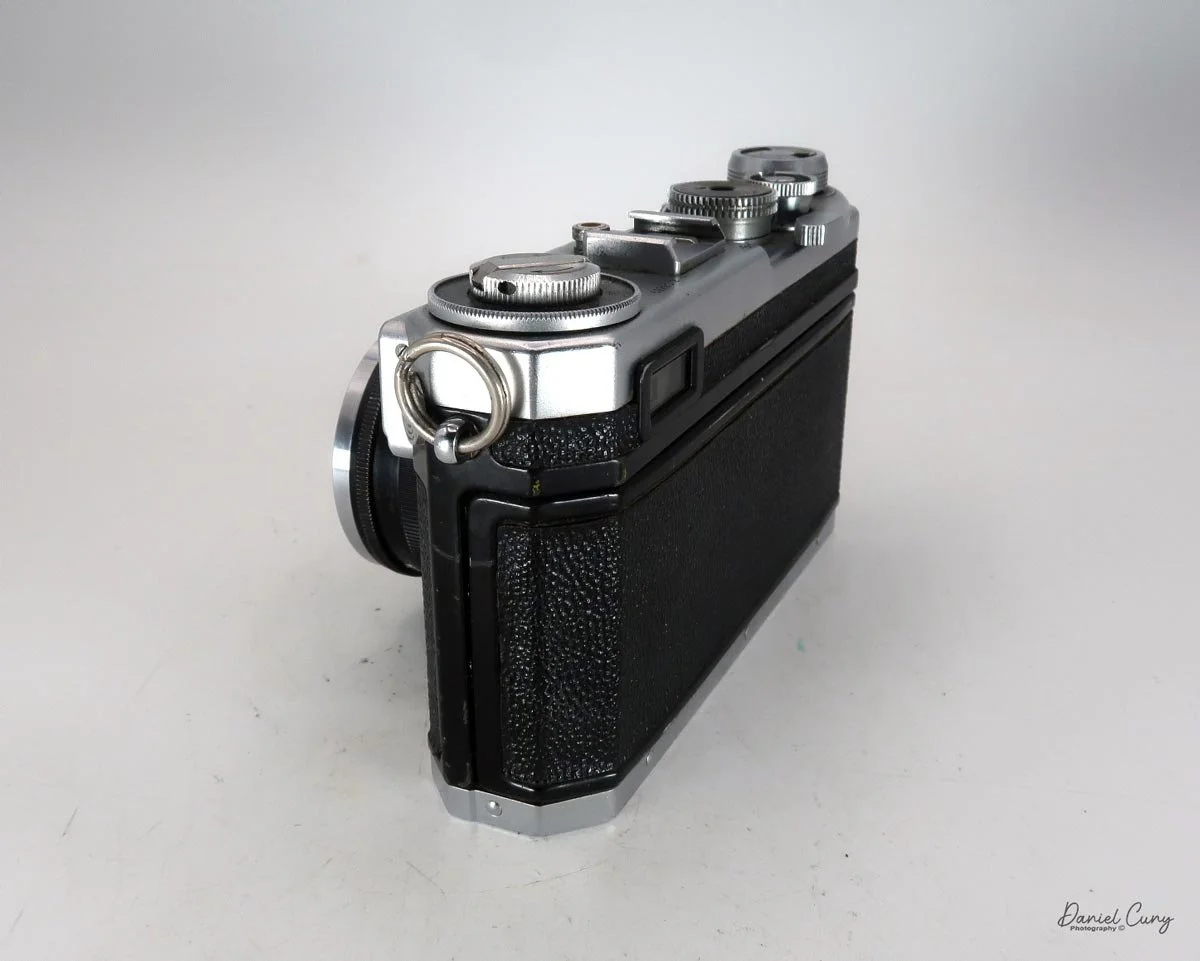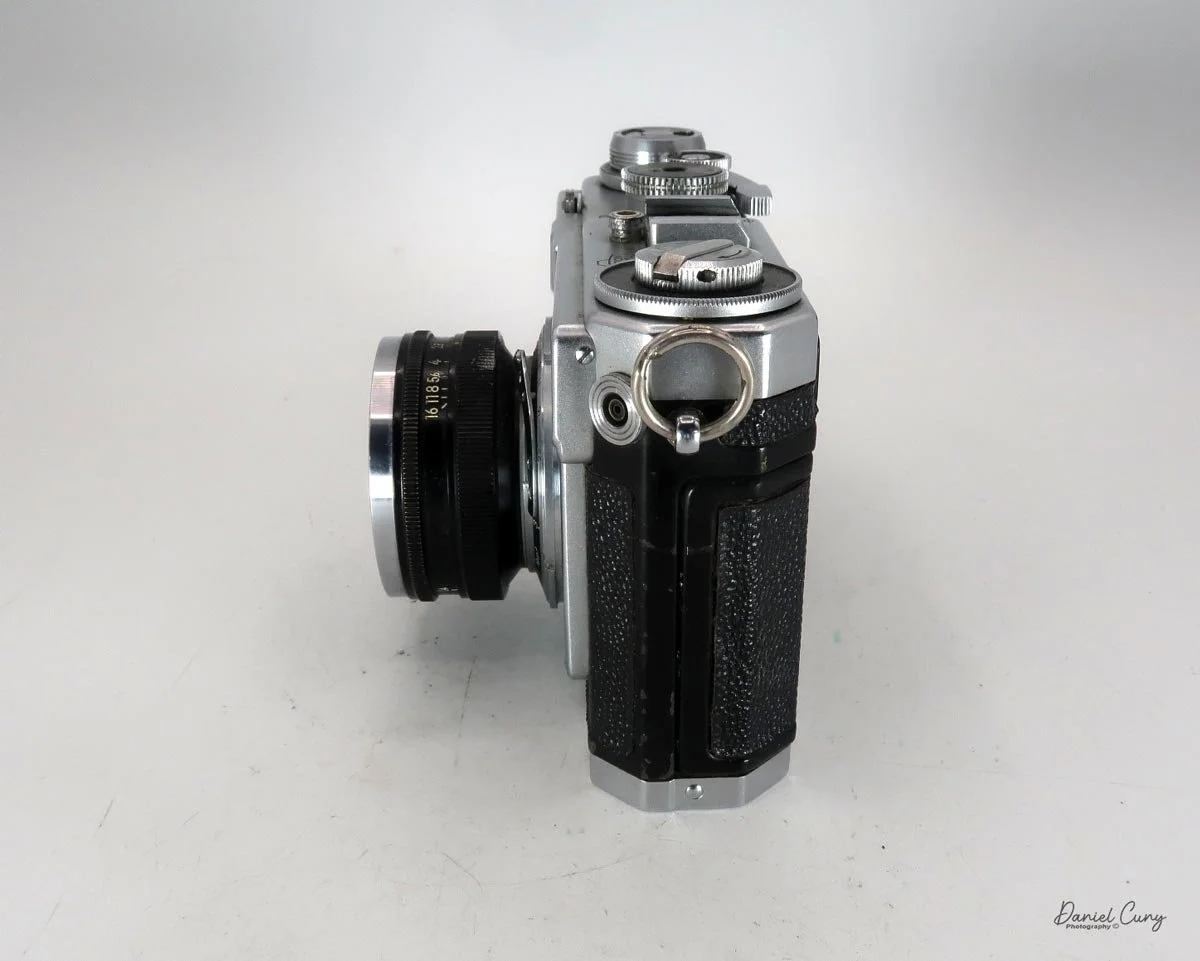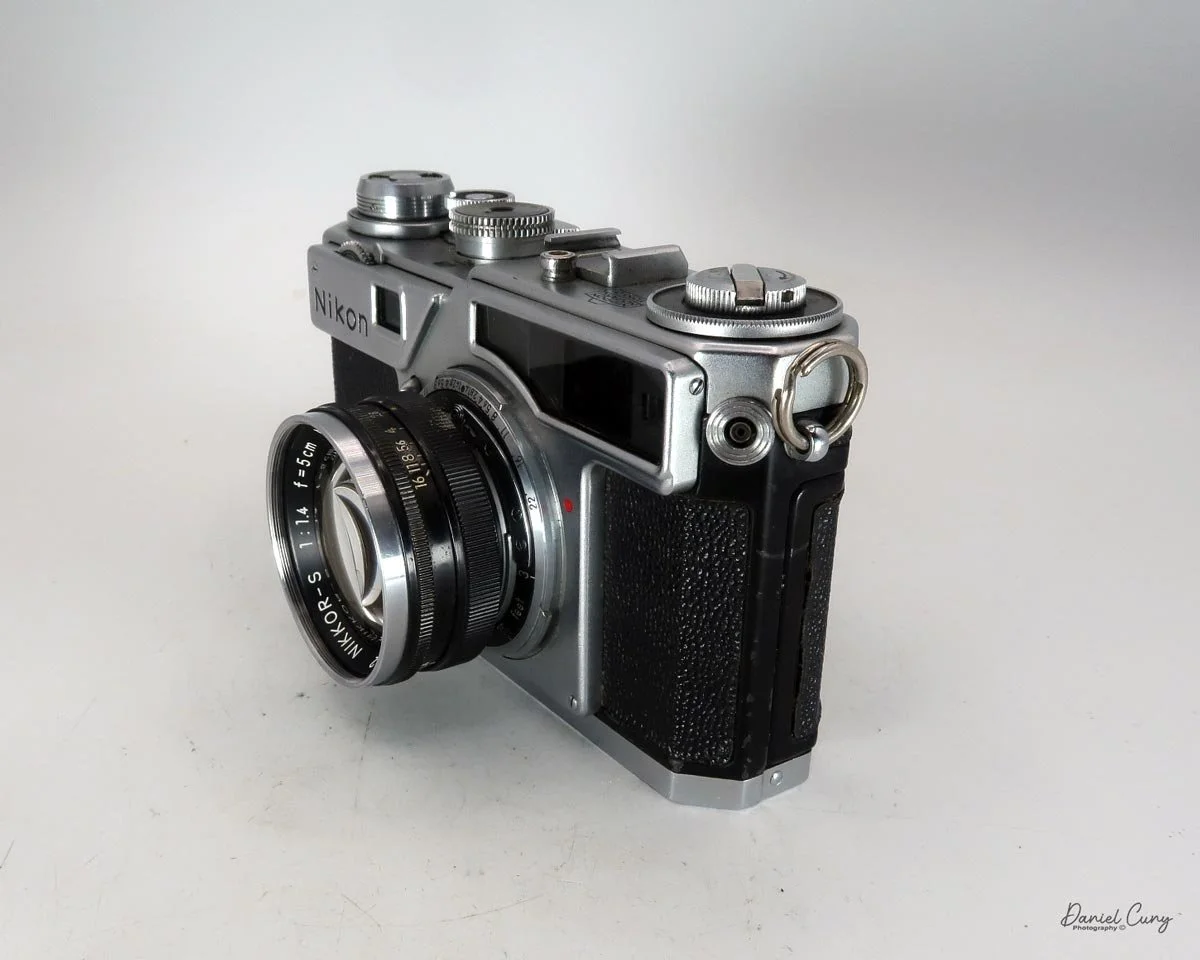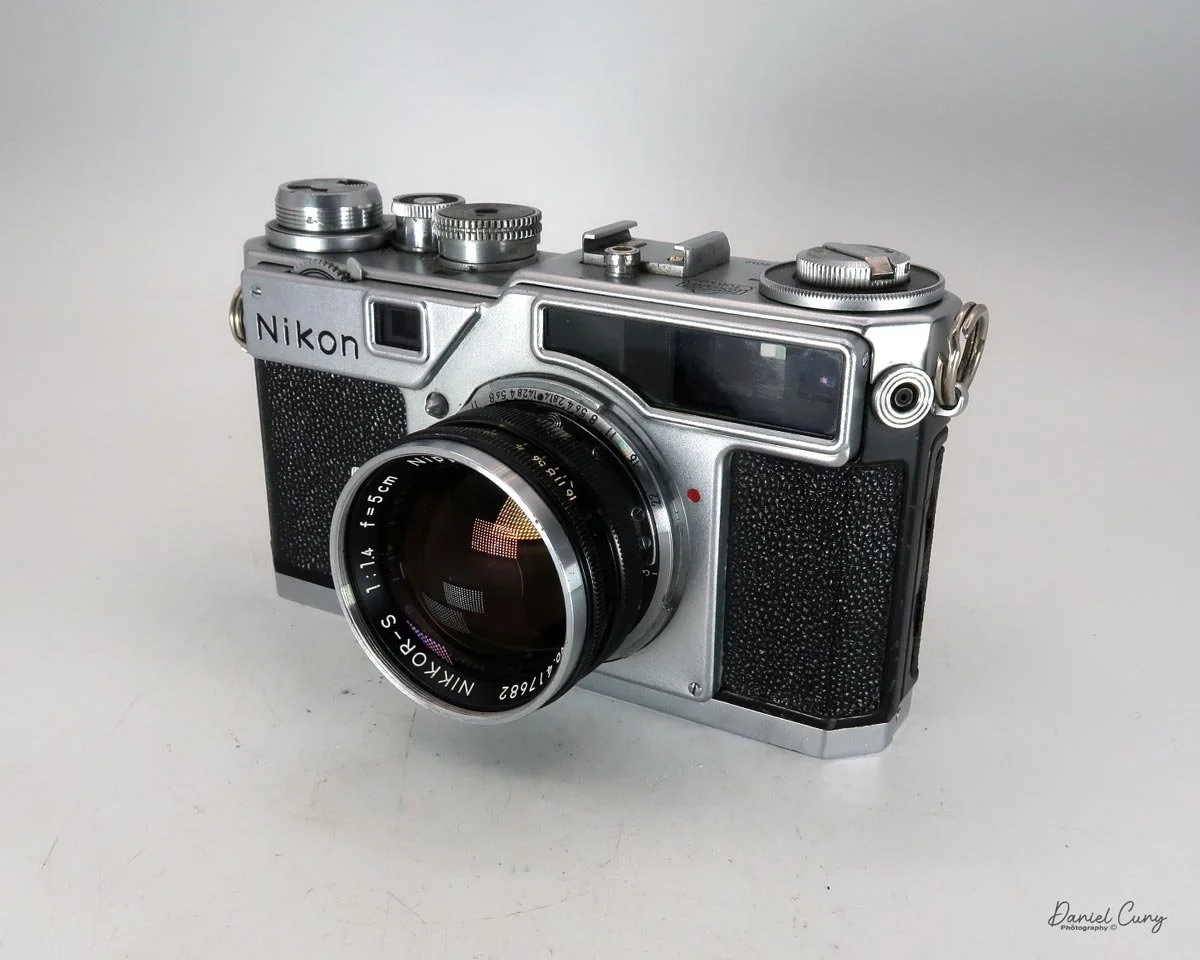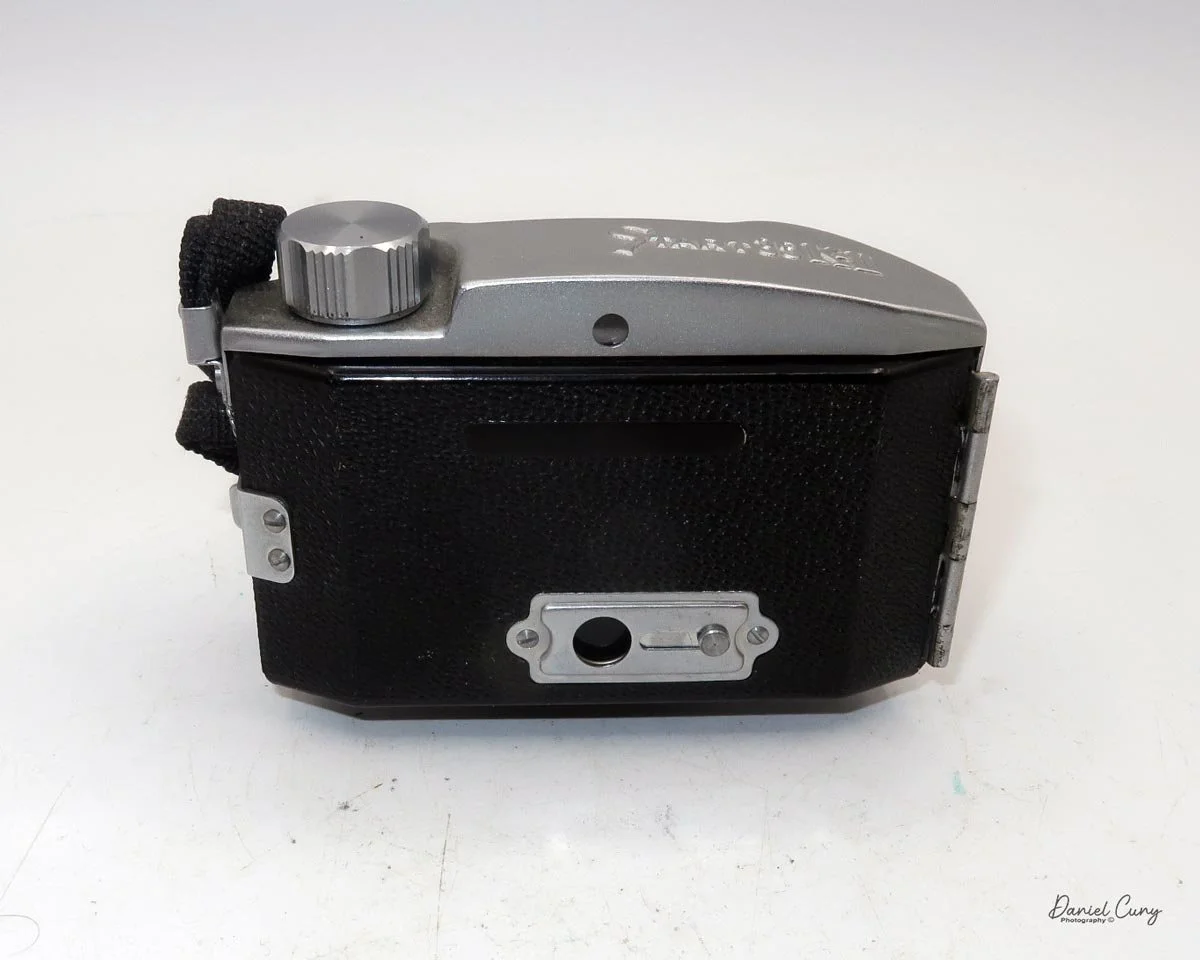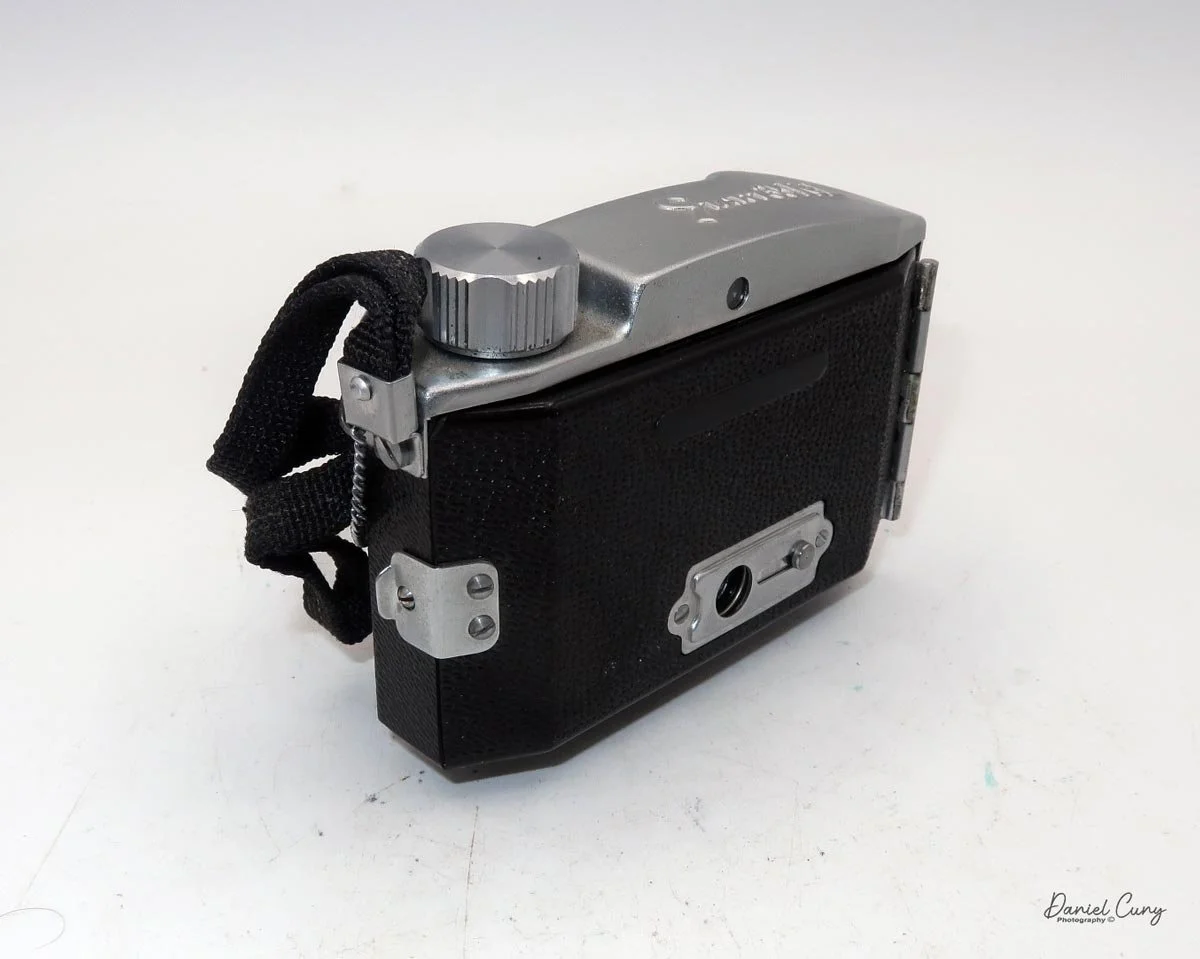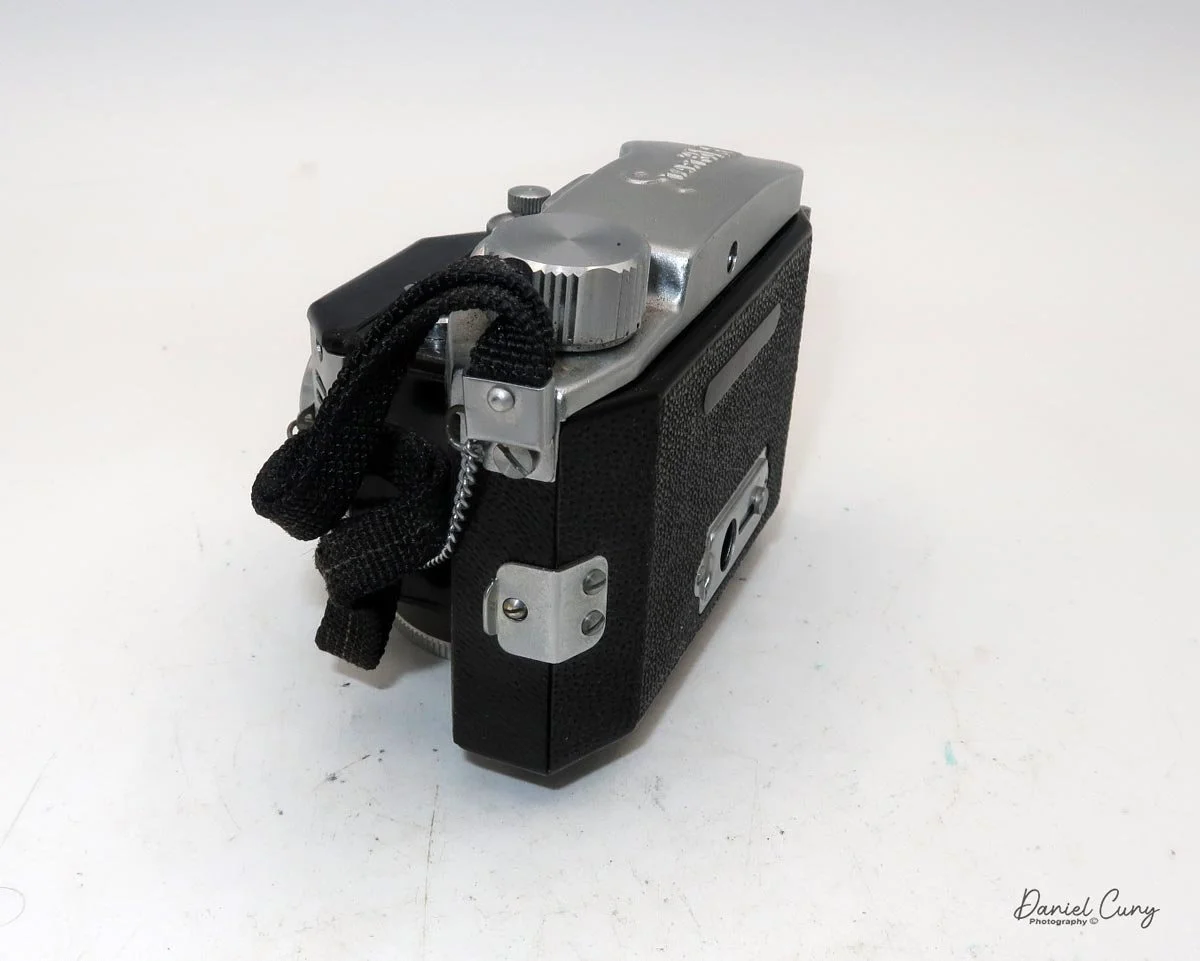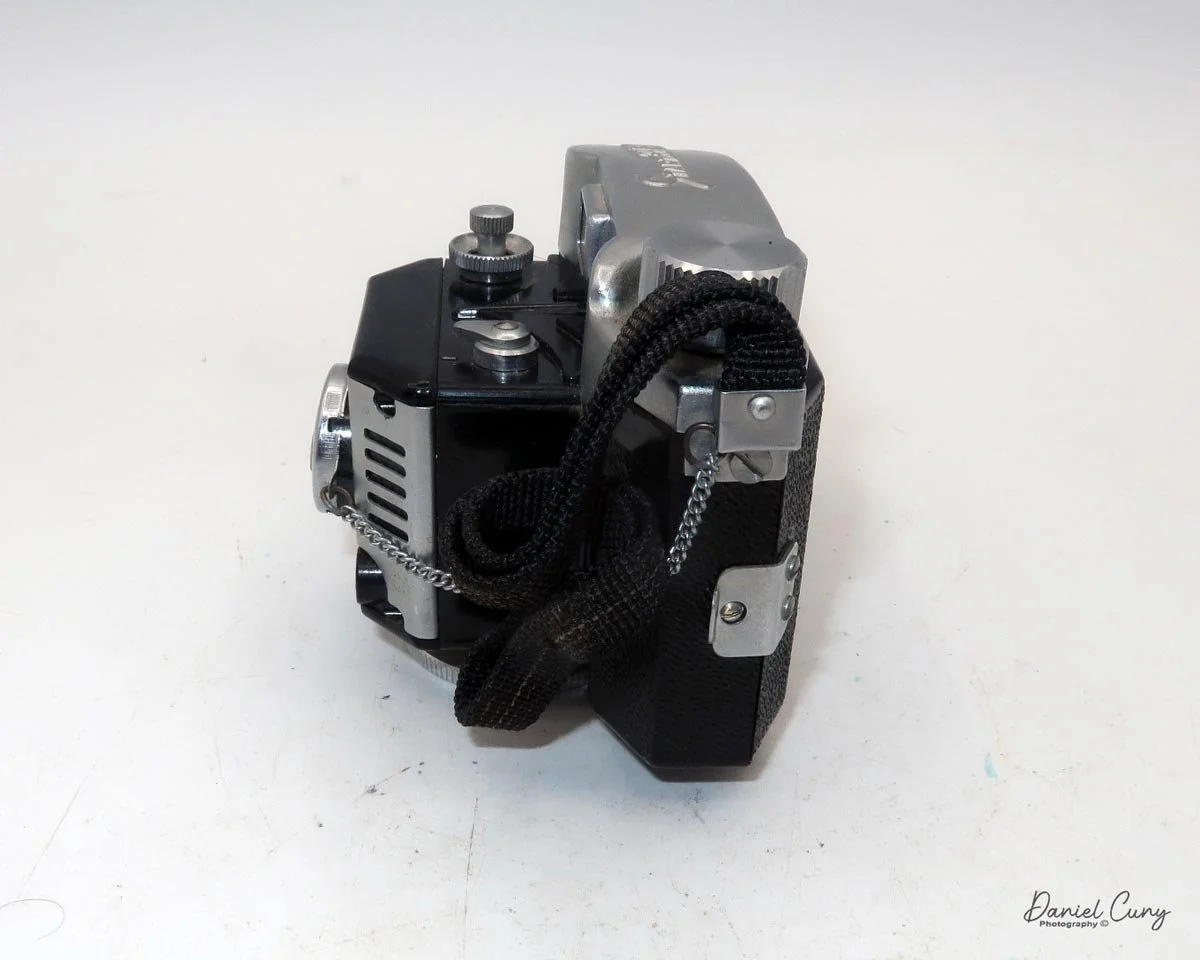
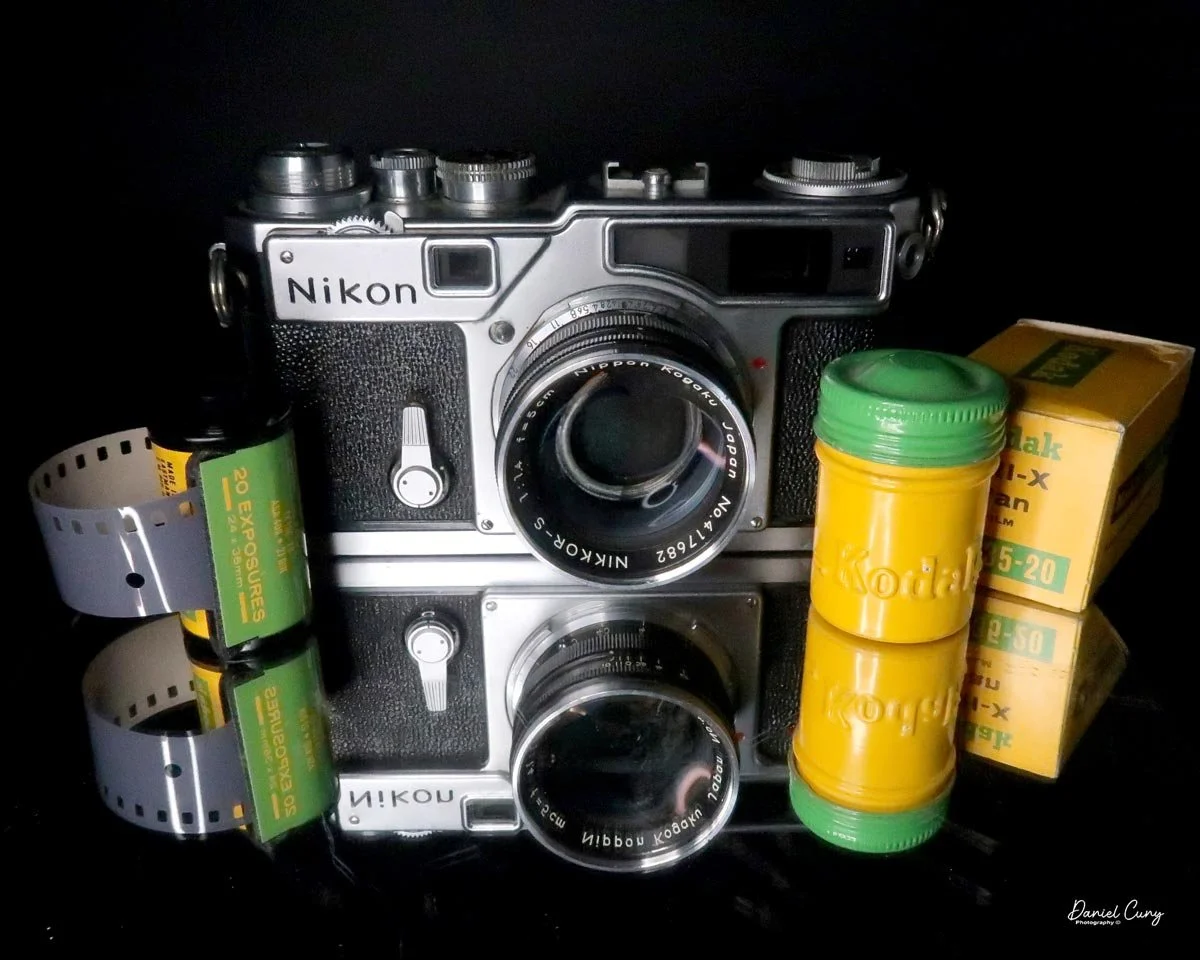
Nikon SP camera

My Nikon SP camera

As a Nikon photographer since my early career—starting with Nikkormat cameras and moving on to the Nikon F series in the early 1970s—the early Nikon rangefinder cameras have always intrigued me. I view them not necessarily as "shooting" cameras, but more from a collector's perspective.

 I believe this is due to how I learned photography. Having grown up with SLR cameras, I feel more comfortable with a larger, brighter viewfinder. I always found it difficult to focus a rangefinder-style camera, especially in darker, low-light situations. Finding the yellow area to bring into focus was always a challenge for me. However, as I became more accustomed to them, I learned to look for someone's eye, the edge of a leaf, or any sharp contrast to bring the two images into one.

 When you shoot with a rangefinder-style camera, you (or at least I do) really appreciate its quieter shutter system. You only hear the low click of the camera's shutter opening and closing, without a mirror clunking up and down during the exposure. This can be extremely helpful, especially when photographing someone in a quiet setting. I learned this the hard way when I was photographing a musician in a small, café-style venue. My SLR was way too noisy, and some of the audience actually shushed me. It was very embarrassing, to say the least!

 Another advantage of the rangefinder style is its compactness. Because these cameras lack a mirror system, they are considerably smaller, less bulky, and lighter. This goes for their lenses, too. Their compact nature allows a photographer to either pack more gear into the space normally reserved for an SLR, or use a smaller bag—saving your shoulders and back from the strain of a large, heavy system.

 I was lucky when I found my Nikon SP. While I already owned several different Nikon rangefinders at the time—mainly earlier models like the S and S2—the SP was always out of reach due to the financial responsibilities of raising a family and owning a home.

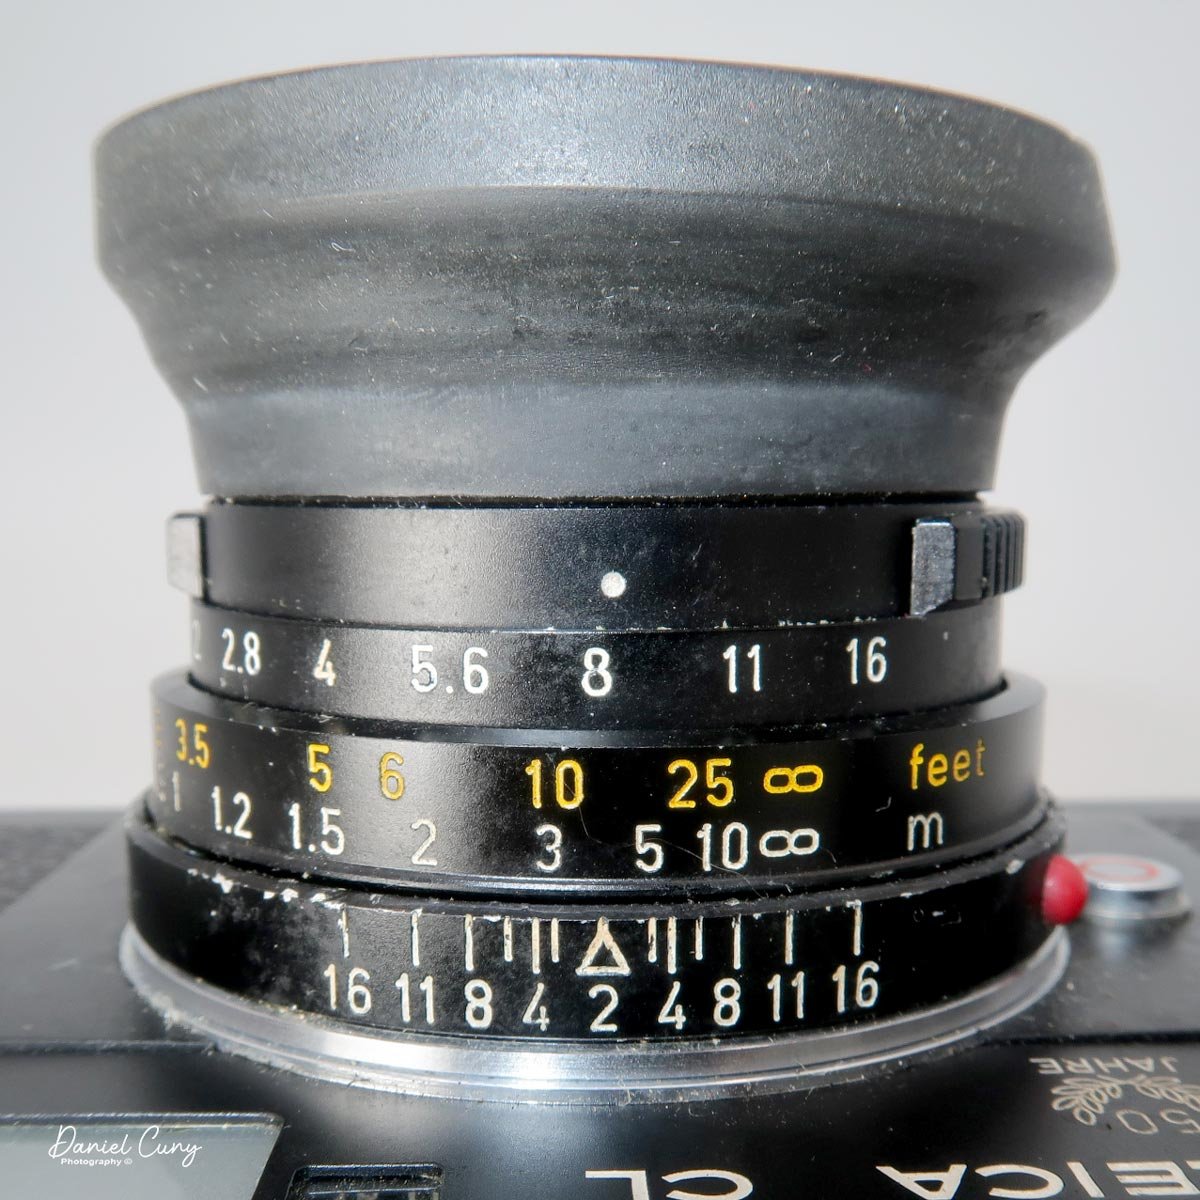
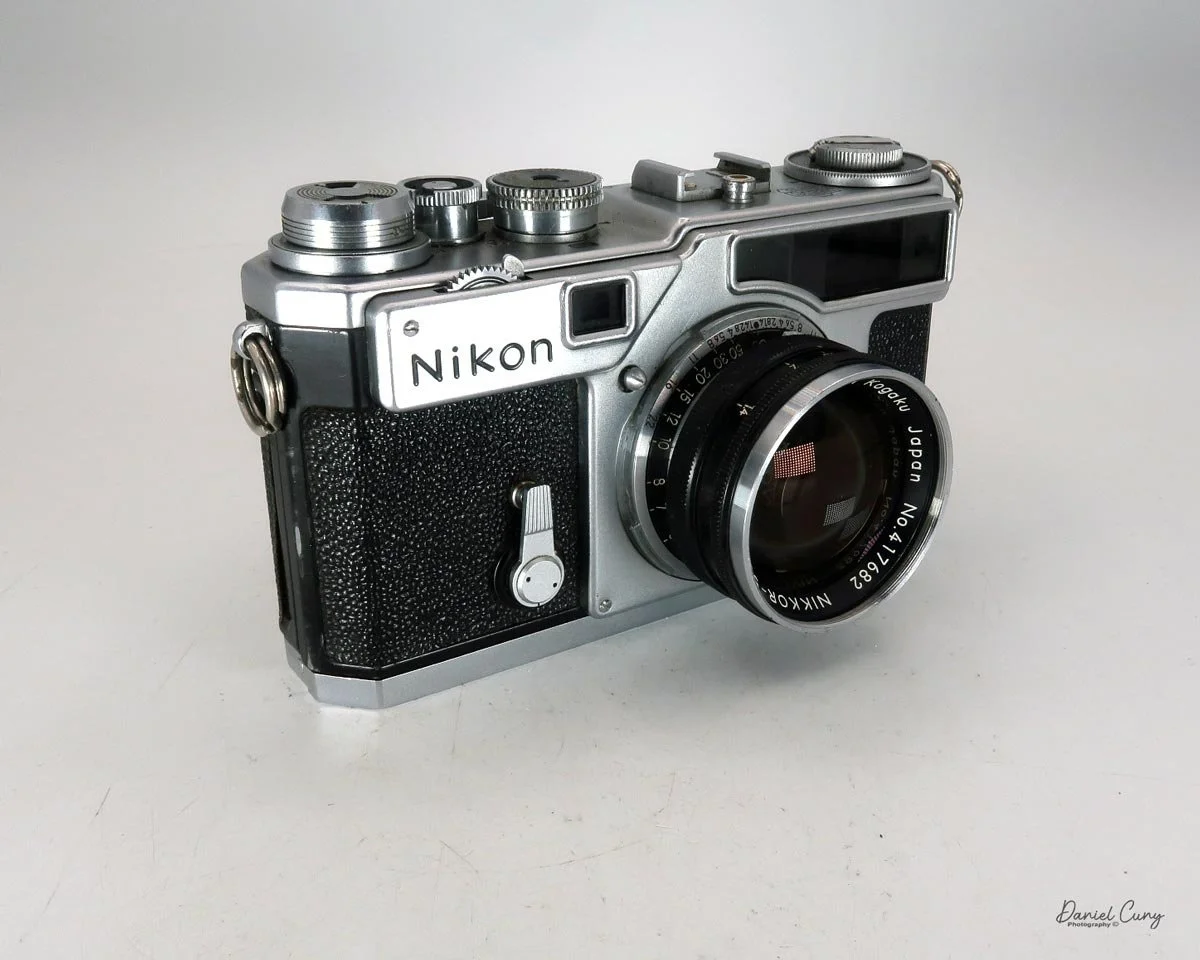
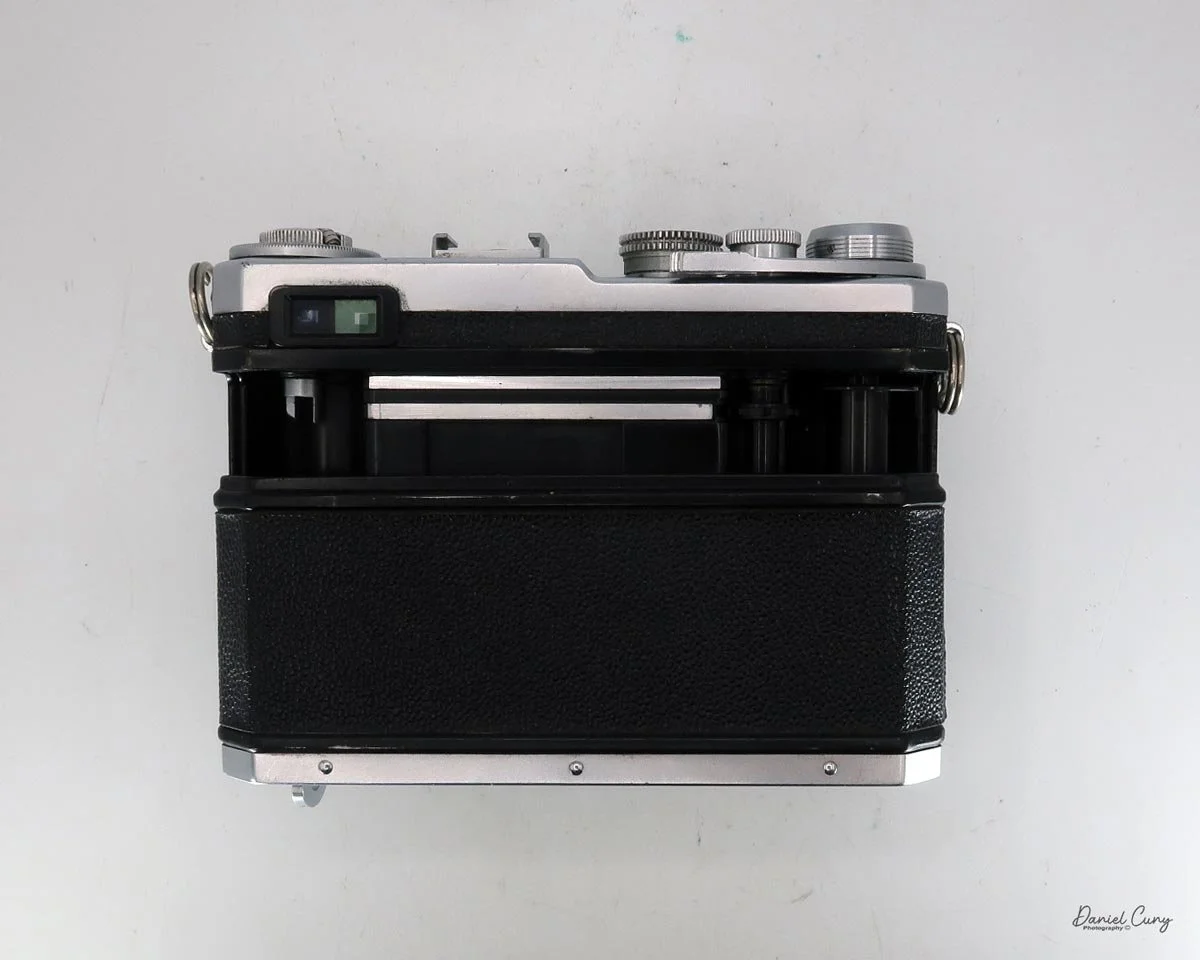
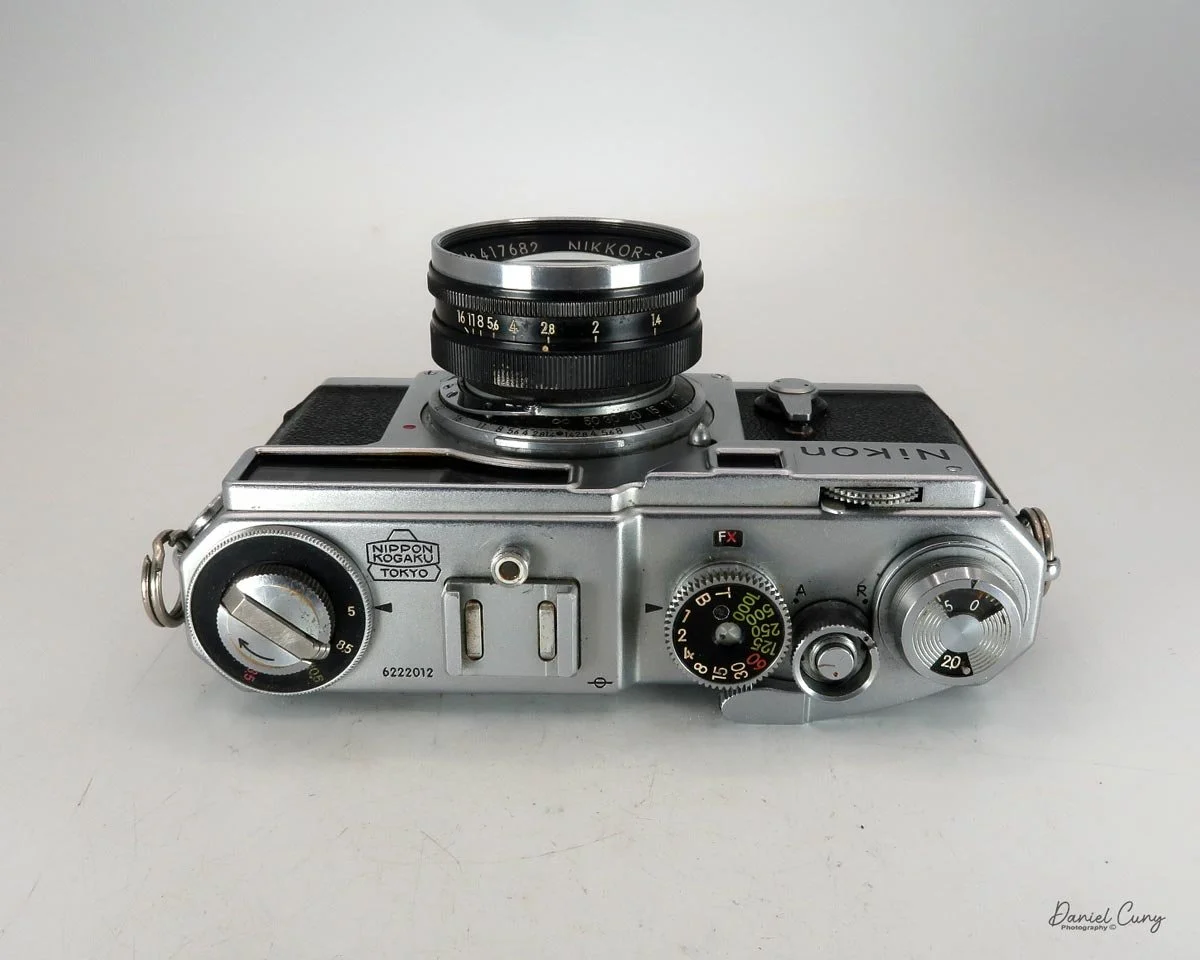
Top view of the Nikon SP camera

After several years, with a bit more financial freedom, I found a Nikon SP in great working condition. The shutter appeared to have been serviced, and while the camera had its normal slight scratches and small dings, it was selling for a great price. I pulled the trigger and purchased it, hoping to shoot with it more often.

 When the Nikon SP arrived, it was in exactly the condition I expected from the photos. The lens was very clean and even included a protective filter from a different manufacturer, which had done a great job keeping the glass free of scratches. The camera felt incredibly comfortable in my hands, especially after holding so many Nikon SLRs over the years. Now, it was just a matter of reacquainting myself with the rangefinder and the dual viewfinder—which I knew might be a challenge following my recent eye surgery.

 The surgery has made me more of a "left-eyed" shooter, as the sharpness in my right eye had been failing for years. While the procedure helped, my vision isn't quite what it was 20 or 30 years ago. It's not a big deal; it just means getting used to bringing the camera up to my left eye after using my right for so long. At the very least, my images have been sharper ever since I made the switch.

 I really enjoy taking my Nikon SP out for a spin a few times a year. In fact, I'm somewhat shocked I haven't written about it before now! During the week, I often brainstorm which camera to feature in my next blog. Last week, the SP popped into my head, and I felt there was no better time to write about one of my absolute favorites.

History

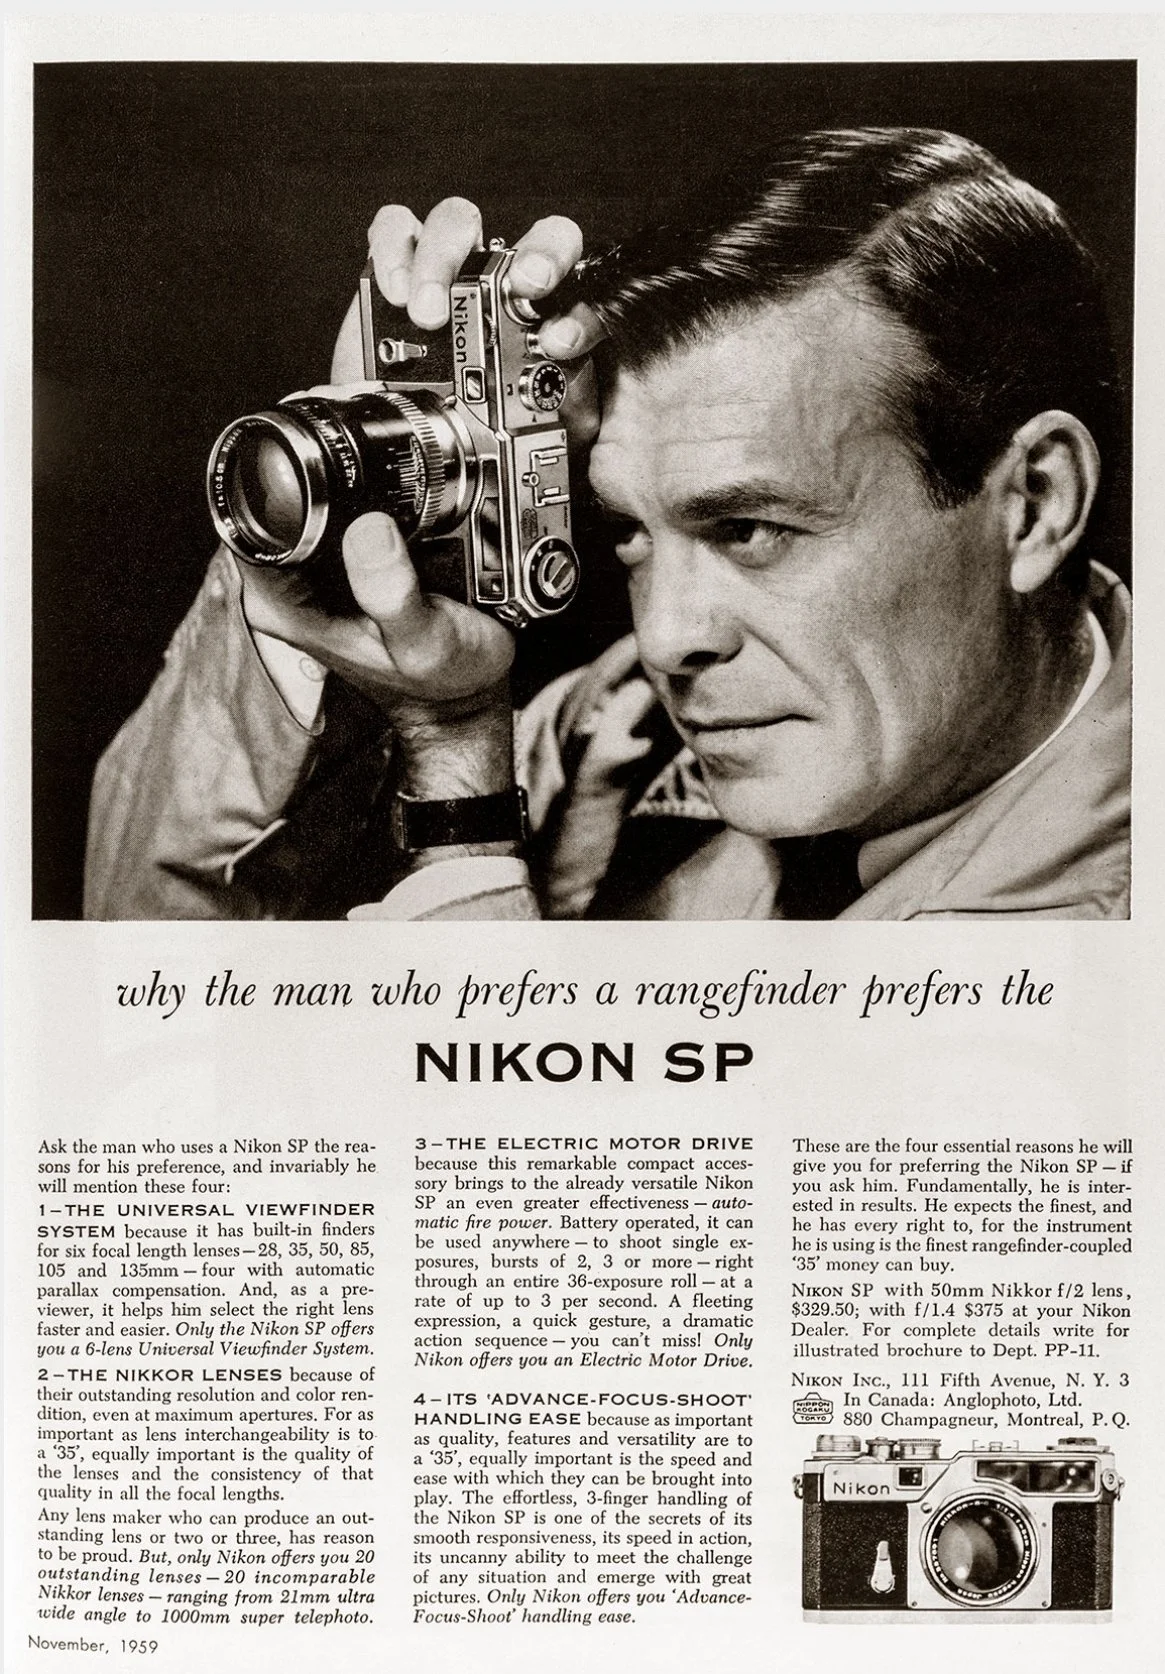
Nikon's rangefinder cameras began as a postwar effort by Nippon Kogaku to enter the 35mm market. They quickly became the foundation of the brand's reputation for precision optics and rugged construction. The original Nikon, later called the Nikon I, was approved in 1946, manufactured starting in 1948, and sold later that year. It used a Contax-inspired mount and a compact rangefinder body that looked unlike anything else coming out of Japan at the time.

Advertisment for Nikon SP camera

 A key early turning point came with the Nikon M in 1949. Nikon had originally used a 24 x 32mm frame size, but export concerns pushed the company to revise the film gate and related mechanics. This created the M with a 24 x 34mm format that was more acceptable in overseas markets. That change helped Nikon gain traction outside Japan, especially as American photographers began to notice the quality of Nikkor lenses in the early 1950s.

 The 1951 Nikon S was the model that broadened Nikon's presence in the West, establishing the company as a serious contender in professional photography. Nikon kept refining the line throughout the 1950s with the S2, S3, S4, and SP, gradually improving usability and standardizing the full 24 x 36mm frame from the S2 onward. The SP, in particular, became one of the most admired Nikon rangefinders because of its advanced finder system and professional ambitions.

 What made these cameras historically important was not only the bodies themselves but also the Nikkor lenses mounted on them. Reports from photographers and magazines such as Life helped spread the idea that Japanese lenses could rival or surpass the best German optics, which was a major shift in postwar camera culture. Nikon rangefinders also became associated with news and documentary work, building credibility before the company moved into reflex cameras.

 By the late 1950s, Nikon had already used lessons from its rangefinders to shape the 1959 Nikon F, and rangefinder production soon faded as SLRs took over the professional market. Today, Nikon rangefinders are prized by collectors for their place in camera history, their engineering, and their role in Nikon's rise from a strictly optical manufacturer to a global photographic powerhouse.

My Camera

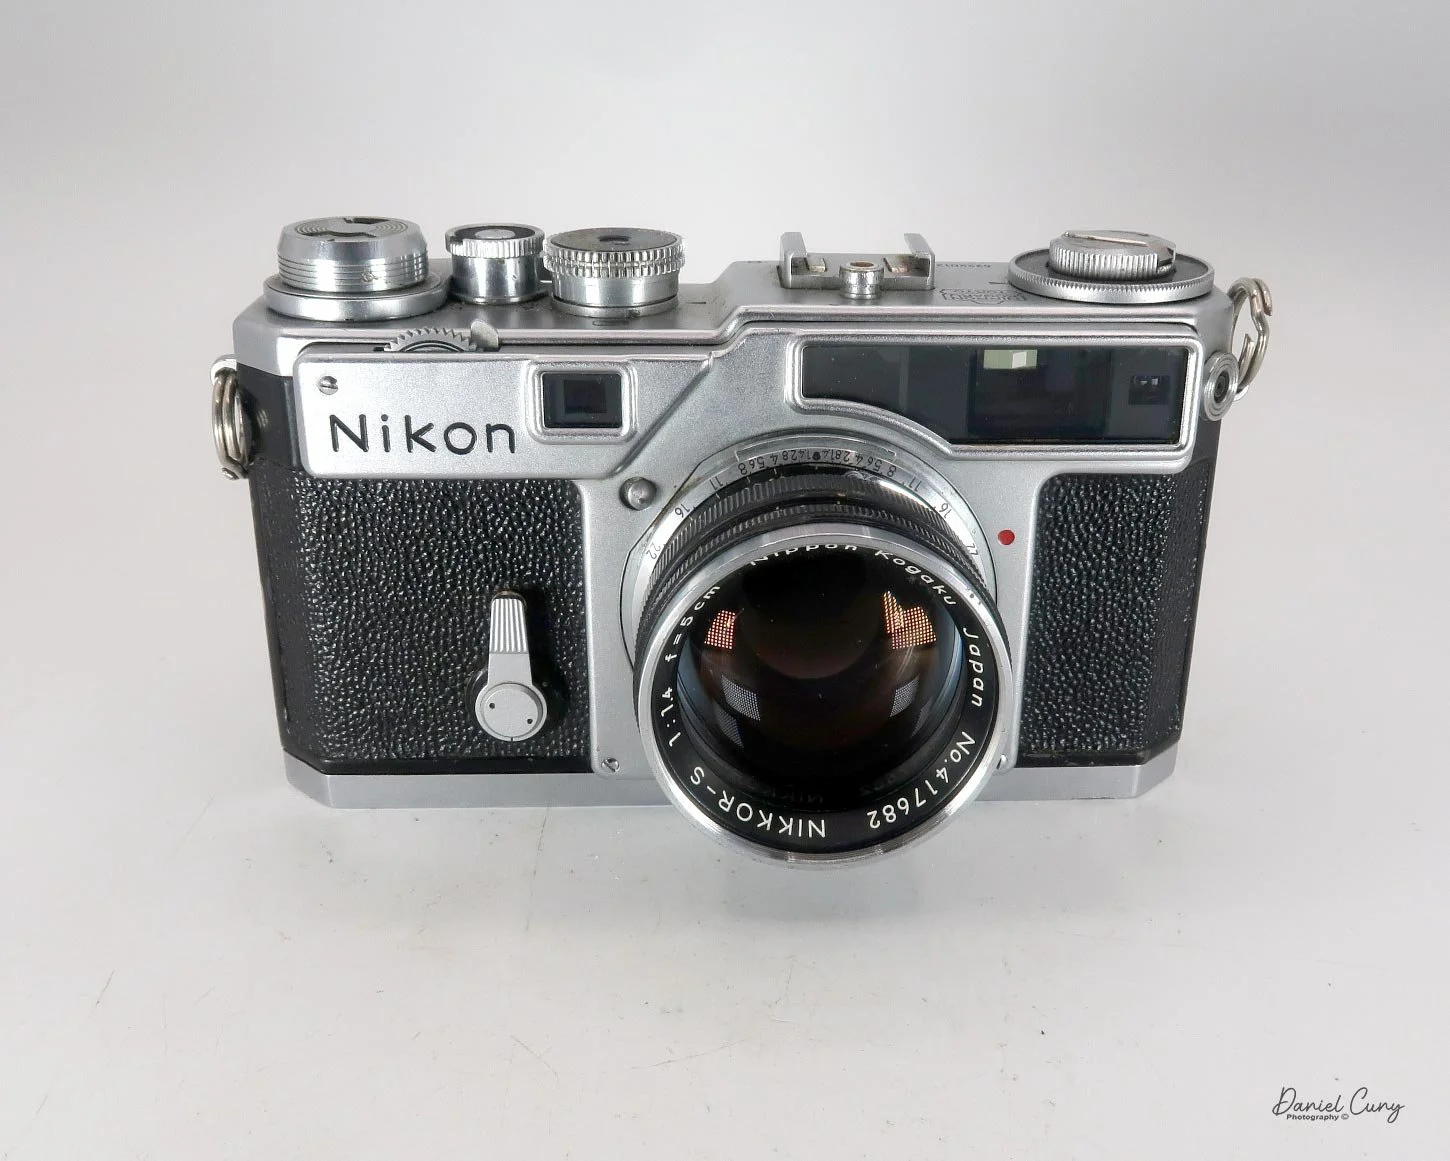
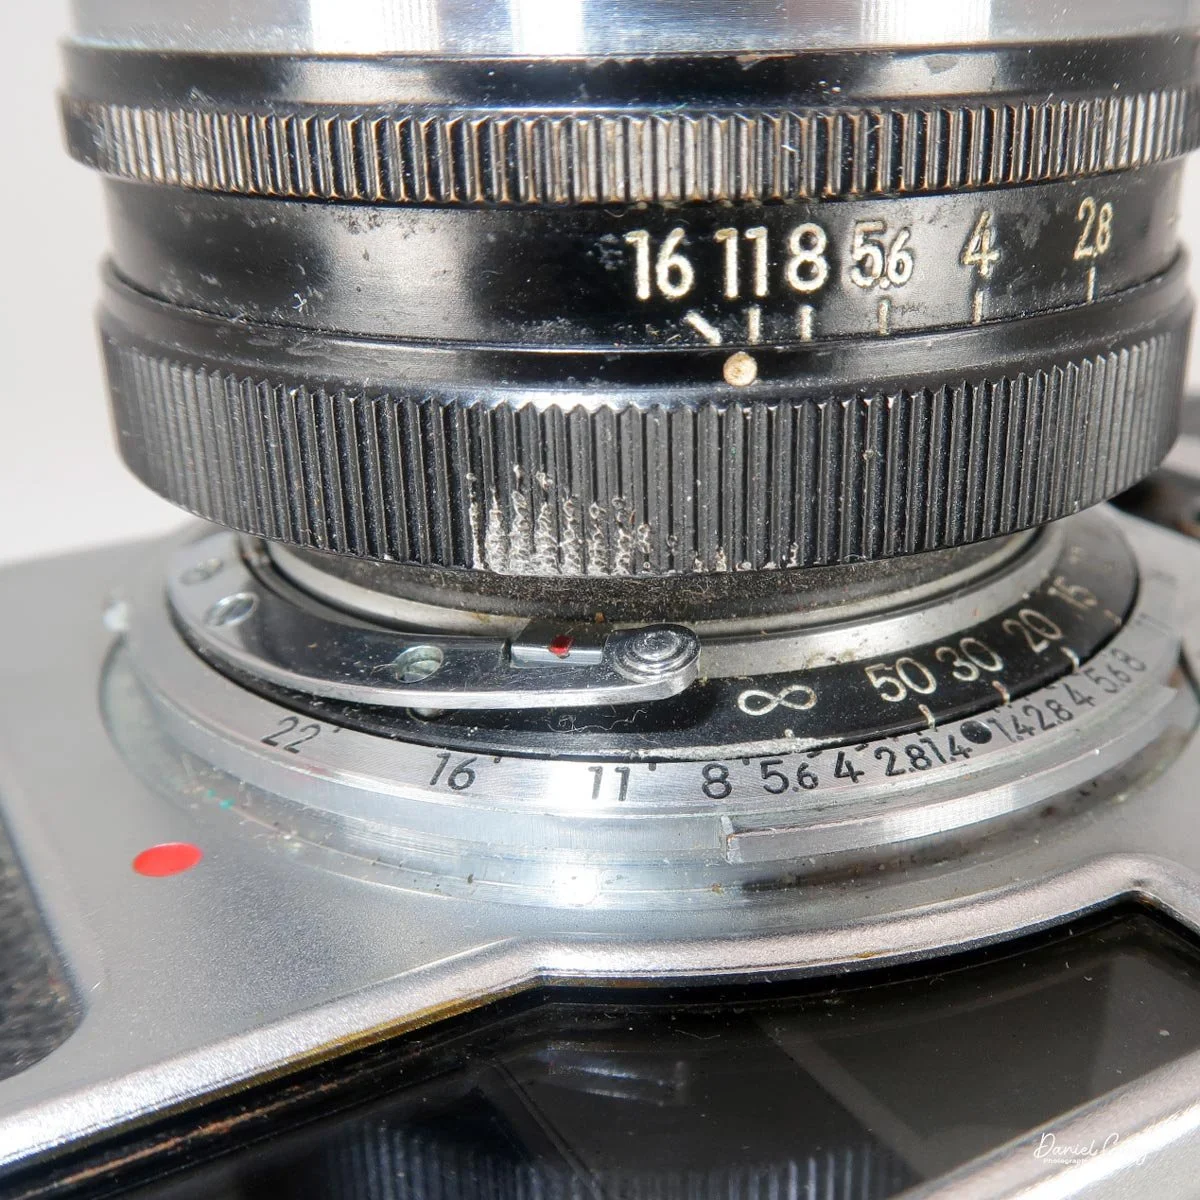
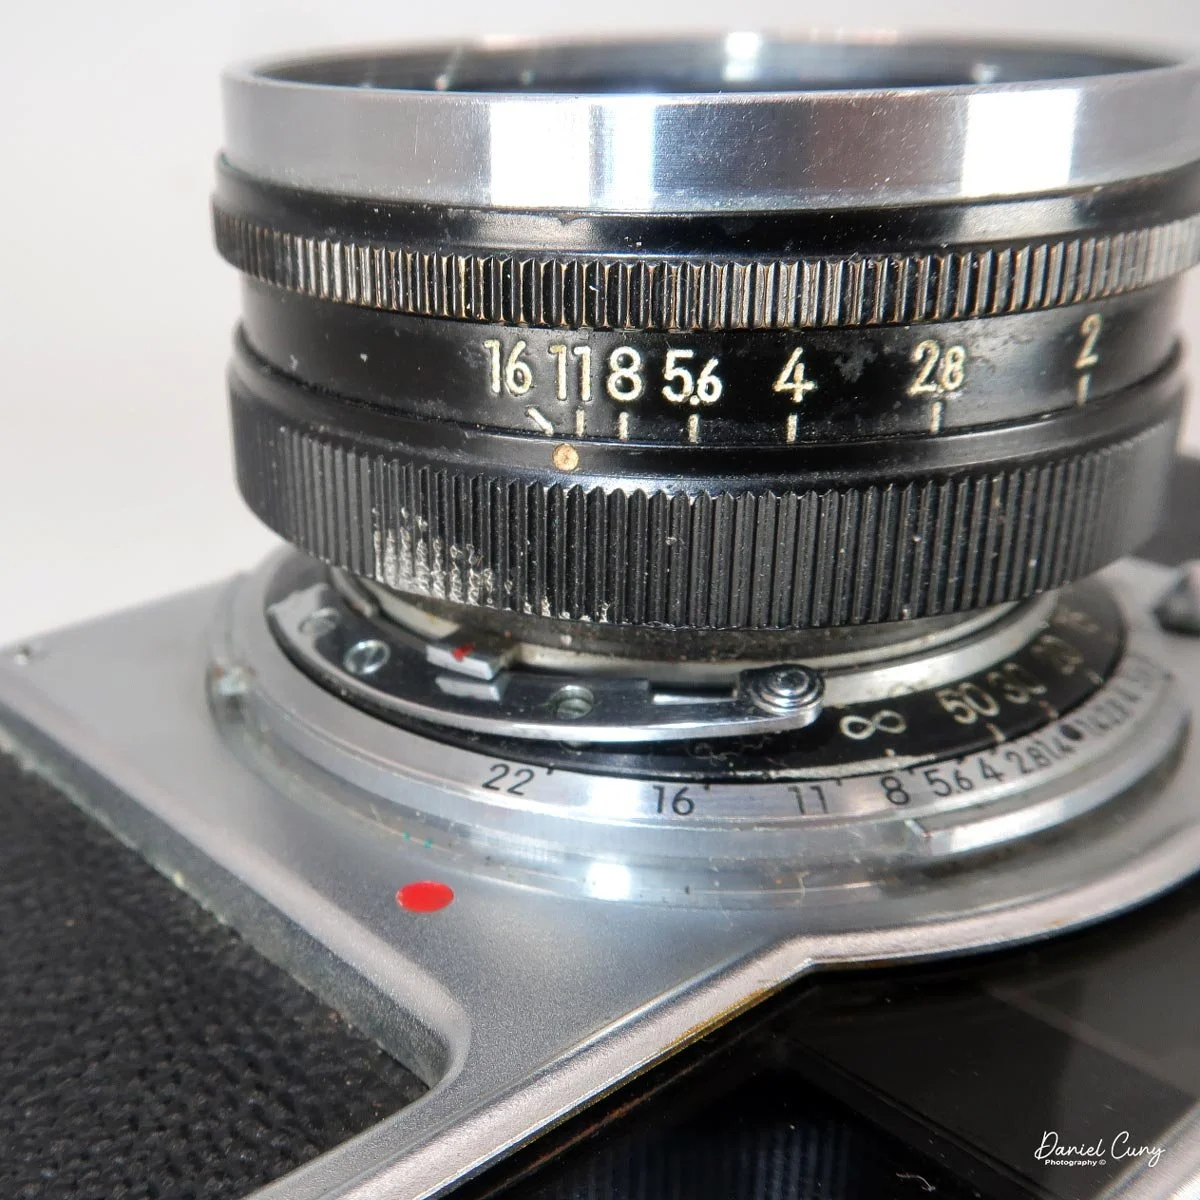
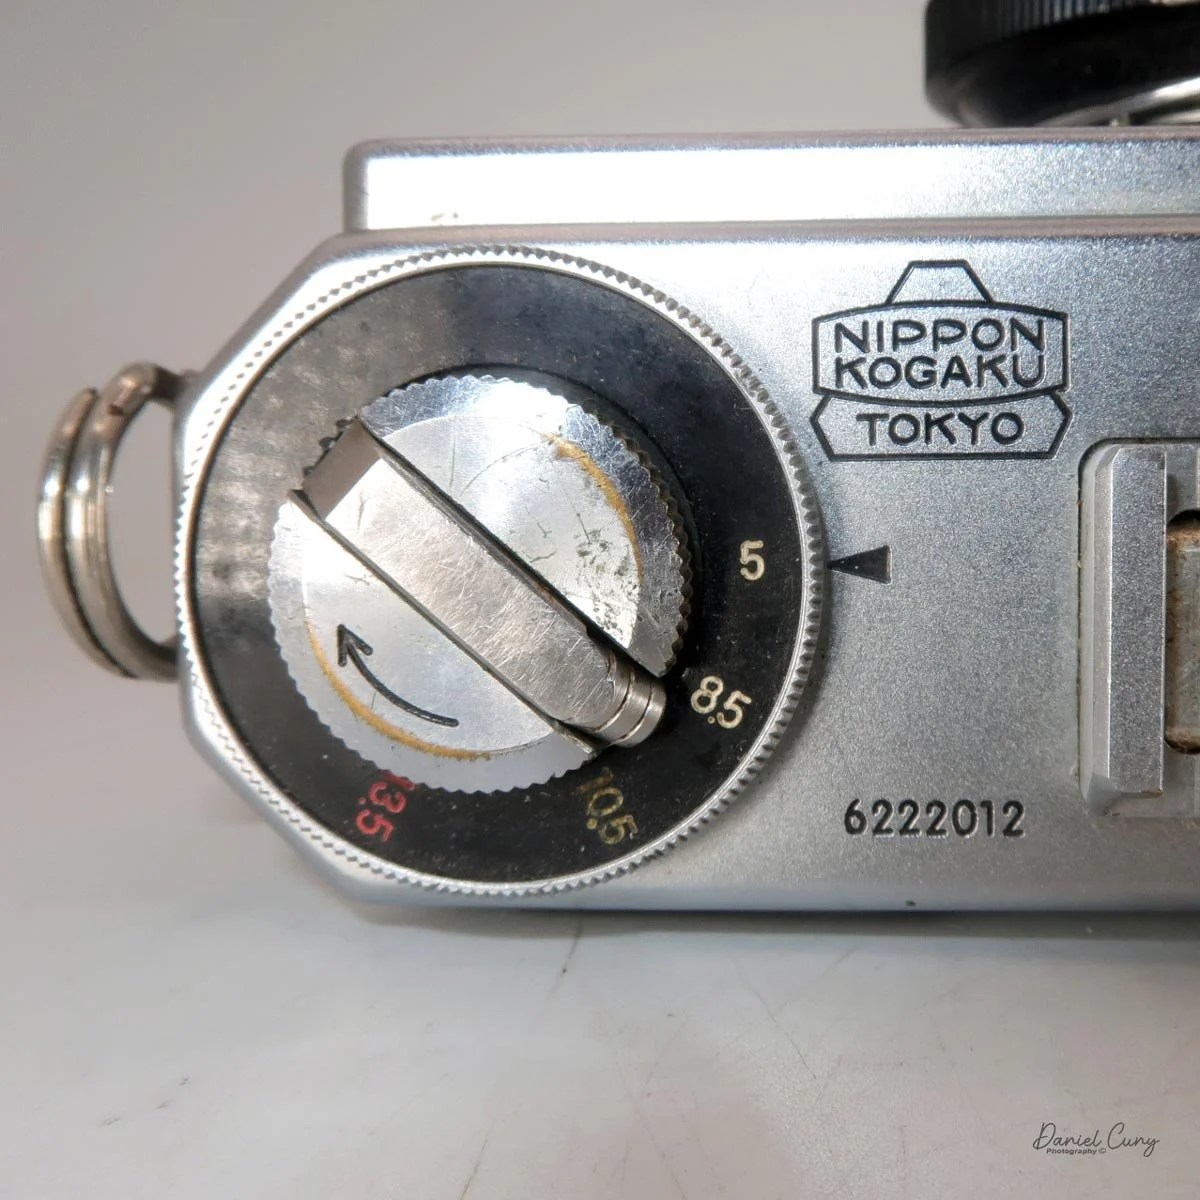
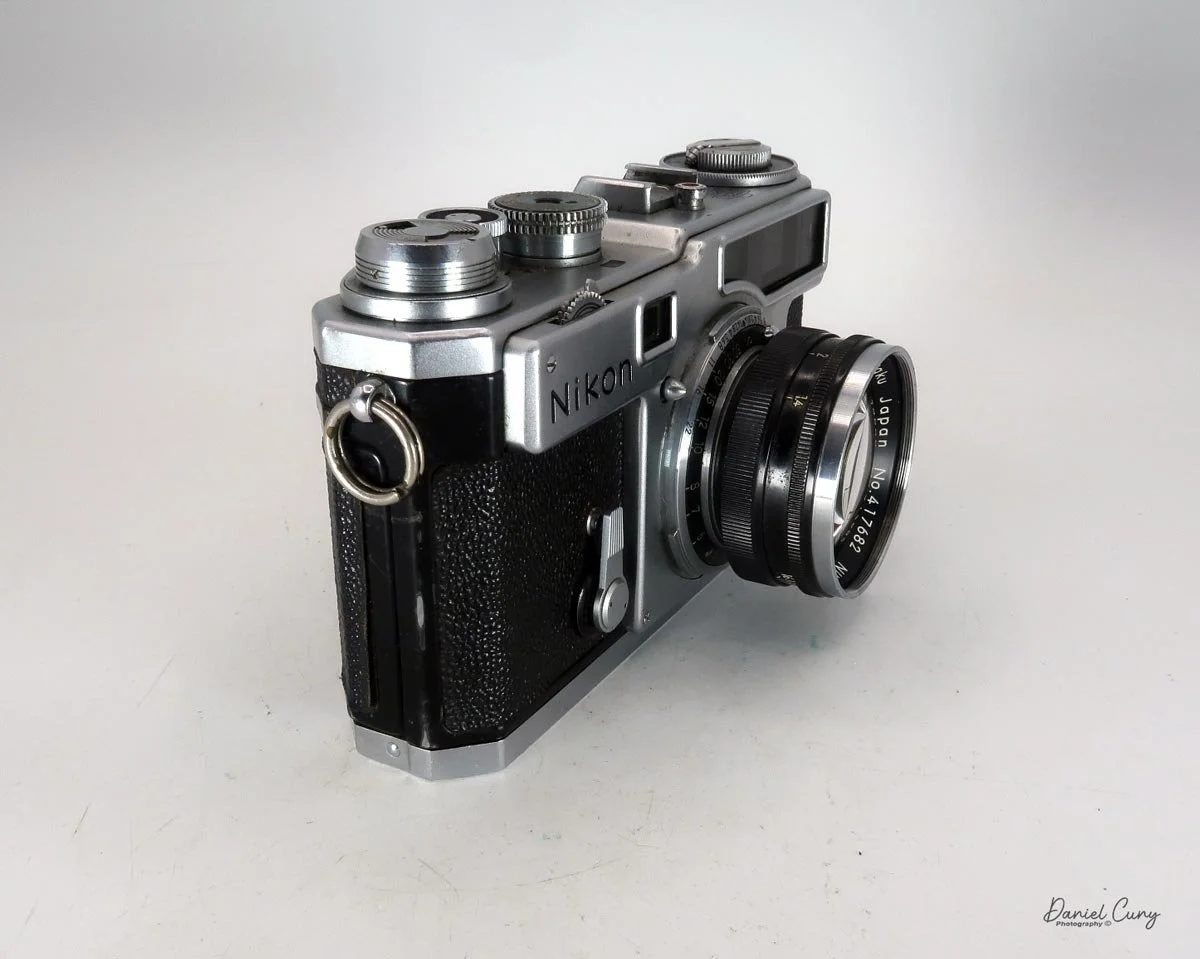
When I received the Nikon SP, it came with the bottom portion of its leather case, though I chose not to include it in the blog photos. My Nikon SP is serial #6222012. The camera measures 5.5" wide (including the strap lugs) by 3.25" tall and 2.5" deep. It's paired with a Nippon Kogaku Nikkor-S 5cm f/1.4 lens, serial #417682. The lens also features a chrome Kenko UV filter specifically made for the Nikkor 1.4, which is stamped directly on the filter ring (not pictured). To adjust the aperture, you turn the ring on the front of the lens.

On the front of the camera body is the self-timer—the SP was actually the first model Nikon equipped with this feature. You pull down the lever and press the small button behind it to activate the 10-second delay.

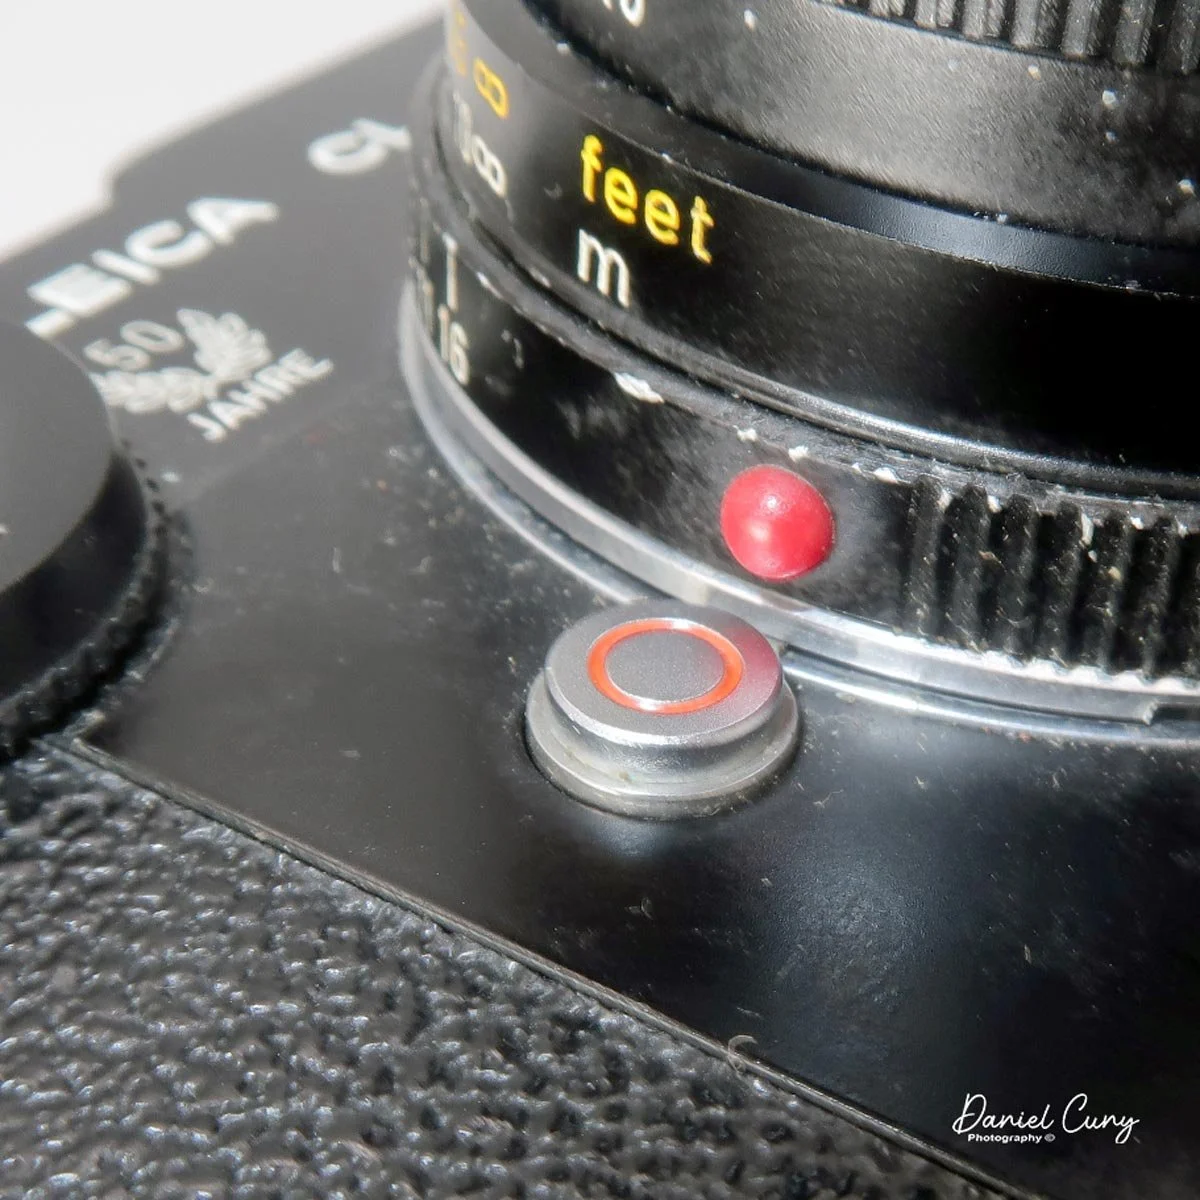
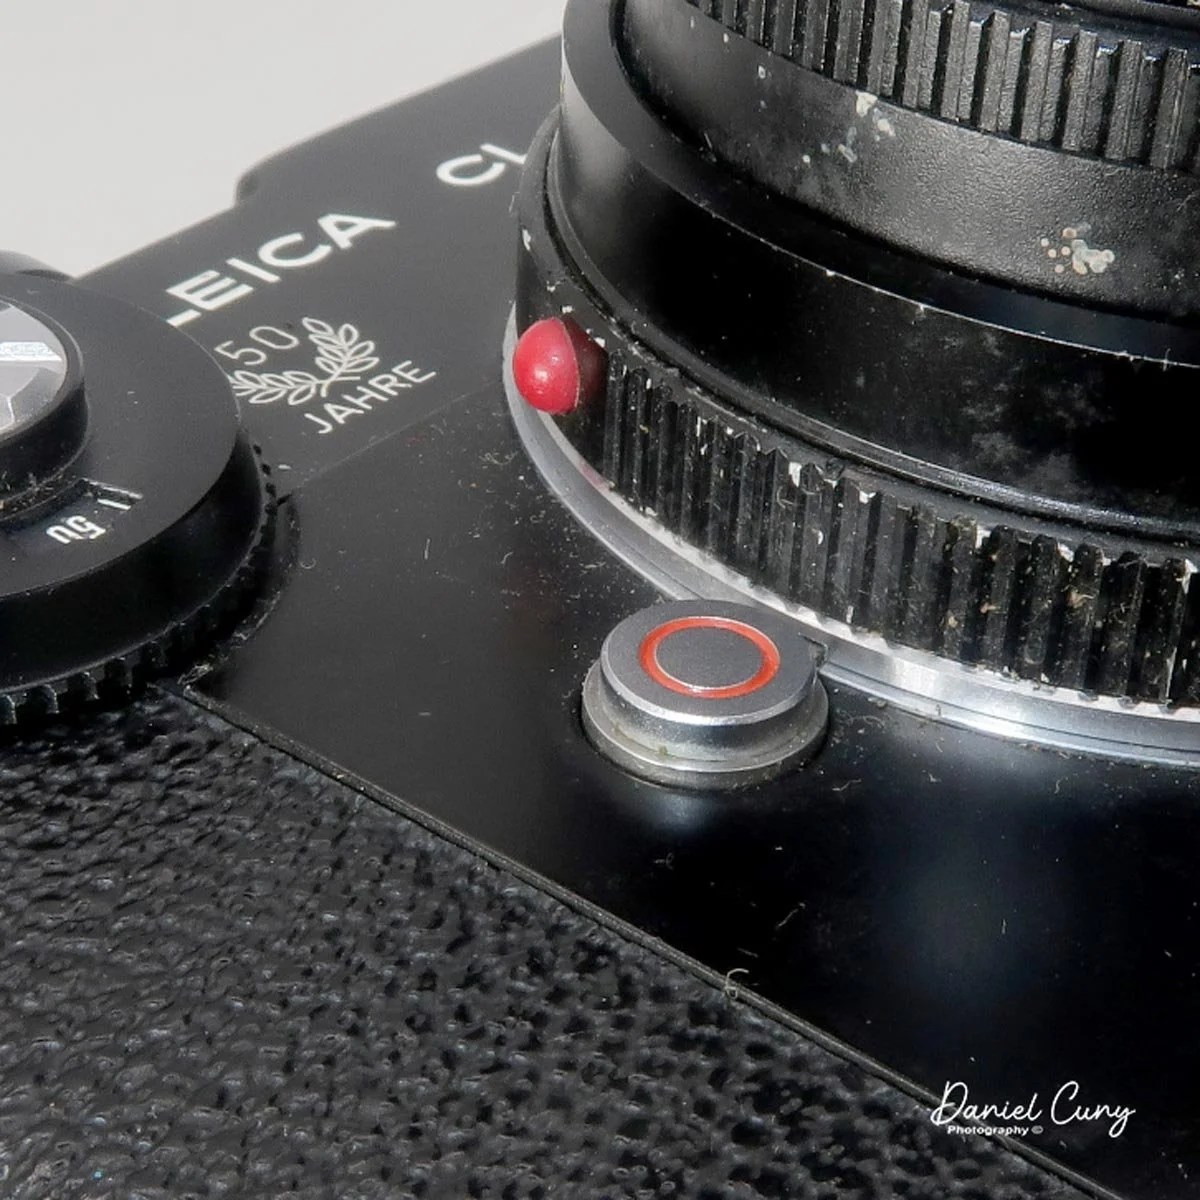
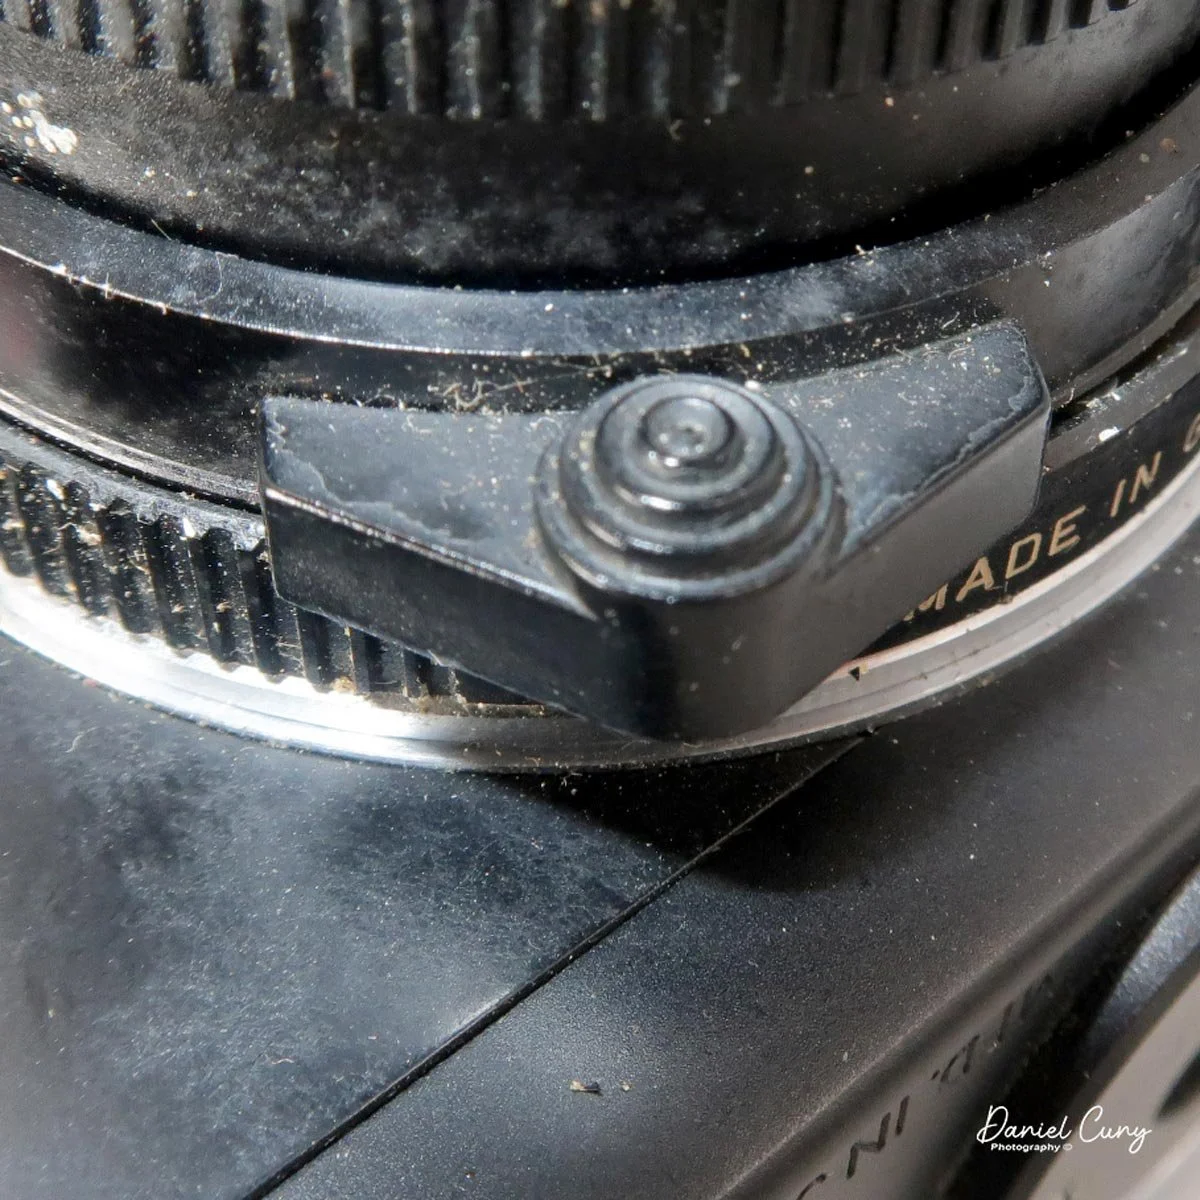
 To remove the lens, locate the small lever just behind the focus ring. Press it in toward the camera body, which allows the lens to be twisted and removed—exactly like the Contax system. To reattach a lens, match the red dot and small tab on the lens to the red dot on the camera body, then turn clockwise until it locks securely into place.

Looking at the top plate, the Nikon SP closely resembles the later Nikon F, except for a wheel on the far left. This wheel adjusts the viewfinder frame lines depending on the focal length of the lens you're using. The settings cover 5cm, 8.5cm, 10.5cm, and 13.5cm lenses. Nestled inside this collar is the film rewind crank. (I'll touch more on the viewfinder a bit later in the article.)

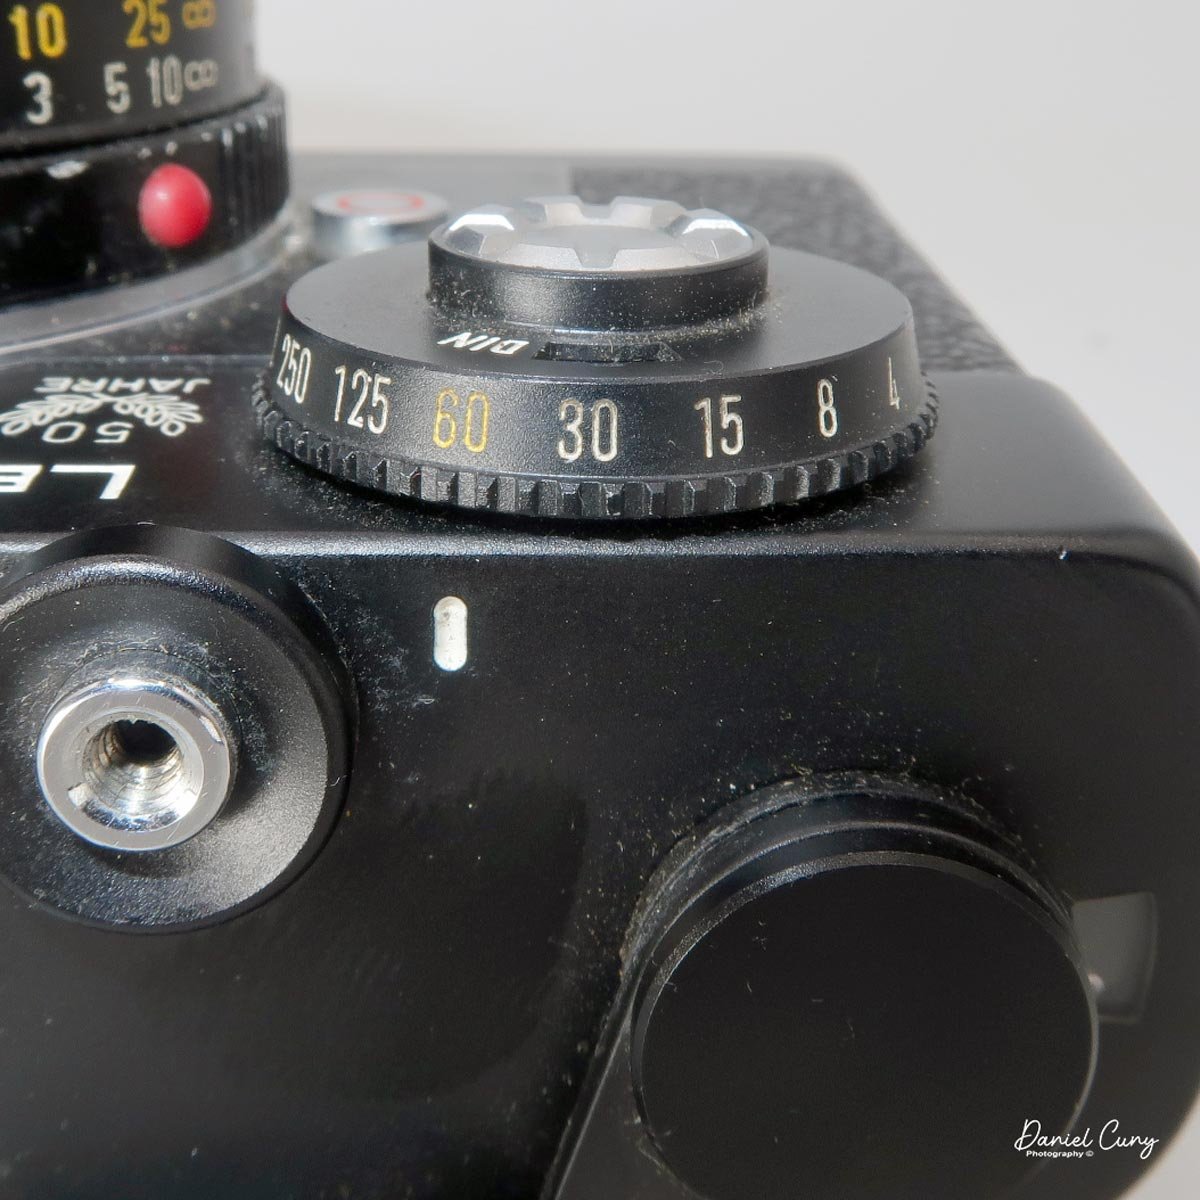
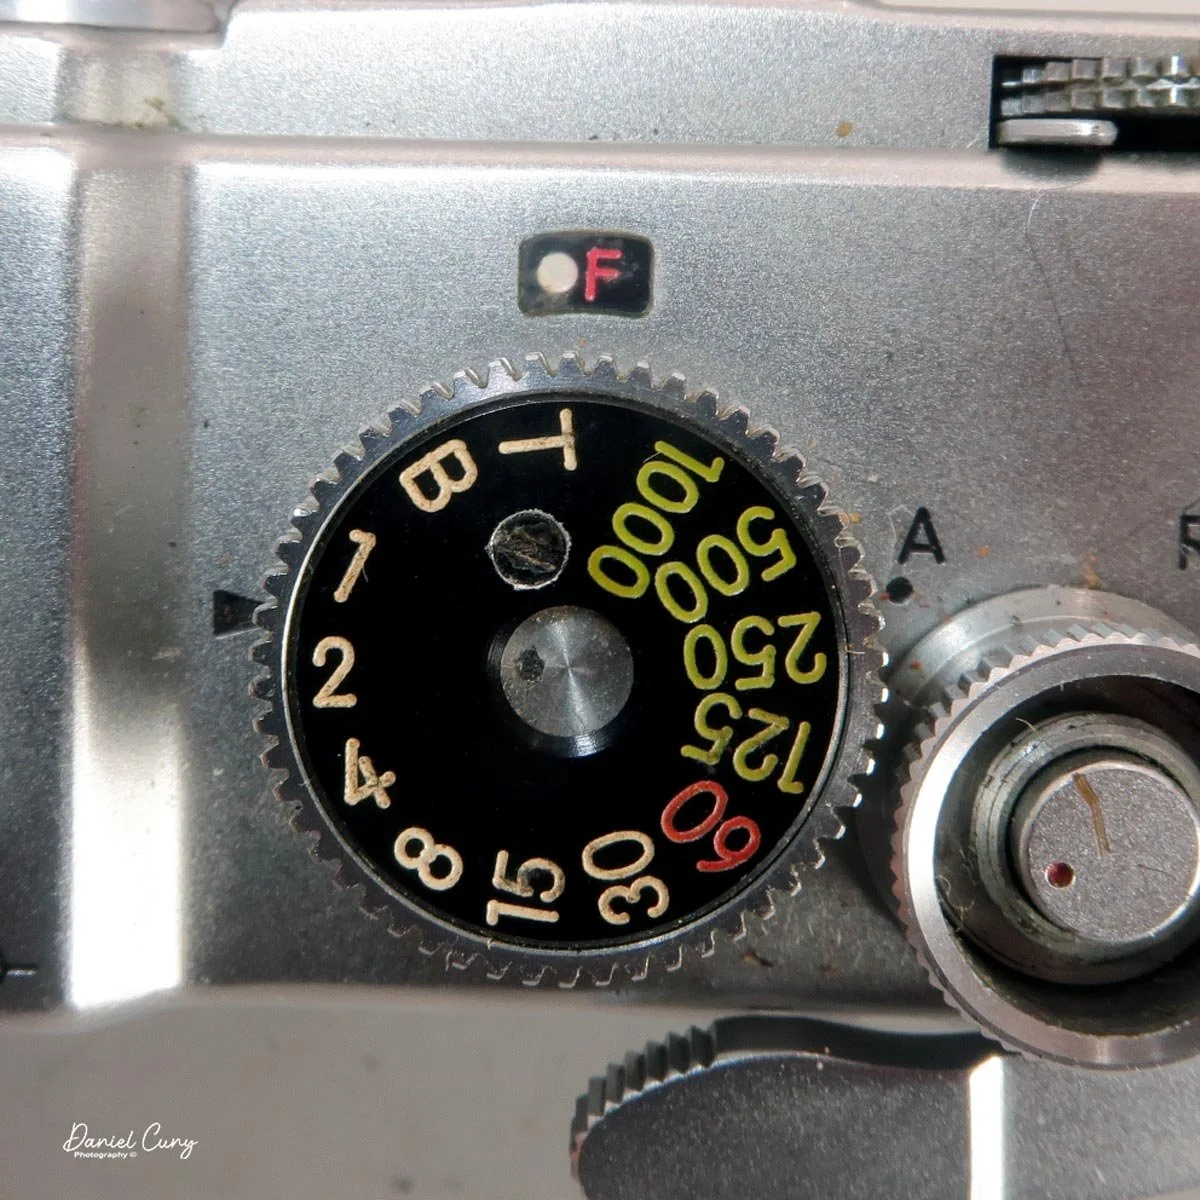
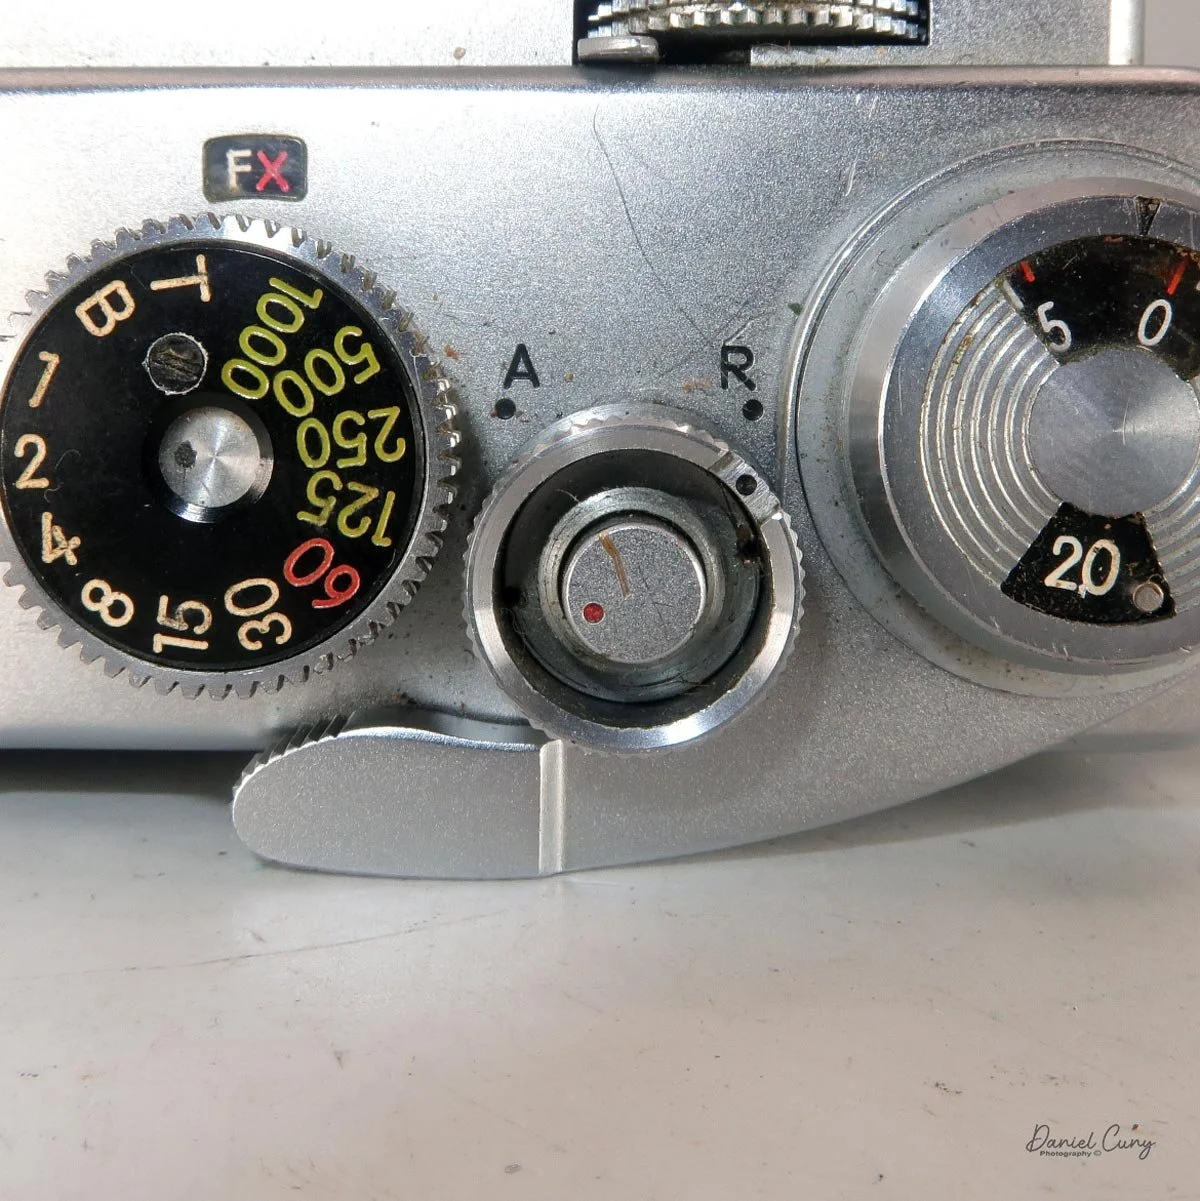
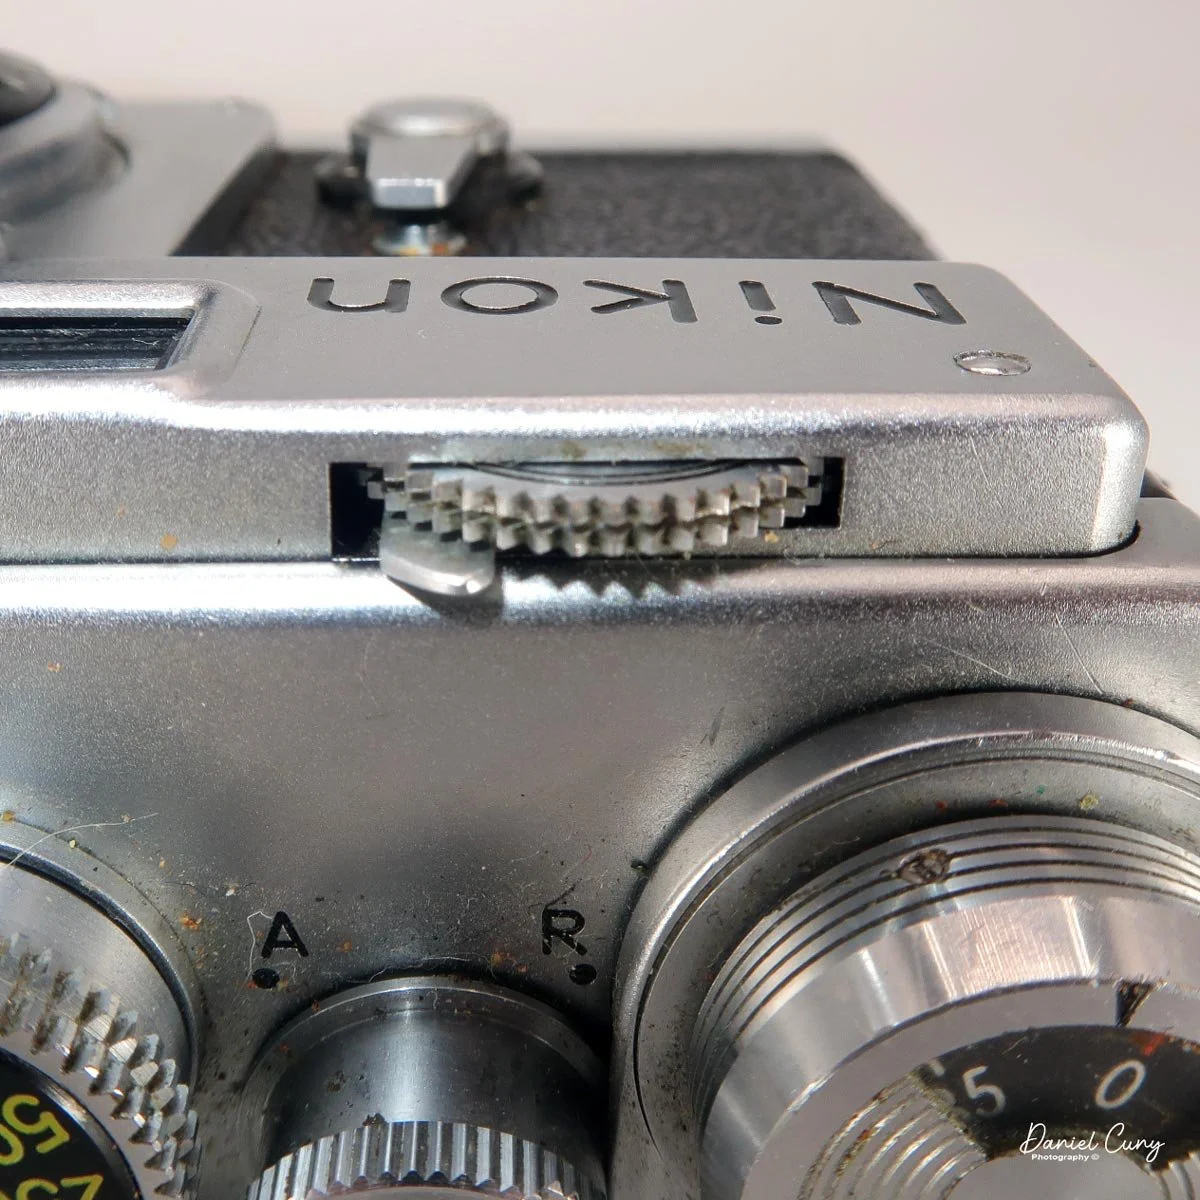
Next to the viewfinder selector wheel is the accessory shoe for a flash, and to the right of that sits the very familiar shutter speed dial. It offers speeds ranging from 1 second to 1/1000th of a second, along with "B" (Bulb) and "T" (Time) settings. Lifting the outer ring on the shutter speed selector adjusts the flash synchronization: "FX" is for standard electronic flash, while the white dot, red dot, and white "F" settings are for syncing various types of vintage flash bulbs.

To the right of the shutter speed dial is the shutter release button. As with many Nikon F cameras, this button features a red dot. Because the release is directly geared into the transport system—which drives the film from the cassette to the take-up spool—this red dot rotates as you advance the film (though it will turn even if the camera is empty). Around the shutter release is another collar with a black dot. During standard shooting, it should point to "A" (Advance). Turning this collar to "R" (Rewind) releases the camera's drive gear, allowing you to wind the film back into the cassette without tearing the sprockets.

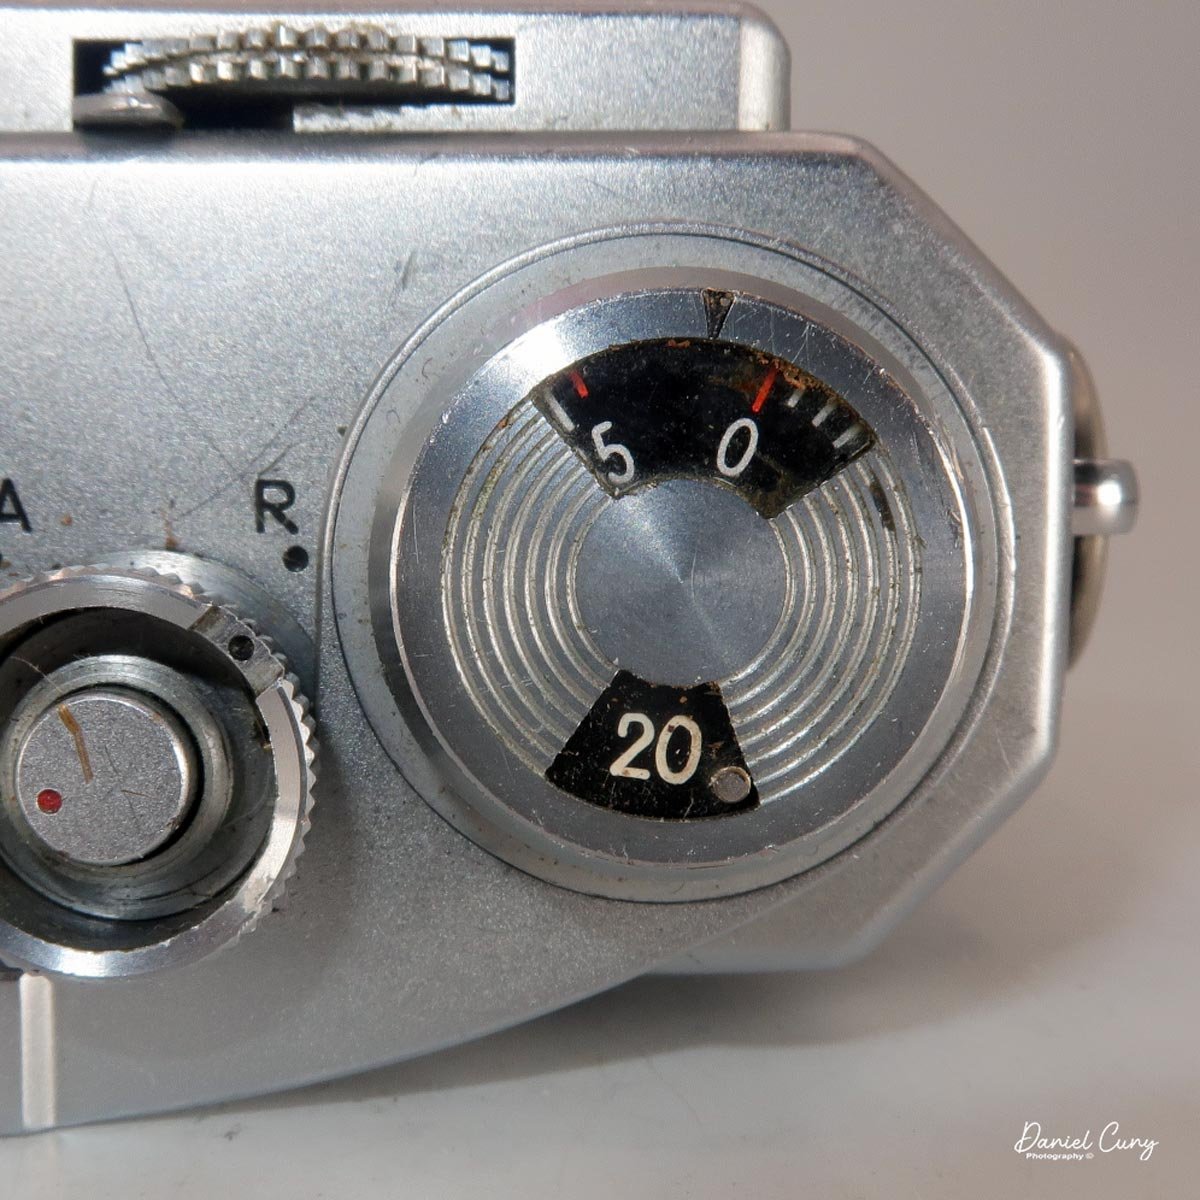
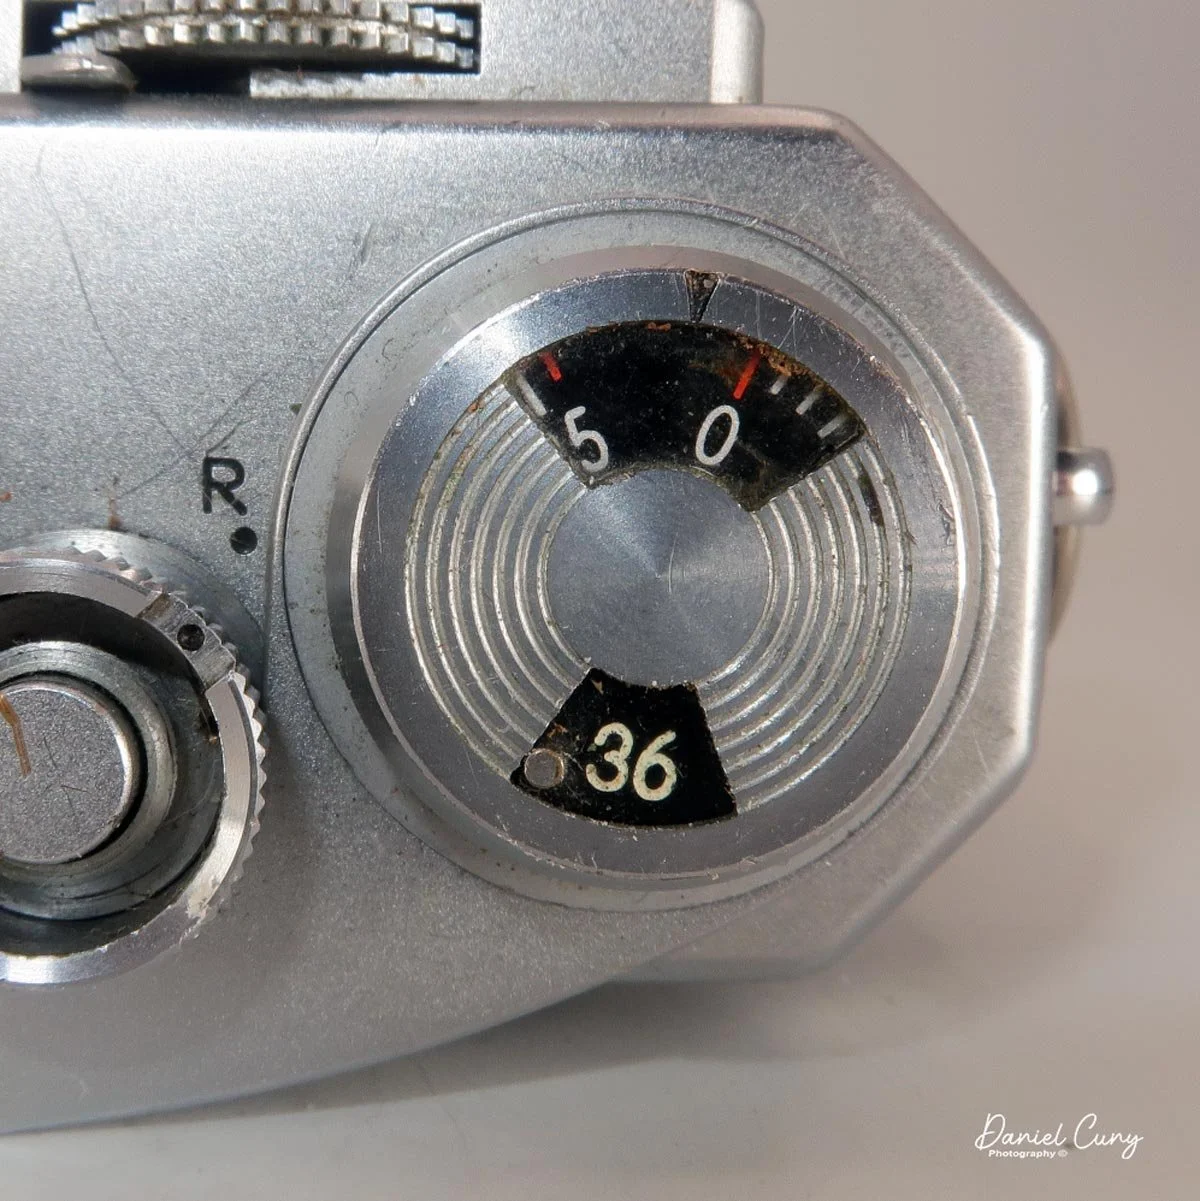
 On the far right of the top plate sits the film advance lever, which features two small windows. The forward window is your frame counter, indicating which exposure you're on. The rear window acts as a reminder for whether you loaded a 20- or 36-exposure roll, set by flipping a small tab from one side to the other. And yes, for those wondering—it wasn't until the early 1980s that film manufacturers started producing 24-exposure rolls; before then, 20-exposure rolls were the standard short option!

 At the very front of the top plate, on the right side, is the camera's focusing wheel. You can focus the lens using this wheel, a mechanism borrowed directly from the Contax system that inspired these cameras. When the lens is set to infinity, it locks into position. To unlock it, press down on the small tab just behind the focusing wheel. This frees up the wheel, allowing you to dial in your focus. Once unlocked, you also have the option to focus normally by turning the lens barrel, if you prefer.

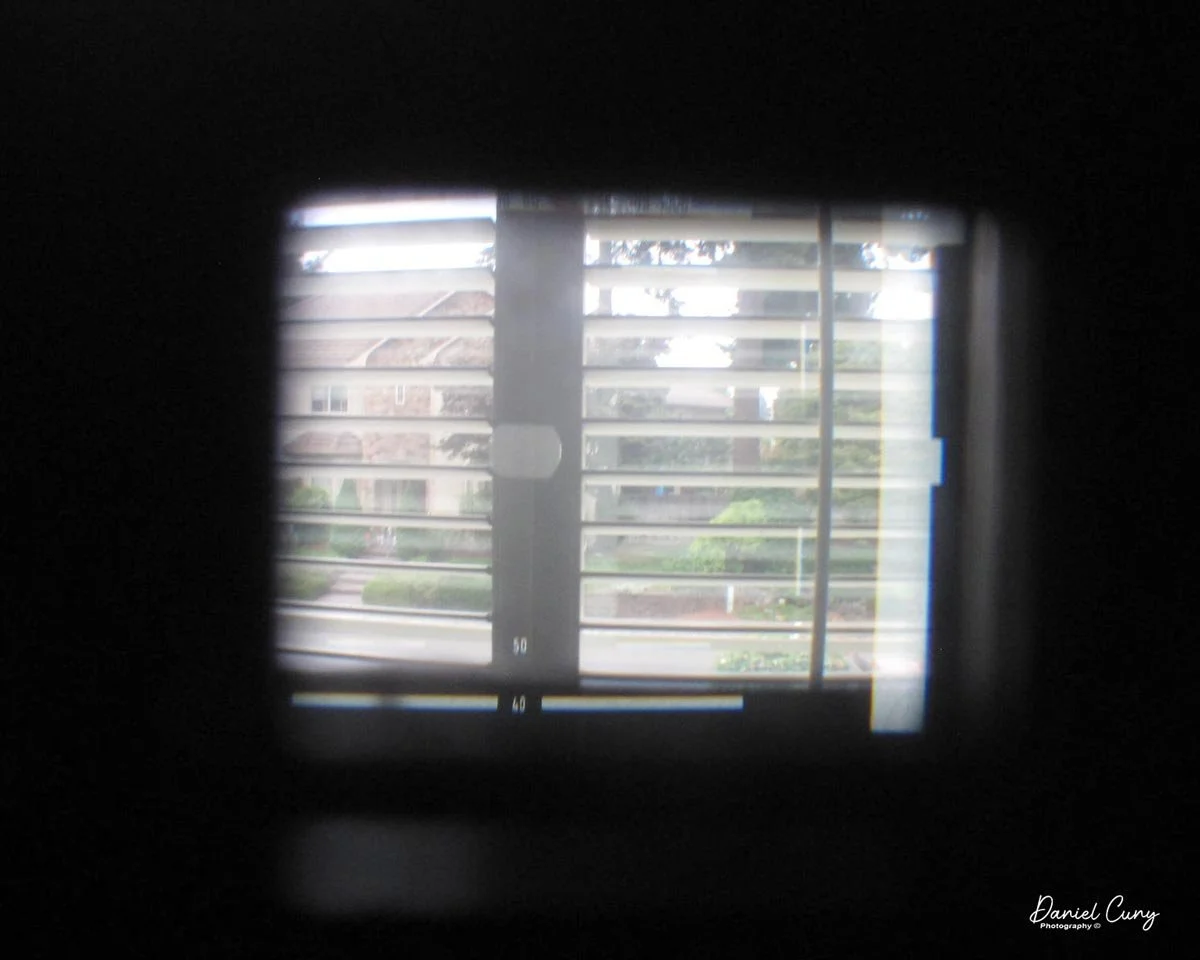
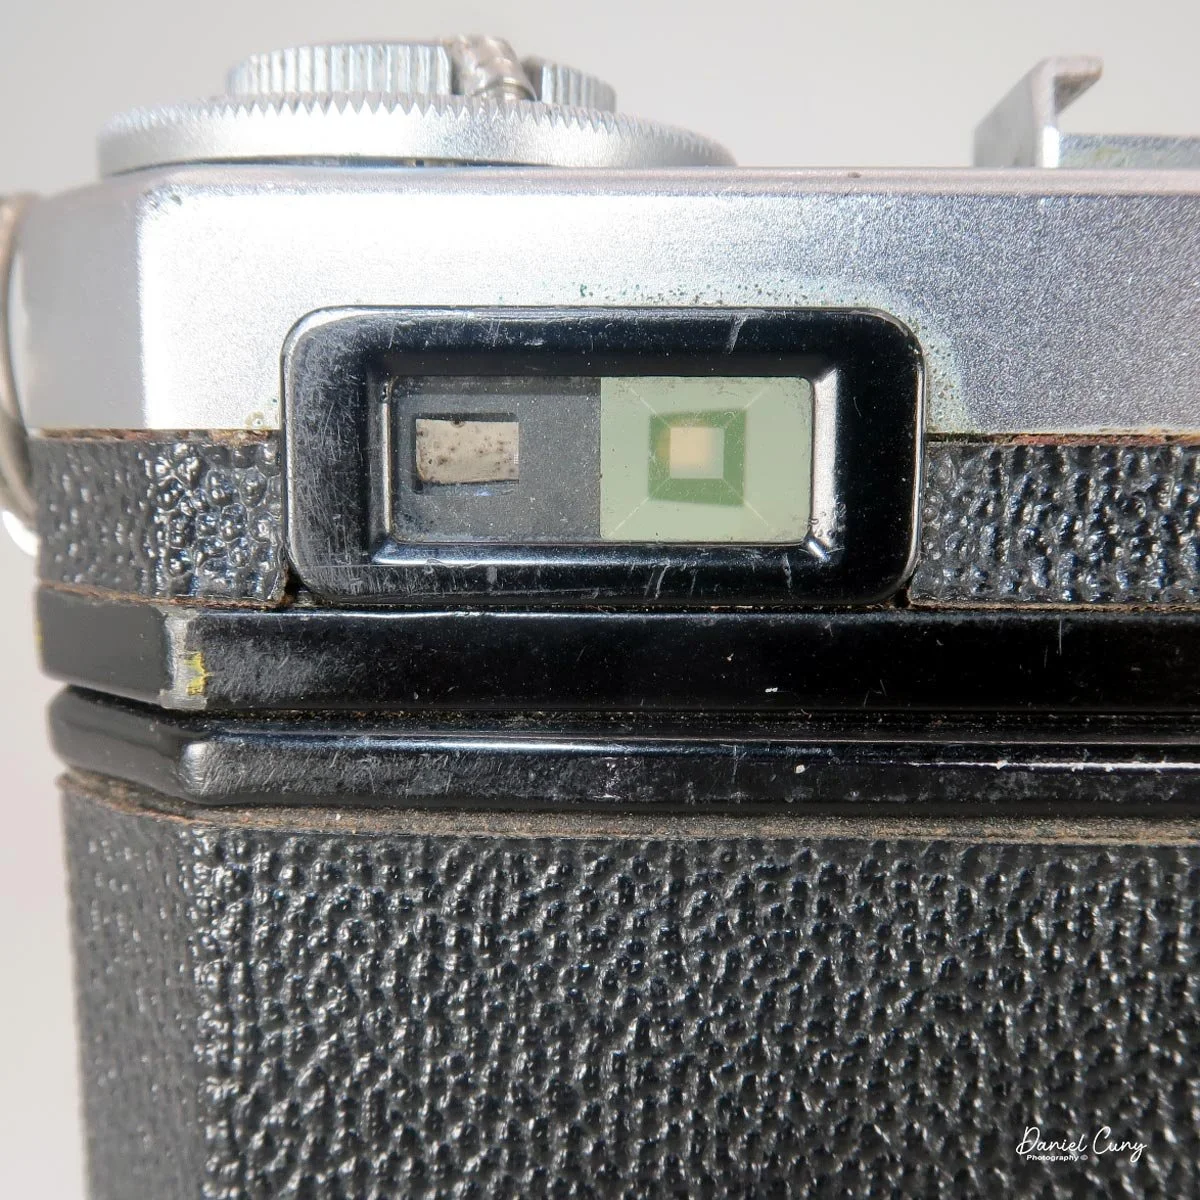
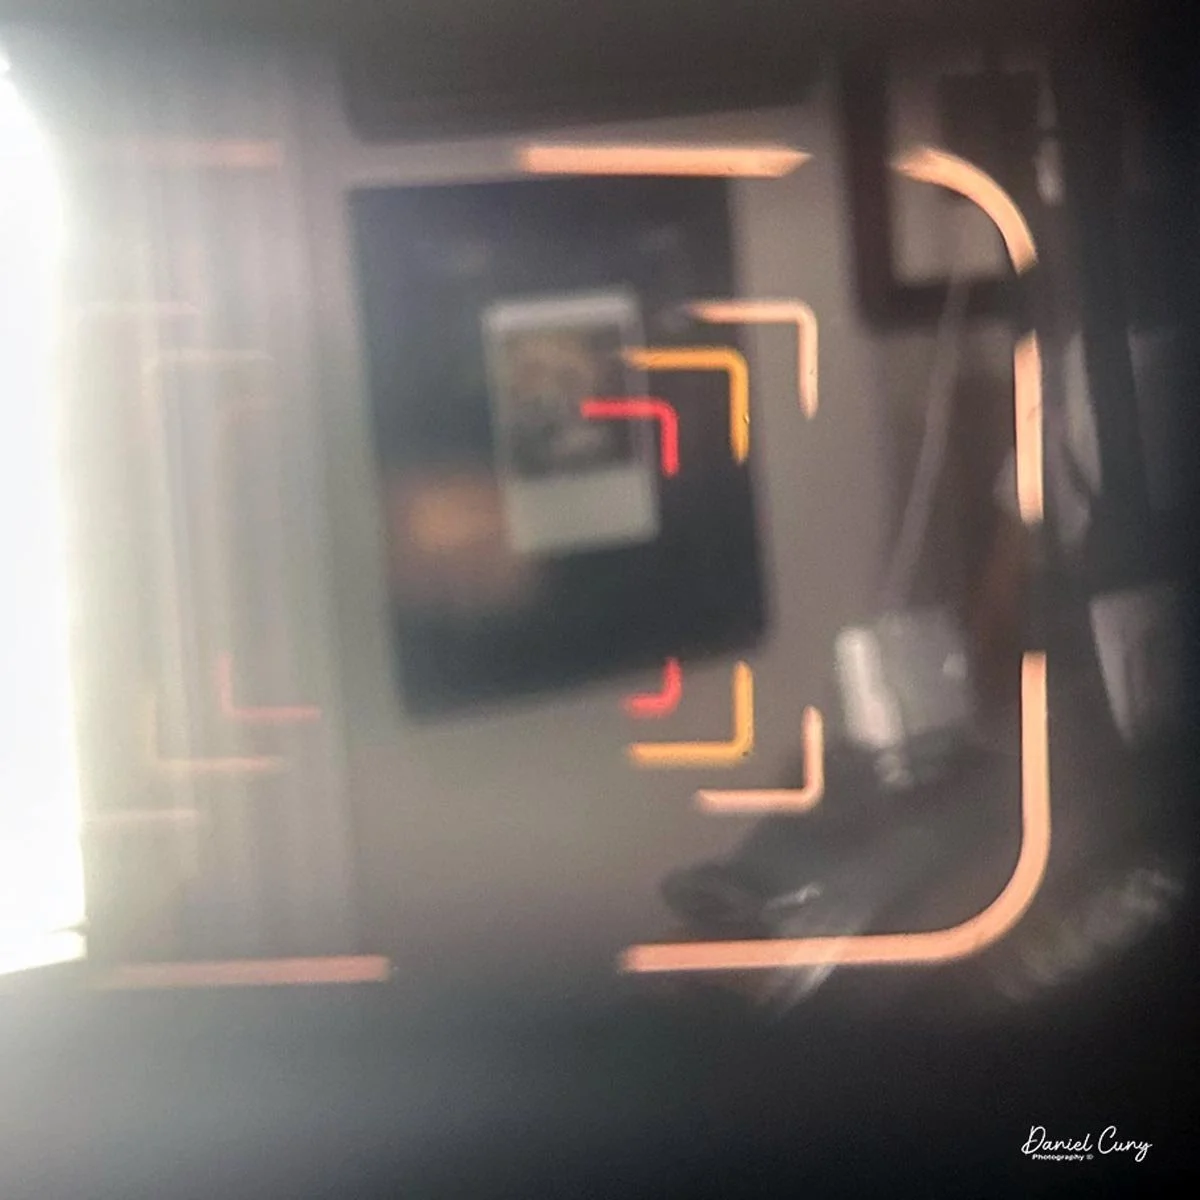
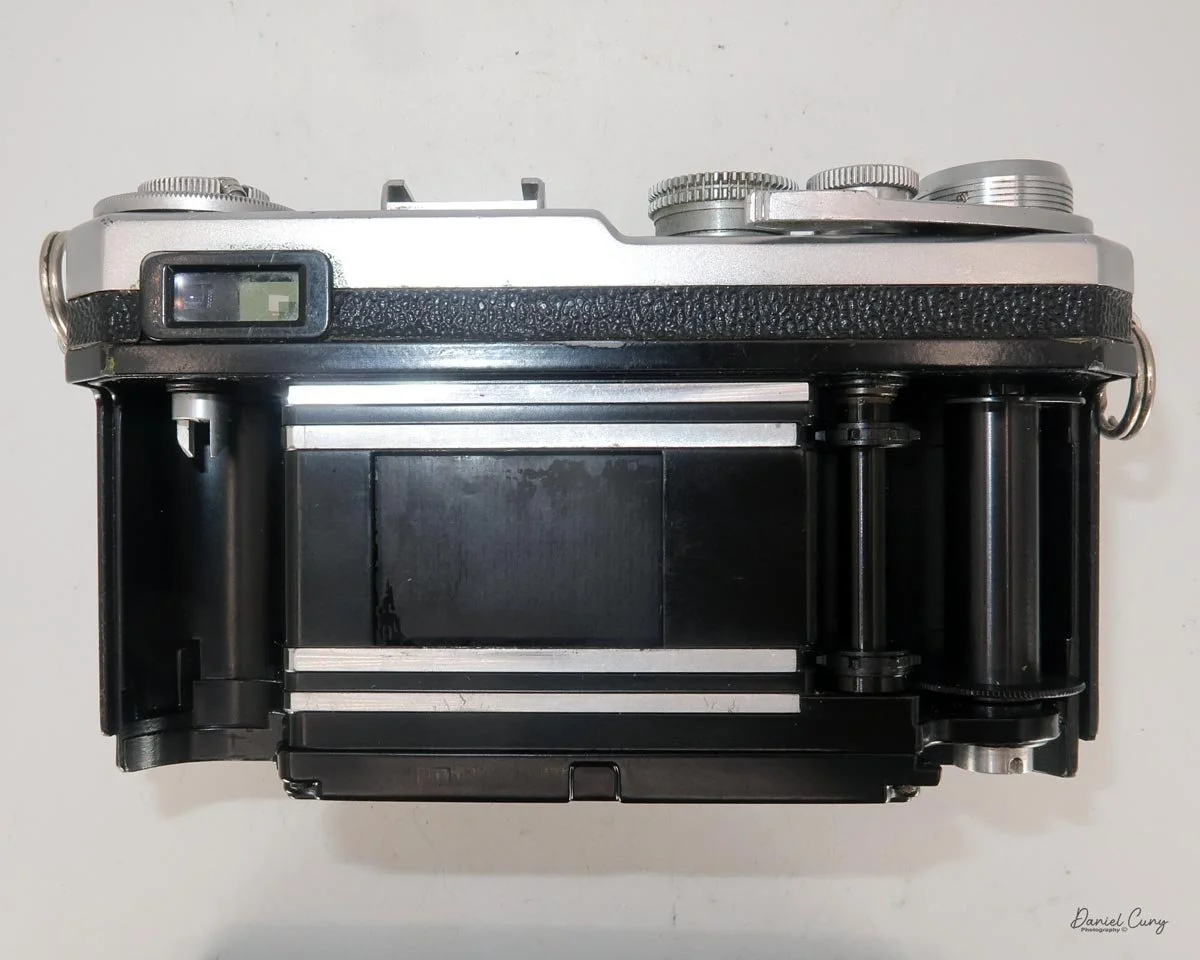
The upper left side of the camera back houses the SP's famous dual viewfinders. The finder on the right is the standard rangefinder for the lenses mentioned earlier: 5cm, 8.5cm, 10.5cm, and 13.5cm. As you turn the collar around the rewind crank, different bright lines appear in this window. Each frame line is added as you select a longer focal length, with the 13.5cm lines appearing in red to match the marking on the collar. Brilliantly, these frame lines are parallax-corrected as you focus closer to your subject.

The viewfinder on the left is a bit smaller and is dedicated to 2.8cm and 3.5cm wide-angle lenses, featuring black frame lines for each. While Nikon also manufactured ultra-wide 2.5cm and 2.1cm lenses at the time, as well as telephotos longer than 13.5cm, those required separate accessory finders that slid into the shoe on top of the camera.

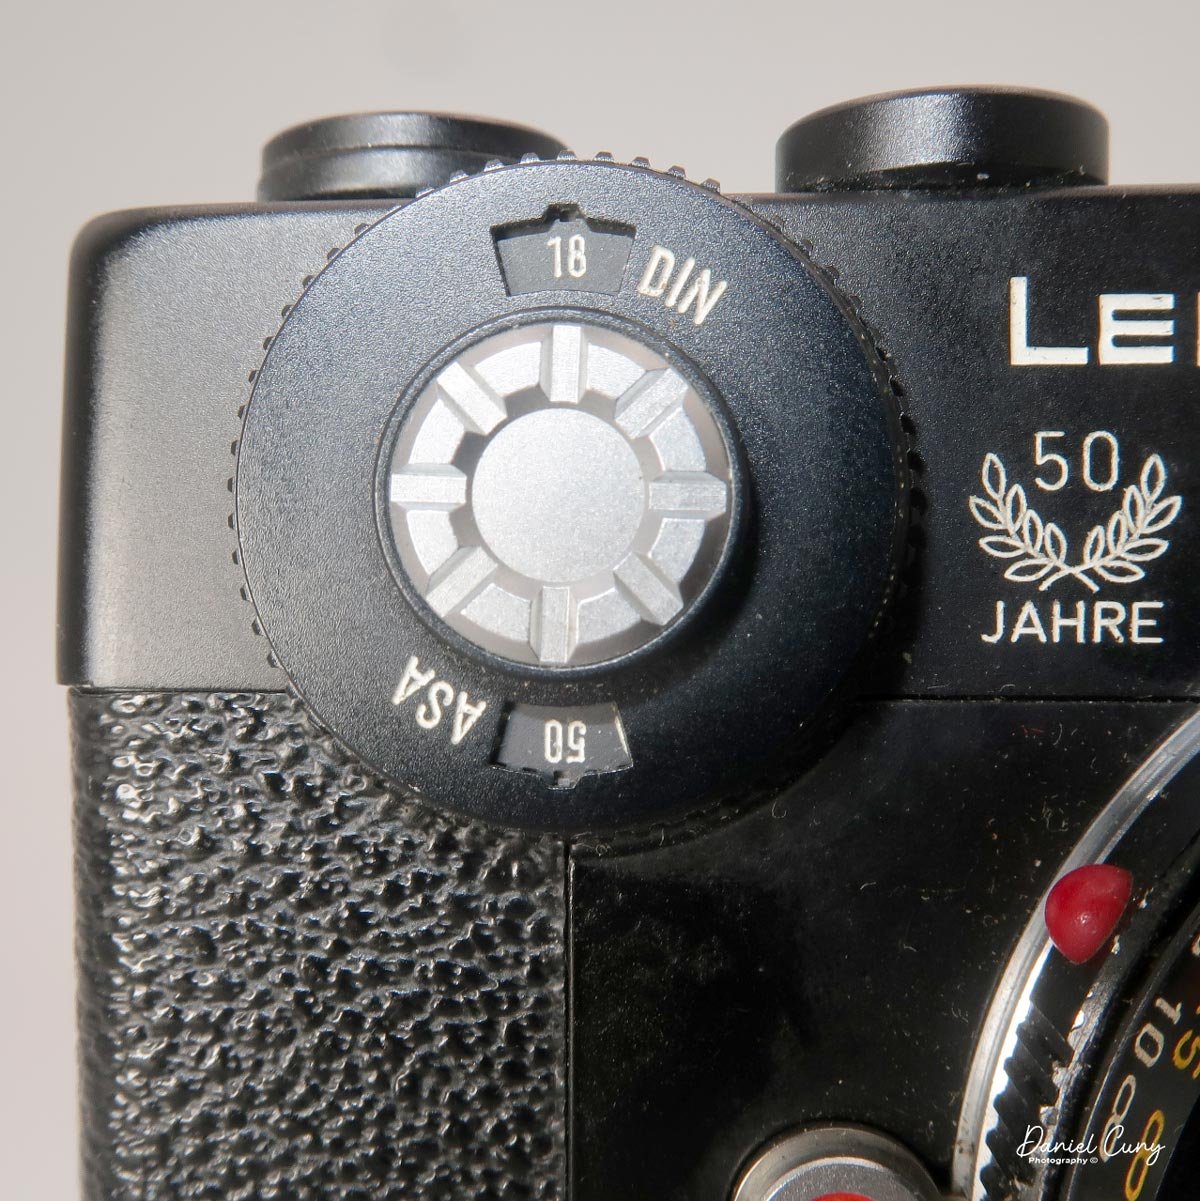
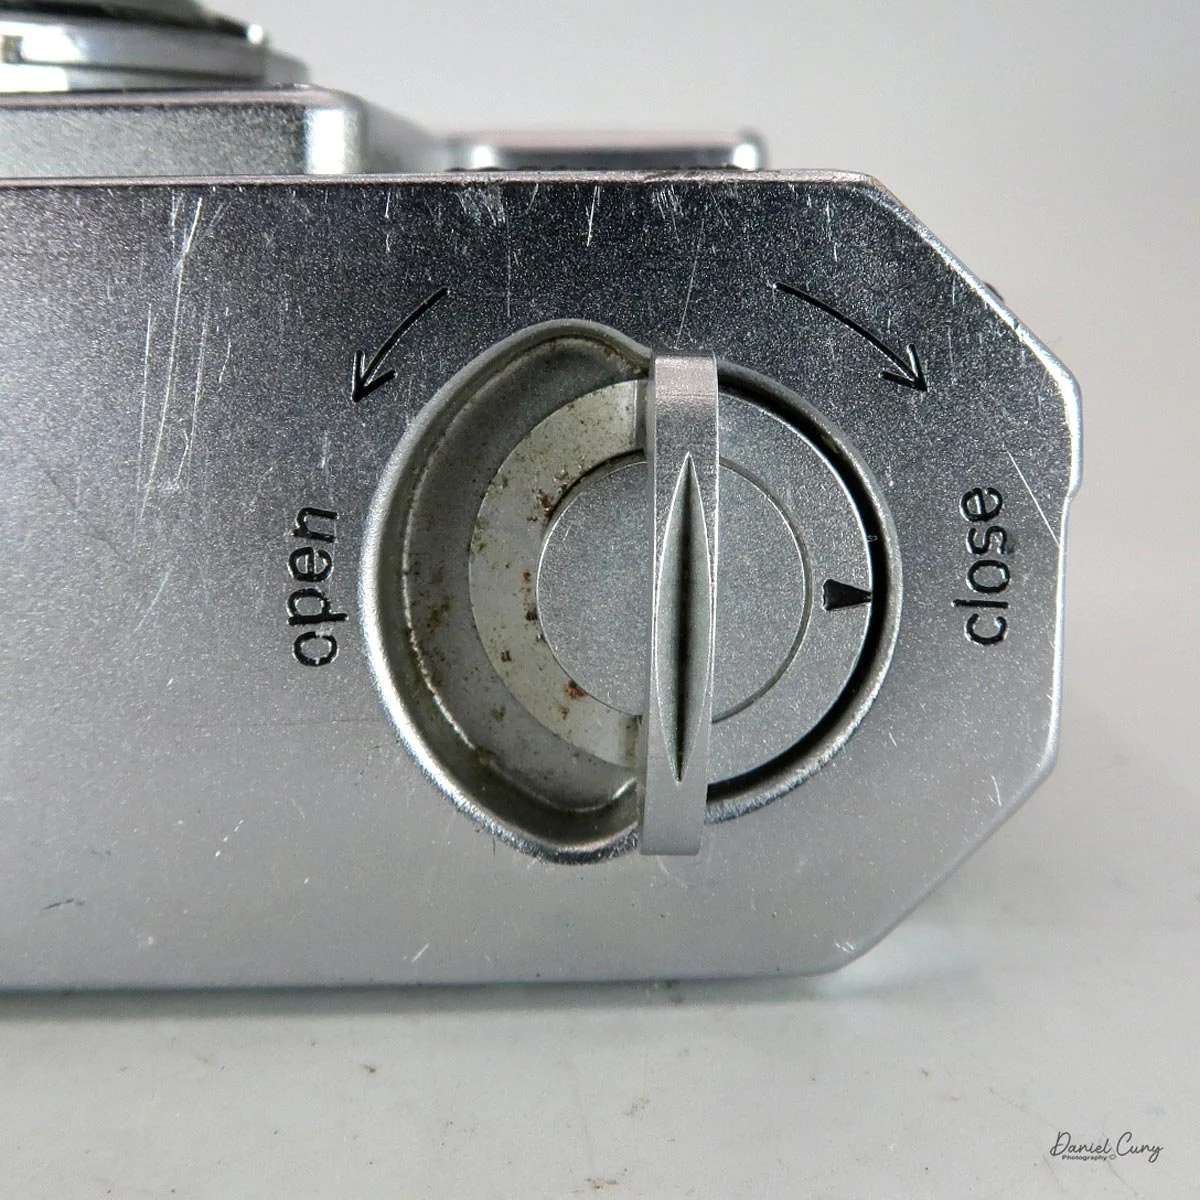
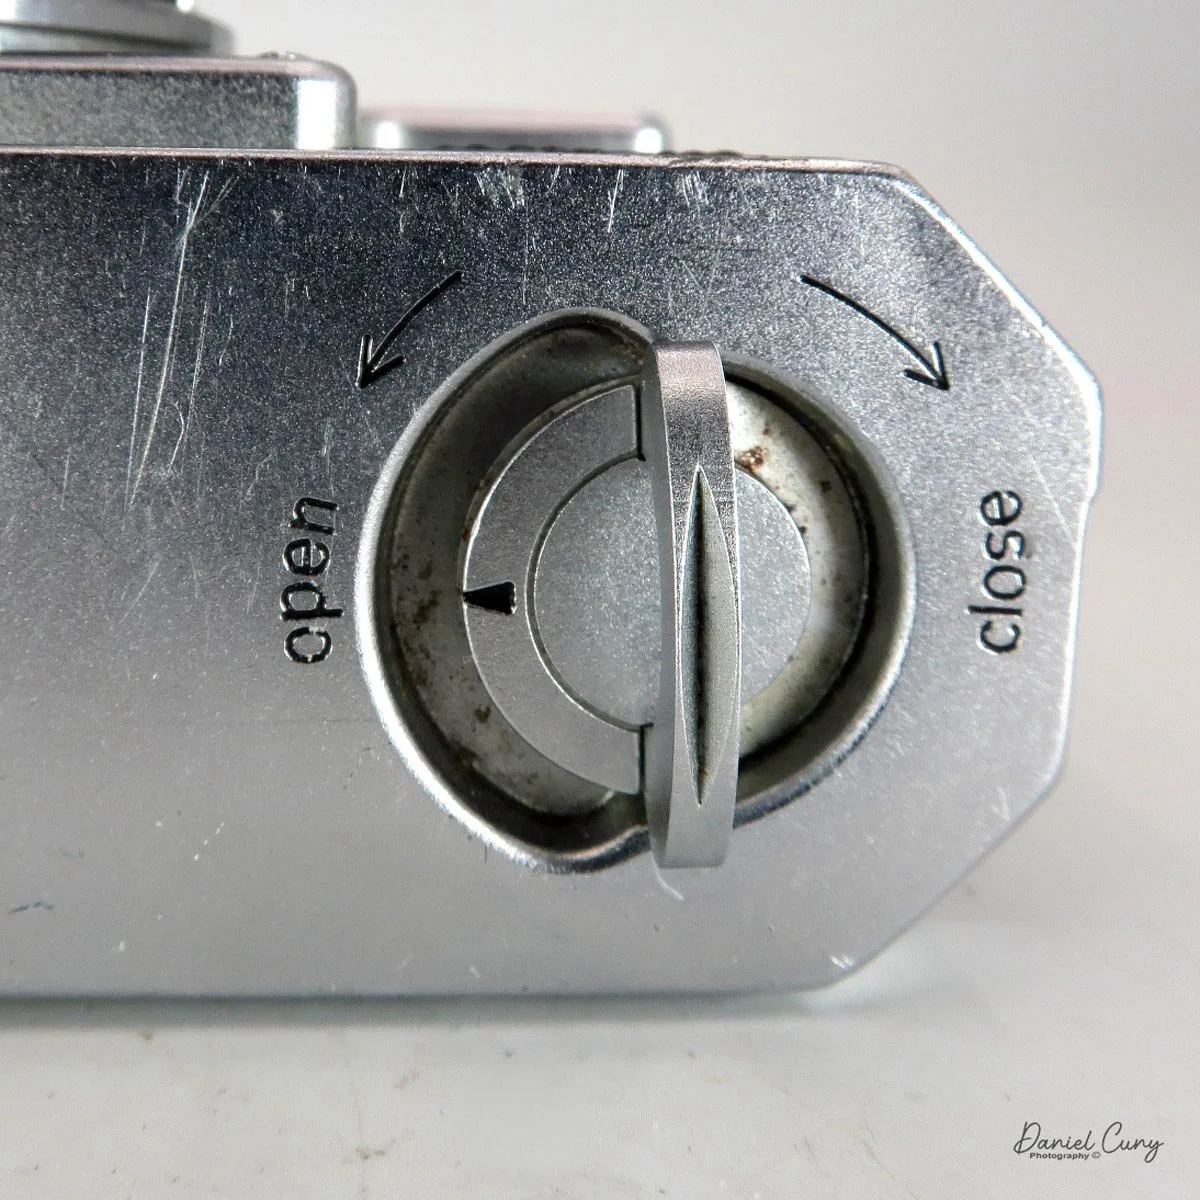
 On the bottom of the camera is the locking lever used to remove the back for film loading. Turn the dial from "Close" to "Open," and the entire back slides down along its tracks to expose the film chamber. (This design is shared across all Nikon rangefinder and Nikon F bodies.) After loading your film like any standard 35mm camera, align the back on the rails, slide it up into place, and lock it tight. At this point, you're ready to shoot! The bottom plate also houses a standard tripod socket and an ASA reminder dial. (For younger shooters, ASA was the predecessor to ISO and uses the same sensitivity scale.)

My Results

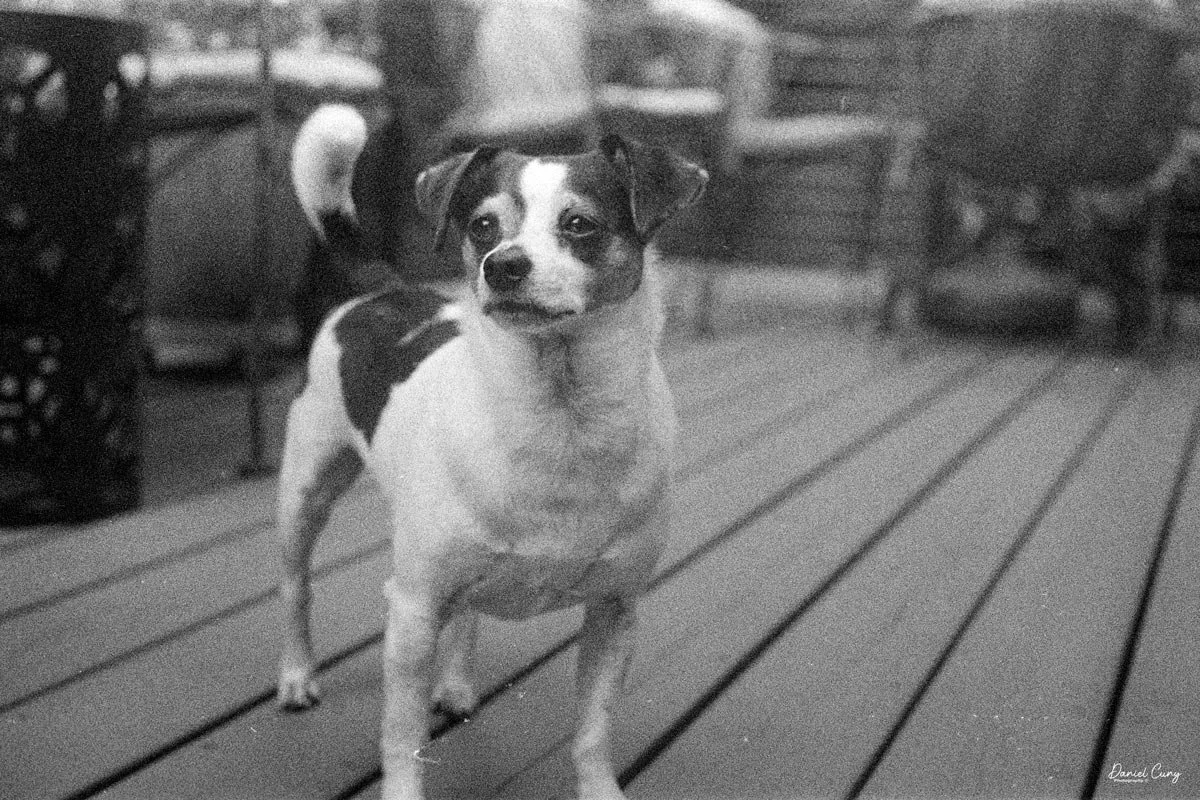
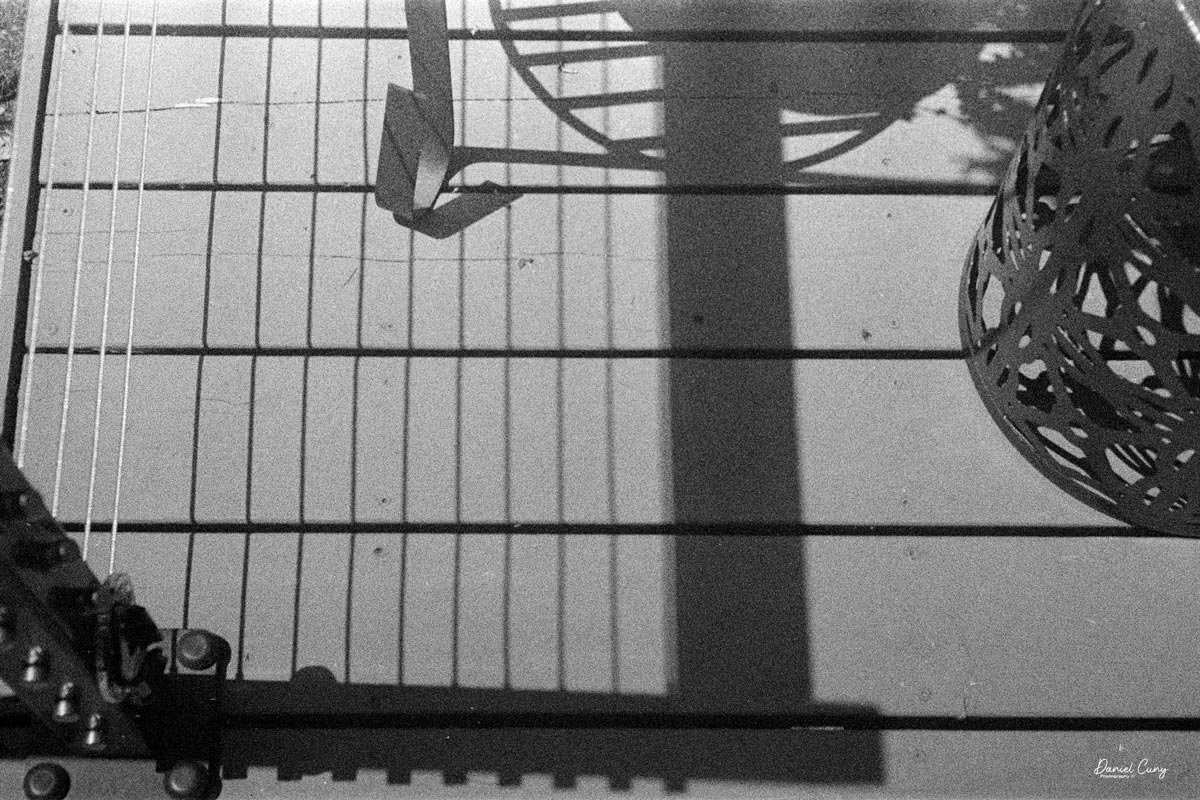
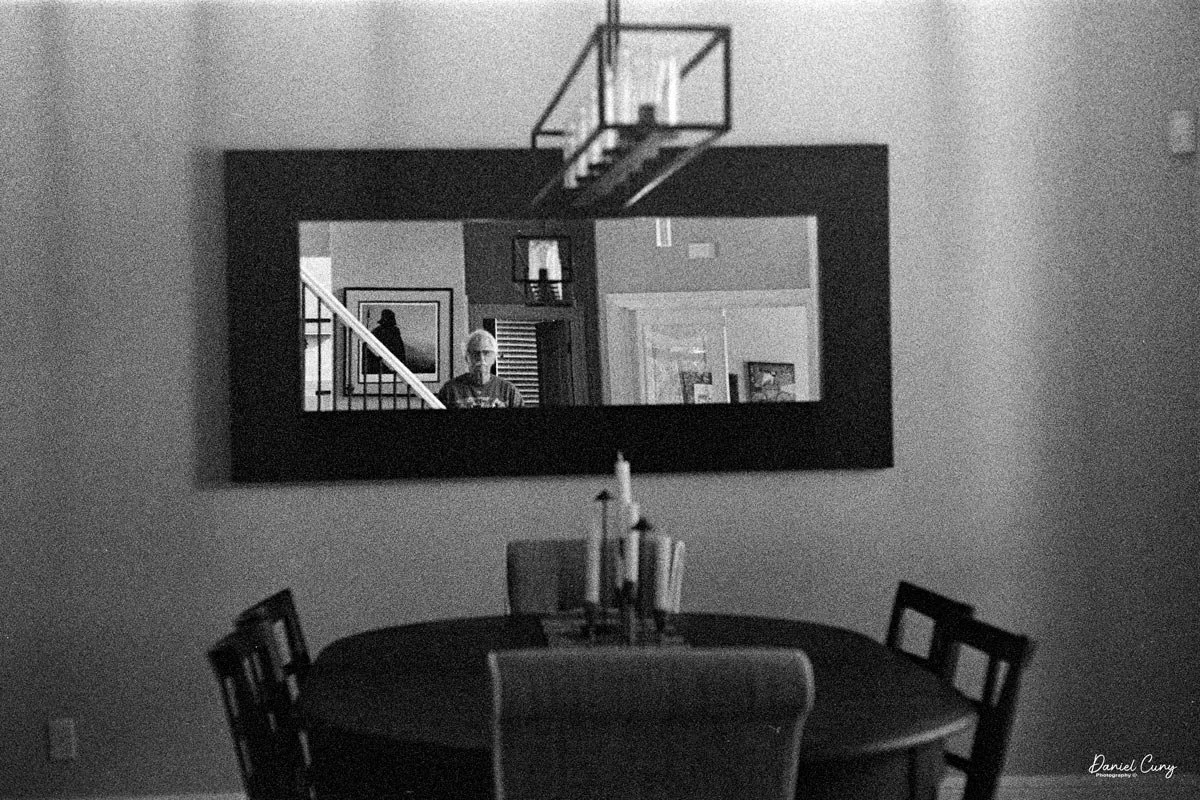
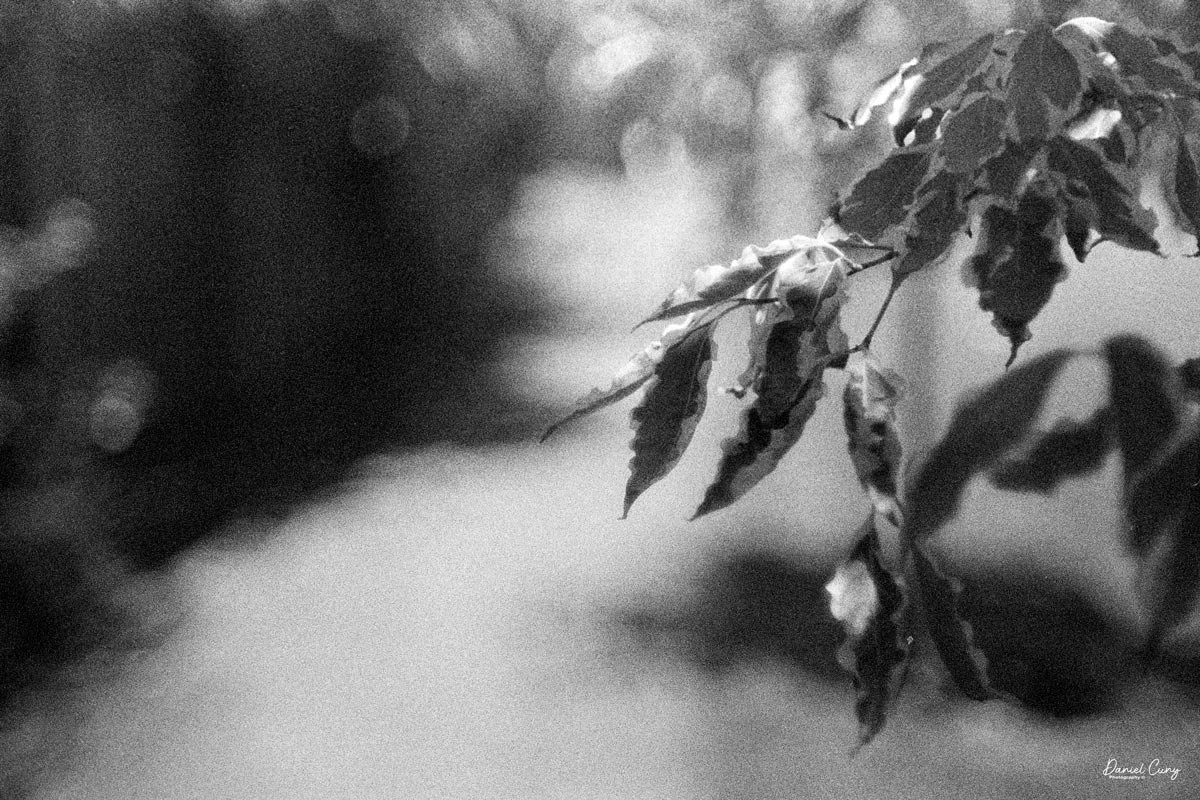
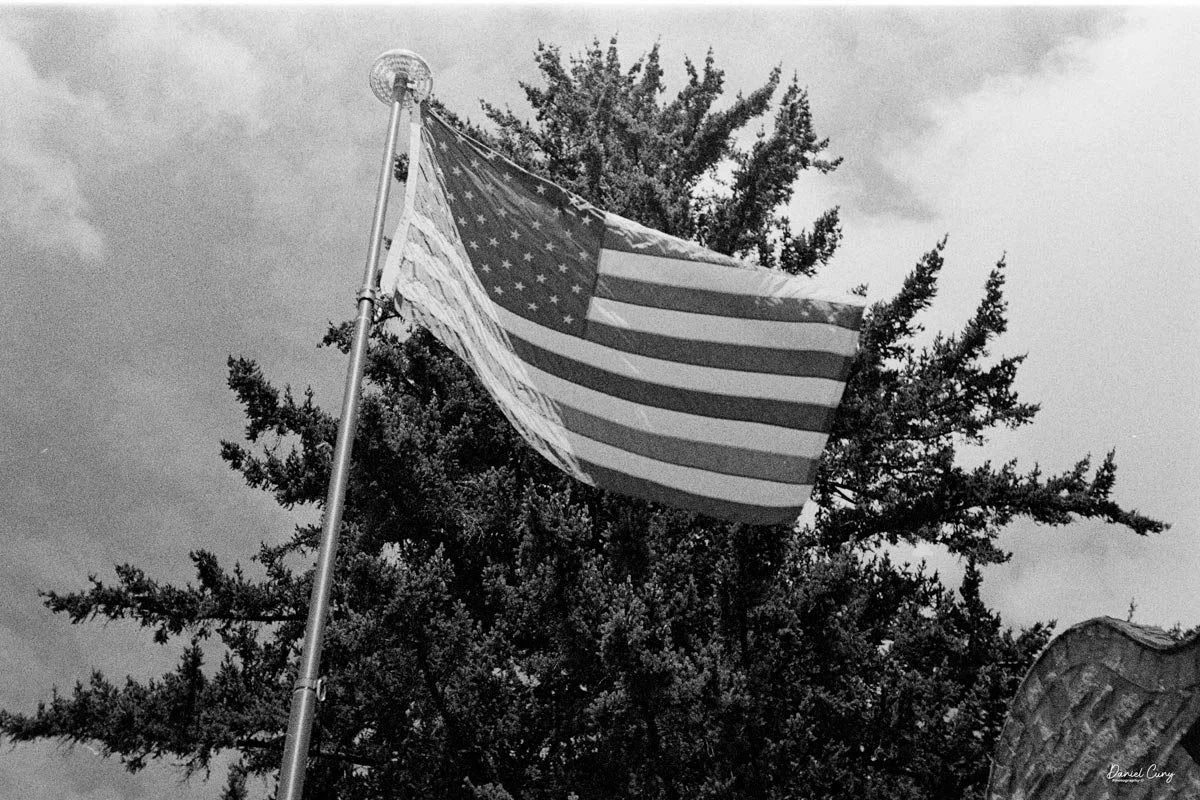
I didn't have much 35mm black-and-white film left in my fridge after our last vacation, but I did find an expired roll of Kodak Tri-X from 1970. I figured it would be the perfect roll to load into the Nikon SP for a spin around the neighborhood.

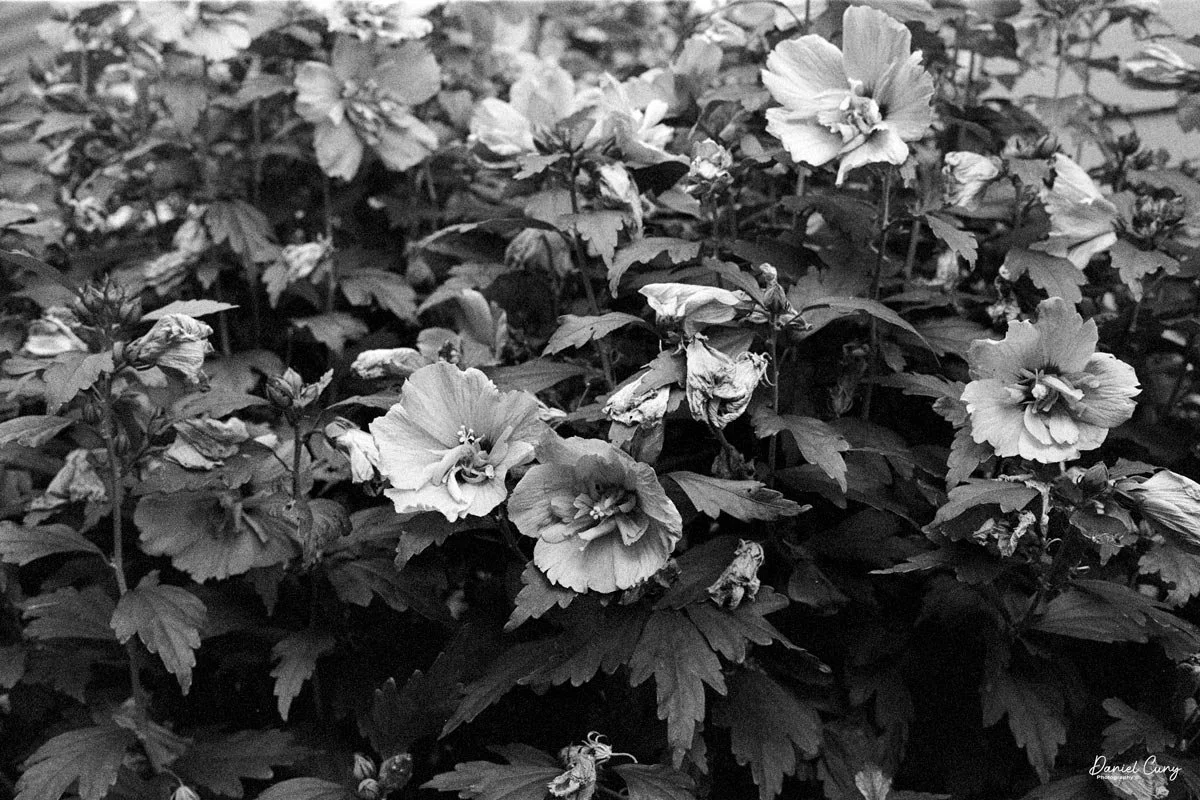
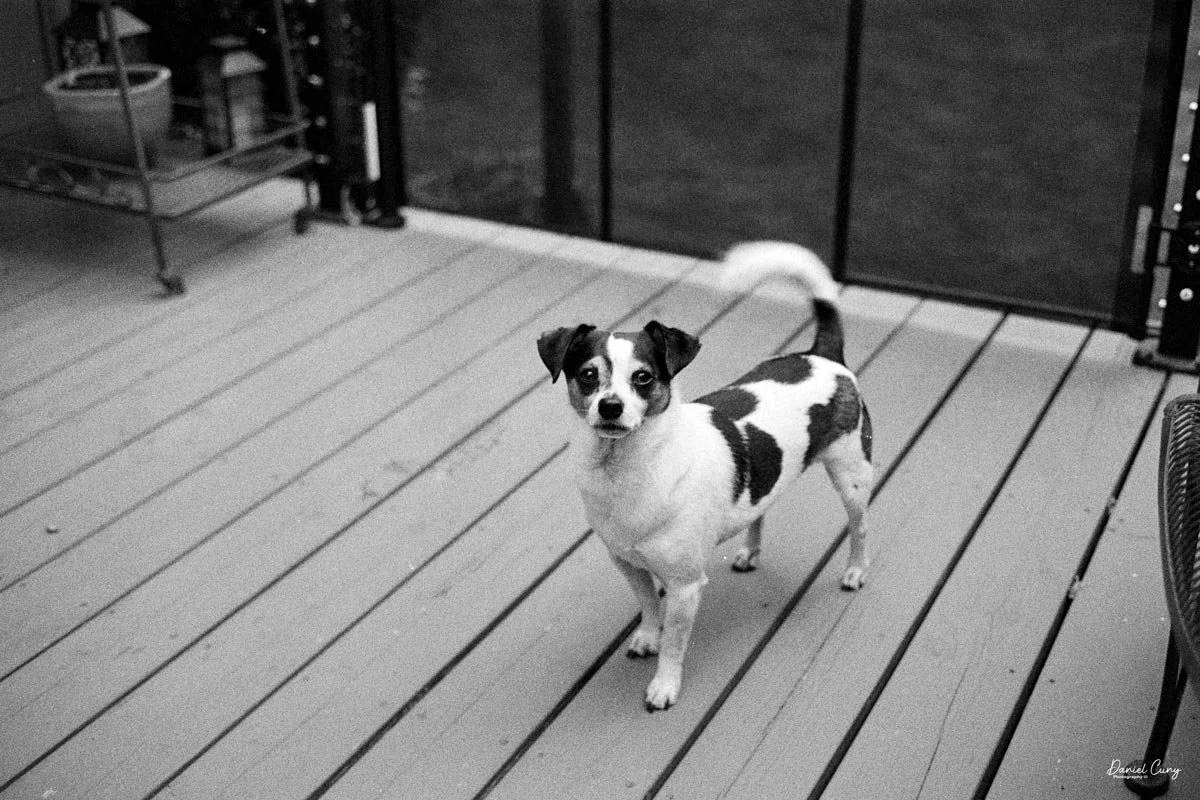
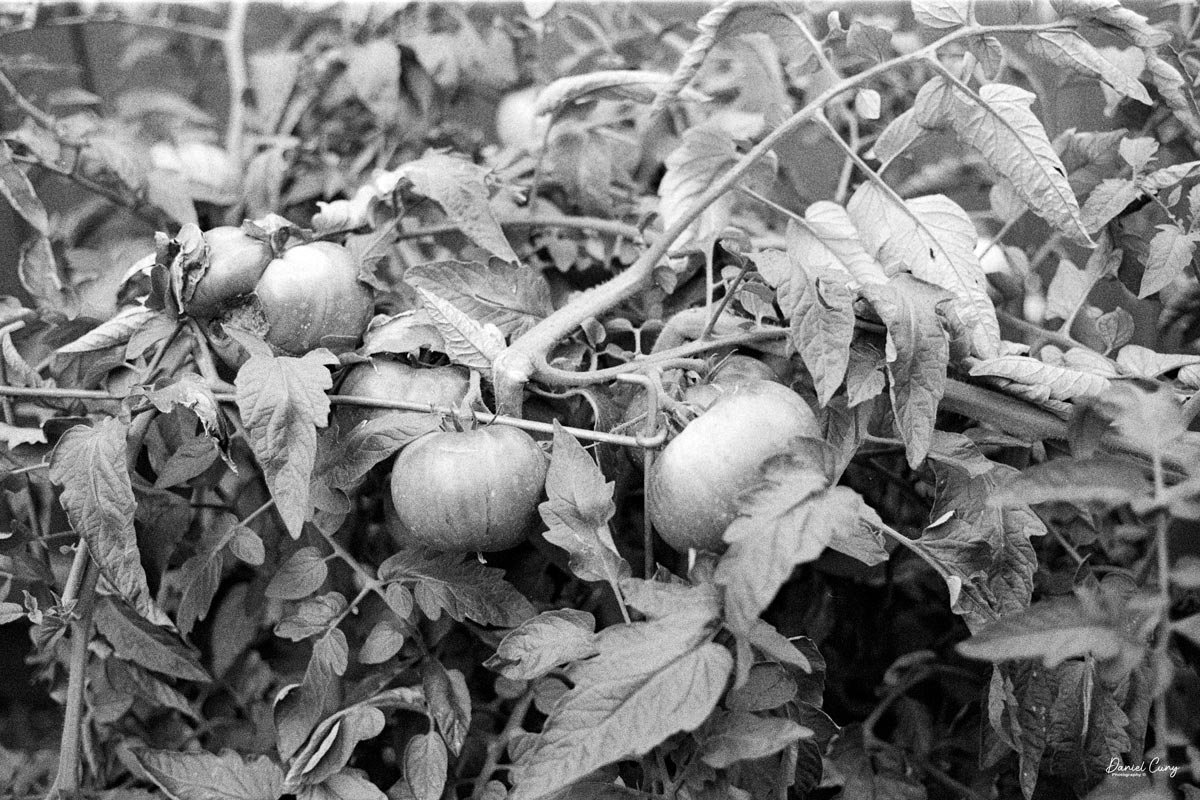
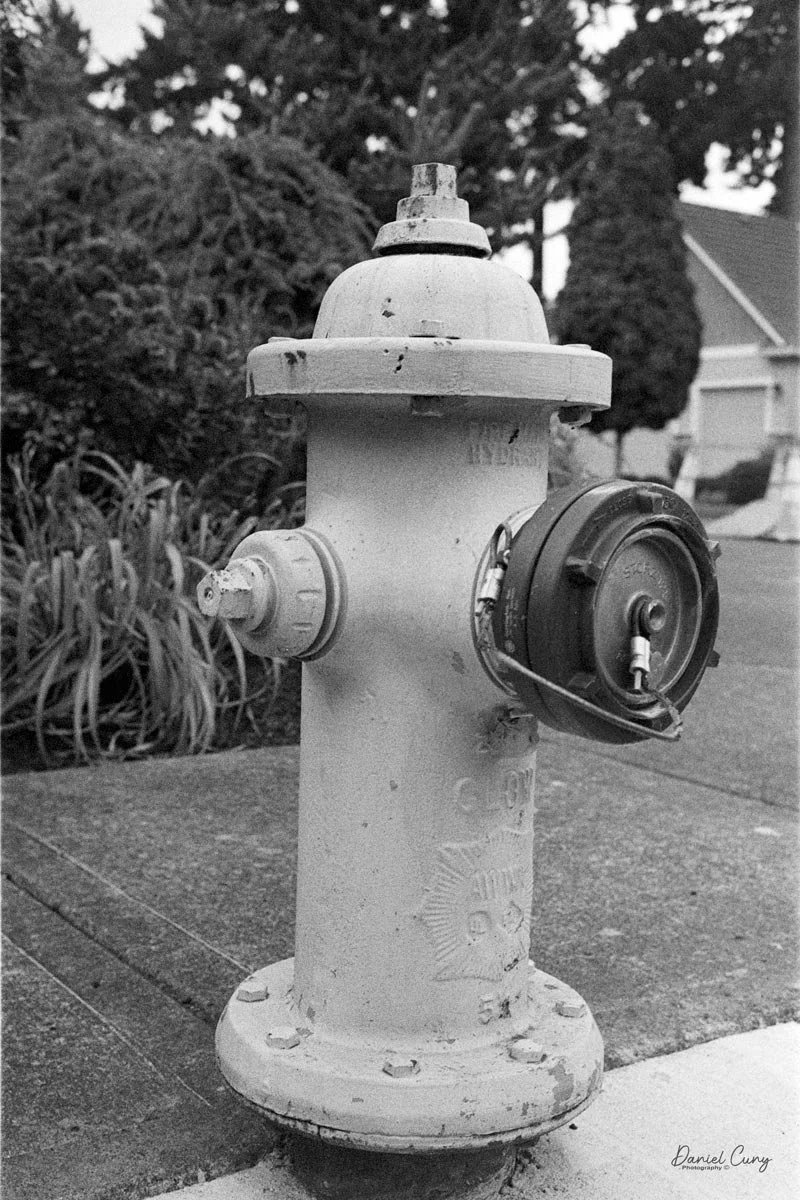
Here are the results from my walk:

Conclusion

Even though I've shot with this camera in the past, I still get a thrill every time I take it out. It has a wonderful, comfortable feel in the hand—especially for someone who has been a dedicated Nikon user for so many years. The rangefinder is bright, and both the focusing and film transport are incredibly smooth. Overall, the camera worked like a charm.

 The images turned out beautifully sharp, and I loved the aesthetic of shooting such an old roll of Tri-X. I had forgotten how grainy—in a good way—that film can be. I even processed it in Rodinal, which normally retains a bit more of a "fine grain" structure, but the classic Tri-X texture pushed through anyway, and I really enjoyed the results.

 Thank you for taking the time to read about the Nikon SP. As the first true model in Nikon's line of "professional" cameras, it laid the groundwork for why the brand became so beloved by working photographers around the world.

 Here are some of my other Camera Reviews.

Check out my Cuny's Camera Collection YouTube channel, where I am putting together video overviews of the cameras I write about. Be sure to subscribe and like the channel, too!

Cuny's Cameras and Photos is my online eBay store, where you will find some of the cameras I have reviewed, along with a wide range of other cameras, lenses, and items from my collection that I am thinning out.

 Until next week, please be safe.
 

Start 35 K-II Camera

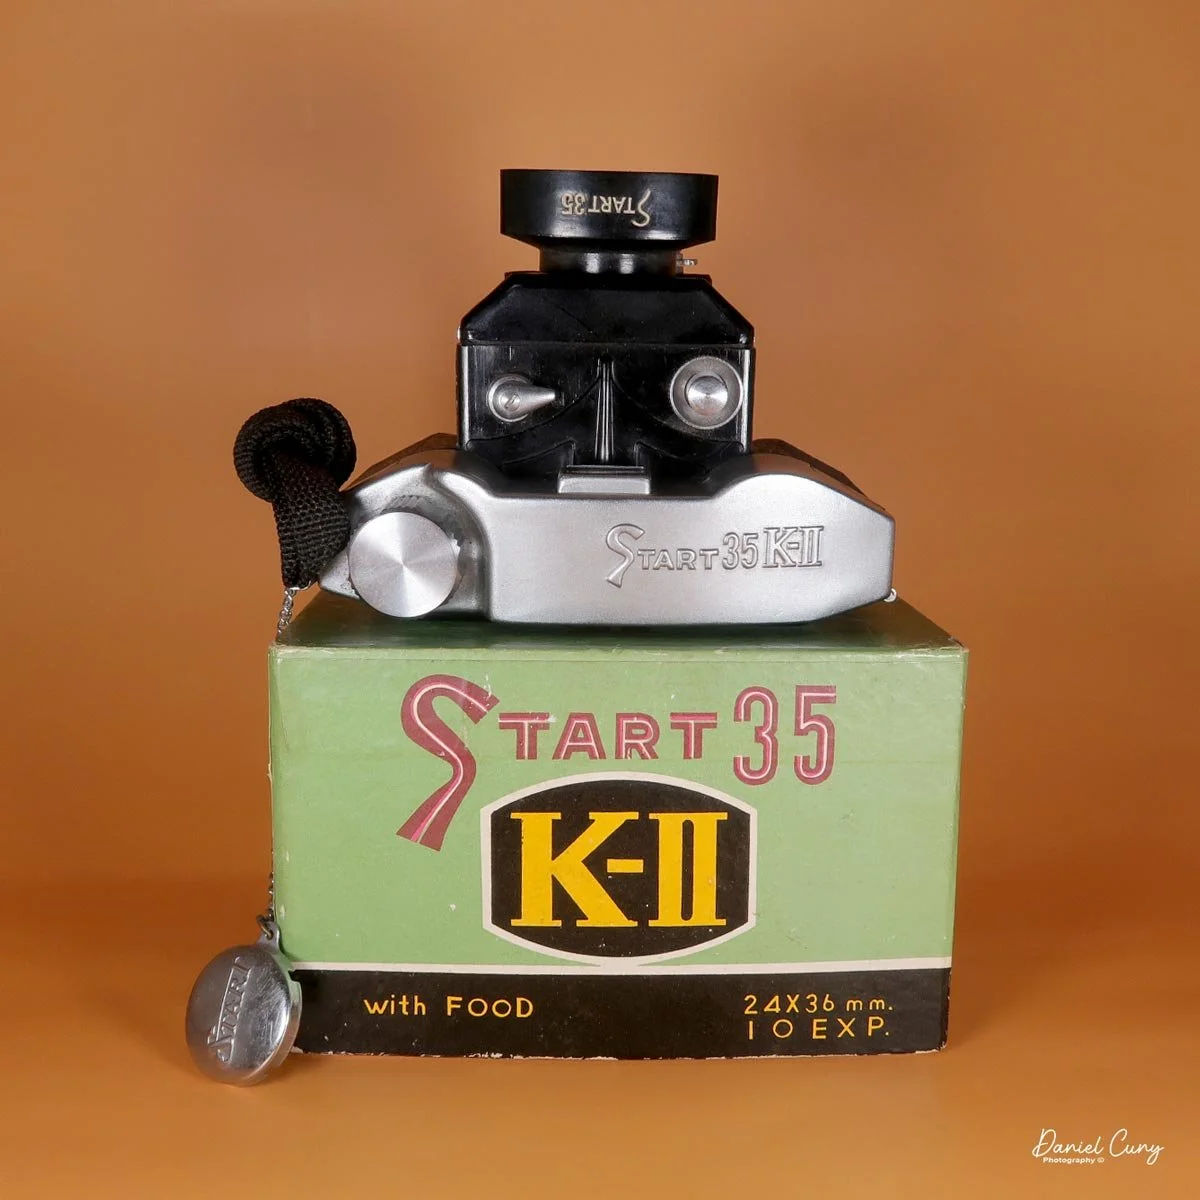
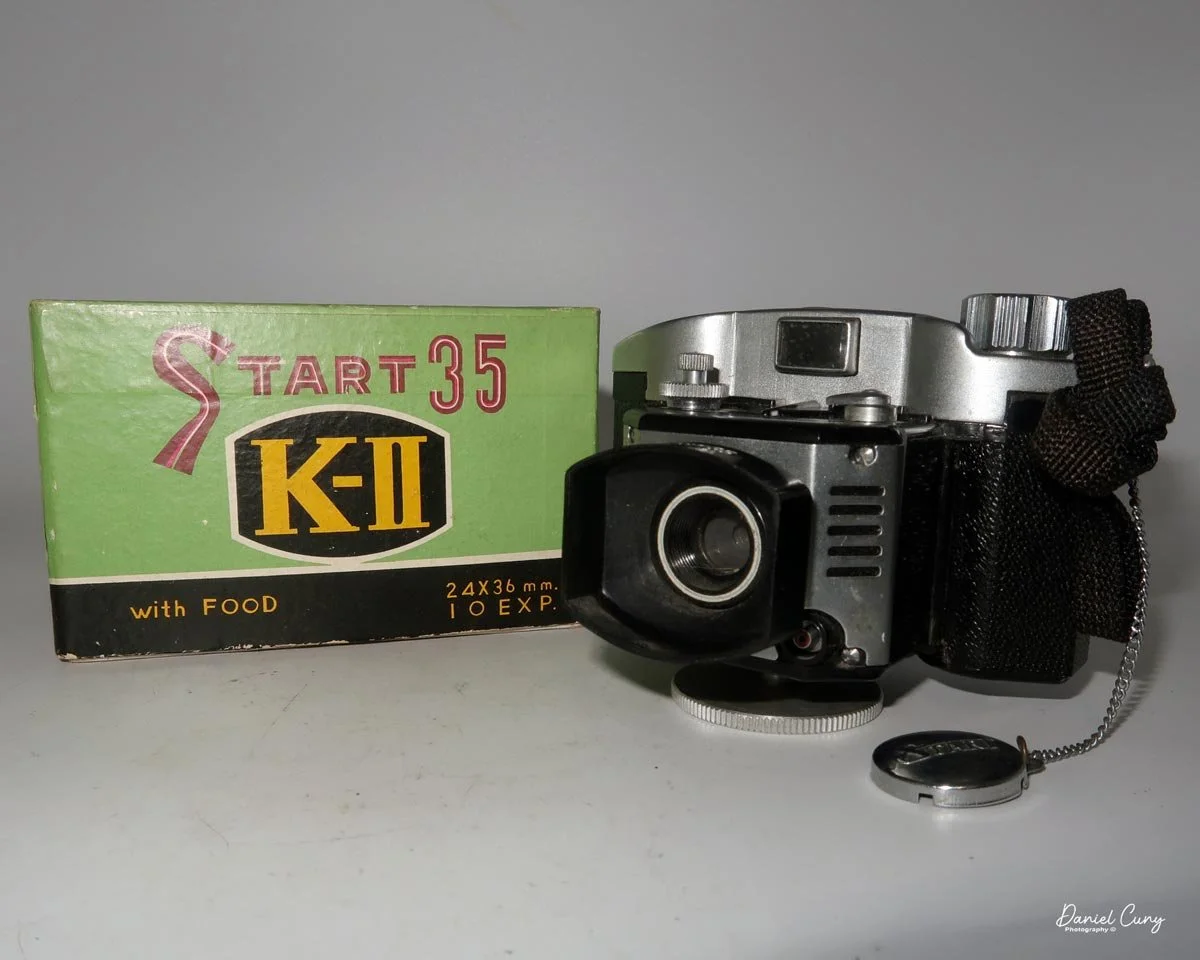
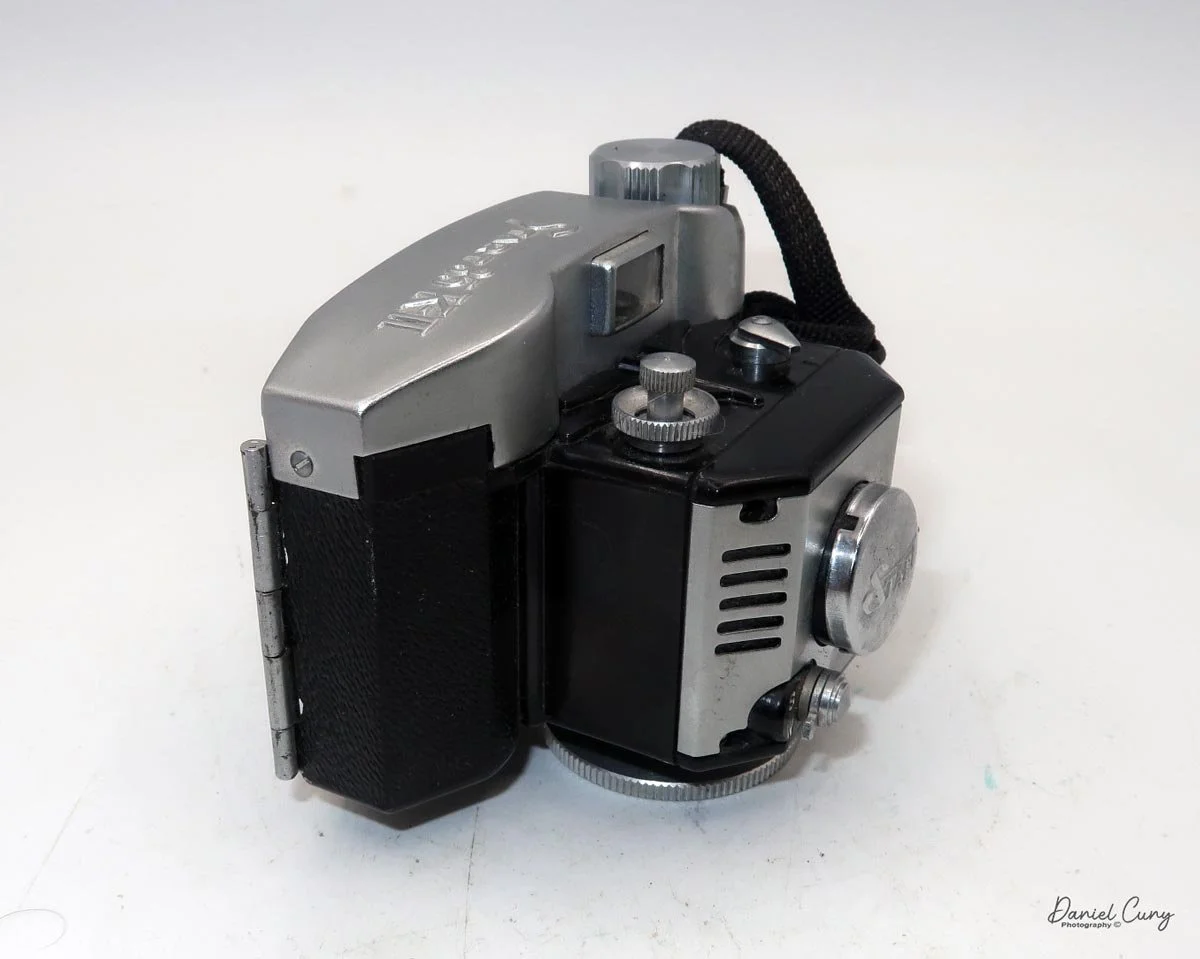
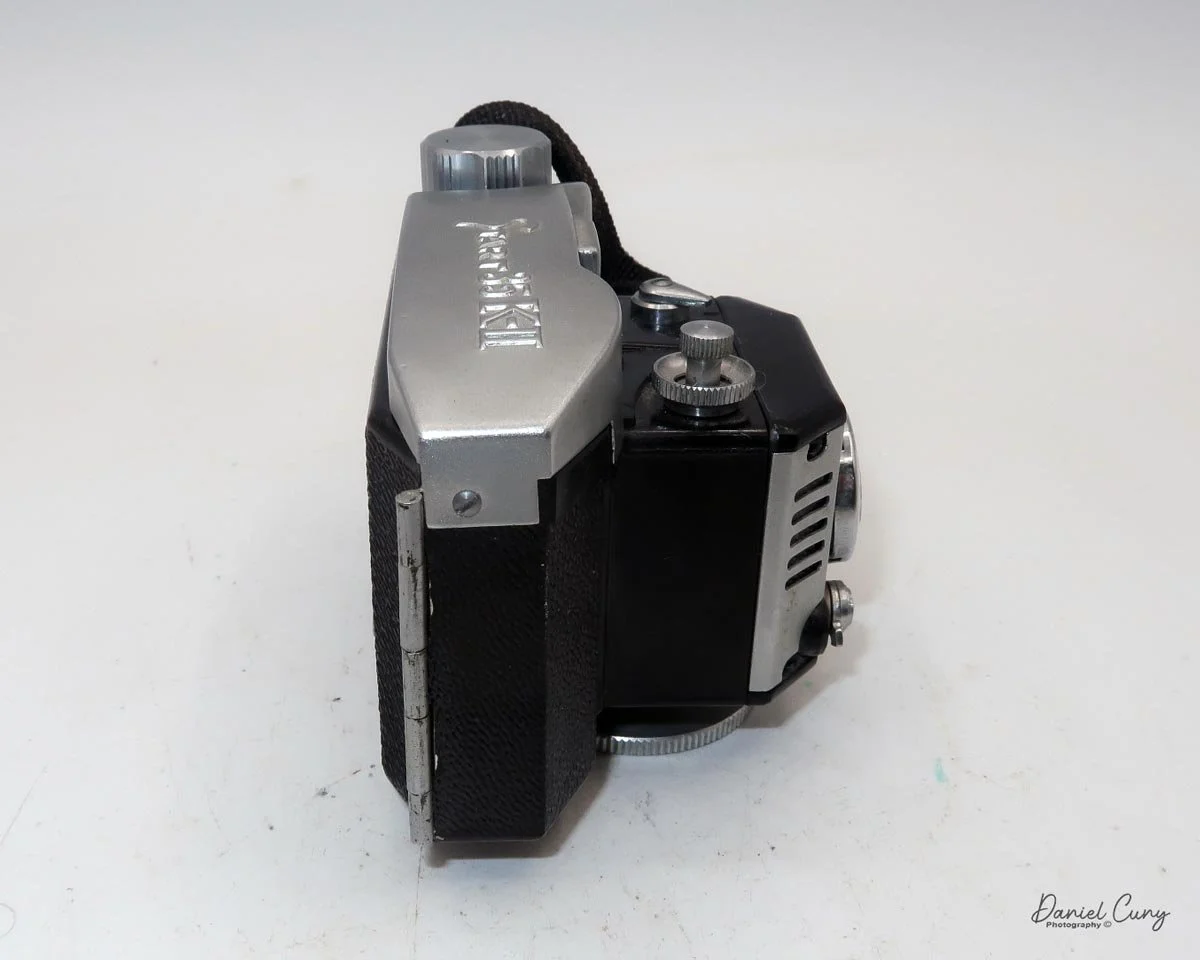
My Start 35 K-II camera with hood and complete box

I can remember when I purchased the Start 35 K-II camera because it was part of a fairly modest camera lot. There were several miniature and subminiature cameras in the group. All of the cameras came with fitted cases, and some even included their original boxes, which I think adds to a camera’s collectability.

 There were other examples of the Start series at camera shows, online, and in books, and I have always enjoyed the chrome and black Bakelite construction of the camera. To me, it has a modernist, almost space-age look. I suppose that was the style they were aiming for, especially for a camera built in the early 1950s.

 When I unpacked the camera lot, I found a few extra items in the box that I wasn’t expecting. While the Start 35 K-II camera itself does not have a fitted case, it did include the “Start” plastic lens hood, along with an aluminum item that appears to be some sort of stand or screw-in accessory used to hold a case onto a camera. The aluminum “stand” is much larger than a typical case-holding screw, so my guess is that it was probably used as a display stand in someone’s collection, since it seems too large to be anything else.

Start 35 K-II camera on stand. I still chuckle at “with Food” on the box.

 Another interesting detail about this camera still makes me smile whenever I see it: the box. The box itself is in wonderful condition, but just below the attractive graphics and the camera’s name, it says “with Food.” I have no idea what that means, or why it would appear on the box of a camera.

 The only explanation I can think of is that it was lost in translation. Perhaps the camera came with rolls of film, or a single roll of film, and the wording “with Food” was meant to indicate that the camera came with something it would consume. Other than that, I really do not know why that phrase appears on the box.

 The Start 35 K-II uses Bolta film, which during this period was a paper-backed 35mm film sold in short rolls and generally less expensive than standard 35mm film. Some cameras used special cassettes for Bolta film, but many Japanese cameras that used Bolta film relied on a special spool with a larger receptacle that fit into the camera, similar in concept to other roll-film systems such as 127 and 828.

History

Ikko Sha Co. Ltd. was a small Japanese camera maker active in the early postwar years, best remembered today for its Start 35 family of compact viewfinder cameras. While it never became a major household name like Canon or Nikon, the company is a good example of the many modest Japanese firms that helped shape the country’s camera boom after World War II.

 The Start 35 line appears to have begun around 1950, when Ikko Sha introduced a Bakelite 35mm camera designed for 24x24mm exposures on Bolta film rolls. That was followed by the Start 35 K in 1952, which added a hinged back door, and later by the Start 35 K-II around 1958, which brought flash synchronization, a metal top plate, a 24x36mm exposure area, and lens-surround caps. These incremental changes suggest a company refining a simple, practical product rather than chasing a wide model range.

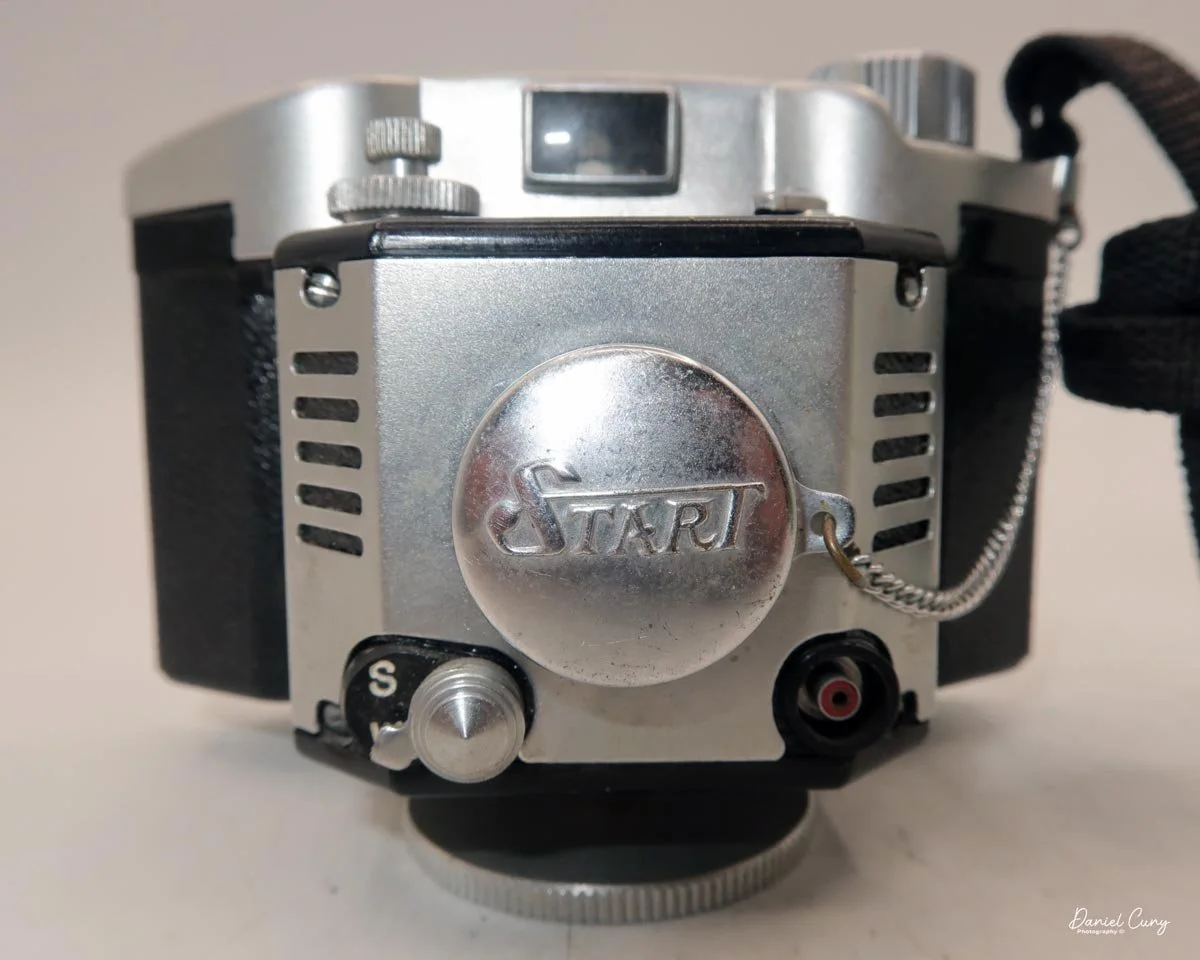
Front view of Start 35 K-II camera with embossed lens cap

 Ikko Sha’s place in camera history comes as much from context as from production volume. Postwar Japan produced dozens of small camera firms, many of them serving the growing demand for inexpensive 35mm cameras at home and abroad. Ikko Sha belonged to that energetic ecosystem, where innovation often came through compact designs, clever packaging, and steady model revisions rather than large-scale manufacturing power.

 For collectors, Ikko Sha cameras are appealing because they are uncommon and clearly rooted in a transitional moment in photographic history. The Start 35 series shows how Japanese manufacturers experimented with materials, formats, and user features before the industry consolidated around stronger global brands. A camera like the Start 35 K-II may be modest, but it captures the ingenuity of an era when even small firms could leave a lasting mark on the collecting world.

 Today, surviving Ikko Sha cameras are mostly encountered in collections, auctions, and enthusiast write-ups rather than in mainstream histories. That scarcity only adds to their charm, especially for collectors who enjoy tracing the overlooked branches of Japanese camera development.

My Camera

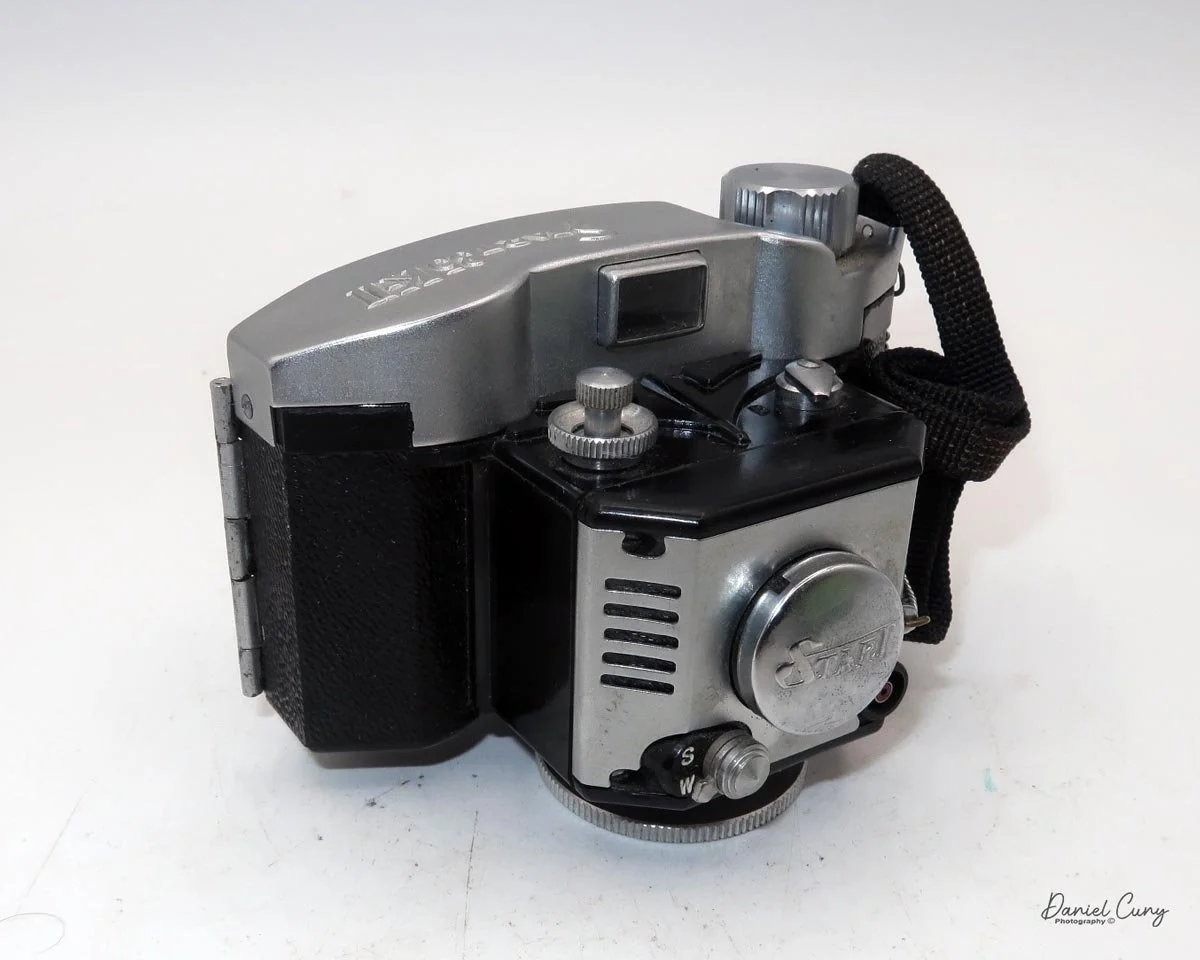
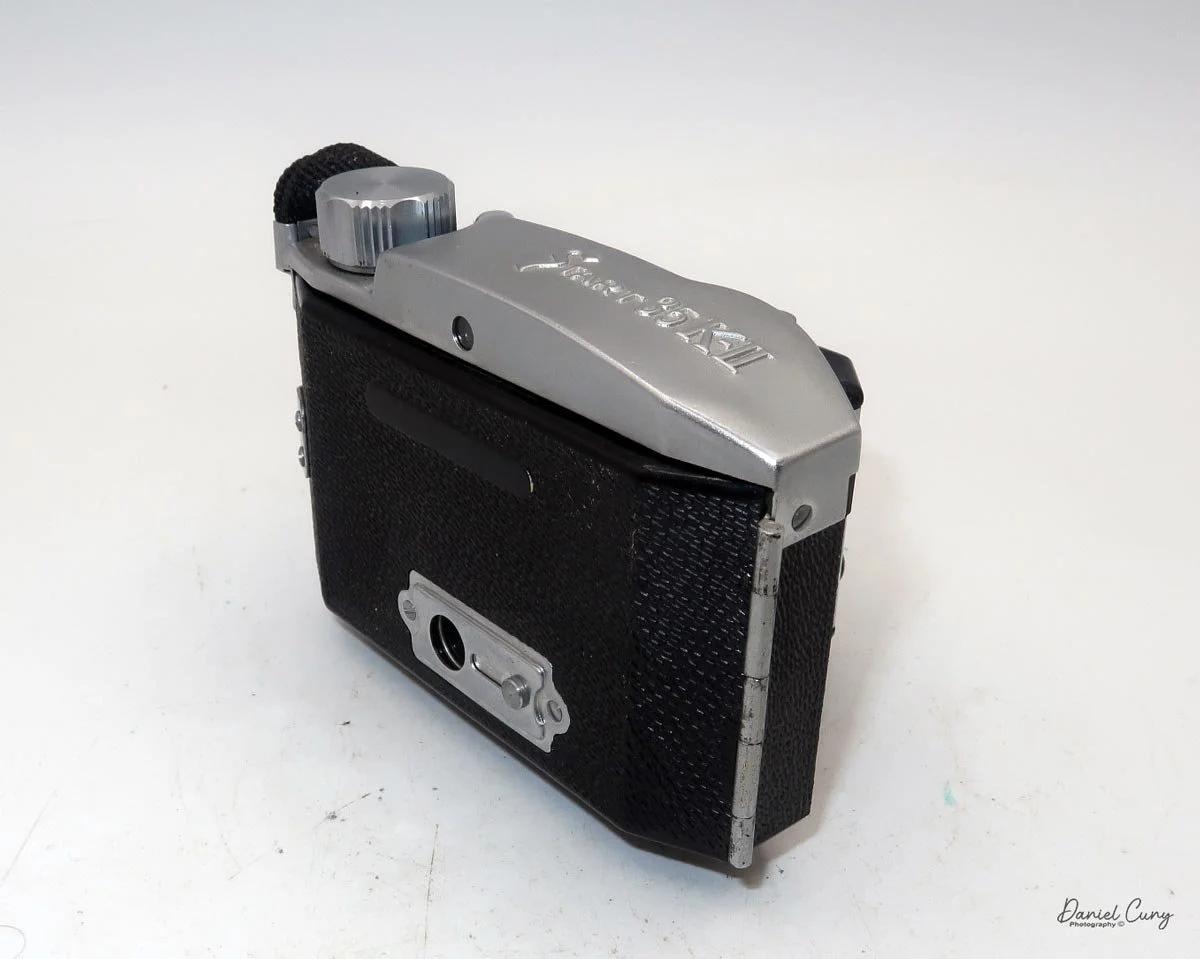
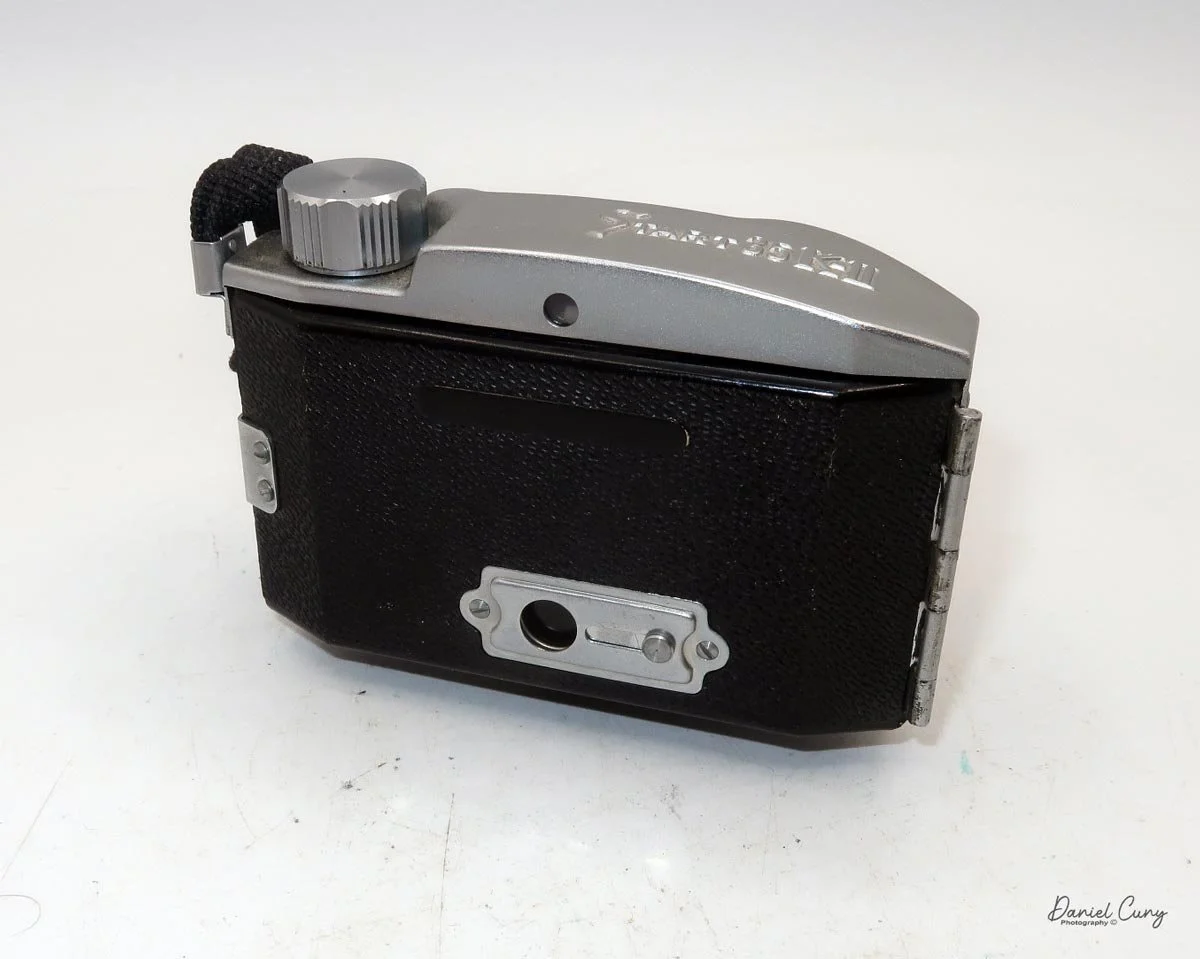
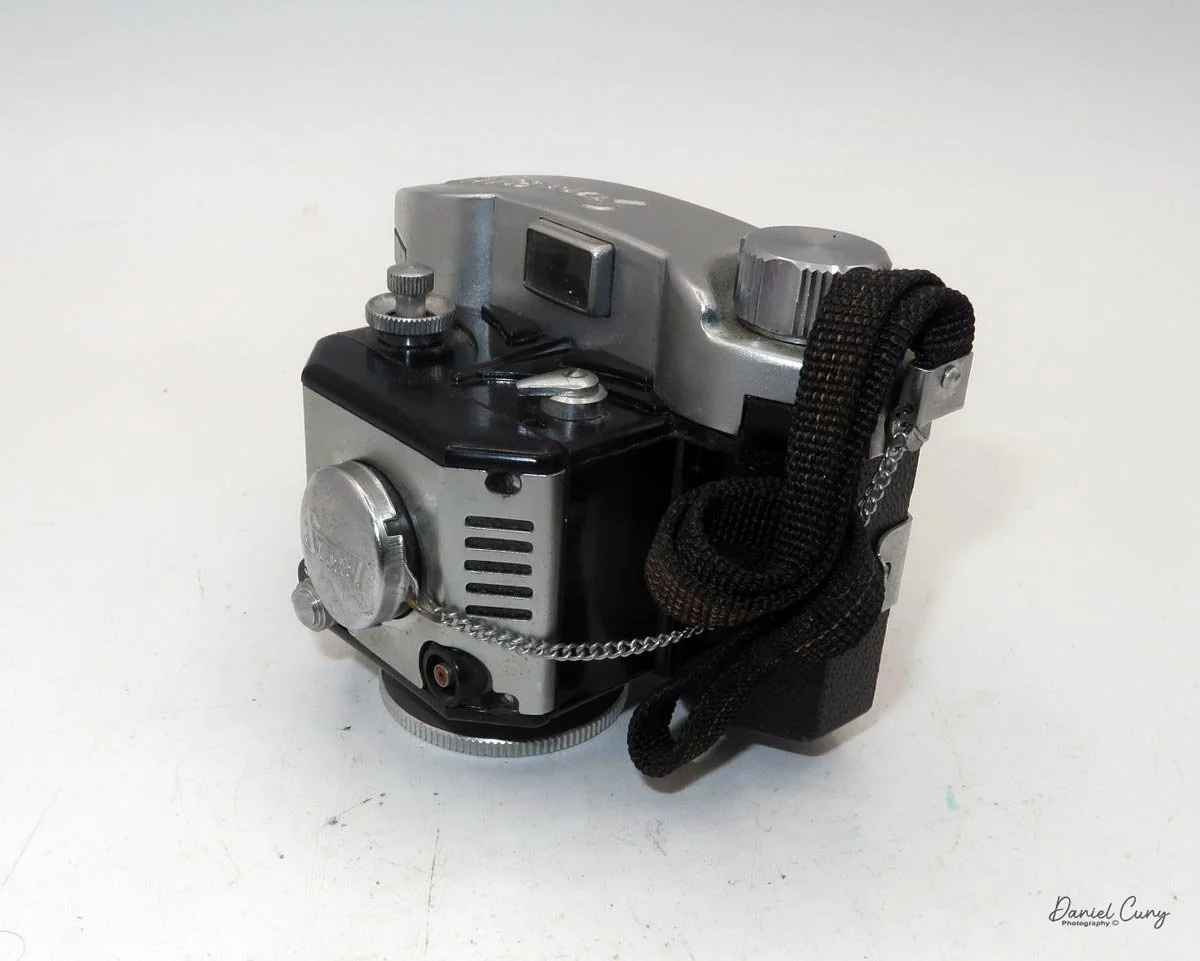
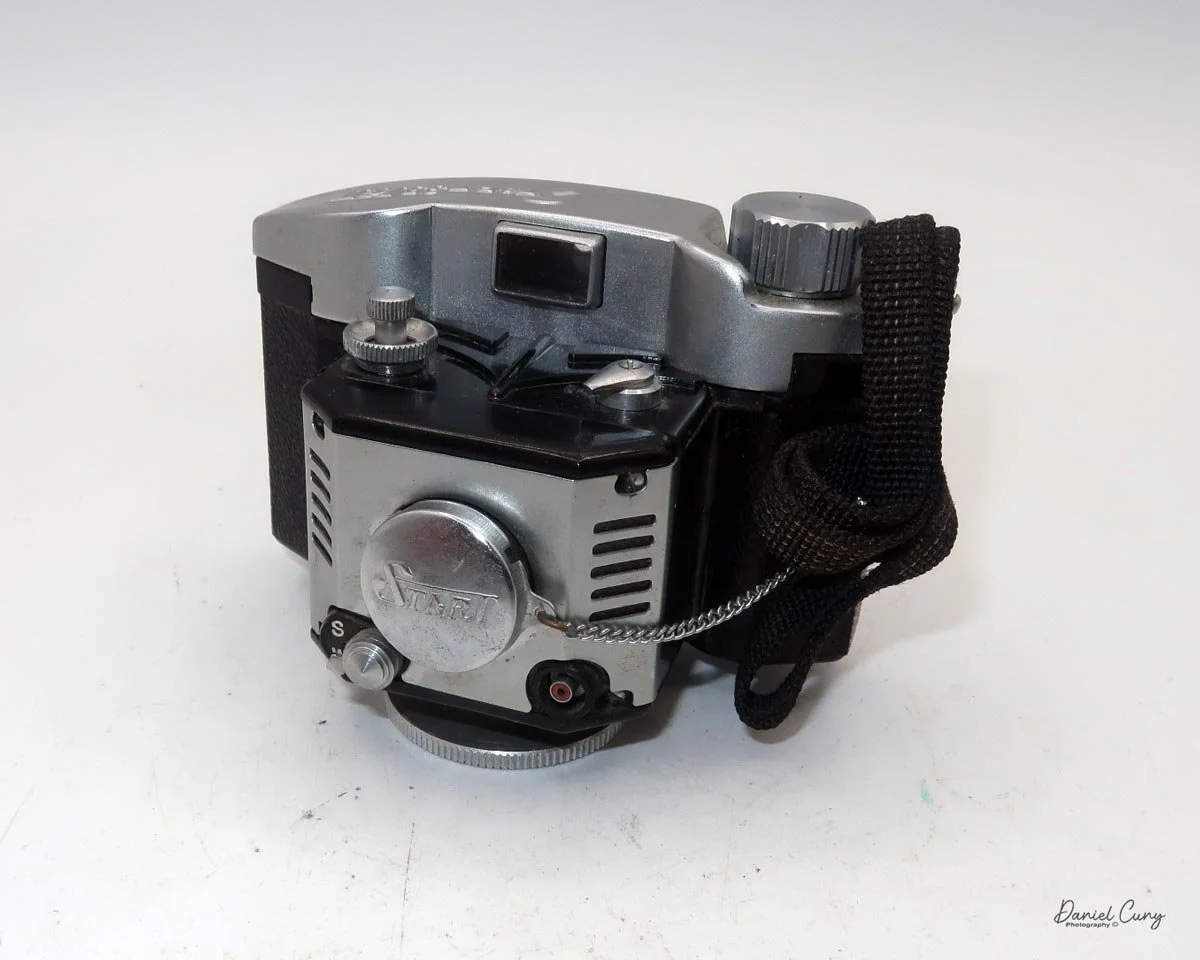
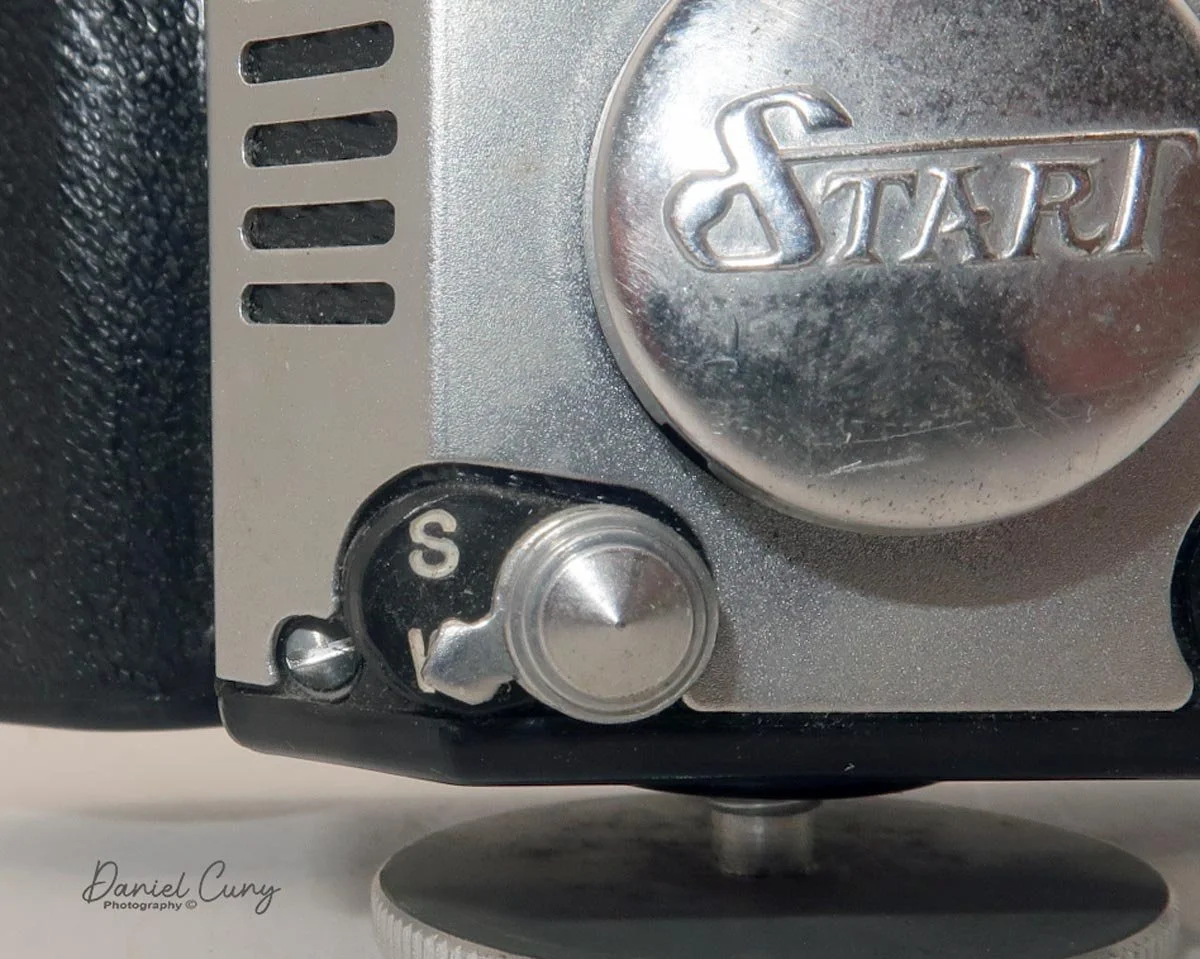
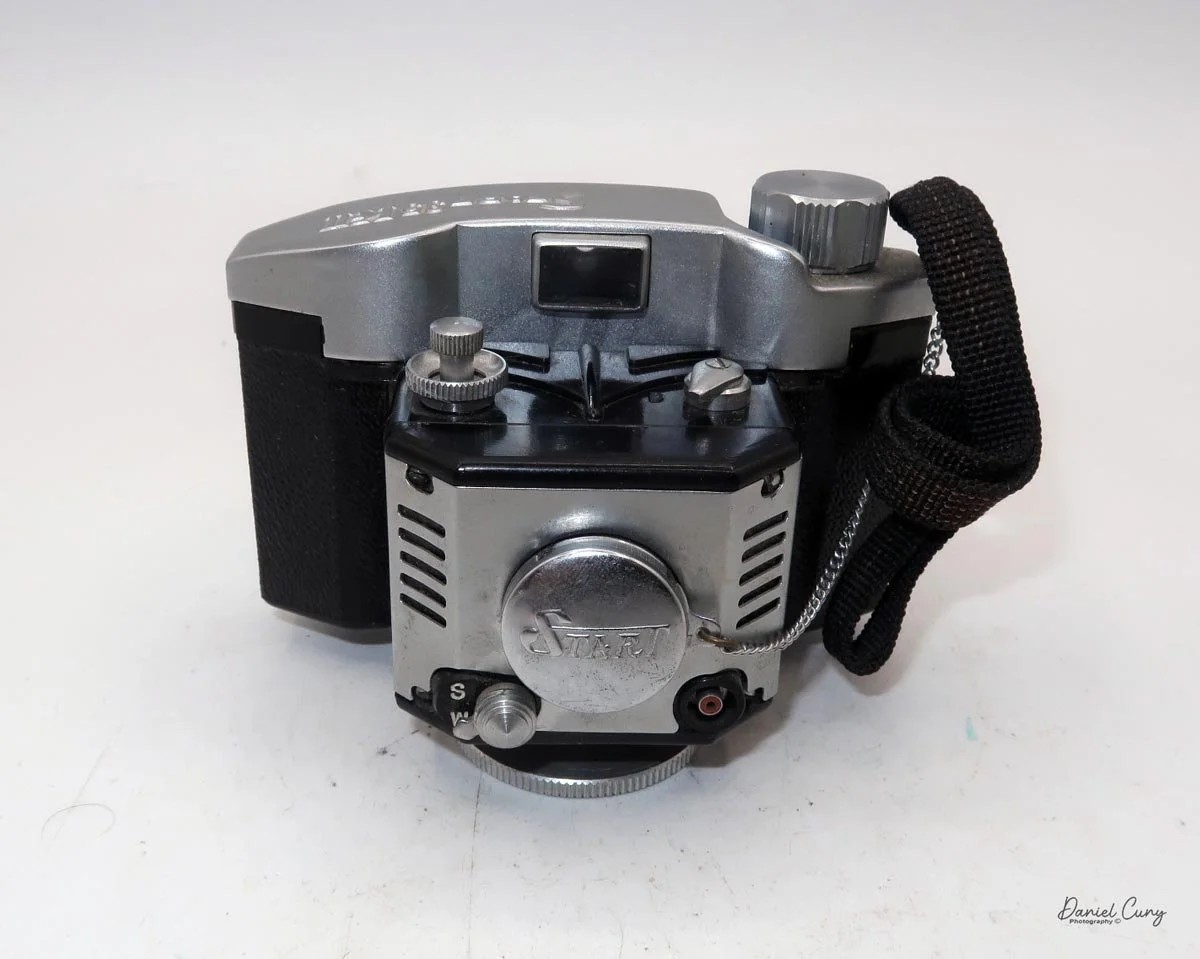
My Start 35 K-II camera measures 4 inches wide by 2.25 inches tall and 2.5 inches deep, not including the attached lens hood. The camera weighs 6.6 ounces without film loaded. It is made of black Bakelite with an aluminum top covering the viewfinder, and the metal also wraps around the lens with five slots on either side, giving the camera a modernist look.

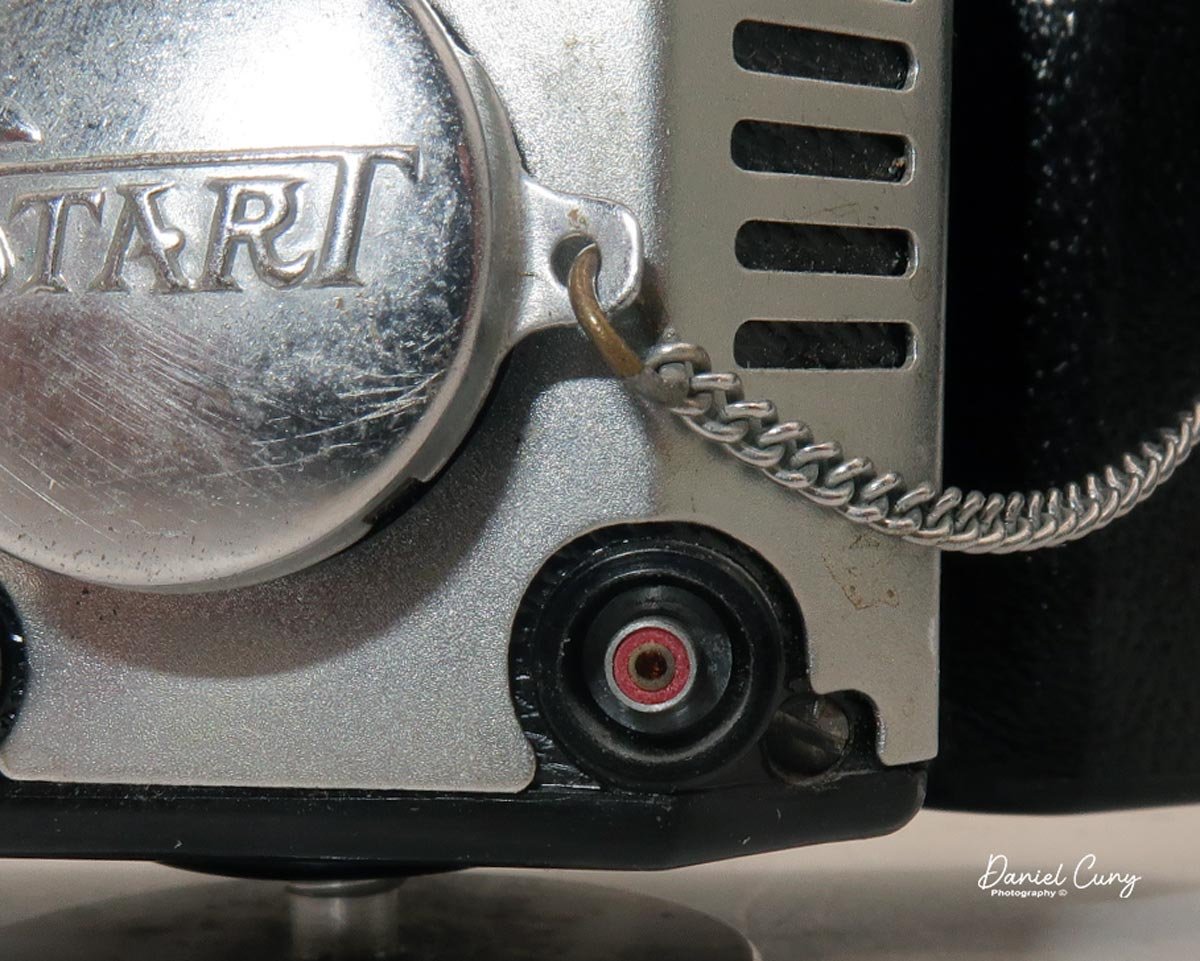
On the left side of the camera is a nylon wrist strap attached next to the film winding knob. Also attached to the strap is a metal chain with a metal lens cap embossed with a stylized “START” logo. On the bottom of the camera is a tripod socket, along with “Made in Japan” embossed into the Bakelite.

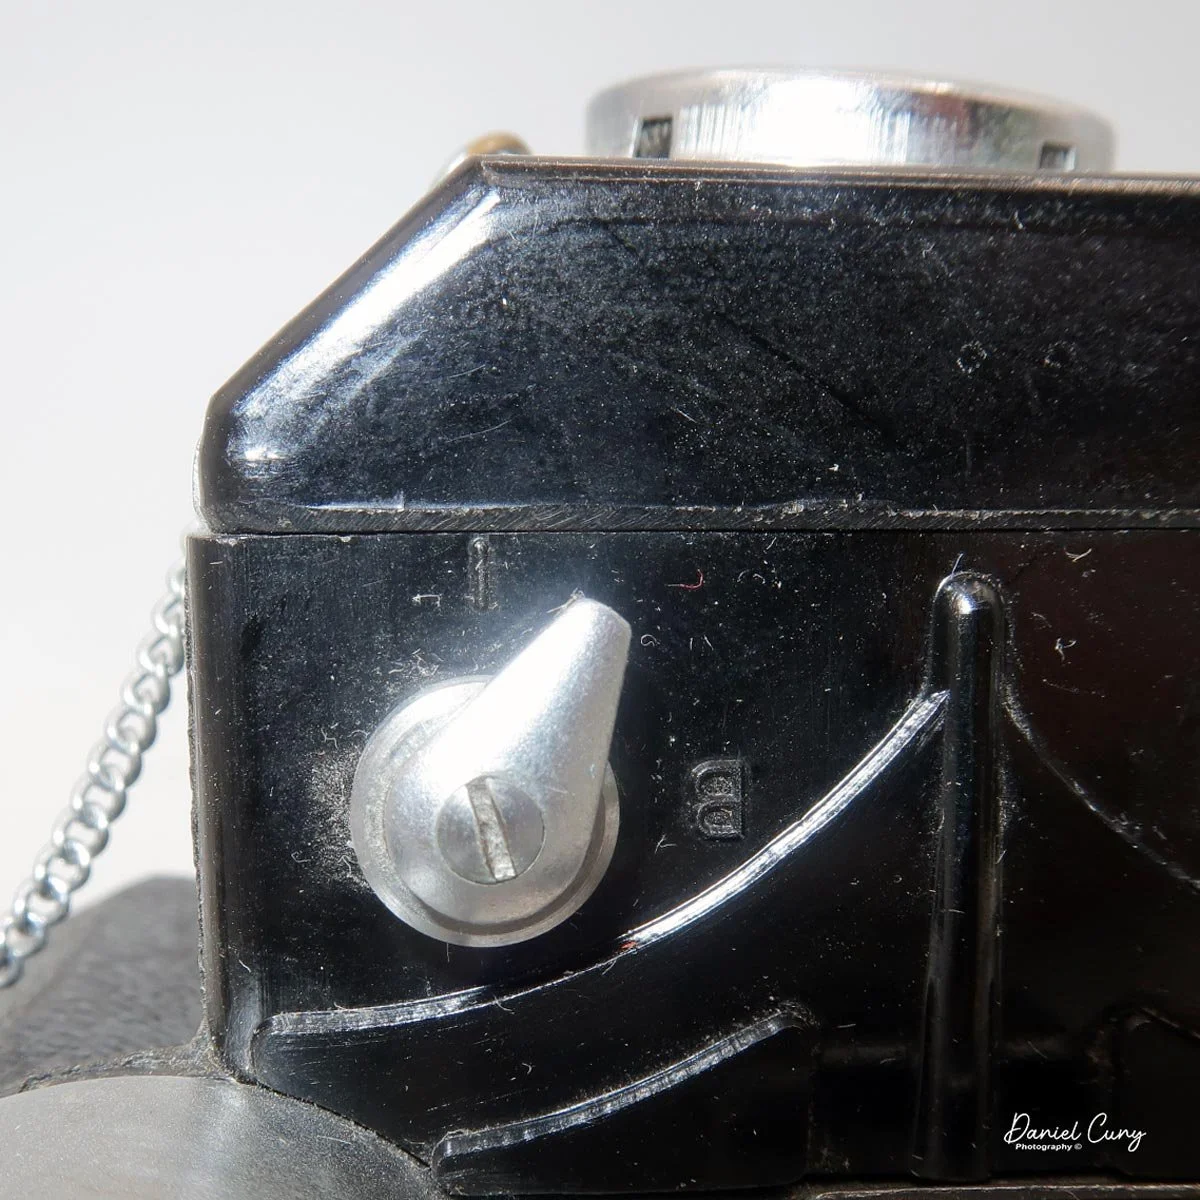
 The camera is very basic when it comes to controls. The shutter release is on the top right of the camera, located on the extending lens portion, and on the opposite side is the shutter control switch. You have the option of either “I” for instant or “B” for timed exposures.

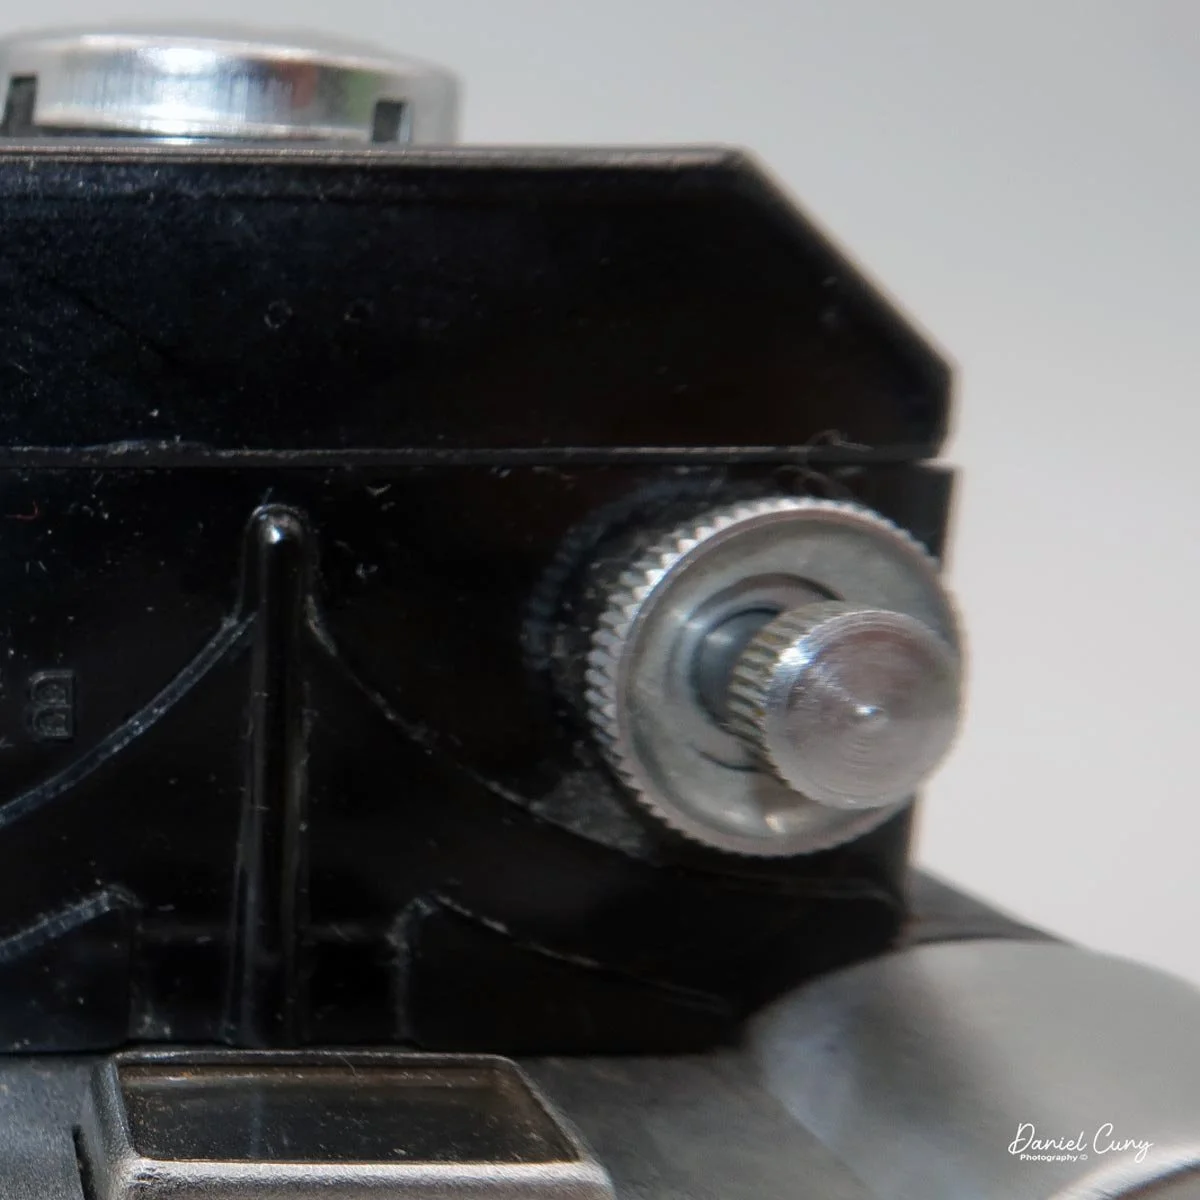
The lens is fixed and cannot be focused. Under the lens, on the left side, are two aperture settings, “W” and “S.” “W” is wider open, and switching to the “S” setting selects a smaller aperture. On the left side of the camera is a PC socket for flash. Since there is no accessory shoe, you need to use a bracket if you want to use flash with the Start 35 K-II.

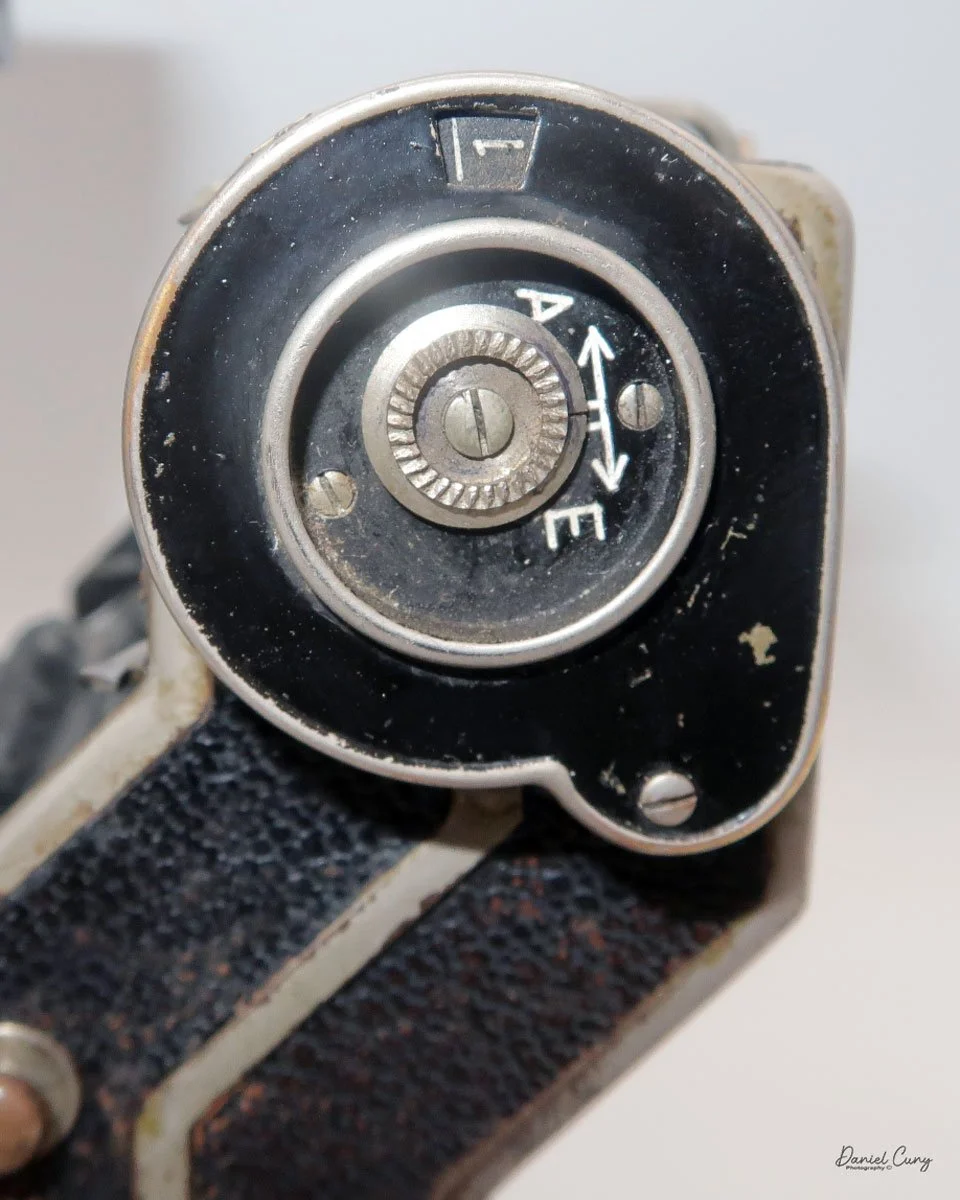
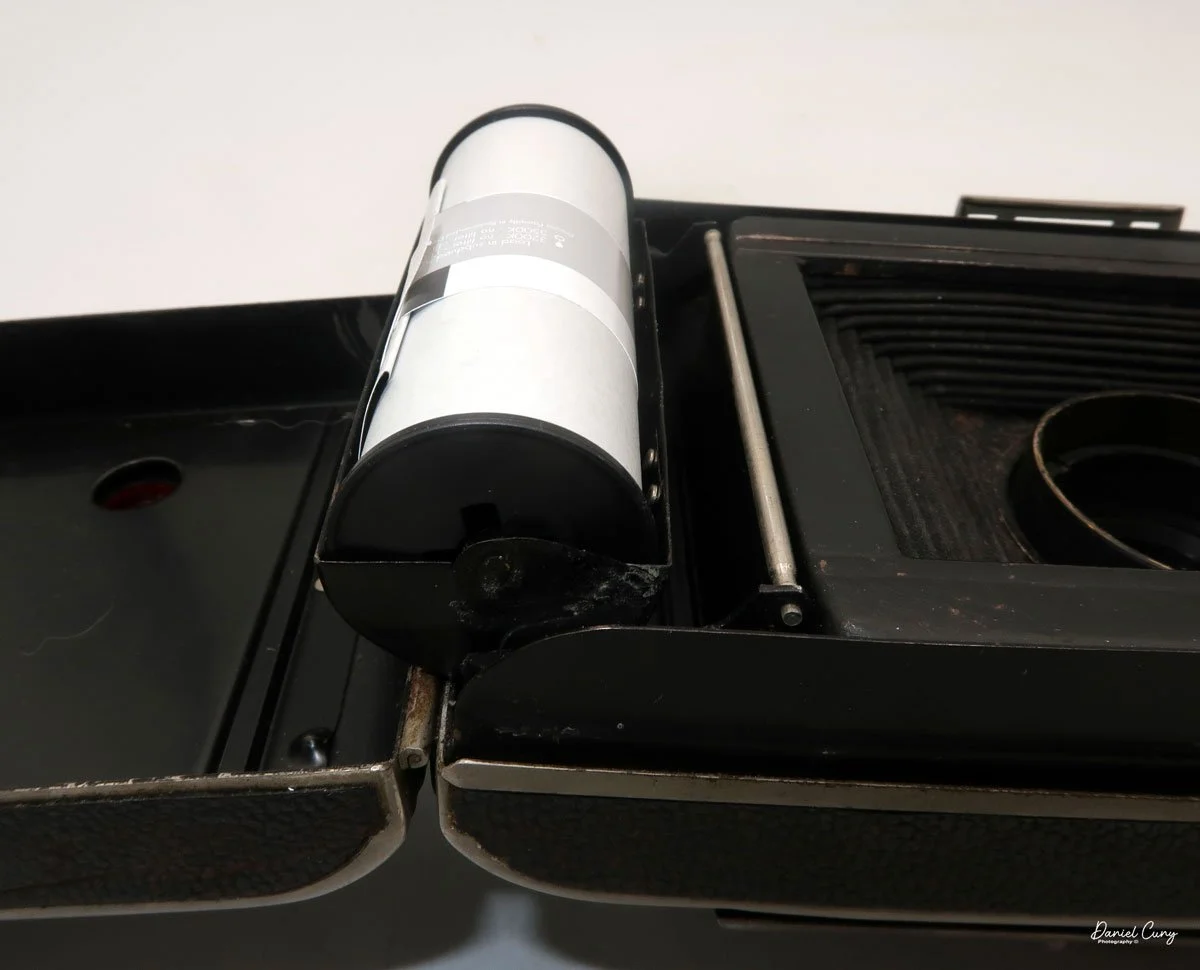
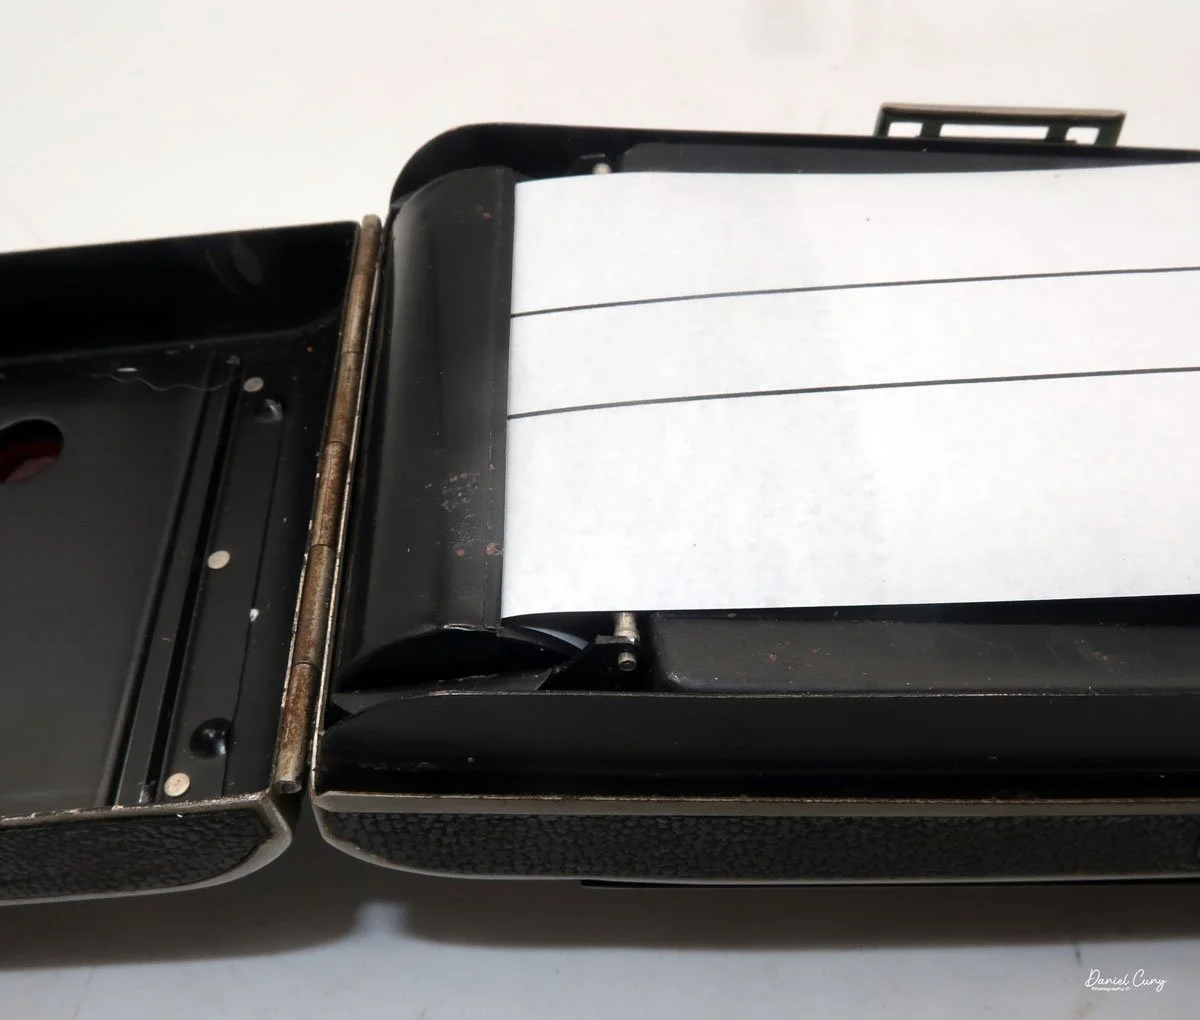
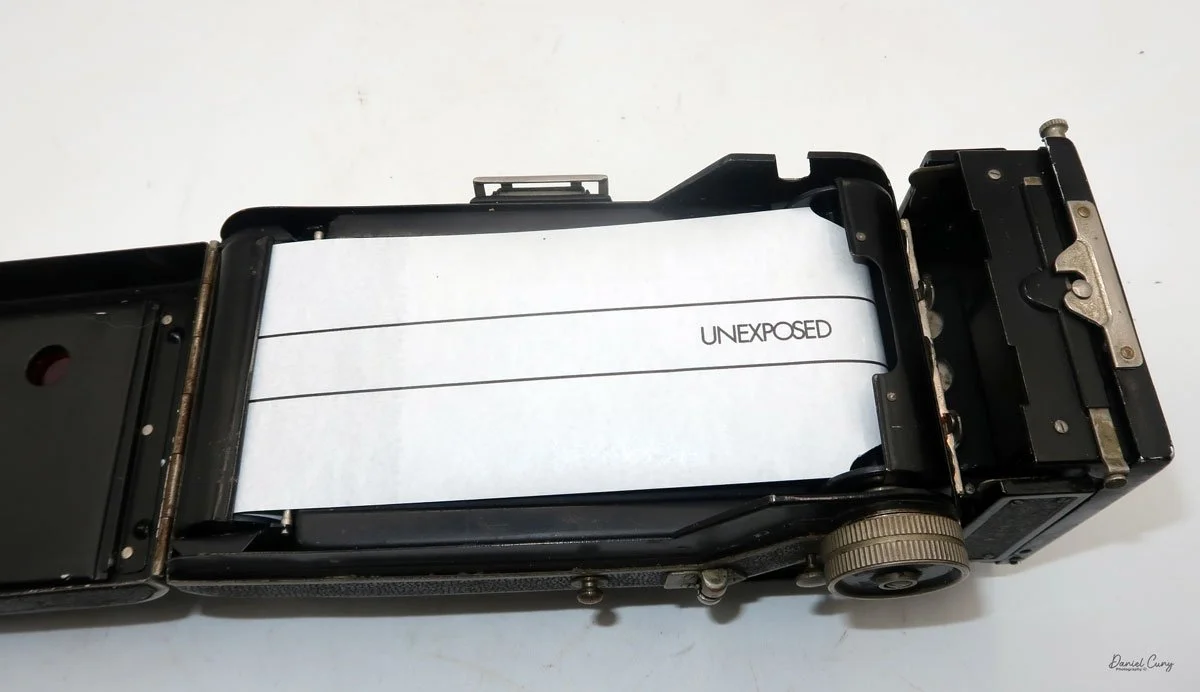
 To open the camera for loading film, there is a simple latch on the left side that opens the back and exposes the film chamber. On the right side, you place a fresh roll of Bolta film, bring the leader across to the left, and thread it into the take-up spool. Start winding to make sure the film is seated properly, then close the back and advance the film until you see the number 1 in the window on the back of the camera.

 My Results

Since I do not have Bolta film, I used some bulk 35mm film and leftover paper backing from 127 film, which I cut down to fit the Bolta reels I have.

 Taping a short roll of 35mm film onto the paper backing in total darkness was not the easiest task, but it was manageable if most of the prep work was done ahead of time and the process was carefully thought through before turning off the light.

 I also loaded the film into the camera in the dark to make sure I had not made any mistakes when attaching the paper backing to the 35mm film. I knew the numbers on the backing paper would not line up exactly, so I simply guessed how many turns to advance the film.

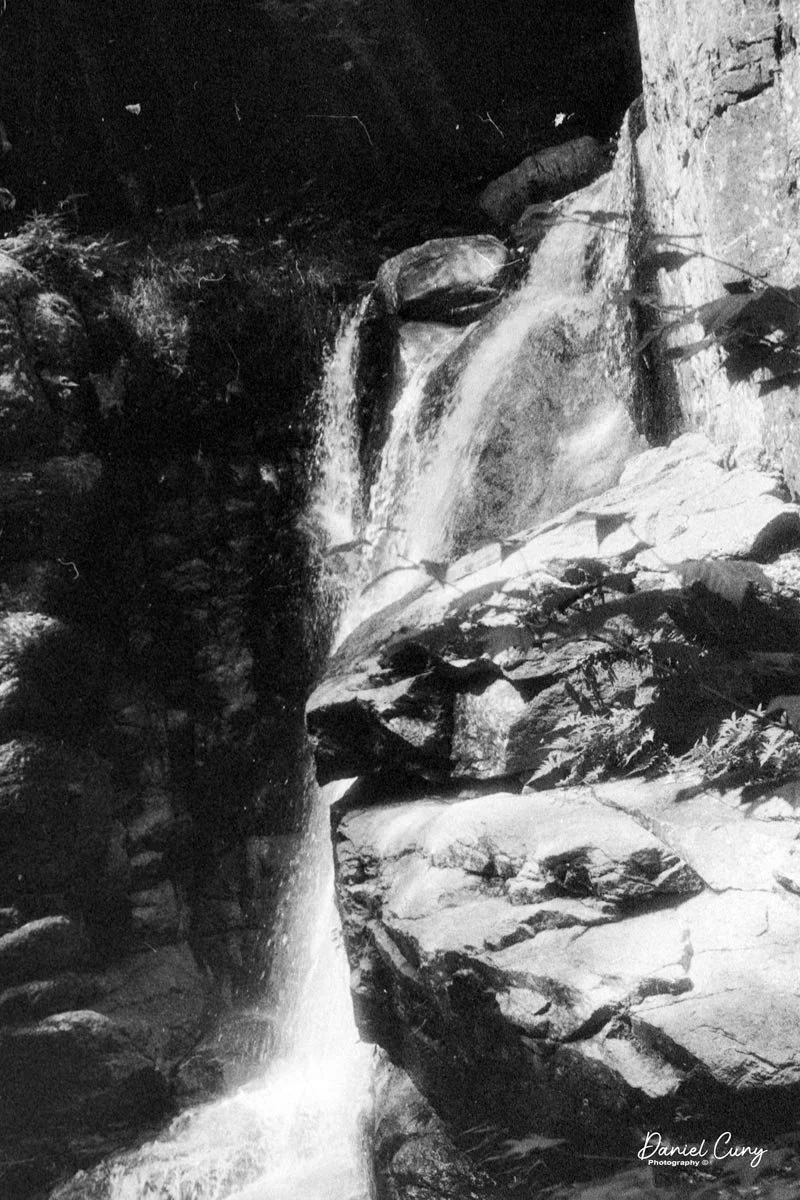
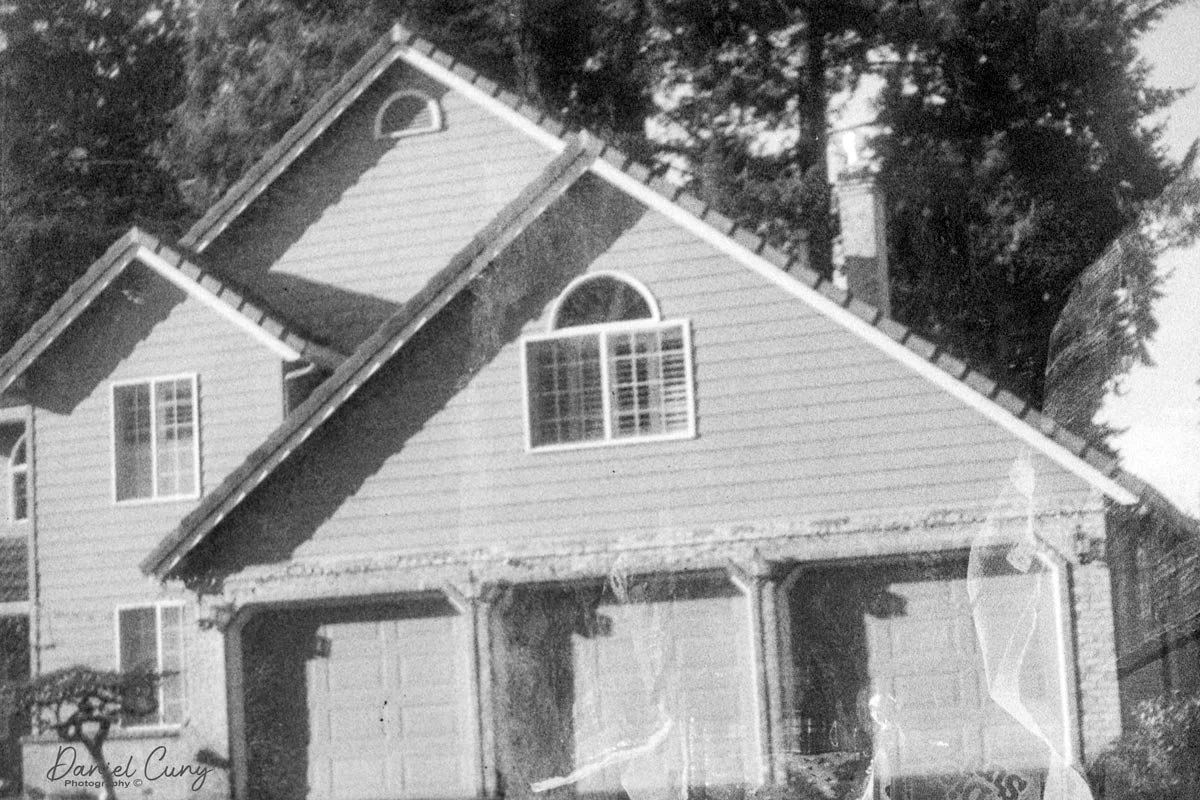
 With film in the camera, I took it to a local waterfall and walked through the neighborhood to make a few photographs.

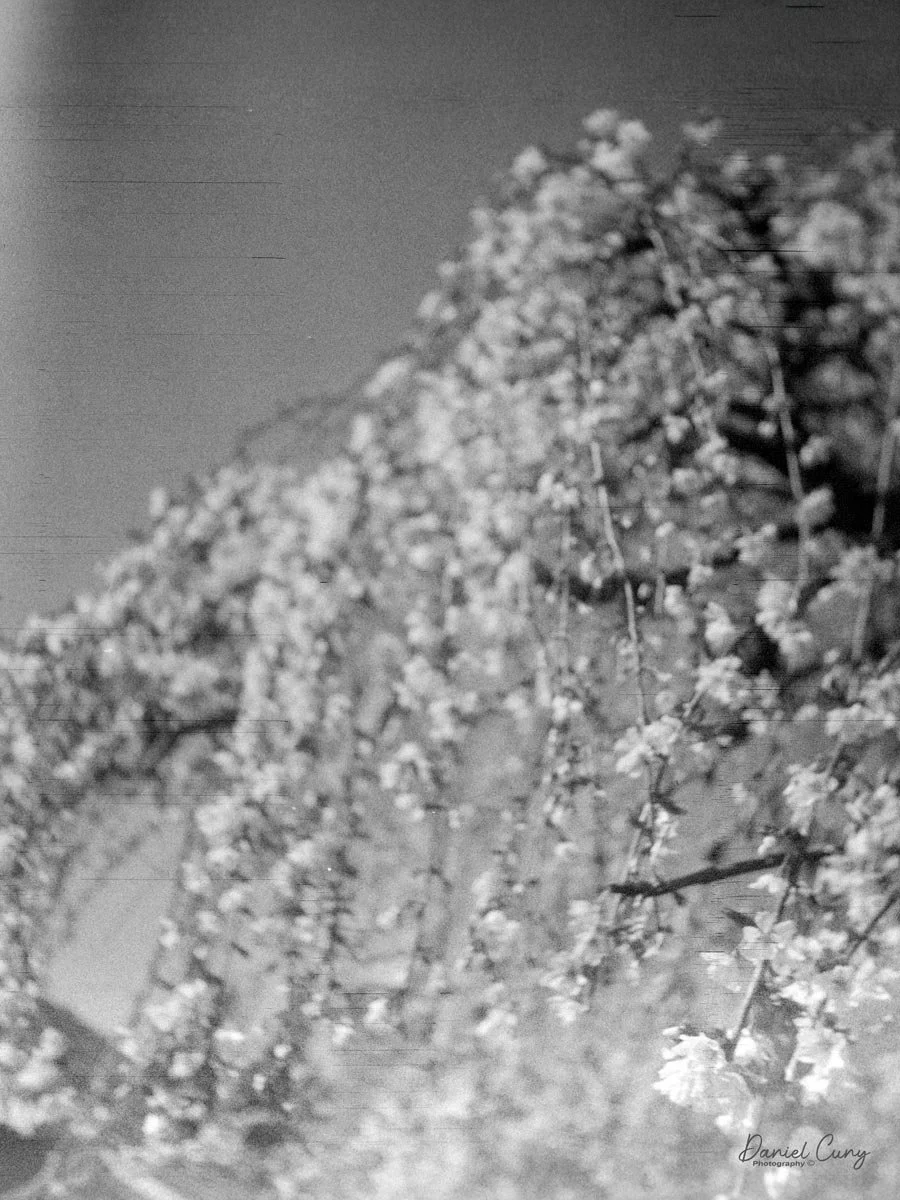
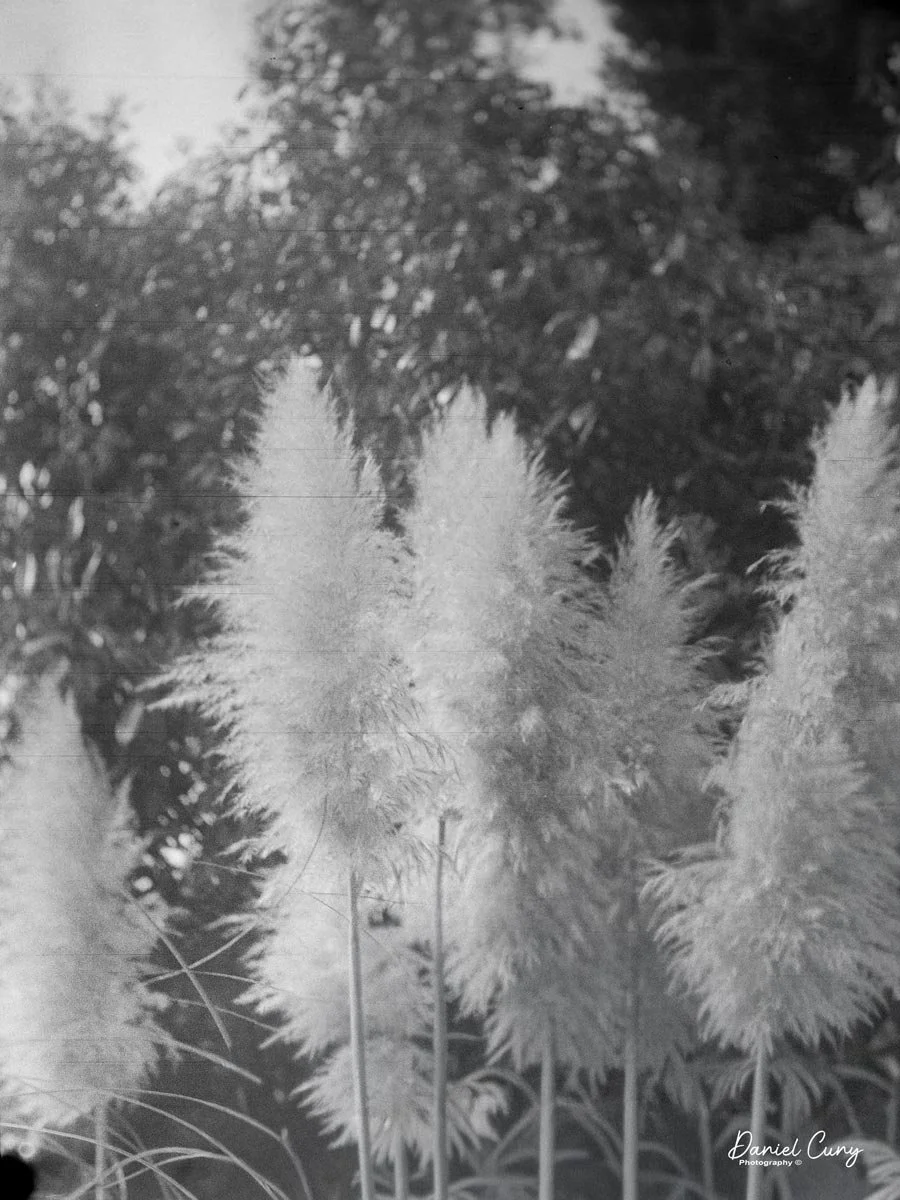
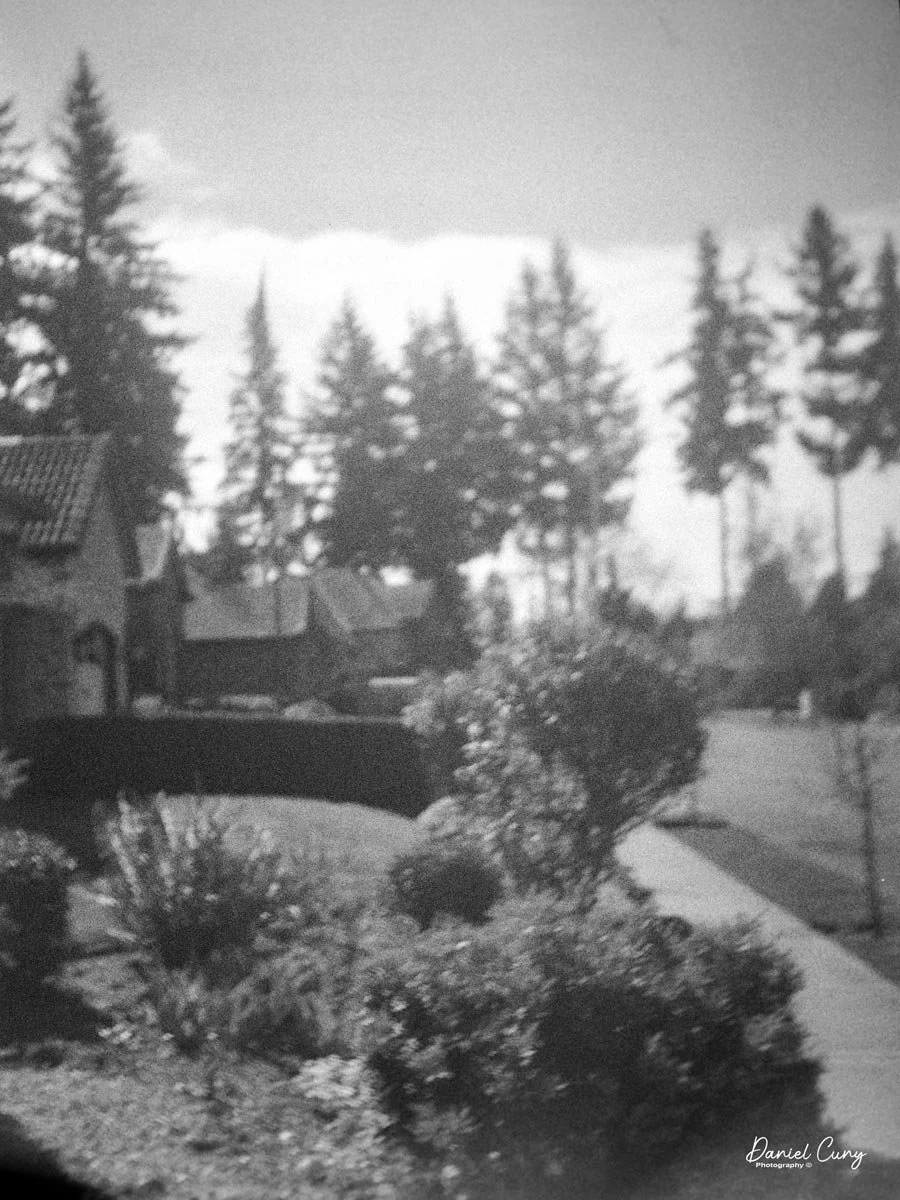
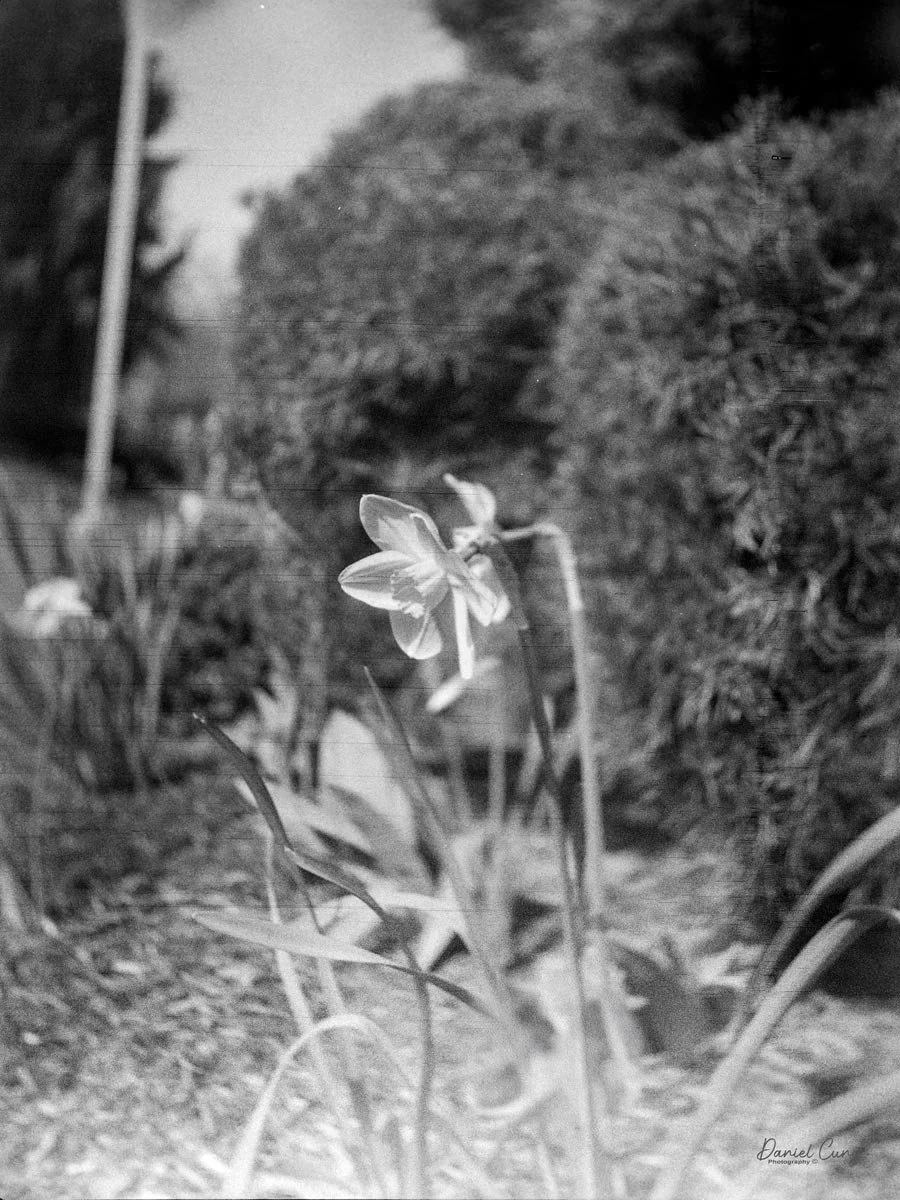
 Here are the results from the Start 35 K-II camera:

Conclusion:

While the images from the Start 35 K-II were sharper than I expected, something must have gone wrong in processing, or perhaps light leaked through the paper backing, because there are some strange light streaks on many of the images. My guess is that it was operator error, most likely related to the paper-backing process.

 The next time I review a Bolta film camera, I will try to do a better job with the paper-backing method. Overall, though, the camera is pretty nice, easy to use, and produces some nice images for a camera that is close to 70 years old.

 Thank you for taking the time to learn about this unusual Bolta film camera made in the late 1950s.

 Here are some of my other Camera Reviews.

 Check out my YouTube channel, where I am putting together video overviews of the cameras I write about. Be sure to subscribe and like the channel, too.

 Cuny’s Cameras and Photos is my online eBay store, where you will find some of the cameras I have reviewed, along with a wide range of other cameras, lenses, and items from my collection that I am thinning out.

 Until next week, please be safe.
 

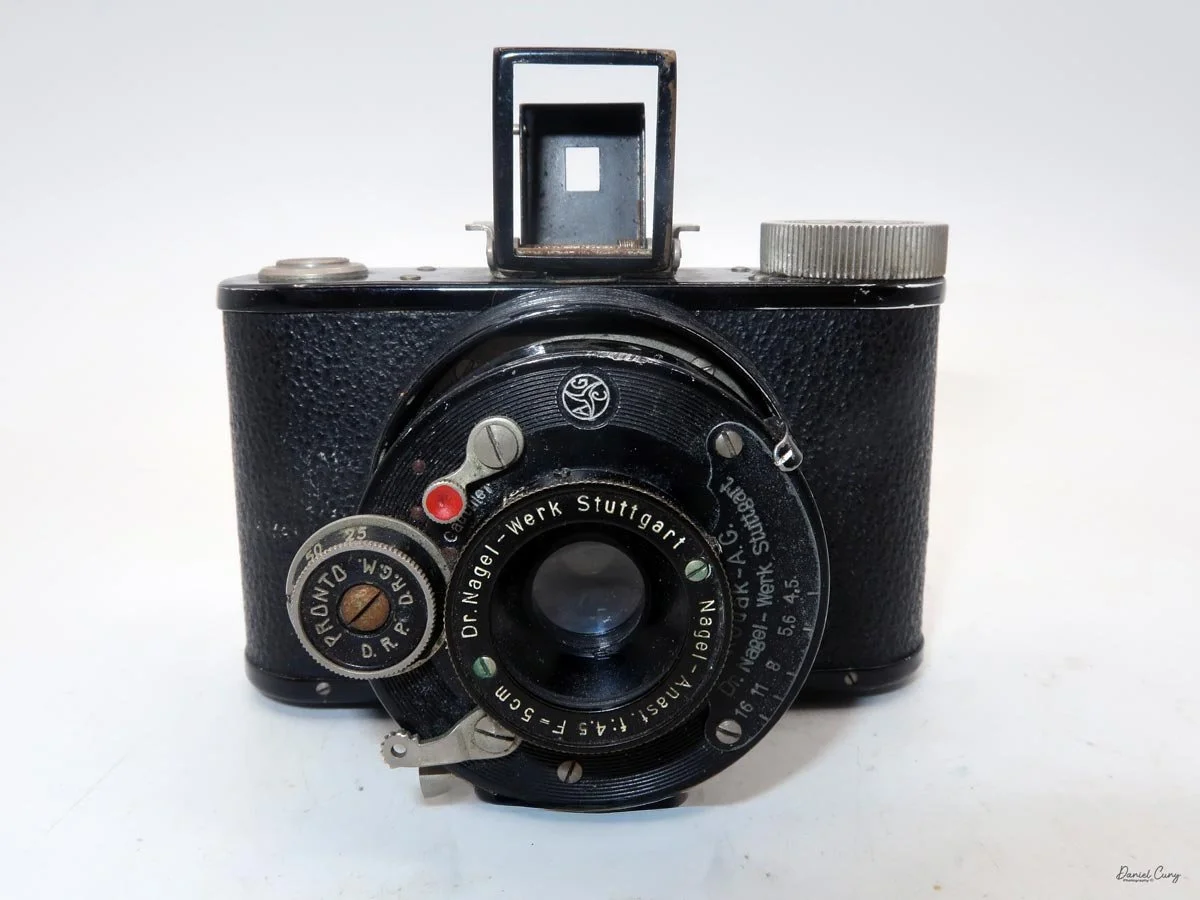
Kodak-Nagel Ranca camera

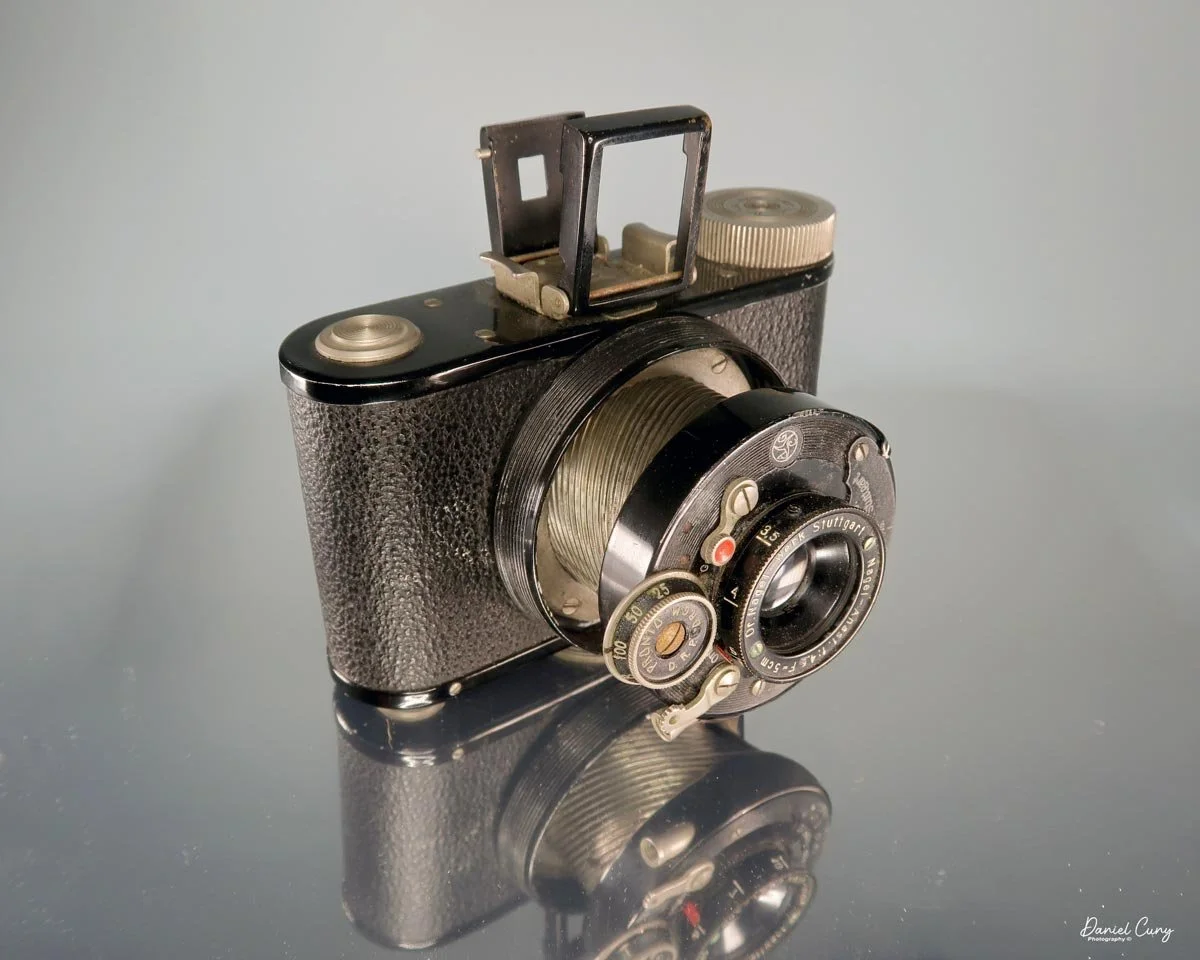
My Kodak-Nagel Ranca camera

Being a collector and working in the photo industry for more than 50 years, and, more specifically, in the photographic retail business for almost 20 of those years. My retail years were in the mid-1970s through to the early 1990s. It was the height of film photography with Nikon F's, Canon AE-1's, Minolta SRT's, Pentax, Rollei, Contax, etc. I can remember the introductions of many of the best-selling cameras from this era. I have seen and sold many cameras. But to this day, I still enjoy them.

 When I look at a camera, especially an older one I'm not familiar with, the first impression strongly influences whether I purchase it. I'm always on the hunt for the odd and unusual camera.  I imagine it's really about what you enjoy collecting. 

 Many collectors look for pristine examples of Leica, Rollei, Hasselblad, or items with a slight difference, making them a "rare" item. Still, if I see a camera I'm not aware of, and it has an unusual appearance or color that stands out, that's what catches my eye. It doesn't have to be expensive or rare; it just has to be unusual to me.

 That's where the camera I'm writing about this week comes in. The Kodak Ranca is a camera I first saw on my friend Mike Ott's website. Mike is the longtime owner of Pacific Rim Camera and one of the best photographic resources around. It's a website I often visit, very similar to Mike Butkus's Camera Manual, which offers information on cameras, catalogues, manuals, etc. 

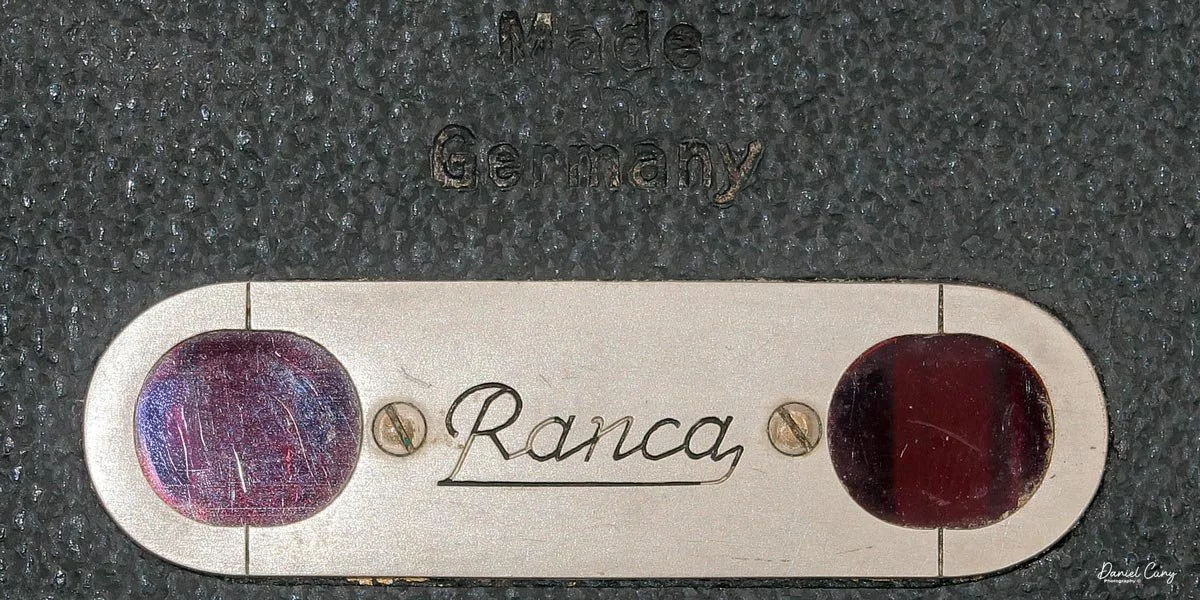
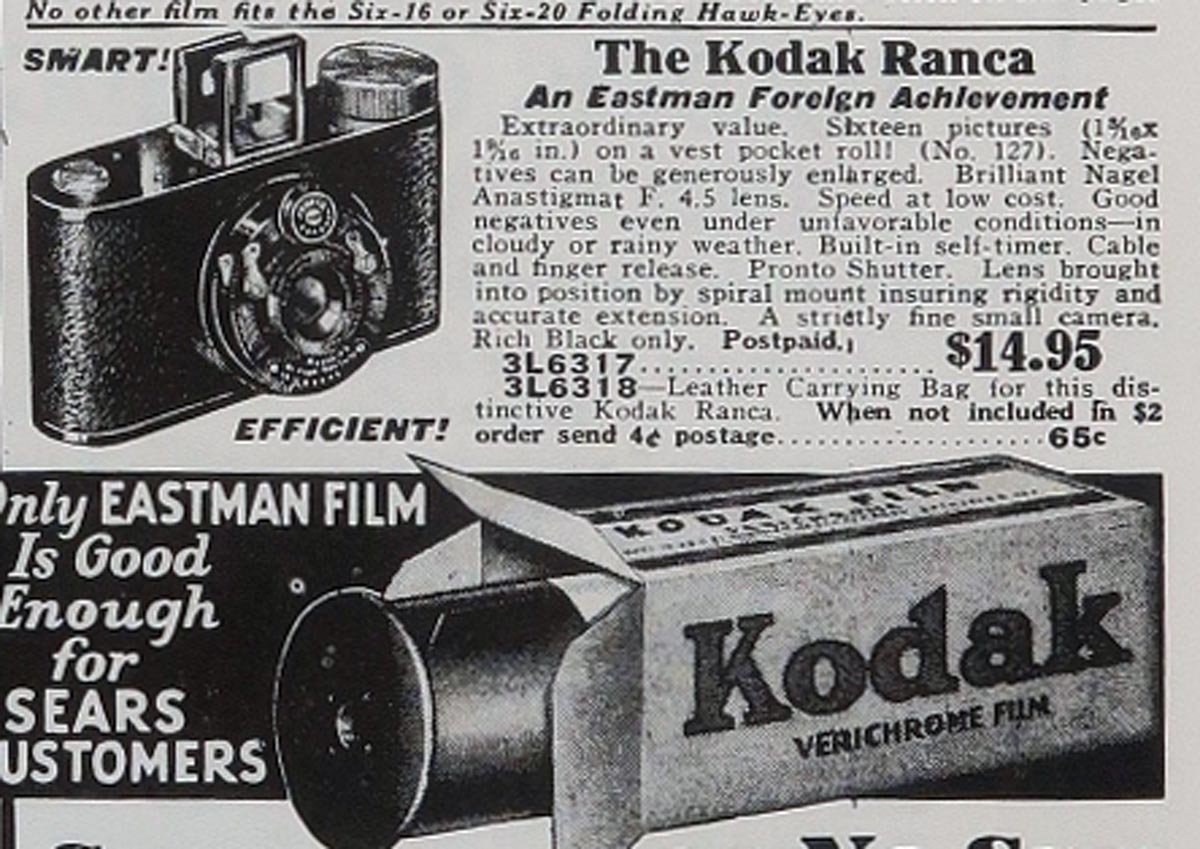
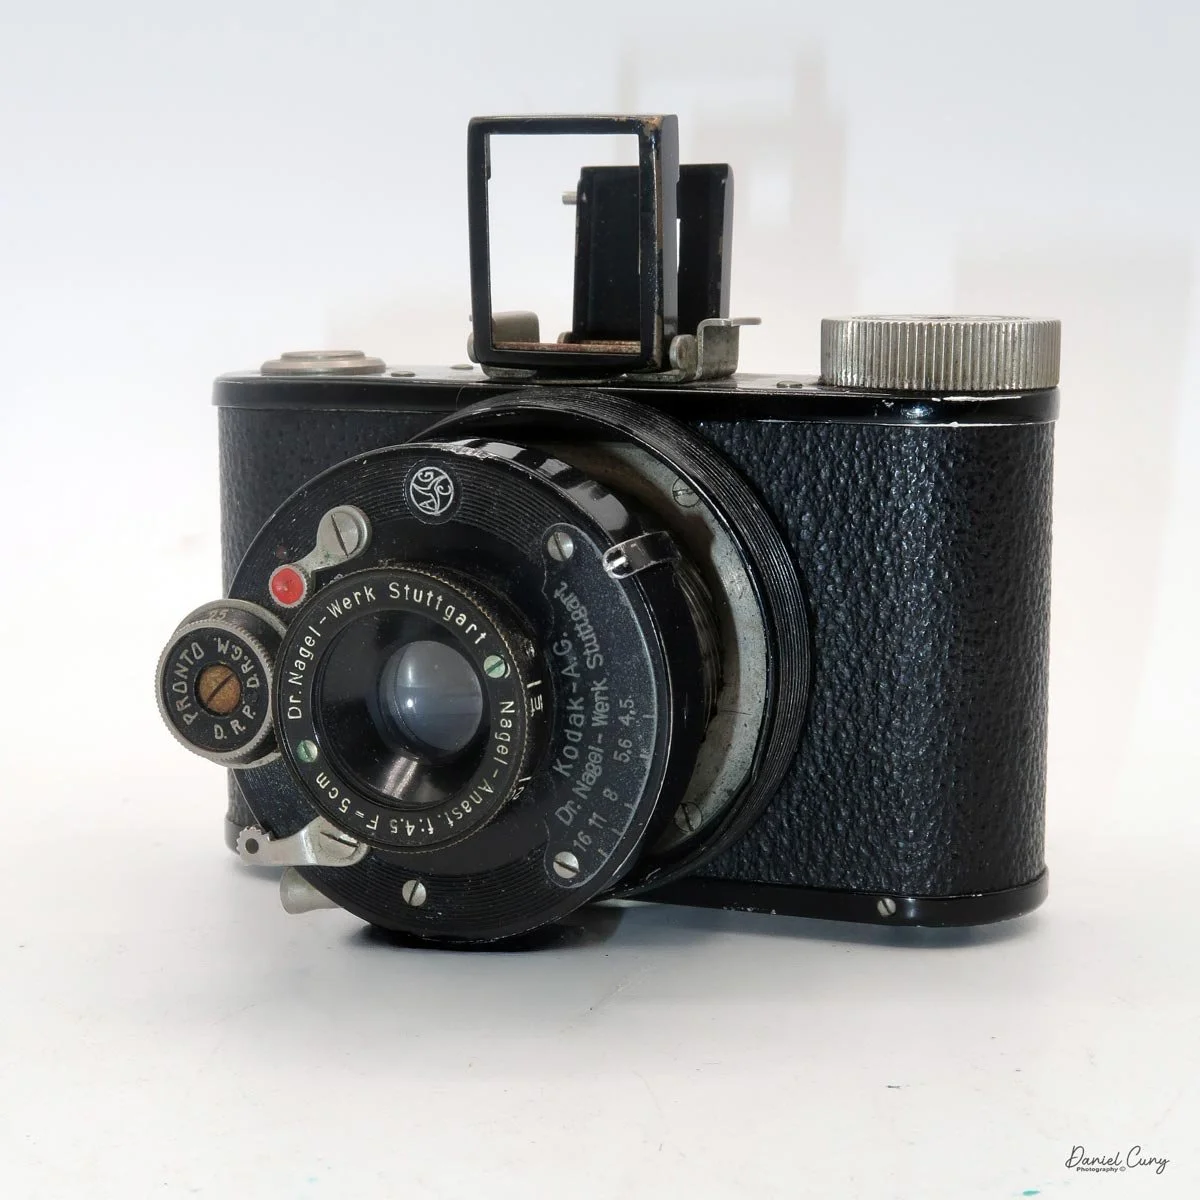
 I purchased the Kodak Ranca because it was a compact camera I wasn't familiar with. It wasn't until it arrived that the camera had a very similar look and feel. I was aware that it was a Nagel-made camera, which was another reason I was attracted to it. Still, when I dug into the camera after it was purchased, it's considered the "less expensive" version of the very popular Nagel Pupille camera, which I reviewed a few months ago.

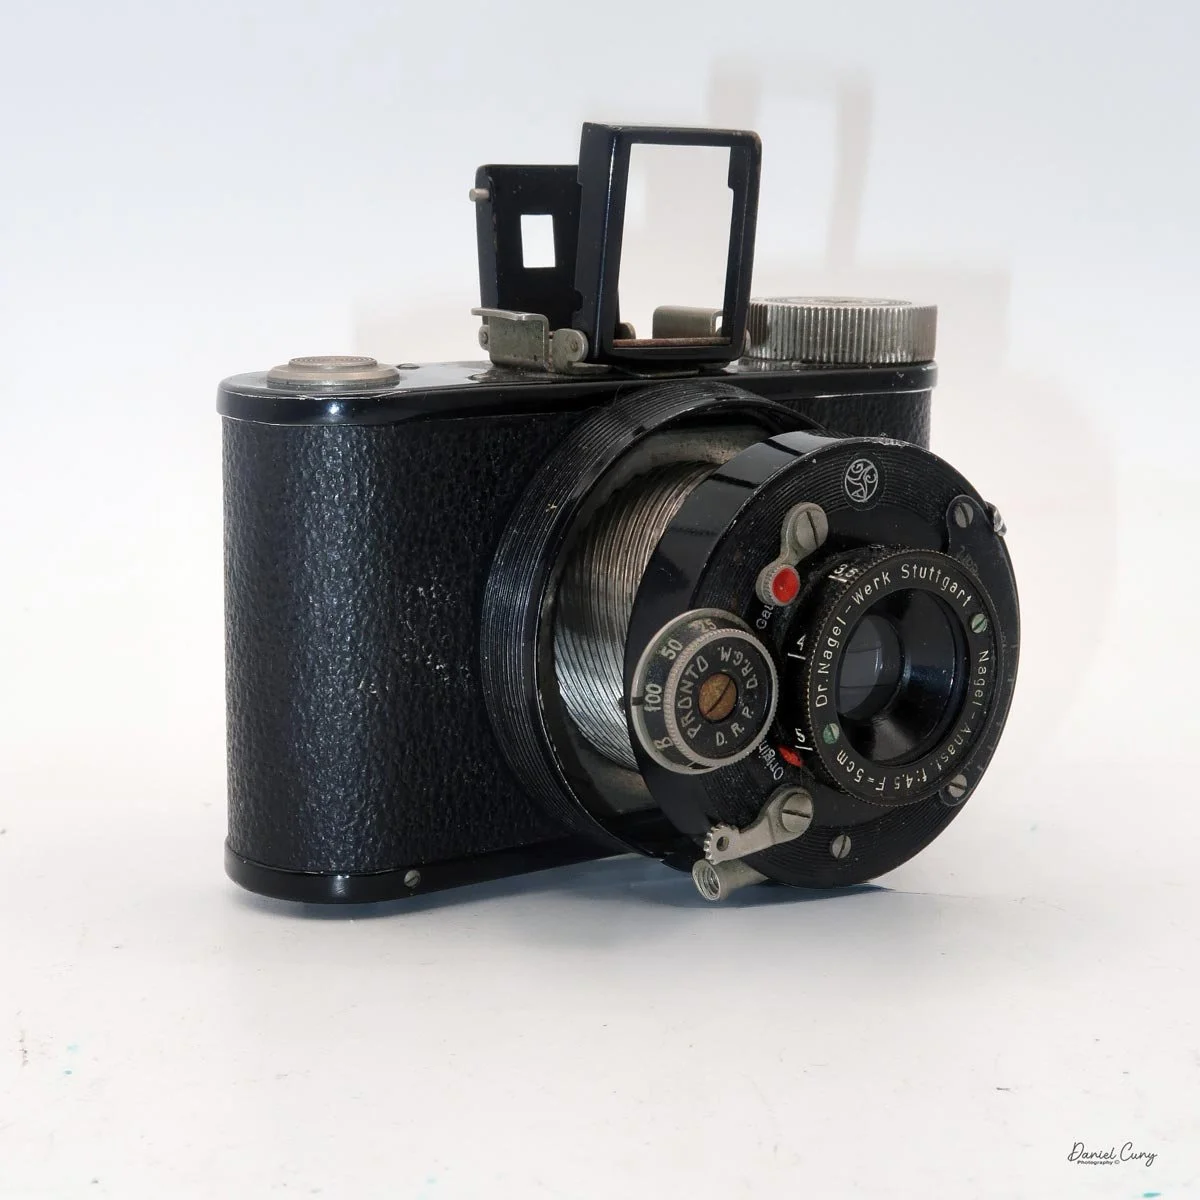
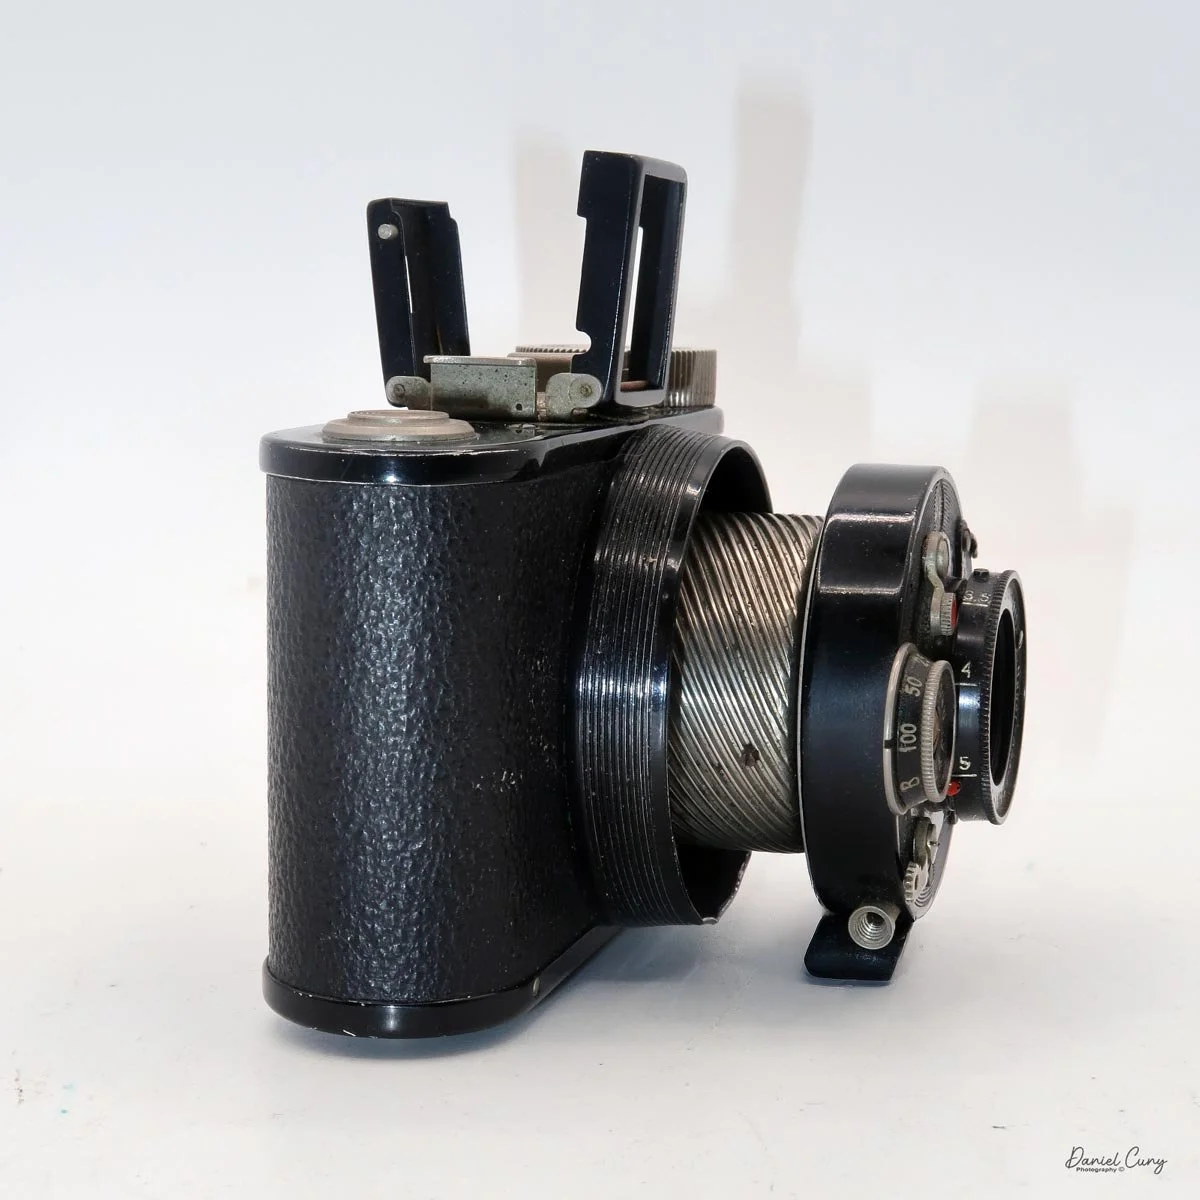
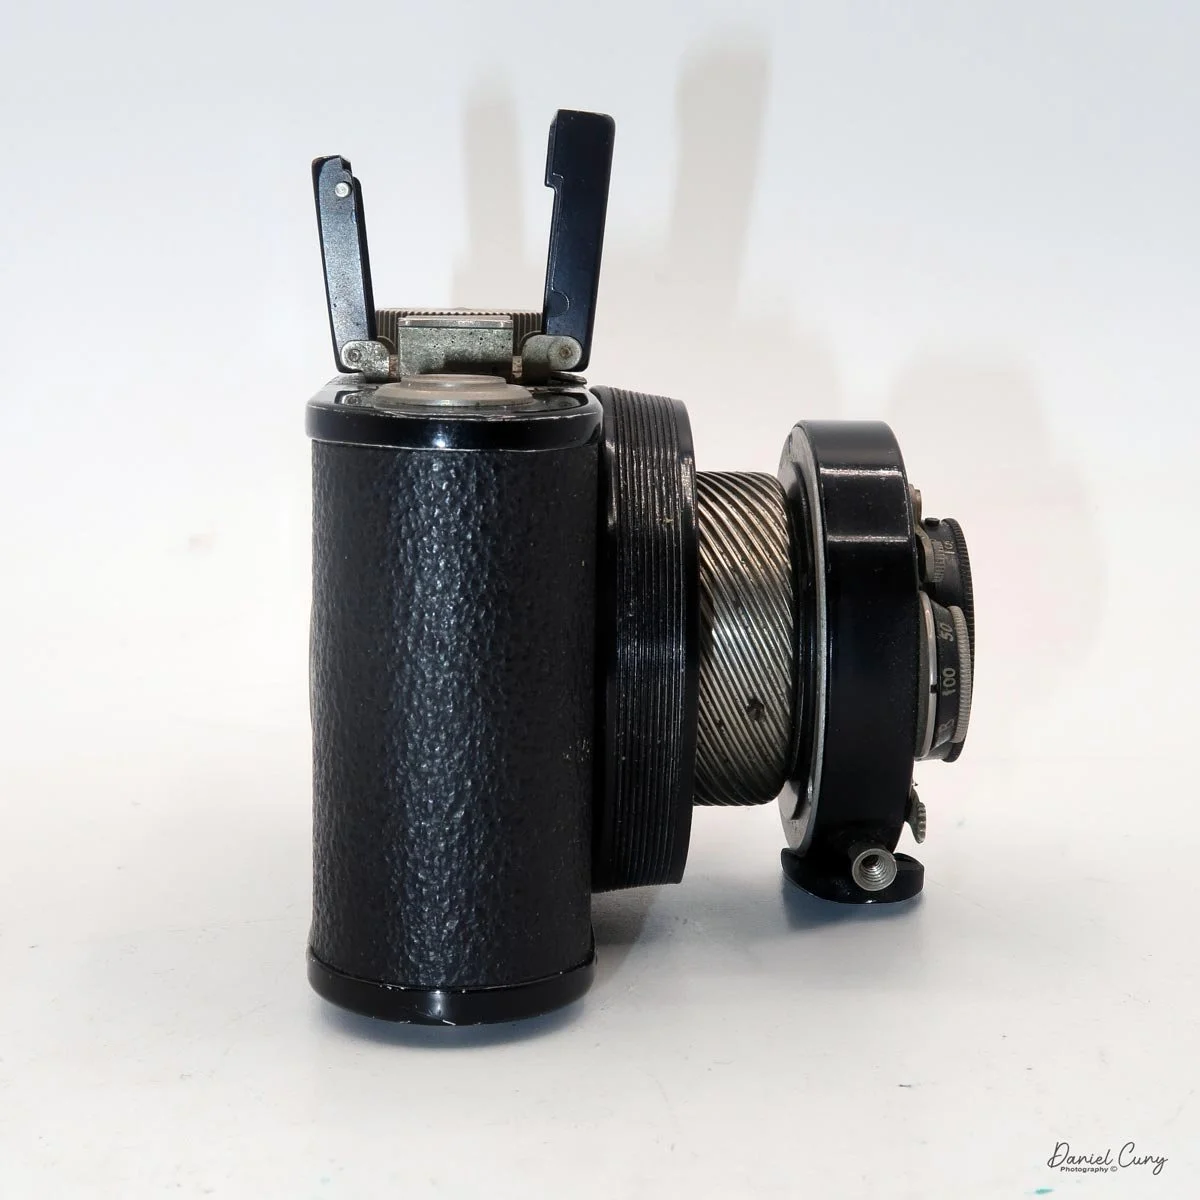
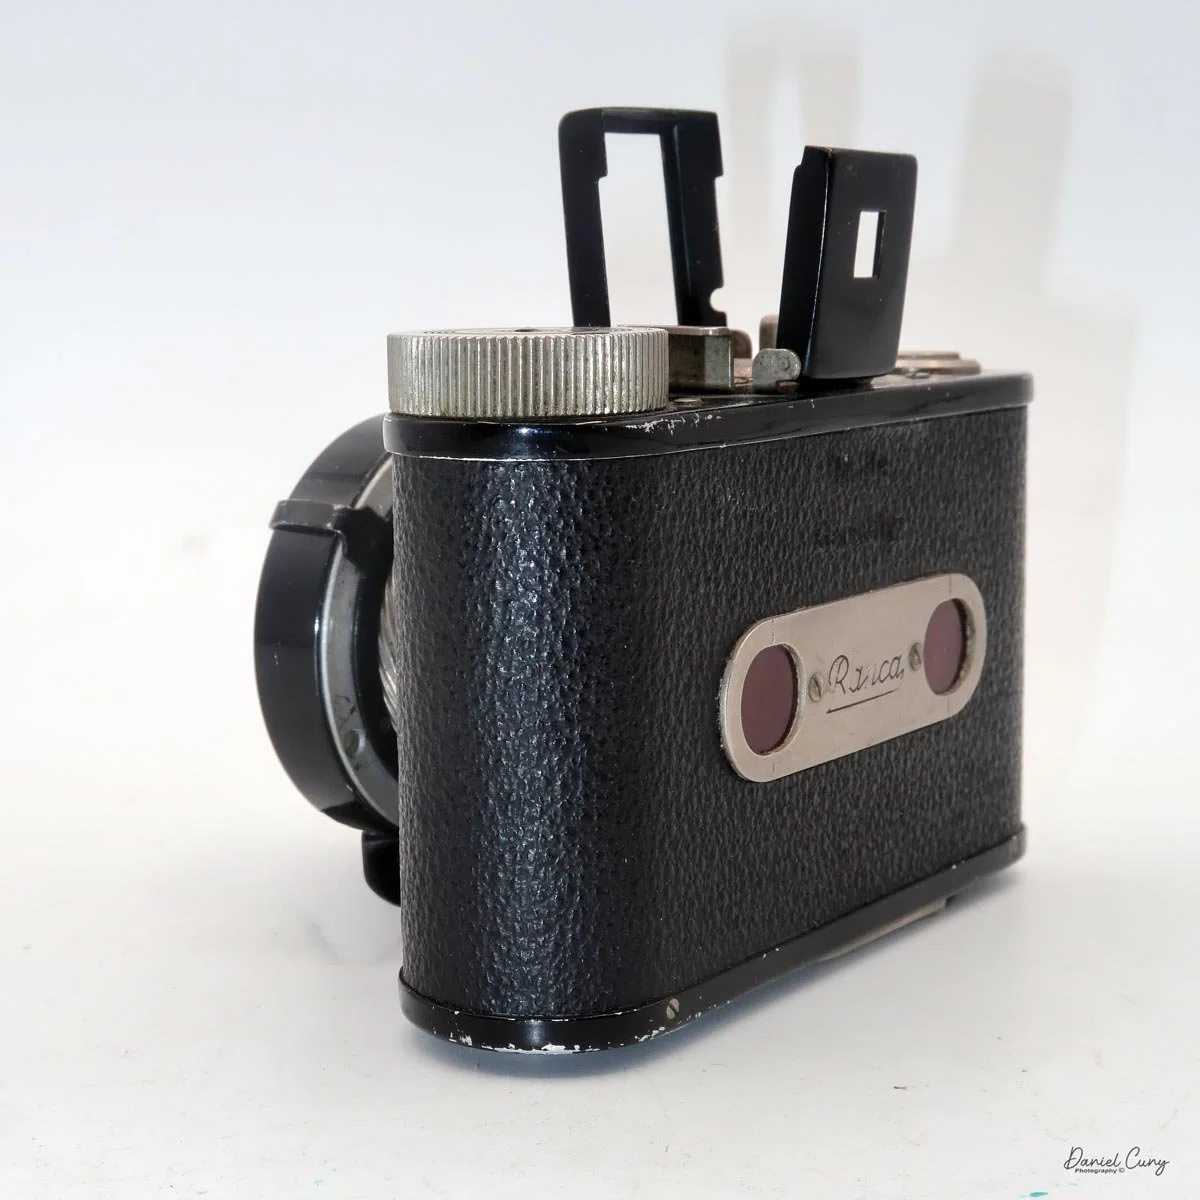
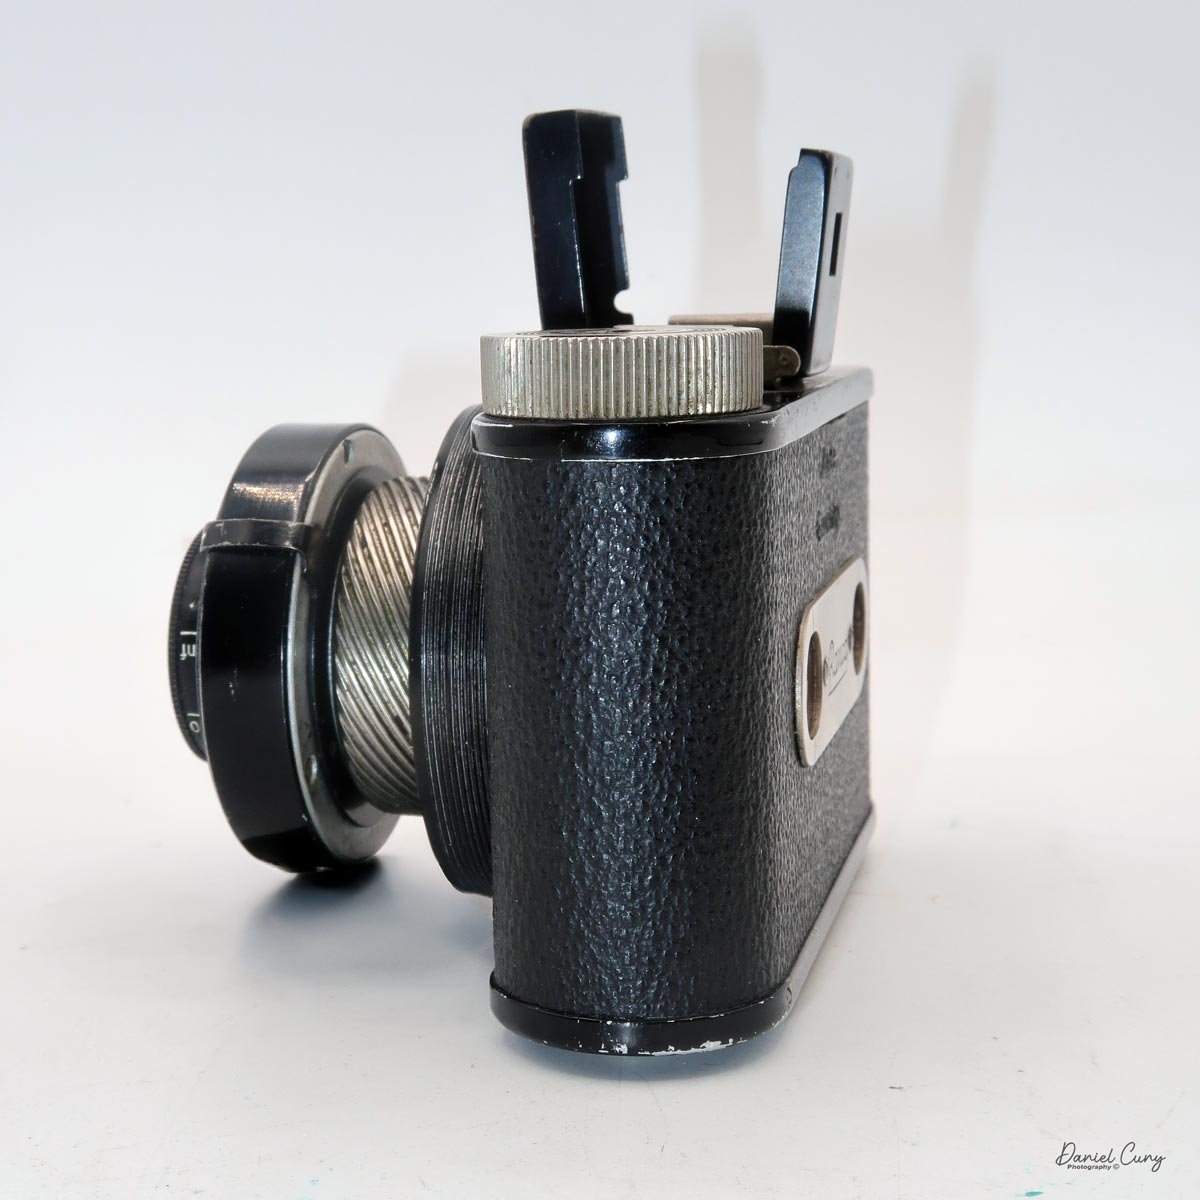
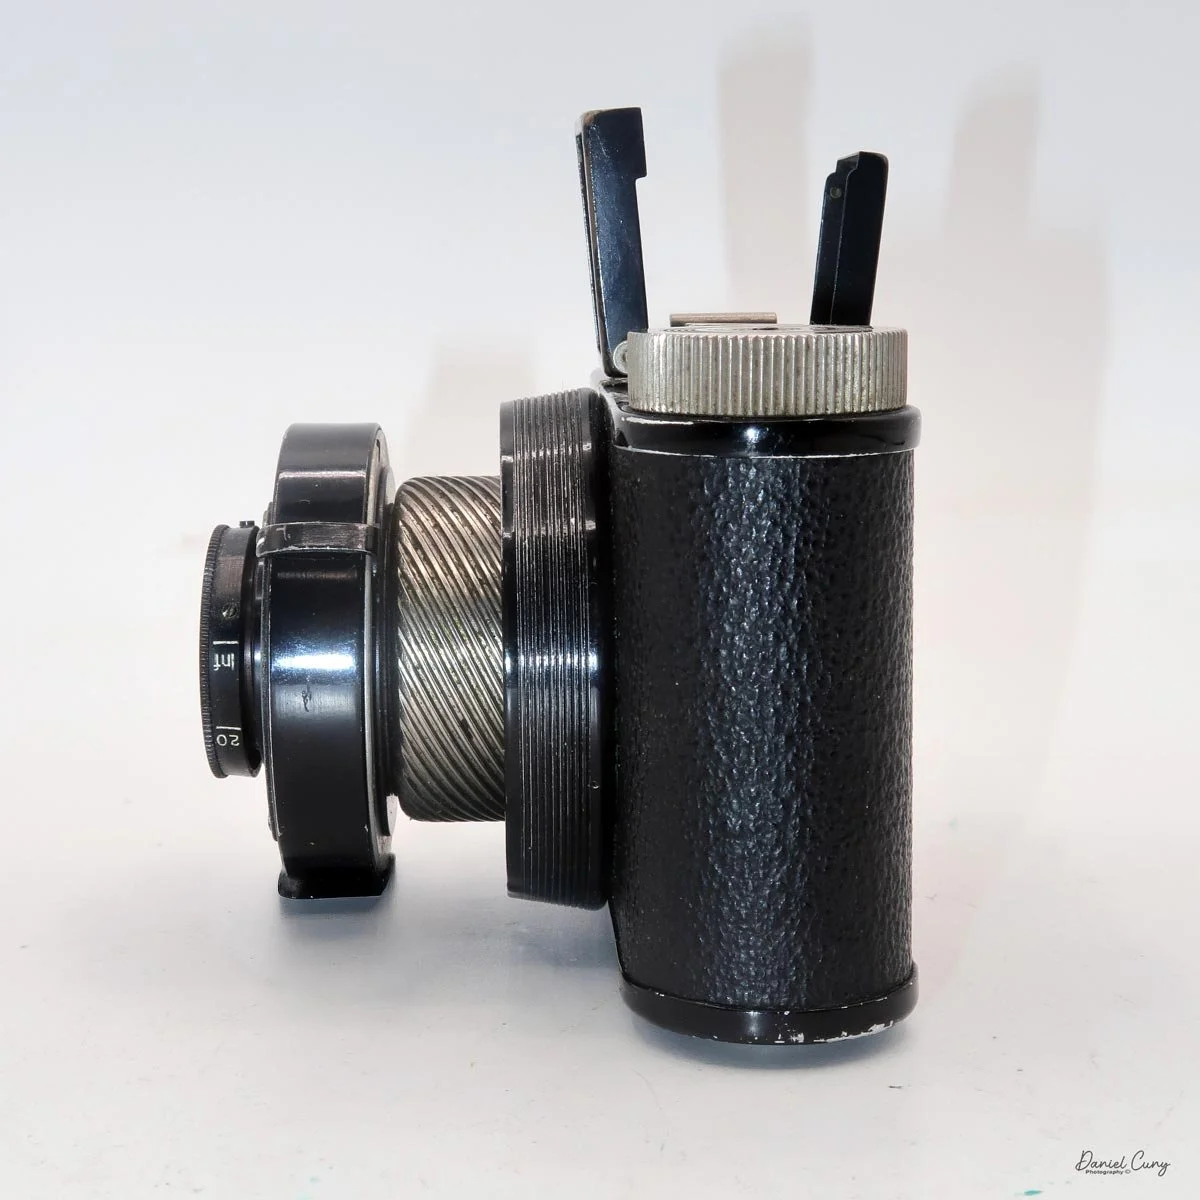
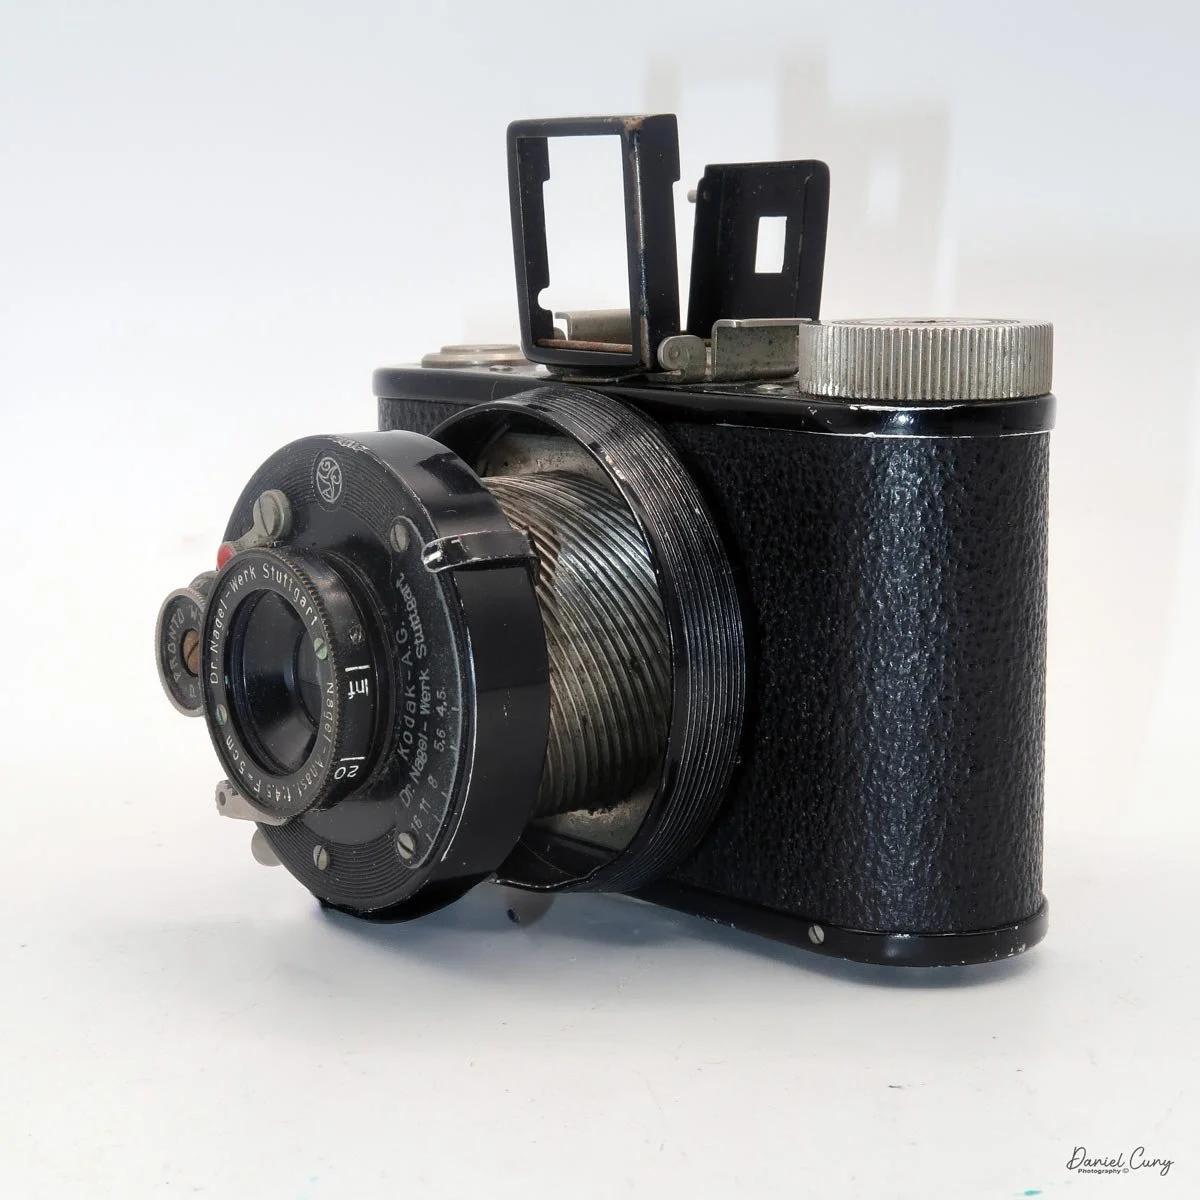
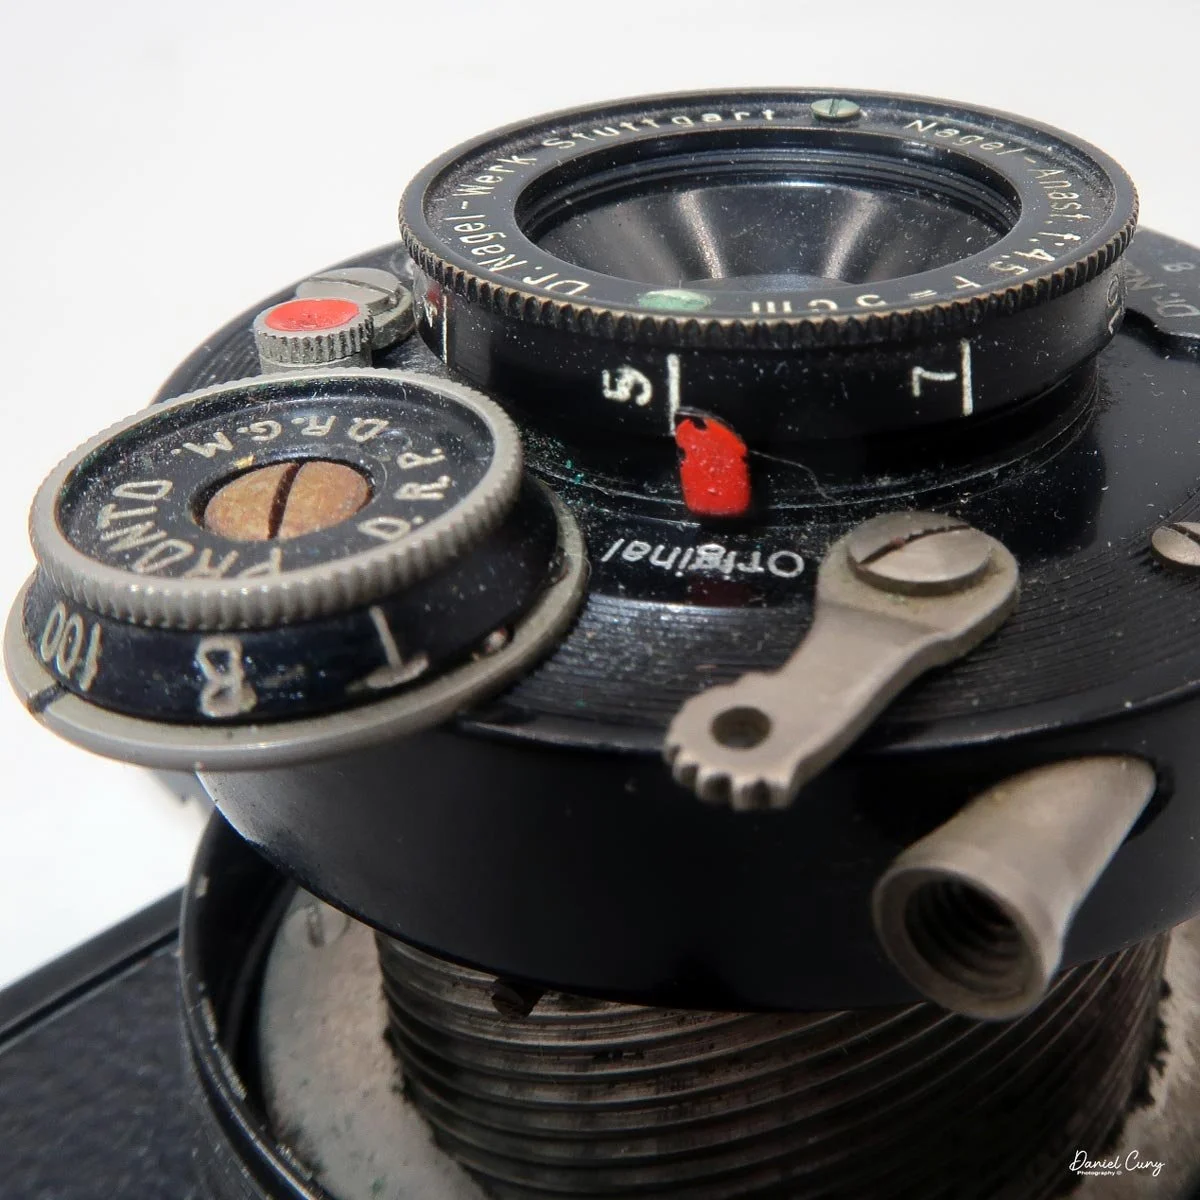
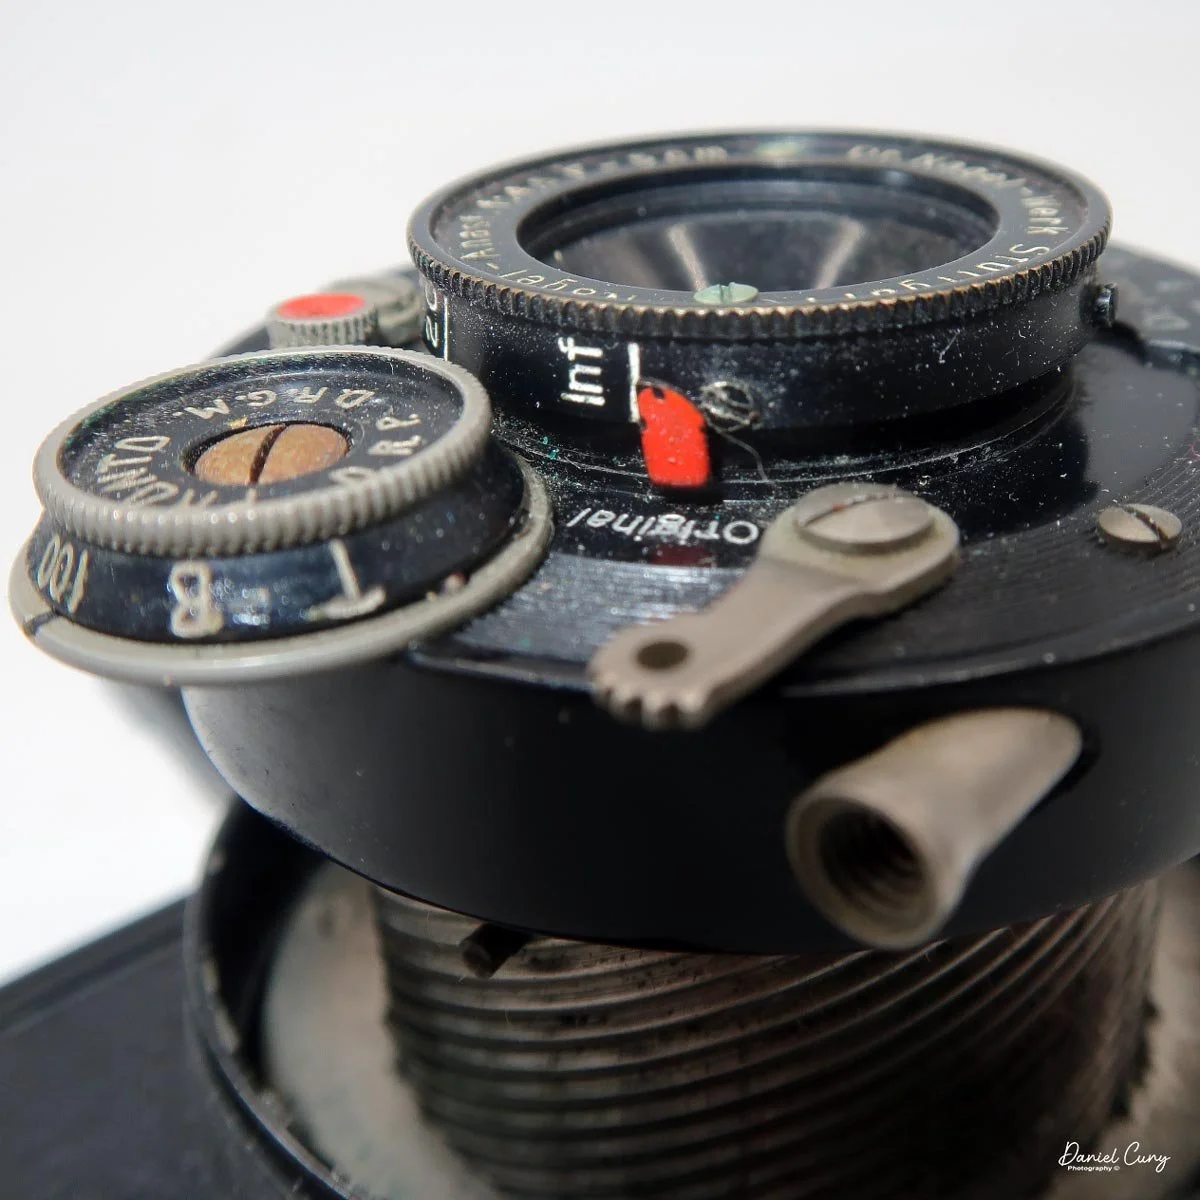
 According to my reading of the Ranca camera, there were two versions. The earlier model, known as 46/0, has a helicoid lens and shutter system that rotates out from the camera's body when you grip and rotate the shutter/lens area a quarter turn counterclockwise. This also exposes the helicoid on which the lens/shutter rotates. The second version is the 46/1, which has a rigid lens barrel with the lens and shutter on the end. 

 The camera was introduced in the middle of 1930 and remained available for only approximately 1 year, until the latter part of 1931. Both the Nagel Pupille and Ranca camera take 127-size film, producing 16, 3x4cm images on the roll. 

 Sources state that a total of 2,200 Ranca cameras were produced, compared to 5,000 of the more expensive, better-featured Pupille cameras. While the Pupille has superior features, fewer Ranca cameras are produced. Yet, the Pupille is more of a collector's item and fetches a higher price, even today.

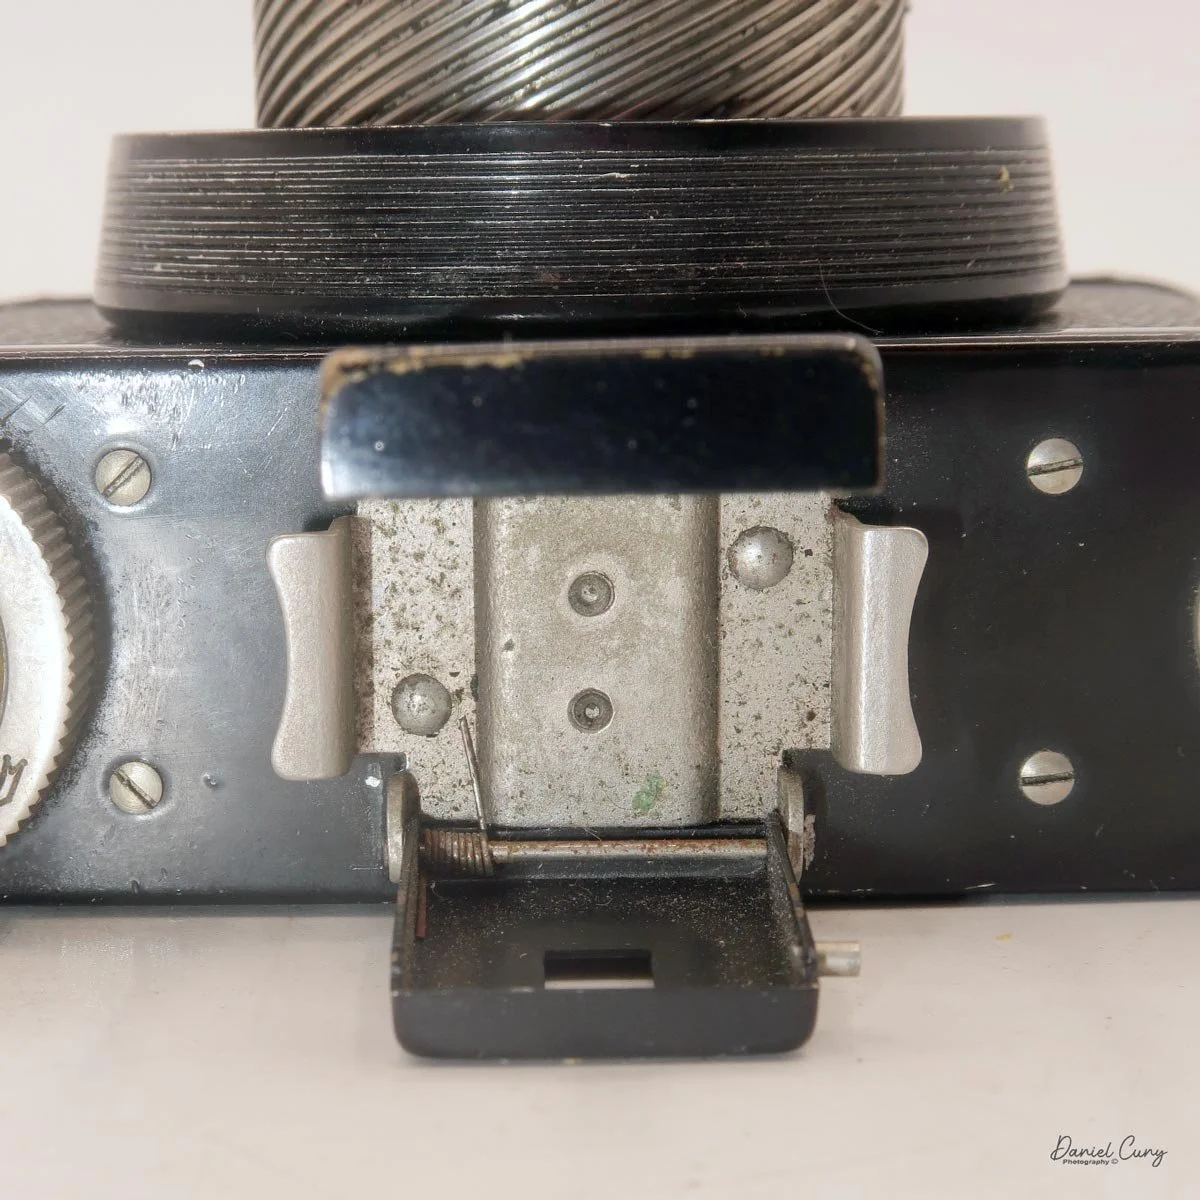
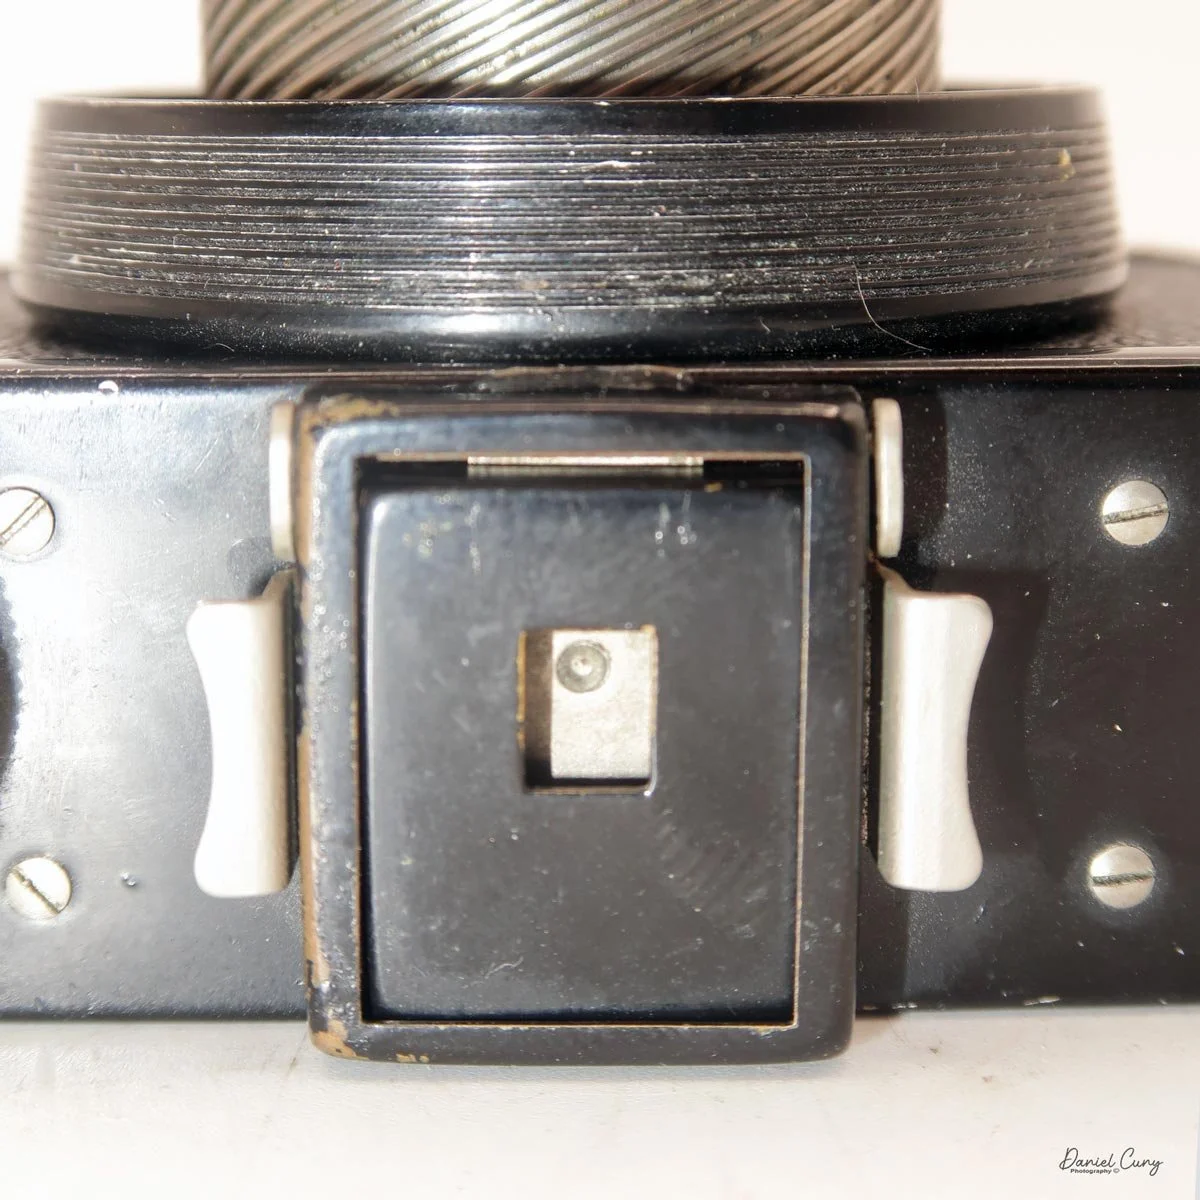
 Some of the other differences between the two models: both cameras have "sports"-style pop-up viewfinders; some have glass on the front, and some don't. Different shutters, either Prontor or Ibsor, were available. The camera uses a front focus system, with some cameras opting for a very simple distance scale for portrait, group, or landscape. In contrast, others have the distance in feet on the lens barrel. 

History:

 Dr. August Nagel was one of the most important European designers ever associated with Eastman Kodak, and their partnership reshaped Kodak's position in the precision‑camera market. In 1932, Eastman Kodak purchased Nagel's Stuttgart-based firm, Dr. Nagel-Werke, and reorganized it as Kodak A.G., retaining Nagel as managing director and head of design. Before this acquisition, Kodak was dominant in film and popular roll-film cameras. Still, German makers like Leica and Contax defined the high‑end miniature camera segment. Kodak wanted a German-built precision camera to compete directly, yet at a lower price and in a form that fit its mass‑market philosophy. Nagel, already respected for compact folding designs and his work on Contessa-Nettel and Zeiss Ikon models, was the ideal partner to bridge that gap.

Kodak Ranca advertismant

 Within Kodak A.G., Nagel used generous Eastman funding and Kodak's global reach to develop a compact 35mm camera that could rival the established German leaders. The result was the Kodak Retina, introduced in 1934 (Type 117), a folding 35mm camera that offered solid German construction and good optics at a far more accessible price than Leica or Contax. At the same time, Nagel introduced a new daylight-loading 35mm cartridge—what became known as Kodak 135 film—which fit not only the Retina but also Leica and Contax cameras. This cartridge standardized 35mm still photography worldwide. It made 35mm use far easier for ordinary photographers, who no longer needed to roll film into cassettes in the dark.

 Nagel's collaboration with Eastman Kodak extended beyond the Retina itself. Under the Kodak A.G. banner in Stuttgart, he and his team produced several notable pre‑Retina and companion models, such as the Recomar plate cameras, the compact Pupille, the Vollenda folding cameras, and the Duo 620 medium‑format folders. These cameras married Nagel's hallmark precision and compactness with Kodak's branding and distribution, giving Kodak an instant foothold in the "serious enthusiast" and professional market that had previously looked almost exclusively to other German makers. 

 Although Nagel died in 1943, the Retina line continued to evolve with the introduction of the rangefinder. Later SLR versions, and the 135 cartridge he introduced, remain the standard for 35mm film, making his association with Eastman Kodak one of the most consequential designer–manufacturer partnerships in camera history.

My Camera:

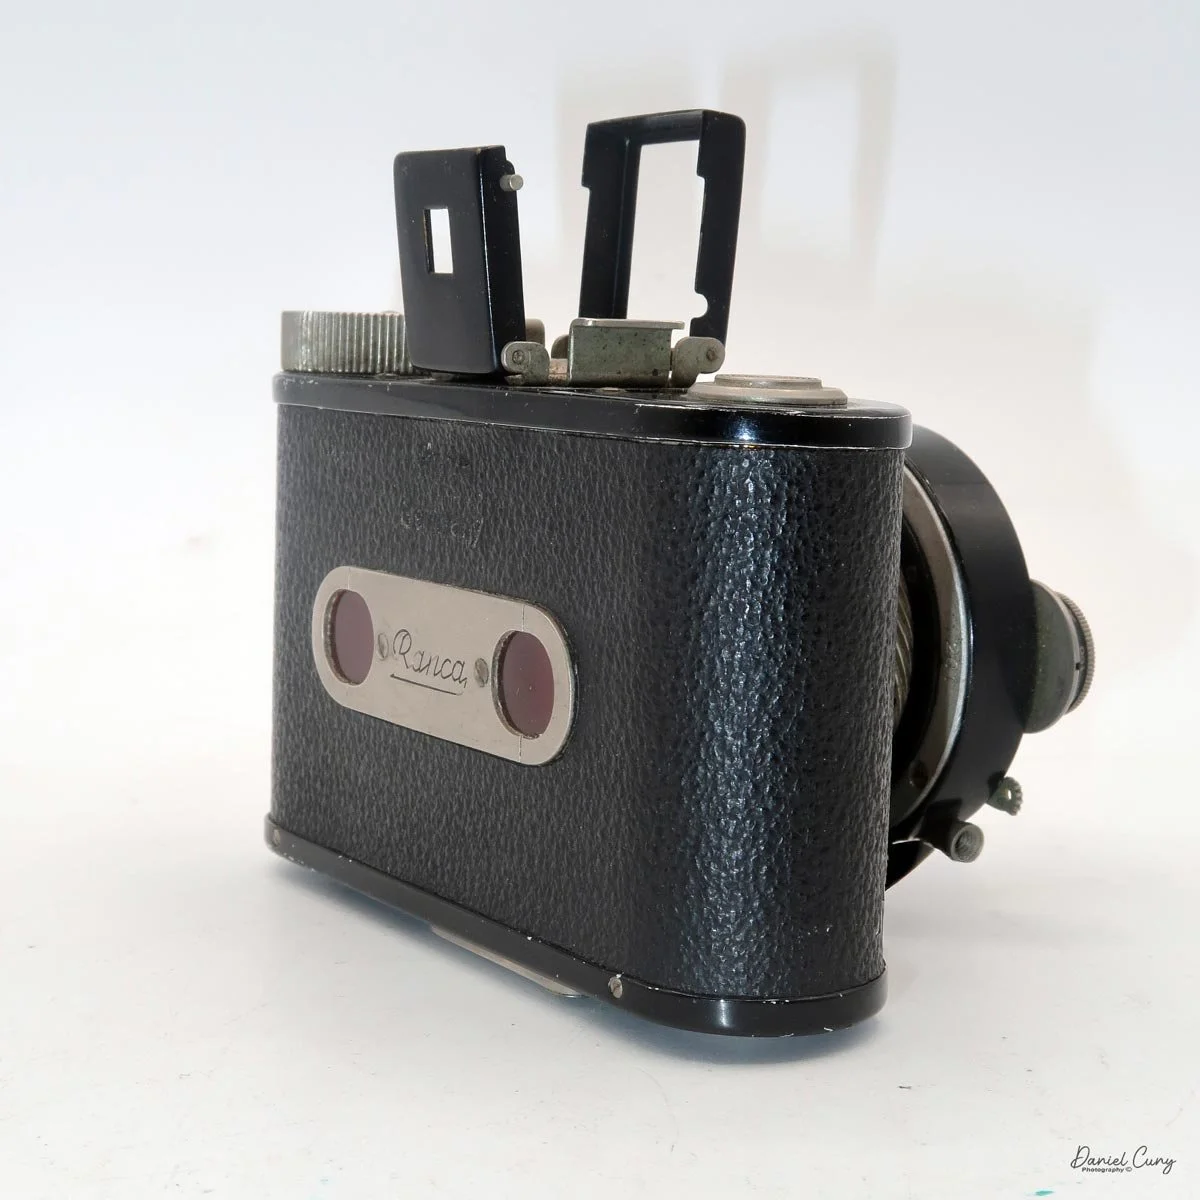
 My Nagel Ranca camera is 4" wide by 2.5" tall with the viewfinder retracted, and 3.25" tall with the viewfinder extended. The camera is 2.25" deep with the lens retracted into the camera body. When it's extended and ready to take a photo, it's 2.75" deep. The camera weighs 10.1 ounces when a roll of film is not loaded.

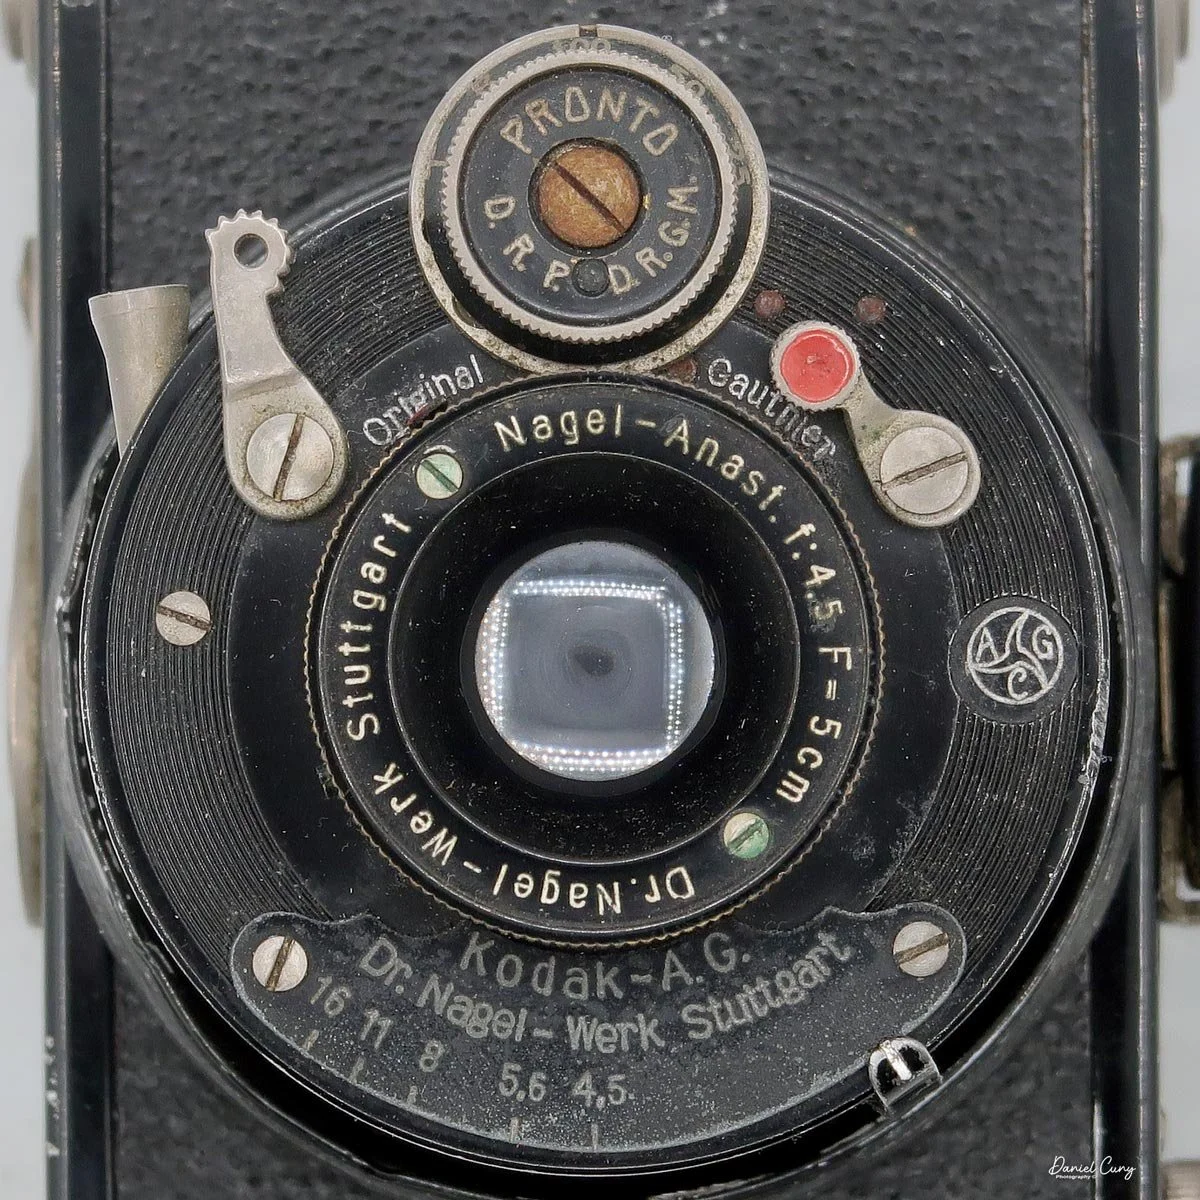
 My Nagel Ranca has a Nagel Anistigmat 5cm lens, an F/4.5 lens, a Protar shutter located above the lens with only three shutter speeds: 1/100, 1/50, 1/25, along with "T" for timed and "B" for Bulb. The aperture ring, which is located below the lens, has a slide that controls the aperture. The minimum aperture setting is F/16.

Shutter/Aperture settings on Kodak Ranca camera

As mentioned previously, the lens/shutter needs to be turned counterclockwise a quarter turn to extend the lens on the helicoid. The unusual thing about doing this is that the shutter release is now in an odd and awkward position for use. The lens/shutter is retracted, and the shutter release is in the 11:00 o'clock position, which is ideal for tripping the shutter. However, when the lens is extended, it puts the shutter release in the 7:00-8:00 o'clock position, making it a bit more awkward, in my opinion. 

 There is a shutter release socket behind the shutter release if needed. On the right side of the shutter dial is a self-timer with a large red dot. Pull it down to set the self-timer, then press it to activate it. Mine isn't working properly, which is common for cameras from this era.

The lens is a front focusing lens. This means you rotate the lens itself to the desired distance from you to the subject. This is shown on the lens by a red line, which is also in an awkward position when the lens is extended. As opposed to being on the top, it's now on the side.

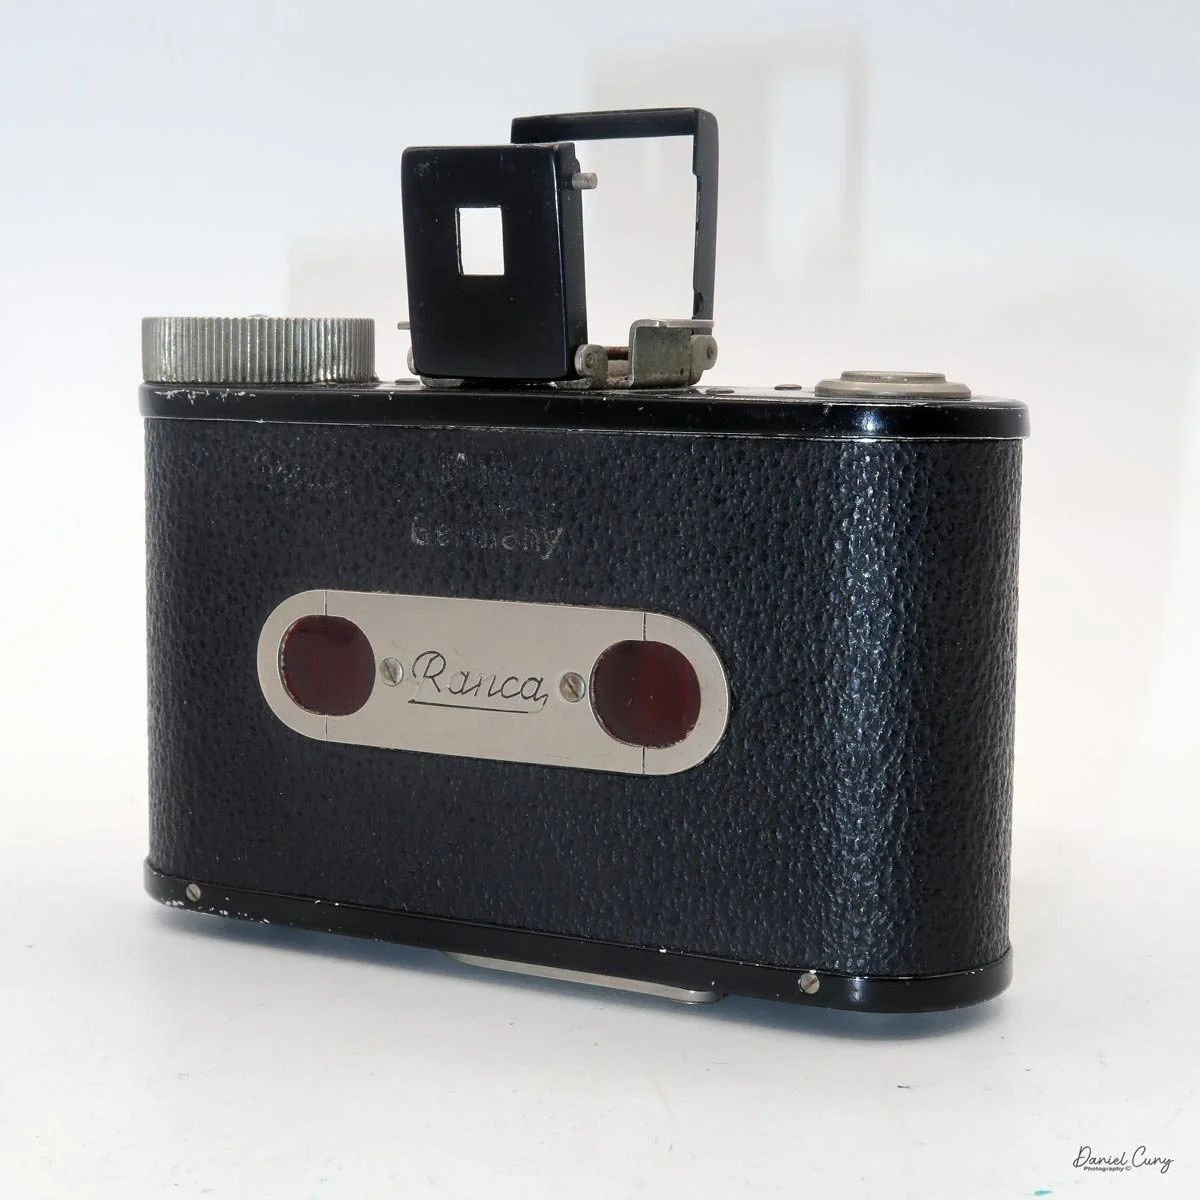
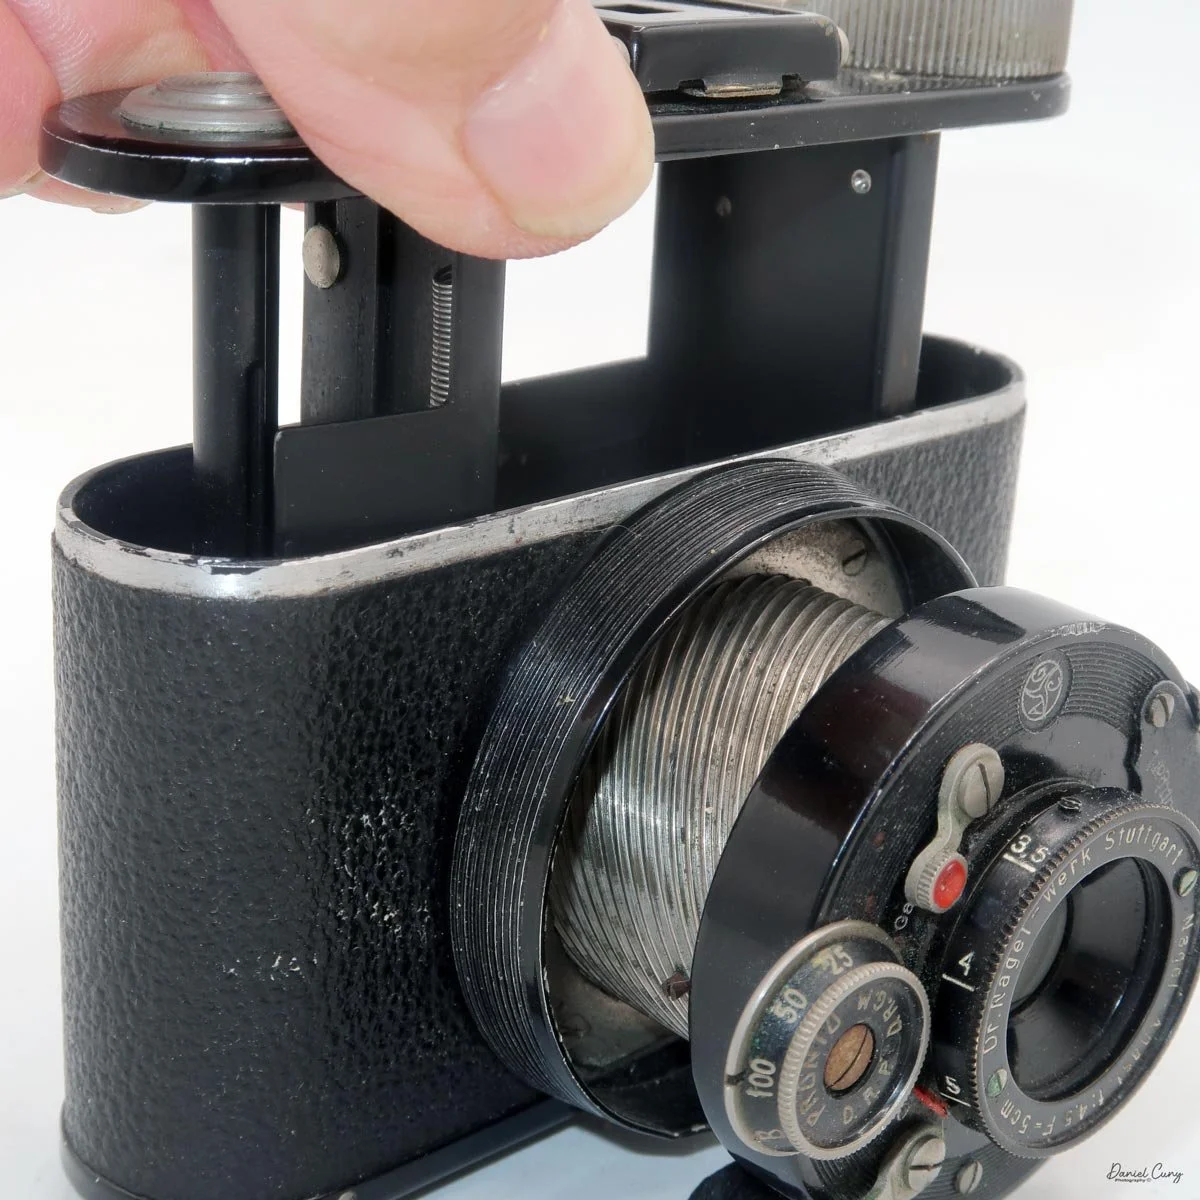
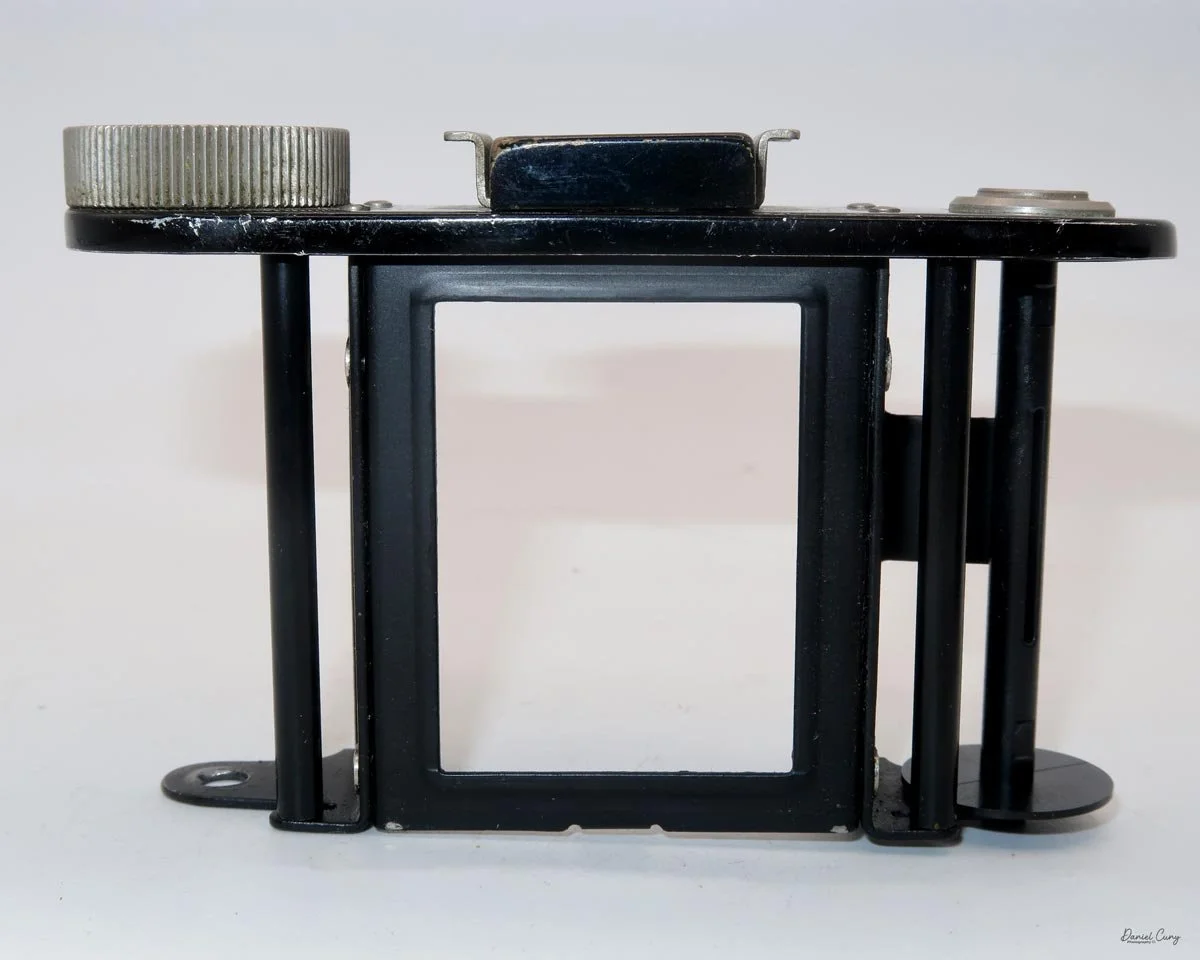
 The lens doesn't need to be extended to open the camera to load film into it. Slide the lever on the bottom of the camera to unlock the film chamber from the camera body. Gripping the chrome handles on either side of the viewfinder and lifting up allows you to remove the film chamber. Once removed, load the 127-size film into the film holder, then slide the film holder back into the camera body and lock it in place with the bottom locking mechanism.

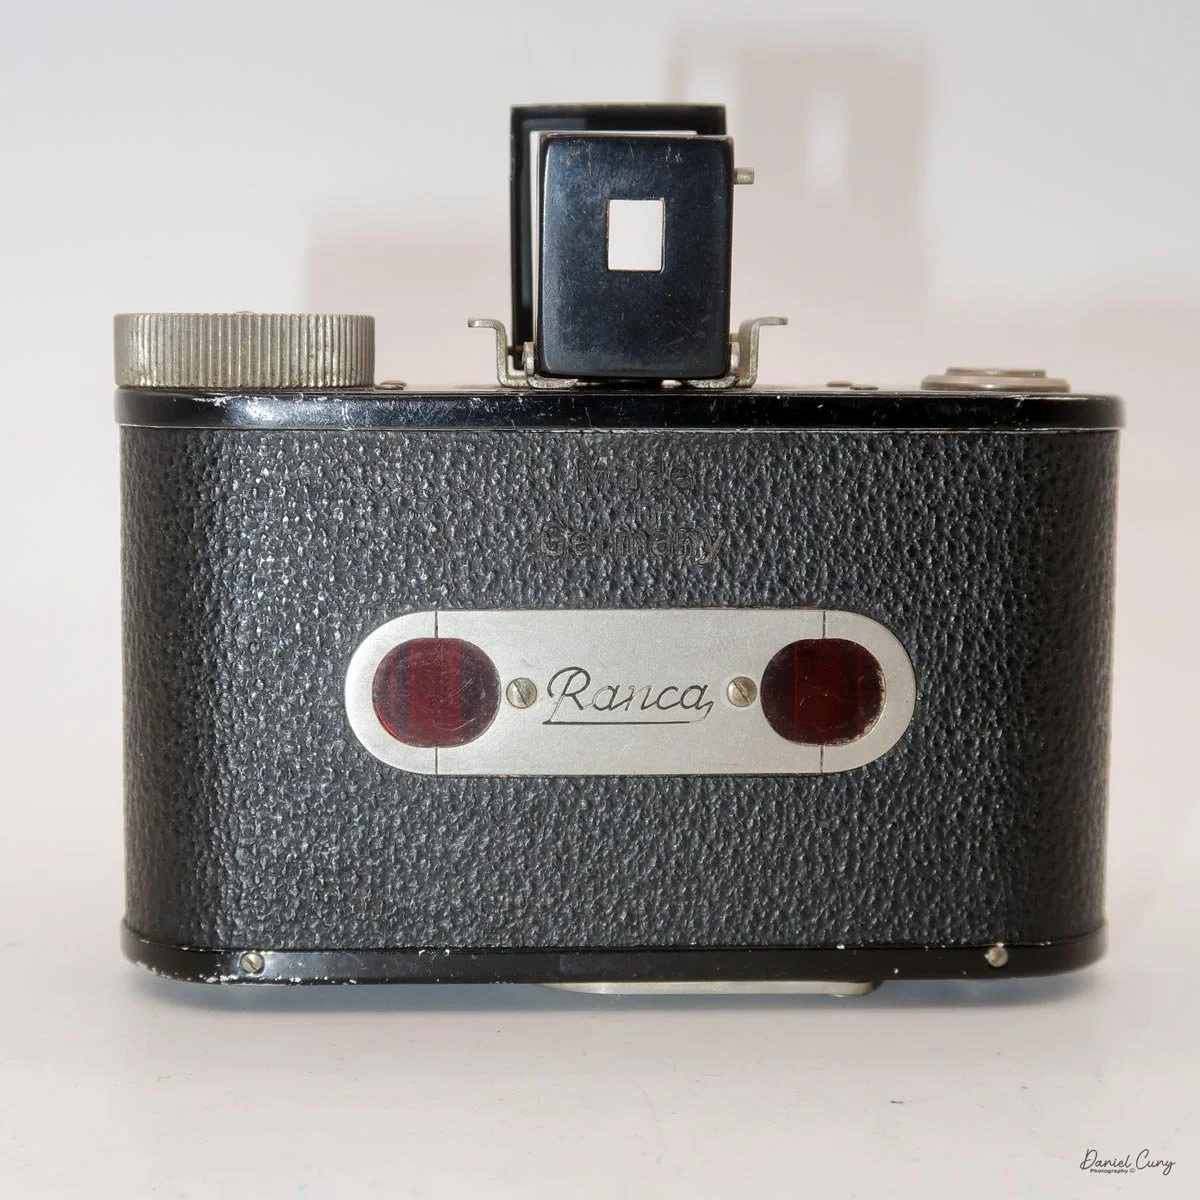
Since there are two red windows on the back, these are used to advance the film. First, wind the film until you see the number 1 in the right side window. Then take your photo. Now wind the film until you see the number 1 in the left side window. Take your next photo. Wind until you see the number 2 in the right side window. Then repeat this process through the number 8. At this point, you've taken 16 photos on your film, and it's time to get it processed, or process it yourself if you have the equipment and chemicals to do so.


My results:

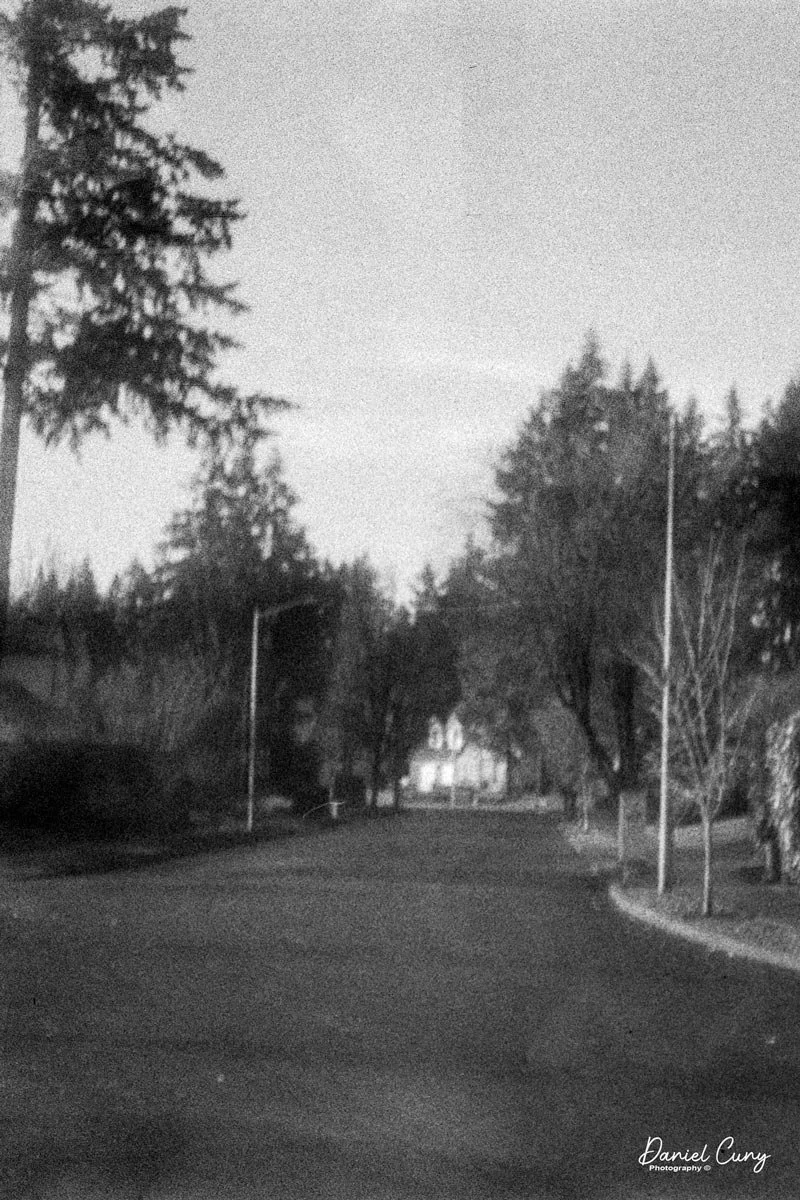
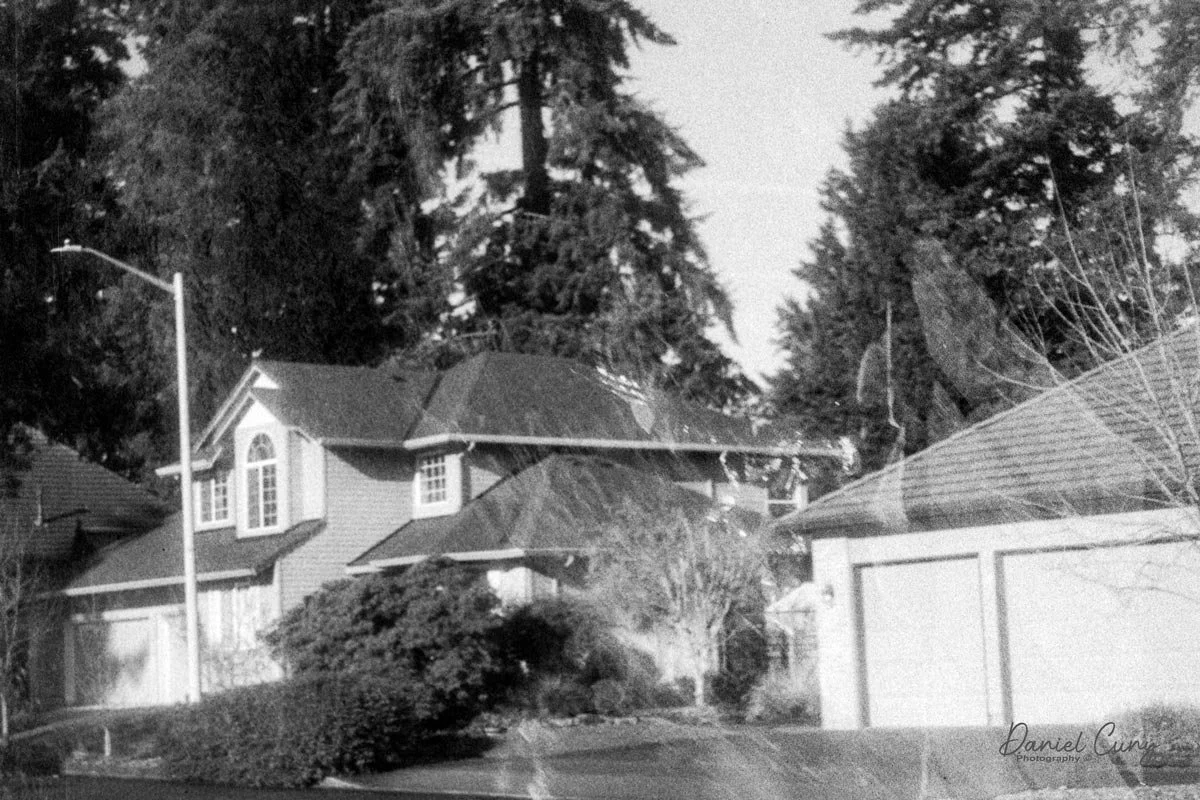
 I loaded a roll of 400 ISO film into the Nagel Ranca camera because the day started out overcast. With the limited shutter speeds available, I needed the extra sensitivity to make good images.

 The day turned out sunnier than expected, and the lack of a high-speed shutter meant I needed to shoot all the images at 1/100, f/16. Even then, the negatives turned out a bit denser than anticipated, but I made the corrections needed in post-processing.

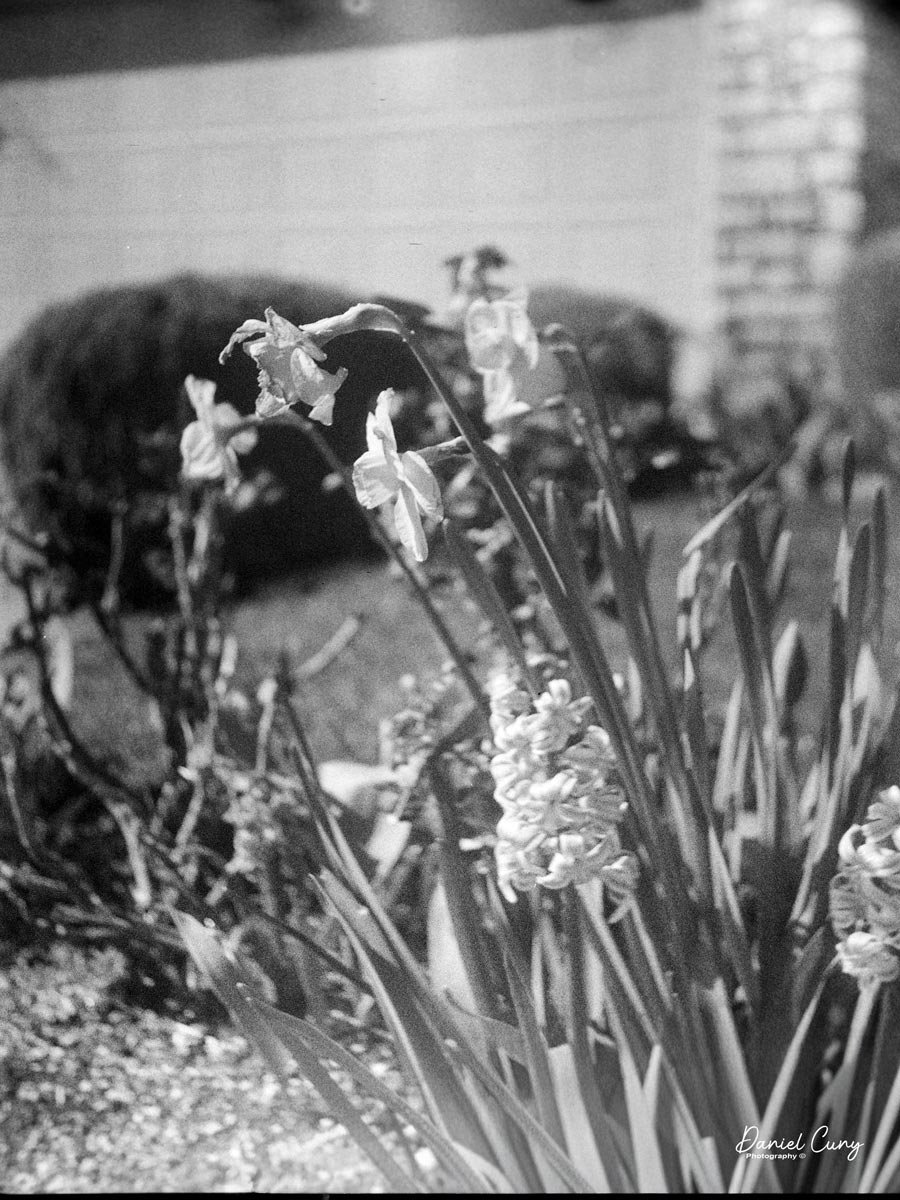
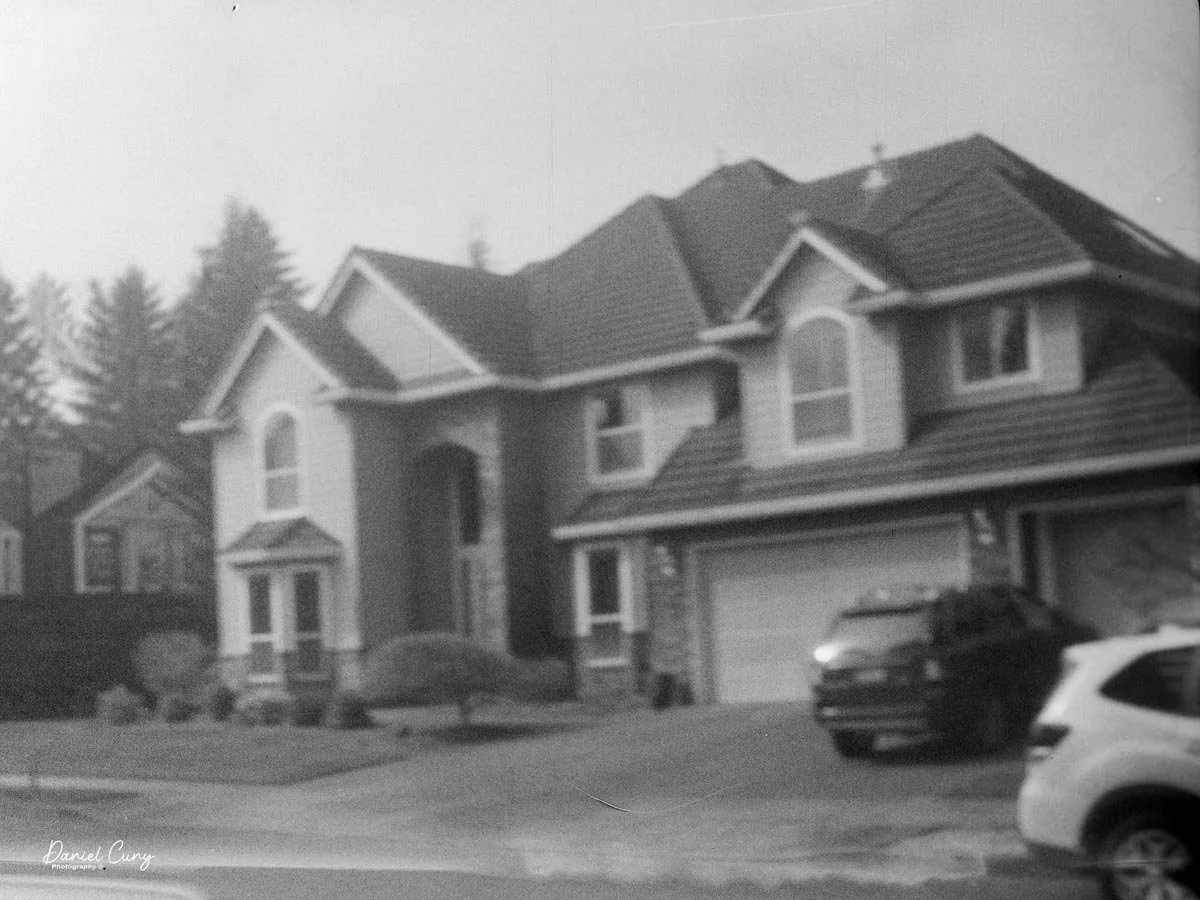
 I tried some close-ups and a few longer shots to assess the camera's lens quality. I was both surprised, in a good way, and surprised, in a bad way, by my results.

 Here are some of the photos from my walk through the neighborhood. 

Conclusion:

 To say I was disappointed by some of the results is an understatement. The closer images, which I thought wouldn't turn out very well, were the shining light of the camera roll. The images taken at infinity, assuming they would be sharp, especially at F/16, are unsharp and disappointing.

 The camera was fun to shoot with, and I always enjoy shooting 127 film in the 3x4cm format. Still, I was also disappointed with the shutter release's location after extending the lens to the "taking" position. The shutter release was in an awkward position, to the point that I had to shoot the camera with my thumb while resting it in my palm.

 I'll get used to it next time I take the camera out for a shoot, but I prefer using the Nagel Pupille.

 Thank you for taking some time to learn about the "lesser featured" brother of Nagel's Pupille, the Ranca camera. A compact 127 camera made in the early 1930s.

 Here are the other Camera Reviews I've done.

 Cuny's Cameras and Photos is my online eBay store where I sell some of the cameras reviewed, along with many other photo oddities I've accumulated over my 50-plus years with cameras and images.

 Until next week, please be safe.
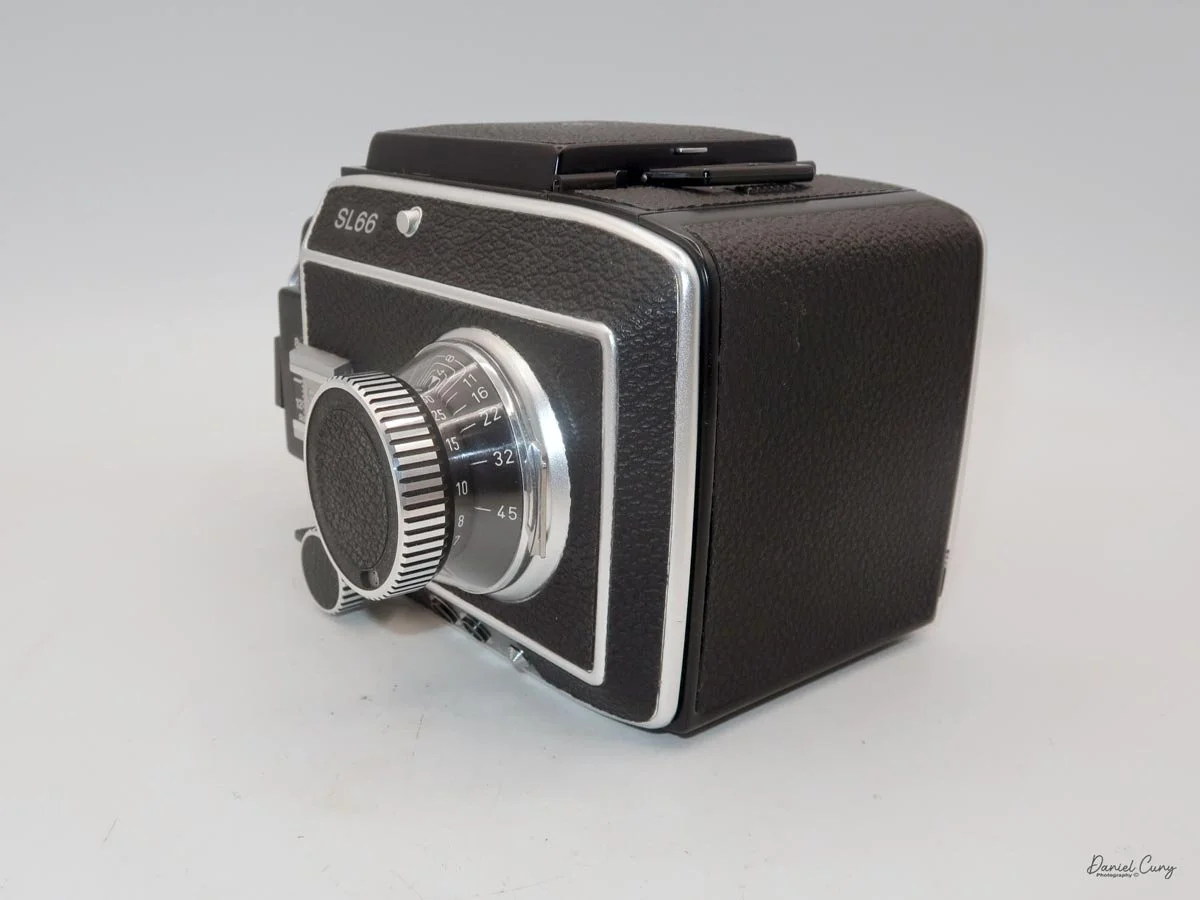
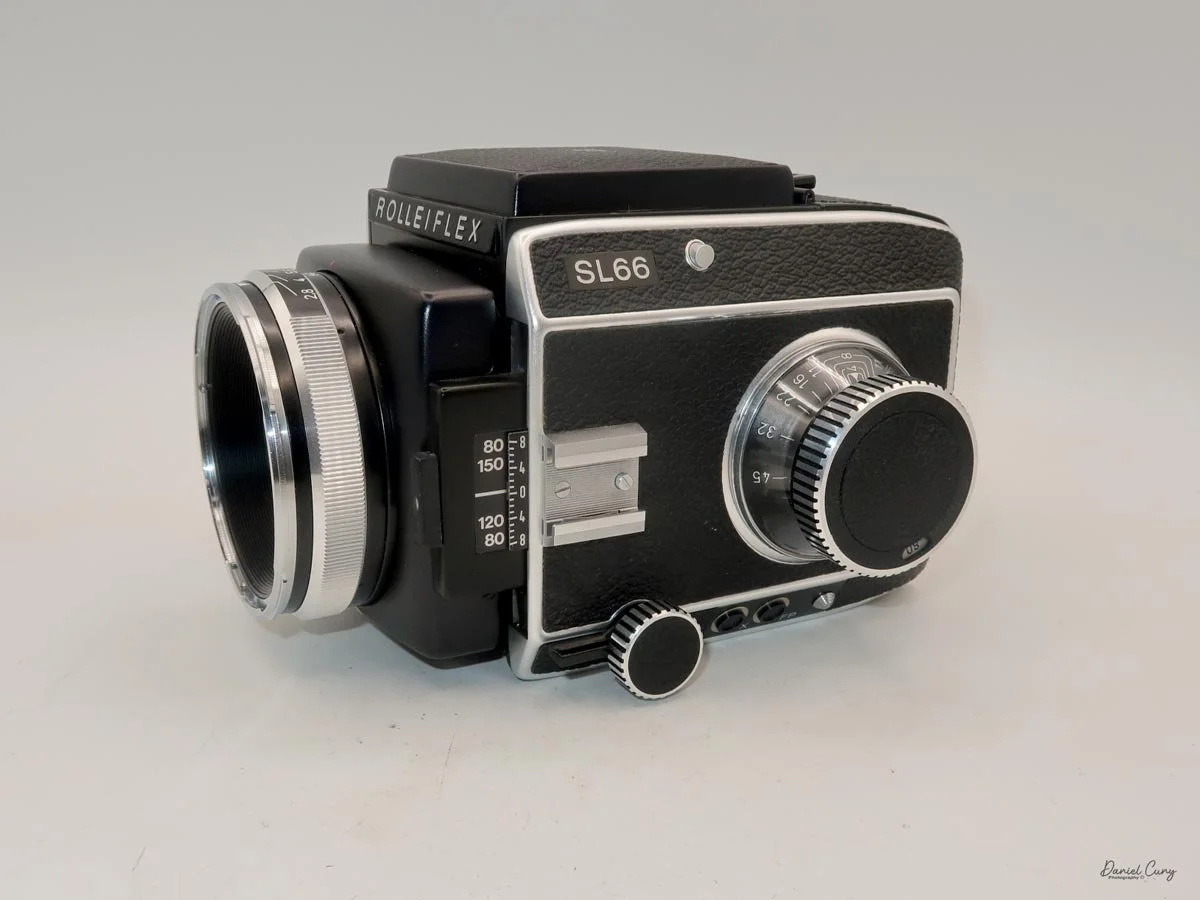
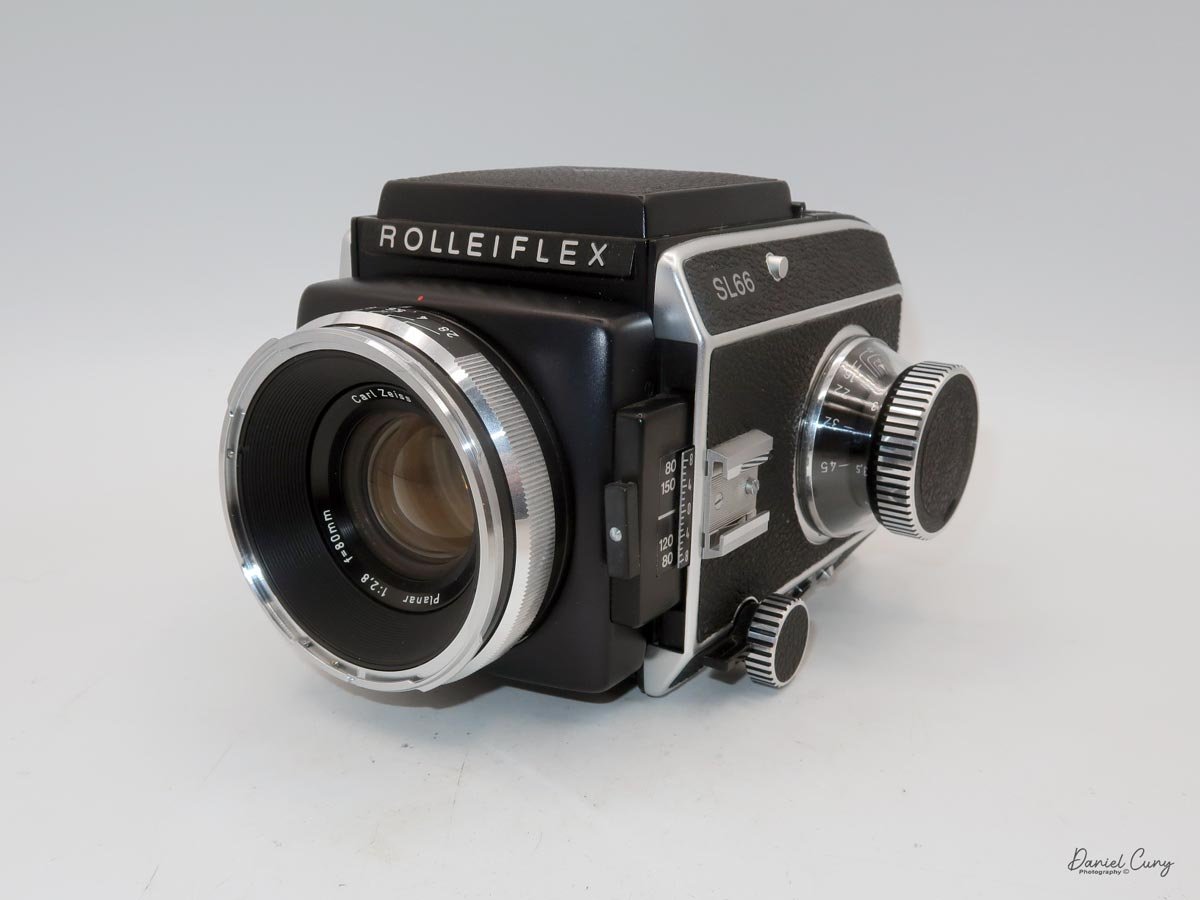
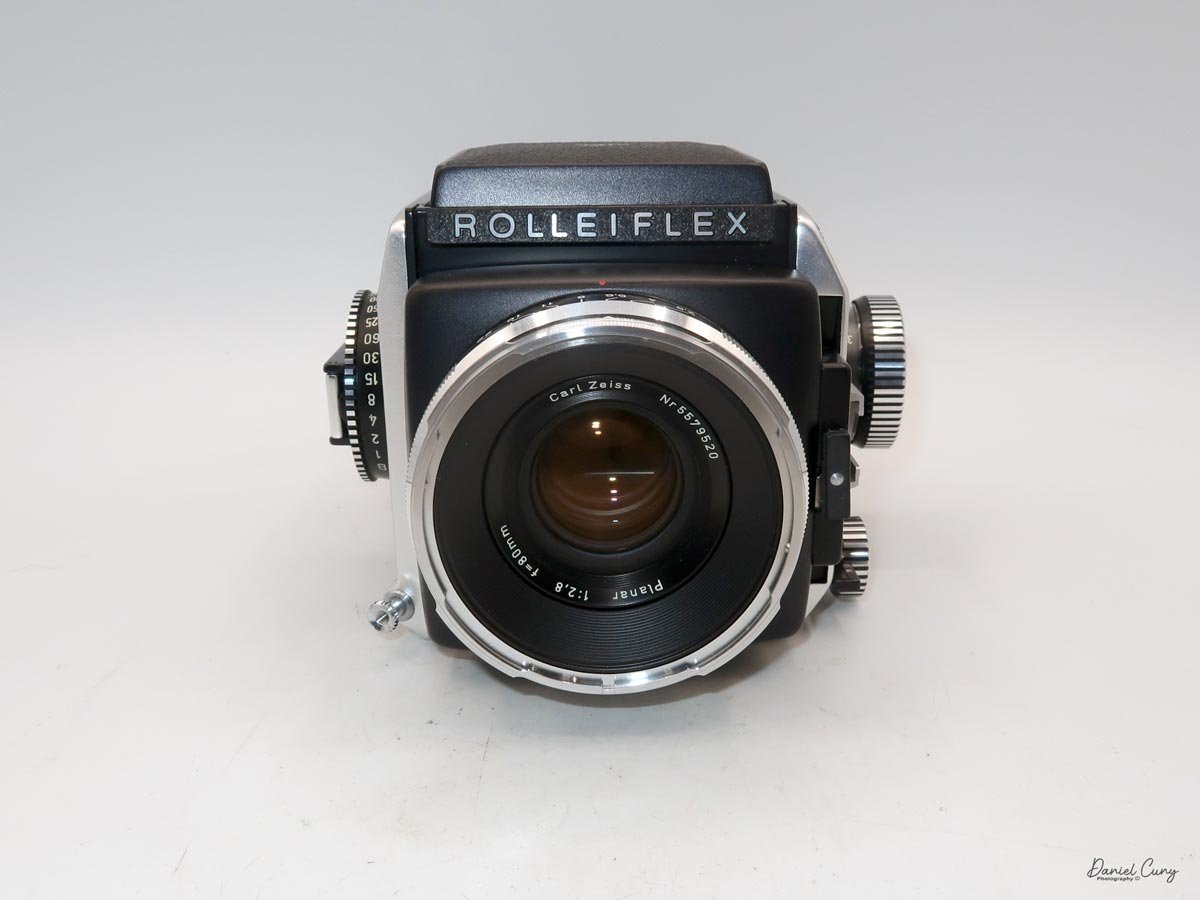
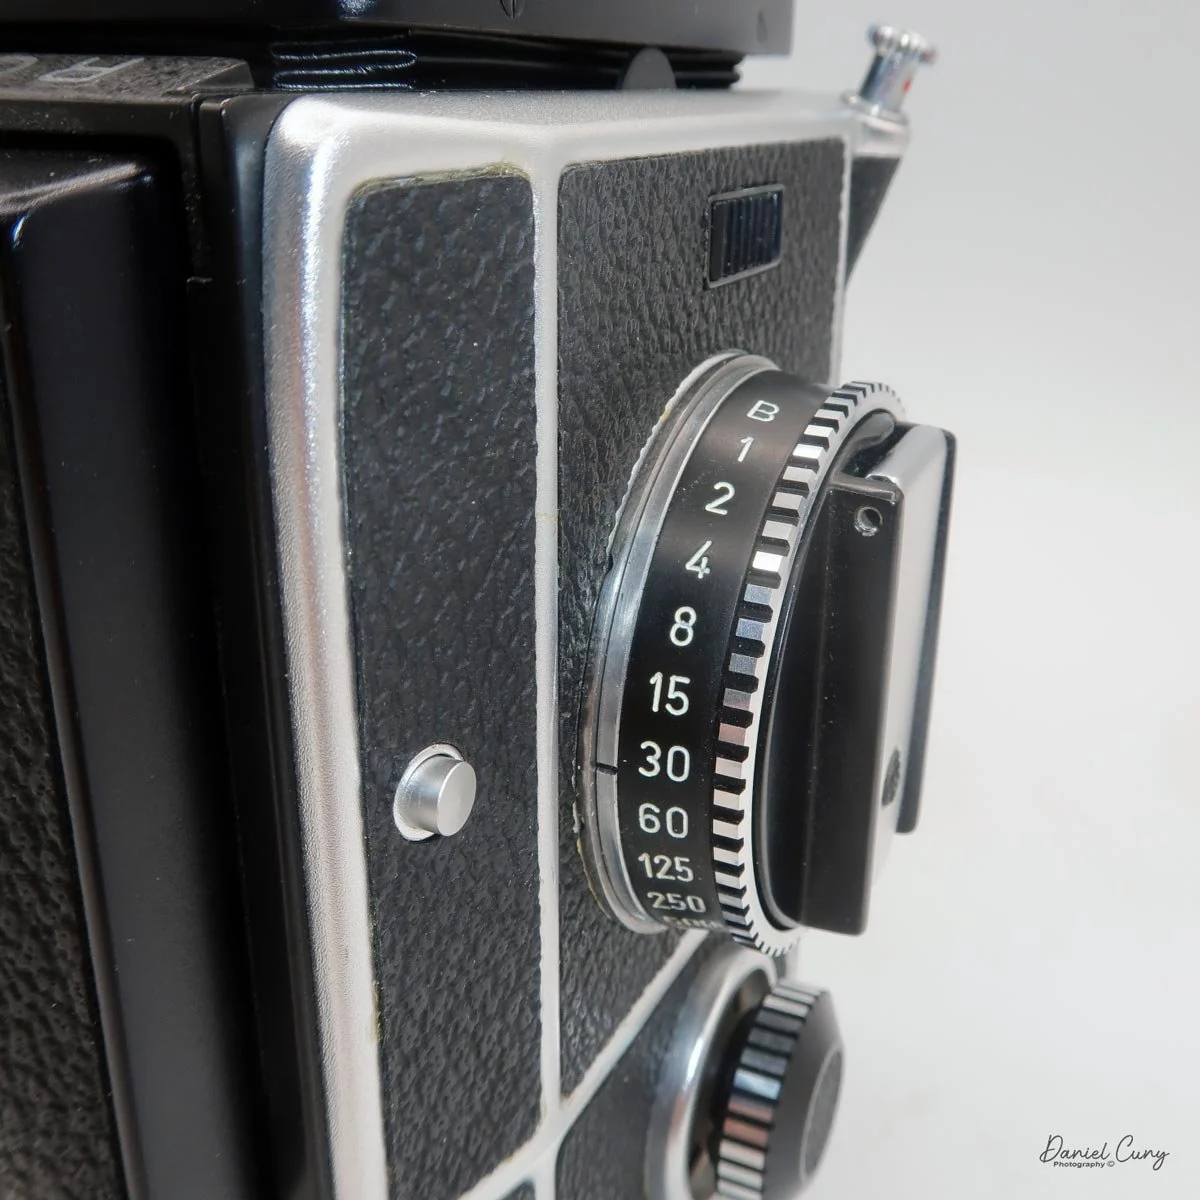
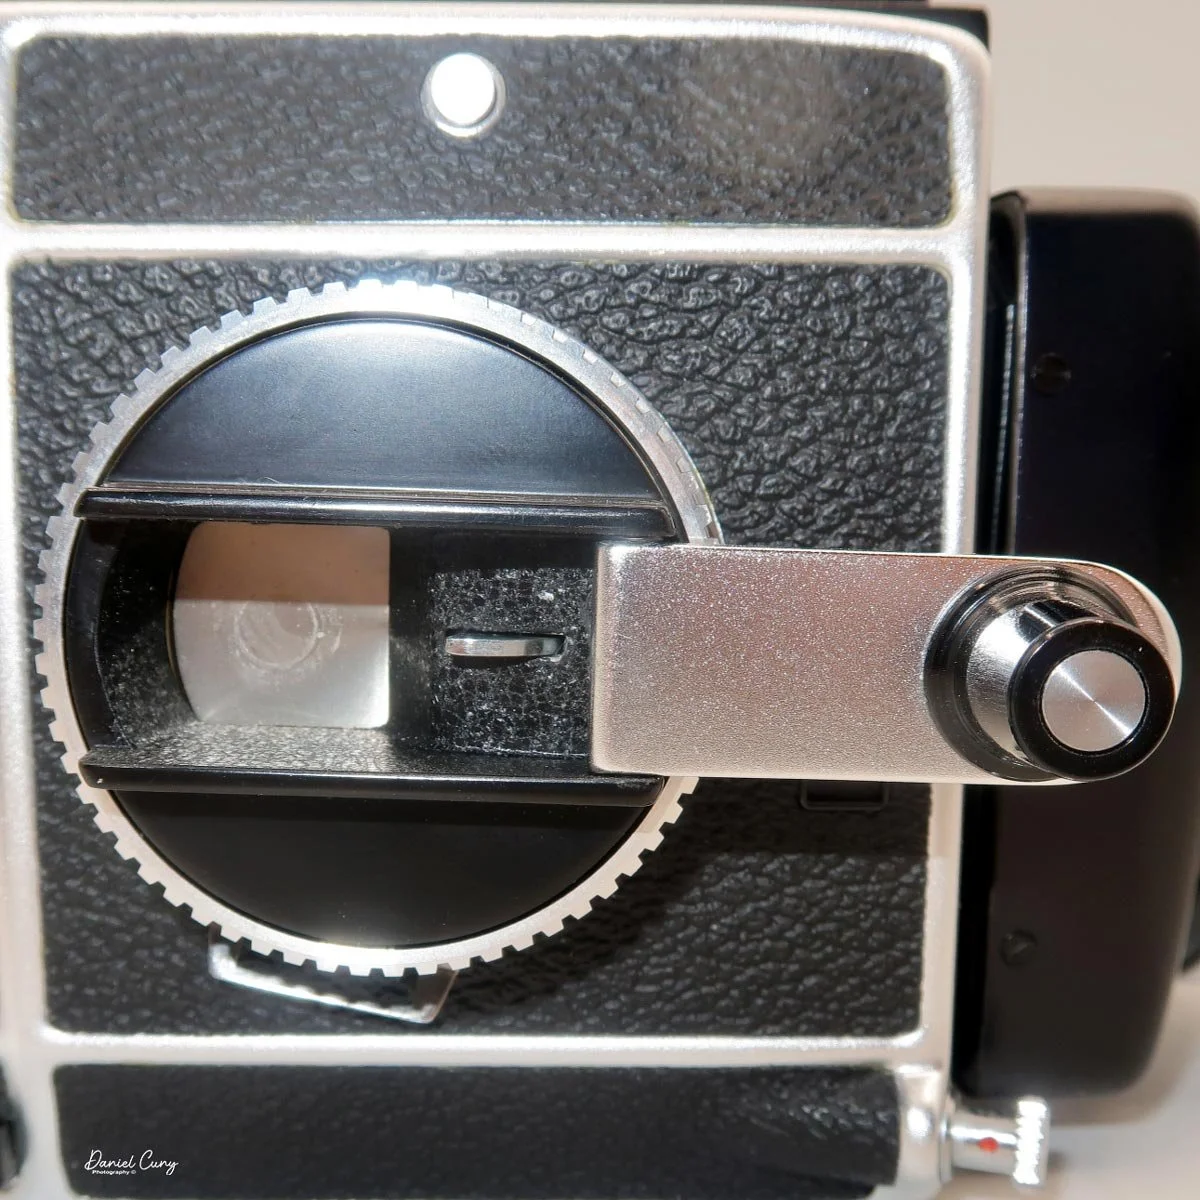
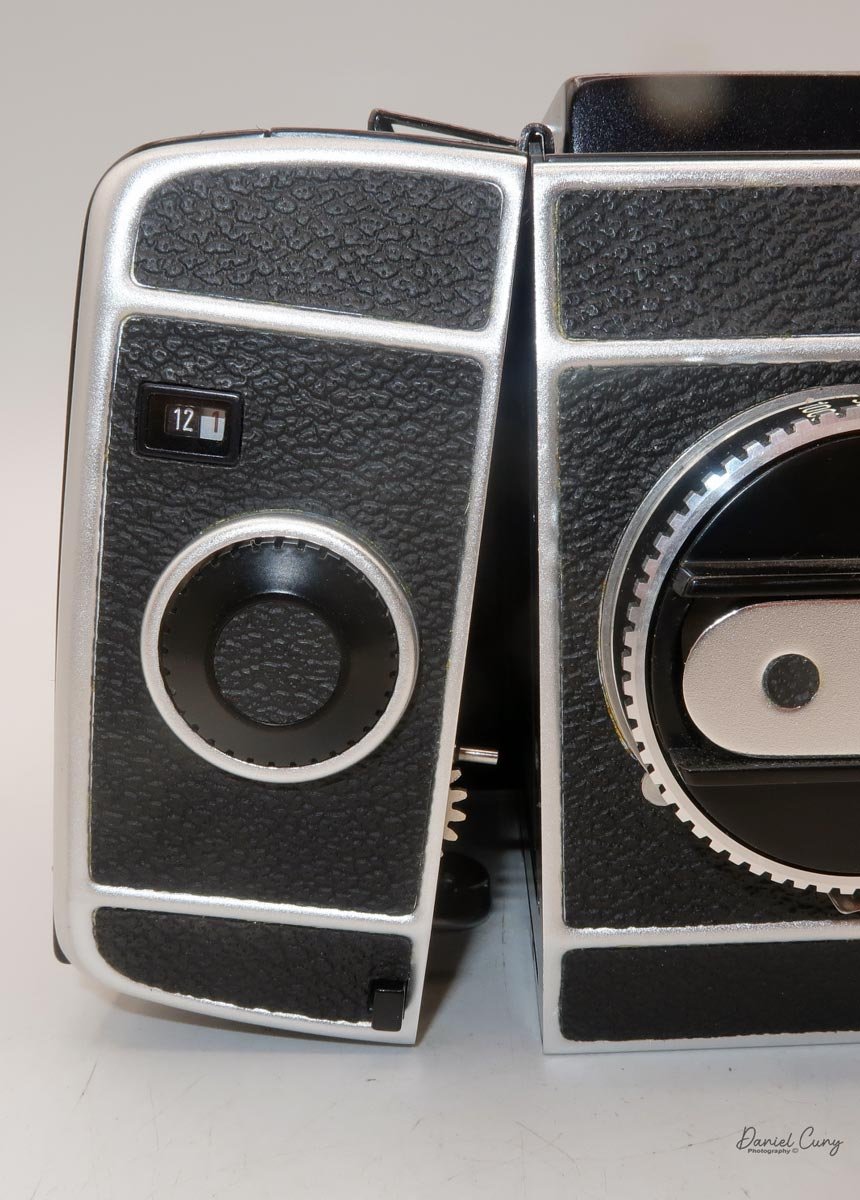
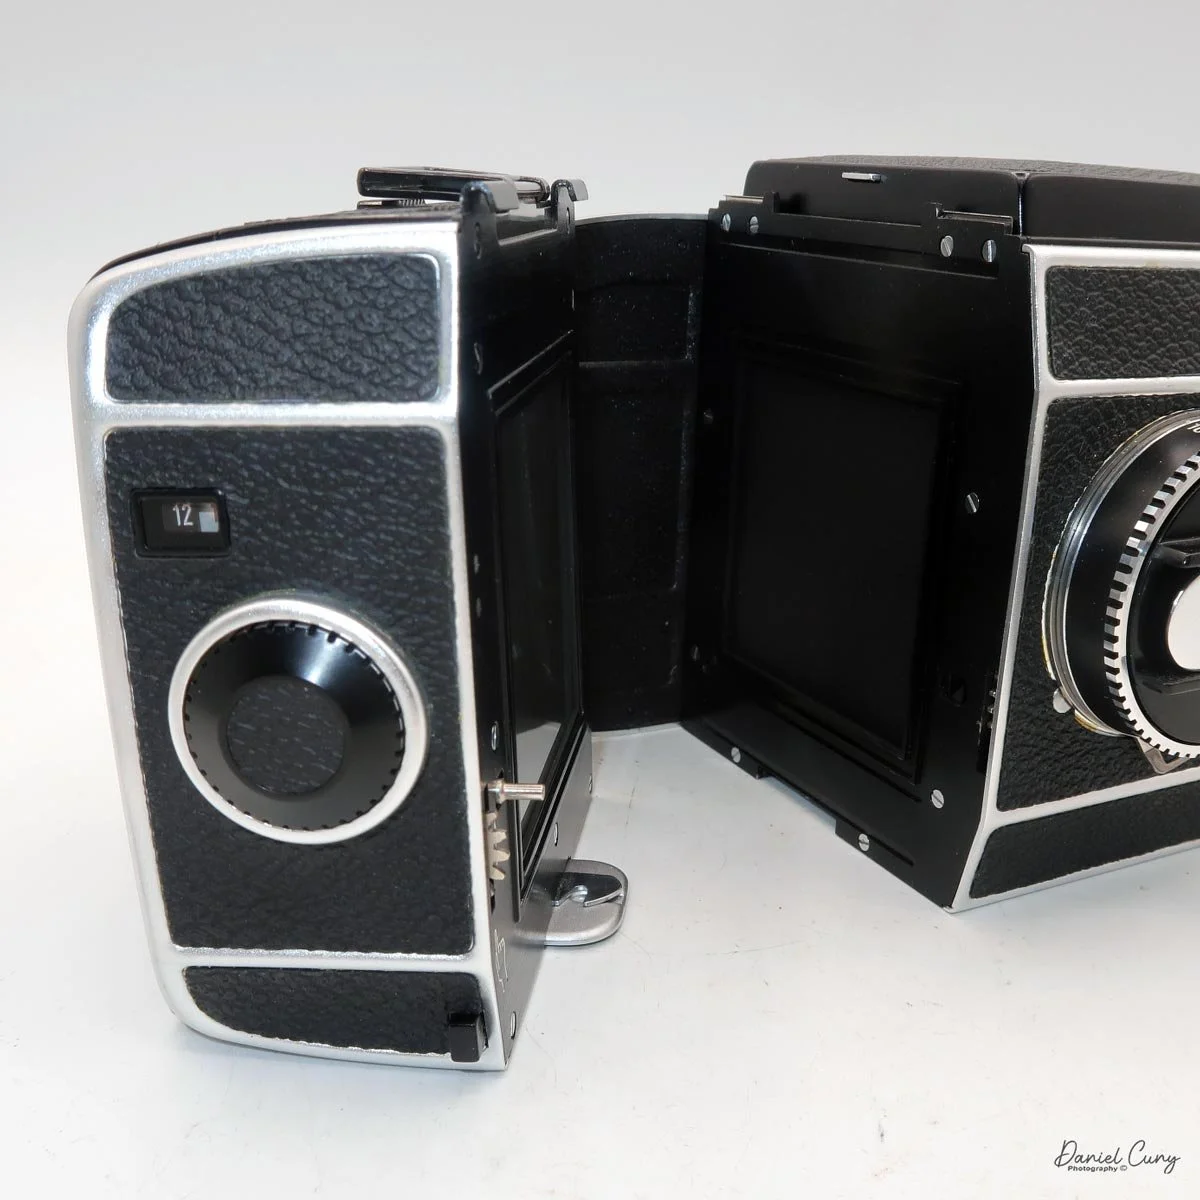
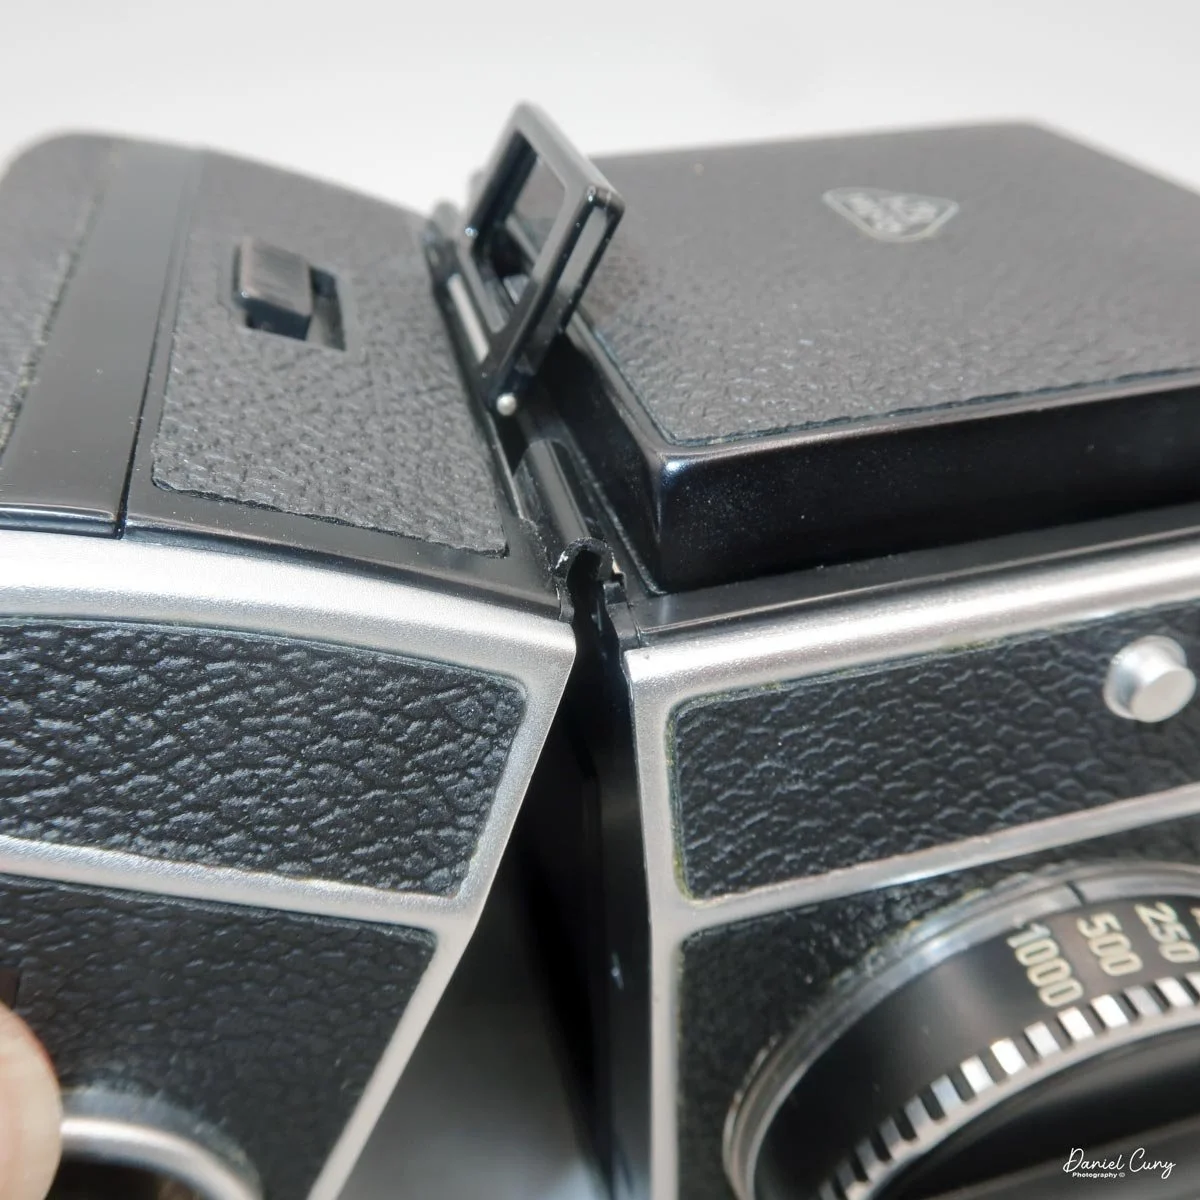
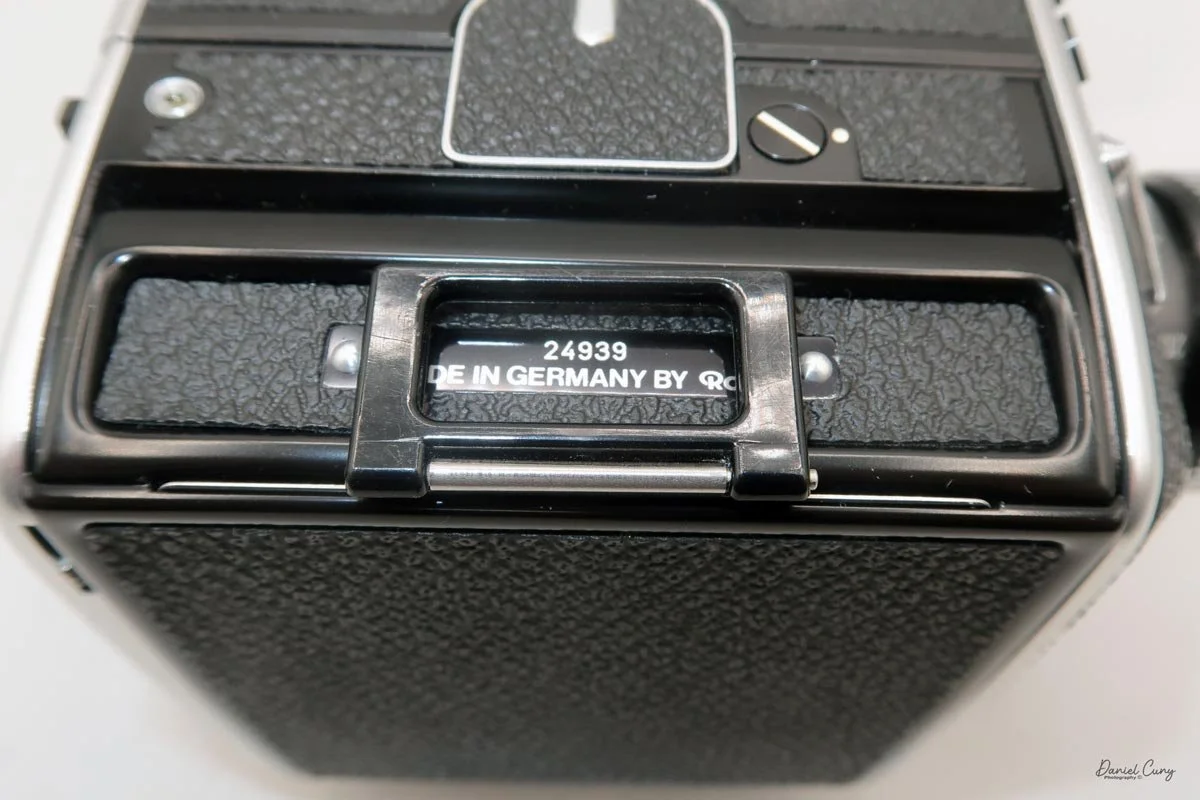
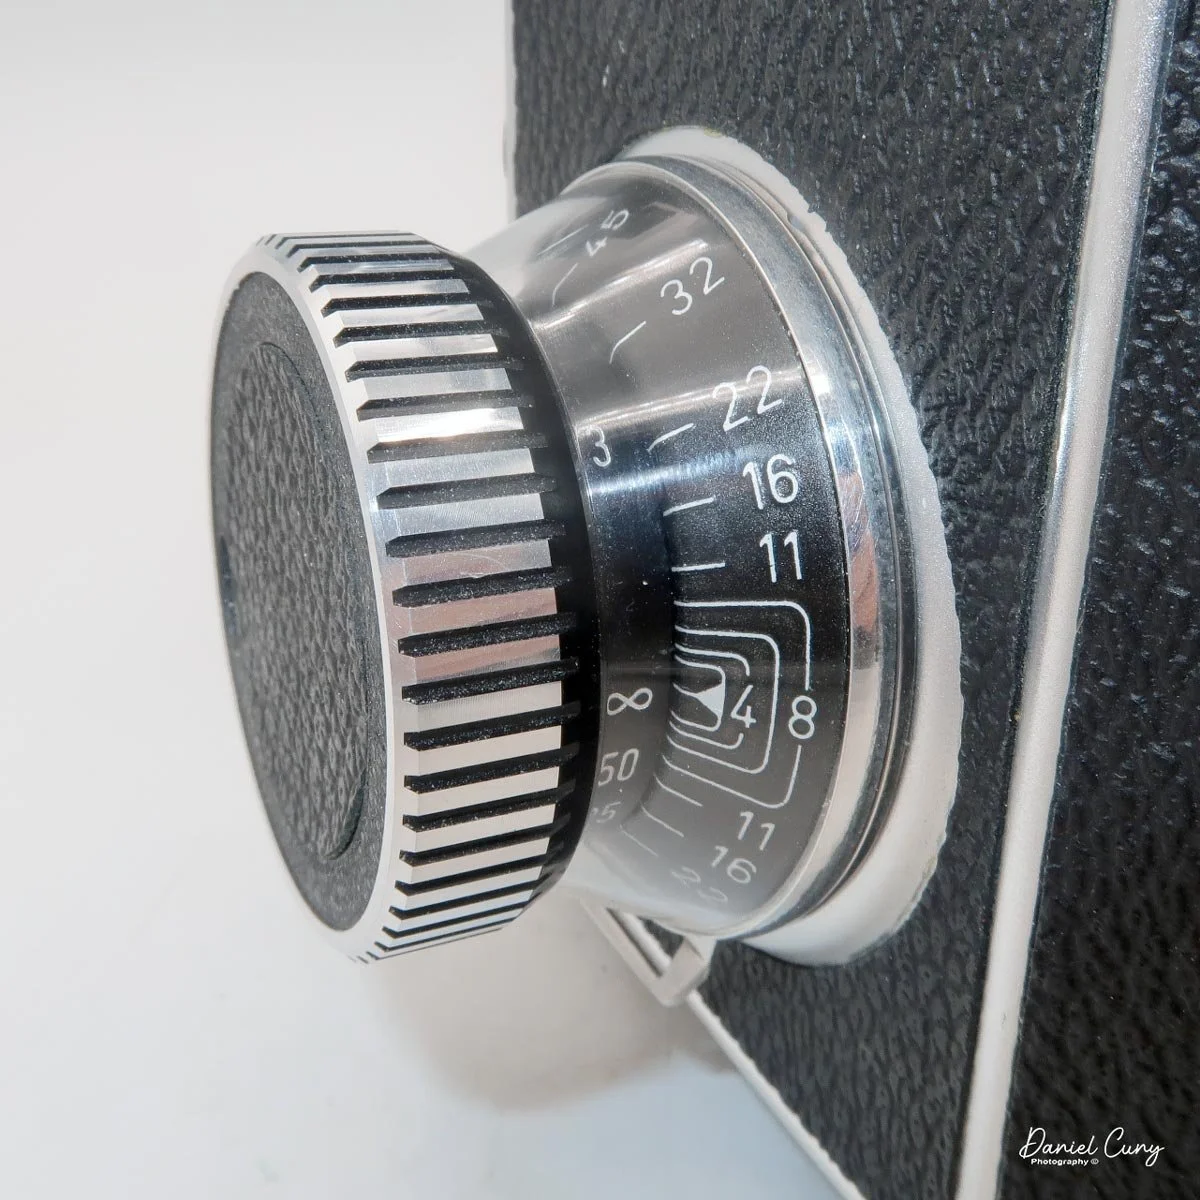
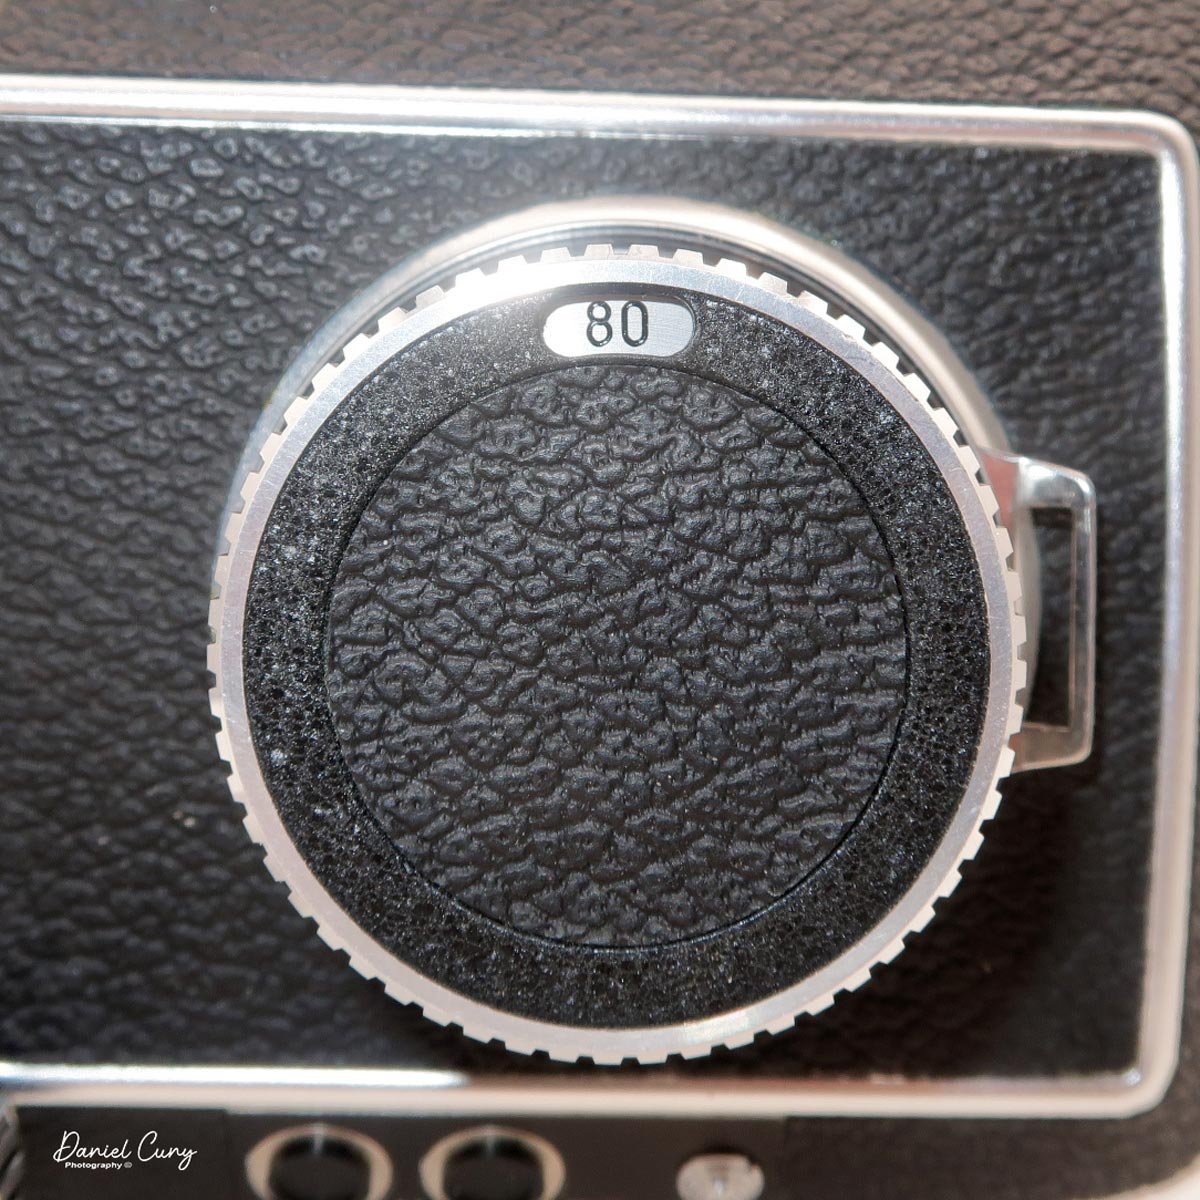
Rolleiflex SL66

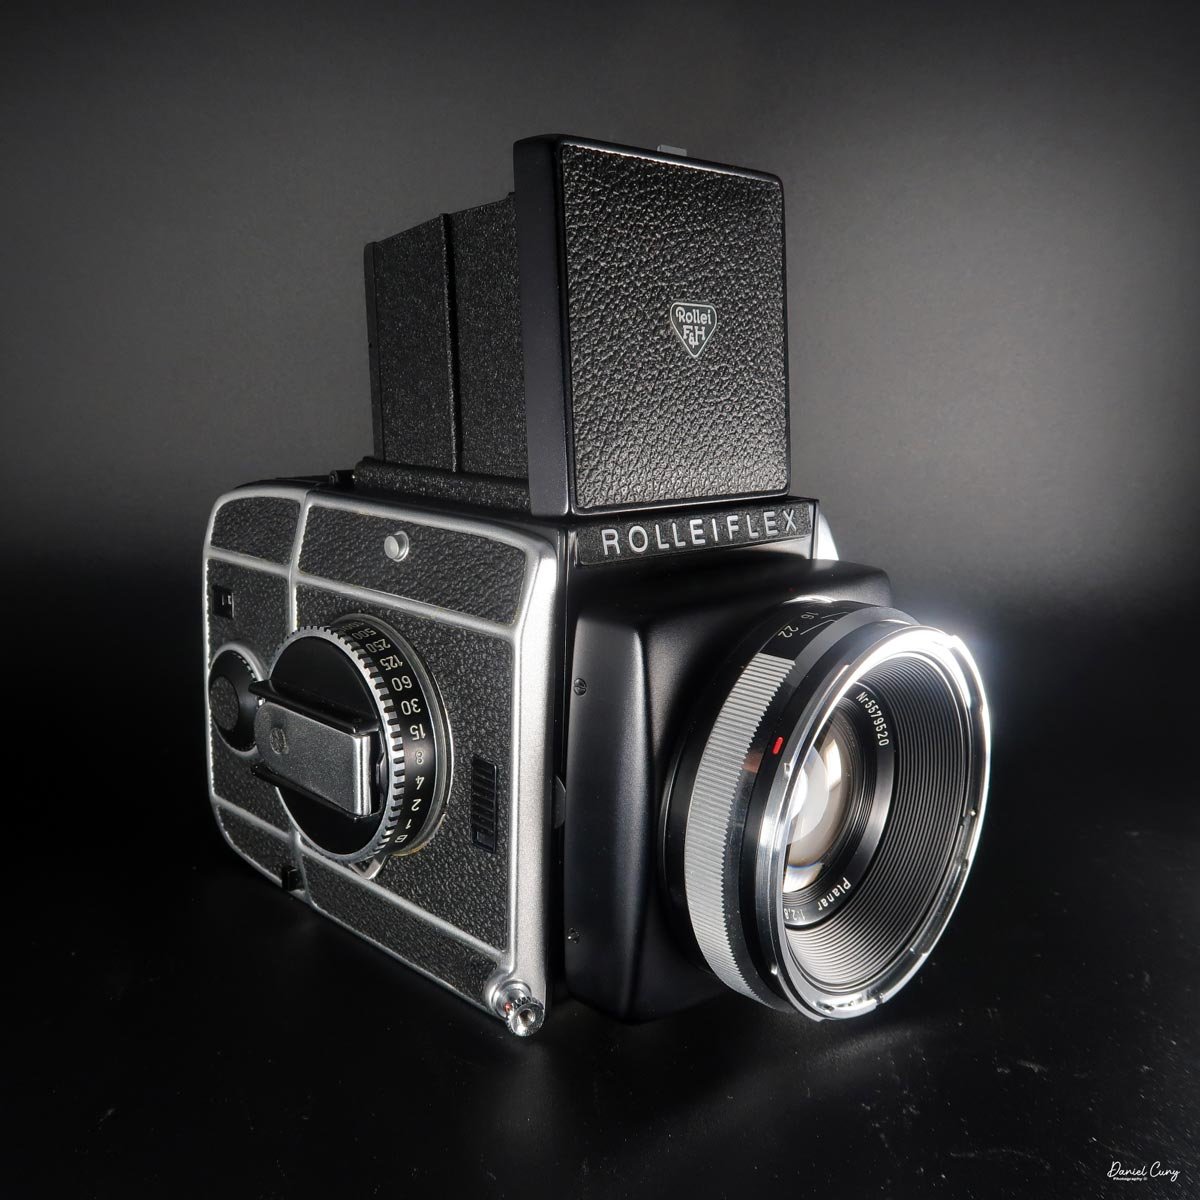
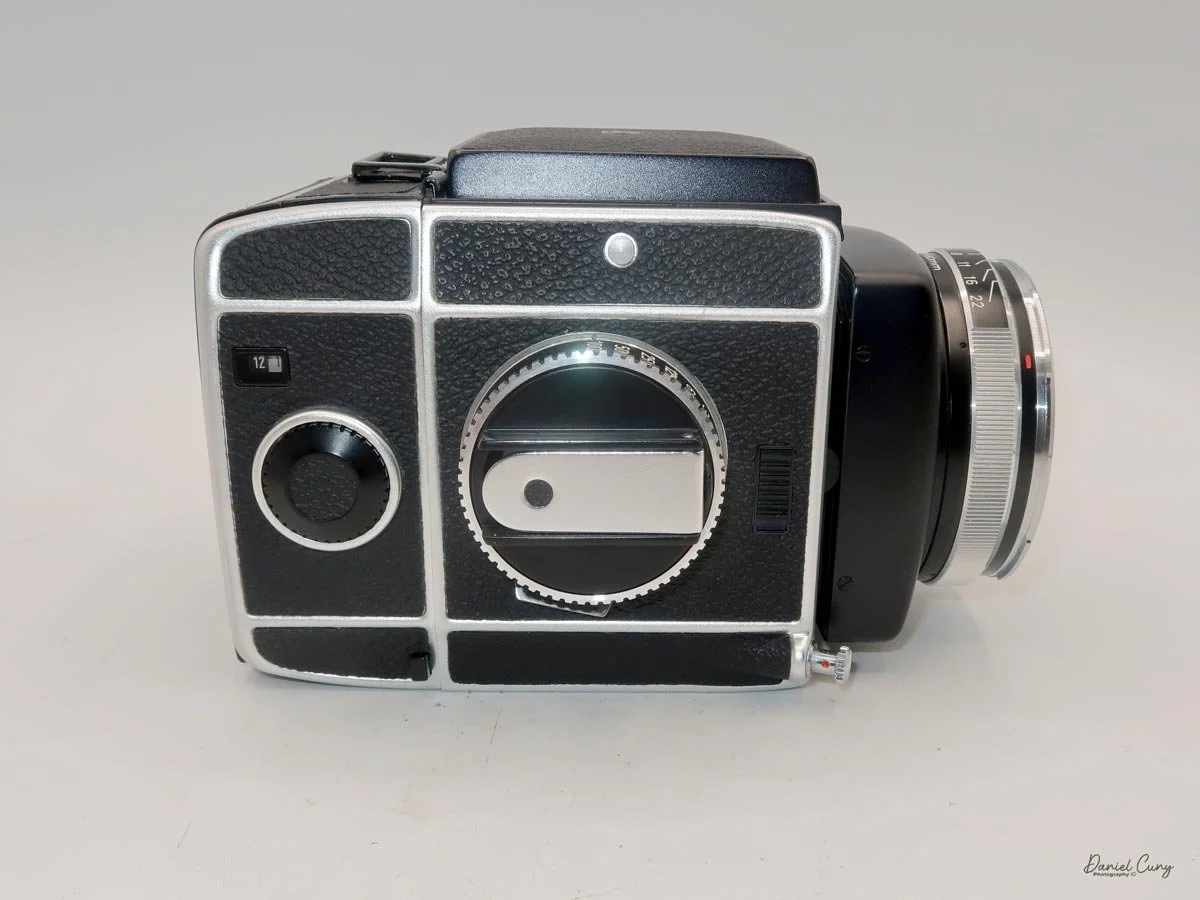
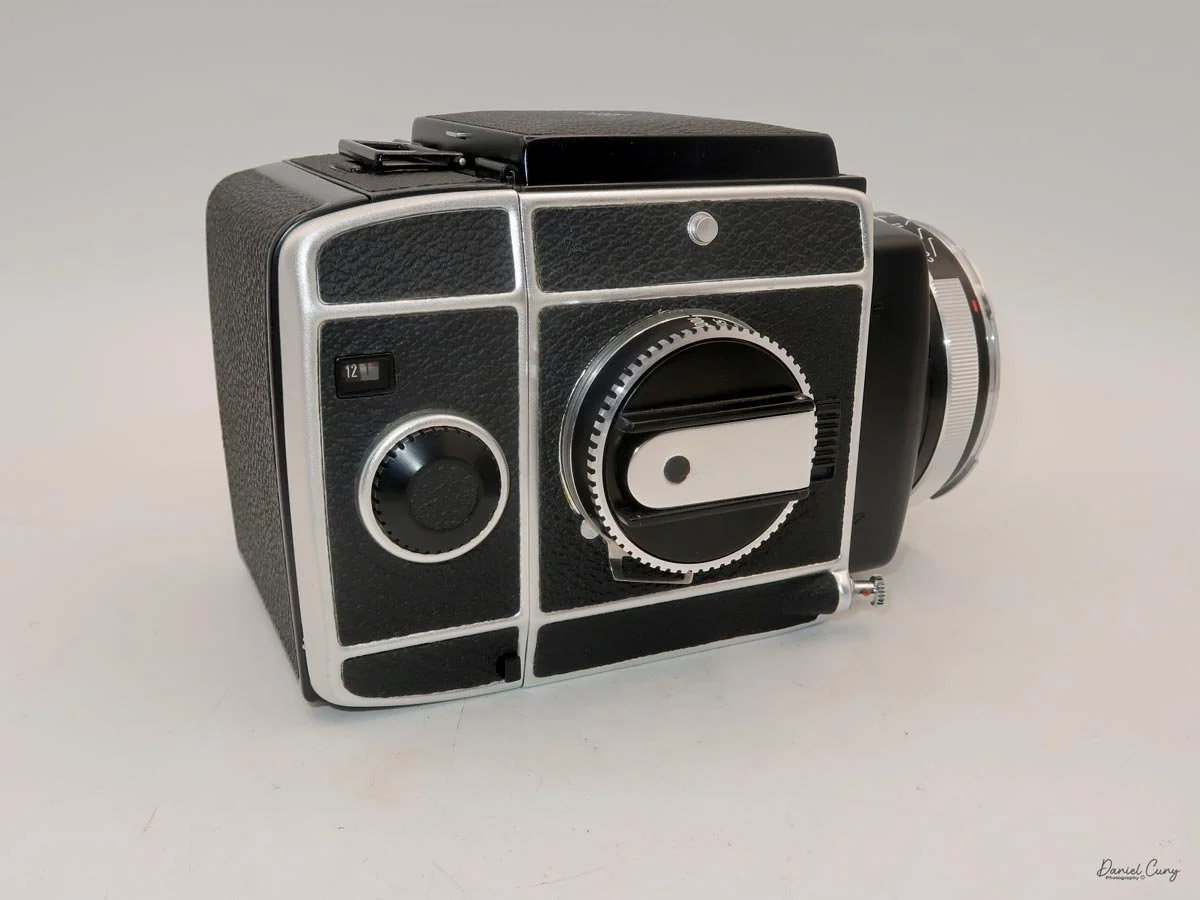
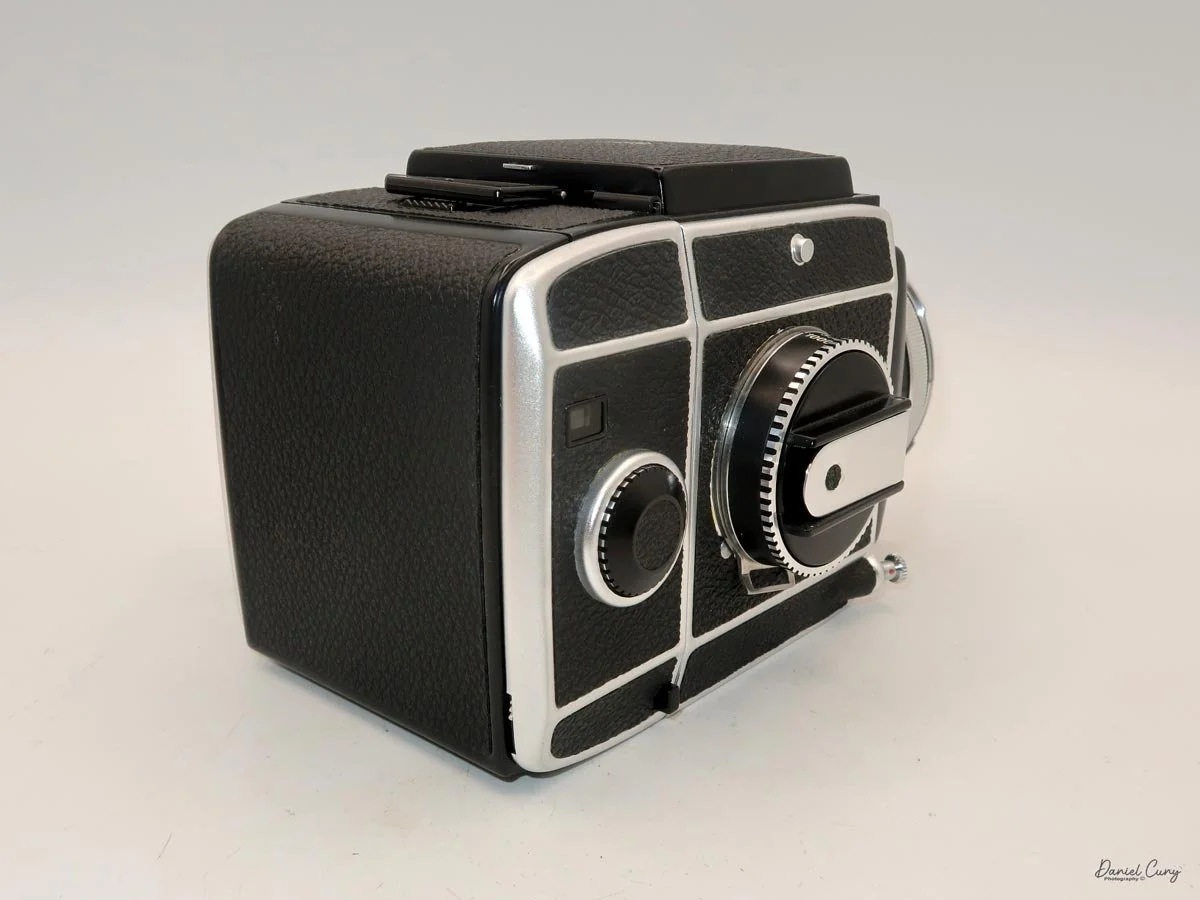
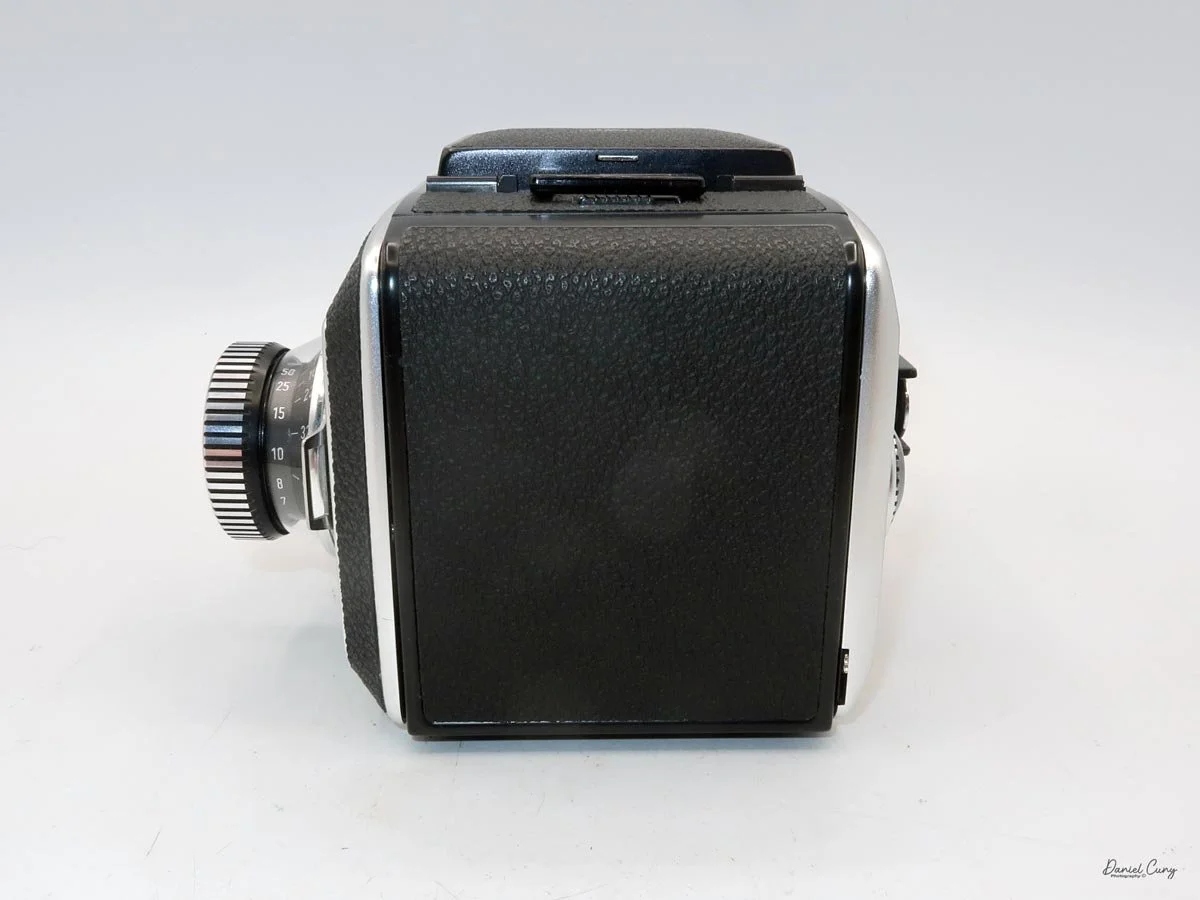
My Rolleiflex SL66

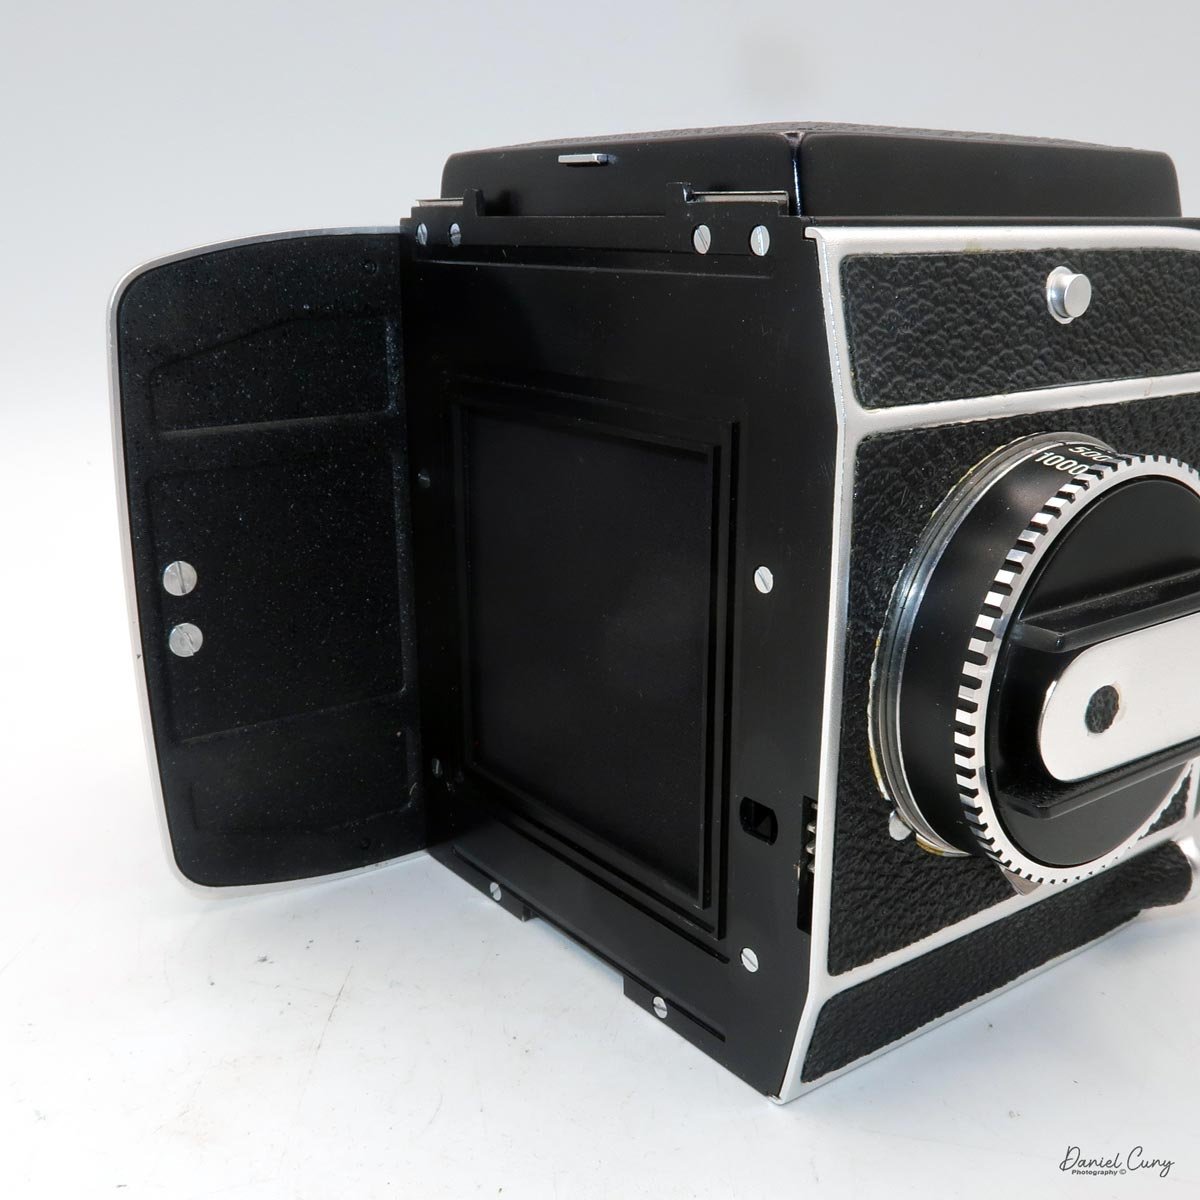
As a photographer and photo industry professional for well over 50 years, I've had the privilege of working with just about every kind of camera you can imagine. From everyday 35mm SLRs and rangefinders to Hasselblad systems, I've logged a lot of miles with medium‑format gear as well.
 In the late 1990s, I represented Sinar, which meant regular time behind some of the finest large‑format cameras available. Later, repping Leaf digital backs put me in front of Mamiya RBs and 645s, Hasselblad V and H systems, Fuji GX680s, and the Contax 645. With all that variety, there was still one big gap in my experience: I had never actually photographed with a Rolleiflex SL66.
 About a year before I retired—so roughly three years ago—I finally had my chance. An SL66 with 80mm, 50mm, and 250mm lenses came up for auction online. I wasn't sure about the condition, but I rolled the dice and bid anyway.

 When I won the lot at a surprisingly low price, my first reaction wasn't joy; it was suspicion. Inexpensive cameras often have a story. To my surprise, the body turned out to be mint‑to‑near‑mint, and the lenses were in equally excellent shape. The real question, of course, was whether it worked.

 I pulled off the lens cap, removed the dark slide, cocked the shutter, and pressed the release. At a fast speed, the camera rewarded me with that beautiful, crisp shutter sound. Then came the real test: I set it to 1/2 second. The shutter opened, paused, and closed exactly as it should. At that point, I had a big grin on my face—I knew I had a mechanically healthy SL66 on my hands.

 And then, like so many good intentions, the camera went on a shelf.

Background: Rollei's Leap into SLRs

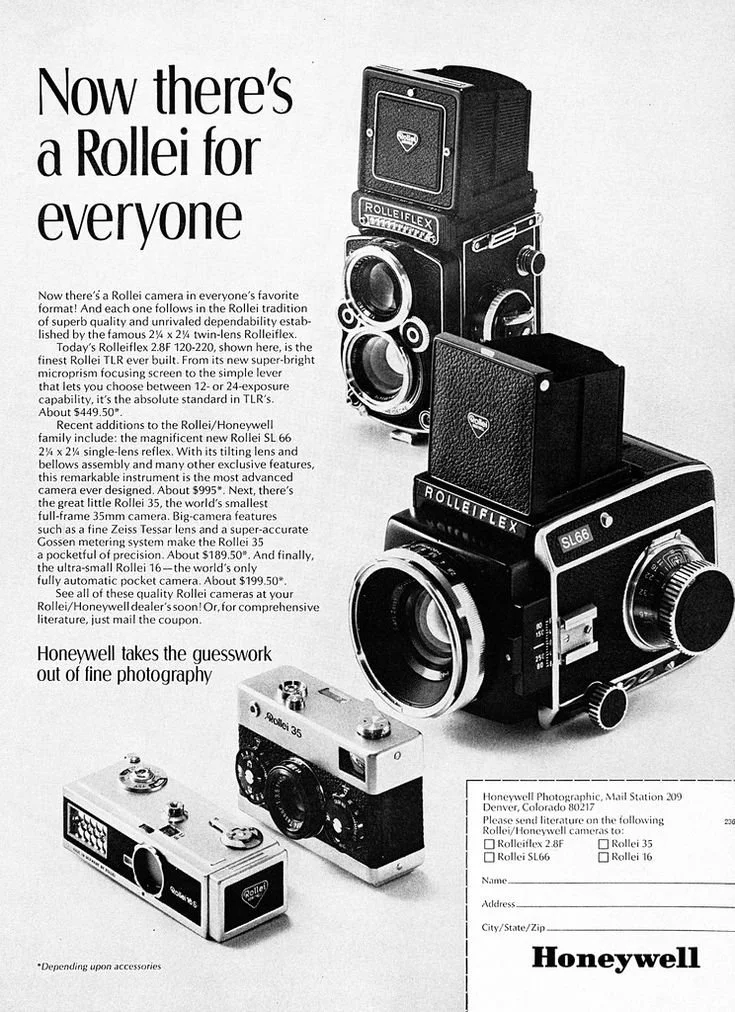
Rollei Advertisment

For decades, "Rolleiflex" meant twin‑lens reflex. That changed with the introduction of the Rolleiflex SL66 at Photokina 1966, Rollei's serious move into the professional 6×6 SLR world. Designed as a studio‑oriented system to challenge Hasselblad, the SL66 combined a focal‑plane shutter, modular film backs, and interchangeable finders with familiar Rollei ergonomics: left‑hand focusing and right‑hand film advance.

 Rollei had explored the idea of a medium‑format SLR as far back as the mid‑1950s, but strong TLR sales kept those projects on the shelf until demand shifted and Hasselblad began to dominate professional work. When it finally arrived, the SL66 was a true "engineer's camera": bellows focusing, the ability to reverse‑mount lenses for close‑up work, and front‑standard tilt for plane‑of‑focus control—features that gave it some of the movements you'd normally associate with a view camera.

 Built from 1966 to 1982, the SL66 used 120/220 roll film in 6×6 backs and typically wore Carl Zeiss Planar glass, firmly placing it in the high‑end studio category. Later SL66E and SL66SE models added through‑the‑lens metering and improved electronics. Still, the core concept stayed the same: a heavy, extremely capable, close‑focus‑friendly studio machine in a world increasingly moving toward lighter, more electronic medium‑format systems.

My Camera

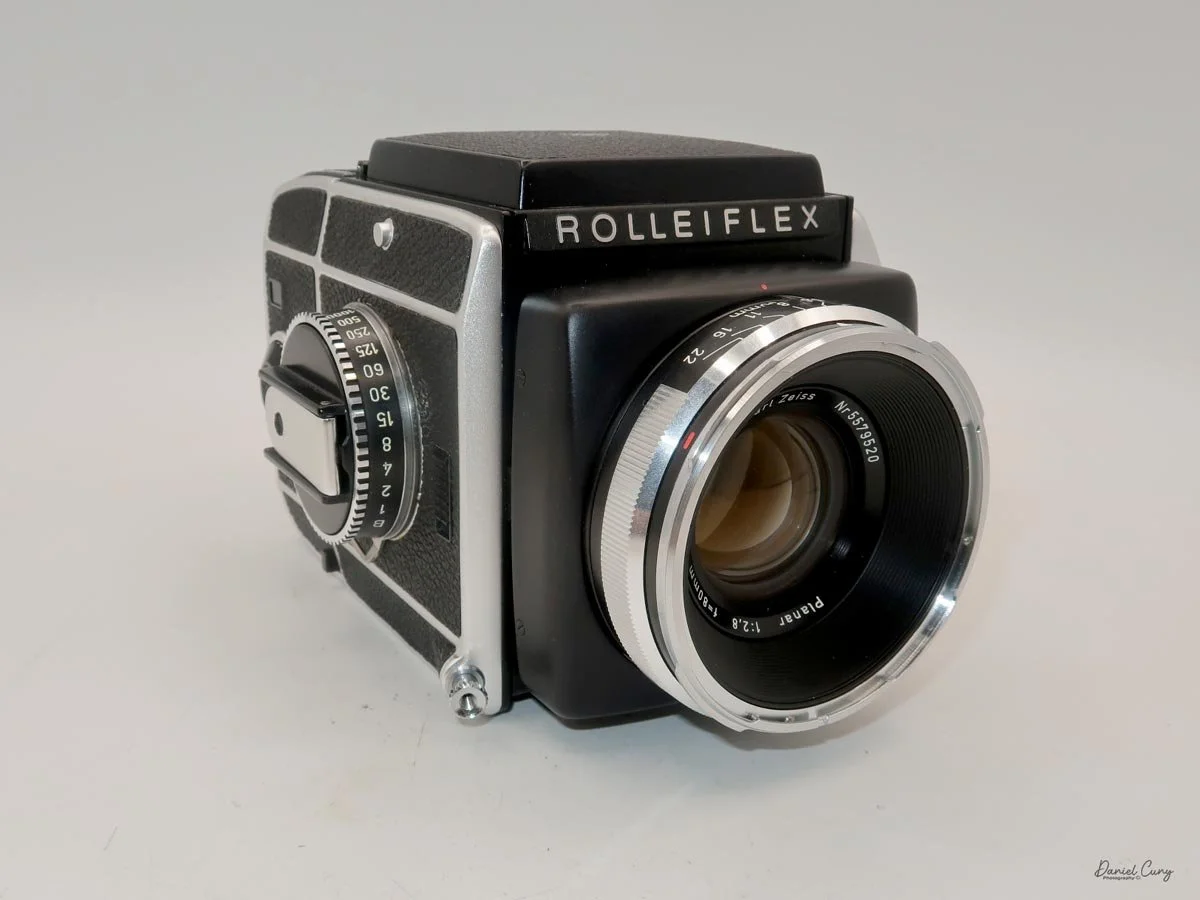
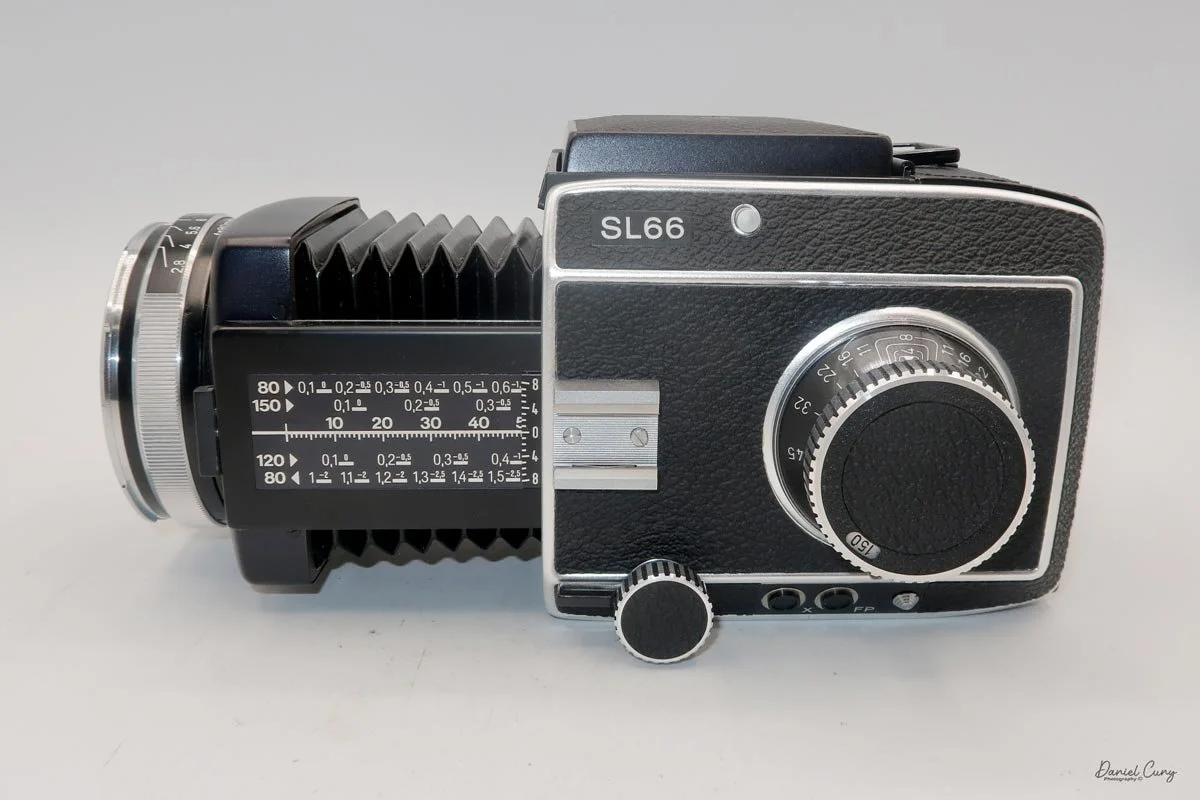
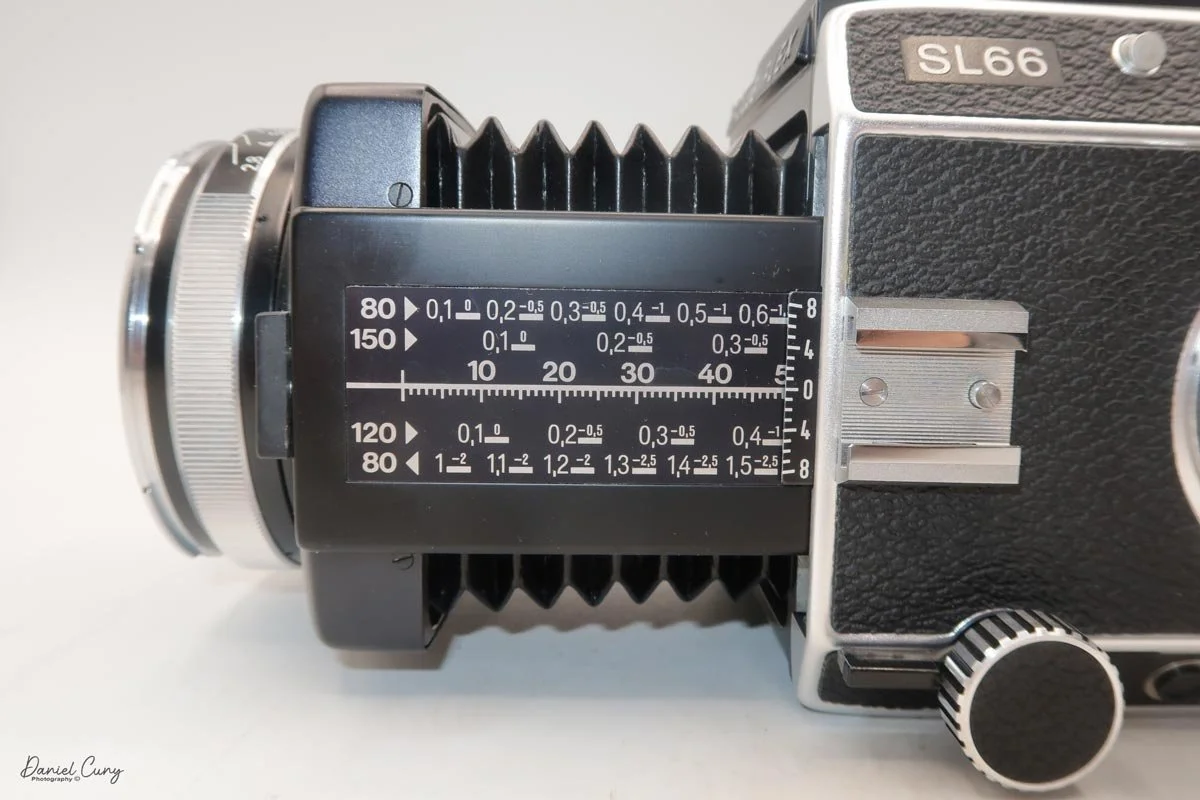
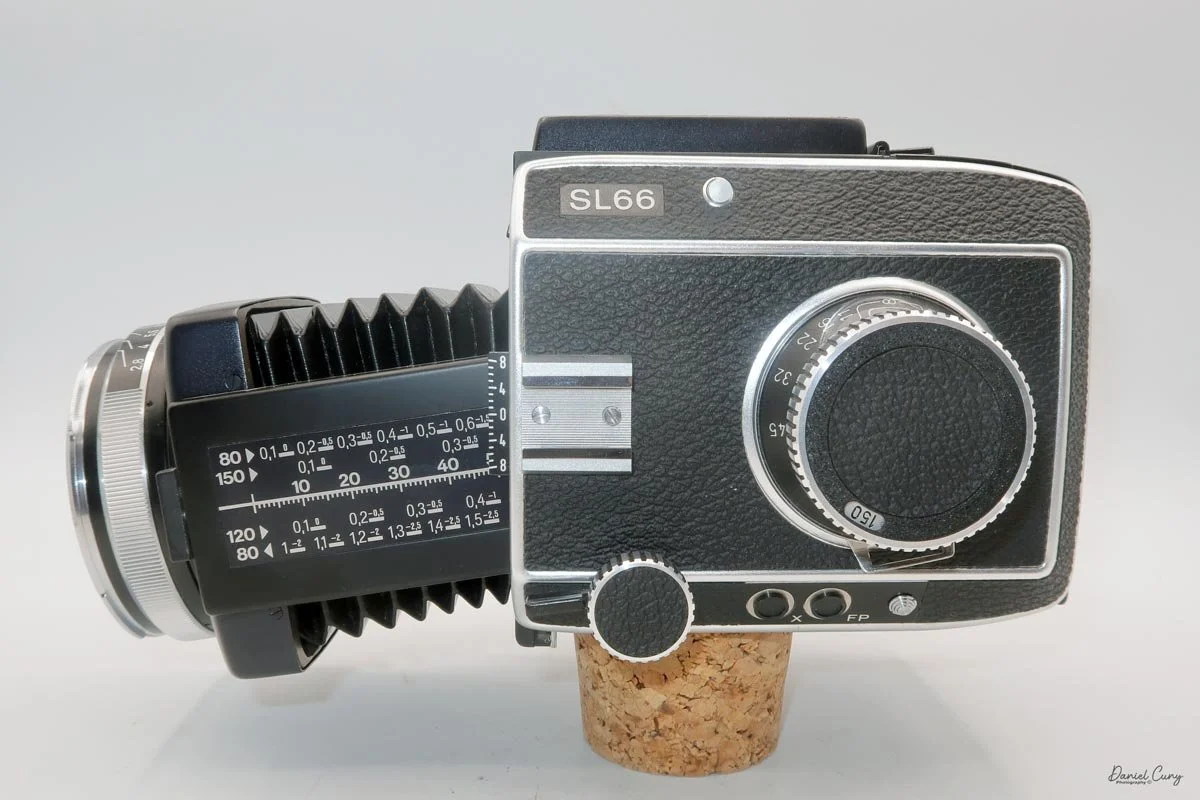
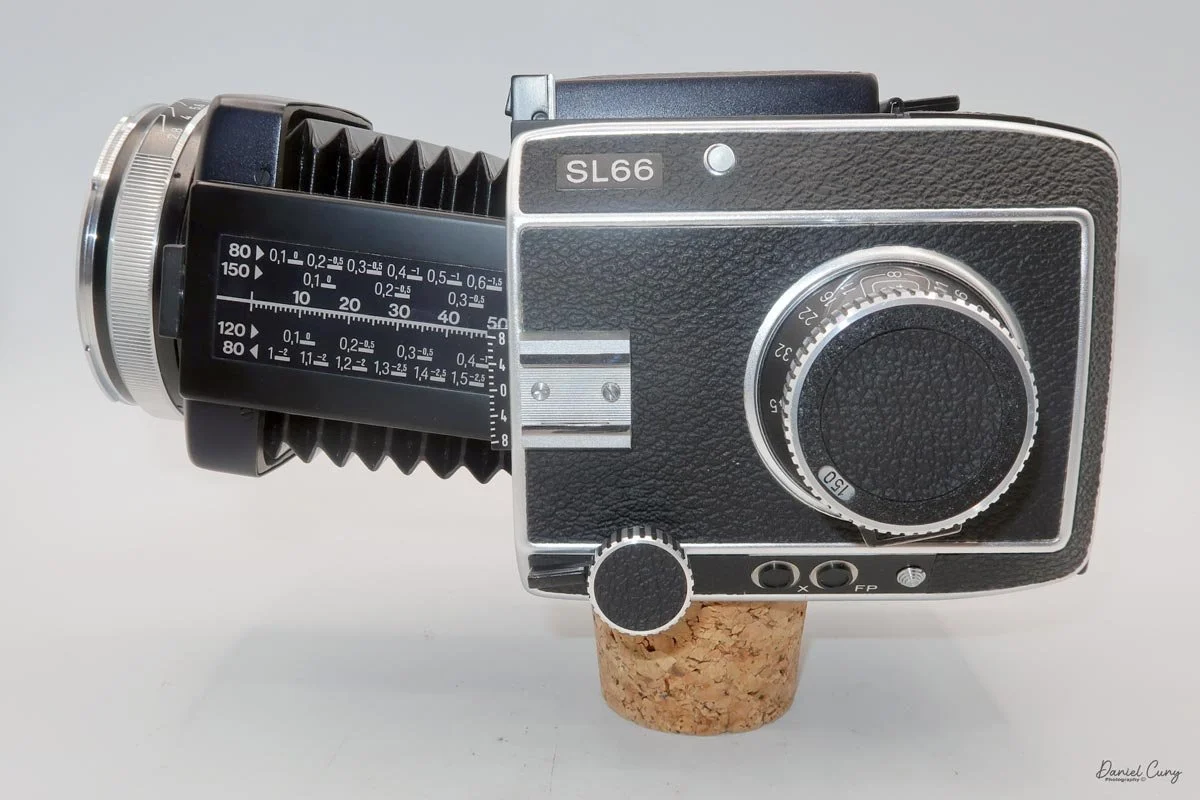
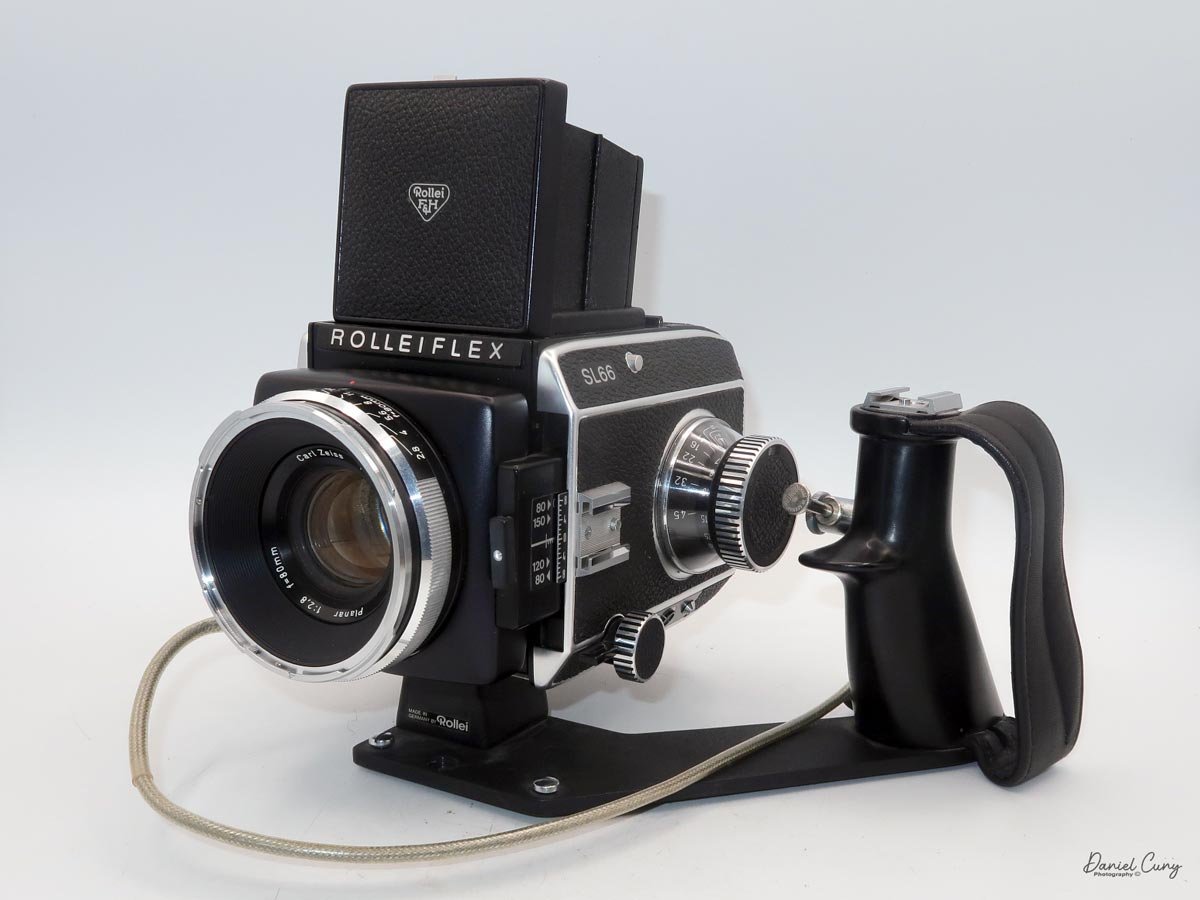
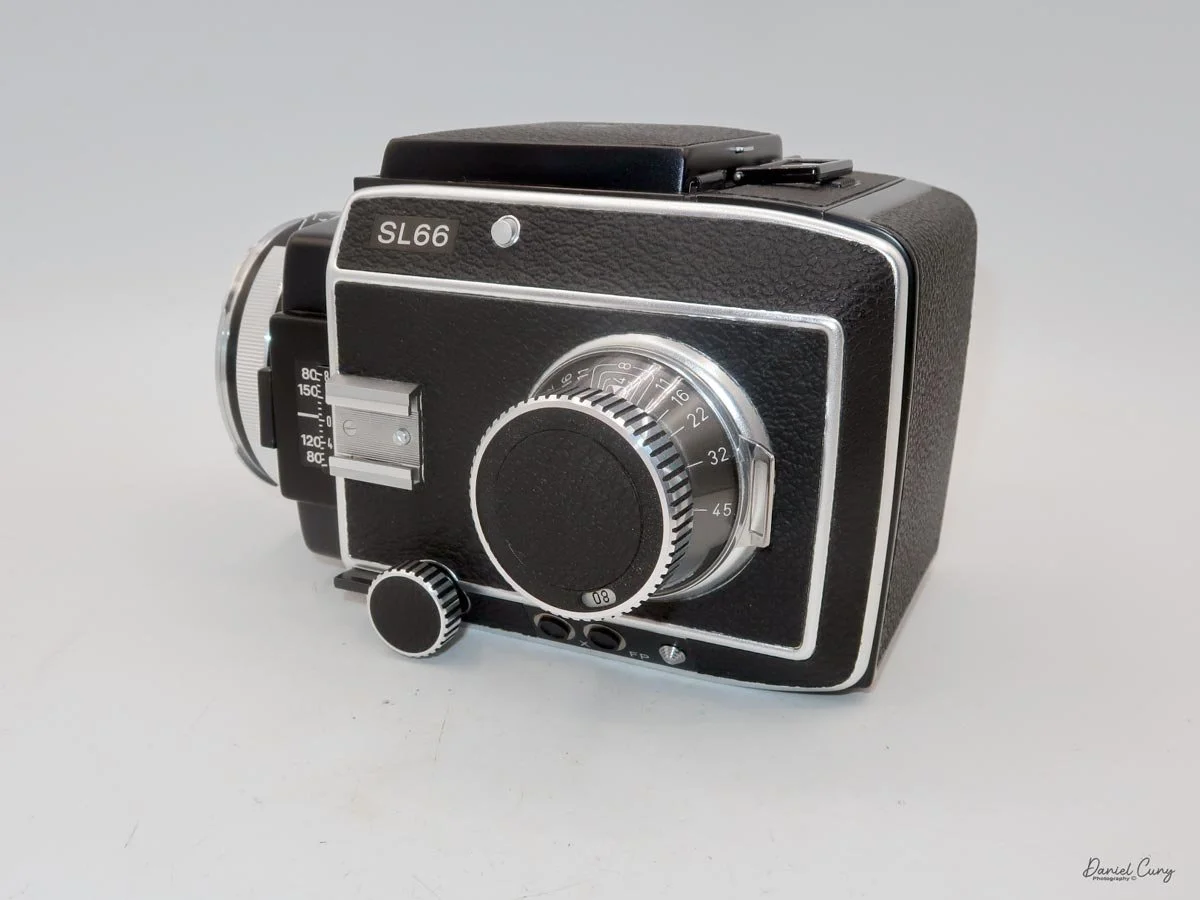
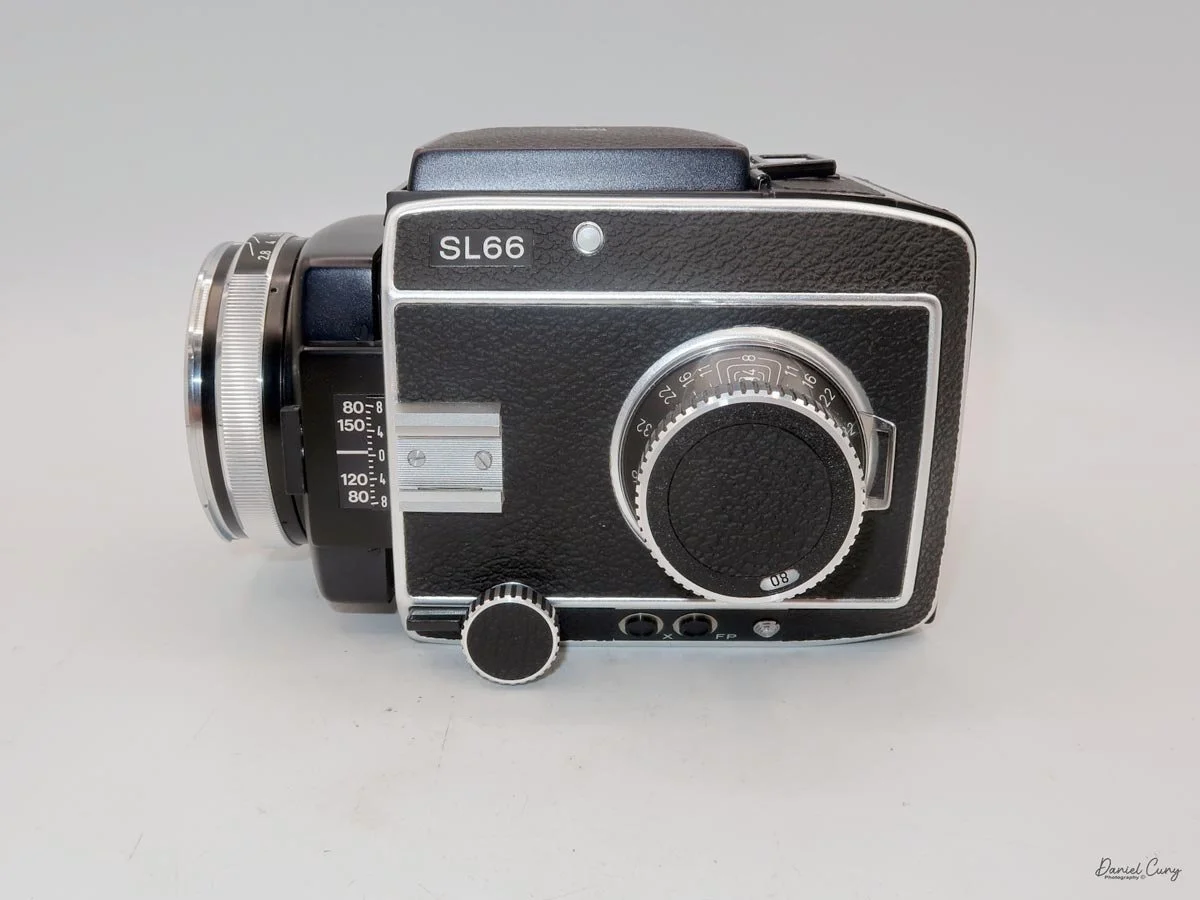
My Rolleiflex SL66 is a substantial camera. With the 80mm lens retracted, it measures about 7" front to back; with the bellows fully extended, it's closer to 9". It's roughly 6" wide thanks to the oversized focusing knob, about 4.5" tall with the waist‑level finder closed, and around 7" tall when the chimney is open. On the scale, the body with a back and an 80mm lens comes in at about 4 pounds, 4.5 ounces—this is not a casual walk‑around point‑and‑shoot.

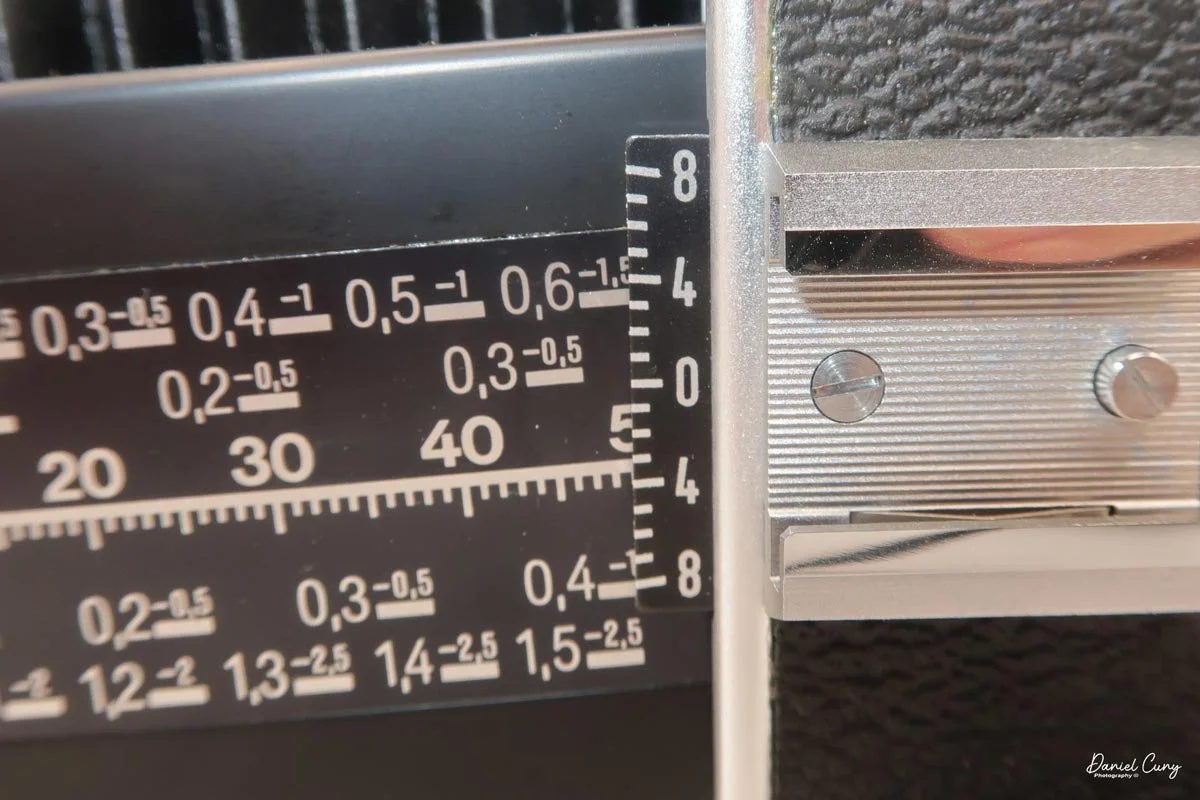
That weight buys you some very unique capabilities. The standout feature is the built‑in bellows, which allows the SL66 to focus much closer than most medium‑format SLRs I've used. Mamiya RB/RZ cameras also use bellows and can get in tight, but the SL66 manages similar close‑focus versatility in a slightly more compact, much lighter and a better‑balanced package. For anyone who loves close‑up or macro work, that alone makes the camera worth a serious look.

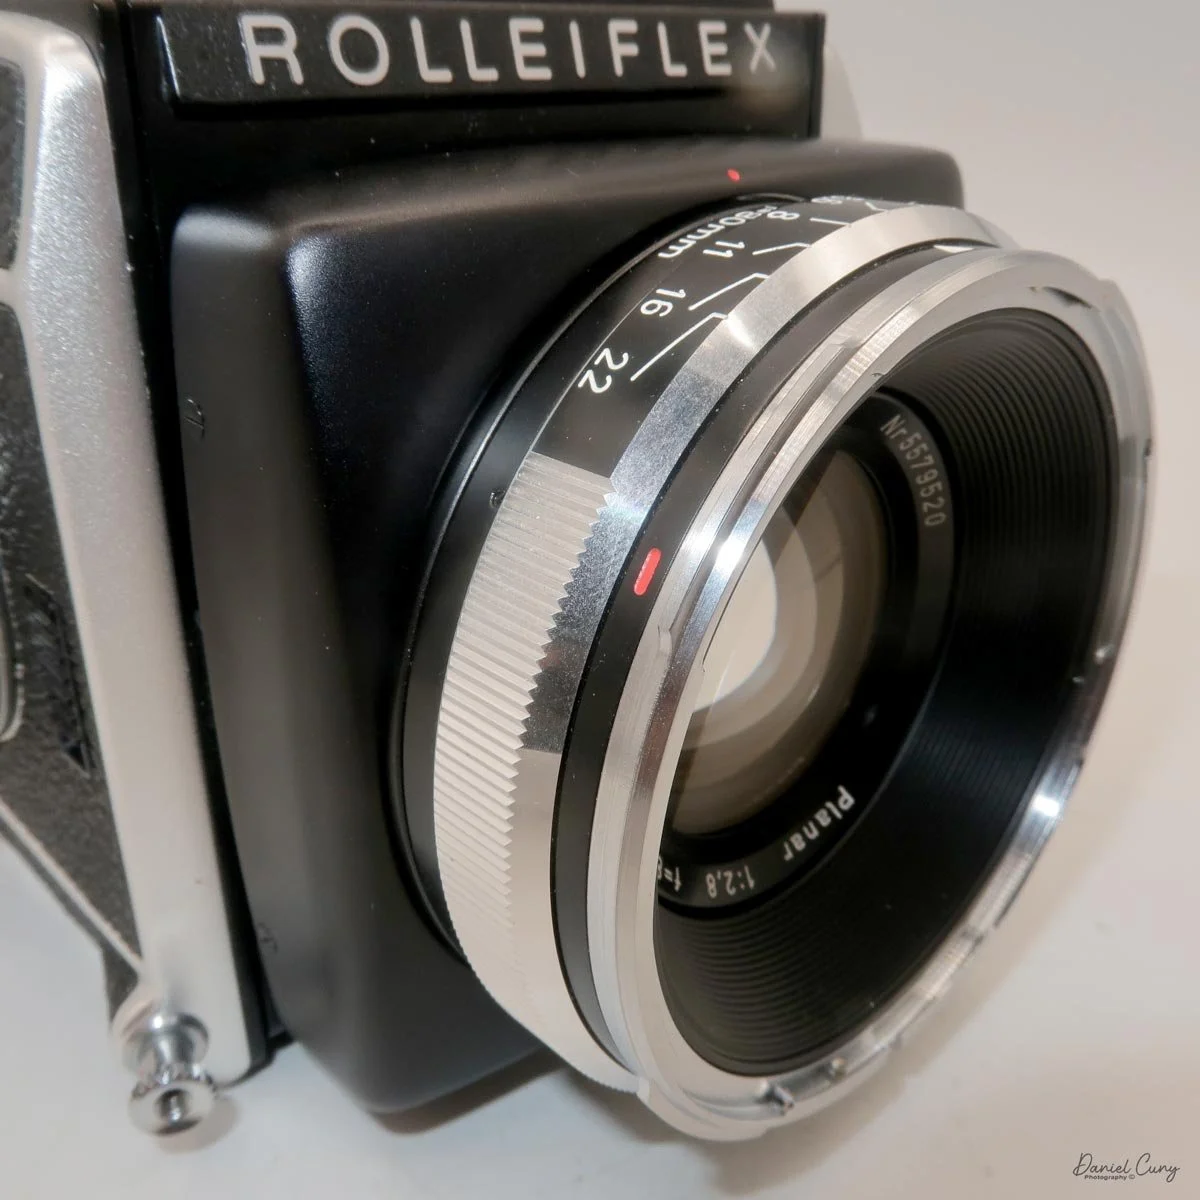
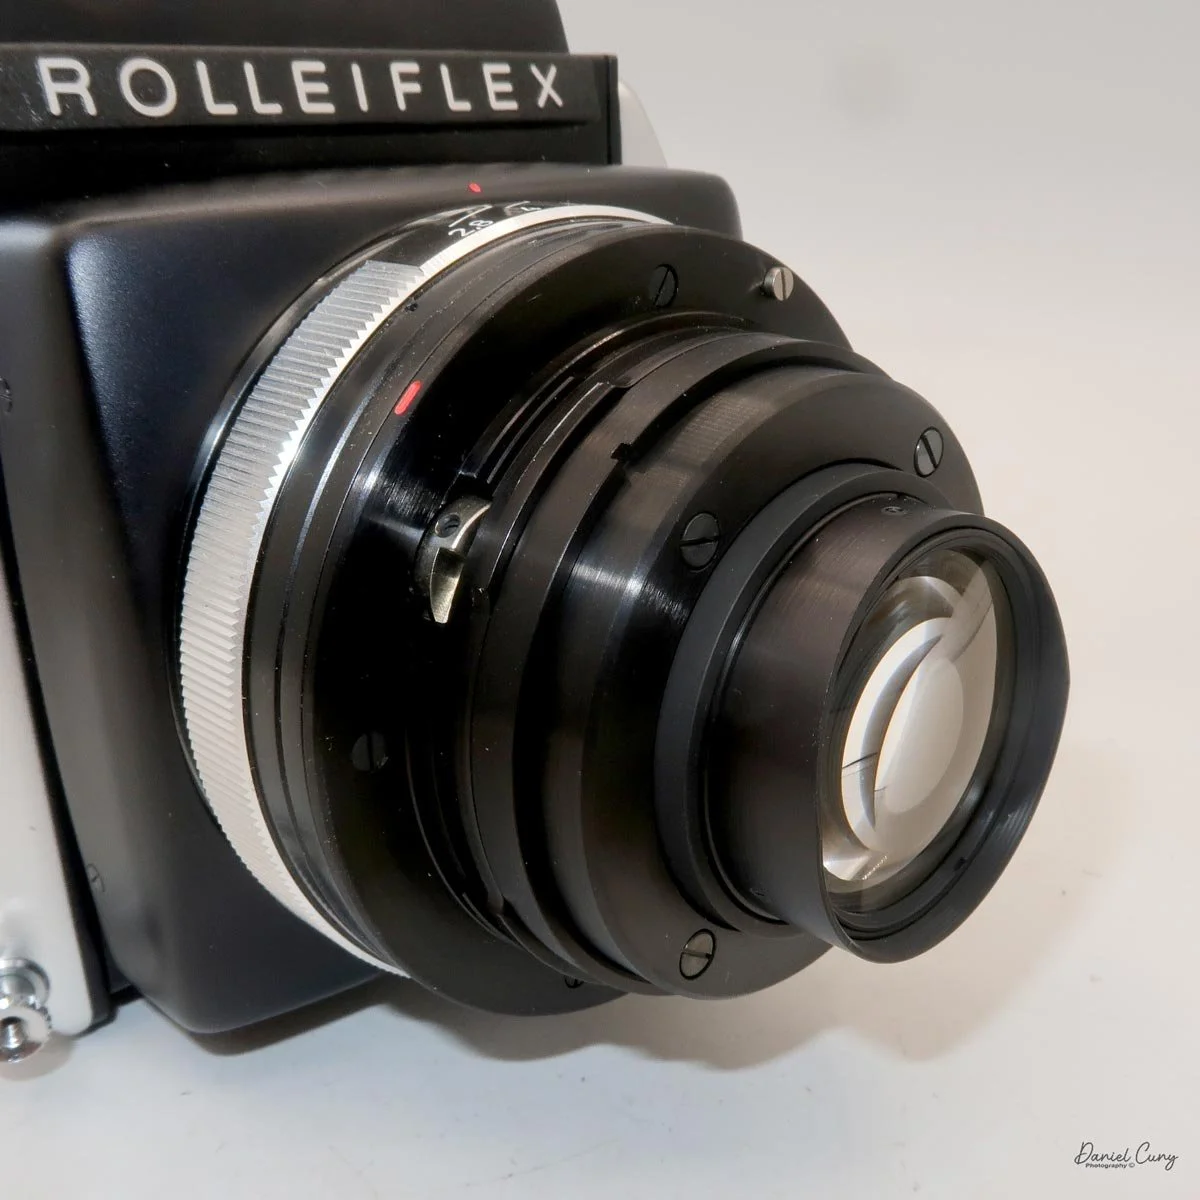
The second signature feature is the double-bayonet lens mount, primarily used with the 50mm, 80mm, and 150mm lenses. The lenses can mount in the normal way, with automatic aperture operation, or be reversed on the body for even greater magnification. In reversed mode, the aperture becomes manual: you open up to focus, then stop down to your chosen aperture for the exposure. It's slower than modern macro setups, but the flexibility it provides is excellent for tabletop and product work.

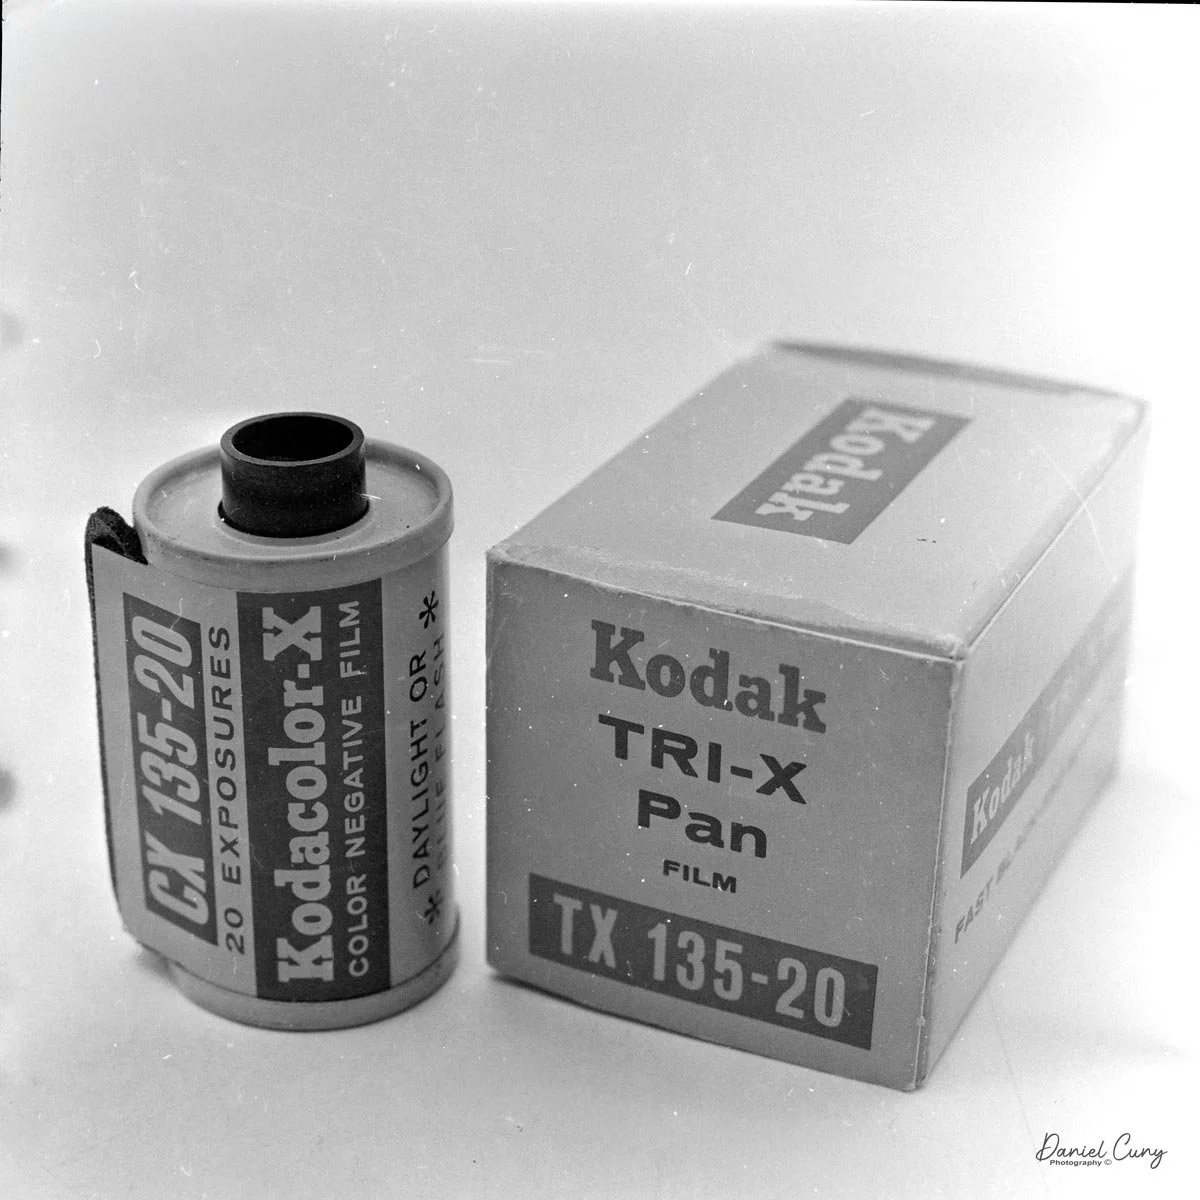
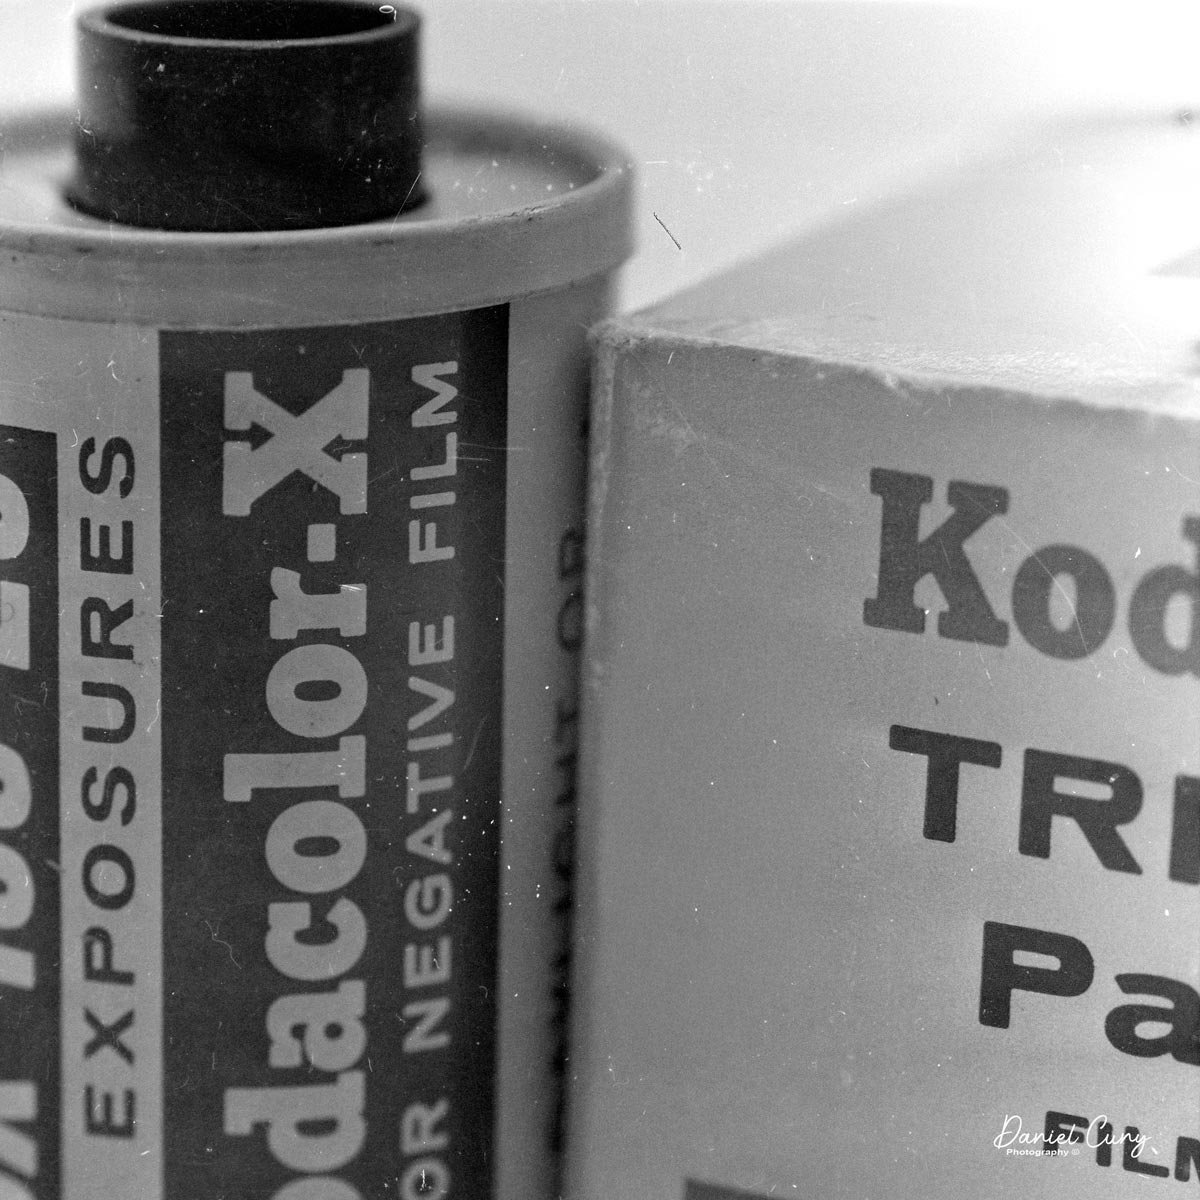
In addition to bellows and reverse mounting, the SL66 offers up to 8 degrees of lens tilt. That tilt lets you "lay down" the plane of focus, bringing more of a product or subject into sharpness at wider apertures. In practice, it means I can photograph something like a 35mm cassette and its box at close range and keep both on‑axis surfaces acceptably sharp without having to stop down to the smallest apertures.

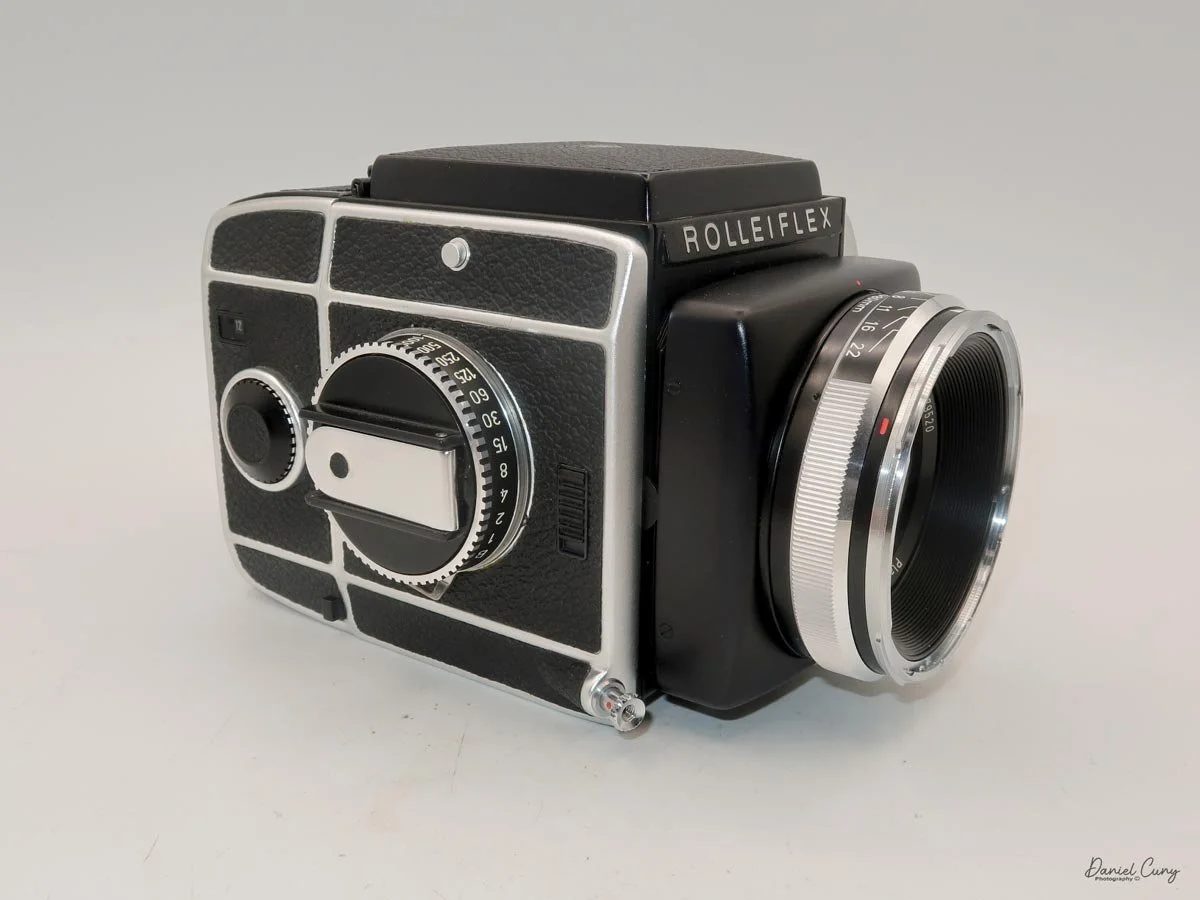
Unlike Hasselblad V‑series cameras, which use leaf shutters in the lenses, the SL66 uses a focal‑plane shutter in the body, with speeds from 1 second to 1/1000 plus "B" for long exposures. Flash sync is limited to 1/30, but for studio or location strobe work, the flash duration actually stops motion, so I haven't found the 1/30 sync speed to be a practical limitation with decent strobes. The shutter speed dial is integrated into the film advance: you pull out the handle, advance clockwise until it stops, then swing it back counterclockwise to cock the shutter for the next frame. Inside the crank is a multiple‑exposure switch, which makes stacking exposures on one frame very straightforward once you know where to find it.

The SL66 lens lineup was designed by Carl Zeiss, and it shows. Optically, the lenses I have are excellent, with contrast and sharpness fully in the "top tier" I expect from Zeiss glass. The system spans from 30mm all the way to 1000mm, and Rollei also offered two leaf‑shutter lenses—an 80mm Distagon and a 150mm Sonnar—with flash sync up to 1/500 for shooters who need higher sync speeds. In my experience so far, the standard lenses deliver exactly the kind of image quality you want from a camera of this size and weight.

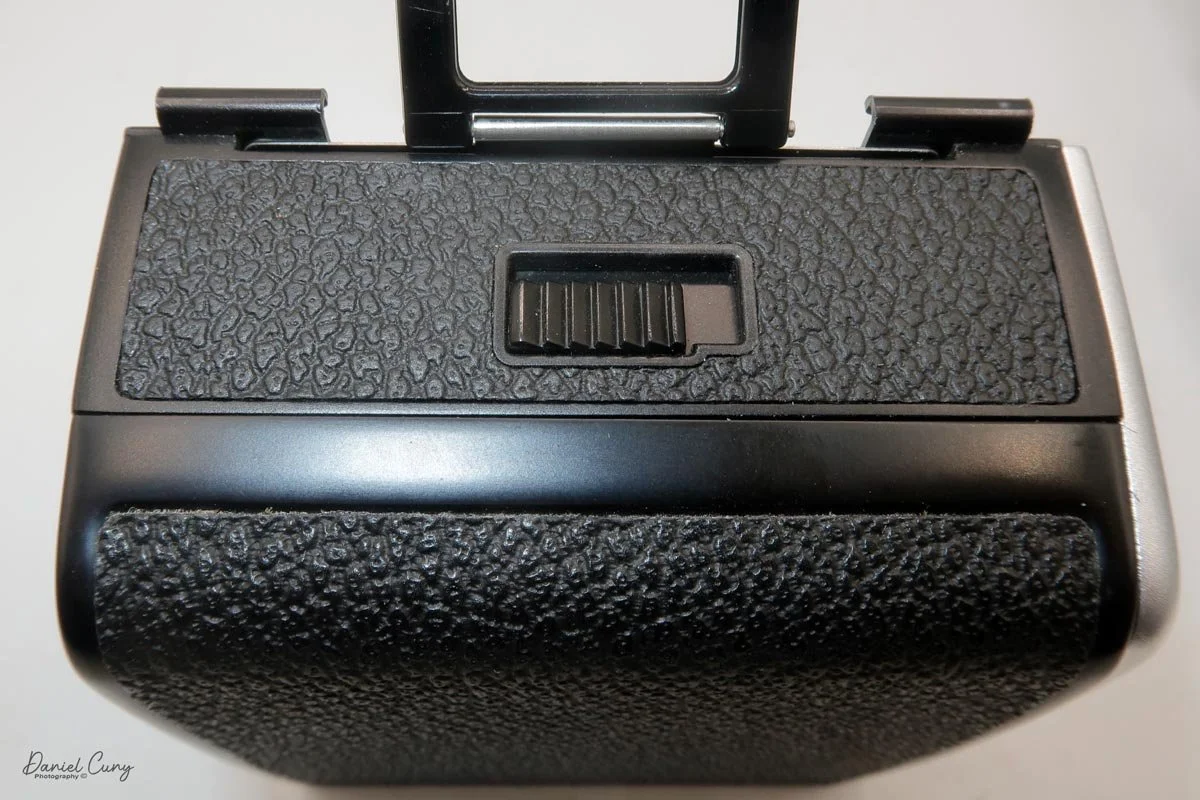
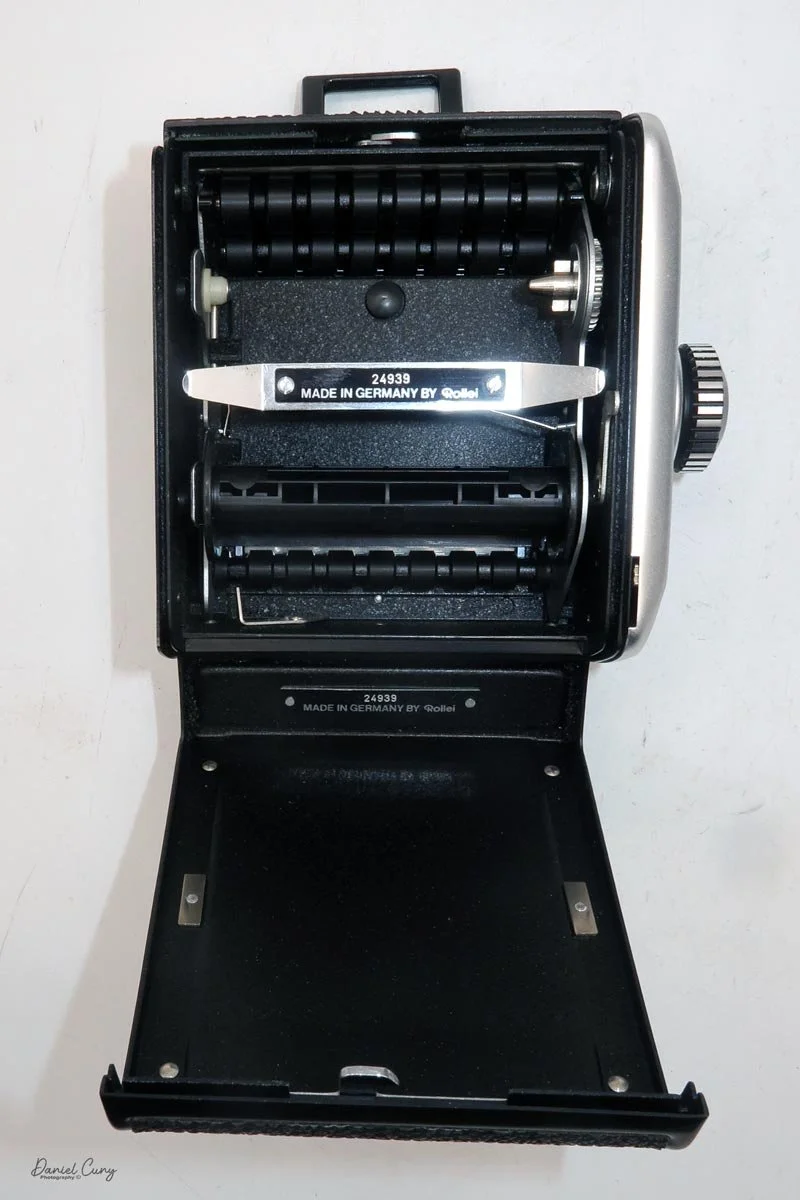
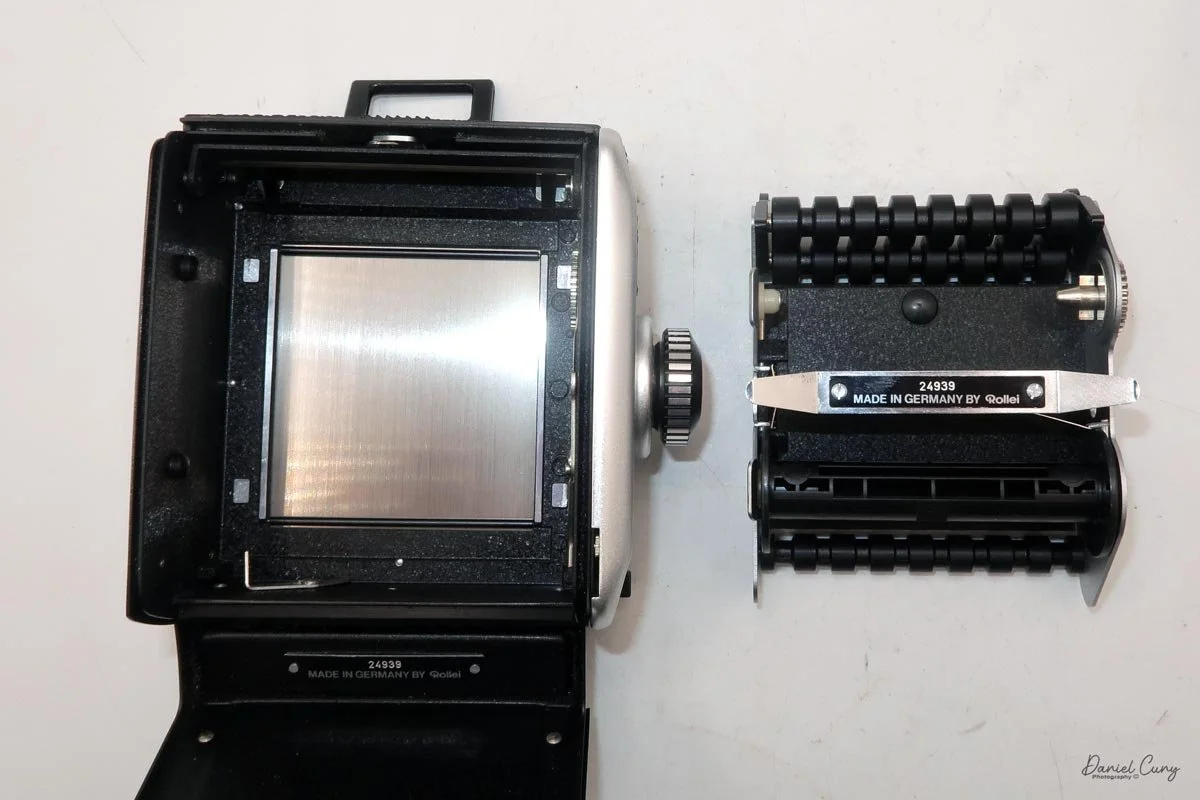
 The film back system is well thought out. The standard back takes either 120 or 220 film, and you can get inserts and backs for 6×6 or 6×4.5. The dark slide parks neatly on the back when you're shooting, which means you're not constantly wondering where you set it down. Loading is similar to Mamiya's insert‑based backs: open the door, pull the insert, load the film, reinsert, then wind to the first frame. A pop‑out winding wheel on the side of the back helps tension and advance the film before the main crank takes over. Once you've shot the twelve frames on 120, the wheel pops back out to let you wind the roll off before opening the back.

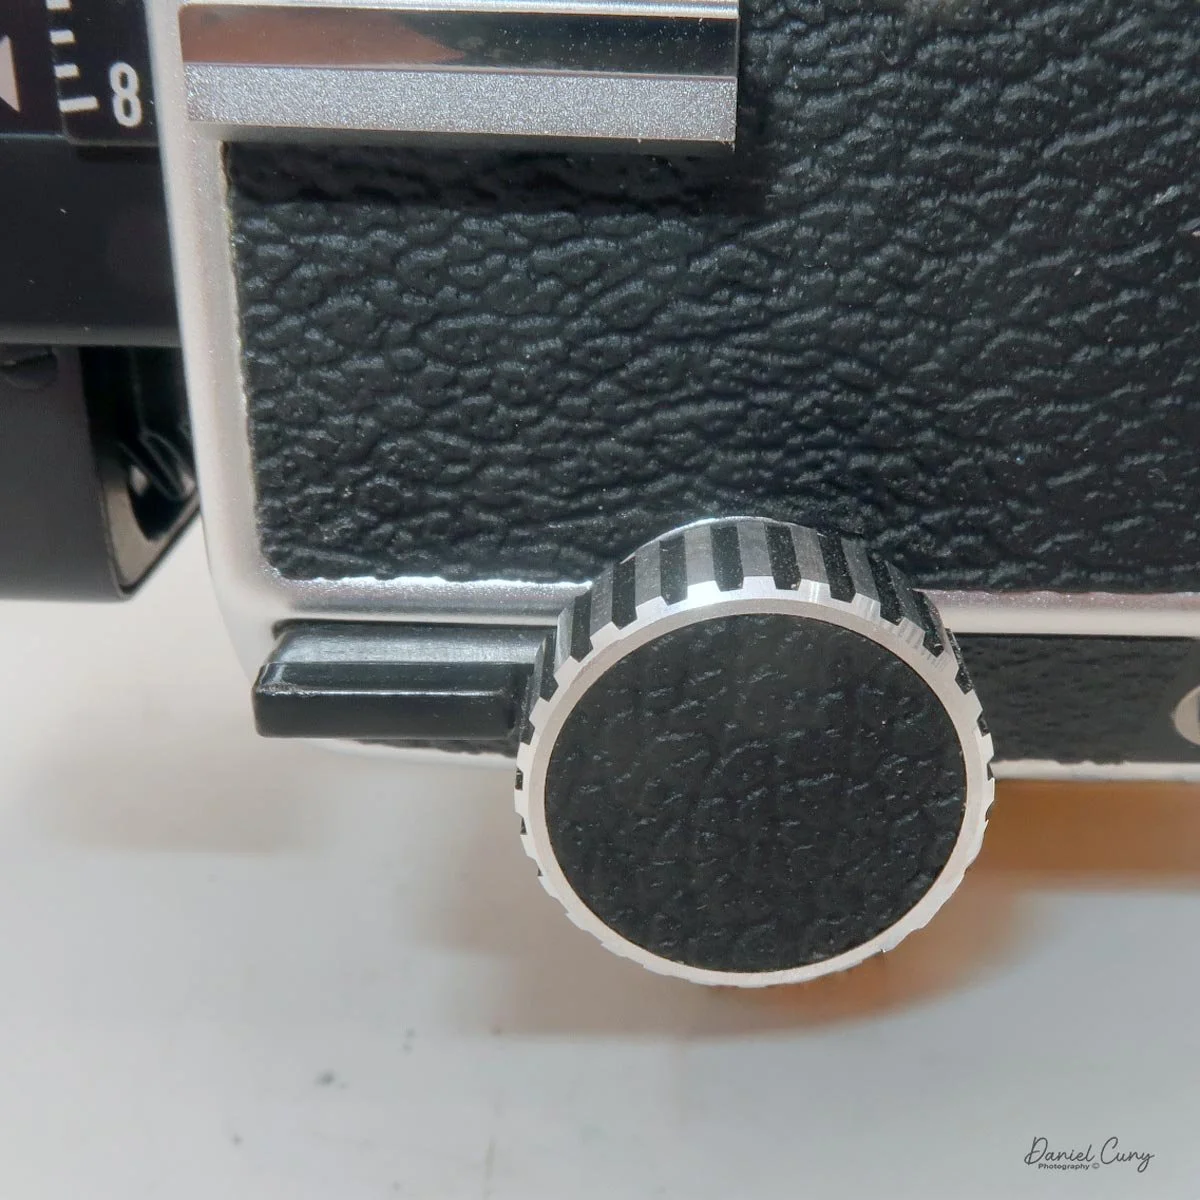
On the camera body's left side is that big focusing knob, which doubles as a reference for the lens in use; you can pull it out and set it for your focal length. The knob turns quite a bit when you're focused in tight, but the throw is smooth and precise. Just ahead of it is the tilt control: a locking lever and wheel for setting and securing the lens tilt angle. The body also carries a cold shoe for accessories and a pair of covered flash sync ports. Up top, pressing the chrome button opens the waist‑level finder, and a second press pops up the magnifier for critical focusing.

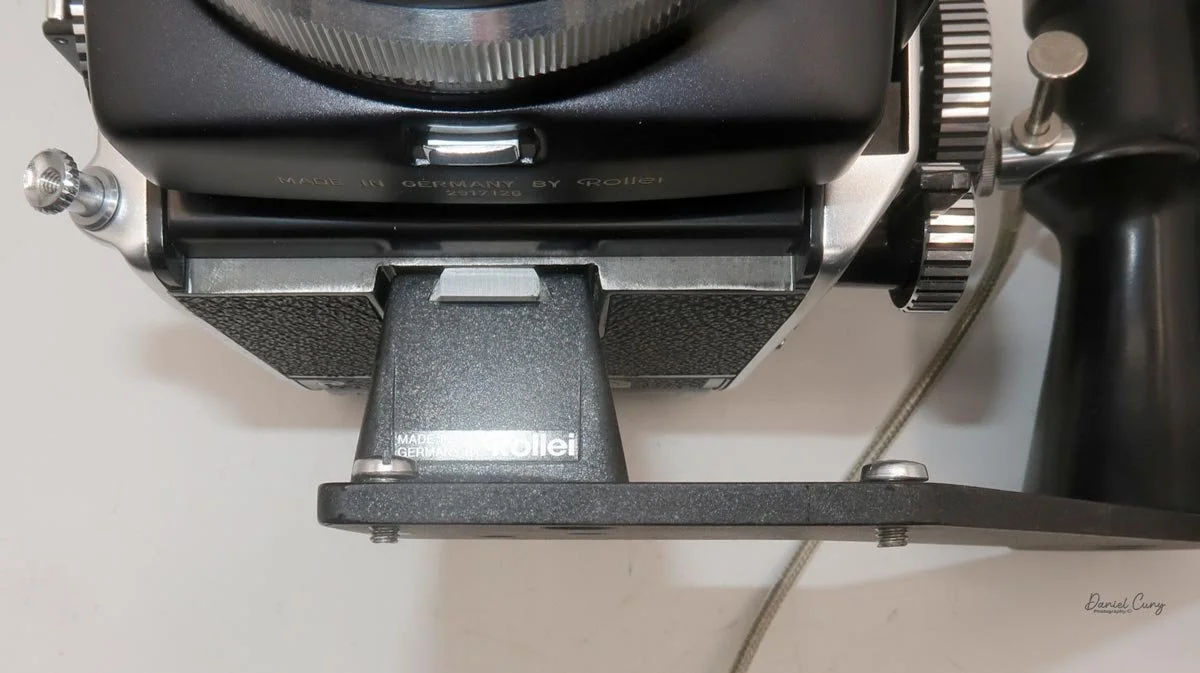
I use an L‑grip that mounts into the bottom quick‑mount slot alongside the tripod socket. That grip transforms the camera from a studio brick into something I'm comfortable hand‑holding for a walk, letting my left hand manage focus and support while my right handles shutter release and film advance. It doesn't make the SL66 light, but it does make it surprisingly usable off a tripod.

My Results

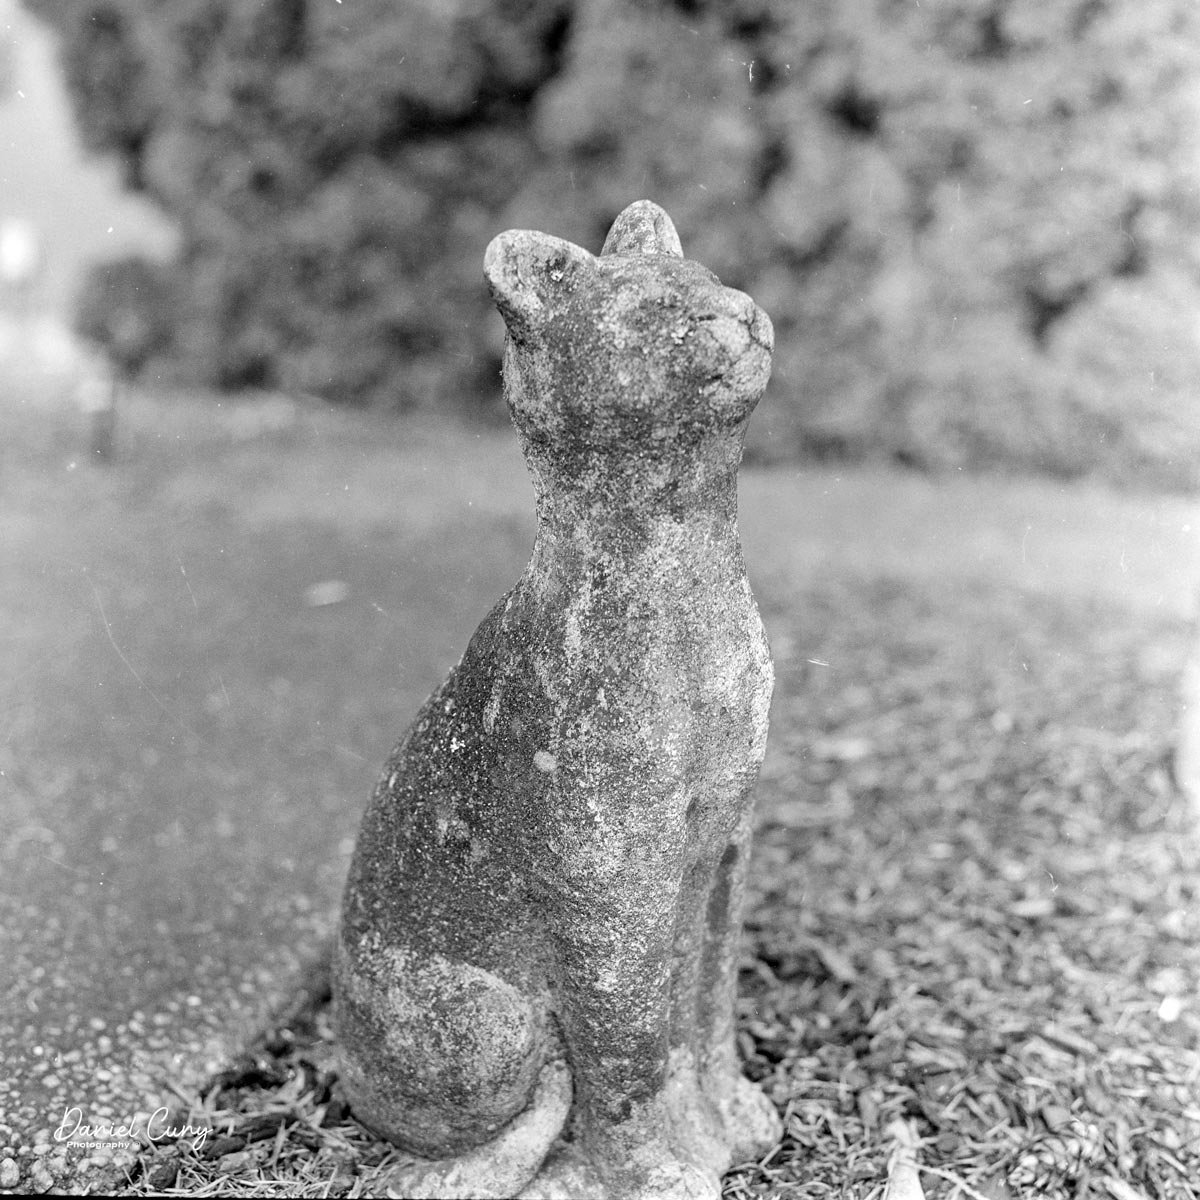
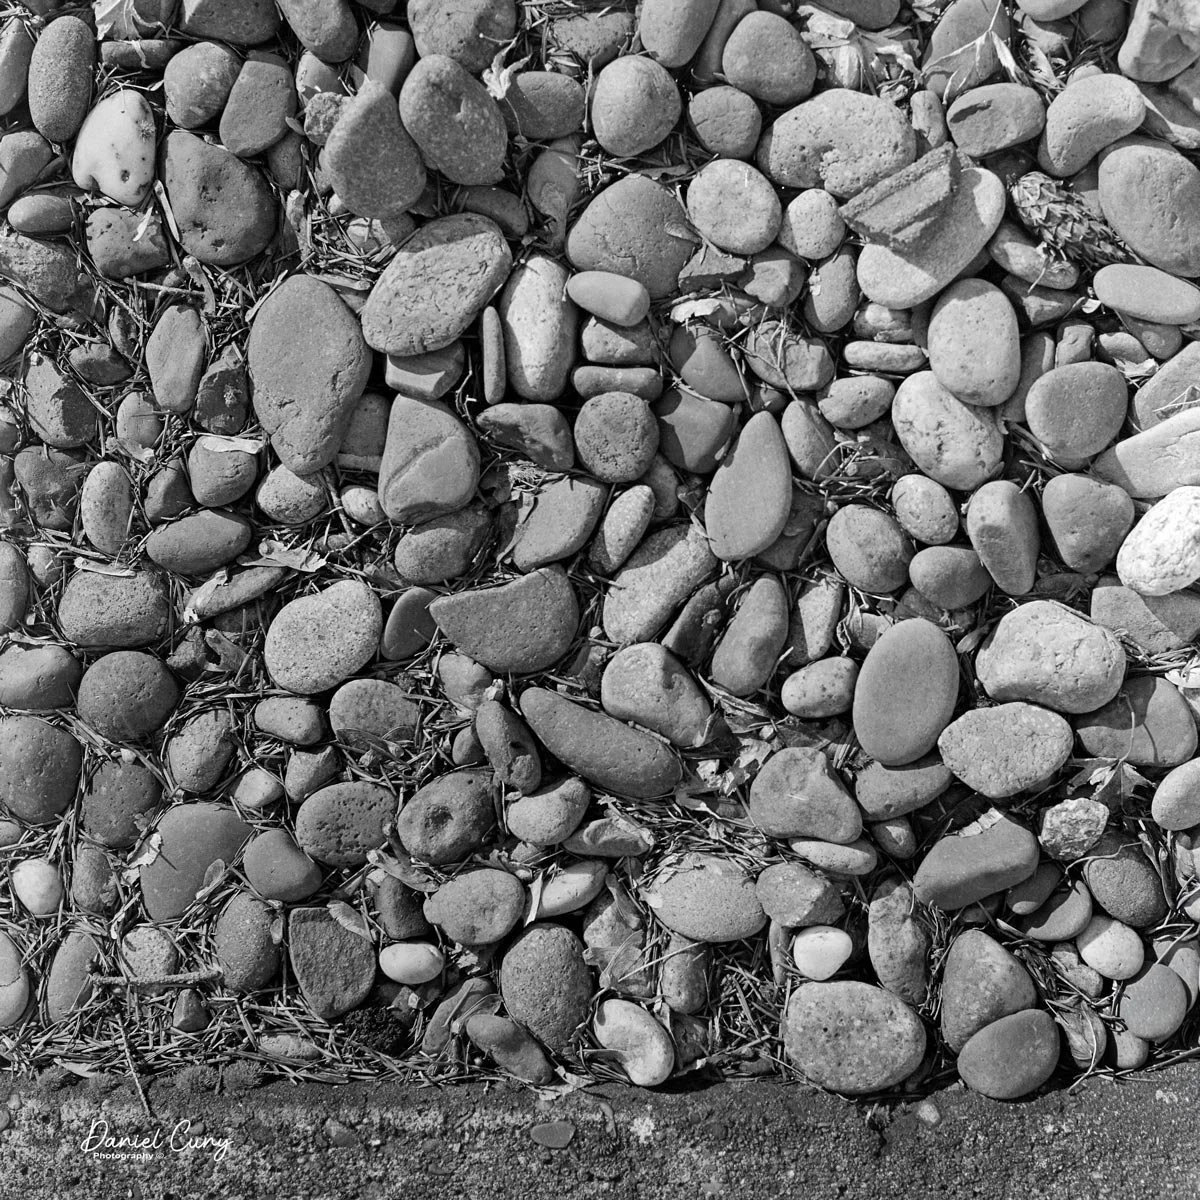
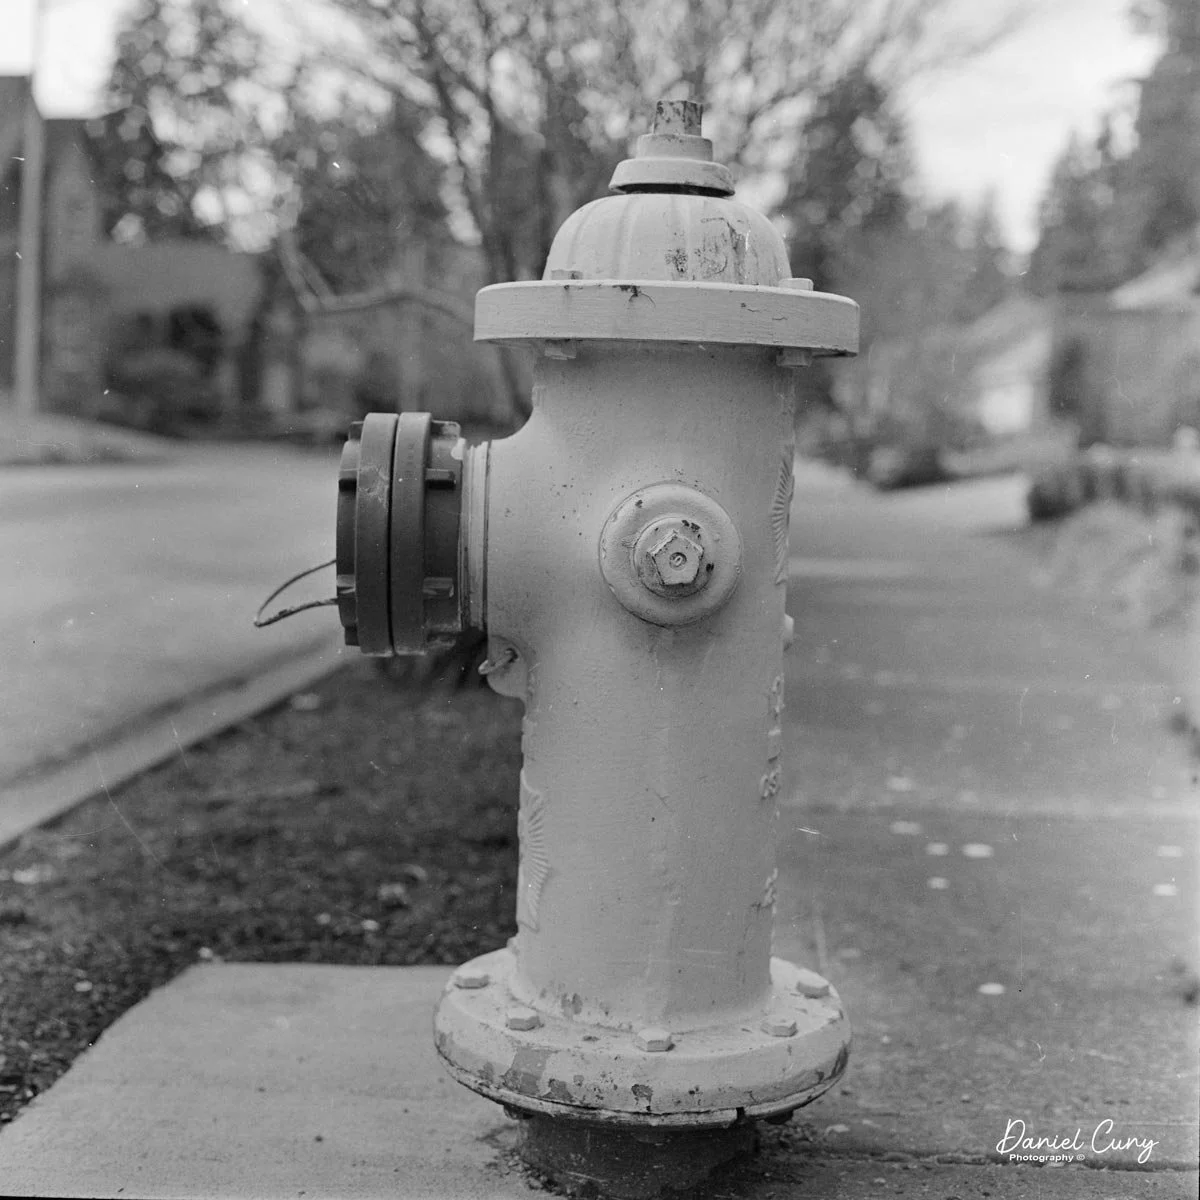
When I finally pulled the SL66 off the shelf this year, I decided not to overthink it. I loaded a roll of film, stepped out into my neighborhood on an uncharacteristically sunny February day in the Pacific Northwest, and treated it like any other camera I'd take for a walk. The first few frames were simple subjects—houses, trees, textures—mainly to get a feel for the shutter sequence, the advance, and how the camera balanced with the L‑grip in hand.

 What struck me almost immediately was how deliberate the camera feels. The weight and long focus throw slow you down in a good way; you don't "spray and pray" with an SL66. Composing on the waist‑level finder is a pleasure: the screen is bright, the magnifier makes critical focusing easy, and the big focus knob lets you land focus precisely rather than hunting back and forth. By the time I finished that first roll, the camera felt intuitive in a way only a well‑designed mechanical tool can.

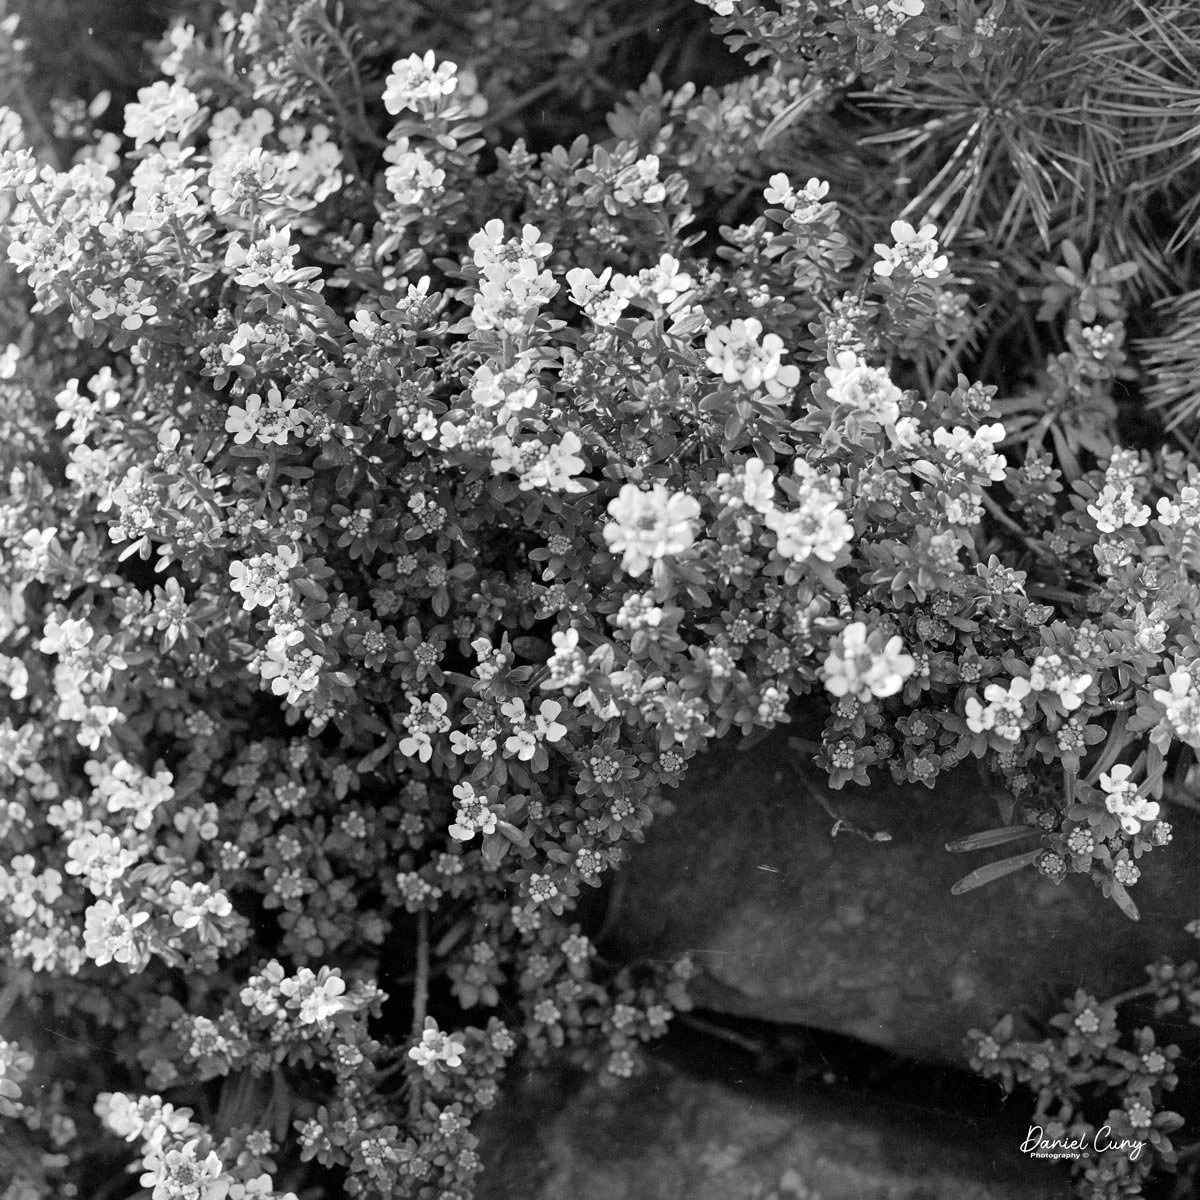
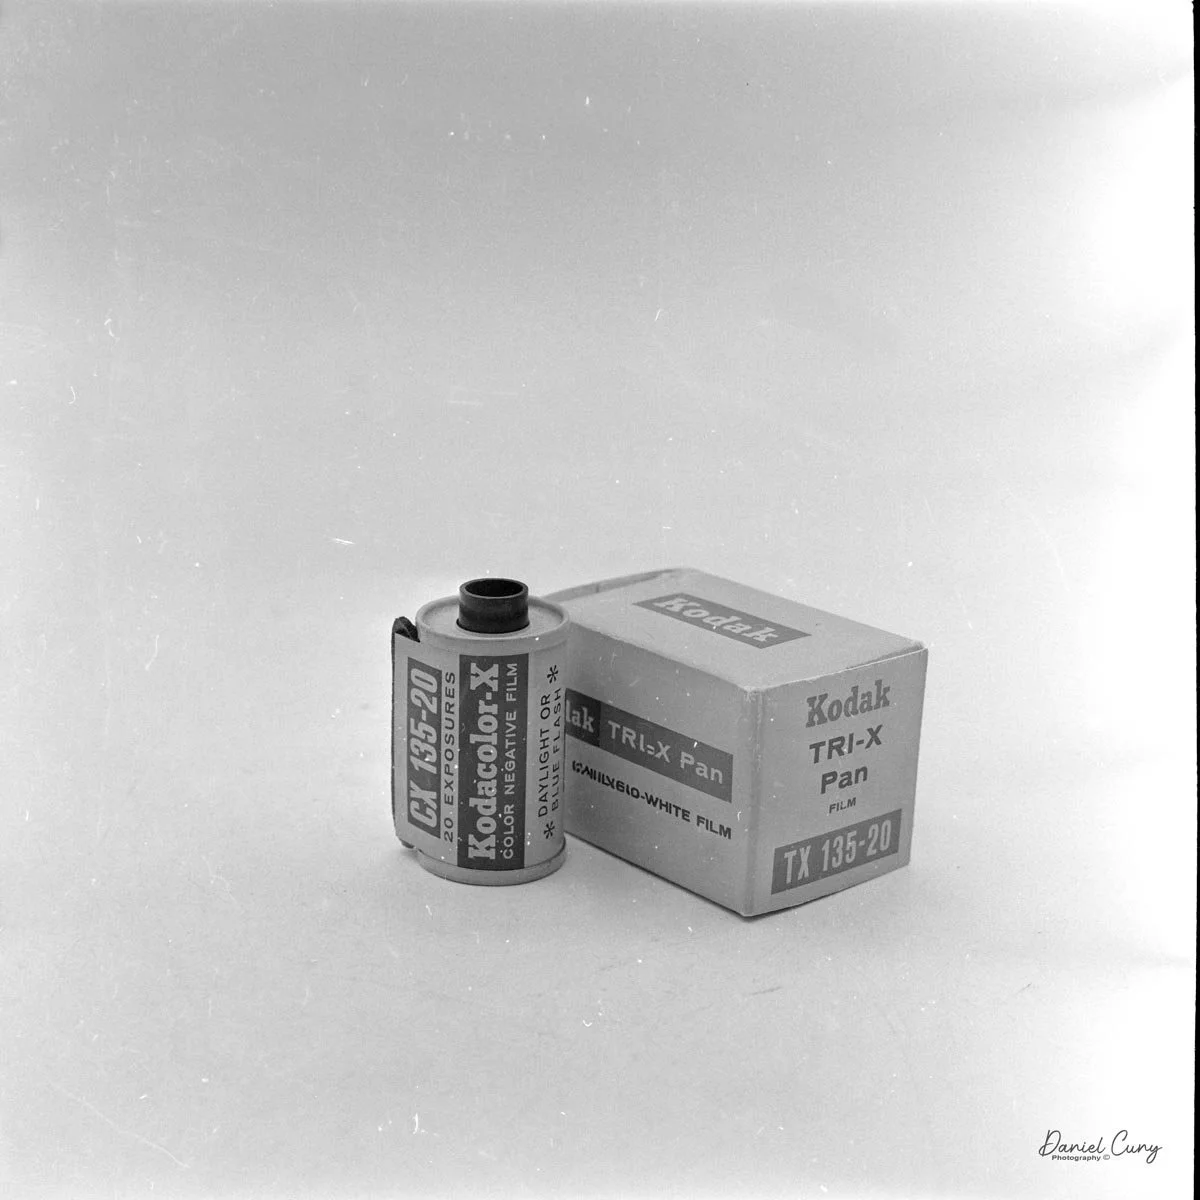
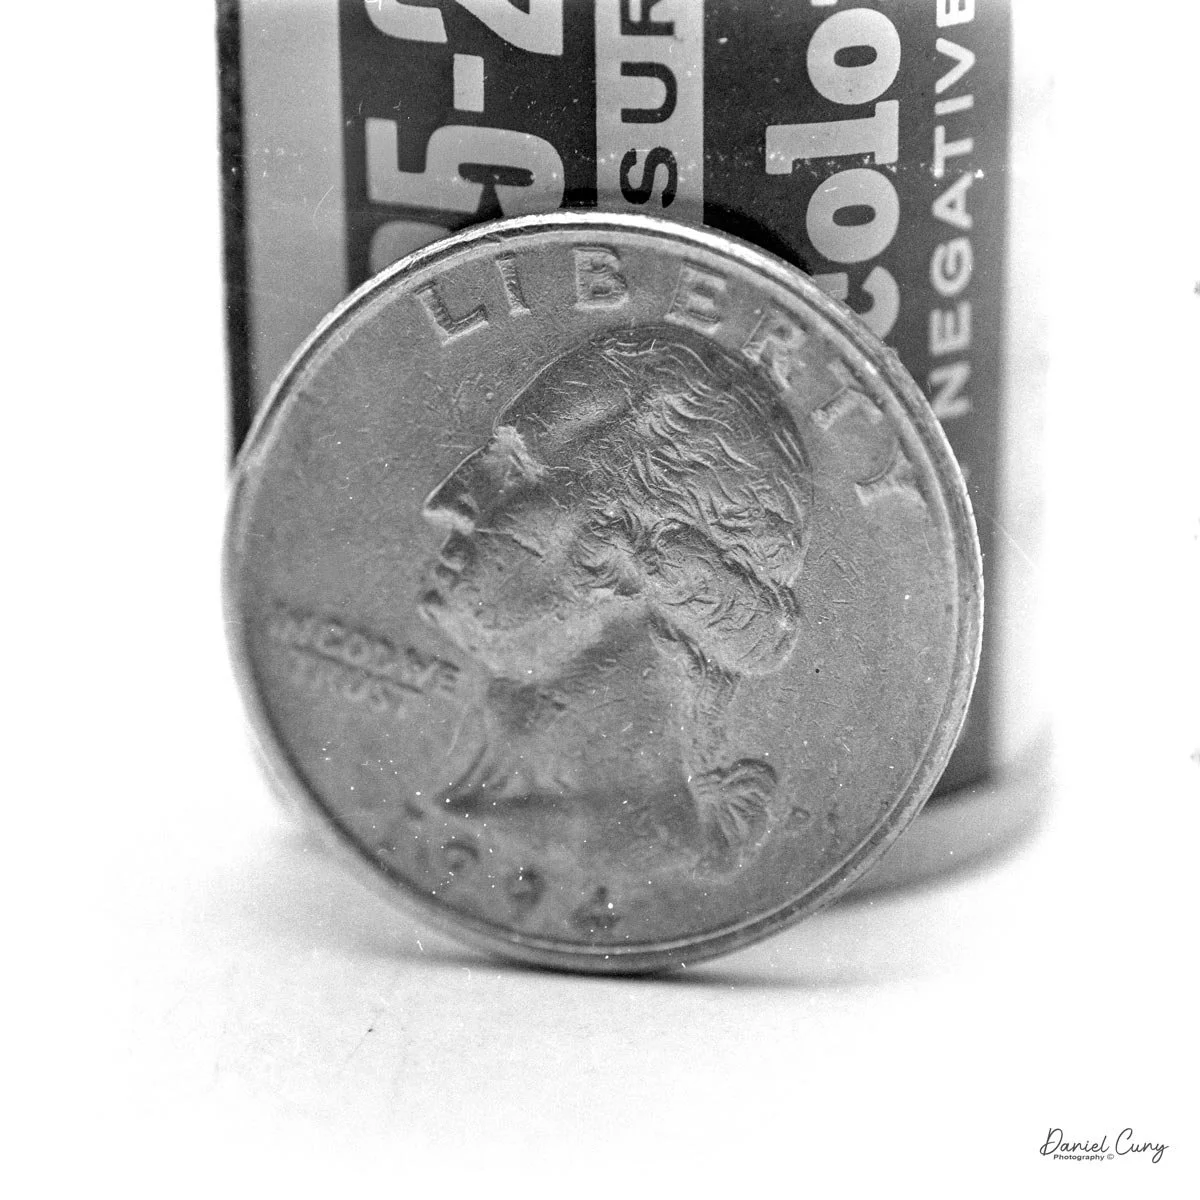
Back at home, I wanted to see what the SL66 could really do in its natural habitat: close‑up work. I set up a small scene with a 35mm film cassette and its box, first focusing as close as I could with the lens in the normal position. Even without reversing the lens, the built‑in bellows let me get in surprisingly tight. Then I flipped the lens around on the double bayonet mount and repeated the setup. The difference in magnification was obvious—the frame filled with the cassette and text on the box —and the tilt function came into its own, letting me hold both the front and top surfaces in focus at a reasonable working aperture.

My apologies for the dusty images.

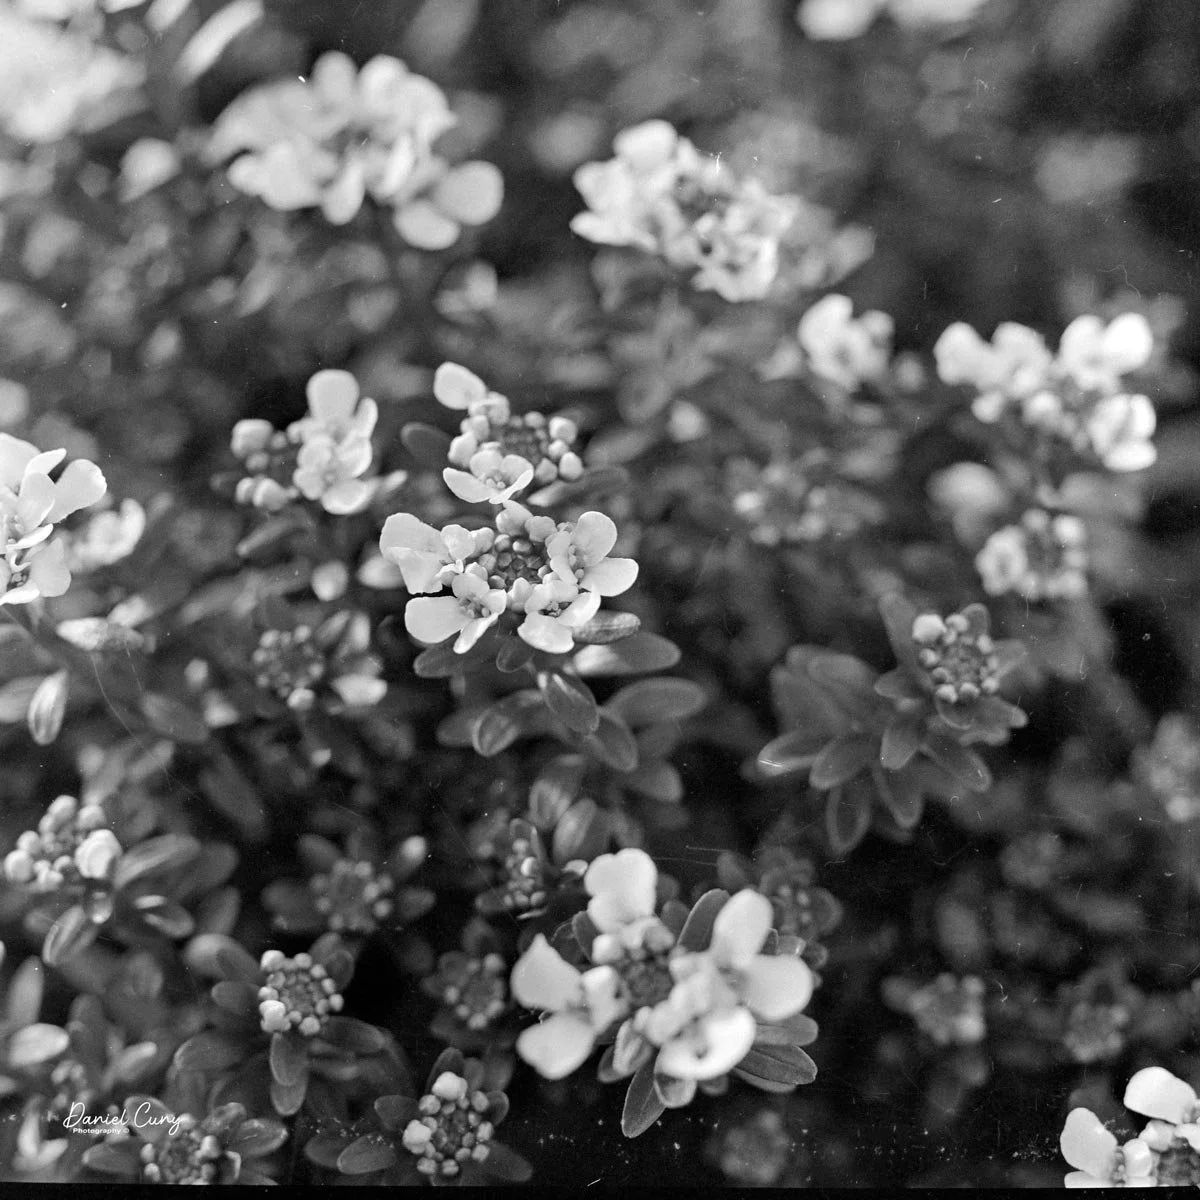
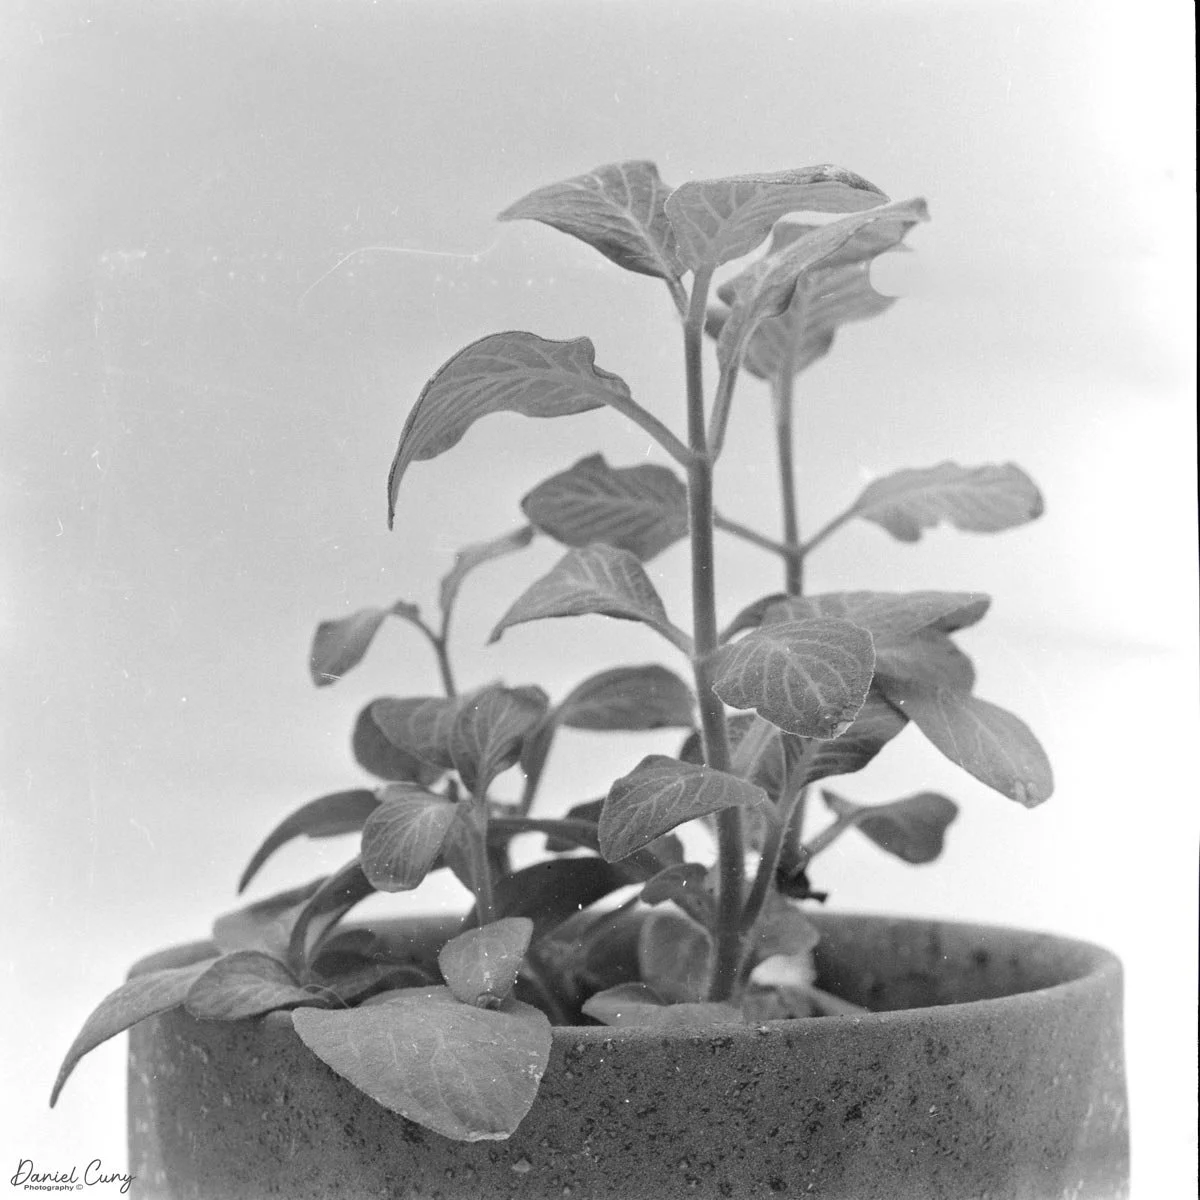
I also pointed the camera at a plant in my office, working closely again. Here, the combination of bellows, tilt, and that Zeiss glass really shone: crisp detail where I wanted it, smooth falloff where I didn't, and a rendering that feels more like a small view camera than a traditional medium‑format SLR. The process is slower than with a modern macro lens and autofocus, but the results—and the experience of making the images—are deeply satisfying.

Conclusion: Is the SL66 the Best Medium‑Format SLR?

In my personal opinion, the Rolleiflex SL66 is the best medium‑format single‑lens reflex camera I've ever used. It isn't the lightest, fastest, or most convenient option, but as a creative tool—especially for close‑up, product, and careful location work—it's truly exceptional.

 Why I let it sit so long is beyond me. The camera is a joy to shoot, and the results justify the effort. Small design touches like the dark‑slide holder, the smart film advance on the back, the generous close‑focusing via bellows, and the ability to reverse lenses for even greater magnification all add up to a macro photographer's dream. The overall build quality, leatherwork, and control layout make it feel every bit the premium instrument it was intended to be.

 That said, it's important to be honest about the downsides. The SL66 is heavy and bulky compared with many 6×6 systems; accessories and lenses can be harder to find and more expensive than Hasselblad equivalents, and the focal‑plane shutter's 1/30 flash sync may be a deal‑breaker for some styles of studio work. It's also an older, complex mechanical camera, which means a good technician and a healthy maintenance budget are essential.

 If you value portability, fast handling, and high sync speeds above all else, there are better choices. But if you're drawn to careful composition, close‑up and tabletop work, and you appreciate a camera that rewards deliberate, thoughtful photography, the Rolleiflex SL66 is tough to beat. It has become one of my favorite medium‑format cameras, and I fully expect it to see regular use.

 Thank you for taking the time to learn about my new favorite medium‑format camera. I'd love to hear your experiences with the SL66—or your questions about this or any of my other camera reviews—and if you're curious about owning one yourself, feel free to stop by my eBay store, Cuny's Cameras and Photos, to see what I currently have available.

Welta Superfekta

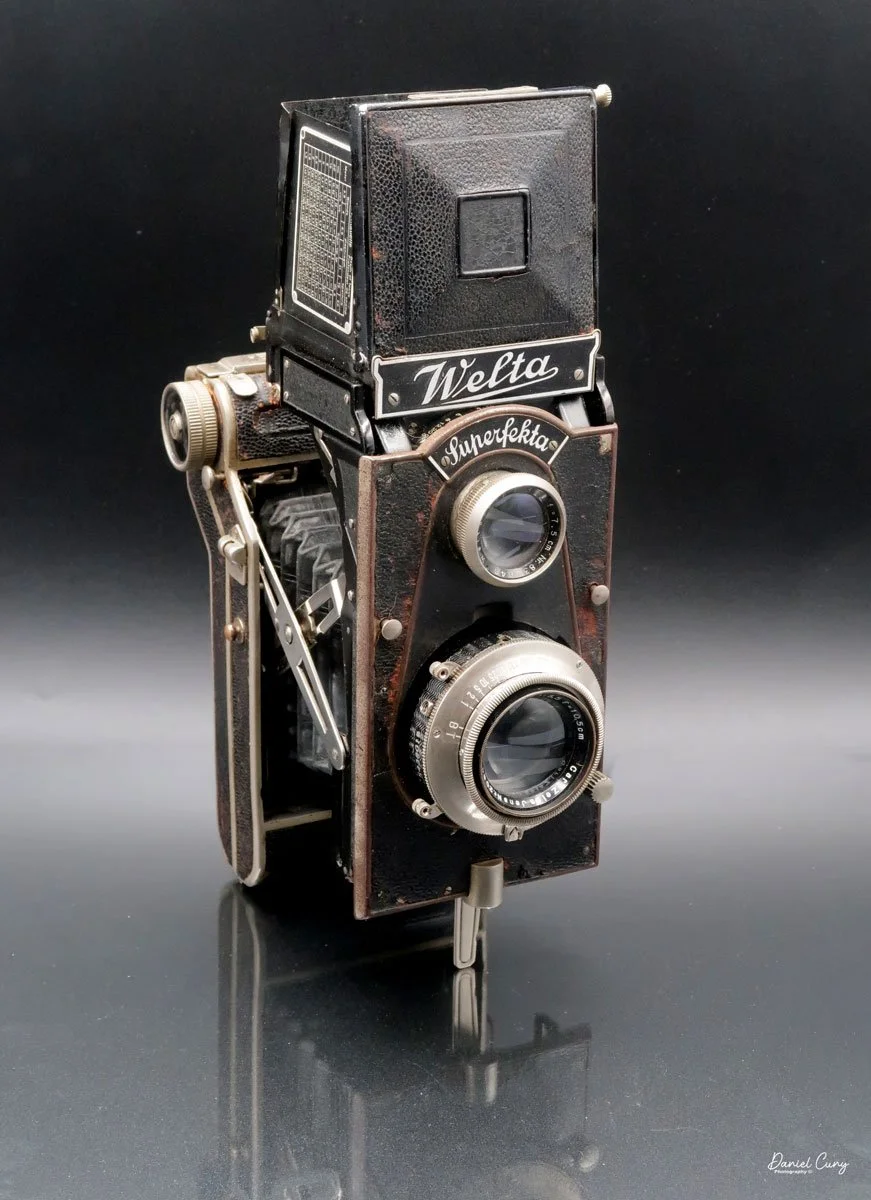
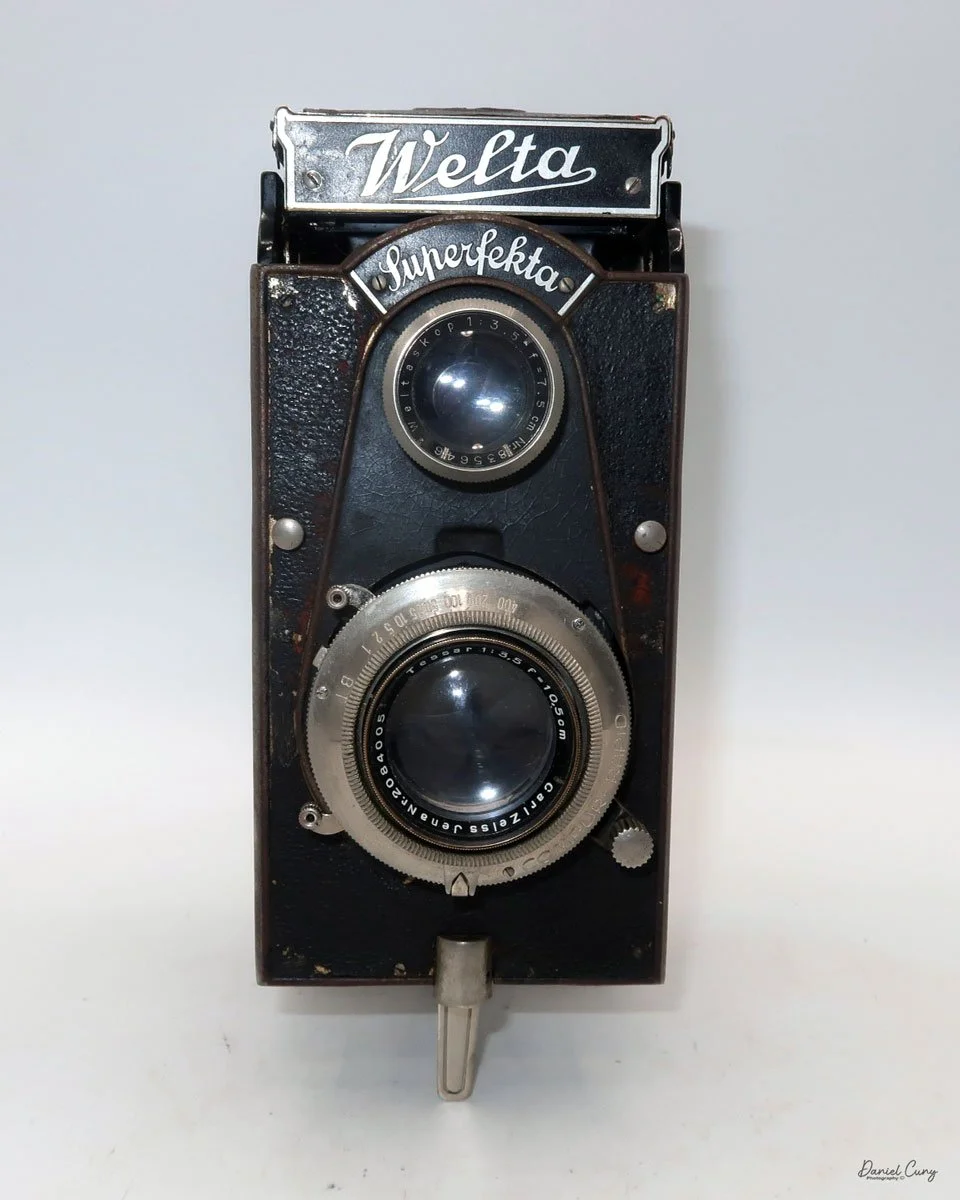
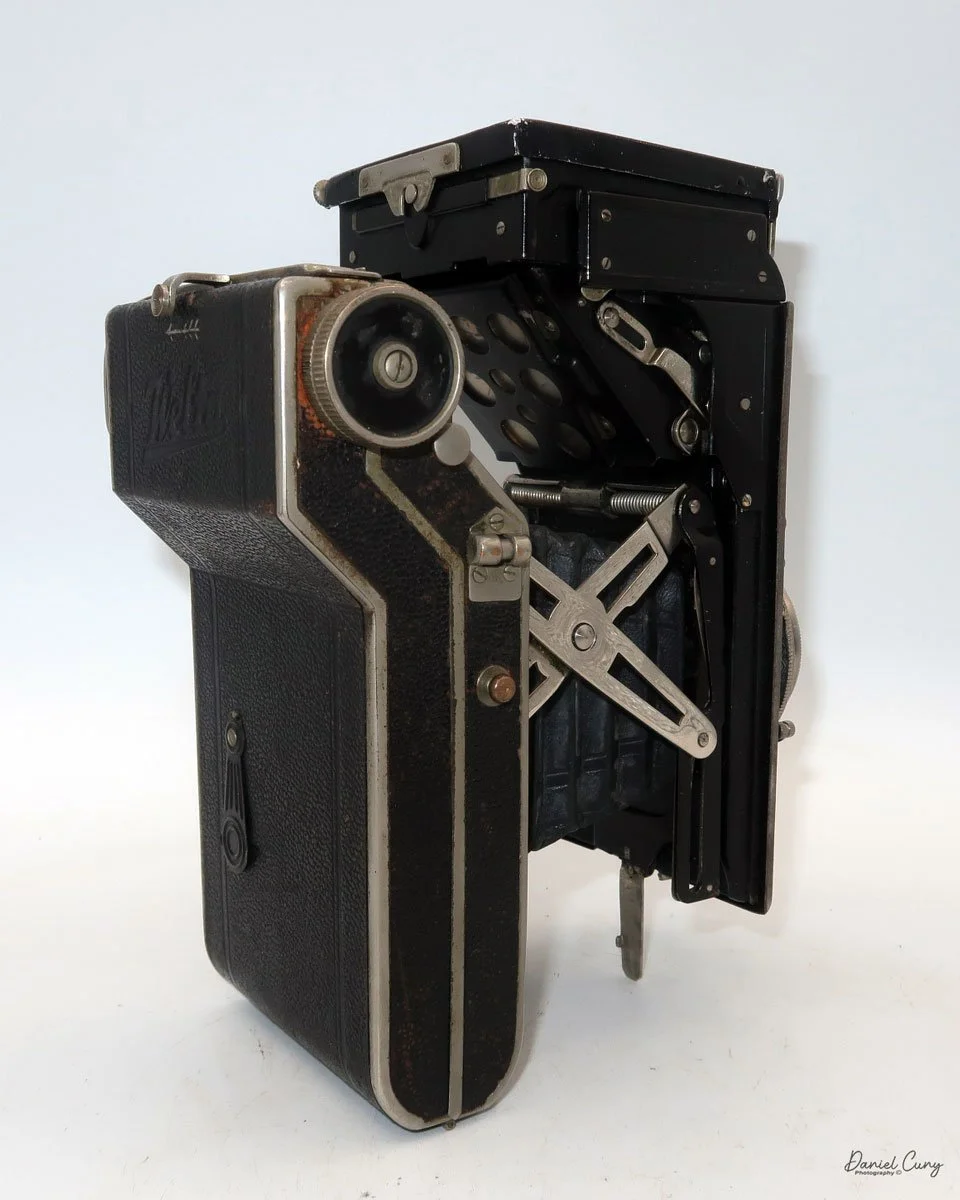
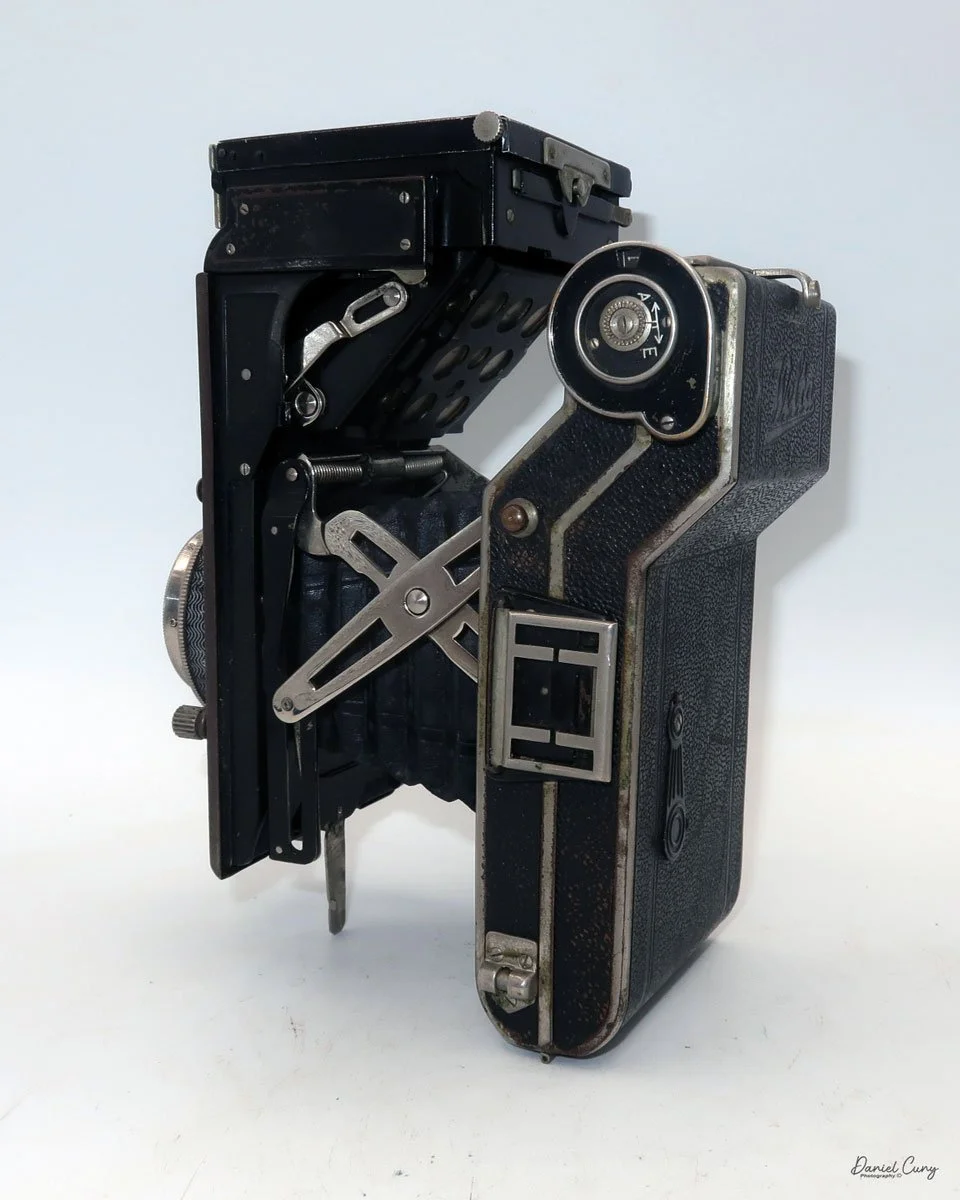
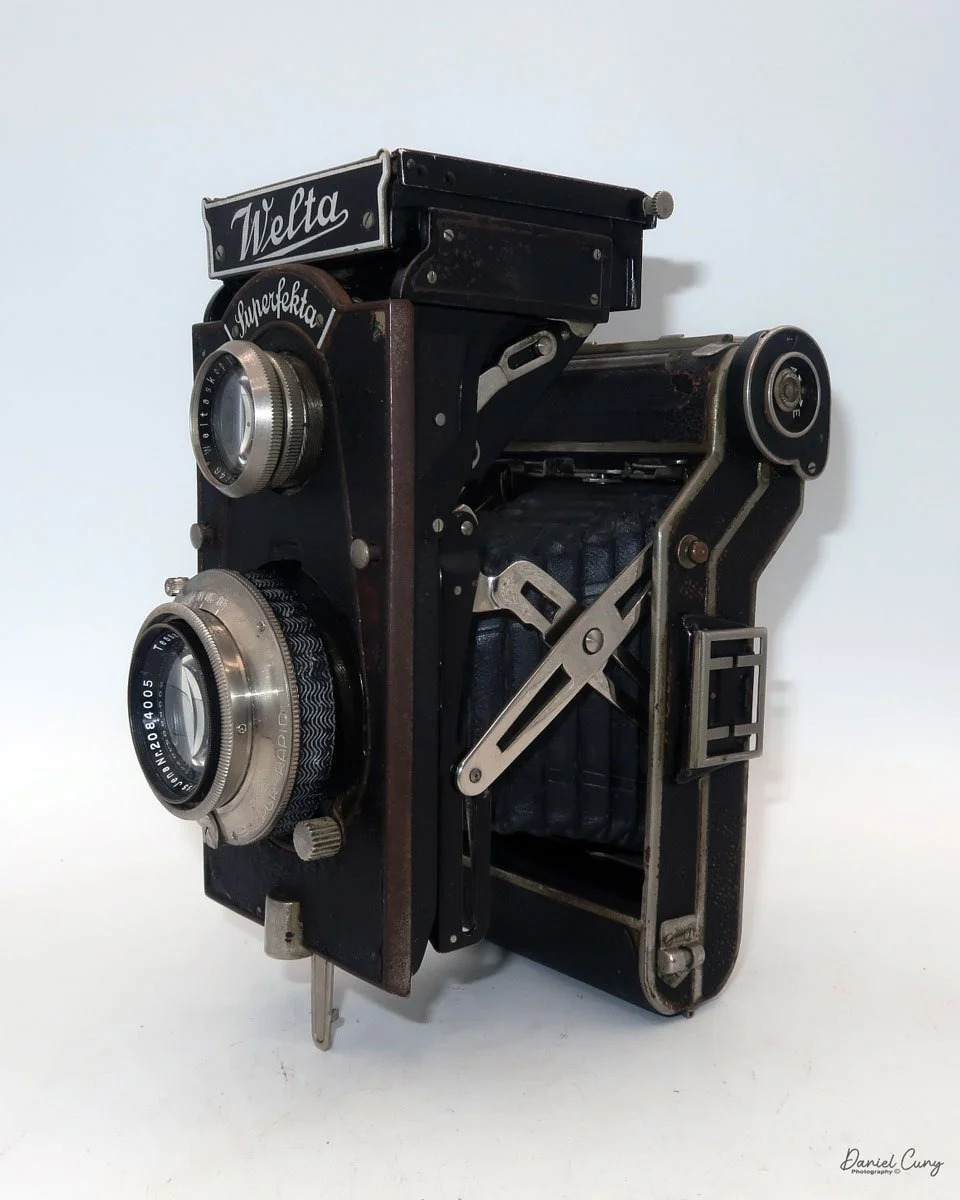
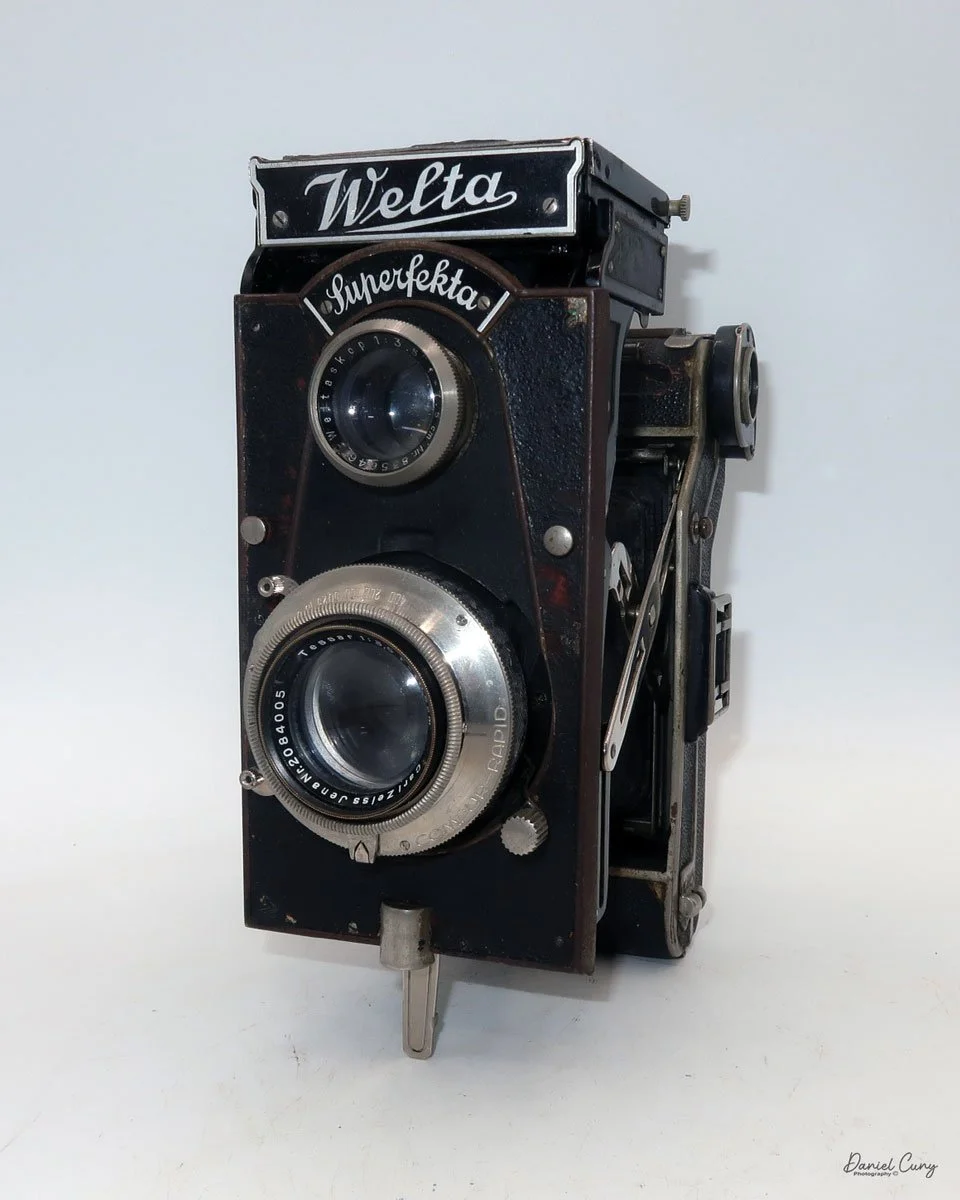
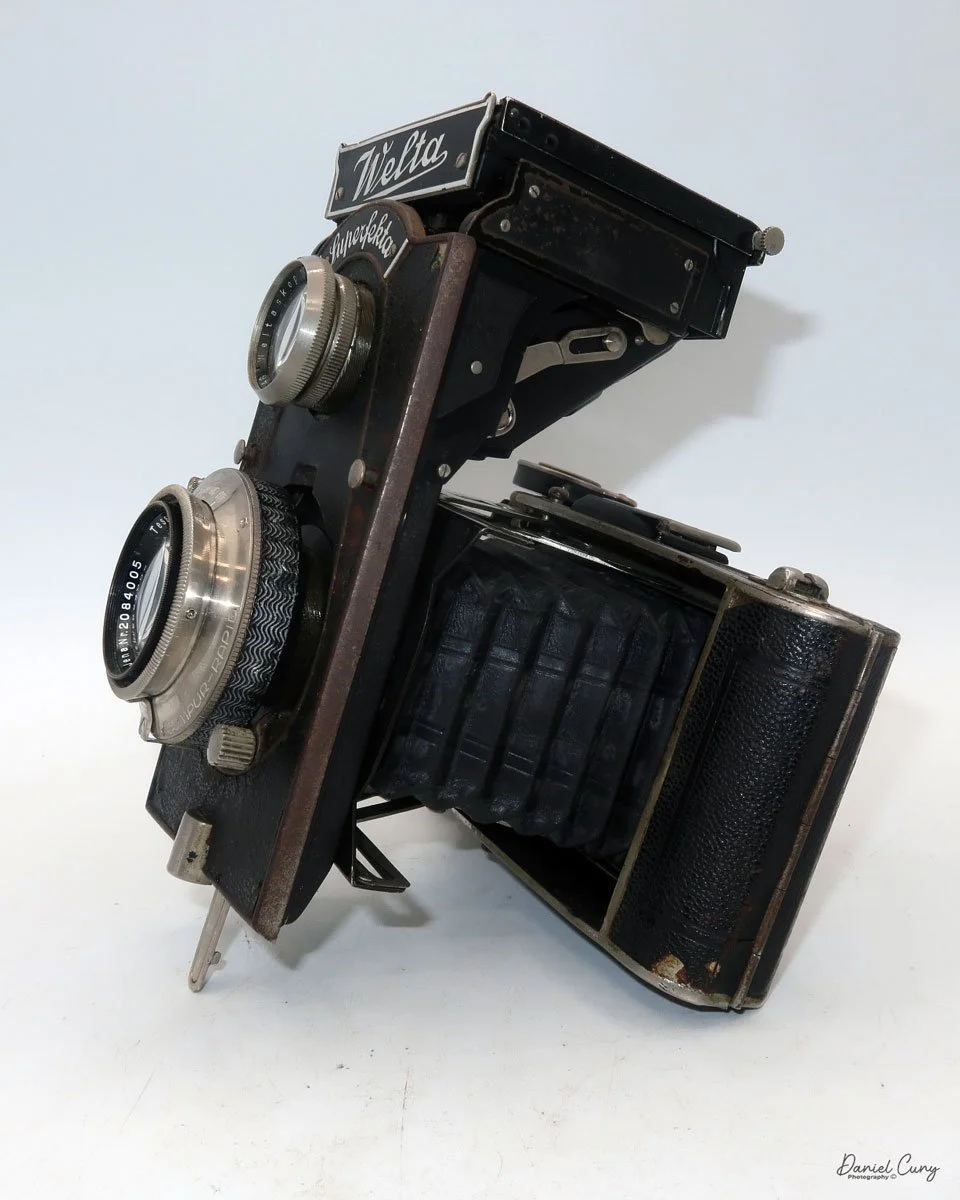
My Welta Superfekta camera

Not being wealthy, my collecting has always been focused on cameras well within our family's financial means. Up until my final ten years of working and before retirement, the cameras I purchased were items you could find at local flea markets and estate sales, or occasionally I made a trade for an item while selling at a camera show where I had a table.

 Being drawn to obscure and unusual cameras and having devoured McKeown's Camera Guide for many years, the Welta Superfekta is one camera I've always dreamed of adding to my collection. Due to its price and relative scarcity in the U.S., it's always been out of reach for me until this past few years.

 It wasn't until I looked at an online camera auction that I found the Welta Superfekta at a price that was not only reasonable but also inexpensive. Online, the camera looked in good to decent condition, but they said the shutter was erratic. To me, those words mean I'll need to send the camera in for a shutter repair, which isn't too uncommon for a camera reaching 100 years old. 

 I purchased the Welta Superfekta online, and when the camera arrived, as suspected, its shutter was extremely sluggish and needed to be CLA'd. I reached out to the person I usually send cameras for servicing, and he confirmed he could service the shutter but wasn't sure about other areas of the camera, as he wasn't too familiar with it.

The excitement of adding the Welta Superfekta to my collection was wonderful, especially since it's a 6x9 cm-format camera that takes 120 film. Still, the more exciting part of the camera is that it's very similar to the Cornu Ontoflex, which has a rotating back, allowing the photographer to shoot both vertically and horizontally without turning the camera sideways. Just rotate the back from vertical to horizontal and flip the image orientation, as with the Mamiya RB67.

 The one thing I noticed when I turned my camera from vertical to horizontal is that the back doesn't turn all the way, which makes me curious about its history. This flaw, while concerning, adds character and a story to the camera, resonating with collectors who appreciate Imperfections.  

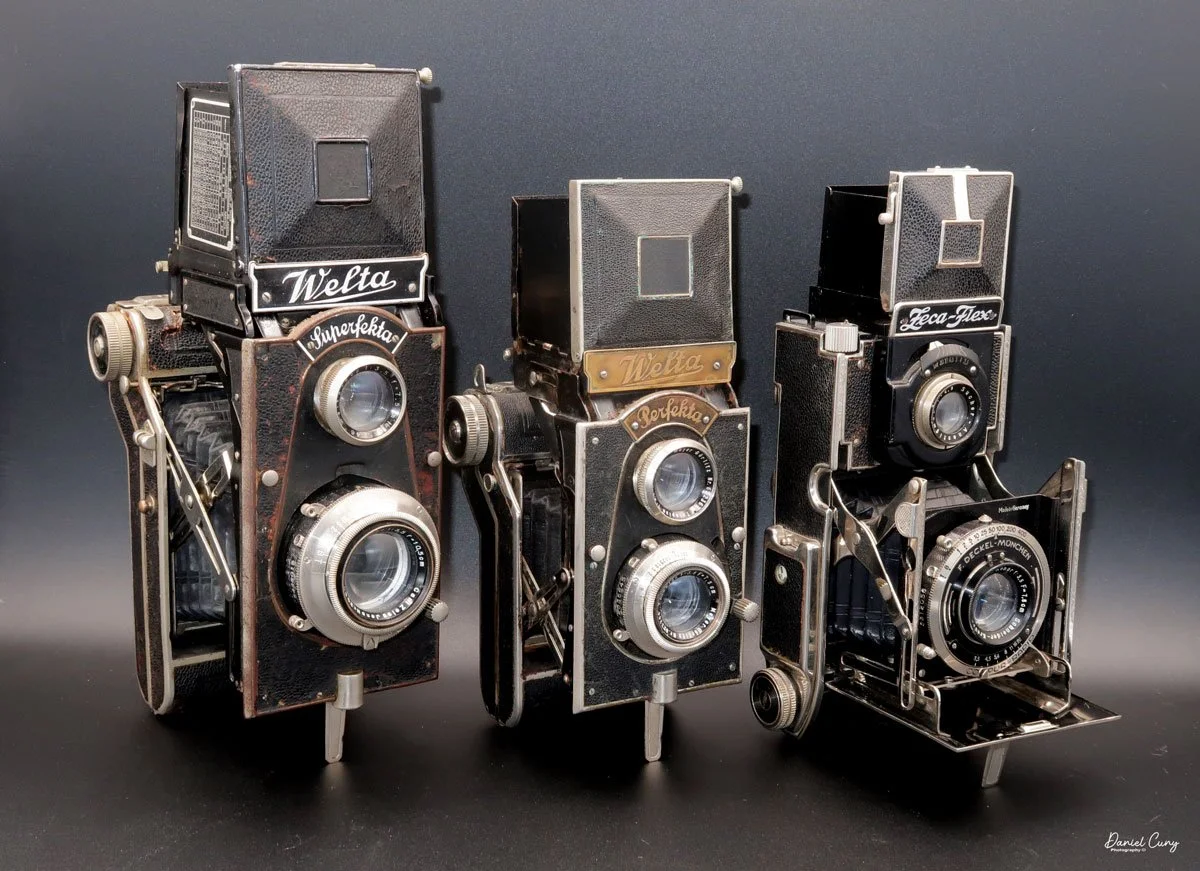
Another reason for my excitement to add the Welta Superfekta to my collection is that it would be the third folding Twin Lens camera in my collection. I had already purchased and written about both the Welta Perfekta and the Zeh Zeca-Flex cameras, making this the “Trifecta” of this camera style.

Welta Superfekta, Perfekta and Zeh Zeca-Flex camera.

Welta before World War II:

 The history of Welta Kamerawerke leading up to World War II is a testament to the rapid innovation and high-precision craftsmanship that defined the German photographic industry in the early 20th century. Founded in 1914 by Walter Waurich and Theodor Weber in Freital, near Dresden, the company began as "Waurich & Weber" before adopting the "Welta" brand name that would eventually become synonymous with high-end folding cameras.

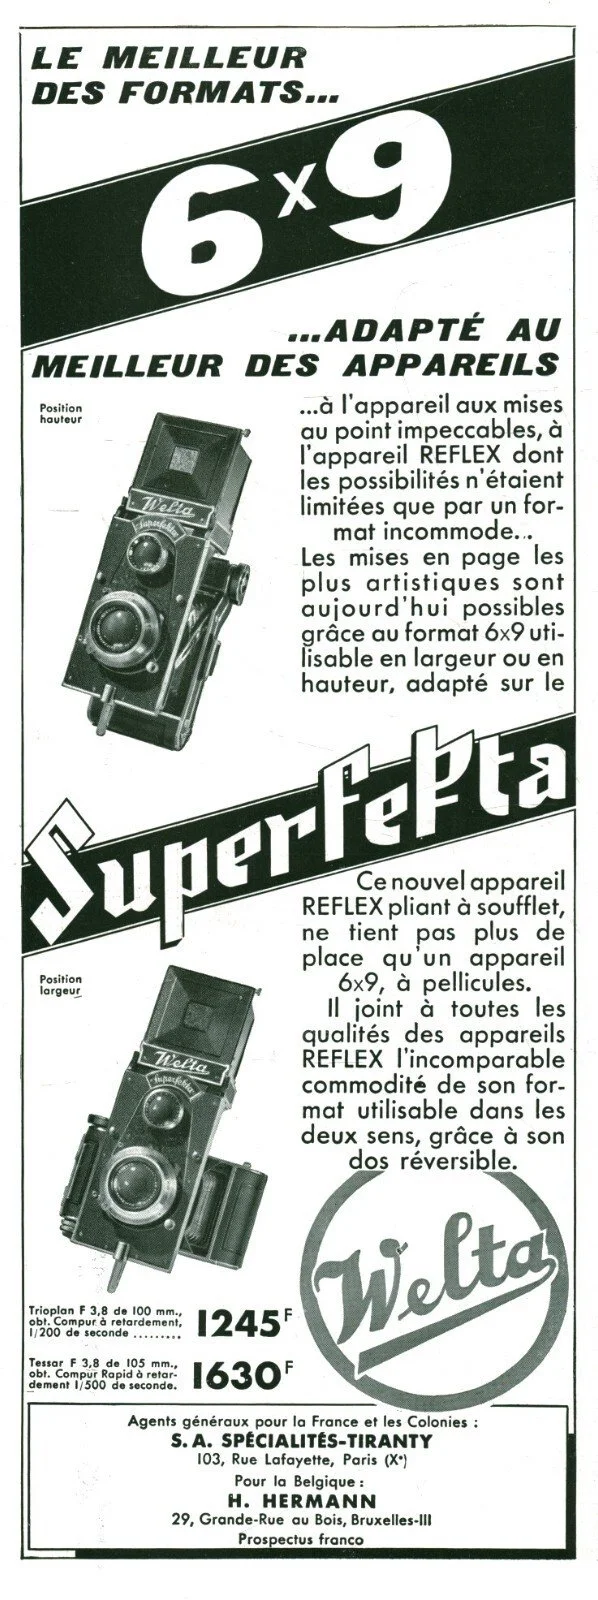
French ad for the Welta Perfekta and Superfekta cameras

 In its first decade, Welta focused on the transition from heavy glass-plate cameras to the more versatile roll-film formats. By the 1920s, Freital and the surrounding Dresden area had become the global epicenter of camera manufacturing, and Welta held its own against giants like Zeiss Ikon. Their early success was built on the folding camera—a design that allowed a high-quality lens and shutter to collapse into a slim, leather-covered metal body.

 The 1930s marked Welta's "Golden Era." During this decade, the company moved beyond standard designs to create some of the most mechanically complex cameras ever made. While competitors were focusing on the emerging 35mm trend, Welta mastered the 120 roll-film market with innovative models like:


  • The Weltur: A rangefinder folding camera known for its incredible build quality and integrated viewfinders.

  • The Perfekta and Superfekta: These folding Twin Lens Reflex (TLR) cameras were engineering marvels, offering the ground-glass focusing of a studio camera in a portable, collapsing frame.

  • The Welti: A foray into the 35mm market that proved Welta could compete with the Leica in terms of precision and optics, often featuring high-end Carl Zeiss Jena or Schneider lenses.

 Welta's pre-war philosophy was to offer a variety of price points without sacrificing mechanical integrity. You could find a simple Welta Trio for the casual hobbyist, or a Superfekta with a rotating back for the professional who demanded perfection. This versatility allowed Welta to export heavily to the UK and the United States, where their cameras were often rebranded for local retailers.

 By the late 1930s, Welta was a premier name in photography. However, as Germany shifted toward a war economy, production began to pivot away from consumer optics. After the war, Freital was part of the Soviet occupation zone (later East Germany), and Welta was eventually absorbed into the state-owned VEB Pentacon, marking the end of its era as an independent, family-founded innovator.

My Camera:

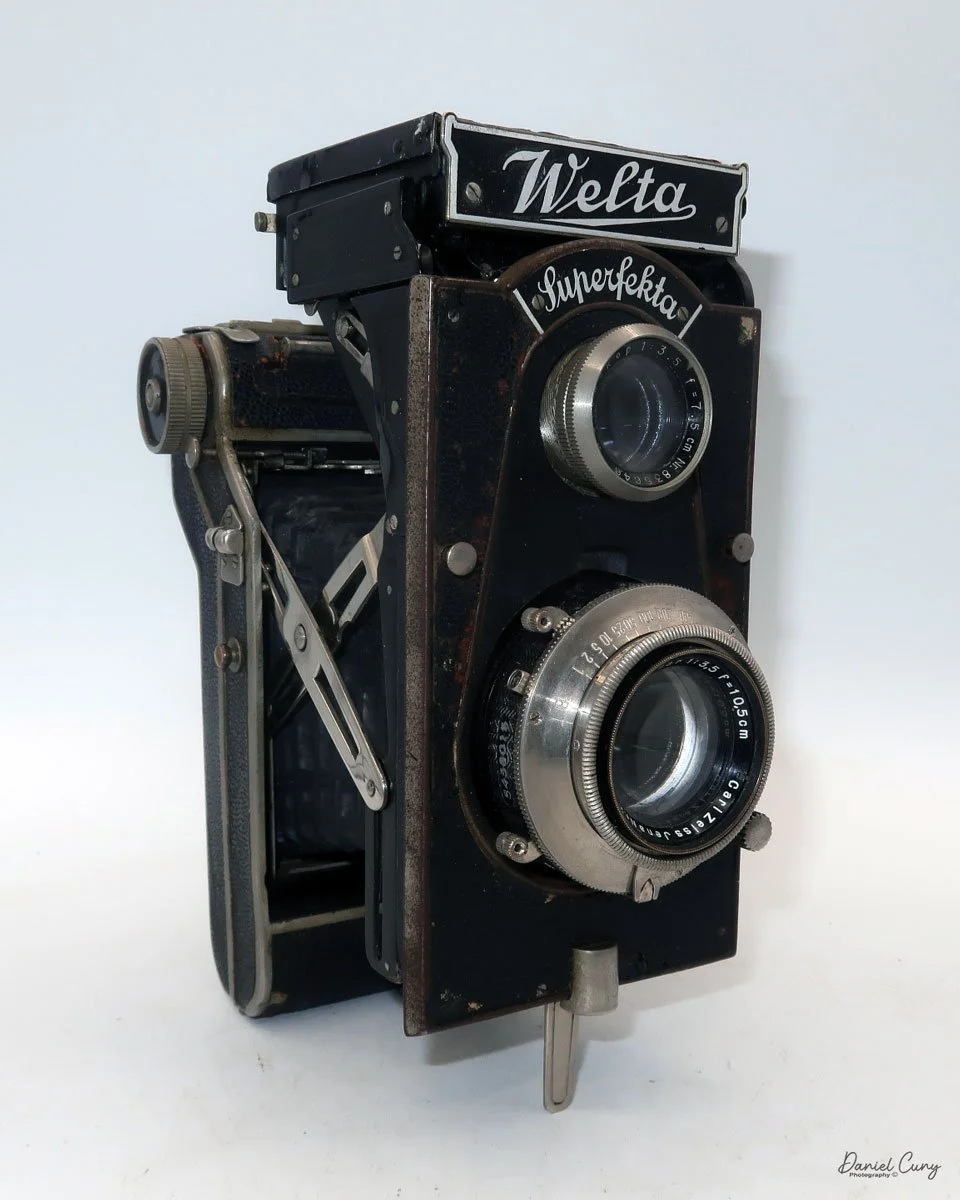
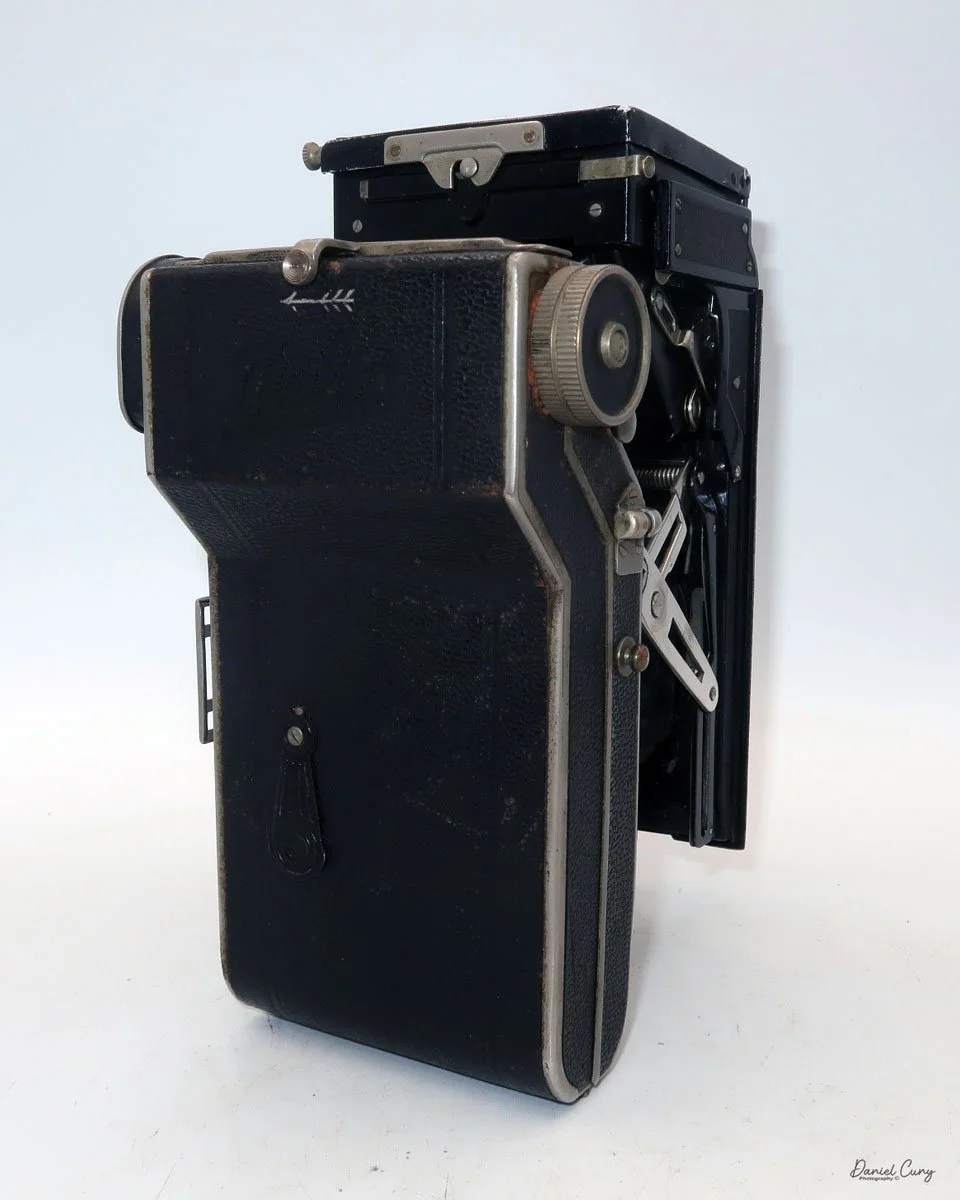
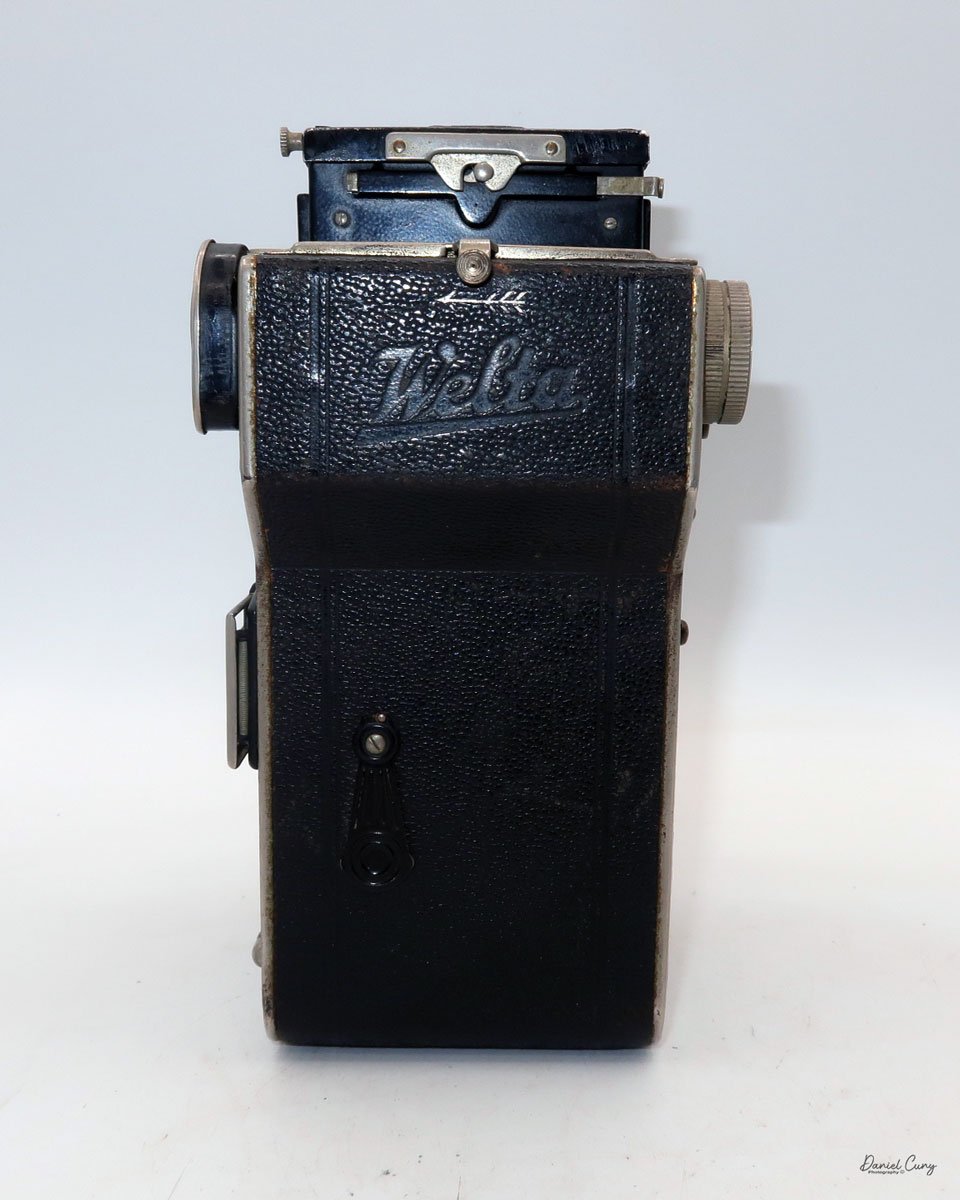
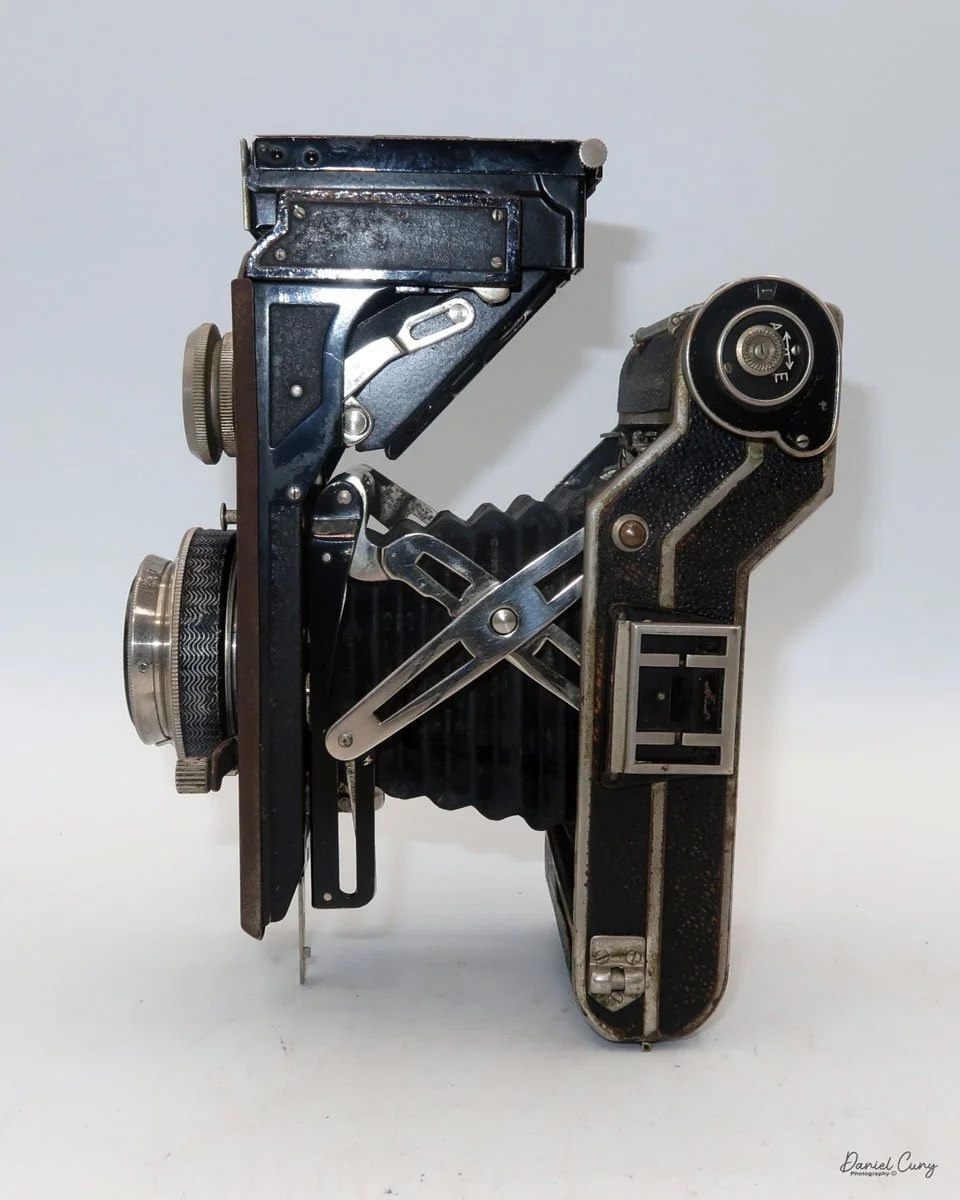
 My Welta Superfekta camera is 7.5" tall without the light chimney opened, and 10" with it opened, by 4" wide, and 3.5" deep with the body retracted, and 6.25" deep when the body of the camera is extended. The camera weighs 3 pounds, 0.2 ounces without film, so it has some heft.

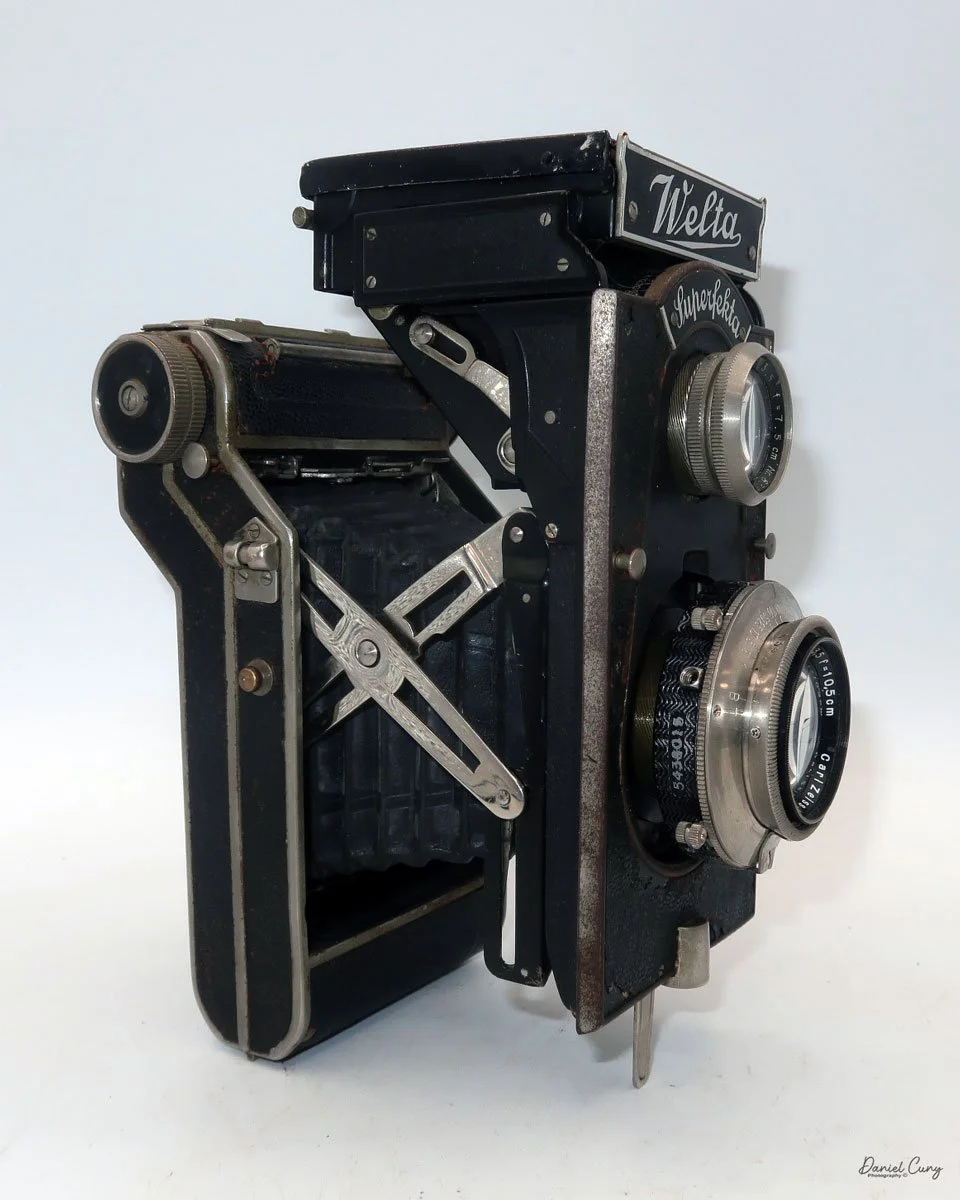
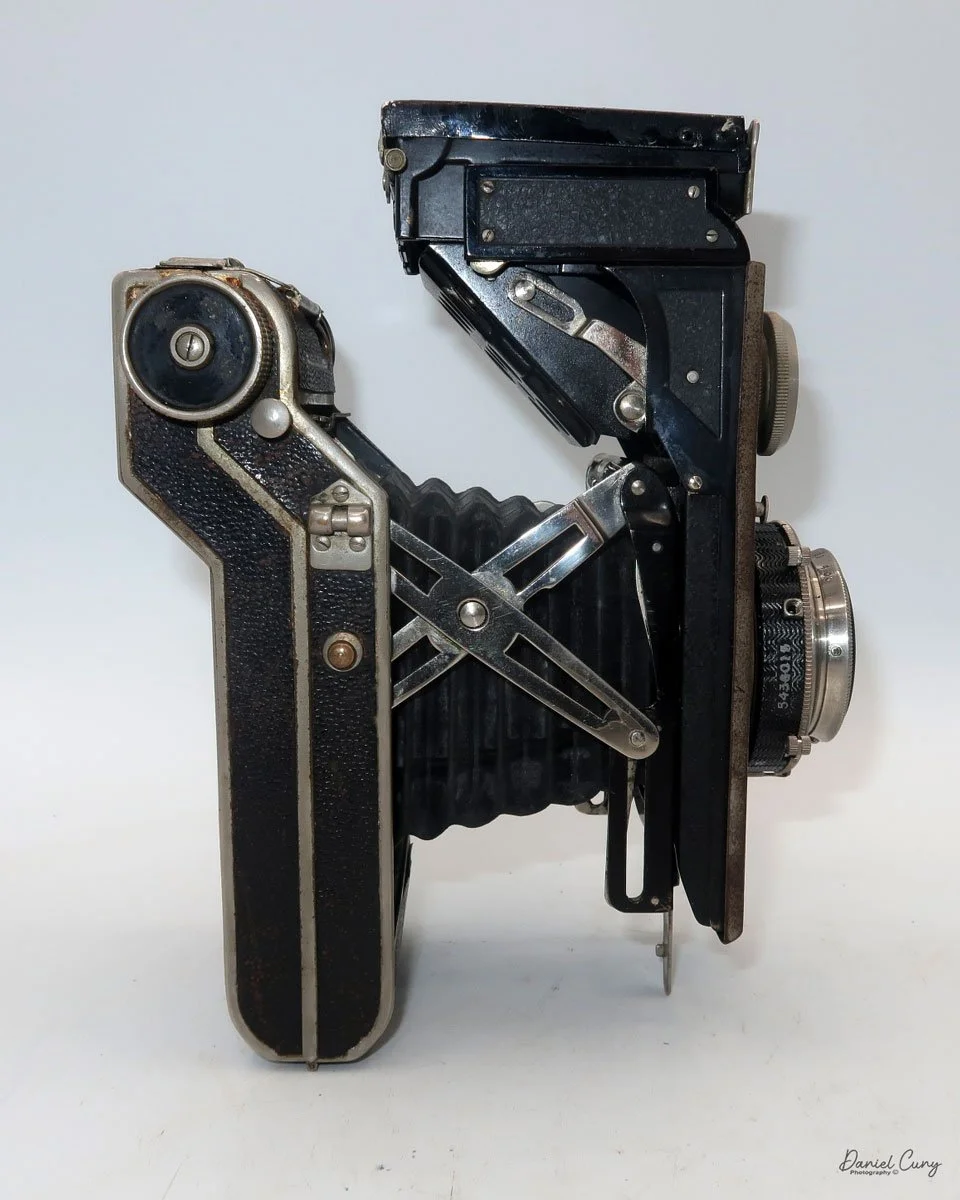
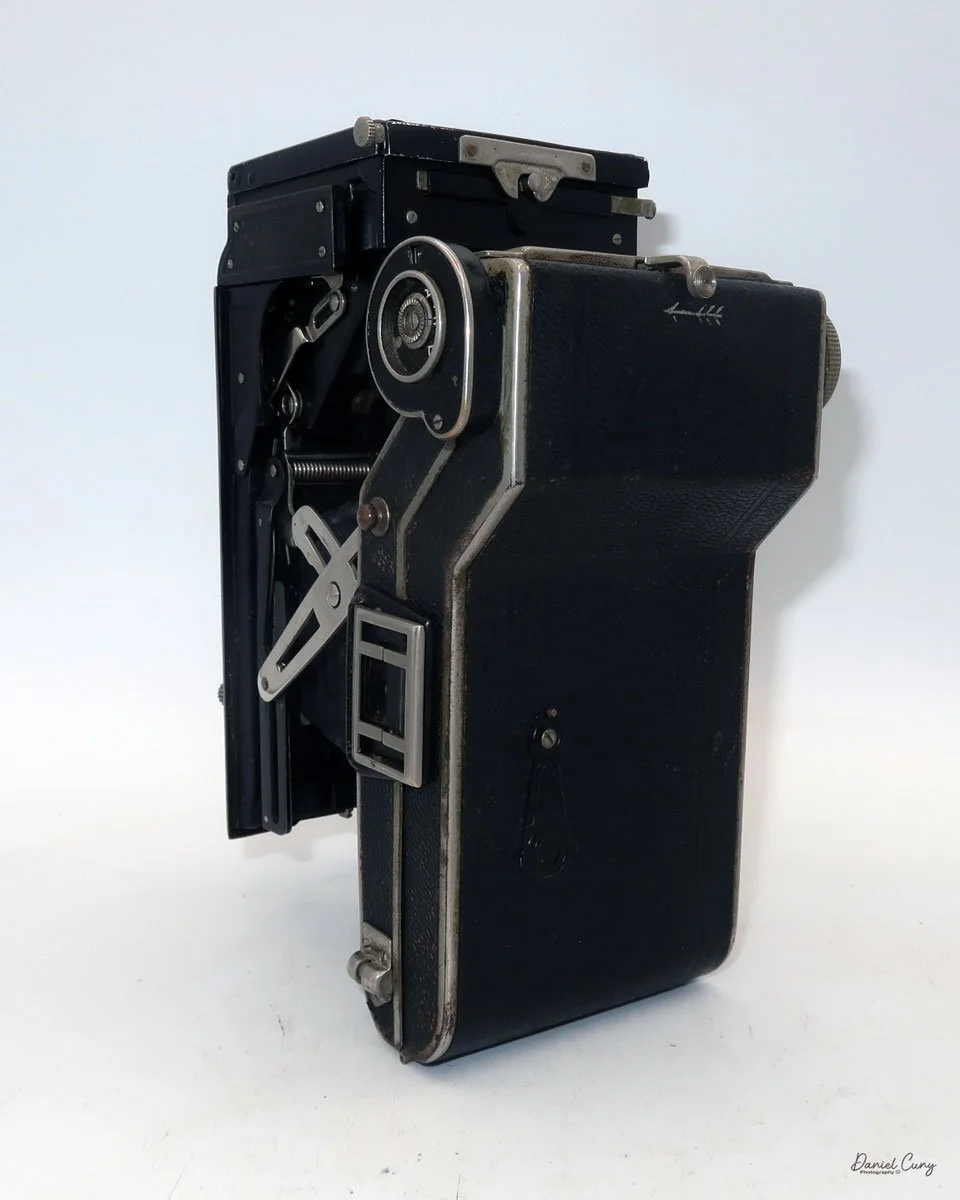
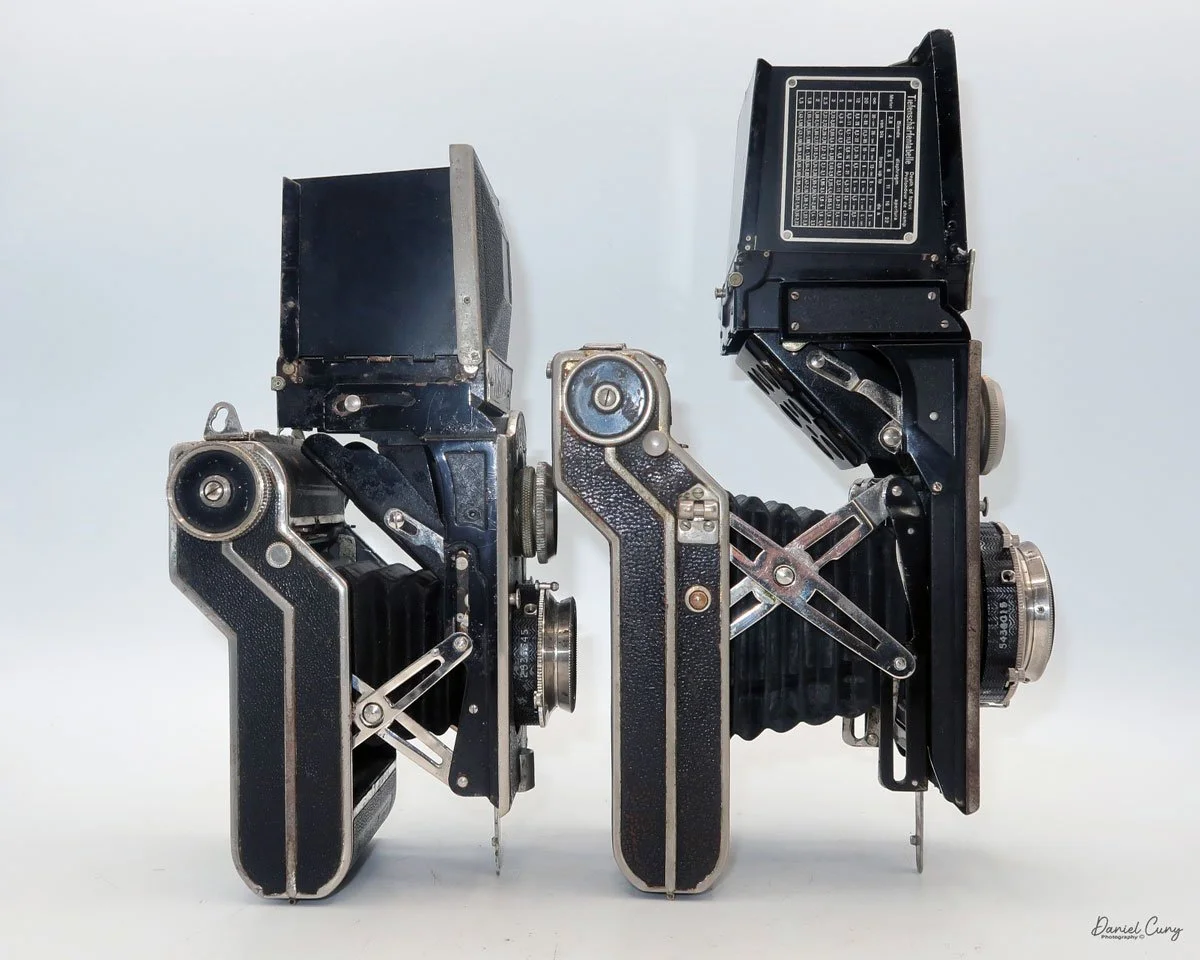
To extend the camera body away from the film chamber, press the silver button on the right side of the camera body, located just below the film winding lever. Pressing the button quickly extends the camera lens area, and you'll be able to see the bellows. By doing so, you'll see how the camera gets its name, a folding twin-lens camera. When I extended the camera's front from the rear, I noticed the bellows were in excellent light-tight condition.

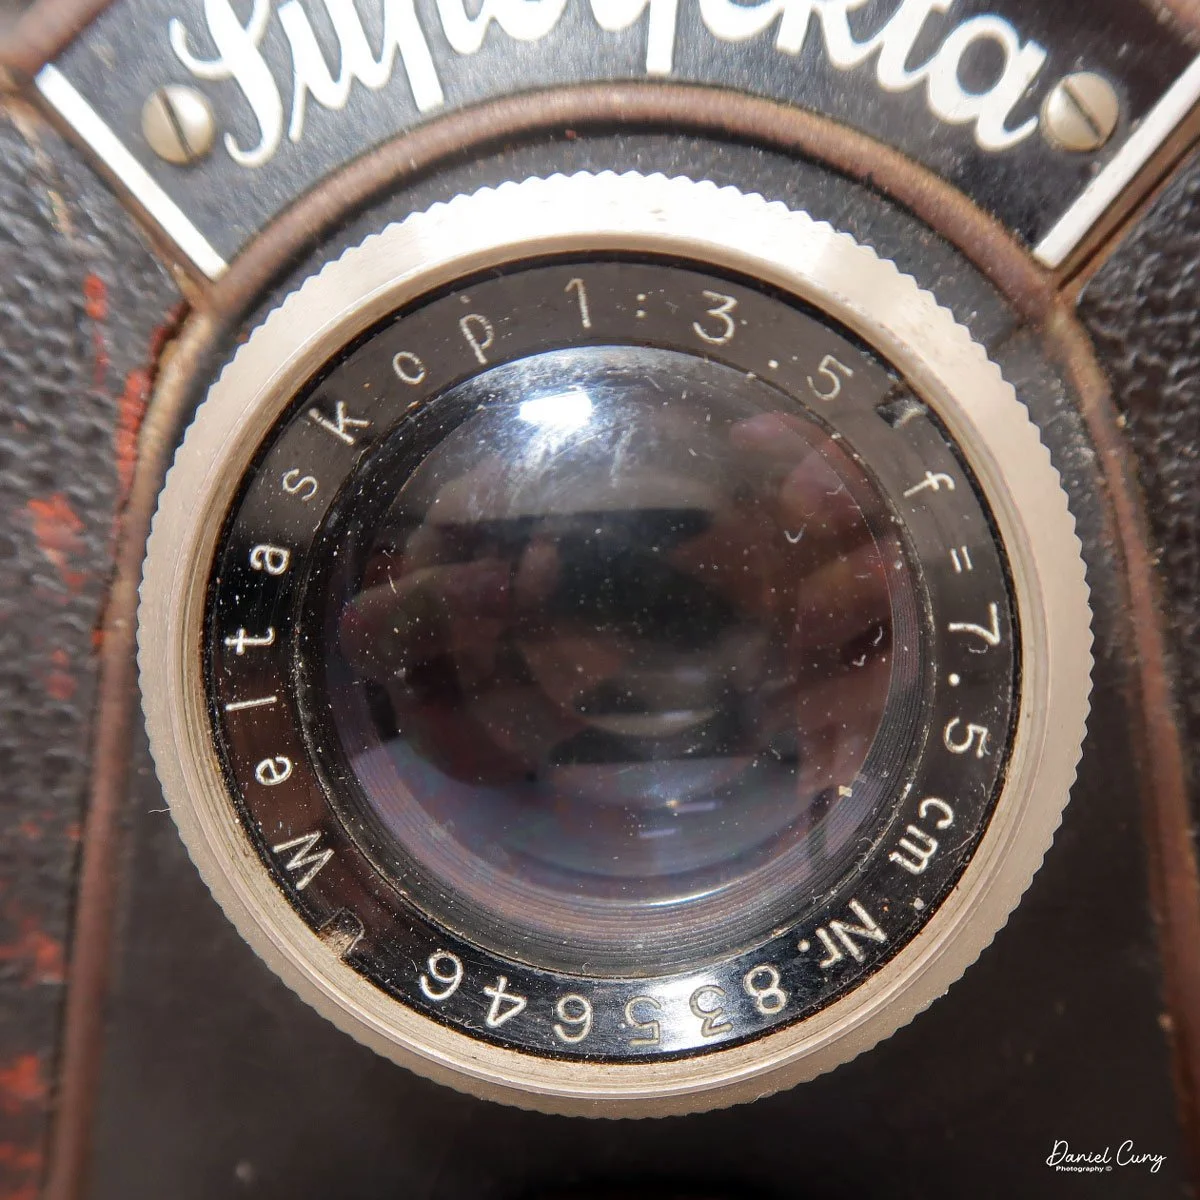
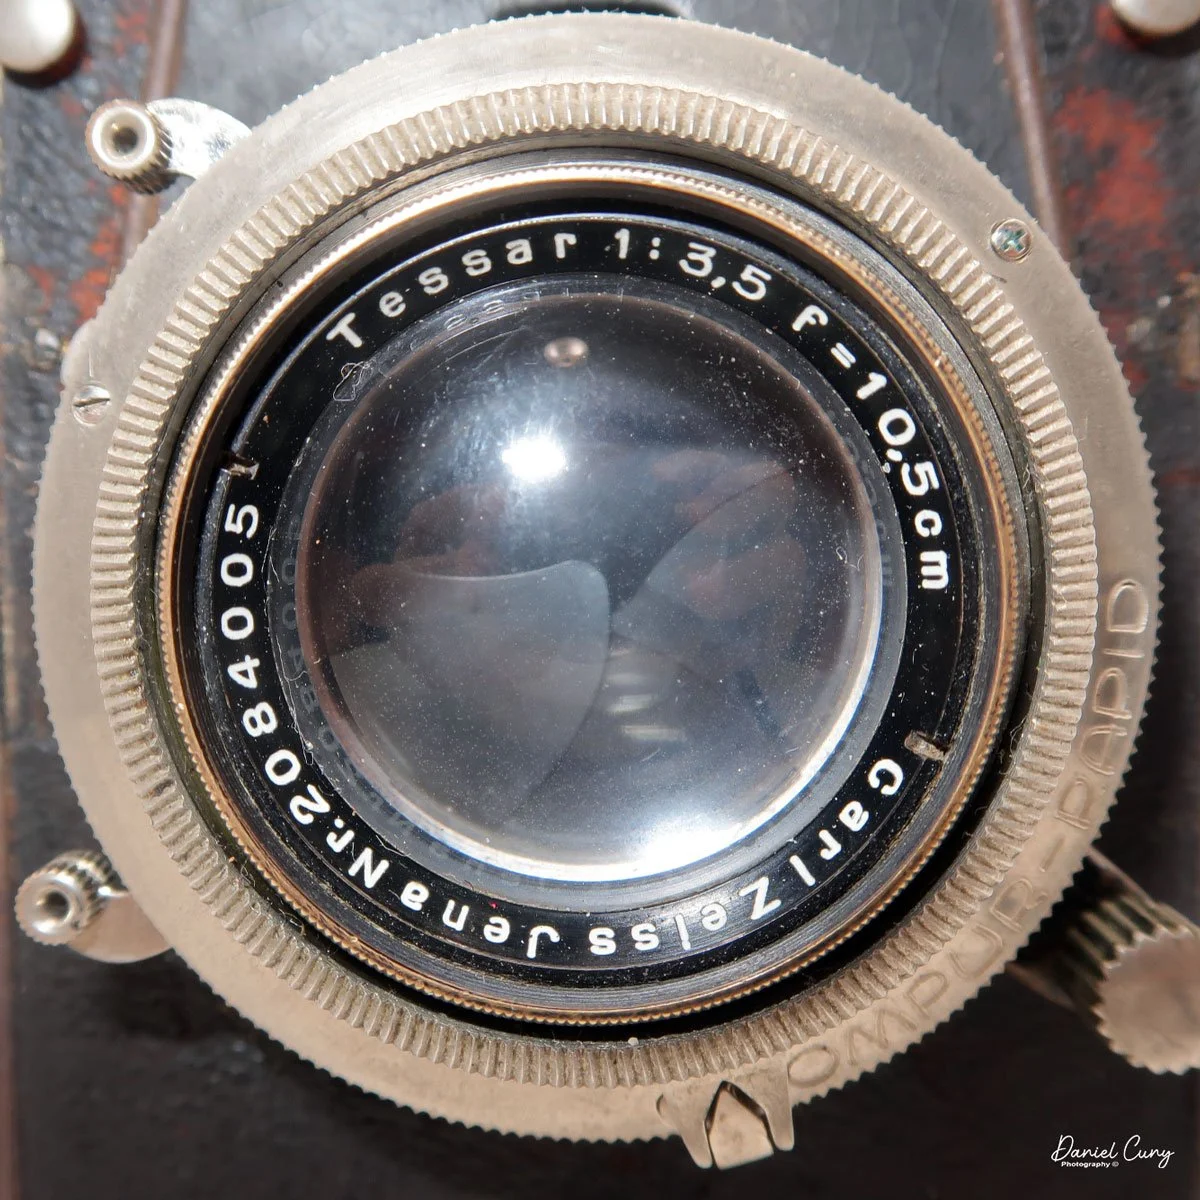
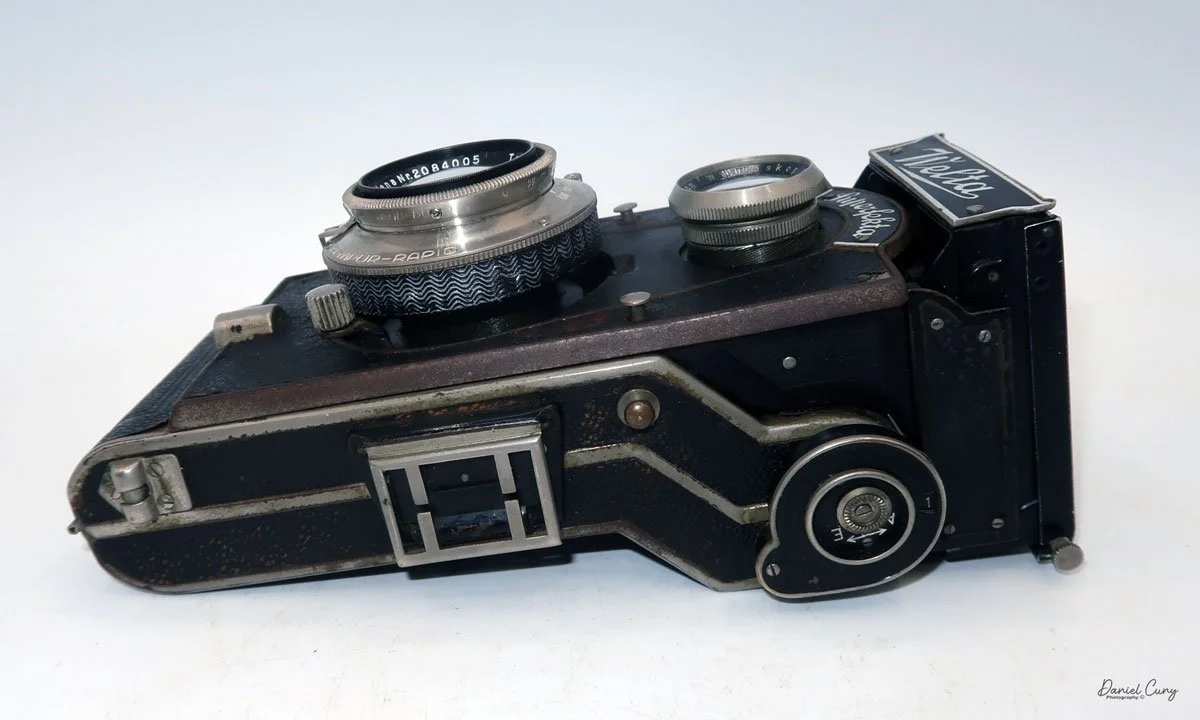
 My camera has a 7.5cm f/3.5 Weltaskop viewing lens, along with a Carl Zeiss Jena 10.5 F/3.5 Tessar taking lens, so the viewing lens is wider than the taking lens, and the taking lens is in a Compur-Rapid shutter with shutter speeds from 1/400 to 1 sec. along with "B", and "T". The focus lever is located on the left side of the lens when you're holding the camera, and it slides up and down to focus on your subject. 

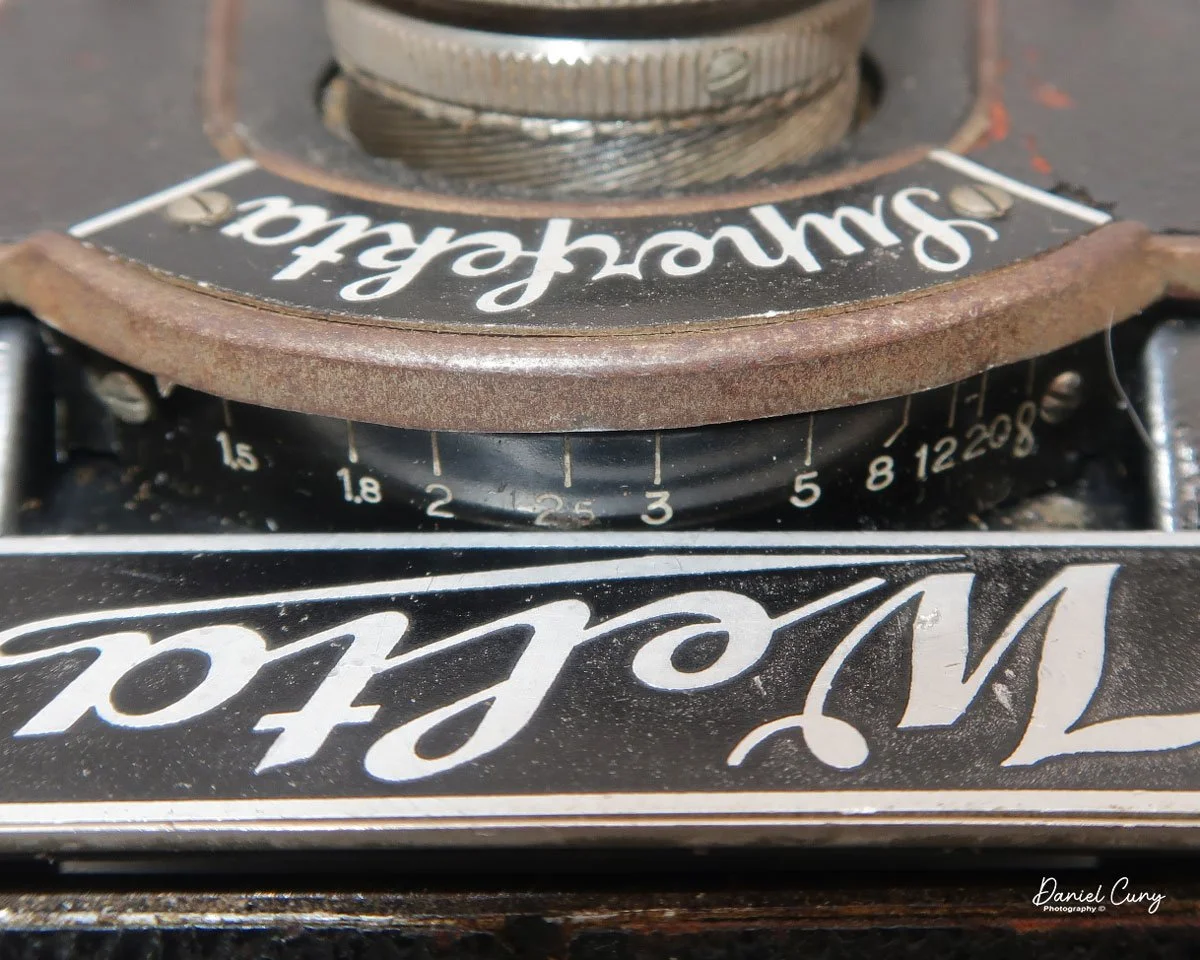
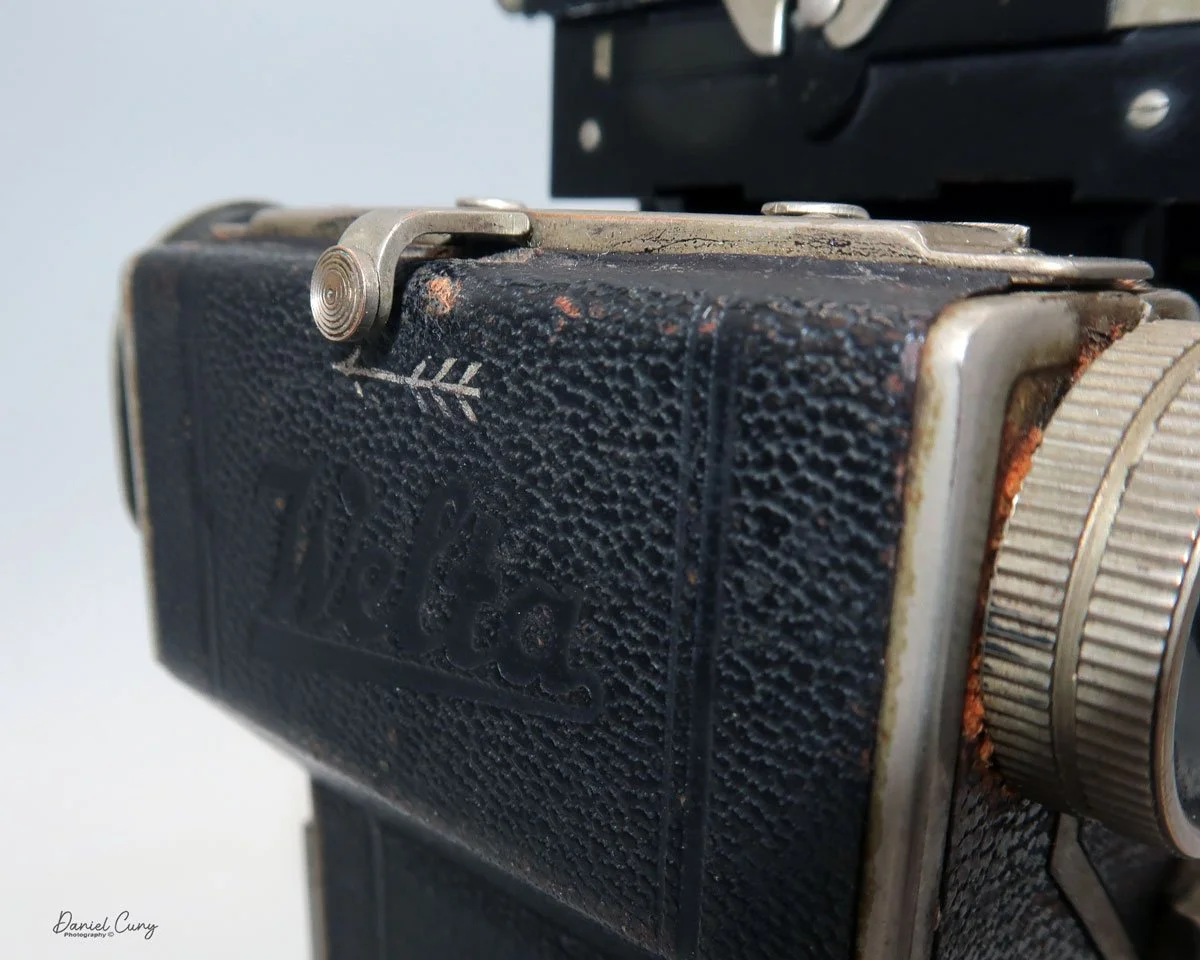
There is also a focus scale along the top of the camera, between the Welta sign on the film body and the Superfekta sign on the lens area. As you slide the focus lever up and down, you'll see a triangle move from side to side, indicating the distance to the subject on the focus scale, which is in meters.

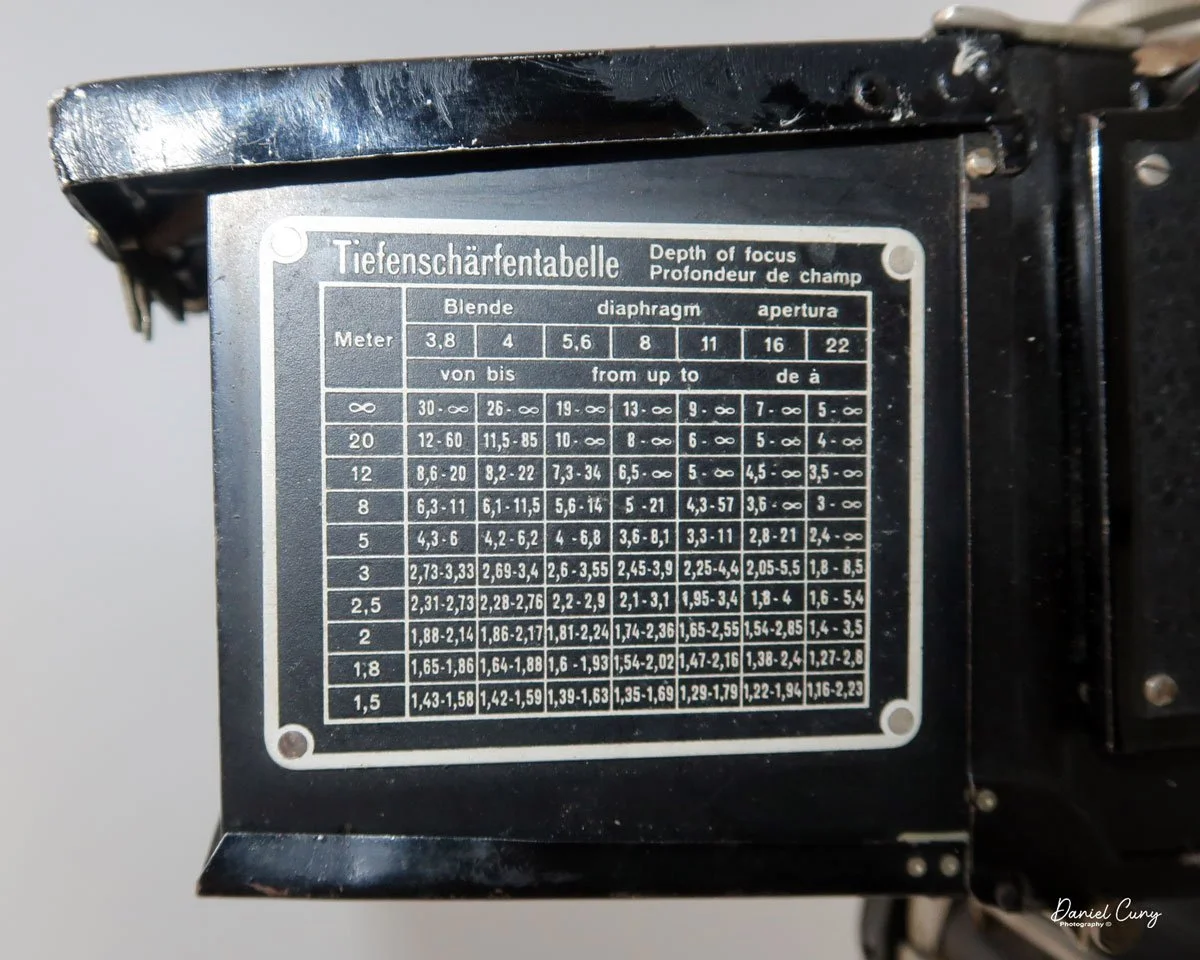
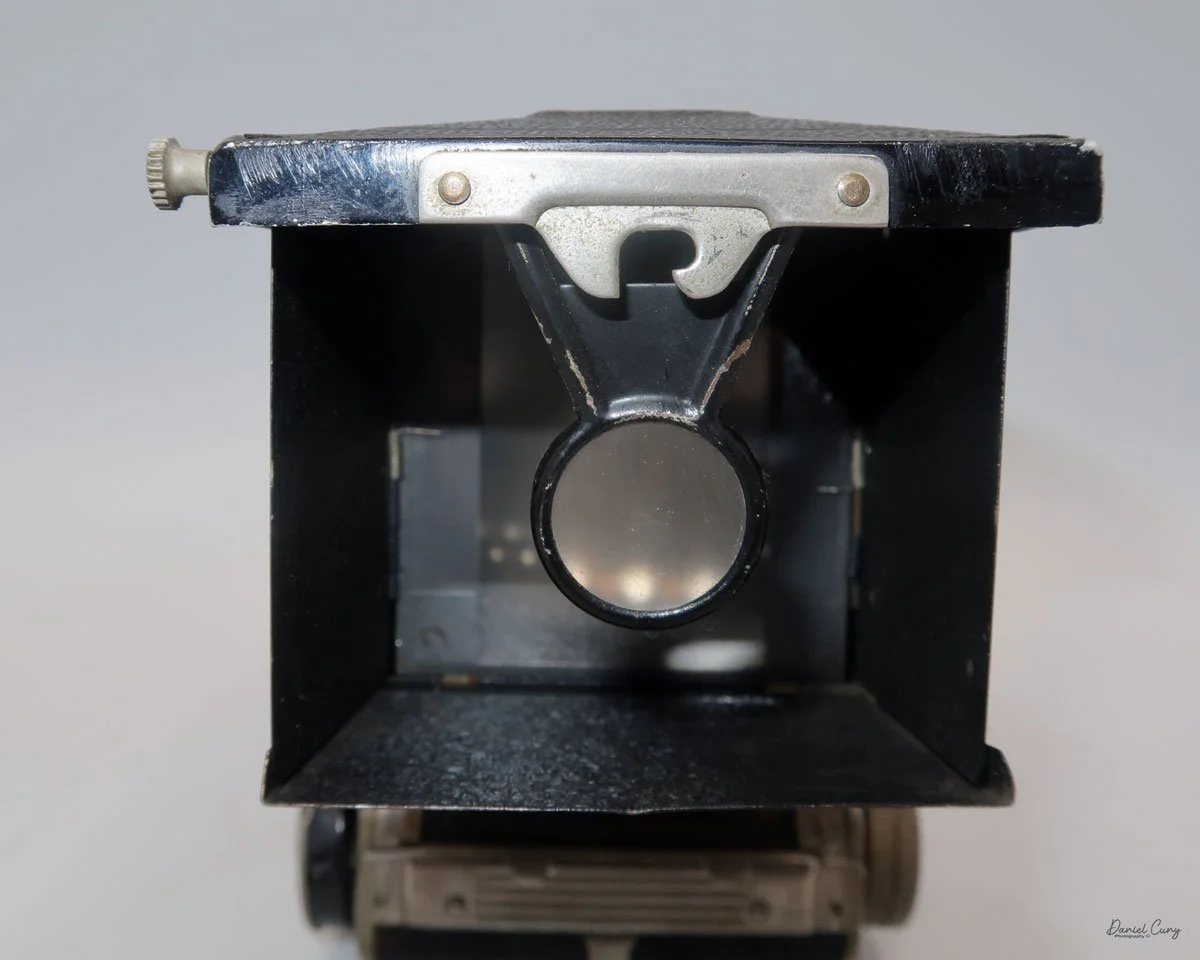
 Along the back of the camera, by the viewfinder, there is a button to press to open the light chimney. The light chimney popped up, and along one side is a depth-of-field scale for the camera, and on the front is the magnifying lens, which flips as it should. 

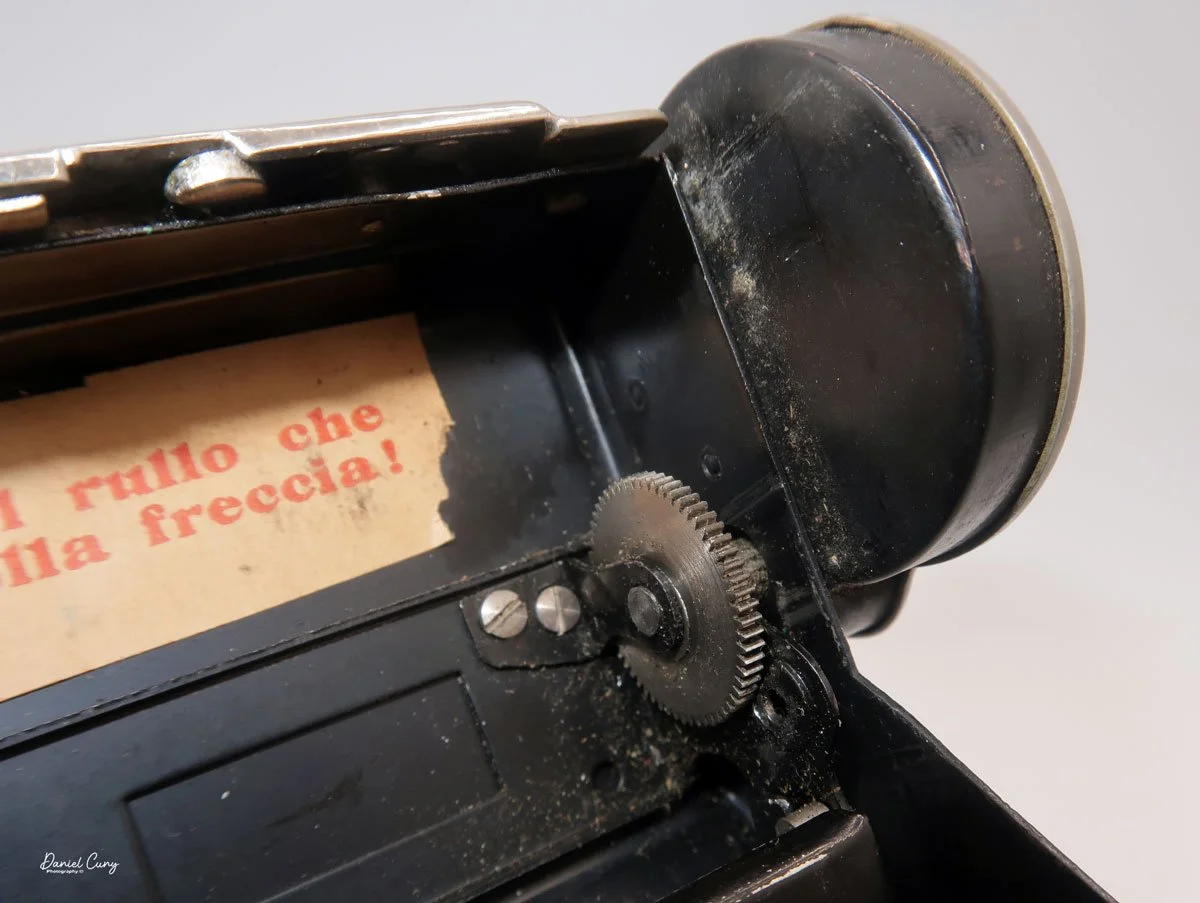
On the back of the film body is another sliding lever that you move to the left, in the direction of the arrow, and the back will open. Opening the back of the camera, I noticed that the film advance roller, which activates the frame counter, is missing, so the frame counter isn't operational on this camera. Luckily, there is a red window on the back door so you can see the numbers being transported as you roll the film from one image to the next. 

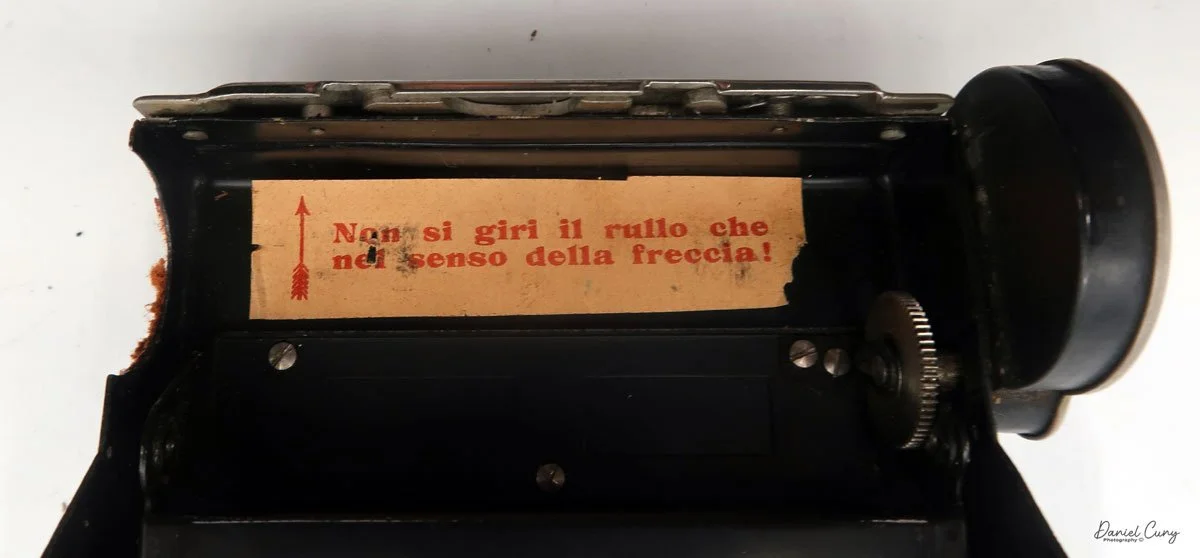
 I also noticed a paper sign glued to the inside of the back door at the top, which read, "non si girare il rullo che nel senso della freccia" (translation from Italian to English: "do not turn the roller in the direction of the arrow").  This message on the inside tells me the camera is originally from Italy. I guess the camera was made for the Italian market, but the reseller may have added that; I'm not certain. Still, it's interesting that a German camera was sold in Italy and found its way to the USA.

To load the camera with film, the chamber where you put in a fresh roll of film pulls up to make it easier to put in the film, which is a nice feature in the camera. Otherwise, the camera loads just like many roll film cameras, but it would have been nice to have a frame counter that advances from the roller on the back to indicate the frame numbers. I'll just have to do it the "old-fashioned" way and look through the red window to get to the next frame when I shoot.

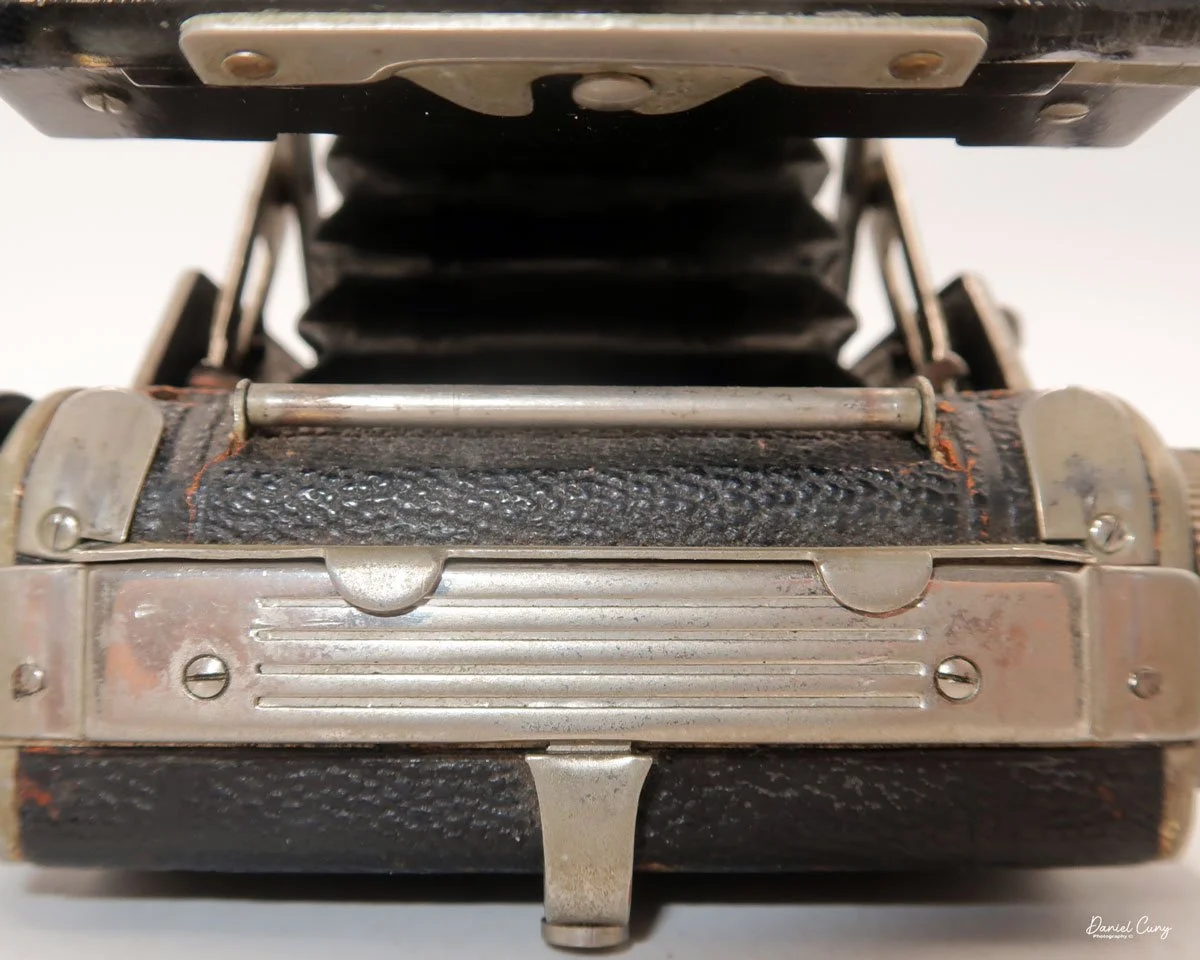
To collapse the camera lens area into the camera body, you'll need to press in two silver buttons on the front of the camera, placed between the viewing and taking lens, and press the lens area into the film body, which is extended by a couple of scissor struts on each side of the camera. Be sure to retract the camera stand leg, under the front lens area, just behind the tripod socket, before closing the camera. If you don't do this, the camera will not close. I know because I've tried a few times by accident.

 When you close the camera, another interesting thing is that there's a roller at the tip of the film area on the outside. When you close the lens into the film body, the viewfinder rolls along the roller, sliding it forward and covering the focus scale. Given that the camera is almost 100 years old, it's still interesting how it opens and closes mechanically. 

If you don't want to rotate the film chamber when shooting, there is a flip-up sports-type finder on the side of the camera you can use if that's easier for taking horizontal images. It just gives the photographer another option when using the camera.


My Results:

 I don't have a case that fits my Welta Superfekta camera. The camera doesn't have the standard loops you can snap into a carrying strap, so when I went out shooting a few times, I just put it in a pouch-style case to carry it and took it out when I was ready to shoot.

 Looking at the side of the camera, there are a couple of studs and other areas where a strap might fit, but without a manual or a nomenclature for the items on the camera, I'm unsure what they are used for.

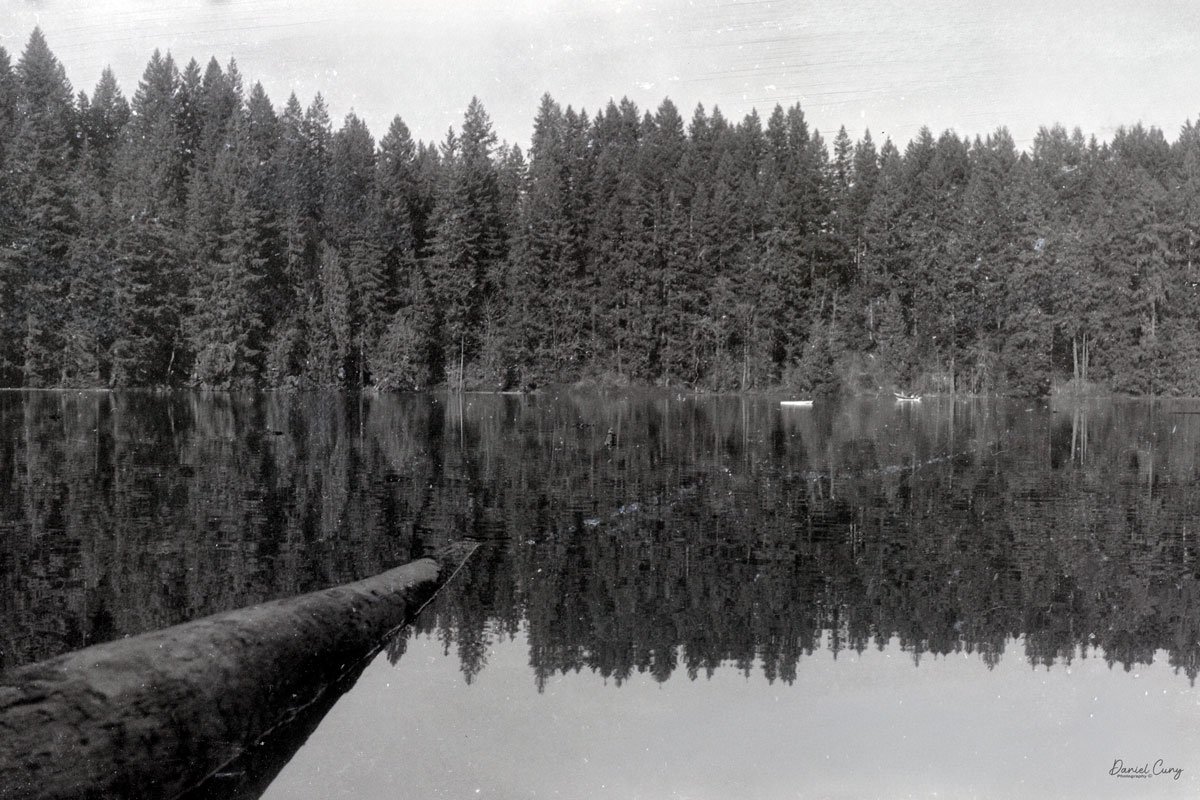
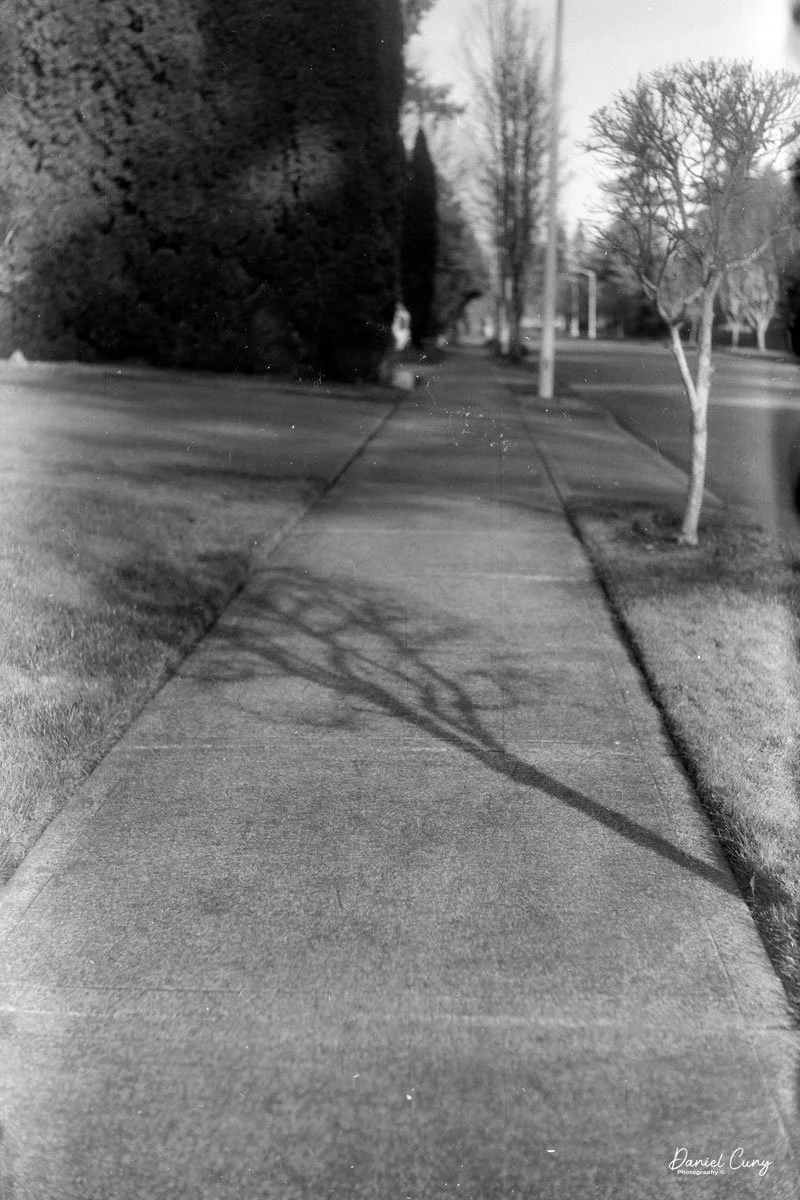
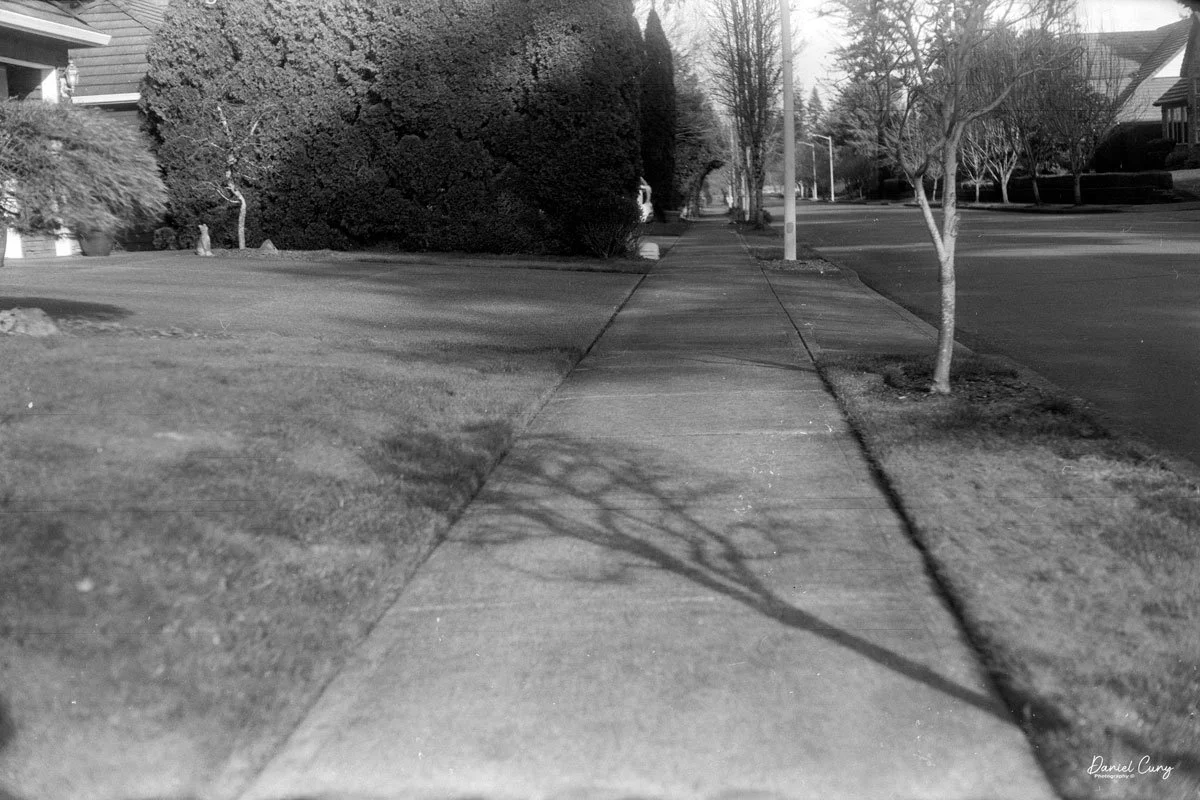
 I took the Welta Superfekta out a couple of times to shoot with: once to a local lake and another time while walking around the neighborhood to get closer-up images.

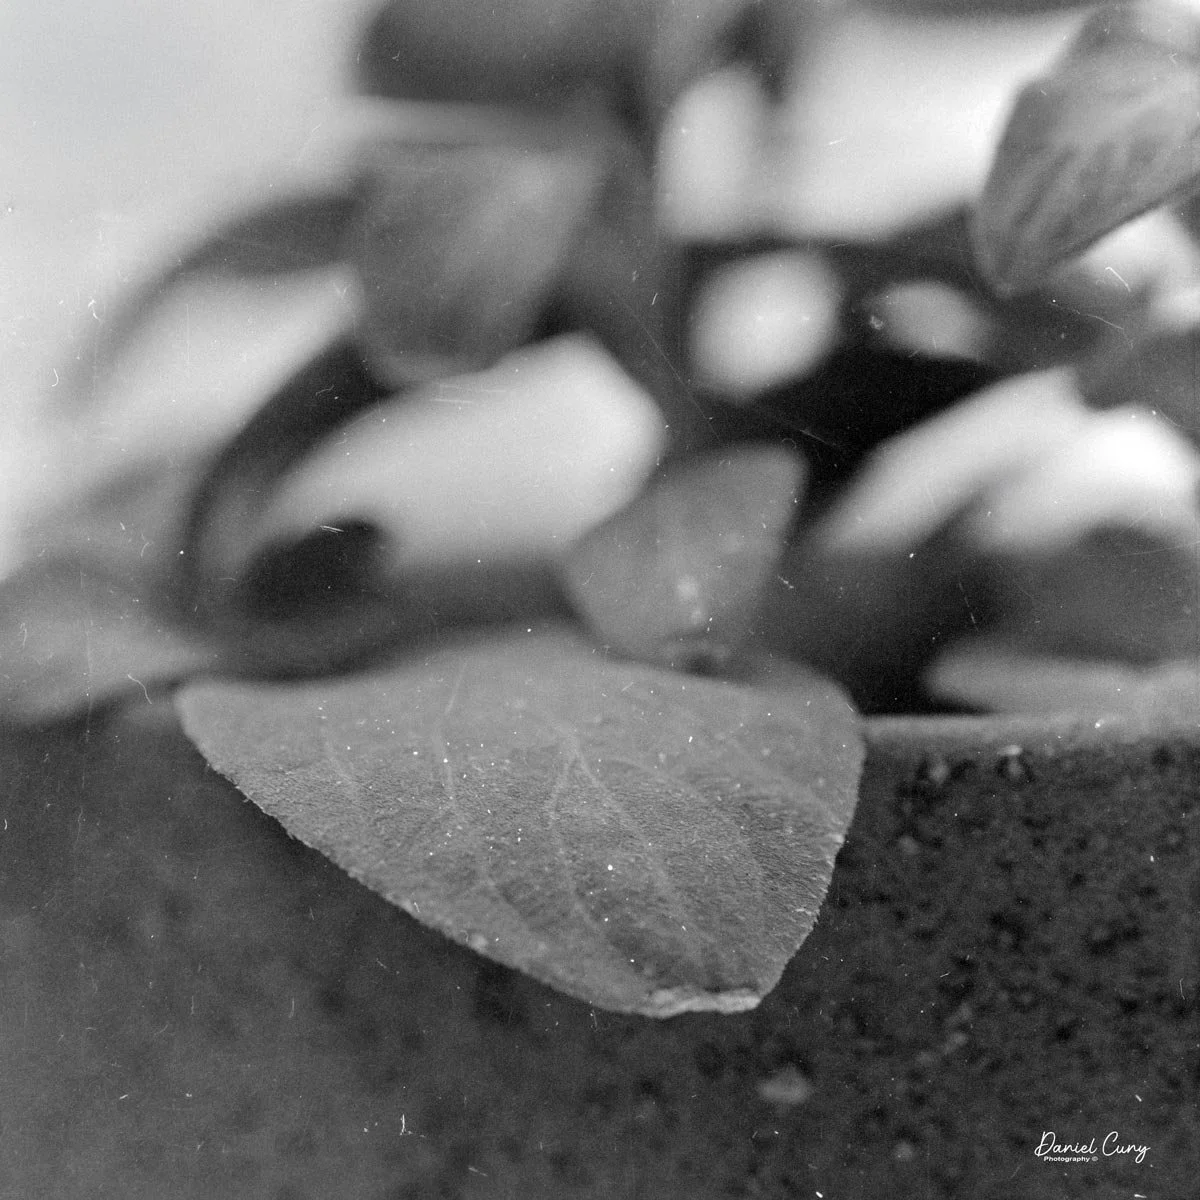
 Here are the results from my two times using the camera.

Conclusion:

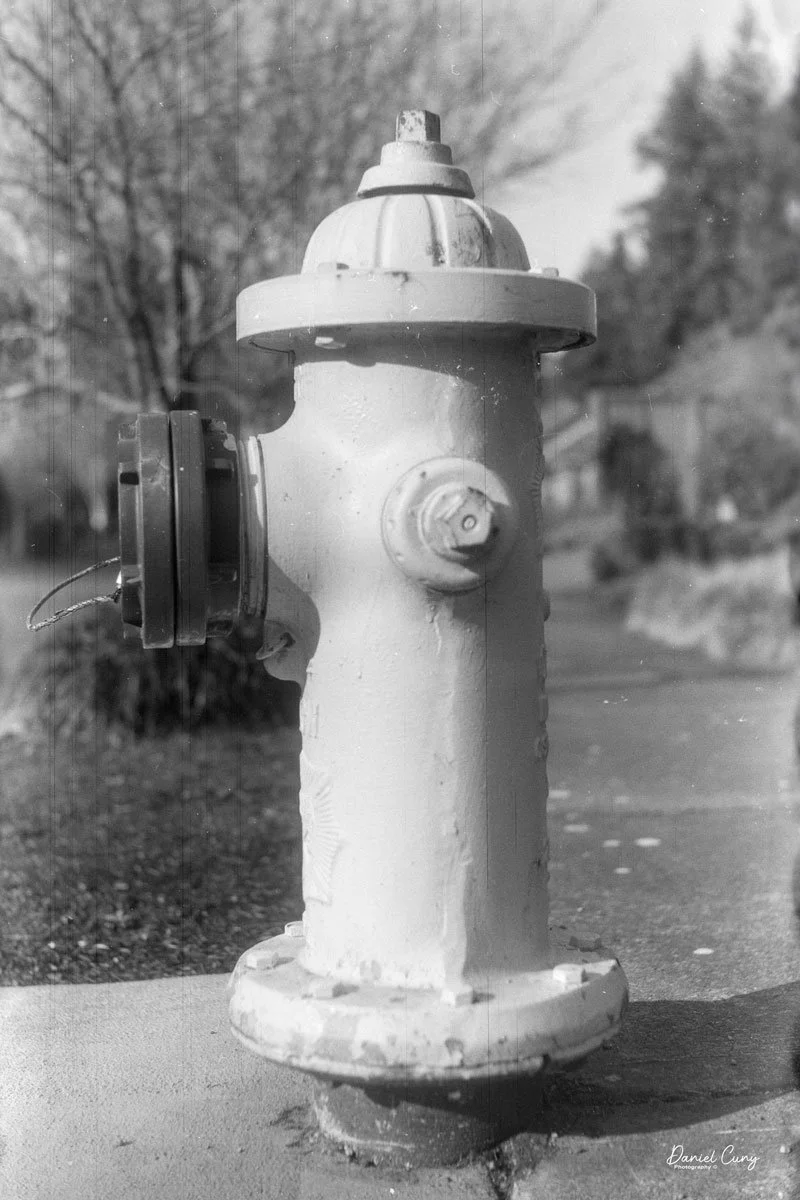
 The camera's results underwhelmed me, as one of two things is happening. First, I didn't think the images would be as sharp as I had imagined; that may be because something happened to the camera, like a drop or impact, which is also why the camera doesn't flip all the way horizontally when shooting. 

 My weakening eyesight may also cause it, but because of eye surgery I had last year on my right and dominant eye, I'm becoming more and more dependent on using my left eye for focusing, which is difficult for me at times. Personally, I feel it's more the first issue: something tweaked the camera body, and the lens doesn't align properly, which is why I wanted to shoot the second, more close-up images walking through the neighborhood.

 Nonetheless, it's somewhat awkward to hold without a neck strap to keep it steady. Still, I absolutely love the camera's ability to rotate the film back for both vertical and horizontal photography. It's a wonderful camera to have in my collection, and for the price paid, even with the servicing, it's still a bargain.

Welta Perfekta and Superfakta side views

 Thank you for taking the time to learn about this wonderful photographic marvel from almost 100 years ago.

 Here's a link to my other Camera Reviews.

 Cuny's Cameras and Photo is my online eBay store, which sells some of the cameras reviewed, along with many camera and photo accessories.

 Until next week, please be safe.