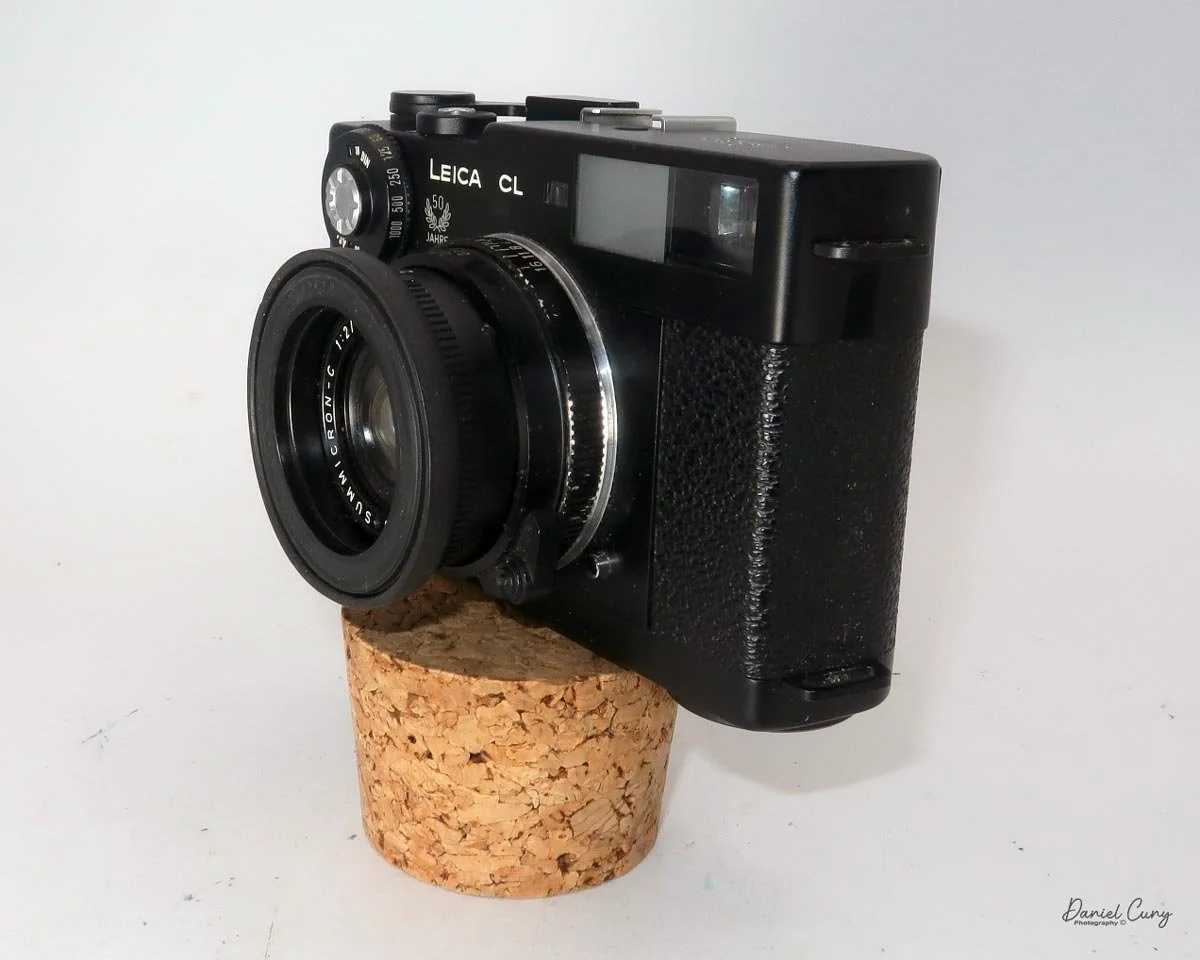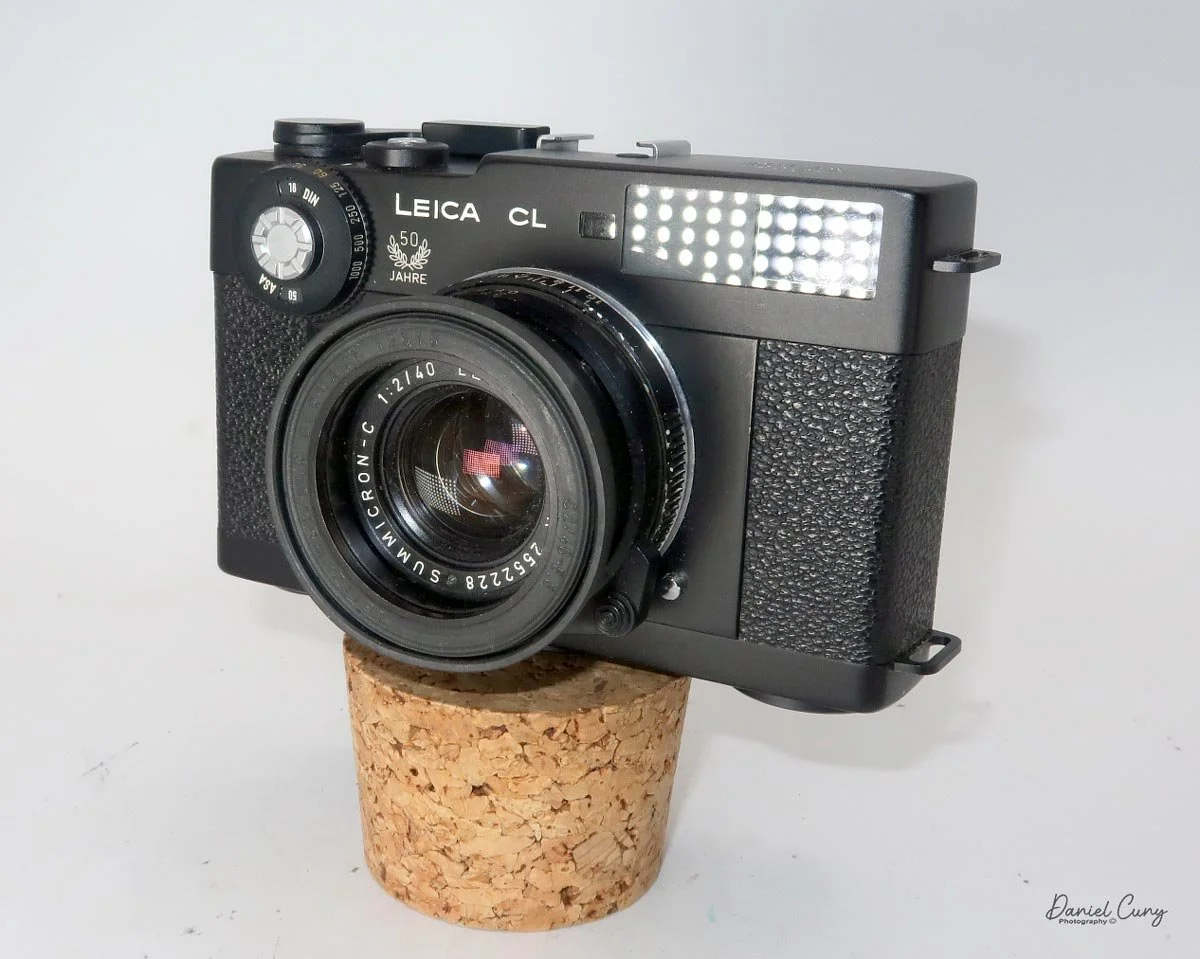
Leica CL Camera-50th Anniversary Edition

My Leica CL-50th Anniversary Edition Camera

I can remember when the Leica CL was first introduced. I was a junior in high school and attending concerts with my buddies. Because of its size, I thought it would be perfect to take to shows to photograph bands. It was small, compact, and had incredible optics.

 At the time, I shot Nikon, which was a bit bigger and heavier, and the idea of a smaller, lighter camera intrigued me.

 Unfortunately, I had a few obstacles to overcome to get one. The first and foremost was the price. At around $450.00 for the camera body with the 40mm lens, I needed to save a lot before I could afford it, especially while also buying records, paying for a car, and going to concerts. Something needed to give.

 For me personally, another drawback of the Leica CL was the lack of longer lenses for the body. At the time of release, they offered a 40mm and a 90mm, which they recommended, but for the shows I was photographing, I sometimes needed up to a 200mm. The 40mm or 90mm would be OK for some of the work, but I liked getting a bit closer to the performers, so the longer lens was very desirable.

 A good friend of mine, Greg Copeland, was an early adopter of the Olympus OM system and purchased his right after it was introduced in 1973. After I played with his for a while, I started to prefer shooting with a slightly bigger camera, as my hands just seemed to overlap the camera, and it didn't feel comfortable. As a result, the thought of owning a Leica CL subsided.
Leica CL 50th Anniversary

 Minolta introduced their version of the Leica CL, the Minolta CLE, in 1980, when I was working at a camera store in the San Francisco Bay Area. I briefly considered buying it through the employee purchase program, but I wasn't a big fan of Minolta cameras. Also, being married and having a two-year-old put a little damper on spending a lot of money on camera gear.

 Jump almost 40 years into the future, and an opportunity to purchase a Leica CL with the fitted leather case and Leitz Summicron-C 40mm f/2 lens dropped into my lap. I was in a camera store in a small Midwest town on a business trip, and as I was looking in one of the showcases, there it was.

 The owner at the time said he was having a difficult time selling it, and he would make me a good deal on it if I were interested. He said the meter wasn't working, but it did come with the hood, lens cap, and case. He threw out a price that was too good to pass up. I thought about it for a few minutes and started playing with it. It seemed in great condition, except for the meter, so I bought the camera and took it home.

History of Leica CL & Minolta CLE

The partnership between Leitz (the maker of Leica cameras) and Japanese manufacturer Minolta during the 1970s birthed two of the most fascinating rangefinders in photographic history: the Leica CL and the Minolta CLE. Conceived during a period of financial instability for Leica, this collaboration aimed to produce a compact, accessible entry point into the legendary M-mount system.

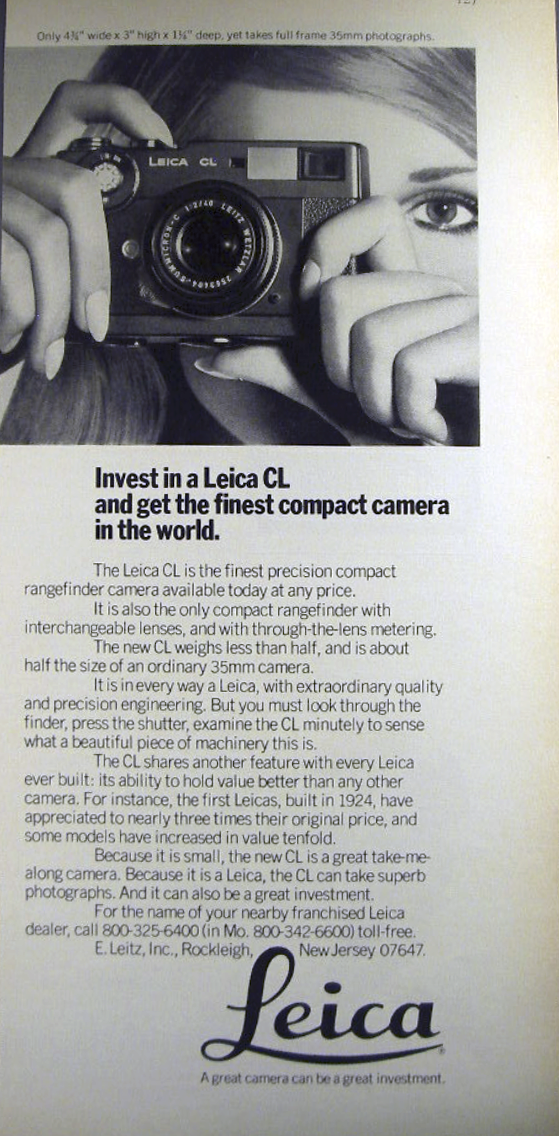
 Introduced in 1973, the Leica CL (Compact Leica) was designed by Leitz but manufactured in Japan by Minolta. It represented a radical departure from traditional Leica design. Weighing considerably less than its sibling, the polarizing Leica M5, the CL featured a vertically traveling cloth focal-plane shutter and a unique through-the-lens (TTL) light meter positioned on a pivoting arm that swung out of the way just before the shutter fired. To accompany the camera, Leitz introduced two compact, budget-friendly lenses: the 40mm f/2 Summicron-C and the 90mm f/4 Elmar-C.
Leica CL Advertisement

 The CL was a massive commercial success. However, its popularity became a double-edged sword. It sold so well that it reportedly cannibalized sales of the far more expensive M5, prompting Leitz to discontinue the CL prematurely in 1976 after producing roughly 65,000 units. Minolta also sold its own domestic version during this time, the Leitz Minolta CL, which was functionally identical.

 After the partnership dissolved, Minolta built on the CL and engineered a true technological marvel: the Minolta CLE (Compact Leica Electronic), released in 1980.

 While it retained the M-mount and a similar form factor, the CLE was entirely Minolta's creation and represented a massive leap forward. It replaced the CL's mechanical shutter and swinging meter arm with an advanced electronic stepless shutter and a cutting-edge silicon photodiode system.

 Most impressively, the CLE introduced aperture-priority auto-exposure and TTL off-the-film flash metering—features that would not appear on a true Leica M body until the M7 arrived over two decades later. Minolta paired the CLE with three exceptional M-Rokkor lenses: a 28mm f/2.8, a 40mm f/2, and a 90mm f/4. Despite its technological superiority, the CLE had a relatively short production run and was discontinued in 1985. Today, both cameras remain highly sought after by film enthusiasts as capable, lightweight alternatives to traditional M-system rangefinders.

My Camera

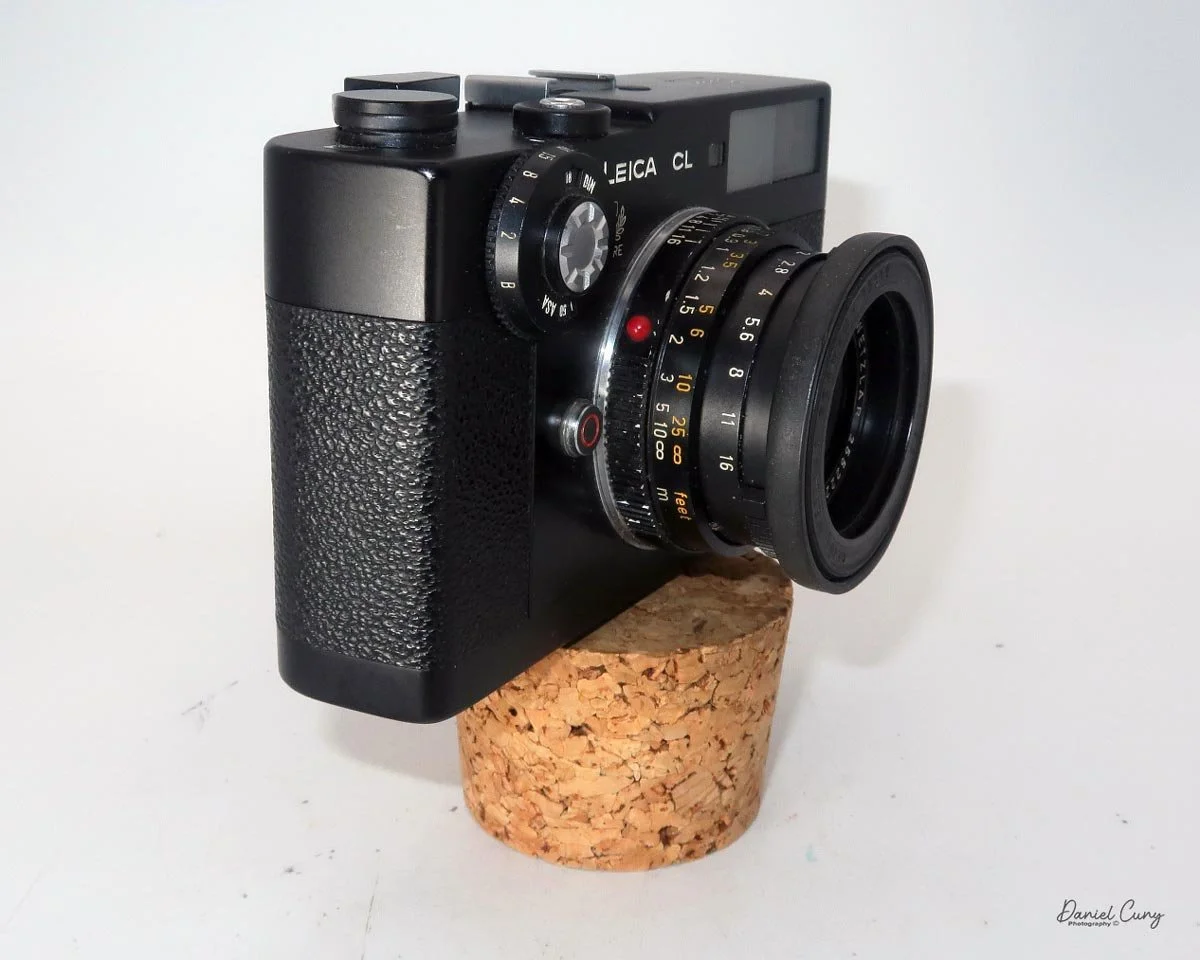
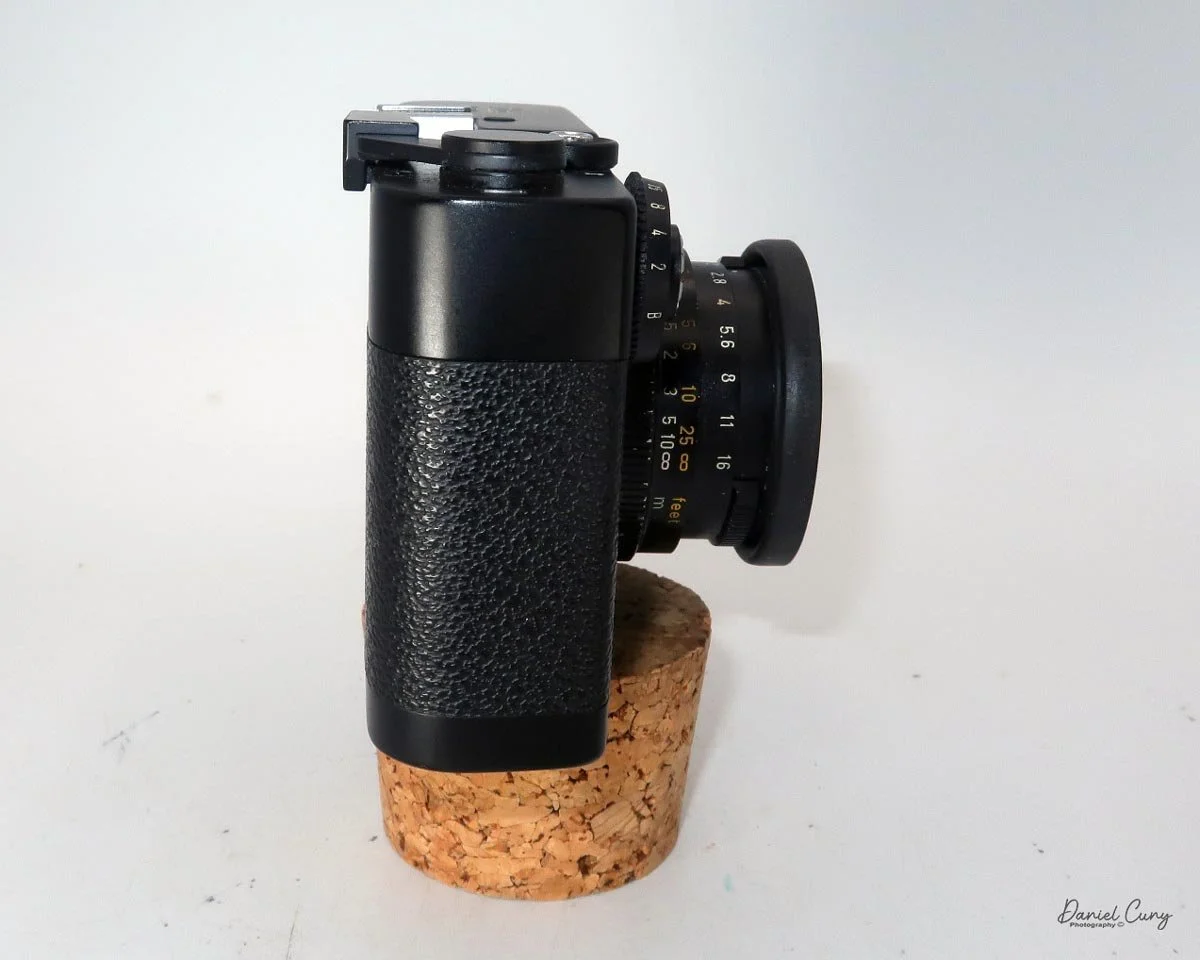
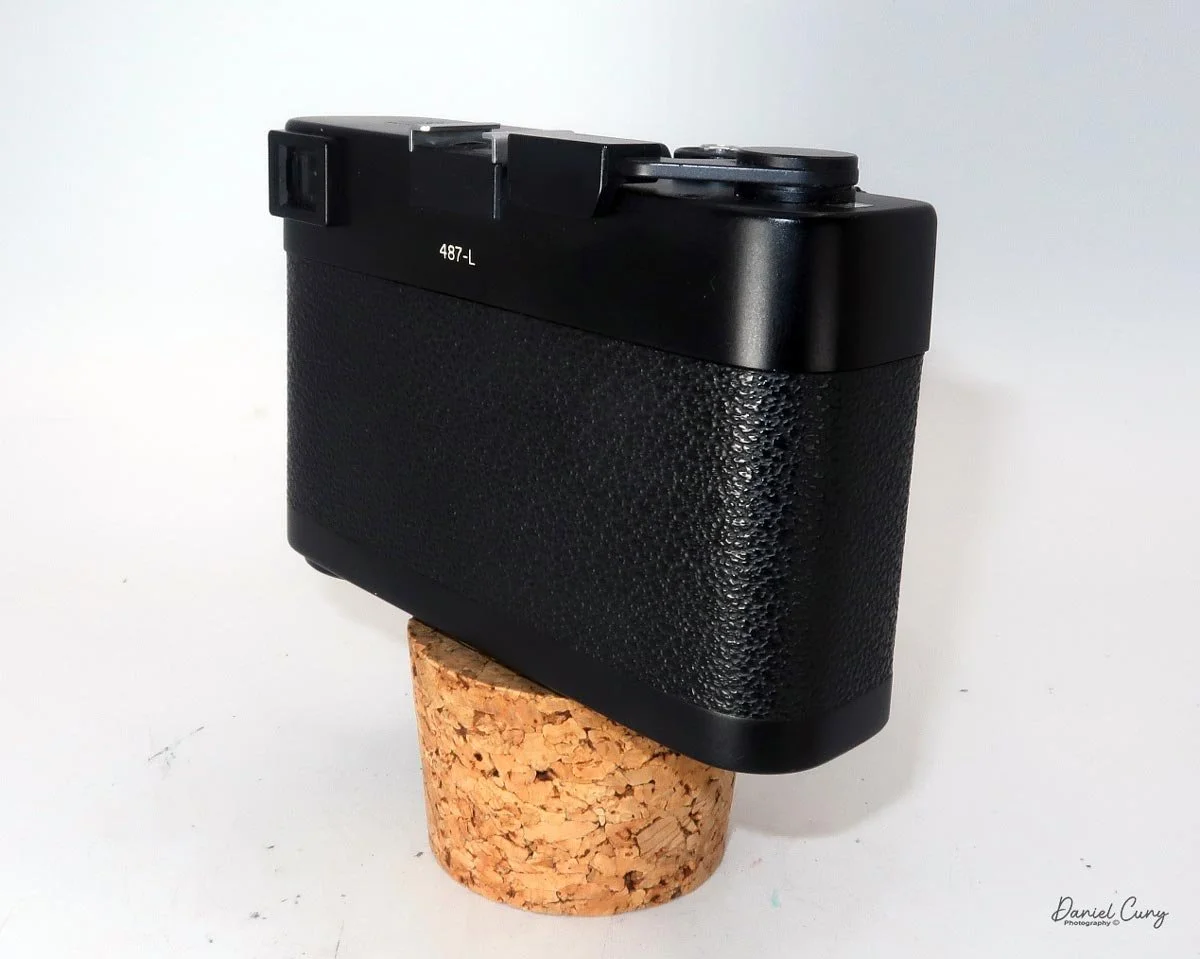
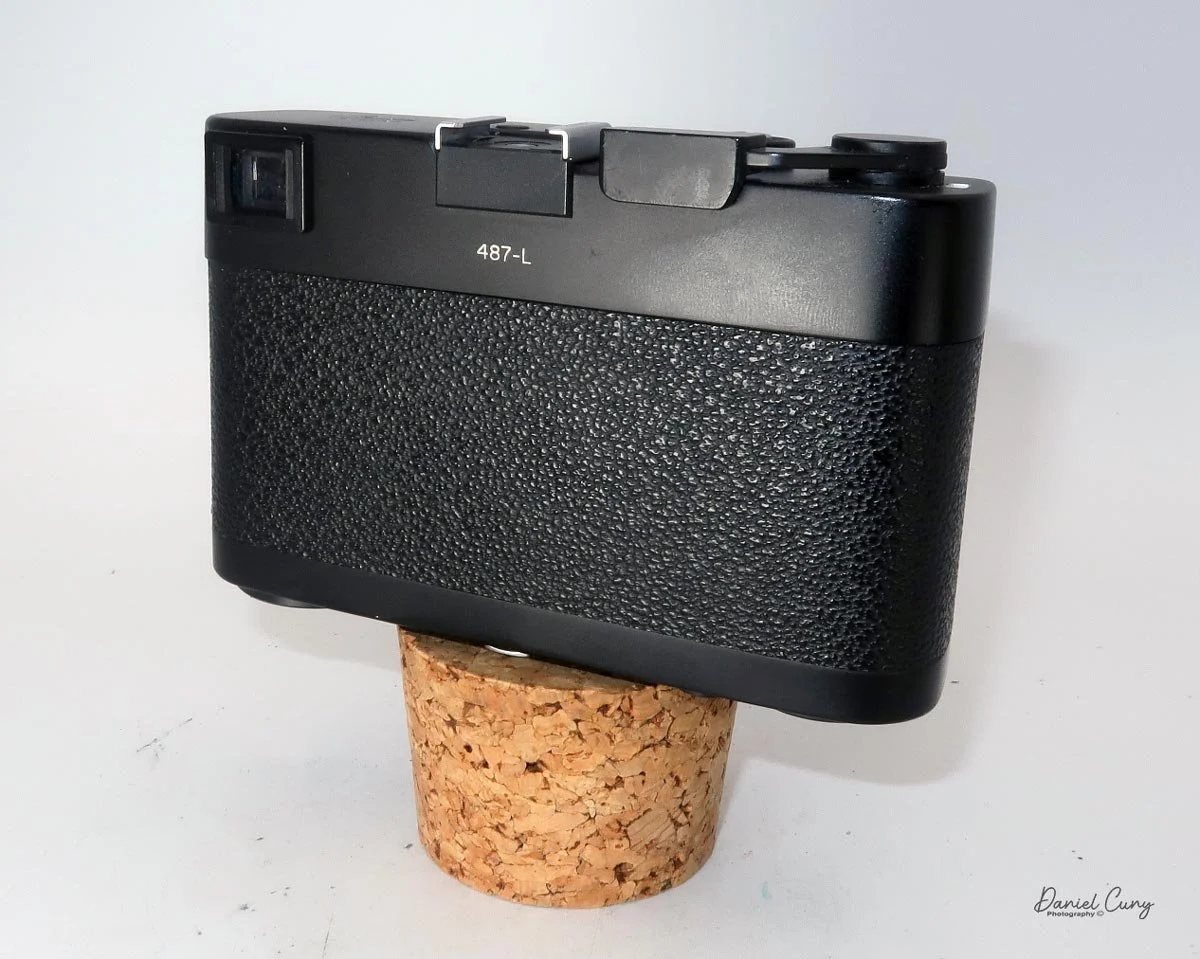
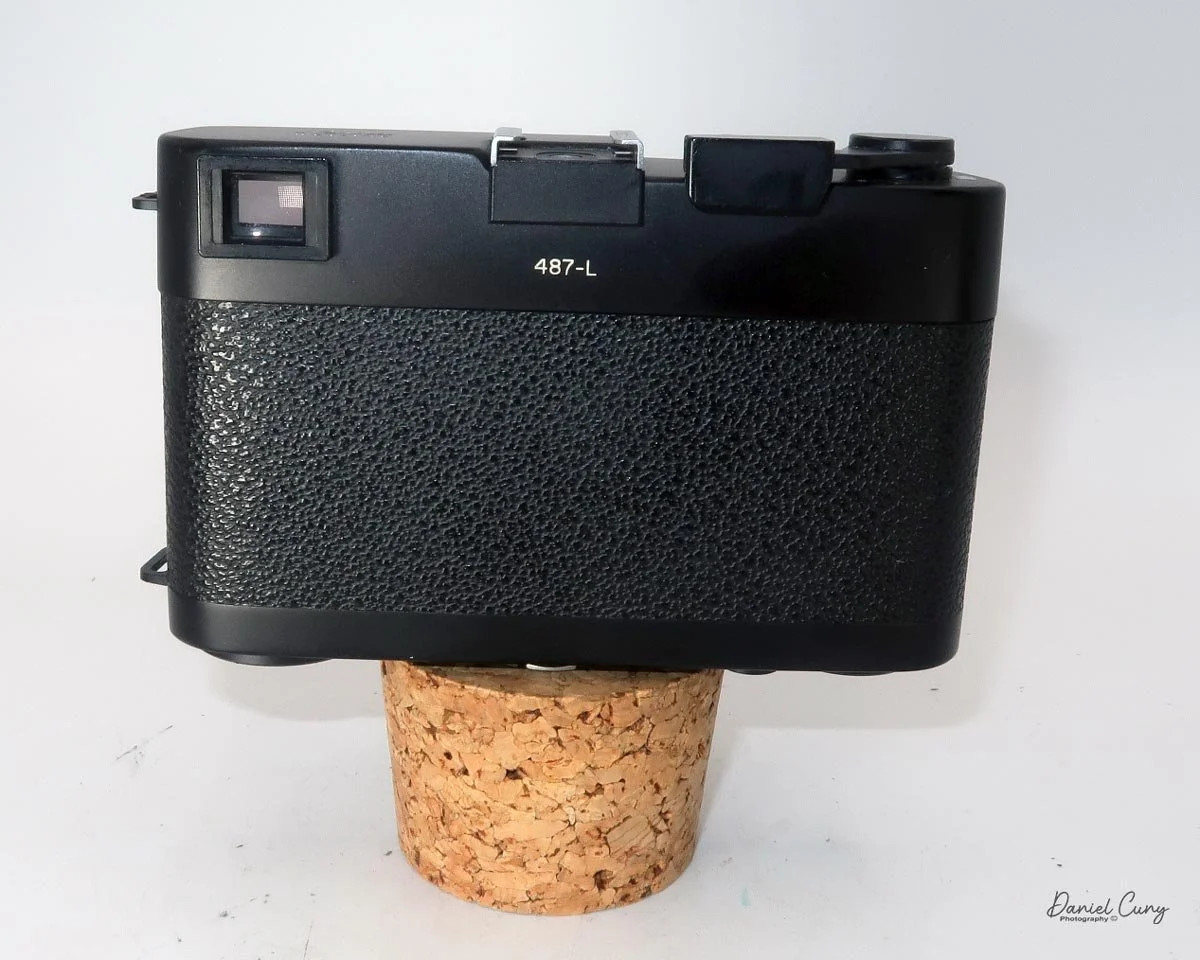
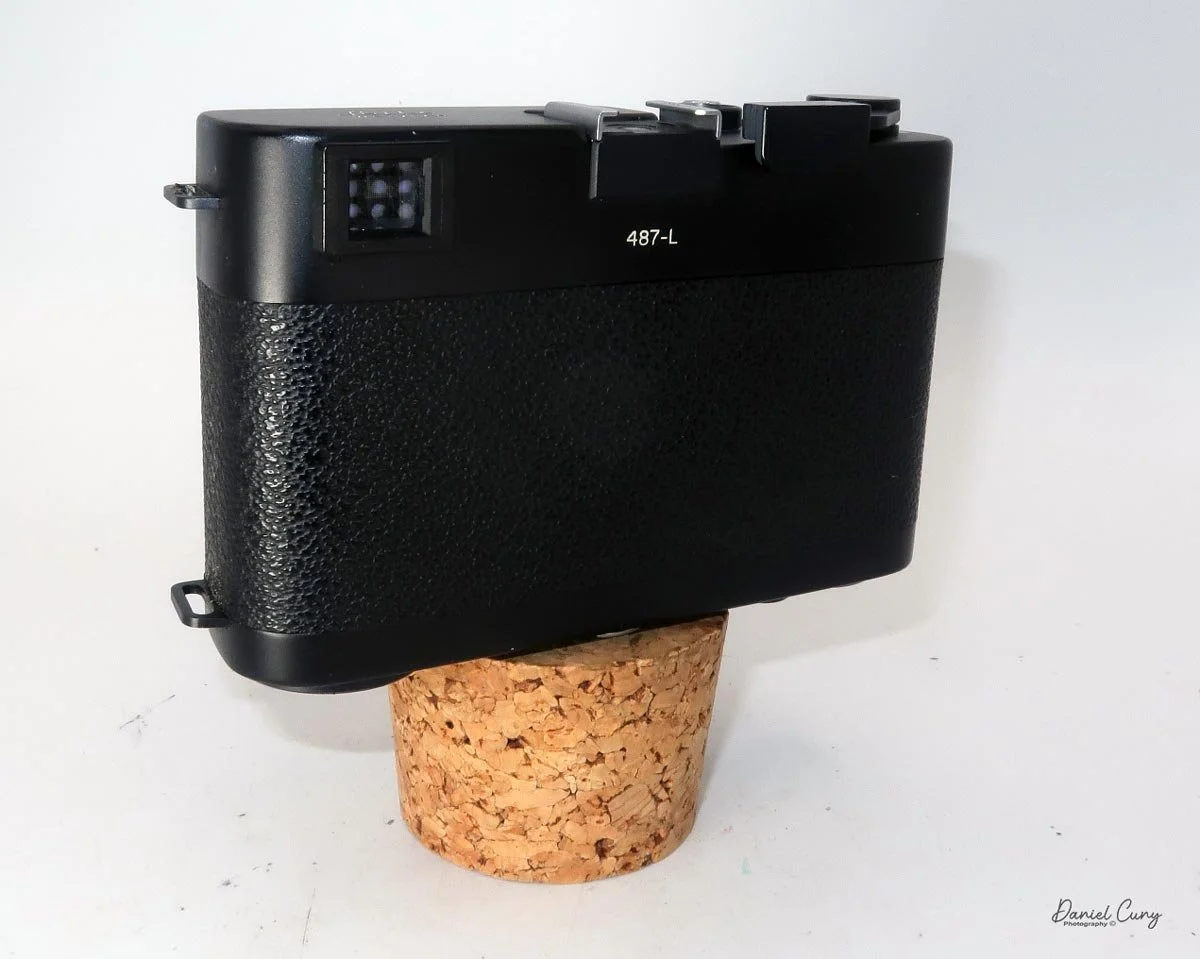
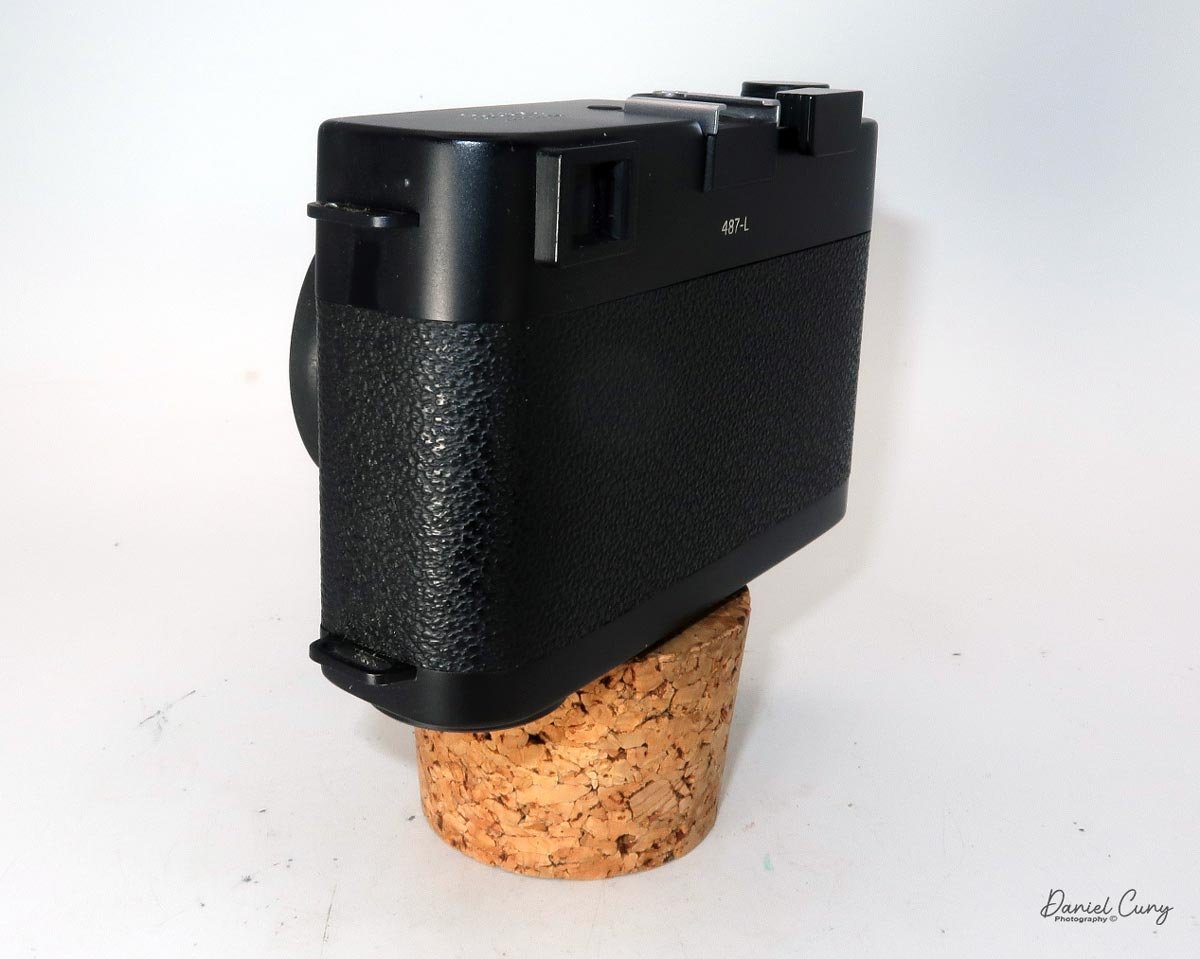
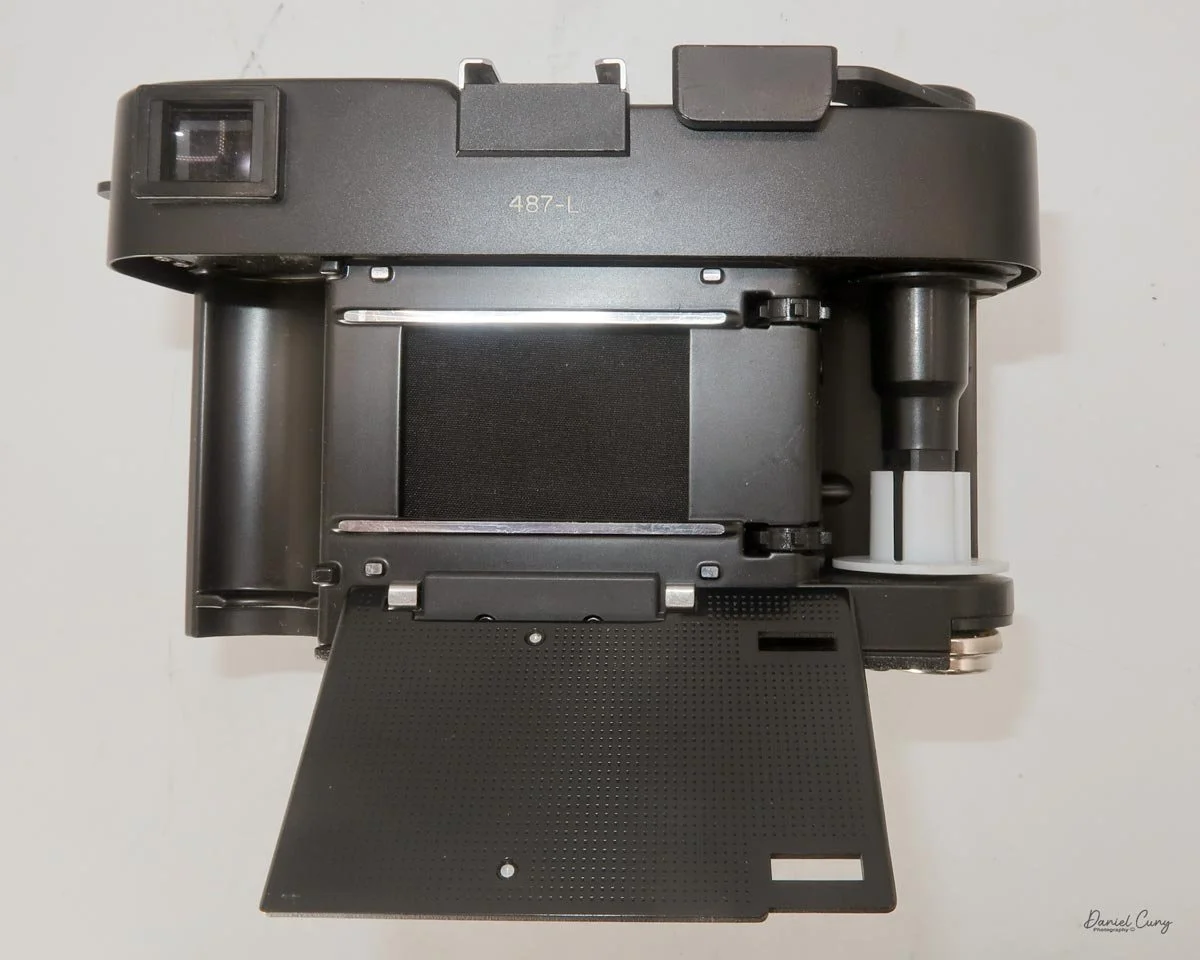
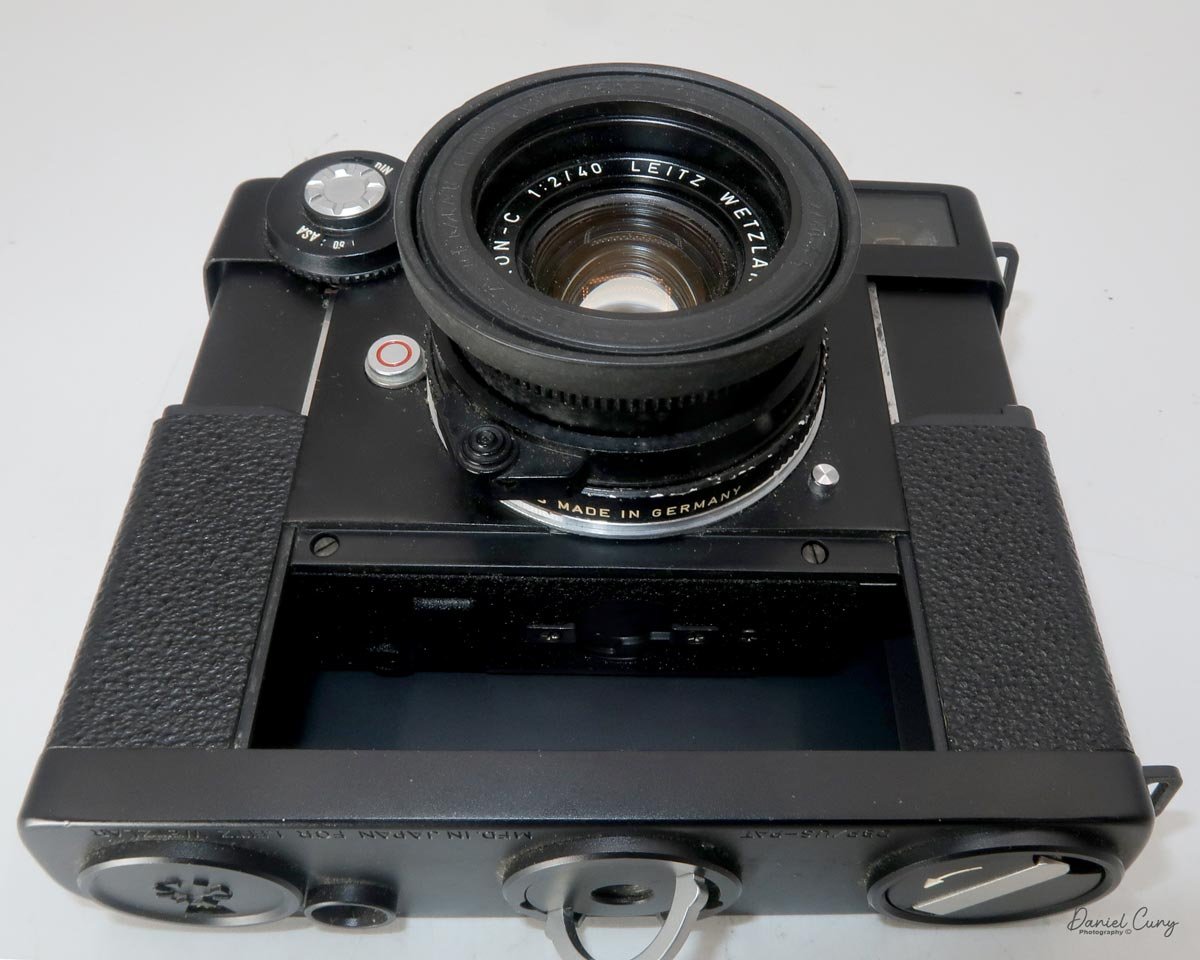
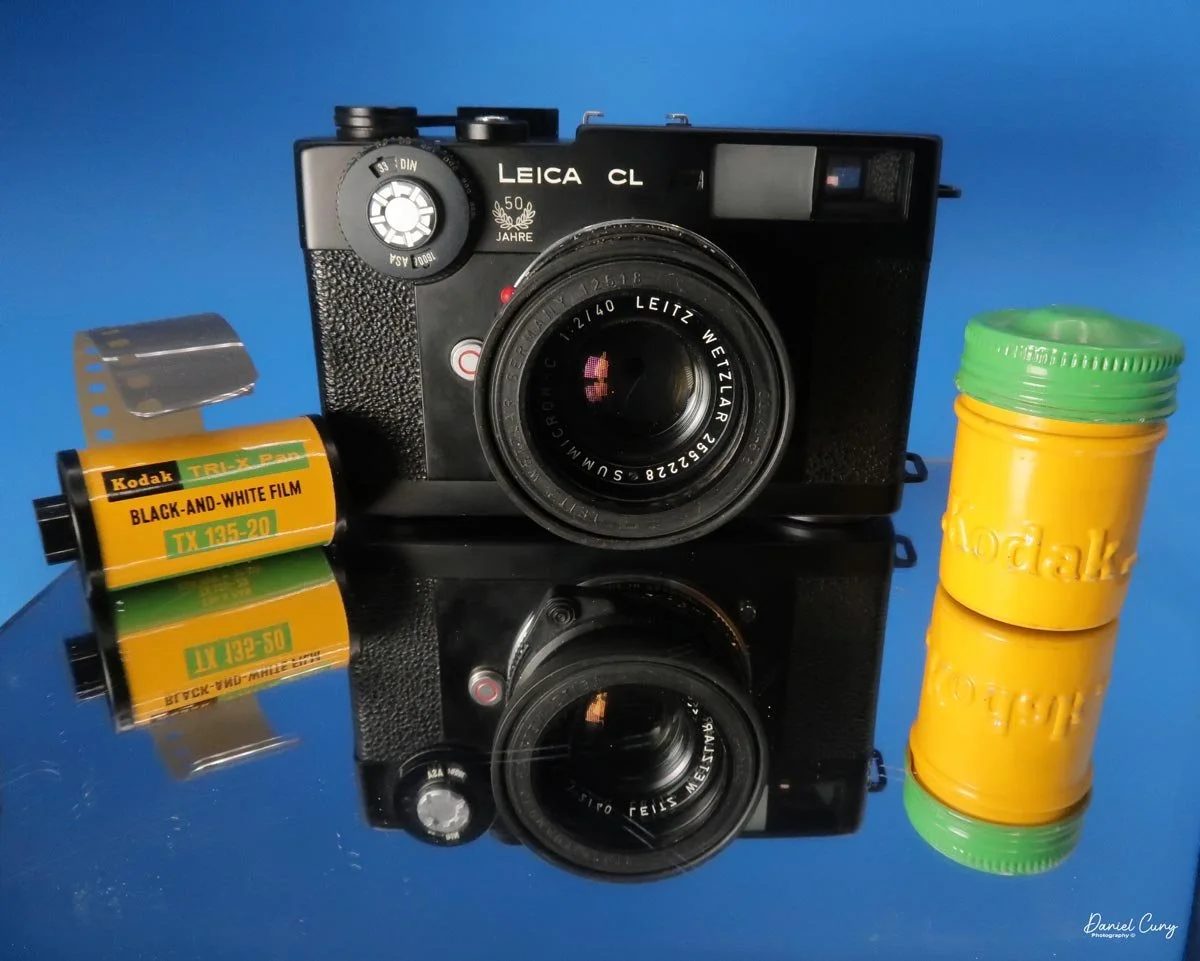
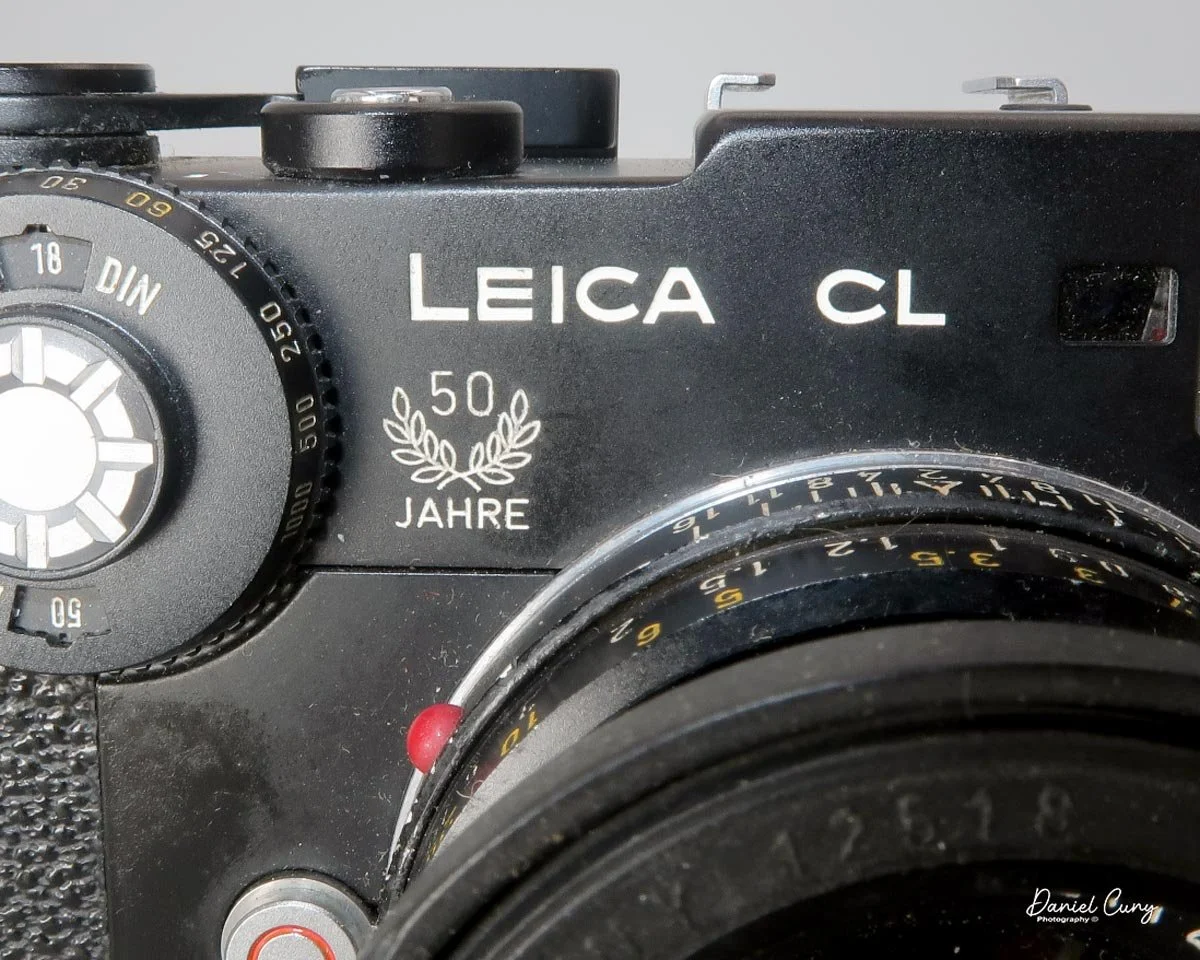
My Leica CL is a 50th-anniversary model with the stamp under the "Leica CL" name on the front. On the back of the camera body is engraved 487-L. The Leica CL is 4.75" wide by 3" tall by 2.5" deep, with the Leitz Summicron-C 40mm f/2 lens. The camera weighs 1 pound, 2 ounces with the hood and lens cap, and without film. The body serial number is 1429885, and the lens serial number is 2552228.
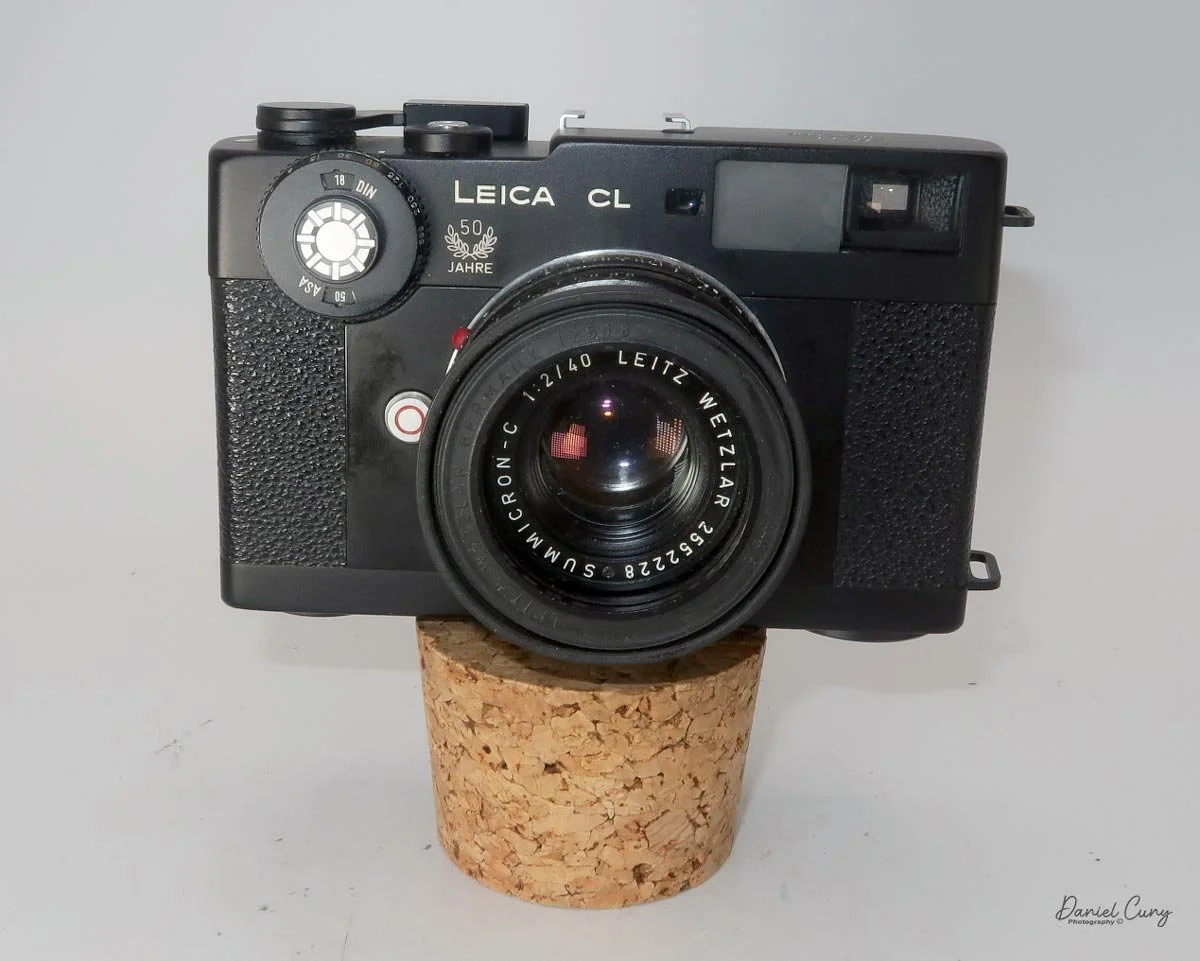
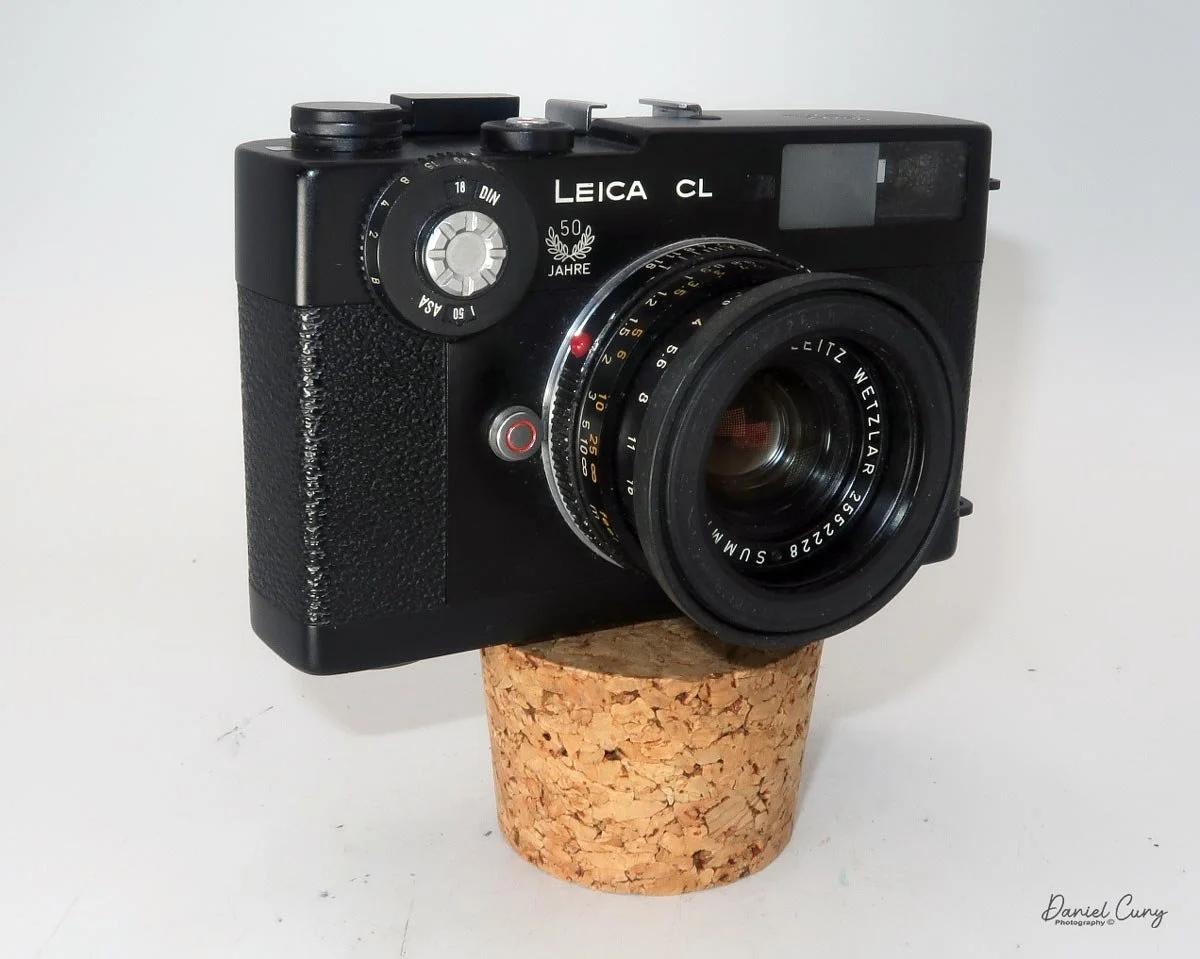
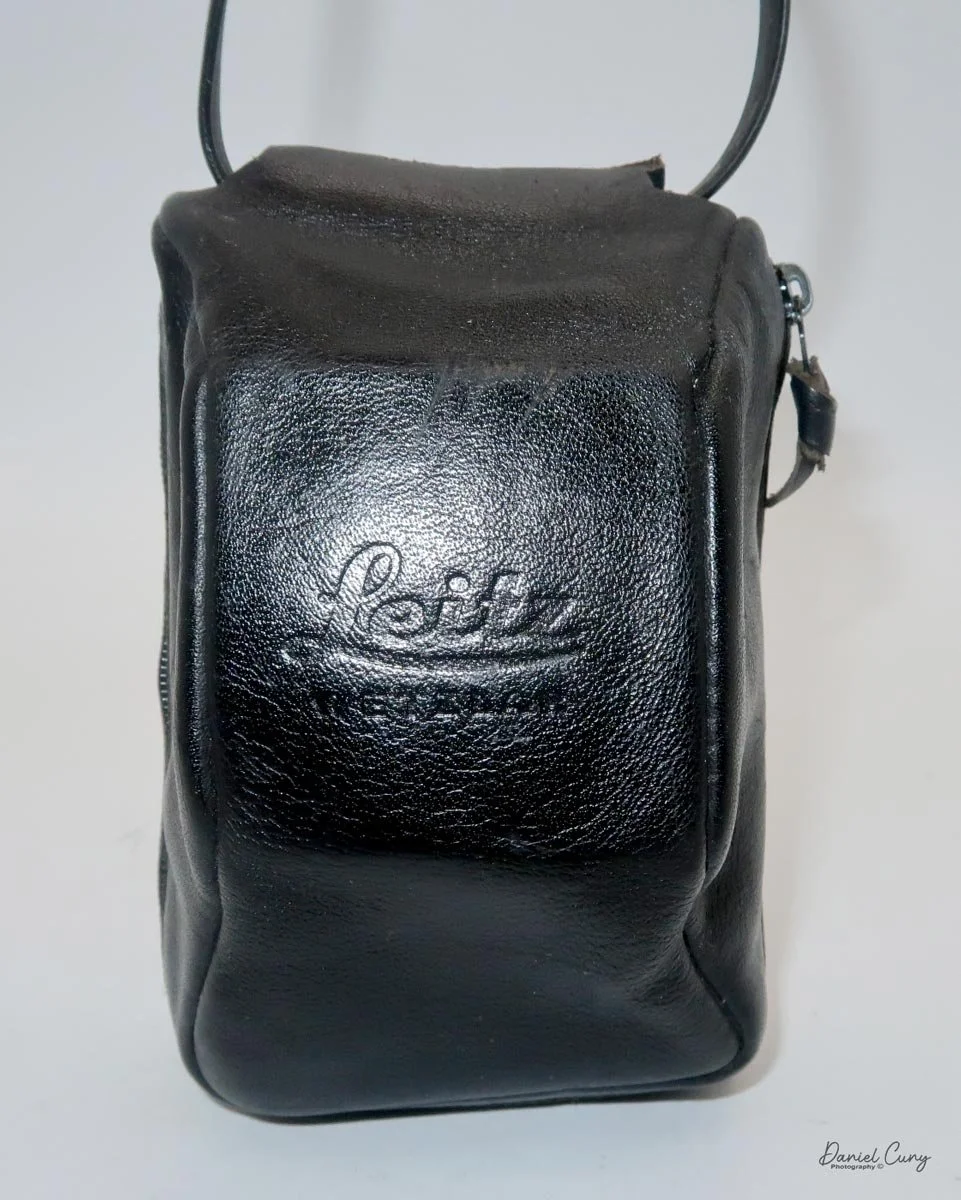
My Leica CL also has a vertical hanging, fitted leather case with "Leica Wetzlar" embossed on the front. I'm not a big fan of how the soft case works with the camera, as I find it gets in my way when using the camera. It does offer protection, so that's a plus.

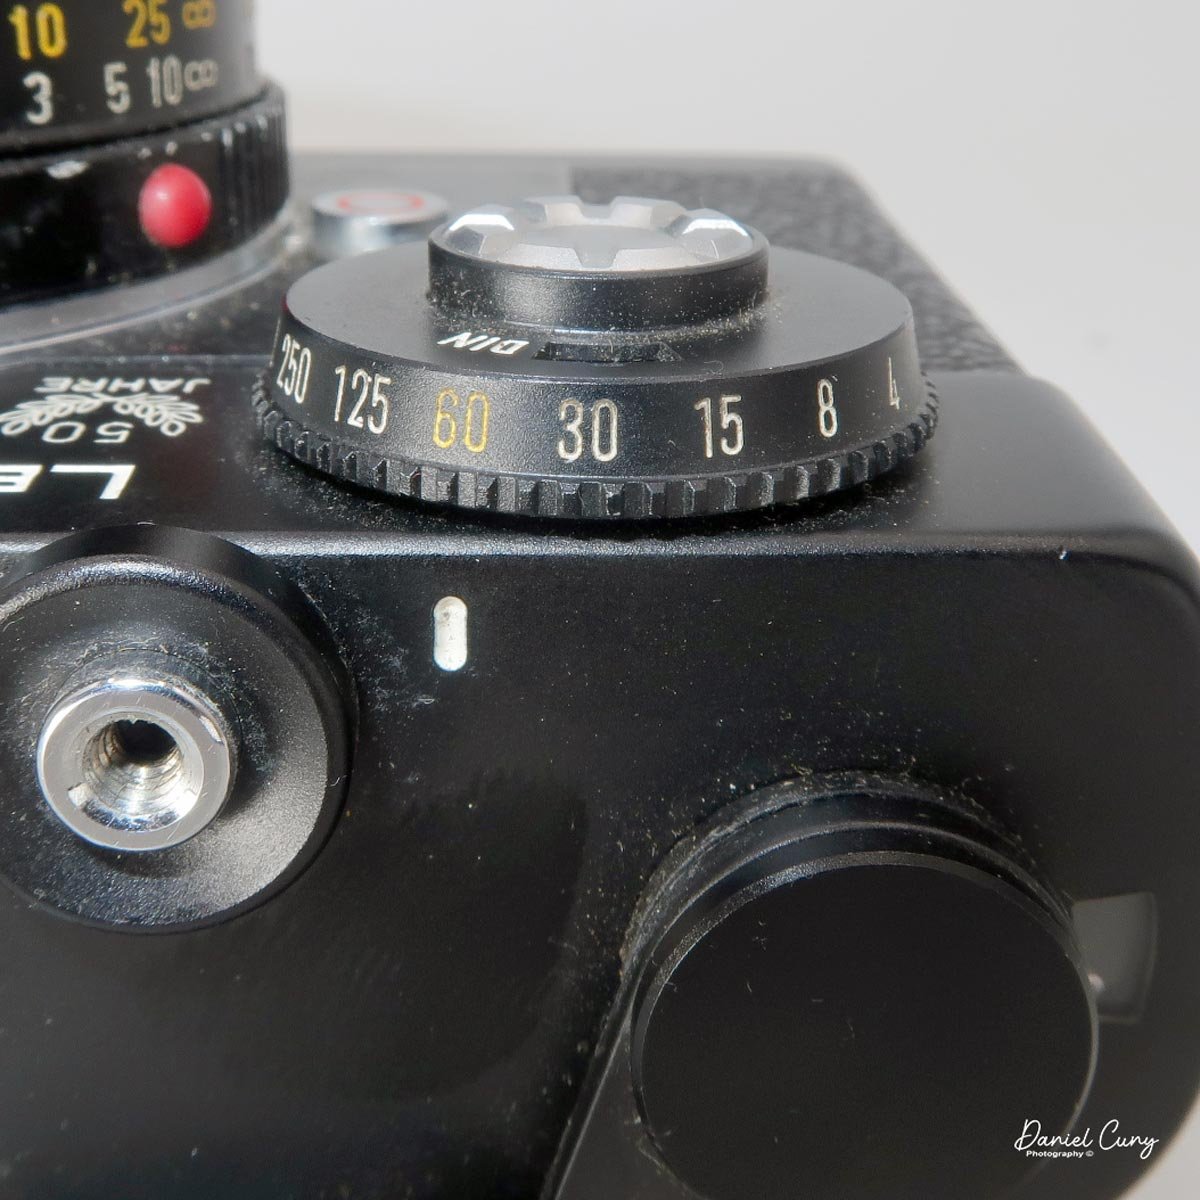
 Looking at the top of the camera, the Leica CL is rather plain. From left to right, there is the "Leitz Wetzlar" logo, a hot shoe for the flash, the shutter release (threaded for a cable release), a white line for setting the shutter speed, and a film winding lever.

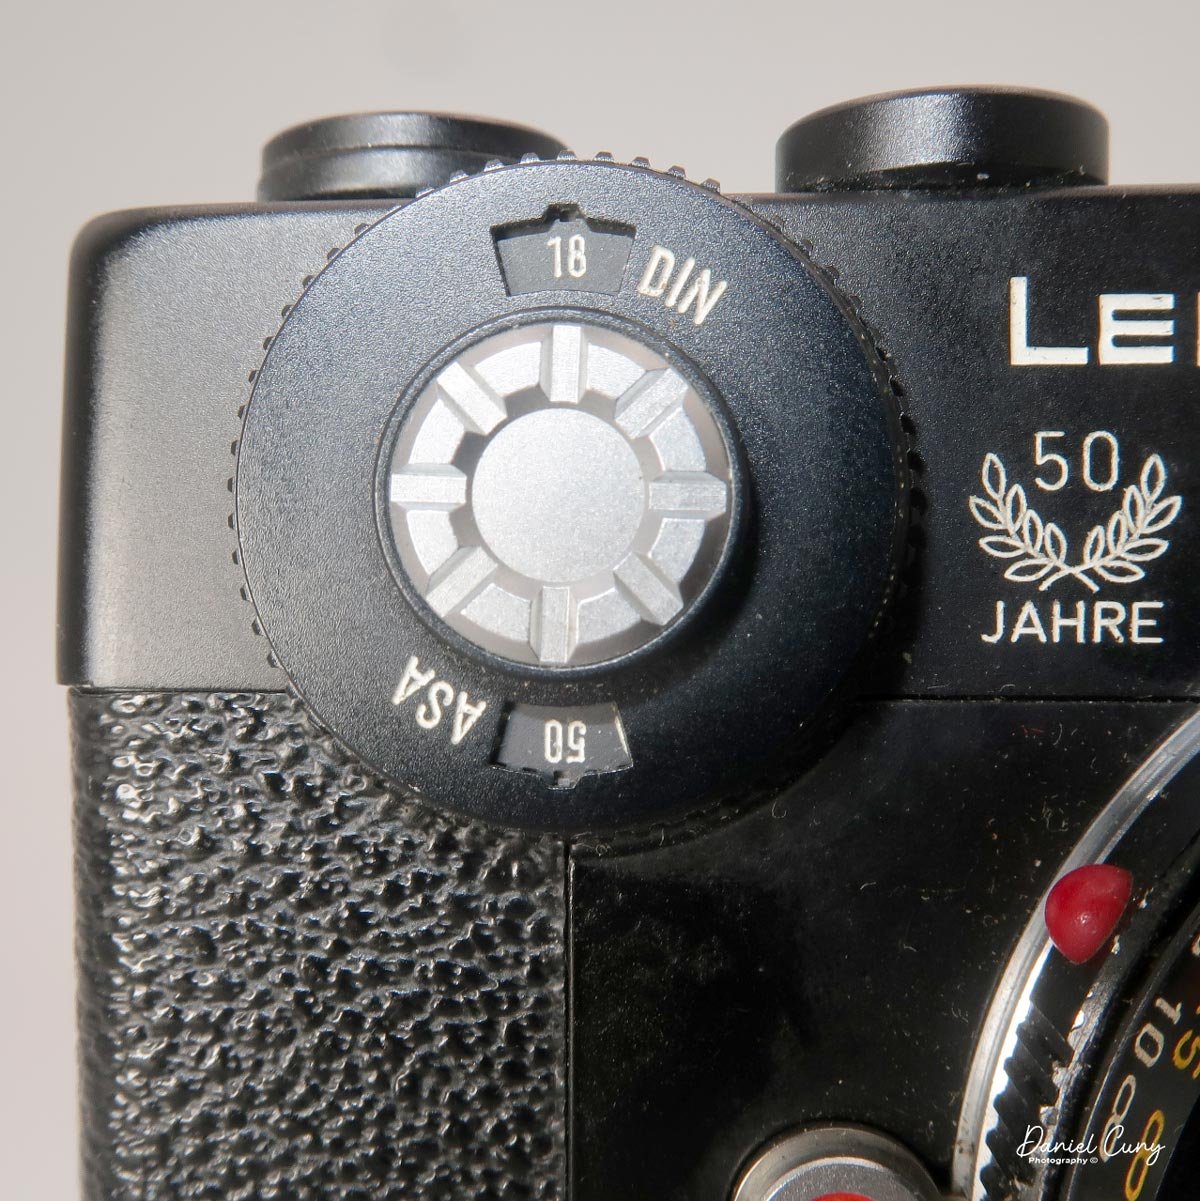
 Most exposure controls are on the front of the camera body or lens. In the upper left corner of the camera, as you face it, is the shutter speed wheel, which has speeds from 1/1000 to 1/2 (no 1 sec. exposure setting) and "B" for timed exposures. The shutter speed is set by turning the outer wheel to the desired speed, which is aligned with the small white line on the camera body. Some people get confused because the white line isn't directly above the shutter speed number, but slightly to the left. Make sure you set the shutter speed to the white line, and not at the top of the dial.
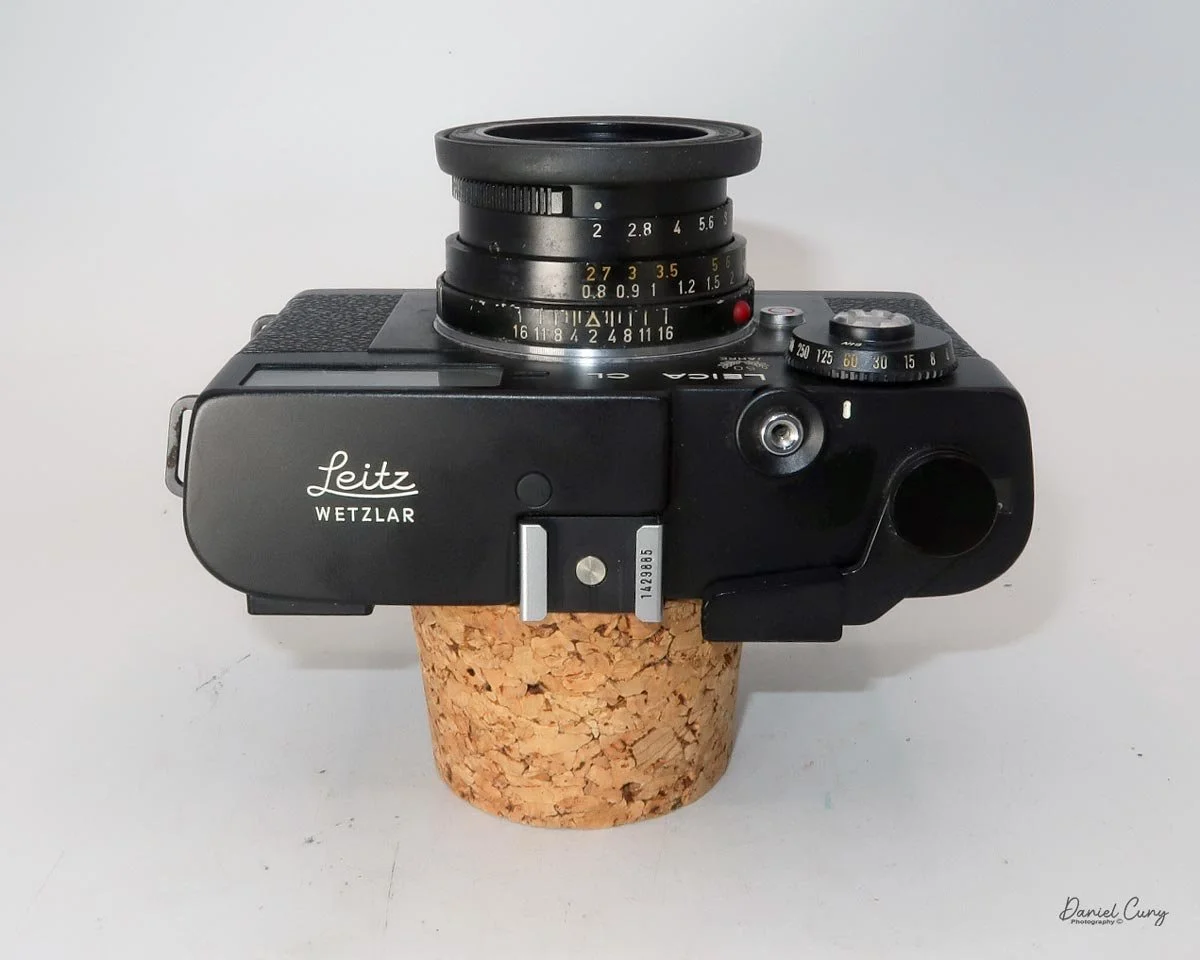
Inside the shutter speed dial is the ASA or DIN (ISO) setting for the internal light meter. Set the ASA by turning the chrome wheel with the pad of your finger or thumb to the desired film speed.

 Below the shutter speed wheel is a smaller round button with a red circle, which is the lens release button. Press the button and turn the lens counterclockwise a short distance until the red dot latches to the red circle, then remove the lens. To attach the lens, match the red dot on the lens to the red circle, then turn the lens clockwise until it clicks into place and locks onto the camera body.
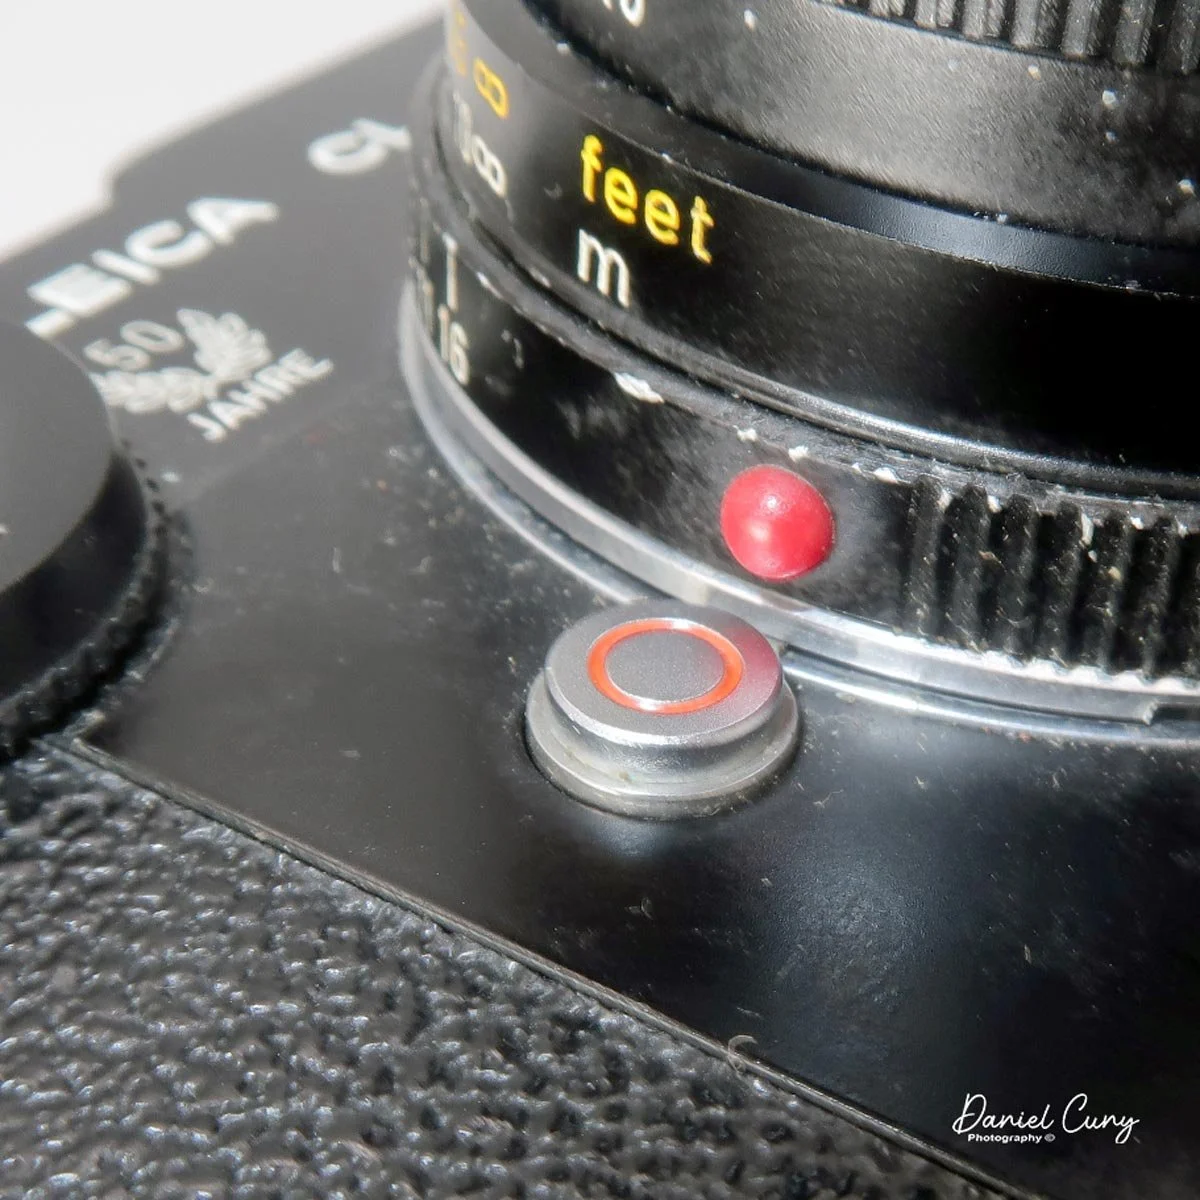
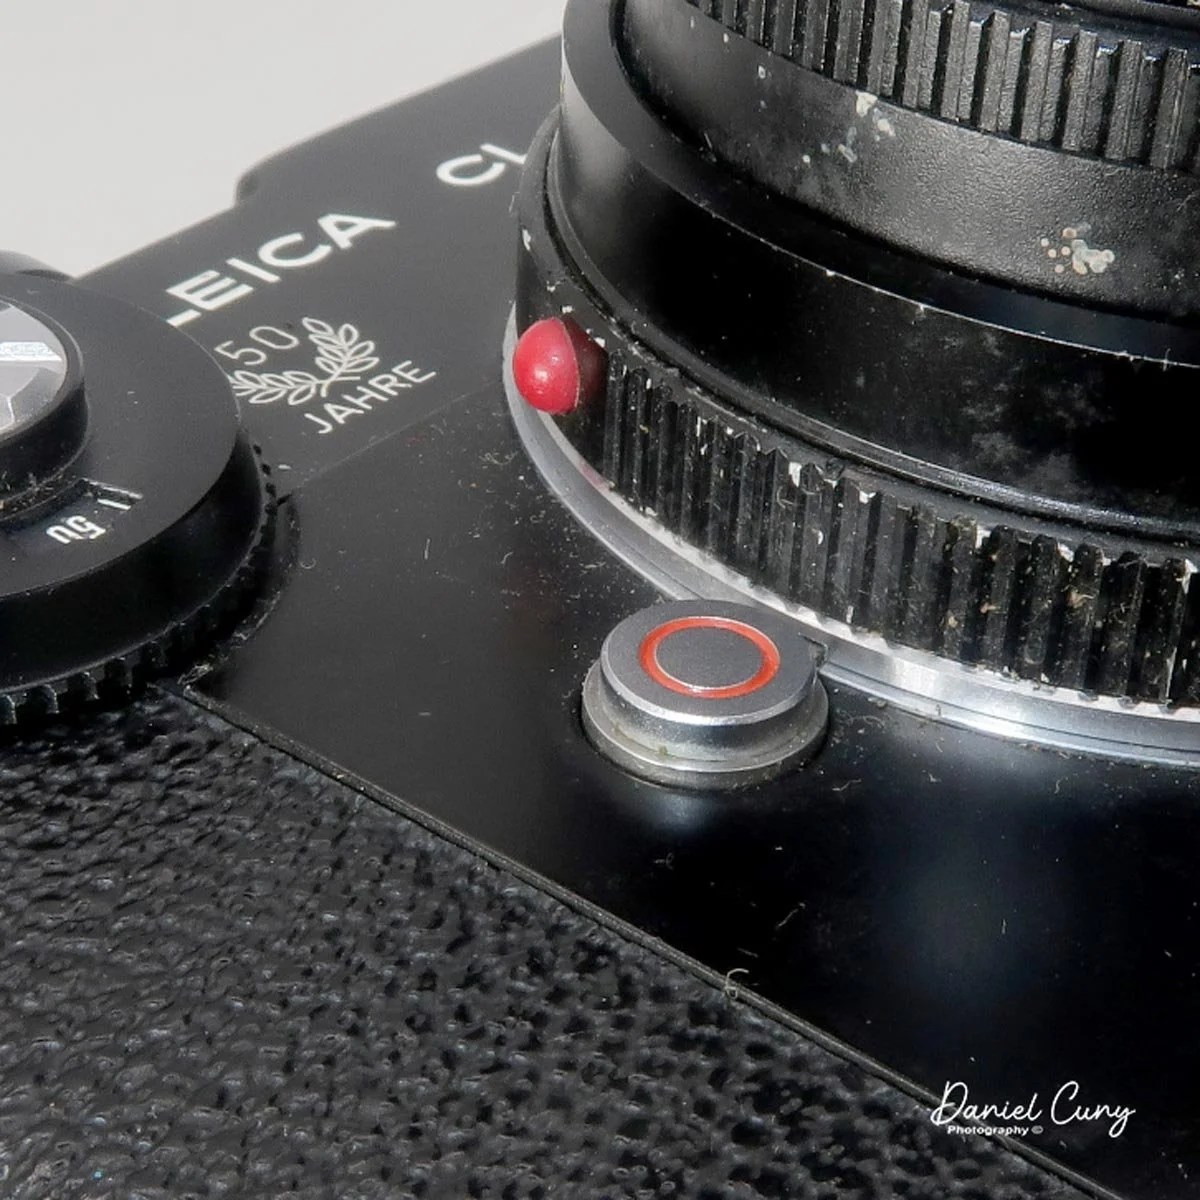
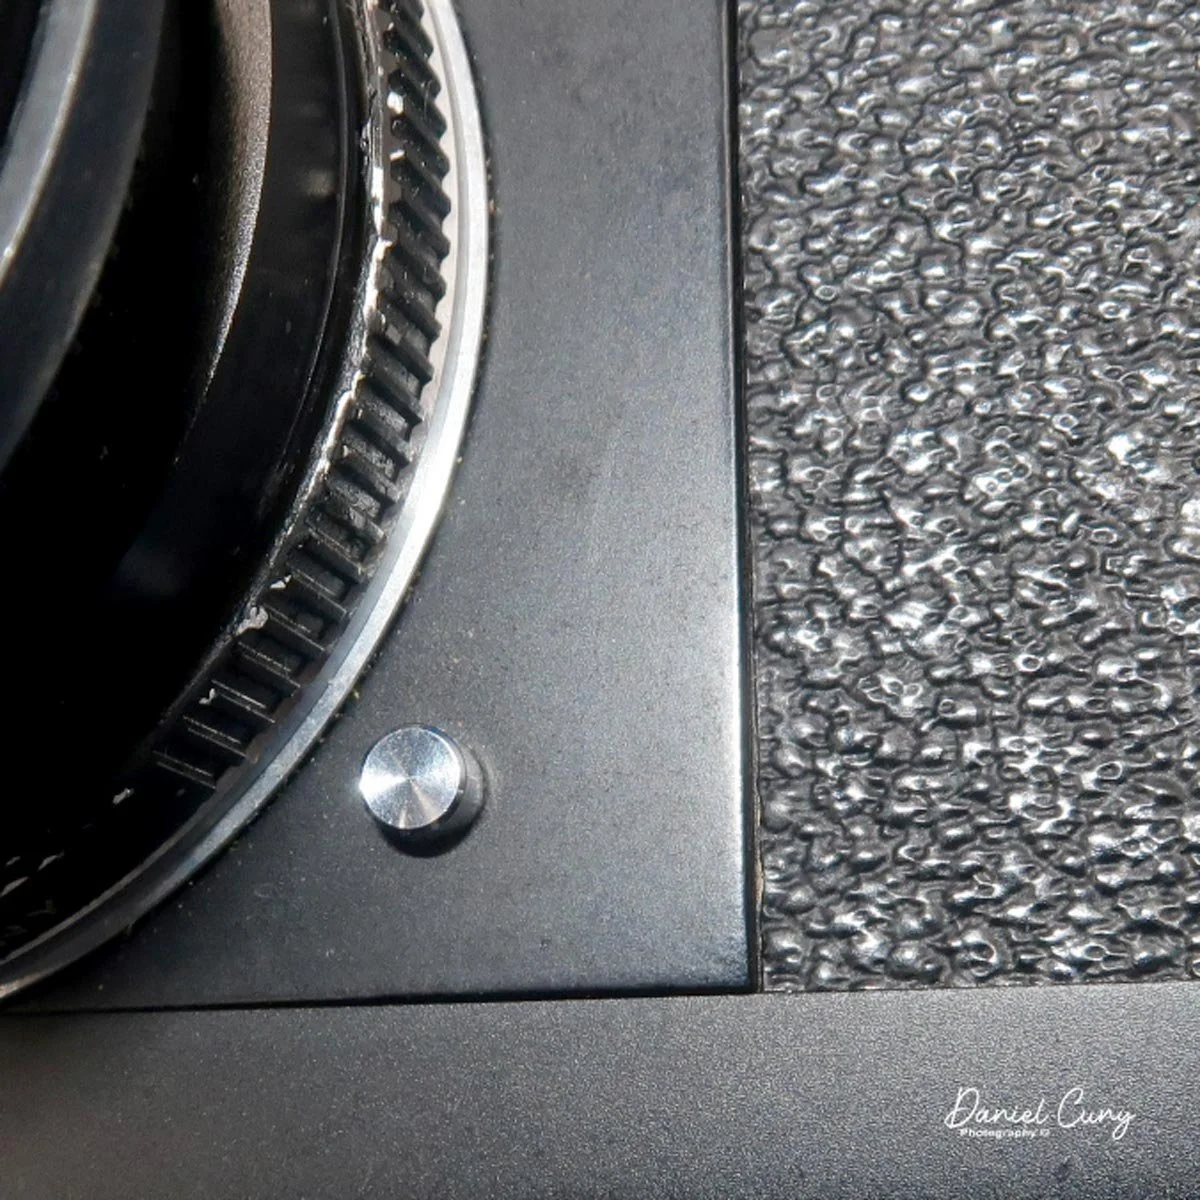
On the opposite side of the lens is an even smaller chrome button: the "battery test" button for the light meter. Unfortunately, the light meter on my camera isn't working, so it's not something I use when shooting with the Leica CL.

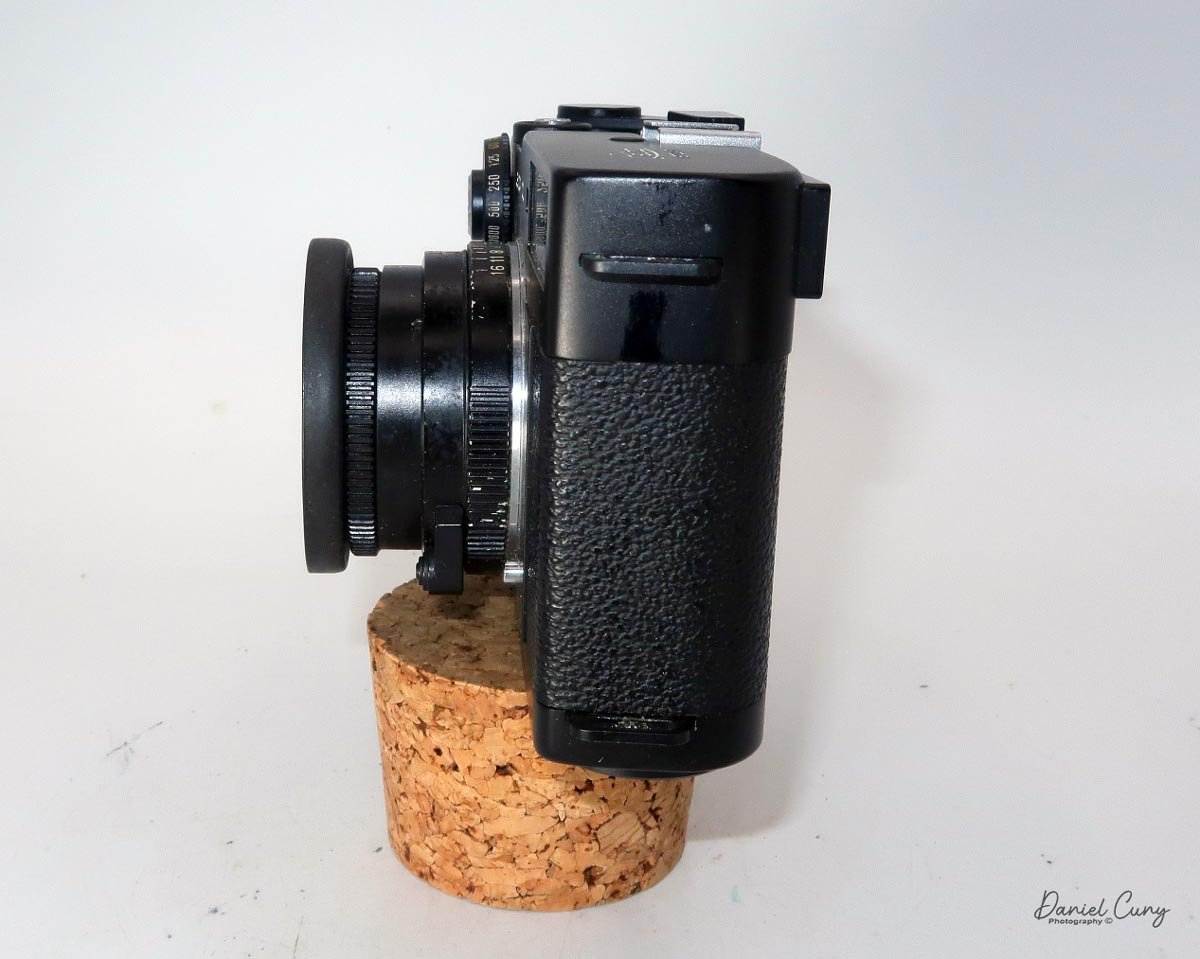
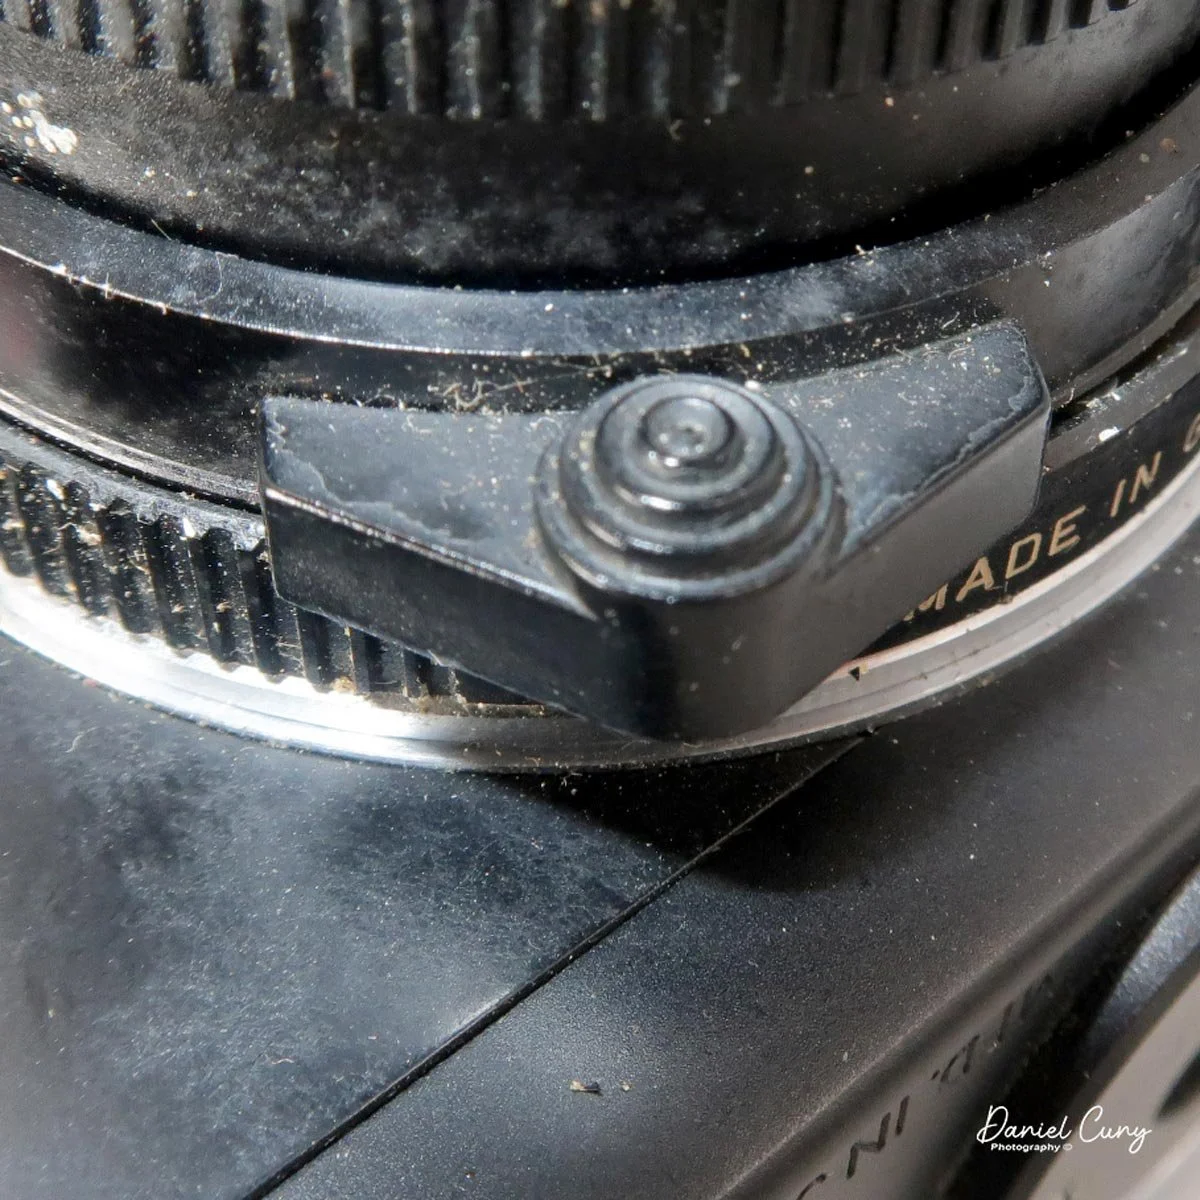
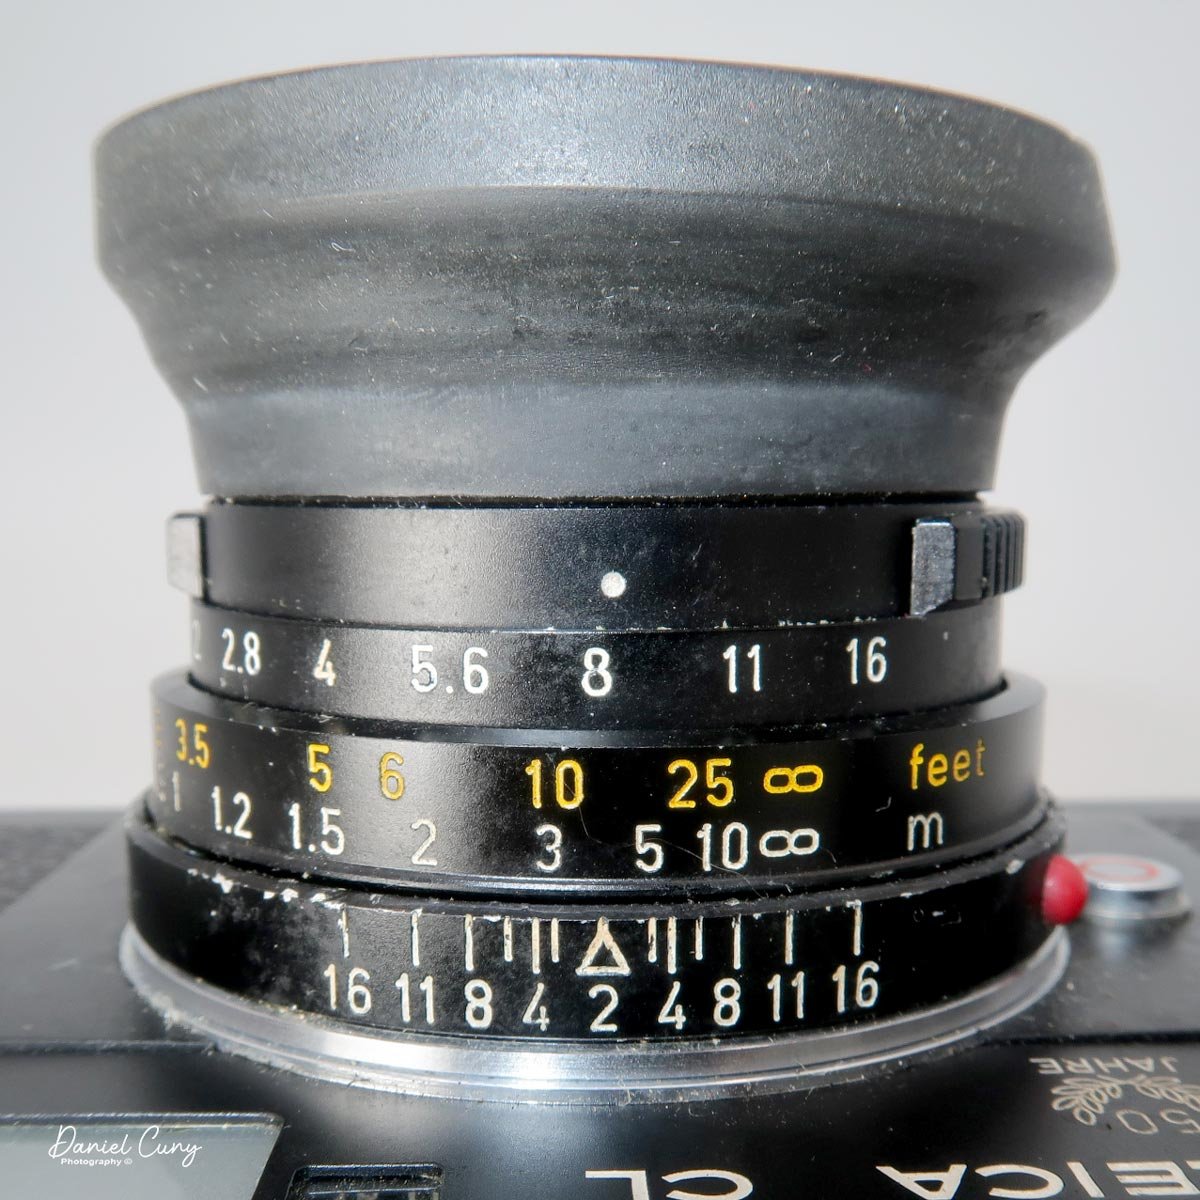
 On the lens is the focus knob, which is a larger knob on the bottom, and the aperture settings, which are located towards the front of the lens. I also have a rubber lens hood and a plastic lens cap that fits onto the hood; both came with the camera kit.
Looking through the viewfinder, there are several things to look at. In the middle is the bright rangefinder. This is a wonderful and very easy rangefinder. The image looks sharper (to me) when you bring the lines together in the yellowed area of the rangefinder. I'm generally not a big fan of rangefinders, but I do really like how this one performs.

 It also has internal lines for a 40mm and 50mm lens. Along the top of the finder is the shutter speed, with a red bar sliding to the set shutter speed, which is easily adjusted with your forefinger rolling along the shutter speed selector.
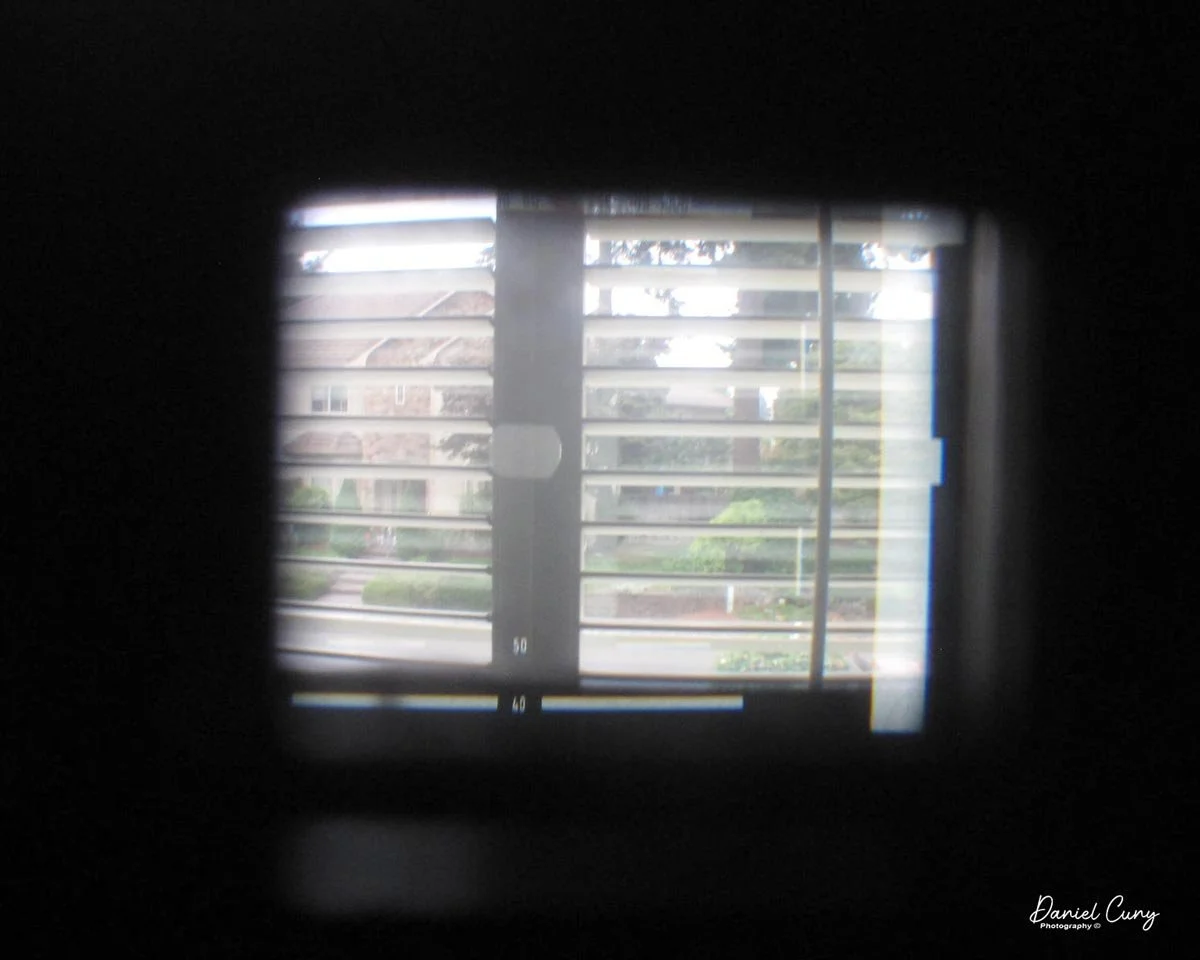
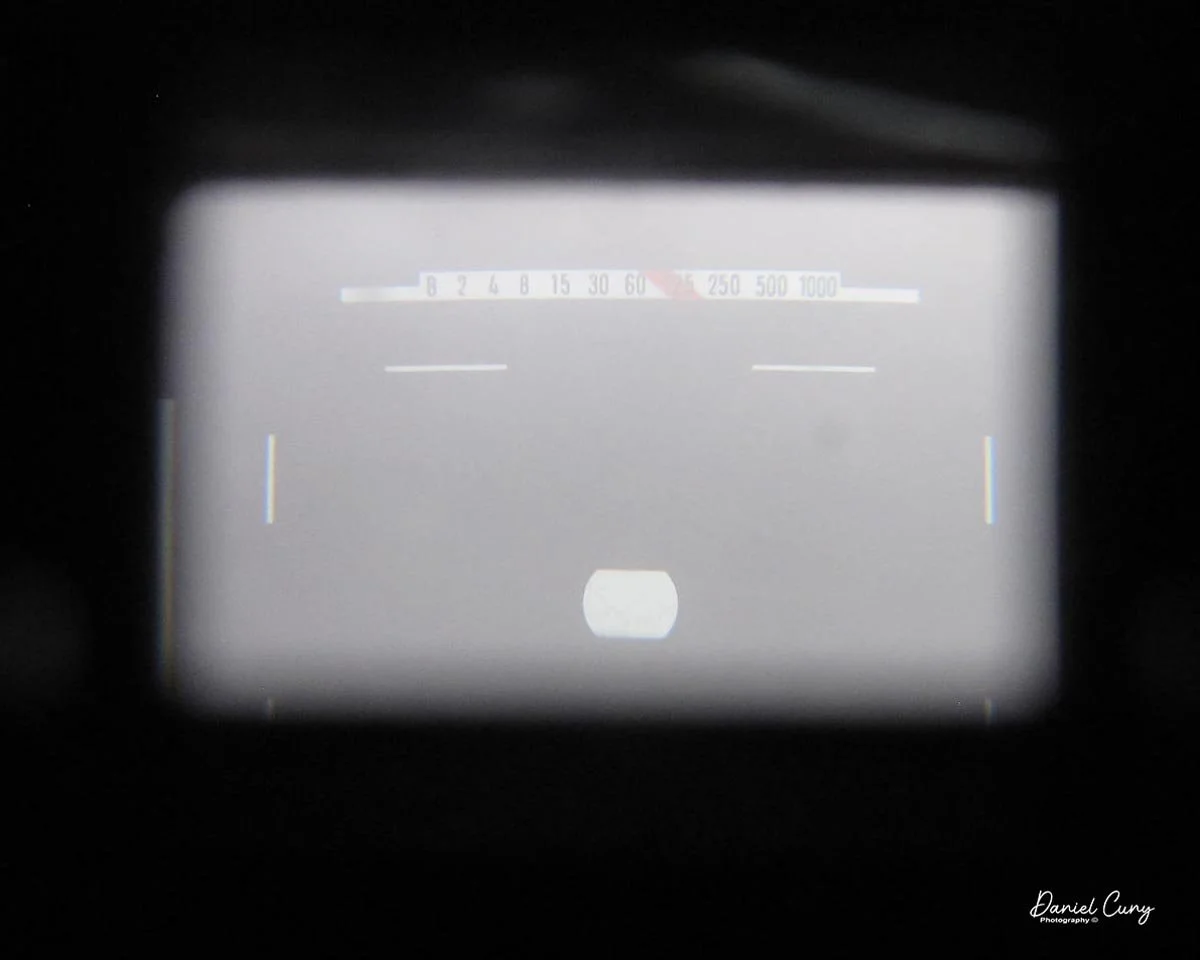
On the right side of the viewfinder is the light meter. Leica interestingly designed the camera: when you wind it, a small hinged arm with a CDS sensor drops down in front of the vertically traveling focal plane shutter. This is what meters your exposures. As you change the shutter speed/aperture combination and the ASA setting, a bar moves up or down until it's in the center "cutout" area. When it's in the middle of the "cutout" area, the meter tells you it's properly exposed.

 When you click the shutter, the CDS sensor moves up just before the shutter opens and closes, exposing the film. Then, when you wind the film to the next exposure, the CDS sensor pulls back down and is ready to meter your next frame. If you haven't wound to the next frame and the winding lever is in close to the body, the meter is off. I also noticed that when you move the shutter speed dial to 1/2 sec. or "B", a red dot appears in the meter area. My best guess is that it's a longer exposure warning.
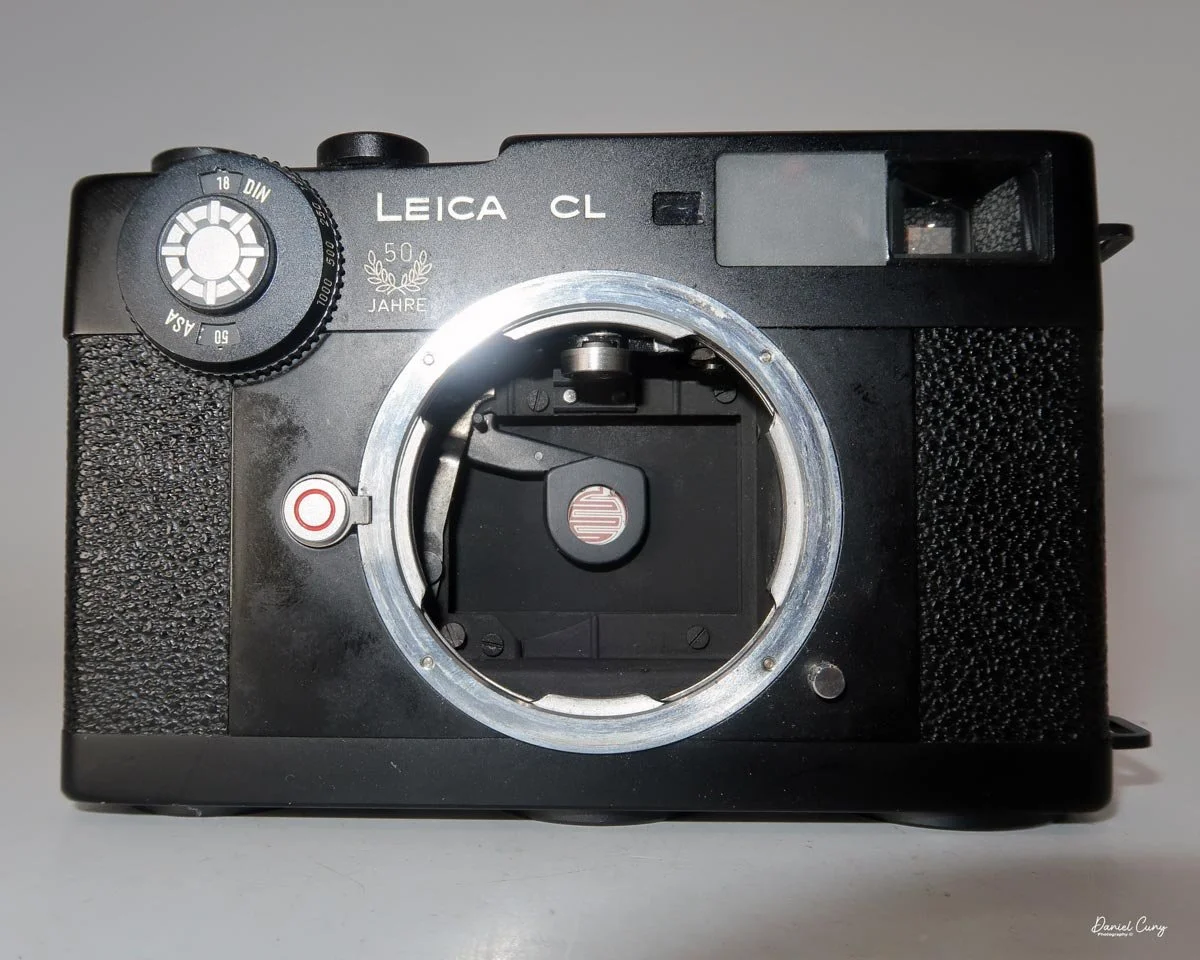
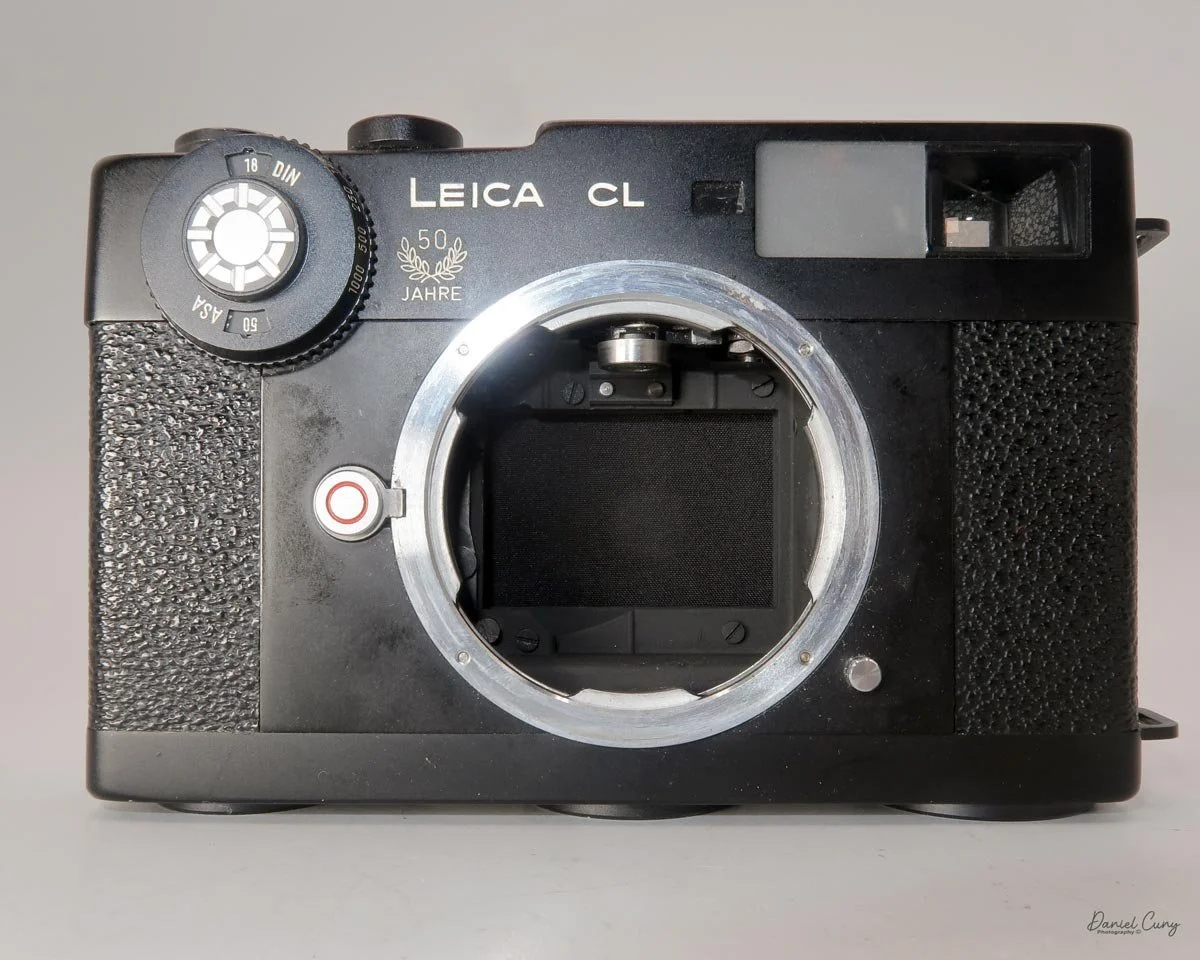
To remove the camera back to load the film, on the bottom of the camera in the center, there is a knob that you lift and turn until it stops. Then, slide the camera back down to slide the back off the camera body. Once you've done that, the pressure plate is hinged to the camera body, not the back of the film door you just removed.

 Put your film cassette in the left-side film chamber, flip down the pressure plate, and thread the lead into the grey clips on the take-up spool. Advance the film a bit to make sure it's caught and traveling across the shutter. Flip back the pressure plate, slide the camera back under the grooves on the front of the camera, sliding it all the way onto the camera body, and lock the film back onto the camera body.
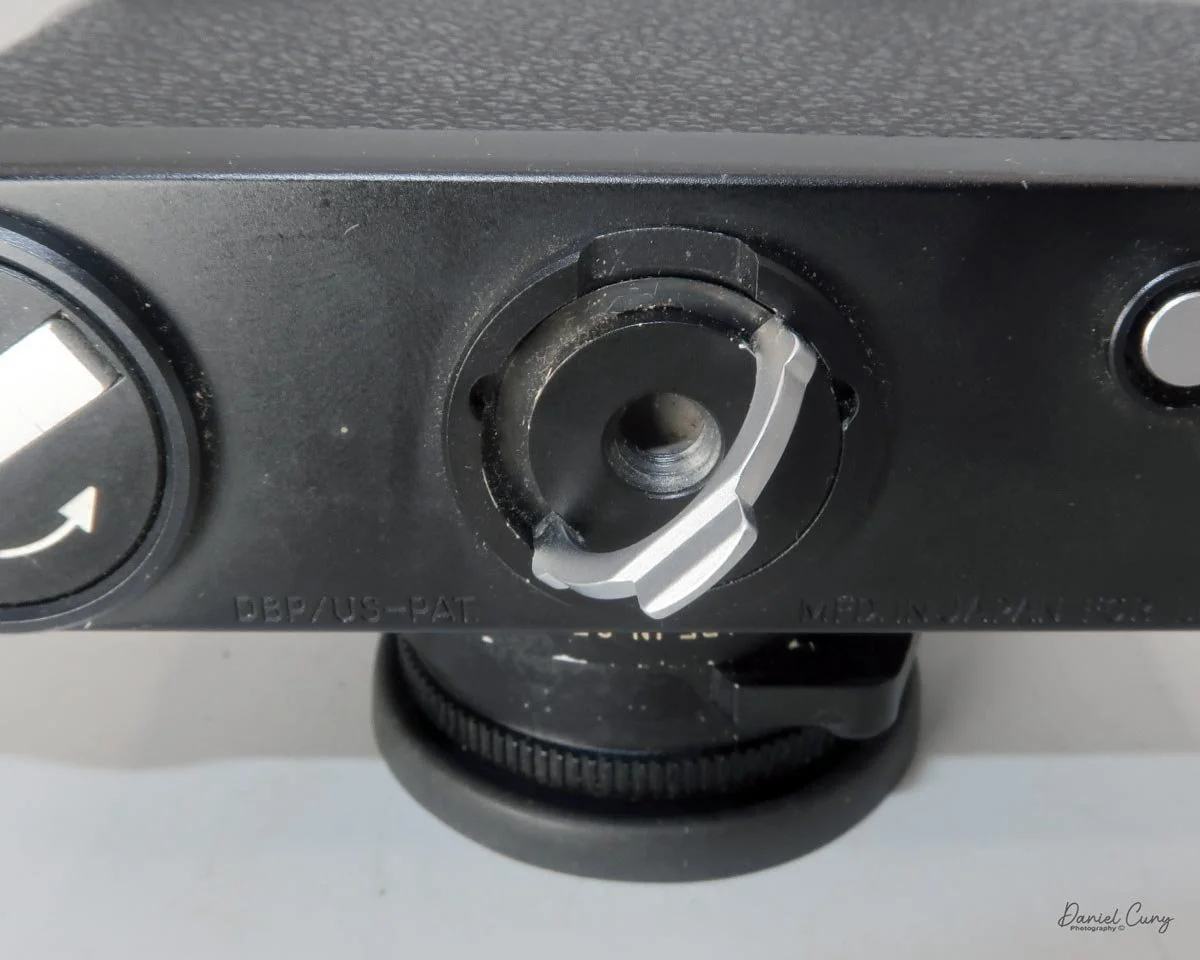
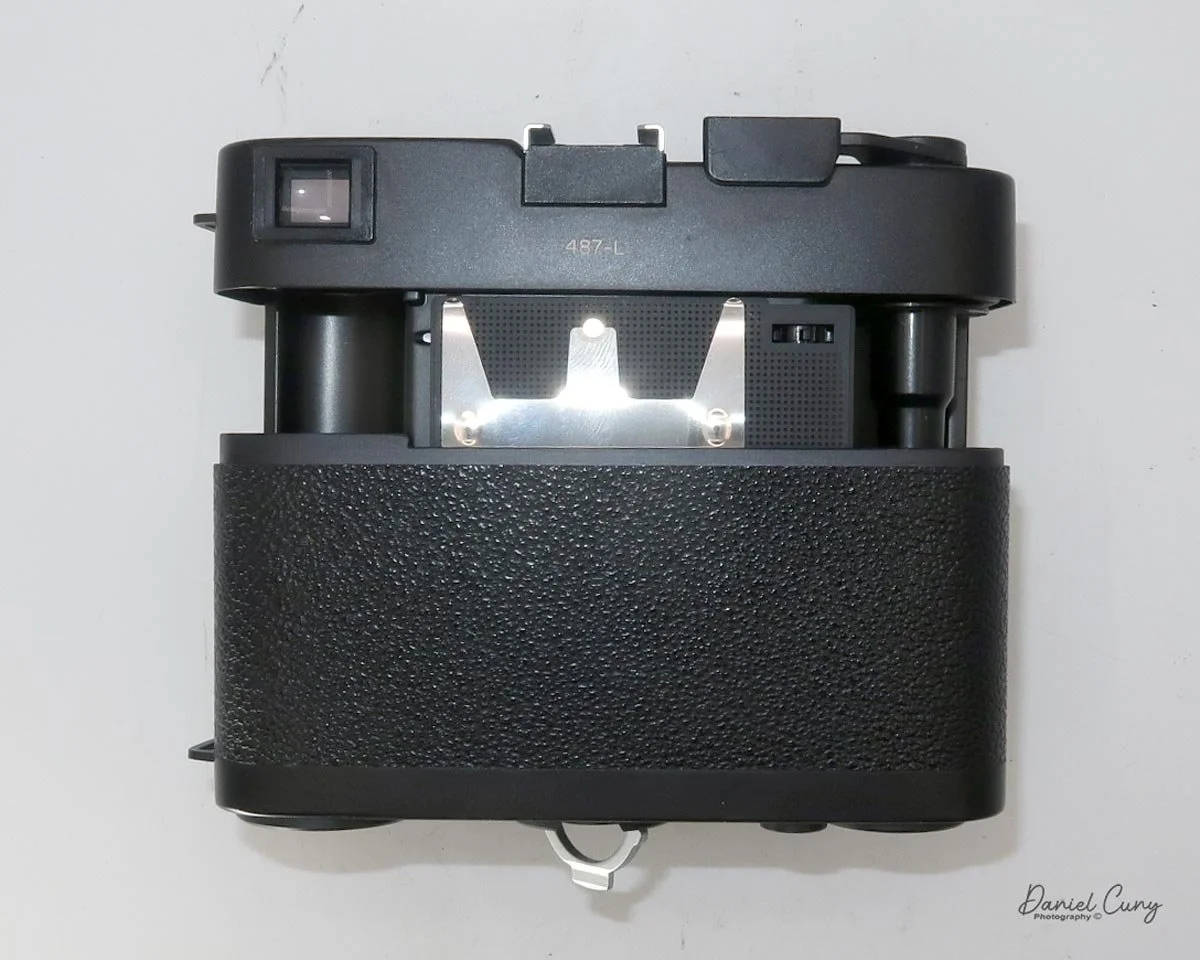
The bottom of the film door also has the rewind crank and rewind button to unlock the film transport wheel, plus a small film reminder on the other side of the rewind crank.

 I have a few rolls of outdated Plus-X film dated to June 1976, which I have in both 36 and 20 exposures that I'm selling in my store on eBay, so I loaded a roll of 20 exposures into the camera, set my external light meter to ISO 50, and went for a walk around the neighborhood to see how the camera would perform.
 My Results

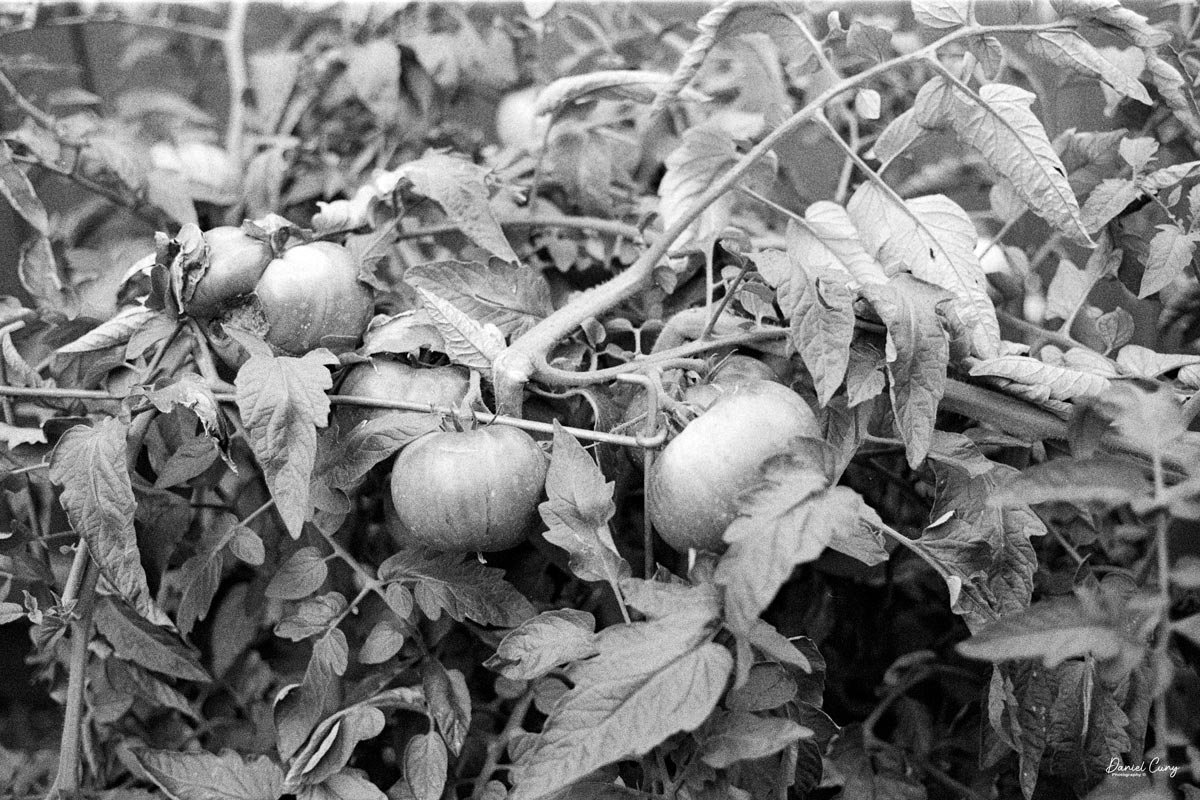
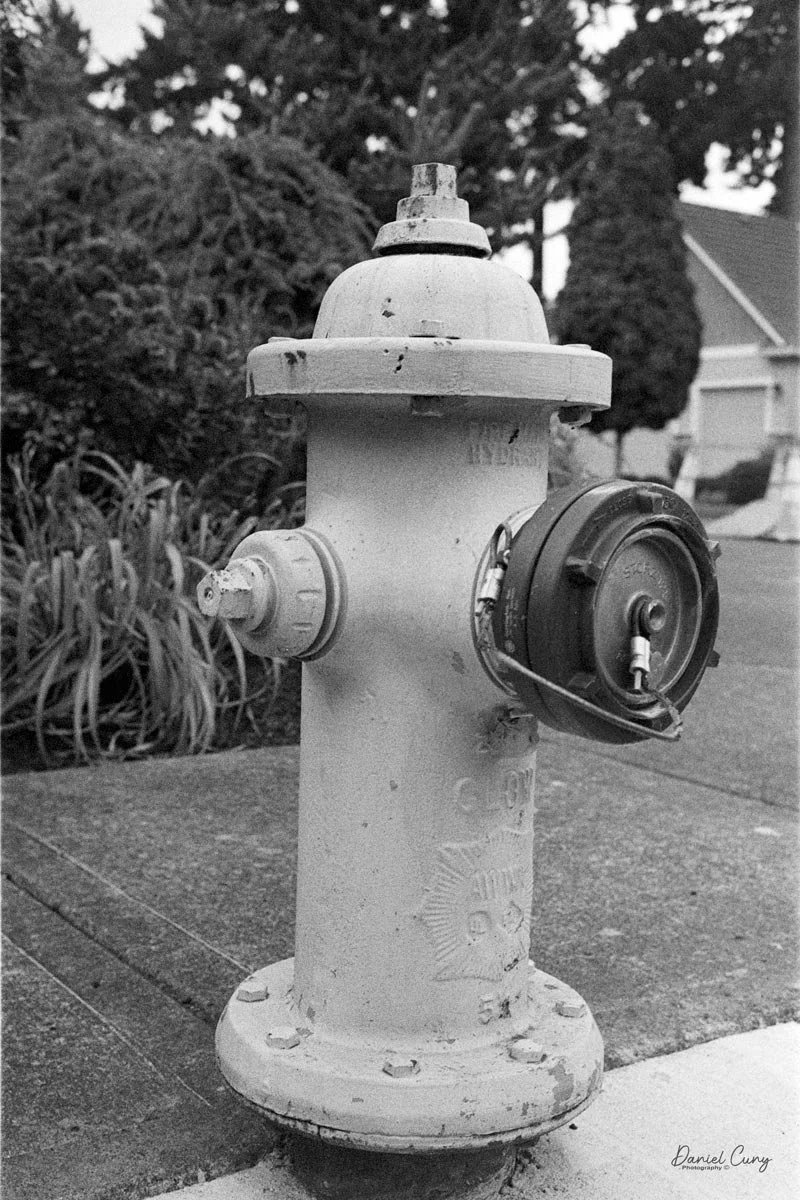
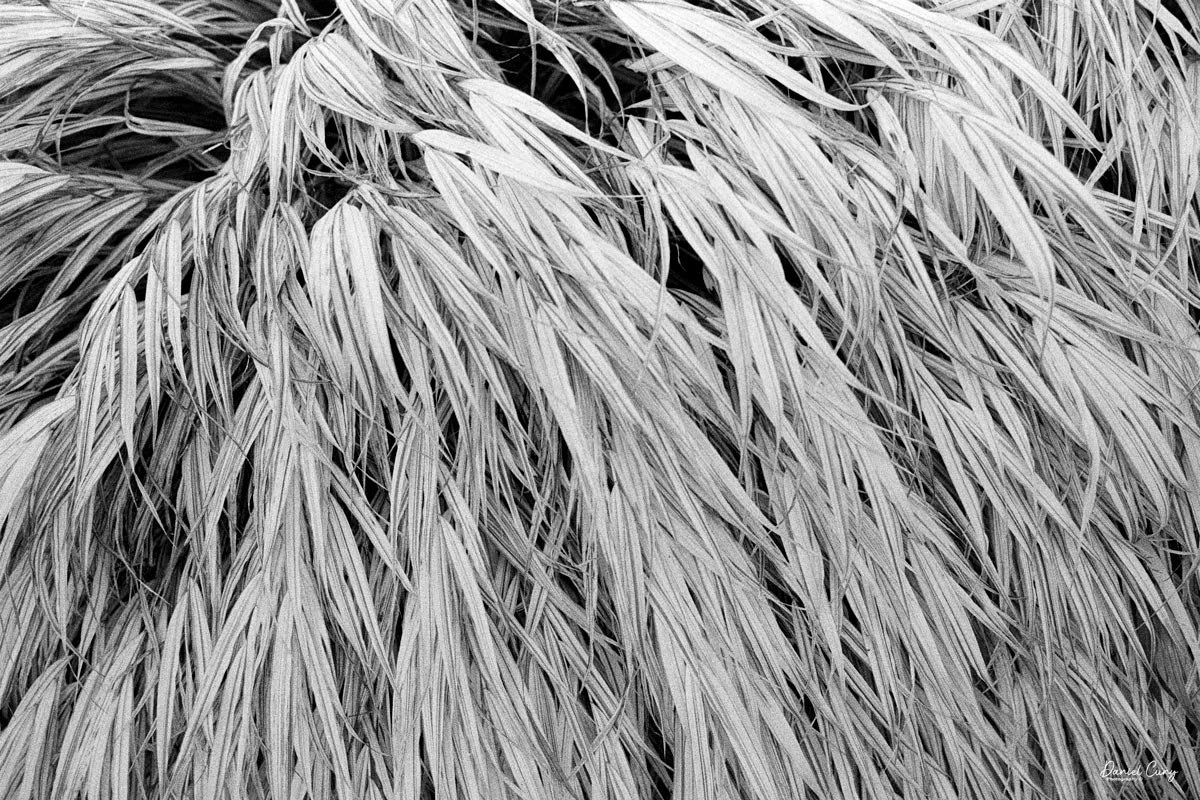
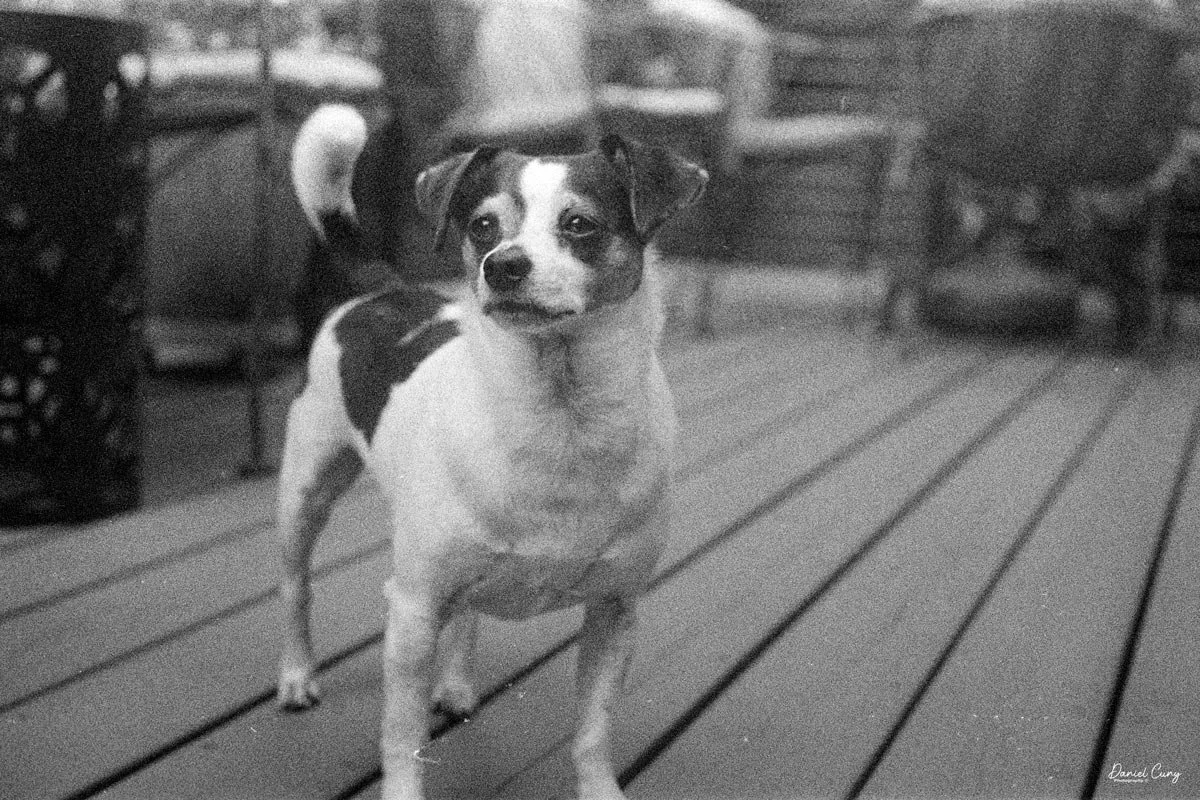
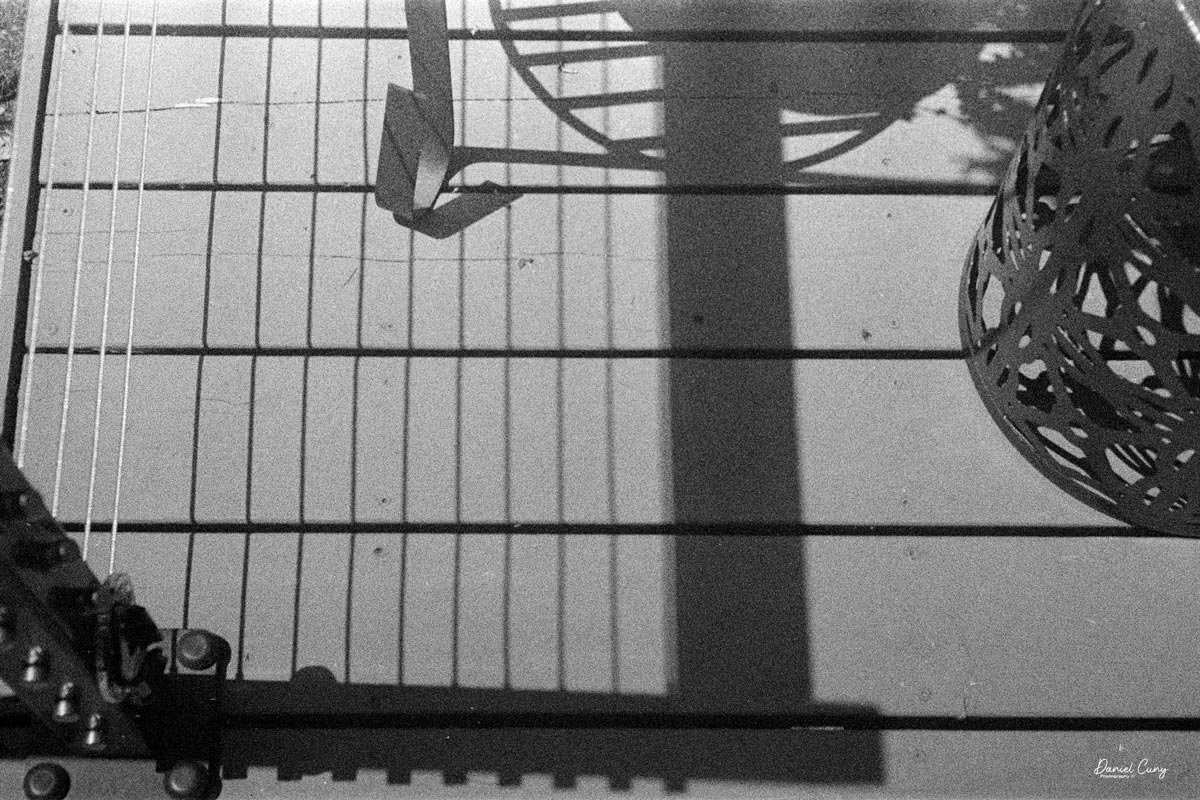
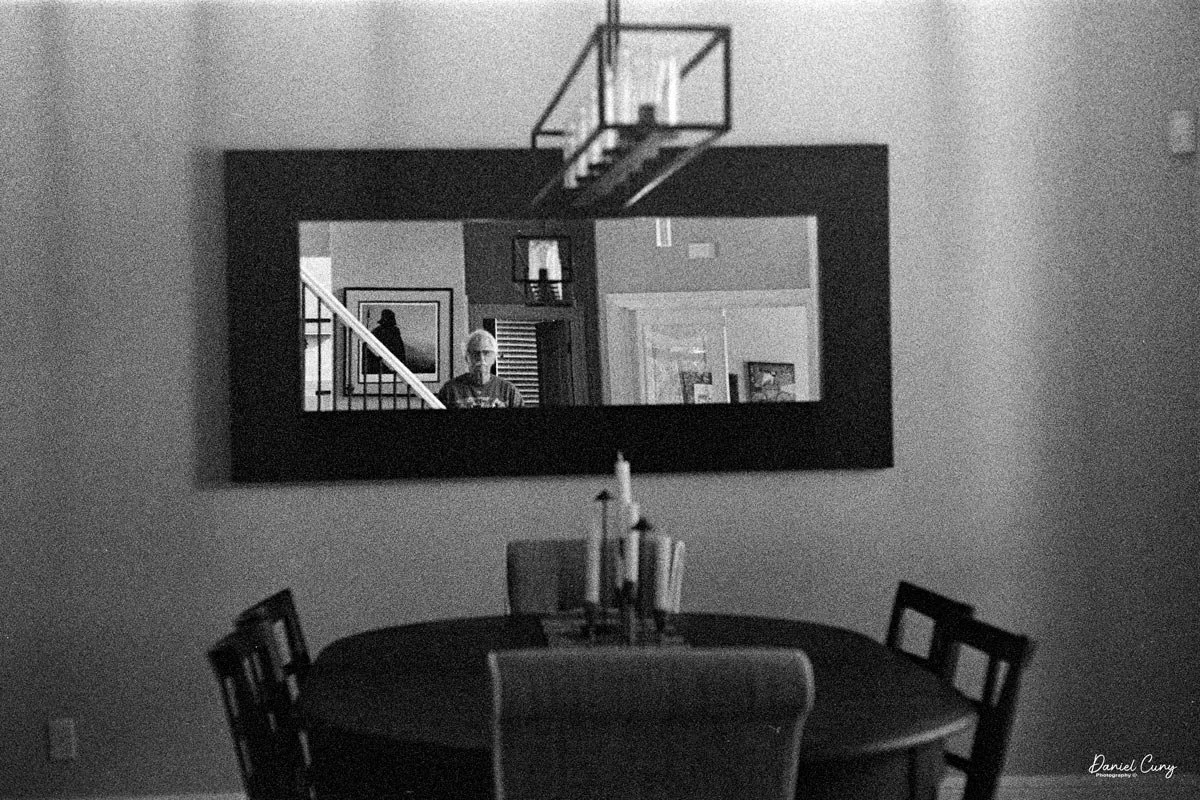
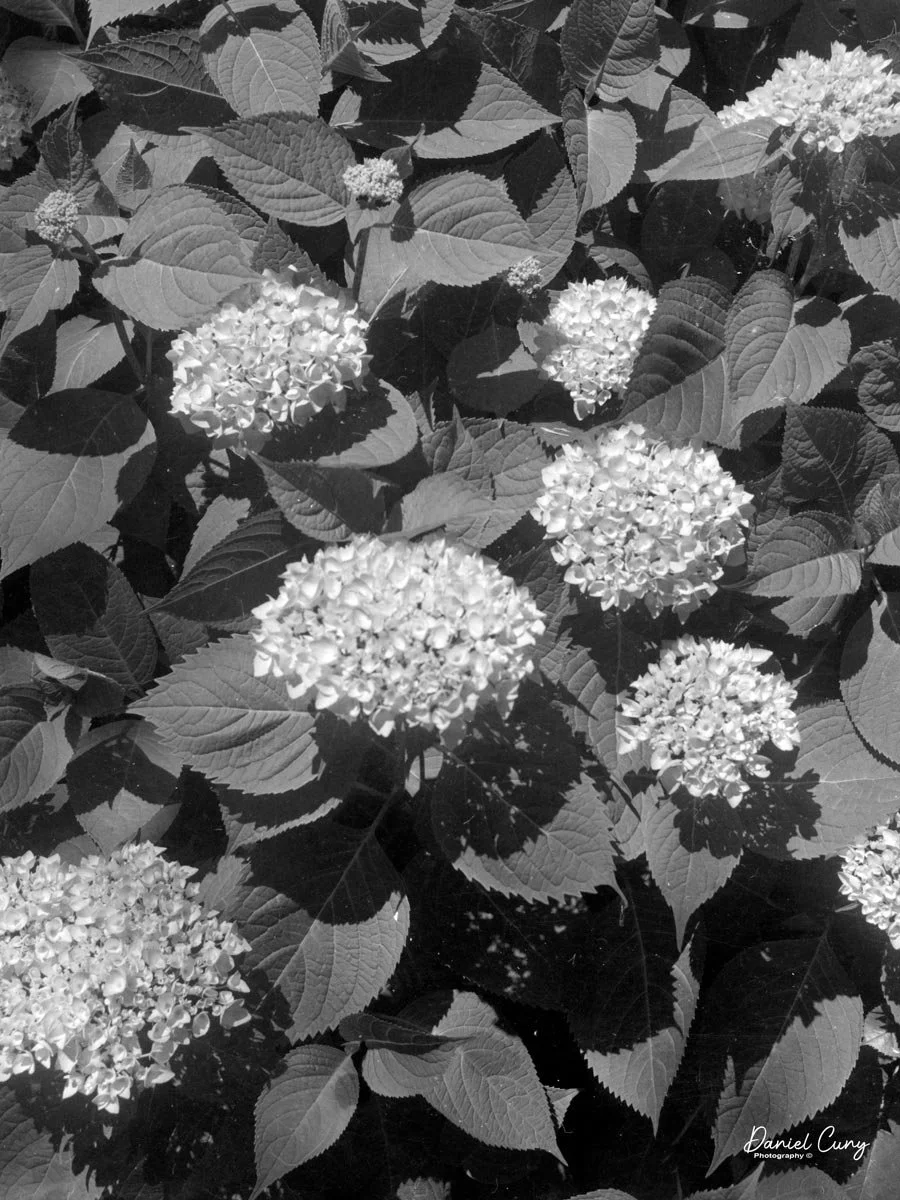
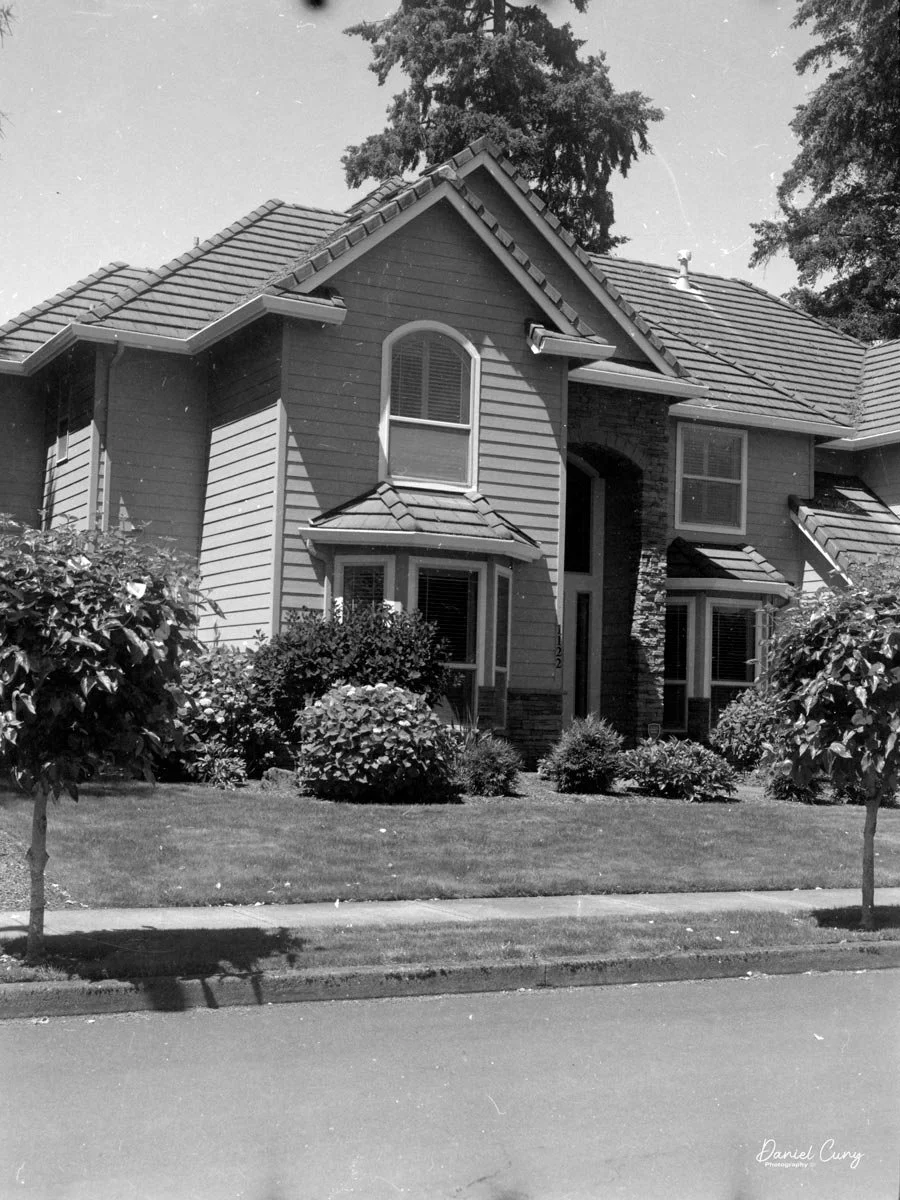
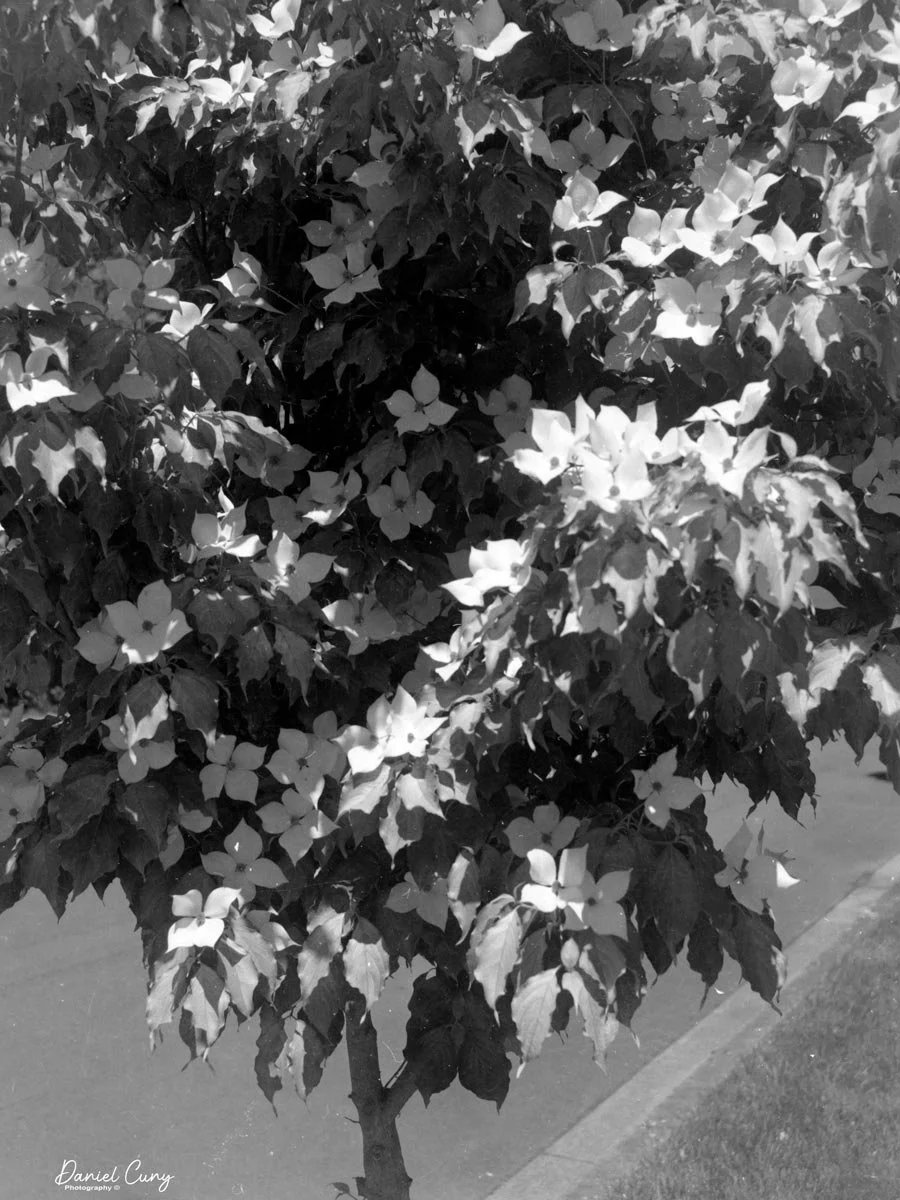
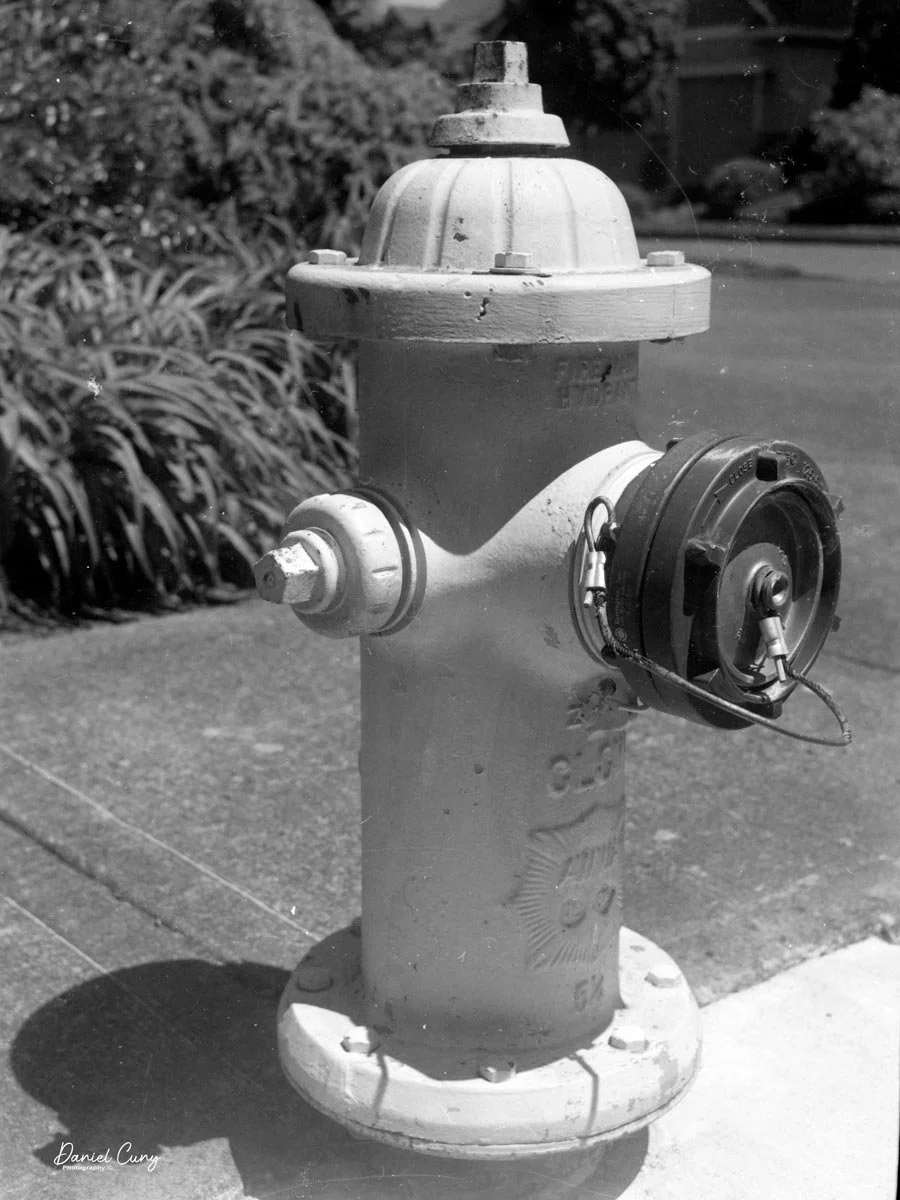
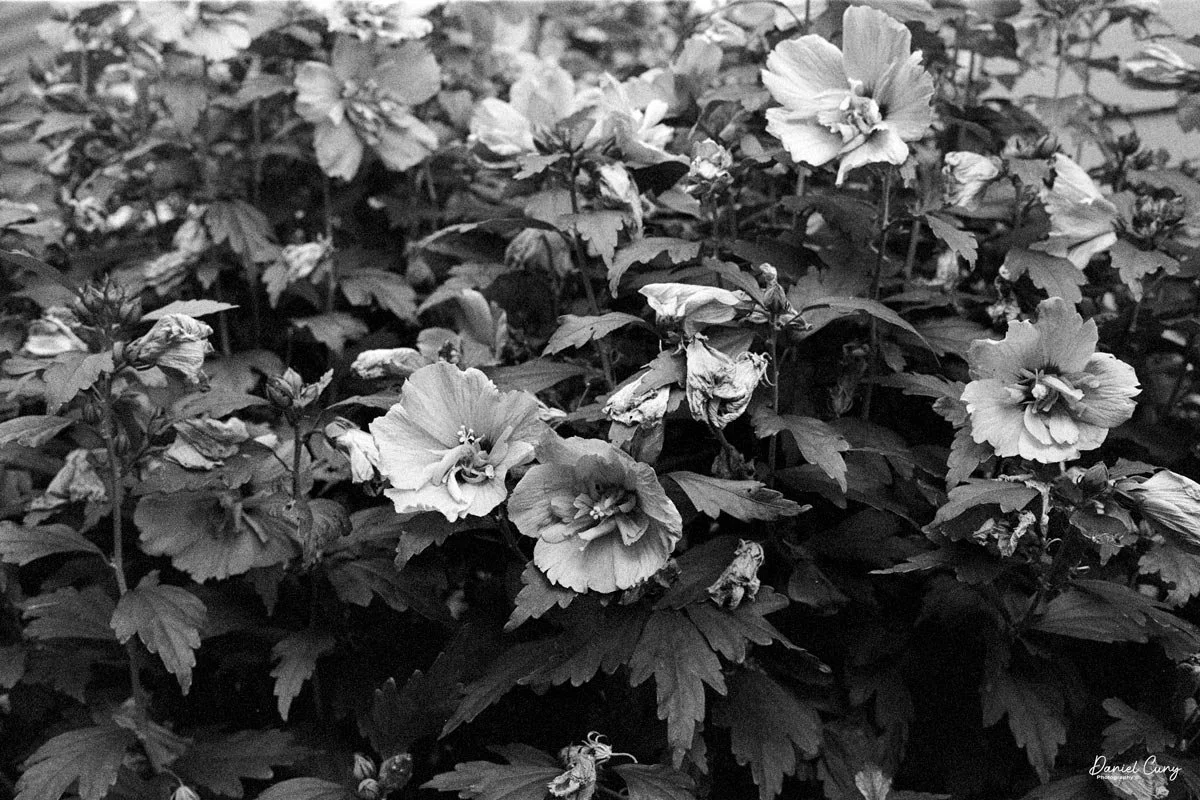
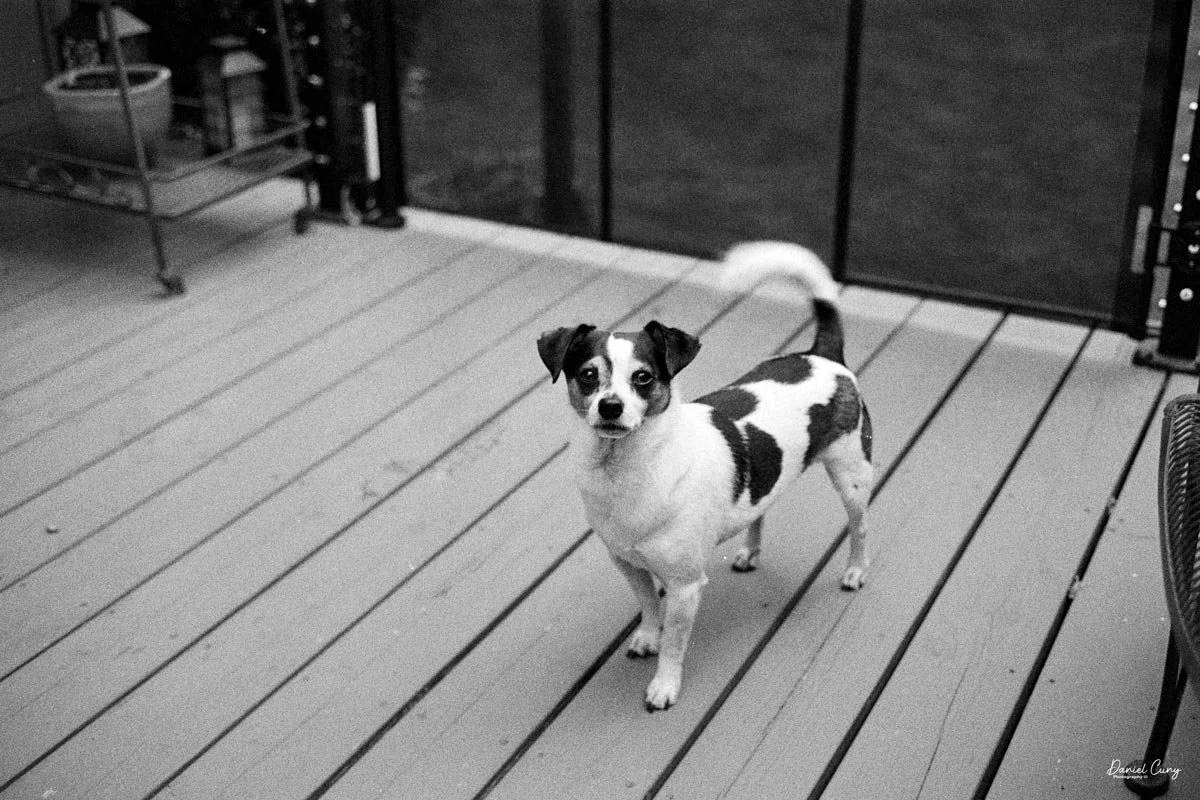
After walking the neighborhood and taking photos of many of the usual subjects to keep it somewhat consistent, I went home and processed the film. Here are some of the images I took on my walk.
Conclusion

I enjoyed many things about using the Leica CL. First and foremost was the focusing. I really enjoyed how the rangefinder reacted to the images I selected. It made it easy to focus, especially in busy areas with a lot of detail.

 The second thing I enjoyed about the camera was the image quality. Similar to the Contarex "Bullseye" camera, this lens is very sharp. I kind of marvel at how sharp these images are. Maybe it's because I try so many different cameras with average or below-average optics, but when you get a sharply focused photo, they just jump out at you.

 The camera case (to me) was a real pain. Having the case flop around when I'm using the camera was a negative experience. In the future, instead of latching the case through the strap, I'll put the strap on the camera and wrap the case around it for protection. When I unzip the case, I'll put it in my pocket. That's a more desirable solution for me.

 One other thing I noticed from the last few cameras shot with the expired Plus-X film I have is that I kind of like the grain of the film. It's a bit chunkier than the newer films, which I kind of enjoy and remember from my earlier days of shooting.

 Overall, my experience with the Leica CL was very positive. I would have liked an internal meter, but for the price I paid for the camera, lens, and case, I'm very happy and can use an external meter or guess exposures, which is pretty easy.

 Are you interested in other cameras? Here are some of my other Camera Reviews.

 Check out my Cuny's Camera Collection YouTube channel, where I am putting together video overviews of the cameras I write about. Be sure to subscribe and like the channel, too!

 Cuny's Cameras and Photos is my online eBay store, where you will find some of the cameras I have reviewed, along with a wide range of other cameras, lenses, and items from my collection that I am thinning out.

 Until next week, please be safe.
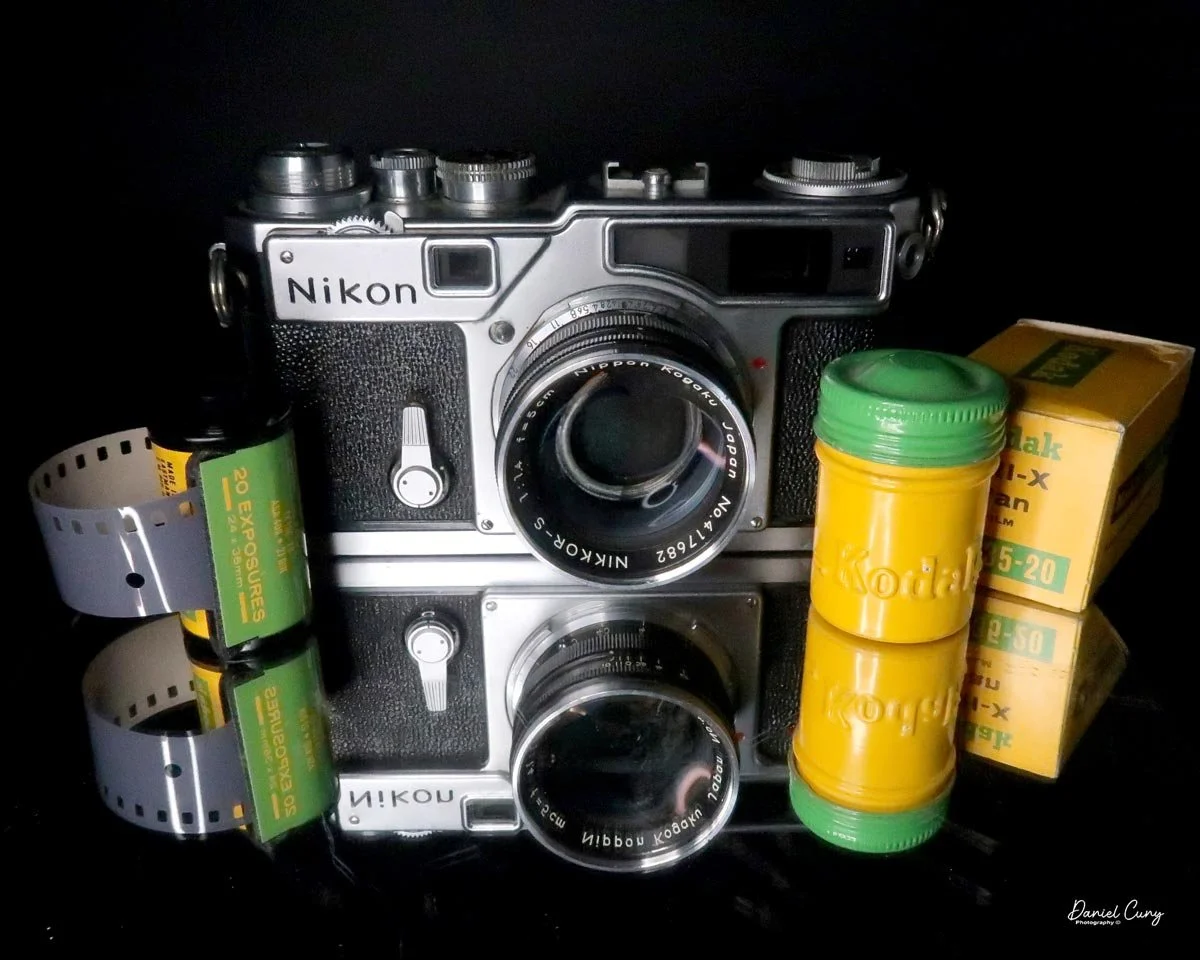
 

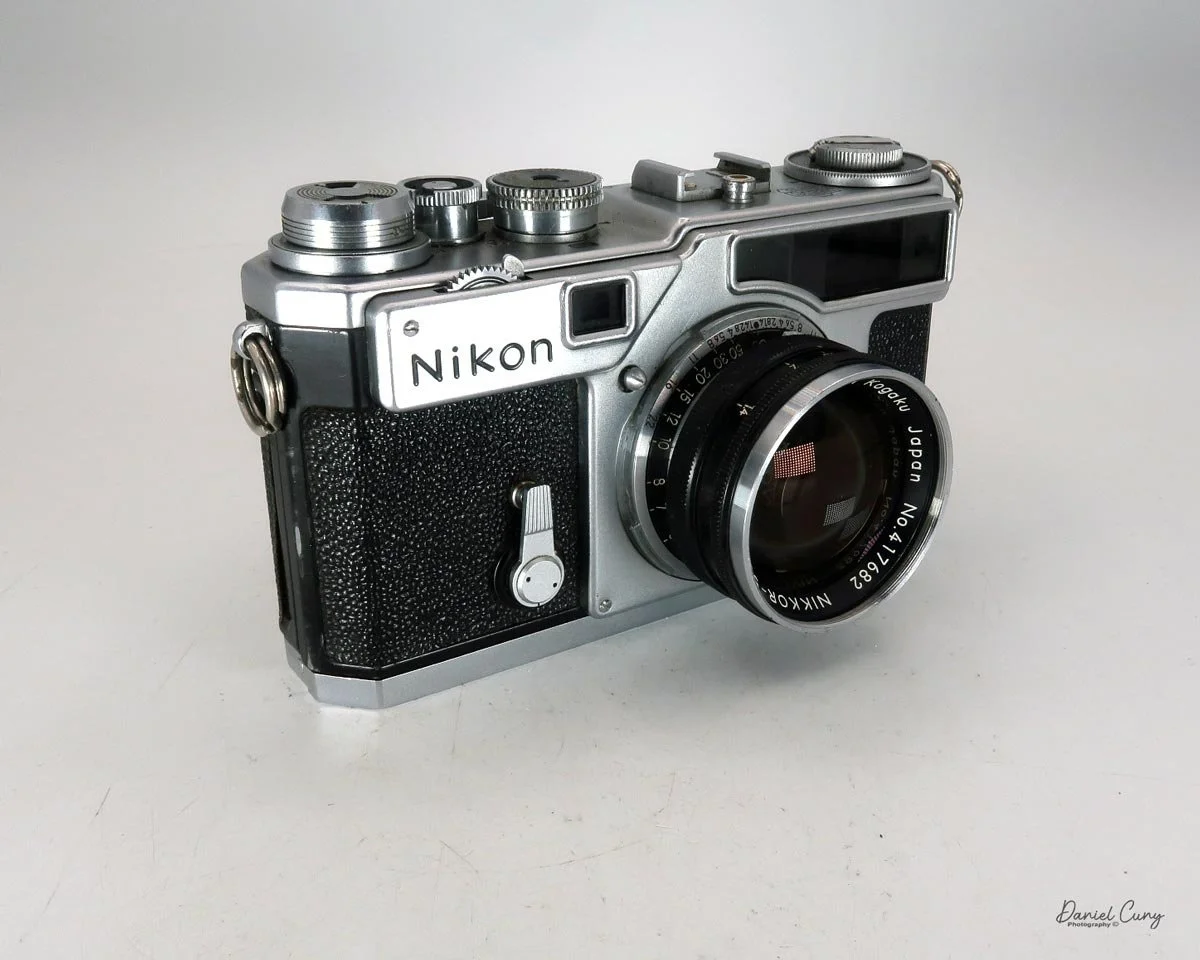
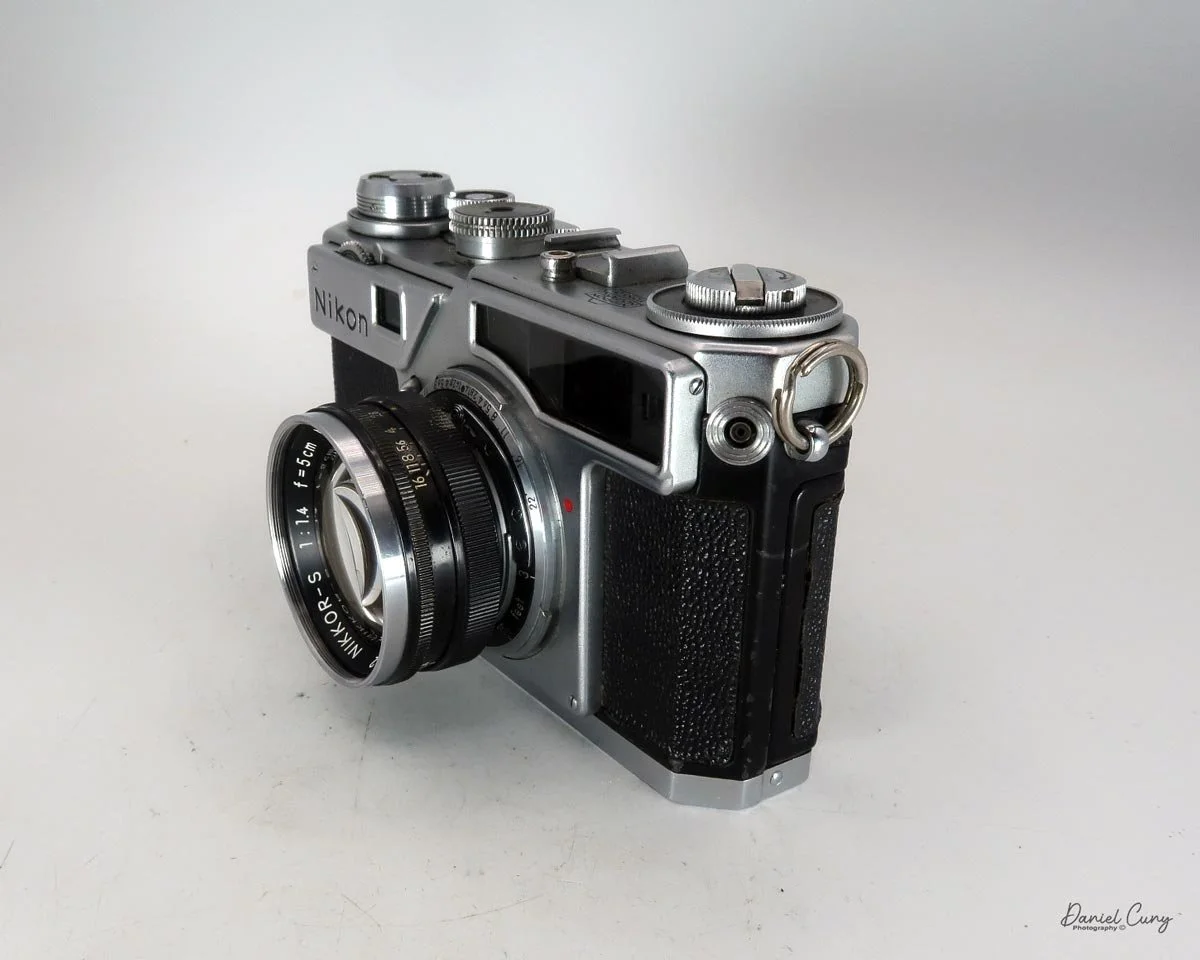
Nikon SP camera

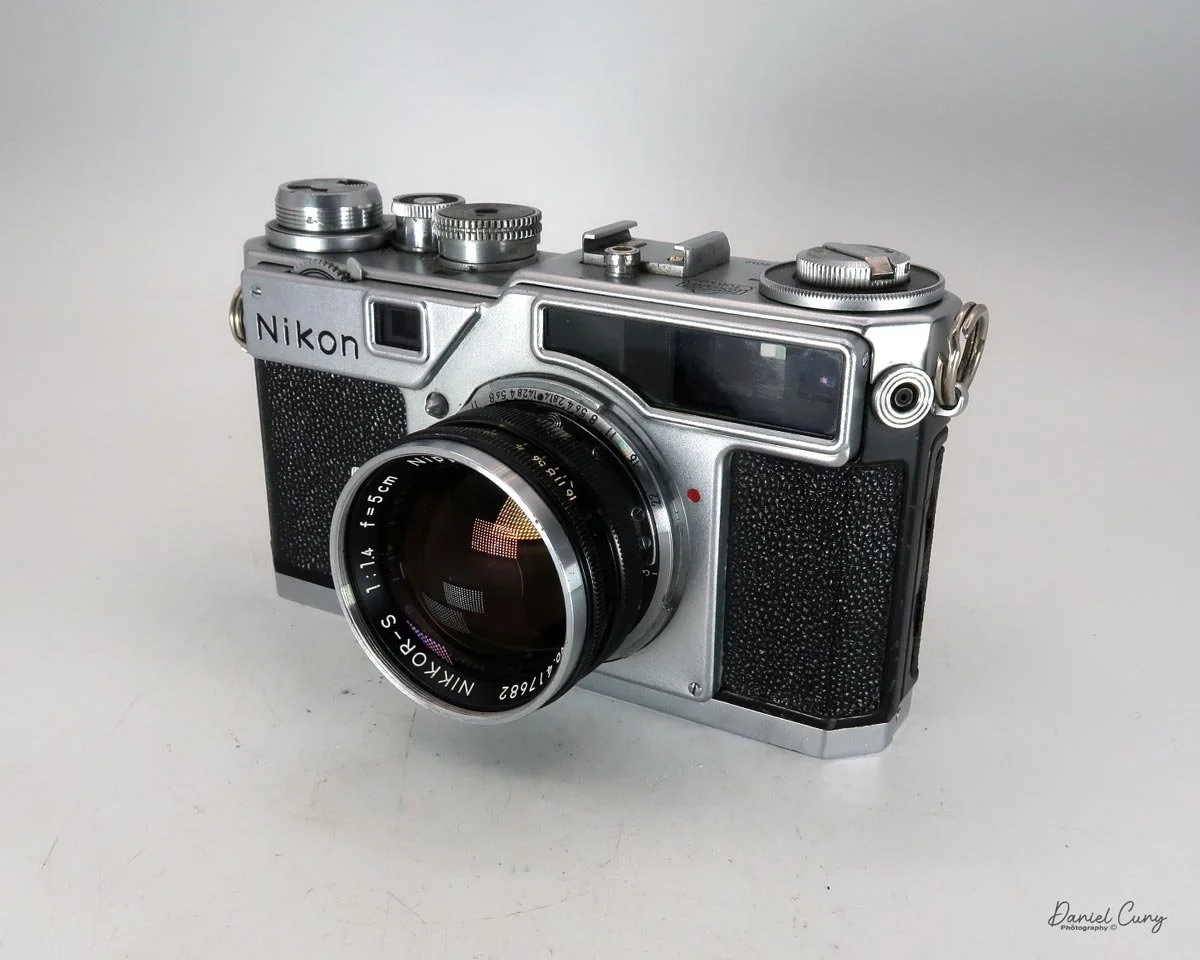
My Nikon SP camera

As a Nikon photographer since my early career—starting with Nikkormat cameras and moving on to the Nikon F series in the early 1970s—the early Nikon rangefinder cameras have always intrigued me. I view them not necessarily as "shooting" cameras, but more from a collector's perspective.

 I believe this is due to how I learned photography. Having grown up with SLR cameras, I feel more comfortable with a larger, brighter viewfinder. I always found it difficult to focus a rangefinder-style camera, especially in darker, low-light situations. Finding the yellow area to bring into focus was always a challenge for me. However, as I became more accustomed to them, I learned to look for someone's eye, the edge of a leaf, or any sharp contrast to bring the two images into one.

 When you shoot with a rangefinder-style camera, you (or at least I do) really appreciate its quieter shutter system. You only hear the low click of the camera's shutter opening and closing, without a mirror clunking up and down during the exposure. This can be extremely helpful, especially when photographing someone in a quiet setting. I learned this the hard way when I was photographing a musician in a small, café-style venue. My SLR was way too noisy, and some of the audience actually shushed me. It was very embarrassing, to say the least!

 Another advantage of the rangefinder style is its compactness. Because these cameras lack a mirror system, they are considerably smaller, less bulky, and lighter. This goes for their lenses, too. Their compact nature allows a photographer to either pack more gear into the space normally reserved for an SLR, or use a smaller bag—saving your shoulders and back from the strain of a large, heavy system.

 I was lucky when I found my Nikon SP. While I already owned several different Nikon rangefinders at the time—mainly earlier models like the S and S2—the SP was always out of reach due to the financial responsibilities of raising a family and owning a home.

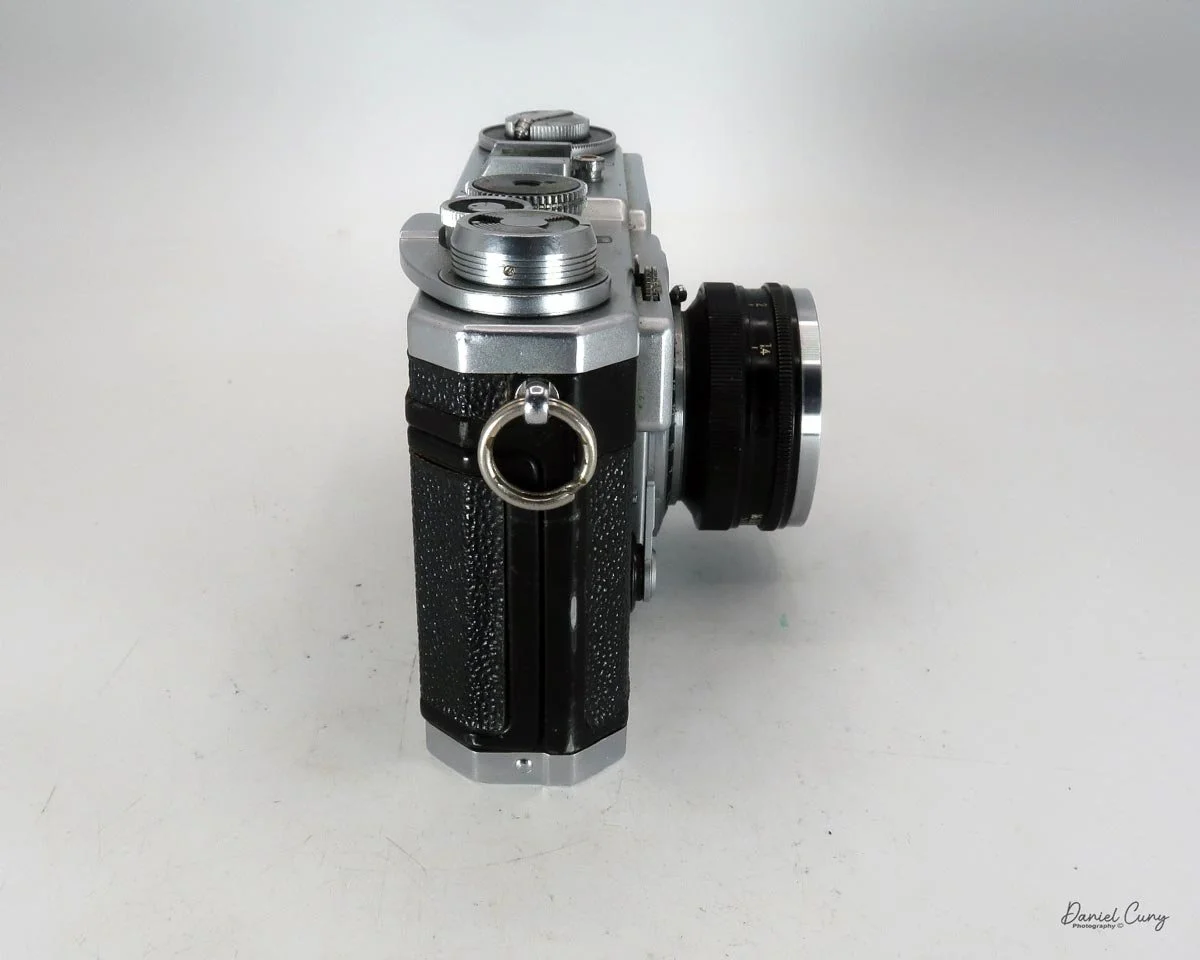
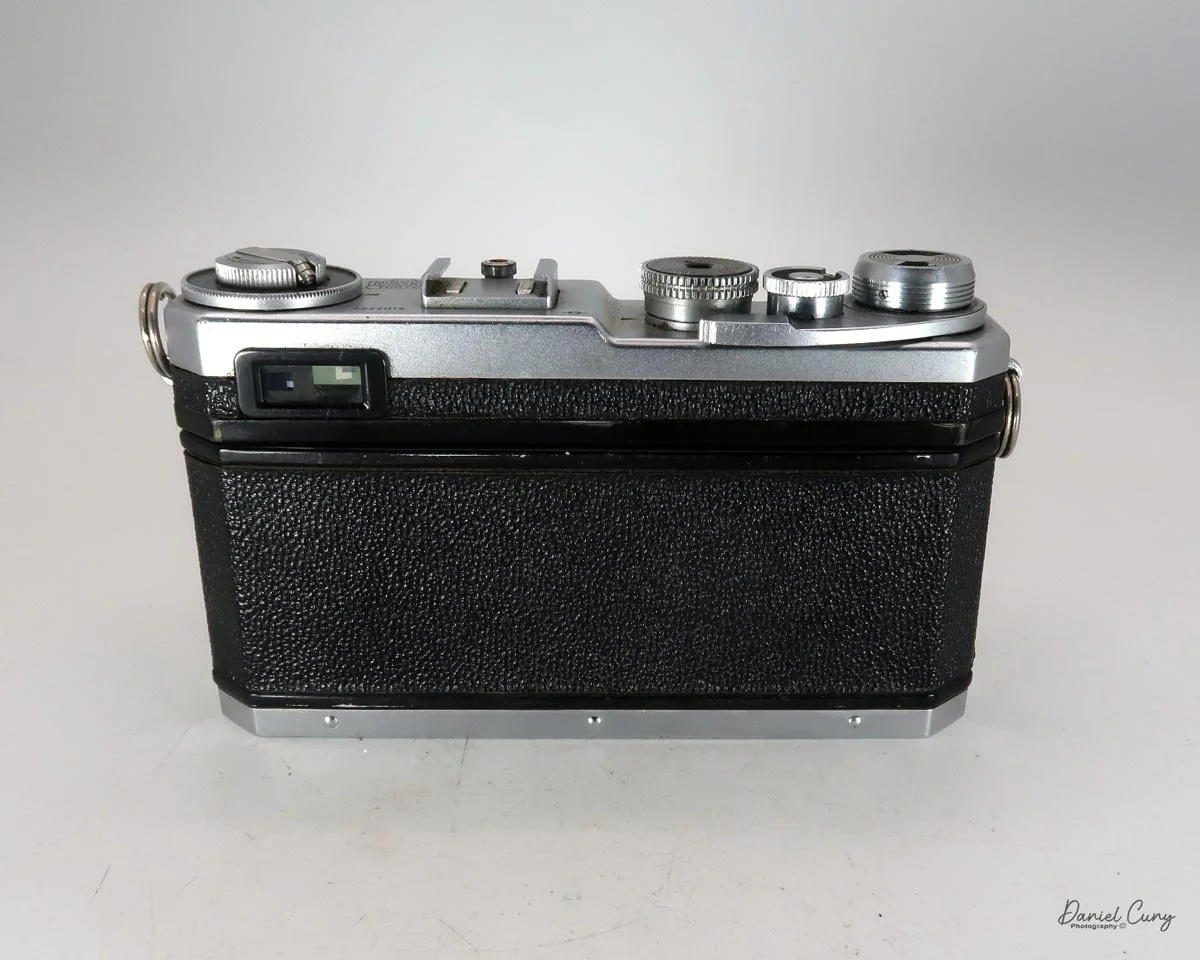
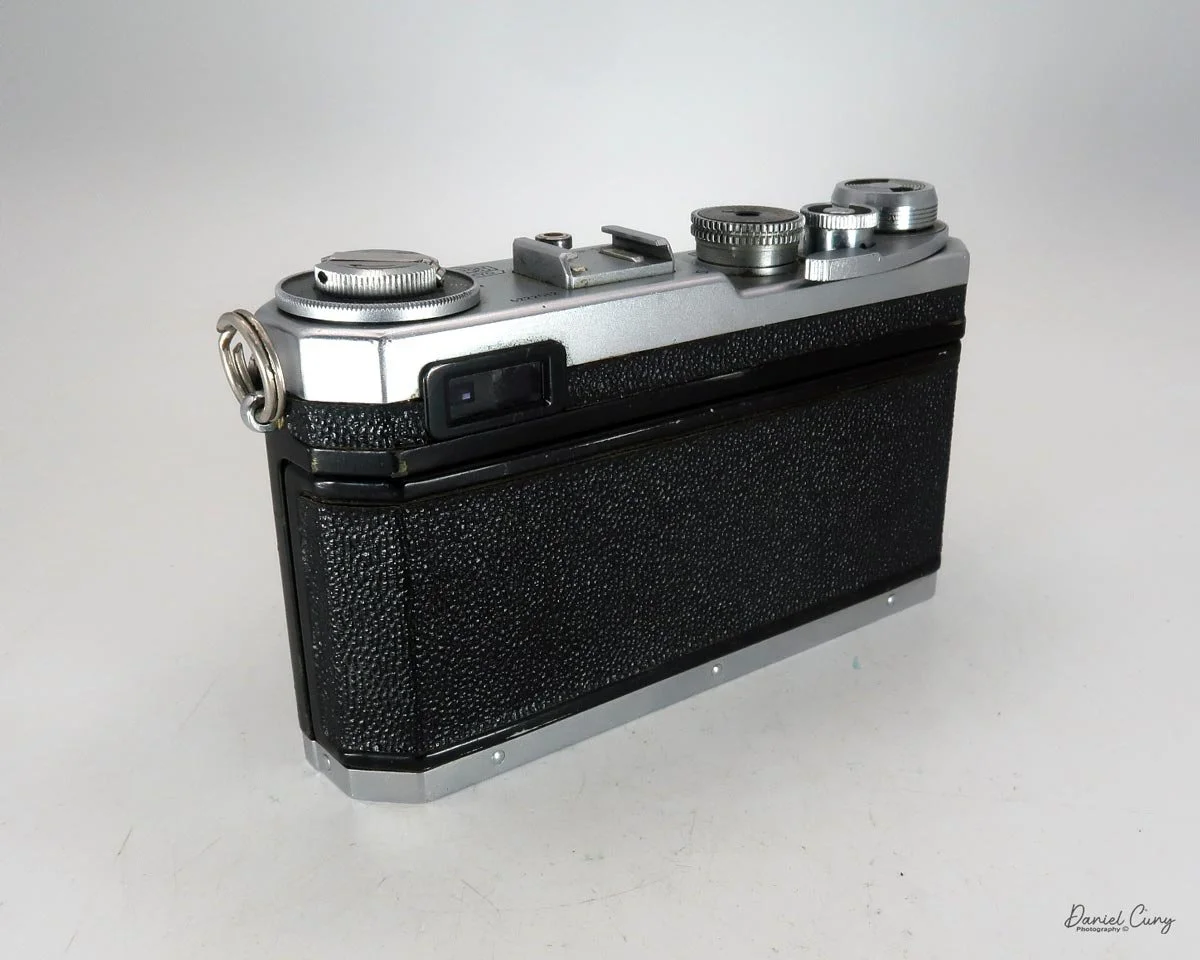
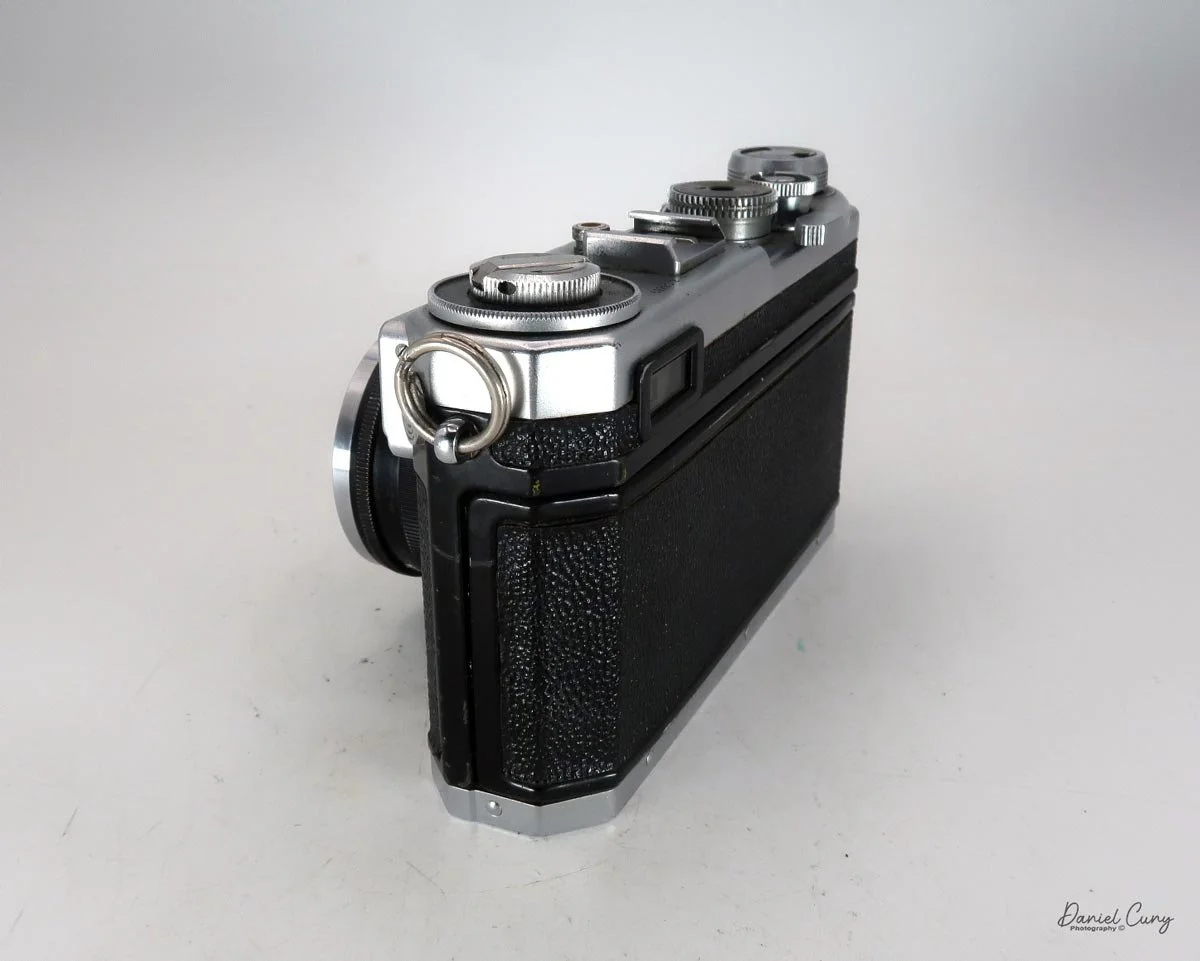
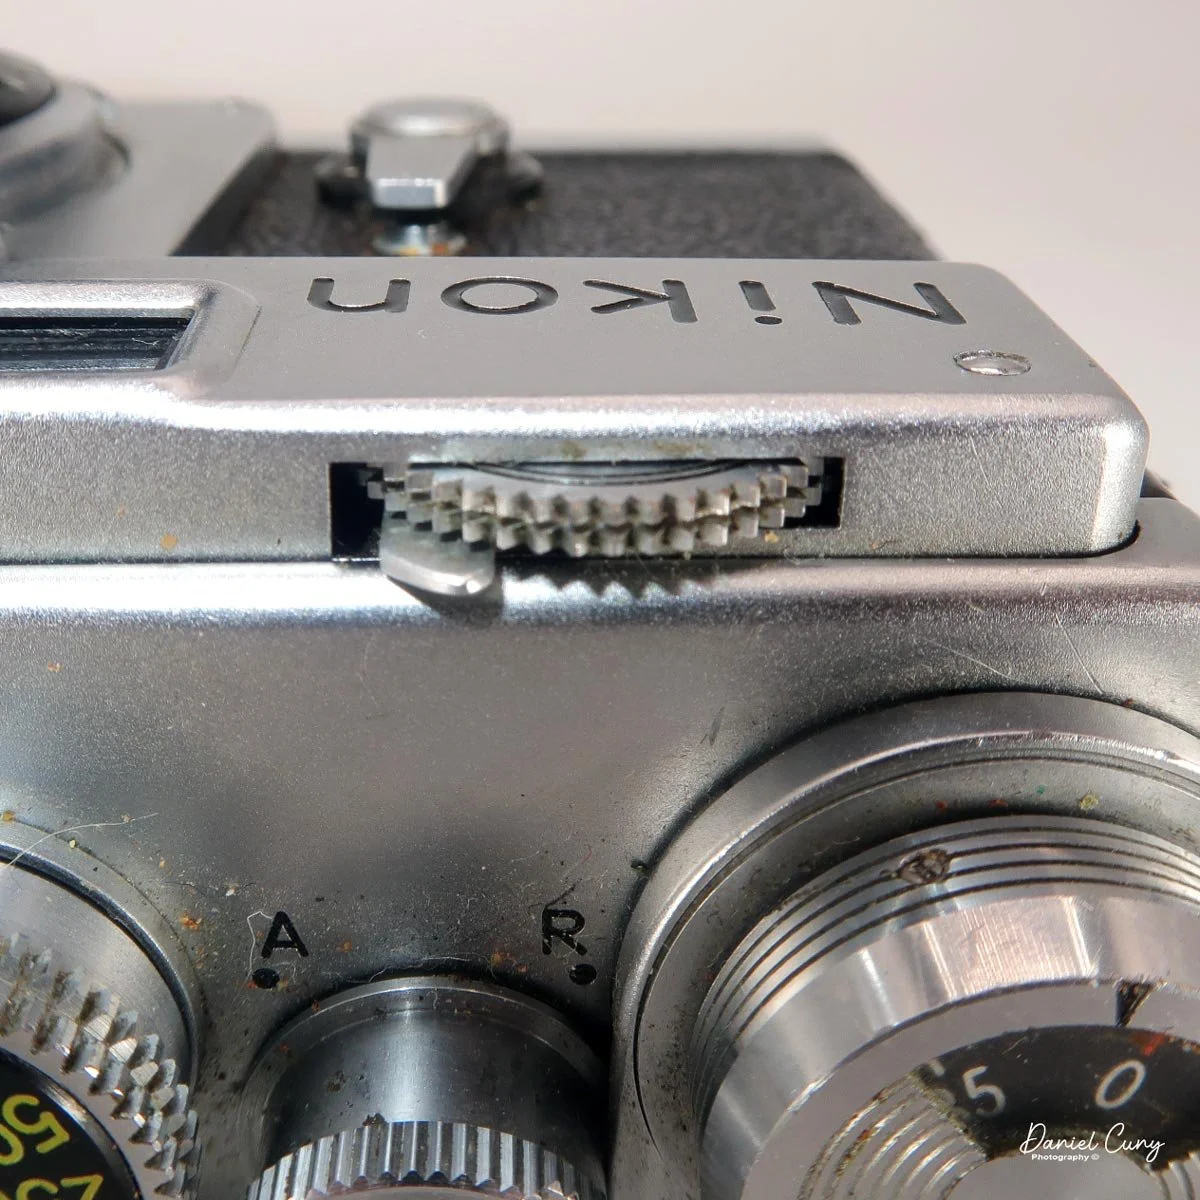
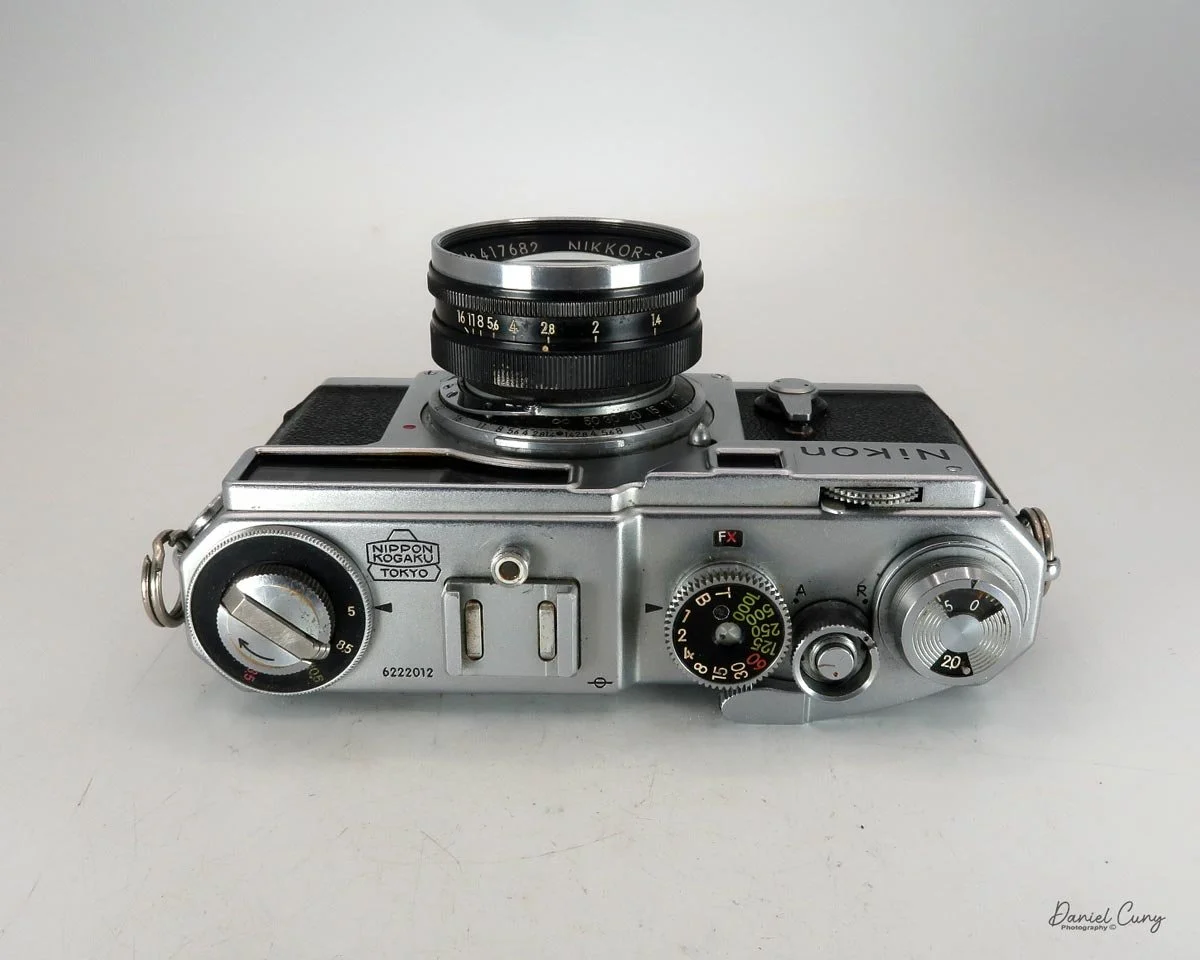
Top view of the Nikon SP camera

After several years, with a bit more financial freedom, I found a Nikon SP in great working condition. The shutter appeared to have been serviced, and while the camera had its normal slight scratches and small dings, it was selling for a great price. I pulled the trigger and purchased it, hoping to shoot with it more often.

 When the Nikon SP arrived, it was in exactly the condition I expected from the photos. The lens was very clean and even included a protective filter from a different manufacturer, which had done a great job keeping the glass free of scratches. The camera felt incredibly comfortable in my hands, especially after holding so many Nikon SLRs over the years. Now, it was just a matter of reacquainting myself with the rangefinder and the dual viewfinder—which I knew might be a challenge following my recent eye surgery.

 The surgery has made me more of a "left-eyed" shooter, as the sharpness in my right eye had been failing for years. While the procedure helped, my vision isn't quite what it was 20 or 30 years ago. It's not a big deal; it just means getting used to bringing the camera up to my left eye after using my right for so long. At the very least, my images have been sharper ever since I made the switch.

 I really enjoy taking my Nikon SP out for a spin a few times a year. In fact, I'm somewhat shocked I haven't written about it before now! During the week, I often brainstorm which camera to feature in my next blog. Last week, the SP popped into my head, and I felt there was no better time to write about one of my absolute favorites.

History

Nikon's rangefinder cameras began as a postwar effort by Nippon Kogaku to enter the 35mm market. They quickly became the foundation of the brand's reputation for precision optics and rugged construction. The original Nikon, later called the Nikon I, was approved in 1946, manufactured starting in 1948, and sold later that year. It used a Contax-inspired mount and a compact rangefinder body that looked unlike anything else coming out of Japan at the time.

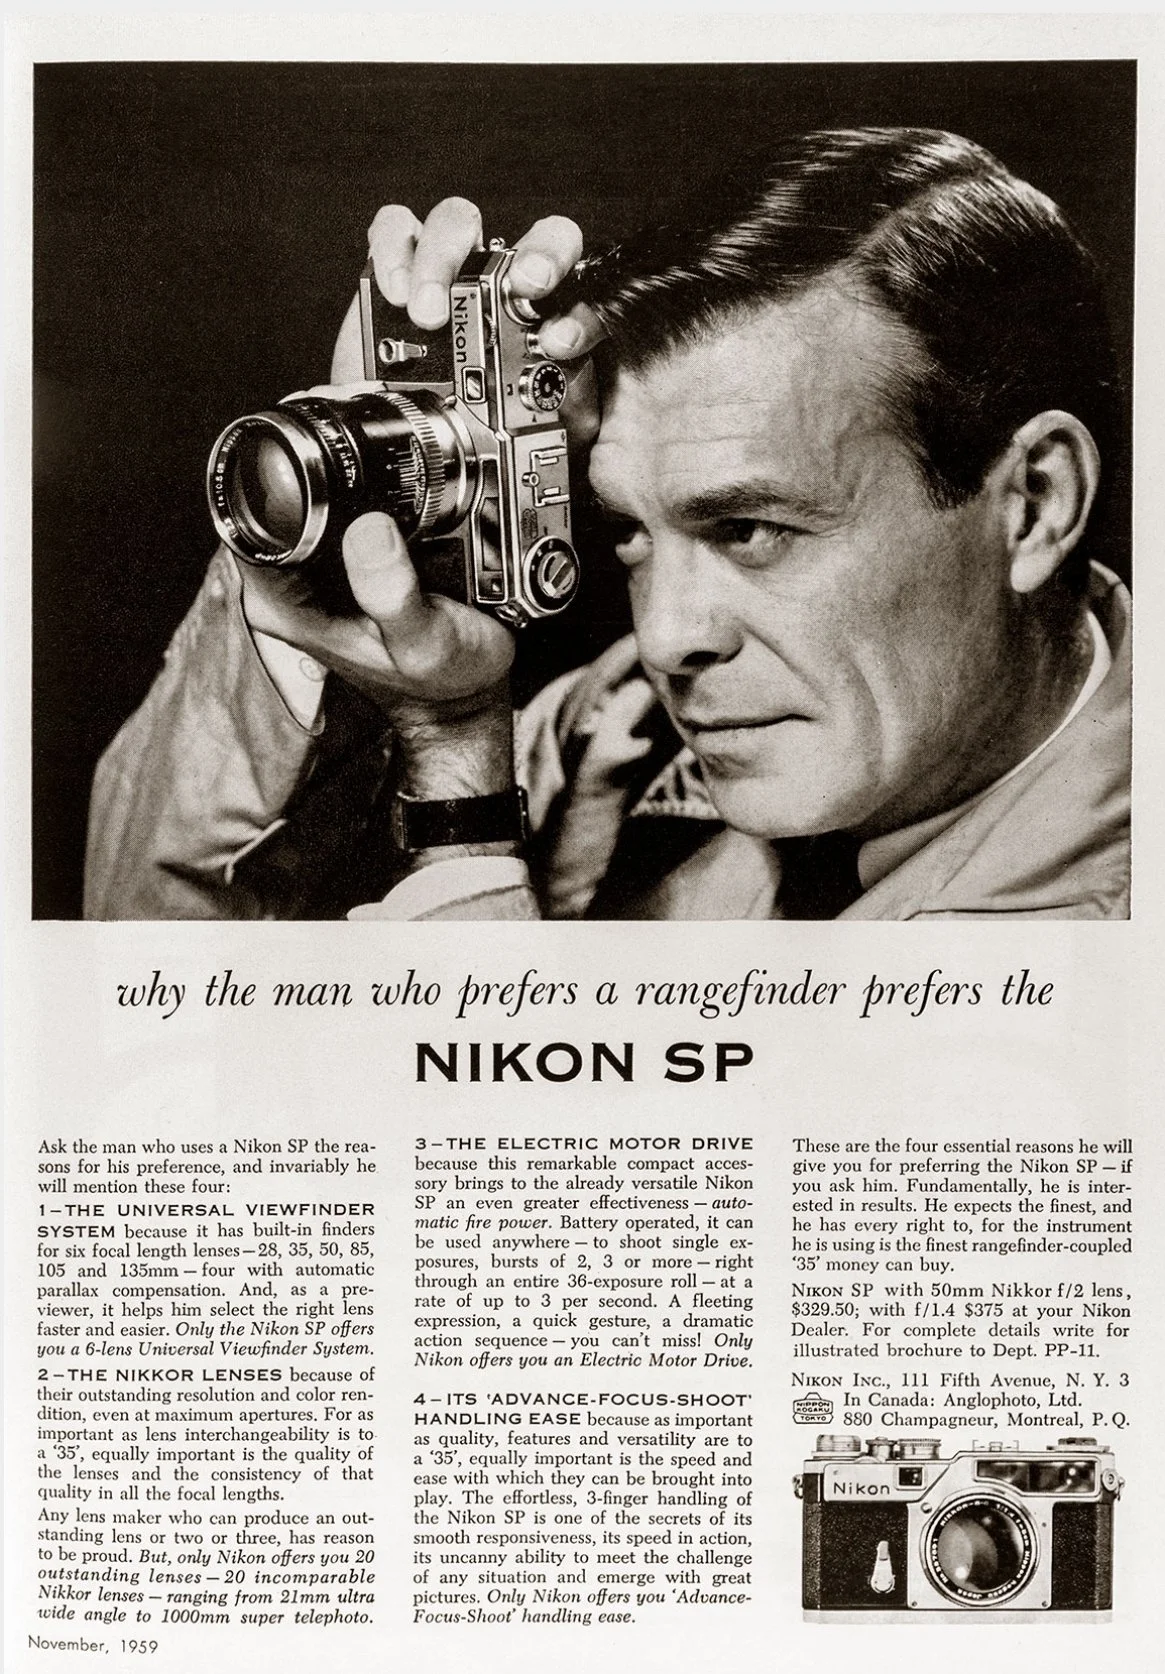
Advertisment for Nikon SP camera

 A key early turning point came with the Nikon M in 1949. Nikon had originally used a 24 x 32mm frame size, but export concerns pushed the company to revise the film gate and related mechanics. This created the M with a 24 x 34mm format that was more acceptable in overseas markets. That change helped Nikon gain traction outside Japan, especially as American photographers began to notice the quality of Nikkor lenses in the early 1950s.

 The 1951 Nikon S was the model that broadened Nikon's presence in the West, establishing the company as a serious contender in professional photography. Nikon kept refining the line throughout the 1950s with the S2, S3, S4, and SP, gradually improving usability and standardizing the full 24 x 36mm frame from the S2 onward. The SP, in particular, became one of the most admired Nikon rangefinders because of its advanced finder system and professional ambitions.

 What made these cameras historically important was not only the bodies themselves but also the Nikkor lenses mounted on them. Reports from photographers and magazines such as Life helped spread the idea that Japanese lenses could rival or surpass the best German optics, which was a major shift in postwar camera culture. Nikon rangefinders also became associated with news and documentary work, building credibility before the company moved into reflex cameras.

 By the late 1950s, Nikon had already used lessons from its rangefinders to shape the 1959 Nikon F, and rangefinder production soon faded as SLRs took over the professional market. Today, Nikon rangefinders are prized by collectors for their place in camera history, their engineering, and their role in Nikon's rise from a strictly optical manufacturer to a global photographic powerhouse.

My Camera

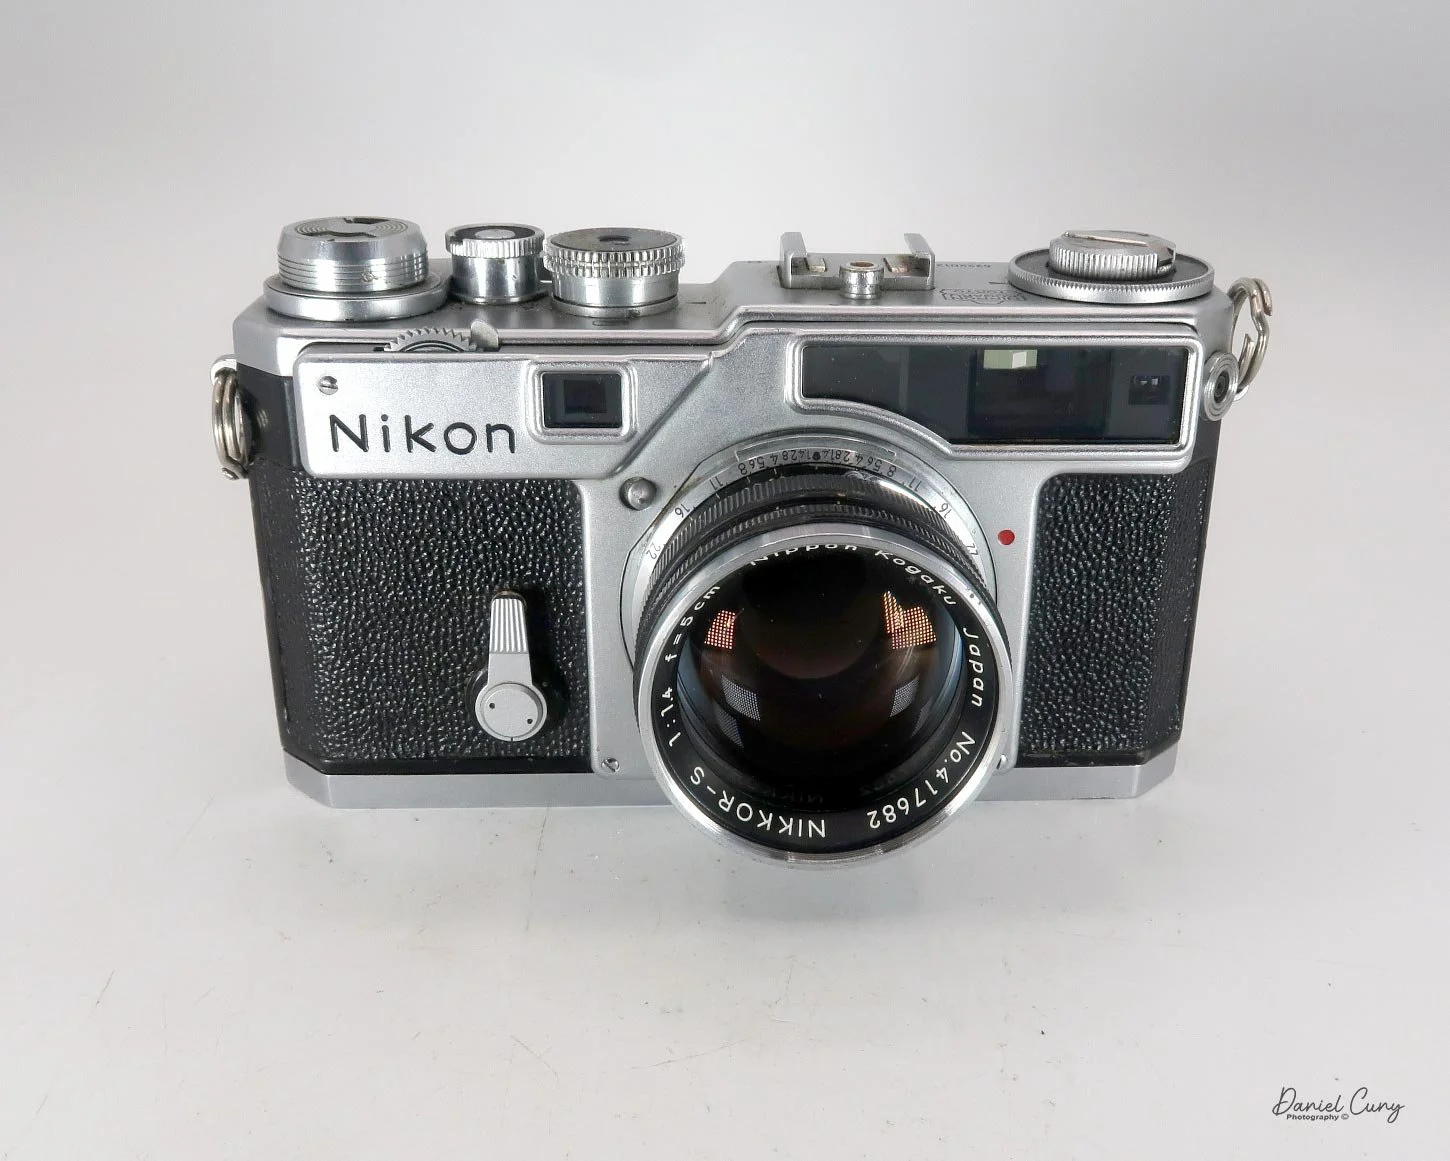
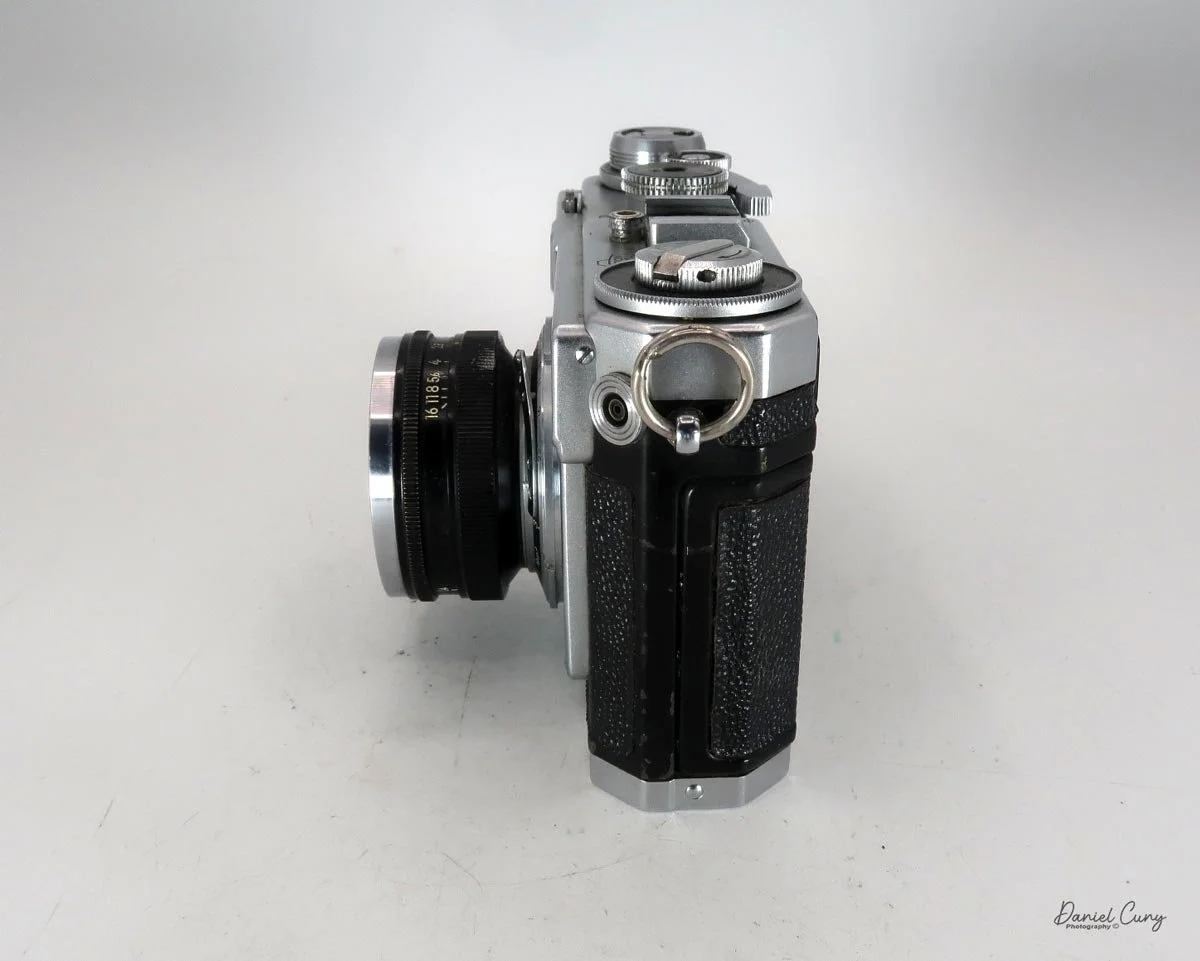
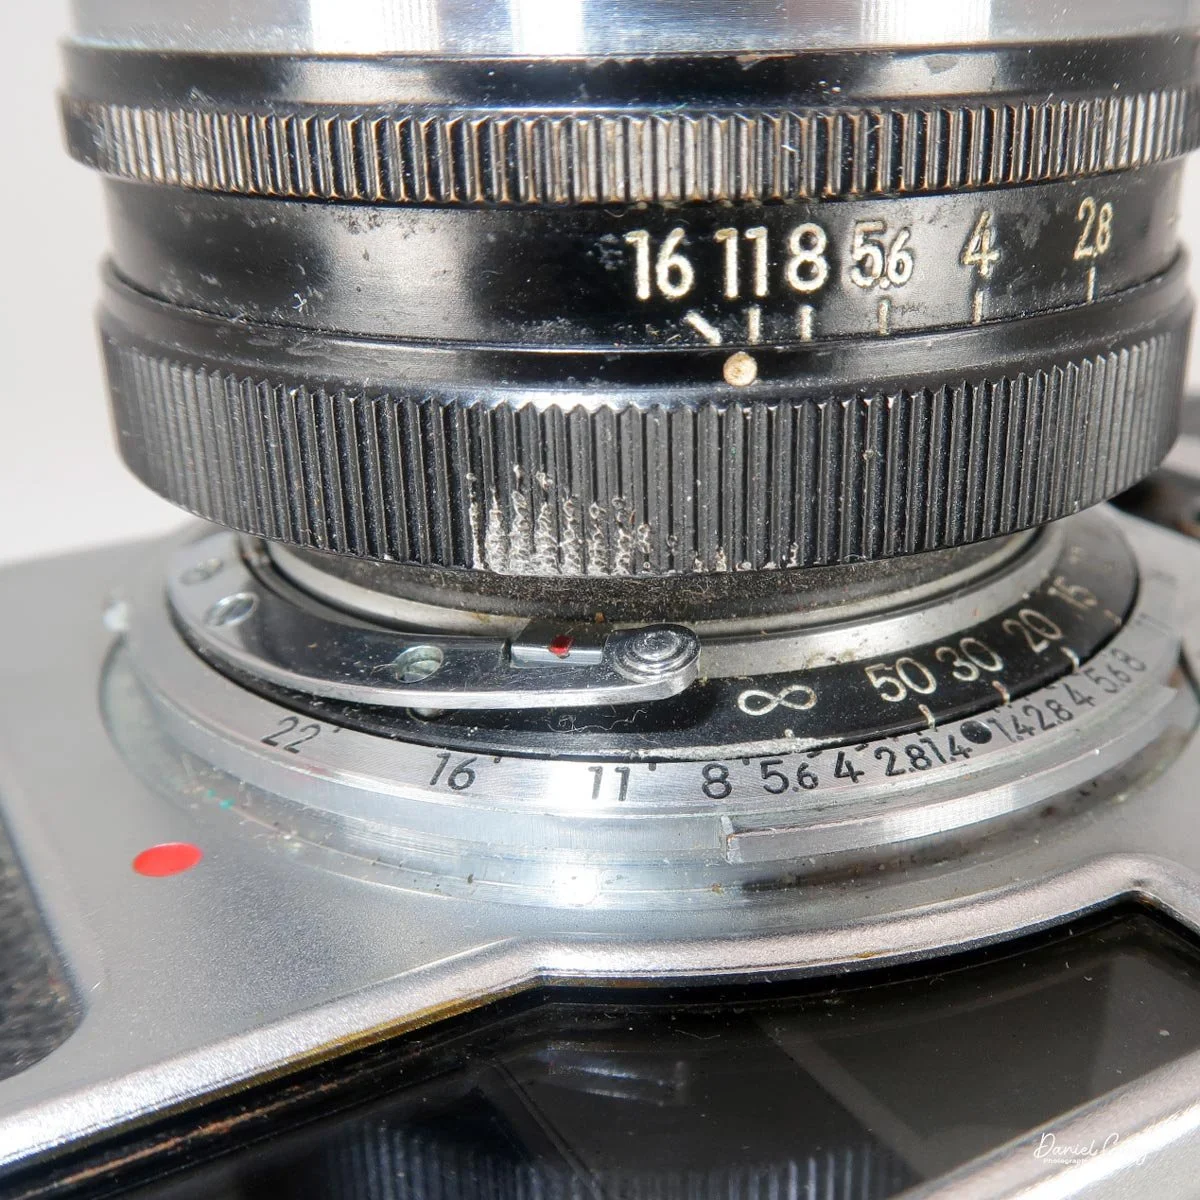
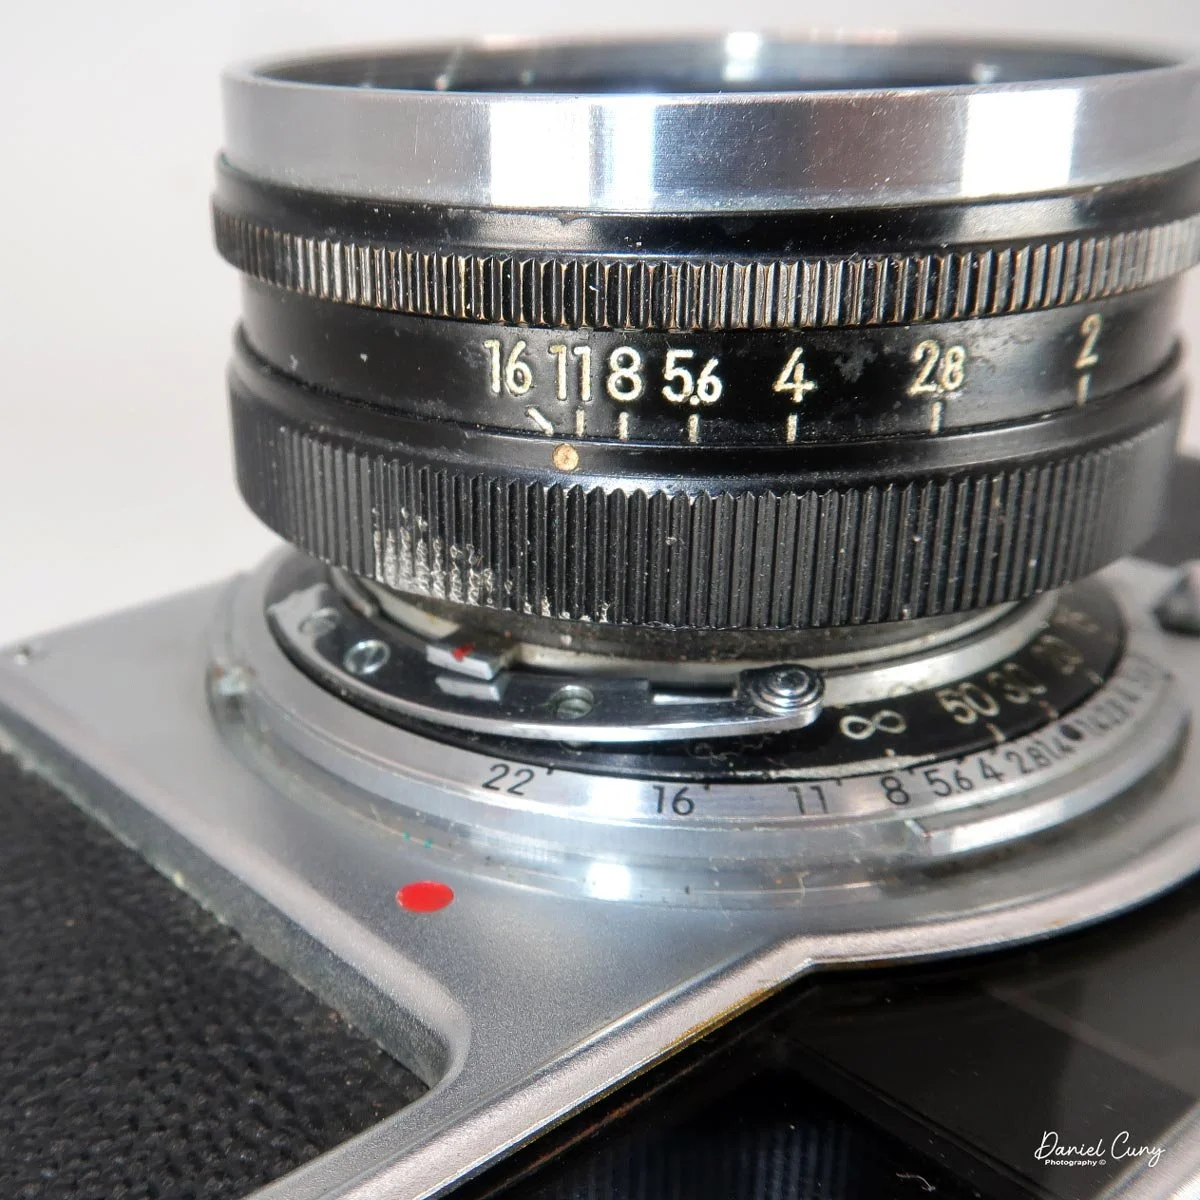
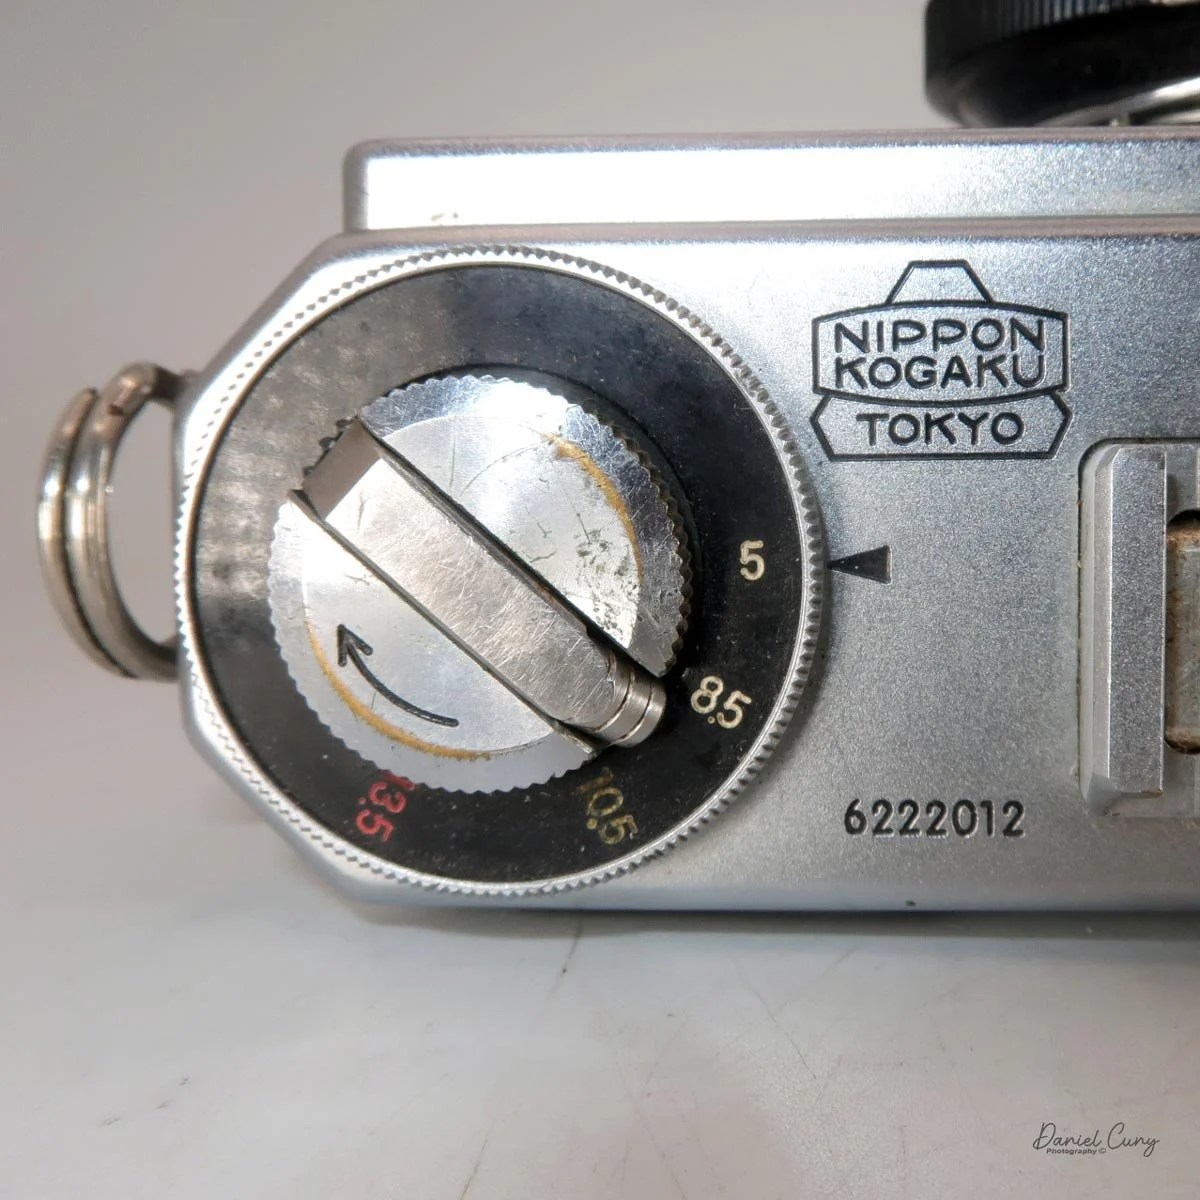
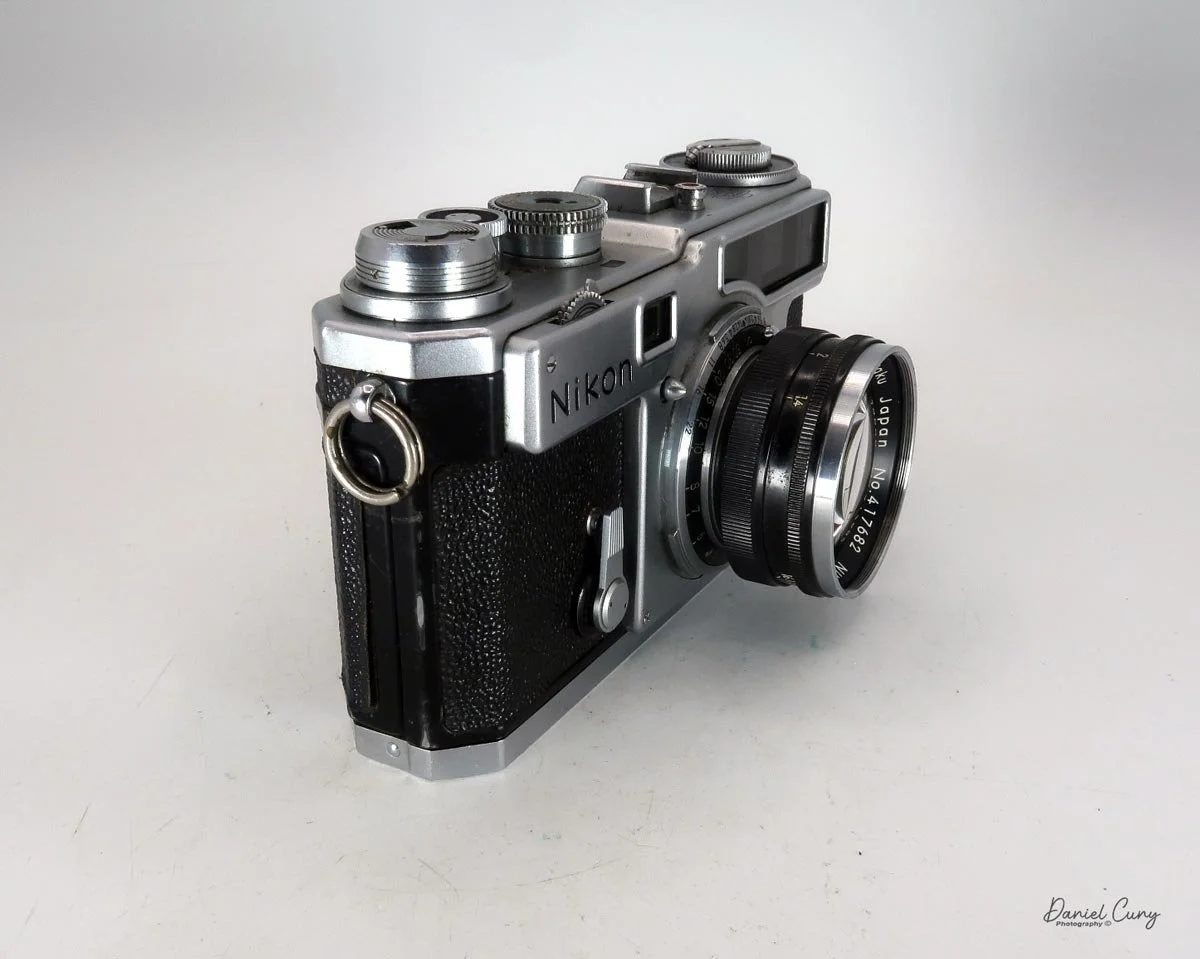
When I received the Nikon SP, it came with the bottom portion of its leather case, though I chose not to include it in the blog photos. My Nikon SP is serial #6222012. The camera measures 5.5" wide (including the strap lugs) by 3.25" tall and 2.5" deep. It's paired with a Nippon Kogaku Nikkor-S 5cm f/1.4 lens, serial #417682. The lens also features a chrome Kenko UV filter specifically made for the Nikkor 1.4, which is stamped directly on the filter ring (not pictured). To adjust the aperture, you turn the ring on the front of the lens.

On the front of the camera body is the self-timer—the SP was actually the first model Nikon equipped with this feature. You pull down the lever and press the small button behind it to activate the 10-second delay.

 To remove the lens, locate the small lever just behind the focus ring. Press it in toward the camera body, which allows the lens to be twisted and removed—exactly like the Contax system. To reattach a lens, match the red dot and small tab on the lens to the red dot on the camera body, then turn clockwise until it locks securely into place.

Looking at the top plate, the Nikon SP closely resembles the later Nikon F, except for a wheel on the far left. This wheel adjusts the viewfinder frame lines depending on the focal length of the lens you're using. The settings cover 5cm, 8.5cm, 10.5cm, and 13.5cm lenses. Nestled inside this collar is the film rewind crank. (I'll touch more on the viewfinder a bit later in the article.)

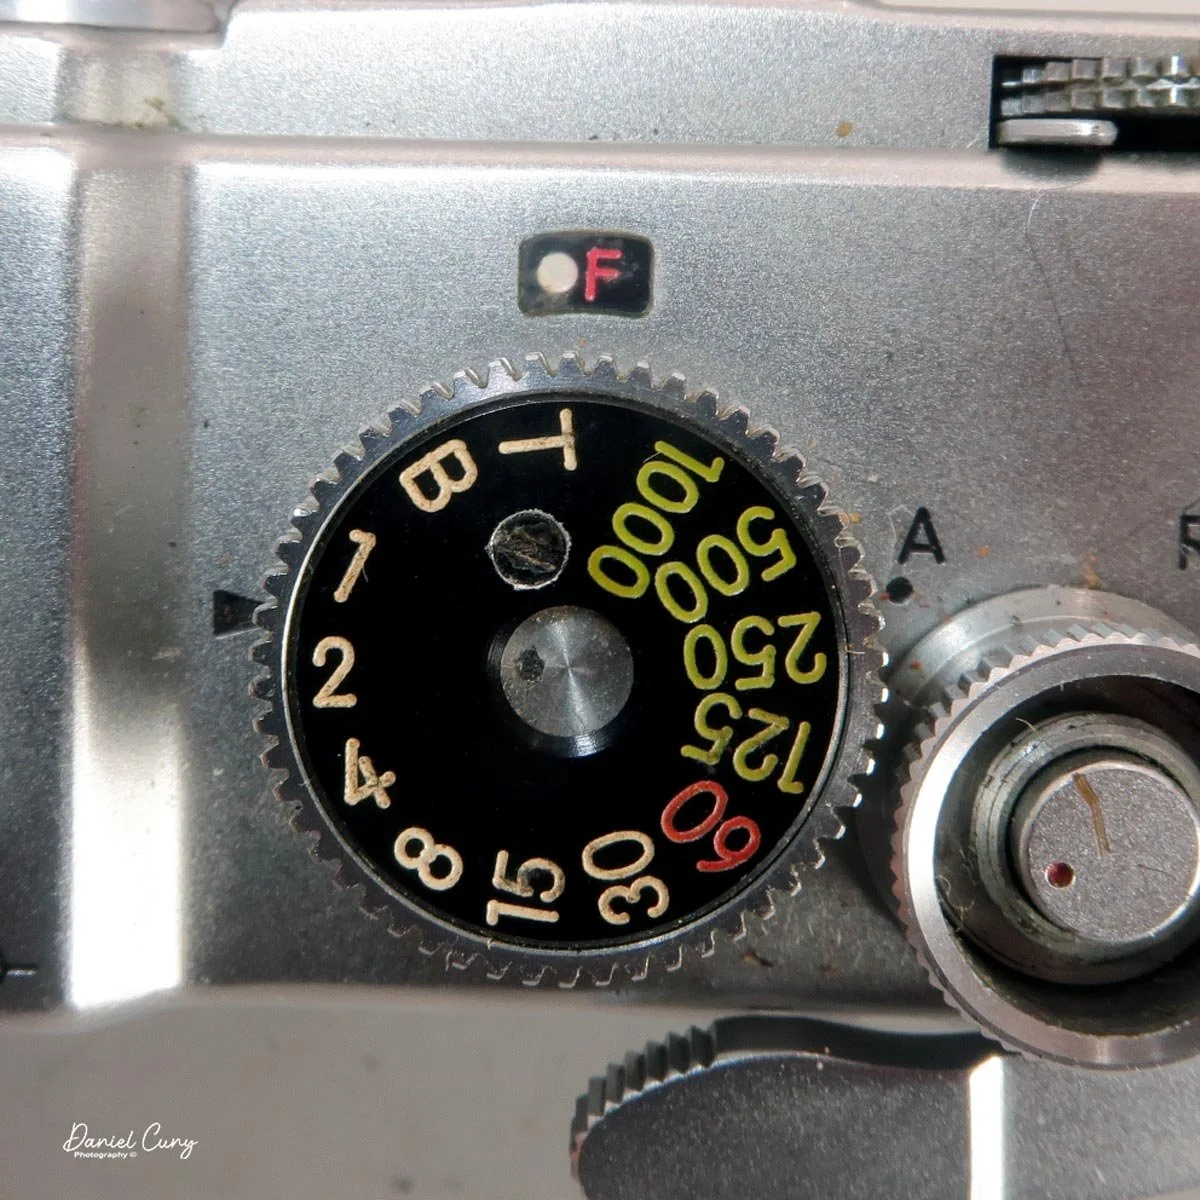
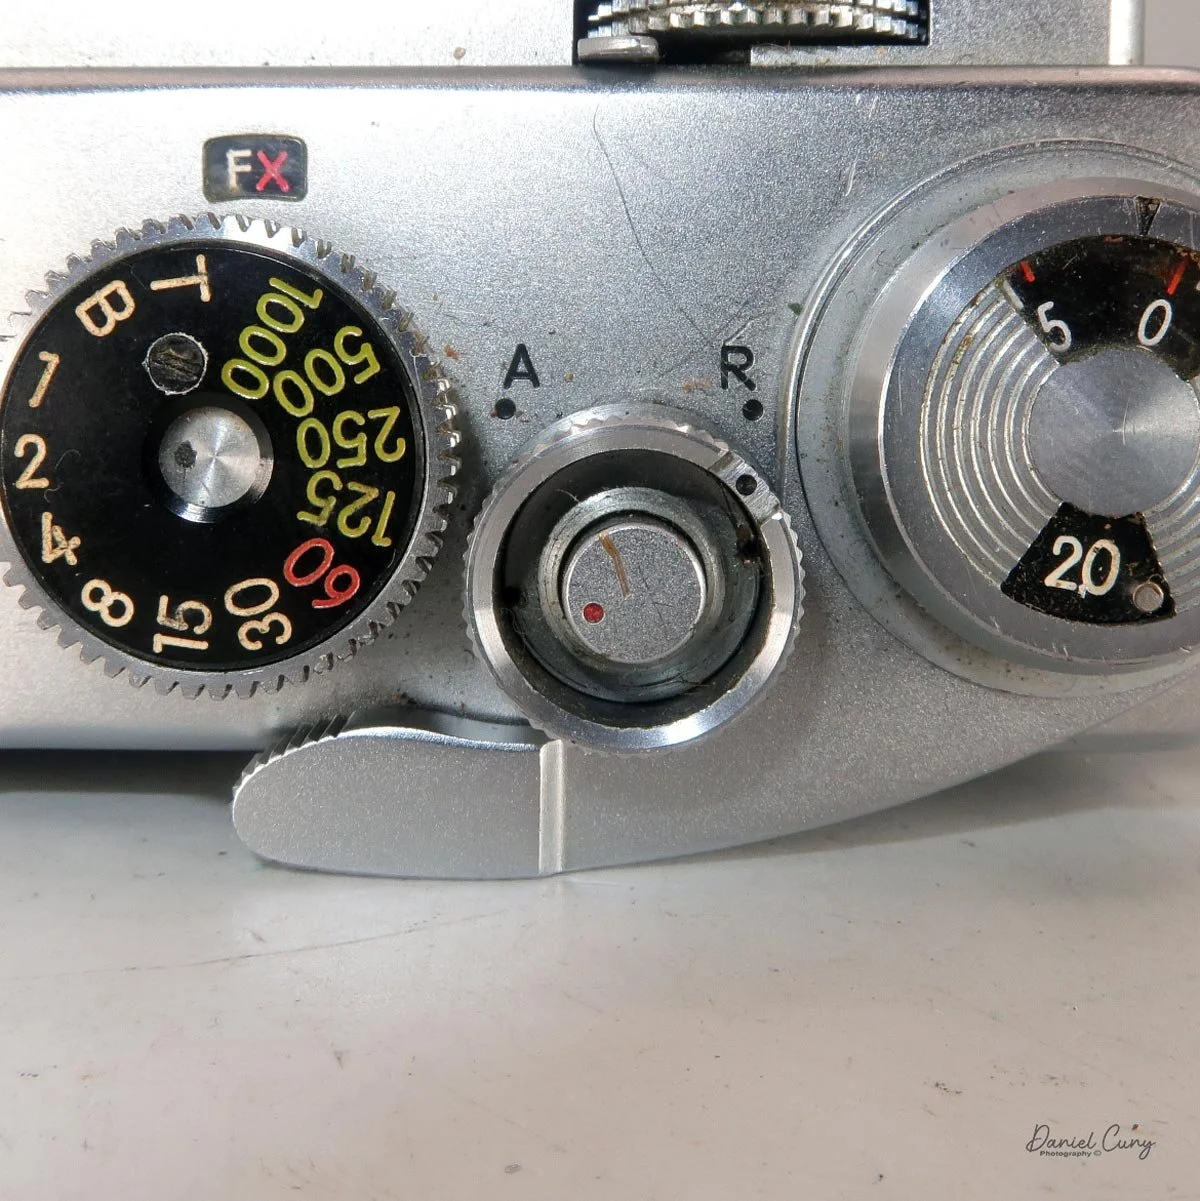
Next to the viewfinder selector wheel is the accessory shoe for a flash, and to the right of that sits the very familiar shutter speed dial. It offers speeds ranging from 1 second to 1/1000th of a second, along with "B" (Bulb) and "T" (Time) settings. Lifting the outer ring on the shutter speed selector adjusts the flash synchronization: "FX" is for standard electronic flash, while the white dot, red dot, and white "F" settings are for syncing various types of vintage flash bulbs.

To the right of the shutter speed dial is the shutter release button. As with many Nikon F cameras, this button features a red dot. Because the release is directly geared into the transport system—which drives the film from the cassette to the take-up spool—this red dot rotates as you advance the film (though it will turn even if the camera is empty). Around the shutter release is another collar with a black dot. During standard shooting, it should point to "A" (Advance). Turning this collar to "R" (Rewind) releases the camera's drive gear, allowing you to wind the film back into the cassette without tearing the sprockets.

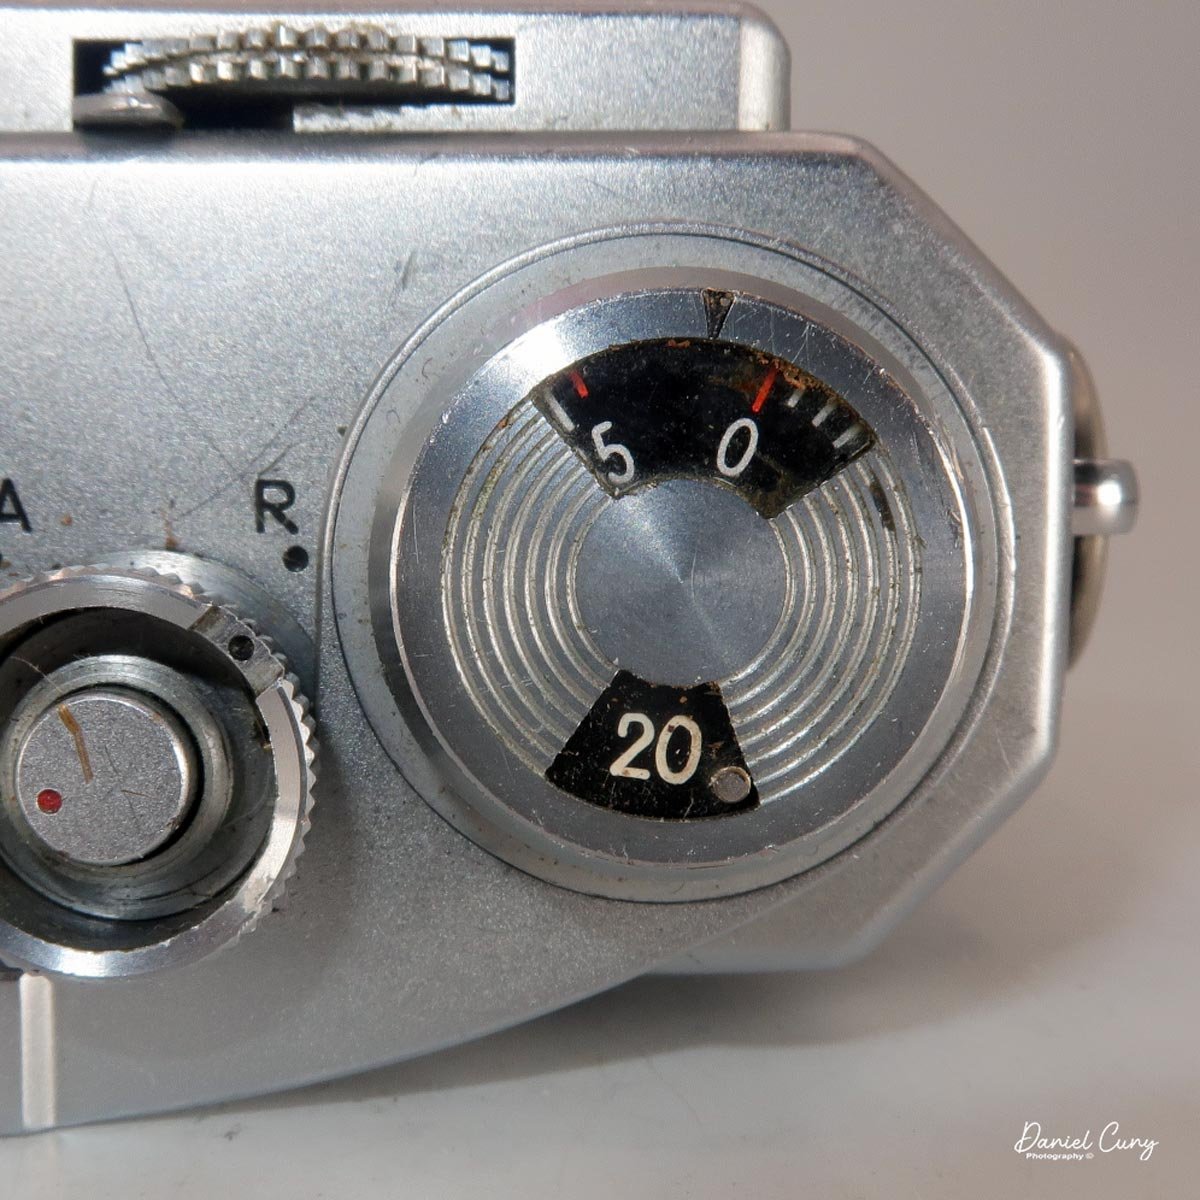
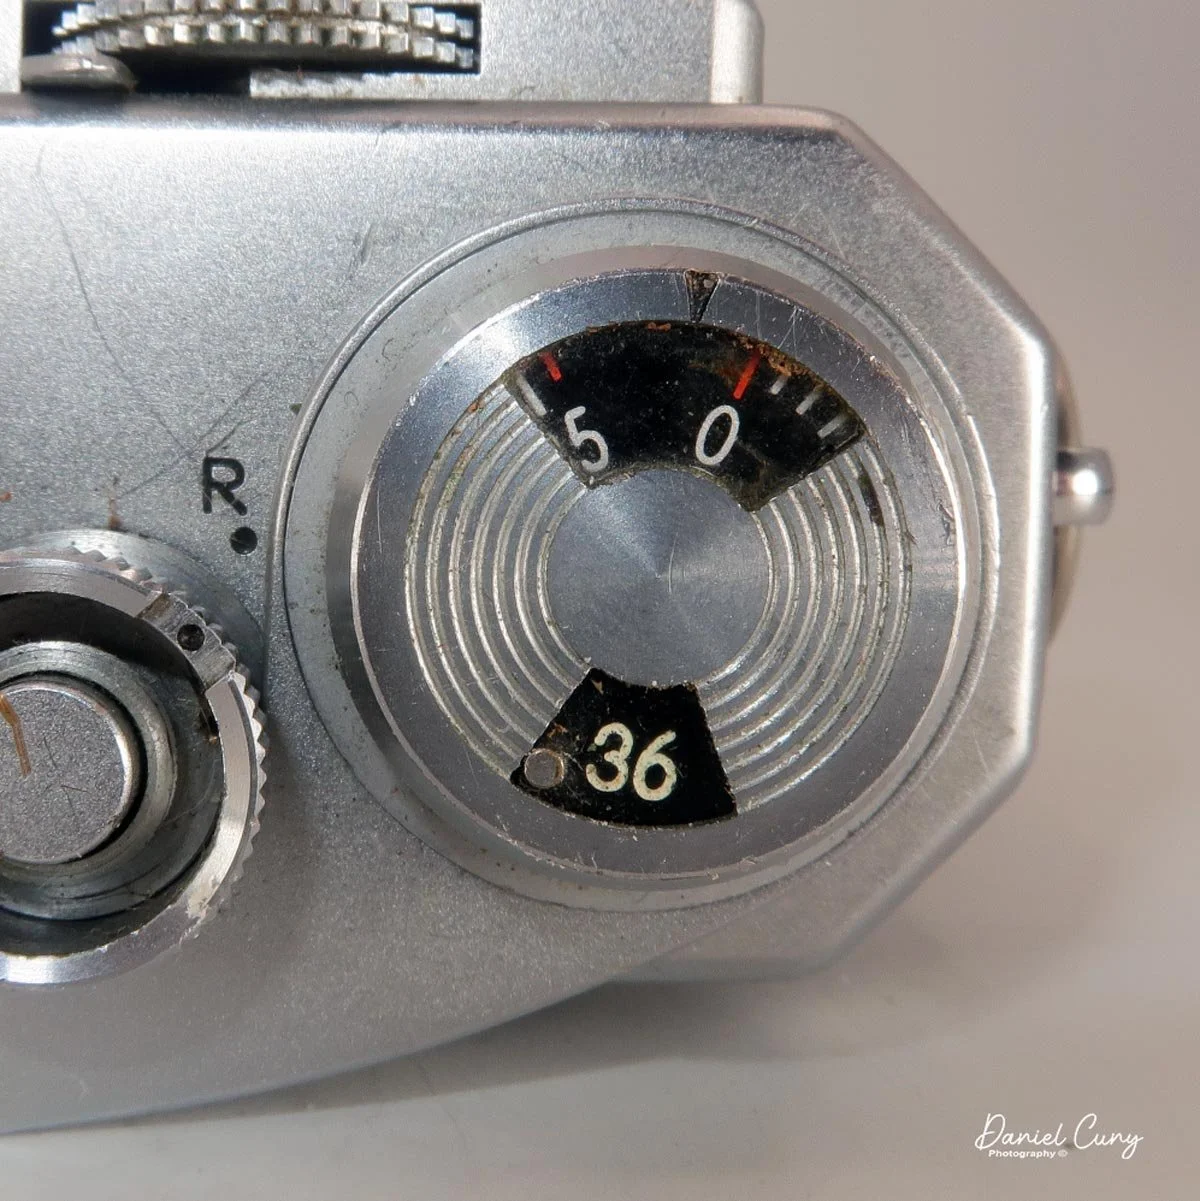
 On the far right of the top plate sits the film advance lever, which features two small windows. The forward window is your frame counter, indicating which exposure you're on. The rear window acts as a reminder for whether you loaded a 20- or 36-exposure roll, set by flipping a small tab from one side to the other. And yes, for those wondering—it wasn't until the early 1980s that film manufacturers started producing 24-exposure rolls; before then, 20-exposure rolls were the standard short option!

 At the very front of the top plate, on the right side, is the camera's focusing wheel. You can focus the lens using this wheel, a mechanism borrowed directly from the Contax system that inspired these cameras. When the lens is set to infinity, it locks into position. To unlock it, press down on the small tab just behind the focusing wheel. This frees up the wheel, allowing you to dial in your focus. Once unlocked, you also have the option to focus normally by turning the lens barrel, if you prefer.

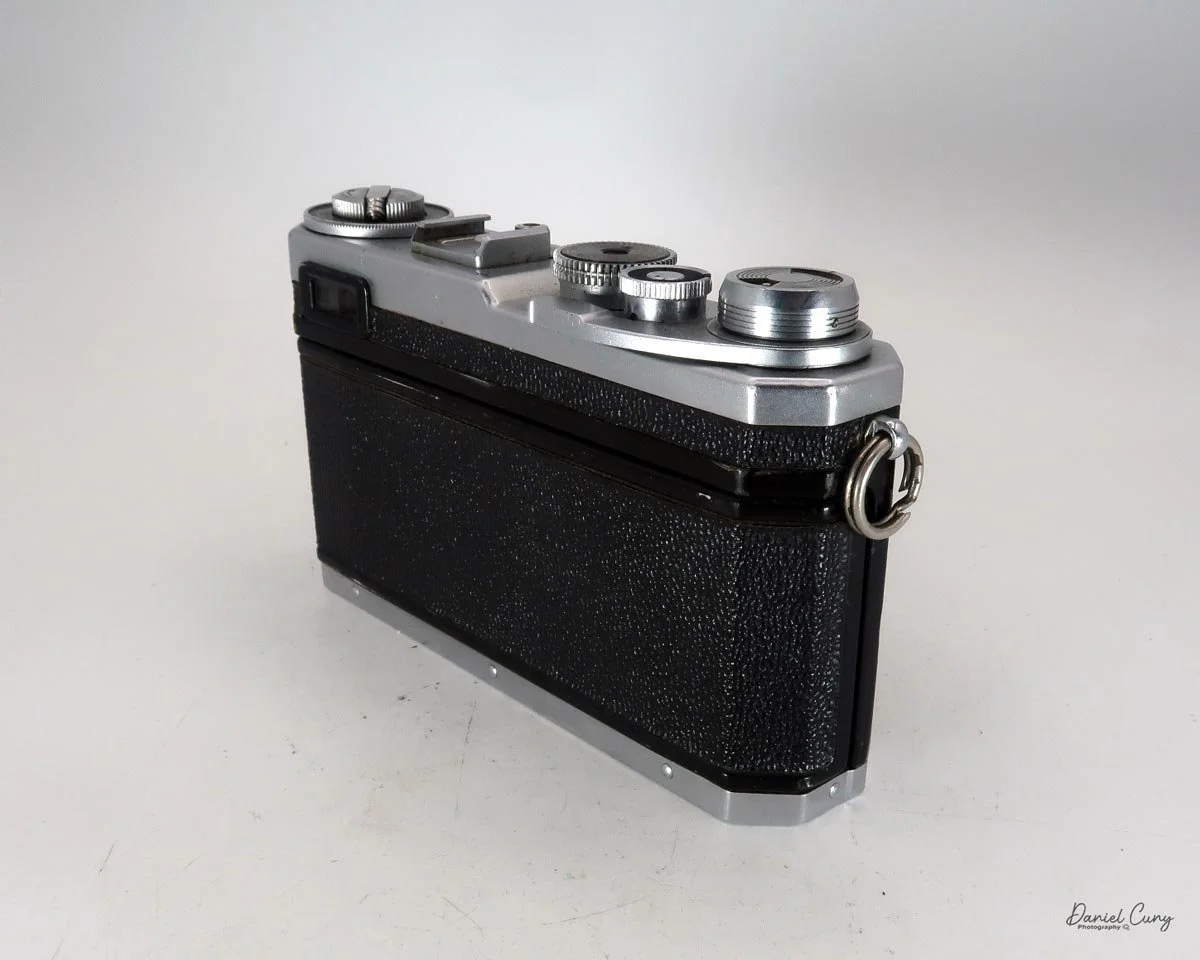
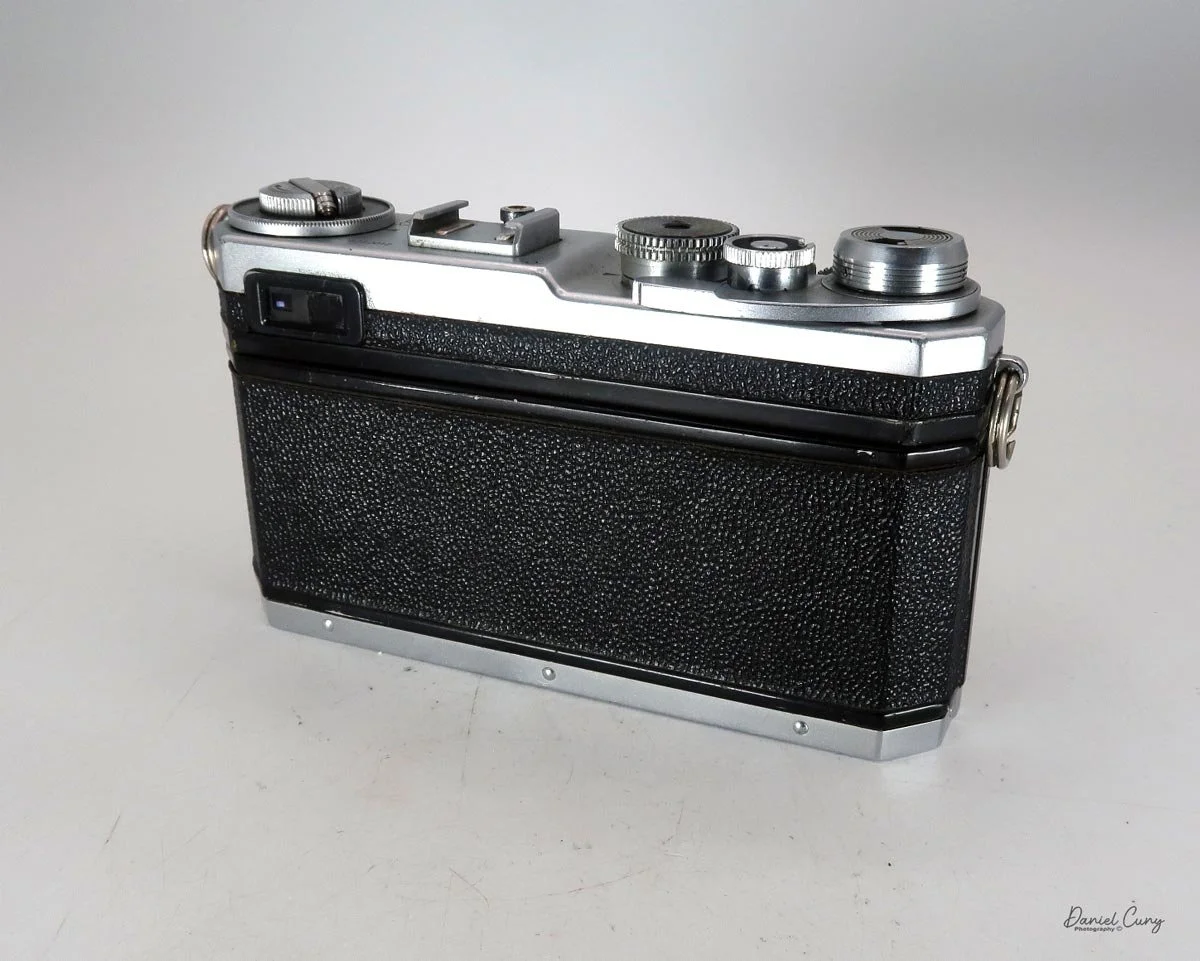
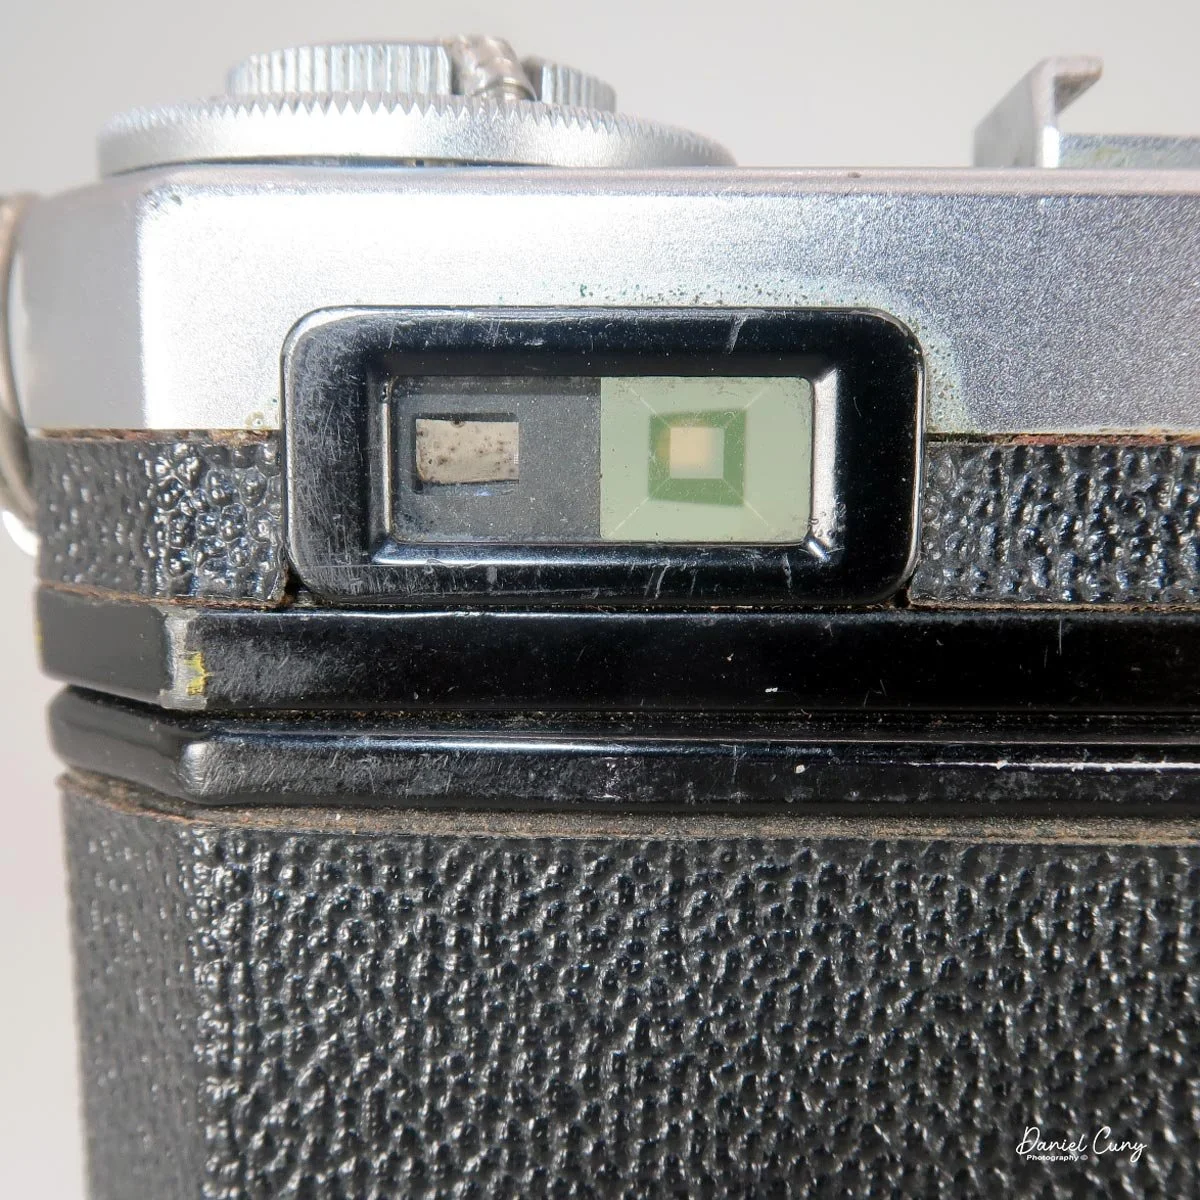
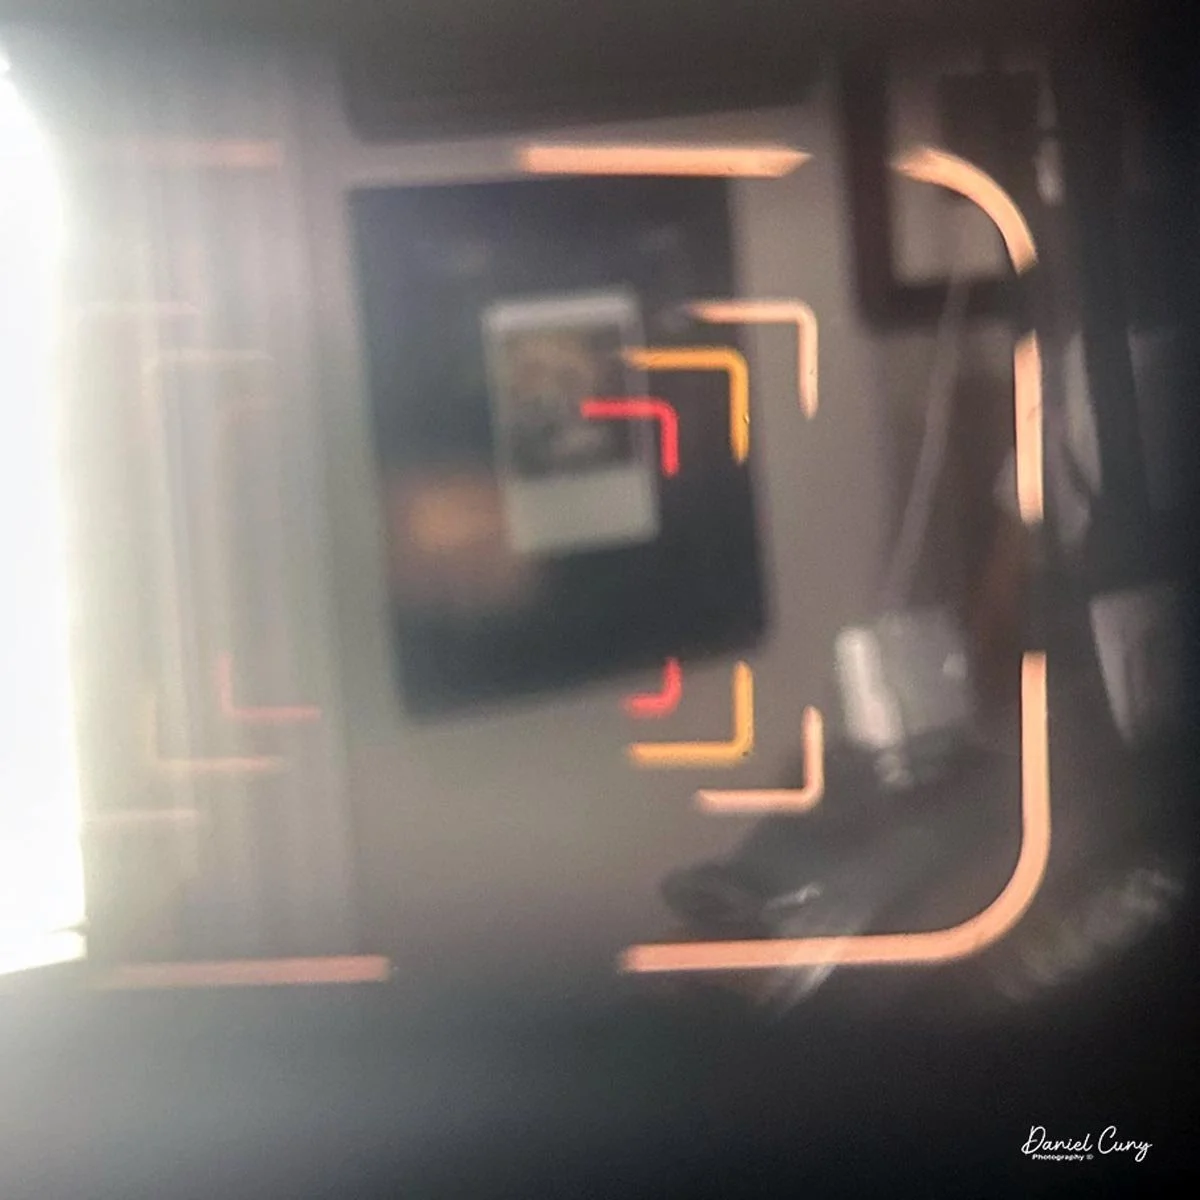
The upper left side of the camera back houses the SP's famous dual viewfinders. The finder on the right is the standard rangefinder for the lenses mentioned earlier: 5cm, 8.5cm, 10.5cm, and 13.5cm. As you turn the collar around the rewind crank, different bright lines appear in this window. Each frame line is added as you select a longer focal length, with the 13.5cm lines appearing in red to match the marking on the collar. Brilliantly, these frame lines are parallax-corrected as you focus closer to your subject.

The viewfinder on the left is a bit smaller and is dedicated to 2.8cm and 3.5cm wide-angle lenses, featuring black frame lines for each. While Nikon also manufactured ultra-wide 2.5cm and 2.1cm lenses at the time, as well as telephotos longer than 13.5cm, those required separate accessory finders that slid into the shoe on top of the camera.

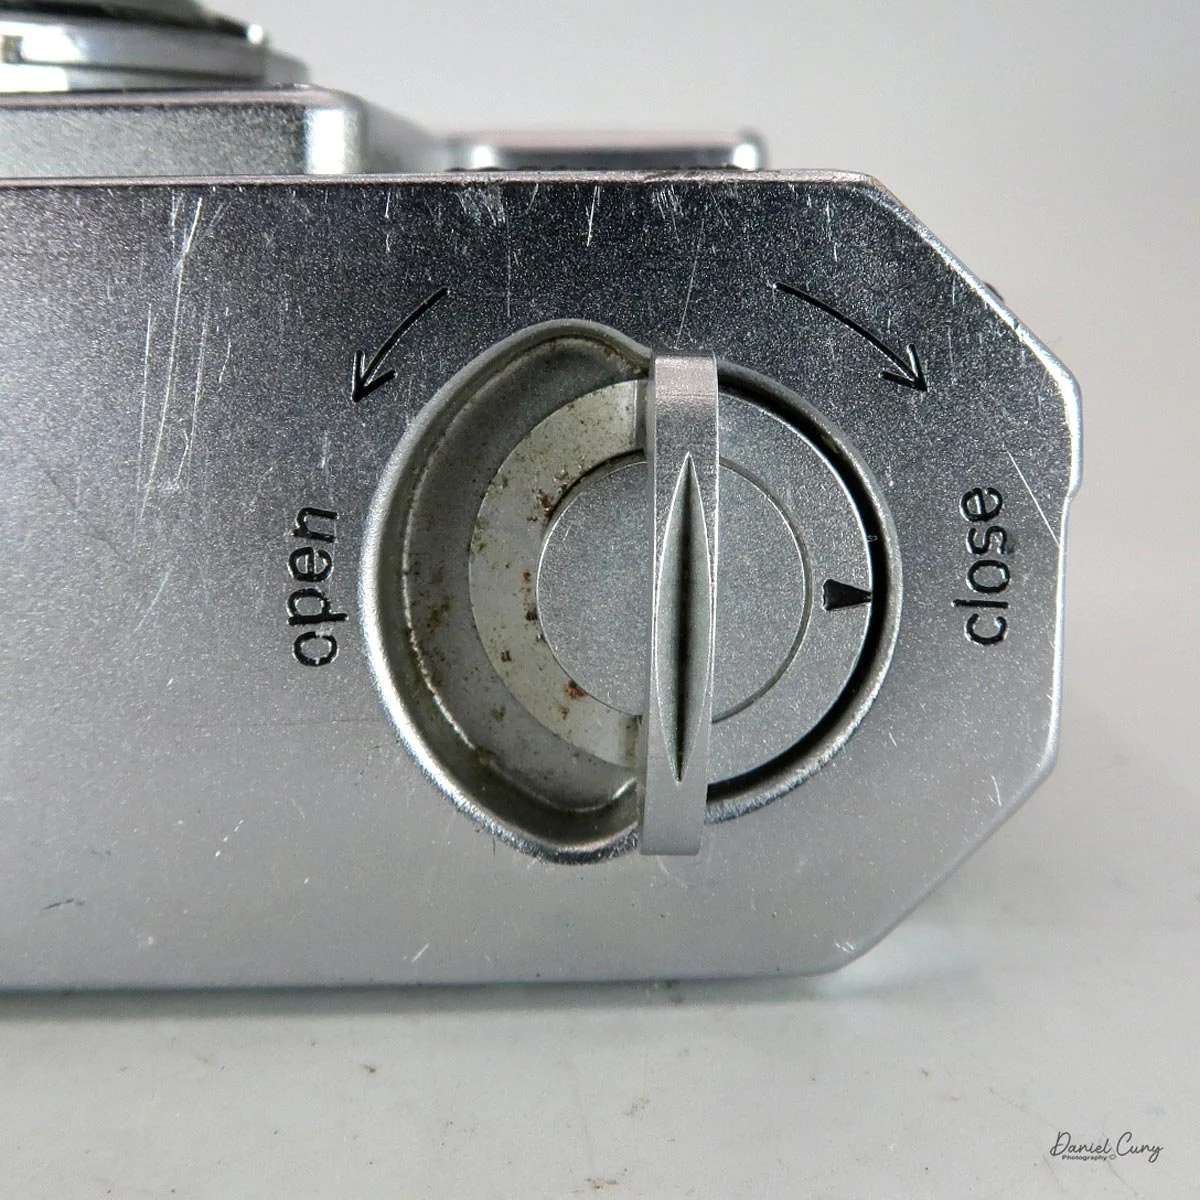
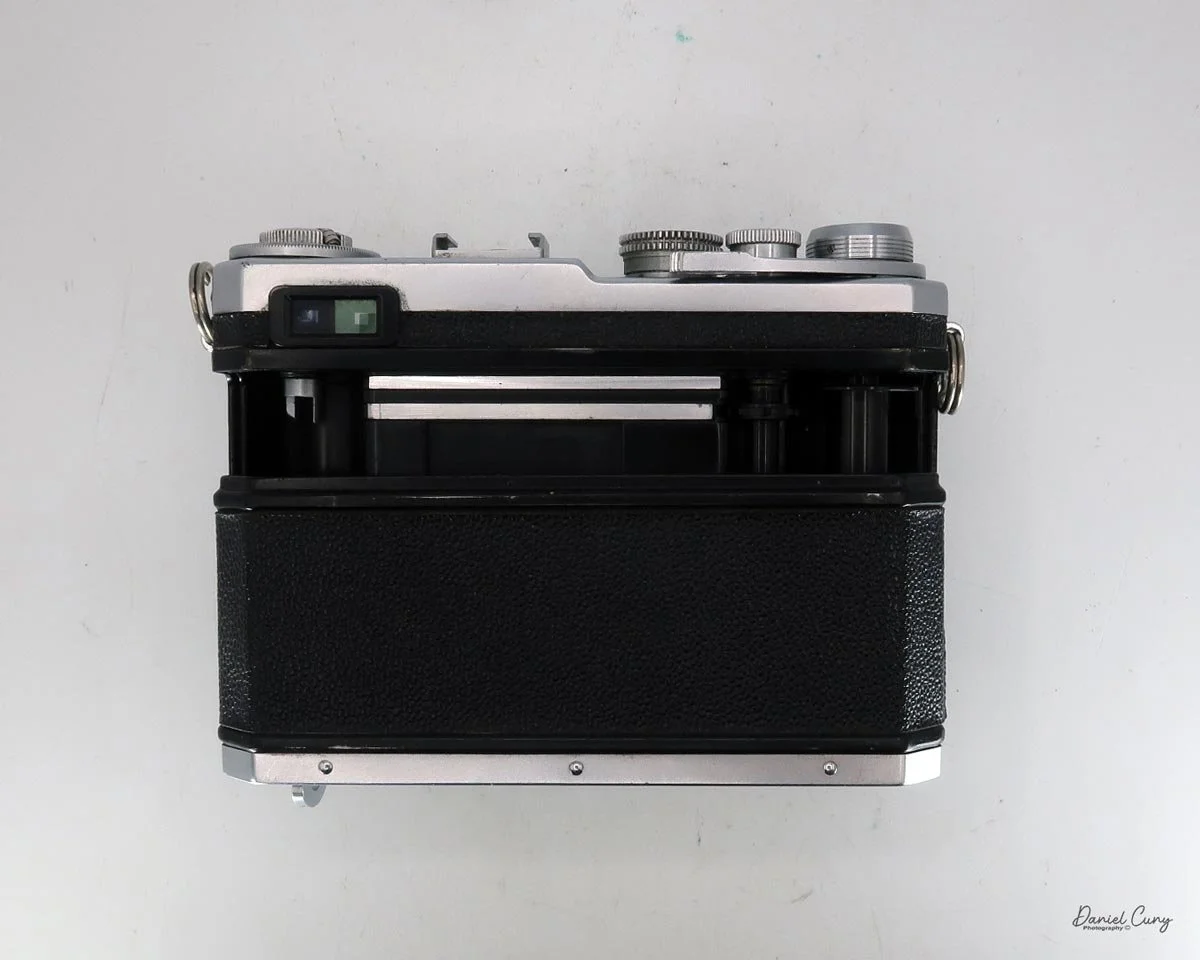
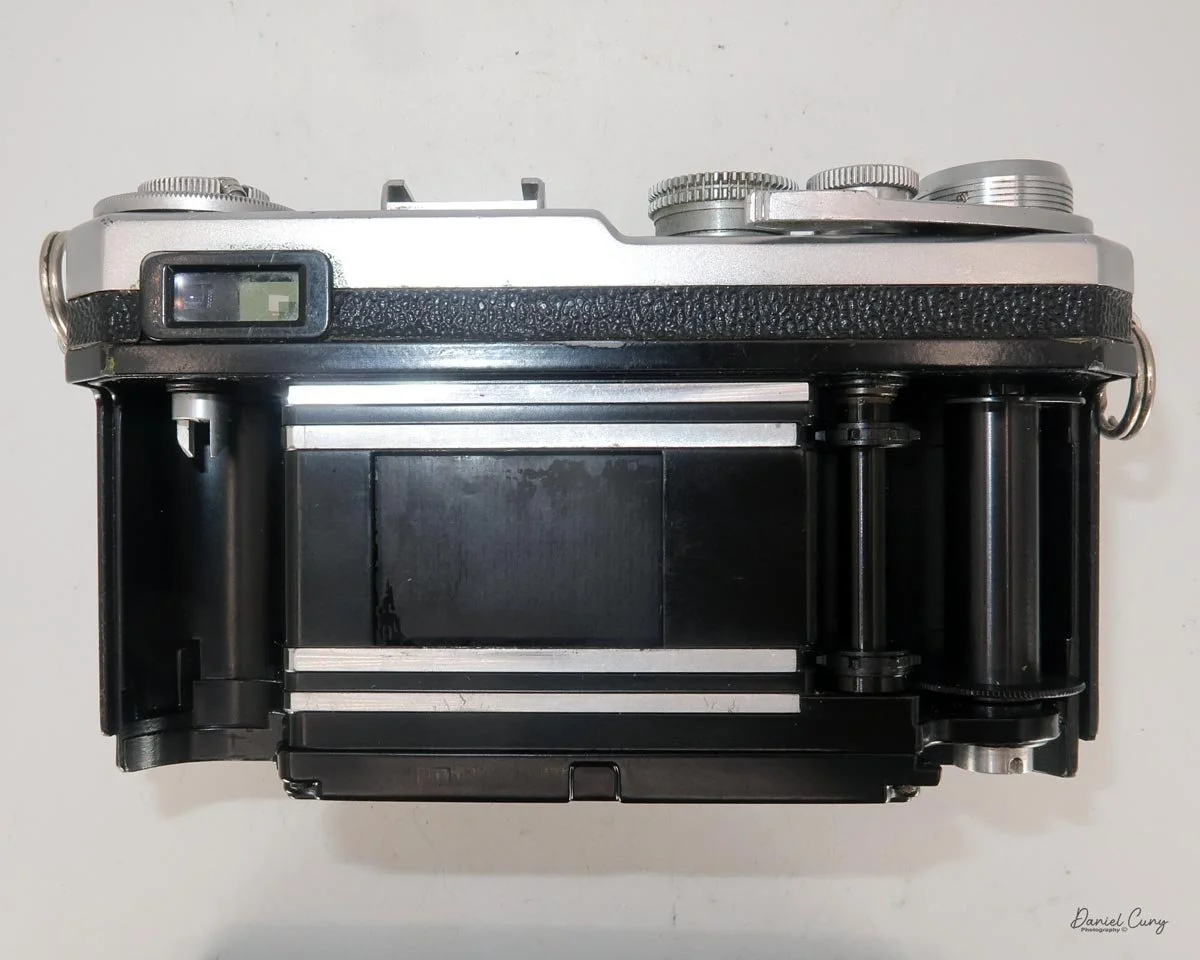
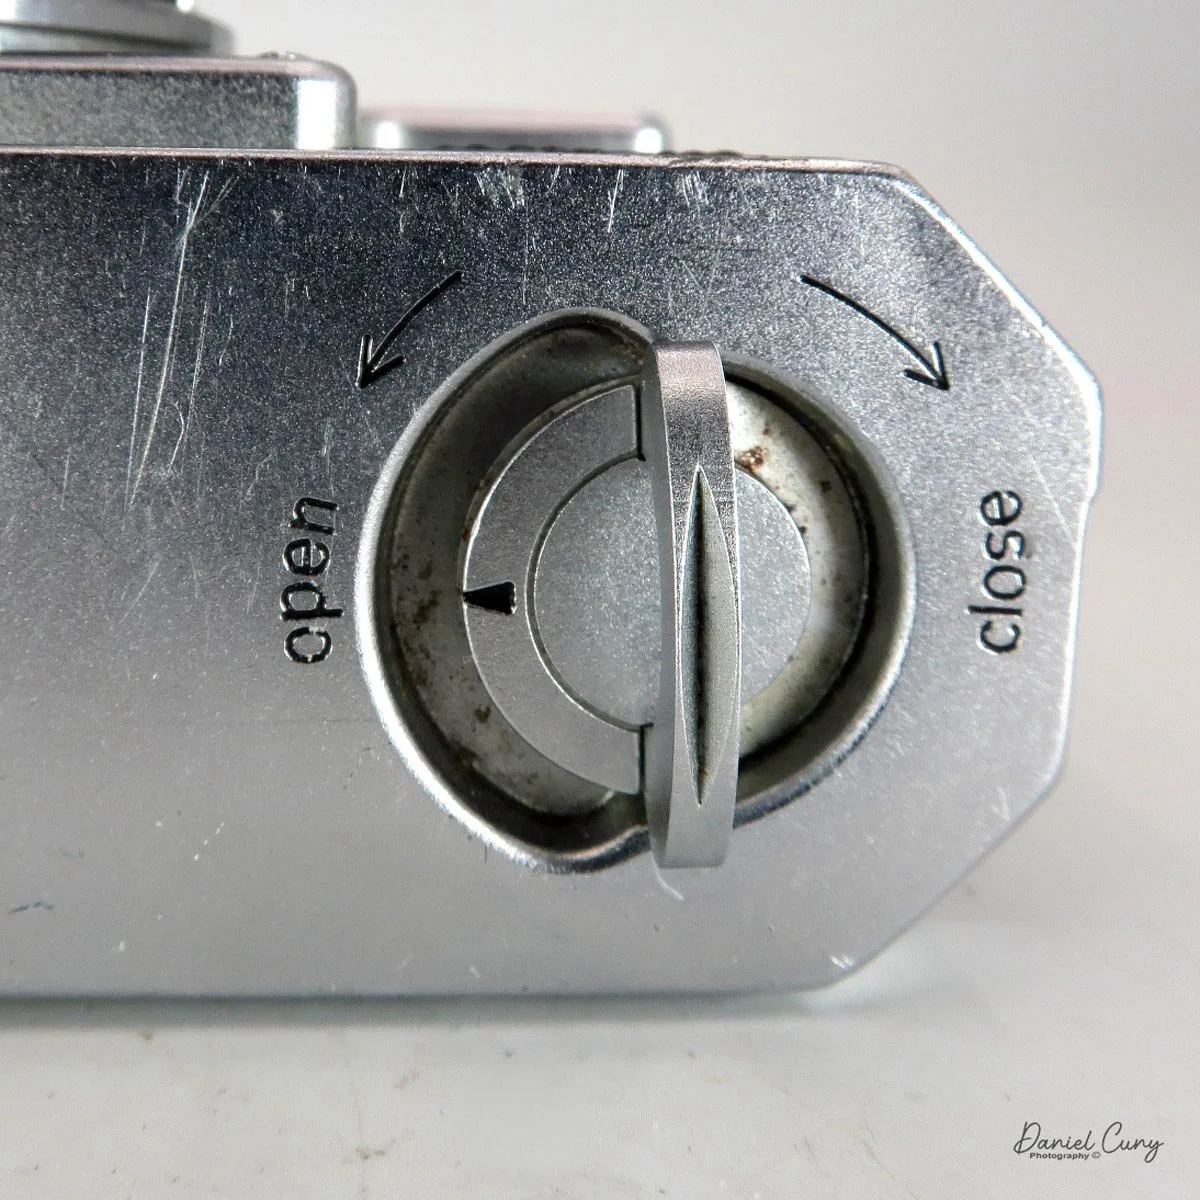
 On the bottom of the camera is the locking lever used to remove the back for film loading. Turn the dial from "Close" to "Open," and the entire back slides down along its tracks to expose the film chamber. (This design is shared across all Nikon rangefinder and Nikon F bodies.) After loading your film like any standard 35mm camera, align the back on the rails, slide it up into place, and lock it tight. At this point, you're ready to shoot! The bottom plate also houses a standard tripod socket and an ASA reminder dial. (For younger shooters, ASA was the predecessor to ISO and uses the same sensitivity scale.)

My Results

I didn't have much 35mm black-and-white film left in my fridge after our last vacation, but I did find an expired roll of Kodak Tri-X from 1970. I figured it would be the perfect roll to load into the Nikon SP for a spin around the neighborhood.

Here are the results from my walk:

Conclusion

Even though I've shot with this camera in the past, I still get a thrill every time I take it out. It has a wonderful, comfortable feel in the hand—especially for someone who has been a dedicated Nikon user for so many years. The rangefinder is bright, and both the focusing and film transport are incredibly smooth. Overall, the camera worked like a charm.

 The images turned out beautifully sharp, and I loved the aesthetic of shooting such an old roll of Tri-X. I had forgotten how grainy—in a good way—that film can be. I even processed it in Rodinal, which normally retains a bit more of a "fine grain" structure, but the classic Tri-X texture pushed through anyway, and I really enjoyed the results.

 Thank you for taking the time to read about the Nikon SP. As the first true model in Nikon's line of "professional" cameras, it laid the groundwork for why the brand became so beloved by working photographers around the world.

 Here are some of my other Camera Reviews.

Check out my Cuny's Camera Collection YouTube channel, where I am putting together video overviews of the cameras I write about. Be sure to subscribe and like the channel, too!

Cuny's Cameras and Photos is my online eBay store, where you will find some of the cameras I have reviewed, along with a wide range of other cameras, lenses, and items from my collection that I am thinning out.

 Until next week, please be safe.
 

Konica Pearl II camera

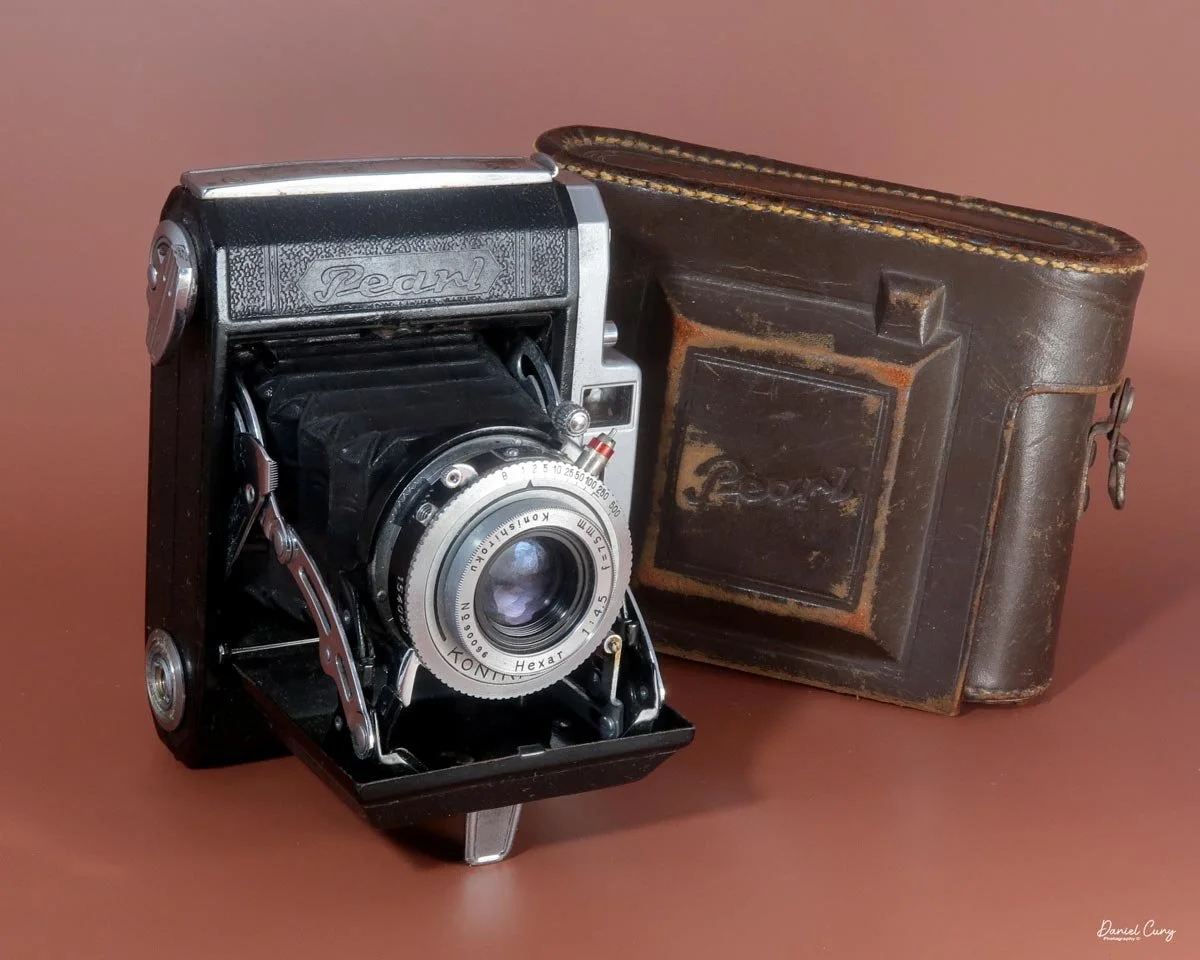
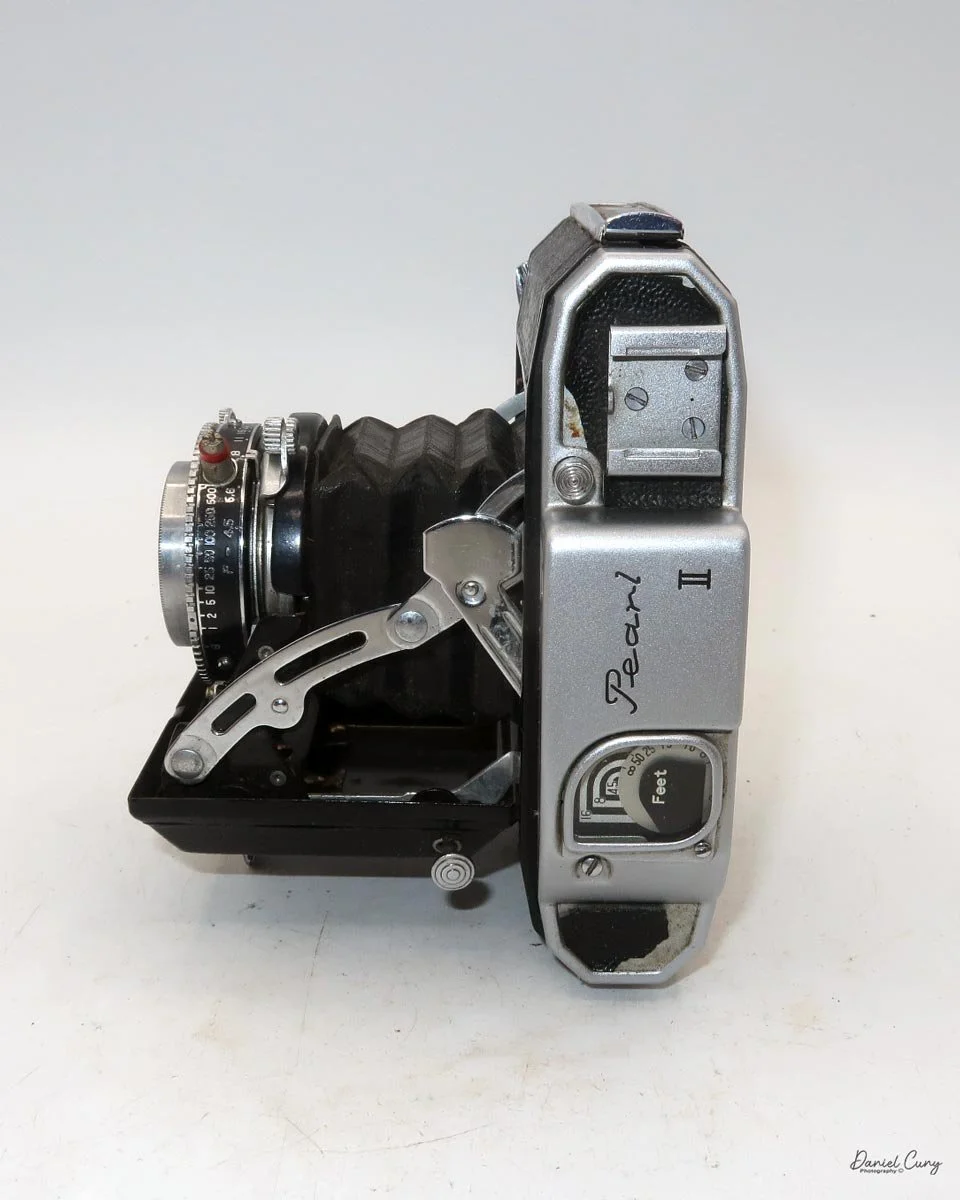
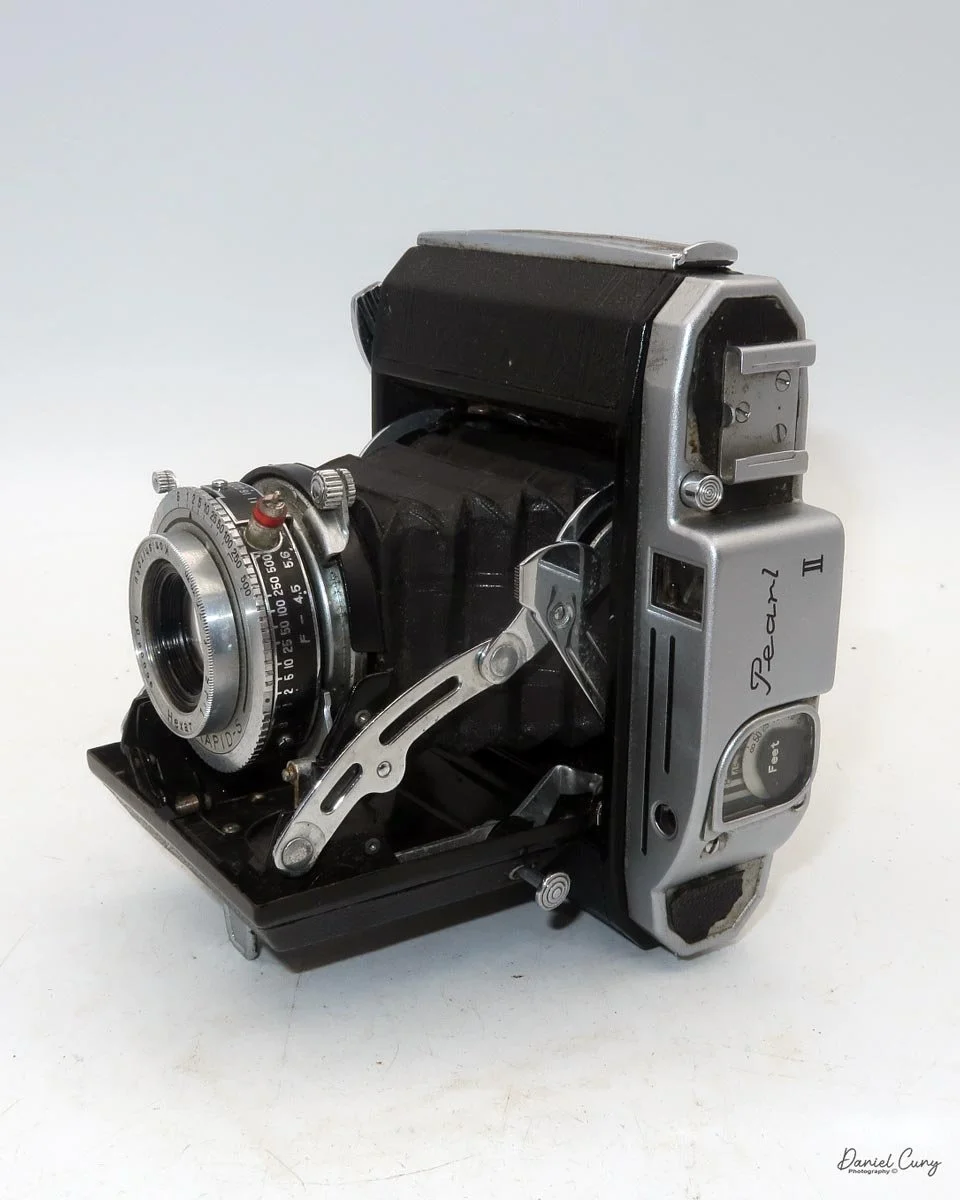
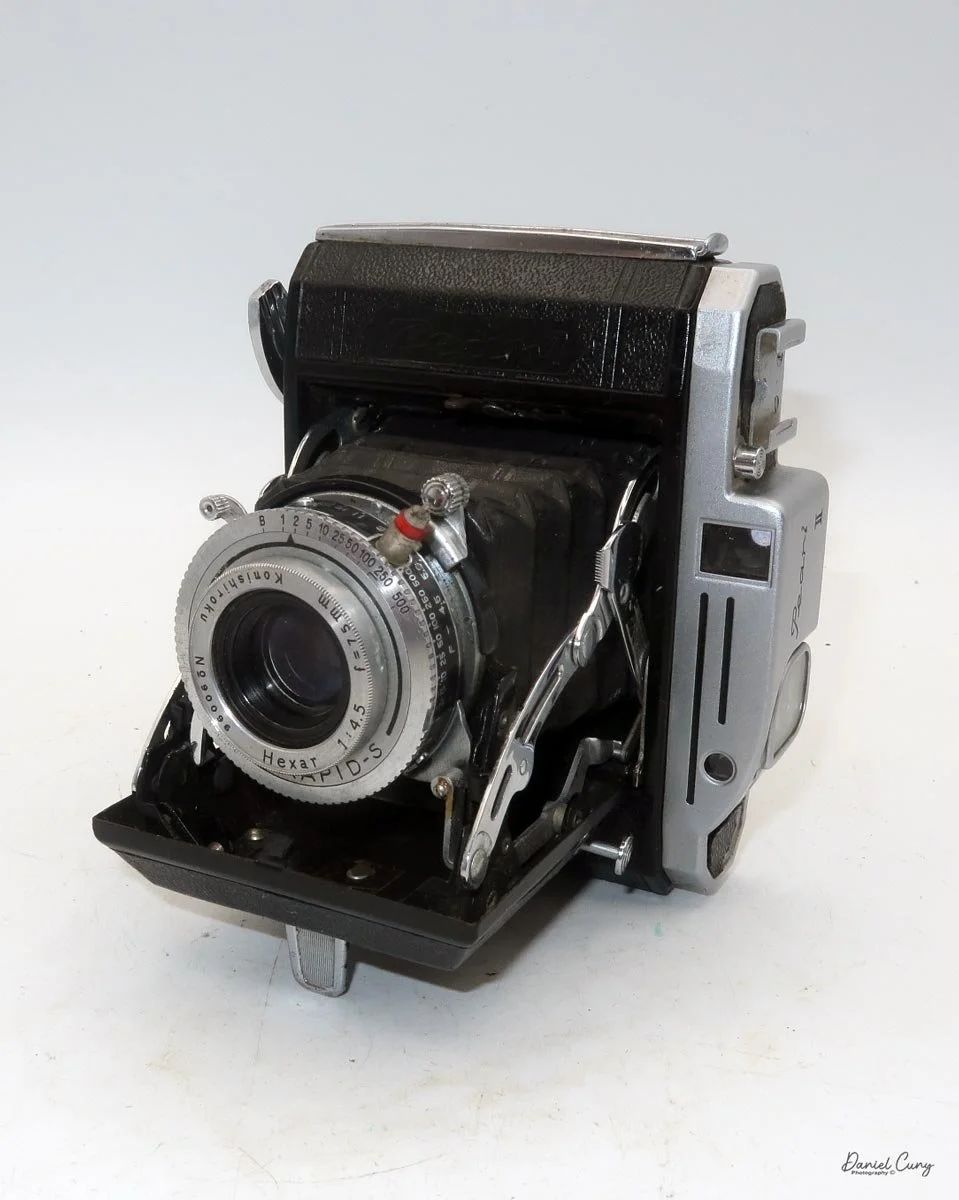
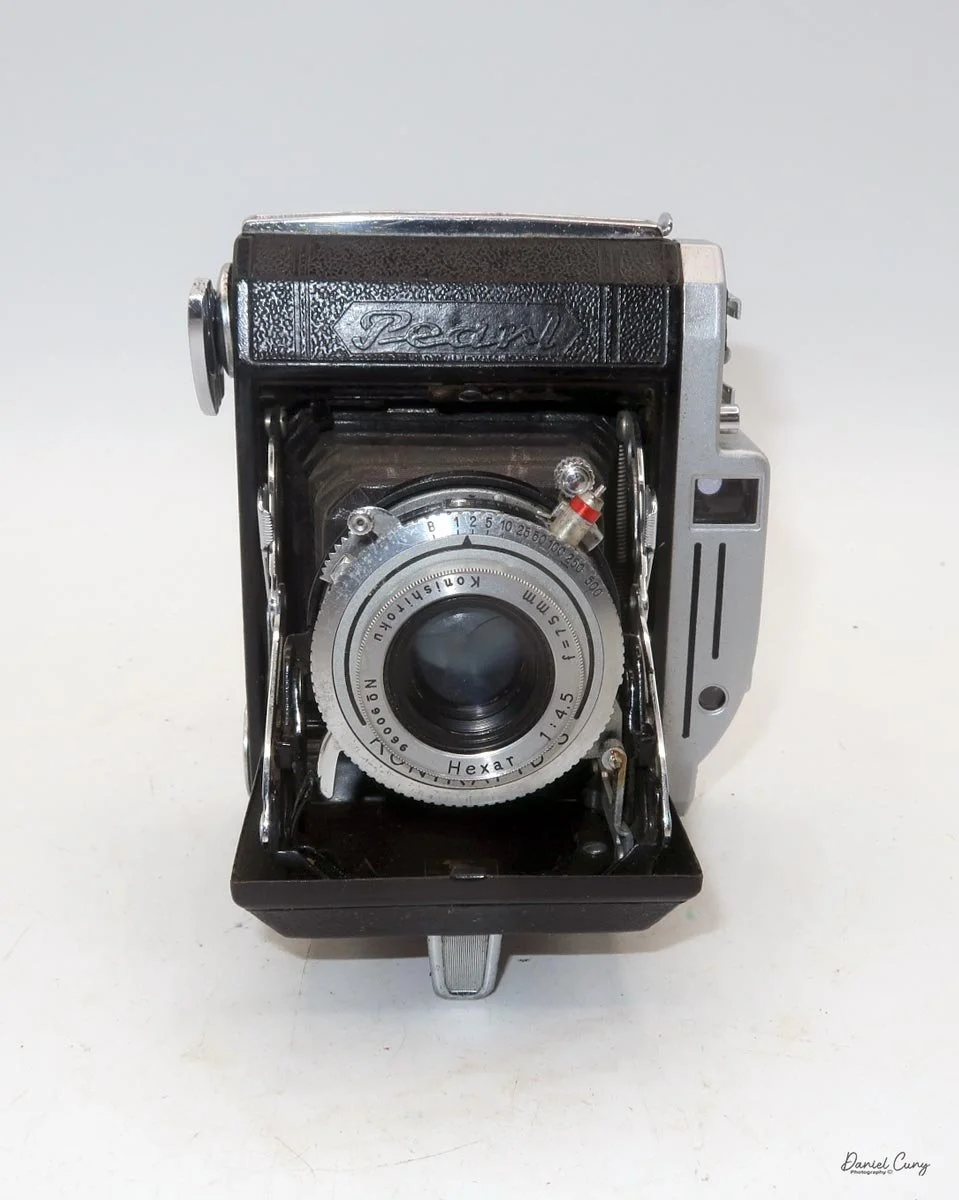
My Konica Pearl II camera & case

I purchased the Konica Pearl II on my first visit to Kitamura Camera, when I hired Bellamy Hunt of Japan Camera Hunter to show me many used camera stores in Tokyo. 

 It was our last stop on the half-day tour when we visited this massive, seven-story flagship store, which is one of more than 45 Kitamura Camera locations in Tokyo. It's on the fourth floor where they show their "high-end" items such as rare Leica cameras and lenses, Nikon rangefinders, Hasselblads, Rolleis, Mamiyas, and quite a few camera oddities. It's the floor that if you have an extra $10,000, $20,000, or even $100,000 burning a hole in your pocket to purchase rare photo items, they most likely have it.

 Unfortunately, I didn't win the lottery before coming to Japan, so I needed to be much more frugal in my camera purchases. Because of this, I much prefer the third floor of Kitamura's flagship store. It's where they have their "bargain" items. Personally, it has the items I'm much more accustomed to purchasing.

 The Konica Pearl II was a camera I didn't really notice until the second time I passed by a particular showcase. It was tucked in a back corner, not really visible except for the film winding knob, which I thought looked odd and different from many of the winding levers on this style of camera. It has more of a winding-key appearance rather than the standard round knob you see on most 120-style folding cameras.

 We asked one of the salespeople to get the camera out of the showcase for me to get a better look at, and he didn't even see the camera at first, tucked back in a corner of the showcase. But after guiding him to the correct camera I wanted to see, he took it off the shelf and put it on a mat in a lower showcase for me to look over.

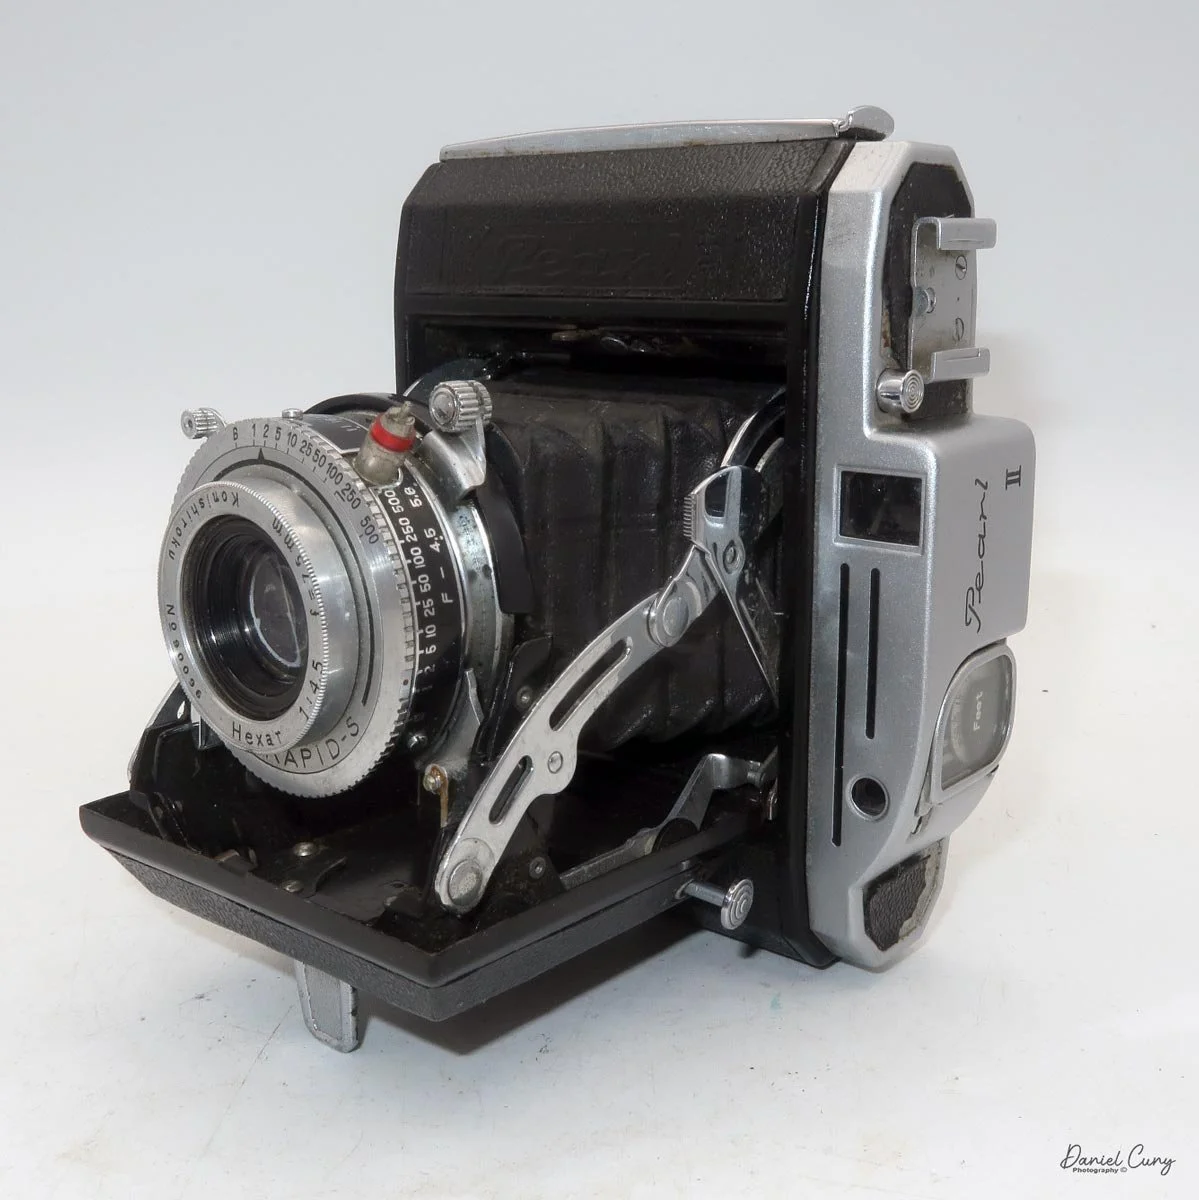
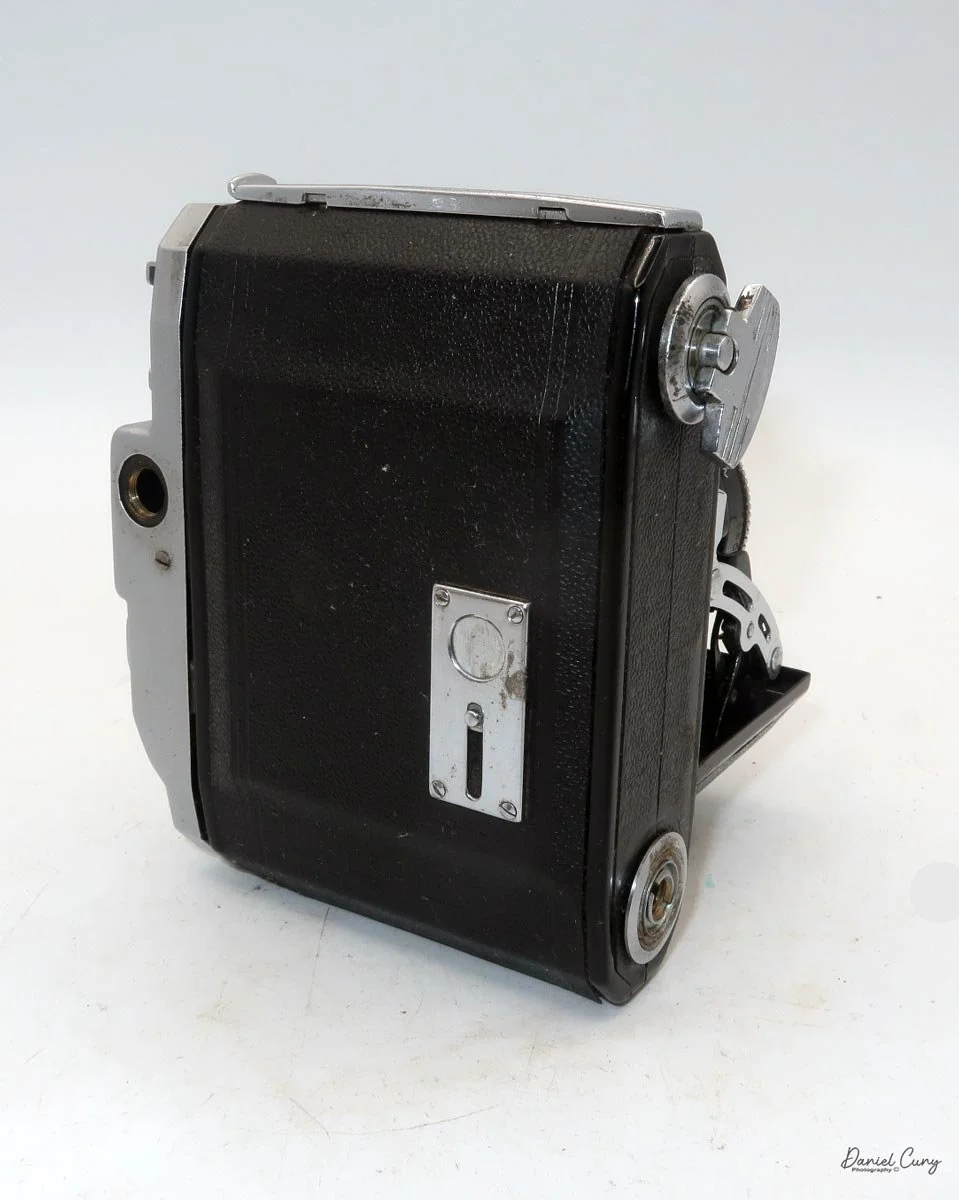
Different angle of the Konica Pearl II camera. Notice the shutter release on the lens door.

 To my surprise, the camera seemed to be in wonderful condition. The price for the camera seemed low, so I started to look over it with the thought in the back of my mind that there must be an issue. The shutter worked, the aperture moved smoothly. The camera opened and closed with ease, and the fitted leather case was also in good condition. 

 Putting the camera up to my eye to look through the viewfinder, I found the issue. The back eyepiece was absent from the camera. Because of that, there were a couple of issues. First, when you looked through the viewfinder, the image was blurry, and you couldn't really see or frame it well.

 The second issue was something I didn't realize until the salesperson mentioned it. You couldn't see the yellow center area on the rangefinder. Initially, when I first picked up the camera, I didn't notice the two windows on the front, which would indicate a rangefinder-style camera, but on second look, there were two windows, which makes perfect sense.

 For the price of the camera, they offered to acquire a very compact medium-format camera with a functioning shutter, smooth focus, a light-tight bellows, and a fitted case. I figured I couldn't go wrong. All I needed (hopefully) was to find a "parts" camera to source the viewfinder glass from, and make this wonderful early 1950s camera whole again.

 During my time in Tokyo, I did spend time looking for a "parts" camera, but it wasn't until just a few weeks ago that I came across one for a reasonable price that I could harvest the viewfinder glass, and try to make this camera whole again. Unfortunately, it hasn't arrived yet. I'm eager to write this post, so once the glass arrives, I'll update it with the camera's progress (or lack thereof) with the new glass.


History:

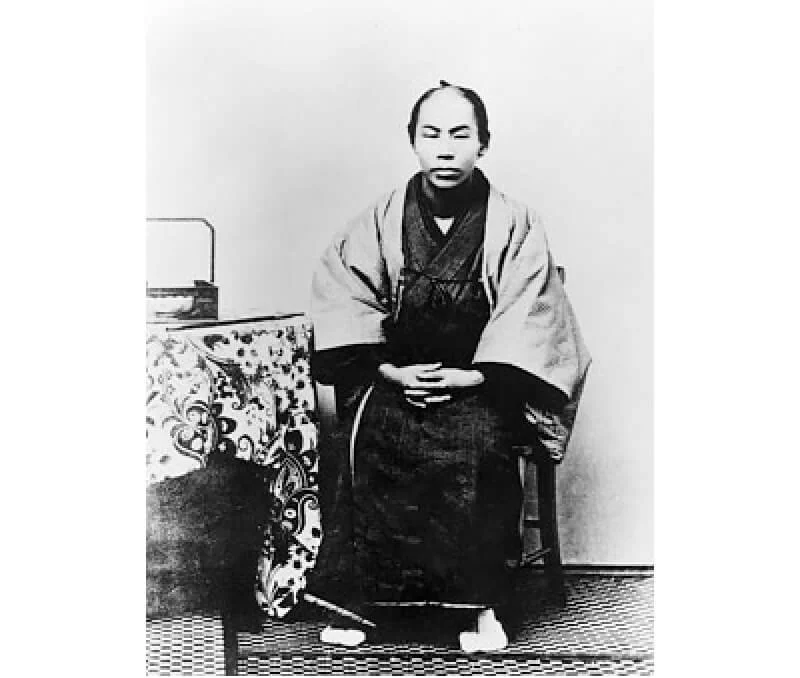
 Konica's early history begins in 1873, when Rokusaburō Sugiura started selling photographic materials in Tokyo, at a time when Japan was still importing nearly all such supplies from the West. That founding date makes the company older than Eastman Kodak, and it places Konica at the very start of Japan's photo industry.

Early photo of Rokusaburō Sugiura. Credit Konicaminolta website.

 Sugiura first operated through the family business in Tokyo's Nihonbashi area, where demand for photographic goods was growing fast enough to justify a separate line of business. By 1878, he had founded Konishi Honten, and in the 1880s, the firm moved beyond retailing imported goods to producing its own photographic materials in Japan. This shift mattered because it helped move Japanese photography from dependence on foreign products toward domestic production.

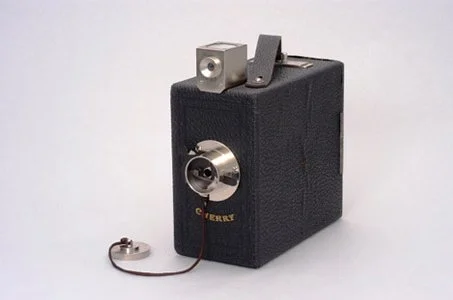
 In 1902, Konishi began producing its own photographic plates and printing paper, and soon after, in 1903, it introduced the Cherry portable camera, widely described as Japan's first branded camera. That product established the company as a pioneer rather than just an importer. Over the next decades, Konishi built a reputation as one of Japan's leading camera and materials companies.

 During the 1910s and 1920s, the company continued to expand its manufacturing base and deepen its role in Japan's optical and photographic sectors. Its name evolved through several forms, including Konishi Honten and Konishiroku, reflecting both family succession and corporate growth. By the interwar period, the firm was part of a broader Japanese camera industry that was still small by global standards but increasingly capable of making its own products.

Popular Cherry camera: Credit Konicaminolta history page

 In the 1930s, Konishiroku pursued further camera development, including prewar prototype work that pointed toward later 35mm designs. Like much of Japan's industrial base, its development was increasingly shaped by the era's tensions, and the coming war would disrupt civilian camera production. Still, by the eve of World War II, Konica's predecessor had already established the core identity that would define the brand: a Japanese photographic pioneer rooted in import substitution, careful manufacturing, and gradual technological independence.

 In the 1950s, Konishiroku cemented its medium-format legacy with the exceptional Pearl series of folding cameras. Shooting 6x4.5cm frames on 120 film, these compact powerhouses combined portability with remarkable optical precision. The decade introduced the Pearl II (1951), the Pearl III (1955), and the pinnacle of the lineup: the Pearl IV (1958). These beautifully engineered models proved that medium format didn't have to be bulky, providing a professional-grade folding tool that easily slipped into a coat pocket.

My Camera:

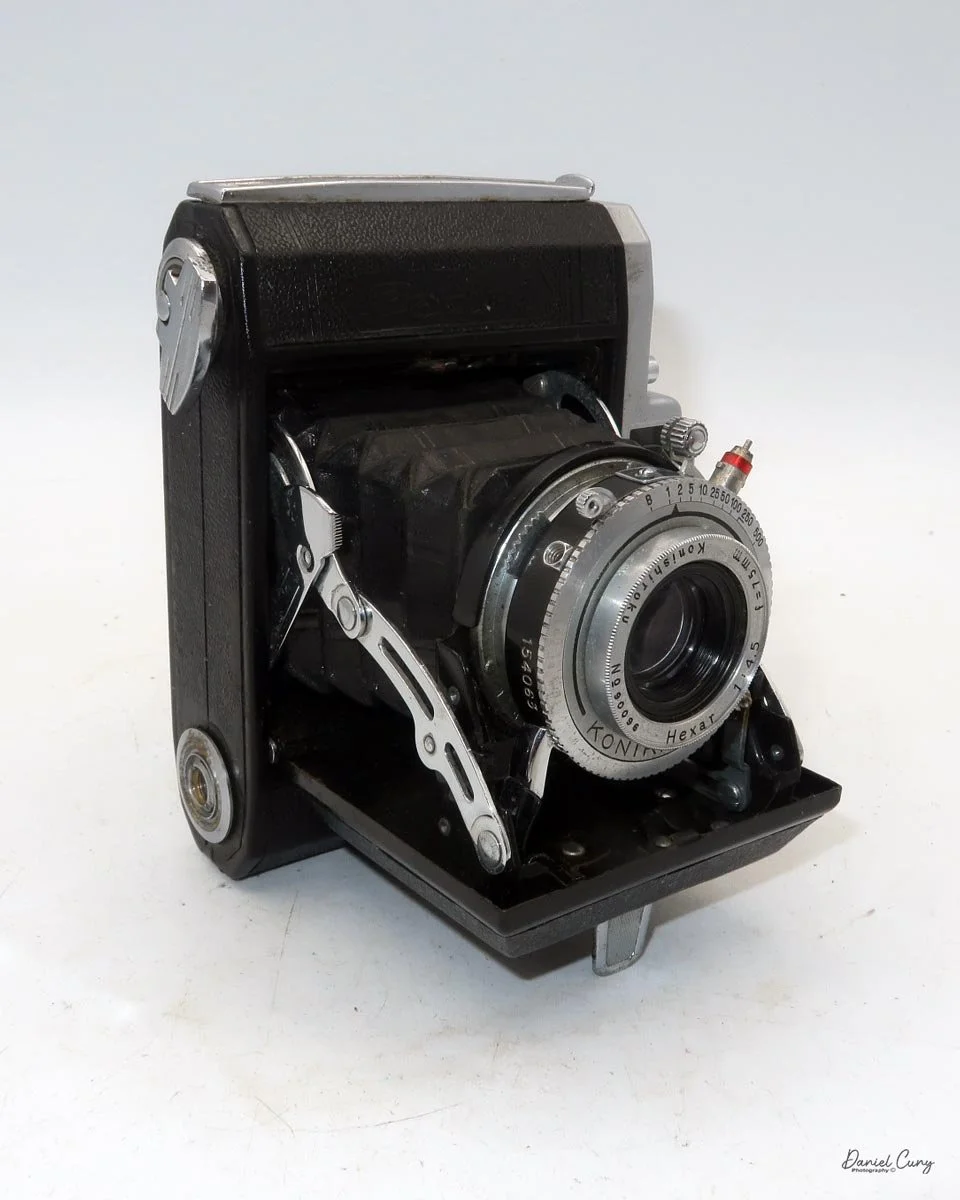
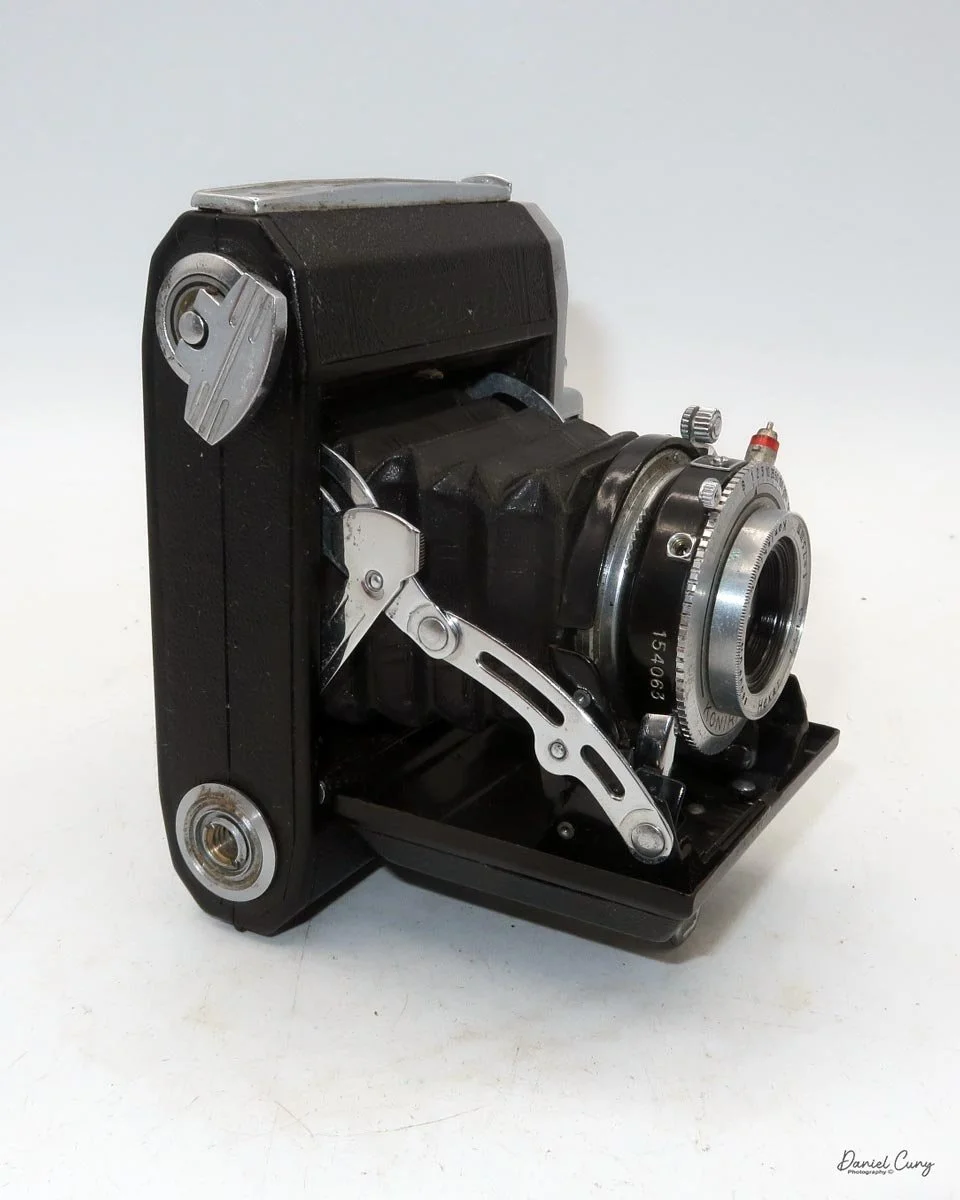
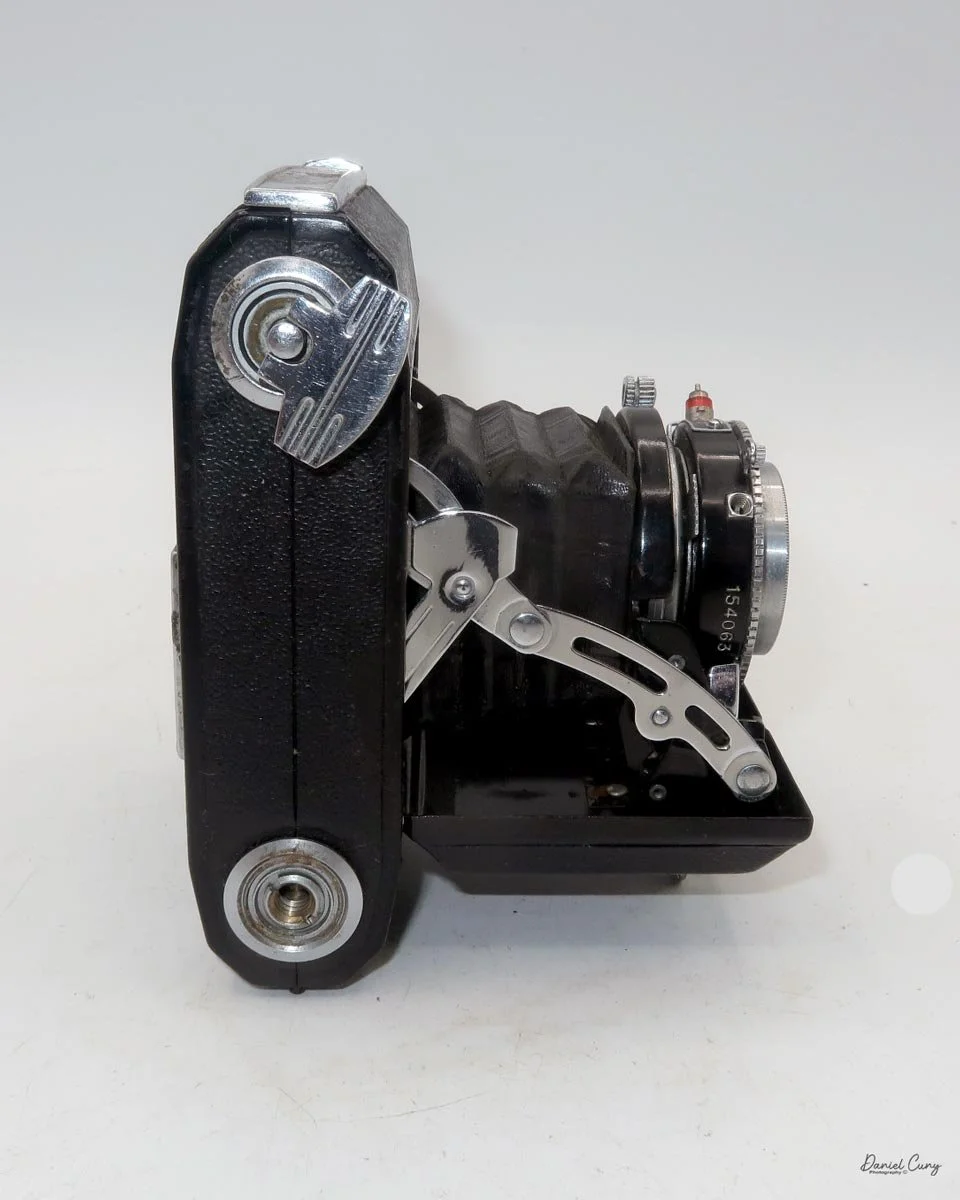
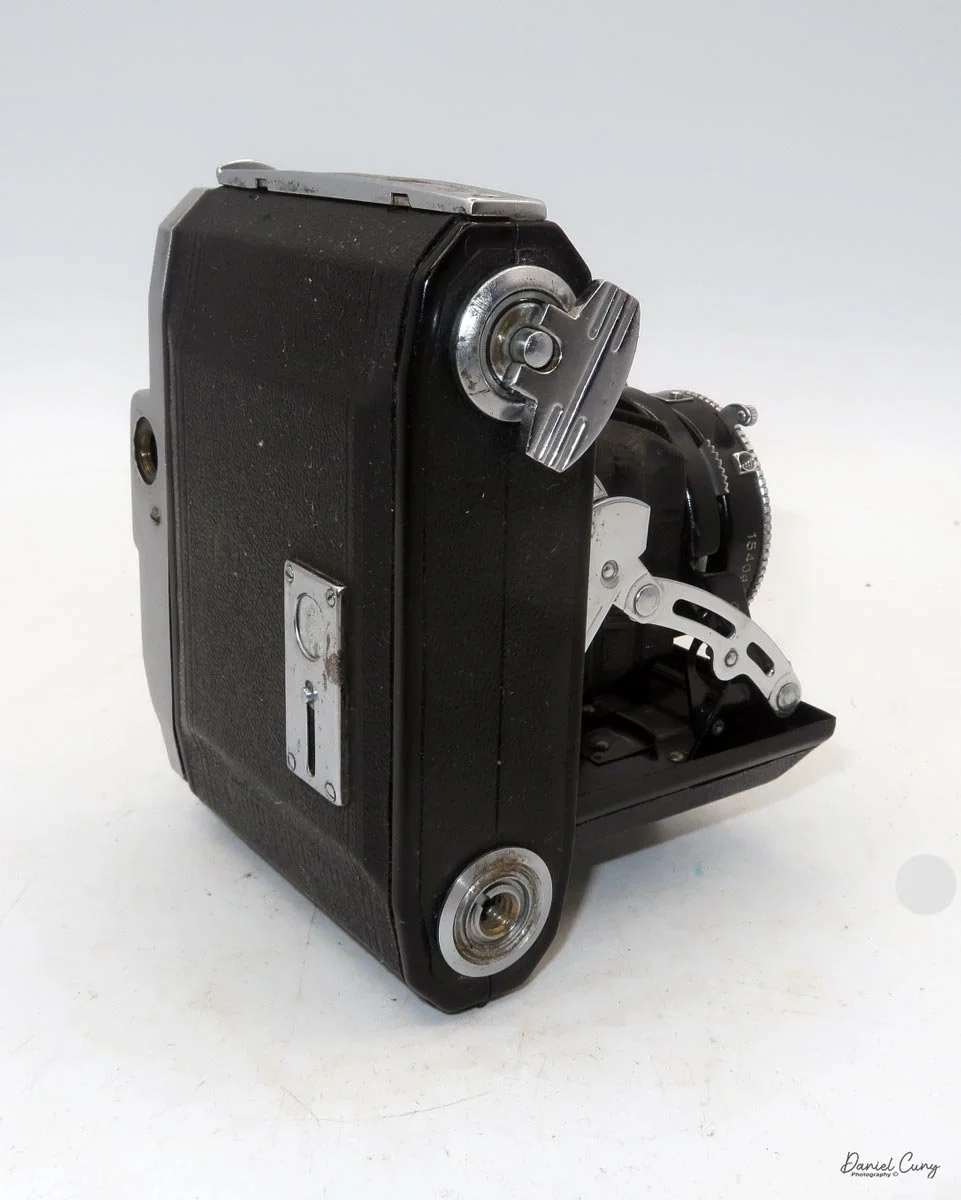
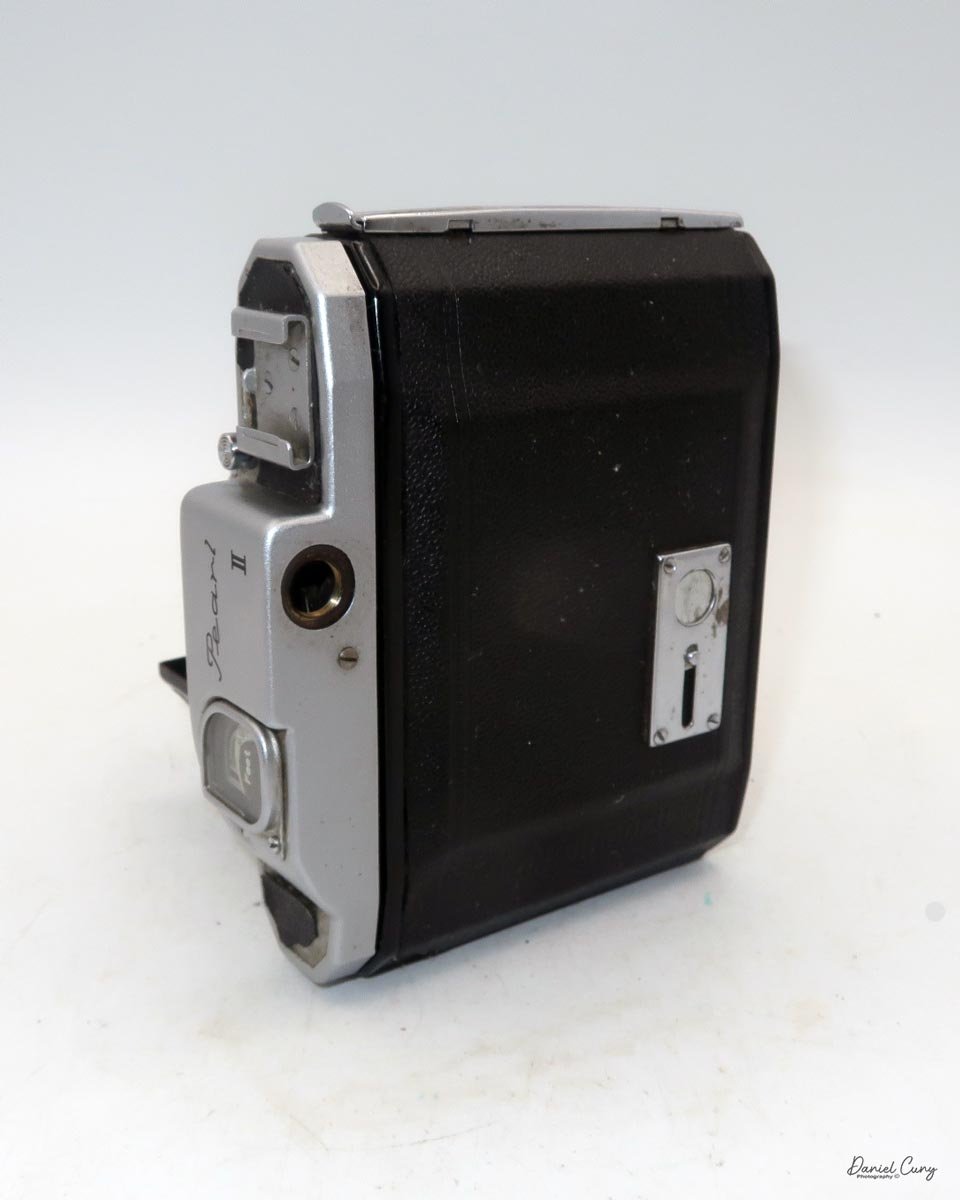
 My Konica Pearl II camera, manufactured in 1951, is a 6x4.5cm vertical-format camera. The physical size of the camera is 4.75" wide by 4.5" tall and 1.5" deep with the lens closed in the camera body, and 4" deep when you depress the button on the top of the camera, located in front of the accessory shoe, to open the camera's lens door. The camera weighs 1 pound, 4 ounces without film loaded.

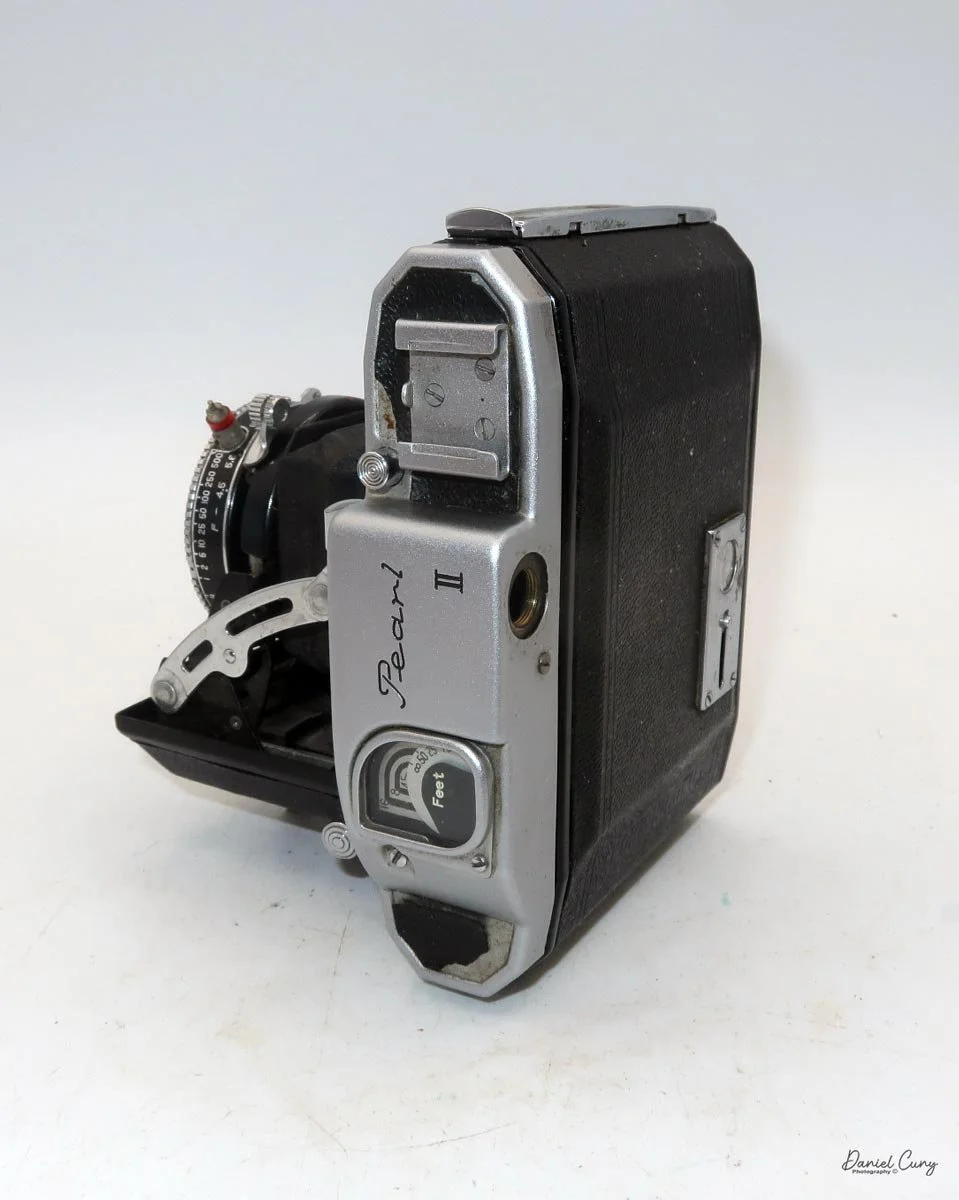
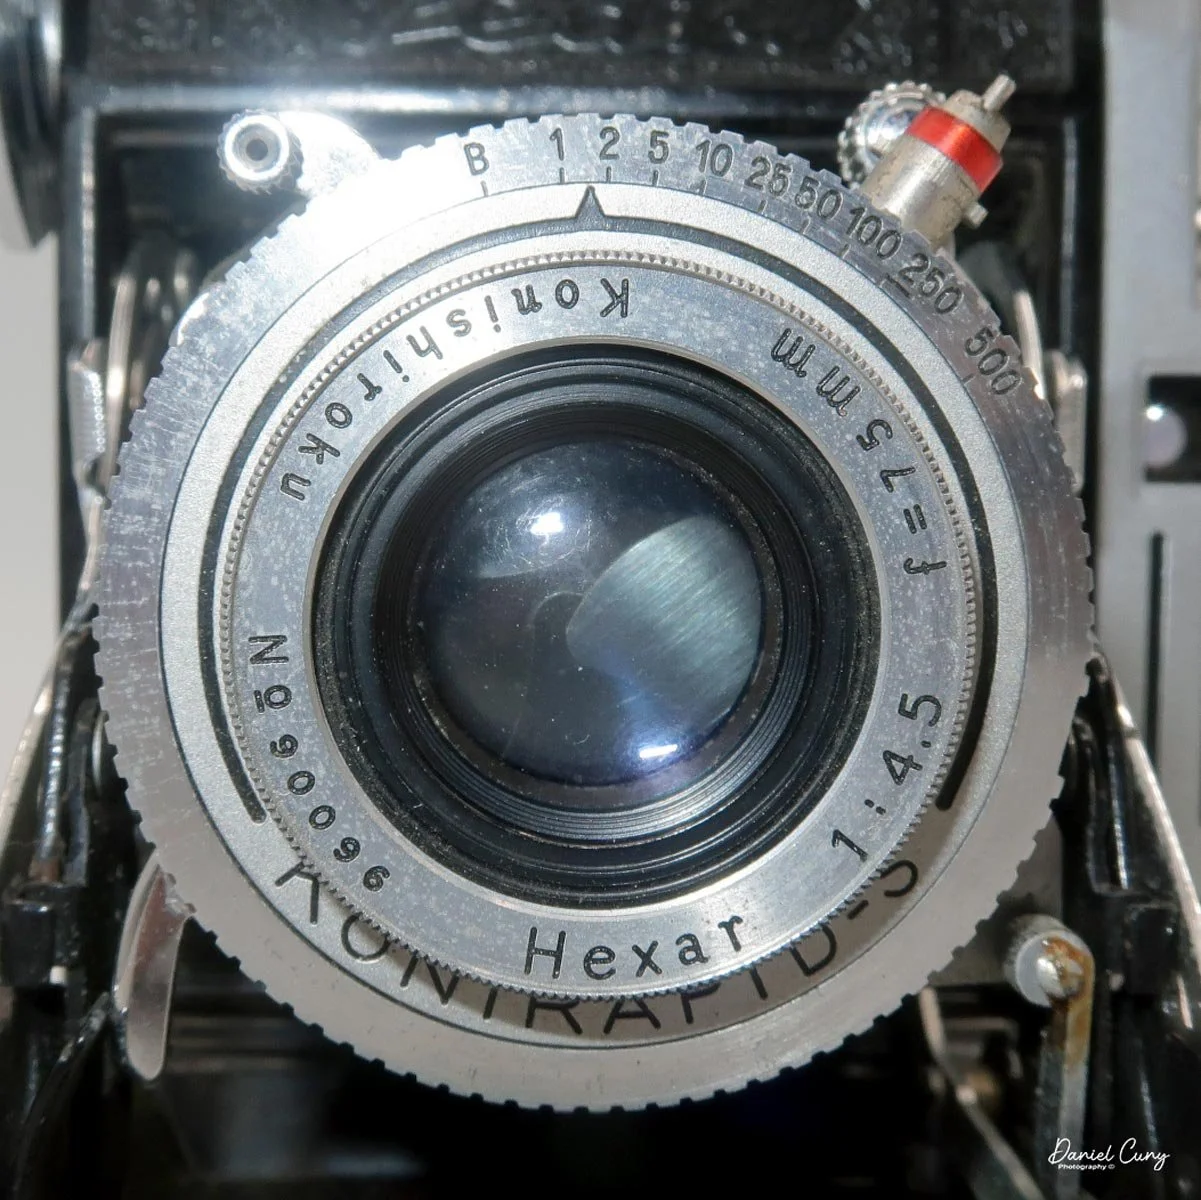
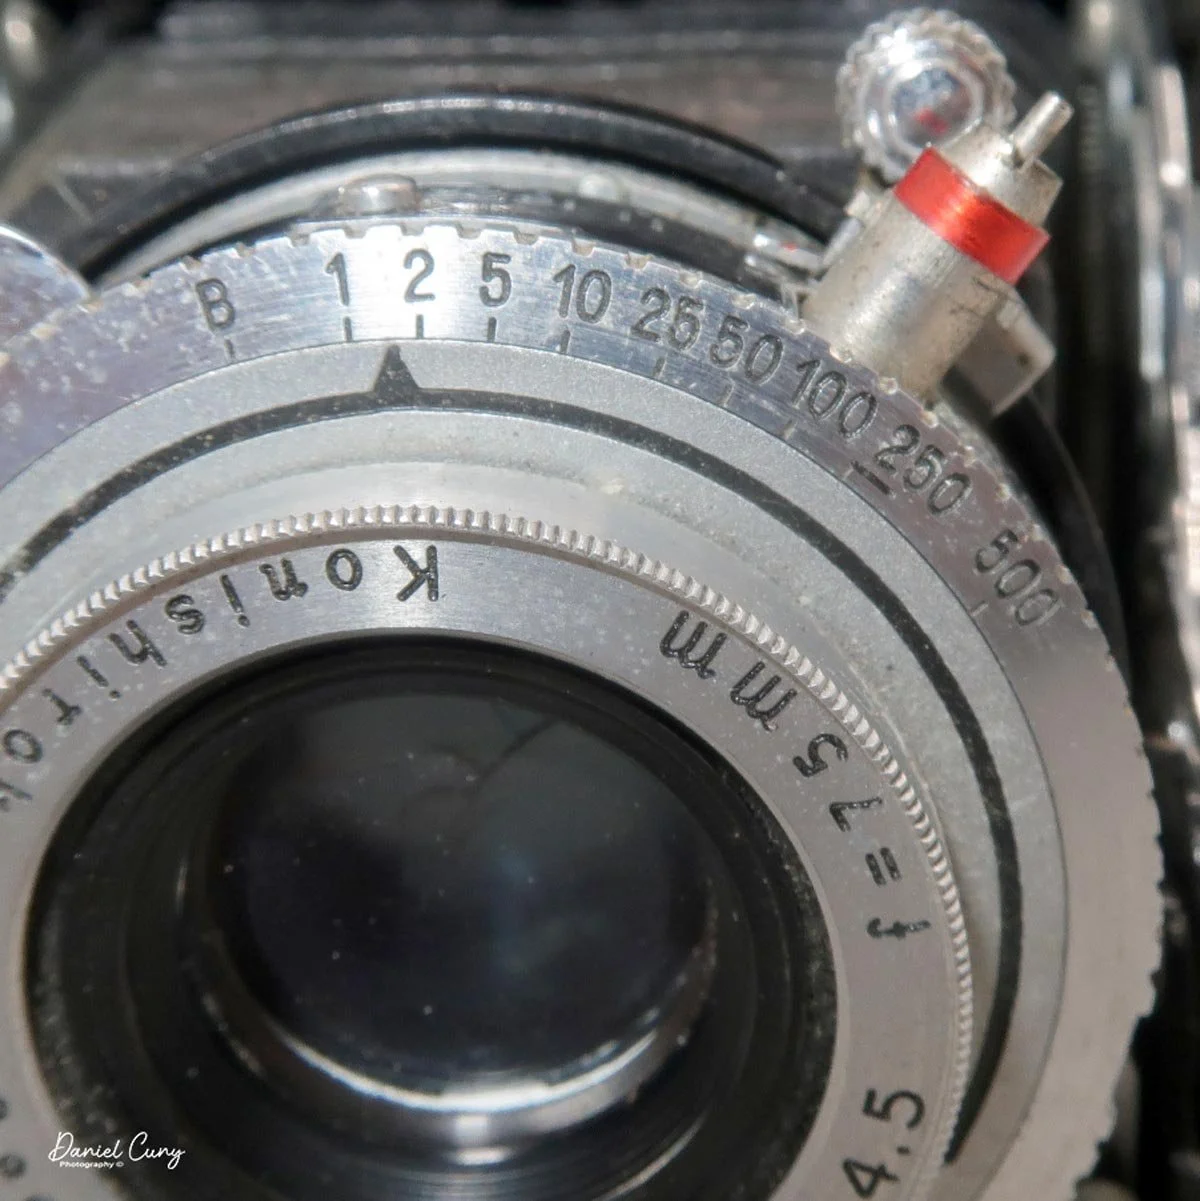
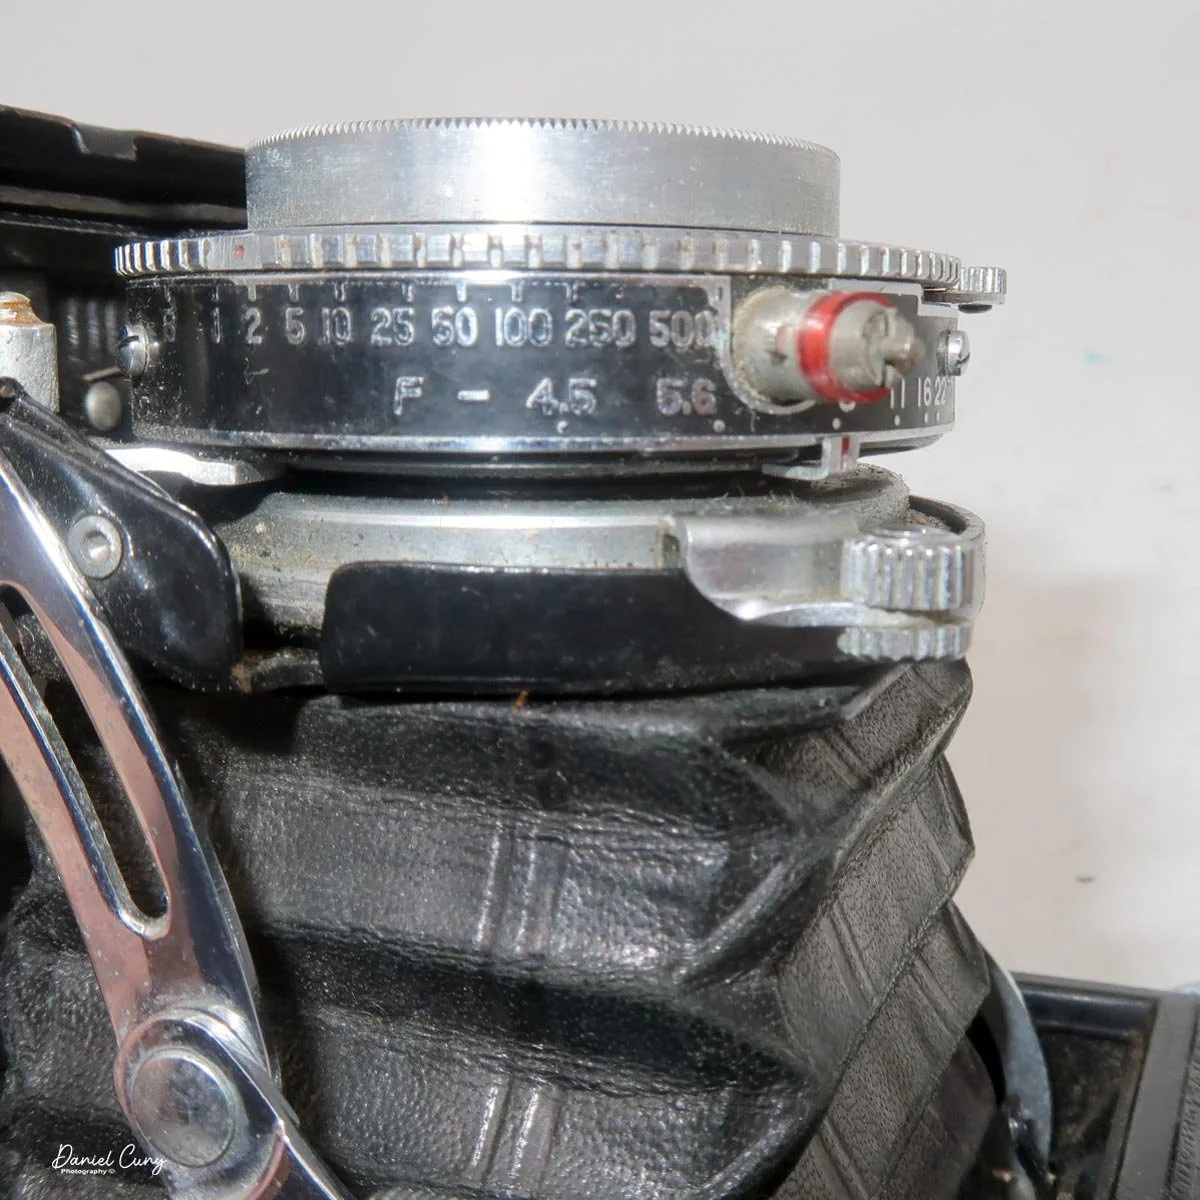
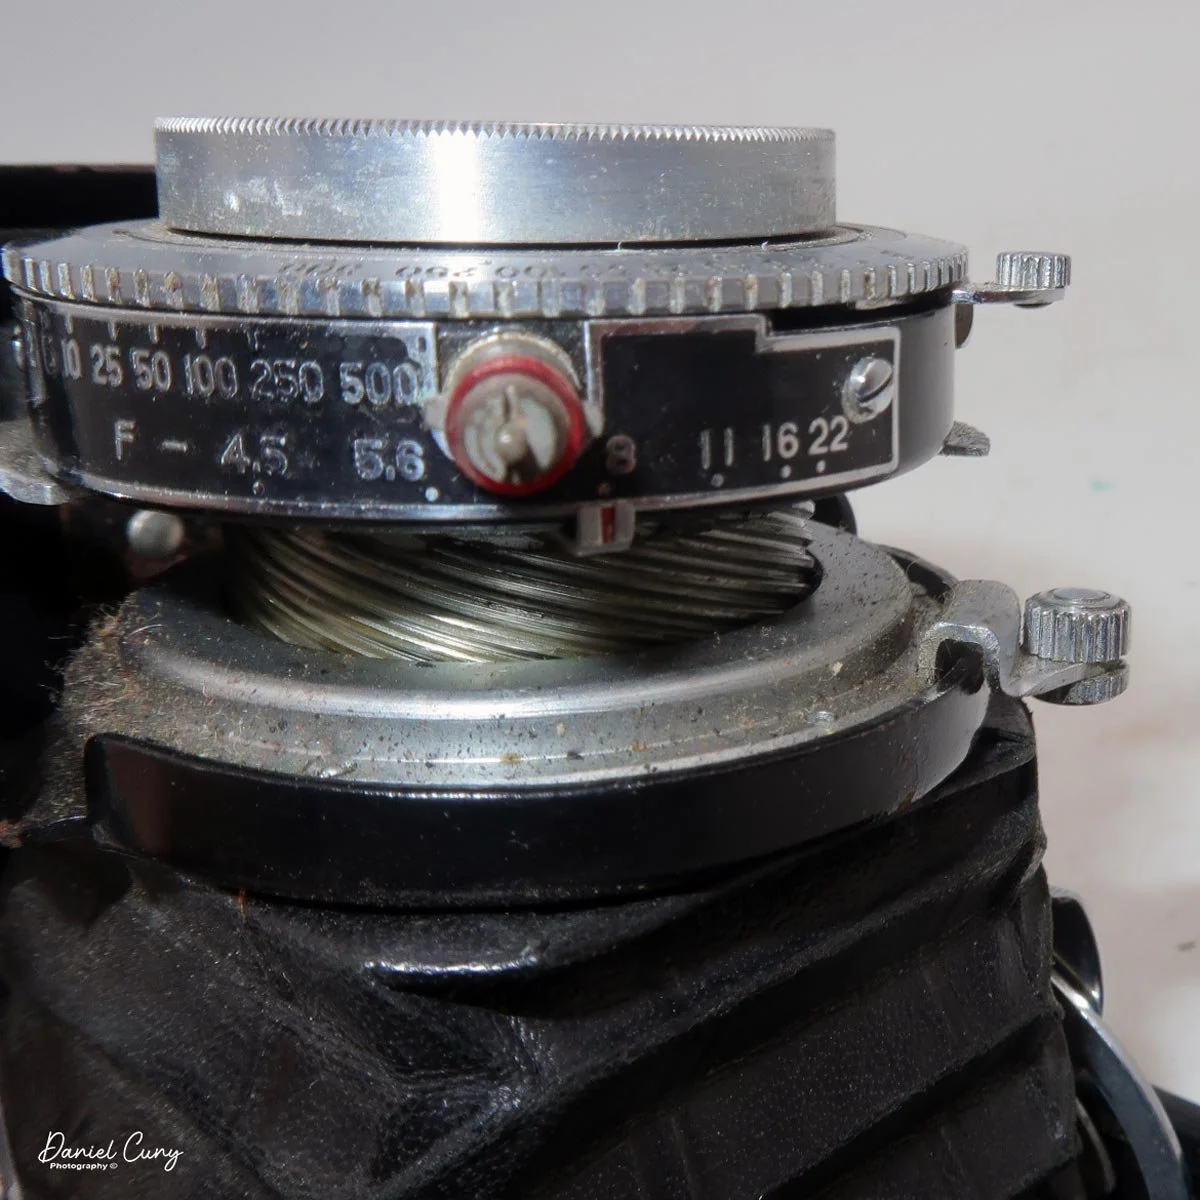
With the lens door open, it exposed the Konishiroku Hexar 75mm F/4.6 lens, serial #90096, in a Konirapid-S shutter with a range of 1/500 to 1 second, along with "B" for timed exposures. On so many cameras, shutter speeds are set by turning a ring to the desired value along the outer portion of the shutter. There is a shutter cocking lever located just behind the shutter speed setting ring on the shutter.

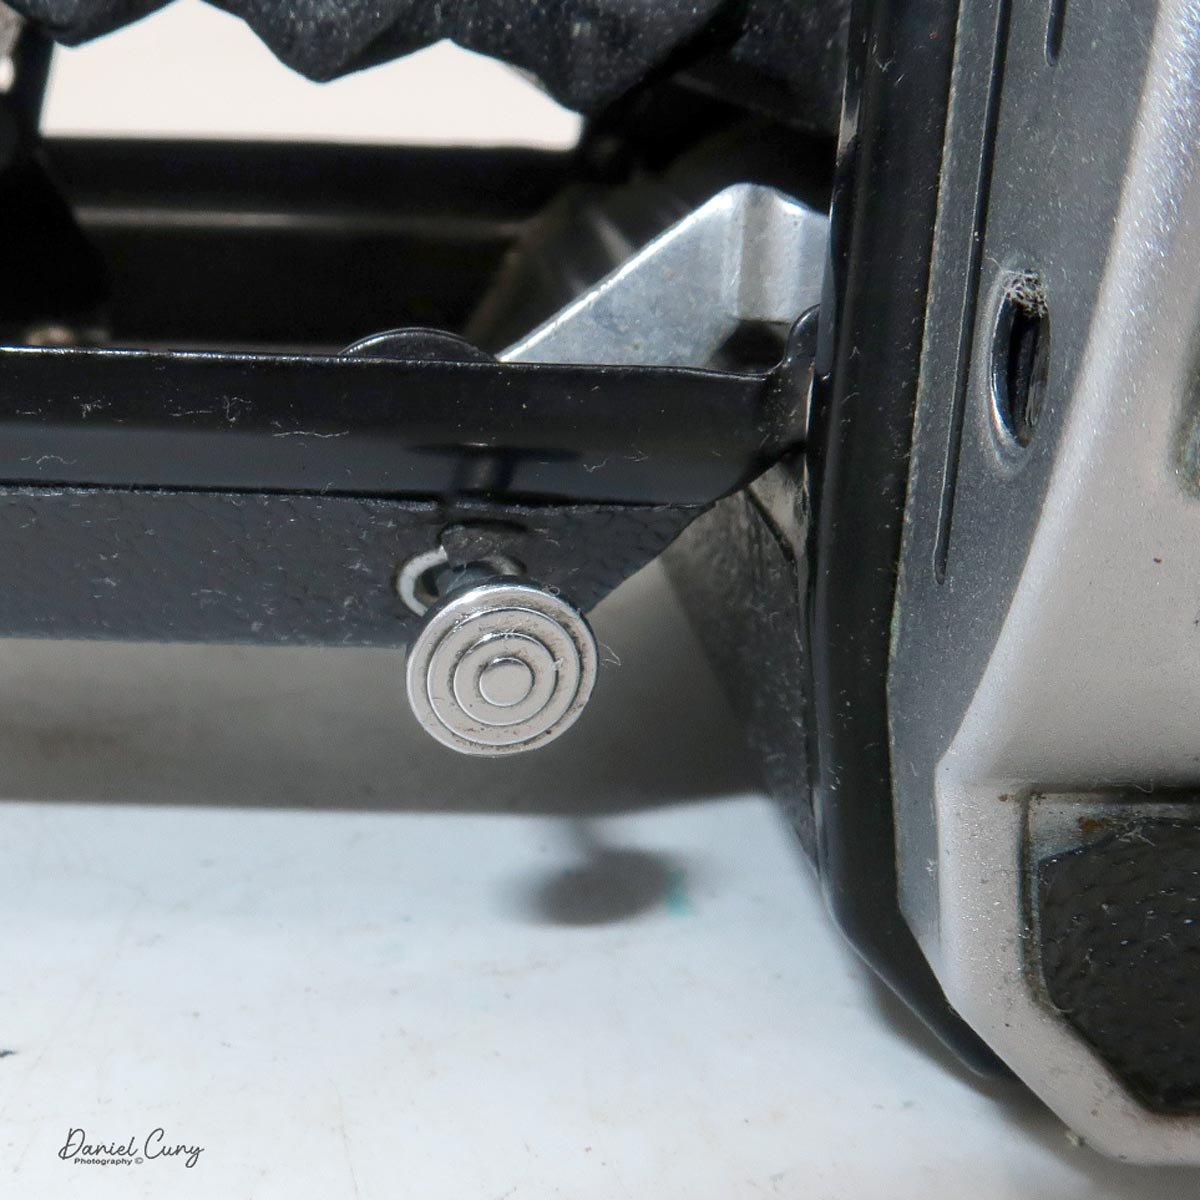
 The camera's shutter release button is located on the lens door and trips the cocked shutter via a linkage to the shutter release. A cable release socket is also in the shutter just next to the cocking lever.

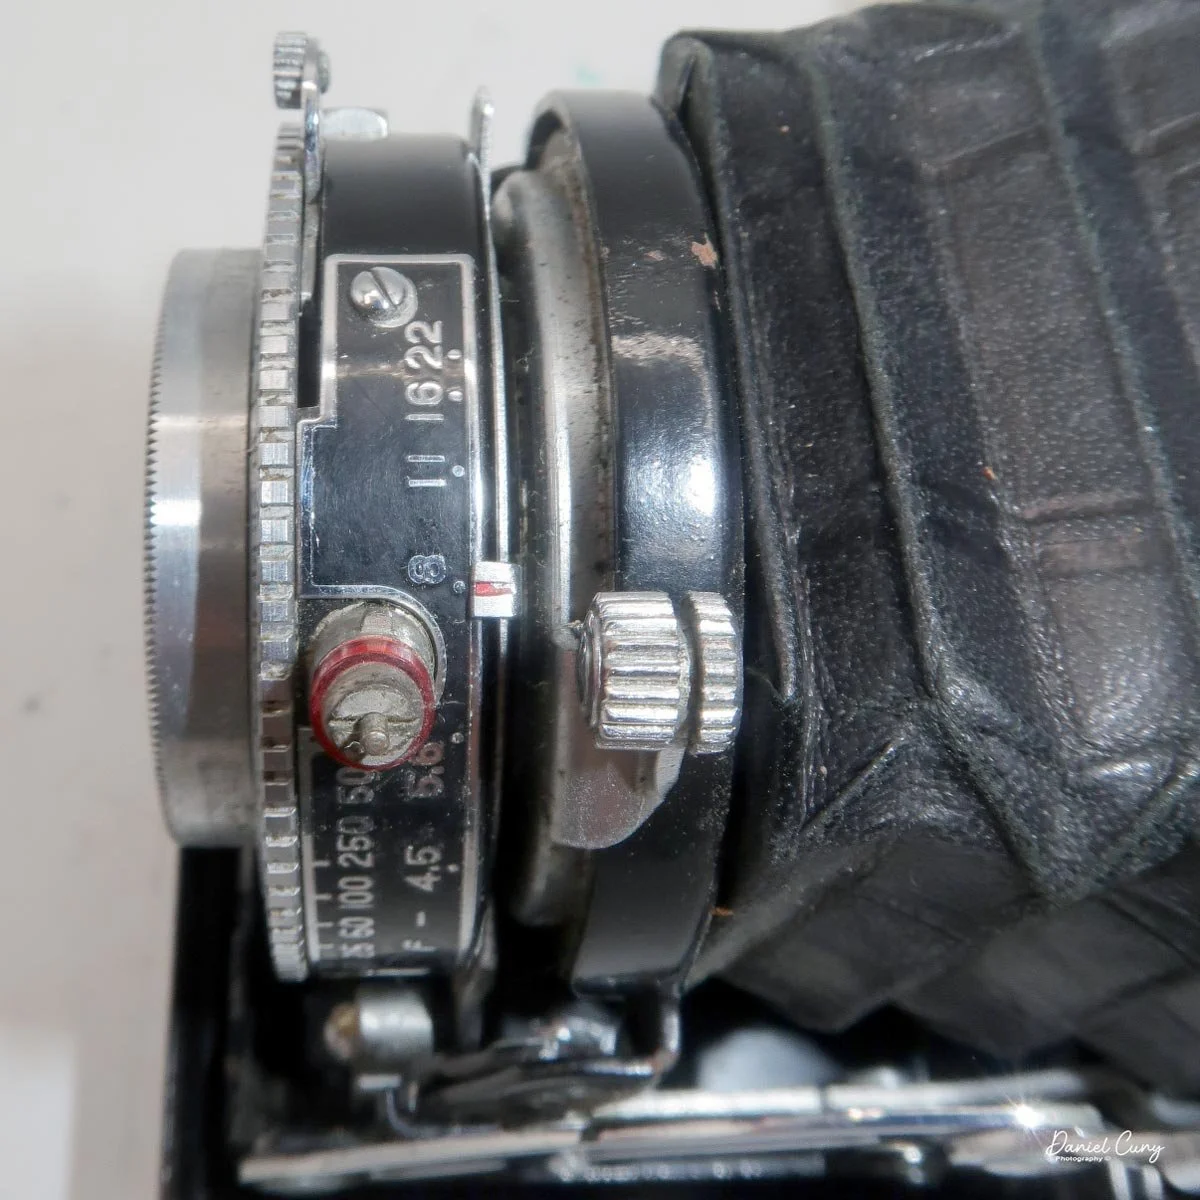
The aperture ranges from F/4.5 to F/22 and is adjusted by turning a knurled ring at the back of the shutter to the desired aperture, indicated by a red dot on the setting ring. Also on the camera's shutter is an ASA flash terminal, which would be used for bulb flash units popular at this time.

Behind the camera's shutter is a larger knob used to focus the camera through the rangefinder system. As mentioned earlier, I'm not sure whether my rangefinder is working. There's another way to check, and that's the method I used to get the photos for this article. 

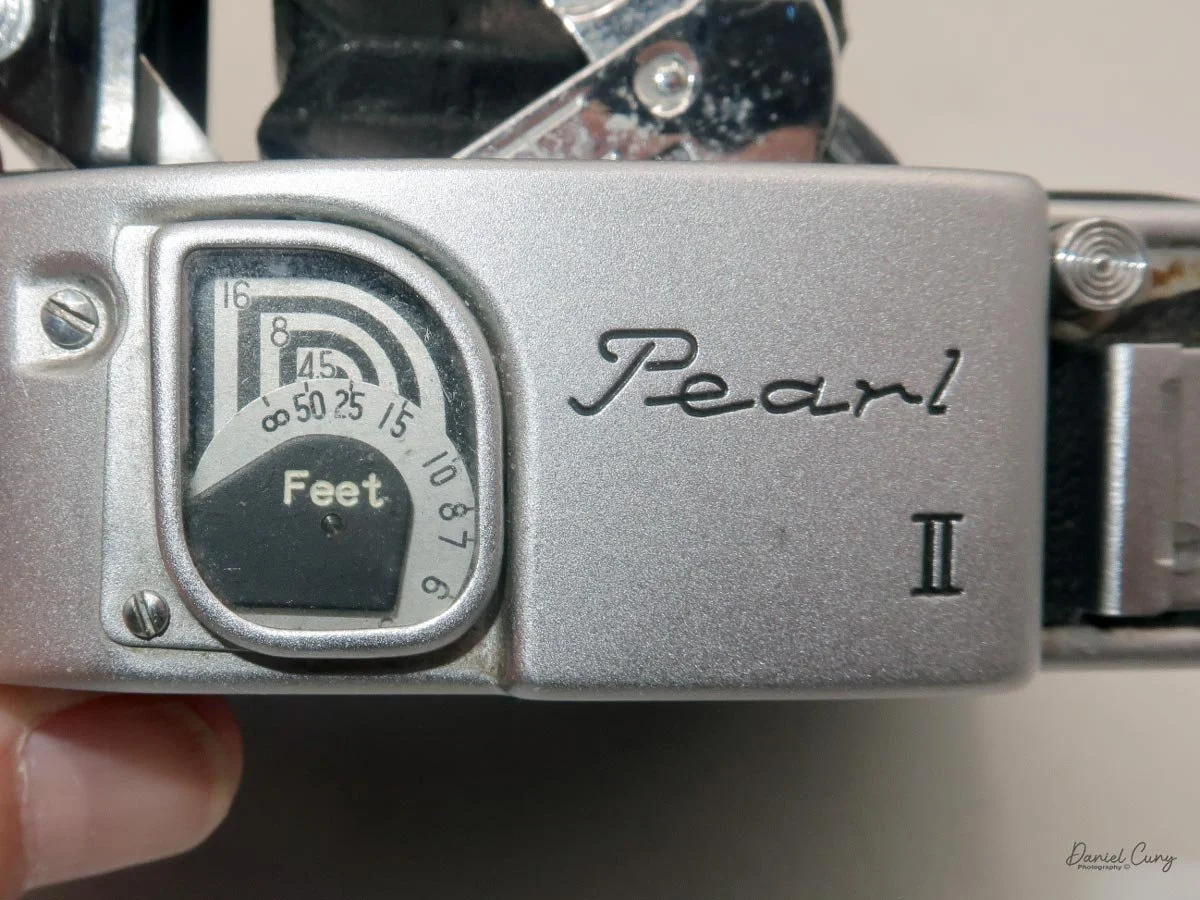
 Moving the focus knob on the camera one way or the other moves a bar in and out located on the opposite side of the shutter release linkage. This bar's movement changes the focus distance to the subject, which you can see through a window on top of the camera. I find these simple features on cameras fascinating. I don't know why, but I do.

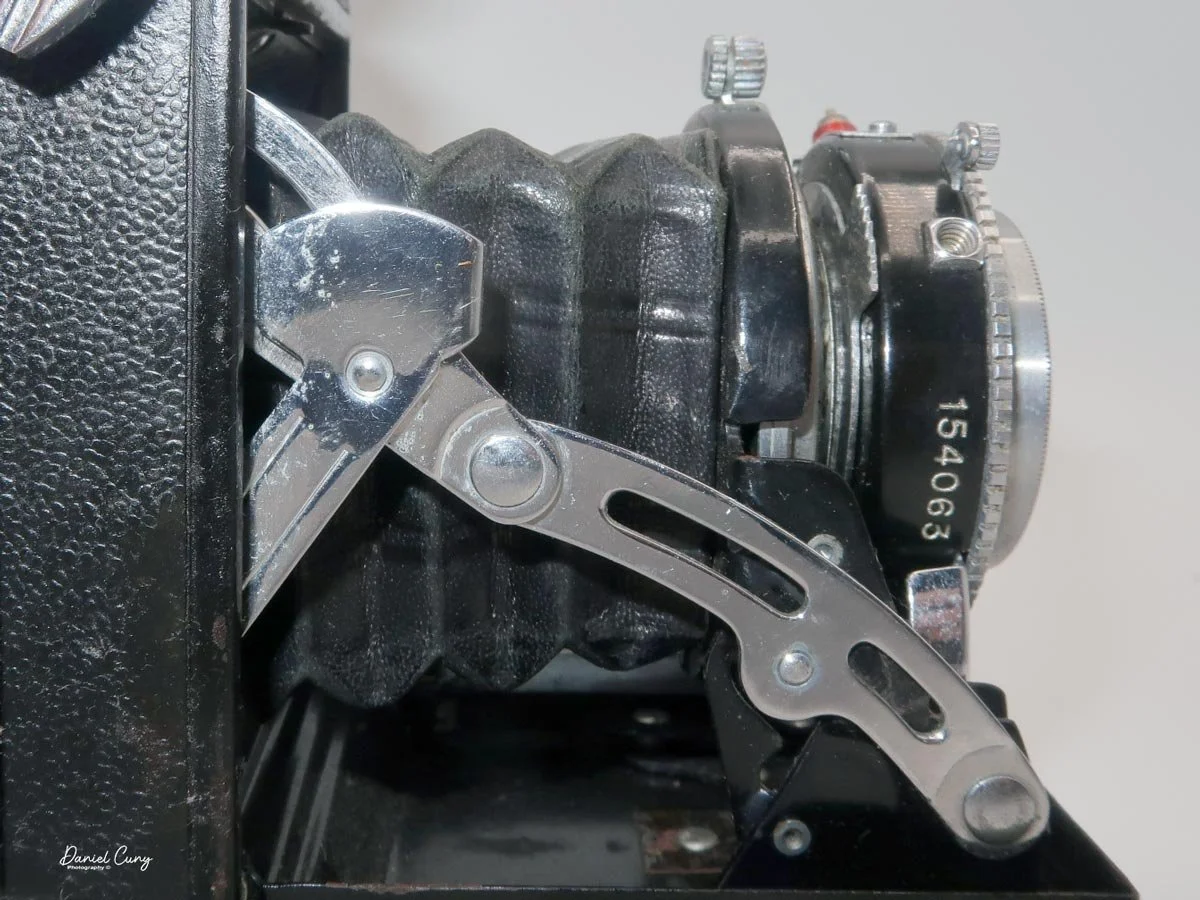
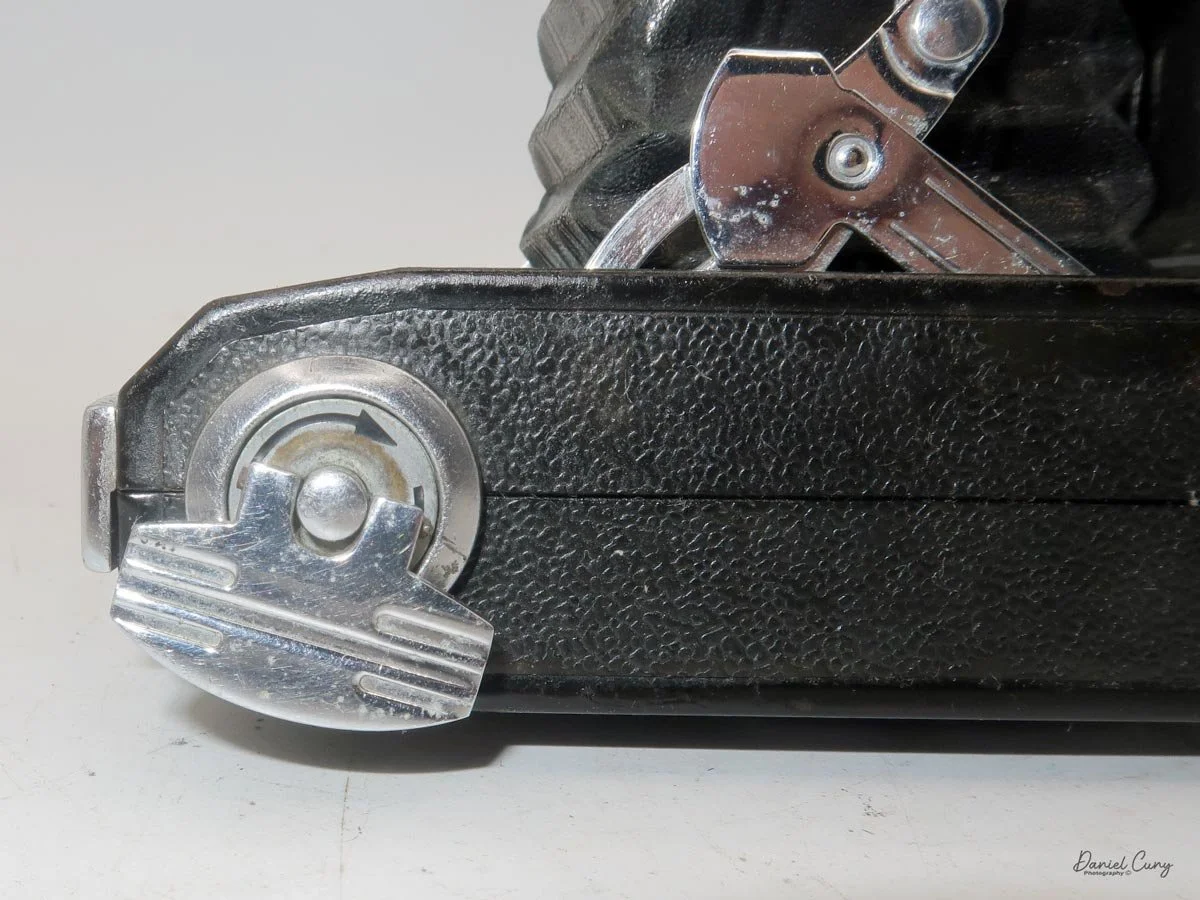
To close the lens door back into the camera body, press inward on the side struts holding the lens erect, and the struts will collapse, allowing you to fold the lens back into the camera's body. Pressing it back locks it into place. You'll also need to set the camera's focus to infinity before it will close all the way.

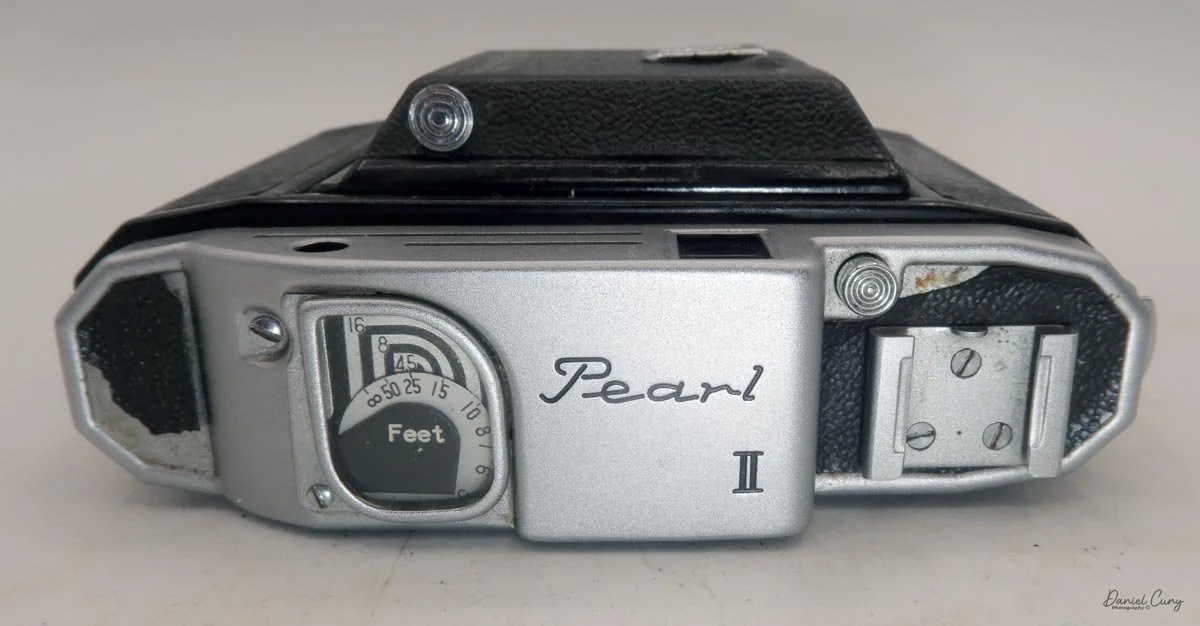
 Looking down at the top of the camera, there are just a few objects to see. There is a small area on the front of the rangefinder housing that is losing some of its leatherette. The wonderfully designed focus window with a depth-of-field scale. The name "Pearl II" is in a modernistic font, with the camera's accessory shoe on a lower plane and the button for releasing the lens door.

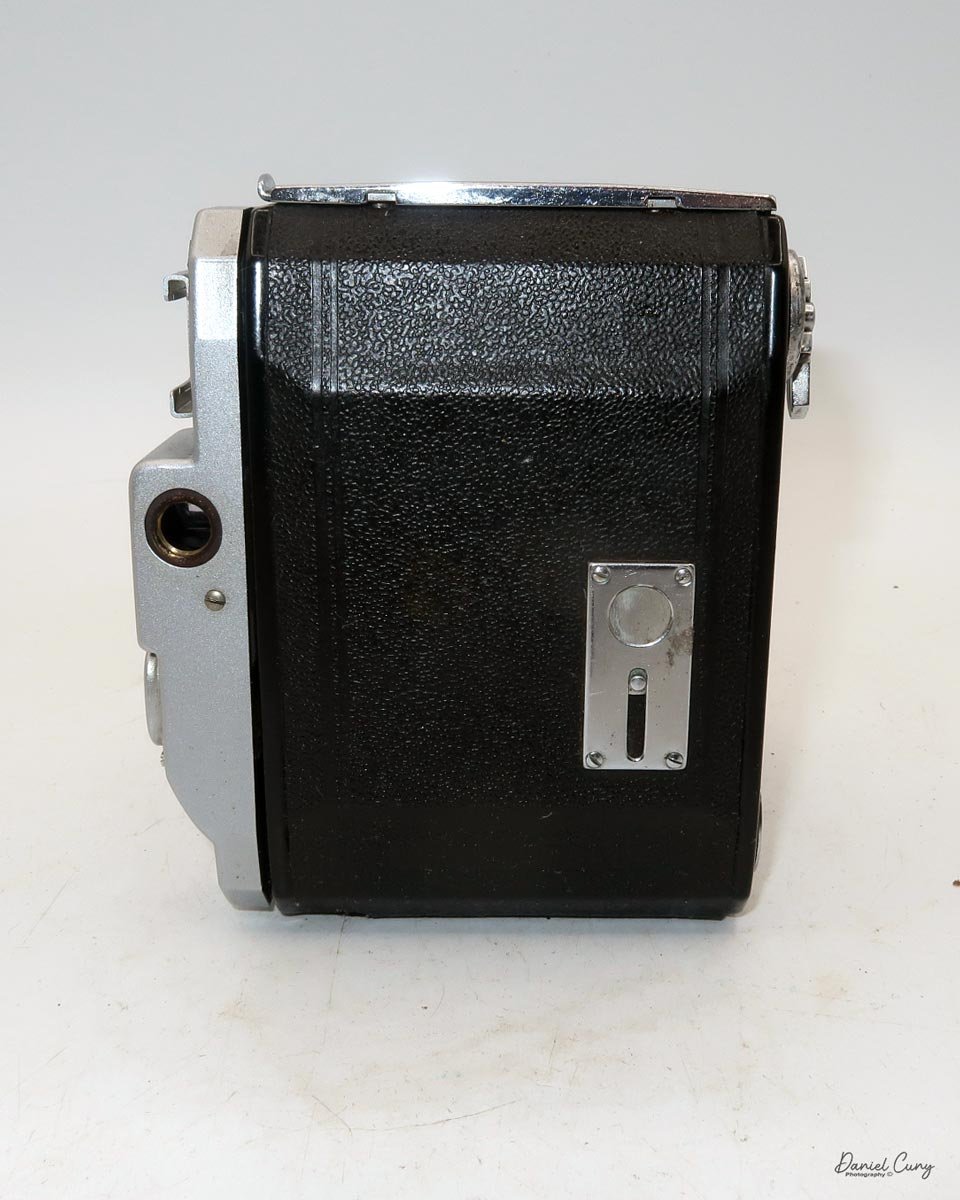
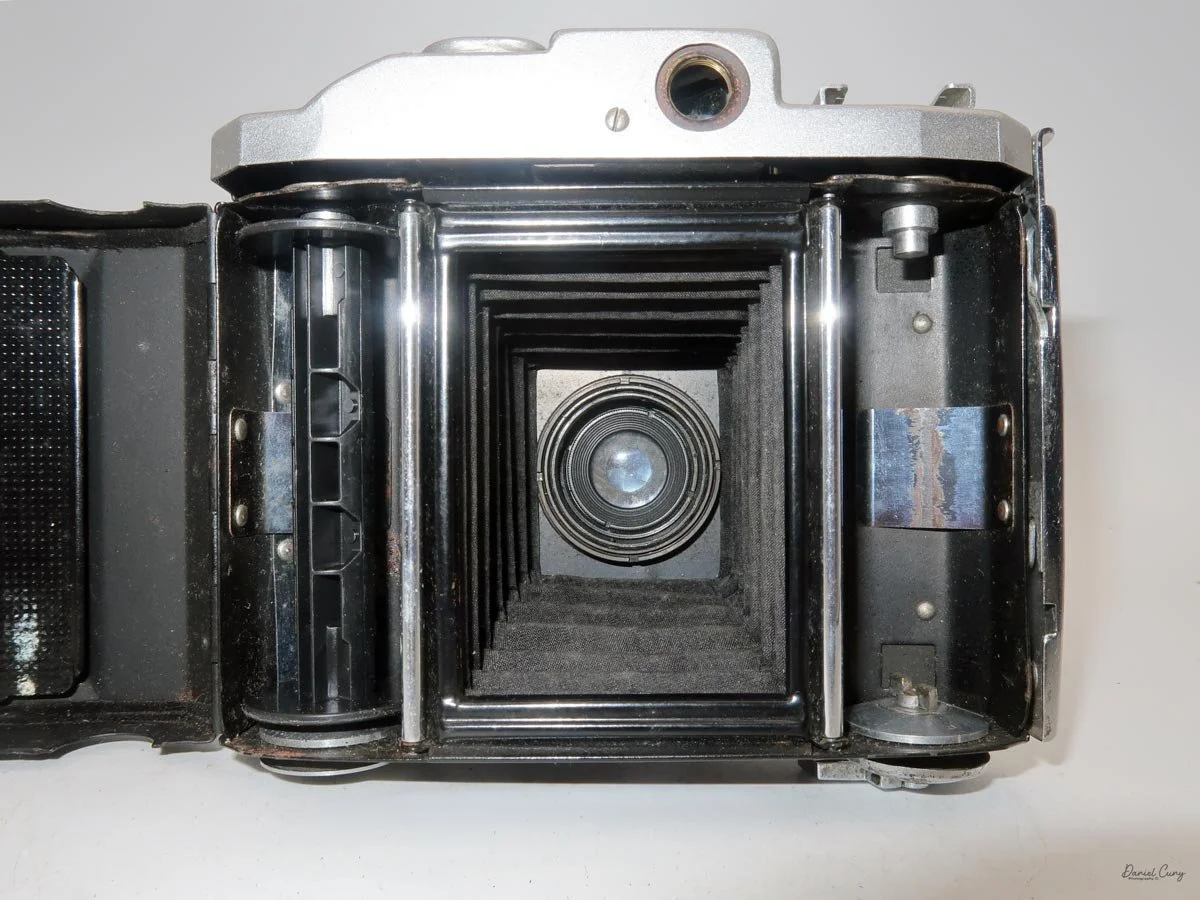
To load the camera with film, the film door release is on the right side of the Pearl II. Lifting the lever on top unlocks the film door, allowing you to open it and load film. The fresh roll fits on the left side, and the take-up spool will be on the right, where the larger key-style winding lever is located. Once loaded, close the back of the camera and wind until you see the number 1 in the rear chrome window, which has a sliding cover.

 With the film loaded in the camera, let's take a walk through the neighborhood to see how it performs. Even though I don't have a usable rangefinder, the distance scale on top of the camera should help me take sharp photos.

 My Results:

 Since the camera has a vertical 6x4.5 format, you can take 16 images on a roll of 120 film. If you're taking a horizontal image, you'll need to turn the camera to landscape orientation.

 Here are some of the photos I took during my walk in our neighborhood.

Conclusion:

 I understand why the Konica Pearl lineup is so desirable for an everyday pocketable film camera. It's sophisticated, yet simple. The camera can focus on your subject via an internal rangefinder system, rather than relying on a less desirable "guess" focus system. 

 The higher shutter speed of 1/500 for the time period allows for less camera or subject movement, and the iconic Konica Hexar lens is sharp and provides wonderful contrast to the images.

 I'm very glad I purchased this camera, and am keeping my fingers crossed that the viewfinder glass will bring the camera's rangefinder back to life, allowing for even easier focusing and possibly a sharper image.

 Thank you for taking the time to learn about this wonderful camera from Japan's early camera revolution after WWII, when many cameras had "Made in Occupied Japan" embossed somewhere on them, just like this one.

 Here are some of my other Camera Reviews

 I also have a YouTube channel where you can view overview videos of some of the cameras I've written about.

 Cuny's Camera and Photos is my online eBay store where I sell many of the cameras reviewed, along with other cameras, lenses, and photo oddities I've accumulated in my 50-plus years of collecting. Stop by and see if there's something for you there.

 Until next week, please be safe.
Baron RI camera

My Baron RI camera

When I visited Tokyo, Japan, a few weeks ago, one of my main objectives was to find odd, unusual, or little-known cameras that I could write about for this blog post. I found a few cameras that meet this criteria and will be writing about them over the next couple of weeks. 

 To get familiar with many of the used camera stores in Tokyo, I hired Bellamy Hunt from Japanese Camera Hunter for a half-day tour. Not only is he a wonderful, kind, and knowledgeable camera collector, but his background on how he started his company is intriguing. I had a wonderful time getting to know him and appreciated all his insights into collecting cameras.

 One of the shops he took me to was Used Camera Box at 1 Chome-13-7 Nishishinjuku, Shinjuku City, Tokyo 160-0023. It was, to me, a jaw-dropping experience. The camera store is not that big, but almost 90% of it is filled to the rafters with cameras. There are many showcases with cameras on top of cameras, and in front of these showcases are bins of more used cameras.
 Only two people were working there, so I didn't want to monopolize their time opening and closing different showcases. If the showcases had been opened and I had places to look through all the items they had, it would have easily taken a couple of days, which would have been something I would have done.
 During my time with Bellamy, we didn't spend much time there, but I found one or two items, paid for them, and left. It was a store I planned to come back to when I had more time, to spend a couple of hours going through the bins and looking through different showcases, trying to find the odd, unusual, or unknown items.
Embossing on the camera leans board.

 On my final day in Tokyo, I went back to Used Camera Box and did what I had planned. When I arrived in the morning, soon after they opened, there were no customers, so I had time to go through many of the bins and scour at least one or two of the showcases. 

 There was a showcase towards the rear of the store that looked like it had many interesting items. I noted the items I was interested in and called over one of the two salespersons. At this point, a couple of other customers were there, but I was determined to look at the items I wanted.

 The salesperson was very courteous and allowed me to pick and look at several items I was interested in. There were some very rare gems, but the pricing was considerably higher than I was willing to pay, so I decided on 3-4 cameras, paid for them, and left very happy.

 One of the cameras purchased in the last few days at Used Camera Box is the camera I'm writing about in this post: the Baron RI camera. 

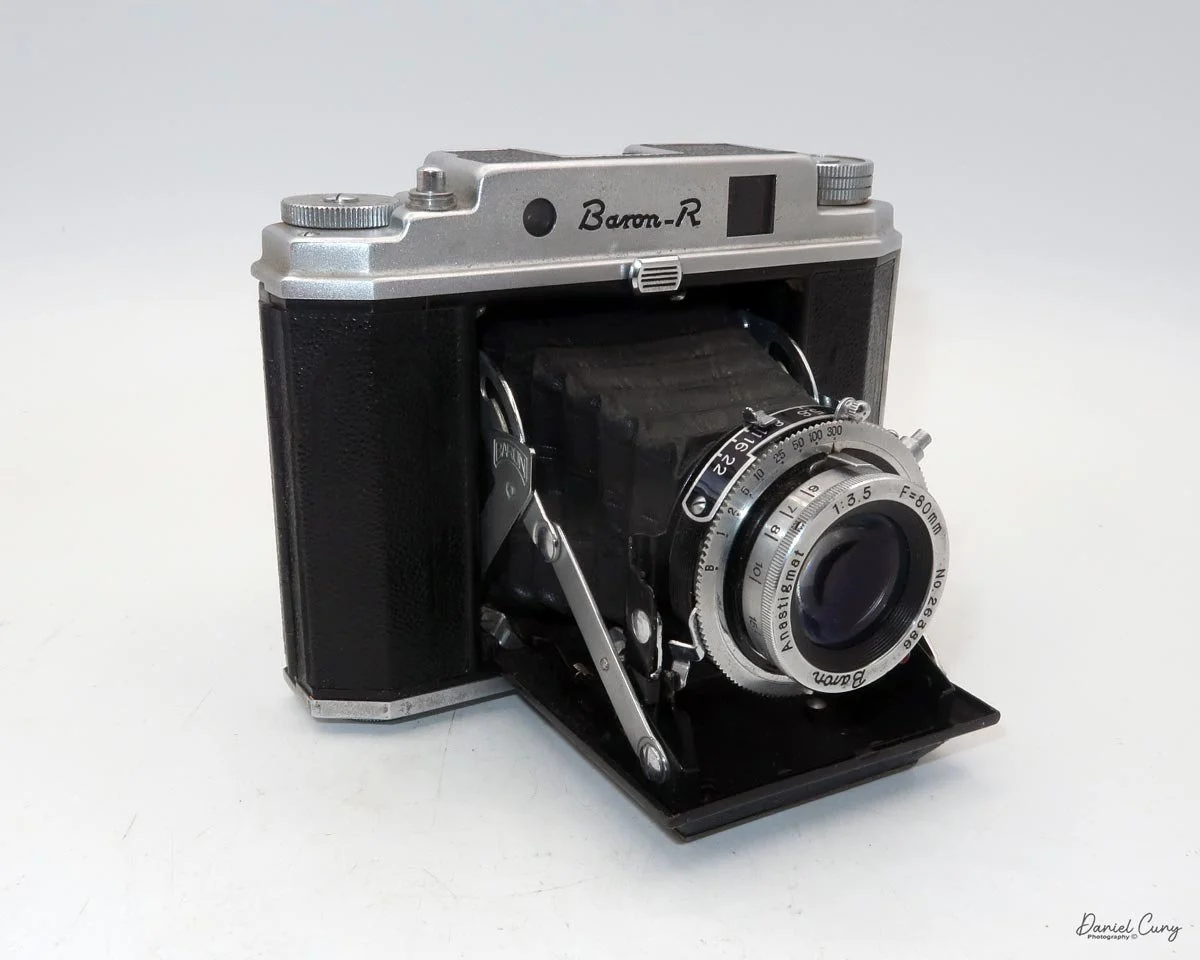
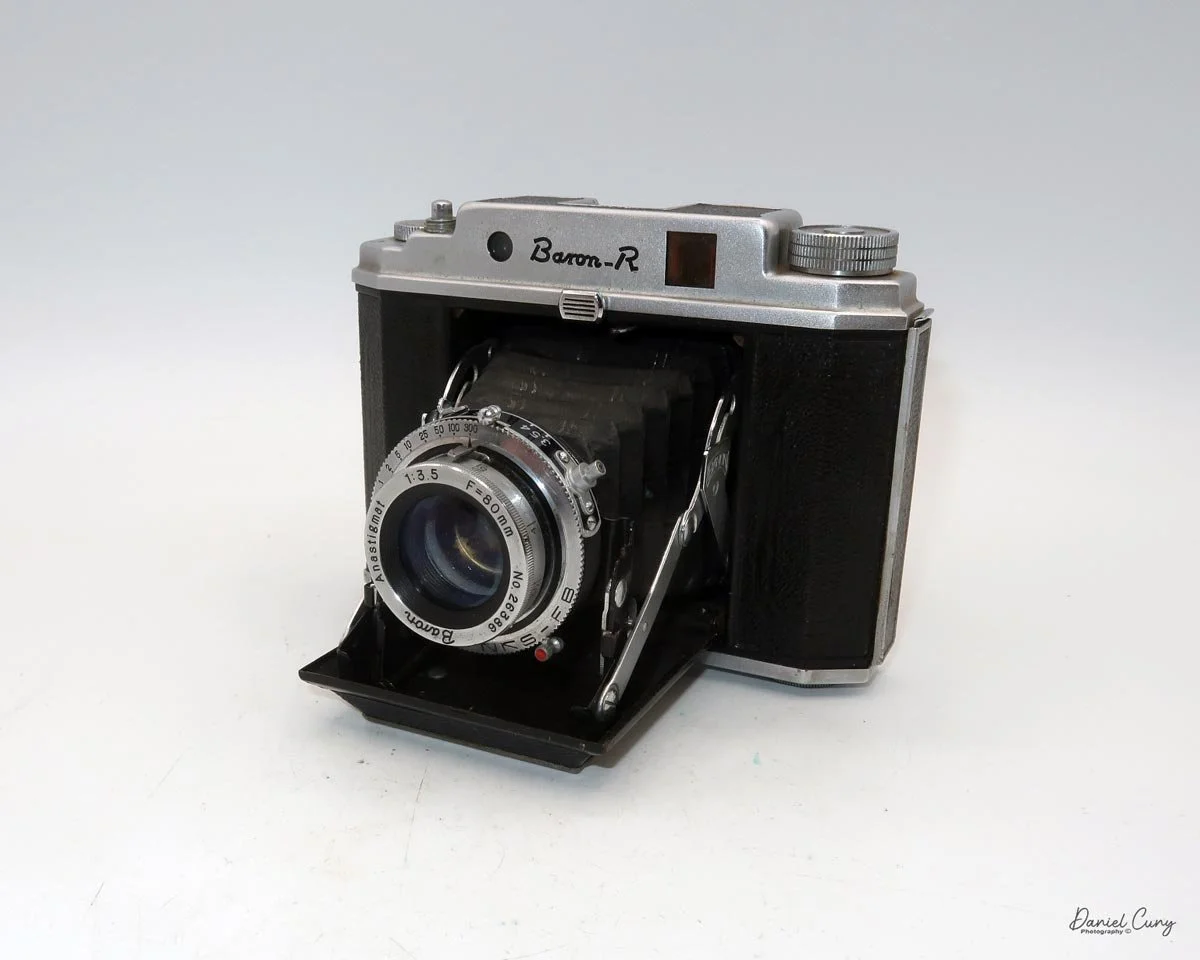
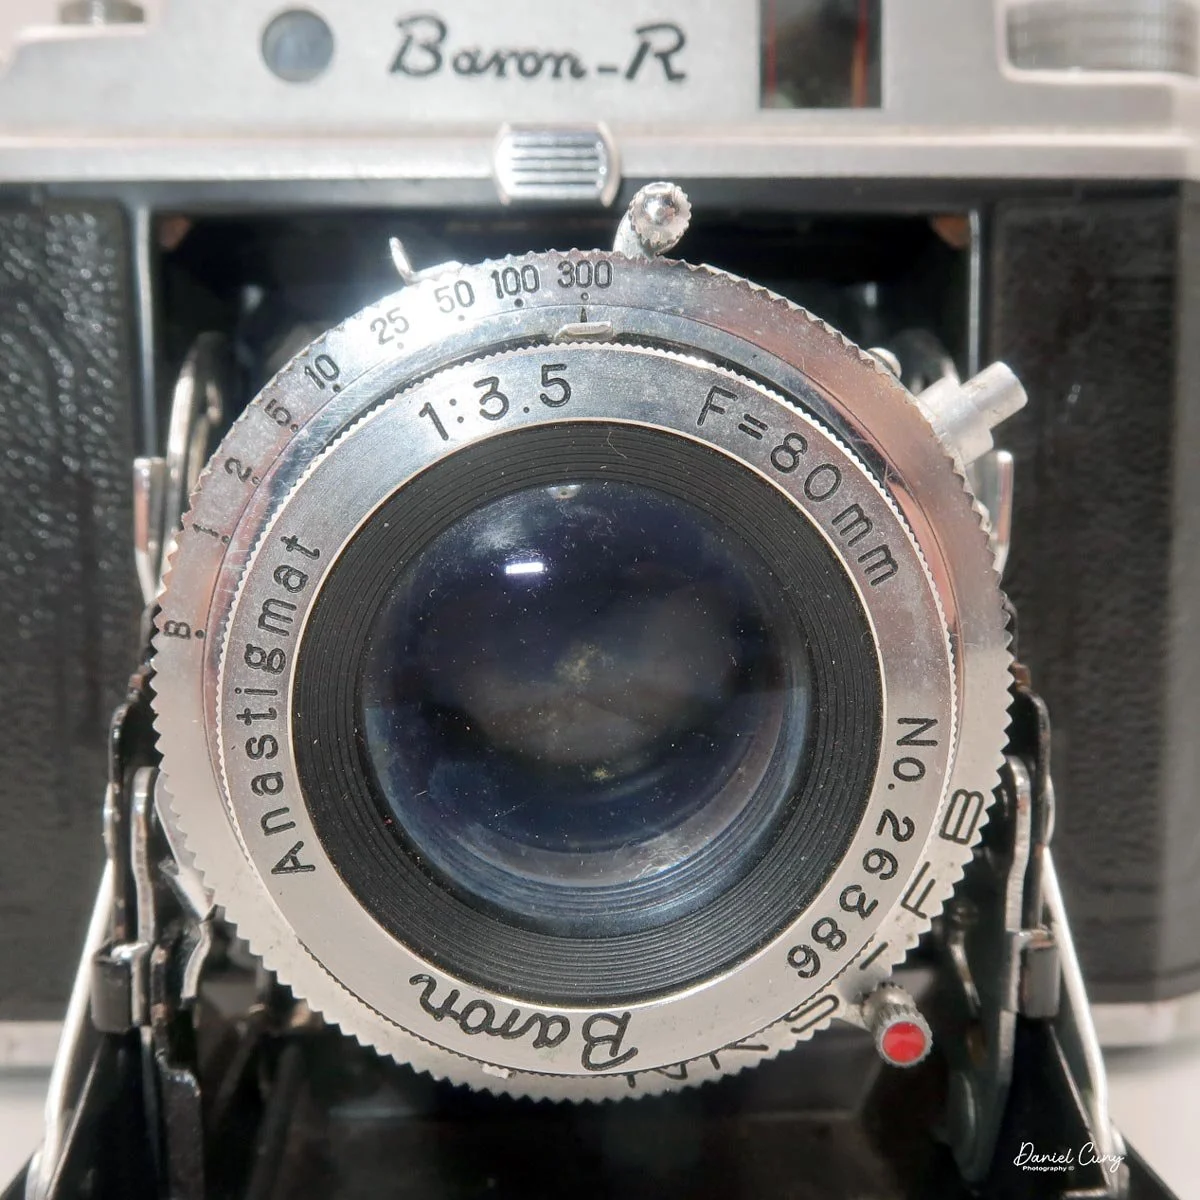
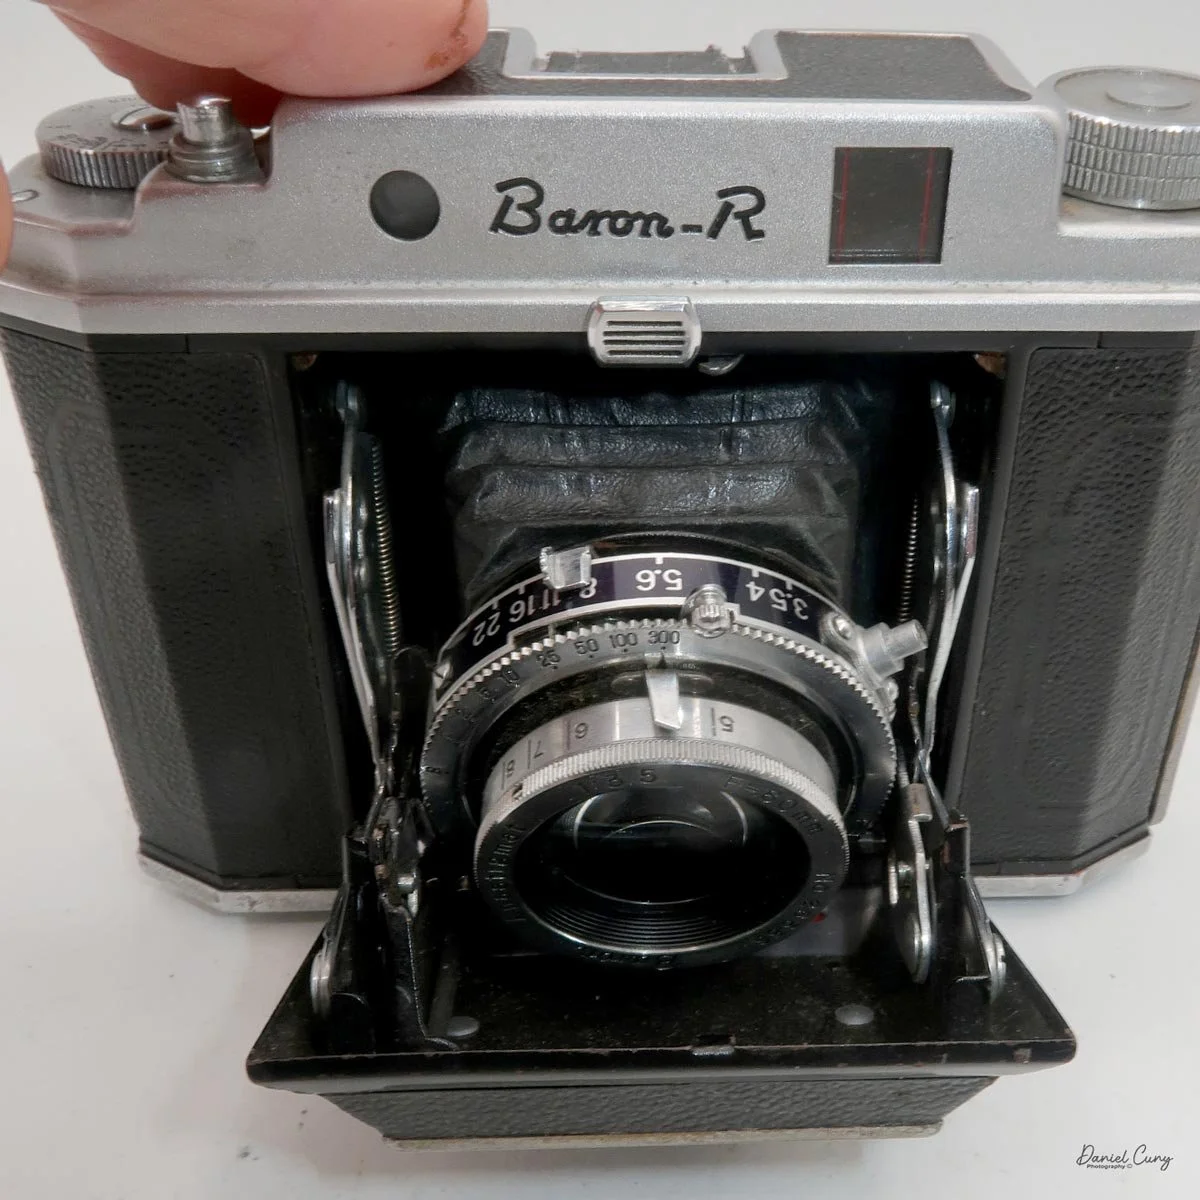
 The Baron RI camera is one I had never heard of or seen before, though it looks like so many other Japanese cameras from this timeframe. A folding 120, or 620 camera with a fold-out bed and nice Japanese shutter, taken from German manufacturers who made similar style cameras before World War II.

 Doing research on the camera, Baron cameras were made only by Chūō Seiki for a few years, between 1952 and 1956. They produced a few different models, but the company was short-lived, and the cameras are not very common.

History:

 Baron cameras were part of Japan's early postwar flood of small camera brands, emerging in the early 1950s when the country's photographic industry was rebuilding and rapidly expanding. These cameras reflect a period when dozens of manufacturers rushed to meet domestic demand and to compete in export markets, often by producing affordable 35mm and folding cameras inspired by European designs.

Japanese advertisment for Baron cameras

 In the early 1950s, Japanese camera makers were still working under the lingering effects of wartime disruption and occupation-era labeling rules. Many products carried "Made in Occupied Japan" markings until around 1952–1953, after which "Made in Japan" became standard as exports broadened and the industry gained a stronger international identity. Baron belongs to this wider ecosystem of small, fast-moving firms that relied on compact production runs, simple mechanics, and competitive pricing to find buyers.

 What makes Baron interesting is not that it was one of the biggest names, but that it represents the experimental, entrepreneurial side of the Japanese camera boom. The period was crowded with startups, subcontractors, and short-lived brands, many of which produced cameras that are now obscure but historically important because they show how Japan's industry learned to scale up, refine machining, and improve optical quality. That broader growth helped Japanese cameras go from largely unknown outside the country to serious competitors in overseas markets by the end of the decade.

 For collectors and historians, Baron cameras are valuable as artifacts of that transition. They sit at the intersection of postwar recovery, consumer optimism, and Japan's rise as a global center of photographic manufacturing. Even when the cameras themselves were modest, the brand is part of the larger story of how Japanese makers shifted from imitation and survival to innovation and global influence.

My Camera:

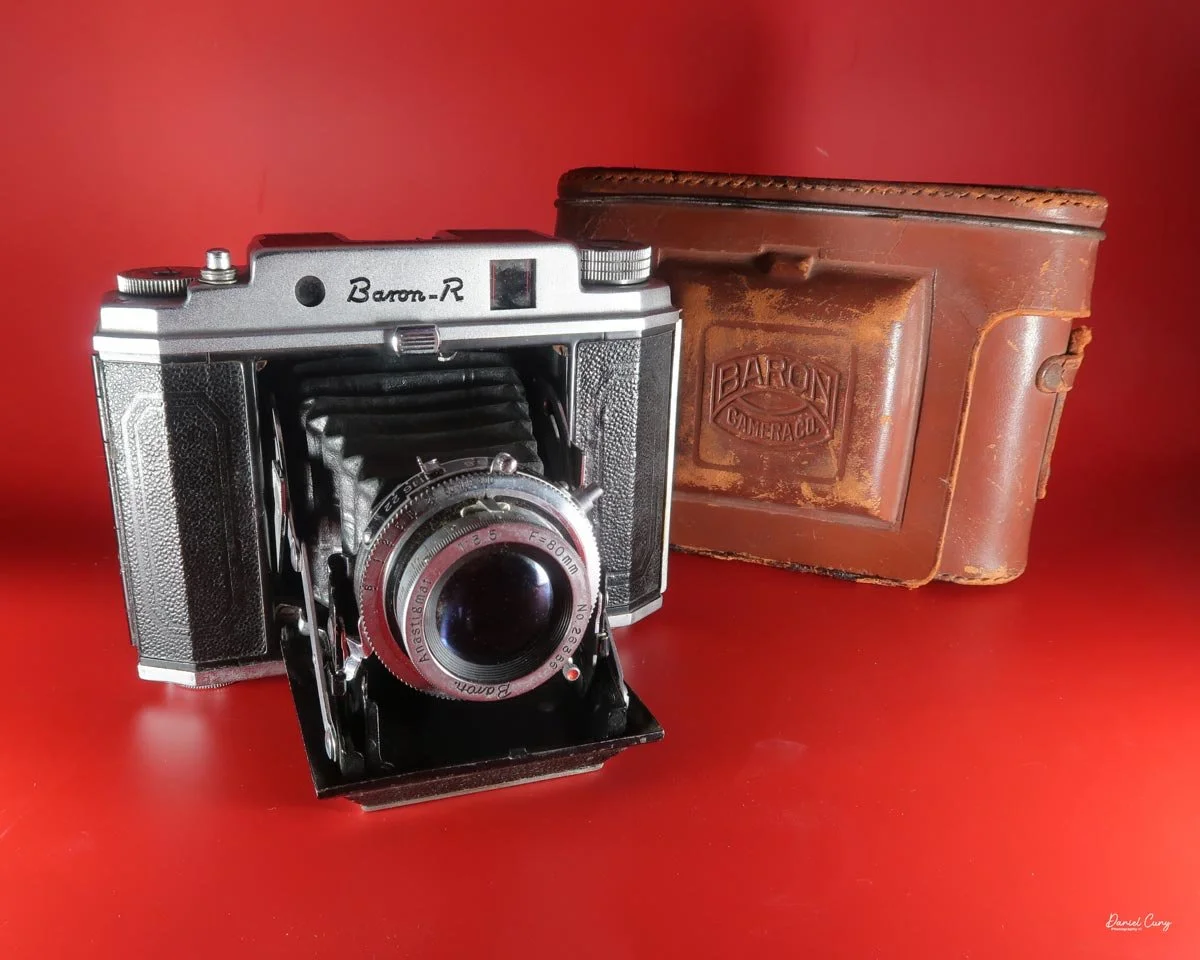
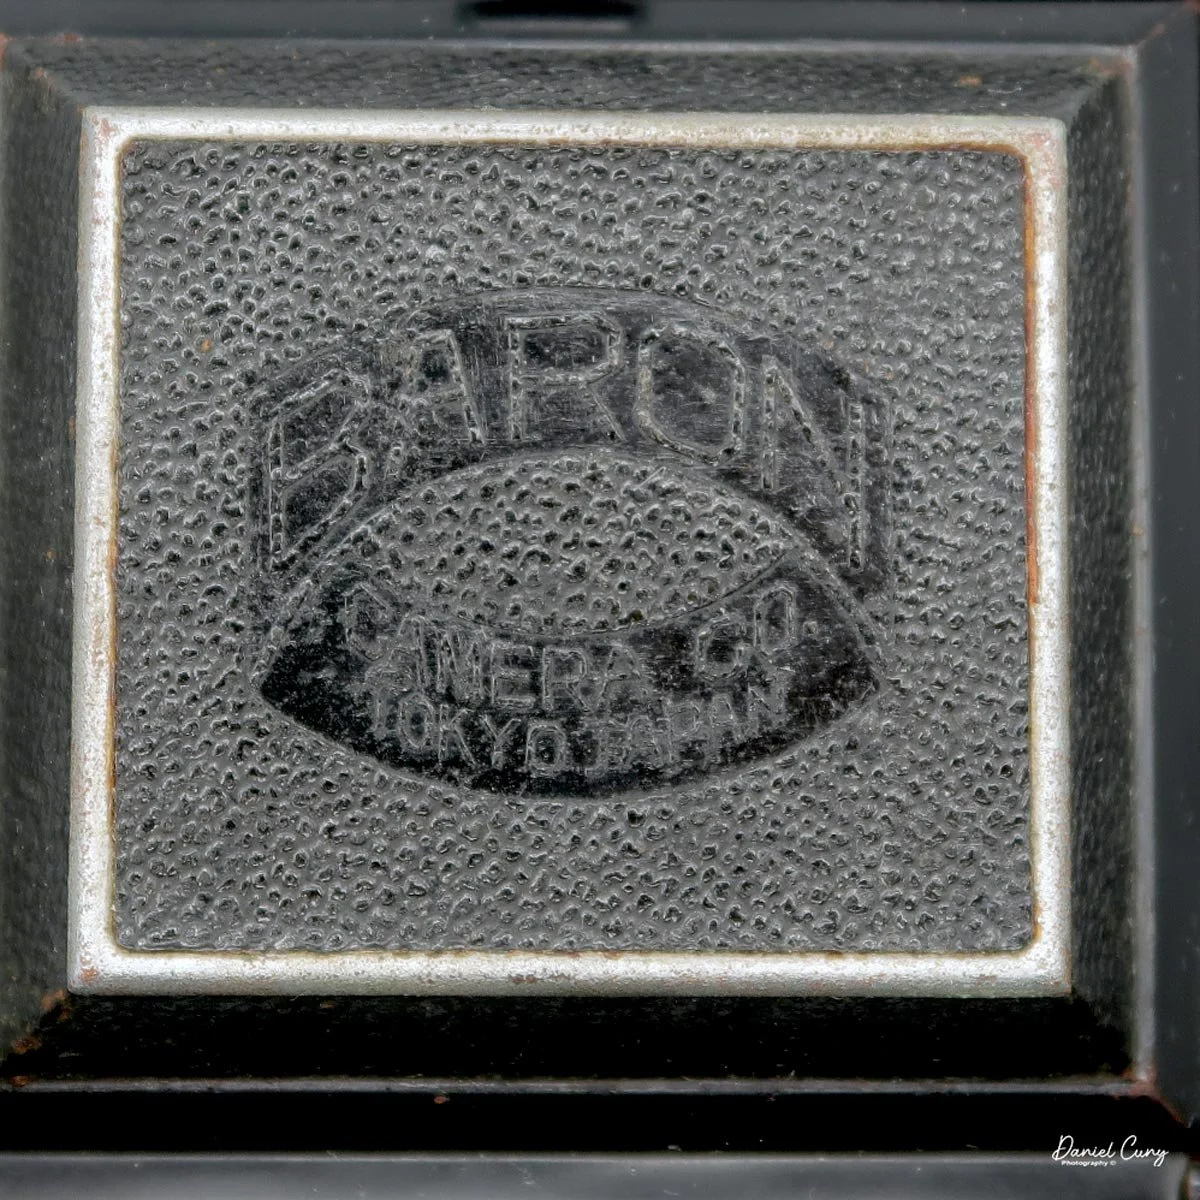
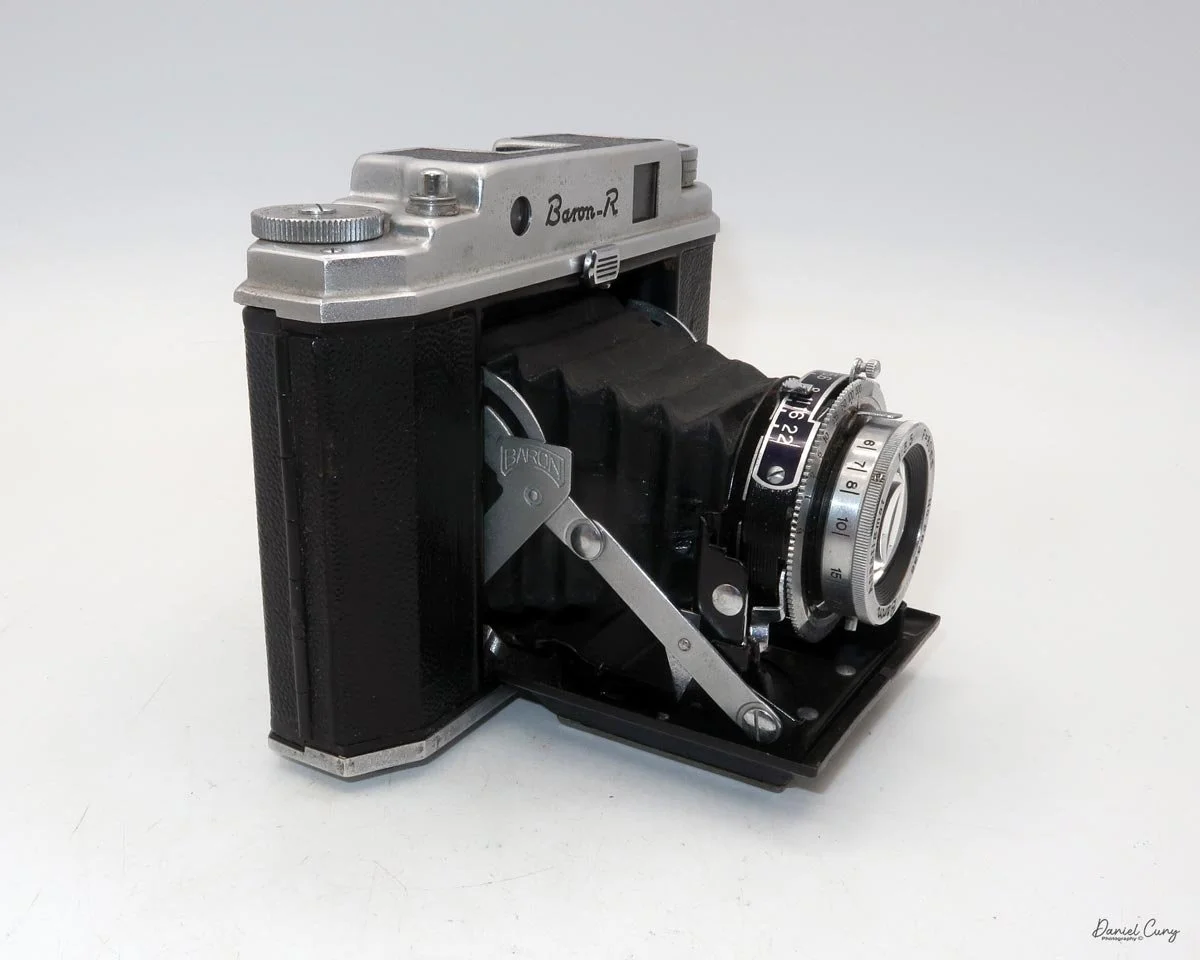
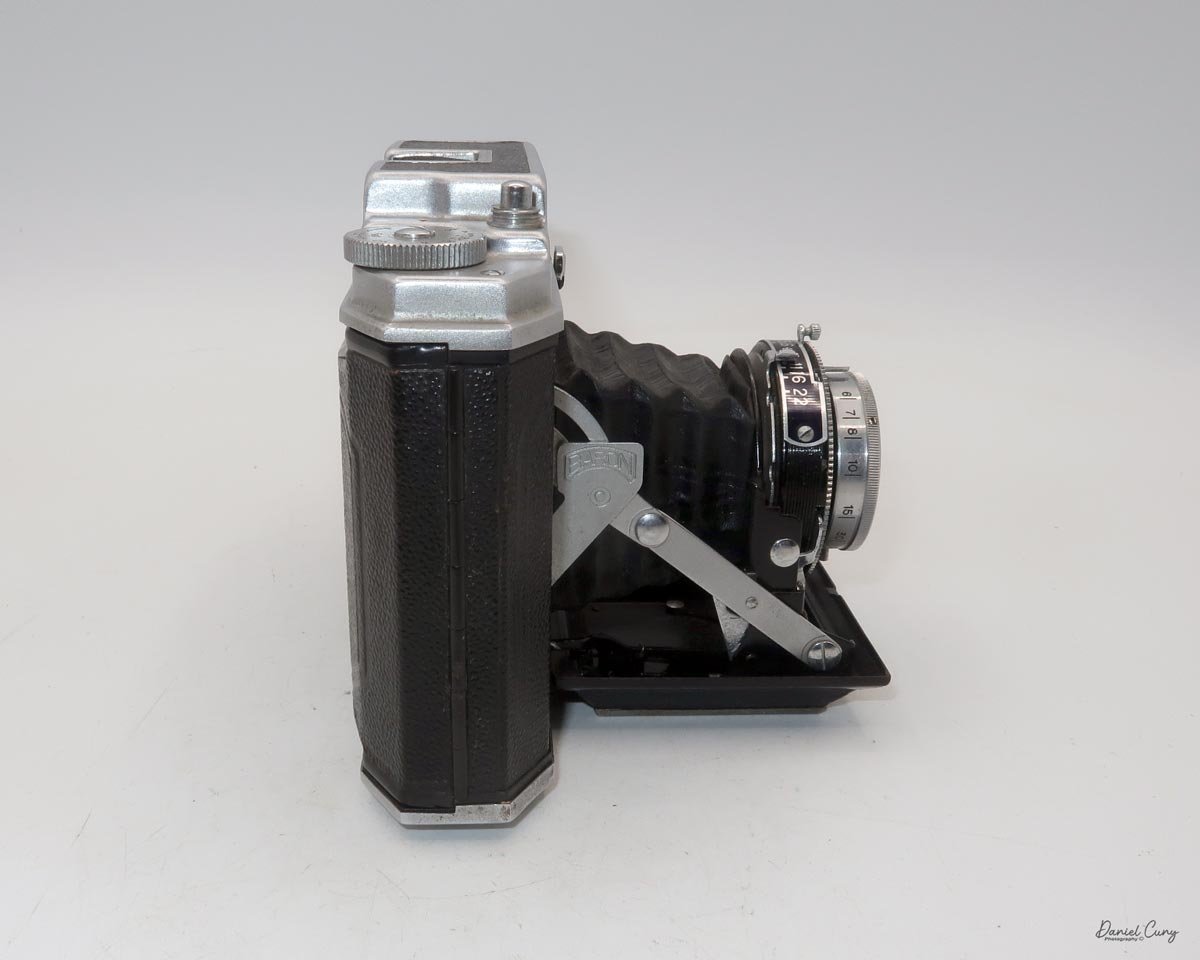
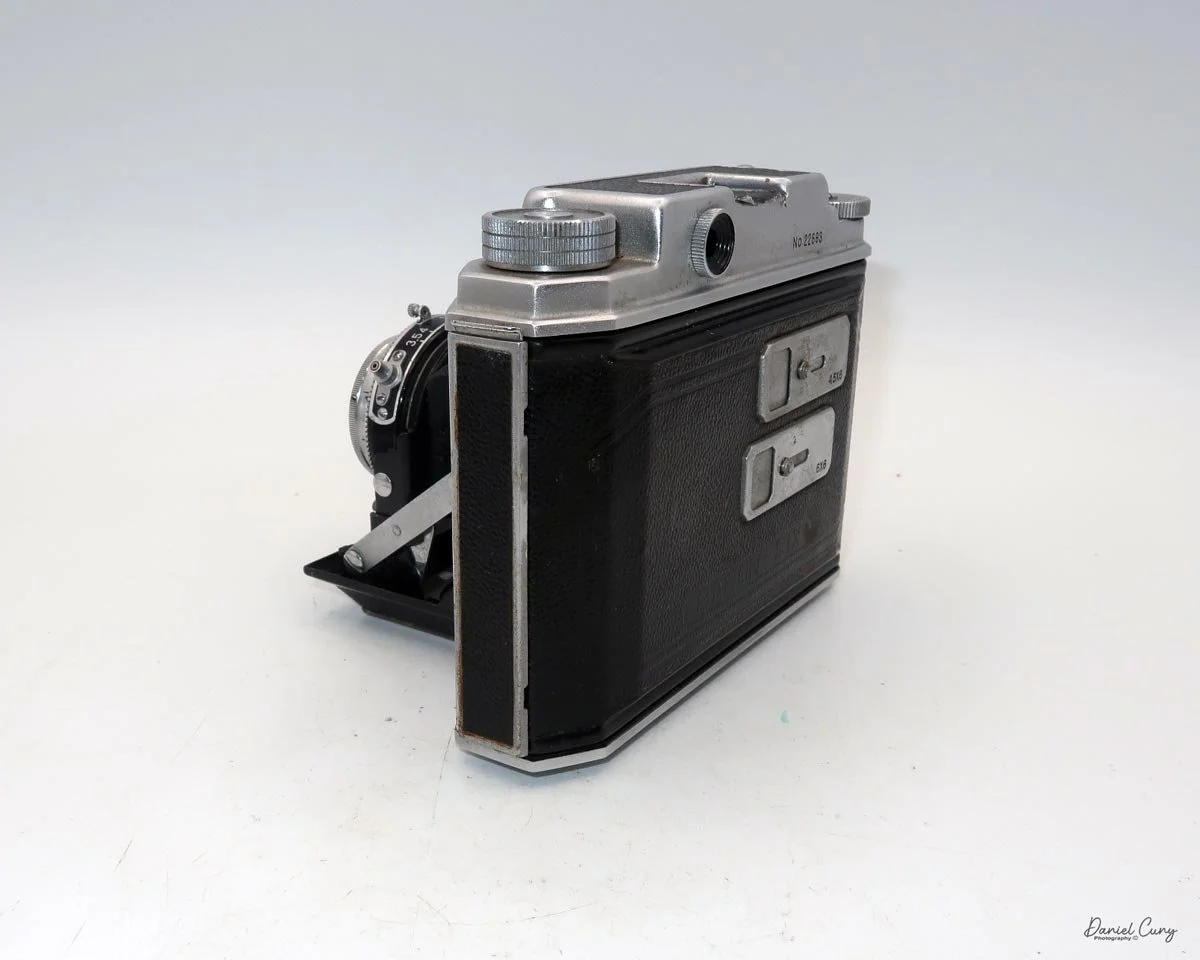
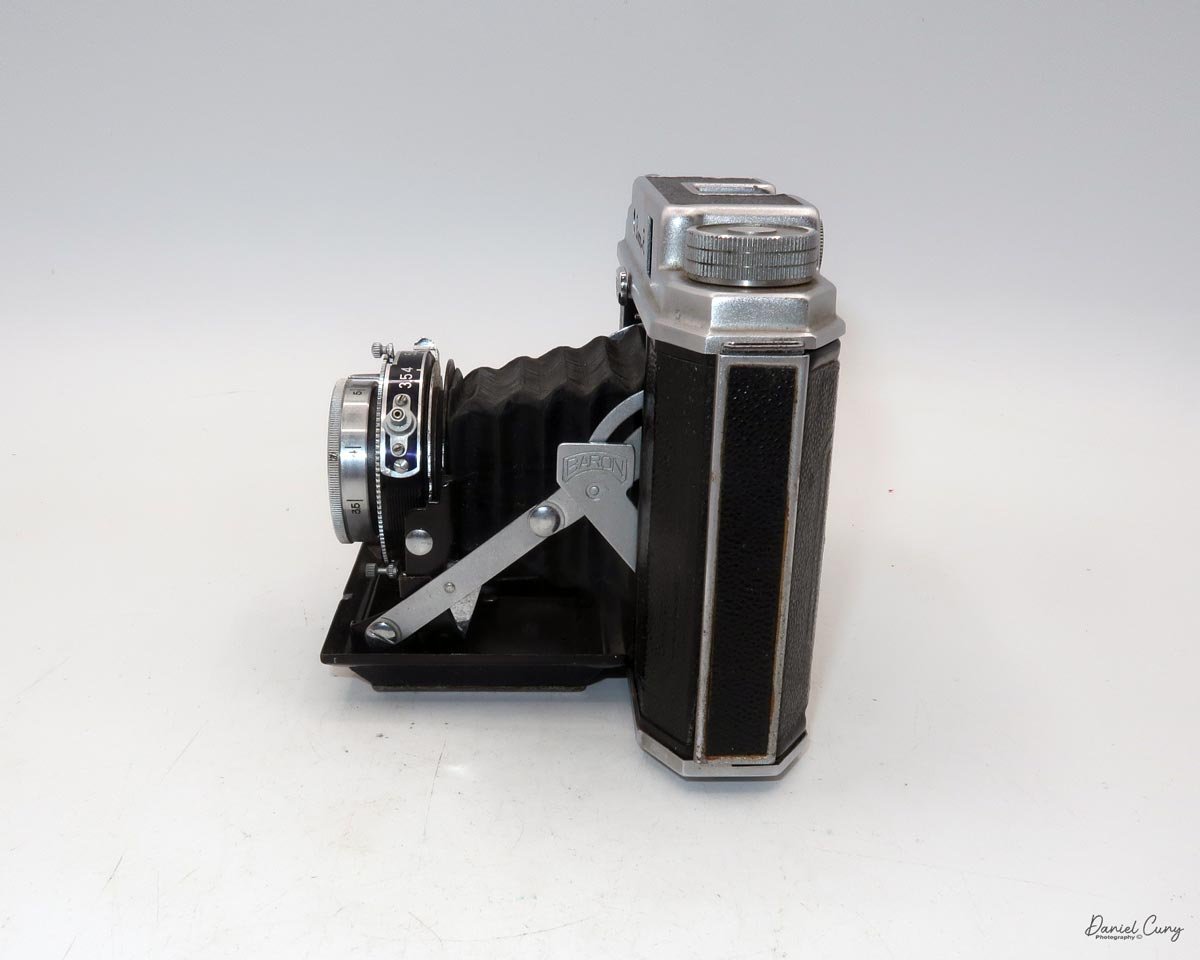
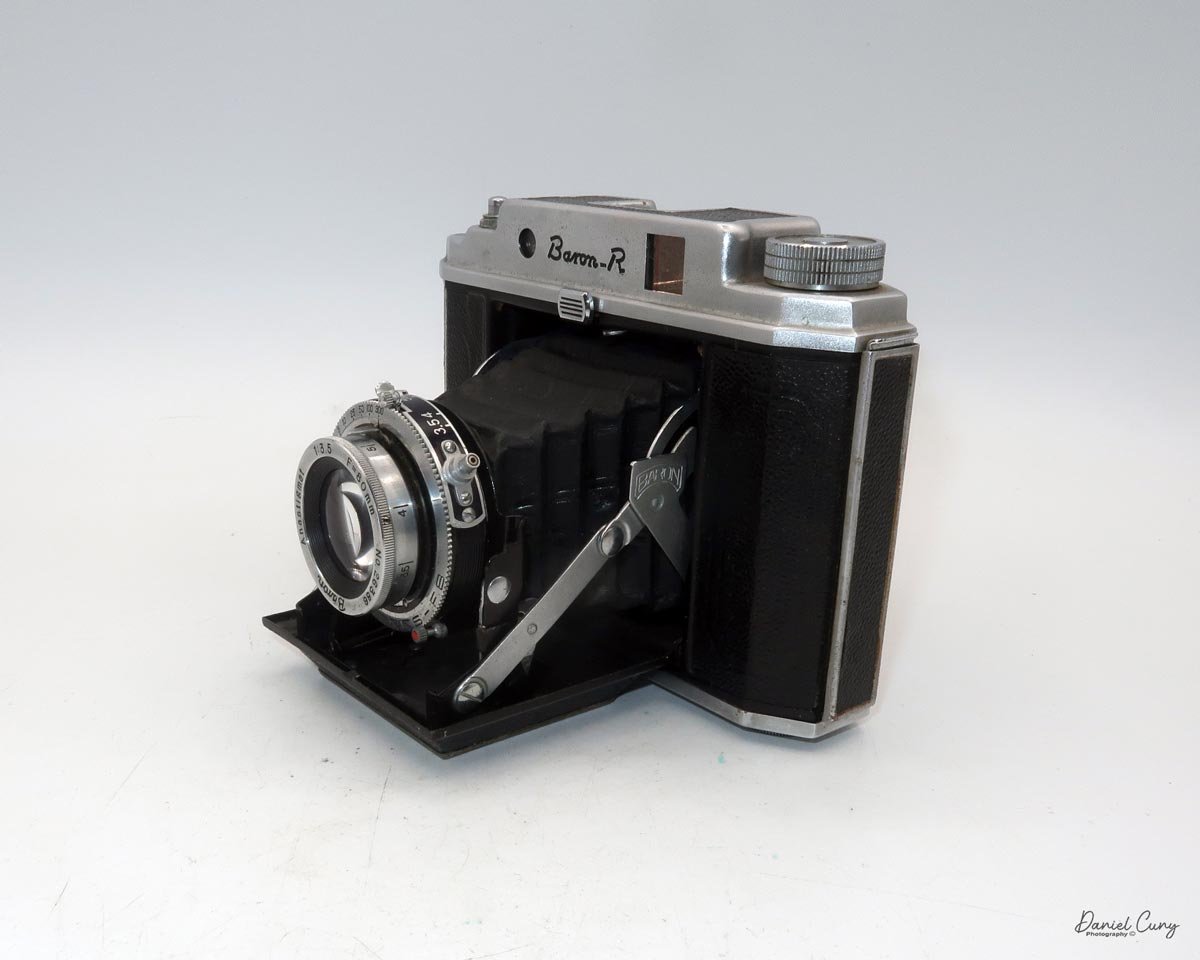
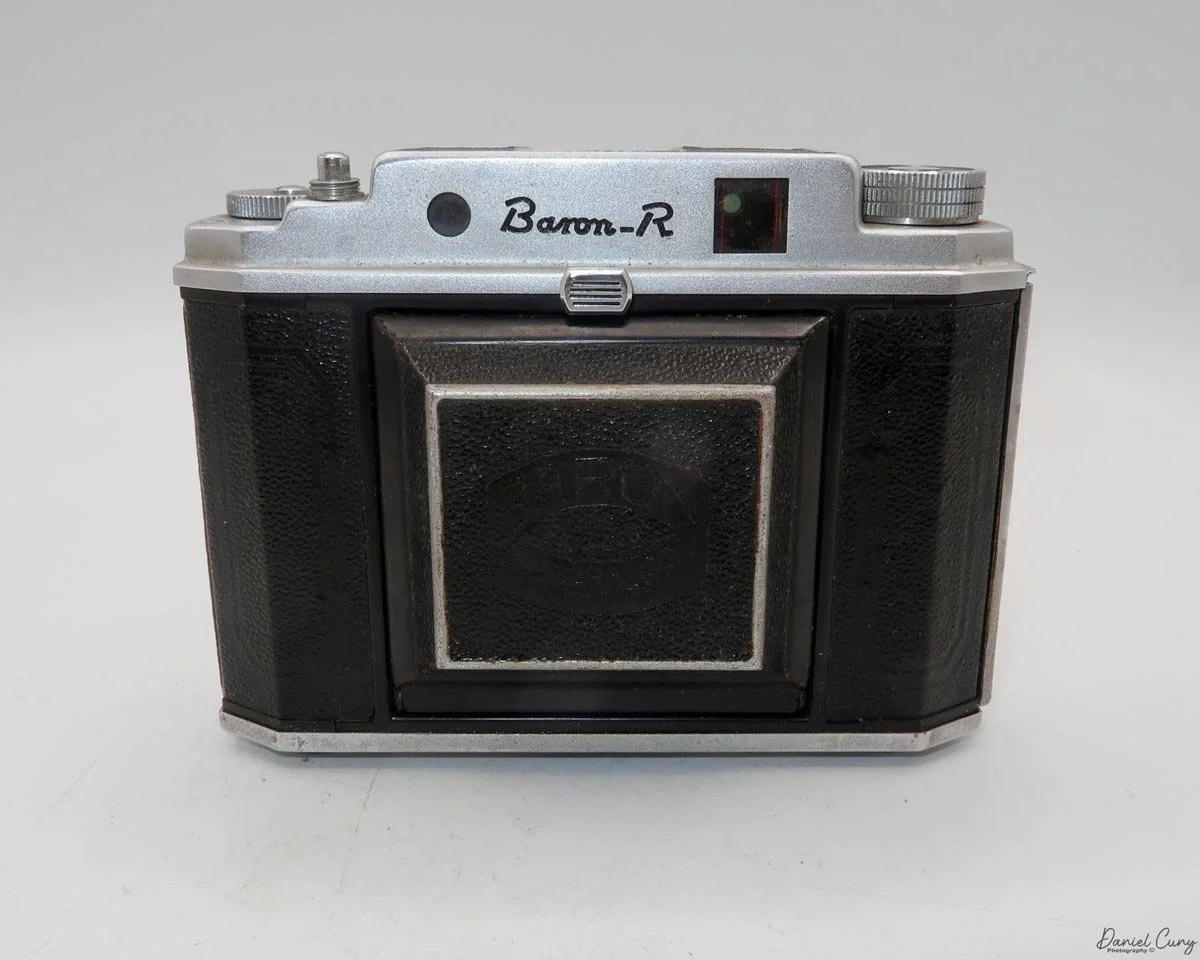
 My Baron RI camera is 4" tall, by 5.5" wide, and 2" deep when the lens is closed, and 4" deep with the lens extended. The camera weighs 1 pound, 8.1 ounces without film loaded. Embossed on the folding bed door is "Baron Camera Company, Tokyo, Japan."

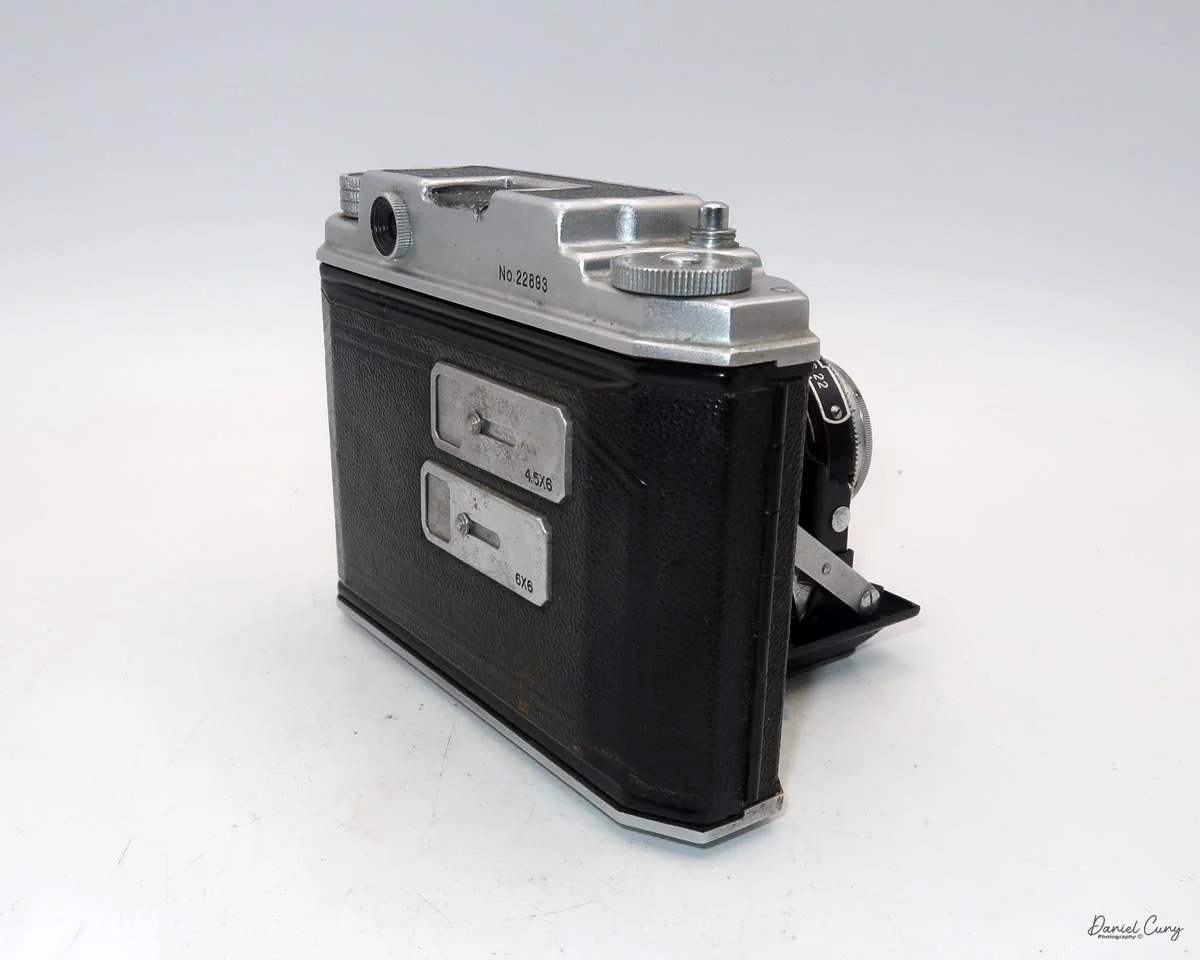
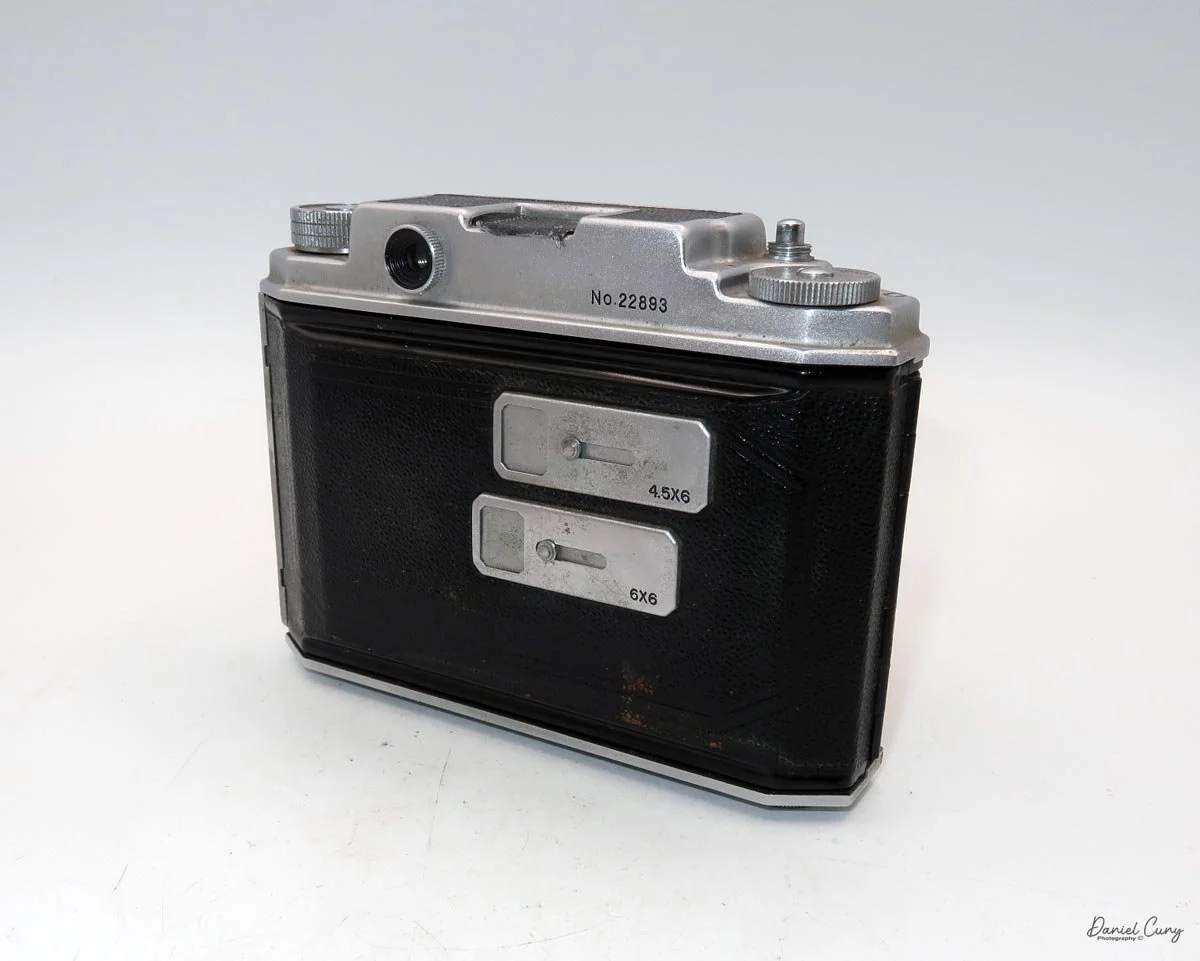
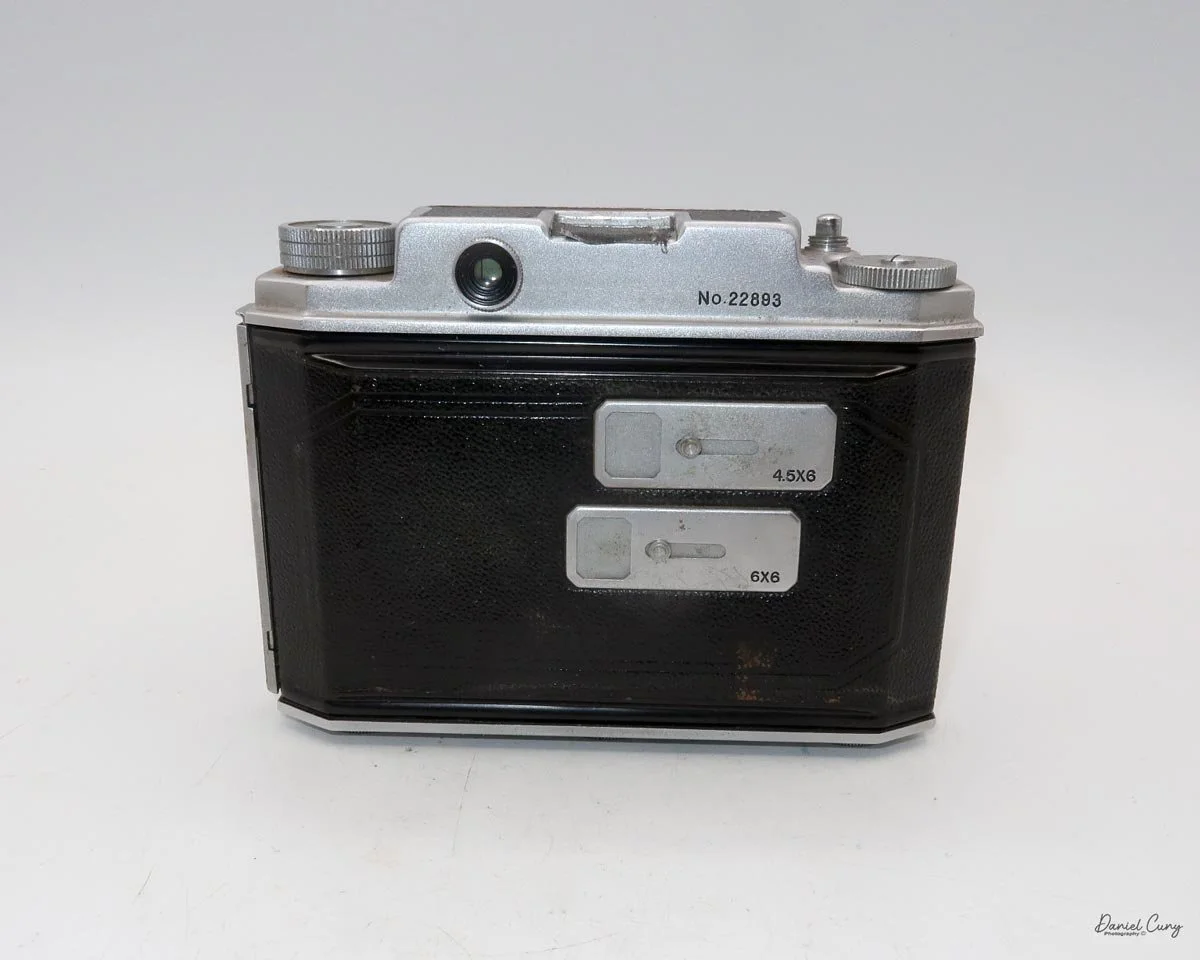
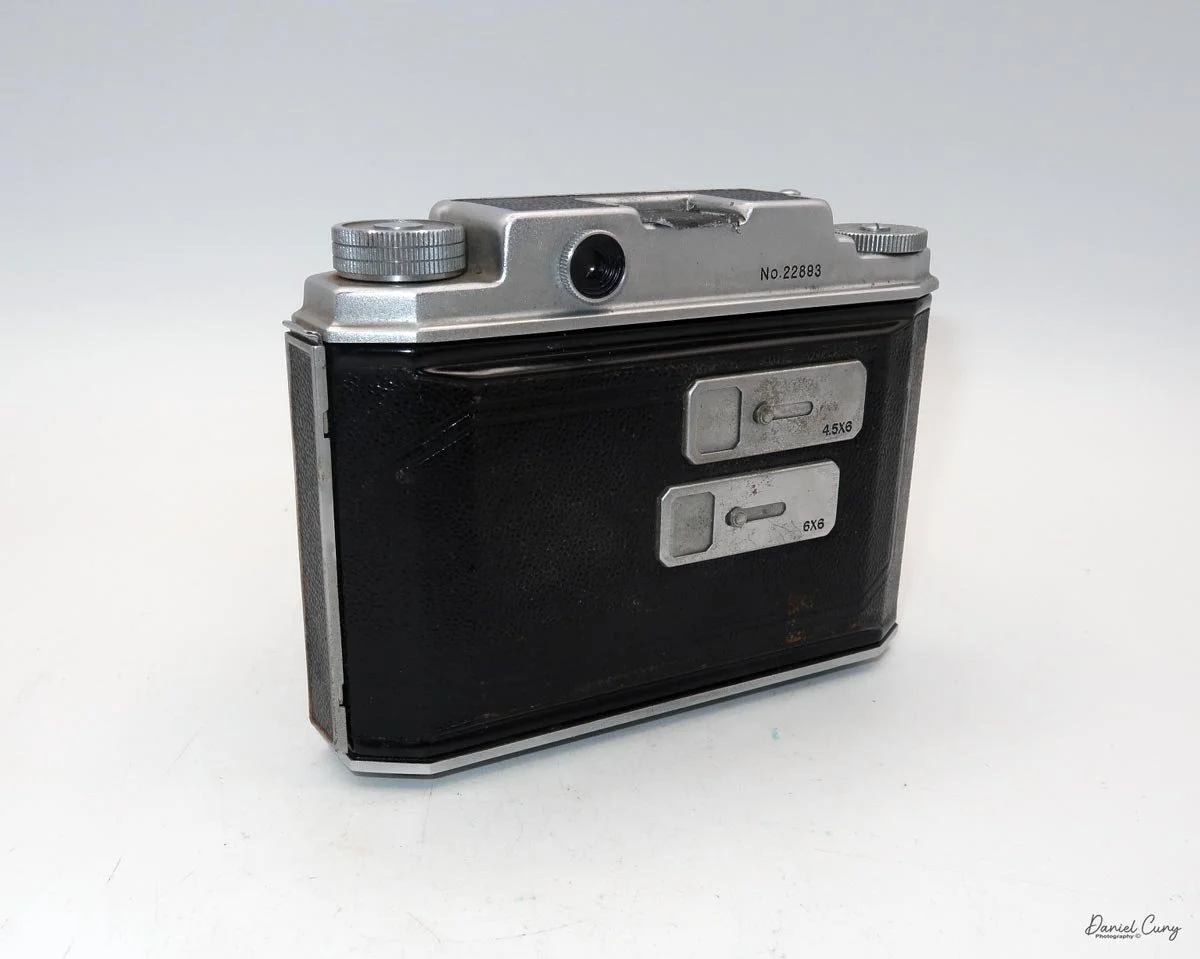
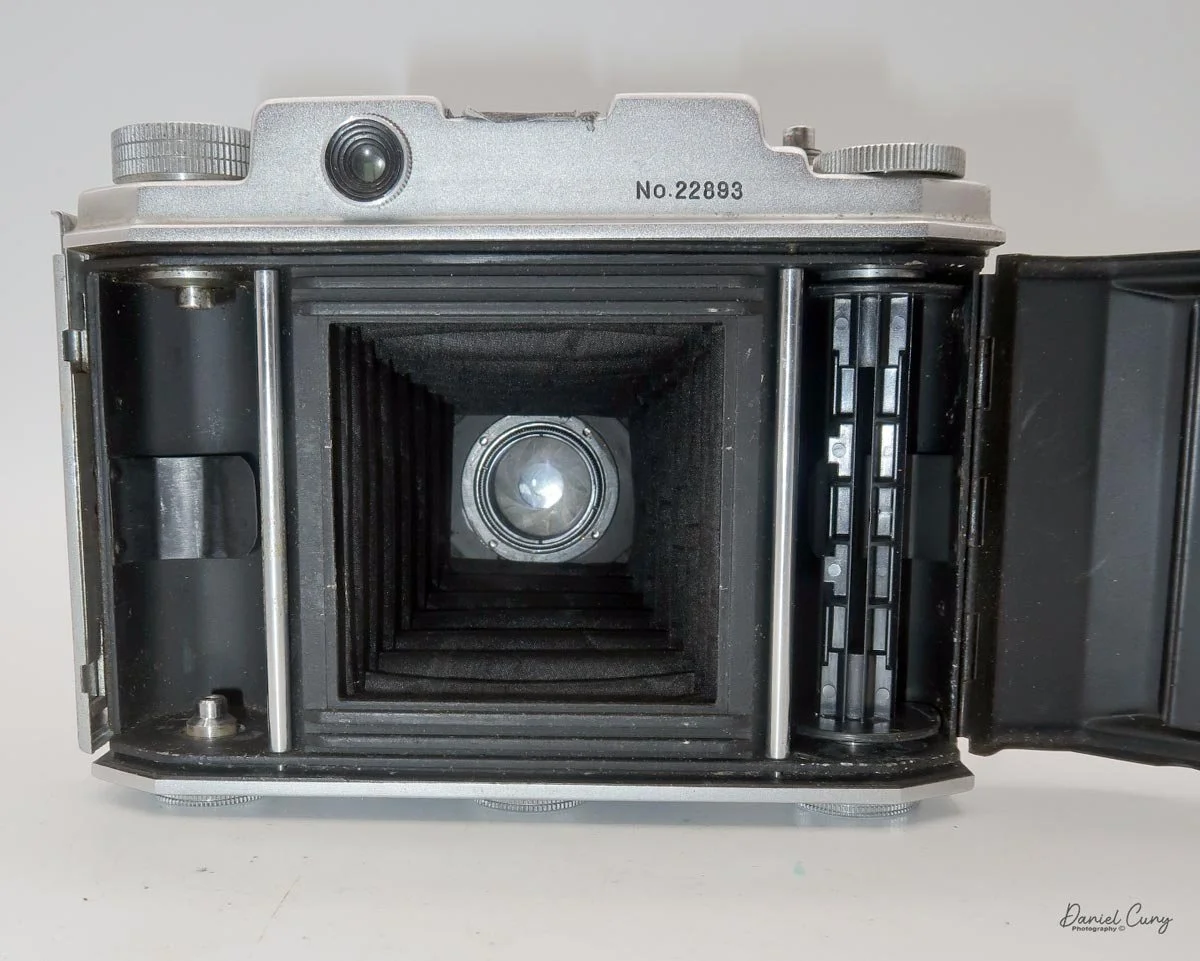
The camera came with a very nice brown leather-fitted camera case, though the strap is missing. The case still offers wonderful protection for the camera. The serial number for my Baron R camera is 22893, stamped on the top plate of the back of the camera.

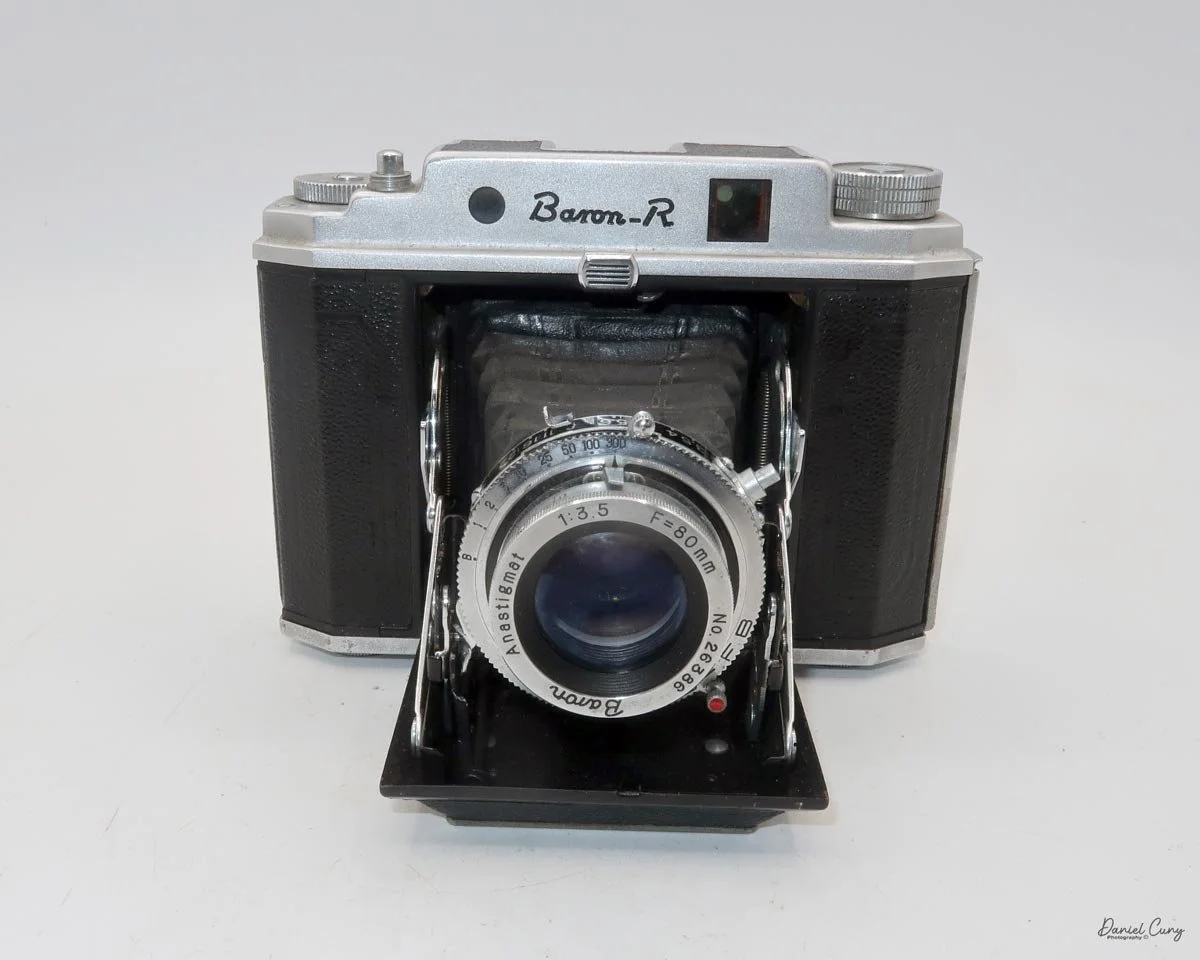
 To open the camera lens door, slide the chrome lever under the name "Baron-R," which unlocks the lens door and exposes the lens as it extends on chrome struts along the side of the lens door.

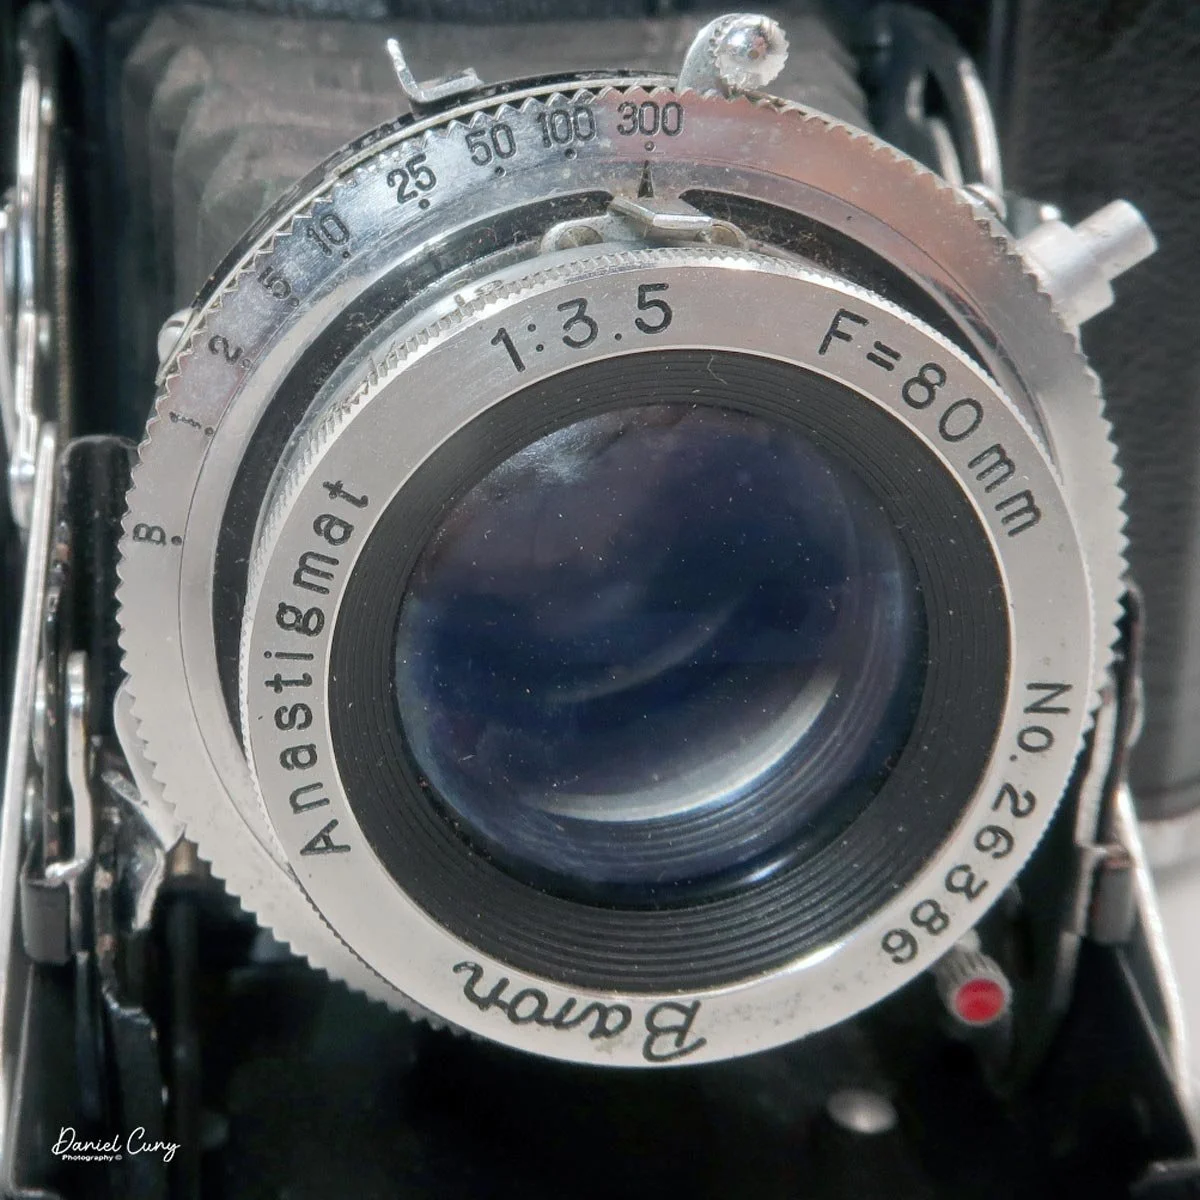
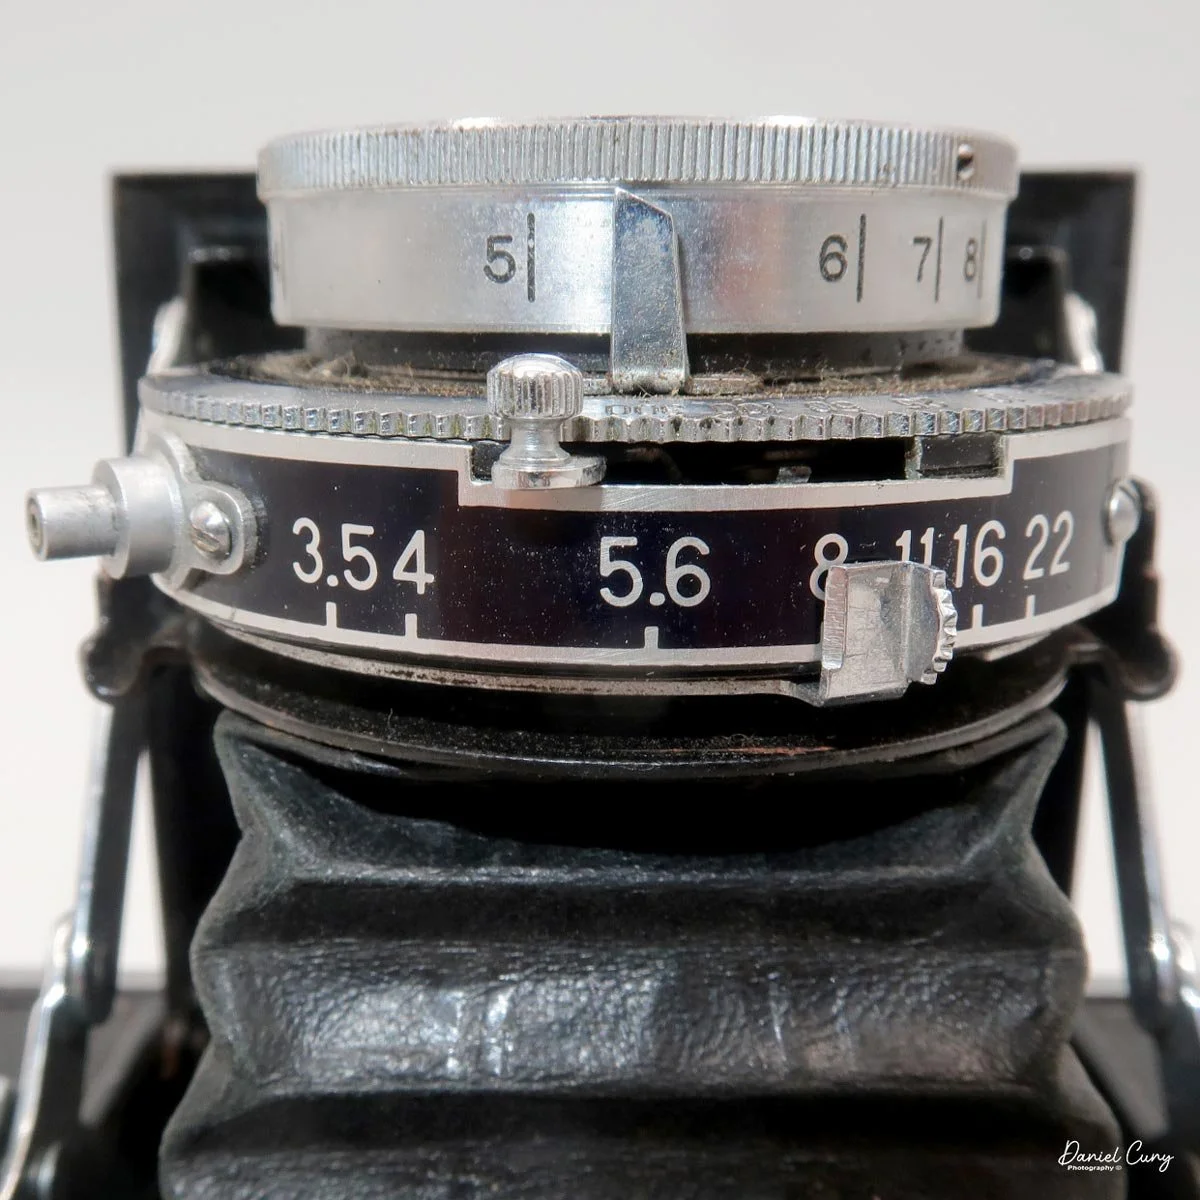
 The Baron RI camera has a Baron Anastigmat 80mm F/3.5 lens in an NKS-FB shutter. The shutter speeds range from 1/300 to 1 second, plus "B". To set the different shutter speeds, turn the dial around the lens to the desired shutter speed. There is a cocking lever for the shutter, located above the lens, with the shutter release on the lower left of the lens when viewed from the front. The shutter release is activated via a rod and linkage from the shutter release on the top of the camera, which pushes the shutter release when depressed.

The aperture range is from F/3.5 to f/22. The aperture is set by sliding the lever on top of the lens to the desired aperture setting. To the side of the aperture settings is a PC sync used for flash. There are no settings for "X" of "FP," though, so I'm unsure if this is for electronic or bulb flash.

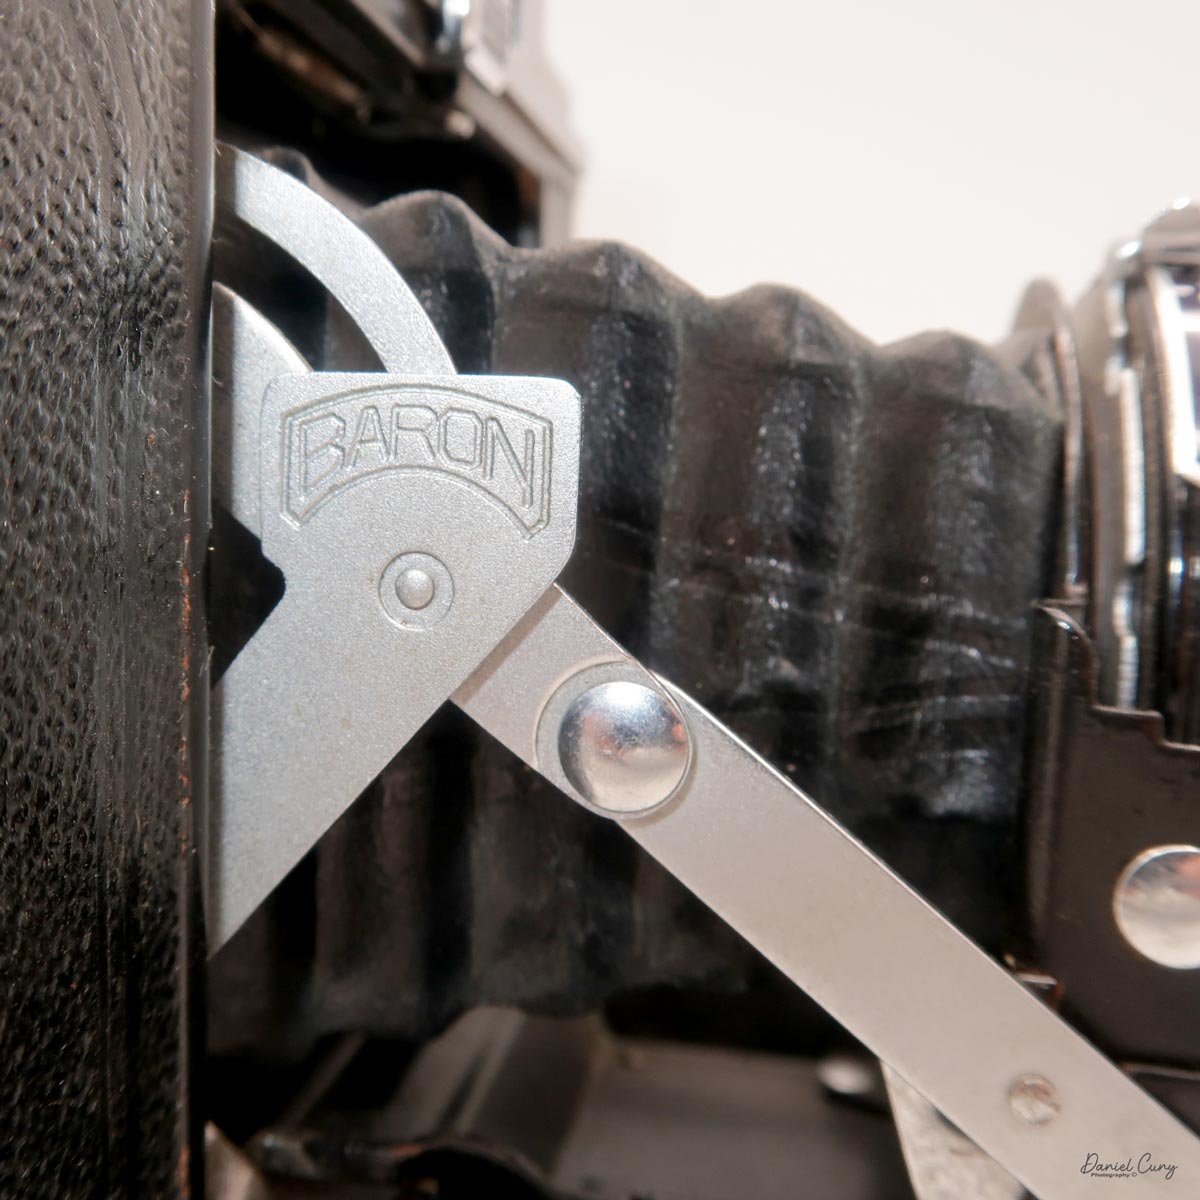
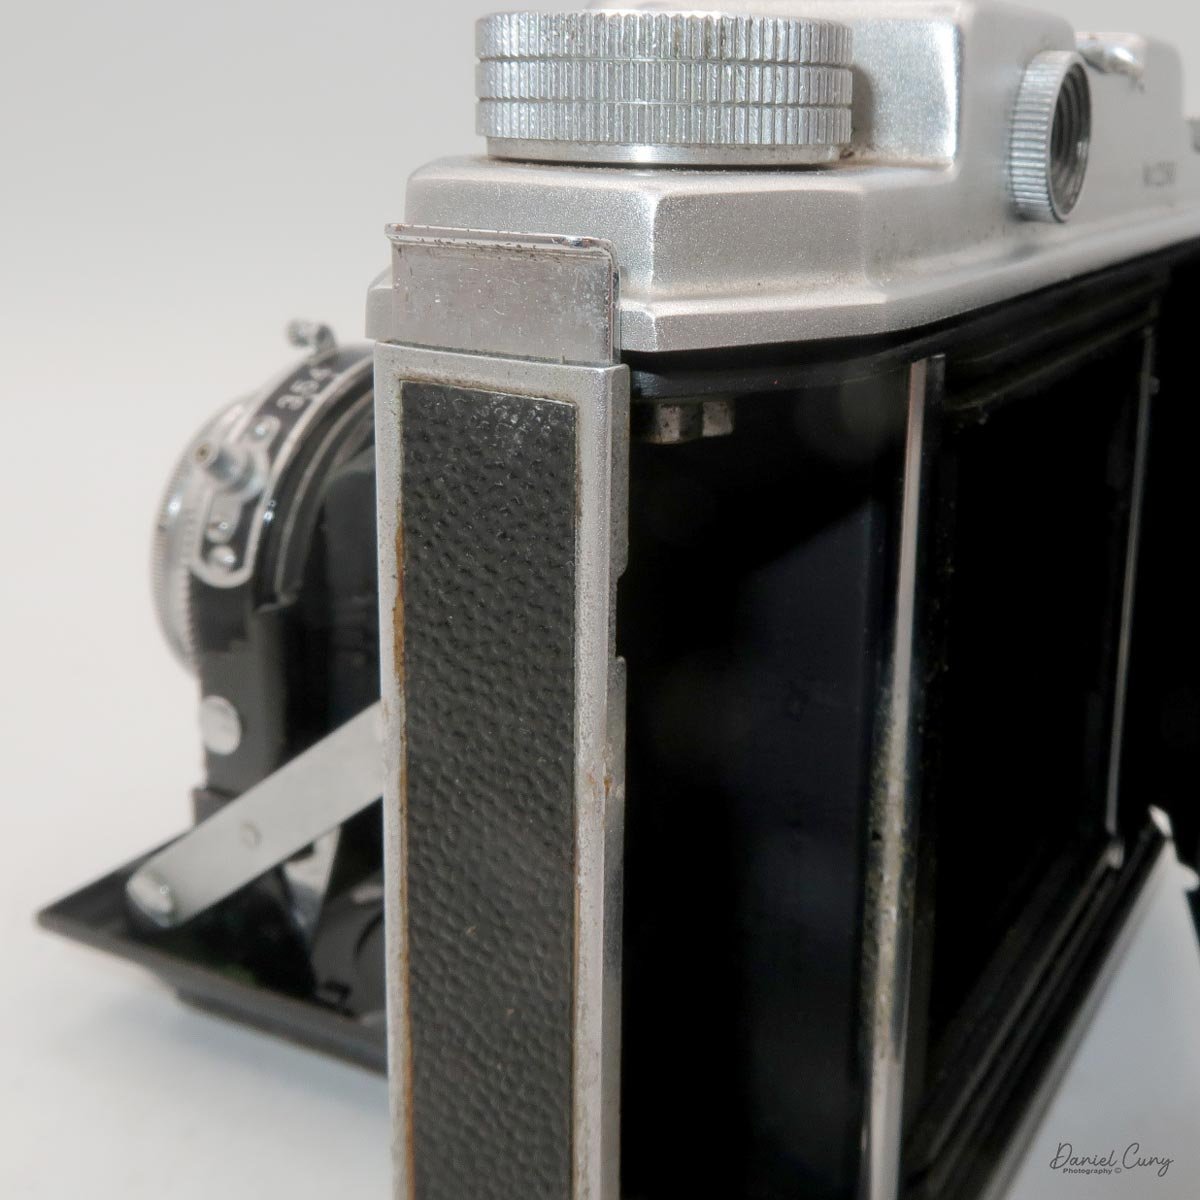
 To close the lens bed, you press back on the two sides of the struts, which have "Baron" embossed into them, and press back into the camera body, which collapses the lens door and allows it to fold back into the camera body. Pressing in will lock the lens door into the normal transporting position and allow the camera case to close.

 My Baron-RI camera does have a couple of issues. I'm confident that's why I paid so little for it. None of the issues are deal-breakers for me purchasing the camera. The main item, the accessory or cold shoe, is missing from the camera. That's not a huge deal, as I generally don't use them. I did put black fabric tape over the spot where the accessory shoe goes, to give the camera a better appearance.

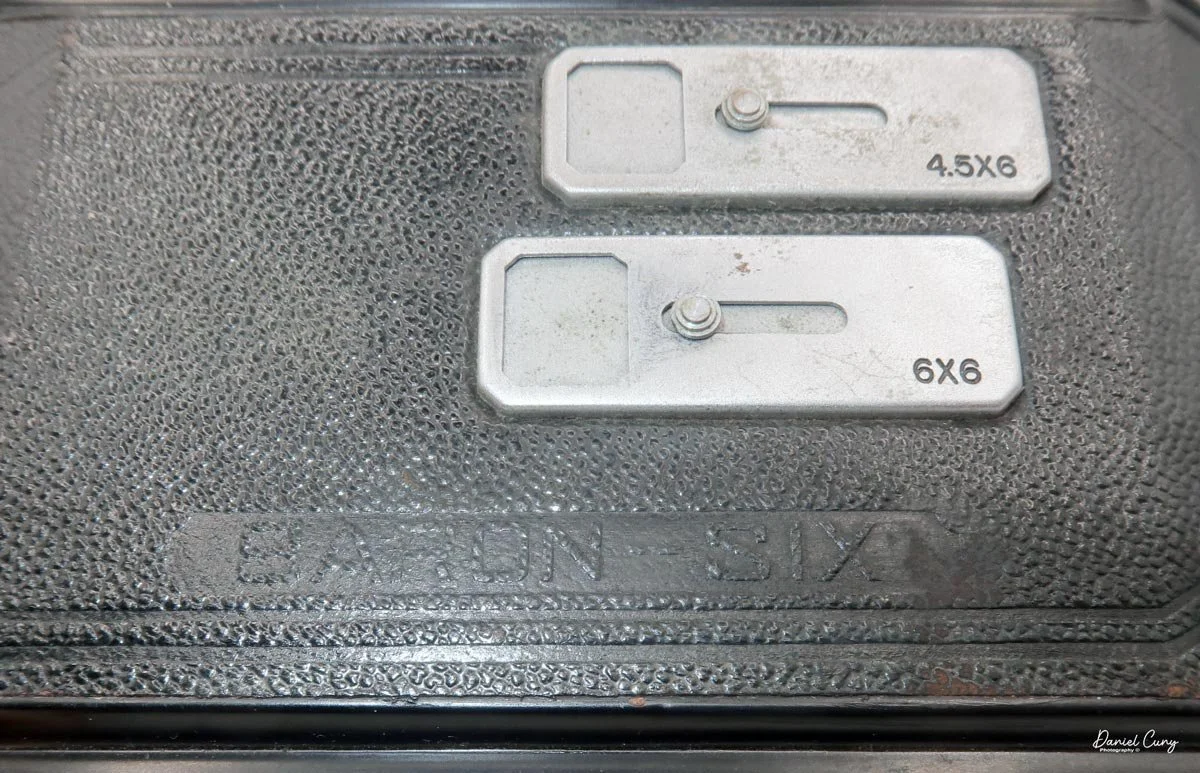
There is another item about the camera I'm not certain about. On the back of the camera, there are red windows with sliding covers for both 4.5x6 and 6x6 formats. I'm not sure whether the camera came with a mask for both formats, or if the company offered two different formats and only made one back for both cameras. Also stamped on the back of the camera, below the red windows, is "Baron-Six" embossed into the leather.

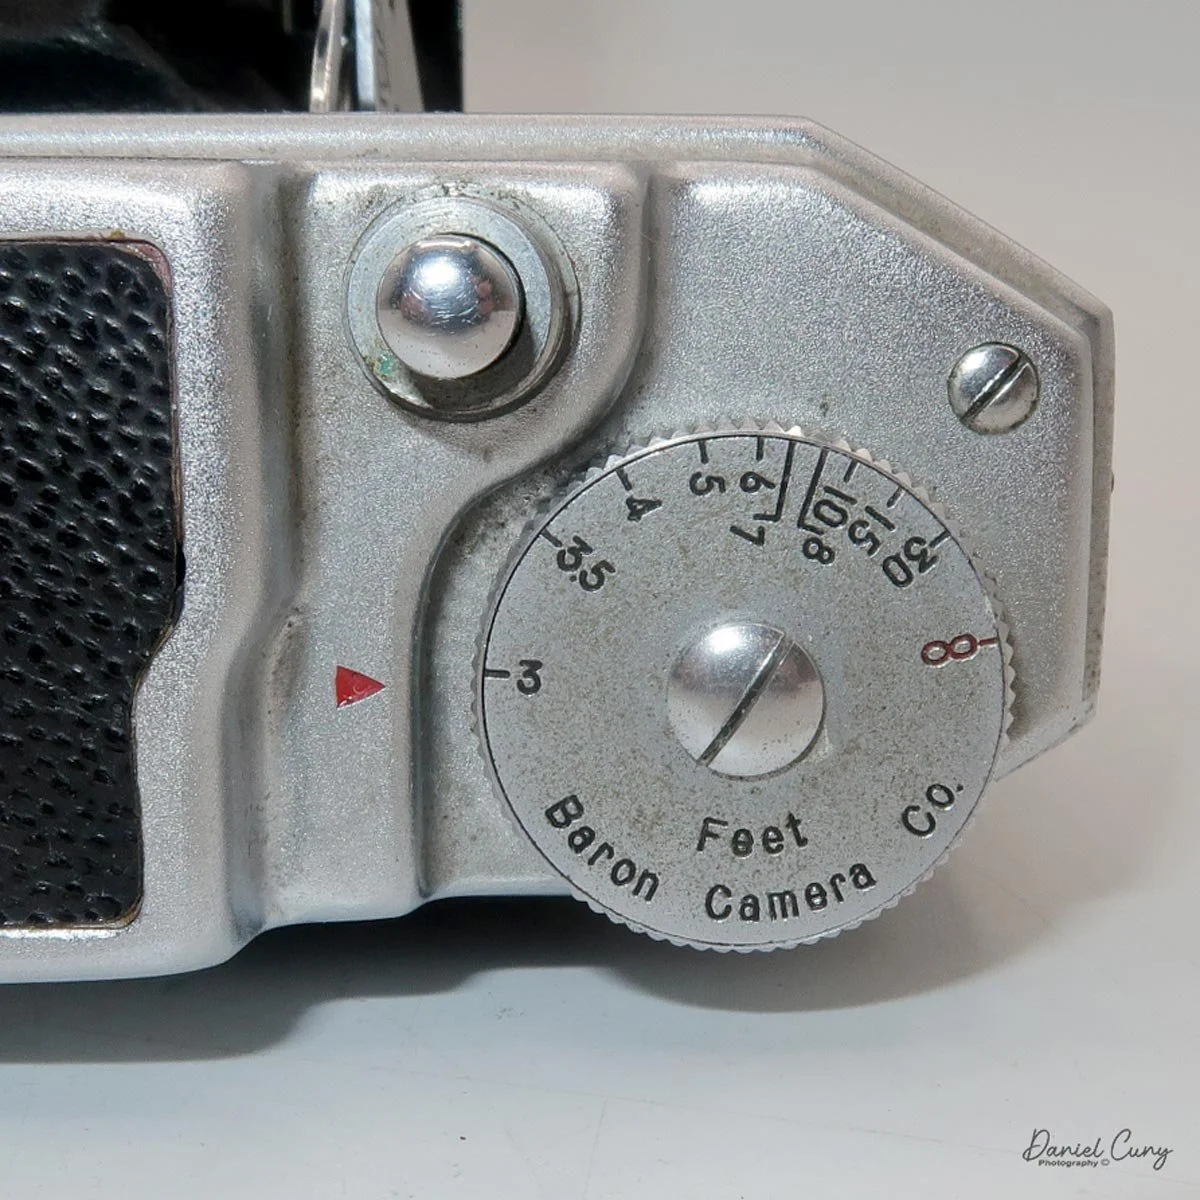
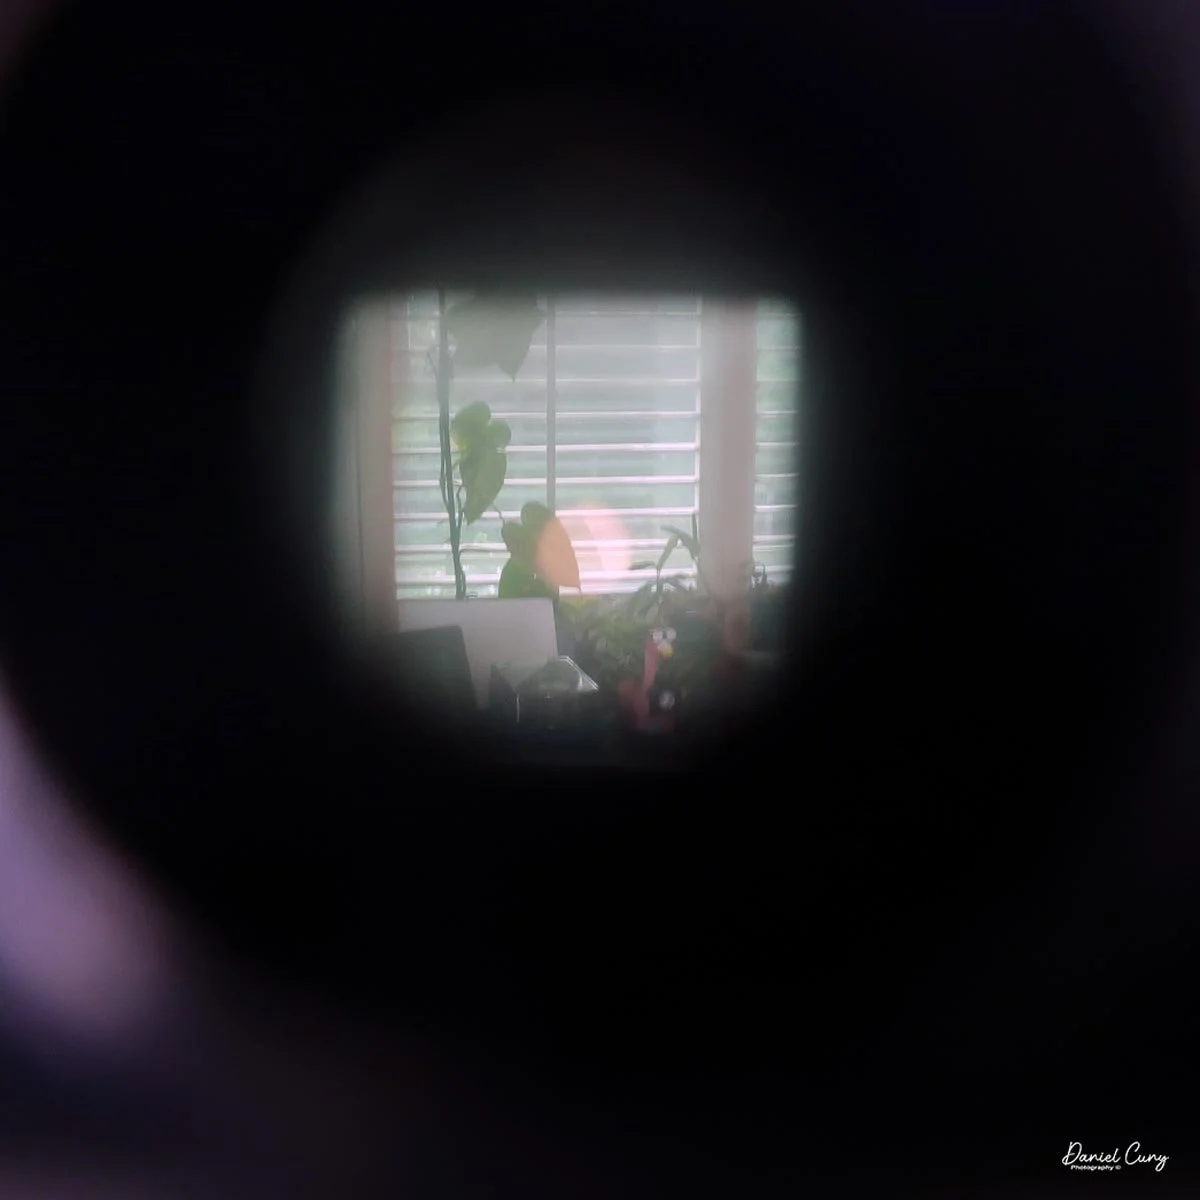
 An item on the Baron RI that I've never seen in a camera is an uncoupled rangefinder. When you look through the viewfinder on the rear of the camera, you view the rangefinder. On the right side, as you're holding the camera, there's a wheel that rotates, allowing you to focus the rangefinder. On my camera, it's bright and clear. You then transfer the distance from the internal rangefinder to the lens and set the distance to the subject. I'm confident that building an integrated rangefinder, which would focus the lens, would have added much more intricacy to the camera, but they either didn't want to bother or just wanted to keep the costs down. It's an interesting item built into the camera.

To load film into the Baron RI, on the left side of the camera is a lever you pull up, which opens the door to the right, exposing a standard roll film chamber. Load film as you would with any roll film camera by placing the take-up spool on the transport side and pulling down the knobs at the bottom of the camera. Put in the fresh roll in the empty area and bring the leader to the take-up spool. Thread the lead into the slot on the take-up spool and wind until you see the film is engaged and rolling onto the spool. Wait until you see the "arrows" pointing outward, close the back of the camera, and press down the locking bar, then wind the film advance knob until you see the #1 in the red window. Take your photo, and wind until you see the #2, and so on through the roll of film.

Now that I have film in the camera. Let's go around the neighborhood and see how the camera performs.

 My Results:

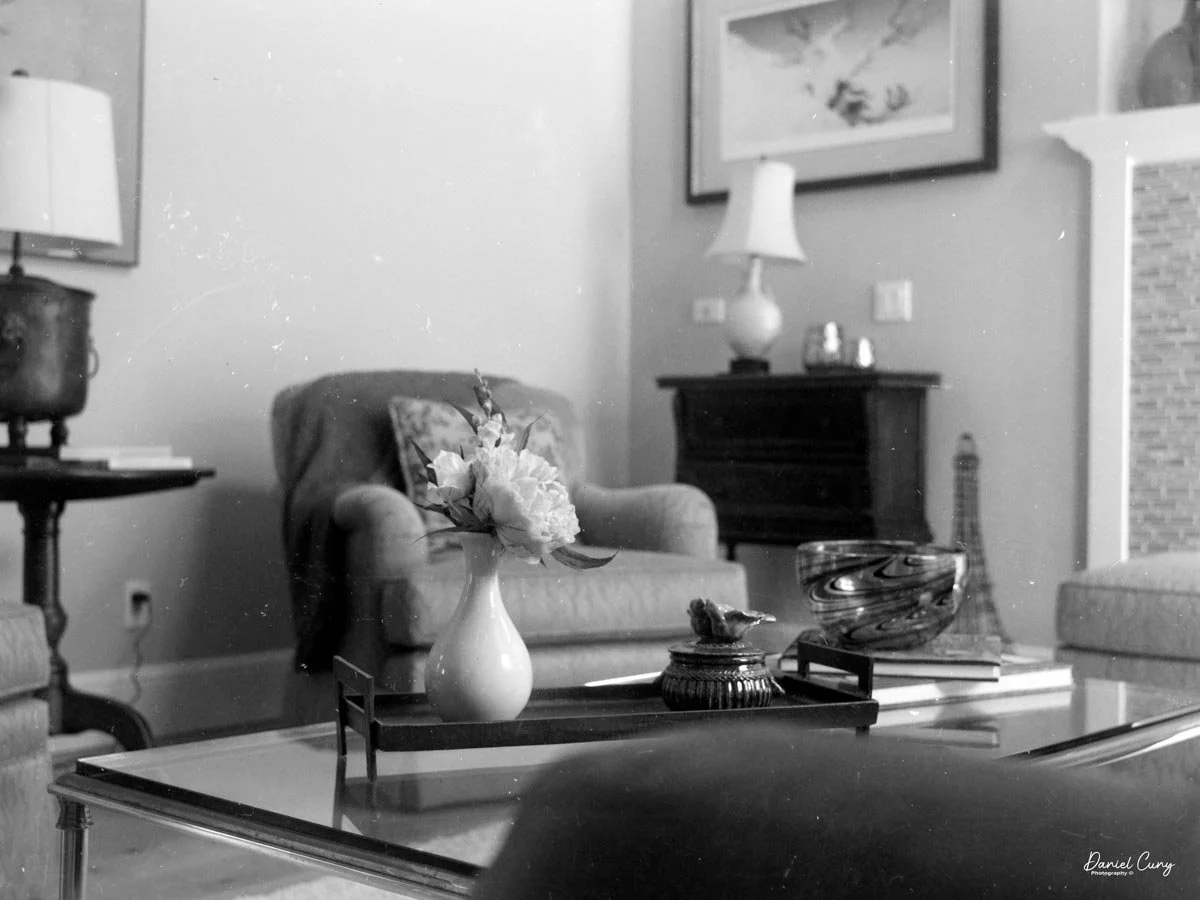
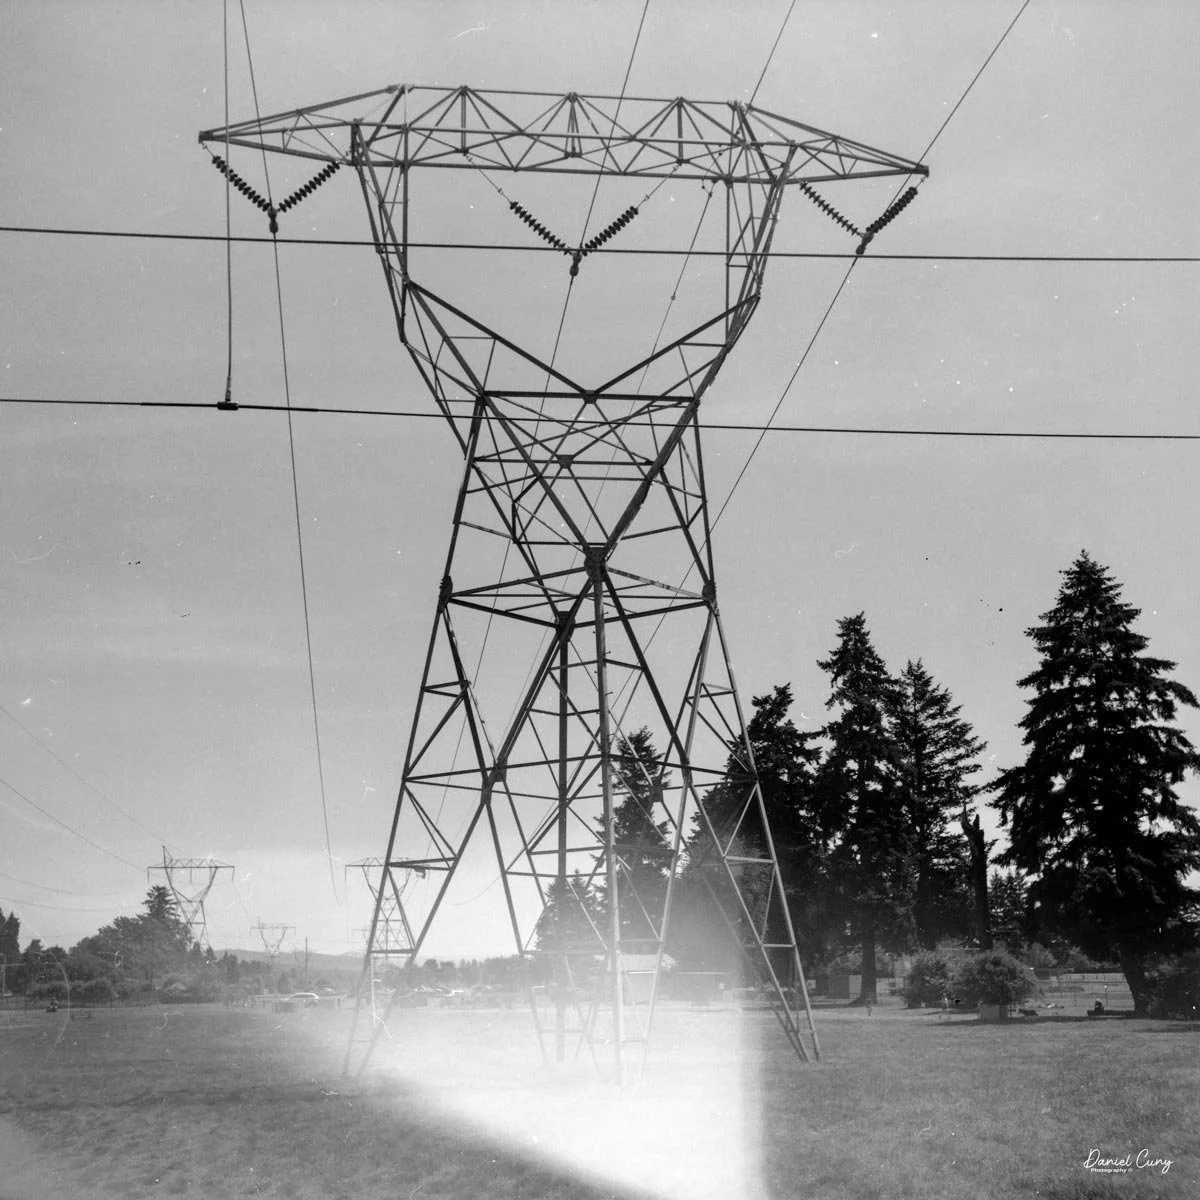
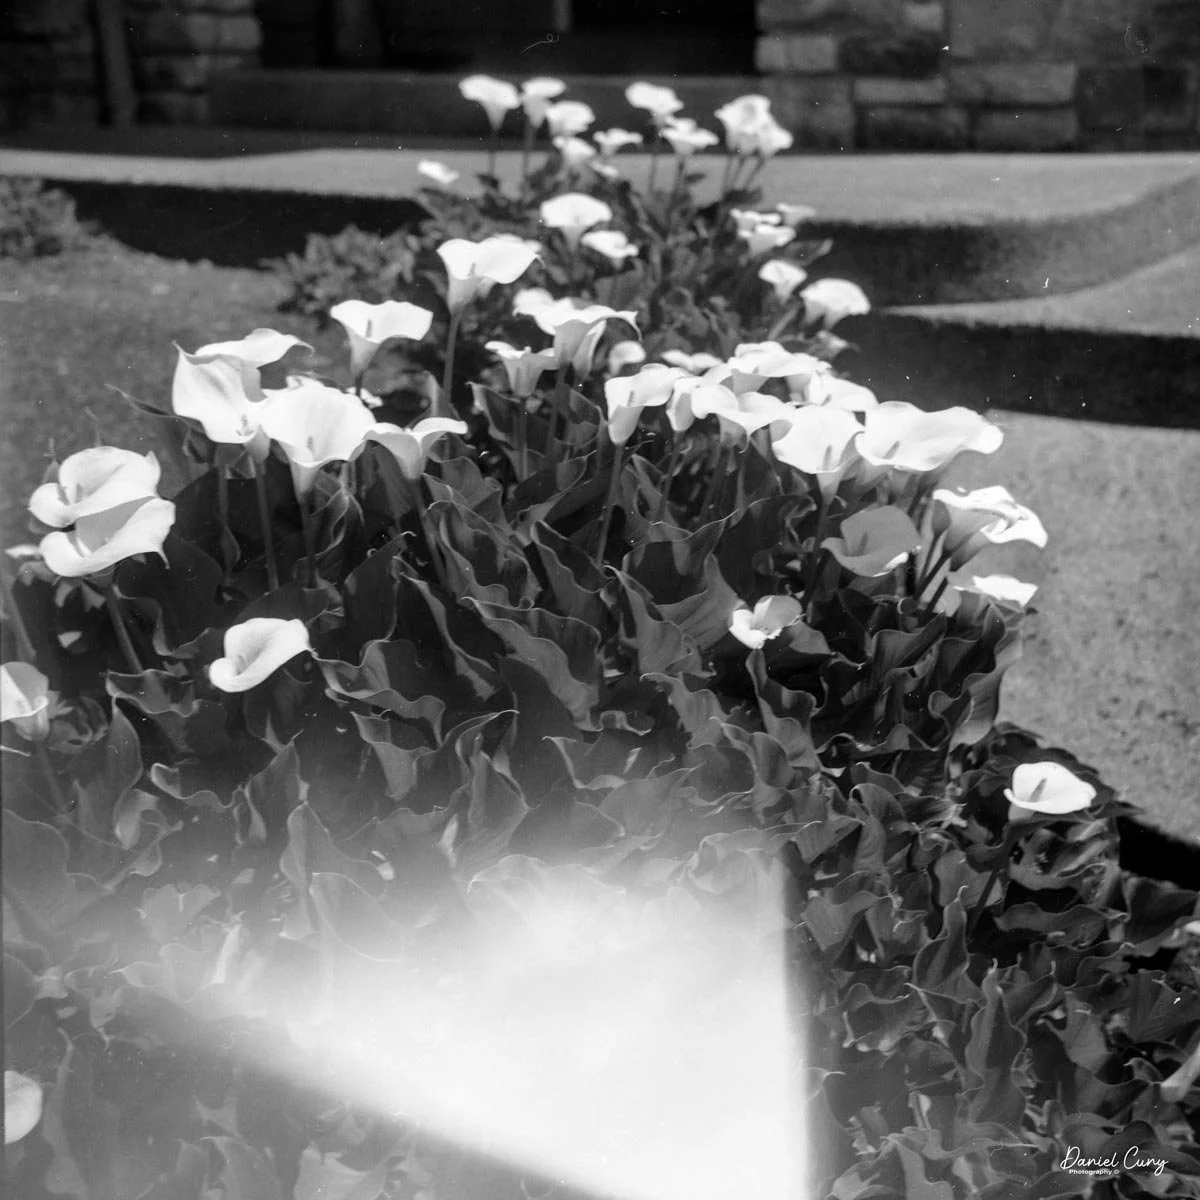
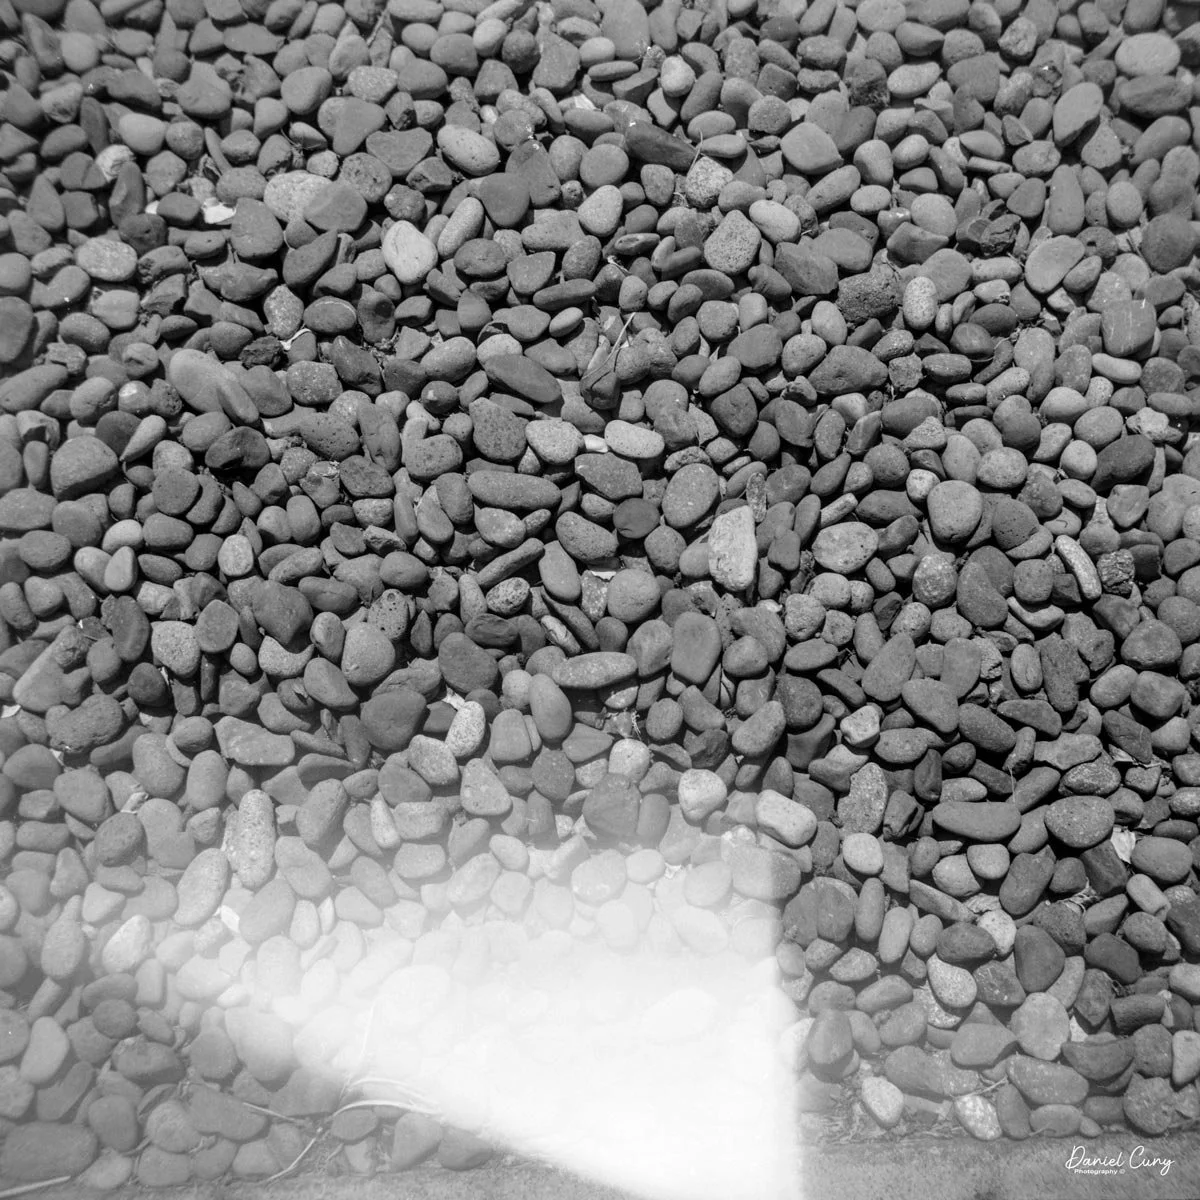
 I gave the camera a very quick look over. All the shutter speeds were working, and the aperture moved as it should. I loaded a roll of Ilford 125 film into the camera, went to the Dog Park with my daughter, and walked around the block, looking for flowers and other subjects to photograph.

 Here are the results.

Conclusion:

 Overall, the camera was easy to use and fun to shoot with. 

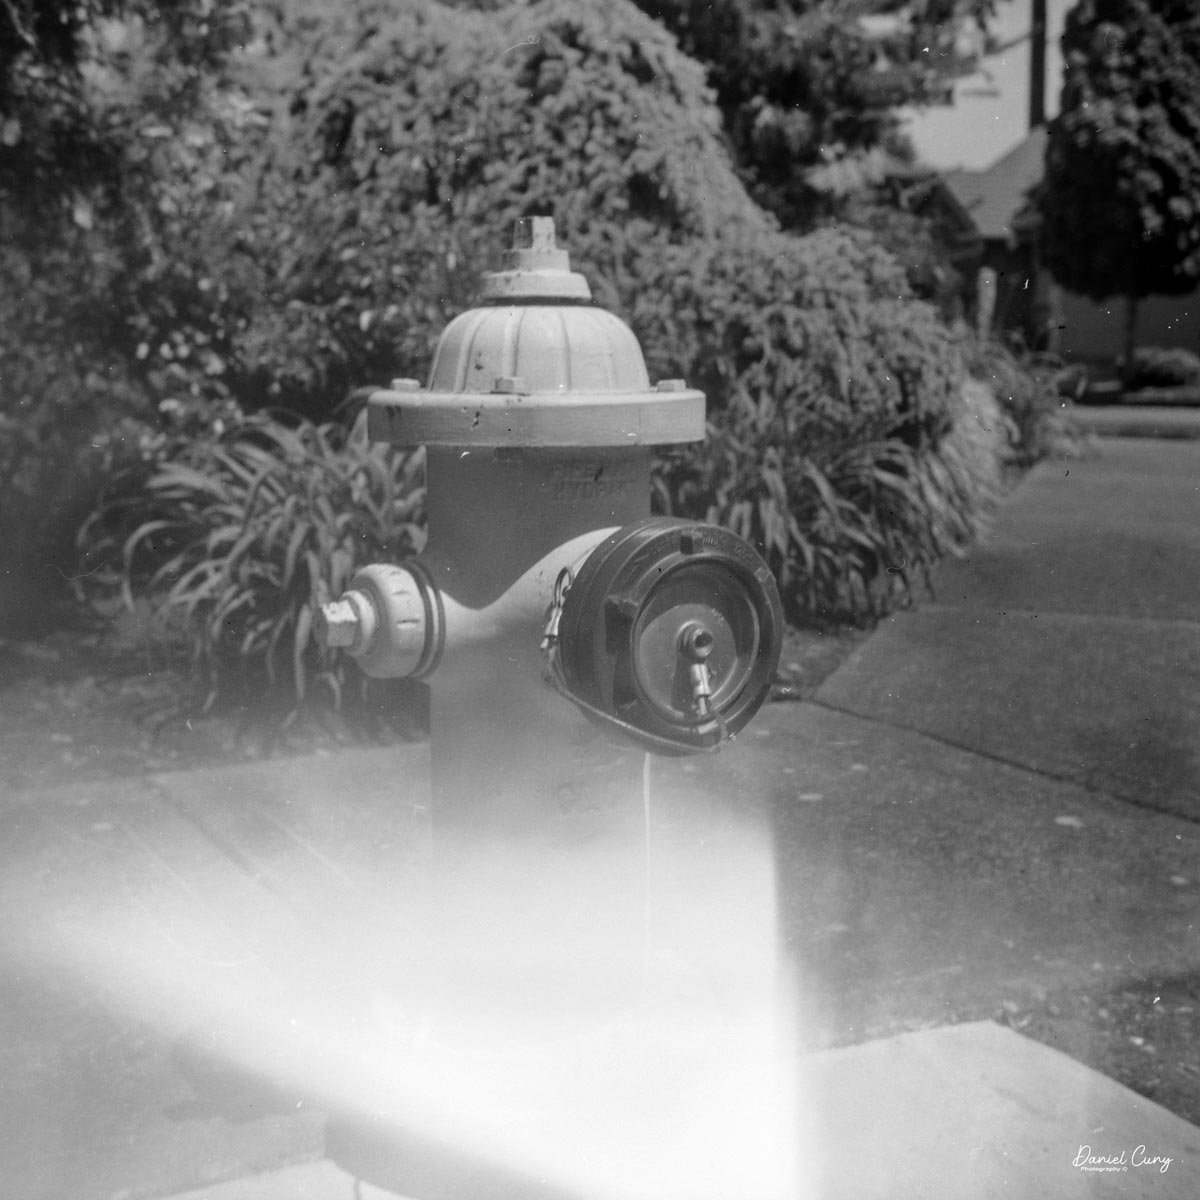
 It wasn't until I processed the film that I dug further and noticed a pinhole in the camera's bellows. That's why the photos have this light streak, and not just a light streak, but a gush of light on the bottom of the images, consistent in all the photos taken.

 I liked the rangefinder, which was easy to use and much easier for me than guessing distance. After focusing, I then transferred the distance to the lens, which was fun, and produced sharp images. I'll need to go in and add some thin fabric tape and black liquid fabric to the bellows to eliminate the annoying light leaks. It's a camera I purchased on my trip to Tokyo, and I will keep it for the time being.

 Thank you for taking some time to read about this little-known camera at the beginning of the Japanese camera revolution in the early to mid-1950s.

 I'd like to hear from you if you have questions, or even if you have a Baron camera or one of the many similar-style cameras made in Japan during this timeframe.

 Please take a moment to look at some of my other Camera Reviews.

 Cuny's Cameras and Photos is my online eBay store where you'll see some of the cameras I've reviewed, along with many other lenses, and vintage camera accessories I have for sale.

 Until next week, please be safe.