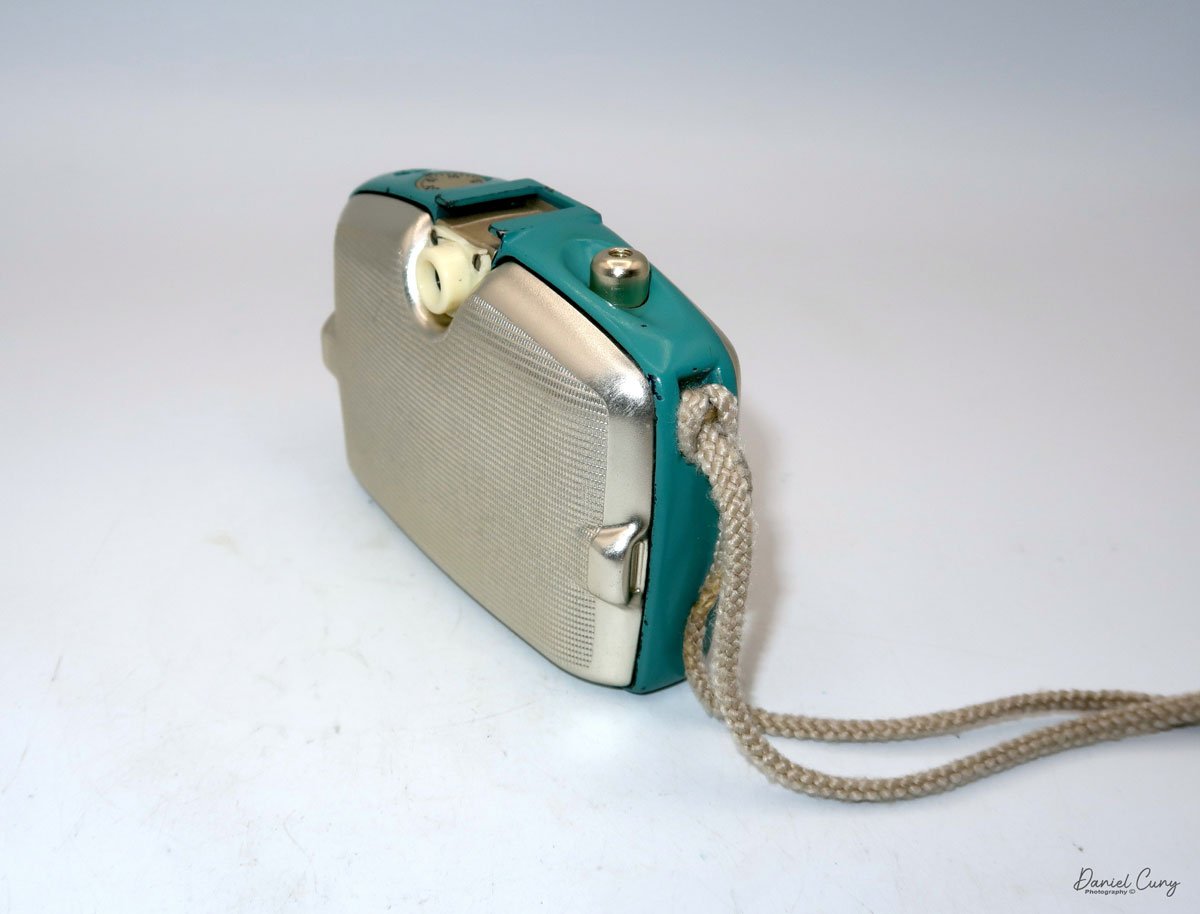
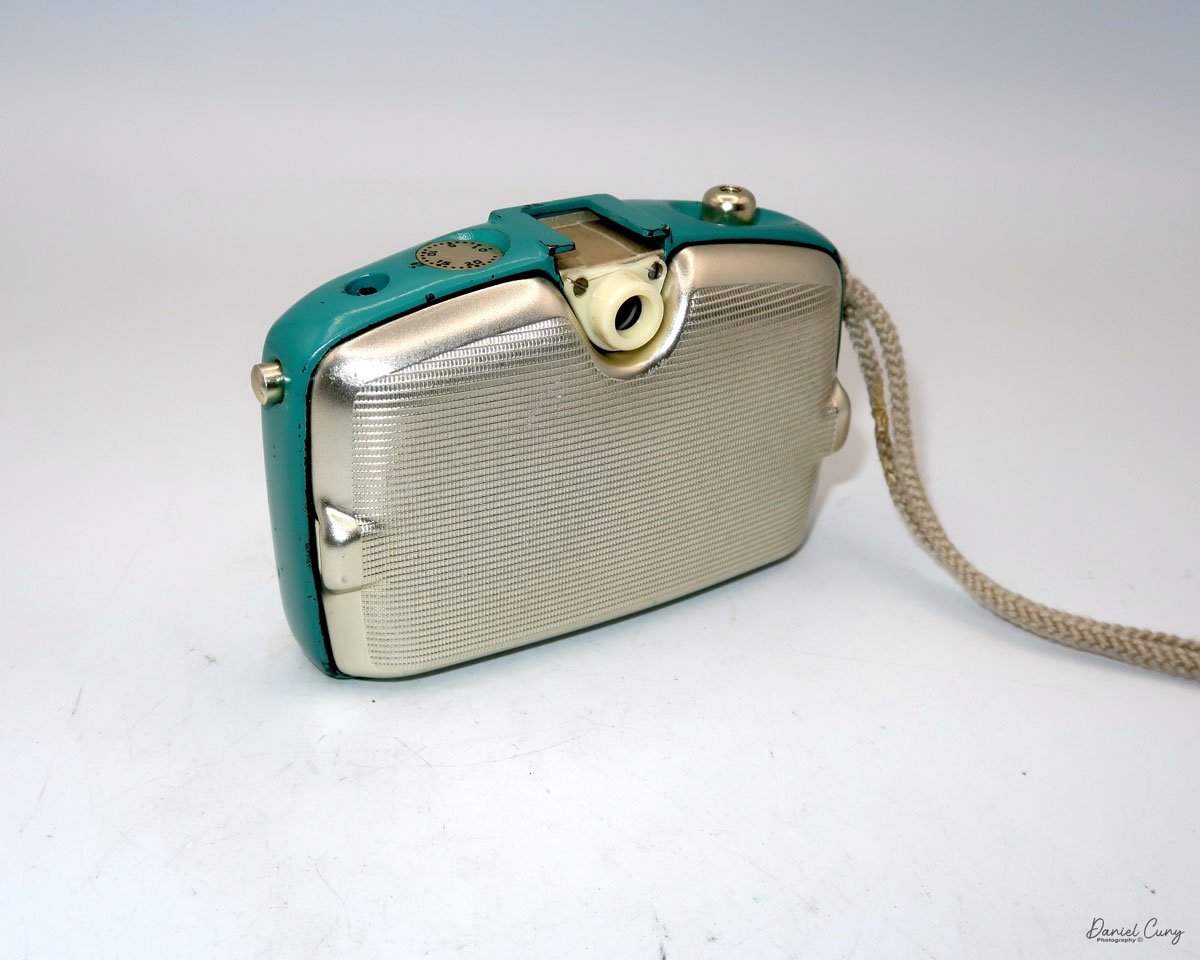
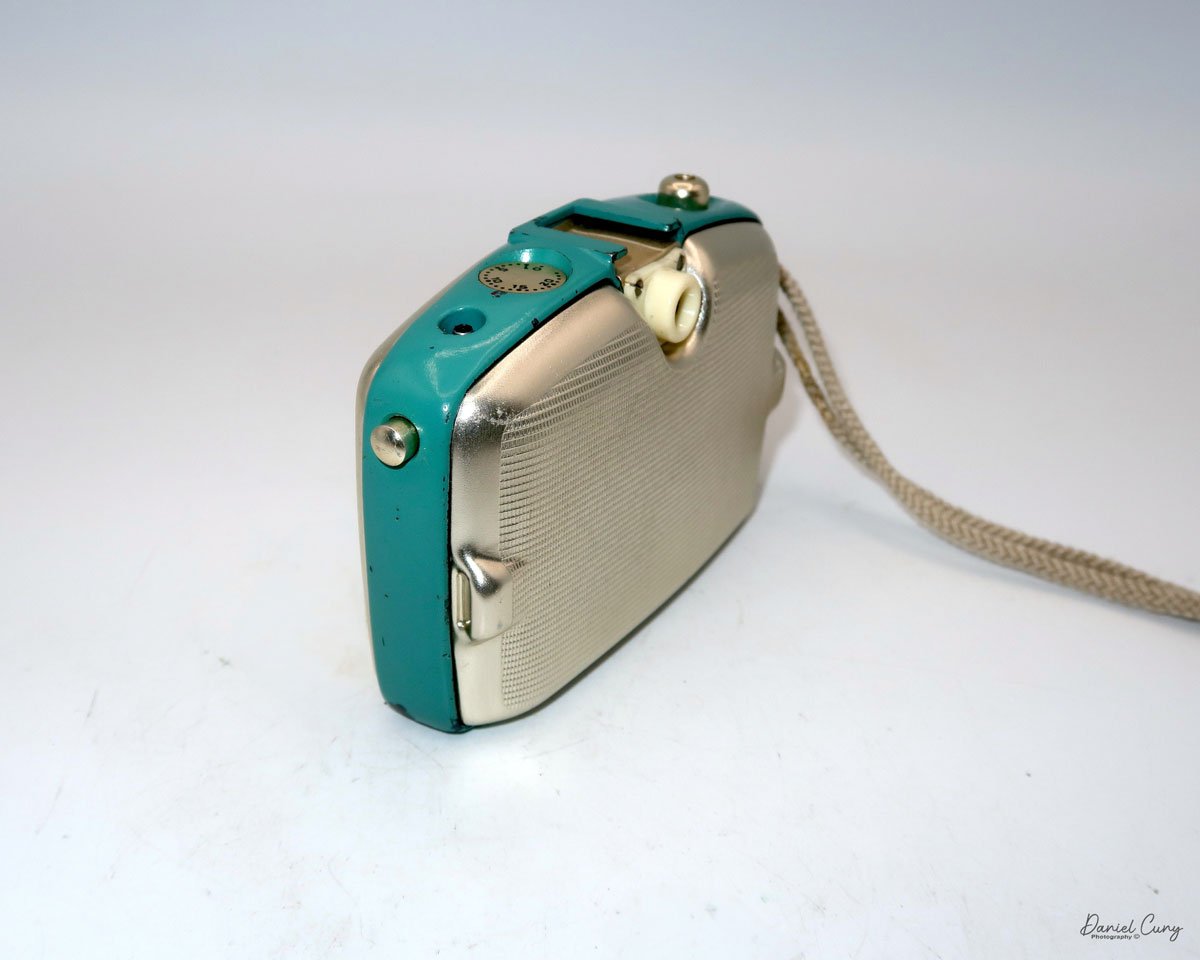
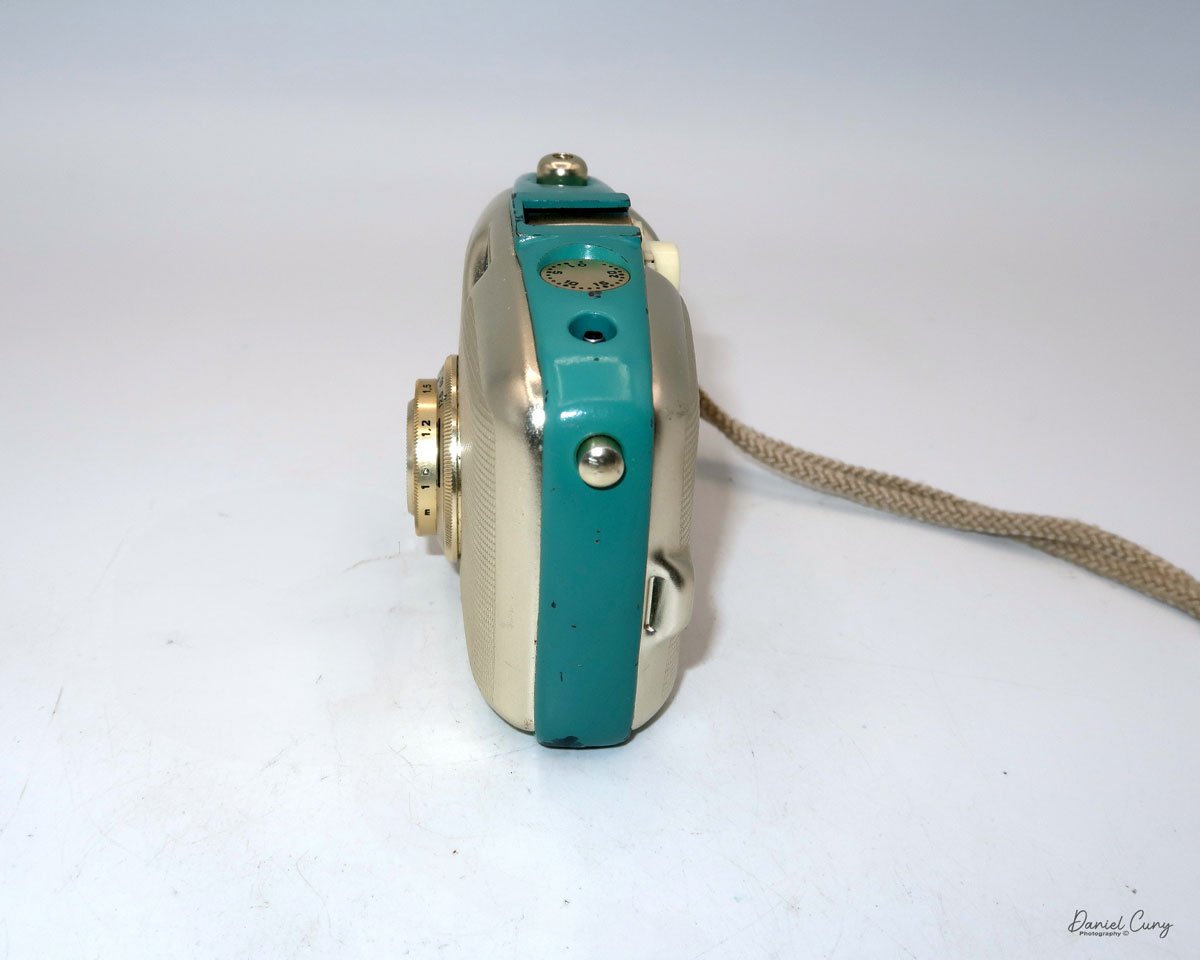
Ricoh Auto Half Camera

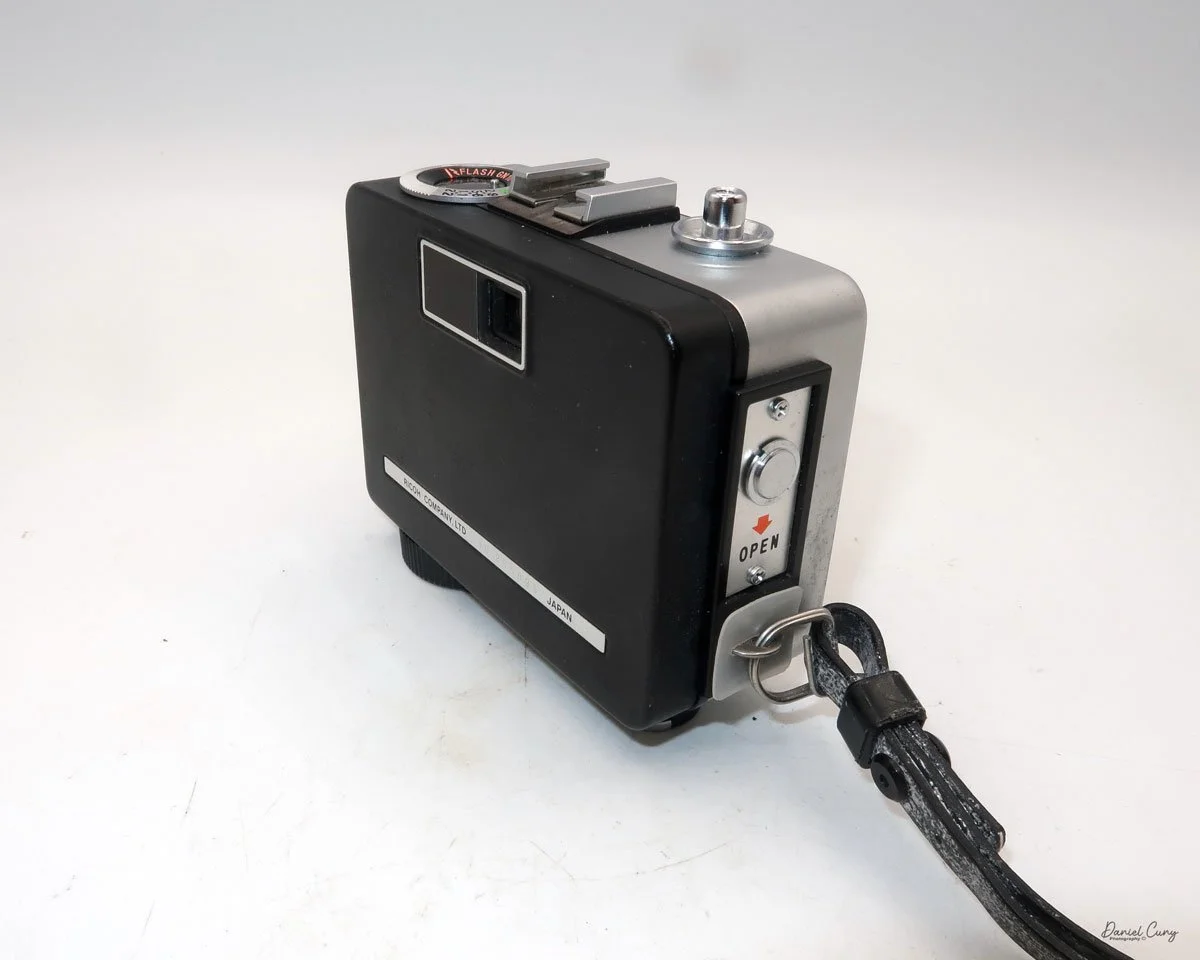
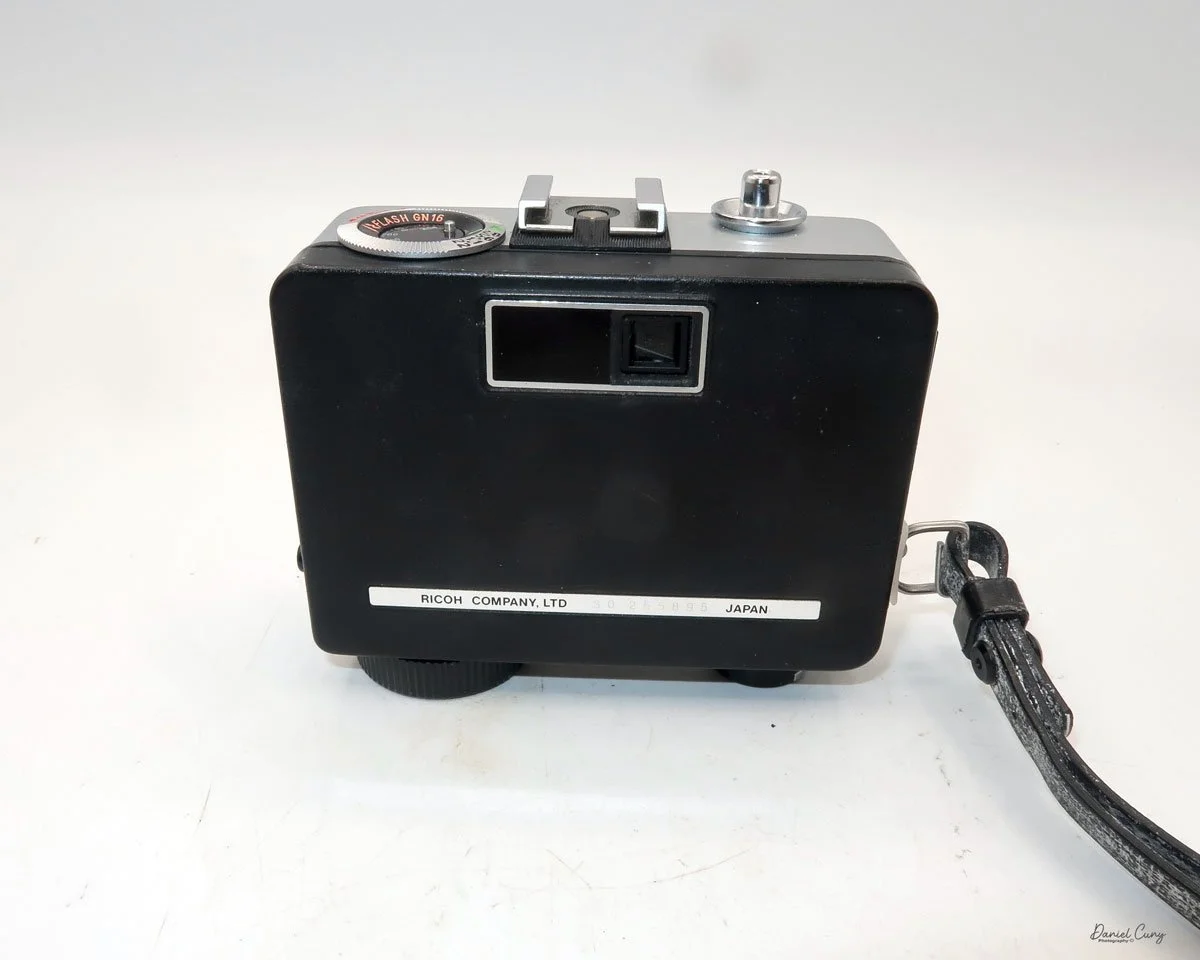
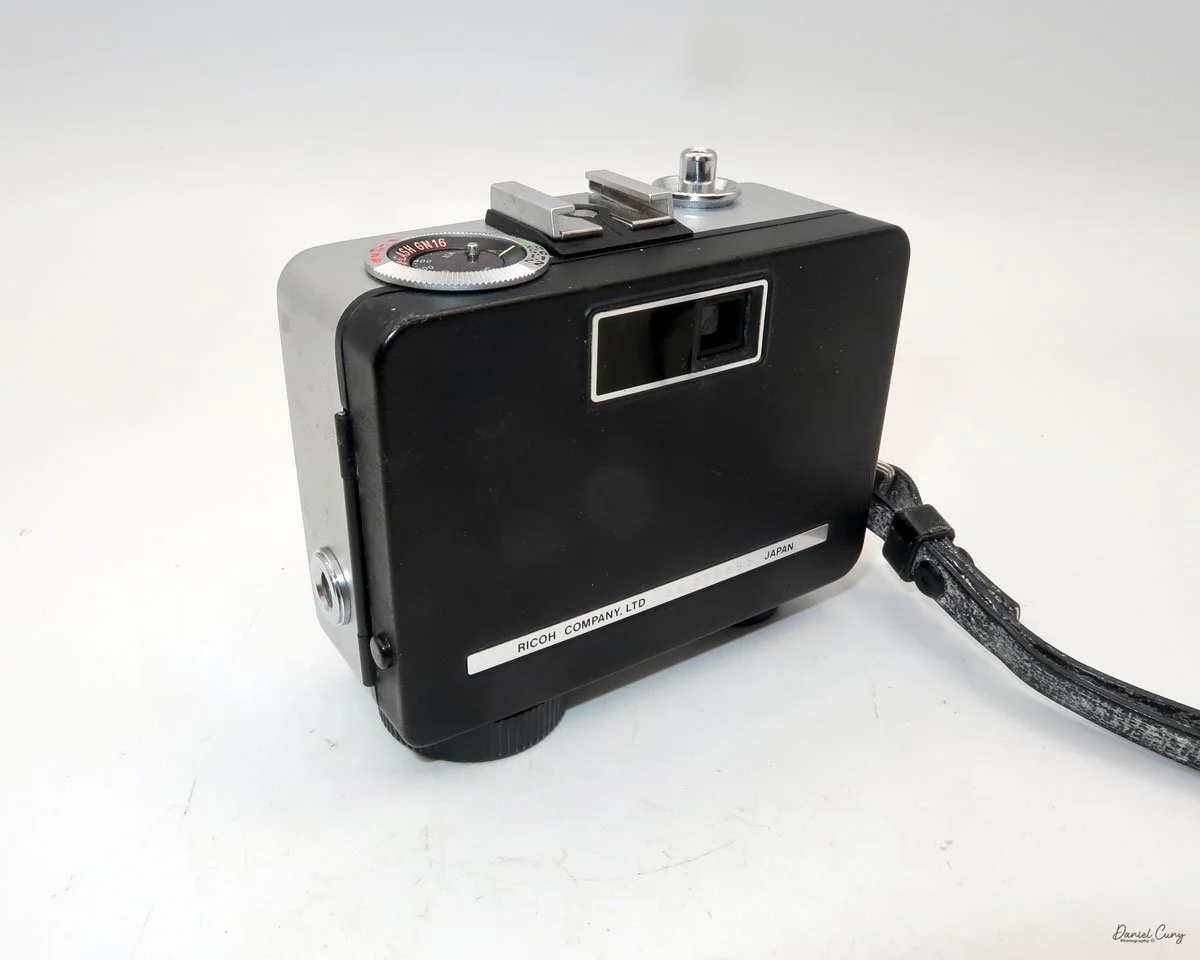
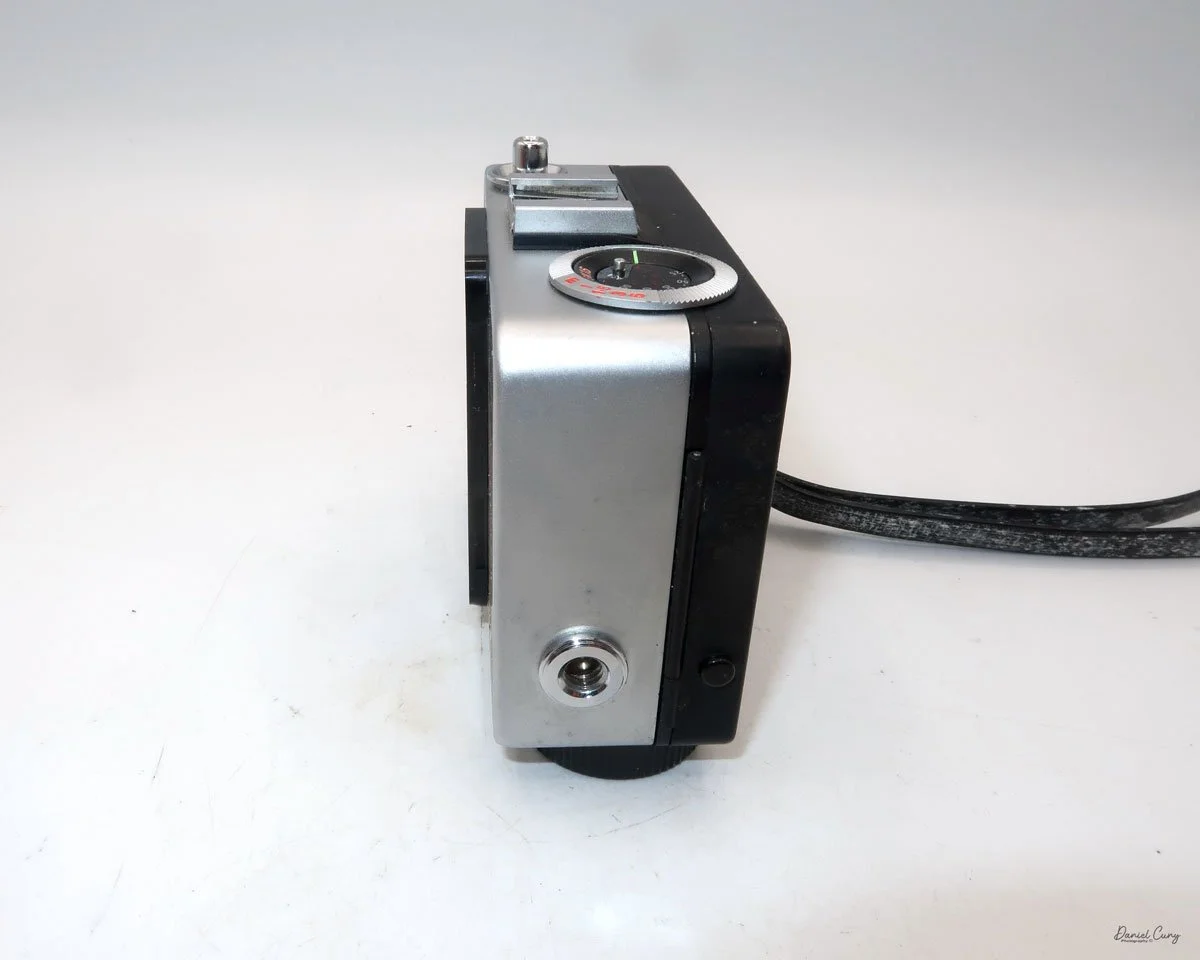
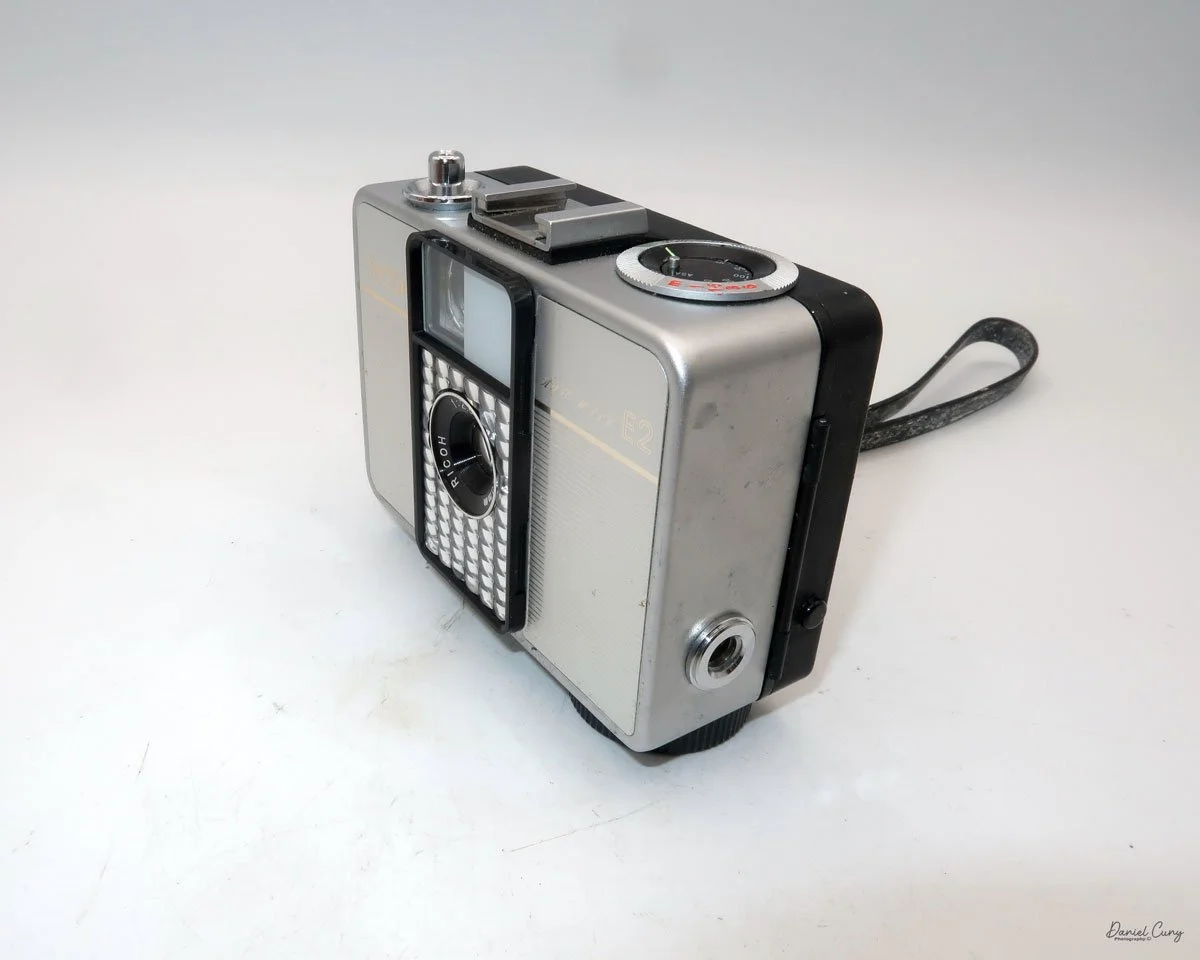
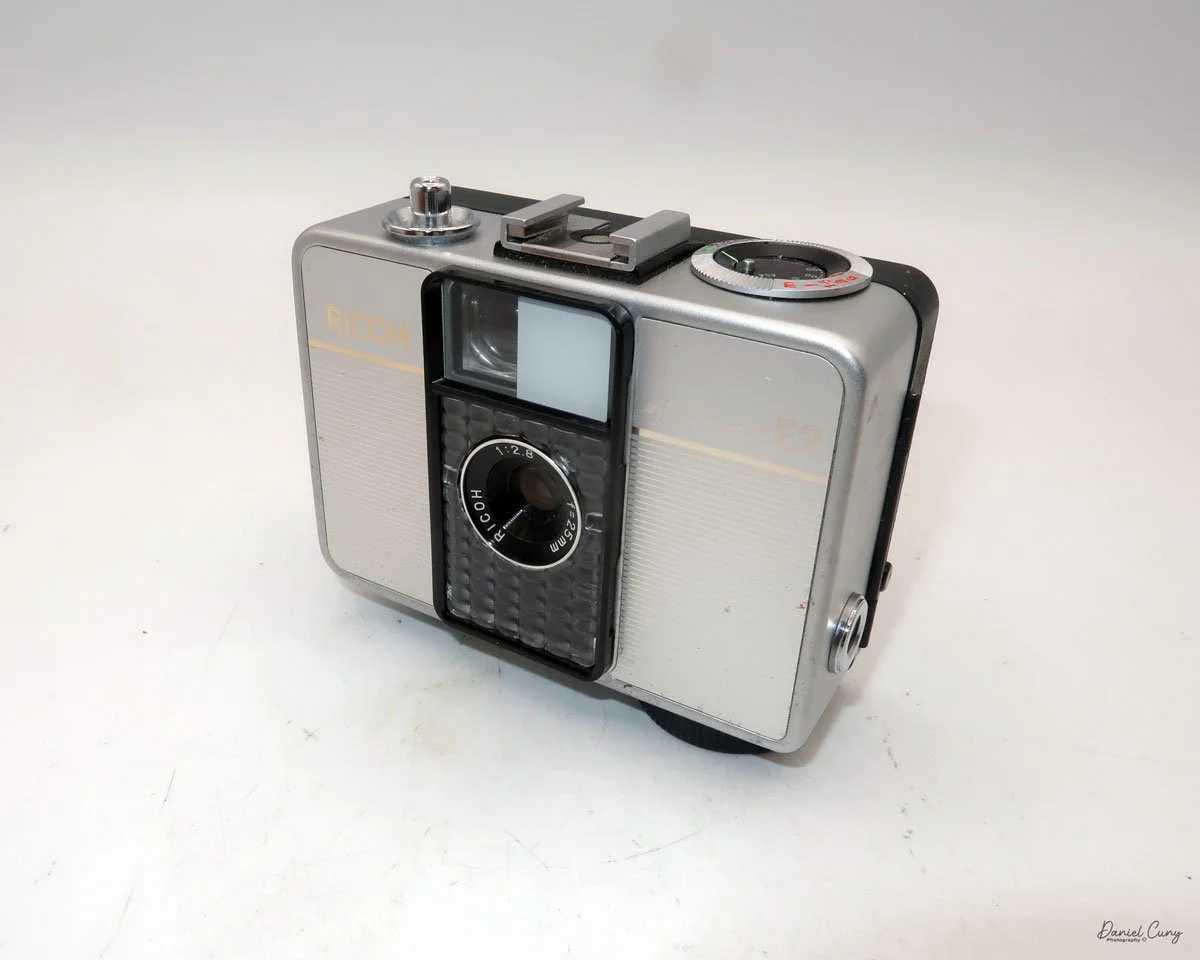
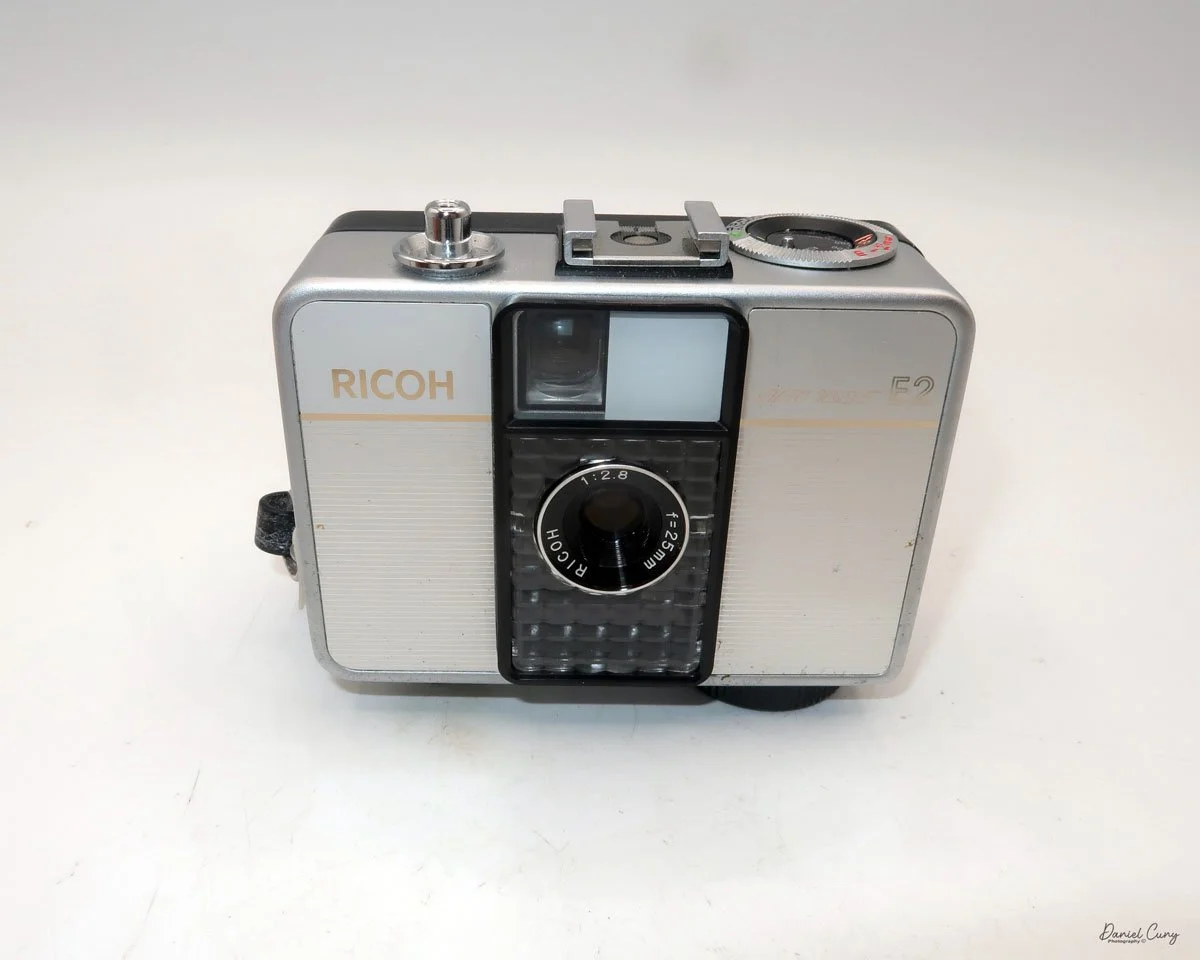
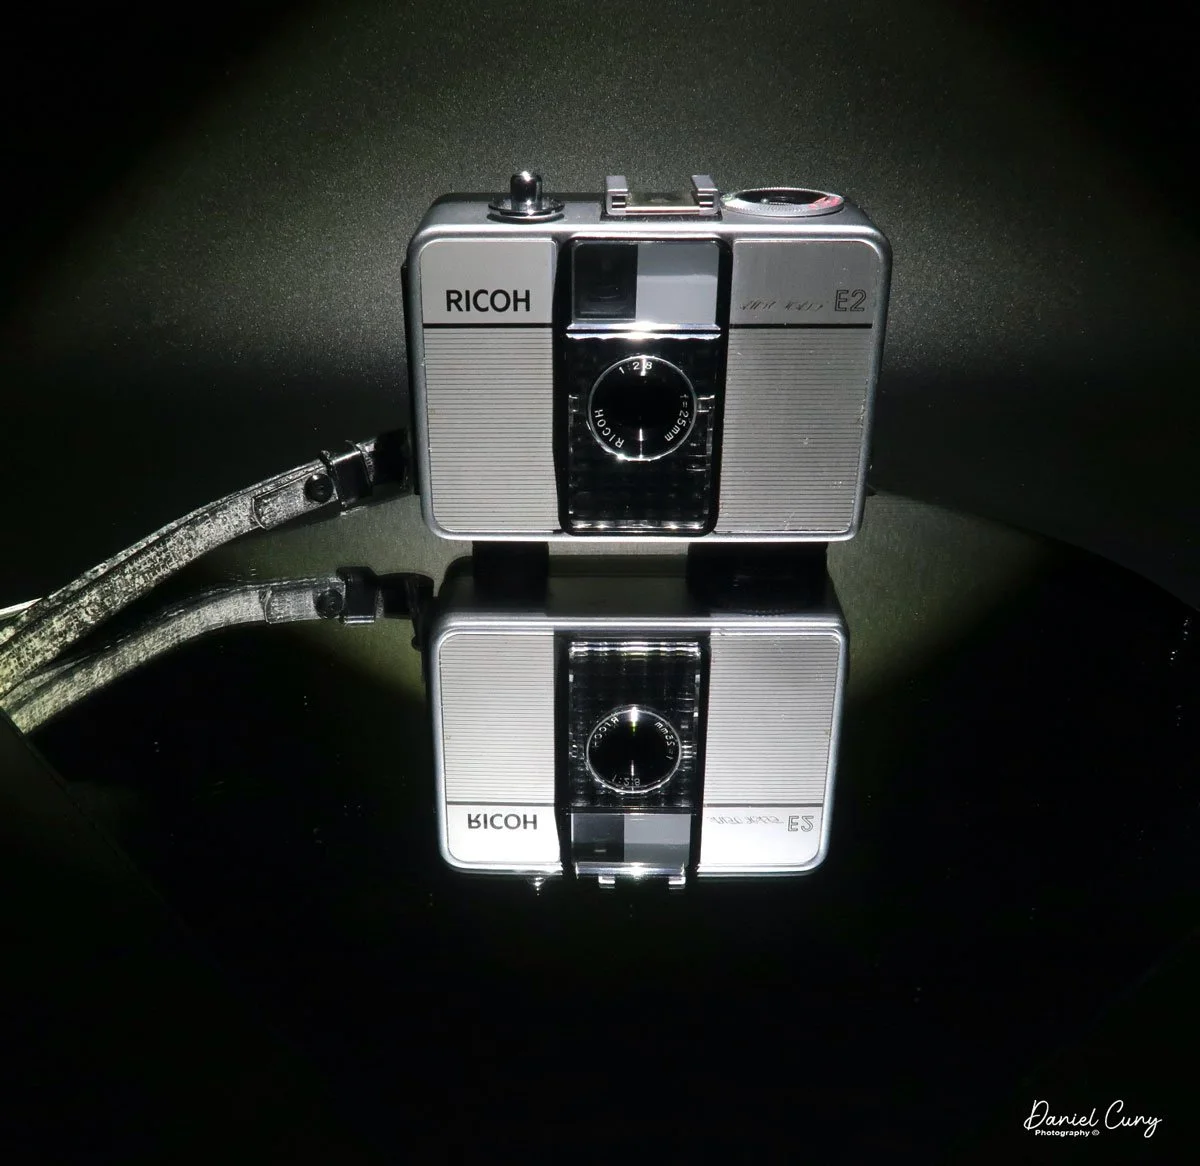
My Ricoh Auto Half E2 camera

The 1960s were a tumultuous time—a wild era—for politics, art, social change, music, and design. Having spent my early and informative years during this time, I was witness to some remarkable events that shaped the world, which I'm happy to say I lived through.

 There were the Beatles, who upended the music world; marches and protests against the war in Vietnam and civil rights; and Jackson Pollock and Andy Warhol, who were taking the art world by storm. It seemed like every month, there were issues and events in the news that shaped the world.

 In the photographic and camera design fields, in my opinion, one of the more artistic and interesting products to emerge from the 1960s was the Ricoh Auto-Half camera—a straightforward camera that underwent several model changes, keeping the design fresh for almost 20 years.

 The Ricoh Auto Half camera was introduced in December 1960. For the period, the camera was very compact and lightweight, a half-frame 35mm camera with automatic exposure, no manual focusing, and automatic winding. The size of the camera was compared to a pack of cigarettes.

 Not only were there several different model changes and improvements, but the design style, to me, was the item that kept the camera fresh. The original Ricoh Auto Half camera was available in a bright silver color and featured a wrist strap. However, later in the 1960s and well into the 1970s, the camera took on many different colors and geometric designs, which were very popular during this timeframe.

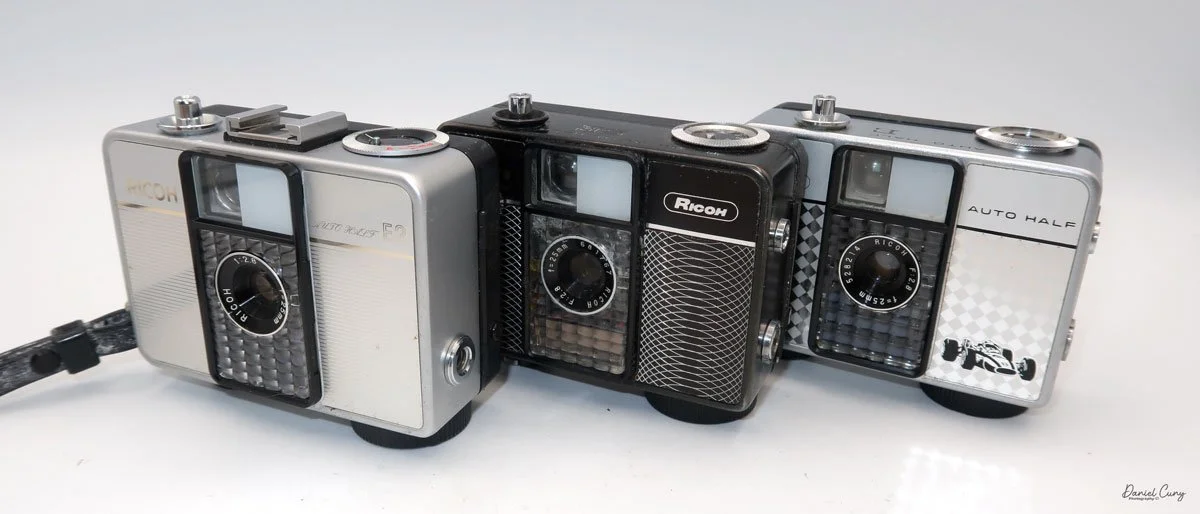
My three Ricoh Auto Half cameras

 Some of the cameras were black with a white geometric pattern on the front, like one of the models I have. Later in the production cycle of the cameras, the production became bolder and more intricate, which kept pace with the signs of the times.

 There was a yellowish-green checkerboard pattern, or some cameras had brown vertical stripes or a wavy pattern, while others had outlandish red and blue colors that appeared to create a dome pattern on the front of the camera. One of the models I saw was named "King Gold," which is a gold color camera with an interesting pattern on the front. Some have a filigree around the border, or a train or race car on the front. All of these models are just fascinating to me, and one of the main reasons I wanted to write about them.

 I own three different models of the Auto Half cameras. I have an Auto Half E model with a diamond pattern and a Formula 1 race car on the front. I have a Black Auto Half SE model with a swirly pattern on the front, and the camera I used for the post was an Auto Half E2 in superb working condition.

I own three different models of the Auto Half cameras. I have an Auto Half E model with a diamond pattern and a Formula 1 race car on the front. I have a Black Auto Half SE model with a swirly pattern on the front, and the camera I used for the post was an Auto Half E2 in superb working condition.

History:

Ricoh's journey into the world of photography began not with cameras, but with sensitized paper. Established in 1936 as Riken Kankoshi Co., Ltd., the company quickly leveraged its expertise in optics, venturing into camera production just a year later in 1937. This early period laid the groundwork for a legacy of innovation and accessibility in the photographic industry. The company, which would be renamed Riken Optical Co., Ltd. in 1938, introduced its first camera, the Olympic Four, in 1939. This simple folding camera marked its entry into a competitive market.

Japanese ad for Ricoh Auto Half camera

 The post-war era proved to be a transformative period for Ricoh. A pivotal moment arrived in 1950 with the launch of the Ricohflex Model III. This twin-lens reflex (TLR) camera was a game-changer. By implementing a revolutionary belt-conveyor system for mass production—a first in Japan's camera industry—Ricoh was able to produce the Ricohflex III at a remarkably affordable price. This move single-handedly democratized photography for the Japanese public, transforming cameras from a luxury item into an accessible consumer good. The Ricohflex III became a massive commercial success, reportedly capturing over half of the domestic market share at its peak and cementing Ricoh's reputation.

 Building on this momentum, Ricoh continued to innovate throughout the 1950s and early 1960s. The company introduced the Ricoh 500 in 1957, a popular 35mm camera notable for its user-friendly features. However, it was the Ricoh Auto Half in 1962 that truly showcased the company's forward-thinking design philosophy. This remarkably compact and lightweight half-frame camera was fully automatic, with automated exposure, focusing, and film winding. Its purse-sized dimensions and ease of use made it a massive hit, particularly with female consumers, and it became a global success.

 These formative years were crucial in shaping Ricoh's identity. From the mass-produced Ricohflex that brought photography to the masses to the stylishly simple Auto Half, Ricoh's early history is a story of creating high-quality, innovative cameras that were not only technologically proficient but also thoughtfully designed for everyday users. This foundation of accessibility and user-centric innovation would continue to define the company for decades to come.

My Camera:

My Auto Half E2 model camera is 3.5: wide, by 3" tall, by 1.5" deep, and weighs 11.9 ounces. The camera is a 35mm half-frame camera that takes a vertical image of  24x17cm on 35mm film. The camera features a fixed focus 25mm F/2.8 lens, which is typical for half-frame cameras.
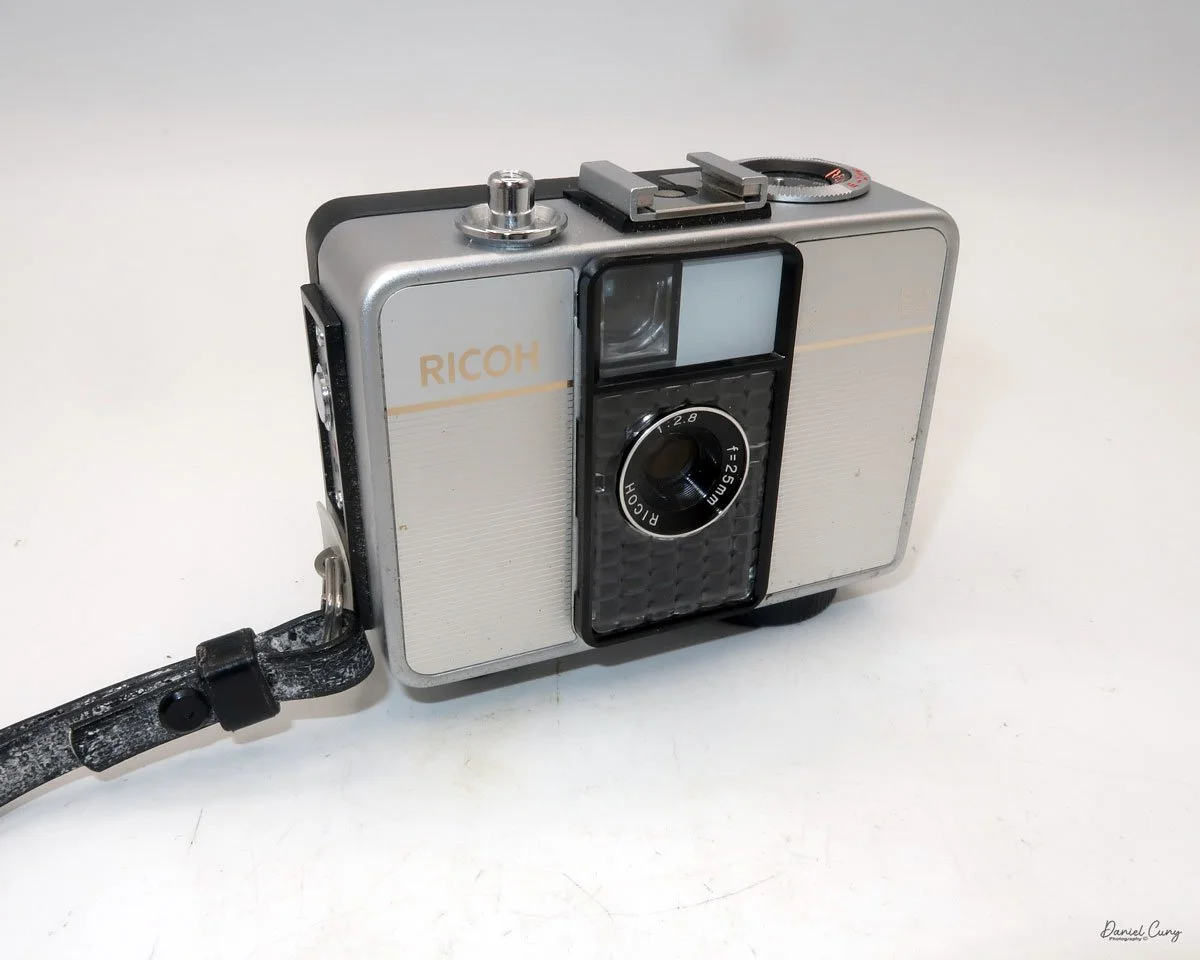
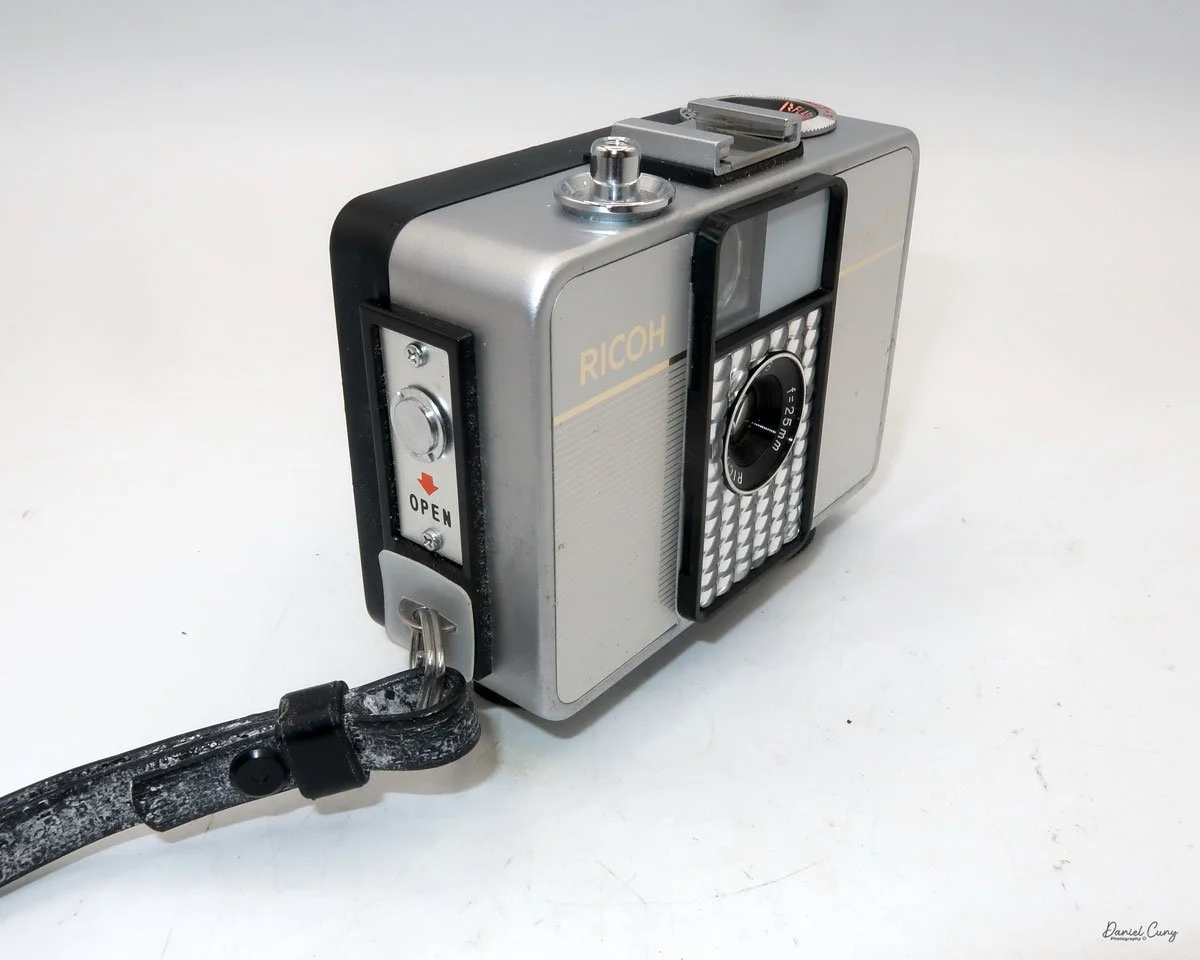
The Auto Half camera incorporates a selenium cell metering system, which on many of these cameras isn't working due to the age of the selenium cell. It can no longer meter the light, but fortunately, I have one in excellent working condition. The selenium cell is located around the lens. The aperture has a range from F/2.8 to F/22. 

 The ASA (ISO) range for the film speed on the Auto Half camera goes from 25 to 400. The ASA is set on a dial located on the top of the camera.  The other setting on the dial is for "A" or automatic aperture. There are aperture settings on the dial, but these are for flash settings.

The metering is done automatically and sets the aperture to achieve the proper lighting for the subject you're pointing the camera at. When in the "A" or automatic mode, the camera sets the shutter speed to 1/125th and sets the aperture. When you use a flash, the shutter is set to 1/30th of a second, and then you manually set the aperture depending on the distance to your subject.

 According to the Auto Half manual, the only indication that the camera's lighting will be set automatically is a yellow dot appearing in the center of the viewfinder. If the yellow dot doesn't appear, then the camera will not set the proper aperture, and the image will be either too light or too dark. 

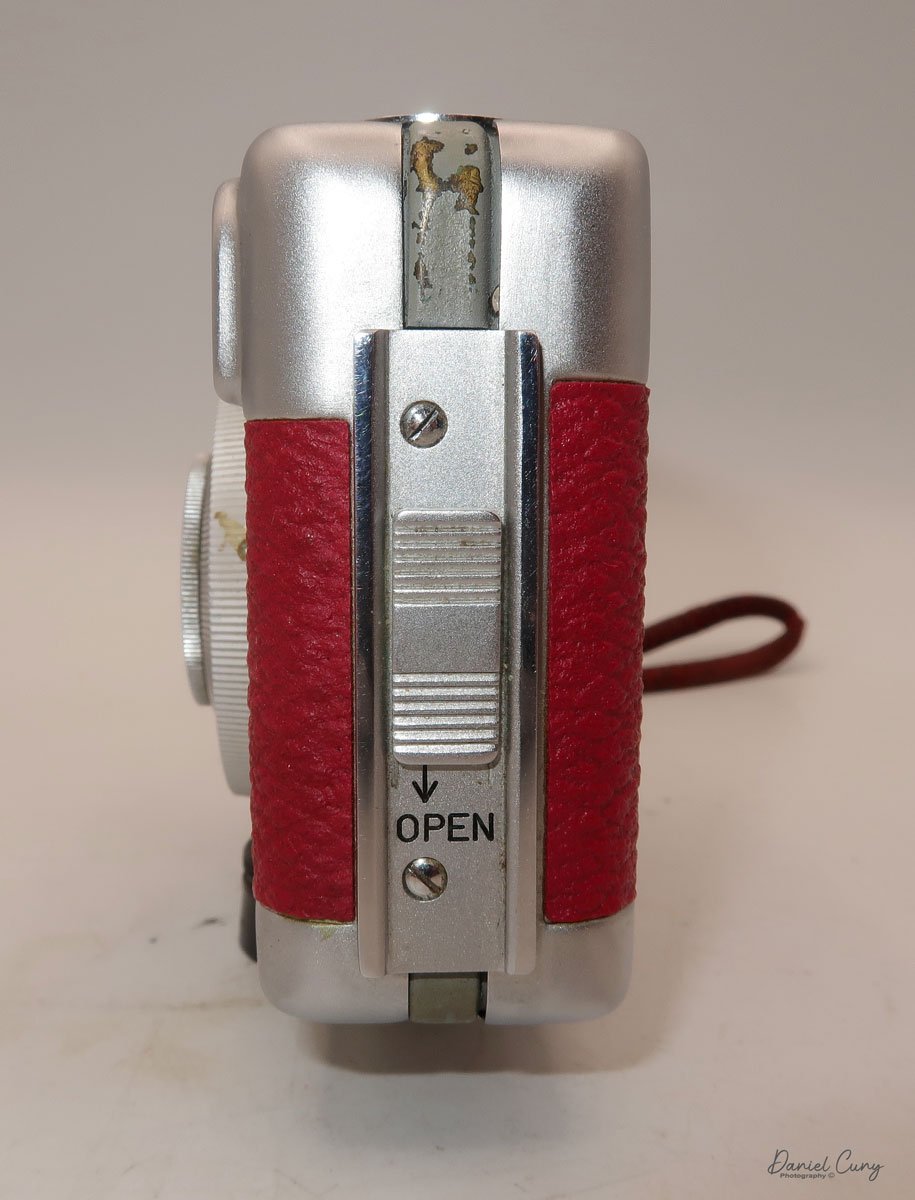
To load film into the camera, there is a lever on the side of the camera that slides down to open the back of the camera. Once open, load the camera as you would any 35mm camera, putting the film cartridge on the right side and slipping the leader under one of the silver tabs on the left. Close the back of the camera, and wind the clock drive winding lever located at the bottom of the camera in a clockwise direction. Continue winding until you can no longer wind. Click the shutter a couple of times to get to your first exposure. You're all set to take photos. The winding motor will last approximately 25 frames before it needs to be wound again.

 The frame counter is right next to the rewind lever. To rewind the film into the cartridge. The rewind release button is in the middle of the winding motor. Press the rewind button, and rewind the film into the 35mm cassette. Once that's done, you can open the back of the camera, remove the film, and have it processed.

My Results:

I loaded the camera with a roll of film and took it with me for a walk around the block with our 15-year-old Pug, Ernie. These walks are getting a bit slower every week, so I had time to snap photos of some of the houses in the neighborhood, as well as many of the flowers in people's yards.

 I wanted to push the limits of the camera and see just how close I could get to capturing a reasonably sharp image. It appears that the minimum focus distance is right around 3-4 feet, even with 200 ISO film in the camera and on a very bright summer day, around noon.

 Here are some of the images I took.

Conclusion:

I think I'm more impressed with this camera than the Canon Demi I did a couple of weeks ago. There was a bright yellow dot in the center of the viewfinder, so I trusted the meter's exposure, which was pretty accurate.

 The focus was pushed, and I received a few blurry images, which I had anticipated, but overall, the camera did a fantastic job. The transport worked flawlessly, the exposures were accurate, the camera fit nicely into my pocket, and all I needed to do was put the camera to my eye, frame the photo, and press the shutter button…Fantastic!!!!

 I'll be using this more often, since it's a small, compact, lightweight, and accurate meter. A real treasure to have in my collection. Now all I need to do is find other models and designs. I think this may be the start of something fun.

 Thank you for taking the time to read about this compact bundle of photographic bliss—a real underappreciated camera from the 1960s.

 If you're interested, you can read more of my camera reviews by clicking on the link.

 I have a store on eBay where I sell some of the cameras featured in my camera reviews, as well as a variety of photo odds and ends. Take a look at Cuny's Camera and Photo.

 Until next week, please be safe.
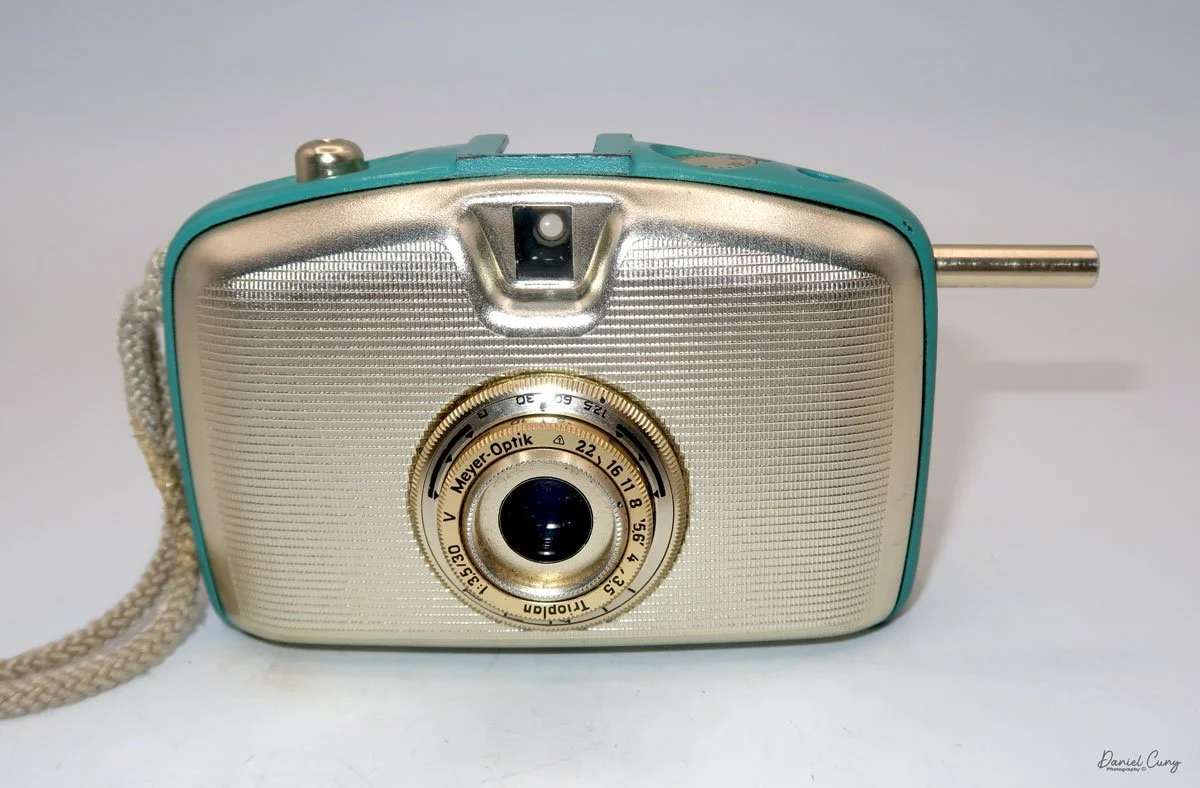
Welta Penti camera

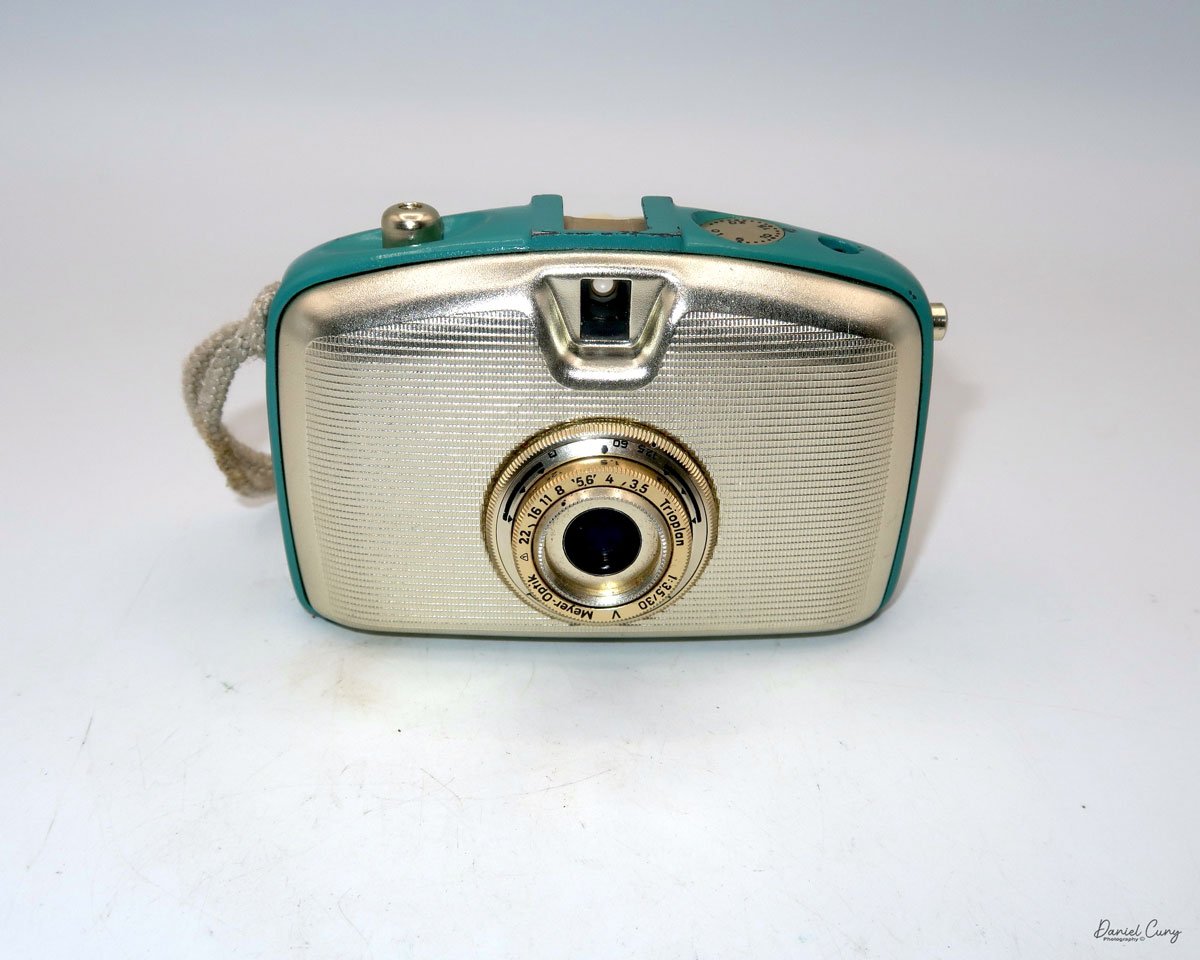
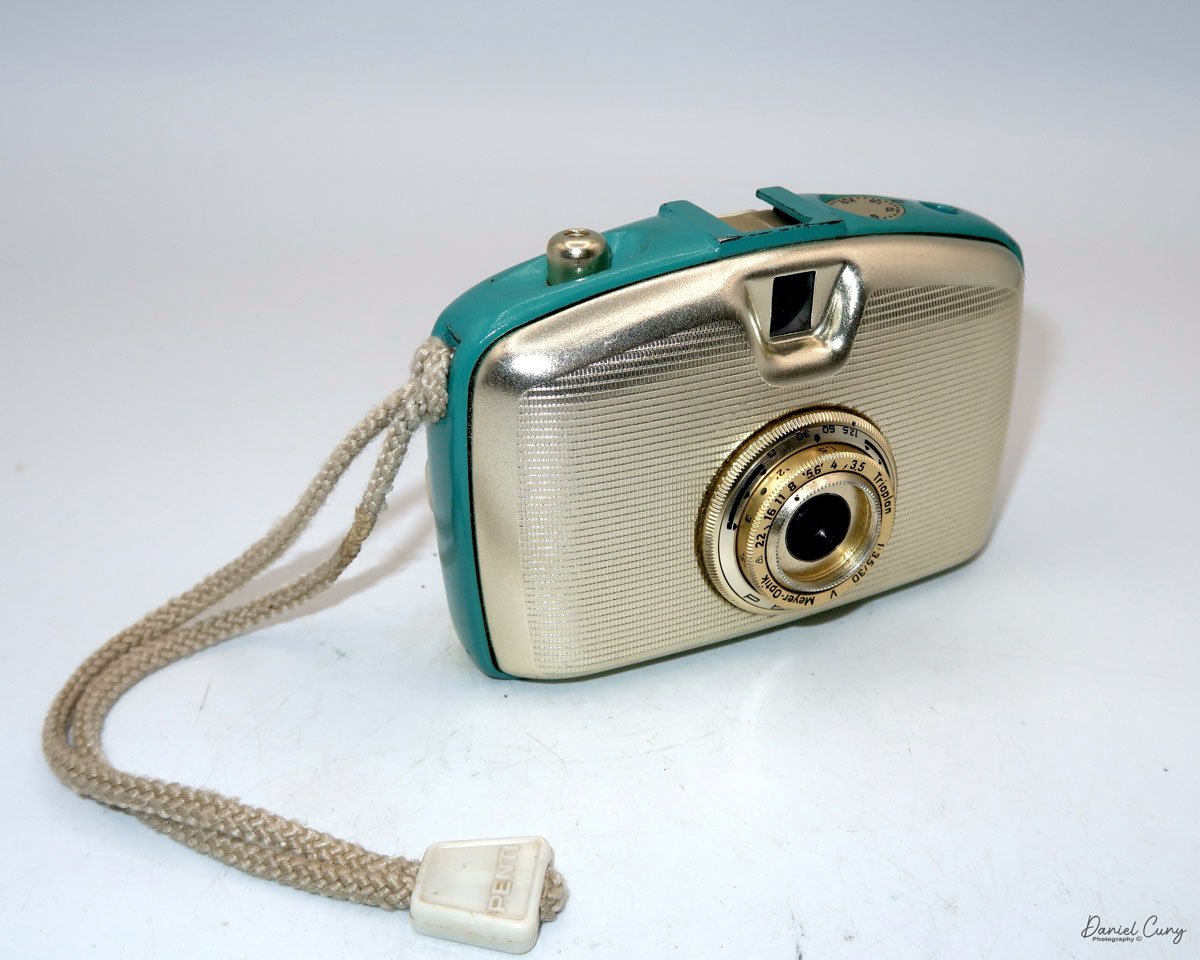
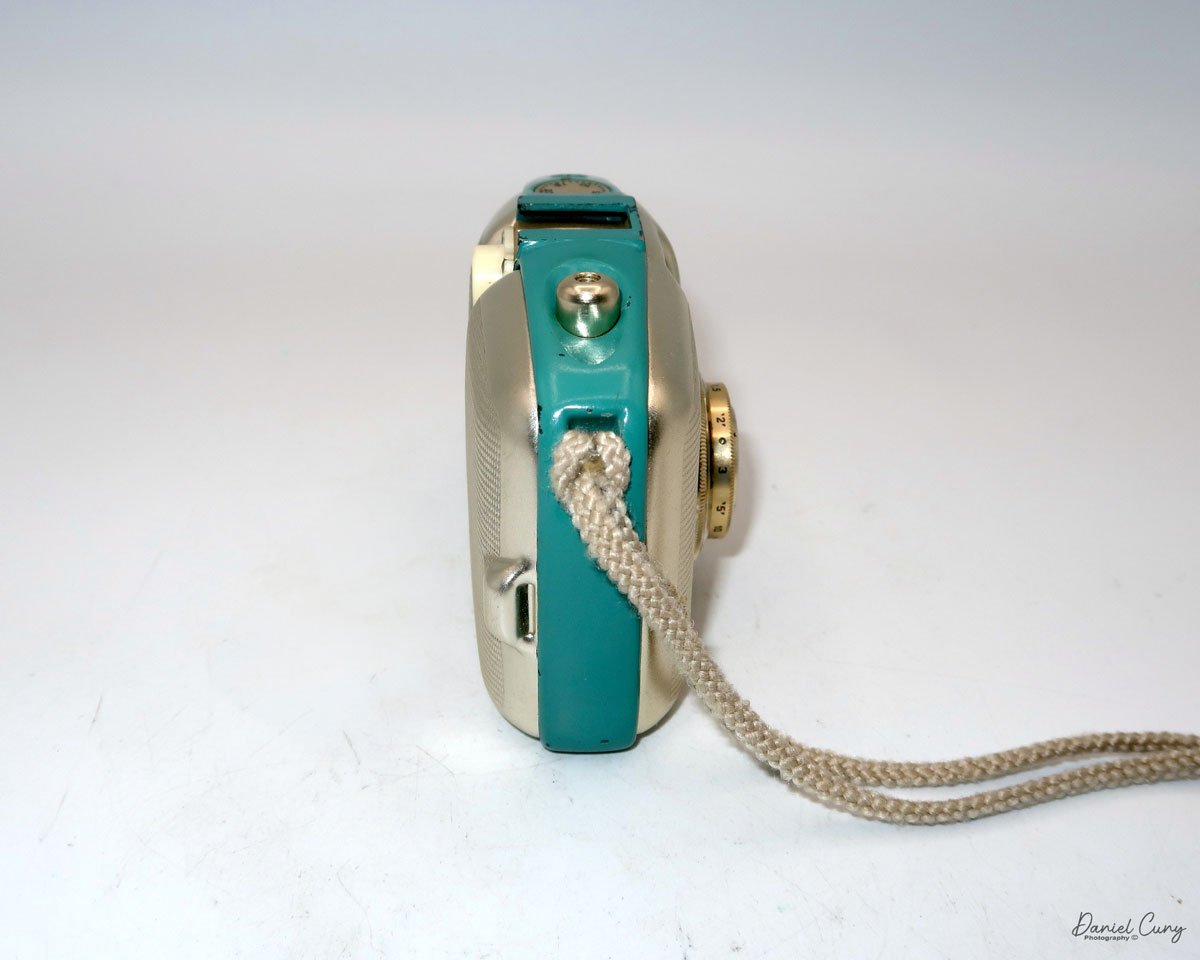
My Welta Penti camera

The first time I laid my eyes on a Welta Penti camera was almost 45 years ago. I was working as a salesperson at the local camera store in our area, and someone brought in a beautiful gold-colored camera with dark red trim circling the center. I was a bit flabbergasted when I saw it. The customer had just received it from a relative and wanted to know how to use it.

 At the time, I was in my early twenties, and although I had never seen one before, I started to play with it and explained the camera as I tinkered with it. I was learning about the camera at the same time.  The easy part was explaining the items located around the lens, like shutter speed, focus distance, and aperture settings. Still, when I clicked the shutter, and the advance rod came shooting out of the camera, I think I let out a little gasp of surprise as the woman I was explaining the camera to just smiled and said, "That happened to me when I snapped the shutter, but I didn't know what I did".

 It wasn't until I took the back off the camera and noticed that when you pushed the film advancing rod in, it engaged with the film's sprocket holes and pushed the film into the take-up cannister. The rod stayed in the camera body until you snapped the shutter again. Also, with the back off the camera, I did see that the camera took 35mm film, but not the regular 35mm film that the majority of photographers were used to, but the Agfa Rapid style 35mm film. At the time, we did sell a small quantity of Agfa Rapid film. 

The brilliant gold toned Welta Penti camera with advance rod out.

 While I had the camera's back off, I double-checked that the shutter was opening and closing. The aperture was operating correctly, which it was. I explained to the owner of the camera that it was called a Half-Frame camera, meaning it used only half the size of a standard 35mm camera. She would get twice the number of photos from a roll of film. If she purchased a roll of 20 exposures, she would be getting 40, 41, or possibly 42 pictures from the roll. I sold her a roll of film, loaded it into her camera, and sent her on her way. 

 The whole time I was holding this camera, I couldn't help but think, What a beautiful camera. Keep in mind, this was around the same time as I was starting to collect cameras and the ones that impressed me the most were camera with color, like the Kodak Rainbow,  Petites and Beau Brownies camera, so a gold camera with dark red circling the camera just sort of blew my mind and I wanted to know more about them.

 Fast forward 45 years, and at a recent camera collectors fair in Seattle, I purchased two Penti cameras, both in good working condition. I had previously owned a few of the Penti cameras, but sold them off years ago so when I saw them at the camera show, I thought it would be great opportunity to add them to my collection and also to write about them in one of my camera collecting blog posts.

History:

Welta Kamerawerks, a significant yet often overlooked German camera manufacturer, has a history that mirrors the turbulent narrative of the 20th century in its Dresden-area home. Founded in 1914 as Weeka-Kamera-Werk by Walter Waurich and Theodor Weber in Freital, a suburb of Dresden, the company was renamed Welta-Kamerawerk Waurich & Co. in 1919. From its inception, Welta carved out a niche for itself by producing a wide array of high-quality, medium-priced folding plate and roll film cameras, putting it in direct competition with other German contemporaries, such as Balda and Certo.

Welta Kamera Werks

 Before World War II, Welta was known for its solid engineering and innovation. The company produced a range of popular models. Still, it was cameras like the high-end Weltur series that cemented its reputation. Introduced in 1935, the Weltur was a sophisticated folding camera featuring a coupled rangefinder. This design element positioned it in direct competition with premium brands. Welta also ventured into more ambitious designs, creating the unique folding Twin-Lens Reflex (TLR) cameras, the Perfekta (6x6) and Superfekta (6x9). Though not commercial successes, these models are now highly prized by collectors for their fascinating design and mechanical complexity. Many of their cameras were offered with high-quality lenses from renowned makers like Carl Zeiss and Schneider-Kreuznach, appealing to serious photographers.

 The aftermath of World War II dramatically altered the company's trajectory. Located in what would become East Germany, the Welta factory was dismantled and its equipment sent to the Soviet Union as part of war reparations. However, production managed to restart by 1947 under the new state-controlled entity, VEB Welta-Kamera-Werk. The company continued to produce successful pre-war designs, such as the Welti 35mm folder. It absorbed other nationalized firms, including the Richter company in 1950, which led to the development of the successful Reflekta TLR series.

 Despite its resilience, the era of consolidation in the East German photographic industry marked the end of Welta's independence. In 1959, VEB Welta was merged with several other Dresden-based camera makers, including Belca and Altissa, to form the massive conglomerate VEB Kamera- und Kinowerke Dresden, which would later become the famous Pentacon. Following this merger, the Welta name, which had defined quality German cameras for over four decades, gradually disappeared from the market, marking the end of a significant chapter in photographic history.

My dark red and turquoise Welti Penti cameras

 The Welta Penti was introduced in 1959 and produced until 1977 with a few modifications. In 1961, the Penti I and Penti II were introduced. The Penti I had a broader front viewfinder area and small knobs on the lens to control the different lens functions, like aperture and shutter speeds, and the Penti II was similar to the Penti I but incorporated a selenium cell light meter. 

 All Penti cameras are 35mm, half-frame cameras that take an 18x24mm image in a vertical format. The Penti and Penti I cameras have a Meyer-Optik Tripolan 30mm f/3.5 lens. The Penti II has a Domiplan 30mm f/3.5 lens.

 The 28mm to 30mm is considered a standard lens for the half-frame style cameras. The Welta Penti cameras came in different colors; all had a brilliant gold-toned camera body, but the band around the camera came in black, dark blue, turquoise, dark red, or white.

My Camera:

My Welta Penti is a small and compact camera, making it another fantastic option to keep in your pocket or jacket, ready to take photos. The camera measures 4.25" wide by 2.75" tall and is only 1.5" deep, weighing 8 oz. A metal lens hood and case are available for the camera, but unfortunately, my camera does not have either one.

Around the lens, and closest to the camera body, is a ring that controls the shutter speeds, which range from 1/125 to 1/30, and a square that represents timed exposures. Inside the shutter speed control is the lens's focusing ring, which focuses down to 1m. Inside the focusing ring are the lens's aperture settings, which go from F/3.5 to F/22. On the Penti camera, these are awkward to move. Now that I've shot with the camera, I understand why they added the small knobs to the updated Penti I and II model cameras. These are the only settings on the camera, except for the frame counter, which is reset to zero using a wheel located inside the camera.

To remove the back to load the film, there are two grips molded into the back of the camera that you grab and pull the back away from the camera body. The back is held in place with two spring clips that engage with the molded grips to secure it to the camera body.

 Once you have the back off the camera's body, you see the two Agfa-style film cassettes, along with a silver pressure plate that swings down when loading the film and a sliding bar that holds the take-up cassette in place. The nice thing about these film cassettes is that nothing is holding the film inside: no tape or clip is used. The film is loose inside the cassette and has just been wound onto a spool.

To load the Agfa style cassettes, insert 35mm film. Luckily for me, I just purchased a 100' roll of B&W film, which I just loaded into my bulk film loader, so I have plenty of film. Just remember, you don't need a lot of film because you're getting twice as many photos on the roll. 

 Here is the procedure I used to load the cassettes. I removed the film cassettes from the camera and, along with my bulk film loader, placed them in a dark bag. I cut off a piece of film, approximately 2-3 feet long, from my bulk loader and slid the end of the film into one of the cassettes, ensuring the film's emulsion faced down, just like any 35mm film. Once I pushed the film into the film cassette, I removed it from the dark bag and trimmed the exposed film's corners.

I placed the cassette with the film inside on the left side of the camera's body, pulled down the pressure plate, and gently slid the trimmed end of the film into the take-up spool on the right-hand side. I snapped the shutter, and the film advancing rod popped out of the camera's body. The film is transported from the film cassette to the take-up cassette by a piece of metal with two prongs that push the film into the take-up cassette when the film advancing rod is slid into the camera's body. 

 When you take the photo, the pronged metal piece disengages from the film's sprockets. It moves to the left, so when you push the rod in, the pronged piece of metal grabs the film's sprockets and pushes the film from the cassette on the left to the take-up spool on the right. At this point, flip up the pressure plate, and immediately to the left of the viewfinder is a thumb wheel that allows you to zero out the frame counter, indicating the number of photos you've taken. Pop the film back onto the camera body, ensuring it's positioned correctly, and then start taking pictures.

The problem in my circumstance was that, since I didn't know how long the film I cut was, I didn't know how many photos I'd get on the unknown length of film I cut in the dark bag. The good or not-so-good news is that, with these cassettes, you don't know when you reach the end of the roll because you're transitioning from one cassette to another. There's no rewinding the film into the cassette. When you're done with the roll, the pronged metal piece has no more film to push into the take-up cassette, and a film tail (the end of the film) protrudes from the take-up spool.


My Results:

Now that I had film loaded in the camera and my trusty Sekonic L-308 meter with me, I took general meter readings. I then took our dog for a walk through the neighborhood. I snapped a few photos, both vertically and by turning the camera to get a few horizontal images. Here are the results from my walk with Ernie.

Conclusion:

What a fun camera to shoot with. It's small, compact, and fits easily into my pocket. The film advance rod popped out as it should, the viewfinder framed the images well, and there were no snags on transporting the film from one cassette to the other, which is what I was most worried about when using it.

 The few minor drawbacks I have with the camera are that, with my larger hands, the settings were a bit clumsy, but not too difficult to use once I got accustomed to their location. Additionally, I was unsure of how many images I had taken on the film, so I had to insert the film cassette. Out of the approximately 2 feet of film I put in the film cassette, I received 22 good images on the negatives, two of which were partial frames.

I also seem to have a slight light leak coming from either the bottom of the camera, as there’s a consistent bright area on my photos, which I’ll need to investigate. The images also look to have an “infrared” glow to them, which I liked.

 To read about any of the other cameras reviewed, click the link.

 I also sell cameras, lenses, and other odd camera items on my eBay store, Cuny's Camera and Photo. Stop by and go shopping.

 Thank you for taking the time to read about this fantastic little camera. I'd love to hear from you, so please email me with any comments or concerns you have about any of my reviews.

 Until next week, please be safe.

Canon Demi camera

My Canon Demi camera.

I've never really been a big fan of Canon cameras, as I've always been a Nikon person. In my opinion, Canon cameras weren't well-made, especially in the 1960s, when this camera was manufactured. Their line of early rangefinder cameras has nice optics and is comfortable to shoot with, but I just prefer the Nikon line.

 One of my frustrations with Canon was working in a camera store during the 1970s, when the unbelievably popular Canon AE-1 was introduced. For over a year, the camera was the top seller in our chain of stores as we couldn't keep them in stock, and people absolutely loved it. Personally, I think that Canon held back production on the camera to add to the mystique of having a camera "hard to get", which added to the popularity of the camera. Daily, we had so many questions about that camera. Today, I could do a demo on the camera with my eyes closed.

 I don't remember the exact year I purchased the Canon Demi camera, but I know I've had it for several years.  My guess is it's been about 8-9 years. I do remember, I purchased the Canon Demi camera at a flea market, mainly because the camera was red, and I'm a sucker for colored cameras. Checking out the camera at the time, it had the original red camera case, and the person who sold it to me said the camera's meter wasn't working.

 Having had many cameras with a selenium cell light meter, they tended only to last around 20 years or so until the selenium cell loses the ability to read light and work in cameras. I wasn't worried about that at the time of purchase, as the primary motivation to purchase the camera was that it was red and had a red case.

 The Canon Demi was introduced in February 1963. The camera has a sleek and modern design from this expressive period.  The camera has rounded corners and a straightforward point-and-shoot viewfinder with a zone focus system. It wasn't made to be a professional camera with built-in focus capabilities, but for the family and photo hobbyist. A selenium match needle metering system was easy to operate, keeping costs down for the consumer. By the end of 1963, the Canon Demi came in four colors: traditional, black, white, blue, and red. These colors didn't last long and were quickly discontinued.

My Canon Demi with wrist strap, and 27mm UV filter

 Another advantage of the Canon Demi was that it was Canon's first half-frame camera, introduced four years after the Olympus Pen camera in 1959. Rolls of film at that time had either 20 or 36 exposures, so shooting 40 or 72 photos on a roll of film was excellent and considerably less expensive for the family to use.

 In September 1964, Canon introduced the improved Demi S, which had a 30mm f/1.7 lens and an improved metering system. 

 In April 1965, the Demi  C, with interchangeable lenses, was introduced. You had the standard 28mm f/2.8, and a 50mm f/2.8  was available for the camera.

 The Demi Rapid, with a rapid loading system, battery-operated CD meter, and self-timer, was released in June 1965.

 May 1966 saw the release of the very popular and top-of-the-line Canon Demi EE17. This camera was the same as the Demi Rapid without the rapid loading system. 

In April 1967, Canon returned to the original style with the Demi EE28, back to the Selenium cell metering system, and a 28mm f/2.8 lens. In four years, Canon introduced five different models of the same camera, which were very similar to what the auto industry was doing then.

History:

Canon Inc., a large Japanese multinational corporation, has played a significant part in the evolution of camera technology. The company's journey in the camera industry began in the 1930s and has since developed into one of the most recognized names in photography worldwide.

 Canon's first camera, the Kwanon, was developed in 1934 by a small team of Japanese engineers. It was Japan's first 35mm focal-plane shutter camera named after the Buddhist goddess of mercy. Although it was never mass-produced, it laid the foundation for Canon's future success. In 1935, the company adopted the name Canon, signifying precision and excellence.

Canon ad for Canon Demi

During the 1940s and 1950s, Canon focused on refining its rangefinder cameras. The Canon II, released in 1946, helped the brand establish itself as a competitor to German camera makers like Leica. In the 1950s, Canon began to diversify its product line. By 1959, it introduced the Canonflex, its first single-lens reflex (SLR) camera—this marked Canon's entry into a growing market that prized versatility and interchangeable lenses.

 The 1970s and 1980s were transformative decades. In 1971, Canon launched the F-1, a professional-grade SLR that rivaled Nikon's offerings. Later, in 1976, the company released the AE-1, one of the world's first cameras with a built-in microprocessor. The AE-1 was affordable, reliable, and popular with amateur photographers, helping Canon grow its user base significantly.

 In 1987, Canon introduced the EOS (Electro-Optical System) line, beginning with the EOS 650. This groundbreaking autofocus SLR system used a fully electronic lens mount and paved the way for future innovation. The EOS series would become one of history's most successful camera lines.

 Canon embraced digital technology in the 1990s and 2000s. The release of the EOS D30 in 2000 marked Canon's serious move into digital SLRs. This transition peaked with iconic models like the EOS 5D series, which brought full-frame digital photography to a broader market.

In the 2010s and 2020s, Canon adapted to mirrorless technology, introducing the EOS R system in 2018. This full-frame mirrorless platform represents the company's latest push to stay at the forefront of imaging technology.

 Today, Canon continues to be a leader in photography, producing a wide range of cameras that cater to everyone from beginners to professionals, while also advancing imaging technology across multiple industries.

My Camera:

My Canon Demi camera is 4.5" wide by 2.75" tall and only 1.5" deep, including the compact 28mm f2.8 lens. It weighs 14.4 oz and is not adorned with frills, bells, or whistles. It's a very typical 35mm camera with a zone focus system and shutter speeds ranging from 1/250 to 1/30. The aperture settings range from F/2.8 to F/22.

The zone focus is set by moving the lens to either a mountain for infinity, three people for a group, or one person for a portrait, and these symbols are set around the lens.

The camera uses a match needle system. You point the camera at your subject, and when you turn the dial around the outer ring of the lens, the shutter speed and aperture are set to the ASA/ISO you set within the exposure ring.

The back door latch is on the left side of the camera, which unlocks and opens the film door to load film into it. Drop the 35mm cassette into the camera's left side and bring the leader to the take-up spool. Slide the end of the film leader into the slot on the take-up spool. Make sure the film sprockets are on the back drive gear. 

 One thing I do to make sure the film is moving in the camera is take up the slack by winding the rewind knob a few turns to take uo the slack in the film cassette. That way when you close the back of the camera and wind the camera to get it to the first frame, watch the rewind knob turn so you know the film is advancing in the camera. Checking the rewind knob is a good thing to do with any 35mm camera. I can't tell you how many times I've seen where people think the film is advancing, but the film wasn't loaded correctly, and no images were ever recorded on the film.

Once you've taken all the photos on your roll of film, press the button on the bottom of the camera. This releases the winding gear inside the camera so you can easily rewind the film back into the film cassette. If you don't press the rewind button, you'll tear all the film sprockets on the roll of film, making the process more difficult. After the film is rewound into the film cassette, open the back and load a new roll of film.


My Results:

I took this camera on my trip to Barcelona this week, partly because I had a roll of older Plus-X film with 20 exposures, and the second reason was the camera's shutter works, but the meter doesn't. I wanted to experiment with some of the exposures to see if I could get exposures on the roll of film. It probably wasn't the best idea to try a 40-50-year-old roll of film under these circumstances, but I wanted to write about the camera and didn't want to shoot 72 exposures to get bad results.

 The results turned out pretty well, and the camera meter is in decent condition, as many of the images turned out pretty well. However, the film is pretty grainy for being ASA 125. Nonetheless, here are a few photos from walking around one of the main shopping areas in Barcelona.

Conclusion:

My expectations for the camera weren't high, so I was pleasantly surprised by its relatively easy-to-use nature. Basic focus and a match needle meter make this compact camera very fun and easy to use. 

 If you enjoy vintage manual cameras, this is one to put in your coat pocket or hang around your neck. It gets twice as many photos from a roll of film and records memories for the photo albums. It is another excellent camera to use on a daily basis.

 Thank you for taking a few minutes to read about this fantastic, compact half-frame camera. A faster lens would have been nice, but it's unnecessary under most circumstances.

 I also sell cameras on eBay under Cuny's Cameras and Photos. Take a look, and you may see something you are interested in or a camera or two that piques your interest.

 Click on the link to read about some of the other cameras reviewed.

 Until next week, please be safe.