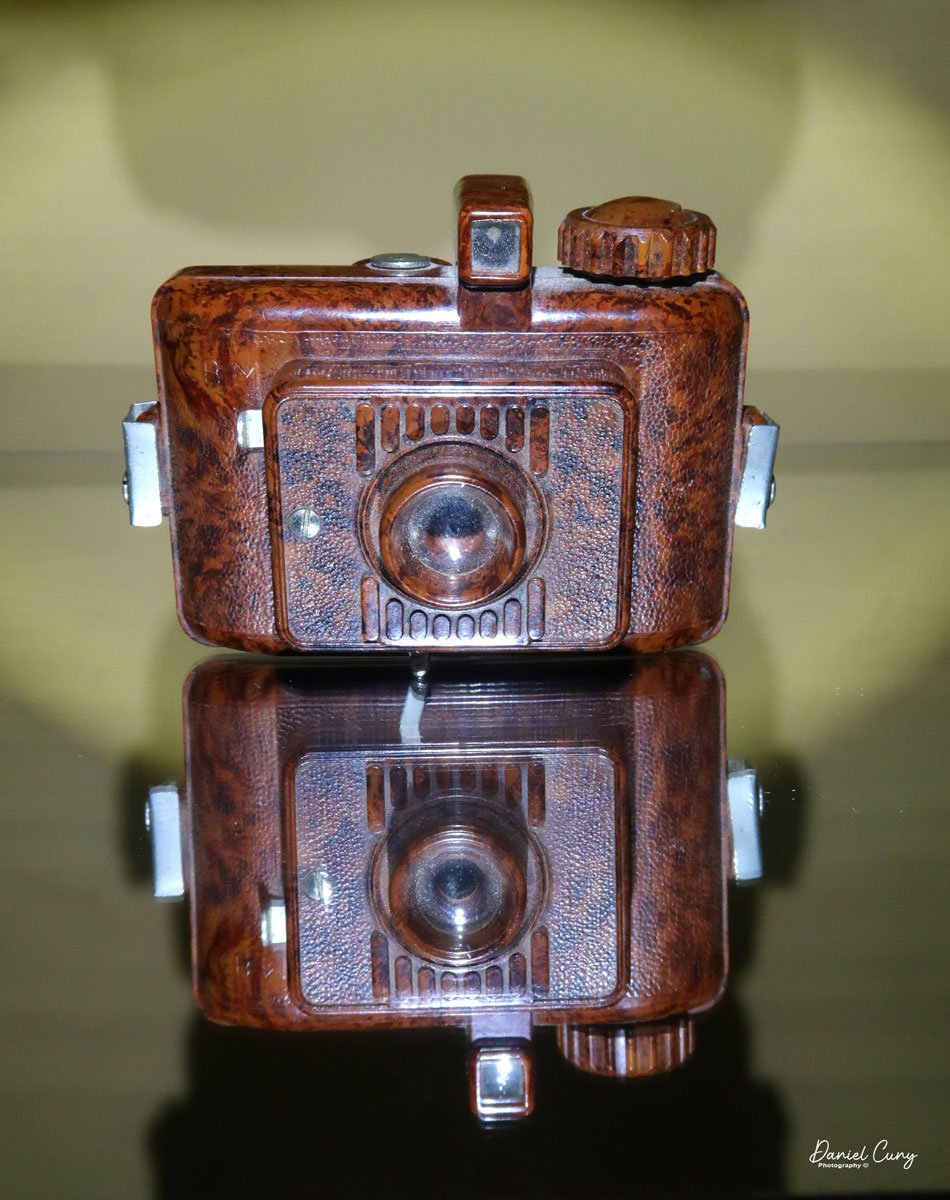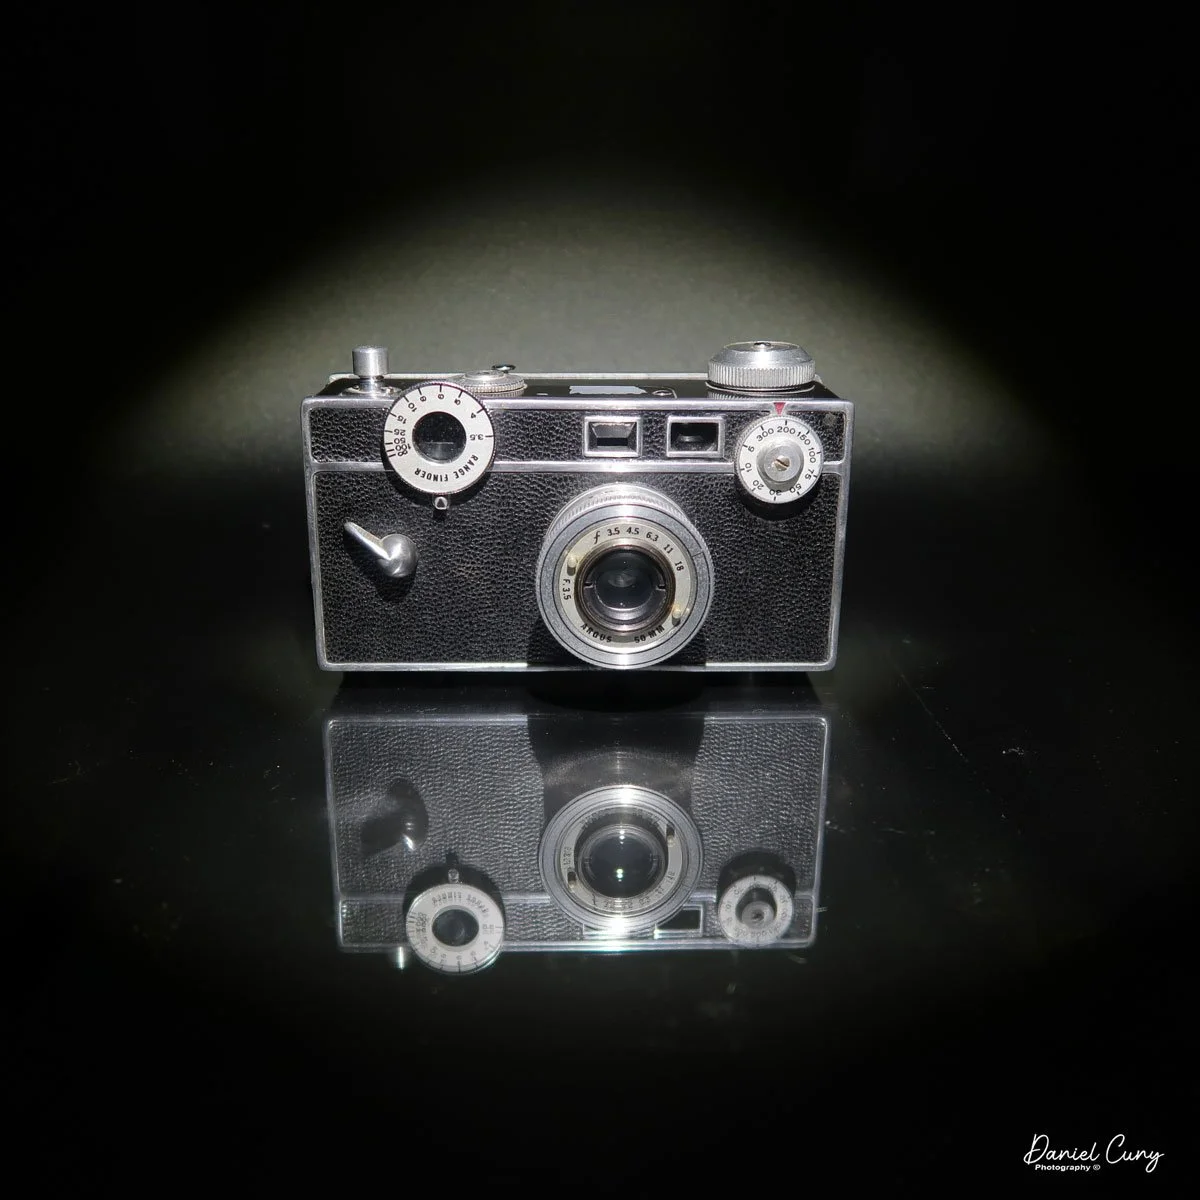
My Welta Welti camera
While looking for a camera to discuss in this week's camera collecting blog, I was unpacking cameras I took to the recent camera show outside of Seattle, and I picked up a nondescript leather case for one of them. Opening the case to see which camera it was, it turned out to be a fairly plain-looking 35mm folding camera.
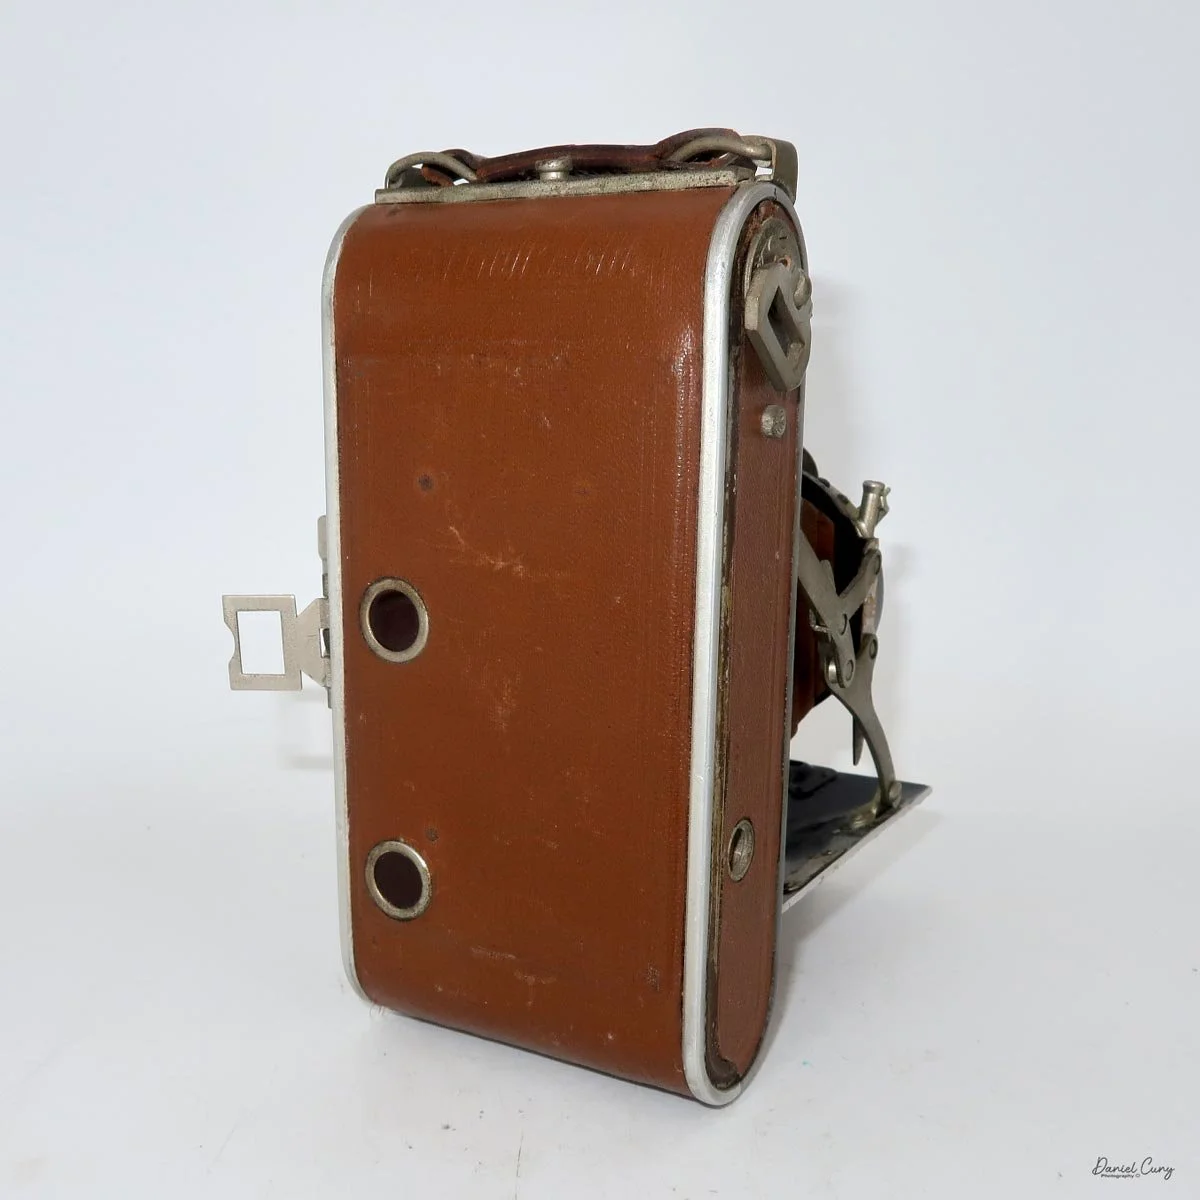
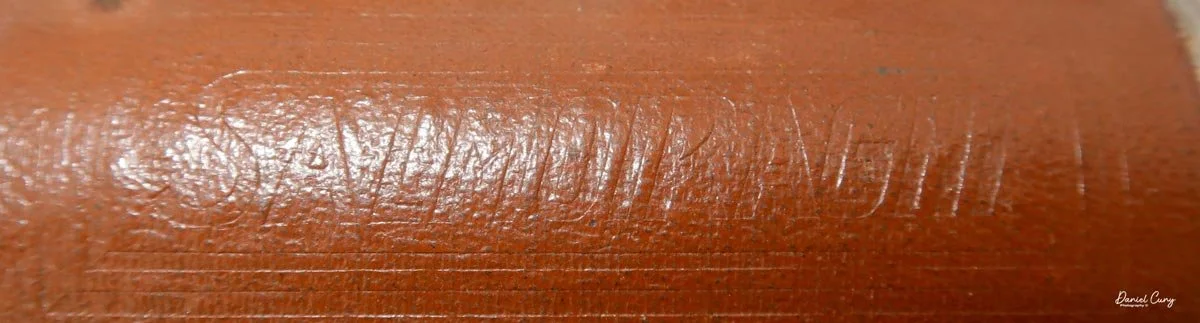
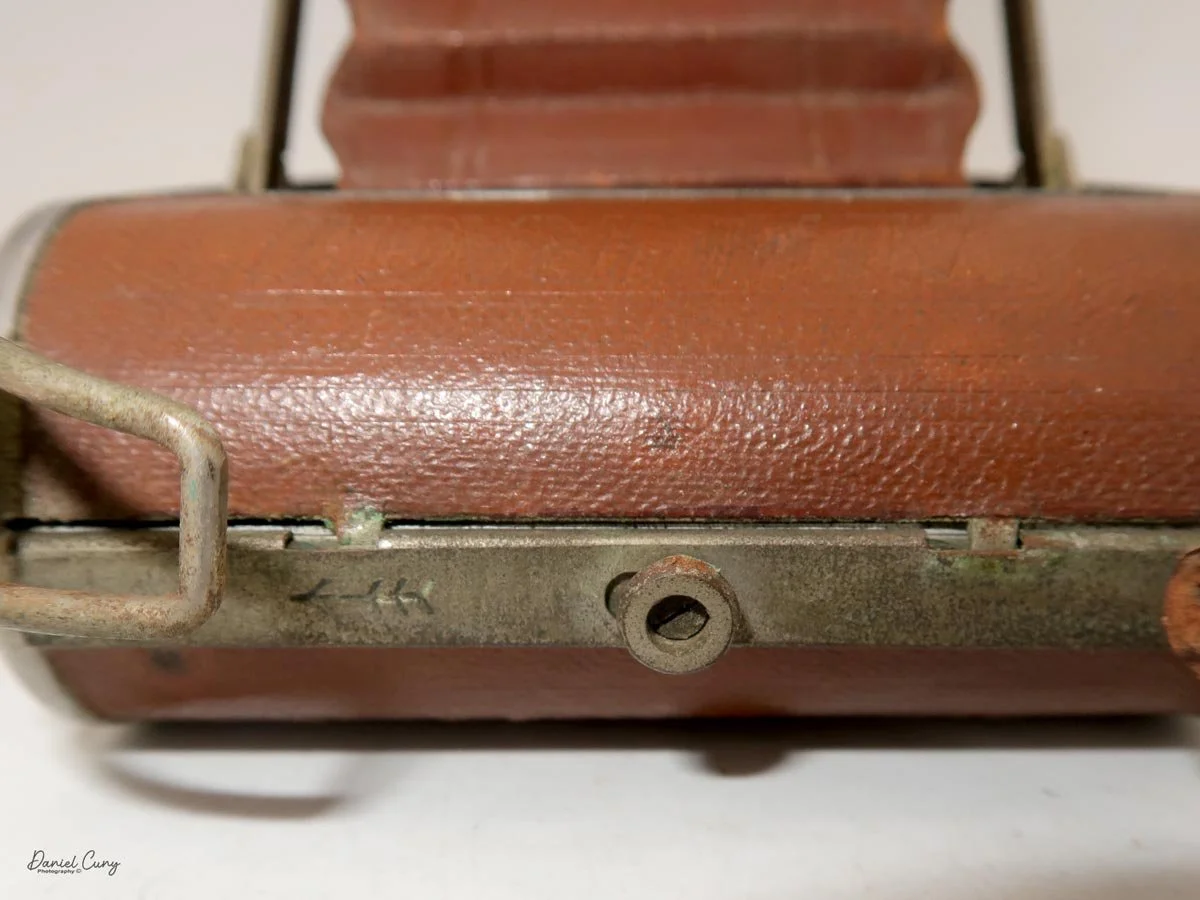
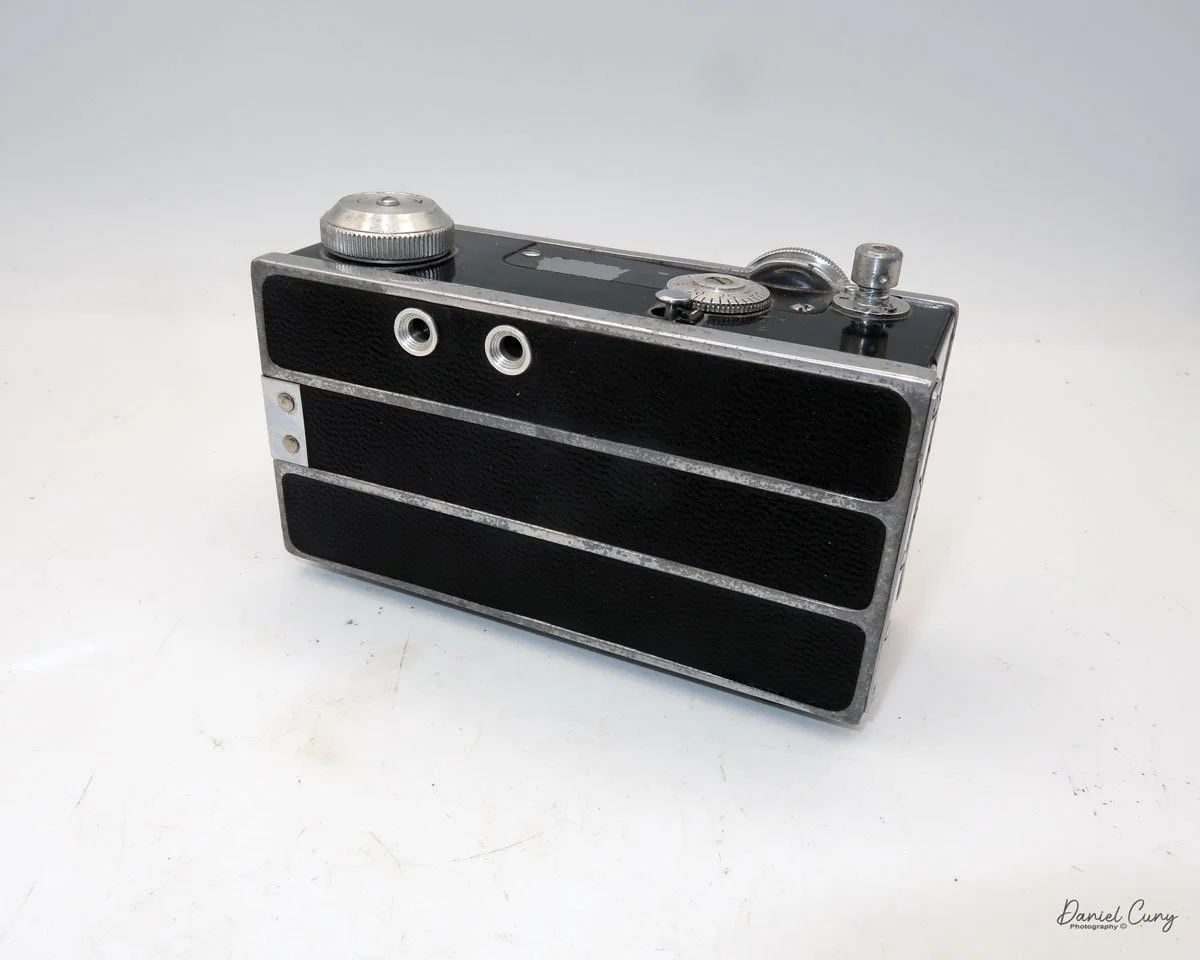
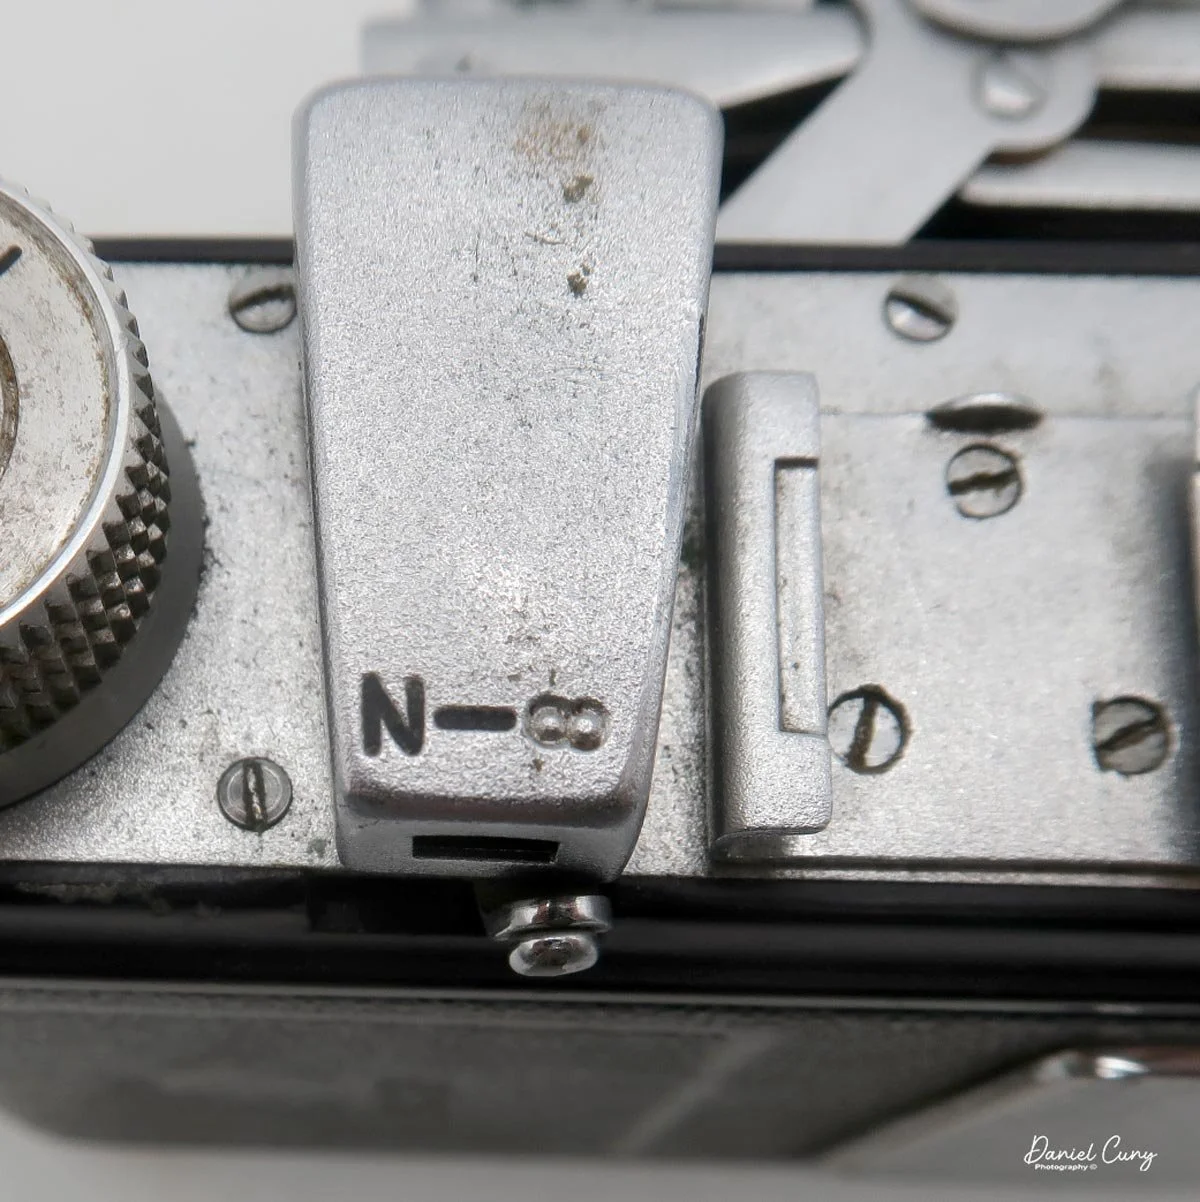
I opened the camera to see which one it was, but nothing was screaming the manufacturer to me. The only few telltale signs I could see were the words "Germany USSR Occupied" in gold embossed letters, along with "Made in Germany" embossed into the leather. There was also the number 1 inside a triangle and the numbers 37/373/1001 embossed into the leather on the back of the film door.
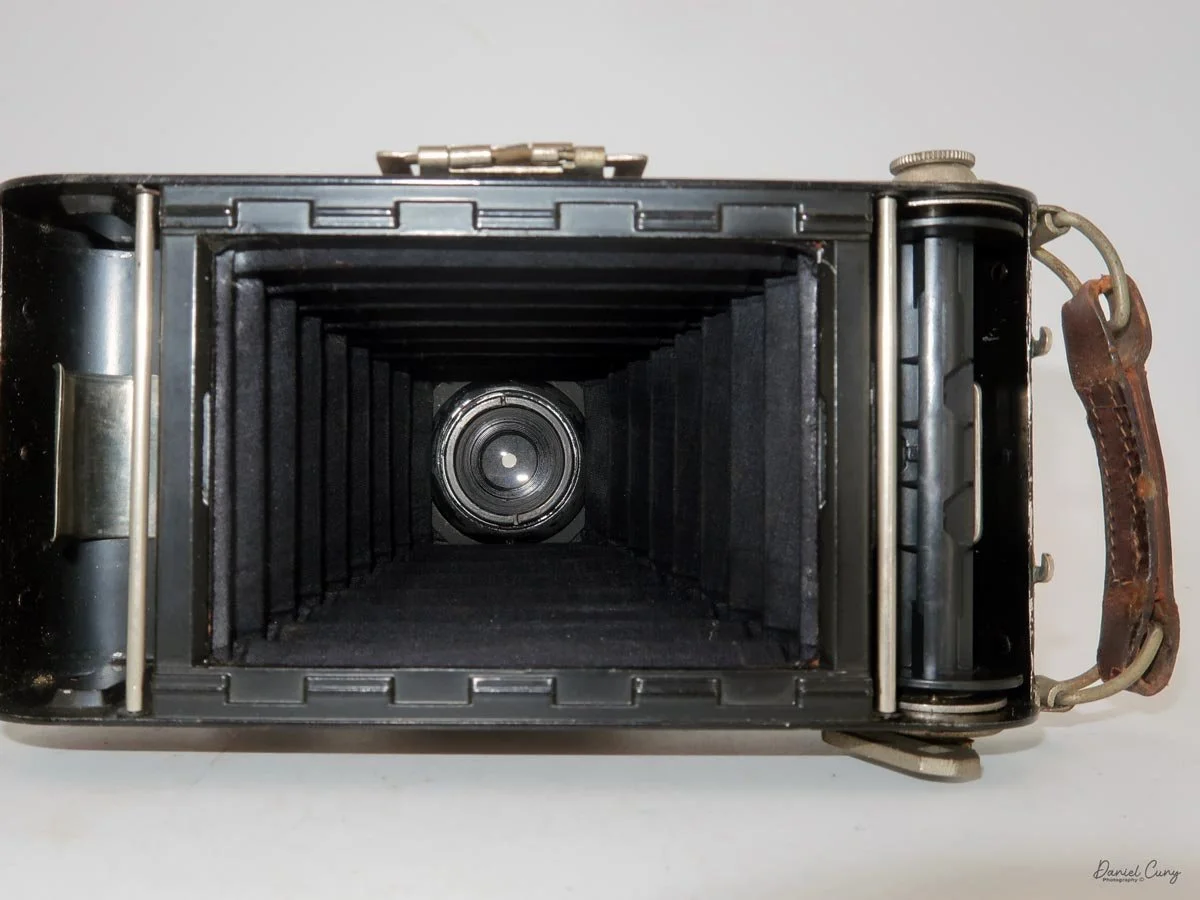
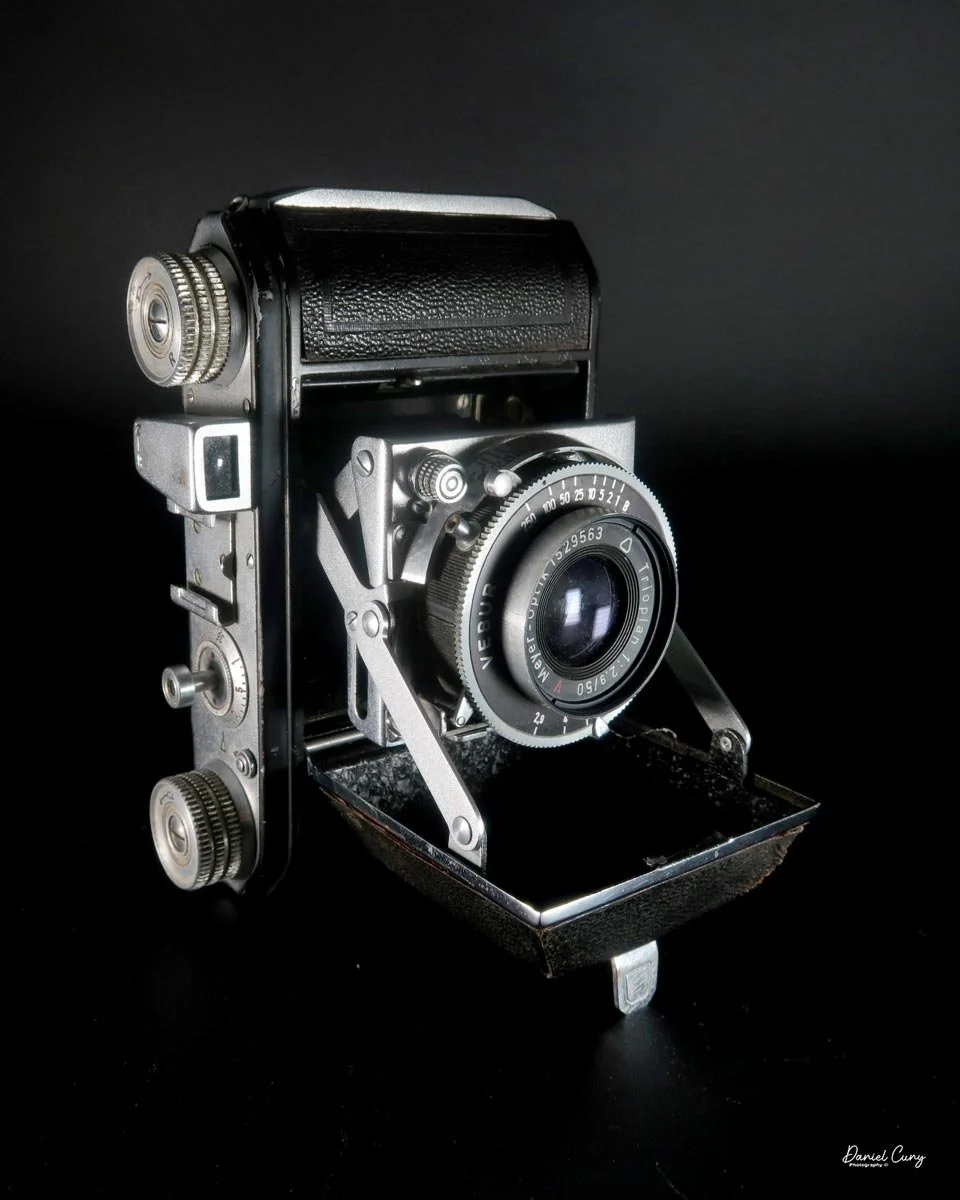
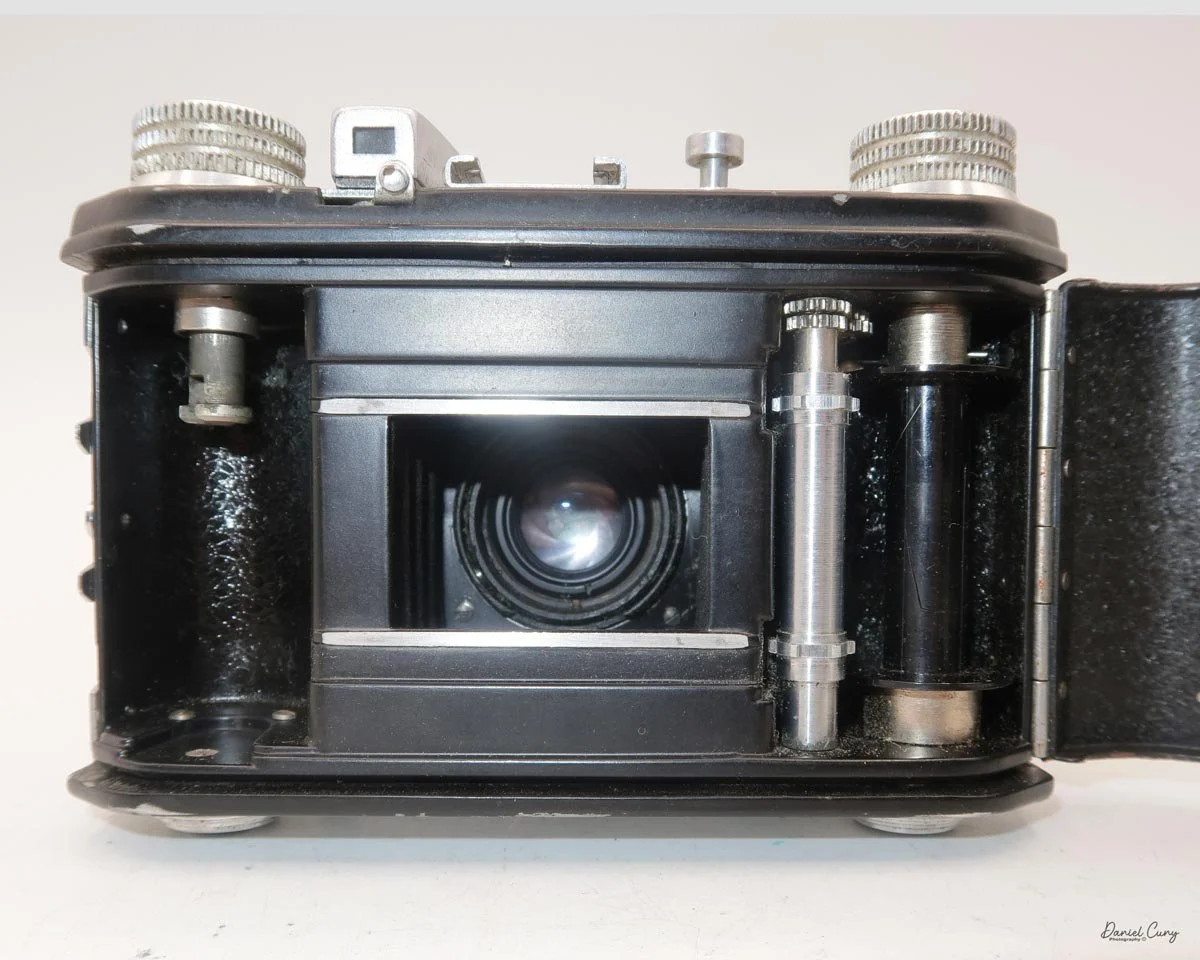
Opening the door to see what lens the camera had, it wasn't what I expected. Unlike a Schneider or Zeiss lens, the camera has a less popular Meyer Optik lens in a Vebur shutter.
Now I was more perplexed about the brand of camera I was holding. I researched the information I had, and I found that I was holding a Welta Welti camera made soon after WWII.
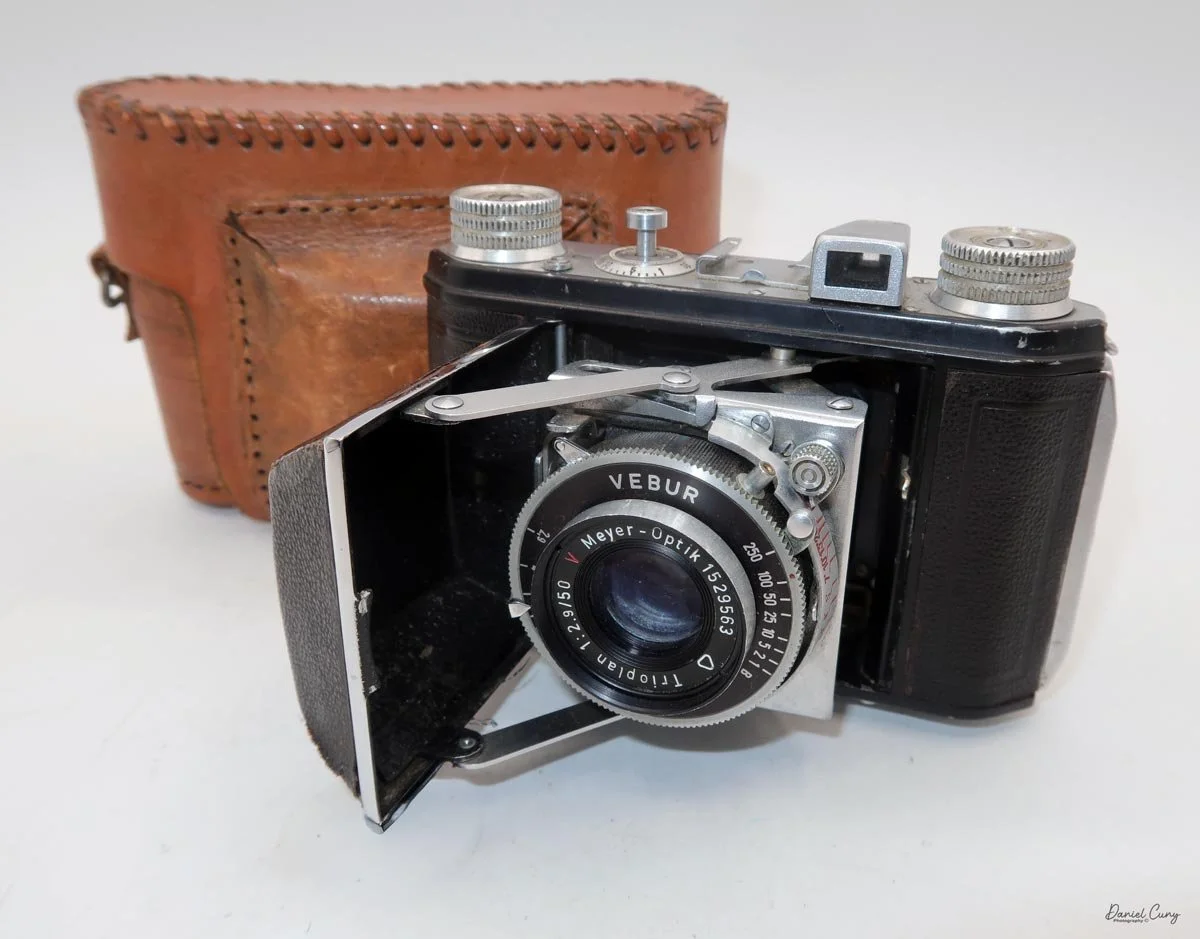
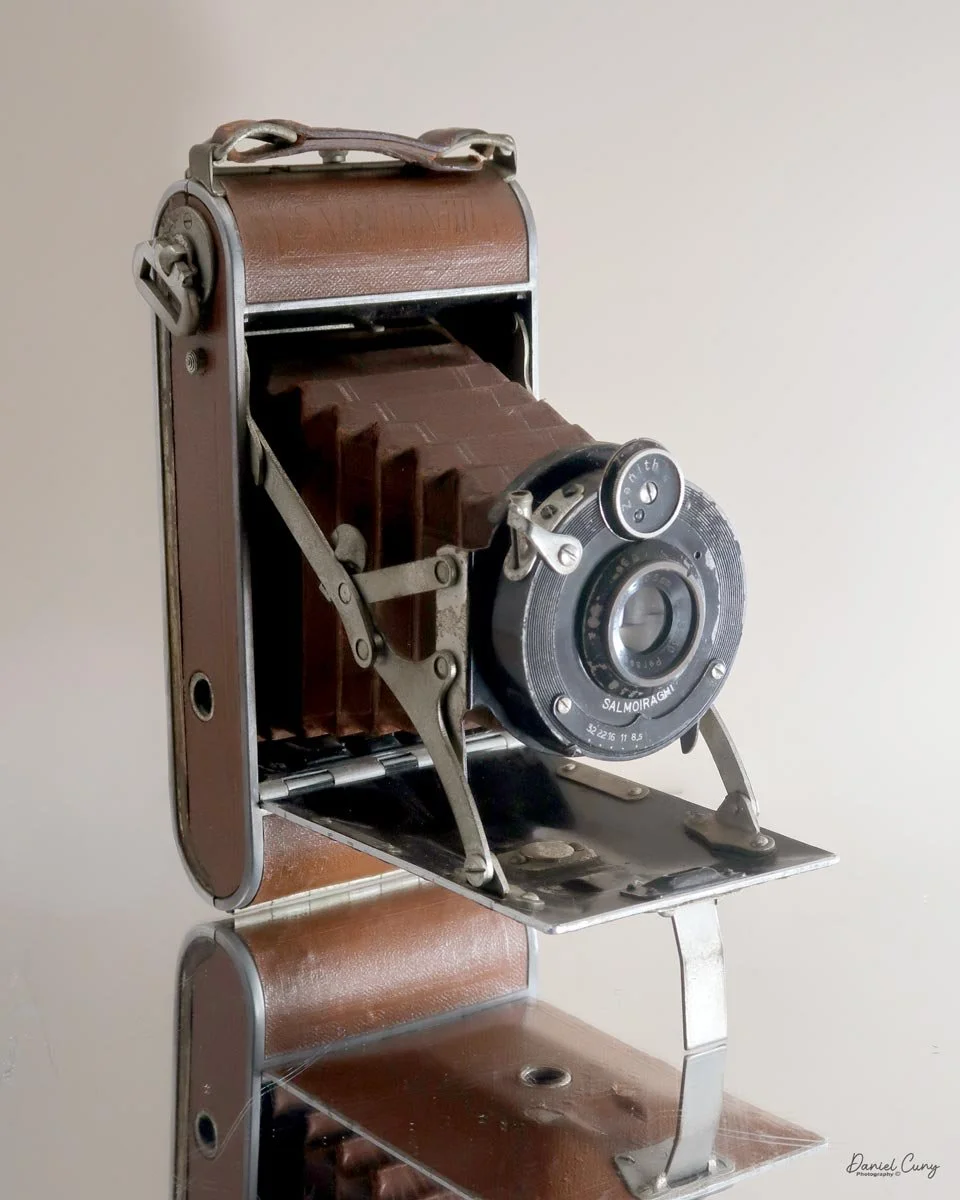
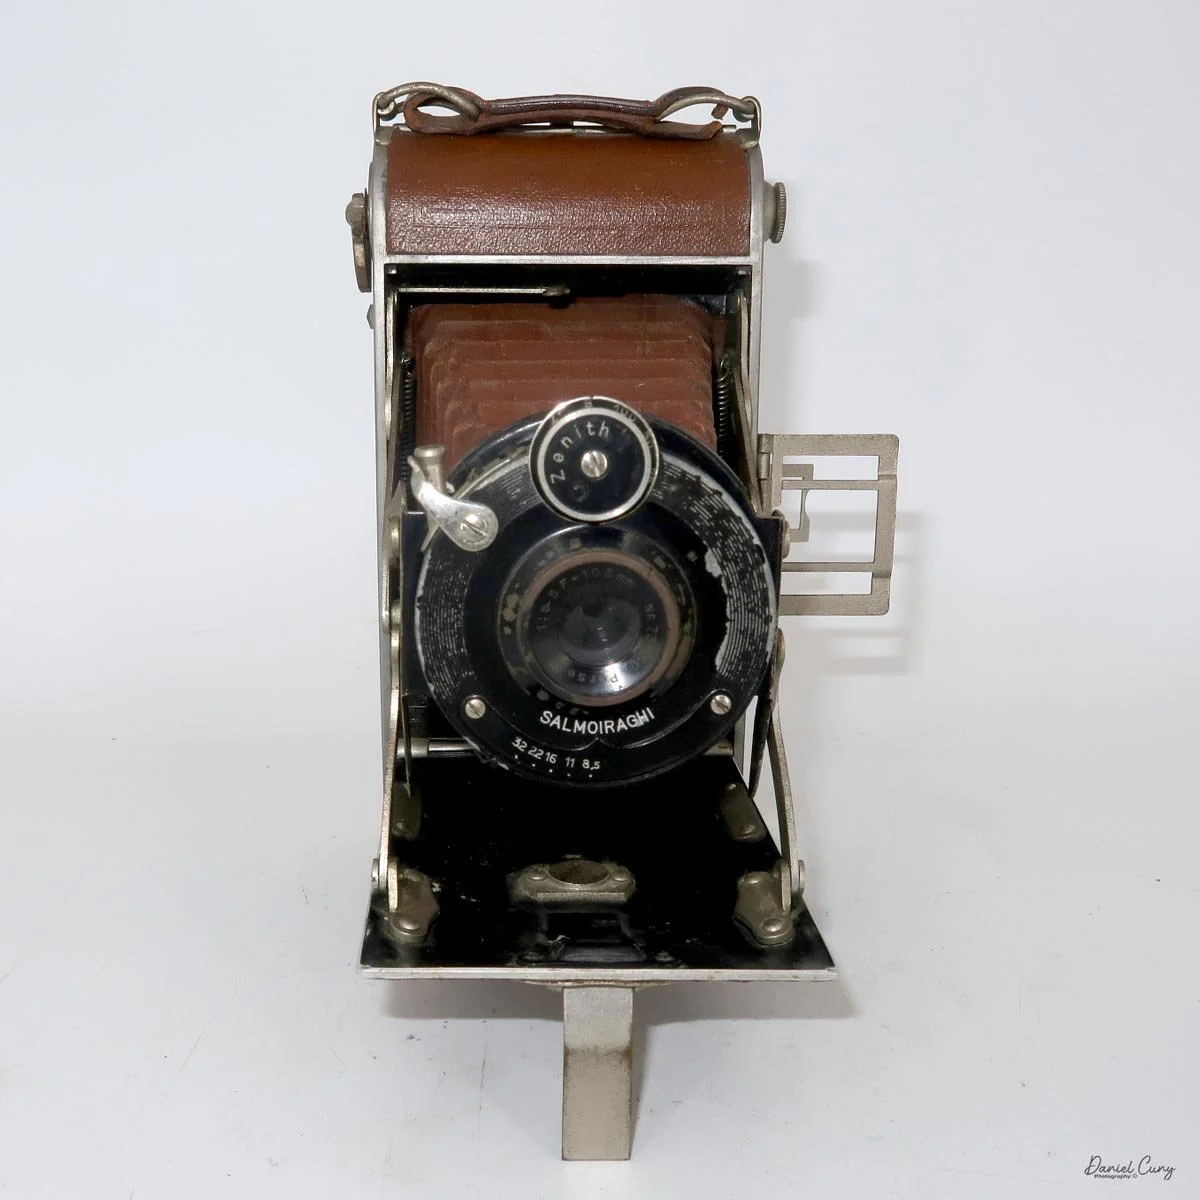
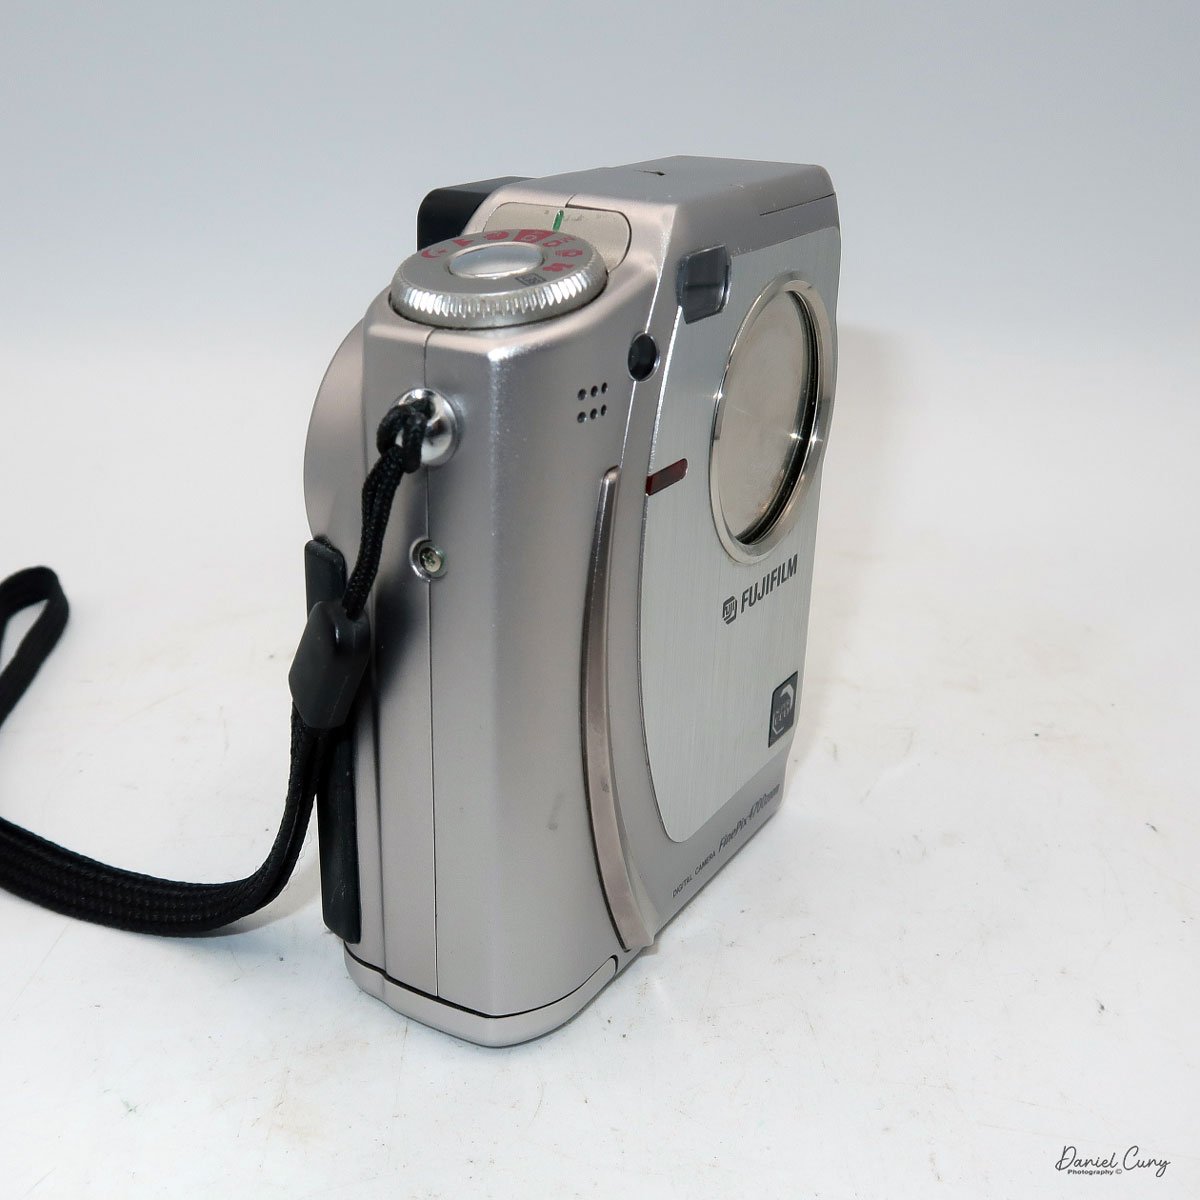
My Welta Welti camera with leather case.
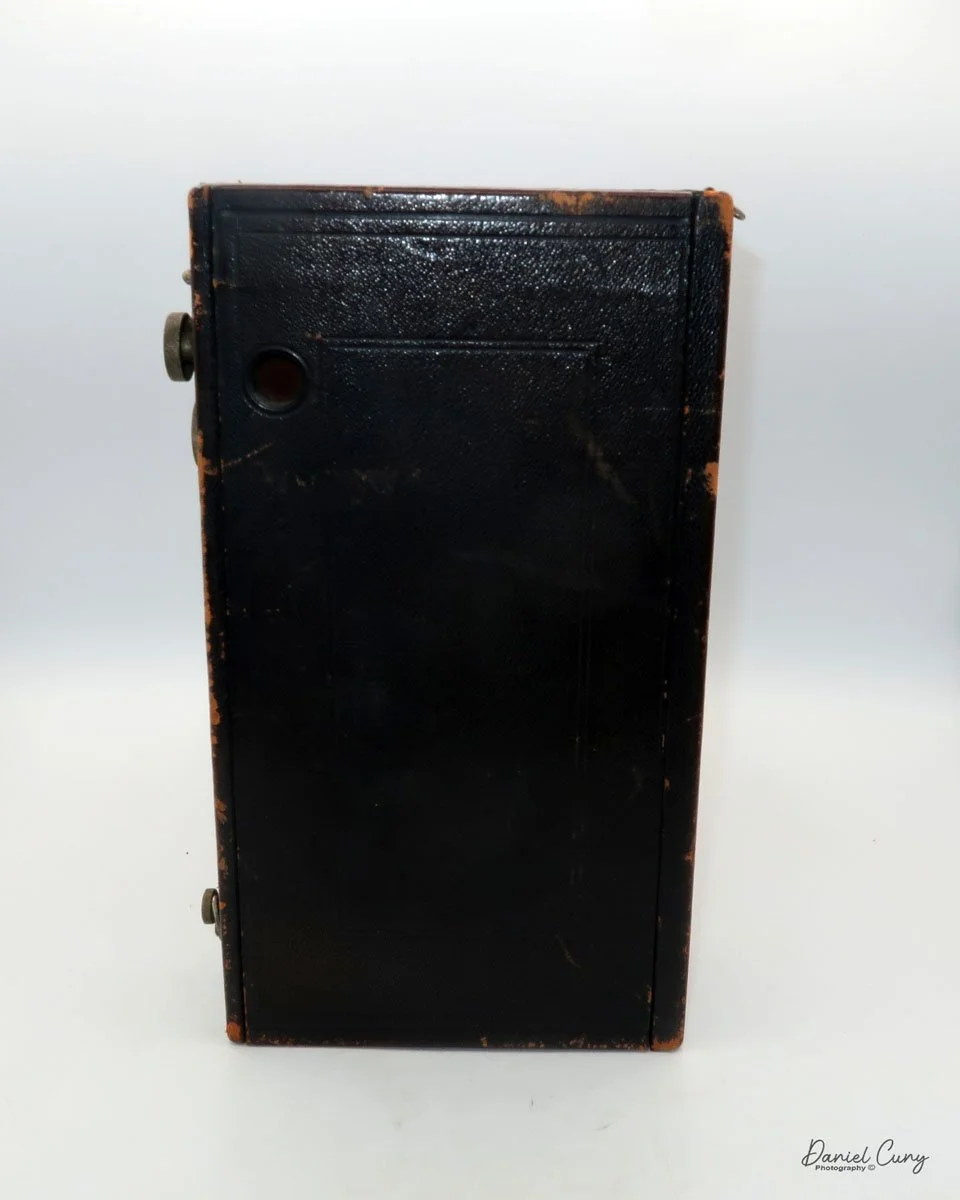
Usually, on cameras of this era, the manufacturer's name is embossed on the side of the camera, close to the film door. I looked at the camera again, and it was either worn off from use or never there in the first place.
Testing the camera's shutter, it worked at all speeds, and the aperture was smooth and functioning as it should. The lens was clean, and the transport seemed in good condition, so for the week I go camera shopping in Tokyo, and being a fan of Welta cameras, like the Perfekta and Superfekta, I found the camera to write about for this week's blog post.
History:
For those of us who spend our days restoring, shooting, and studying vintage cameras, the name Welta carries a distinct weight—both literally and figuratively. Founded in 1914 by Walter Waurich and Theodor Weber in Freital, Germany, the company originally operated under the moniker Waurich & Weber. By 1919, the "Welta" trademark was born, marking the beginning of a remarkable, albeit turbulent, chapter in the history of photography.
Welta quickly earned a sterling reputation during the 1920s and 30s. At a time when German optical and mechanical engineering set the global standard, Welta held its own against titans like Zeiss Ikon. They mastered the folding camera format, producing medium format workhorses outfitted with top-tier Compur shutters and stunning optics from Schneider-Kreuznach or Carl Zeiss. For a working photographer or a serious enthusiast, a Welta meant uncompromising precision wrapped in a beautifully crafted, leather-bound brass body.
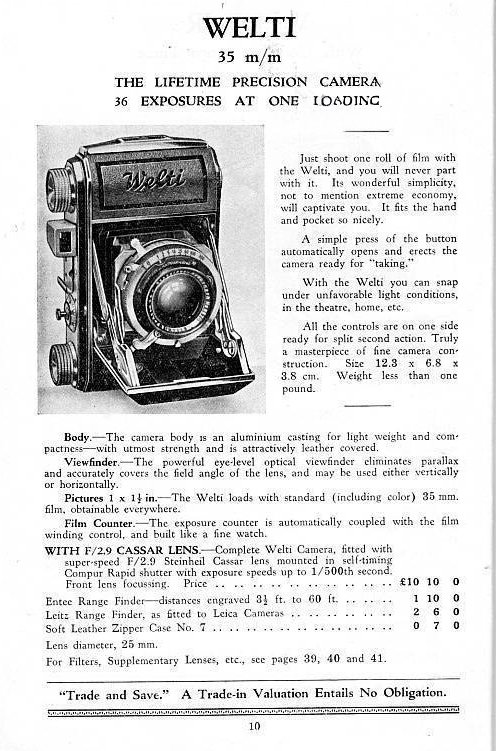
As the 1930s progressed, the photographic landscape shifted dramatically as the 35mm film format gained popularity. Competitors were releasing compact, pocket-sized folding 35mm cameras, most notably the Kodak Retina. Welta's brilliant response was the Welti.
Introduced in 1935, the Welti was a marvel of compact engineering. It wasn't just a scaled-down medium format folder; it was a purpose-built 35mm instrument. With its incredibly robust struts, precision-focusing helix, and satisfyingly dense, all-metal heft, the Welti proved that "compact" didn't mean compromising on professional-grade durability. It remains the perfect embodiment of Welta's meticulous design philosophy.
The devastation of World War II completely altered Welta's trajectory. Finding itself in the Soviet occupation zone (later East Germany), the company was nationalized in 1946, becoming VEB Welta-Kamerawerke. Despite this massive structural shift, the Freital factory continued to produce incredible cameras, including refined post-war iterations of the Welti, the Weltax, and the Belmira.
However, as the East German government moved to consolidate its optical industries to compete on the global stage, Welta was eventually absorbed by VEB Kamera-und Kinowerke Dresden in 1959, which later evolved into the massive Pentacon conglomerate.
By the mid-1960s, the Welta name faded into history. Yet, when you hold a Welti today, you are holding a defiant piece of history—a tactile testament to a specialized factory that, for a few brilliant decades, built some of the finest folding cameras the world had ever seen.
My Camera:
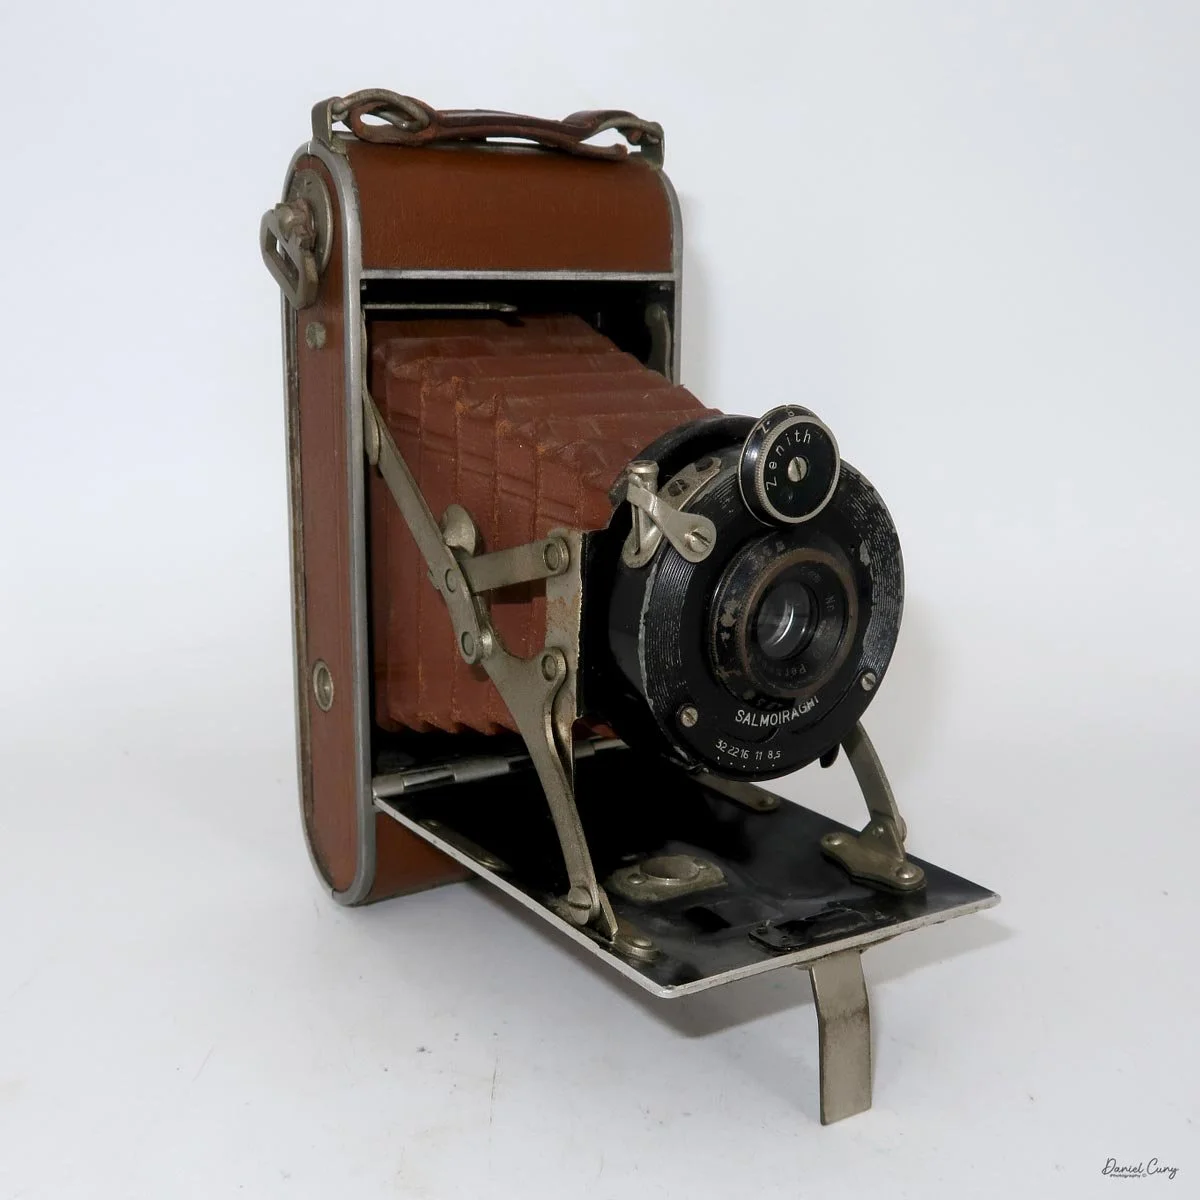
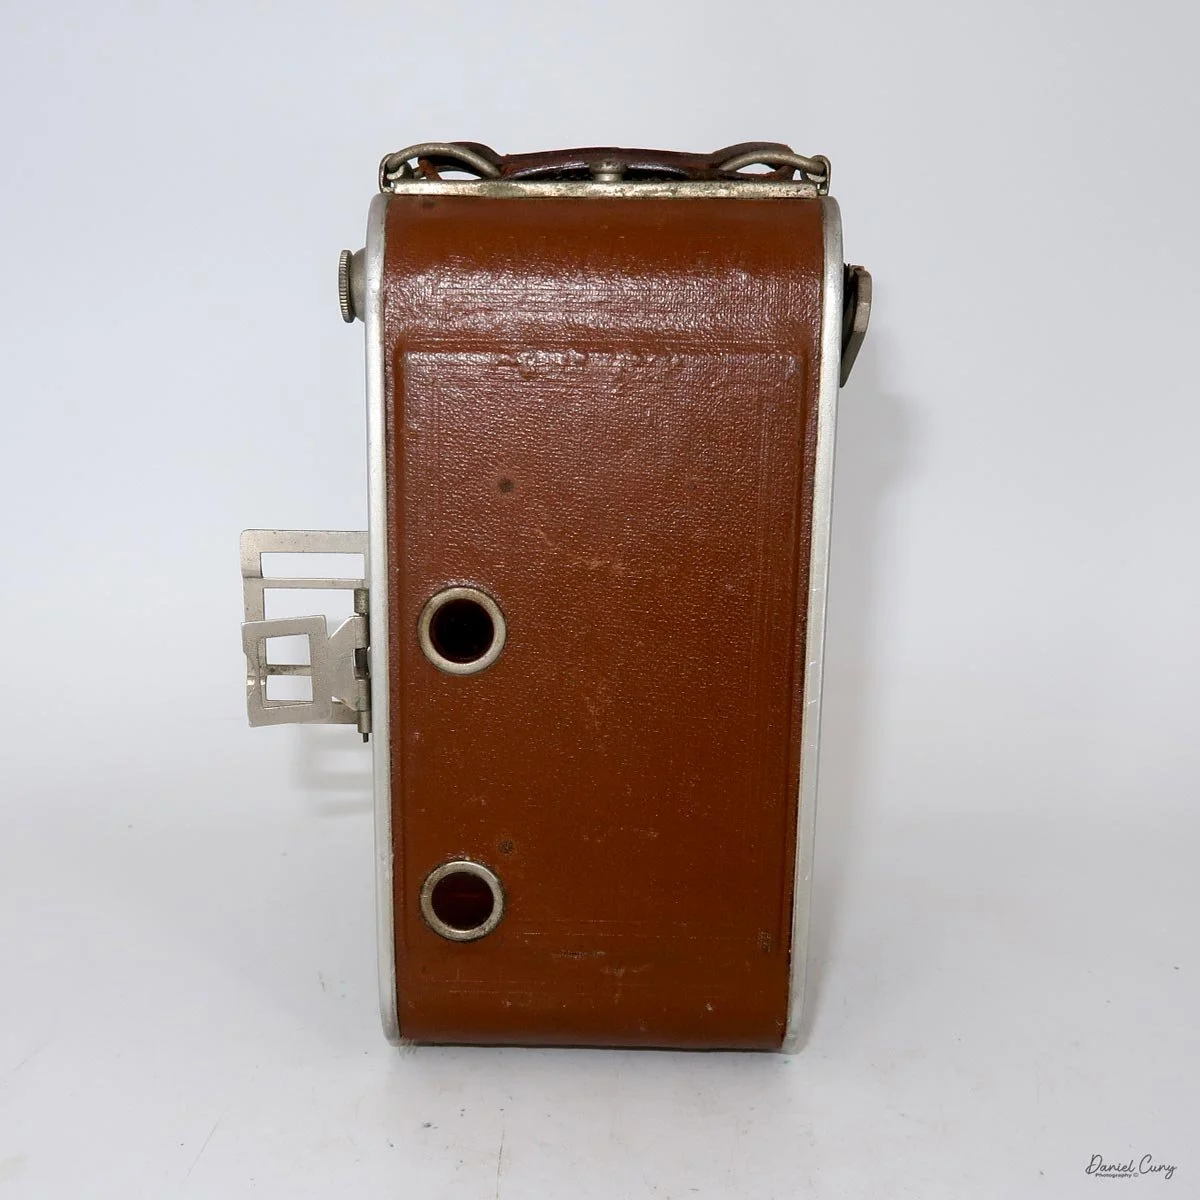
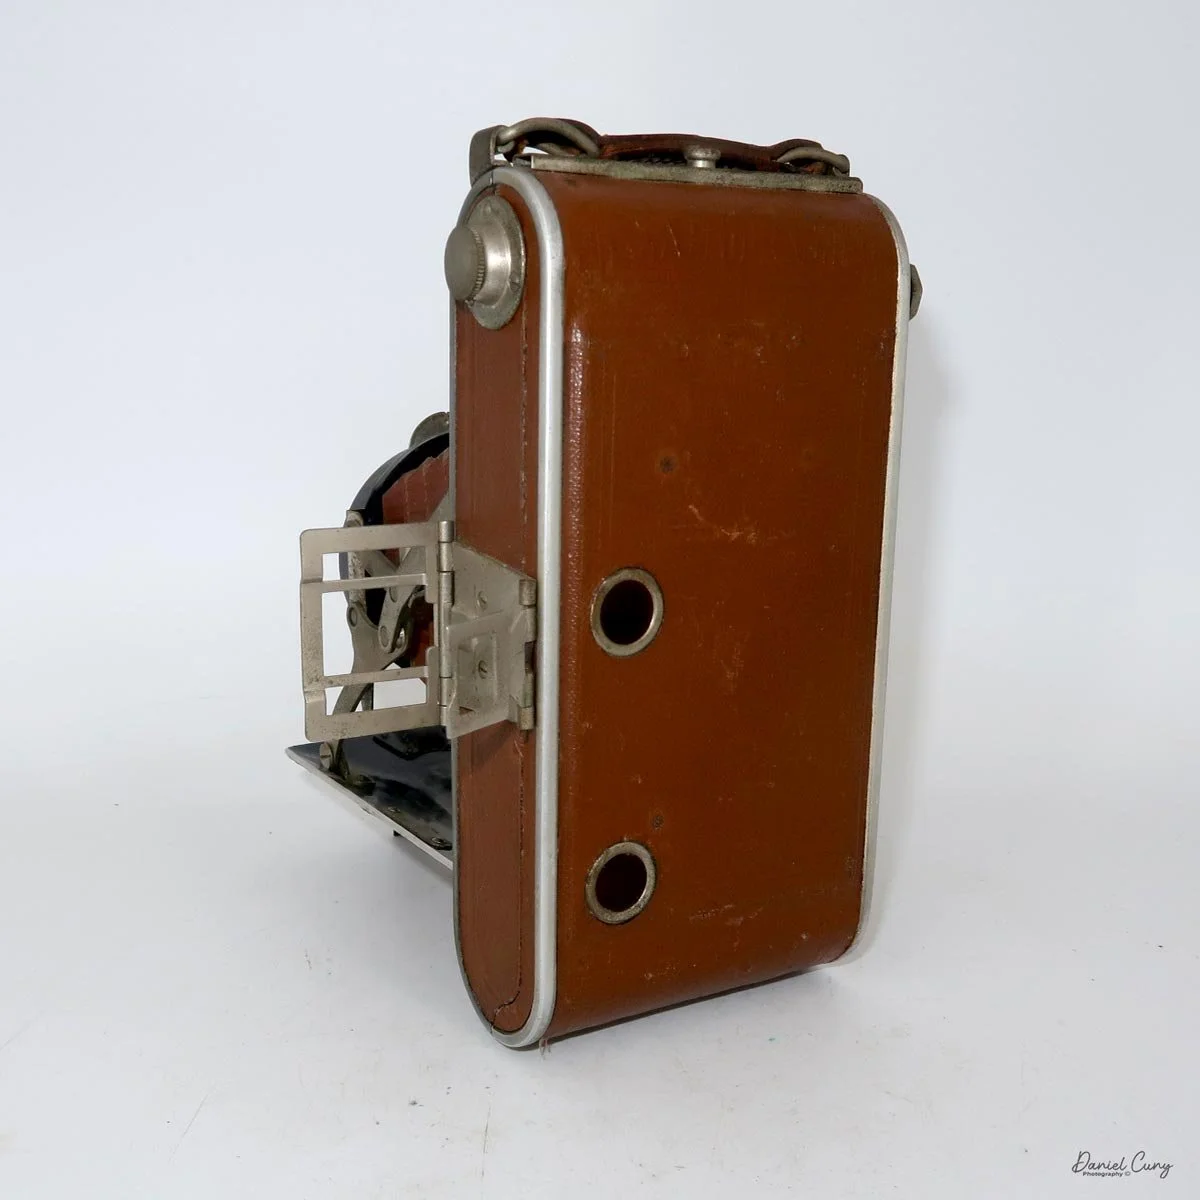
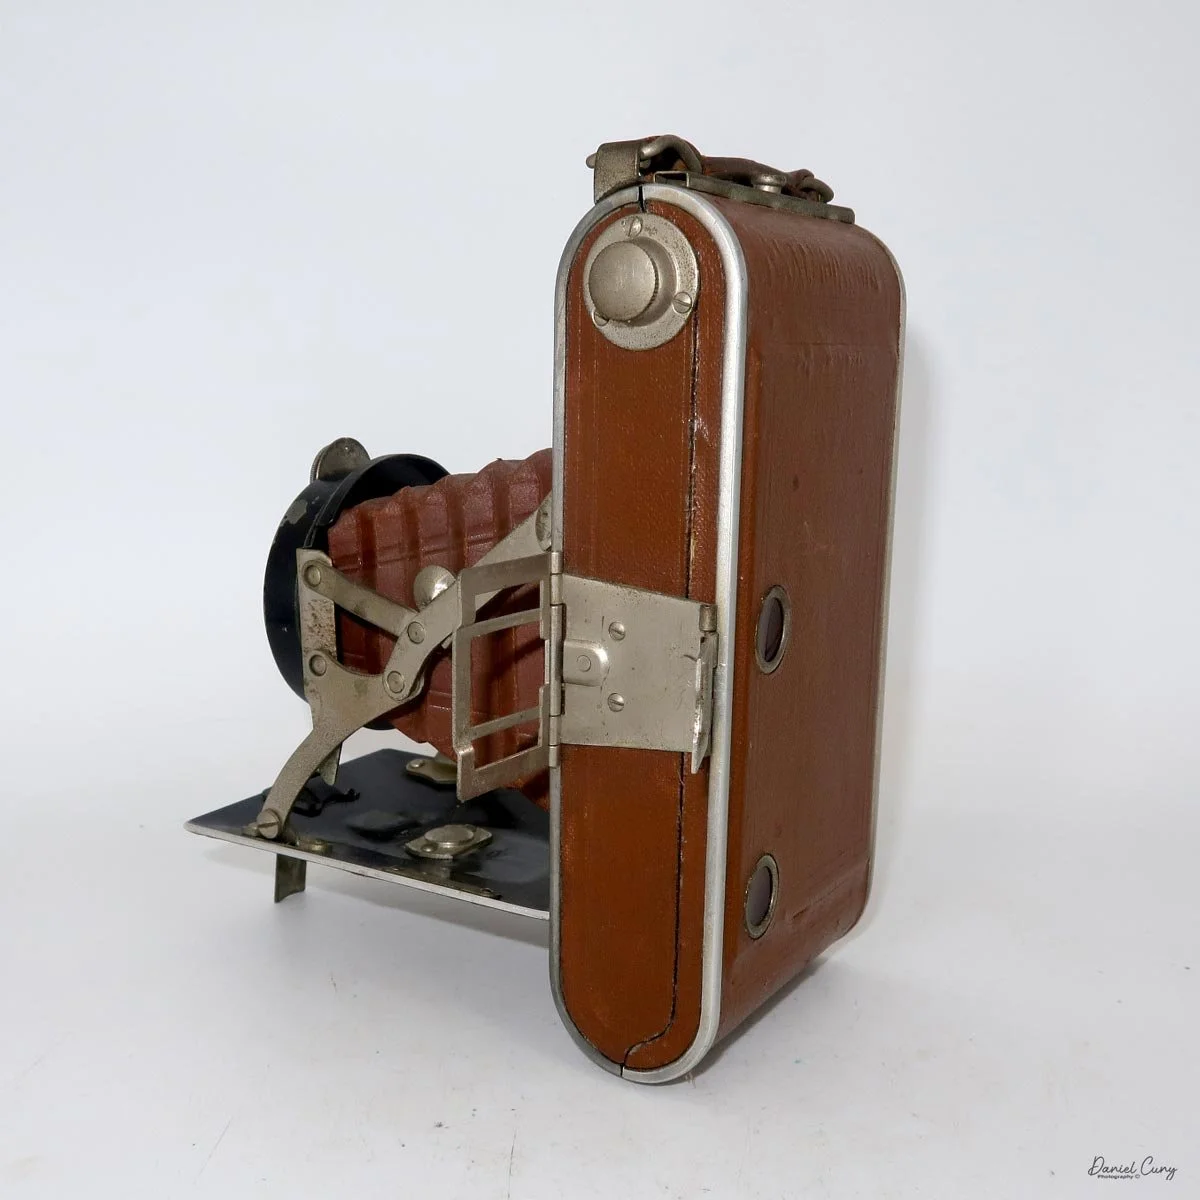
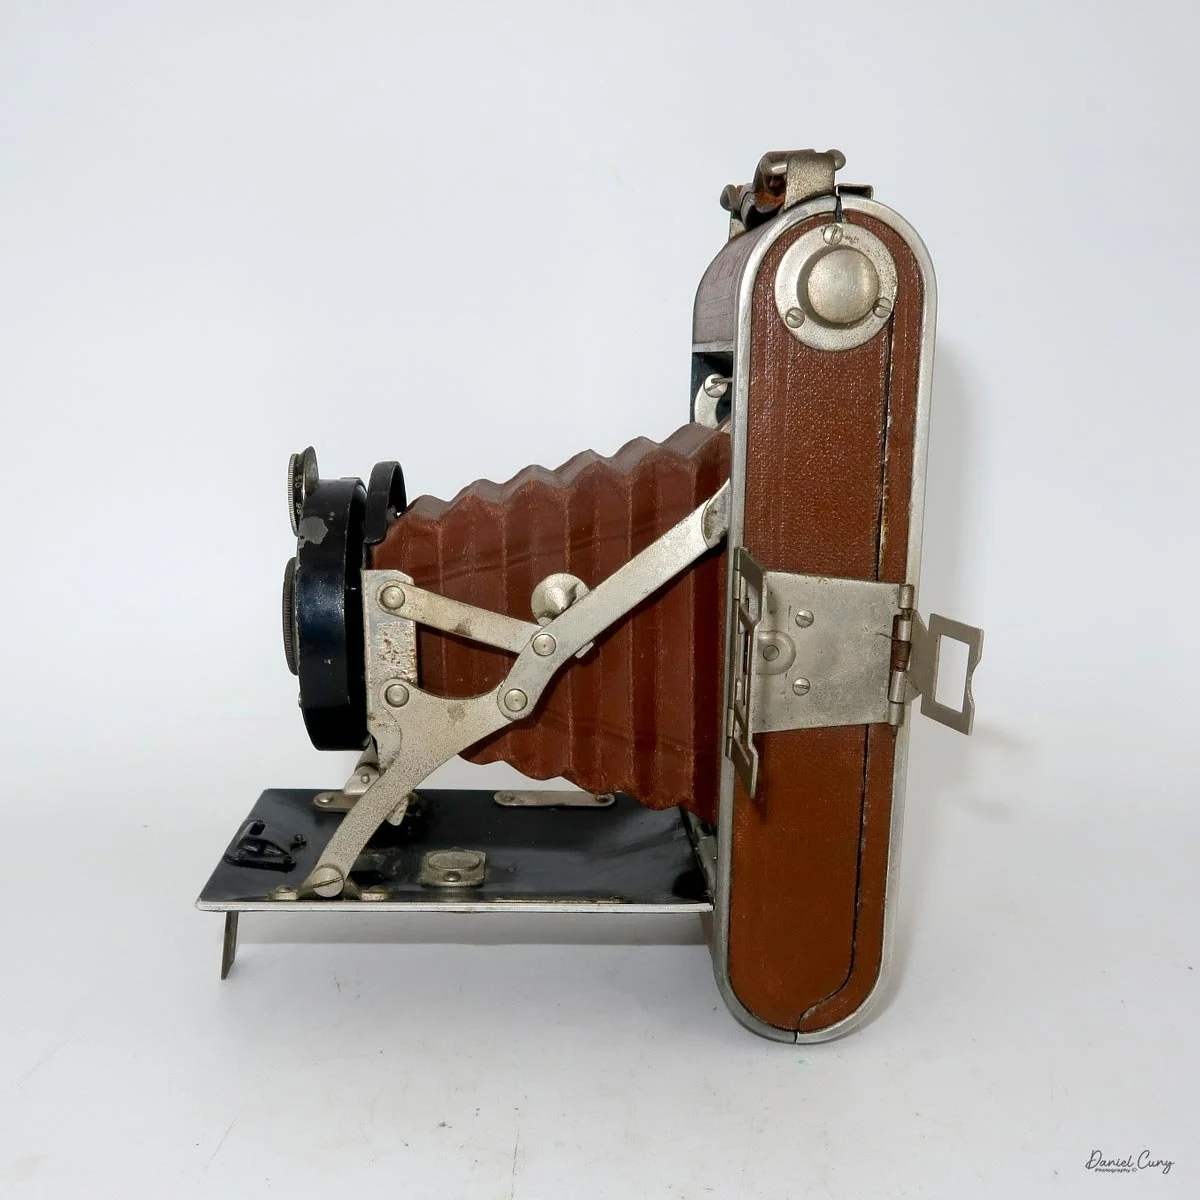
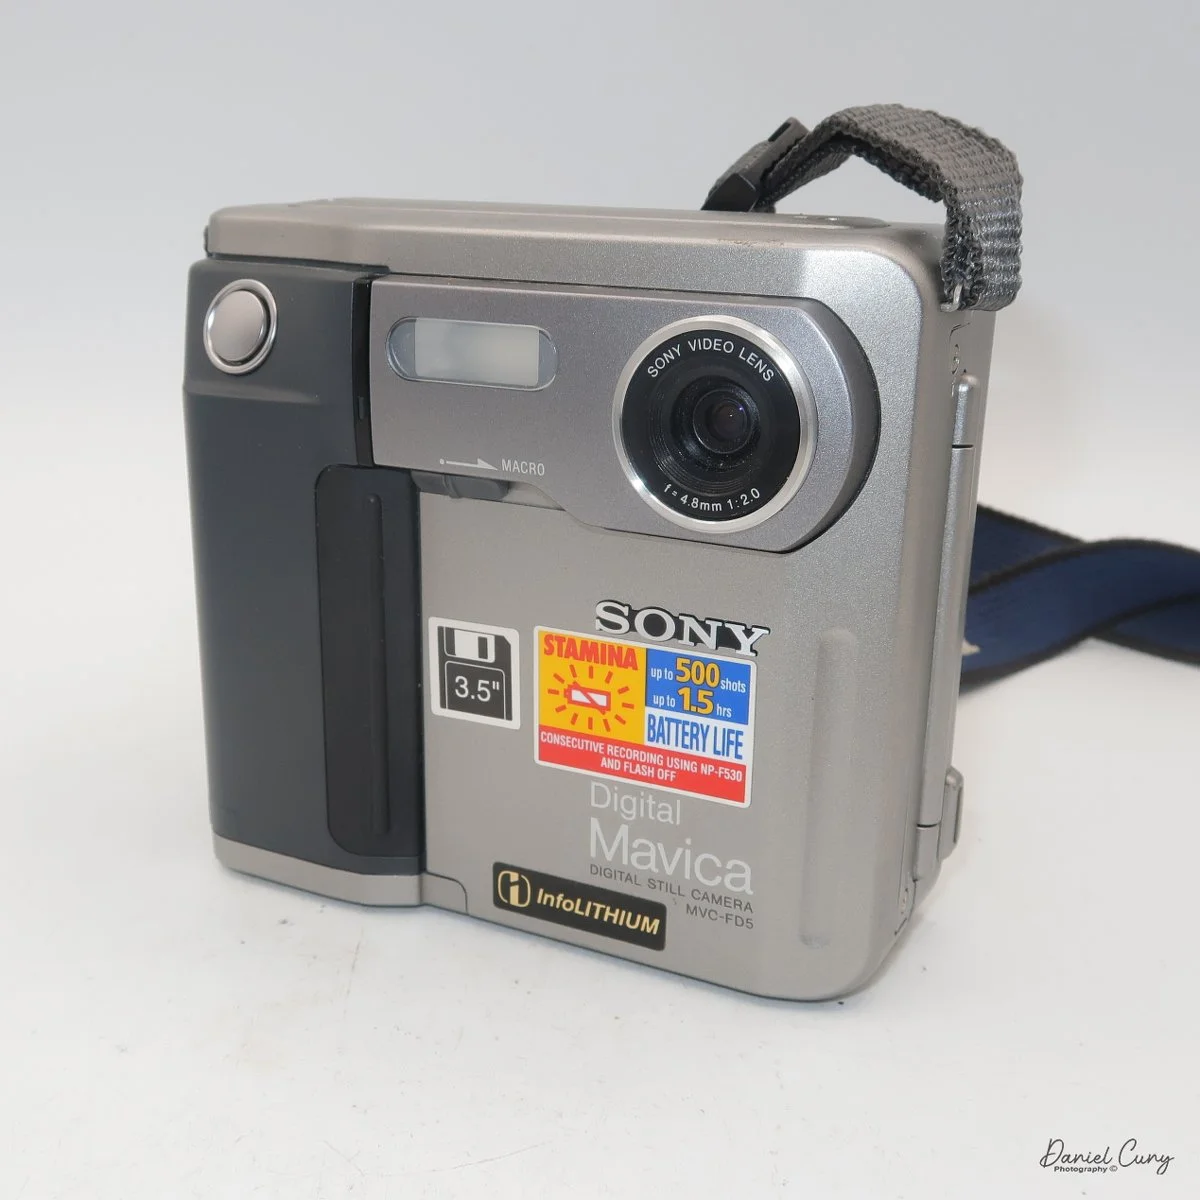
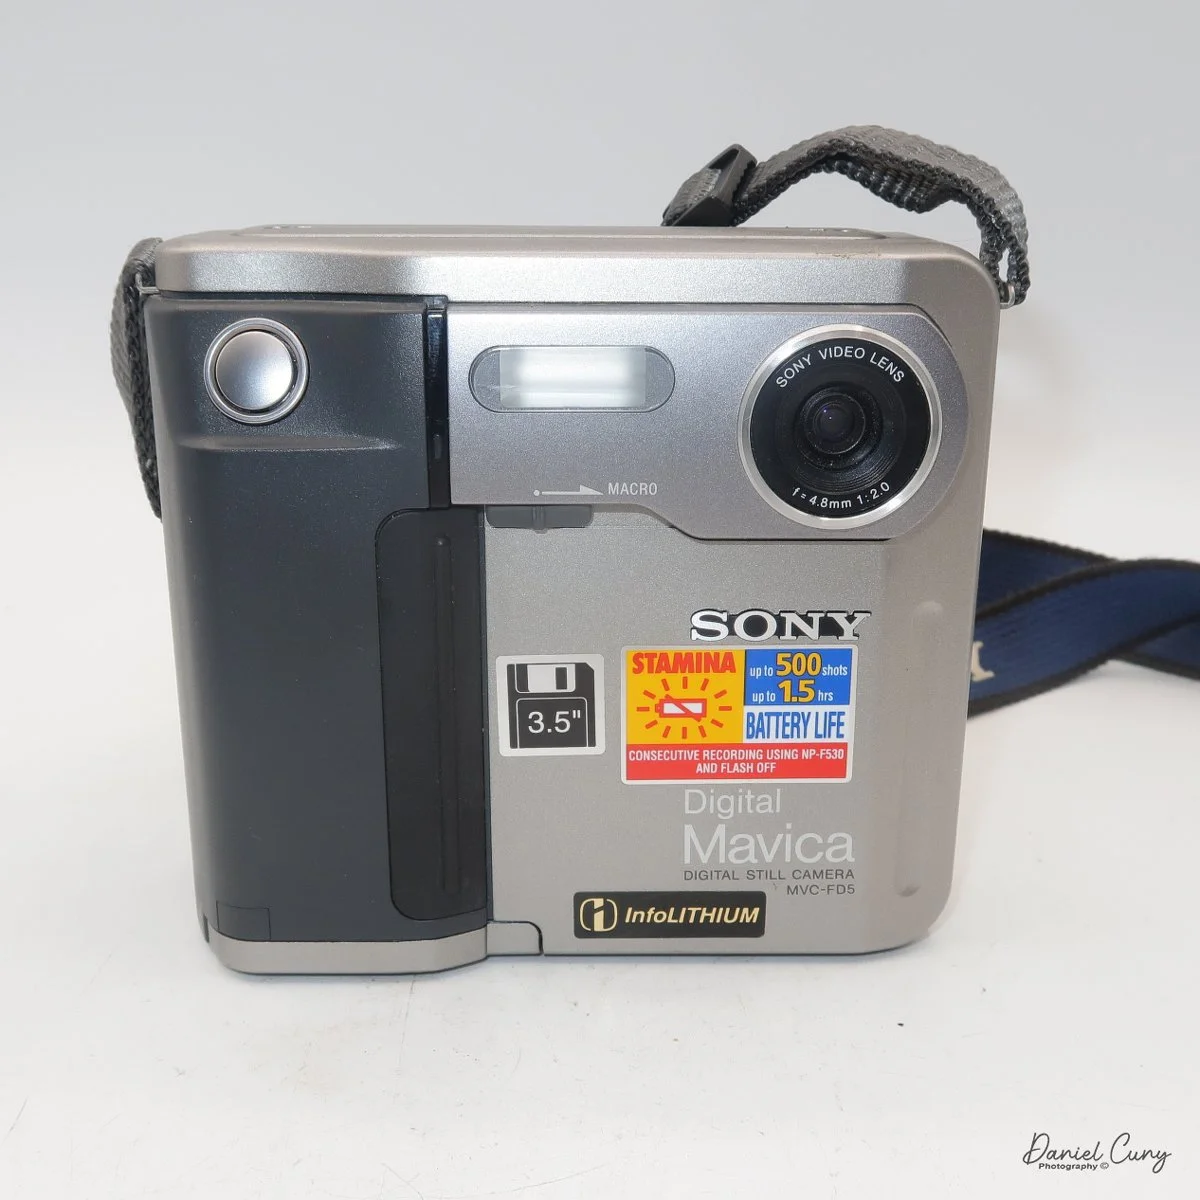
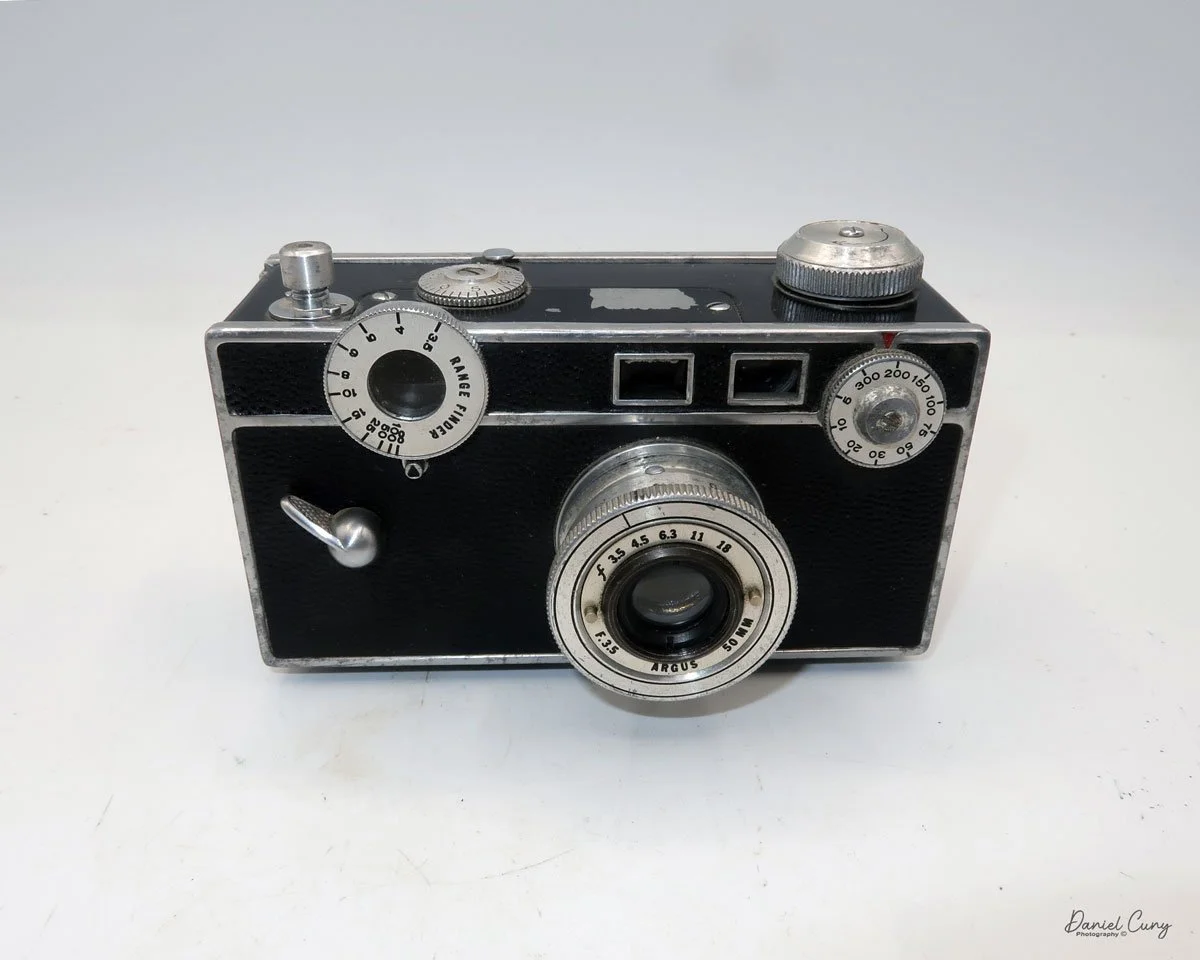
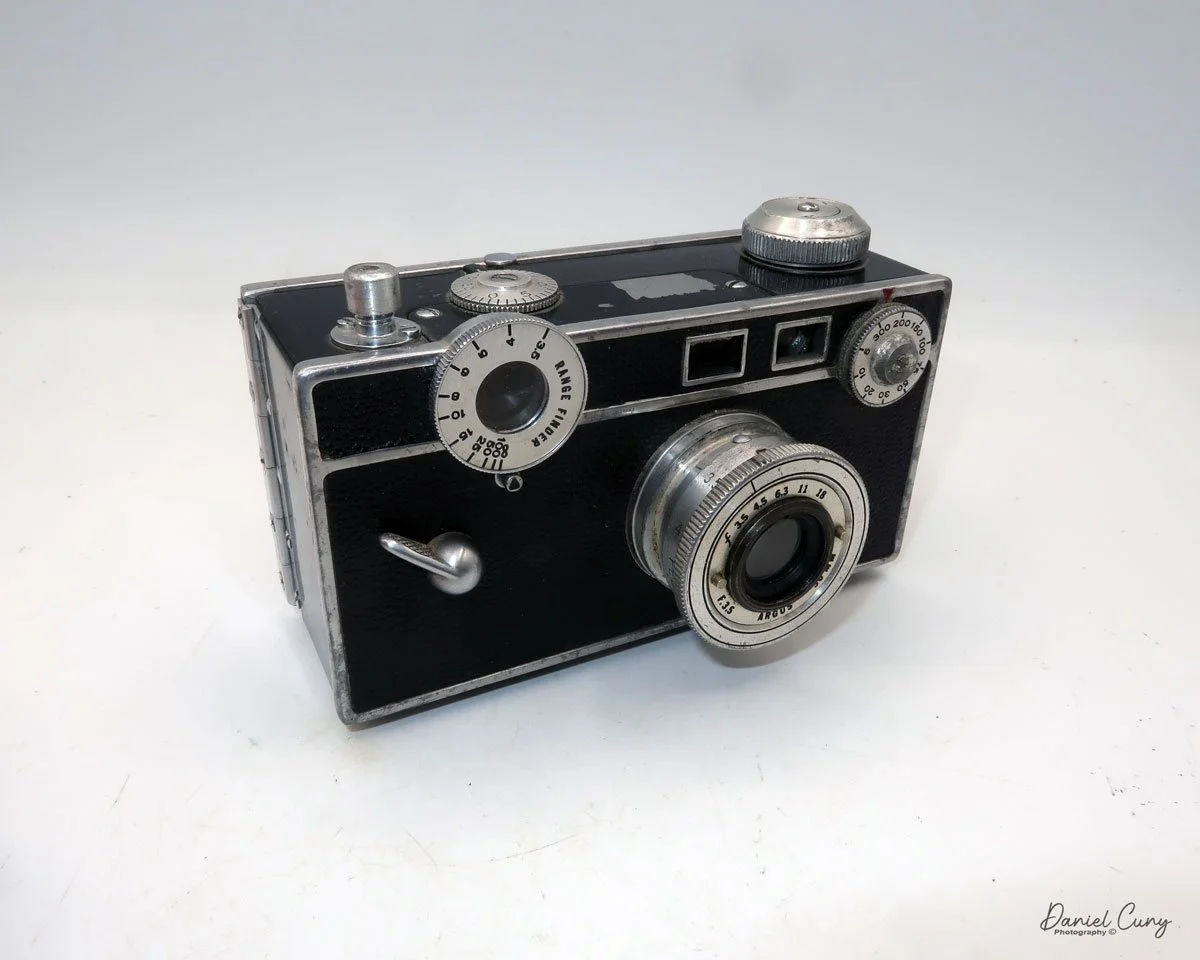
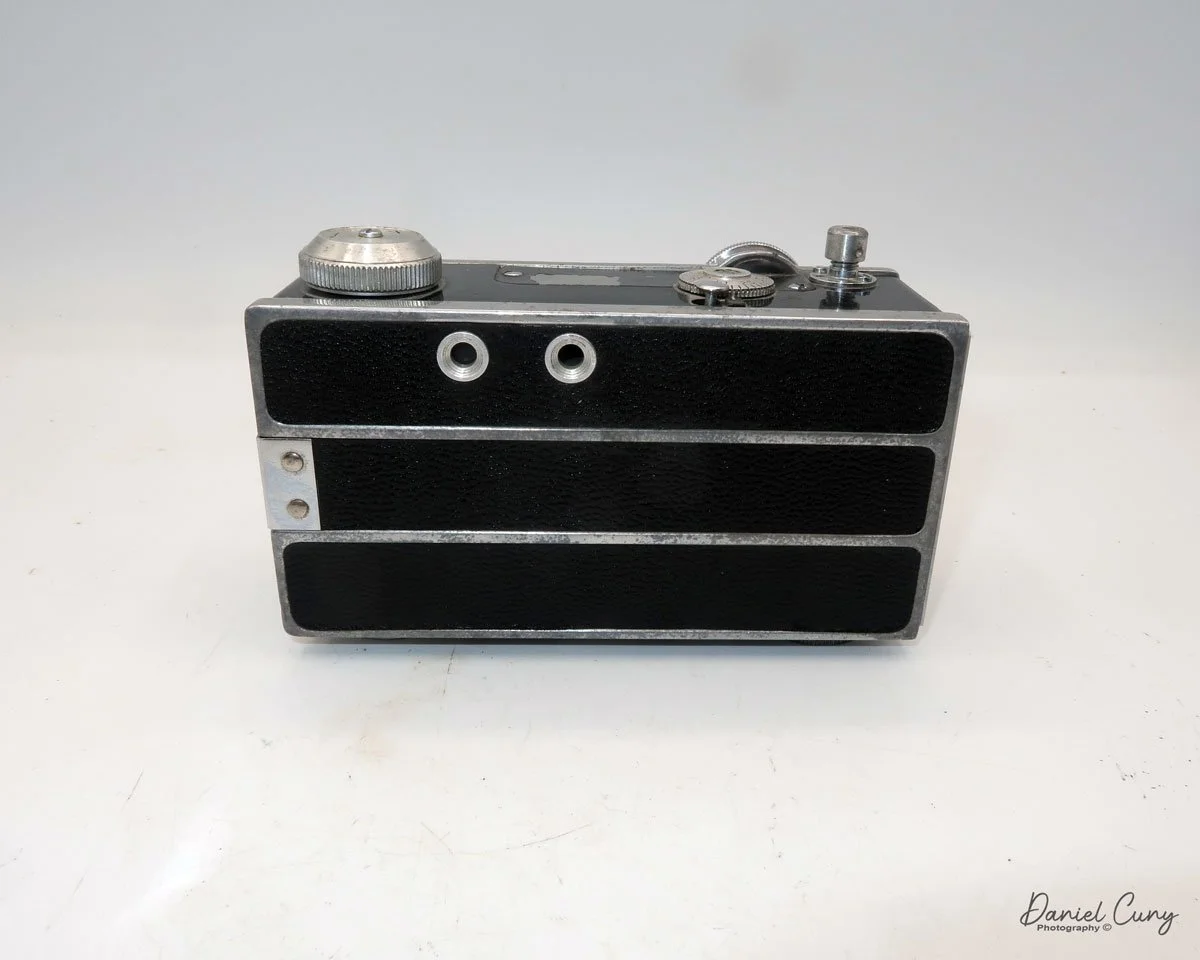
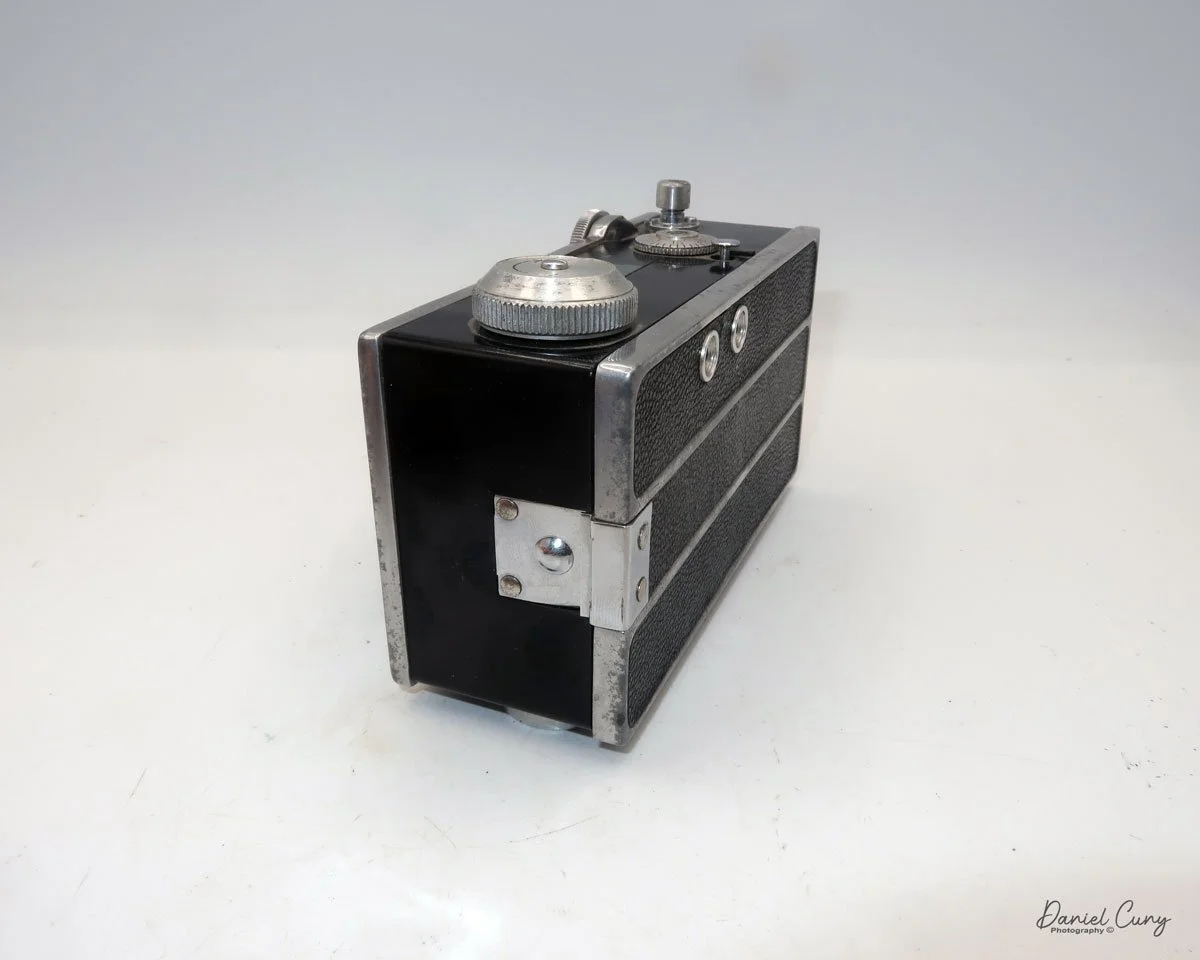
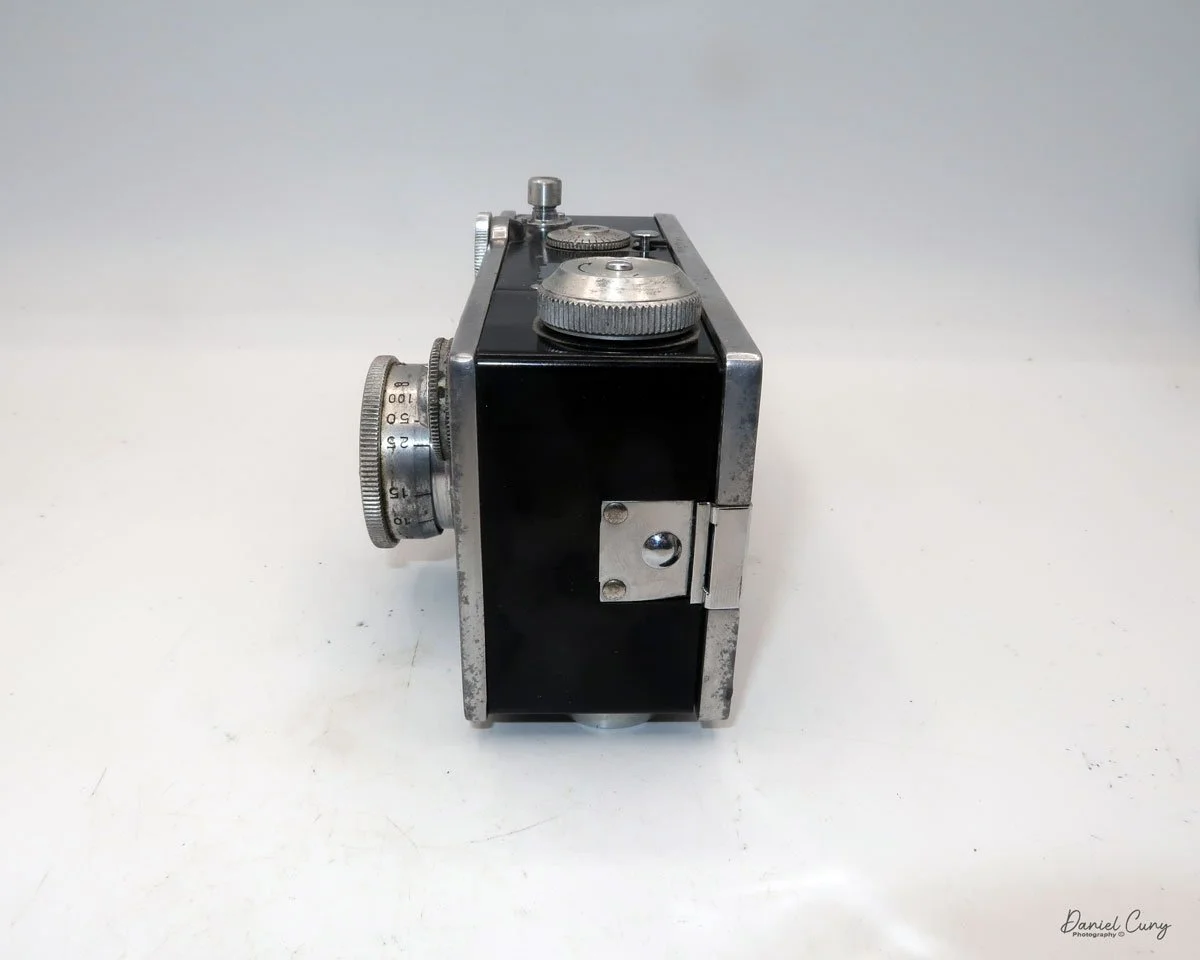
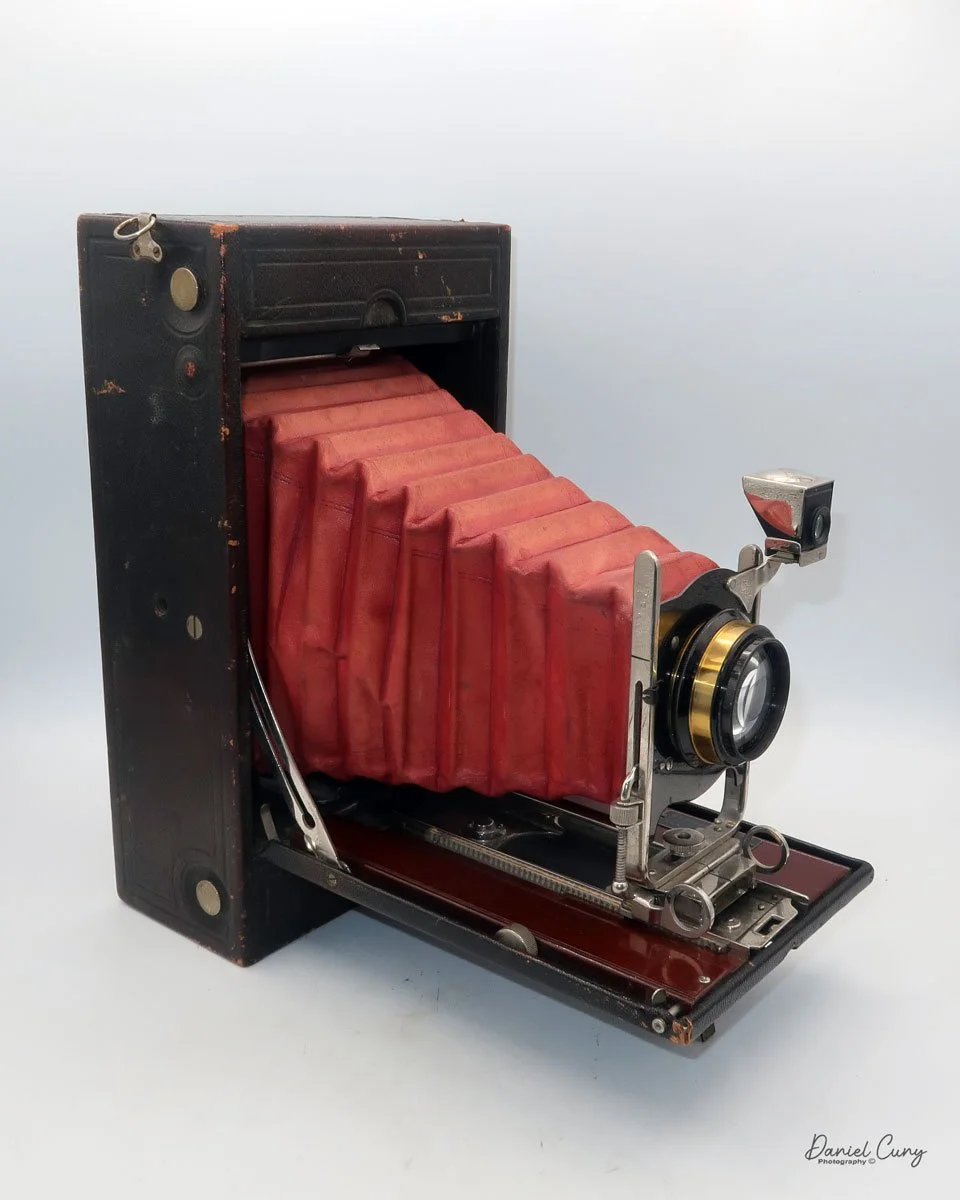
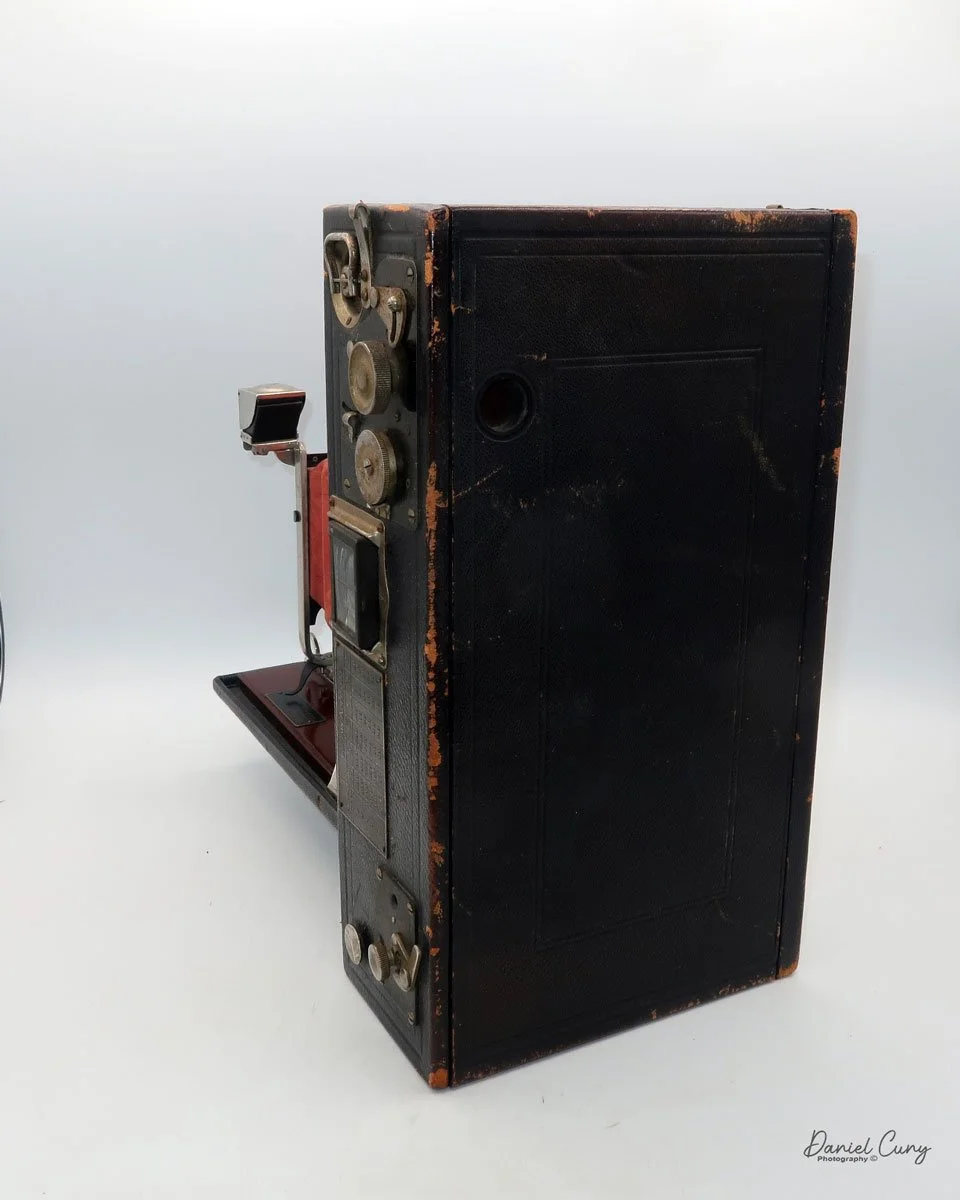
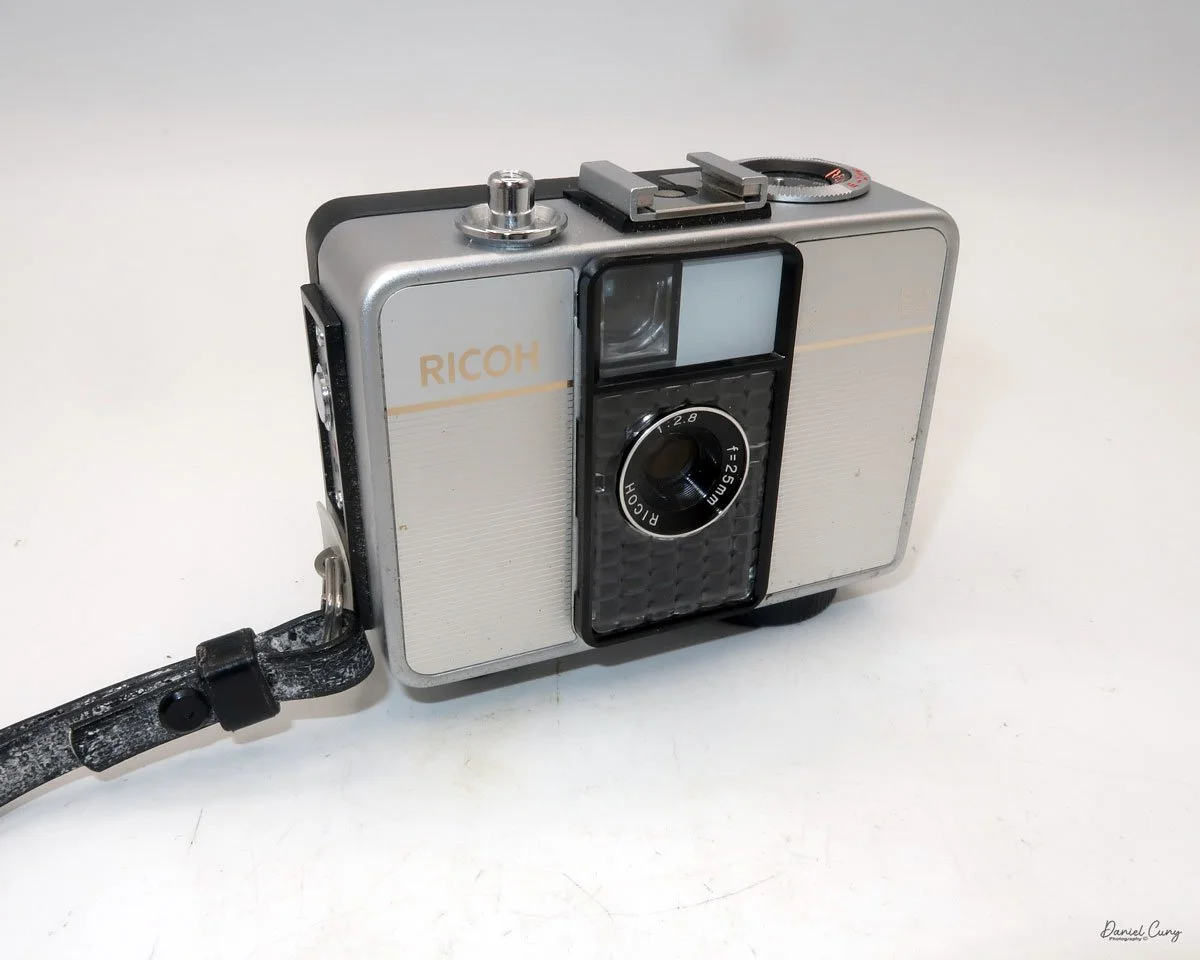
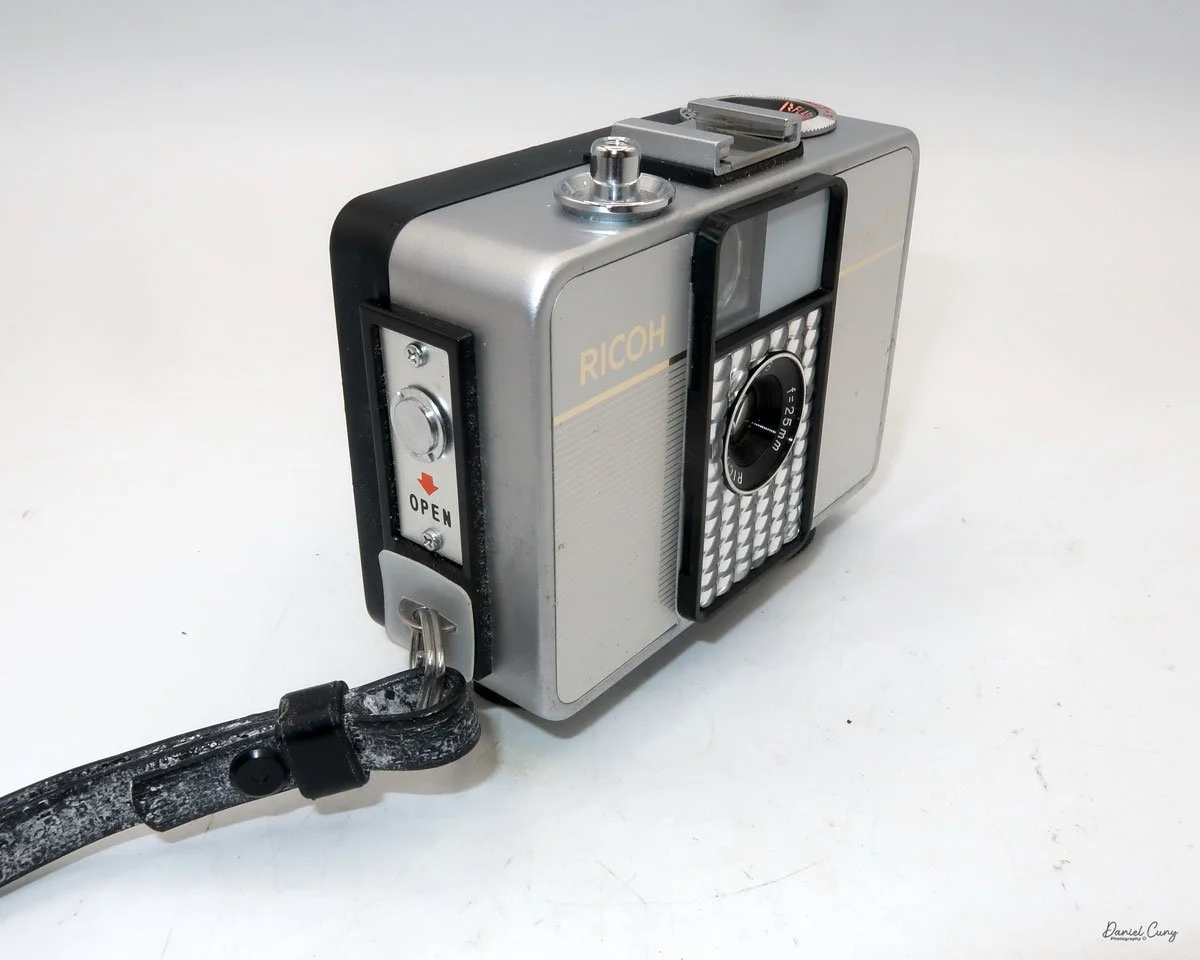
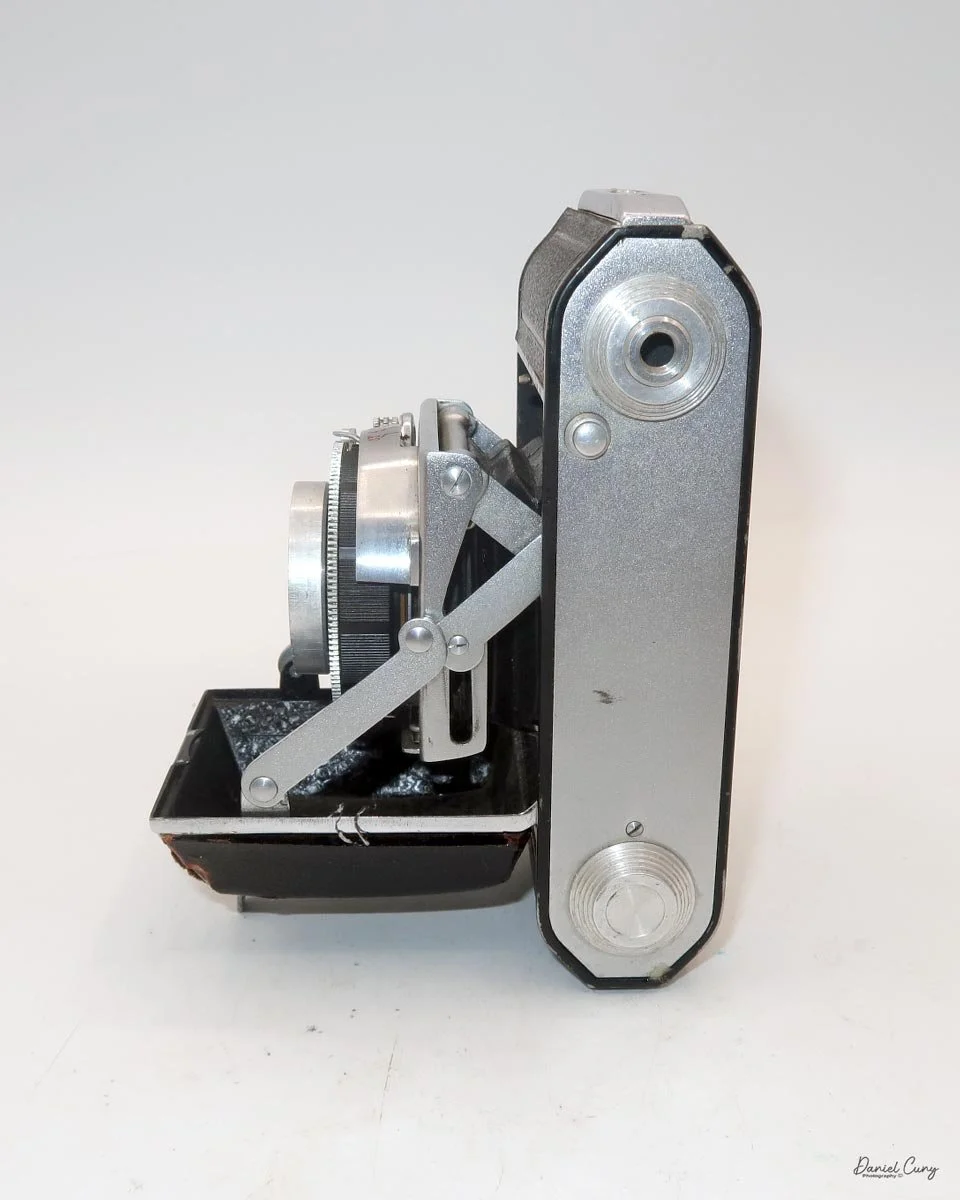
My Welta Welti camera is similar in size and shape to the Kodak Retina cameras. The camera is 4.5" wide by 3.5" tall by 2" deep with the lens retracted, and 3.5" deep with the lens door open and the lens in the normal "taking" position. The Welta Welti weighs 1 pound, 2.9 ounces.
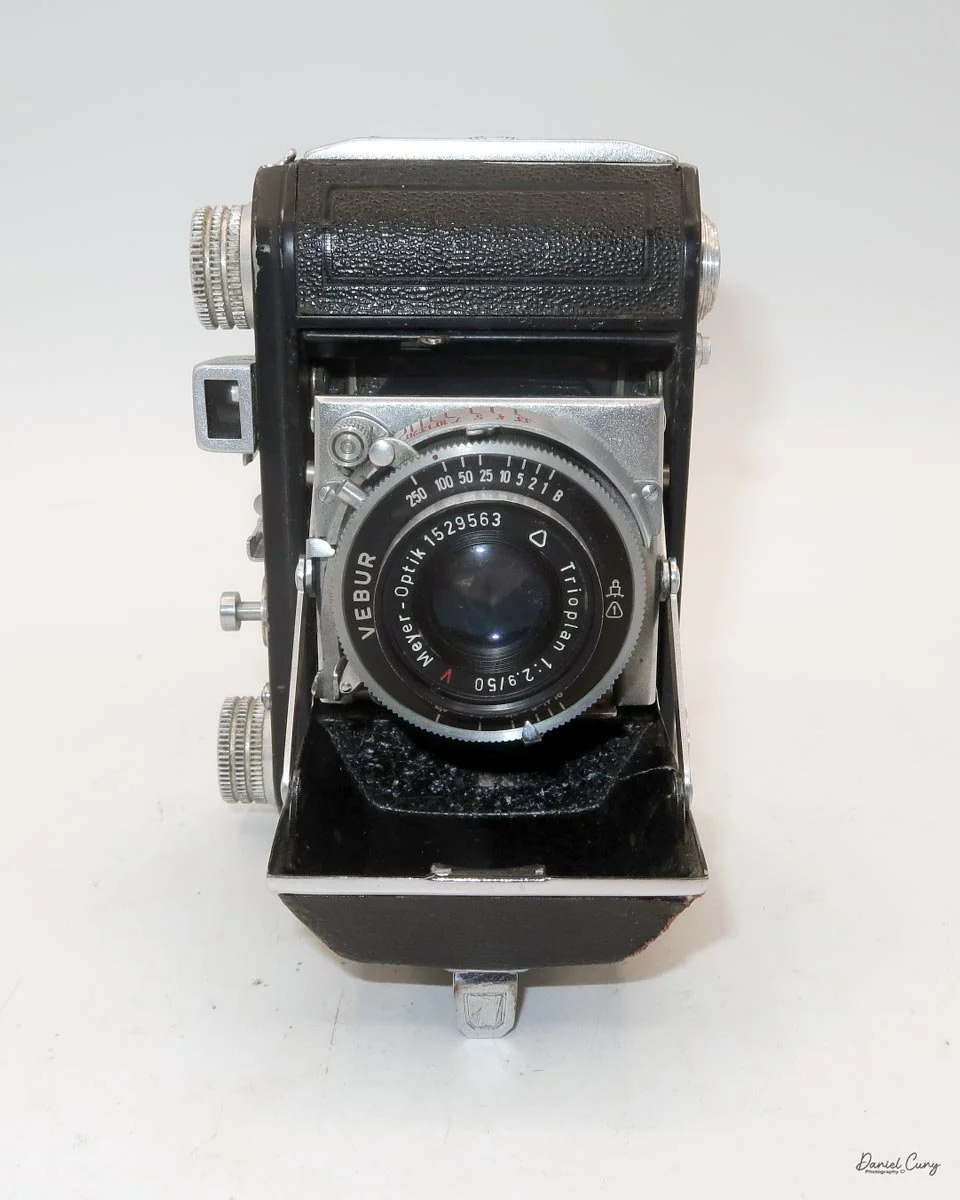
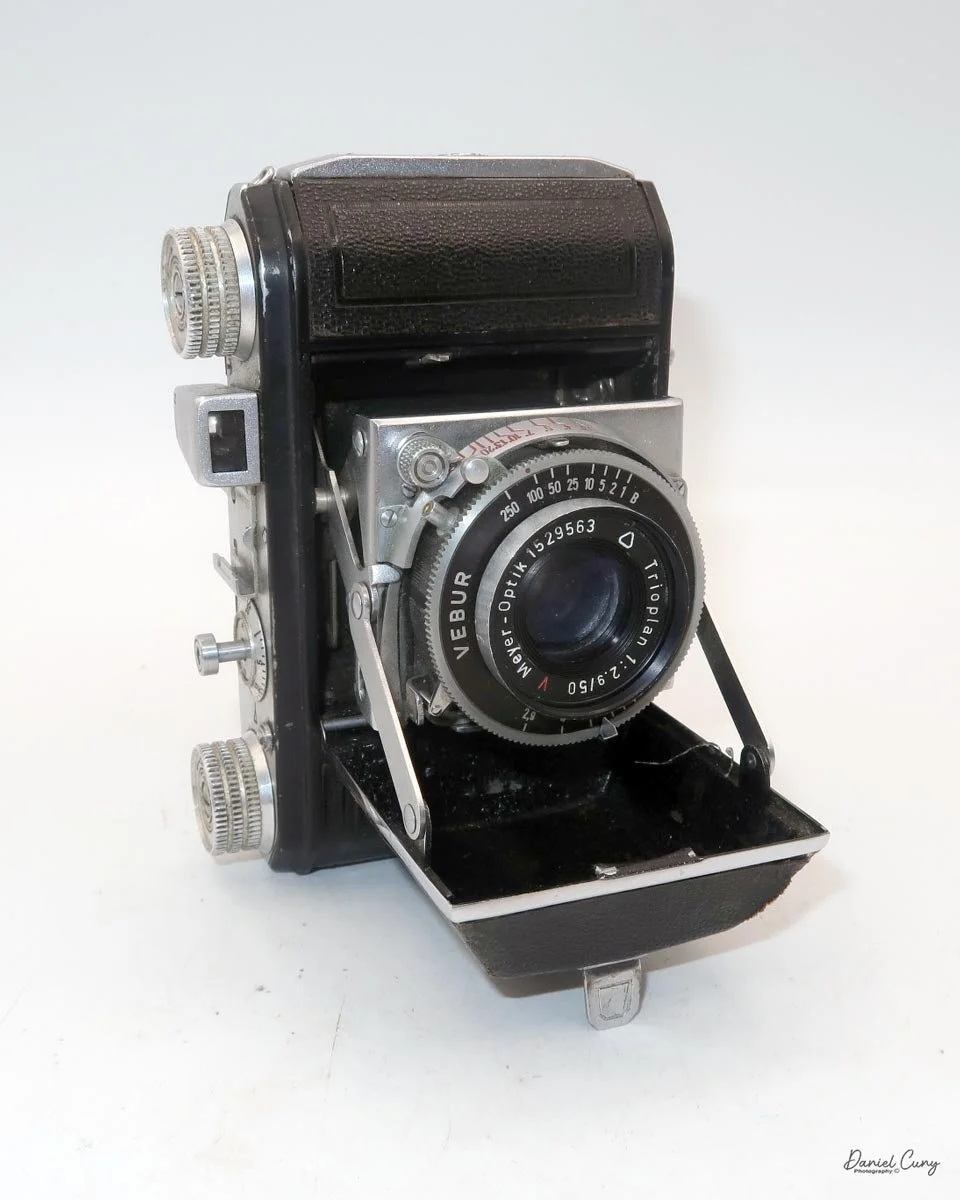
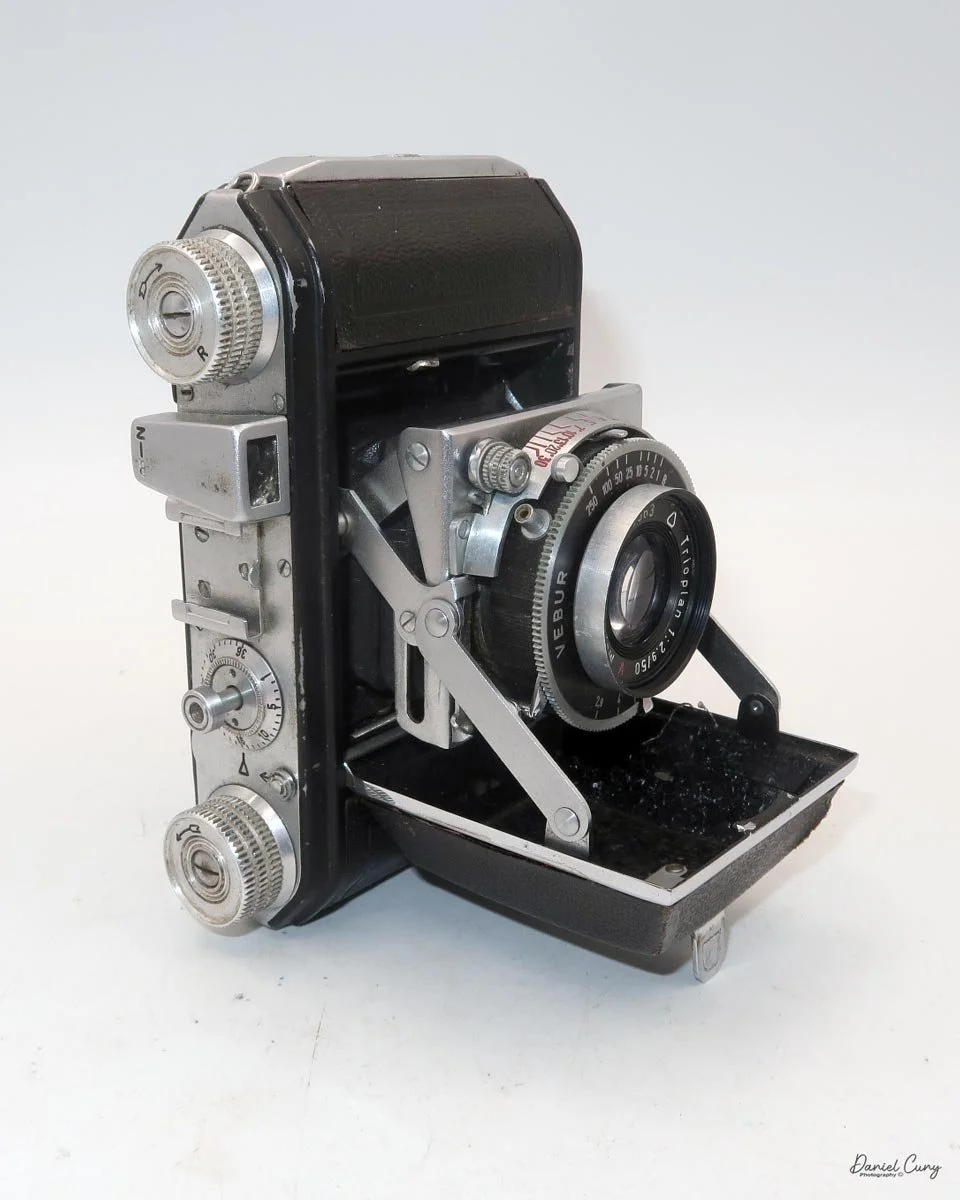
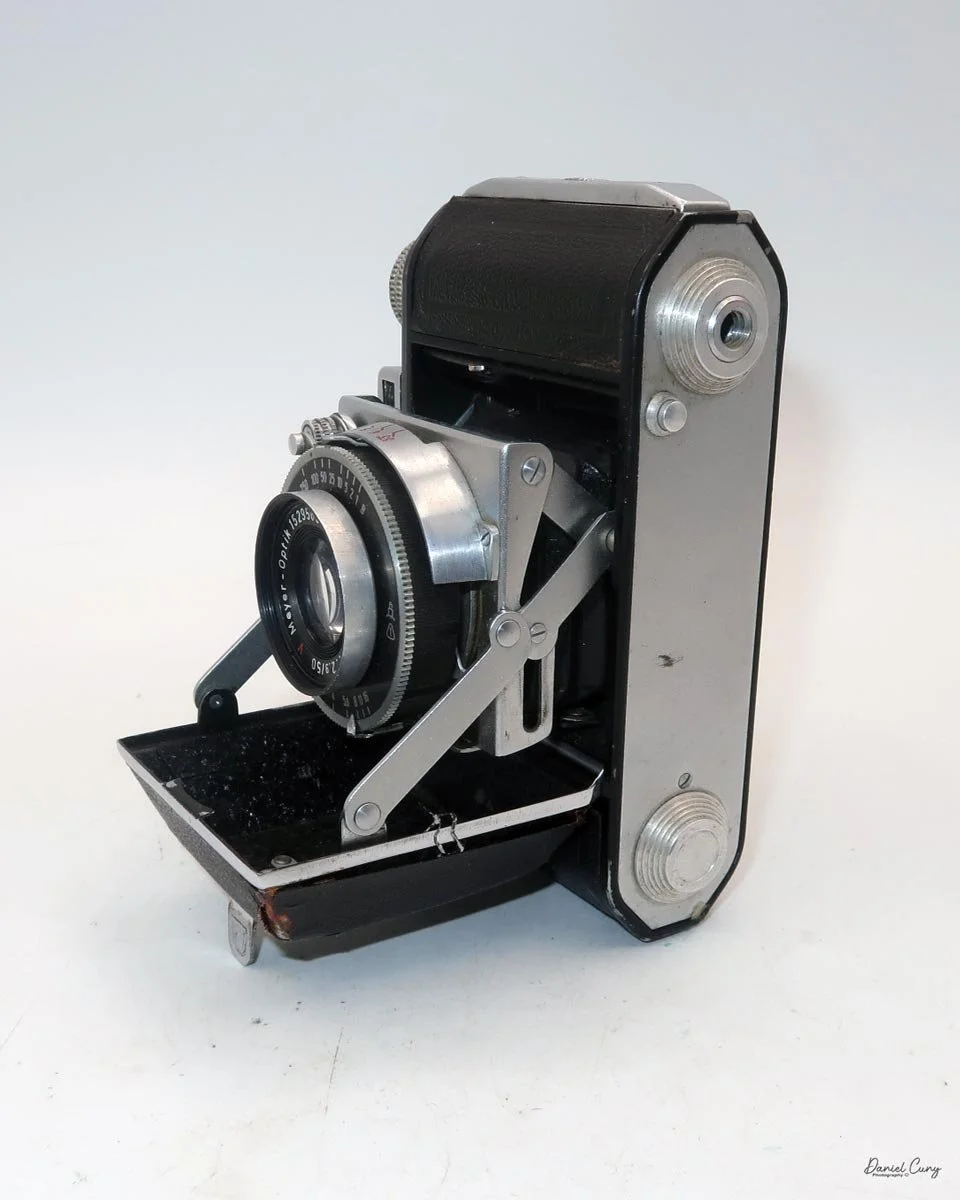
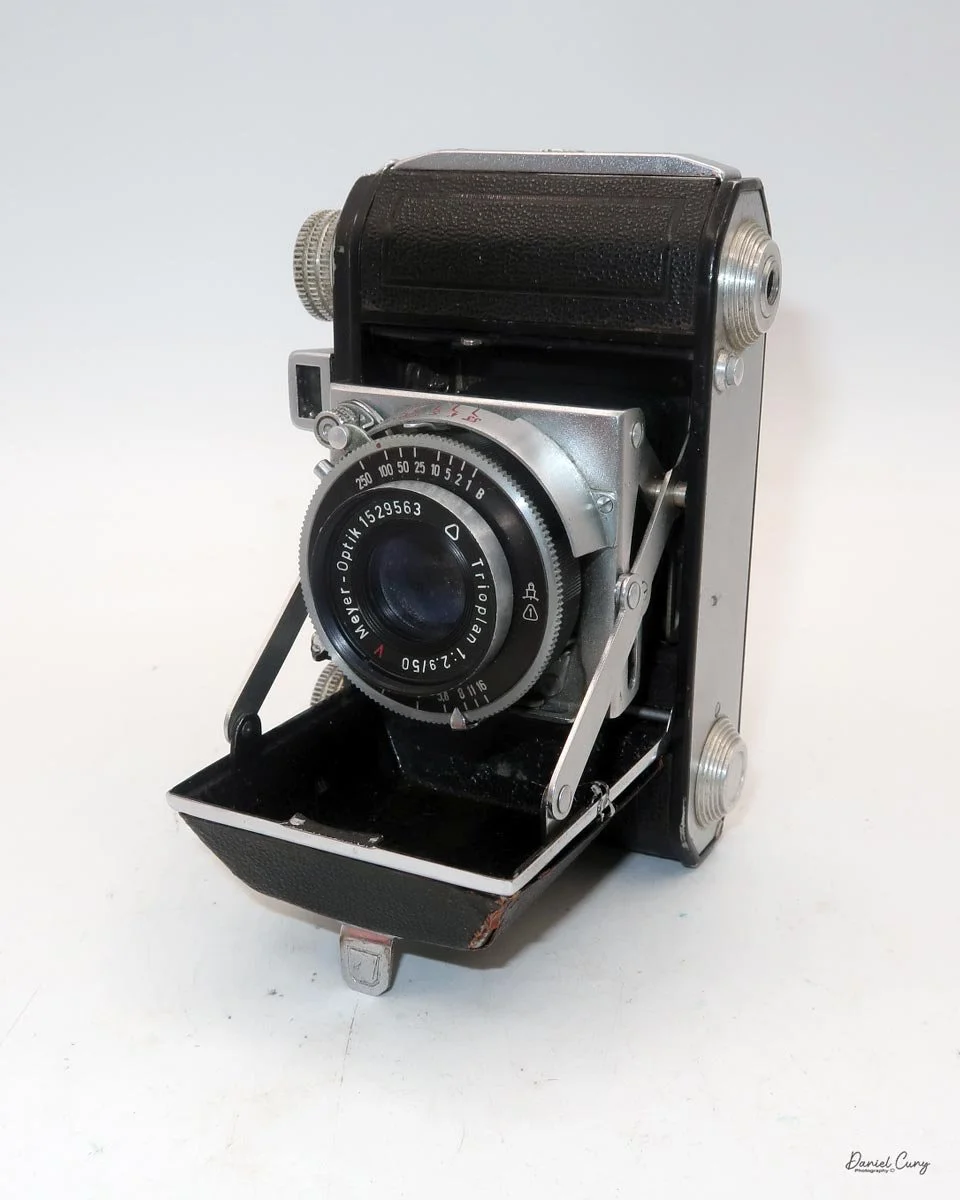
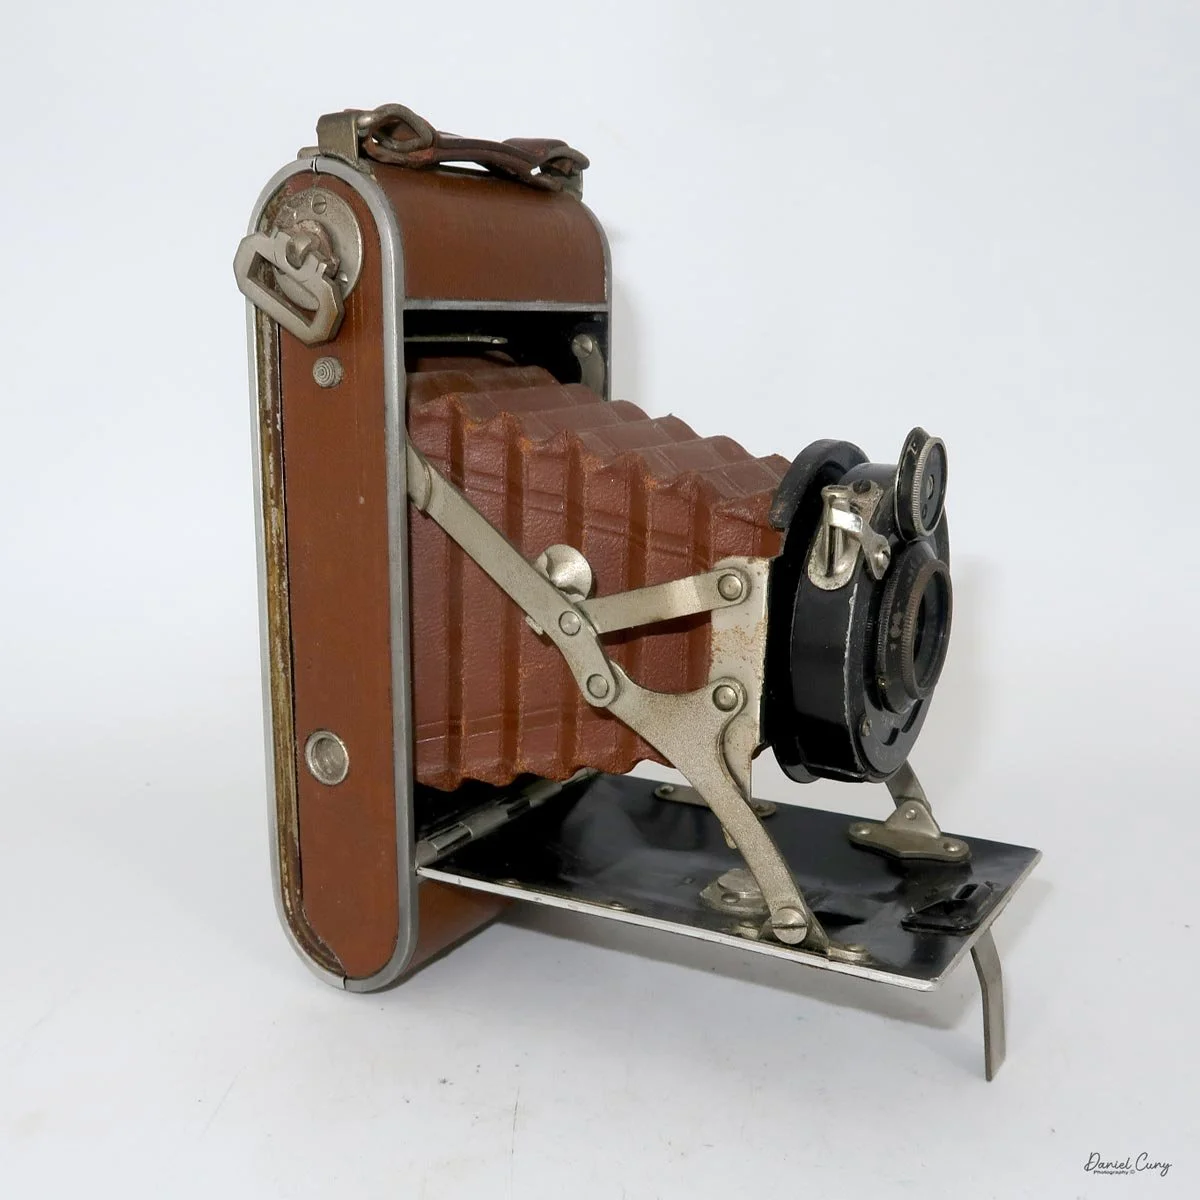
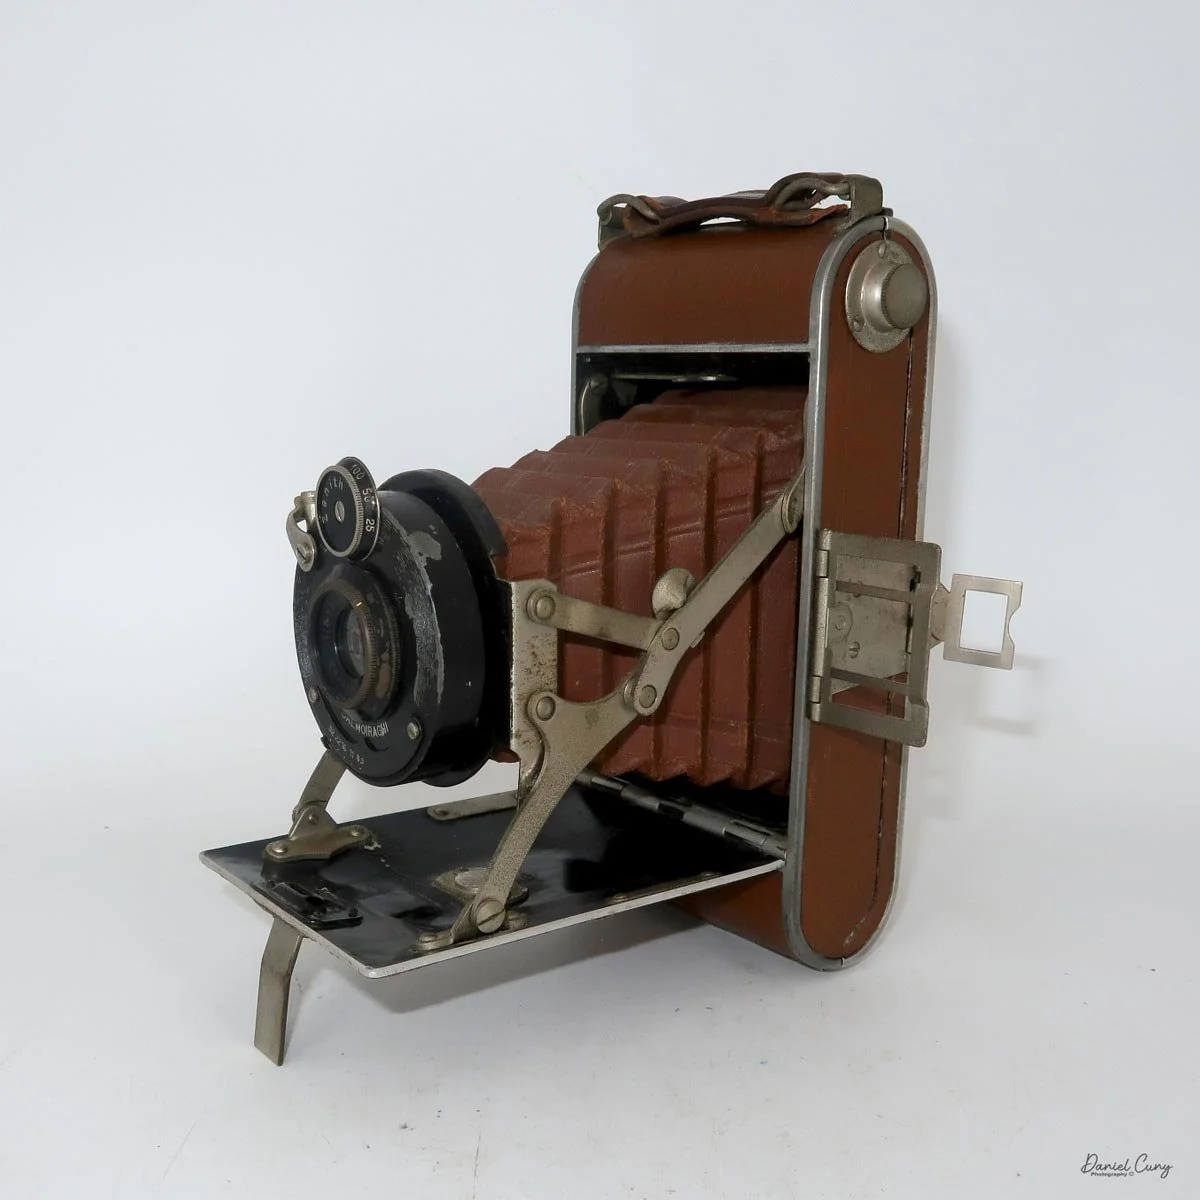
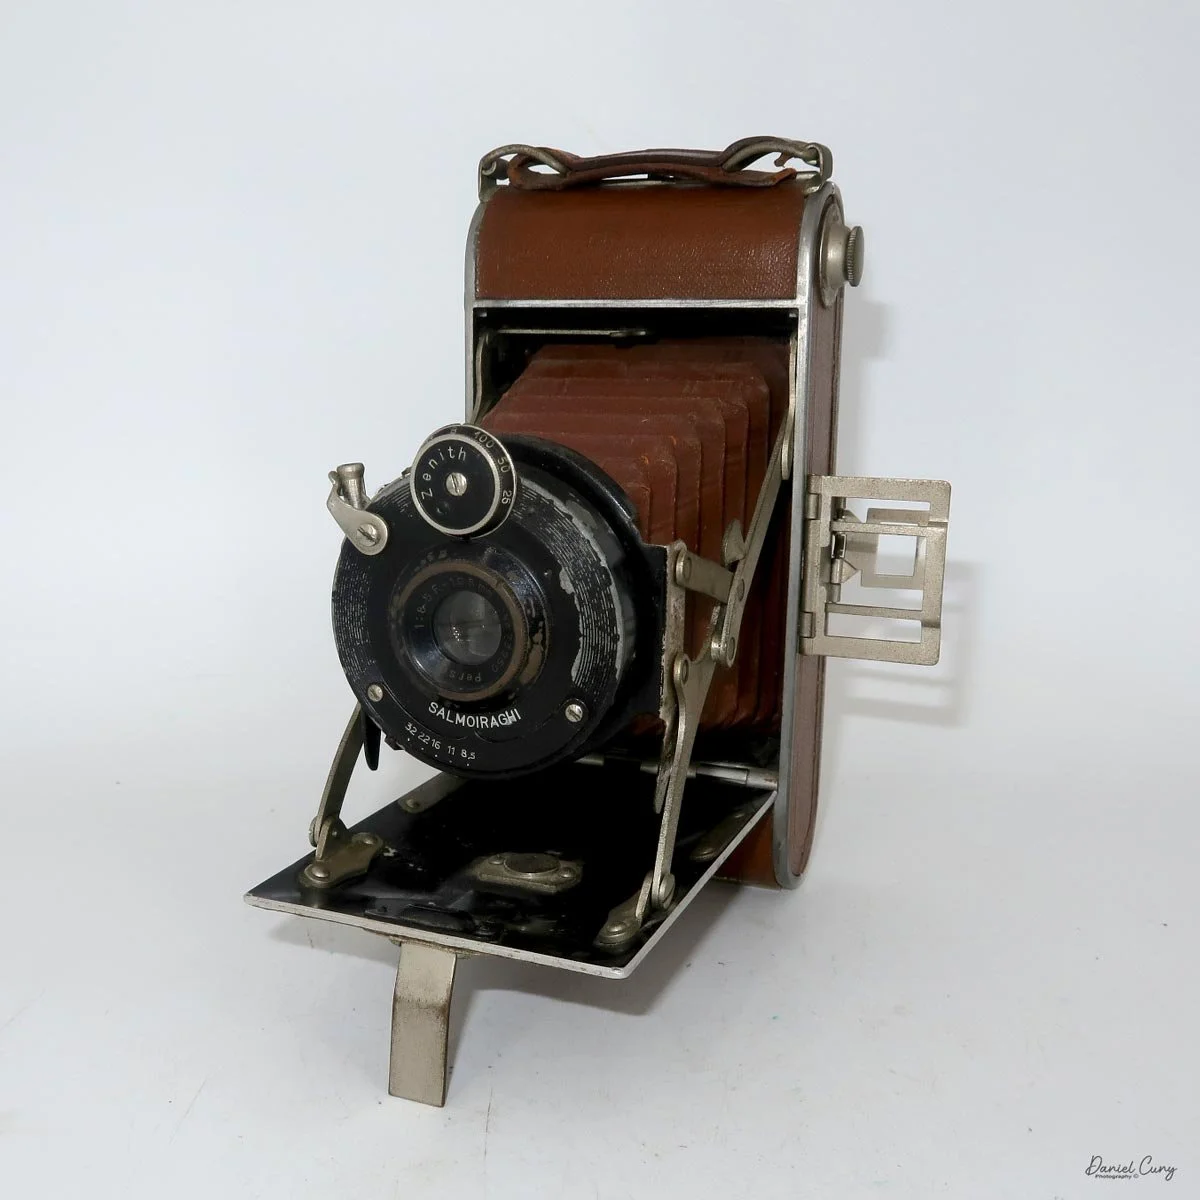
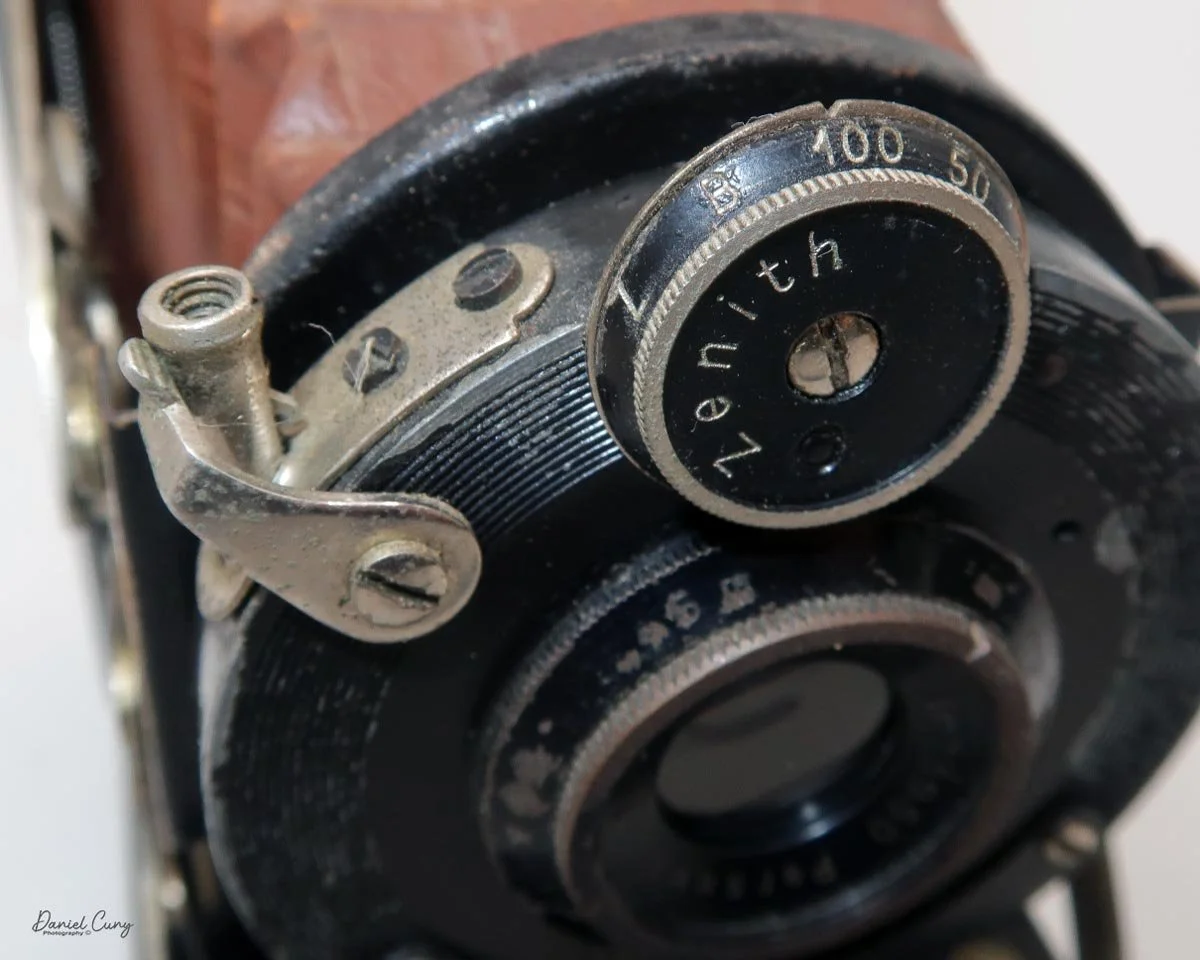
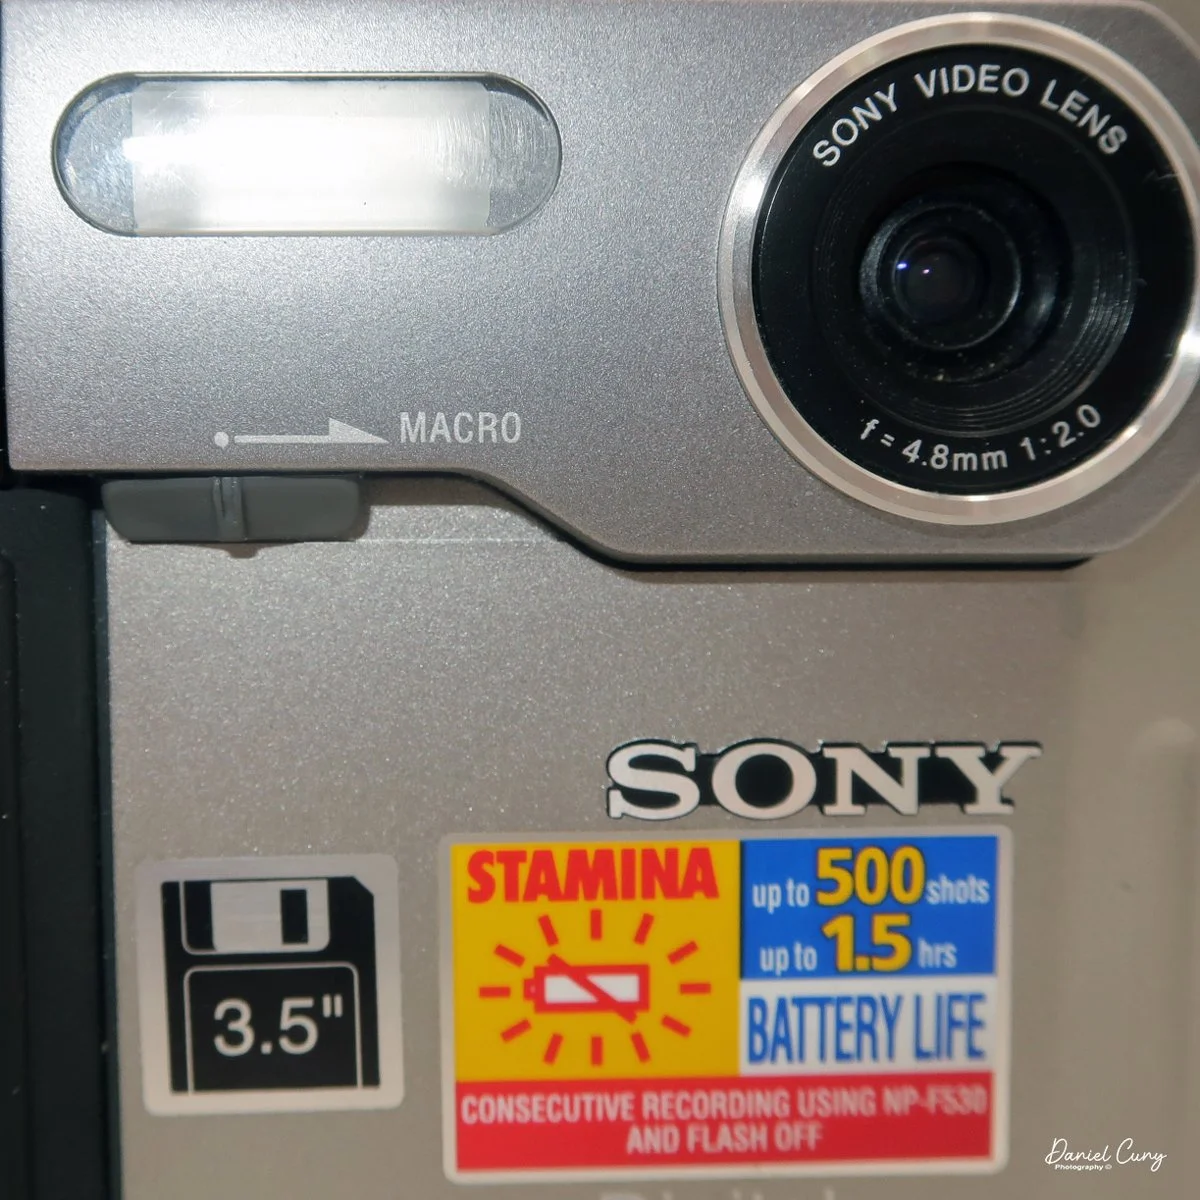
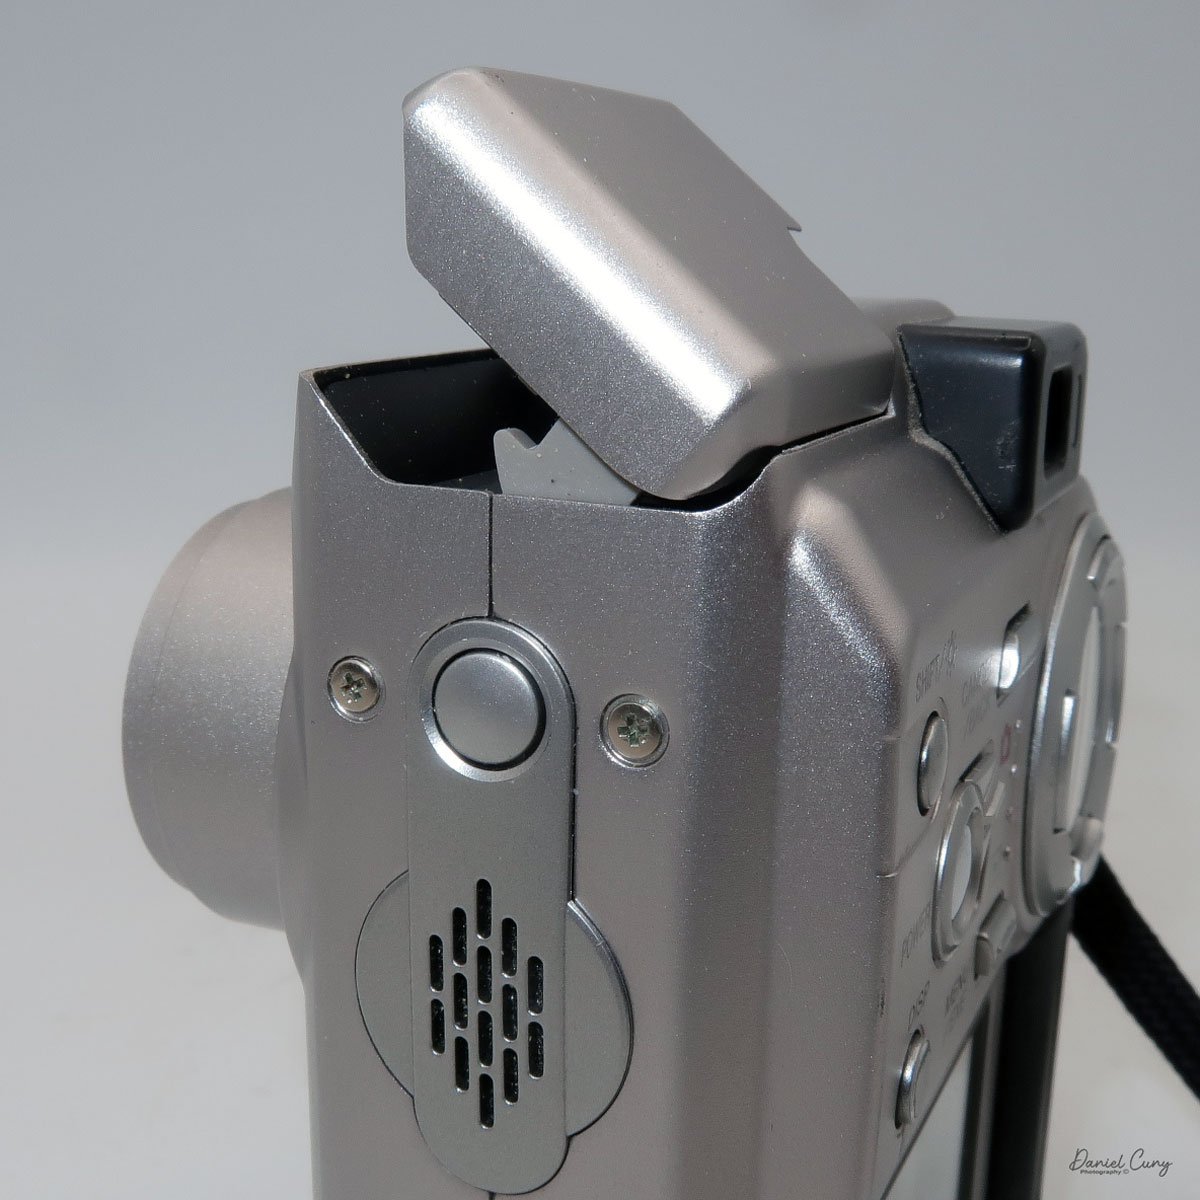
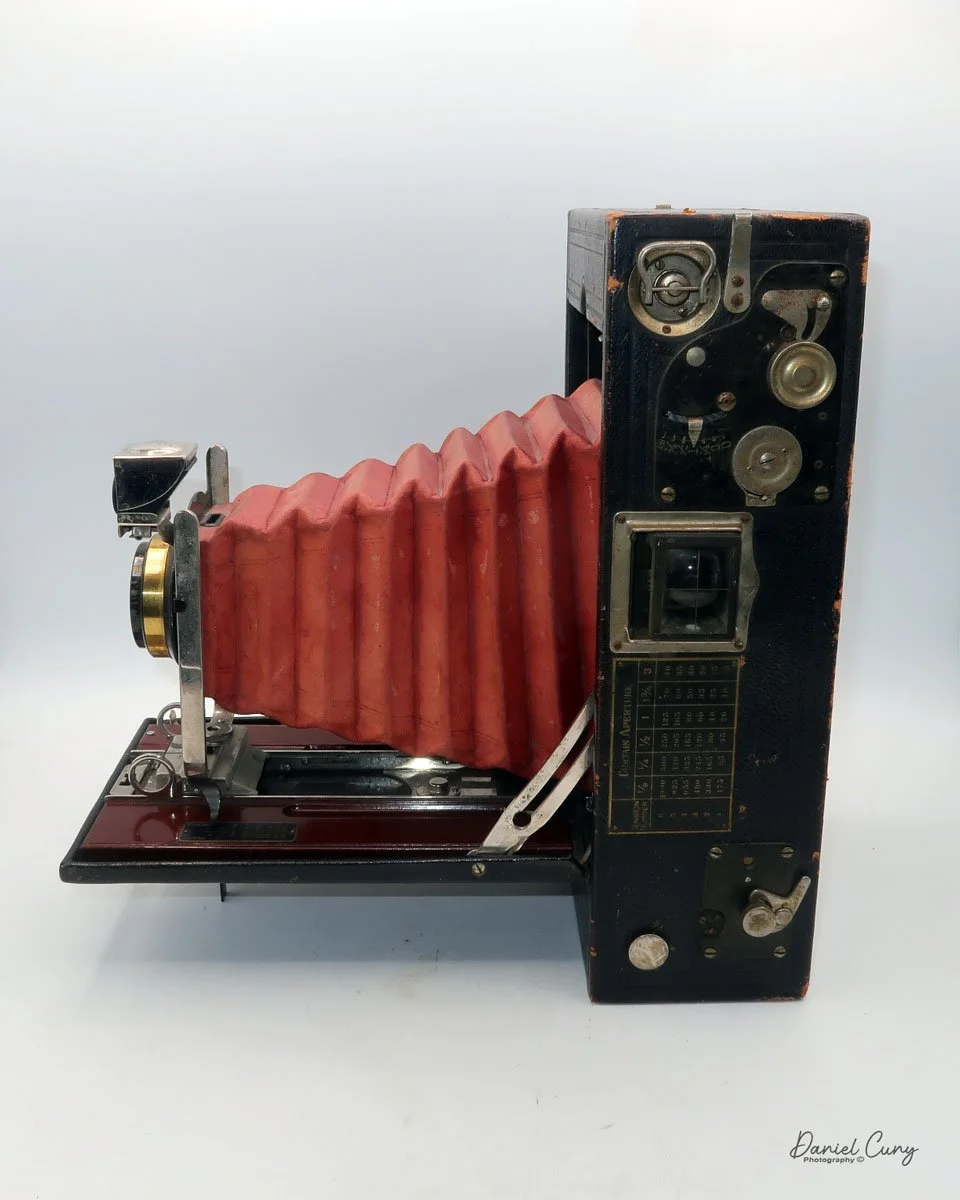
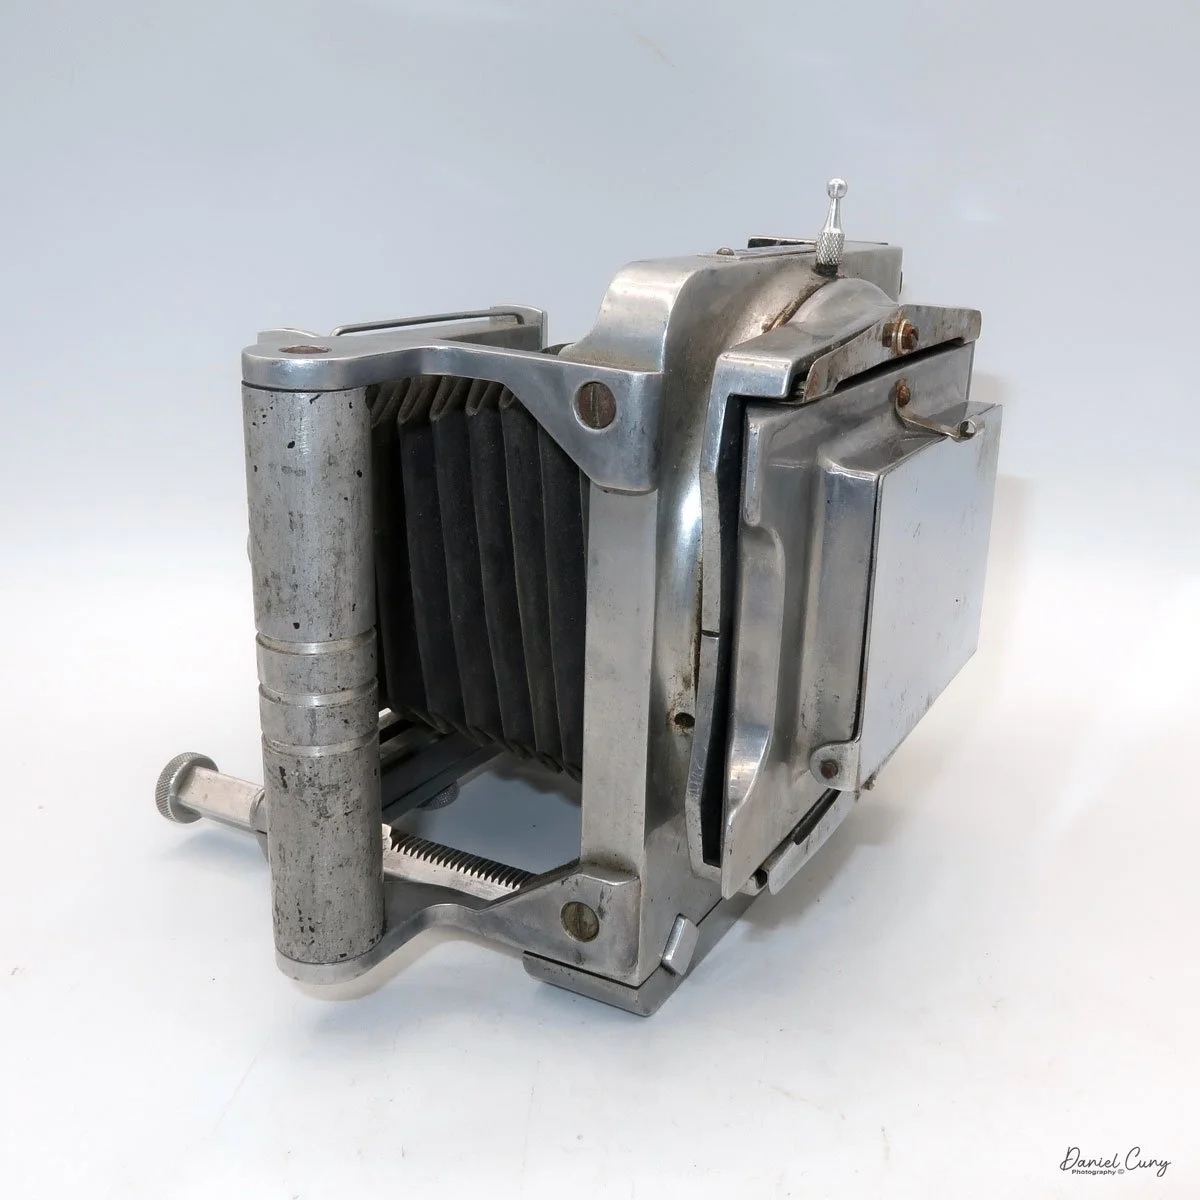
To open the lens door, press a small button at the bottom of the camera, and the lens door opens, exposing a Meyer-Optik Trioplan 50mm f2.9 lens (serial # 1529563), in a Vebur shutter at the end of a small bellows that extends, then the front door is opened.
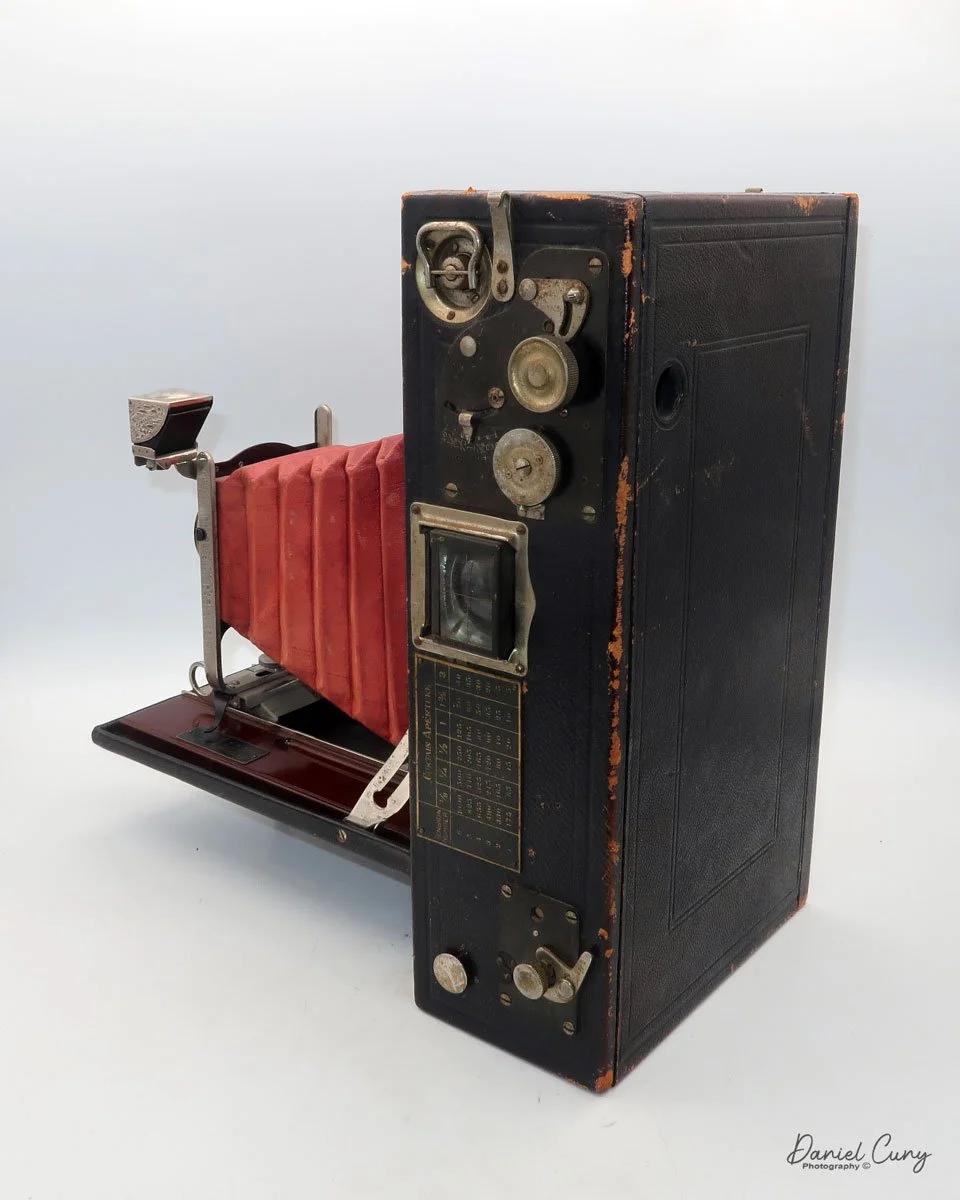
The shutter speeds range from 1/250 to 1 second, along with "B" for timed exposures. To set the shutter speed, turn a knurled ring on the outside of the shutter, lining up the desired shutter speed with the red dot on the ring. Just behind the shutter speed selector is the shutter cockling lever. You'll need to pull the lever over each time you're going to make an exposure, as there is no automatic shutter cocking mechanism on the Welta Welti camera.
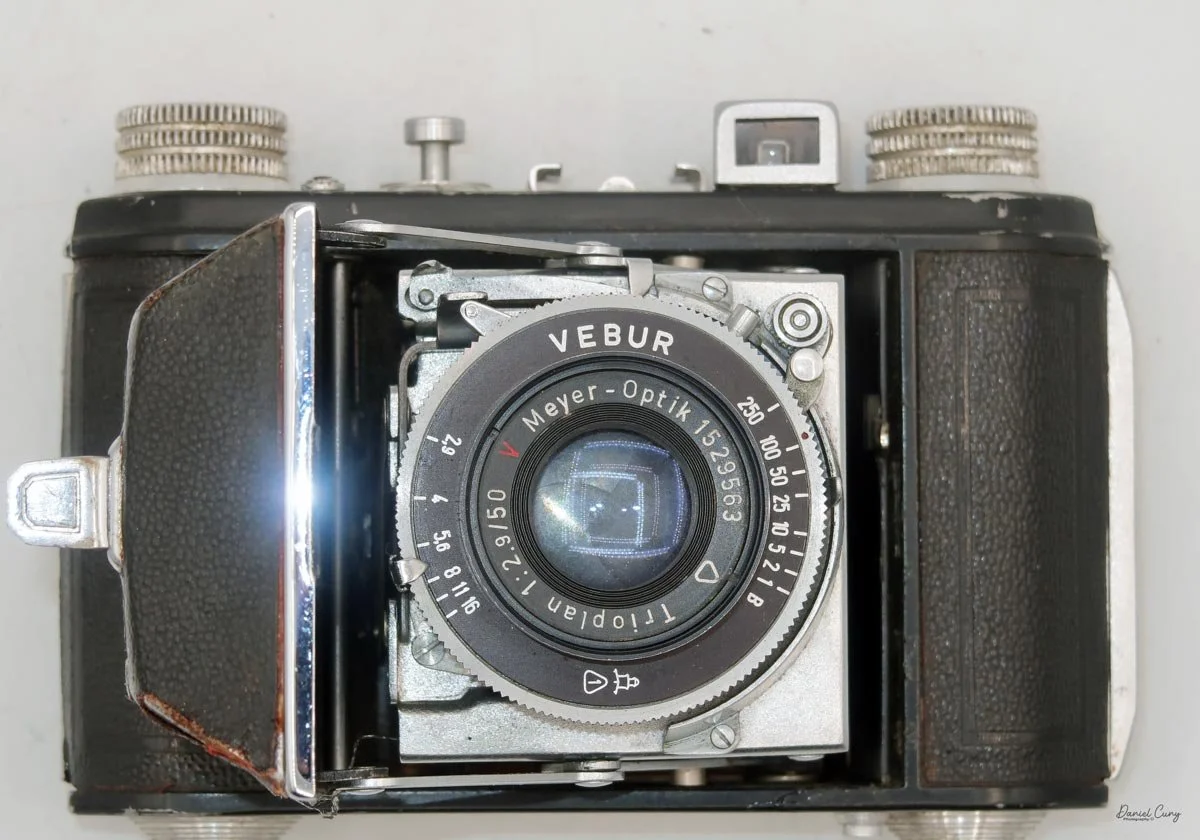
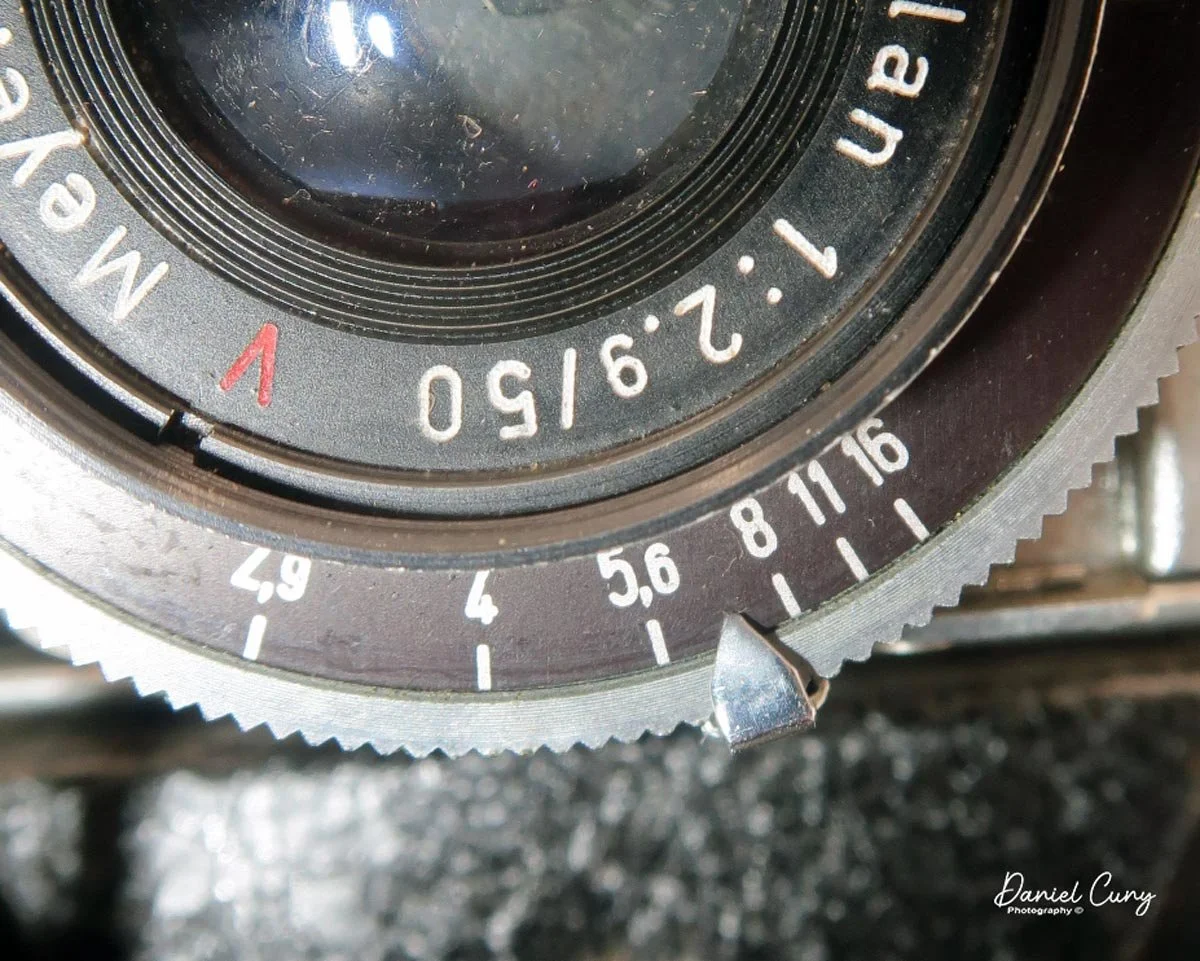
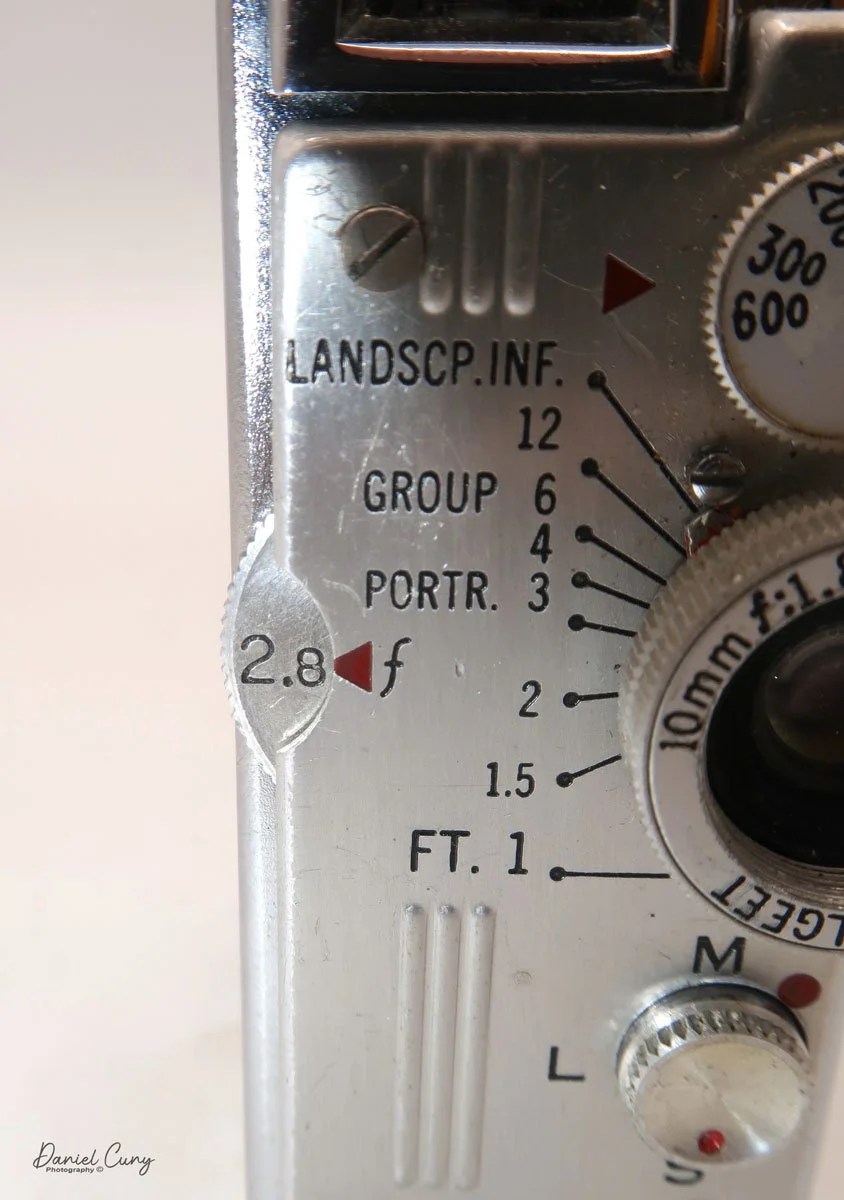
The aperture on my Welta Welti camera ranges from F/2.9 to 16 and is set by a sliding lever under the shutter, below the lens.
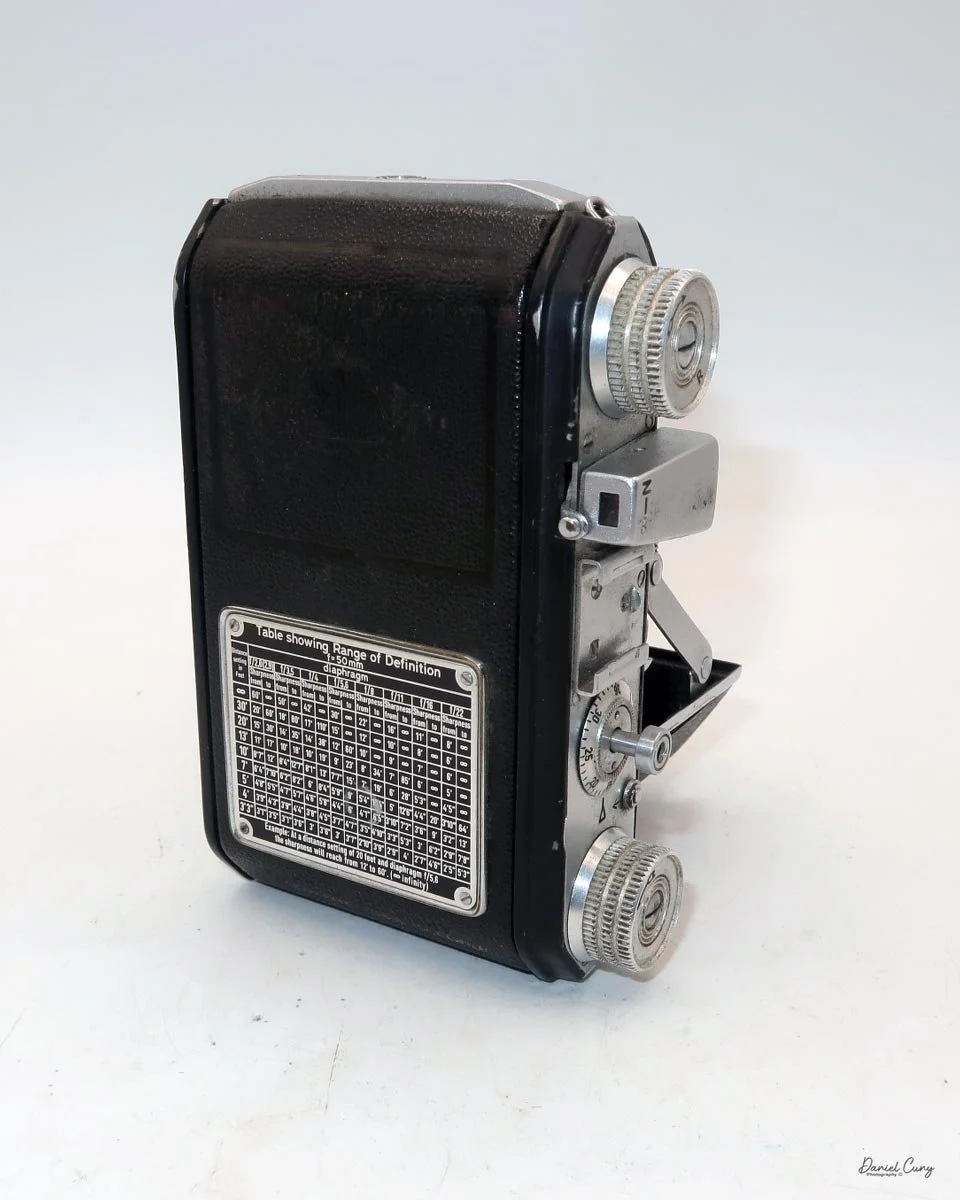
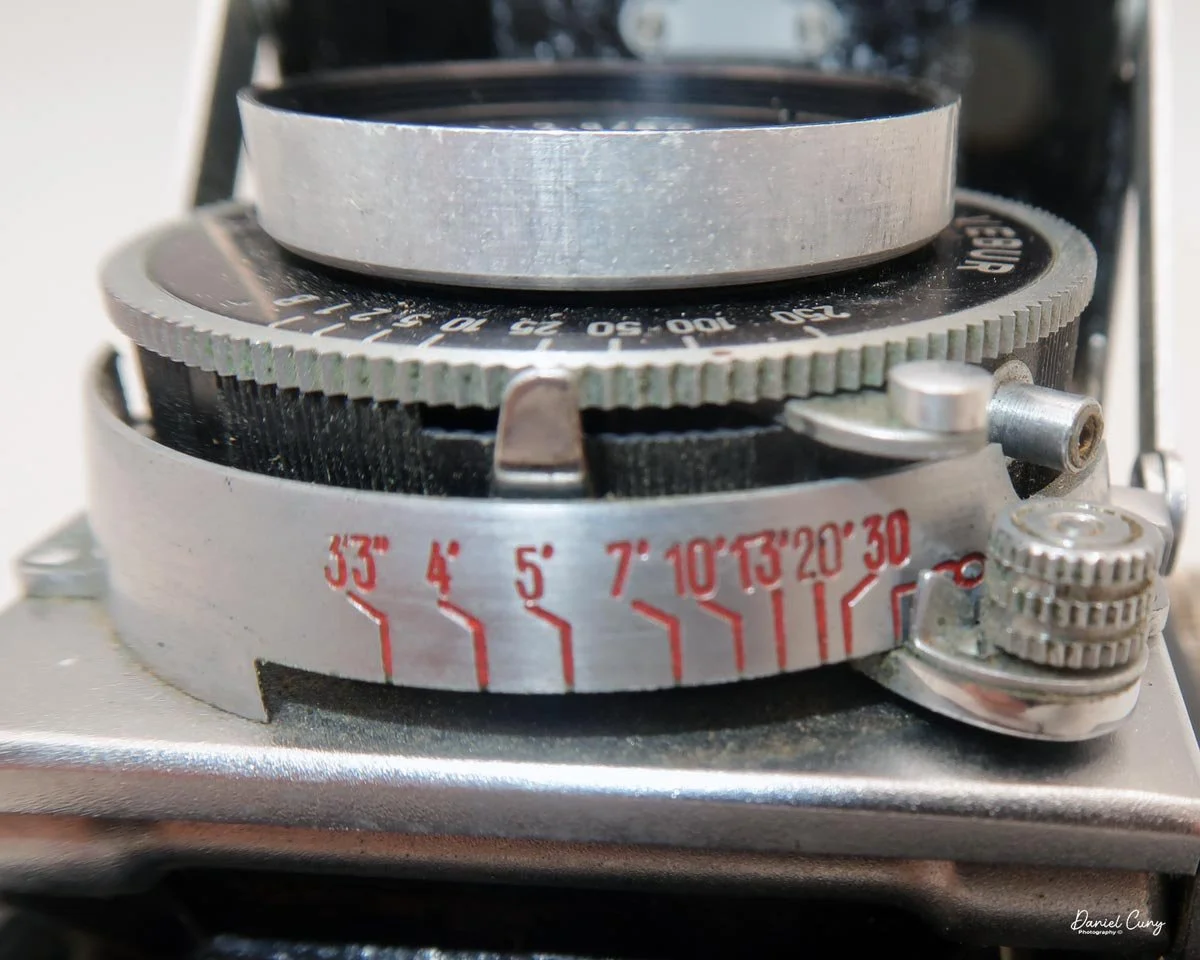
On the back of the lensboard is a large knob that serves as the focusing lever for the camera. There is no rangefinder or internal focusing on the camera, so the distances you set are just guesses. Sliding the knob to the left or right focuses the lens. The lens can focus as close as 3.3 feet to infinity. At the end of the focus knob is a small pointer that sets the desired distance.
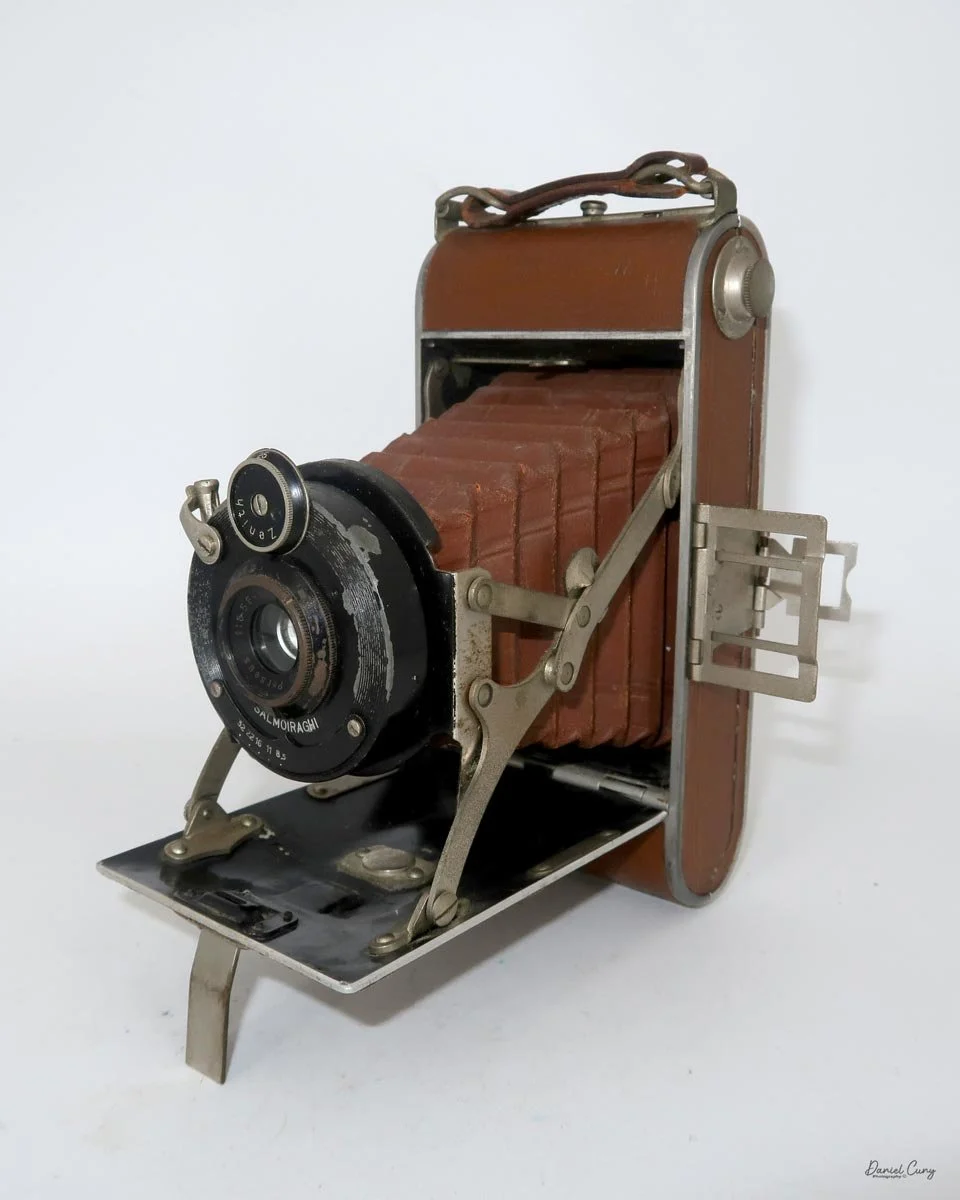
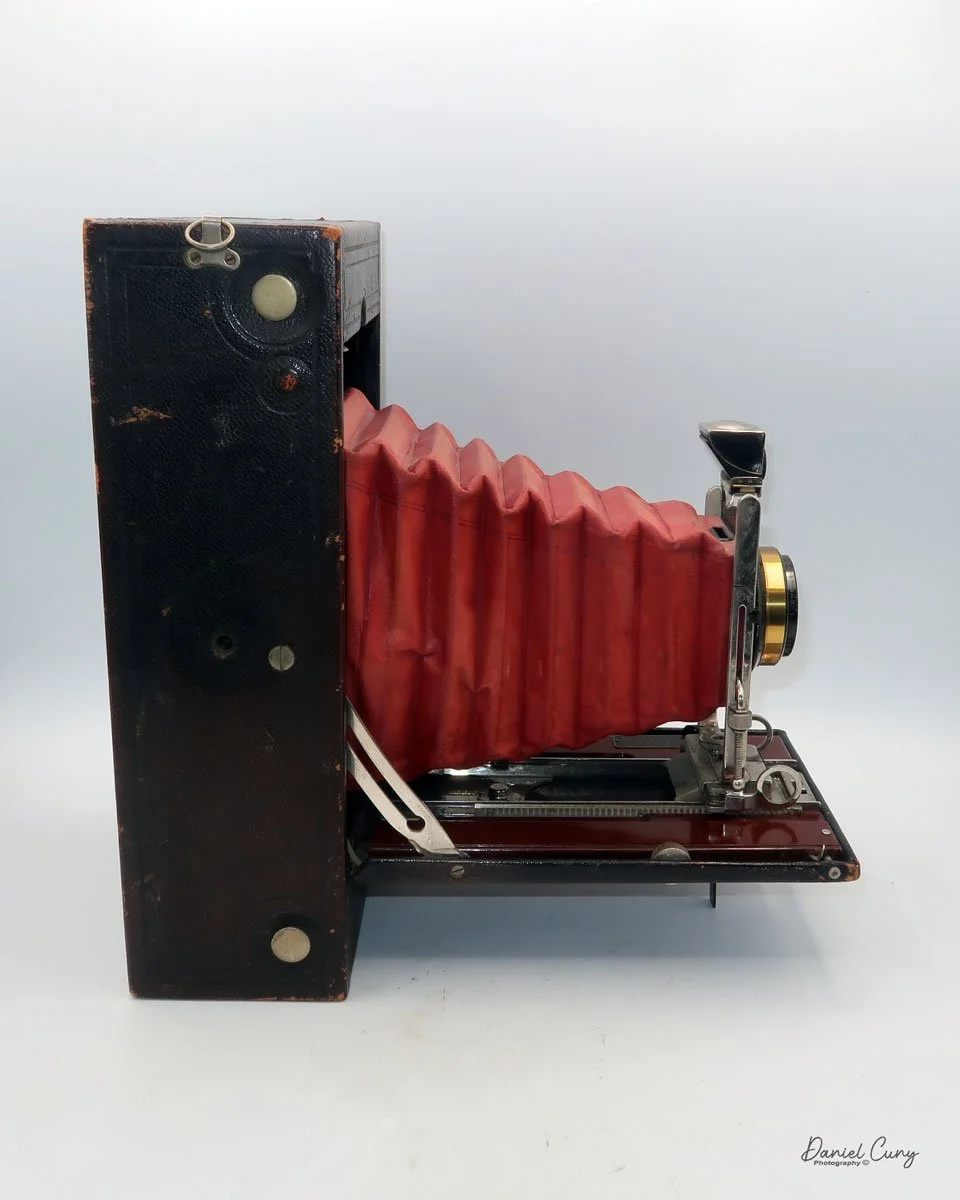
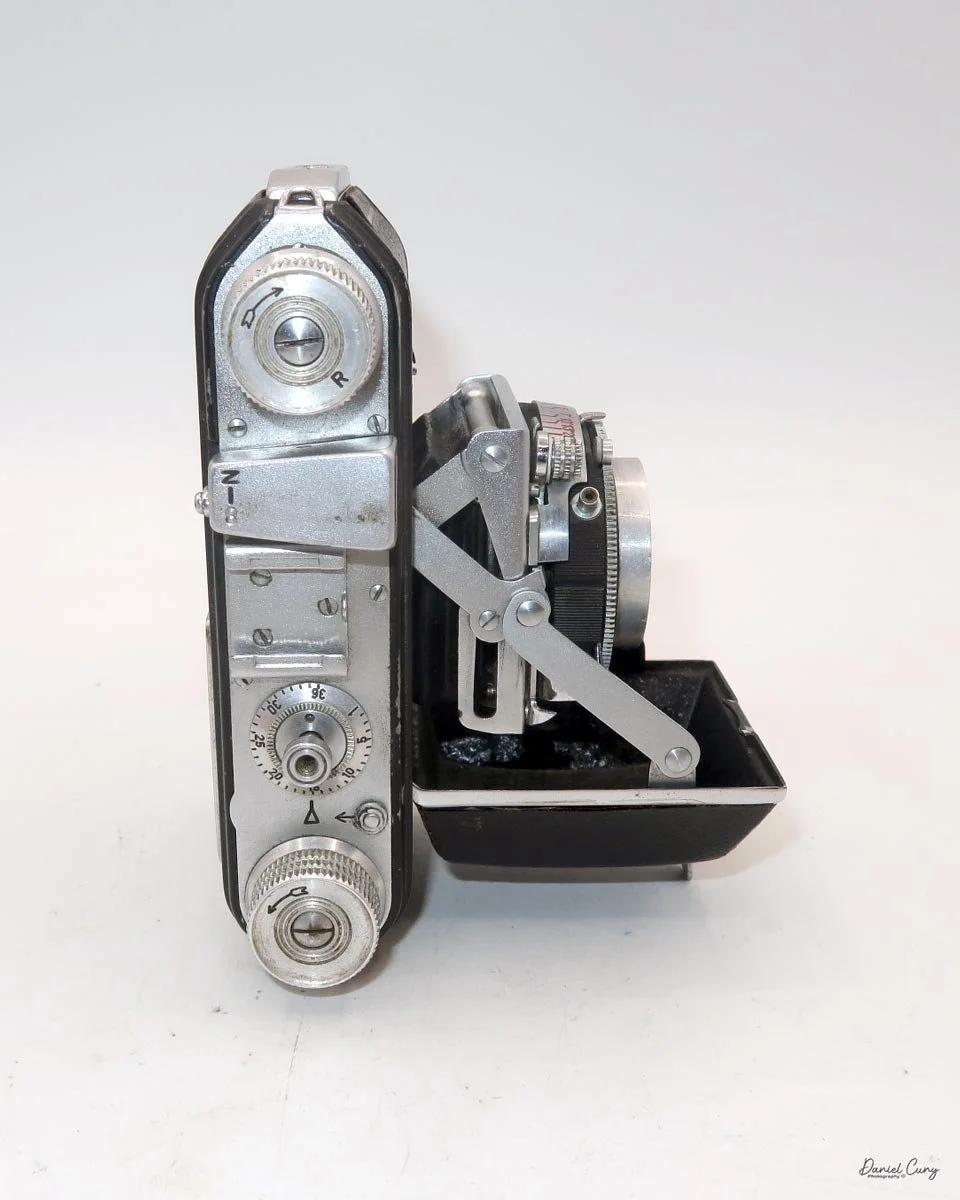
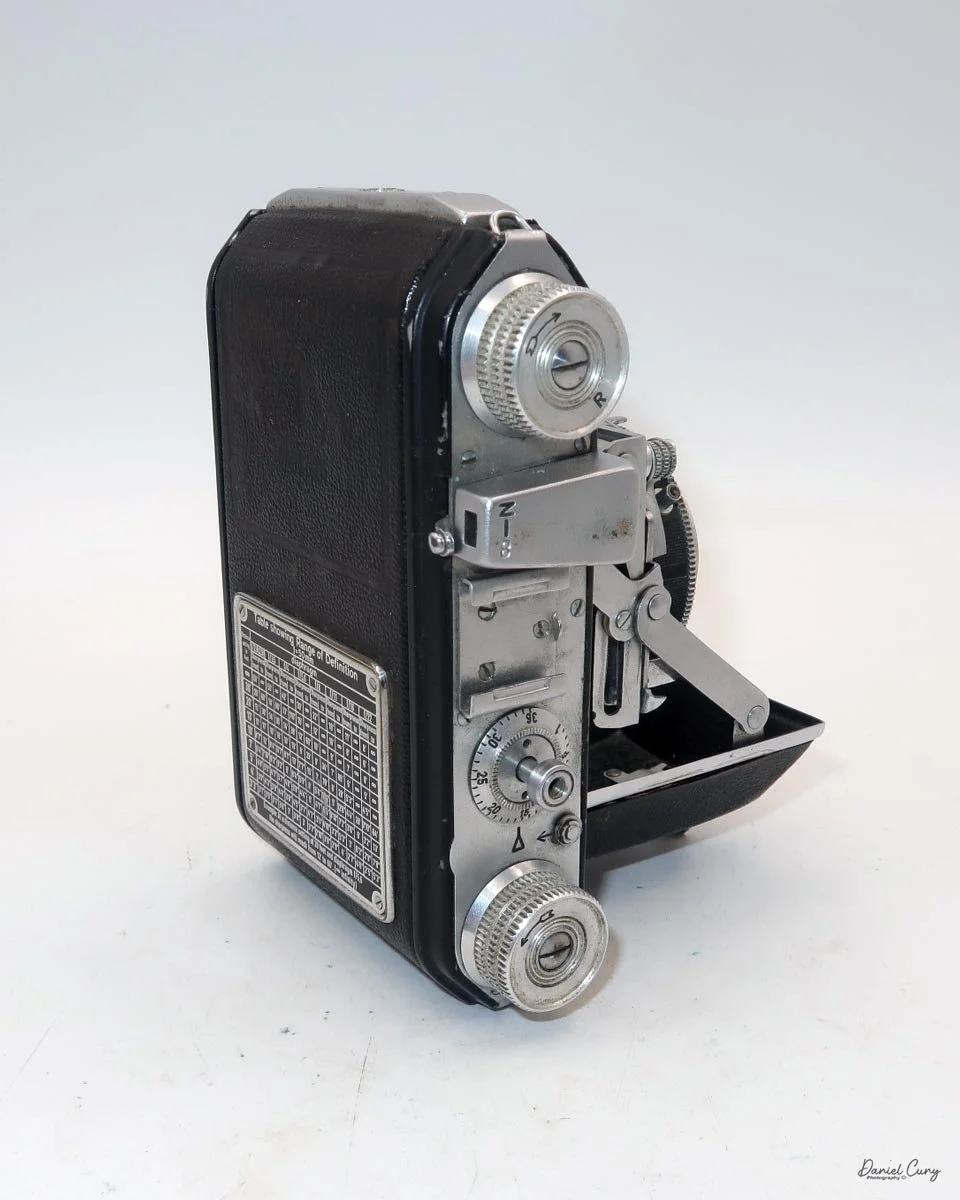
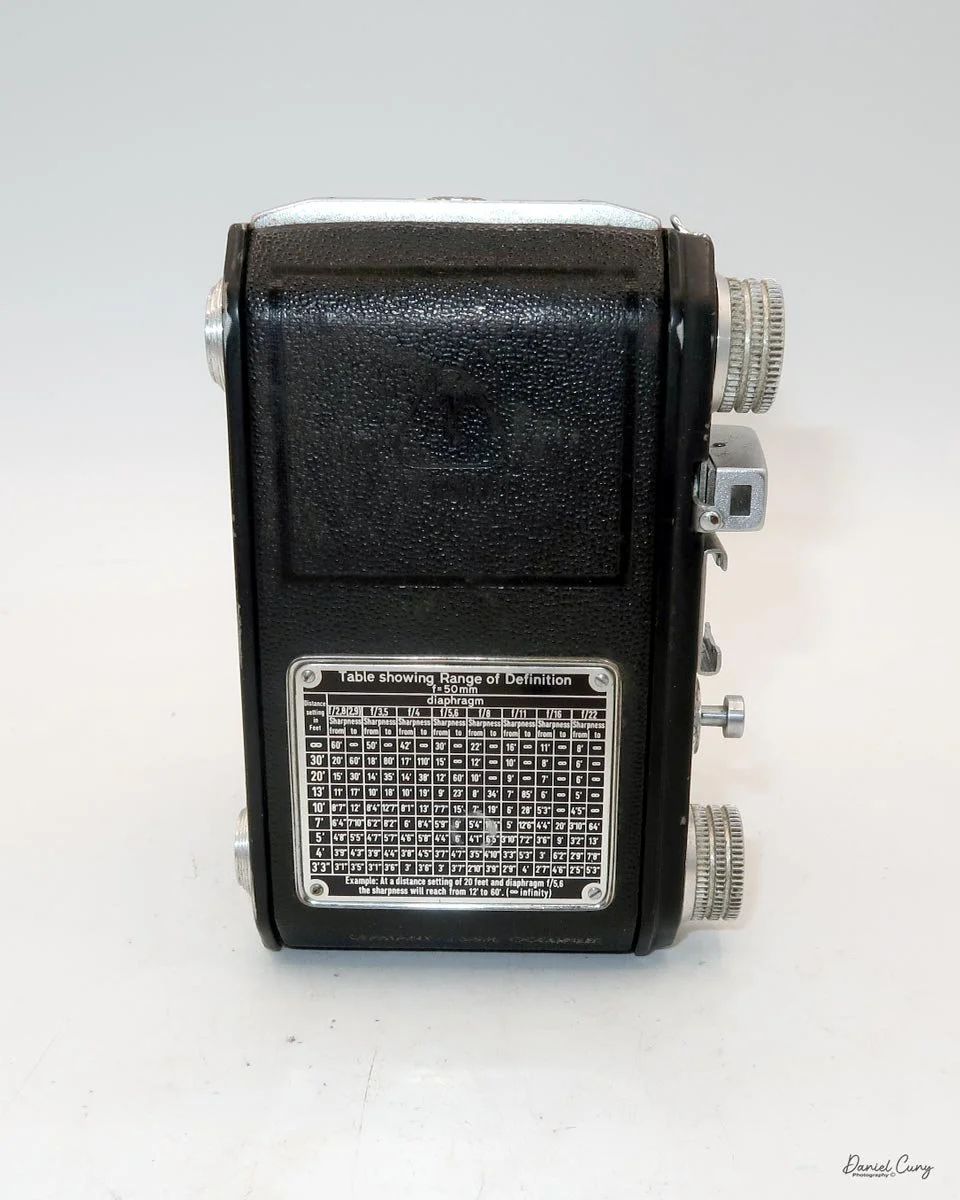
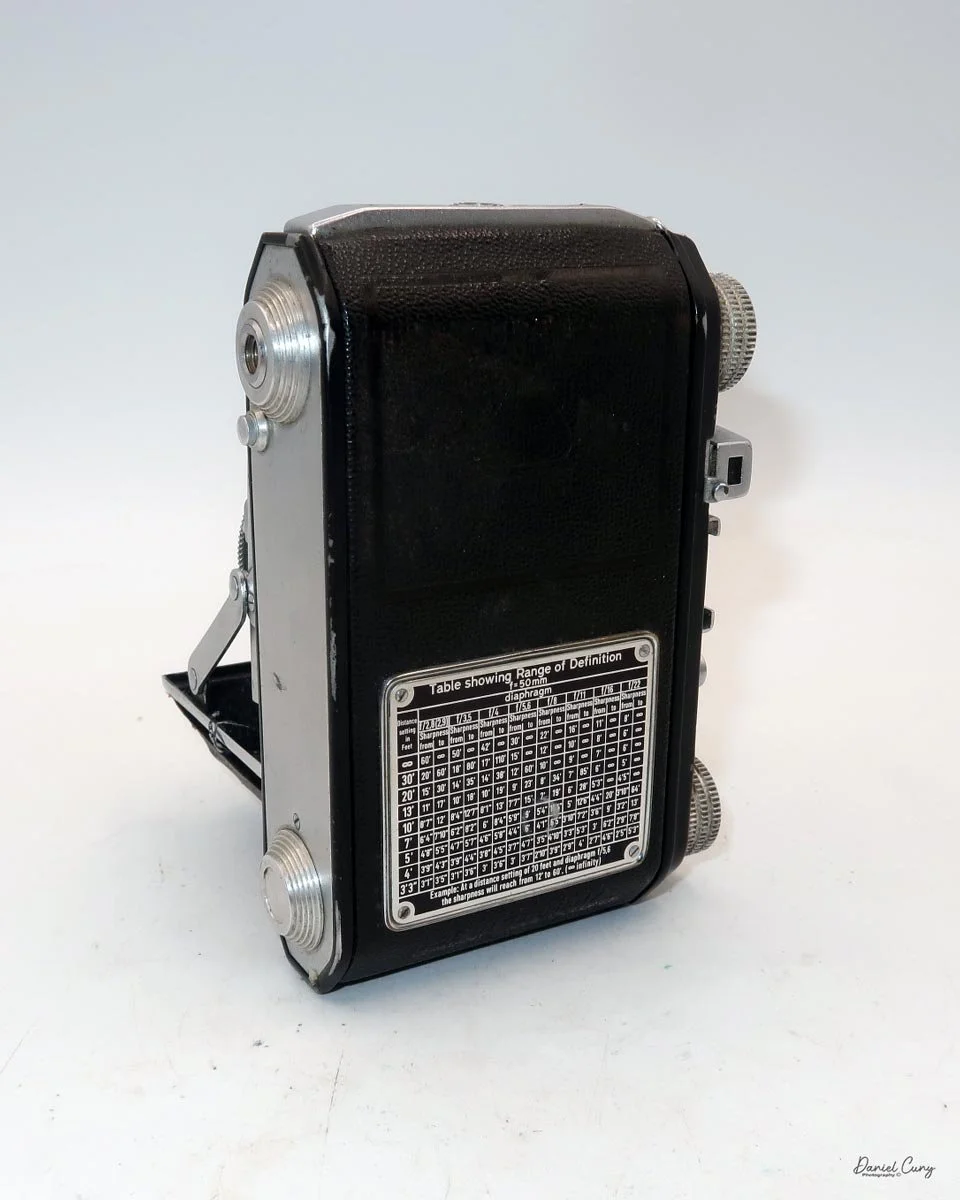
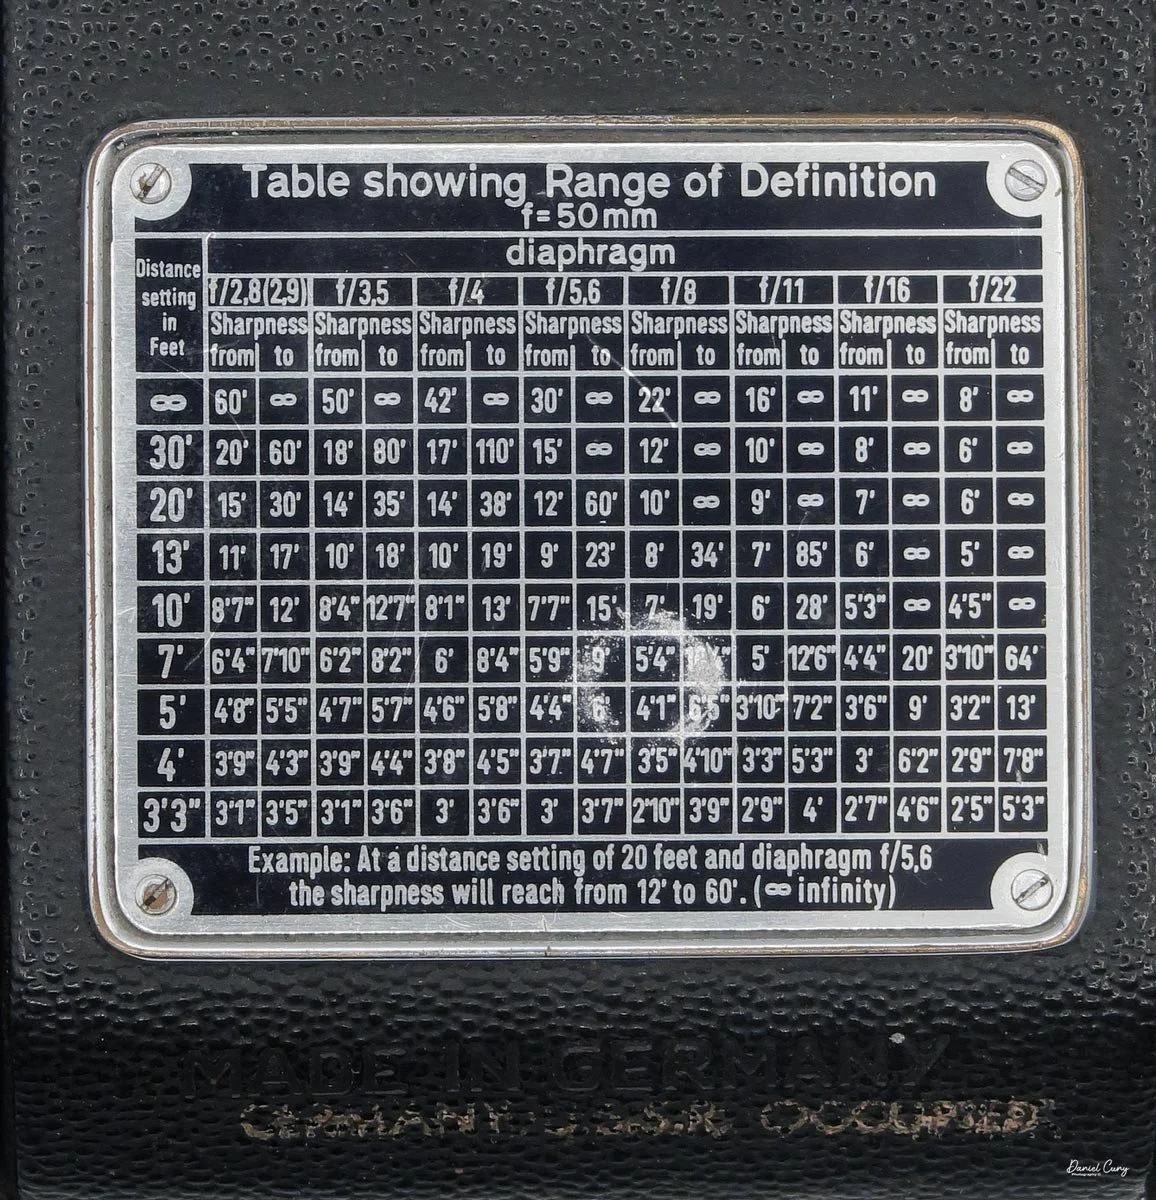
On the back of the camera is a depth-of-field scale that shows the minimum and maximum distances that will be in focus, depending on the distance the camera is focused to and the aperture set on the camera.
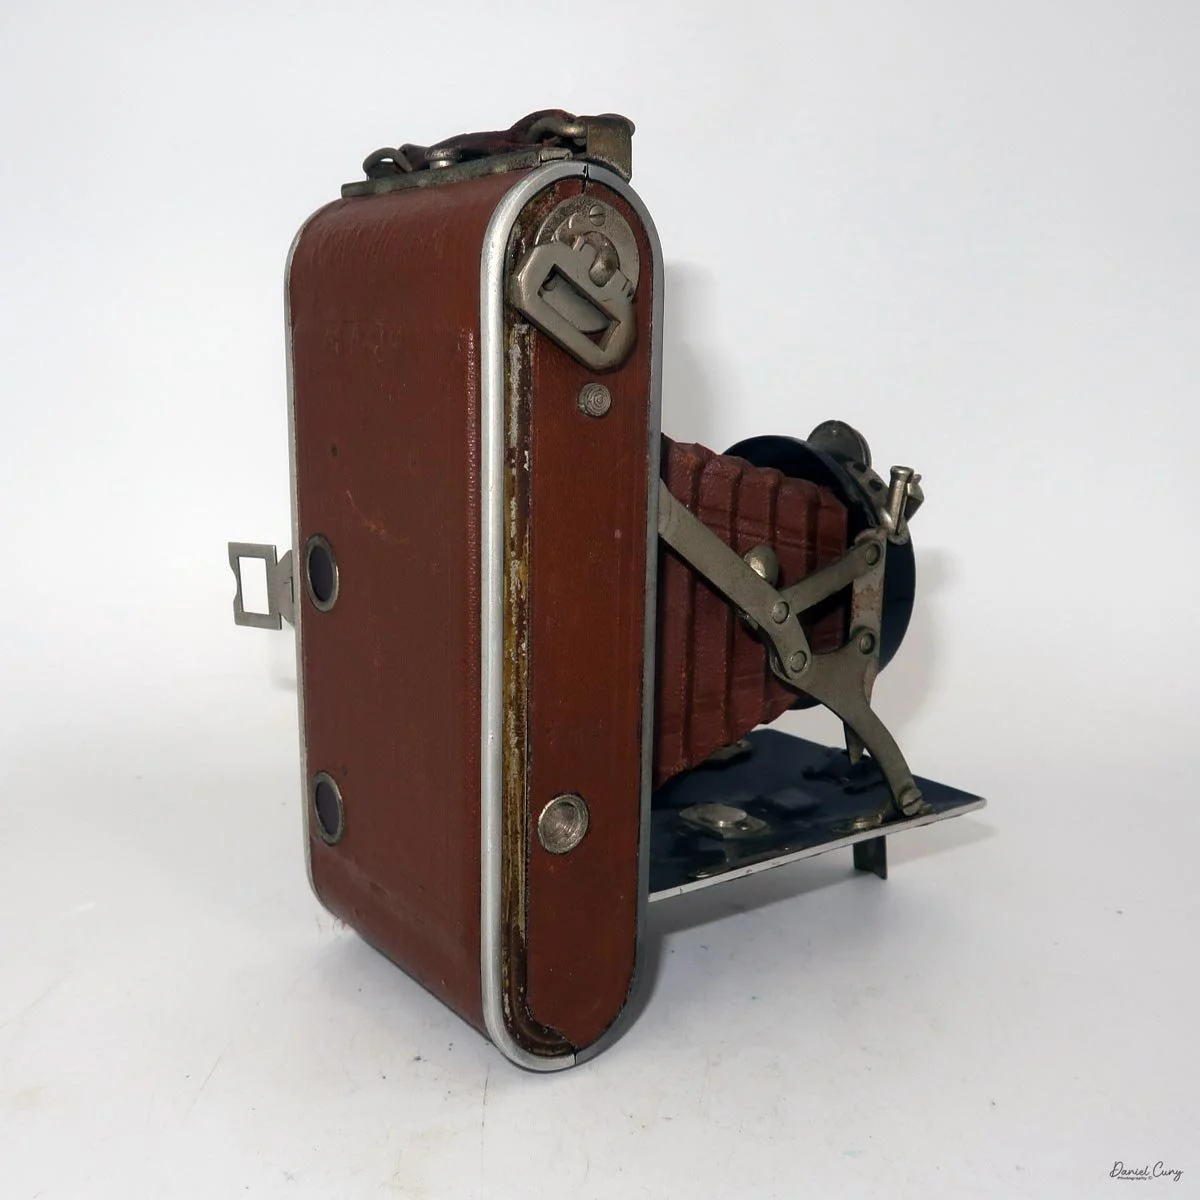
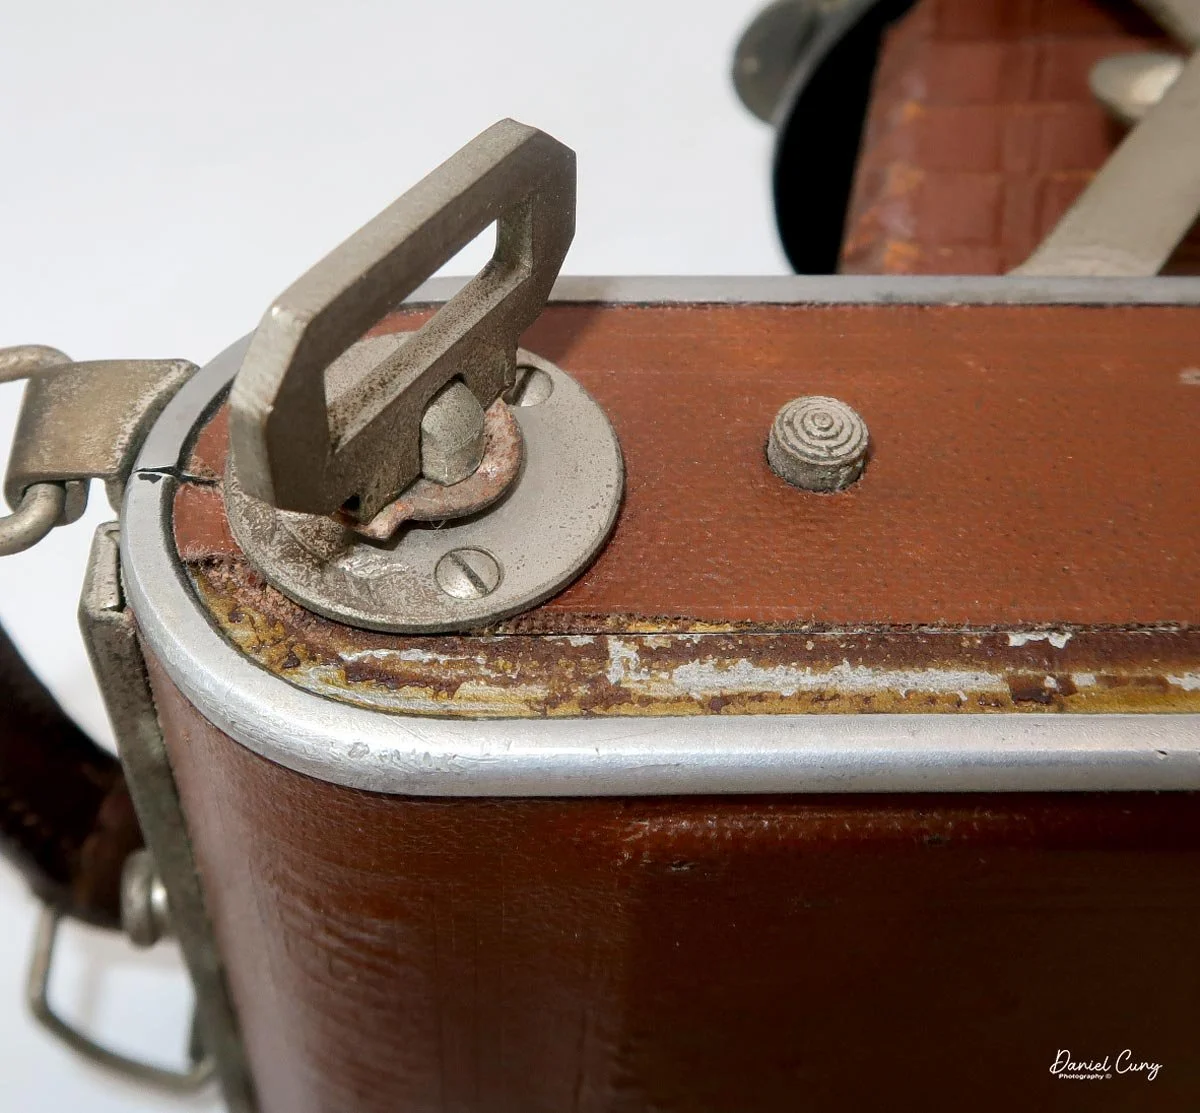
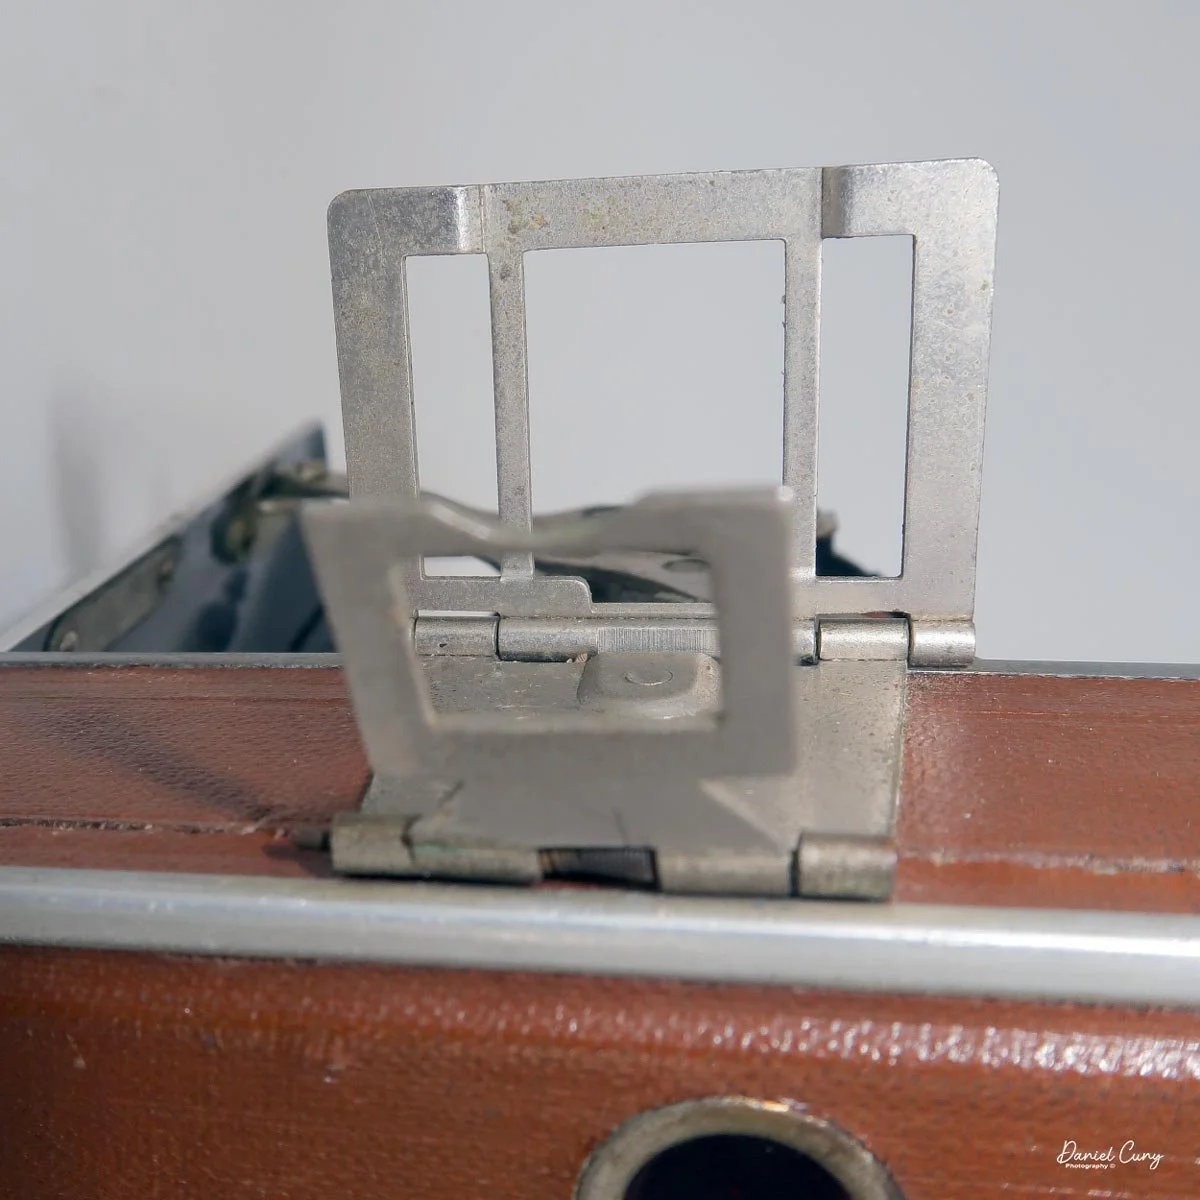
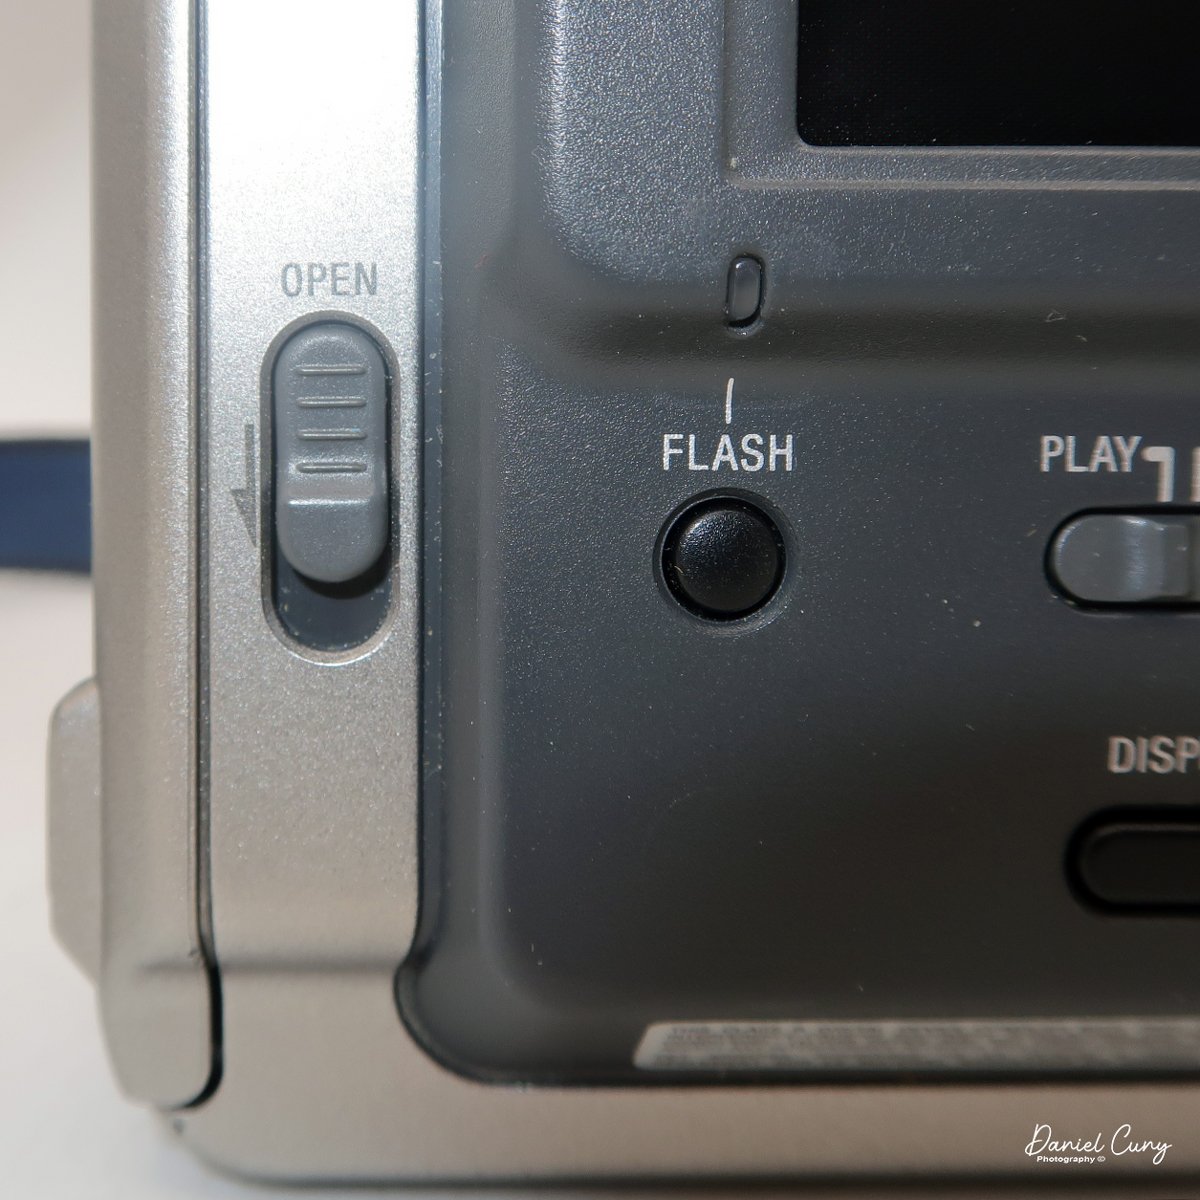
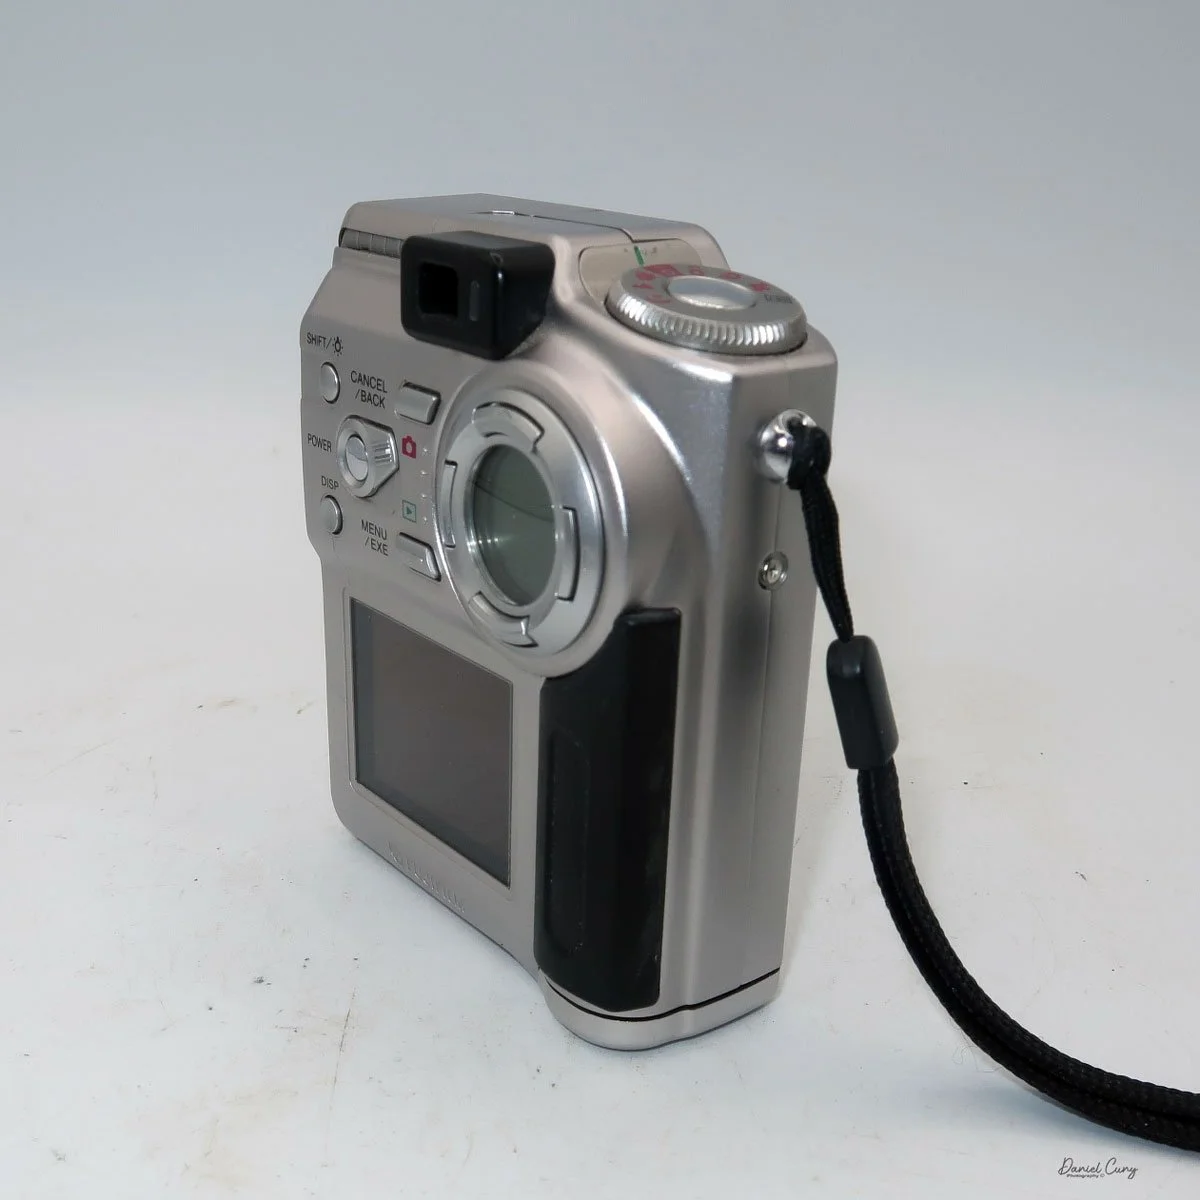
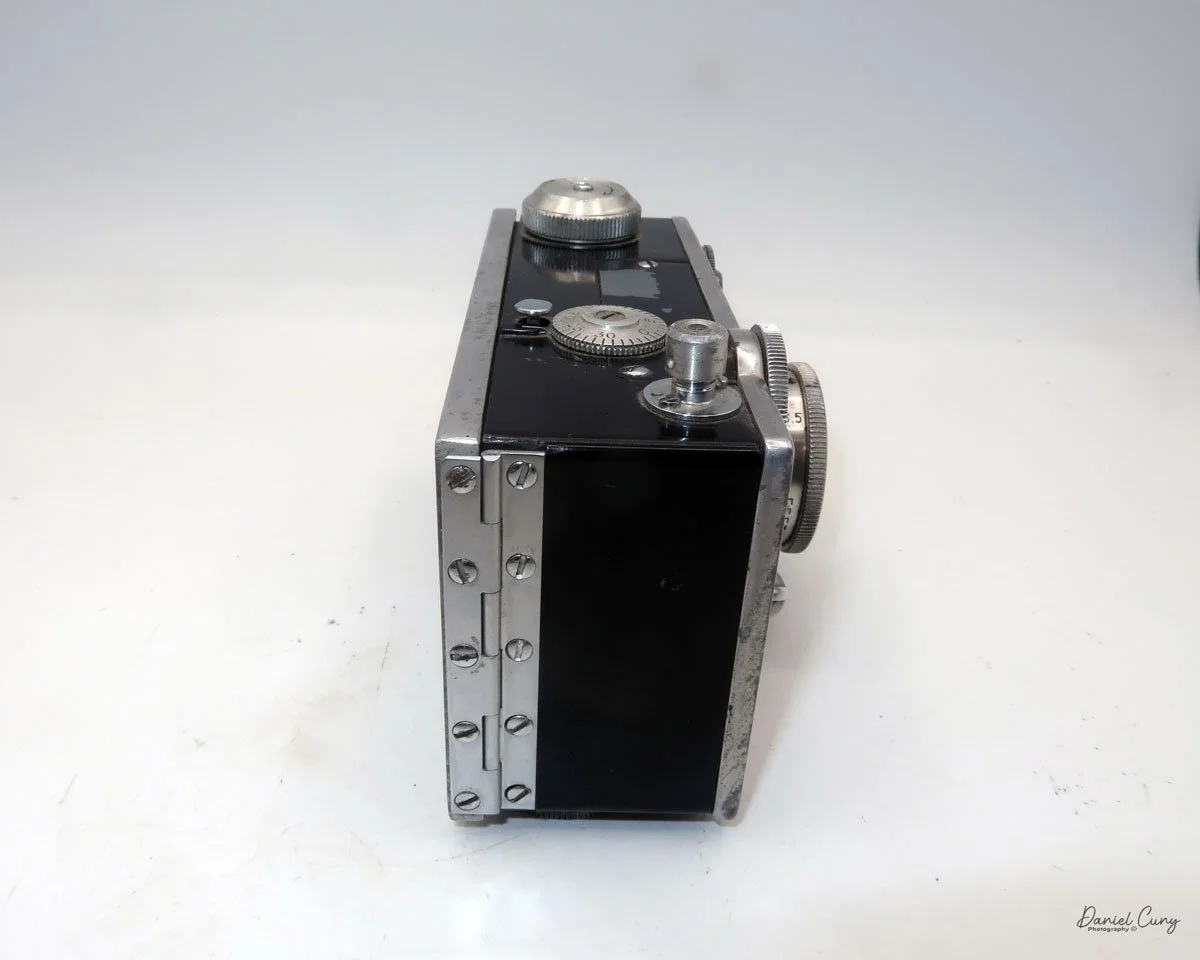
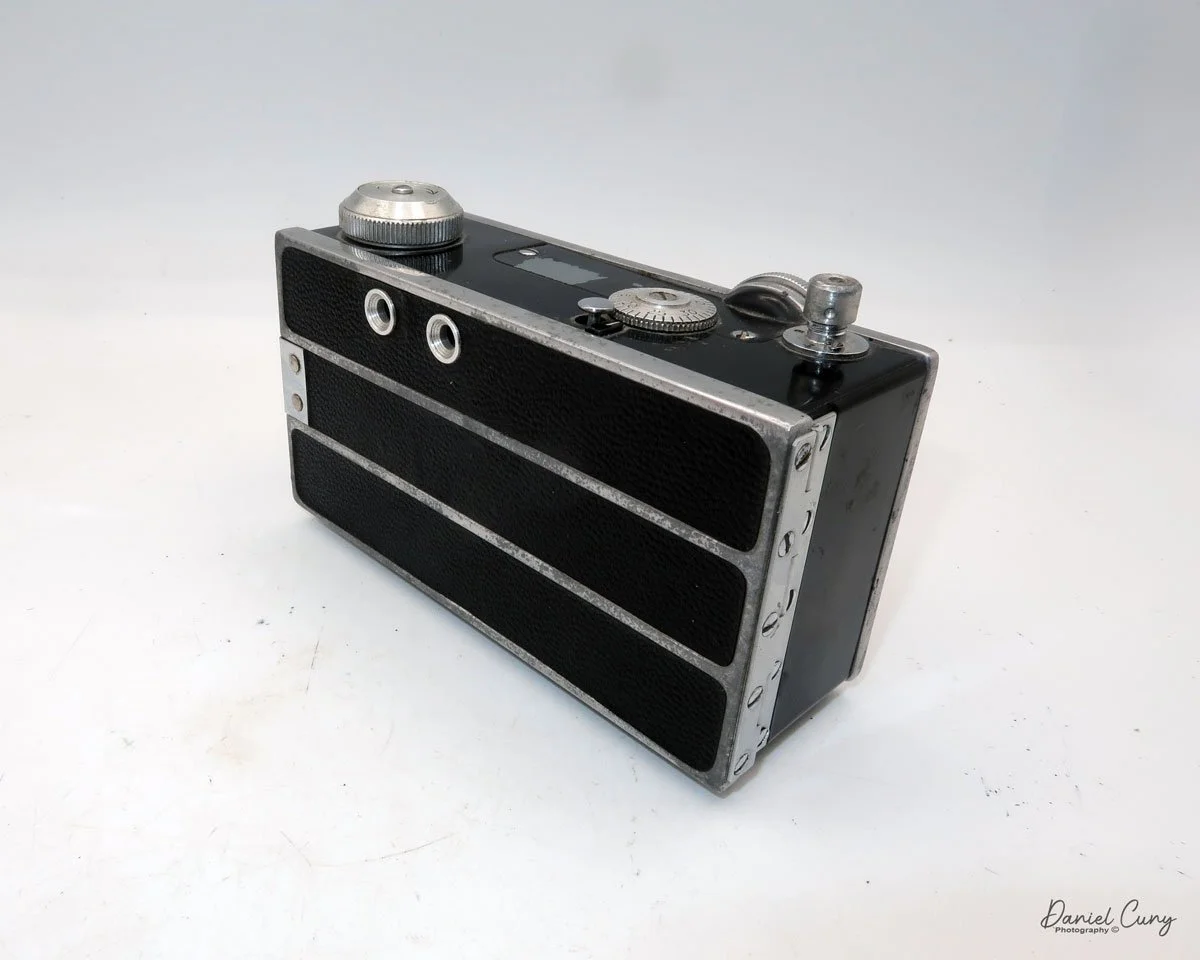
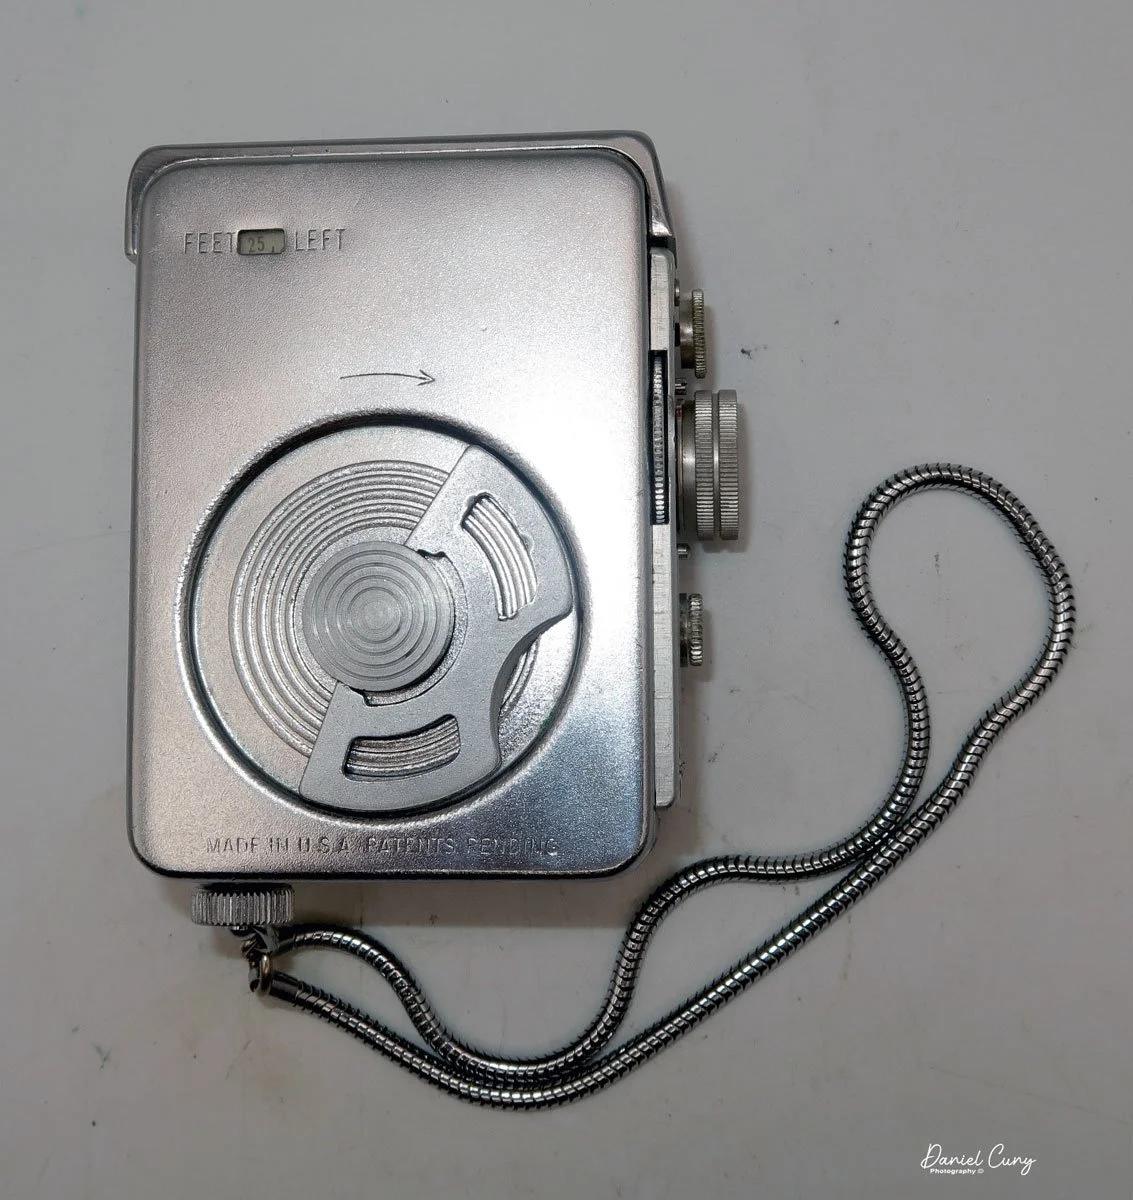
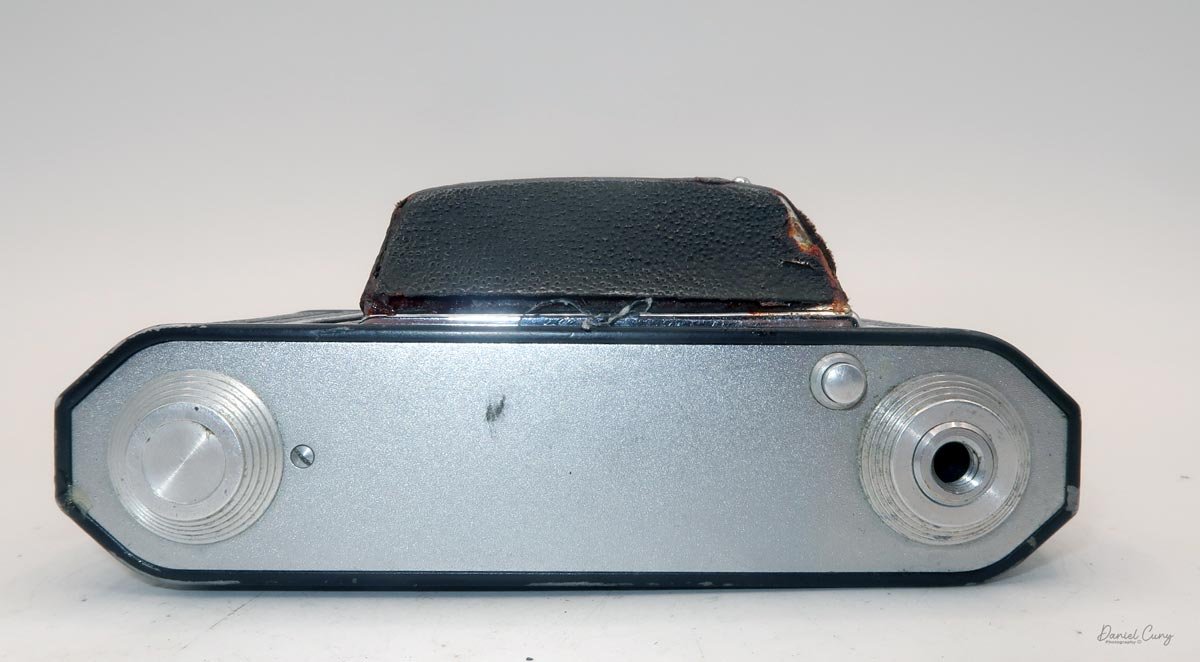
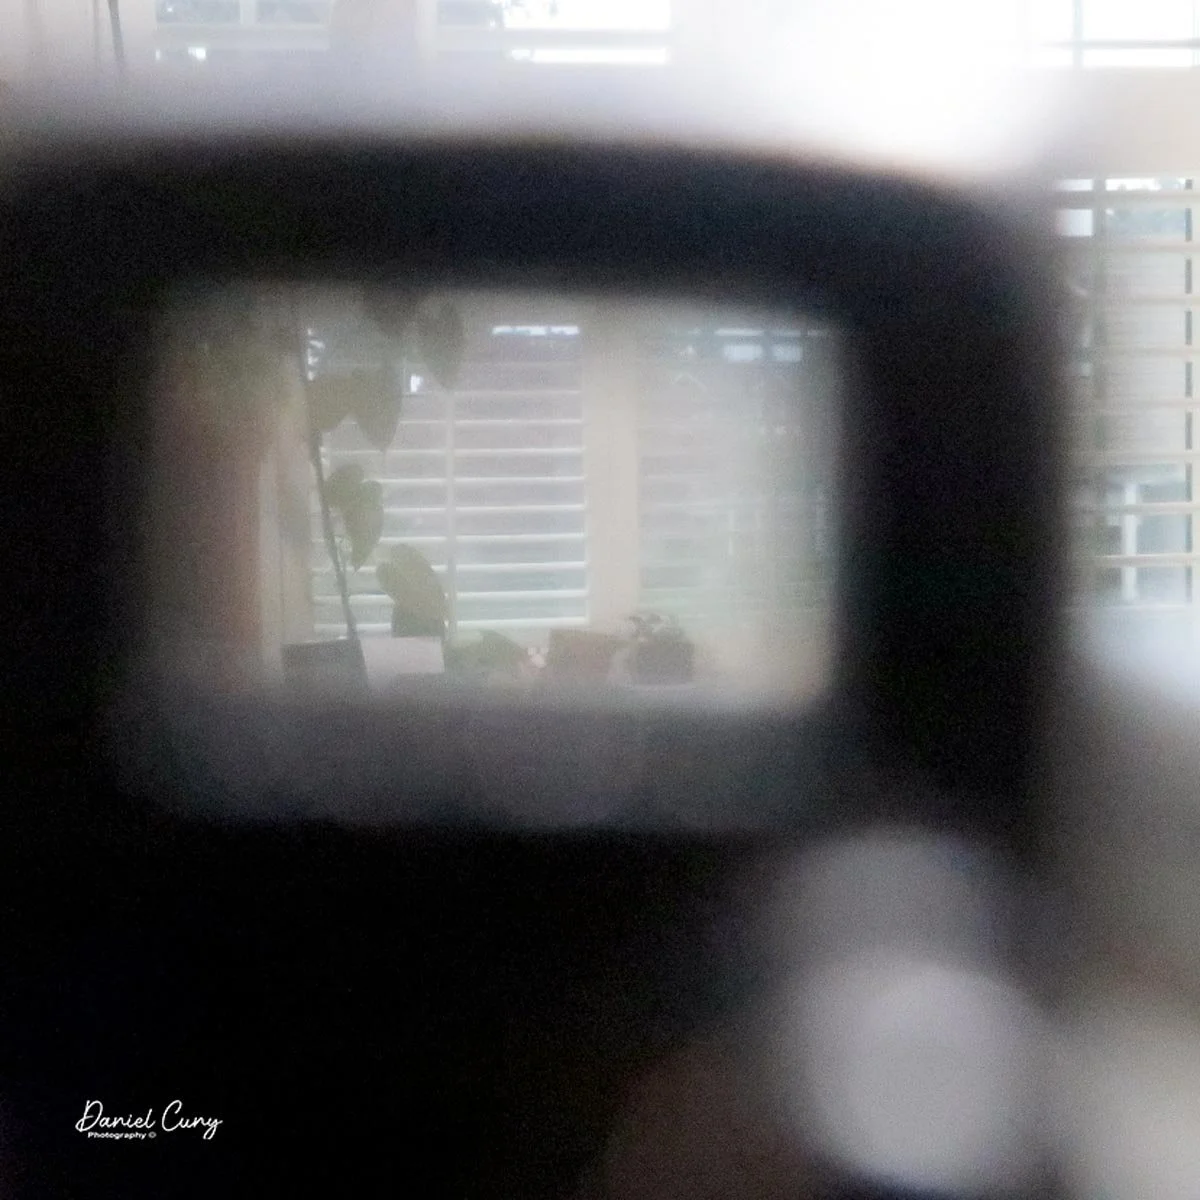
Looking at the top of the camera, from left to right, is the rewind knob, the viewfinder used to view and frame your image. The viewfinder has a small lever under it that allows it to be pointed level for landscape images and to point down slightly for closer portrait images.
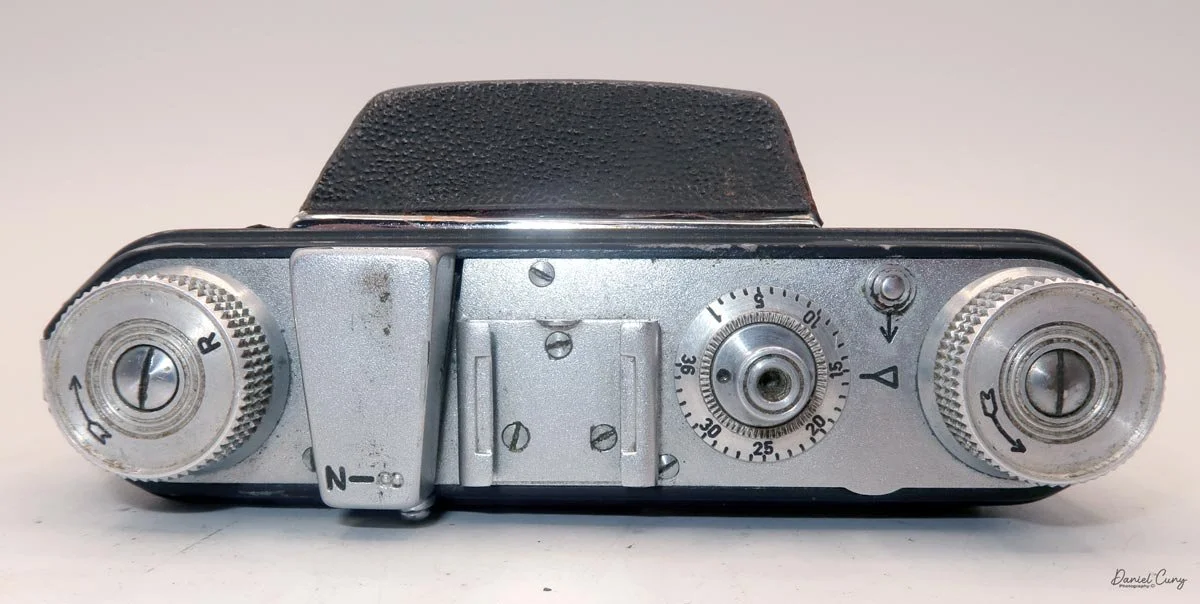
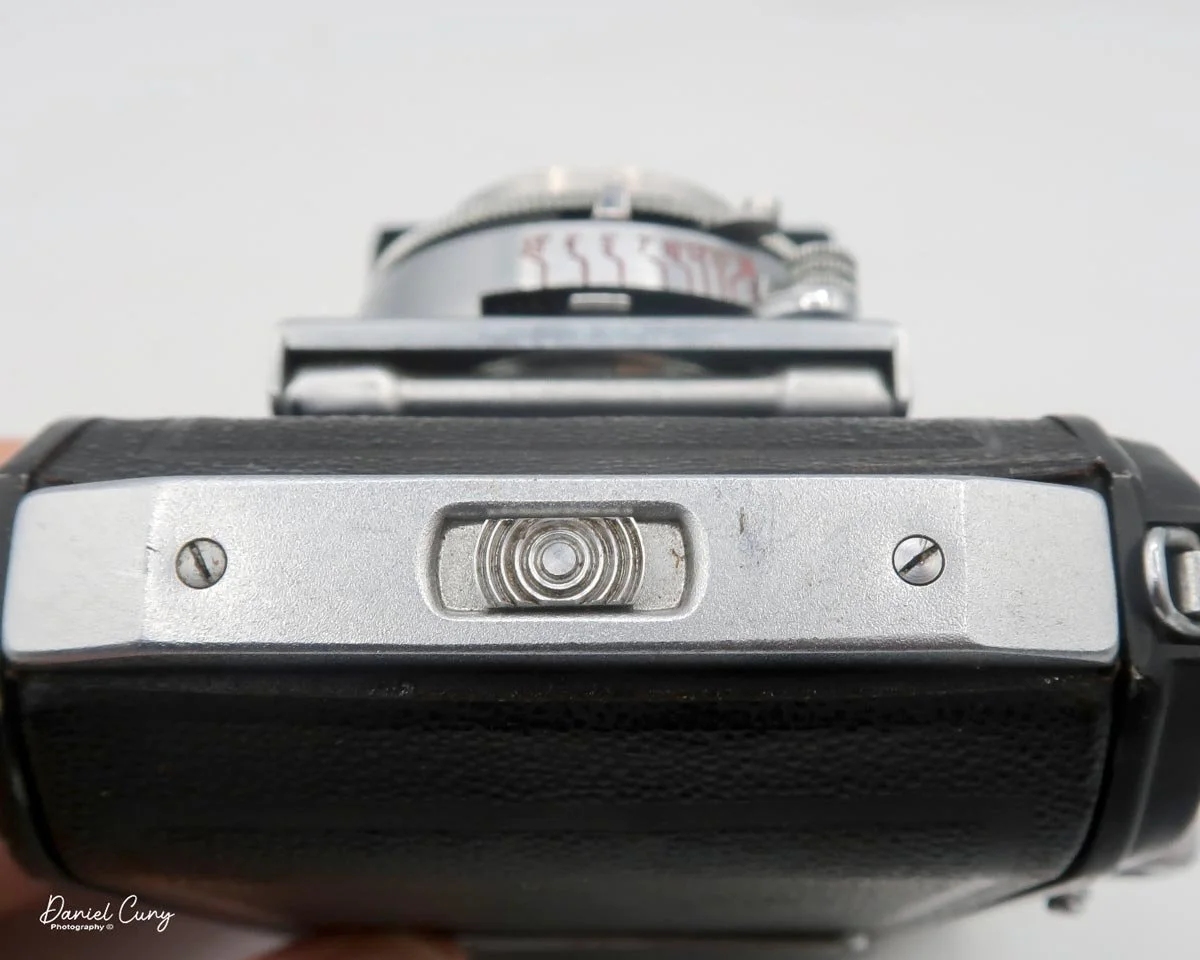
To the right of the viewfinder is a cold shoe that can be used for a separate rangefinder to aid in focus distance or a flash for indoor or night photographs. Moving on to the shutter release inside the frame counter, a small sliding button to unlock the film drive gear for film advance and rewind, and on the far right-hand side is the film winding knob with an arrow on the top showing the direction you turn it to advance the film to the next frame.
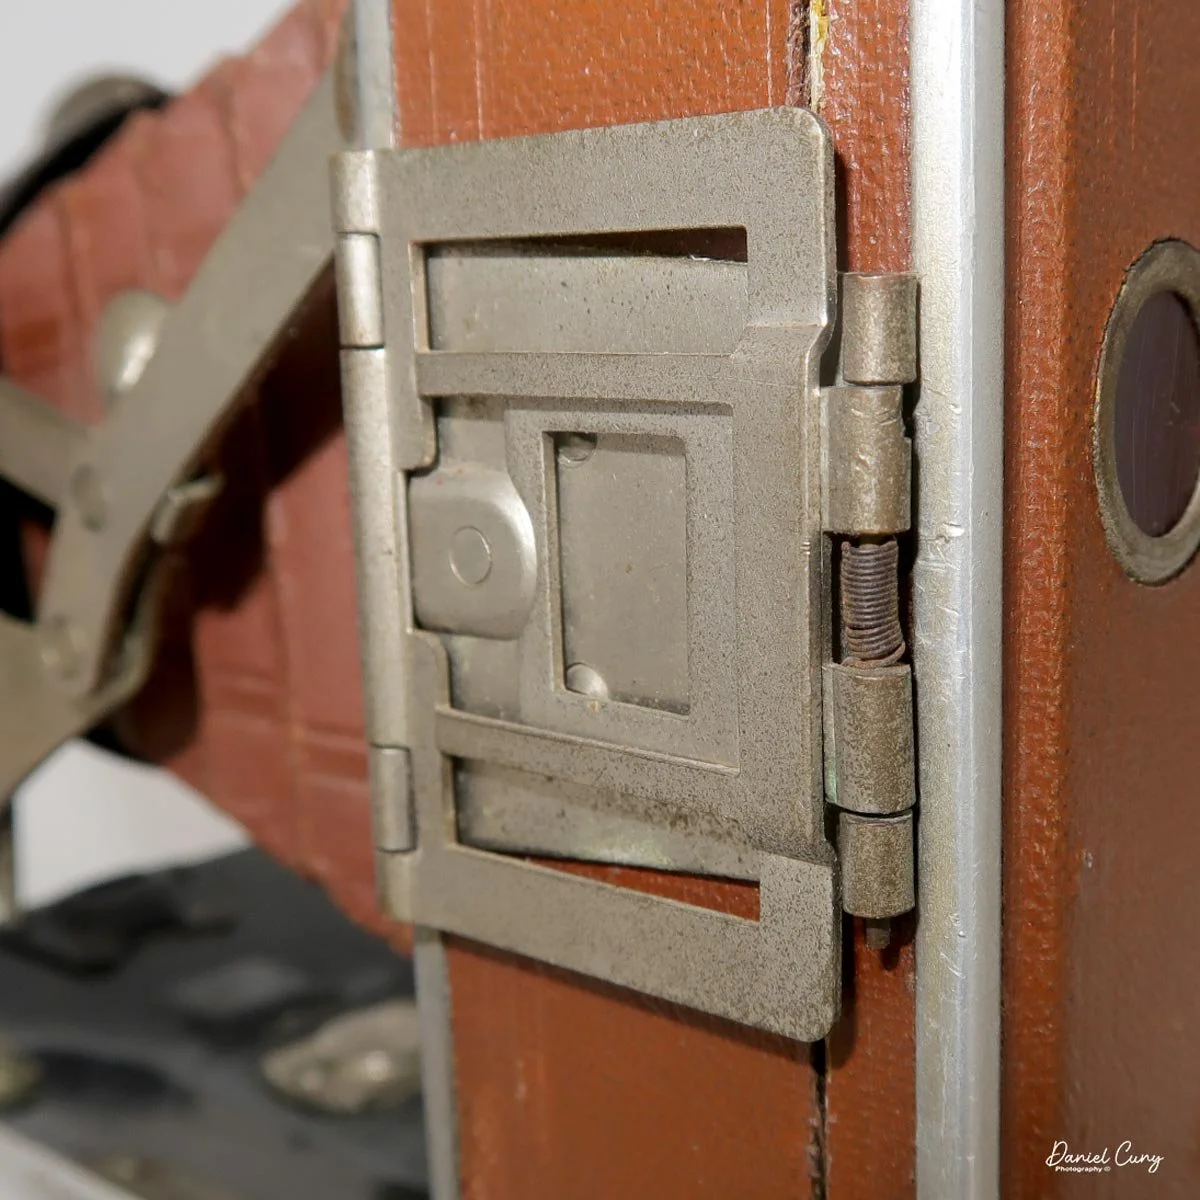
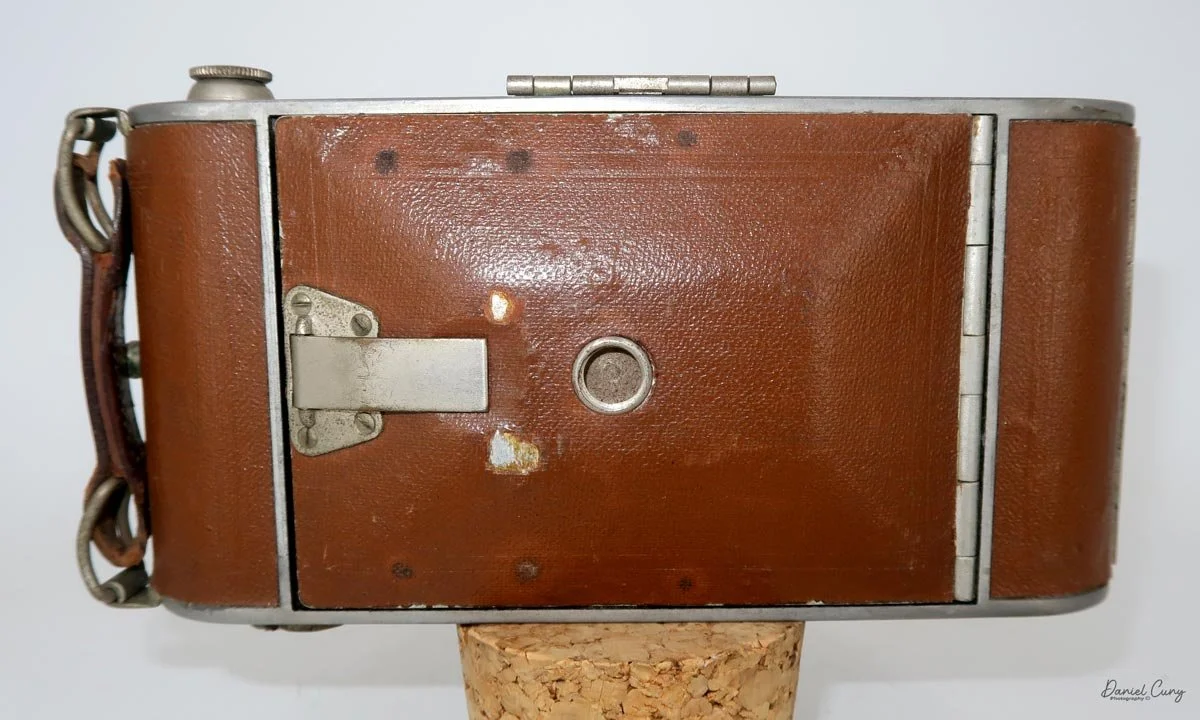
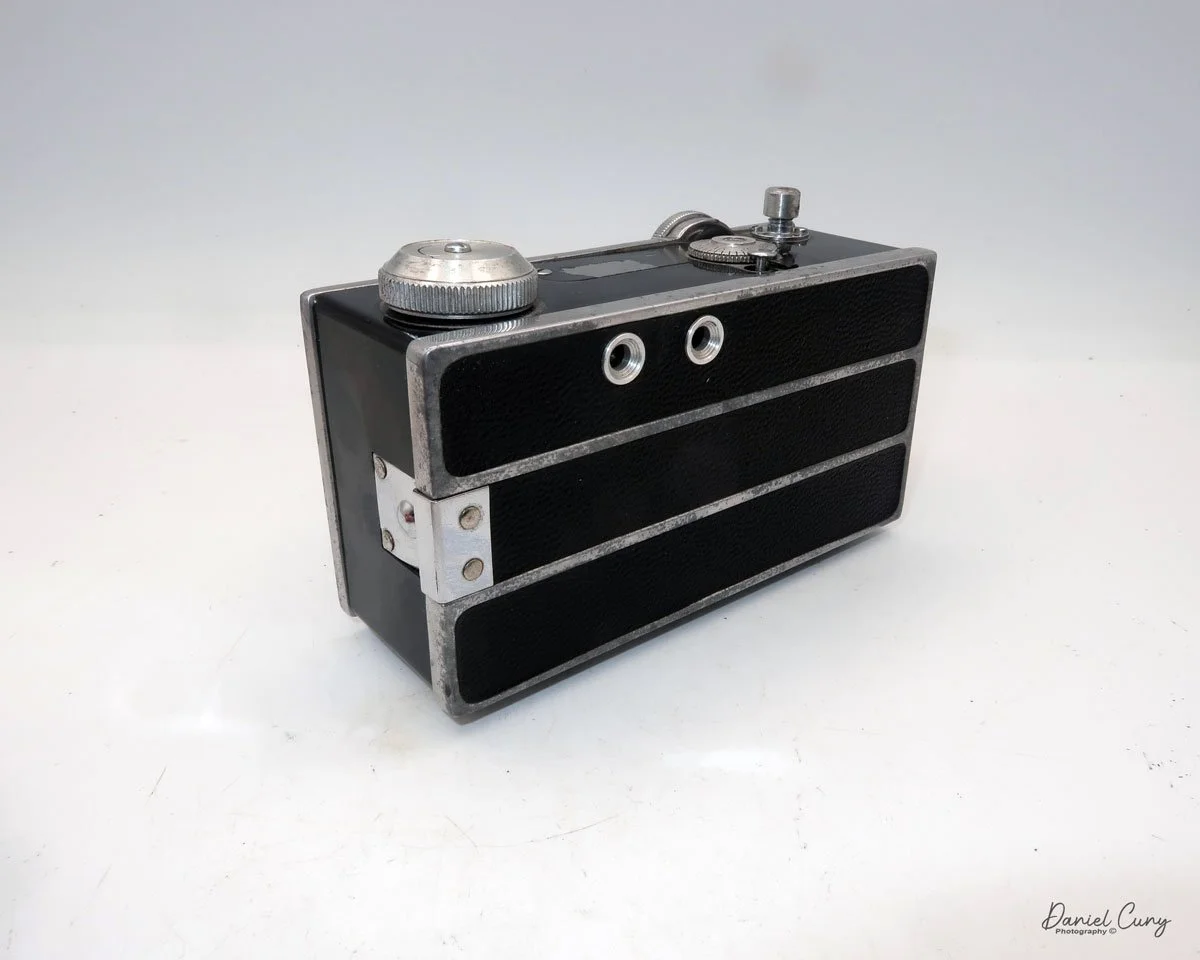
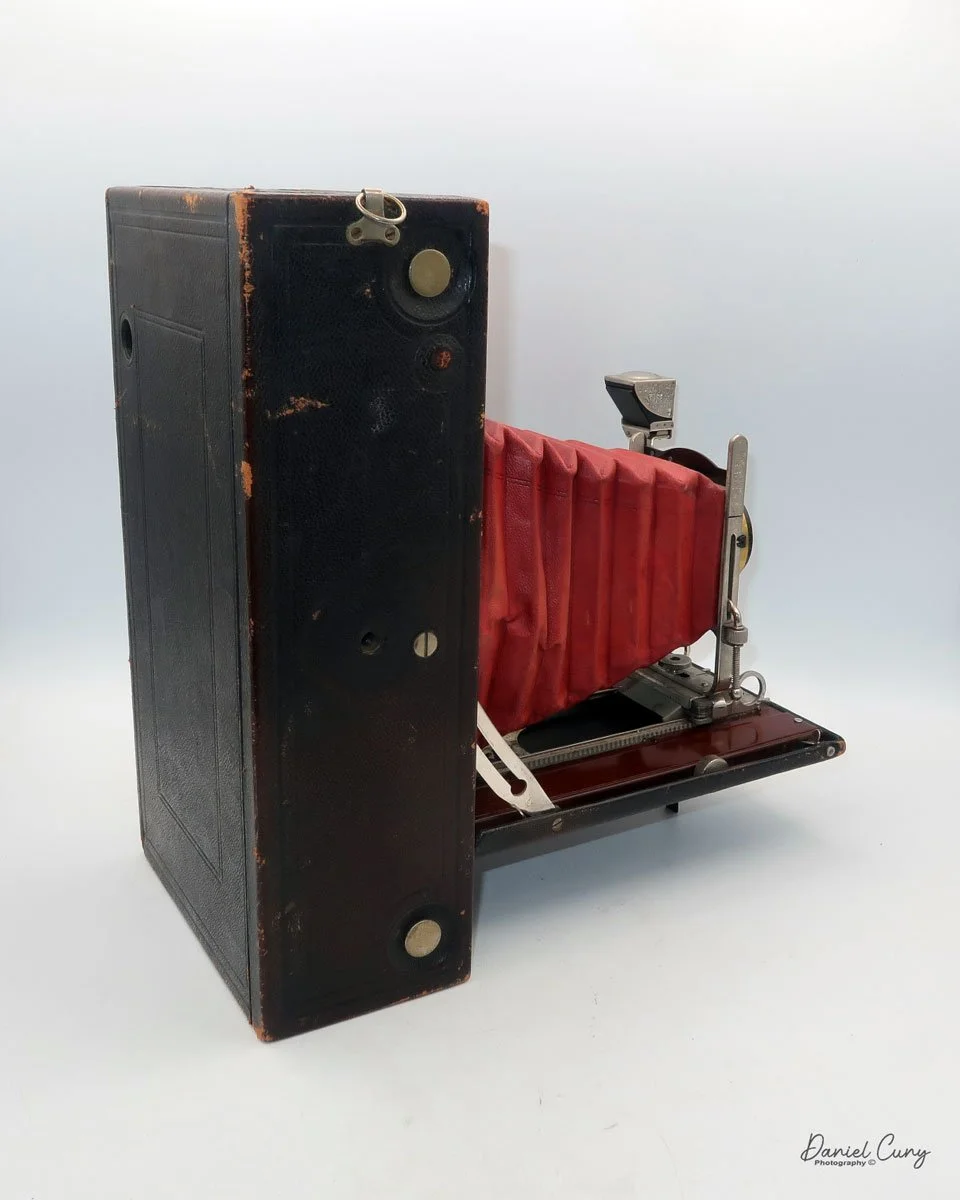
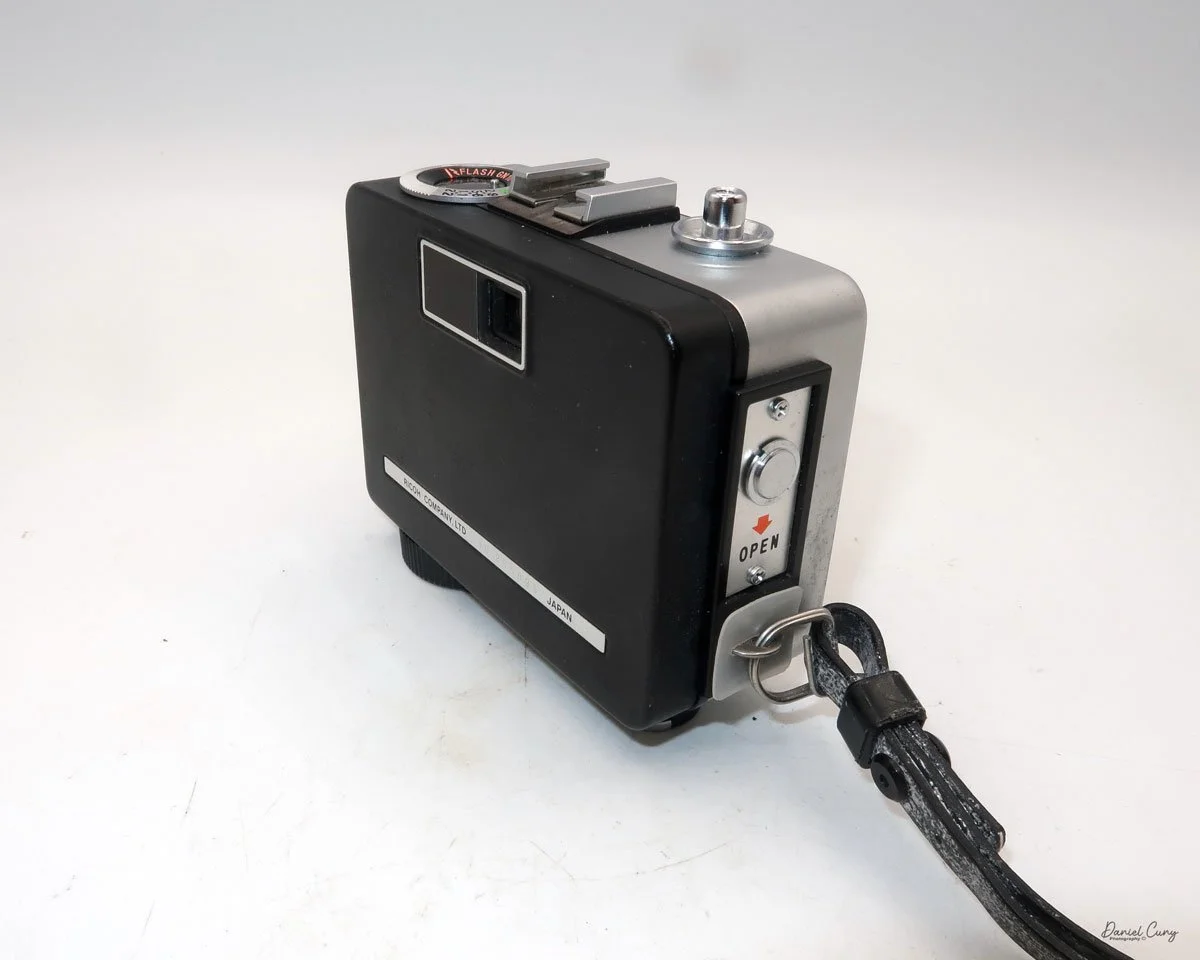
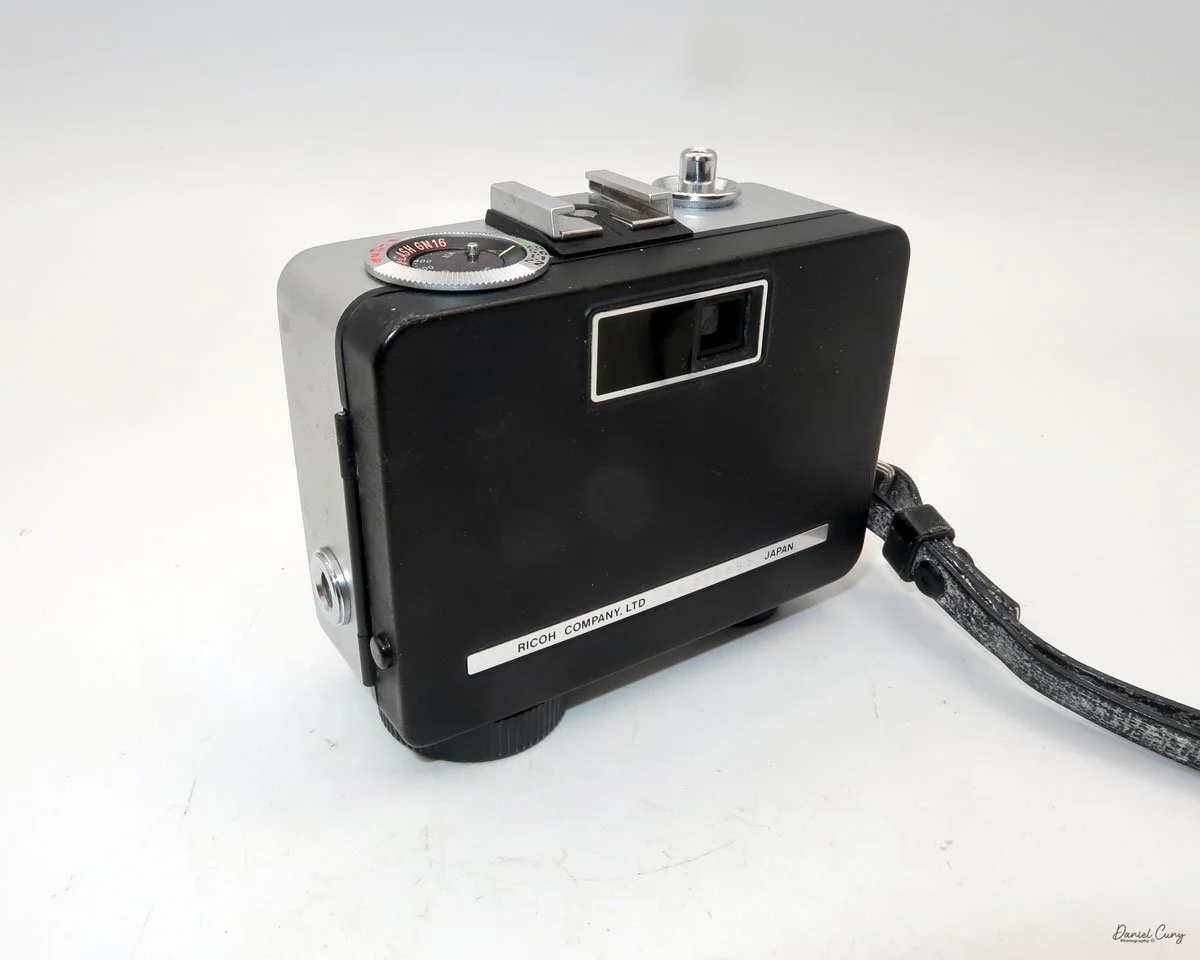
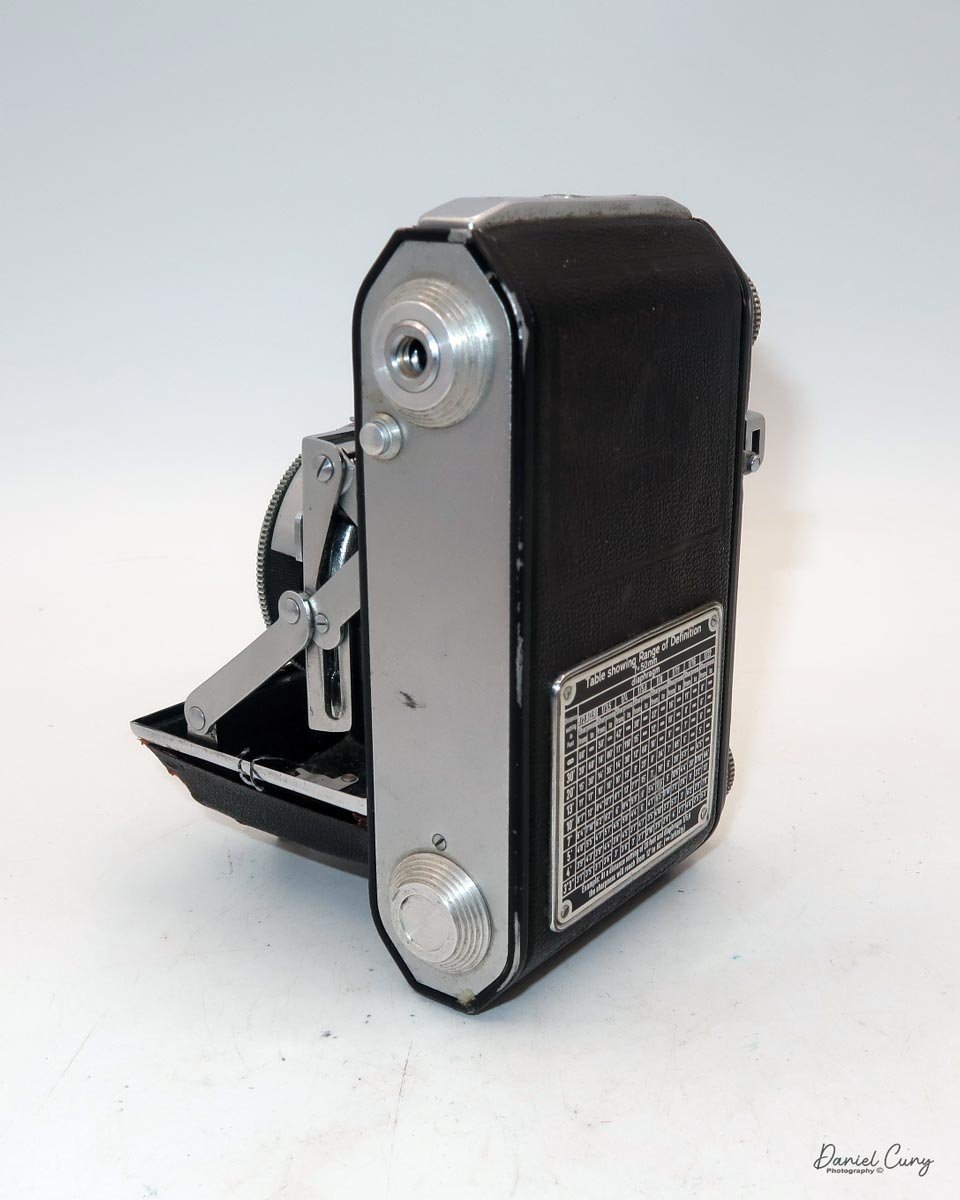
On the left side of the Welta Welti camera is a lever that opens the film door for loading and unloading film. Opening the film door exposes the inside of the shutter. The camera has a standard film-loading area for a 35mm camera. The take-up spool is on the right side, and right next to it is the silver film drive gear. On the back of the camera door is the pressure plate. Once the film has been exposed, slide back the small lever between the film winding knob and the frame counter, which makes the film drive gear free-moving and allows you to rewind the film into the film cassette without tearing up the sprocket holes.
To close the lens door for transportation, press down on the two angled struts on the side of the lens; the lens and film door will begin to retract into the camera body. Just press it all the way back until you hear a clicking sound, which means the door is shut and won't pop back open by accident.
My Results:
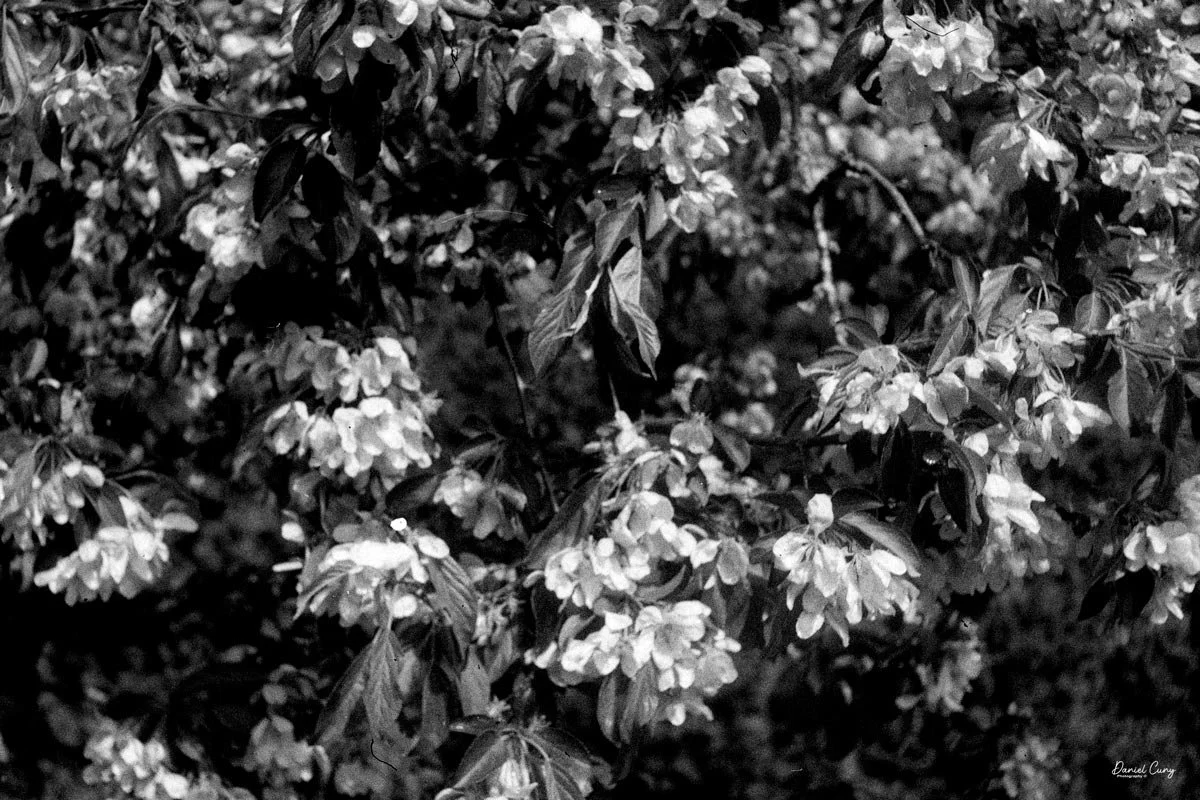
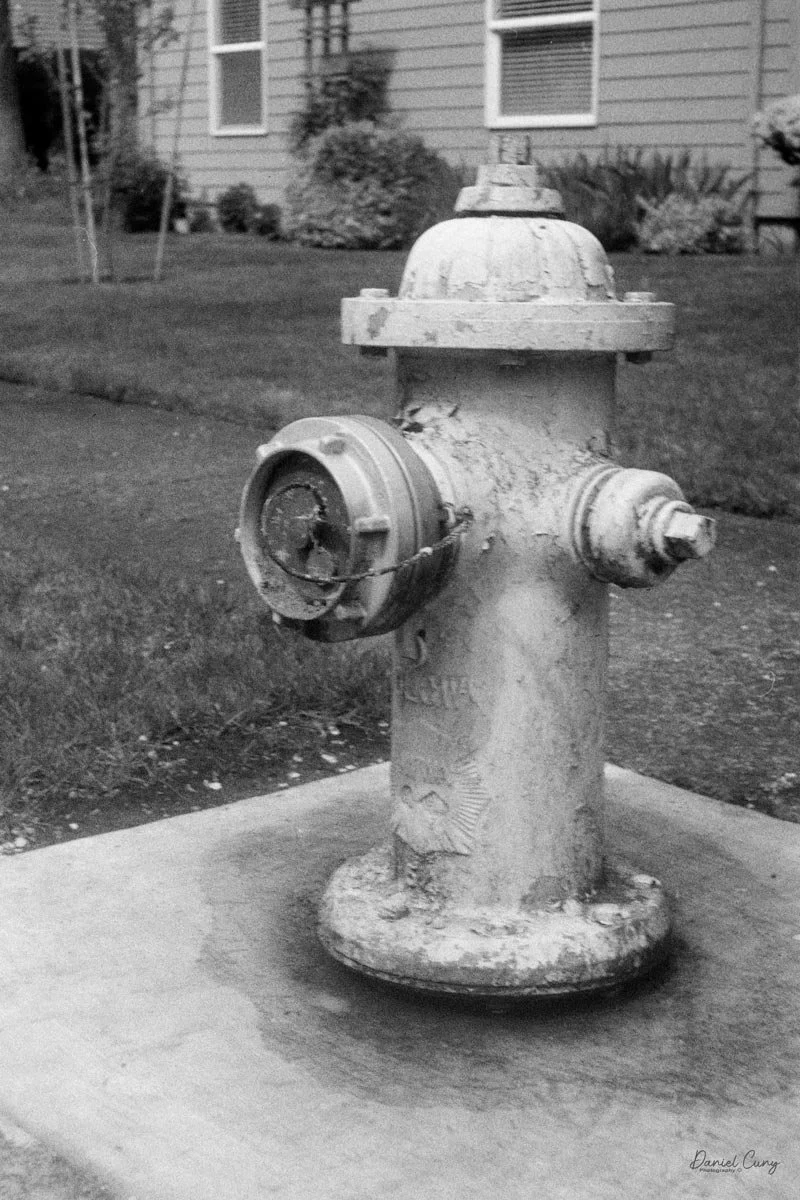
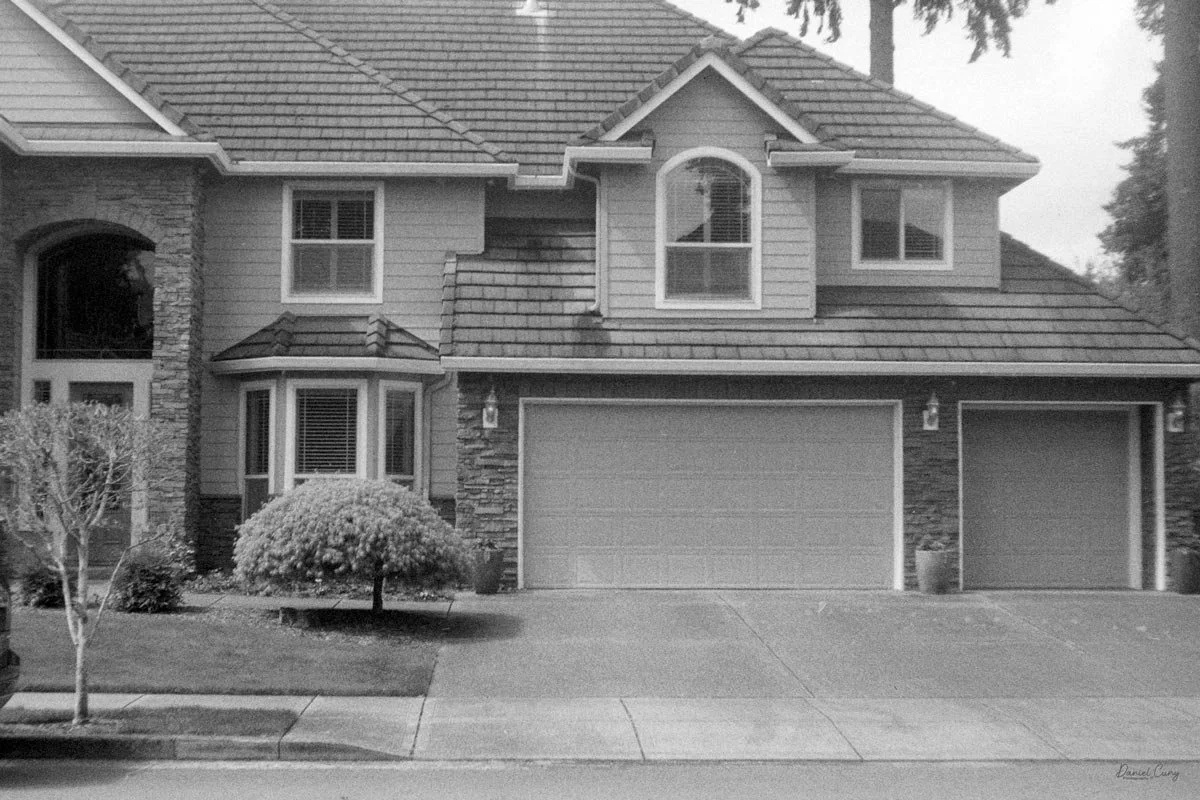
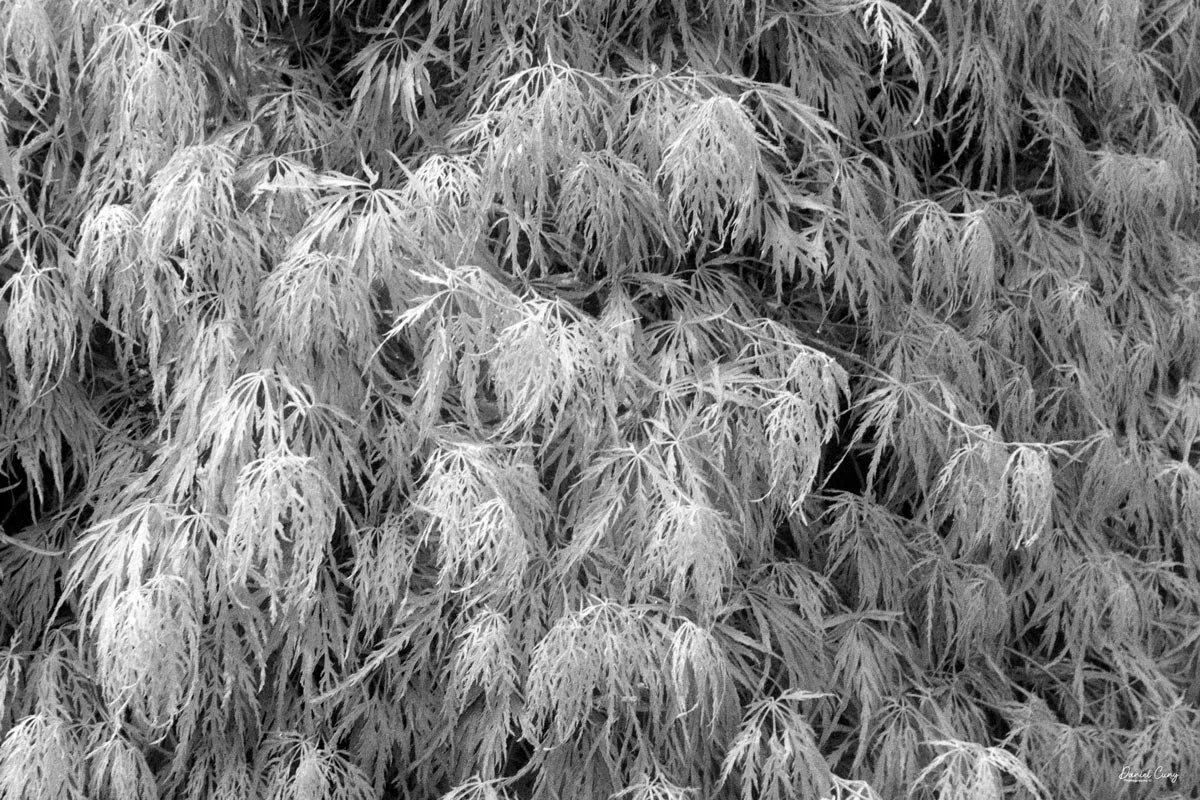
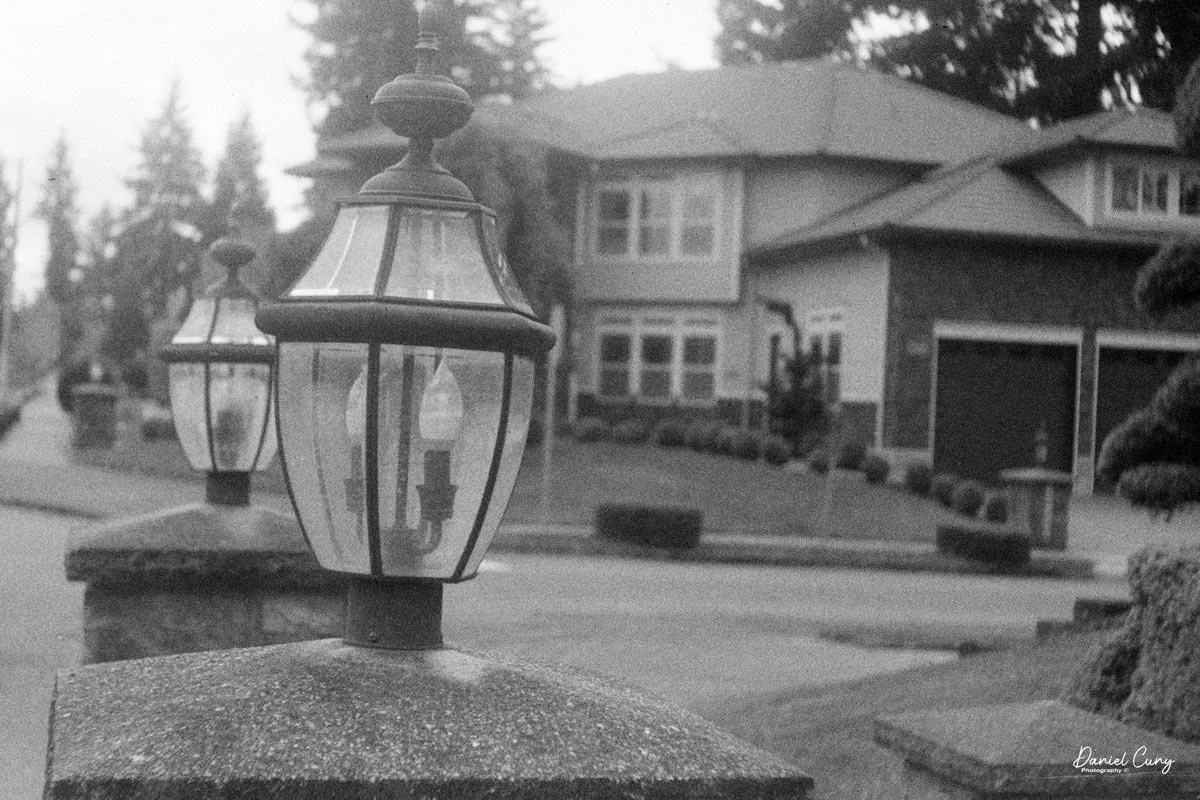
I have some 200 ISO film in my bulk loader, which I enjoy using, especially for testing 35mm cameras, as I can roll a shorter roll of film into the film cassette and not use up a full roll of 36 exposures for my blog. Rolling about 20 frames into the film cassette, I took the camera for a nice spring day walk through the neighborhood.
The flowers and trees are blooming, and the sun is shining. Here are a few of the images I got with the Welta Welti camera.
Conclusion:
Looking at the images, they turned out better than I anticipated. The exposures were good, and the focus was enough to produce sharp images, so I'm fairly good at judging distance to the subjects and setting the proper focus distance. I understand that having an external rangefinder for the camera would be helpful, but it would also slow down the process.
The transport was smooth along with the film rewind. The viewfinder is pretty small, and with glasses, it made it a bit more difficult. That, along with having to remember to cock the shutter each time, was the only real drawback to the camera.
The Welta Welti is similar to other 35mm cameras from this era, like the Kodak Retina. They are small, pocketable 35mm cameras with a nice range of shutter speeds and good optics. I now understand why I brought the camera to the camera show. It's a nice camera, but I'll probably put it up on my online store for someone else to enjoy.
Thank you for taking some time from your day to read about this compact 35mm camera made in the late 1940s to early 1950s. Here's a link to the Welta Welti manual. Thanks to Butkus.org.
I'd love to hear from you about this or any of the other Camera Reviews I've done.
Cuny's Cameras and Photos is my online eBay store where I sell cameras I've written about, along with other camera oddities I've accumulated over my 50-plus years collecting photo items.
I'm taking next week off for my trip to Japan, so I'll see you in a couple of weeks. Please be safe.