Whitehouse Beacon Cameras

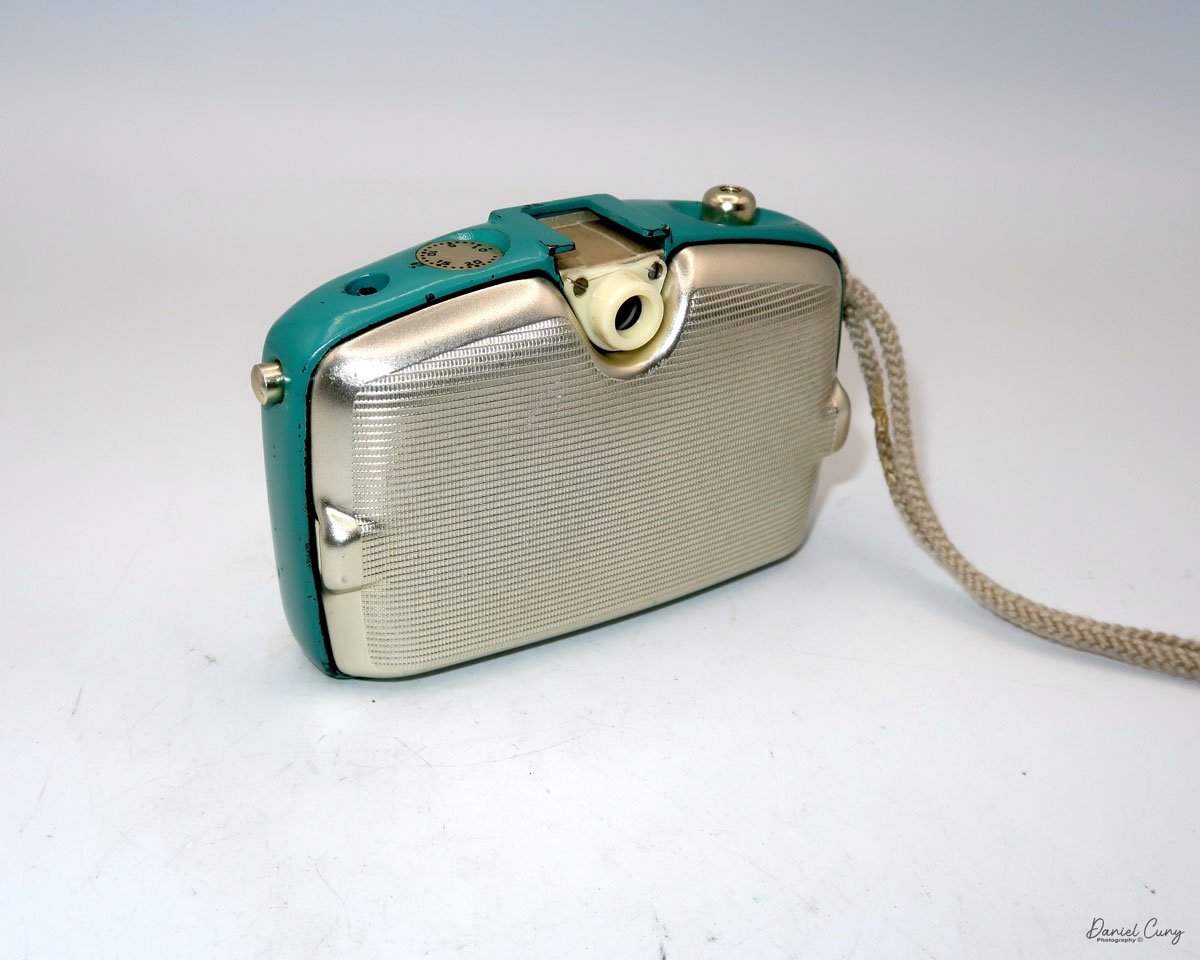
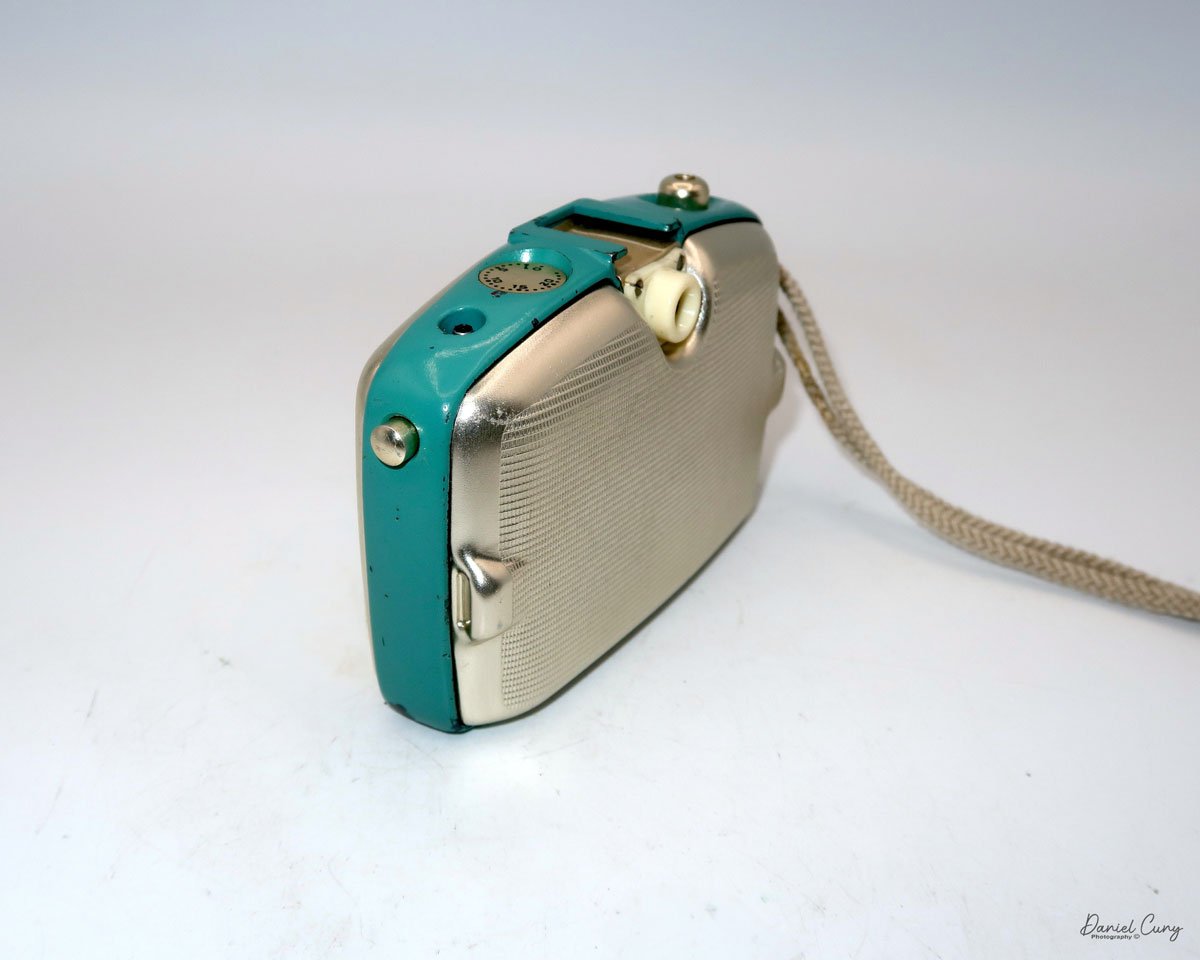
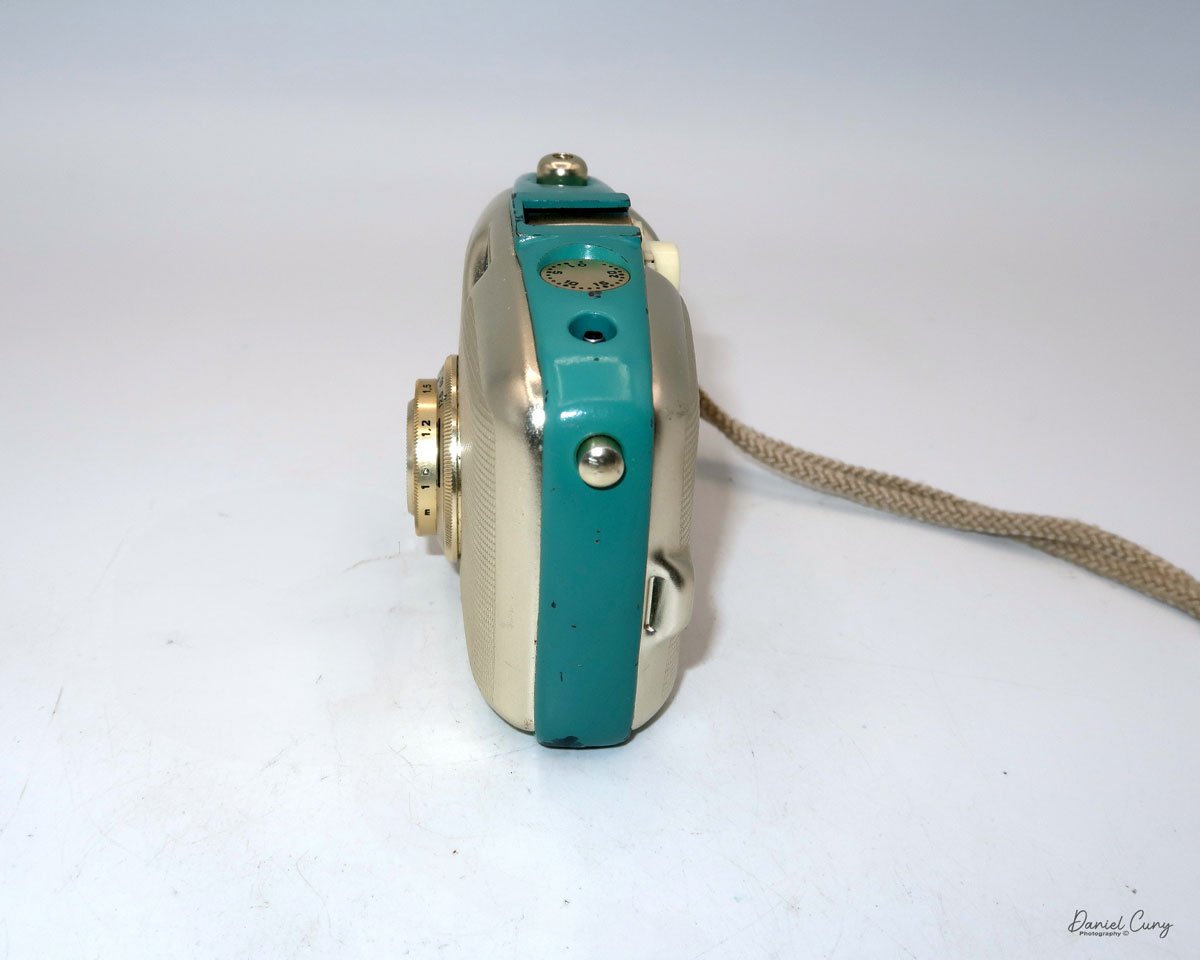
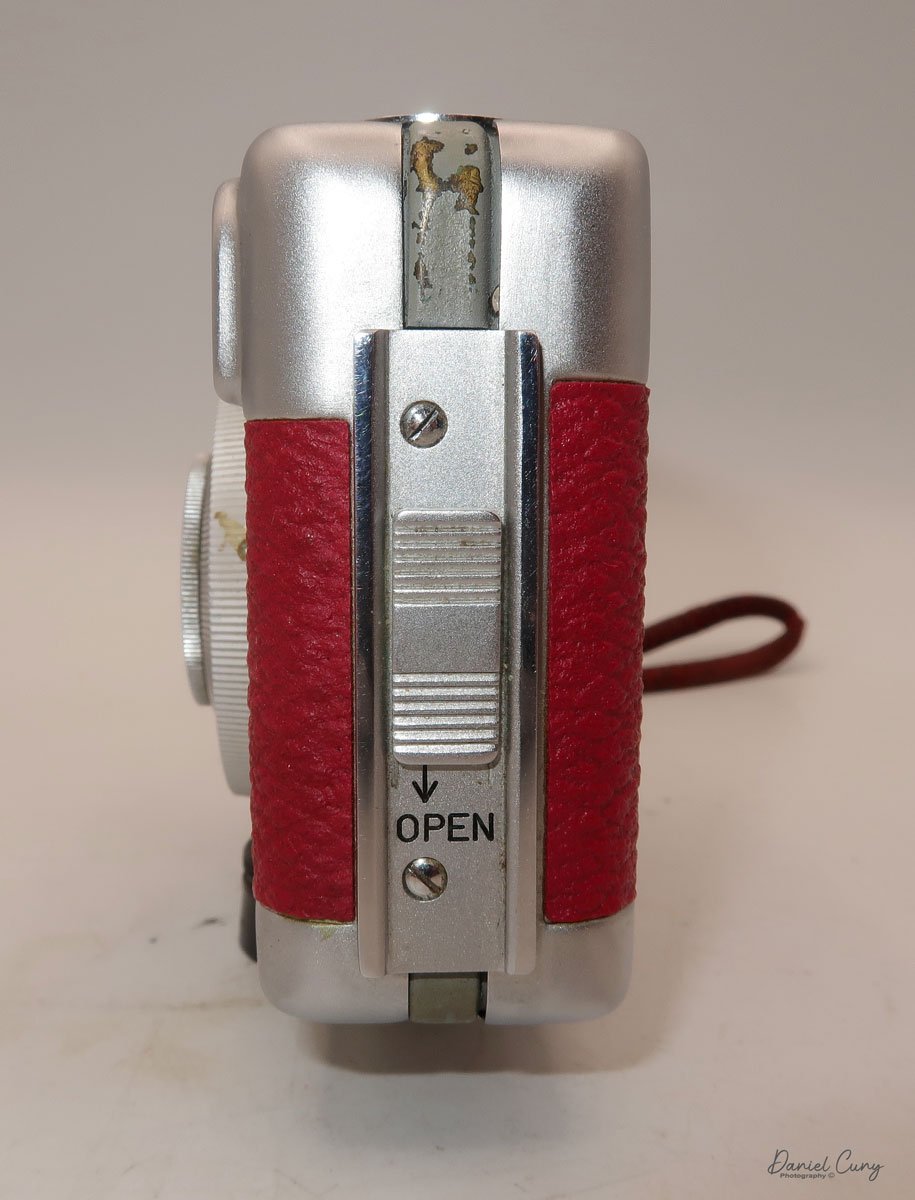
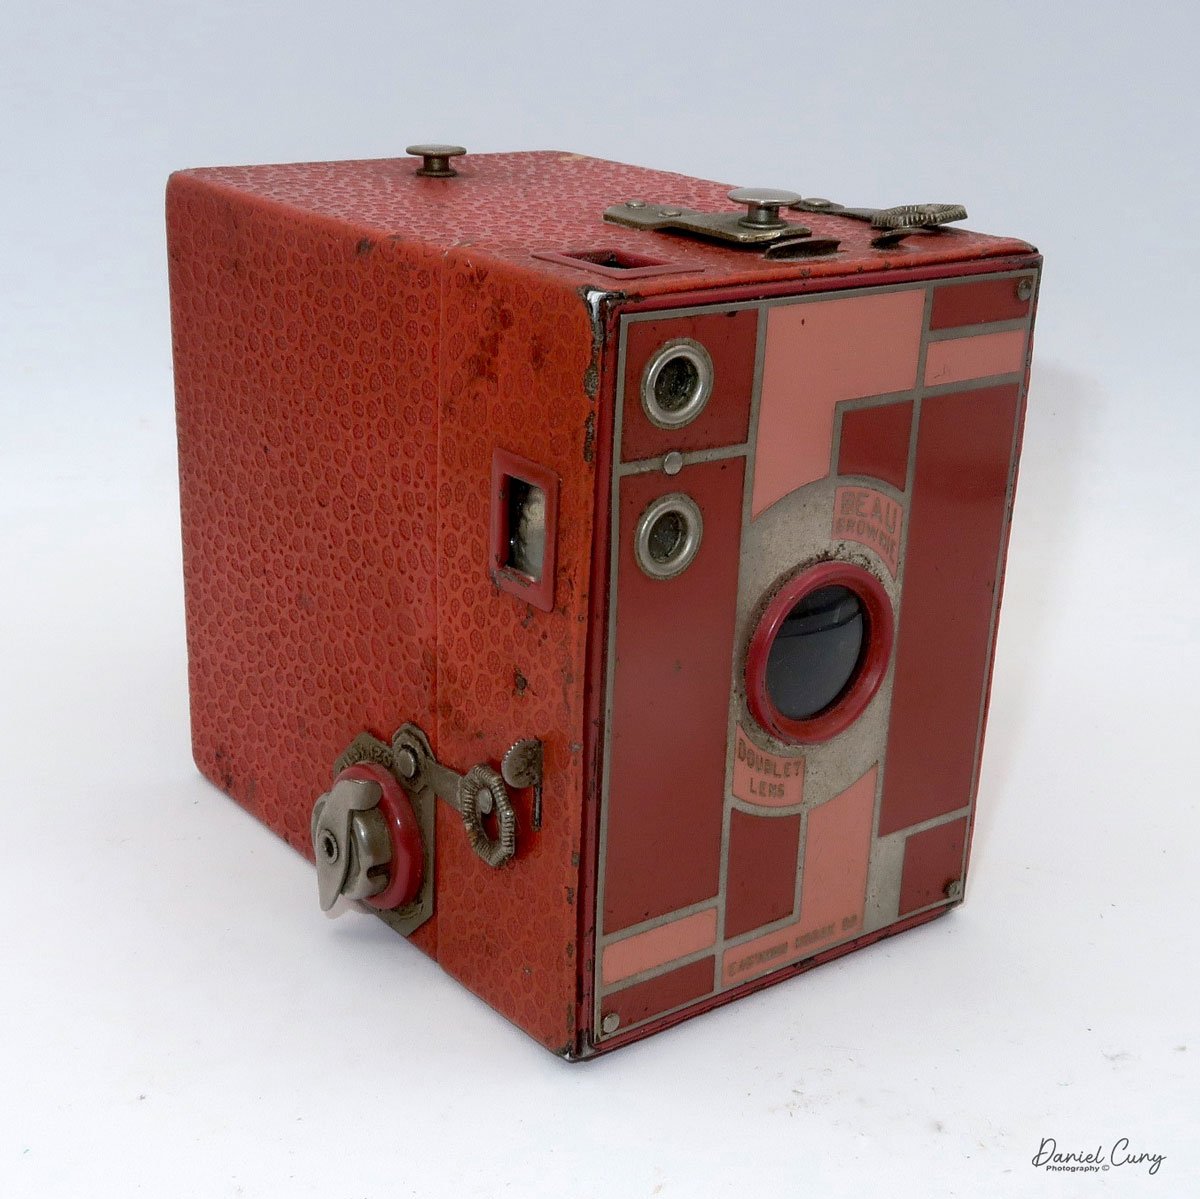
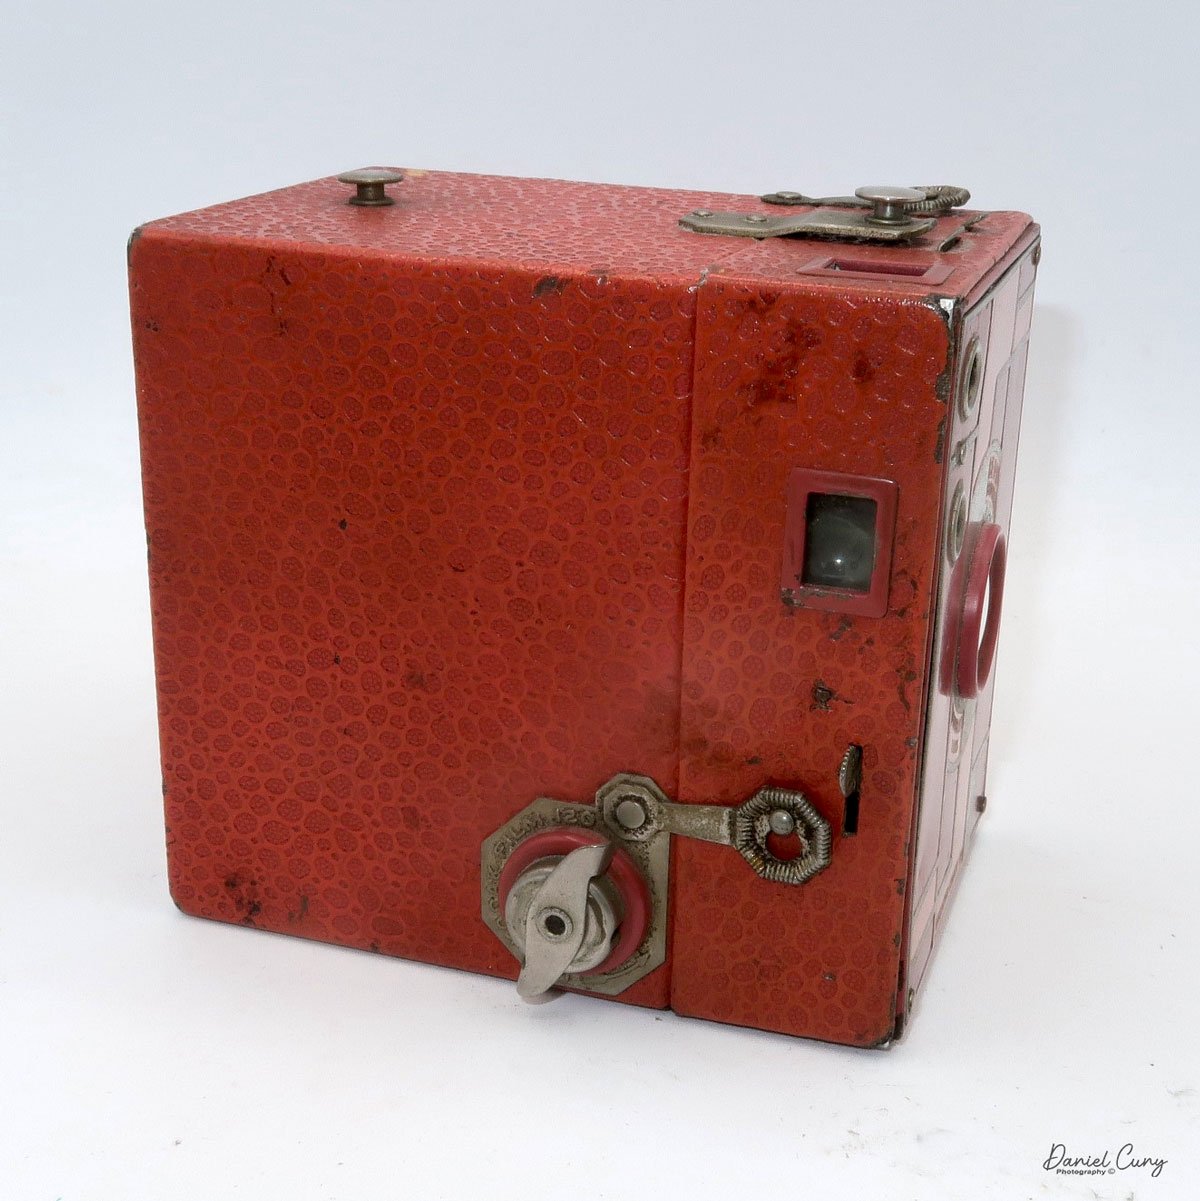
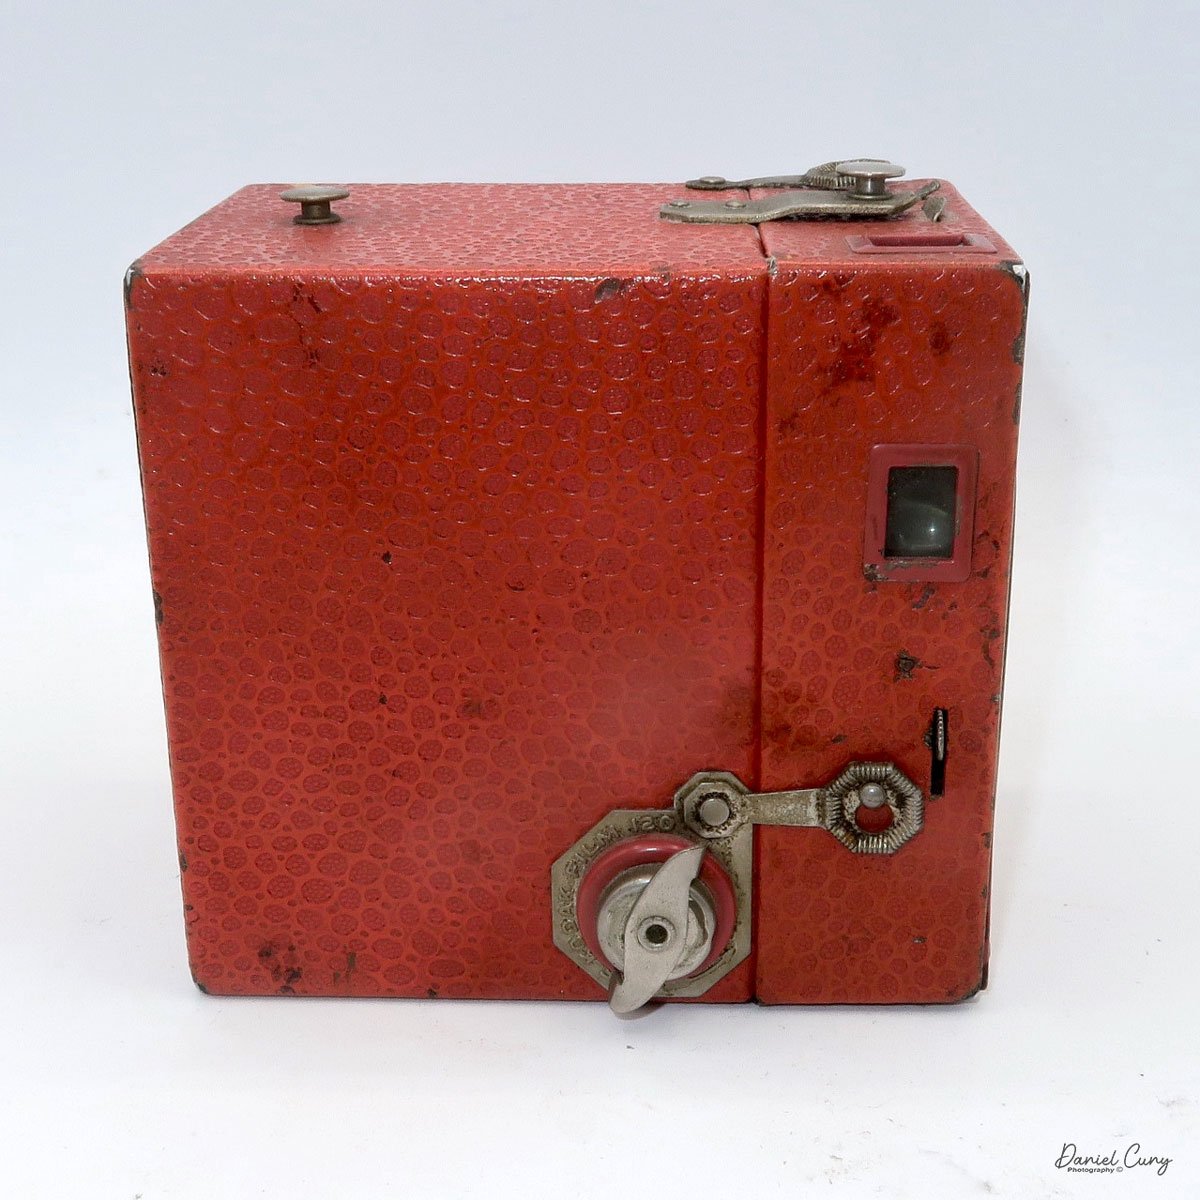
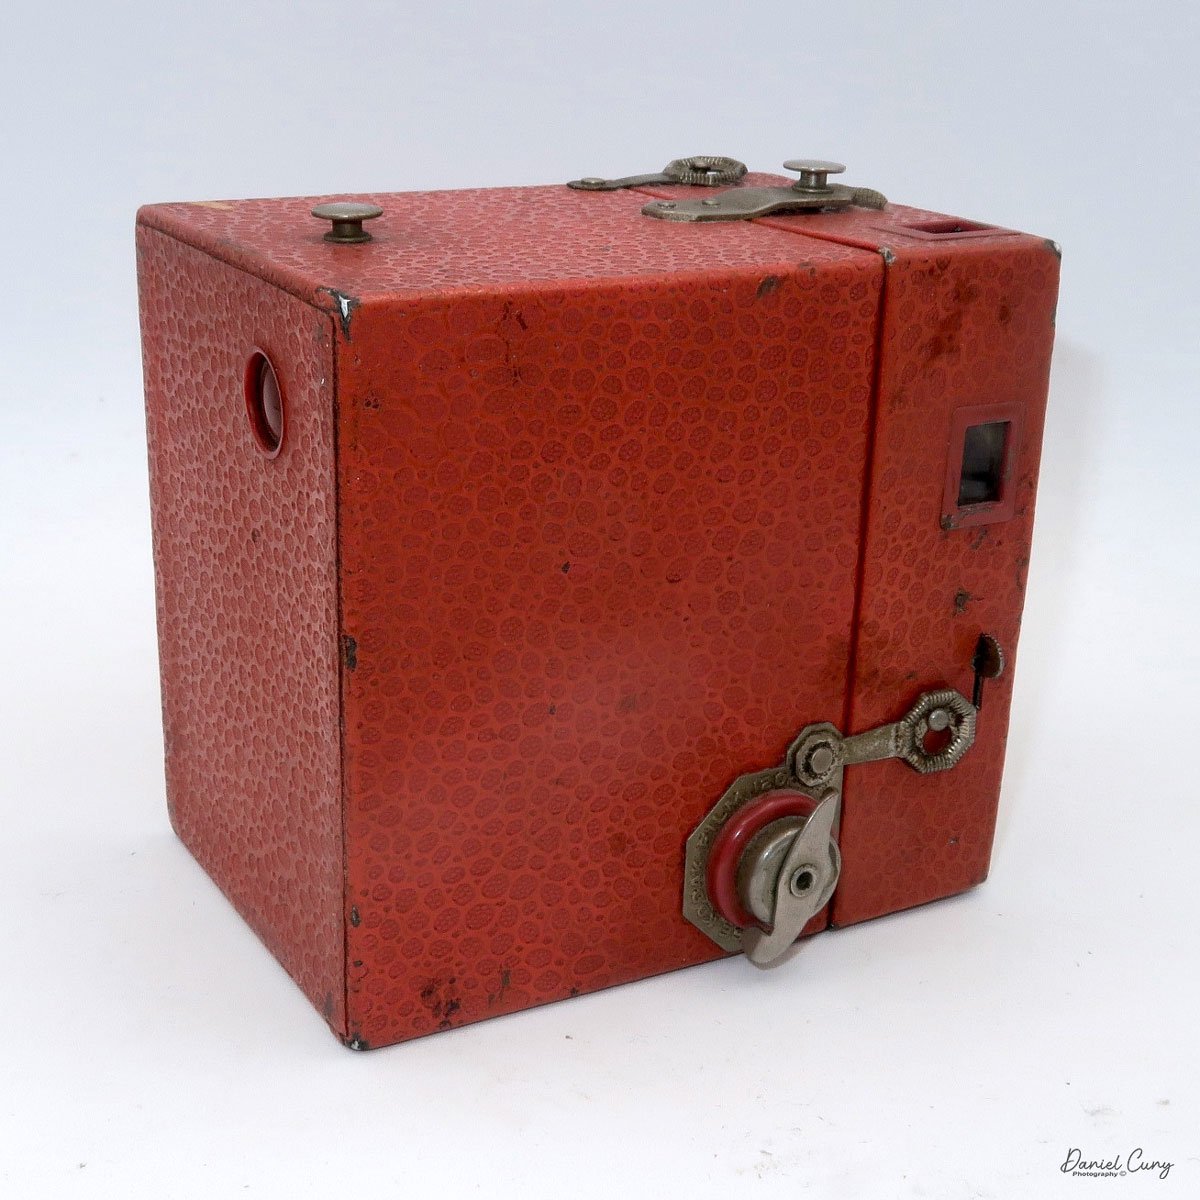
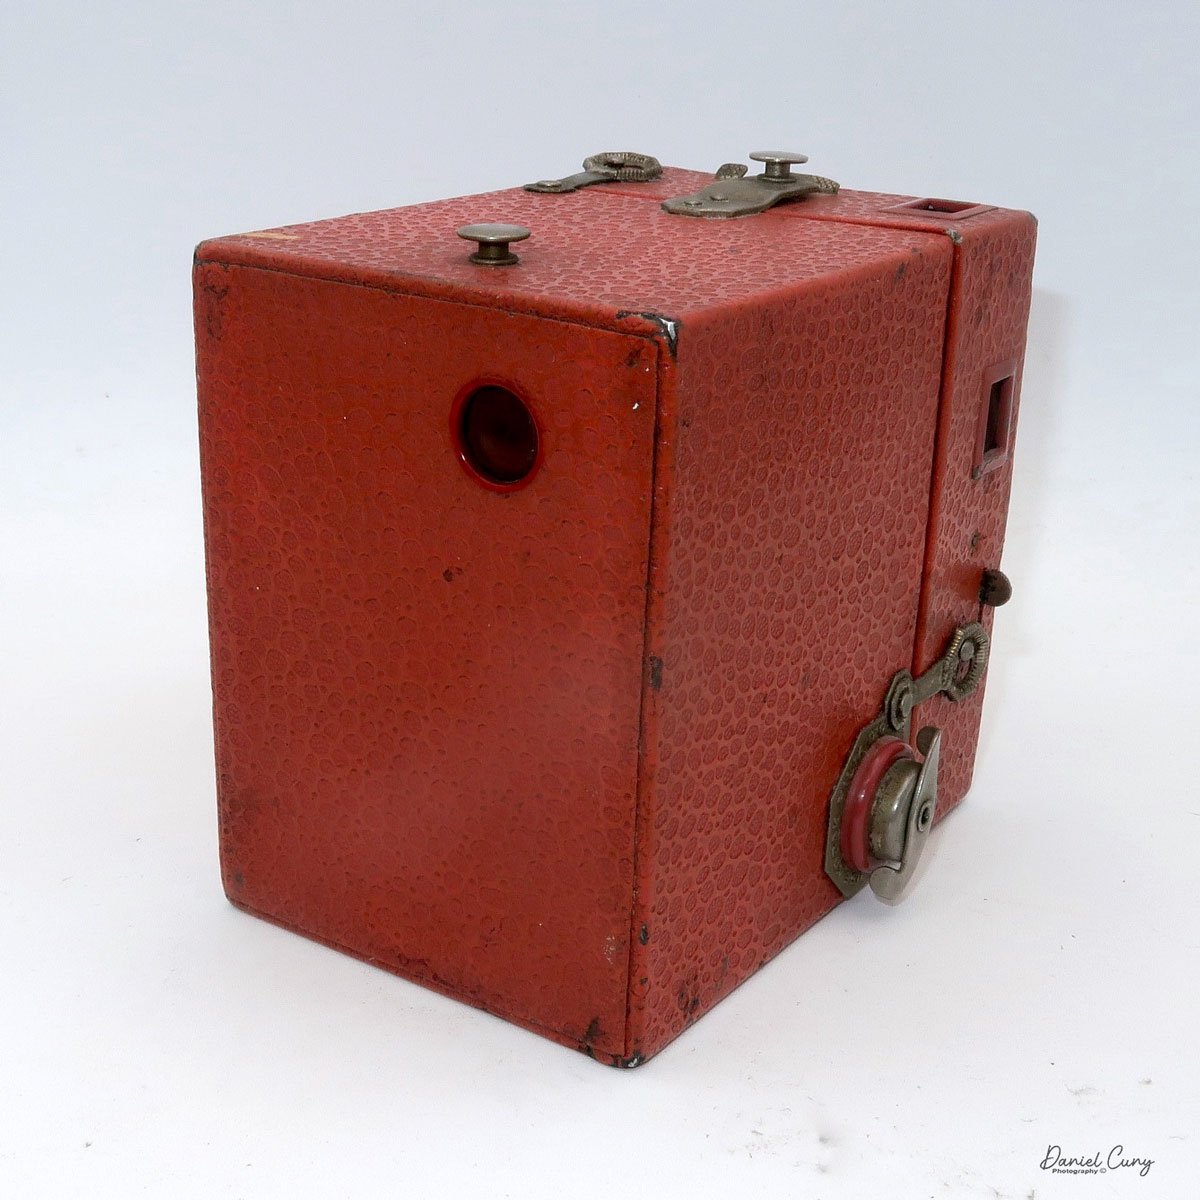
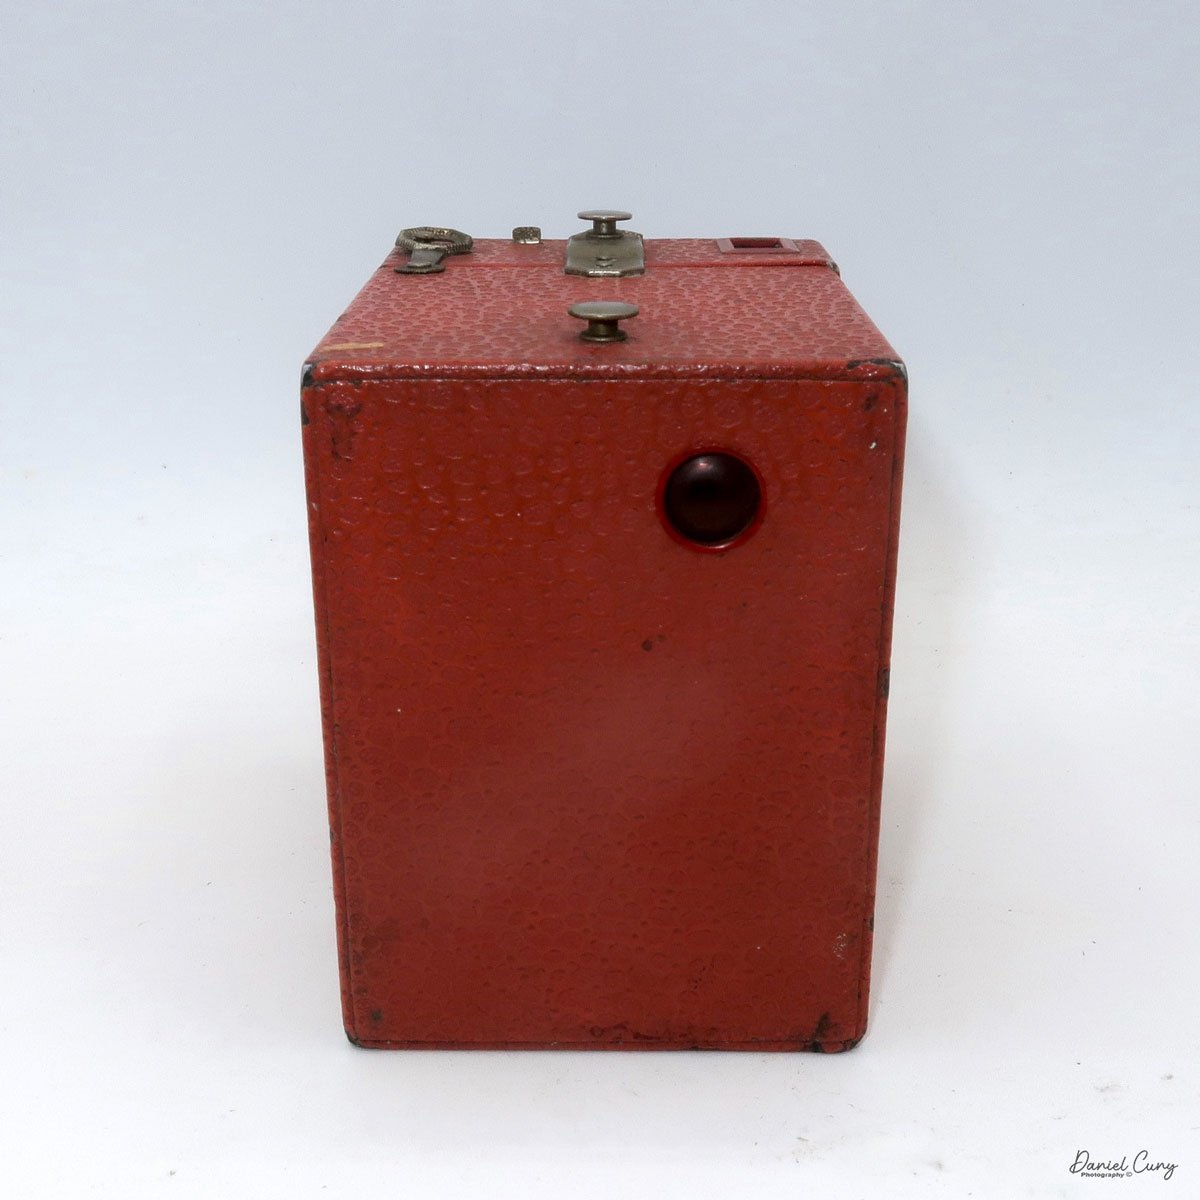
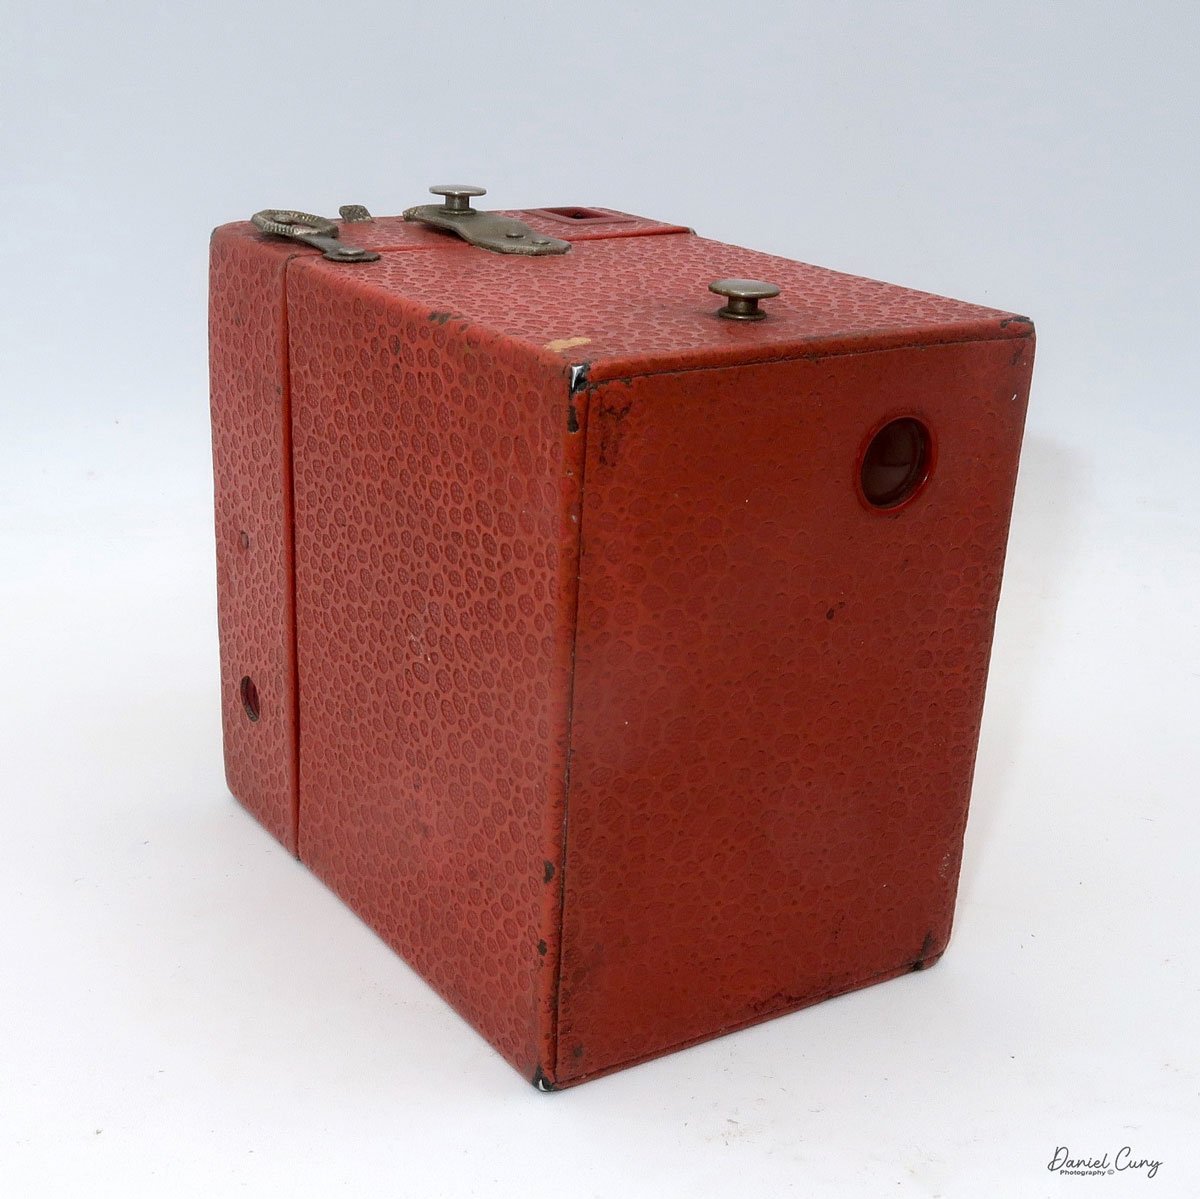
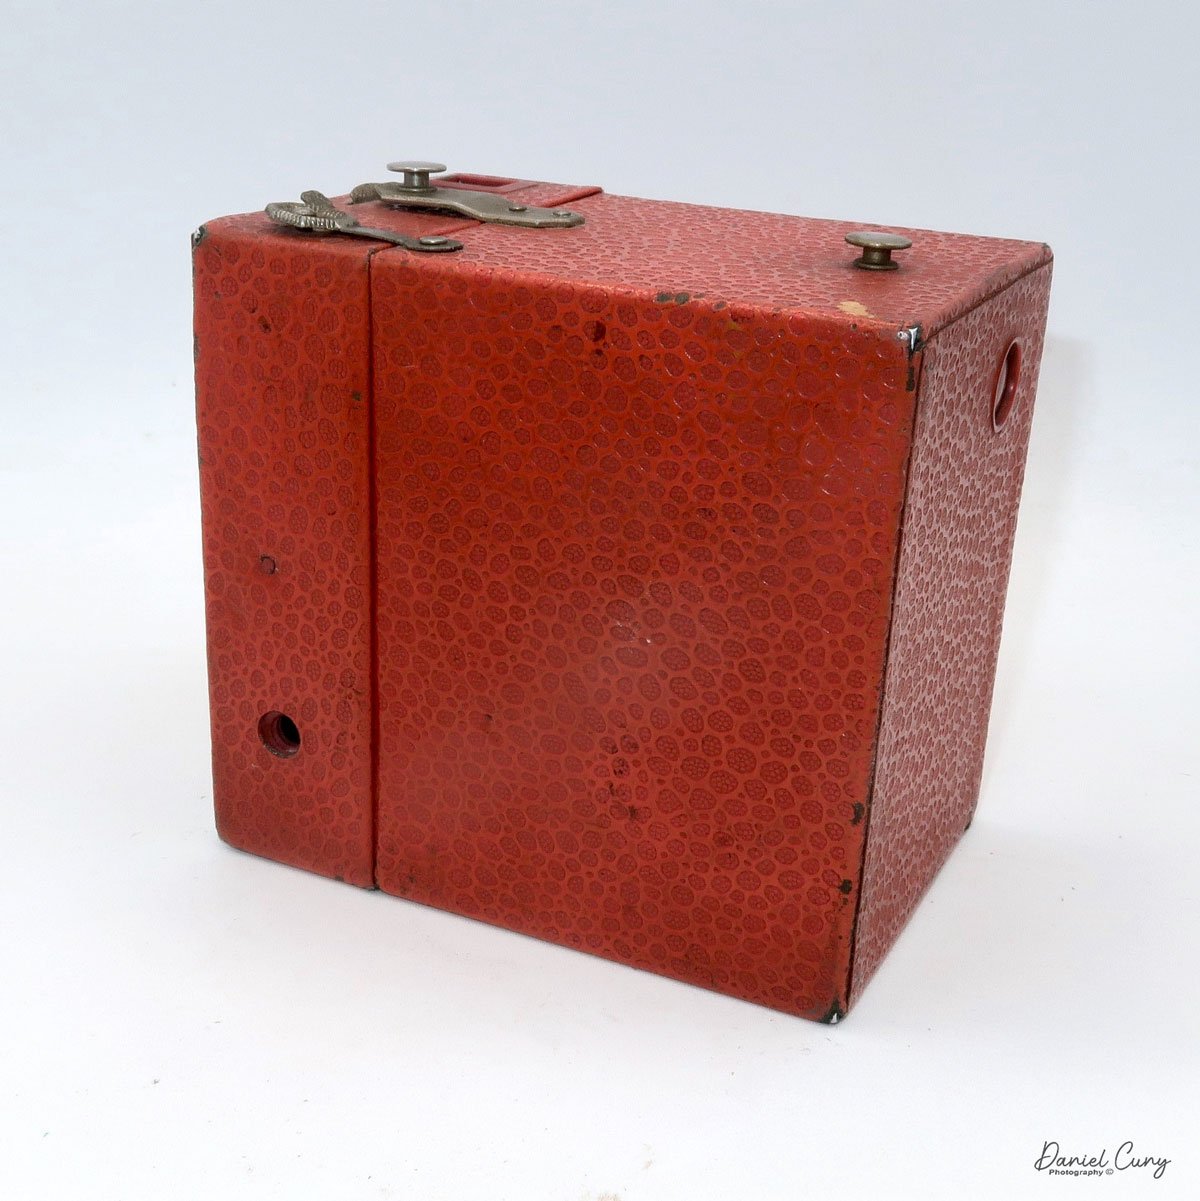
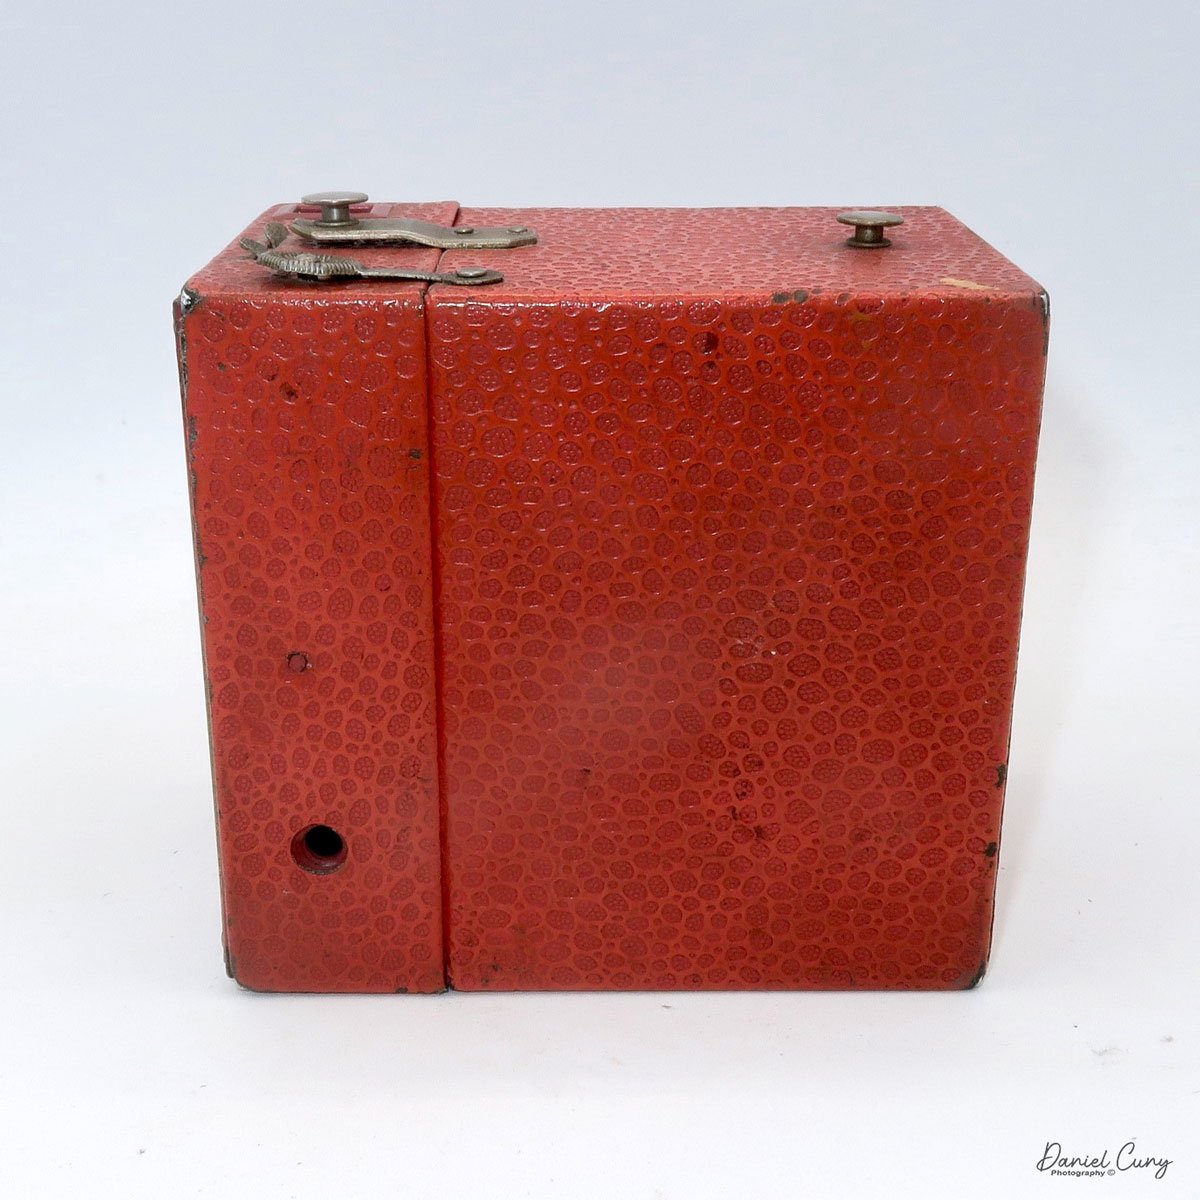
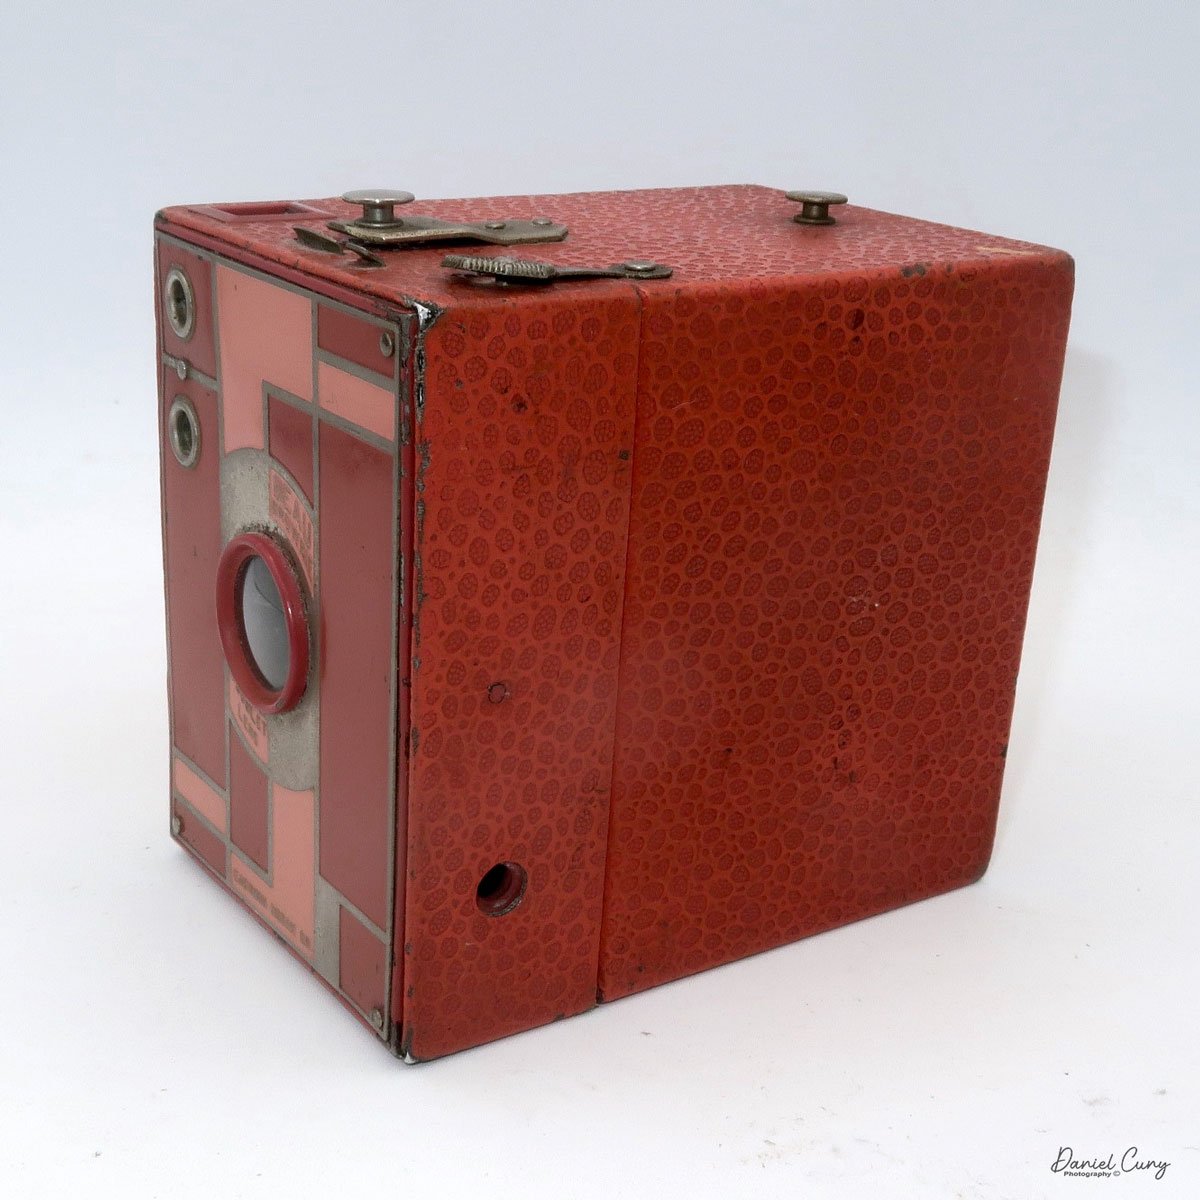
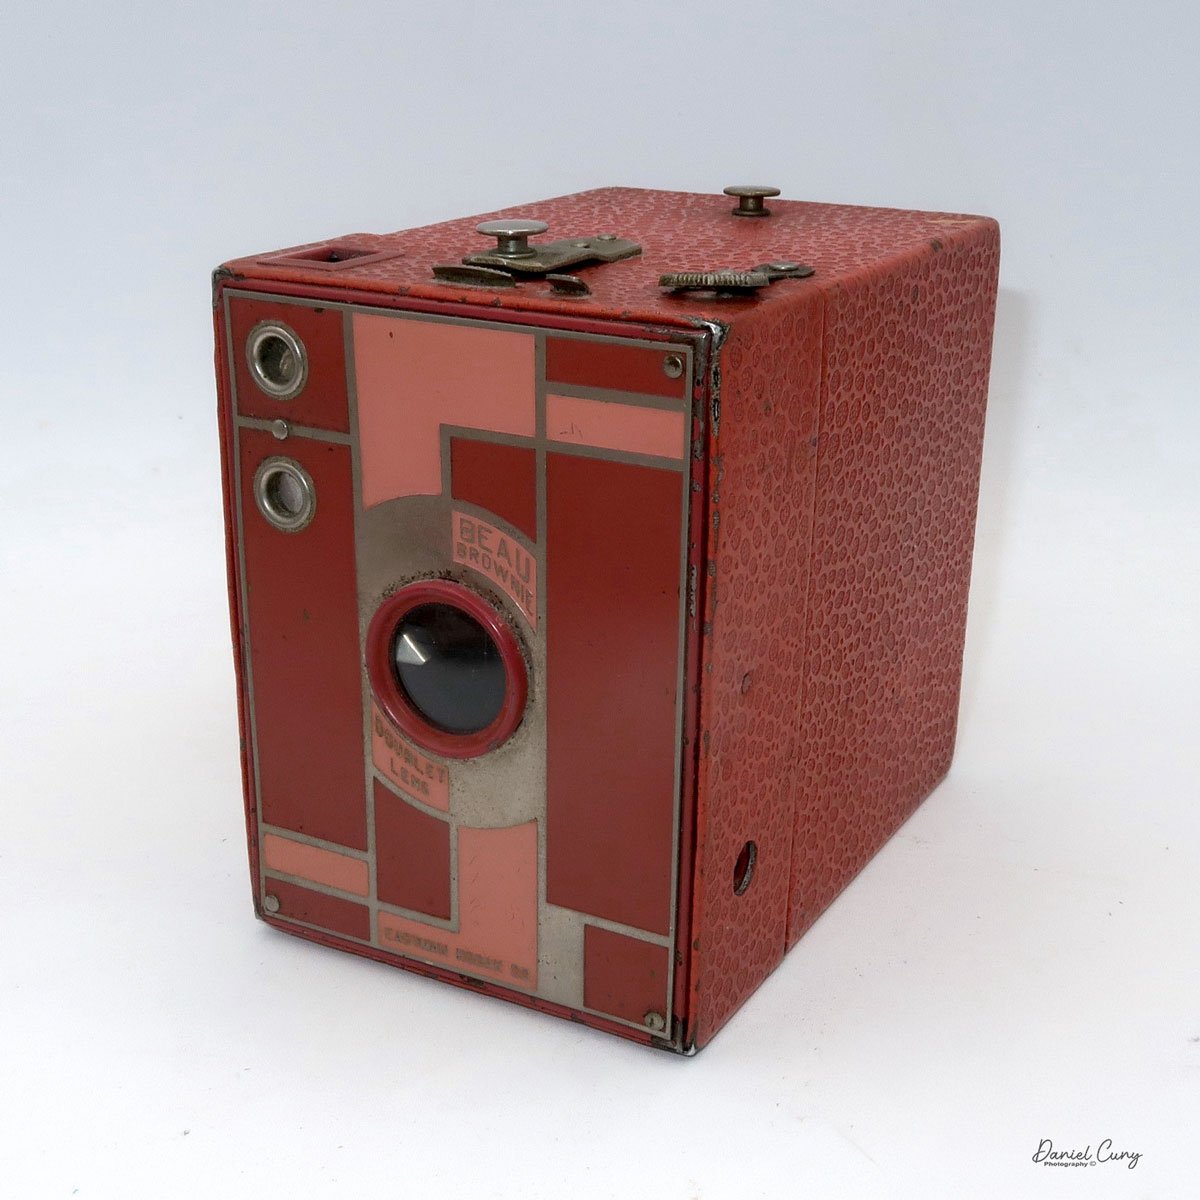
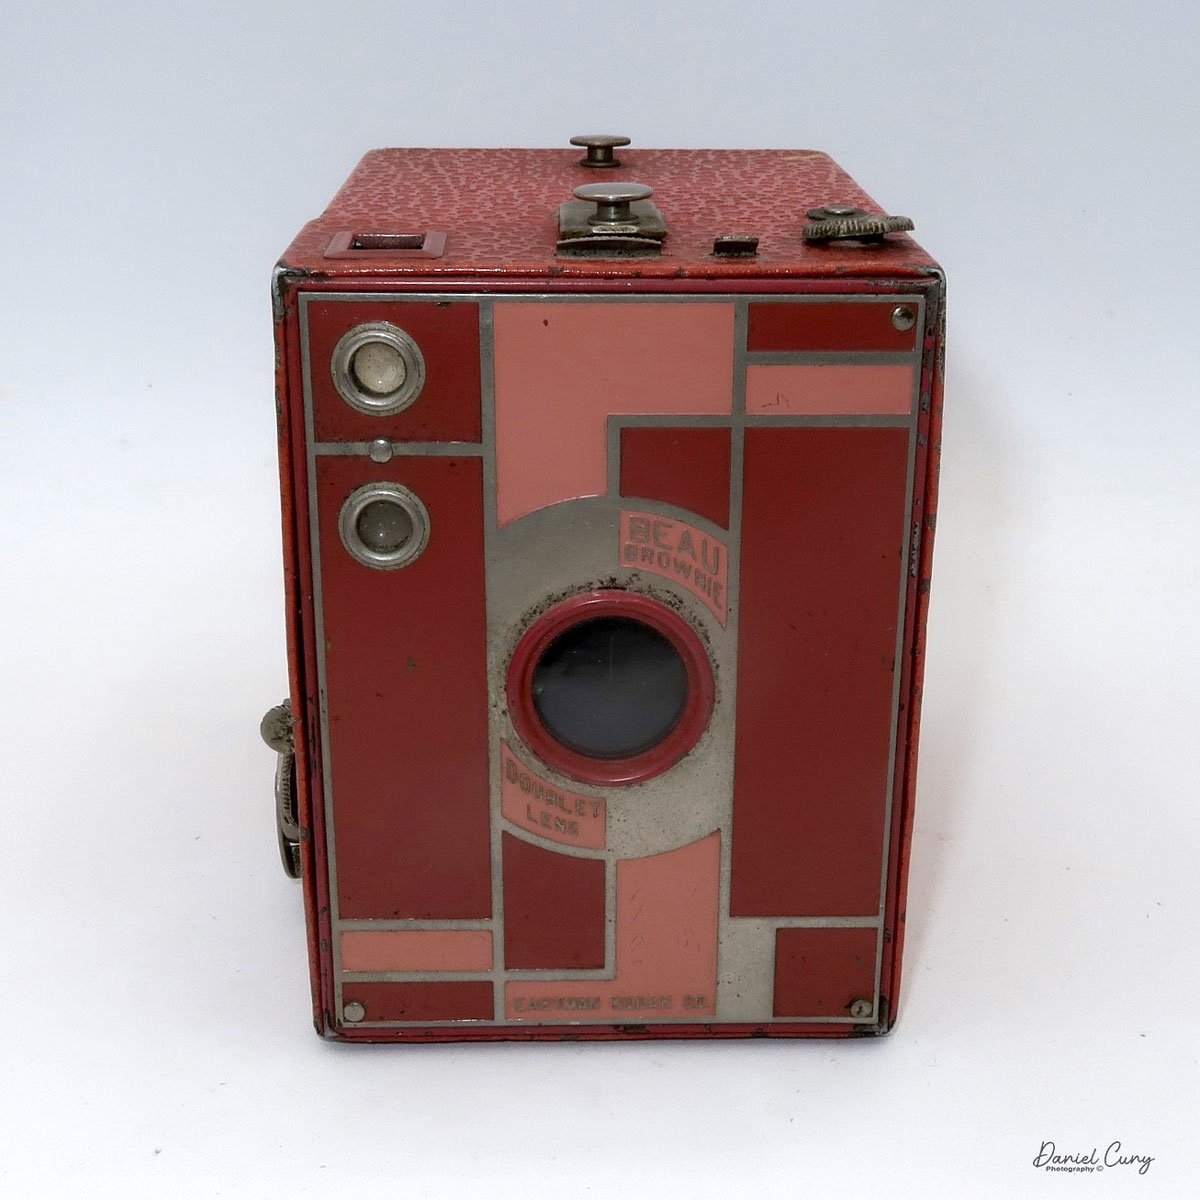
My Whitehouse Beacon cameras

When I was starting to collect cameras, I would collect anything —from straightforward box cameras and point-and-shoot cameras to fundamental bakelite cameras. As you begin to refine your interest in collecting a particular item, the focus becomes a bit more narrow, and the items that you see so often, like Kodak Brownies and bakelite holiday cameras, become less and less interesting. 

 I'm sure that's true with collecting anything. You're always on the hunt for odd, unusual, rare, or exotic items, whether it's cameras, firearms, cars, or sports memorabilia. Once I got over the initial phase of buying "any camera", I started collecting cameras with color to them. Kodak Rainbow box and folding camera, some of the bakelite Imperial camera, Boy and Girl Scout cameras, or even a box camera with odd and unusual faces on them, like the Bear Photo camera, or the Century of Progress cameras. To this day, it's difficult for me not to pick up and look at any colored camera, and I will most likely purchase one if the price is right.

 The Beacon camera was one of the cameras that started in my initial phase of collecting and continued into the next phase of collecting cameras with color. To this day, I can remember walking through a local flea market and seeing a familiar shape of the Beacon camera, but this one was in a different color. I had only owned the black version before, but this one was greenish-turquoise. When the seller quoted a few dollars, I snatched it up right away. The Beacon camera came in traditional black, as well as white, red, and green.

My three Beacons

 I purchased the red Beacon camera well over 35 years ago, when there was no internet, and the only places you could see items like this were at camera shows, camera collecting books, which usually weren't in color, or people selling things at garage sales or flea markets. I remember thumbing through the McKeown's Camera guide, which I had back then. It was considerably smaller, but it did mention whether cameras came in different color versions.

 When eBay launched in the late 1990s, I was an early adopter and joined in 1997. At that time, there were no product photos; only descriptions. It was more of a message board of people buying and selling items. My first number was 1034, this was even before you had a name on eBay. eBay changed the way people collect so many items. The market became flooded with items that were difficult to get before eBay, and their prices dropped. So many antique stores and other retailers were affected by them until they started selling on the marketplace, and it has now become such a vast entity.

 I can even remember starting a similar auction site aimed at the photo marketplace in the early 2000s, and I was going to call it Photo Flea Market, where people could buy and sell cameras, lenses, vintage gear, and even images like prints, Daguerreotypes, Ambrotypes, etc. Try to keep it more focused on one particular industry, but like many ideas, it went by the wayside.

Camera History:

Patent Drawing for Beacon camera

 The Beacon camera was manufactured by Whitehouse Products Inc. of Brooklyn, NY, starting in the late 1940s. My friend, podcaster, and excellent camera blogger Mike Eckman has a tremendous post on the History of Whitehouse Products where he deep dives into a famous woman named Vira Boarman Whitehouse, (Mrs. Norman De R. Whitehouse) who was mainly know as a suffragette leader in the 1920 that had a leather company who employed many women, and who also championed company's to go from a 48 hour work week to a 40 hour week. It's truly a fantastic read.

 Whitehouse Products produced the Beacon line of cameras, along with another simple camera in the 1960s, the Beacon Reflex camera, Automatic 705, and the Autoflash WH 127-A, which Ansco also sold. My favorite Whitehouse camera was the 1970s novelty Charlie Tuna Camera, which I also have in my collection.

 The one thing I can be sure of is that William L Lawson was the designer and inventor of the Beacon camera. I conducted a patent search and identified the initial design of the camera, produced in 1948. It's for the original Beacon camera, which also included two shutter speed settings. The two speeds were either "I" for instant or "B" for bulb, or timed exposures. The later Beacon II model removed the ability to set the shutter speed, as shown on my camera. The original Beacon and later Beacon II models took 16 images on 127-size film, producing a 3x4cm negative. 

 Later in the 1950s, Whitehouse produced the Beacon Two-twenty Five. A larger version of the Beacon and Beacon II, which took 12, 6x6cm images on 620 film. This is the camera I used to produce the images included in the post.

My Camera:

 My Beacon Two-Twenty Five is 4" tall by 5.5" wide by 3.5" deep with the lens extended, and 2.25" deep with the lens compressed into the camera body. It weighs 13.7 ounces. The camera has a 70mm Doublet lens with an aperture of F/8, which would be my best guess, possibly a bit faster. To say this camera has no bells or whistles is an understatement, and there are only a few things you need to do to take a photo.

To load the film, on the right side of the camera is the latch to open the back door. Slide the button down to open the back, and swing the door open to reveal where to load the film. This camera takes 620 film, but there is nothing to help load or unload the film roll from the film chamber. Since I had some 620 film, I needed to force the roll of film into place before I tore the tape off and slid the paper backing across the film plane to put the leader into the take-up spool. It wasn't very easy, but I got it done.

Once the film is on the take-up spool, I wound it until I saw the "start" arrows, then closed the back of the camera. I wound the take-up knob until I saw the number 1 in the viewfinder. The camera is now ready to take the first photo.

 Before taking the photos, you'll need to pull the lens area out of the camera body using the two grips on either side of the lens. Once the lens is pulled out, it snaps or locks into place with two wide silver bars located behind the grip. If you don't pull the lens out, your photos won't be blurry. To take the picture, the chrome shutter release is located on the top of the lens chamber. My guess is the shutter speed is around 1/60 of a second.

Once the photos have been taken, press in the two chrome bars that lock the lens into place at the rear of the camera body, and the lens chamber will slide back into the camera body.

 If you'll be using the Beacon flash attachment, attach the flash once the lens is extended. First, the flash takes two penlight batteries, which fit into the back of the flash attachment. On the back, under the reflector, is a small clip that needs to be pulled back to expose the battery compartment. Close the battery cover, slide the front of the flash unit under the lens chamber, then slide the flash over the top of the camera until it's in place, then screw it into the camera body using the small screw on the back of the flash.

The flash units take either size 5, 11, or 22 flashbulbs. Here's a link to Mike Butkus manual for the Beacon camera and the Beacon flash.

 The camera is fundamental to its functions, but let's take a look at the images it produces.


My results:

 I loaded up a roll of 620 film I keep for camera testing, and took a walk through the neighborhood. Since the day was cloudy, I had to wait for the sun to come out so I'd get better results.

 Here are a few of the images I took.

Conclusion:

 The Beacon did a better job than I anticipated, especially given its simple camera. No focus, shutter, or aperture settings. It's truly a "point and shoot" style camera, specifically designed for family snapshots. The edges are soft, as expected, but overall not too bad.

 I doubt I'll be taking the camera on an important vacation, but my curiosity got the better of me. I wanted to see how it would perform, and it wasn't horrible.

 Thank you for taking time from your day to read about this snapshot camera from the late 1940s, for the original Beacon, to the 1950s, for the Beacon Two-Twenty Five, which I used for the post.

 Here's a link to my other Camera Reviews.

 If you are looking for an odd or unusual photo item, be sure to stop by Cuny's Camera and Photo, my eBay store.

 Until next week, please be safe.

Ensign Ful-Vue camera

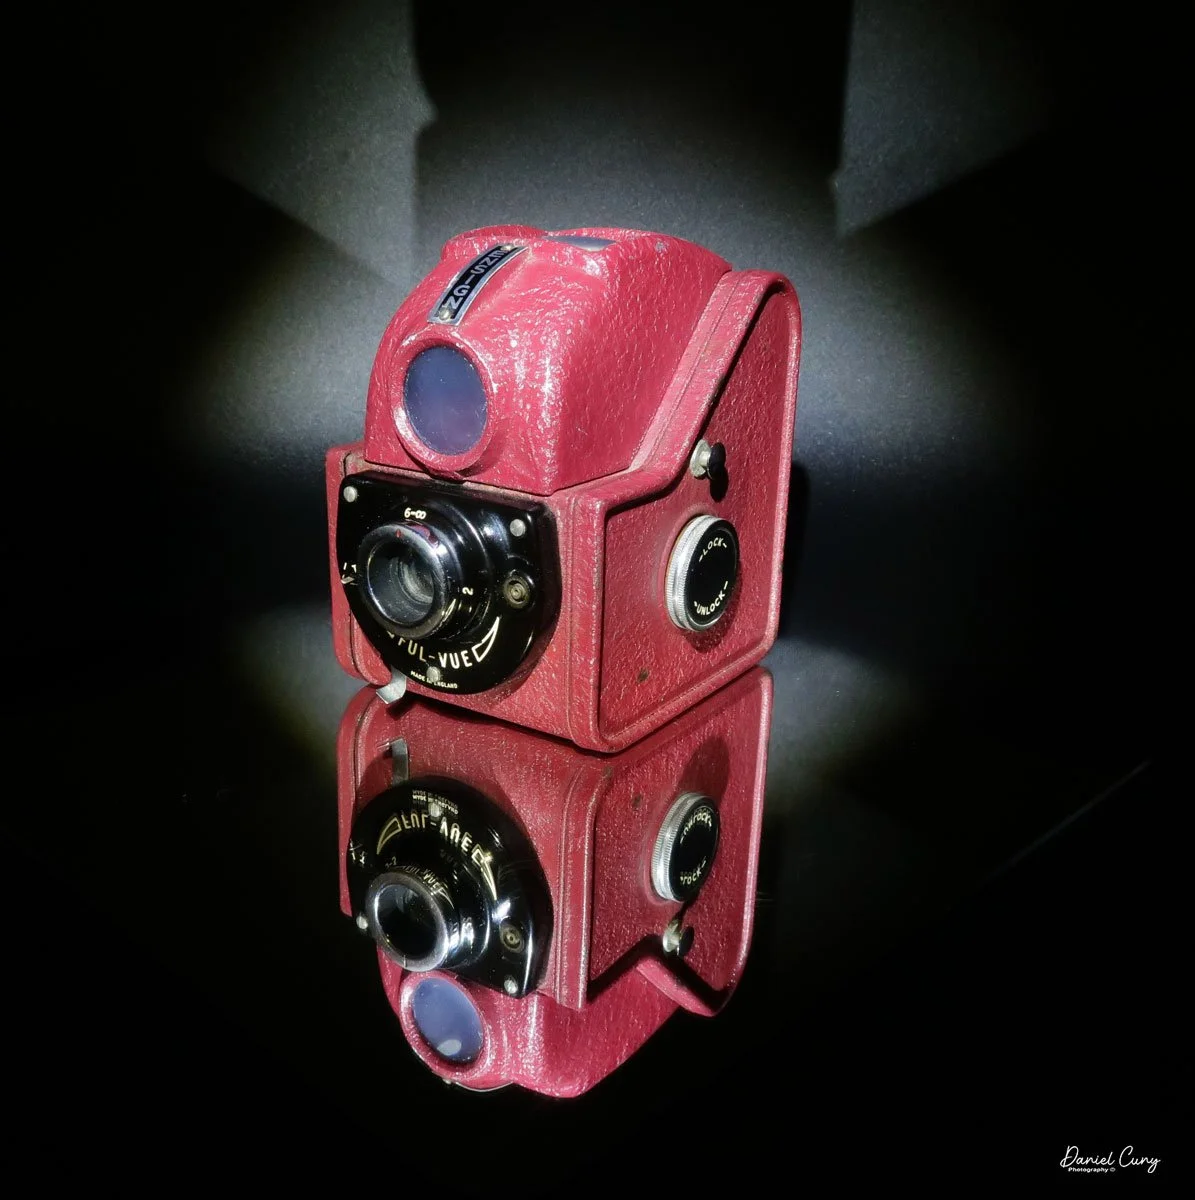
My Ensign Ful-Vue camera

My wife and I were planning a trip back to California, visiting one of my favorite places on earth, Yosemite, and then heading to San Francisco to visit a friend whom we had moved away from nine years ago. We had been going to Yosemite together since before we were married in the mid-1970s, and there are just so many beautiful and memorable events that have happened there. It doesn't matter what time of year you go; there are things to see and photograph that make it a magical place for us to visit.

 As I was browsing through the many cameras on my shelves, I must have had a subconscious desire for the Ensign Ful-Vue camera. As I looked at the camera and thought about Yosemite, I noticed that the shape of the top of the camera's viewfinder resembles the shape of Half Dome in Yosemite Valley. 

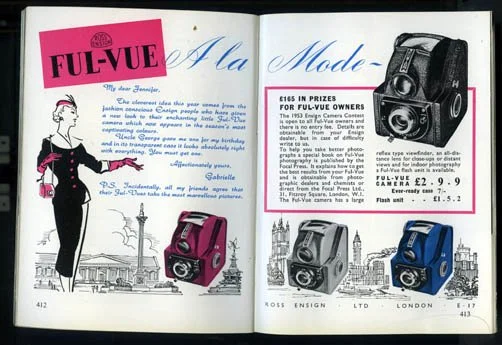
 As I've mentioned in several blogs, I have a passion for colored cameras, so I have two different Ful-Vue cameras in my collection. I have an Ensign Ful-Vue camera that's red in color. Why have a black camera when there are cameras in various colors? This camera was also sold in Black, White, and Blue colors. The other Ful-Vue camera I have is a Ross Ensign Ful-Vue Super in burgundy. The Ross Ensign Ful-Vue Super is a later and more refined camera than the earlier Ful-Vue I took to Yosemite.

The two Ful-Vue cameras in my collection

 It might be fun to put a roll of film into the camera and take it with me to Yosemite. It doesn't take much room in my bag, and I have plenty of 120-size film in my refrigerator, so that's the plan. As I was packing for the trip, I threw a roll of 120 T-Max 400 film, along with the Ensign Ful-Vue camera (a Half Dome lookalike), into my bag and took it with me on the trip.

 Another thought about taking the Ensign Ful-Vue to Yosemite was that the camera is straightforward, and it would be fun to take snapshots of Yosemite as my wife and I walked around the park, taking in all the natural wonders. It would be like I was 8 years old, and I would take my Kodak Holiday camera on summer vacations, taking random photos of the family and other interesting views. 

 That's where my love for photography began, wandering through summer vacation spots with my family, taking photos of the interesting things I enjoyed, and looking back at them to remember the time spent with my family or friends. To this day, I look back at photos with friends that we took when we were younger, and many bring a smile to my face as I recall these memorable times.

History:

 Houghton and Ensign were pivotal names in the history of British photography and camera manufacturing, known for innovation, extensive product lines, and significant contributions to photographic technology from the 19th to the mid-20th century.

French ad for the Ensign Fun-Vue camera

 The roots of Houghton trace back to 1834, when George Houghton, together with Frenchman Antoine Claudet, managed a glass warehouse in London known as Claudet & Houghton. The company initially focused on optical and sheet glass products, but the rise of photography in the late 1830s opened new avenues, with Houghton quickly supplying materials for Daguerreotypes.

 After Claudet died in 1867, the firm became George Houghton & Son, as George Houghton's son joined the business. The family firm steadily expanded, becoming George Houghton & Sons by 1892, and deepened its involvement in the photographic equipment industry.

 By the late 19th century, Houghton was producing a wider range of photographic supplies and had become a full-fledged manufacturer of cameras. Among their early notable products was the Sanderson camera, produced from 1895 to about 1910, which became renowned for its quality. In 1901, they launched the Ensign brand of photographic film, marking the rise of a name that would soon become synonymous with the company's signature camera line.

 In 1903, Houghton introduced Ensign Daylight Loading Film, a crucial development that broadened consumer access to photography. This innovation was followed by the absorption of several other camera firms in 1904, including Holmes Bros. (makers of the Sanderson), A.C. Jackson, Spratt Bros., and Joseph Levi & Co., which formed Houghtons Ltd. This move enabled large-scale production and a wider range of camera selections.

Ad with different colors available

 With their expansion and absorption of other brands, Houghton established the Ensign Works in Walthamstow around 1905. By 1908, it was the largest British camera factory, employing over 700 people. Houghton's reputation was further cemented with magazine cameras such as the Klito and the innovative folding Ensignette.

 In 1915, Houghton's Ltd. partnered with W. Butcher & Sons to form the Houghton-Butcher Manufacturing Company. The merger strengthened their manufacturing and distribution during turbulent times.

 In 1930, Ensign Ltd. was formally established, representing the heritage of both Houghton's and Butcher's. The Ensign Ful-Vue, introduced in 1939, became iconic for its simplicity and bright viewfinder, attracting amateur photographers and children. Throughout the 1930s and 1940s, Ensign was renowned for its box cameras and advanced folding models, such as the Multex.

 World War II brought massive challenges. The company's London headquarters suffered severe bomb damage in 1940. While Ensign continued to manufacture at Walthamstow, the brand's prominence waned in the post-war years.

 From its origins in optical glass to producing some of Britain's finest and most popular cameras, Houghton and Ensign chart a history of adaptability, invention, and a lasting impact on the UK photographic market.

My Camera:

 My Ensign Ful-Vue is 4" tall by 4.25" deep and 3.25" wide, and weighs 14.2 ounces, so not even a pound. It's viewfinder on top is one of the dominate features of the camera. The size of the viewfinder itself is 1.5" square on the top of the camera, and with the camera being the small stature it is, makes the viewfinder seem huge when looking at the camera.

The Ensign Ful-Vue camera is the epitome of the classic snapshot camera, as there are really only a few settings on the camera that you need to make before snapping the photo. There is a shutter setting for either "I" for instant or "T" for time, allowing for a longer exposure. There is a tripod socket on the bottom of the camera, but there is no cable release socket available for use if you want to make a timed exposure with the camera.

 The other setting in the Ensign Ful-Vue camera is focus. The lens is set to three different focus distances: 2 meters, 3-5 meters, and 6 meters to infinity. Turn the chrome rig and point the red dot on the front of the ring to the desired distance to set your focus distance. There is a separate flash PC outlet to connect an external flash, ideal for low-light photography. The flash would have to be screwed into the tripod socket, and it would be located on the left side of the camera, I guess.

To take a photo, the shutter release is located below the black nameplate, where the lens is positioned, and is pulled up to activate the shutter in the camera.

 Loading the film is pretty straightforward on the Ensign Ful-Vue. On the left side of the camera is a locking lever that you turn clockwise to unlock the film chamber from the camera body. Once the film back is unlocked, the film chamber slides out of the camera body. Once the film chamber is removed from the camera body, you load the camera like any other roll film camera. Just ensure the film covers the larger area, rather than the thinner area closer to the lens.

 Once the film is loaded into the film chamber, slide the chamber back into the camera body and secure it in place by turning the locking ring counterclockwise to lock it into position. On the right side of the camera is the camera's film advance knob. Turn the knob until you see the arrows inside the red window on the back of the camera. 

Just above the red window on the back of the camera is a small knob that opens and closes the curtain, preventing light from coming through the red window. Make sure the curtain is open so you can see the film advancing. If you don't, you'll wonder when it will get to number one and go through the entire roll of film before noticing something is wrong. Once you see the arrows, slow down because you're coming to number one and your first exposure.


My Results:

 The Ensign Ful-Vue was a great camera to take to Yosemite, although looking back, the one thing I wish I had taken was a comparison photo of the Ensign Ful-Vue and Half Dome. I should have taken a picture with my phone of me holding the camera up with Half Dome in the background to show the comparison between the two. Like they say, hindsight is 20/20.

 The camera actually did pretty well. The photos are relatively sharp, the viewfinder was HUGH and bright to look through. 

 Here are a few examples of the photos in Yosemite and San Francisco.

Conclusion:

 The camera was what I expected. The viewfinder was very easy to work with and made centering the image easy. The only thing I wish the camera had that I was surprised it didn't have was the ability to use different aperture settings. Generally, even the most basic of cameras offer the option of two different apertures. Not on the Ensign Ful-Vue, though.

 Thank you for taking the time to read about this very basic, but oddly shaped camera. It was fun to throw it in my camera bag and have something fundamental to use at times.

 Here's a link to some of my other Camera Reviews.

 Stop by Cuny's Camera and Photo if you're interested in purchasing some of the cameras I've reviewed. I also have many other photo odds and ends that interest you.

 Until next week, please be safe.

Welta Penti camera

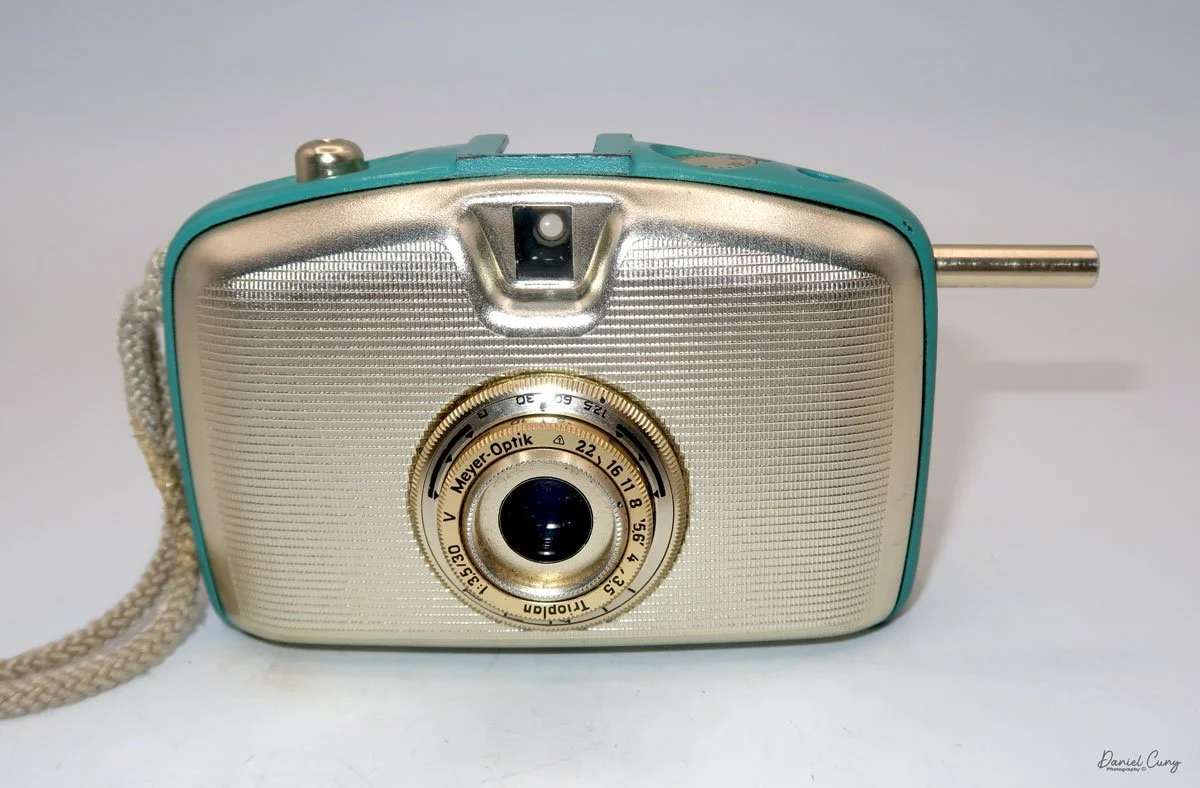
My Welta Penti camera

The first time I laid my eyes on a Welta Penti camera was almost 45 years ago. I was working as a salesperson at the local camera store in our area, and someone brought in a beautiful gold-colored camera with dark red trim circling the center. I was a bit flabbergasted when I saw it. The customer had just received it from a relative and wanted to know how to use it.

 At the time, I was in my early twenties, and although I had never seen one before, I started to play with it and explained the camera as I tinkered with it. I was learning about the camera at the same time.  The easy part was explaining the items located around the lens, like shutter speed, focus distance, and aperture settings. Still, when I clicked the shutter, and the advance rod came shooting out of the camera, I think I let out a little gasp of surprise as the woman I was explaining the camera to just smiled and said, "That happened to me when I snapped the shutter, but I didn't know what I did".

 It wasn't until I took the back off the camera and noticed that when you pushed the film advancing rod in, it engaged with the film's sprocket holes and pushed the film into the take-up cannister. The rod stayed in the camera body until you snapped the shutter again. Also, with the back off the camera, I did see that the camera took 35mm film, but not the regular 35mm film that the majority of photographers were used to, but the Agfa Rapid style 35mm film. At the time, we did sell a small quantity of Agfa Rapid film. 

The brilliant gold toned Welta Penti camera with advance rod out.

 While I had the camera's back off, I double-checked that the shutter was opening and closing. The aperture was operating correctly, which it was. I explained to the owner of the camera that it was called a Half-Frame camera, meaning it used only half the size of a standard 35mm camera. She would get twice the number of photos from a roll of film. If she purchased a roll of 20 exposures, she would be getting 40, 41, or possibly 42 pictures from the roll. I sold her a roll of film, loaded it into her camera, and sent her on her way. 

 The whole time I was holding this camera, I couldn't help but think, What a beautiful camera. Keep in mind, this was around the same time as I was starting to collect cameras and the ones that impressed me the most were camera with color, like the Kodak Rainbow,  Petites and Beau Brownies camera, so a gold camera with dark red circling the camera just sort of blew my mind and I wanted to know more about them.

 Fast forward 45 years, and at a recent camera collectors fair in Seattle, I purchased two Penti cameras, both in good working condition. I had previously owned a few of the Penti cameras, but sold them off years ago so when I saw them at the camera show, I thought it would be great opportunity to add them to my collection and also to write about them in one of my camera collecting blog posts.

History:

Welta Kamerawerks, a significant yet often overlooked German camera manufacturer, has a history that mirrors the turbulent narrative of the 20th century in its Dresden-area home. Founded in 1914 as Weeka-Kamera-Werk by Walter Waurich and Theodor Weber in Freital, a suburb of Dresden, the company was renamed Welta-Kamerawerk Waurich & Co. in 1919. From its inception, Welta carved out a niche for itself by producing a wide array of high-quality, medium-priced folding plate and roll film cameras, putting it in direct competition with other German contemporaries, such as Balda and Certo.

Welta Kamera Werks

 Before World War II, Welta was known for its solid engineering and innovation. The company produced a range of popular models. Still, it was cameras like the high-end Weltur series that cemented its reputation. Introduced in 1935, the Weltur was a sophisticated folding camera featuring a coupled rangefinder. This design element positioned it in direct competition with premium brands. Welta also ventured into more ambitious designs, creating the unique folding Twin-Lens Reflex (TLR) cameras, the Perfekta (6x6) and Superfekta (6x9). Though not commercial successes, these models are now highly prized by collectors for their fascinating design and mechanical complexity. Many of their cameras were offered with high-quality lenses from renowned makers like Carl Zeiss and Schneider-Kreuznach, appealing to serious photographers.

 The aftermath of World War II dramatically altered the company's trajectory. Located in what would become East Germany, the Welta factory was dismantled and its equipment sent to the Soviet Union as part of war reparations. However, production managed to restart by 1947 under the new state-controlled entity, VEB Welta-Kamera-Werk. The company continued to produce successful pre-war designs, such as the Welti 35mm folder. It absorbed other nationalized firms, including the Richter company in 1950, which led to the development of the successful Reflekta TLR series.

 Despite its resilience, the era of consolidation in the East German photographic industry marked the end of Welta's independence. In 1959, VEB Welta was merged with several other Dresden-based camera makers, including Belca and Altissa, to form the massive conglomerate VEB Kamera- und Kinowerke Dresden, which would later become the famous Pentacon. Following this merger, the Welta name, which had defined quality German cameras for over four decades, gradually disappeared from the market, marking the end of a significant chapter in photographic history.

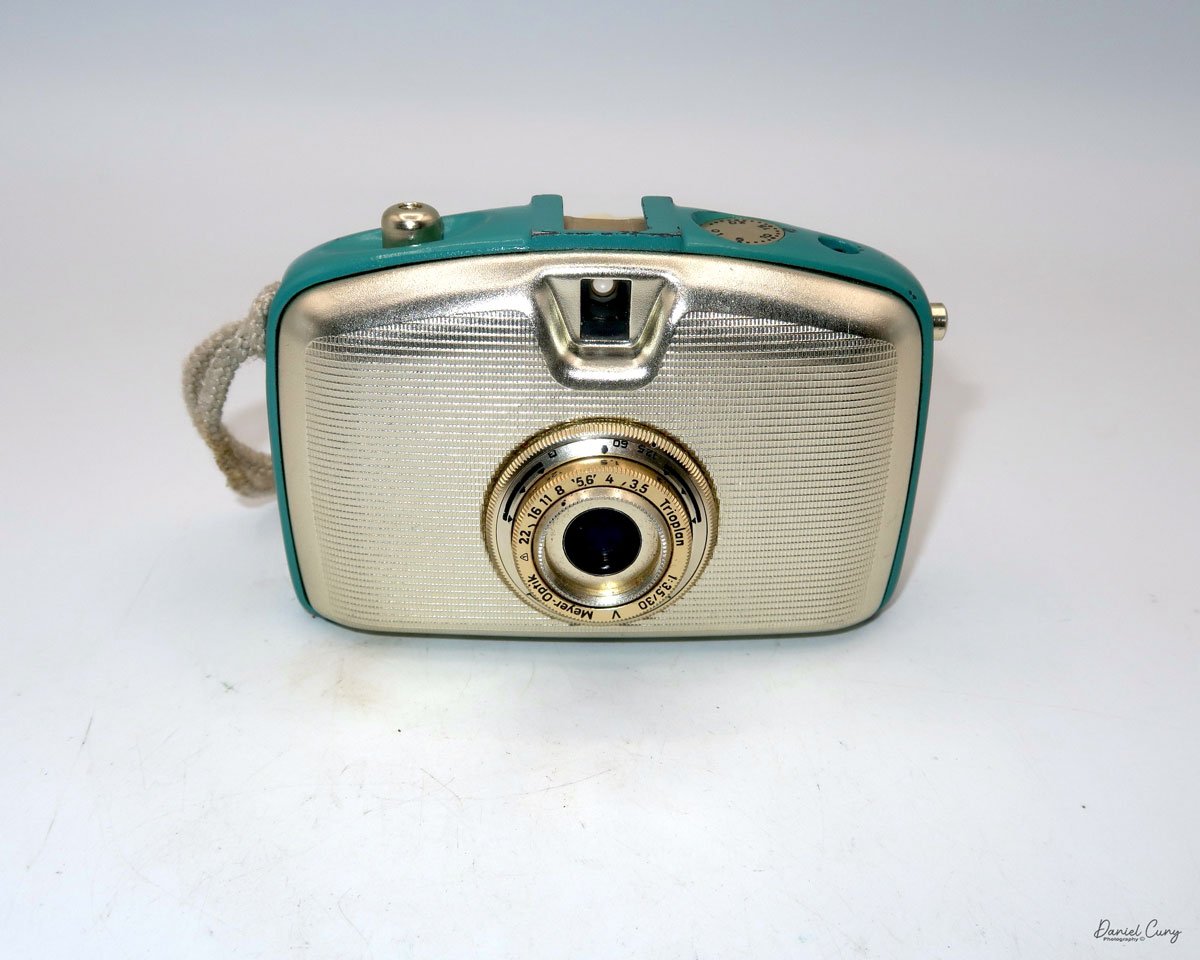
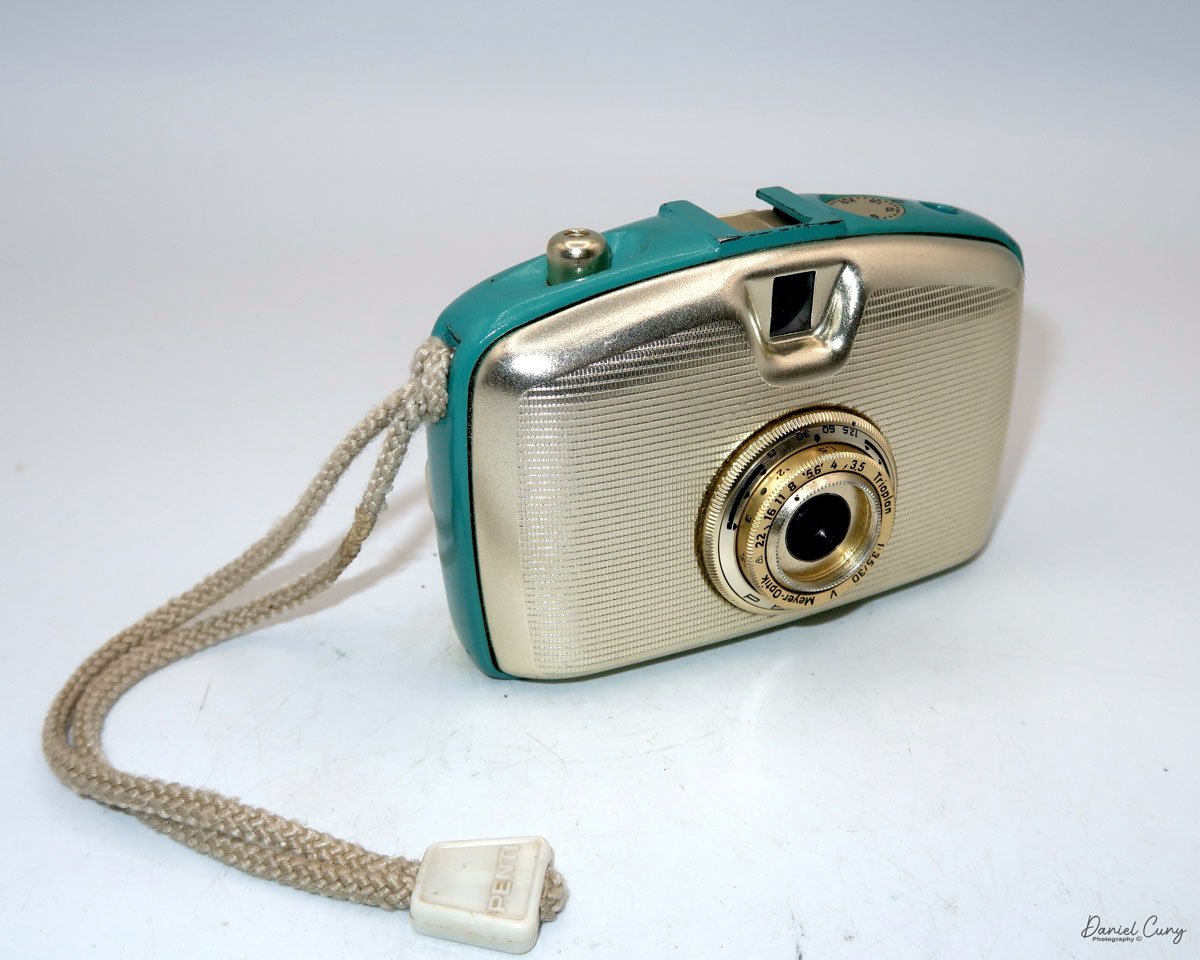
My dark red and turquoise Welti Penti cameras

 The Welta Penti was introduced in 1959 and produced until 1977 with a few modifications. In 1961, the Penti I and Penti II were introduced. The Penti I had a broader front viewfinder area and small knobs on the lens to control the different lens functions, like aperture and shutter speeds, and the Penti II was similar to the Penti I but incorporated a selenium cell light meter. 

 All Penti cameras are 35mm, half-frame cameras that take an 18x24mm image in a vertical format. The Penti and Penti I cameras have a Meyer-Optik Tripolan 30mm f/3.5 lens. The Penti II has a Domiplan 30mm f/3.5 lens.

 The 28mm to 30mm is considered a standard lens for the half-frame style cameras. The Welta Penti cameras came in different colors; all had a brilliant gold-toned camera body, but the band around the camera came in black, dark blue, turquoise, dark red, or white.

My Camera:

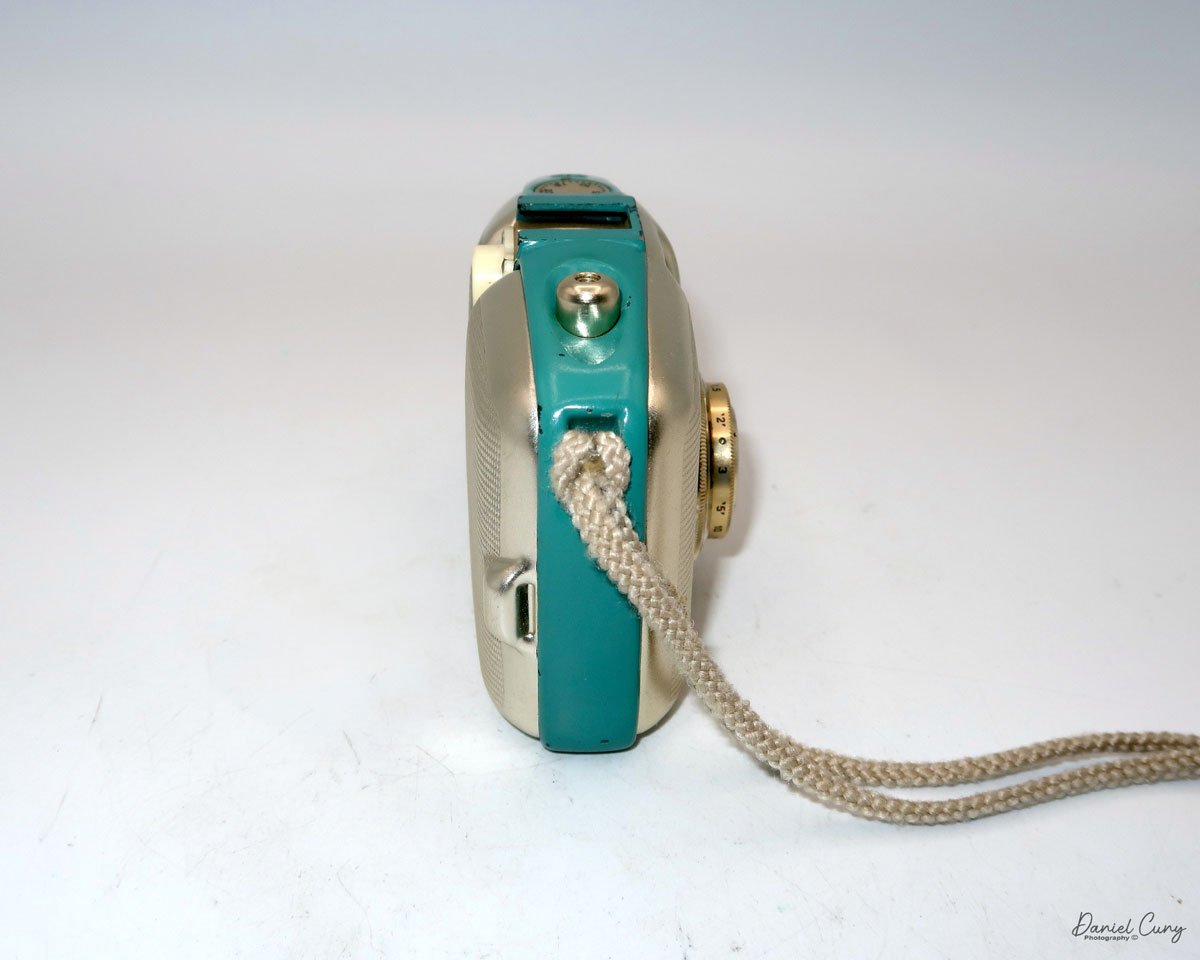
My Welta Penti is a small and compact camera, making it another fantastic option to keep in your pocket or jacket, ready to take photos. The camera measures 4.25" wide by 2.75" tall and is only 1.5" deep, weighing 8 oz. A metal lens hood and case are available for the camera, but unfortunately, my camera does not have either one.

Around the lens, and closest to the camera body, is a ring that controls the shutter speeds, which range from 1/125 to 1/30, and a square that represents timed exposures. Inside the shutter speed control is the lens's focusing ring, which focuses down to 1m. Inside the focusing ring are the lens's aperture settings, which go from F/3.5 to F/22. On the Penti camera, these are awkward to move. Now that I've shot with the camera, I understand why they added the small knobs to the updated Penti I and II model cameras. These are the only settings on the camera, except for the frame counter, which is reset to zero using a wheel located inside the camera.

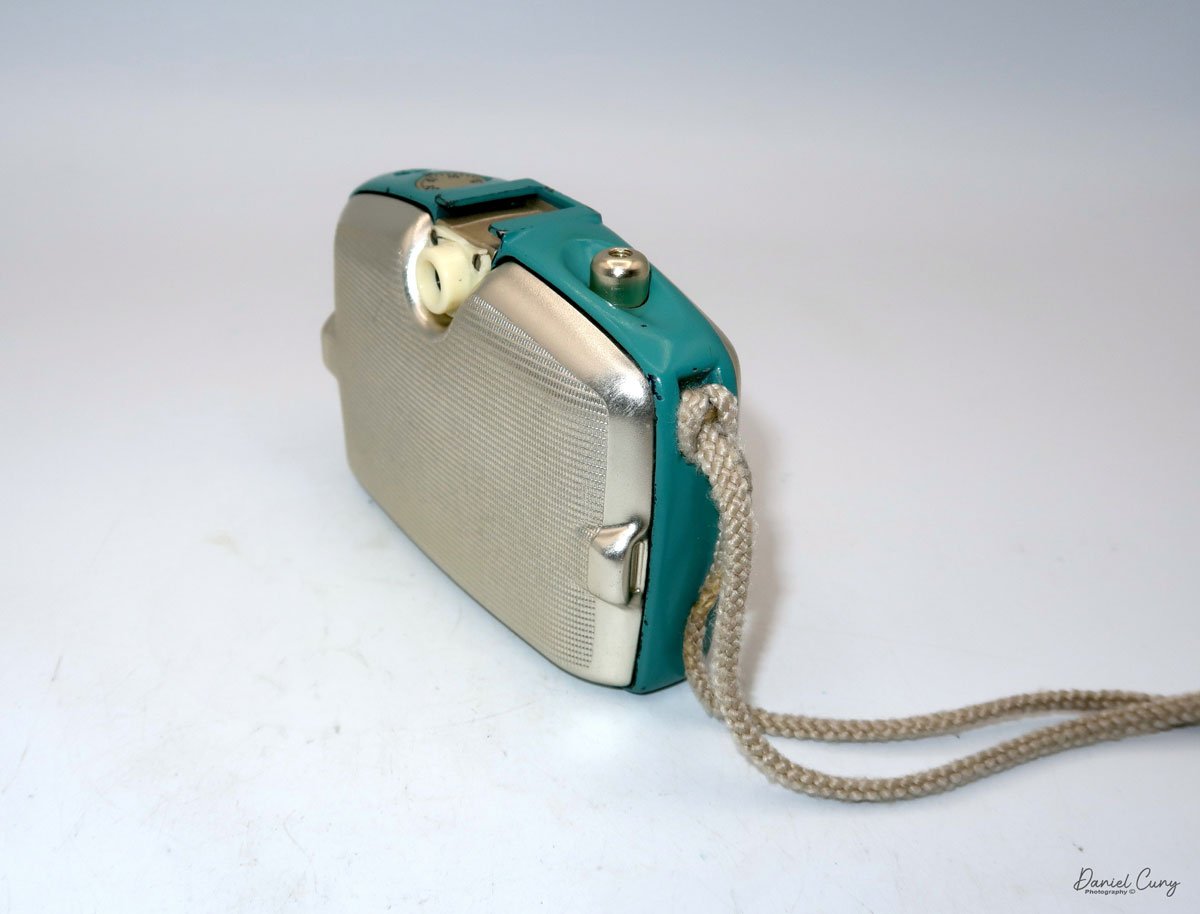
To remove the back to load the film, there are two grips molded into the back of the camera that you grab and pull the back away from the camera body. The back is held in place with two spring clips that engage with the molded grips to secure it to the camera body.

 Once you have the back off the camera's body, you see the two Agfa-style film cassettes, along with a silver pressure plate that swings down when loading the film and a sliding bar that holds the take-up cassette in place. The nice thing about these film cassettes is that nothing is holding the film inside: no tape or clip is used. The film is loose inside the cassette and has just been wound onto a spool.

To load the Agfa style cassettes, insert 35mm film. Luckily for me, I just purchased a 100' roll of B&W film, which I just loaded into my bulk film loader, so I have plenty of film. Just remember, you don't need a lot of film because you're getting twice as many photos on the roll. 

 Here is the procedure I used to load the cassettes. I removed the film cassettes from the camera and, along with my bulk film loader, placed them in a dark bag. I cut off a piece of film, approximately 2-3 feet long, from my bulk loader and slid the end of the film into one of the cassettes, ensuring the film's emulsion faced down, just like any 35mm film. Once I pushed the film into the film cassette, I removed it from the dark bag and trimmed the exposed film's corners.

I placed the cassette with the film inside on the left side of the camera's body, pulled down the pressure plate, and gently slid the trimmed end of the film into the take-up spool on the right-hand side. I snapped the shutter, and the film advancing rod popped out of the camera's body. The film is transported from the film cassette to the take-up cassette by a piece of metal with two prongs that push the film into the take-up cassette when the film advancing rod is slid into the camera's body. 

 When you take the photo, the pronged metal piece disengages from the film's sprockets. It moves to the left, so when you push the rod in, the pronged piece of metal grabs the film's sprockets and pushes the film from the cassette on the left to the take-up spool on the right. At this point, flip up the pressure plate, and immediately to the left of the viewfinder is a thumb wheel that allows you to zero out the frame counter, indicating the number of photos you've taken. Pop the film back onto the camera body, ensuring it's positioned correctly, and then start taking pictures.

The problem in my circumstance was that, since I didn't know how long the film I cut was, I didn't know how many photos I'd get on the unknown length of film I cut in the dark bag. The good or not-so-good news is that, with these cassettes, you don't know when you reach the end of the roll because you're transitioning from one cassette to another. There's no rewinding the film into the cassette. When you're done with the roll, the pronged metal piece has no more film to push into the take-up cassette, and a film tail (the end of the film) protrudes from the take-up spool.


My Results:

Now that I had film loaded in the camera and my trusty Sekonic L-308 meter with me, I took general meter readings. I then took our dog for a walk through the neighborhood. I snapped a few photos, both vertically and by turning the camera to get a few horizontal images. Here are the results from my walk with Ernie.

Conclusion:

What a fun camera to shoot with. It's small, compact, and fits easily into my pocket. The film advance rod popped out as it should, the viewfinder framed the images well, and there were no snags on transporting the film from one cassette to the other, which is what I was most worried about when using it.

 The few minor drawbacks I have with the camera are that, with my larger hands, the settings were a bit clumsy, but not too difficult to use once I got accustomed to their location. Additionally, I was unsure of how many images I had taken on the film, so I had to insert the film cassette. Out of the approximately 2 feet of film I put in the film cassette, I received 22 good images on the negatives, two of which were partial frames.

I also seem to have a slight light leak coming from either the bottom of the camera, as there’s a consistent bright area on my photos, which I’ll need to investigate. The images also look to have an “infrared” glow to them, which I liked.

 To read about any of the other cameras reviewed, click the link.

 I also sell cameras, lenses, and other odd camera items on my eBay store, Cuny's Camera and Photo. Stop by and go shopping.

 Thank you for taking the time to read about this fantastic little camera. I'd love to hear from you, so please email me with any comments or concerns you have about any of my reviews.

 Until next week, please be safe.
Canon Demi camera

My Canon Demi camera.

I've never really been a big fan of Canon cameras, as I've always been a Nikon person. In my opinion, Canon cameras weren't well-made, especially in the 1960s, when this camera was manufactured. Their line of early rangefinder cameras has nice optics and is comfortable to shoot with, but I just prefer the Nikon line.

 One of my frustrations with Canon was working in a camera store during the 1970s, when the unbelievably popular Canon AE-1 was introduced. For over a year, the camera was the top seller in our chain of stores as we couldn't keep them in stock, and people absolutely loved it. Personally, I think that Canon held back production on the camera to add to the mystique of having a camera "hard to get", which added to the popularity of the camera. Daily, we had so many questions about that camera. Today, I could do a demo on the camera with my eyes closed.

 I don't remember the exact year I purchased the Canon Demi camera, but I know I've had it for several years.  My guess is it's been about 8-9 years. I do remember, I purchased the Canon Demi camera at a flea market, mainly because the camera was red, and I'm a sucker for colored cameras. Checking out the camera at the time, it had the original red camera case, and the person who sold it to me said the camera's meter wasn't working.

 Having had many cameras with a selenium cell light meter, they tended only to last around 20 years or so until the selenium cell loses the ability to read light and work in cameras. I wasn't worried about that at the time of purchase, as the primary motivation to purchase the camera was that it was red and had a red case.

 The Canon Demi was introduced in February 1963. The camera has a sleek and modern design from this expressive period.  The camera has rounded corners and a straightforward point-and-shoot viewfinder with a zone focus system. It wasn't made to be a professional camera with built-in focus capabilities, but for the family and photo hobbyist. A selenium match needle metering system was easy to operate, keeping costs down for the consumer. By the end of 1963, the Canon Demi came in four colors: traditional, black, white, blue, and red. These colors didn't last long and were quickly discontinued.

My Canon Demi with wrist strap, and 27mm UV filter

 Another advantage of the Canon Demi was that it was Canon's first half-frame camera, introduced four years after the Olympus Pen camera in 1959. Rolls of film at that time had either 20 or 36 exposures, so shooting 40 or 72 photos on a roll of film was excellent and considerably less expensive for the family to use.

 In September 1964, Canon introduced the improved Demi S, which had a 30mm f/1.7 lens and an improved metering system. 

 In April 1965, the Demi  C, with interchangeable lenses, was introduced. You had the standard 28mm f/2.8, and a 50mm f/2.8  was available for the camera.

 The Demi Rapid, with a rapid loading system, battery-operated CD meter, and self-timer, was released in June 1965.

 May 1966 saw the release of the very popular and top-of-the-line Canon Demi EE17. This camera was the same as the Demi Rapid without the rapid loading system. 

In April 1967, Canon returned to the original style with the Demi EE28, back to the Selenium cell metering system, and a 28mm f/2.8 lens. In four years, Canon introduced five different models of the same camera, which were very similar to what the auto industry was doing then.

History:

Canon Inc., a large Japanese multinational corporation, has played a significant part in the evolution of camera technology. The company's journey in the camera industry began in the 1930s and has since developed into one of the most recognized names in photography worldwide.

 Canon's first camera, the Kwanon, was developed in 1934 by a small team of Japanese engineers. It was Japan's first 35mm focal-plane shutter camera named after the Buddhist goddess of mercy. Although it was never mass-produced, it laid the foundation for Canon's future success. In 1935, the company adopted the name Canon, signifying precision and excellence.

Canon ad for Canon Demi

During the 1940s and 1950s, Canon focused on refining its rangefinder cameras. The Canon II, released in 1946, helped the brand establish itself as a competitor to German camera makers like Leica. In the 1950s, Canon began to diversify its product line. By 1959, it introduced the Canonflex, its first single-lens reflex (SLR) camera—this marked Canon's entry into a growing market that prized versatility and interchangeable lenses.

 The 1970s and 1980s were transformative decades. In 1971, Canon launched the F-1, a professional-grade SLR that rivaled Nikon's offerings. Later, in 1976, the company released the AE-1, one of the world's first cameras with a built-in microprocessor. The AE-1 was affordable, reliable, and popular with amateur photographers, helping Canon grow its user base significantly.

 In 1987, Canon introduced the EOS (Electro-Optical System) line, beginning with the EOS 650. This groundbreaking autofocus SLR system used a fully electronic lens mount and paved the way for future innovation. The EOS series would become one of history's most successful camera lines.

 Canon embraced digital technology in the 1990s and 2000s. The release of the EOS D30 in 2000 marked Canon's serious move into digital SLRs. This transition peaked with iconic models like the EOS 5D series, which brought full-frame digital photography to a broader market.

In the 2010s and 2020s, Canon adapted to mirrorless technology, introducing the EOS R system in 2018. This full-frame mirrorless platform represents the company's latest push to stay at the forefront of imaging technology.

 Today, Canon continues to be a leader in photography, producing a wide range of cameras that cater to everyone from beginners to professionals, while also advancing imaging technology across multiple industries.

My Camera:

My Canon Demi camera is 4.5" wide by 2.75" tall and only 1.5" deep, including the compact 28mm f2.8 lens. It weighs 14.4 oz and is not adorned with frills, bells, or whistles. It's a very typical 35mm camera with a zone focus system and shutter speeds ranging from 1/250 to 1/30. The aperture settings range from F/2.8 to F/22.

The zone focus is set by moving the lens to either a mountain for infinity, three people for a group, or one person for a portrait, and these symbols are set around the lens.

The camera uses a match needle system. You point the camera at your subject, and when you turn the dial around the outer ring of the lens, the shutter speed and aperture are set to the ASA/ISO you set within the exposure ring.

The back door latch is on the left side of the camera, which unlocks and opens the film door to load film into it. Drop the 35mm cassette into the camera's left side and bring the leader to the take-up spool. Slide the end of the film leader into the slot on the take-up spool. Make sure the film sprockets are on the back drive gear. 

 One thing I do to make sure the film is moving in the camera is take up the slack by winding the rewind knob a few turns to take uo the slack in the film cassette. That way when you close the back of the camera and wind the camera to get it to the first frame, watch the rewind knob turn so you know the film is advancing in the camera. Checking the rewind knob is a good thing to do with any 35mm camera. I can't tell you how many times I've seen where people think the film is advancing, but the film wasn't loaded correctly, and no images were ever recorded on the film.

Once you've taken all the photos on your roll of film, press the button on the bottom of the camera. This releases the winding gear inside the camera so you can easily rewind the film back into the film cassette. If you don't press the rewind button, you'll tear all the film sprockets on the roll of film, making the process more difficult. After the film is rewound into the film cassette, open the back and load a new roll of film.


My Results:

I took this camera on my trip to Barcelona this week, partly because I had a roll of older Plus-X film with 20 exposures, and the second reason was the camera's shutter works, but the meter doesn't. I wanted to experiment with some of the exposures to see if I could get exposures on the roll of film. It probably wasn't the best idea to try a 40-50-year-old roll of film under these circumstances, but I wanted to write about the camera and didn't want to shoot 72 exposures to get bad results.

 The results turned out pretty well, and the camera meter is in decent condition, as many of the images turned out pretty well. However, the film is pretty grainy for being ASA 125. Nonetheless, here are a few photos from walking around one of the main shopping areas in Barcelona.

Conclusion:

My expectations for the camera weren't high, so I was pleasantly surprised by its relatively easy-to-use nature. Basic focus and a match needle meter make this compact camera very fun and easy to use. 

 If you enjoy vintage manual cameras, this is one to put in your coat pocket or hang around your neck. It gets twice as many photos from a roll of film and records memories for the photo albums. It is another excellent camera to use on a daily basis.

 Thank you for taking a few minutes to read about this fantastic, compact half-frame camera. A faster lens would have been nice, but it's unnecessary under most circumstances.

 I also sell cameras on eBay under Cuny's Cameras and Photos. Take a look, and you may see something you are interested in or a camera or two that piques your interest.

 Click on the link to read about some of the other cameras reviewed.

 Until next week, please be safe.


Kodak Beau Brownie Camera

My Rose Beau Brownie Camera

To end the unofficial box camera month for my blog post, I was thinking about writing about a few different cameras, but my thoughts kept coming back to one specific model of Eastman Kodak camera, one of the most beautiful cameras made, the Beau Brownie camera.

 The two factors of the Beau Brownie line of cameras that I enjoy are the five different colors they come in: black, tan, blue, green, and the most sought-after rose. The art deco design by one of America's outstanding industrial designers, Walter Dorwin Teague, is also bundled into a very uncomplicated camera marketed more as a fashion statement than the ordinary black box camera. 

 George Eastman and his marketing team realized early on that to broaden the photographic marketplace, they needed to expand the scope of photographers using cameras. Until the early 1900s and into the 1910s, the vast majority of photographers were males due to the time-consuming process of making photographs. While Kodak didn't invent photography, much like Henry Ford, he sold cameras to the masses due to the newer methods of making glass plates easier to obtain and process, making roll films, film processing, and printing available to the masses.

My set of Nos. 2 Beau Brownie cameras

 In the late 1920s, Eastman Kodak started a relationship with Edwin Dorwin Teague, which forged a relationship and changed the design and quality of cameras for thirty to forty years until he died in the early 1960s.

The Relationship:

Walter Dorwin Teague, born Dec. 18, 1883, is often regarded as one of the pioneers of industrial design in America. He had a long and influential relationship with the Eastman Kodak Company. His collaboration with Kodak helped shape the visual and functional identity of the company's products, particularly its cameras, during the mid-20th century.

Portrait of Walter Dorwin Teague

 Teague, known for blending aesthetics with functionality, first worked with Kodak in the late 1920s. He continued influencing the company's product designs for several decades until his death on Dec. 5, 1960. His designs embodied the principles of streamlining, an artistic and engineering approach emphasizing smooth, flowing lines and modern, user-friendly aesthetics. Kodak sought to enhance its product appeal in an increasingly competitive market. Teague's expertise gave the company a fresh, contemporary design language that resonated with consumers.

 One of Teague's most iconic contributions to Kodak was the design of the Kodak Bantam Special, introduced in 1936. The Bantam Special was a masterpiece of Art Deco design, featuring a sleek, black enamel and chrome finish. It was visually striking, compact, and easy to use, aligning with Kodak's mission to make photography accessible to a broader audience. The camera became a symbol of modern design and demonstrated how industrial design could elevate consumer products beyond mere functionality.

Walter Teague designed Kodak Super Six-20 camera

 Teague's impact on Kodak extended beyond individual products; he played a key role in shaping the brand's overall aesthetic identity. His work helped Kodak establish a reputation for producing elegantly designed, high-quality, practical, and stylish cameras. His collaboration with Kodak set a precedent for integrating industrial design into mass-market consumer products, influencing Kodak's future designs and the broader field of product design.

 Beyond the Bantam Special, Teague worked on several other Kodak models, including the Kodak Baby Brownie and the Kodak Medalist. These cameras showcased his ability to balance form and function, making photography equipment more appealing and accessible to everyday users. His designs helped Kodak maintain its position as a camera industry leader, reinforcing its image as both innovative and consumer-friendly.

 Walter Dorwin Teague's relationship with Kodak was a testament to the power of industrial design in shaping consumer products. His work not only enhanced the usability and attractiveness of Kodak cameras but also set new standards for the role of design in consumer technology. Through this partnership, Teague left an enduring mark on both Kodak and the history of industrial design.

The Camera:

Beau Brownie cameras came in two sizes: the smaller Nos. 2, which takes 120 film, and the larger No. 2A, which takes 116 film. They were both introduced in October 1930 and ended production in 1933. However, the two rarer versions, the green and rose colors, were in production for 1 year, which ended in 1931. Luckily, I have all five colors in different sizes in my collection. I've had all five for many years, and this is the second time I've owned all five colors in both sizes. 

 The camera that I used for the blog post is the smaller Nos. 2 camera due to the easily accessible 120 film the camera uses. The Beau Brownie No. 2 camera is 4" tall by 3" wide or 3 3/8" wide if you include the film advance knob by 4 3/8" deep. The camera has a 6x9 negative size and weighs 14.1 oz.

 The larger Beau Brownie, Nos. 2A is 5" tall, by 3 3/8" wide, or 3 3/4" wide if you include the film winding knob, by 5" deep. The No. 2A film format is 2.5" x 4.25" on 116 film, weighing 1 lb.—3.8 oz. 

My Nos. 2A Rose Beau Brownie (L) and Nos. 2 (R). Note the size difference

Looking online, I found a Beau Brownie Camera Manual, which is where I look for manuals for the cameras in my collection. It's a fabulous website and something we all should support.

 The front of the camera has a beautiful, enameled Art Deco geometric design that is two-toned with an accent color to enhance the camera's beauty. The black version has a dark burgundy accent color. In contrast, the other colors have a lighter and darker version of the camera's color. The rest of the camera is made of thin metal material covered in pebbled imitation leather, the same color as the camera. The carrying handle is on the top of the camera, which is the same color as the camera's body.

Also, two round windows are used for the viewfinder on the front of the camera. The top circle is for viewing vertical-format photos from the top of the camera, and the bottom is used when you turn the camera on its side for horizontal-format photos. There is no focus on this meniscus doublet lens, so like many box-style cameras, the minimum focus is around 10 feet, but items around 8 feet may still be in focus.

 The Beau Brownie cameras have two latches securing the back of the camera to the front. One latch is on the top of the camera, and one is on the side of the camera. Before you open the camera, you'll need to pull out the winding knob, which is engaged with the film transport. The winding knob needs to be pulled out; otherwise, the camera's front and back won't slide apart easily.

Once you have the camera apart, you can load the roll of film into the camera. Take the empty film spool from the top of the camera and move it to the bottom. Ensure it's adequately engaged, which will move the film from frame to frame. The fresh, unexposed roll now gets loaded into the camera's top film holder. Break the tape holding the film together and pull the leader over the opening with the paper backing looking outwards. Feed the leader into the empty spool on the bottom and wind a bit so you know the film is transporting properly. Also, check that the film fits within the walls of the spool so it can be transported easily. Wind the film until you see arrows pointing outwards. Ince you see the arrows, put the back onto the camera, press the winding knob, and secure the two latches. Now wind the film until you see the #1 in the red window. That's the indication that you're ready to make the first exposures.

 There are only two controls for the camera, located on the top of the camera. There are two levers just in front of the handle. One is on the left, and the shutter speed controller is the smaller of the two controls. There are only two settings. When the lever is down, the camera is in "instant" mode and has a shutter speed of around 1/100 sec. Pulling that small lever up puts the camera in "B" or timed exposure mode. In this setting, you'll need to set the camera on some camera tripod or bracket to hold the camera still so as not to cause a blurry photo.

The other controller is the larger of the two levers that control the aperture settings. The lever can be in three positions to change the different apertures. When the lever is down, the camera has an approximate aperture of F11, the middle position is approximately F16, and the top position is approximately F22.


My Results:

I loaded the camera with Ilford 400 ISO/ASA film and walked through the neighborhood on a very overcast and sometimes rainy afternoon in February. The neighbors are getting used to the old man walking through the streets with an odd-looking camera in his hand, taking photos of houses, objects, or other items I find on my walks.

 Here's what I took.

Conclusion:

Other than the stunning beauty of this camera, it's a fundamental camera with minimal controls and a fixed Meniscus Doublet lens that takes a significant negative. According to the manual, the minimum focus is approximately 8-10 feet. My judgment of distance was off in some photos, as the images are out of focus.

 Overall, it was a fun camera to shoot with, and I'll need to take it out on a sunnier day to get more contrast images. There are a couple of filters available for the Beau Brownie, one of which is a portrait filter that allows for closer focus for portrait photos, so I'll need to dig through the box of old filters to see if I have one of the recommended filters to try on the camera.

 Thank you for taking a few minutes to read about one of the most beautiful cameras ever made. I'm truly honored to have one in my collection.

 Until next week, please be safe.

Finetta 88 Camera

My Finetta 88 camera

The Finetta 88 camera caught my eye on a visit to London a year or so ago when I had about an hour during a walk down Portabello Road. I met with Juliano, the owner of Cameras London, who was still in the process of setting up. As I was looking over his extensive items on the multiple tables he has, I saw the grey body of the Finetta 88 camera. 

 If you are a camera enthusiast and can go to Portabello Road during the weekends, I highly recommend seeing Juliano. He has an incredible selection of older wood cameras with brass lenses and many of the more common 35mm point-and-shoot cameras that seem to be all the rage now.

 As I've mentioned a few times, I'm always drawn to the camera with either a different color or if there is something odd or unusual about the item. Not only is the Finetta that I saw covered in a gray covering on the camera, but the lens is somewhat off-center, giving the camera an "out of the ordinary" look. I put the Finetta 88 camera aside and looked over many other cameras I wanted to purchase. As we discussed the price, I picked up the Finetta again and added it to the few items I purchased that day, and I'm glad I did.

The Company

Finetta-Werk was a German camera manufacturer with roots tracing back to Kamerawerk Peter Saraber, a company founded by Peter Saraber in 1945 in Goslar, Germany. Saraber, a Dutch engineer, initially focused on producing precision optical equipment in the post-war era during heightened demand for affordable and efficient photographic devices. Saraber teamed up with a Voigtlander engineer, Helmet Finke, around 1947 to design and develop a new camera.

 "Finetta" was introduced in the late 1940s, marking the company's transition toward a more consumer-friendly image. The Finetta cameras, characterized by their simplicity, durability, and relatively low cost, appealed to post-war Europe's growing middle class. Early models, such as the Finetta 88, showcased Saraber's dedication to compactness and practicality, featuring a straightforward mechanism for capturing 35mm images, including a new two-leaf shutter system, which they applied for a patent. They also invented a new film advance system with double exposure prevention.

Ad for Finetta 88 camera taken from Mike Eckman website.

 By the 1950s, the company rebranded as Finetta-Werk and expanded its product lineup. The Finetta 99 was notable for its interchangeable lenses, which had a new three-prong lens mount and included a series of four different lenses. The lenses included a Colorfinar 70mm f/5.3, a Telec 90mm f/4.5, a wide-angle 35mm Berthiot lens, and the normal Finetar 45mm f2.8 lens. Along with the lenses, Finetta improved design quality, reflecting a shift toward competing with established brands like Kodak and Agfa. 

 Another interesting fact is that in 1954, Finetta started working with Jacques Bolesy of the Bolsey camera company to help with the design and production of their small, compact Bolsey 8 subminiature still and movie camera. Unfortunately, Finetta went out of business soon after and closed their factory in 1957.

 Finetta cameras were often praised for their ergonomic designs and mechanical reliability, offering a stepping stone for amateur photographers transitioning into more serious photographic endeavors.

My Camera:

My Finetta 88 camera is covered in an odd fabric. It has a herringbone-style pattern and is not the normal leather or leatherette covered in most cameras. It is more of a fabric material, but it does have a great feel to it, and I like the greyish color, which gives the camera an elegant appearance. 


The Finetta is 3" tall by 5 1/8" wide by 2.5" deep from the front of the lens to the back of the camera, and weighs 1lb, and .7 ozs, and comes with a Finetar 45mm f2.8 lens which has a three-prong bayonet. There is no locking mechanism on the lens mount, so you must be careful when focusing on the camera. If you turn the lens too far, the mount will start to move, and the lens will pop off, which is pretty small. The lens does "click" into place, but it can somewhat easily come off without the locking pin.

My lens focuses from 2.8 feet to infinity. It may focus closer as the lens rotates past the 2.8-foot mark on the lens. The aperture settings are on the inside of the focus ring. The camera doesn't have an internal focus system, so all the focus is guesswork, judging the distance, and setting focus. The aperture range is from f2.8 to f16 and is indicated by a small notch on the setting ring.

 With the lens removed, you can easily see the two-leaf shutter system. The camera only has a few different shutter speeds, ranging from 1/250, 1/100, 1/50, 1/25, and "B" for timed exposures. The shutter speeds are set on a very small and challenging knob next to the lens. 

One thing I noticed about the camera when I first picked it up and started to play with it was that things seemed backward from what I am used to. I'm used to filming advanced turning in a clockwise movement, but this camera goes counterclockwise. It's the same as taking the back off the camera to load the film. To open the back, you turn the knob on the bottom in a clockwise motion. The back is held onto the camera with none other than a bolt-style fastener which is held onto the camera with a larger circular nut that screws on to keep the back onto the camera body. To me, that is the motion to tighten, but on this camera, it's the motion to untighten and remove the back to load the film.

 When I removed the back from the camera, I noticed a couple of things right away. My Finetta 88 had a film cassette in the camera. I'm not 100% sure who makes this cassette. Still, it's very similar to the Leica cassettes in design, with two outer compartments and an inner spool. The cassette is also held into the camera with a locking lever that slides over the end of the cassette to keep it in place. The second item I noticed was a bright and shiny pressure plate over the shutter area to keep the film flat as it's transported across the chamber. The pressure plate needs to be lifted when loading the 35mm film. The third item noticed was a larger, thicker take-up spool on the camera's right side. This one is similar to what I wrote about with the Corfield Periflex camera. There is a slot to put the 35mm leader into, which is needed to load the camera.

A built-in, double exposure prevention system is within the camera's transport. Once you trip the shutter, under the take-up spool is a small piece of metal that pushes out and stays out until you wind the camera, which cocks the shutter and flattens that piece of metal, allowing you to take the next photo. I guess there's a pin that pushes out the metal piece, and when the film is advanced, it will enable the pin to fall back into place for the next photo.

On top of the camera is nothing more than the film advance knob on the right side, which turns counterclockwise to advance to the next frame. The frame counter, accessory/flash shoe, and rewind knob are on the far left.


My Results:

The camera is very straightforward and somewhat basic in its operations. I didn't use the 35mm cassette that came with the camera; I just used a regular 35mm roll of film. I put in a roll of T-Max 125 film and walked through the neighborhood to see what kind of results the camera could produce. After I got back from my walk through the neighborhood, I processed the film, and here are a few of the shots I took.

My Conclusion:

The Finetta 88 camera took a bit to get used to. I kept on trying to turn the advance knob in the wrong direction; the shutter speed dial was small and difficult to turn. That may be more of a camera cleaning issue, but I changed to other speeds. The lens did start to unmount a couple of times, but nothing disastrous to the point where the lens fell off the camera. The focus is smooth on my camera; it was more operator malfunction than anything, but overall, the camera was enjoyable to shoot with, and I think the lens I have on this camera is sharp.

 I'll definitely want to shoot with this camera in the future. It was fun and a pleasant experience overall.

 Thank you for taking a few minutes from your day to learn about this interesting mid-century camera I have in my collection.

 Until next week, please be safe.

The Vena Venaret Camera

While the Netherlands is renowned for its windmills, tulips, canals, and bike riding, it's not often associated with camera manufacturing. However, it's home to some unique camera companies, including the popular Cambo. In fact, there were around 20 camera manufacturers in the country, such as Philips, which I've previously featured in a blog post, and other lesser-known companies like Tahbes, Foka, and a few smaller ones.

 My connection to these cameras is quite recent, as I was drawn to them by their vibrant colors. As I've shared in previous posts, I have a fondness for colored cameras, a fascination that still holds true today. Whether it's a blue, green, rose, or any other uniquely colored camera, I'm immediately captivated and feel a strong desire to own it. In this case, I was fortunate to acquire two cameras-a striking green one with a black faceplate, and a brown version with a matching faceplate. 
 After doing a little digging on the camera and company, I found that the two I purchased were also different models. The brown camera is the Vena Venaret due to the accessory shoe on the top of the camera, while the green is the Vena Venaret Jr., the same model but without the accessory shoe. The good news is that the Venaret Jr. I purchased has a leather fitted case that was in excellent condition, and it is the model I shot in the blog post.
The Company:

Vena Optical Devices was founded in Amsterdam in  1940 by Evert Verlegh and Samuel Naarden. The company's name is a mixture of the starting letter from each founder's last name: VE from Verlegh and NA from Naarden. It was a difficult time to start a company due to the war, as Samuel was making optical lenses for Old Delft Company. While many of the company's Jewish employees were deported, it was difficult for them to do anything regarding the cameras made until after WWII ended.

 In 1948, Vena came out with the Venaret camera. According to the instruction manual, the camera was designed by F. Kochman, the former manufacturer of the Reflex-Korelle camera. Mr. Kochman was living in The Netherlands for a few years, was an employee of Vena, and designed the Venaret camera; according to the manual, "His long experience in the field of camera construction is already a guarantee for the good health of the newborn." With this knowledge, the Venaret looks similar to the Reflex-Korelle camera, although a much simpler version.

 The Venaret had a few different versions. The camera was produced with a black faceplate and black covering, a white faceplate with black covering, or a brown faceplate and brown covering, which is the model I recently received.

 The Venaret Jr. camera has a white faceplate with a black covering, a black faceplate with a black covering, and a white faceplate with a green covering, and the model I recently received has a black faceplate with a green covering. 

 In 1949, Vena produced a couple of straightforward box cameras, the Vena Box and Sport Box. It's estimated that Vena produced between 20,000 and 30,000 cameras before it went bankrupt and closed its doors in 1951. This was a very short-lived camera company, but it produced some brightly colored and very simply designed cameras.

My Camera:

My camera is 5.25" wide by 3.5" tall, including the viewfinder, 3 3/8" deep, and weighs 14.9 oz. and has a very cube shape. There are two shutter speeds on the camera, 1/25 and 1/50, along with "T" for timed exposures. The camera has a 75mm f7.7 Meniscus lens with four aperture settings, F7.7, F9, F11, and F16. The shutter speeds are set with a toggle switch above the lens with the "T" setting in the middle. The aperture settings are on the side of the lens. The shutter release is on the right side of the camera. There is no cocking of the shutter. Pressing down the shutter lever to take the photo is very simple.

To open the camera to load the film is easy once you figure it out. On top of the camera is a sliding lever. Slide it to the "O" or open position. Grab the lens protruding area and pull up from the back of the camera. There is a small channel that the front of the camera slides into that allows the front of the camera to slide out of, which exposes the film camera where you can load or unload the film, depending on if all photos are taken. Once the film is loaded or unloaded, put the ridge of the back of the camera into the channel on the front and slide down until the top fits snuggly into the back, then slide the lever on the top to the right to lock the camera while taking photos.

There is no lens focusing, and the minimum focus is approx. 3 meters, about 10'. I found this out when I processed the negatives after taking the camera out and shot with it on a sometimes sunny afternoon, which was rare in the Portland area in November. Looking at the photos, I initially thought 3' was the minimum focus, but those images are blurry while the background is sharp. After I thought about it, I realized that many cameras that don't have focus ability have a "close up" filter or lens when you want to take photos from 1-3 meters, so that mistake was on me.


Note the shutter speed and aperture settings.

This is a very simple camera without many bells or whistles, but I wanted to shoot with it to see how it performed. In today's cameras, this would be considered a "point and shoot" style, with minimal settings and no focus ability.

My Results:

After putting in a roll of film, walking through the neighborhood, and taking simple, composed images, I went to my darkroom to process the negatives and see the results. 

 Here are a few of the images I took with this colorful gem of a camera:

Conclusion:

Except for my thinking the camera would focus closer than 10', the images are relatively sharp and clean. I didn't purchase these cameras, but I wanted to see how sharp they could produce, and they were pretty decent.

 Thank you for taking the time to delve into the history of this short-lived camera company from a country not typically associated with camera manufacturing. Despite its brief existence, Vena Optical Devices managed to create a truly beautiful and functional camera.

 Until next week, please be safe.