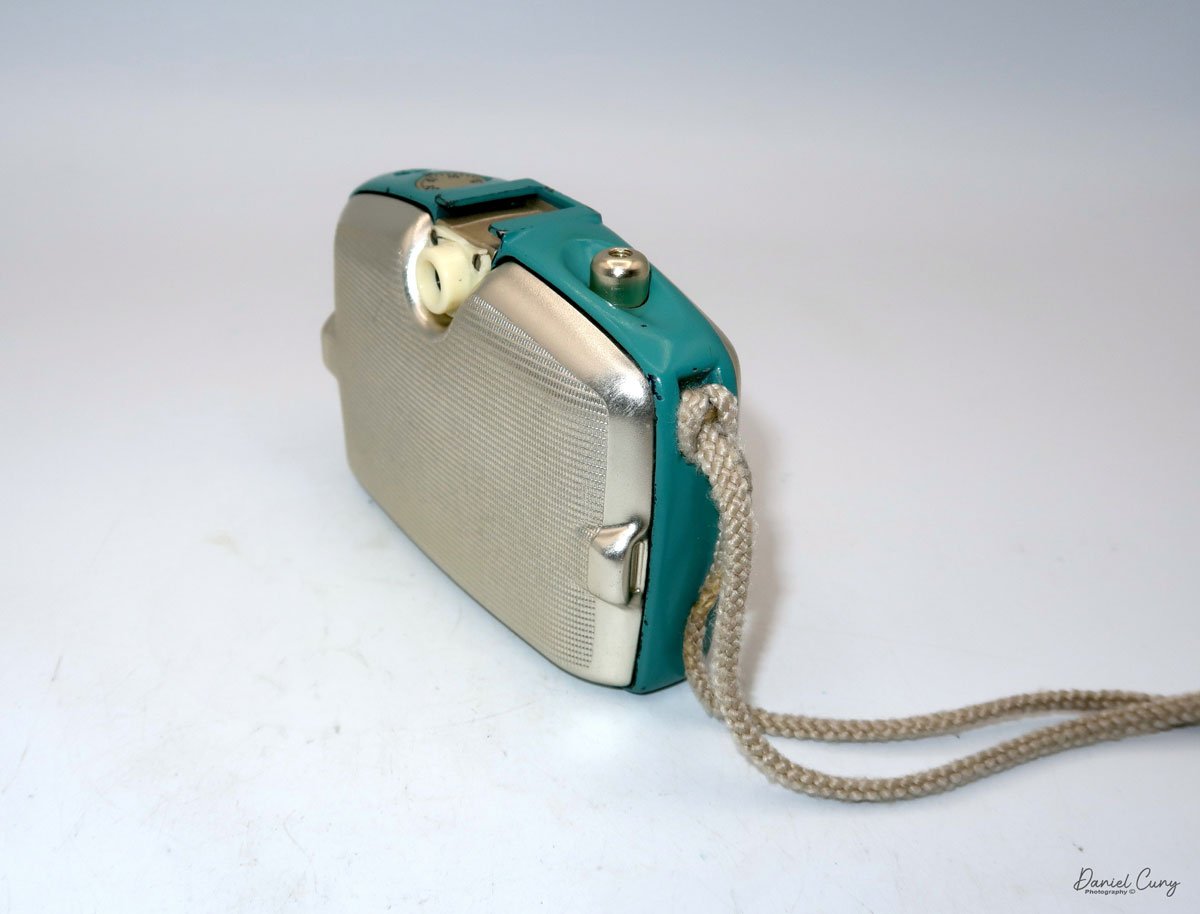
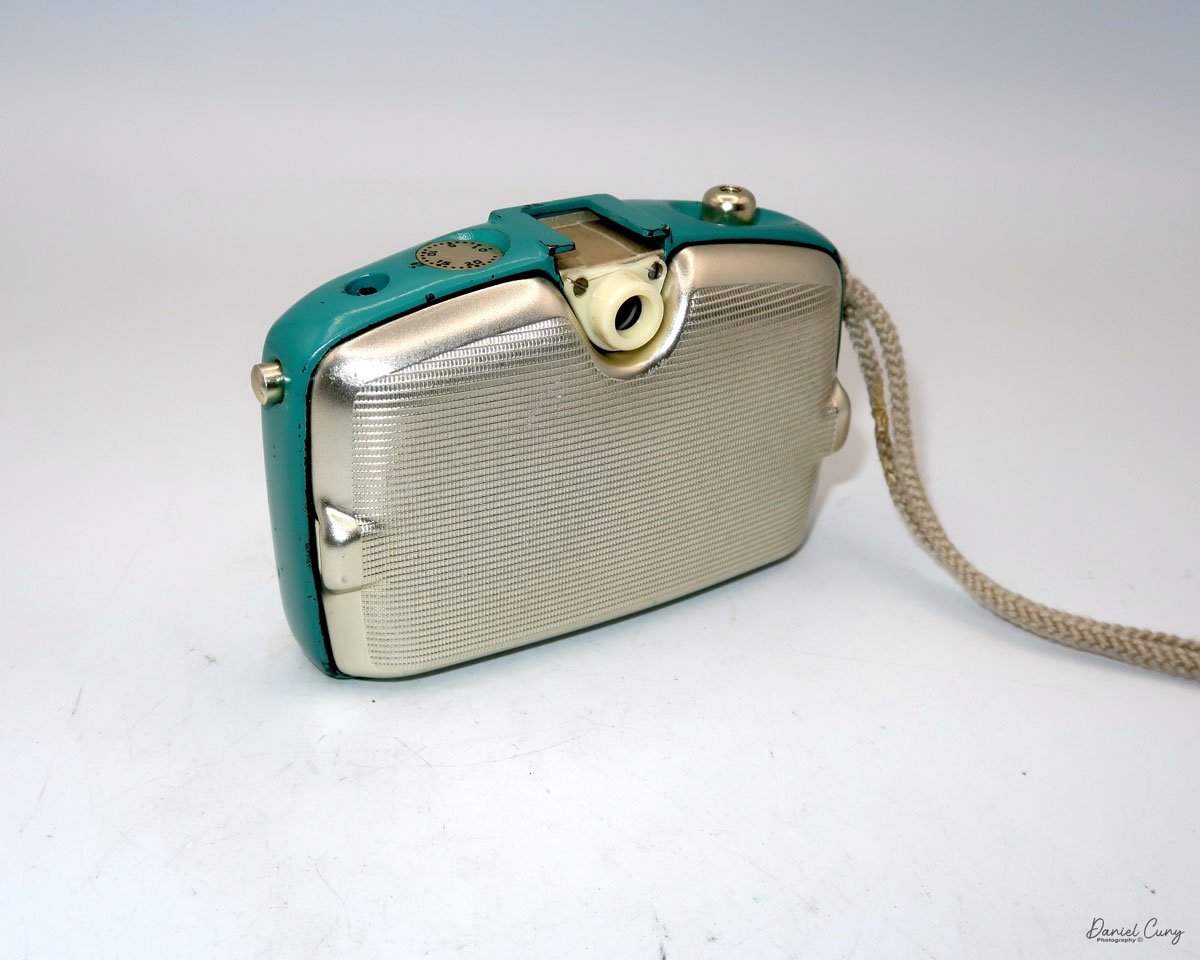
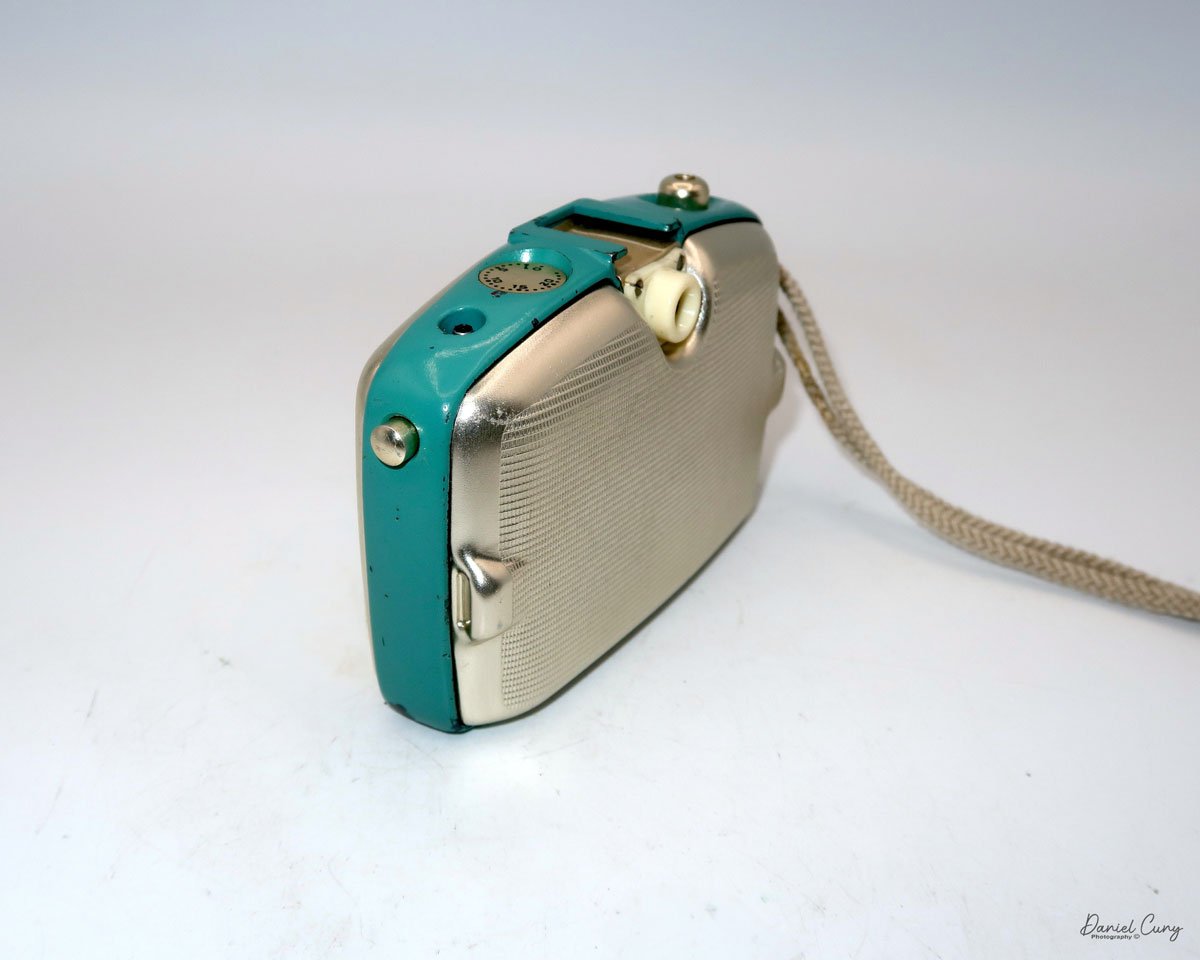
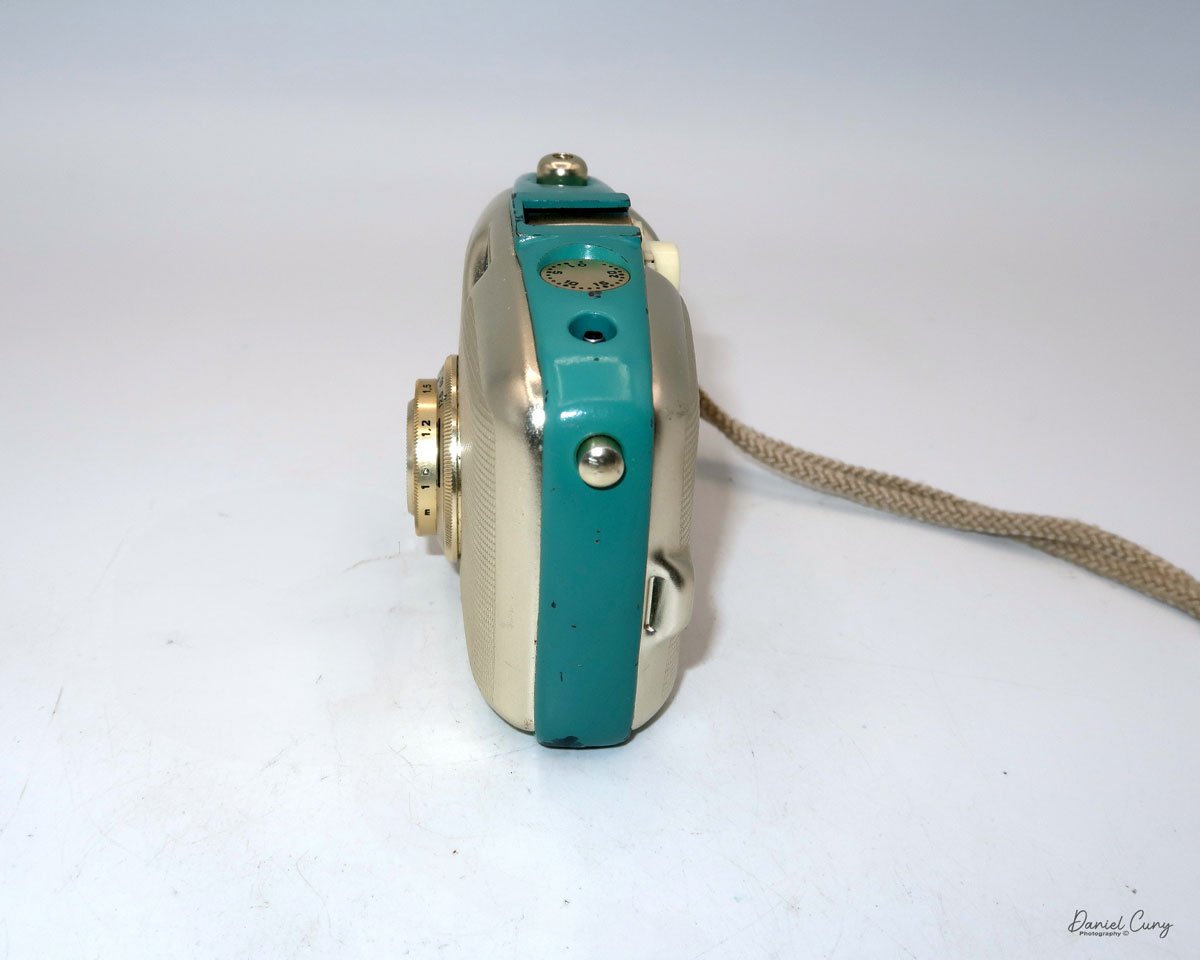
My No. 4A Speed Kodak camera
The No. 4A Speed Kodak camera is a massive camera. It's one of the largest folding-style cameras in my collection. I recently acquired this camera as a trade during a camera show in Seattle, where I was a vendor.
The person I acquired the camera from has a very similar collection to mine. During our discussion, he mentioned that he had two No. 4A Speed Kodak cameras. On display at the show was a large and heavy Japanese machine gun camera. I owned the camera for many years, but I didn't want to transport it back to my home, so I asked if he was interested in trading one of his No. 4A cameras for my Japanese machine gun camera. I was very excited when the discussion of trading one camera for the number four speed Kodak became official.
This is the second No. 4A Speed Kodak camera I've had the pleasure of owning. The first number for a Kodak camera that I purchased was from a customer in Atlanta, Georgia. During a visit to an antique store, I mentioned that I collect cameras. The owner of the shop told me that they were the trustees of an estate that owned many cameras and were getting ready to sell them. I asked if I could see their collection, and they said yes.
Unfortunately, I only had about 30 minutes to rummage through what they had, as I had a sales appointment with a customer and didn't want to be late. While rummaging through the cameras I had set aside, I came across 15 to 20 items I wanted to purchase from the estate, including a No. 4A Speed Kodak camera. The camera was in my collection for several years until one day I decided to sell it.
After selling the No. 4A Speed Kodak, I regretted selling it due to how rare they are and how seldom you see them for sale. It's a camera that I've been looking to purchase again for many years. I was thrilled to find one and strike a deal for it while I was a vendor at the Camera show in Seattle.
History:

From Kodak 1912 Sales Catalog.
George Eastman, a self-taught chemist and businessman, revolutionized the world of photography with the founding of the Eastman Kodak Company. Born in 1854, Eastman's early life was marked by financial hardship, forcing him to leave school at 14 to support his family. His foray into photography began in the late 1870s, a time when the process was cumbersome and expensive, requiring heavy equipment and on-the-spot chemical processing. Eastman envisioned a more straightforward, more accessible method for capturing images.

Advertisement for Speed Kodak cameras.
After years of experimenting in his mother's kitchen, Eastman developed a successful dry-plate formula and a machine for mass-producing them. This innovation led to the establishment of the Eastman Dry Plate Company in 1881. A pivotal moment came in 1888 with the introduction of the first Kodak camera. It was a small, user-friendly box camera that came pre-loaded with a roll of film capable of 100 exposures. The company's slogan, "You press the button, we do the rest," perfectly encapsulated its business model. Once the roll was finished, the entire camera was sent back to the factory in Rochester, New York, where the film was developed and printed, and a new roll of film was inserted before being returned to the customer.
The turn of the century saw another groundbreaking innovation with the release of the Kodak Brownie camera in 1900. Priced at just one dollar, the Brownie was marketed towards children but was embraced by all. This affordable and easy-to-use camera democratized photography, turning it from a professional trade into a popular hobby. For the first time, ordinary people could create their own visual records of their lives, leading to the advent of the "snapshot."
For much of the 20th century, Kodak dominated the photography industry, pioneering advancements in color film and motion picture technology. However, the company's reliance on its highly profitable film business model proved to be its undoing. Despite inventing the first digital camera in 1975, Kodak was slow to embrace the new technology, fearing it would cannibalize its film sales. This hesitation allowed competitors to seize the digital market. By the time Kodak fully committed to digital, it was too late. The company filed for bankruptcy in 2012, a poignant end for a company that had once put a camera in everyone's hands.
My Camera:
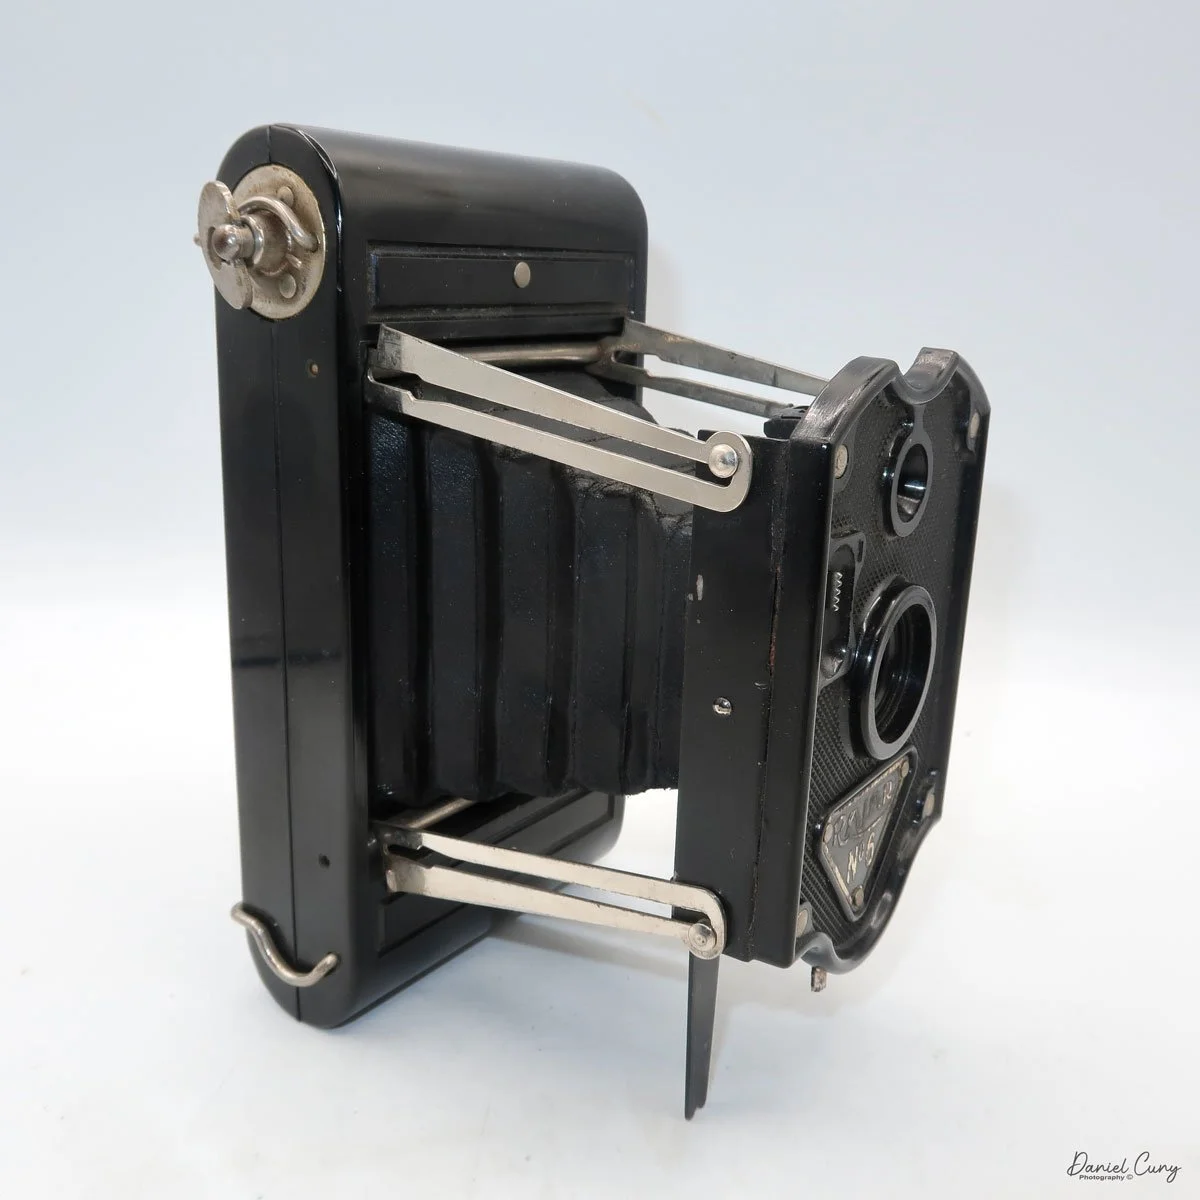
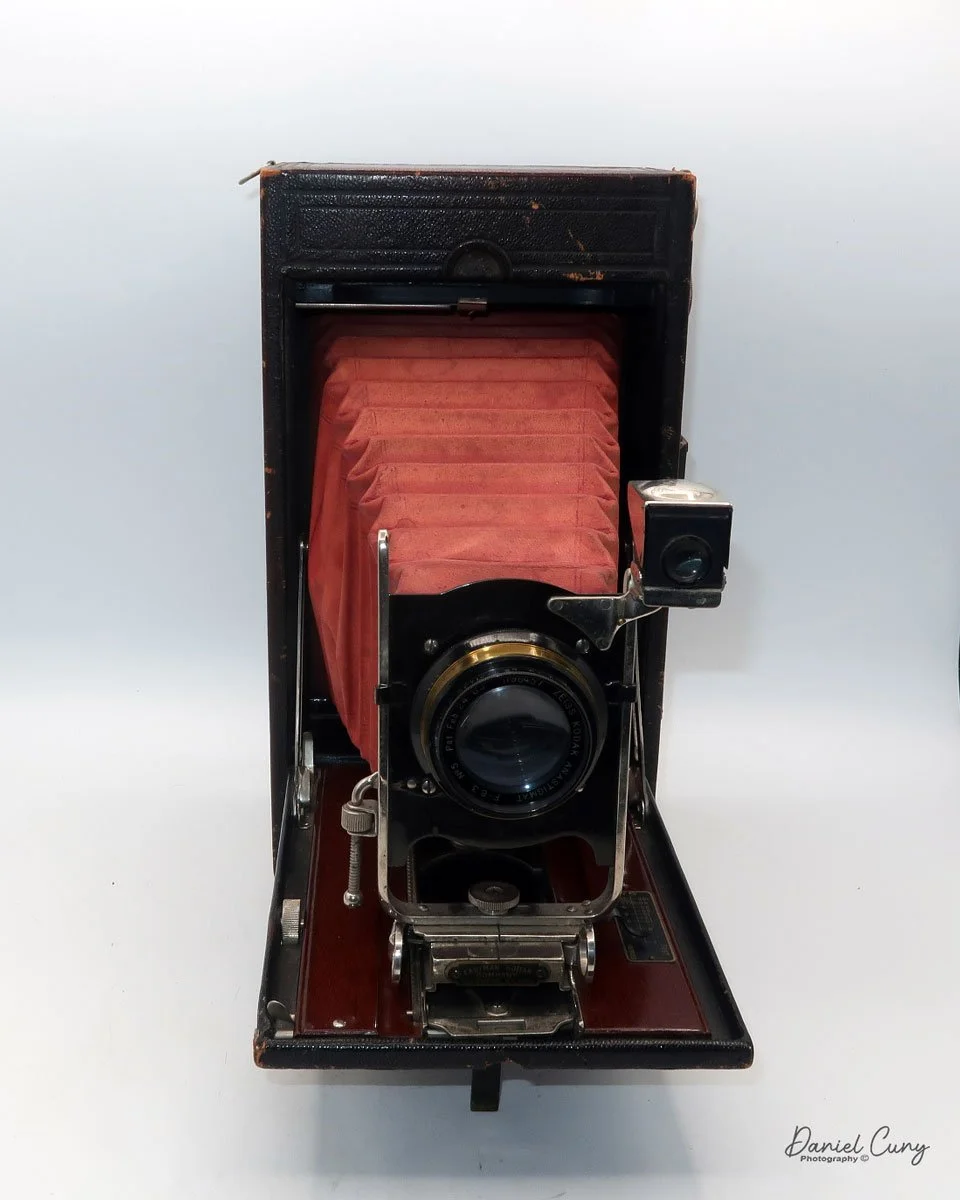
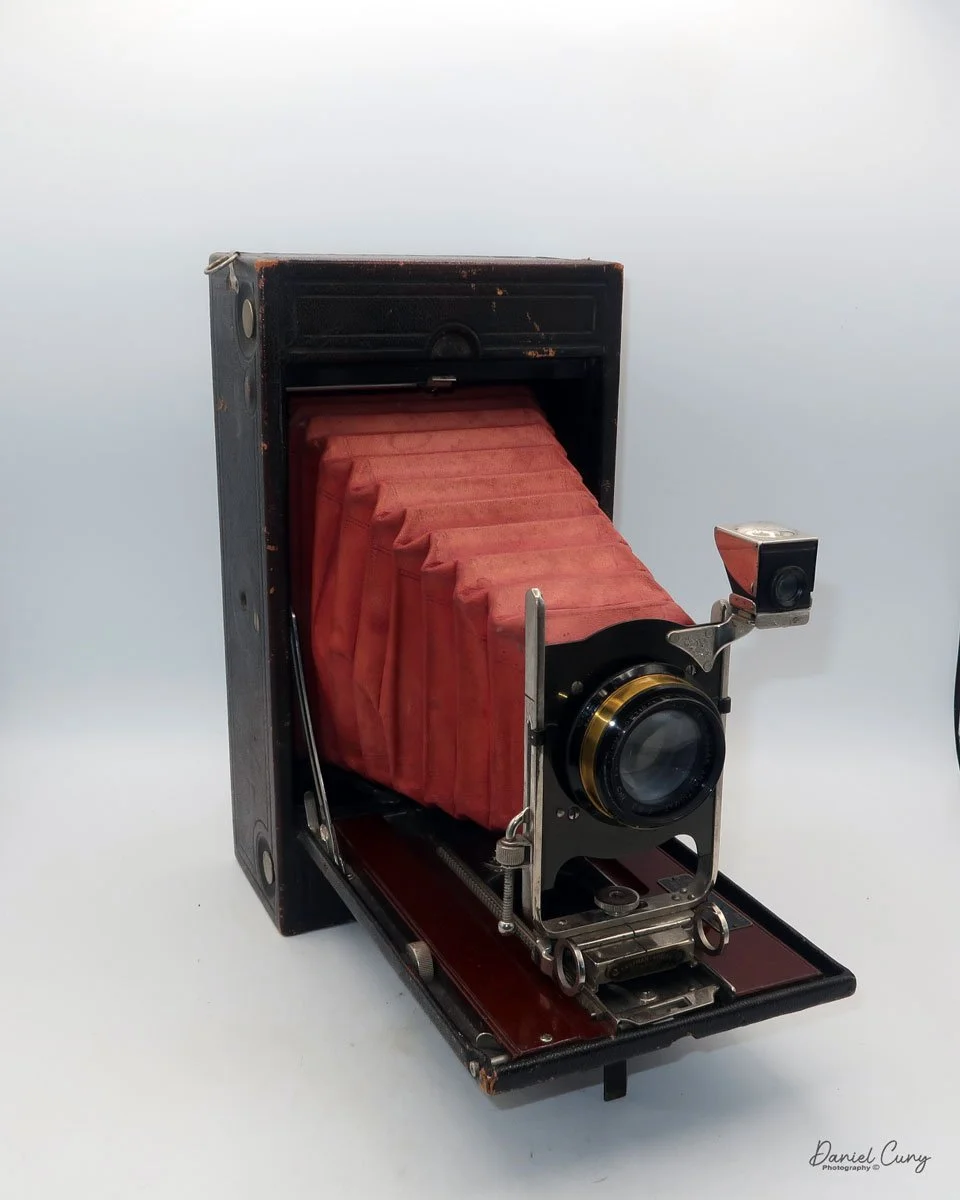
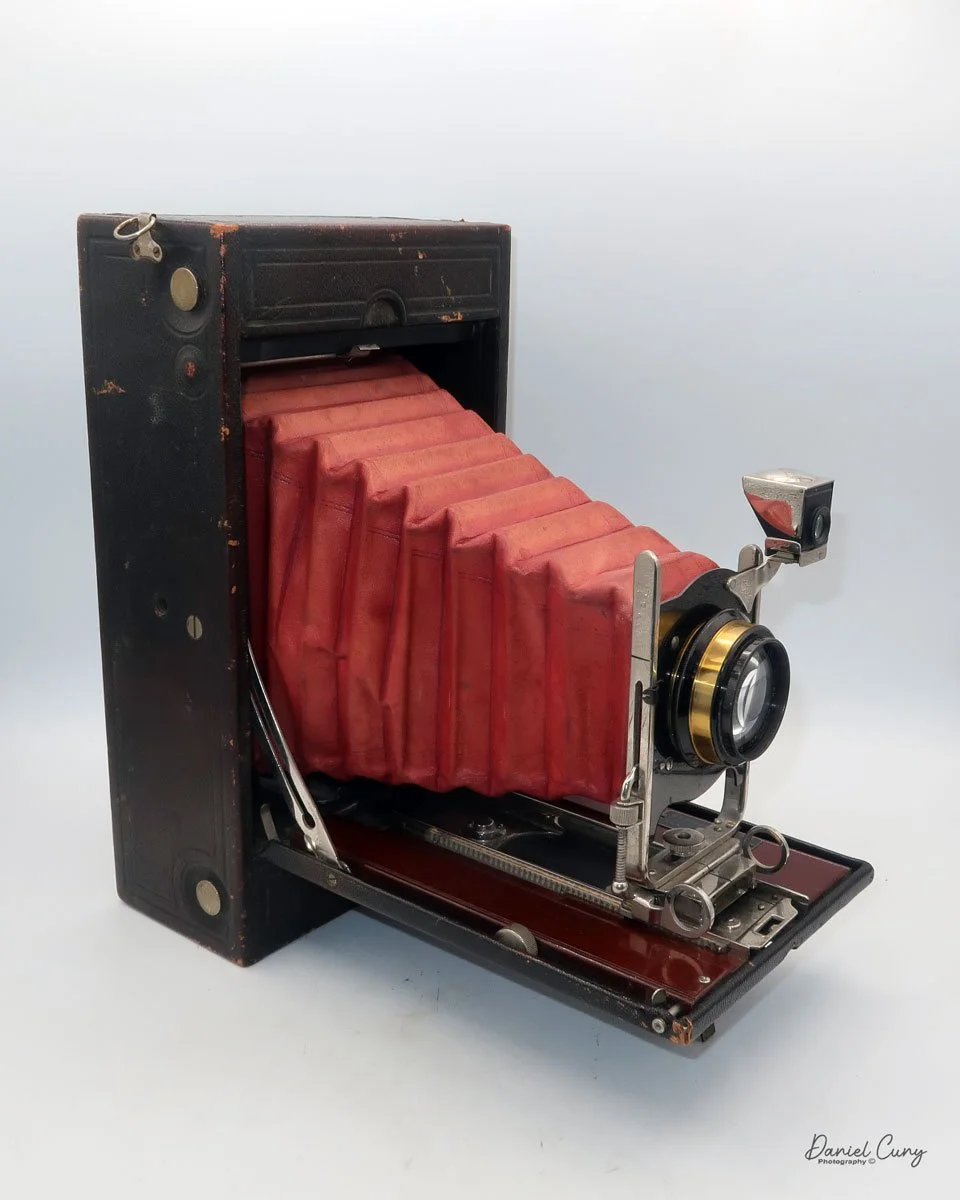
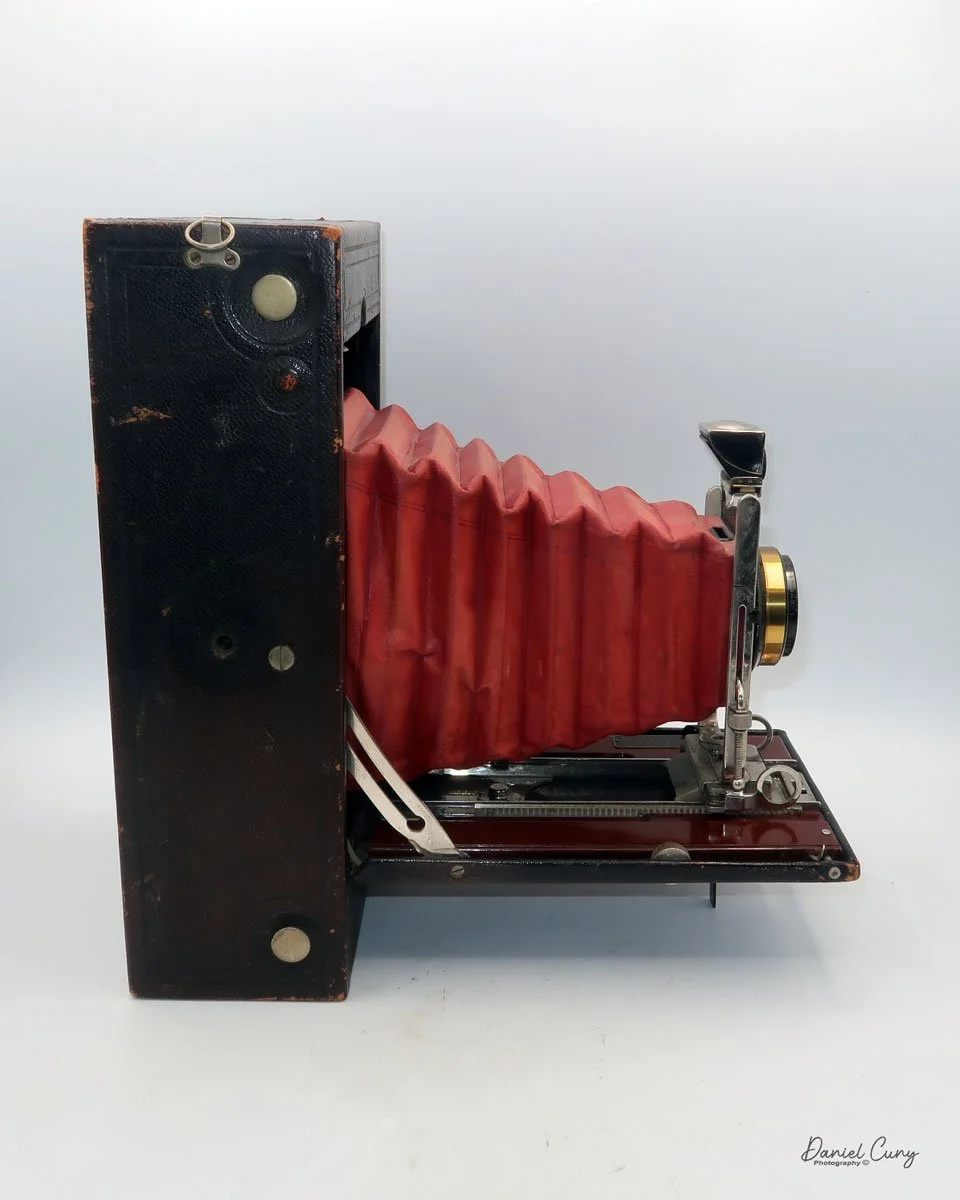
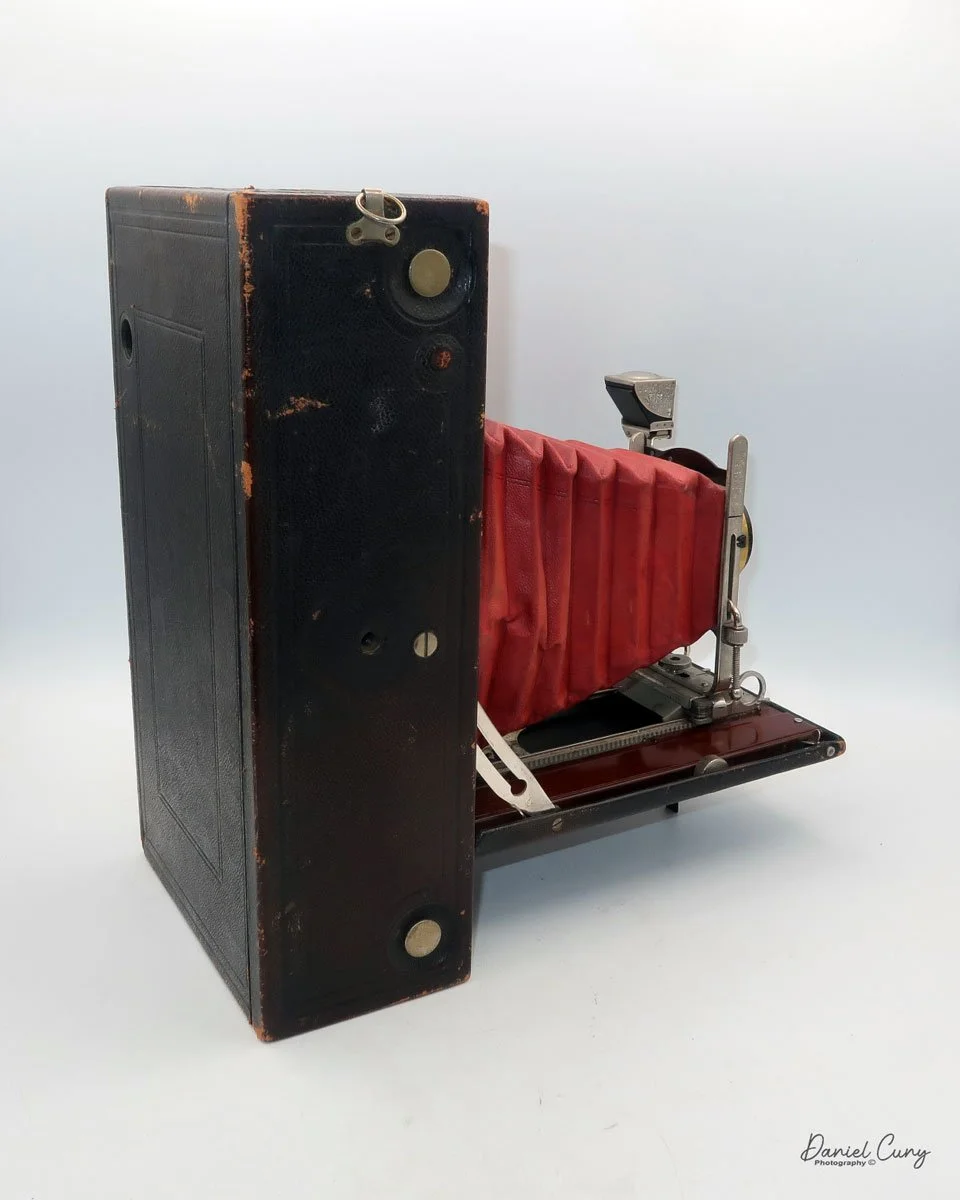
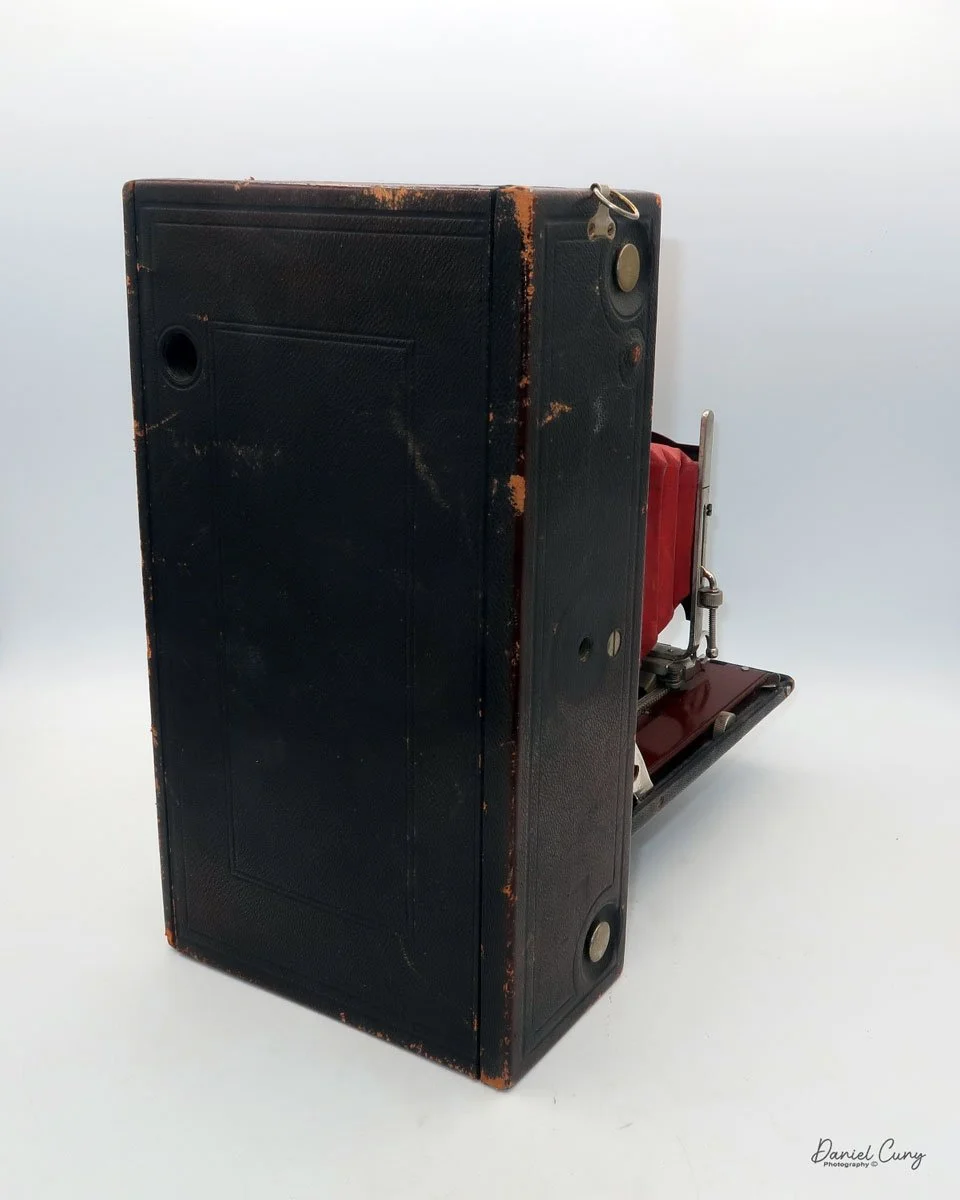
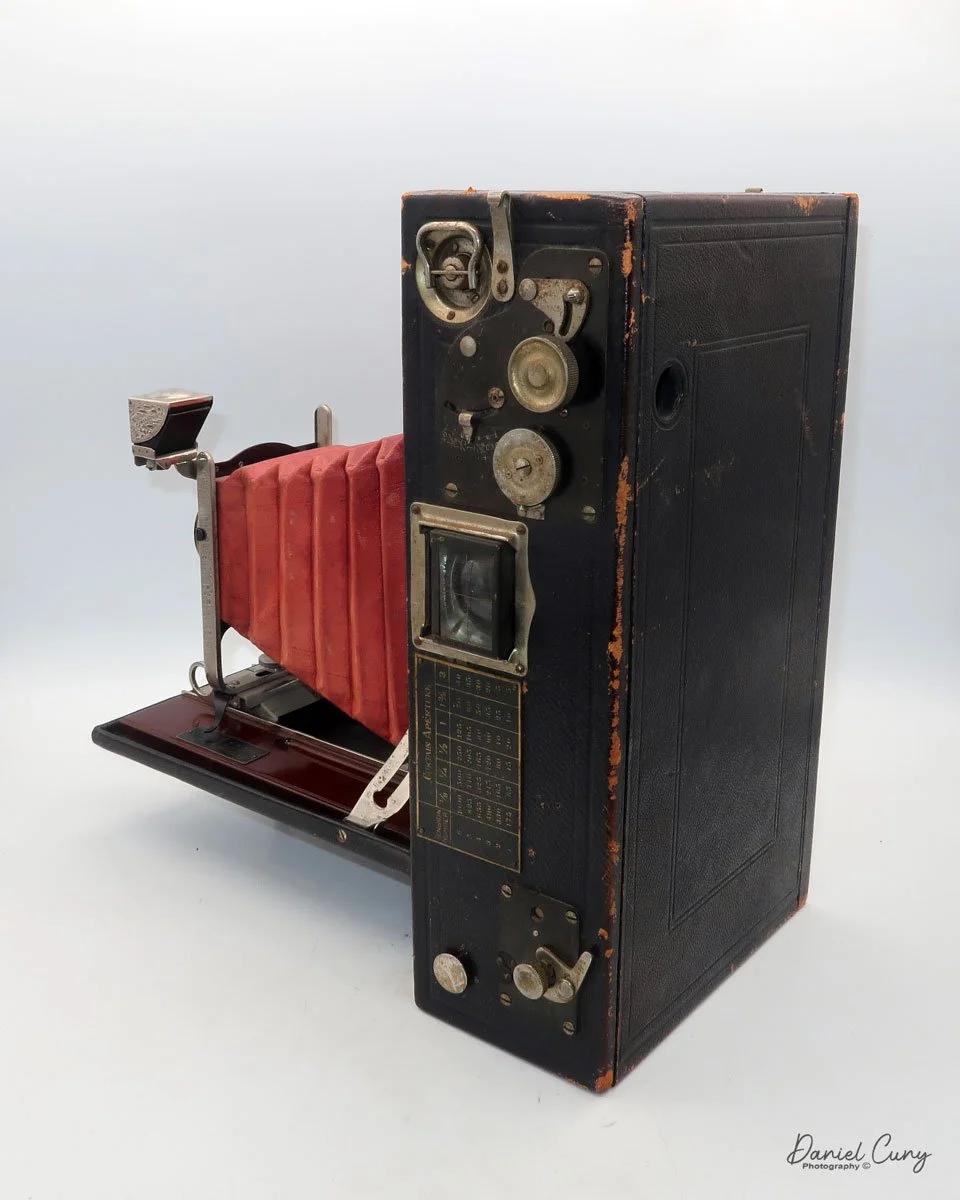
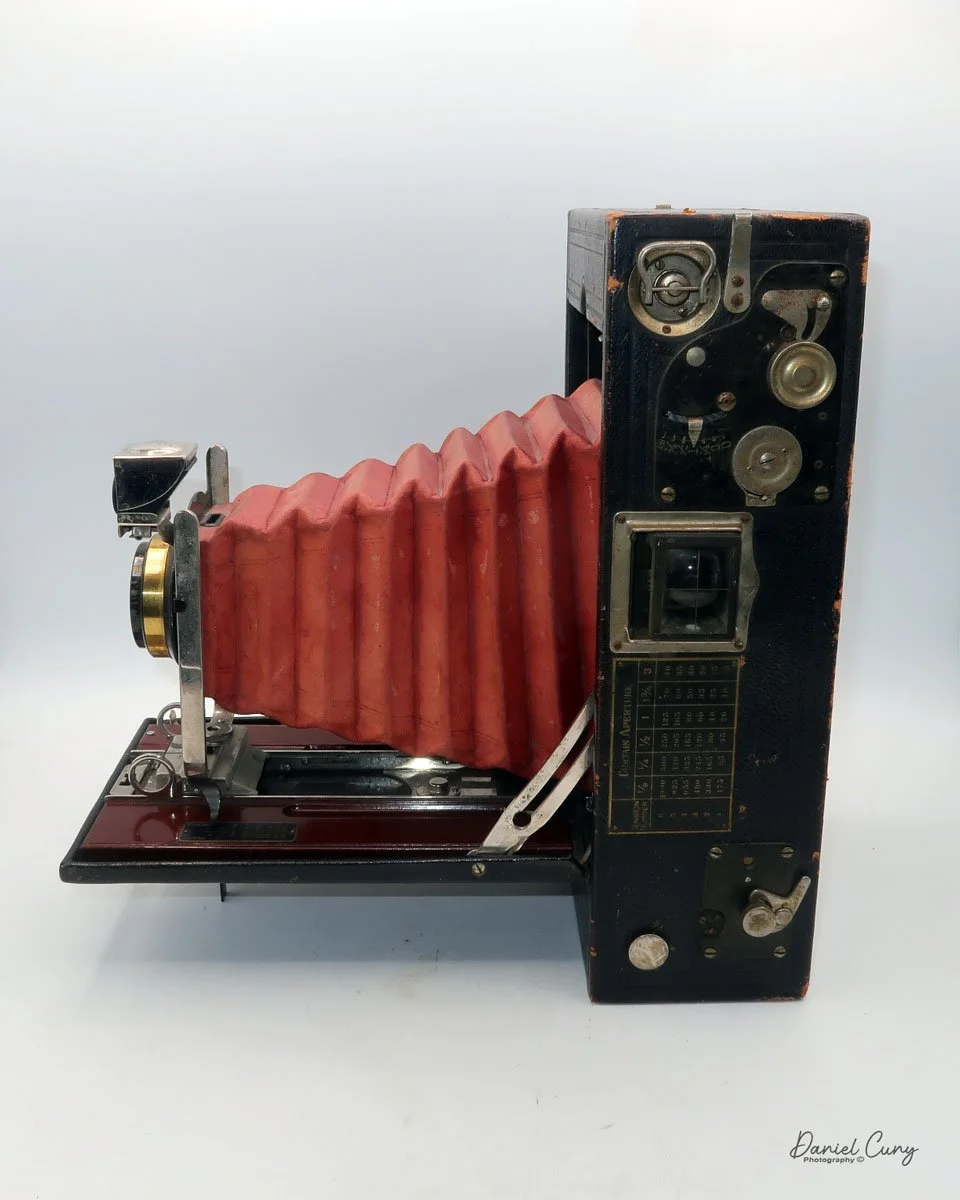
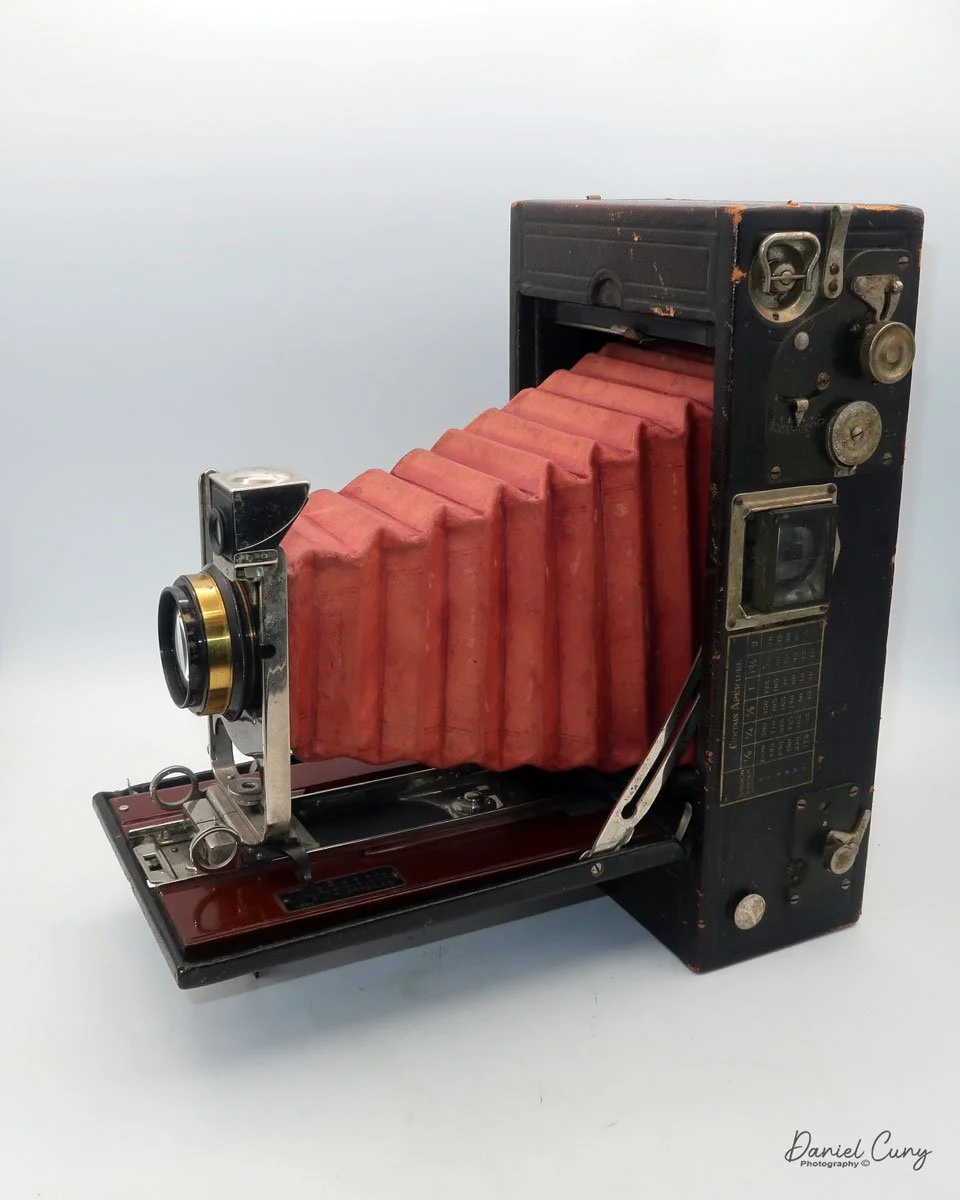
As I mentioned in the first line of this blog, the No. 4A Speed Kodak is a behemoth of a camera, which has a beautiful red bellows, measuring 11.75" tall, by 6.5" wide, and 3.5" deep when the camera is closed. When the camera is opened, the lens extended, the camera is 12" deep. My camera weighs in at 5 lbs. 11.5 ounces. The camera first appeared in the Kodak sales catalogue in 1908 and remained there until 1912.
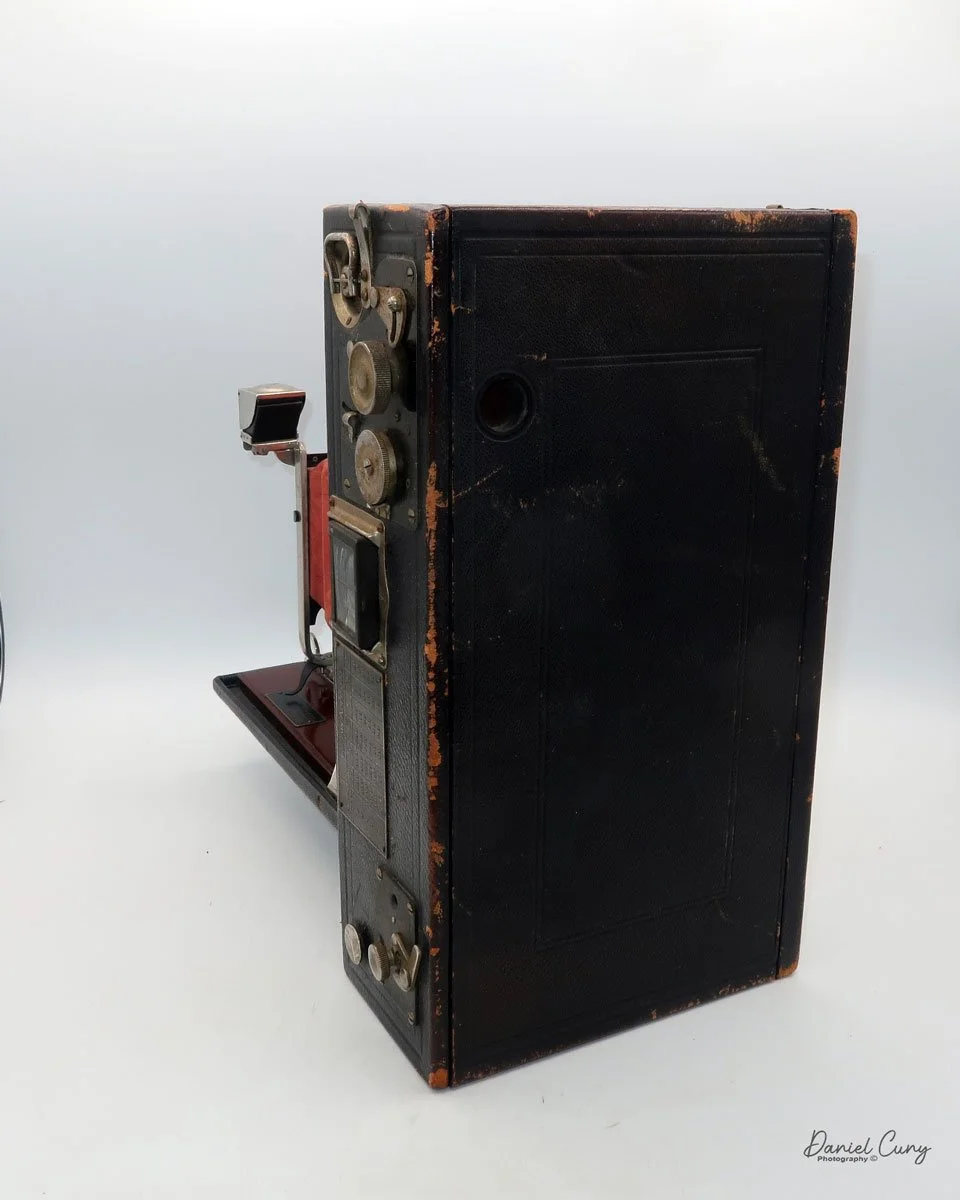

The serial number of my camera is 519-D, which you can find on the back side of the "Kodak" leg used to support the camera when opened. My No. 4A Speed Kodak camera has a batch ID number of 747, which is found on the inside of the back door, along with a matching number on the film "wings" used when loading film.
The negative size of the No. 4A Speed Kodak is a whopping 4 1/4" x 6 1/2" on 126-sized roll film. Not to be confused with the 126 cartridge film from the 1960s. Please note the size of the film spool for the No. 4A speed Kodak compared to a spool from a 120 size film.


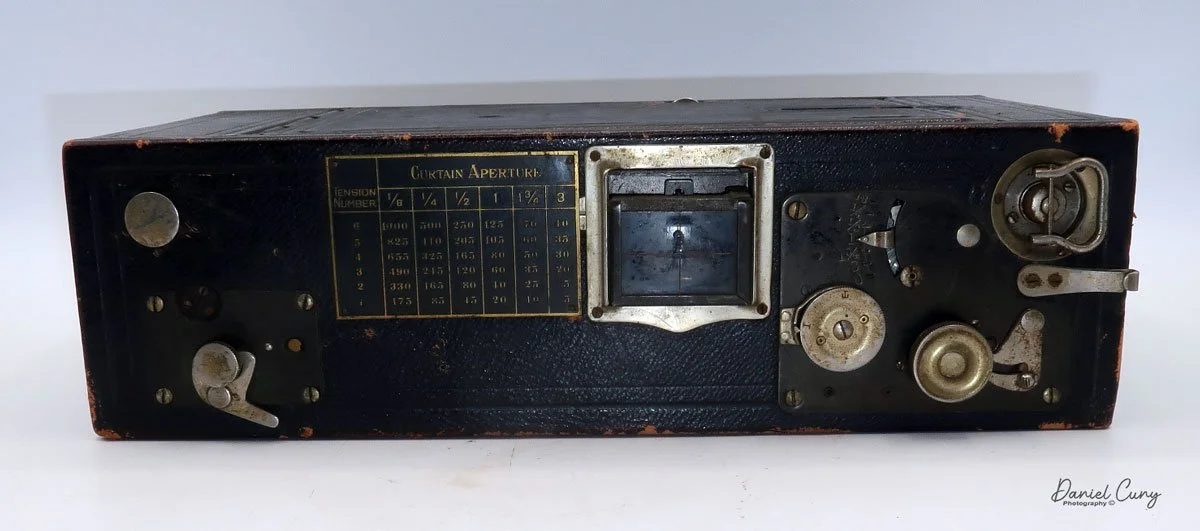
The unique feature of the No. 4A Speed Kodak is its built-in Focal Plane shutter system. This shutter allows the camera to shoot from speeds of 1/5 on the slow end to a top-end shutter speed of 1/1000. The camera could also do timed exposures if necessary. The focal plane shutter is set by a series of tension wheels and settings done on the top of the camera. To achieve the desired shutter speed, the tensions and sliders are adjusted according to the graph displayed on top of the camera.


To open the camera and take a photo, as with many other Kodaks, a button on the side unlocks the folding bed. Once the bed is opened and in the locked position, the lens can be slid out onto the bed by pinching the two grips just under the lens and sliding it into the "taking" position. There is a fine focus adjustment on the folding bed, allowing you to focus on your subject.
Similar to other folding cameras, a waist-level finder is located to the top right of the lens and covered by a chrome cover to prevent dirt from hindering your ability to frame your subject. This waist-level finder can be used for vertical or swung sideways for horizontal images. There is a secondary finder on top of the camera that flips up, and according to the catalog, this is an extra called the Direct Viewfinder.
To close the camera, use the two grips to slide the lens back into the camera body. Once you're all the way in, press down on the arms that lock the camera erect. They will unlock, allowing you to fold the bed back into the camera's body and lock it back in place.


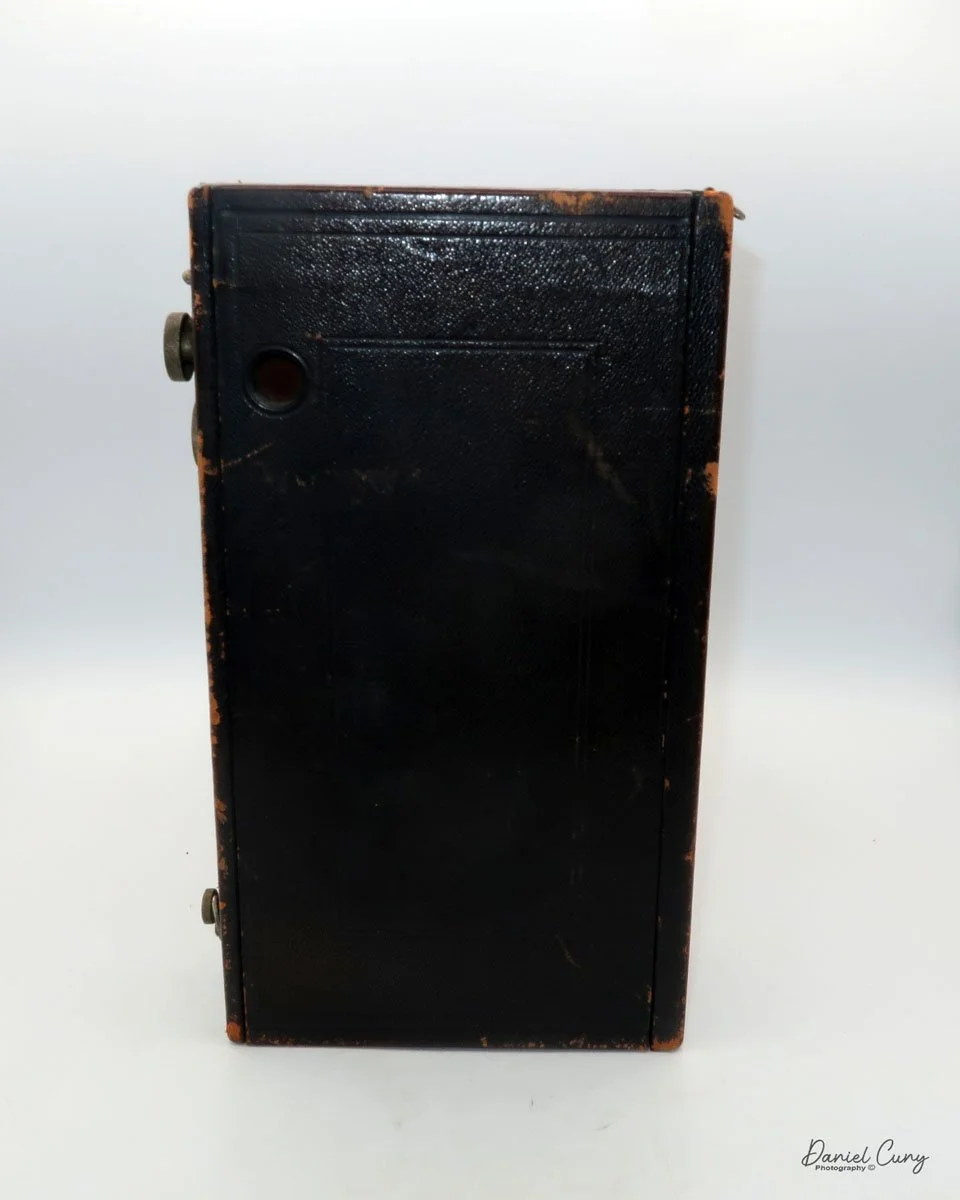
To open the back of the camera and load the film, use the two buttons located on each side of the camera body near the back. Press both buttons, and the back will come off the camera. Sometimes you'll need to pull the back away from the body to remove it if it doesn't spring open. The sides of the camera will also swing open, making it easier to insert or remove the roll. You'll also need to unhook the side strap before taking the back off. Unfortunately, my No. 4A Speed Kodak is missing the strap, but this procedure is similar to how the Kodak Panoram cameras open and close.
Once the film is loaded in the camera, slide the bottom of the back into the slot and press it into position, ensuring the side wings are closed. The back will then snap and lock into place.


Conclusion:
The focal plane shutter on my camera is not operable, and the shutter curtains are very brittle. After a bit of coaxing and taking the time to work with it, I managed to get one of the shutter curtains to close, but you can see how brittle it is from the photos.
Also, on my No. 4A Speed Kodak, the red bellows have separated from the black fabric on the inside of the bellows on the right side of the camera. That's why the bellows seem so wonky on that side. Still, having one of these cameras for display purposes is a wonderful thing, and I'm pleased to have this 110-year-old camera back in my collection.
Thank you for taking the time to look over and read about this fascinating camera from Kodak's past.
Click the link to see other Camera Reviews.
Visit Cuny's Camera and Photos on my eBay store to see cameras and other photo odds and ends I have for sale. At times, I even sell cameras from my reviews.
Until next week, please be safe.