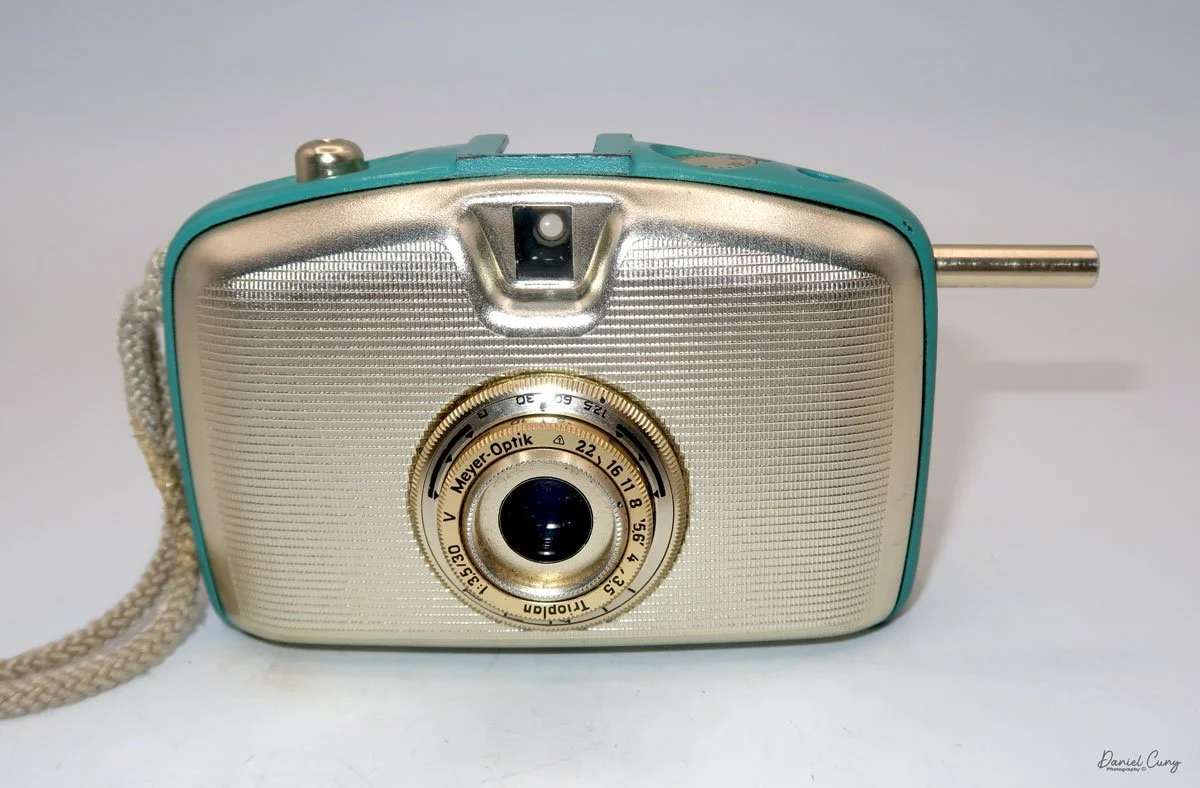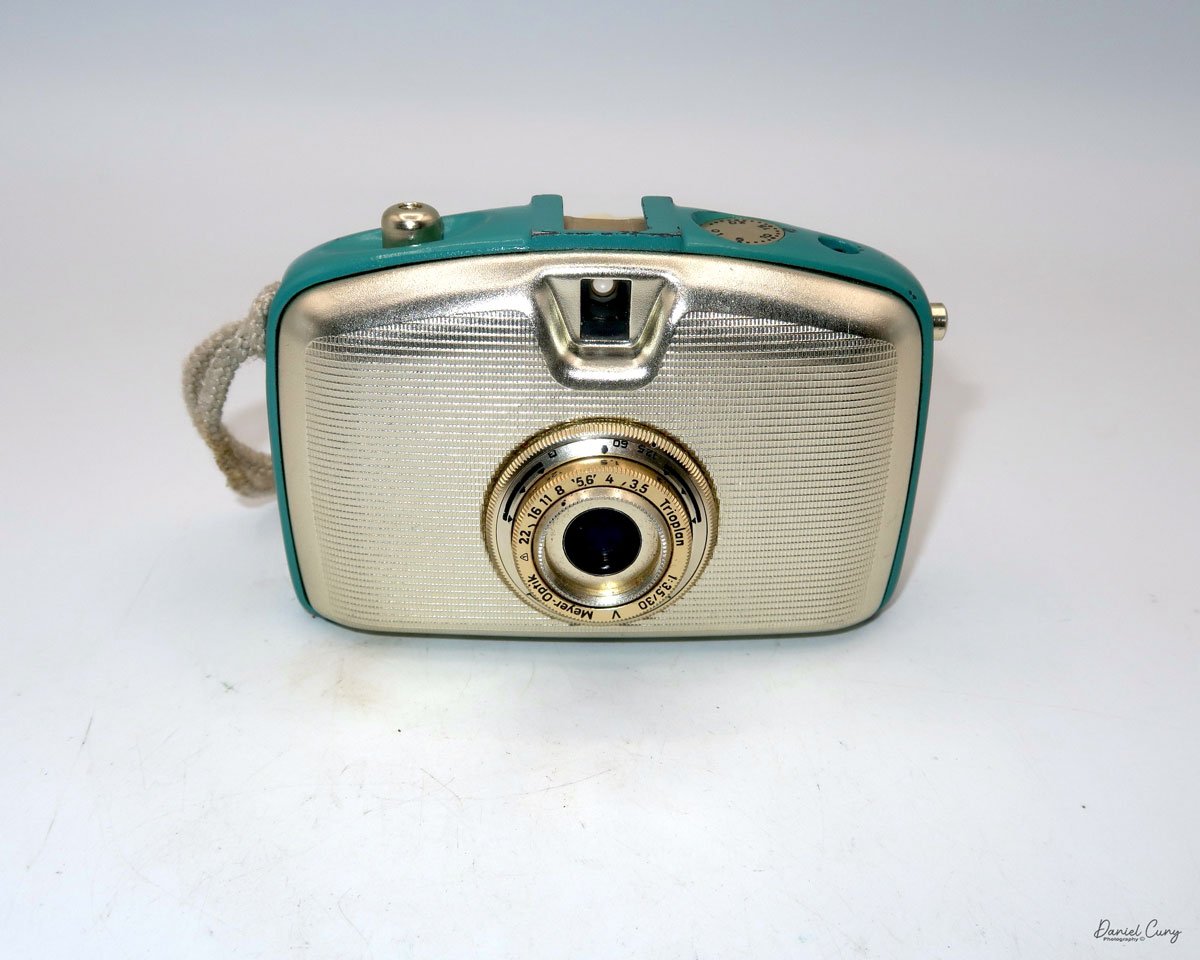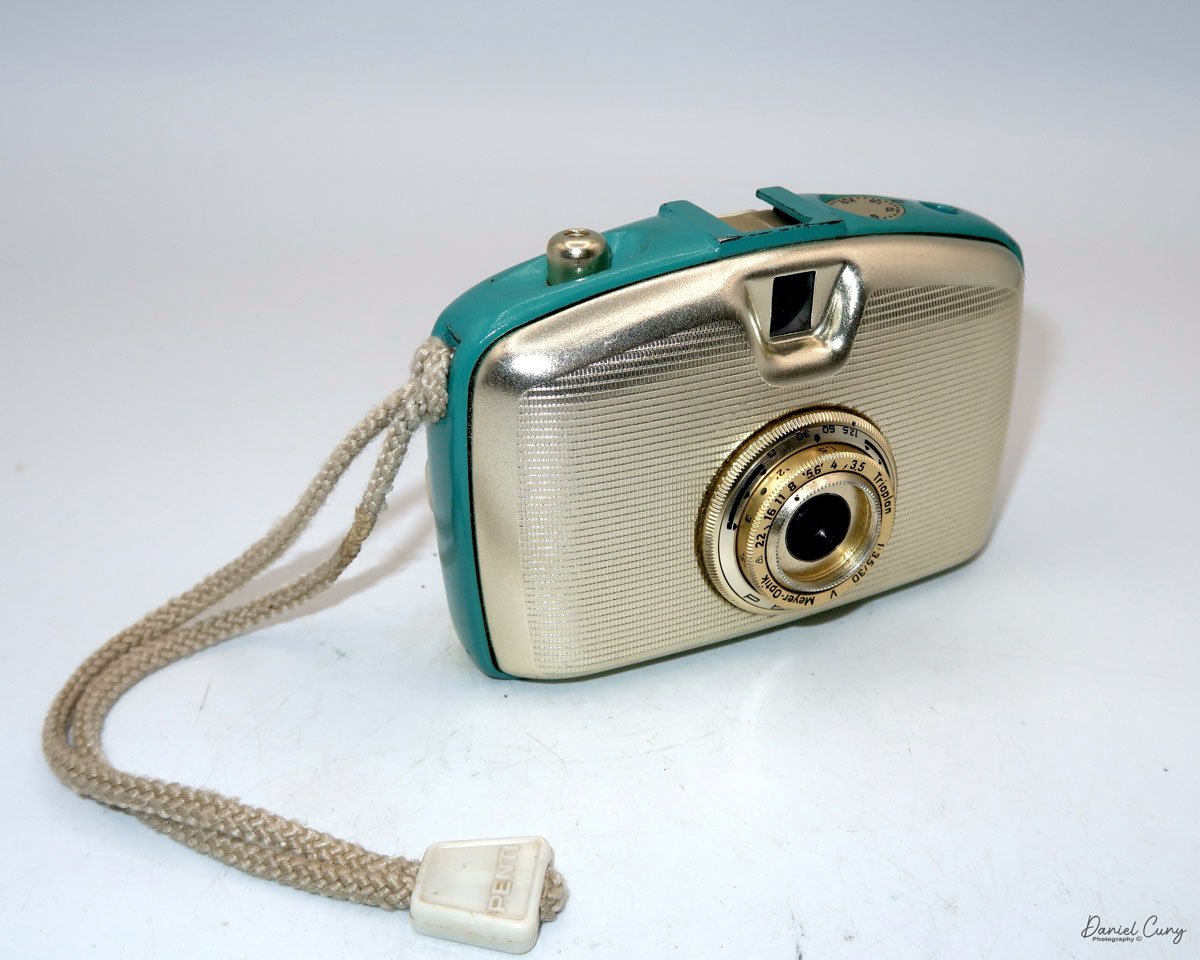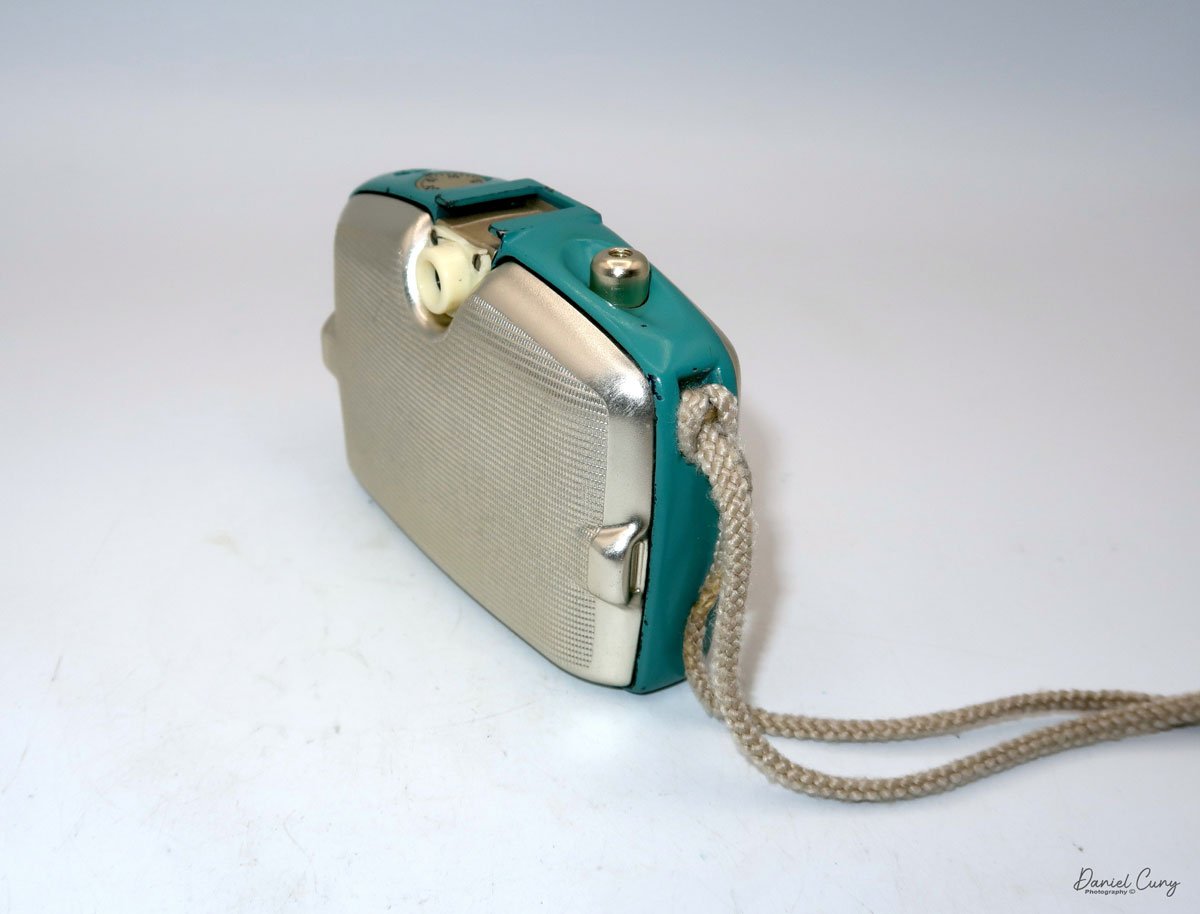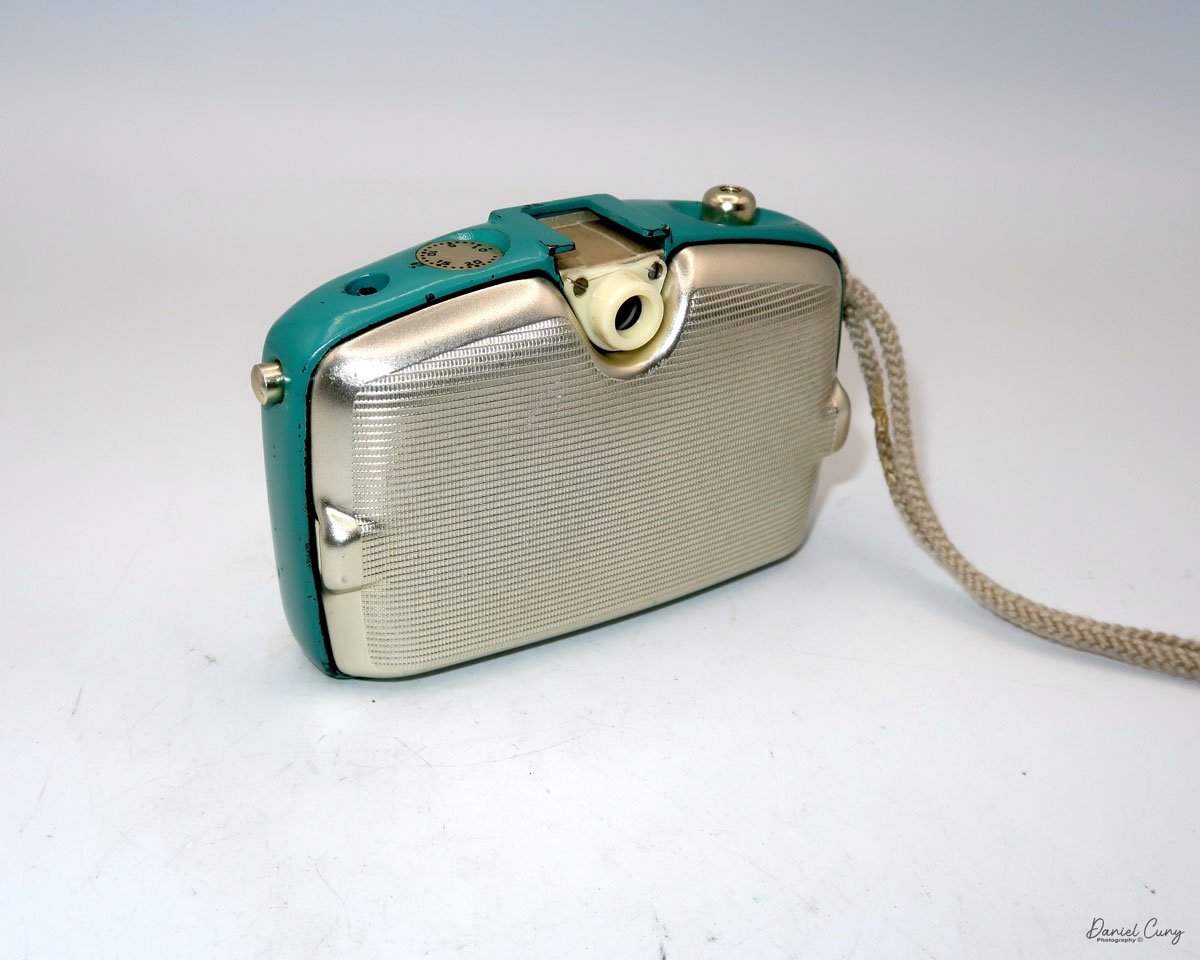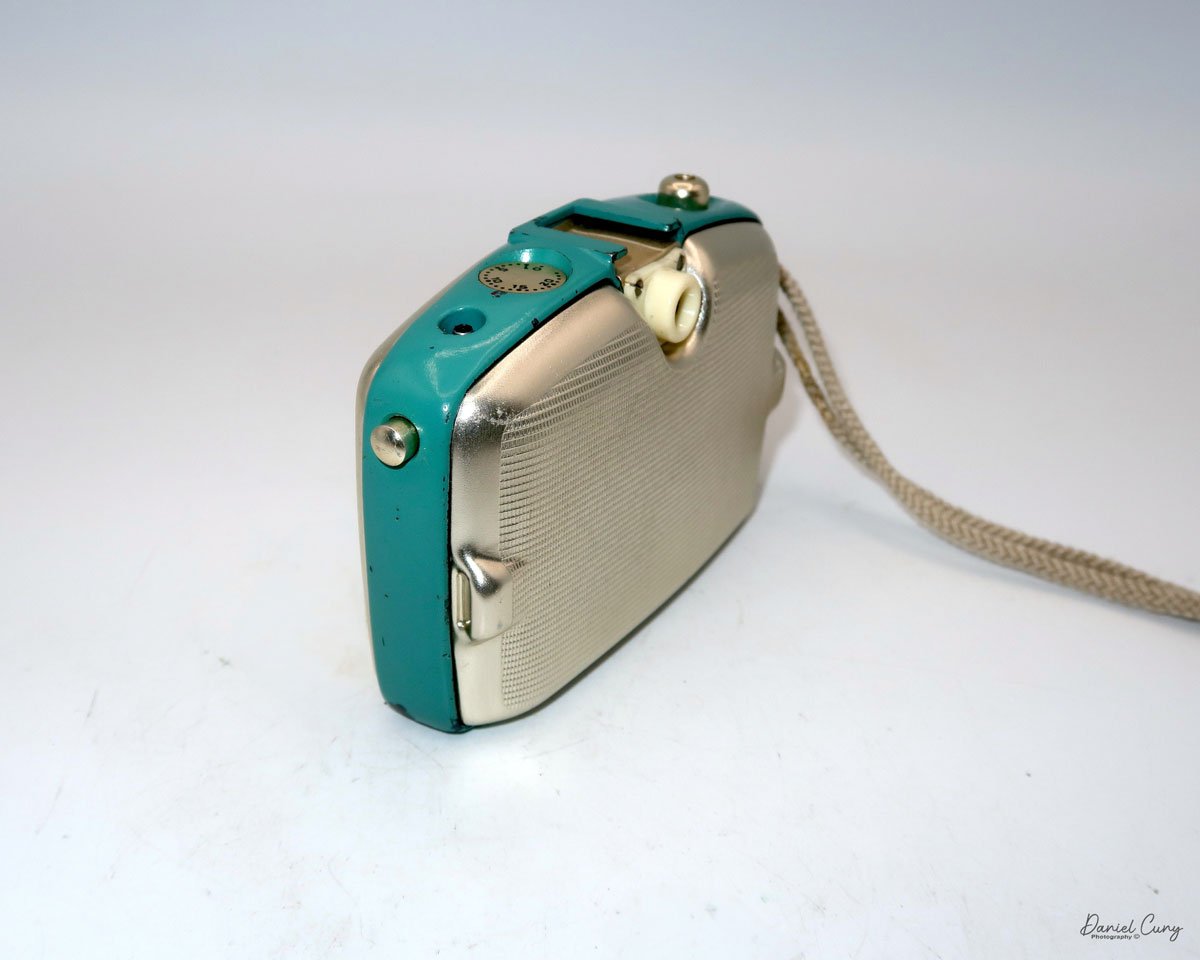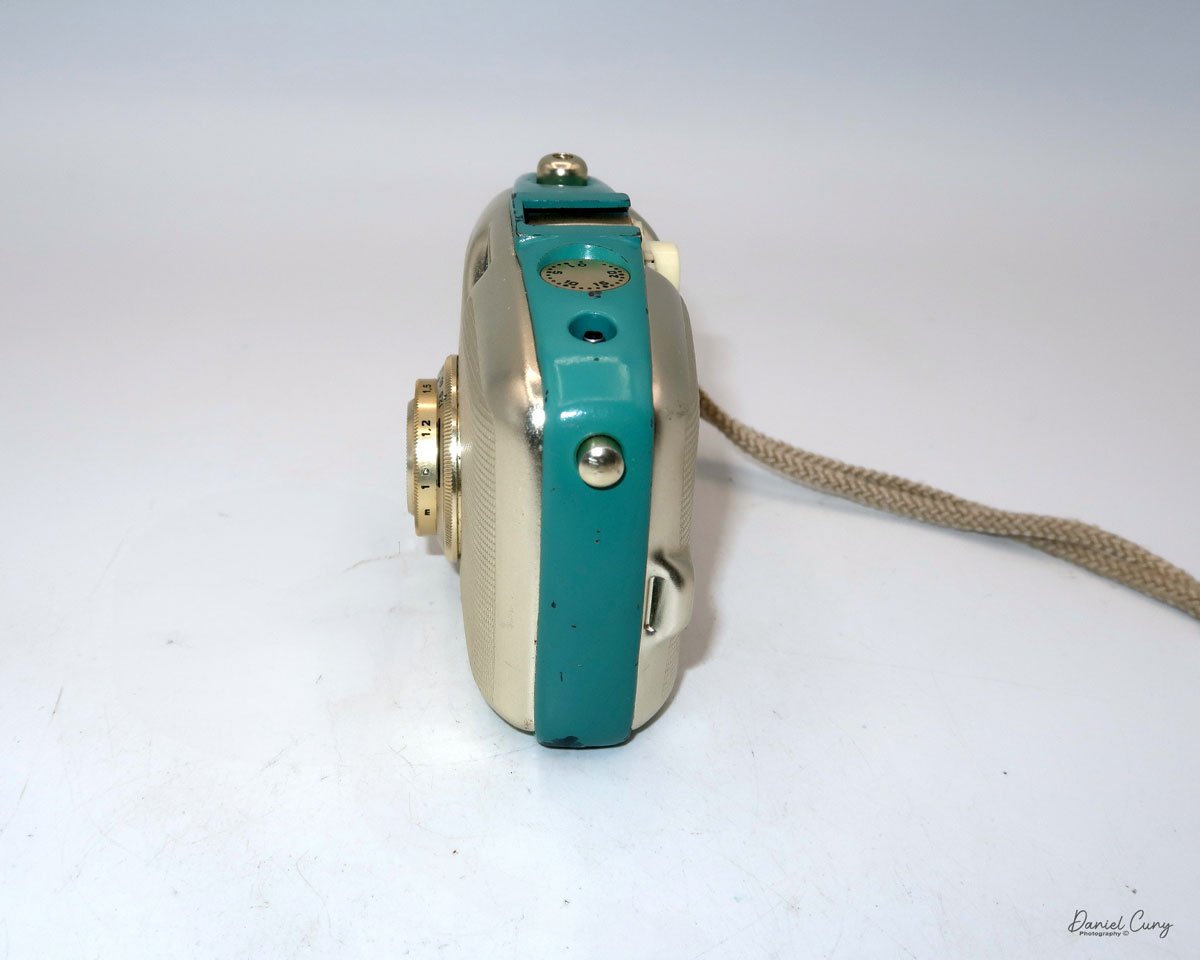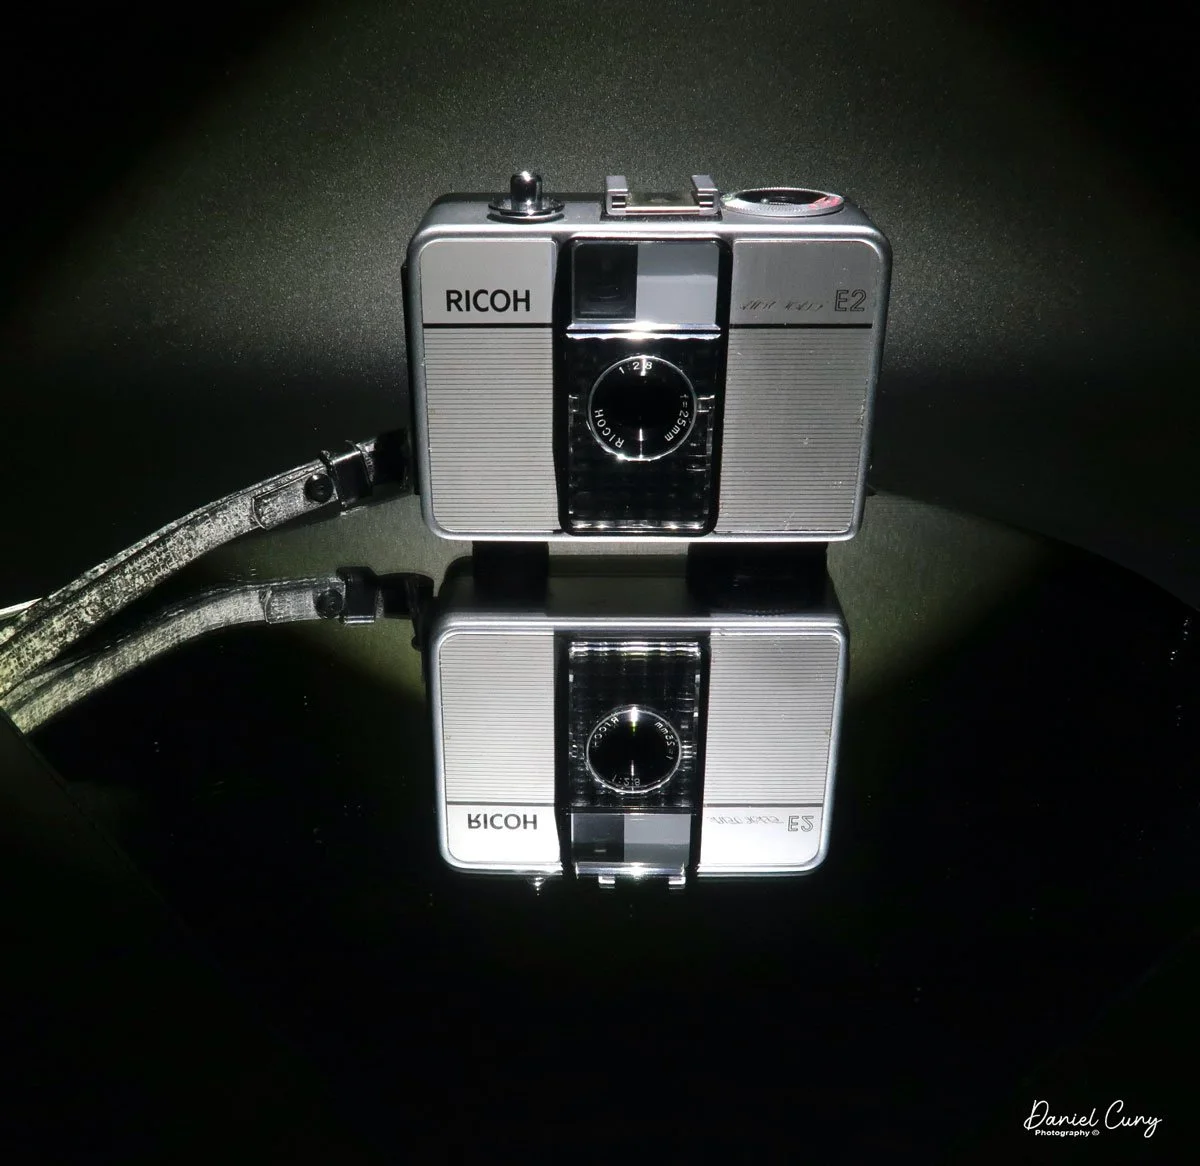
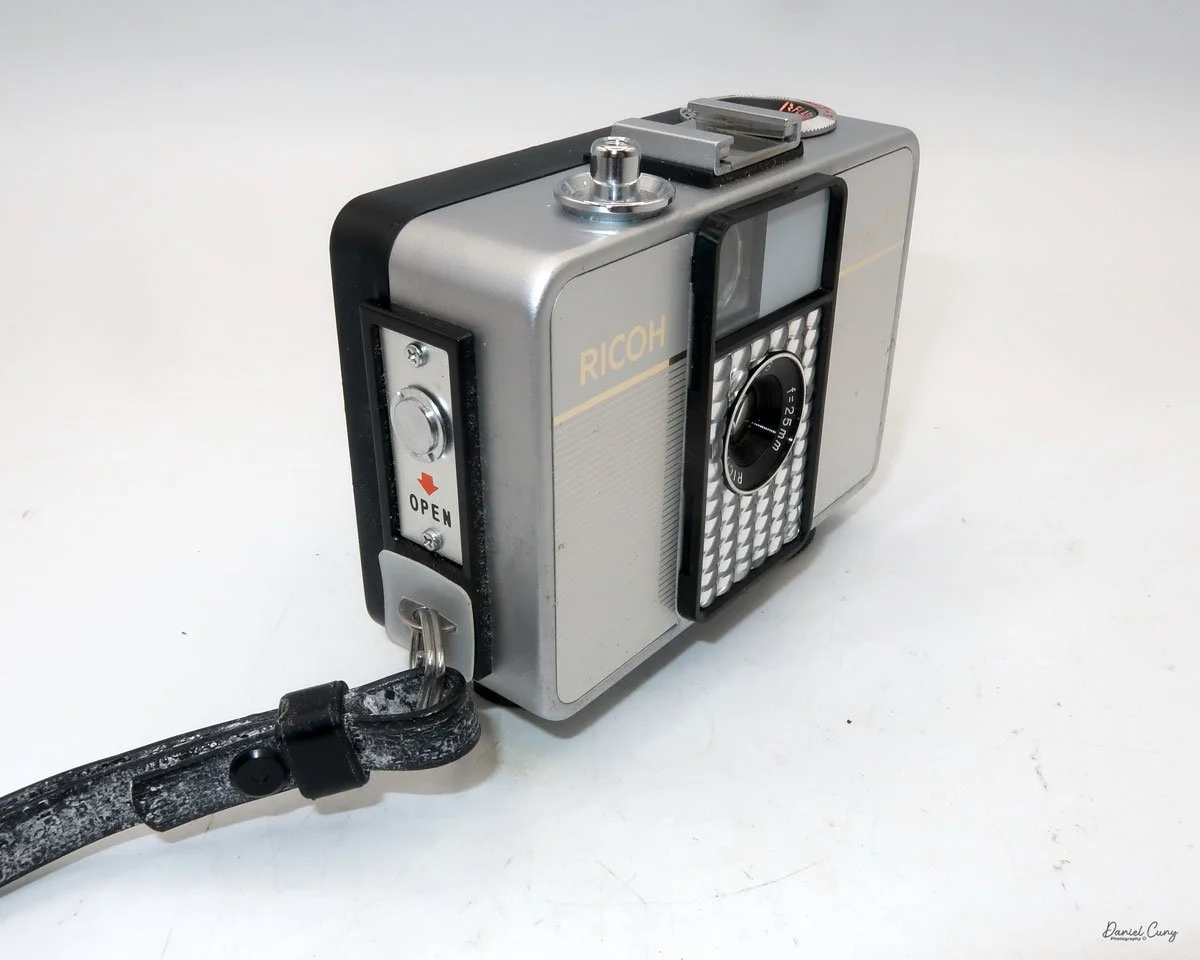
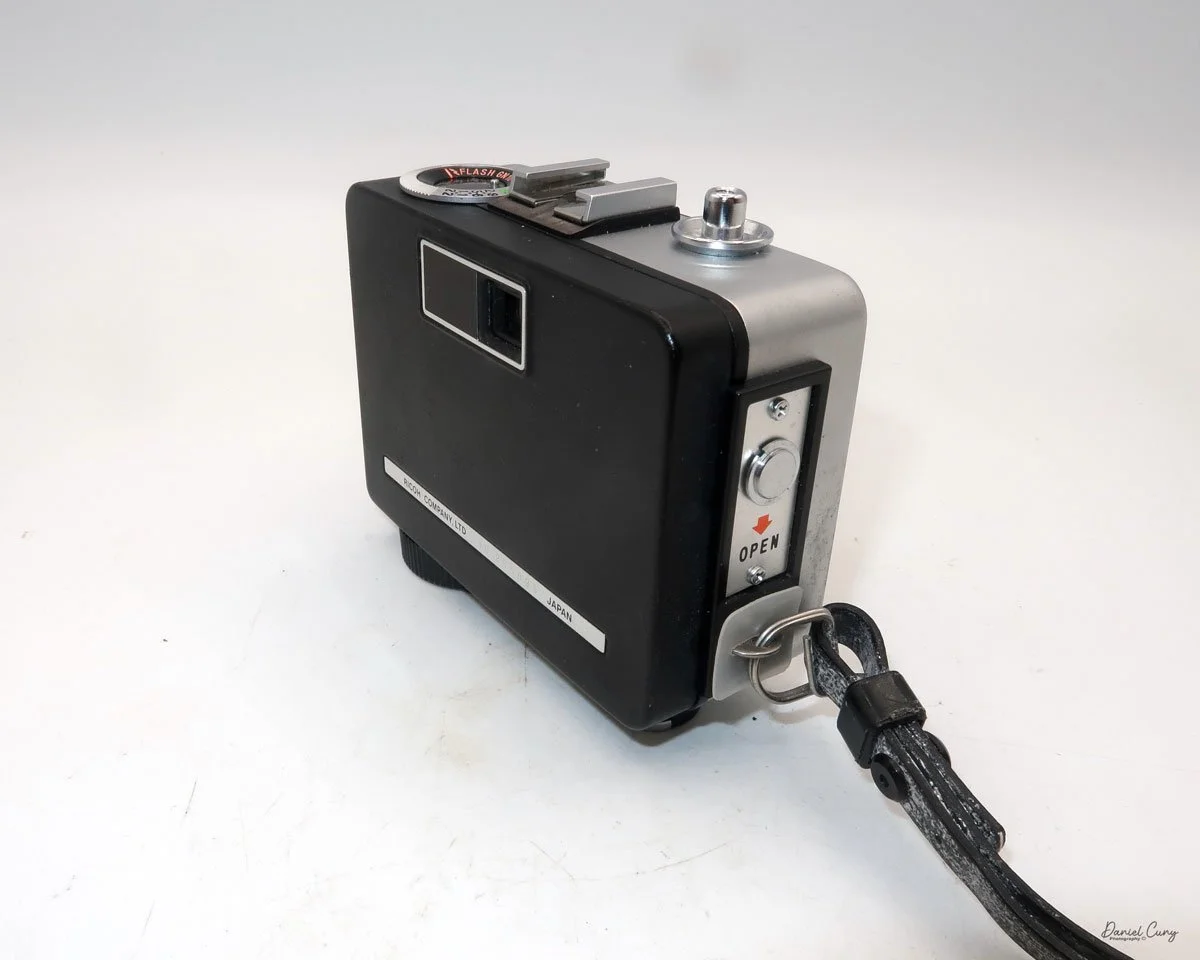
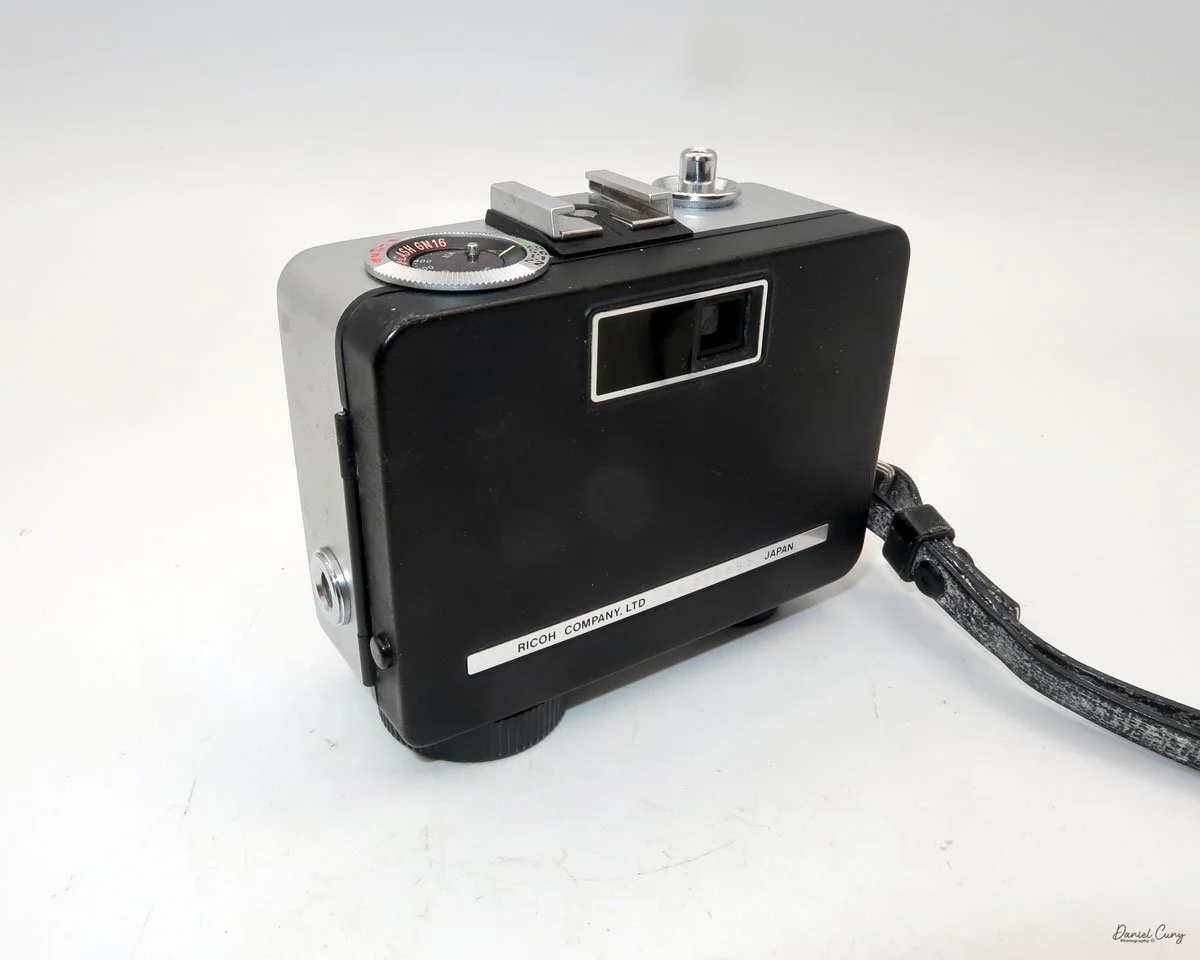
My Ricoh Auto Half E2 camera
The 1960s were a tumultuous time—a wild era—for politics, art, social change, music, and design. Having spent my early and informative years during this time, I was witness to some remarkable events that shaped the world, which I'm happy to say I lived through.
There were the Beatles, who upended the music world; marches and protests against the war in Vietnam and civil rights; and Jackson Pollock and Andy Warhol, who were taking the art world by storm. It seemed like every month, there were issues and events in the news that shaped the world.
In the photographic and camera design fields, in my opinion, one of the more artistic and interesting products to emerge from the 1960s was the Ricoh Auto-Half camera—a straightforward camera that underwent several model changes, keeping the design fresh for almost 20 years.
The Ricoh Auto Half camera was introduced in December 1960. For the period, the camera was very compact and lightweight, a half-frame 35mm camera with automatic exposure, no manual focusing, and automatic winding. The size of the camera was compared to a pack of cigarettes.
Not only were there several different model changes and improvements, but the design style, to me, was the item that kept the camera fresh. The original Ricoh Auto Half camera was available in a bright silver color and featured a wrist strap. However, later in the 1960s and well into the 1970s, the camera took on many different colors and geometric designs, which were very popular during this timeframe.
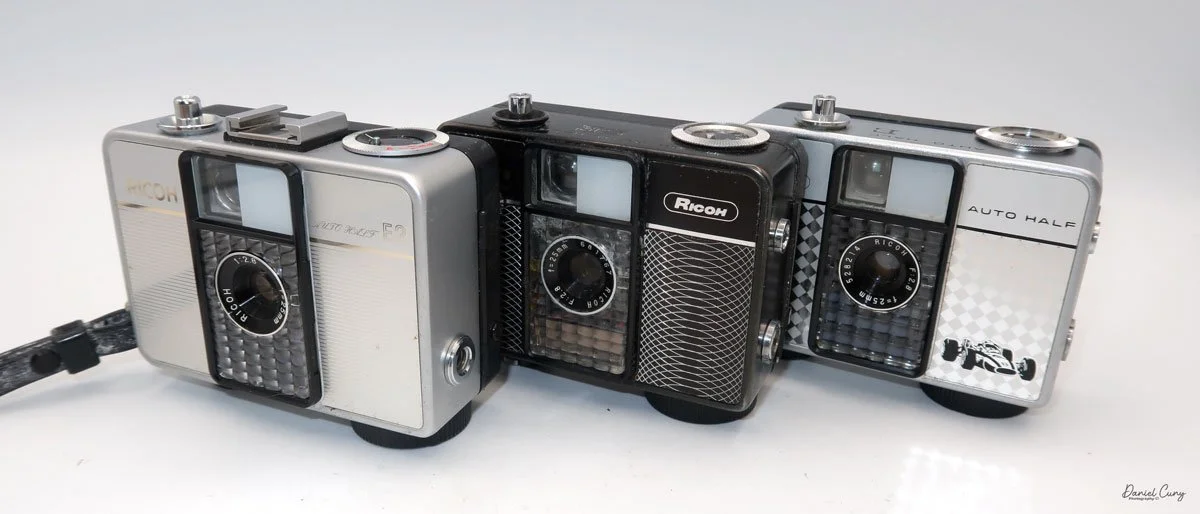
My three Ricoh Auto Half cameras
Some of the cameras were black with a white geometric pattern on the front, like one of the models I have. Later in the production cycle of the cameras, the production became bolder and more intricate, which kept pace with the signs of the times.
There was a yellowish-green checkerboard pattern, or some cameras had brown vertical stripes or a wavy pattern, while others had outlandish red and blue colors that appeared to create a dome pattern on the front of the camera. One of the models I saw was named "King Gold," which is a gold color camera with an interesting pattern on the front. Some have a filigree around the border, or a train or race car on the front. All of these models are just fascinating to me, and one of the main reasons I wanted to write about them.
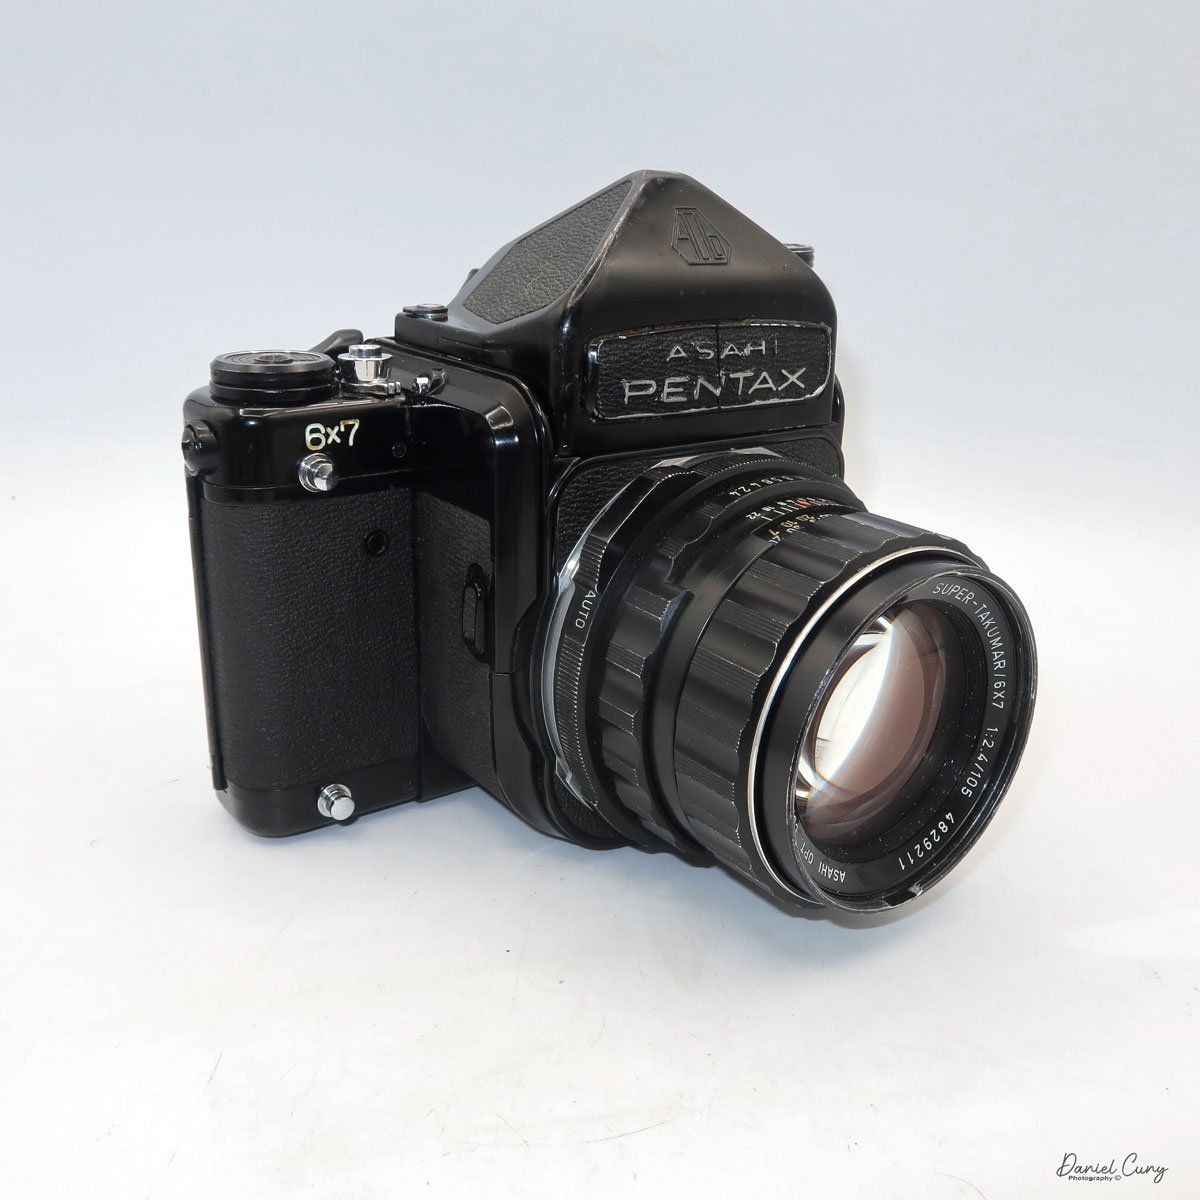
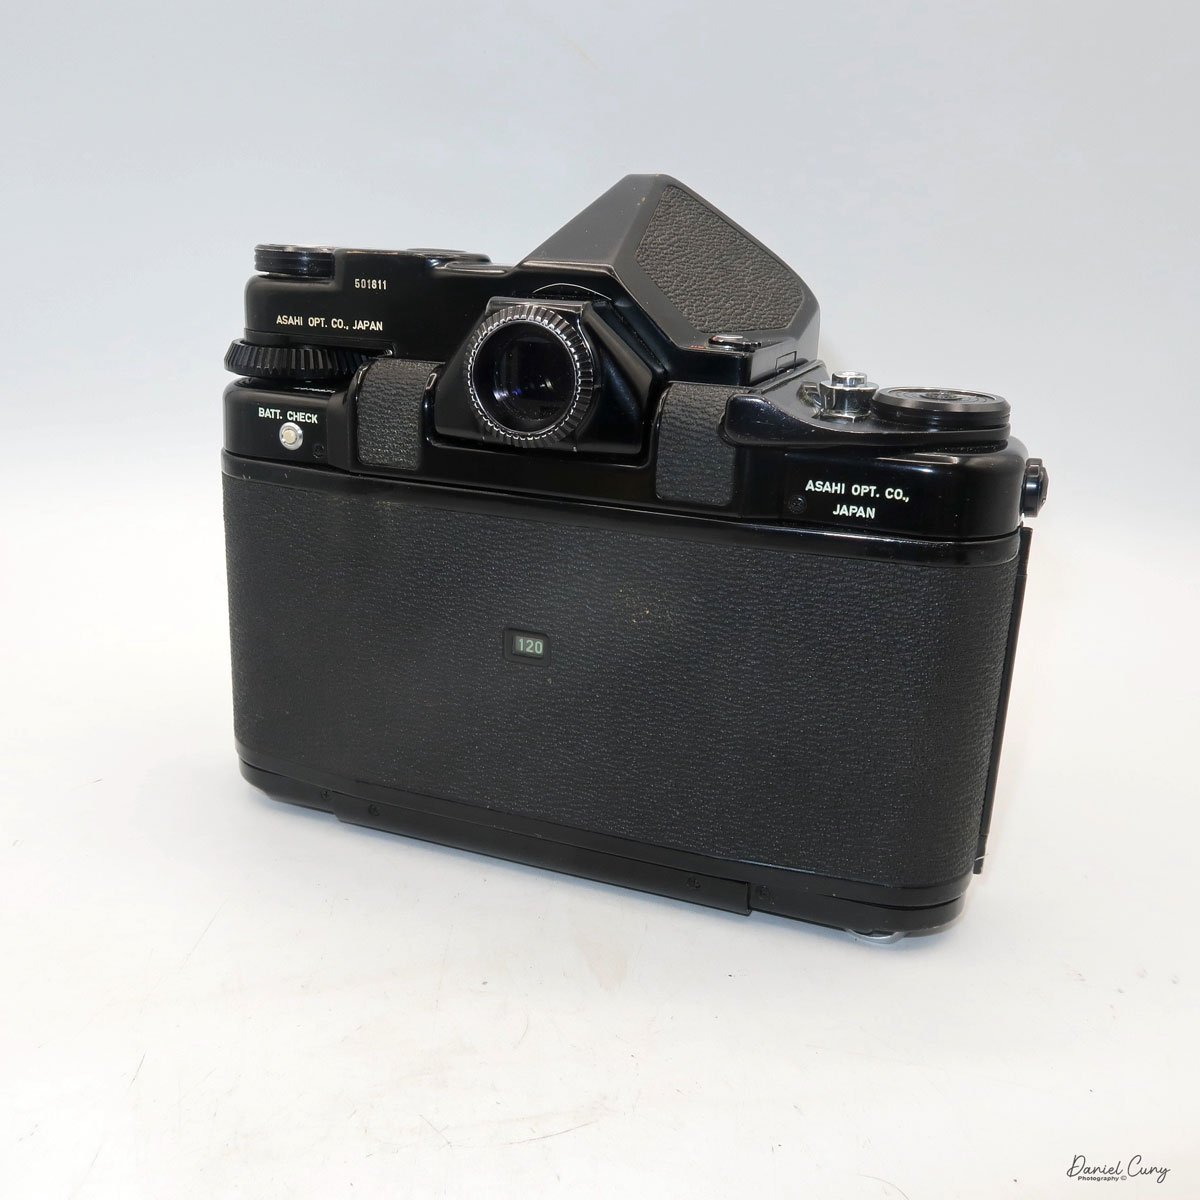
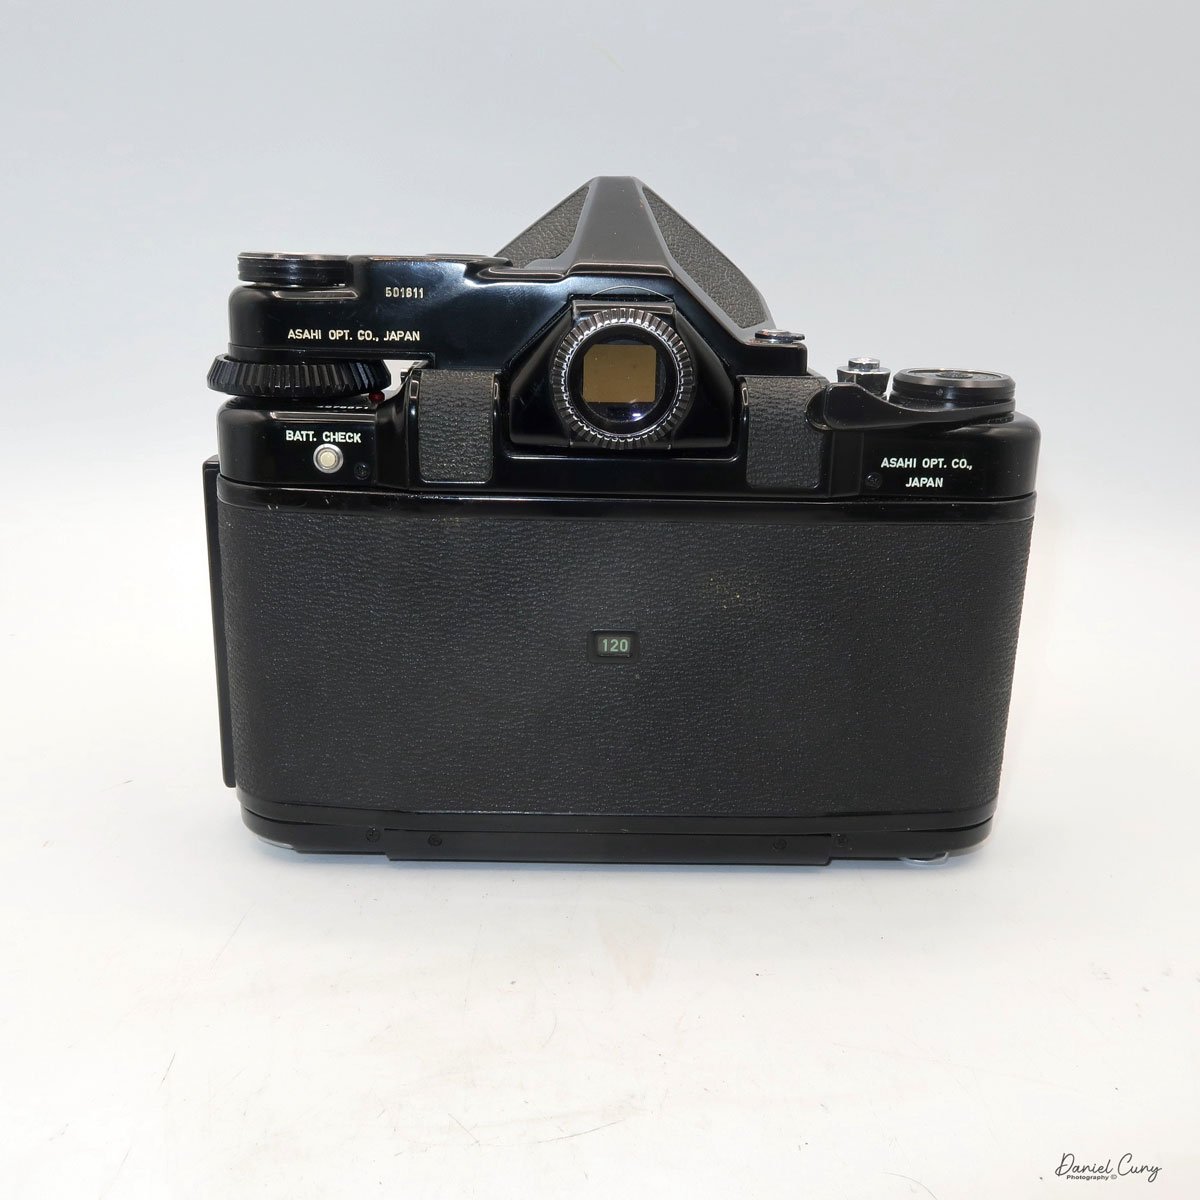
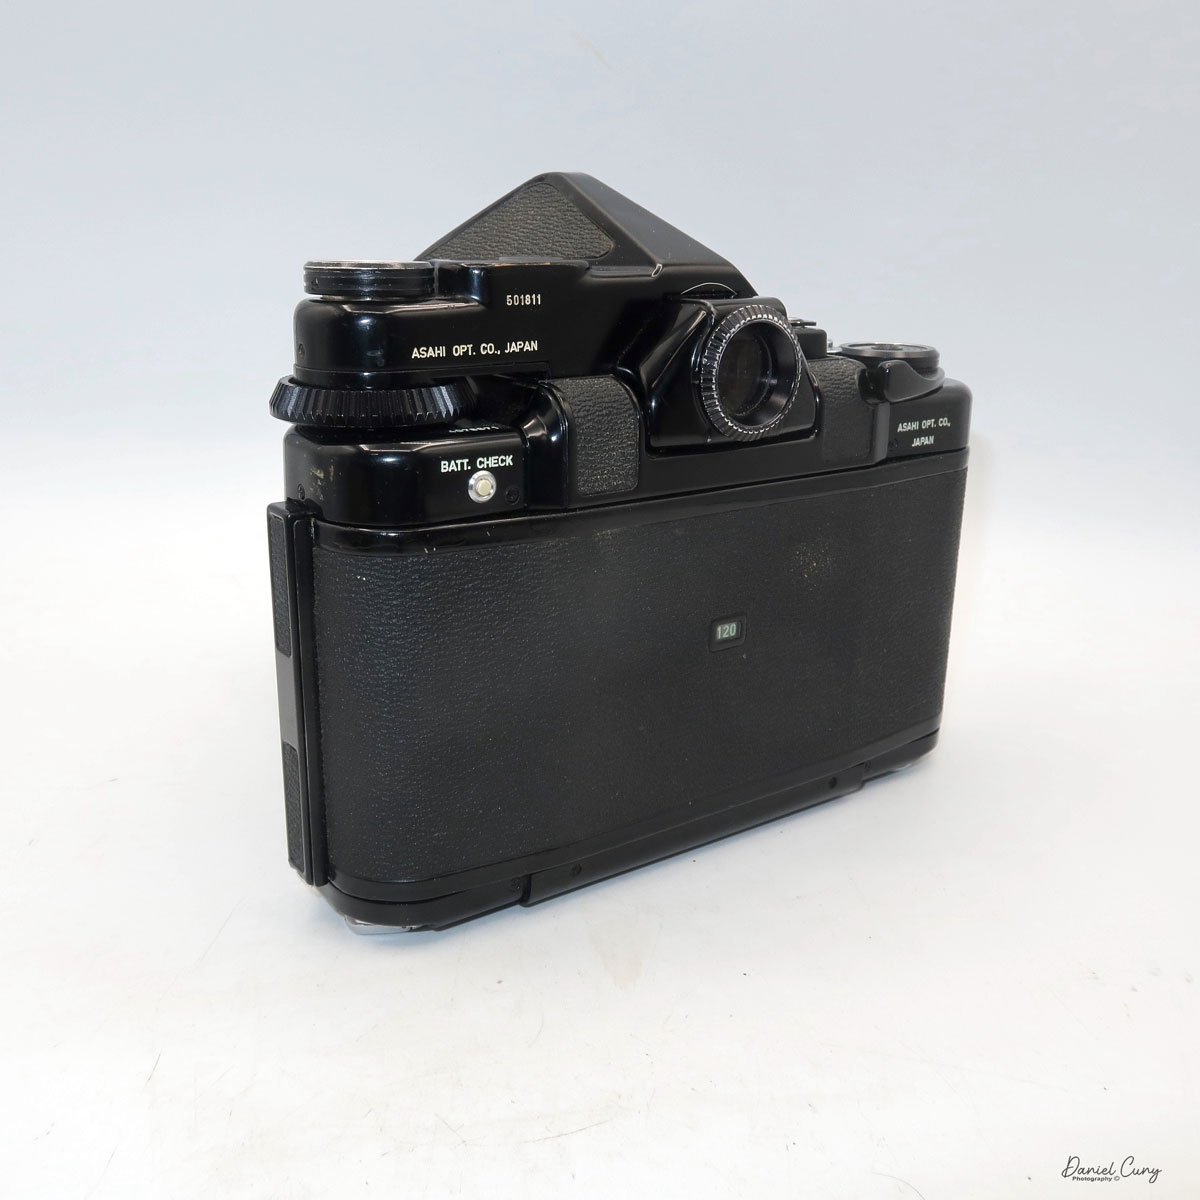
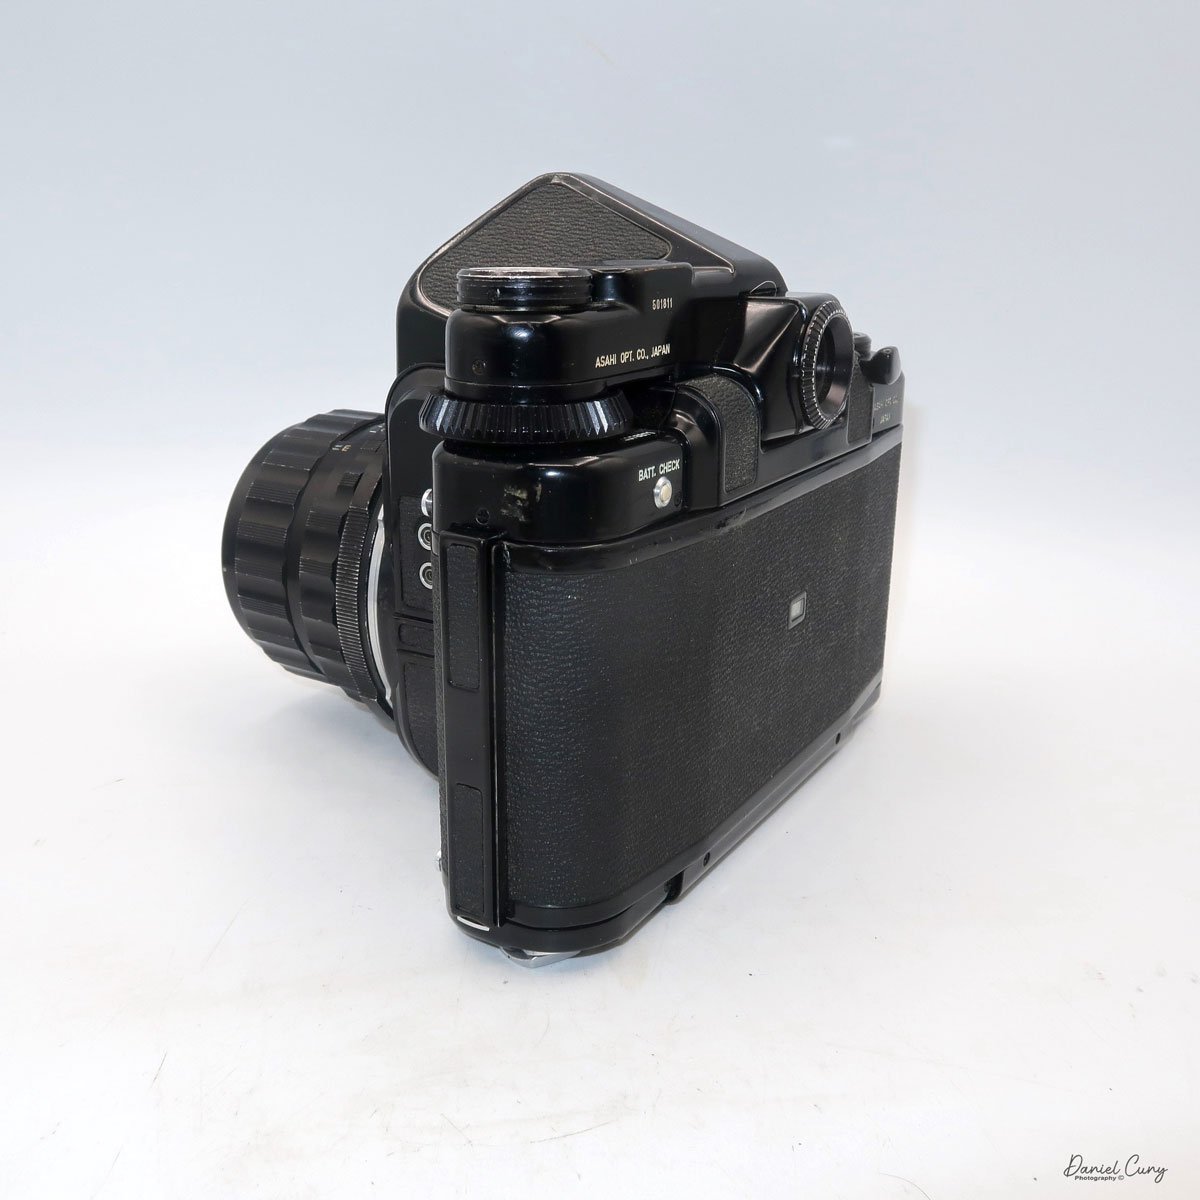
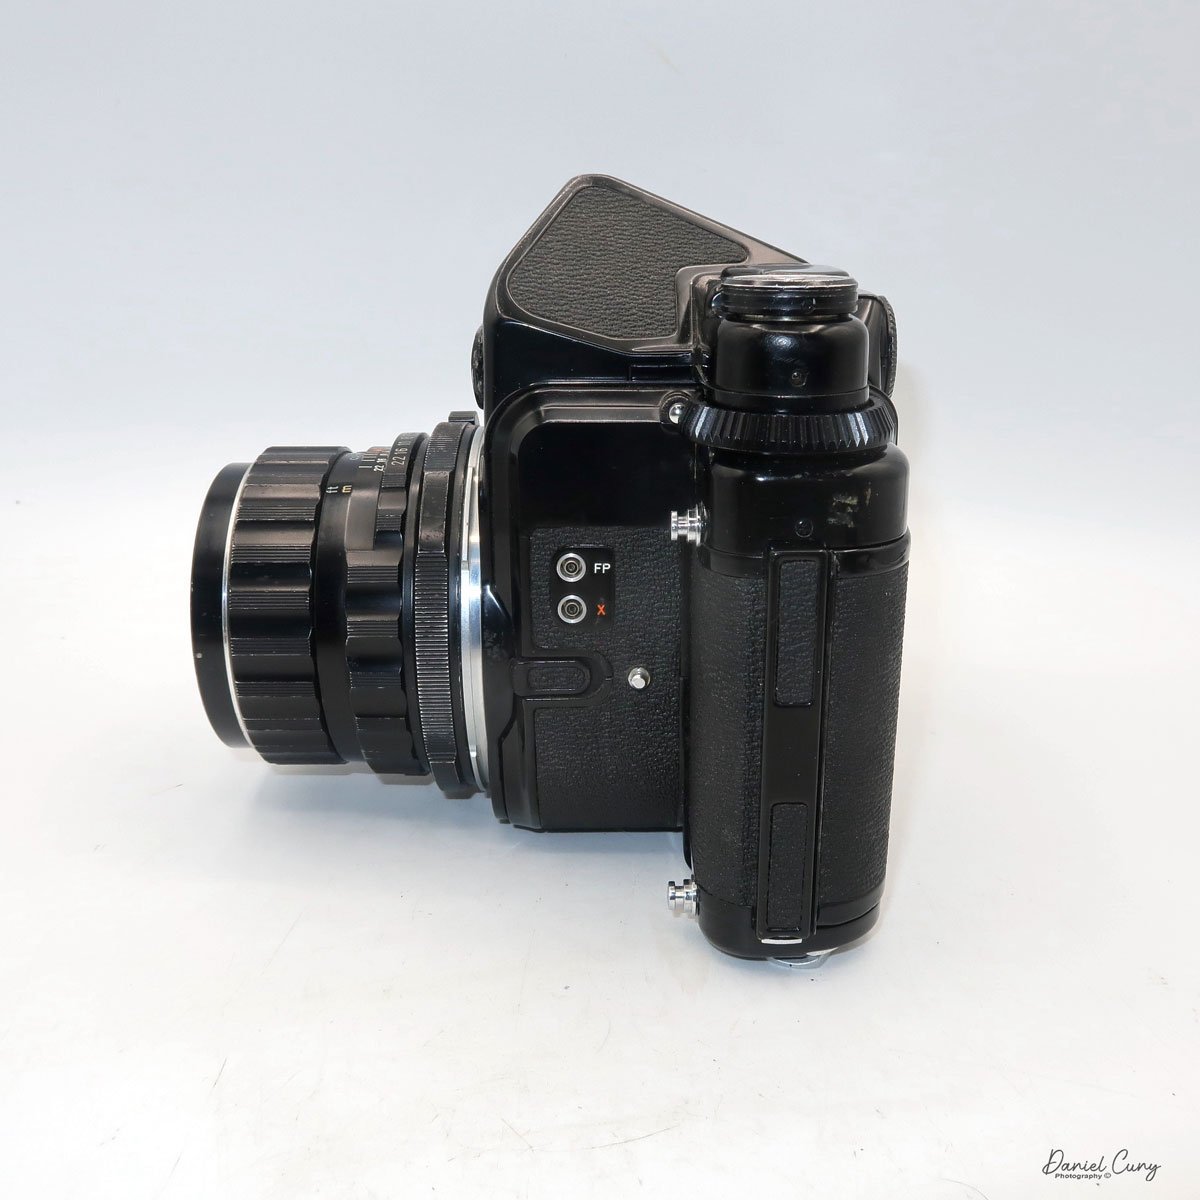
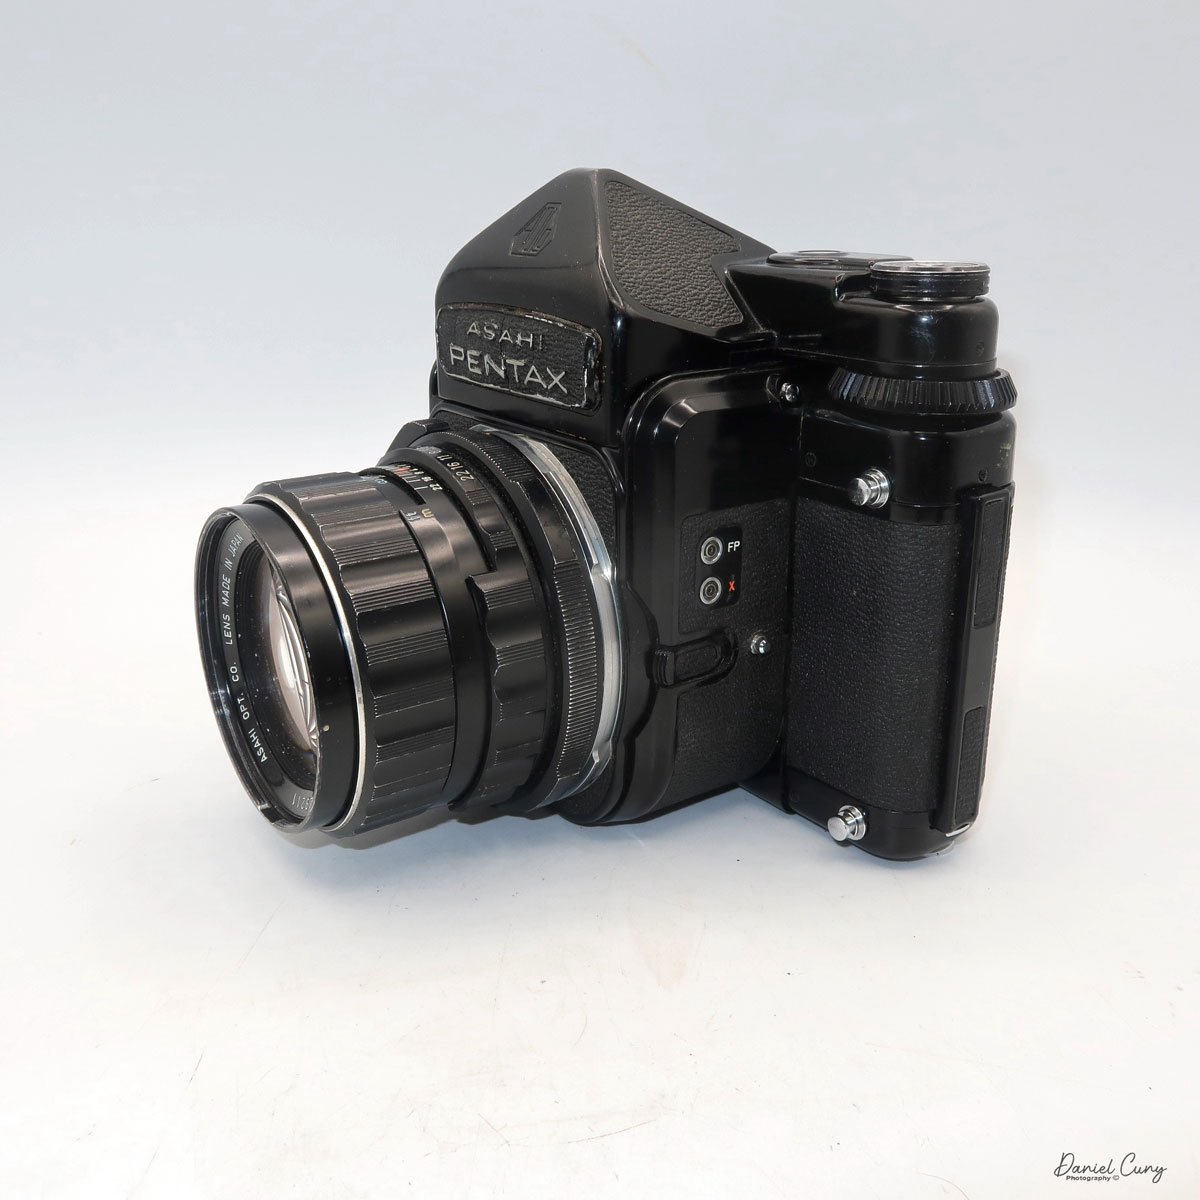
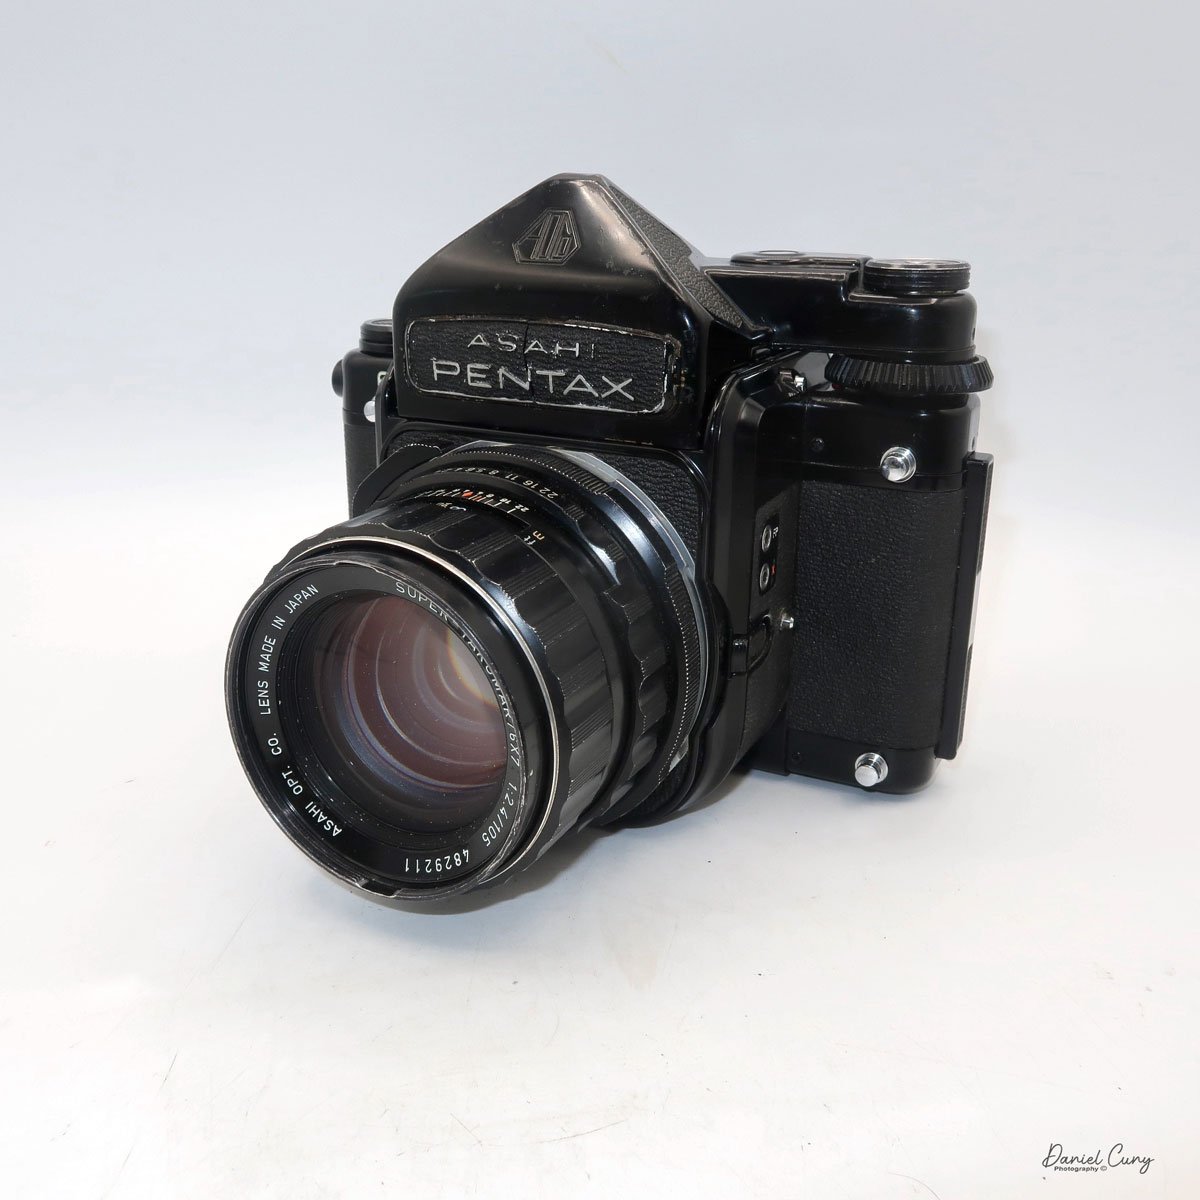
I own three different models of the Auto Half cameras. I have an Auto Half E model with a diamond pattern and a Formula 1 race car on the front. I have a Black Auto Half SE model with a swirly pattern on the front, and the camera I used for the post was an Auto Half E2 in superb working condition.
I own three different models of the Auto Half cameras. I have an Auto Half E model with a diamond pattern and a Formula 1 race car on the front. I have a Black Auto Half SE model with a swirly pattern on the front, and the camera I used for the post was an Auto Half E2 in superb working condition.
History:
Ricoh's journey into the world of photography began not with cameras, but with sensitized paper. Established in 1936 as Riken Kankoshi Co., Ltd., the company quickly leveraged its expertise in optics, venturing into camera production just a year later in 1937. This early period laid the groundwork for a legacy of innovation and accessibility in the photographic industry. The company, which would be renamed Riken Optical Co., Ltd. in 1938, introduced its first camera, the Olympic Four, in 1939. This simple folding camera marked its entry into a competitive market.

Japanese ad for Ricoh Auto Half camera
The post-war era proved to be a transformative period for Ricoh. A pivotal moment arrived in 1950 with the launch of the Ricohflex Model III. This twin-lens reflex (TLR) camera was a game-changer. By implementing a revolutionary belt-conveyor system for mass production—a first in Japan's camera industry—Ricoh was able to produce the Ricohflex III at a remarkably affordable price. This move single-handedly democratized photography for the Japanese public, transforming cameras from a luxury item into an accessible consumer good. The Ricohflex III became a massive commercial success, reportedly capturing over half of the domestic market share at its peak and cementing Ricoh's reputation.
Building on this momentum, Ricoh continued to innovate throughout the 1950s and early 1960s. The company introduced the Ricoh 500 in 1957, a popular 35mm camera notable for its user-friendly features. However, it was the Ricoh Auto Half in 1962 that truly showcased the company's forward-thinking design philosophy. This remarkably compact and lightweight half-frame camera was fully automatic, with automated exposure, focusing, and film winding. Its purse-sized dimensions and ease of use made it a massive hit, particularly with female consumers, and it became a global success.
These formative years were crucial in shaping Ricoh's identity. From the mass-produced Ricohflex that brought photography to the masses to the stylishly simple Auto Half, Ricoh's early history is a story of creating high-quality, innovative cameras that were not only technologically proficient but also thoughtfully designed for everyday users. This foundation of accessibility and user-centric innovation would continue to define the company for decades to come.
My Camera:
My Auto Half E2 model camera is 3.5: wide, by 3" tall, by 1.5" deep, and weighs 11.9 ounces. The camera is a 35mm half-frame camera that takes a vertical image of 24x17cm on 35mm film. The camera features a fixed focus 25mm F/2.8 lens, which is typical for half-frame cameras.
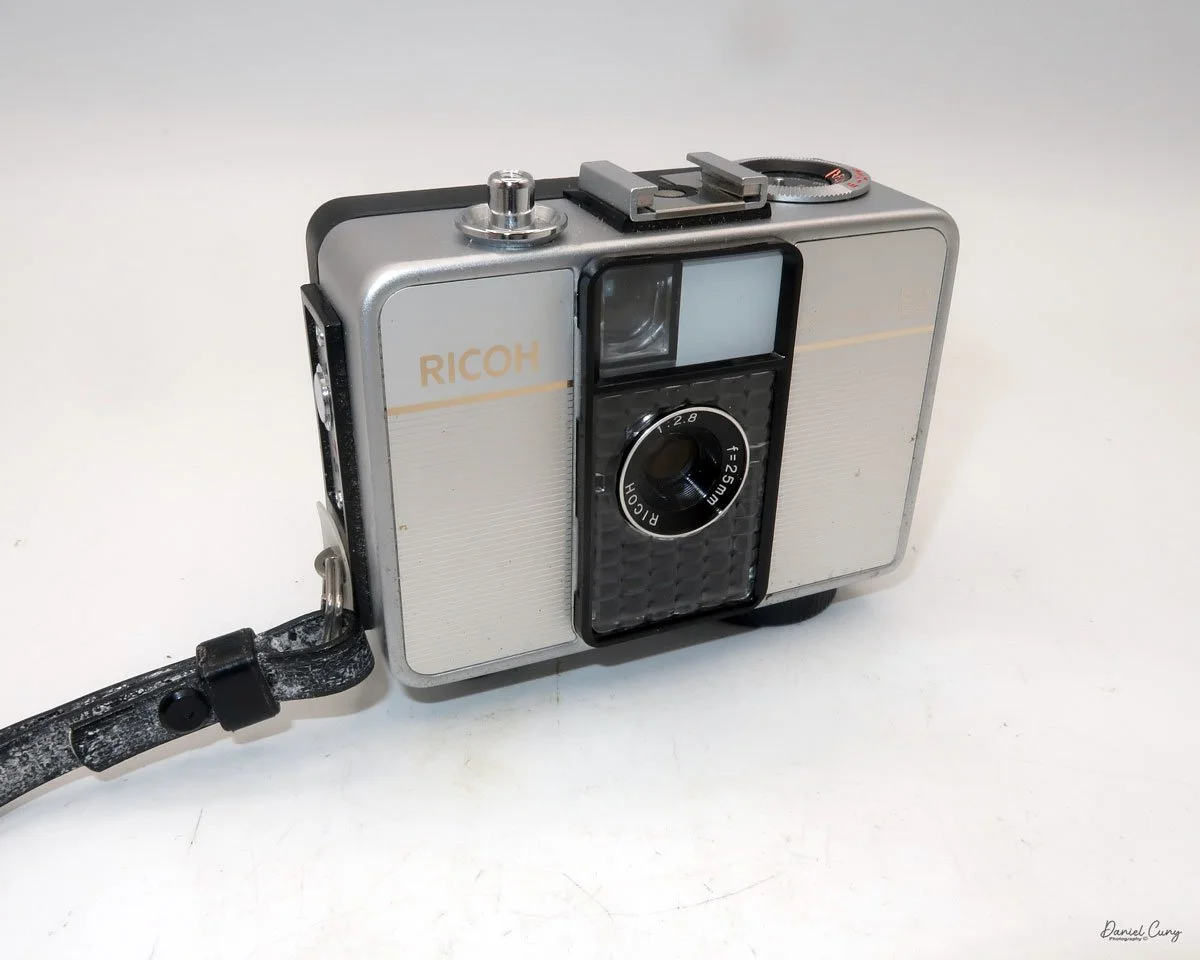


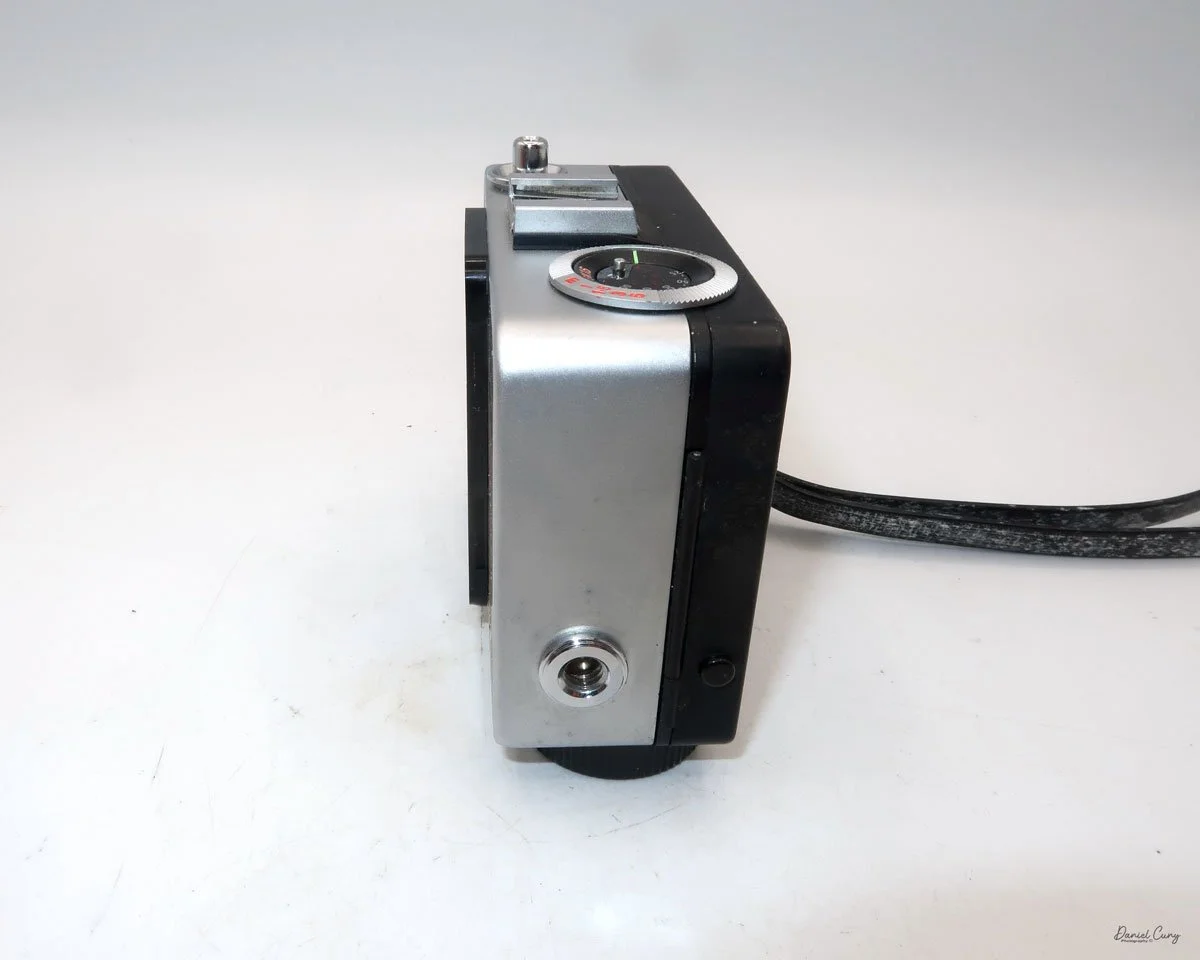
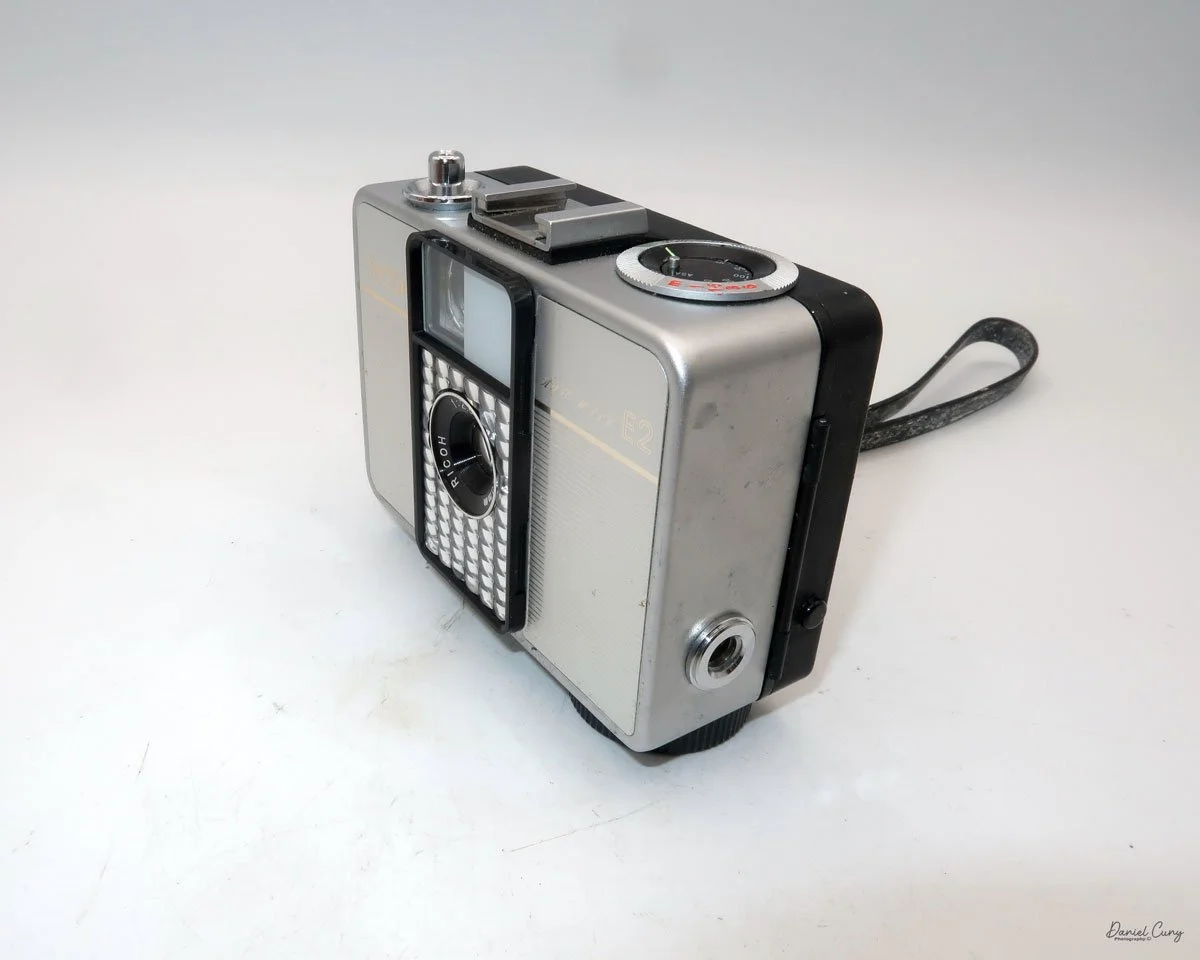
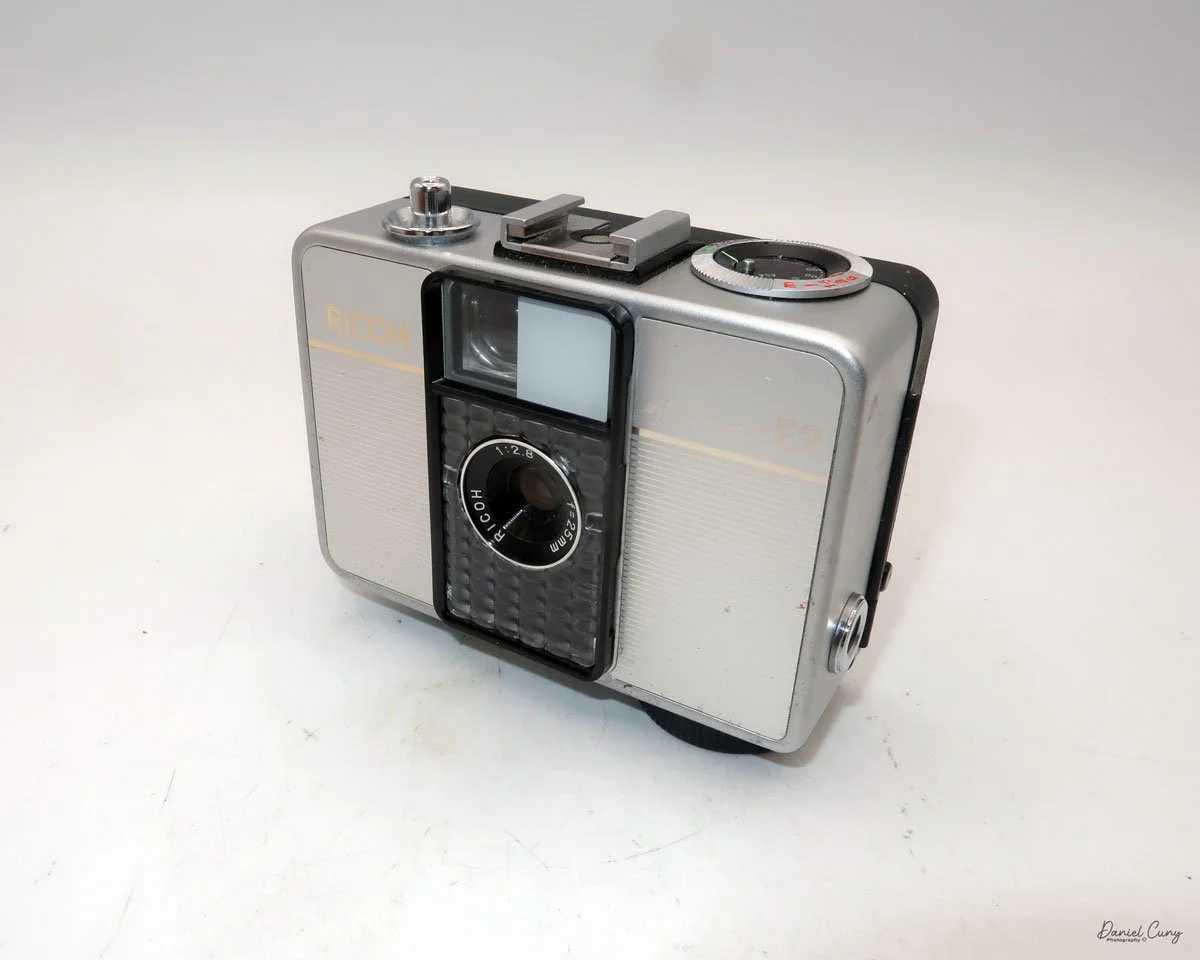
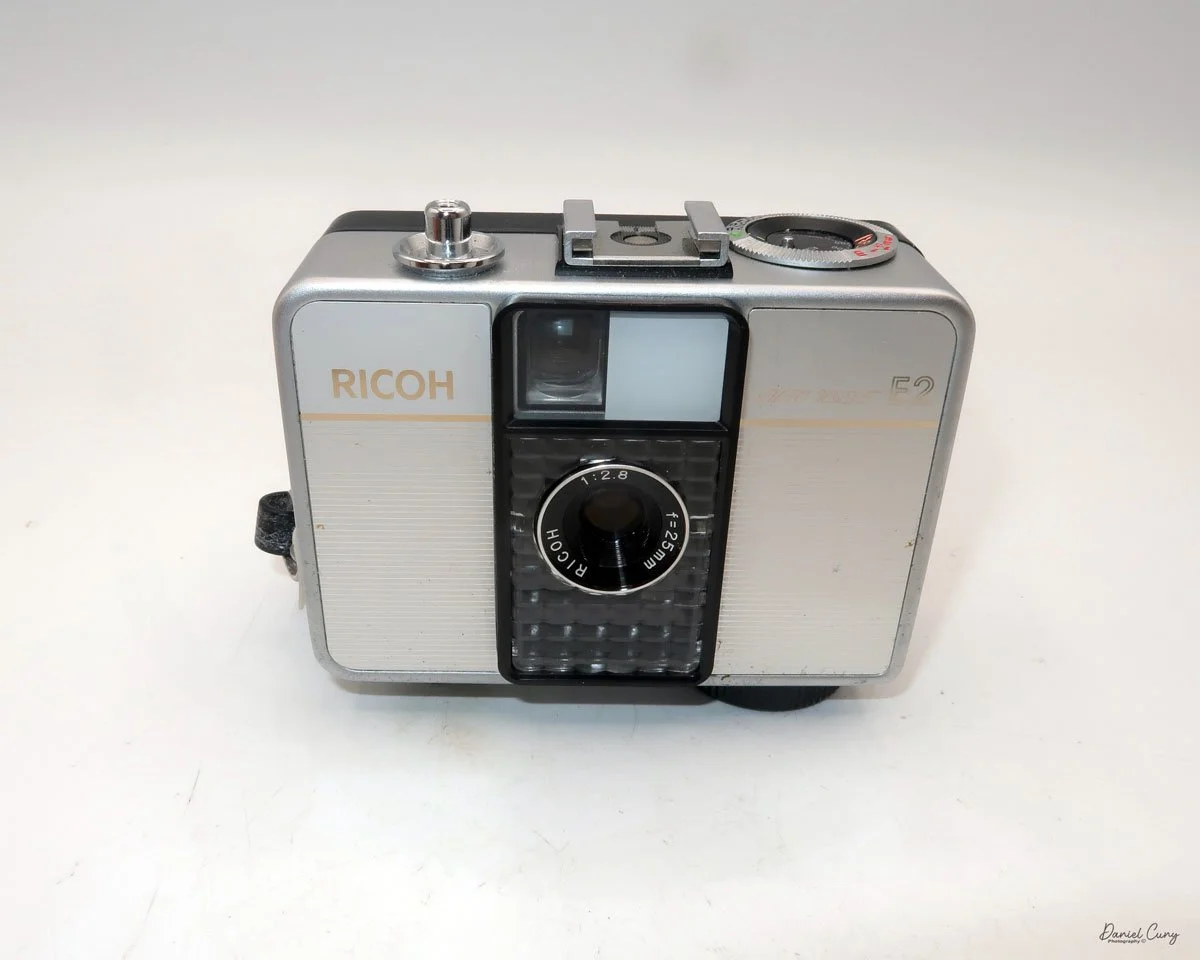
The Auto Half camera incorporates a selenium cell metering system, which on many of these cameras isn't working due to the age of the selenium cell. It can no longer meter the light, but fortunately, I have one in excellent working condition. The selenium cell is located around the lens. The aperture has a range from F/2.8 to F/22.
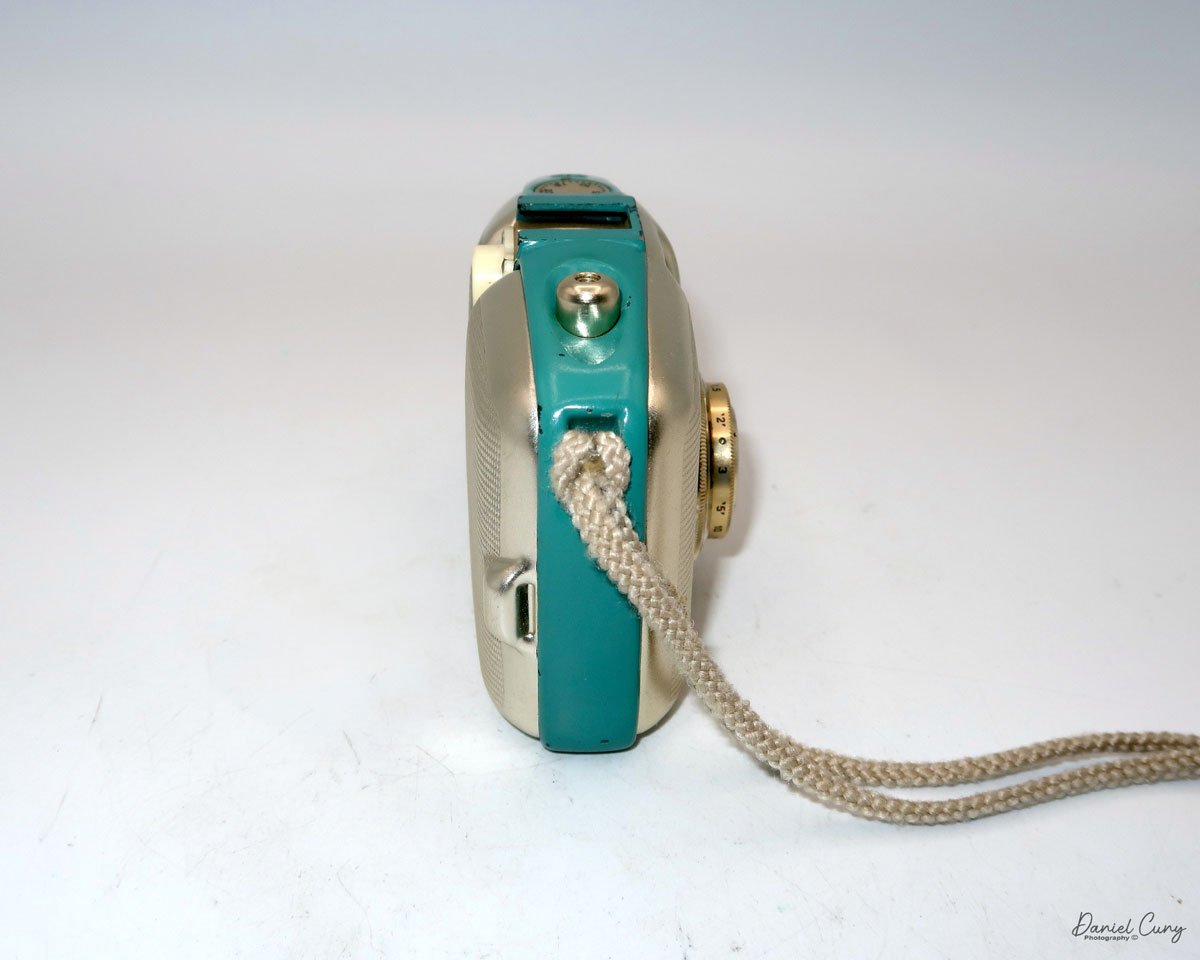
The ASA (ISO) range for the film speed on the Auto Half camera goes from 25 to 400. The ASA is set on a dial located on the top of the camera. The other setting on the dial is for "A" or automatic aperture. There are aperture settings on the dial, but these are for flash settings.


The metering is done automatically and sets the aperture to achieve the proper lighting for the subject you're pointing the camera at. When in the "A" or automatic mode, the camera sets the shutter speed to 1/125th and sets the aperture. When you use a flash, the shutter is set to 1/30th of a second, and then you manually set the aperture depending on the distance to your subject.
According to the Auto Half manual, the only indication that the camera's lighting will be set automatically is a yellow dot appearing in the center of the viewfinder. If the yellow dot doesn't appear, then the camera will not set the proper aperture, and the image will be either too light or too dark.


To load film into the camera, there is a lever on the side of the camera that slides down to open the back of the camera. Once open, load the camera as you would any 35mm camera, putting the film cartridge on the right side and slipping the leader under one of the silver tabs on the left. Close the back of the camera, and wind the clock drive winding lever located at the bottom of the camera in a clockwise direction. Continue winding until you can no longer wind. Click the shutter a couple of times to get to your first exposure. You're all set to take photos. The winding motor will last approximately 25 frames before it needs to be wound again.


The frame counter is right next to the rewind lever. To rewind the film into the cartridge. The rewind release button is in the middle of the winding motor. Press the rewind button, and rewind the film into the 35mm cassette. Once that's done, you can open the back of the camera, remove the film, and have it processed.
My Results:
I loaded the camera with a roll of film and took it with me for a walk around the block with our 15-year-old Pug, Ernie. These walks are getting a bit slower every week, so I had time to snap photos of some of the houses in the neighborhood, as well as many of the flowers in people's yards.
I wanted to push the limits of the camera and see just how close I could get to capturing a reasonably sharp image. It appears that the minimum focus distance is right around 3-4 feet, even with 200 ISO film in the camera and on a very bright summer day, around noon.
Here are some of the images I took.


Conclusion:
I think I'm more impressed with this camera than the Canon Demi I did a couple of weeks ago. There was a bright yellow dot in the center of the viewfinder, so I trusted the meter's exposure, which was pretty accurate.
The focus was pushed, and I received a few blurry images, which I had anticipated, but overall, the camera did a fantastic job. The transport worked flawlessly, the exposures were accurate, the camera fit nicely into my pocket, and all I needed to do was put the camera to my eye, frame the photo, and press the shutter button…Fantastic!!!!
I'll be using this more often, since it's a small, compact, lightweight, and accurate meter. A real treasure to have in my collection. Now all I need to do is find other models and designs. I think this may be the start of something fun.
Thank you for taking the time to read about this compact bundle of photographic bliss—a real underappreciated camera from the 1960s.
If you're interested, you can read more of my camera reviews by clicking on the link.
I have a store on eBay where I sell some of the cameras featured in my camera reviews, as well as a variety of photo odds and ends. Take a look at Cuny's Camera and Photo.
Until next week, please be safe.