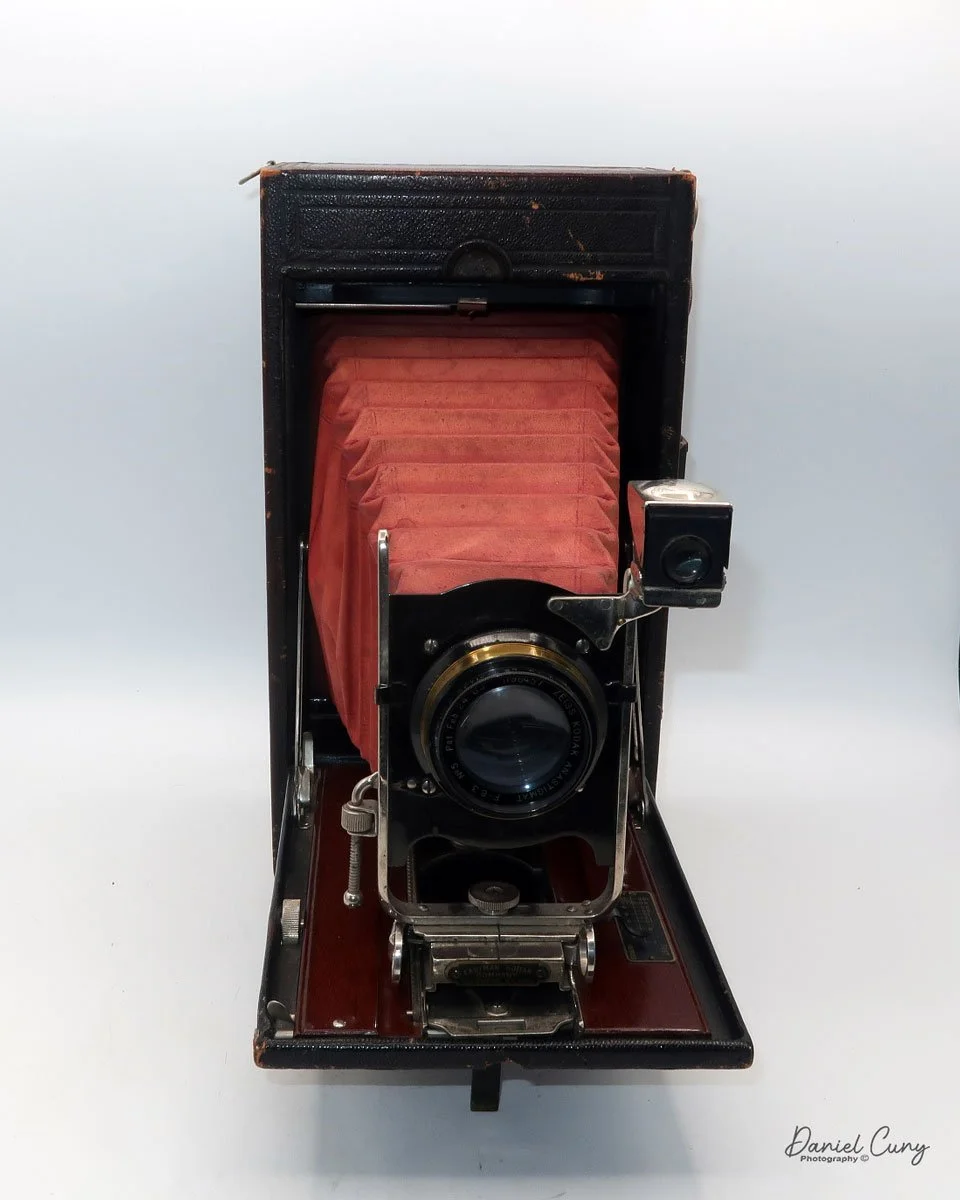
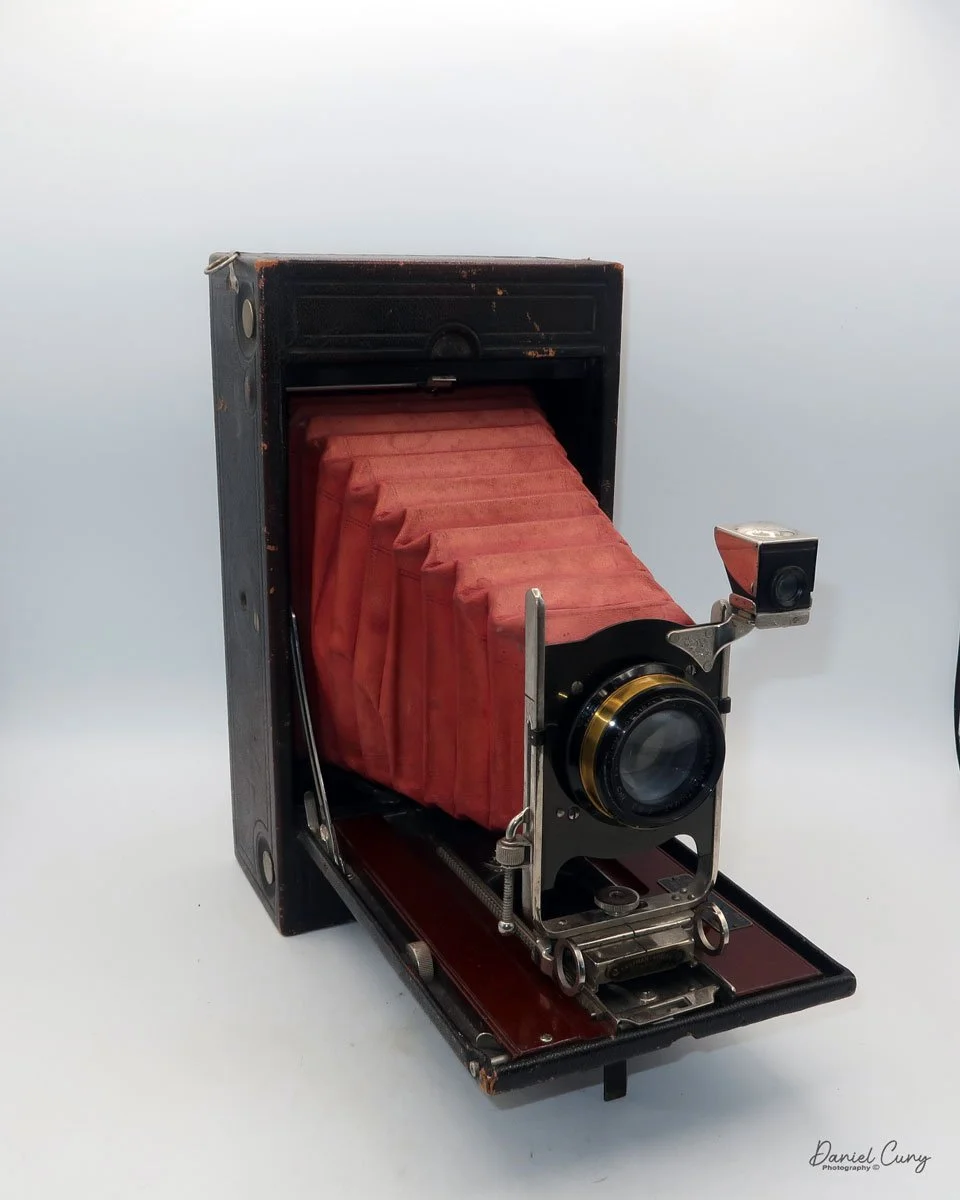
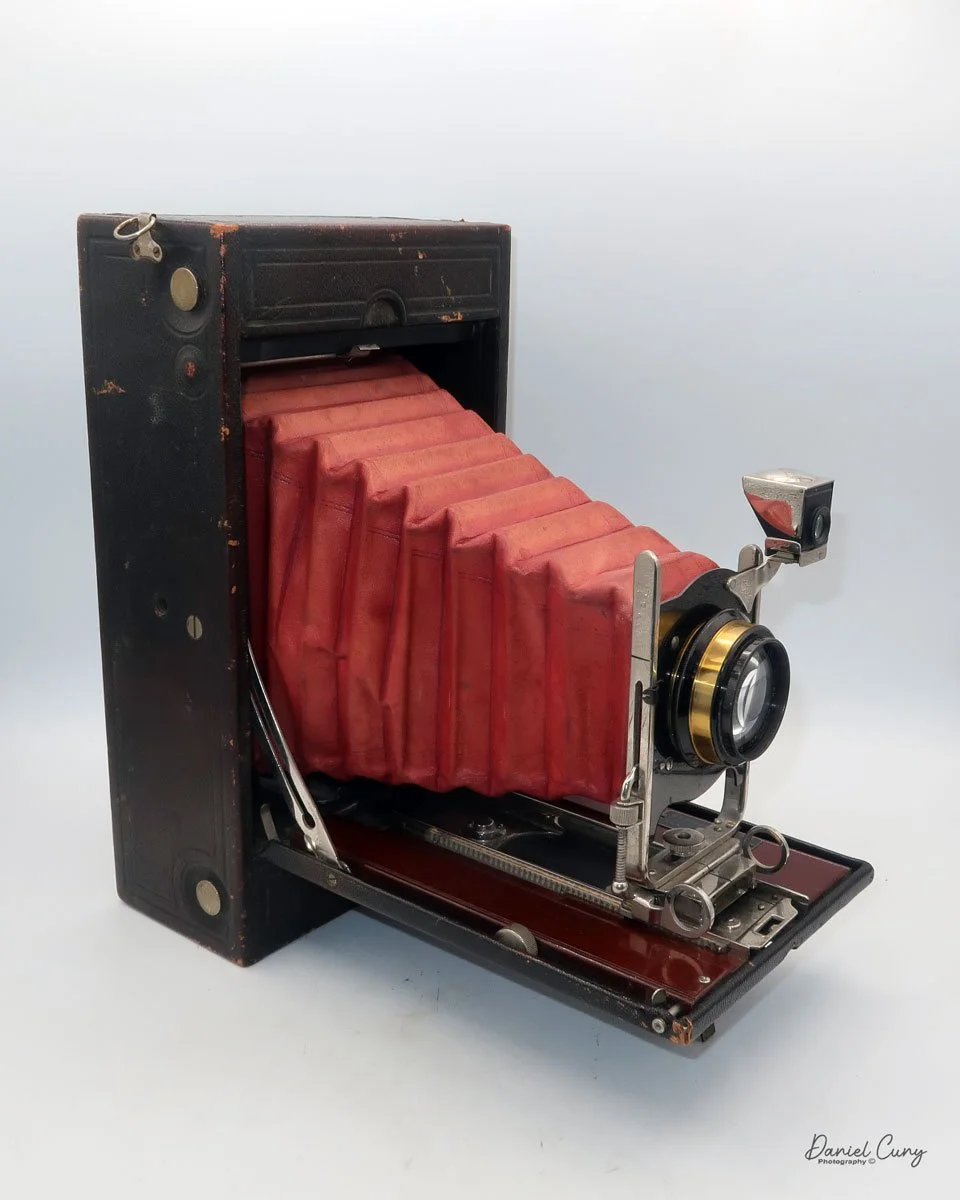
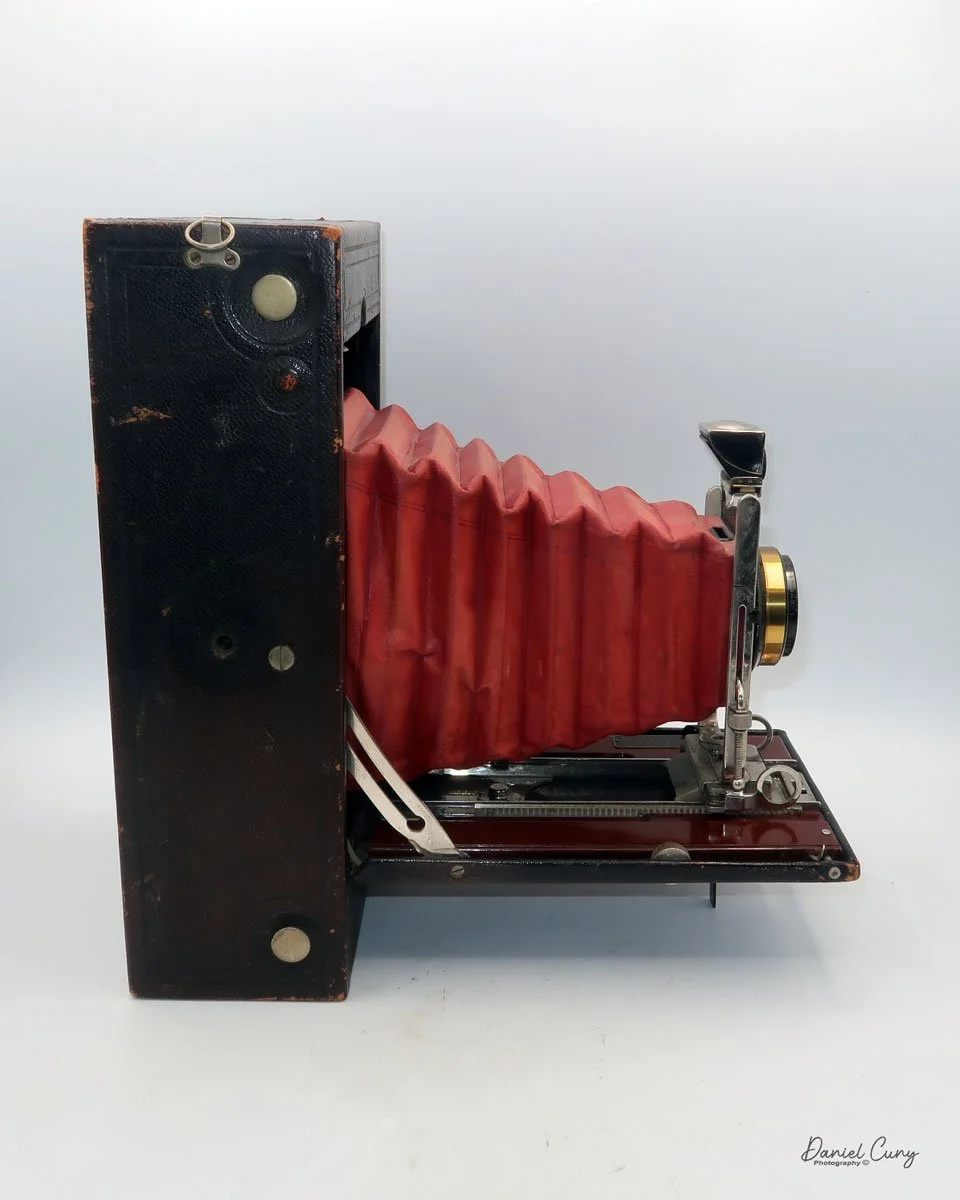
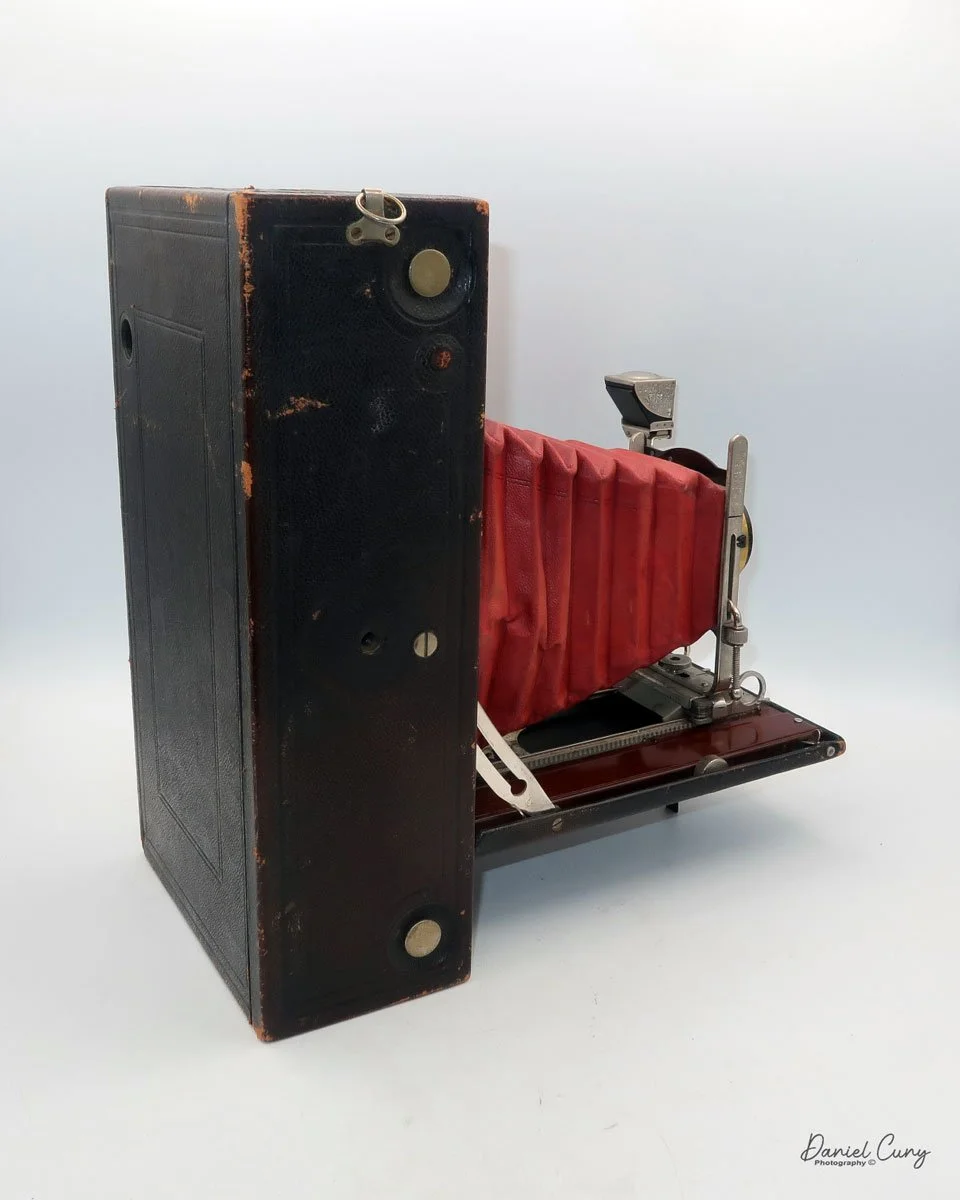
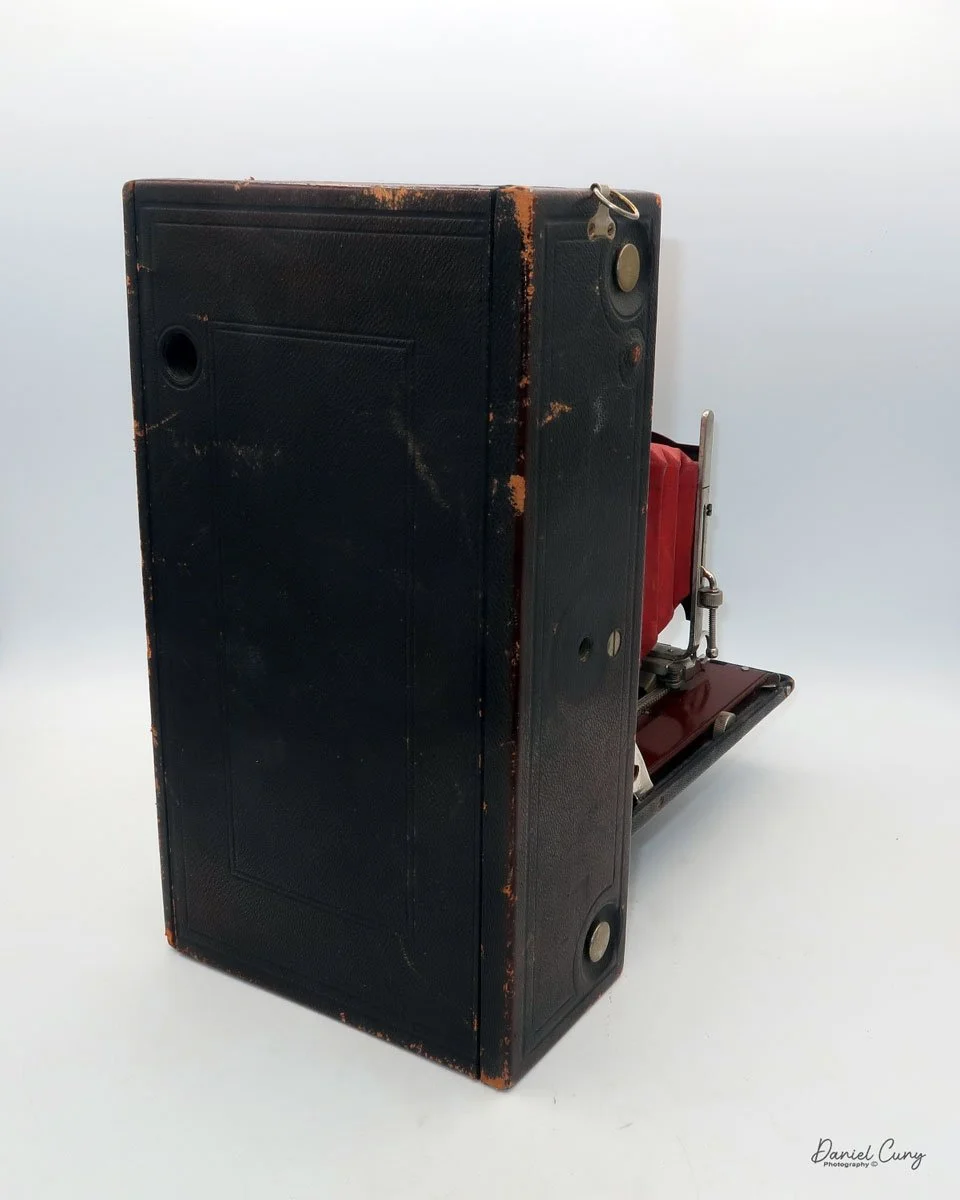
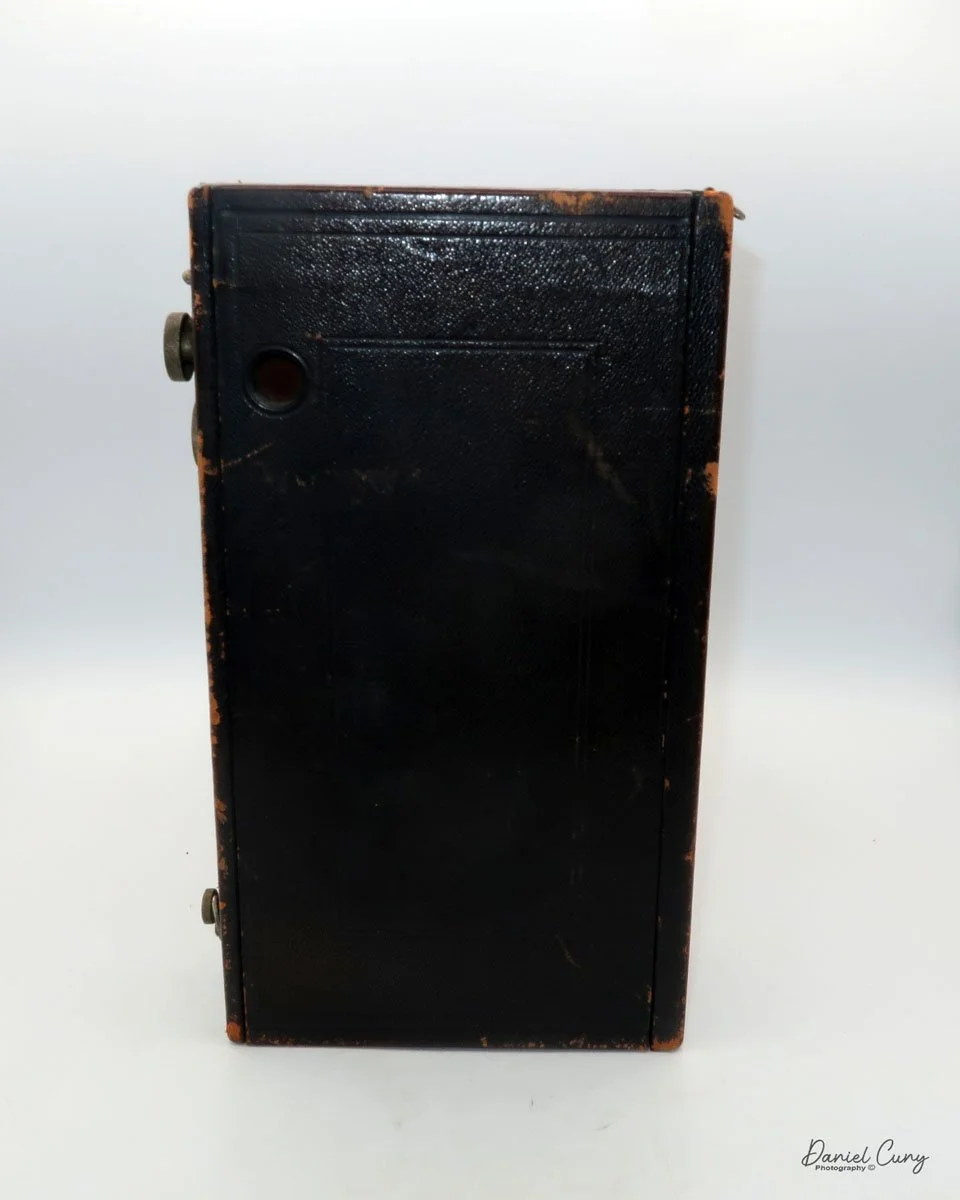
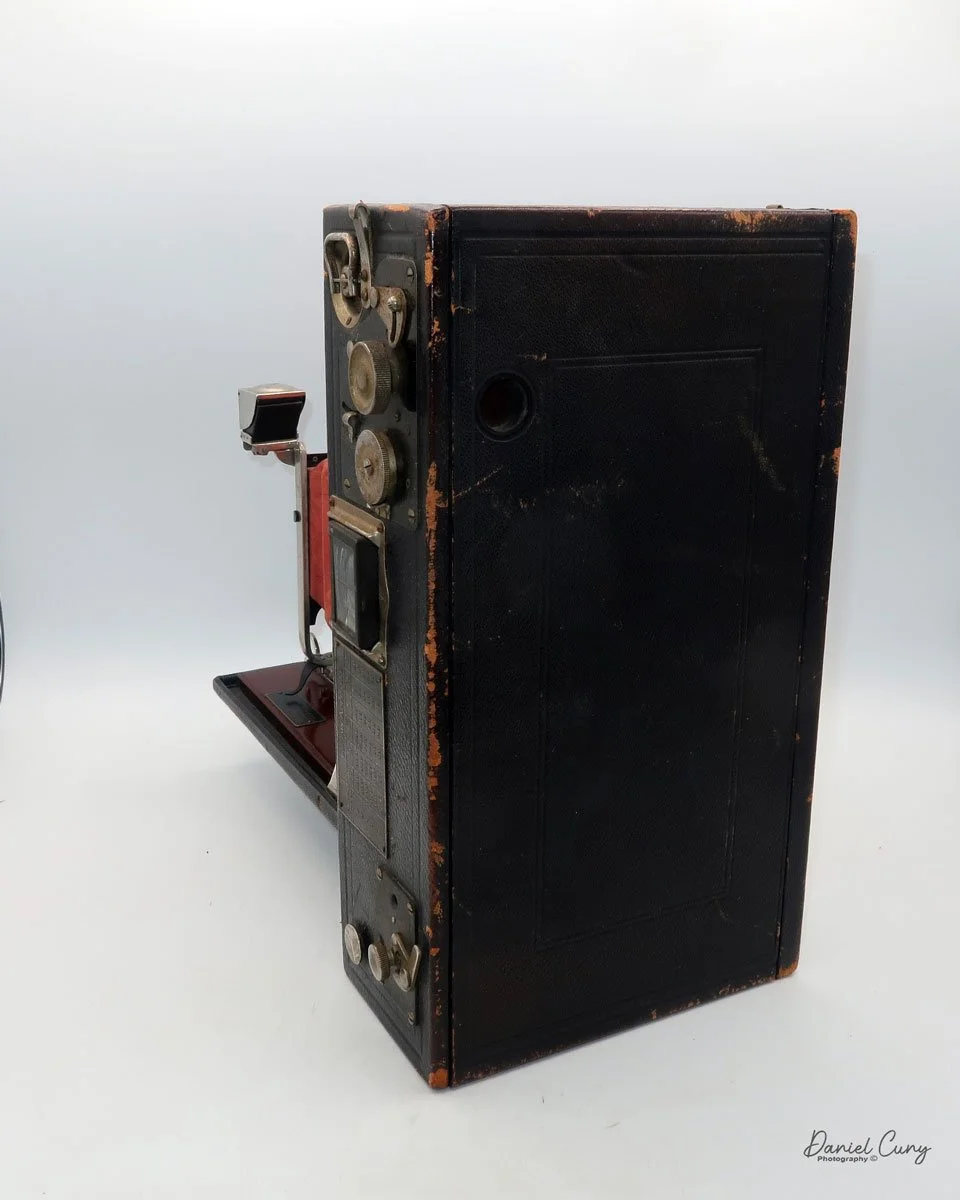
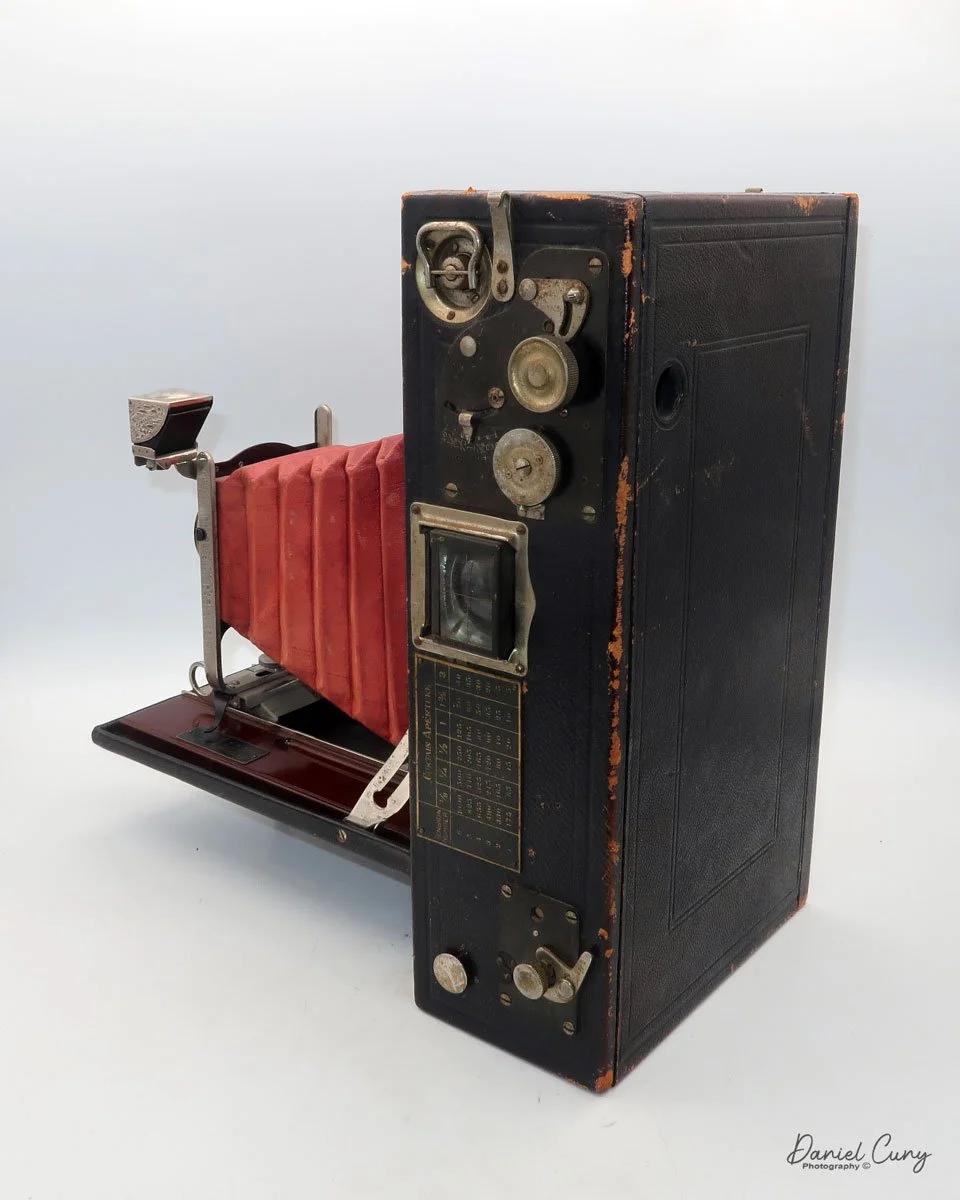
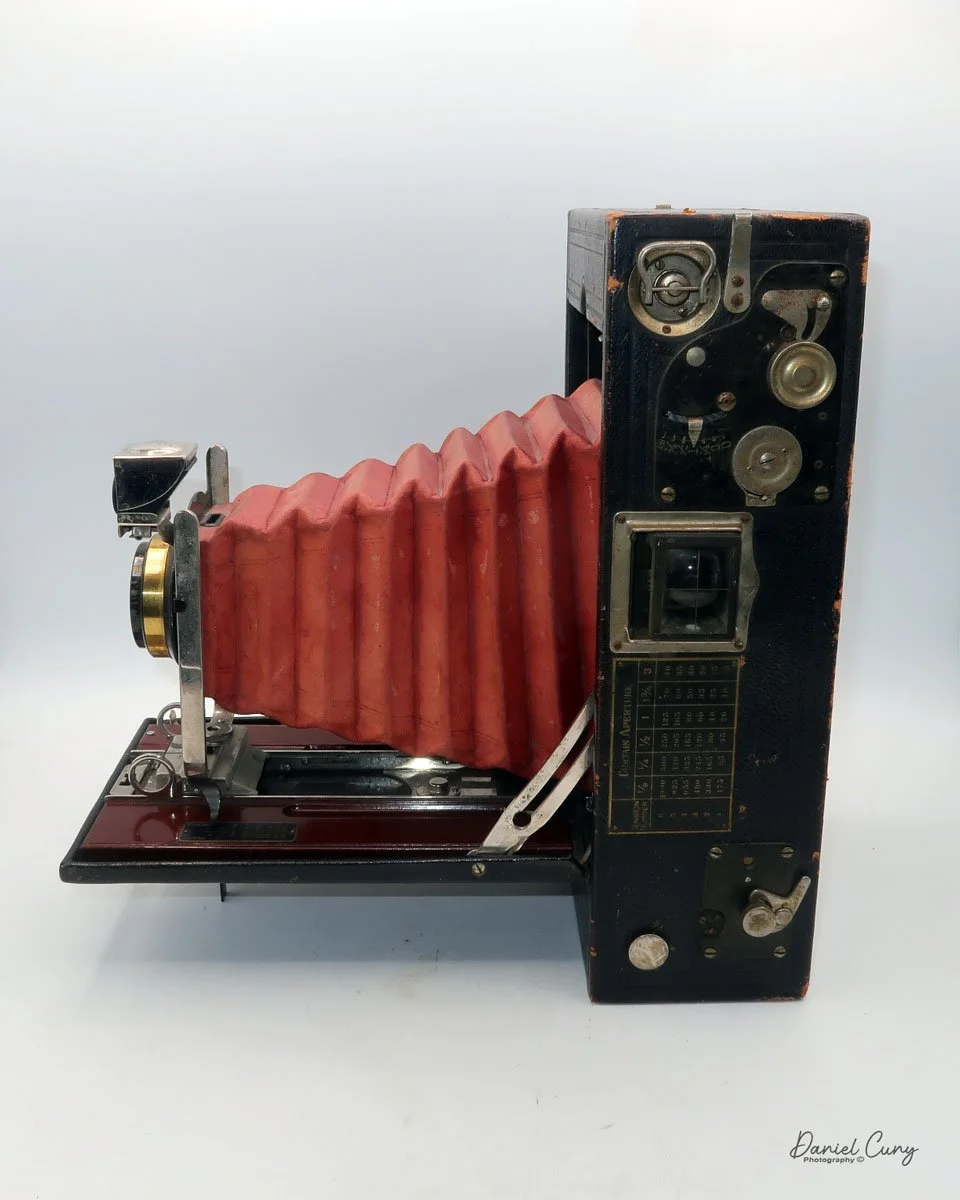
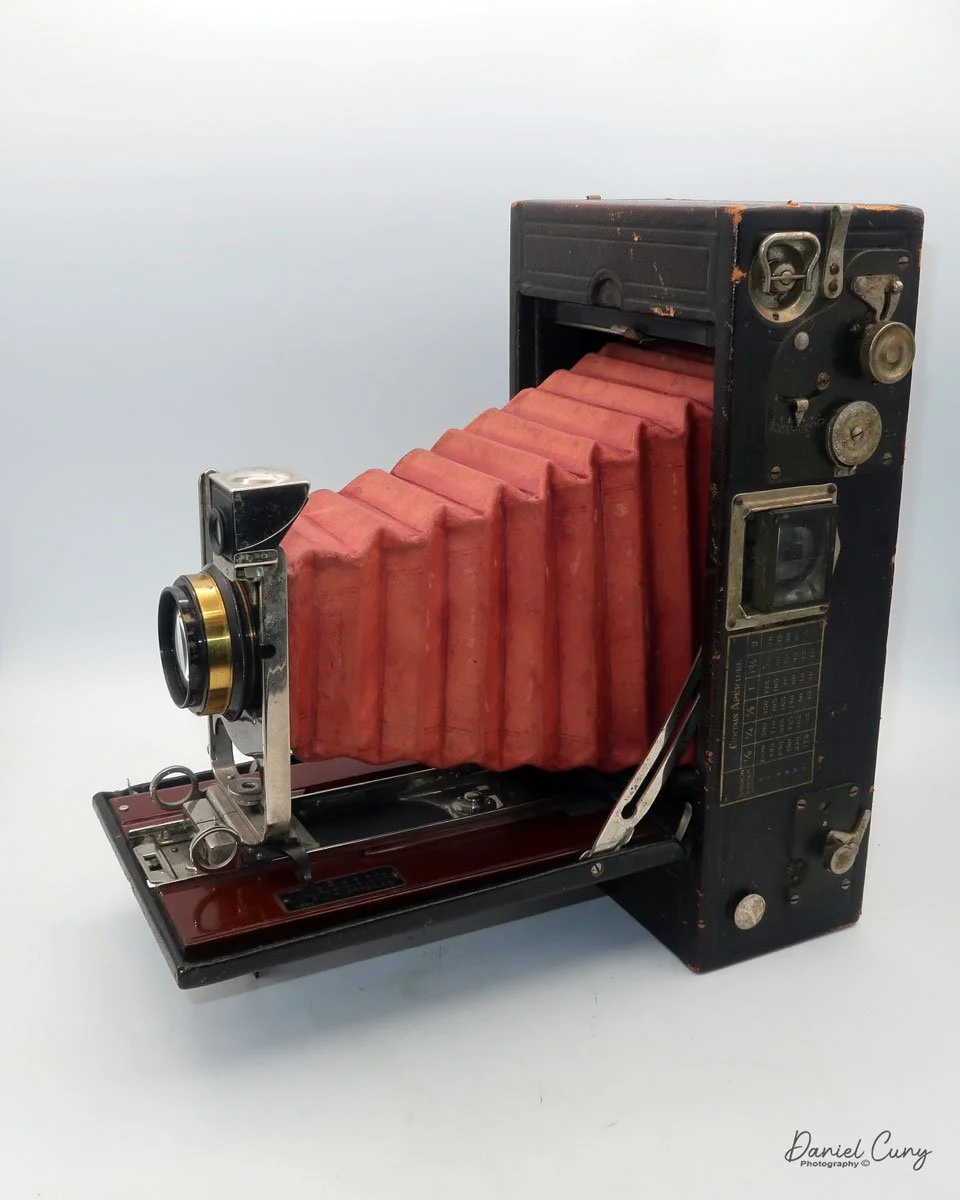
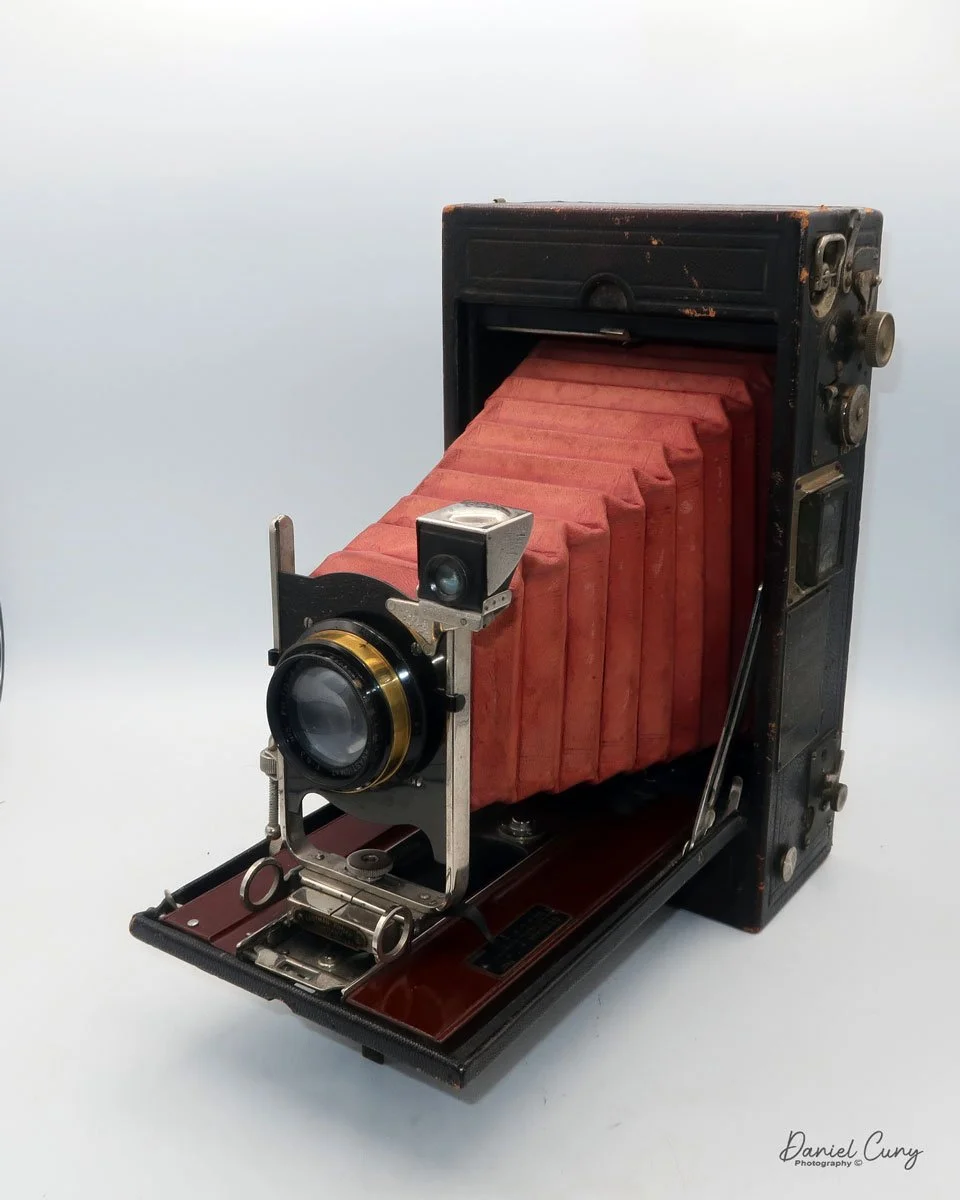
Contessa Nettel Cocarette I DeLuxe

My Contessa Nettel Cocarette I DeLuxe camera

As I've mentioned in other posts, colored cameras are some of my favorite cameras to collect. That's a good thing when the camera is a different color than the standard drab black camera and a beautiful, rich brown-toned camera. When the camera is a rich brown-toned camera and is a rarer version, that makes the camera even more special to me. When the camera is a rich brown tone, a rarer version of the black model of the same camera AND, the camera is in good working condition and has a clean lens, then to me, it's, as we say in the U.S. and to use a baseball term  "a real home run."

 The Contessa Nettel Cocarette I Luxus camera was purchased from a seller in Florida five or six years ago. I purchased this camera along with a few other wonderful cameras, like the Zeiss Super Nettel, a Zeiss Tenax II, a Zeiss Nettax, and a few others, which were real gems in my collection for a long time until I sold them, which at times I look back and regret. That's all part of the collecting world.

 The camera appeared to be in great working condition. The bellows seemed to be light-tight, the aperture moved smoothly, and the camera came with an upgraded Carl Zeiss Jena Tessar lens and a Compur shutter, which, upon inspection, were in excellent condition. Also, the exterior leather was without tears and with minor scuffs, and the Cocarette I handle on the camera was still intact.

 When I received the camera, I wanted to find out more about the camera, so as I usually do, I saw if there was a manual or catalog on the camera. My go-to website for camera manuals is www.butkus.org , which has an extensive collection of manuals. They did have the Zeiss Cocarette manual,

According to the manual, Contessa Nettel made three different Cocarette models, each with four cameras of various sizes.

 The three  Cocarette models are:

Special: Called I/0, II/0, III/0, and IV/O, covered in black leatherette and with hinged metal front.

Standard: Described as Cocarette I, II, III, IV, With real black leather coverings, leather bellows, and hinged "Stirrup" front.

DeLuxe: Styled respectively "de Luxe" I, "de Luxe" II, "de Luxe" III, and "de Luxe" IV. This type is covered in the finest brown Morocco leather and has bellows of the same. ​ All the edges are bound in German silver.

 The different negative sizes of the models described above are as follows:

l/0, I and "de Luxe" I . Film 3 1/4 x 2 1/4 inches

II/0, II and "de Luxe" II . Film 4 1/4 x 2 1/2 inches

III/0, III and 'ode Luxe" III . Film 4 1/4 x 3 1/4 inches

IV/O, IV, and "de Luxe" IV. Film  5 1/2 x 3 1/4 inches

History

Contessa-Nettel AG was a prominent German camera manufacturer based in Stuttgart. It was formed in 1919 by merging two influential companies: Contessa Camerawerke Drexler & Nagel and Nettel Camerawerk. This merger combined the innovative strengths of both firms—Contessa Camerawerke, founded by Dr. August Nagel, and Nettel Camerawerk, known for its advanced strut folding cameras and focal plane shutters. Dr. Nagel, who began his camera design business 1908 as Drexler & Nagel, quickly rebranded it as Contessa Camerawerke before acquiring Nettel in 1919 and establishing Contessa-Nettel AG.

Ad showing the different negative sizes.

 Contessa-Nettel became renowned for its diverse and technically advanced range of cameras. The company offered approximately forty different models, including many variations of the Cocarette, a folding camera that became one of its most famous products during the 1920s. Other notable models included the Deckrullo-Nettel series, which featured self-capping focal plane shutters—a significant innovation. The company also specialized in stereo cameras and produced various compact and portable designs, such as the Piccolette and the Stereax.

 The Deckrullo-Nettel cameras, initially developed by Nettel, continued to be produced under the Contessa-Nettel name after the merger. These cameras were admired for their engineering, particularly their strut folding mechanisms and reliable shutters. Contessa-Nettel's products were recognized for their build quality and design excellence, reflecting Dr. Nagel's eye for detail.

 In 1926, Contessa-Nettel became part of Zeiss Ikon, a new conglomerate formed by merging several major German camera manufacturers, including ICA, Ernemann, and Goerz, alongside Contessa-Nettel. This consolidation aimed to strengthen the German photographic industry and create a powerhouse capable of competing internationally. After the merger, many Contessa-Nettel designs and models continued under the Zeiss Ikon brand, and the Stuttgart factory became a critical Zeiss Ikon site.

 Although Contessa-Nettel, as an independent brand, ceased to exist after 1926, its influence persisted. Feeling out of place at Zeiss Ikon, Dr. August Nagel left to establish the Nagel-Werke factory, which Kodak later acquired. Nagel's subsequent innovations, such as the Kodak Retina and the first pre-loaded 35mm film cassette, trace their lineage to the design philosophy he honed at Contessa-Nettel. The Contessa-Nettel name also lived on in Zeiss Ikon's product lines, most notably in the Zeiss-Ikon Contessa cameras of the postwar era.

 Contessa-Nettel's history is marked by technical innovation, quality craftsmanship, and a legacy that shaped the evolution of camera technology in the 20th century.

My Camera:

My Contessa Nettel Cocarette I Deluxe camera is 6 5/8" long by 3.5" wide, 1.5" deep when closed, and 5.5" deep when opened, with the lens extended from the body. It weighs 1 Lb. 6 oz. My camera's serial number is 422872. It also has a Carl Zeiss Jena Tessar 10.5cm f4.5 lens, serial #588166.

 To open the camera, there is a button on the side of the camera, which is similar to another folding camera, which you press, and the front door opens, exposing the front of the camera. Just below the shutter is the company name, Contessa Nettel, and on either side of the name are two knobs which you grab and pull the front standard of the camera out from the camera body until they stop. You're now ready to take a photo if you have film loaded into the camera

Pulling the front standard from the camera body lets you see the controls on the camera much better. Looking down at the camera, you have a bright waist-level viewfinder with indents on each corner representing a vertical or horizontal format for framing your photo. Currently, the camera is in the vertical position or, in modern terms, in portrait mode. The viewfinder can also tilt to the side if you plan on using the camera in the horizontal position to photograph in landscape mode. Right next to the viewfinder is a red bubble level to ensure the camera is level for straight photos and does not have crooked horizon lines.

On the camera's bed, just to the right of the shutter, is a focus lever, which allows the photographer to get closer to their subject and take clear photos. The focus lever can go from 2 meters to infinity, with a few different distances in between.

 When you look at the front of the camera and focus on what is on the Compur shutter, on the right side is the shutter release lever, and on the left side is a dial with Z, D, and M. These are used for different shutter functions. Z opens the shutter when you release the shutter lever and closes when you pull the shutter release again. D opens the shutter when you pull down on the shutter release and closes when you release it, and M is for the more normal use of the shutter speeds built into the shutter. The shutter speed ranges from 1 second to 1/250. All the shutter speeds on the camera seem reasonable, even the 1 sec, which is fantastic for a 100-year-old camera.

A small lever is on the bottom of the shutter. Sliding the lever from one side to the other changes the aperture setting, which you can see on top of the shutter. The camera's operations are very easy to see while holding it. You can view the shutter speed, the aperture settings, the focus distance, the viewfinder, and the bubble level, all while composing the photo in the vertical or portrait position.

 On the right side, as you're holding the camera, is a chrome knob on top of the lens standard. This slightly raises the camera lens, which will correct for vertical distortion. It doesn't do much, but it gives you a little movement in several of the better-quality folding cameras from this era.

For horizontal photos, you can swing a wire finder around the lens. On the back of the camera, a small eye finder slides out to create an action or sports finder from the two pieces. Using the camera in this position is a bit more clumsy due to where the shutter release is positioned.

Eyepiece on back up, and wire frame in place for action photo.

Fortunately, the Cocarette I cameras can use the popular 120-size film. The film chamber slides out from the camera body to load the film. On the left side of the body is a lever that you slide to unlock the film chamber from the body. Once the film chamber is unlocked, it can slide up to reveal the take-up spool and the film area. To put the film in the film area, there are holders that you flip up to get the take-up spool and the film into the respective areas.

 When loading the film, slide the paper packing under the thin channel to keep it flat across the opening. Another oddity of this camera is a large cut-away on the top of one of the corners of the exposure areas. I don't understand why this is there, as it did produce the cutout on the negative. If you know why that is there, I'd love to know. It may have had something to do with the older films of that time.

Once the film is loaded into the film back of the camera, slide it back into the camera and lock the back onto the camera body to prevent it from getting exposed to light. A small square red window with a cover is on the back of the camera. Winding the film with the take-up spool will take you to the number 1 photo, and now you're ready to make your first photo.


My Results:

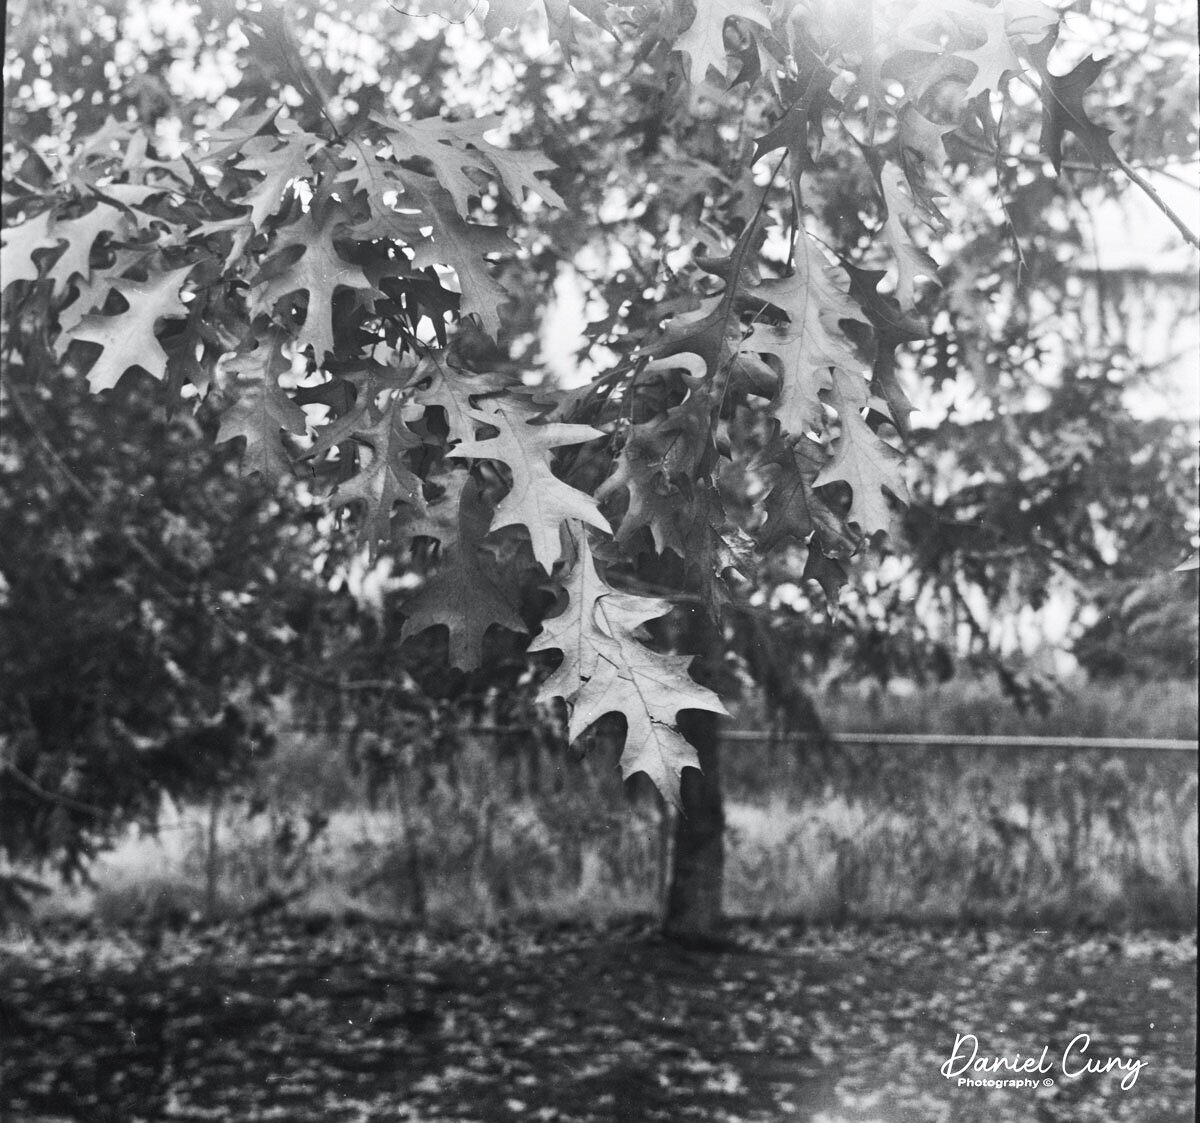
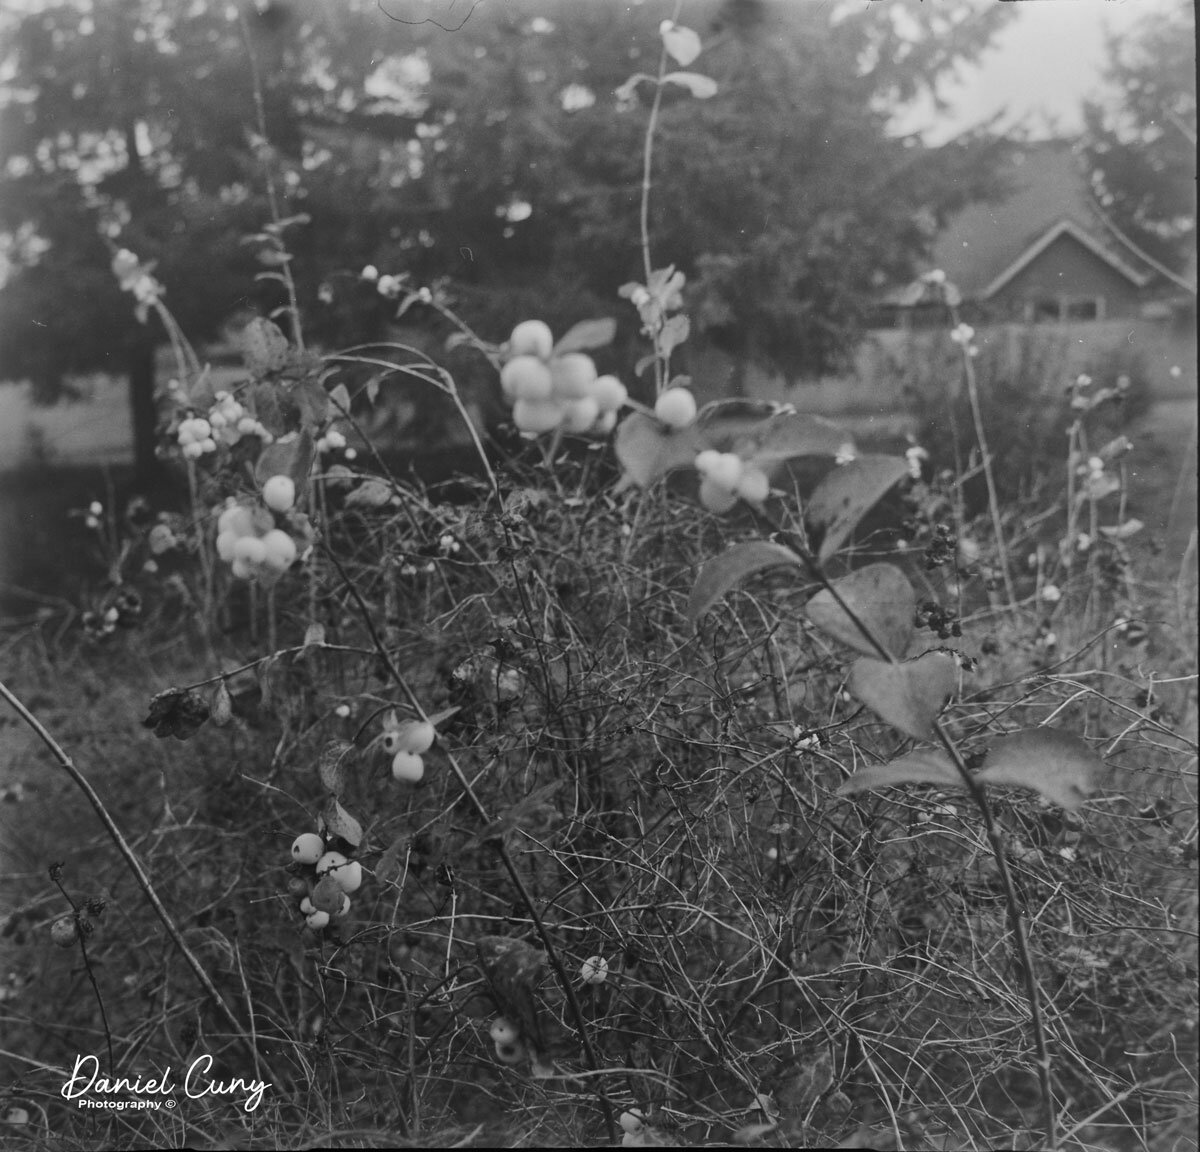
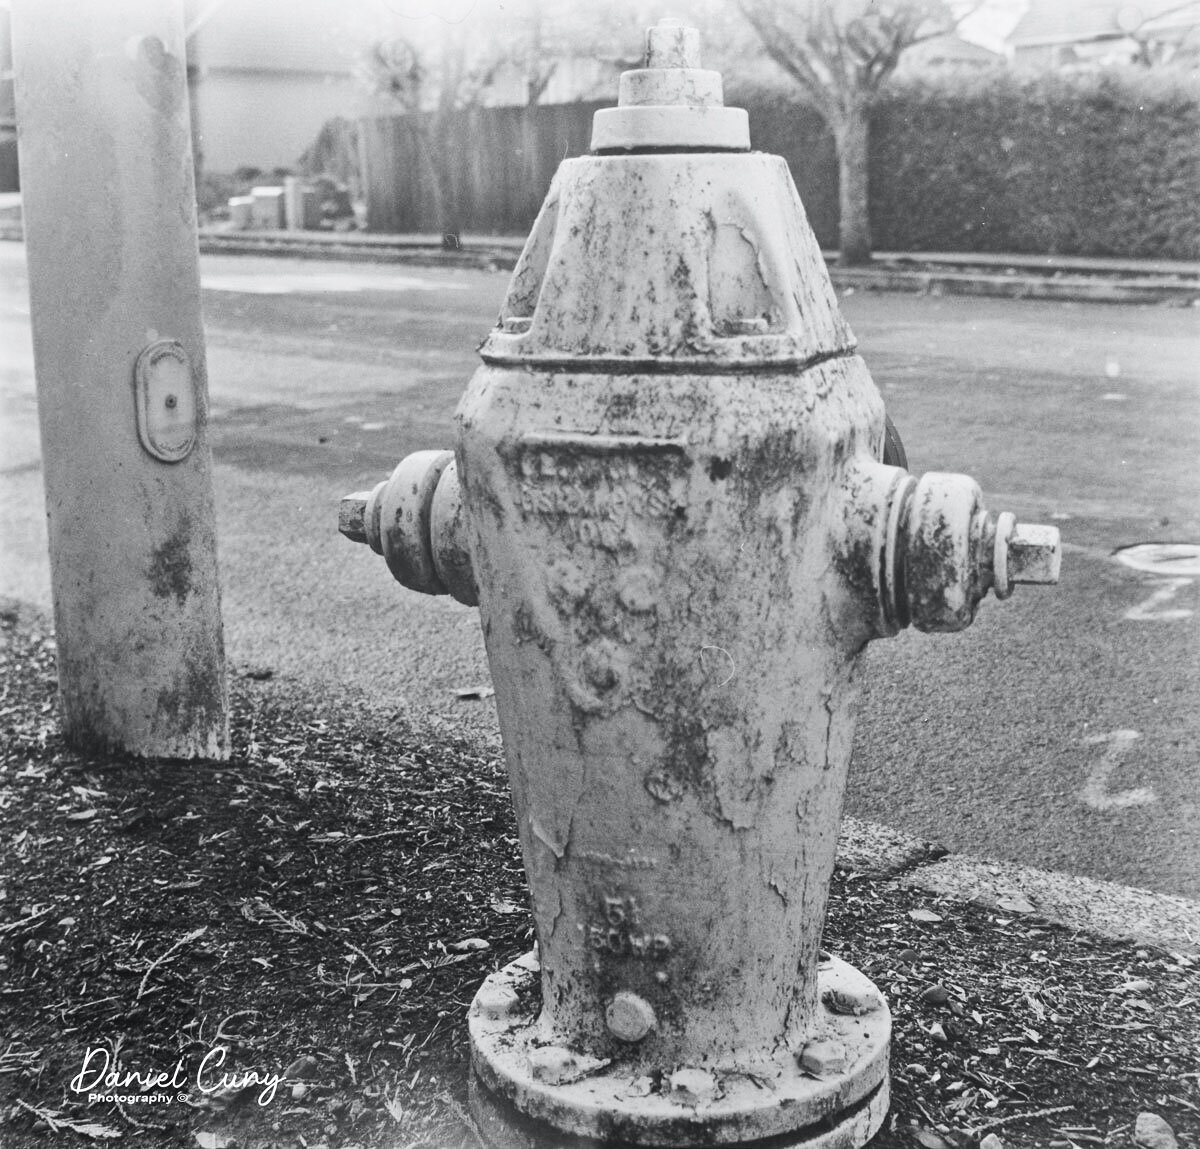
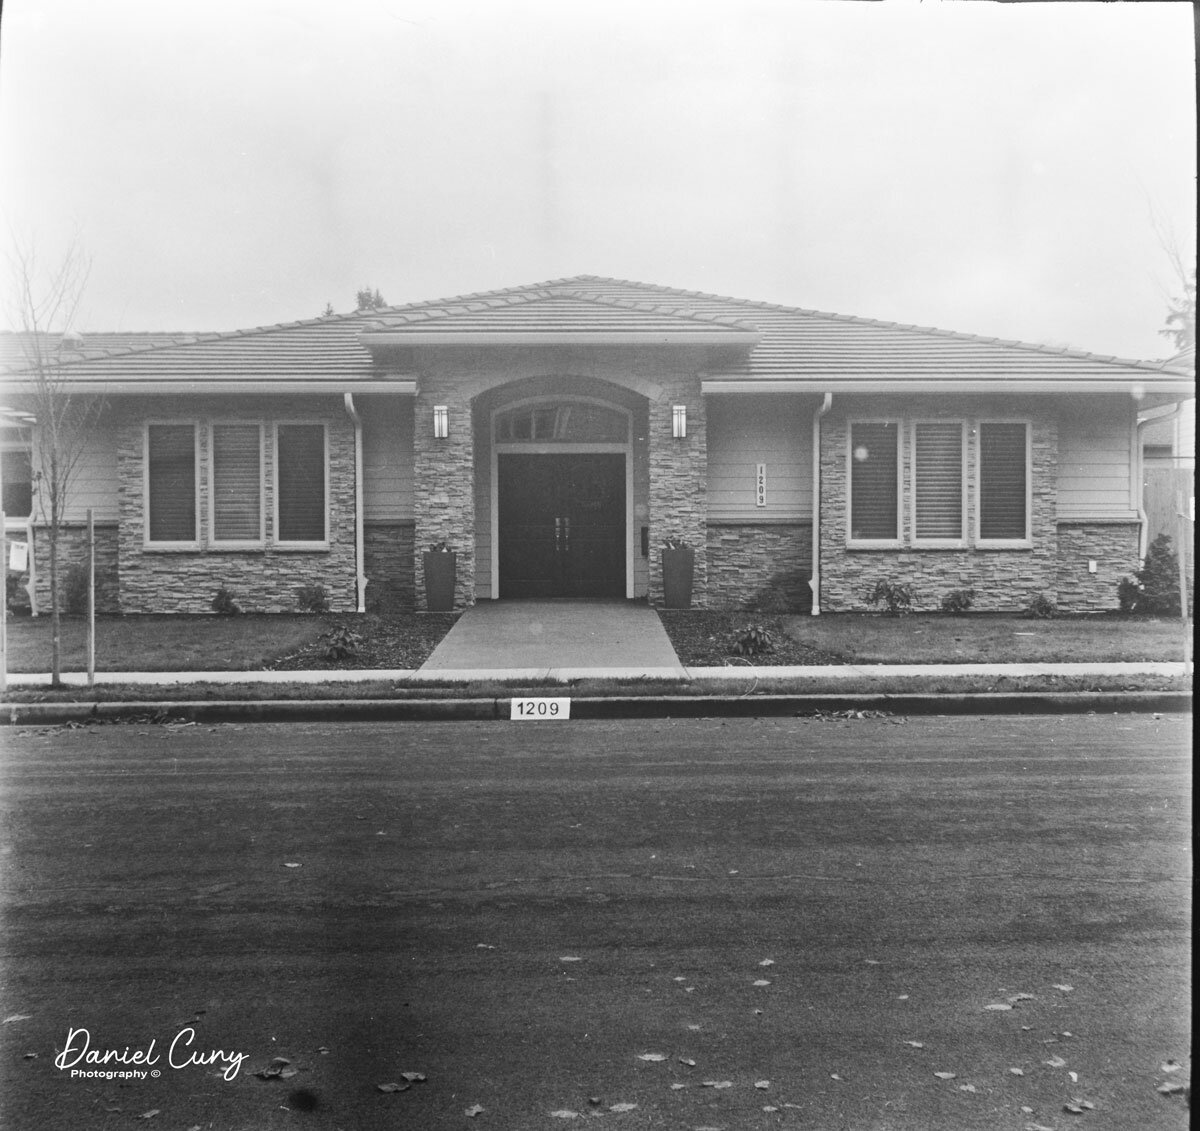
I loaded the camera with a roll of Rollei RX100 film and walked through the neighborhood with my trust Sekonic L-308 meter. The day was somewhat overcast, so the contrast in the images wasn't the best. I also used the focus control on the camera. Since the day was cloudy, the settings on many of the photos were a shutter speed of 1/100 and aperture settings of f/4.5, which means there's not a lot of play when it comes to depth of field, and the photos show that.

 Here are the results I got from the Contessa Nettel Cocarette I Deluxe.

Conclusion:

The camera is straightforward to use, which I’m used to because I often use folding cameras. The controls were straightforward to define and comfortable to hold for composition purposes. However, the results I received weren't the best when I used the focus control on the camera. It's very possible my distances were off, and having to use a shallow depth of field didn't help.

 It wasn't bad, but my expectations were too high. Getting a 6x9 format negative with a Zeiss lens, I was hoping for better results. That shows I'll need to take this camera out and try again.

 Thank you for taking the time to read about this beautiful and very functional camera. It certainly looks terrific in my collection, and I enjoy having it.

 Click on the link if you're interested in reading some of the other camera reviews

 If you are interested in some of the cameras and other camera oddities I have for sale, I have a store on eBay called Cuny's Camera.

 Until next week, please be safe.

Zeiss Ikon Super Nettel

Upon my first encounter with the Super Nettel camera, I was immediately drawn to its understated elegance and subtle Art Deco influence. This is my second Super Nettel, having previously owned the Super Nettel II, a similar model with a few distinct modifications.

My Zeiss Ikon Super Nettel Camera from 1934

 When my wife and I were in Paris earlier this year, I always enjoyed visiting local flea markets to look for anything photographic, whether it's cameras, lenses, old negatives to digitize, daguerreotypes, or just photo nickknacks or accessories. I made my way to their larger flea market area on a Saturday morning, and in one of the stalls, a lovely gentleman had some Leicas and other rarer cameras. I would have liked to purchase more than I did, but I'd pick up this very nice looking and working Super Nettel camera. In the back of my mind, I always pictured myself doing a blog post on it, especially since the camera was in good working condition, especially for a camera built 90 years ago.

 The Company:

Zeiss Ikon, a company formed in 1929 through the merger of four prominent camera companies in Germany, including Ernemann, Goerz, Ica, and Contessa-Nettel, was a significant investment by the Carl Zeiss Foundation. The company had two main divisions: the camera and the optical. 

 With the new company's formation, almost all of the cameras had Carl Zeiss lenses, and the other companies that had optical manufacturing, like Goerz, had to shut down their optical divisions. With the formation of the new company, almost all of the cameras were using Compur shutters, and like the optical companies, the majority of the shutter companies were also absorbed within the new company.

This group was one of the biggest manufacturers of cameras and lenses in the world, producing many top-quality 35mm cameras like Contax and several high-quality folding cameras like Super Ikonta, which to this day are highly desirable due to their workmanship and quality optics. Until WWII, Zeiss was also a major manufacturer of movie cameras and medical optics.

The cover of the instruction manual. Thank you Pacific Rim Camera.

 After WWII, Zeiss was split into East and West German companies. The company was in Stuttgart in the West, and there were disputes with East Germany about the trademark. The West German ceased production of cameras in 1972. In East Germany, many of the factories were dismantled and sent to the Soviet Union. The Soviet camera manufacturer Kiev received much of the equipment, and in 1948, the Zeiss company became government-owned

 In 1948, the company introduced the new Contax S model, which had a different look from their earlier line of rangefinder cameras, but due to the split between different countries, there were trademark and naming disputes with West Germany, so in 1958, the company changed the name to VEB Kinowerke Dresden and later was rolled into Pentacon.

 After Germany's unification, Carl Zeiss reintroduced the Zeiss Ikon name and produced a rangefinder camera that was introduced at Photokina in 2004. The camera was built by Cosina in Japan and had the Leica M mount for lenses. Like the Contax G and G2, there were lenses made in both Japan and Germany for the camera.

My Camera:

For me, the reason I enjoy shooting with a Rangefinder 35mm camera is due to a few different reasons. The cameras are smaller and more compact to carry. They are less noisy to photograph due to the shutter system and not having the noise of the clunking mirror flopping up and down. Granted, the rangefinder focus is more challenging to use. It takes some time to get used to, or the ability to see what you're getting when you put on different lenses, so there is a trade-off between an SLR and a Rangefinder-style camera.

 The Super Nettel camera was made in 1934 as a "less expensive" camera to their Contax line. To open the front door to expose the lens system, there is a button on the top center of the top plate you press in, and the lens, which is attached to the bellows, pops out. My camera has the less expensive Carl Zeiss Jena 5cm (50mm) f3.5 Triotar lens. The camera had a more expensive Zeiss Tessar 5cm f2.8  or 5cm f3.5 lens. Around the lens are three screws in the 2 O'clock, 5 O'clock, and 8 O'clock positions, which are for holding on an accessory filter or the lens hood.

When closed, my camera measures 5.5" wide by 3" tall by 1.5" deep. When the lens is exposed, it is 4" deep, including the front door, which folds down. The camera weighs 1 lb, 6.3oz. 

 Around the lens is the aperture control, which goes from F3.5 to f22. The Super Nettle incorporates the same or a very similar rangefinder system as the Super Ikonta cameras. Around the outer rangefinder window is a knurled ring that you turn to focus the rangefinder system, bringing the two images together to get a focused image. On the outside of the knurled ring is the focus distance in meters, along with a small depth of field scale.

Note the three screws aaround the lens to hold the accessory filters and hood.

 To retract the lens and close the front door for travel, there are two knobs on the outside of the door that you press in, and at that point, you can press the lens back into the camera body, which will also close the front door, which will lock once pushed in.

 On the back of the camera are two windows. The window on the left is the viewfinder for composing the photo, and the window on the right is the rangefinder window for focus. They are both pretty small windows, but they do an adequate job.

The left window is the viewfinder, and the right is the rangefinder.

On top of the camera is an accessory show for putting on an accessory viewfinder, which has a few different options according to the instruction manual. Next to the accessory show is the frame counter, and next to the frame counter is the advancing knob which also incorporates the shutter speed settings and cocks the shutter. Inside the winding knob is the shutter release. On the far left side is the camera's rewind knob to retract the film when you're finished shooting the entire roll of film. In between the frame counter and the winding knob is a small button. This button unlocks the winding sprocket, so when you rewind the film into the canister, you don't rip off the sprockets of the film.

From left to right are Rewind knob, Viewfinder window, Accessory Shoe with Opening button in front of AS, Frame Counter, Rewind unlock, Winding knob with Shutter Speeds.

To take the back off to load the film, you'll need to look at the bottom of the camera, where there are two handles on either end of the camera. Flip up the handle and turn the handle 90 degrees. One knob will go clockwise and the other counterclockwise. The back will slide off the camera, exposing the incredible metal rolling curtain-style shutter system, the same as the Contax and other Zeiss cameras have incorporated into them.

 You load the camera like you would any other 35mm camera with the film canister going on the left, pulling the leader to the take-up spool, and making sure the sprockets are engaged with the "advancing" sprocket, which is advancing the film across the shutter. Once on the take-up spool, I always take up the slack on the rewind knob, so when I put the back on and advance the film, I watch for the knob to turn when the film pulls out of the canister s. I know the camera is loaded correctly. To put the back on, slide the back into the camera and turn the locking handles the opposite way, and the back is locked into position.

My results:

I need to practice what I teach. I only got a few good photos from this roll of film, as after the sixth frame, the film sprockets tore, and the film didn't advance through the camera. However, the frames I did get were well-exposed and very sharp.

Conclusion:

What another fun camera to shoot with! I enjoyed the camera's ability to focus and handle when out and about shooting. Since I had a mishap with the film tearing, I wanted to get the blog out. I will add more photos down the road when I take the camera for a trip some weekend, and I want a great-quality camera with a very sharp lens to be creative.

 I already have the camera picked for my post next week, which I hope you'll come back to look at at your leisure. 

 Until next week's post, please be well and safe.


Minolta Six Camera

It seems like I purchase items from camera auctions in "lots," and there is always a treasure hidden in the background that you either didn't notice at first, is hidden within all the photos of the items, or, in this case, the camera wasn't taken out of the case, and the case was obscured, so there was no visual evidence that the camera was.

 As I unwrapped the cameras won from the auction, one brown case caught my eye. It bore a striking resemblance to the Mamiya Six in my collection. But upon closer inspection, the name 'Minolta Six' was revealed. I initially thought it might be similar to the Mamiya Six, but the truth was far more exciting, as I'll reveal when I introduce the camera.

History:

In an earlier post, I did on the Minoltaflex CDS, I did a brief history of the company, which read, 

Kazuo Tashima founded Minolta in Osaka, Japan, in 1928 as Nichi-Doku Shashinki Shōten, which means Japanese-German Camera Shop. In 1931, the company updated its name to Minolta, which stands for Mechanism, Instruments, Optics, and Lenses by Tashima. In 1937, the company was reorganized as Chiyoda Kogaku Seikō, K.K. They are now introducing their first Twin Lens Reflex (TLR) camera, the MinoltaFlex, based on the German Rolleiflex cameras. The MinoltaFlex was only the second TLR introduced from Japan after the Prince Flex by Neumann & Heilemann. In 1947, Minolta introduced rangefinder cameras like the Minolta-35, and in 1959, the Single Lens Reflex (SLR) SR-1 camera. In later years, they signed agreements with Leica and came out with the first autofocus SLR, The Minolta Maxxum 7000, which carried on to several in their autofocus system.

 To expand slightly from the above text, in the early years, there was a big German influence on the Minolta company, which was known as Nichidoku Shashinki Shōten, which means Japanese, German camera shop. In the early years, the company received help from camera technicians Billy Neumann and Willy Heilemann, and the shutters and lenses were supplied from Germany. Their first camera was the Nicarette, which was released in 1929.

In 1931, the company was transformed into a stock corporation named Molta Gōshi-gaisha. Molta is an abbreviation of Mechanism, Optics, and Lenses by Tashima. Neumann and Heilemann left the company in 1932, returning to Germany to start their own company, and the German influence left with them. In 1933, the name Minolta was adopted. In 1937, the company became Chiyoda Kōgaku Seikō K.K anexpanded the production of cameras into TLR and press cameras similar to the Plaubel Makina. 

Minolta Six in the July 1938 catalogue and price list by Asanuma Shōkai. Scan by A. Apra. (Image rights)

 In 1940, the famous Minolta Rokkor lens was produced, but it was only used for the military. Consumer camera production ended in 1943 to concentrate on the war effort. Three of its four plants were destroyed by Allied forces during WWII. Soon after the war, Minolta released the Semi Minolta III, and throughout the 1950s, Minolta expanded its line of cameras to include folding cameras, TLRs, SLRs, and rangefinder cameras.

 In 1958, the SR-2 was released, and it was Minolta's first system camera. This reign of SLR system cameras included partnerships with Leitz in the 1970s, which helped produce CLE cameras. Minolta had a full line of autofocus cameras, the Maxxum line of bodies and lenses, and Minoltas final SLR camera ended in 1995 with their X-370.

 Minolta produced many different 35mm, APS, and DISC cameras and partnered with Konica in 2003, but by 2006, the camera company had discontinued camera production and relied heavily on the copier business.

My Camera:

Opening the case and looking at the camera for the first time, I was surprised by the Minolta logo and text on top. Since it was made in 1936, it has a genuine Art Deco design in the look and feel of the camera. My biggest surprise was when I initially pulled the lens out from the body and found the camera didn't have a cloth bellows. Instead, it has a series of stacking cubes that pull away from the camera body, AND these boxes are reinforced with another Art Deco element, metal brackets that resemble an "M" when the camera is laid on its back with the lens pointing up. WOW, Just a fantastic design.

The Minolta Six camera measures 6 inches in width, 4.75 inches in height with the finder up, 3.75 inches with the finder closed, and 4 inches in depth with the lens out, or 2.25 inches with the lens closed. It weighs 1 lb. 5.7oz. without the case or loaded with film. The camera's body is made from a bakelite or plastic material, covered in a high-quality leatherette.

 To pull the lens out to take photos, there are two grips, one on either side of the lens, that you grab onto to pull the lens out and away from the body. You need to expose three stacking cubes before the camera is ready to take the photos. Under the lens are two curved chrome bars you can slide down to prop the camera up so that when the lens is out, it doesn't tip forward and keeps the lens level.

Around the top of the lens is Patents-Nippon, and below is Crown, which is the shutter on the camera. The actual lens is an 80mm f5.6 Coronar Anastigmat Nippon lens. Around the lens is a manual focus ring that focuses from under 1 meter to infinity. The focus line to judge distance is a protruding tab with a line at approximately 10 O'Clock on the lens face. The lens also has a stopping screw that prevents the lens from rotating past the infinity mark on the tab.


My camera has only four shutter speeds: 1/150, 1/100, 1/50, and 1/25, along with "b" and "T" for timed exposures. On the top of the camera is a pop-up viewfinder with etched or lined crosshairs to line up horizontal or vertical subjects as needed. The back of my camera sports three red windows with different numbers, which are used to line up with the number on the paper backing to get to the proper frame number. In later cameras, they went to a single window system, which is more common with current 6x6 format cameras using 120 film.


To open the back of the camera, there is a latch behind the strap on the left side with an arrow pointing down. Slide the button down, and the camera's back opens. The chrome winding lever was used on the older models. Later they went to a plastic or bakelite knob in the later models. My first thought when I looked at the back of the camera was that it was not a full-frame 6x6 camera, but that was because I was looking at the retracted plastic cubes from the bellows. It is indeed a full 6x6 format camera. Load the film on the right side and bring the leader to the left to take up the spool. The knobs on the bottom of the camera pull out so you can put in the film and take up the reel easily.

 The case for my camera is in great condition. There's a pretty cool instruction tab on the inside of the case, which was made for the three window cameras.

 The crown shutter doesn't have a cocking mechanism. There's just the shutter release to take the photos. I loaded the film. I pulled out the cube below and started to take pictures of the neighborhood with my trusty light meter. Once I reached the end, I unloaded the film and processed the negatives.

My Results:

Here are some of the photos taken with the Minolta Six camera. The photos were a bit flat in exposure and contrast.

Conclusion:

I enjoyed shooting with the camera, but I am still primarily impressed with the innovative and beautiful bellows system in the camera. Not only is it functional, but it is very light and tight and only wears out slowly compared to the style bellows. The flip side is, if something happens to this bellows, the replacement is hard to replace due to the material. I wished there were faster shutter speeds, but I was using 125 iso film, and with the aperture range of the lens, I didn't have an issue.

 I have a great and fun camera for next week's blog post, so I hope you'll stick around to read that one, too. Thank you for your time, and please be safe until then.

Update:

According to Andrea Apra, who corrected and let me know initially, a small cardstock table was provided with this camera. This table was used to calculate the Depth of Field. The card I have in the case with the wrong translation is just instructions for using this table provided with the camera, which I don’t have.

The table has a horizontal scale at the top with the various distances on the focus ring: 7, 5, 3, 2, 1.5, 1 Mtr.

Then, on the vertical column, the diaphragm has various apertures: F 5.6, 6.3, 9, 12.5, 18, 25.

Two pairs of values, the minimum and maximum distance of the DoF, are intersecting at the table's intersection.

This explains how to read the table.

This is the text translated in its original graphic structure of the text.

Zeh Zeca-Flex Camera

This camera combines the compactness of a folding camera with the quality and handling of a twin-lens reflex camera. The Zeh Zeca-Flex is just the camera mentioned above, and I've had my eye on it for many years. However, the rareness and price have always eluded me until I went into a great used camera store in Salt Lake City, UT, Acme Camera.

 The first time I went into Acme Camera, they were in their older location, and the store was filled with photo knickknacks. I struck up a conversation with the people there who were selling used gear, servicing cameras, and renting for the local photo community. On my second visit, back in one of the cases was the Zeca-Flex I currently have. The camera was in excellent condition, with clean optics and a working shutter. I offered a trade for the camera, and they accepted. I was elated to have the camera so I could do a blog article on my Zeca-Flex.

History:

In the early 1900s, around 1901-1902, Paul Zeh produced camera parts like shutters in his workshop in Dresden for some of the other local camera companies in Germany. In 1913, he started producing cameras, and by 1922, the company Paul Zeh Kamerawerk was started. In the early years, the company mainly produced folding plate cameras or cameras that took images on glass plates, which was very common at that time period.

During the 1920s, the company did very well. At this time in photo history, roll film was starting to become more popular. The photographer or photo enthusiast didn't need to carry bulky film holders. All the photographer needed to do was put in a roll of film and get 8, 10, 12, or 16 different photos on the same roll of film without the hassle or inconvenience of loading and carrying the film holders. 

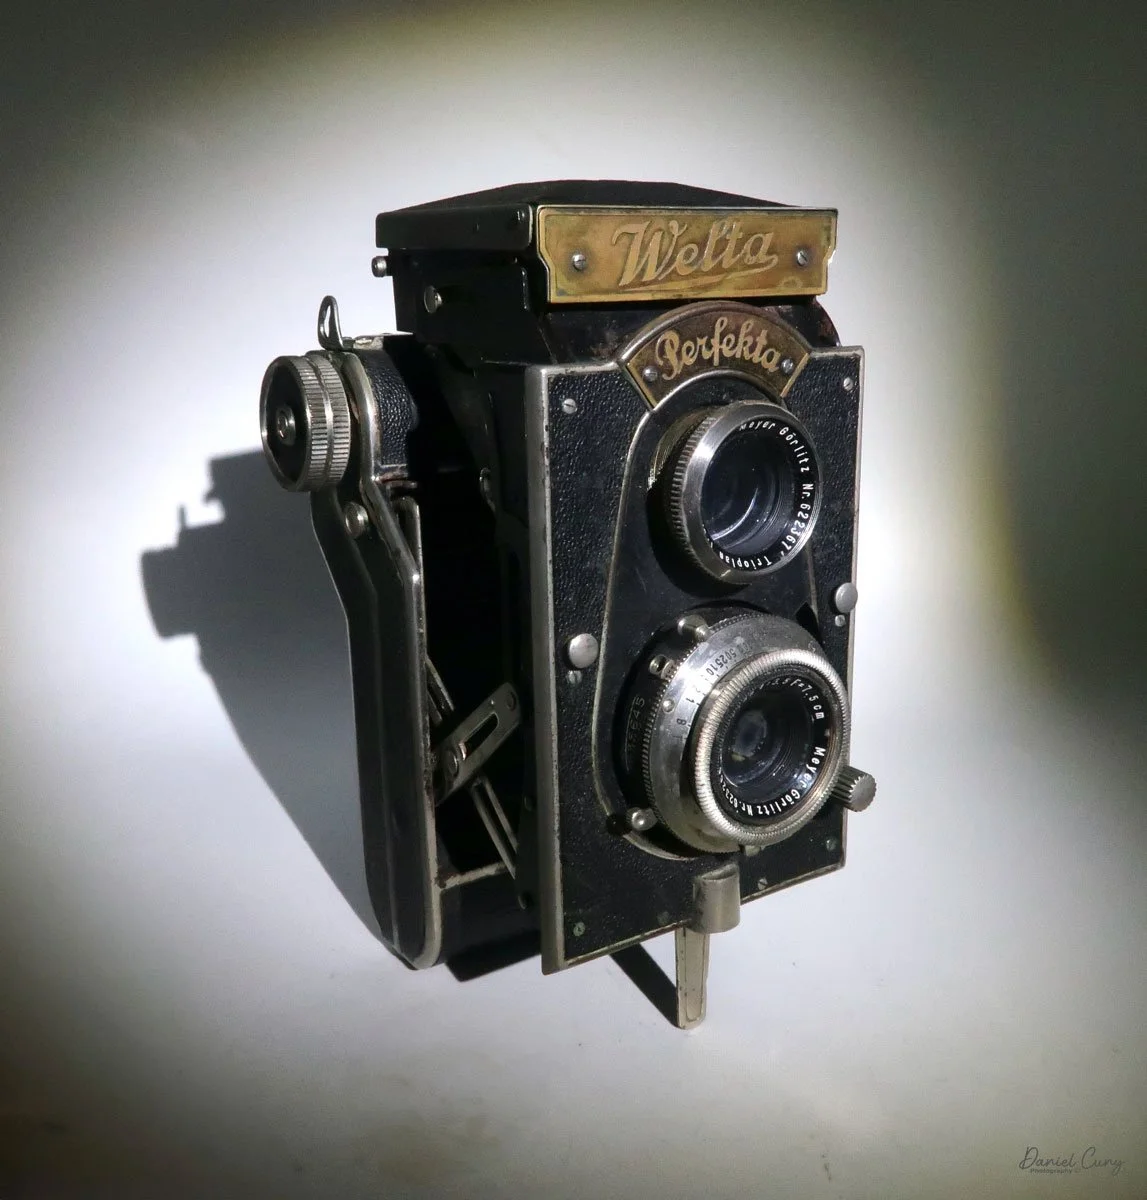
The Pilot Reflex camera, produced in 1931 by Kamera-Werkstätten Guthe & Thorsch in Dresden, has a very similar style and appearance to the Perfekta and the Super Perfekta; you can see a review by Mike Eckman of the Pilot.

 During the late 1920s and 1930s, the company expanded production into folding roll film cameras. These cameras were more compact and allowed the photographer to travel with less equipment, so their popularity grew.

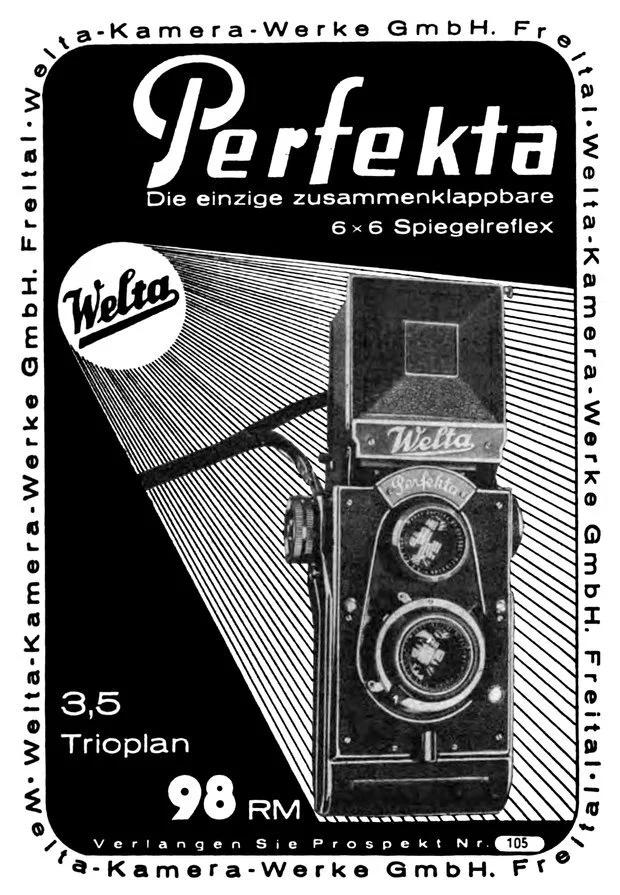
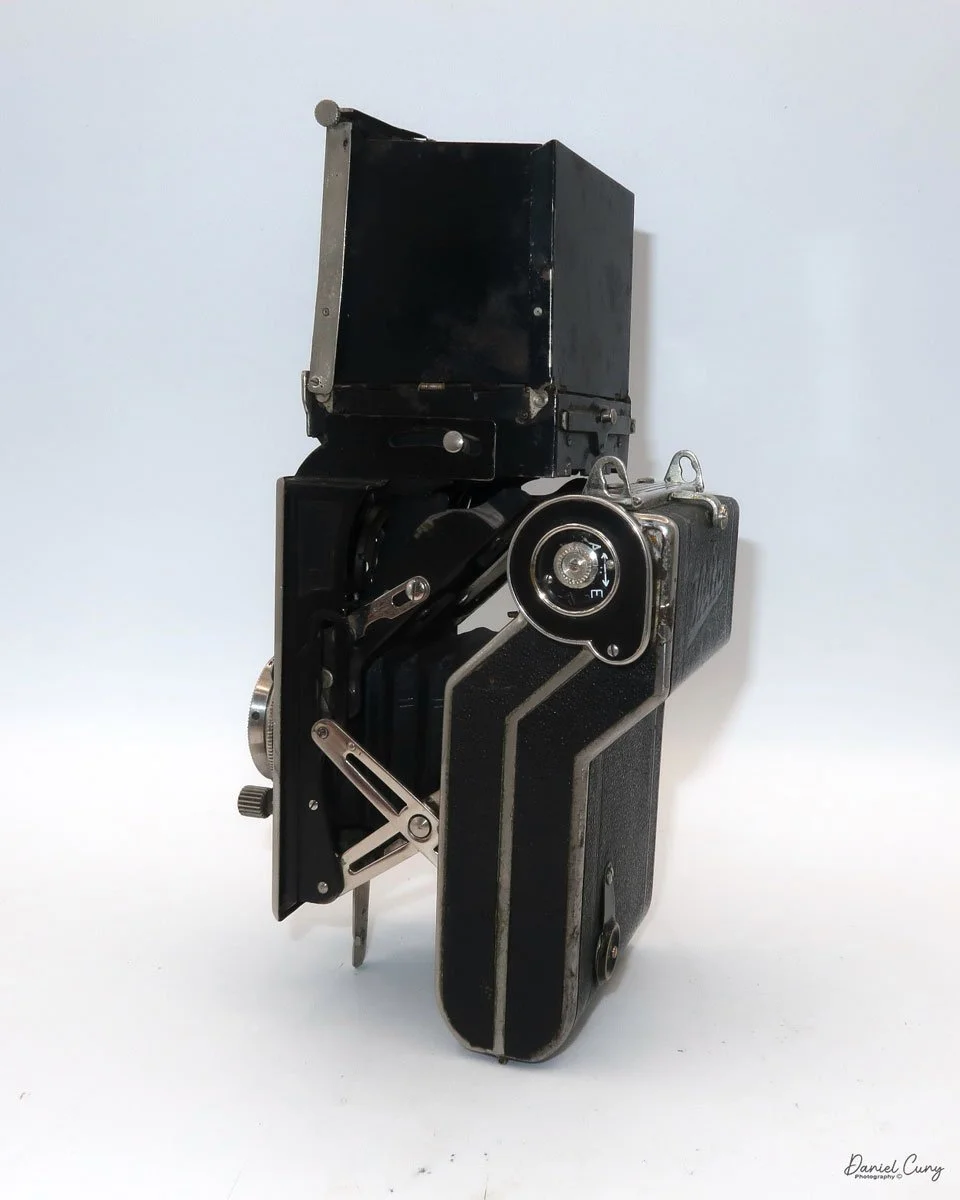
 By 1937, Zeh produced the Zeca-Flex, a folding, twin-lens reflex camera. Its design is very similar to that of the Welta Perfekta, which was produced in the 1933-34 timeframe, and the more robust Super Perfekta introduced in 1935. The Perfekta and Super Perfekta were made by Welta Kamera Werk, which was in Freital, a very close town to Dresden. 

I'm confident Zeh wanted to compete with Welta on this camera style. Unfortunately, this camera style didn't catch on with consumers. Hence, with all three cameras, the Perfekta, Super Perfekta, and Zeca-Flex were the only cameras made and are rare and somewhat expensive.

 WWII took a toll on Dresden as the Allies leveled the city due to its large manufacturing capabilities. By 1948, the Zeh plant closed, and the company went out of business. My guess is that some of the Russian companies took some of the camera manufacturing machines to produce some of the after-war cameras. This is just my guess, though.


My Camera: 

The condition of my Zeca-Flex is unusually excellent for a camera that is almost 90 years old. The metal is still shiny, and all the functions move like when the camera was first purchased in the late 1930s.

 The camera measures 7.5" long without the light hood open. When the light hood is open, it measures 9.25" tall. The Zeca-Flex is 3.75" wide and closed; it's 2.5" from the front of the viewing lens to the rear of the camera. When the camera is open, it measures 4.75". The Zeca-Flex weighs 2lb—5.2 oz.

The lens on my Zeca-Flex is a Schneider Xenar 7.5cm (75mm) f 3.5 in an F. Deckel Compur Rapid shutter. The shutter speeds go from 1/400 to 1 sec with both "T" and "B" settings. Since I don't have a proper shutter tester, all the shutter speeds sound accurate to my trained ear. The viewing lens is a Sucher Anistigmat f2.9 lens.

To open the camera, there is a small button on the left side as you hold it to take a photo. Press that small button in, and the lens door unlocks. On my camera, you need to pull out the lens to put it into the taking position. There are knurled grips on the sides of the lens door to pull the lens out. Also on the lens door is a flip-out stand that allows you to stand the camera up, which is very common in folding cameras.

Note the small button on the side of the camera used to open the lens.

To close the lens, there are two buttons on either side of the backdoor. You press in towards the camera body, then slide the lens back into it and close it until you hear the locking "click" sound, which means the lens is back and locked in the camera body.

 On the back of the light hood, there is a sliding bar you slide over to open the light hood for viewing purposes, and on the side of the light hood is a switch you can flip up or down the magnifying glass for critical focusing.

There is a latch at the top of the back door, which you slide up to open the film door to load and unload film. In my camera, there is a roll film holder you put the roll of film into before putting it into the camera. The film holder is something I've never seen before, and on the first roll, I needed to figure out which way the film rolled across the shutter, but it was easy to figure out. Now that I've done it, it makes sense, and I won't have difficulty in the future.

 The frame counter resets to number 1 when I close the back of my camera, or at least it was there when I put film in it. There is a button on top of the frame counter. When I slide that button over, the frame counter goes to number 5, so my guess is that isn't correct. I can't find an instruction manual for this camera online, so I'm not 100% sure of the correct way to get maximum frames from the camera. 

There is a red window on the back, which I'll use in the future, as I did miss a few frames at the beginning of the roll when I shot with it. The film advance is on the bottom of the camera and is directly tied into the frame counter, whether you have film in it or not. The frame spacing on my camera was good once I got to the first frame and used the frame counter to find the next frame.

 To focus the lens, as you hold the camera to take photos, there is a wheel next to the viewing lens. I rolled my finger across it one way or the other to achieve proper focus, which was the easiest and made the most sense to me.

This is the focusing wheel. I used my finger to slide back and forth to focus.

Results:

Now that I had a roll of film in the camera, I took it out and walked around the neighborhood to get some photos.  Here are some pictures I took on my walk with the stunning Zeca-Flex camera.


Conclusion:

The viewfinder wasn't the brightest, and achieving good focus was difficult even with the magnifying glass up. Another negative about using the camera is where the shutter release is placed. There is no shutter release button, so you need to cock the shutter and then release it with the shutter release button, which is in an awkward place and thought my finger would be in the photo, but it wasn't.

Besides these two items, the camera was a joy to shoot with, and I feel lucky that my camera is in such good condition. I will use it again, but I'm putting it back on the shelf and trying something different for next week's blog post.

 Thank you for taking a few minutes to review some of the cameras in my collection.

 Please be safe, and I hope to hear from you soon.

Rare Univex Model AF Cameras

I started writing my blog posts to let the world know about the cameras in my collection, the fondness I have for cameras, and anything photographic. I had a LOT of time on my hands since losing my position a year ago due to the Covid 19 pandemic. The company I worked for restructured the sales position, and I was the odd man out.

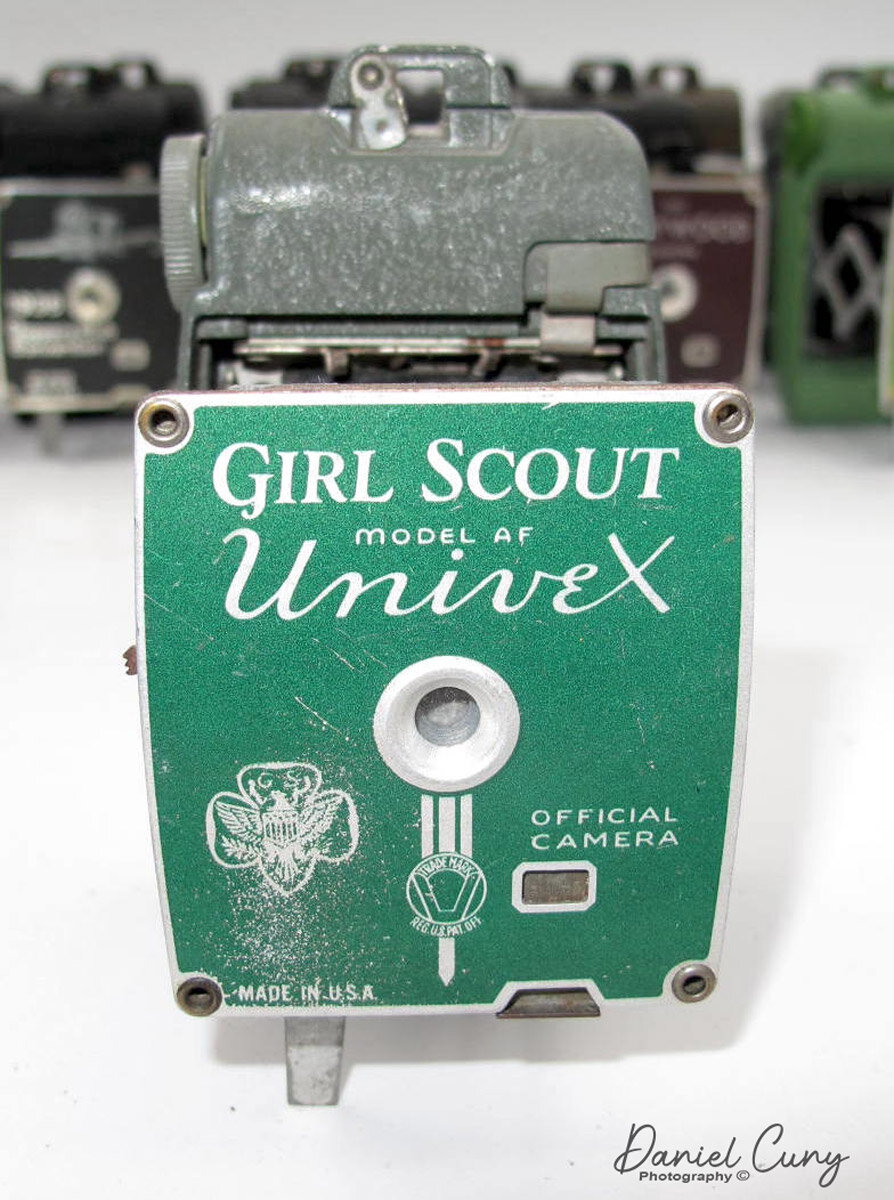
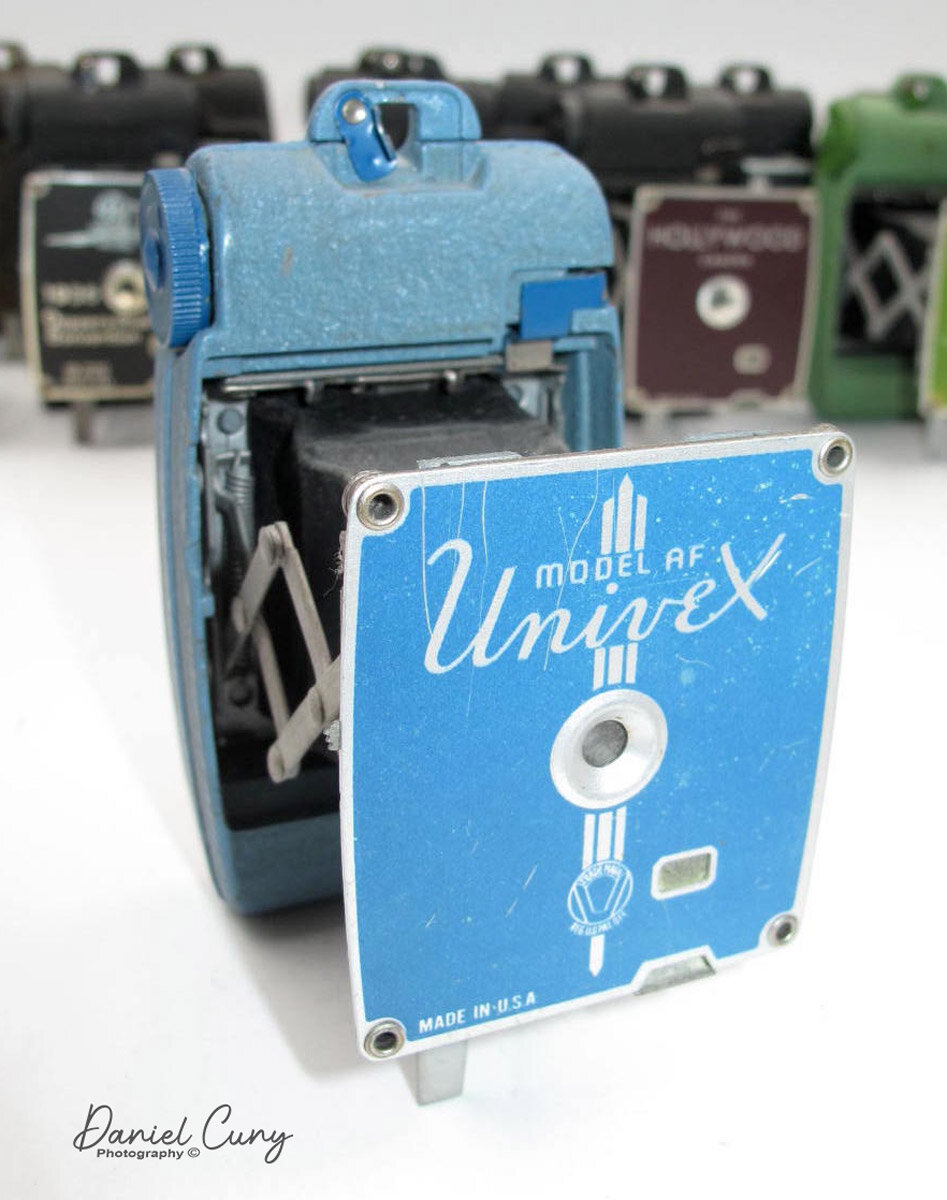
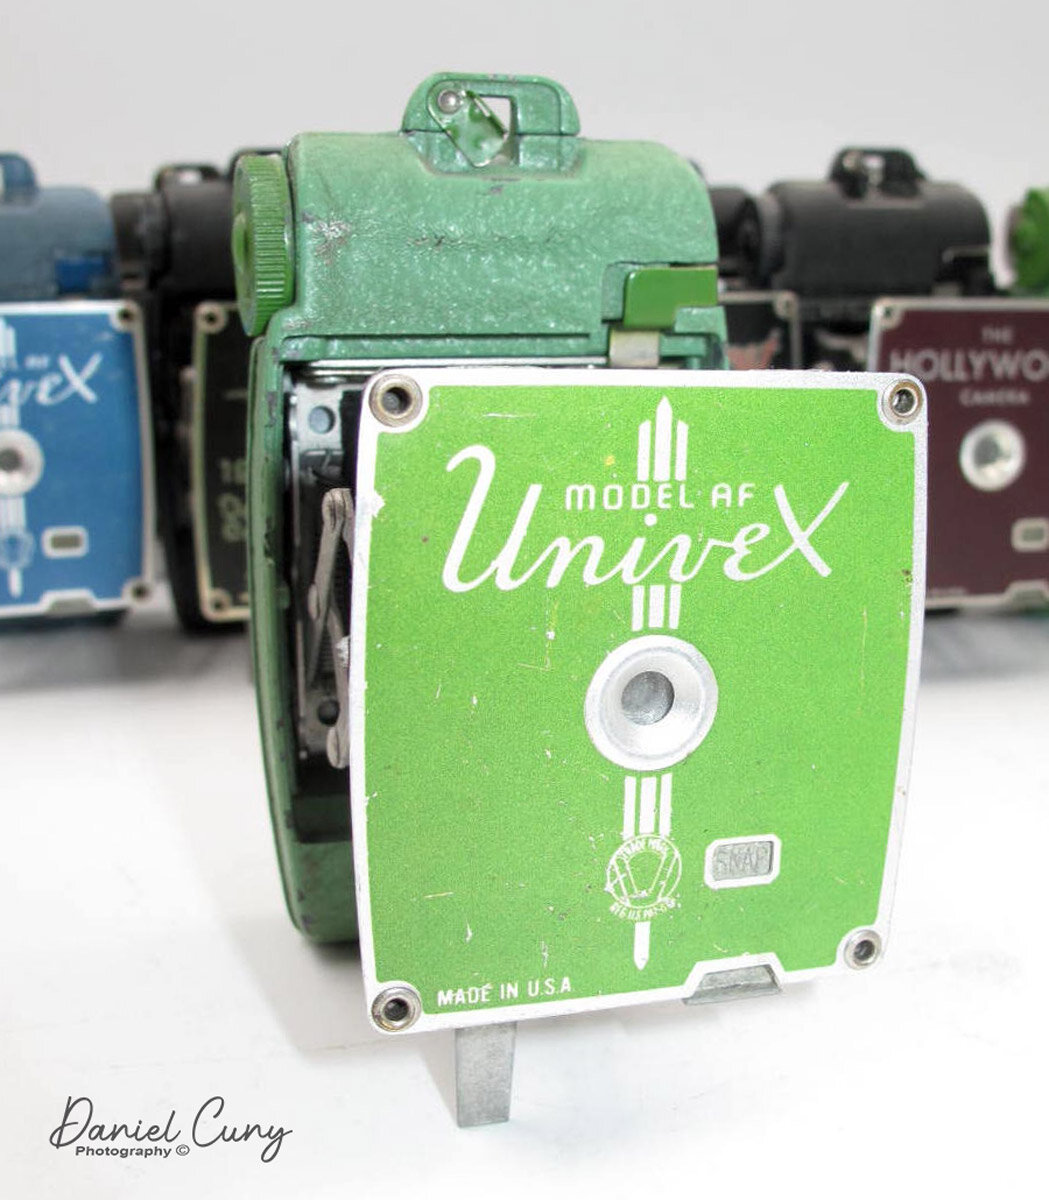
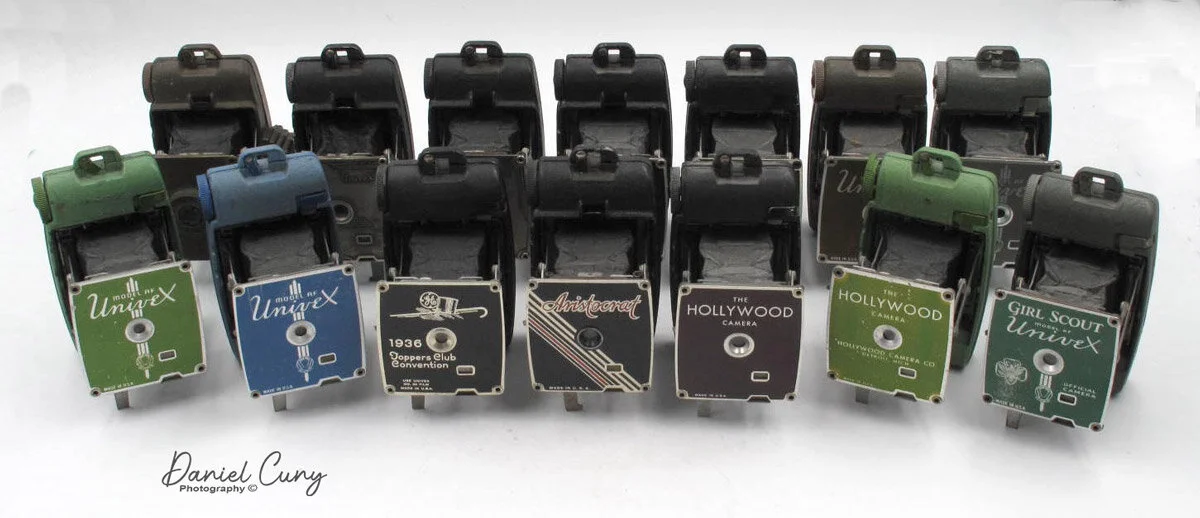
My collection of Univex AF Cameras

My collection of Univex AF Cameras

 I love the companies that hired me. It's been gratifying to get back to work, and it feels lovely to contribute to the workforce and the photo community I feel so passionately about. I've been lax in my camera blog posts lately because I took a new job that has consumed most of my time and energy for the past few weeks.

Blogging

I'm hoping to get back to writing this post every other week now instead of weekly as I was doing. Time willing, I'll do it every other week, or maybe weekly should time allow.

 I wanted to take a few hours to photograph the cameras I'm presenting this week. It's not a single camera like the past blog postings, but a whole collection of cameras that I've built over many years of collecting.


The Company

The Universal Camera Corporation started in 1932 at 521 Fifth Ave., then moved the following year to 32-46 West 23rd St. New York, NY. They stayed in that location until they ran out of office and manufacturing space in 1938. Starting in the depression era, they made reasonably inexpensive cameras made that also used their film, the successful Universal six exposure #OO film for their cameras.

Until 1938, The Universal Camera Corp. was making primarily smaller cameras like the Original Univex Model A camera, which sold for $0.39 and was wildly successful. In 1938, to revise the sales of #00 film, Universal Camera Corp came out with a line of Candid Cameras, which became increasingly popular during this time.

The Story

This story is about the small "A" model cameras and their specialized models in the AF line. As mentioned in many of my previous posts, my love for colored cameras and the odd, unusual models camera manufacturers made. I started collecting the Univex AF line well over 20 years ago when I came across their colored cameras.

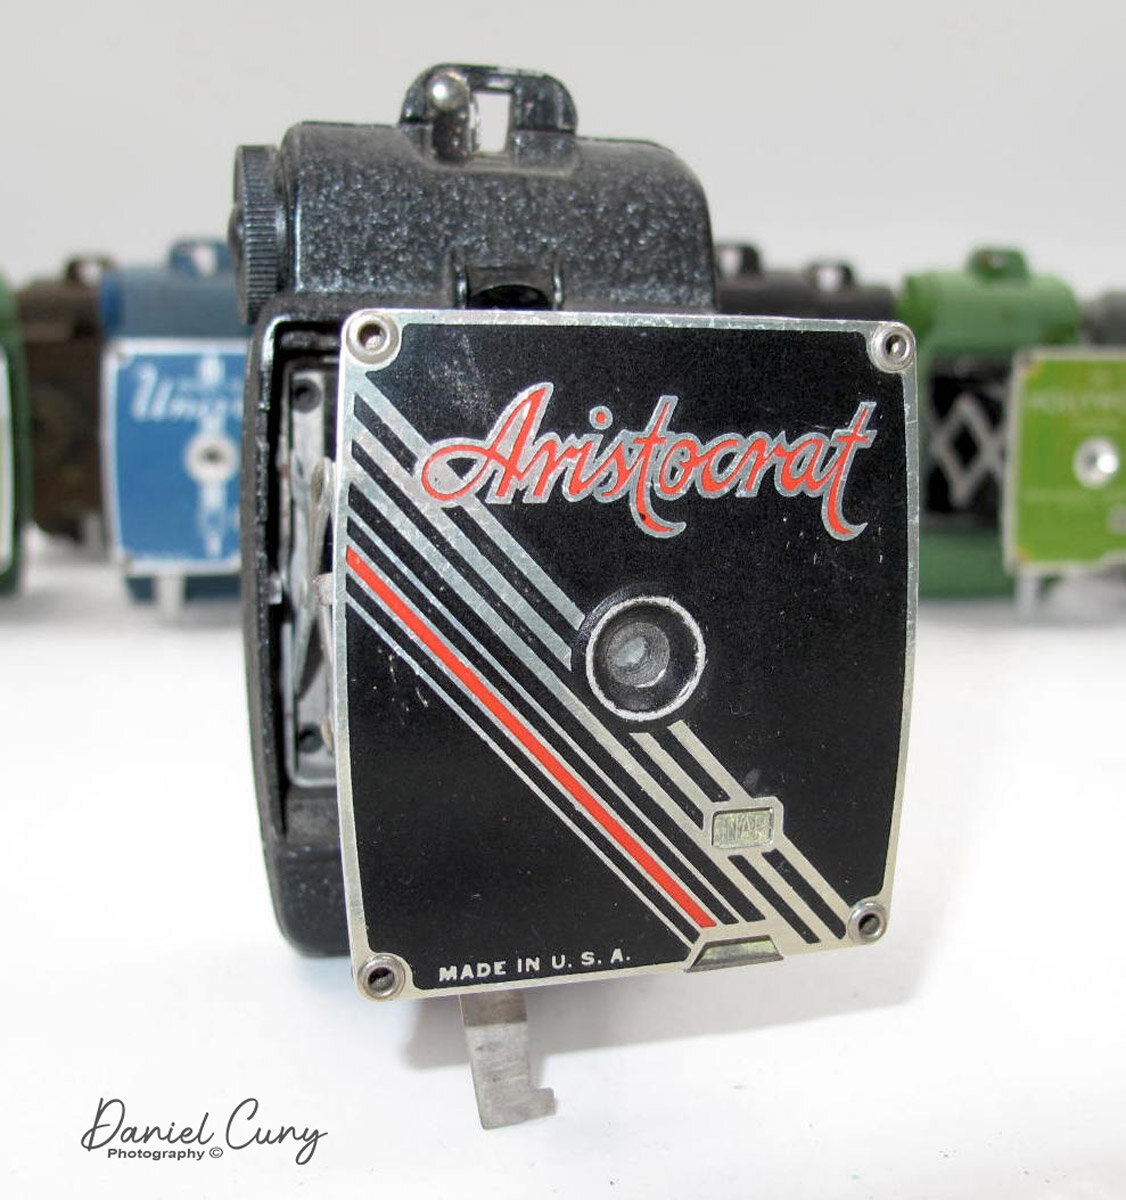
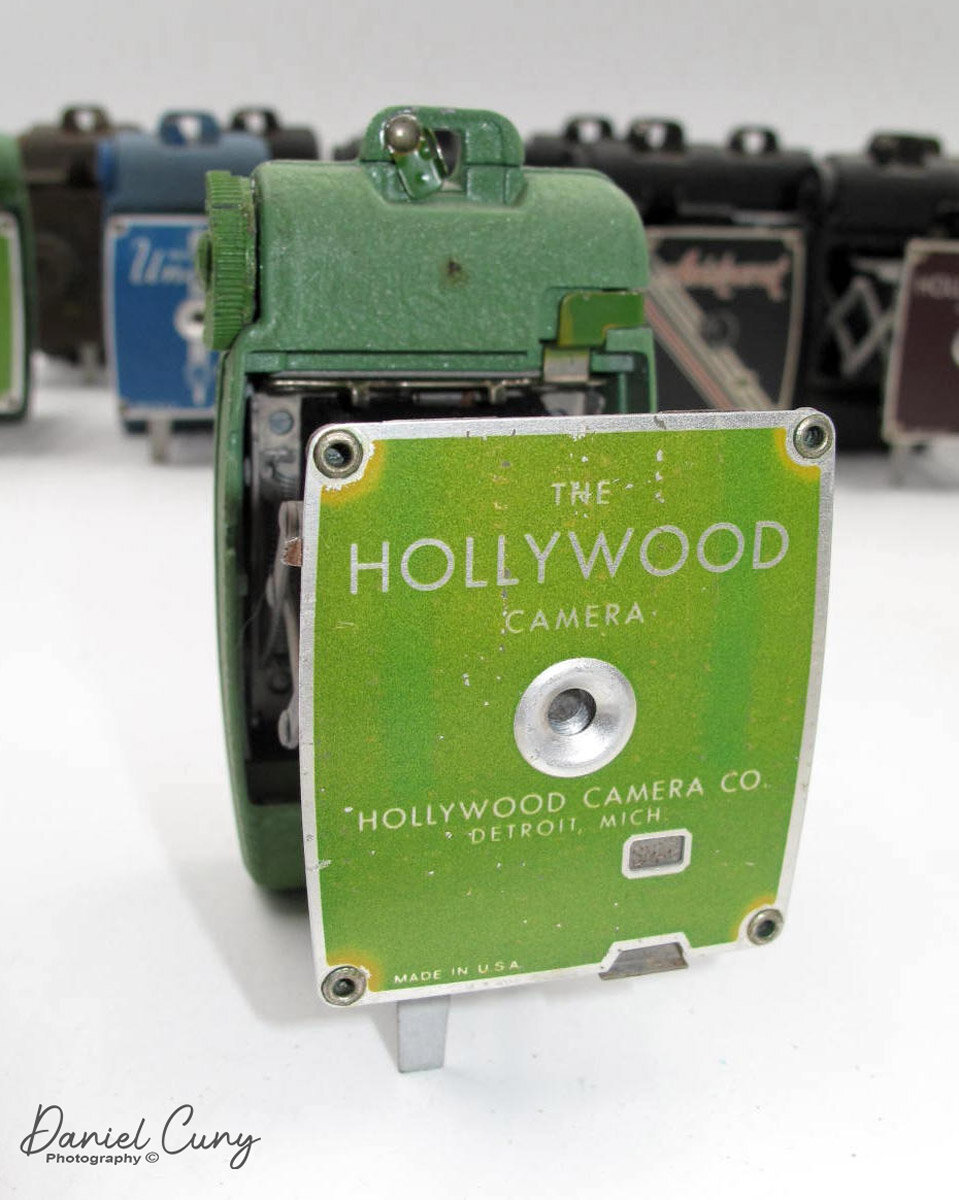
 I believe the first camera purchased the standard and graphic-faced AF-2 model with the black face and graphic red lines running from top to bottom of the camera. Then I started buying the colored models, green, blue, brown, grey, and found their Girl Scout model when I searched out "Scout" cameras. At this time is when I came across the elusive Hollywood, GE Topper, and very rare Aristocrat model.

 I found the Hollywood camera (brown model) first on eBay and was excited to have it in my collection. I've been looking for the GE Topper and even more elusive Aristocrat camera for years. I did see GE Topper models on eBay, but they were always more expensive than I could afford.

My collection of Univex AF cameras

My collection of Univex AF cameras

The Elusive Camera(s)

In my camera searches, I received an email about someone back east selling a "lot" of cameras, and looking at the photos, I saw it…..The elusive Aristocrat camera. It was an online auction, and I just HAD to have it. On the day of the sale, I went online, and when the camera lot came up for sale, I was ready. The pricing started slow and started to build. It got close to my limit, and low and behold. I had won the auction along with a box of items I wasn't sure I wanted.

 When I talked to the shipper about the items in the box, I told them I only wanted this one item, but they already had the items packed and ready to ship. I bit the bullet and had the whole lot shipped to me. From the time I paid for the shipping to get to me to the day it arrived, I knew the one camera to complete my collection was the GE Topper. For days, all I could think about was finding the GE Topper camera.

 When the box arrived, I was giddy with excitement to open it and put the Aristocrat model on my shelf and the other models in the collection. All the cameras were bubble-wrapped. Pulling items out, I kept looking for the Aristocrat. I pulled this one bubble-wrapped item and, turning it over, I faintly saw….could it be what I believe it is, the GE Topper camera? I gently unwrapped the camera, and as I was peeling off the wrap, the front face became more visible. It was the GE Topper model. My heart was pounding, and my eyes teared up a bit. Not only did I get the Aristocrat camera BUT the GE Topper too in the same sale.

Later, I added the odd difficult to find, green Hollywood camera, so along with the AF-3, AF-5, and AF-5 models, I can call this collection complete unless something else pops up that I'm not aware of.

 Thank you for taking some time from your schedule to read my blog on cameras in my collection. Until my next posting, please be safe.


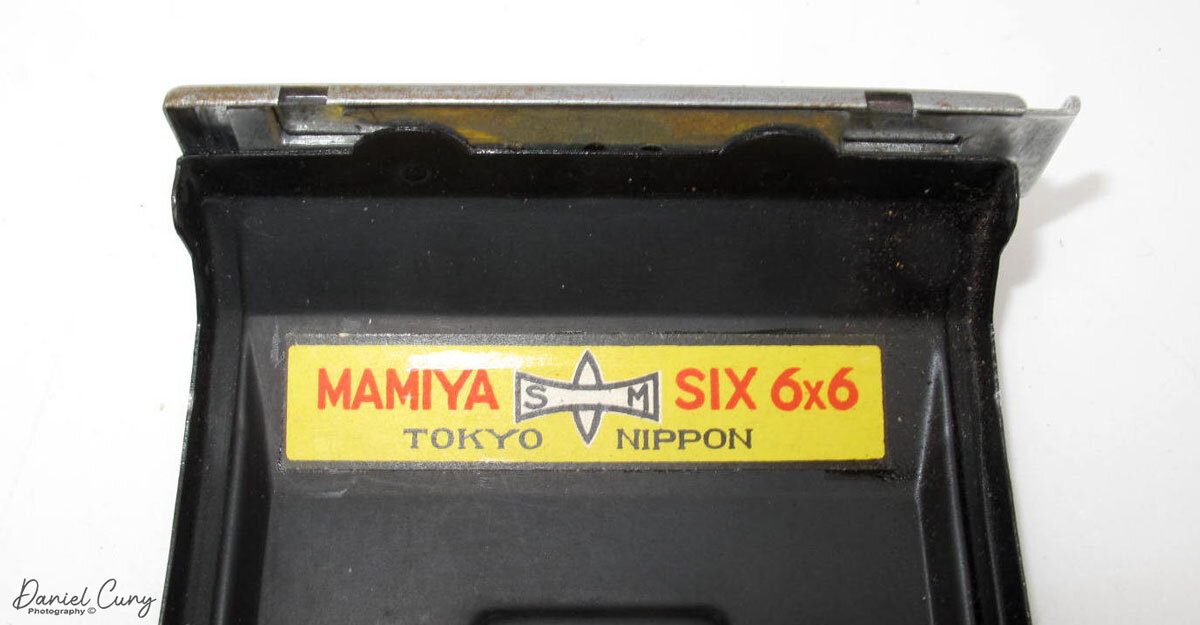
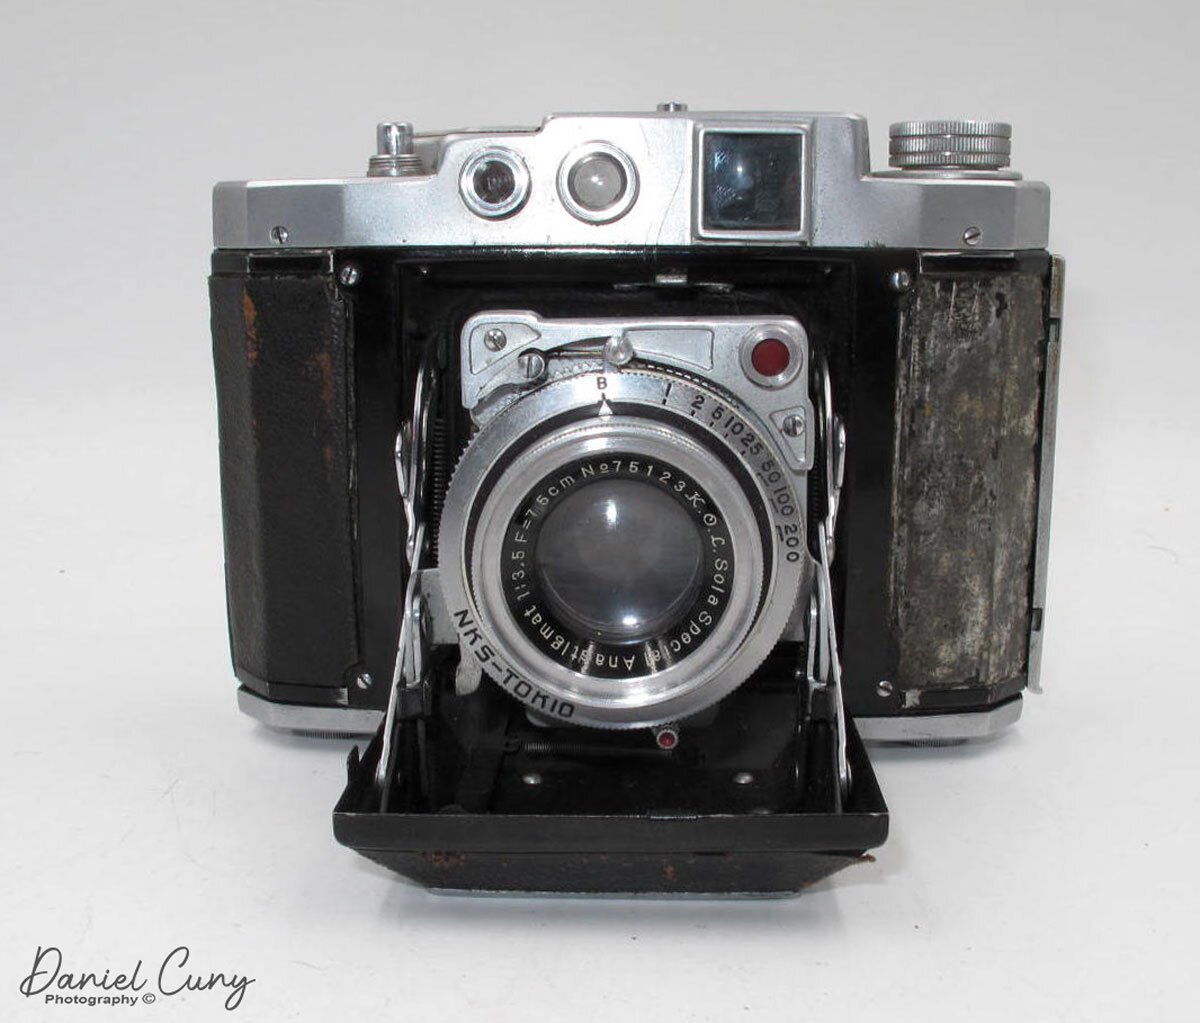
Mamiya Six II, Early Version

For the past few years, I've enjoyed shooting with older folding medium format cameras. These cameras are generally smaller and something I can fit into my pocket for easy transportation. They also use larger than 35mm film, so the ability to enlarge or crop the image gives more flexibility. Their lenses are somewhat flat in contrast, but I can change that after processing and digitizing the images. The Mamiya Six camera I have is one of the cameras I like to use often. There are some exciting features built into this camera that make the camera fun to use. The Mamiya Six was the first camera manufactured by Mamiya, and the camera I have, I believe, is the second version.

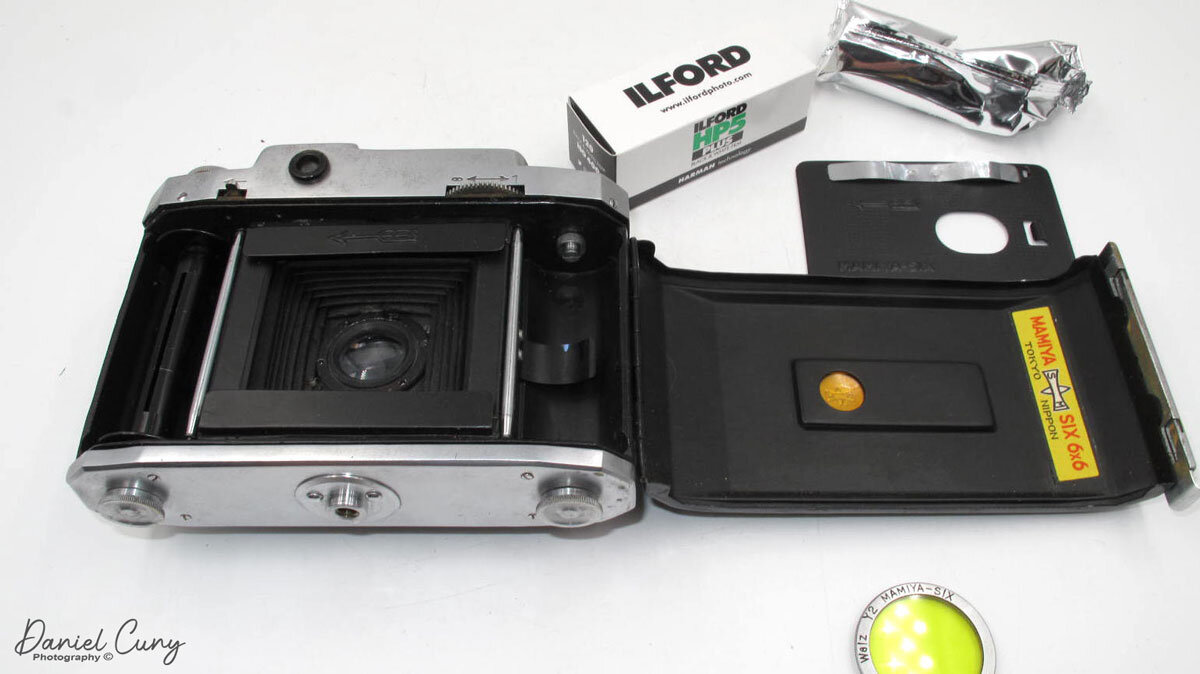
My opened Mamiya Six camera.

The Company

Mamiya was started in May of 1940 by Mamiya Seiichi and Sugawara Tsunejirō in Toyko, Japan. The first and only camera they produced for eight years was the Mamiya Six, which incorporates a coupled rangefinder on a 6x6 camera that moves the film plane for focusing instead of the lens. Even though they only made one camera, Mamiya managed to grow and gain success throughout the wartime. By February 1944, Mamiya had up to 150 employees and had moved their manufacturing to a new facility. In March 1944, they also opened a second manufacturing facility that made and assembled their lenses. In October 1945, just a month after Japan's surrender, Mamiya was the first company to receive a substantial order, bringing them back to full production.

In 1947, Mamiya started to produce Stamina shutters and Neocon lenses. In 1950, the Setagaya plant became the company Setagaya Kōki K.K. making their shutters and lenses. The name Sekor that appears on most Mamiya lenses comes from Setagaya ki, with the r most likely for Renzu meaning lens. 

I should mention one item I have a real fondness for Mamiya cameras as I was an employee for Mamiya America for about six years during the early 2000s. Some of my fondest memories are working with the wonderful people at MAC Group (Mamiya America Corp.). Phase One purchased a 45% stake of Mamiya in 2009 that changed its dynamic, but they still make cameras and lenses under the Phase One name.

The Camera

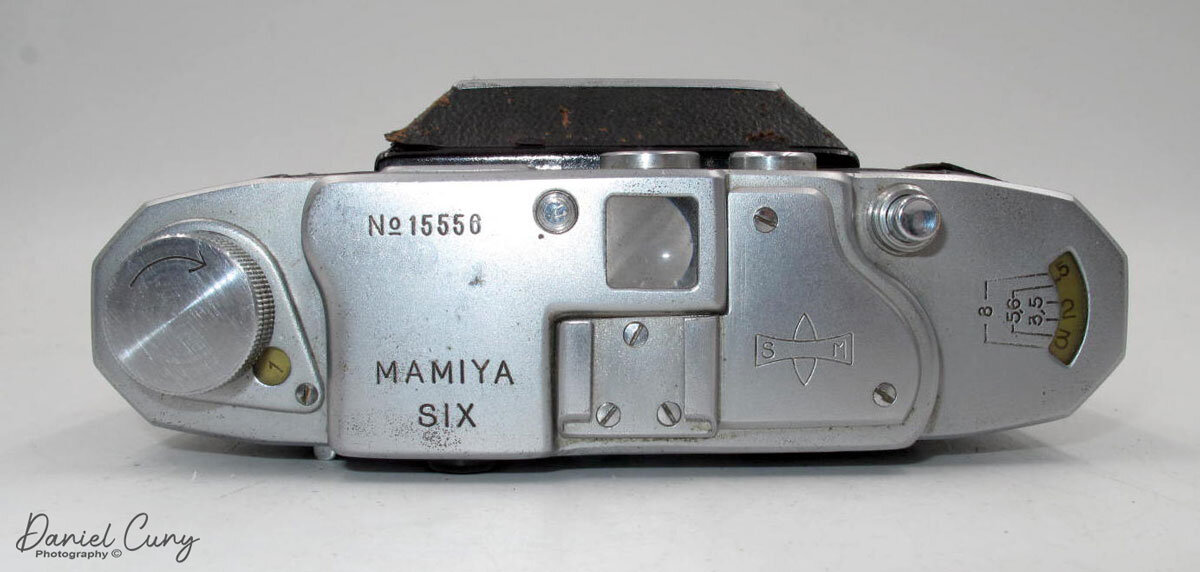
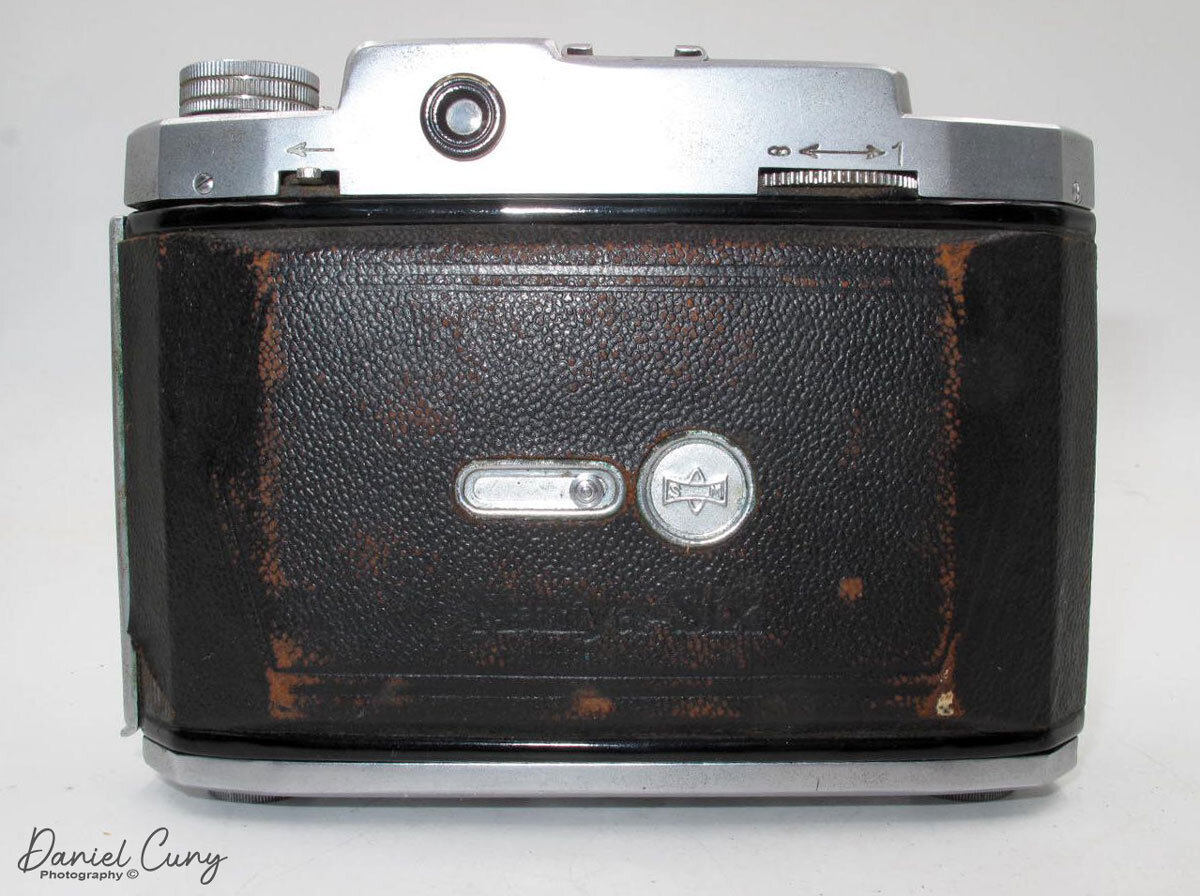
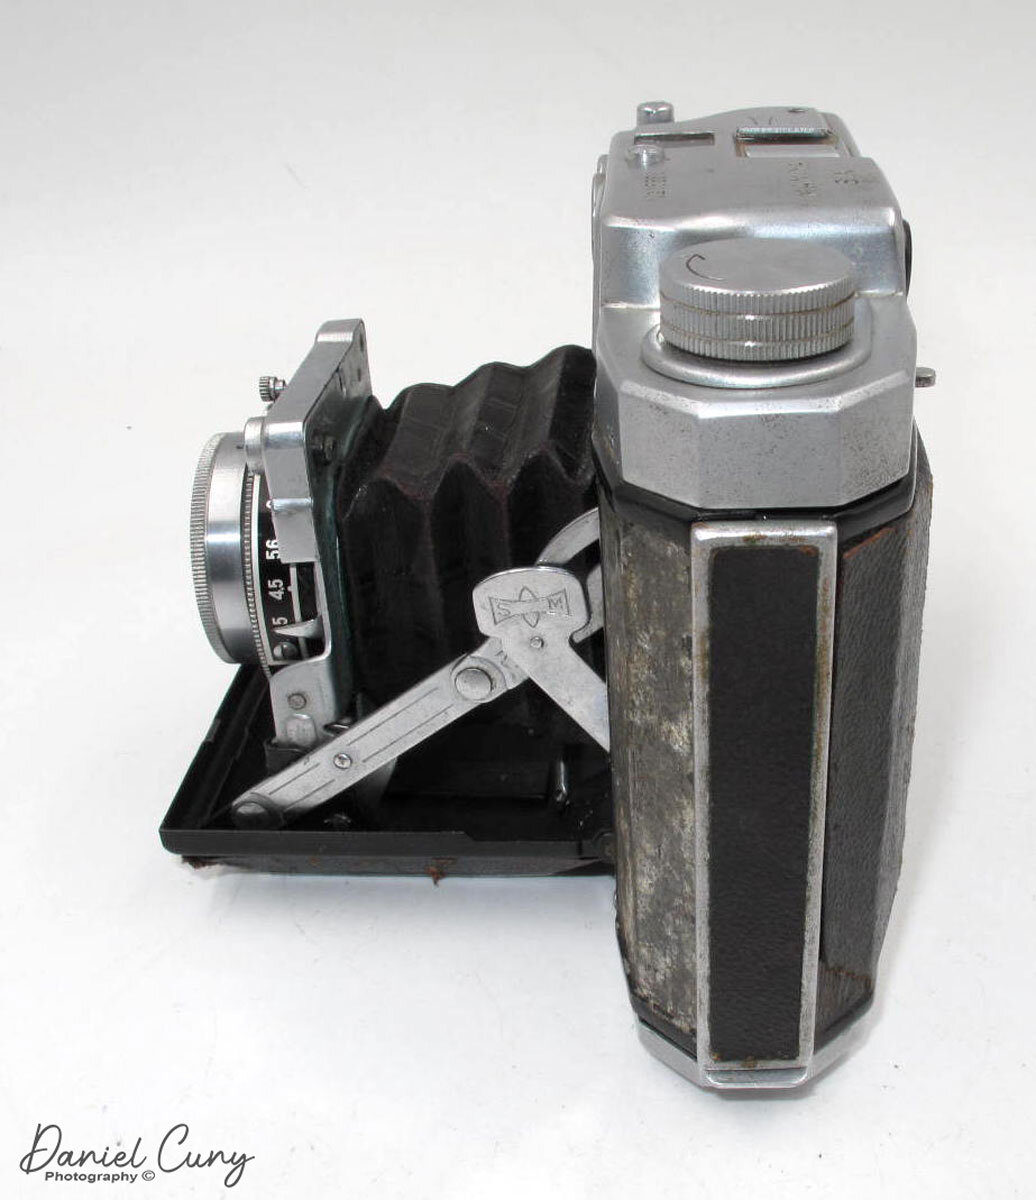
Over the years the Mamiya Six was manufactured there have been many changes and modifications. To see some of the changes, you can look here. This is also not to be confused with the Mamiya 6 which was introduced in 1989. I believe the version I have is the Mamiya Six II because the strap eyelets are no longer on the camera as they were on the original models.  Looking at the camera, the first thing I noticed when I bought it was the camera has both a waist-level finder and an incorporated rangefinder, which you can see from the window on top of the camera. Just to the left of the waist level finder window is a small button to open the camera. Depress the button, and the lens extends downward. To me, it resembles the Zeiss Ikon Super Ikonta 530/16 in size and weight. The Mamiya Six I have is 4" tall by 5.5" wide and 2" deep unopened or 4.5" deep opened, and weighs 1lb 12.5 oz without the case or film.

The Mamiya Six I have has a 7.5cm (75mm) f3.5 K.O.L. Sola Special Anastigmat lens in an NKS-TOKIO shutter with speed from 1-200 & "B." The aperture setting range from f3.5-32. To change shutter speeds, you move the knurled ring on the outside of the lens to the desired shutter speed. There is also a knurled ring on the back of the lens are on the right side that allows you to change aperture settings. It's somewhat hidden and took me a minute to find it, but it's easy to change once found. The pin on the top of the shutter cocks the shutter. There is a self-timer on the bottom of the shutter, which has a red dot. On the top of the camera at the far right are the focus distance and a depth of field scale. My scale only goes to F8, which is standard on the early cameras. The Mamiya Six I have also arrived with a Mamiya Six Y-2 filter.

On the back of the Mamiya Six is the viewfinder window. To the right of that is a thumbwheel that focuses the camera. Looking through the viewfinder is the typical rangefinder for focusing the camera. Once the shutter is cocked and you depress the shutter button on top of the camera, a red window appears in the viewfinder letting the photographer they have taken a photo. Under the viewfinder and to the left is a switch with an arrow pointing to the left. Moving that switch to the left allows you to wind the film to the next frame and also takes the red warning out of the viewfinder. The frame counter is at the top of the camera. It's a small round window next to the film advance knob. On the back of the Mamiya Six is also a red window and cover, which you can see the film advance and stop at the next frame, which is automatic. 


Close-up of lens & shutter on Mamiya Six camera.

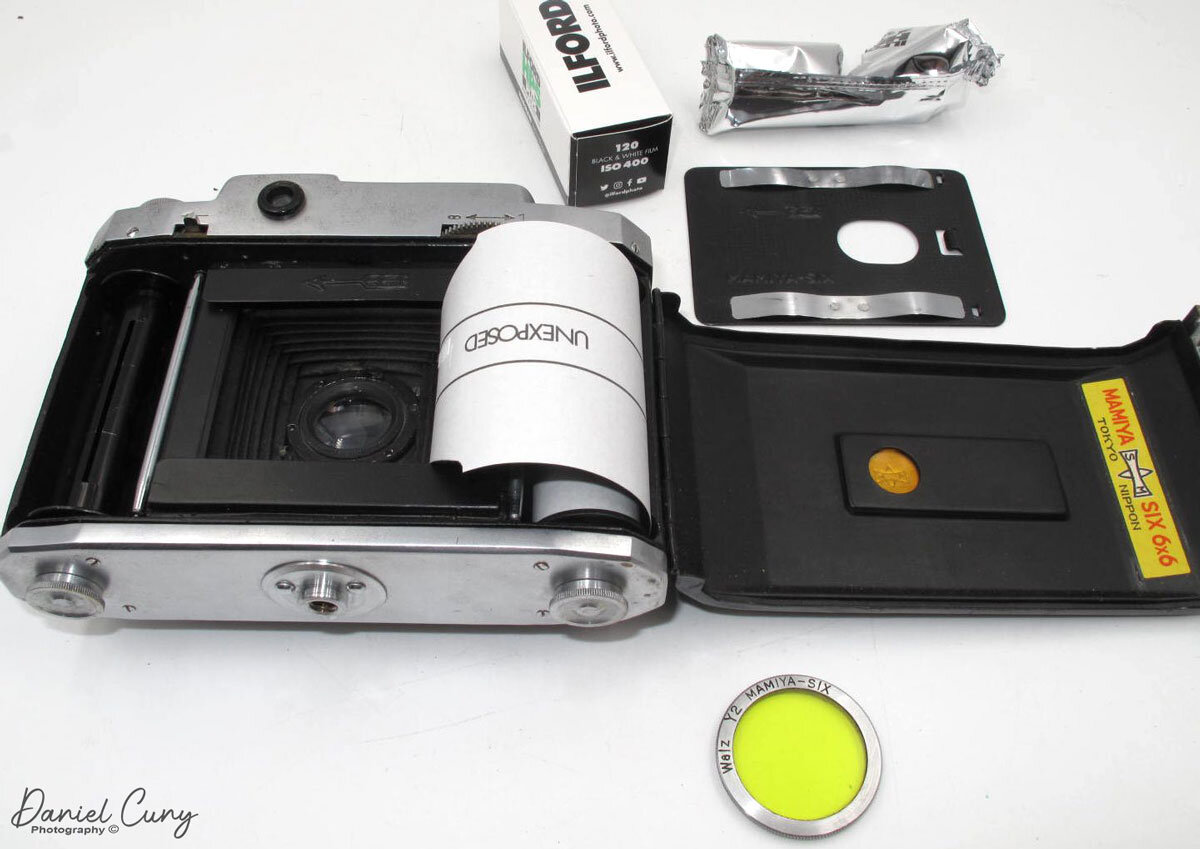
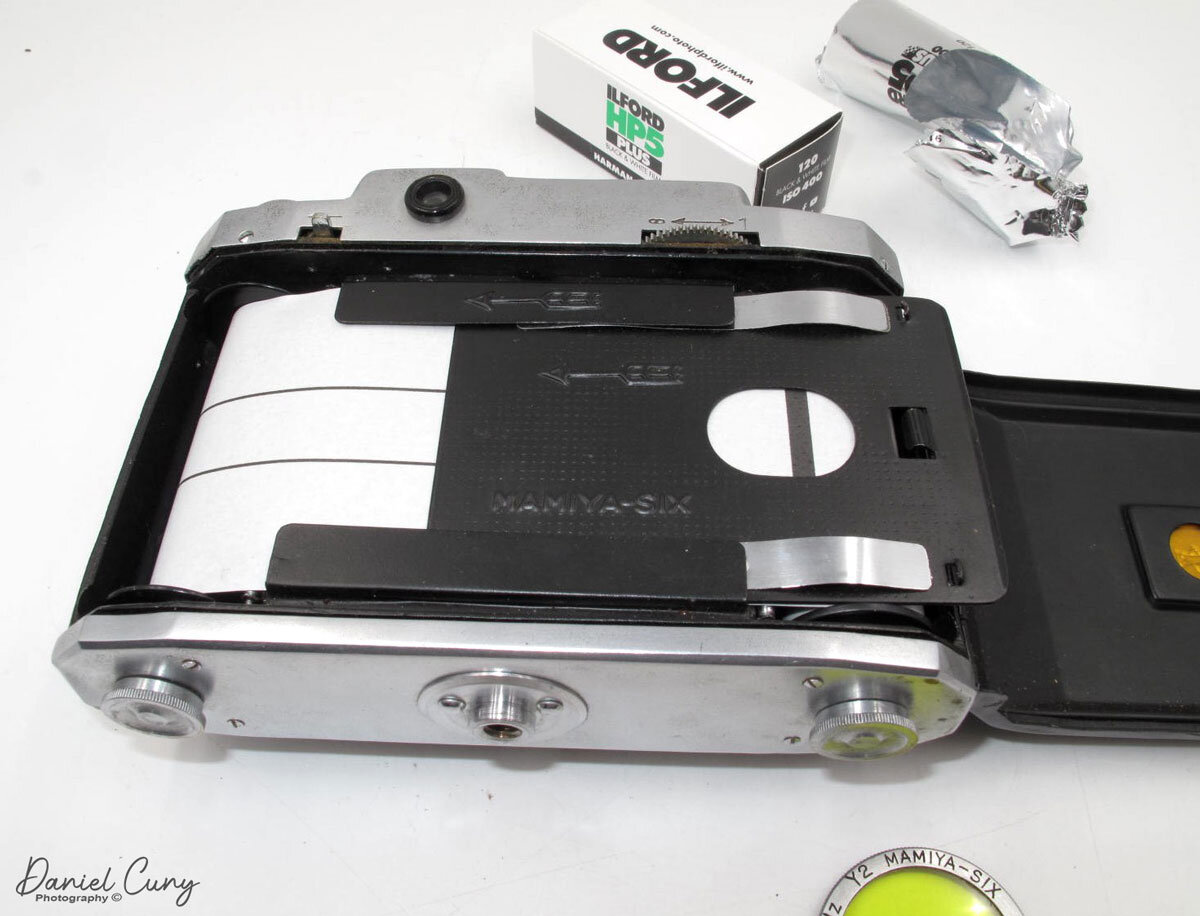
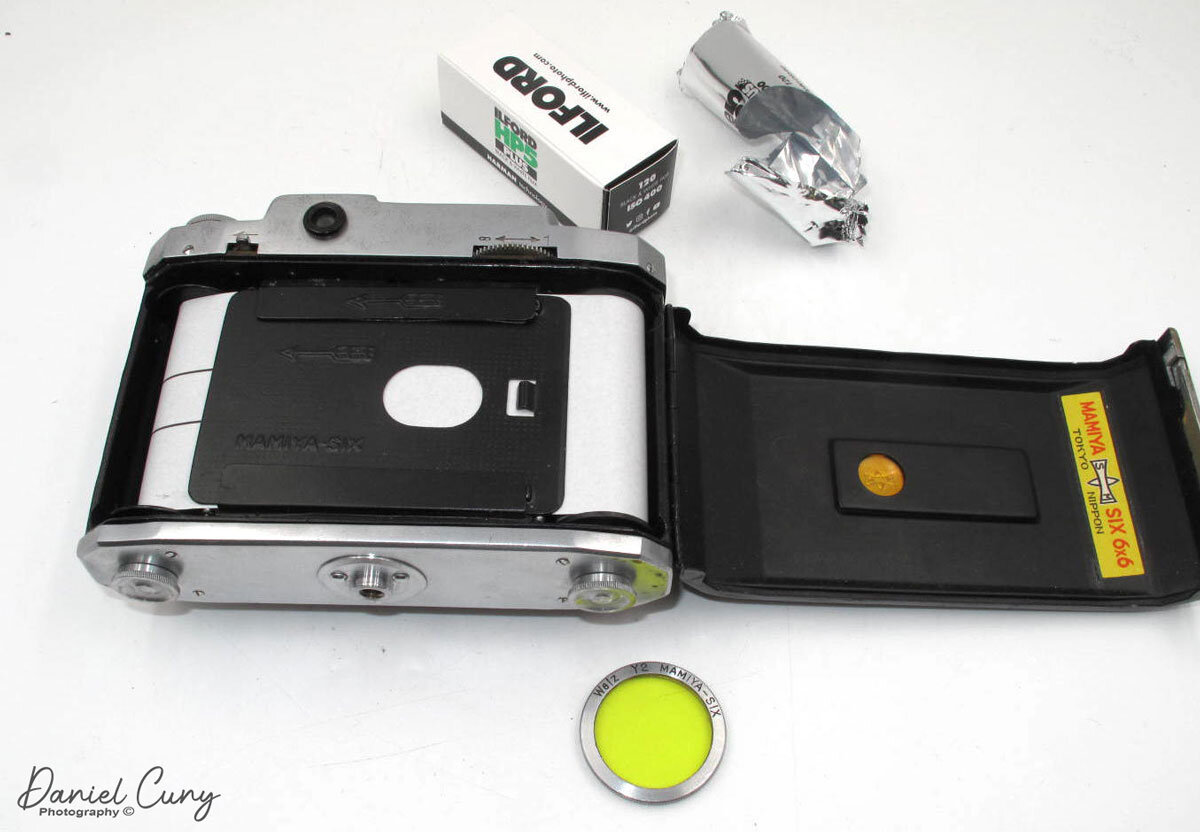
Loading the film is a bit tricky. I always make sure my film counter is at number 1 before loading. Since the film plane moves for focusing, the pressure plate is a removable plate that slides into the film plane. You slide out the pressure plate. Load the film on the right side of the camera. Drag the leader through the slots where the pressure plate goes and wind onto the take-up spool. Slide back the pressure plate into place, and turn the advance knob until you see the starting arrow on the film leader. Close the back and with the rear window open, advance the film to number 1. Now the frame counter and the film frame number coincided with each other. Once you take a photo, slide the switch to remove the red warning label, unlocks the film advance, and wind to the next frame.

Photos

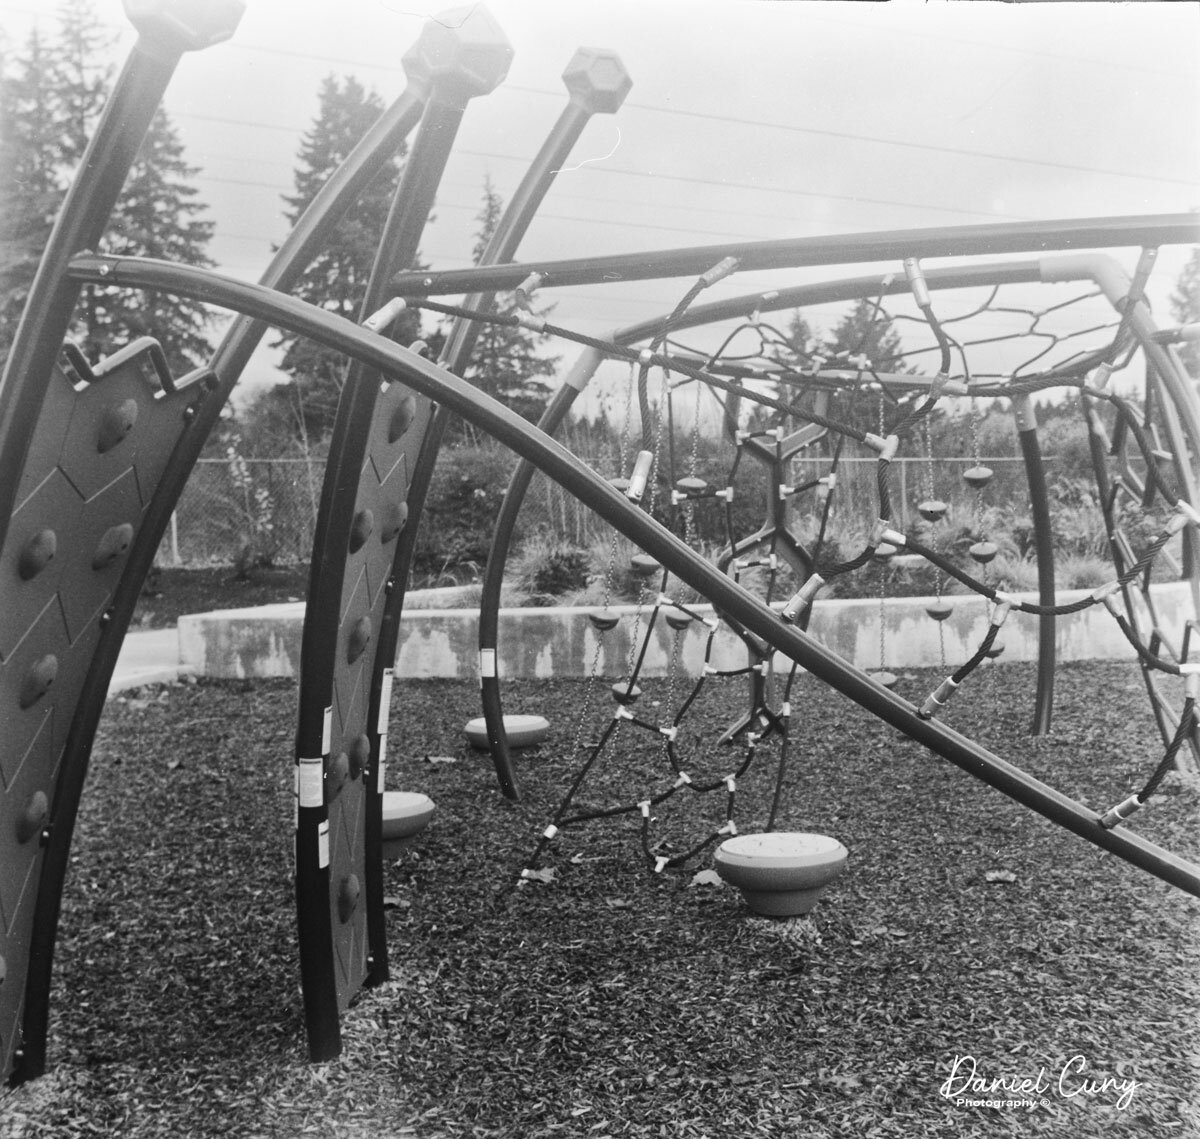
Here are a few quick shots I took walking around my neighborhood.

Conclusion

I enjoy using the Mamiya Six I have. I like the waist level finder, especially when I want to get the camera low to the ground. It's small for a medium format camera, the optics are good, and the aperture goes to F32, which I utilize when in the day time. The Mamiya Six is, in my opinion, a real keeper, especially when I want to put something in my pocket and shoot medium format.

 I appreciate you taking a few minutes to read this week's blog post. I enjoy hearing from you about your experiences with this or any other camera you have in your collection. Feel free to comment if you have a question or concerns regarding this or any other posts I've done.

 Until next week, be safe.