Photo-See Camera Outfit

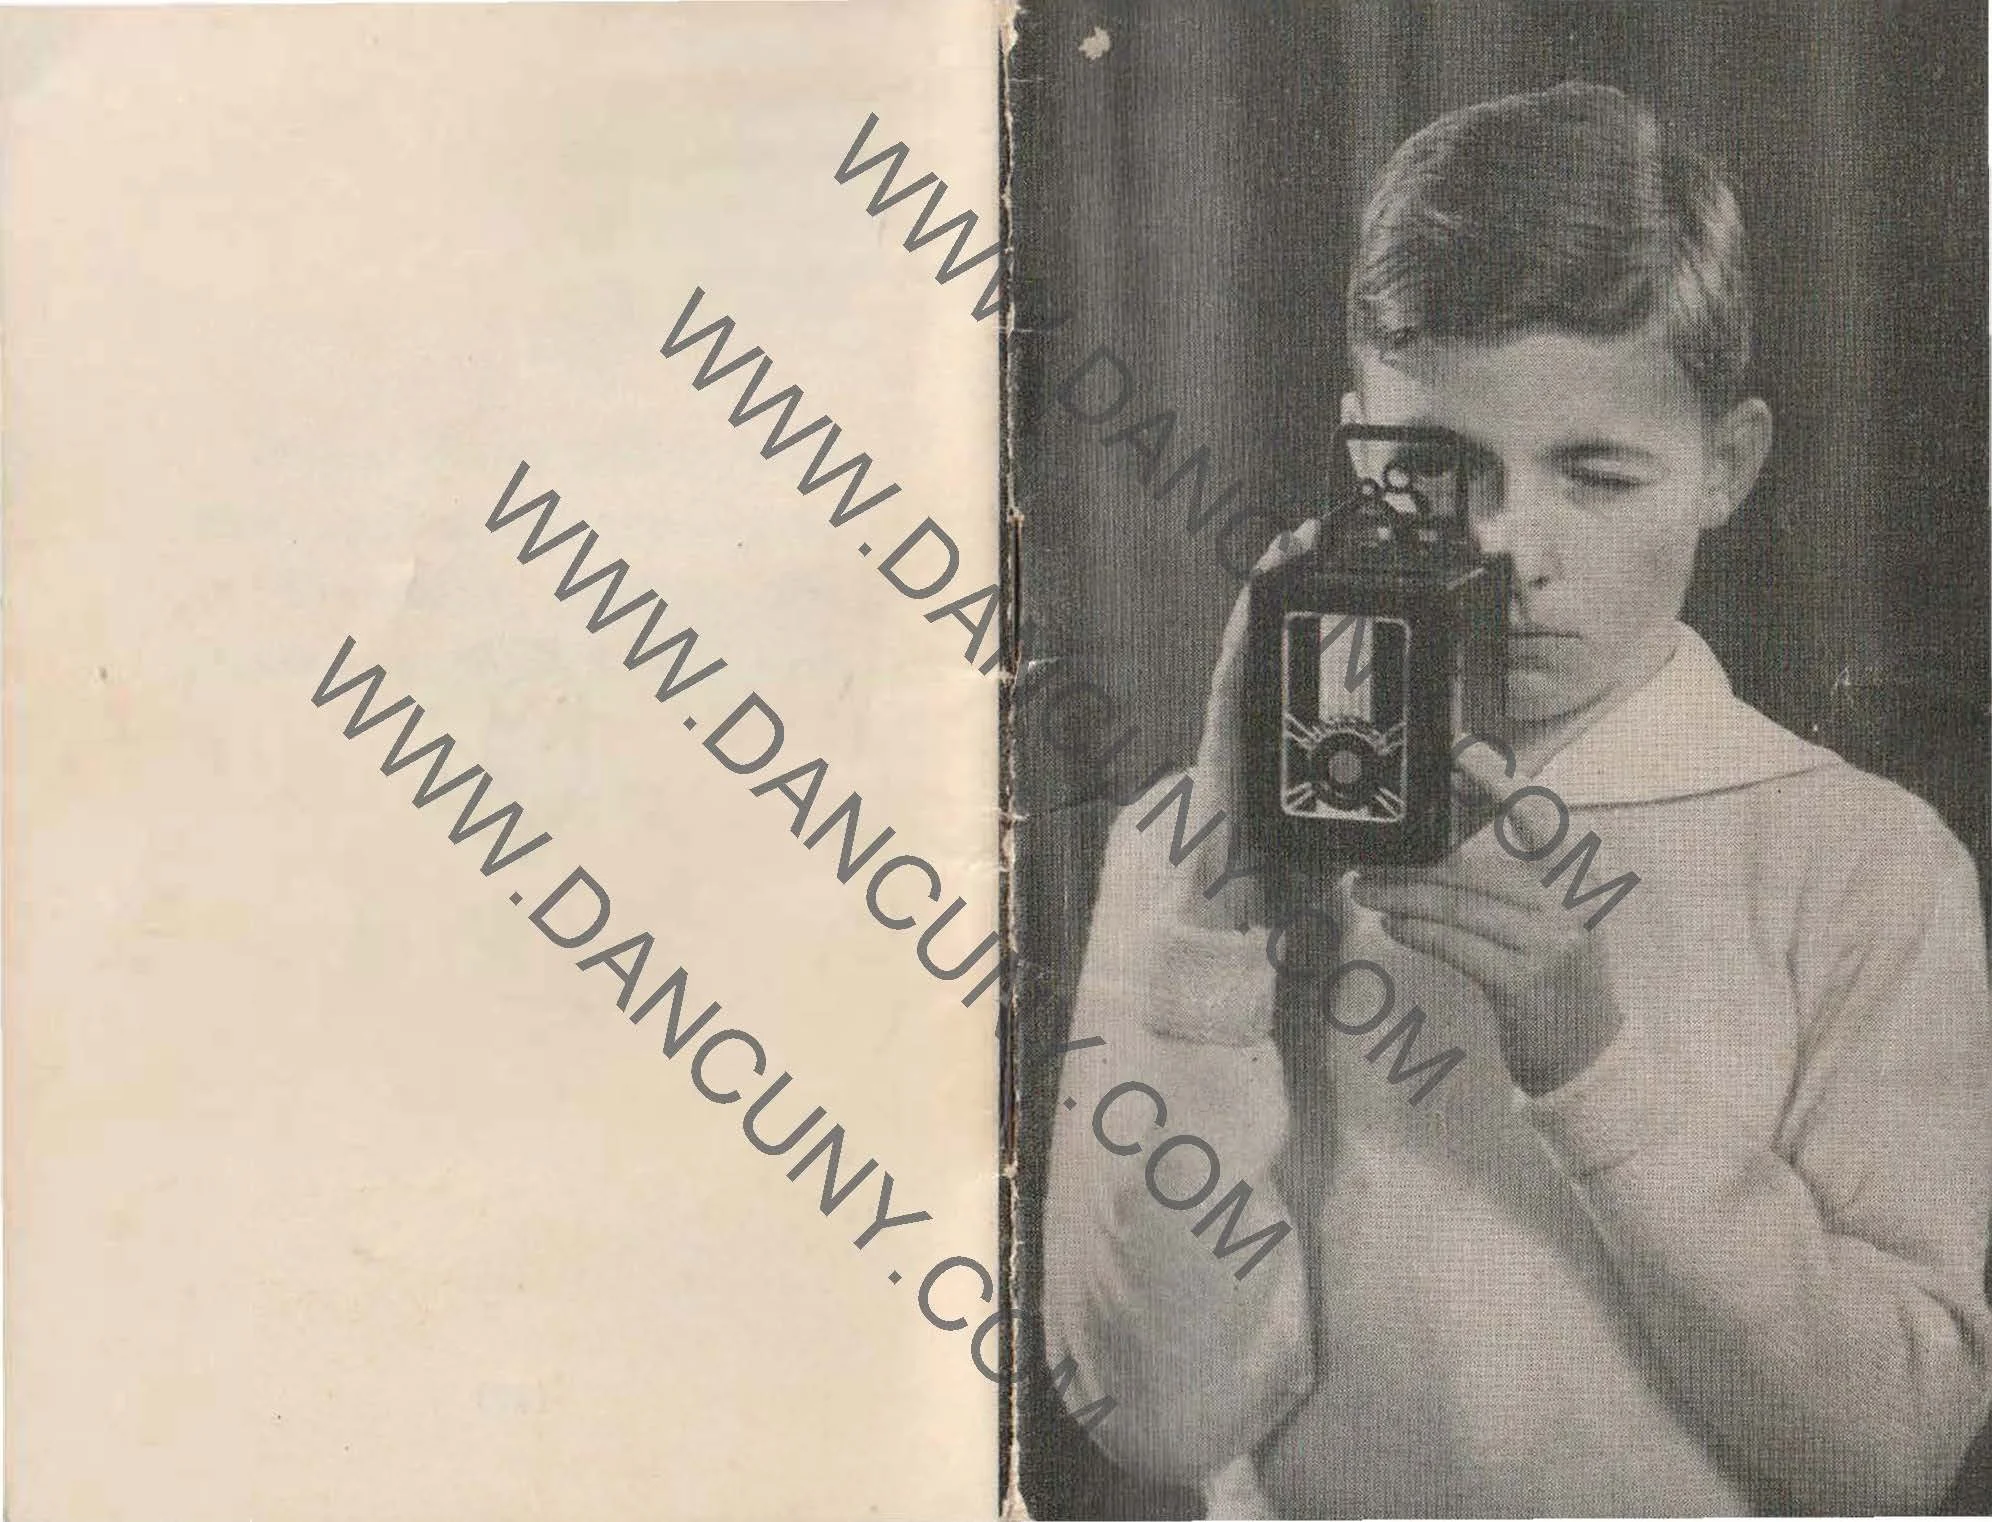
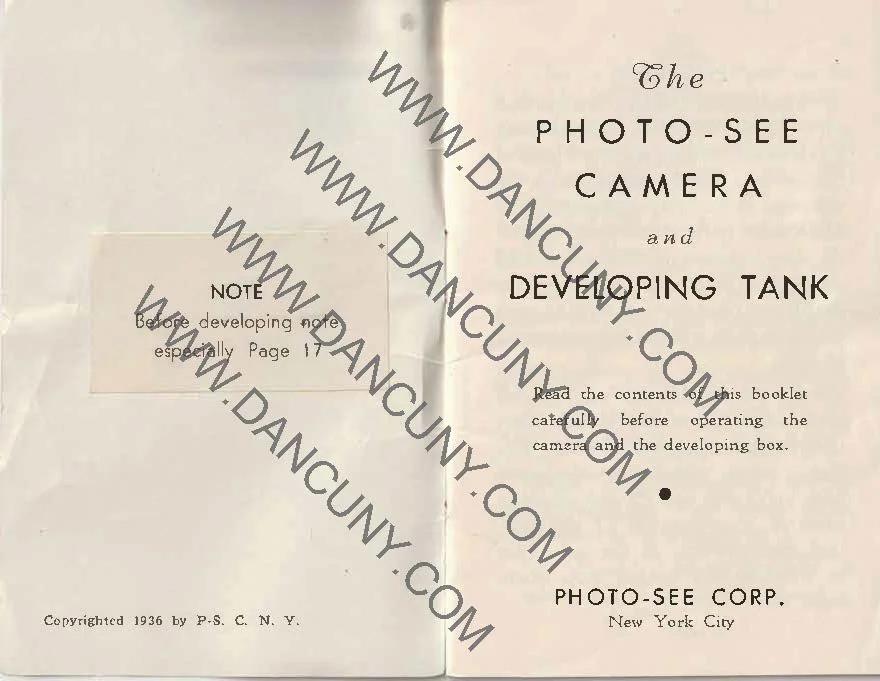
My Photo-See camera, developing tank and instruction manual.

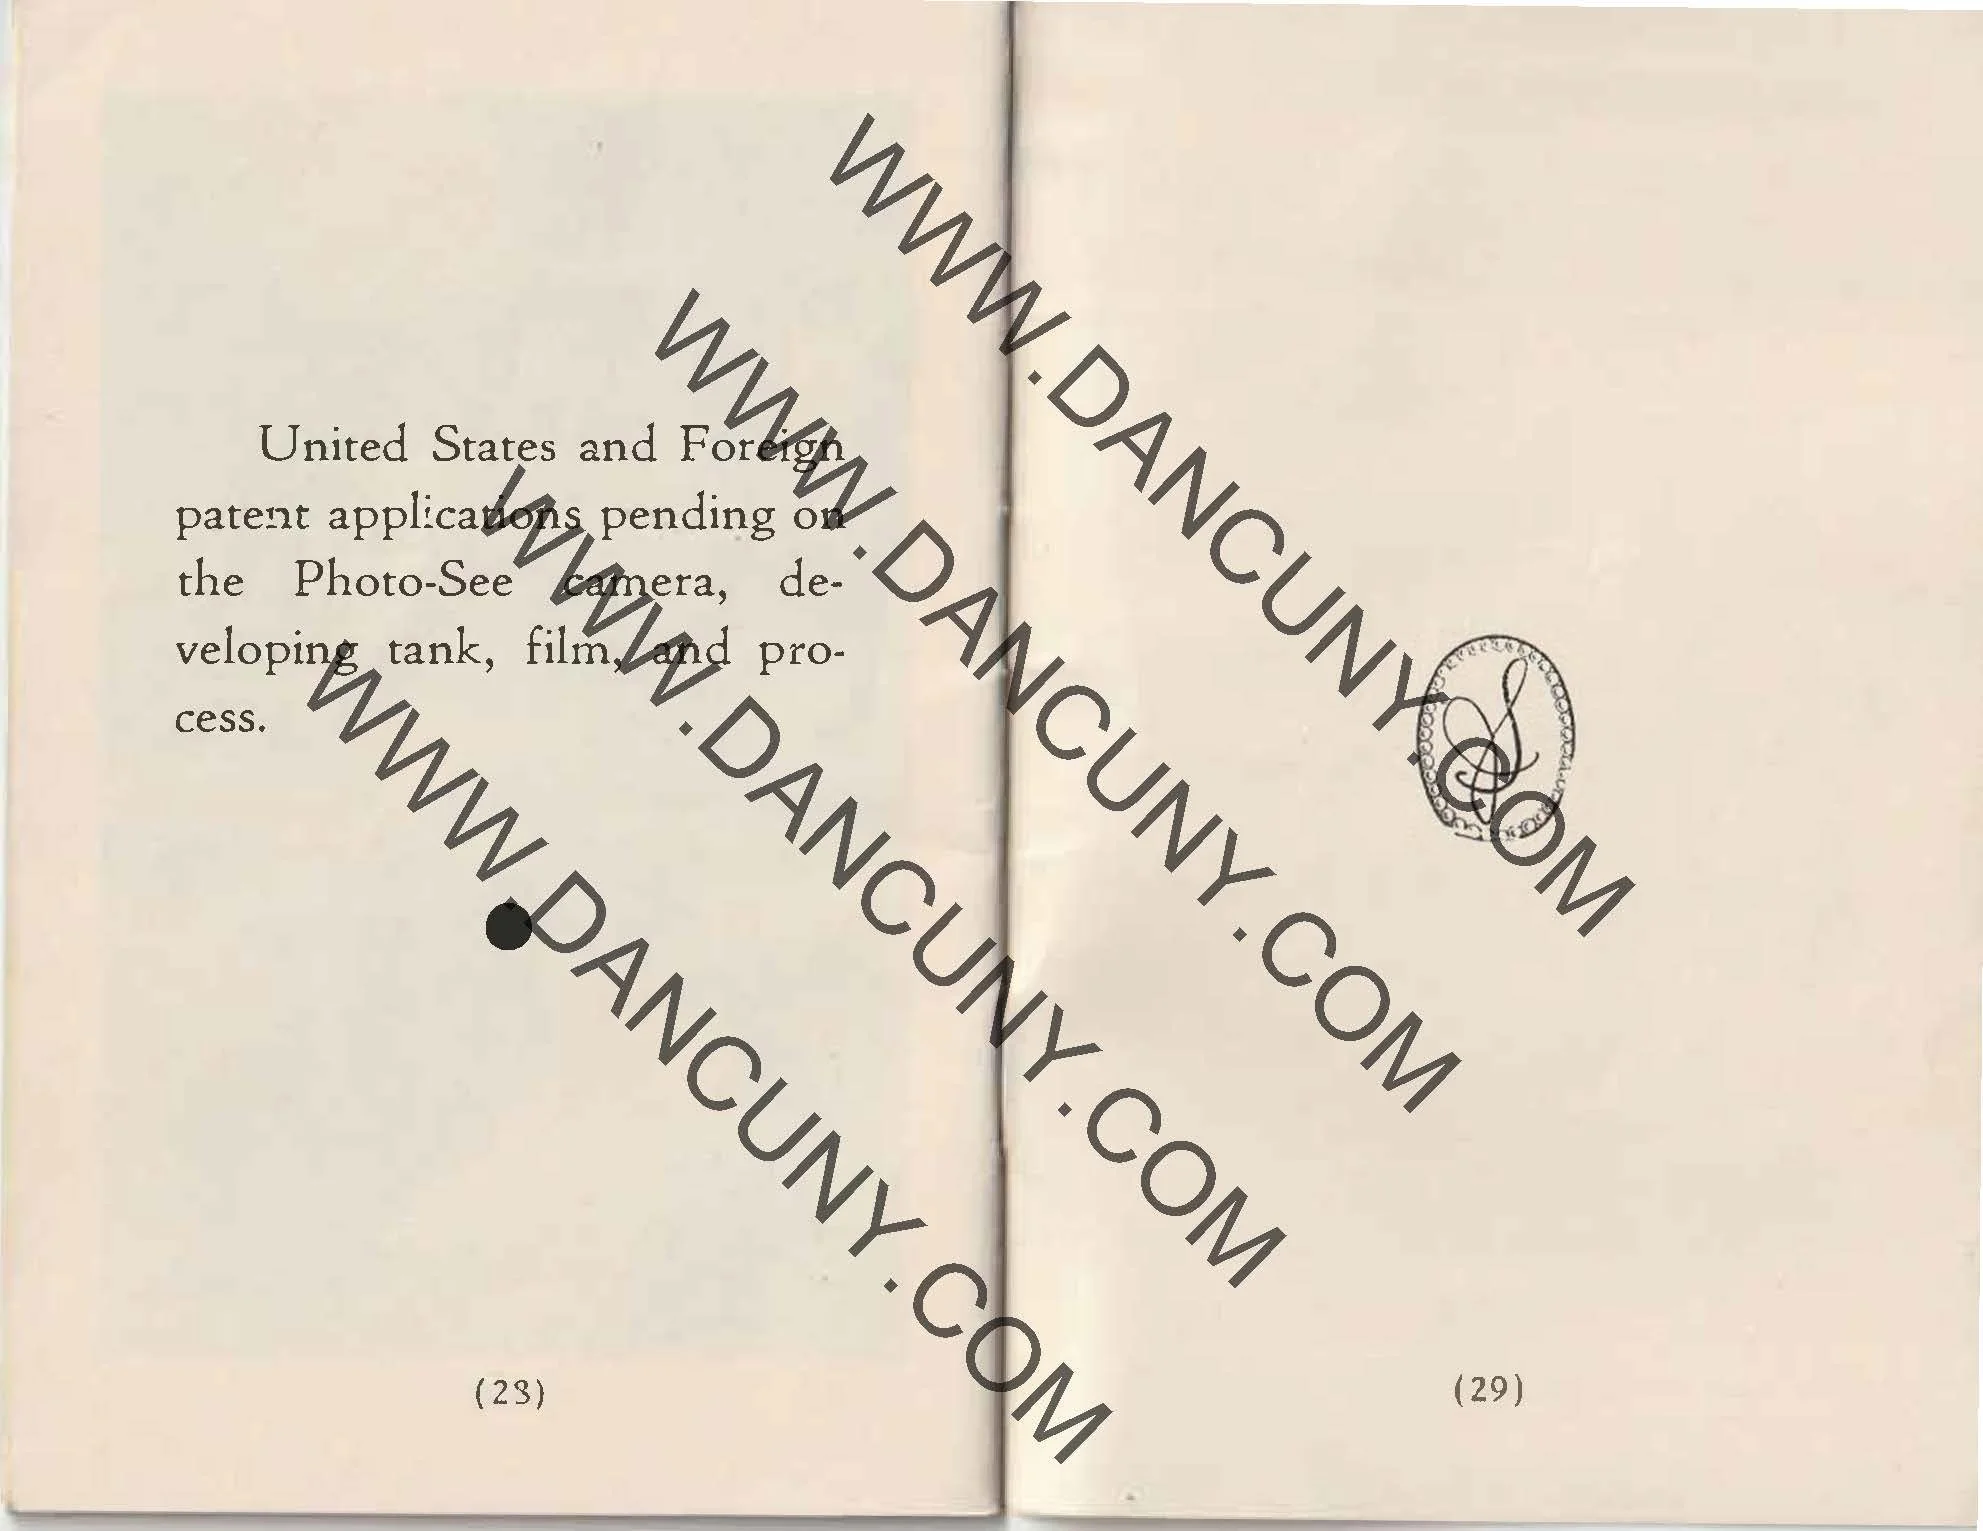
Almost 20 years before Dr. Land and Polaroid made instant photography world famous, a camera called the Photo-See was introduced in 1936. This company brought a very short-lived and straightforward box camera, along with a pocket-sized developing tank, to the market. These two items enable the photographer to take a photo and develop it without needing to send the film to be processed and printed.

 I don't remember when I purchased the Photo-See camera. I know it was well over 20 years ago. When I bought the photo see cameras, there were at least two, possibly three, of the same camera purchased in a lot of cameras purchased. 

 Several years ago, I recall selling one or two of the cameras on eBay. It wasn't until recently that I understood that there are two parts to this camera. The camera itself, and the developing tank in which the film for the camera was placed and processed.

 Initially, I thought the developing tank fit onto the back of the camera, but I was wrong. The developing tank is actually a separate part that the film from the photo camera fits into, allowing the photographer to process the film at any time they want to. The idea was that the photographer could take the photo, then have the print ready within a few minutes.


The History:

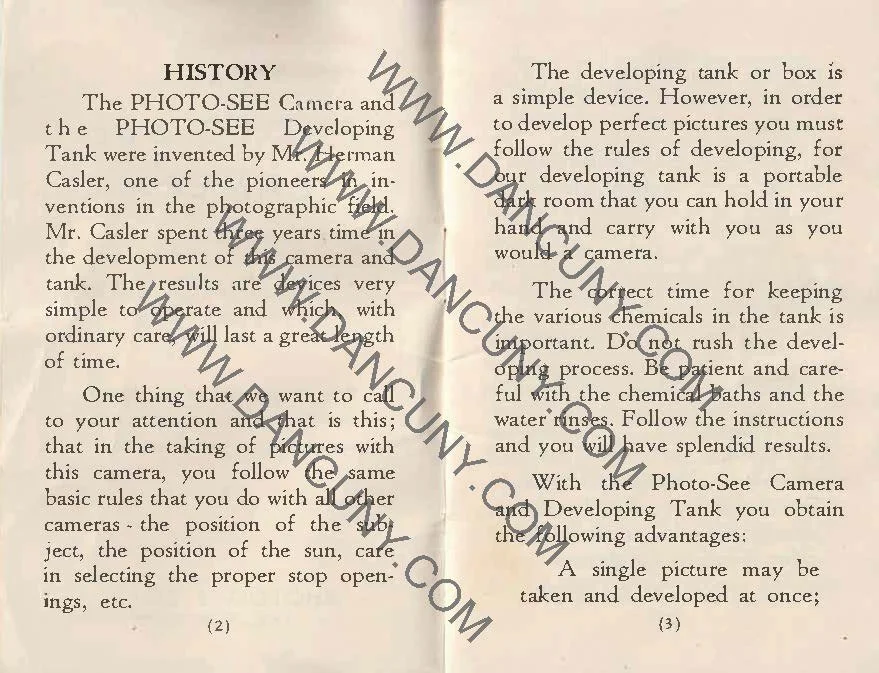
The Photo-See camera was the brainchild of Herman Casler, who was born in 1867 in Sandwich, IL, and raised in Fort Plain, NY. Over his lifetime, Casler invented and patented several different products and was also a partner in K.M.C.D. Syndicate, this was along with W.K.-L. Dickson, Elias Koopman, and Henry N. "Harry" Marvin. 

American Mutoscope and Biograph Founders, 1895. Casler upper right.

 Casler, Dickson, and Marvin collaborated in 1893 on a detective camera, the size of a watch, called the Photoret. The Photoret was a watch based on a pocket watch, similar to the Expo camera.

 Casler started his career as a Draftsman for General Electric Co., designing electric rock drills. He became the superintendent of Marvin Drill Company in 1895, which Harry Marvin owned.

 Casler, following Dickson's proposal, invented the Mutoscope, which displayed short films through flip-cards rotated by a hand crank that could be slowed down or sped up at the operator's will by turning the crank faster or slower. The prototype of the Mutograph camera was completed in November 1894, first tested with film in June 1895, and the first official Mutoscope films were made in August 1895.

Patent for Photo-See camera

 Marvin & Casler Co. was formed in 1896, where they manufactured the Mutoscope, which was very popular in nickelodeons during this time. The Mutoscope and Thomas Edison's Kinetoscope are the beginning of the motion picture business as we know it.

 His work in inventing motion picture cameras, projectors, and other motion picture equipment extended well beyond the 1920s, where he helped develop a more miniature hand-cranked motion picture camera and a three-pronged shutter that helped reduce flicker during projection.

 Herman Casler is also the inventor of the Photo-See camera, which was patented in 1937. The company was short-lived, as Casler passed away in 1939, and I don't see production of the camera continuing much after his death.

The Camera & Developing Tank:

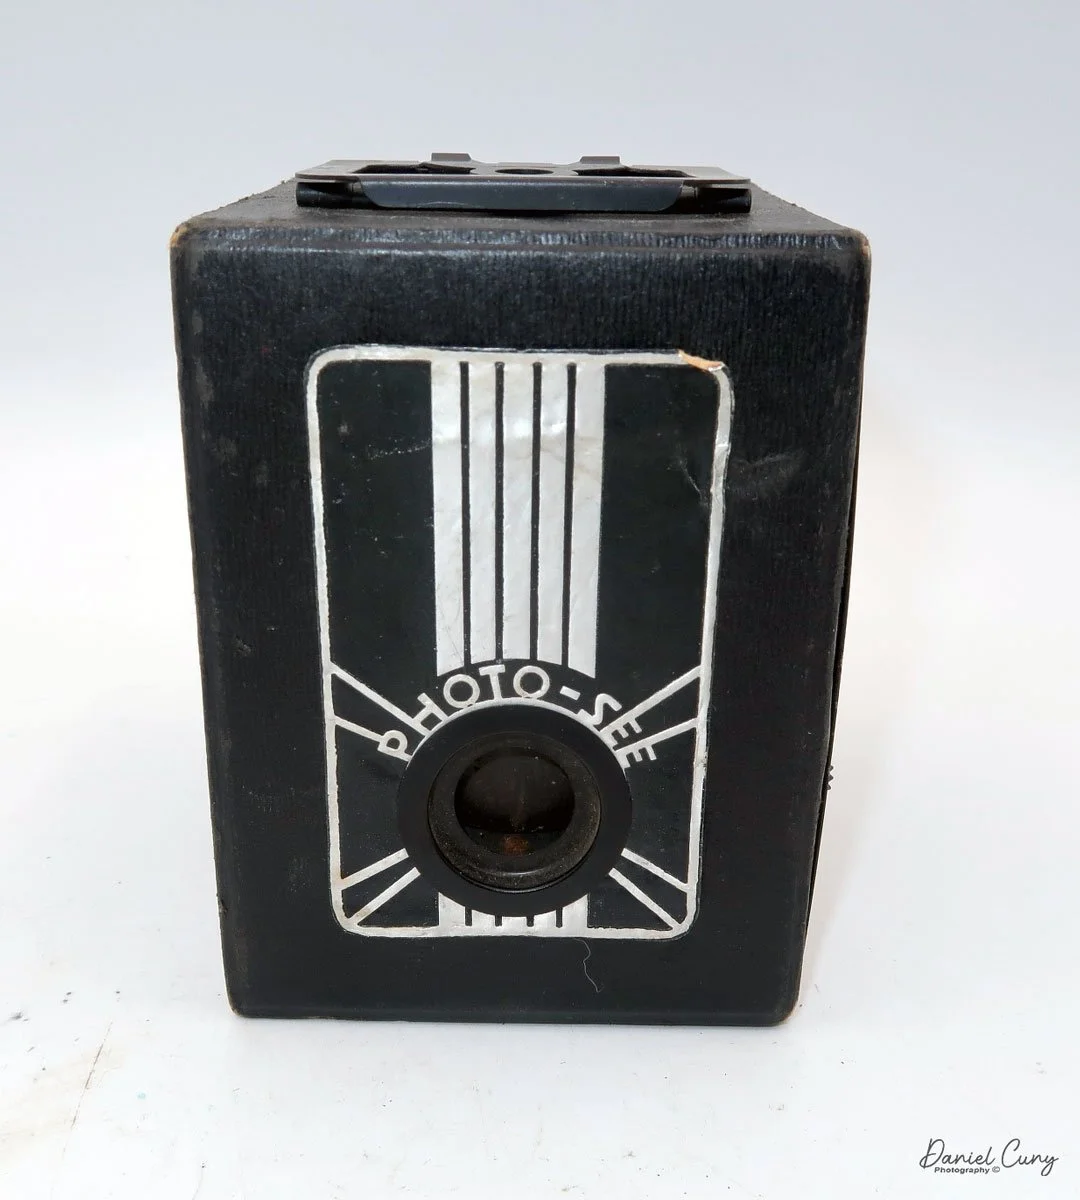
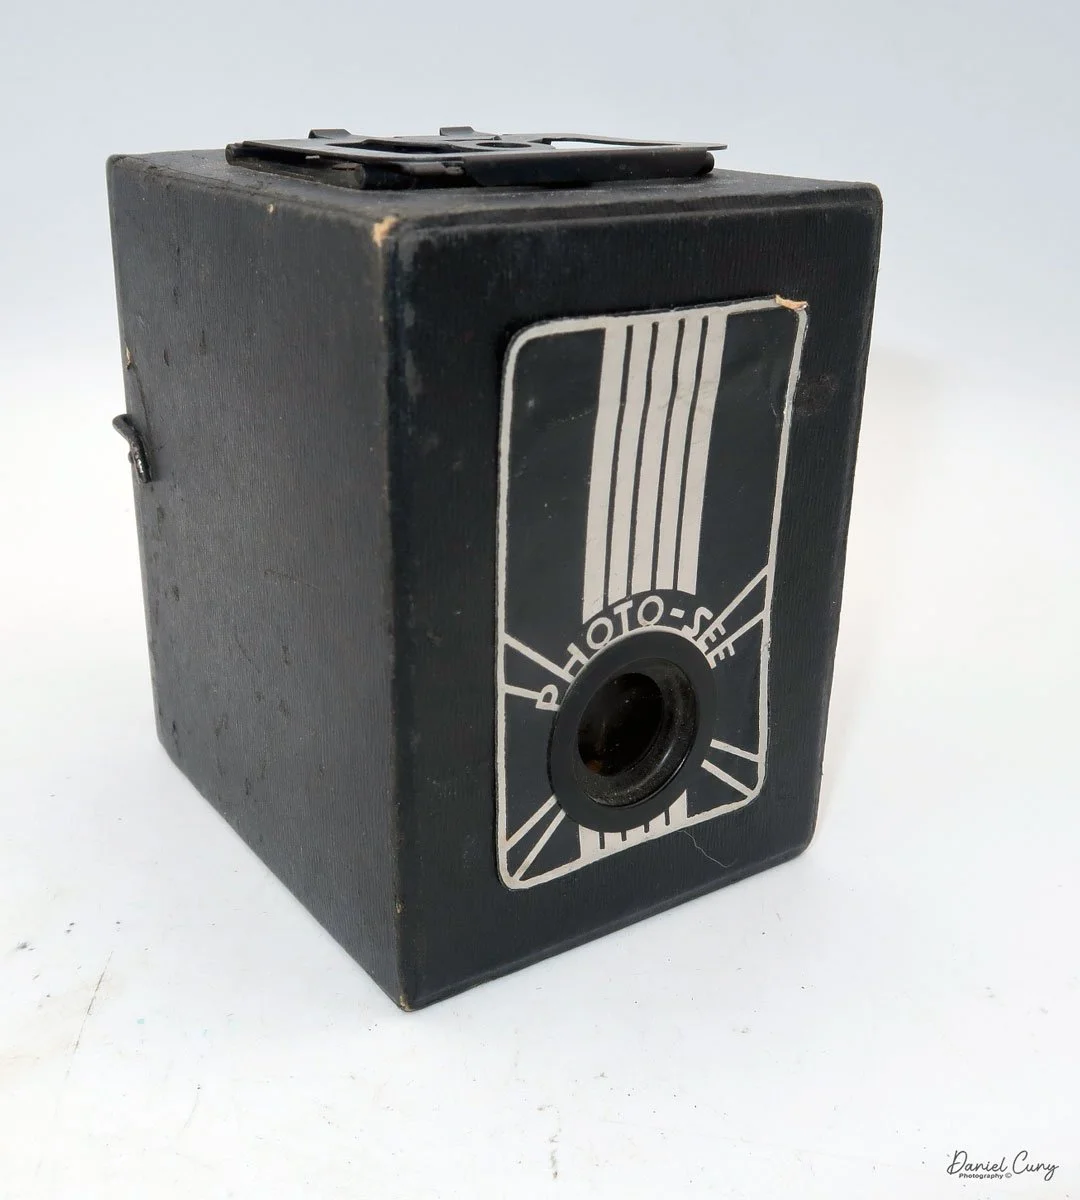
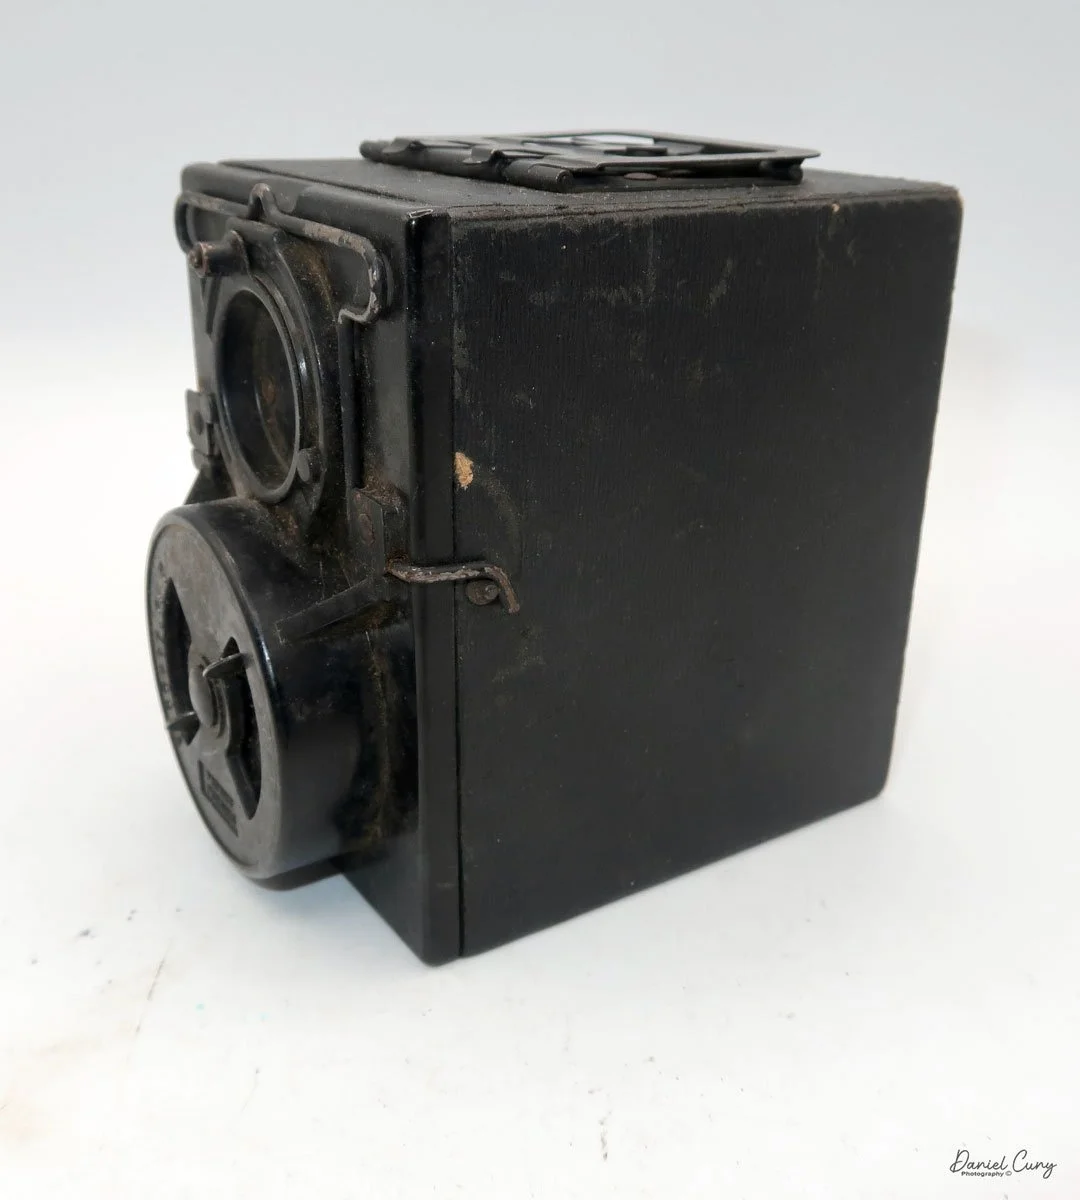
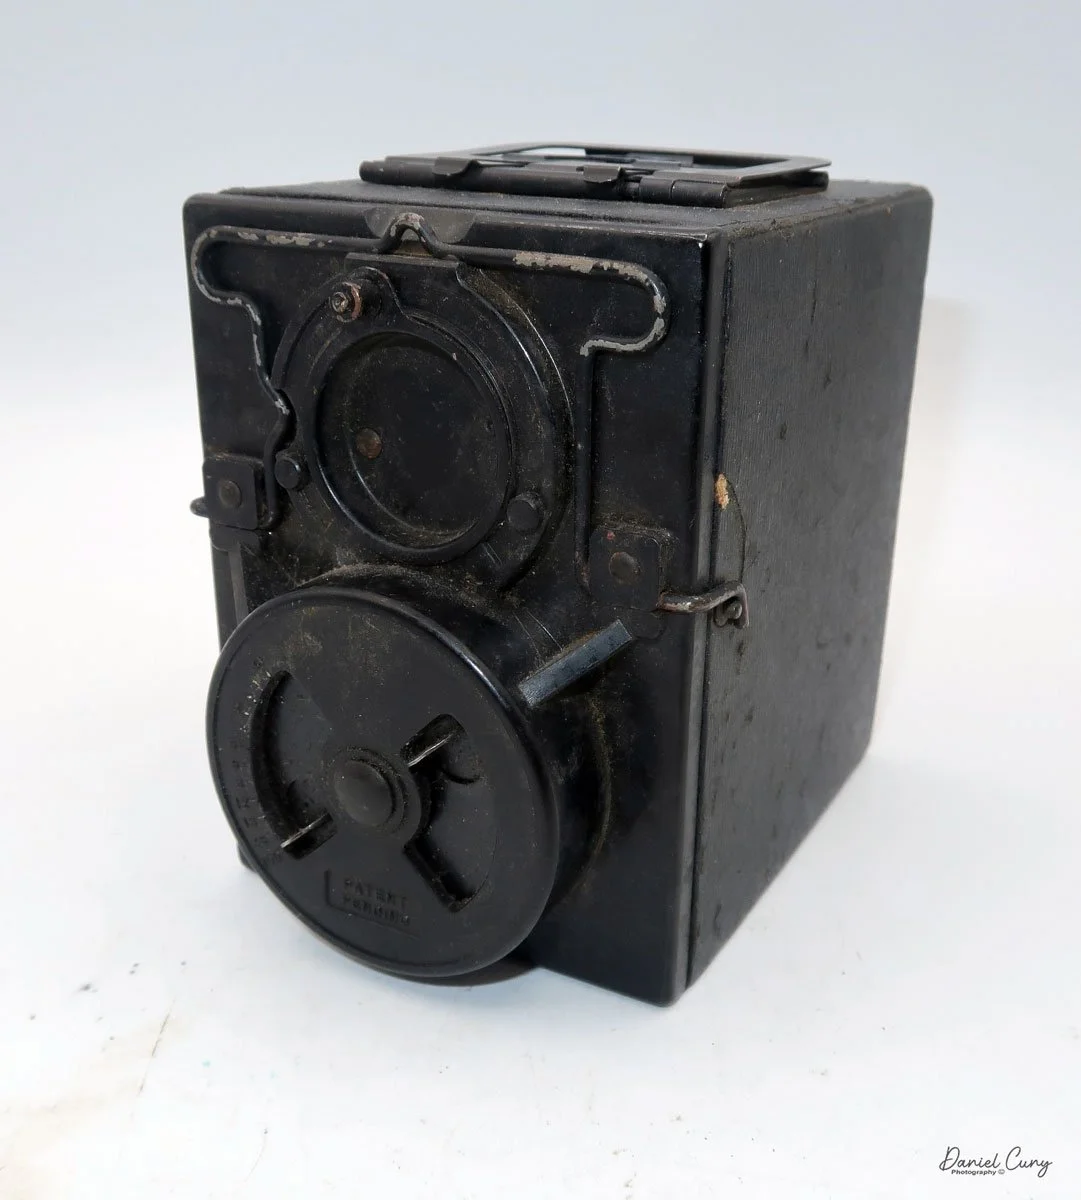
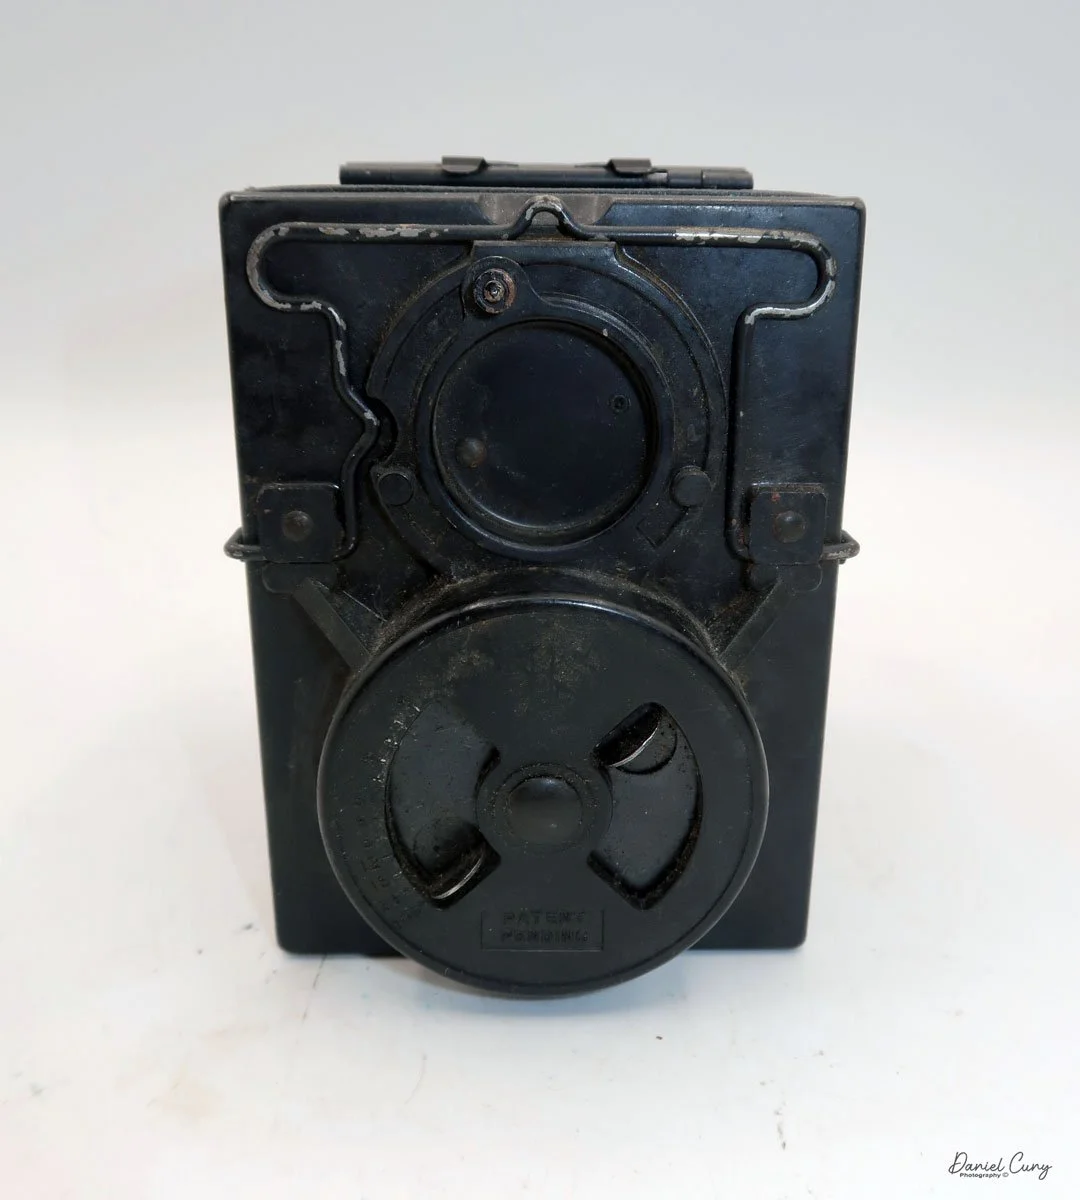
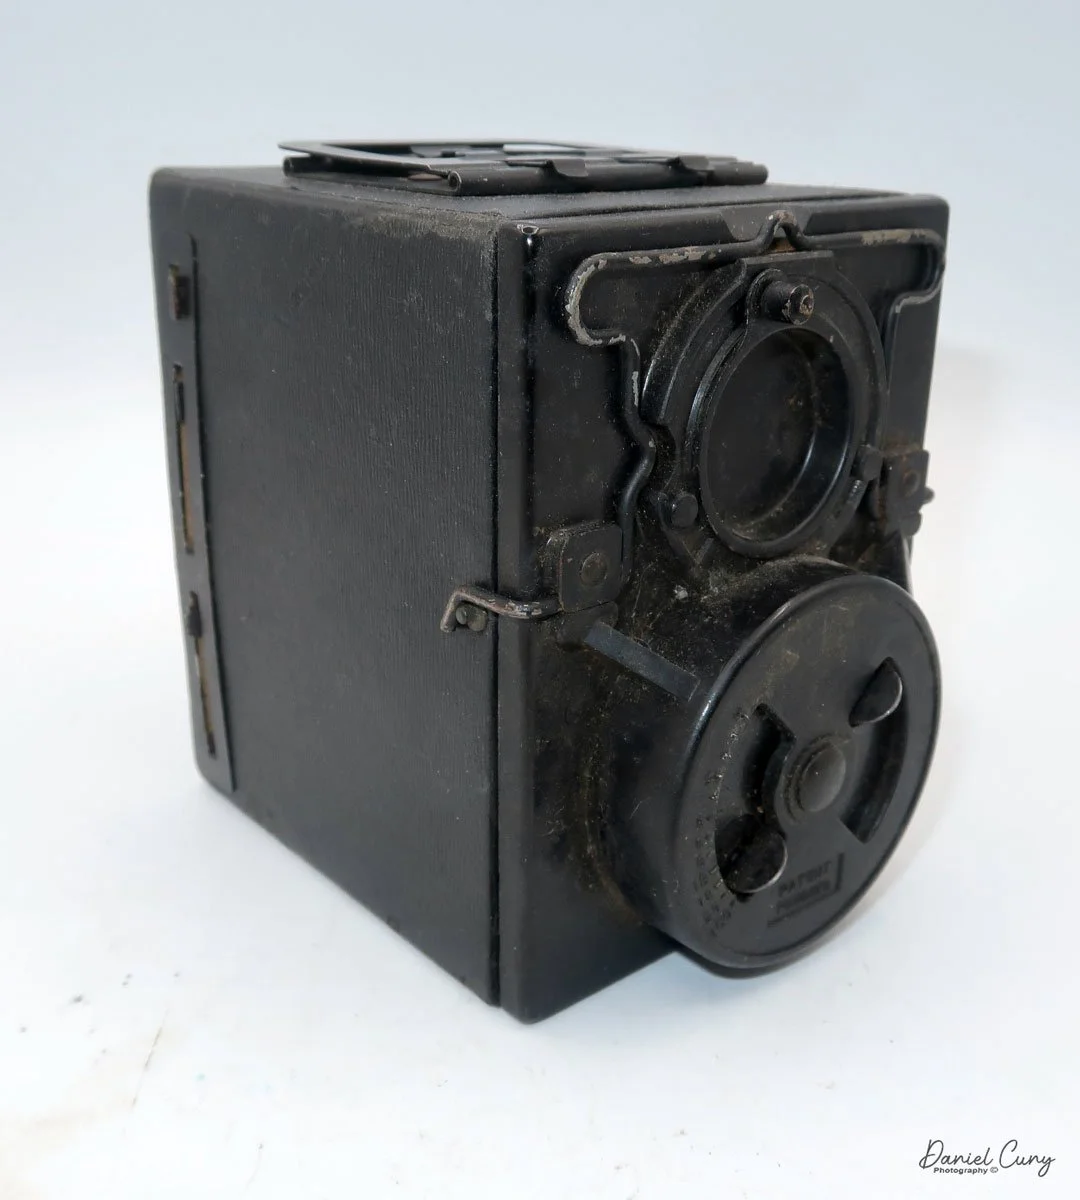
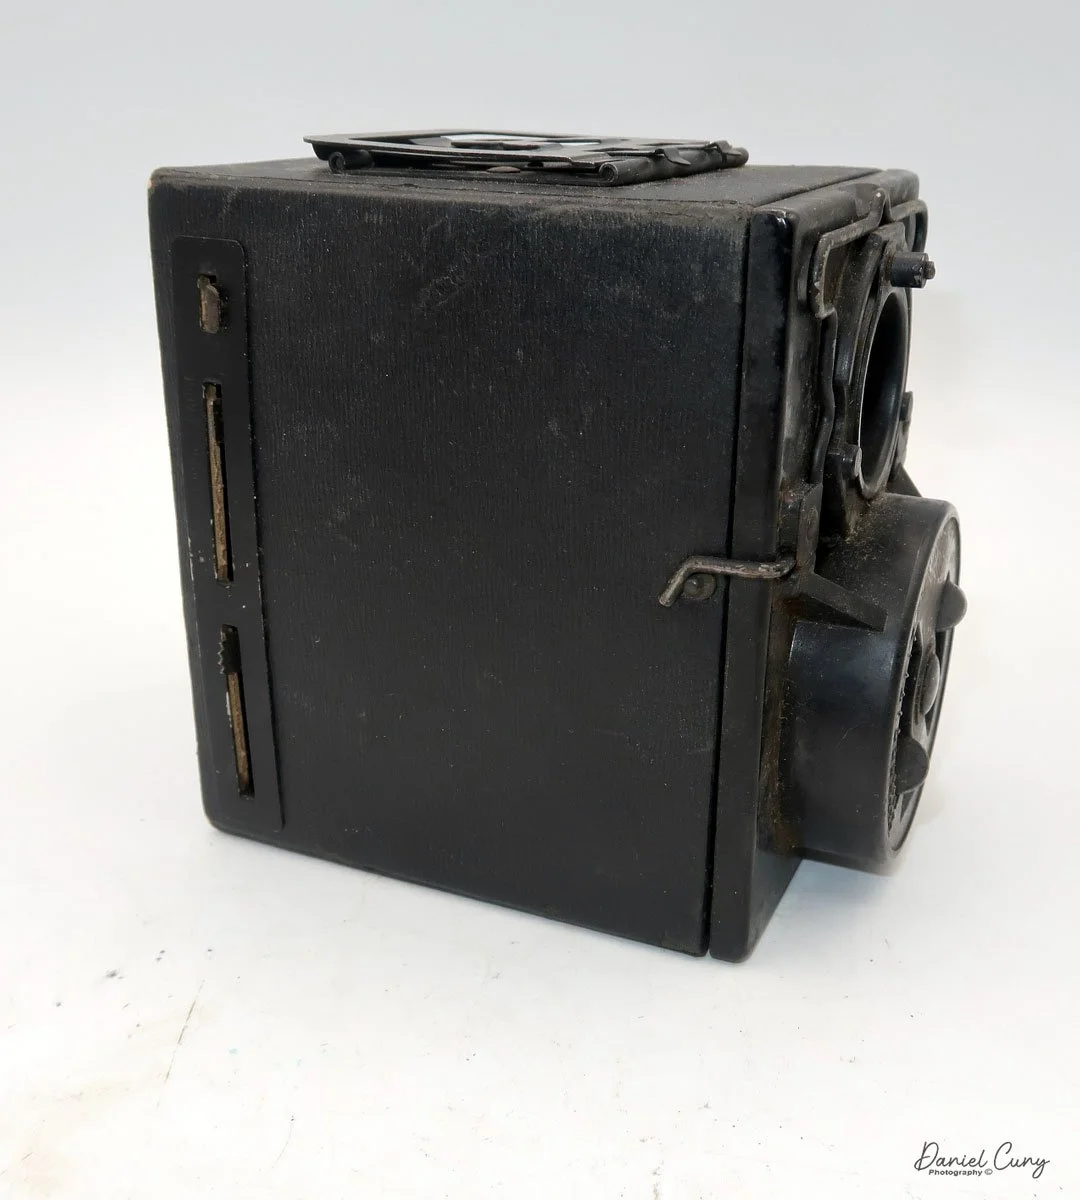
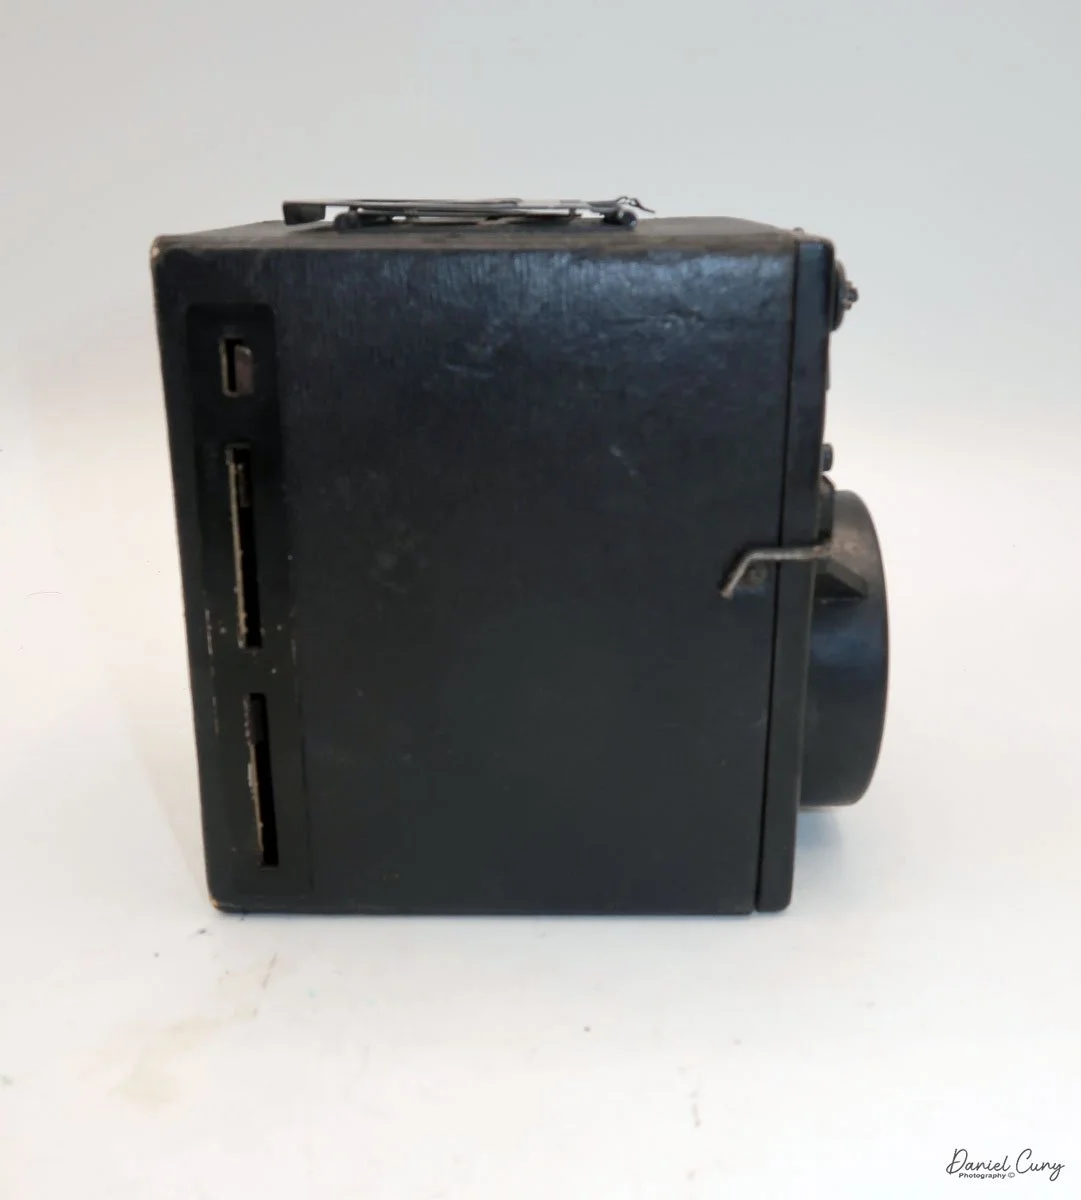
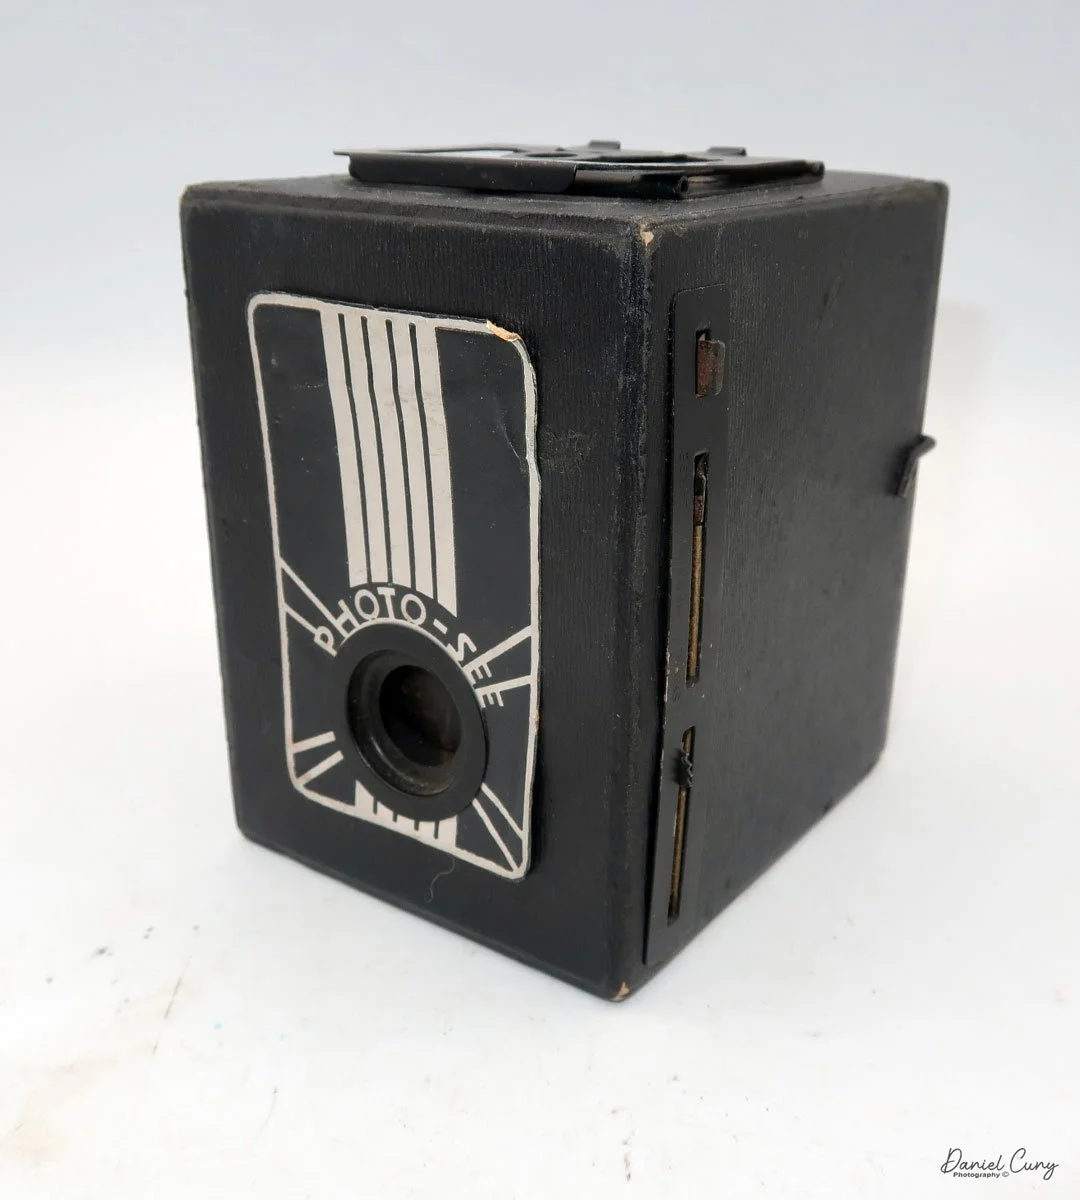
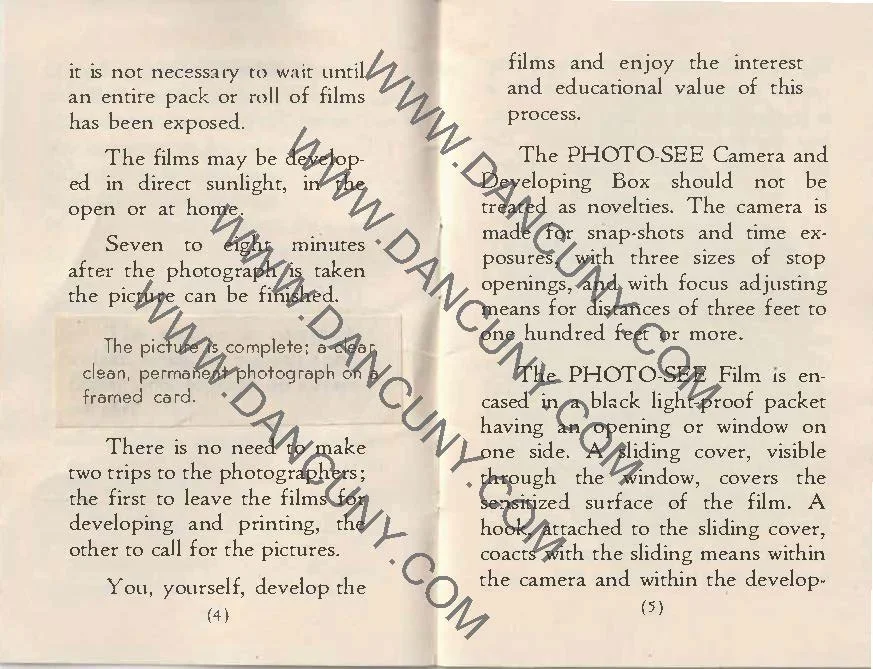
 The Photo-See camera is a straightforward box camera design with a few differences, which I'll explain. The camera is 4" tall by 3 "wide by 4.5" deep, including the focusing device, and weighs 12.3 ounces.

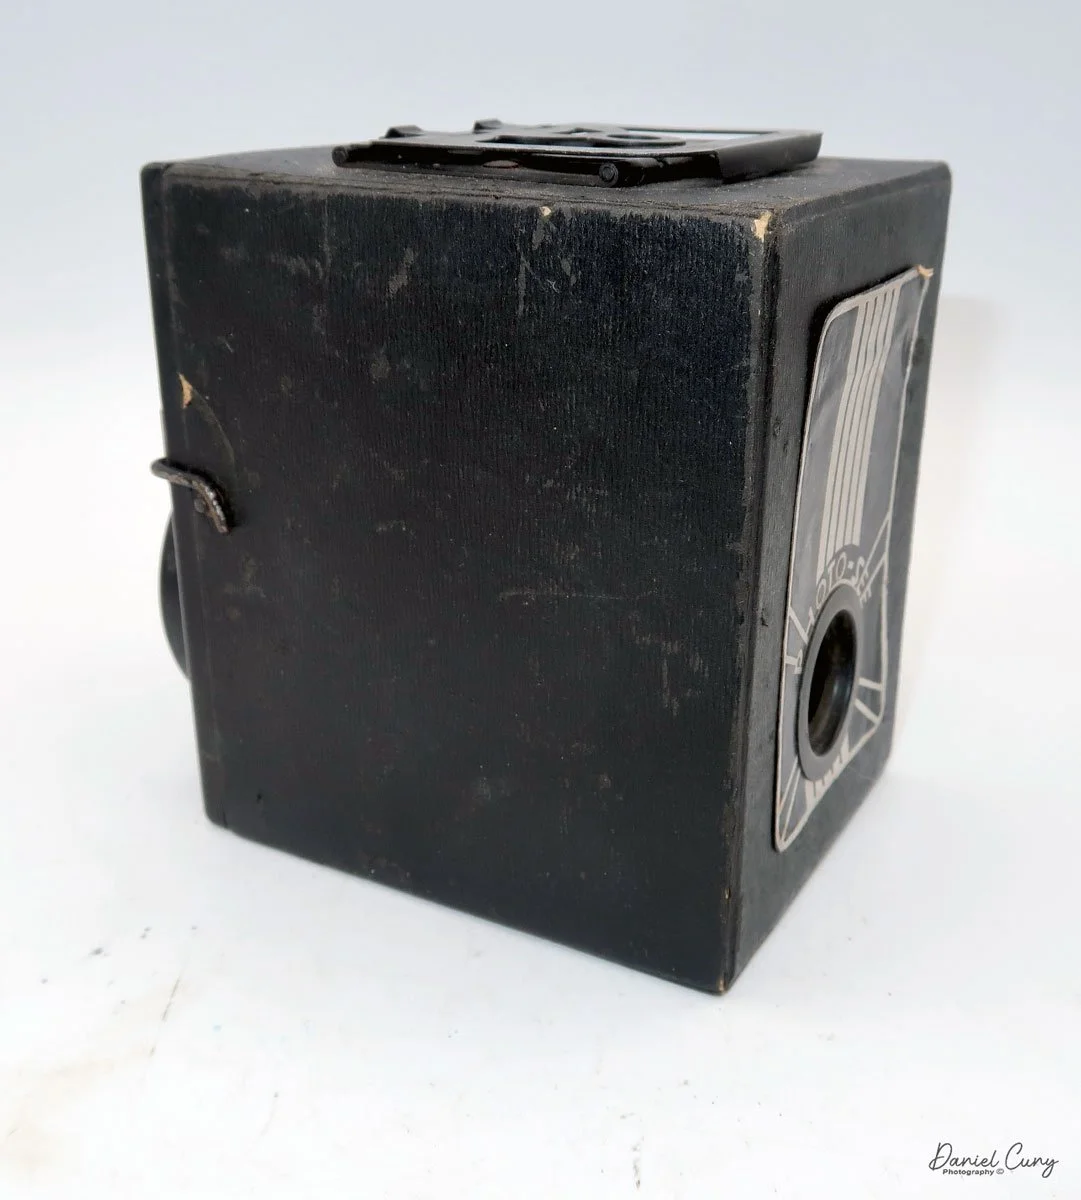
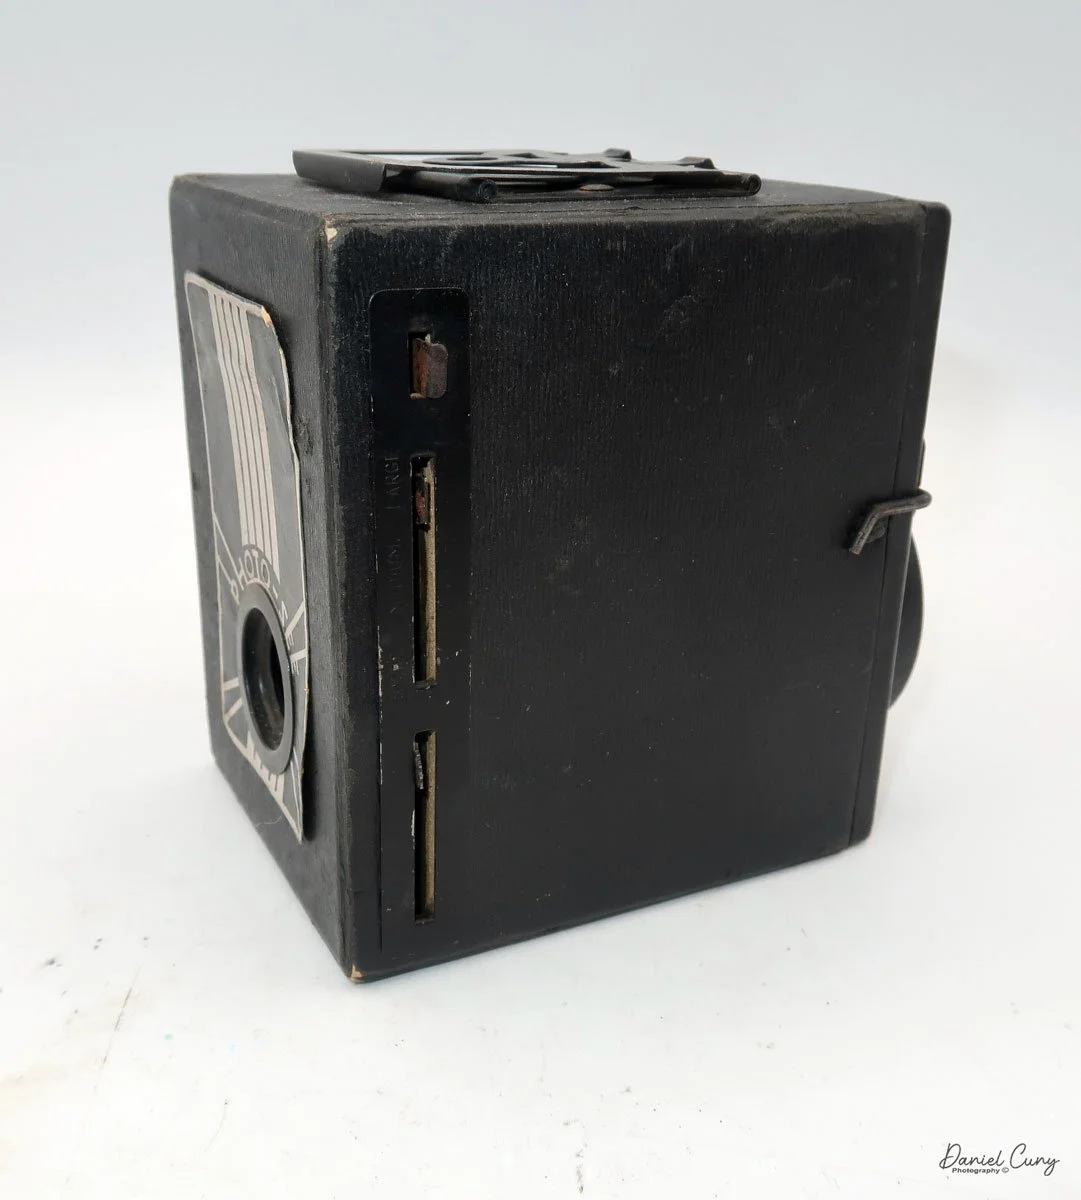
 The front of the camera features a distinctive Art Deco design, which is enhanced by a sticker applied to the front of the camera. The camera is made from a thicker cardboard material, featuring a two-part, fold-up viewfinder on top. It's said the viewfinder is put on backwards, but that's not the case, as I find it to work better than the other way.

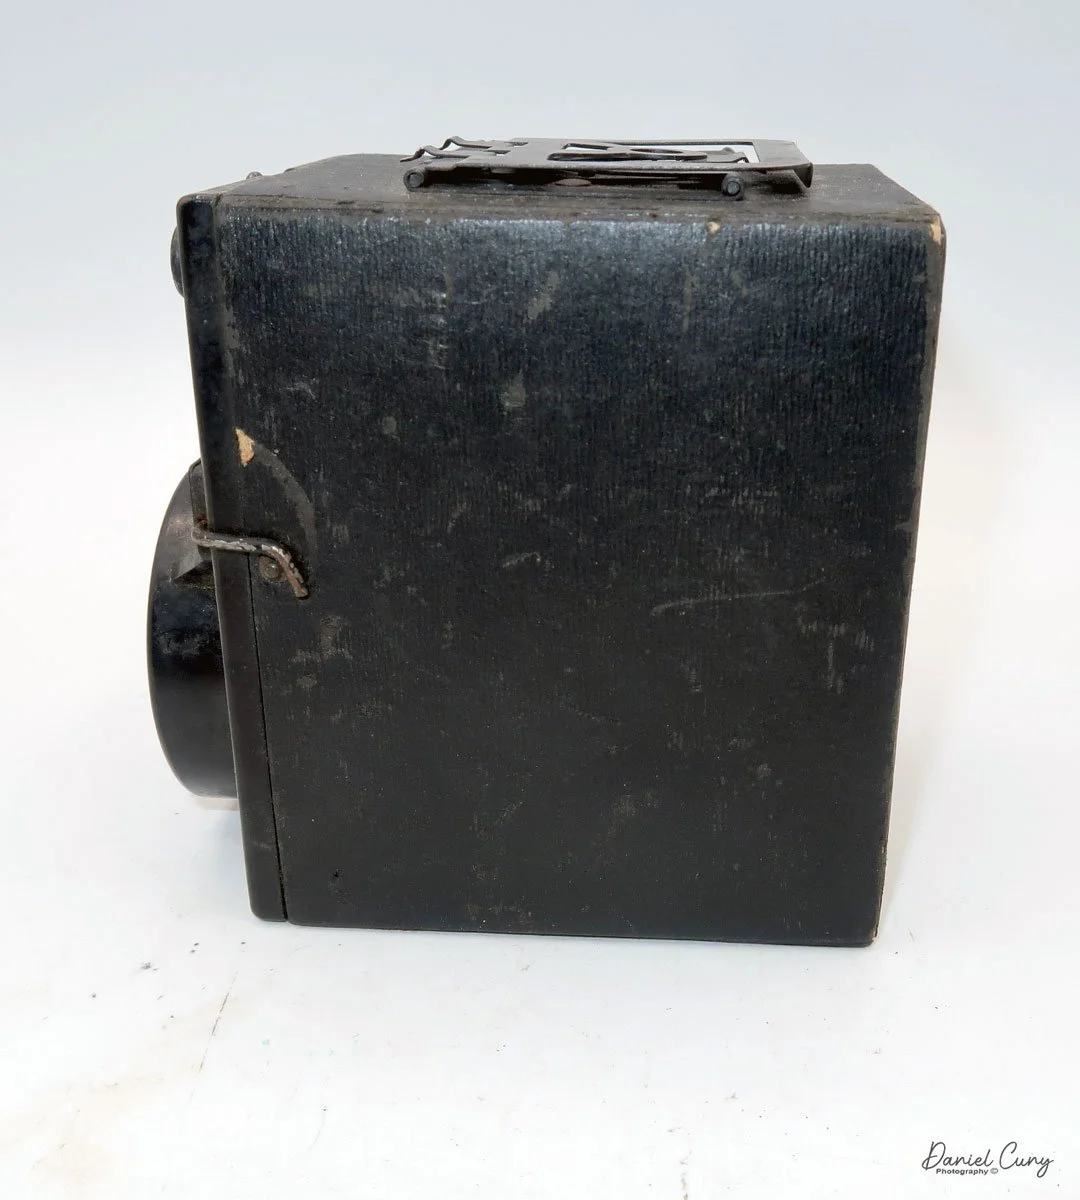
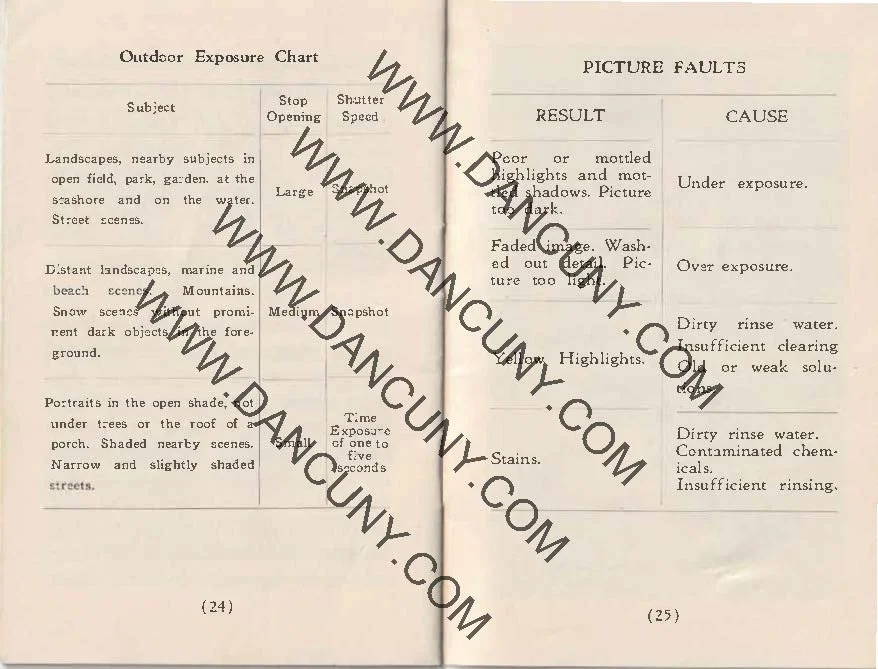
 On the left side of the camera are three controls; on top is the shutter control. When the bar is "in," the camera takes a regular snapshot, and when it's "out", the shutter stays open for a more prolonged exposure. This is similar to other box cameras from the same time period. The middle slider controls the aperture setting. They are Small, Medium, and Large. The bottom lever is the shutter release.

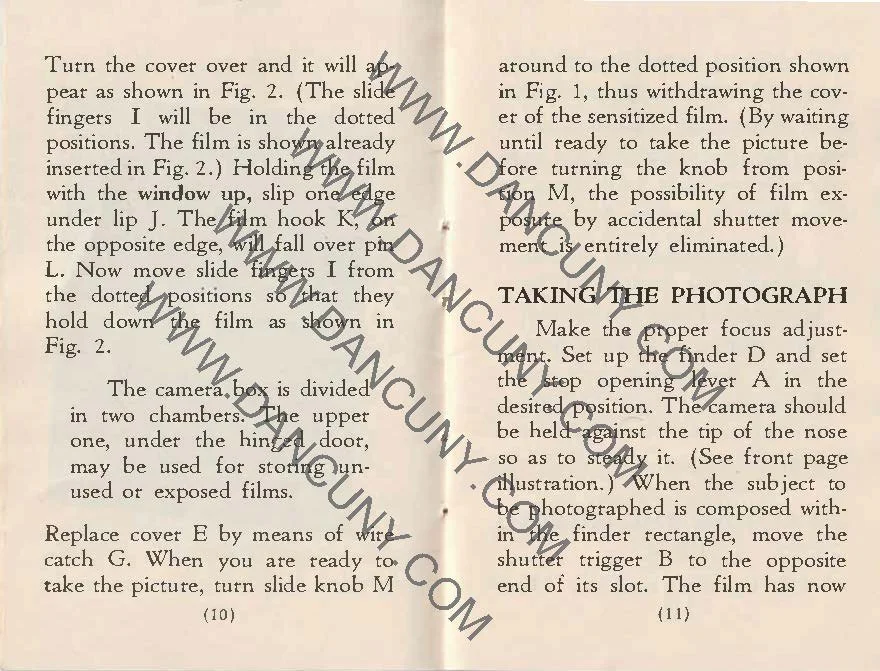
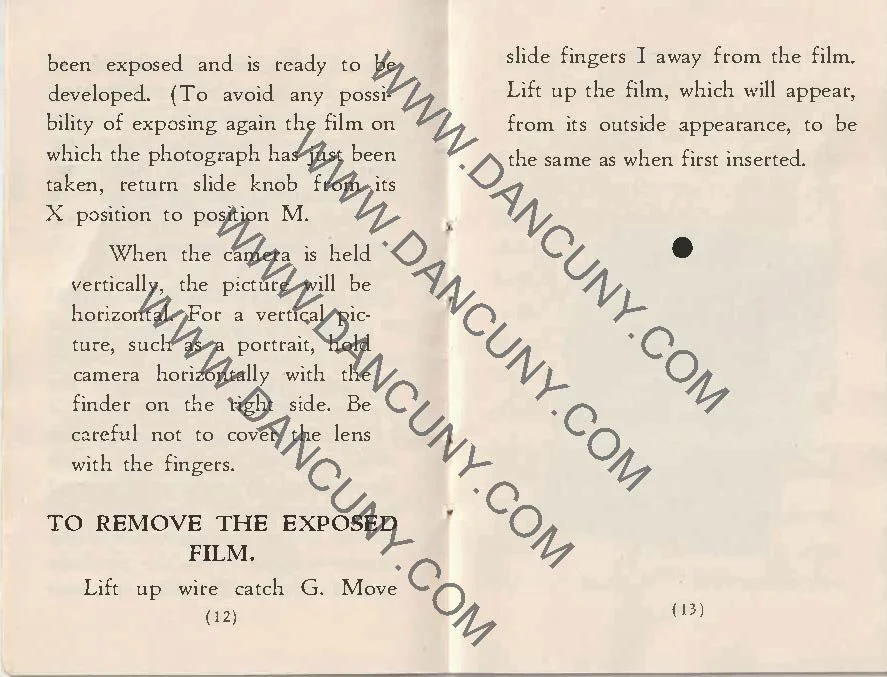
On the back of the camera, there are three main controls. The bar at the top is pulled down to remove the film from the camera. The smaller round disk on top is turned from the 3:00 to the 9:00 position to expose the film when you're ready to take a photograph. Then the disk is in the 9:00 position, which also locks the top bar, so you cannot take the back off when the film is ready to be exposed. Under the small disk is a larger disk, known as the focusing disk, which is turned to the desired distance from your subject. This is achieved by adjusting the internal focus of the film, moving it back, in, or out, which enables the film to shift its focus from 3 feet to infinity.

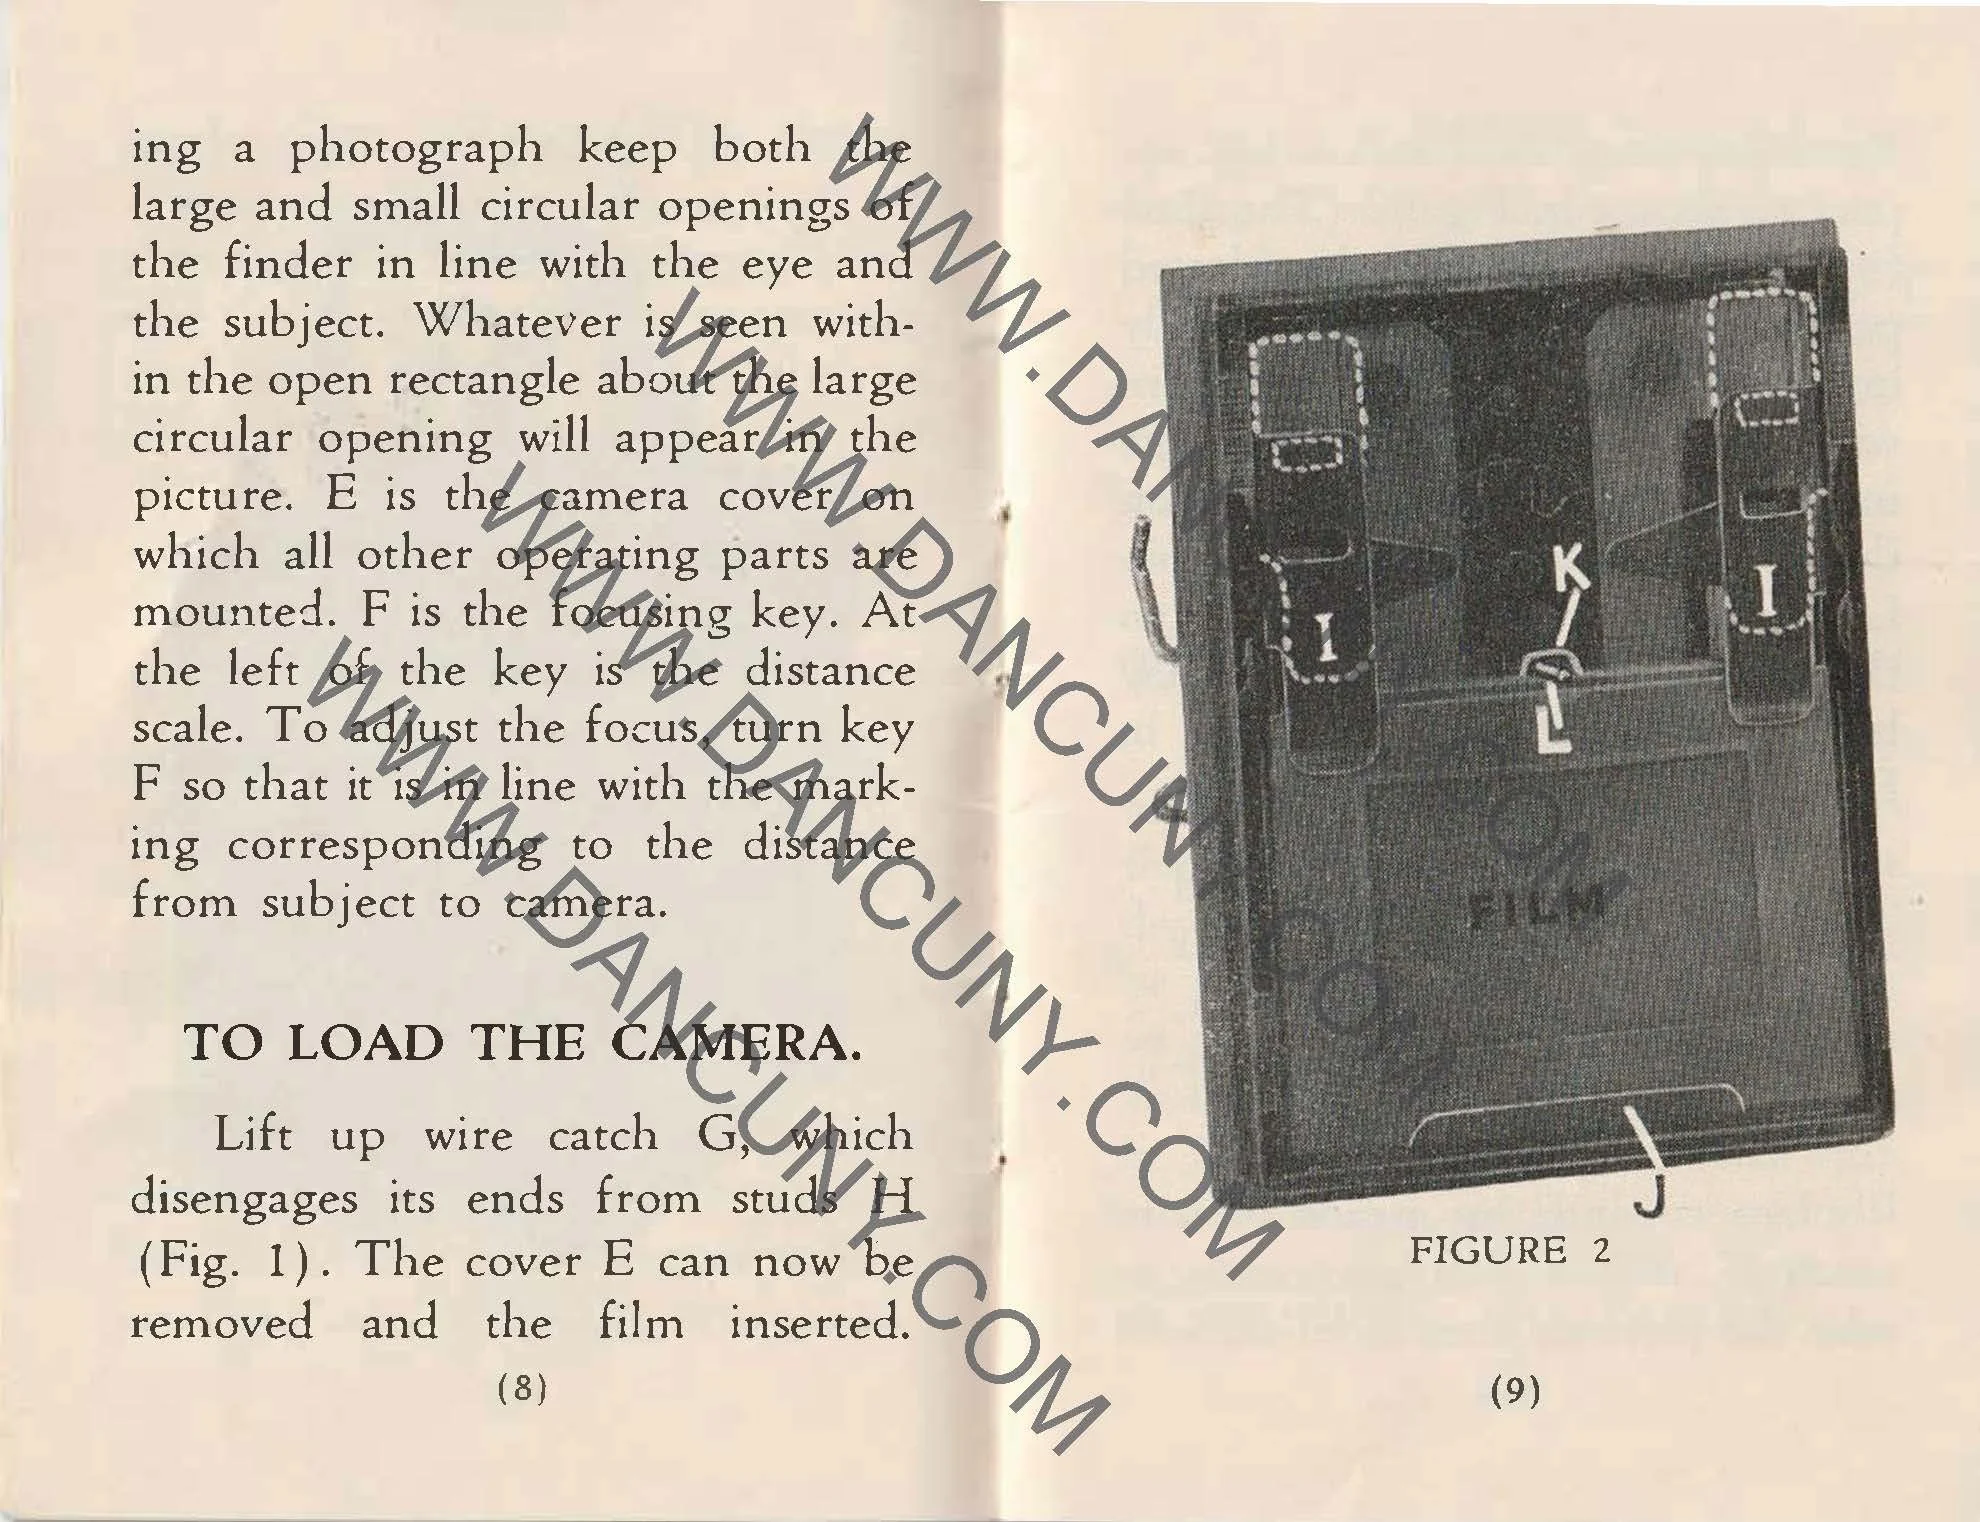
When you remove the film back and look inside, you'll see that it's spring-loaded, where you would load the film pack into the camera. The motion of the smaller disk on the outside of the back moved a pin on the inside up and down, which would open a dark slide, allowing light to hit the film once the shutter release was flipped. Moving the disk back to the original position closes the dark slide.

The Photo-See camera, when used in the vertical position, takes a horizontal image, and to take a vertical photo, you turn the camera to the horizontal position. Very similar to how half-frame cameras work.

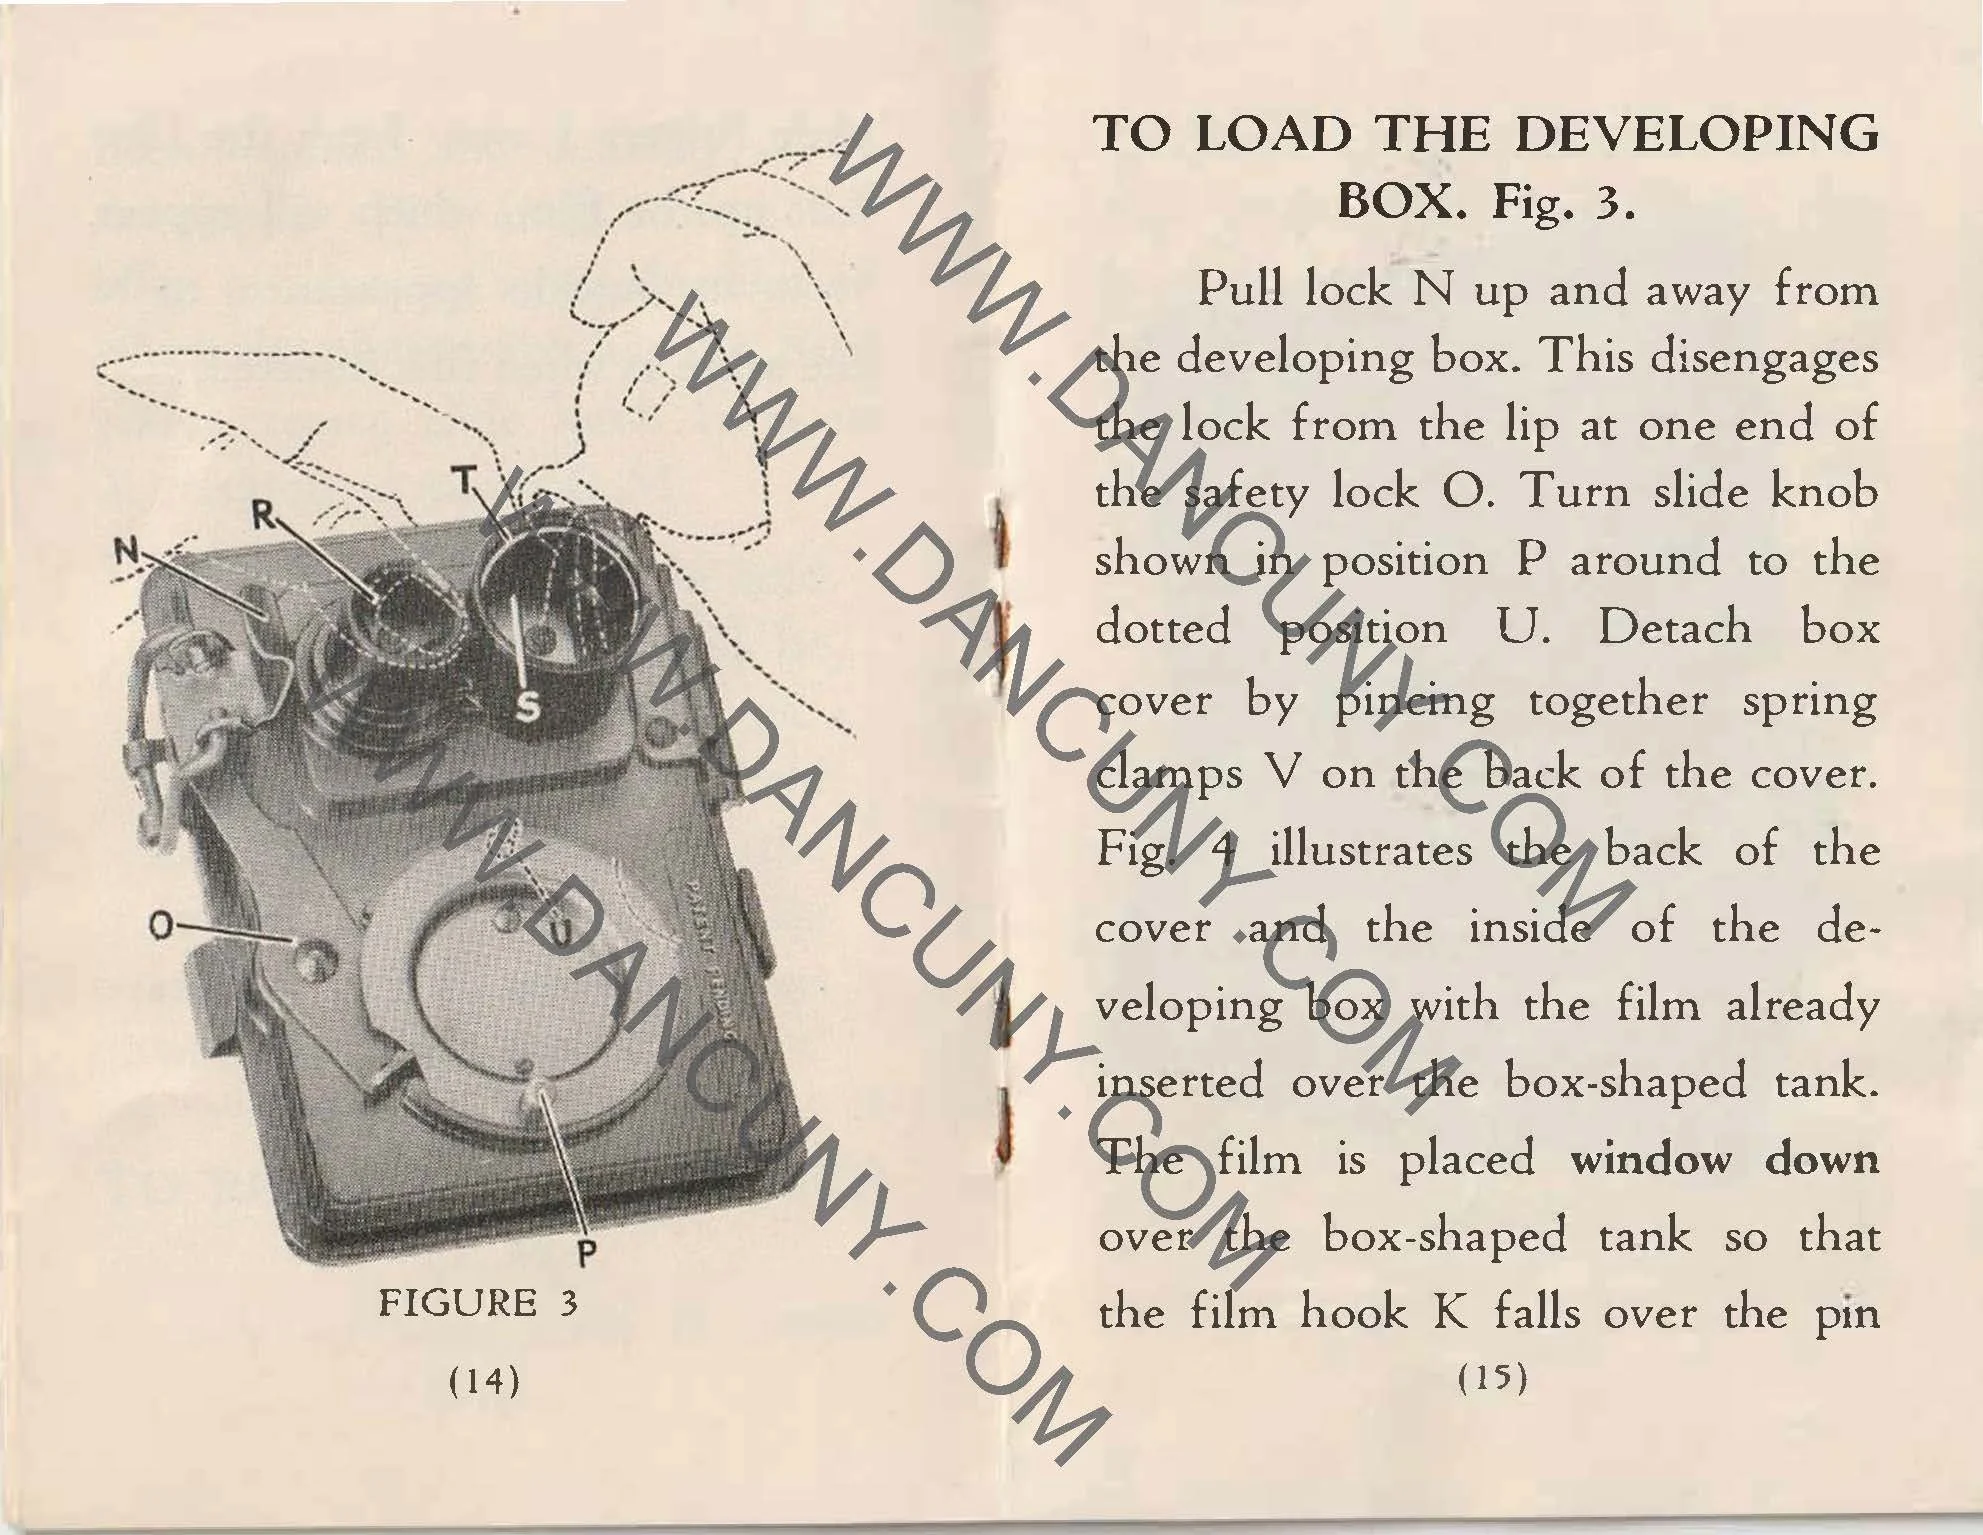
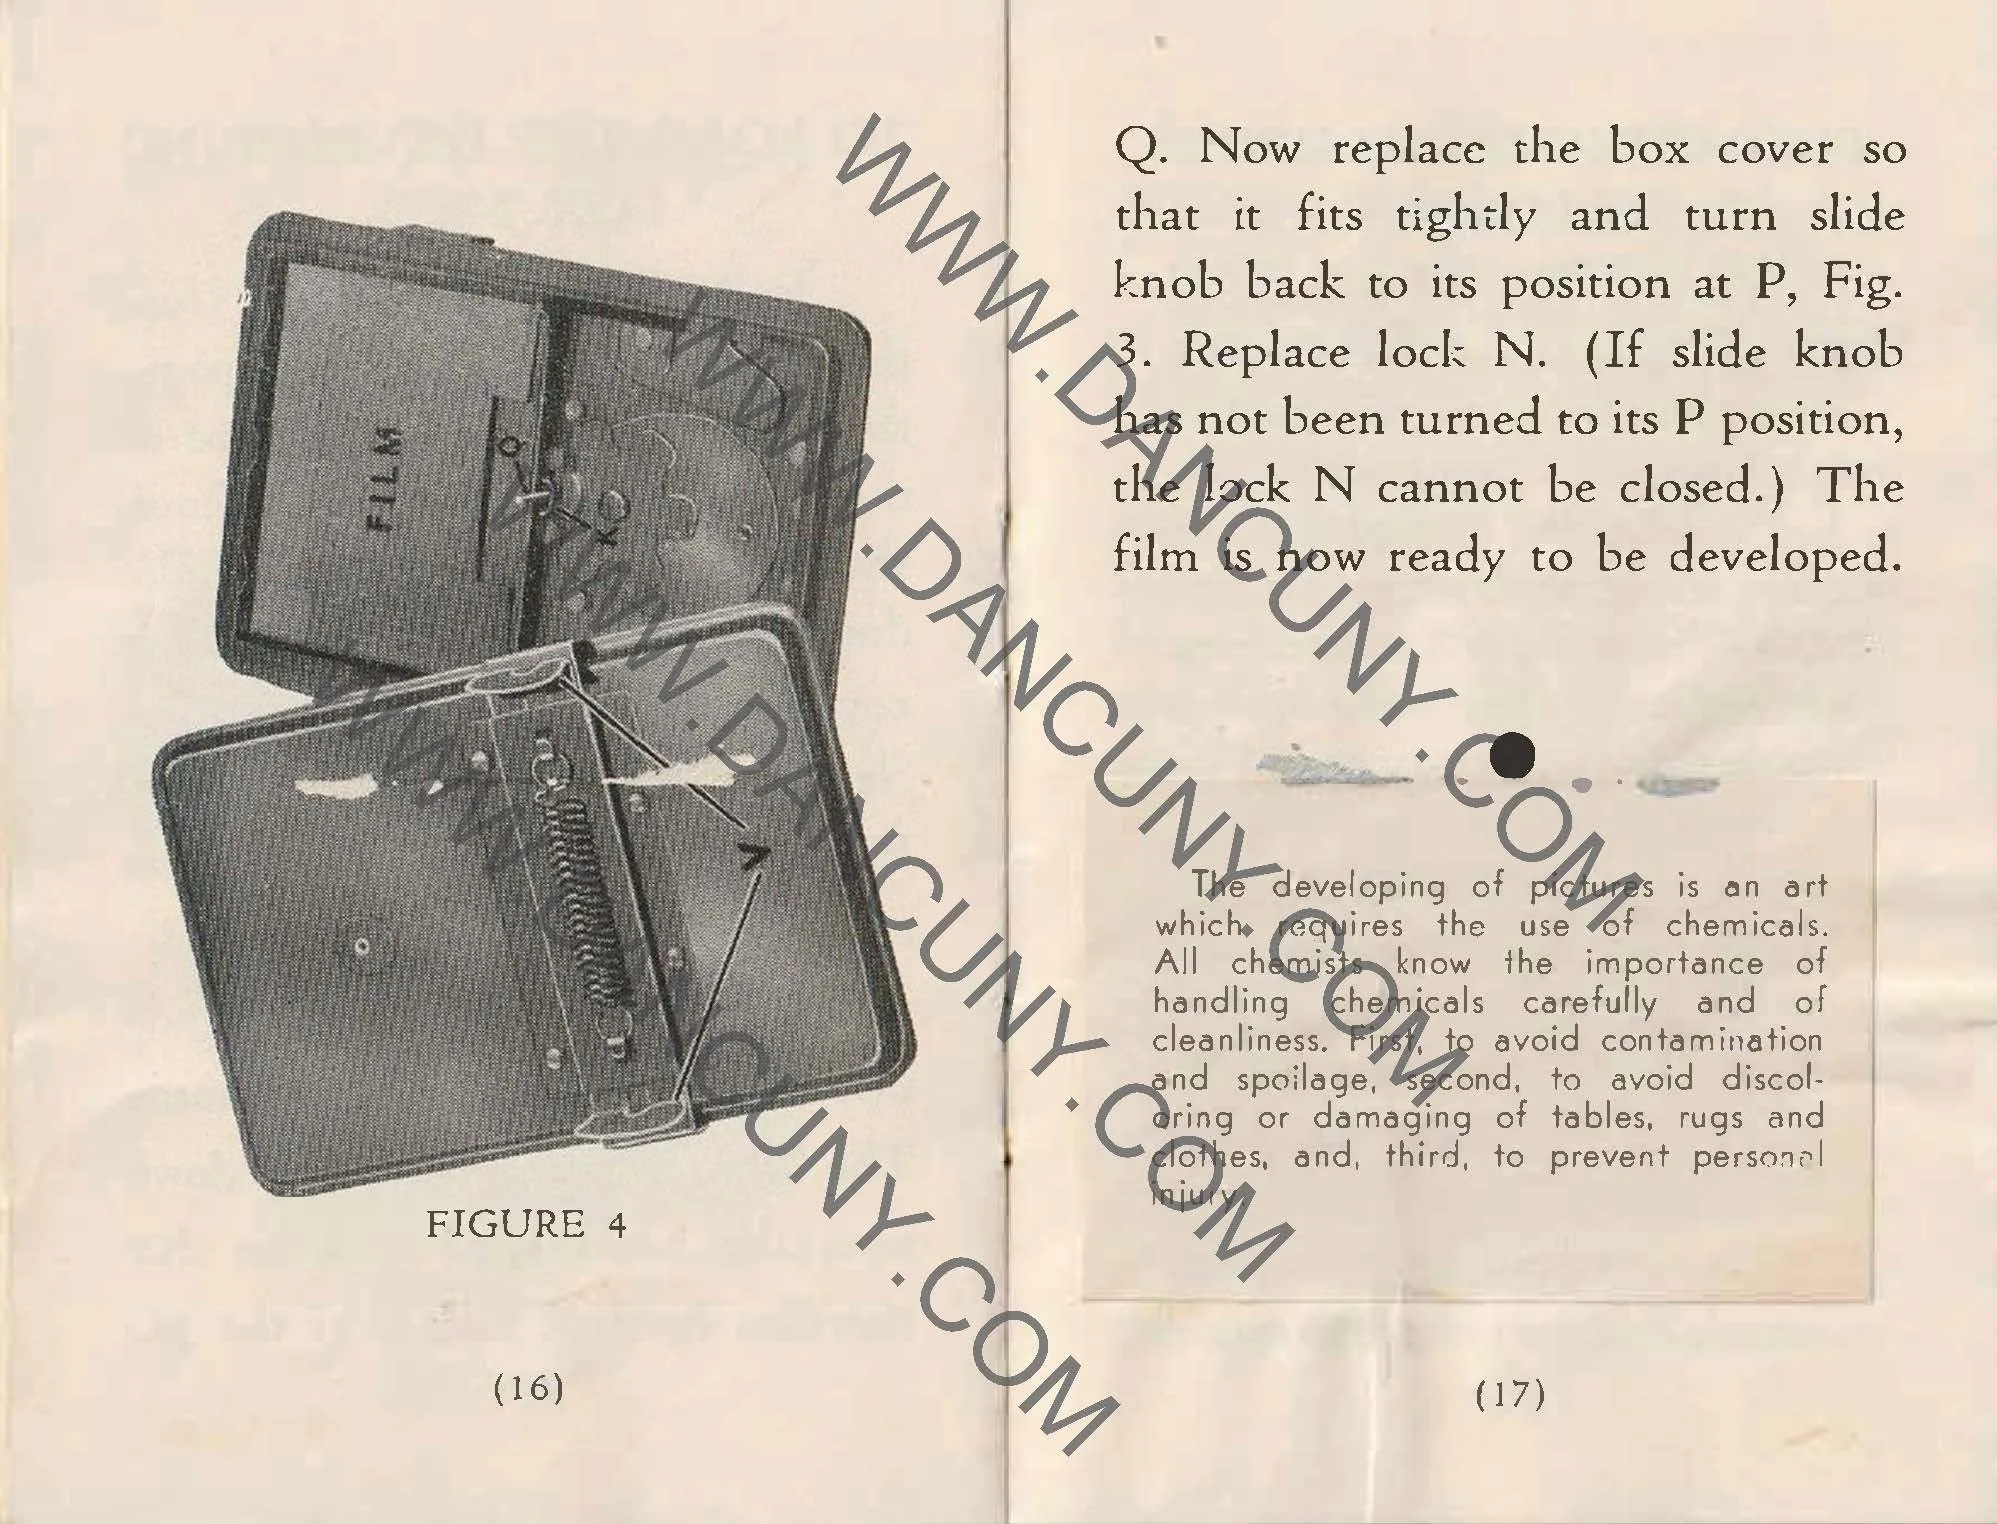
 The Developing tank is 4.5" long by 3.75" wide by 2.5" deep, and weighs 9.4 ounces. The tank is composed of two parts and held together by a locking arm and a clip that wraps around the tank. Unlocking the arm swings the bar out of the way. On the back side are two spring-loaded clips that need to be squeezed to disassemble the tank. 

Once apart, you slide the locking lever away and turn the disk on the tank to the "up" position. This allows the film to be loaded into the tank. Put the back onto the tank, and turn the disk to the "down position, which exposes the film to the chemicals. Once the film is in the tank, you assemble the two pieces and lock them together to initiate the processing. 

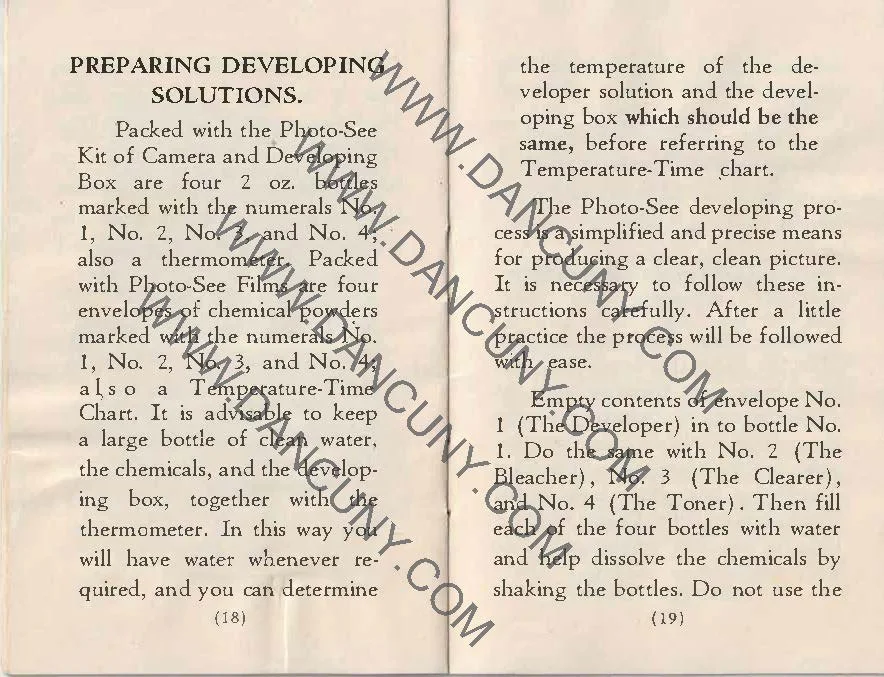
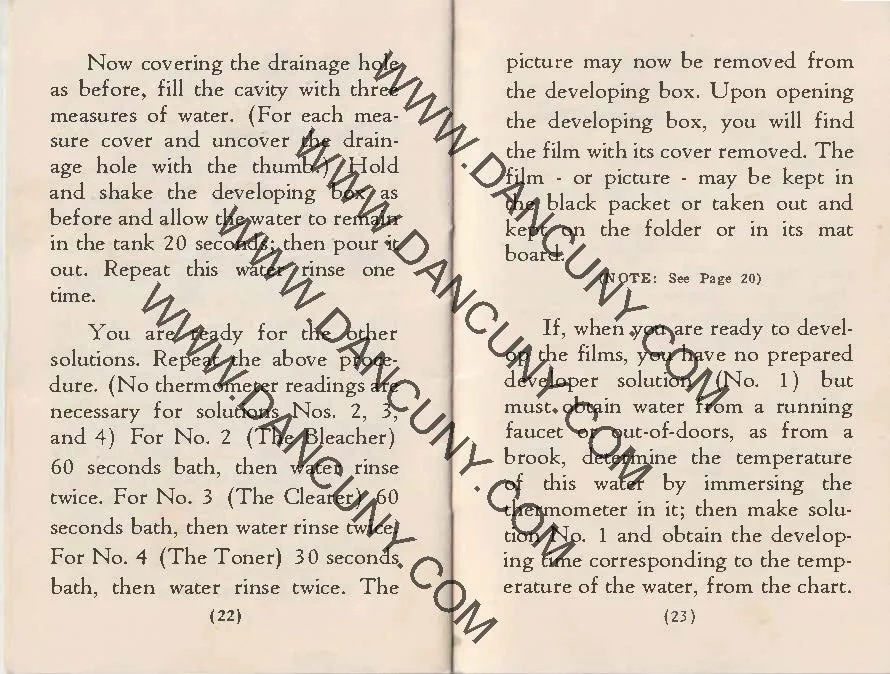
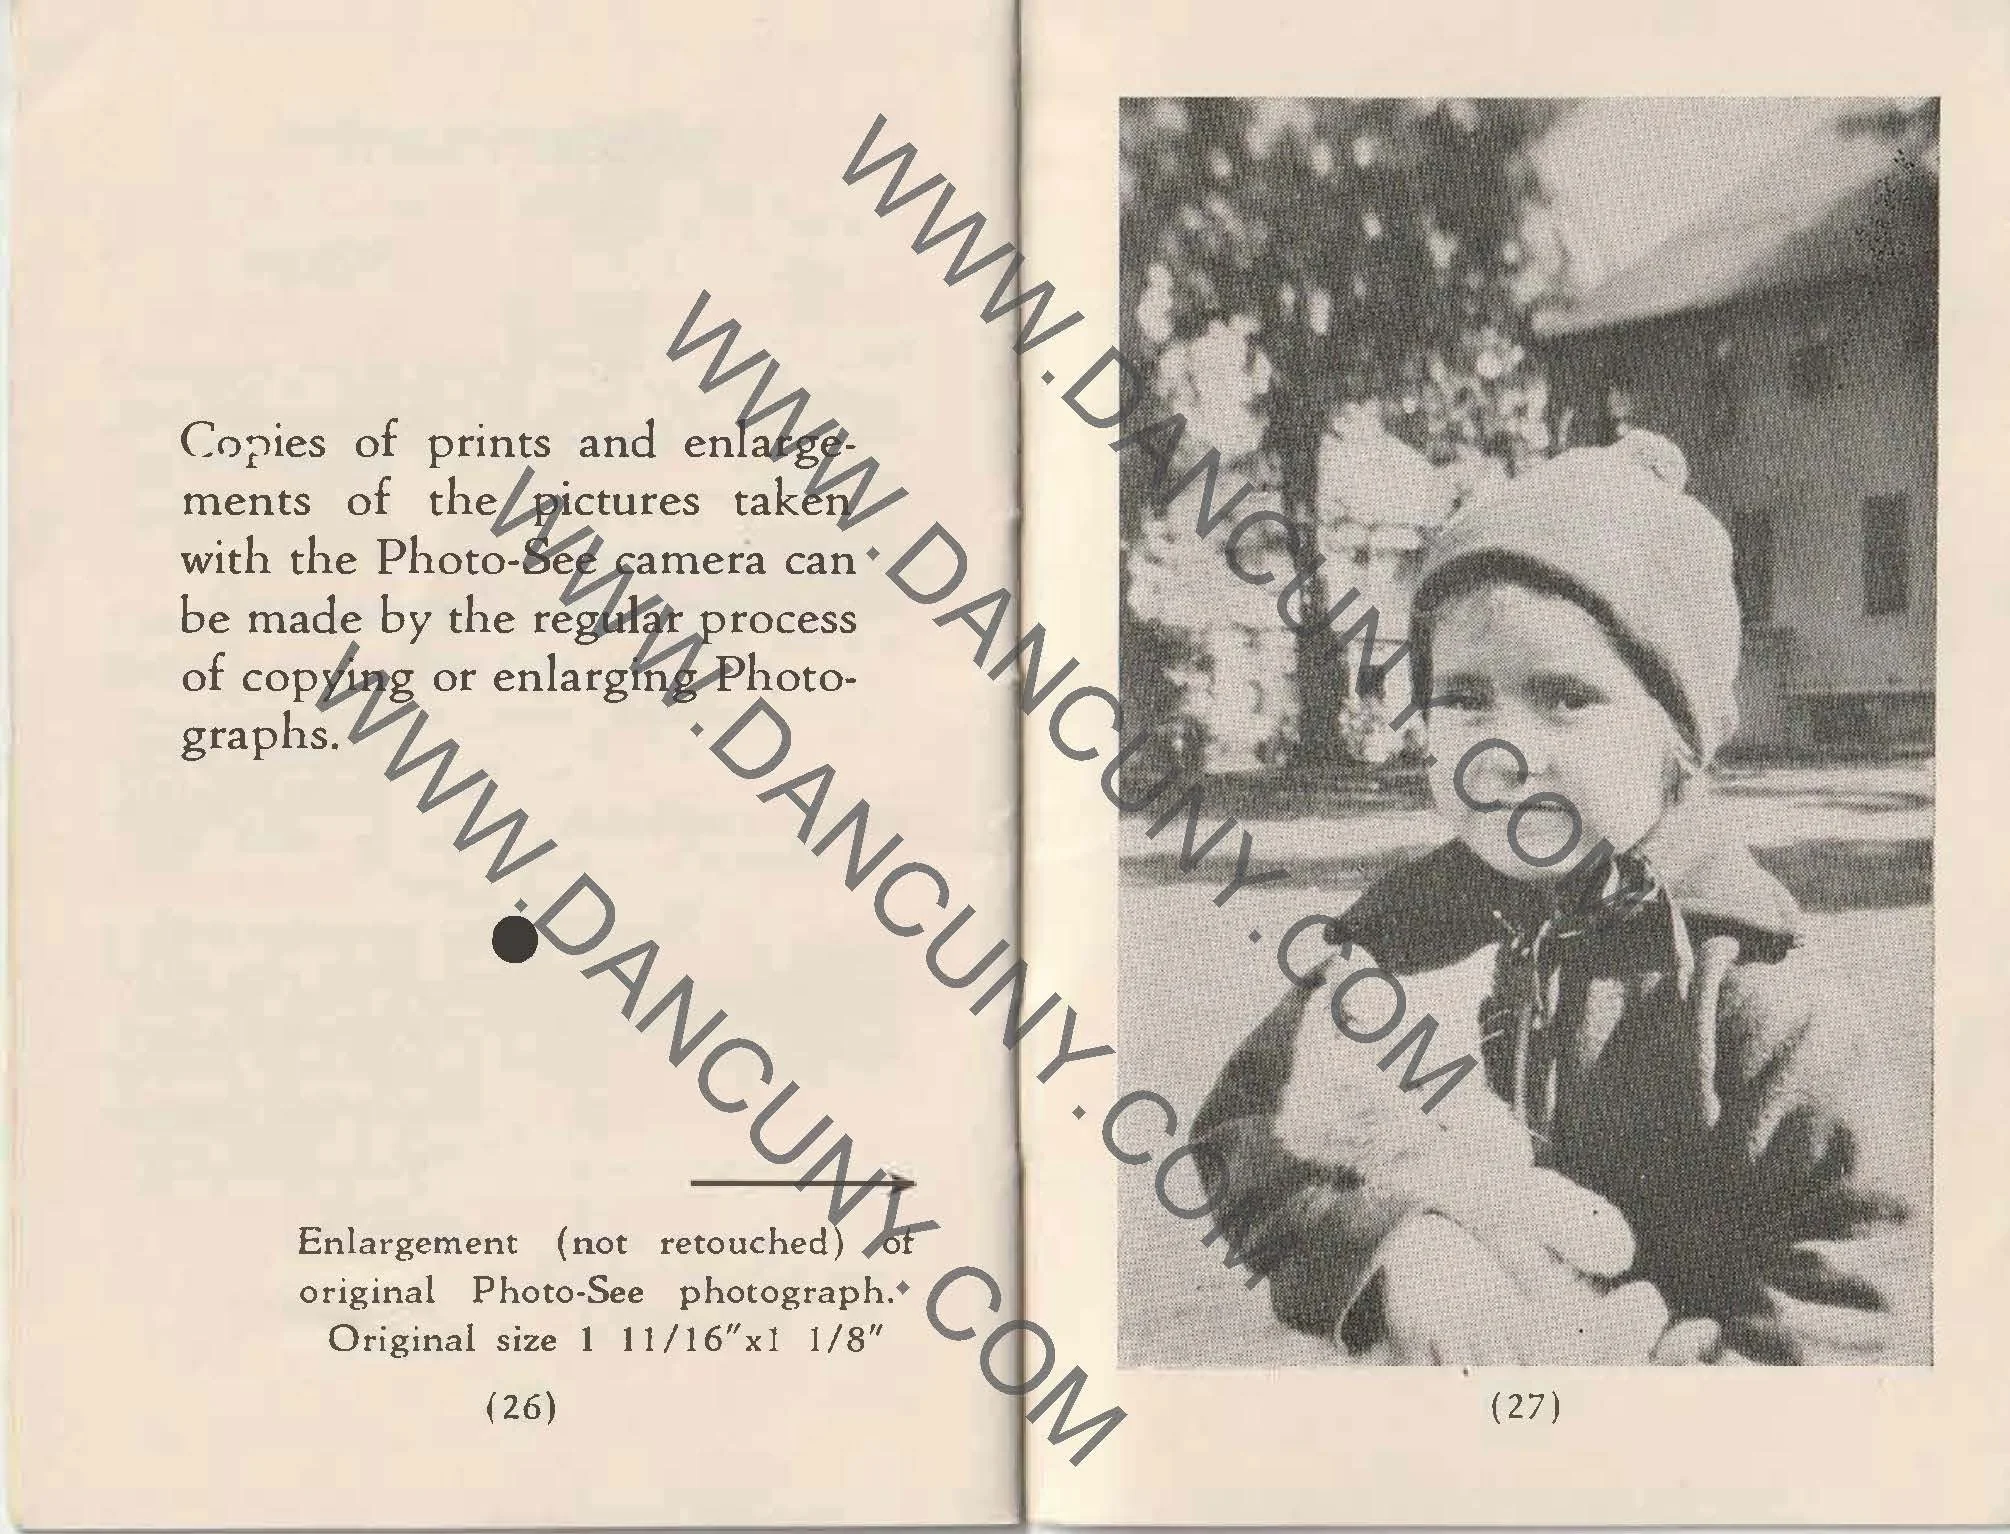
 According to the manual, four bottles and four packets of chemicals are needed for developing your image. #1 is the developer, #2 is the bleacher, #3 is the clearer, and #4 is the toner. Pour the packets into the numbered bottles, fill them with water, and mix. Pour the contents into the larger opening for developing. This camera produces photos and not negatives. Once developed, the final image size is 1 11/16 x 1 1/8 inches.


Results:

Unfortunately, the film for this camera isn't available, so I have no images to show from it. Heck, I've been looking for film for this for many years and have not seen one for sale anywhere.


Conclusion:

This camera is such an oddball, I couldn't resist writing about it, especially since it was many years ahead of its time. I understand that the process is lengthy, that you need to carry chemicals, and that the image size is small. These factors were the reason why this didn't gain popularity.

 It's nice to have an almost complete system in the collection. A film pack and the box would be nice, but having the camera, developing tank, and manual is good.

 Thank you for taking a few minutes to read about this odd and unusual camera from almost 90 years ago.

 Click on the link to see my other camera reviews.

 Cuny's Camera & Photo is my eBay store, where I sell some of the cameras I've reviewed, along with other camera-related items.

 Until next week, please be safe. 

Bolsey Model C-Twin Lens Reflex

My Bolsey C camera

Very early in my camera collecting career, the Bolsey cameras have been a steady companion in my collection. I believe this goes back to when, in my 20s, I'd go to local Flea markets, which were usually held in older Drive-in theatres due to their expensive areas, and find Bolsey cameras. Usually, they were the B2 models and generally in fair to poor condition.

 Every once in a while, I'd find one in working condition, which was a rarity. The thing that drew me to these cameras was the odd shape they have. They are generally smaller than the standard 35mm camera. Still, they have an odd shape where the front of the camera is much broader than the rear. The corners of the cameras are rounded off, giving them a sleek and modern look for their time. I compare them to the shape of automobiles of the time, which generally had rounded curves and were comfortable to use.
 The Bolsey C was a camera that I've always had my eye on to add to my collection for many years. I can remember looking through the Bible of all camera collectors, McKeown's camera guide, and seeing the Model C and the other Model B and Jubilee models, with thoughts that someday I'll have one in my collection. That day was about 4 years ago when I purchased another "lot" of cameras with the Model C within that lot. To my surprise, the camera was almost mint and had a working shutter. Even the fitted case was in excellent condition. The camera appeared almost unused for 70-75 years since the camera was initially introduced in 1950.

History:

Bolsey Camera Company can be traced back to Yakov Bogopolsky, a trailblazing figure in the early 20th-century photographic industry, who played a pivotal role in the evolution of compact cameras. Born in 1895 in Ukraine, Bogopolsky left for Switzerland in 1913-14, where he studied medicine in Geneva. Due to the Russian Revolution and WWI outbreak, he could not return to Russia. While studying medicine, he worked as a portrait photographer to earn money. During his time in Switzerland, he changed his name to Jacques Bolskey. While in Switzerland, his passion for photography grew. He even invented a camera that photographed the beating heart of a dog, which was used in surgery.

 One of Bolskey's earliest successes was the Bolex line of cameras he designed while working for Paillard, a Swiss company. These cameras, primarily for motion pictures, became highly regarded for their precision and durability. While in Switzerland, he also worked as a designer at Swiss watchmaker Pignons S.A., which produced the first Alpa camera.

 After 22 years in Switzerland and being denied citizenship there, he eventually immigrated to the United States in 1939, changing his name to Jacques Bolsey. Bogopolsky's most significant contributions were realized through the Bolsey Camera Company, which he founded in the 1940s in New York. 

Bolsey's hallmark was producing user-friendly, affordable cameras that maintained quality. His most iconic designs were the Bolsey B series of cameras, which debuted in the mid-1940s. These cameras, such as the Bolsey B, B2, and Jubilee, were compact and housed in durable cast aluminum bodies. They featured a coupled rangefinder and a fixed-focus lens, making them accessible to amateur photographers. The Bolsey cameras were marketed as an ideal solution for everyday photography, emphasizing ease of use and portability.

 One of Bolsey's key innovations was incorporating a built-in flash synchronization system, a feature uncommon in consumer-grade cameras at the time. This innovation further solidified the company's reputation for blending functionality with convenience. The cameras became popular in the United States, particularly among families looking to capture moments during the post-war era.

 Despite its early success, the Bolsey Camera Company struggled to compete with emerging Japanese camera manufacturers in the 1950s and 1960s. Companies like Nikon and Canon began producing more advanced and competitively priced cameras, dominating the global market. Bolsey's commitment to simplicity and compact design became less appealing as photographers demanded more advanced features.

 By the mid-1960s, the Bolsey Camera Company ceased operations. While short-lived, Bolsey left a lasting impact on camera design, particularly democratizing photography. The company's cameras remain collectors' items today, valued for their unique blend of aesthetics, engineering, and historical significance. Jacques Bolsey's vision and ingenuity continue to be celebrated in the world of vintage photography.

My Camera:

My Bolsey Model C is two cameras in one. It's a twin-lens 35mm camera that incorporates both a waist-level finder and rangefinder into the same camera body. The camera is 3.75" tall with the chimney down and 4.75" tall in the up position, 4.25" wide by 2.5" deep, and weighs 1 lb 2.6oz. The camera is made from aluminum and has a gleaming finish. The camera has a Wollensak Anastigmat 44mm f3.2 lens in a Wollensak shutter. My Bolsey C also still has the red round Bolsey emblem intact on the viewing chimney. So many Bolsey cameras are missing this, as they are easily lost.

 The camera has a waist-level finder with ground glass at the top for focusing and is parallax corrected to 2', which is also the minimum focusing distance. According to the Instruction manual, the waist-level finder is "exactly as you will shoot it. "The waist-level lens is also the same as the taking lens.

 The camera also has a coupled rangefinder with split image capability built into it. It has the best of both worlds for focusing. Both the waist level and the rangefinder on my camera are bright and accurate. The separate viewfinder is offset on the right side of the camera for framing purposes. Also, on the back of the camera, there are two sockets on the left side made for the flash unit that snaps into them. A flash with a normal PC cord won't work on this camera.

To load the camera, the back is removed from the camera body by switching a lever on the bottom of the camera to the "open" position. The back slides off, exposing the standard 35mm camera film chamber. You slide in a 35mm film cartridge into the open area on the left, bringing the leader over the roller and the drive gear with the sprockets, and slide the leader into the take-up spool. IMPORTANT: wind the camera; you need to pull the winding lever up slightly before the camera will allow the camera to advance to the next frame. If you don't do this step, you'll tear the sprocket holes from the film because the drive gear is locked until you pull the winding lever up before winding. Put the back onto the camera and lock it. At this point, lift the winding lever and advance two times to get it to the first frame. On the back of the camera is a depth-of-field scale.

One other function of the winding lever is cocking the shutter. The Bolsey Model C uses a bar to prevent users from taking double exposures. The shutter release is a lever on the right side of the camera. Behind the shutter release is a bar with a red dot on the end. After you take a photo, the bar with the red dot springs forward, preventing the shutter release from returning to the normal "taking" position. After you take the photo, lift the winding knob, and advance to the next frame, the bar with the red dot is pulled back into the camera, allowing the shutter release to move back to the "taking" position and cocking the shutter. If you try to take a photo with the red dot showing, the shutter doesn't trip, and no exposure is made. Not all Bolsey cameras have the red dot bar to prevent double exposure. I have several other Bolsey cameras (B2 Special in red and a grey B3) that don't incorporate this feature.

The camera only has 5 shutter speeds, 1/200, 1/100, 1/50, 1/25, and 1/10, along with "B" and "T" for timed exposures. The 1/25 and 1/20 are in red, warning of slow speed to use a tripod or some way to keep the camera steady. The control of the shutter speed is a slider bar above the speed indicating which speed will be used. The aperture settings go from f3.2 to f22. These are controlled by a separate sliding bar under the lens with a pointer pointing at the set aperture.

Close up of shutter spped and aperture controls on Bolsey C camera

My results:

Where I live, it's usually overcast and raining, but I had a few hours where the sun almost poked its head out, so I loaded a roll of film into the camera and drove to two different places close to my home to take photos. The first was a local park with a playground, and the second was a home with a massive Christmas display. The display mainly consists of plastic figures on the front of the house. I figured I get a few good photos here. Here are the results of the photo journey.

Conclusion:

I need to admit, I wasn't sure how this camera would perform or if I would like to use this somewhat oddball camera. I have to admit, the camera worked great, and it was really fun to shoot with. I really enjoyed the waist-level finder and thought it was bright and accurate in its ability to focus sharply. I also tried the rangefinder, which performed just as well. On a scale of 1-10, I'd give this an 8, maybe even an 8.5, in its usability, a joy to use, and results.

 You can get good results using either the rangefinder or waist-level finder. It's the best of two worlds built into one camera. If you don't have one, you should add this to your collection. Try to find a good working example to take out and use. I don't think you'll be disappointed.

 Thank you for taking a few minutes to read about this fantastic camera.

 Until next week, please be safe.