ICAF Roby Camera

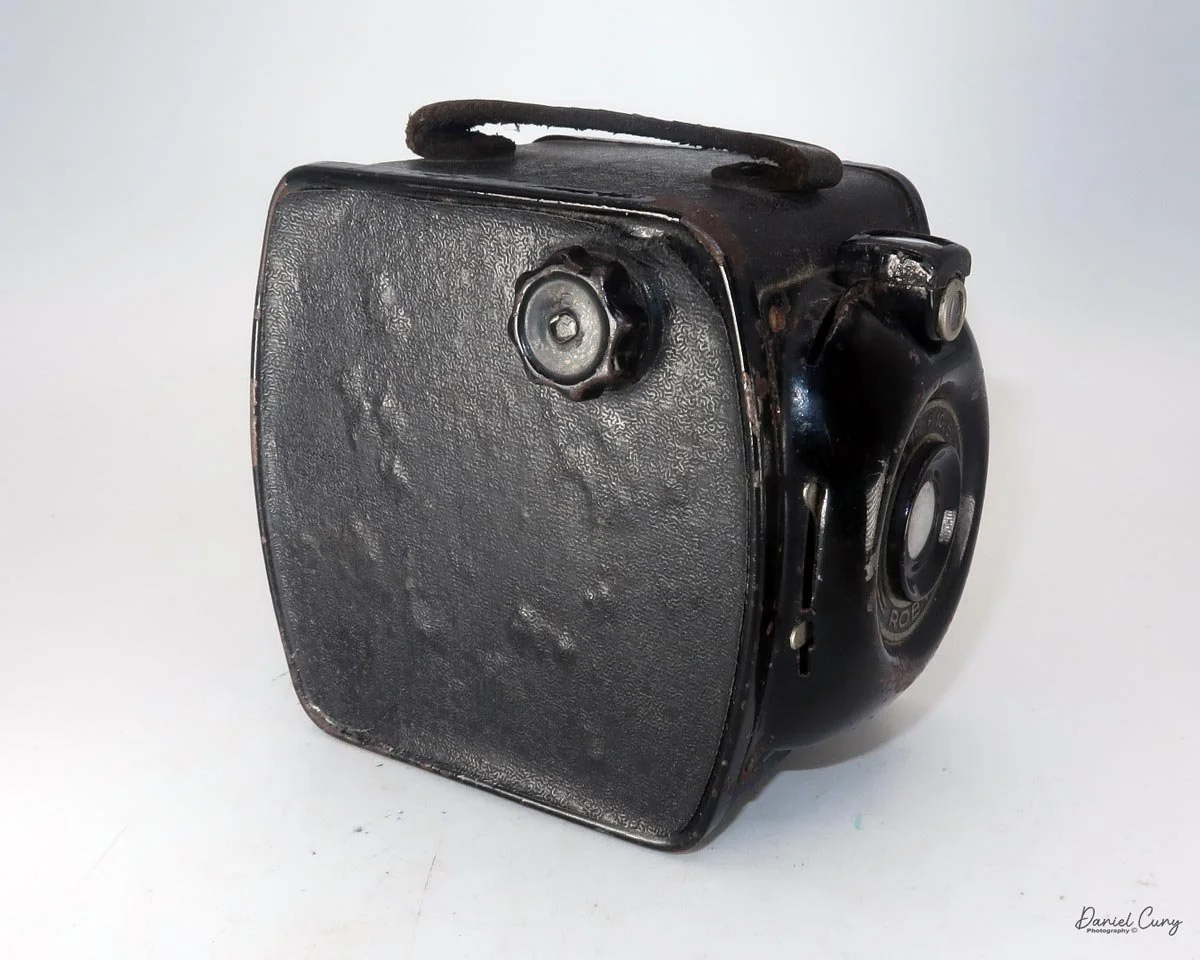
My ICAF Roby camera

I bought the Roby camera a few weeks ago at an online auction, bundled with several other items. It caught my eye because it reminded me of the Ferrania small box camera I have on my shelf. Both cameras share a rounded front lens area and a sleek finish. I saw it as a good complement to the Ferrania, and based on the auction photos, I believed it was made by Ferrania when I placed my bid.

 The auction "lot" included a hodgepodge of gear—a large bag, old movie lights, a slide projector, and more—but I was only interested in the Roby. When I received the shipping bill from the auction house, I was floored by the price. I hadn't told them I only wanted that one item.

I called them immediately to let them know they could donate, keep, or toss the rest of the lot, as those items had no value to me (and probably not to many others, either). That brought the shipping down to a very reasonable price that I was happy to pay.
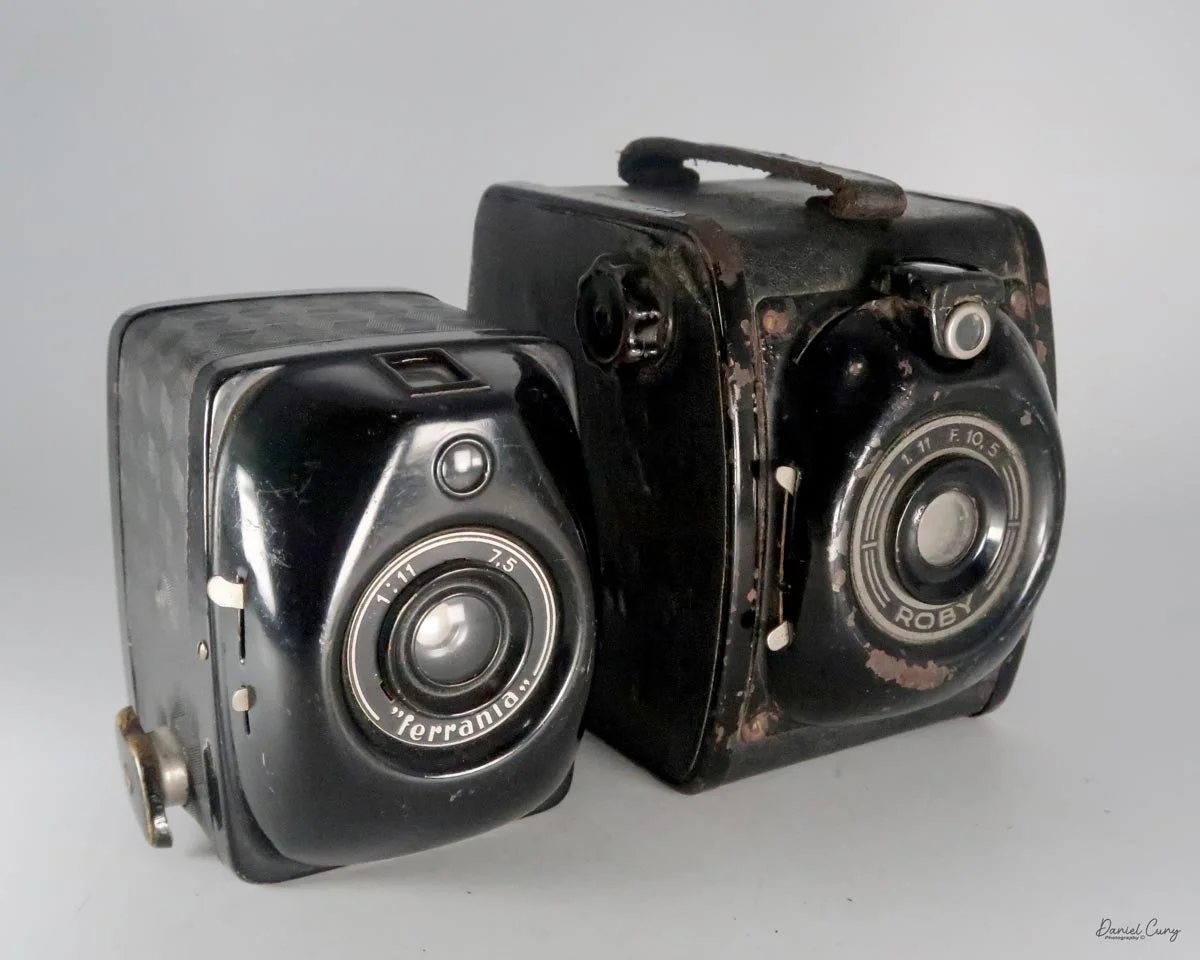
My Ferrania & Roby camera

 Once the camera arrived, I was surprised to find out it wasn't made by Ferrania at all. A different Italian company, ICAF (Industria Costruzione Apparecchi Fotografici), built it. ICAF later became Bencini, a popular manufacturer responsible for the Bencini Koroll (which I've previously written about). They also produced a camera I've been hunting for and am itching to review: the Bencini Comet III.

 The Roby is bigger than I anticipated, but on the bright side, it takes 120 film and shoots 6x9cm (2 1/4 x 3 1/4) format images. I originally assumed it would be closer in size to the Ferrania Filma, which is a more compact 127 format camera. I also thought I had already written about the Filma! Looking back, I haven't, so I'll review that one soon.

 This article won't be as long as some of my others for two reasons. First, the camera is extremely simple and has few settings. Second, my wife and I are currently on an extended road trip visiting relatives and friends. I won't have much downtime to write, so I apologize in advance if I miss a week or two of camera reviews.

History

The story of ICAF and Bencini cameras is a fascinating chapter in Italian photographic history, charting an evolution from simple box cameras to uniquely stylized, rigid-bodied metal shooters.

Antonio Bencini's photographic journey began during World War I. Trained as an aeronautical engineer, he was tasked with maintaining and repairing French-made aerial reconnaissance cameras for the Italian military. After the war, he jump-started Italy's domestic camera industry by founding FIAMMA in 1920 and later founded a second company, Filma. After selling both ventures to Ferrania, Bencini relocated to Milan and established ICAF (Industria Costruzione Apparecchi Fotografici) in 1937.

 ICAF's initial offerings were straightforward box cameras like the Roby and Gabry, named after Bencini's children. To comply with nationalist language policies, the company quickly changed the names to Robi and Gabri. Shortly before World War II, the company was renamed CMF. Camera production paused during the conflict as the factory pivoted to manufacturing aircraft and bicycle components.
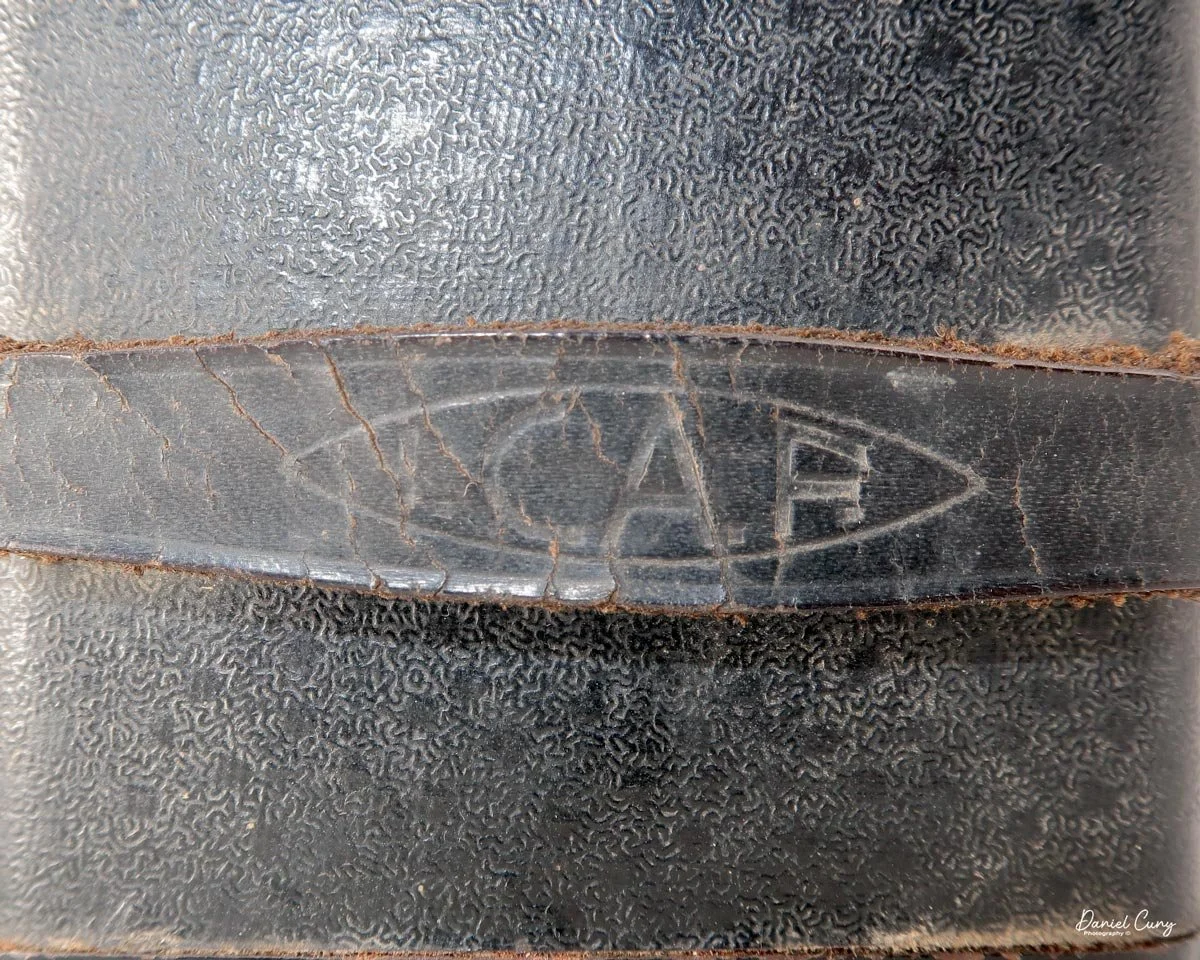
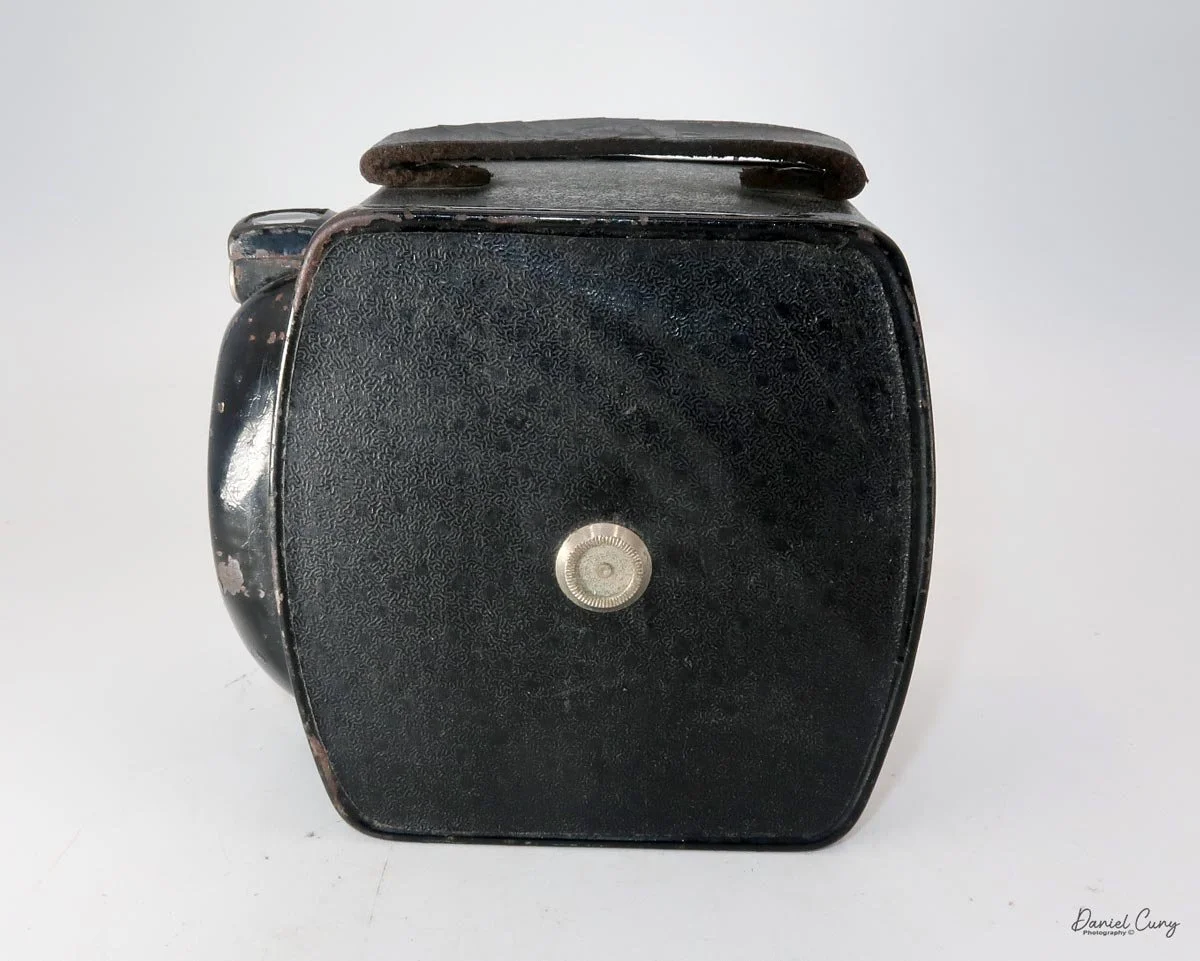
ICAF Strap

 Emerging in 1946 as CMF Bencini, the company began defining its signature aesthetic. Moving away from the era's fragile cloth bellows, Bencini transitioned to durable sliding-tube mechanisms and rigid die-cast aluminum bodies. This shift produced cameras that were rugged, affordable, and distinctly Italian.

 The real breakthrough came in 1948 with the introduction of the Comet series. Designed for 127 film, these cameras were massive commercial successes. By 1953, the company shortened its name to simply Bencini and released the Comet III. With its striking vertical orientation, oversized winding knob, and art-deco flourishes, the Comet III remains a highly recognizable example of mid-century industrial design. Alongside the Comet was the popular Koroll line, which utilized 120 film for larger formats. These models were known for their reliability and straightforward functionality, cementing Bencini's reputation among amateur photographers.

 During the 1960s, Bencini tried to adapt to consumer preferences by producing 126 cartridge cameras, many of which were rebranded and sold by the British drugstore Boots. In the 1970s, the company ventured into the 110 pocket format and released 35mm plastic cameras, still bearing the iconic Comet name.

 While Bencini ultimately struggled to compete with advanced Japanese SLRs and closed its doors in the 1980s, its legacy endures. Today, these early aluminum-cast cameras are appreciated as tangible, mechanical pieces of Italian photographic history.

My Camera

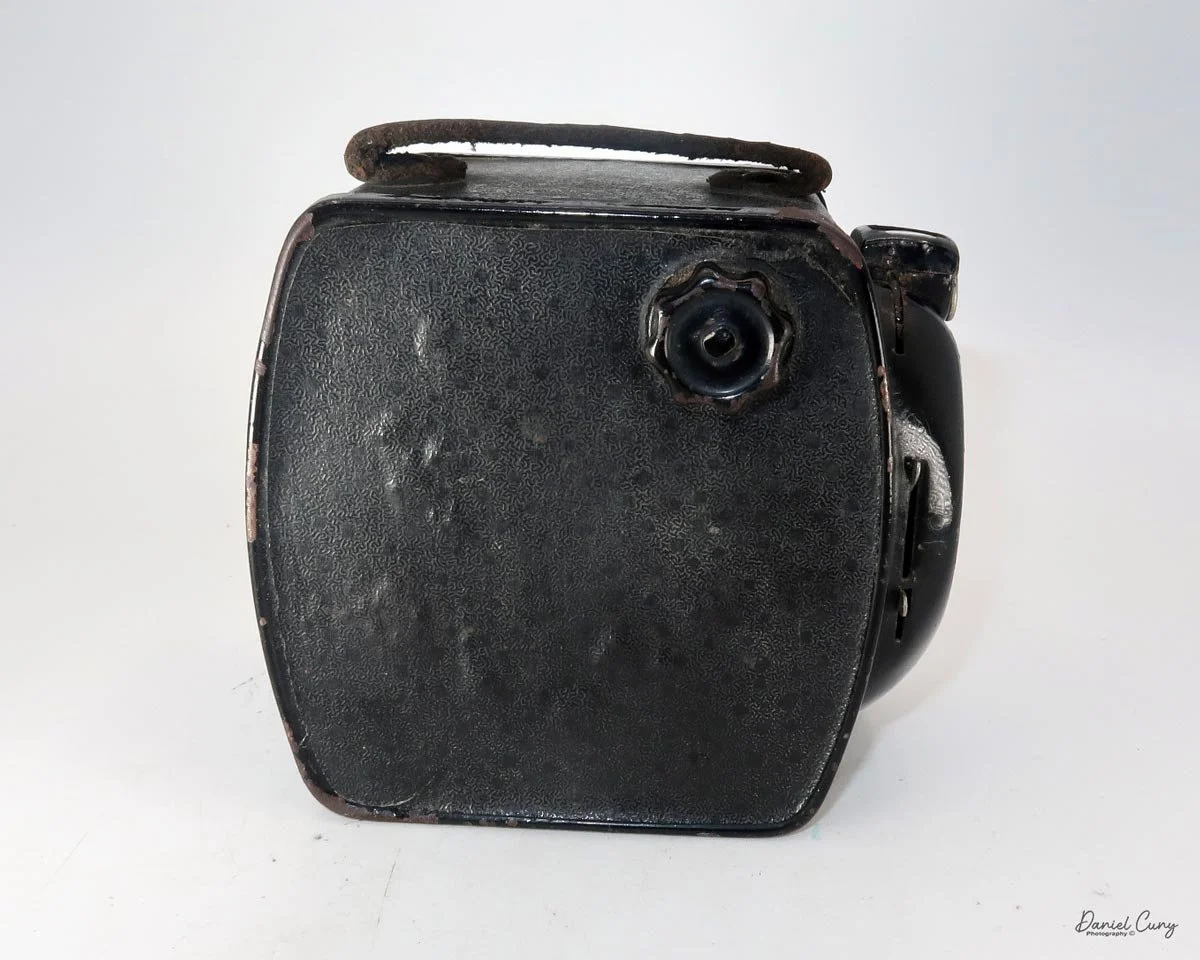
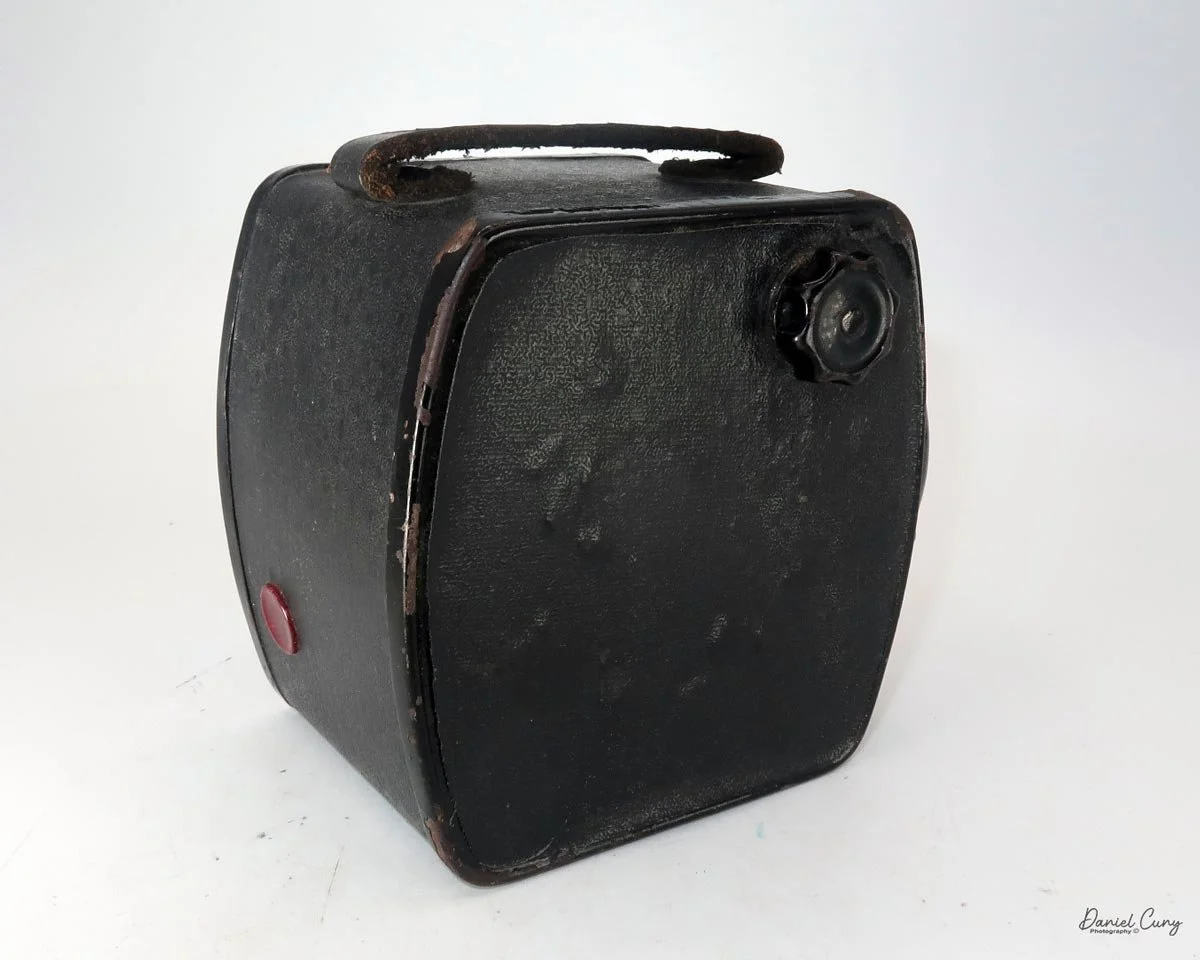
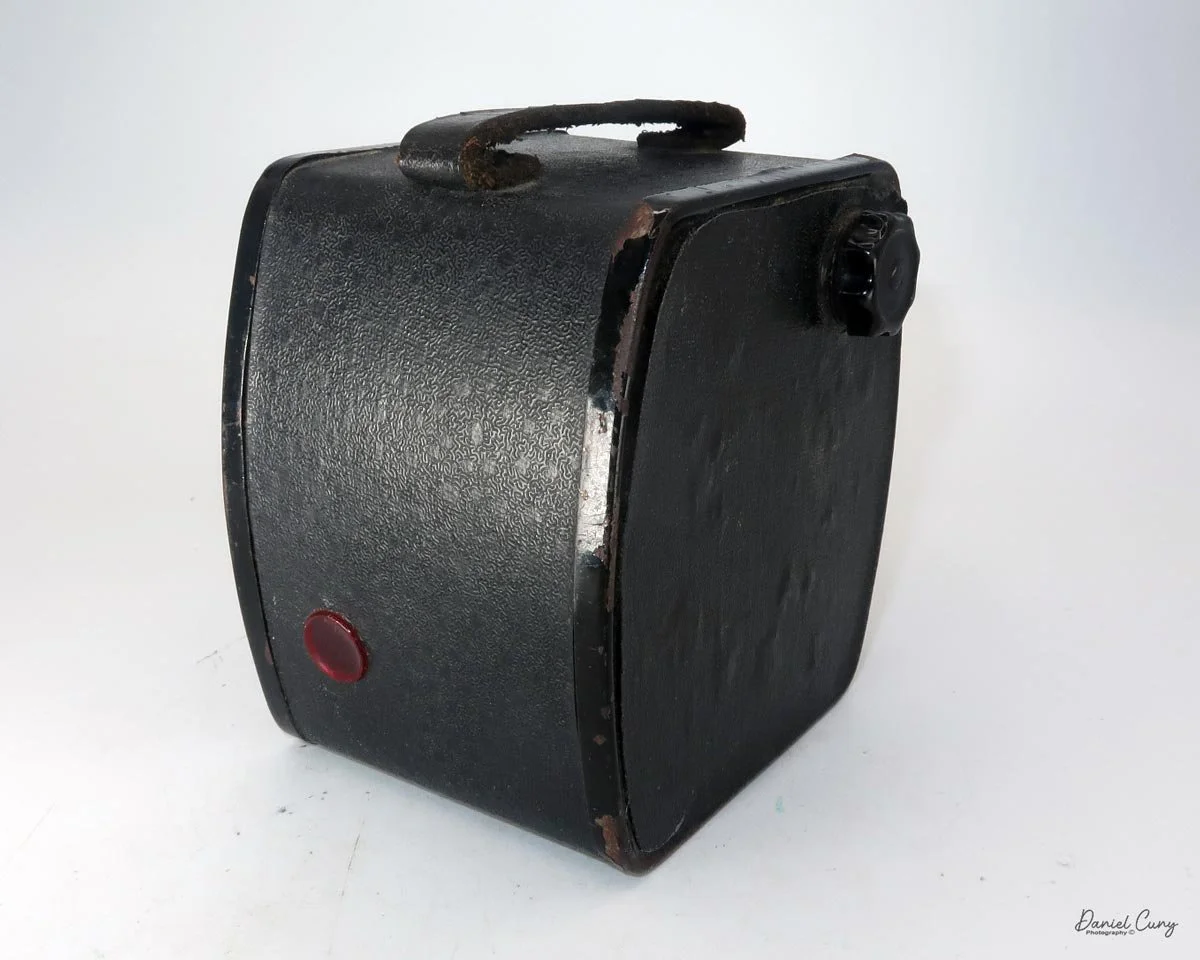
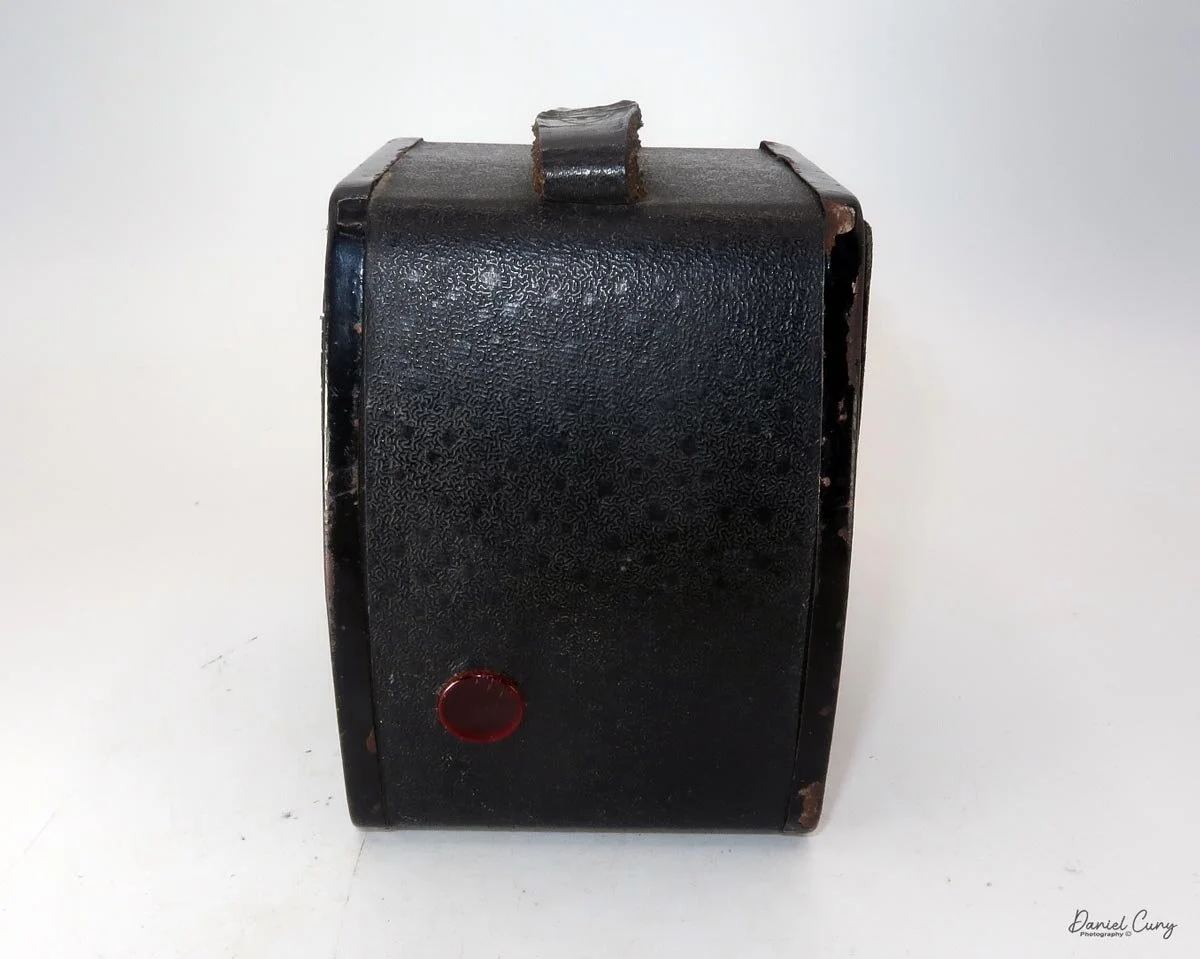
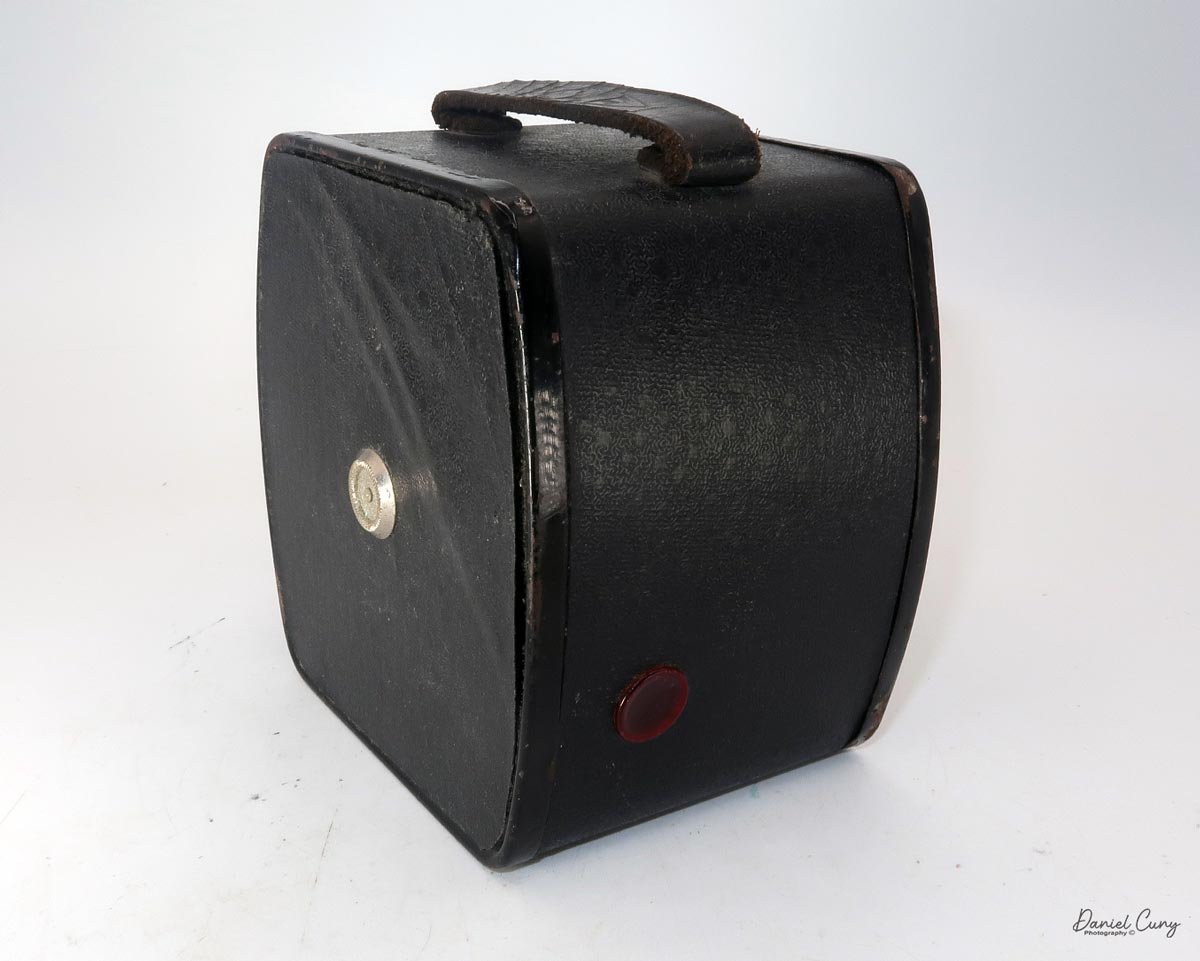
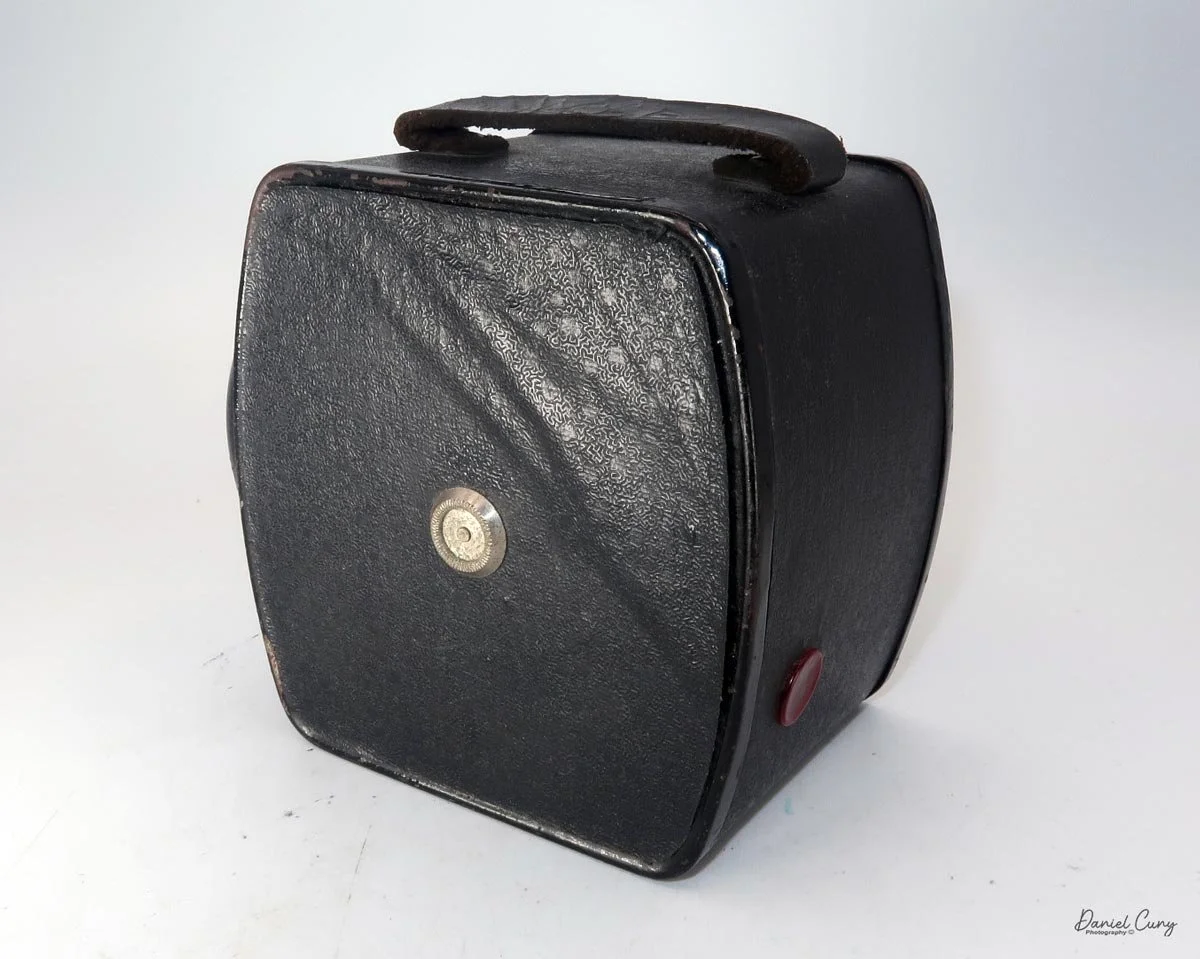
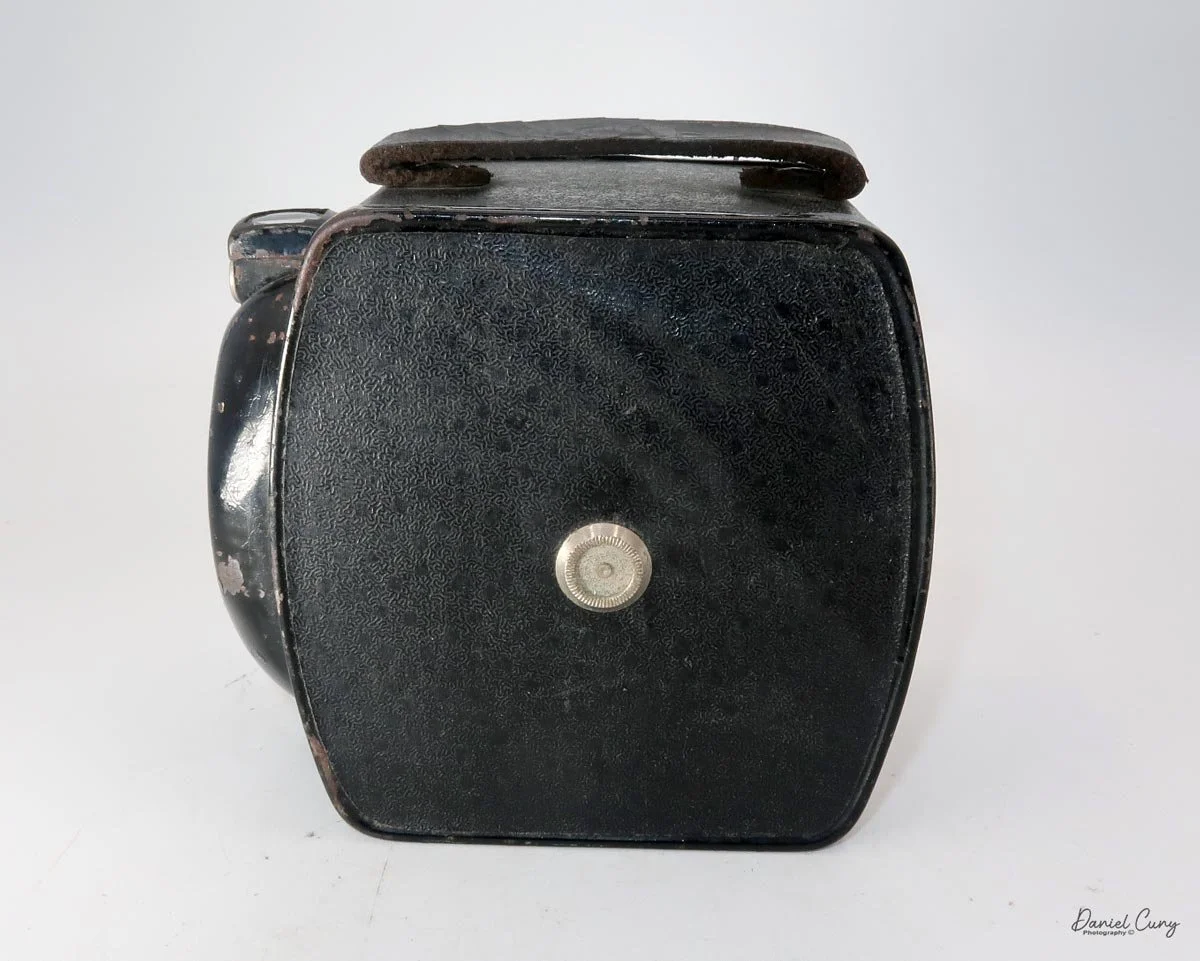
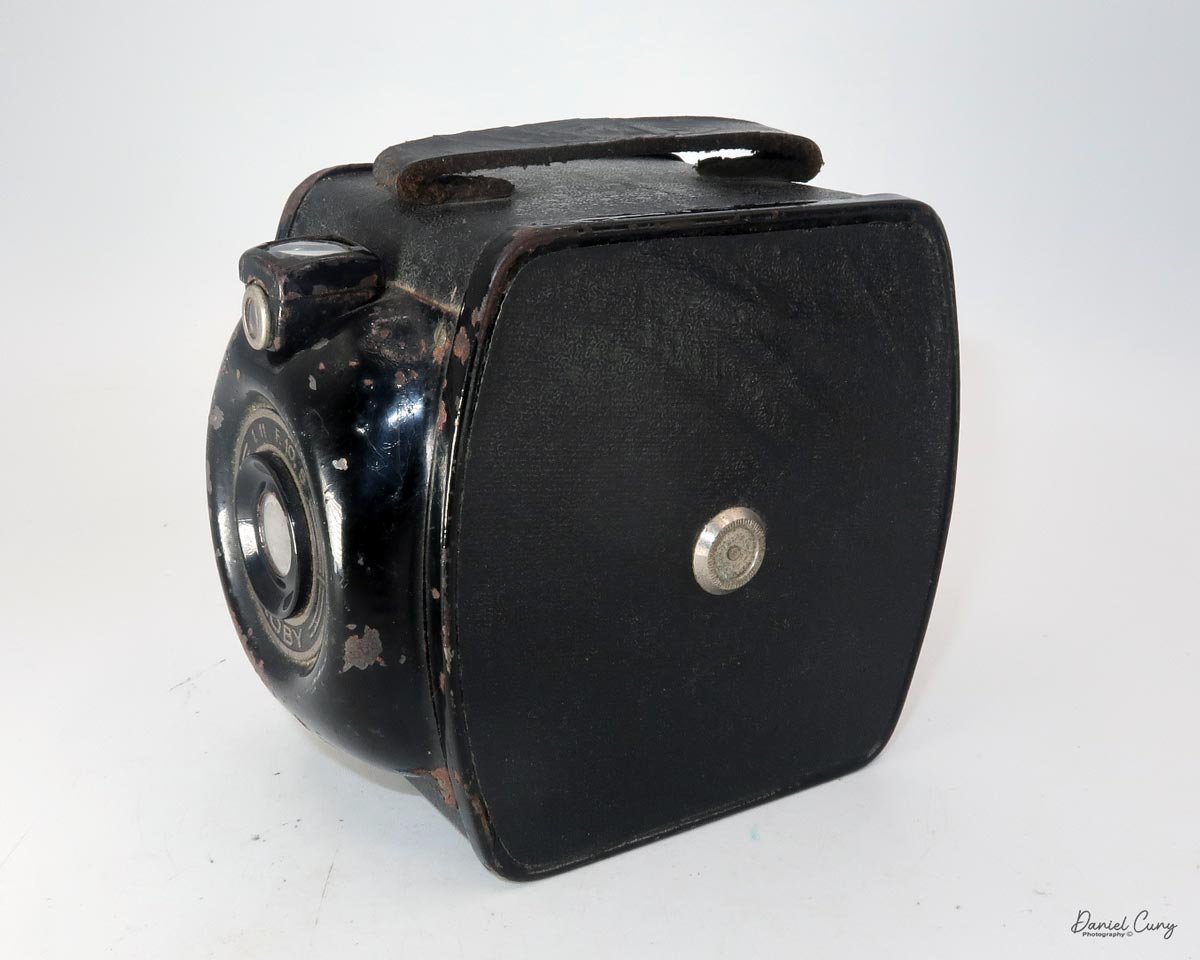
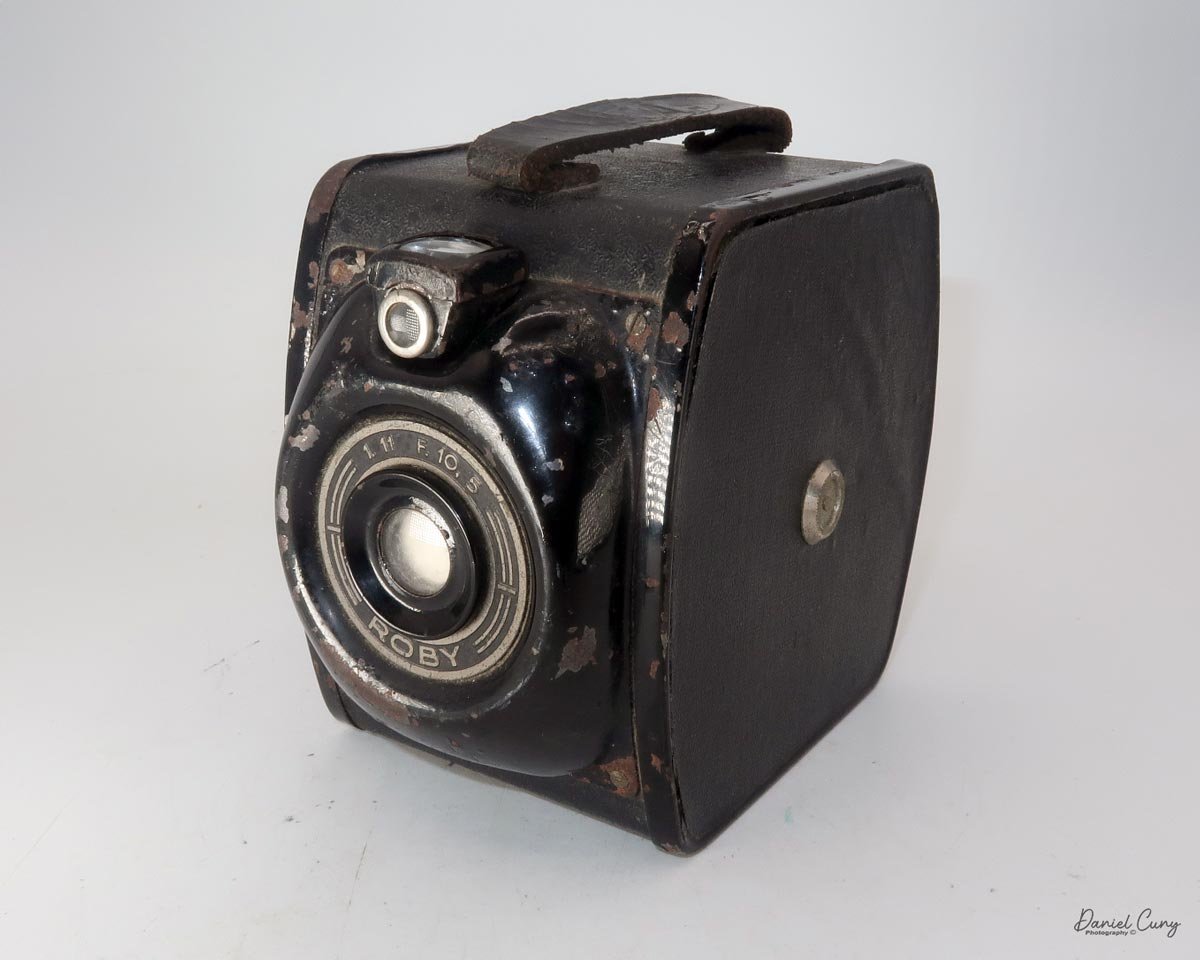
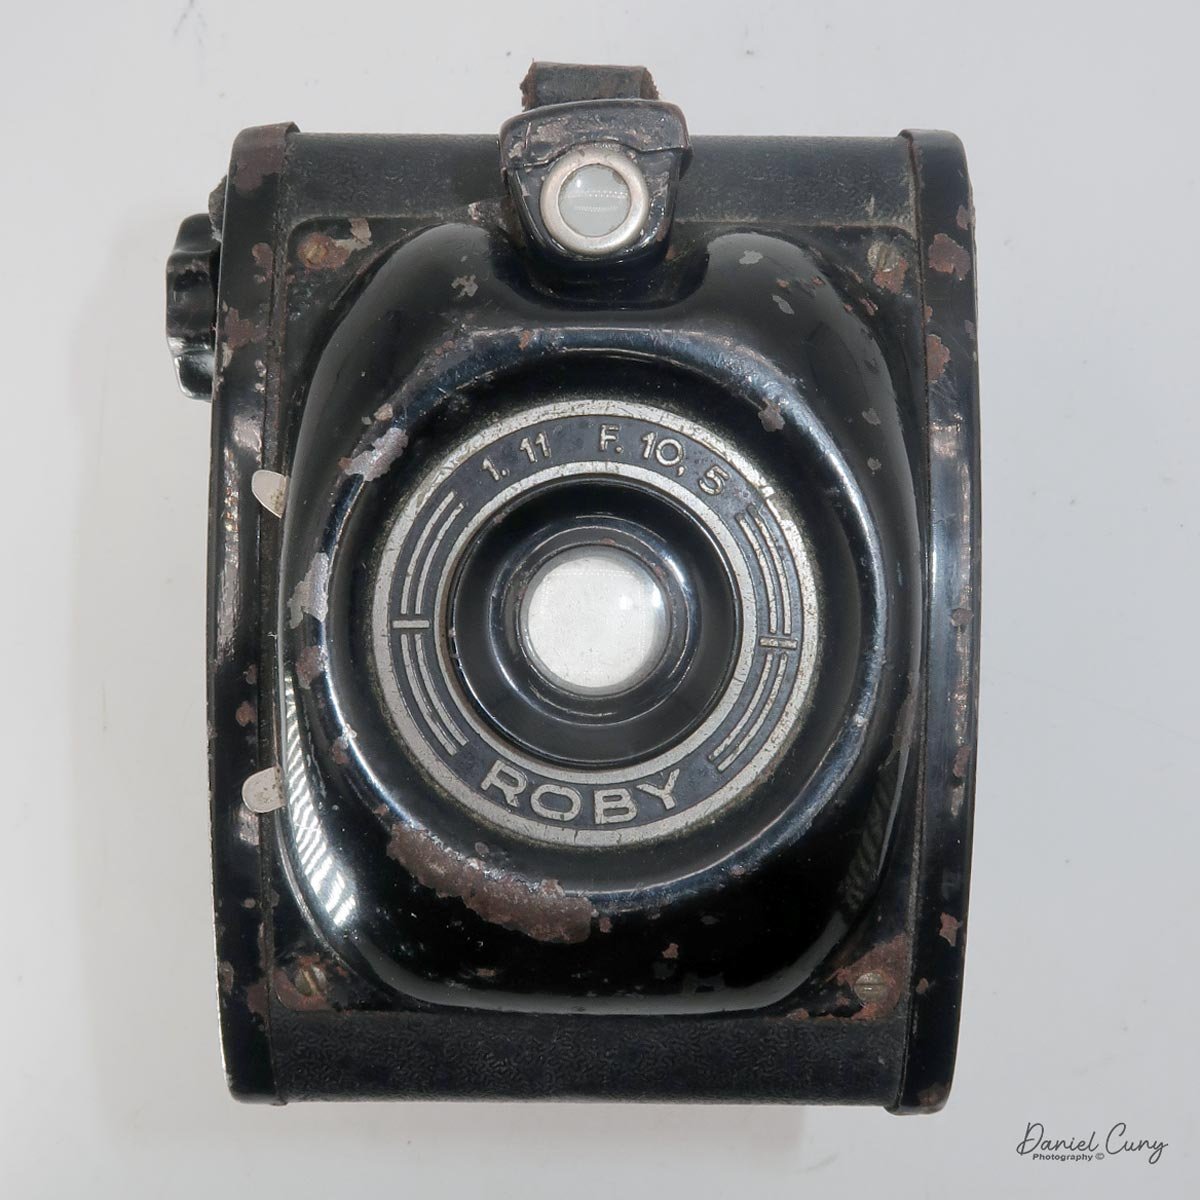
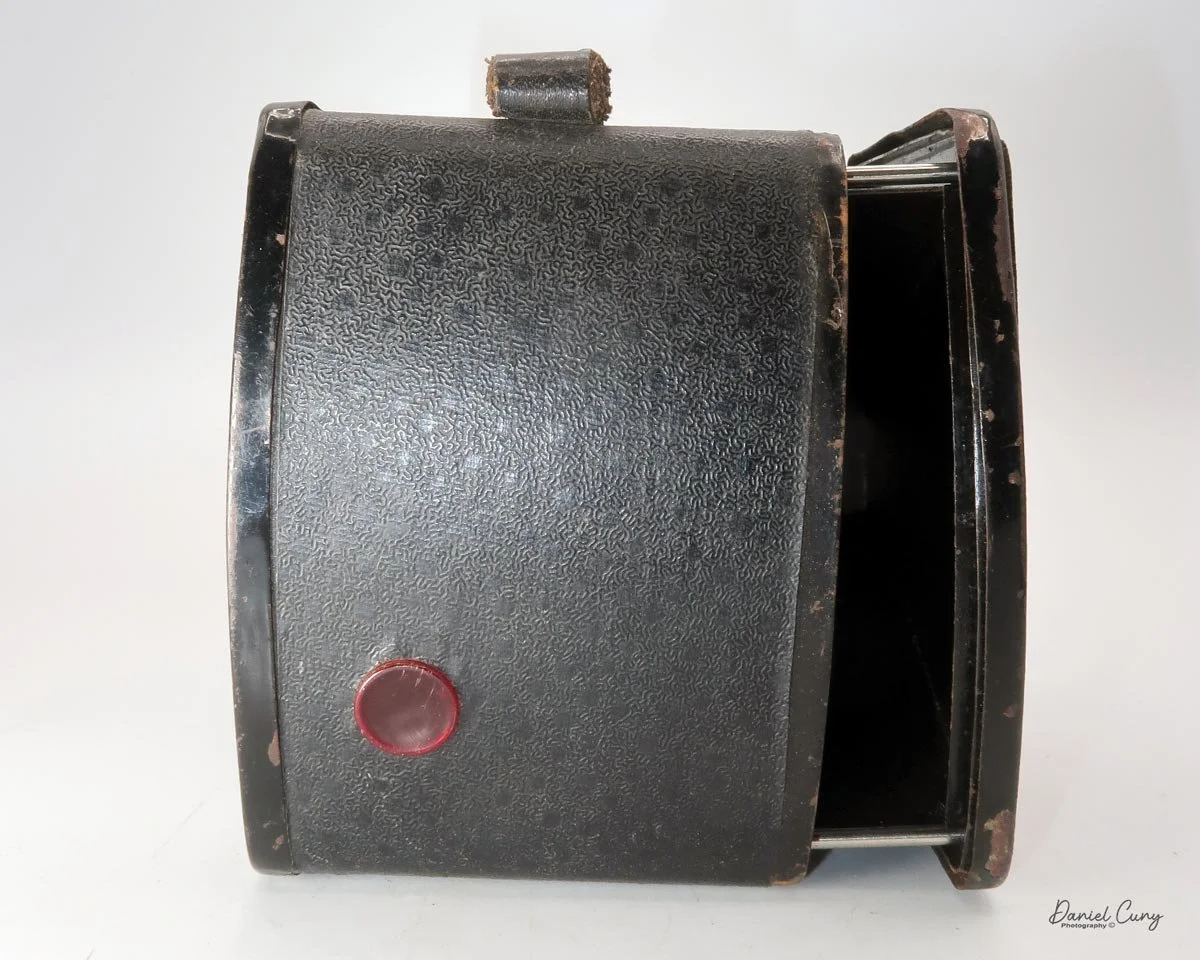
My ICAF Roby is approximately (I forgot to measure it before leaving!) 3 inches tall, 3.5 inches deep (due to the protruding lens area), and 2.5 inches wide, weighing about 10 ounces. The finish is a bit rough, with some chipped paint, as you can see in the photos, but it has a working shutter. The lens is a 105mm f/11, which is indicated directly around the glass.
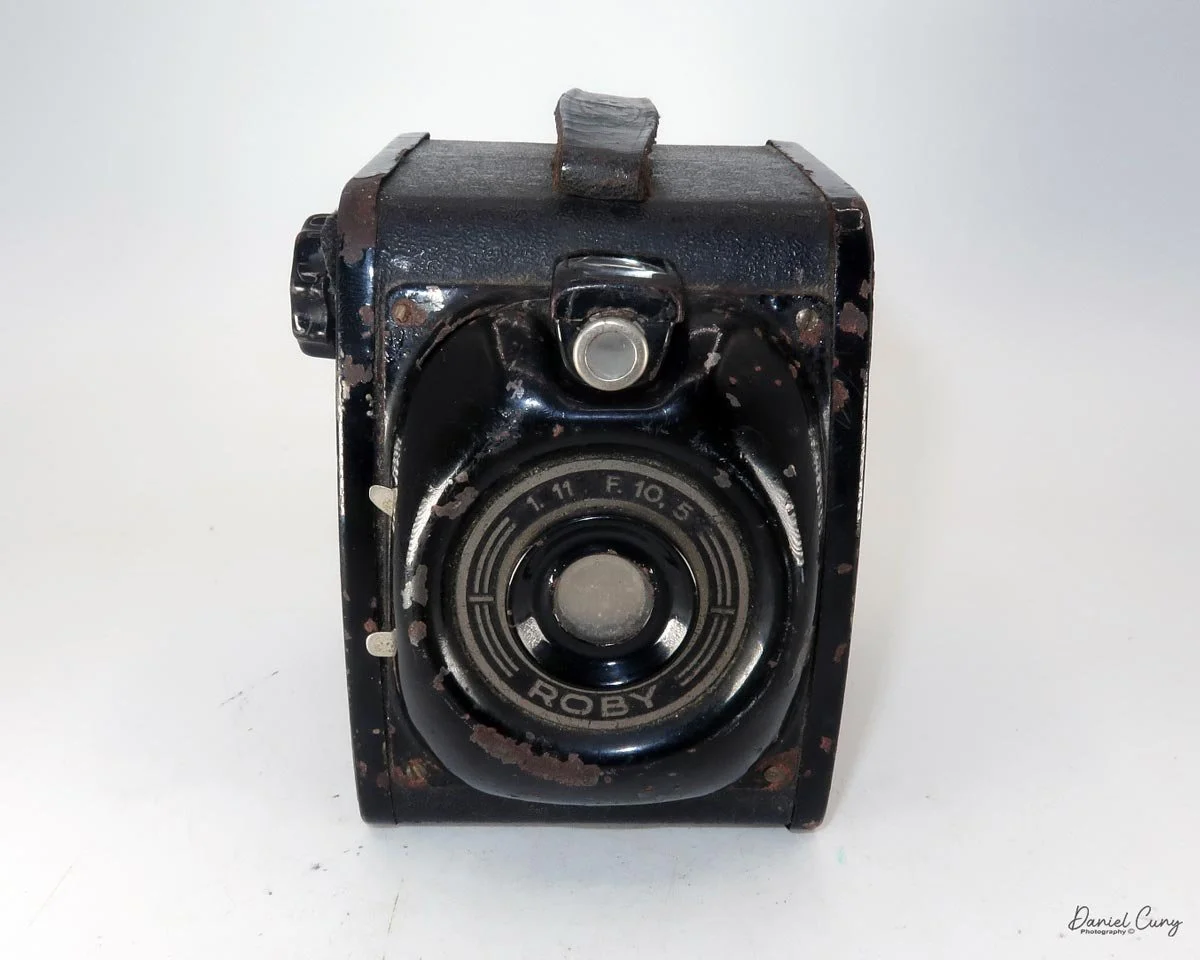
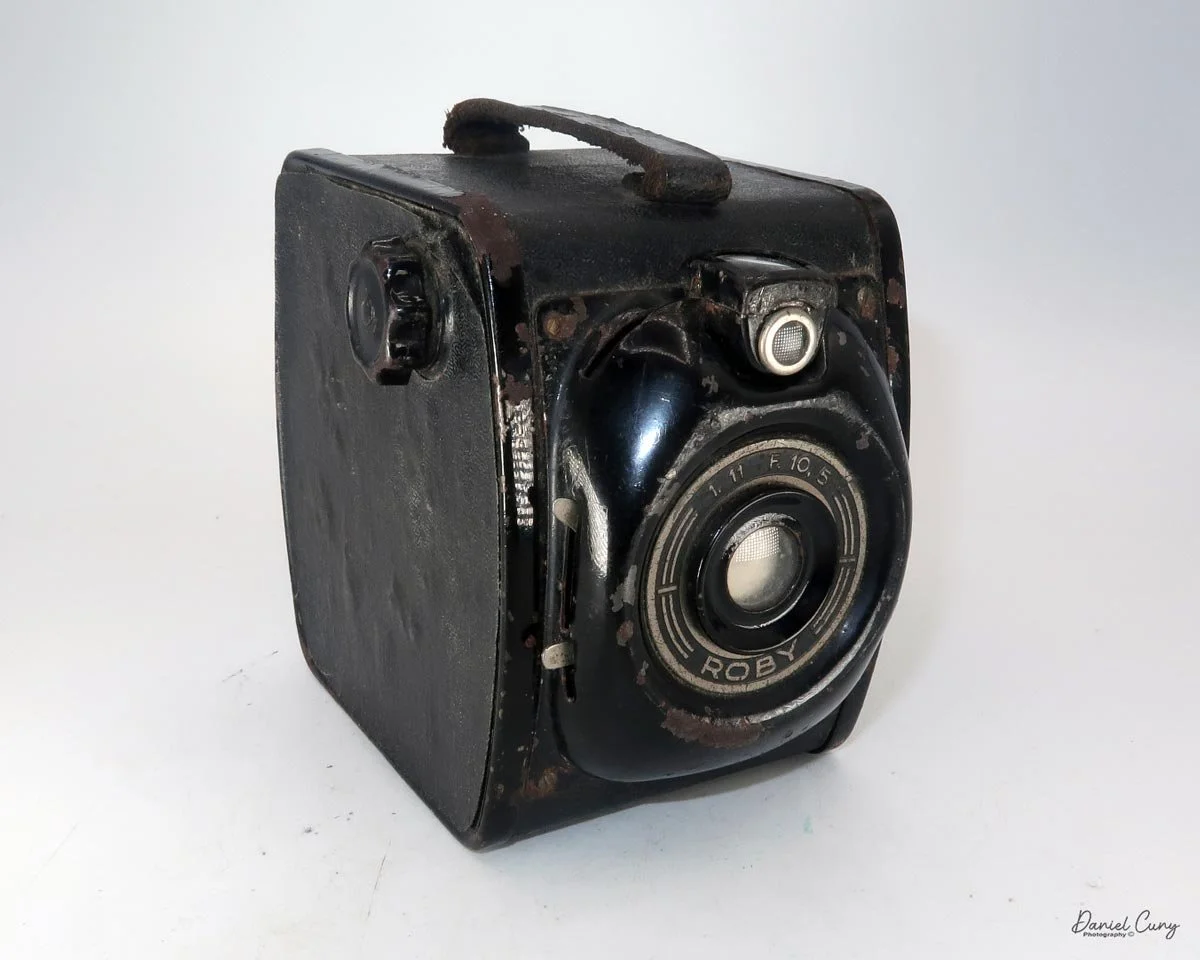
When I first inspected the camera, I wondered about the mechanism next to the viewfinder (positioned above the lens). I pushed it to one side, and the viewfinder flipped sideways, allowing you to frame horizontal images. The waist-level finder is surprisingly clean and bright, making subject framing a breeze.
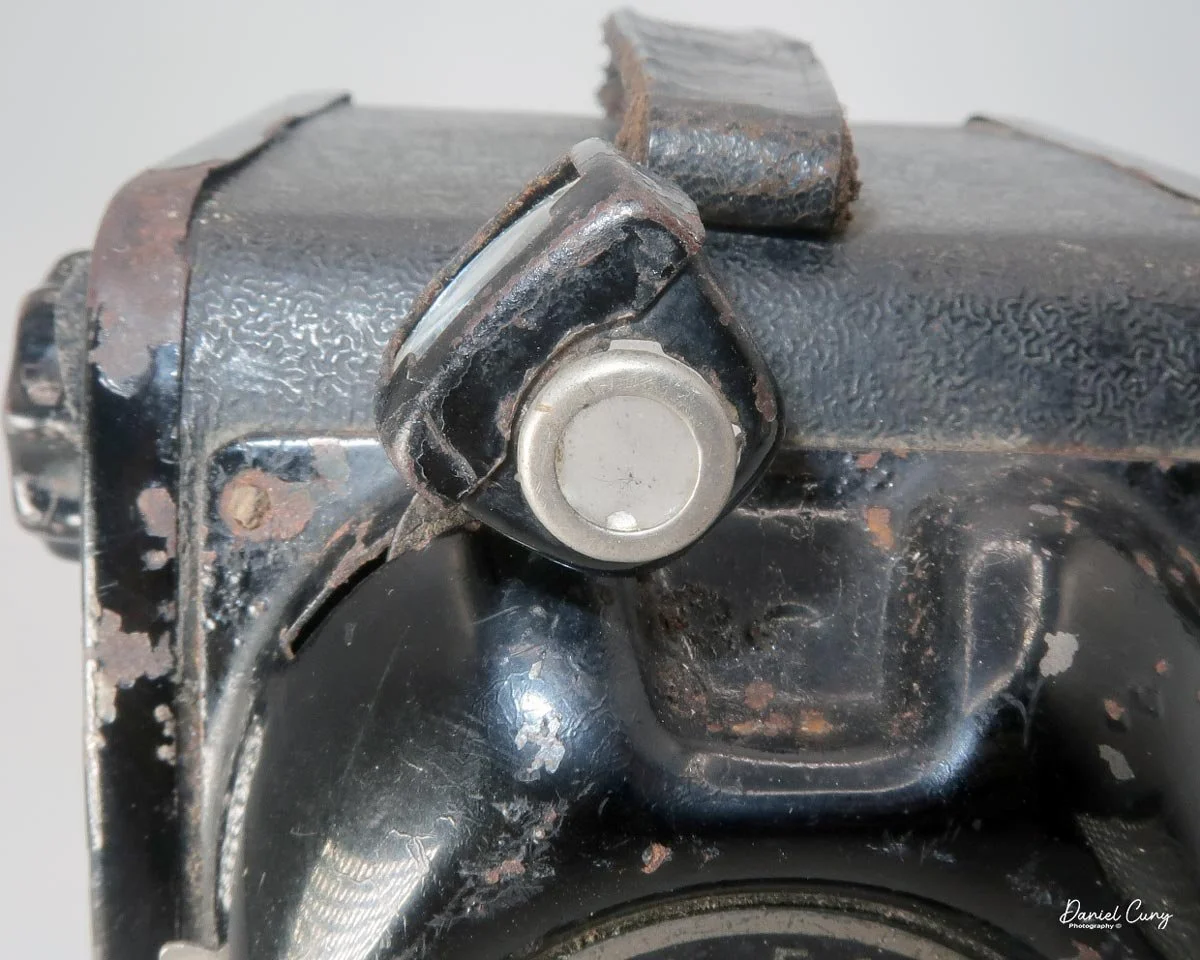
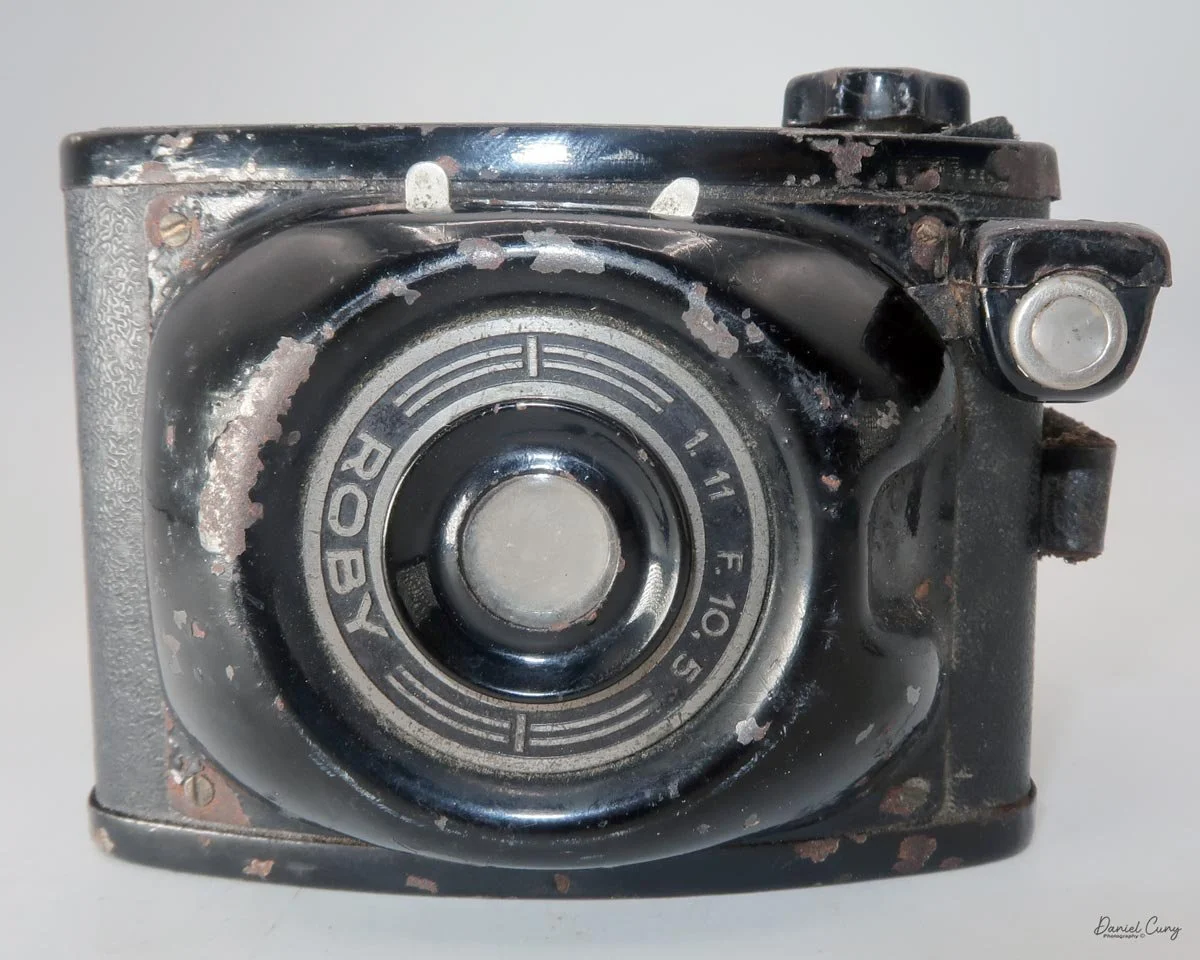
The shutter release is located on the left side of the lens at the seven o'clock position. Right beneath it is a switch for exposure modes: down for "instant" and up for timed exposures. According to my trusty shutter tester, the "instant" setting fires at approximately 1/100th of a second. There are no aperture controls, so the lens is fixed at f/11.
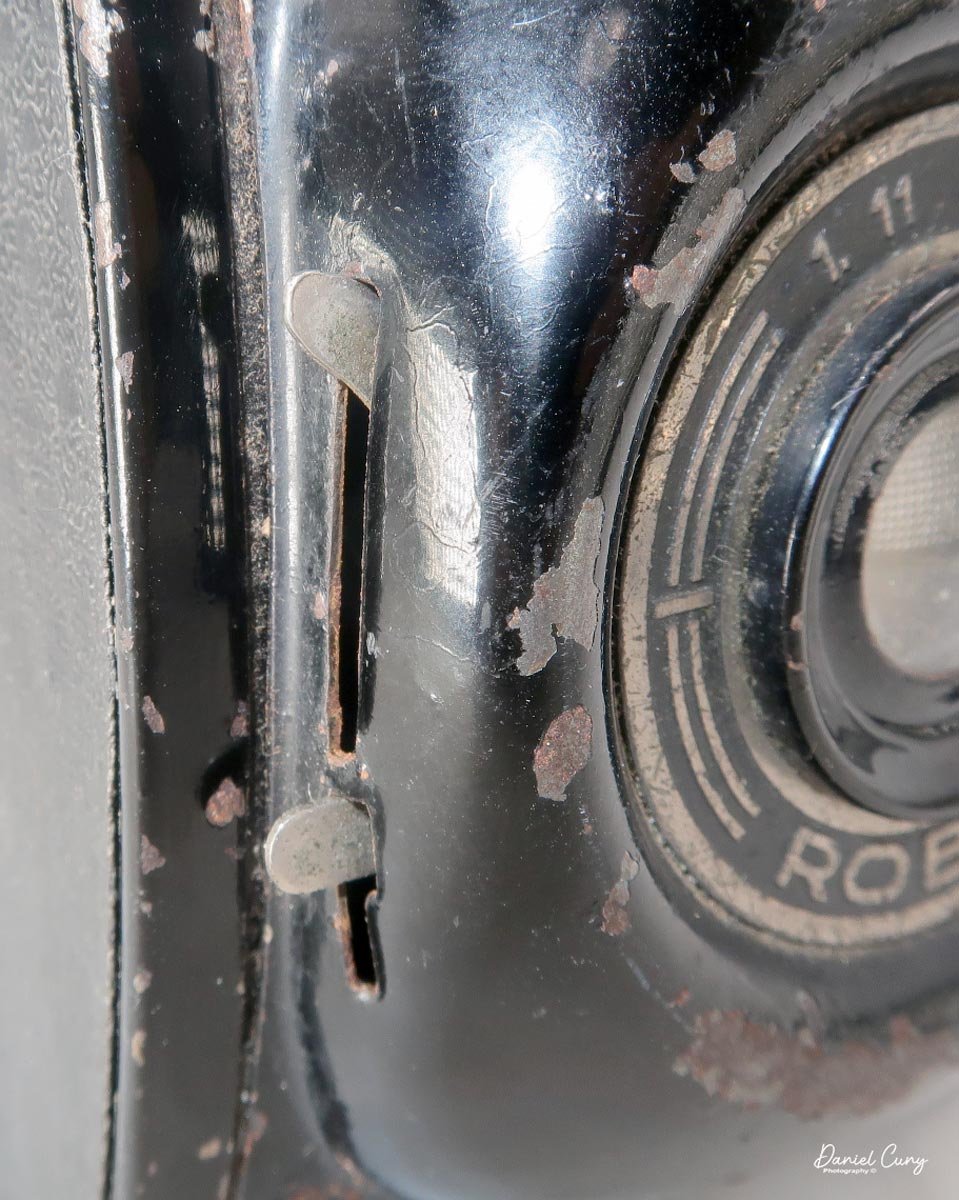
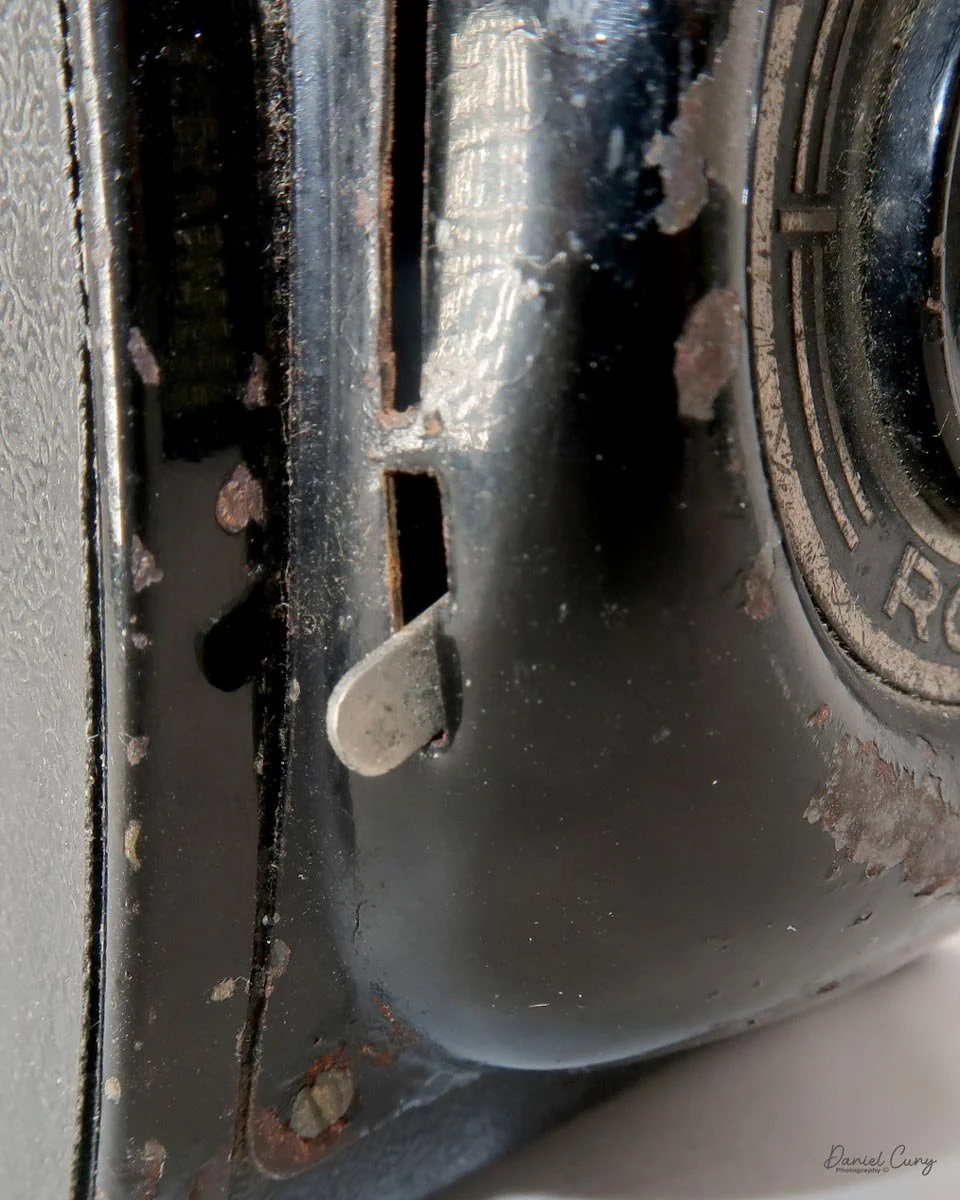
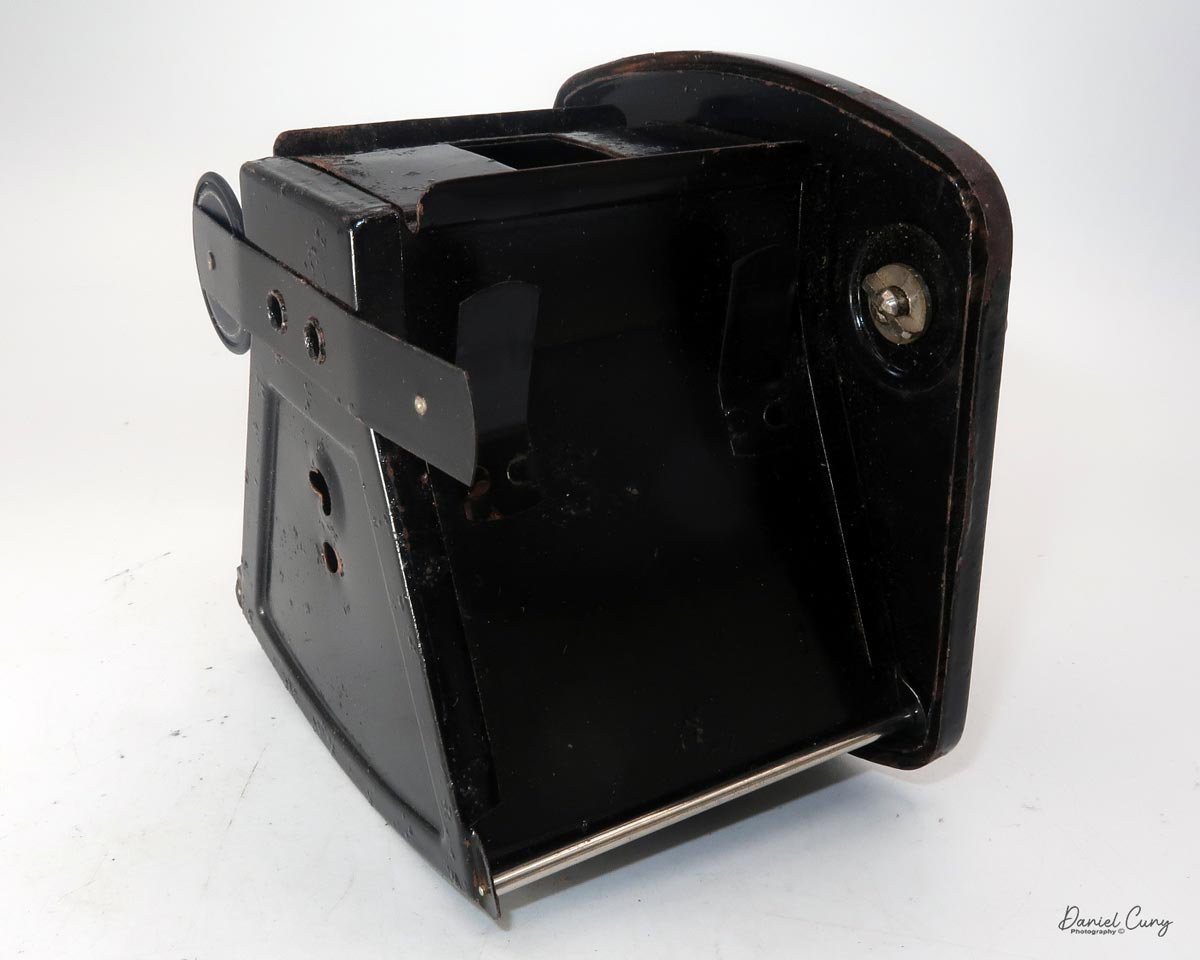
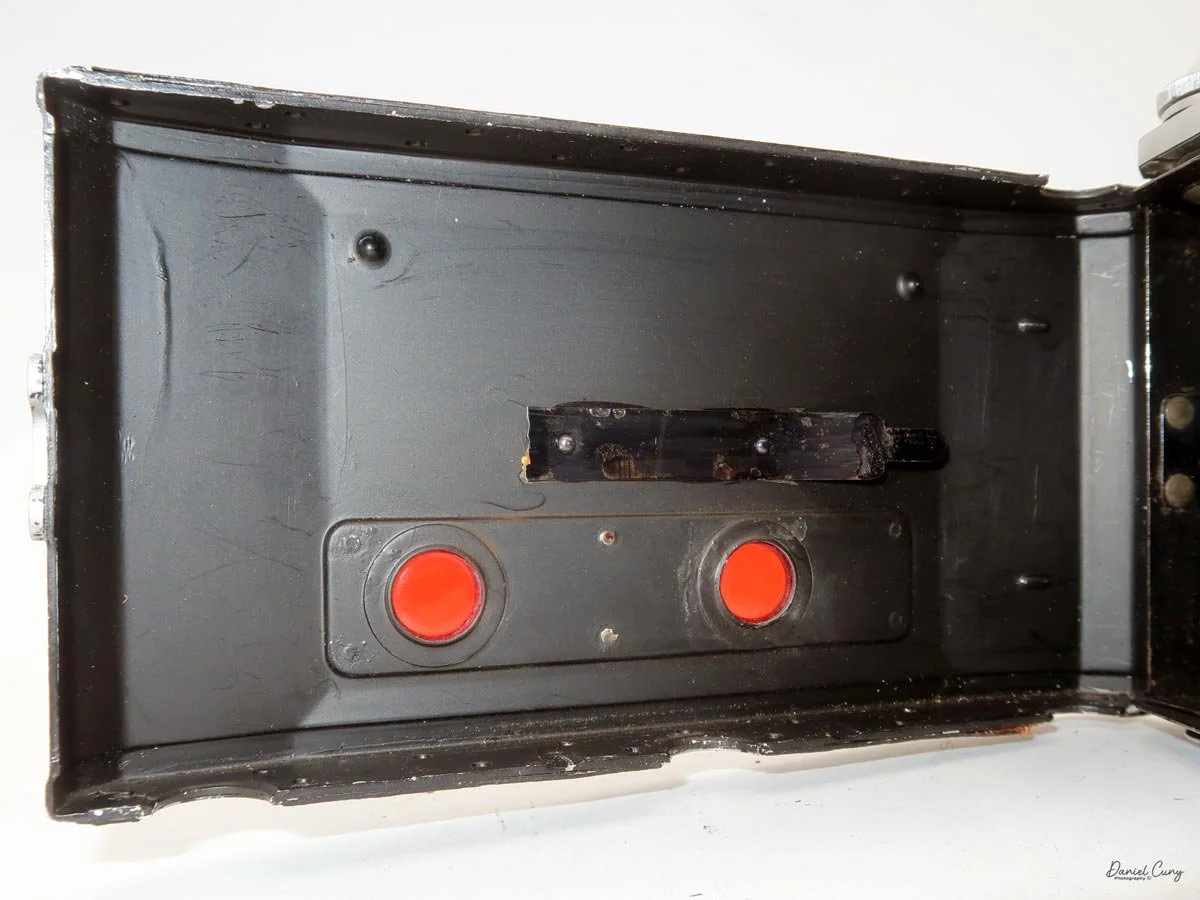
 A switch on the left side of the camera opens the body for loading. The entire side panel comes off, along with the film insert. Load the film as you would with any roll film camera, slide the insert back into the body, and lock the door to prevent accidental exposure. Wind the film to frame number one, and you're ready to shoot.
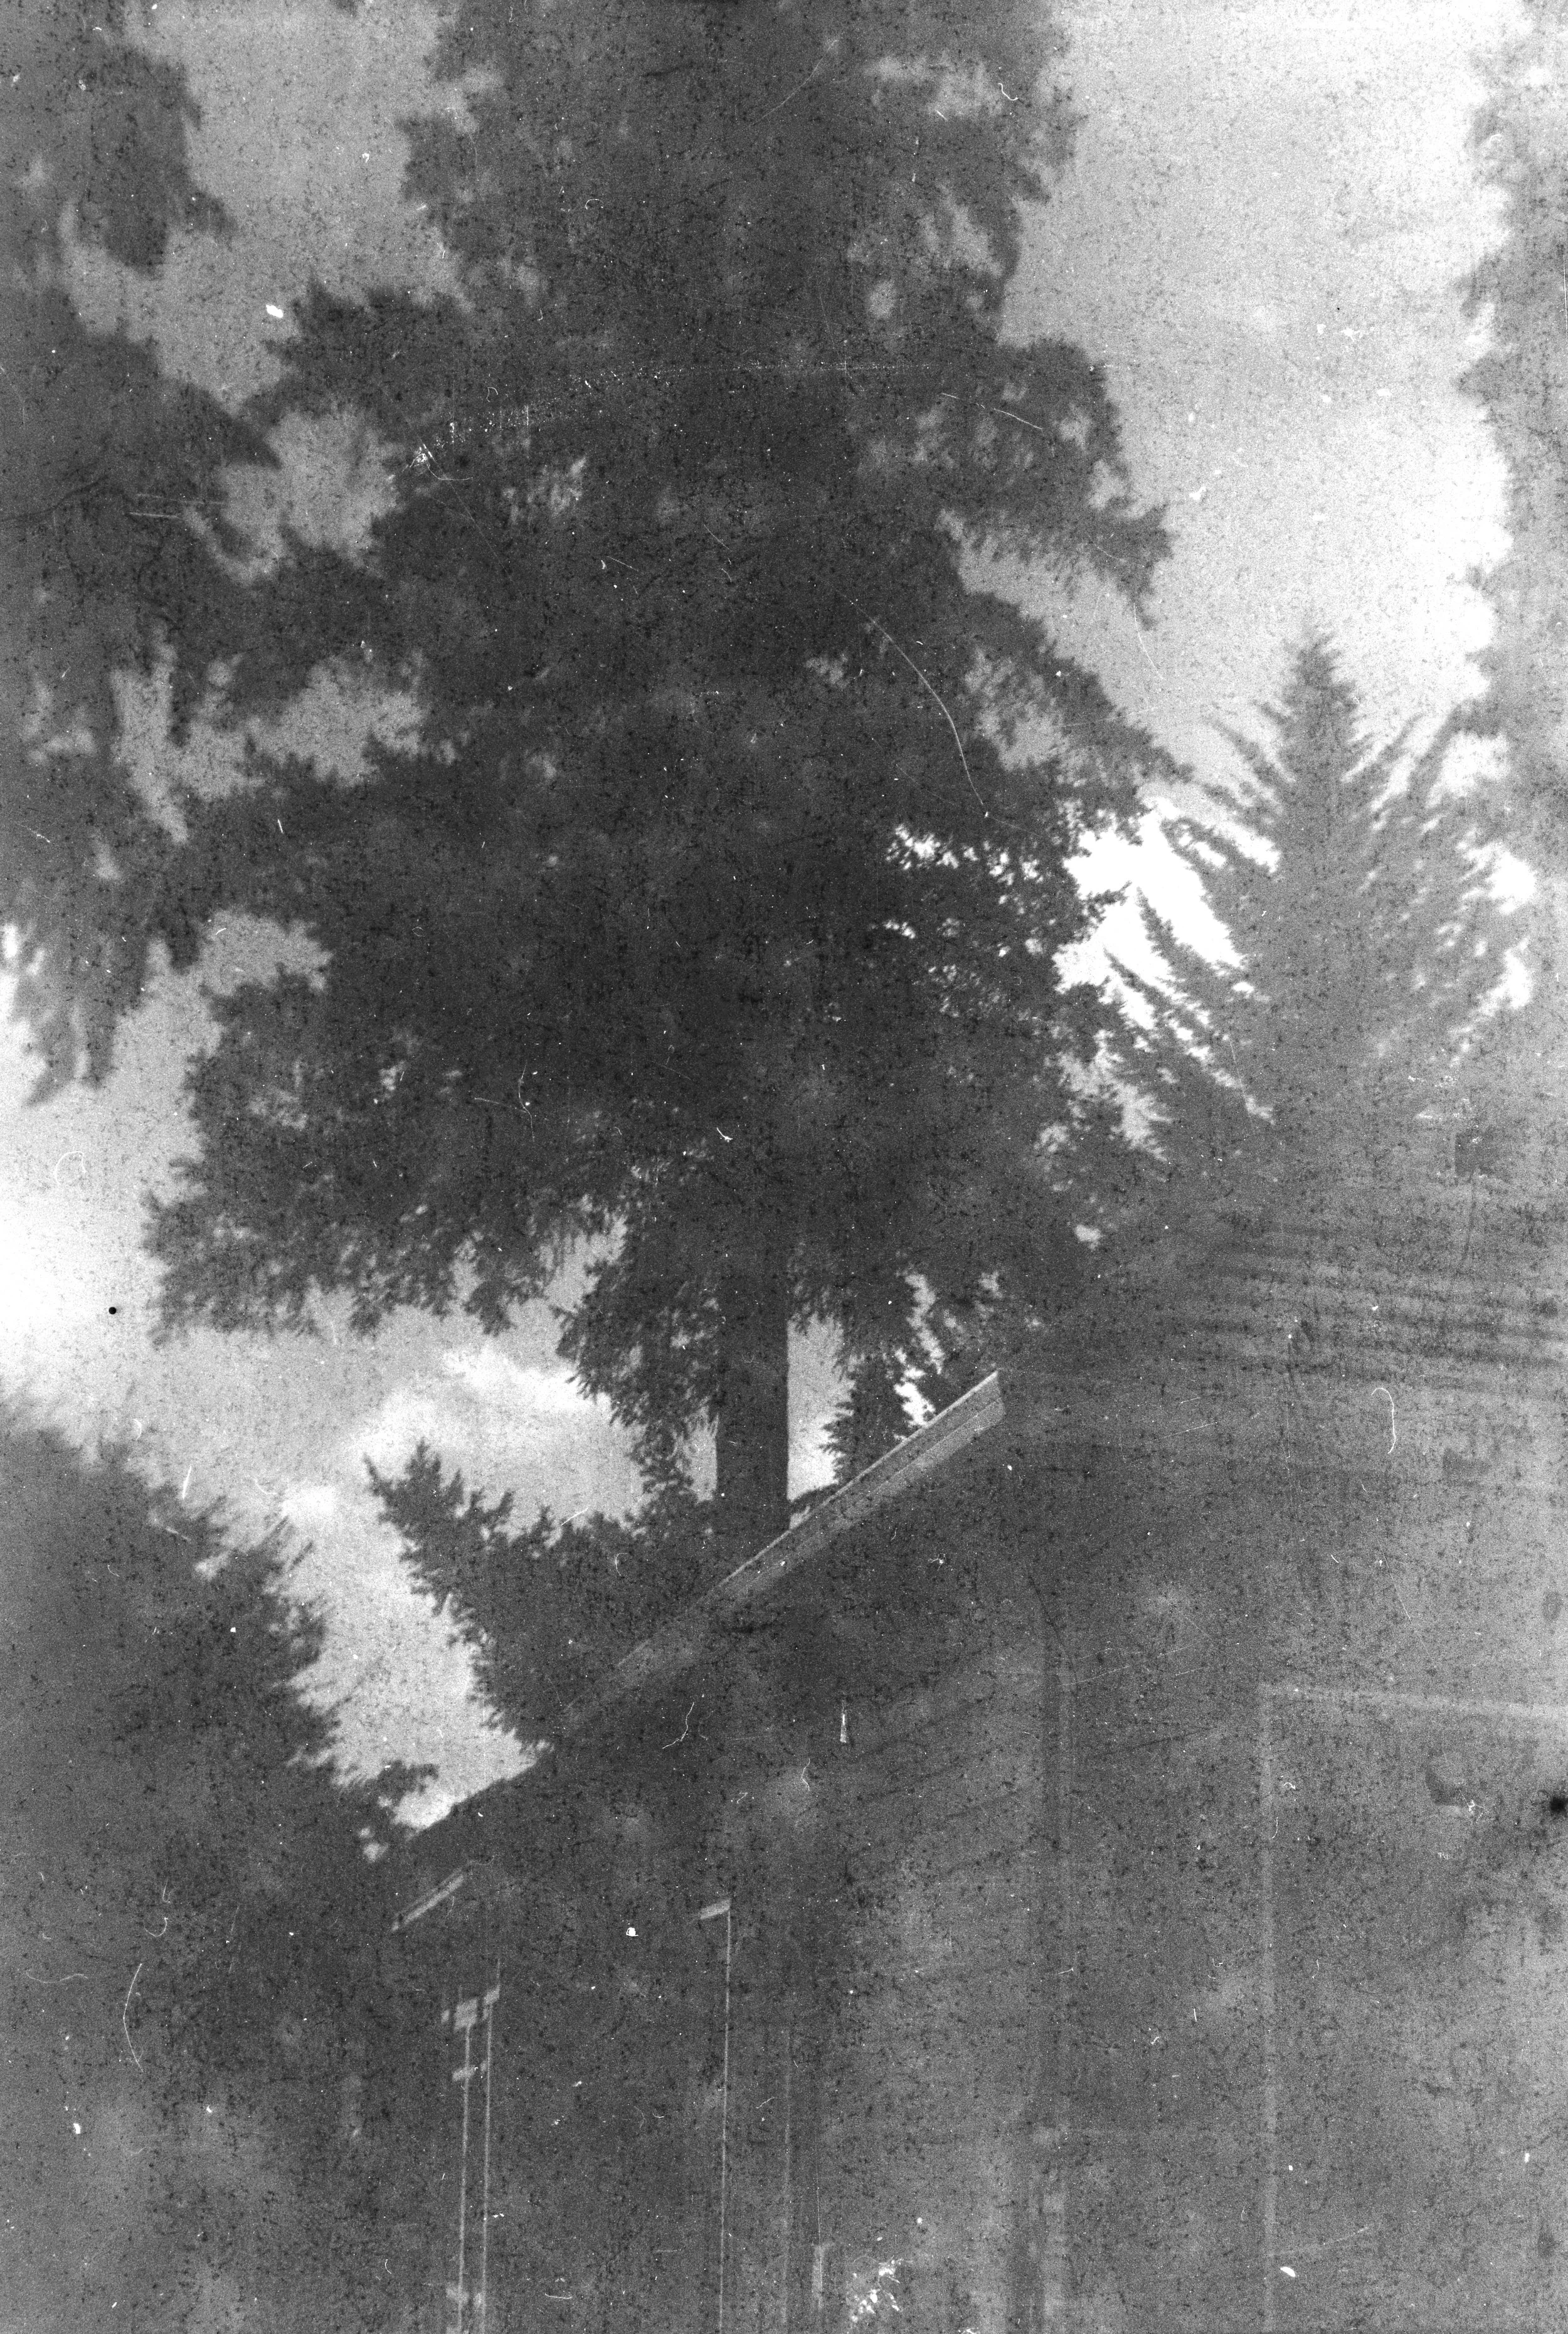
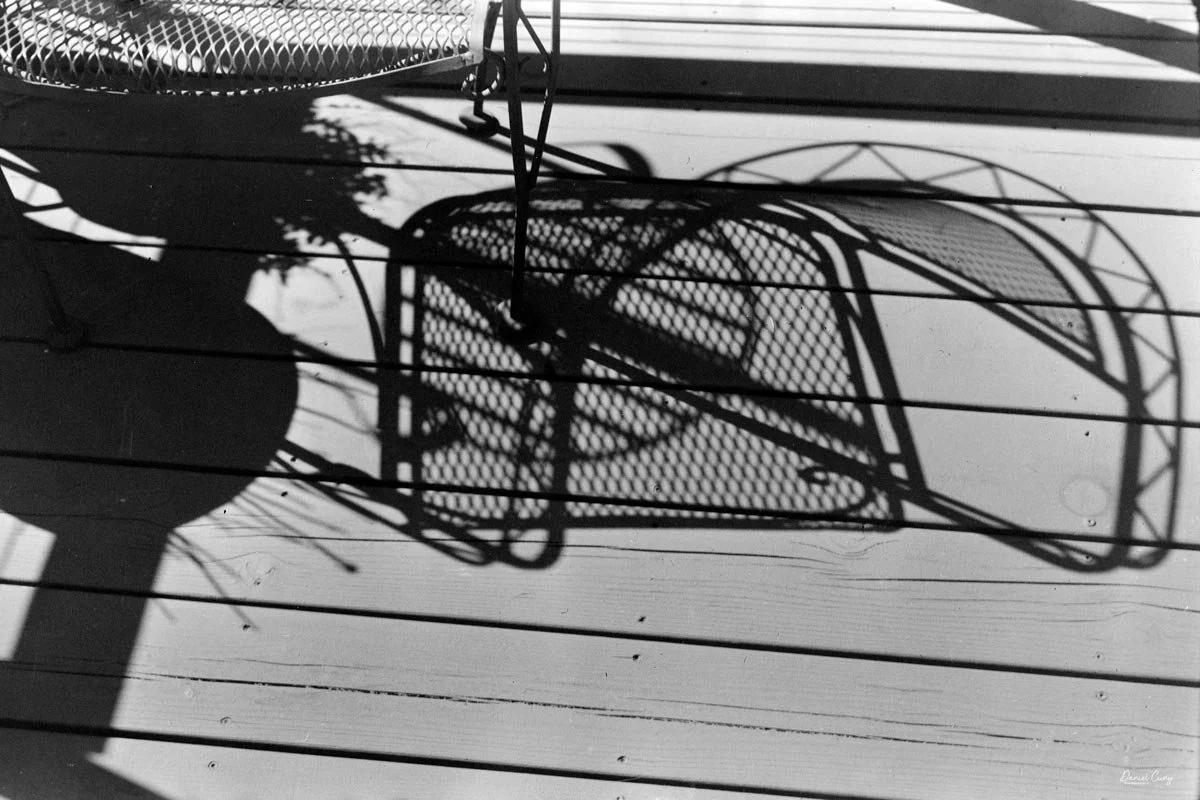
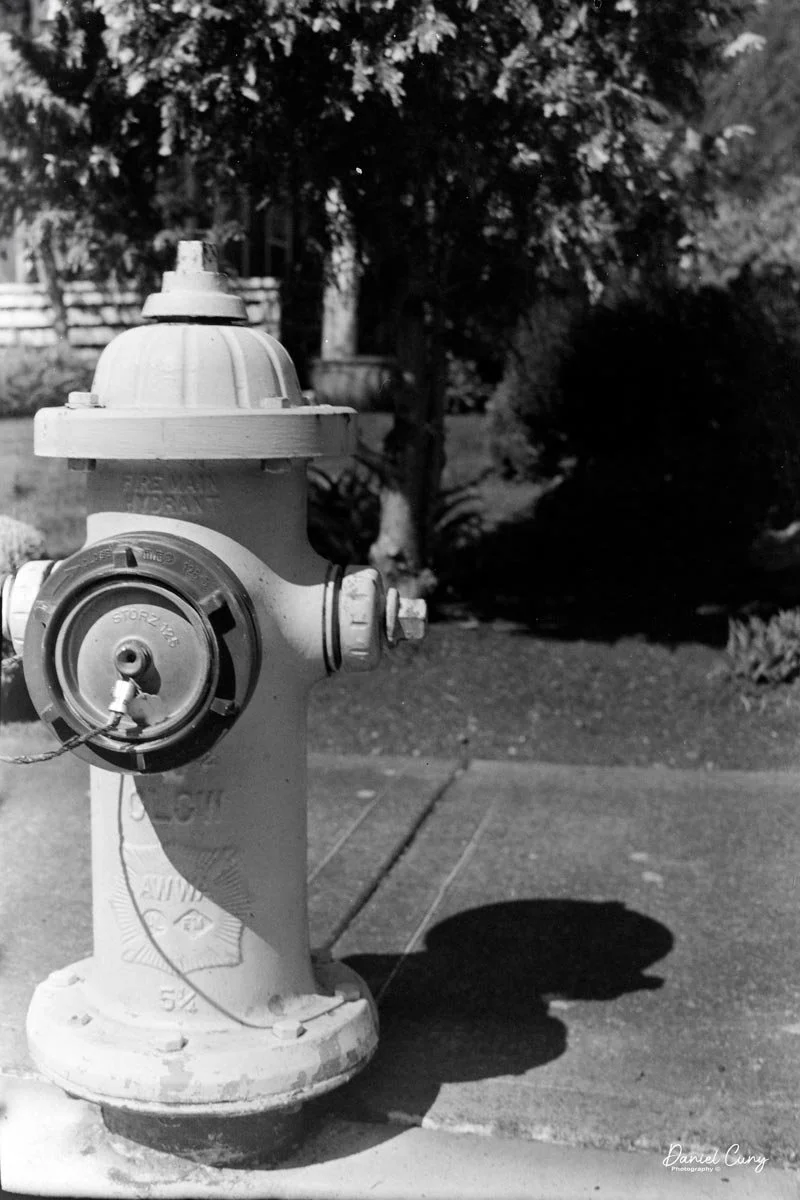
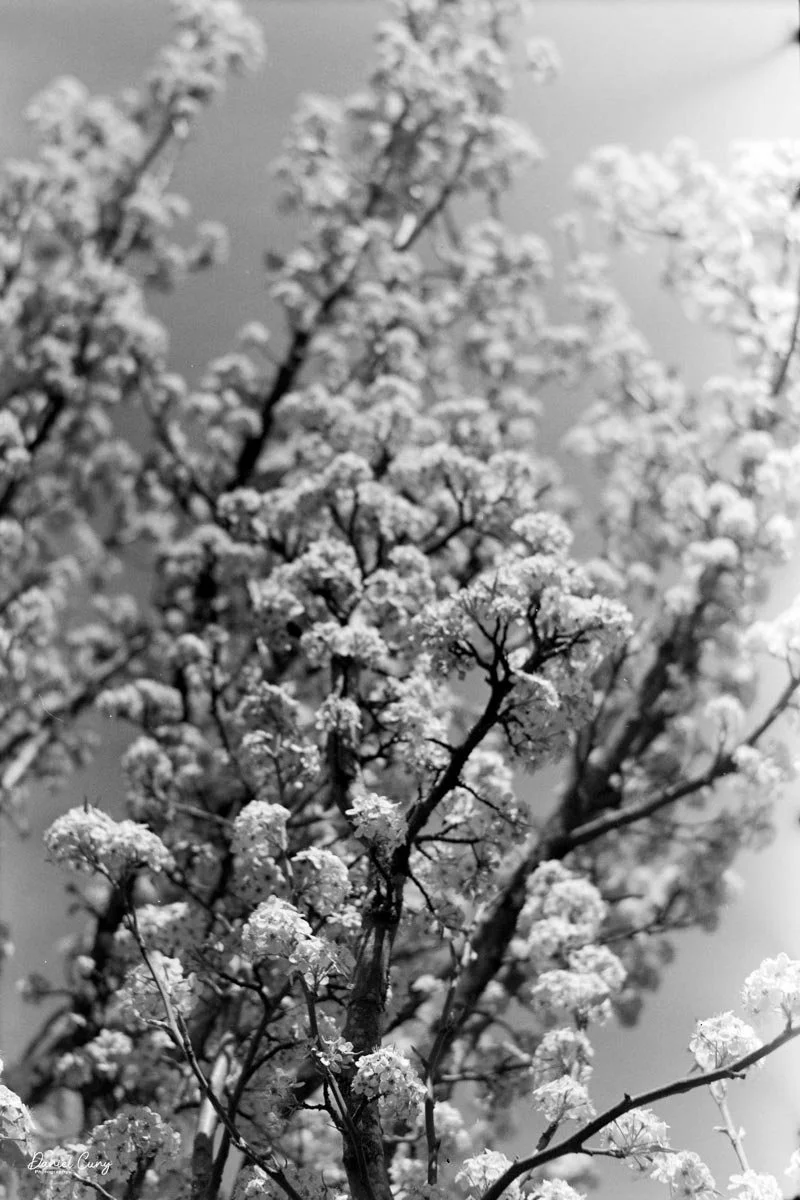
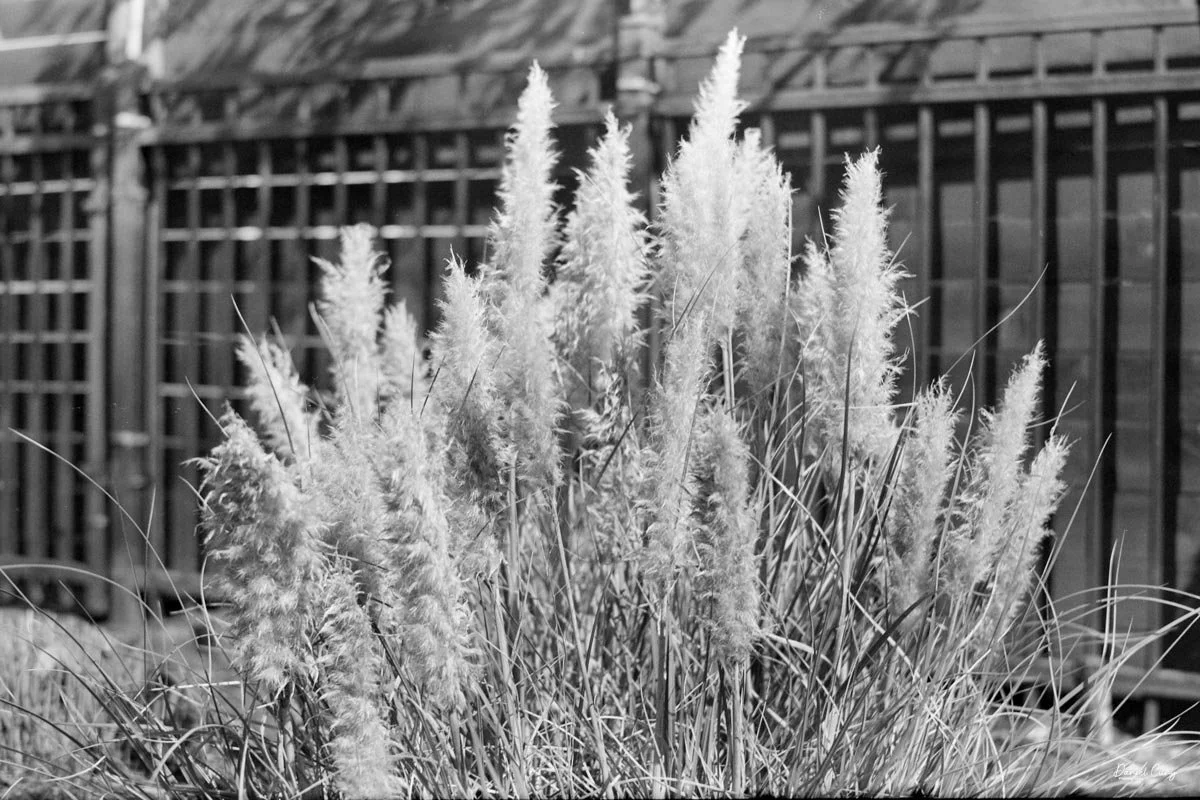
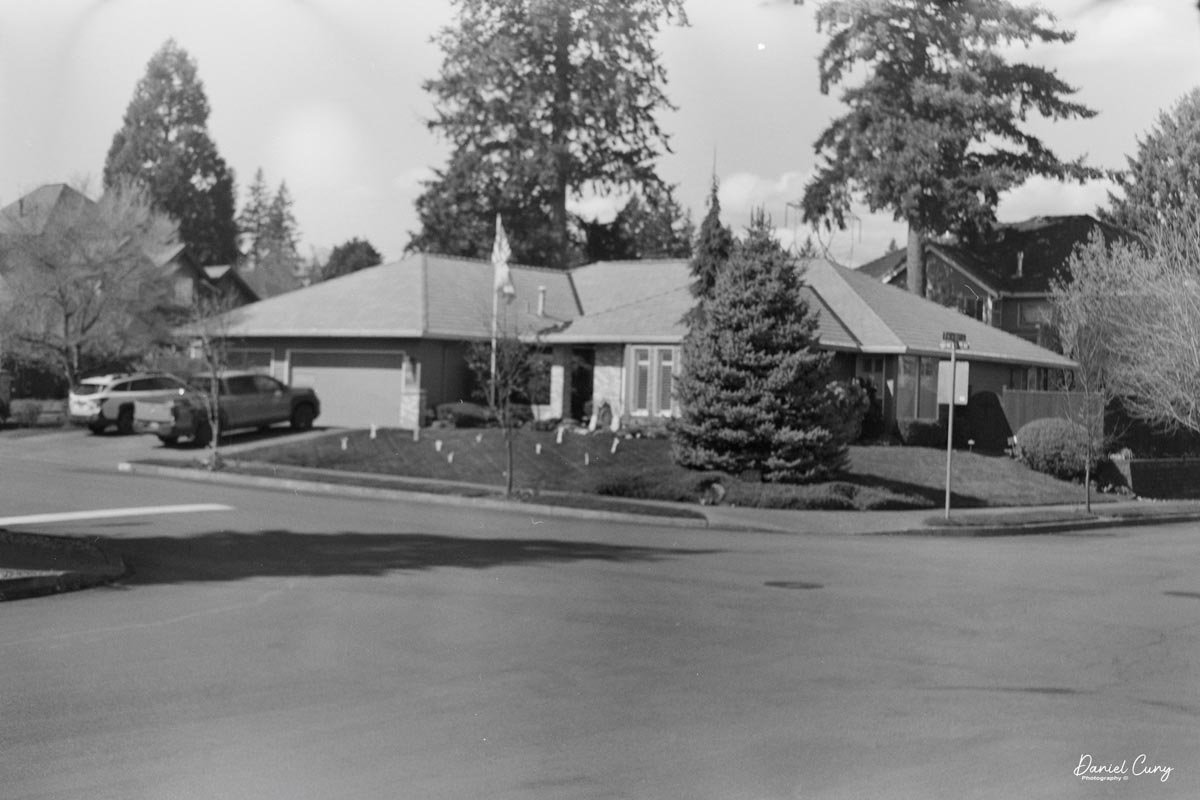
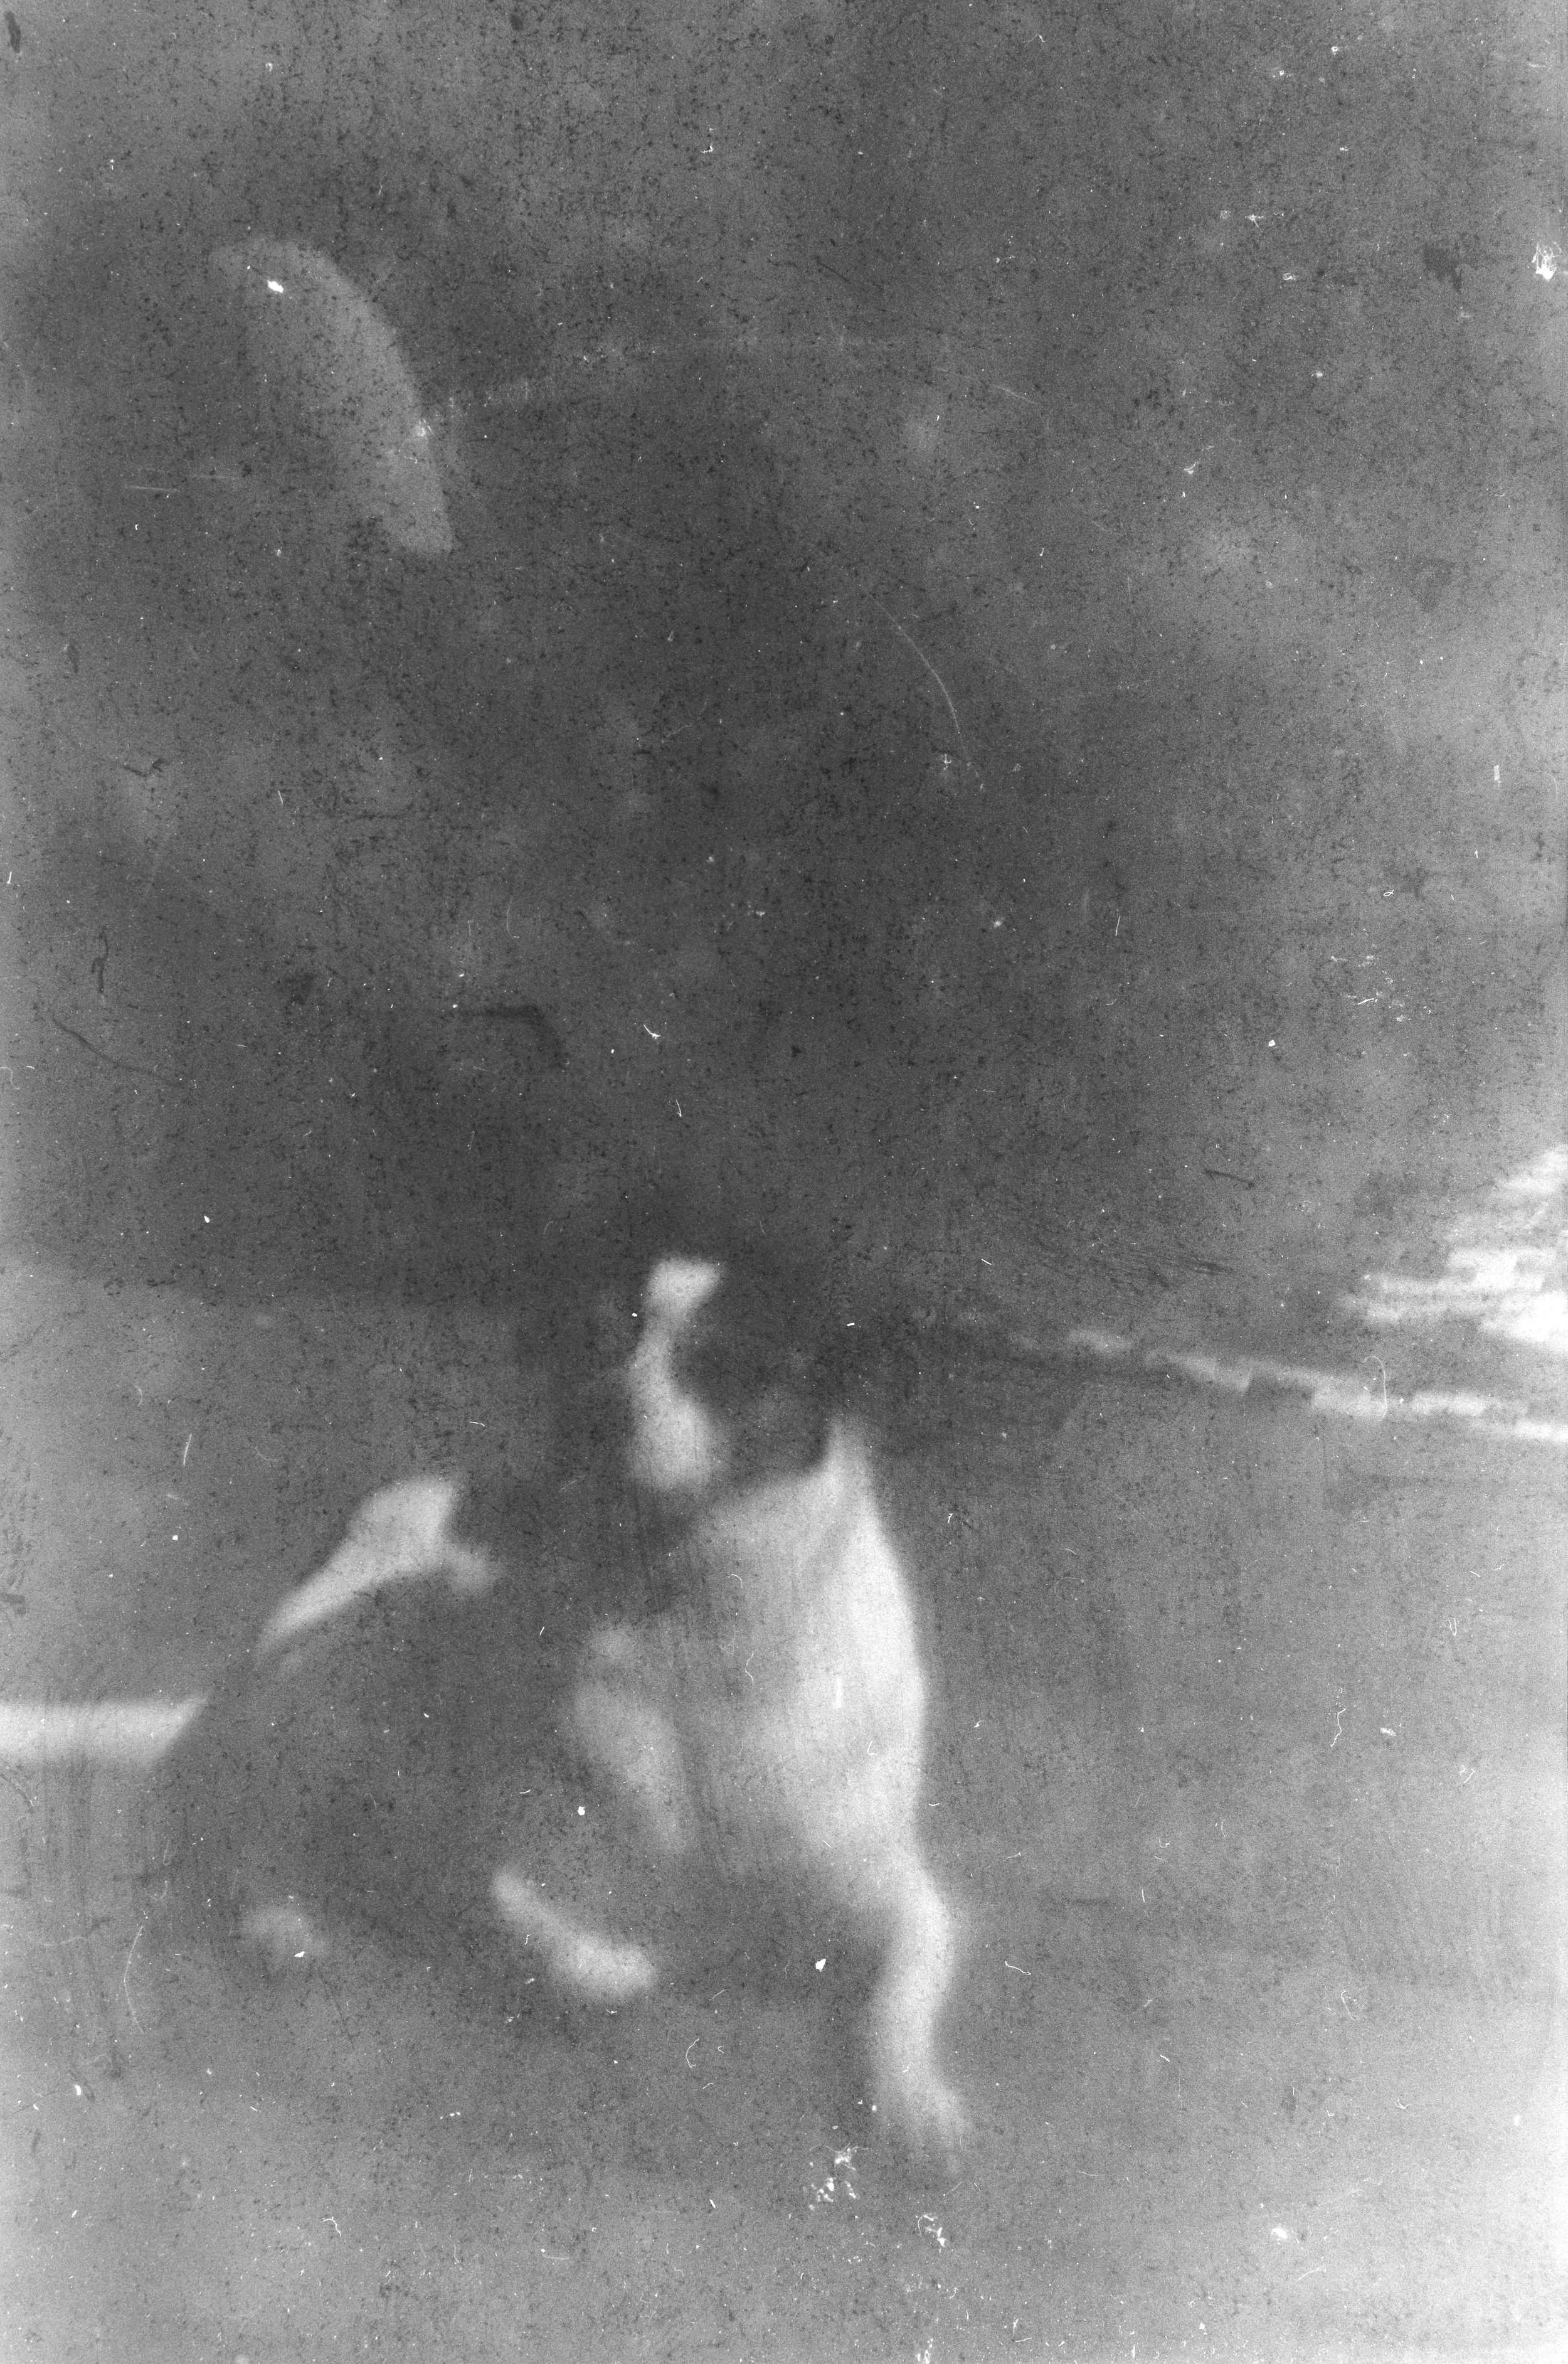
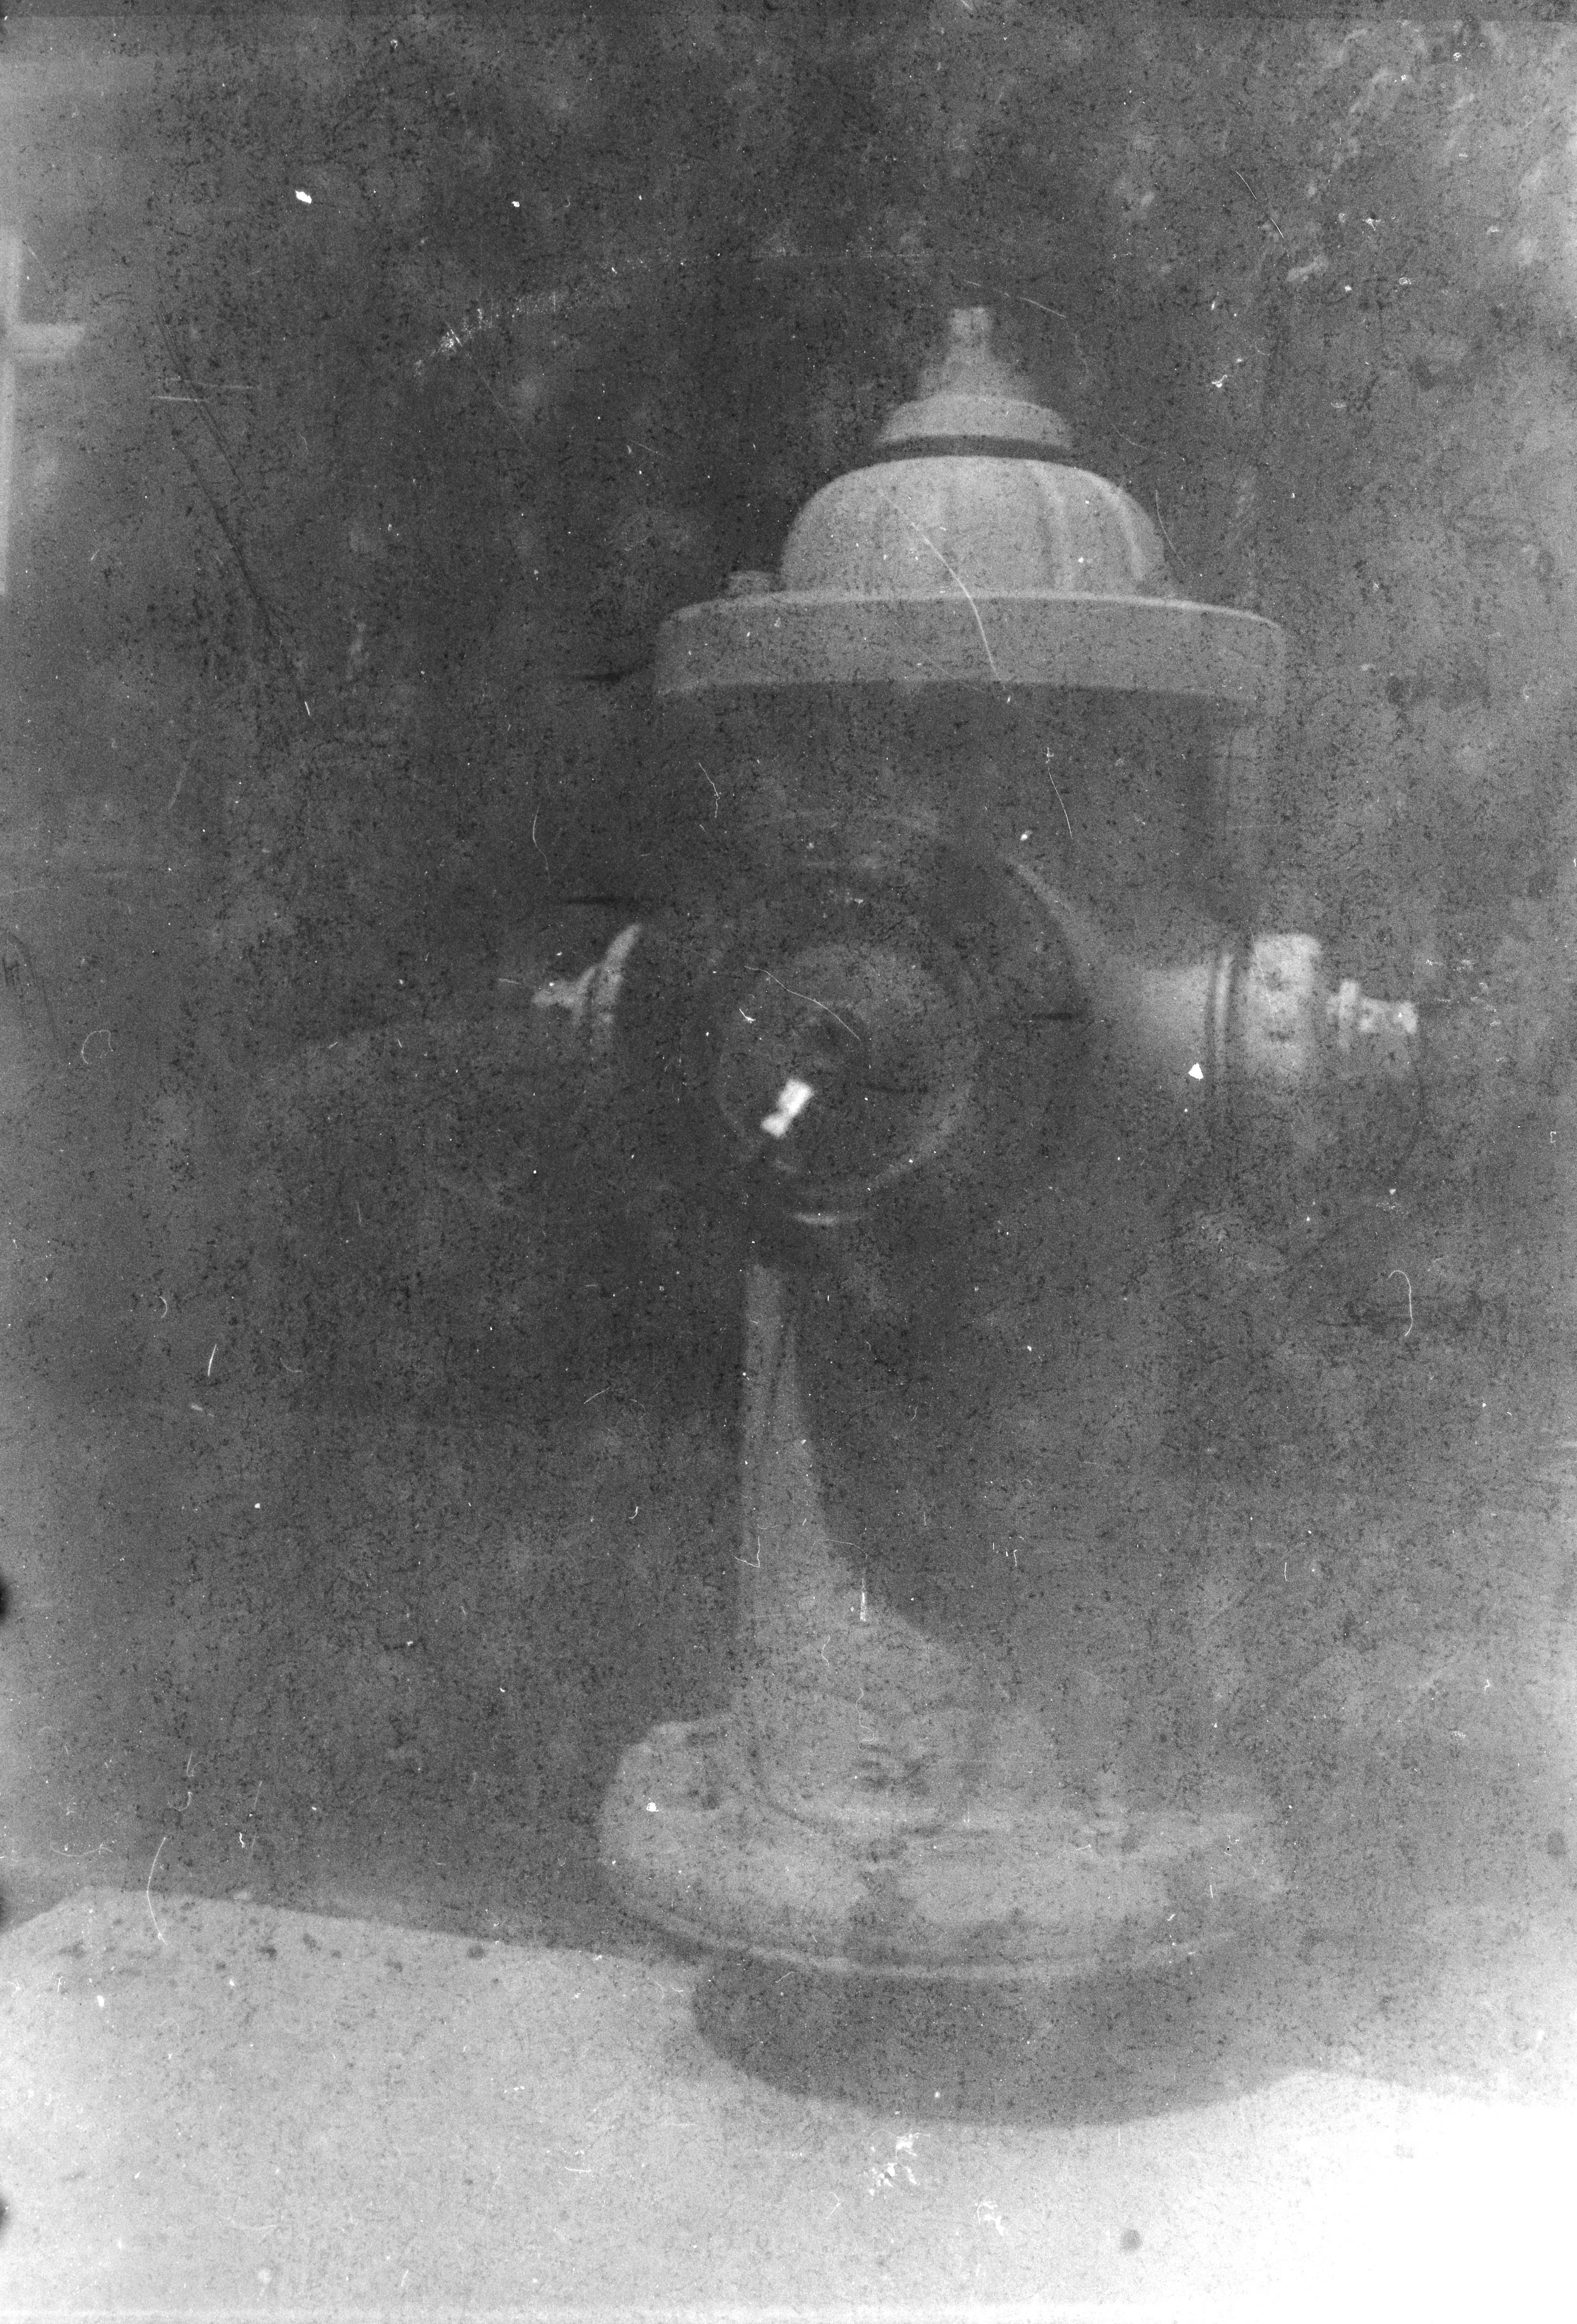
I had some old, expired Plus-X film in my drawer that I decided to try out. The lens was clean, and the film wound easily. It wasn't until I processed the negatives that I realized how underexposed the images were—likely due to the film's age. Nonetheless, the results have a particular contrast and softness that reminds me of early Edward Steichen photographs or the work of Anne Brigman. Take a look at the images below.

Results

Here are some of the results from the Roby using 50-year-old expired Plus-X film. The shots were massively underexposed, and I had to do quite a bit of work on them in post—especially since I didn't have time to shoot another roll before hitting the road.

 I'll shoot another roll when I get back and update this post with properly exposed images. My apologies for the initial results; I know the camera will perform much better with fresh film.
Conclusion:

This camera is a nice addition to the collection; it was fun to shoot with, and it fits right in next to my Ferrania box. I'm considering removing the front lens area to sand off some of the rust and repaint it for a refreshed look. It may not improve the camera's function, but it will look better on the shelf.

 Thank you for taking the time to read about the ICAF Roby from my collection.

Are you interested in other vintage gear? Here are some of my other Camera Reviews.

Check out my Cuny's Camera Collection YouTube channel, where I'm putting together video overviews of the cameras I write about. Be sure to like and subscribe!

Cuny's Cameras and Photos is my online eBay store, where you'll find some of the cameras I've reviewed, along with a wide range of other lenses and gear from my collection that I am thinning out.

Until next week, please be safe.
Zeiss Ikon Super Ikonta 531/2

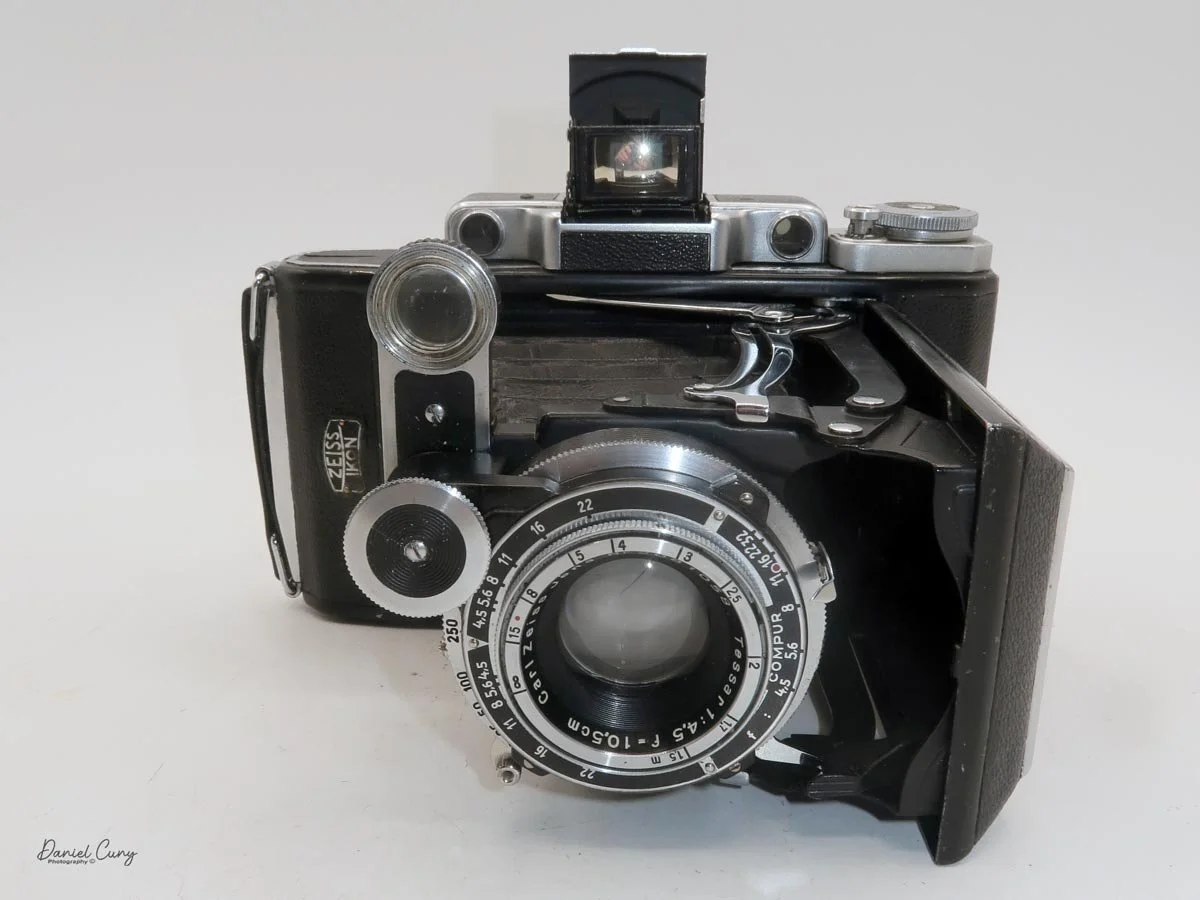
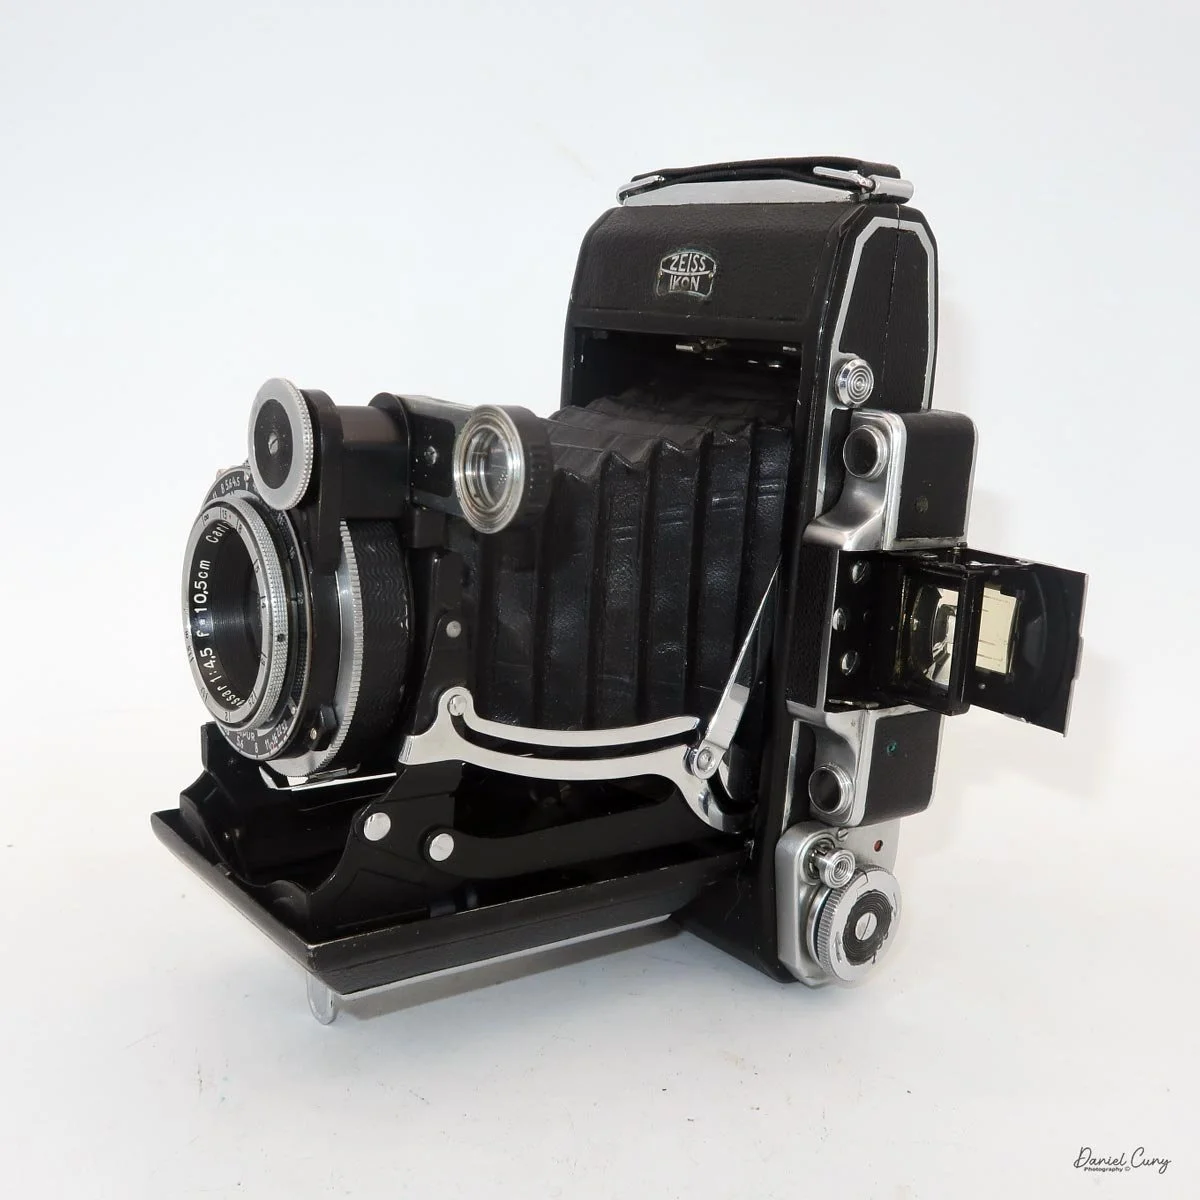
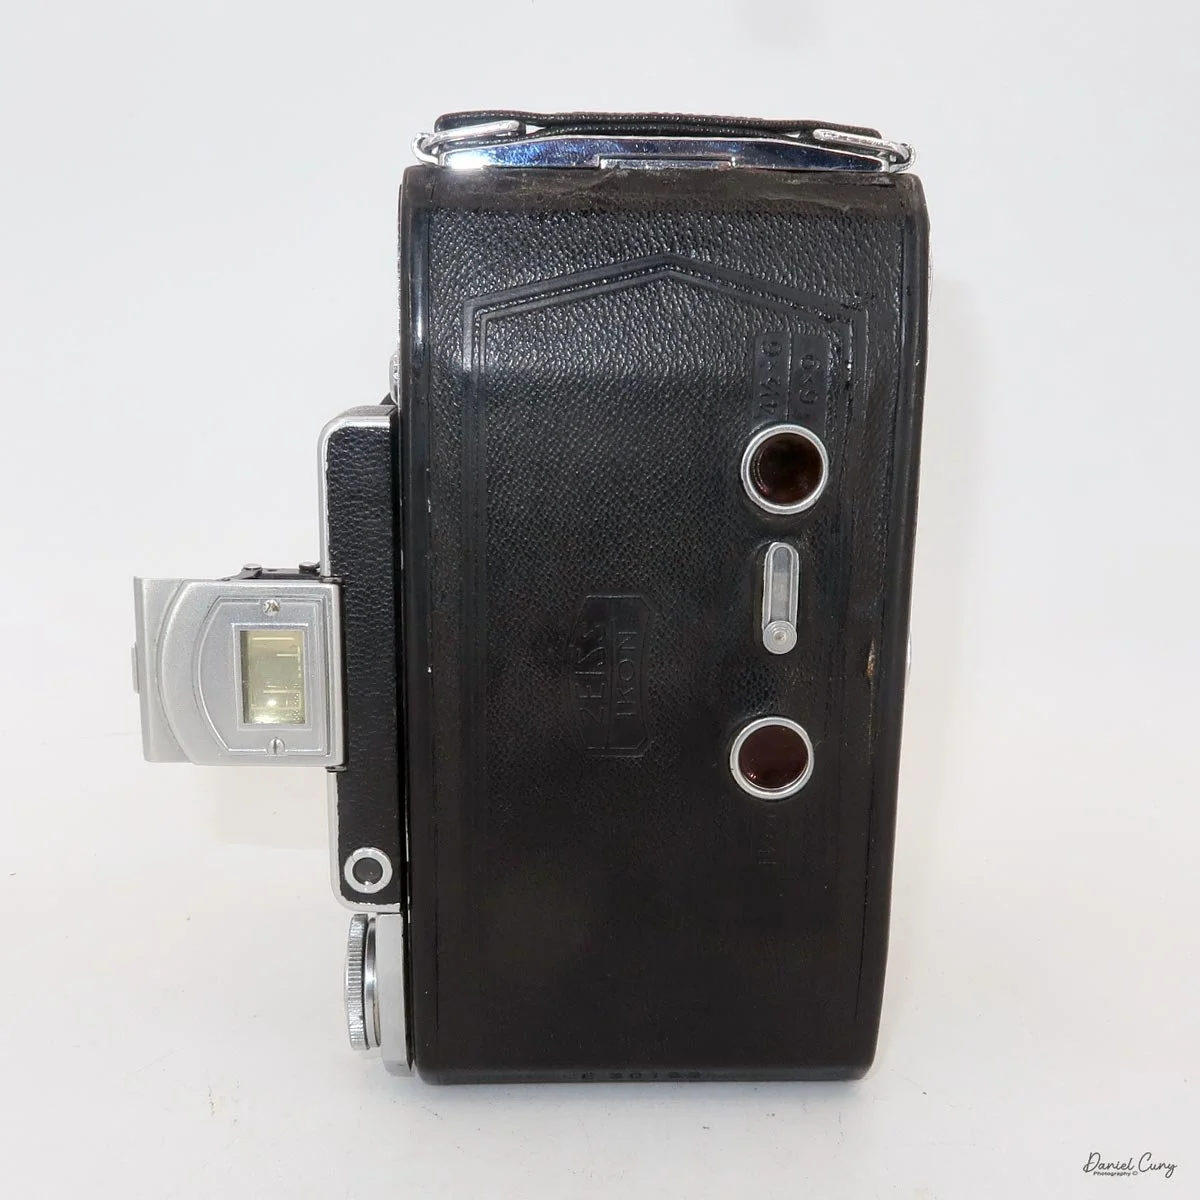
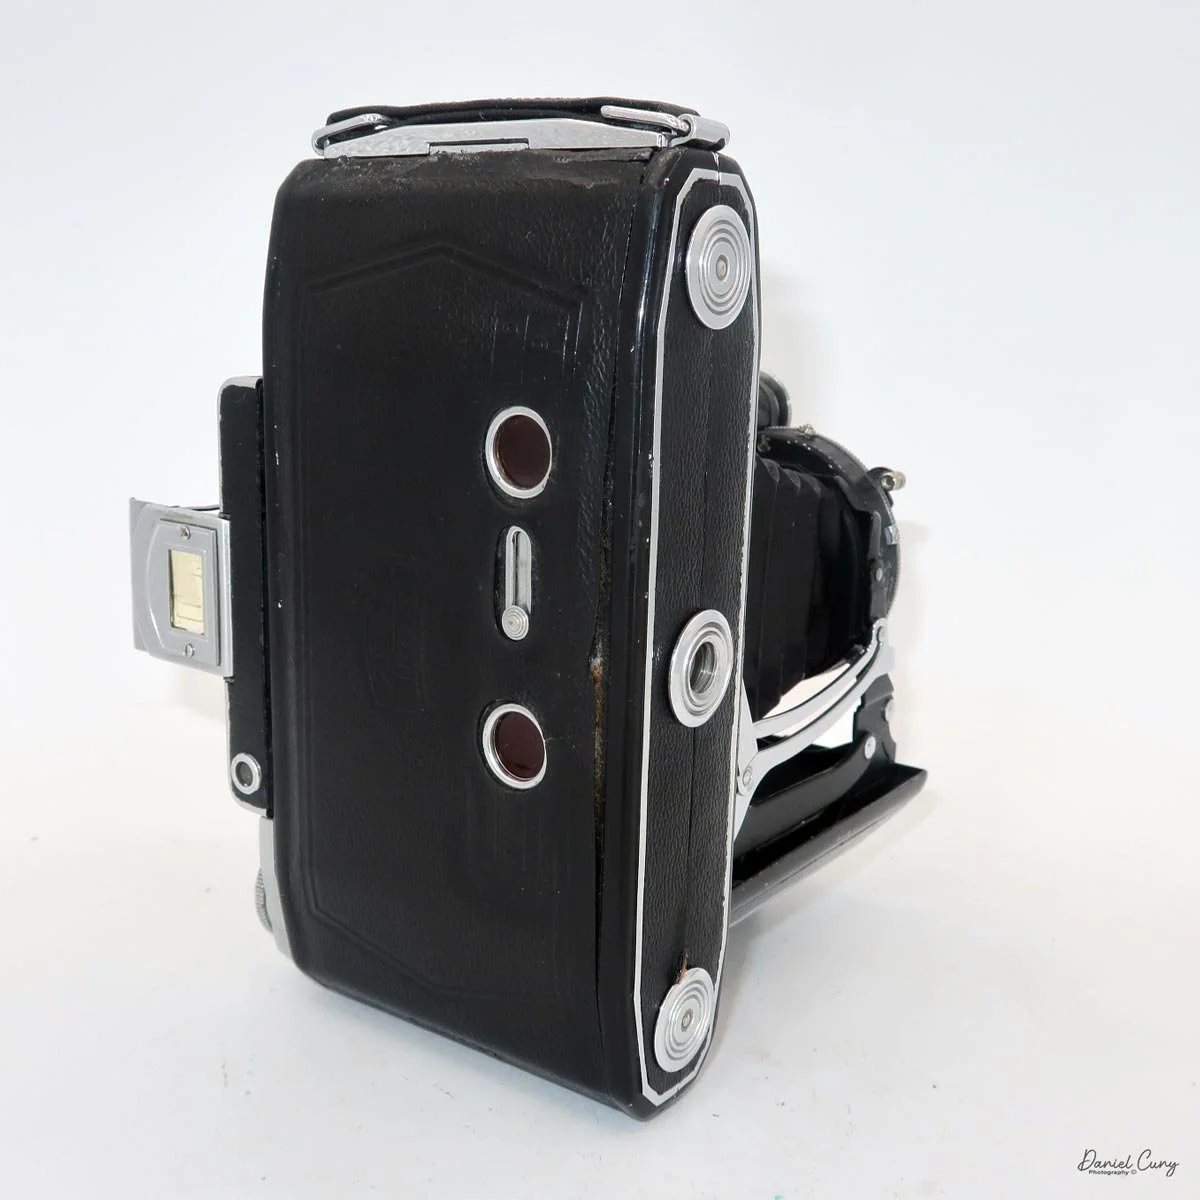
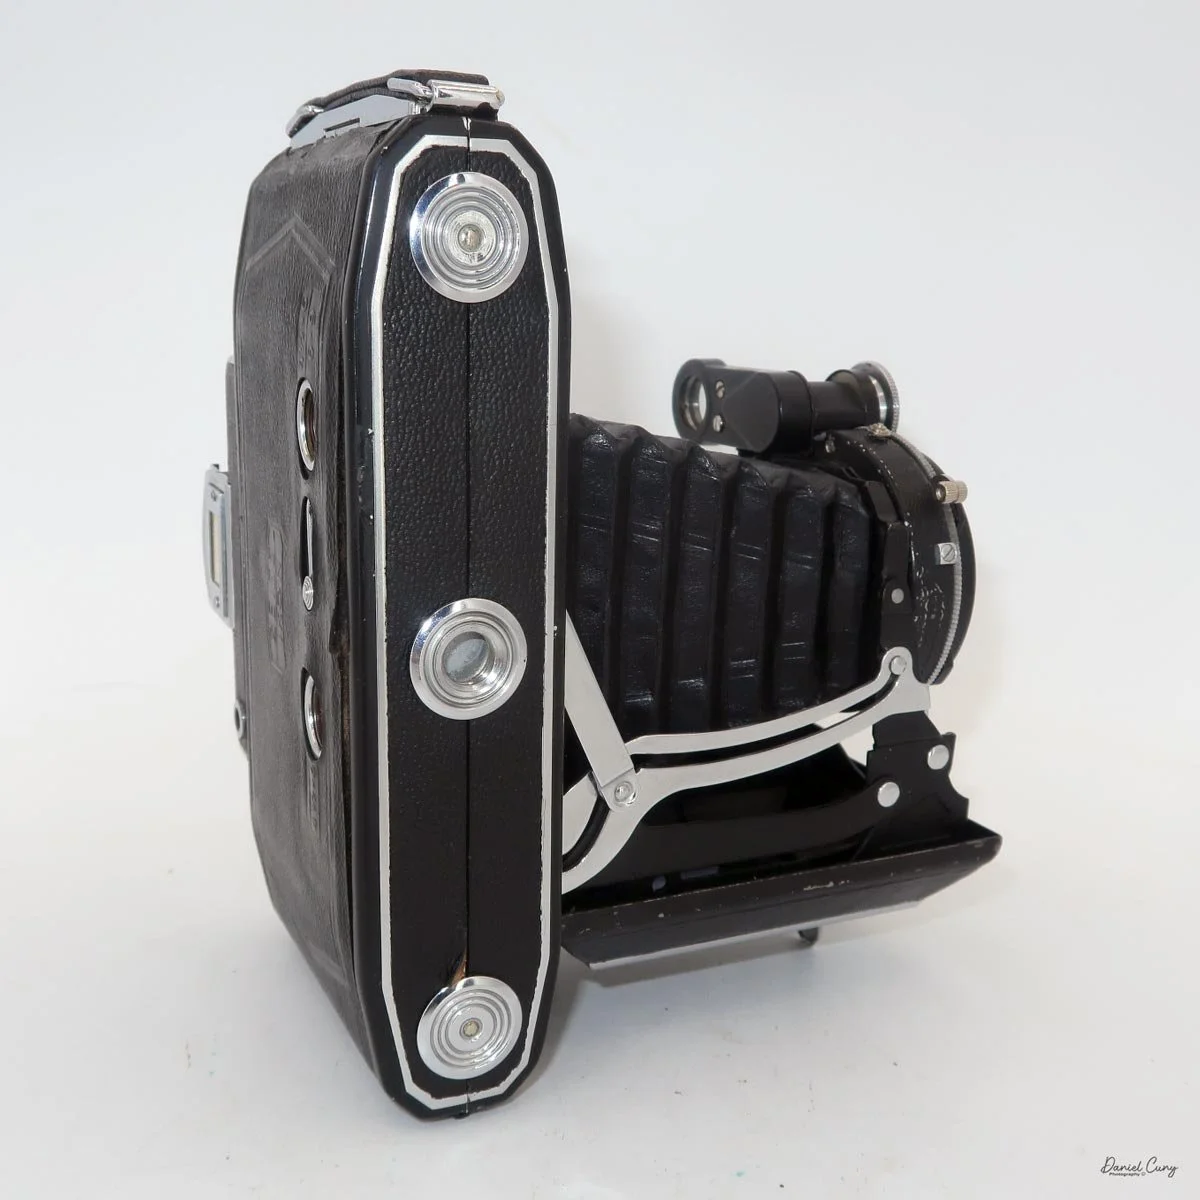
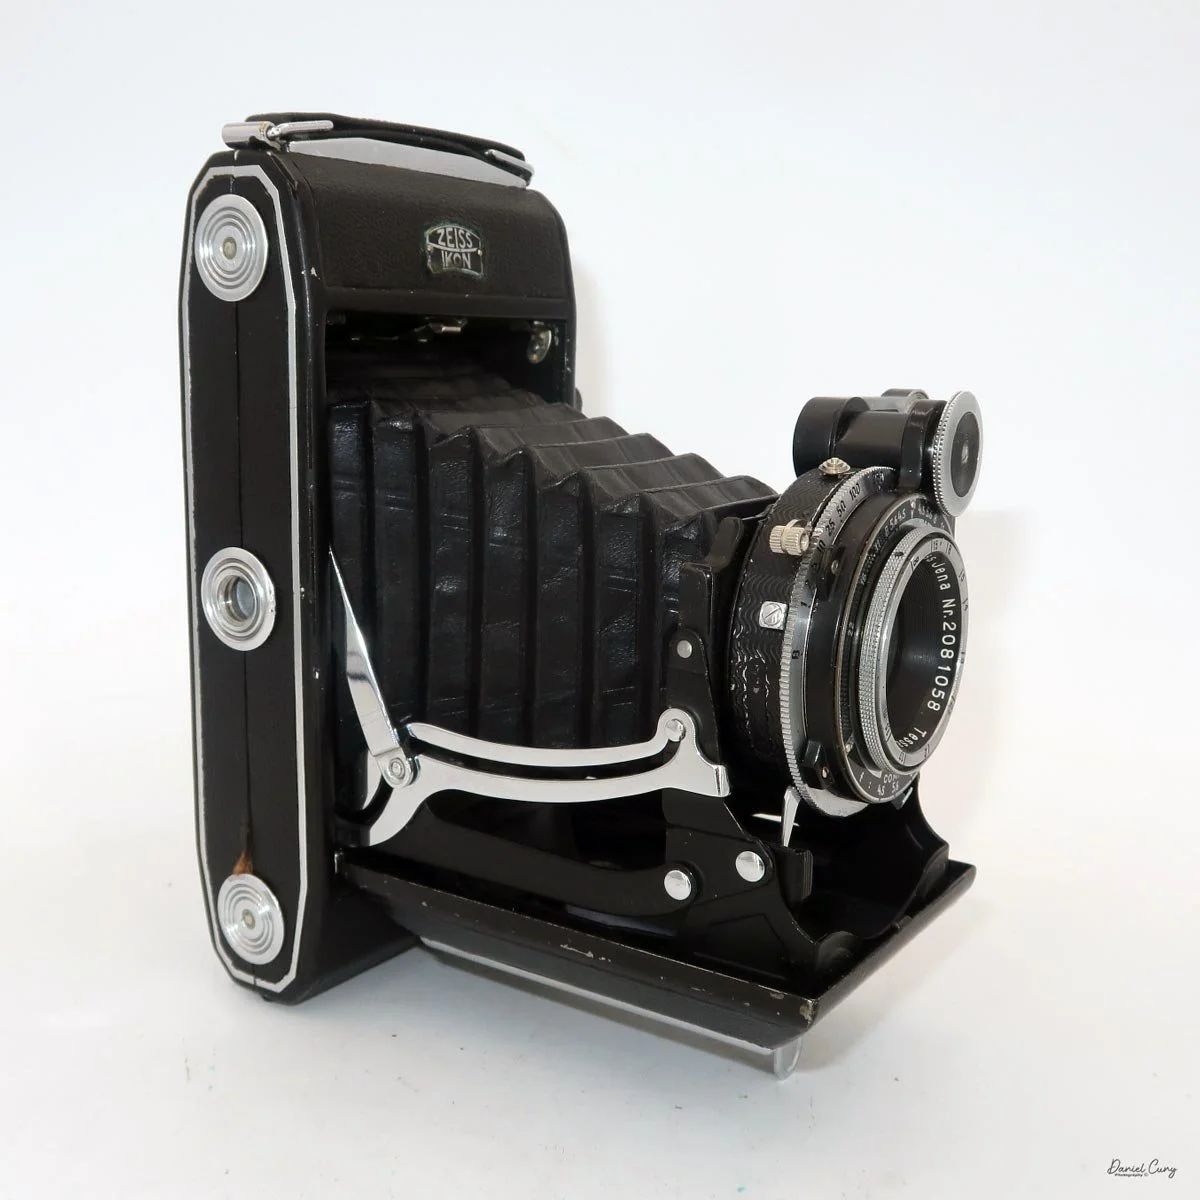
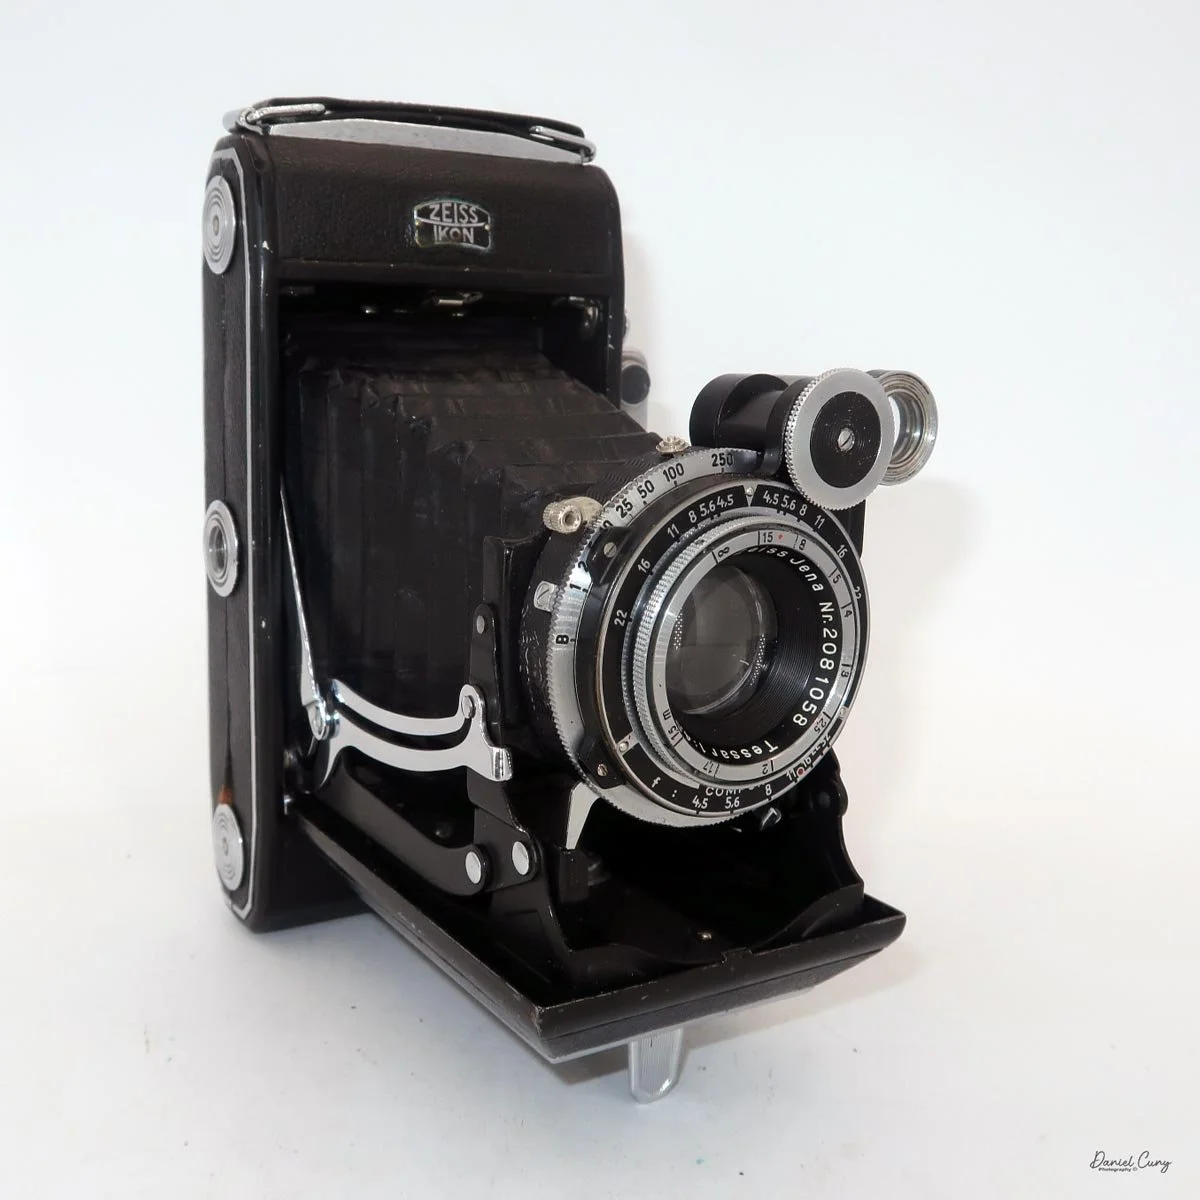
My Zeiss Ikon Super Ikonta 530/2 camera

Walking through flea markets, garage sales, or camera shows, I always stop to look at what Zeiss cameras they have, and the cameras that I always pick up to look over are any of the Zeiss Ikon Super Ikonta cameras. Not only because they look impressive even when closed, but also because I'm always struck by how well-made and intricate they are for a camera that's 90 years old.

 To me, the Super Ikonta cameras are like looking at a masterpiece of art. They are timeless in their form, compactness, and mechanical intricacies. When closed, they are compact and sturdy. They have a heft to them that you know they were manufactured to last a long time.

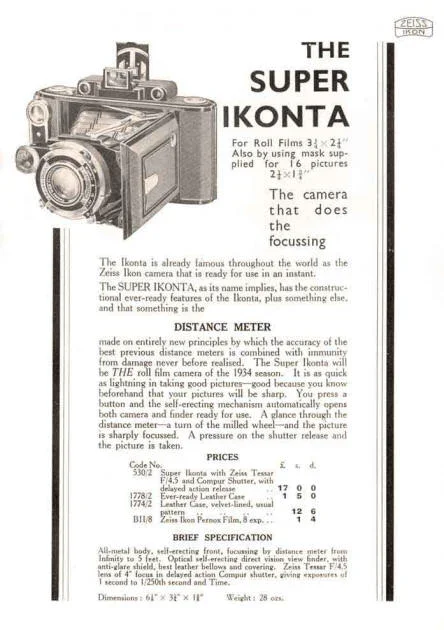
 Zeiss Ikon made four different Super Ikonta styles. There were the smaller models in 6x4.5 or 6x6cm formats, then they also made a larger, specifically longer version that shot 6x9, and a rare version that shot 6x11cm. The 6x9cm version came with a metal insert that reduced the image size to 6x4.5, essentially allowing the photographer to get twice as many images on the 120 roll film loaded in the camera.

 Having owned both in my life, I'm torn between them. On the one hand, I prefer the longer negatives, so the 6x9cm version is appealing, but it's also a bit bigger to carry. The more compact 6x6cm version is a terrific camera to carry when you travel. They are compact, fit in your pocket, have wonderful optics, and use a rangefinder to focus.

 Looking at the cameras on my shelf for a camera to write about, the Zeiss Ikon Super Ikonta 530/2 was a camera I recently got back from a full CLA, so I knew, or at least hoped there wouldn't, or shouldn't be an issue putting film in the camera and running a roll of film through it. 

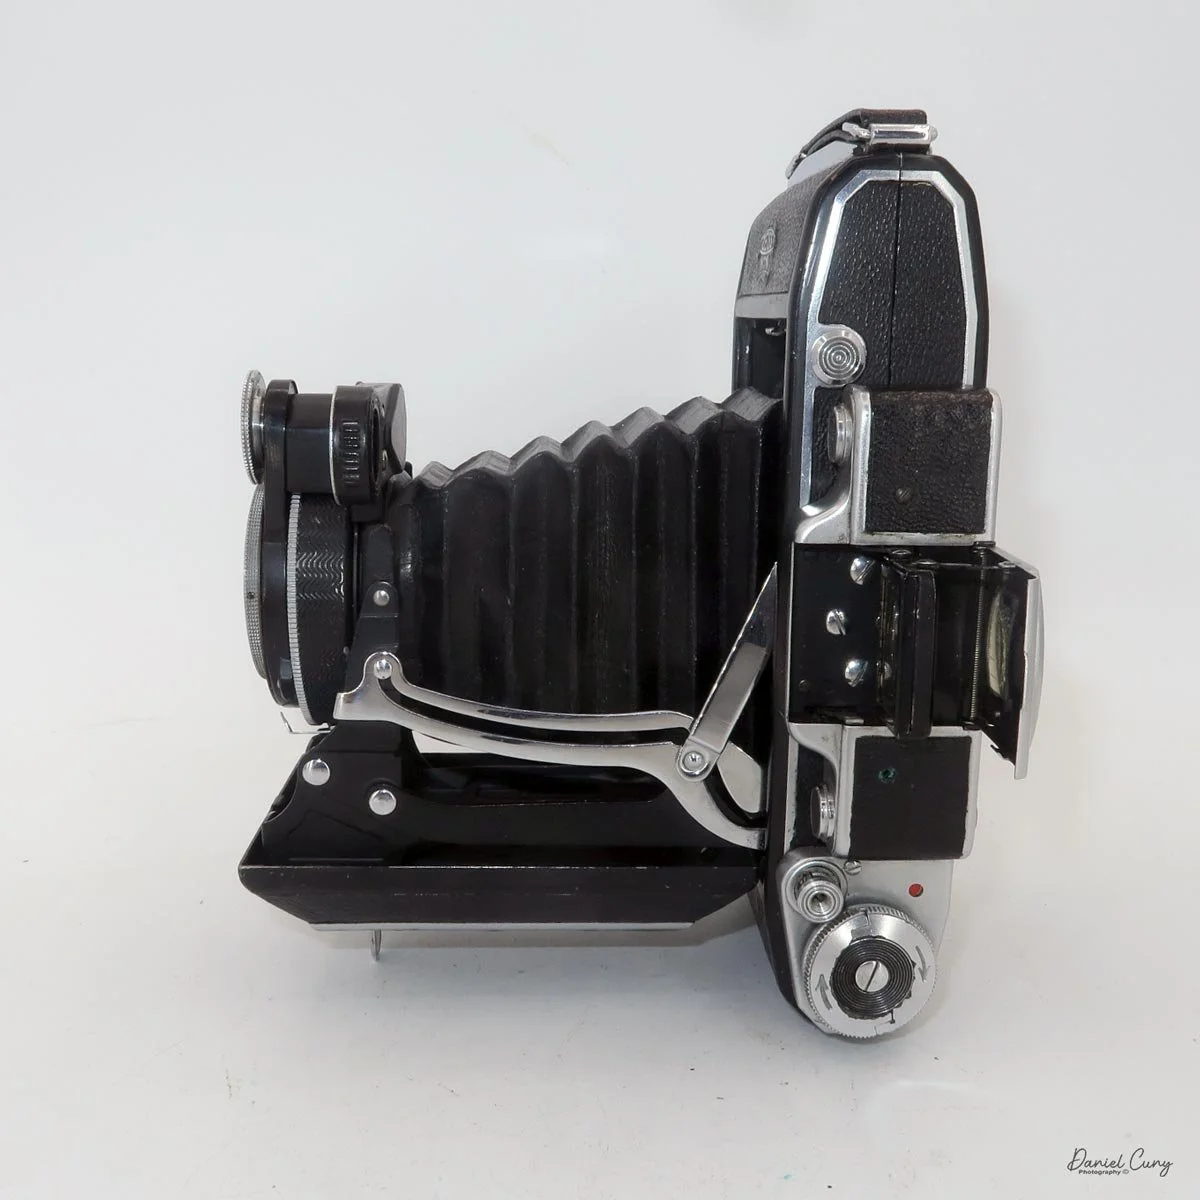
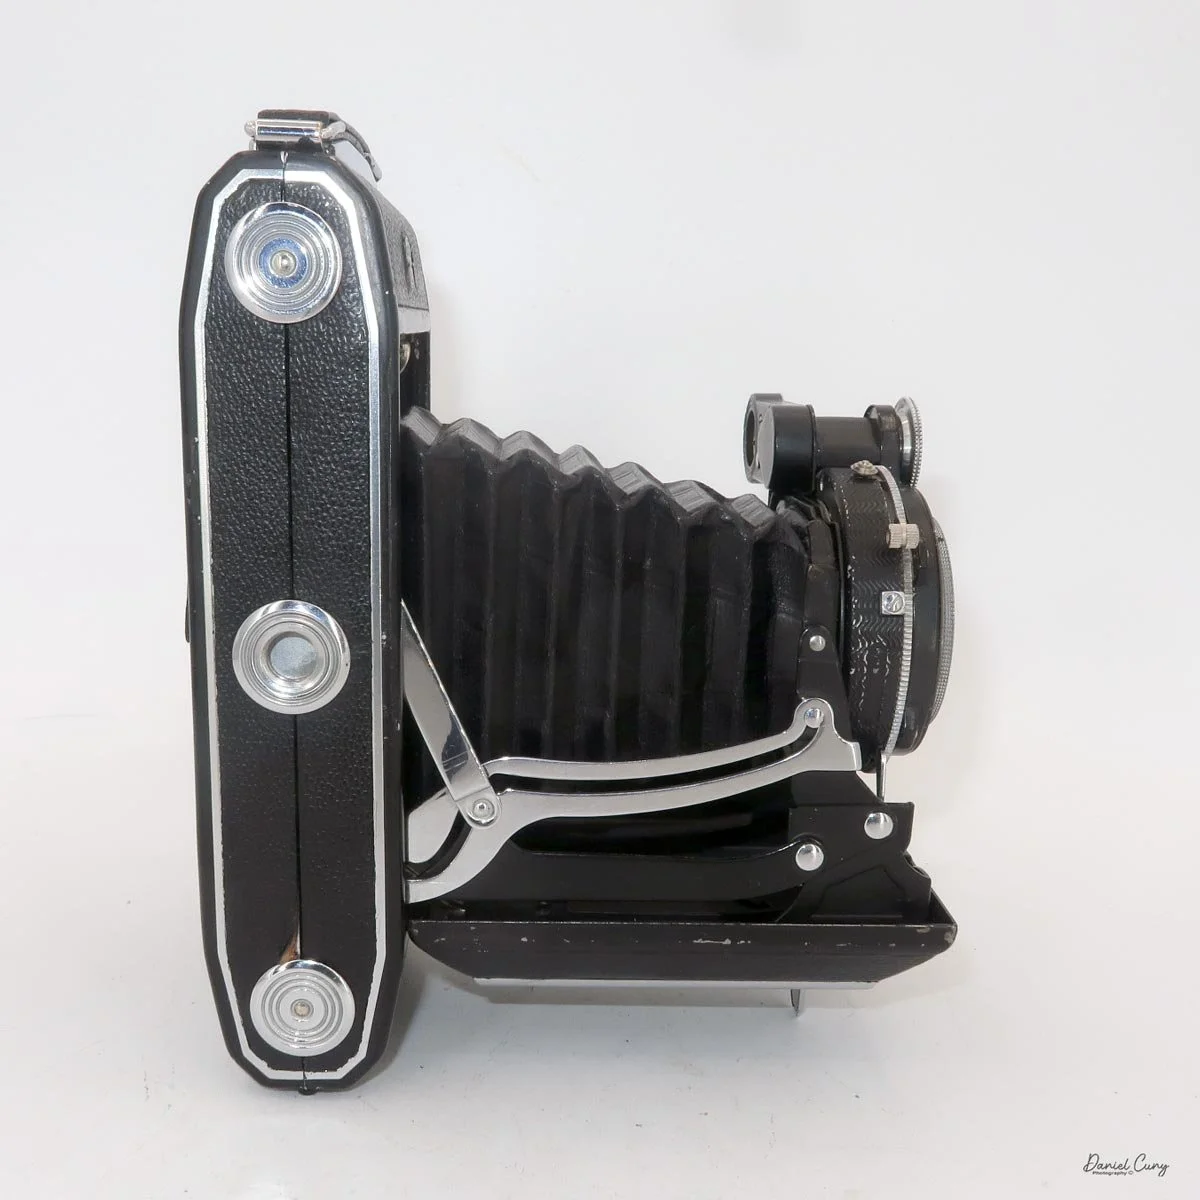
Horizontal view of my Zeiss Ikon Soper Ikonta 530/2 camera

 The camera I had purchased almost a year ago was from an online auction. I saw it at the auction along with a few other cameras, placed a fairly low bid, and won it. The camera was shipped to me, and upon inspection, I noticed the shutter wasn't working. It worked at higher speeds, but the camera needed servicing, so I sent it for CLA.

 My camera came back from the technician and looked flawless. The rangefinder was bright and accurate, the lens was bright, the focus was smooth, and the lens popped out of the camera as if it were new. 

 Whenever I see a Zeiss Ikon Super Ikonta or another rangefinder folding camera, the first thing I check is the shutter to see if it's opening/closing, especially at slower speeds. Then I check the focus to see how smoothly the lens and focus knob turn. It seems that many of the cameras have very stiff focusing, so when the camera came back, and the focus knob turned so nicely, I must have had a large grin on my face, as this was a new experience for me: a smooth focus.

 With all that said, it was time to put a fresh roll of 120 film into the camera and take a walk through the neighborhood on a wonderful spring afternoon. The sun was out, and so many of the trees and flowers were in bloom, it was the ideal opportunity to take my newly CLA'D Zeiss Ikon Super Ikonta for a spin.

Brief History of the Zeiss Ikonta Cameras:

 Zeiss Ikon and the Ikonta cameras sit at an important crossroads in European camera history. Formed in 1926 from the merger of four major German makers—Contessa-Nettel, Ernemann, Goerz, and Ica—Zeiss Ikon became one of the largest and most influential camera companies in the world, backed by the Carl Zeiss optical tradition.

 The Ikonta line emerged around 1929 as Zeiss Ikon's premium folding-camera family. It was introduced in several sizes, including 6x4.5, 6x6, and 6x9 roll film frames, and represented the company's effort to rationalize and modernize the crowded product lines inherited from the merger. These cameras were built as elegant folders: compact when closed, but capable of producing high-quality medium-format images when opened.

 What made Ikonta especially significant was its market position. Zeiss Ikon used better lenses and more refined construction on Ikonta models, while cheaper versions sometimes carried the related Ikomat name. The line became closely associated with Carl Zeiss lenses, such as the Tessar, which helped the cameras earn a strong reputation for sharpness and image quality.

 A major step forward came with the Super Ikonta series, introduced in 1933. The "Super" name indicated the addition of a coupled rangefinder, making focusing far easier and more accurate than the original scale-focusing Ikontas. That innovation helped define some of the best prewar folding cameras available.

 Production continued through the war years and into the postwar period, but folding cameras gradually lost favor as photography shifted toward more modern fixed-lens designs and 35mm systems. Even so, Ikonta and Super Ikonta remain admired today for their craftsmanship, portability, and classic Zeiss optical quality.

My Camera:

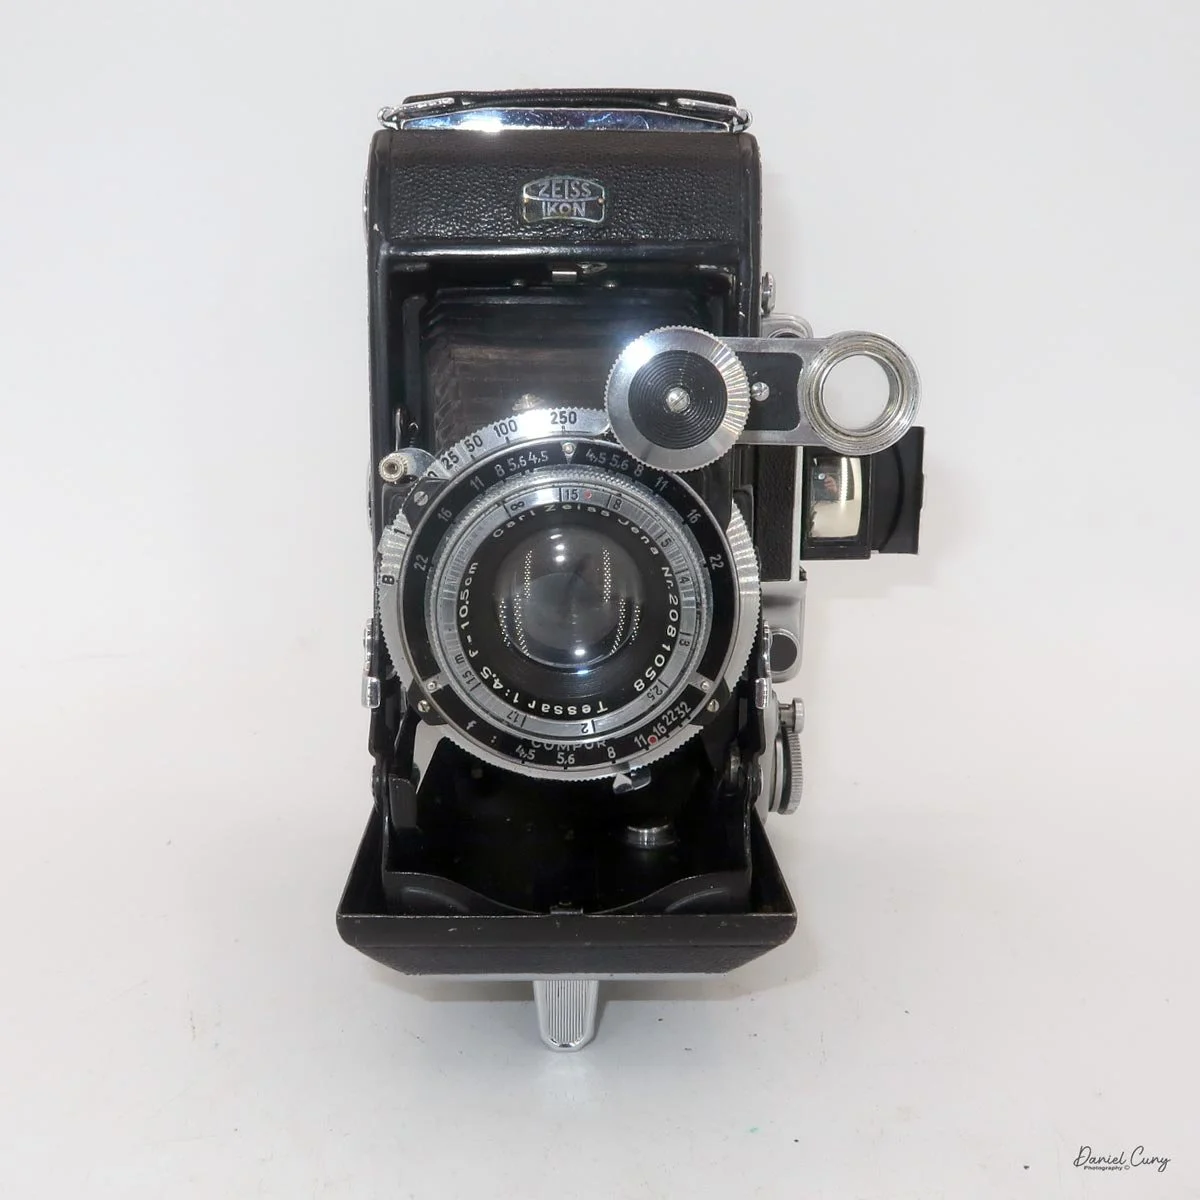
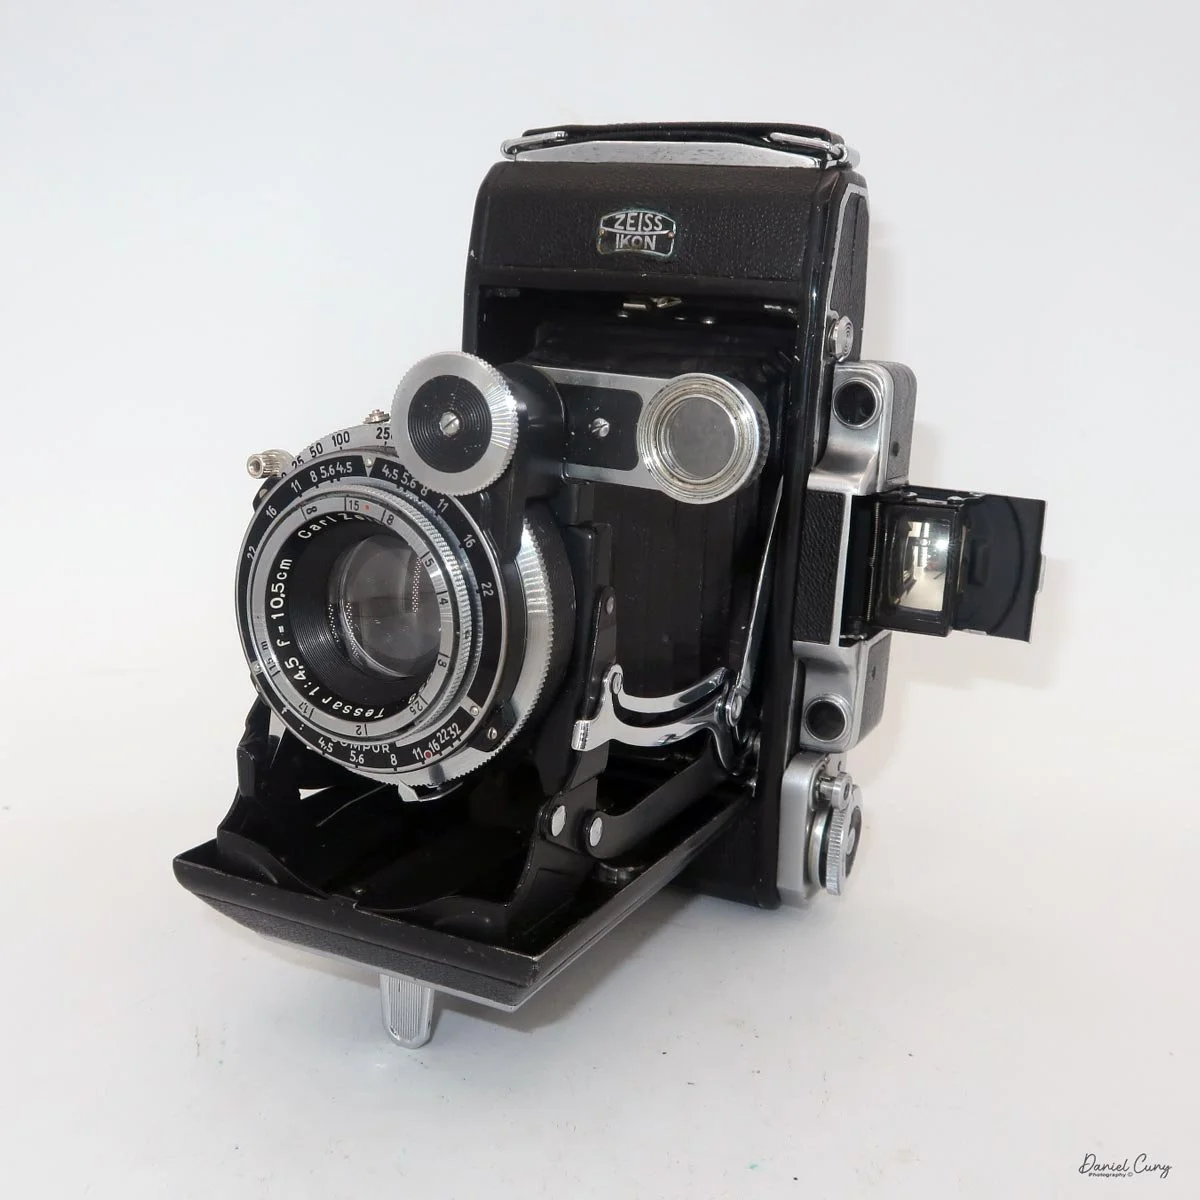
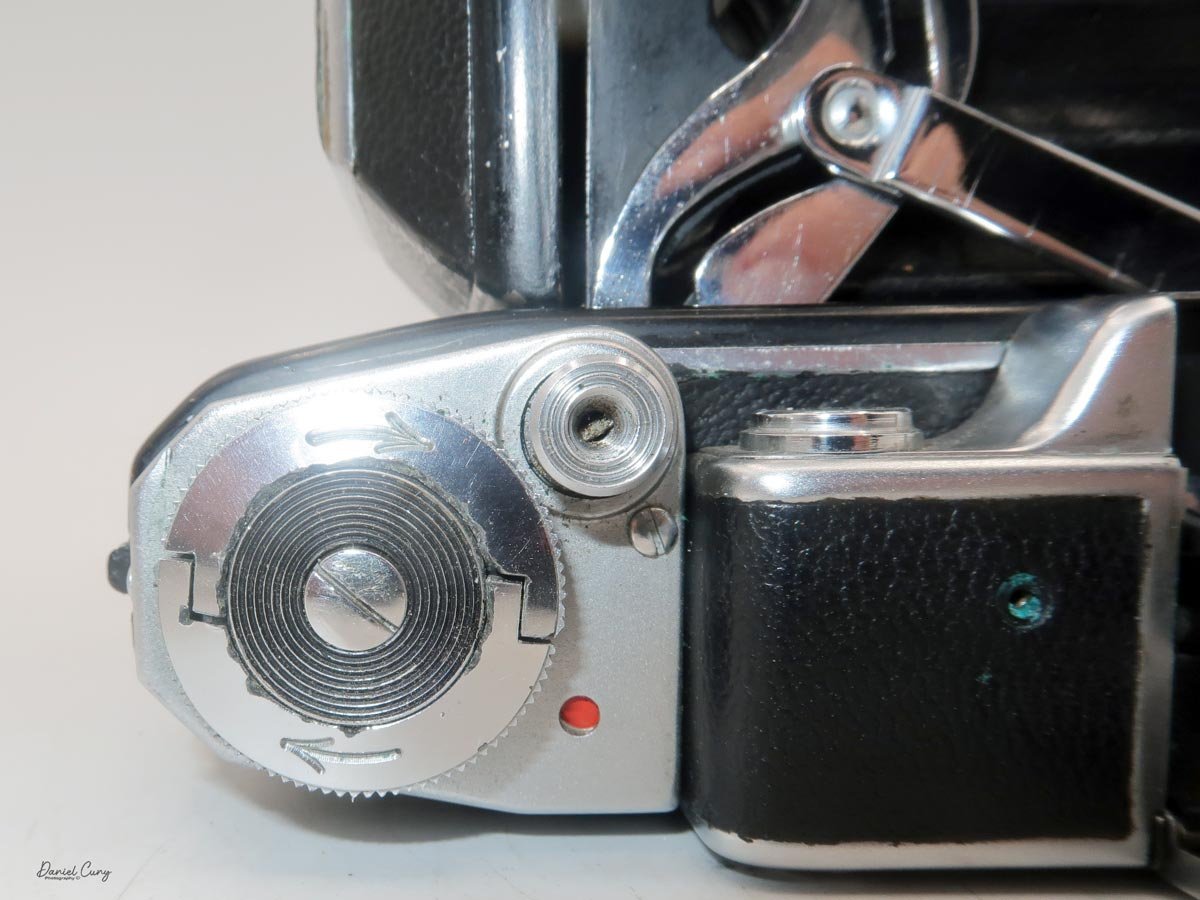
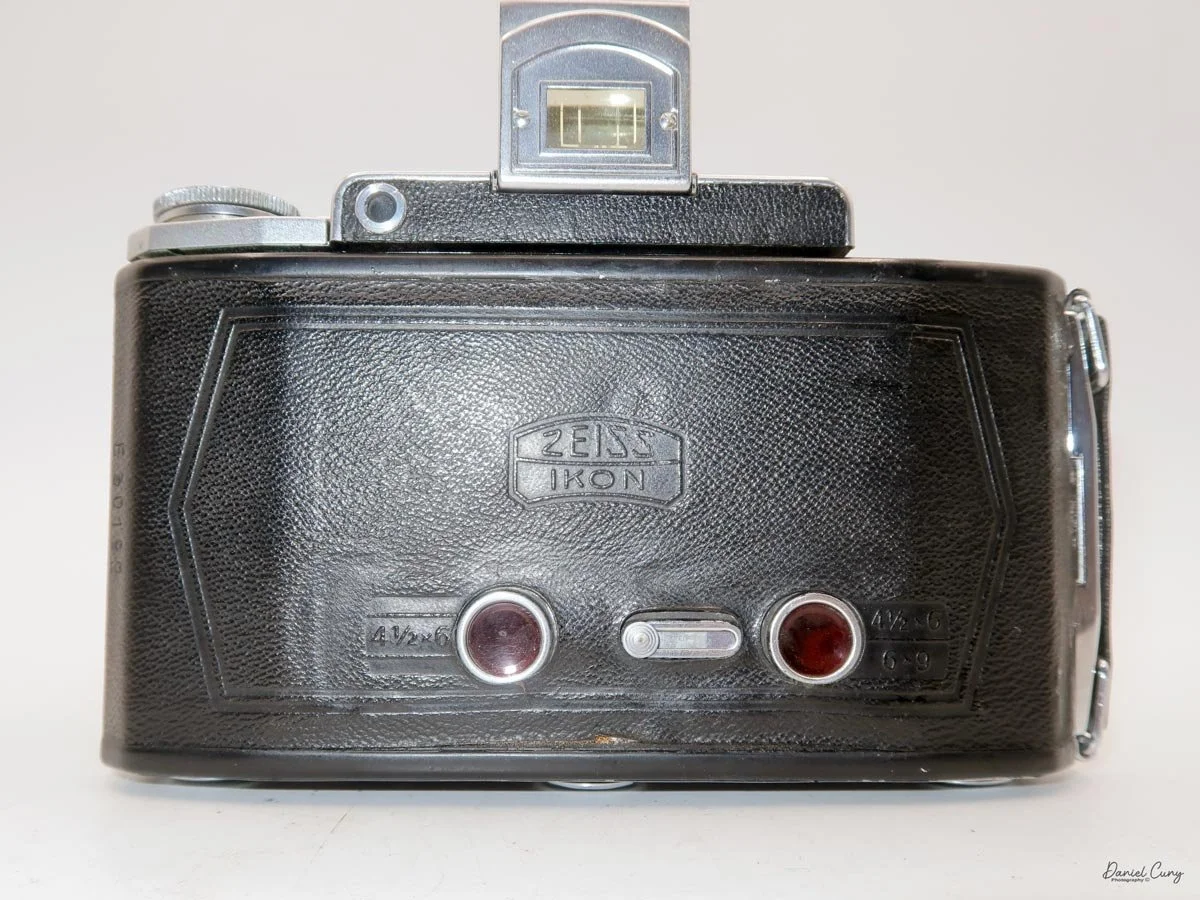
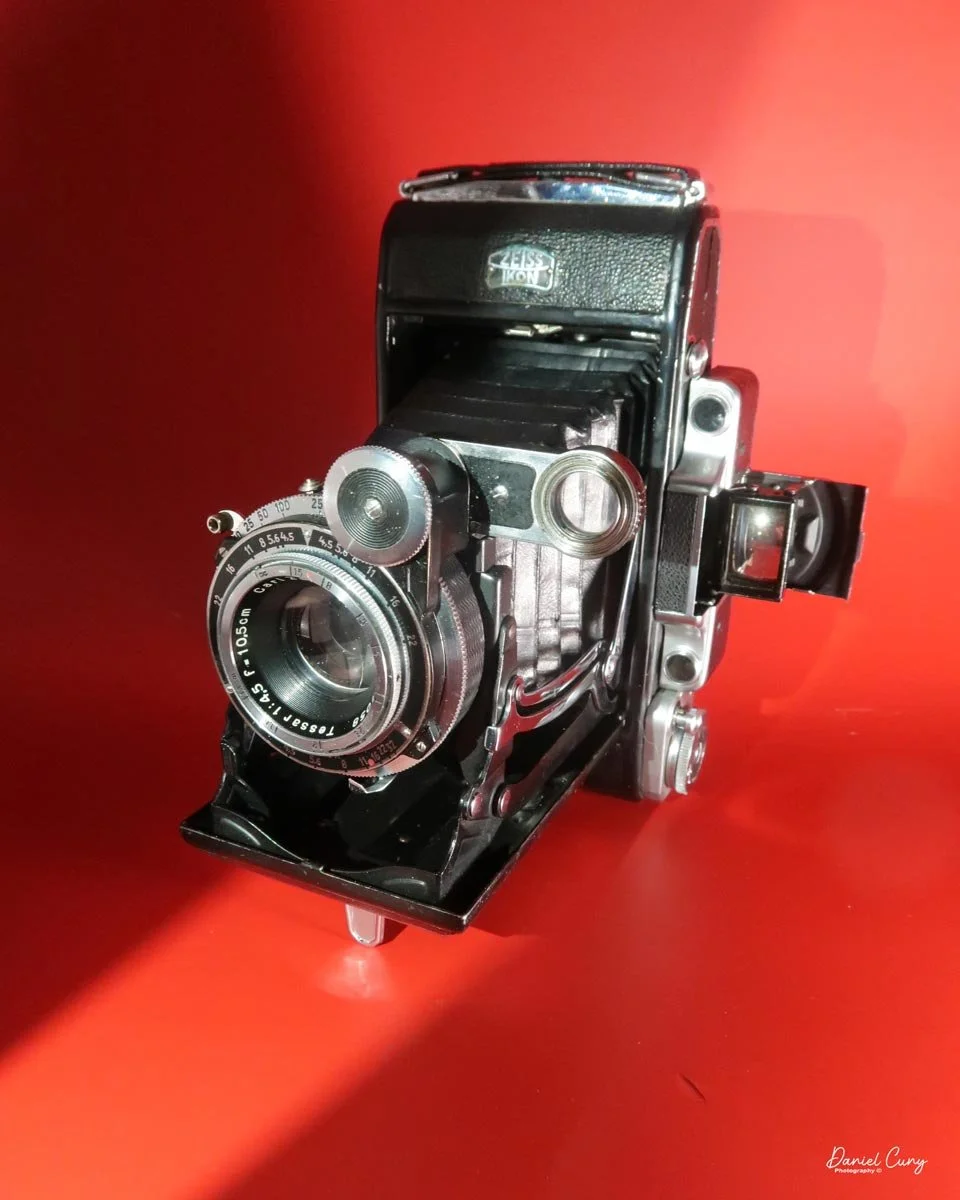
 My Zeiss Ikon Super Ikonta 531/2 is 7" wide by 4" tall and 2 "deep when the lens is retracted, and it's 5" tall when you open the camera, and the viewfinder pops up, and 5.5" deep when the lens is extended. The camera weighs 1 pound 15 ounces without the case or film loaded. My serial number is E30192.

The Zeiss Ikon Super Ikonta 531/2 camera has several different options for lens and shutter combinations:

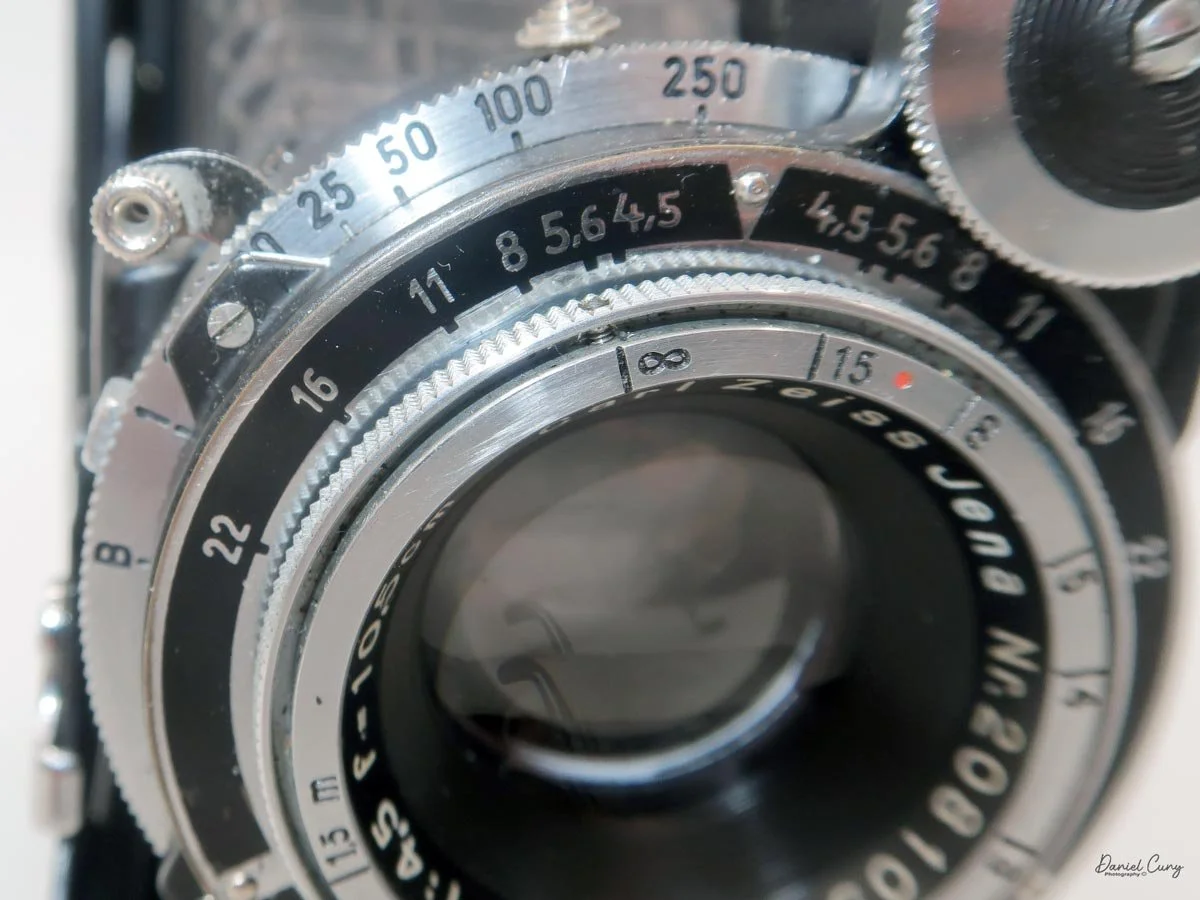
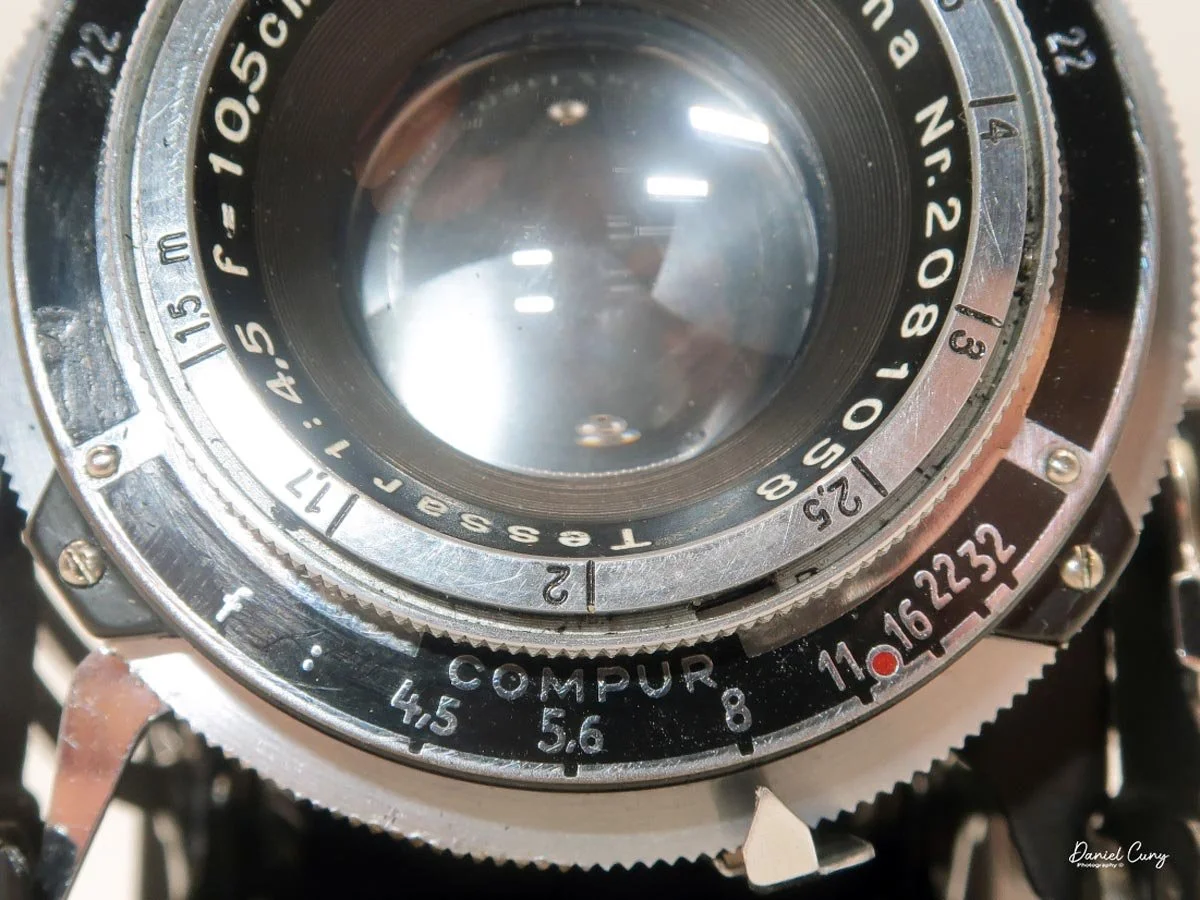
  • Tessar 10.5 cm f/4.5 in a Compur shutter. This combination is the best-documented early setup for the 530/2, especially on black-enamel versions from the early 1930s.

  • Triotar 10.5 cm f/4.5 in a Klio shutter. Some early examples were fitted this way, making it a less common but real configuration.

  • Tessar 10.5 cm f/4.5 in a Klio shutter. At least one documented example shows this pairing, indicating that Zeiss Ikon used multiple shutters during the model's production.

  • Later or related Super Ikonta variants appear with Tessar lenses in Compur Rapid or Synchro-Compur shutters, though those are more typical of later Super Ikonta models.

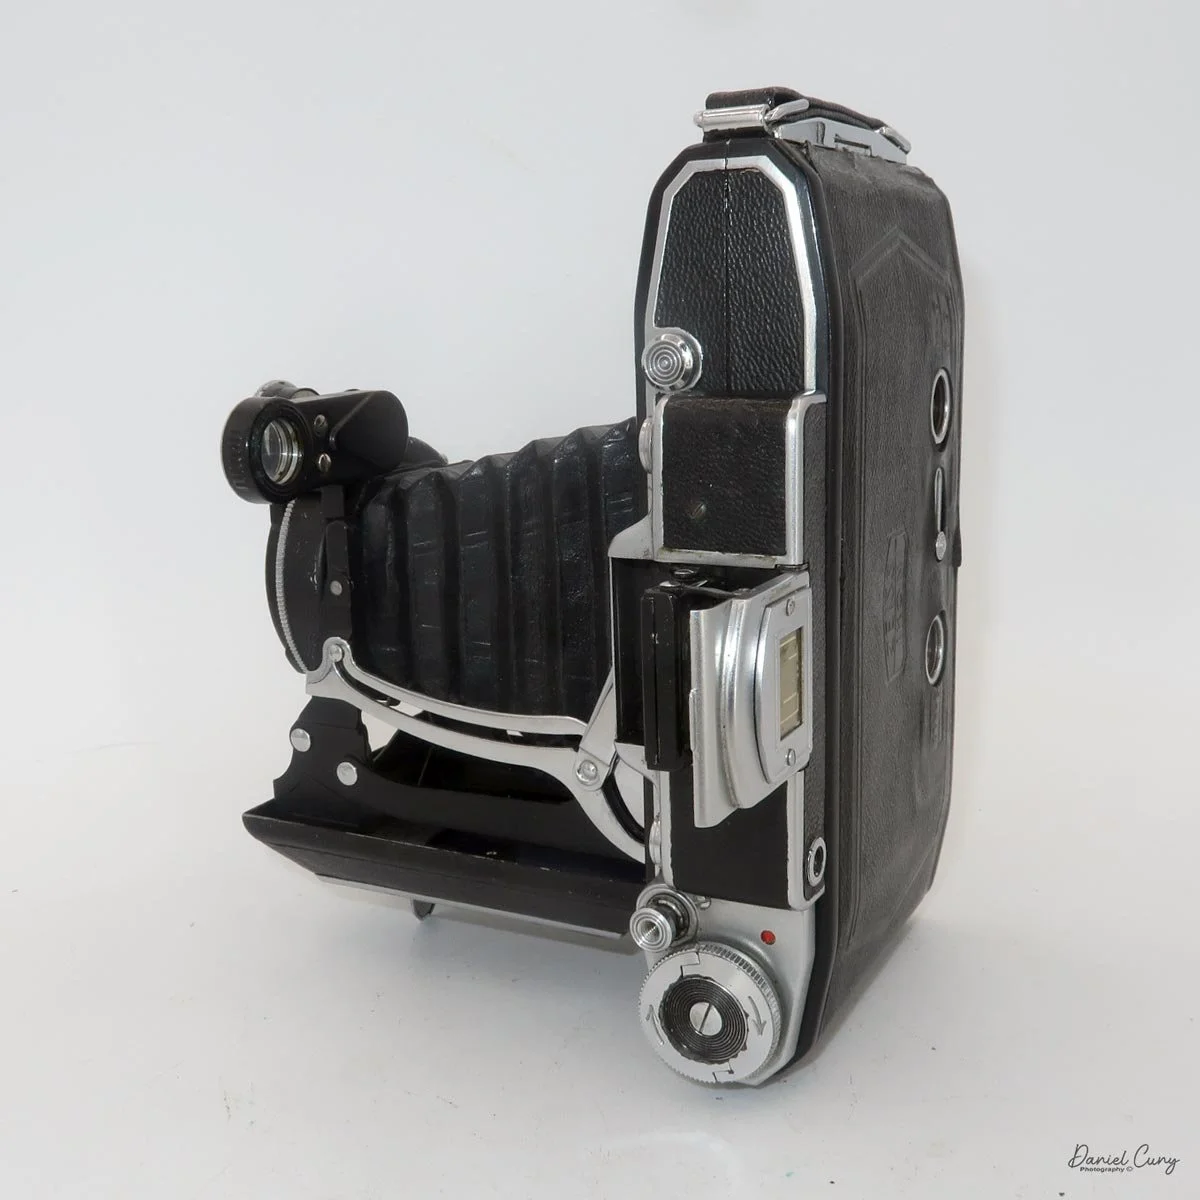
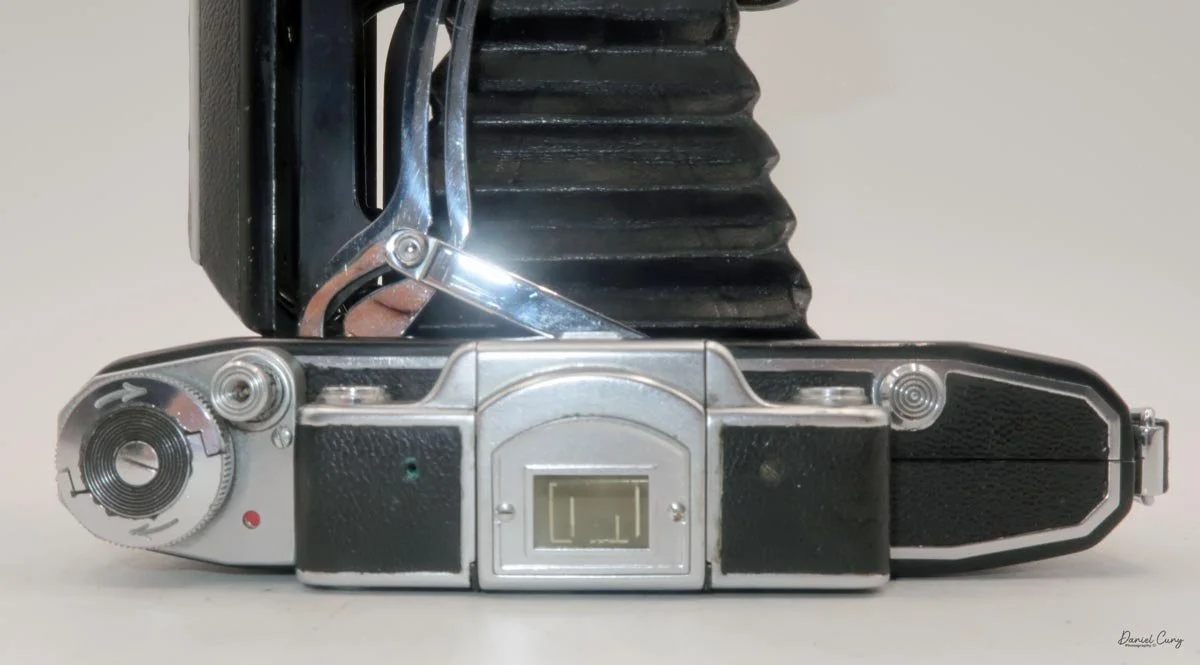
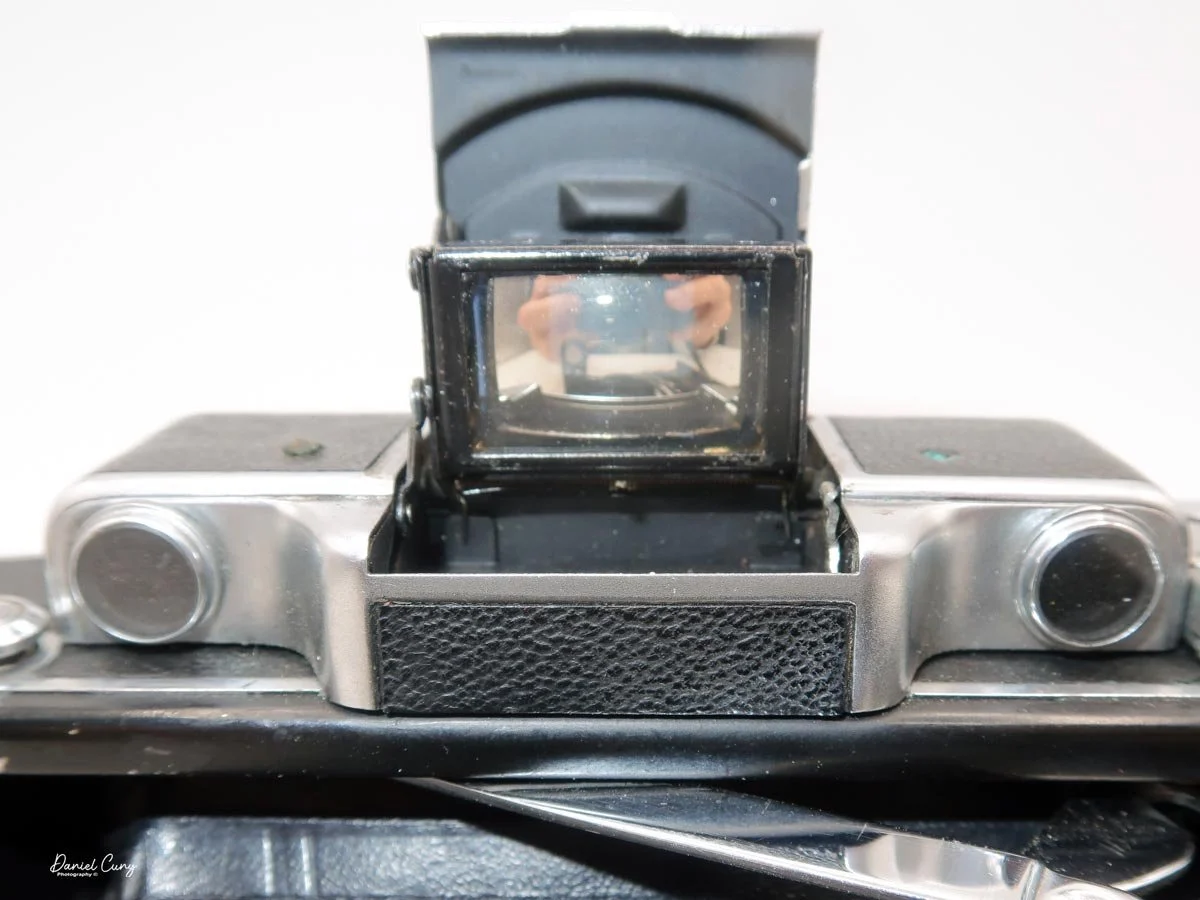
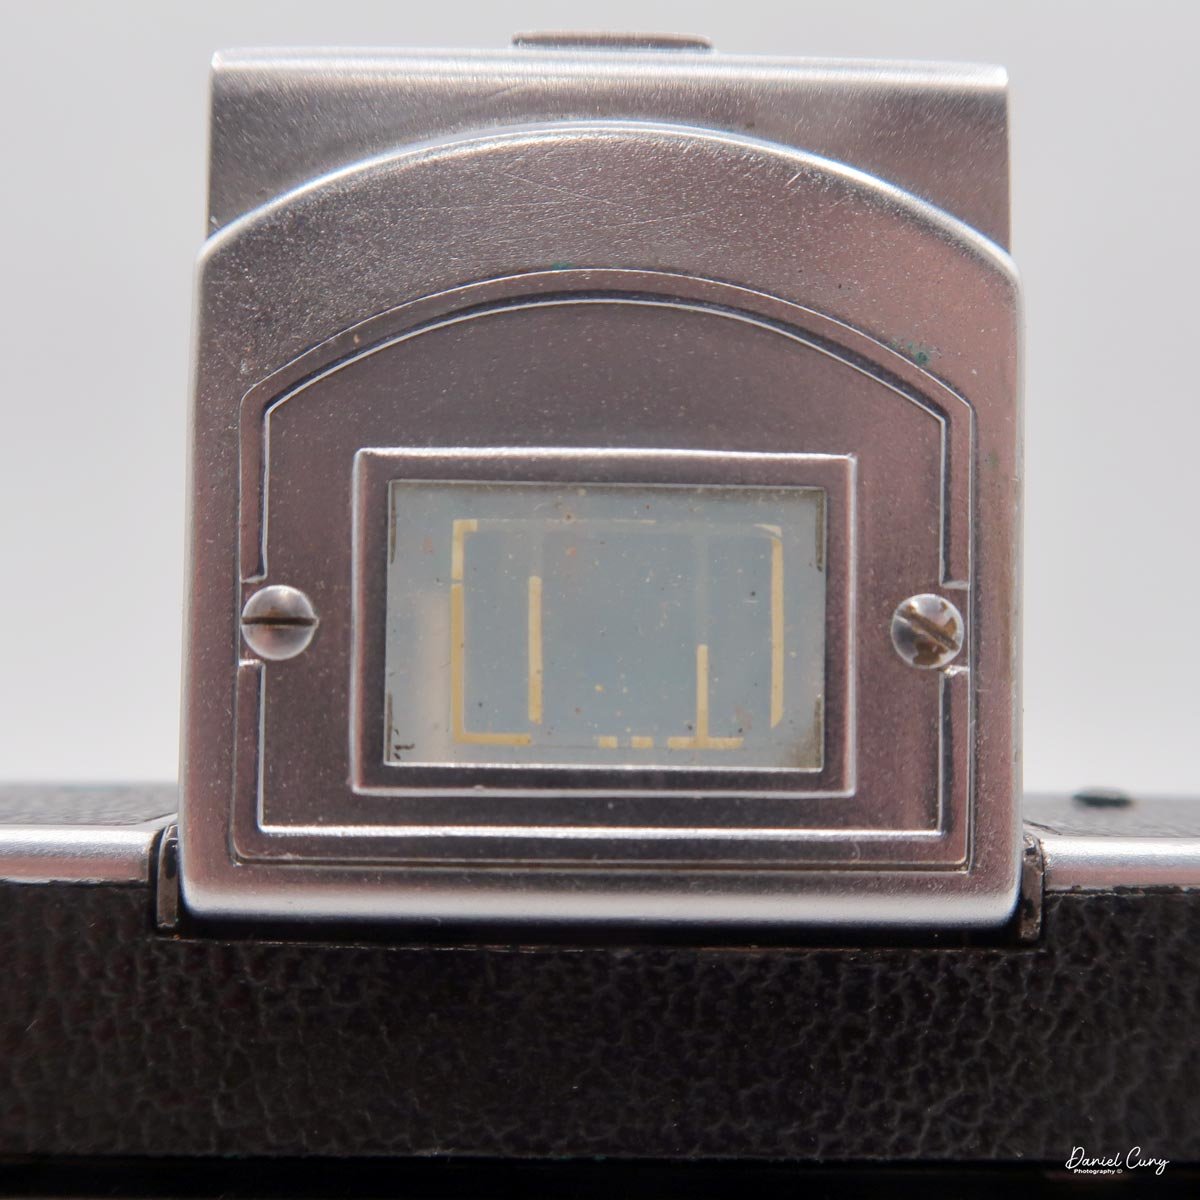
Looking at the top of the camera, on the right side of the rangefinder, is a button that opens the camera when it's closed. According to the Zeiss Ikon Super Ikonta manual. Hold the camera in your right hand, with the front slightly pointed down. Press the button, and the camera should open slightly. Then pull down on the front cover so the bellows and lens extend to the taking position. Once the lens is extended, you'll need to swing the arm holding the small round lens into place so you can use the rangefinder for focusing. Also, when you open the camera, the Albada (sports) finder springs open. Look through the Albada finder; it has lines for both 6x9cm images in a horizontal format and for 6x4.5cm images for a vertical subject.

Now that the camera is open, you're ready to make exposures once the film is loaded, which we'll get to in just a moment. The shutter and aperture settings are located around the lens. Shutter speeds from 1/250 to 1 sec, plus "B," are set by turning the ring to the desired speed. The aperture is set by sliding the arrowed lever at the bottom of the lens to the desired aperture, which ranges from F/4.5 to F/32 on my camera.

 The focus wheel is on the front of the swing arm you moved over for the rangefinder, just above the lens when the camera is in the vertical position. For focusing, look through the small window on the back of the camera. Turn the dial to use rangefinder focus, which includes a small yellow area in the middle of the finder. When out of focus, the subject will appear as two images. Your main subject, and a second image in the yellow area. Turn the wheel until both images merge into one, indicating the subject is now in focus. 

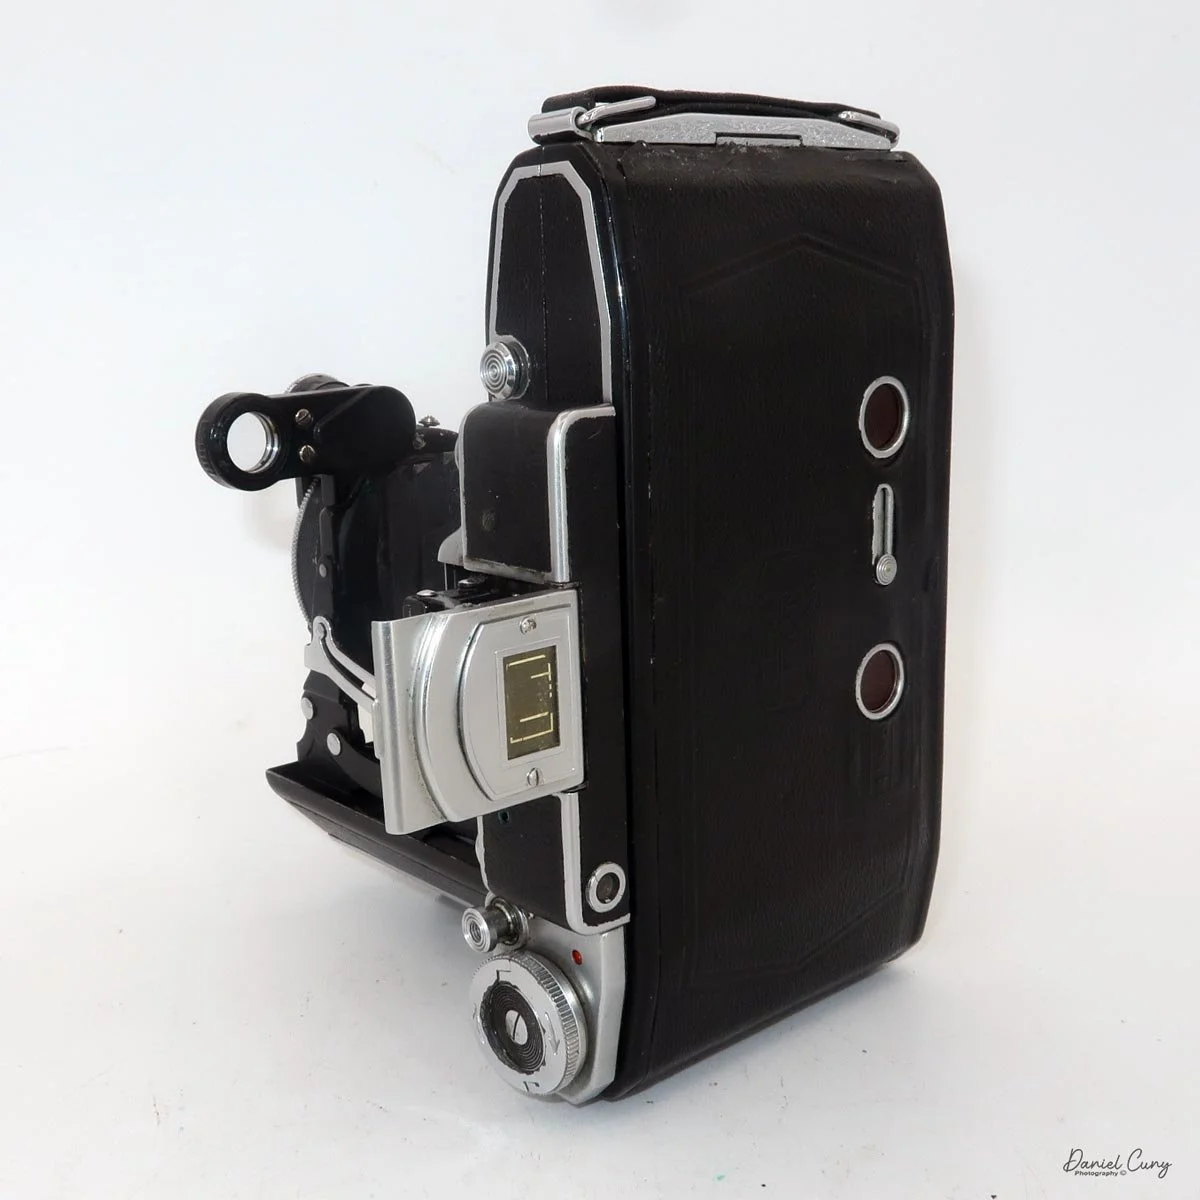
Set your shutter speed and aperture setting, and don't forget to cock the shutter. The shutter release is on the top, left side of the camera. Press the shutter release, which will trip the shutter via a series of linkages that run along the bottom of the lens bed. Just behind the shutter release is a small window. When the window is grey, the shutter has been tripped, and you'll need to turn the film winding lever until the small window turns red. At this point, you can re-cock the shutter and release it. 

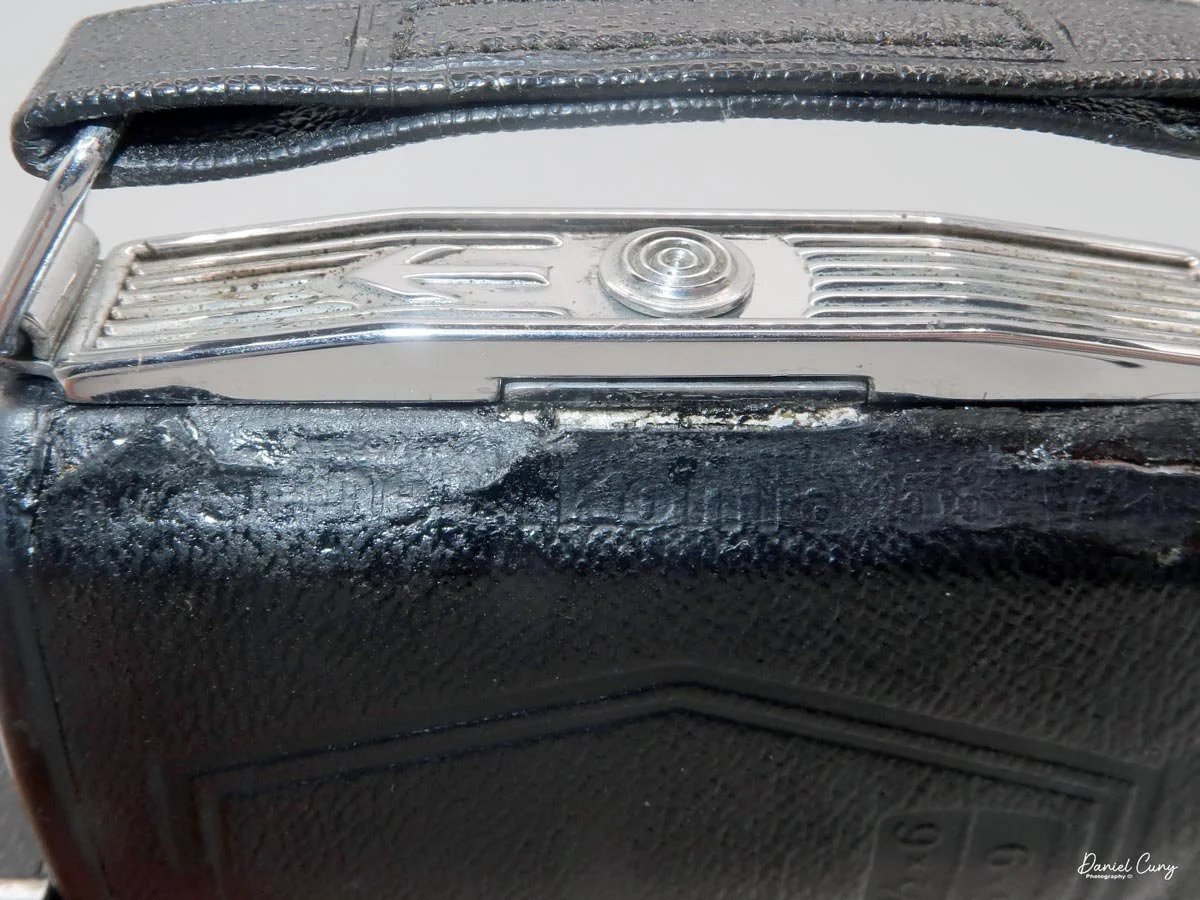
To open the back of the camera to load film, under the camera's handle is a small slider with an arrow pointing toward the opening. Slide the small knob in the direction of the arrow, and the camera back will open. Load the film as you would any 120 roll film camera, roll the film so the "start" arrows are showing, then close the back of the camera, and wind the film advance knob so the number 1 shows up in the appropriate window on the back of the camera. 

There are two red widows on the back of the camera: one for 6x9cm images and one for 6x4.5 cm images, if you have the metal insert in. If you have the insert in the camera, you'll use both windows for film advance, as you would with a 127 film camera with two windows. Stop at the number 1 on the far right window, then take your photo. Wind the film until the number 1 appears in the second window on the left, then take your photo. Then wind the film until the number 2 shows up on the first window on the right side, and so on through the number 8. For 6x9cm images, you'll get 8 exposures per roll; for 6x4.5, 16.

 To close the camera for transport, slide the arm you extended for focus back over the bellows. Holding the camera with both hands, press in on the locking arms on the struts to lock the bellows and lens into place; the bed will collapse a bit. Fold the lens back into the camera until the camera clicks closed, then flip down the Albana finder.

My Images:

 Let's take a look at how the images turned out. Here are a few of the images I took with the Zeiss Ikon Super Ikonta camera.

Conclusion:

 The first few images were incredibly sharp, well-exposed, and as I expected. I noticed that towards the end of the roll, the images became softer and less sharp, which concerned me. What did I do wrong?

 To give some background, I had eye surgery on my right eye, which is my dominant eye, about a year or two ago. When I went to see the eye doctor, I could barely make out details with my right eye, so surgery was necessary. Since then, it's gotten a bit better, but not as good as it used to be. Now I'm getting used to putting the camera up to my left eye, which is considerably better than my right. It still feels awkward, but it's my new normal.

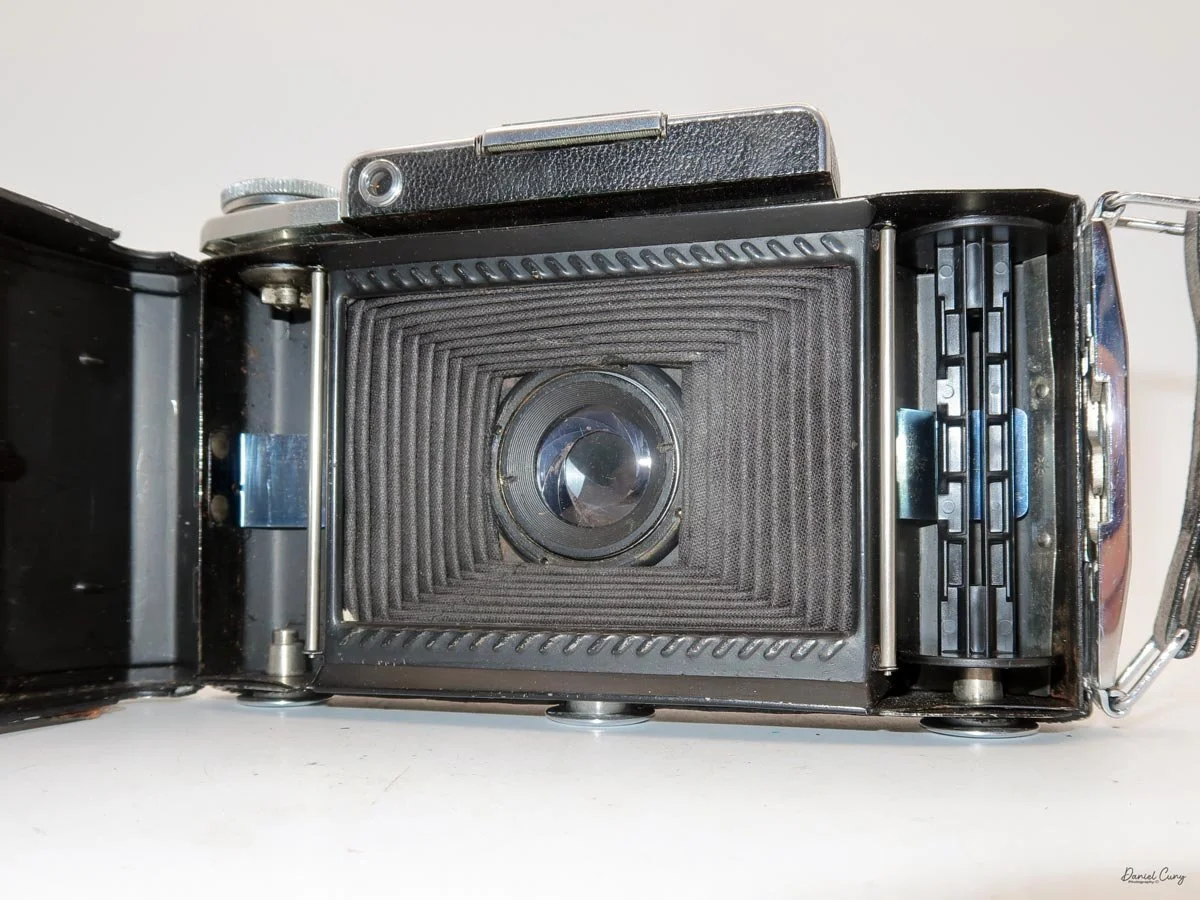
Missing pressure plate

 I thought this contributed to the images being soft. Then I remember what a good friend, Mike Eckman, said a few weeks ago when we were discussing image sharpness. He said that he had a similar instance and noticed that the film's pressure plate was missing. At this point, I opened the back of the camera, and sure enough, the pressure plate was missing. 

 How could I miss that when I'm loading the camera? You get so used to looking at and loading cameras that you miss that a camera doesn't have a pressure plate.

 At this point, I'm sure I could manufacture one out of something like thin foamcore and just cut out circles for the red window. Still, it's a lot of fun to use, and the images are incredible. I'll chalk it up as a learning experience and double-check to be sure they have the pressure plate from now on.

 Here are some of the other Camera Reviews I've done.

 Cuny's Cameras and Photos is my online eBay store where I sell some of the cameras I've reviewed, along with other camera accessories, lenses, etc.

 Please feel free to comment on this or any of the other camera reviews I've done. I'd love to hear from you.

 Until next week, please be safe.