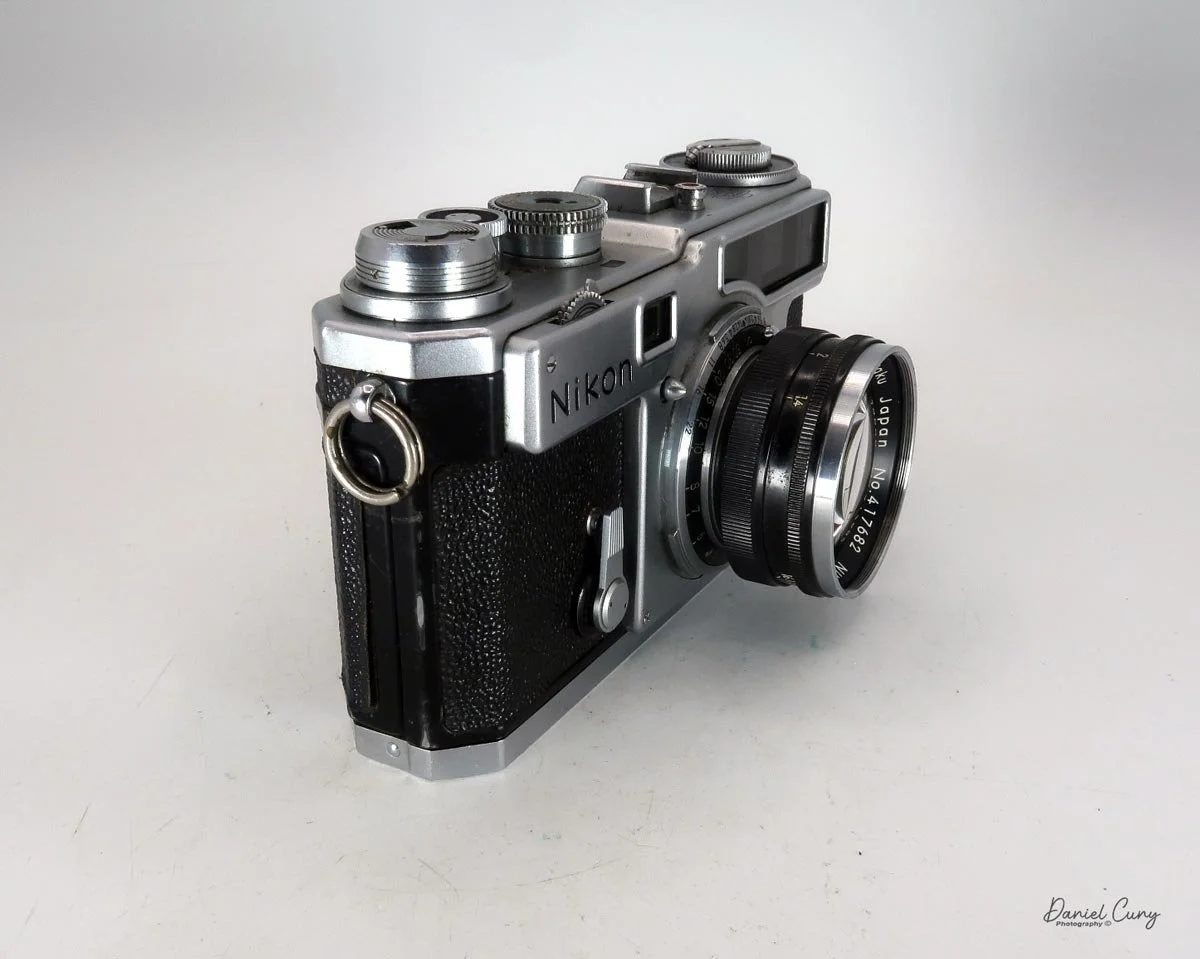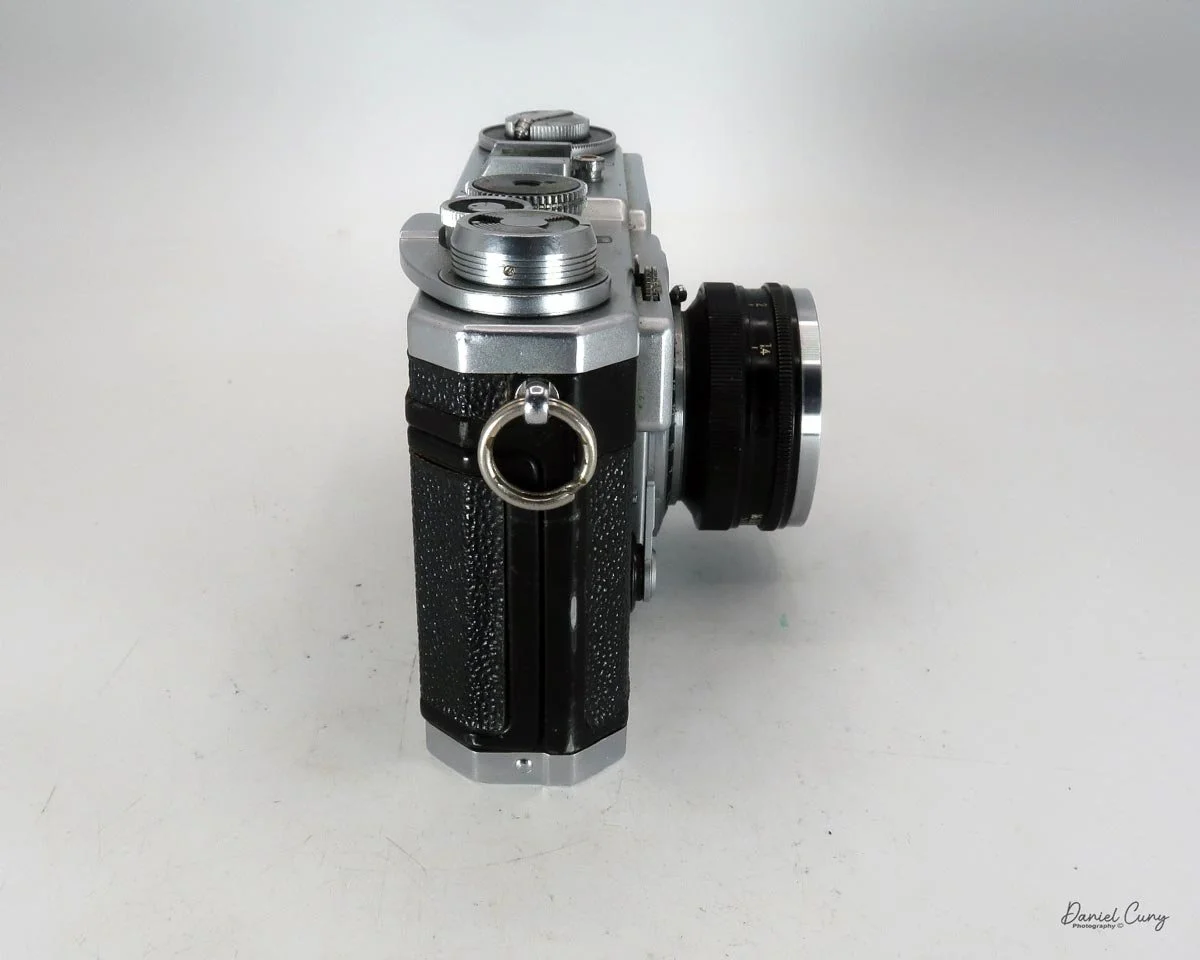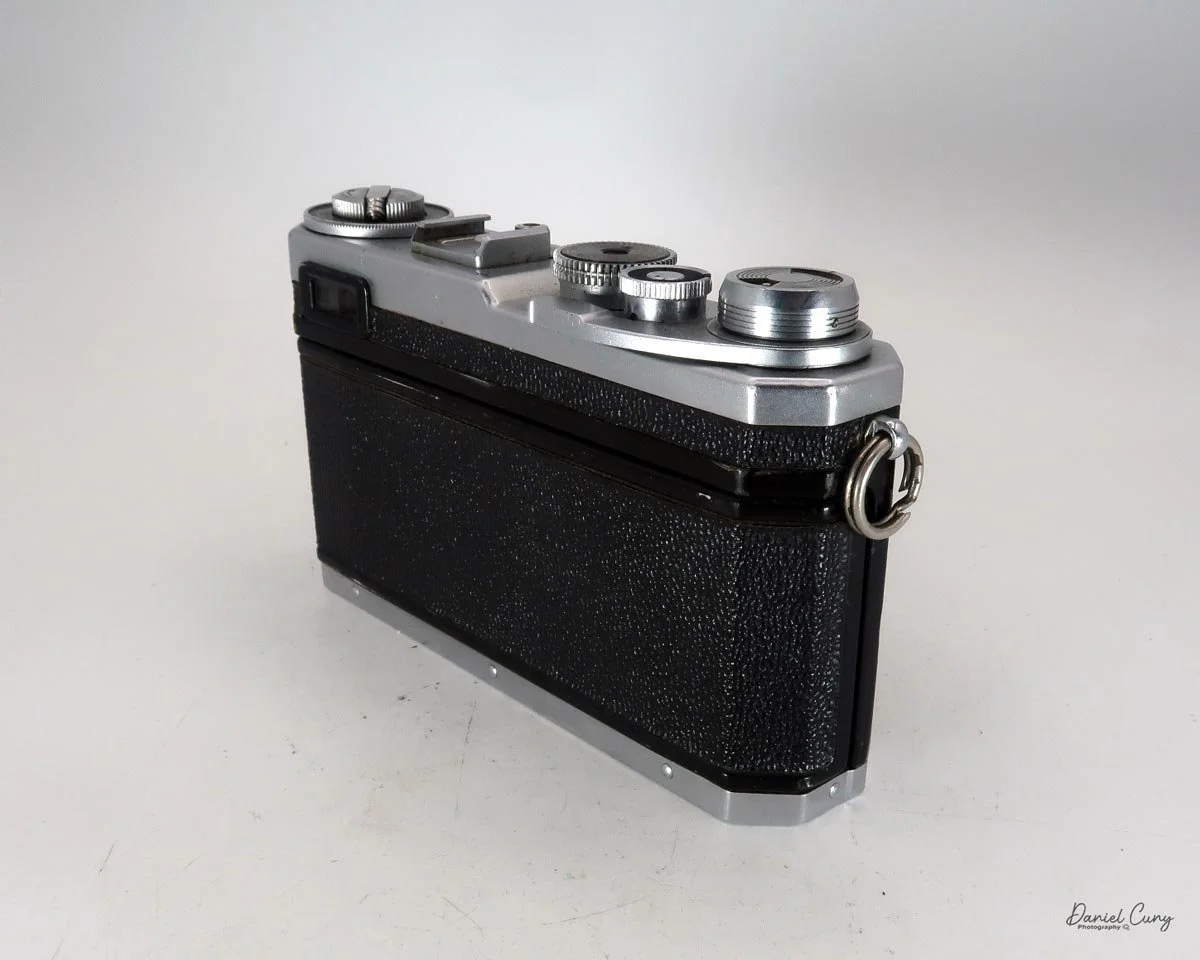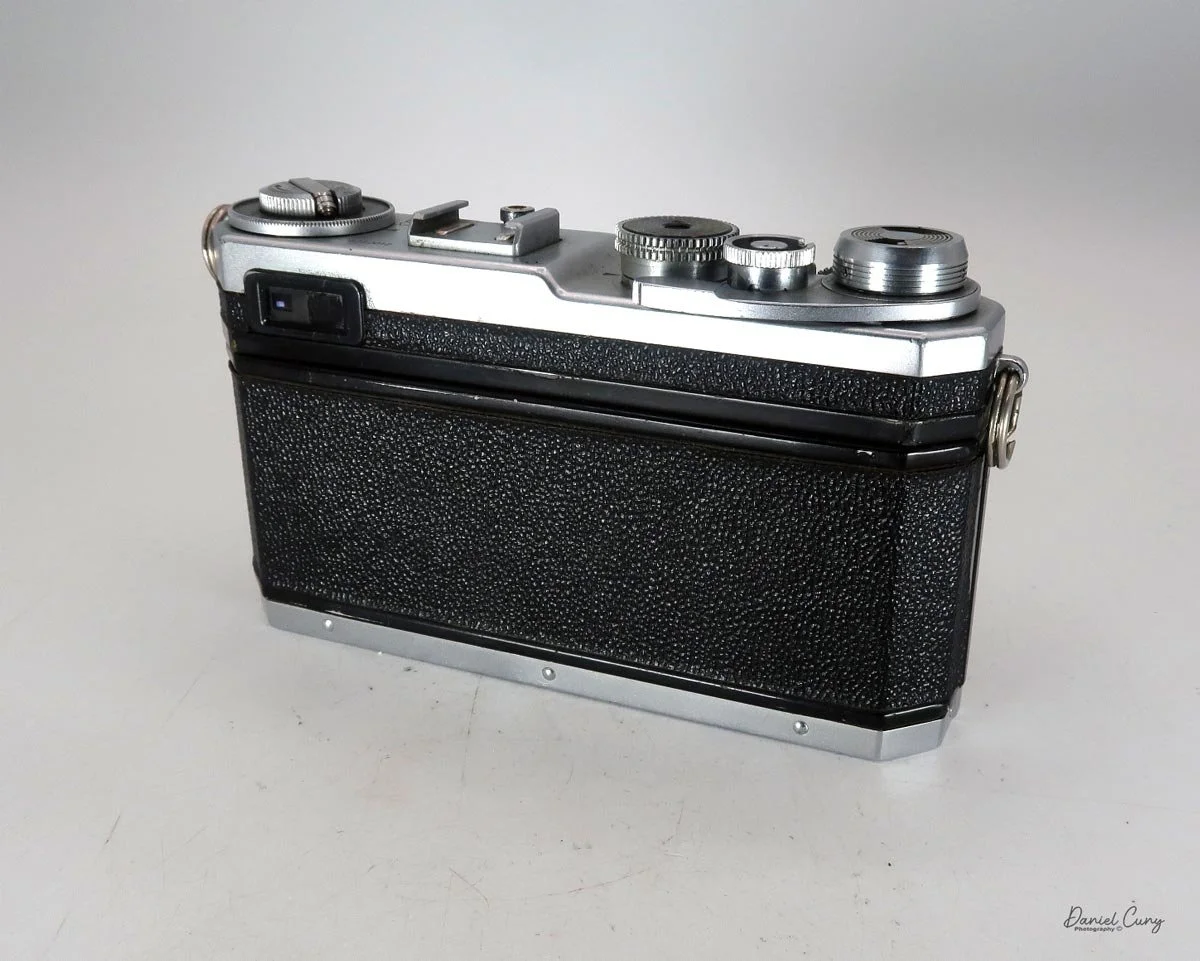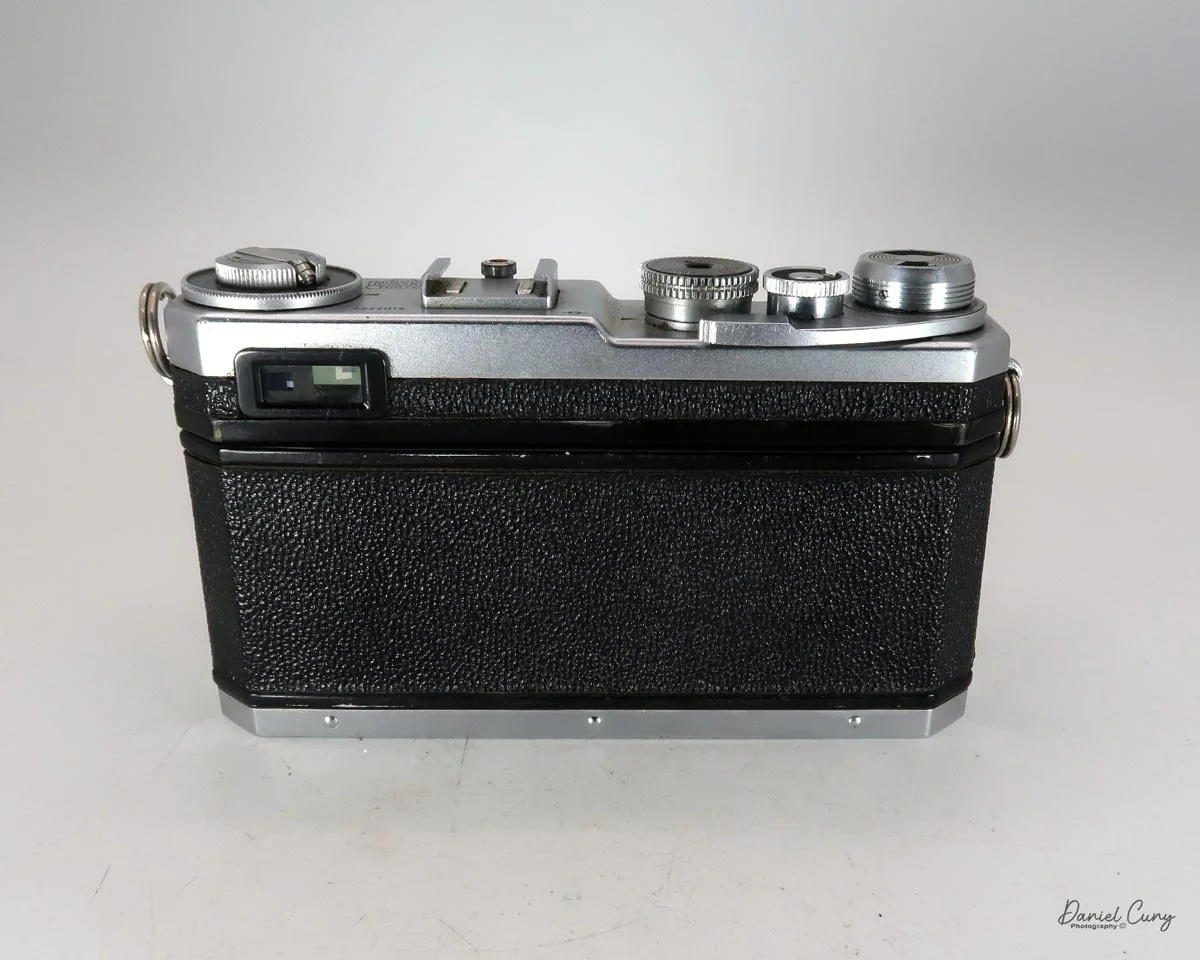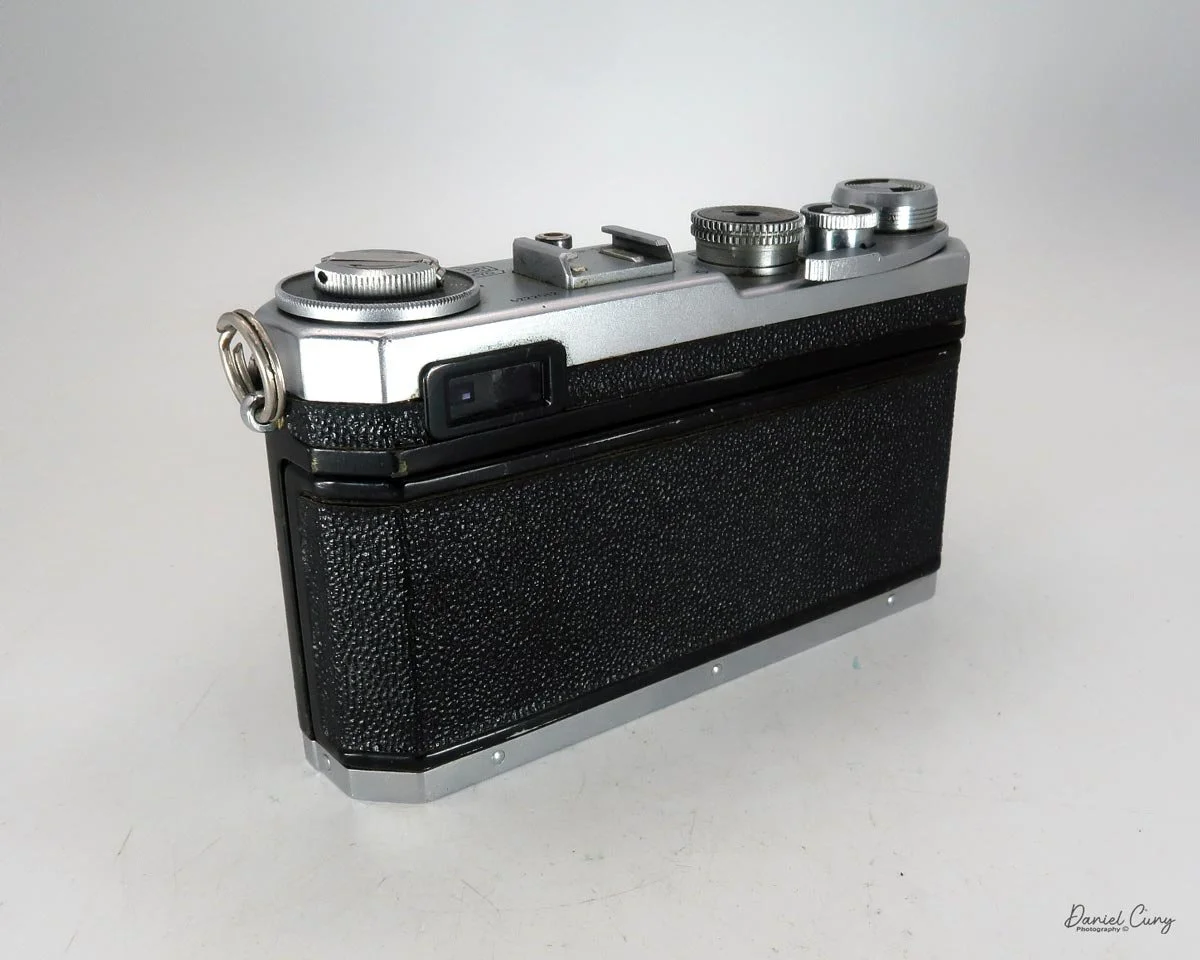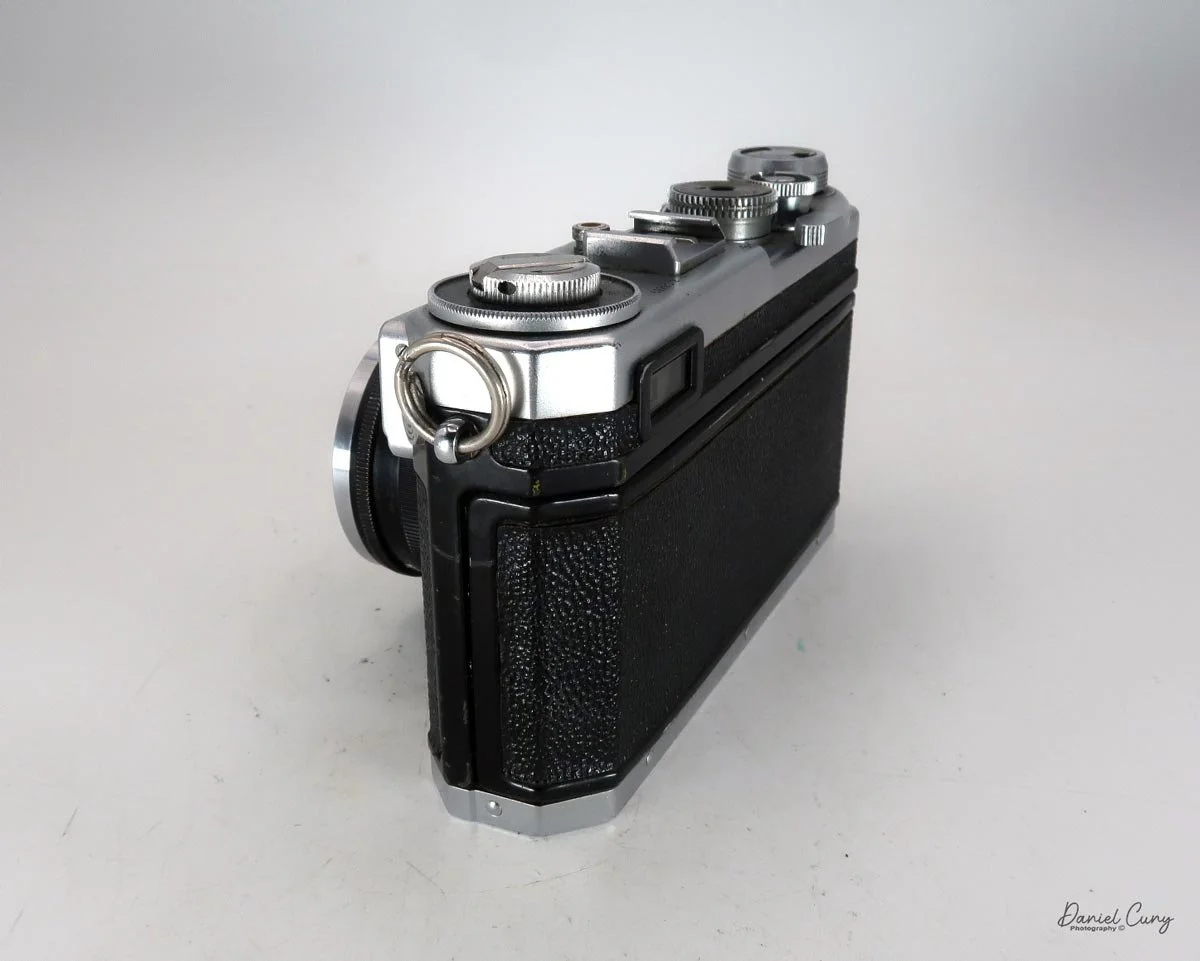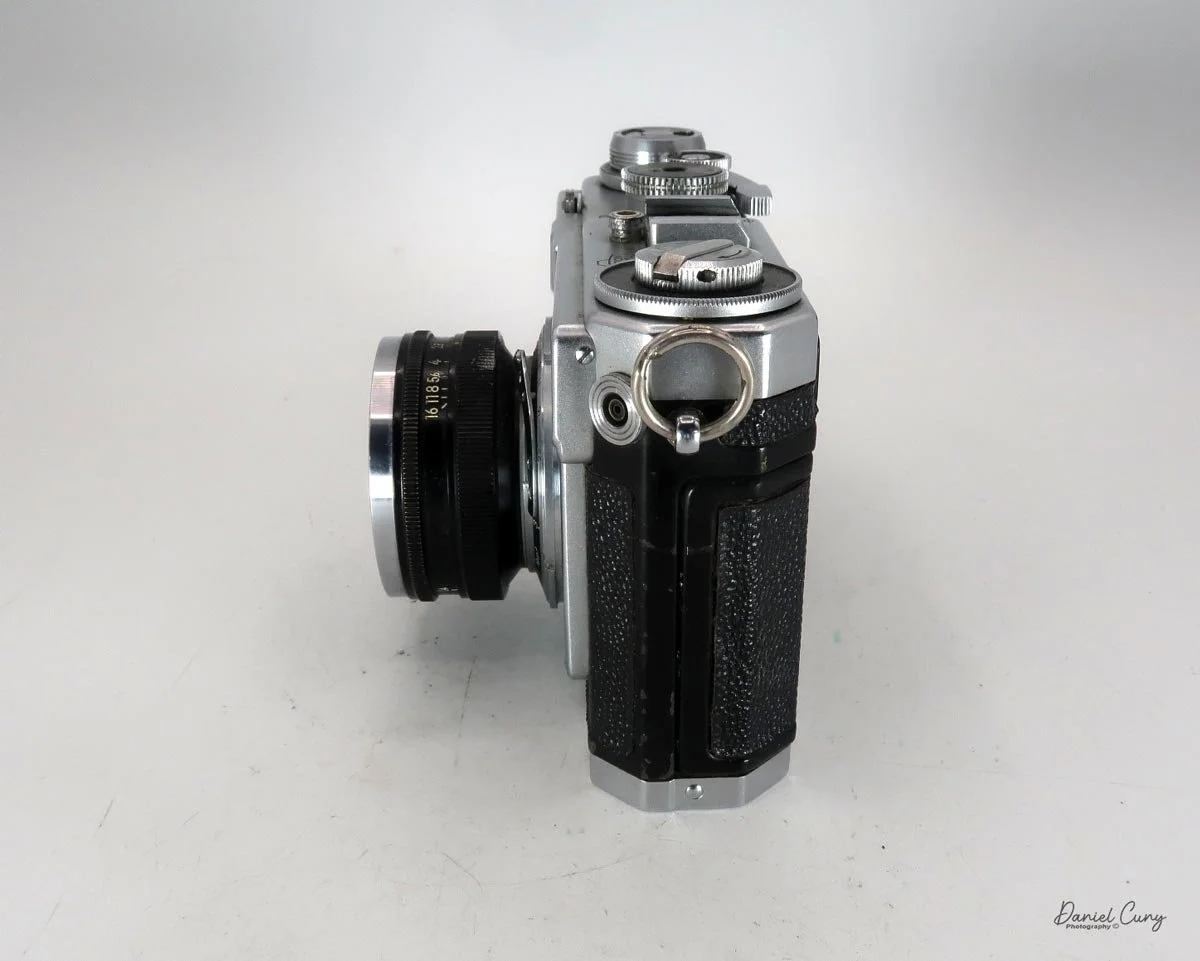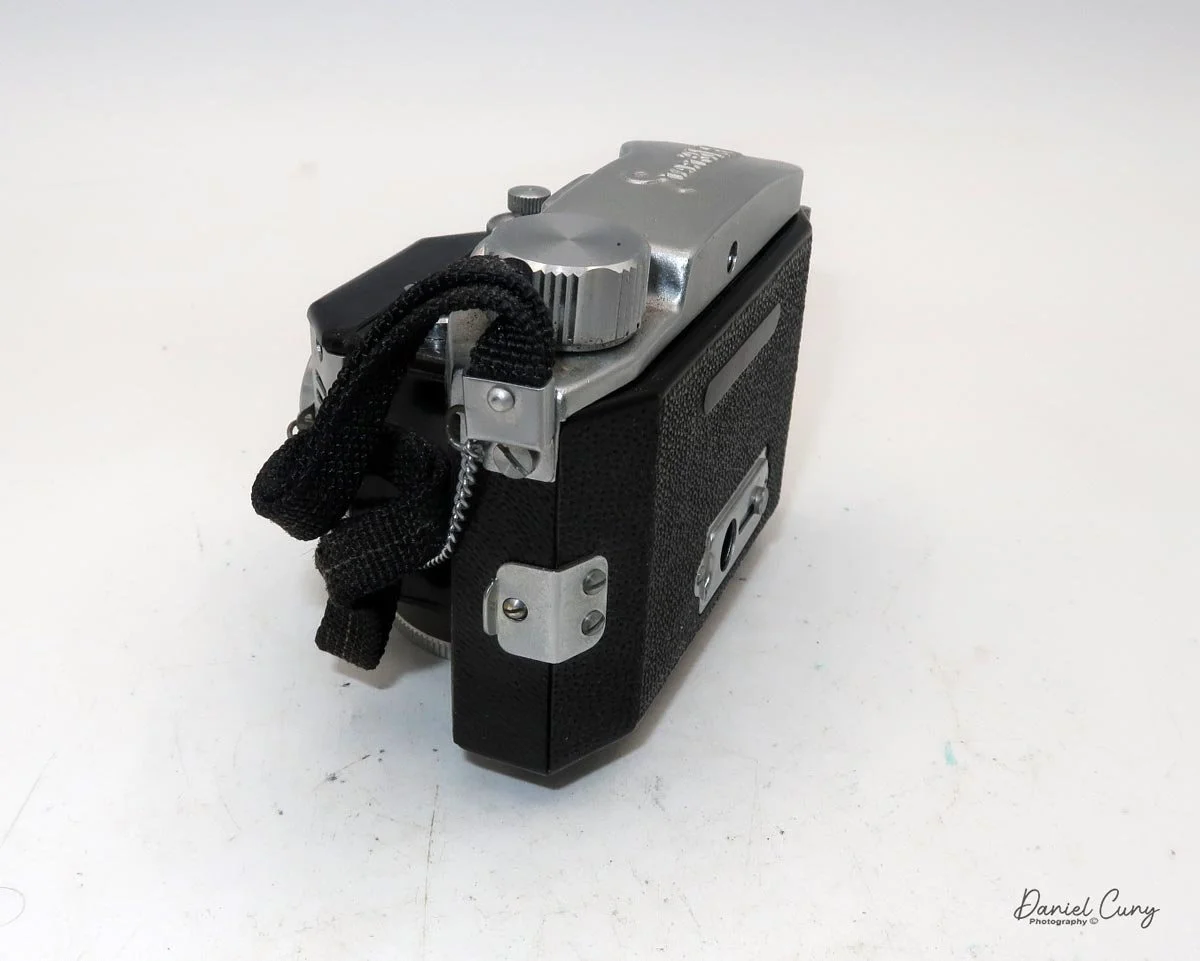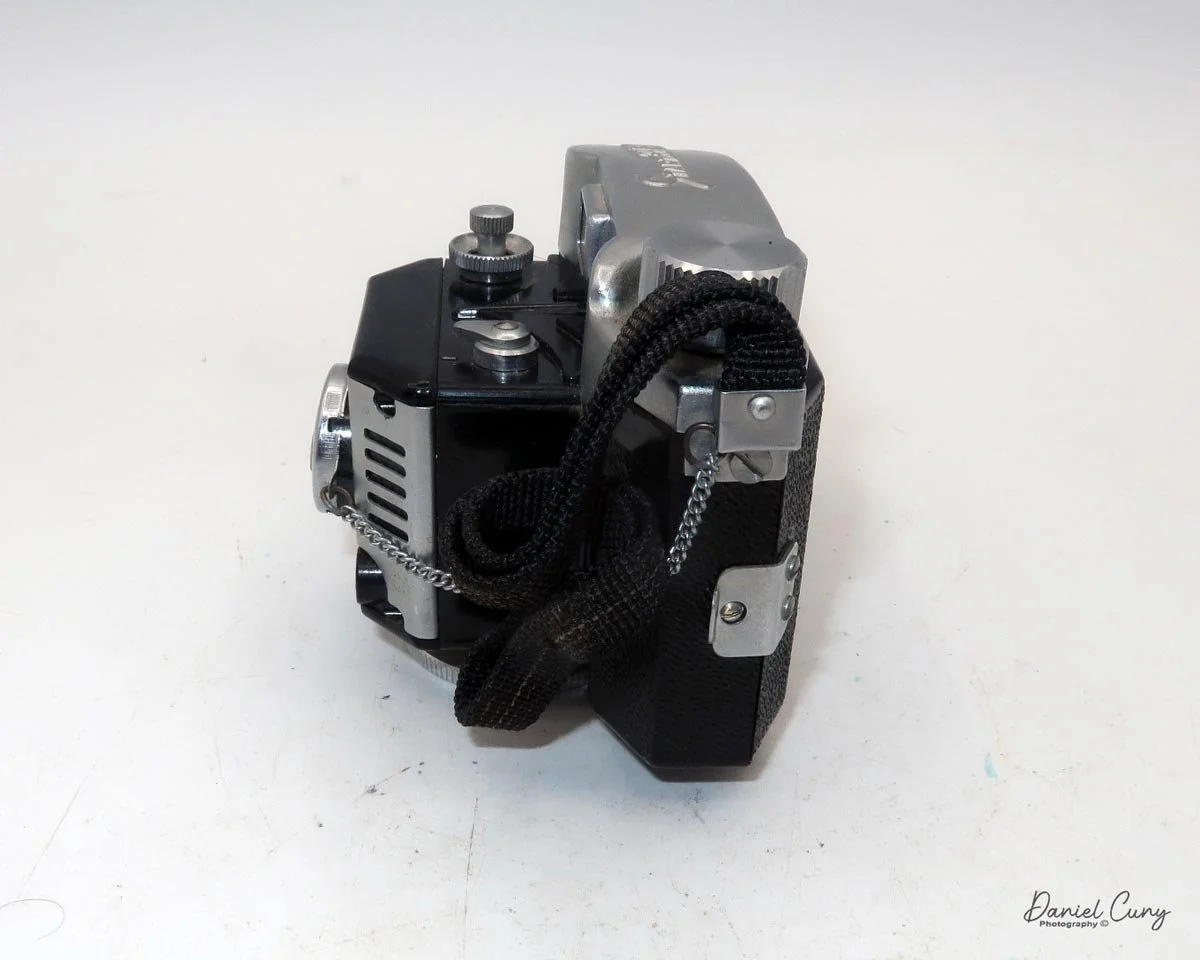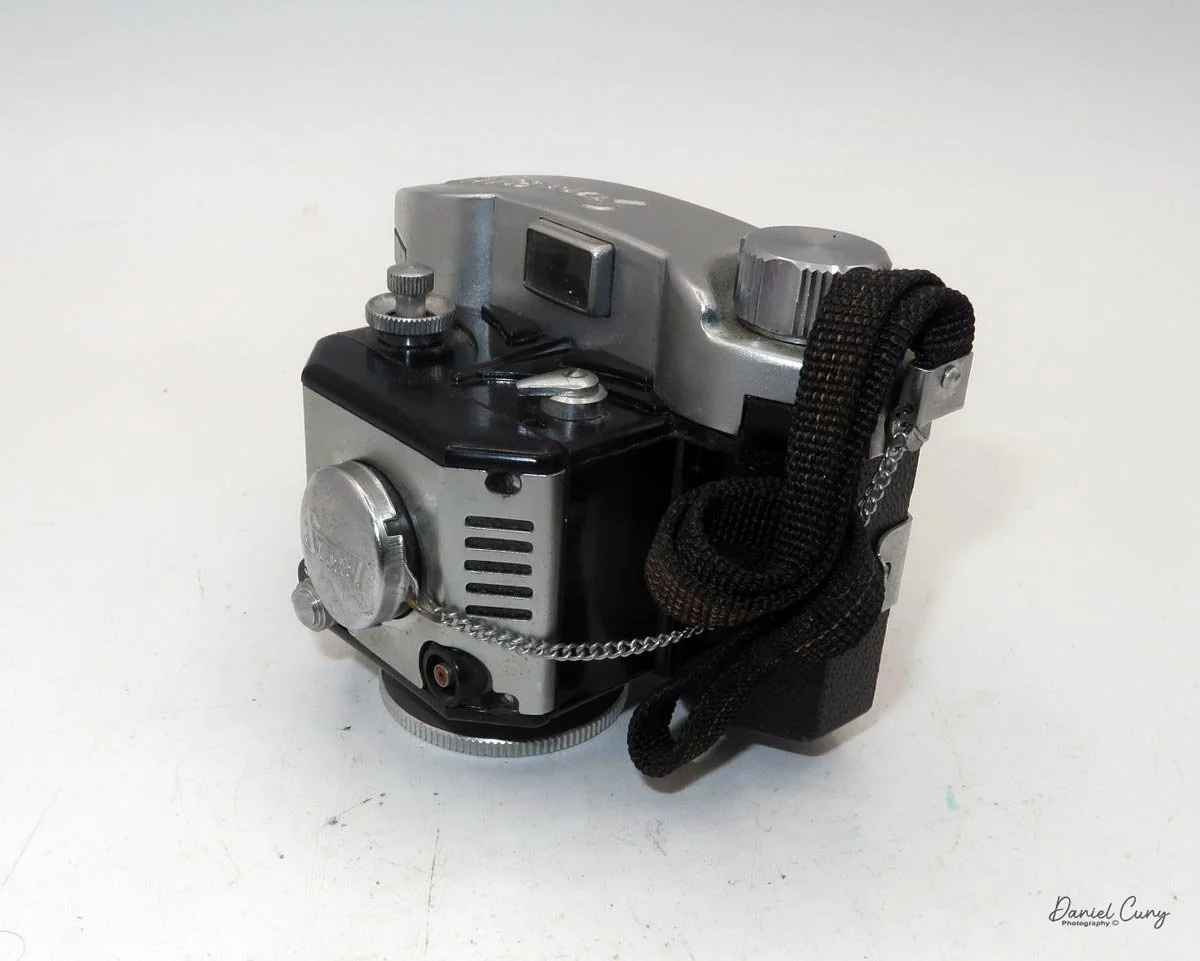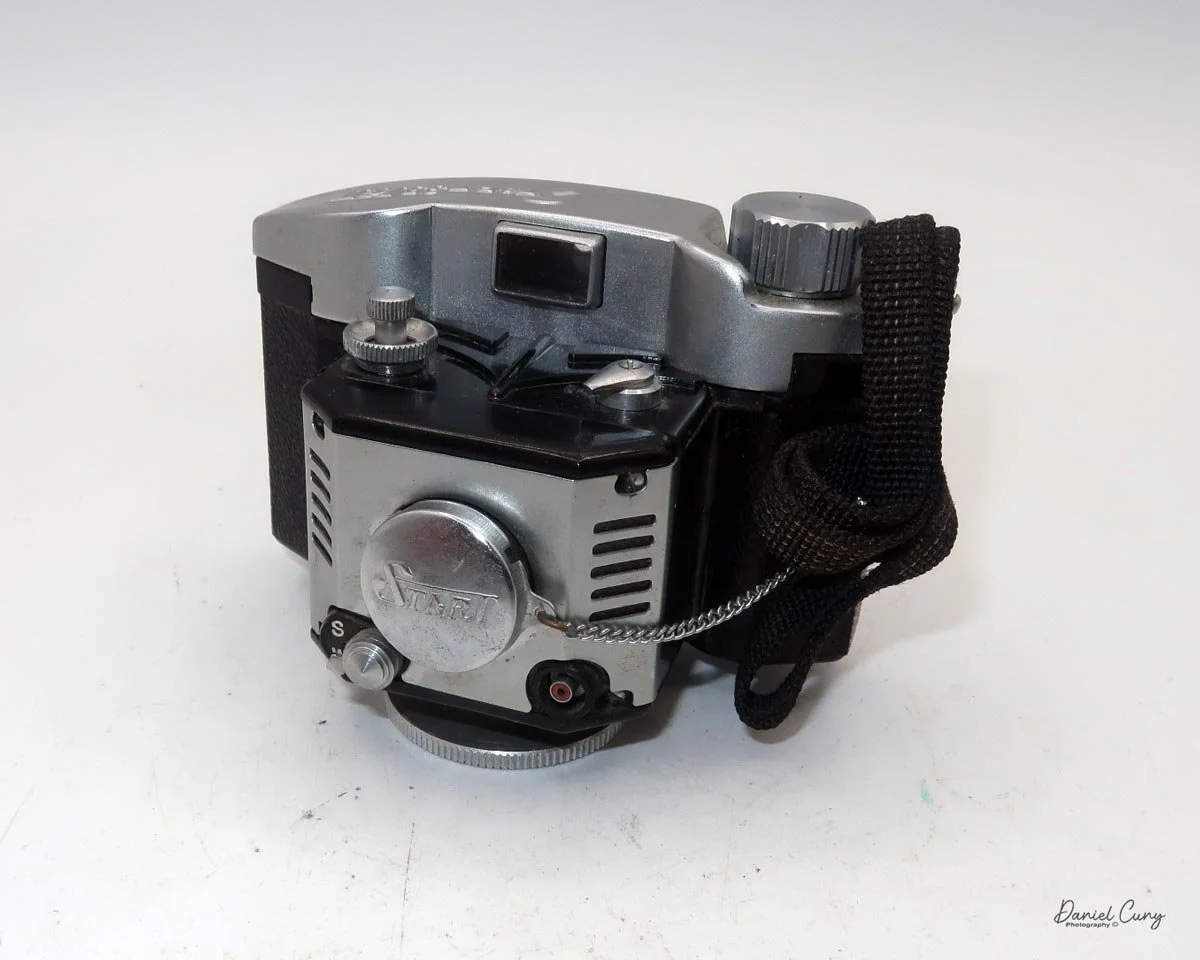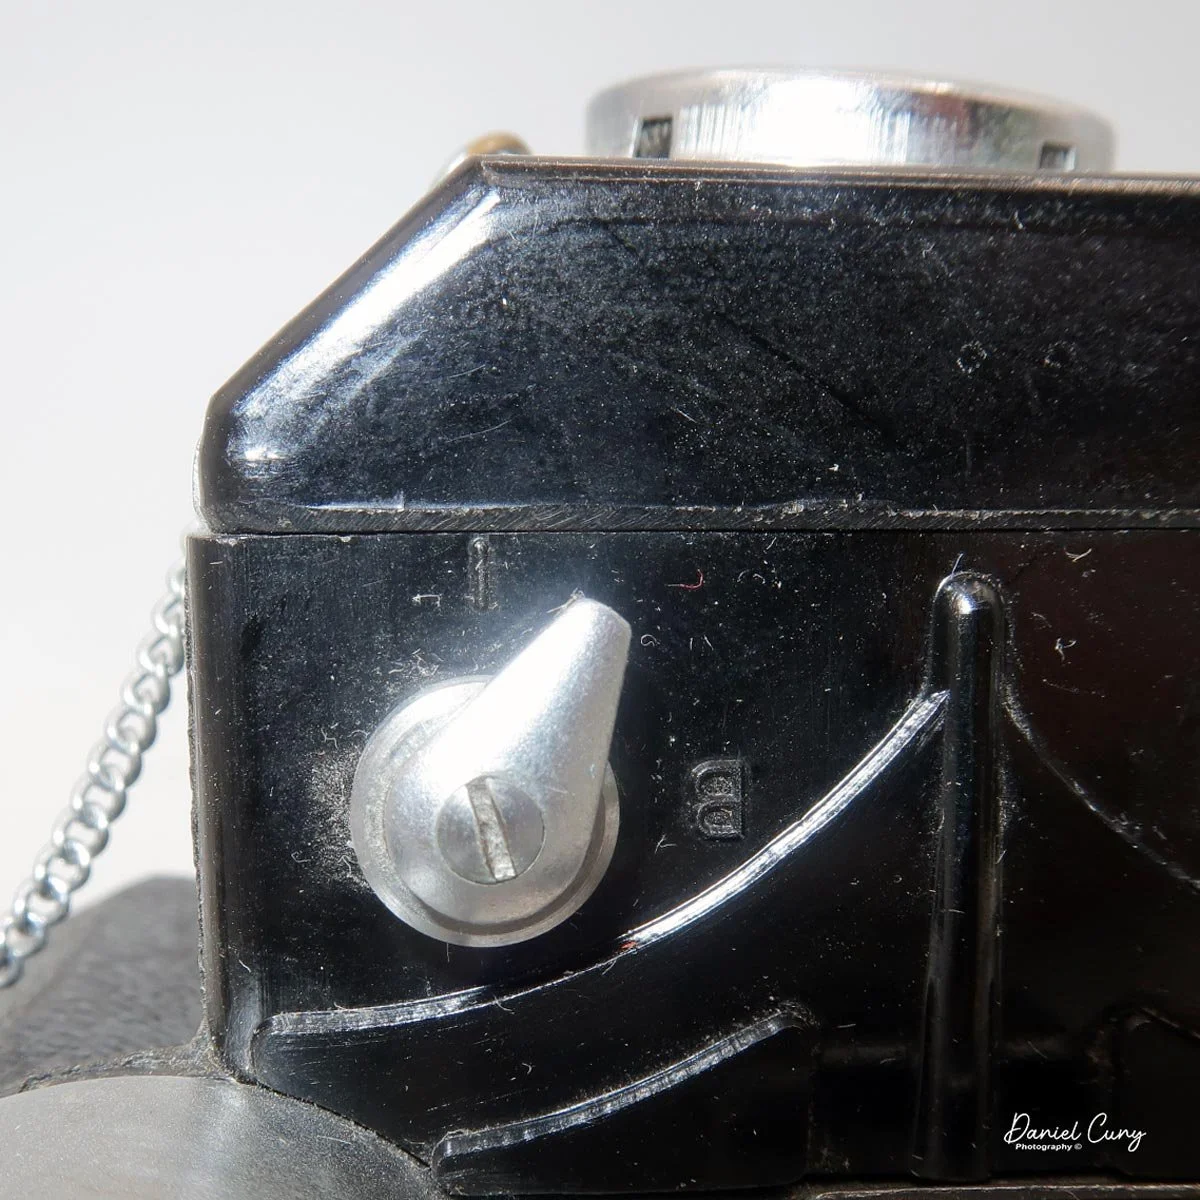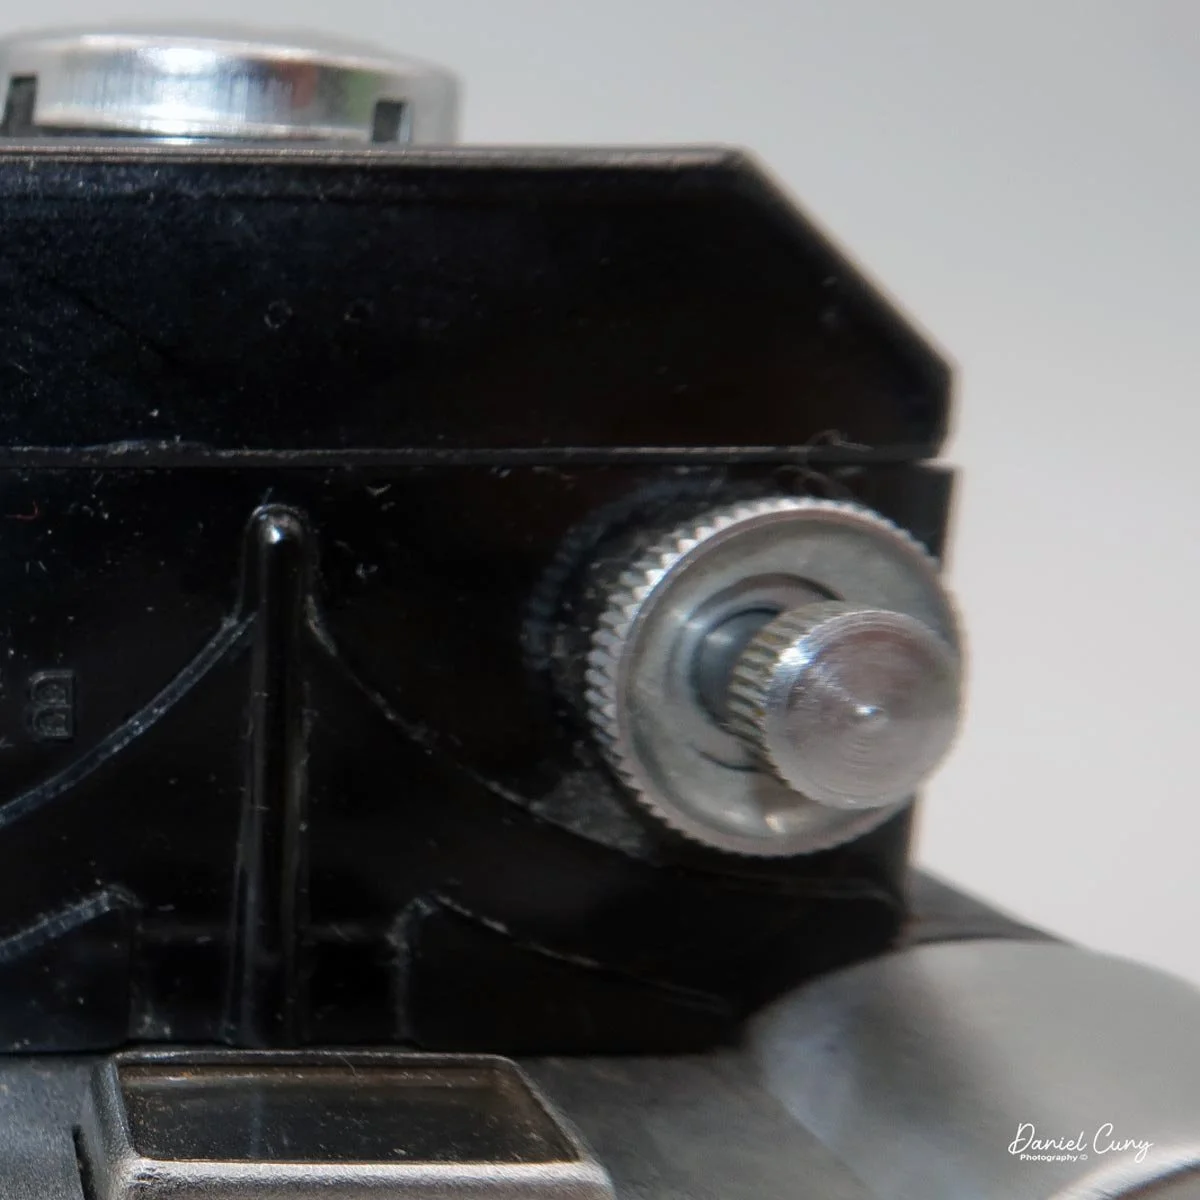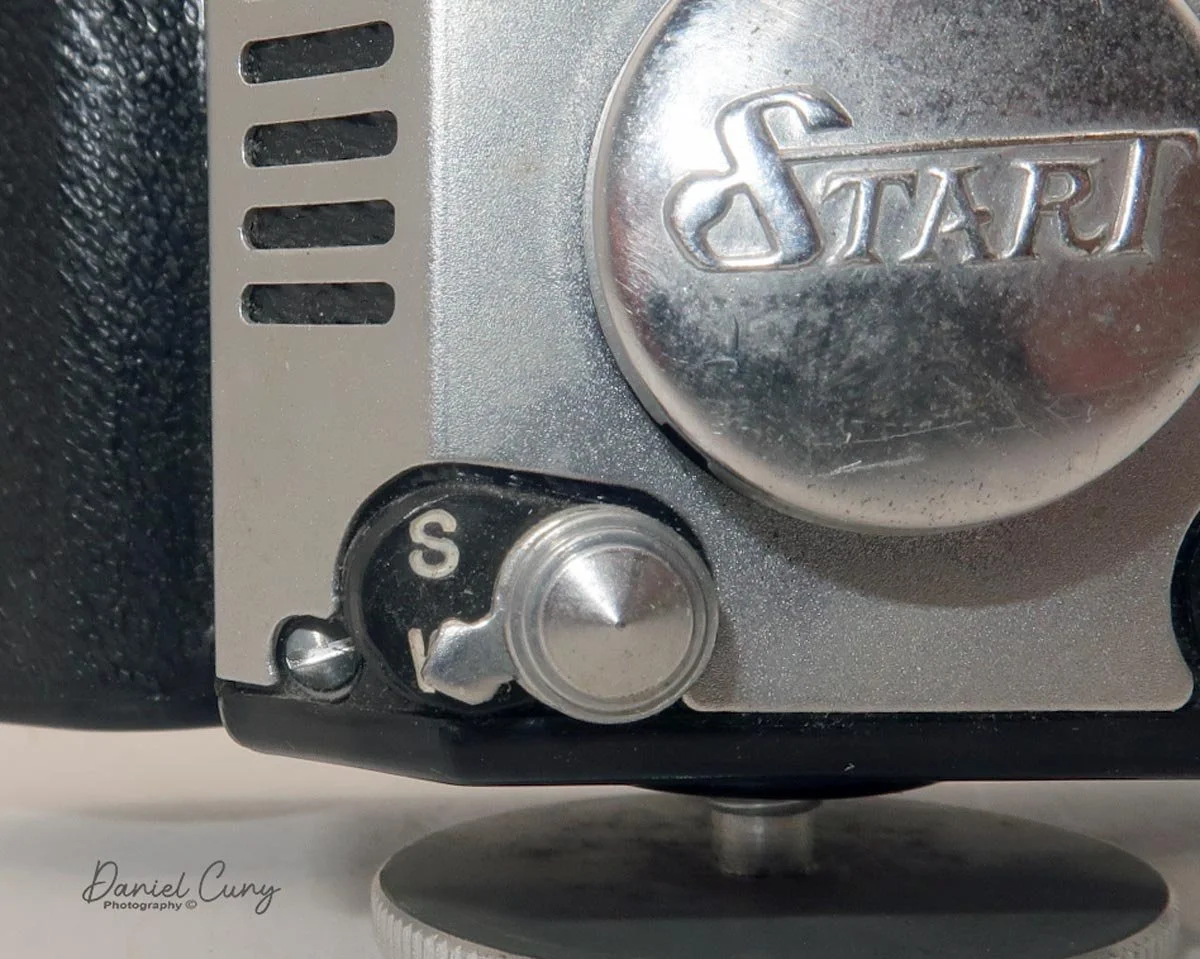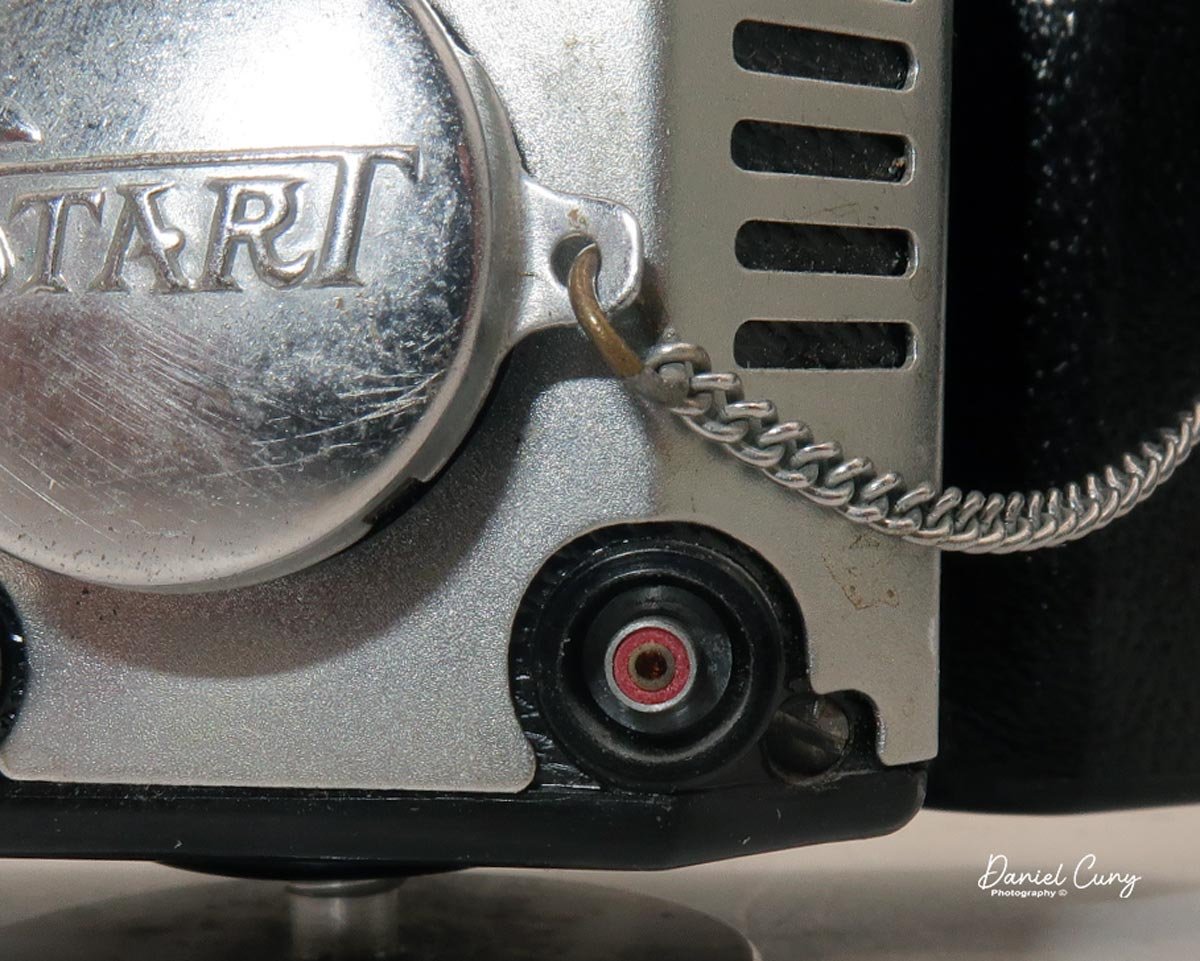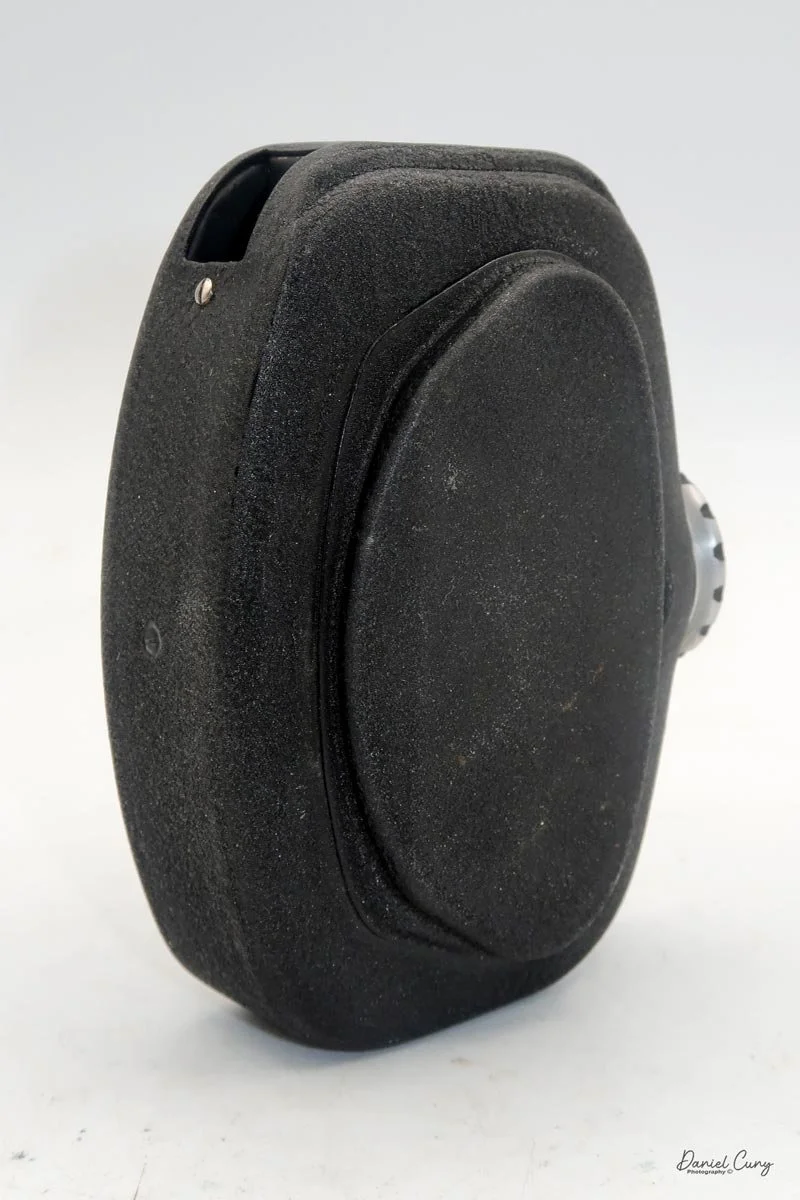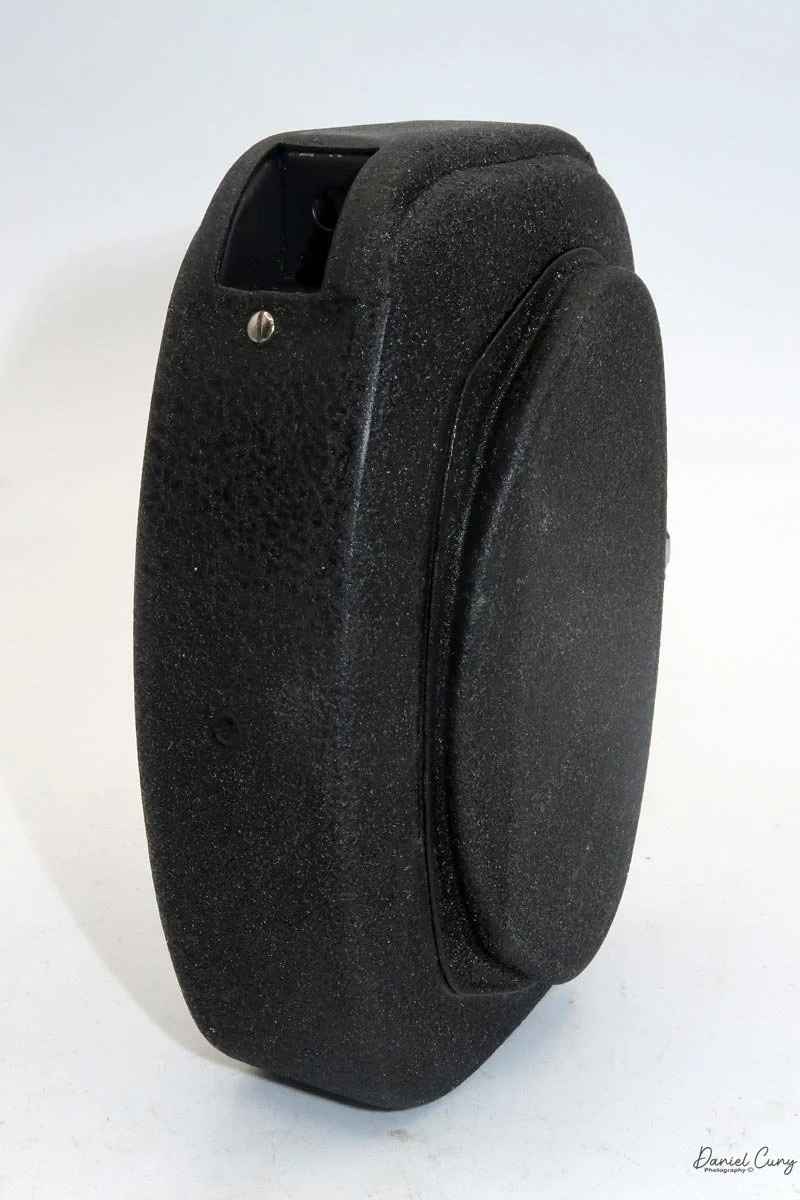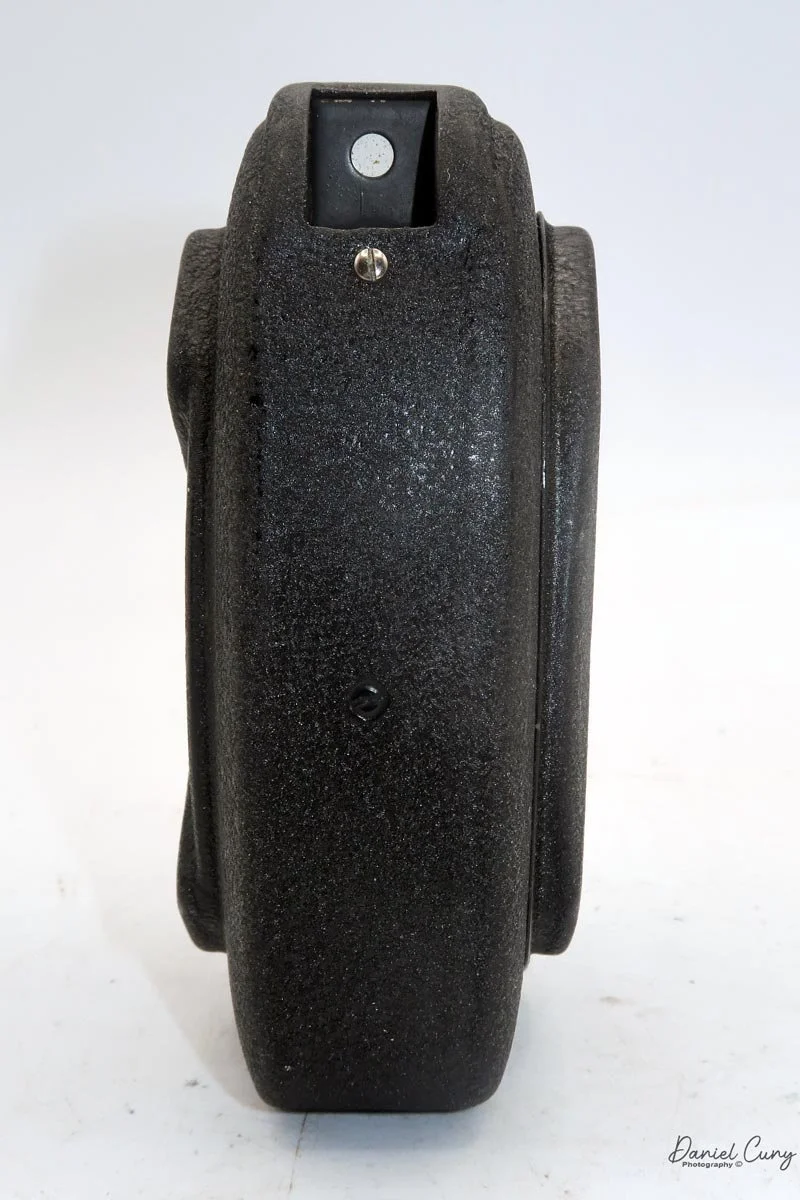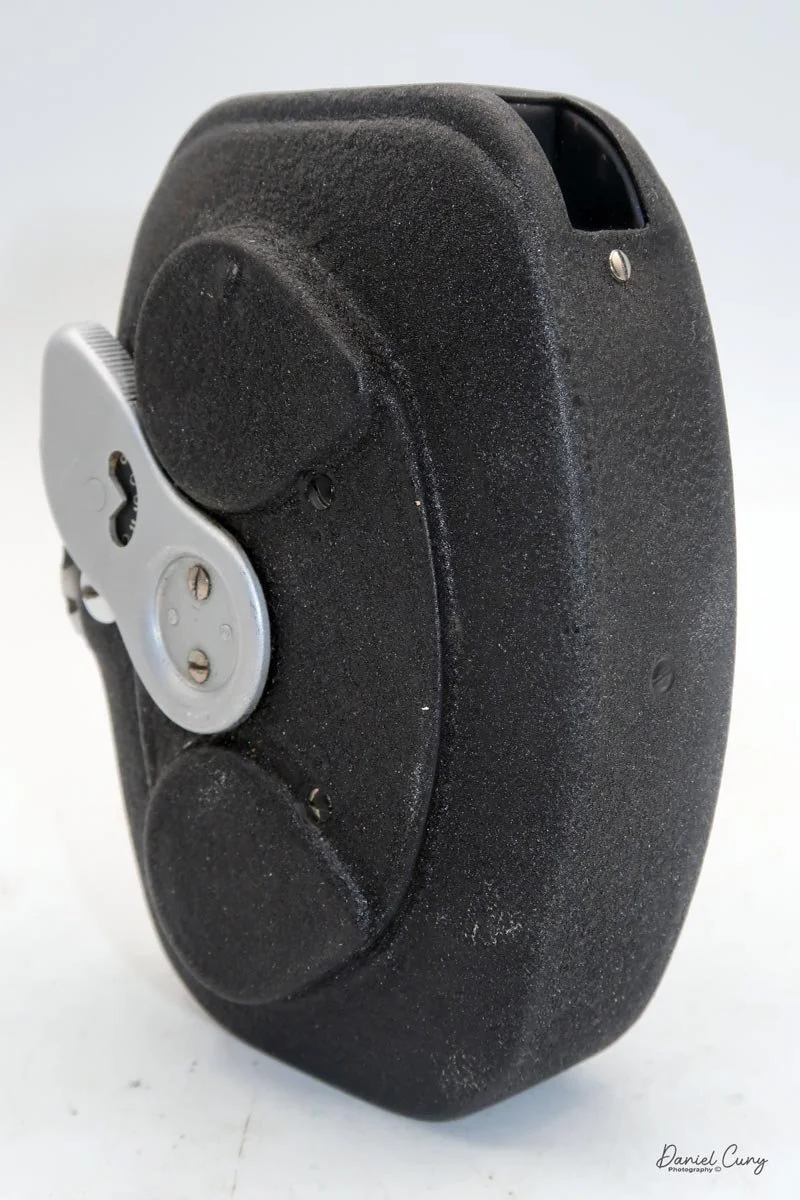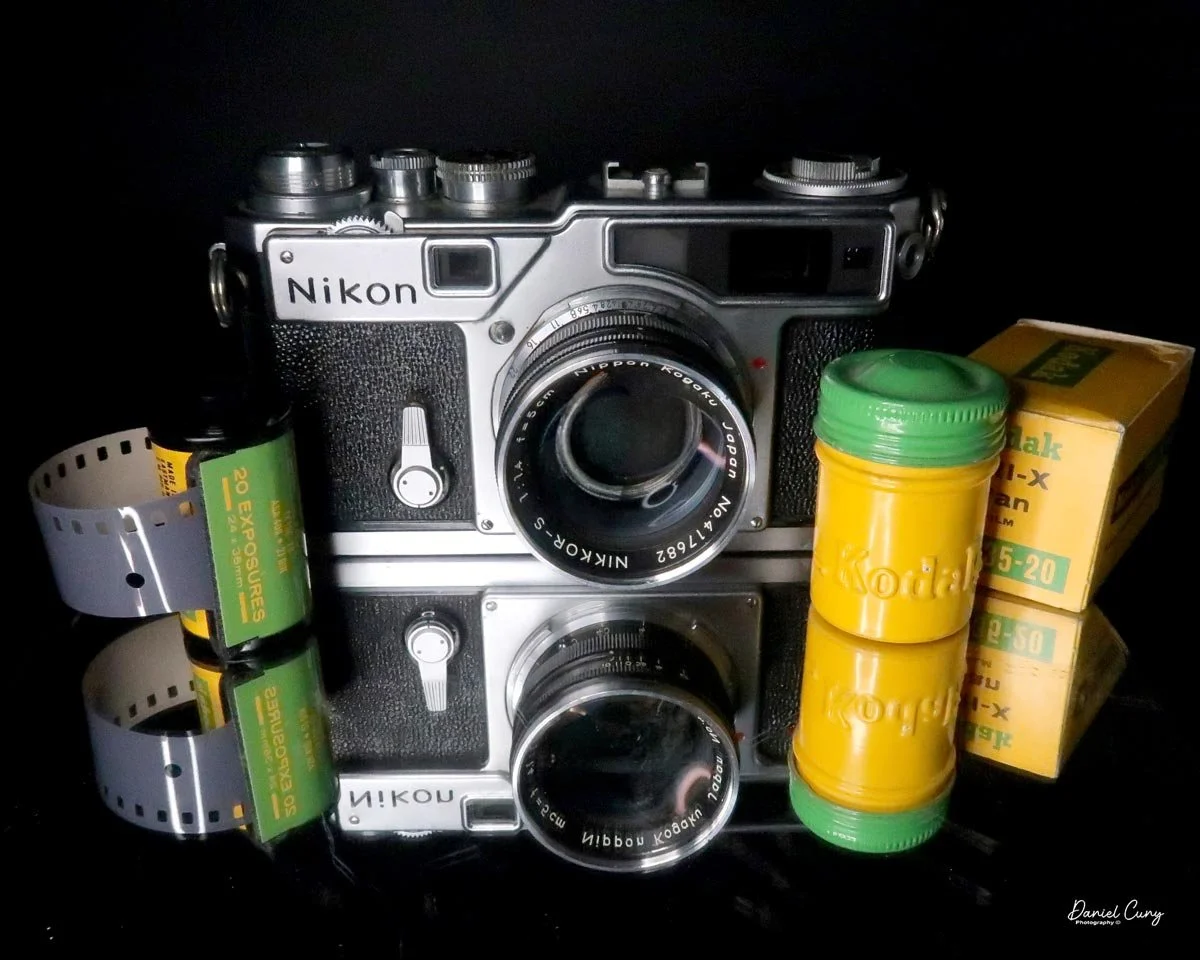
Nikon SP camera

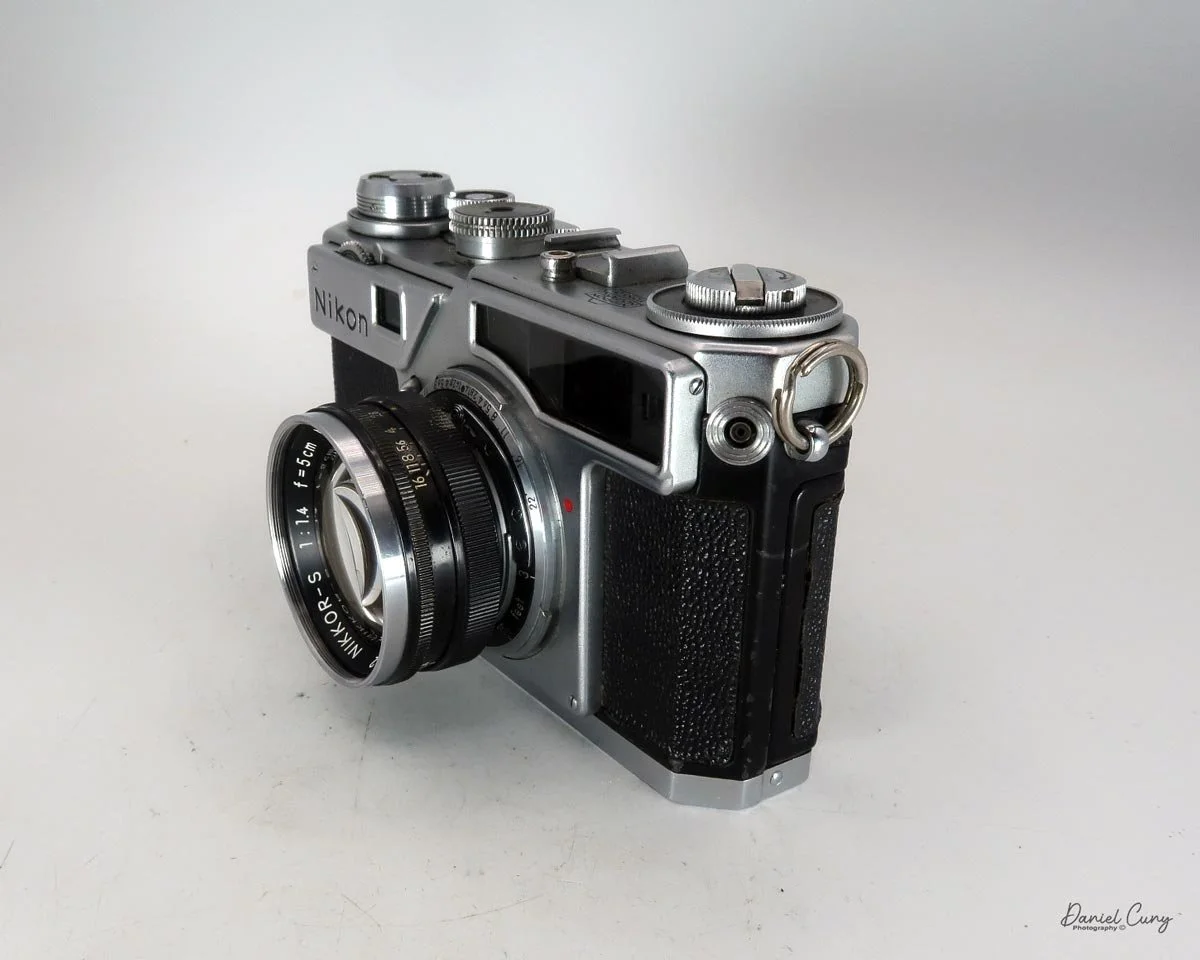
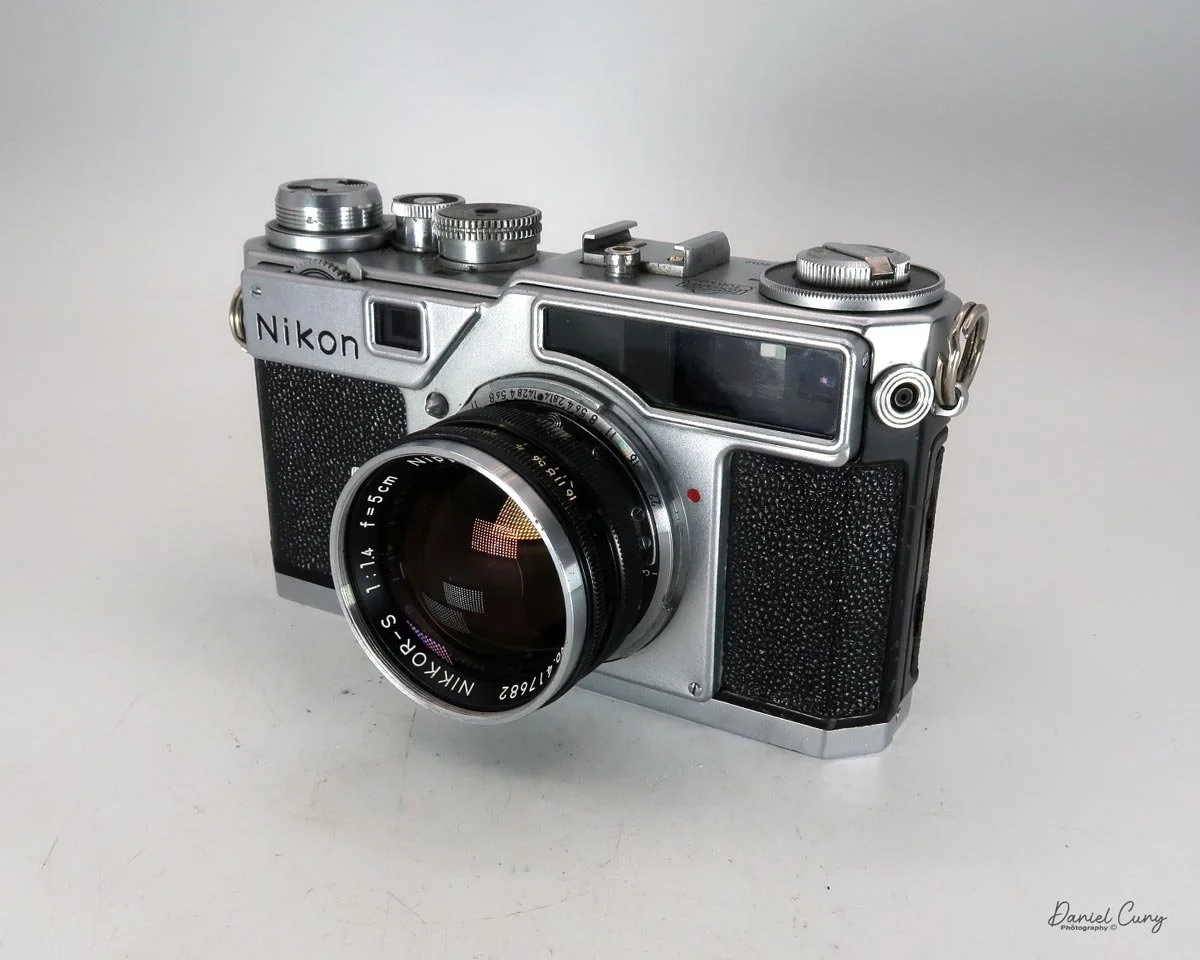
My Nikon SP camera

As a Nikon photographer since my early career—starting with Nikkormat cameras and moving on to the Nikon F series in the early 1970s—the early Nikon rangefinder cameras have always intrigued me. I view them not necessarily as "shooting" cameras, but more from a collector's perspective.

 I believe this is due to how I learned photography. Having grown up with SLR cameras, I feel more comfortable with a larger, brighter viewfinder. I always found it difficult to focus a rangefinder-style camera, especially in darker, low-light situations. Finding the yellow area to bring into focus was always a challenge for me. However, as I became more accustomed to them, I learned to look for someone's eye, the edge of a leaf, or any sharp contrast to bring the two images into one.

 When you shoot with a rangefinder-style camera, you (or at least I do) really appreciate its quieter shutter system. You only hear the low click of the camera's shutter opening and closing, without a mirror clunking up and down during the exposure. This can be extremely helpful, especially when photographing someone in a quiet setting. I learned this the hard way when I was photographing a musician in a small, café-style venue. My SLR was way too noisy, and some of the audience actually shushed me. It was very embarrassing, to say the least!

 Another advantage of the rangefinder style is its compactness. Because these cameras lack a mirror system, they are considerably smaller, less bulky, and lighter. This goes for their lenses, too. Their compact nature allows a photographer to either pack more gear into the space normally reserved for an SLR, or use a smaller bag—saving your shoulders and back from the strain of a large, heavy system.

 I was lucky when I found my Nikon SP. While I already owned several different Nikon rangefinders at the time—mainly earlier models like the S and S2—the SP was always out of reach due to the financial responsibilities of raising a family and owning a home.
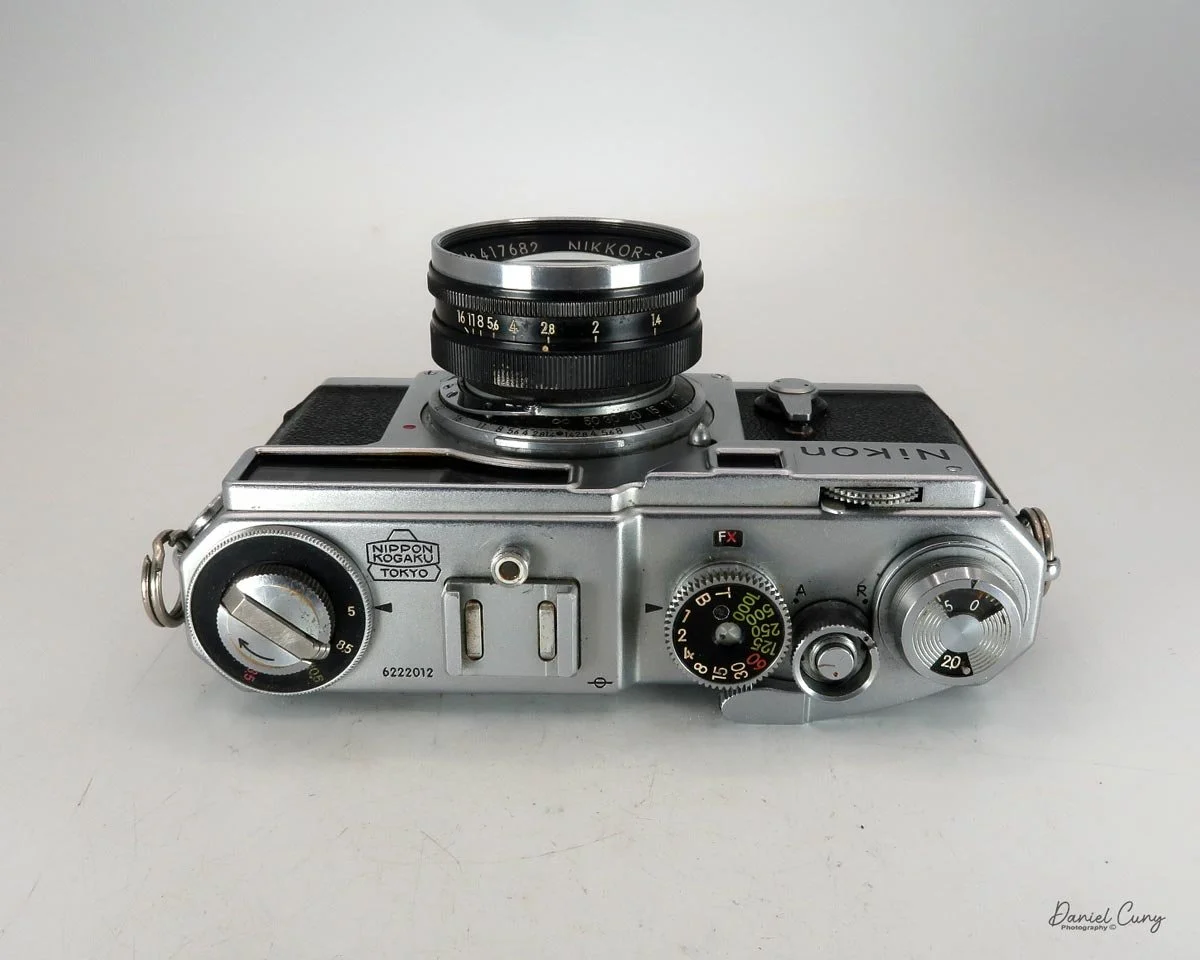
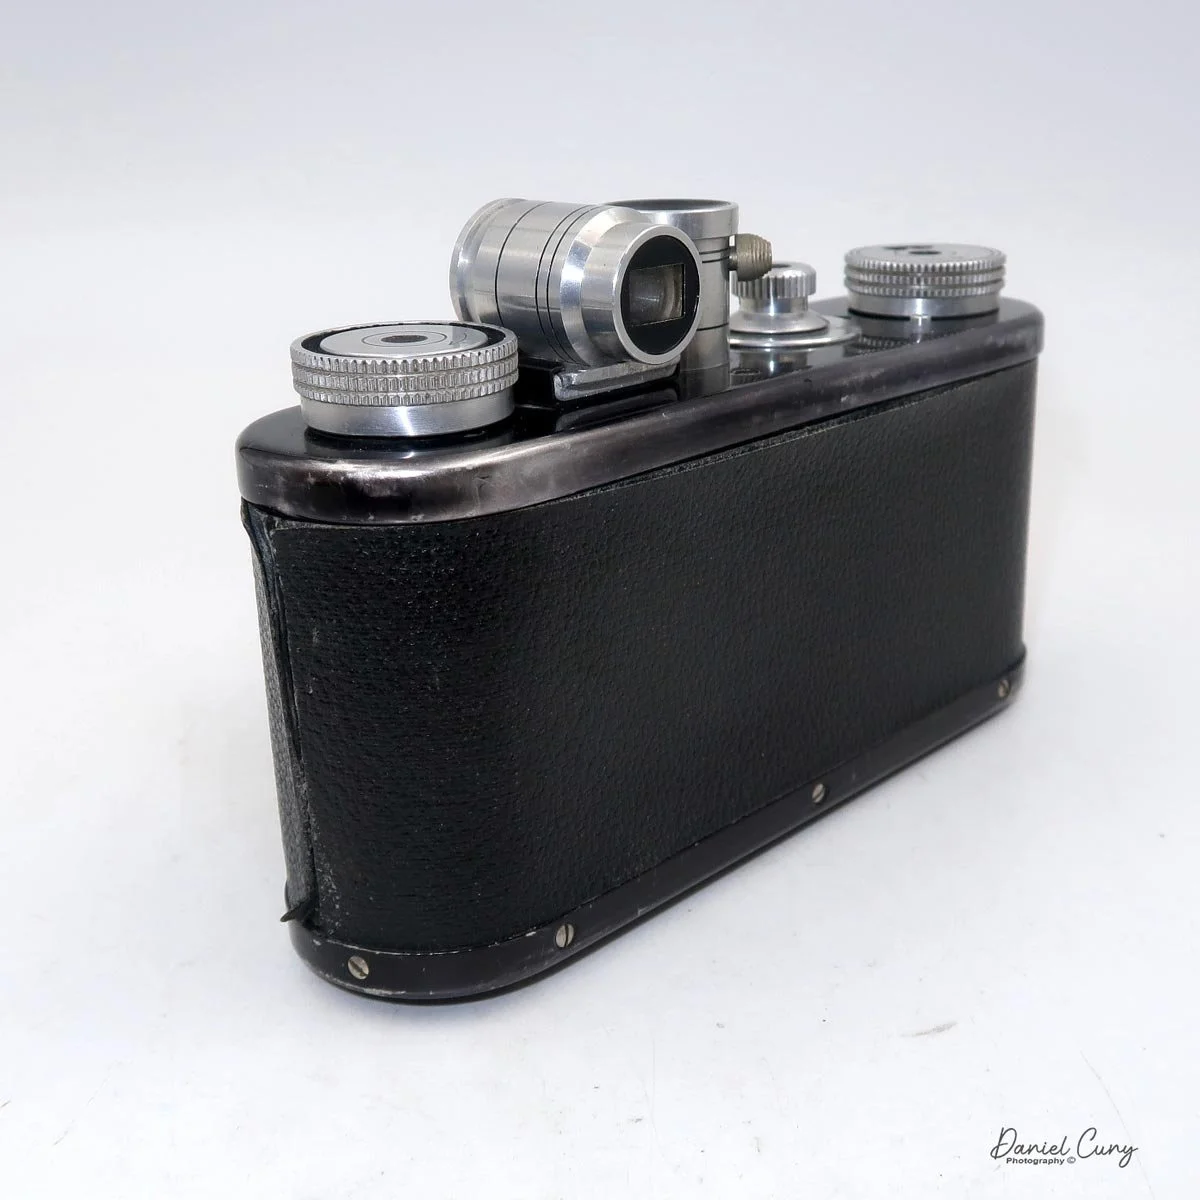
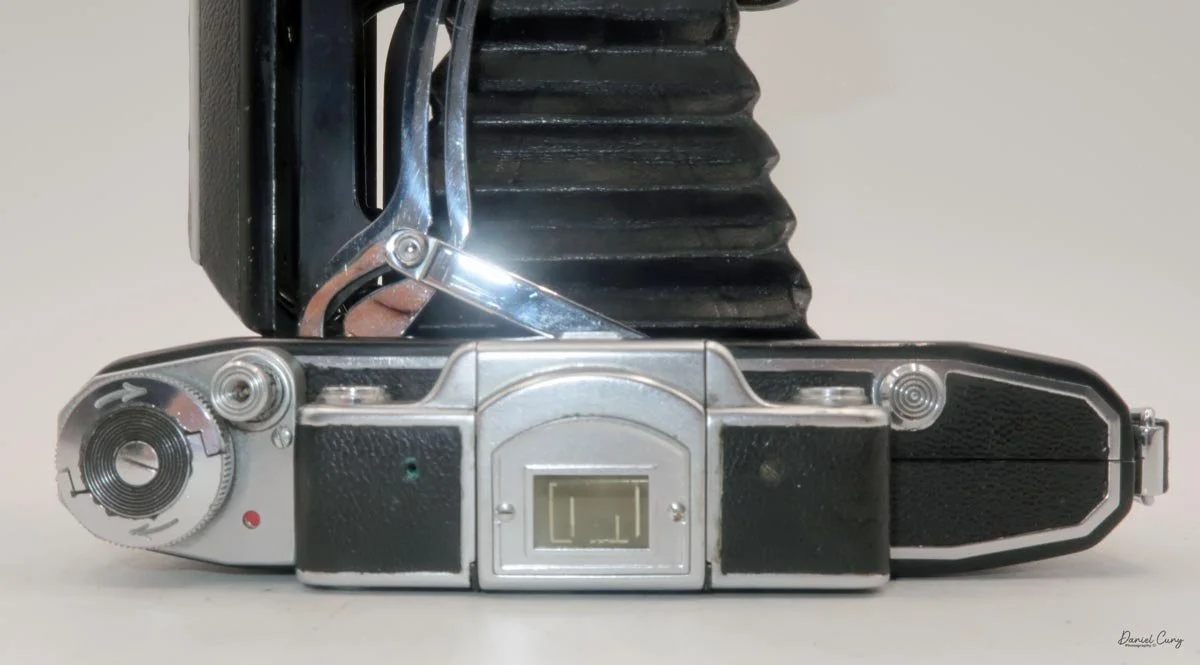
Top view of the Nikon SP camera

After several years, with a bit more financial freedom, I found a Nikon SP in great working condition. The shutter appeared to have been serviced, and while the camera had its normal slight scratches and small dings, it was selling for a great price. I pulled the trigger and purchased it, hoping to shoot with it more often.

 When the Nikon SP arrived, it was in exactly the condition I expected from the photos. The lens was very clean and even included a protective filter from a different manufacturer, which had done a great job keeping the glass free of scratches. The camera felt incredibly comfortable in my hands, especially after holding so many Nikon SLRs over the years. Now, it was just a matter of reacquainting myself with the rangefinder and the dual viewfinder—which I knew might be a challenge following my recent eye surgery.

 The surgery has made me more of a "left-eyed" shooter, as the sharpness in my right eye had been failing for years. While the procedure helped, my vision isn't quite what it was 20 or 30 years ago. It's not a big deal; it just means getting used to bringing the camera up to my left eye after using my right for so long. At the very least, my images have been sharper ever since I made the switch.

 I really enjoy taking my Nikon SP out for a spin a few times a year. In fact, I'm somewhat shocked I haven't written about it before now! During the week, I often brainstorm which camera to feature in my next blog. Last week, the SP popped into my head, and I felt there was no better time to write about one of my absolute favorites.

History

Nikon's rangefinder cameras began as a postwar effort by Nippon Kogaku to enter the 35mm market. They quickly became the foundation of the brand's reputation for precision optics and rugged construction. The original Nikon, later called the Nikon I, was approved in 1946, manufactured starting in 1948, and sold later that year. It used a Contax-inspired mount and a compact rangefinder body that looked unlike anything else coming out of Japan at the time.
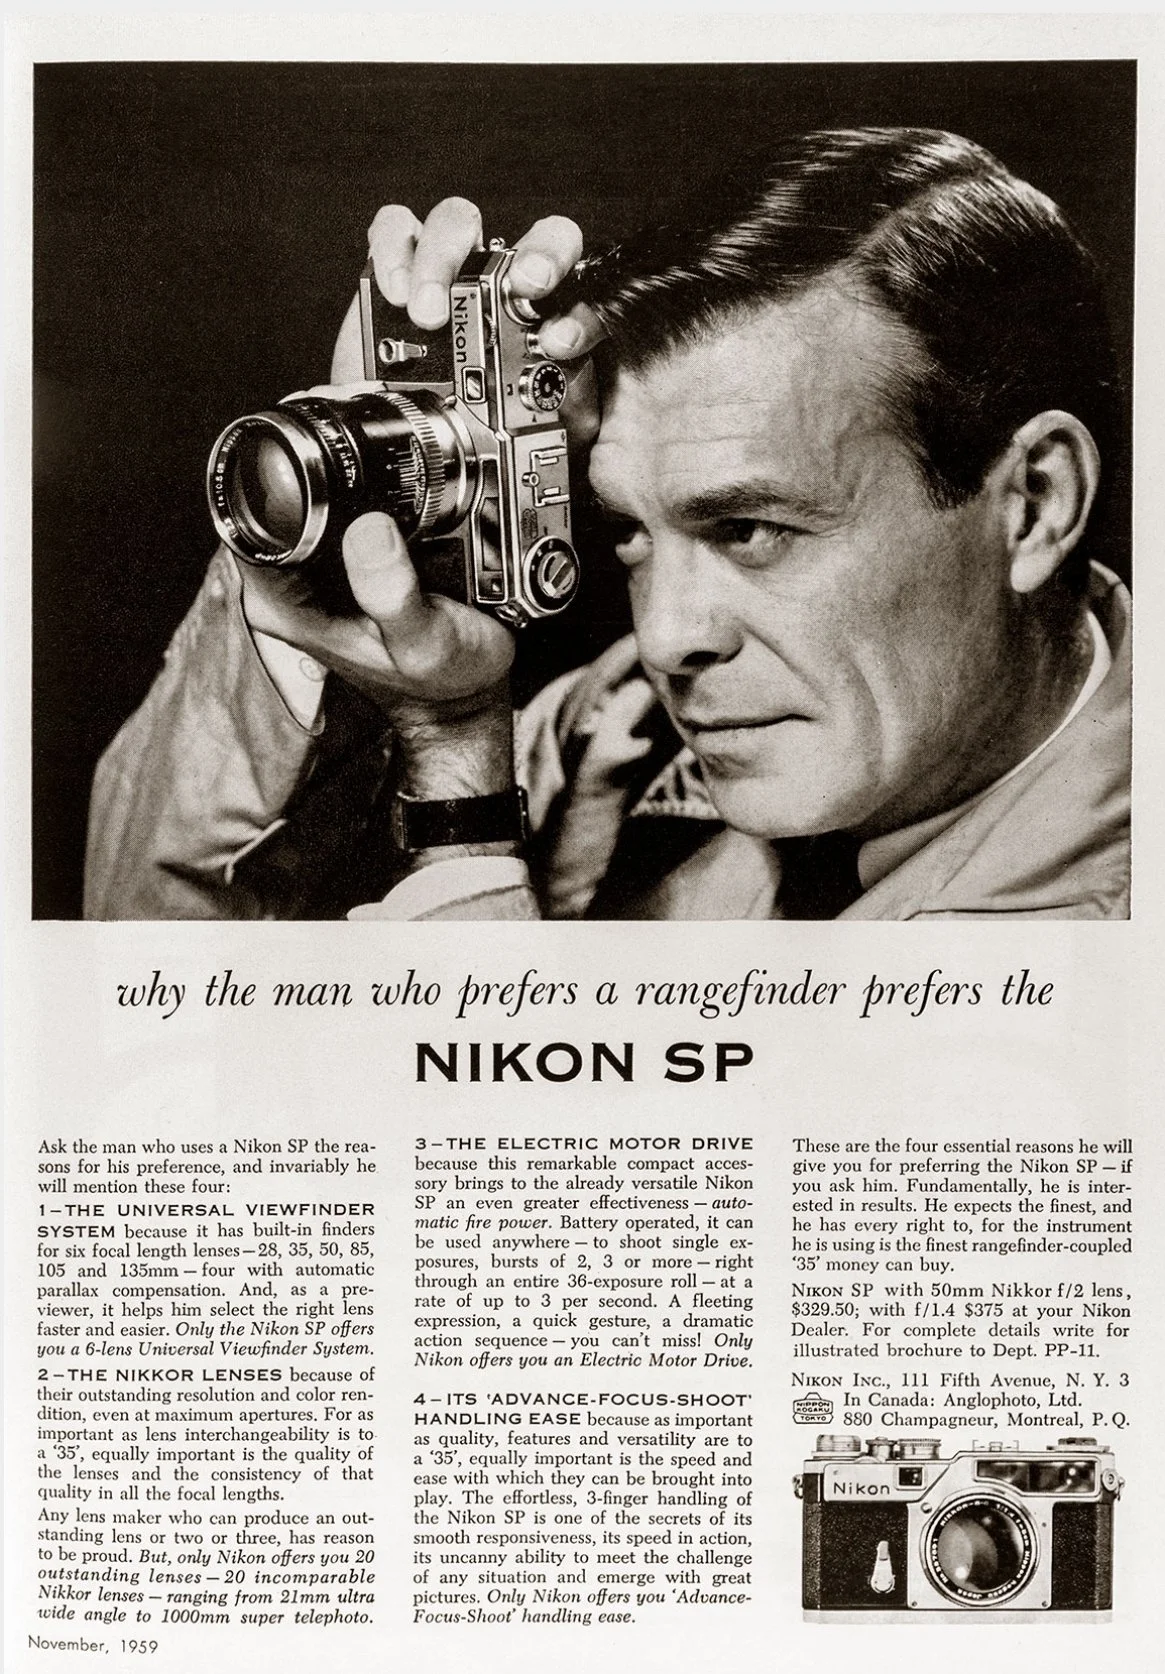
Advertisment for Nikon SP camera

 A key early turning point came with the Nikon M in 1949. Nikon had originally used a 24 x 32mm frame size, but export concerns pushed the company to revise the film gate and related mechanics. This created the M with a 24 x 34mm format that was more acceptable in overseas markets. That change helped Nikon gain traction outside Japan, especially as American photographers began to notice the quality of Nikkor lenses in the early 1950s.

 The 1951 Nikon S was the model that broadened Nikon's presence in the West, establishing the company as a serious contender in professional photography. Nikon kept refining the line throughout the 1950s with the S2, S3, S4, and SP, gradually improving usability and standardizing the full 24 x 36mm frame from the S2 onward. The SP, in particular, became one of the most admired Nikon rangefinders because of its advanced finder system and professional ambitions.

 What made these cameras historically important was not only the bodies themselves but also the Nikkor lenses mounted on them. Reports from photographers and magazines such as Life helped spread the idea that Japanese lenses could rival or surpass the best German optics, which was a major shift in postwar camera culture. Nikon rangefinders also became associated with news and documentary work, building credibility before the company moved into reflex cameras.

 By the late 1950s, Nikon had already used lessons from its rangefinders to shape the 1959 Nikon F, and rangefinder production soon faded as SLRs took over the professional market. Today, Nikon rangefinders are prized by collectors for their place in camera history, their engineering, and their role in Nikon's rise from a strictly optical manufacturer to a global photographic powerhouse.

My Camera

When I received the Nikon SP, it came with the bottom portion of its leather case, though I chose not to include it in the blog photos. My Nikon SP is serial #6222012. The camera measures 5.5" wide (including the strap lugs) by 3.25" tall and 2.5" deep. It's paired with a Nippon Kogaku Nikkor-S 5cm f/1.4 lens, serial #417682. The lens also features a chrome Kenko UV filter specifically made for the Nikkor 1.4, which is stamped directly on the filter ring (not pictured). To adjust the aperture, you turn the ring on the front of the lens.
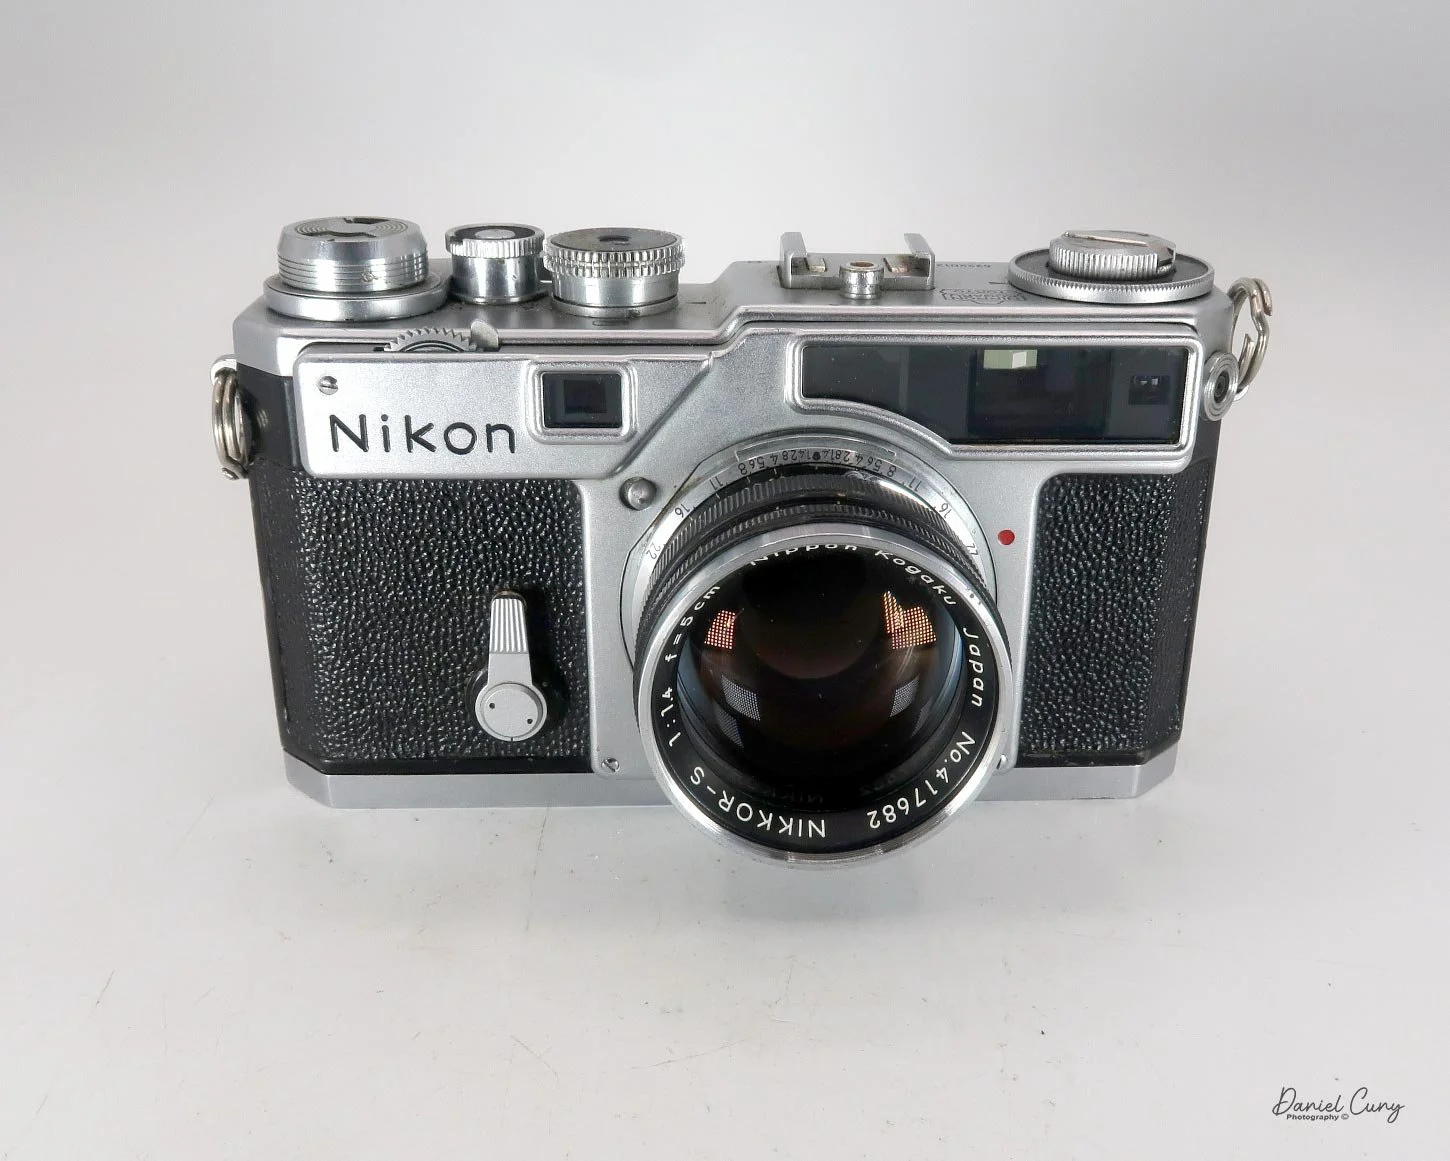
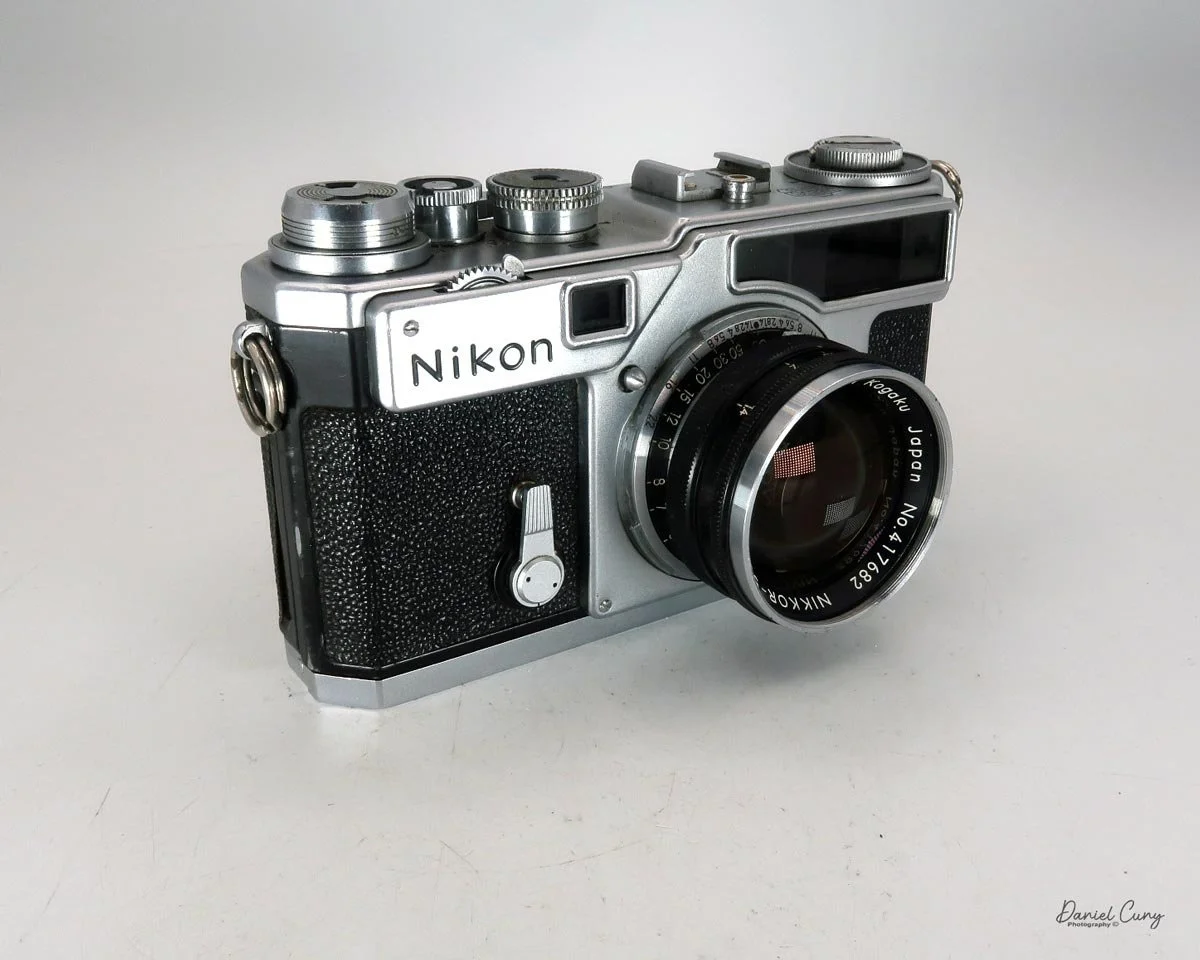
On the front of the camera body is the self-timer—the SP was actually the first model Nikon equipped with this feature. You pull down the lever and press the small button behind it to activate the 10-second delay.

 To remove the lens, locate the small lever just behind the focus ring. Press it in toward the camera body, which allows the lens to be twisted and removed—exactly like the Contax system. To reattach a lens, match the red dot and small tab on the lens to the red dot on the camera body, then turn clockwise until it locks securely into place.
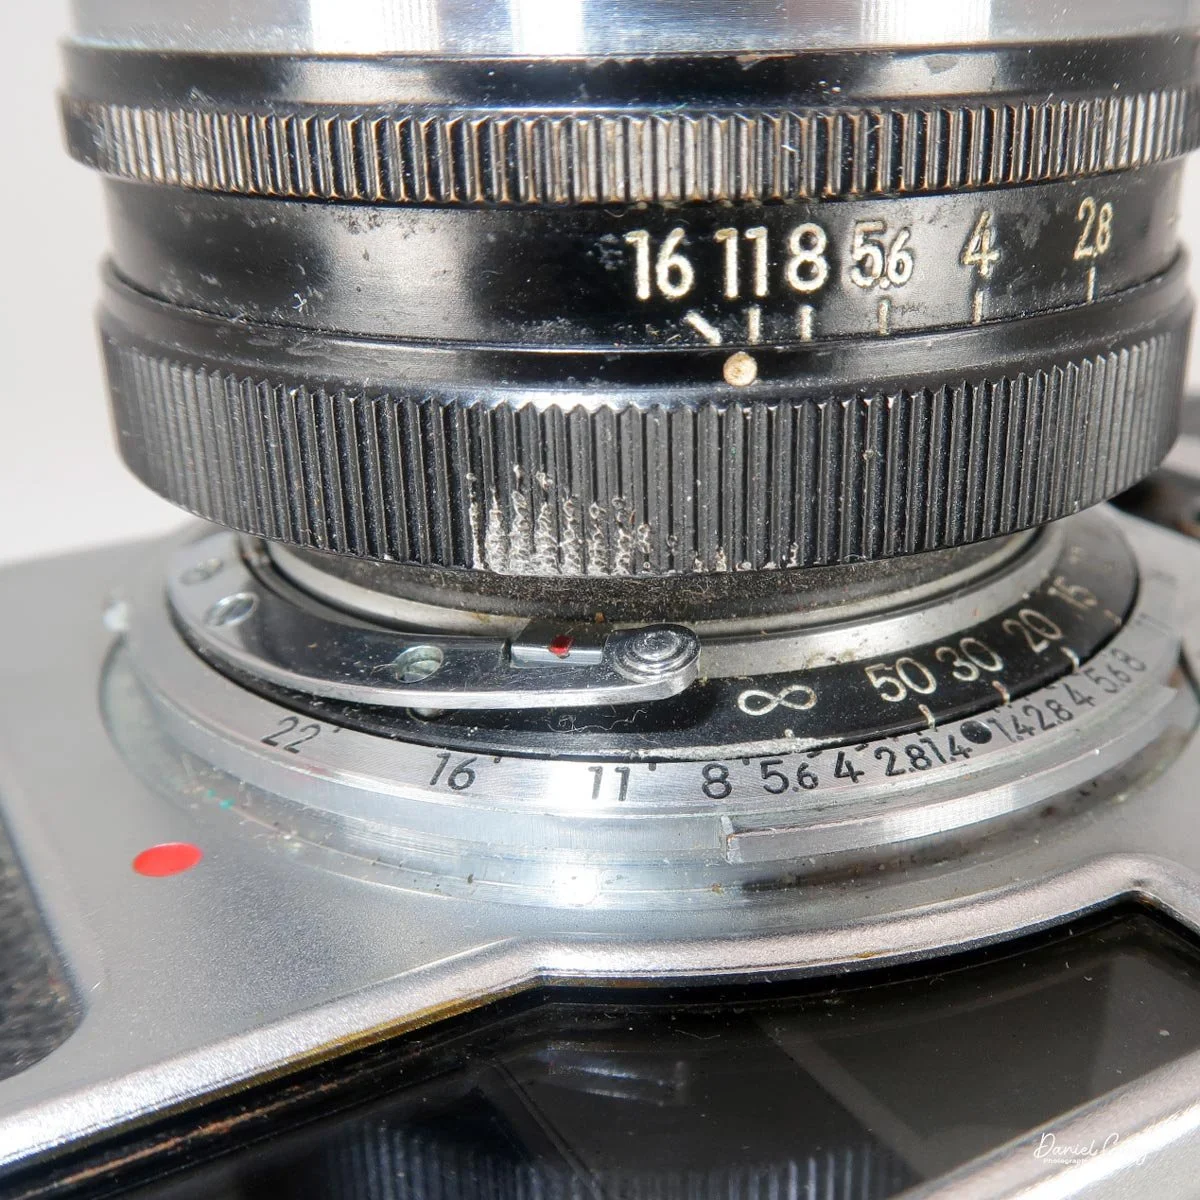
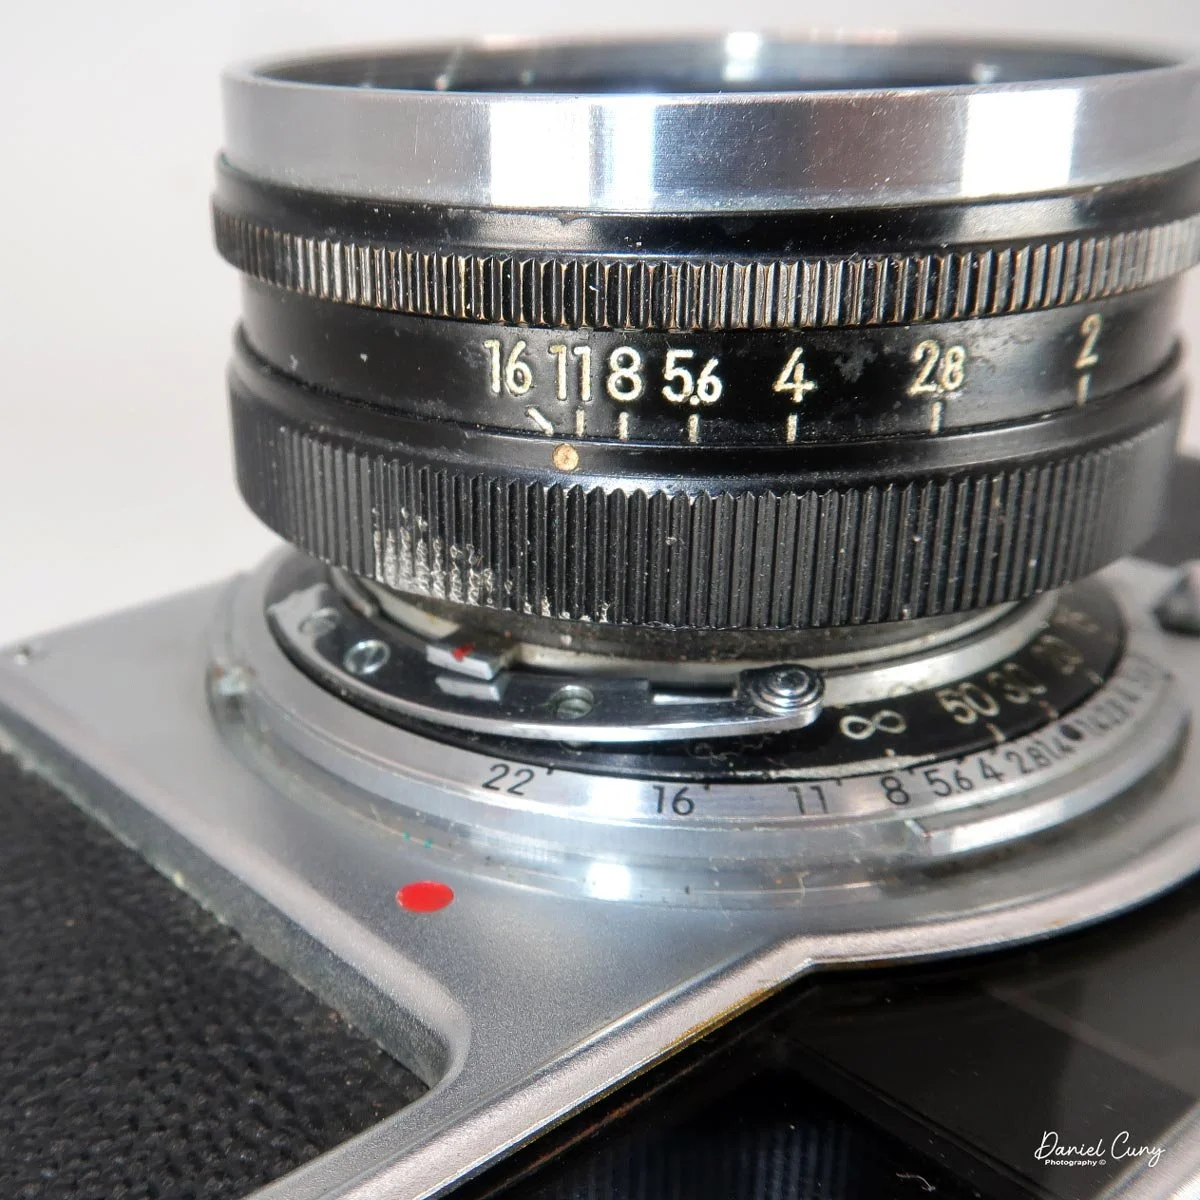
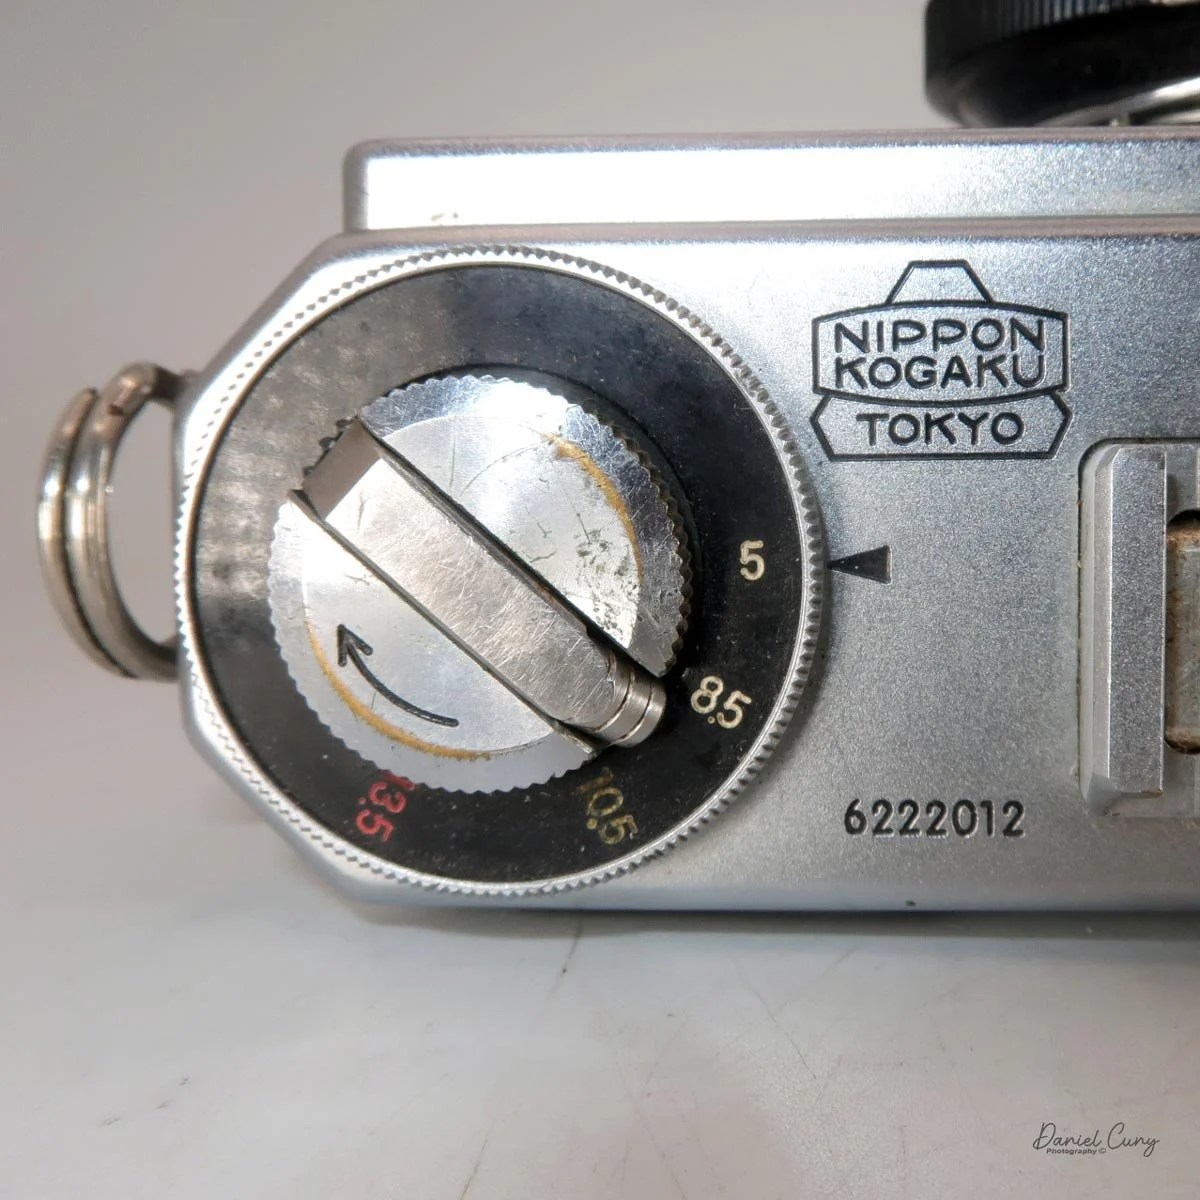
Looking at the top plate, the Nikon SP closely resembles the later Nikon F, except for a wheel on the far left. This wheel adjusts the viewfinder frame lines depending on the focal length of the lens you're using. The settings cover 5cm, 8.5cm, 10.5cm, and 13.5cm lenses. Nestled inside this collar is the film rewind crank. (I'll touch more on the viewfinder a bit later in the article.)

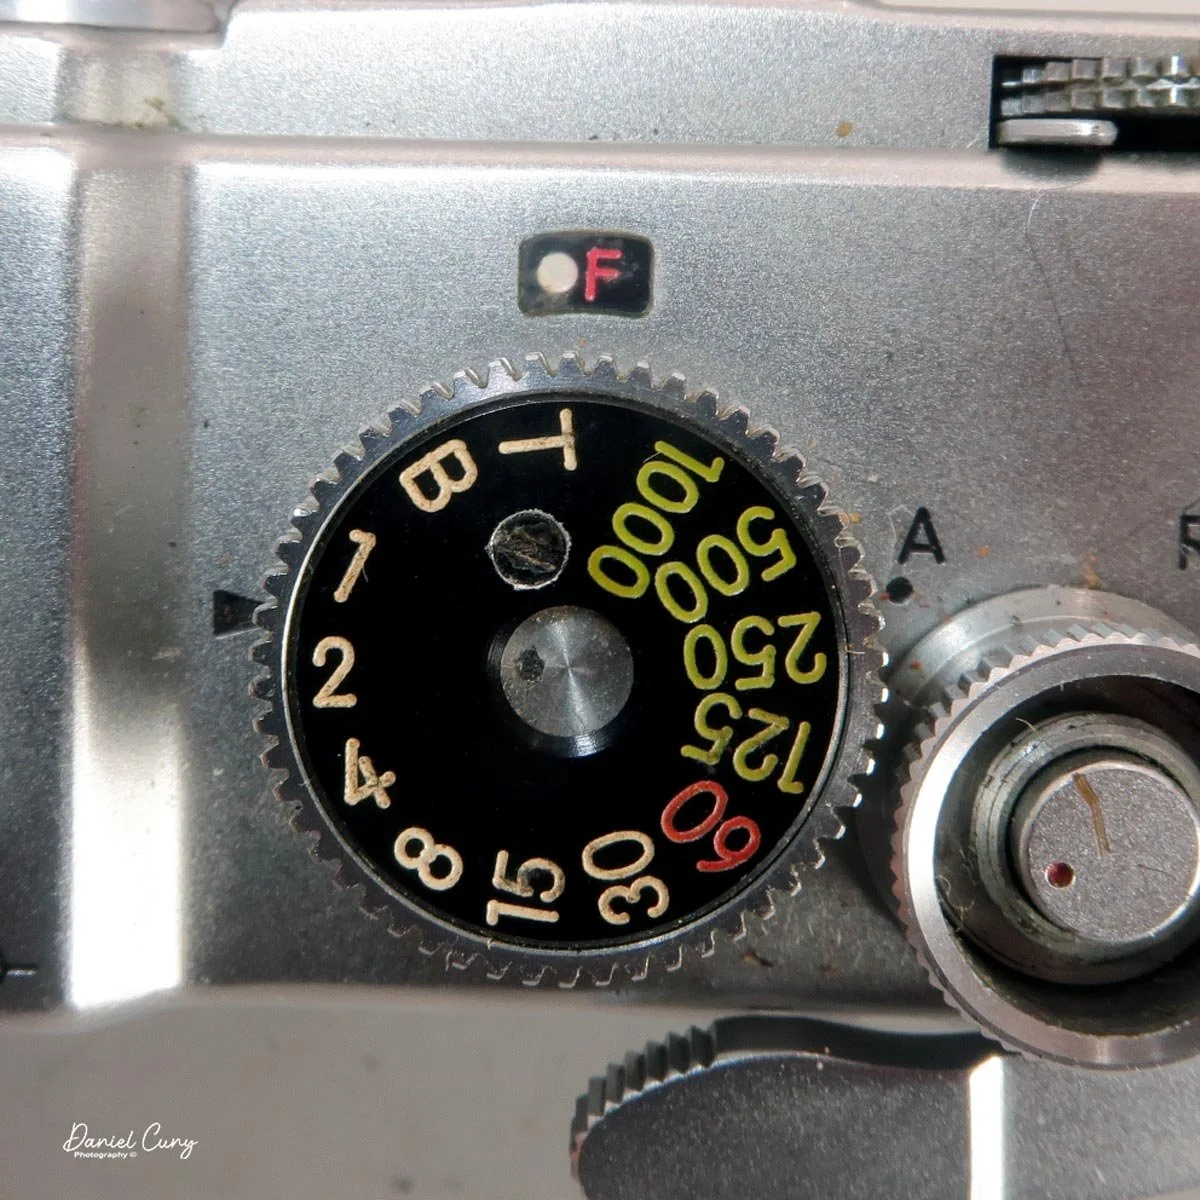
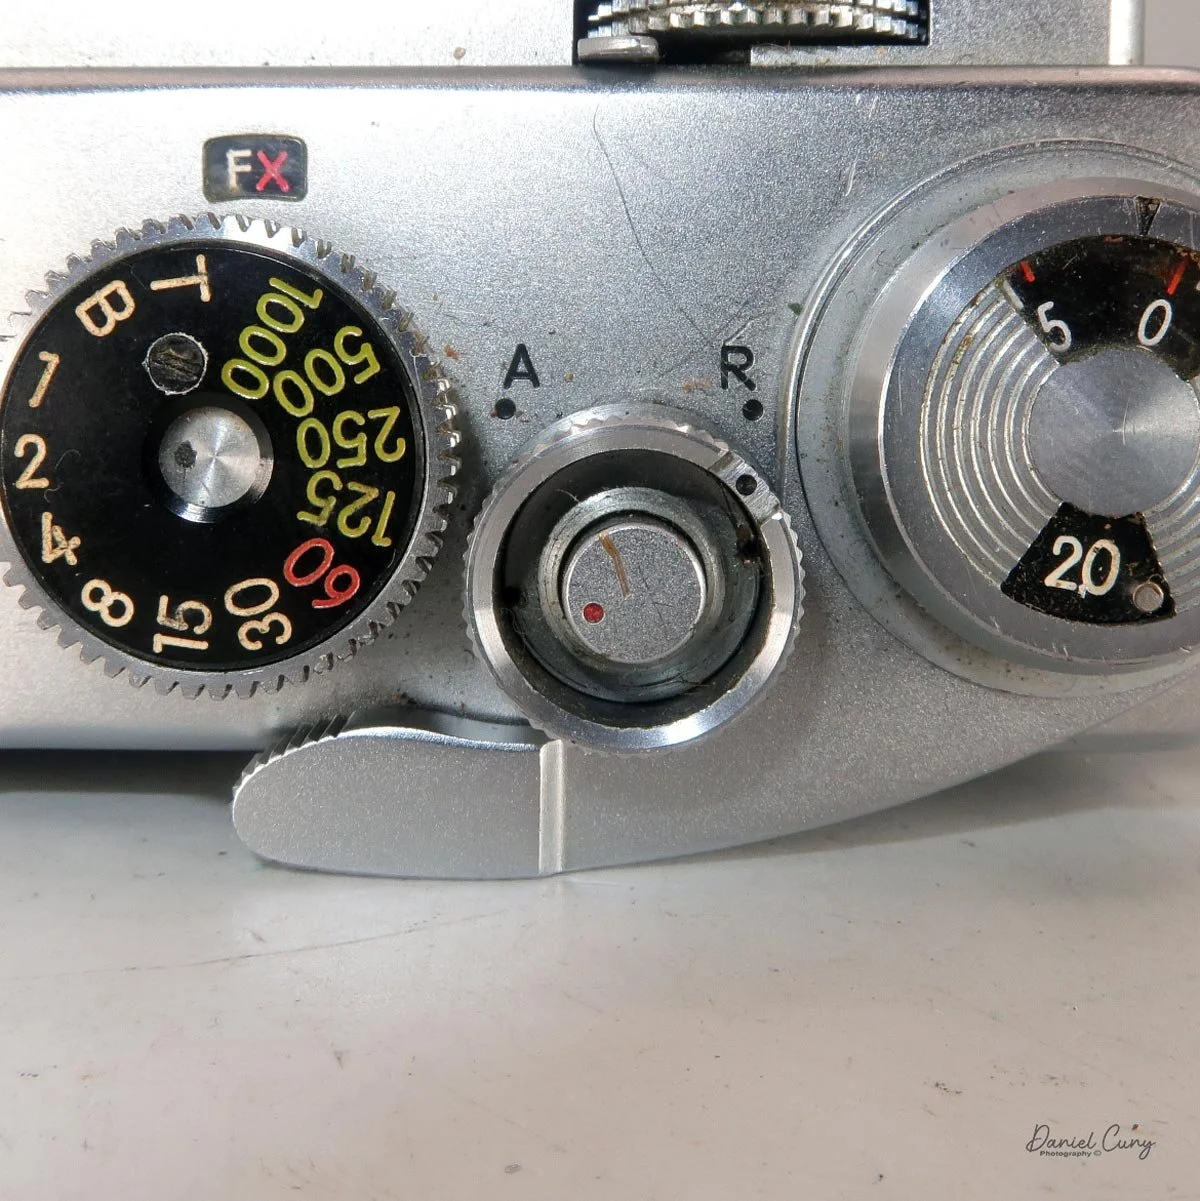
Next to the viewfinder selector wheel is the accessory shoe for a flash, and to the right of that sits the very familiar shutter speed dial. It offers speeds ranging from 1 second to 1/1000th of a second, along with "B" (Bulb) and "T" (Time) settings. Lifting the outer ring on the shutter speed selector adjusts the flash synchronization: "FX" is for standard electronic flash, while the white dot, red dot, and white "F" settings are for syncing various types of vintage flash bulbs.
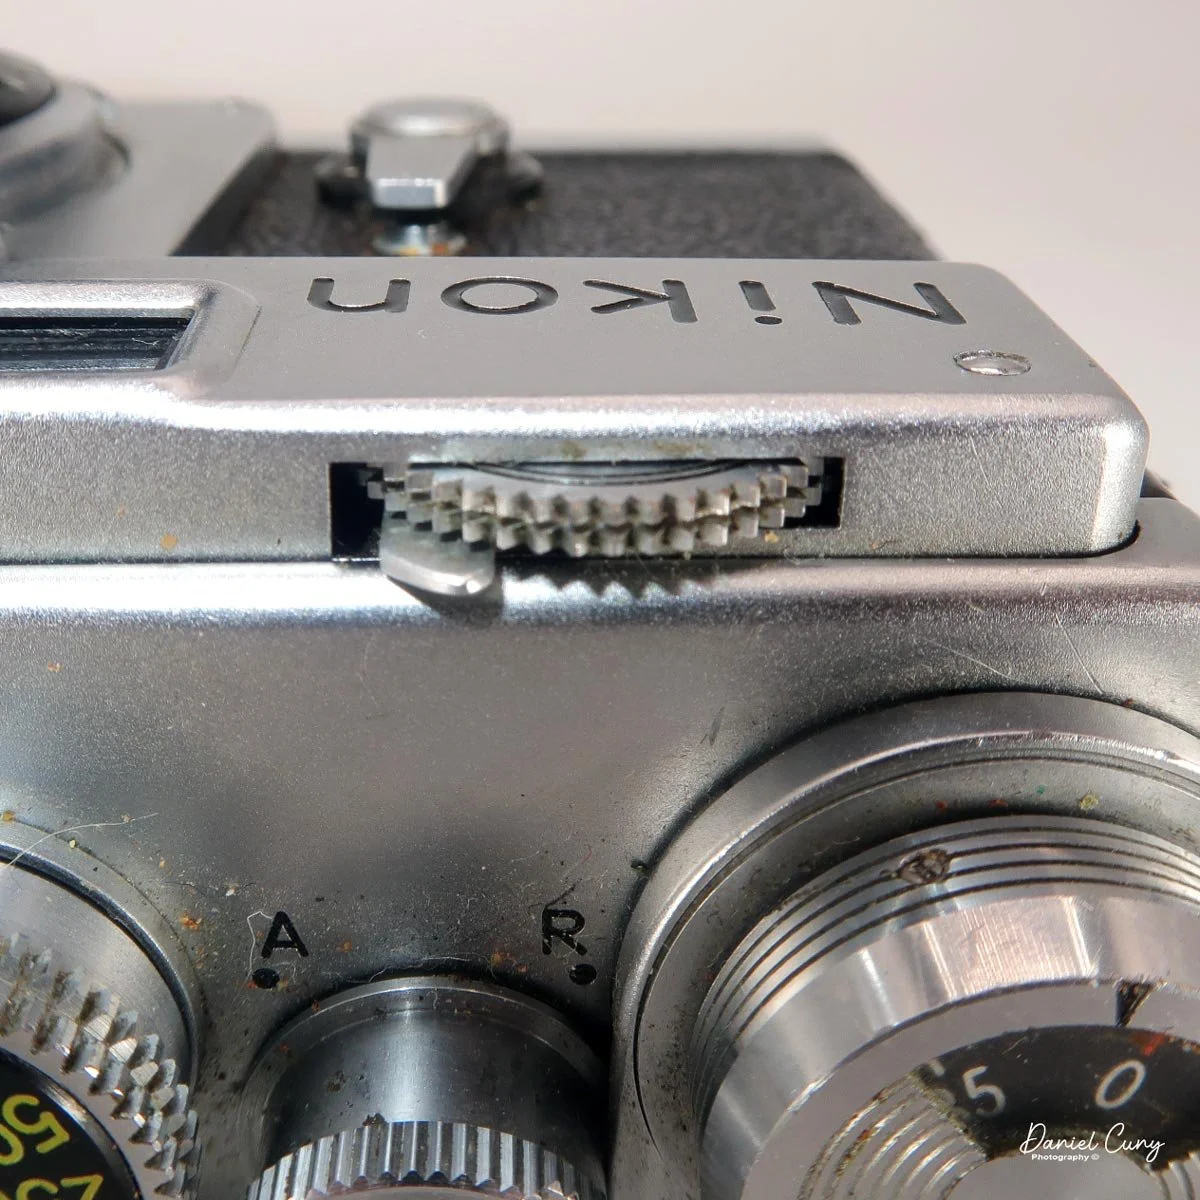
To the right of the shutter speed dial is the shutter release button. As with many Nikon F cameras, this button features a red dot. Because the release is directly geared into the transport system—which drives the film from the cassette to the take-up spool—this red dot rotates as you advance the film (though it will turn even if the camera is empty). Around the shutter release is another collar with a black dot. During standard shooting, it should point to "A" (Advance). Turning this collar to "R" (Rewind) releases the camera's drive gear, allowing you to wind the film back into the cassette without tearing the sprockets.

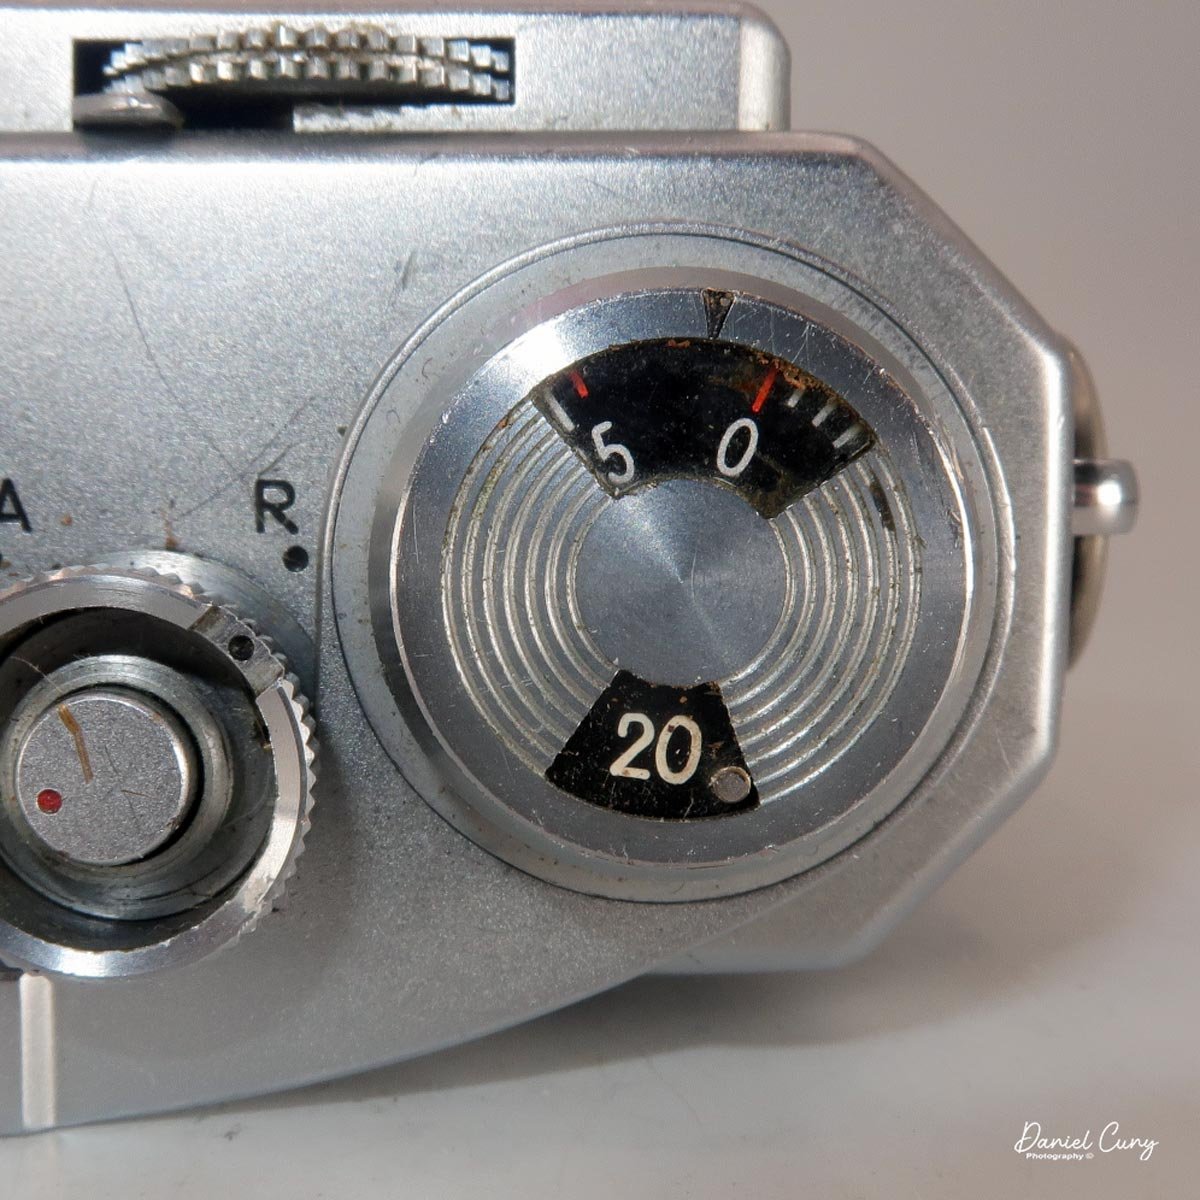
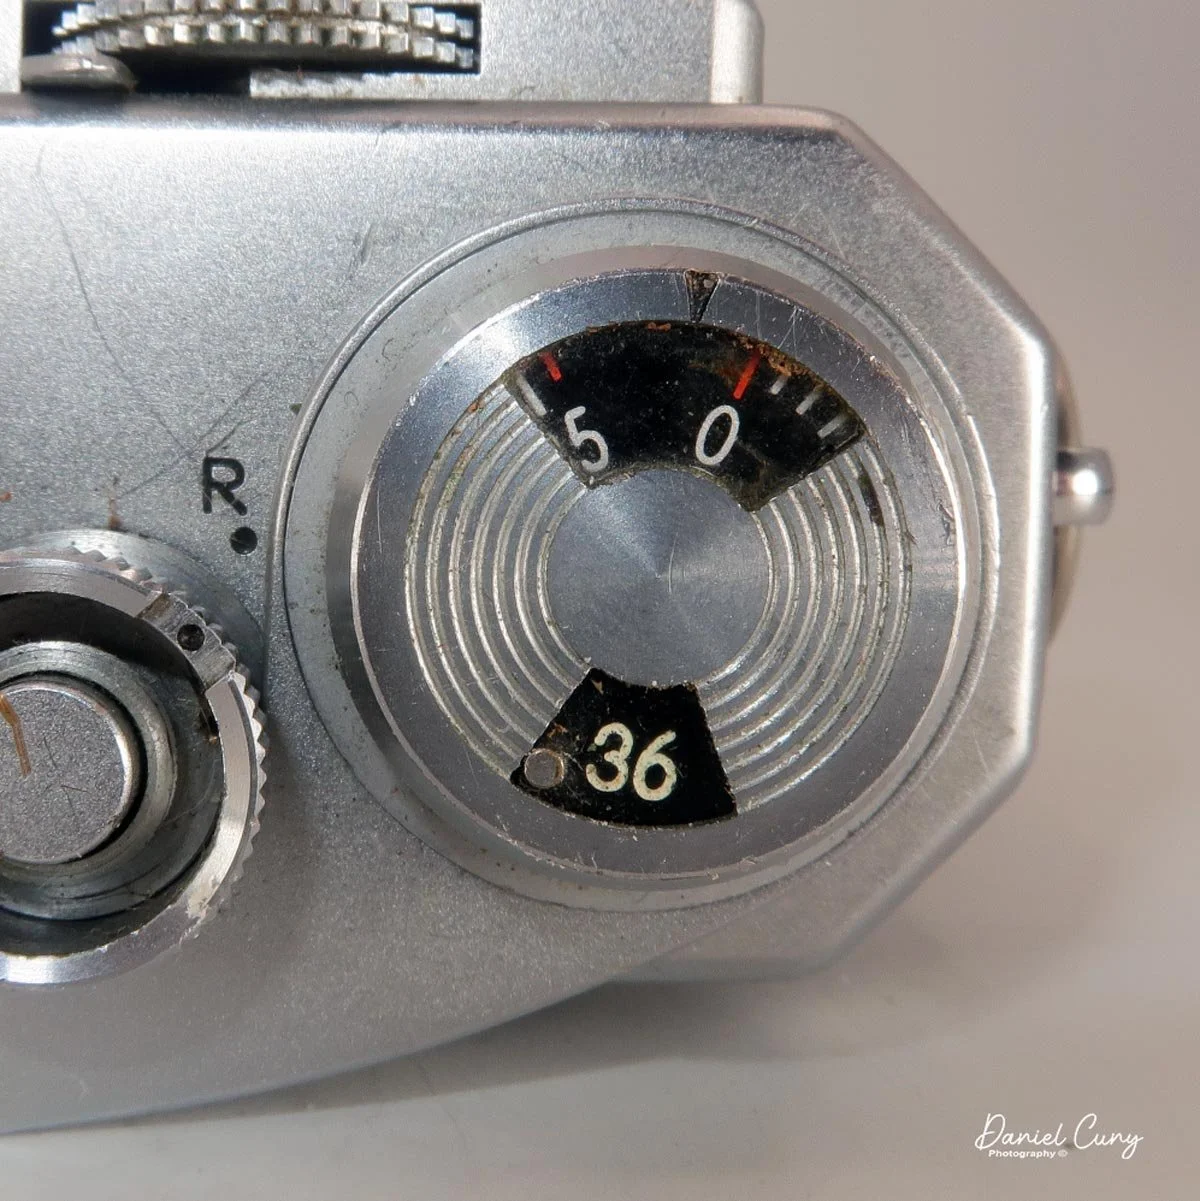
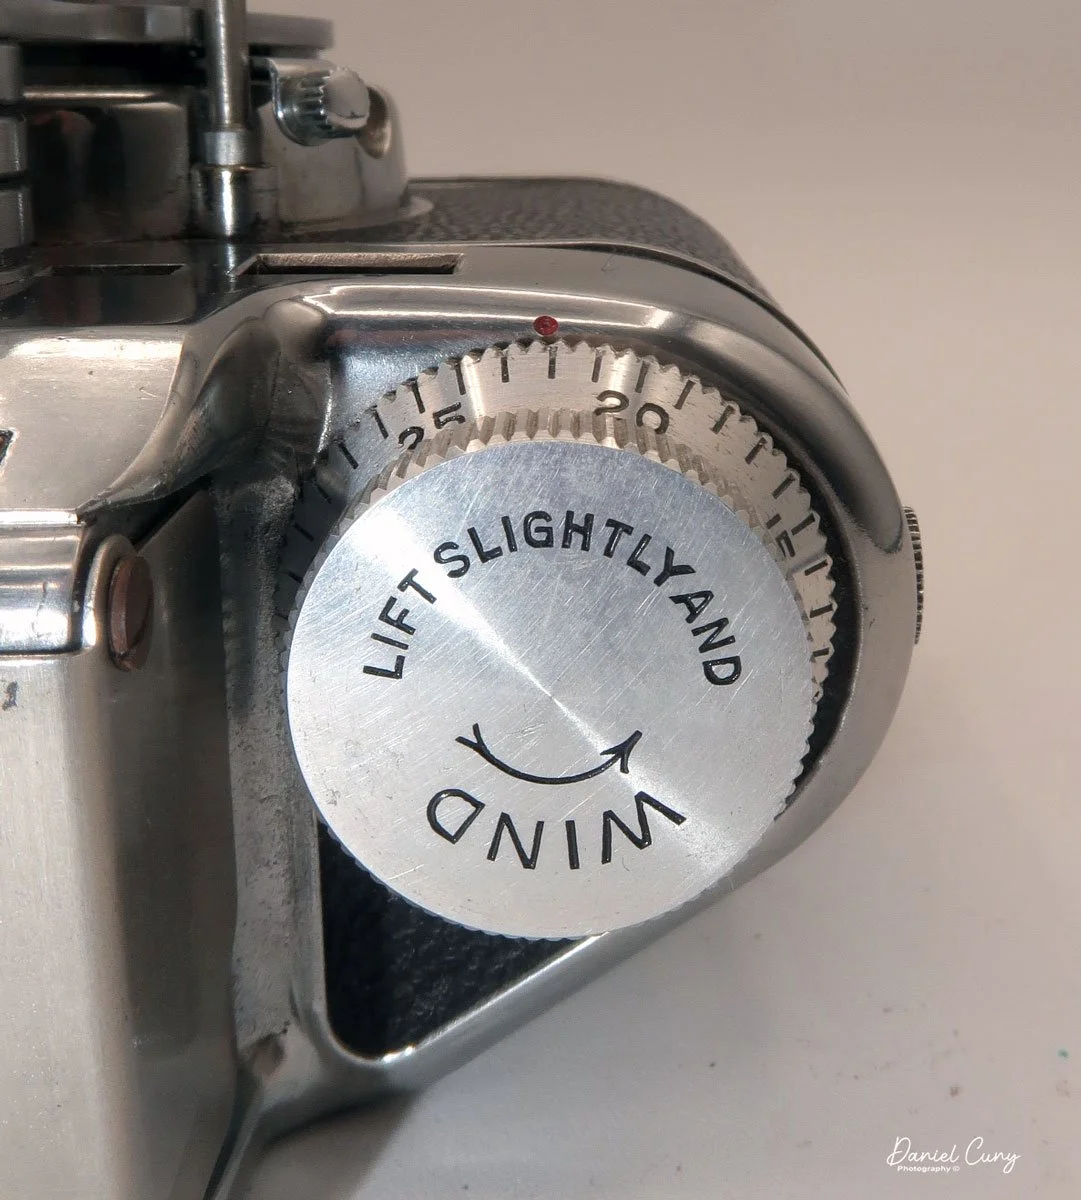
 On the far right of the top plate sits the film advance lever, which features two small windows. The forward window is your frame counter, indicating which exposure you're on. The rear window acts as a reminder for whether you loaded a 20- or 36-exposure roll, set by flipping a small tab from one side to the other. And yes, for those wondering—it wasn't until the early 1980s that film manufacturers started producing 24-exposure rolls; before then, 20-exposure rolls were the standard short option!

 At the very front of the top plate, on the right side, is the camera's focusing wheel. You can focus the lens using this wheel, a mechanism borrowed directly from the Contax system that inspired these cameras. When the lens is set to infinity, it locks into position. To unlock it, press down on the small tab just behind the focusing wheel. This frees up the wheel, allowing you to dial in your focus. Once unlocked, you also have the option to focus normally by turning the lens barrel, if you prefer.
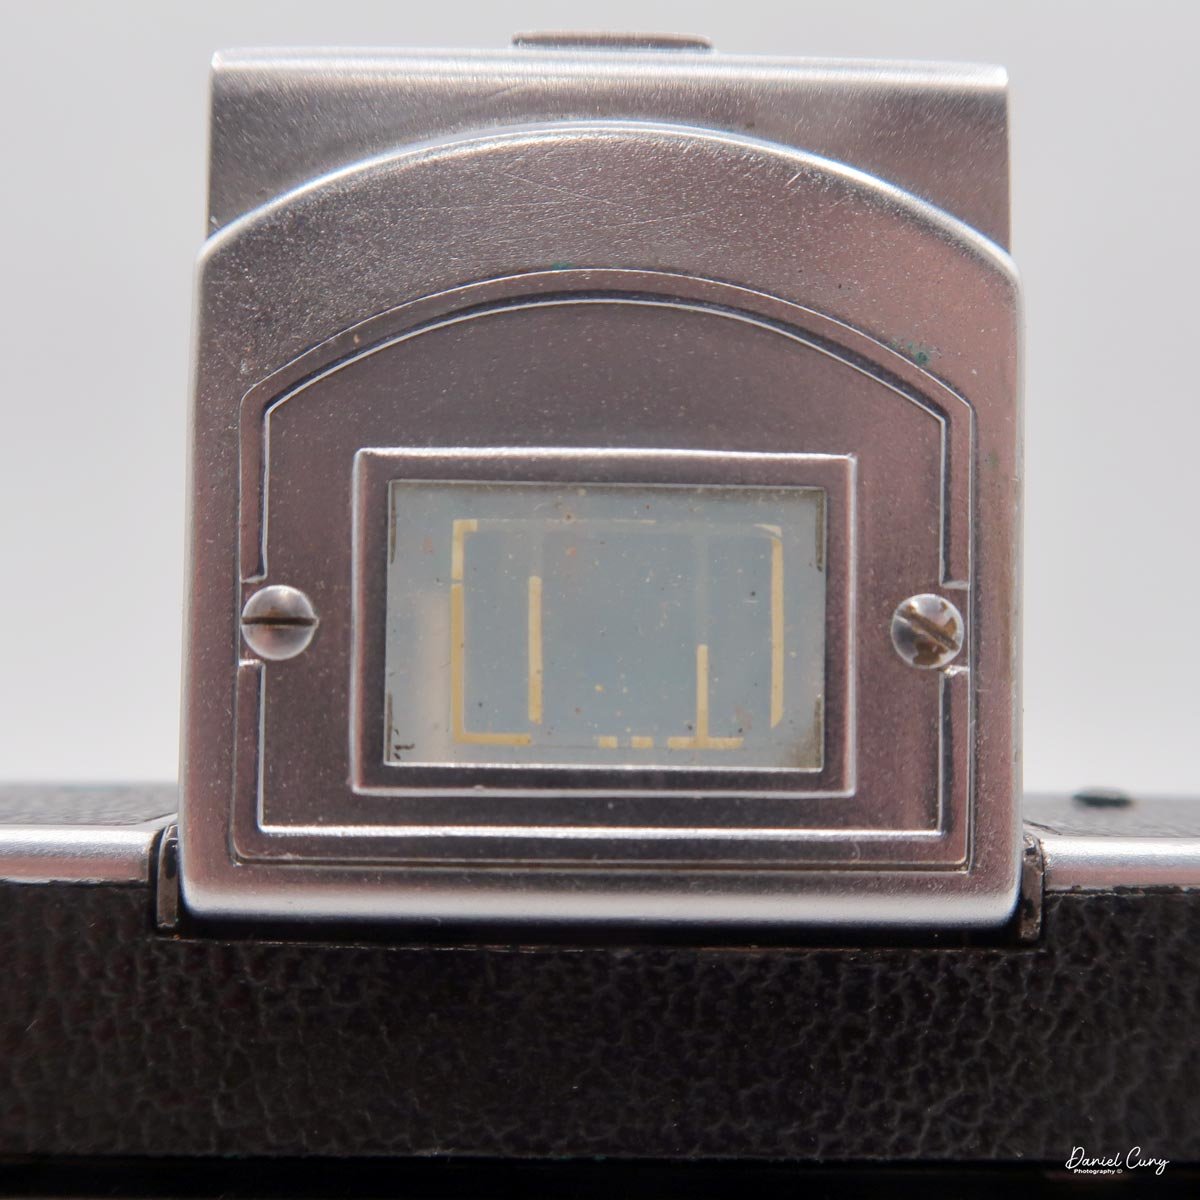
The upper left side of the camera back houses the SP's famous dual viewfinders. The finder on the right is the standard rangefinder for the lenses mentioned earlier: 5cm, 8.5cm, 10.5cm, and 13.5cm. As you turn the collar around the rewind crank, different bright lines appear in this window. Each frame line is added as you select a longer focal length, with the 13.5cm lines appearing in red to match the marking on the collar. Brilliantly, these frame lines are parallax-corrected as you focus closer to your subject.
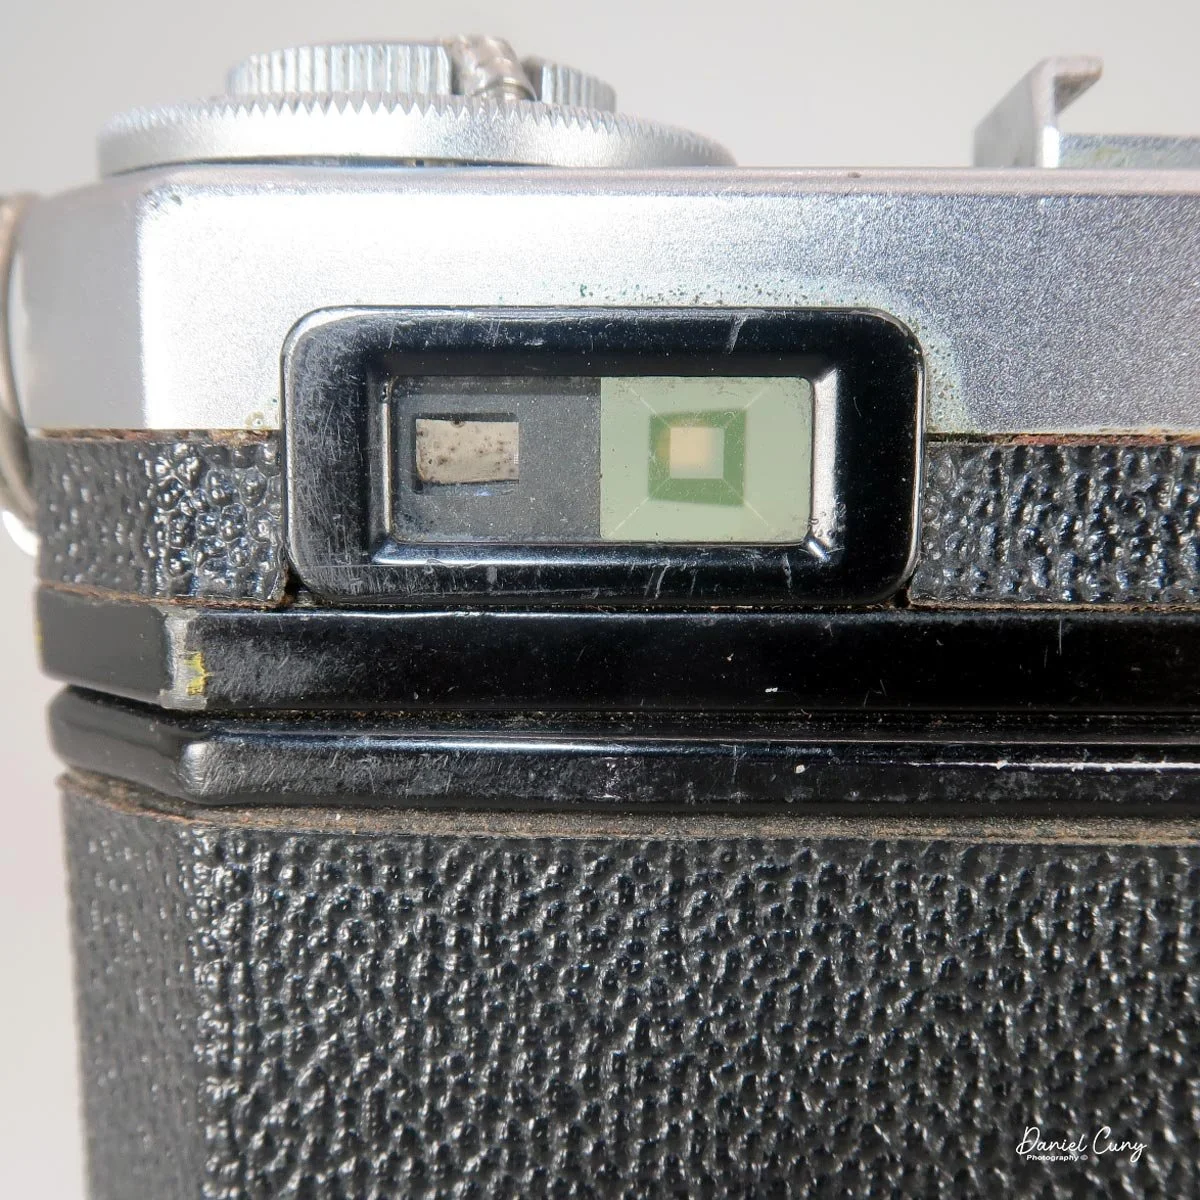
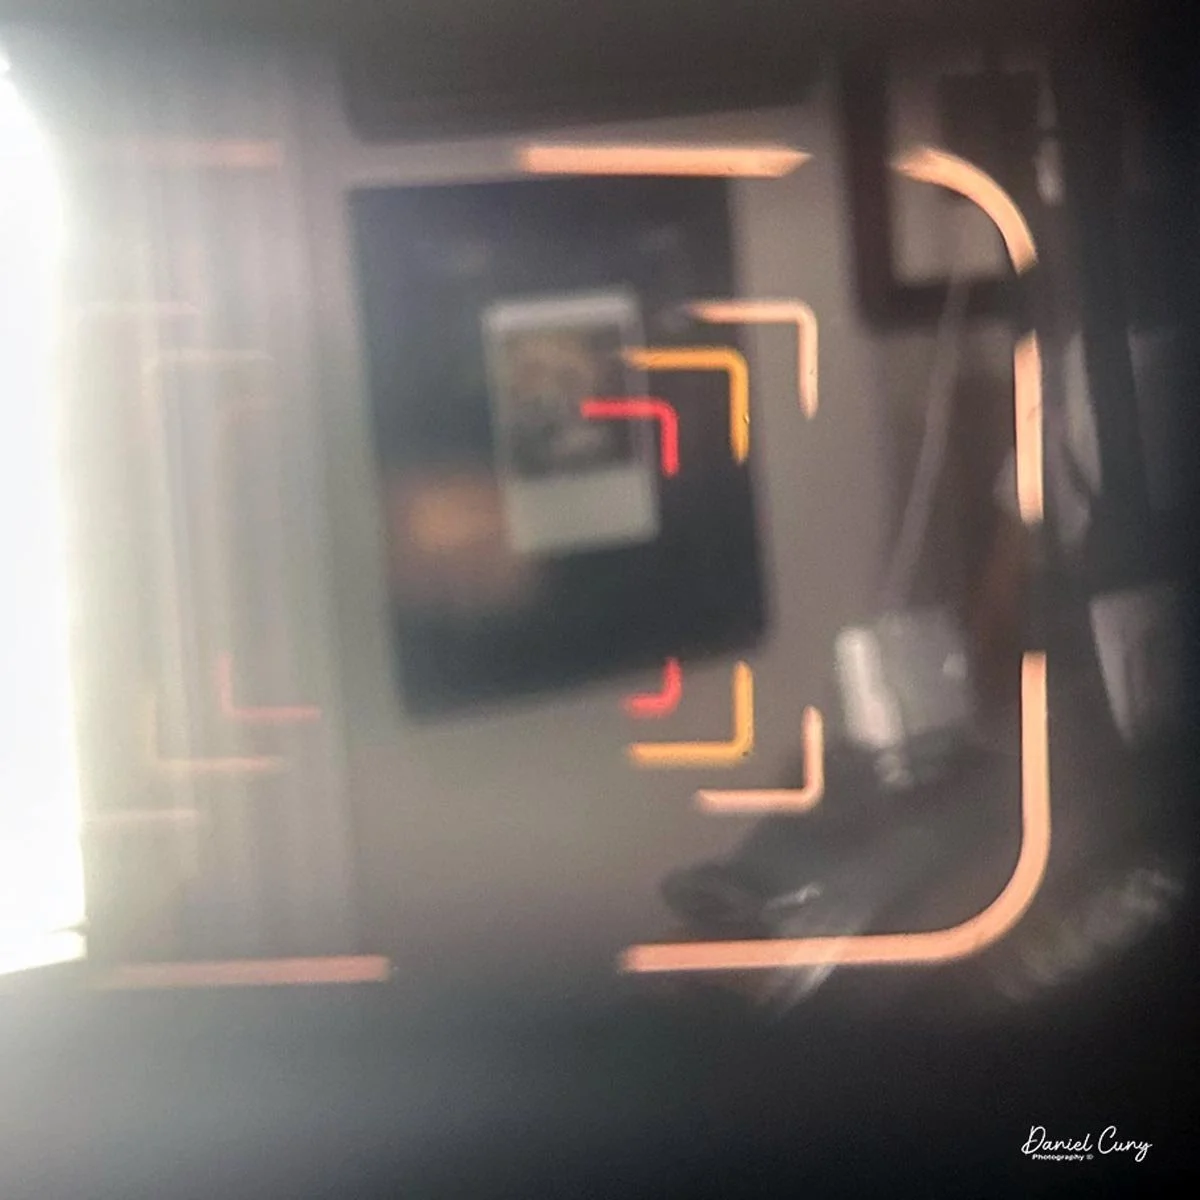
The viewfinder on the left is a bit smaller and is dedicated to 2.8cm and 3.5cm wide-angle lenses, featuring black frame lines for each. While Nikon also manufactured ultra-wide 2.5cm and 2.1cm lenses at the time, as well as telephotos longer than 13.5cm, those required separate accessory finders that slid into the shoe on top of the camera.

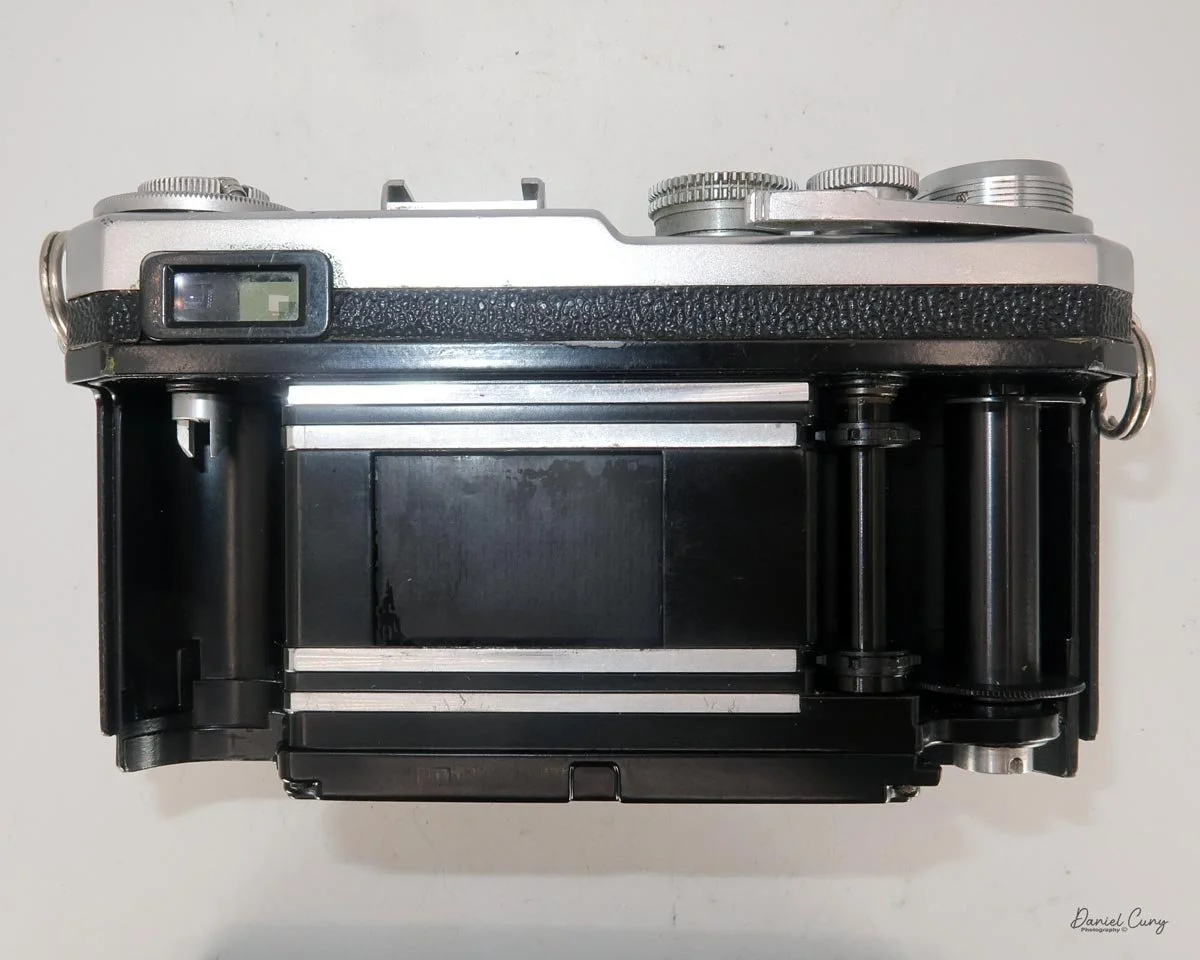
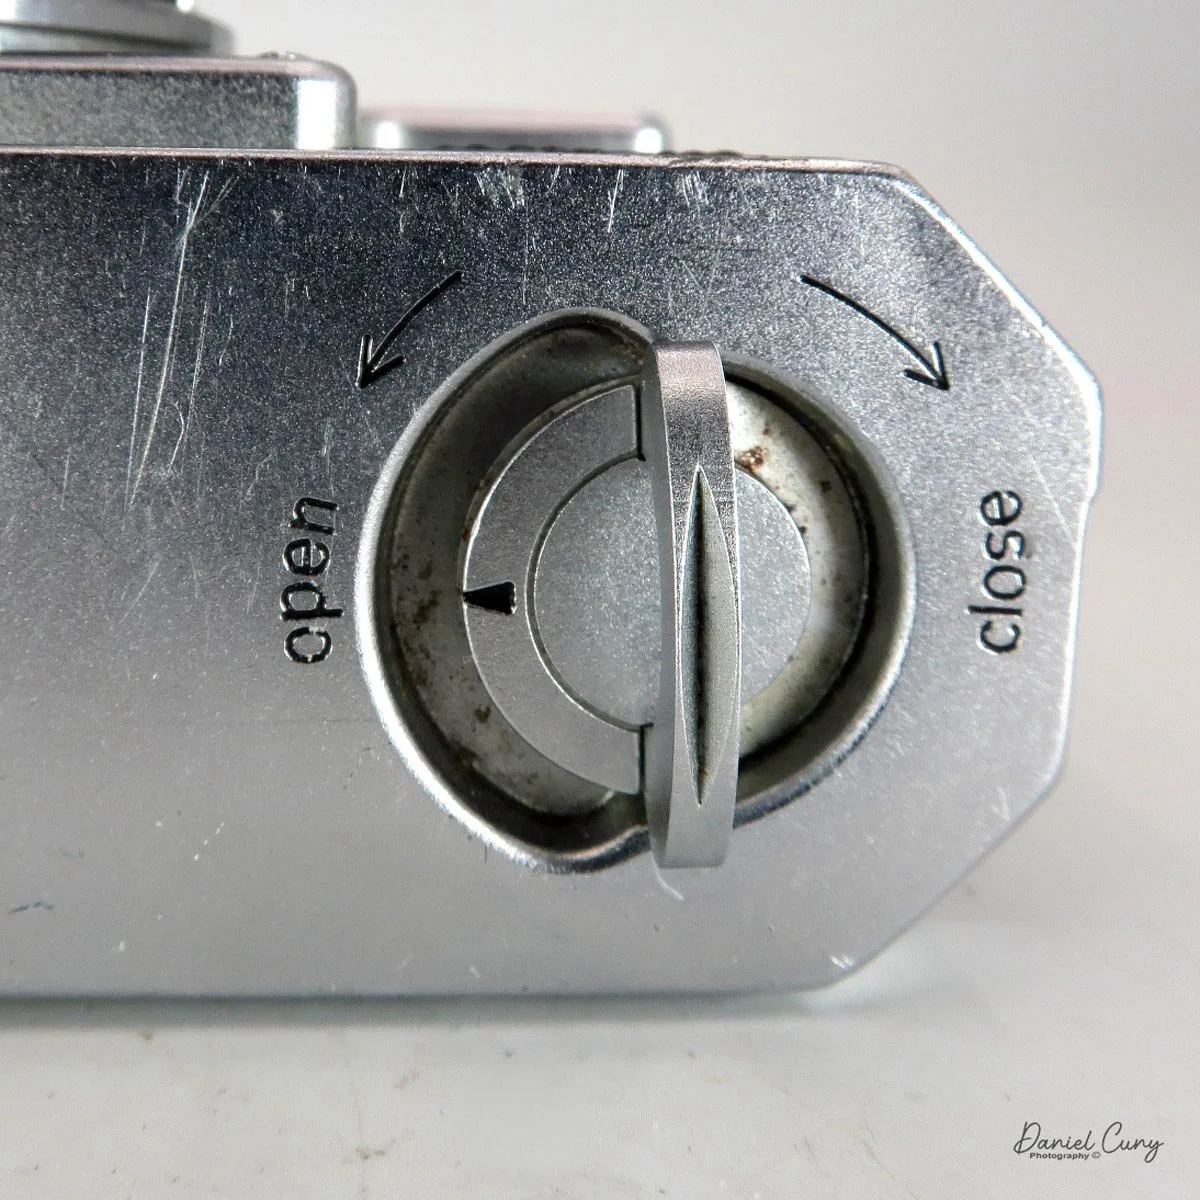
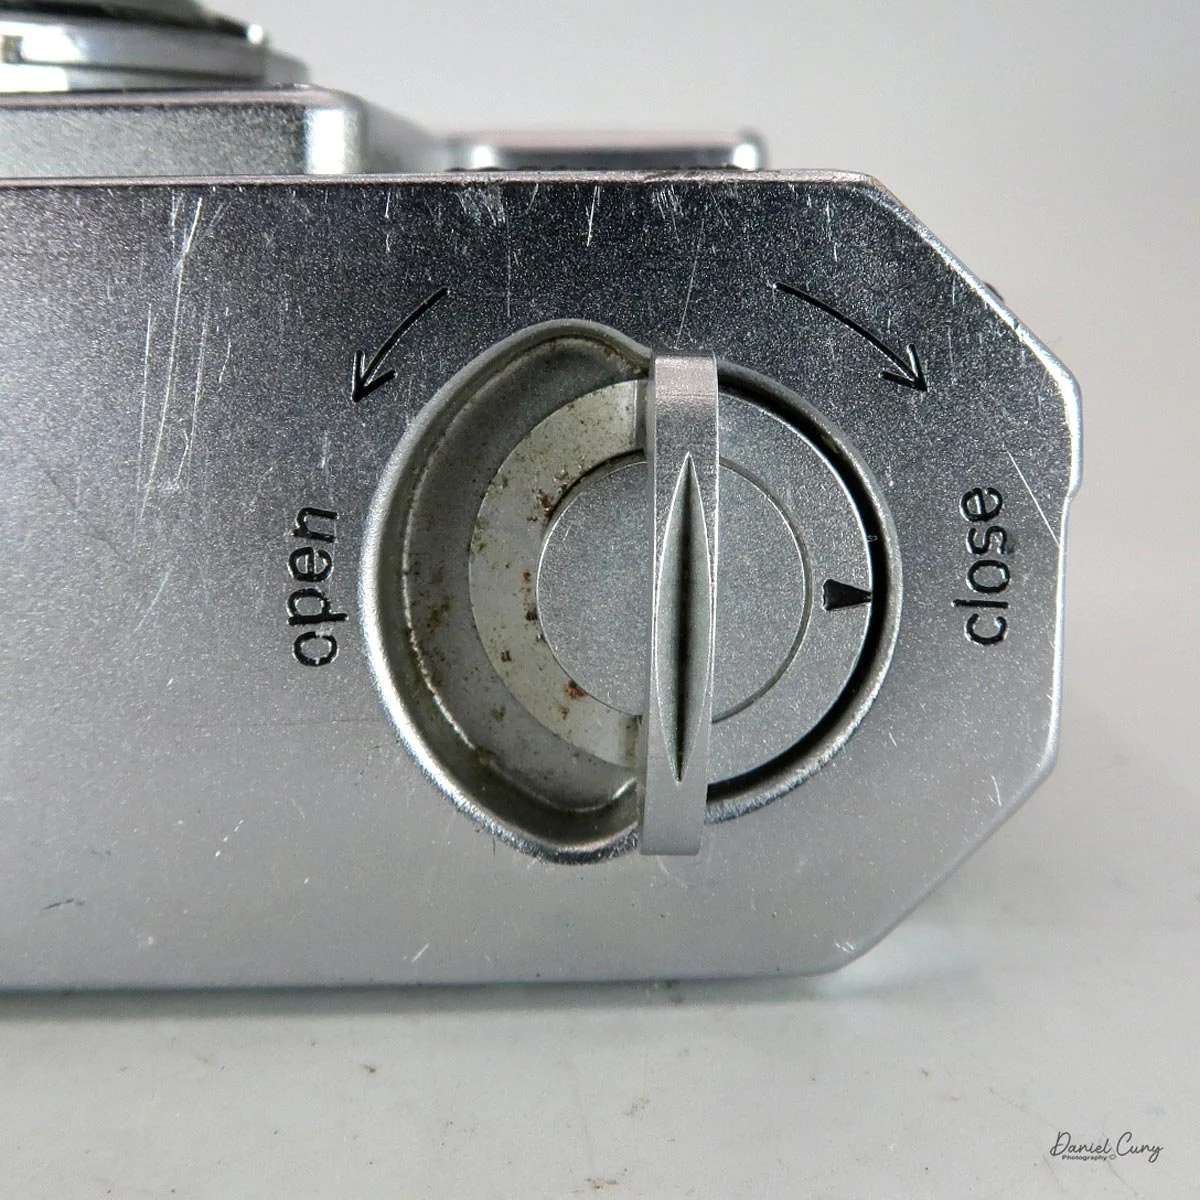
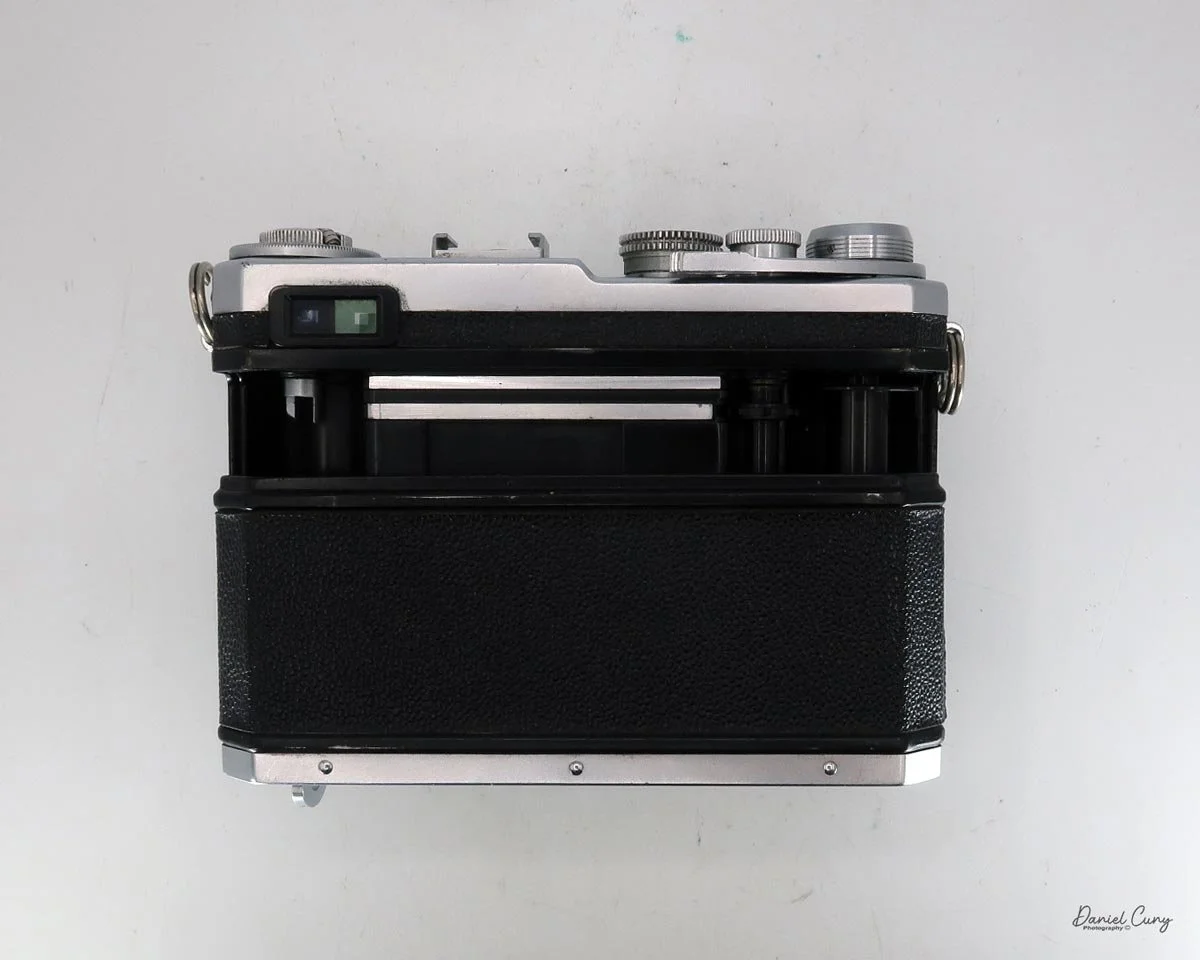
 On the bottom of the camera is the locking lever used to remove the back for film loading. Turn the dial from "Close" to "Open," and the entire back slides down along its tracks to expose the film chamber. (This design is shared across all Nikon rangefinder and Nikon F bodies.) After loading your film like any standard 35mm camera, align the back on the rails, slide it up into place, and lock it tight. At this point, you're ready to shoot! The bottom plate also houses a standard tripod socket and an ASA reminder dial. (For younger shooters, ASA was the predecessor to ISO and uses the same sensitivity scale.)
My Results

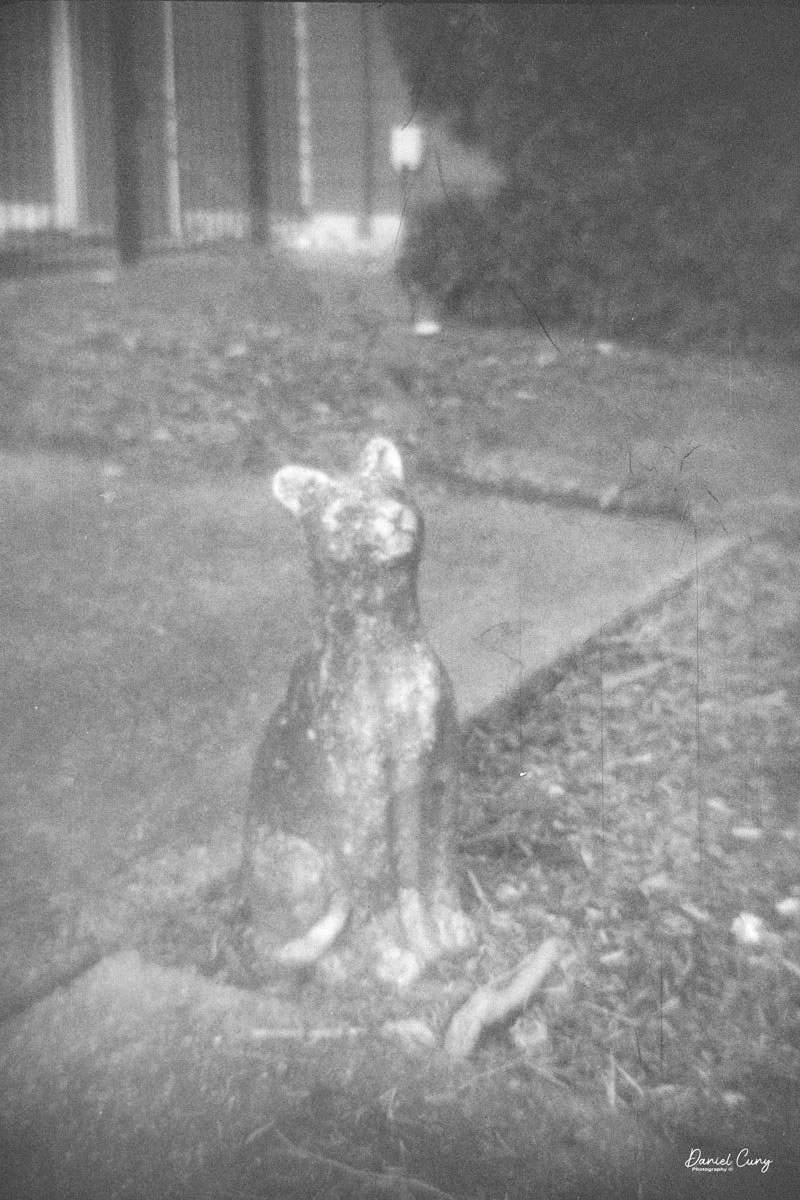
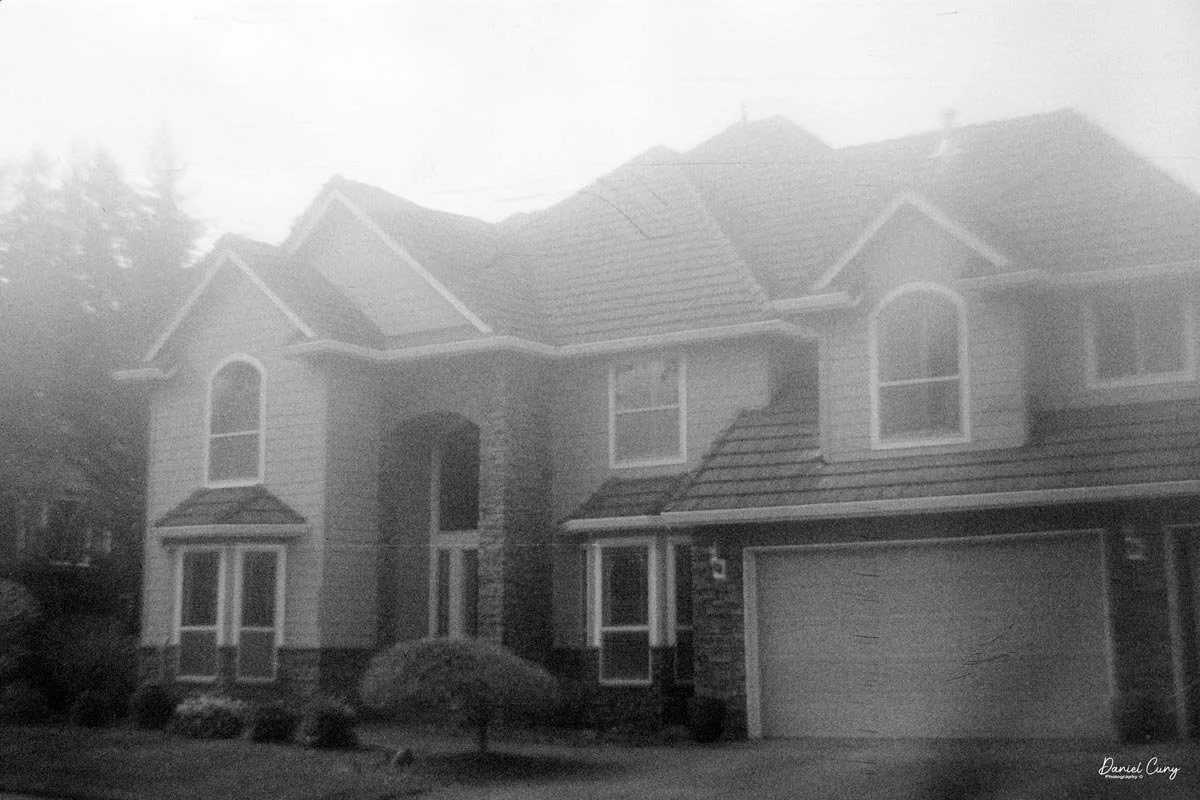
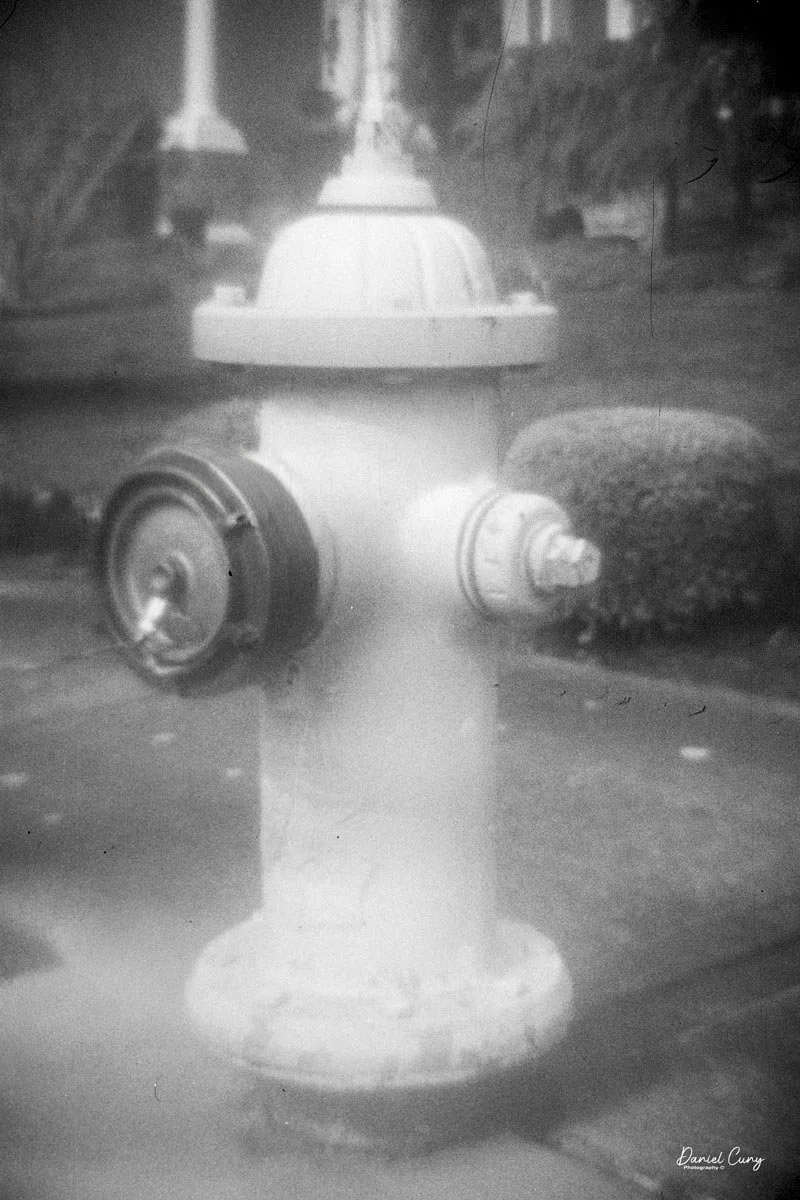
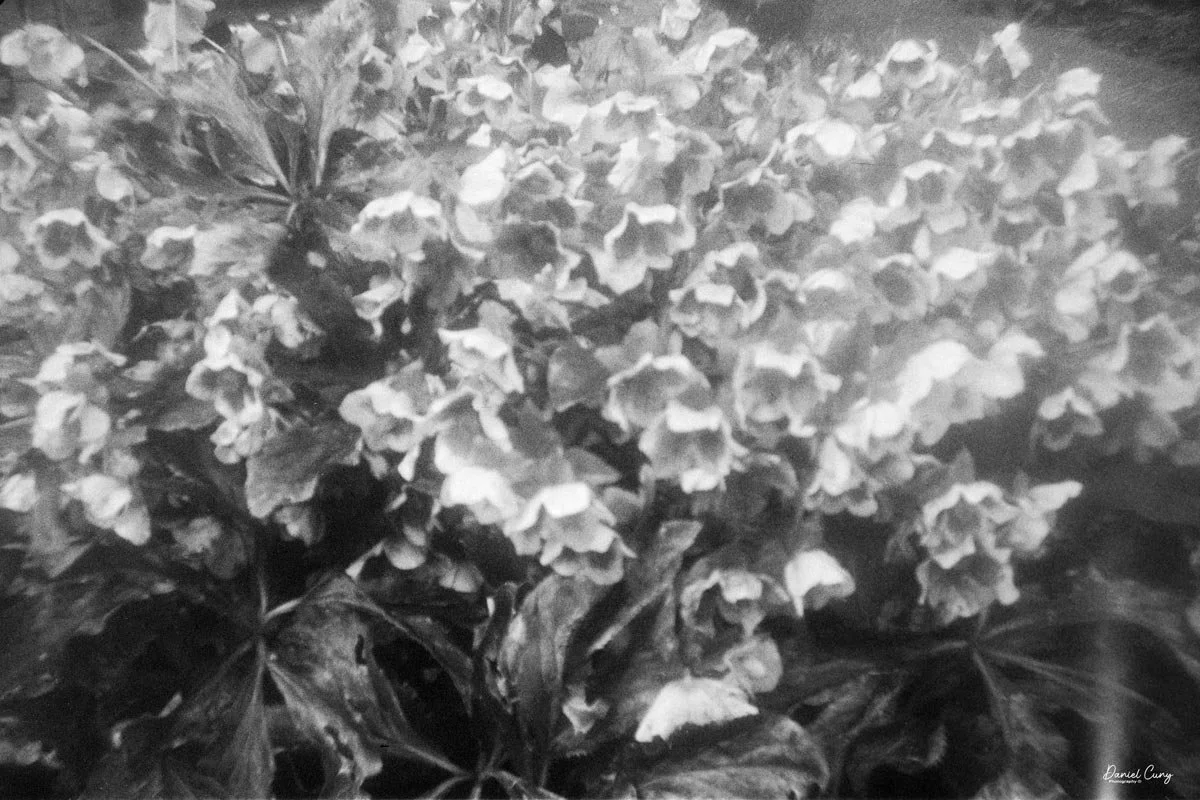
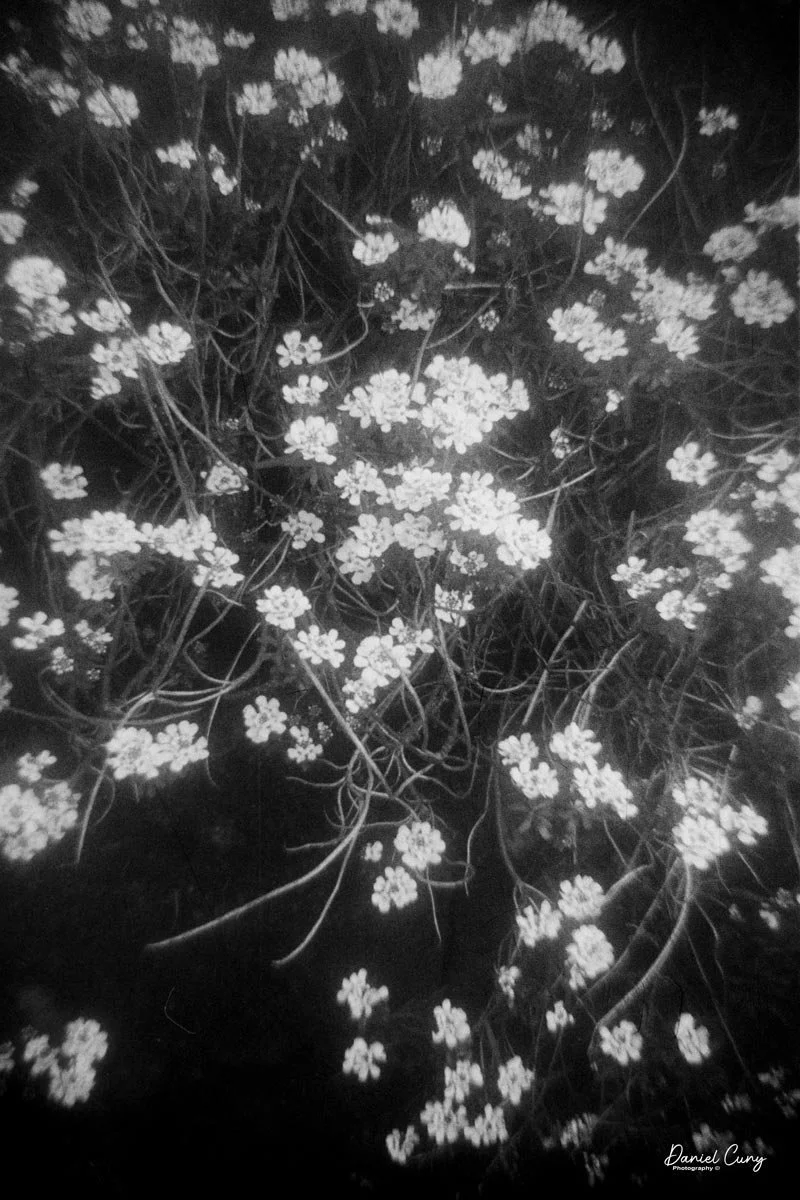
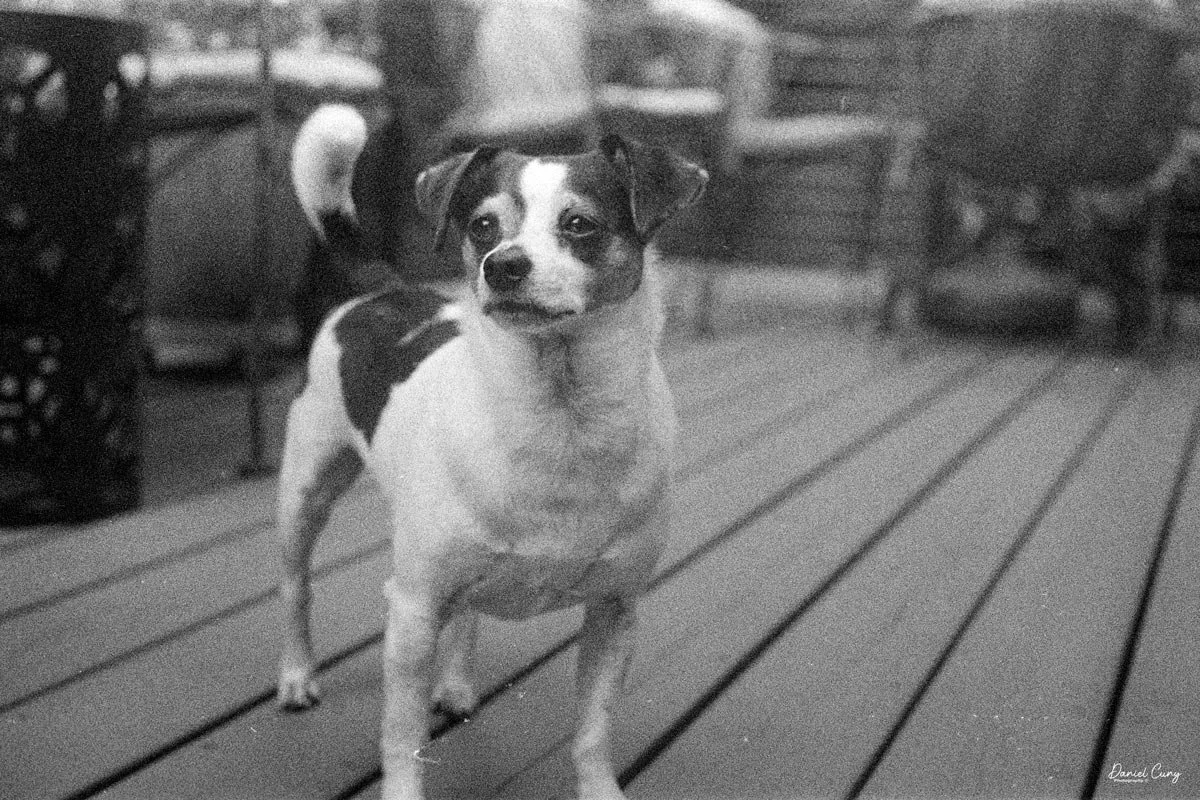
I didn't have much 35mm black-and-white film left in my fridge after our last vacation, but I did find an expired roll of Kodak Tri-X from 1970. I figured it would be the perfect roll to load into the Nikon SP for a spin around the neighborhood.

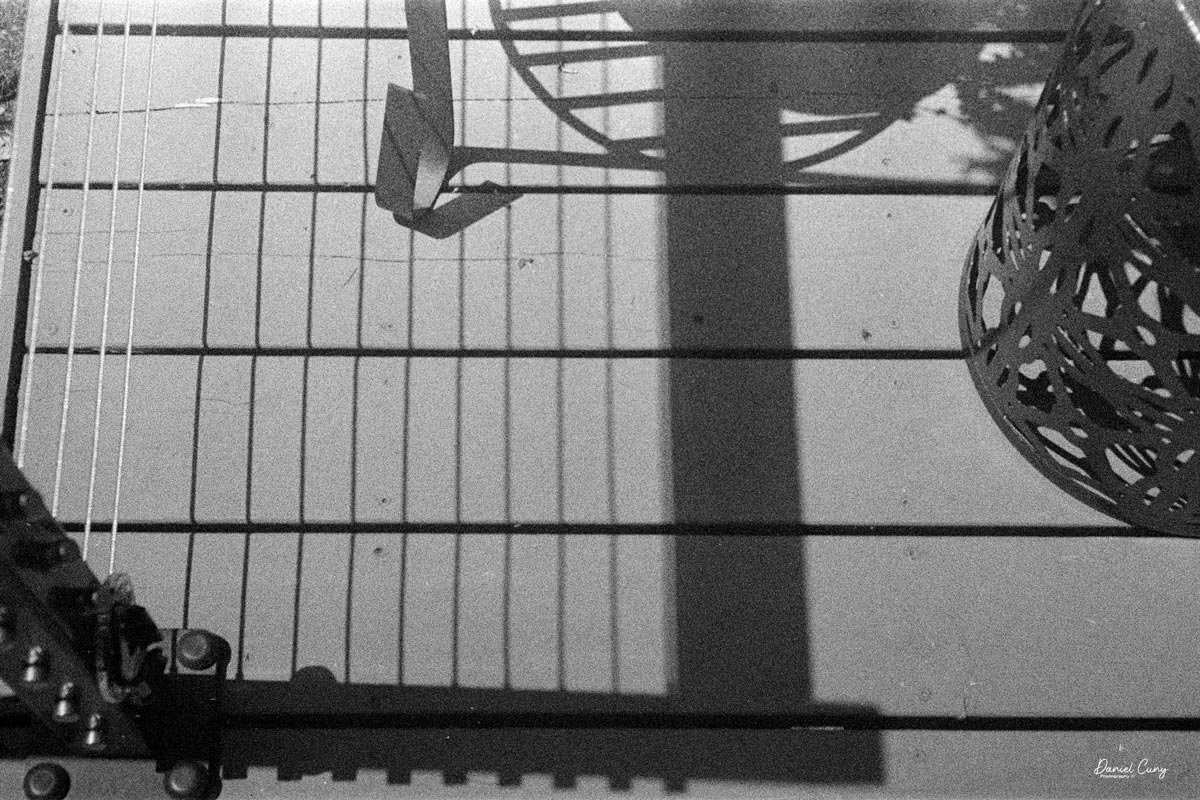
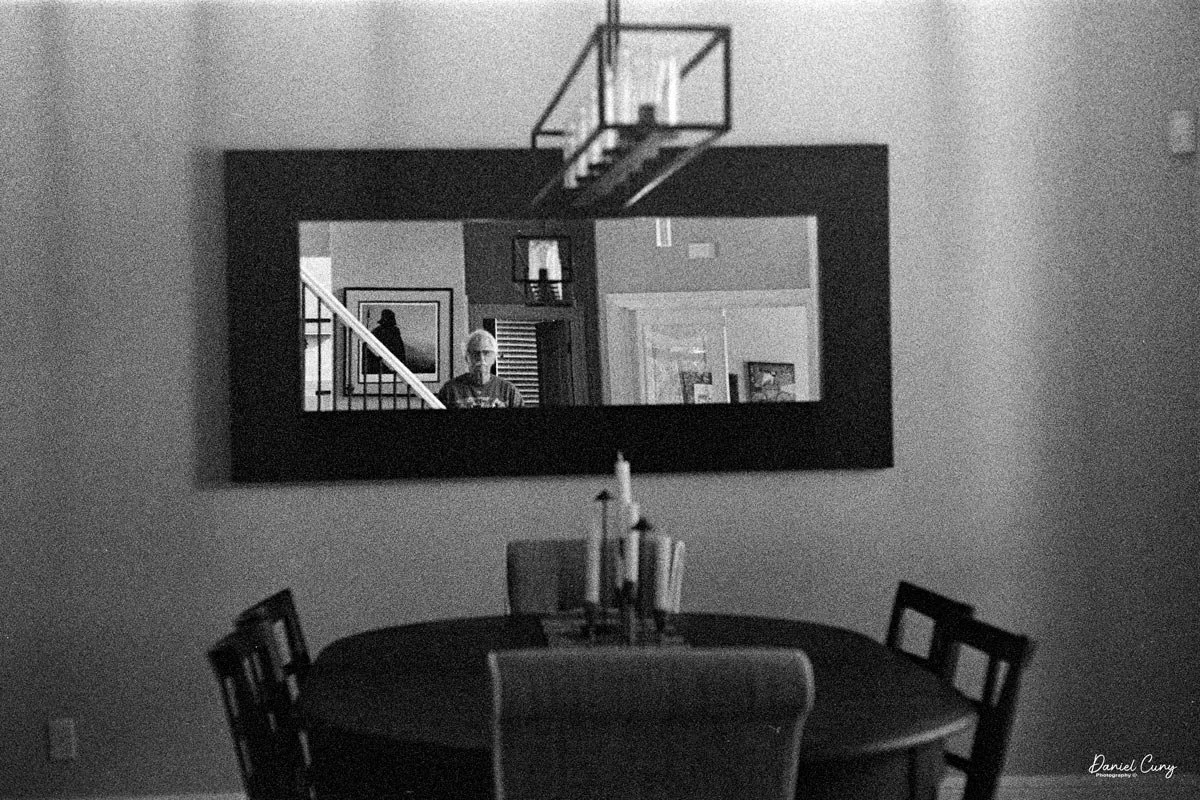
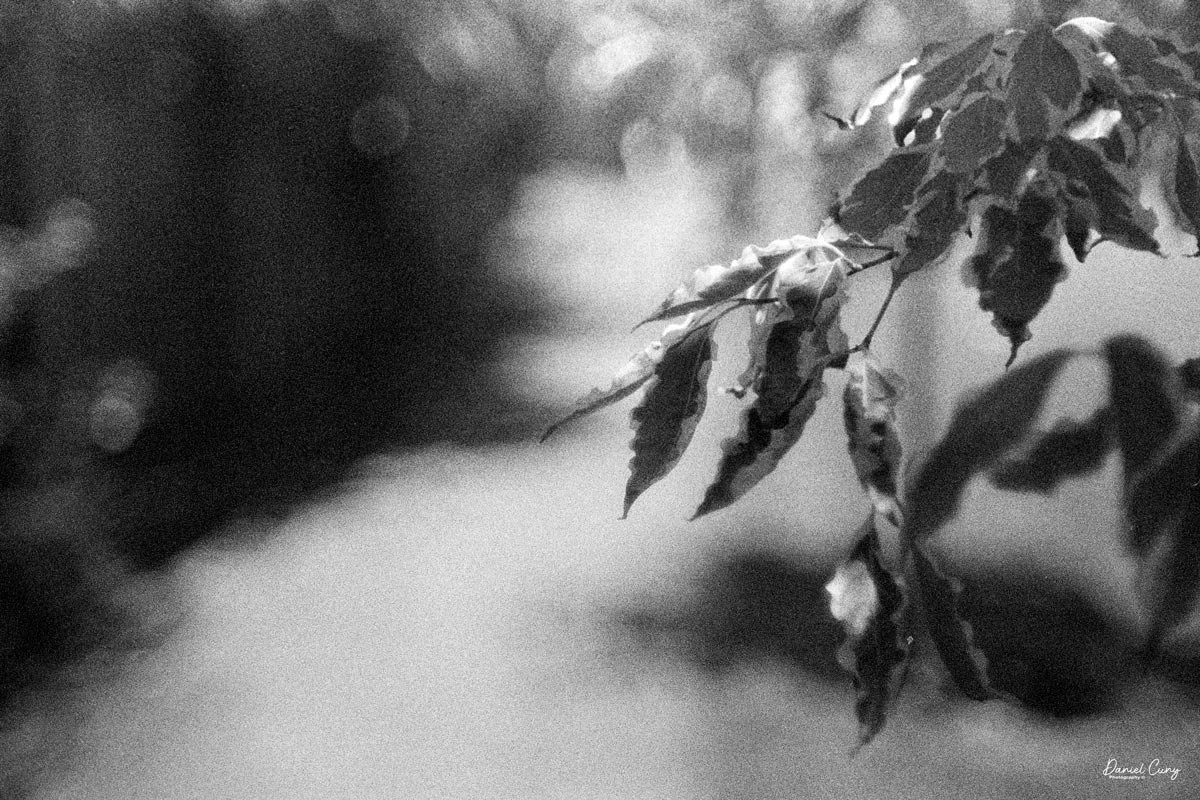
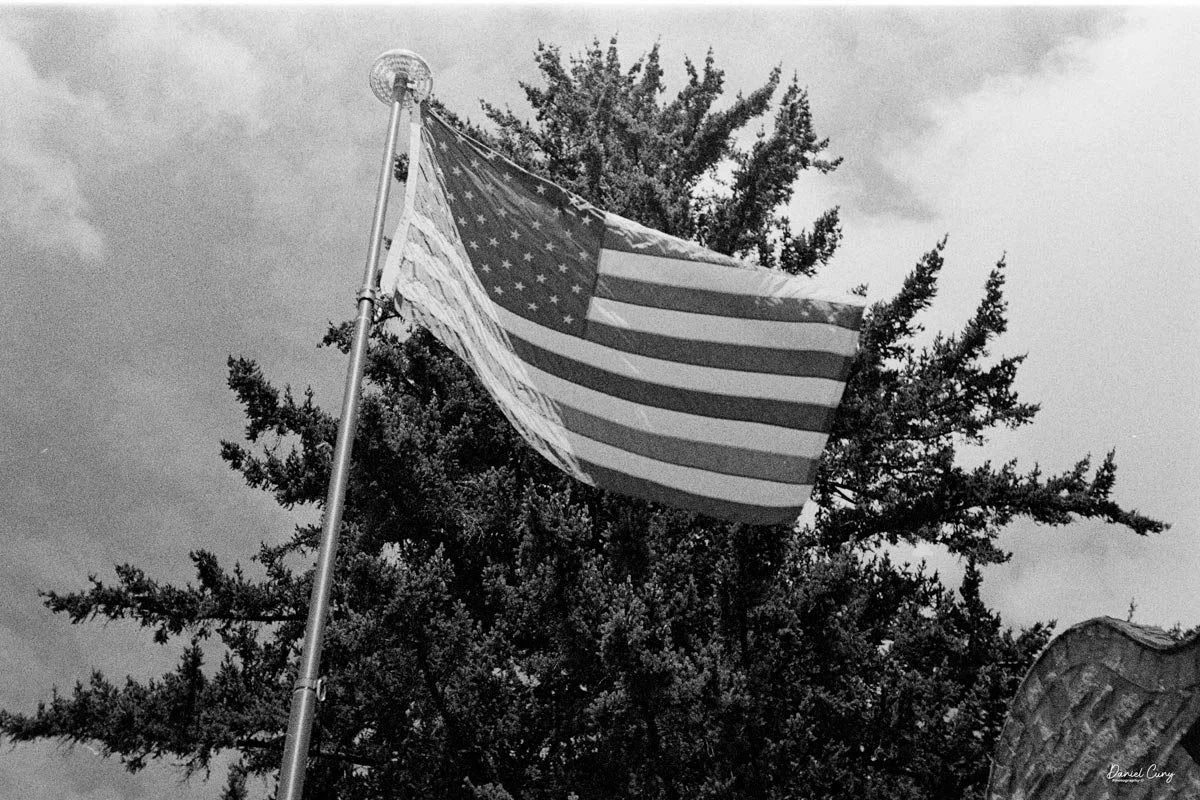
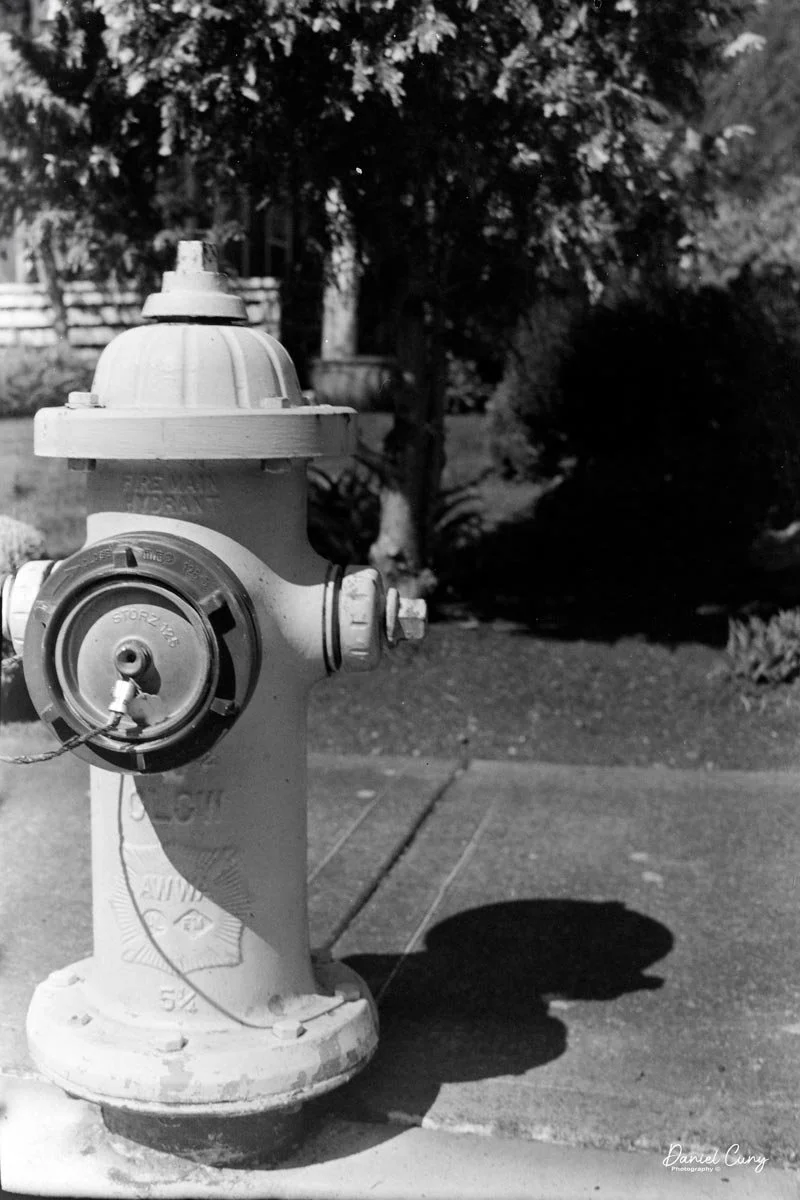
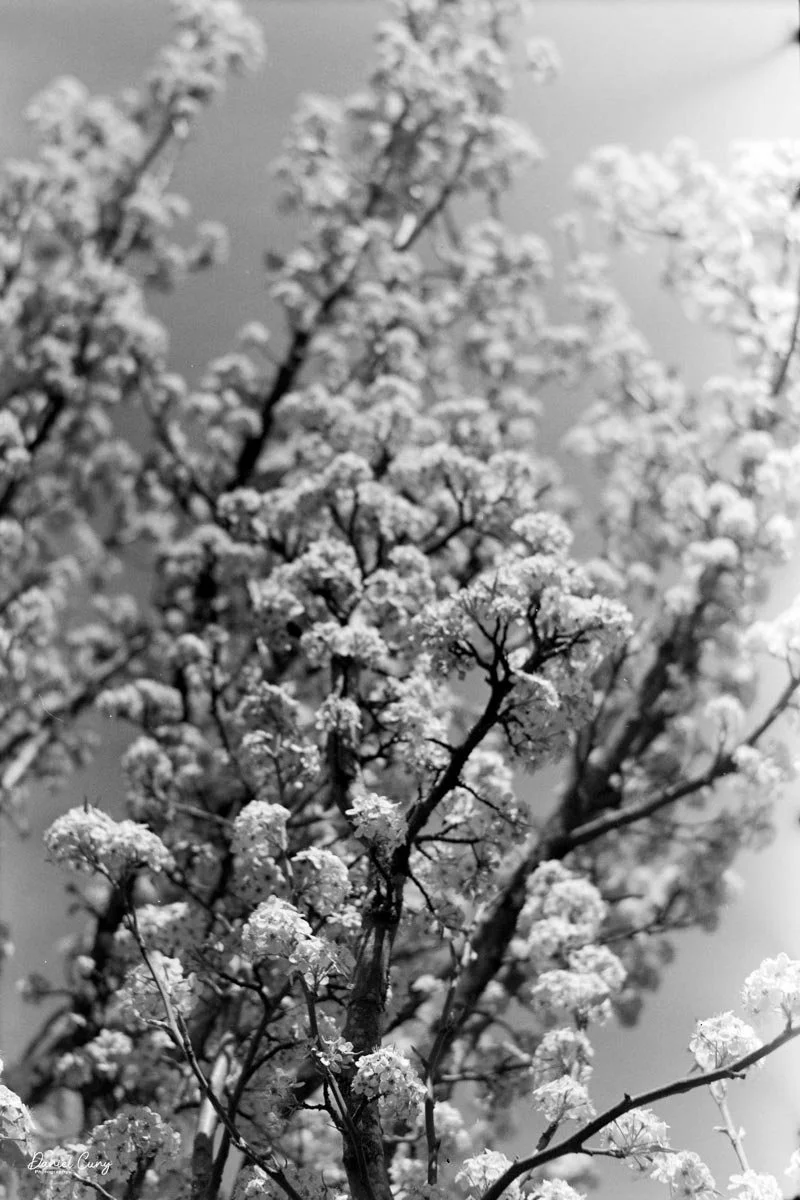
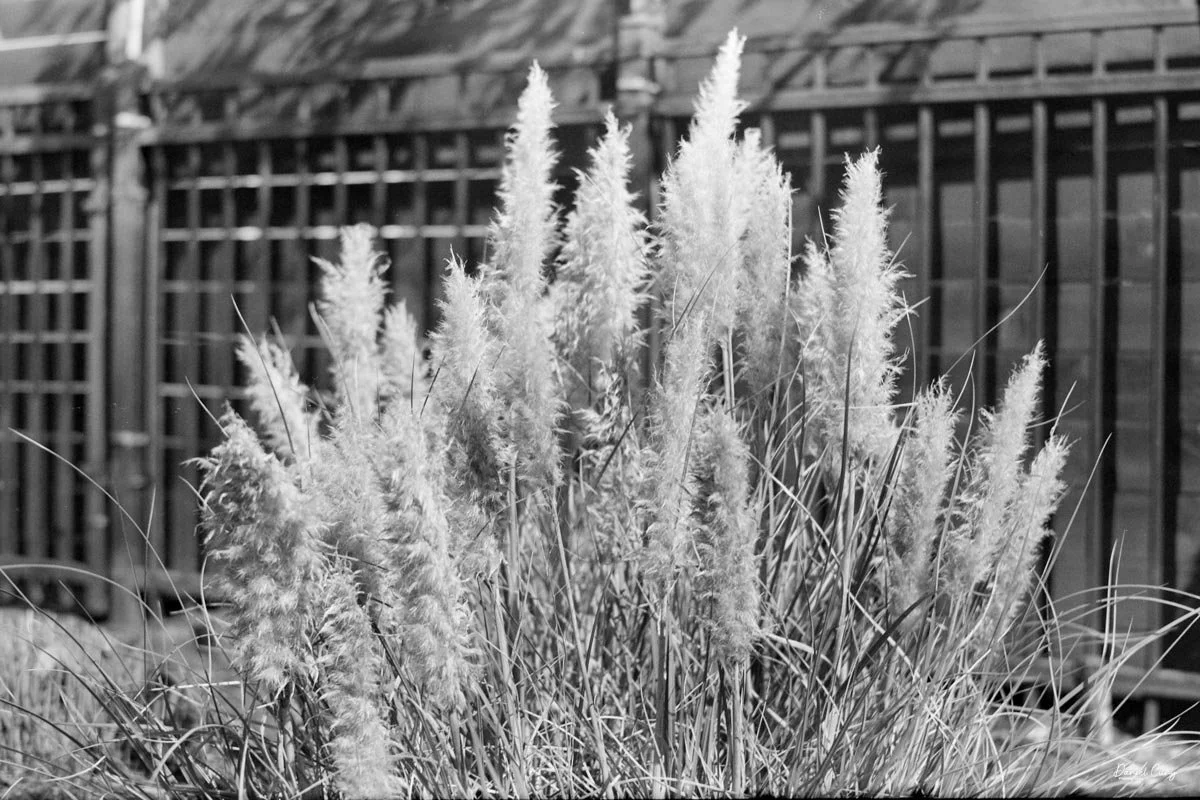
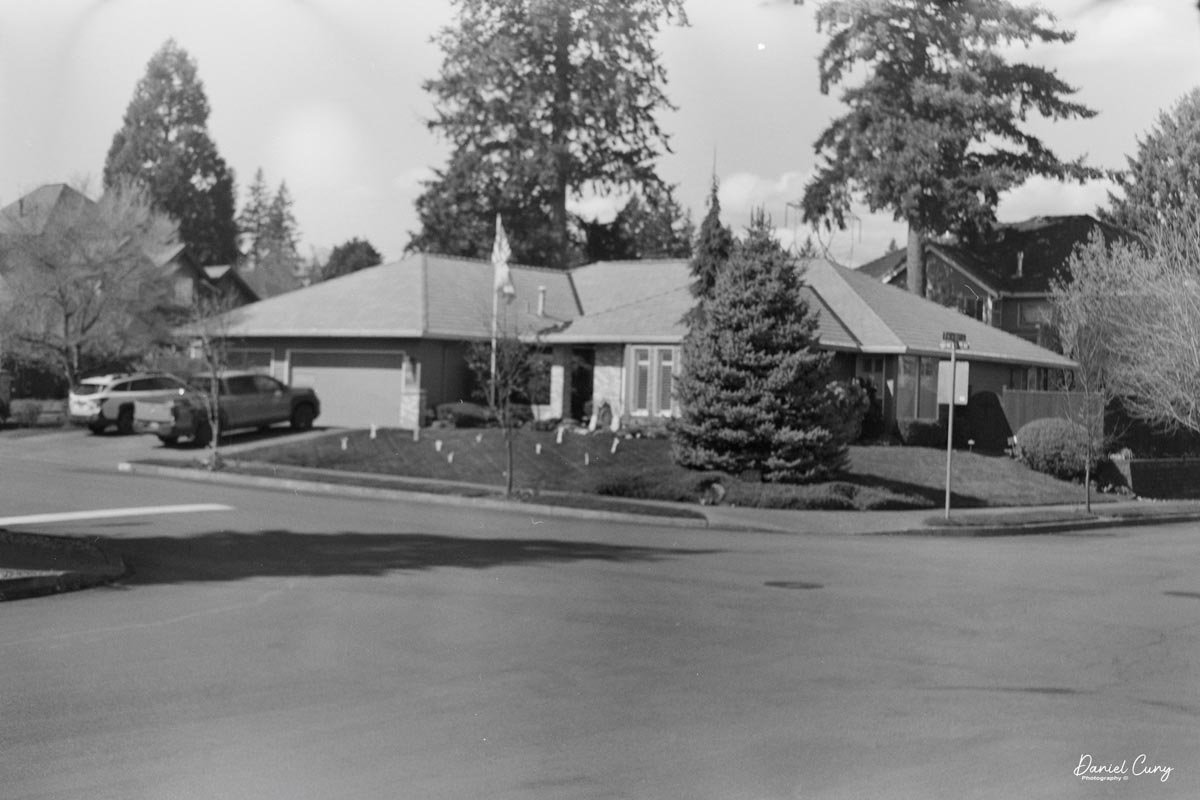
Here are the results from my walk:
Conclusion

Even though I've shot with this camera in the past, I still get a thrill every time I take it out. It has a wonderful, comfortable feel in the hand—especially for someone who has been a dedicated Nikon user for so many years. The rangefinder is bright, and both the focusing and film transport are incredibly smooth. Overall, the camera worked like a charm.

 The images turned out beautifully sharp, and I loved the aesthetic of shooting such an old roll of Tri-X. I had forgotten how grainy—in a good way—that film can be. I even processed it in Rodinal, which normally retains a bit more of a "fine grain" structure, but the classic Tri-X texture pushed through anyway, and I really enjoyed the results.

 Thank you for taking the time to read about the Nikon SP. As the first true model in Nikon's line of "professional" cameras, it laid the groundwork for why the brand became so beloved by working photographers around the world.

 Here are some of my other Camera Reviews.

Check out my Cuny's Camera Collection YouTube channel, where I am putting together video overviews of the cameras I write about. Be sure to subscribe and like the channel, too!

Cuny's Cameras and Photos is my online eBay store, where you will find some of the cameras I have reviewed, along with a wide range of other cameras, lenses, and items from my collection that I am thinning out.

 Until next week, please be safe.
 

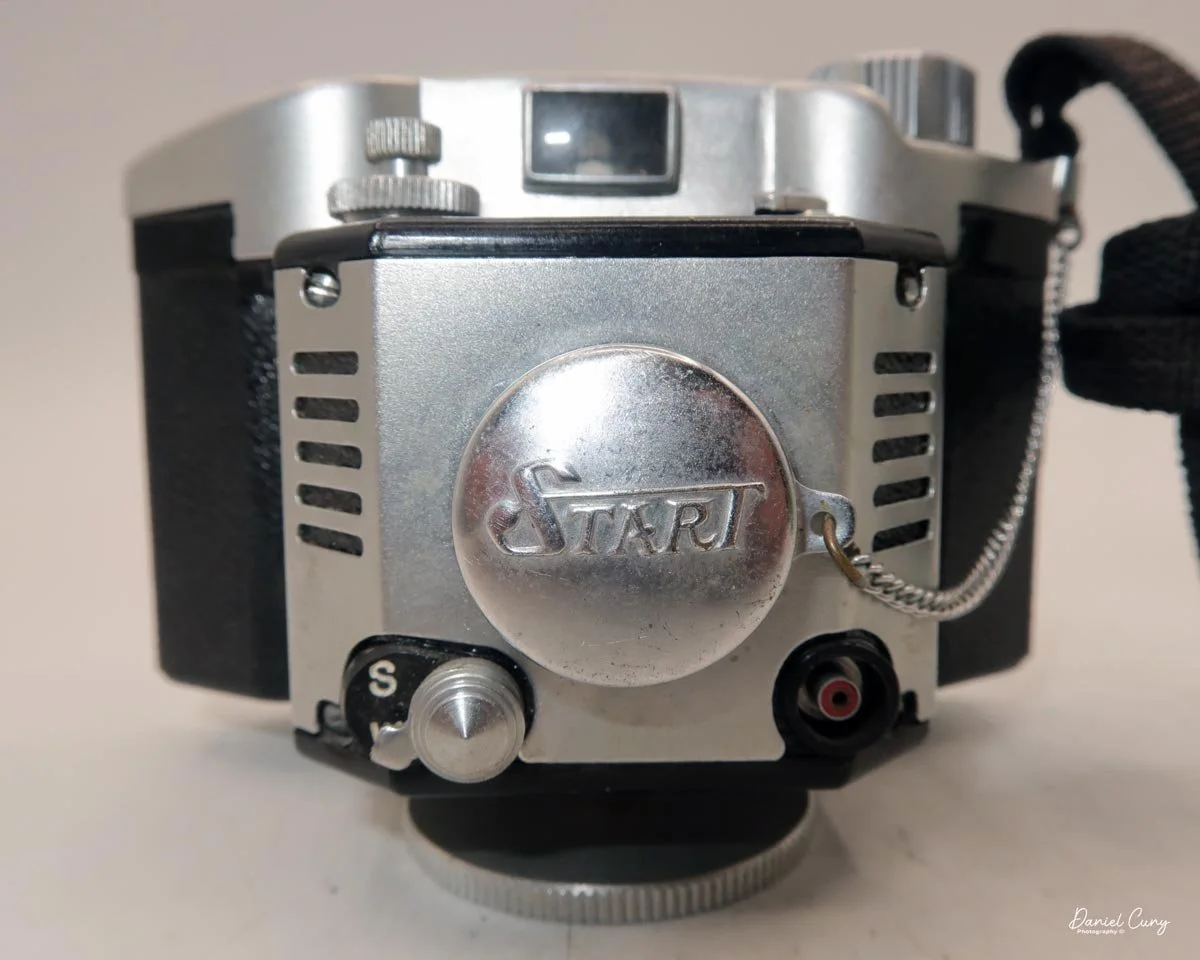
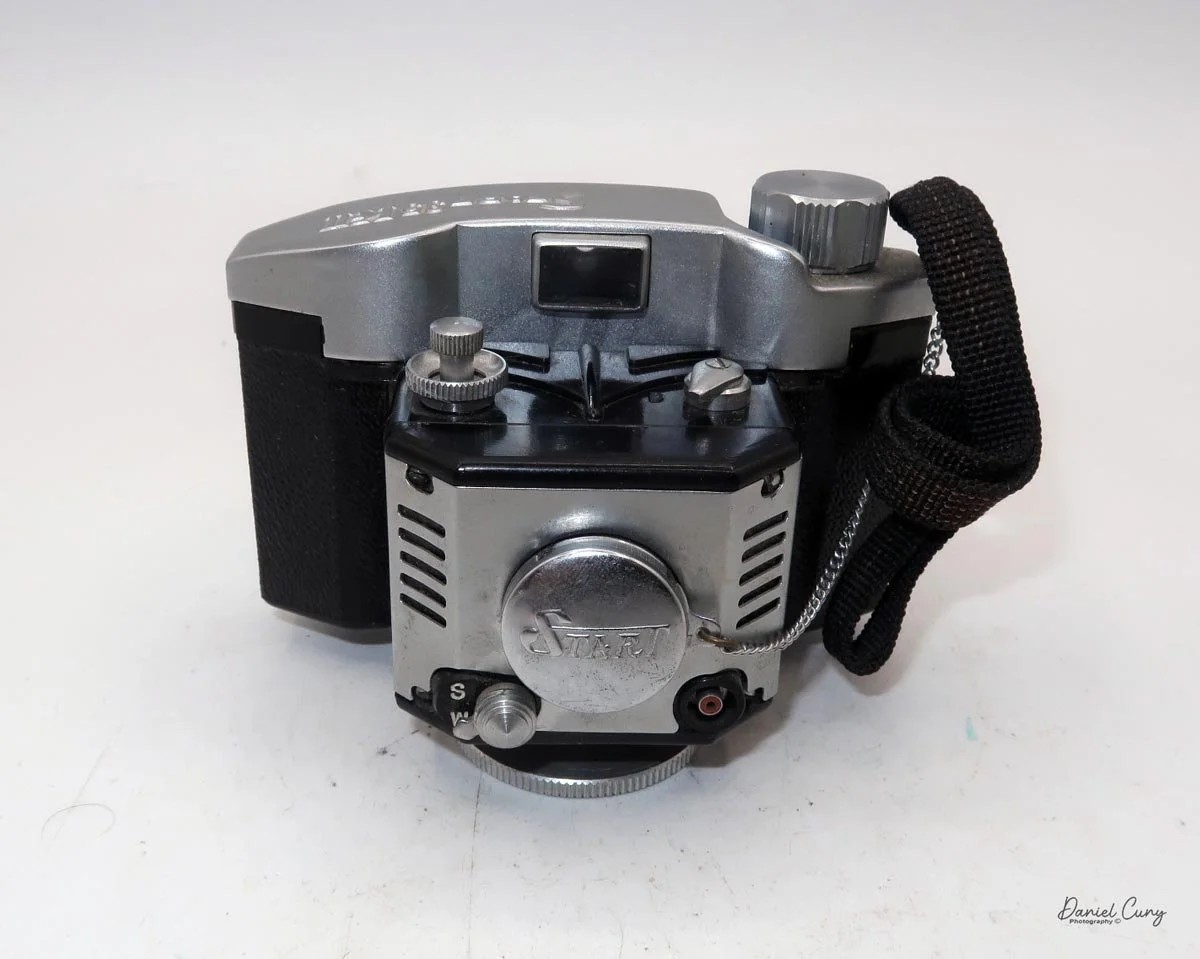
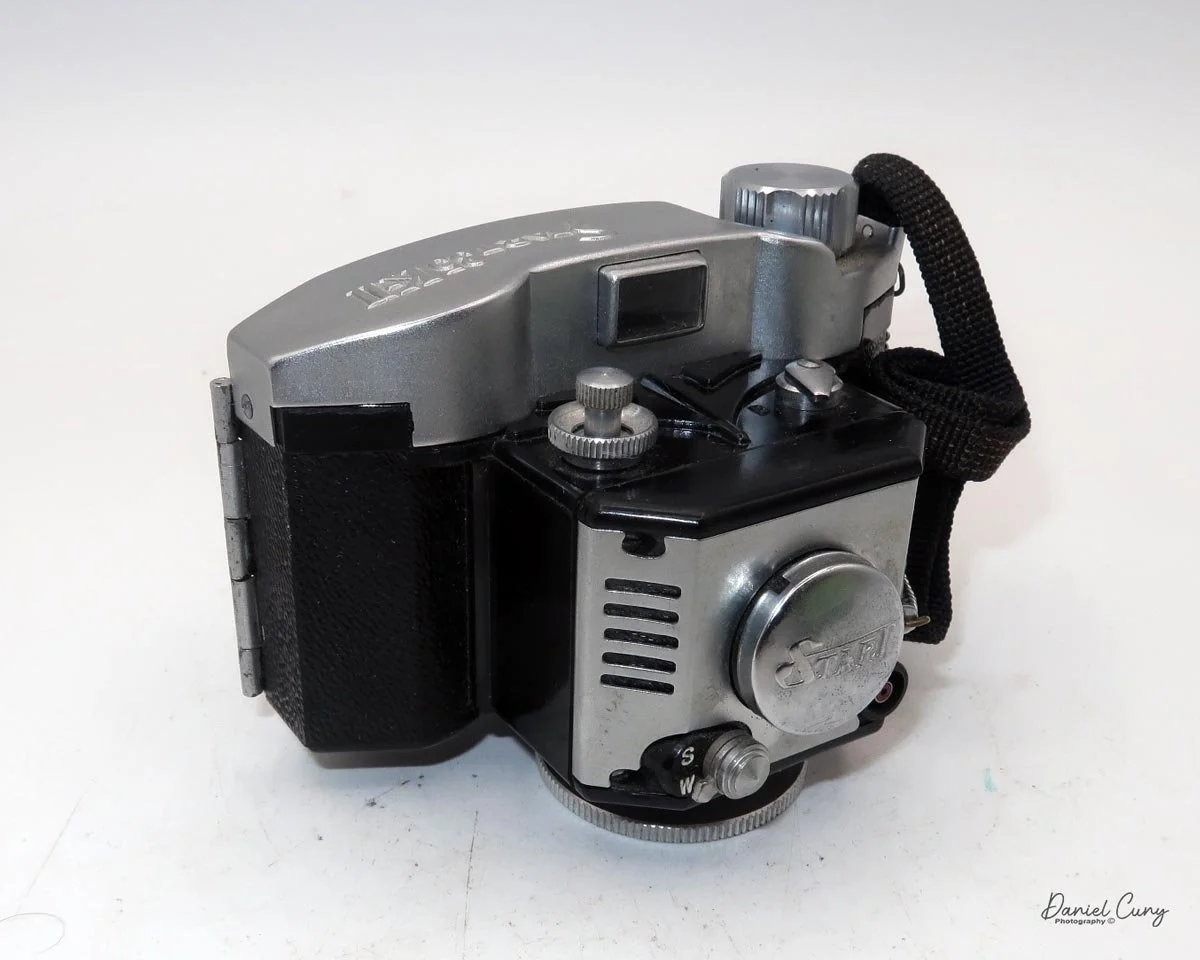
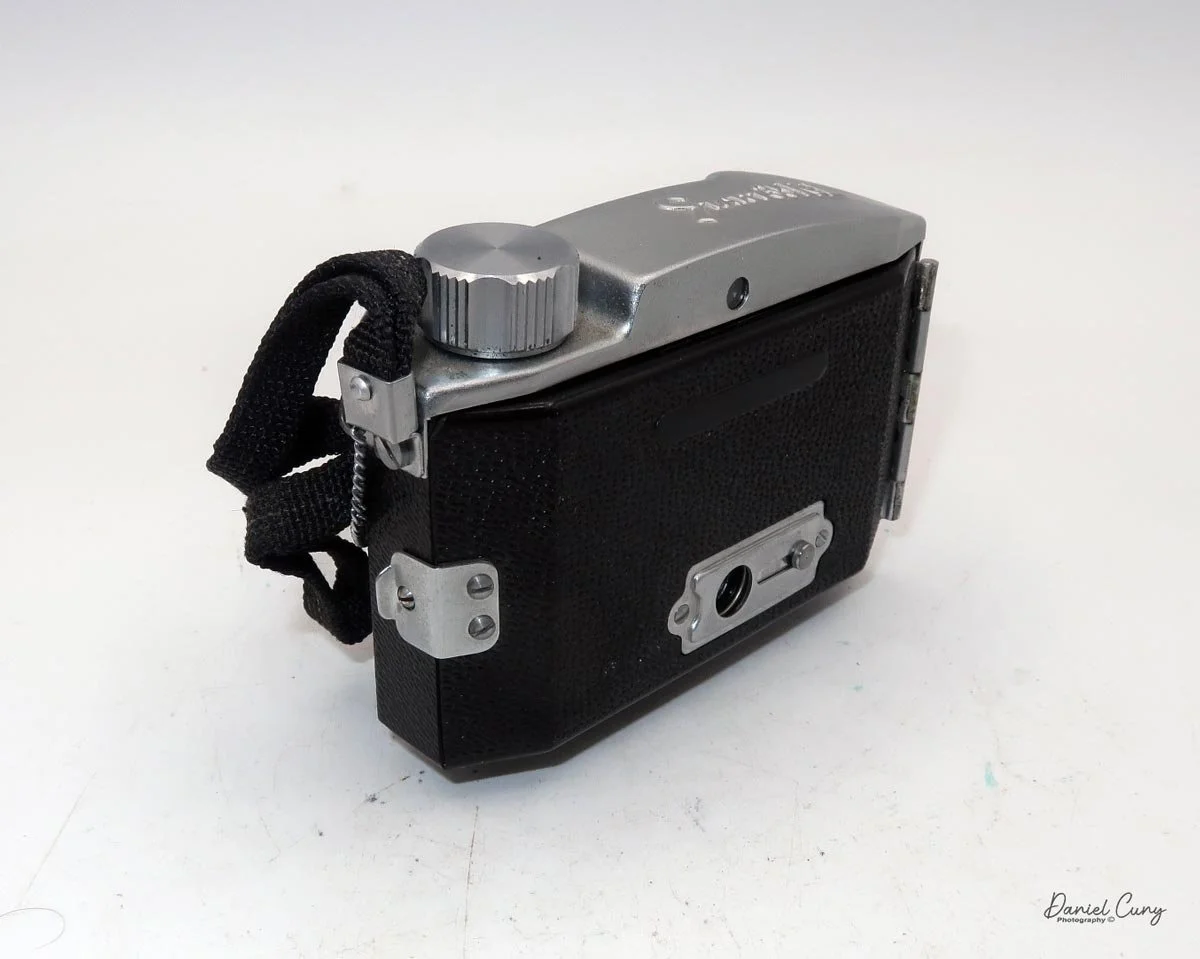
Start 35 K-II Camera

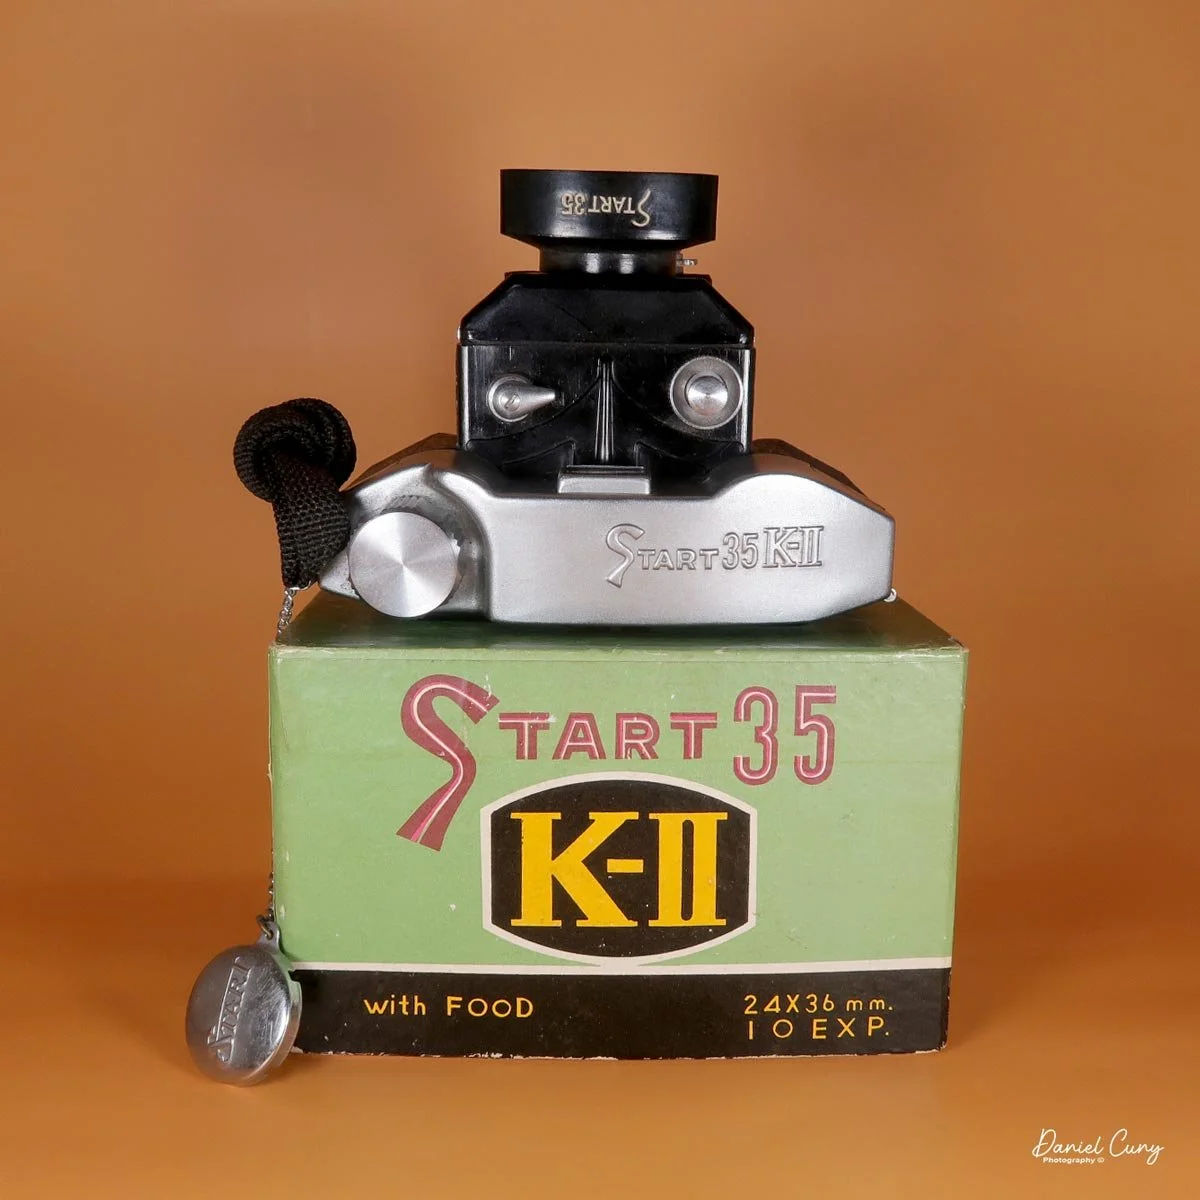
My Start 35 K-II camera with hood and complete box

I can remember when I purchased the Start 35 K-II camera because it was part of a fairly modest camera lot. There were several miniature and subminiature cameras in the group. All of the cameras came with fitted cases, and some even included their original boxes, which I think adds to a camera’s collectability.

 There were other examples of the Start series at camera shows, online, and in books, and I have always enjoyed the chrome and black Bakelite construction of the camera. To me, it has a modernist, almost space-age look. I suppose that was the style they were aiming for, especially for a camera built in the early 1950s.

 When I unpacked the camera lot, I found a few extra items in the box that I wasn’t expecting. While the Start 35 K-II camera itself does not have a fitted case, it did include the “Start” plastic lens hood, along with an aluminum item that appears to be some sort of stand or screw-in accessory used to hold a case onto a camera. The aluminum “stand” is much larger than a typical case-holding screw, so my guess is that it was probably used as a display stand in someone’s collection, since it seems too large to be anything else.

Start 35 K-II camera on stand. I still chuckle at “with Food” on the box.

 Another interesting detail about this camera still makes me smile whenever I see it: the box. The box itself is in wonderful condition, but just below the attractive graphics and the camera’s name, it says “with Food.” I have no idea what that means, or why it would appear on the box of a camera.

 The only explanation I can think of is that it was lost in translation. Perhaps the camera came with rolls of film, or a single roll of film, and the wording “with Food” was meant to indicate that the camera came with something it would consume. Other than that, I really do not know why that phrase appears on the box.

 The Start 35 K-II uses Bolta film, which during this period was a paper-backed 35mm film sold in short rolls and generally less expensive than standard 35mm film. Some cameras used special cassettes for Bolta film, but many Japanese cameras that used Bolta film relied on a special spool with a larger receptacle that fit into the camera, similar in concept to other roll-film systems such as 127 and 828.

History

Ikko Sha Co. Ltd. was a small Japanese camera maker active in the early postwar years, best remembered today for its Start 35 family of compact viewfinder cameras. While it never became a major household name like Canon or Nikon, the company is a good example of the many modest Japanese firms that helped shape the country’s camera boom after World War II.

 The Start 35 line appears to have begun around 1950, when Ikko Sha introduced a Bakelite 35mm camera designed for 24x24mm exposures on Bolta film rolls. That was followed by the Start 35 K in 1952, which added a hinged back door, and later by the Start 35 K-II around 1958, which brought flash synchronization, a metal top plate, a 24x36mm exposure area, and lens-surround caps. These incremental changes suggest a company refining a simple, practical product rather than chasing a wide model range.

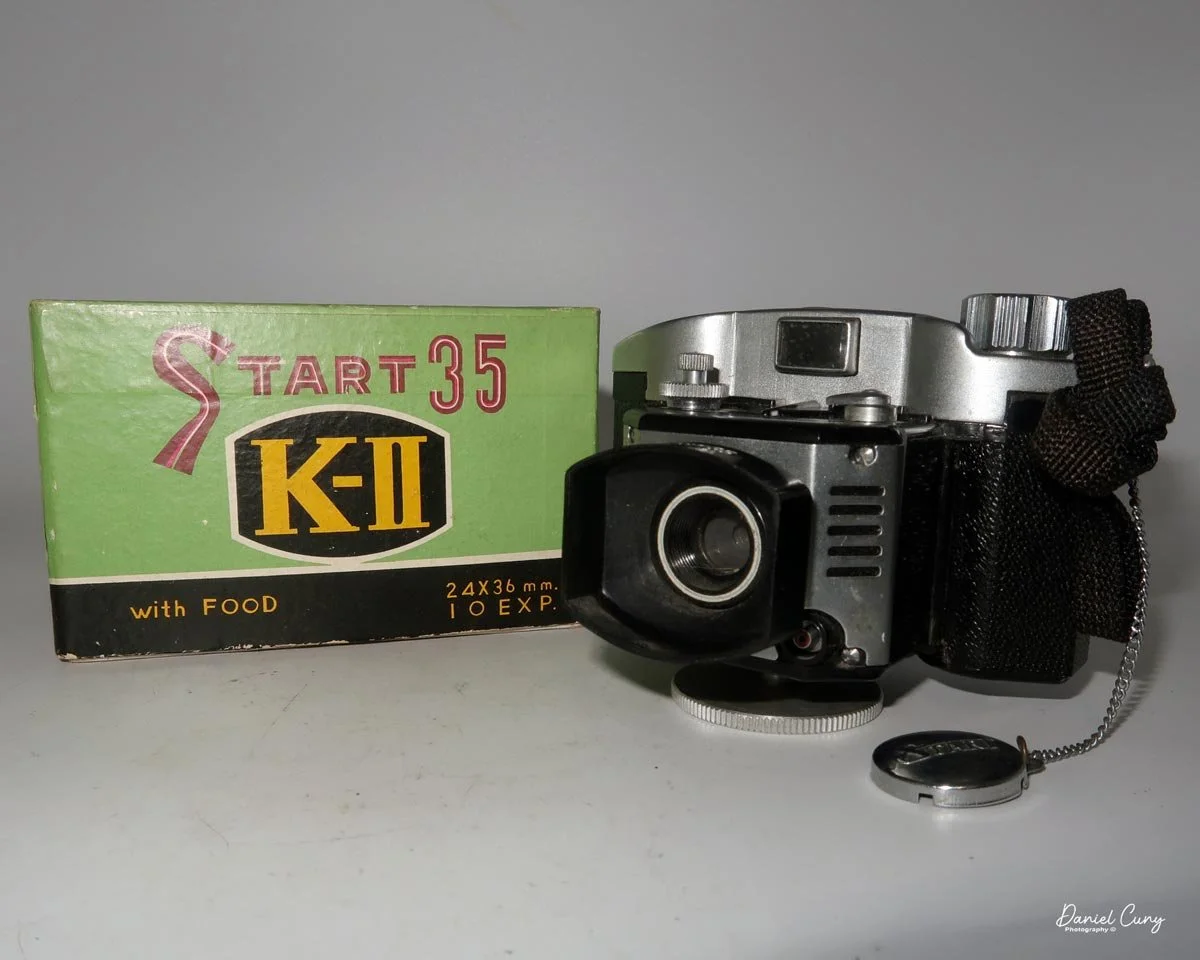
Front view of Start 35 K-II camera with embossed lens cap

 Ikko Sha’s place in camera history comes as much from context as from production volume. Postwar Japan produced dozens of small camera firms, many of them serving the growing demand for inexpensive 35mm cameras at home and abroad. Ikko Sha belonged to that energetic ecosystem, where innovation often came through compact designs, clever packaging, and steady model revisions rather than large-scale manufacturing power.

 For collectors, Ikko Sha cameras are appealing because they are uncommon and clearly rooted in a transitional moment in photographic history. The Start 35 series shows how Japanese manufacturers experimented with materials, formats, and user features before the industry consolidated around stronger global brands. A camera like the Start 35 K-II may be modest, but it captures the ingenuity of an era when even small firms could leave a lasting mark on the collecting world.

 Today, surviving Ikko Sha cameras are mostly encountered in collections, auctions, and enthusiast write-ups rather than in mainstream histories. That scarcity only adds to their charm, especially for collectors who enjoy tracing the overlooked branches of Japanese camera development.

My Camera

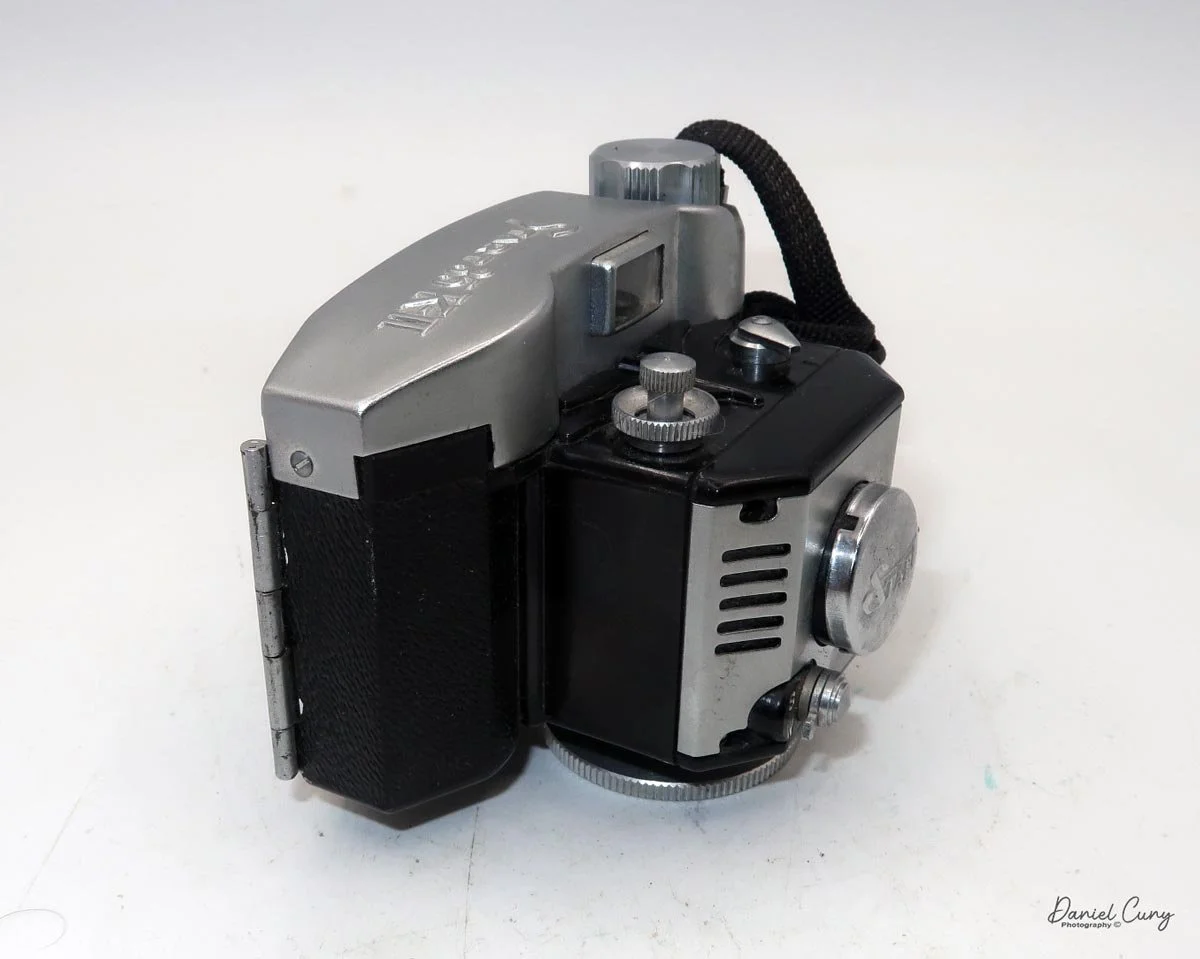
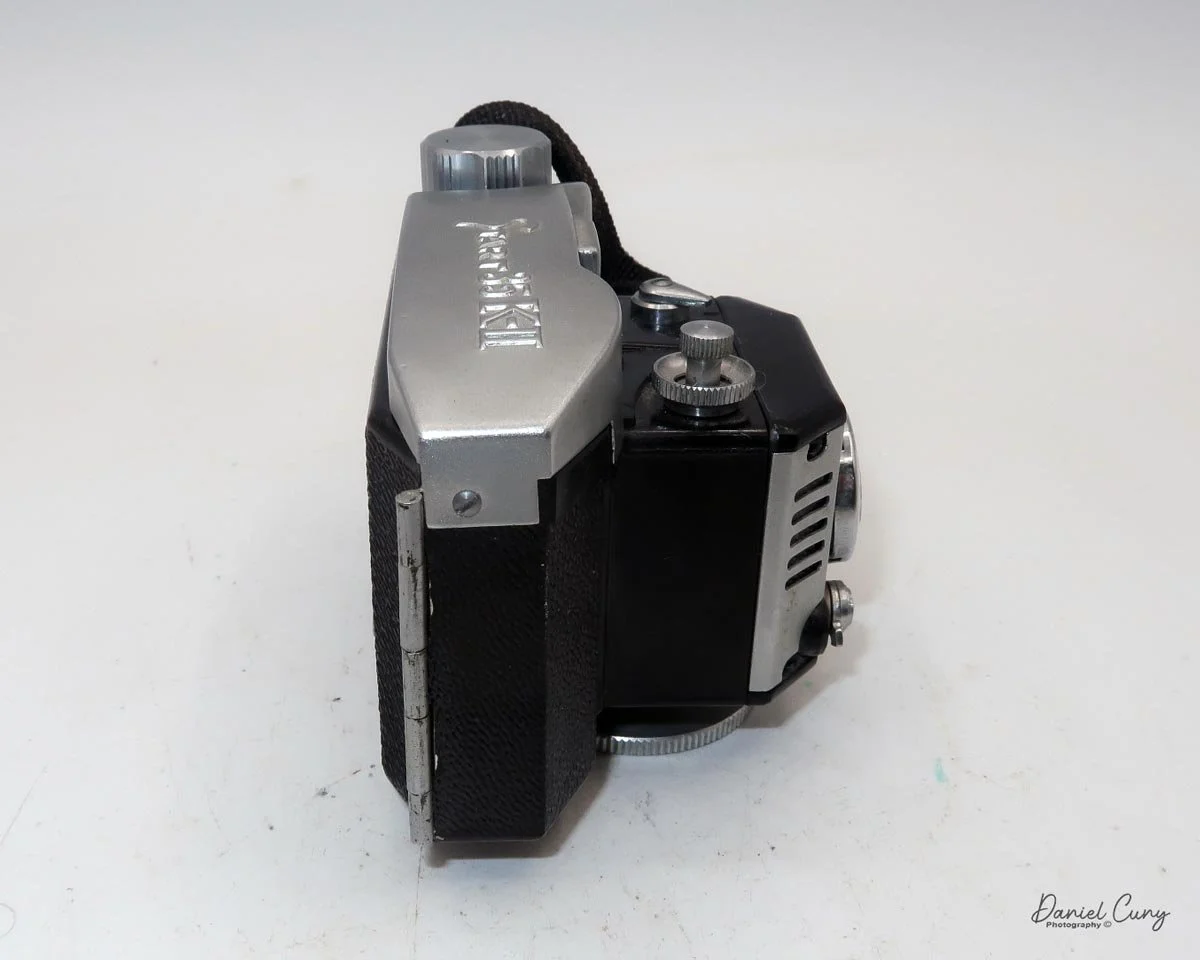
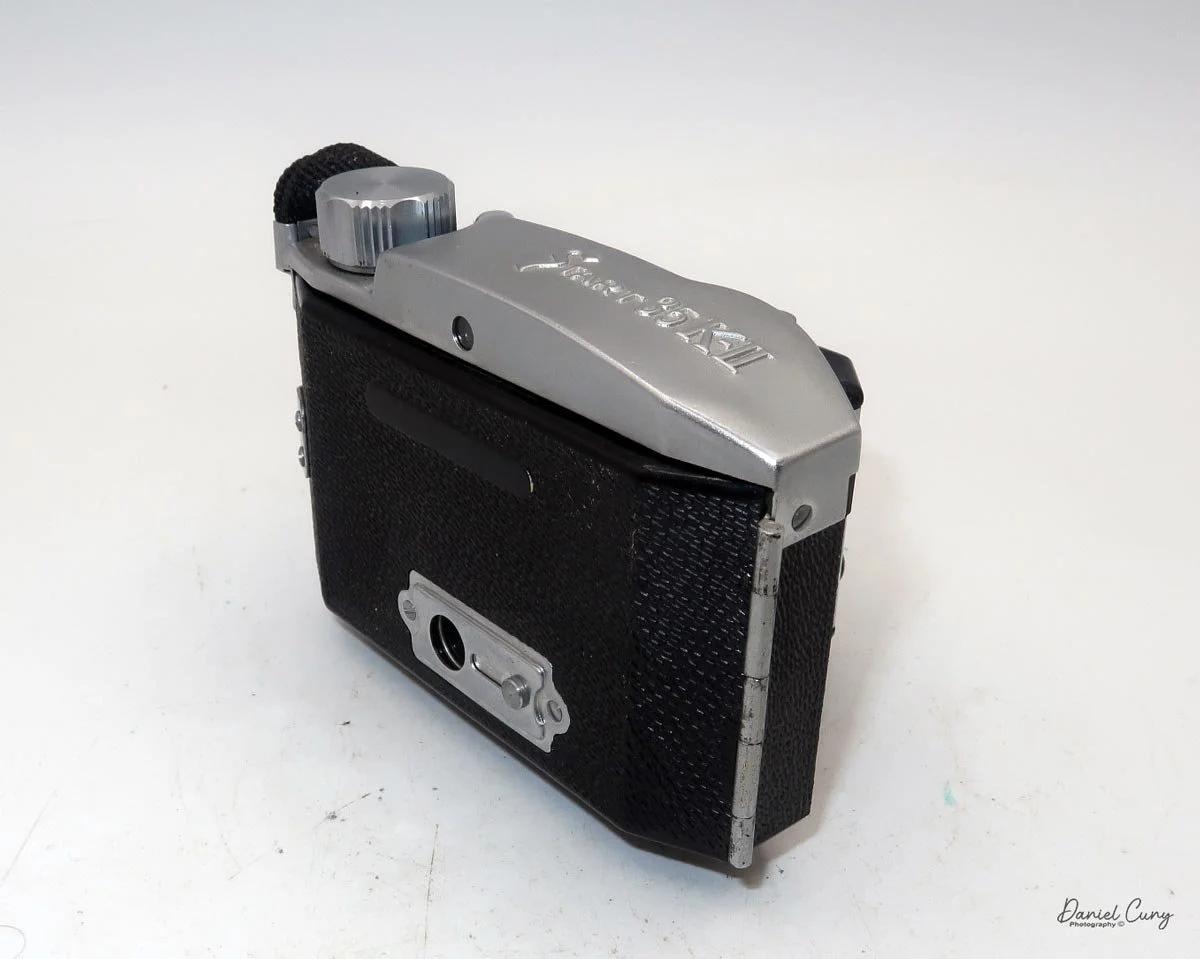
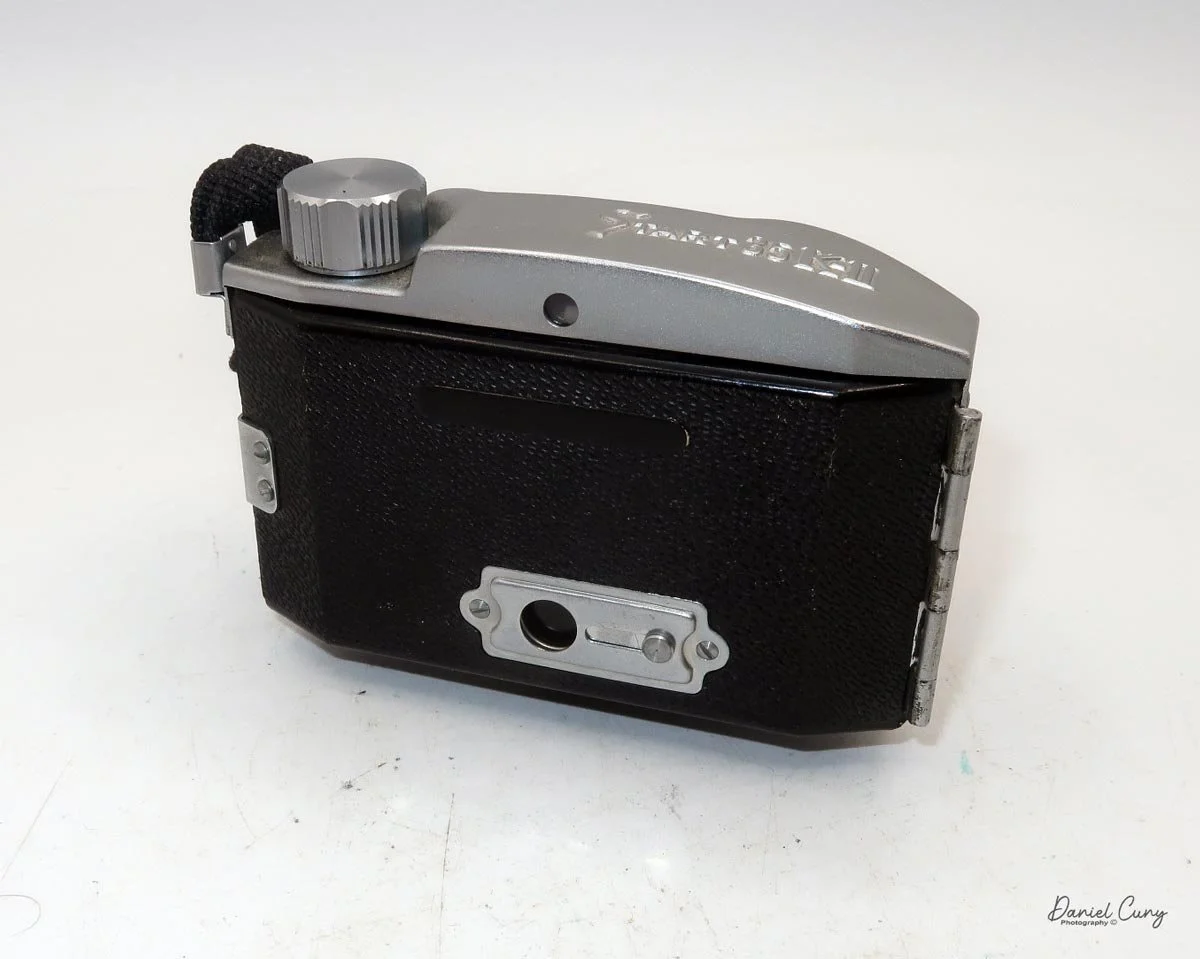
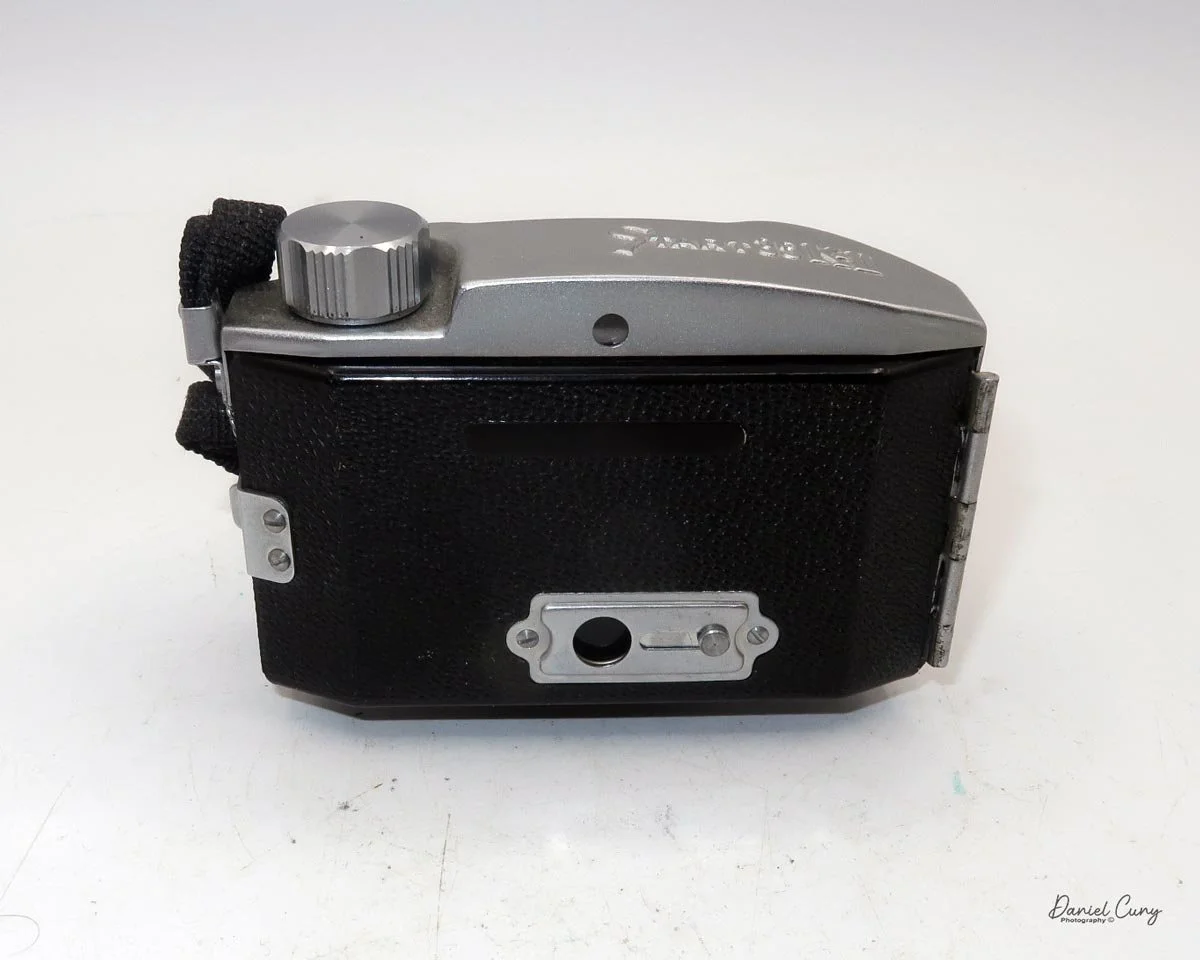
My Start 35 K-II camera measures 4 inches wide by 2.25 inches tall and 2.5 inches deep, not including the attached lens hood. The camera weighs 6.6 ounces without film loaded. It is made of black Bakelite with an aluminum top covering the viewfinder, and the metal also wraps around the lens with five slots on either side, giving the camera a modernist look.

On the left side of the camera is a nylon wrist strap attached next to the film winding knob. Also attached to the strap is a metal chain with a metal lens cap embossed with a stylized “START” logo. On the bottom of the camera is a tripod socket, along with “Made in Japan” embossed into the Bakelite.

 The camera is very basic when it comes to controls. The shutter release is on the top right of the camera, located on the extending lens portion, and on the opposite side is the shutter control switch. You have the option of either “I” for instant or “B” for timed exposures.

The lens is fixed and cannot be focused. Under the lens, on the left side, are two aperture settings, “W” and “S.” “W” is wider open, and switching to the “S” setting selects a smaller aperture. On the left side of the camera is a PC socket for flash. Since there is no accessory shoe, you need to use a bracket if you want to use flash with the Start 35 K-II.

 To open the camera for loading film, there is a simple latch on the left side that opens the back and exposes the film chamber. On the right side, you place a fresh roll of Bolta film, bring the leader across to the left, and thread it into the take-up spool. Start winding to make sure the film is seated properly, then close the back and advance the film until you see the number 1 in the window on the back of the camera.

 My Results

Since I do not have Bolta film, I used some bulk 35mm film and leftover paper backing from 127 film, which I cut down to fit the Bolta reels I have.

 Taping a short roll of 35mm film onto the paper backing in total darkness was not the easiest task, but it was manageable if most of the prep work was done ahead of time and the process was carefully thought through before turning off the light.

 I also loaded the film into the camera in the dark to make sure I had not made any mistakes when attaching the paper backing to the 35mm film. I knew the numbers on the backing paper would not line up exactly, so I simply guessed how many turns to advance the film.

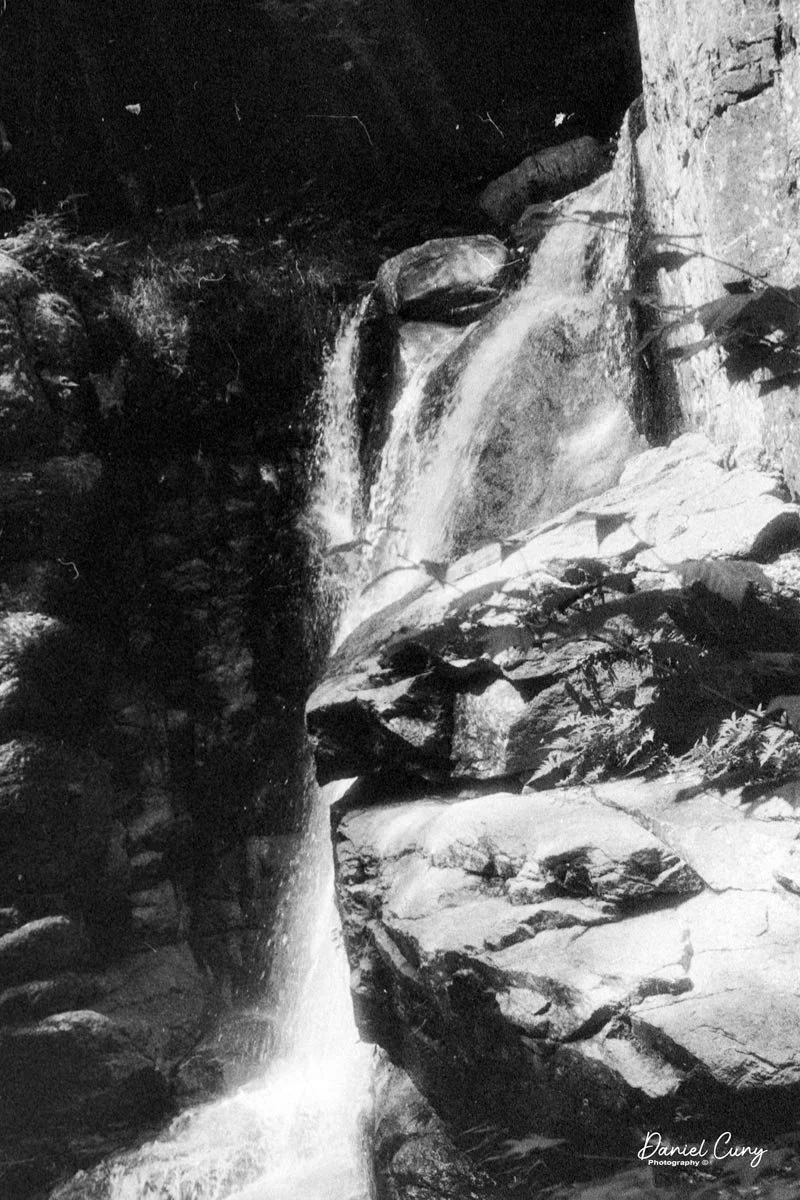
 With film in the camera, I took it to a local waterfall and walked through the neighborhood to make a few photographs.

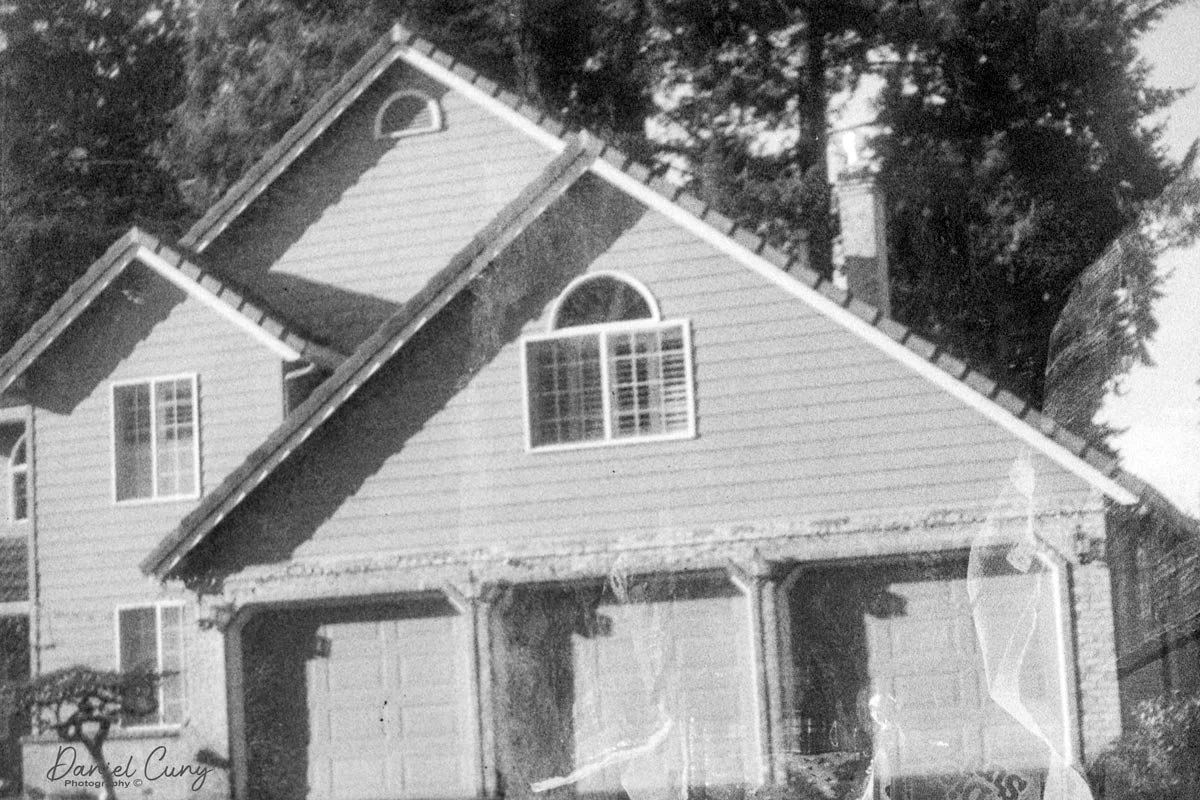
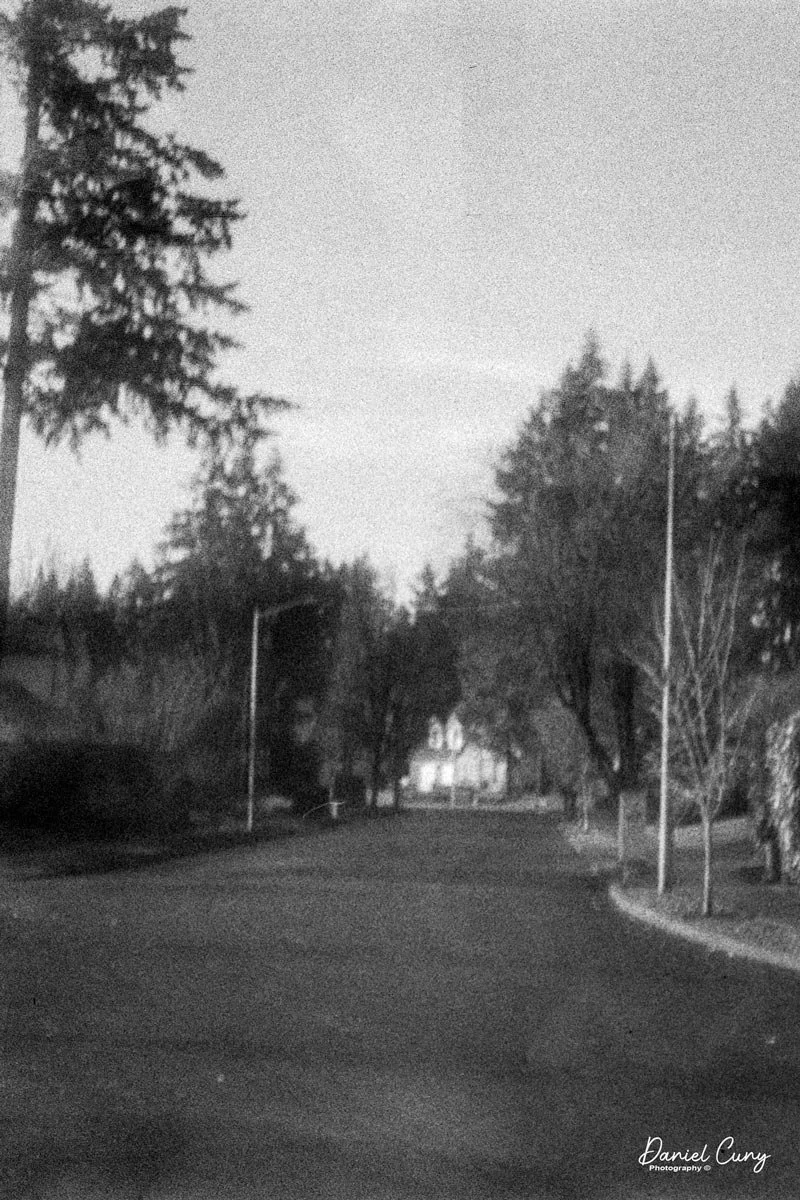
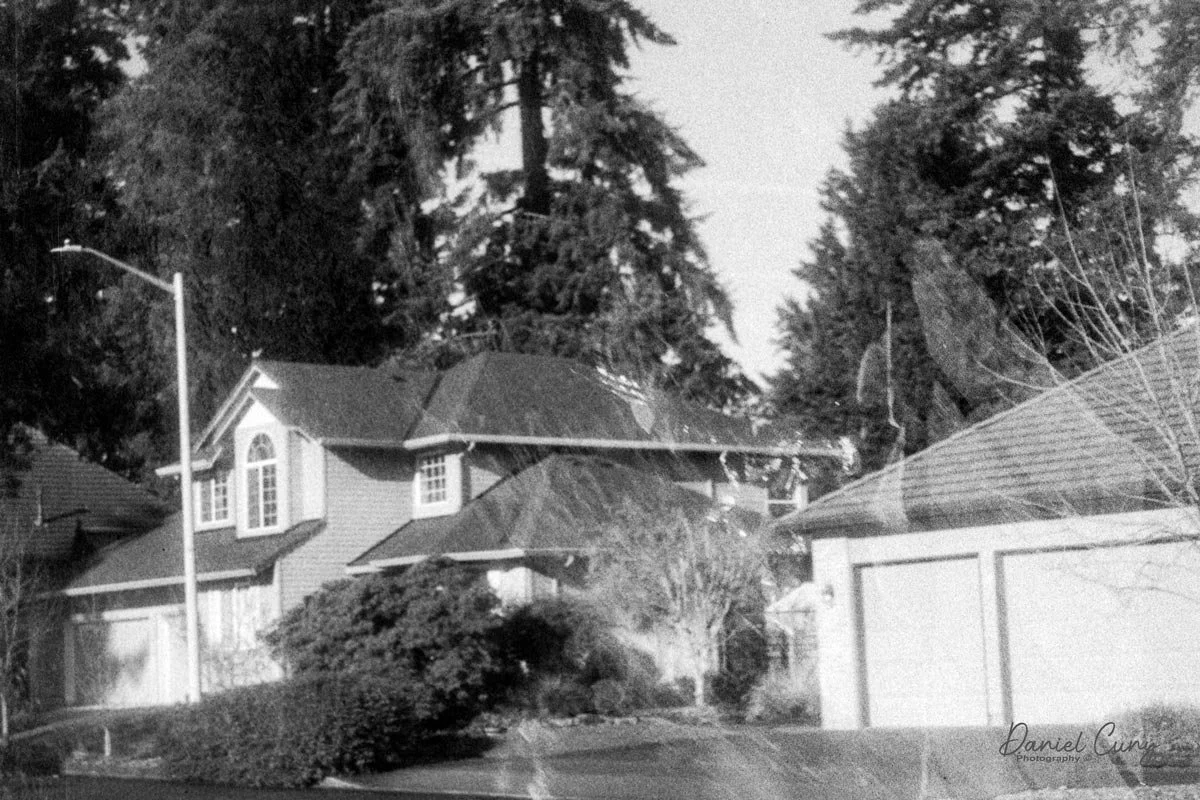
 Here are the results from the Start 35 K-II camera:

Conclusion:

While the images from the Start 35 K-II were sharper than I expected, something must have gone wrong in processing, or perhaps light leaked through the paper backing, because there are some strange light streaks on many of the images. My guess is that it was operator error, most likely related to the paper-backing process.

 The next time I review a Bolta film camera, I will try to do a better job with the paper-backing method. Overall, though, the camera is pretty nice, easy to use, and produces some nice images for a camera that is close to 70 years old.

 Thank you for taking the time to learn about this unusual Bolta film camera made in the late 1950s.

 Here are some of my other Camera Reviews.

 Check out my YouTube channel, where I am putting together video overviews of the cameras I write about. Be sure to subscribe and like the channel, too.

 Cuny’s Cameras and Photos is my online eBay store, where you will find some of the cameras I have reviewed, along with a wide range of other cameras, lenses, and items from my collection that I am thinning out.

 Until next week, please be safe.
 

Zeiss Ikon Super Ikonta 531/2

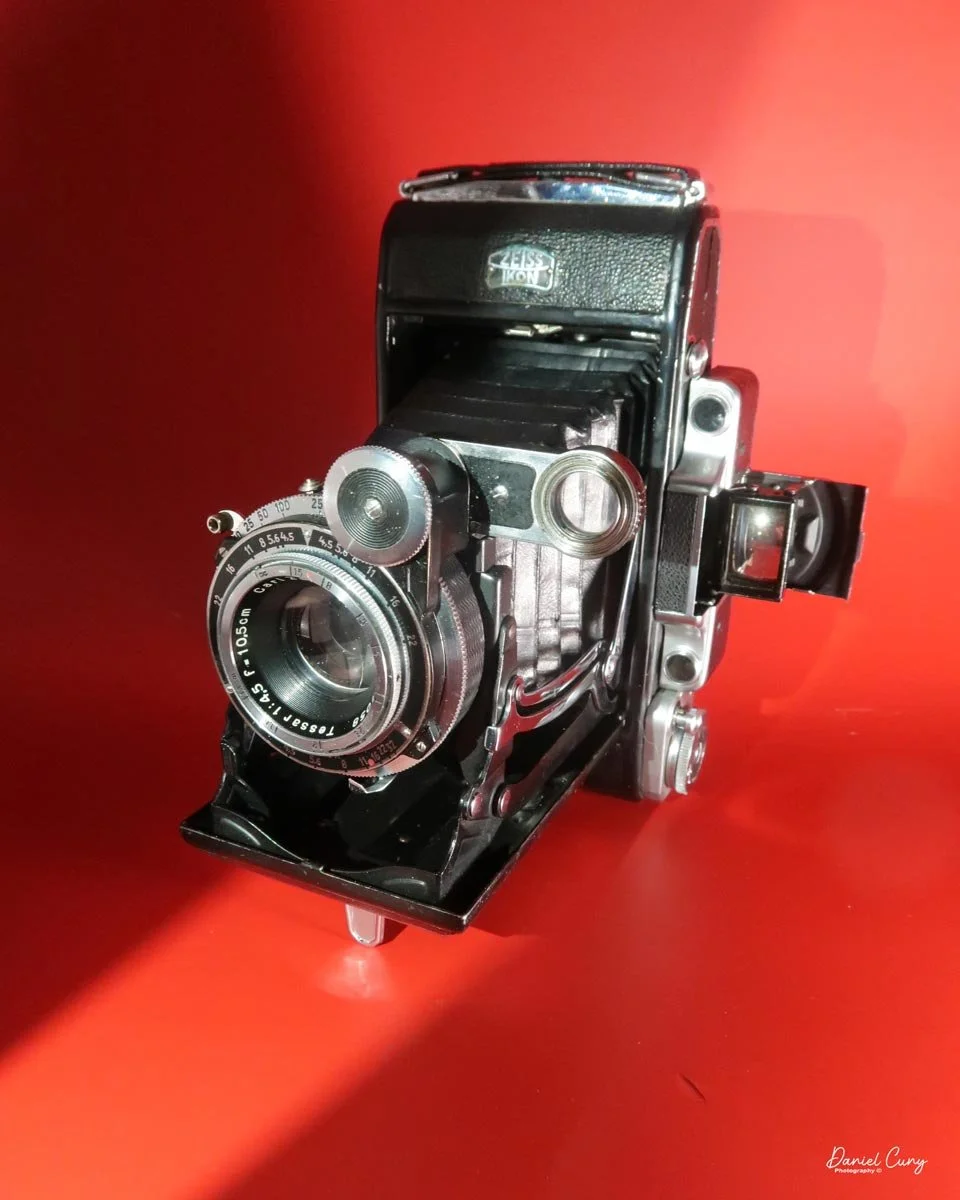
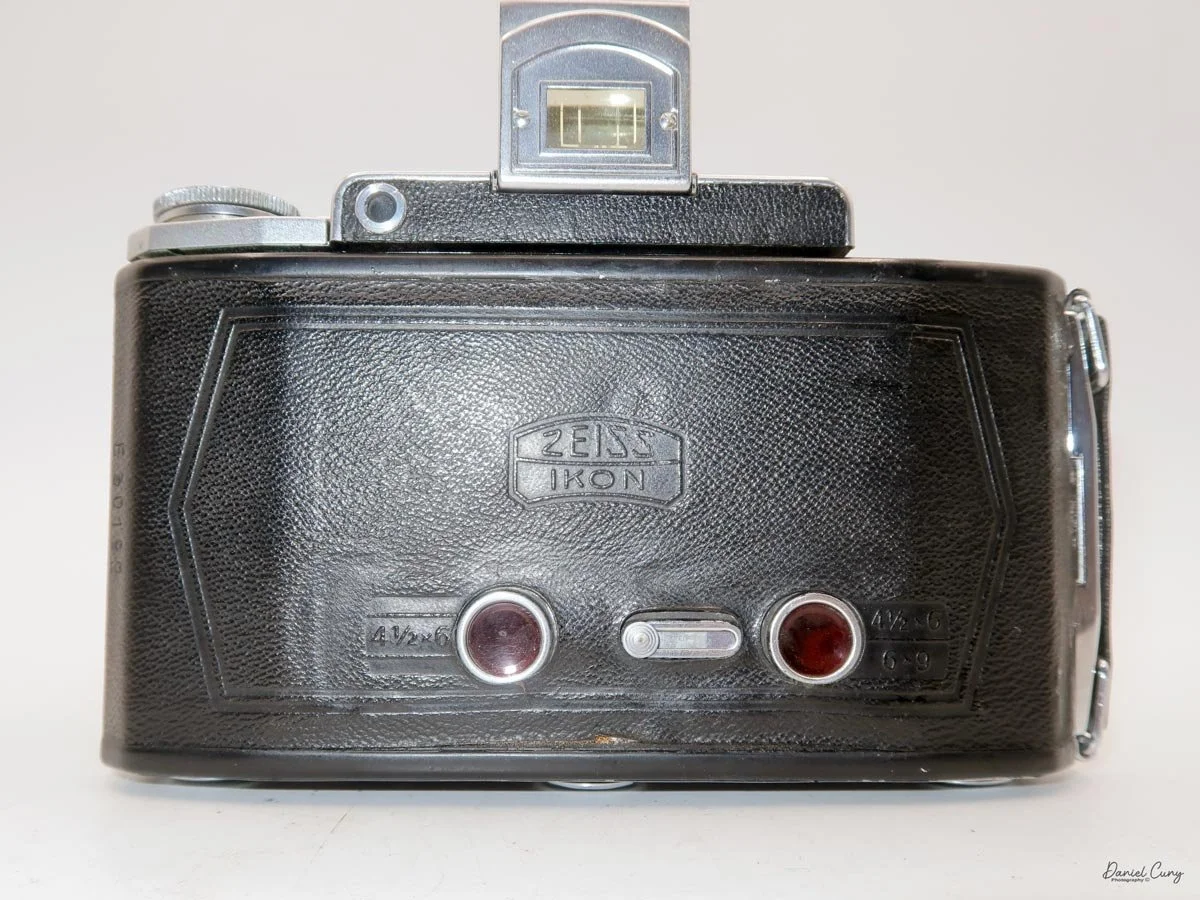
My Zeiss Ikon Super Ikonta 530/2 camera

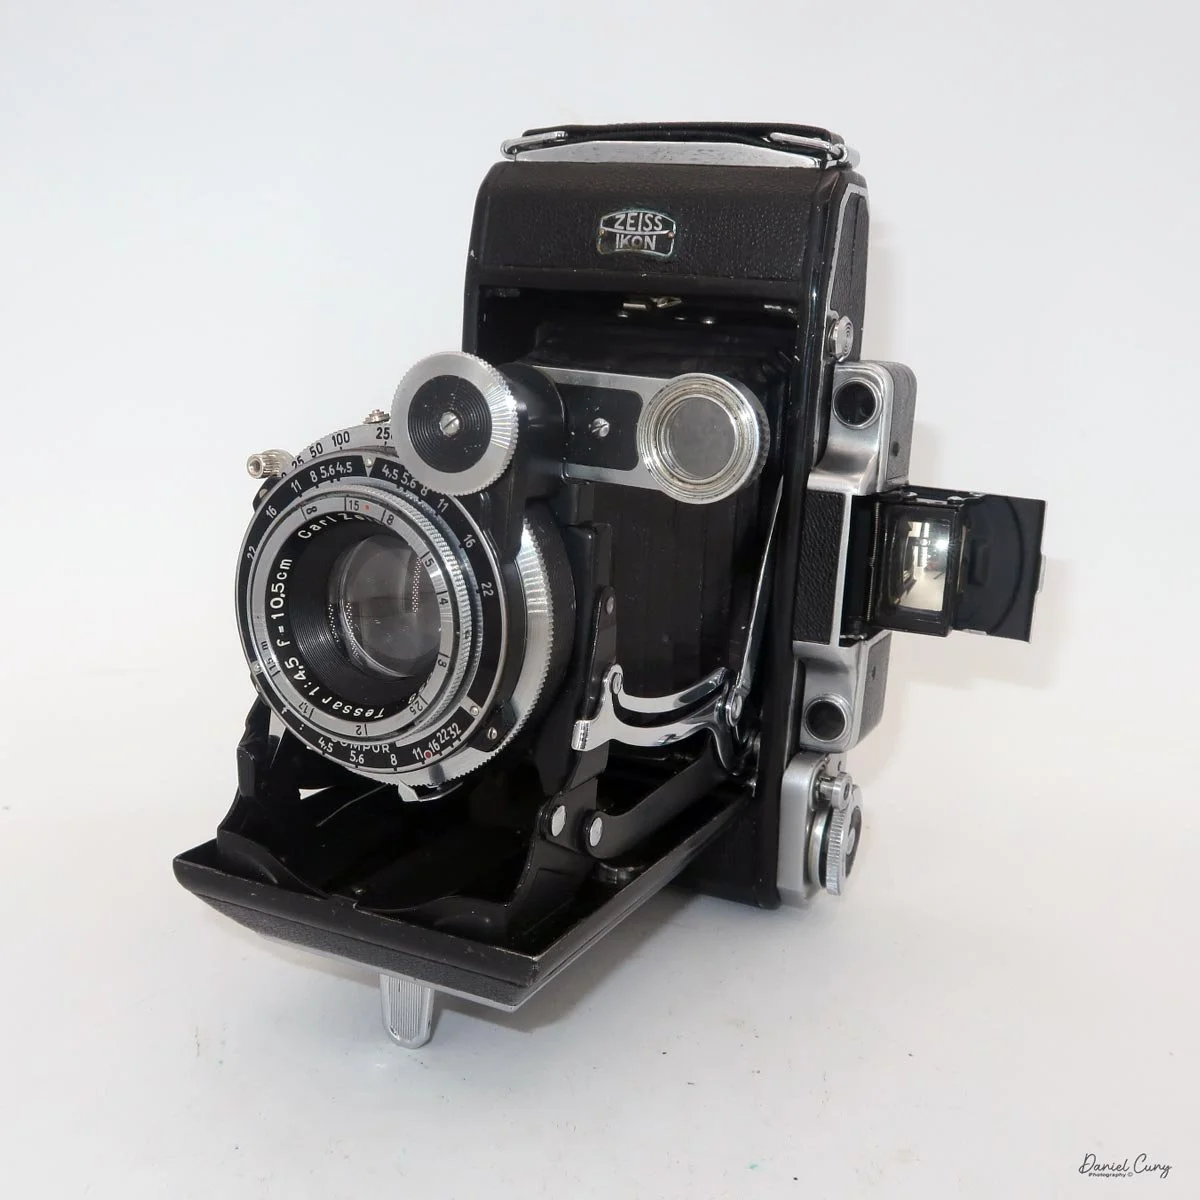
Walking through flea markets, garage sales, or camera shows, I always stop to look at what Zeiss cameras they have, and the cameras that I always pick up to look over are any of the Zeiss Ikon Super Ikonta cameras. Not only because they look impressive even when closed, but also because I'm always struck by how well-made and intricate they are for a camera that's 90 years old.

 To me, the Super Ikonta cameras are like looking at a masterpiece of art. They are timeless in their form, compactness, and mechanical intricacies. When closed, they are compact and sturdy. They have a heft to them that you know they were manufactured to last a long time.

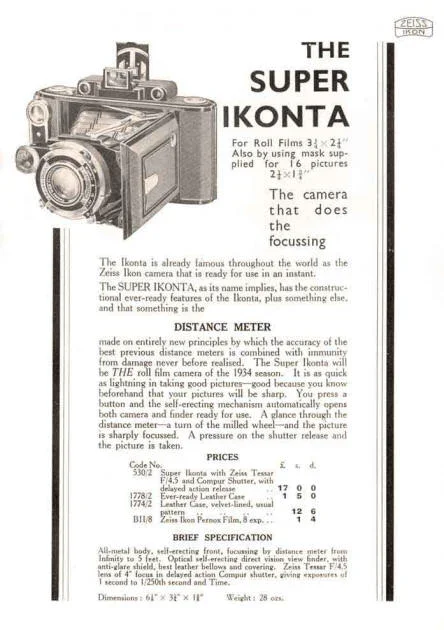
 Zeiss Ikon made four different Super Ikonta styles. There were the smaller models in 6x4.5 or 6x6cm formats, then they also made a larger, specifically longer version that shot 6x9, and a rare version that shot 6x11cm. The 6x9cm version came with a metal insert that reduced the image size to 6x4.5, essentially allowing the photographer to get twice as many images on the 120 roll film loaded in the camera.

 Having owned both in my life, I'm torn between them. On the one hand, I prefer the longer negatives, so the 6x9cm version is appealing, but it's also a bit bigger to carry. The more compact 6x6cm version is a terrific camera to carry when you travel. They are compact, fit in your pocket, have wonderful optics, and use a rangefinder to focus.

 Looking at the cameras on my shelf for a camera to write about, the Zeiss Ikon Super Ikonta 530/2 was a camera I recently got back from a full CLA, so I knew, or at least hoped there wouldn't, or shouldn't be an issue putting film in the camera and running a roll of film through it. 

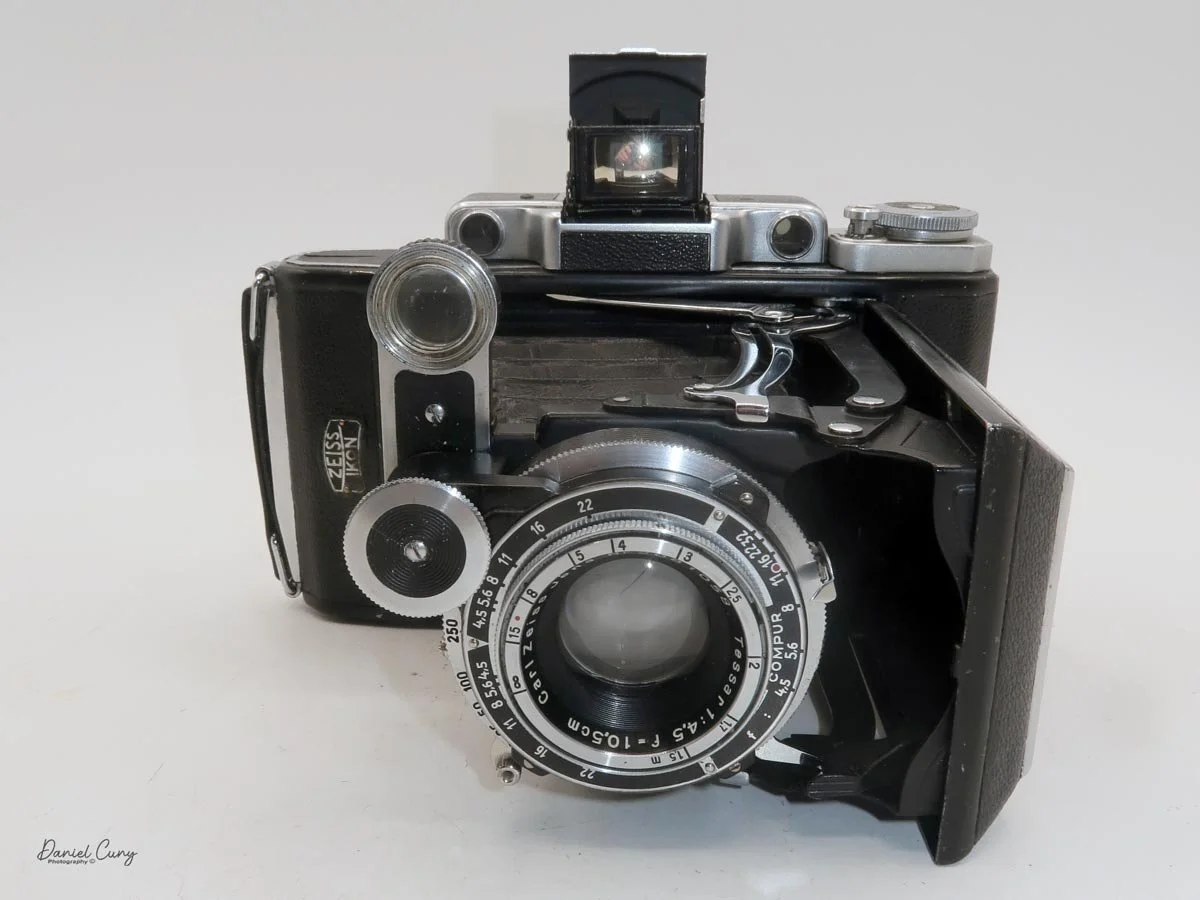
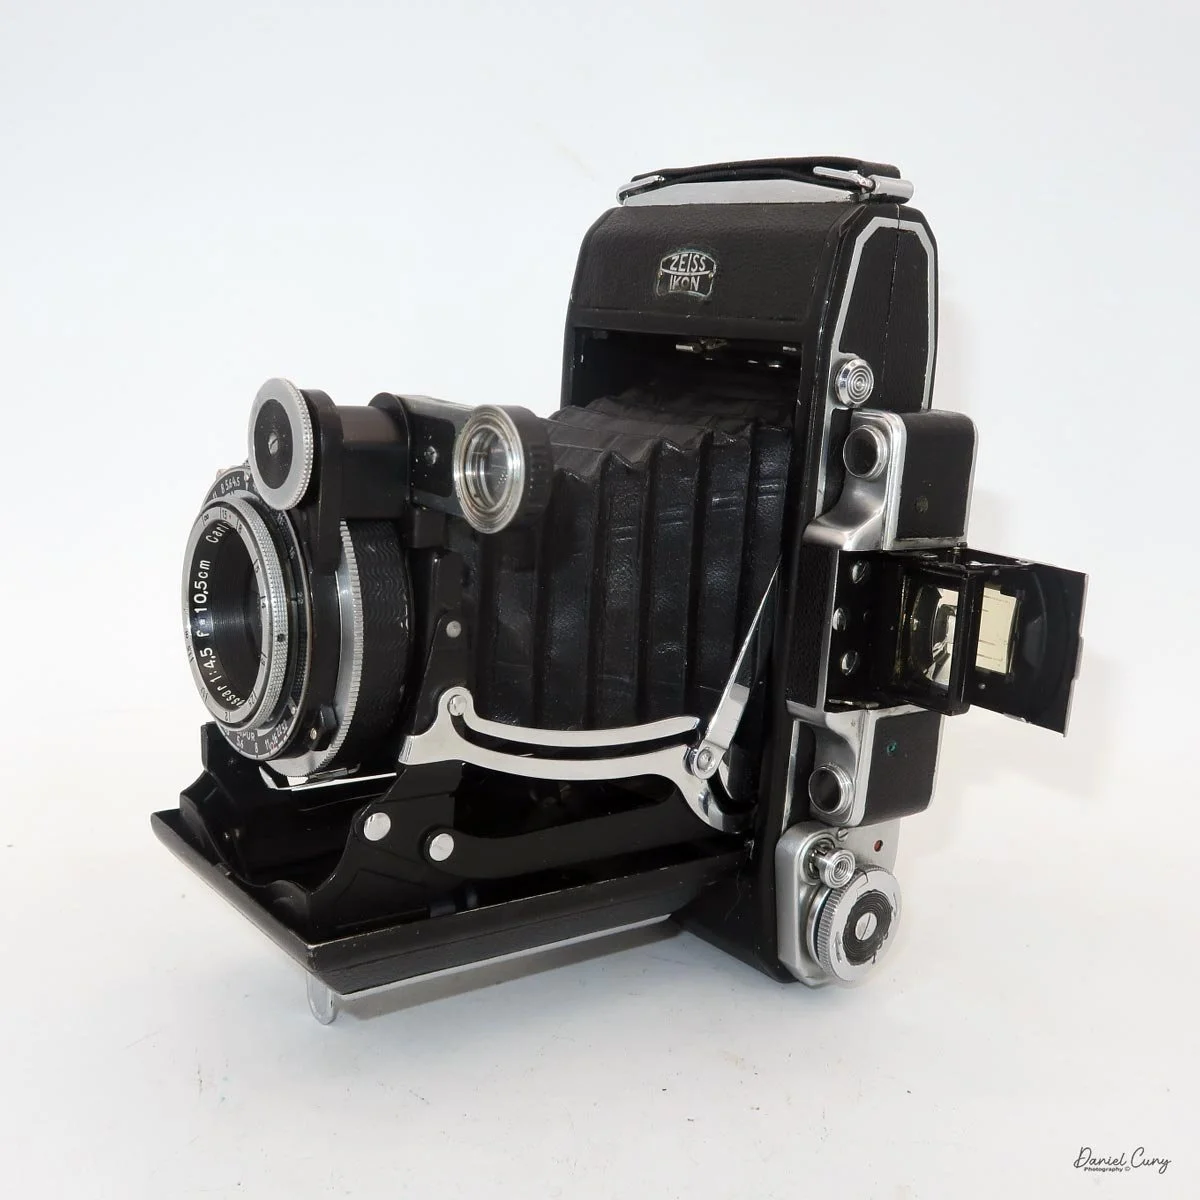
Horizontal view of my Zeiss Ikon Soper Ikonta 530/2 camera

 The camera I had purchased almost a year ago was from an online auction. I saw it at the auction along with a few other cameras, placed a fairly low bid, and won it. The camera was shipped to me, and upon inspection, I noticed the shutter wasn't working. It worked at higher speeds, but the camera needed servicing, so I sent it for CLA.

 My camera came back from the technician and looked flawless. The rangefinder was bright and accurate, the lens was bright, the focus was smooth, and the lens popped out of the camera as if it were new. 

 Whenever I see a Zeiss Ikon Super Ikonta or another rangefinder folding camera, the first thing I check is the shutter to see if it's opening/closing, especially at slower speeds. Then I check the focus to see how smoothly the lens and focus knob turn. It seems that many of the cameras have very stiff focusing, so when the camera came back, and the focus knob turned so nicely, I must have had a large grin on my face, as this was a new experience for me: a smooth focus.

 With all that said, it was time to put a fresh roll of 120 film into the camera and take a walk through the neighborhood on a wonderful spring afternoon. The sun was out, and so many of the trees and flowers were in bloom, it was the ideal opportunity to take my newly CLA'D Zeiss Ikon Super Ikonta for a spin.

Brief History of the Zeiss Ikonta Cameras:

 Zeiss Ikon and the Ikonta cameras sit at an important crossroads in European camera history. Formed in 1926 from the merger of four major German makers—Contessa-Nettel, Ernemann, Goerz, and Ica—Zeiss Ikon became one of the largest and most influential camera companies in the world, backed by the Carl Zeiss optical tradition.

 The Ikonta line emerged around 1929 as Zeiss Ikon's premium folding-camera family. It was introduced in several sizes, including 6x4.5, 6x6, and 6x9 roll film frames, and represented the company's effort to rationalize and modernize the crowded product lines inherited from the merger. These cameras were built as elegant folders: compact when closed, but capable of producing high-quality medium-format images when opened.

 What made Ikonta especially significant was its market position. Zeiss Ikon used better lenses and more refined construction on Ikonta models, while cheaper versions sometimes carried the related Ikomat name. The line became closely associated with Carl Zeiss lenses, such as the Tessar, which helped the cameras earn a strong reputation for sharpness and image quality.

 A major step forward came with the Super Ikonta series, introduced in 1933. The "Super" name indicated the addition of a coupled rangefinder, making focusing far easier and more accurate than the original scale-focusing Ikontas. That innovation helped define some of the best prewar folding cameras available.

 Production continued through the war years and into the postwar period, but folding cameras gradually lost favor as photography shifted toward more modern fixed-lens designs and 35mm systems. Even so, Ikonta and Super Ikonta remain admired today for their craftsmanship, portability, and classic Zeiss optical quality.

My Camera:

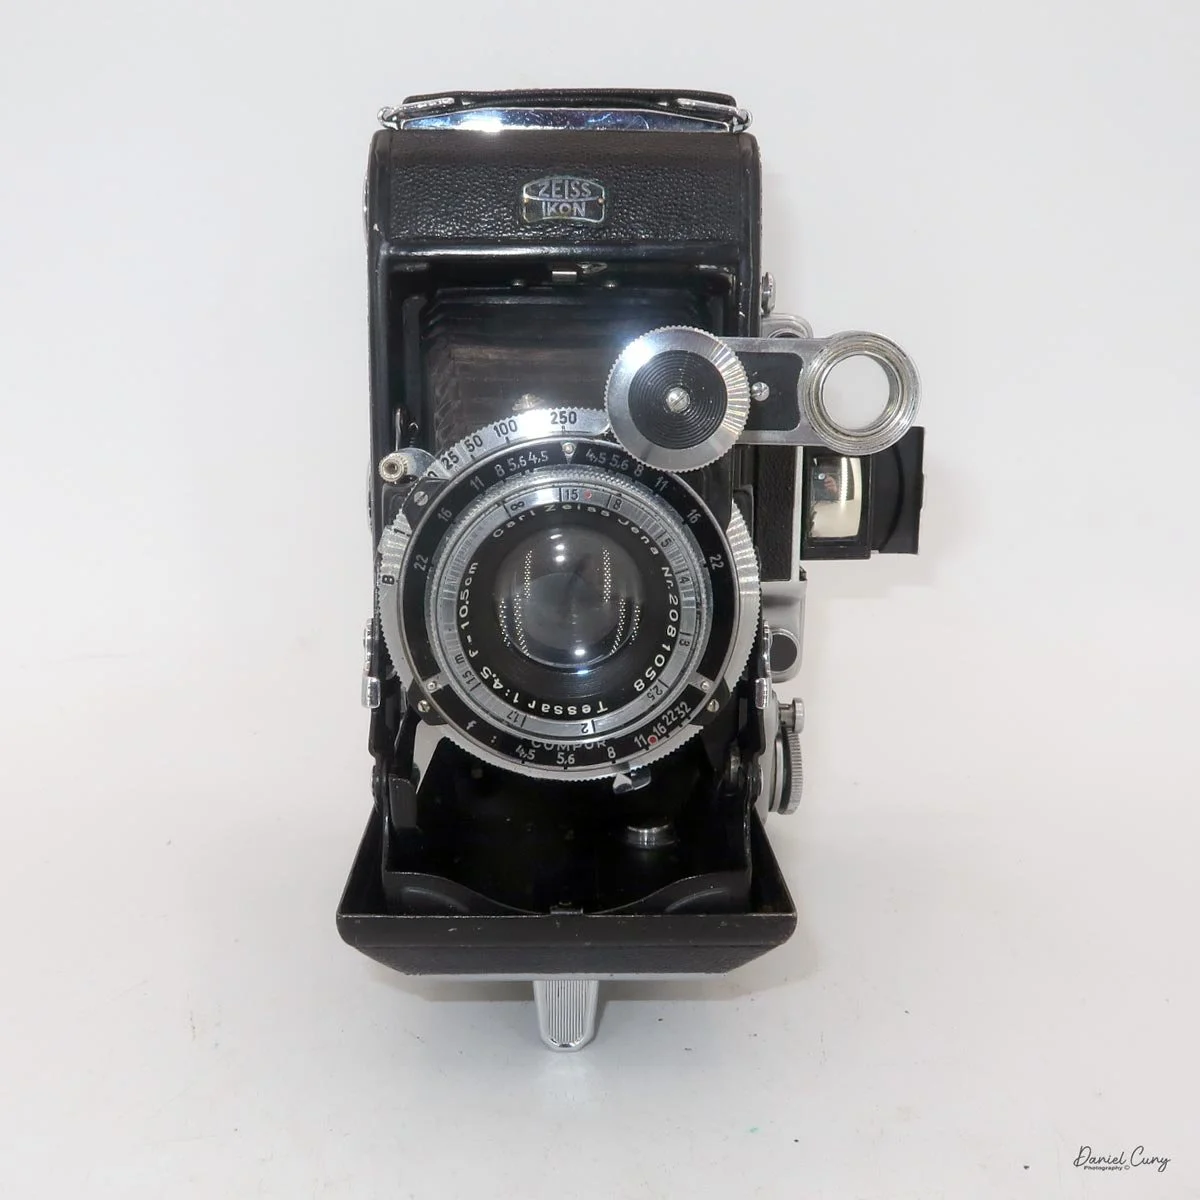
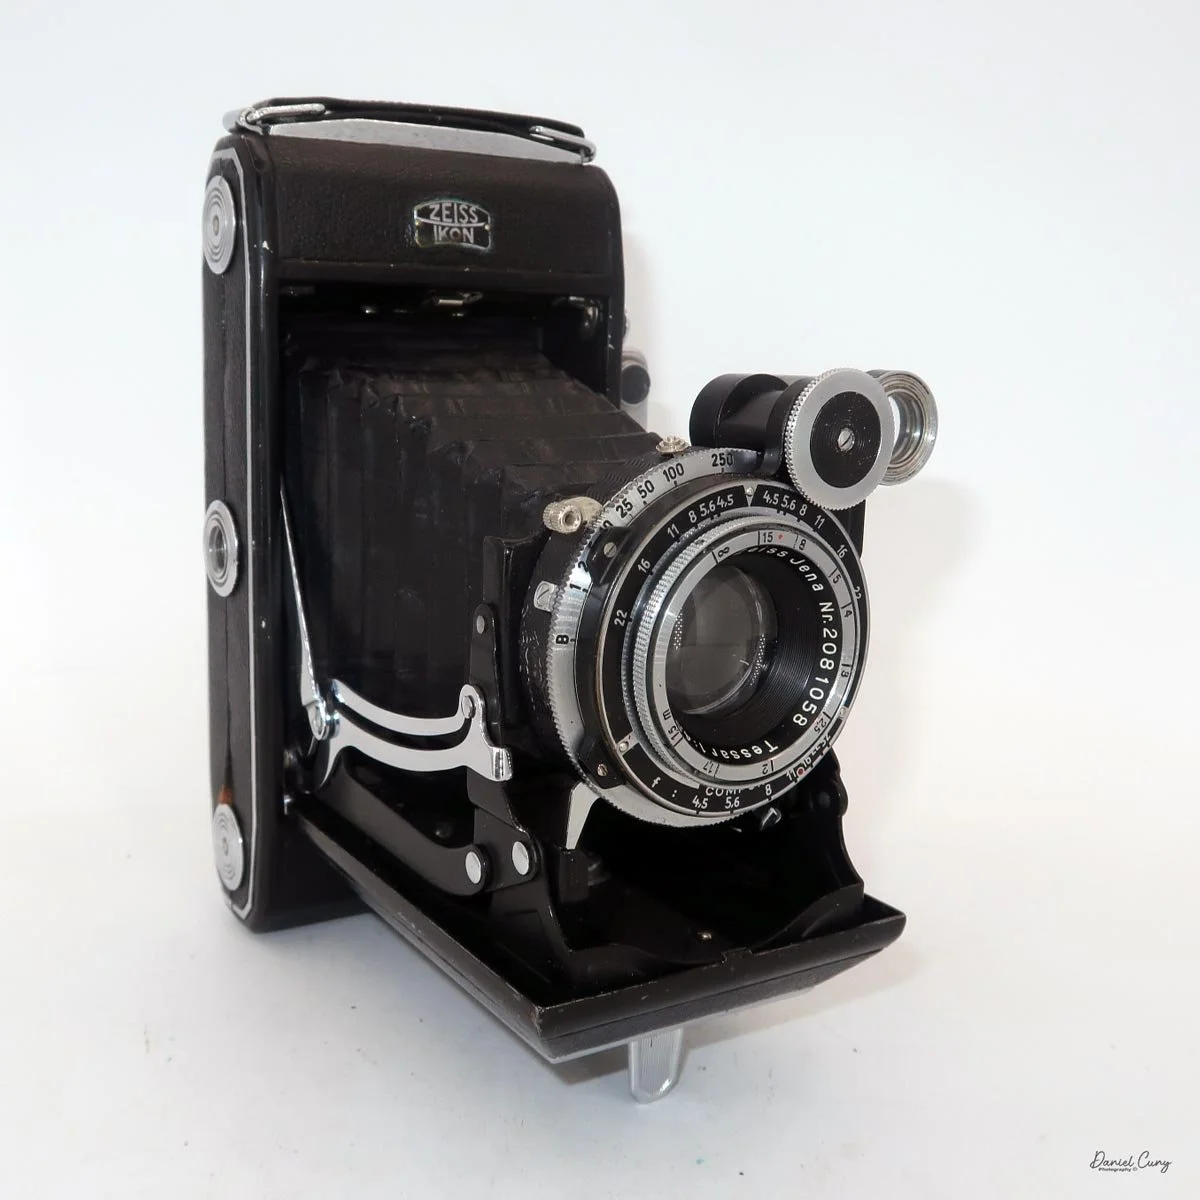
 My Zeiss Ikon Super Ikonta 531/2 is 7" wide by 4" tall and 2 "deep when the lens is retracted, and it's 5" tall when you open the camera, and the viewfinder pops up, and 5.5" deep when the lens is extended. The camera weighs 1 pound 15 ounces without the case or film loaded. My serial number is E30192.

The Zeiss Ikon Super Ikonta 531/2 camera has several different options for lens and shutter combinations:

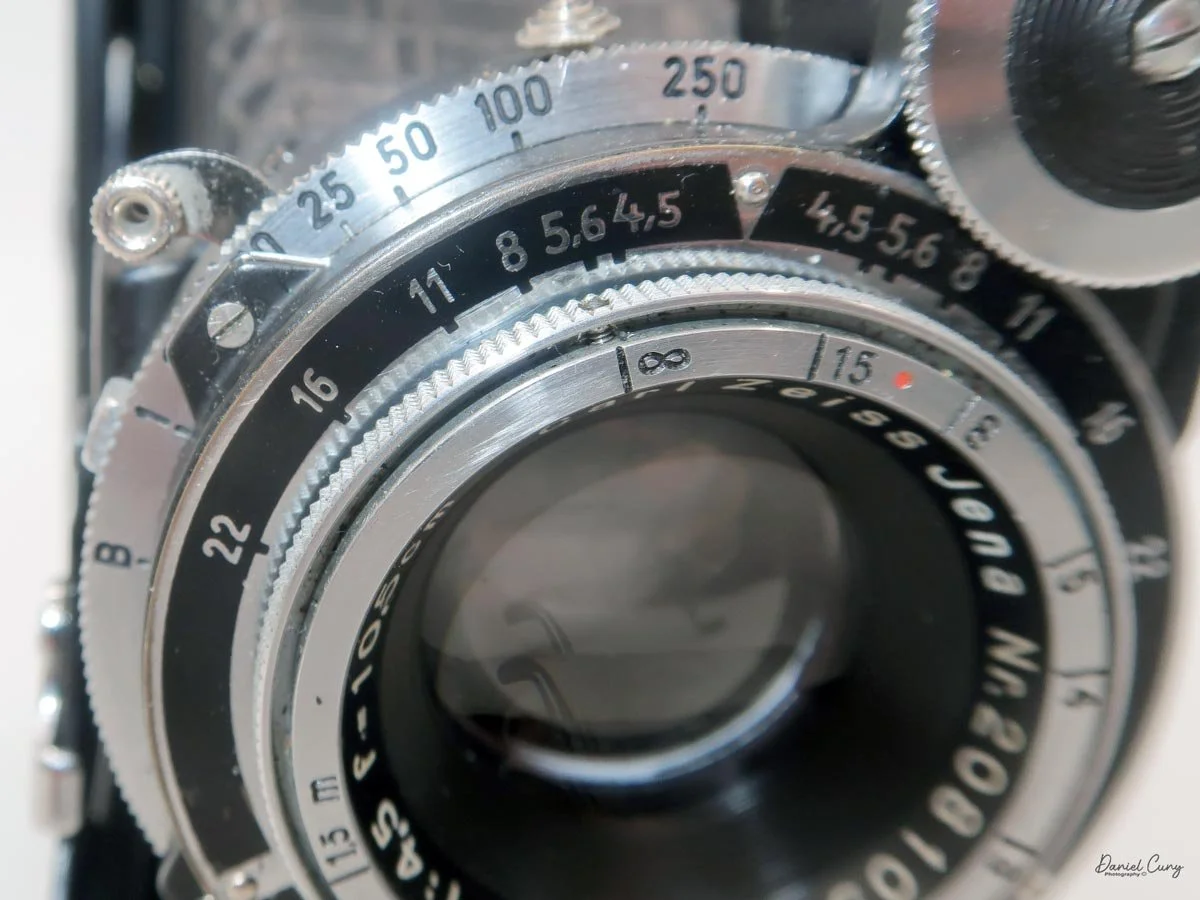
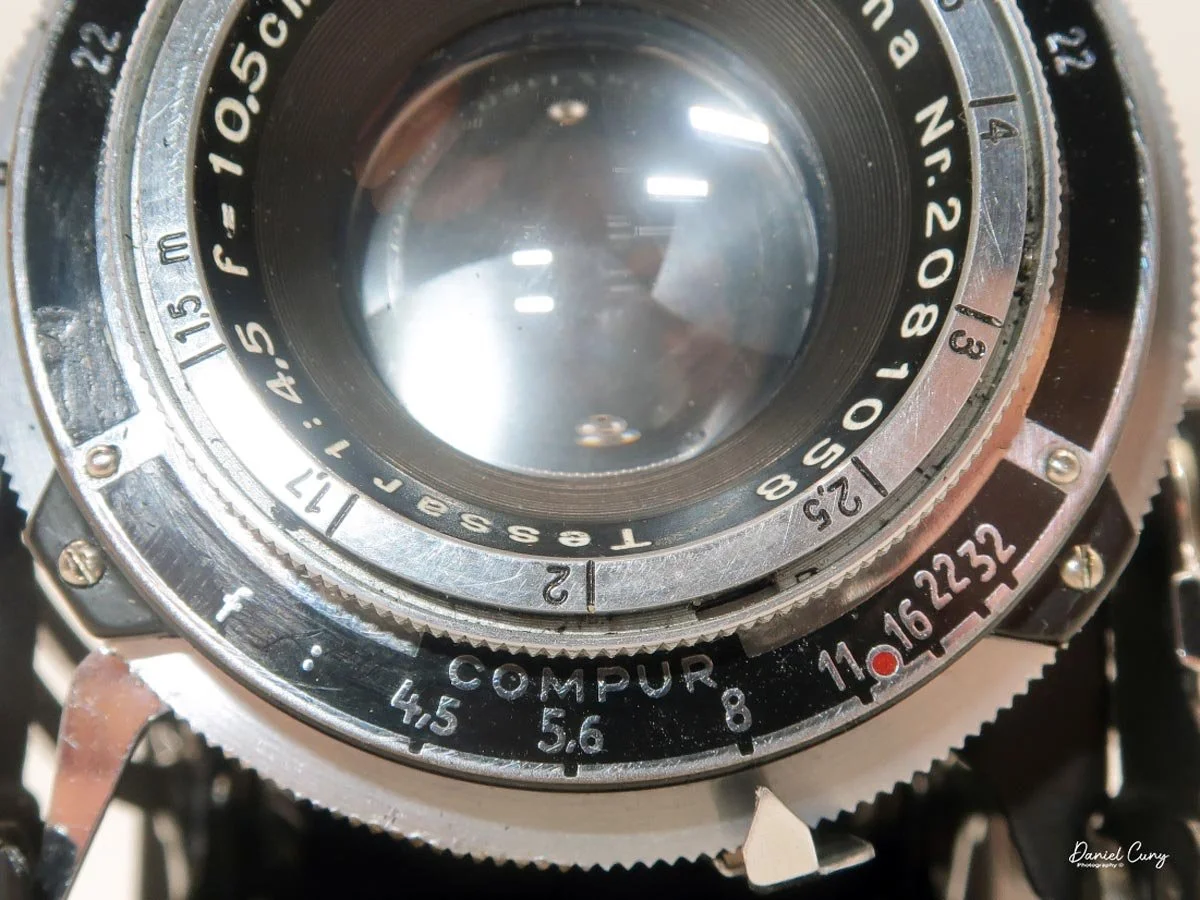
  • Tessar 10.5 cm f/4.5 in a Compur shutter. This combination is the best-documented early setup for the 530/2, especially on black-enamel versions from the early 1930s.

  • Triotar 10.5 cm f/4.5 in a Klio shutter. Some early examples were fitted this way, making it a less common but real configuration.

  • Tessar 10.5 cm f/4.5 in a Klio shutter. At least one documented example shows this pairing, indicating that Zeiss Ikon used multiple shutters during the model's production.

  • Later or related Super Ikonta variants appear with Tessar lenses in Compur Rapid or Synchro-Compur shutters, though those are more typical of later Super Ikonta models.

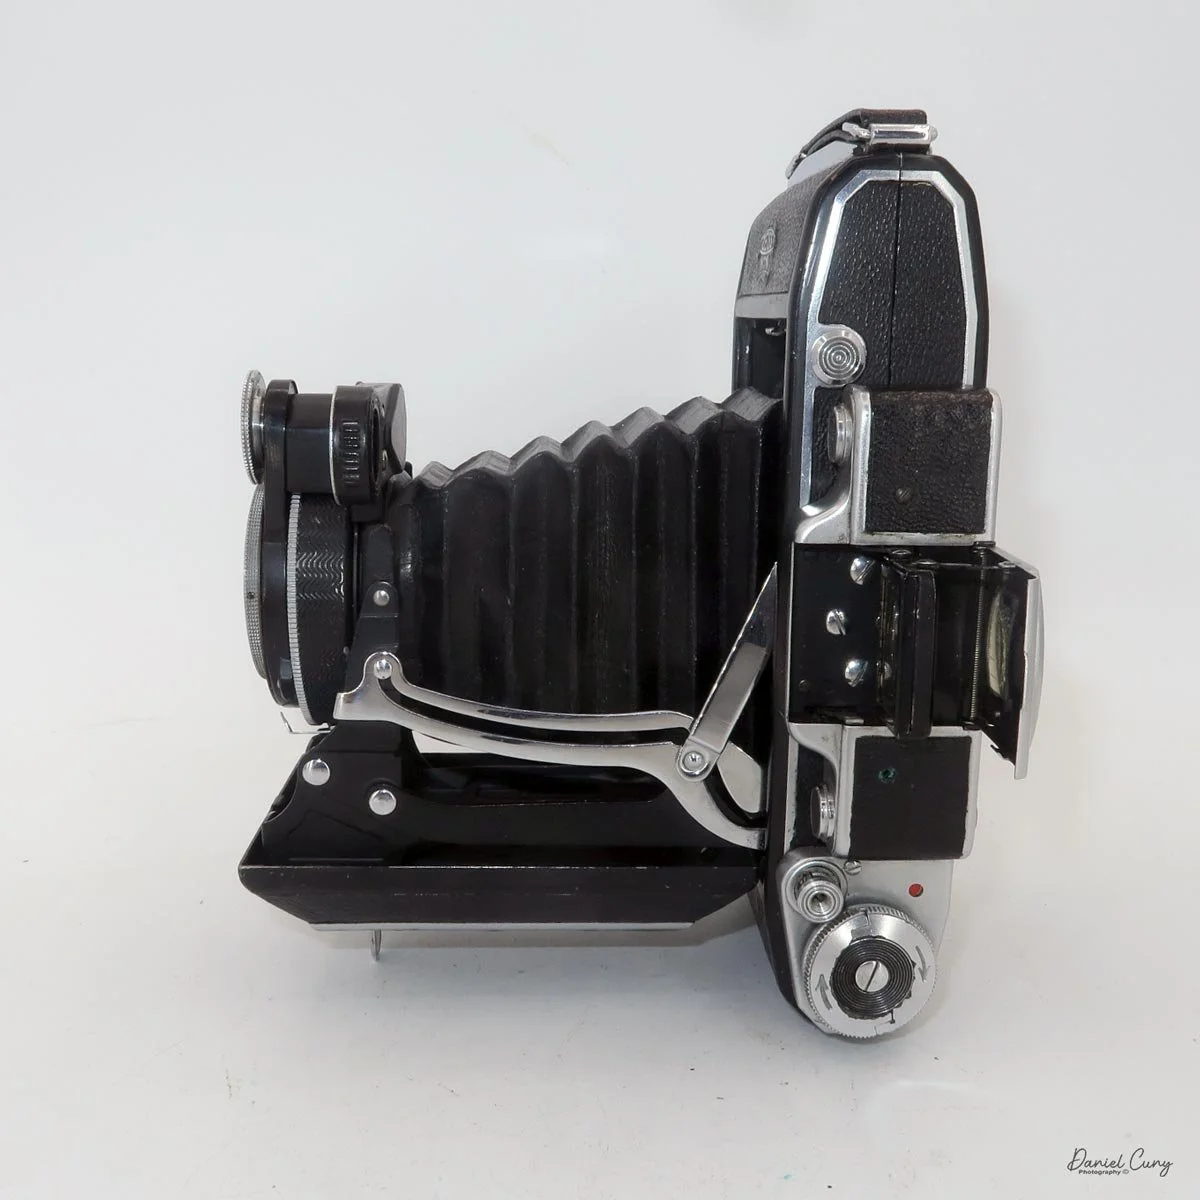
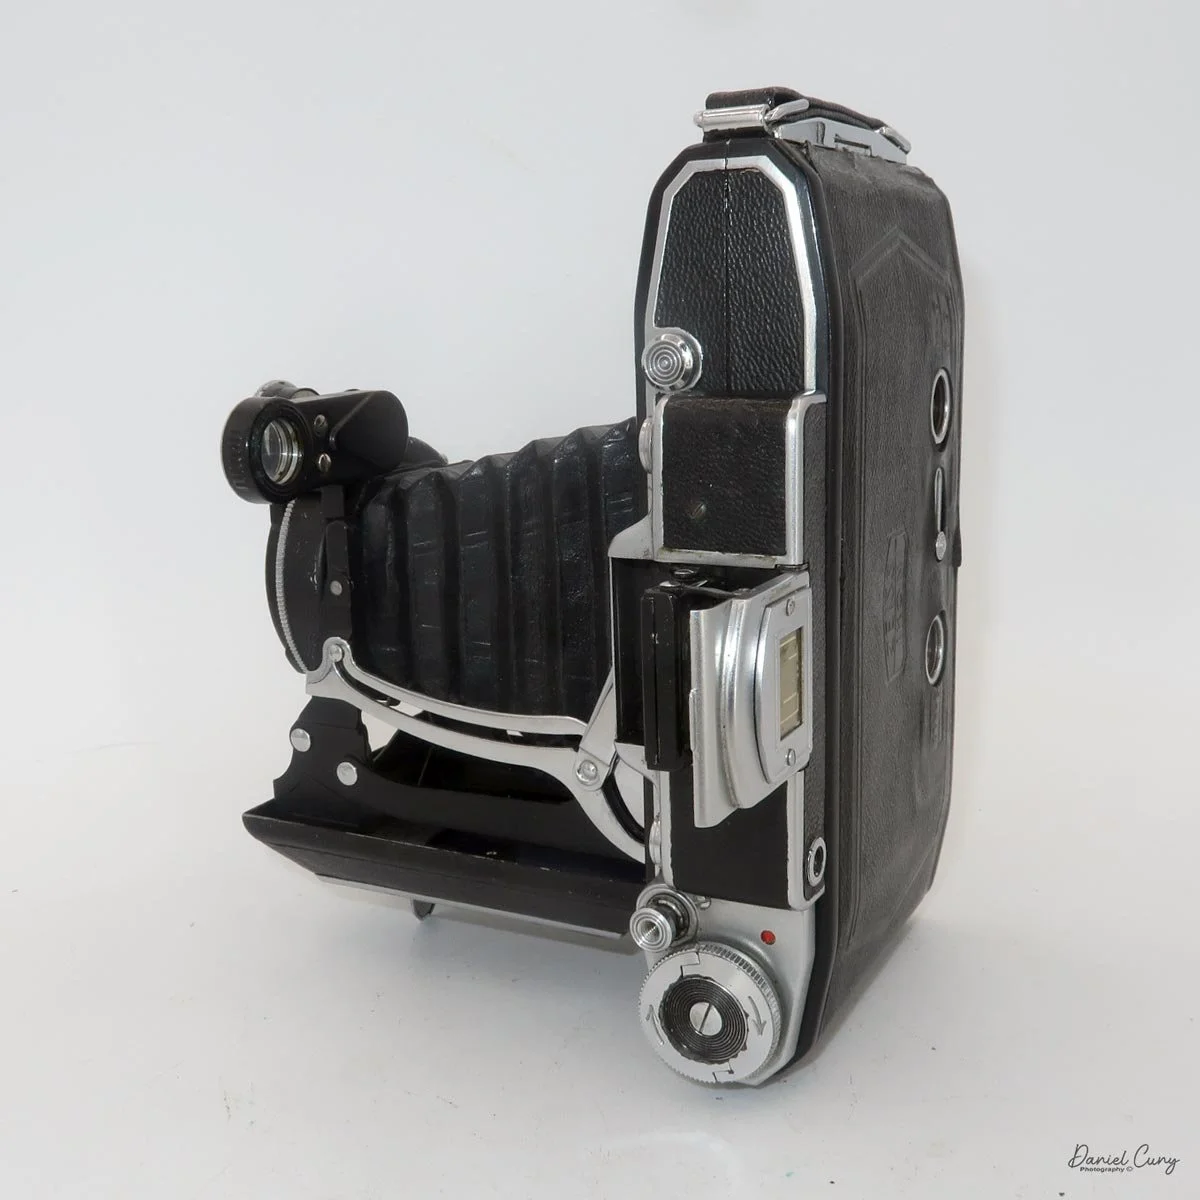
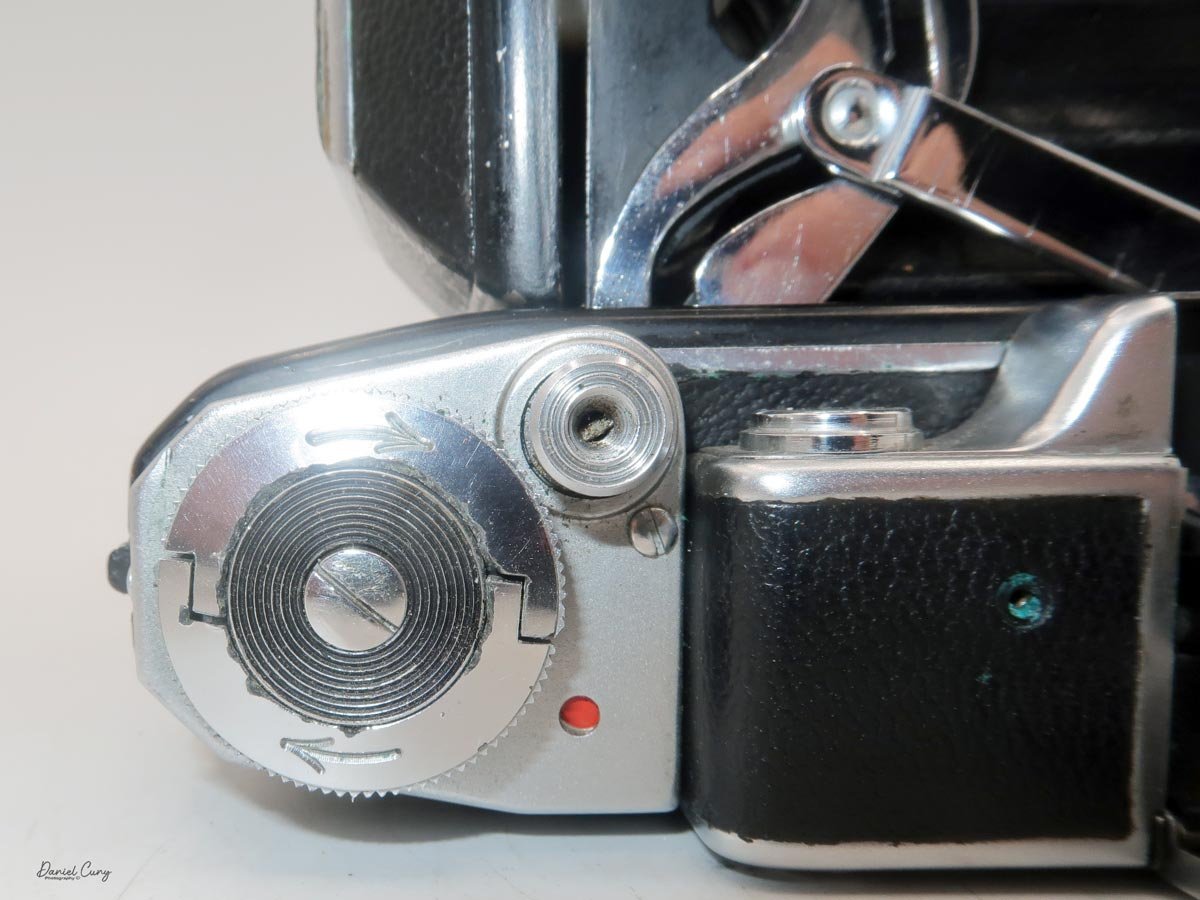
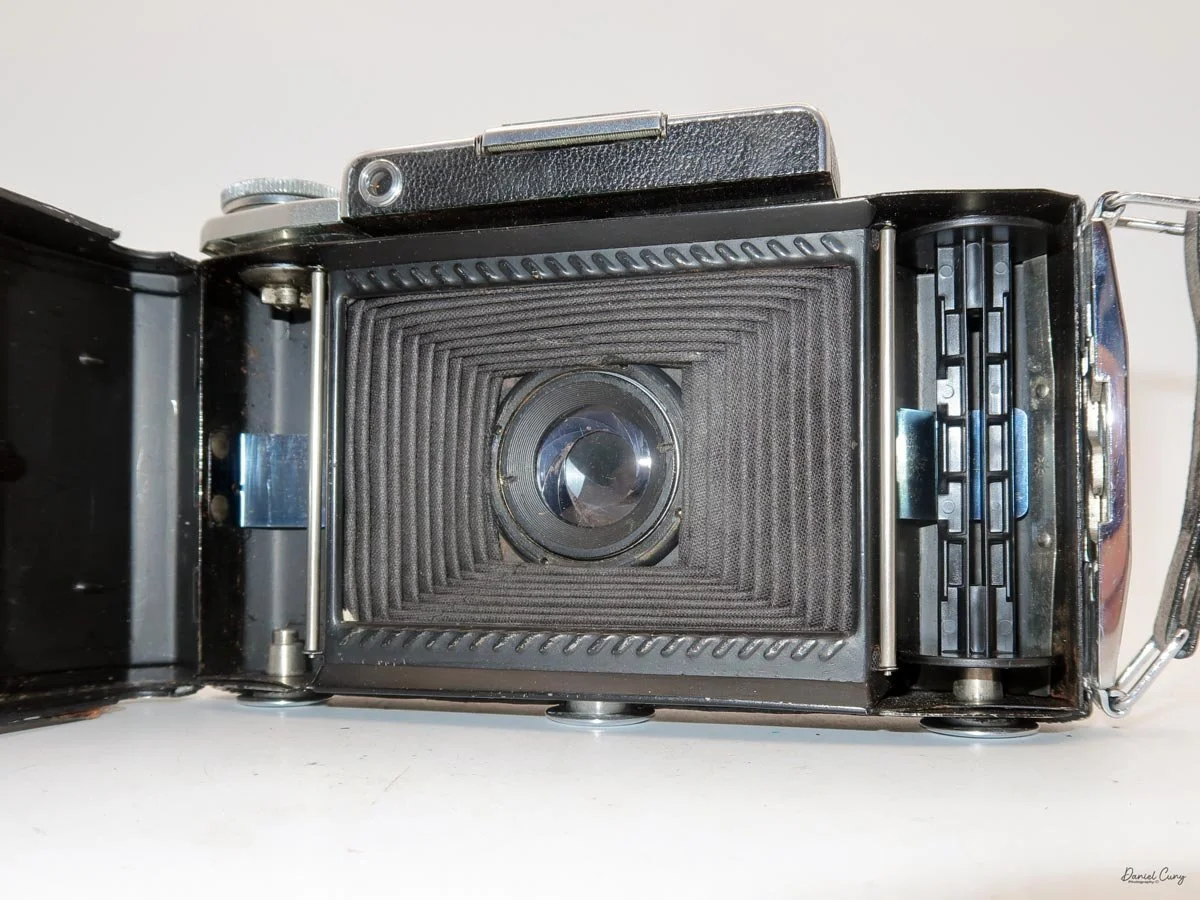
Looking at the top of the camera, on the right side of the rangefinder, is a button that opens the camera when it's closed. According to the Zeiss Ikon Super Ikonta manual. Hold the camera in your right hand, with the front slightly pointed down. Press the button, and the camera should open slightly. Then pull down on the front cover so the bellows and lens extend to the taking position. Once the lens is extended, you'll need to swing the arm holding the small round lens into place so you can use the rangefinder for focusing. Also, when you open the camera, the Albada (sports) finder springs open. Look through the Albada finder; it has lines for both 6x9cm images in a horizontal format and for 6x4.5cm images for a vertical subject.

Now that the camera is open, you're ready to make exposures once the film is loaded, which we'll get to in just a moment. The shutter and aperture settings are located around the lens. Shutter speeds from 1/250 to 1 sec, plus "B," are set by turning the ring to the desired speed. The aperture is set by sliding the arrowed lever at the bottom of the lens to the desired aperture, which ranges from F/4.5 to F/32 on my camera.

 The focus wheel is on the front of the swing arm you moved over for the rangefinder, just above the lens when the camera is in the vertical position. For focusing, look through the small window on the back of the camera. Turn the dial to use rangefinder focus, which includes a small yellow area in the middle of the finder. When out of focus, the subject will appear as two images. Your main subject, and a second image in the yellow area. Turn the wheel until both images merge into one, indicating the subject is now in focus. 

Set your shutter speed and aperture setting, and don't forget to cock the shutter. The shutter release is on the top, left side of the camera. Press the shutter release, which will trip the shutter via a series of linkages that run along the bottom of the lens bed. Just behind the shutter release is a small window. When the window is grey, the shutter has been tripped, and you'll need to turn the film winding lever until the small window turns red. At this point, you can re-cock the shutter and release it. 

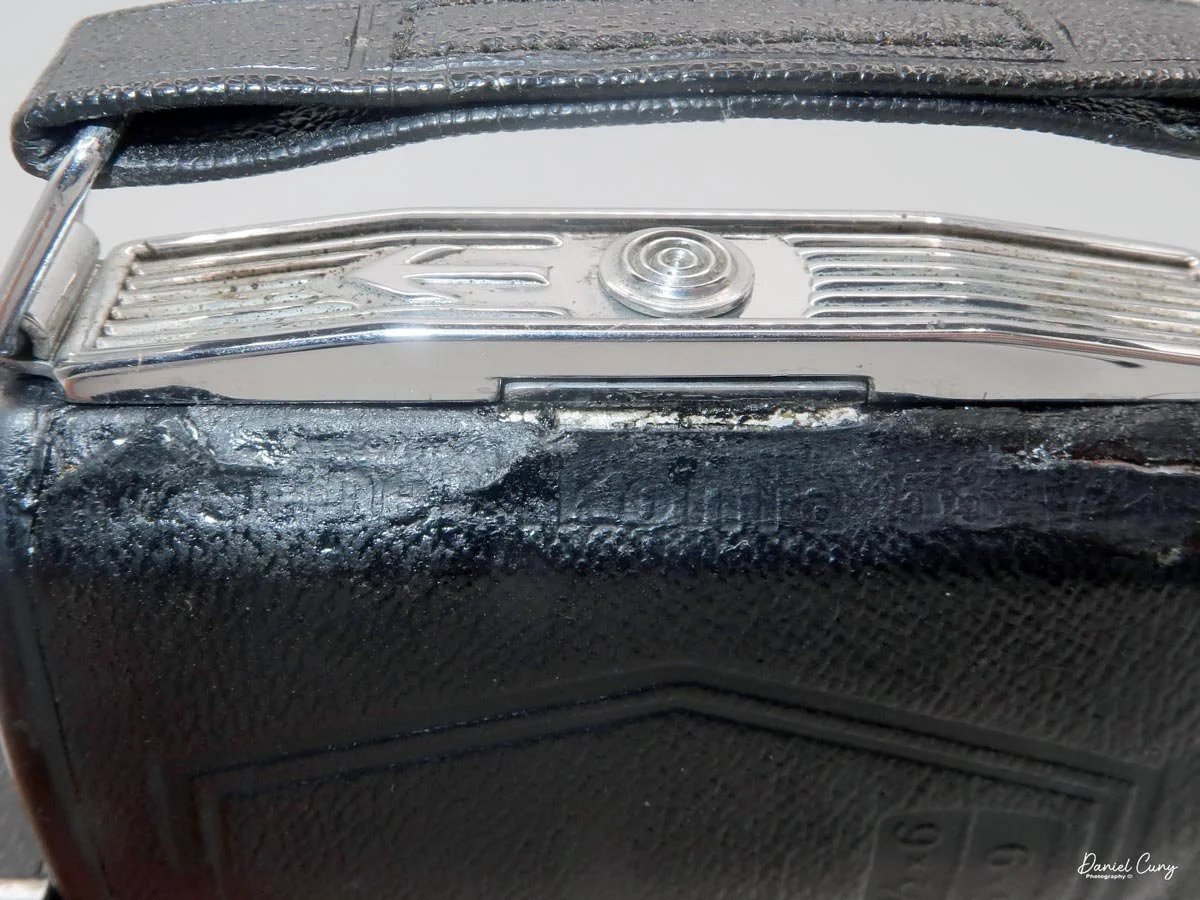
To open the back of the camera to load film, under the camera's handle is a small slider with an arrow pointing toward the opening. Slide the small knob in the direction of the arrow, and the camera back will open. Load the film as you would any 120 roll film camera, roll the film so the "start" arrows are showing, then close the back of the camera, and wind the film advance knob so the number 1 shows up in the appropriate window on the back of the camera. 

There are two red widows on the back of the camera: one for 6x9cm images and one for 6x4.5 cm images, if you have the metal insert in. If you have the insert in the camera, you'll use both windows for film advance, as you would with a 127 film camera with two windows. Stop at the number 1 on the far right window, then take your photo. Wind the film until the number 1 appears in the second window on the left, then take your photo. Then wind the film until the number 2 shows up on the first window on the right side, and so on through the number 8. For 6x9cm images, you'll get 8 exposures per roll; for 6x4.5, 16.

 To close the camera for transport, slide the arm you extended for focus back over the bellows. Holding the camera with both hands, press in on the locking arms on the struts to lock the bellows and lens into place; the bed will collapse a bit. Fold the lens back into the camera until the camera clicks closed, then flip down the Albana finder.

My Images:

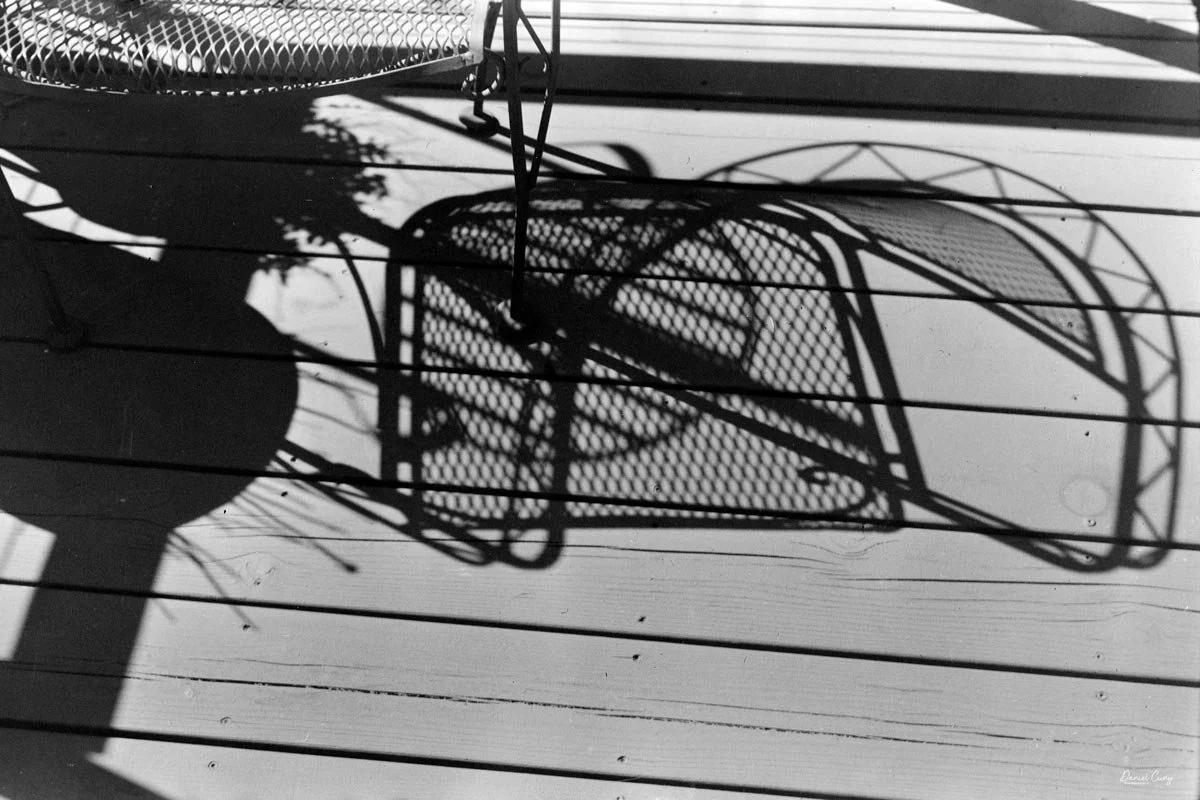
 Let's take a look at how the images turned out. Here are a few of the images I took with the Zeiss Ikon Super Ikonta camera.

Conclusion:

 The first few images were incredibly sharp, well-exposed, and as I expected. I noticed that towards the end of the roll, the images became softer and less sharp, which concerned me. What did I do wrong?

 To give some background, I had eye surgery on my right eye, which is my dominant eye, about a year or two ago. When I went to see the eye doctor, I could barely make out details with my right eye, so surgery was necessary. Since then, it's gotten a bit better, but not as good as it used to be. Now I'm getting used to putting the camera up to my left eye, which is considerably better than my right. It still feels awkward, but it's my new normal.

Missing pressure plate

 I thought this contributed to the images being soft. Then I remember what a good friend, Mike Eckman, said a few weeks ago when we were discussing image sharpness. He said that he had a similar instance and noticed that the film's pressure plate was missing. At this point, I opened the back of the camera, and sure enough, the pressure plate was missing. 

 How could I miss that when I'm loading the camera? You get so used to looking at and loading cameras that you miss that a camera doesn't have a pressure plate.

 At this point, I'm sure I could manufacture one out of something like thin foamcore and just cut out circles for the red window. Still, it's a lot of fun to use, and the images are incredible. I'll chalk it up as a learning experience and double-check to be sure they have the pressure plate from now on.

 Here are some of the other Camera Reviews I've done.

 Cuny's Cameras and Photos is my online eBay store where I sell some of the cameras I've reviewed, along with other camera accessories, lenses, etc.

 Please feel free to comment on this or any of the other camera reviews I've done. I'd love to hear from you.

 Until next week, please be safe.
 

Durst Duca

A Tiny Full‑Frame Surprise: Shooting the Durst Duca

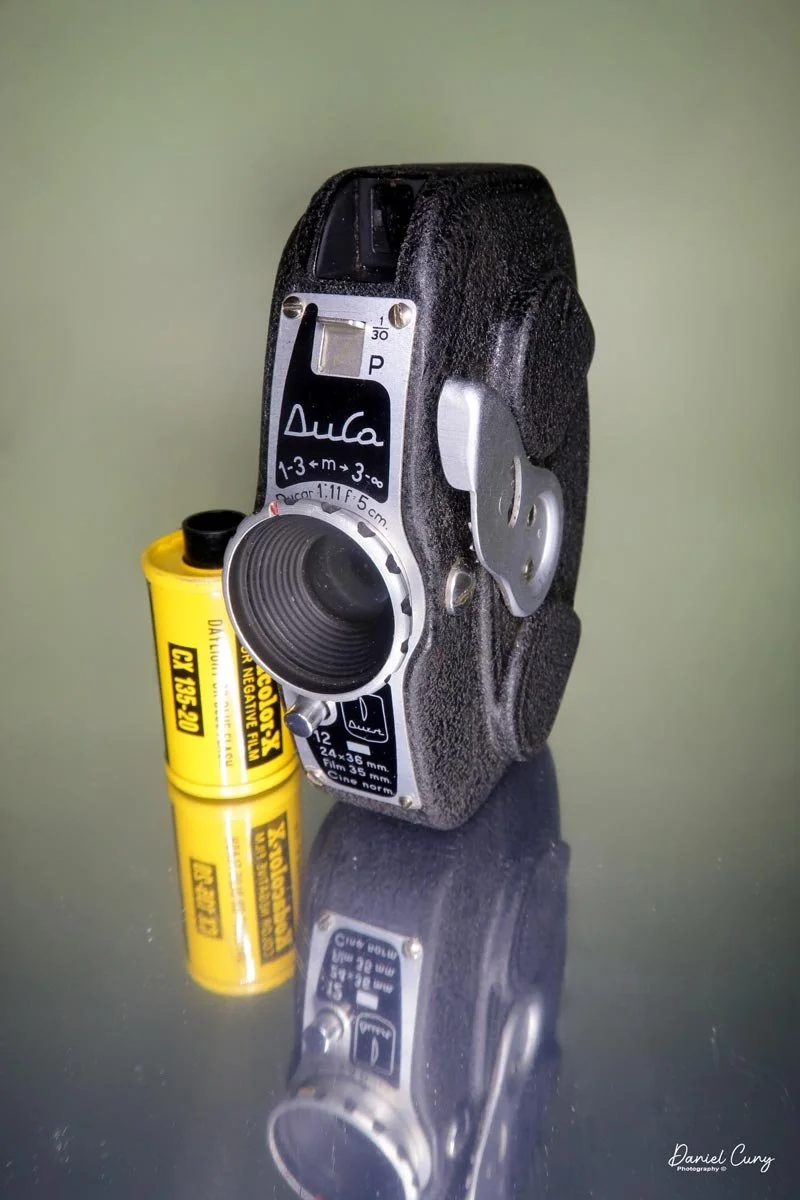
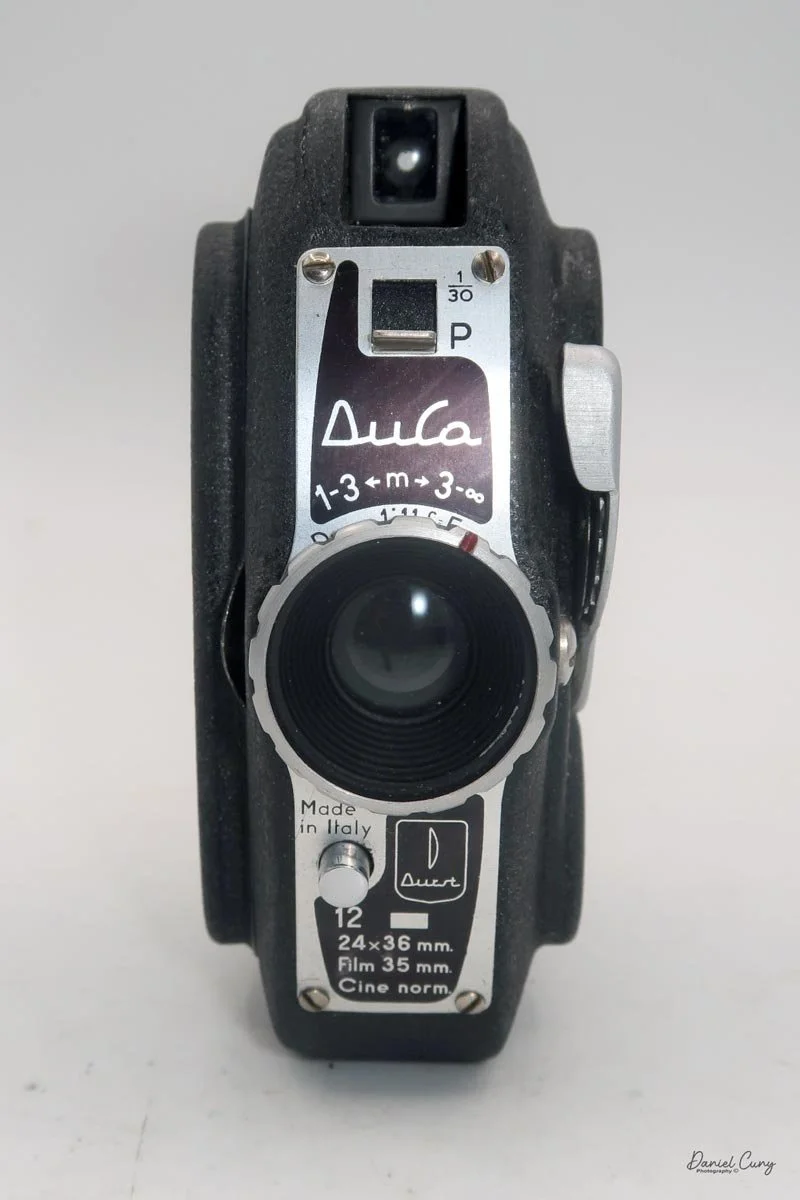
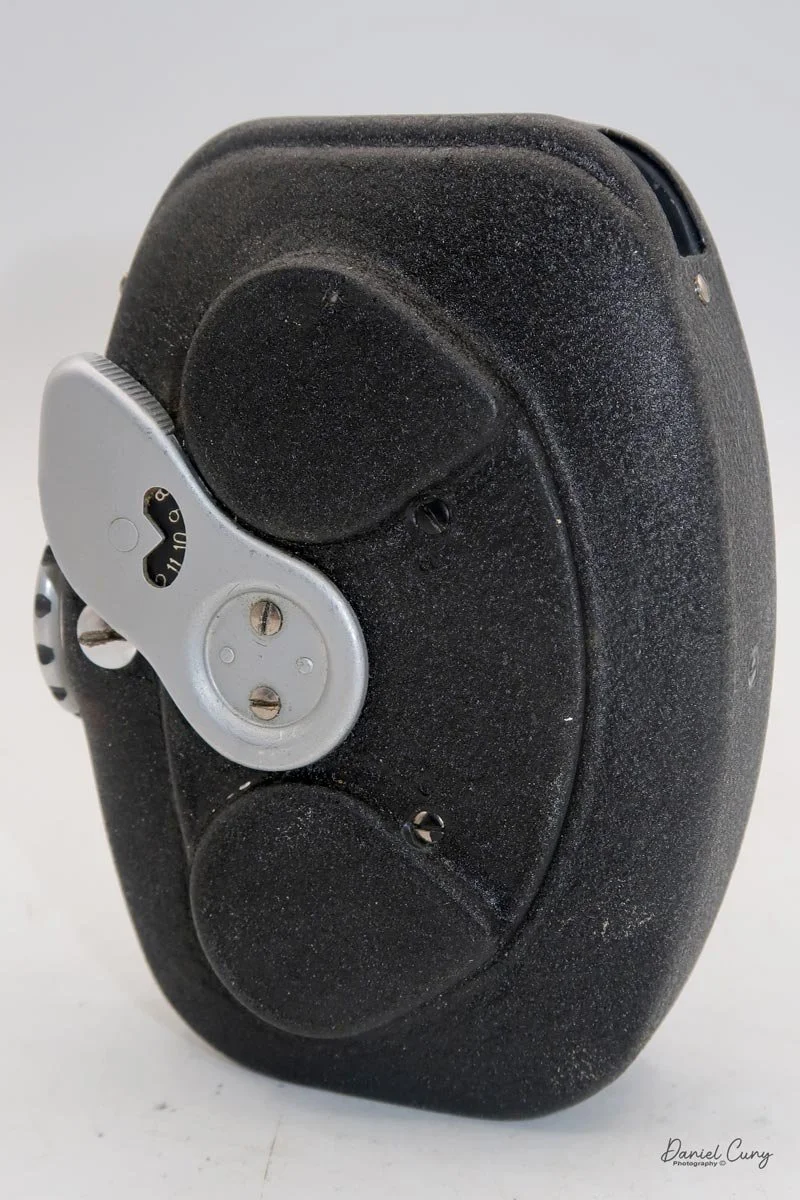
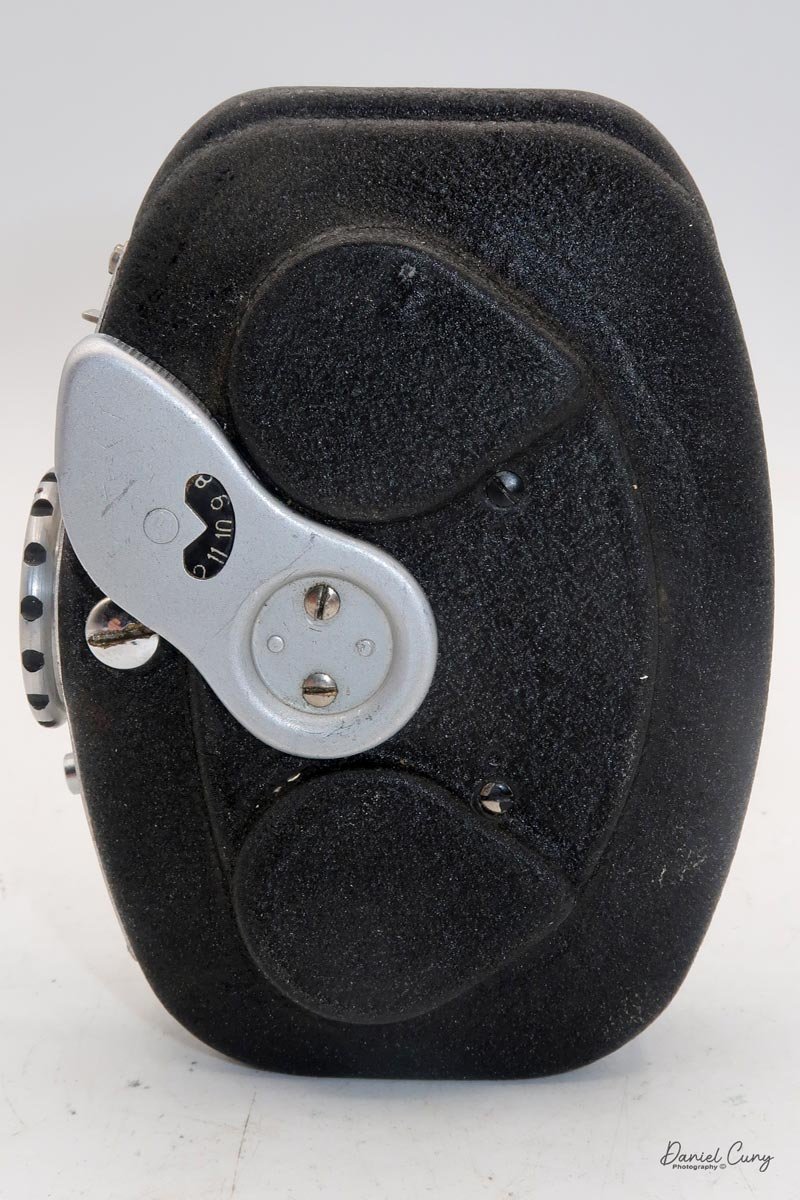
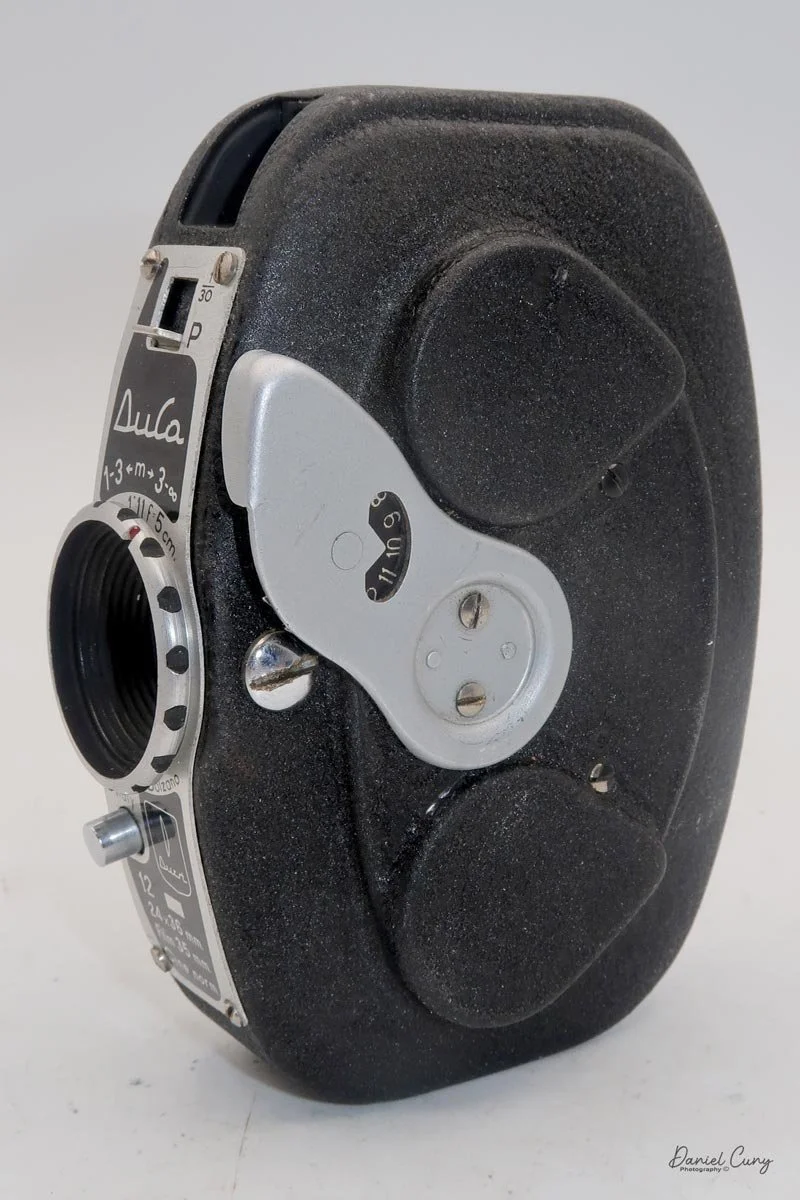
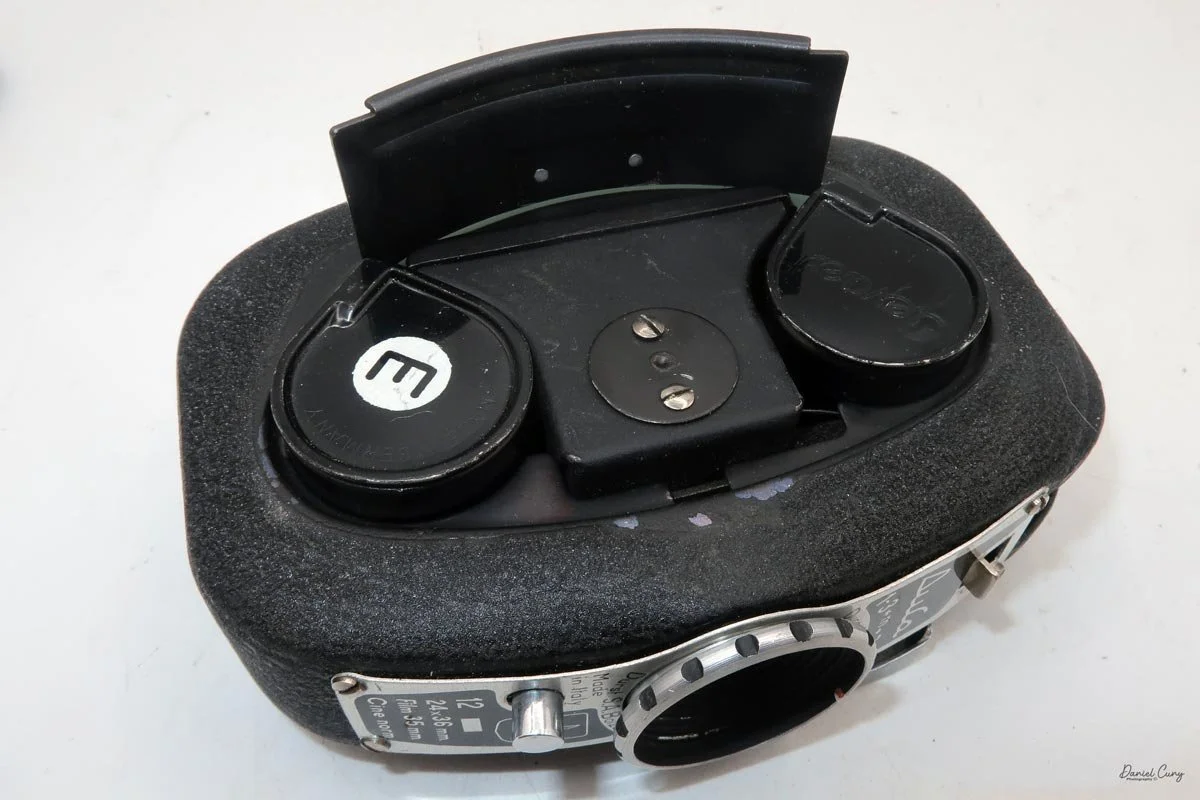
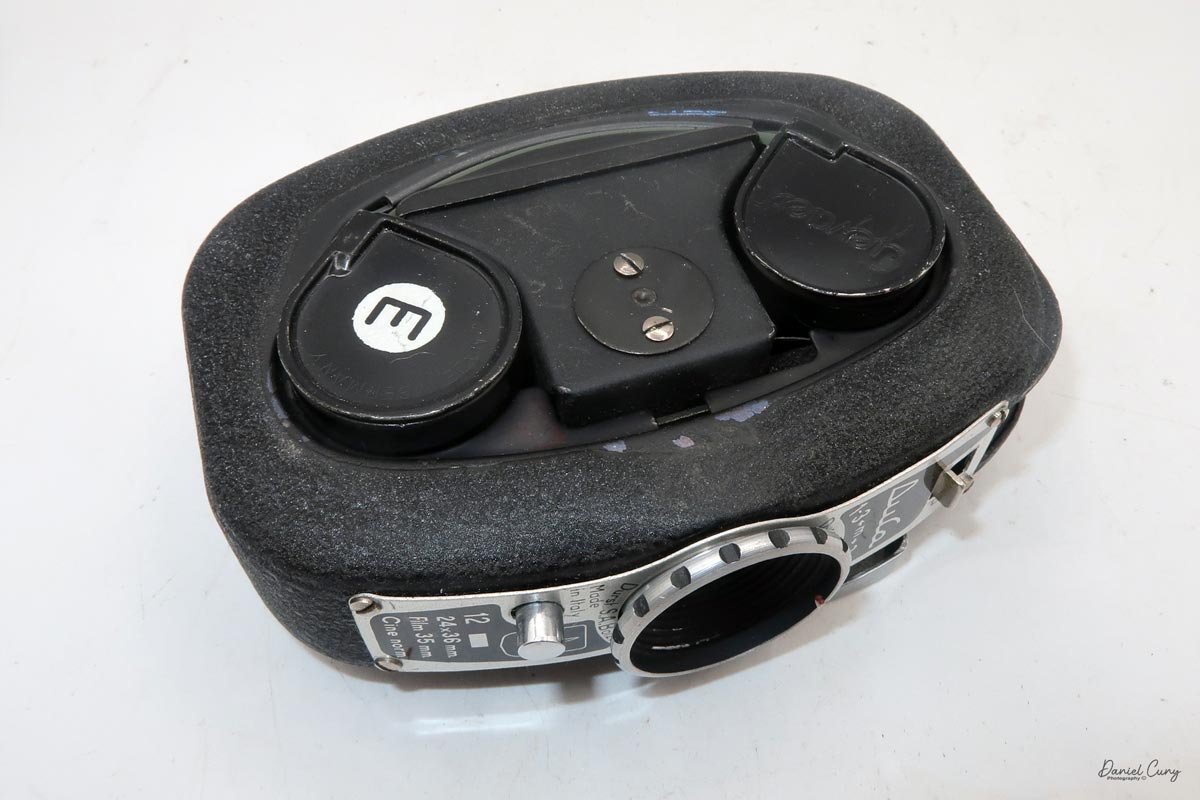
My Durst Duca camera.

I first saw the Durst Duca in McKeown's Camera Guide probably 30 years ago, and I can still remember my first instinct: this had to be a miniature camera. The tall, narrow body looked more like a tiny cine camera than anything that could handle standard 35mm film. With its vertical form, I assumed it used a 16mm cassette like a Minolta 16. So when I read that the Duca is actually a full‑frame 35mm camera, I was shocked.

 It just didn't seem possible. The camera looked too small and too skinny to hide a 35mm cassette sideways, especially with that unusual vertical format. For years, it stayed in the back of my mind as one of those oddball cameras I never expected to actually run across.

Finding My Duca

Being in the U.S., this little Italian camera rarely shows up at the usual places I haunt for gear—flea markets, garage sales, estate sales. On the big auction sites, I do see them once in a while. Still, they're usually priced higher than I'm willing to pay, especially once you tack on international shipping.

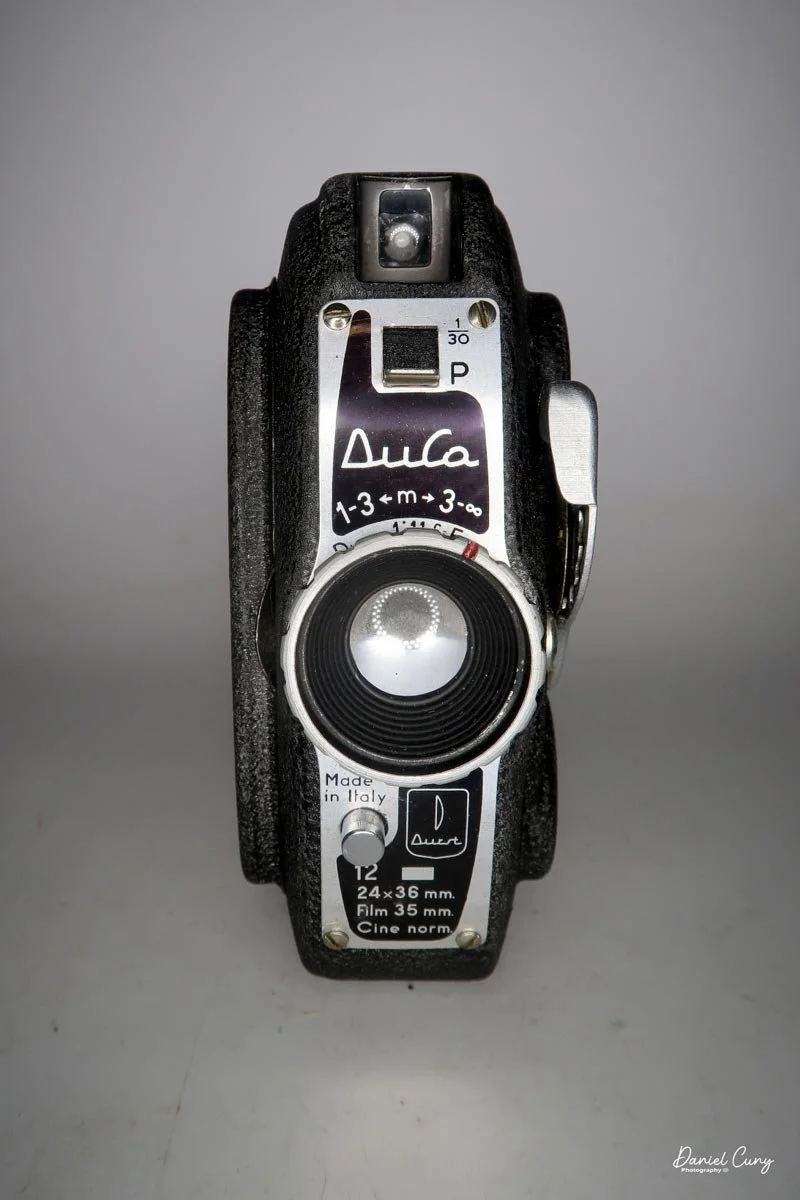
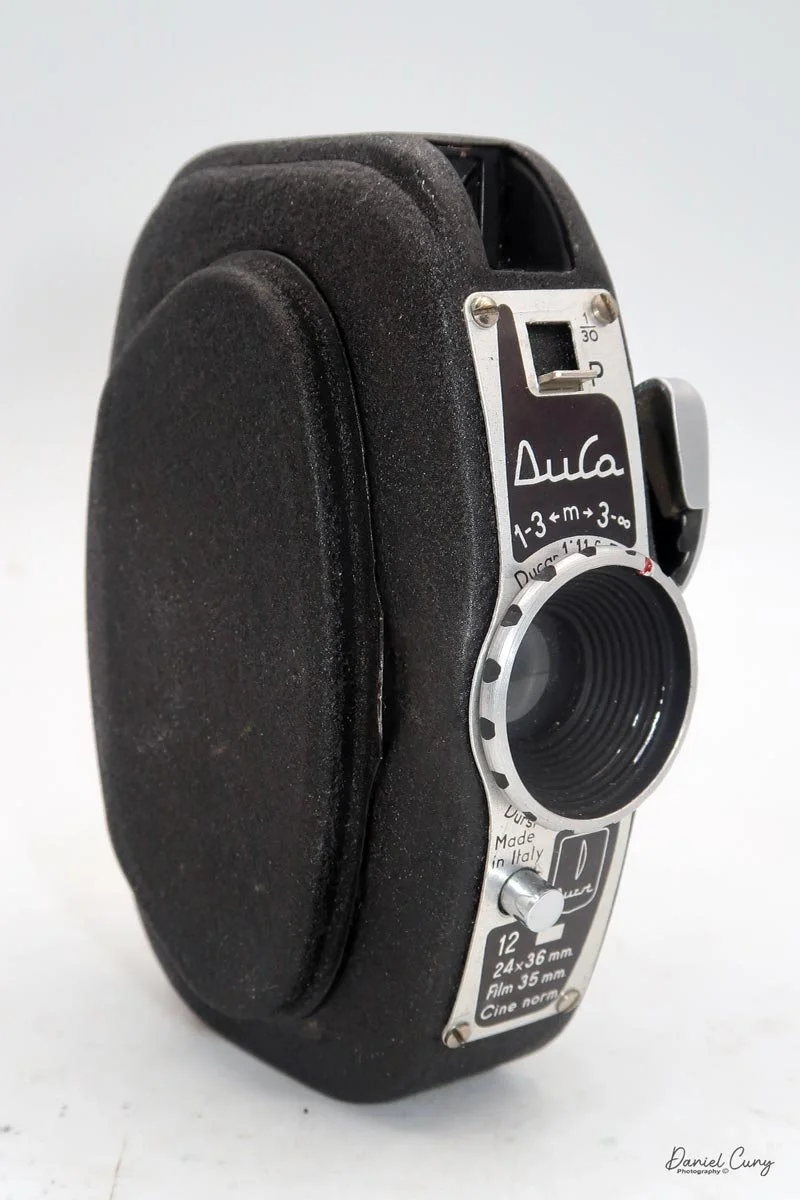
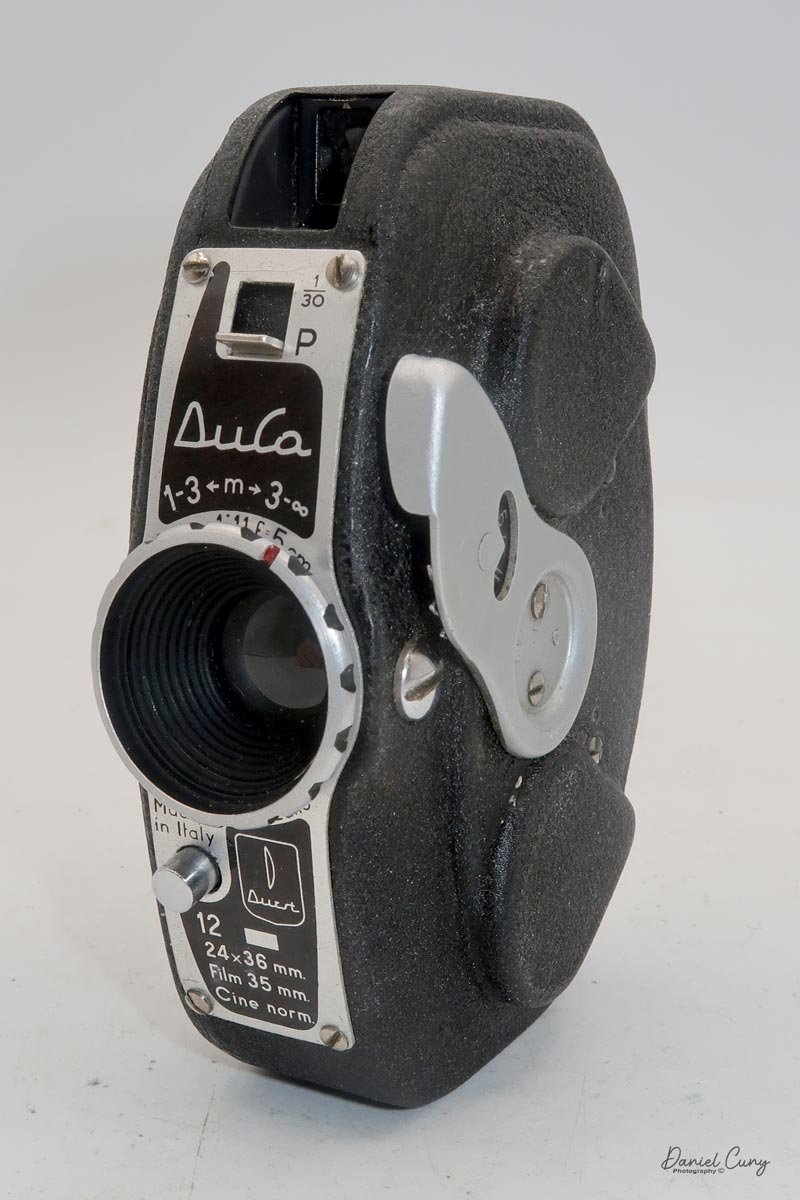
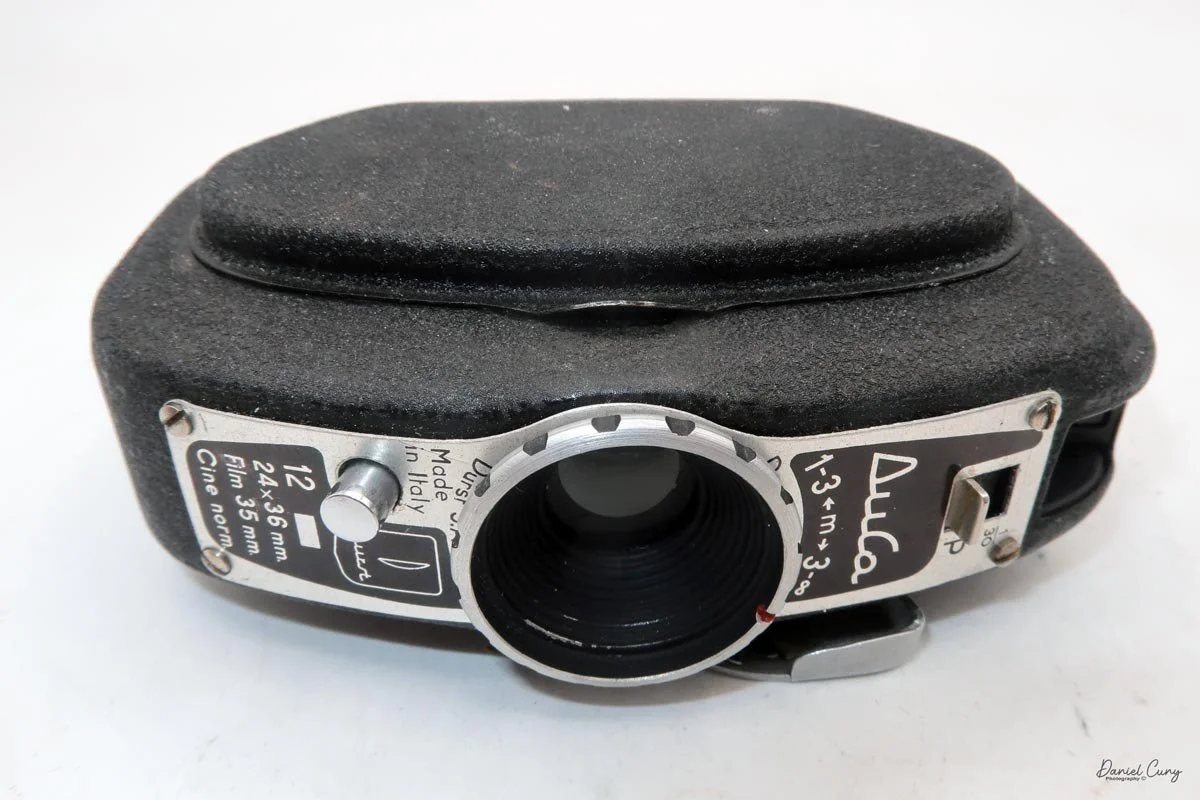
Front view of Durst Duca camera.

 When the auction was about to end, I logged in about 10 minutes before the finish. The price on the Duca had jumped up a bit, and I was outbid, so I nudged my max up—still on the low side—and watched the timer count down. No one else jumped in, and I ended up winning the camera.

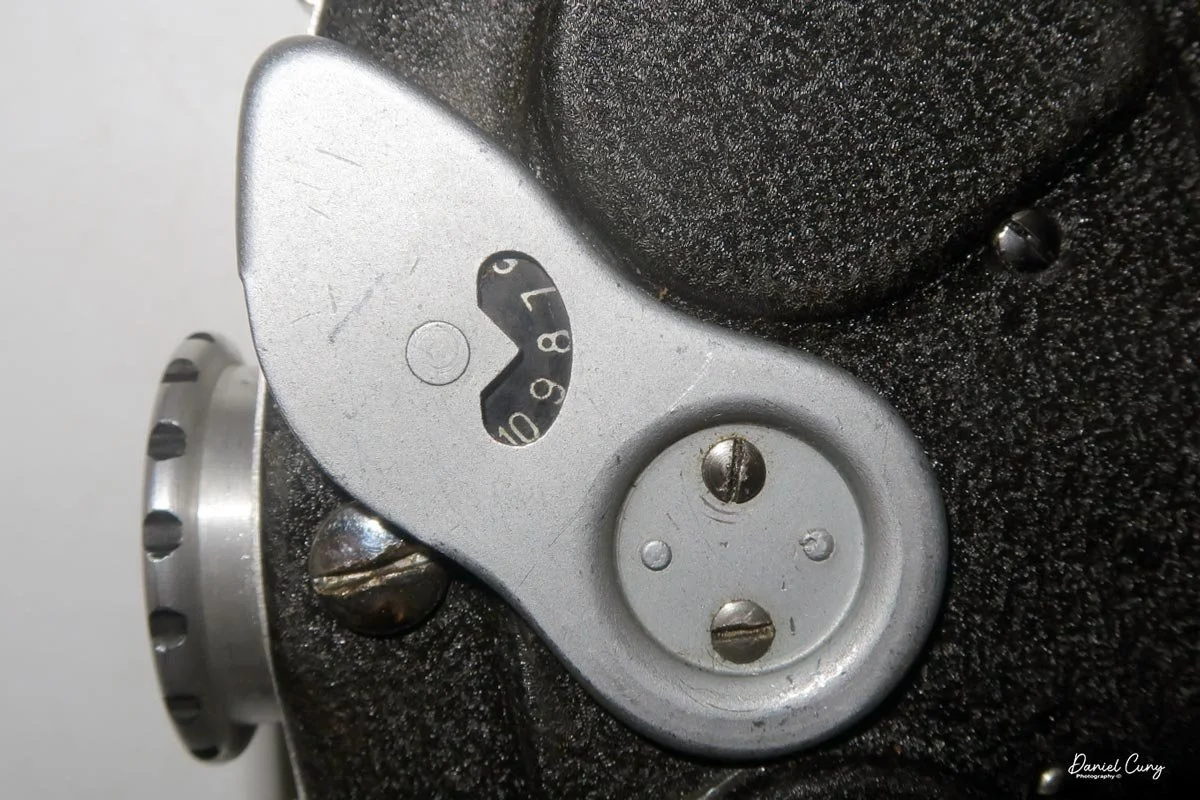
The auction house shipped quickly. When I opened the box, I was still surprised by how small the camera is in person. It was even smaller than I'd pictured. I started to check it over, winding the advance lever on the side and cocking the shutter. I heard a faint click, but it was so quiet I wasn't sure the shutter was actually opening and closing.

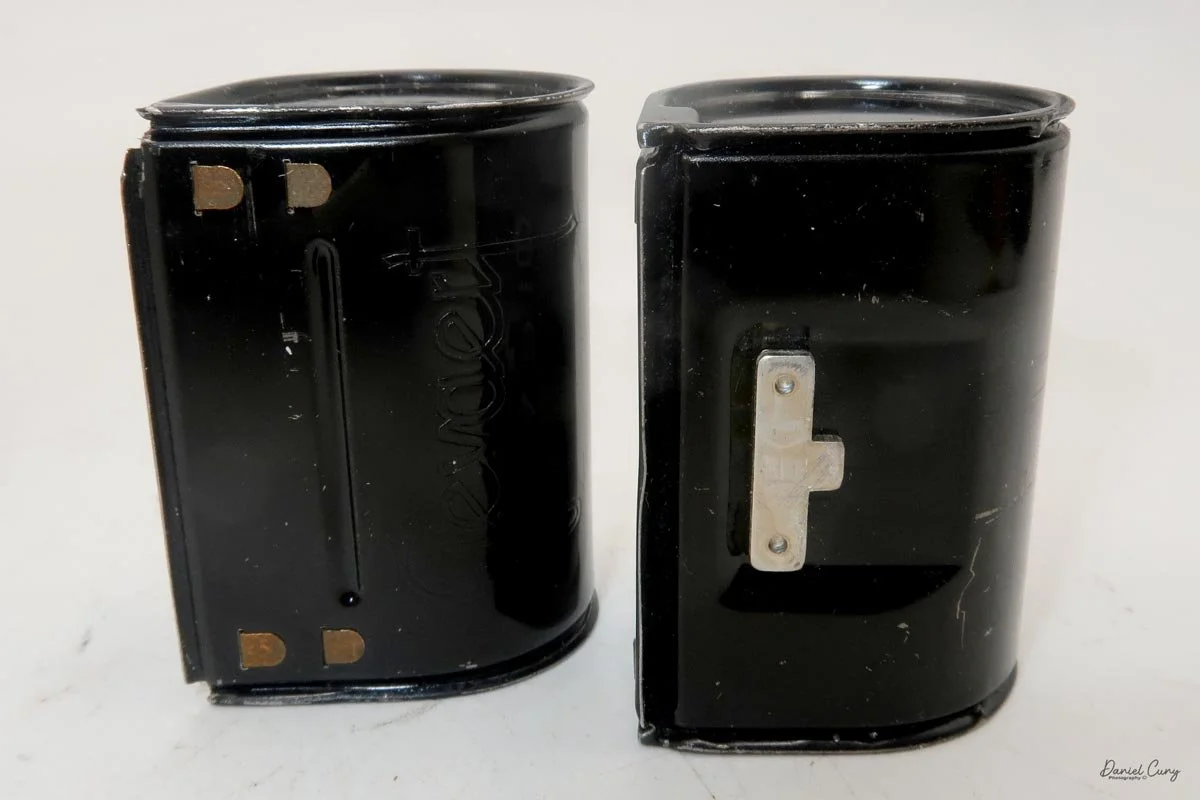
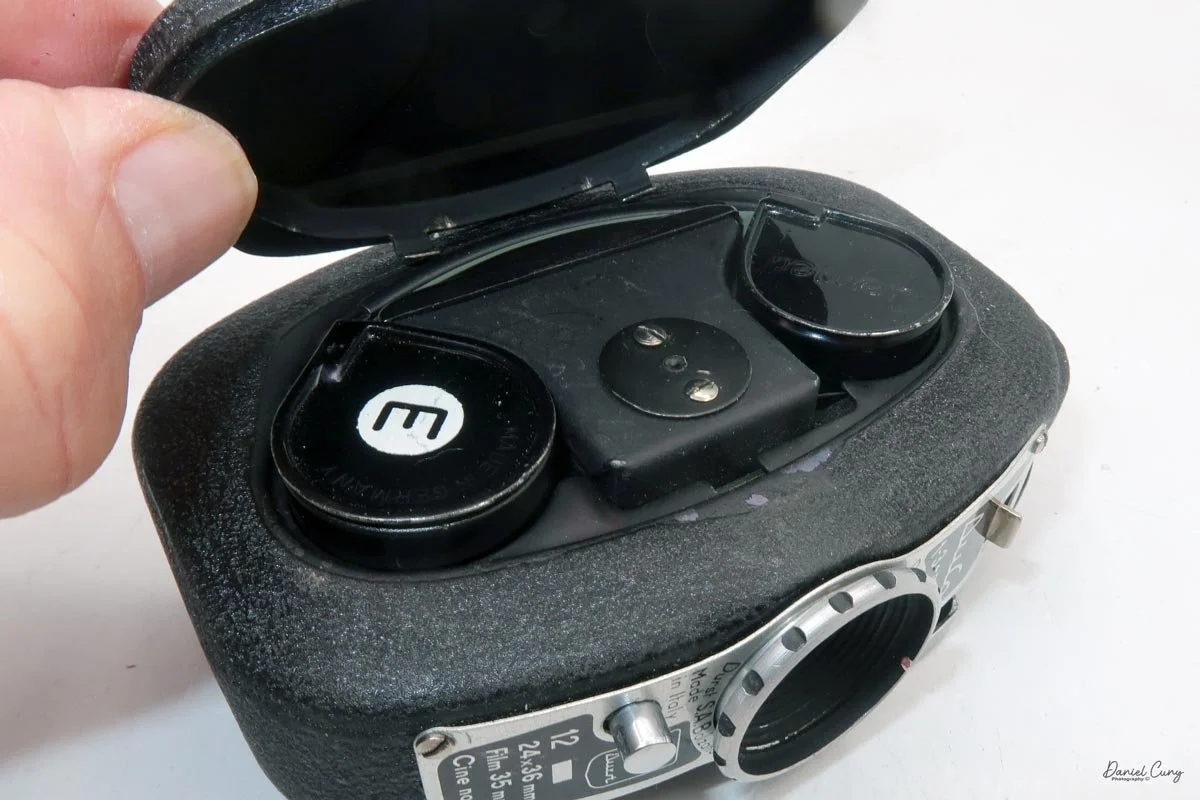
 I pulled the side of the camera off to get at the film chamber and saw that one of the two film cassettes was still inside—that was a nice bonus, since it meant I only needed to scare up one more cassette. Digging around in the drawer where I keep odds and ends of camera accessories, I found another cassette that would work.

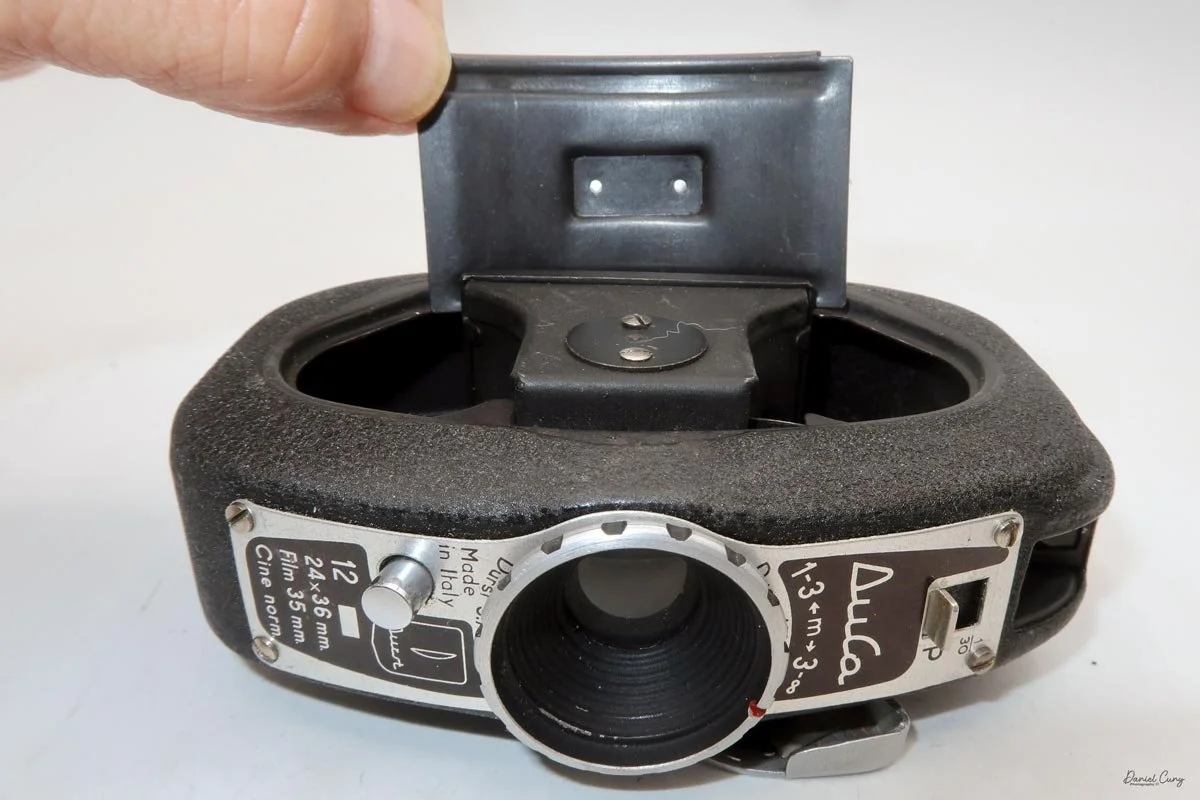
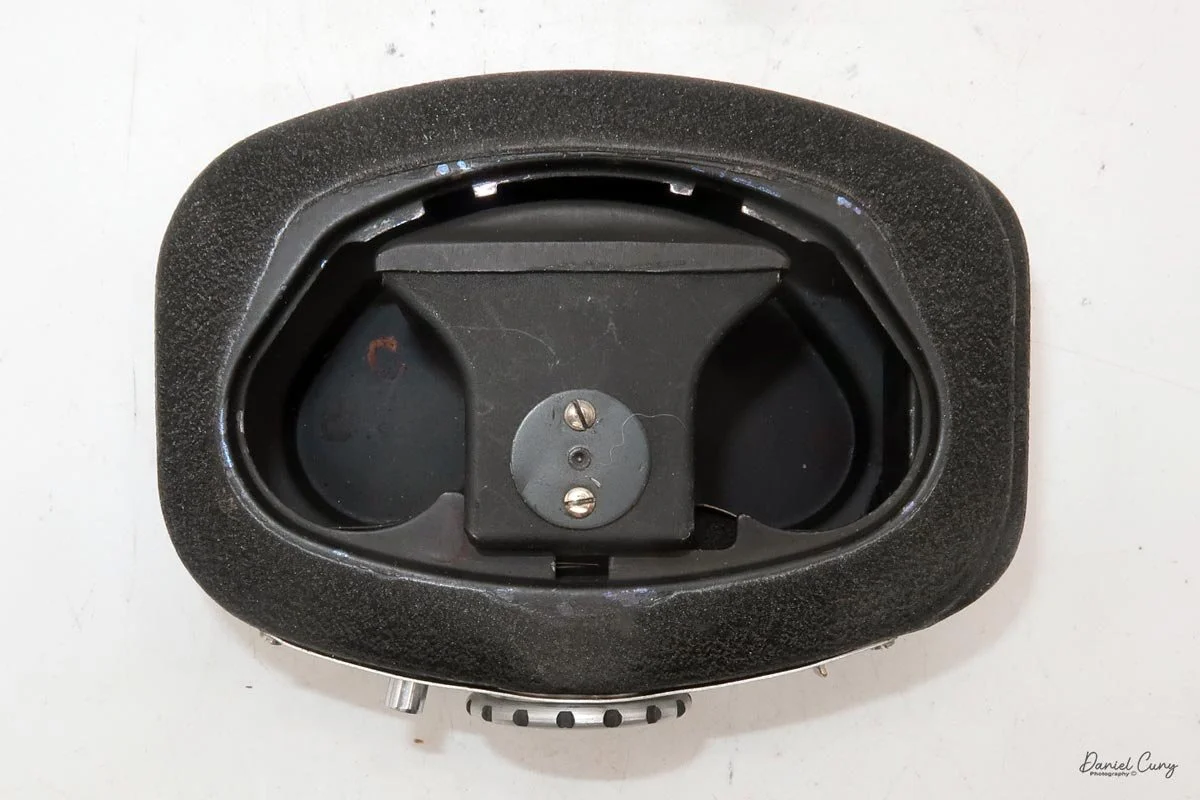
 In my darkroom, I shone a flashlight through the lens and fired the shutter. At first, I saw no light at all, and my heart sank; I figured the camera might be dead. Then I noticed the pressure plate that holds the film flat against the rails. I pulled the pressure plate out, pointed the flashlight into the front of the lens again, and tripped the shutter. This time, I saw a brief flash of light through the gate—success. The shutter was working. That was the moment I decided the Durst Duca would be the camera I'd write about for this week's blog.

A Little Durst History

Durst is best known today for its darkroom enlargers. Still, for about 25 years, the company also made a small, innovative line of cameras that reflected the same experimental mindset they brought to the darkroom. Founded in 1936 in northern Italy by brothers Julius and Gilbert Durst, the firm quickly gravitated toward photographic equipment, especially enlargers, which eventually became its main business.

 Durst's camera story starts with the Gil, a simple 120 roll‑film box camera introduced in 1938 for the growing amateur market. After World War II, Durst resumed production of the Gil and then shifted toward more compact designs, setting the stage for its 35mm experiments.

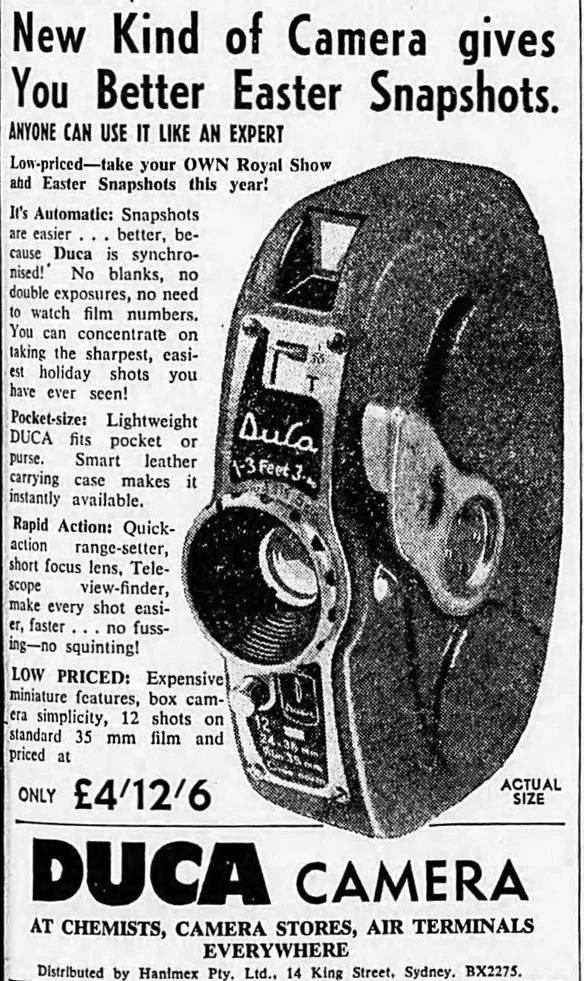
Australian Ad for Durst Duca camera

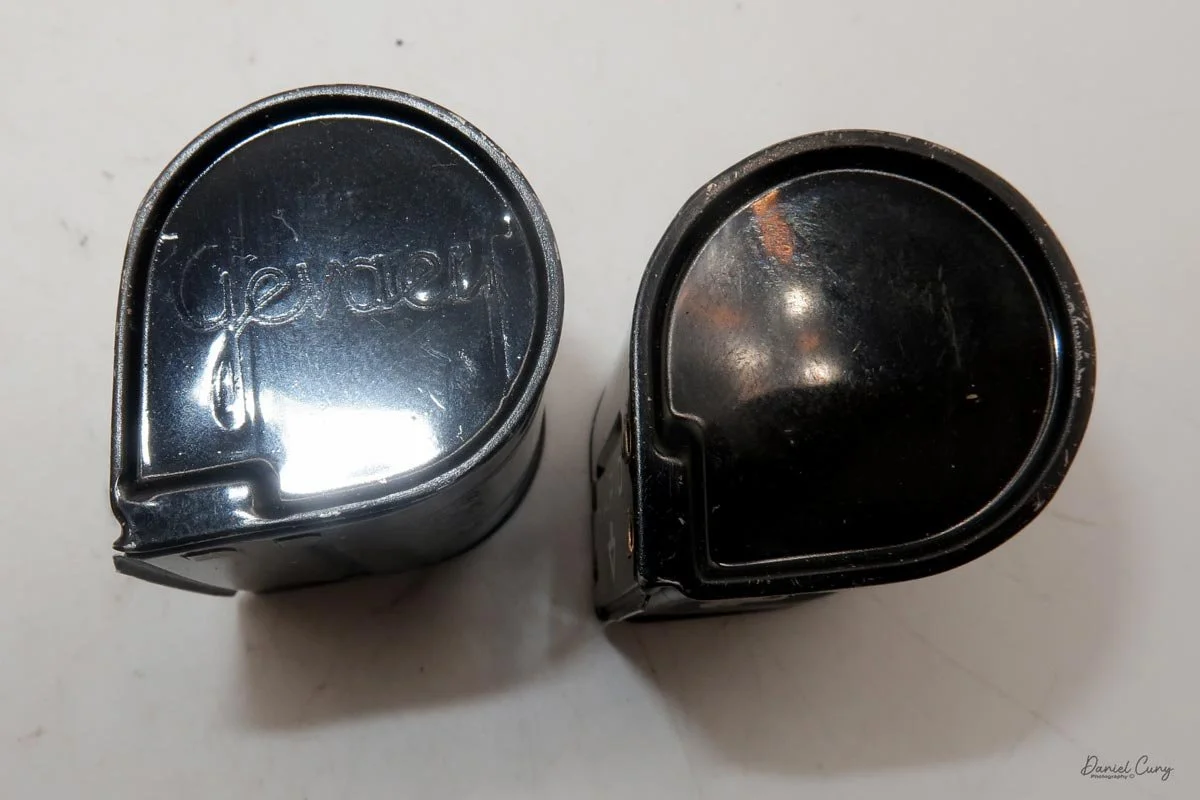
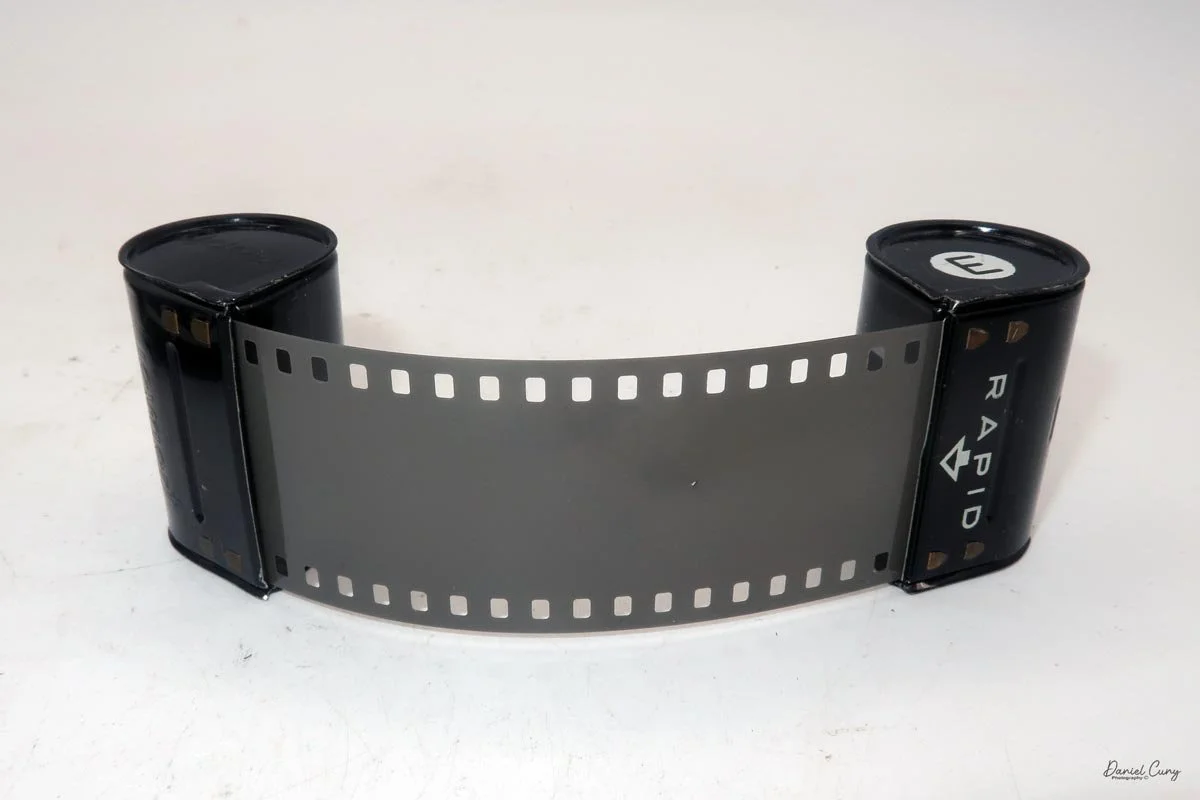
The Duca followed as a tiny 35mm still camera that used Agfa Karat cassettes instead of standard 35mm cartridges. That choice let Durst play with miniaturized body shapes: an oval, cine‑style form in a pocketable size, offered in several colors. This focus on unusual styling and packaging mirrored their enlargers, which often looked different from competitors but emphasized precision and usability.

 Next came the Durst 66, a modestly specified camera with an unconventional shutter and a quirky way of measuring exposure. You can already see Durst thinking outside the box, trying to rethink mechanisms rather than just copying others' work.

 All of that leads to the Durst Automatica, made from 1956 to 1963 and often regarded as the first 35mm camera with aperture‑priority automatic exposure. It used a pneumatic shutter derived from the Durst 66 and wrapped it in a very elegant body. For such a small camera line, it was an ambitious finale and shows how far Durst was willing to push design and automation.

My Durst Duca

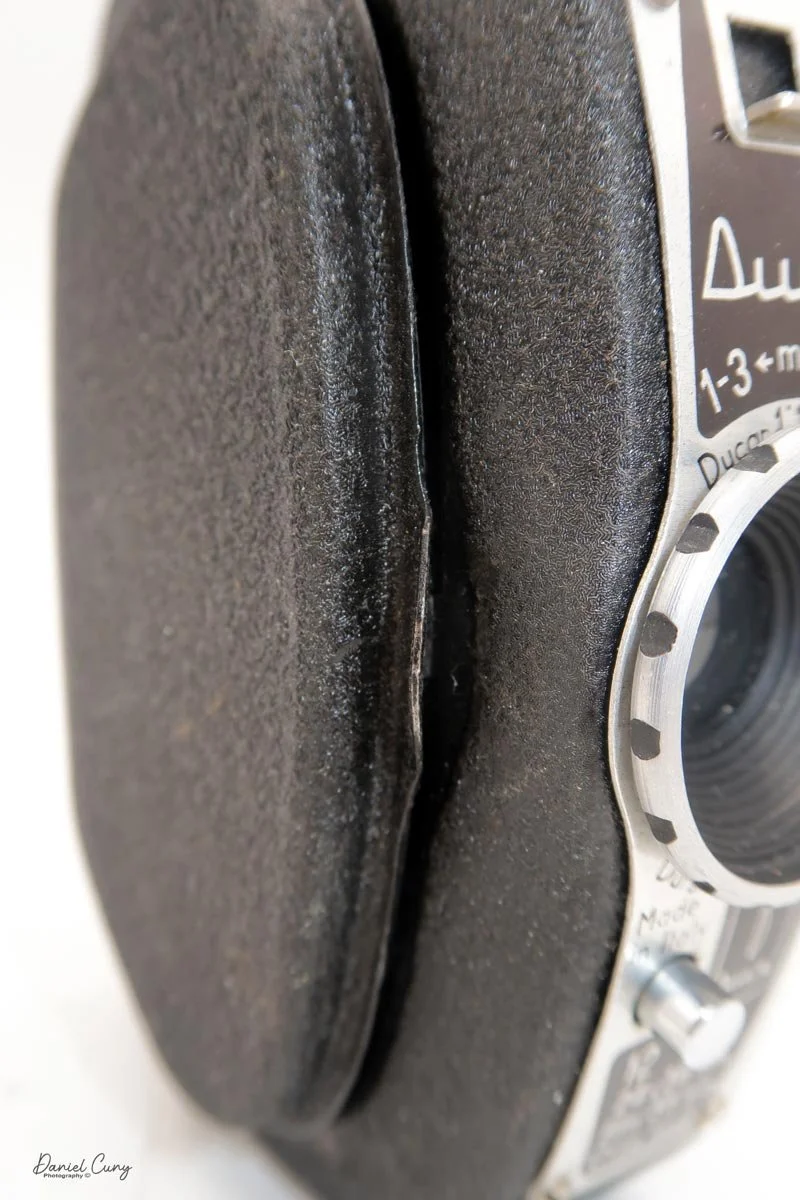
The Durst Duca was introduced at the Milan Trade Fair in September 1946 and stayed in production until around 1952. It's a vertical‑format, full‑frame 35mm camera that uses Agfa Karat cassettes, and it was available in five colors: black, blue, red, white, and brown. I've only ever seen the black, blue, and red versions in photos. Still, now that I know more are out there, I'll keep an eye out—even if I suspect the more unusual colors will be priced higher than I'm willing to pay.

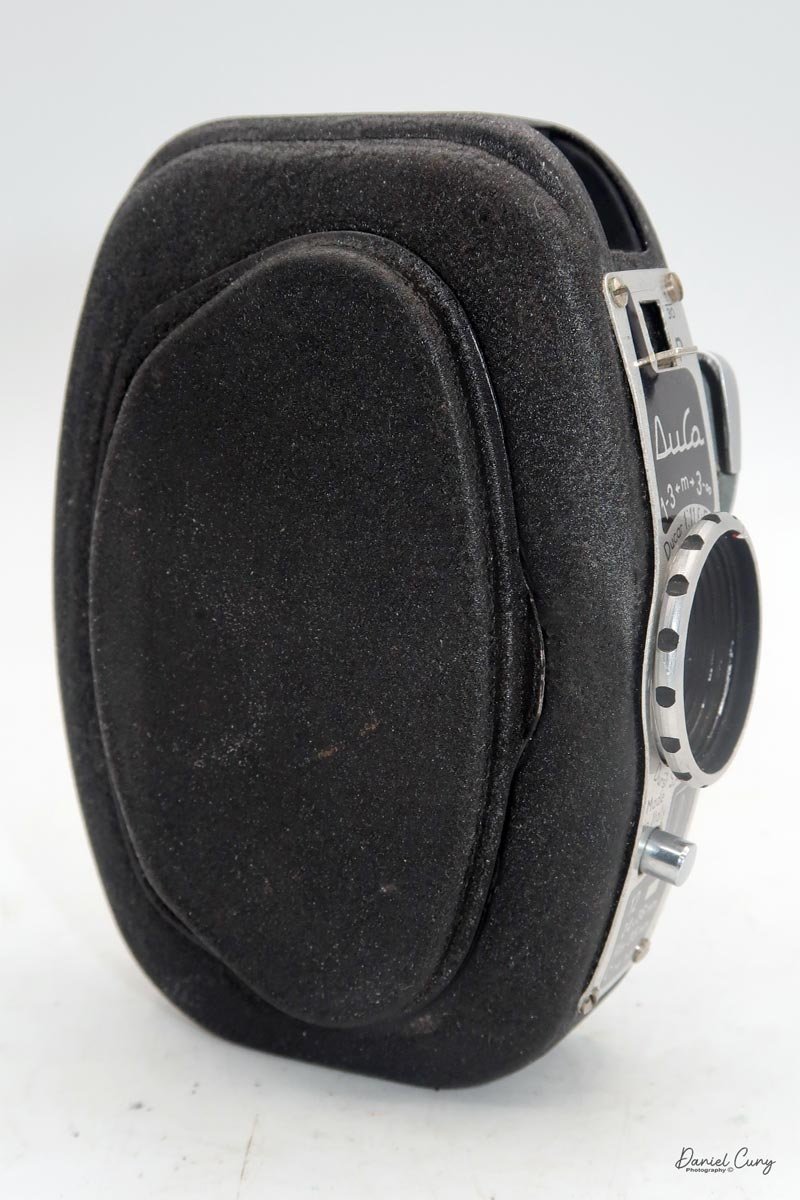
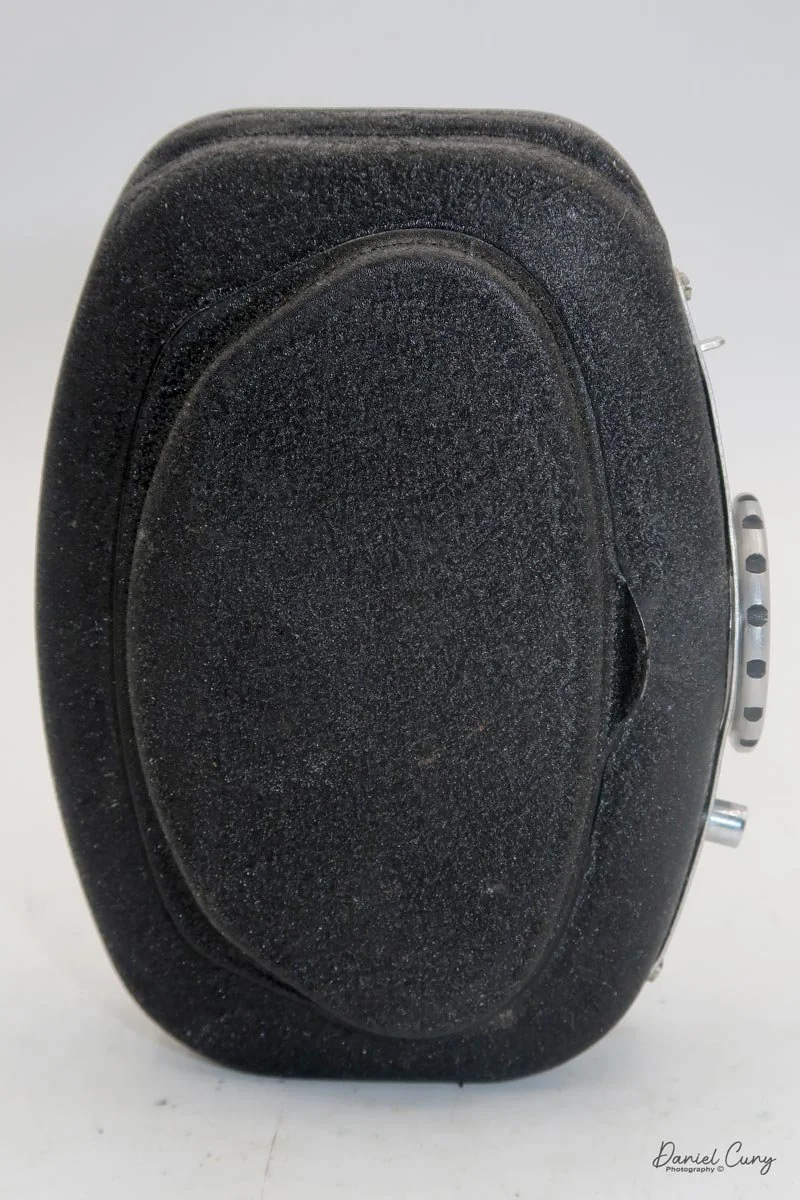
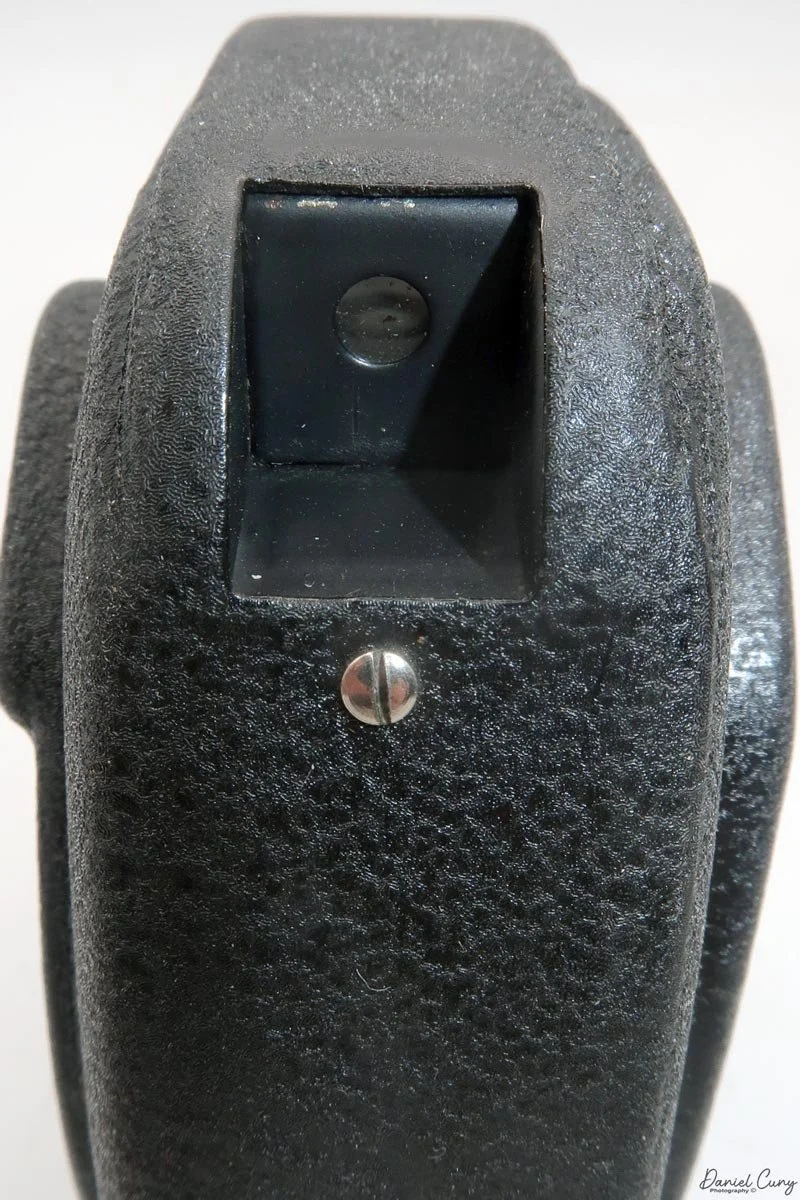
Physically, the Duca is tiny: only about 4 inches tall by 3.25 inches deep and just over 1.5 inches wide, and it weighs 10.1 ounces with the cassettes in place. The body is nicely rounded and fits well in the hand—definitely a camera you could drop in a coat pocket and forget about until you need it.

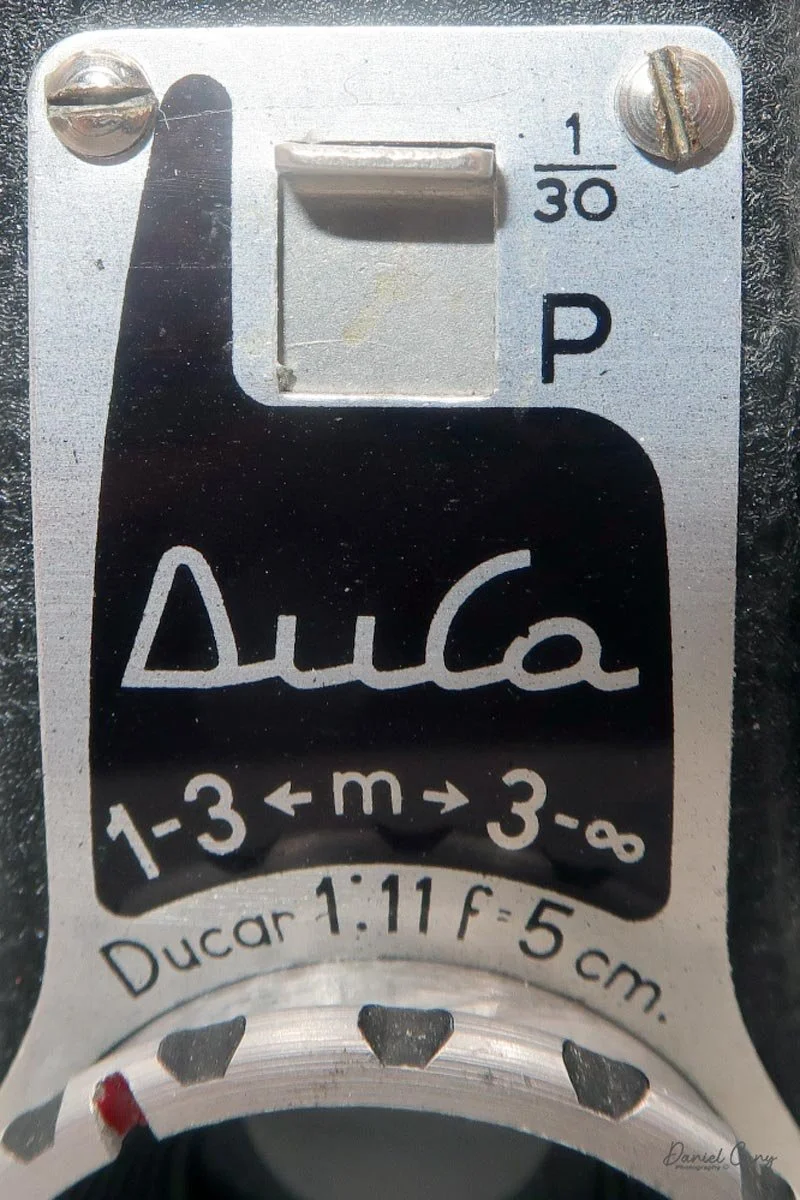
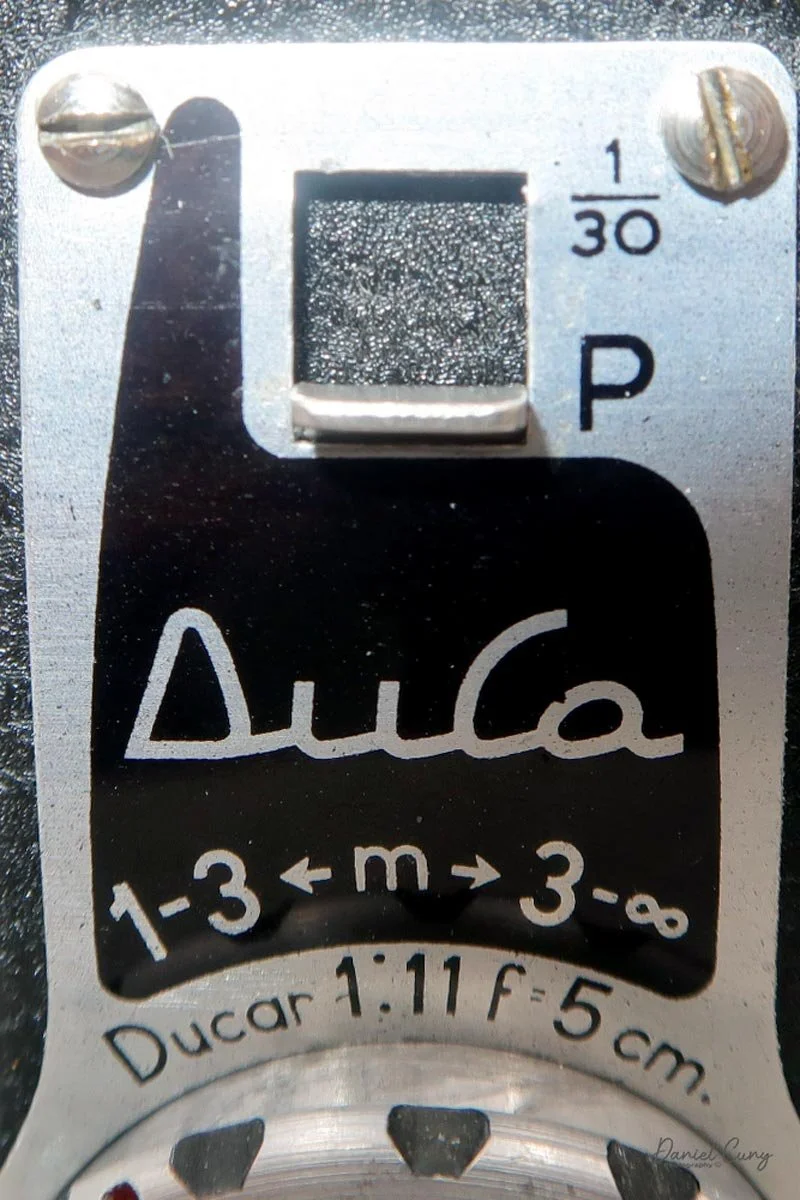
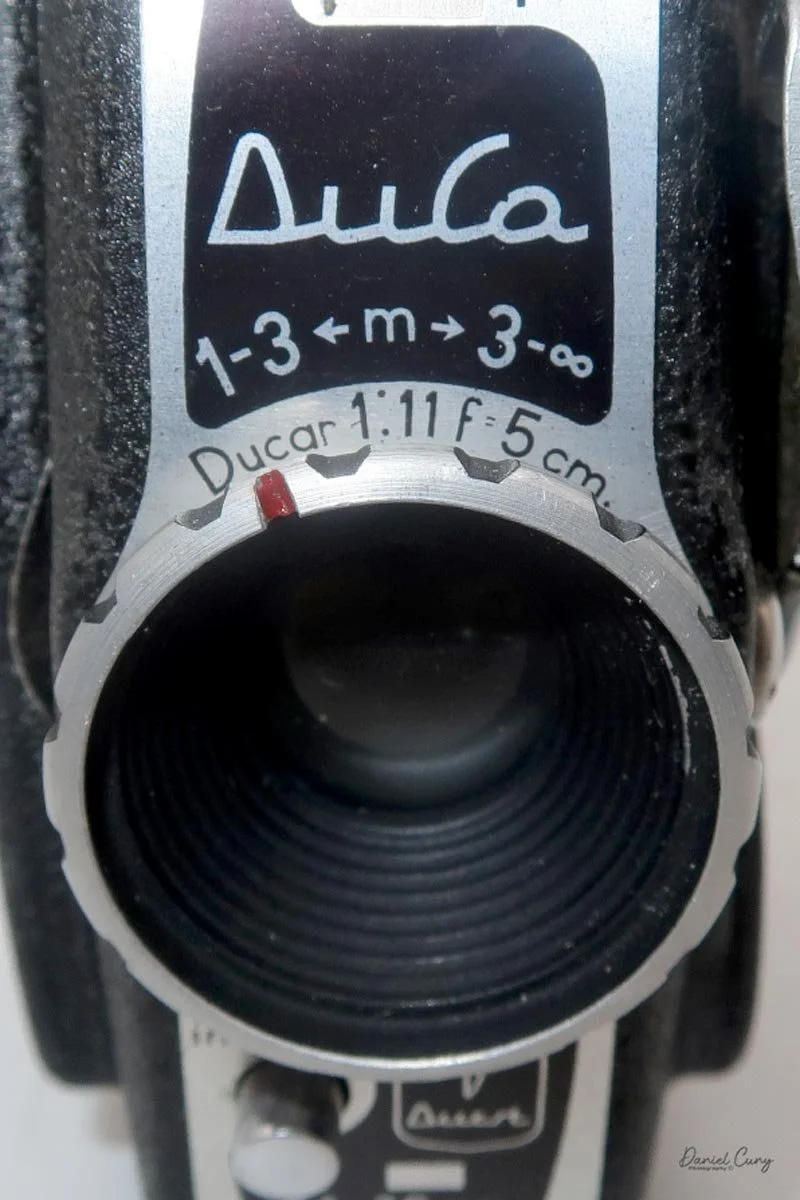
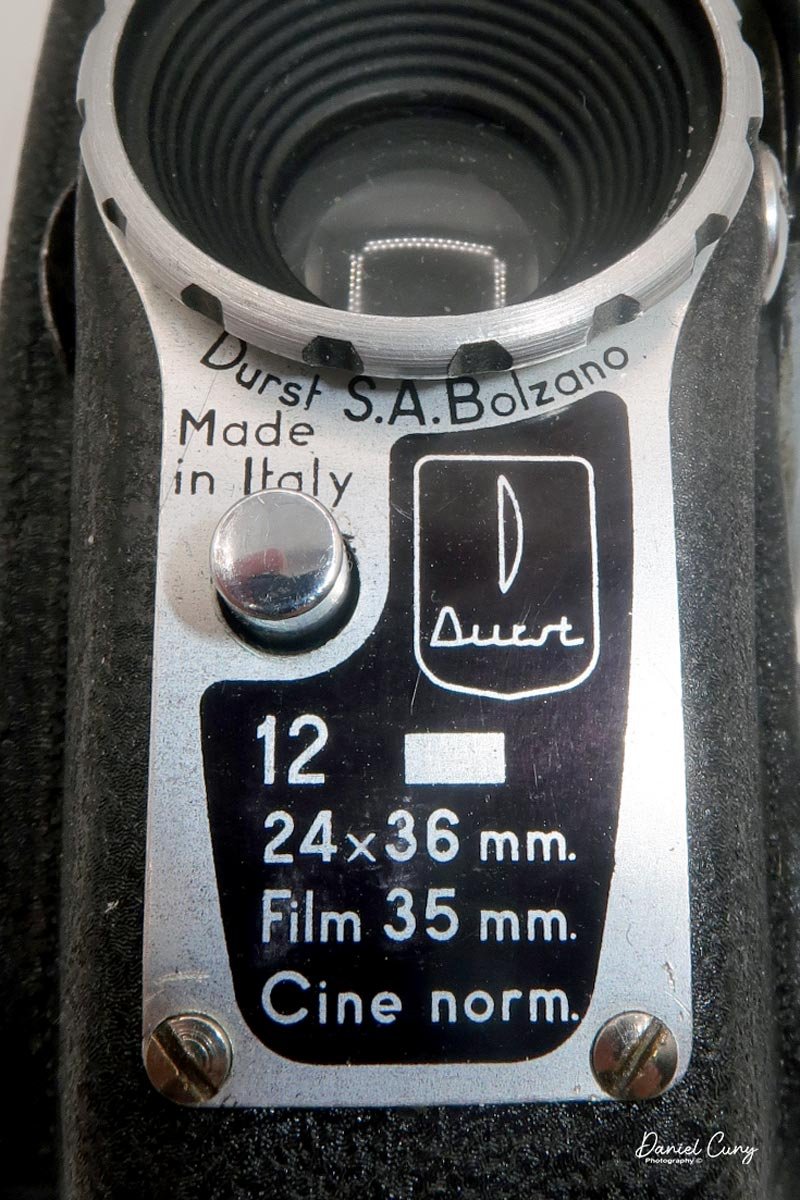
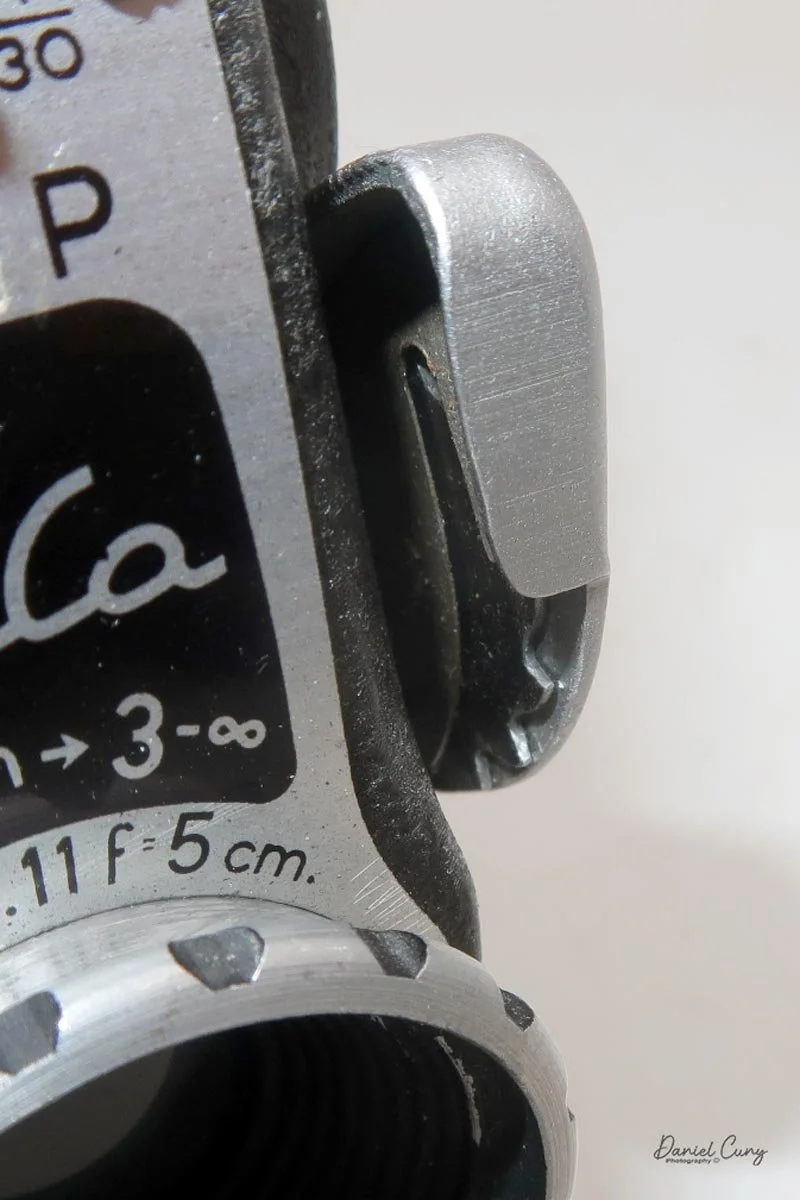
 The camera is very basic. The lens is a fixed 5 cm, f/11 meniscus design, though a rarer f/8 version is supposed to exist. Shutter speeds are limited to just two settings: 1/30 of a second and "P" for timed exposures. A small switch on the camera's faceplate, just below the viewfinder, sets the speed. I've also seen a version where the speeds are marked "I" for instant and "T" for timed. My guess is that mine is a later version, but I can't say that for sure.

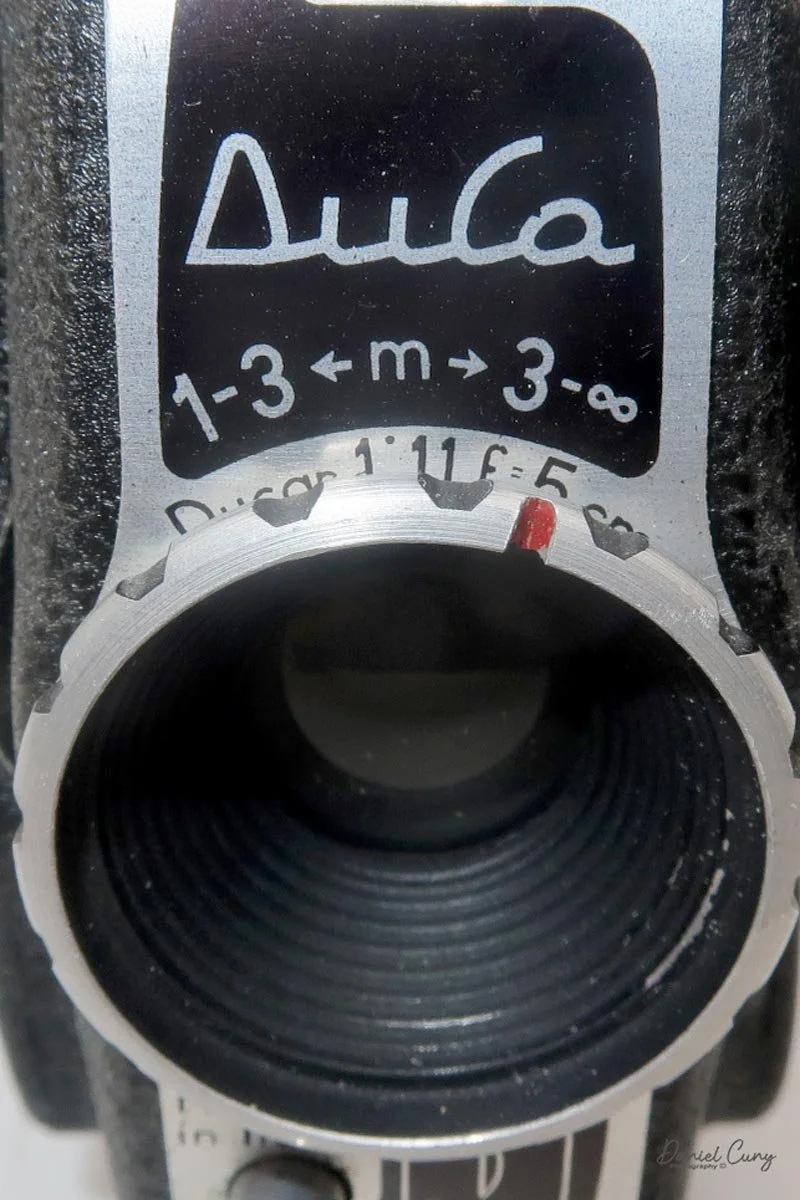
 Focusing is done in only two zones. You can set the lens for 1–3 meters or 3 meters to infinity. To focus, you turn the outer ring of the lens until the red line points to the distance you want.

Loading Film and Getting the Duca Ready

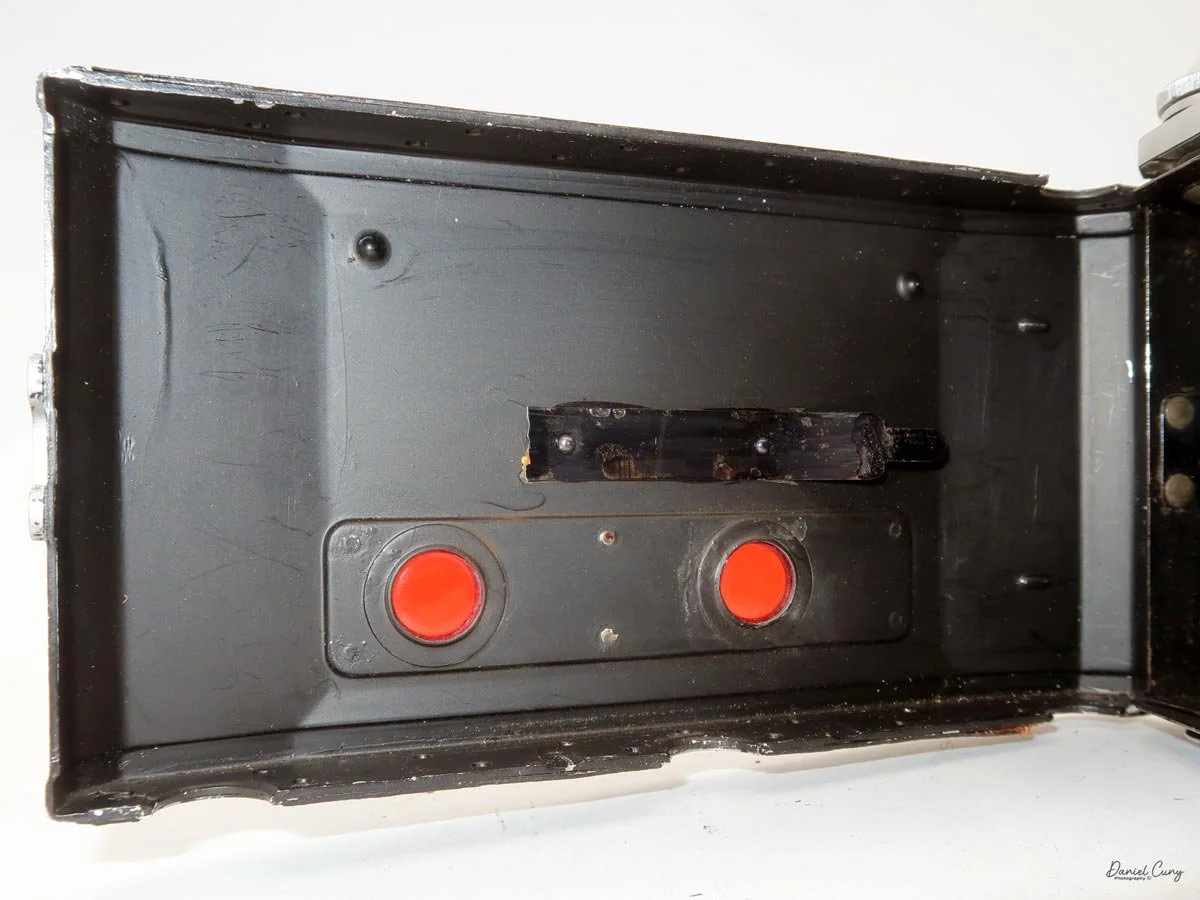
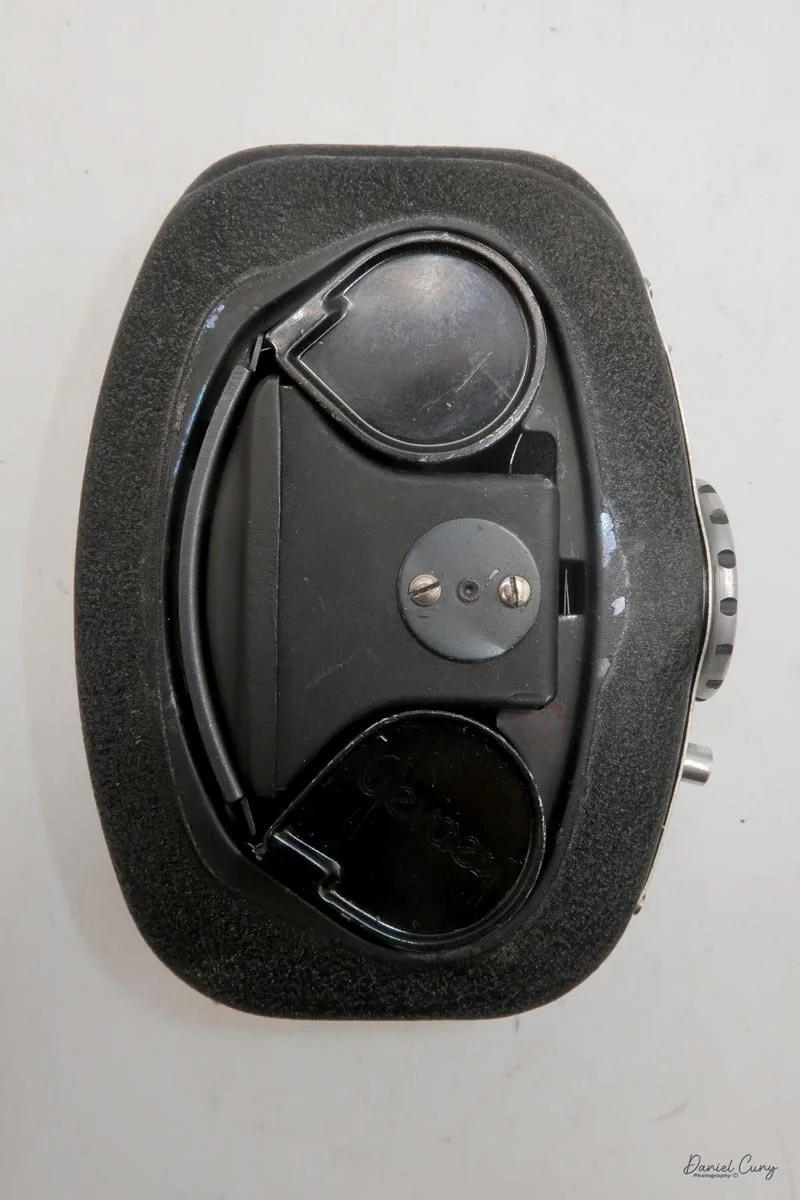
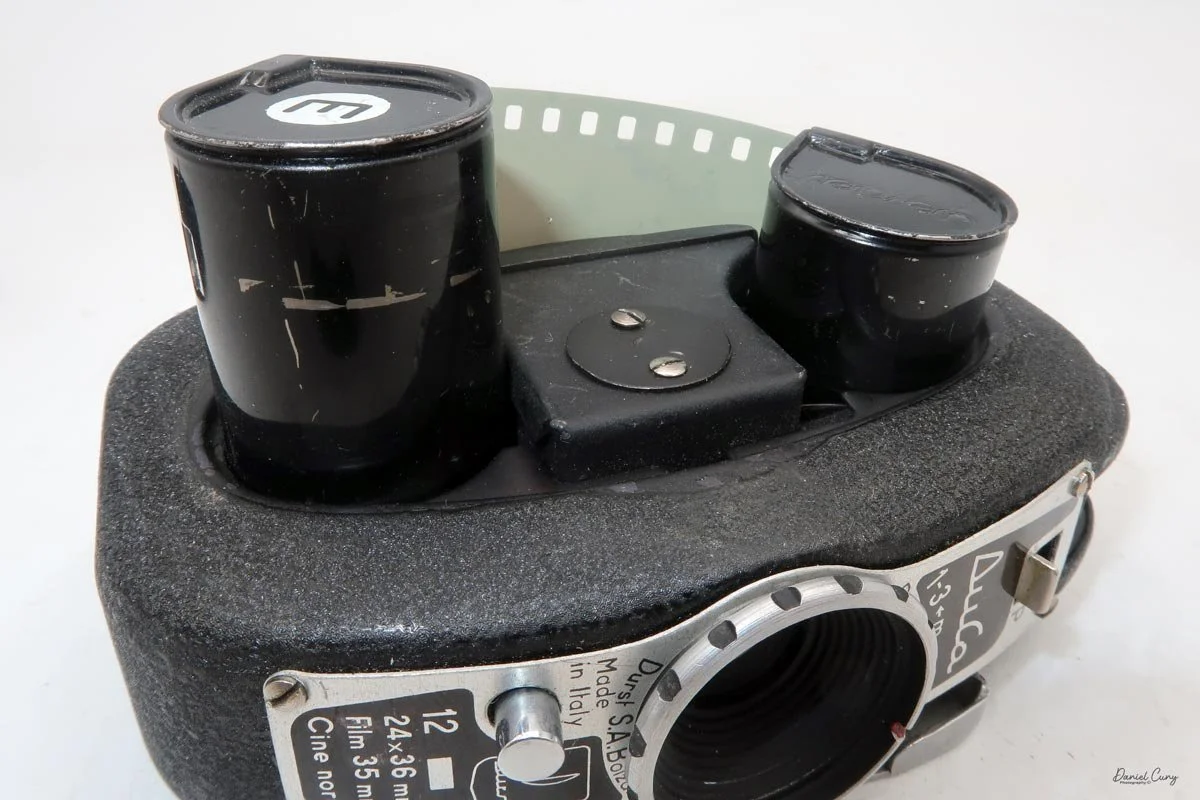
To open the camera for loading, there's a small curled‑up lip on the right side of the body that you lift to swing open the film door. Inside, you'll see the two Agfa Karat cassettes. They pop out along with the pressure plate, which sits just behind the film gate and pulls straight up and out for loading.

 As mentioned, the camera takes Agfa Karat cassettes. When these were sold new, each roll of 35mm film was cut for 12 exposures, and the front of the camera proudly states that it takes 12 photos per roll. Since I have bulk 35mm film and two cassettes, I loaded my own.

I put one of the cassettes and my bulk loader into a dark bag. Inside the bag, I opened the loader, pulled out what I guessed would be enough film for 12 exposures, and added a bit more to be safe. I fed the film into the first cassette and closed up the loader, leaving a short length to thread into the second cassette. Then I unzipped the dark bag and removed the loaded cassette.

In the light, I could now feed the end of the film from the first cassette into the second one, slide both cassettes into the side of the camera, and drop the pressure plate back into place, making sure the film sat flat against the gate. Before closing the door, I advanced the film a bit to confirm that it was transporting. With the cassettes and pressure plate removed earlier, I'd noticed a small brass pin—very similar to the one in the Ansco Memo—that pops out, grabs a film sprocket, and moves up to advance the film.

Once everything looked right, I swung the back door into position and pressed it firmly against the body. Two small notches on the back have to line up with the body; if they're off even a little, the door won't sit snugly.

 Before heading out, I took a look at the lens and saw that the front element was pretty grimy. With some lens cleaner and tissues, I managed to clean the front, but because the camera is built the way it is, I couldn't get to the rear element at all. With the film loaded and the transport confirmed, I was ready to go for a walk through the neighborhood.


Shooting with a Vertical 35mm

With film in the camera, I headed out around the neighborhood, trying to photograph some of the same subjects I usually shoot—houses, parked cars, trees, little details I run across on my walks.

 The camera's faceplate shows a horizontal rectangle next to the number 12, while the viewfinder is vertical. I found that confusing at first. Was this meant to be a horizontal or a vertical camera? With only 12 exposures per roll, it seemed logical that they'd be in a horizontal orientation to match most 35mm cameras. Still, the vertical viewfinder was telling me otherwise. I wasn't sure, so I shot in both orientations early on, turning the camera back and forth.

 Once I processed the film and looked through the negatives, it was obvious: the Duca is a vertical‑format camera. If you want a horizontal image, you turn the whole camera on its side. It's not complicated, but it does take a little mental adjustment when you're used to most 35mm cameras being the other way around.

Results and Thoughts

Some of the images turned out great, and some didn't. There are a few reasons for that. One is focus—I didn't always remember to switch between the two focus zones when I changed subject distance. The other is exposure. With only one shutter speed and one aperture, you're basically at the mercy of the light. The negatives showed some variation, but nothing I couldn't deal with in post‑processing. It reminded me a lot of shooting with an Instamatic: pick a film with a wide exposure latitude and let it do the heavy lifting.

 I got 14 frames on the roll before the film refused to advance into the second cassette, which tells me my length estimate in the dark bag was close. The camera itself handled well. The viewfinder is on the small side and can be difficult to look through, especially if you wear glasses, but it's usable once you get used to it.

 The transport worked smoothly, and the shutter opened and closed as it should. The lens, however, is still dirty on the rear element, and there's really no easy way to clean it without taking the camera apart. That shows up in the photos as a general softness, almost like shooting with a soft‑focus filter. On some subjects, the look can actually be pleasant; on others, it just makes things a bit mushy.

 Overall, the Duca was a fun camera to use, and I'll definitely shoot it again. The whole process—from loading the Karat cassettes, to working with the vertical format, to seeing the results—was enjoyable. It's the kind of camera you could toss in a pocket when you head out on a trip and forget about until something catches your eye. I like that it's doing all of this as a full‑frame 35mm camera in such a tiny body.

 Thanks for taking the time to read about my experience with this little Italian wonder of a camera.

 If you'd like to see more of my camera adventures, here's a link to my other camera reviews. And if you're interested in cameras, lenses, or other photo gear I'm letting go of as I thin the collection, you can visit my Cuny's Cameras and Photos online store.

 Until next week, please be safe.
Coronet Cameo

My Coronet Cameo camera

It wasn't until I had been collecting cameras that I developed an interest in miniature and subminiature cameras. One of my earliest recollections of liking small miniature cameras was when I became a sales representative for a well-known Swiss large-format camera company (Sinar) and traveled to Sacramento to visit a store that displayed many different miniature and subminiature cameras at the cash register.

 I fondly remember spending time looking at the display, thinking many of the cameras seemed so odd and unusual, which is something I'm always looking for in what I collect. When I asked the owner of the store if any of the cameras were for sale, and his reply was a swift and hardy "no", in my mind, it triggered a need to find out more about this whole new world of cameras I was aware of, but had no interest in collecting.

 While I don't have a large collection of miniature and subminiature cameras, the ones I do have have a special place in my collection because they are all very unique. I have the majority of the miniature and subminiature collection on my desk, which I'm at the majority of the time I'm in my office, or what I call my camera oasis. It's the one room in our house where I can do what I want, within reason. Another terrific part of the collection is that they don't take up much room, so I have many of them in a small area that reminds me of the display at the camera store I went to well over 30 years ago.

 I came across the Coronet Cameo camera on a trip to London about two to three years ago. For me, one of the main objectives of the trip was to visit Portobello Road to see some of the camera and photo stalls we had visited on a previous trip to London many years earlier. When my wife and I visited the outdoor market, I found that things had changed, and many of the vendors only showed up on weekends. This was a massive disappointment for me, especially since my wife and I were leaving on Saturday afternoon.

Coronet Cameo size comparison.

 The main person I was to meet was Juliano of Cameras London, who shows his cameras only on Saturday. Somehow, I convinced my wife that I would take the bus to Portobelo Road and back in time for us to go to the airport. 

 As I took the bus to Portobello Road that Saturday morning, I remember I needed to be mindful of the time and hurry. I arrived early as Juliano was still setting up. He had a fantastic display of cameras and some negatives. There were several cameras I wanted to purchase, one being an Ilford Advocate, which you can read about. He said he had a cleaner version and would ship it to me. 

I got together a small group of cameras, and just before I paid him, I saw the Coronet Cameo. It was in poor condition, but it was odd and unusual, so I threw it into the pile. We made a fair bundle price for the items, including the Advocate and Cameo camera. I paid him for the items, put the cameras in my backpack, and made my way back to the hotel. We had plenty of time to make it to the airport.

History:

 The Coronet Camera Company was a significant English camera manufacturer, founded in 1926 in Birmingham, England, by Frederick W. Pettifer. The company began at 48 Great Hampton Street, Aston, focusing on producing an inexpensive line of cameras for the mass market. Their early focus was on simple box and folding cameras.

Photo of old Coronet building depicted from Historic Camera website

 A key aspect of Coronet's operations was its utilization of local Birmingham businesses. They partnered with the British Optical Lens Co. for lenses and, notably, with Edwin Elliott, a local plastics manufacturer, who fabricated molded plastic cameras for them. This collaboration led to popular pre-war models, including the small and stylish Coronet Midget and the Coronet Vogue, which were often made from colored Bakelite. By 1933, the company had reportedly sold a remarkable 510,000 cameras.

 The company became Coronet Ltd. in 1946. After World War II, the company specialized in low-cost, molded-plastic cameras. Due to French import restrictions, Coronet formed a partnership with the French company Tiranty of Paris. This collaboration led to several Coronet models, such as the Rapide, being manufactured in France, sometimes using Boyer lenses, to bypass trade barriers. Coronet also produced accessories and its own brands of film, including Corochrome.

 The company continued to manufacture cameras from its Birmingham headquarters (later located at 308-310 Summer Lane) until it finally ceased operations in 1967. Over its four-decade history, Coronet played a vital role in making photography accessible to the public by providing thousands of simple, affordable cameras, many of which remain popular collector's items today.

My Camera:

 This portion of the blog will be sparse, as there's not much to this camera. The Coronet Cameo camera is small and will almost fit into a 35mm film container. It's 2" wide by 1.5" deep and 2" tall with the front viewfinder extended and only 1.25" tall when it's retracted. The camera only weighs 1.6 ounces. The Cameo has a fixed 25mm F/11 Meniscus lens and a single shutter speed range of 1/25-1/50, with the shutter release on the right side of the camera body.

The camera is made from plastic and was manufactured between 1948 and 1952.  Coronet attempted to revive the success of the Pre-War Midget camera, which was highly successful for the company at the time.

 The Coronet Cameo takes a roll of 16mm film and produces six 12mm x 18mm negative-sized images per roll. The camera loads and winds like any other roll film camera, with the unexposed film loaded on the left and the leader threaded into the take-up spool on the right via the film winding lever.

The back of the camera is held in place by two clips on the right side of the camera. To open the back, lift it from the two clips; it will open, exposing the film chamber. Unfortunately, my camera, like many Coronet Cameo models, is warped, and the back doesn't fit properly to the body.

 A sliding front viewfinder can be pulled up, and when the rear viewfinder is lifted on the back of the camera, it exposes the red window displaying the frame number of the image you'll be taking on the roll of film.

My Results:

 Unfortunately, there is no longer film for this camera, and with the warped camera back, I wasn't able to take photos with it.


Conclusion:

 As I was taking photos of the Coronet Cameo, I had an empty 35mm film tube and tried to see if the camera would fit inside it, but it's just a tad too big.

 The Coronet Cameo camera is sitting right next to my Whittaker Micro 16 Pixie camera, which I considered writing about for this blog post. Still, I'll leave that camera for another day. I do enjoy all the miniature and subminiature cameras in my collection; it just took me a few years of collecting them to appreciate them for what they are.

 Thank you for taking the time out of your day to read about this small plastic camera from about 75 years ago. I'm sure many people owned and enjoyed them when they were made.

 If you're interested in reading about other cameras I've reviewed, here's a link to my other Camera Reviews.

 I also have a store on eBay, Cuny's Camera and Photos, where I sell items I've reviewed, as well as many other camera oddities.

 Until next week, please be safe.
Bolsey Model C-Twin Lens Reflex

My Bolsey C camera

Very early in my camera collecting career, the Bolsey cameras have been a steady companion in my collection. I believe this goes back to when, in my 20s, I'd go to local Flea markets, which were usually held in older Drive-in theatres due to their expensive areas, and find Bolsey cameras. Usually, they were the B2 models and generally in fair to poor condition.

 Every once in a while, I'd find one in working condition, which was a rarity. The thing that drew me to these cameras was the odd shape they have. They are generally smaller than the standard 35mm camera. Still, they have an odd shape where the front of the camera is much broader than the rear. The corners of the cameras are rounded off, giving them a sleek and modern look for their time. I compare them to the shape of automobiles of the time, which generally had rounded curves and were comfortable to use.

 The Bolsey C was a camera that I've always had my eye on to add to my collection for many years. I can remember looking through the Bible of all camera collectors, McKeown's camera guide, and seeing the Model C and the other Model B and Jubilee models, with thoughts that someday I'll have one in my collection. That day was about 4 years ago when I purchased another "lot" of cameras with the Model C within that lot. To my surprise, the camera was almost mint and had a working shutter. Even the fitted case was in excellent condition. The camera appeared almost unused for 70-75 years since the camera was initially introduced in 1950.

History:

Bolsey Camera Company can be traced back to Yakov Bogopolsky, a trailblazing figure in the early 20th-century photographic industry, who played a pivotal role in the evolution of compact cameras. Born in 1895 in Ukraine, Bogopolsky left for Switzerland in 1913-14, where he studied medicine in Geneva. Due to the Russian Revolution and WWI outbreak, he could not return to Russia. While studying medicine, he worked as a portrait photographer to earn money. During his time in Switzerland, he changed his name to Jacques Bolskey. While in Switzerland, his passion for photography grew. He even invented a camera that photographed the beating heart of a dog, which was used in surgery.

 One of Bolskey's earliest successes was the Bolex line of cameras he designed while working for Paillard, a Swiss company. These cameras, primarily for motion pictures, became highly regarded for their precision and durability. While in Switzerland, he also worked as a designer at Swiss watchmaker Pignons S.A., which produced the first Alpa camera.

 After 22 years in Switzerland and being denied citizenship there, he eventually immigrated to the United States in 1939, changing his name to Jacques Bolsey. Bogopolsky's most significant contributions were realized through the Bolsey Camera Company, which he founded in the 1940s in New York. 

Bolsey's hallmark was producing user-friendly, affordable cameras that maintained quality. His most iconic designs were the Bolsey B series of cameras, which debuted in the mid-1940s. These cameras, such as the Bolsey B, B2, and Jubilee, were compact and housed in durable cast aluminum bodies. They featured a coupled rangefinder and a fixed-focus lens, making them accessible to amateur photographers. The Bolsey cameras were marketed as an ideal solution for everyday photography, emphasizing ease of use and portability.

 One of Bolsey's key innovations was incorporating a built-in flash synchronization system, a feature uncommon in consumer-grade cameras at the time. This innovation further solidified the company's reputation for blending functionality with convenience. The cameras became popular in the United States, particularly among families looking to capture moments during the post-war era.

 Despite its early success, the Bolsey Camera Company struggled to compete with emerging Japanese camera manufacturers in the 1950s and 1960s. Companies like Nikon and Canon began producing more advanced and competitively priced cameras, dominating the global market. Bolsey's commitment to simplicity and compact design became less appealing as photographers demanded more advanced features.

 By the mid-1960s, the Bolsey Camera Company ceased operations. While short-lived, Bolsey left a lasting impact on camera design, particularly democratizing photography. The company's cameras remain collectors' items today, valued for their unique blend of aesthetics, engineering, and historical significance. Jacques Bolsey's vision and ingenuity continue to be celebrated in the world of vintage photography.

My Camera:

My Bolsey Model C is two cameras in one. It's a twin-lens 35mm camera that incorporates both a waist-level finder and rangefinder into the same camera body. The camera is 3.75" tall with the chimney down and 4.75" tall in the up position, 4.25" wide by 2.5" deep, and weighs 1 lb 2.6oz. The camera is made from aluminum and has a gleaming finish. The camera has a Wollensak Anastigmat 44mm f3.2 lens in a Wollensak shutter. My Bolsey C also still has the red round Bolsey emblem intact on the viewing chimney. So many Bolsey cameras are missing this, as they are easily lost.

 The camera has a waist-level finder with ground glass at the top for focusing and is parallax corrected to 2', which is also the minimum focusing distance. According to the Instruction manual, the waist-level finder is "exactly as you will shoot it. "The waist-level lens is also the same as the taking lens.

 The camera also has a coupled rangefinder with split image capability built into it. It has the best of both worlds for focusing. Both the waist level and the rangefinder on my camera are bright and accurate. The separate viewfinder is offset on the right side of the camera for framing purposes. Also, on the back of the camera, there are two sockets on the left side made for the flash unit that snaps into them. A flash with a normal PC cord won't work on this camera.

To load the camera, the back is removed from the camera body by switching a lever on the bottom of the camera to the "open" position. The back slides off, exposing the standard 35mm camera film chamber. You slide in a 35mm film cartridge into the open area on the left, bringing the leader over the roller and the drive gear with the sprockets, and slide the leader into the take-up spool. IMPORTANT: wind the camera; you need to pull the winding lever up slightly before the camera will allow the camera to advance to the next frame. If you don't do this step, you'll tear the sprocket holes from the film because the drive gear is locked until you pull the winding lever up before winding. Put the back onto the camera and lock it. At this point, lift the winding lever and advance two times to get it to the first frame. On the back of the camera is a depth-of-field scale.

One other function of the winding lever is cocking the shutter. The Bolsey Model C uses a bar to prevent users from taking double exposures. The shutter release is a lever on the right side of the camera. Behind the shutter release is a bar with a red dot on the end. After you take a photo, the bar with the red dot springs forward, preventing the shutter release from returning to the normal "taking" position. After you take the photo, lift the winding knob, and advance to the next frame, the bar with the red dot is pulled back into the camera, allowing the shutter release to move back to the "taking" position and cocking the shutter. If you try to take a photo with the red dot showing, the shutter doesn't trip, and no exposure is made. Not all Bolsey cameras have the red dot bar to prevent double exposure. I have several other Bolsey cameras (B2 Special in red and a grey B3) that don't incorporate this feature.

The camera only has 5 shutter speeds, 1/200, 1/100, 1/50, 1/25, and 1/10, along with "B" and "T" for timed exposures. The 1/25 and 1/20 are in red, warning of slow speed to use a tripod or some way to keep the camera steady. The control of the shutter speed is a slider bar above the speed indicating which speed will be used. The aperture settings go from f3.2 to f22. These are controlled by a separate sliding bar under the lens with a pointer pointing at the set aperture.

Close up of shutter spped and aperture controls on Bolsey C camera

My results:

Where I live, it's usually overcast and raining, but I had a few hours where the sun almost poked its head out, so I loaded a roll of film into the camera and drove to two different places close to my home to take photos. The first was a local park with a playground, and the second was a home with a massive Christmas display. The display mainly consists of plastic figures on the front of the house. I figured I get a few good photos here. Here are the results of the photo journey.

Conclusion:

I need to admit, I wasn't sure how this camera would perform or if I would like to use this somewhat oddball camera. I have to admit, the camera worked great, and it was really fun to shoot with. I really enjoyed the waist-level finder and thought it was bright and accurate in its ability to focus sharply. I also tried the rangefinder, which performed just as well. On a scale of 1-10, I'd give this an 8, maybe even an 8.5, in its usability, a joy to use, and results.

 You can get good results using either the rangefinder or waist-level finder. It's the best of two worlds built into one camera. If you don't have one, you should add this to your collection. Try to find a good working example to take out and use. I don't think you'll be disappointed.

 Thank you for taking a few minutes to read about this fantastic camera.

 Until next week, please be safe.
Corfield Periflex Camera

The Corfield Periflex is a relatively new camera to my collection. I've only had it for a few months, but I've desired to own one for many years. The opportunity arose to purchase one of the earlier models that was in good working condition and at a reasonable price for this camera in its condition, so I grabbed the opportunity and purchased it.

My Corfield Periflex Camera

 When the camera arrived, it was in good working condition and in the cosmetic condition described, so I was pleased with the purchase. I knew from purchasing the camera that my aim was to do a blog post on it, as the camera has many unique features that have not been seen in cameras before or since. 

 The Periflex is a 35mm camera with an appearance that resembles a Leica only because of the size and initial shape of the camera. Unlike the Leica cameras, the Periflex doesn't offer the photographer rangefinder focus, sprockets film advance, removable baseplate, or take-up spool, but it does offer the same lens thread mount and excellent optics in a small and compact camera made in the United Kingdom.

The Company:

Sir Kenneth Corfield

Sir Kenneth Corfield (1924–2016) was a British engineer, entrepreneur, and photographer whose work significantly influenced the photographic industry in the UK, mainly through his company, Corfield Ltd. Known for his pioneering approach to camera design, Sir Kenneth's legacy is deeply intertwined with the Corfield Camera Company, which he founded in the mid-20th century. His innovative ideas, especially those focused on making quality, compact cameras, helped the brand gain a reputation in the photography community, although its operations ended in the 1970s.

 Kenneth Corfield was born in the UK in 1924 and trained as an engineer. He developed a passion for cameras and photography from an early age, and this interest led him to create camera equipment designed to fill the gaps he observed in the photographic tools available at the time. His mechanical expertise and curiosity about precision instruments motivated him to create Corfield Ltd., a company that produces cameras for professional and amateur photographers alike.

 Corfield founded his company in the post-war period when there was increasing demand for affordable, portable, high-quality photographic equipment. Starting in the 1940s, Corfield Ltd. initially operated as a small workshop but soon expanded to meet the needs of a growing photography market in the UK. Unlike the more prominent, established companies primarily located in Germany and Japan, Corfield's British roots gave his products a unique appeal in the domestic market. They also partnered with British Optical Lens Co. in Walsall, which designed and made the Lumar optics for Corfield.

Ad for the Corfield Camera

The company's first significant product was the Periflex, introduced in 1953. This camera became known for its innovative use of a periscope-type viewing system. This device made the Periflex one of the more unique 35mm cameras available at the time, as it allowed users to see the image through the lens without needing an expensive reflex mirror. The camera was compact, affordable, and relatively simple compared to other rangefinders, and it catered to a market that wanted quality at an accessible price.

The Periflex series became the backbone of Corfield Ltd.'s reputation. The first model, the Periflex I, was followed by several iterations, including the Periflex II, III, and Gold Star. Each version introduced new features and enhancements to meet photographers' increasing demands, such as improved shutter speeds, lens mounts, and more durable designs. 

The defining characteristic of the Periflex cameras was the periscope-like focusing mechanism. This mechanism, placed directly above the lens, allowed photographers to focus accurately without the bulk or complexity of a traditional single-lens reflex (SLR) system. This feature made the Periflex a unique hybrid of a rangefinder and SLR qualities, appealing to those who valued compact design but still wanted accurate focus control. Although some photographers found the system unorthodox, others appreciated the camera's compactness and precision, making it popular among professionals and amateurs.

Despite its successes, Corfield Ltd. faced stiff competition from German and Japanese camera manufacturers, producing high-quality cameras on a much larger scale. Companies like Leica, Nikon, and Canon dominated the market with advanced SLRs, and Corfield's unique designs needed to catch up with the rapid technological advancements. While the Periflex series had gained a loyal following, it required more sophistication and reliability than its competitors, ultimately limiting its market appeal.

In the 1970s, Corfield Ltd. ceased producing its cameras, and the Periflex series also ended production. Although the brand did not survive, the innovations introduced by Kenneth Corfield influenced camera design and highlighted the potential for high-quality British-made photographic equipment.

Kenneth Corfield's contributions to the photographic world extended beyond his camera company. Even after Corfield Ltd. ceased operations, he remained active in the photography industry. Later in his career, Corfield was involved with Gandolfi, a British large-format camera manufacturer, and his influence continued to be felt through his consulting and design work in the field.

Corfield's legacy is remembered by photography enthusiasts and collectors who admire his innovative approach to camera design. The Periflex cameras, in particular, are valued among collectors for their uniqueness and historical significance. Sir Kenneth's work reflects a time of British ingenuity in the photographic industry. It is a testament to a small, independent company's impact on a competitive global market.

Bev Parker has a wonderful website dedicated to The Corfield Company.

My Camera:

My Corfield Periflex camera isn't the first model, as the first 200 Periflex camera had a black top and bottom plate like mine. Still, they were covered in brownish pigskin on the body. I believe mine is the third version, as the engraving has been moved to the periscope but still has the black top and bottom plate, black leatherette covering, and chrome lens.

 My Periflex camera is 5.5" wide by 3.25" tall, including the periscope, and 3.25" deep from the back of the camera to the front of the lens focused to infinity. With the standard Lumar 50mm f3.5 lens, it weighs 1 lb 1.4 oz. The camera is made from aluminum, as opposed to brass, which was a more common construction material at the time. Aluminum was easy to work with for both the body and lenses and was less expensive.

This hybrid camera doesn't have a rangefinder to focus. Still, it has a very small mirror that drops down into the camera and points out through the lens, allowing the photographer to focus on the subject, which is very similar to a single-lens reflex camera. The periscope is achieved by the center tube over the lens, which has a small knob on the back that you pull down and look through the optics on the top to view your subject.

Periscope mirror when depredded in the film chamber

I was very skeptical at first, but it does work and focuses very crisply on the subject as it should. There are some things that could be improved in this system. First, you need to open the aperture to get the brightest image to focus on, so you don't do this quickly. Once the camera is focused, you stop the lens down to the desired aperture setting to get the proper exposure, move your eye to the mounted viewfinder on the top to frame your subject, and then take the photo. Once you do it a few times, it becomes manageable. But it would be best if you remembered to reset your aperture, which I didn't do on a few frames. That's just a matter of getting to know the camera and using it more often. I DID like looking through the lens in a small compact camera to focus on the subject.

 My Periflex has shutter speeds from 1/1000 to 1/30 sec exposure times along with "B" for timed exposures. Above the shutter speed indicator is a knob that needs to be turned to cock the shutter before making an exposure. Advancing the film DOES NOT cock the shutter. These are two separate operations and are not intertwined. You do, however, need to advance the film winding lever AND cock the shutter before the camera will fire. This makes it impossible to take a double exposure on this camera. At least, I am still looking for a way to do it. The shutter release button is on the front of the camera, similar to the Topcon cameras, so it's more of a squeezing motion than a pressing down motion. There is a removable collar around the shutter release to attach a Leica-style cable release for time exposures.

Top view of Corfield Periflex. from L-R, Rewind knob, Removable viewfinder, Periscope mirror, Shutter speed dial with Shutter cocking knob, Rewind button, Film advance knob

Another oddity about my camera is that I didn’t discover it until after I had shot all the photos for this post. I didn’t think there were aperture settings on the lens, but after I reread the instruction manual, there is a small black mark on the lens that goes along the depth of field scale which indicates what aperture you’re using. Looking at the Corfield Periflex instruction manual, they discuss apertures and depth of field, but there is where the aperture settings are. All my exposures were guesses of the size of the aperture needed. The focus on my lens is smooth, the aperture ring moves well, too, and the Lumar lens system has a Leica Thread mount, so the advantage is you can use any LTM lens with this camera.


Loading the film is very simple, and there is another camera oddity in the loading process on the camera. To open the back to load the film, you turn the chrome circle on the camera next to the tripod socket until the arrow points to the white dot. Once that is done, the camera's back will slide downward, exposing the film chamber. I first noticed that there was no drive gear to advance the film, and the take-up spool (drum) on the camera was much larger than the usual 35mm cameras on the market. The take-up spool is actually a drum that advances 180 degrees per wind of the film advance, so as the film is pulled and wrapped around the drum, the spacing of the film frames becomes more significant as you go from the first to the last frame.

Once the film is loaded, you slide the back into position on the camera and turn the chrome wheel on the bottom away from the white dot to lock the back onto the camera. When finished taking the roll of photos, rewind the film back into the film cassette. The drum/take-up spool release is a small chrome button between the shutter and film advance knobs. Press that button down, and you can rewind the film back into the cassette for processing.

My results:

I took the camera for a walk in the neighborhood on a sunny afternoon to see what I could do with the camera. It took some time to think about the metering process on the subject. Opening the aperture, setting the shutter speed, pressing down the periscope to focus (which was fun and easy), resetting the aperture to a size opening I thought might be the correct aperture size, putting the viewfinder to my eye to compose the photo, then taking the photo. Certainly not like cameras today with autofocus, automatic light meter settings, etc. You slow down, take your time and compose the shot, which I enjoy doing.

Here are a few of the images from the camera.

Conclusion:

I enjoyed shooting with the Corfield Periflex. It slows you down and makes you think about the process of creating an image rather than taking one. Not that the photos shown are any works of art, but I like the slower and more methodical process of taking the photo.

 The camera is small and compact, has the shutter speeds needed, and has good optical sharpness. After finding where the aperture settings are, it makes more sense on how to do the aperture settings. I only wish I knew that before using the camera for the first time.

 Thank you for taking a few minutes from your day to read my review of the Corfield Periflex, a gem of a camera. 

 Until next week, please be safe.
PIC Camera

The PIC camera was on my list of cameras to review just before I returned to work after the two years lost years of COVID-19. Recently, when I looked up from my desk and saw the odd and unusual camera, I wanted to put a film into the camera, run it through its paces, and do a blog post on it. The main thing that caught my eye was the shape and size of the camera. You don't come across many round cameras with a straightforward design.

 I am trying to remember where the PIC camera came from, as I've owned it for five to six years. Like many of the other cameras I write about, the PIC camera was included in a group or "lot" of cameras purchased. I do remember when I received it; my first thought was that it was a "toy" camera, which I own many of. 

The more I examined the camera, the more I realized it was not a serious camera. It does not have the ability to set shutter speeds, aperture settings, or even focus at a specific distance. It's just a simple point-and-shoot camera made for quick snapshots, a camera you can keep in your pocket for when you travel on holidays or visit friends and family. 
The Company:

From what I can see online, the PIC camera is another camera with very little information regarding the manufacturer. There's conflicting information about the camera and who and when it was made. Some of the information I found states the camera was made in England sometime in the early 1950s by a company named Pressure Sealed Plastics Ltd. and distributed by Pic Distributors Limited.

 When I looked up information about Pressure Sealed Plastics Ltd., it was initially a London-based company. It states that the company existed from 1955 to 1966 when it was purchased. It was transferred from Peckham to Chesterfield in May 1970. Some online information also states that the company was not in London but in Southend on Sea. I'll leave it someplace in England.

In 1986, the organization was divided into two trading operations: Consumer Products and Industrial Products. The former was responsible for waterbeds. The latter took over the remaining operations and manufactured Rompa products, waterbeds, etc.

 From the information I found and posted above, I have no idea where the idea or manufacturing of the PIC camera came from. If you have other information on the camera, who designed it, or the company that made it, please let me know, and I'll change the information in the post.

The Camera:

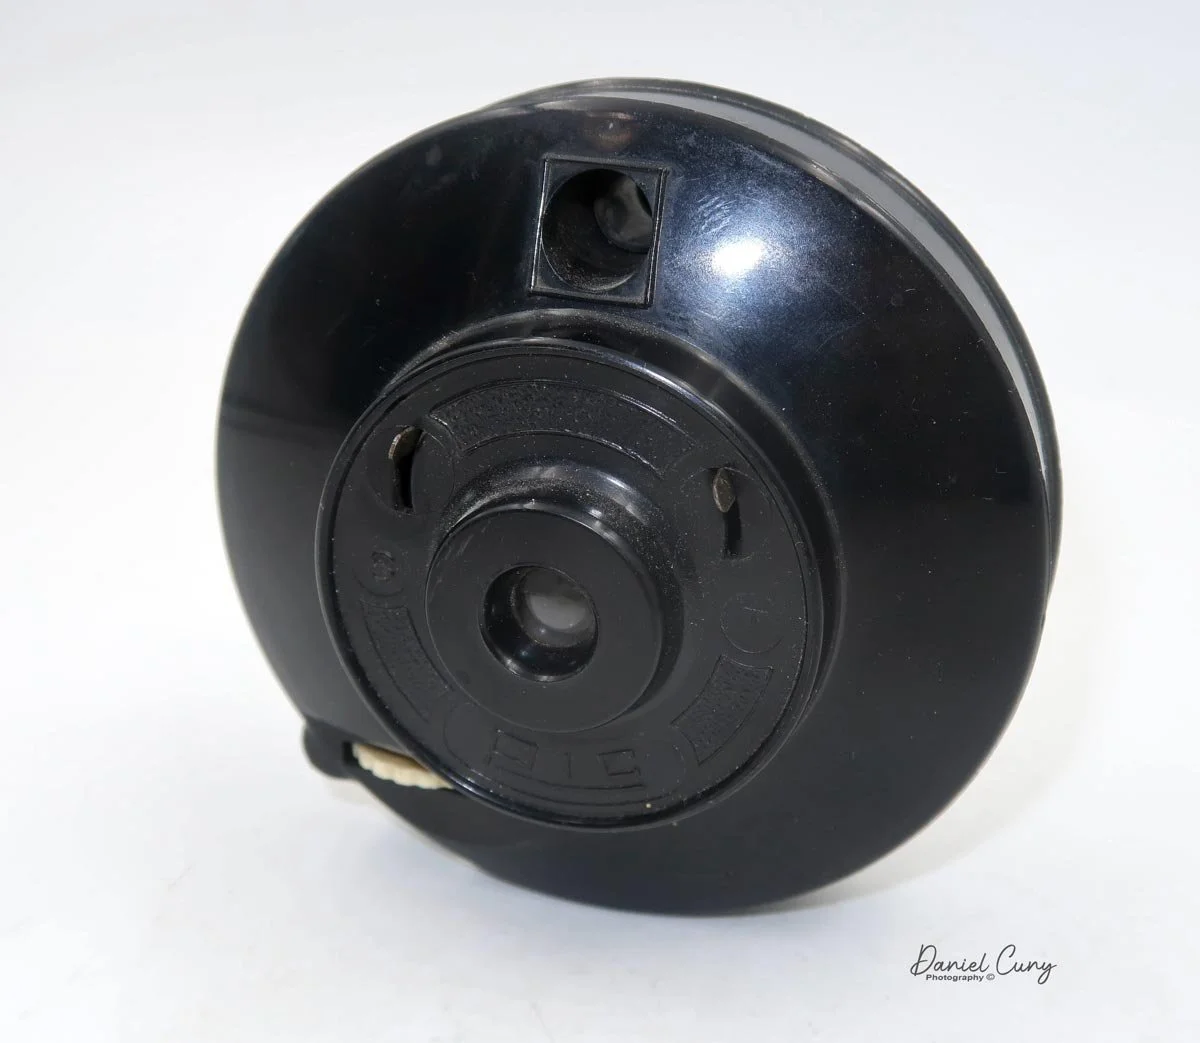
The PIC camera is a round camera that measures 3 3/4" in diameter, is 1 7/8" deep, and weighs 3.7 oz. with a fixed focus meniscus lens. The camera has a slight convex shape on the back along with the front, but halfway into the convex shape on the front, there are two tiers of flat surface where the shutter and lens are placed. The side view of the camera resembles a spaceship or UFO.

To open the camera to load the film, there is no latch or hinge to open the back of the camera, but you slide the front of the camera from the back of the camera and pull it off. My guess is this is where the "Pressure Sealed Plastic" comes from, as it's held together by a tightly fitting front that fits onto the rear of the camera.

 The rear of the camera has nothing other than two red windows that tell you the frame number you're on when advancing the film. On the outside of the back of the camera is written, Pats. Pend. Reg Dsgn No. 870468, Made in England. On the bottom right of the back of the camera is a slot where the film advance wheel fits.

In front of the camera, you load the film via an insert that fits into that area. The insert is a place to put the take-up spoon on the right and a new roll of film on the left. There's an opening for the negative, which measures 1 3/8" wide by 1 7/16", the exposed image size on the negative. A hinged wire acts as a pressure plate to keep the film flat when loaded into the camera. The insert is removable to make loading and unloading the film more accessible.

Underneath the film insert is a metal disc that covers the shutter assembly. When I received the camera, the shutter wasn't working, and I didn't notice that the metal disc covering the shutter assembly wasn't in its correct place. When I decided to write a post on this camera, I wanted to see if I could get the shutter working. This assembly is elementary and something even the non-mechanical person I am could get working again. I popped off the disc, and the shutter has two different levers corresponding to the levers on the front of the camera. My guess is that there is a shutter lever for "T" or timed exposures and another lever, "S," for snap. Generally the second shutter setting is "I" for instant, but this one is different.

 In the middle, there is a disc on the end of a piece of thin aluminum with a hinged rivet on the bottom that has the shape of an open safety pin, but the pin part is short, so it doesn't fit into the safety part. A spring holds the lens cover assembly in the closed position. Above the lens cover are your shutter levers, which also have hinged rivets, with a more extended metal arm that is bowed in the middle to fit over the lens covering disc, and on the bottom of the arm is a slight bend that allows the arm to interact with the shutter cover assembly. On the left of the shutter cover is a lever for the "T" shutter release for timed, and on the right is "S" for snap. A spring is between these two shutter assemblies to hold the arms away from the lens cover assembly.

Here's how the different shutter levers work. When you pull down the "T" lever, the shutter assembly arm slides over and pushes the lens cover away from the lens. Holding the shutter lever down keeps the lens open for the length of time you hold the lever down. When you pull the "S" lever down, it slides the shutter arm over the  "short pin" arm and grabs the shutter cover assembly. When you release the "S" arm, the shutter arm pulls the lens cover away from the lens, and due to the short pin arm, it slides off, and the lens cover closes, making a short exposure somewhere in the 1/50 sec timeframe.

The viewfinder on the PIC camera

There is a round viewfinder on the top of the camera, which doesn't correspond to the shape or the distance you get within your photos. 


The Results:

I had some expired 127 film from Film for Classics, which I purchased just for these cameras to test out. I fixed the very basic shutter, replaced the metal disc covering the shutter assembly, loaded a roll of film into the camera, walked around my house, and took photos, and here are the results.

My Conclusion:

You can tell from the photos that the lens isn't very sharp. It has a very "Lomo" look to it. I didn't get to photograph something close because I felt the plastic fixed focus lens wouldn't produce tack-sharp images, but it did take pictures. It was easy to use, but I'd take nothing on holiday unless the photos I wanted to create were similar to a Diana or Holga-style camera. Overall, the camera worked, and I discovered it's relatively rare due to the plastic construction and short camera run. People ask for around $500.00 on eBay when you can find them. I'll put it back in my collection and move on to a different camera next week.

 Please comment on your thoughts on this or other cameras I've discussed. I'd love to hear your thoughts on this camera.

 Please be safe until next week's camera post.