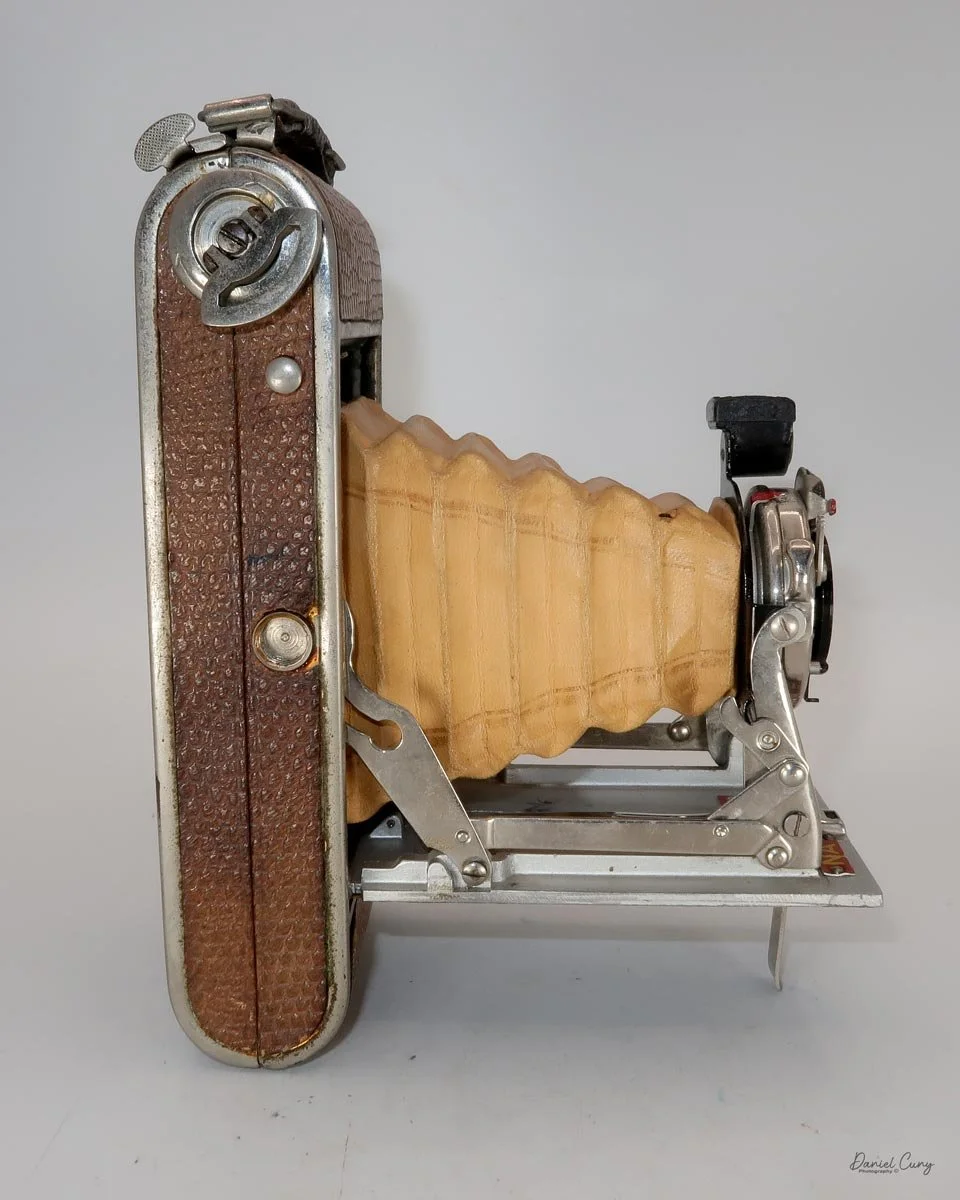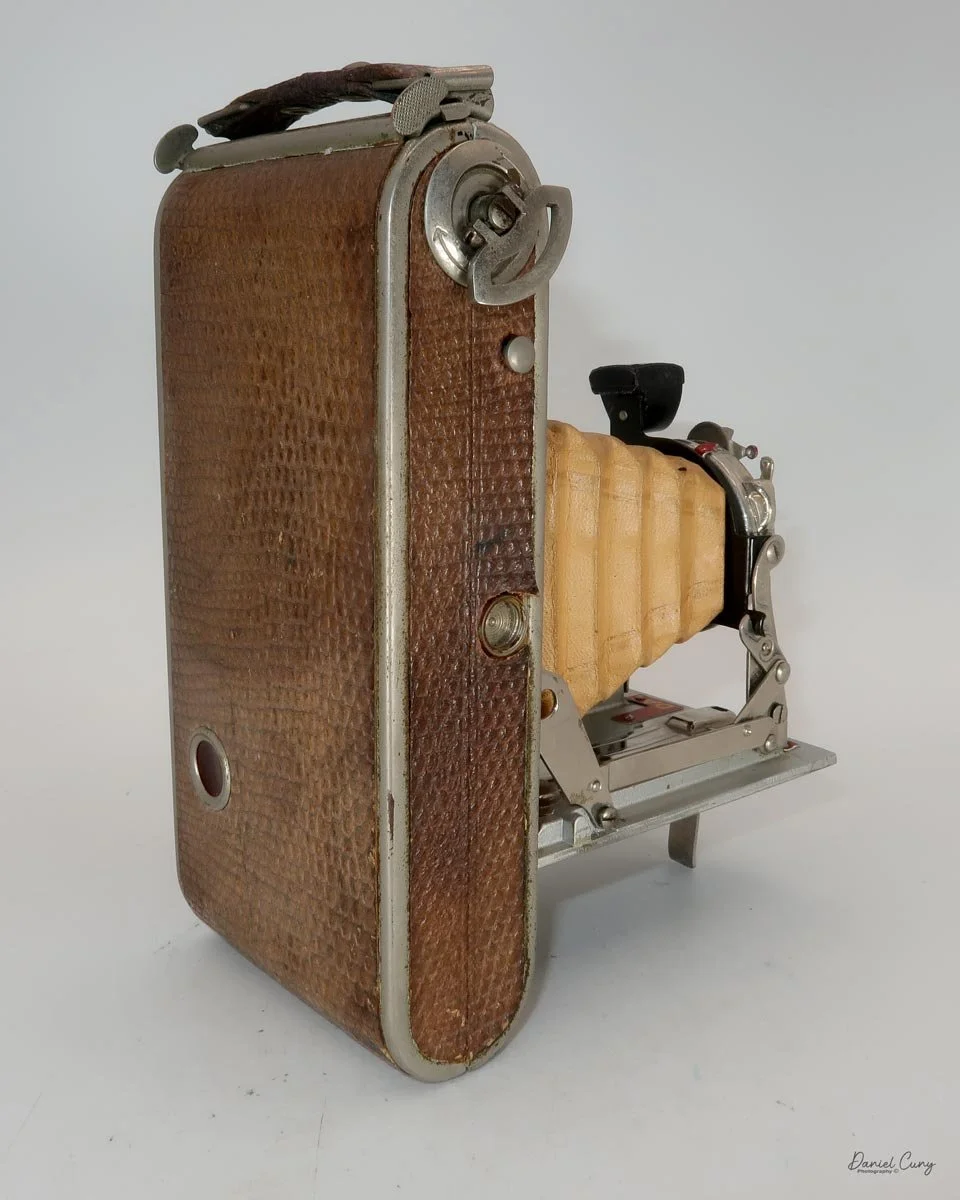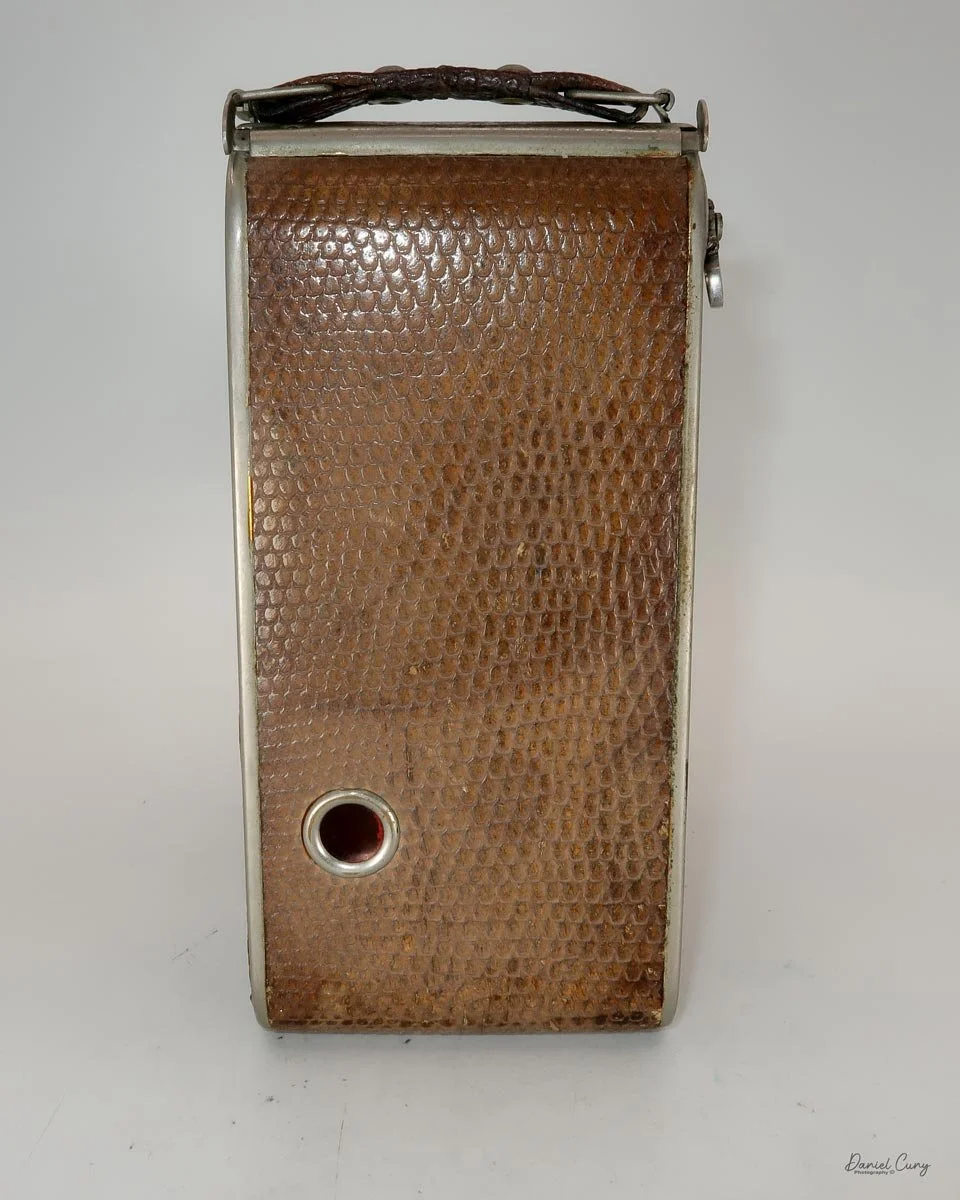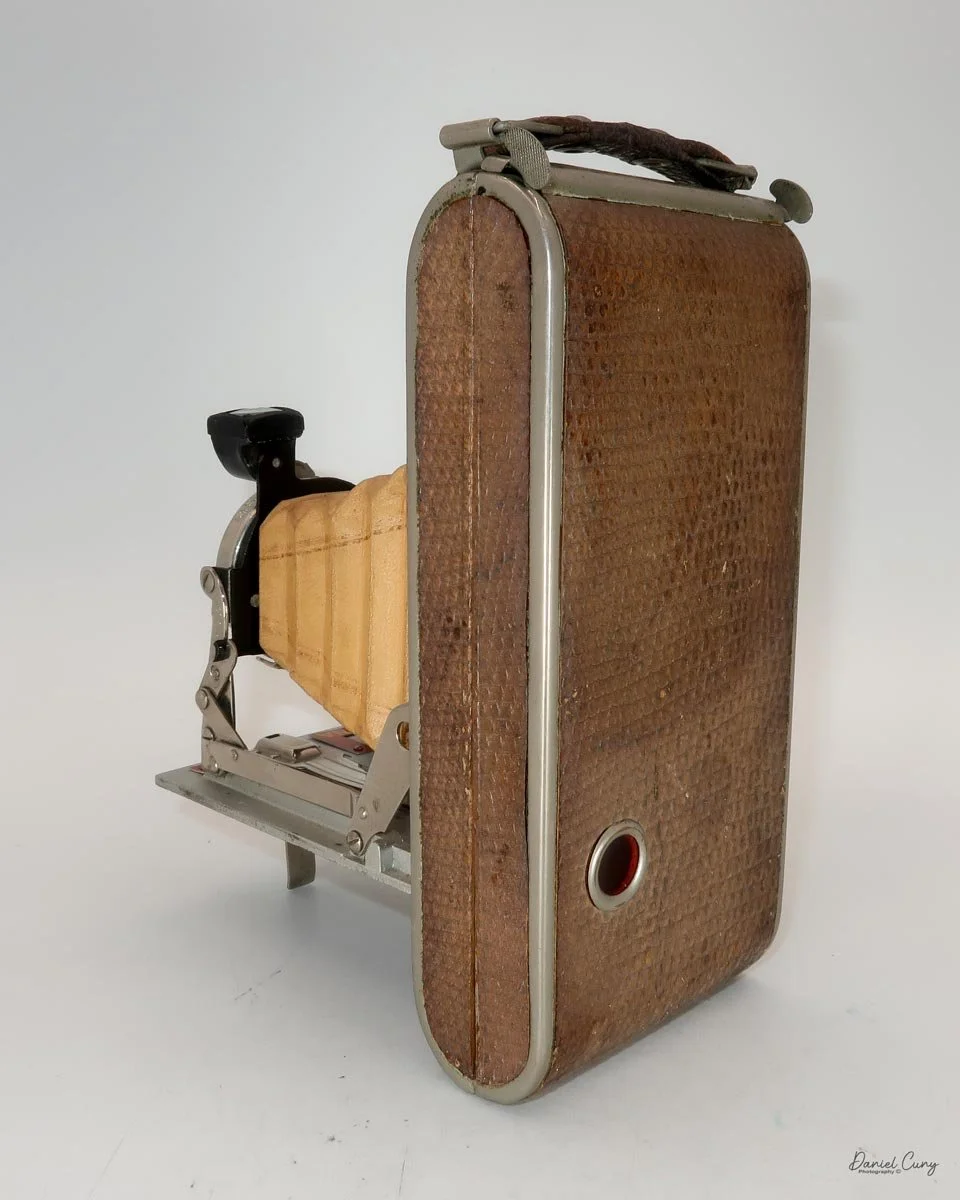
Lumiere Nada Luxe camera

My Lumiere Nada Luxe camera

As I was looking through the cameras on some of the shelves I display them on, I saw tucked away in a corner a tan, reptile-covered top section of a folding camera I had put there a couple of years ago and completely forgotten about.

It was a camera I had purchased at the Vernaison market, one of the Paris flea markets, on our last trip there. I had full intentions of using and writing about it. Still, with my feeble mind and my attention deficit disorder kicking in, I'm sure some other camera caught my eye, and I wrote about it instead.

Funny how you remember silly things. I still remember seeing the camera in this one person's stall, who had assembled many other beautiful and interesting cameras. Given my love for colorful and unusual cameras, it wasn't out of the ordinary for me to find this wonderful, tan, reptile-covered camera in the back of one of his showcases.

I didn't want to call over the stall owner until I had looked at what else he had in the showcase, so after a few minutes of finding 3-4 other items I wanted to look at, I summoned him over and asked to look at a few pieces.

His English was a little better than my French, so we relied on simple sign language and pieced a few words together so I could ask about some of the objects he had on display. The gentleman had good taste, and he was extremely patient with my mispronouncing certain French words. He just smiled and nodded.
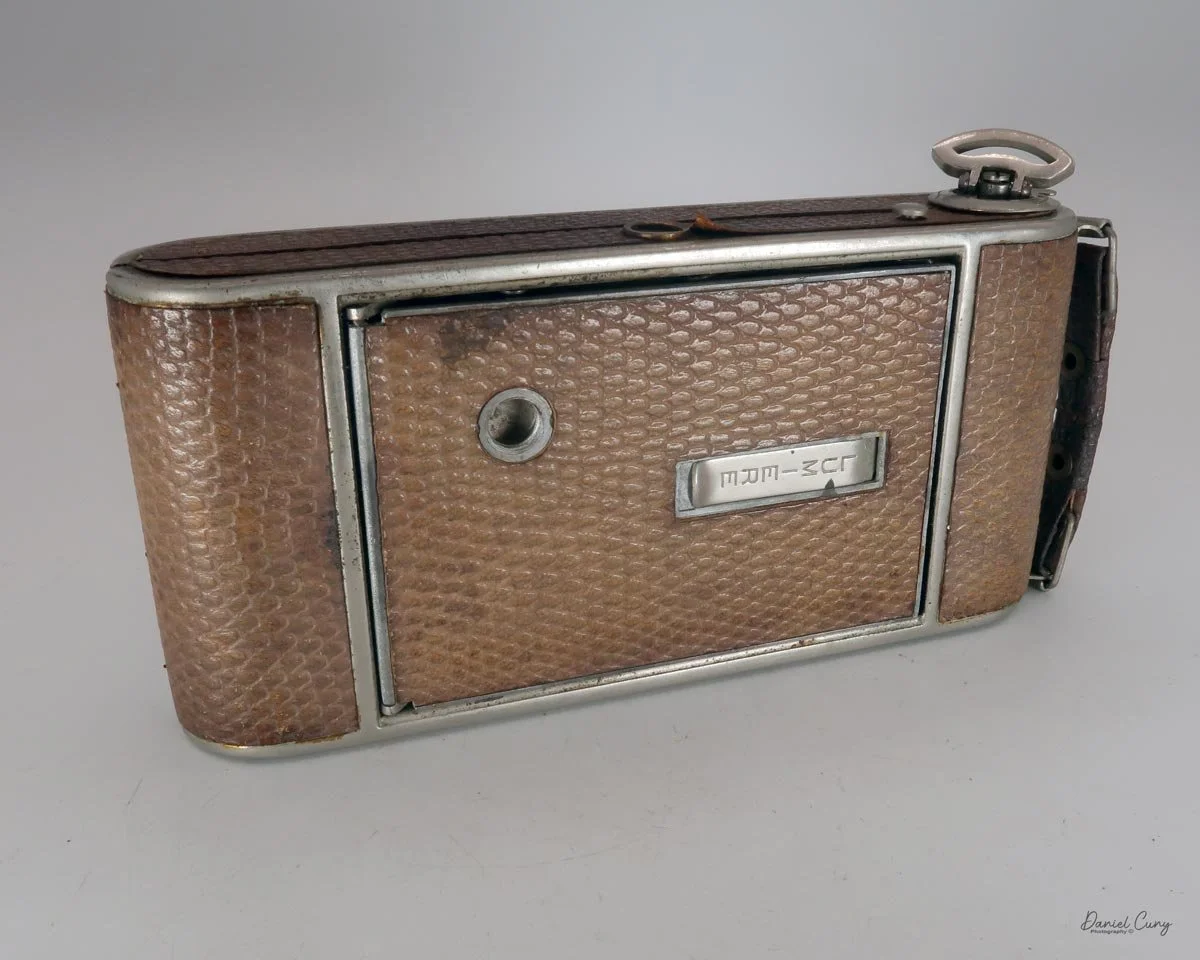
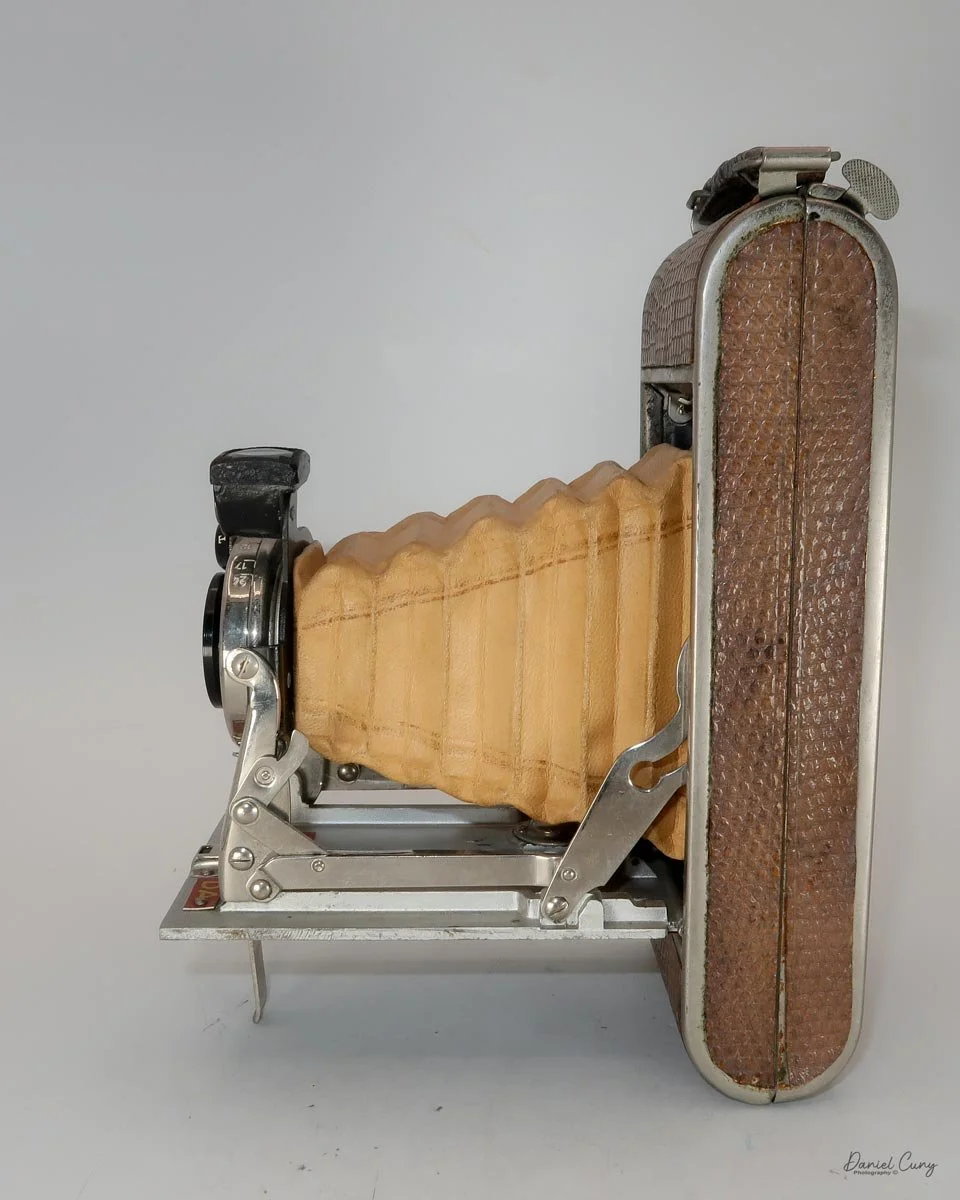
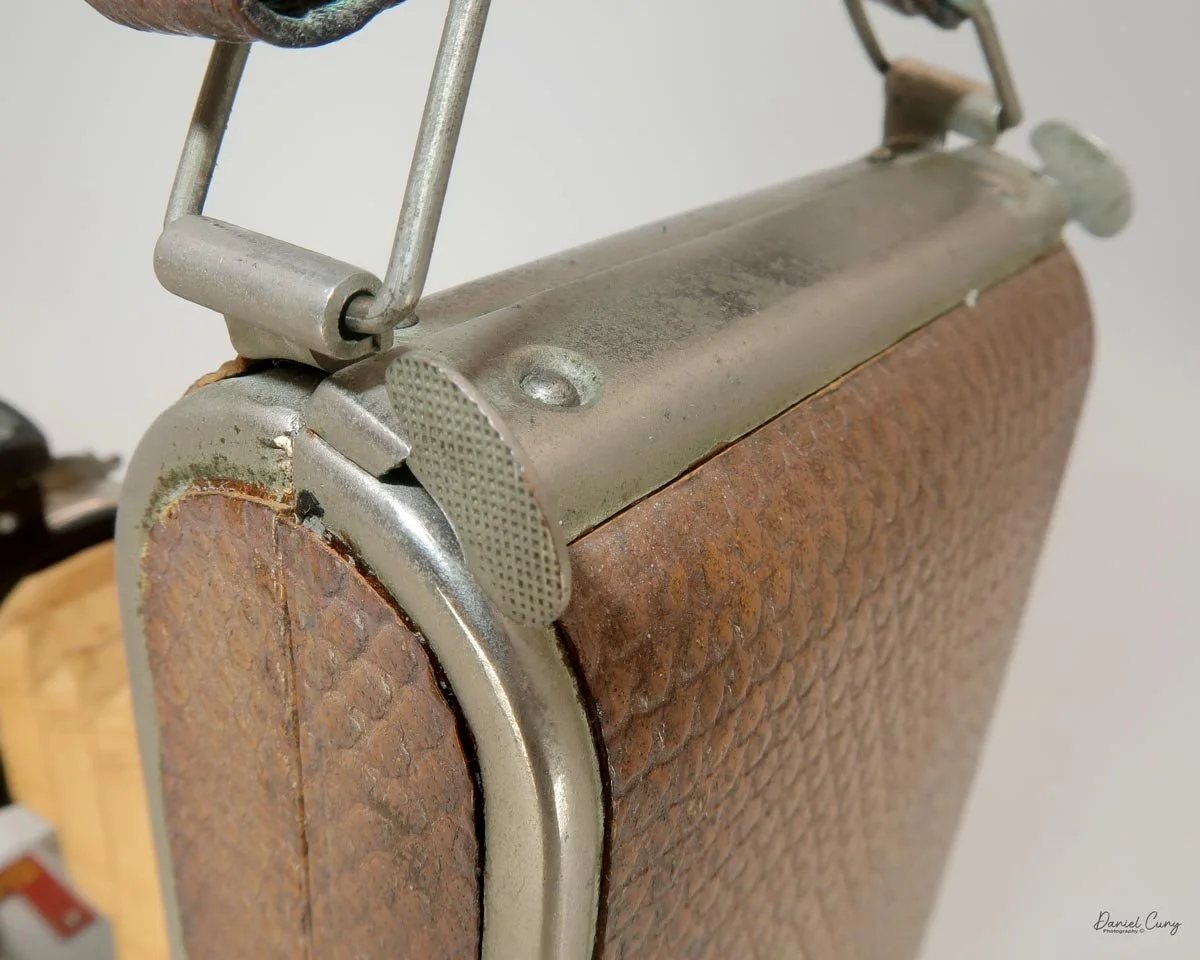
Reptile or snakeskin on the Lumiere Nada Luxe camera

But after many minutes of rudimentary signing, pointing, and using Google Translate to ask and answer questions, there were 2-3 items we agreed on a price for, and one of them was the reptile-covered Lumiere Nada Luxe camera, which was in good, clean, and working condition.

I really enjoy going to the Paris flea markets; well, I enjoy pretty much any flea market. To me, the fun of collecting is the treasure hunt. Whether you're at an estate sale, flea market, or antique store, you just never know what you're going to find. When all the cards line up, and you find the item you've been looking for—or just something that catches your eye in the moment—discuss the price with the seller and come away with a bargain, that's the fun of it.

Getting back to the Lumiere Nada Luxe camera I found on my shelf, it put a big smile on my face to think back to the Paris flea market. I pulled the camera from the shelf and opened it up, then clicked the shutter to make sure I could run some film through it.

It was cleaner than I remembered, and the shutter worked well. I also didn't see any light leaks in the bellows, so now was as good a time as any to put a roll of film into the camera, take a walk through the neighborhood, and see what this gorgeous camera, made in the 1930s, almost 100 years ago, could produce.

A Brief History of Lumière Cameras

The name Lumière means "light" in French, and no camera company ever lived up to its name quite like this one. Antoine Lumière founded the firm in 1860 in Besançon as a portrait painter turned photographer. When the Franco-Prussian War threatened France's eastern border in 1870, Antoine moved his family to Lyon and set up a workshop making glass photographic plates.
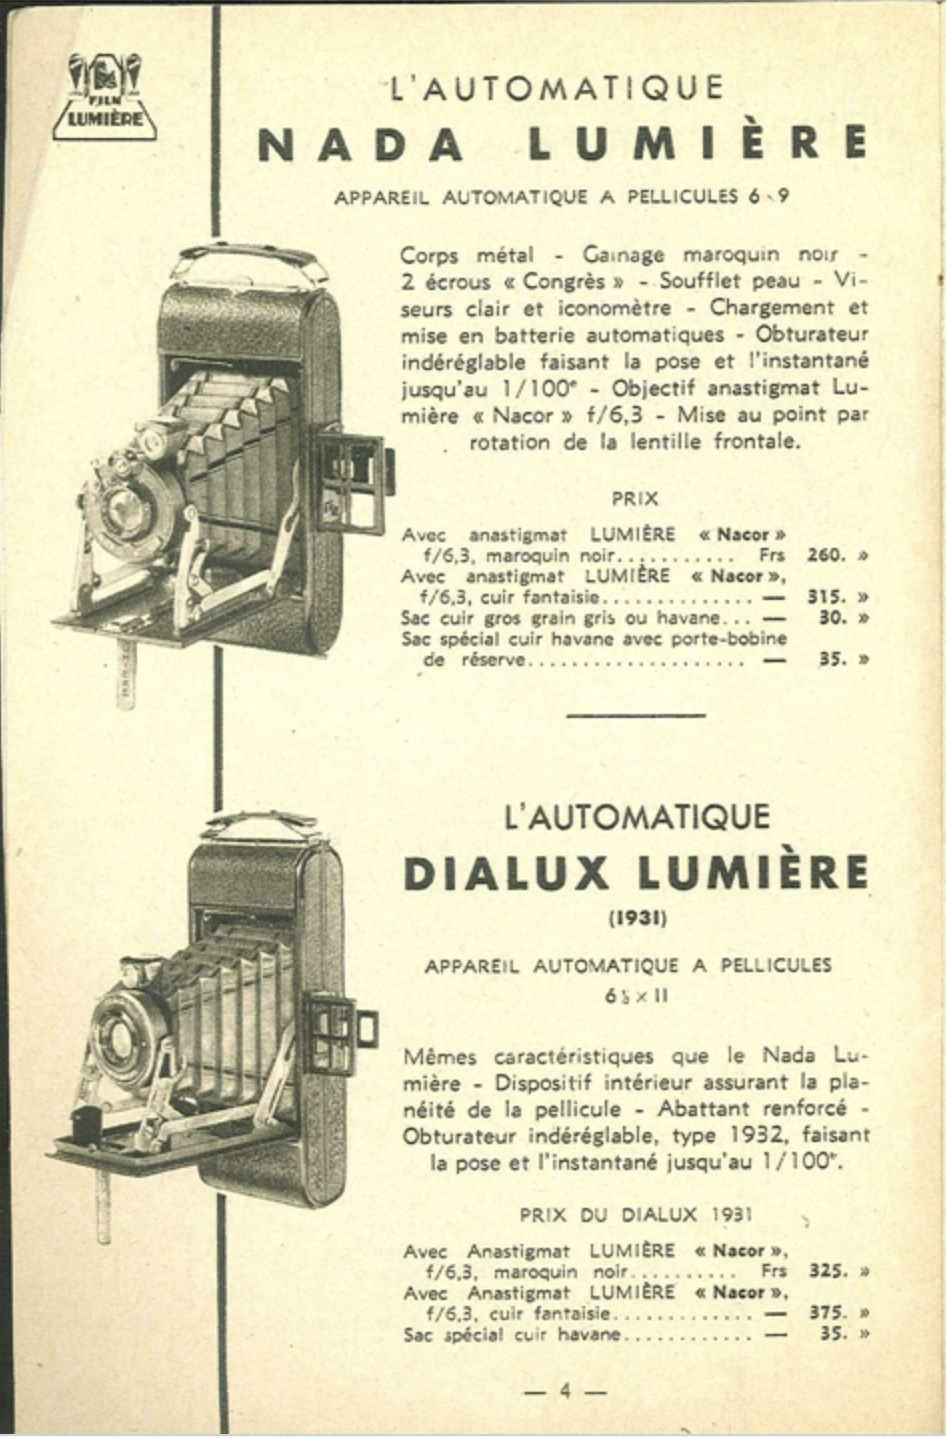
The firm's real success came from Antoine's sons, Auguste and Louis. Louis, still a teenager, improved the new dry plate emulsion and produced what the firm sold as "Étiquette Bleue," or Blue Label, plates in 1882. A large factory followed in 1883, and by the mid-1890s Lumière was running the biggest photographic factory in Europe. The sons formally took over the business in 1893.

Two years later, the brothers changed the world again. Working with their chief engineer Charles Moisson, they built the Cinématographe. This single machine could record, develop, and project moving pictures. Its first public screening, in Paris on December 28, 1895, is widely considered the birth of cinema. The brothers saw it as little more than a curiosity and moved on.

Their next breakthrough was color. Patented in 1903 and released in 1907, the Autochrome Lumière process coated a glass plate with microscopic potato starch grains dyed red, green, and blue, acting as a color filter over a black-and-white emulsion. It was the first practical color photography process, and it stayed the standard for color work for more than thirty years.

Cameras came later, almost as a side business. Lumière's first was an oddity: the Périphote of 1901, a panoramic camera with a rotating lens sweeping around a film-lined cylindrical drum. A serious camera line arrived in the 1920s, starting with the folding stereo Sterelux. The 1930s brought the cameras collectors know best: the Lumirex line of 6x9 folding cameras, the tiny, collapsible-viewfinder Eljy cameras, and the Scoutbox line of box cameras. The Second World War shut down the assembly lines.

Lumière kept making cameras after the war, but the company never regained its old scale. In 1961, the Swiss chemical firm Ciba absorbed it, and in 1982 the company became Ilford France. Cameras sold under the Lumière name around 1970 were not made by the company at all. For collectors, Lumière cameras are a charming corner of French camera making. Still, the firm's true legacy is bigger than any camera: it gave us the movies, and it gave us color.

My Camera:

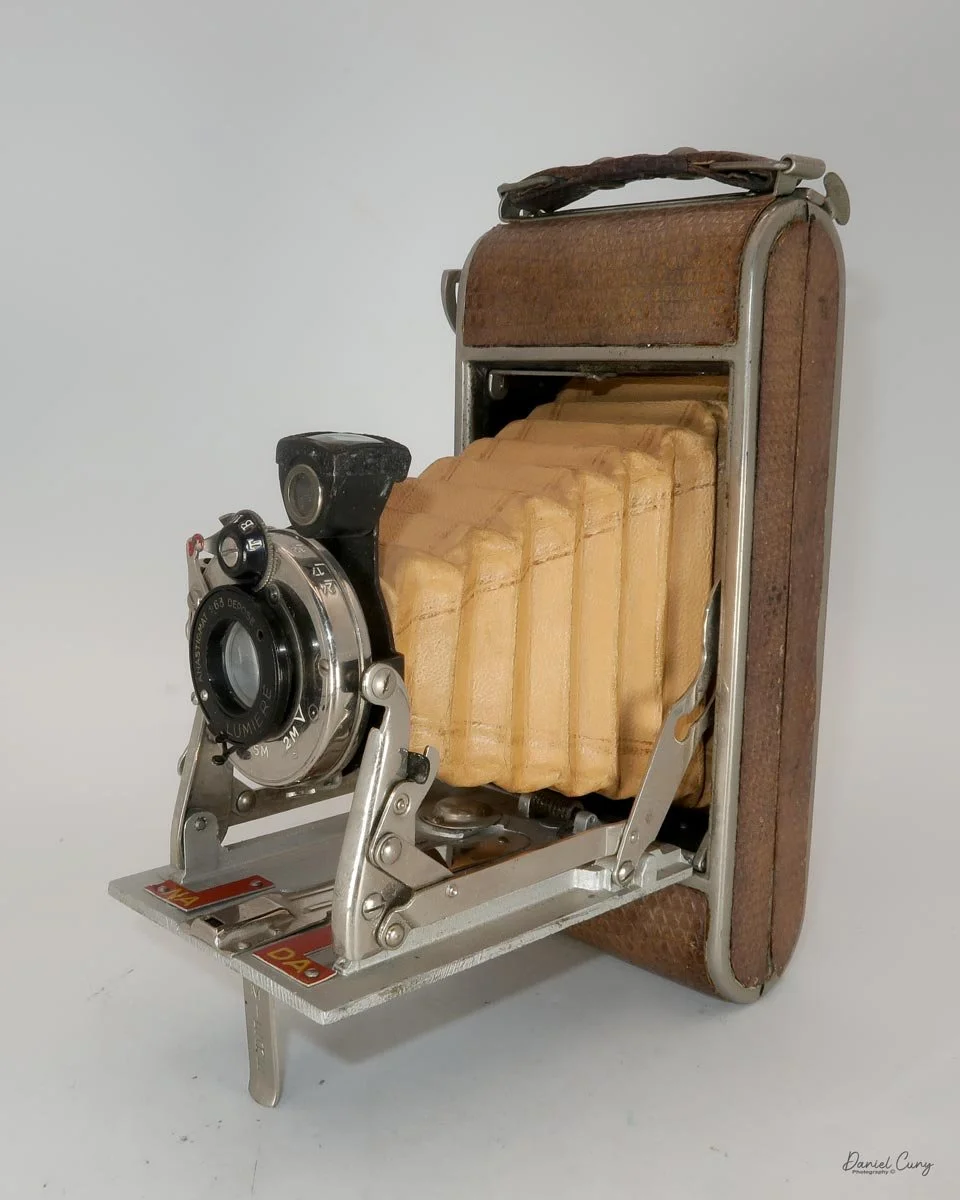
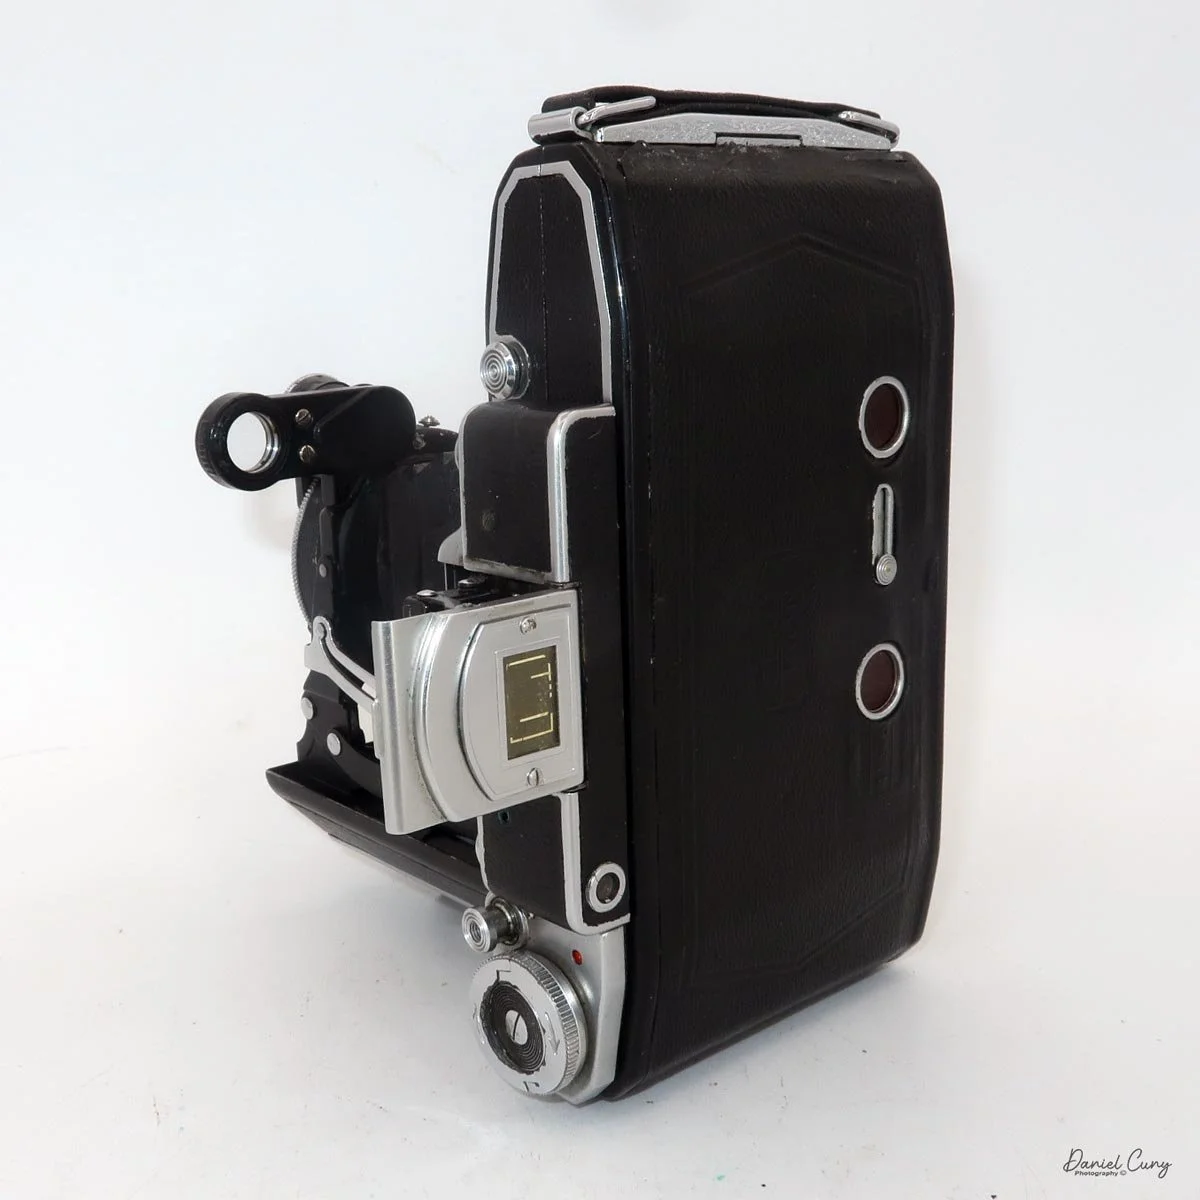
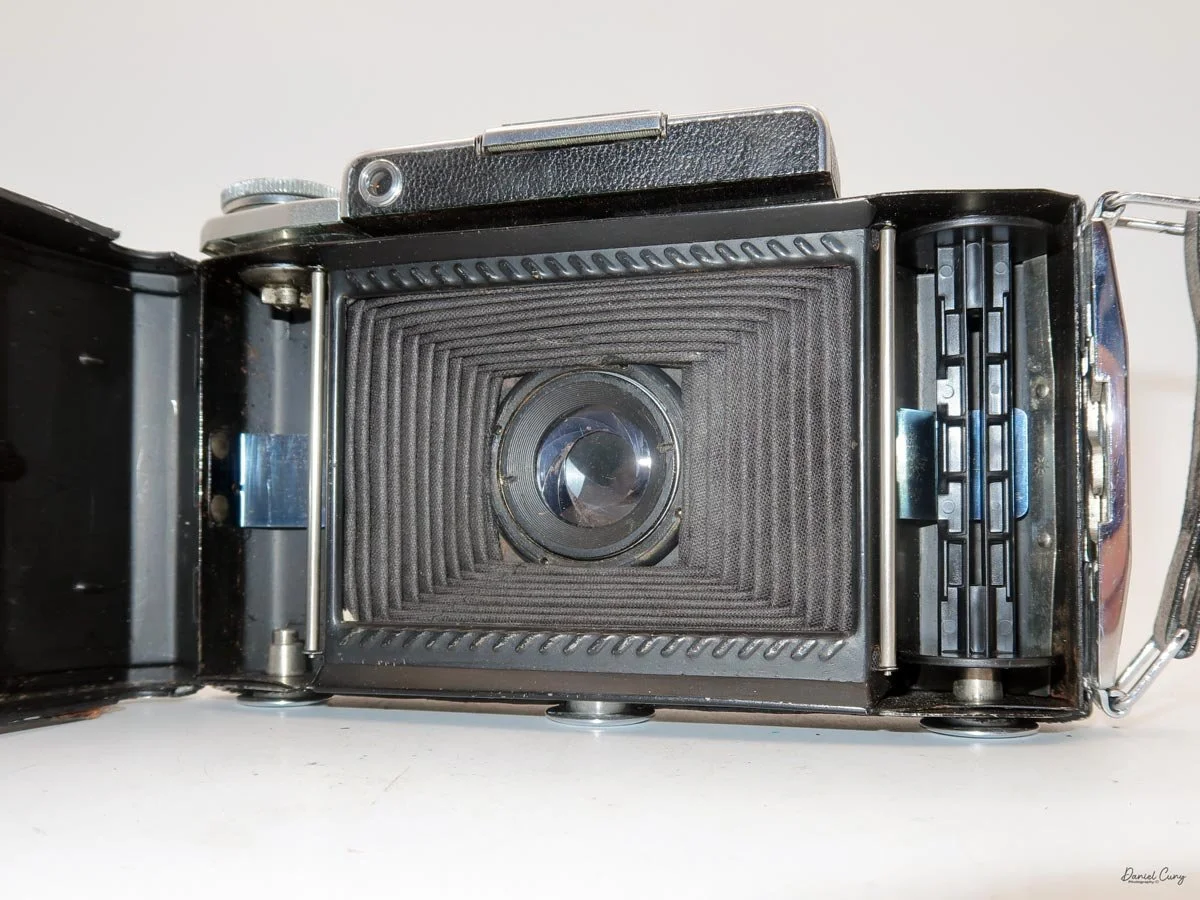
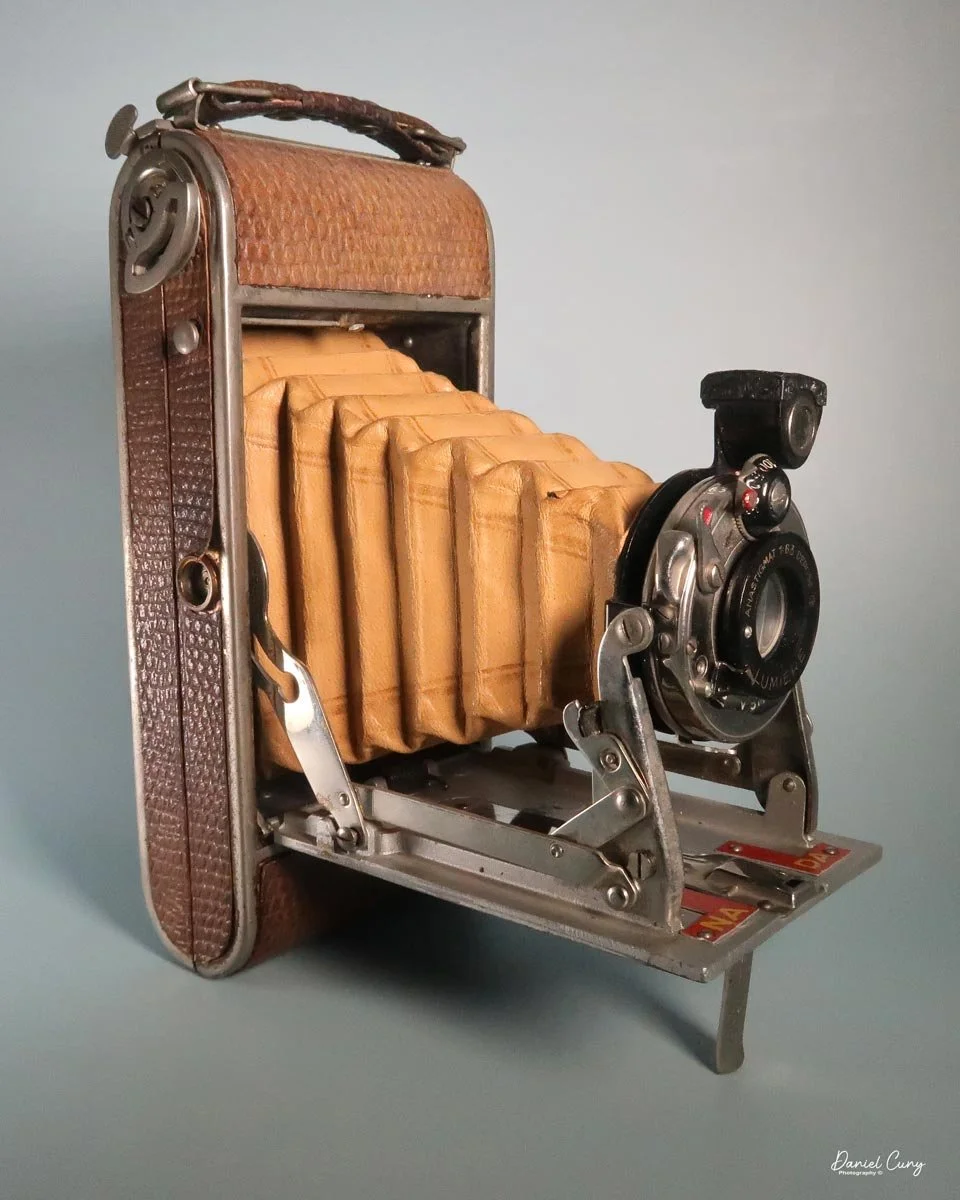
This beautiful Lumiere Nada Luxe camera is not your ordinary self-erecting 6x9cm format folding camera; it has special, truly "luxe" features.

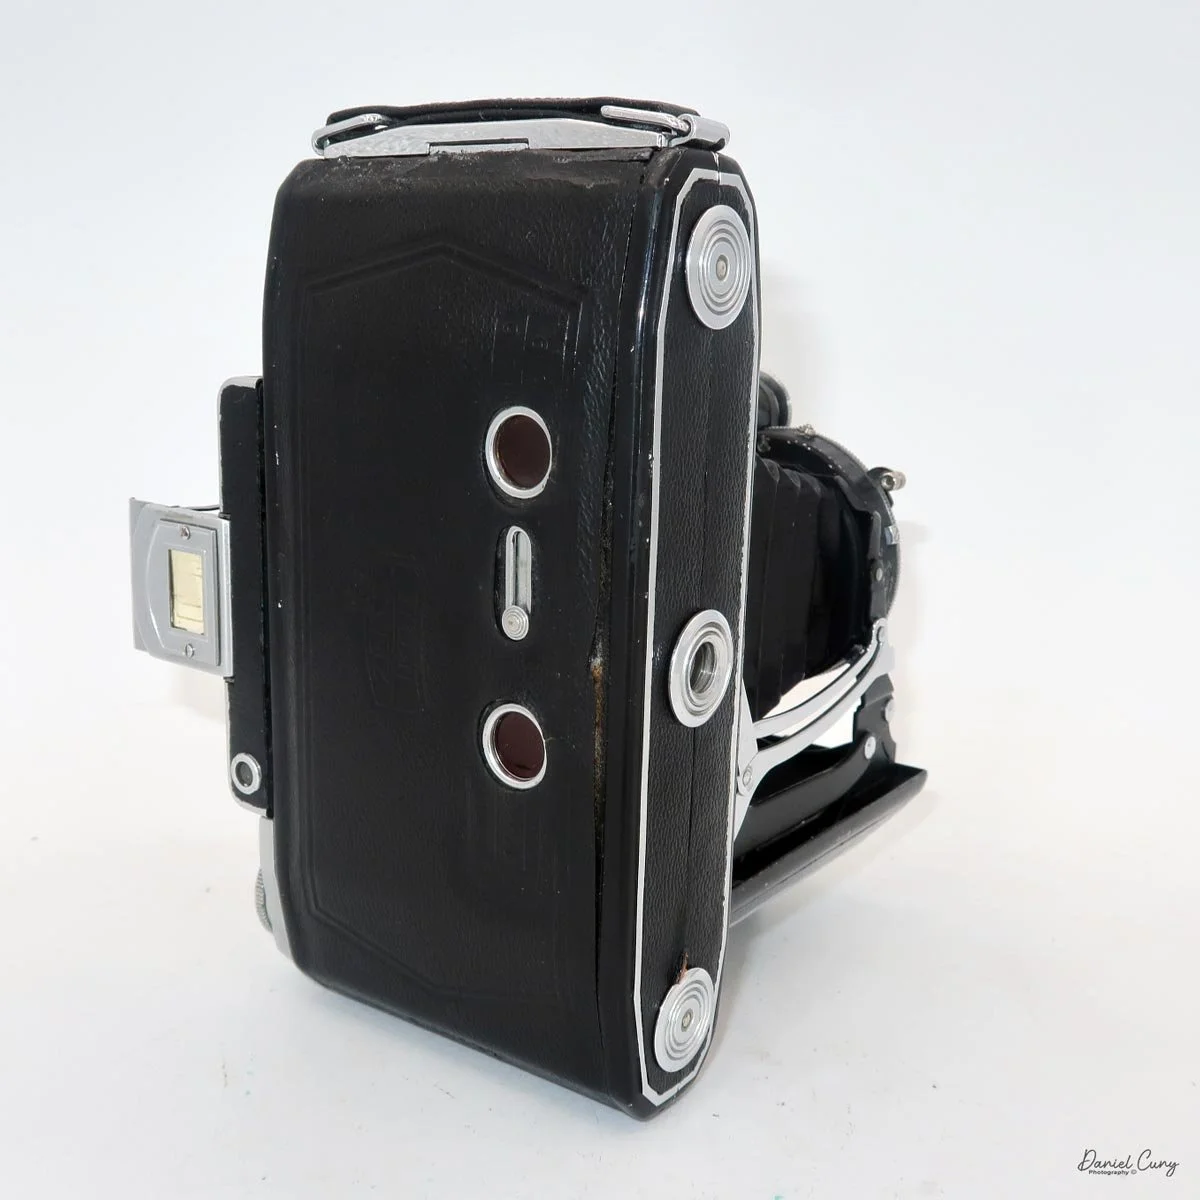
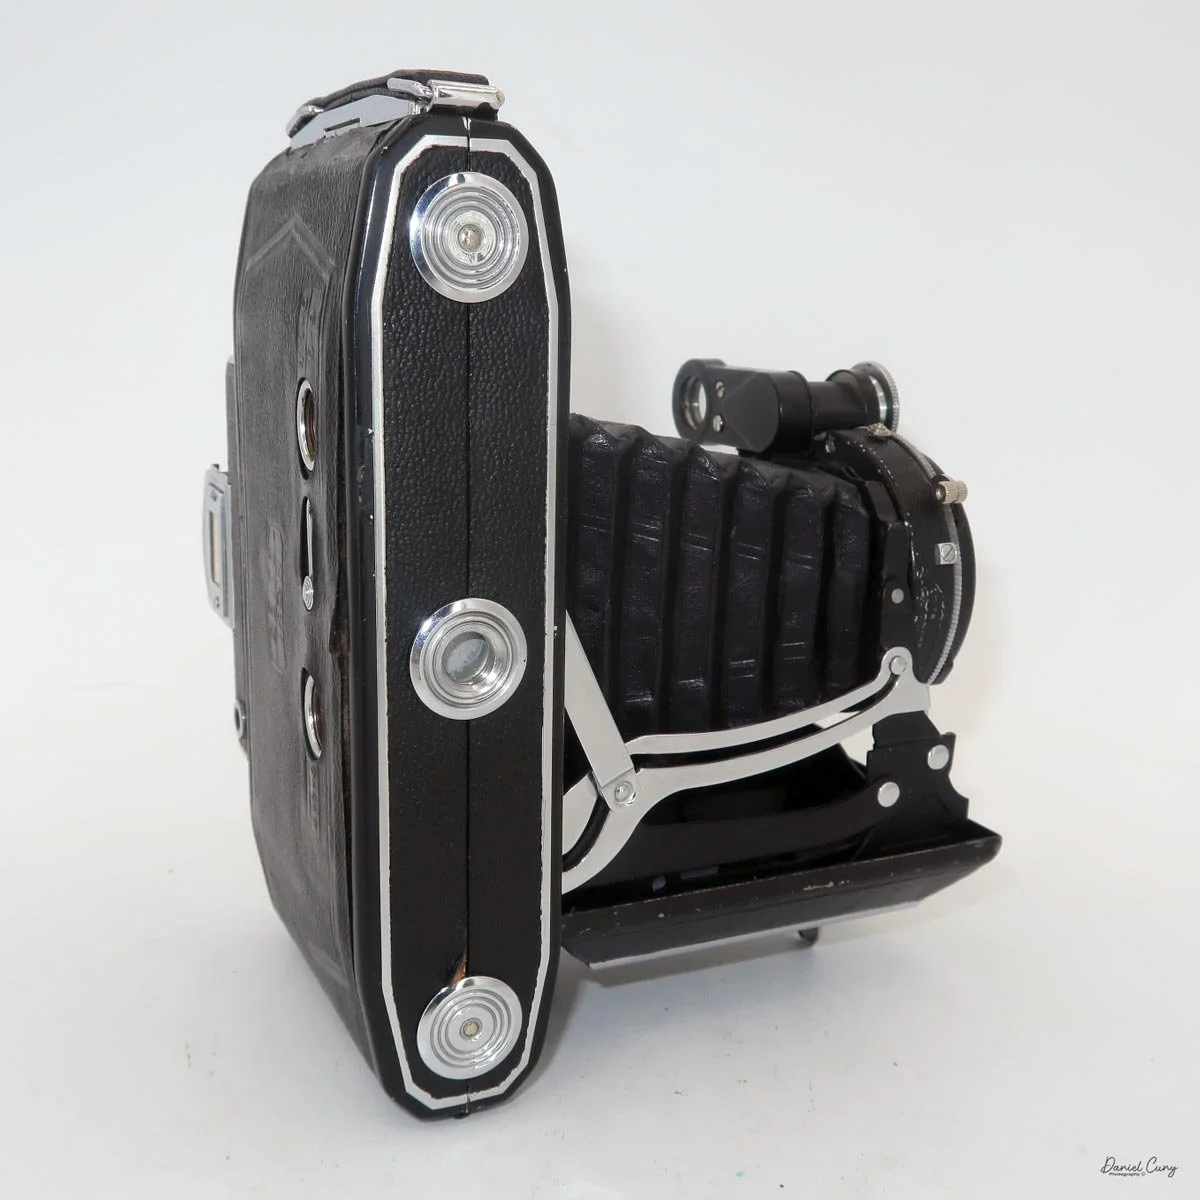
To open the camera, press the silver button just under the camera's film winding lever, and the camera pops open. Then pull the lens platform down, and the lens is erect in the camera.

The camera measures 7" long by 3-3/8" wide and 1-3/8" deep with the lens closed, and 5.25" deep with the lens open and the camera in the "taking" position. The camera weighs 1 pound, 4.4 ounces without film loaded.
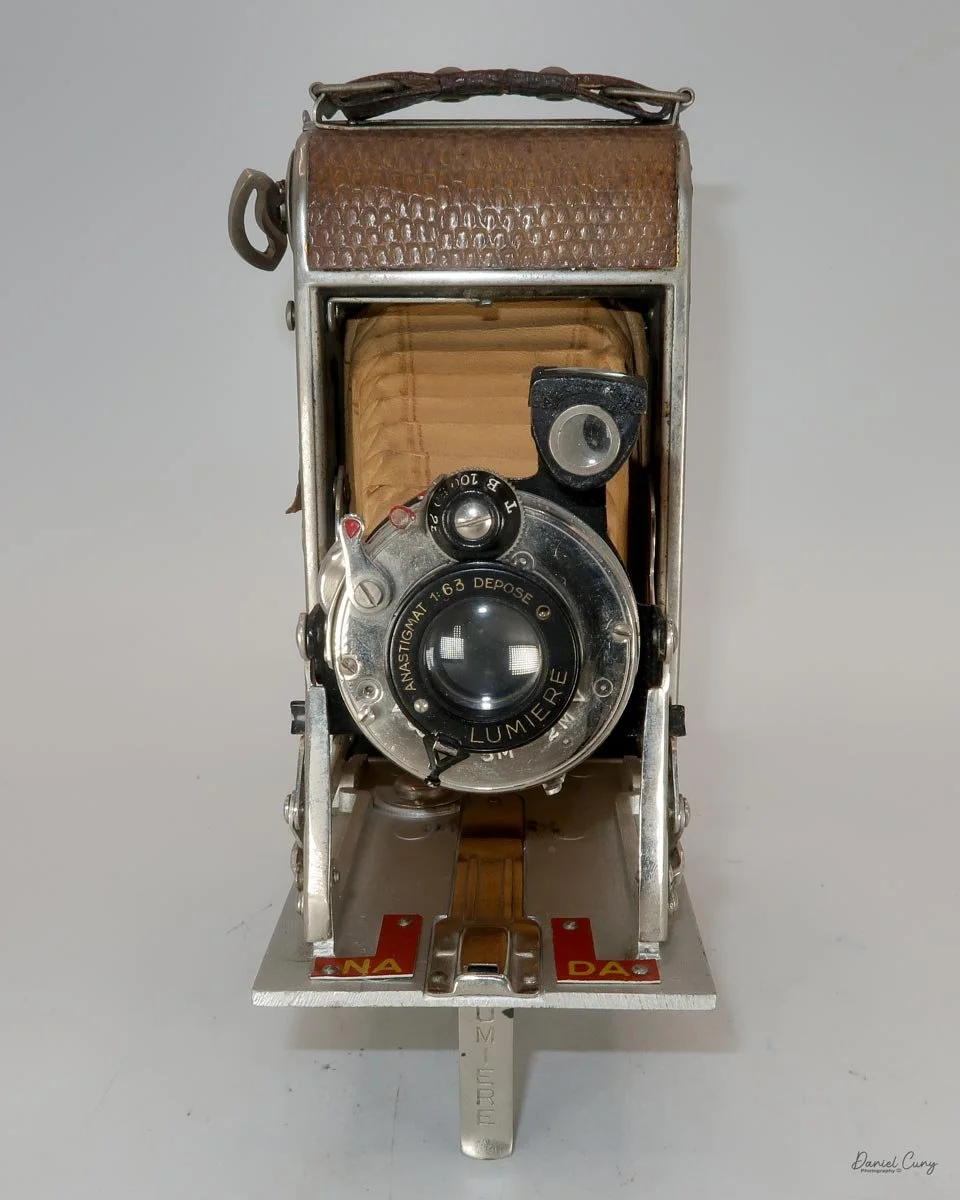
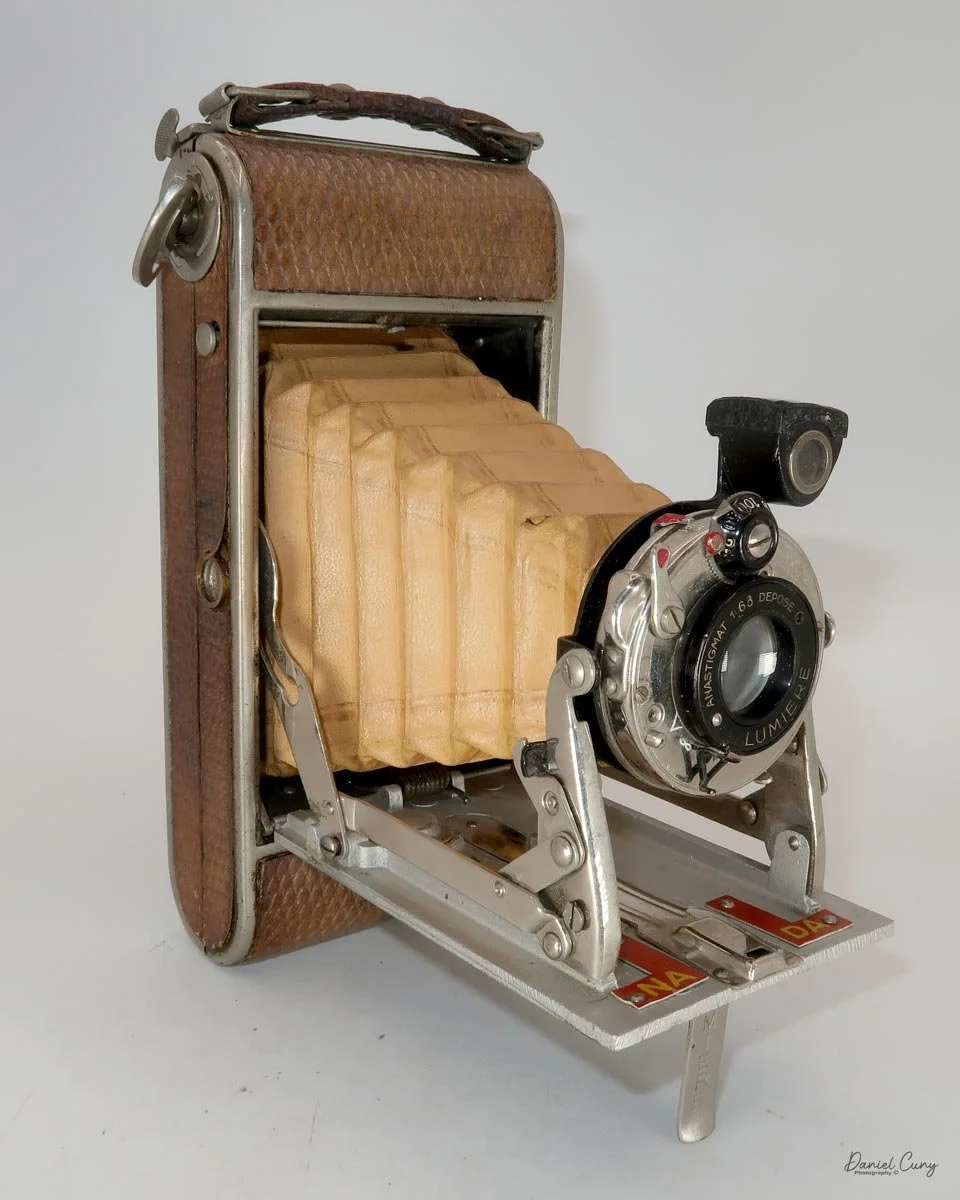
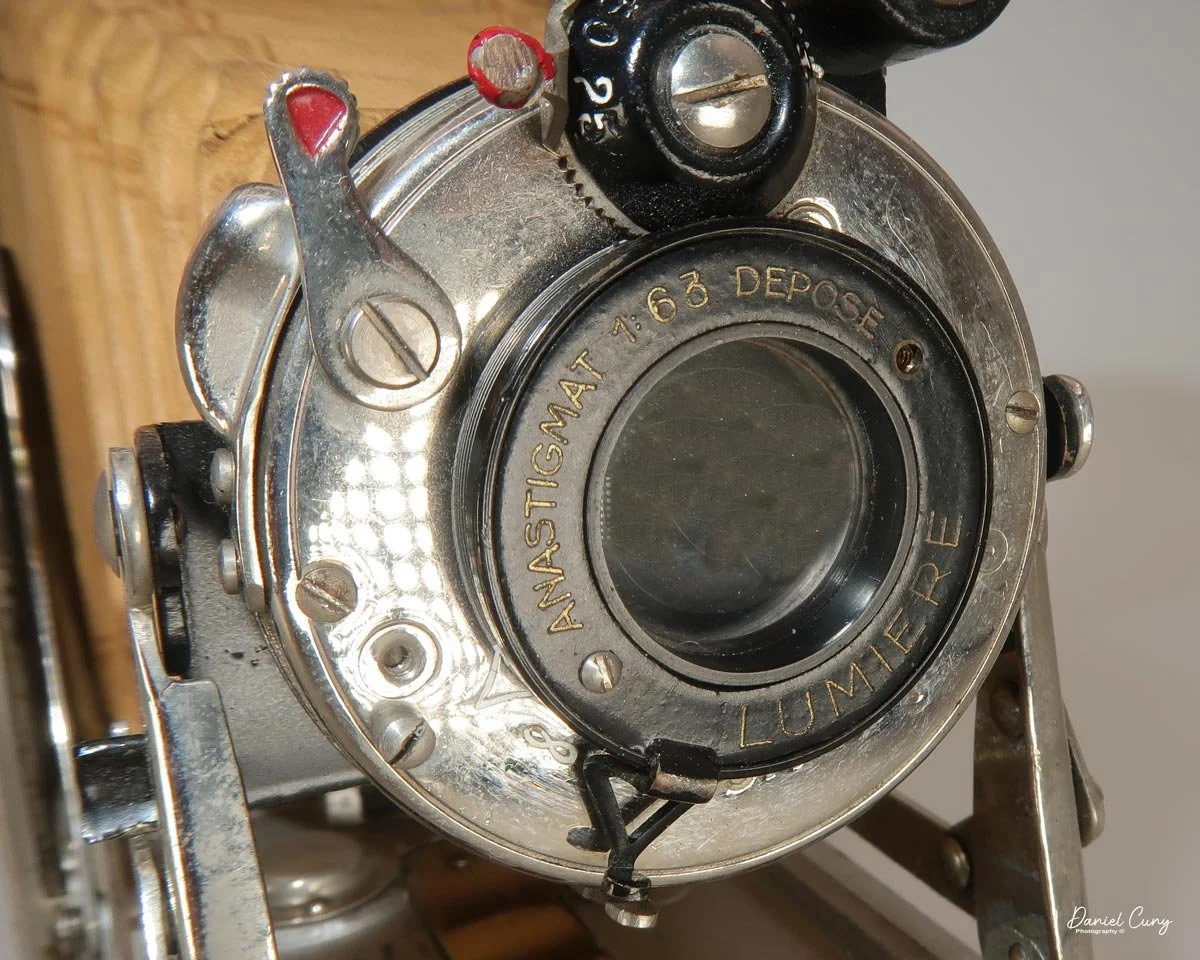
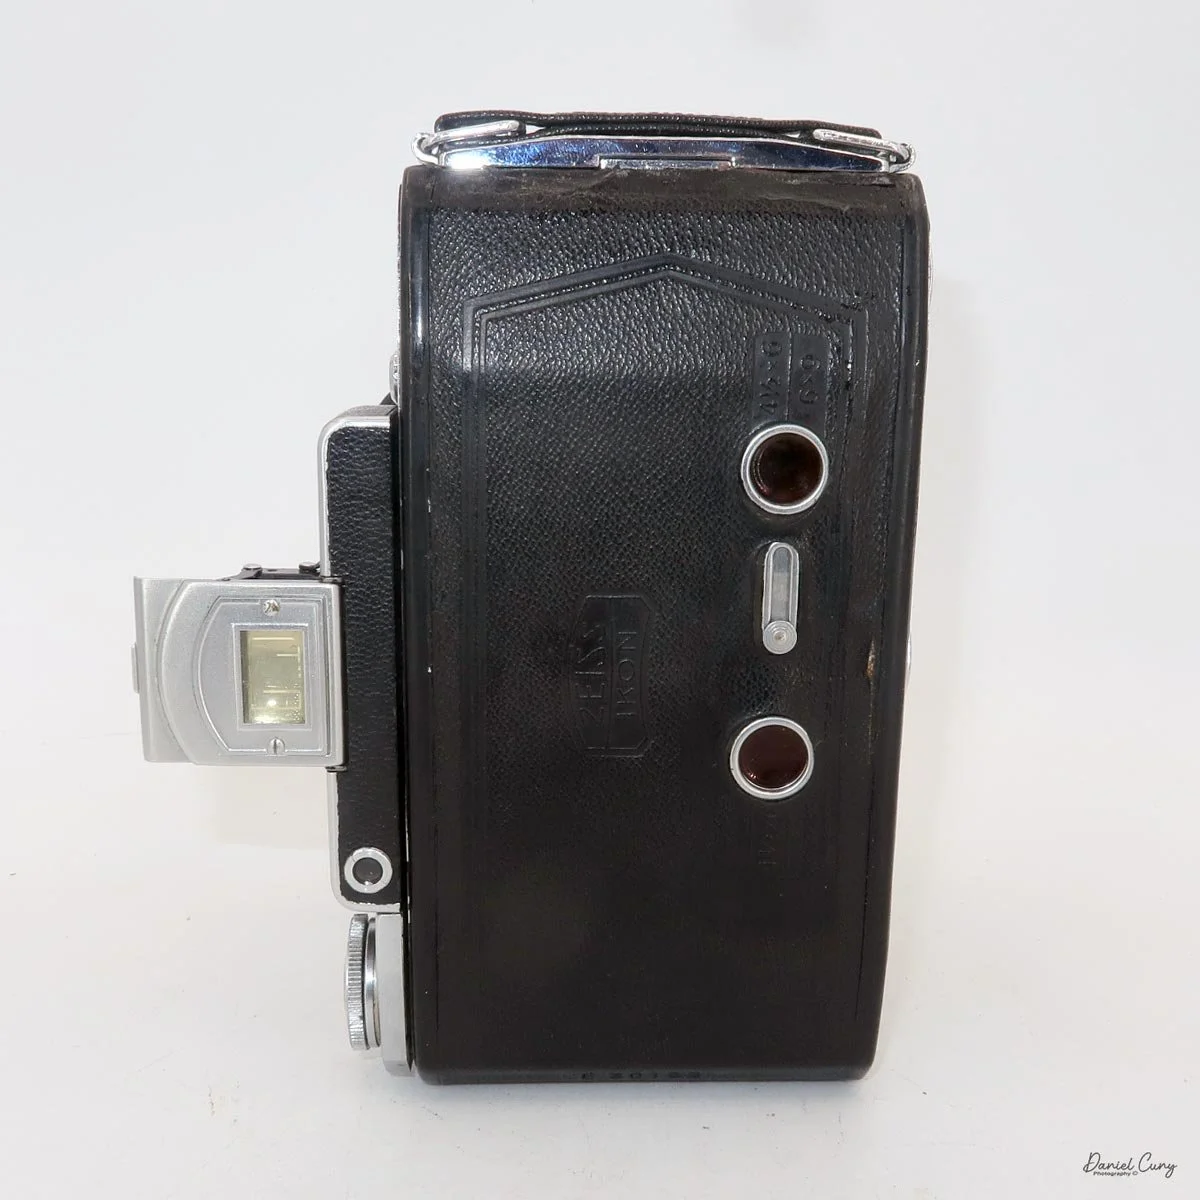
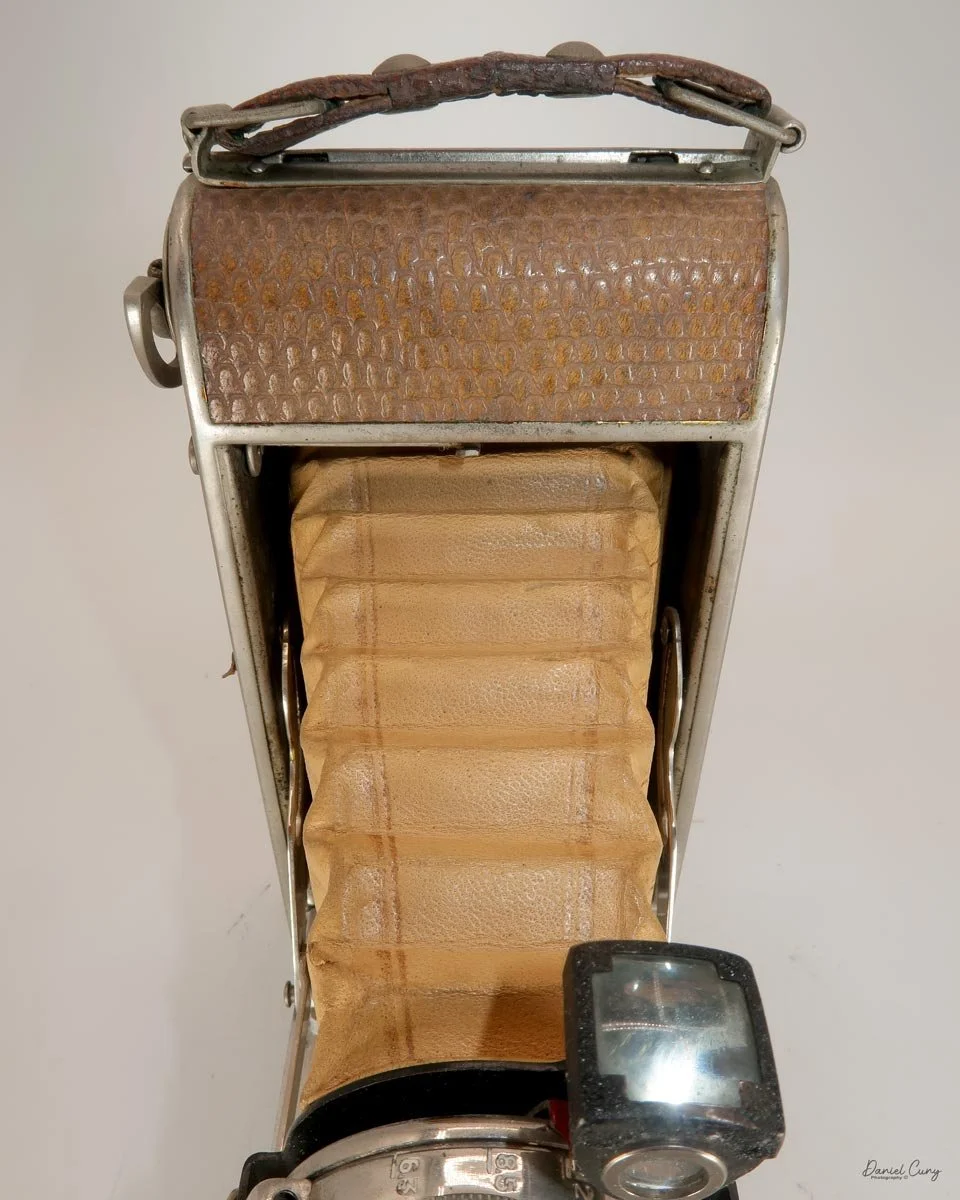
The Lumiere Nada Luxe camera is covered in what I guess is beautifully tanned snakeskin, with a wonderful subtle tan bellows which makes the chrome on the lens board shimmer. The camera has a Lumiere Depose Anastigmat f/6.3 lens.

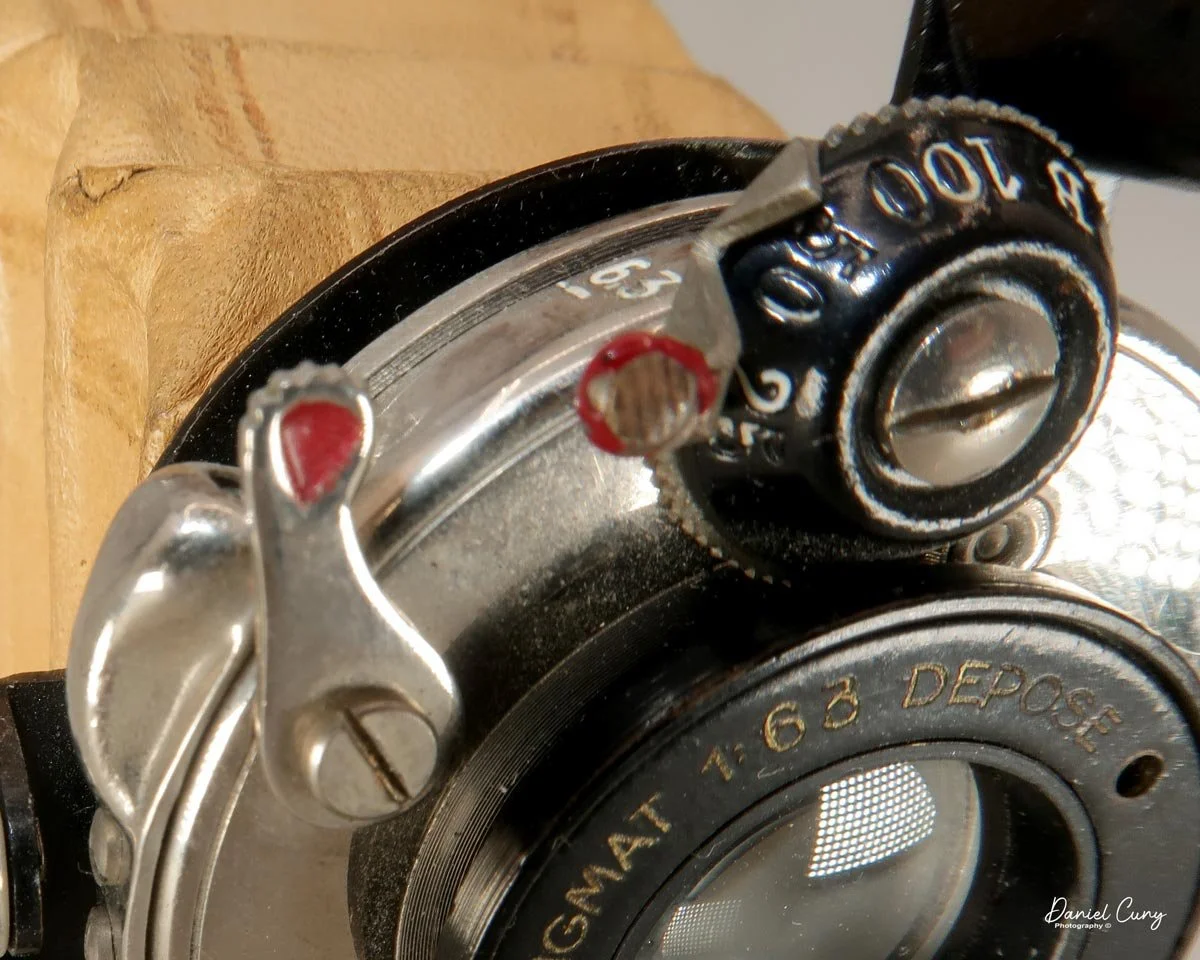
Looking under the lens, there is a triangle that points to the focus points under the lens: 2 m for portraits, then 5m for groups, and finally infinity for scenic shots. Above the lens are the shutter speeds: 1/100, 1/50, and 1/25, along with "B" and "T" for timed exposures. Above the shutter speeds is a sliding bar you move to set the proper shutter speed.

The camera incorporates interesting aperture settings. I haven't come across these in my years of collecting cameras. The aperture settings are f/6.3, 8.5, 12, 17, and 24. You set these with another slider under the lens, with a red pointer indicating the selected aperture.

On the far right side of the camera, as you hold it, is the shutter release with a red dot. All the important features, like shutter speed, aperture, and the shutter release, have red accents, which give the camera another "deluxe" look.
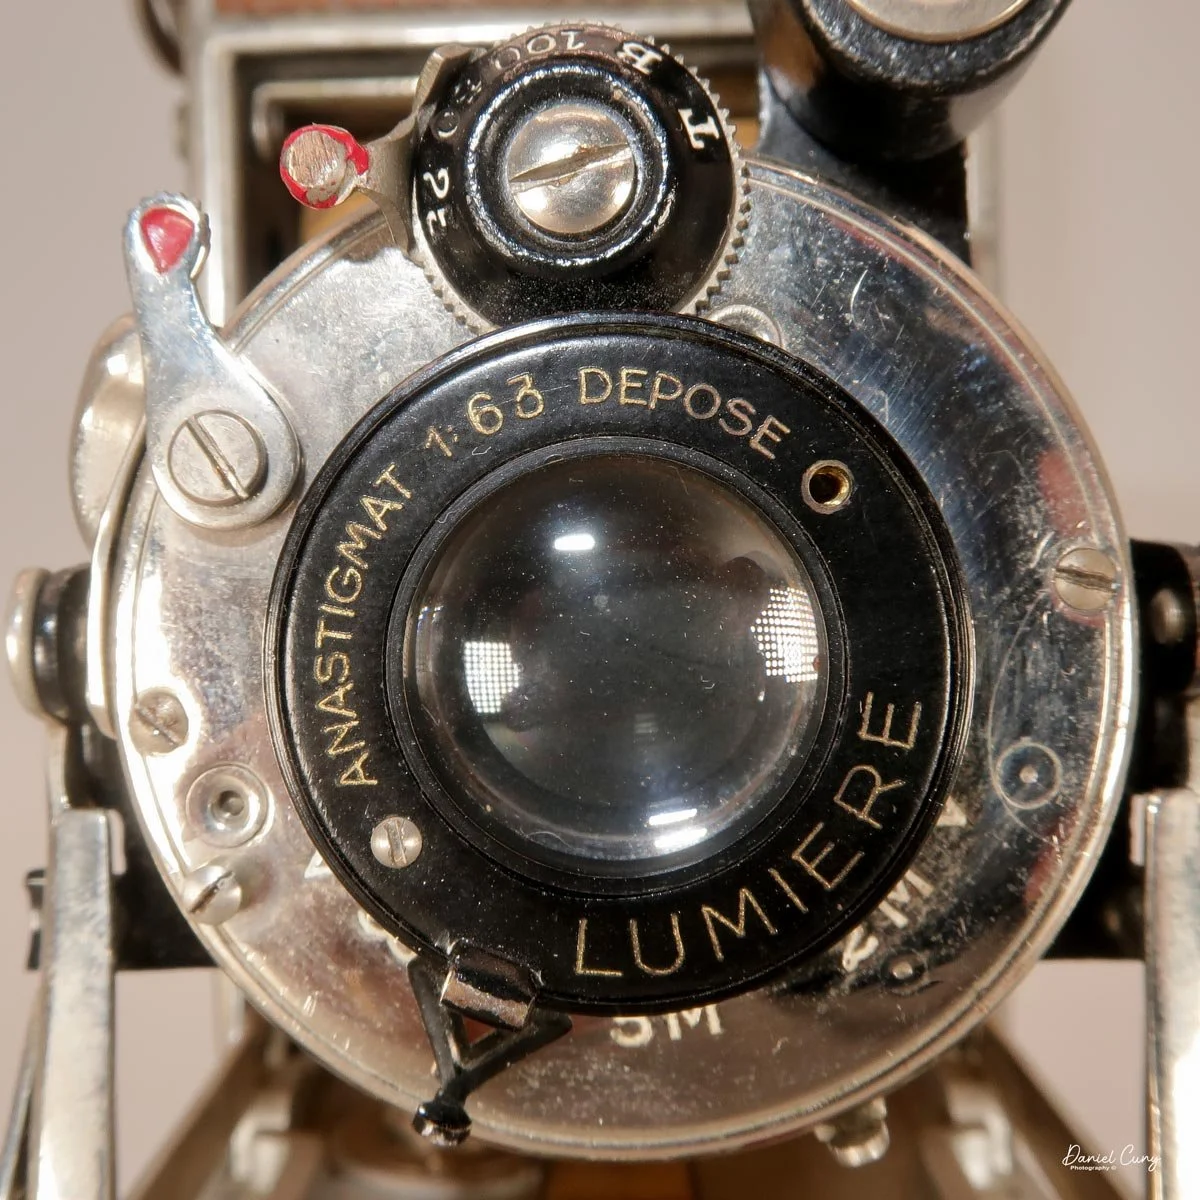
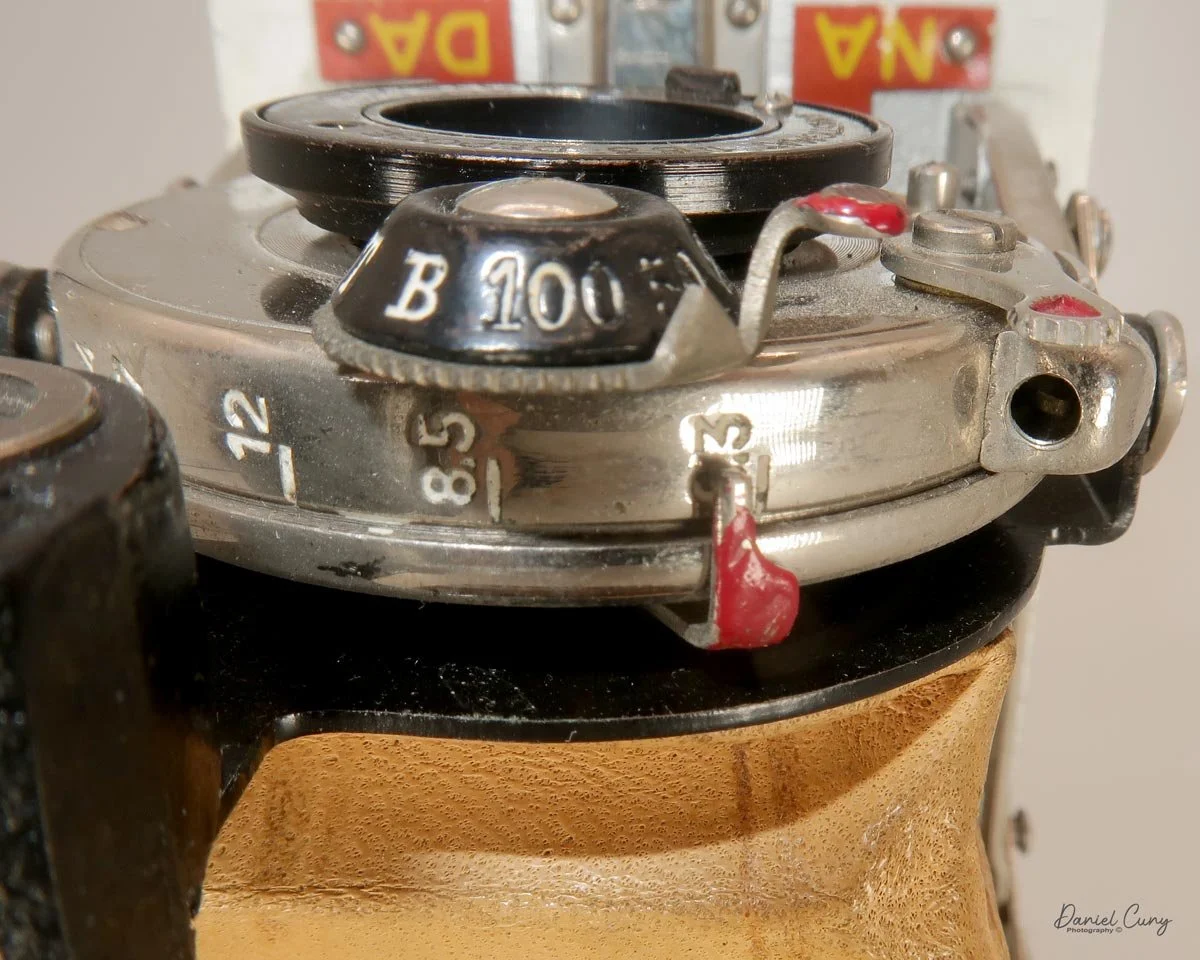
Just above the aperture settings is a black brilliant viewfinder, which turns for either vertical or horizontal photographs. Having the brilliant viewfinder, along with the black on the lens and shutter speed dial, adds real contrast against the shiny chrome lens board.

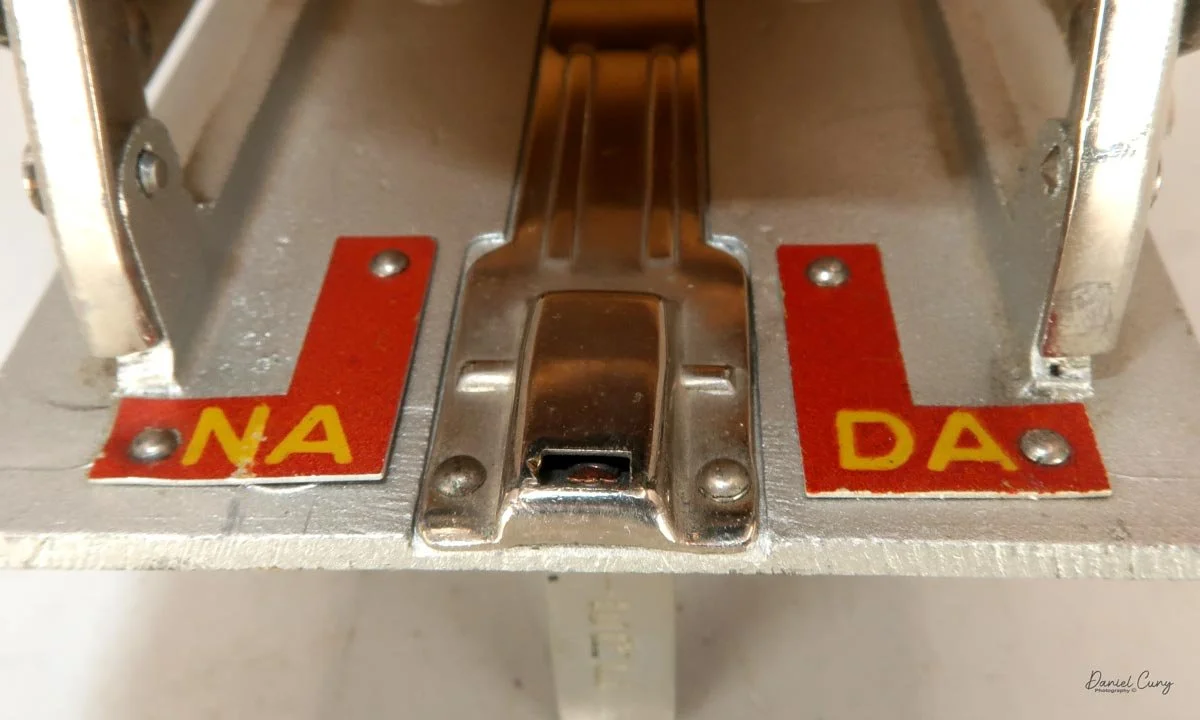
Just under the lens are two right-angled red metal pieces riveted to the lens platform, each bearing two letters of the camera's name on either side of the center lens rail: NA on the left and DA on the right (NADA). It's been written that the name is an ode to the early French photographer, Nadar, but I'm leery of this.
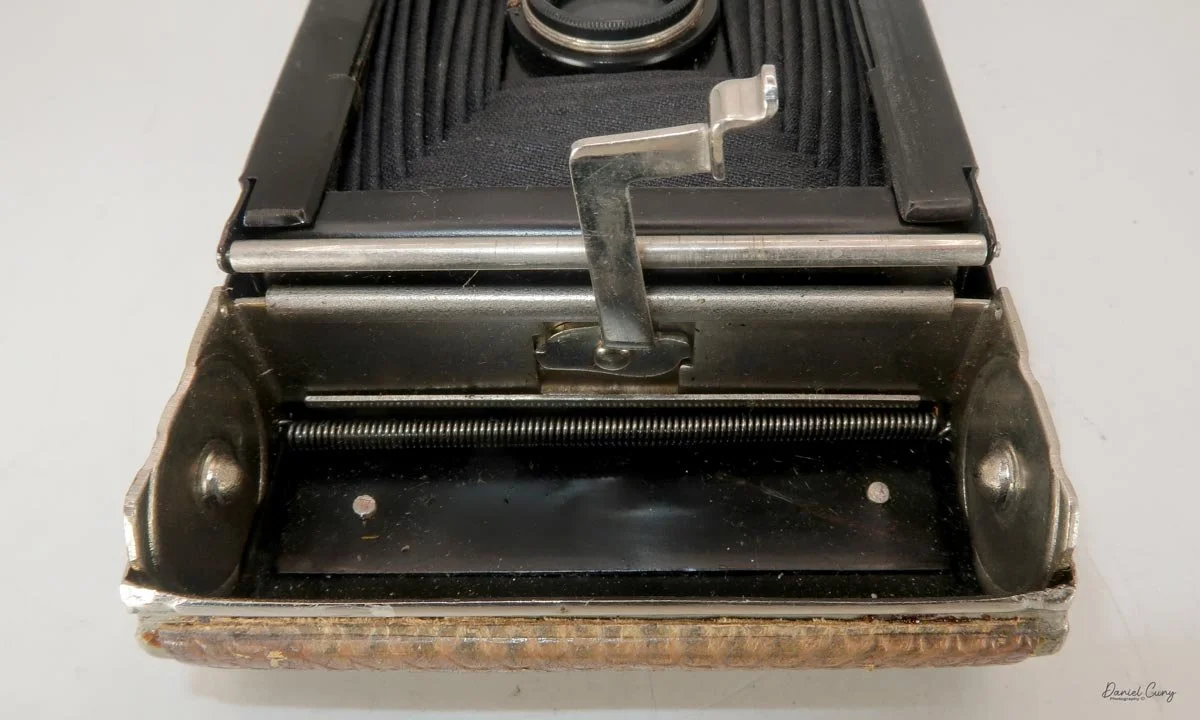
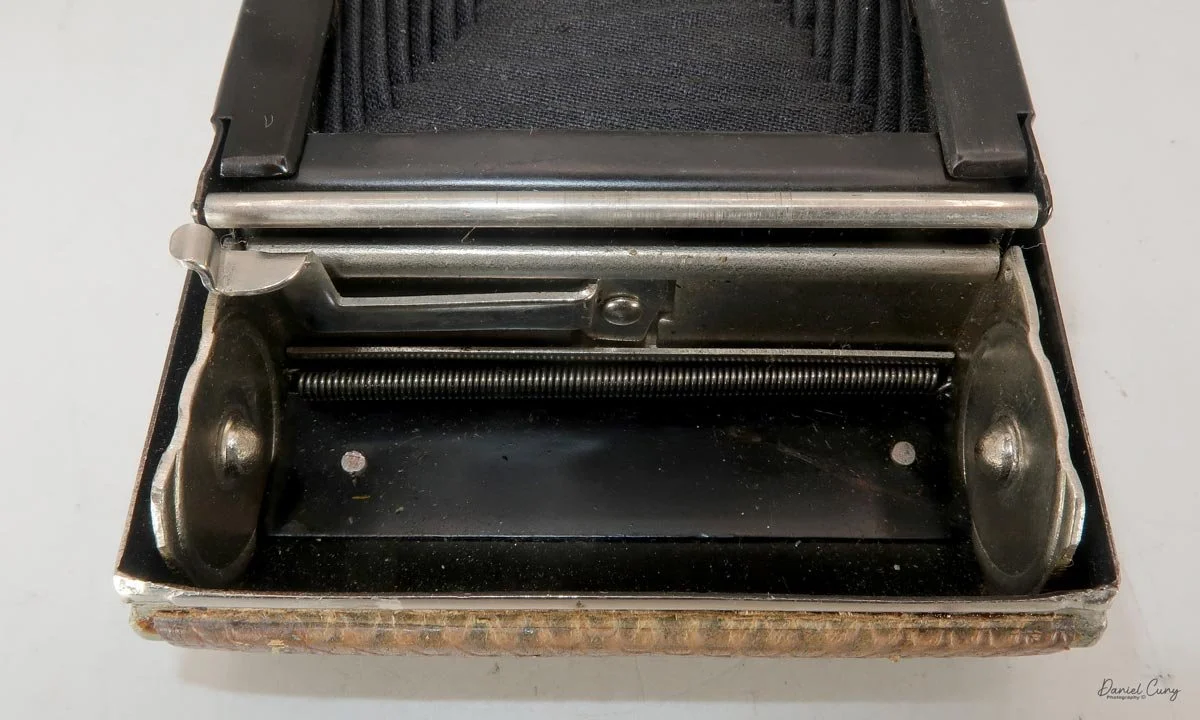
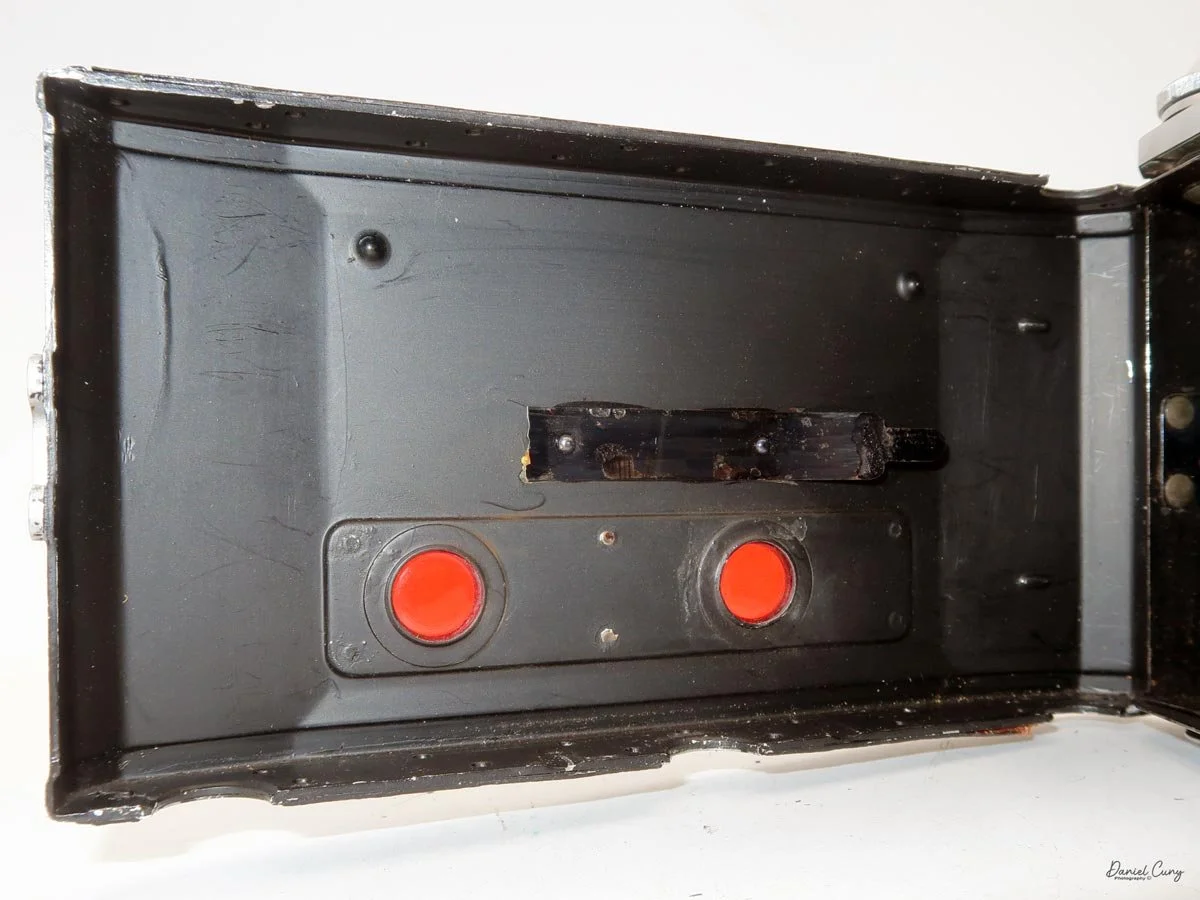
To open the back of the camera to load film, press together the two clips just behind the camera's handle; this lets you pull the back away from the camera body and off the camera, exposing the film chamber.

This next item is something I wish all folding cameras had. On both ends of the camera's film chamber, where you put the new roll of film, or just the take-up spool, is a lever which spreads the two prongs, or the one prong and winding crank, apart, allowing you to drop the new roll of film or the take-up spool into the proper chamber. Then press the lever back, and it holds the film spool in place. This was the easiest and most convenient method used for putting a roll of film into a camera. Something so simple, yet it works extremely well.
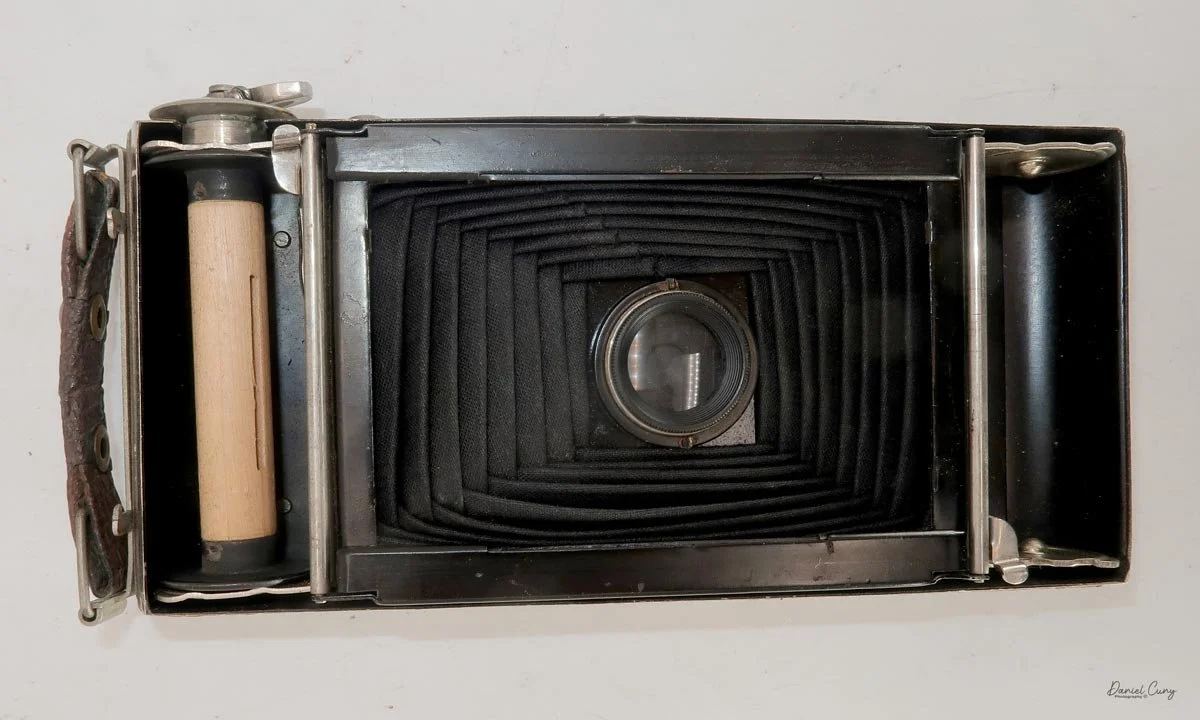
Once the film and take-up spool are in place, load the film as you would in any roll-film camera, then put the back onto the camera body and make sure it's latched. Wind the film to frame 1 as you look through the red window on the back of the camera. At this point, you're ready to take photos.

My Results:

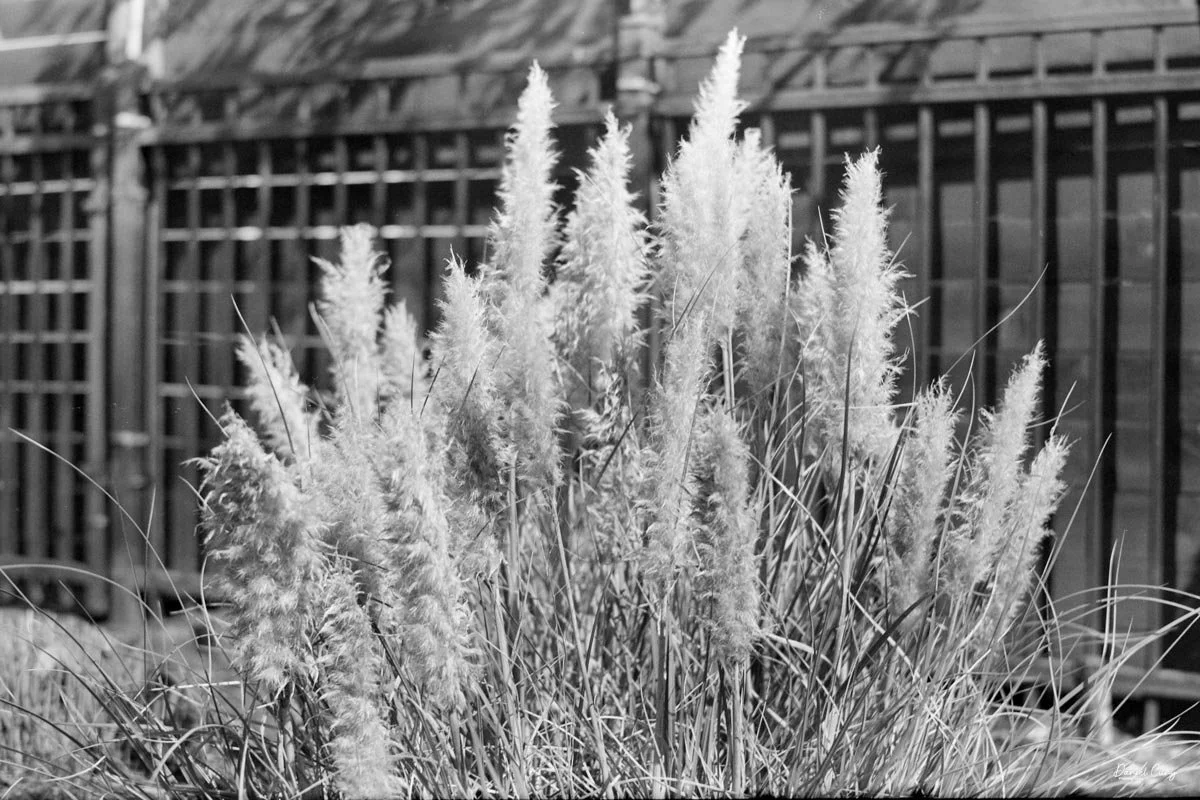
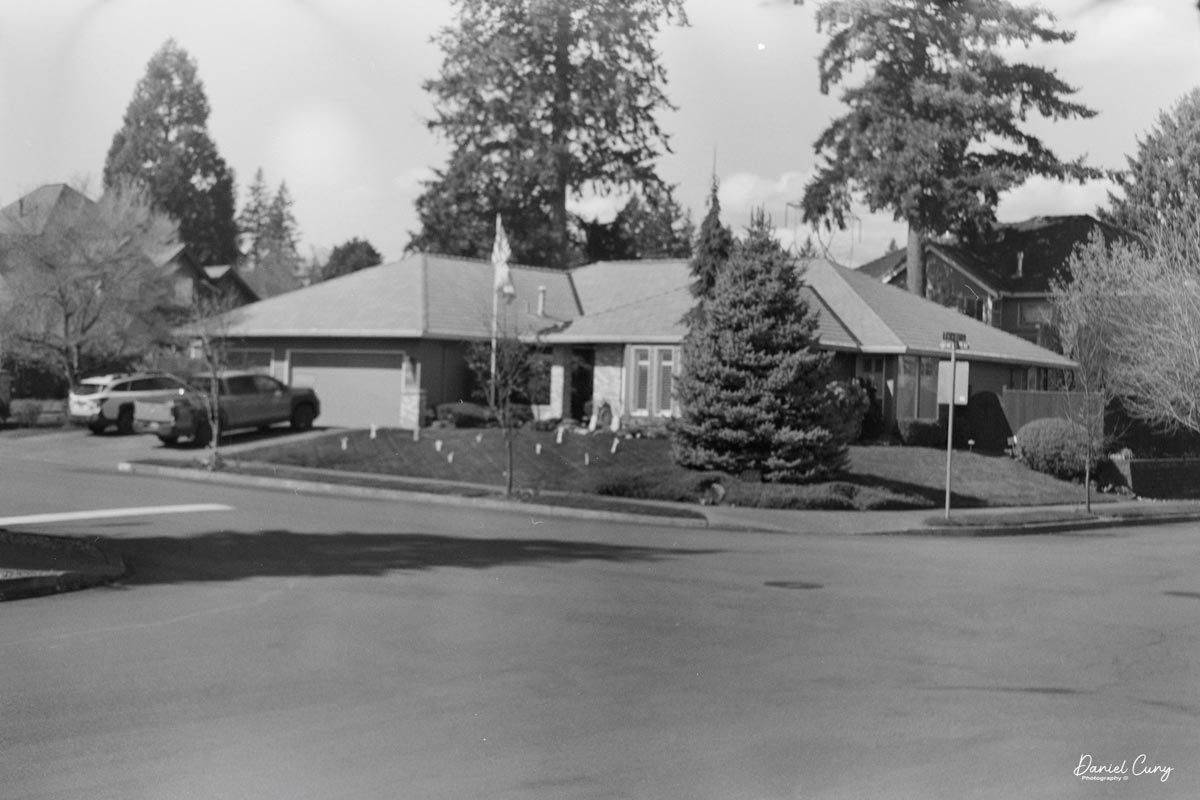
With a roll of film loaded, I took my usual stroll through the neighborhood, photographing interesting subjects to see how the camera would perform.

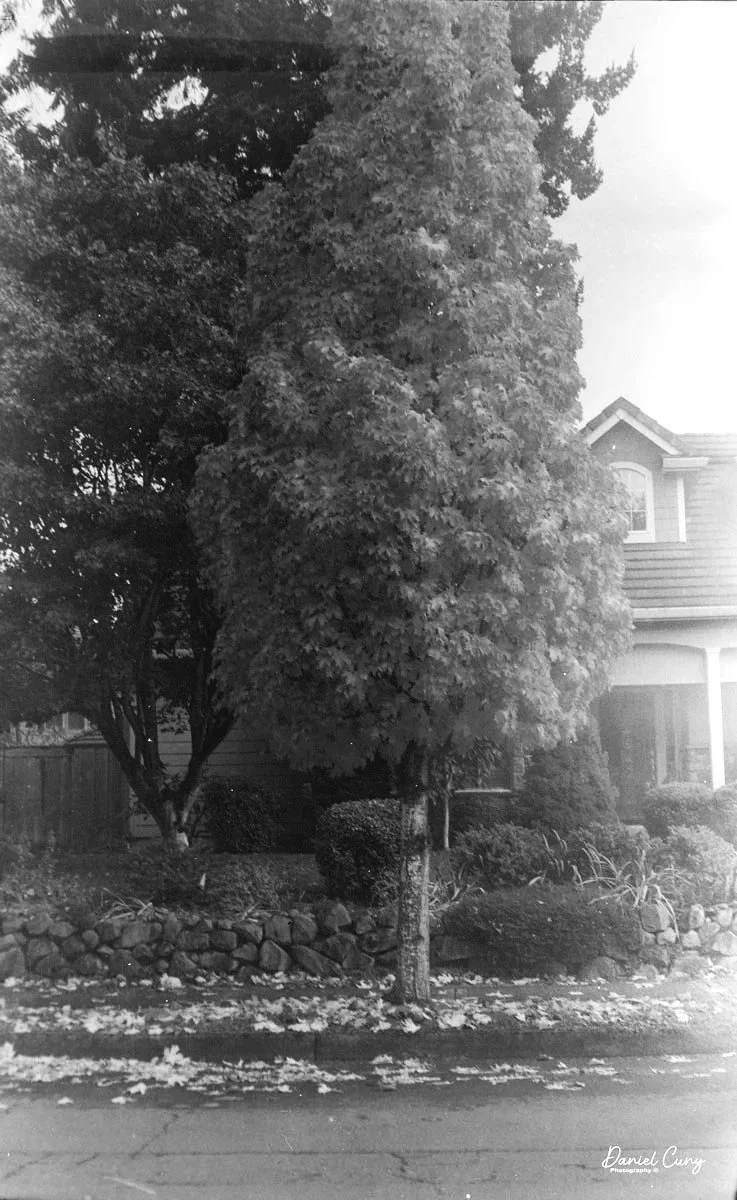
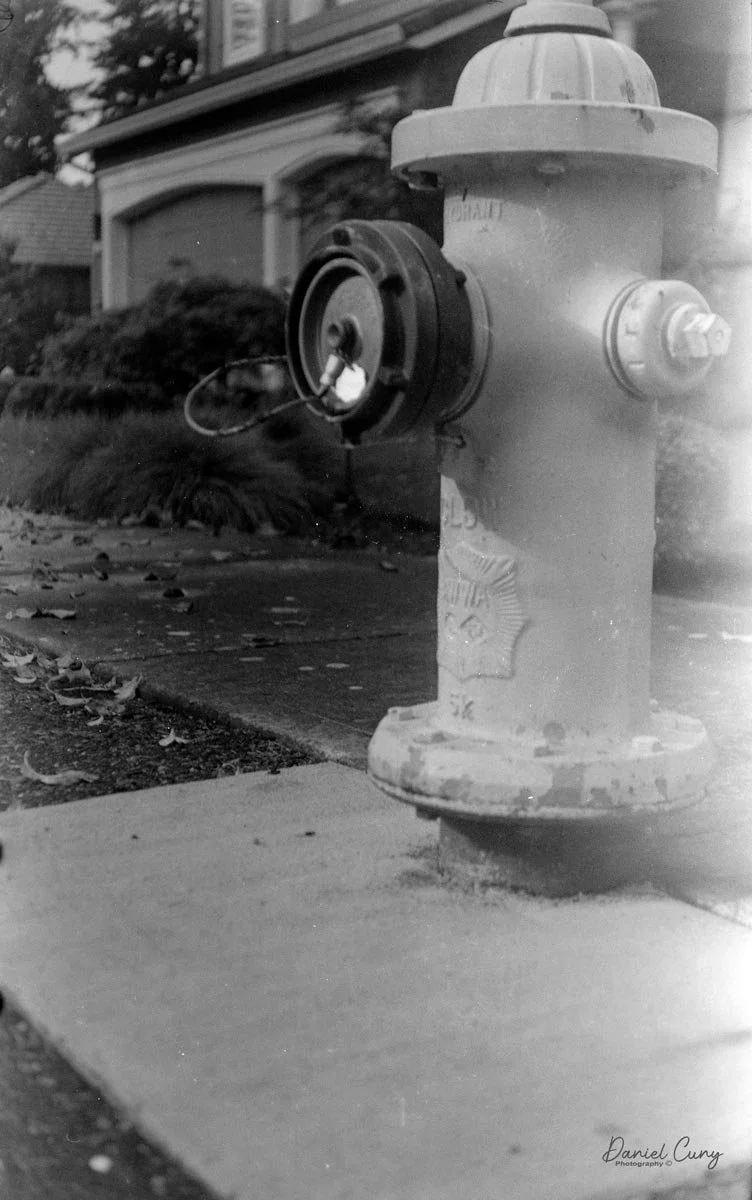
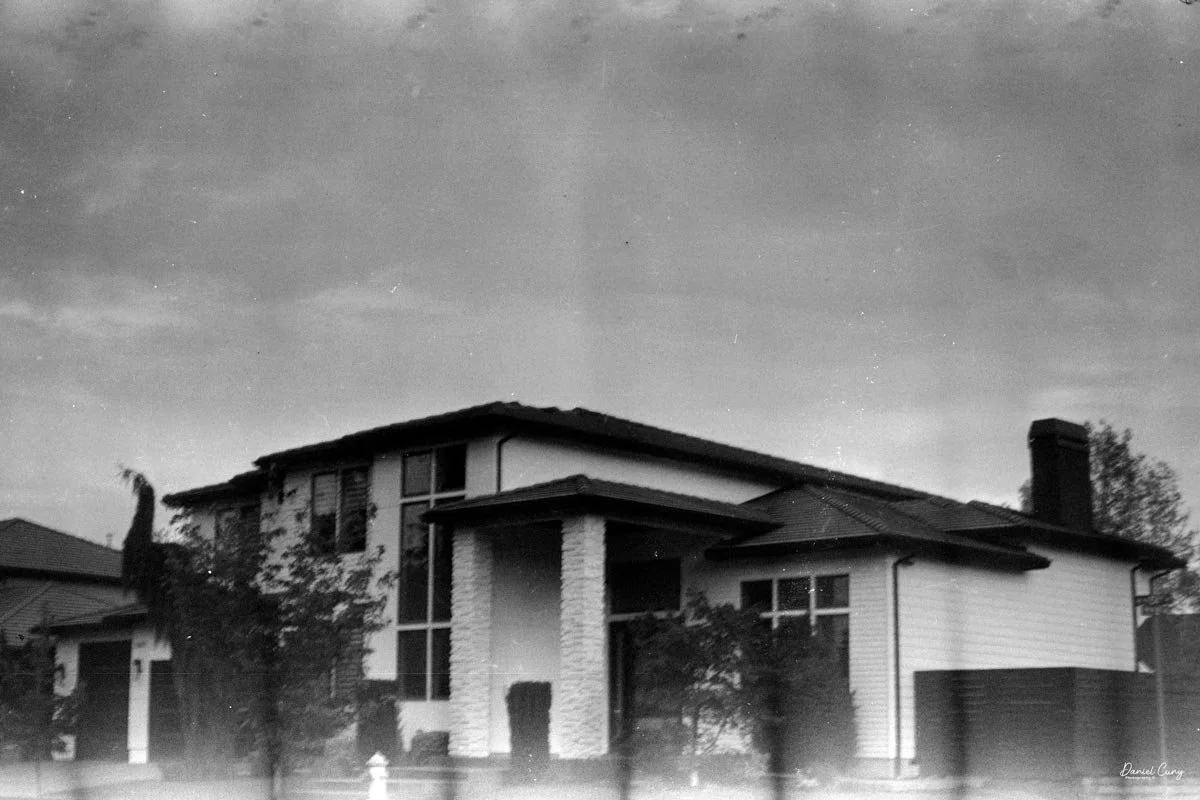
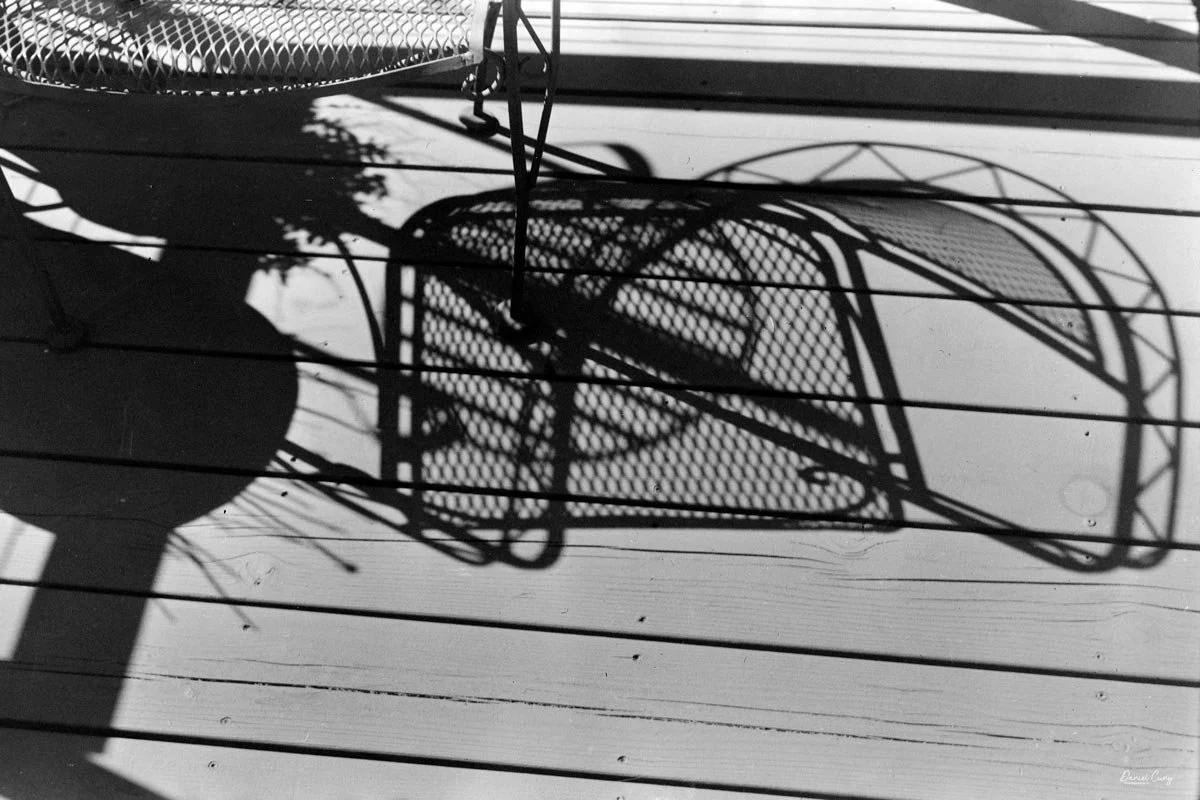
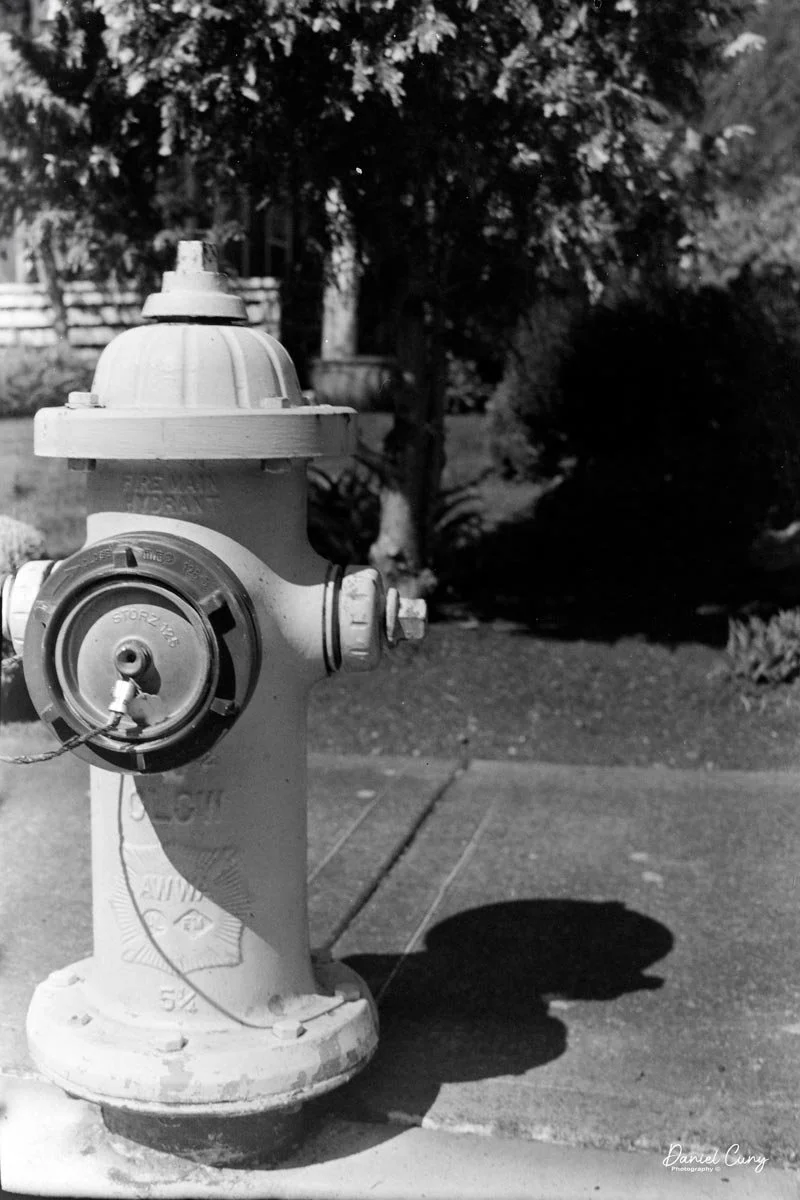
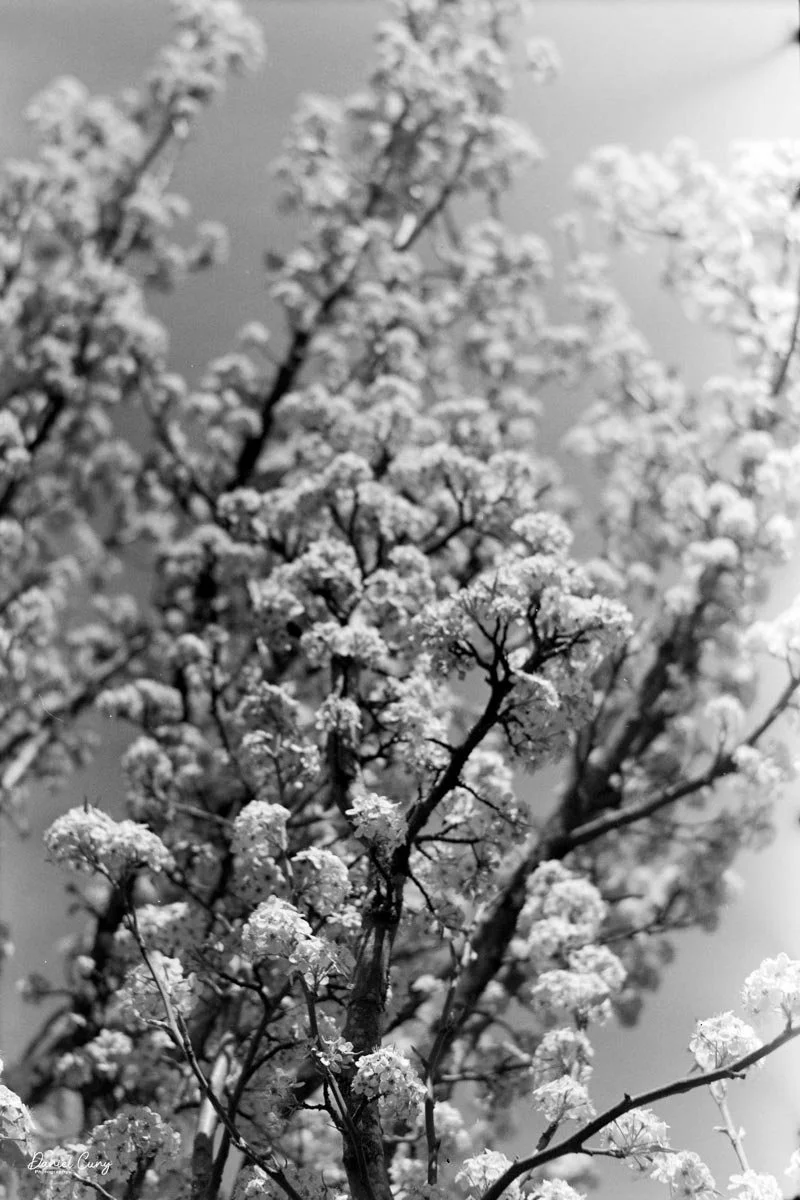
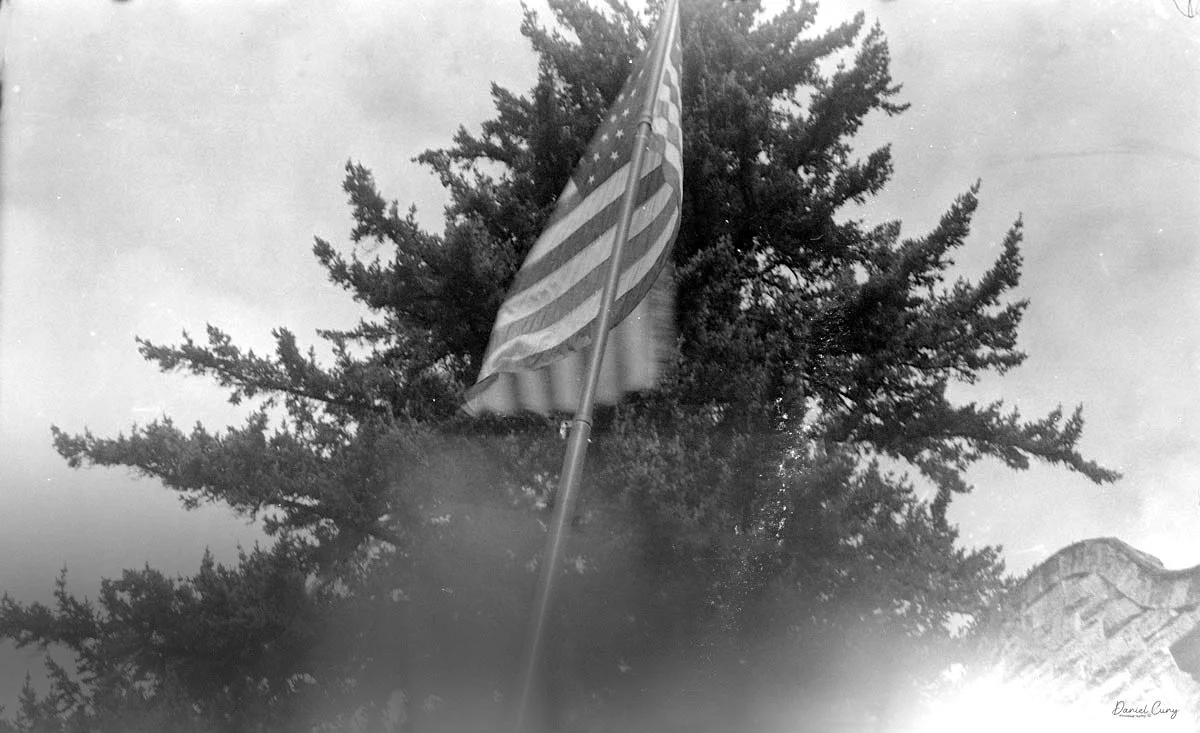
Here are the results I received with the Lumiere Nada Luxe camera.
Conclusion:

The images have a very "dreamy" look, which I enjoy. The focus was OK, not great, but that's to be expected, especially using a zone, guesstimate focus system.

I really liked the photo of the flag and fire hydrant, as they have an image quality that I enjoy, something similar to the old photos from this era by Stieglitz, Steichen, or others, with a very soft, dreamy appearance.

Thank you for taking the time to read about the Lumiere Nada Luxe camera I recently added to my collection.

Are you interested in other vintage gear? Here are some of my other Camera Reviews.

Check out my Cuny's Camera Collection YouTube channel, where I am putting together video overviews of the cameras I write about. Be sure to subscribe and like the channel, too!

Cuny's Cameras and Photos is my online eBay store, where you will find some of the cameras I have reviewed, along with a wide range of other cameras, lenses, and items from my collection that I am thinning out.

Until next week, please be safe.
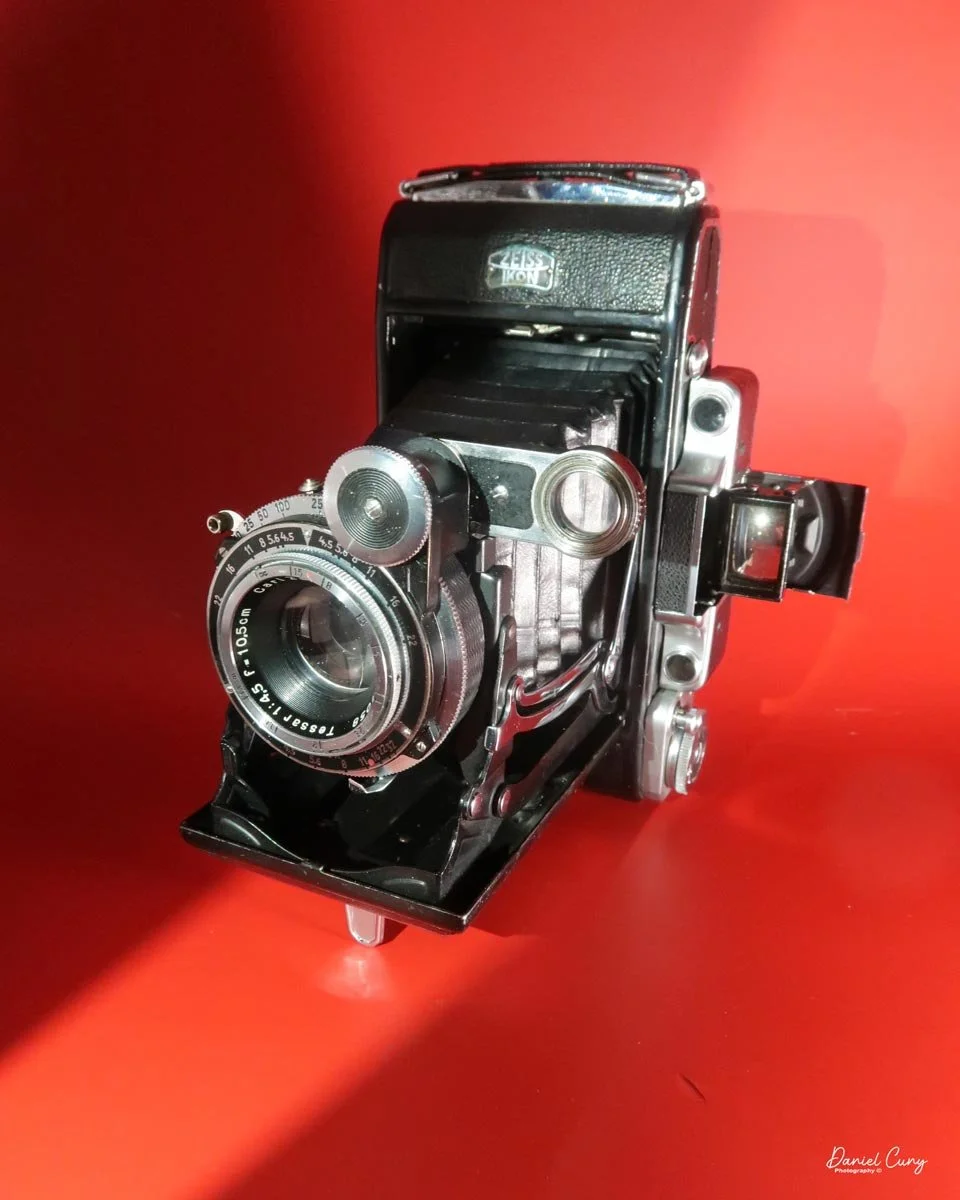
Zeiss Ikon Super Ikonta 531/2

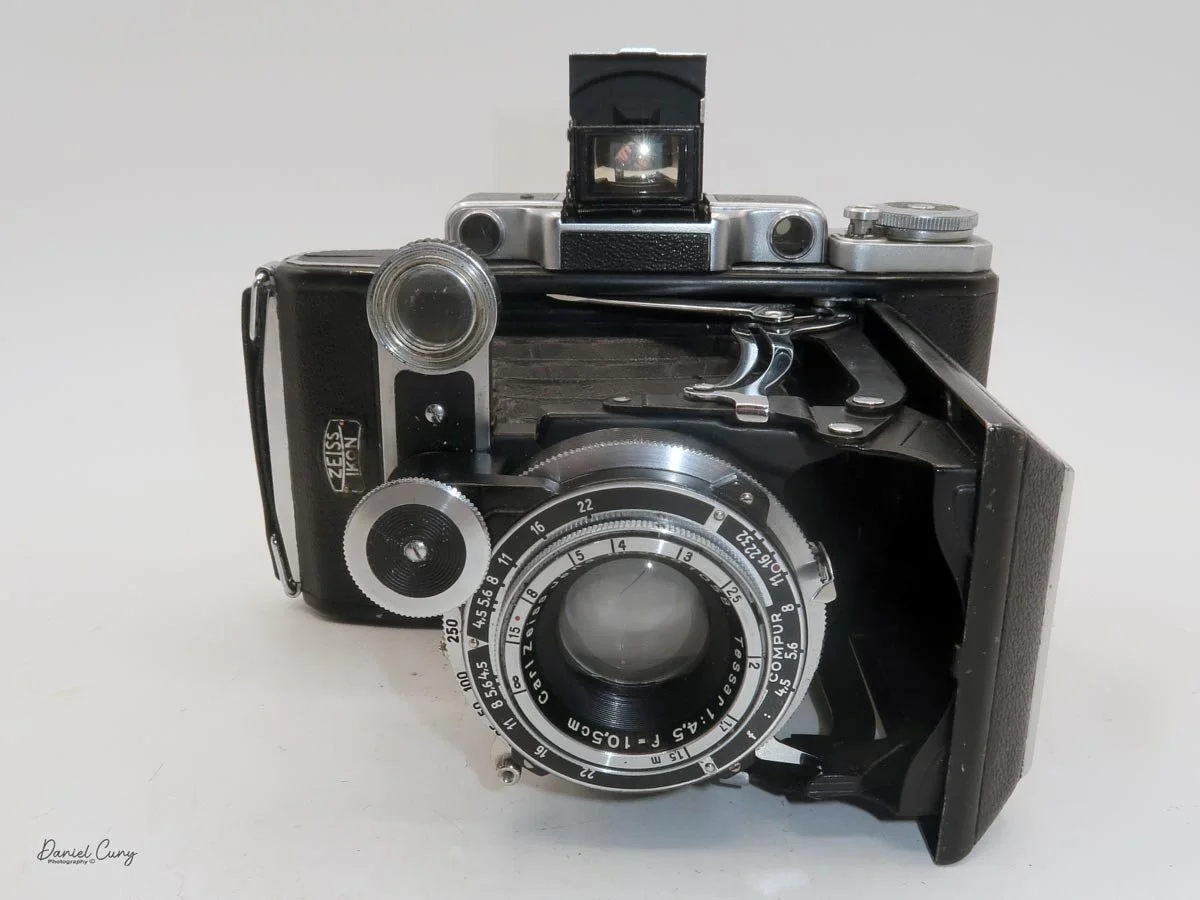
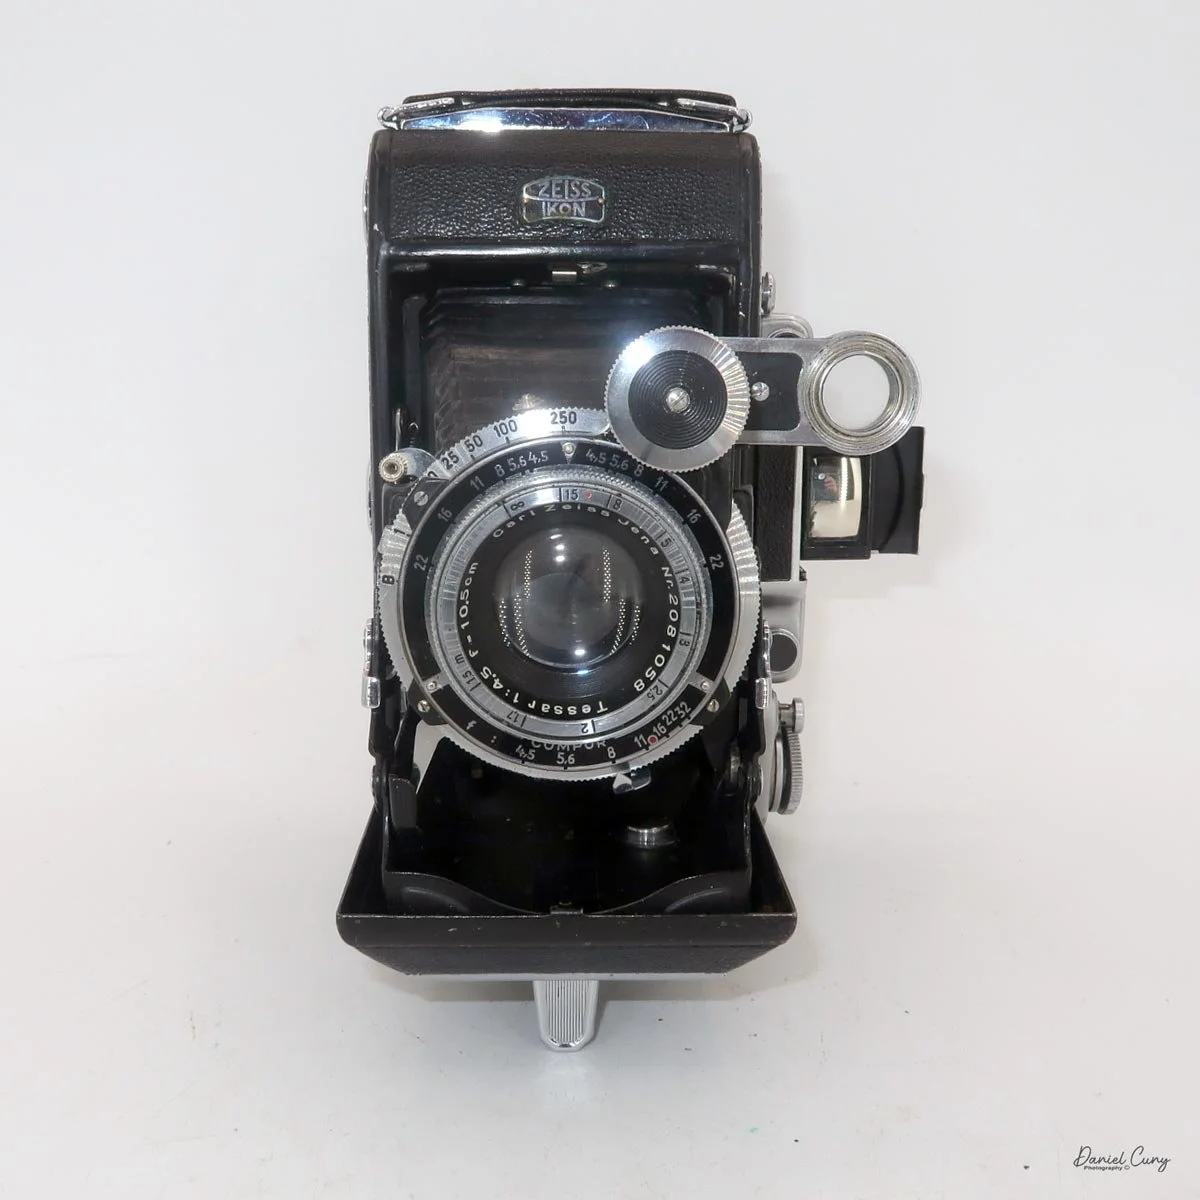
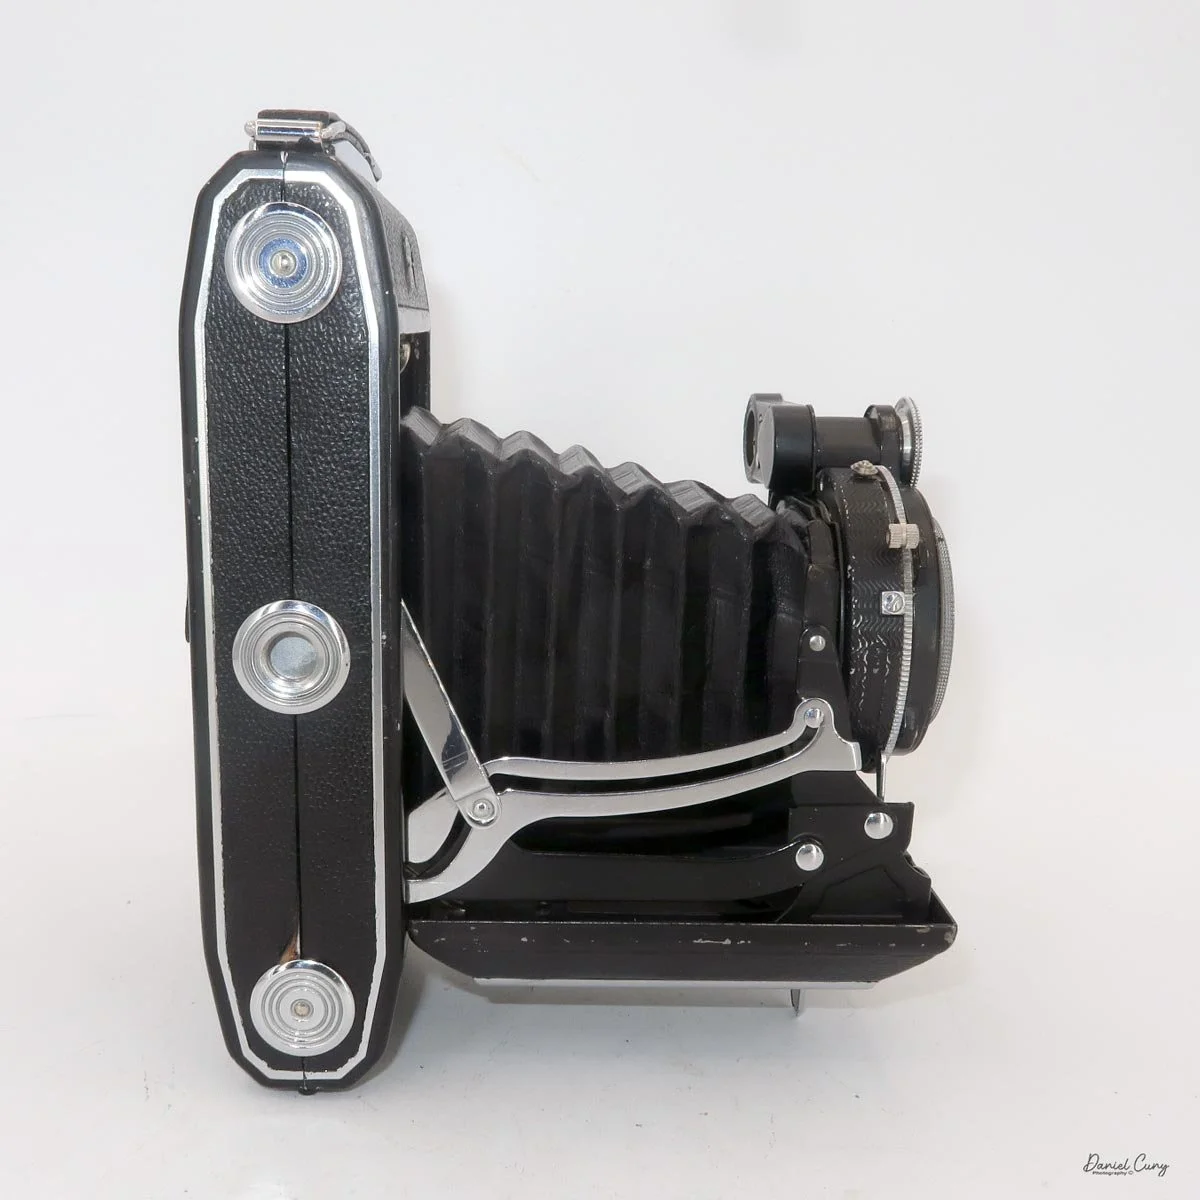
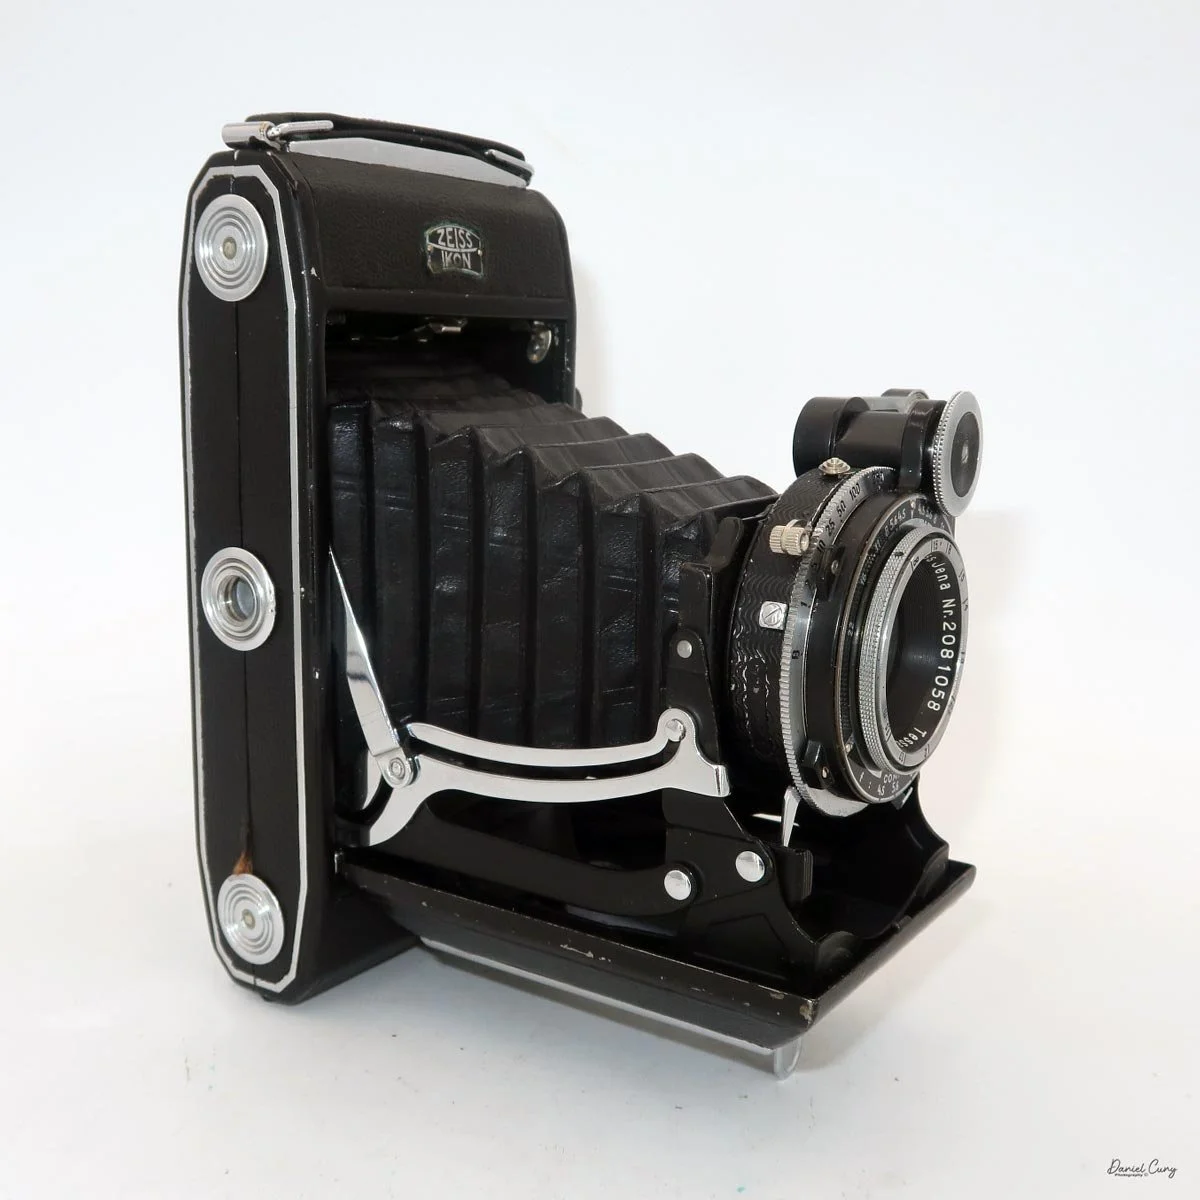
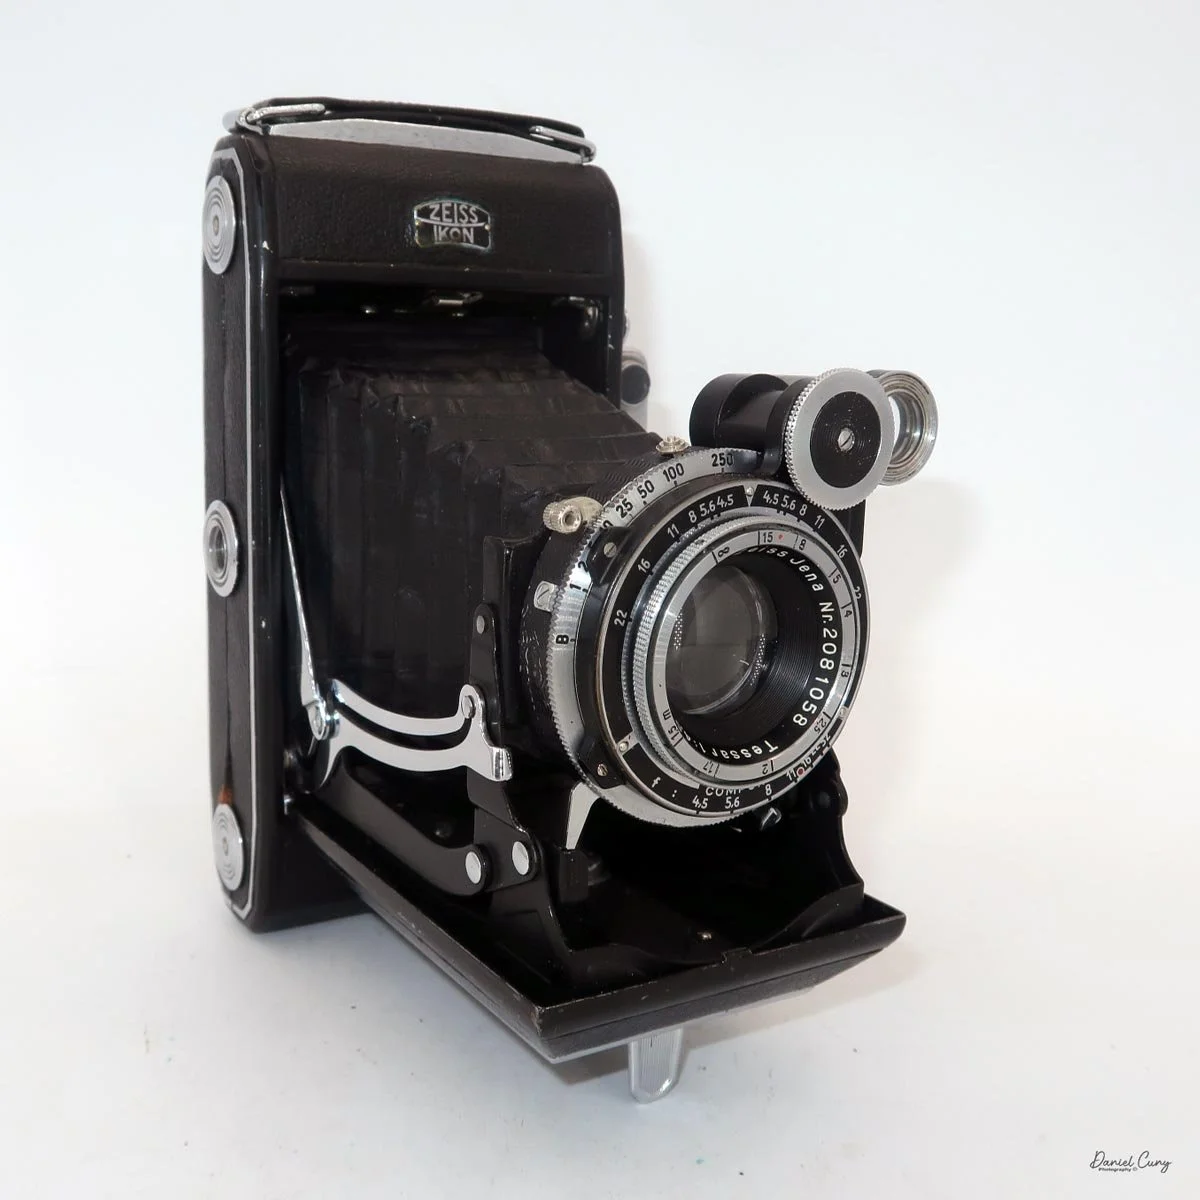
My Zeiss Ikon Super Ikonta 530/2 camera

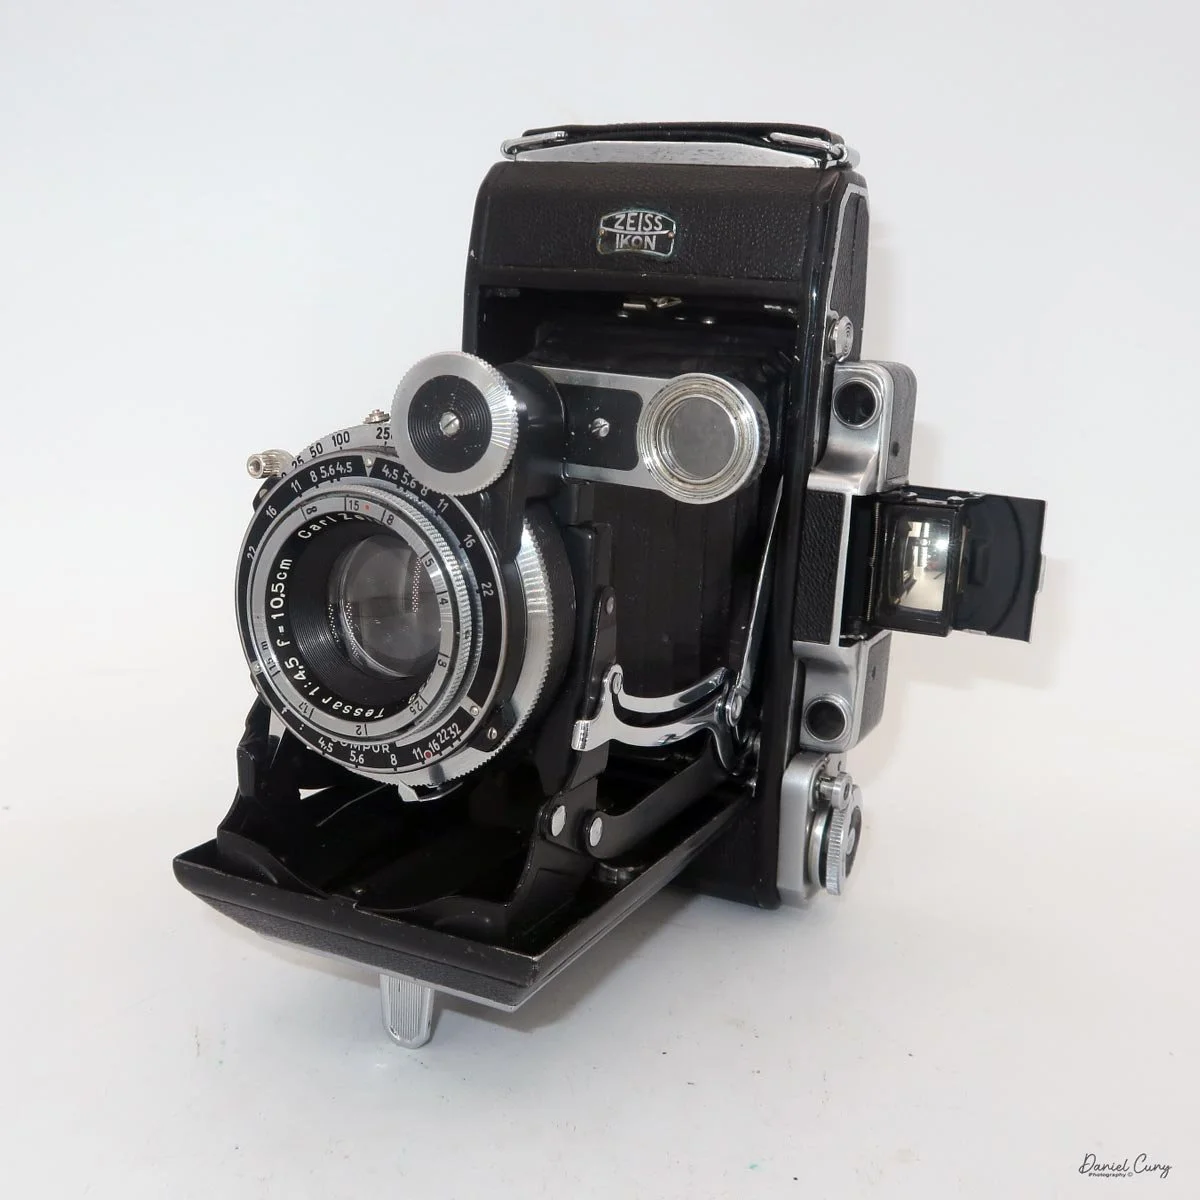
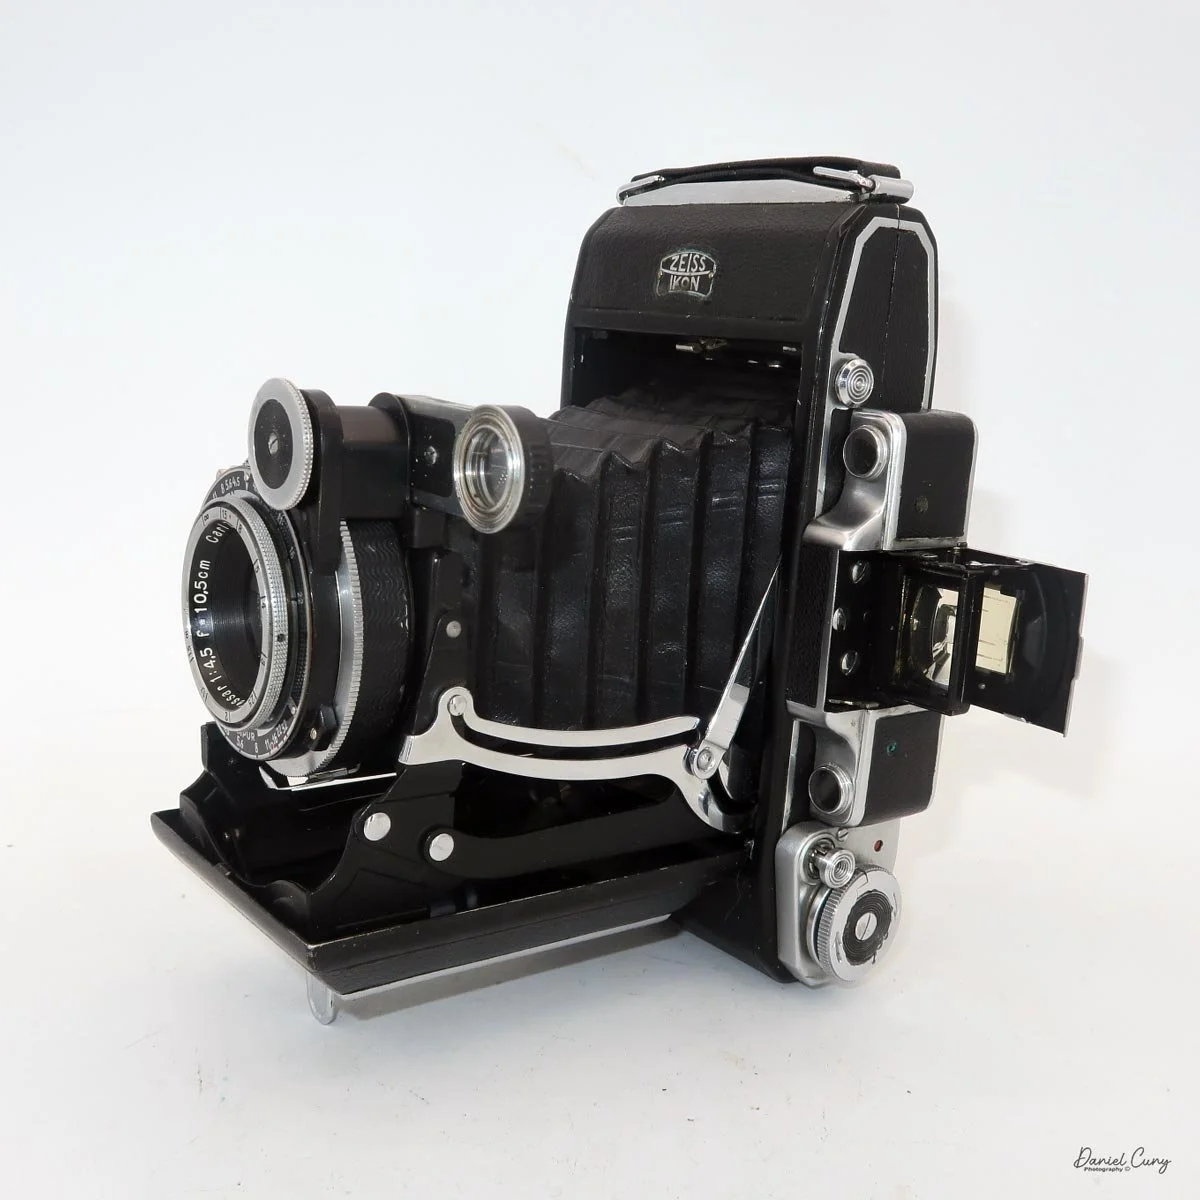
Walking through flea markets, garage sales, or camera shows, I always stop to look at what Zeiss cameras they have, and the cameras that I always pick up to look over are any of the Zeiss Ikon Super Ikonta cameras. Not only because they look impressive even when closed, but also because I'm always struck by how well-made and intricate they are for a camera that's 90 years old.

 To me, the Super Ikonta cameras are like looking at a masterpiece of art. They are timeless in their form, compactness, and mechanical intricacies. When closed, they are compact and sturdy. They have a heft to them that you know they were manufactured to last a long time.

 Zeiss Ikon made four different Super Ikonta styles. There were the smaller models in 6x4.5 or 6x6cm formats, then they also made a larger, specifically longer version that shot 6x9, and a rare version that shot 6x11cm. The 6x9cm version came with a metal insert that reduced the image size to 6x4.5, essentially allowing the photographer to get twice as many images on the 120 roll film loaded in the camera.

 Having owned both in my life, I'm torn between them. On the one hand, I prefer the longer negatives, so the 6x9cm version is appealing, but it's also a bit bigger to carry. The more compact 6x6cm version is a terrific camera to carry when you travel. They are compact, fit in your pocket, have wonderful optics, and use a rangefinder to focus.

 Looking at the cameras on my shelf for a camera to write about, the Zeiss Ikon Super Ikonta 530/2 was a camera I recently got back from a full CLA, so I knew, or at least hoped there wouldn't, or shouldn't be an issue putting film in the camera and running a roll of film through it. 

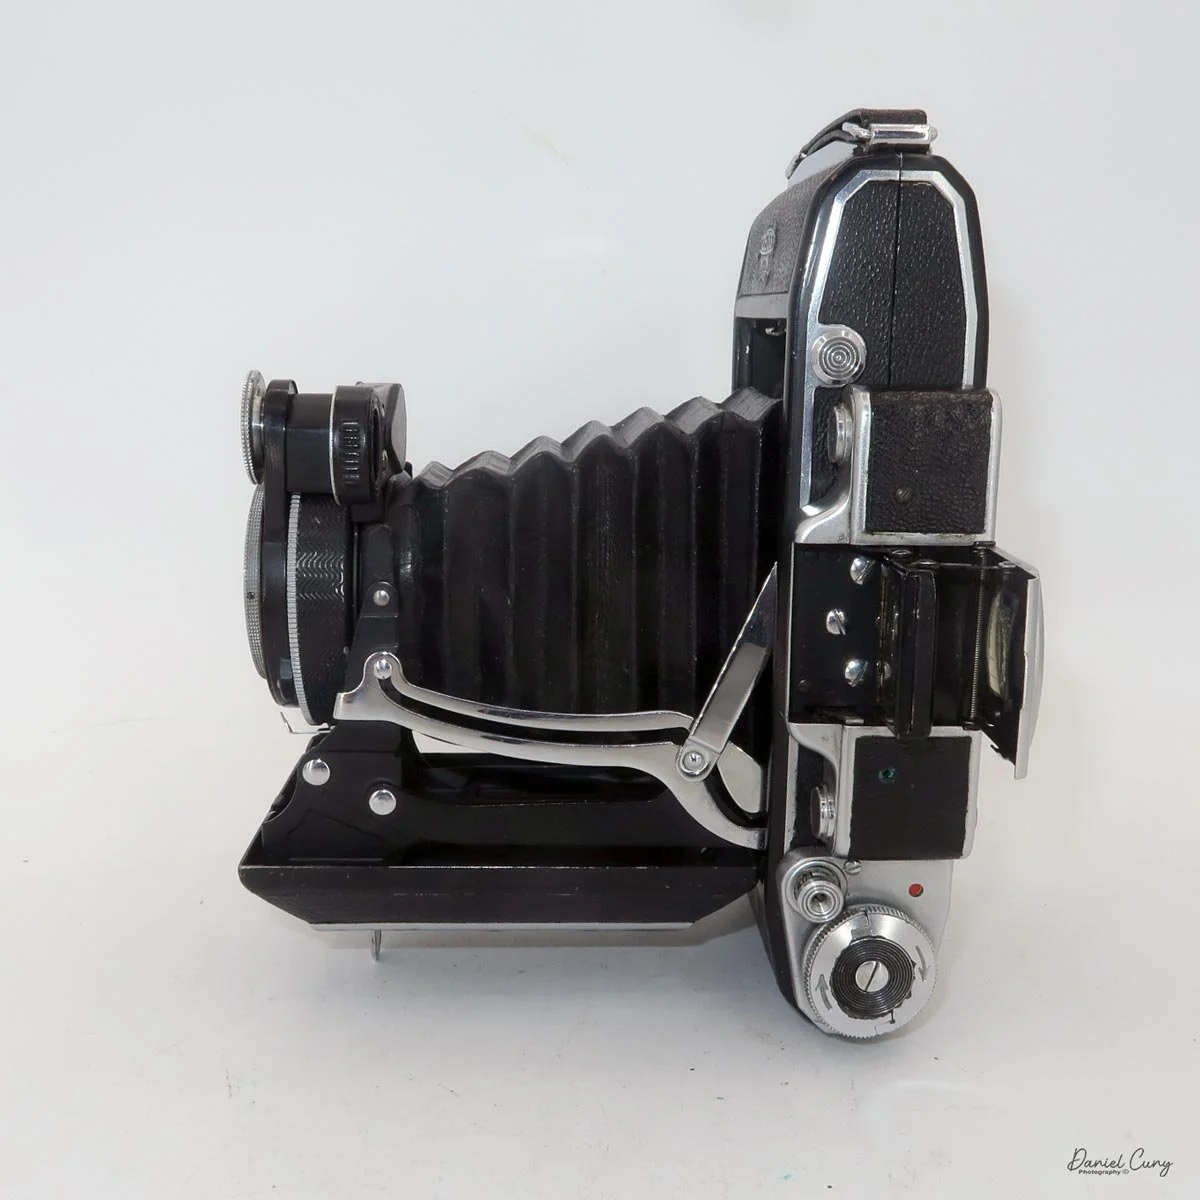
Horizontal view of my Zeiss Ikon Soper Ikonta 530/2 camera

 The camera I had purchased almost a year ago was from an online auction. I saw it at the auction along with a few other cameras, placed a fairly low bid, and won it. The camera was shipped to me, and upon inspection, I noticed the shutter wasn't working. It worked at higher speeds, but the camera needed servicing, so I sent it for CLA.

 My camera came back from the technician and looked flawless. The rangefinder was bright and accurate, the lens was bright, the focus was smooth, and the lens popped out of the camera as if it were new. 

 Whenever I see a Zeiss Ikon Super Ikonta or another rangefinder folding camera, the first thing I check is the shutter to see if it's opening/closing, especially at slower speeds. Then I check the focus to see how smoothly the lens and focus knob turn. It seems that many of the cameras have very stiff focusing, so when the camera came back, and the focus knob turned so nicely, I must have had a large grin on my face, as this was a new experience for me: a smooth focus.

 With all that said, it was time to put a fresh roll of 120 film into the camera and take a walk through the neighborhood on a wonderful spring afternoon. The sun was out, and so many of the trees and flowers were in bloom, it was the ideal opportunity to take my newly CLA'D Zeiss Ikon Super Ikonta for a spin.

Brief History of the Zeiss Ikonta Cameras:

 Zeiss Ikon and the Ikonta cameras sit at an important crossroads in European camera history. Formed in 1926 from the merger of four major German makers—Contessa-Nettel, Ernemann, Goerz, and Ica—Zeiss Ikon became one of the largest and most influential camera companies in the world, backed by the Carl Zeiss optical tradition.

 The Ikonta line emerged around 1929 as Zeiss Ikon's premium folding-camera family. It was introduced in several sizes, including 6x4.5, 6x6, and 6x9 roll film frames, and represented the company's effort to rationalize and modernize the crowded product lines inherited from the merger. These cameras were built as elegant folders: compact when closed, but capable of producing high-quality medium-format images when opened.

 What made Ikonta especially significant was its market position. Zeiss Ikon used better lenses and more refined construction on Ikonta models, while cheaper versions sometimes carried the related Ikomat name. The line became closely associated with Carl Zeiss lenses, such as the Tessar, which helped the cameras earn a strong reputation for sharpness and image quality.

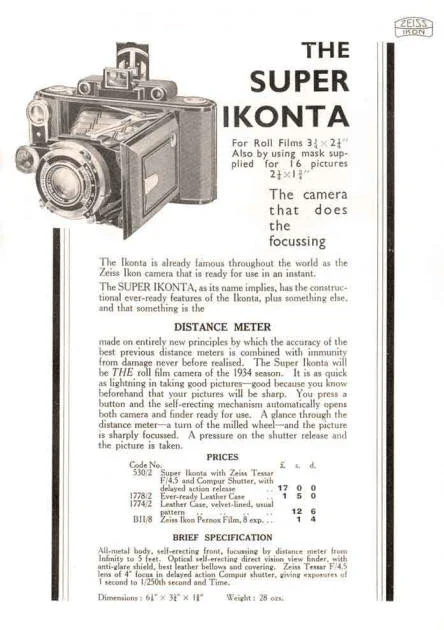
 A major step forward came with the Super Ikonta series, introduced in 1933. The "Super" name indicated the addition of a coupled rangefinder, making focusing far easier and more accurate than the original scale-focusing Ikontas. That innovation helped define some of the best prewar folding cameras available.

 Production continued through the war years and into the postwar period, but folding cameras gradually lost favor as photography shifted toward more modern fixed-lens designs and 35mm systems. Even so, Ikonta and Super Ikonta remain admired today for their craftsmanship, portability, and classic Zeiss optical quality.

My Camera:

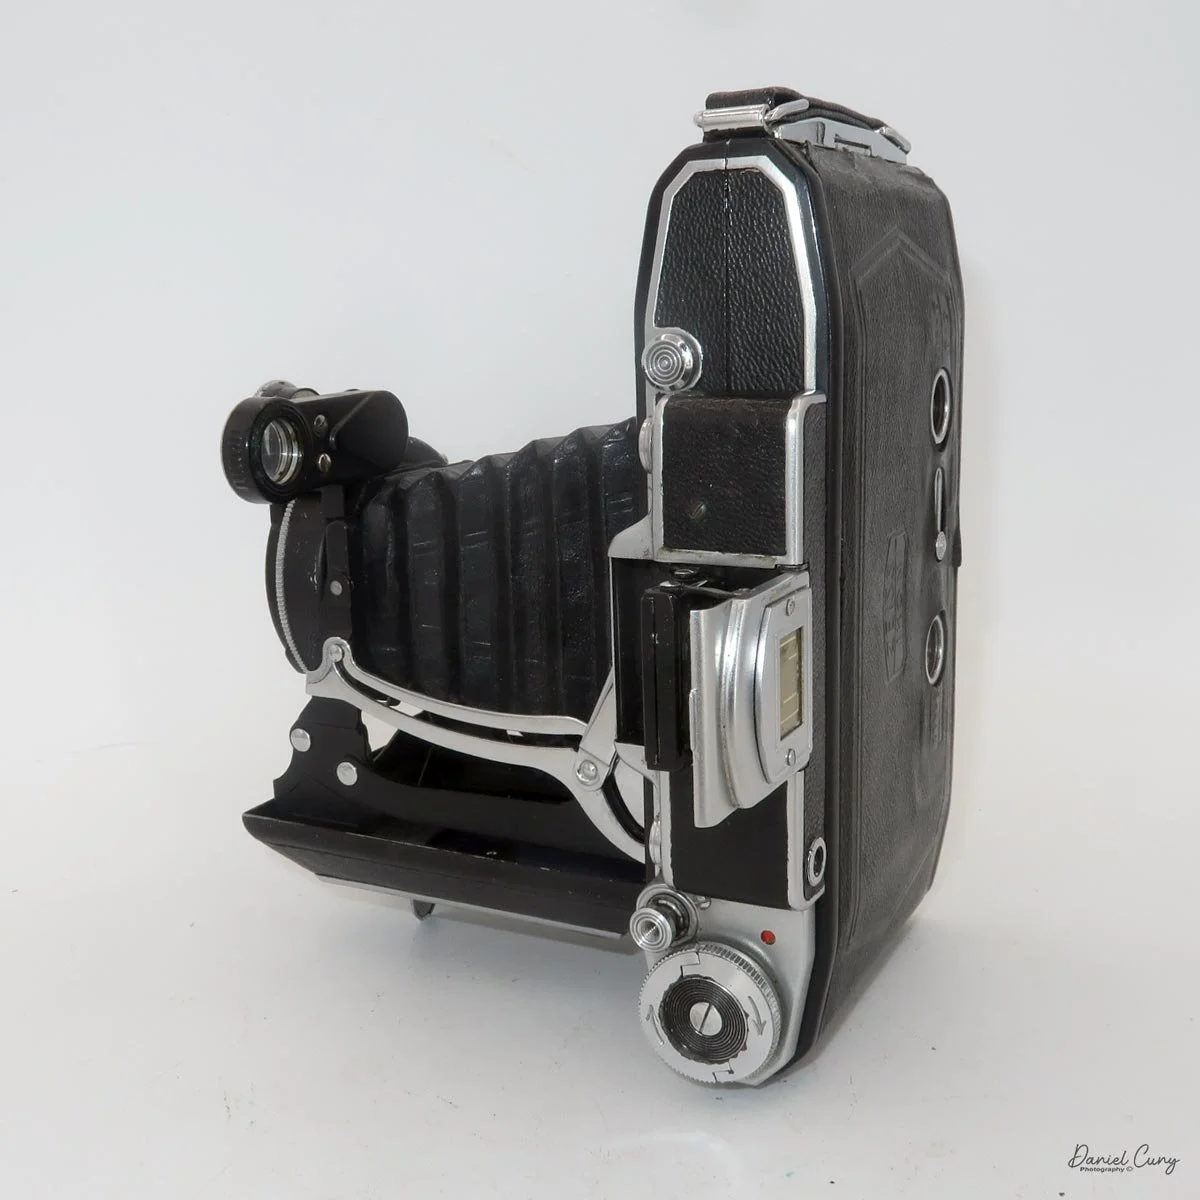
 My Zeiss Ikon Super Ikonta 531/2 is 7" wide by 4" tall and 2 "deep when the lens is retracted, and it's 5" tall when you open the camera, and the viewfinder pops up, and 5.5" deep when the lens is extended. The camera weighs 1 pound 15 ounces without the case or film loaded. My serial number is E30192.

The Zeiss Ikon Super Ikonta 531/2 camera has several different options for lens and shutter combinations:

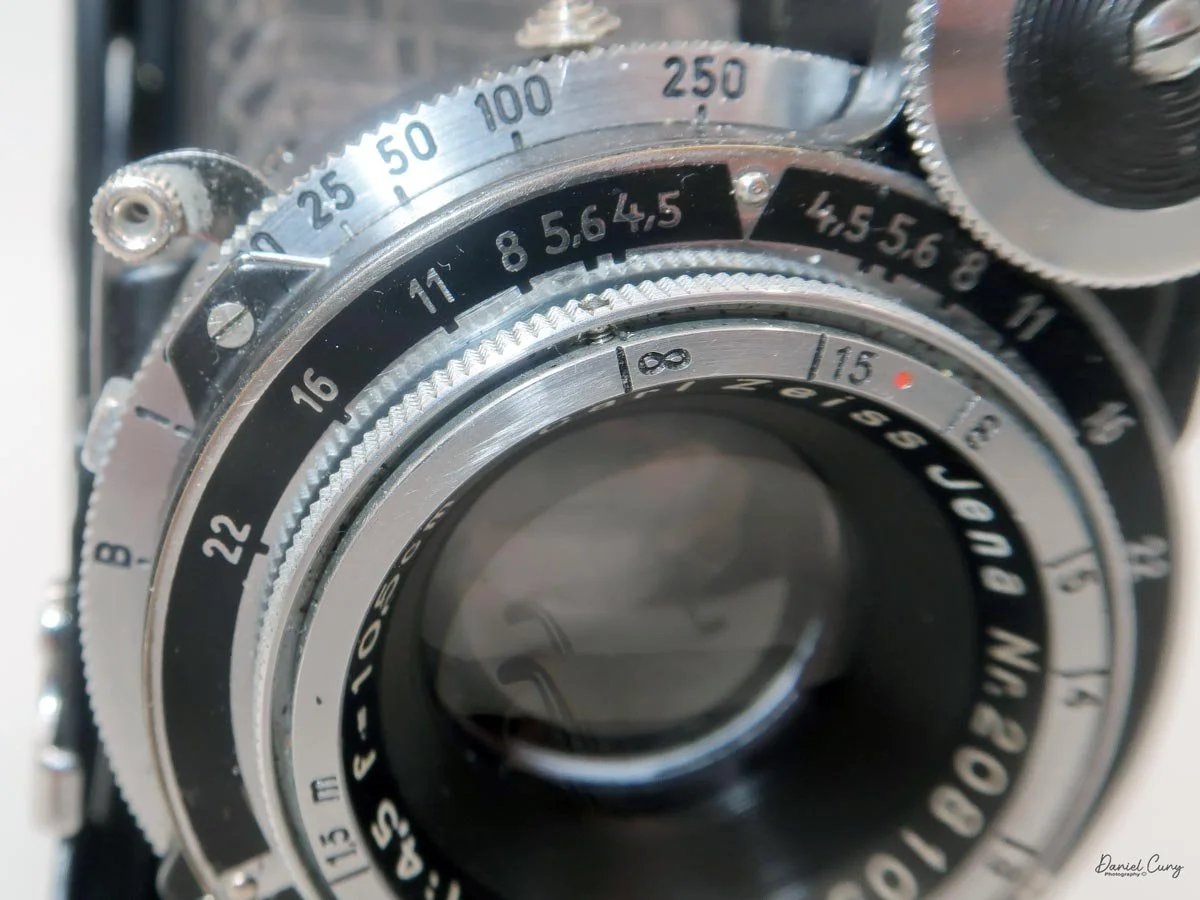
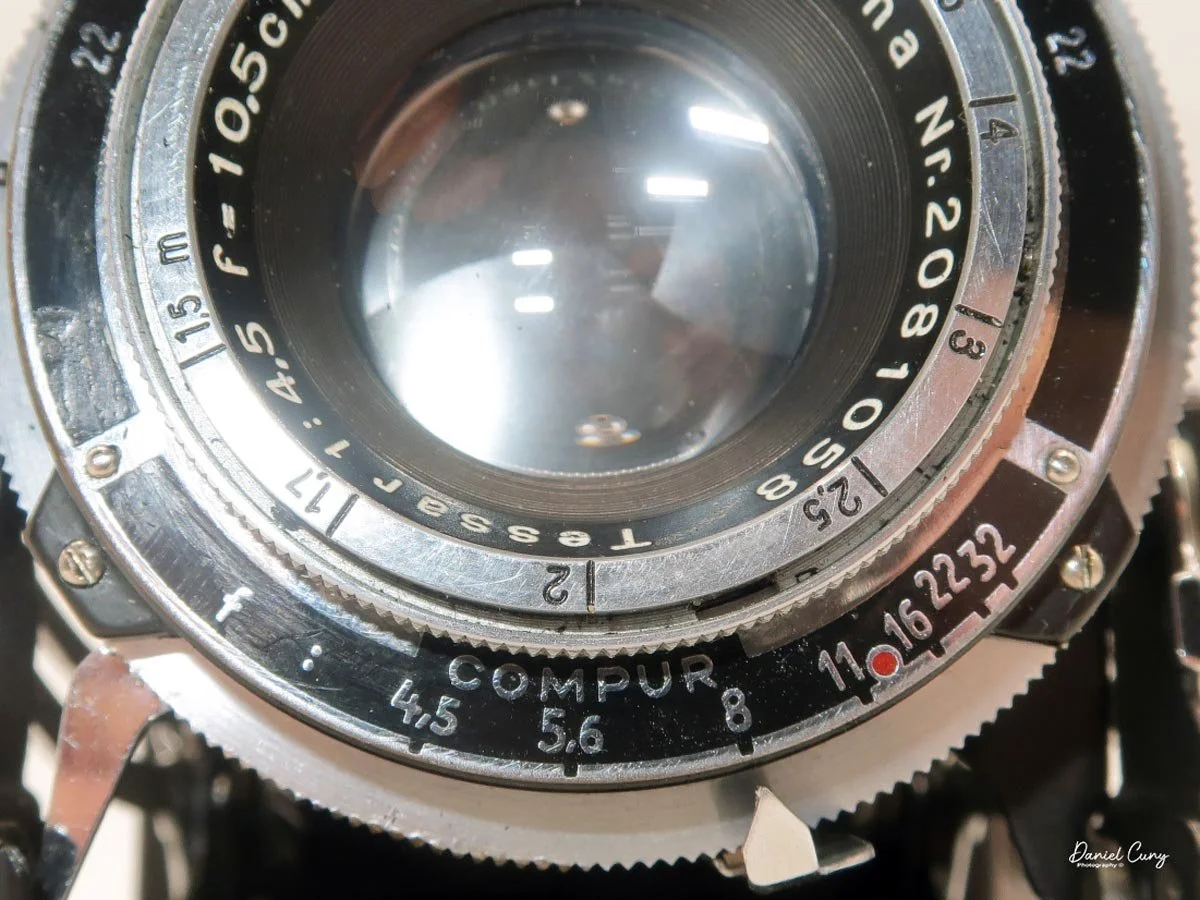
  • Tessar 10.5 cm f/4.5 in a Compur shutter. This combination is the best-documented early setup for the 530/2, especially on black-enamel versions from the early 1930s.

  • Triotar 10.5 cm f/4.5 in a Klio shutter. Some early examples were fitted this way, making it a less common but real configuration.

  • Tessar 10.5 cm f/4.5 in a Klio shutter. At least one documented example shows this pairing, indicating that Zeiss Ikon used multiple shutters during the model's production.

  • Later or related Super Ikonta variants appear with Tessar lenses in Compur Rapid or Synchro-Compur shutters, though those are more typical of later Super Ikonta models.

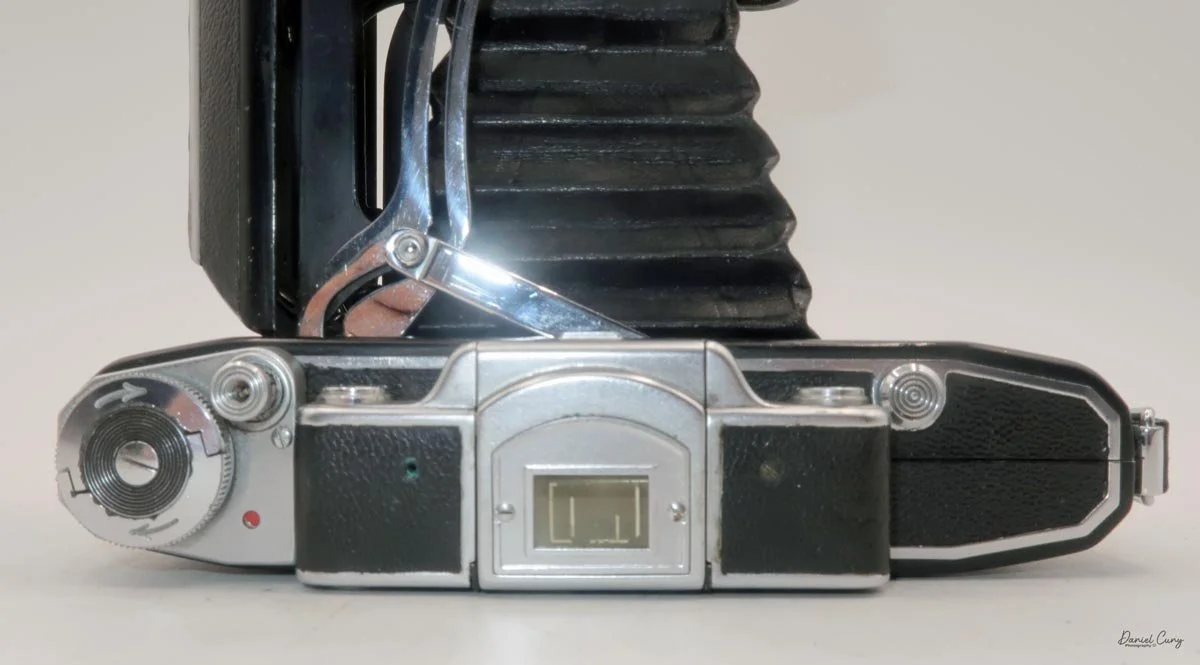
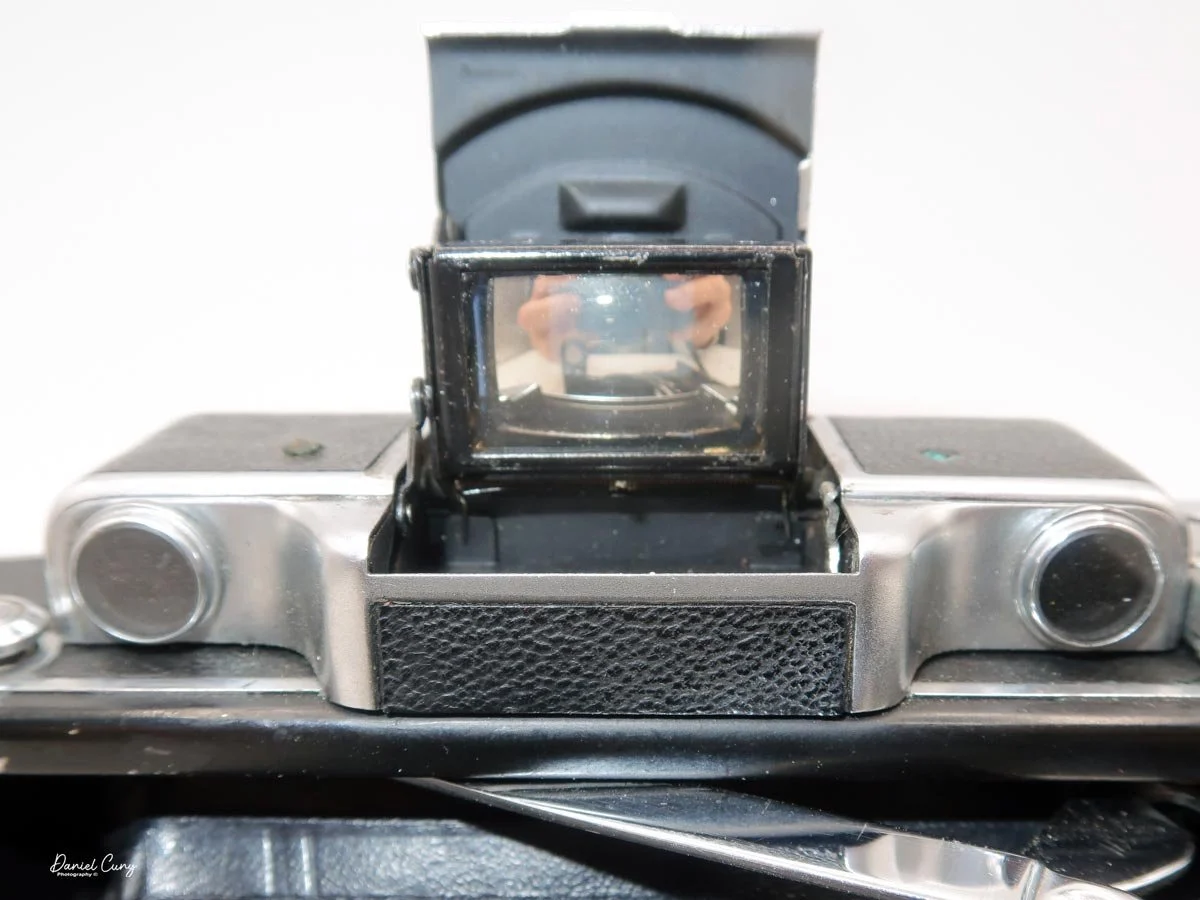
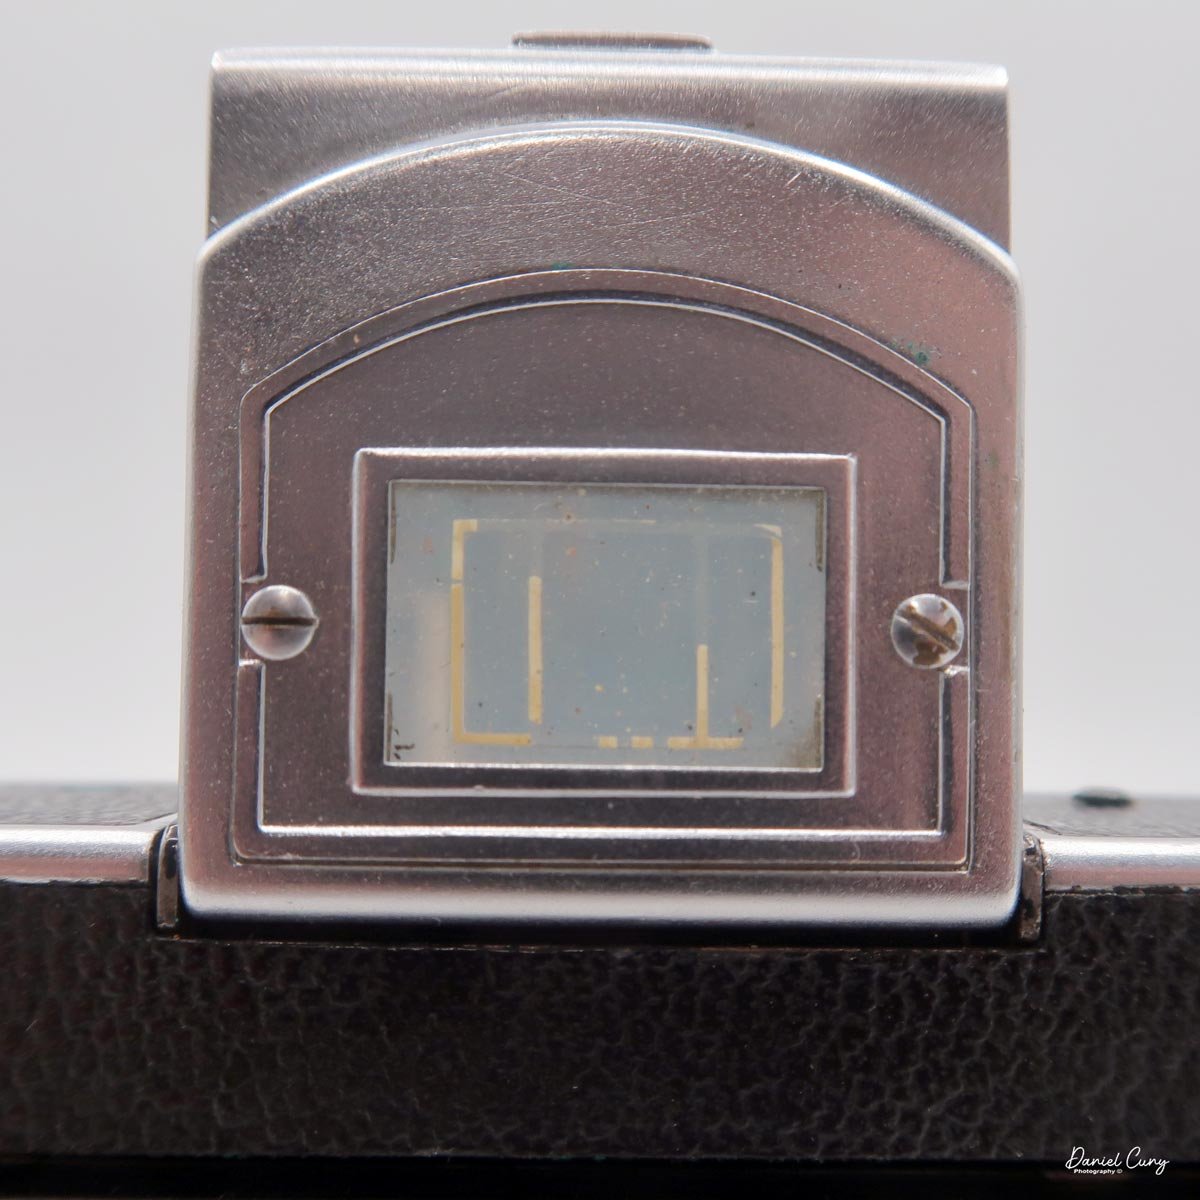
Looking at the top of the camera, on the right side of the rangefinder, is a button that opens the camera when it's closed. According to the Zeiss Ikon Super Ikonta manual. Hold the camera in your right hand, with the front slightly pointed down. Press the button, and the camera should open slightly. Then pull down on the front cover so the bellows and lens extend to the taking position. Once the lens is extended, you'll need to swing the arm holding the small round lens into place so you can use the rangefinder for focusing. Also, when you open the camera, the Albada (sports) finder springs open. Look through the Albada finder; it has lines for both 6x9cm images in a horizontal format and for 6x4.5cm images for a vertical subject.

Now that the camera is open, you're ready to make exposures once the film is loaded, which we'll get to in just a moment. The shutter and aperture settings are located around the lens. Shutter speeds from 1/250 to 1 sec, plus "B," are set by turning the ring to the desired speed. The aperture is set by sliding the arrowed lever at the bottom of the lens to the desired aperture, which ranges from F/4.5 to F/32 on my camera.

 The focus wheel is on the front of the swing arm you moved over for the rangefinder, just above the lens when the camera is in the vertical position. For focusing, look through the small window on the back of the camera. Turn the dial to use rangefinder focus, which includes a small yellow area in the middle of the finder. When out of focus, the subject will appear as two images. Your main subject, and a second image in the yellow area. Turn the wheel until both images merge into one, indicating the subject is now in focus. 

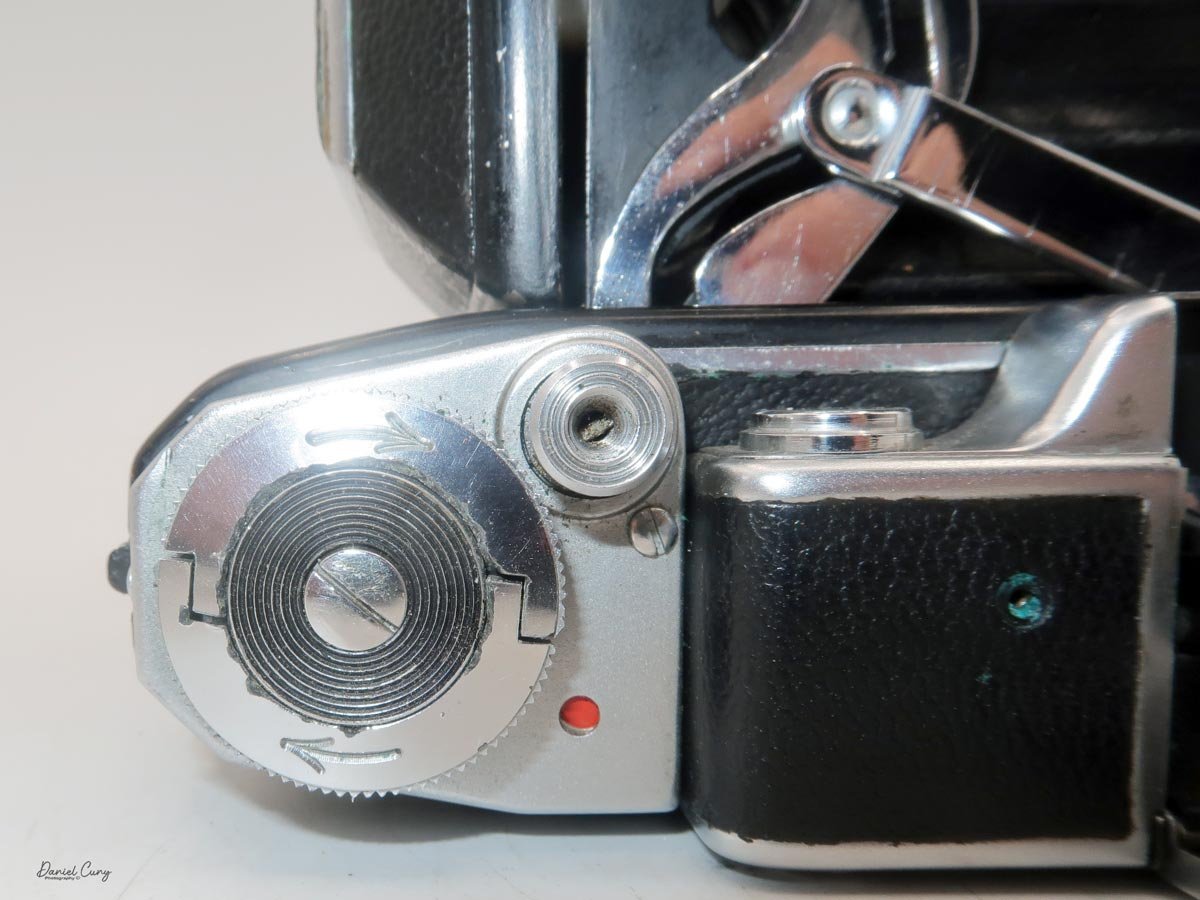
Set your shutter speed and aperture setting, and don't forget to cock the shutter. The shutter release is on the top, left side of the camera. Press the shutter release, which will trip the shutter via a series of linkages that run along the bottom of the lens bed. Just behind the shutter release is a small window. When the window is grey, the shutter has been tripped, and you'll need to turn the film winding lever until the small window turns red. At this point, you can re-cock the shutter and release it. 

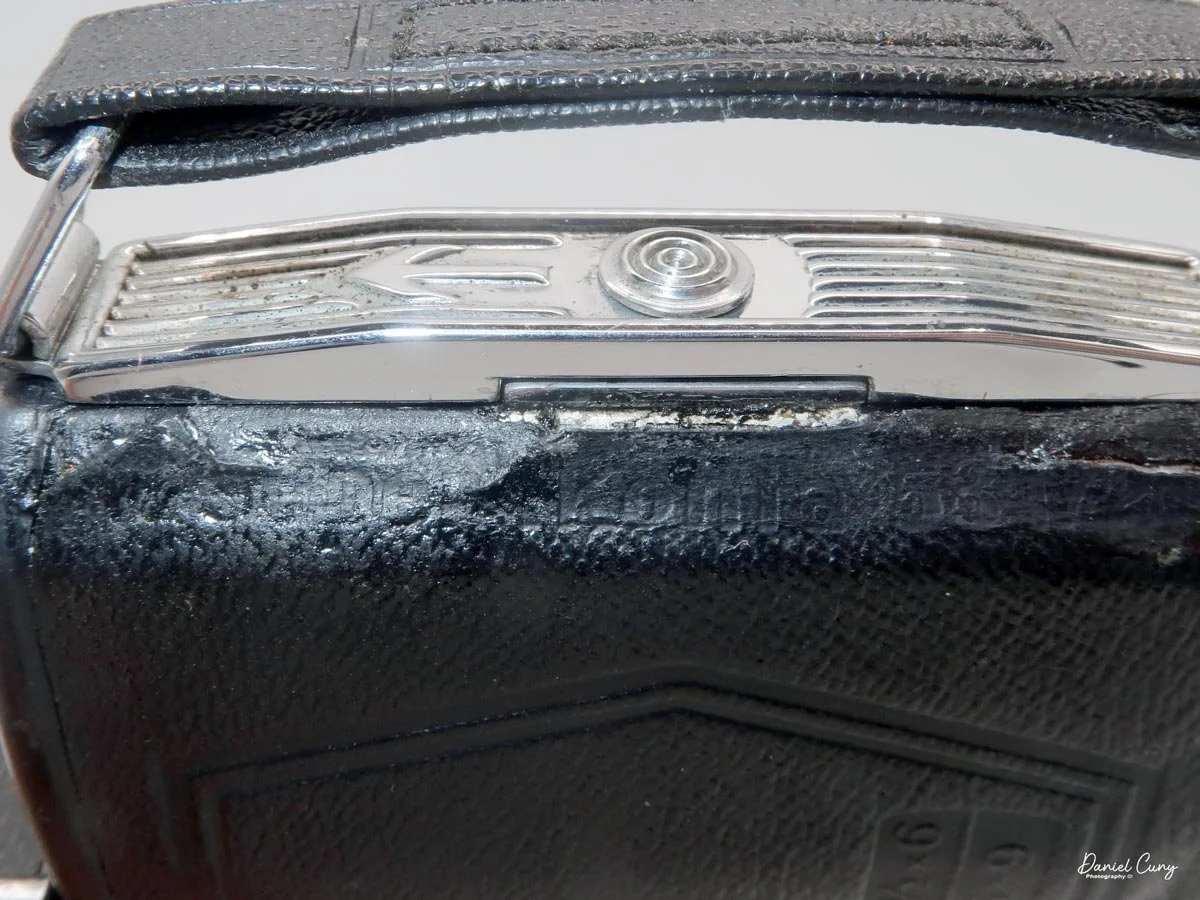
To open the back of the camera to load film, under the camera's handle is a small slider with an arrow pointing toward the opening. Slide the small knob in the direction of the arrow, and the camera back will open. Load the film as you would any 120 roll film camera, roll the film so the "start" arrows are showing, then close the back of the camera, and wind the film advance knob so the number 1 shows up in the appropriate window on the back of the camera. 

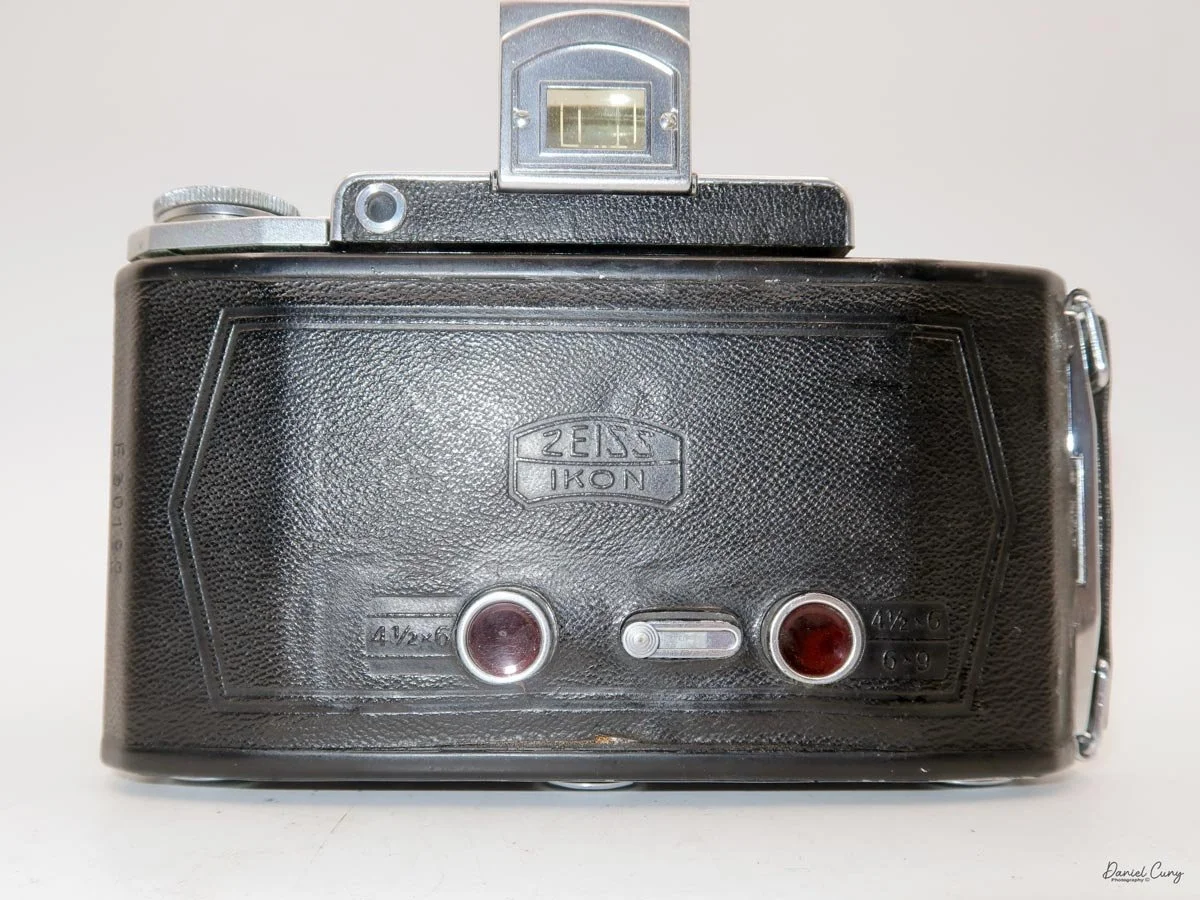
There are two red widows on the back of the camera: one for 6x9cm images and one for 6x4.5 cm images, if you have the metal insert in. If you have the insert in the camera, you'll use both windows for film advance, as you would with a 127 film camera with two windows. Stop at the number 1 on the far right window, then take your photo. Wind the film until the number 1 appears in the second window on the left, then take your photo. Then wind the film until the number 2 shows up on the first window on the right side, and so on through the number 8. For 6x9cm images, you'll get 8 exposures per roll; for 6x4.5, 16.

 To close the camera for transport, slide the arm you extended for focus back over the bellows. Holding the camera with both hands, press in on the locking arms on the struts to lock the bellows and lens into place; the bed will collapse a bit. Fold the lens back into the camera until the camera clicks closed, then flip down the Albana finder.

My Images:

 Let's take a look at how the images turned out. Here are a few of the images I took with the Zeiss Ikon Super Ikonta camera.

Conclusion:

 The first few images were incredibly sharp, well-exposed, and as I expected. I noticed that towards the end of the roll, the images became softer and less sharp, which concerned me. What did I do wrong?

 To give some background, I had eye surgery on my right eye, which is my dominant eye, about a year or two ago. When I went to see the eye doctor, I could barely make out details with my right eye, so surgery was necessary. Since then, it's gotten a bit better, but not as good as it used to be. Now I'm getting used to putting the camera up to my left eye, which is considerably better than my right. It still feels awkward, but it's my new normal.

Missing pressure plate

 I thought this contributed to the images being soft. Then I remember what a good friend, Mike Eckman, said a few weeks ago when we were discussing image sharpness. He said that he had a similar instance and noticed that the film's pressure plate was missing. At this point, I opened the back of the camera, and sure enough, the pressure plate was missing. 

 How could I miss that when I'm loading the camera? You get so used to looking at and loading cameras that you miss that a camera doesn't have a pressure plate.

 At this point, I'm sure I could manufacture one out of something like thin foamcore and just cut out circles for the red window. Still, it's a lot of fun to use, and the images are incredible. I'll chalk it up as a learning experience and double-check to be sure they have the pressure plate from now on.

 Here are some of the other Camera Reviews I've done.

 Cuny's Cameras and Photos is my online eBay store where I sell some of the cameras I've reviewed, along with other camera accessories, lenses, etc.

 Please feel free to comment on this or any of the other camera reviews I've done. I'd love to hear from you.

 Until next week, please be safe.