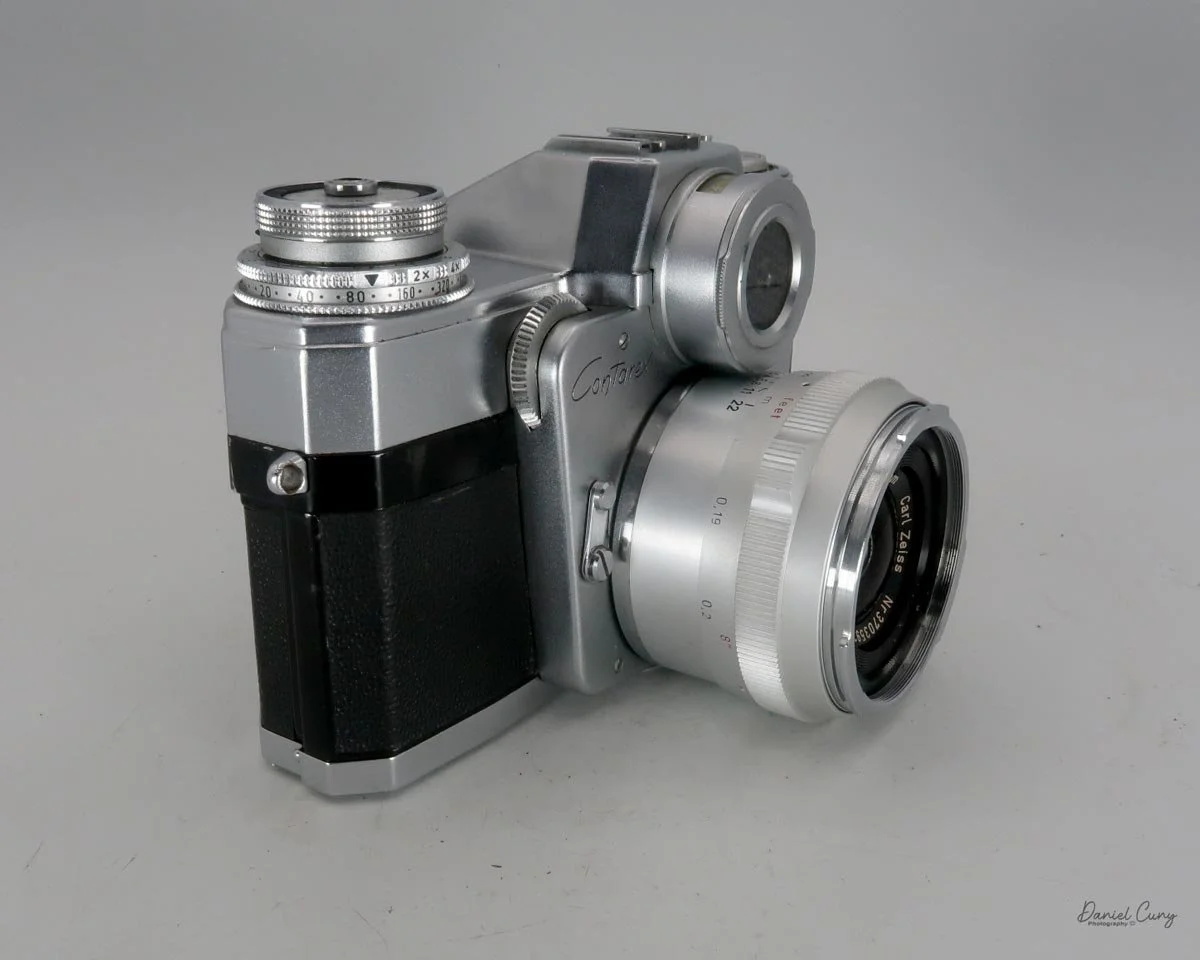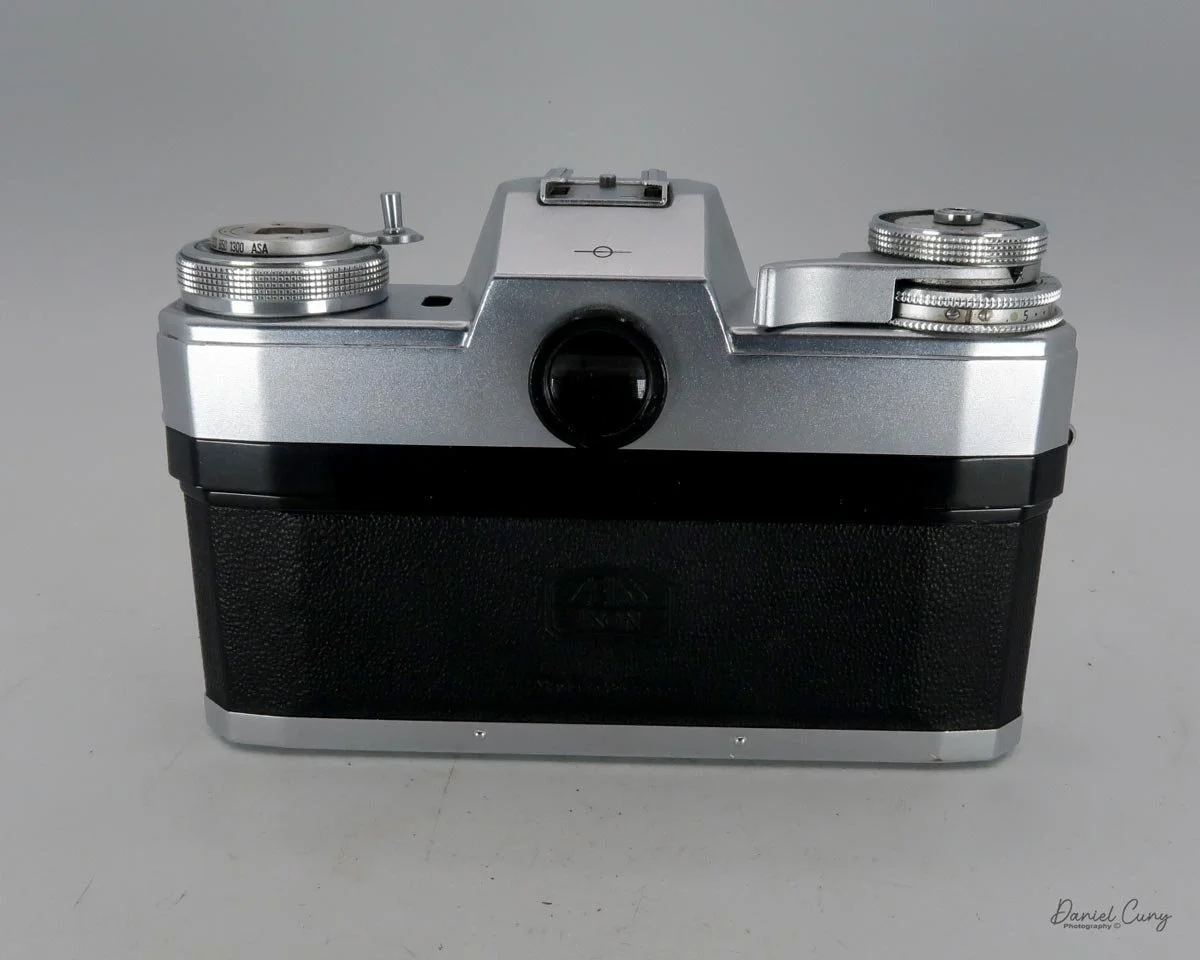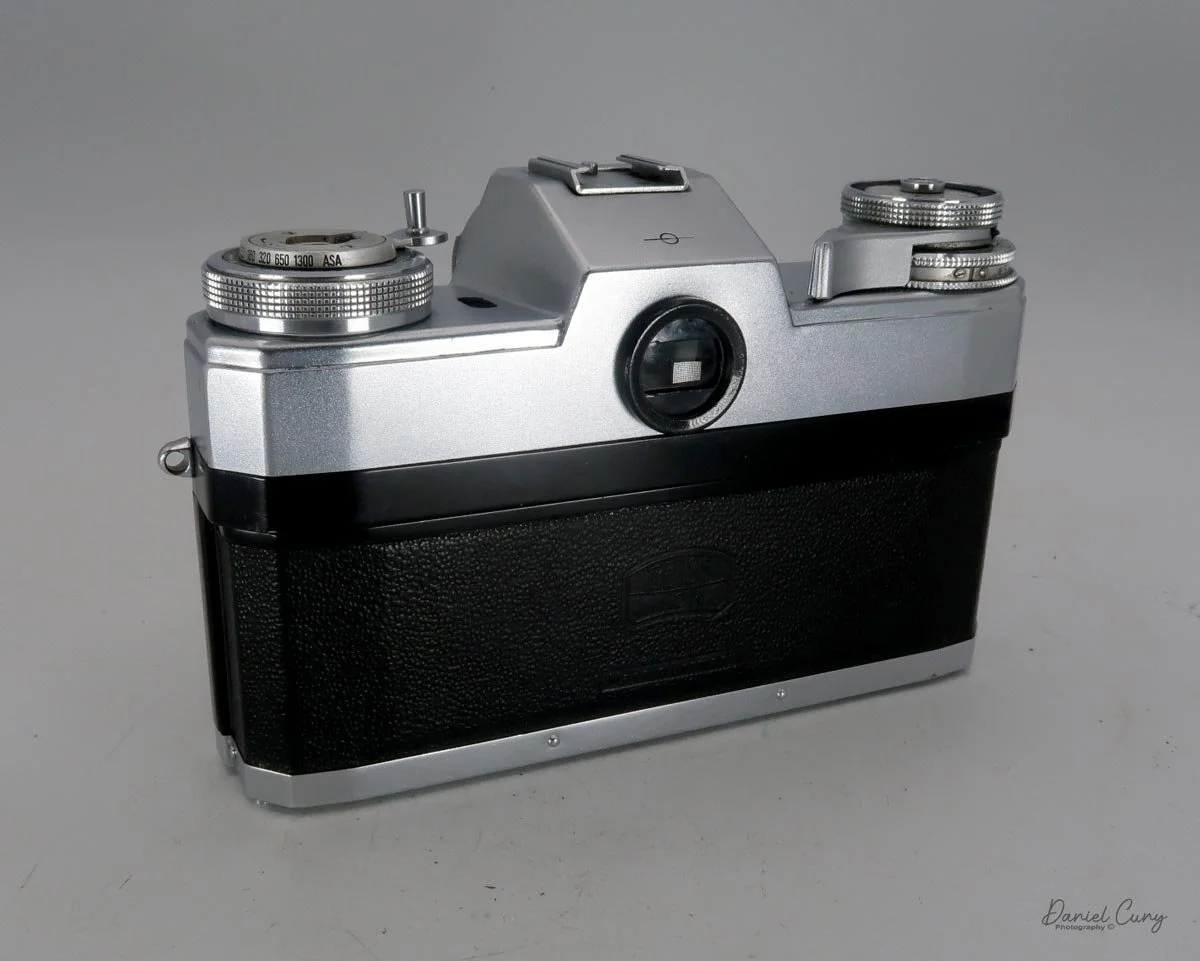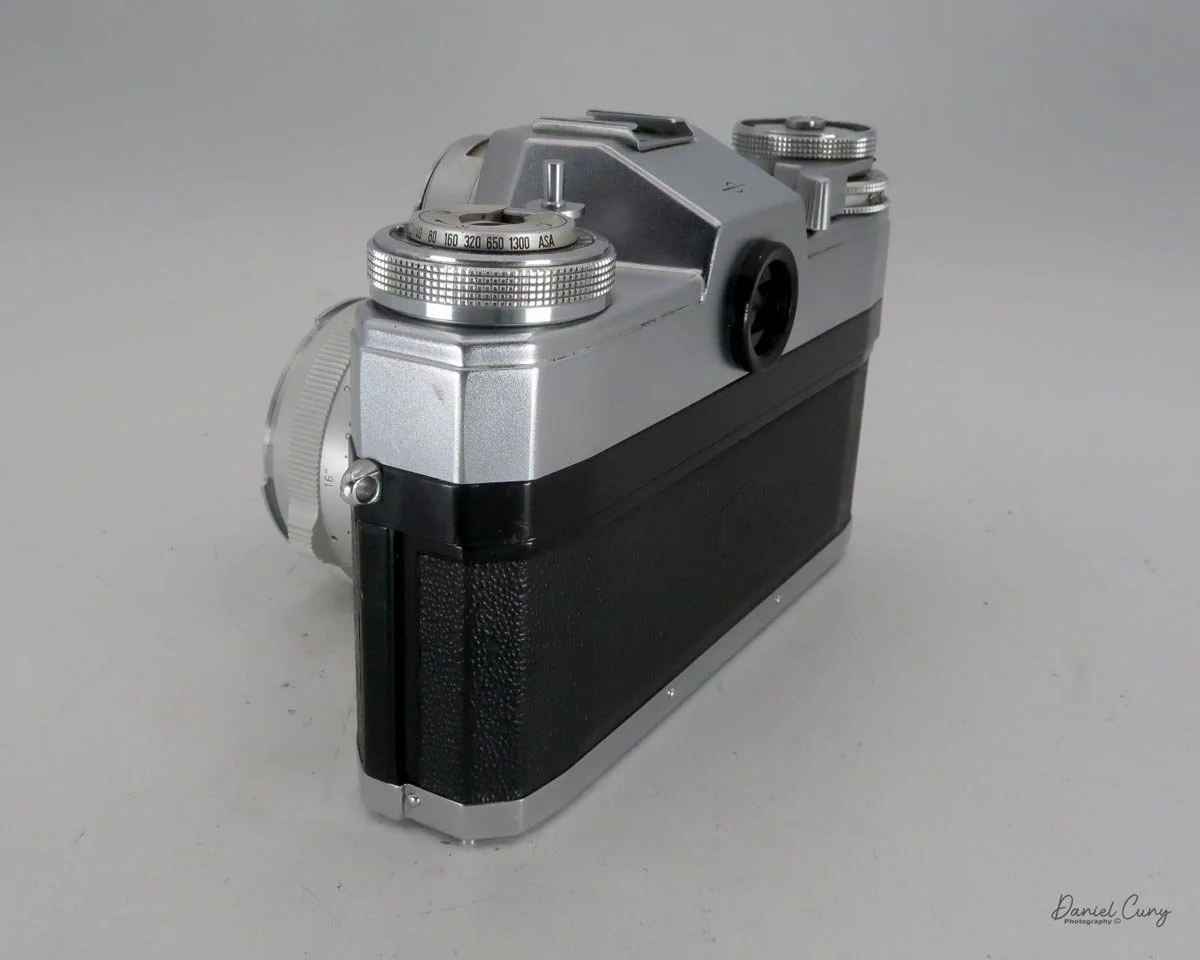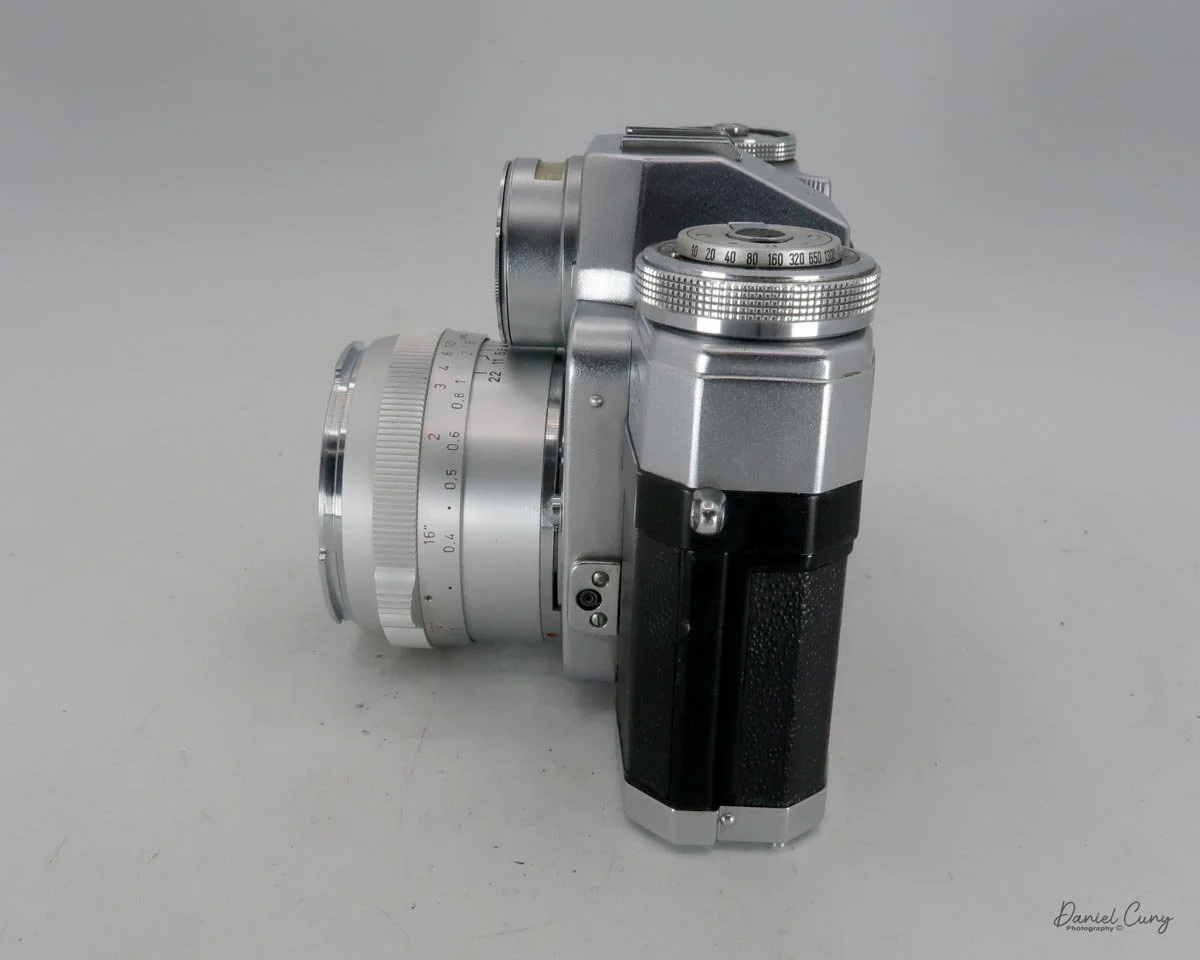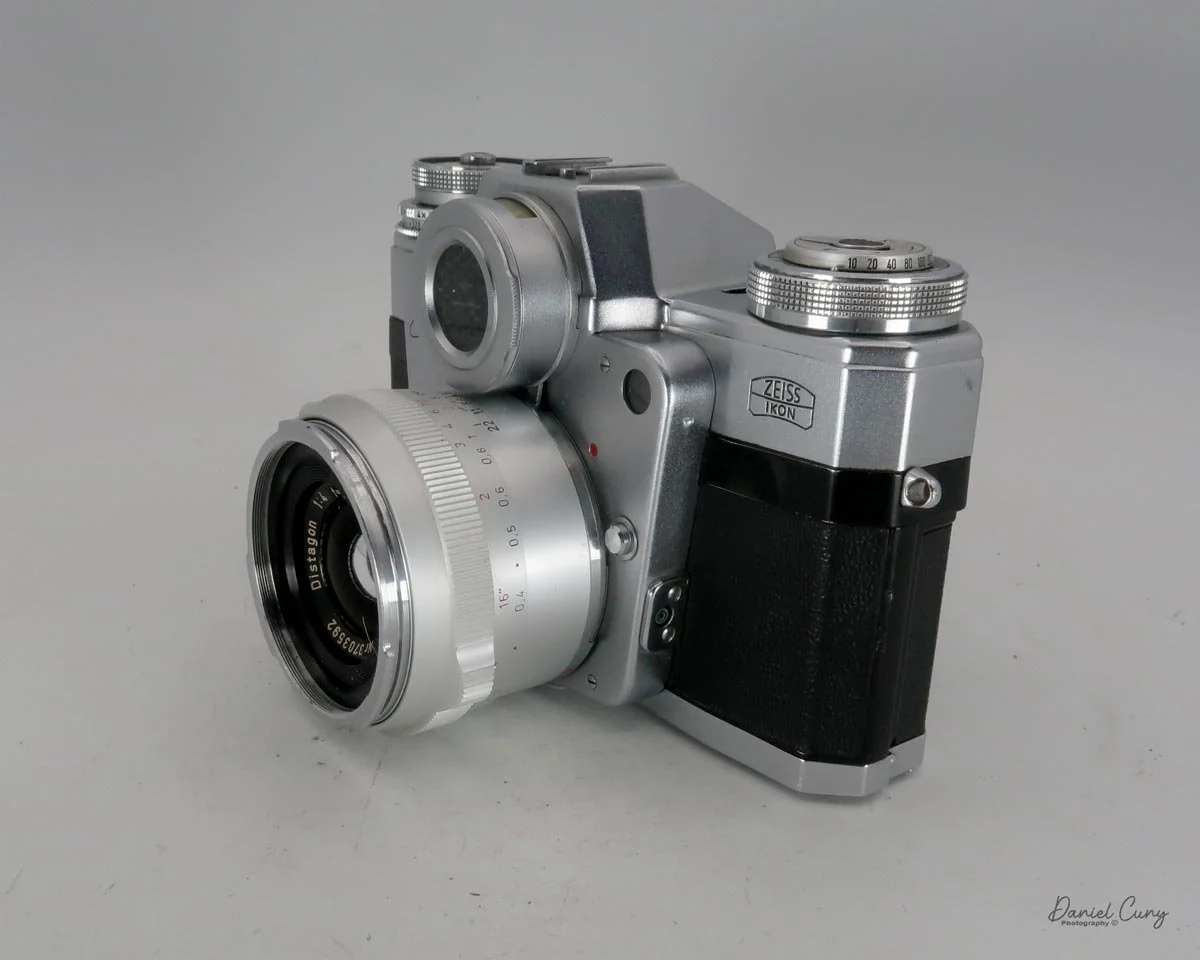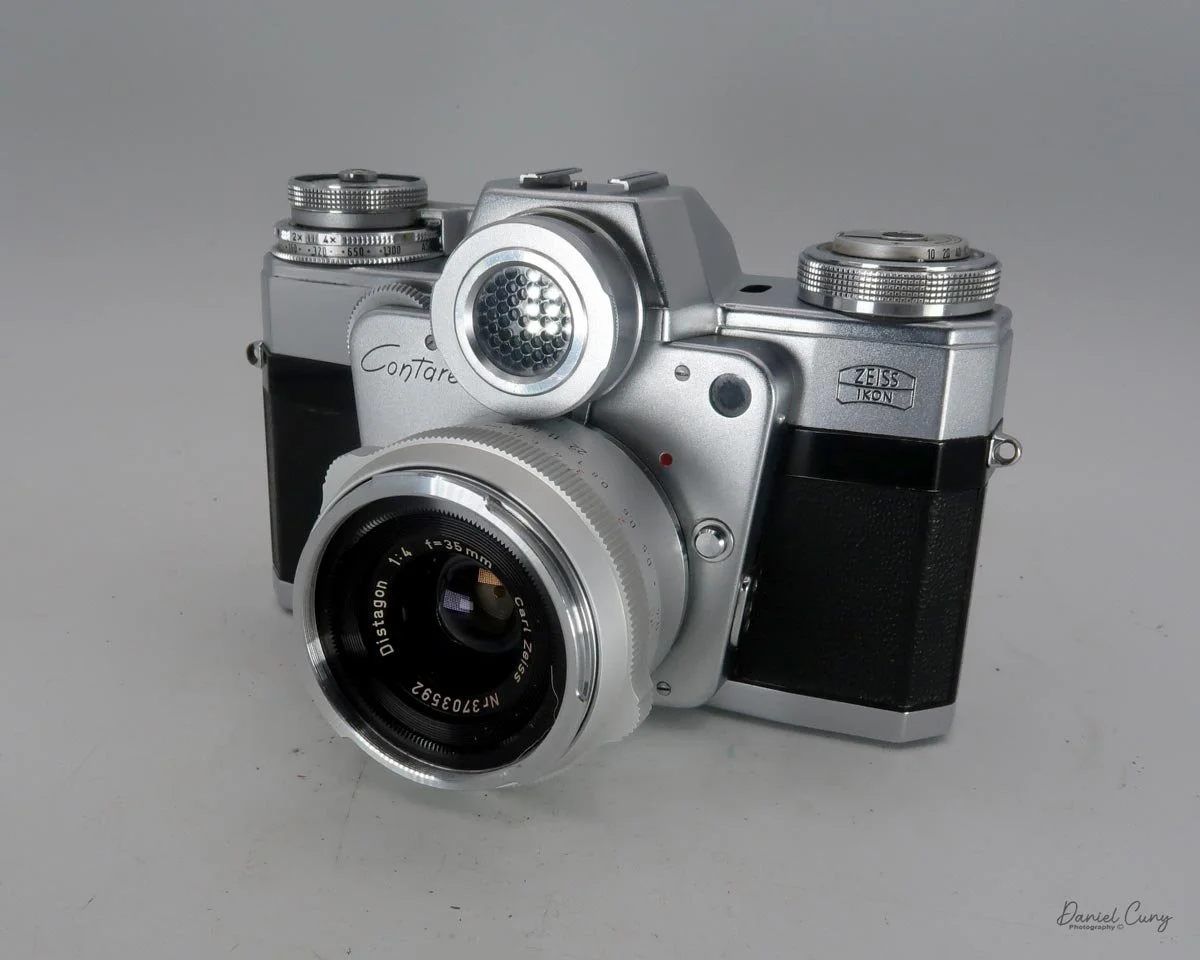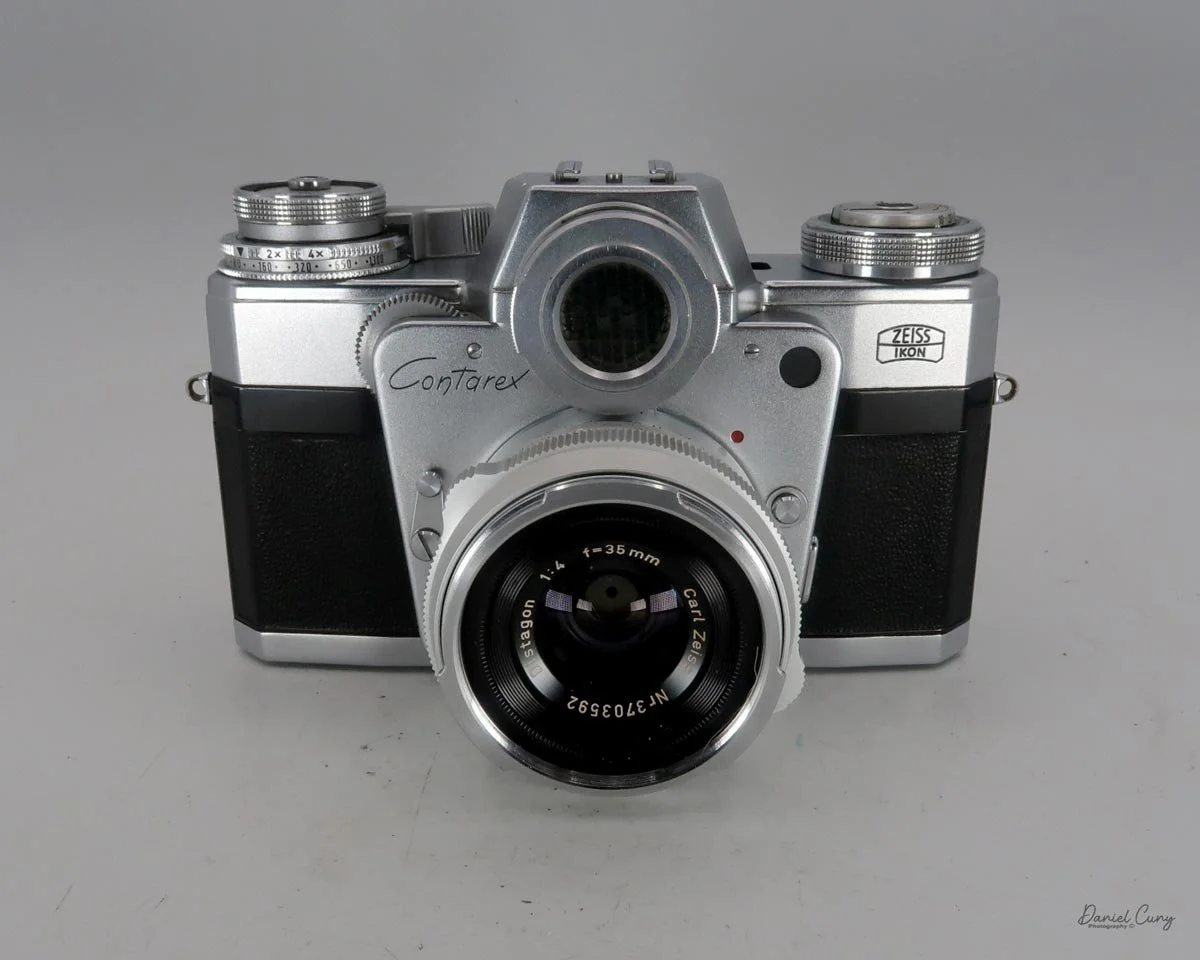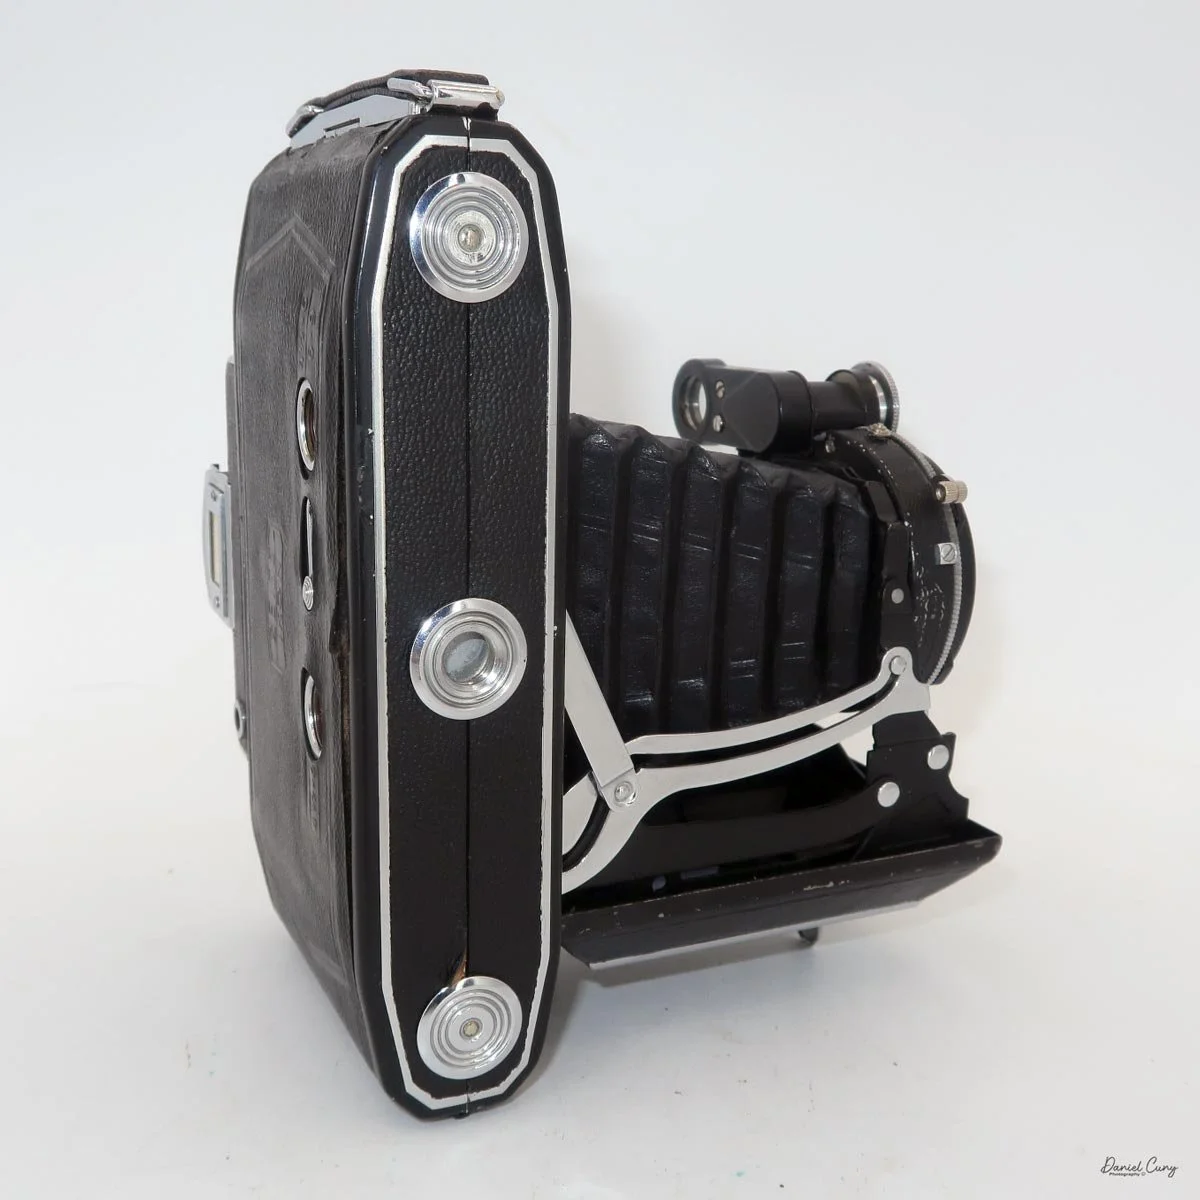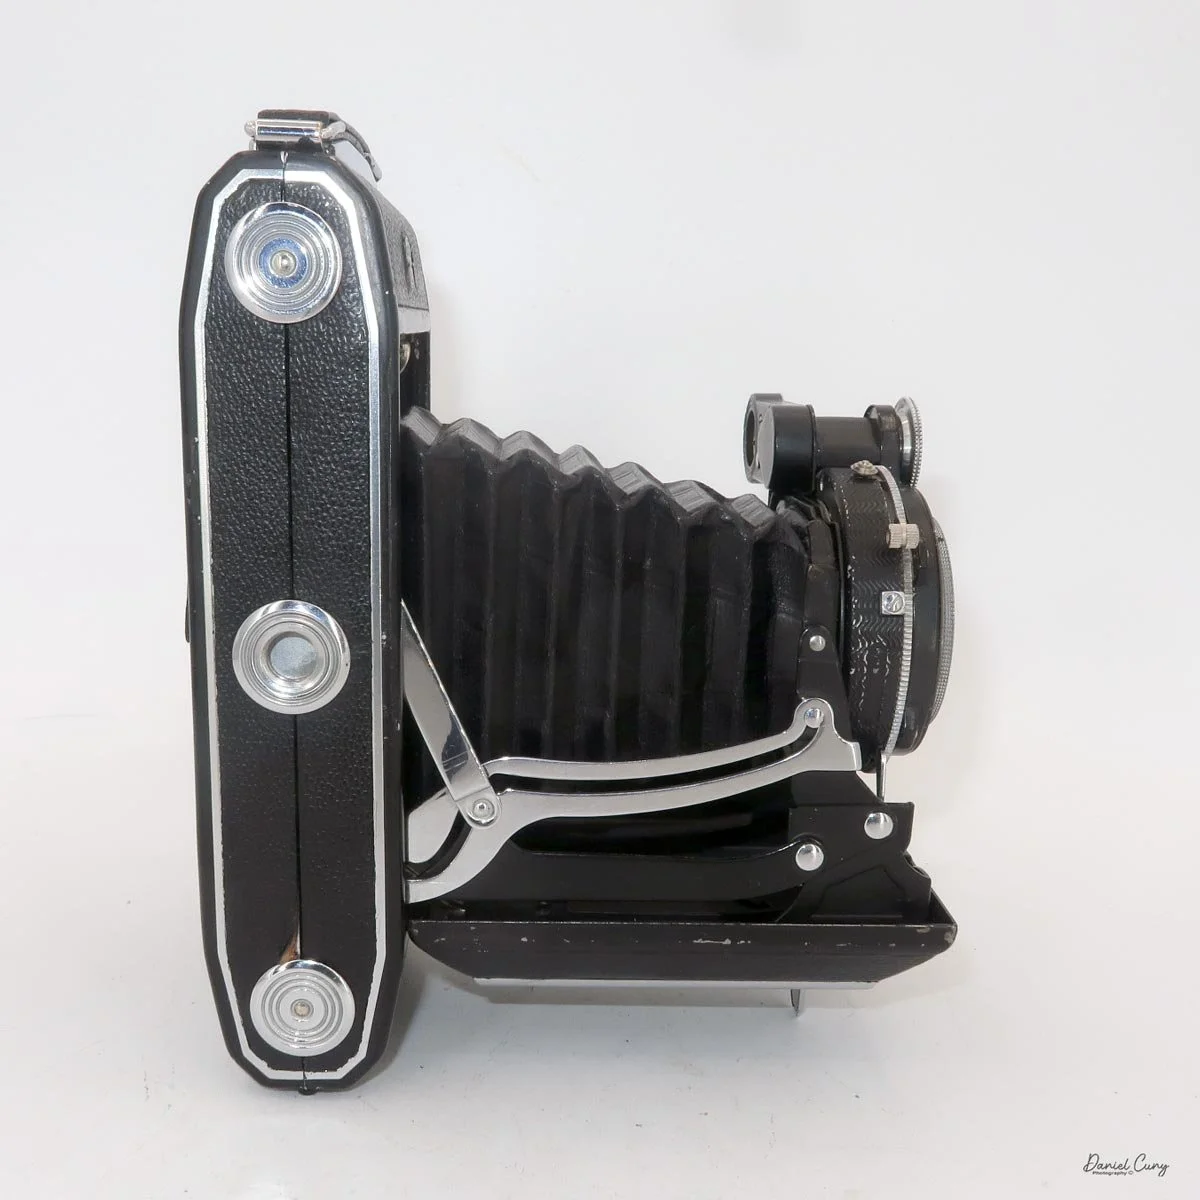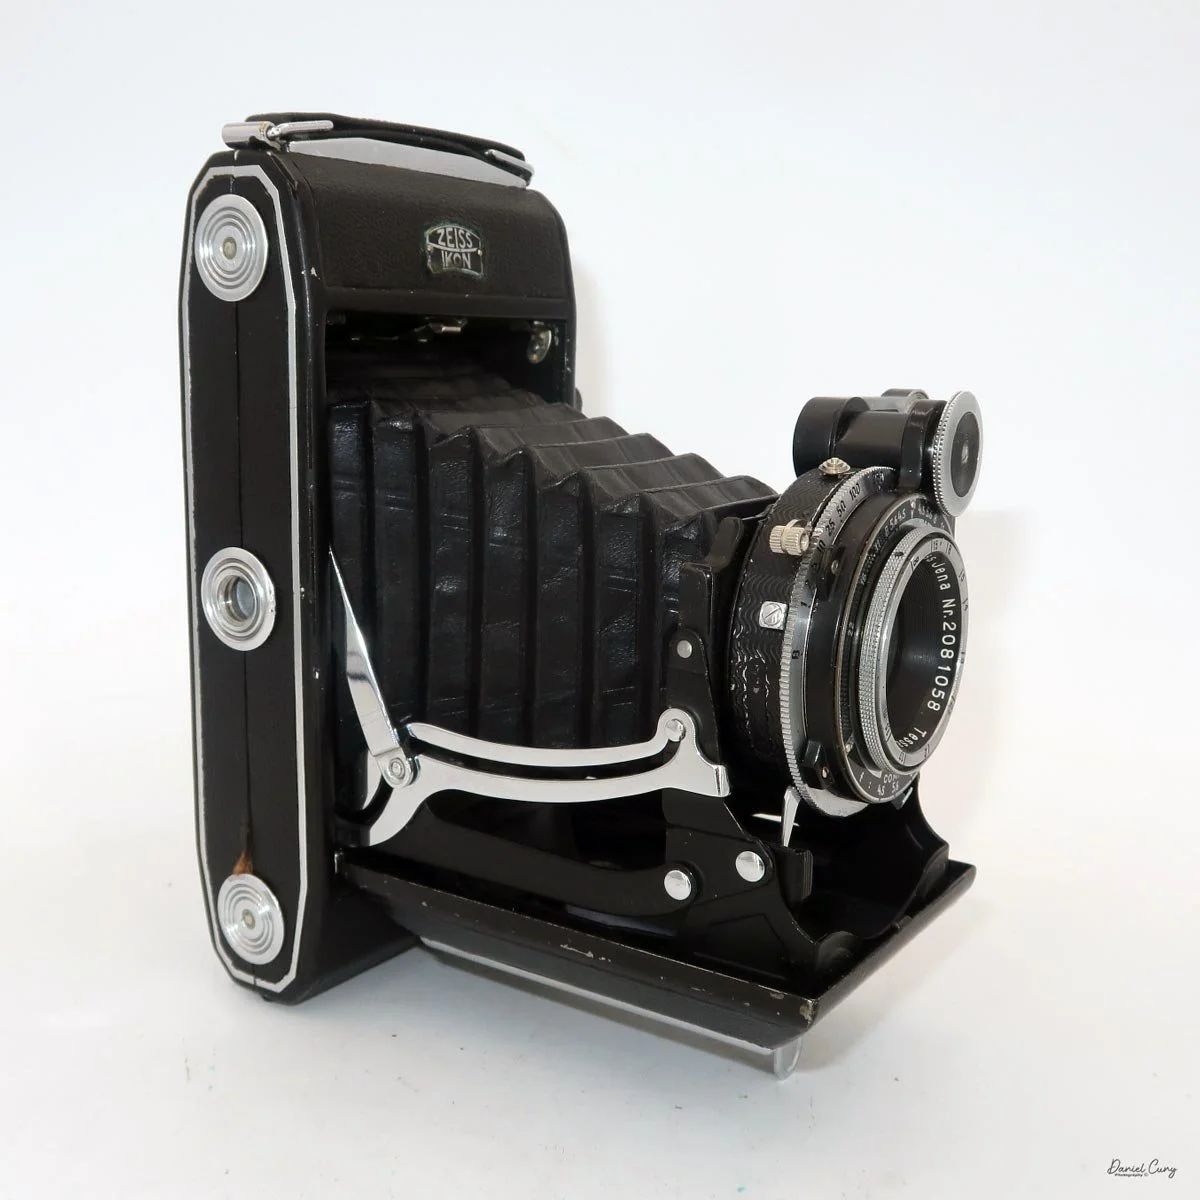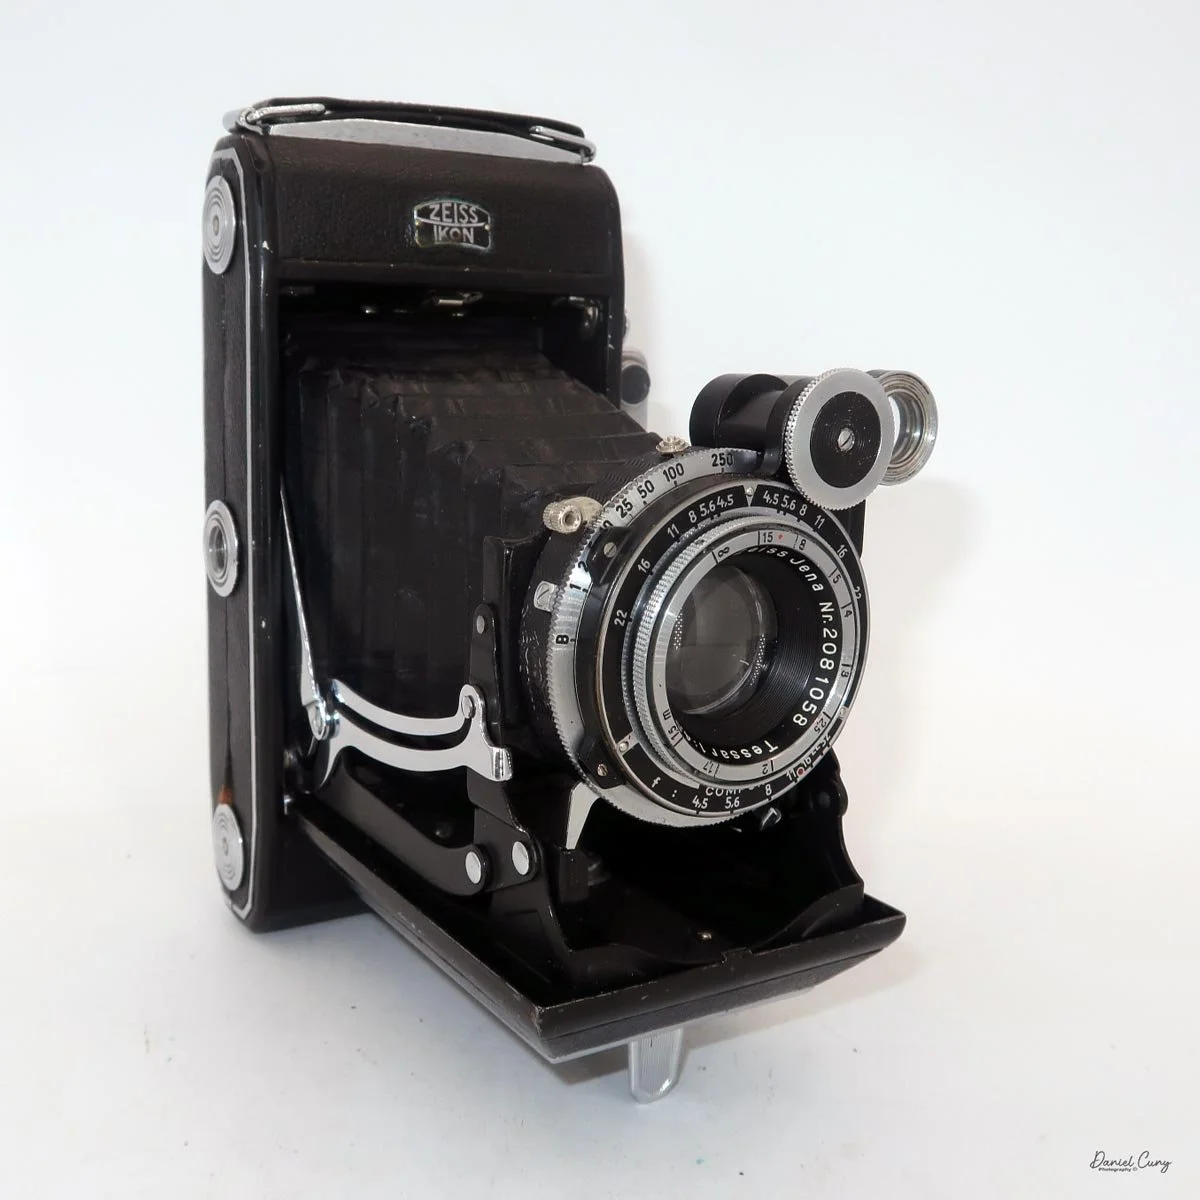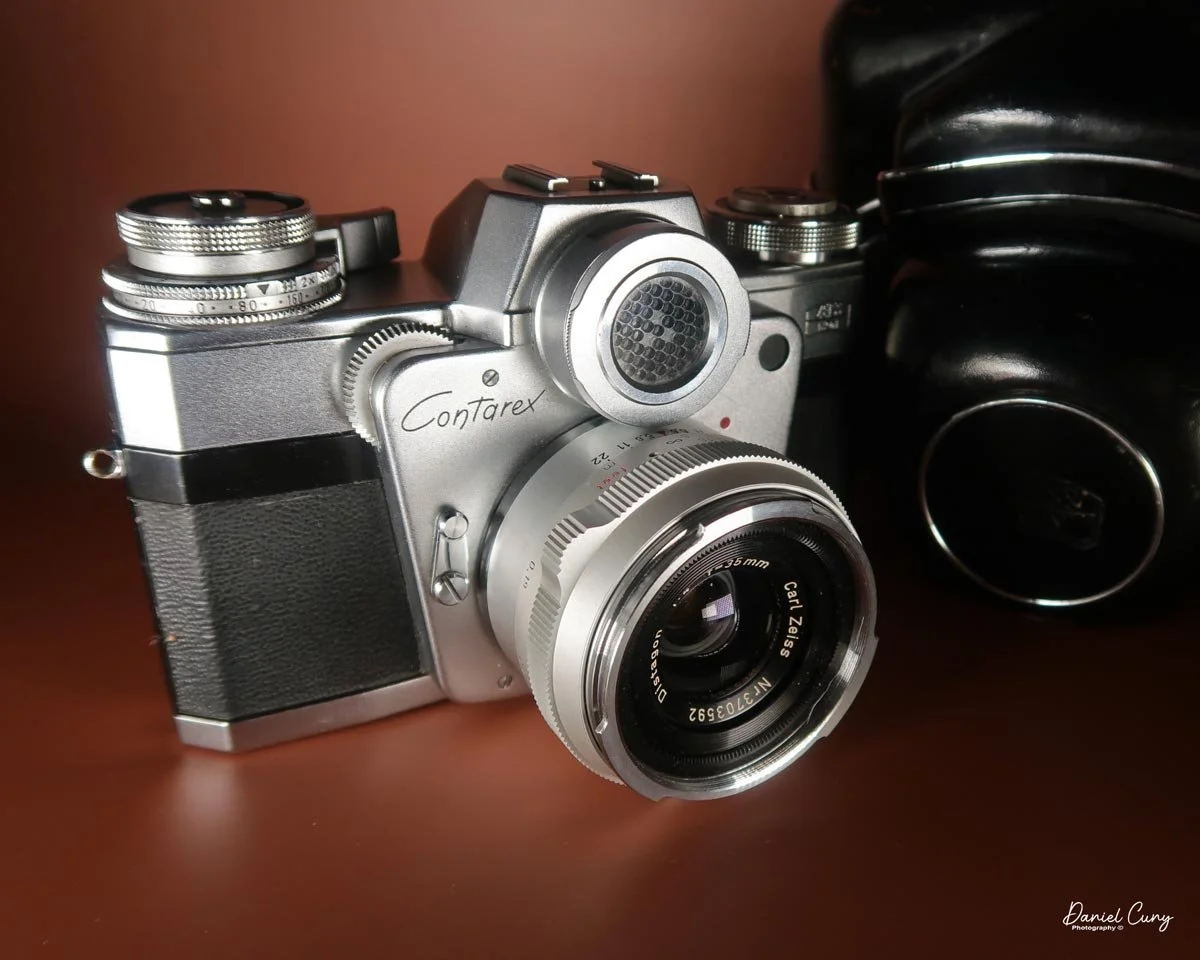
Zeiss Ikon Contarex "Bullseye" camera

My Zeiss Ikon Contarex “Bullseye” camera

Ever since I started collecting cameras, way back in the late 1970s, maybe even the early 1980s, the Zeiss Ikon Contarex, "Bullseye" or "Cyclops" camera has been on my radar to hopefully someday have in my collection. These were the times when my wife and I were newly married, and money was always tight—living paycheck to paycheck.

I can remember seeing the Contarex camera in magazines and other collecting or historical publications. Always in the back of my mind, I thought this was one of the most beautiful cameras ever made. The bulging "eye" over the lens made the camera seem otherworldly, futuristic, and more like an art piece than a camera.

Seeing it many times in McKeown's Cameras price book, which I would devour constantly, soaking in the information on the different camera designs and companies from around the world that produced odd and unique cameras, it was the Contarex that always stood out as an icon for camera collectors.

Fast forward 35 years. It was sometime in the early to mid-2010s when I had the opportunity to purchase one of these wonders of a camera. With extra income to spend on expanding my collection and selling off some cameras, I pulled the trigger at a camera show in the San Francisco Bay Area, where we lived at the time, on a wonderful, working Contarex with the fitted case.
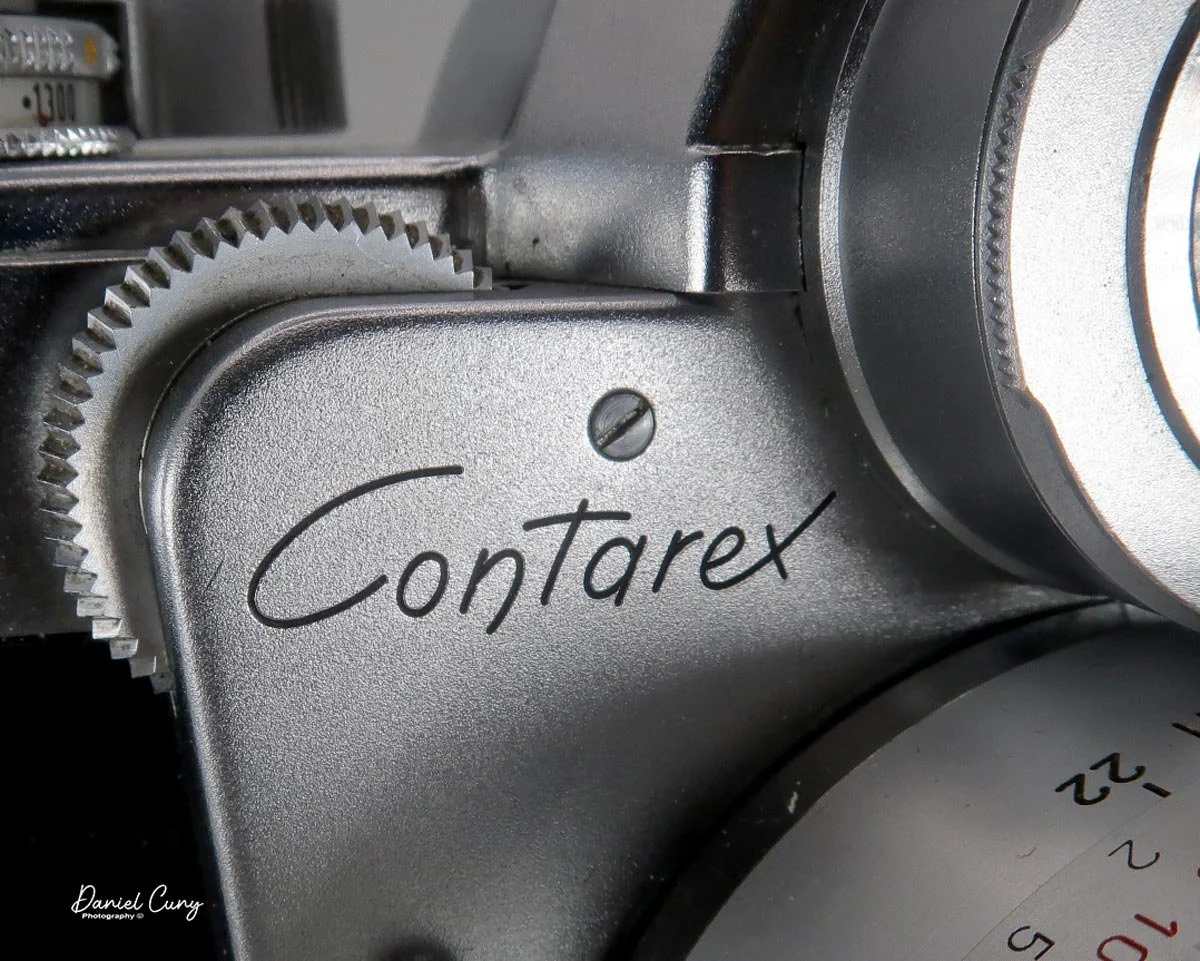
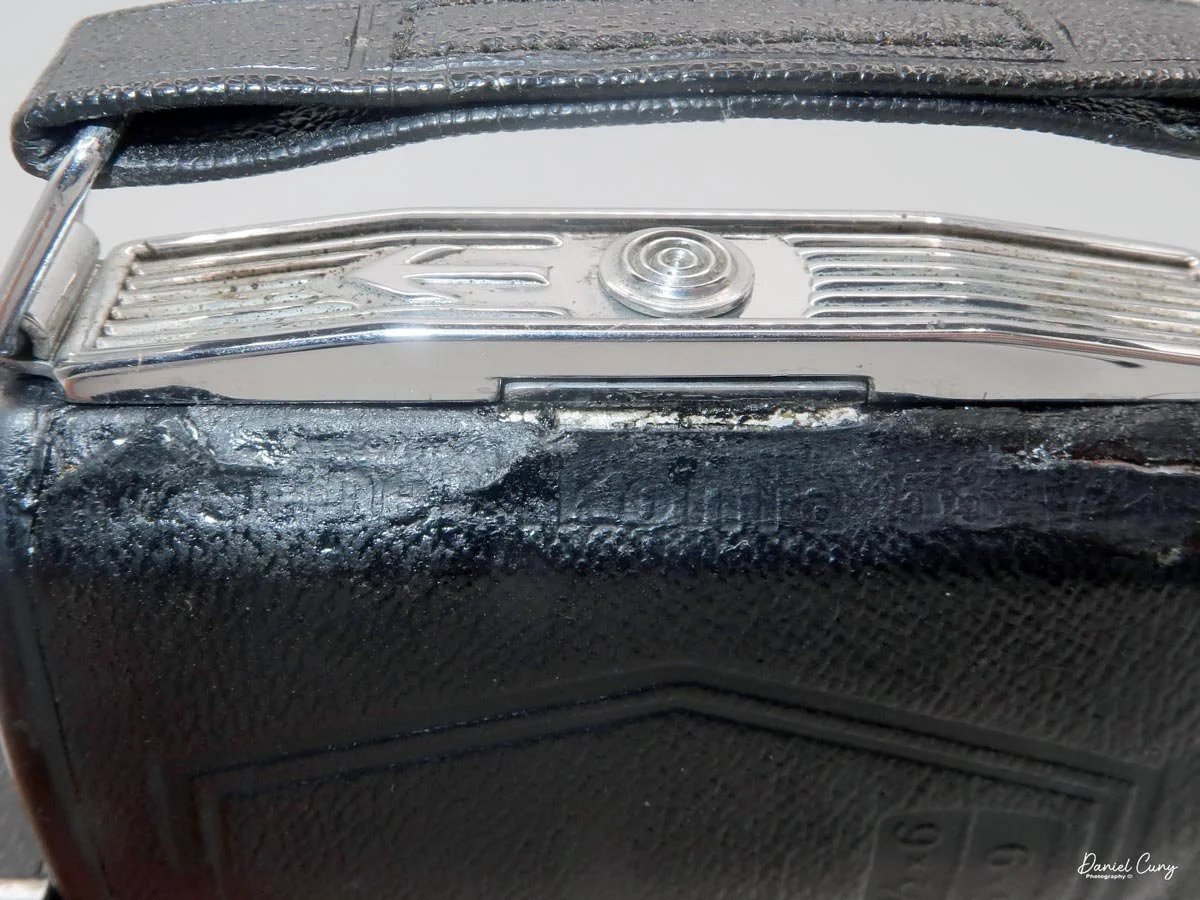
Contarex nameplate

The camera came with the slightly wide Zeiss Distagon 35mm f/4 lens, which was fairly slow, but there are two items I liked about this lens. It's wide—not as wide as I'd like, but it also focuses closer than most lenses. The lens can focus down to 7.5 inches from the subject, almost making it a macro lens. Not quite, but much closer than the standard lens.

The Contarex also has a working meter, which is somewhat rare for a selenium meter system on a camera made in the late 1950s to early 1960s. I also enjoy a more "hefty" camera, since I was mainly raised using the older Nikon F system. Along with having larger hands, these cameras feel more comfortable to me.

I remember when the Olympus OM system camera hit the market in the 1970s. I'd wrap my hands around the smaller body and lenses, and it always made me feel like I was suffocating the camera as my hand enveloped them. Same with the Pentax ME system when they came out, so having a larger camera body and lens has always seemed right to me.

The Contarex camera is extremely solid, well-built, over-engineered, and somewhat weighty. The Contarex has some real heft to it. One thing I wasn't aware of was the camera's build quality, which I discuss below in the history section.


History of the Contarex Cameras

The Zeiss Ikon Contarex, introduced at Photokina in 1958 and hitting the market in 1960, stands as one of the most ambitious and notoriously over-engineered 35mm single-lens reflex (SLR) cameras ever manufactured. Conceived in 1954 under the internal designation "Contax IV," the Contarex was designed by Edgar Sauer as Zeiss Ikon's definitive professional 35mm SLR, intended to replace the Contax IIa and IIIa and, in the company's words, cater to "any photographic task whatsoever."

With rising Japanese powerhouses, the Contarex system was Zeiss Ikon's no-holds-barred flagship—a mechanical tour de force that commands immense respect (and sometimes frustration) in the vintage collecting community today.
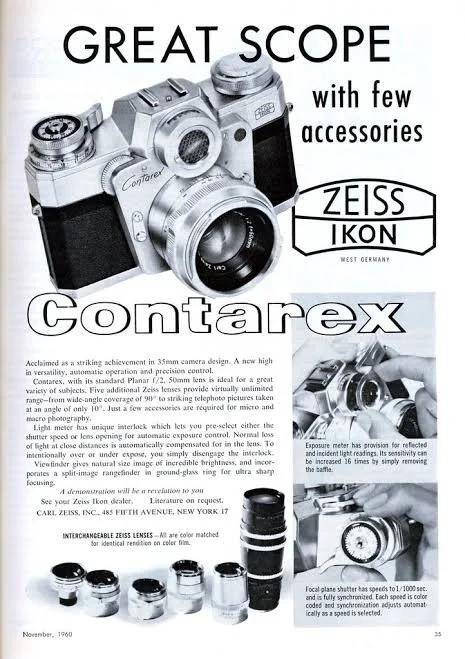
Zeiss Ikon Contarex camera advertisment

The first model in the lineup earned the nicknames "Bullseye" and "Cyclops" due to the prominent, circular selenium light meter window mounted directly in front of the pentaprism. This meter wasn't just cosmetic; it represented a massive mechanical achievement. The Contarex I was the first 35mm SLR to feature a focal-plane shutter with direct light meter coupling. The camera mechanically linked the shutter speed, aperture, and film speed settings via a highly complex system of internal cords and pulleys.

While the interchangeable Carl Zeiss lenses produced for the Contarex are still legendary for their sharpness, contrast, and uncompromising build quality, the camera bodies themselves are incredibly intricate. The original Bullseye contains nearly 1,100 individual parts, including roller bearings in the aperture mechanism. Interestingly, the lenses lack traditional aperture rings; instead, the aperture is controlled by a milled wheel on the camera body itself, which directly interfaces with the bayonet mount.

Because of their sheer mechanical complexity, they require highly specialized technicians for servicing—simply removing the top plate requires dismantling 43 separate components. A working selenium meter is often a strong indicator that a specific body hasn't been abused over the decades. For anyone running an online shop or writing historical reviews, finding a fully functional Contarex at a global market is a massive victory, offering rich material for a blog deep-dive or video overview.

Another notoriously delicate quirk is the rewind mechanism. Instead of a direct shaft, it uses a series of tiny gears, making it smooth but highly vulnerable to impact damage. Additionally, interchangeable magazine backs allowed mid-roll film swapping, cementing its status as a true professional system camera.

Despite its brilliance, the sheer cost ($499 in 1961), heavy weight, and complicated nature of the Contarex meant it never dominated the market quite like the simpler Japanese alternatives. Zeiss Ikon eventually produced several variations, including the Contarex Special, Professional, and the electronic Super, before ceasing production in the early 1970s. Today, these chrome behemoths remain a fascinating pinnacle of mid-century German engineering—heavy, beautiful, and incredibly rewarding to study and restore.

My Camera

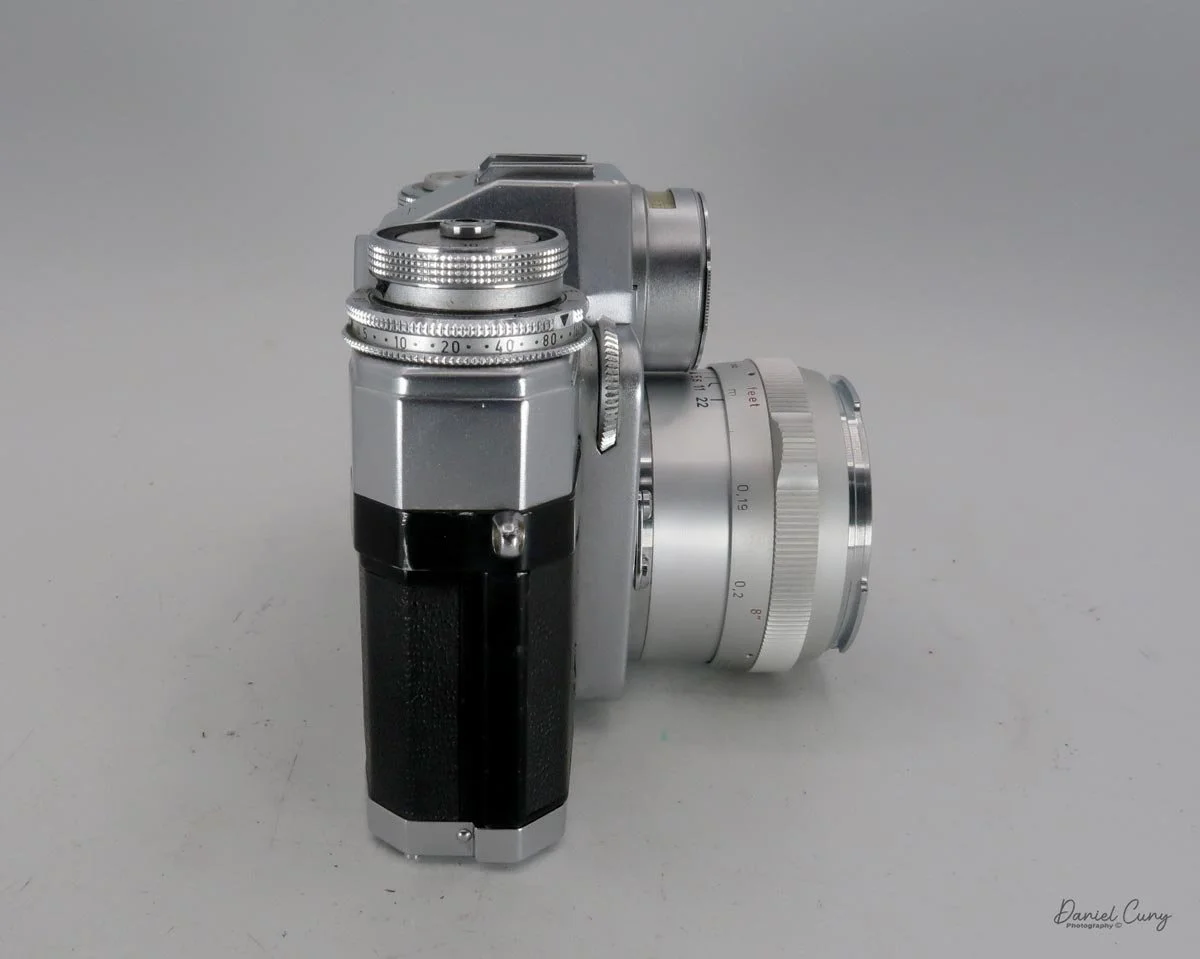
My Zeiss Ikon Contarex camera is 4" tall by 6" wide by 4" deep with the Zeiss Distagon 35mm f/4 lens, and weighs in at 2 pounds, 8.8 ounces. My camera body serial number is T89707, and the lens serial number is 3703592. You can find the instruction manual for the Zeiss Contarex at Mike Butkus's website, www.CameraManuals.org.
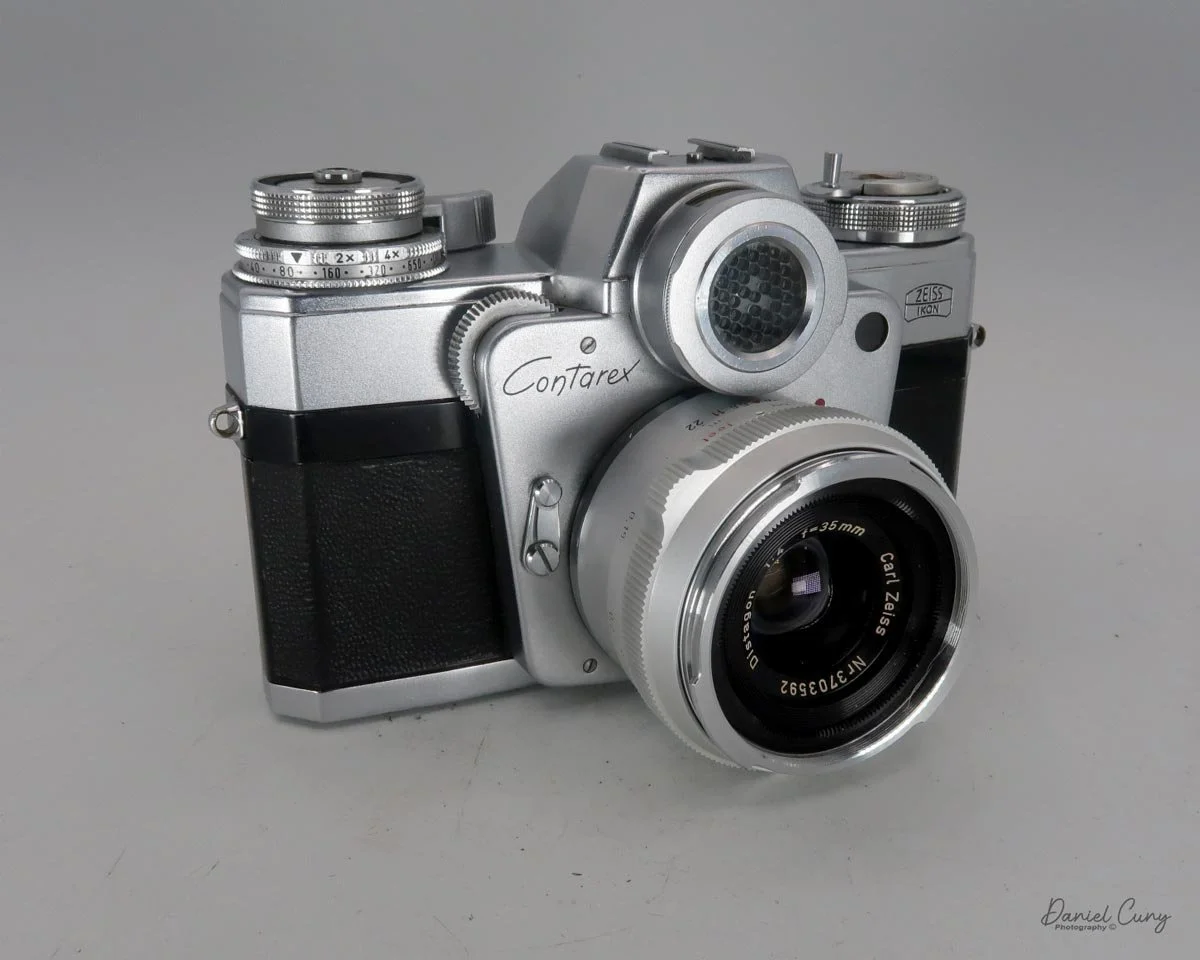
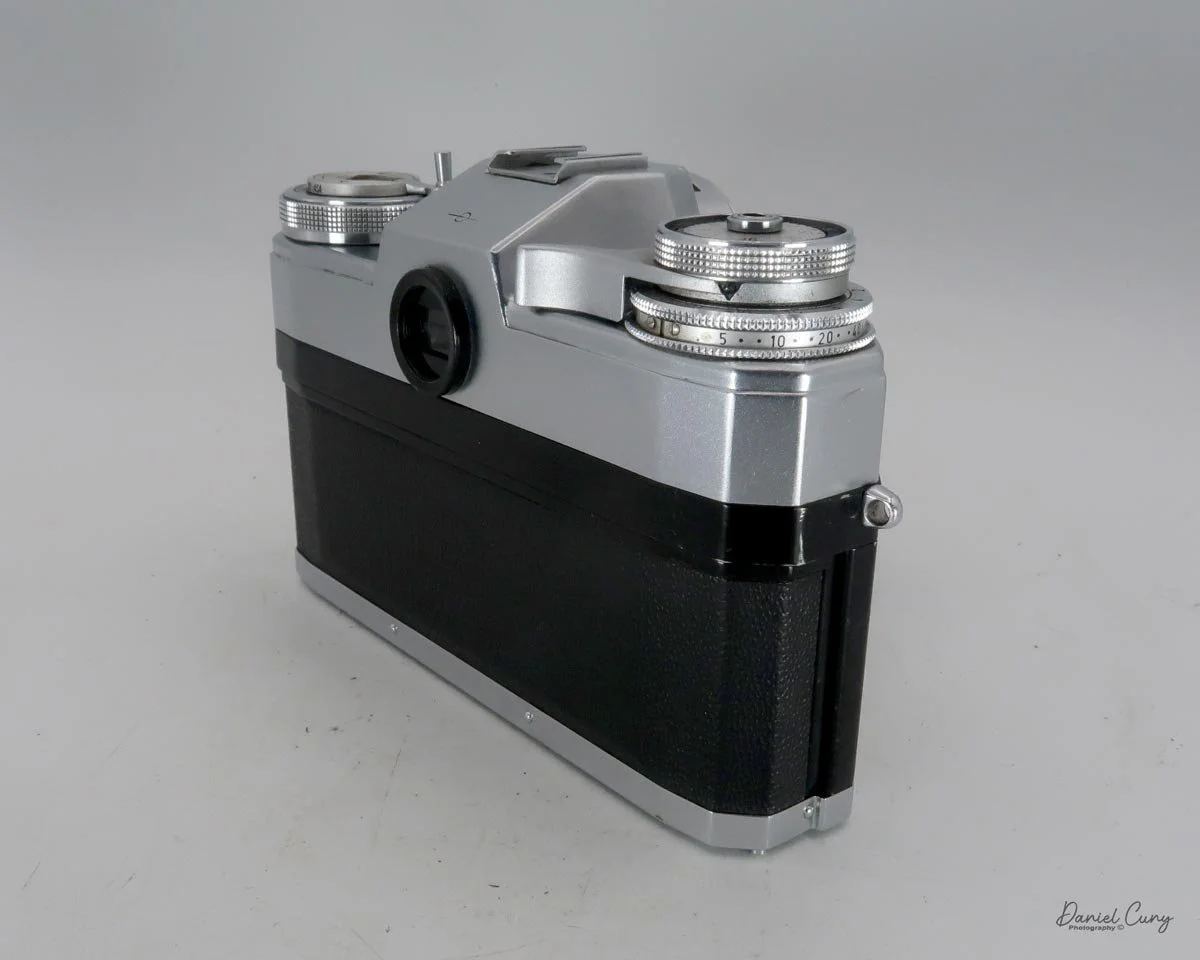
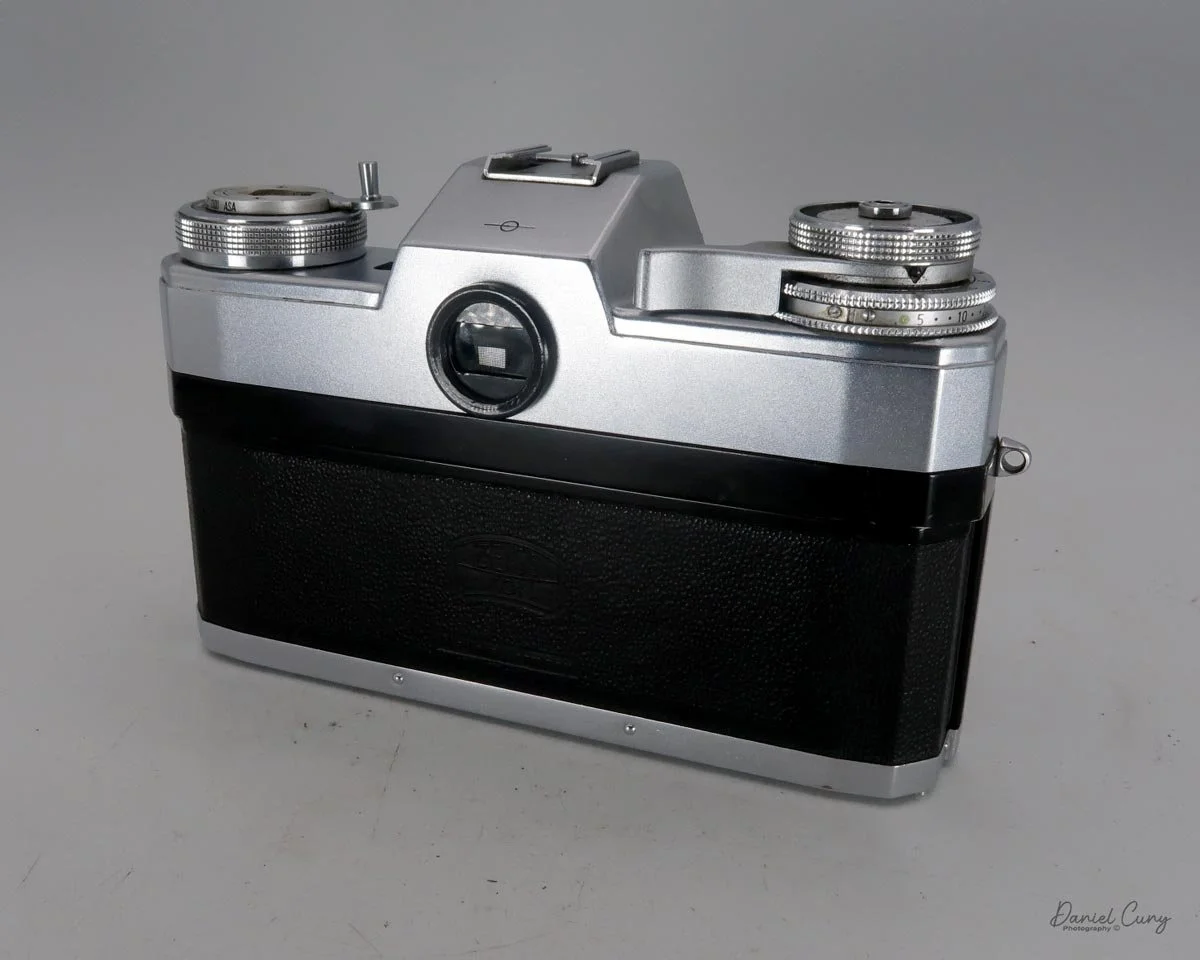
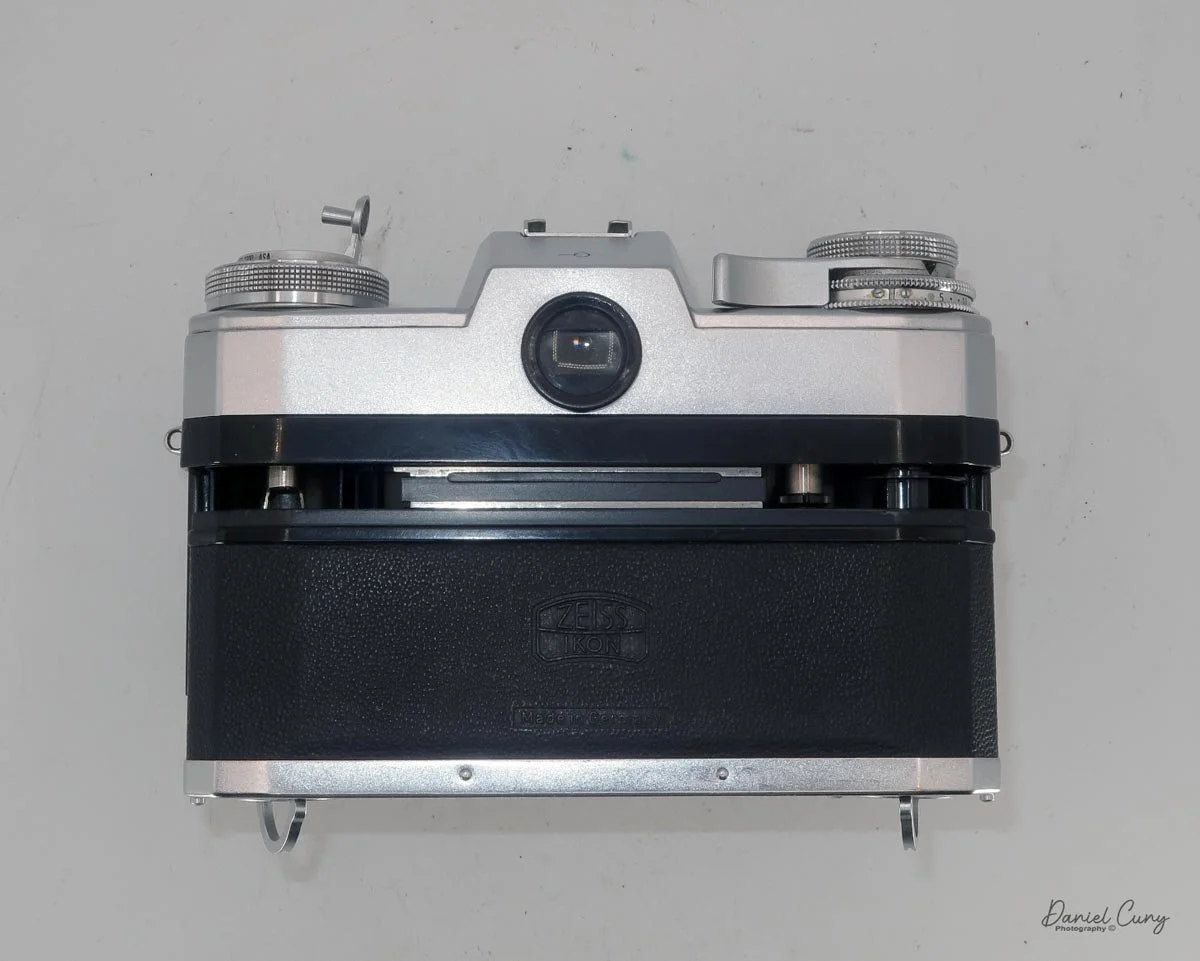
Looking at the top of the camera, going from left to right, is the camera's rewind knob with a flip-up lever, along with a directional arrow indicating which way to turn the wheel when it's time to rewind your film. There is also an indicator or reminder of what ASA (ISO) you have in the camera.
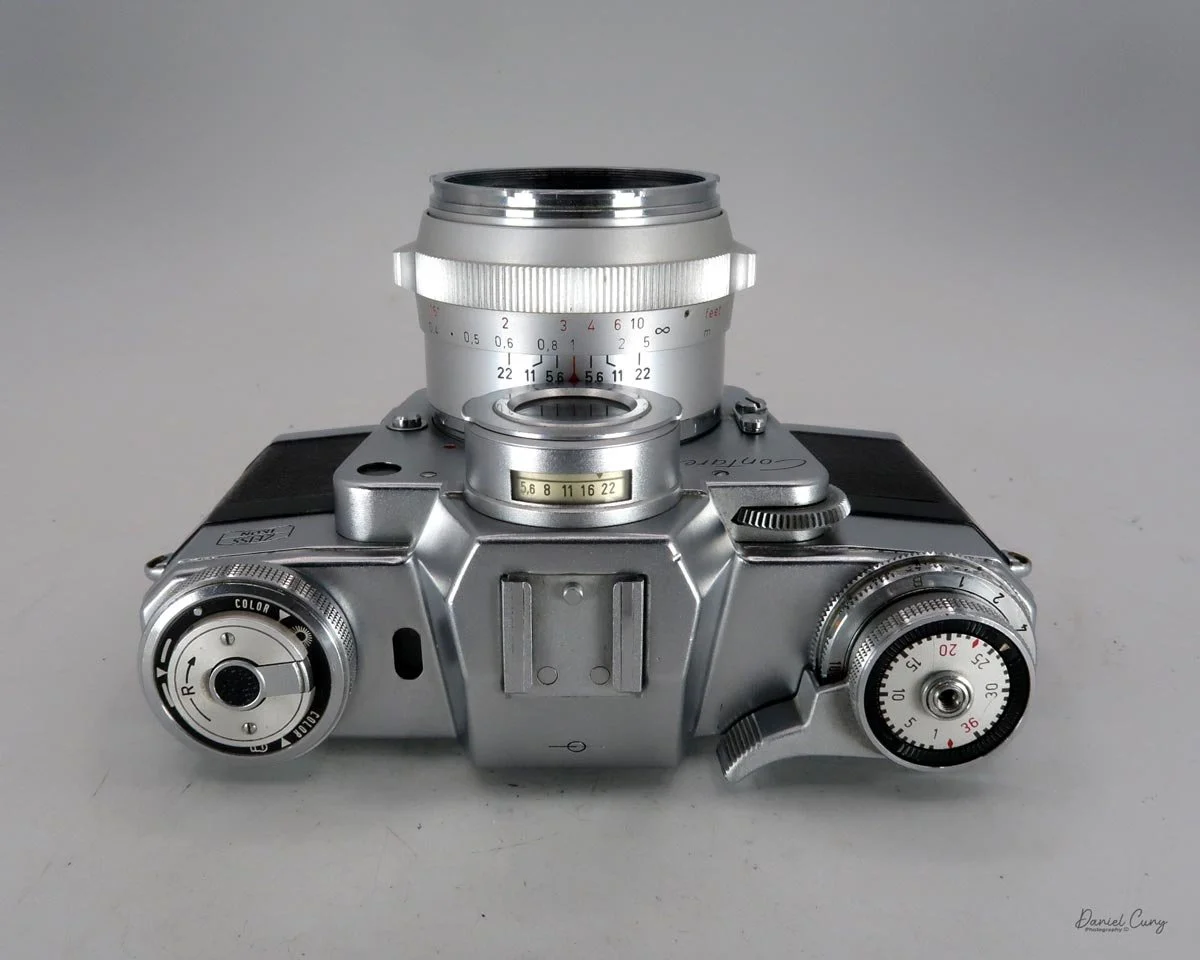
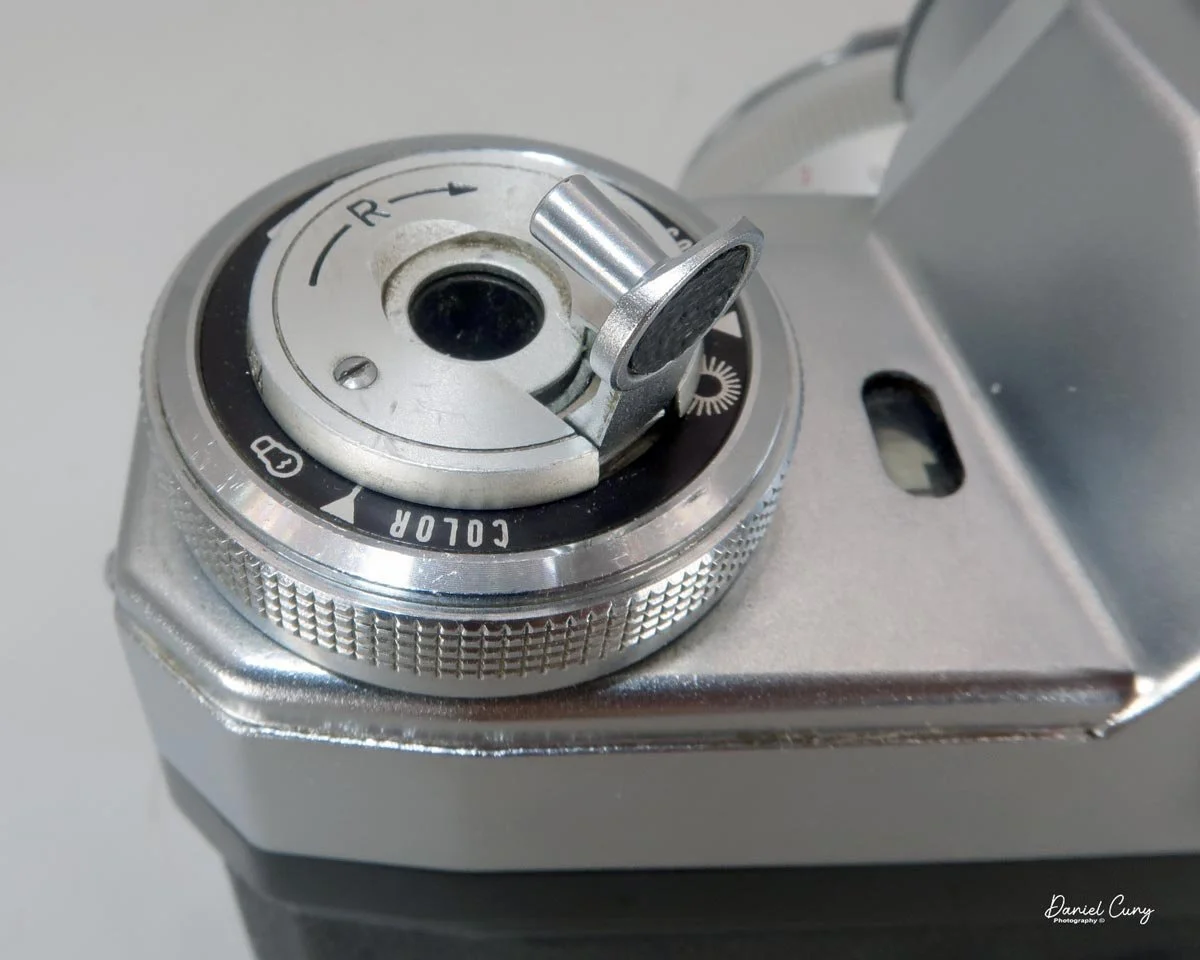
To the right of the rewind knob is an external light meter window. This is the same as you'll see in the viewfinder, only it's to be used if you're setting up from your waist and want to get the meter settings before you put the camera to your eye.

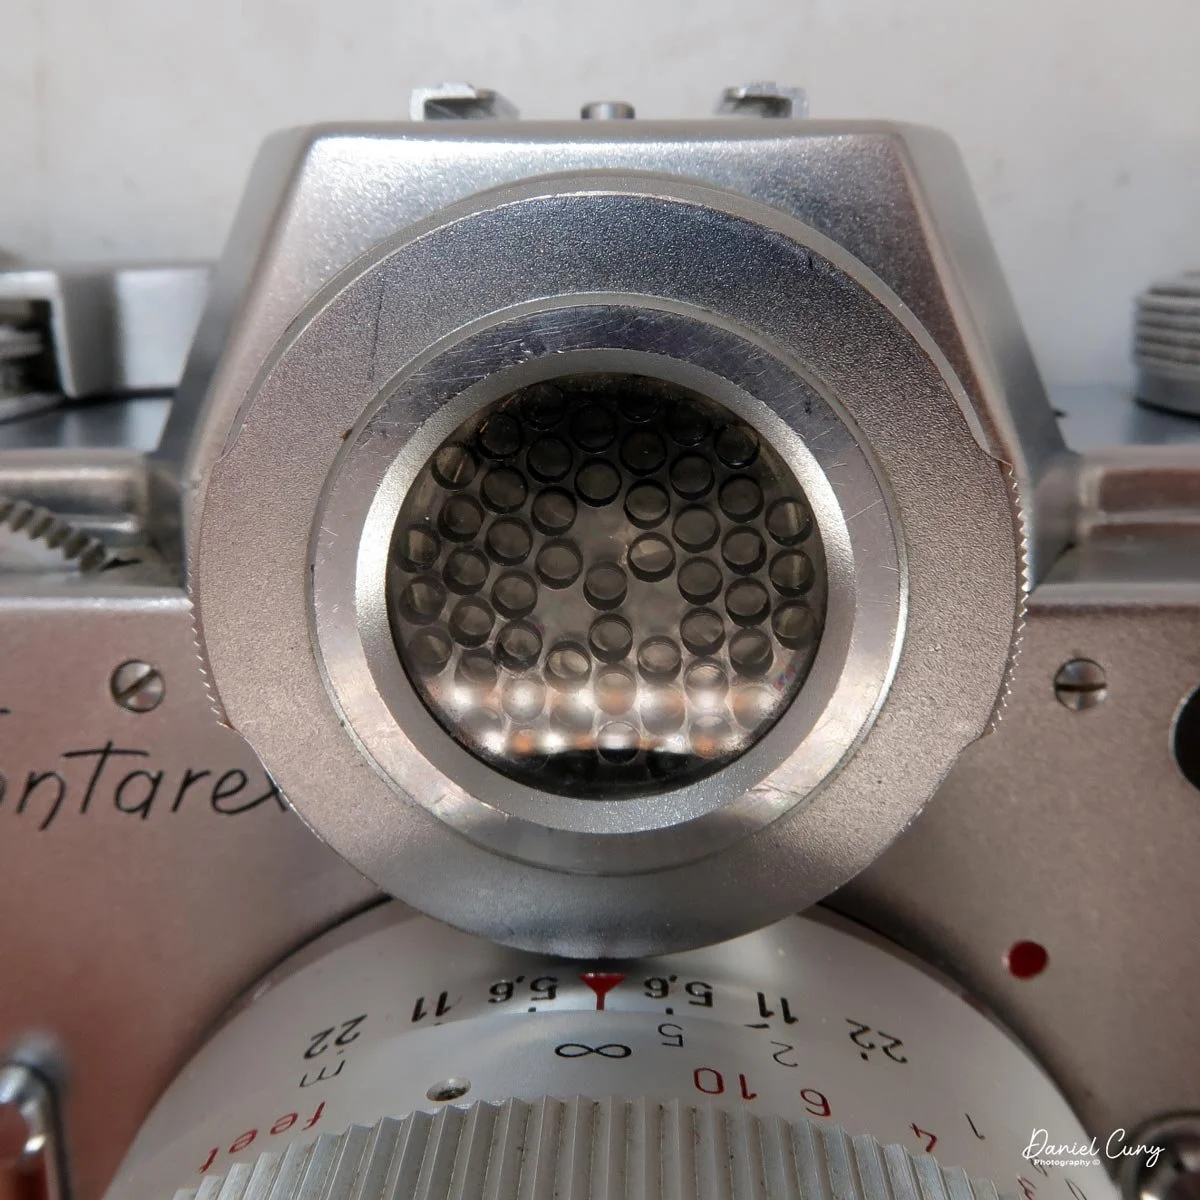
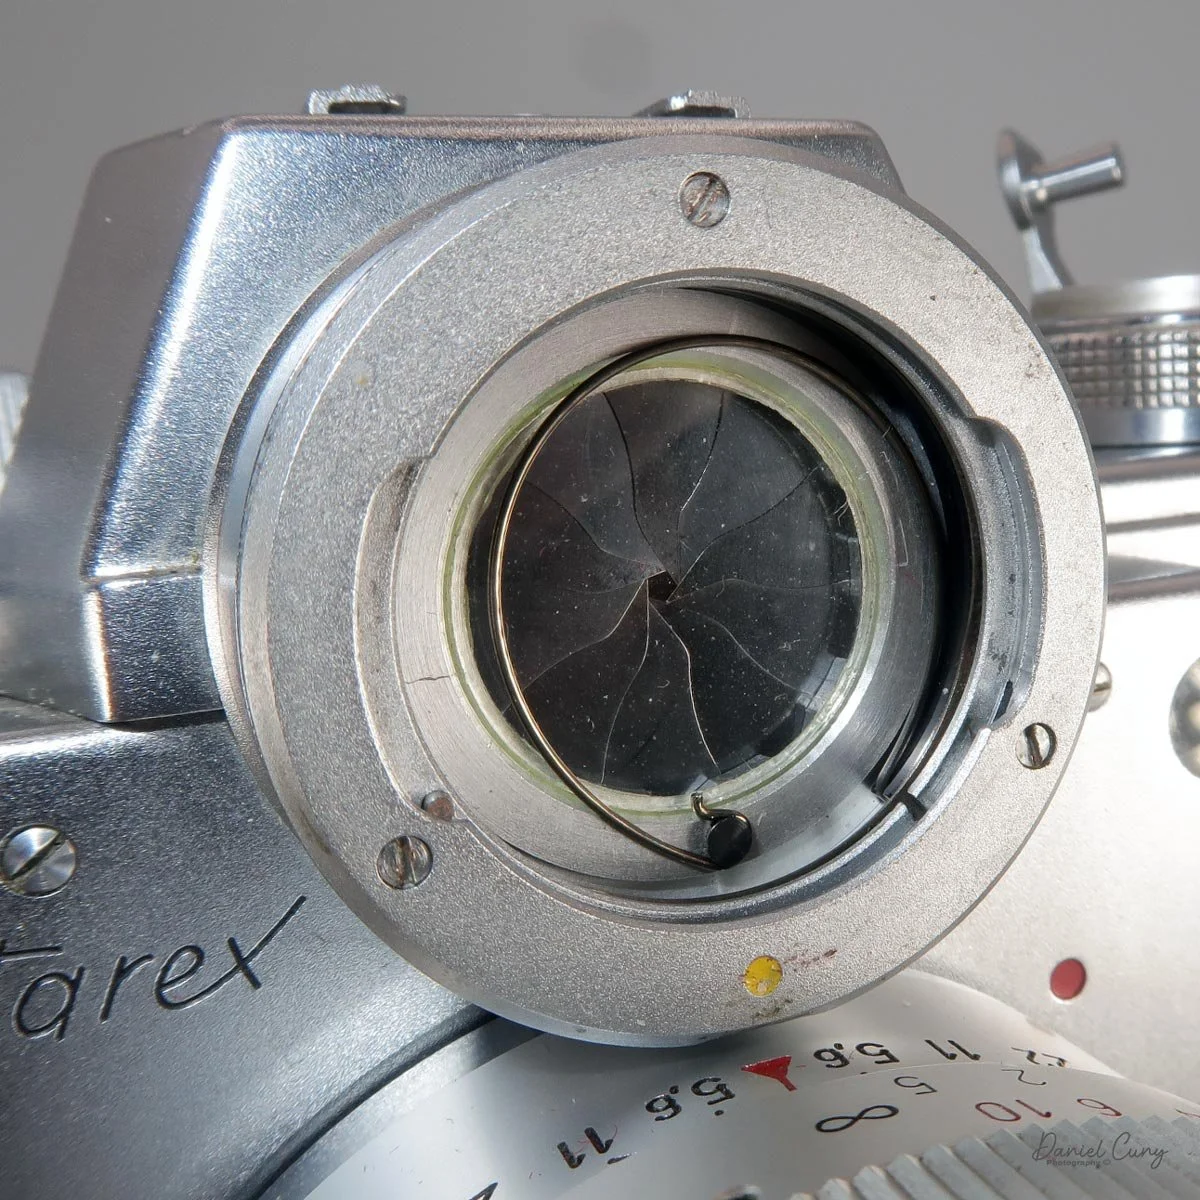
On the very top of the camera is the accessory shoe, used for a flash unit or for an accessory viewfinder which would be used for the widest 21mm lens available. Just in front of the accessory shoe is the "Bullseye" or "Cyclops" meter. Inside the meter are the aperture settings, which are controlled by a knurled ring just to the right of the meter and on the front of the camera body.
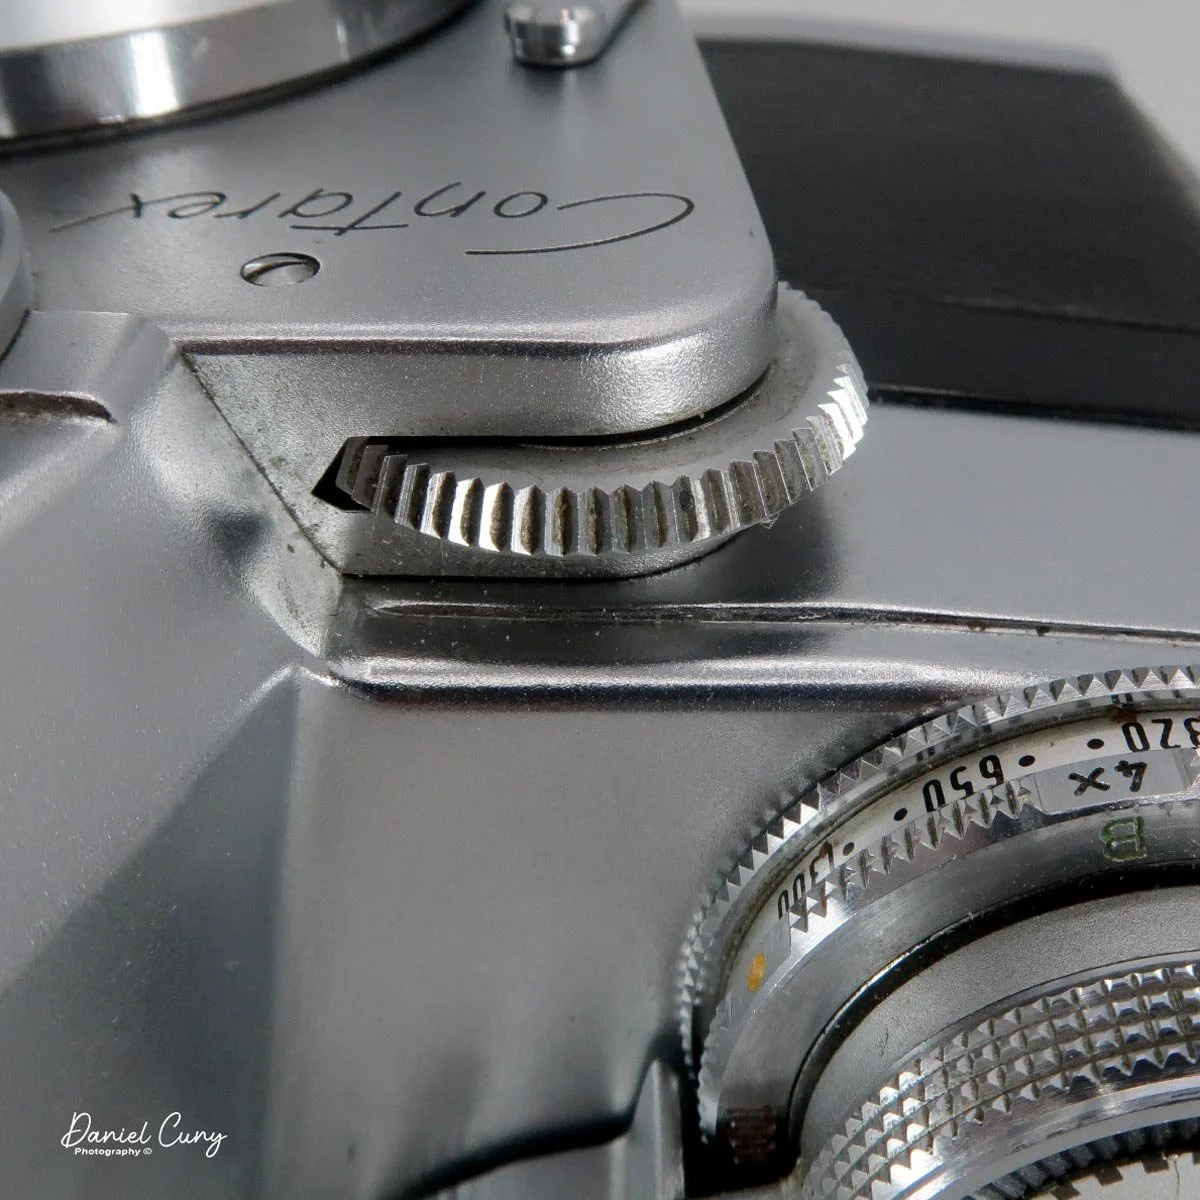
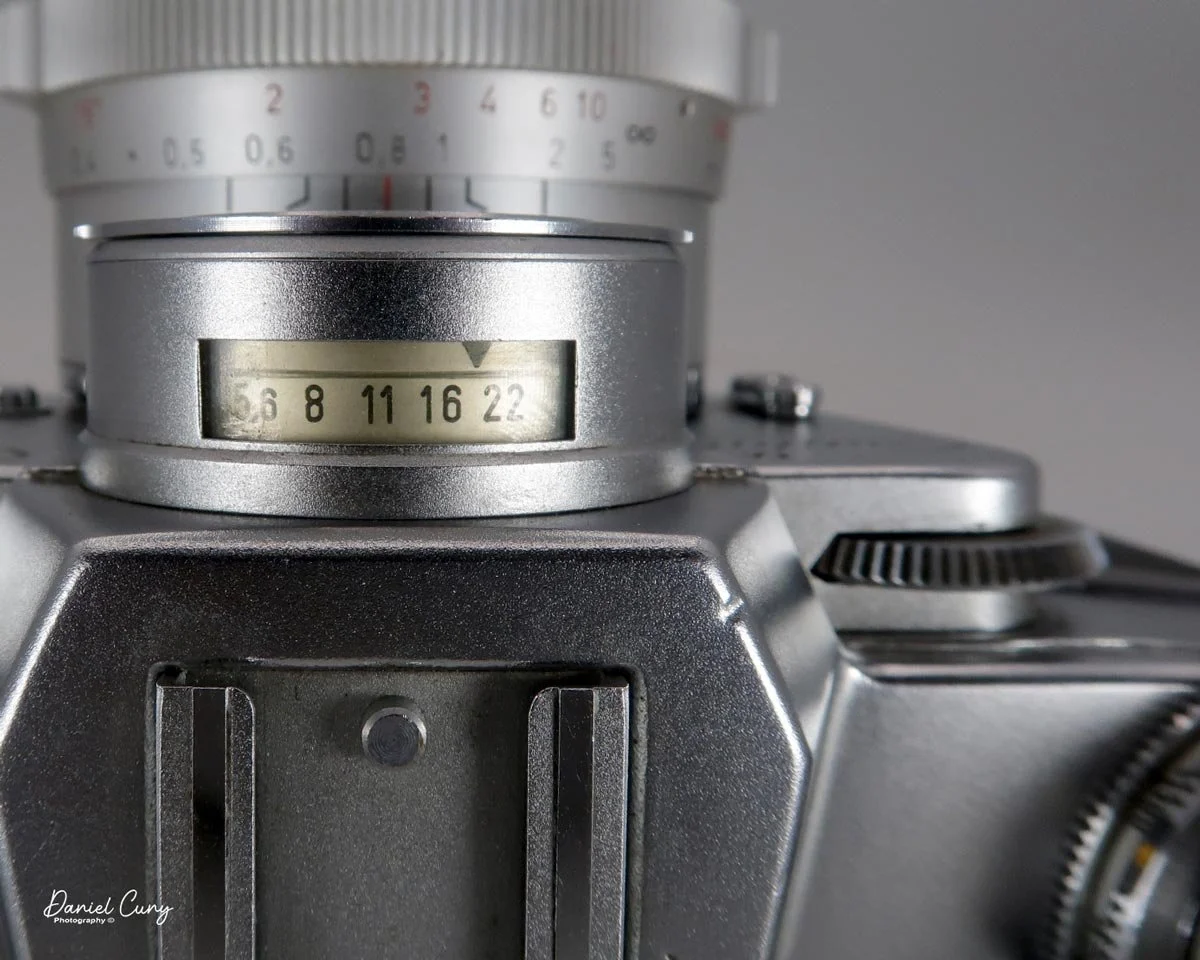
Turning this wheel sets the aperture setting, and it will also set the internal aperture needed to make the exposure. This will be transferred through the camera body, setting the proper aperture on the lens through its internal pulley system. You can remove the front of the meter housing, which has a honeycomb appearance, to expose the meter aperture, along with the pulley that activates it.

Just behind the aperture wheel on the front of the camera is the film winding lever, which sits on top of the shutter speed selector. Inside the winding lever is the camera's shutter release, which can accept a cable release for longer exposures. The shutter speed selector has a range of shutter speeds from 1/1000–1 sec, including "B" for timed exposures.

Just under the shutter speed selector is the ISO (ASA) settings. To set the ISO, lift on the shutter speed wheel and turn the dial to set the meter to the proper ISO. The ASA range is from 50–1300. There are also 2x and 4x settings if you want to overexpose in low-light situations purposely.
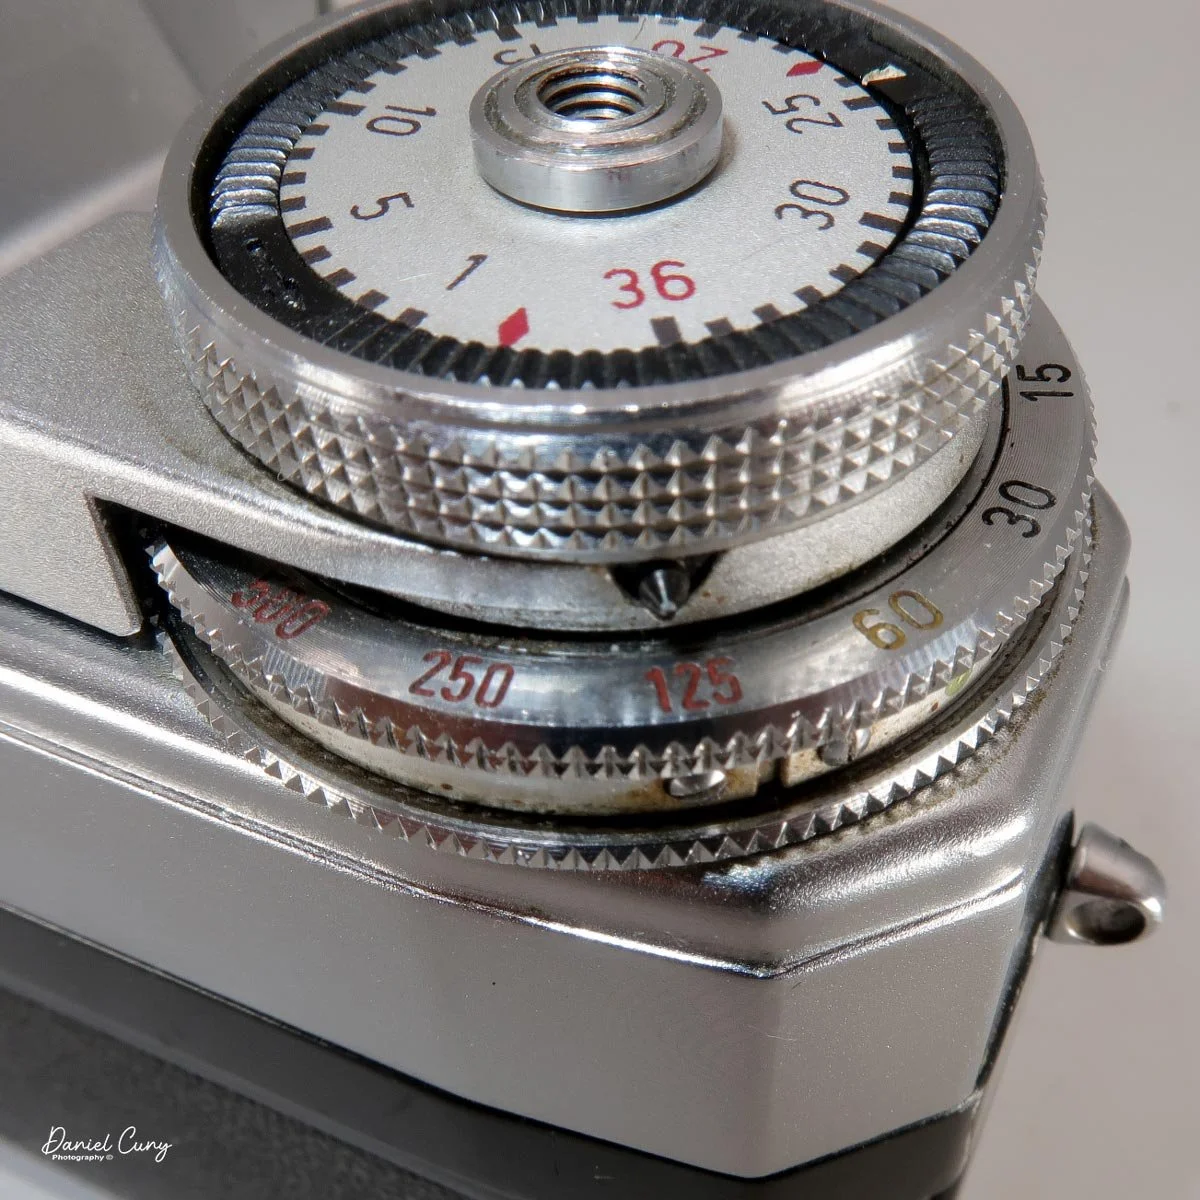
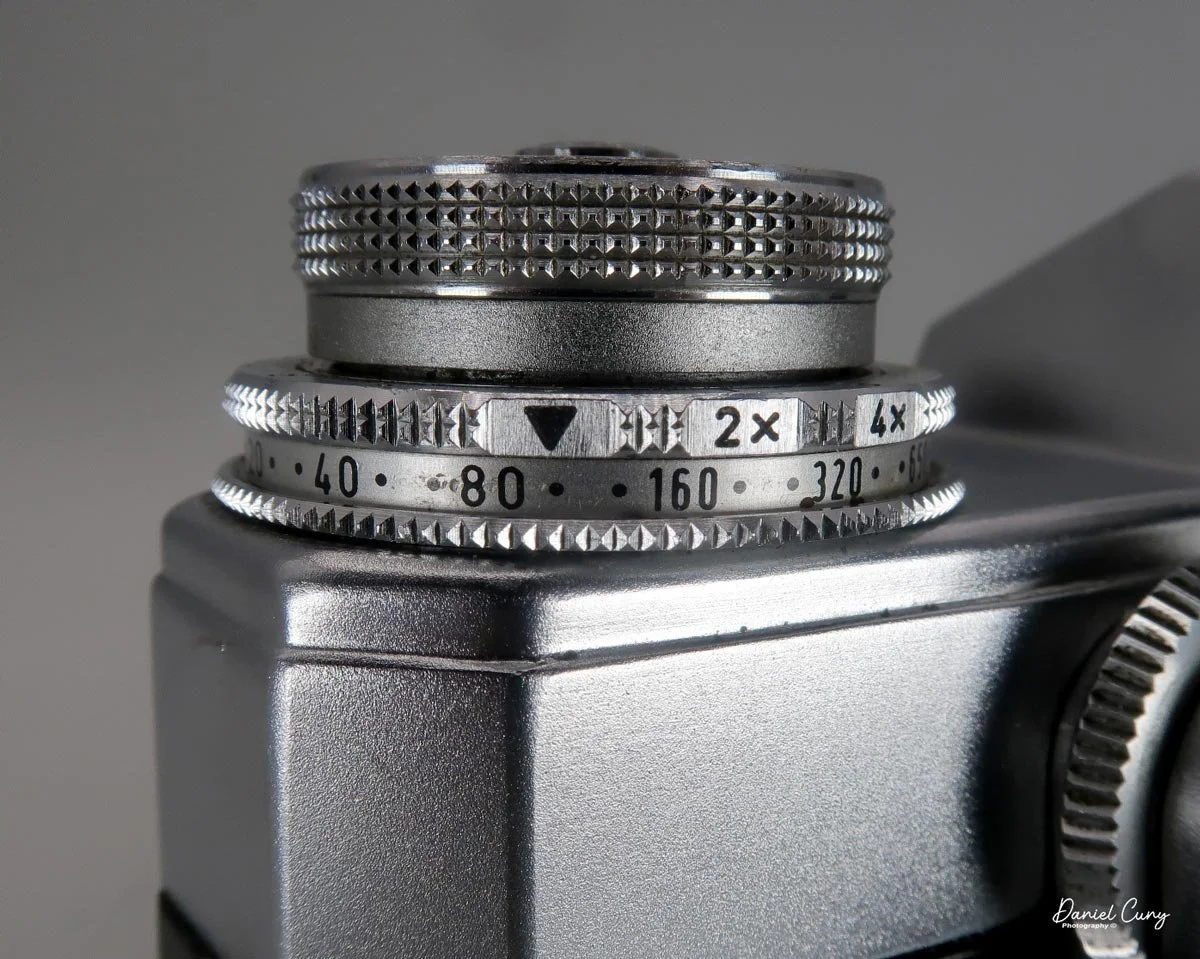
On the front of the camera, just under the aperture control wheel, is the camera's self-timer, which has a maximum delay of 12 seconds. It can be shorter, provided you don't pull the lever all the way to the maximum amount. On the other side of the lens, on top, is a light window for the internal meter.

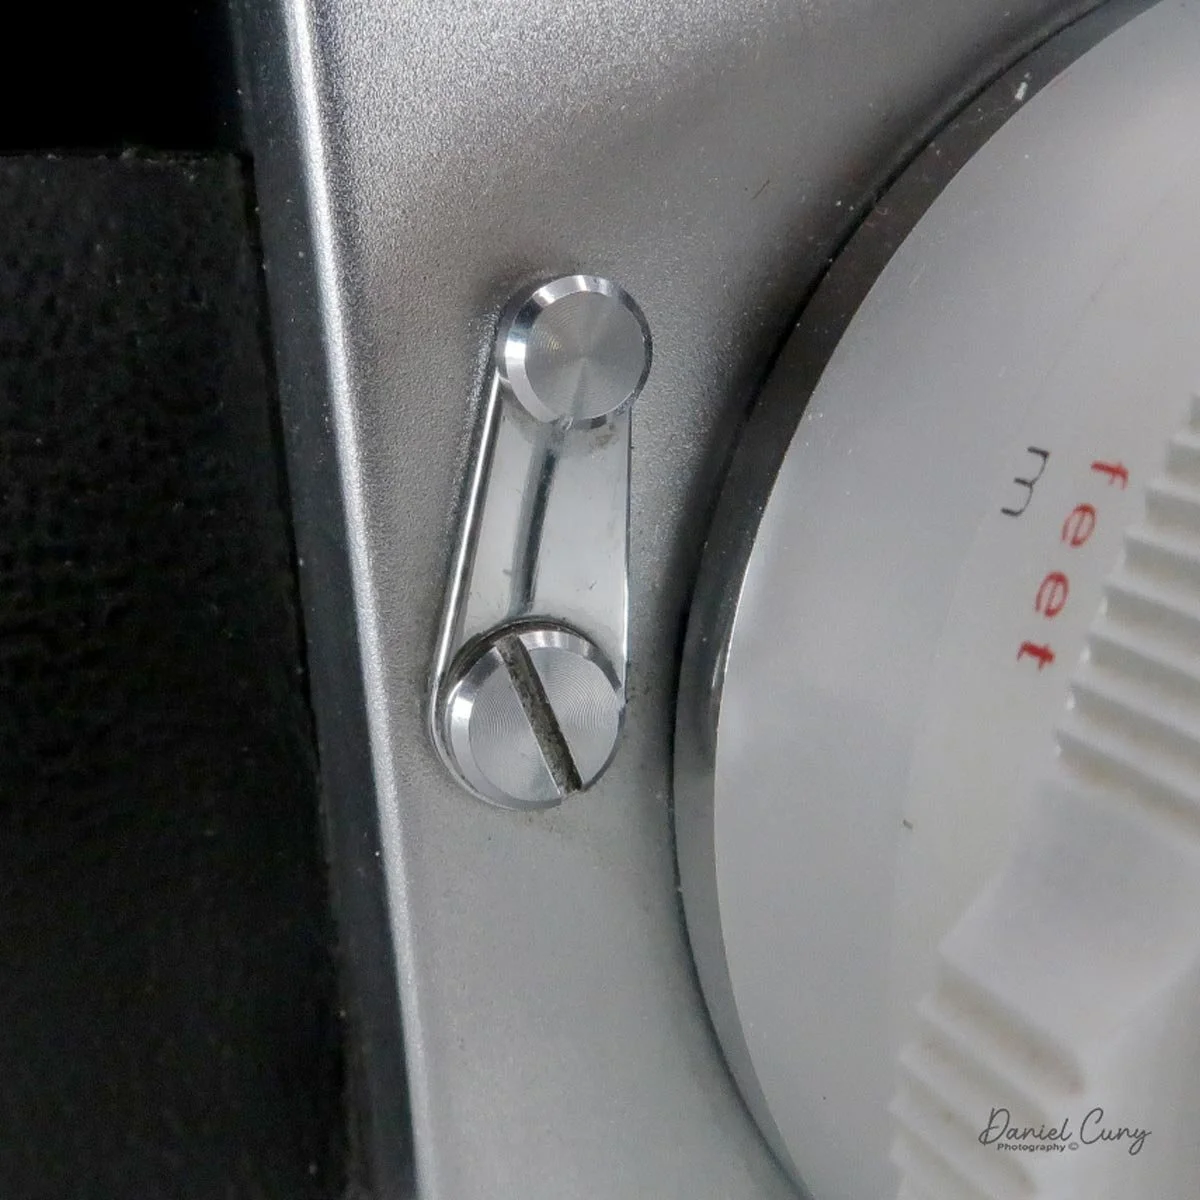
Under the light window is the button to remove the lenses. Press in and turn the lens counterclockwise to remove the lens. To mount the lens, match up the two red dots and turn clockwise until the lens clicks into place. On the side, next to the lens release button, is the flash sync terminal, which is where you'll connect the flash cable, since the camera doesn't have a hot shoe for the flash.
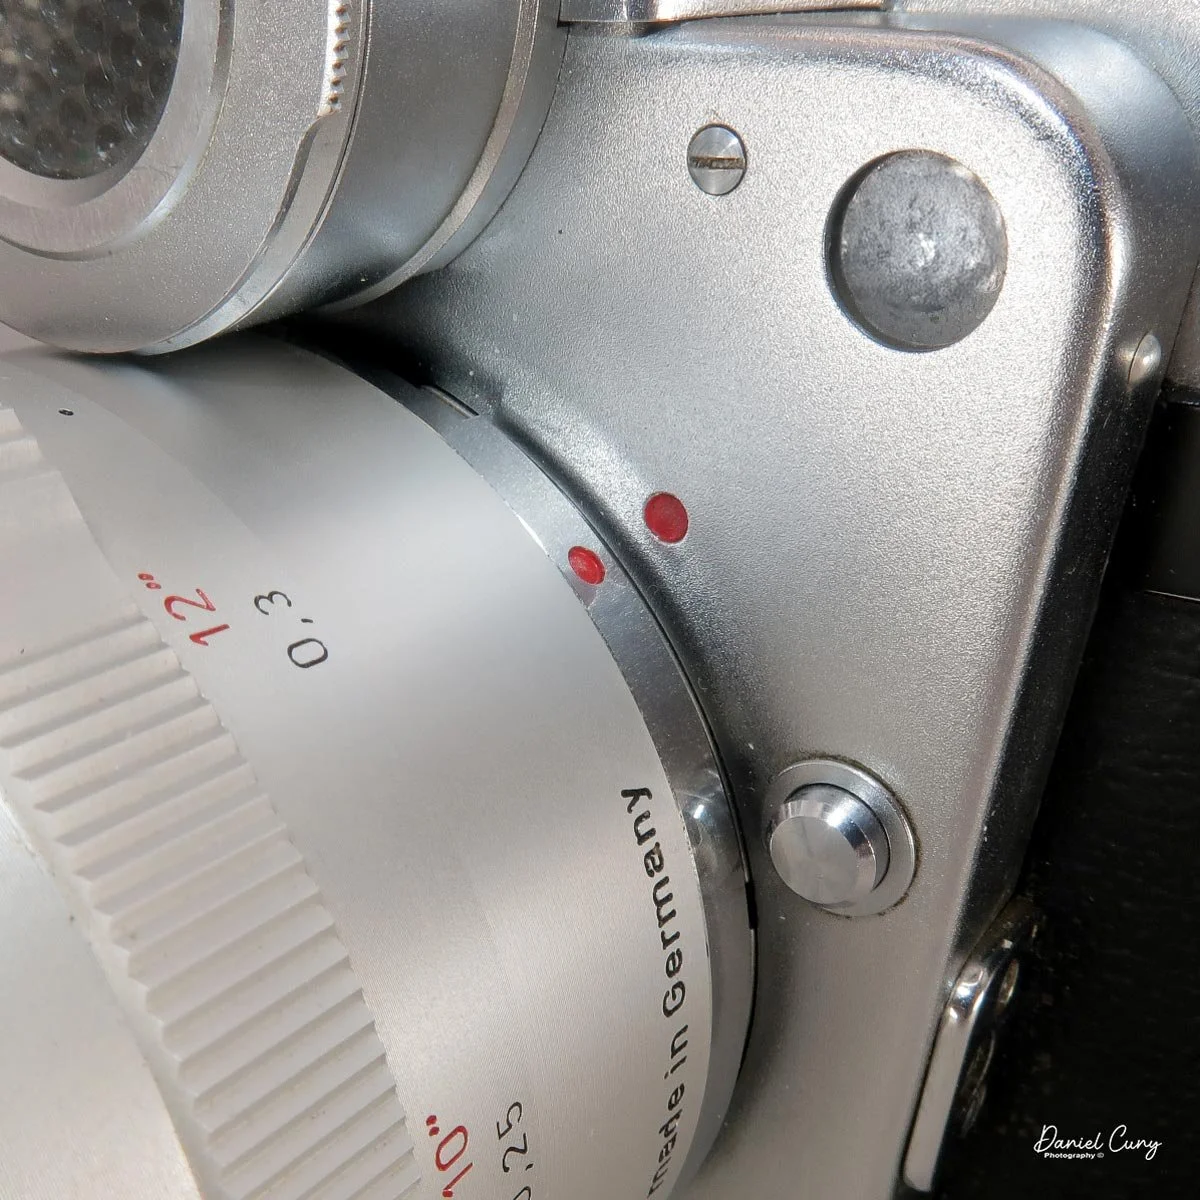
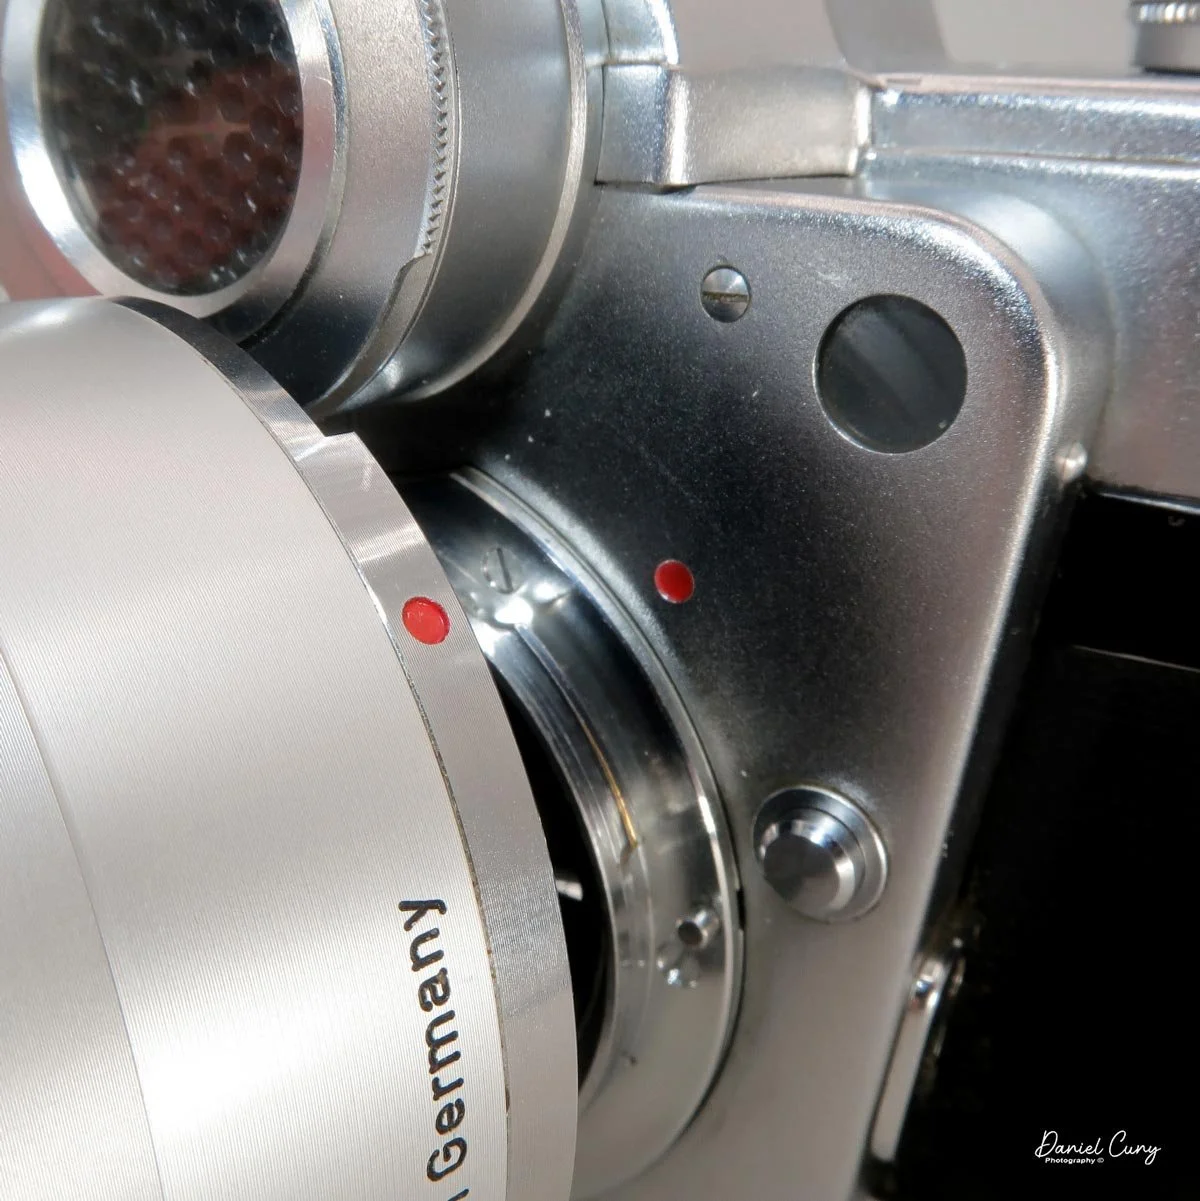
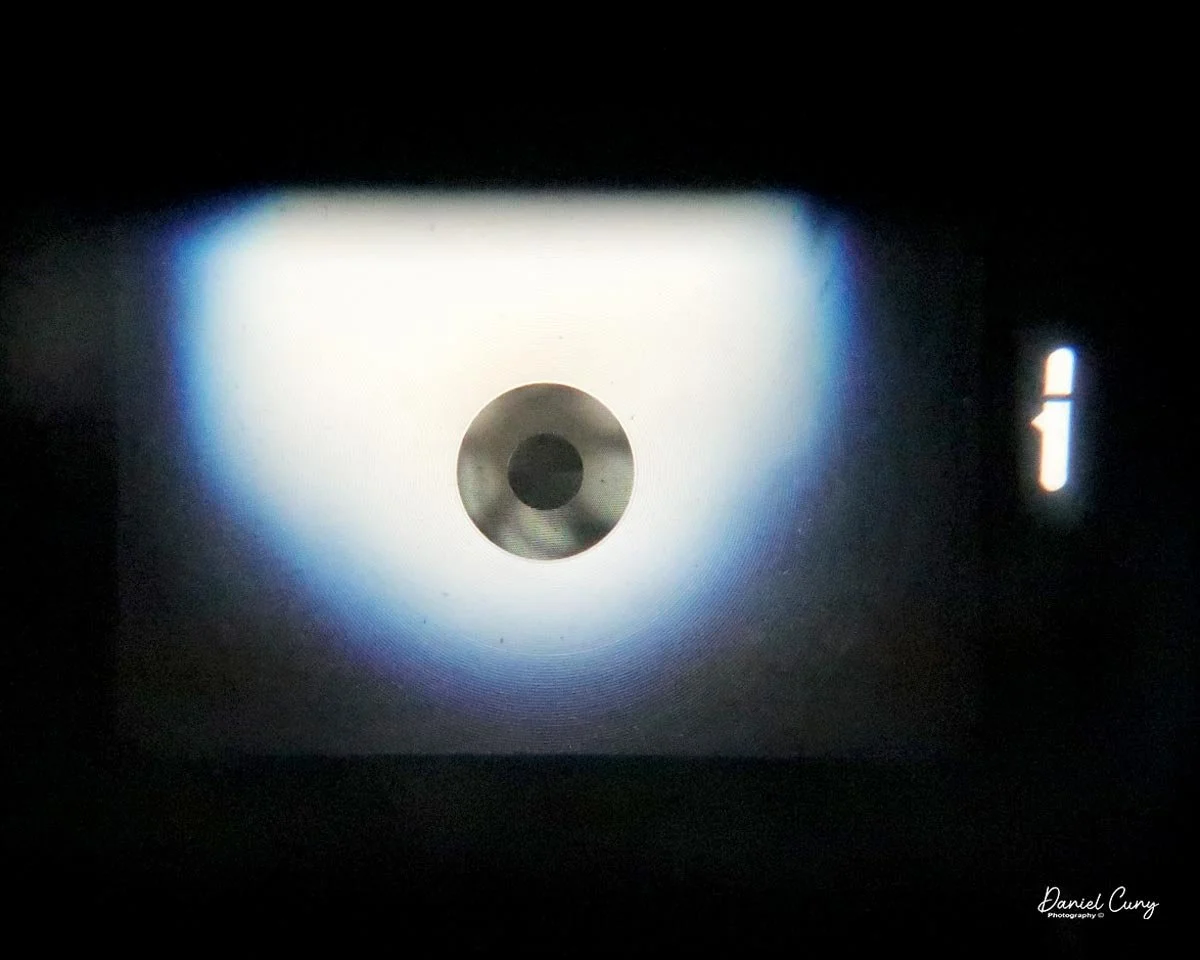
Looking through the camera's viewfinder on the rear of the camera, you'll see the three different focusing types incorporated into the focusing screen. On the outer portion is ground glass, in the very middle is the split image, and circling the split image is a microprism focusing area. Some people have difficulty with the split image, especially with slower lenses, where one of the halves blacks out and they cannot find the vertical or horizontal line to bring together. That's caused by the pupil of your eye not being centered in the focusing screen. If you move the camera up or down, you'll notice this changes from top to bottom, but once centered, the split image becomes whole, and you'll be able to focus more easily.

On the right side of the focus screen is the meter window. Inside the meter window is a line. The goal of proper metering is to get the line in the middle for a properly exposed image. When the line is above the cutout area on the left, you're overexposing, and when below, you're underexposing. The meter allows you to set either the shutter speed, then move the aperture wheel to line up the exposure, or you can set the aperture and move the shutter speed to get the meter needle in the center. It all depends on whether you want to stop action (shutter speed) or get more/less depth of field (aperture).
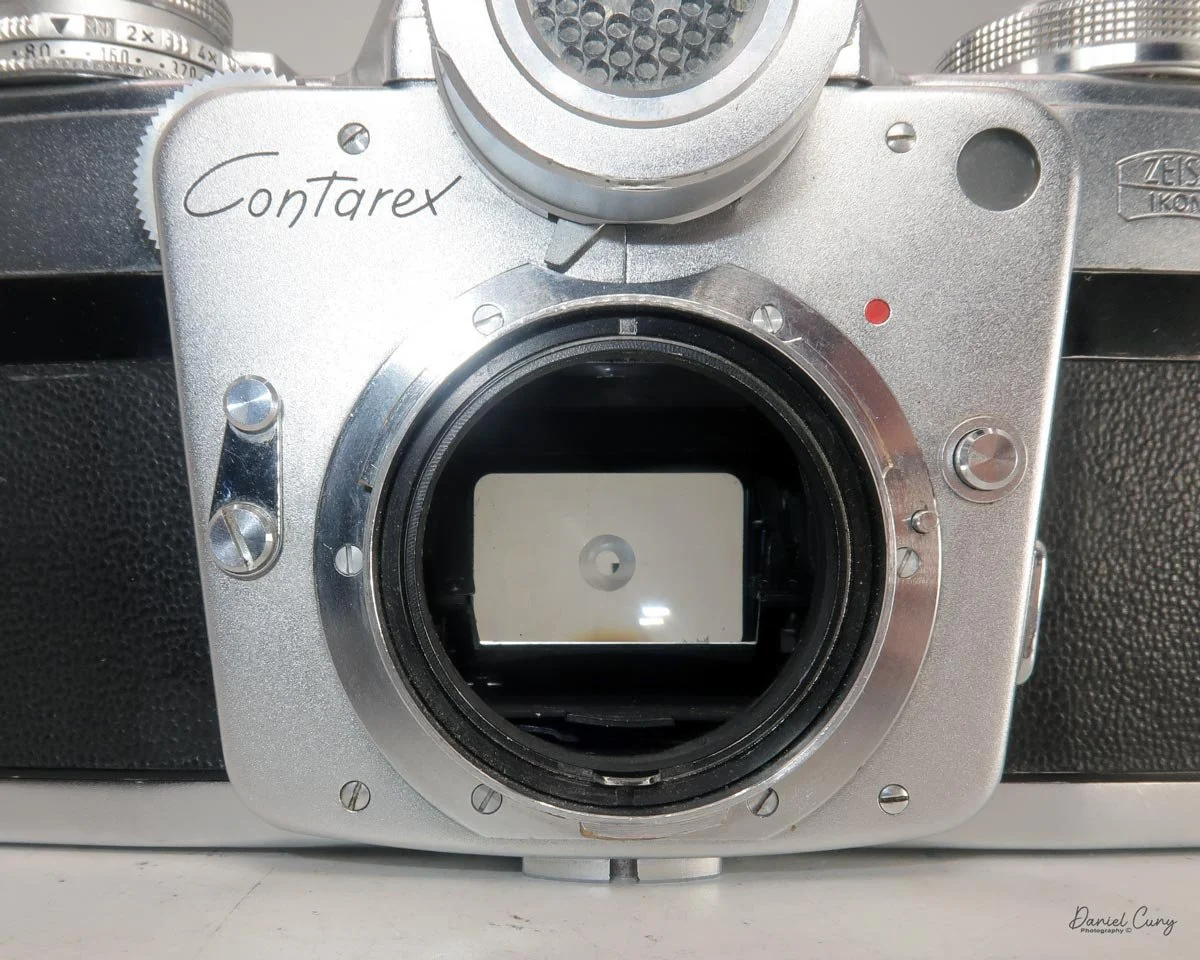
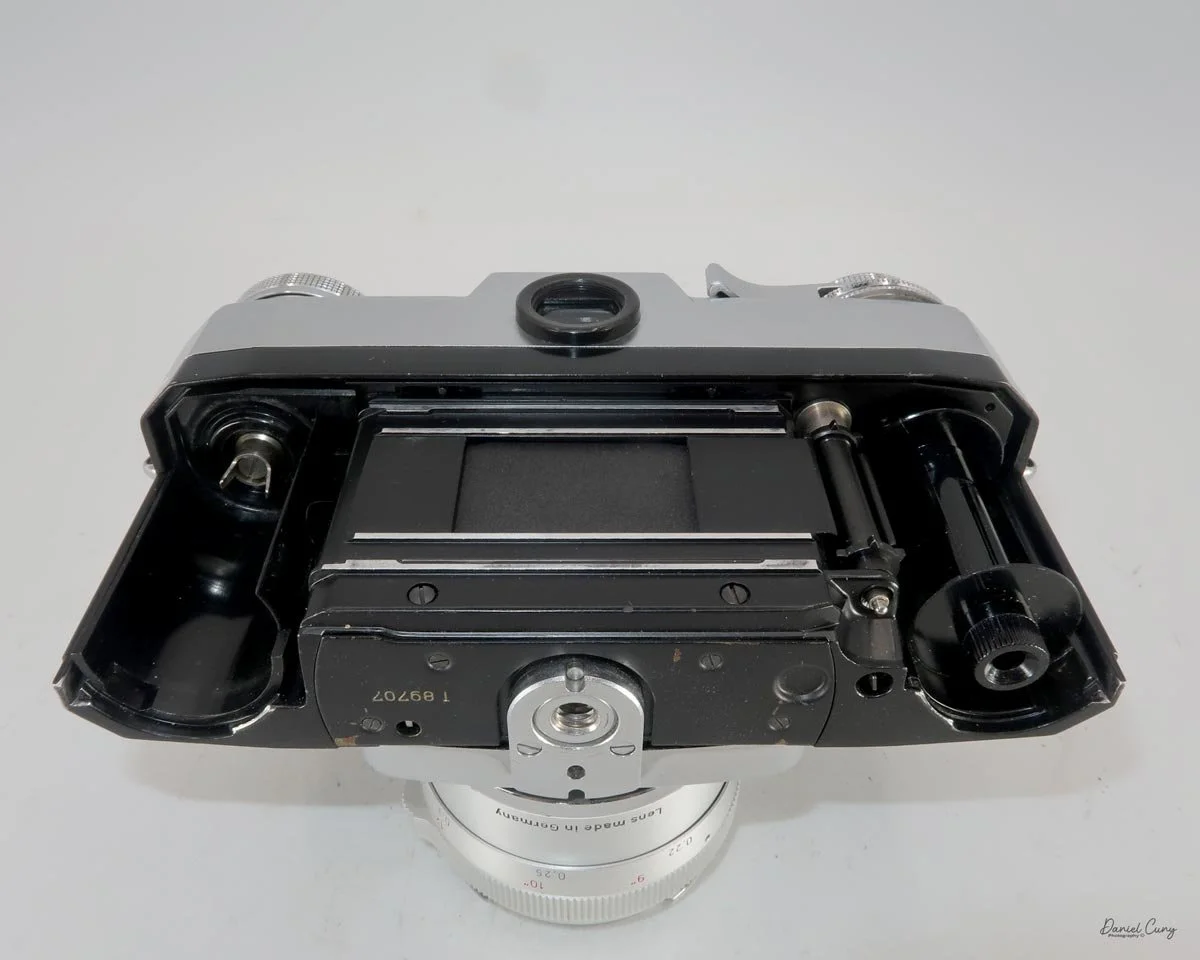
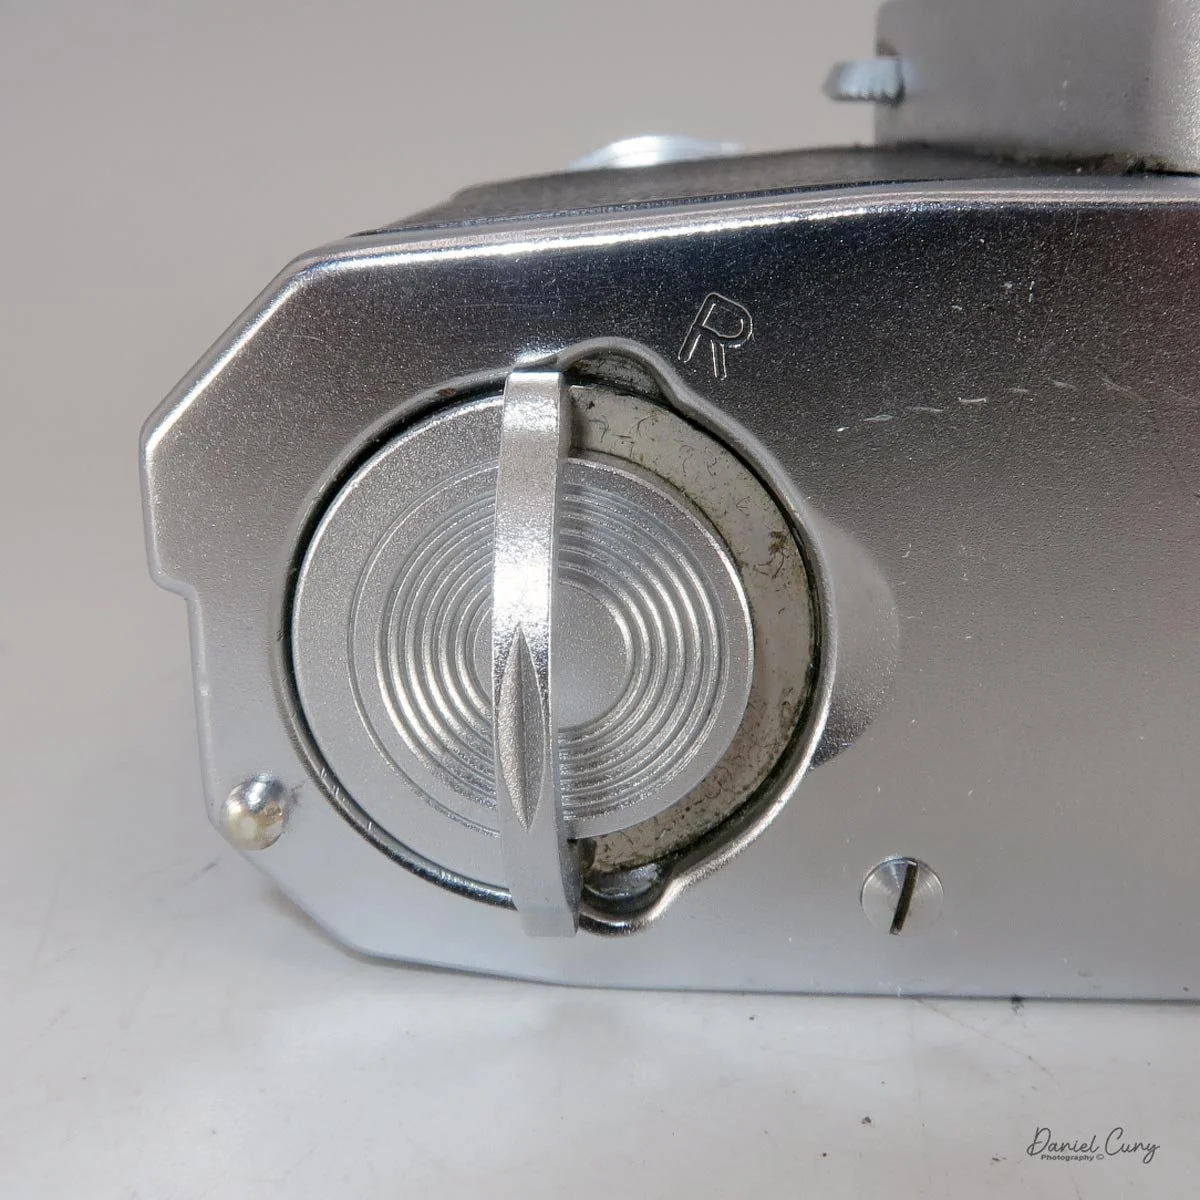
To open the camera to load film, there are two latches on the bottom of the camera that need to be turned, which allow you to slide the back off the camera and expose the film chamber. Once the back is removed, you'll load the 35mm film like you would any other 35mm camera. Once the film is loaded, put the film back into the grooves in the camera body, and slide the back up and into position on the back of the camera. Once it's on, lock the two latches and flip down the handles so the camera sits flush.

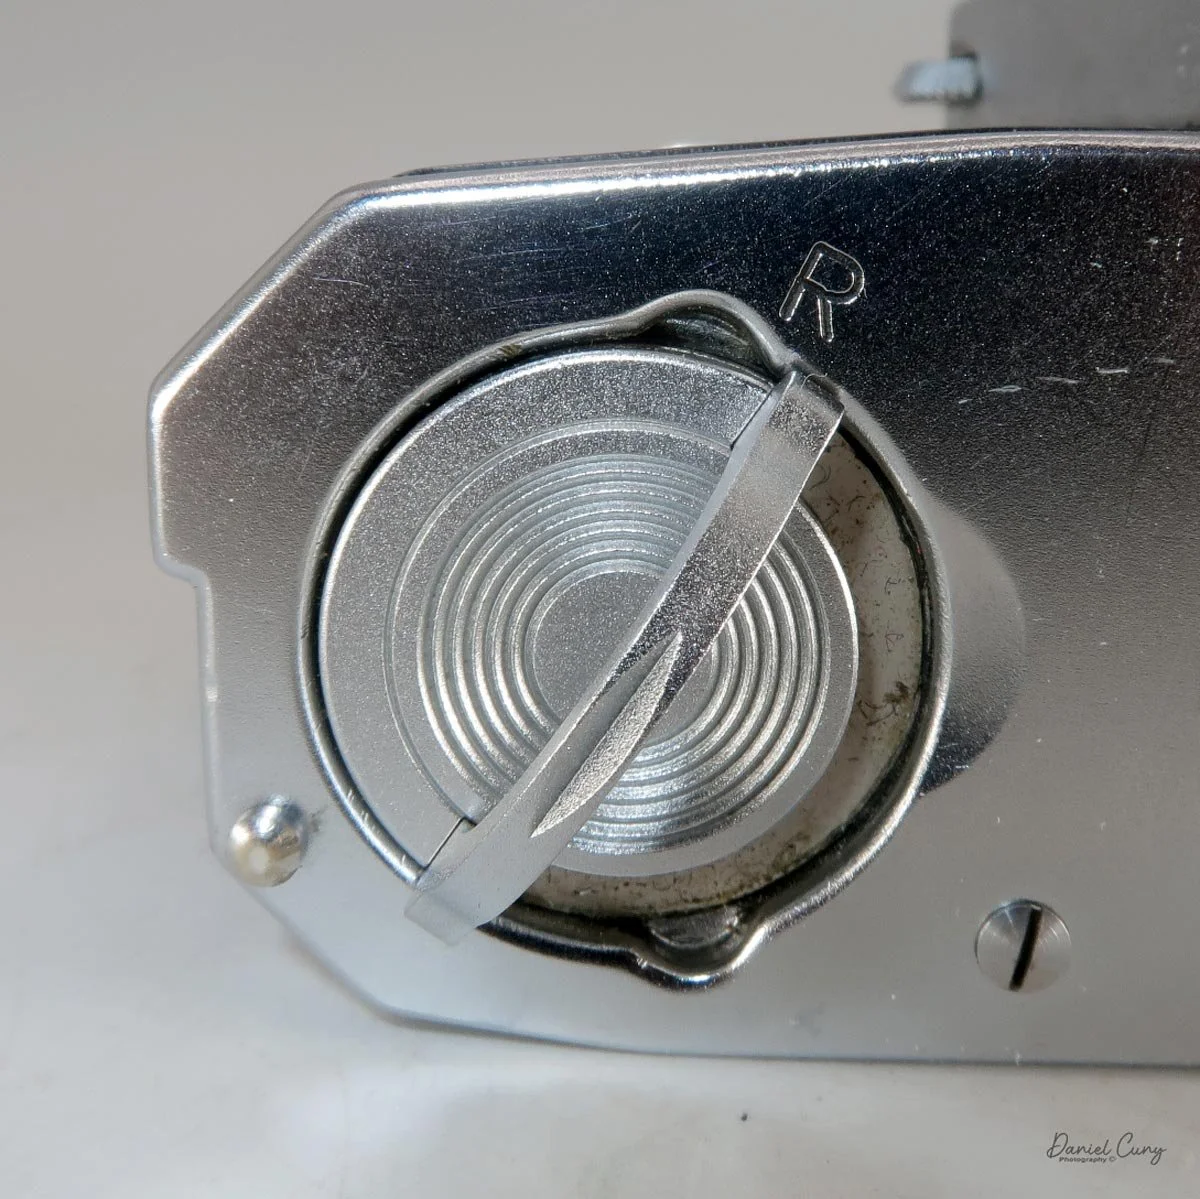
When you get to the end of the roll, and it's time to rewind the film back into the cassette, one of the latches on the bottom of the camera has an "R" for rewind. Lift the handle of this latch only, and turn the lever until the handle is pointing at the "R" (for rewind). Flip up the handle on the rewind knob and rewind the film back into the 35mm cassette. Once the film is rewound, turn both levers to the open position, take the back off the camera, and remove the film for processing.
Now that we have film loaded into the camera, let's take it for a walk around the neighborhood and see how the camera performs.
My Results

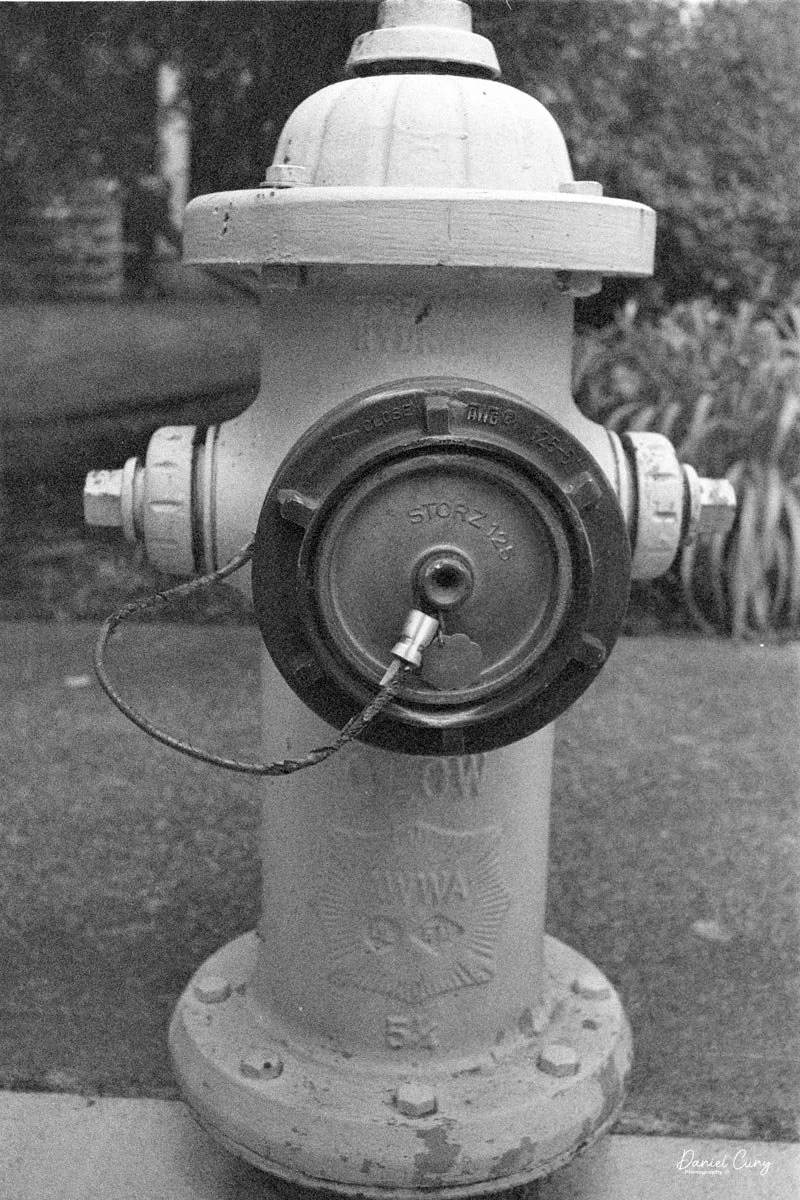
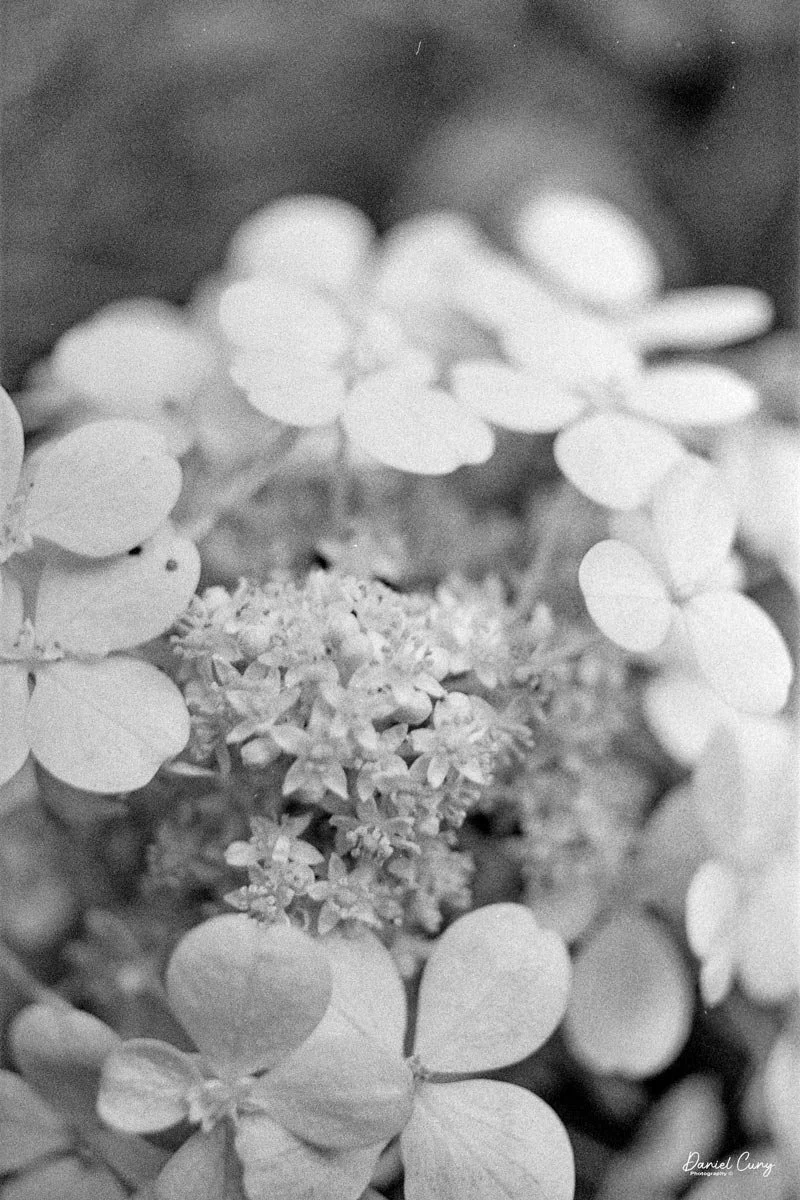
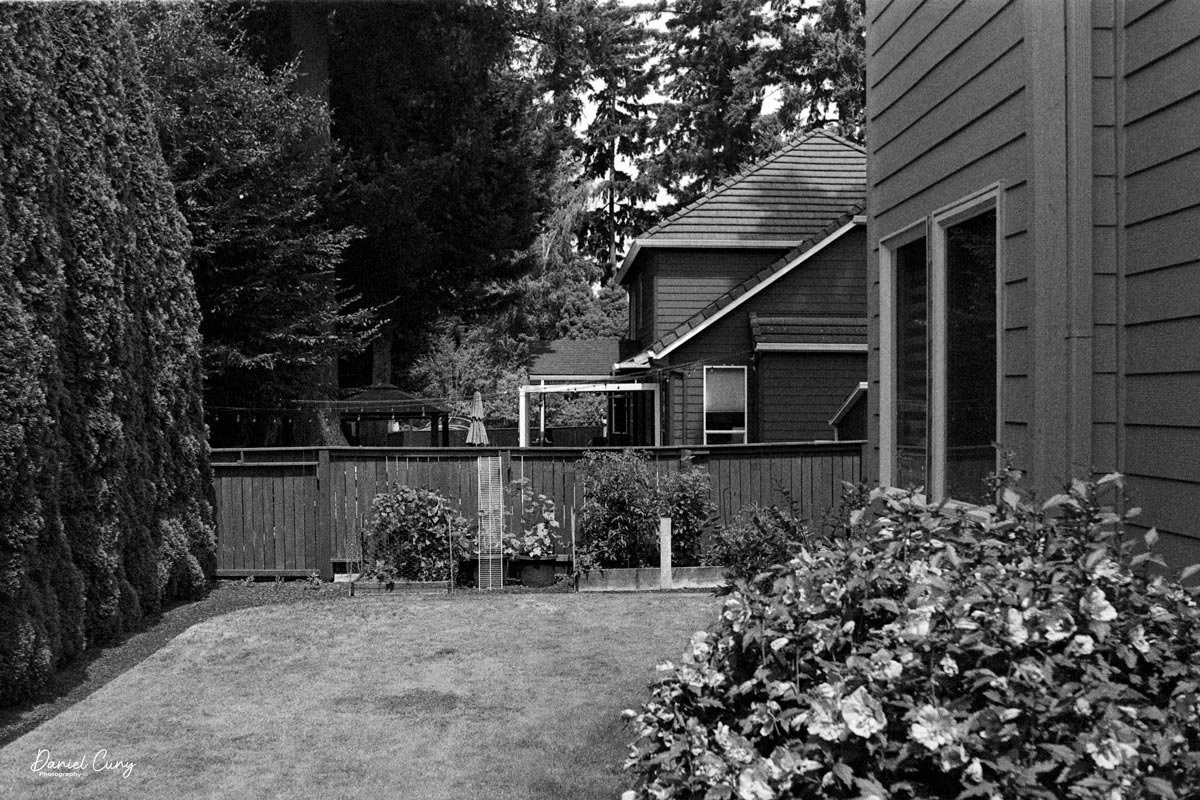
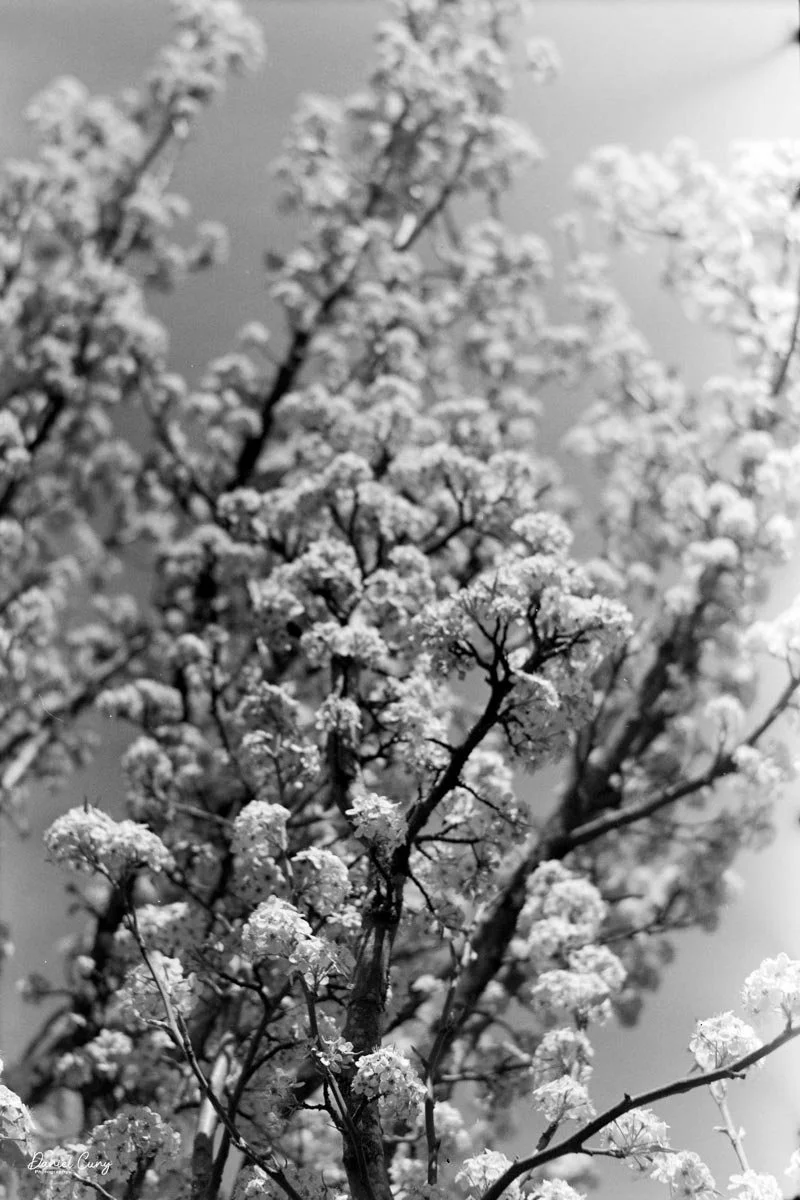
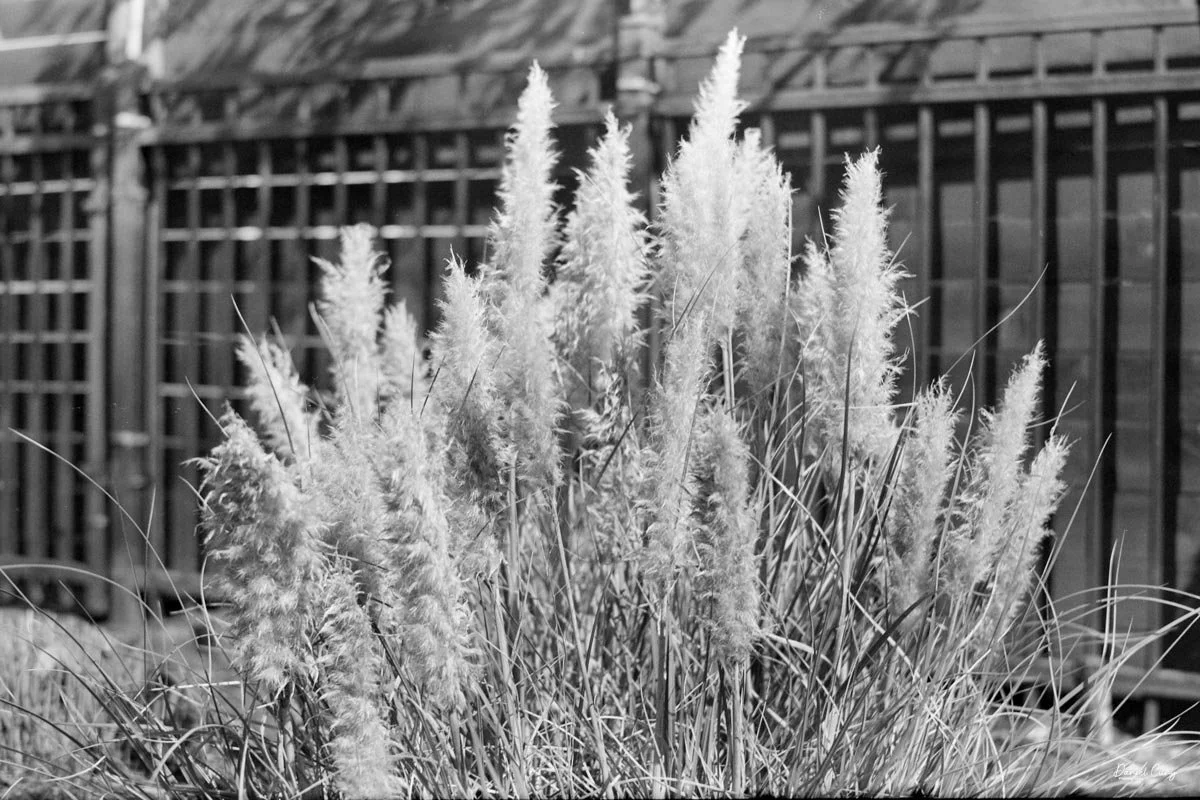
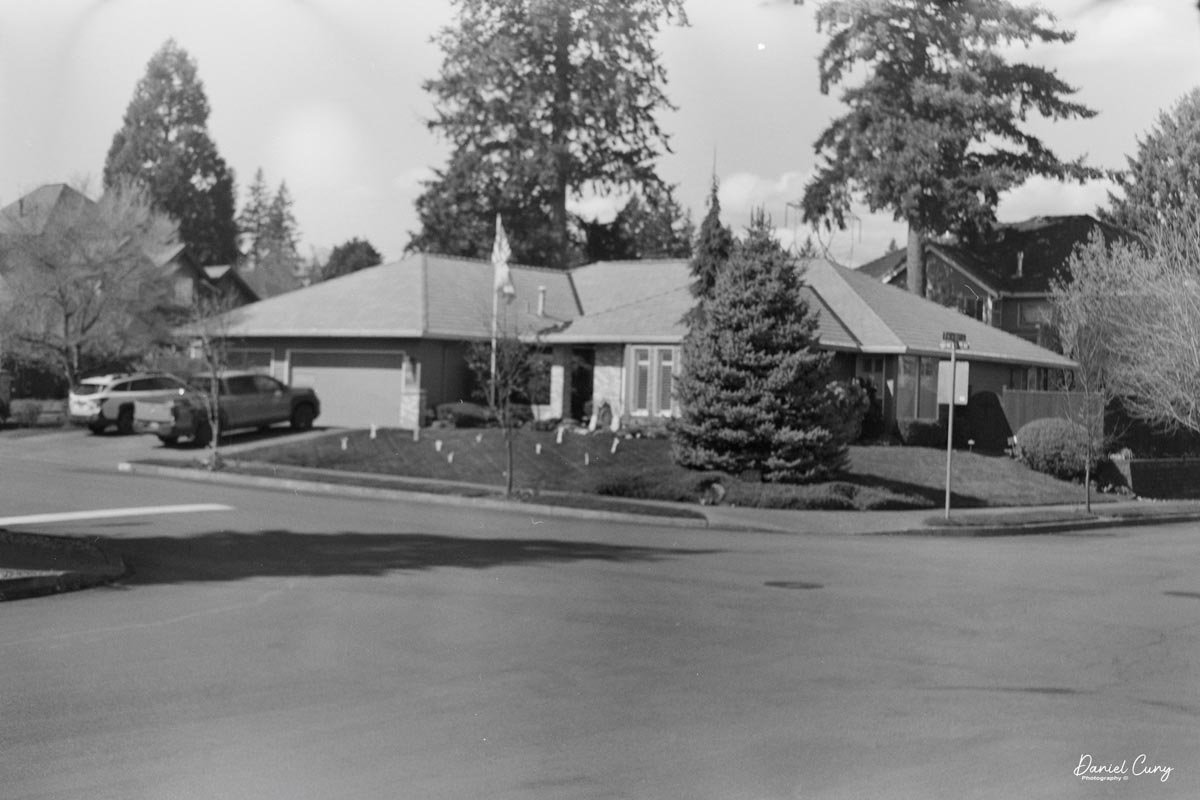
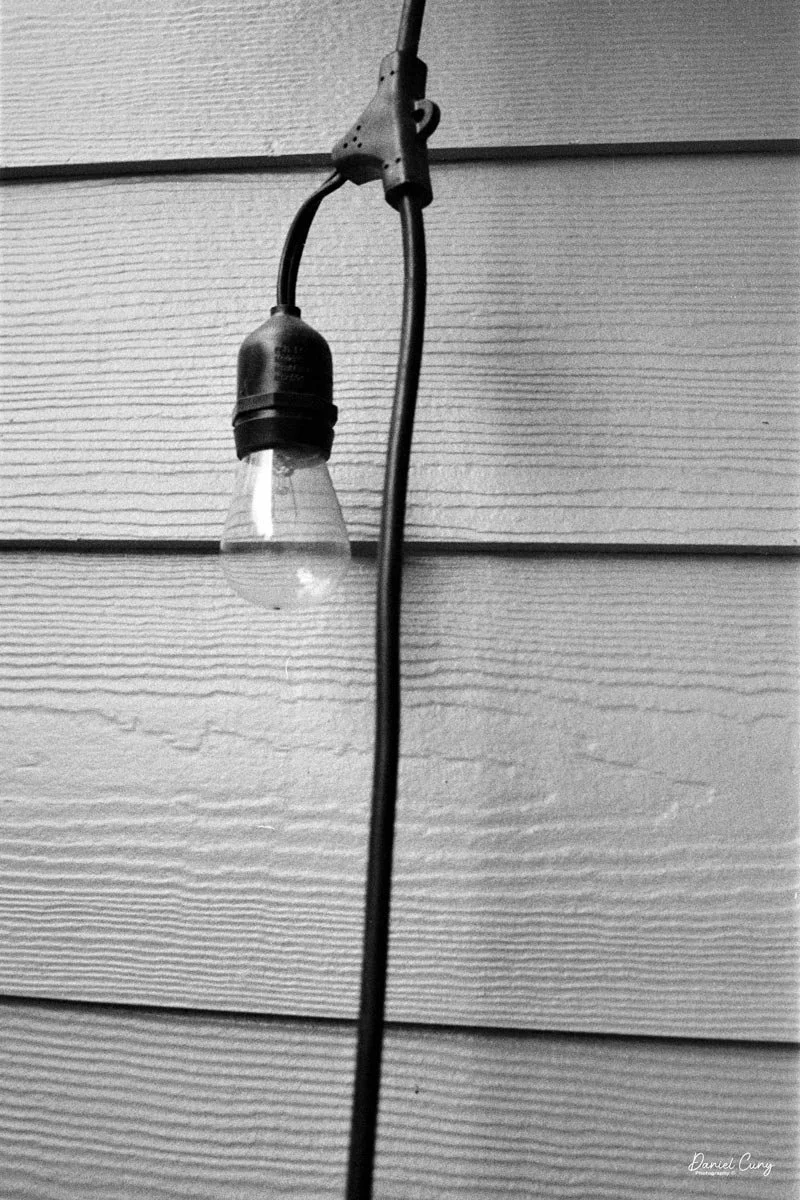
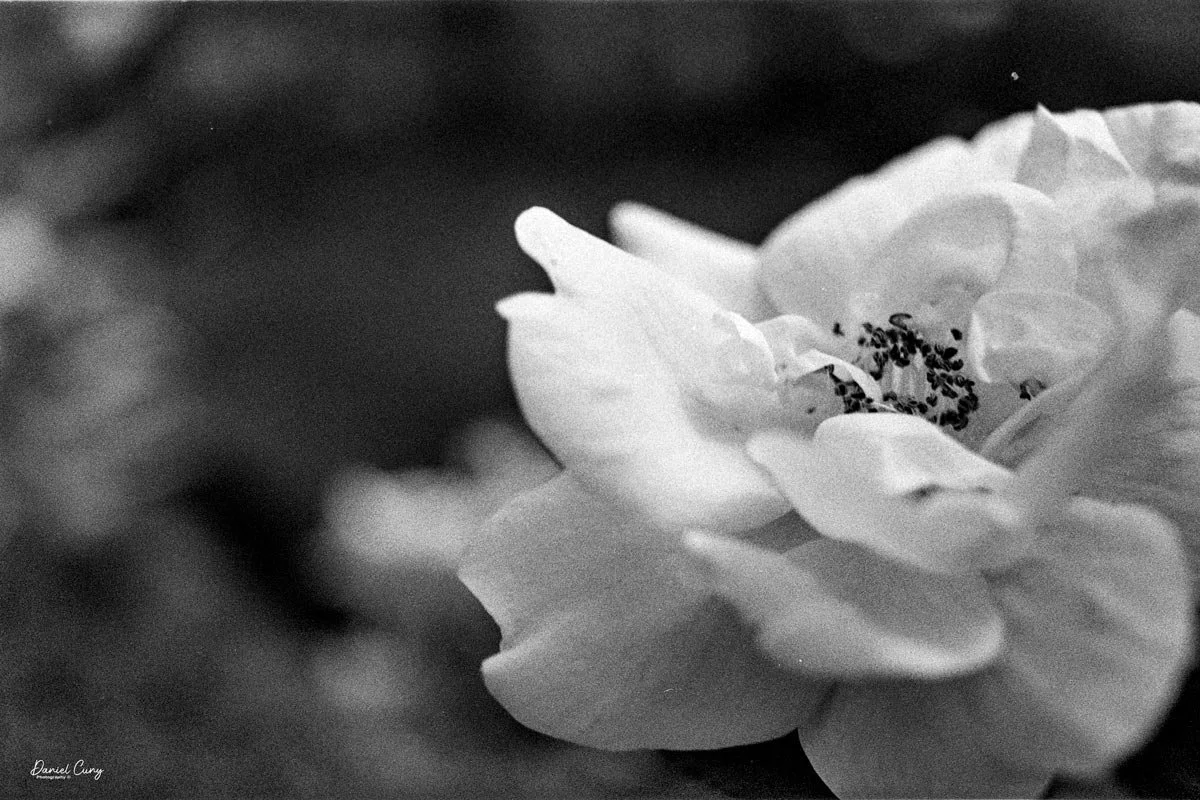
I didn't have any fresh film to shoot through the Zeiss Ikon Contarex camera, but I did—and still do—have some outdated film from 1976, Plus-X 135 film, which I took from the inventory I have from my online store.

 Shooting the film at approximately ISO 50 and processing the film in Rodinal at 1:25, here are the results I achieved with the camera.
Conclusion

The camera performed flawlessly. While this was the first time actually shooting with the Contarex camera, I was surprised at how close you could focus with the lens. All of the images were handheld, and the day was somewhat overcast so that the images would be a bit flat in the lighting, but overall, the camera and lens were fantastic.

 The aperture wheel and light meter worked as they should, and the lens's sharpness is incredible. While the camera is big and heavy for many, it felt very comfortable in my hands.

I now understand why so many people enjoyed using this camera, as it is over-engineered and almost impossible to get serviced. While mine is working well, I'll definitely be taking the camera for many more walks shooting film with it.

 Here are some of my other Camera Reviews.

 Check out my Cuny's Camera Collection YouTube channel, where I am putting together video overviews of the cameras I write about. Be sure to subscribe and like the channel, too!

 Cuny's Cameras and Photos is my online eBay store, where you will find some of the cameras I have reviewed, along with a wide range of other cameras, lenses, and items from my collection that I am thinning out.

 Until next week, please be safe.
 

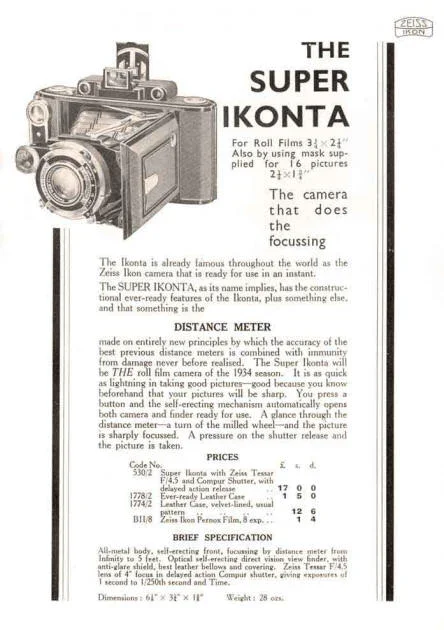
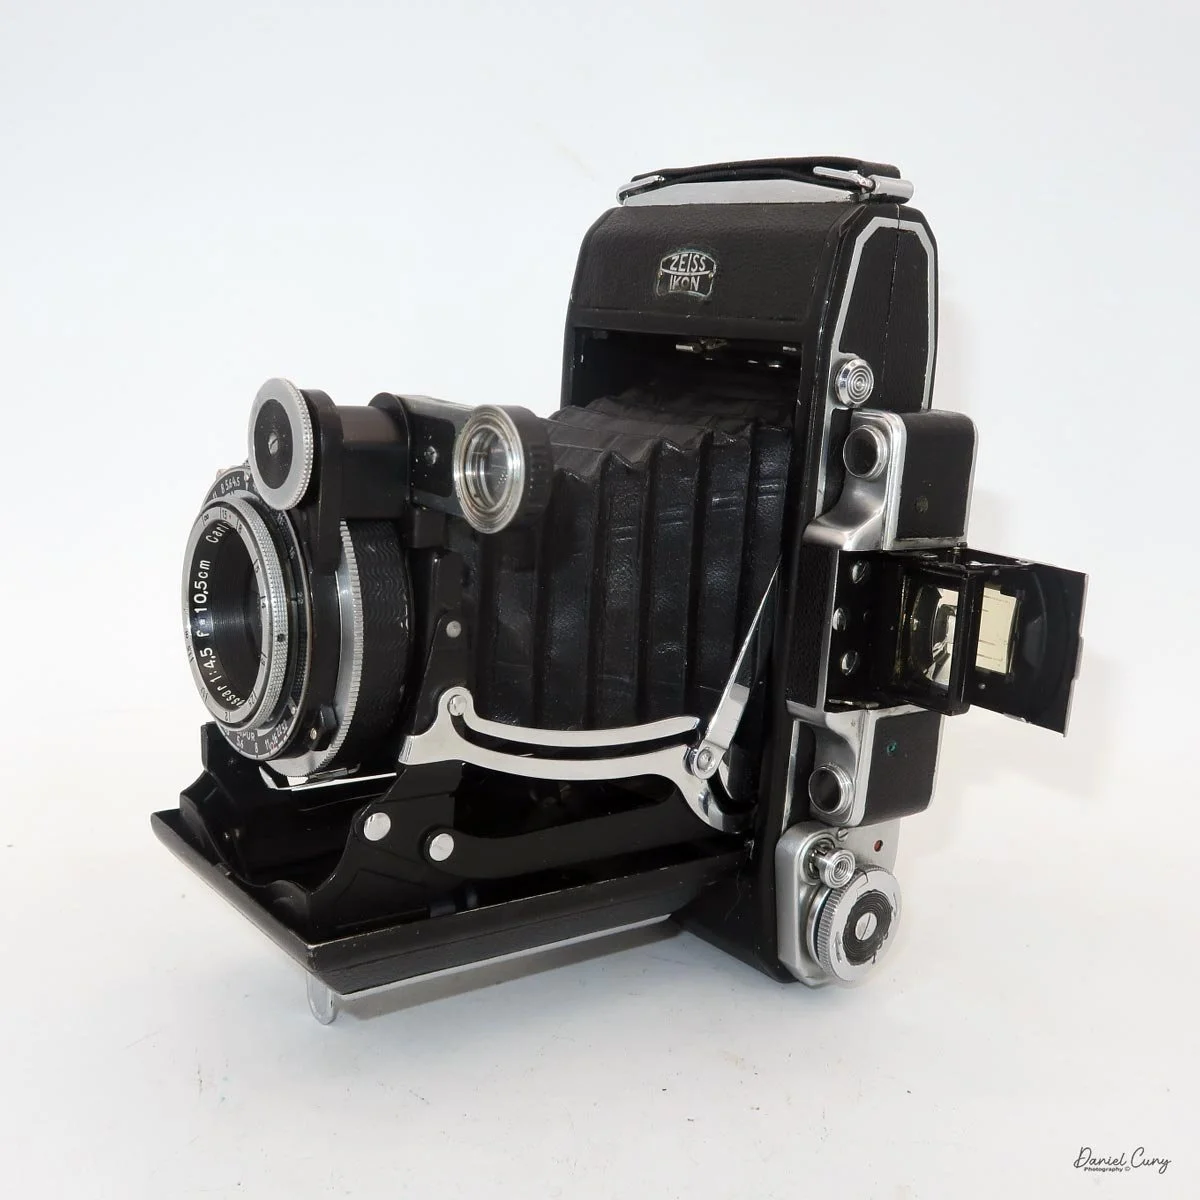
Zeiss Ikon Super Ikonta 531/2

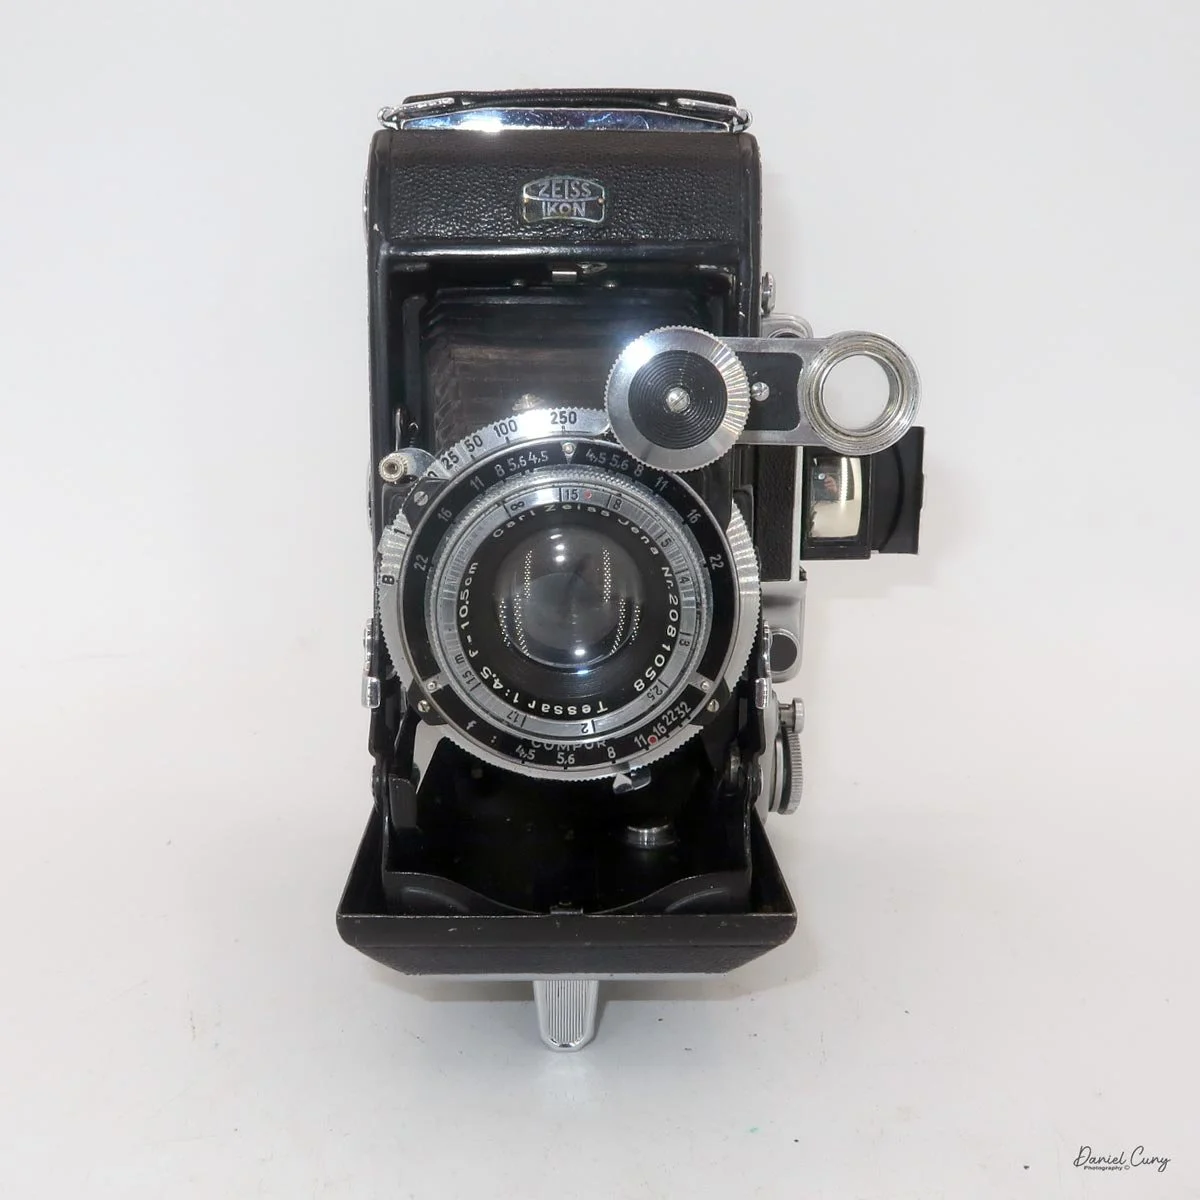
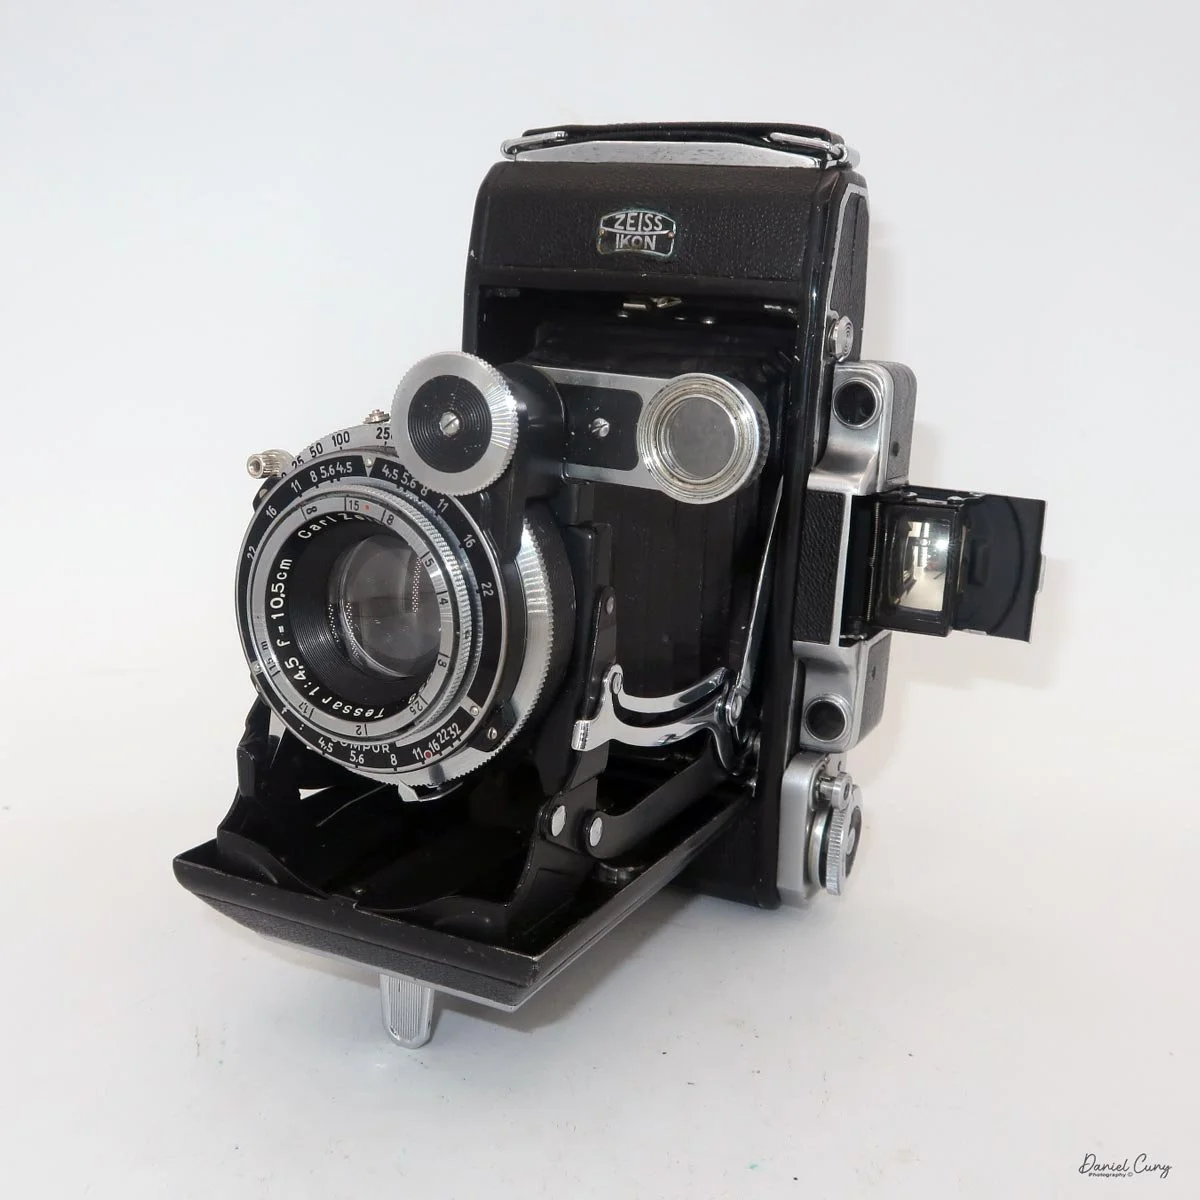
My Zeiss Ikon Super Ikonta 530/2 camera

Walking through flea markets, garage sales, or camera shows, I always stop to look at what Zeiss cameras they have, and the cameras that I always pick up to look over are any of the Zeiss Ikon Super Ikonta cameras. Not only because they look impressive even when closed, but also because I'm always struck by how well-made and intricate they are for a camera that's 90 years old.

 To me, the Super Ikonta cameras are like looking at a masterpiece of art. They are timeless in their form, compactness, and mechanical intricacies. When closed, they are compact and sturdy. They have a heft to them that you know they were manufactured to last a long time.

 Zeiss Ikon made four different Super Ikonta styles. There were the smaller models in 6x4.5 or 6x6cm formats, then they also made a larger, specifically longer version that shot 6x9, and a rare version that shot 6x11cm. The 6x9cm version came with a metal insert that reduced the image size to 6x4.5, essentially allowing the photographer to get twice as many images on the 120 roll film loaded in the camera.

 Having owned both in my life, I'm torn between them. On the one hand, I prefer the longer negatives, so the 6x9cm version is appealing, but it's also a bit bigger to carry. The more compact 6x6cm version is a terrific camera to carry when you travel. They are compact, fit in your pocket, have wonderful optics, and use a rangefinder to focus.

 Looking at the cameras on my shelf for a camera to write about, the Zeiss Ikon Super Ikonta 530/2 was a camera I recently got back from a full CLA, so I knew, or at least hoped there wouldn't, or shouldn't be an issue putting film in the camera and running a roll of film through it. 

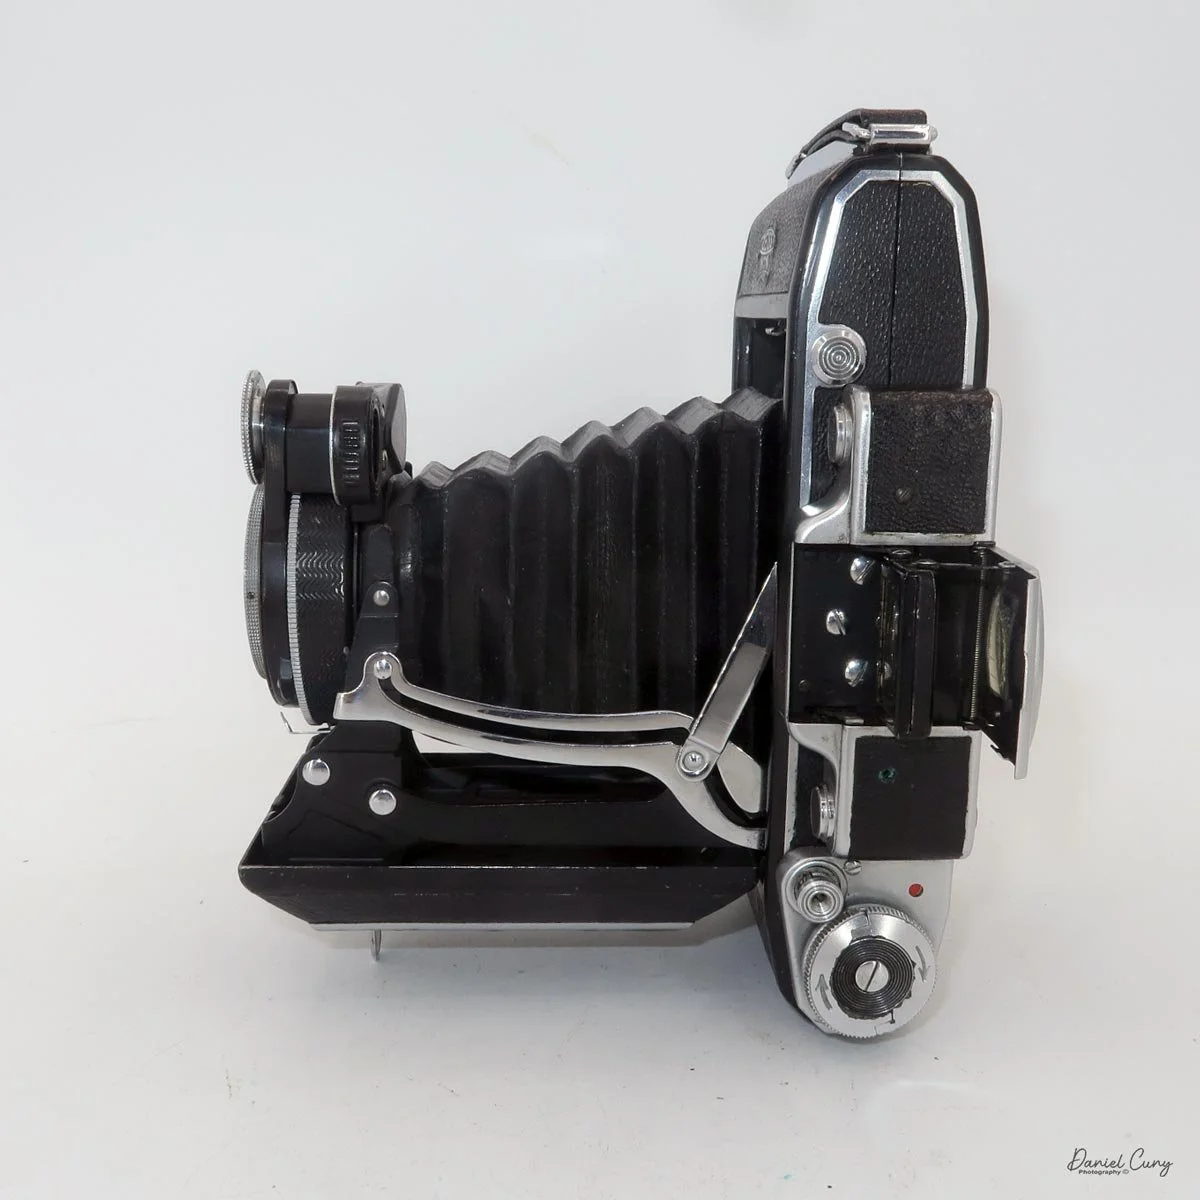
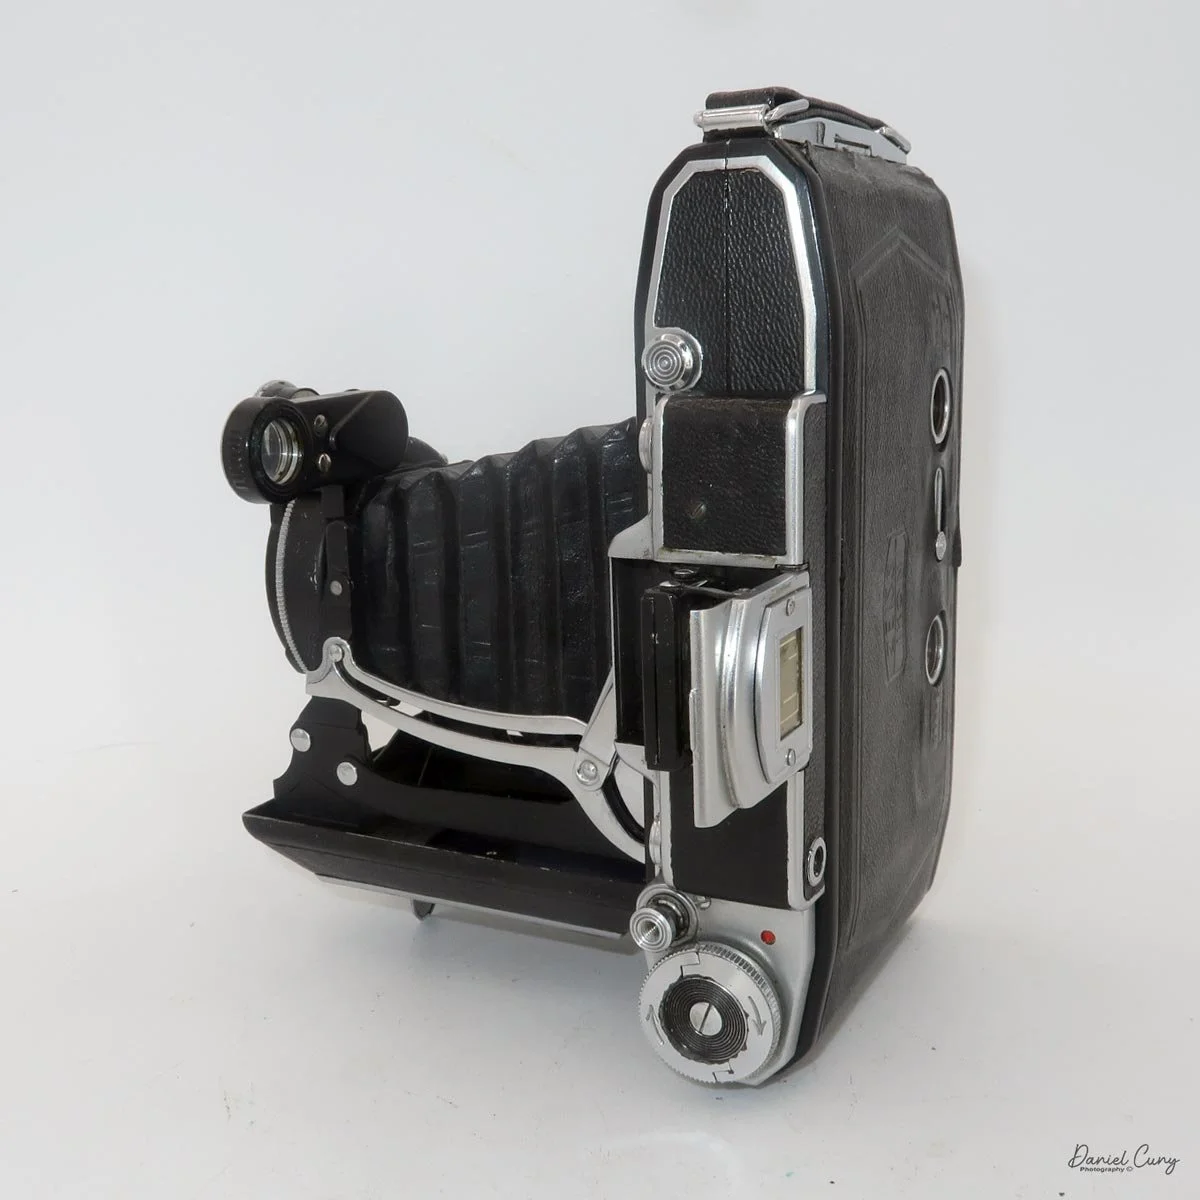
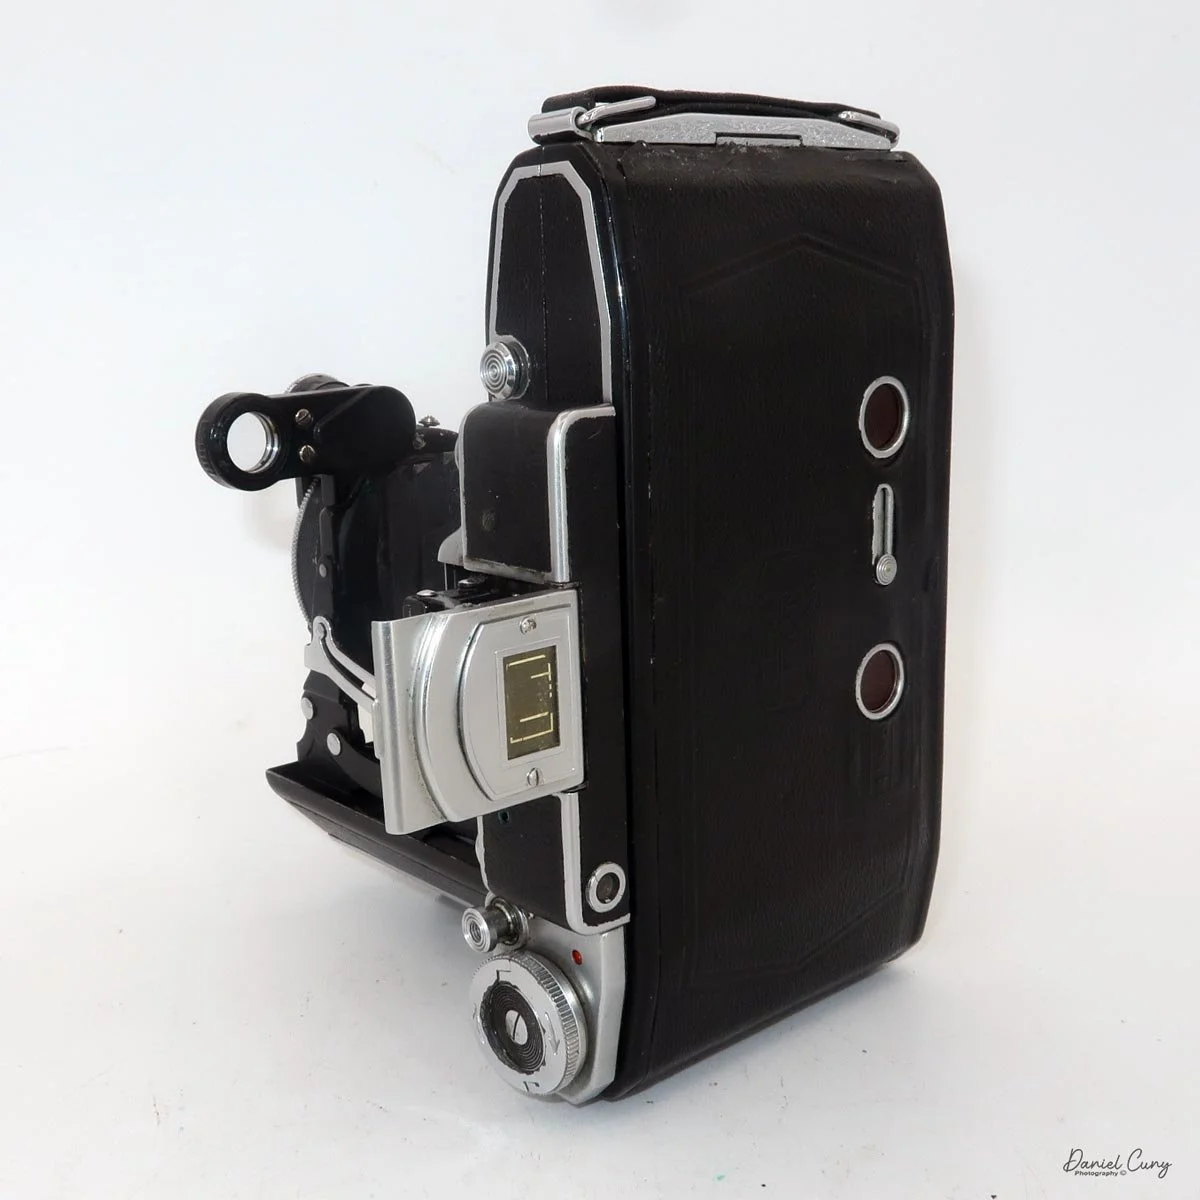
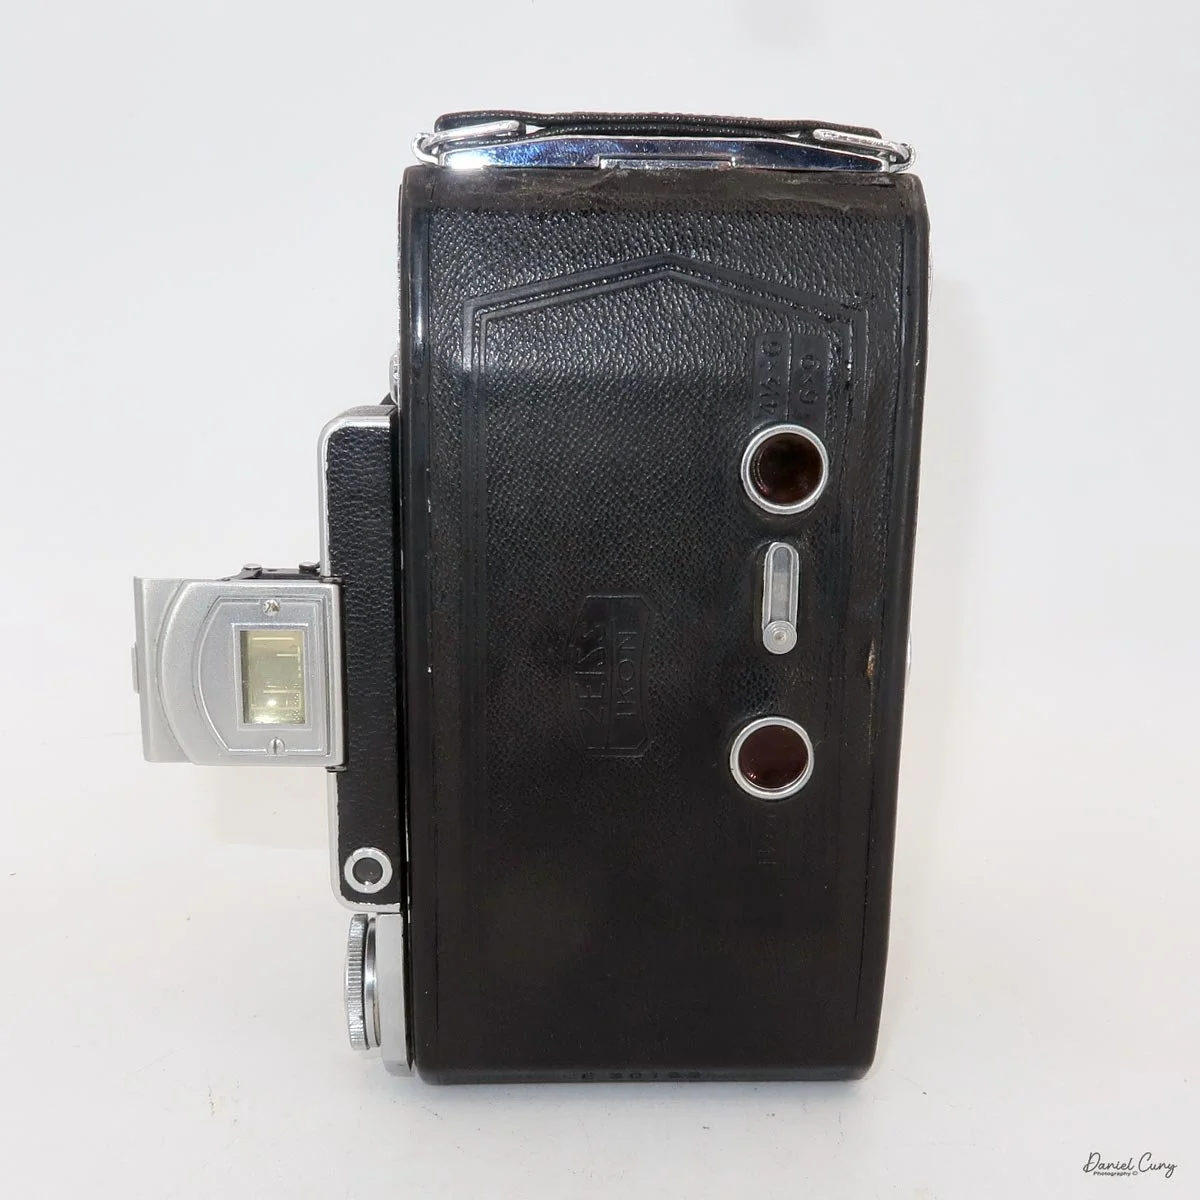
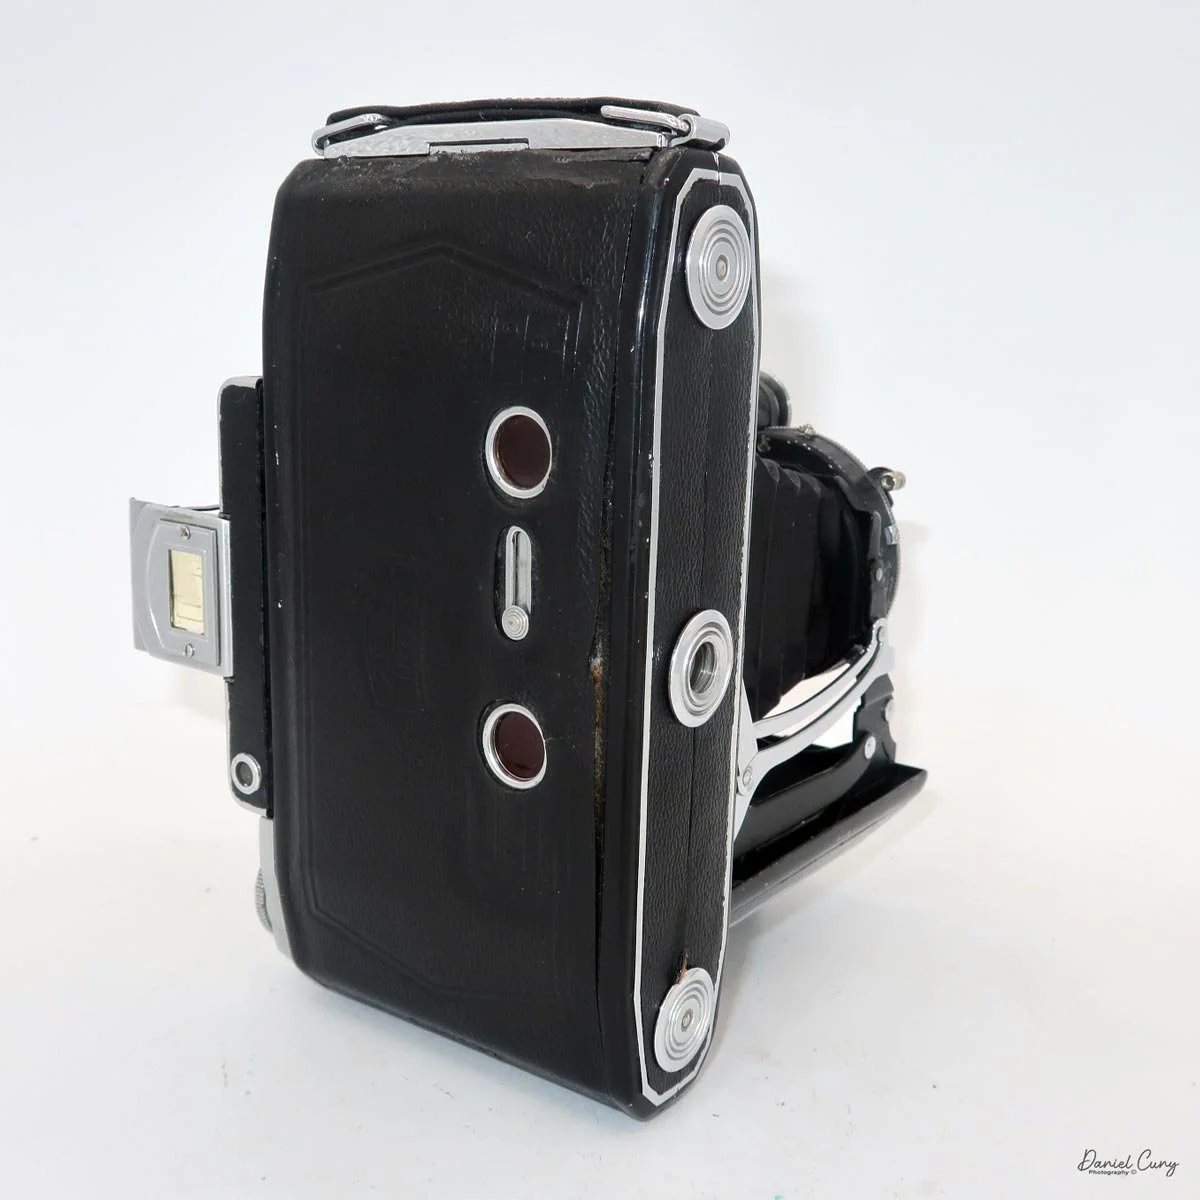
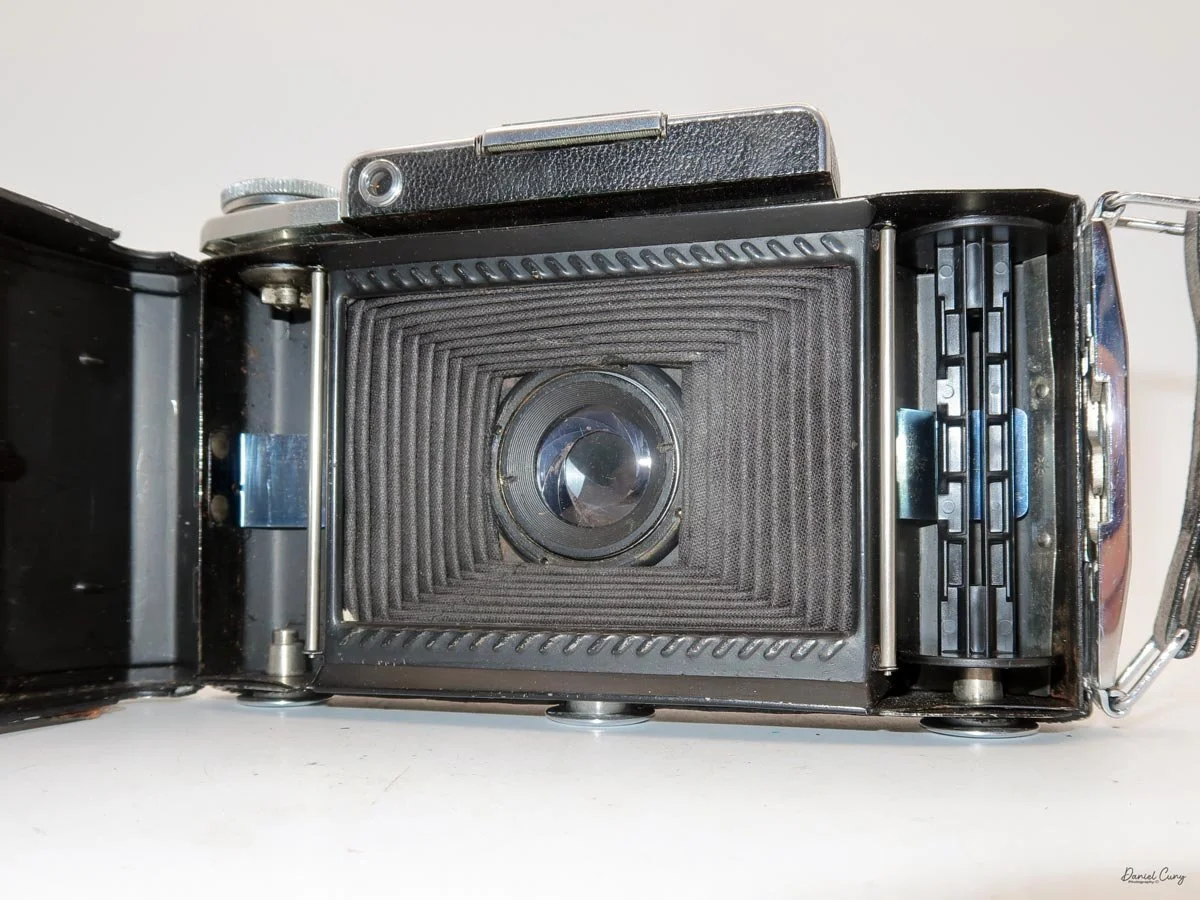
Horizontal view of my Zeiss Ikon Soper Ikonta 530/2 camera

 The camera I had purchased almost a year ago was from an online auction. I saw it at the auction along with a few other cameras, placed a fairly low bid, and won it. The camera was shipped to me, and upon inspection, I noticed the shutter wasn't working. It worked at higher speeds, but the camera needed servicing, so I sent it for CLA.

 My camera came back from the technician and looked flawless. The rangefinder was bright and accurate, the lens was bright, the focus was smooth, and the lens popped out of the camera as if it were new. 

 Whenever I see a Zeiss Ikon Super Ikonta or another rangefinder folding camera, the first thing I check is the shutter to see if it's opening/closing, especially at slower speeds. Then I check the focus to see how smoothly the lens and focus knob turn. It seems that many of the cameras have very stiff focusing, so when the camera came back, and the focus knob turned so nicely, I must have had a large grin on my face, as this was a new experience for me: a smooth focus.

 With all that said, it was time to put a fresh roll of 120 film into the camera and take a walk through the neighborhood on a wonderful spring afternoon. The sun was out, and so many of the trees and flowers were in bloom, it was the ideal opportunity to take my newly CLA'D Zeiss Ikon Super Ikonta for a spin.

Brief History of the Zeiss Ikonta Cameras:

 Zeiss Ikon and the Ikonta cameras sit at an important crossroads in European camera history. Formed in 1926 from the merger of four major German makers—Contessa-Nettel, Ernemann, Goerz, and Ica—Zeiss Ikon became one of the largest and most influential camera companies in the world, backed by the Carl Zeiss optical tradition.

 The Ikonta line emerged around 1929 as Zeiss Ikon's premium folding-camera family. It was introduced in several sizes, including 6x4.5, 6x6, and 6x9 roll film frames, and represented the company's effort to rationalize and modernize the crowded product lines inherited from the merger. These cameras were built as elegant folders: compact when closed, but capable of producing high-quality medium-format images when opened.

 What made Ikonta especially significant was its market position. Zeiss Ikon used better lenses and more refined construction on Ikonta models, while cheaper versions sometimes carried the related Ikomat name. The line became closely associated with Carl Zeiss lenses, such as the Tessar, which helped the cameras earn a strong reputation for sharpness and image quality.

 A major step forward came with the Super Ikonta series, introduced in 1933. The "Super" name indicated the addition of a coupled rangefinder, making focusing far easier and more accurate than the original scale-focusing Ikontas. That innovation helped define some of the best prewar folding cameras available.

 Production continued through the war years and into the postwar period, but folding cameras gradually lost favor as photography shifted toward more modern fixed-lens designs and 35mm systems. Even so, Ikonta and Super Ikonta remain admired today for their craftsmanship, portability, and classic Zeiss optical quality.

My Camera:

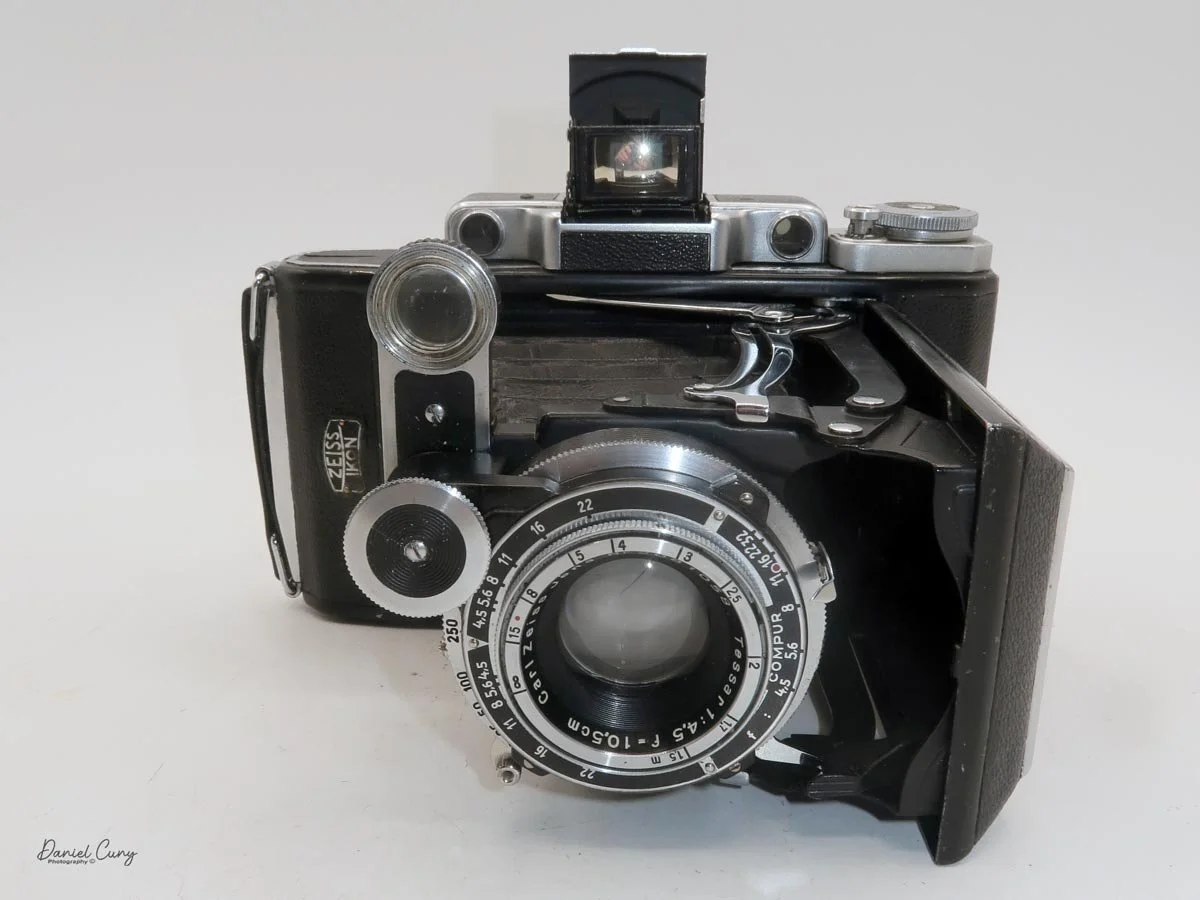
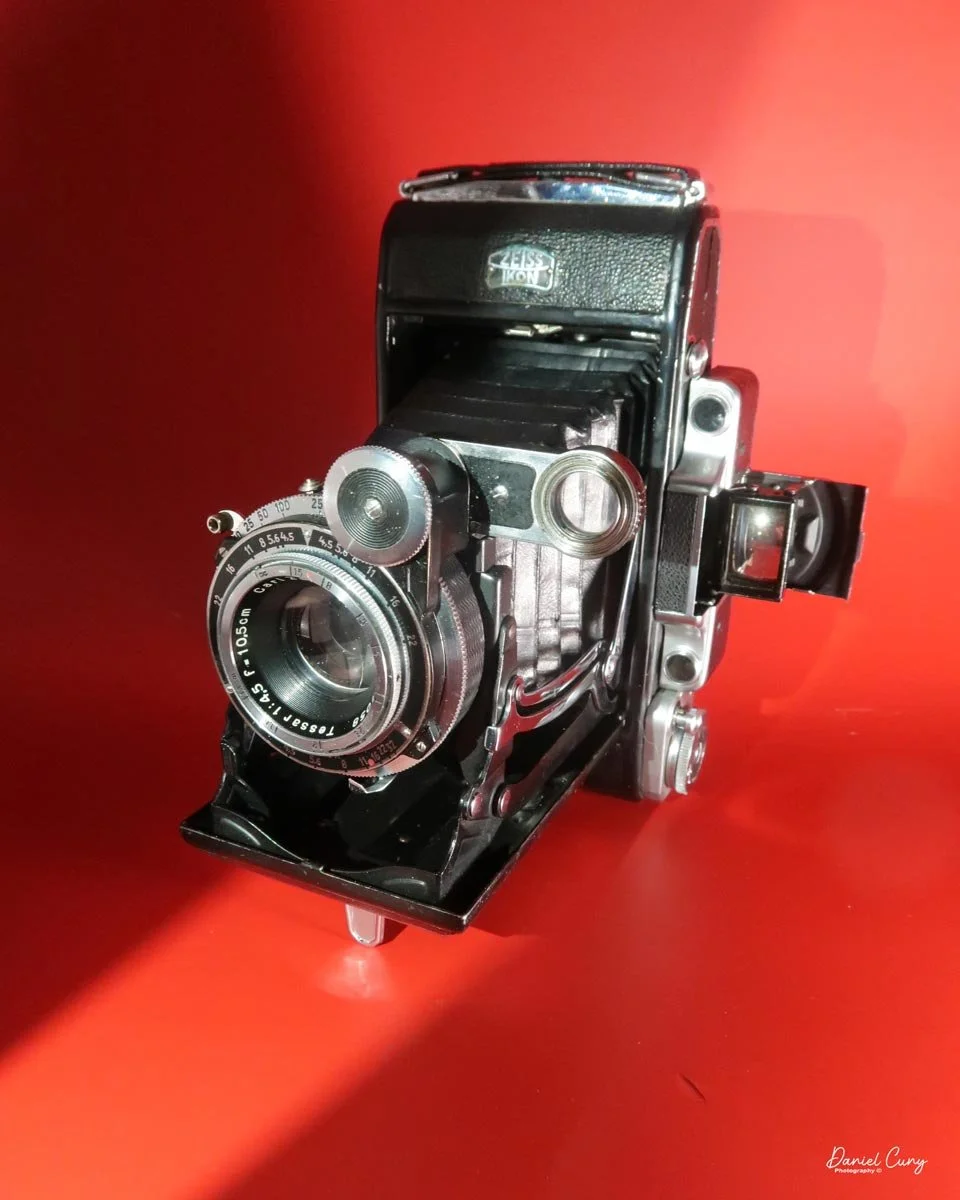
 My Zeiss Ikon Super Ikonta 531/2 is 7" wide by 4" tall and 2 "deep when the lens is retracted, and it's 5" tall when you open the camera, and the viewfinder pops up, and 5.5" deep when the lens is extended. The camera weighs 1 pound 15 ounces without the case or film loaded. My serial number is E30192.

The Zeiss Ikon Super Ikonta 531/2 camera has several different options for lens and shutter combinations:

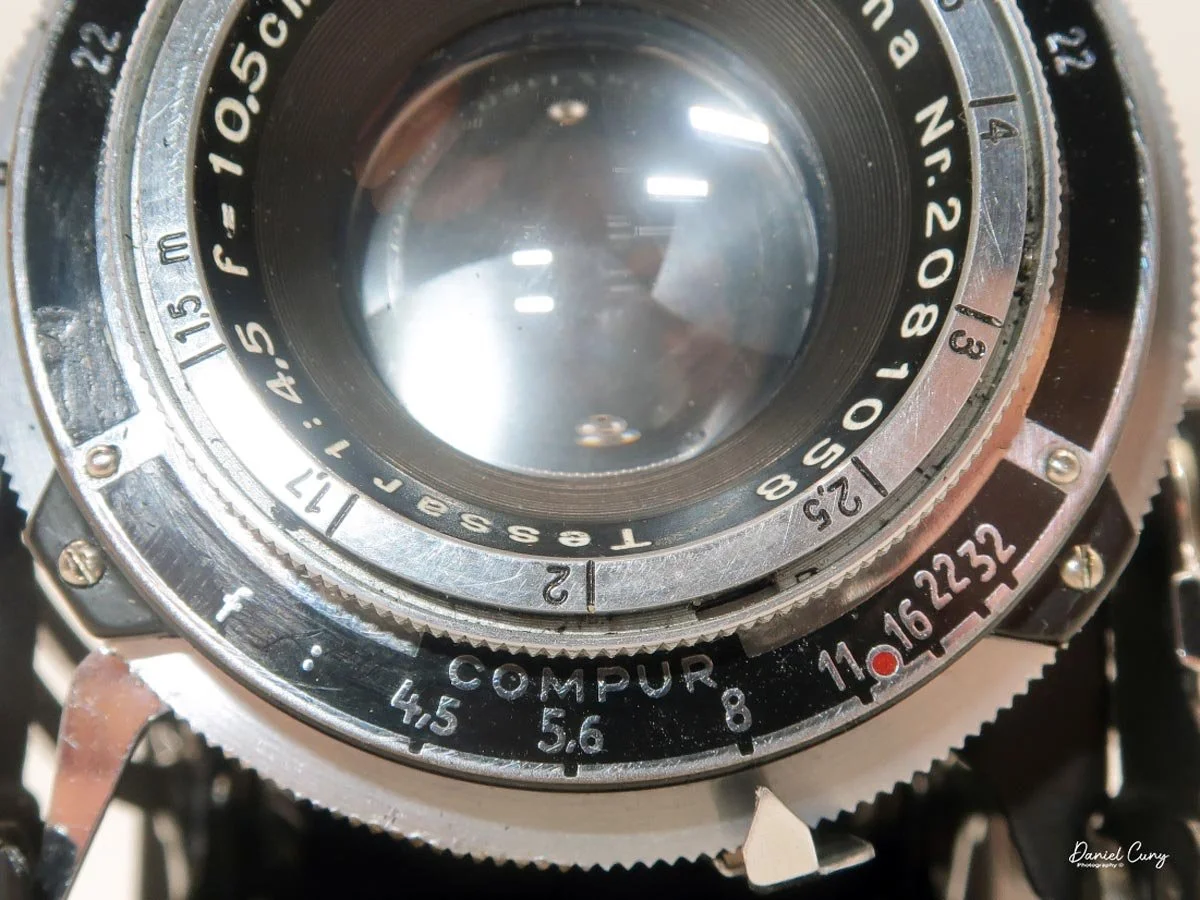
  • Tessar 10.5 cm f/4.5 in a Compur shutter. This combination is the best-documented early setup for the 530/2, especially on black-enamel versions from the early 1930s.

  • Triotar 10.5 cm f/4.5 in a Klio shutter. Some early examples were fitted this way, making it a less common but real configuration.

  • Tessar 10.5 cm f/4.5 in a Klio shutter. At least one documented example shows this pairing, indicating that Zeiss Ikon used multiple shutters during the model's production.

  • Later or related Super Ikonta variants appear with Tessar lenses in Compur Rapid or Synchro-Compur shutters, though those are more typical of later Super Ikonta models.

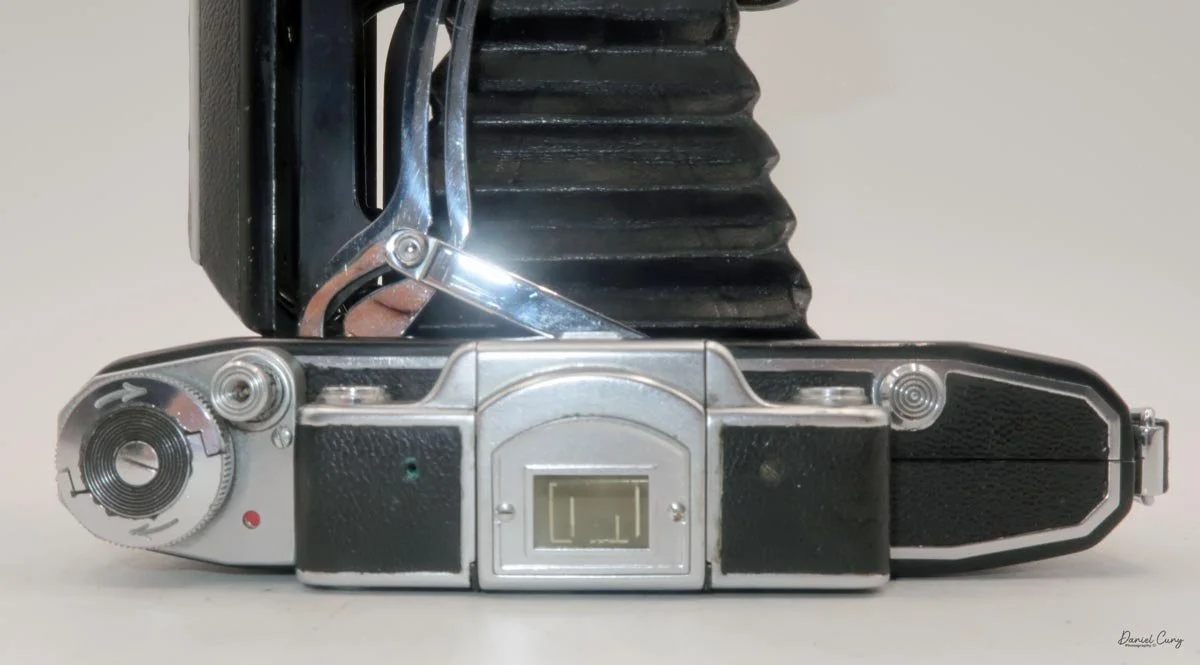
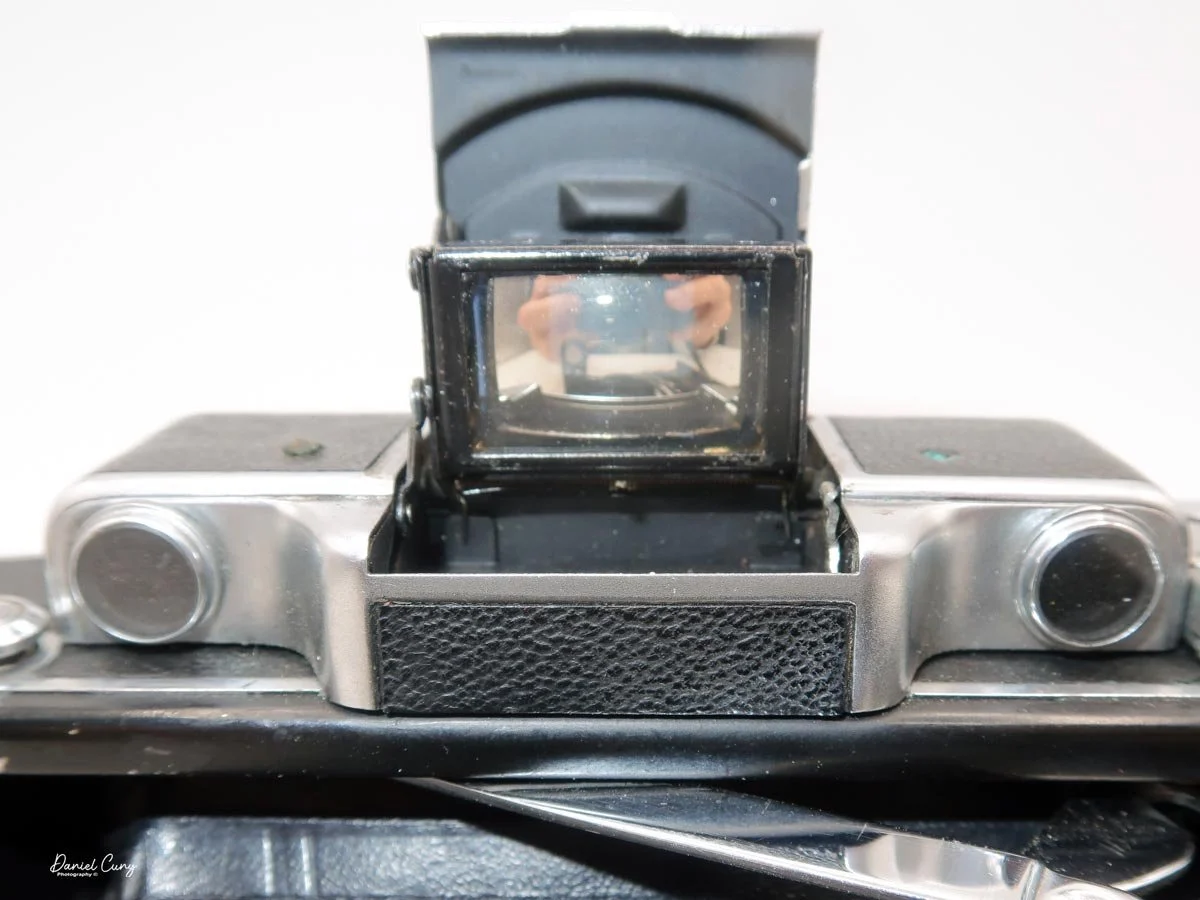
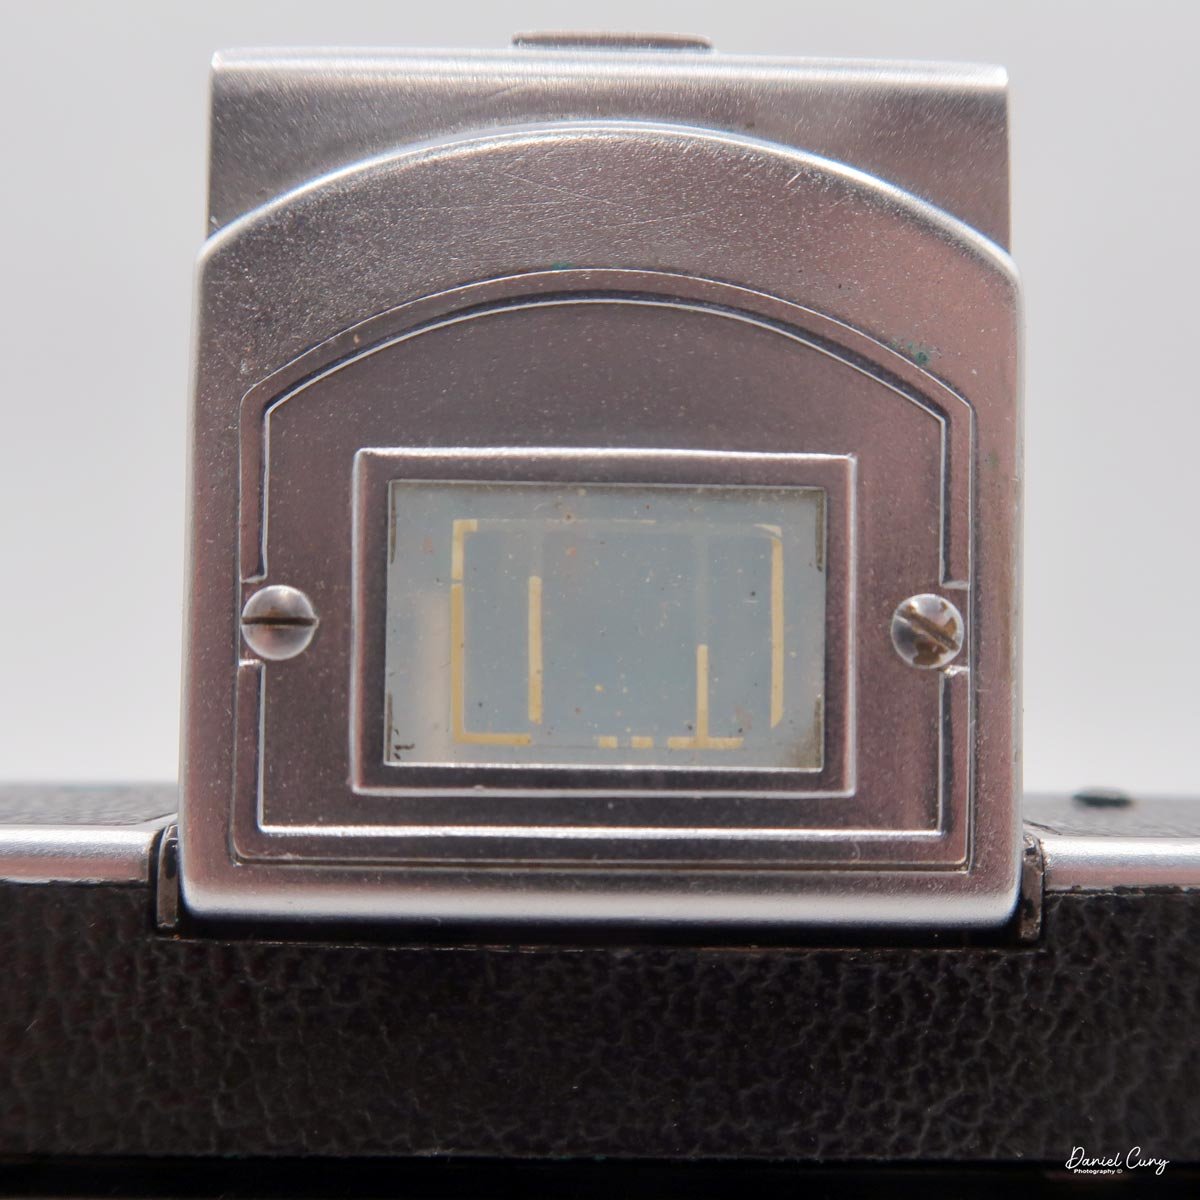
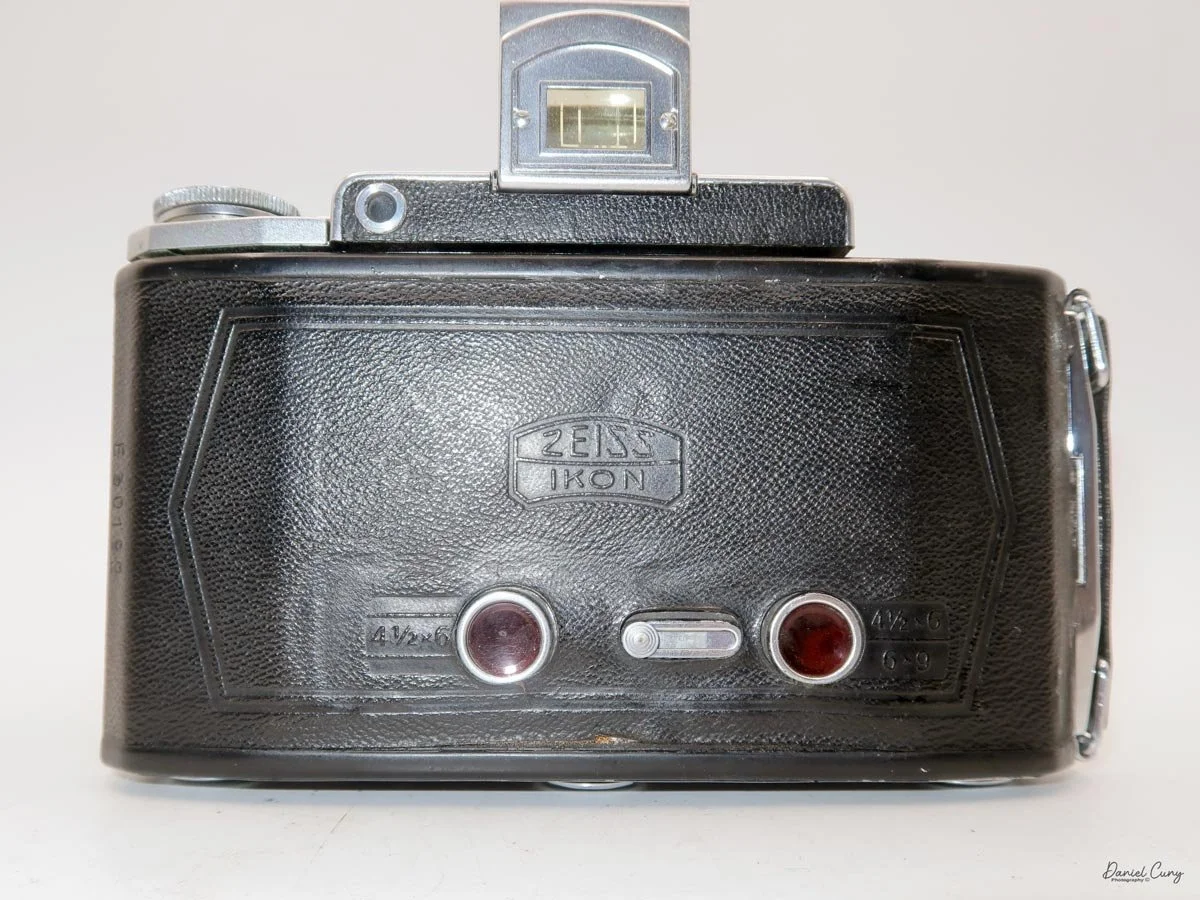
Looking at the top of the camera, on the right side of the rangefinder, is a button that opens the camera when it's closed. According to the Zeiss Ikon Super Ikonta manual. Hold the camera in your right hand, with the front slightly pointed down. Press the button, and the camera should open slightly. Then pull down on the front cover so the bellows and lens extend to the taking position. Once the lens is extended, you'll need to swing the arm holding the small round lens into place so you can use the rangefinder for focusing. Also, when you open the camera, the Albada (sports) finder springs open. Look through the Albada finder; it has lines for both 6x9cm images in a horizontal format and for 6x4.5cm images for a vertical subject.

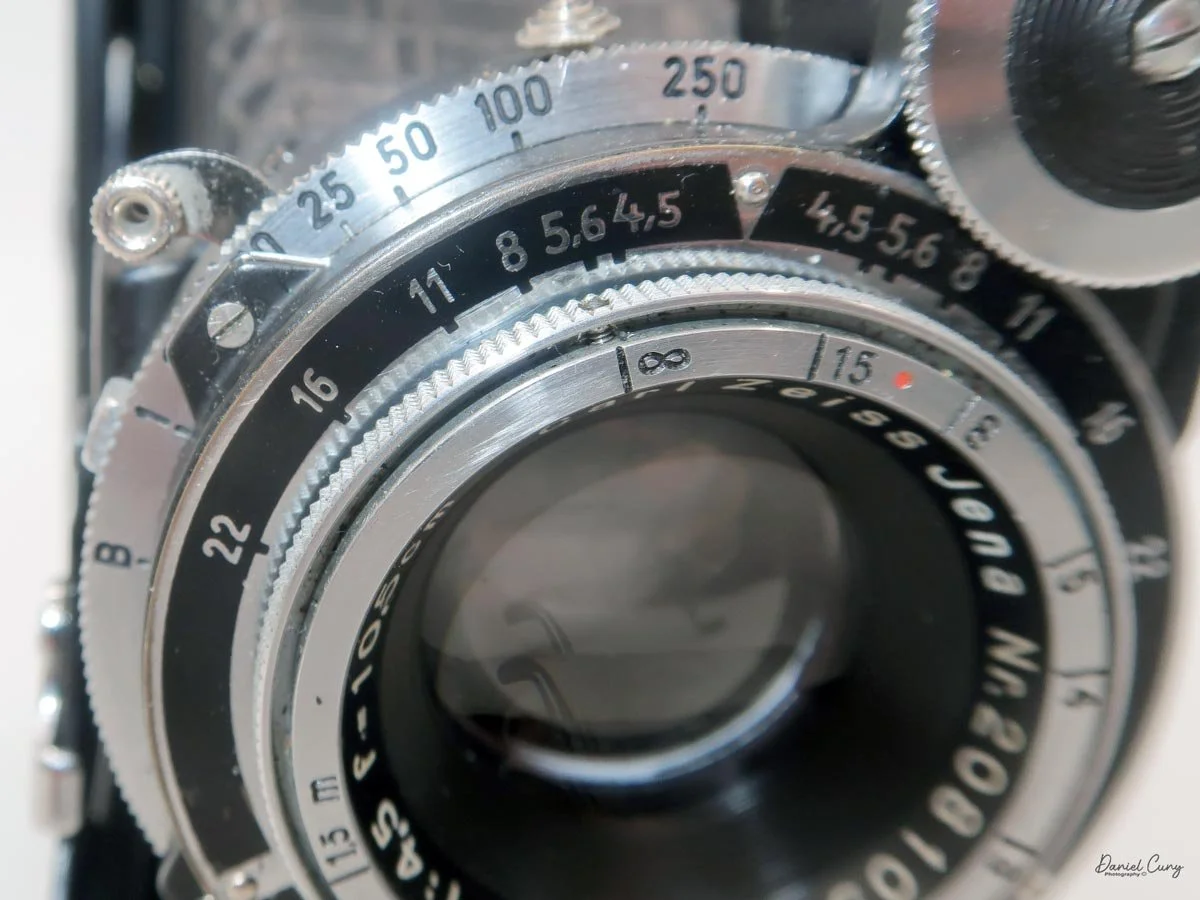
Now that the camera is open, you're ready to make exposures once the film is loaded, which we'll get to in just a moment. The shutter and aperture settings are located around the lens. Shutter speeds from 1/250 to 1 sec, plus "B," are set by turning the ring to the desired speed. The aperture is set by sliding the arrowed lever at the bottom of the lens to the desired aperture, which ranges from F/4.5 to F/32 on my camera.

 The focus wheel is on the front of the swing arm you moved over for the rangefinder, just above the lens when the camera is in the vertical position. For focusing, look through the small window on the back of the camera. Turn the dial to use rangefinder focus, which includes a small yellow area in the middle of the finder. When out of focus, the subject will appear as two images. Your main subject, and a second image in the yellow area. Turn the wheel until both images merge into one, indicating the subject is now in focus. 

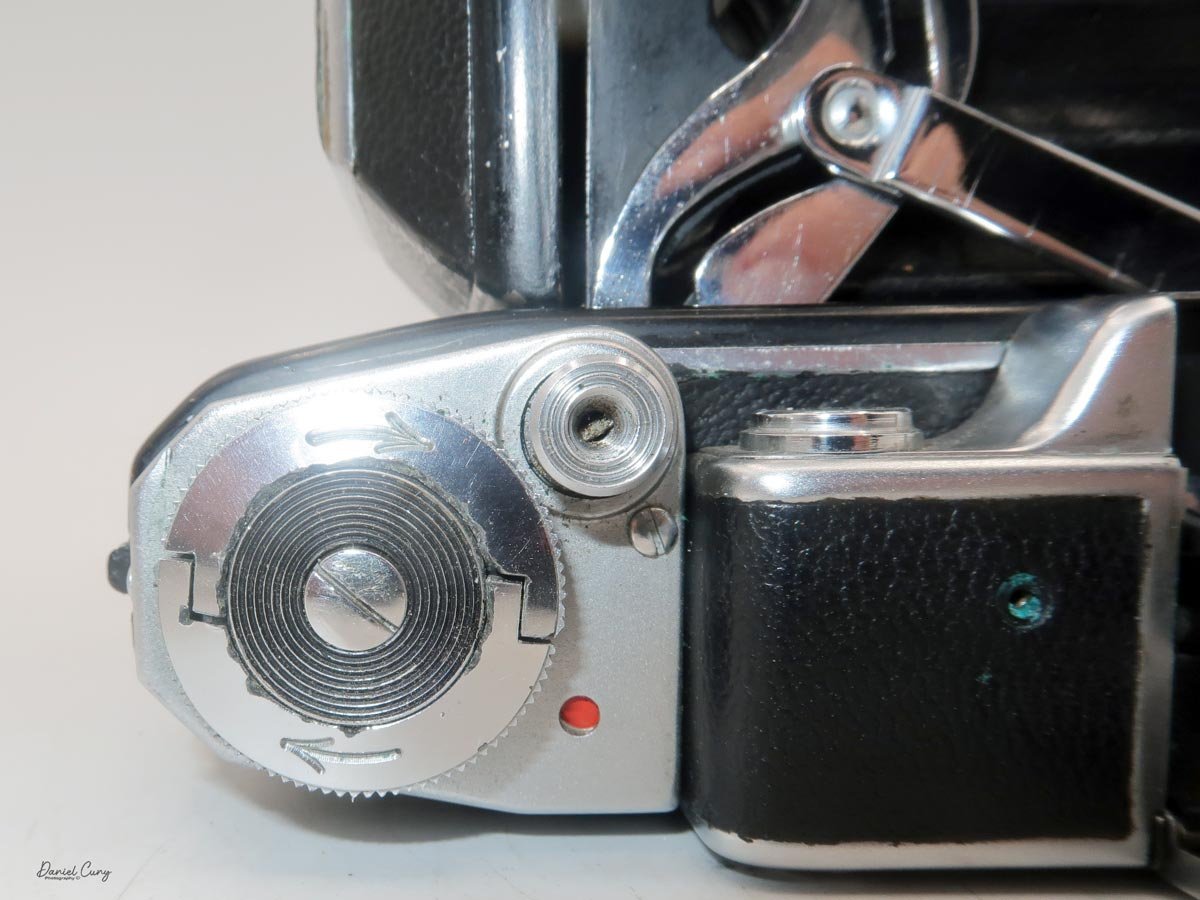
Set your shutter speed and aperture setting, and don't forget to cock the shutter. The shutter release is on the top, left side of the camera. Press the shutter release, which will trip the shutter via a series of linkages that run along the bottom of the lens bed. Just behind the shutter release is a small window. When the window is grey, the shutter has been tripped, and you'll need to turn the film winding lever until the small window turns red. At this point, you can re-cock the shutter and release it. 

To open the back of the camera to load film, under the camera's handle is a small slider with an arrow pointing toward the opening. Slide the small knob in the direction of the arrow, and the camera back will open. Load the film as you would any 120 roll film camera, roll the film so the "start" arrows are showing, then close the back of the camera, and wind the film advance knob so the number 1 shows up in the appropriate window on the back of the camera. 

There are two red widows on the back of the camera: one for 6x9cm images and one for 6x4.5 cm images, if you have the metal insert in. If you have the insert in the camera, you'll use both windows for film advance, as you would with a 127 film camera with two windows. Stop at the number 1 on the far right window, then take your photo. Wind the film until the number 1 appears in the second window on the left, then take your photo. Then wind the film until the number 2 shows up on the first window on the right side, and so on through the number 8. For 6x9cm images, you'll get 8 exposures per roll; for 6x4.5, 16.

 To close the camera for transport, slide the arm you extended for focus back over the bellows. Holding the camera with both hands, press in on the locking arms on the struts to lock the bellows and lens into place; the bed will collapse a bit. Fold the lens back into the camera until the camera clicks closed, then flip down the Albana finder.

My Images:

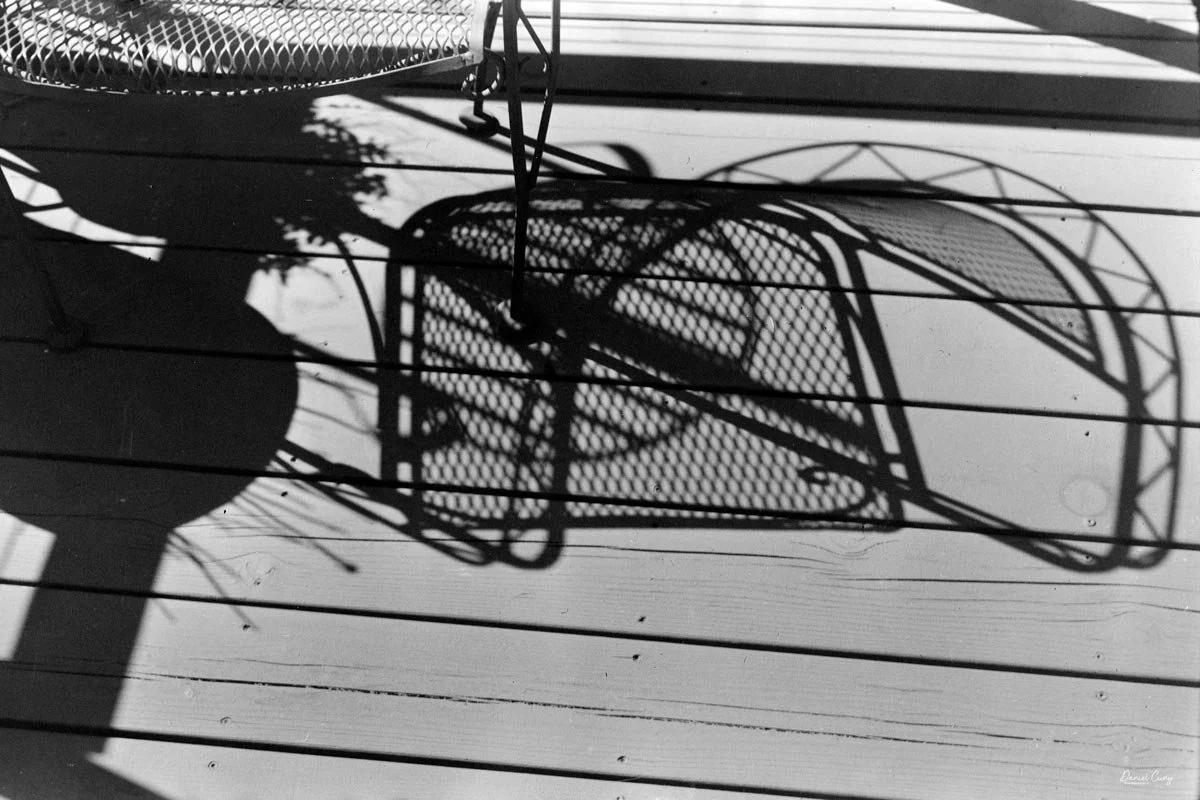
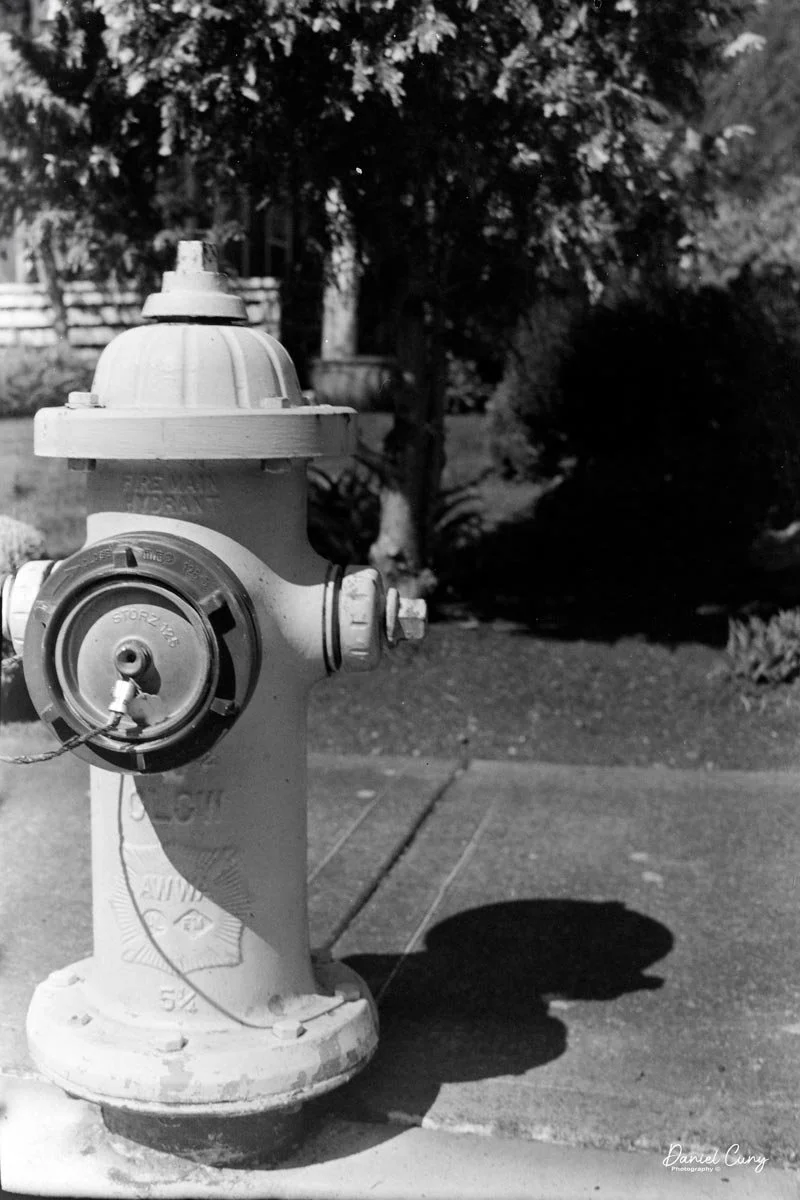
 Let's take a look at how the images turned out. Here are a few of the images I took with the Zeiss Ikon Super Ikonta camera.

Conclusion:

 The first few images were incredibly sharp, well-exposed, and as I expected. I noticed that towards the end of the roll, the images became softer and less sharp, which concerned me. What did I do wrong?

 To give some background, I had eye surgery on my right eye, which is my dominant eye, about a year or two ago. When I went to see the eye doctor, I could barely make out details with my right eye, so surgery was necessary. Since then, it's gotten a bit better, but not as good as it used to be. Now I'm getting used to putting the camera up to my left eye, which is considerably better than my right. It still feels awkward, but it's my new normal.

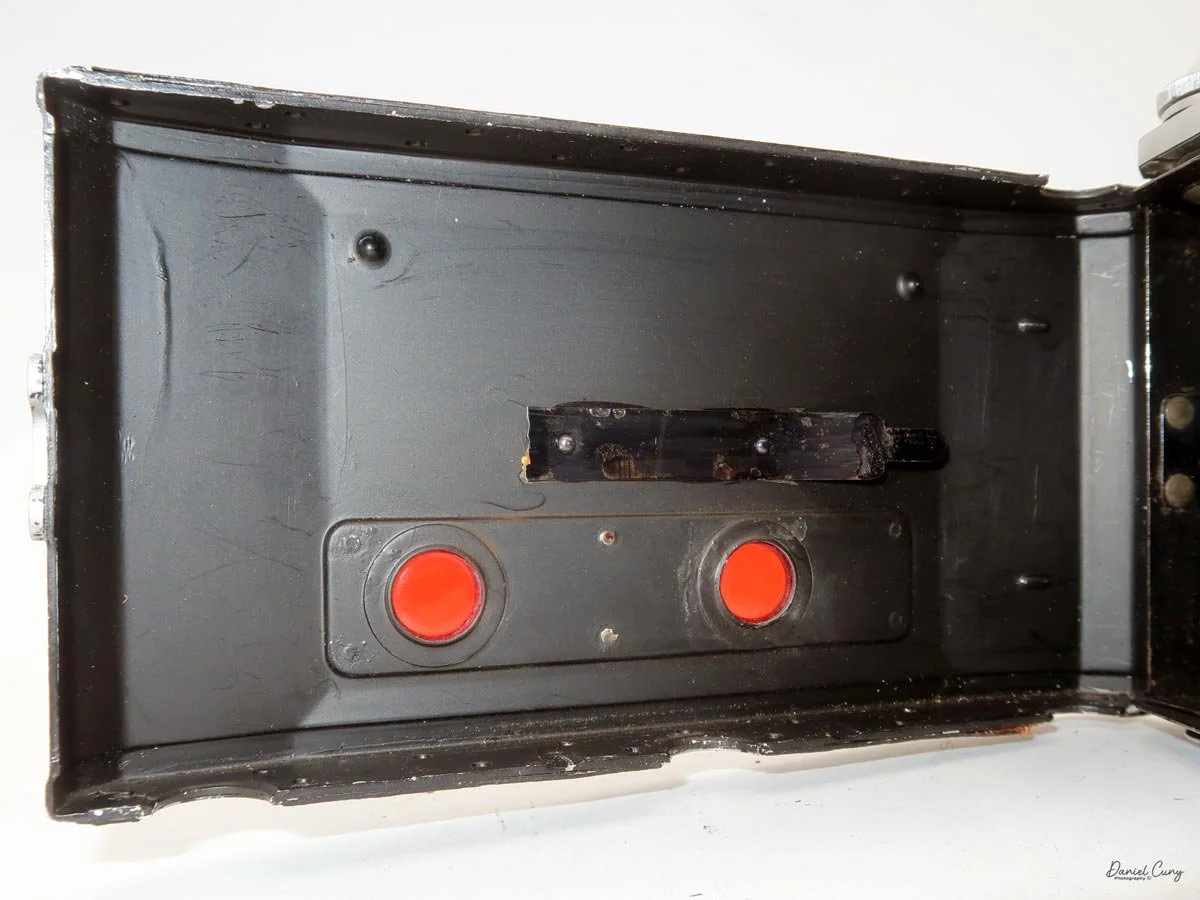
Missing pressure plate

 I thought this contributed to the images being soft. Then I remember what a good friend, Mike Eckman, said a few weeks ago when we were discussing image sharpness. He said that he had a similar instance and noticed that the film's pressure plate was missing. At this point, I opened the back of the camera, and sure enough, the pressure plate was missing. 

 How could I miss that when I'm loading the camera? You get so used to looking at and loading cameras that you miss that a camera doesn't have a pressure plate.

 At this point, I'm sure I could manufacture one out of something like thin foamcore and just cut out circles for the red window. Still, it's a lot of fun to use, and the images are incredible. I'll chalk it up as a learning experience and double-check to be sure they have the pressure plate from now on.

 Here are some of the other Camera Reviews I've done.

 Cuny's Cameras and Photos is my online eBay store where I sell some of the cameras I've reviewed, along with other camera accessories, lenses, etc.

 Please feel free to comment on this or any of the other camera reviews I've done. I'd love to hear from you.

 Until next week, please be safe.
 

Zeiss Ikon Ikoflex III (853/16) camera

My Zeiss Ikon Ikoflex III camera

My first real camera, a Univex Uniflex, was a gift from my Uncle Bud, my mother's younger brother. He was a free-spirited soul, living a bohemian lifestyle that left a lasting impression on me and my older brother. This camera, a symbol of his unique spirit, became my gateway to the world of photography. 

 Uncle Bud was the photographer in the family gatherings, went to art school in Chicago, where he met his wife, made wine, went antiquing, purchased an old school bus, and was converting it into a camper for the family, was health-conscious, all of this in the 1960s, as I was young and impressionable. 

 I tell you this because the Univex Uniflex was a somewhat inexpensive twin-lens reflex camera that I used for many of my early years taking photos, so the twin-lens reflex style has always felt comfortable to me. I've always enjoyed looking through a larger viewfinder and framing my subject, albeit backward when looking down into the camera. It's similar to looking through a view camera, although the view camera isn't backwards, just upside down. 

 Last week, as my wife and I were in Yosemite and the San Francisco Bay Area. One of the reasons we went there was that on the first Sunday of the month, there's a large flea market in Alameda, which I miss since moving away from the area about 9 years ago. I planned the trip partly to visit the flea market and look for cameras and other photo items.

 I arrived at the flea market early and started looking over the many tables. At one of the tables, I found this fantastic Zeiss Ikoflex III camera I've been looking for for many years. As I picked up the camera, the shutter worked at higher speeds and lagged at lower speeds. The lens was clean and the transport worked well. 

 After a bit of negotiation, I left the flea market with the Ikoflex III and a few other small items. The joy of this find was so great that I couldn't wait to share it with you, my fellow camera enthusiasts. Even though I had recently written about the Zeiss Contaflex camera, the Ikoflex III was a gem that I couldn't wait to put a roll of film into and share its story on my camera blog.

Ikoflex History:

 The Zeiss Ikoflex emerged in 1934 as Zeiss Ikon's direct answer to the burgeoning success of the Franke & Heidecke Rolleiflex. The inaugural model, affectionately nicknamed the "Coffee Can" for its distinctive upright, cylindrical body, marked a departure from the more conventional TLR design. This initial offering was a clear statement of intent from the German optics giant to compete in the professional and enthusiast photographer market.

Ad for Zeiss Ikon Ikoflex III camera

 Throughout its production, which spanned until 1960, the Ikoflex series underwent significant evolution, with a clear demarcation between its pre-war and post-war iterations. Before World War II, Zeiss Ikon introduced several models, progressively refining the design and features. The early lever-wind and knob-wind "Coffee Can" models gave way to more streamlined, traditionally styled TLRs. These pre-war cameras often featured high-quality Zeiss lenses, such as the Tessar and Novar. They were equipped with Compur or Klio shutters, offering photographers a range of options in terms of both price and performance. A notable pre-war innovation was the Ikoflex III, introduced in 1939, which boasted a fast f/2.8 Tessar lens and a unique Albada direct-vision viewfinder integrated into the focusing hood, setting it apart from its contemporaries.

 Following the end of the war, Zeiss Ikon resumed production in West Germany and continued developing the Ikoflex line. The post-war models, such as the Ikoflex Ia and IIa, reflected the technological advancements of the era. These cameras often featured coated lenses for improved contrast and flare reduction, as well as synchronized flash capabilities. The final models in the series, like the Ikoflex Favorit, even incorporated a built-in, uncoupled light meter, a significant feature for the time.

 Despite its innovative features and the esteemed Zeiss pedigree, the Ikoflex line always existed in the shadow of the Rolleiflex. While highly capable and well-regarded for their robust build and excellent optics, the Ikoflex cameras ultimately ceased production in 1960, leaving behind a legacy as a compelling, if not dominant, force in the golden age of twin-lens reflex photography.

My Camera:

 My Zeiss Ikon Ikoflex is in very good condition, except for some of the slower shutter speeds, which I'll exercise and hopefully bring back to life; otherwise, I'll have it CLA'd. The camera's serial number is 836152, and it has a Carl Zeiss Jena Tessar 8cm f/2.8 lens, serial number 1851589. The camera is 6" tall when the light chimney is closed and 8" tall when it is open, by 4" wide, including the focus knob and film winding lever, and by 4.25" deep when the camera is focused at infinity.

To open the light chimney and look into the viewfinder, on the back of the camera, behind the closed chimney, is a button to press to open it. Unlike many twin-lens reflex cameras, the light chimney opens from the front rather than the rear, which I find interesting. On the right side of the back wall, the small switch locks and unlocks the flip-up magnifying glass for critical focus on the ground glass. On the side walls of the light chimney are "Zeiss Ikon" on one side and an exposure index on the other.

 If you want to use the Albada sports finder, it shows bright frame lines as you peer through it, and the front of the light chimney is a very polished, mirror-like surface, very similar to the previously mentioned Zeiss Ikon Contaflex TLR camera. To close the chimney, fold down the sides, then the front, and finally the rear portion. 

Similar to the Rolleiflex, both the aperture and shutter speed settings can be viewed when peering down the light chimney. Two separate windows show the aperture setting on the left and the shutter speed on the right. To move either setting, there's a lever on each side of the lens; slide it up or down to change the setting. The shutter speeds go from 1/400 to 1 sec, along with "B" for timed exposures. The aperture goes from F/2.8 to F/22. Just behind the shutter-speed slider is the cable release socket. Just to the right of the lens is a small round window that shows black when the shutter is tripped, and red when the shutter is cocked and ready to shoot.

On the right side of the camera, from top to bottom, is the frame counter in a stylized circular window, placed directly behind the shutter release. To activate the shutter, you press down on the shutter release to take the photo, which I prefer to pressing into the camera's body. The main object on the right side of the camera is the transport/winding lever. It is so much more than just a film transport lever; it also cocks the shutter with only about half a rotation. 

On the left side of the Zeiss Ikon Ikoflex II camera is the focus knob, which has a minimum focus distance of 4' to infinity. Just above the focus knob is the depth-of-field scale for the different apertures. Above and below the focus knob are two knurled knobs that can be pulled out to load and unload the film once the back of the camera is opened.

To open the back of the camera to load the film, there is a small disk on the back that is pulled down to open the back. The back will flip down, unlike Rolleiflex cameras, where the back pulls up. Loading the film is just like any other twin-lens reflex camera. Once the new film is on the bottom, bring the lead to the top spool and thread it into the slot, and wind the transport lever. Do this until the arrows on the paper backing point to two white dots on the side of the film chamber. At this point, close the back and wind until you see frame number 1 in the frame counter. Do not go past the first frame (frame 1) in the film counter, or you'll lose images on the film. This may be a flaw in my camera, but at first it doesn't stop at frame 1.


My Results:

 The forecast for the end of last week called for rain, so on Wednesday, I loaded up the camera with film and took a short drive to Duggan Falls in Washougal, WA. It's about a 30-minute drive. While it was overcast, it wasn't raining, and I wanted to try the Ikoflex III before the rain hit.

 The camera produced very sharp images. Here are a few photos I took at the falls.

Conclusion:

 The Zeiss Ikon Ikoflex III camera was an absolute pleasure to shoot with. It was similar to many other twin-lens reflex cameras. The viewfinder could have been a bit brighter, but the focus knob was smooth and easy to move. The shutter speed and aperture windows seem a tad dark, but the camera is close to 90 years old, so a good CLA would brighten them up nicely.

 I really enjoyed the short turn of the transport lever. I was surprised that such a small motion would properly transport the film AND cock the shutter, too. It does a fantastic job, and it's one of the reasons I enjoyed the camera so much. Overall, an excellent camera to have in the collection, and one I'll be taking out more often to shoot with, given how sharp the images are.

 Thank you for taking the time out of your day to learn about this fantastic vintage German camera.

 Here's a link to my other Camera Reviews.

 I also have a store on eBay, Cuny's Camera and Photo. Stop by sometime and see what cameras and other photo oddities I have for sale.

 Until next week, please be safe.