My Baron RI camera
When I visited Tokyo, Japan, a few weeks ago, one of my main objectives was to find odd, unusual, or little-known cameras that I could write about for this blog post. I found a few cameras that meet this criteria and will be writing about them over the next couple of weeks.
To get familiar with many of the used camera stores in Tokyo, I hired Bellamy Hunt from Japanese Camera Hunter for a half-day tour. Not only is he a wonderful, kind, and knowledgeable camera collector, but his background on how he started his company is intriguing. I had a wonderful time getting to know him and appreciated all his insights into collecting cameras.
One of the shops he took me to was Used Camera Box at 1 Chome-13-7 Nishishinjuku, Shinjuku City, Tokyo 160-0023. It was, to me, a jaw-dropping experience. The camera store is not that big, but almost 90% of it is filled to the rafters with cameras. There are many showcases with cameras on top of cameras, and in front of these showcases are bins of more used cameras.
Only two people were working there, so I didn't want to monopolize their time opening and closing different showcases. If the showcases had been opened and I had places to look through all the items they had, it would have easily taken a couple of days, which would have been something I would have done.
During my time with Bellamy, we didn't spend much time there, but I found one or two items, paid for them, and left. It was a store I planned to come back to when I had more time, to spend a couple of hours going through the bins and looking through different showcases, trying to find the odd, unusual, or unknown items.
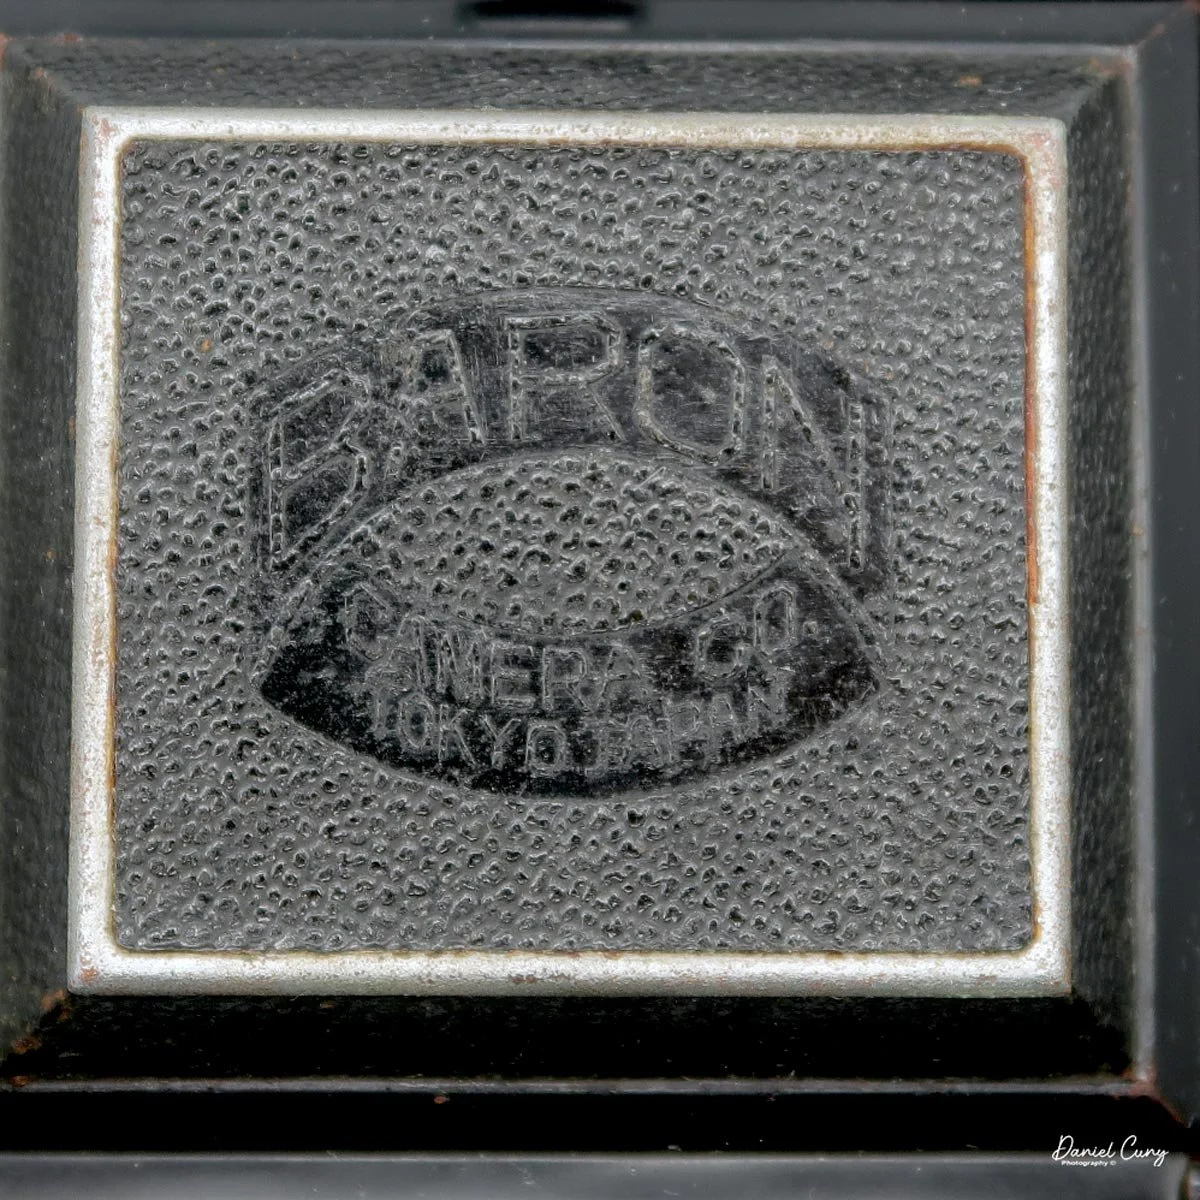
Embossing on the camera leans board.
On my final day in Tokyo, I went back to Used Camera Box and did what I had planned. When I arrived in the morning, soon after they opened, there were no customers, so I had time to go through many of the bins and scour at least one or two of the showcases.
There was a showcase towards the rear of the store that looked like it had many interesting items. I noted the items I was interested in and called over one of the two salespersons. At this point, a couple of other customers were there, but I was determined to look at the items I wanted.
The salesperson was very courteous and allowed me to pick and look at several items I was interested in. There were some very rare gems, but the pricing was considerably higher than I was willing to pay, so I decided on 3-4 cameras, paid for them, and left very happy.
One of the cameras purchased in the last few days at Used Camera Box is the camera I'm writing about in this post: the Baron RI camera.
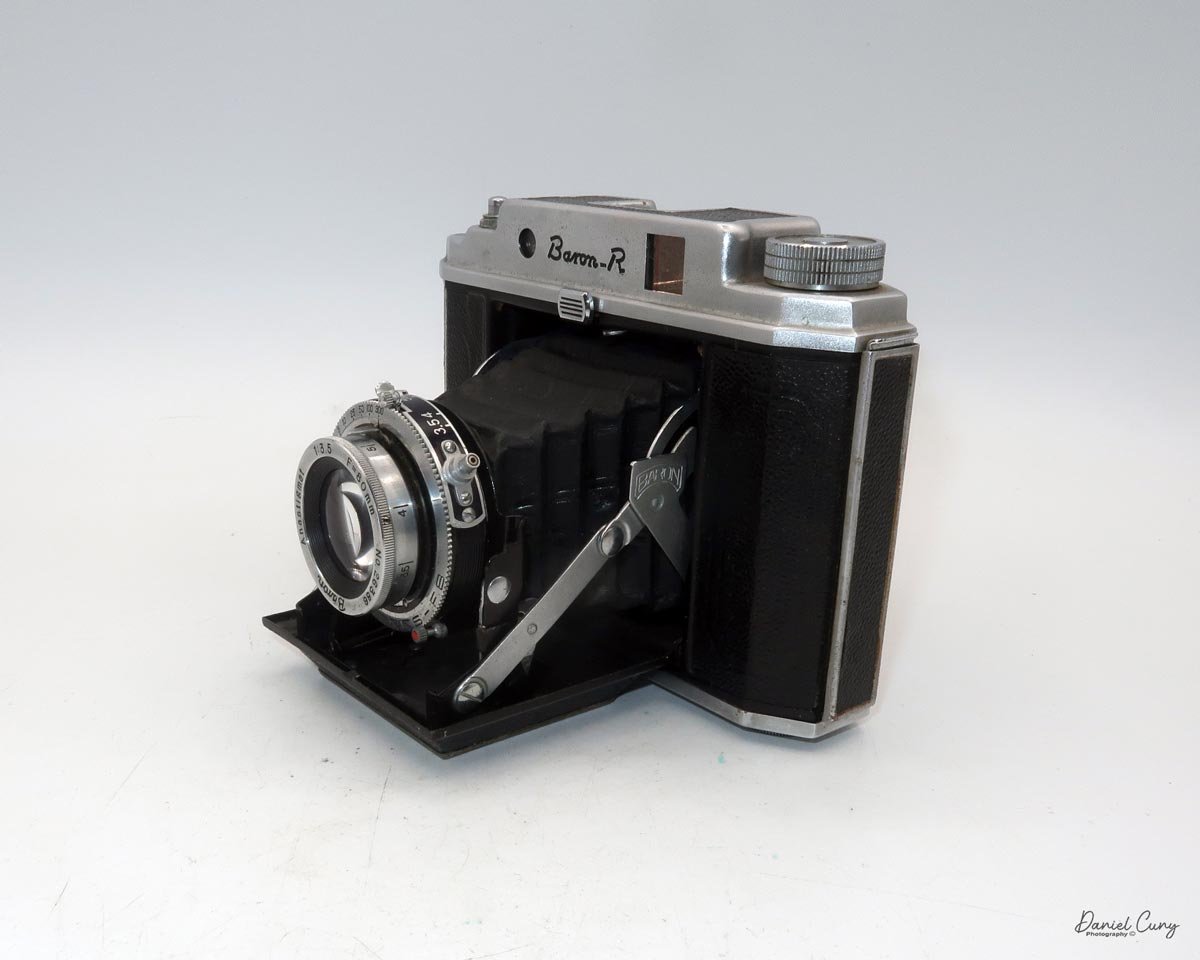
The Baron RI camera is one I had never heard of or seen before, though it looks like so many other Japanese cameras from this timeframe. A folding 120, or 620 camera with a fold-out bed and nice Japanese shutter, taken from German manufacturers who made similar style cameras before World War II.
Doing research on the camera, Baron cameras were made only by Chūō Seiki for a few years, between 1952 and 1956. They produced a few different models, but the company was short-lived, and the cameras are not very common.
History:
Baron cameras were part of Japan's early postwar flood of small camera brands, emerging in the early 1950s when the country's photographic industry was rebuilding and rapidly expanding. These cameras reflect a period when dozens of manufacturers rushed to meet domestic demand and to compete in export markets, often by producing affordable 35mm and folding cameras inspired by European designs.

Japanese advertisment for Baron cameras
In the early 1950s, Japanese camera makers were still working under the lingering effects of wartime disruption and occupation-era labeling rules. Many products carried "Made in Occupied Japan" markings until around 1952–1953, after which "Made in Japan" became standard as exports broadened and the industry gained a stronger international identity. Baron belongs to this wider ecosystem of small, fast-moving firms that relied on compact production runs, simple mechanics, and competitive pricing to find buyers.
What makes Baron interesting is not that it was one of the biggest names, but that it represents the experimental, entrepreneurial side of the Japanese camera boom. The period was crowded with startups, subcontractors, and short-lived brands, many of which produced cameras that are now obscure but historically important because they show how Japan's industry learned to scale up, refine machining, and improve optical quality. That broader growth helped Japanese cameras go from largely unknown outside the country to serious competitors in overseas markets by the end of the decade.
For collectors and historians, Baron cameras are valuable as artifacts of that transition. They sit at the intersection of postwar recovery, consumer optimism, and Japan's rise as a global center of photographic manufacturing. Even when the cameras themselves were modest, the brand is part of the larger story of how Japanese makers shifted from imitation and survival to innovation and global influence.
My Camera:
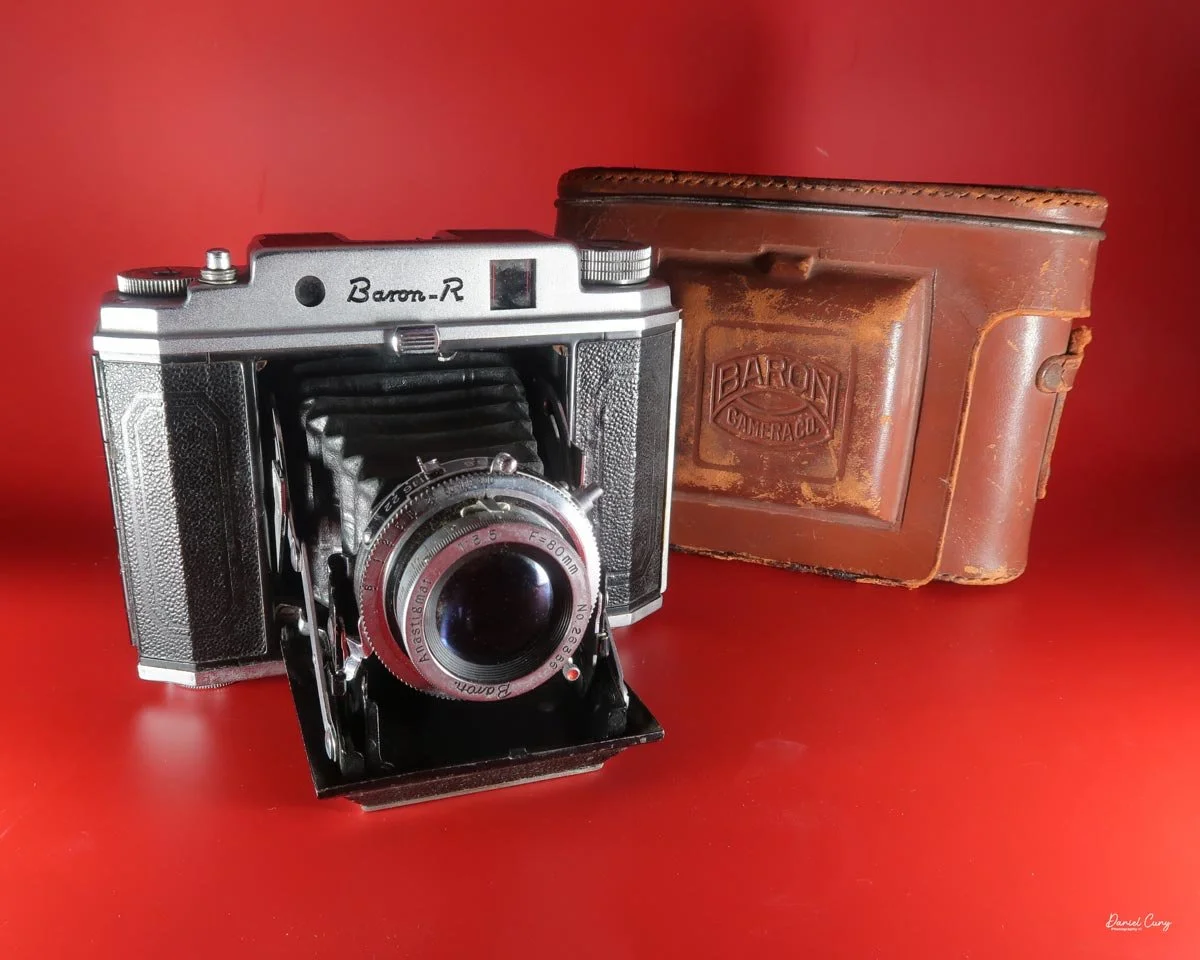
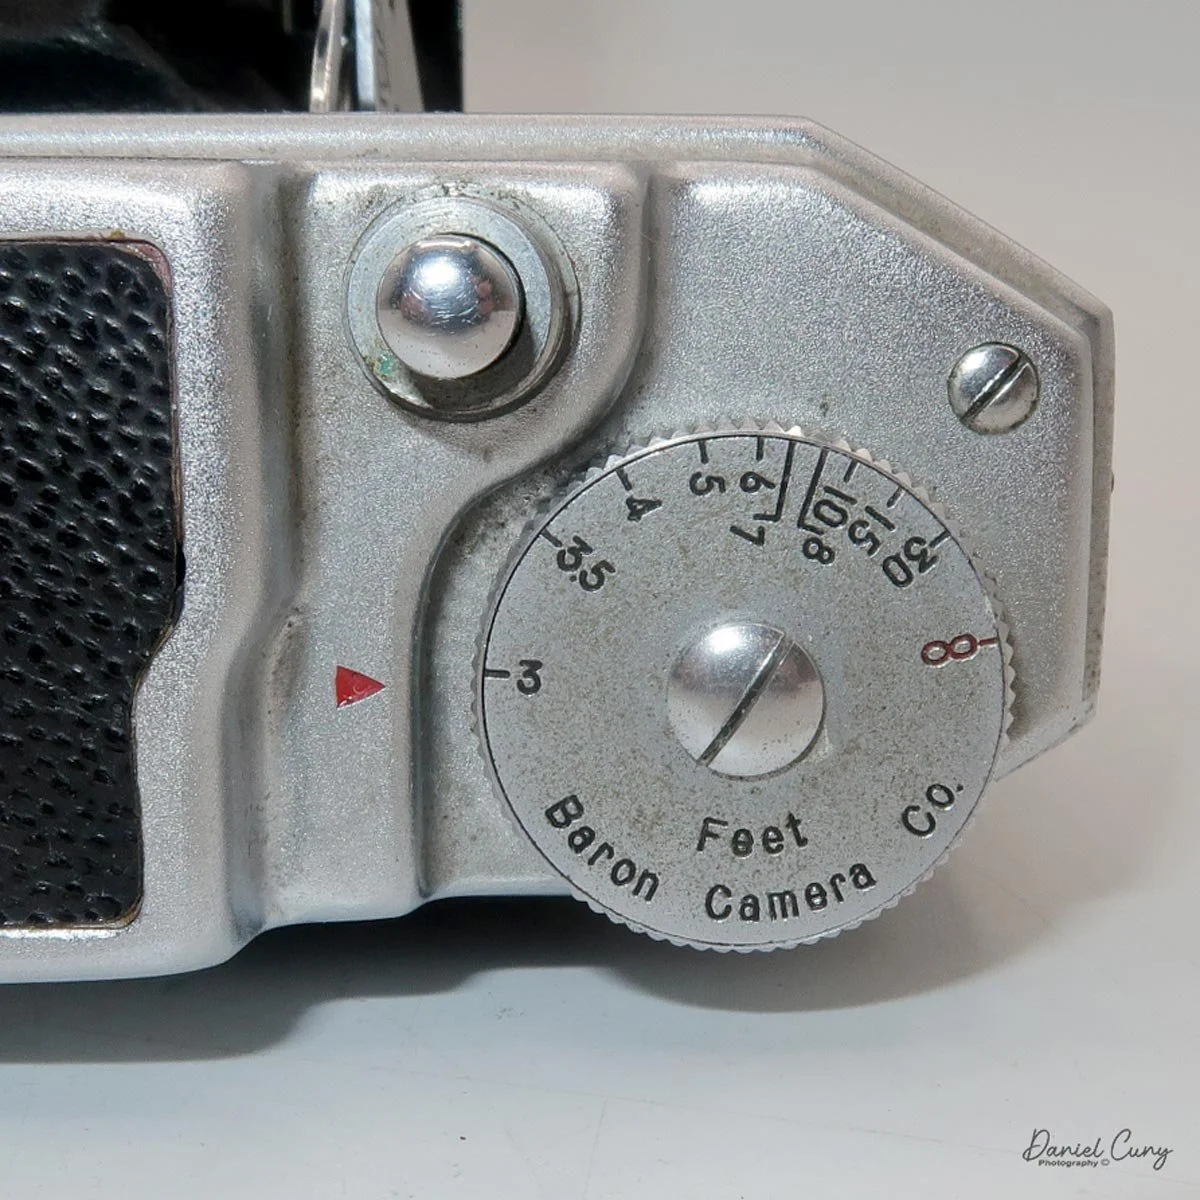
My Baron RI camera is 4" tall, by 5.5" wide, and 2" deep when the lens is closed, and 4" deep with the lens extended. The camera weighs 1 pound, 8.1 ounces without film loaded. Embossed on the folding bed door is "Baron Camera Company, Tokyo, Japan."
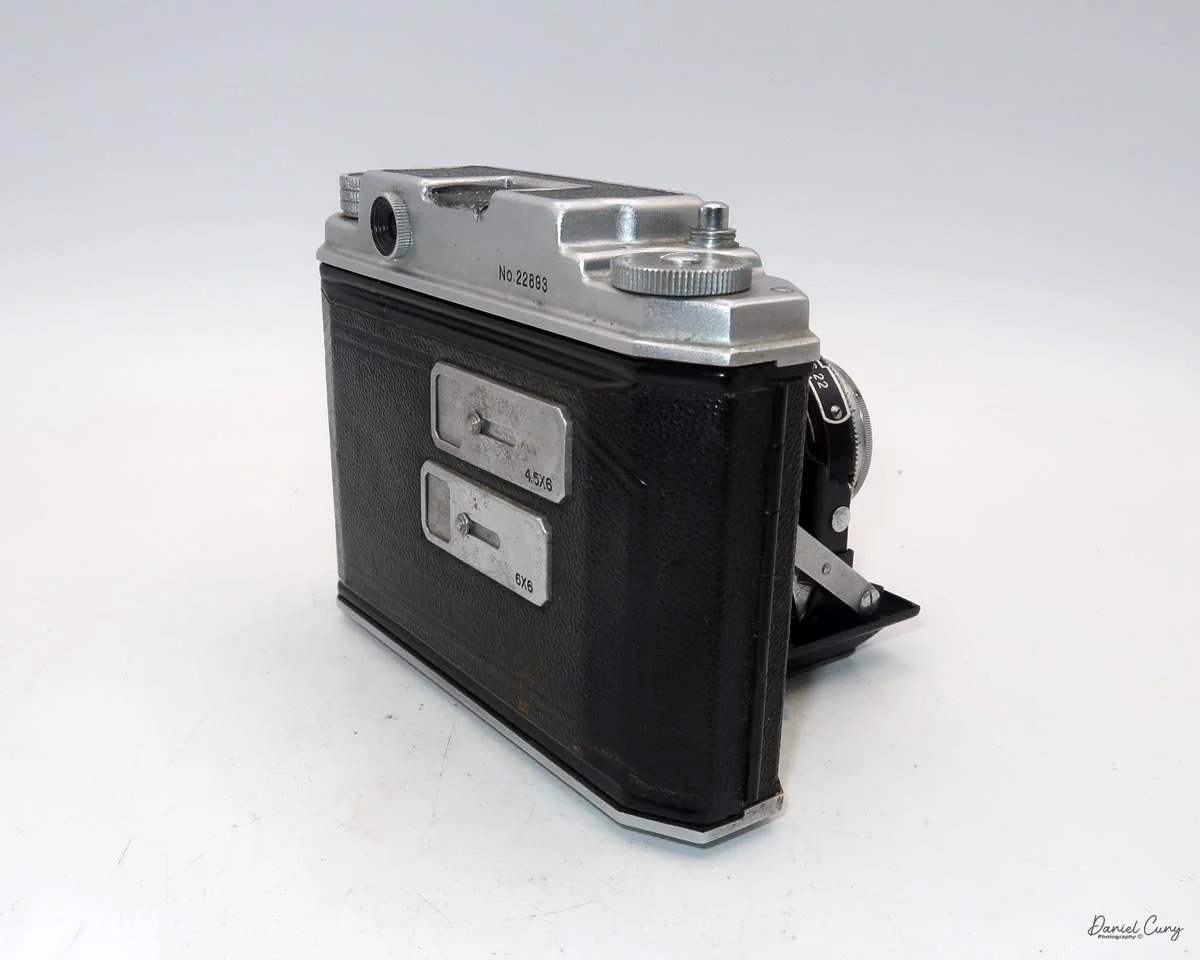

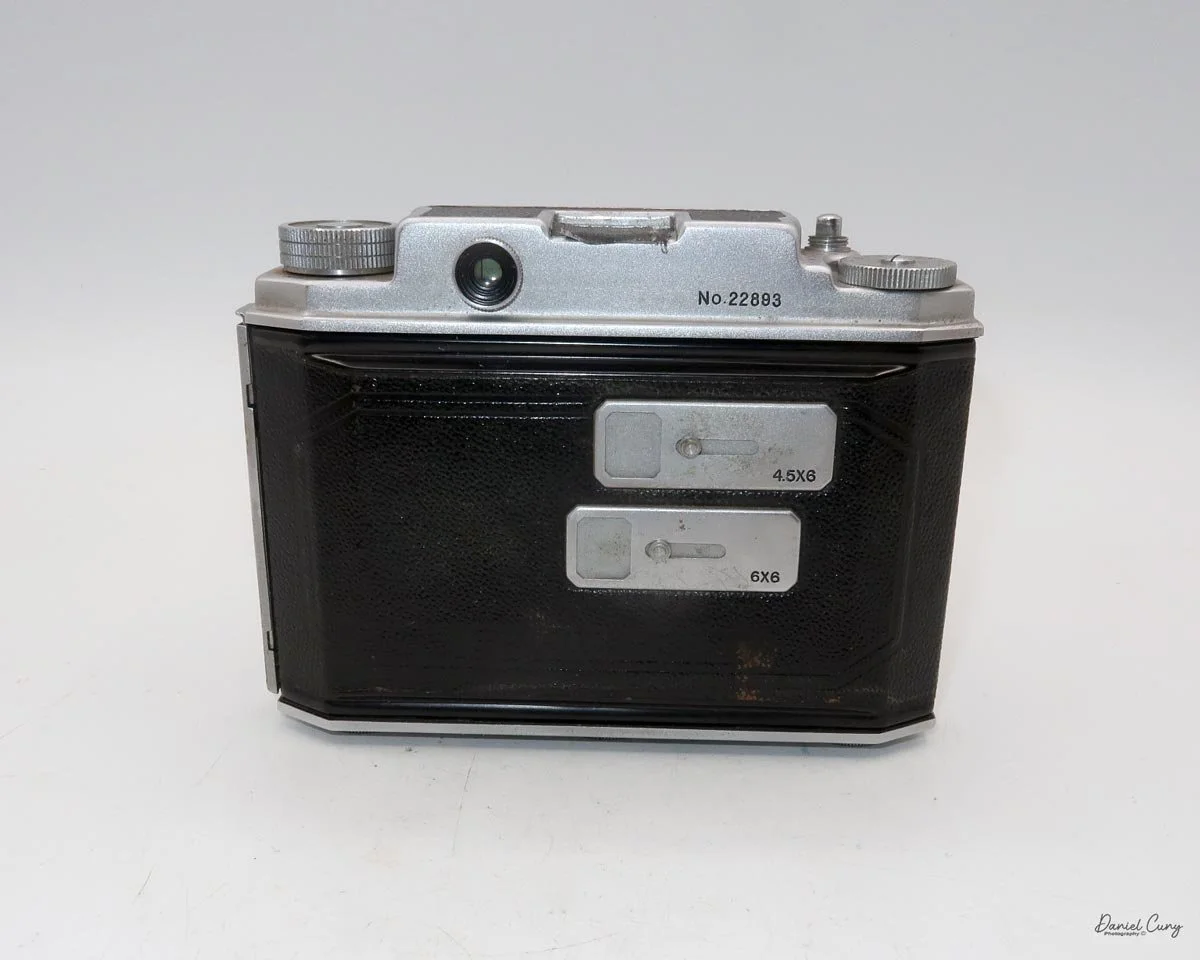
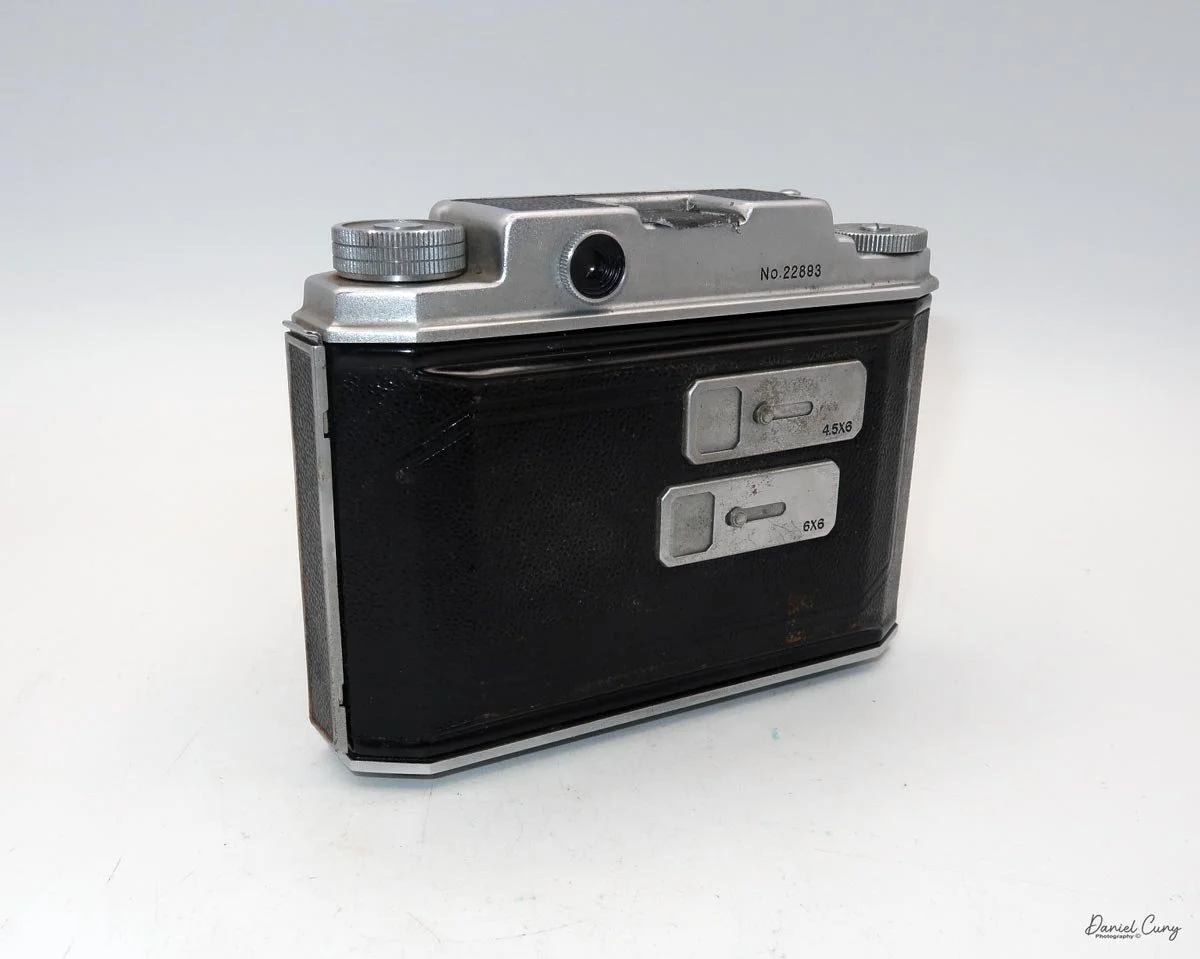
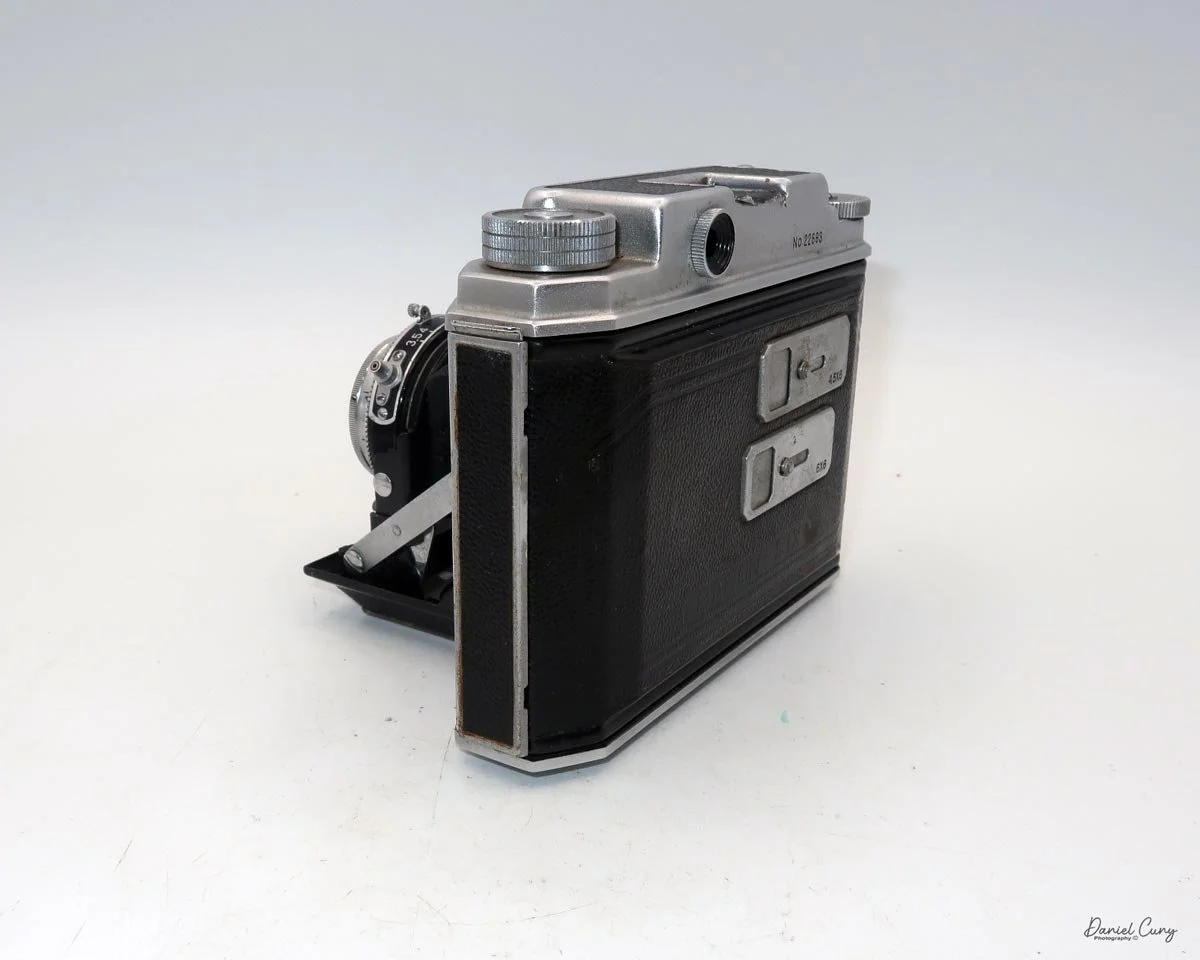

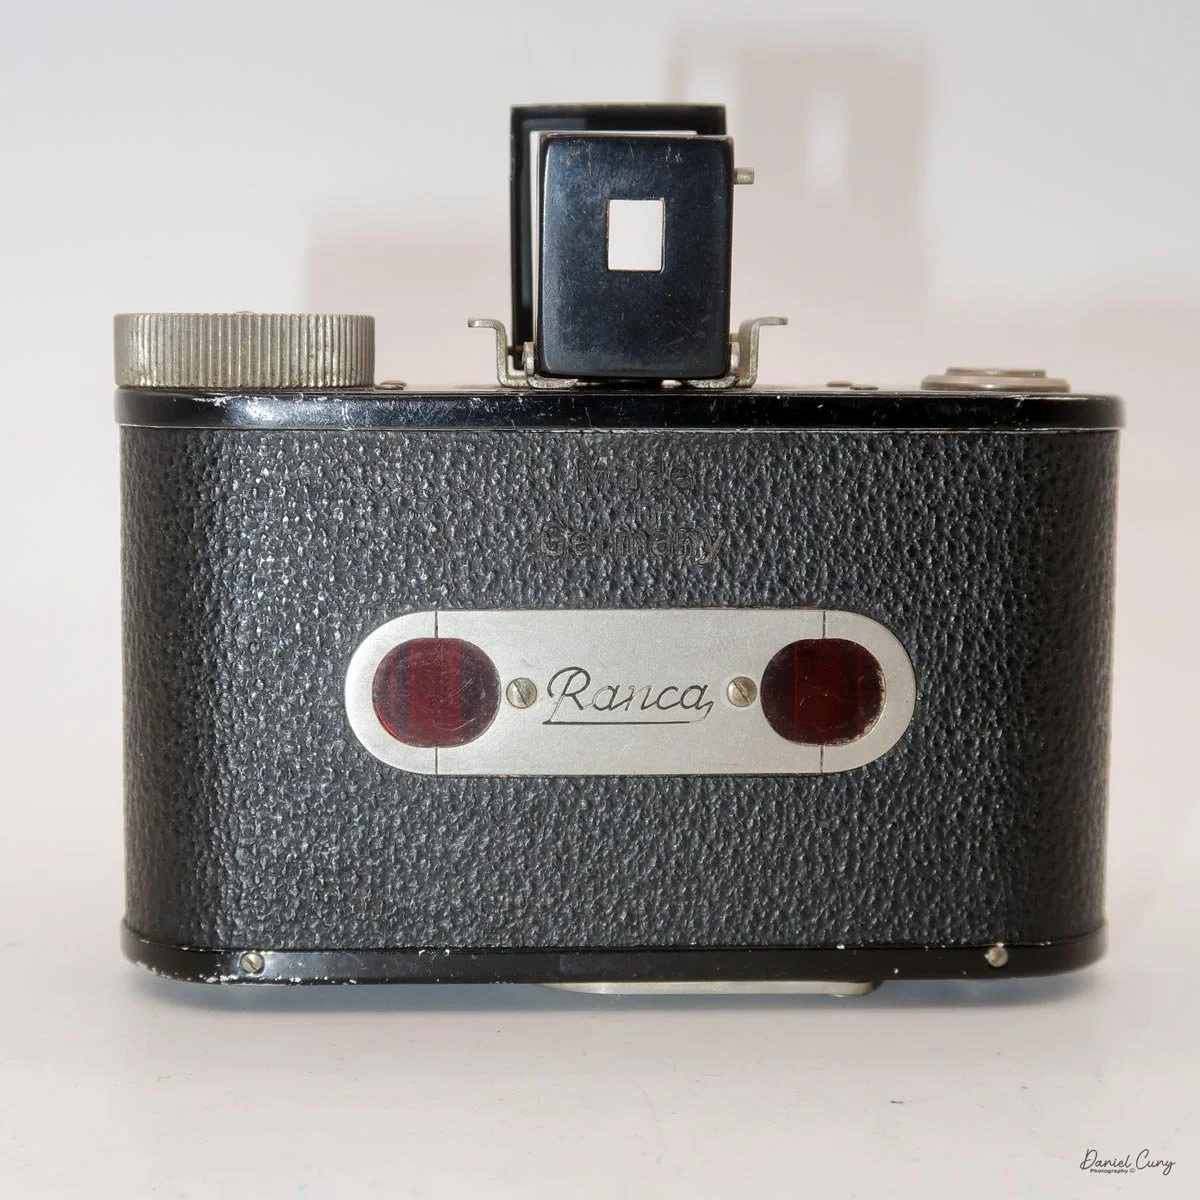
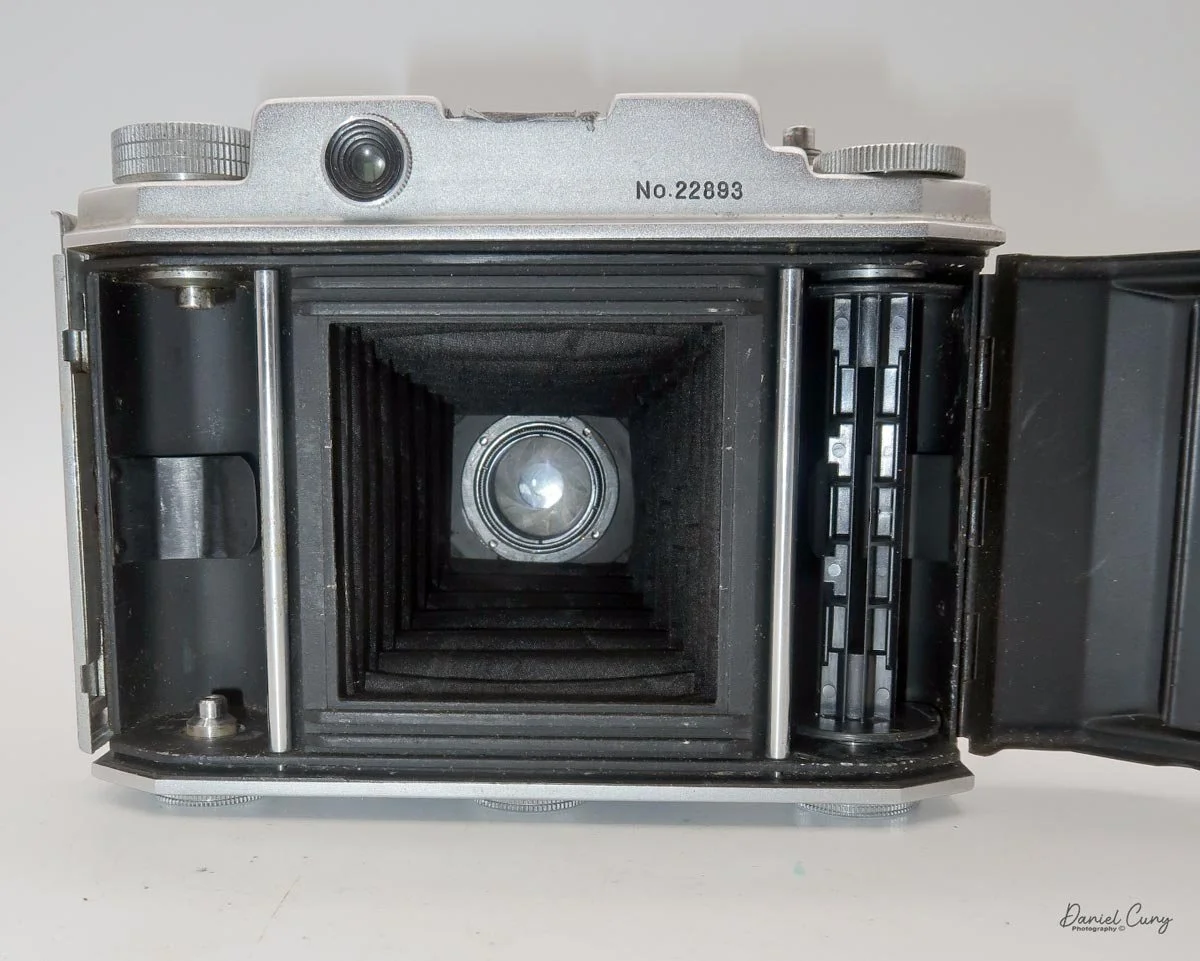
The camera came with a very nice brown leather-fitted camera case, though the strap is missing. The case still offers wonderful protection for the camera. The serial number for my Baron R camera is 22893, stamped on the top plate of the back of the camera.
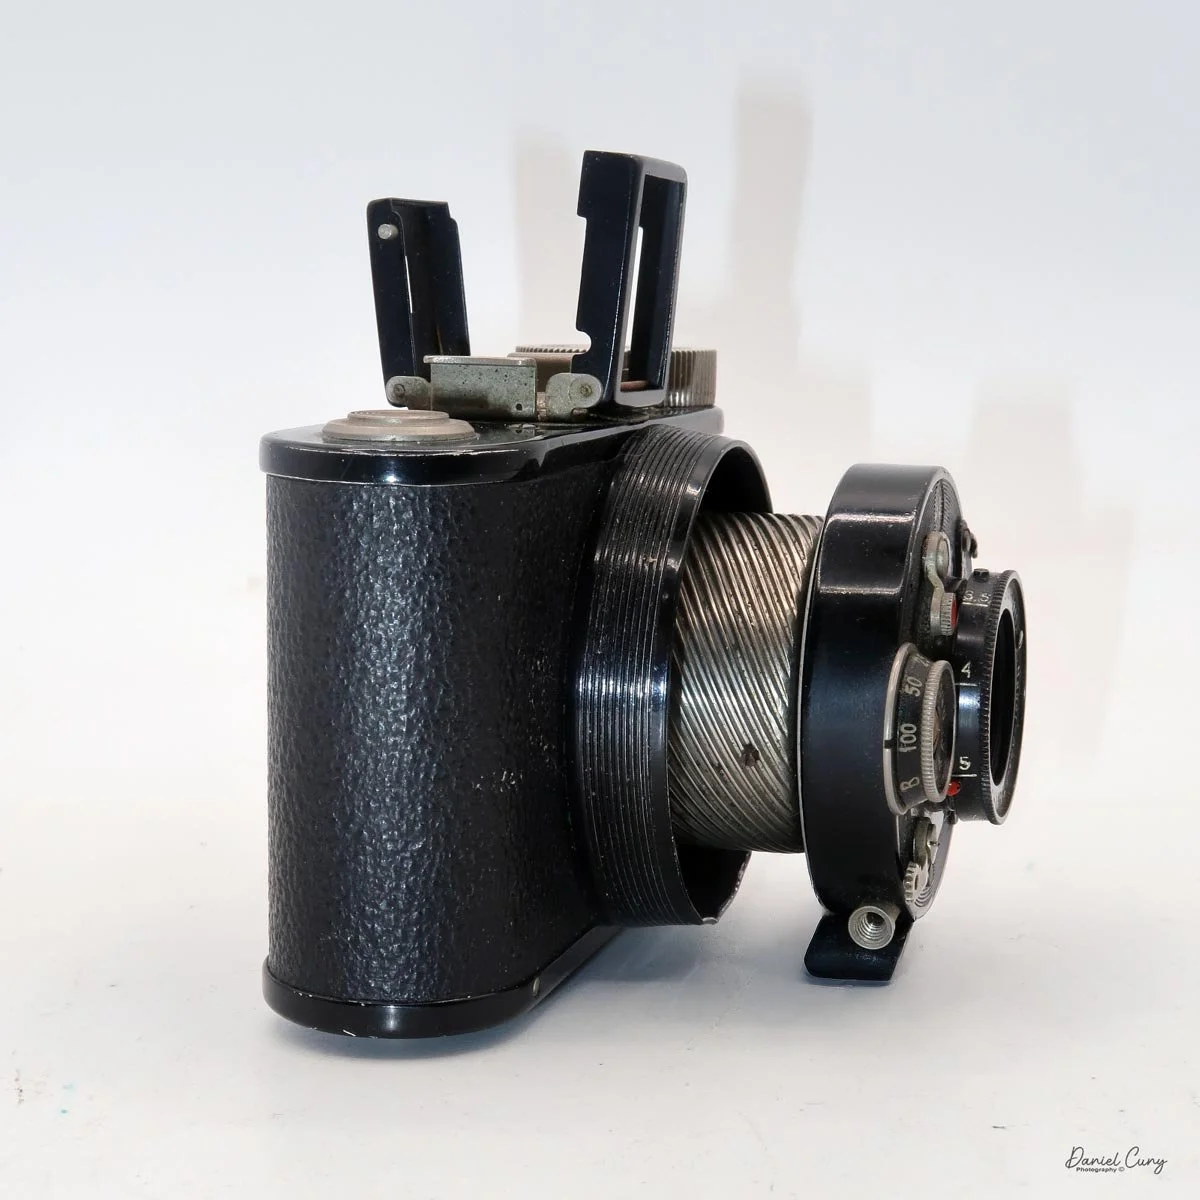
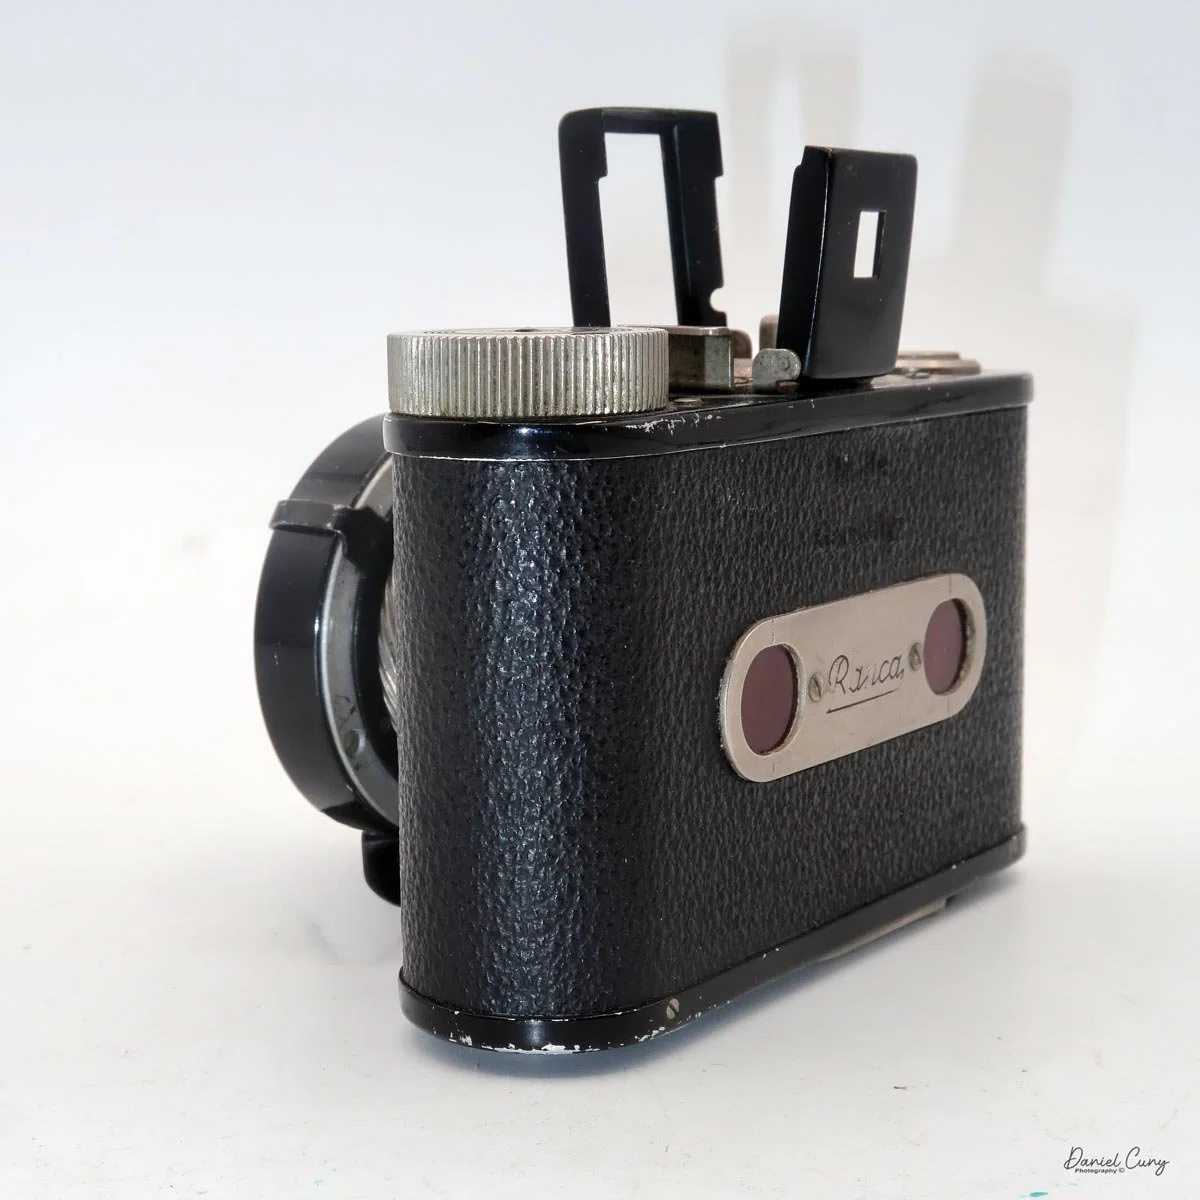
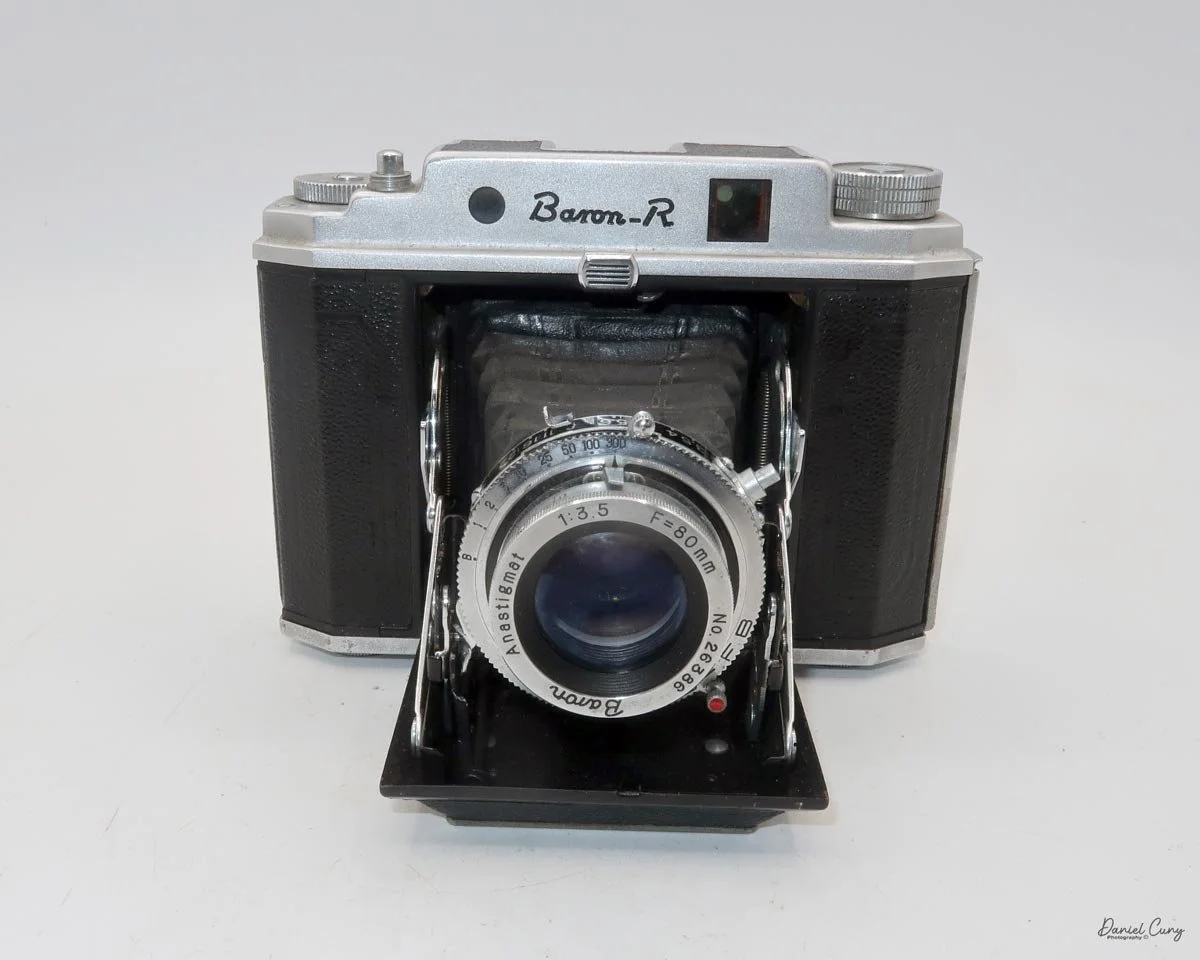
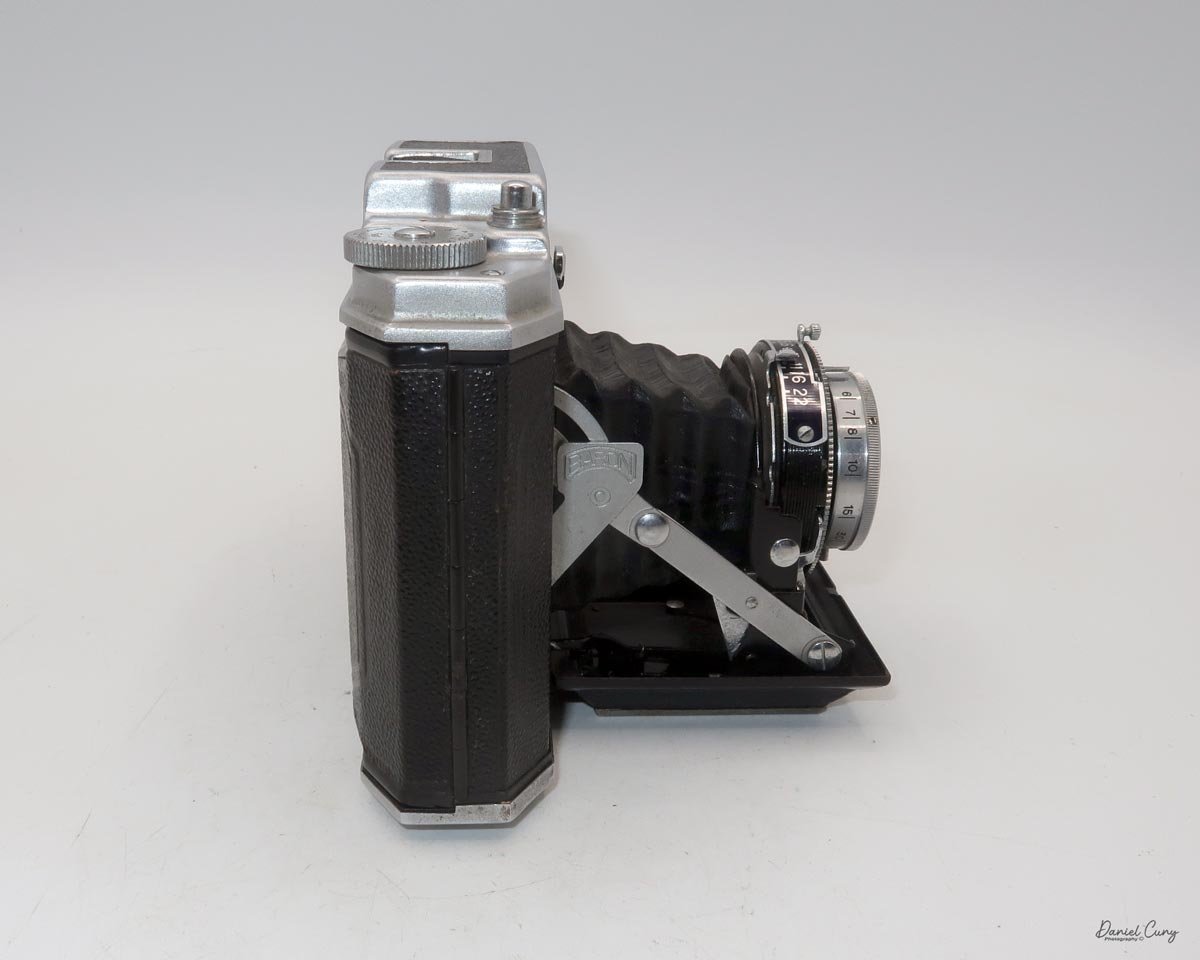
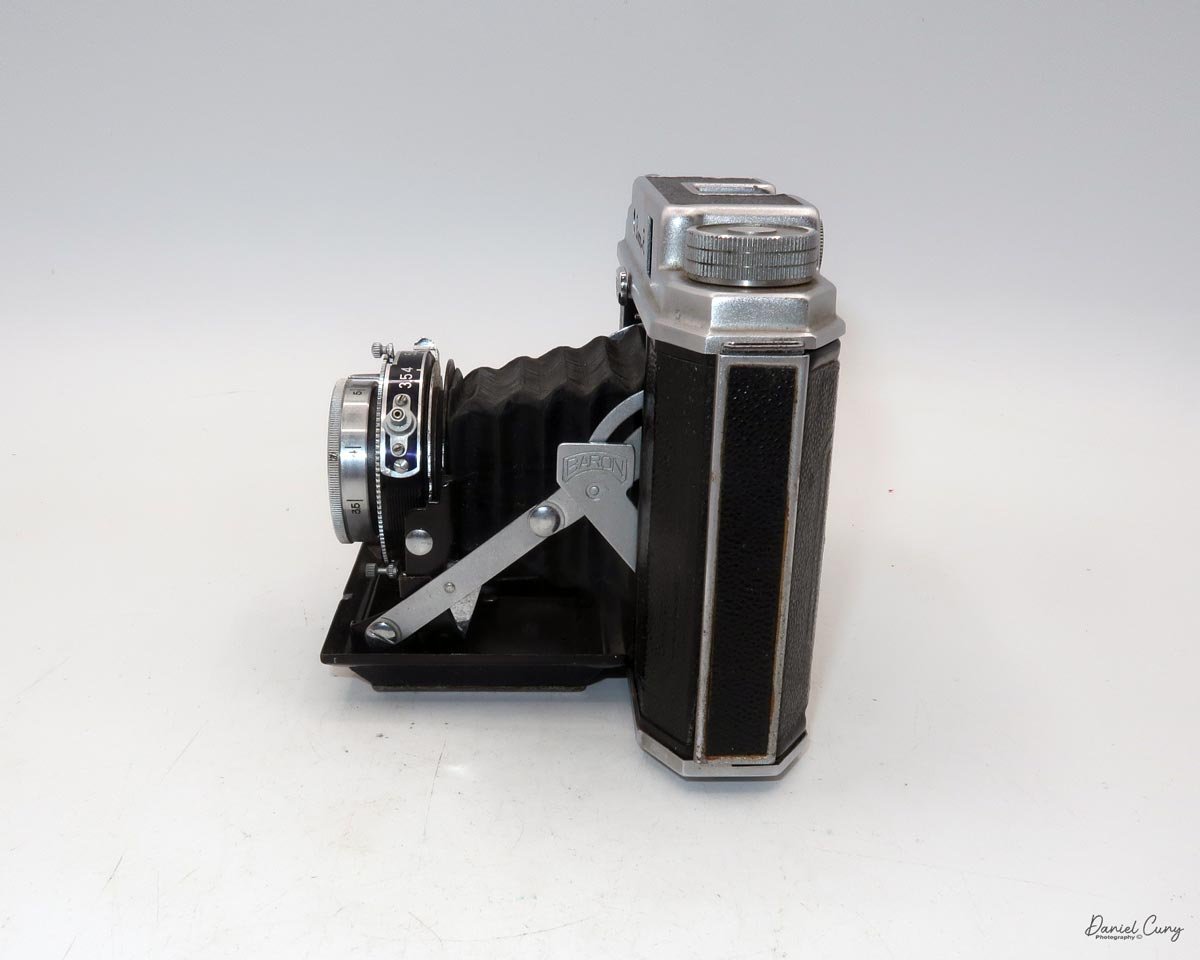
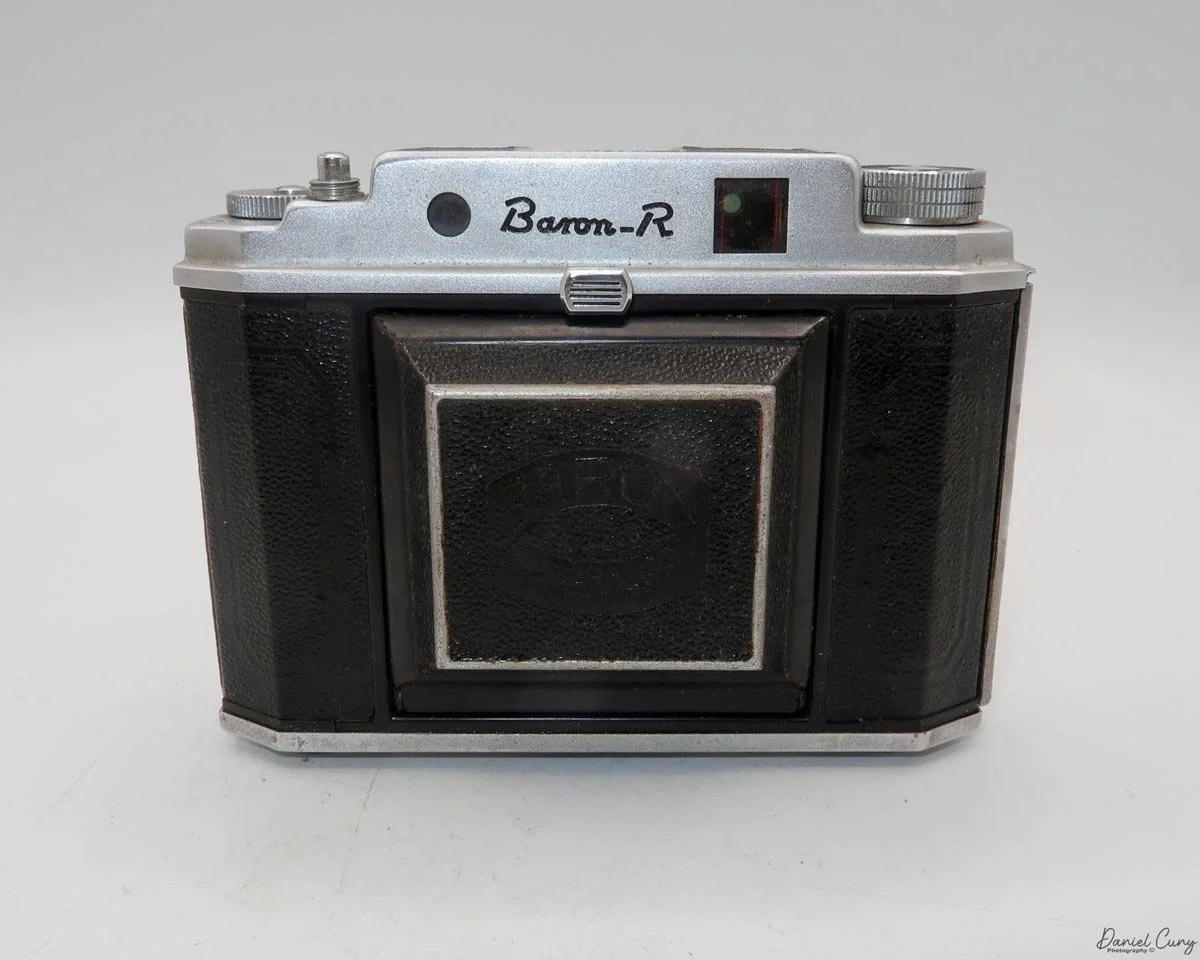
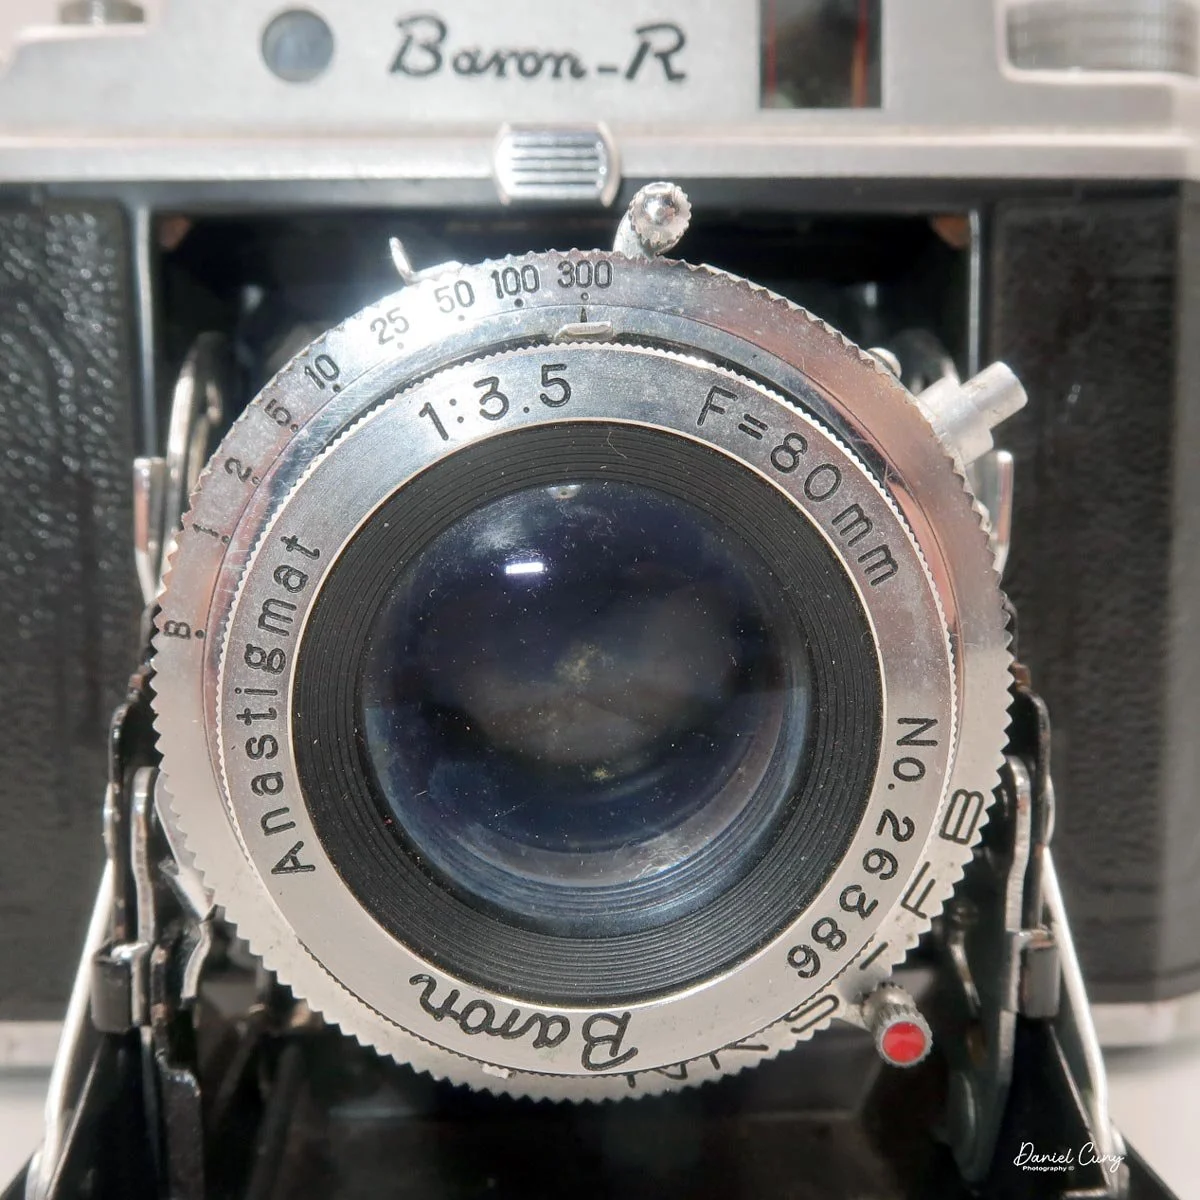
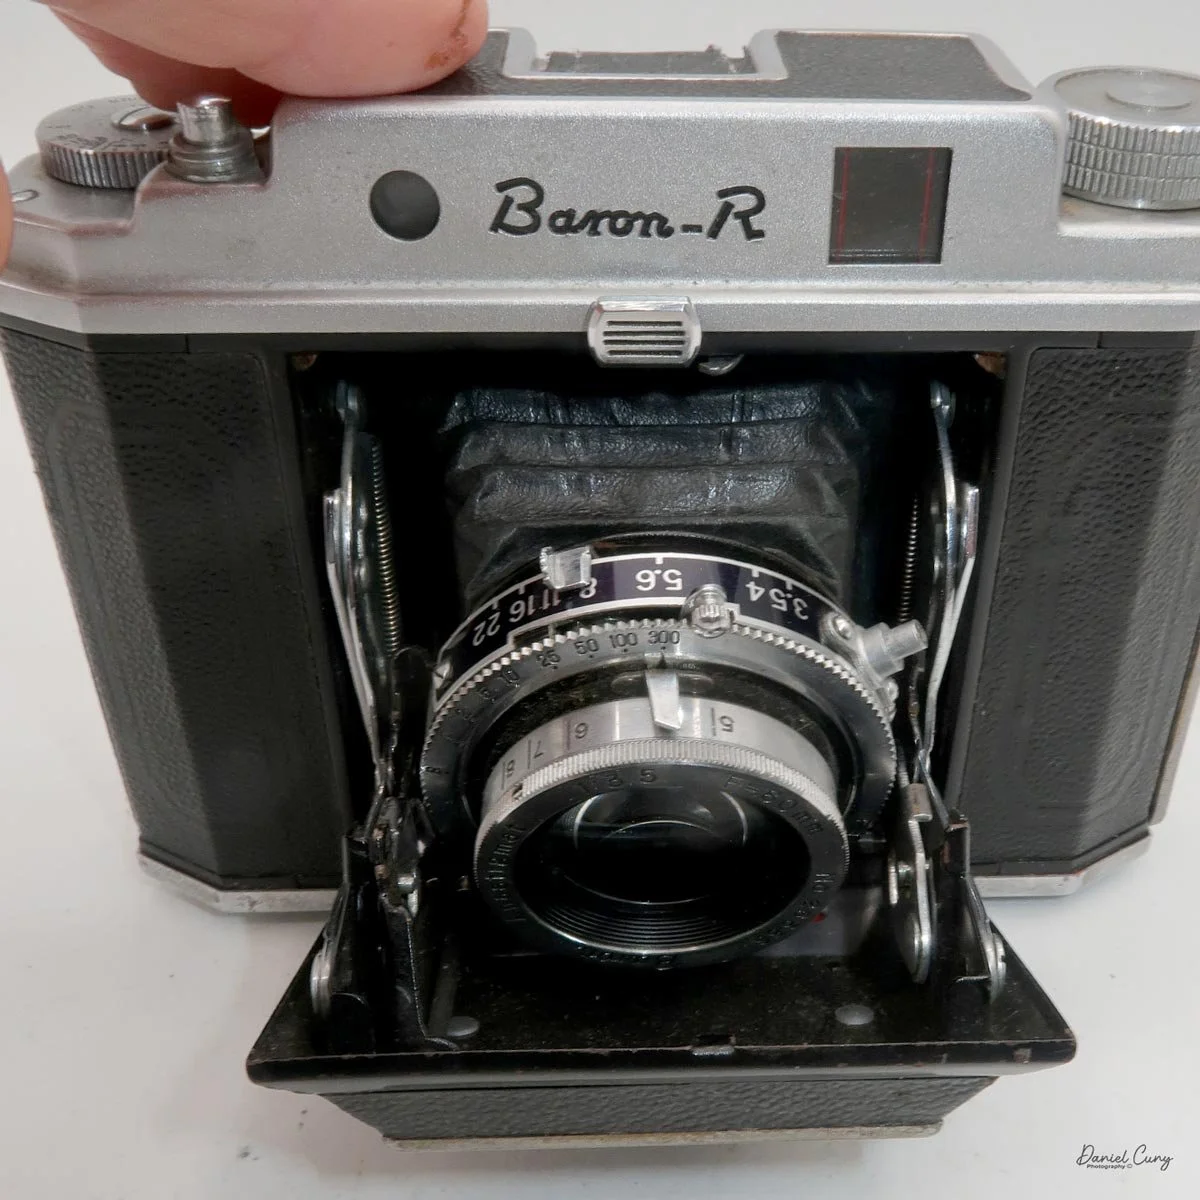
To open the camera lens door, slide the chrome lever under the name "Baron-R," which unlocks the lens door and exposes the lens as it extends on chrome struts along the side of the lens door.
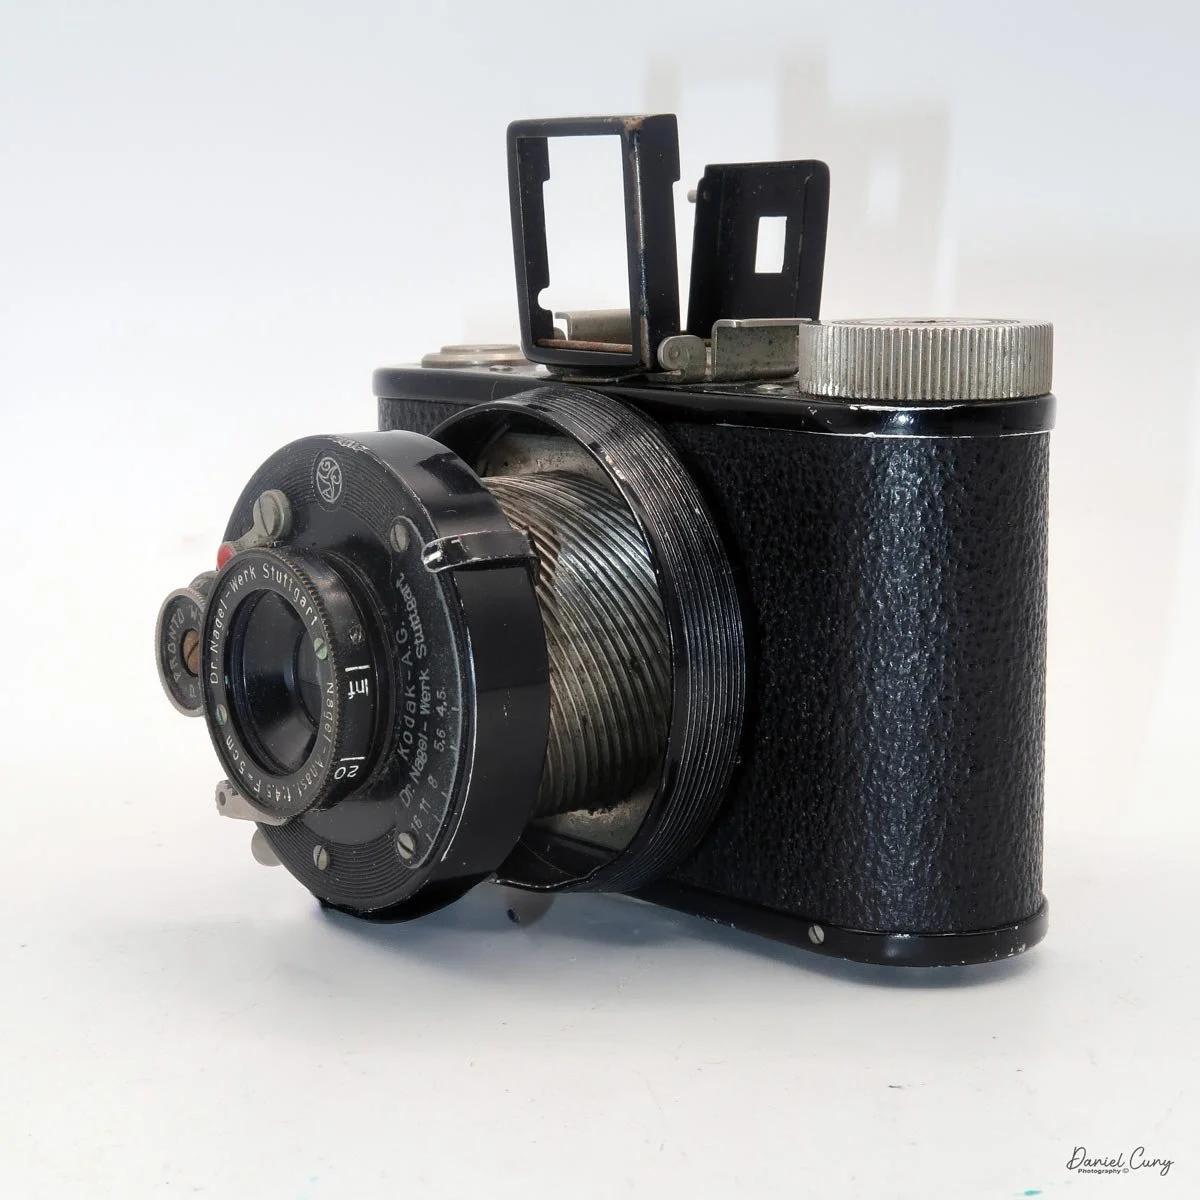
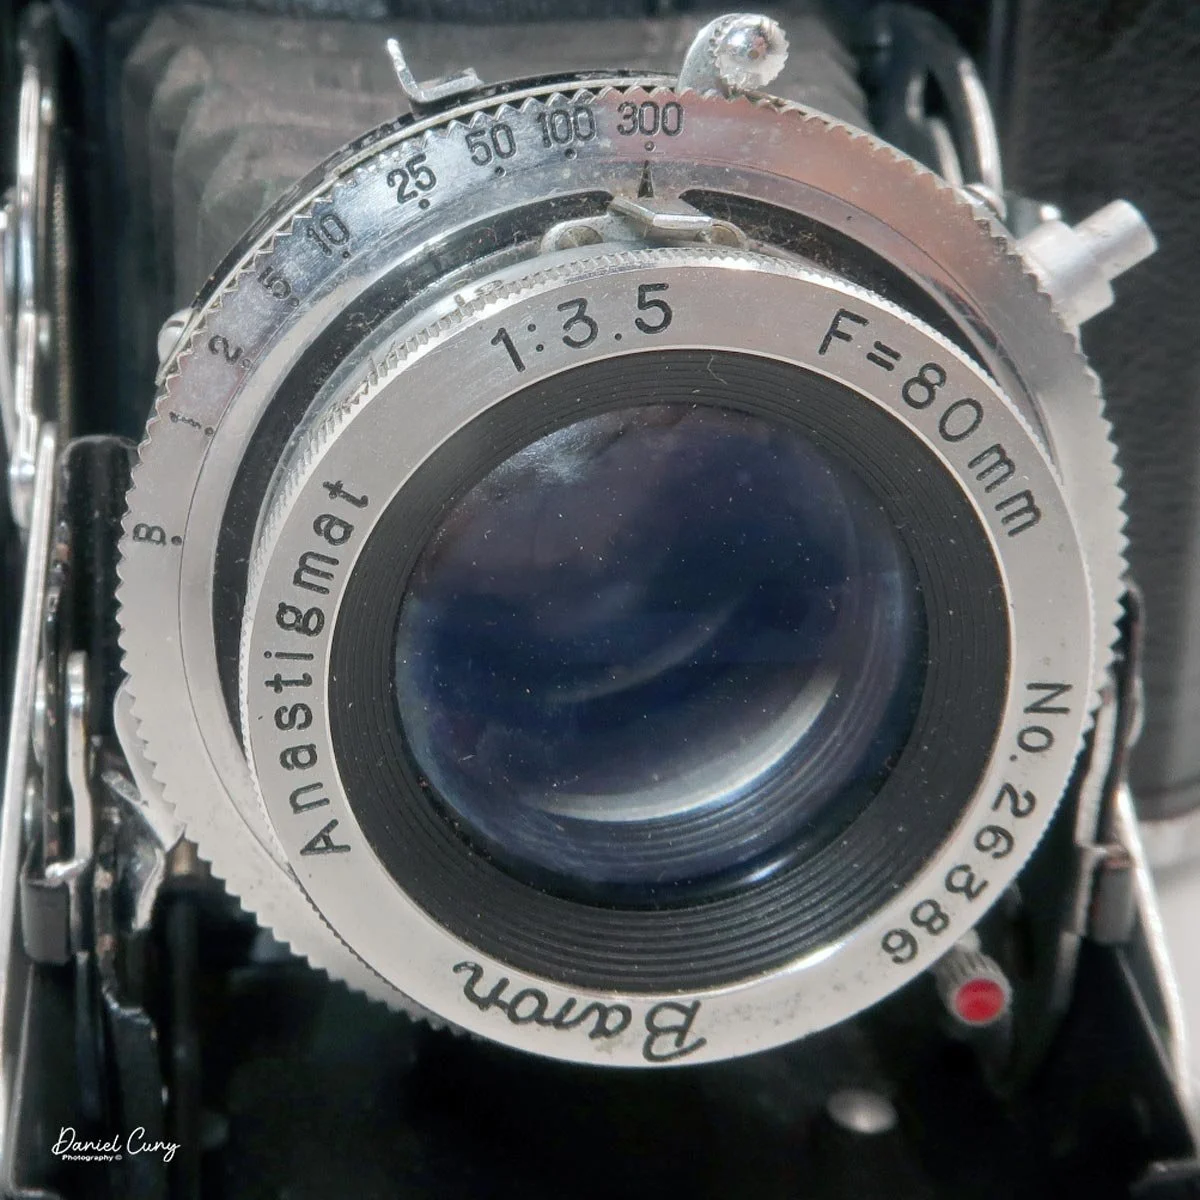
The Baron RI camera has a Baron Anastigmat 80mm F/3.5 lens in an NKS-FB shutter. The shutter speeds range from 1/300 to 1 second, plus "B". To set the different shutter speeds, turn the dial around the lens to the desired shutter speed. There is a cocking lever for the shutter, located above the lens, with the shutter release on the lower left of the lens when viewed from the front. The shutter release is activated via a rod and linkage from the shutter release on the top of the camera, which pushes the shutter release when depressed.
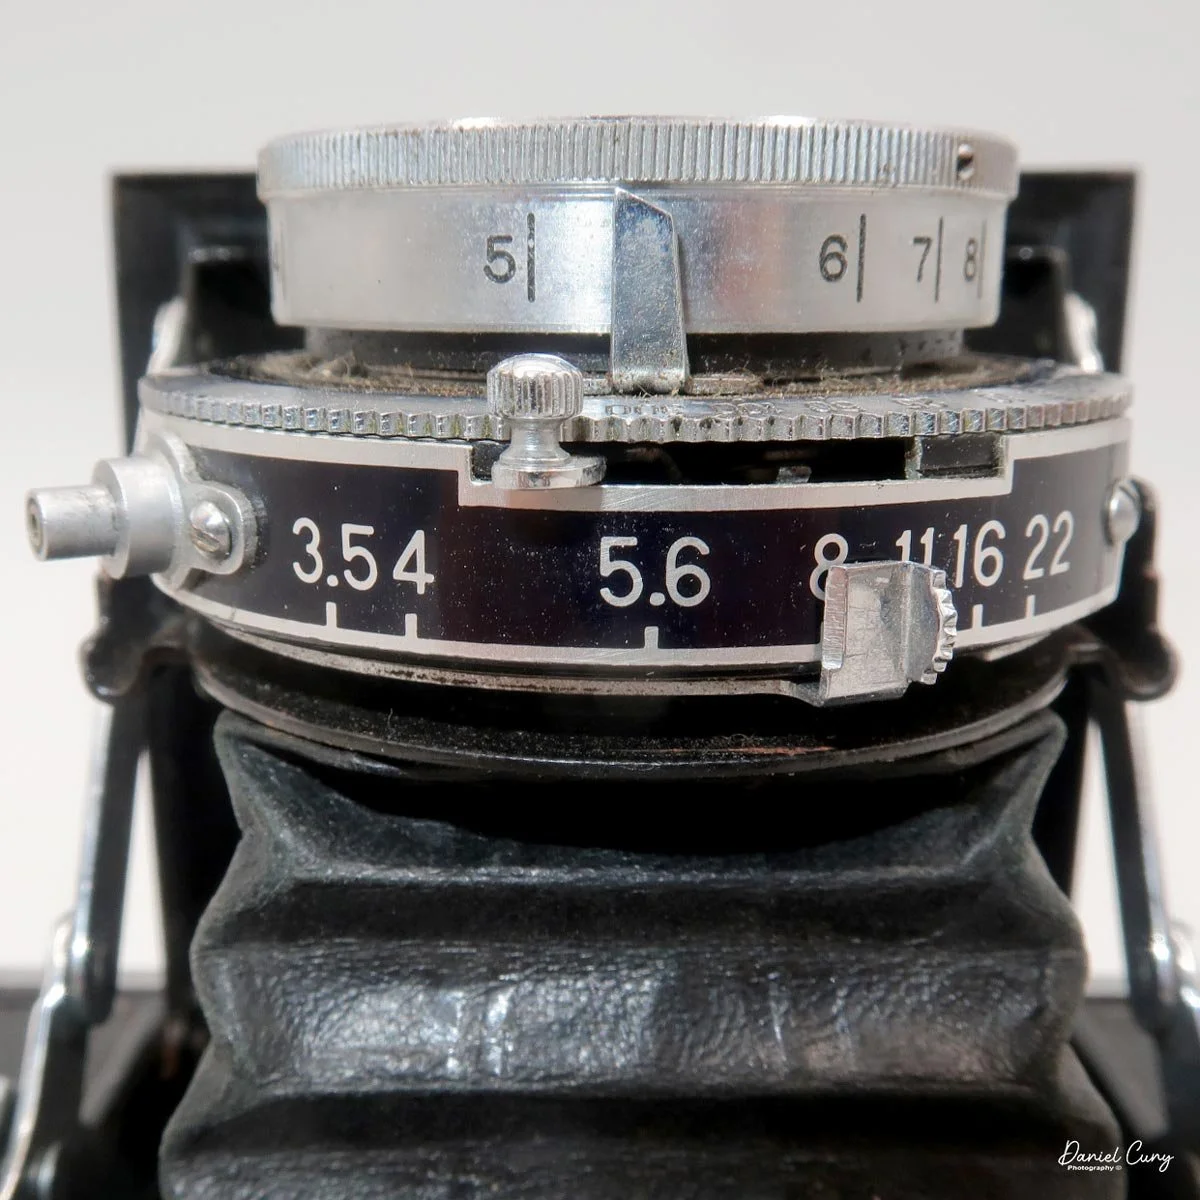
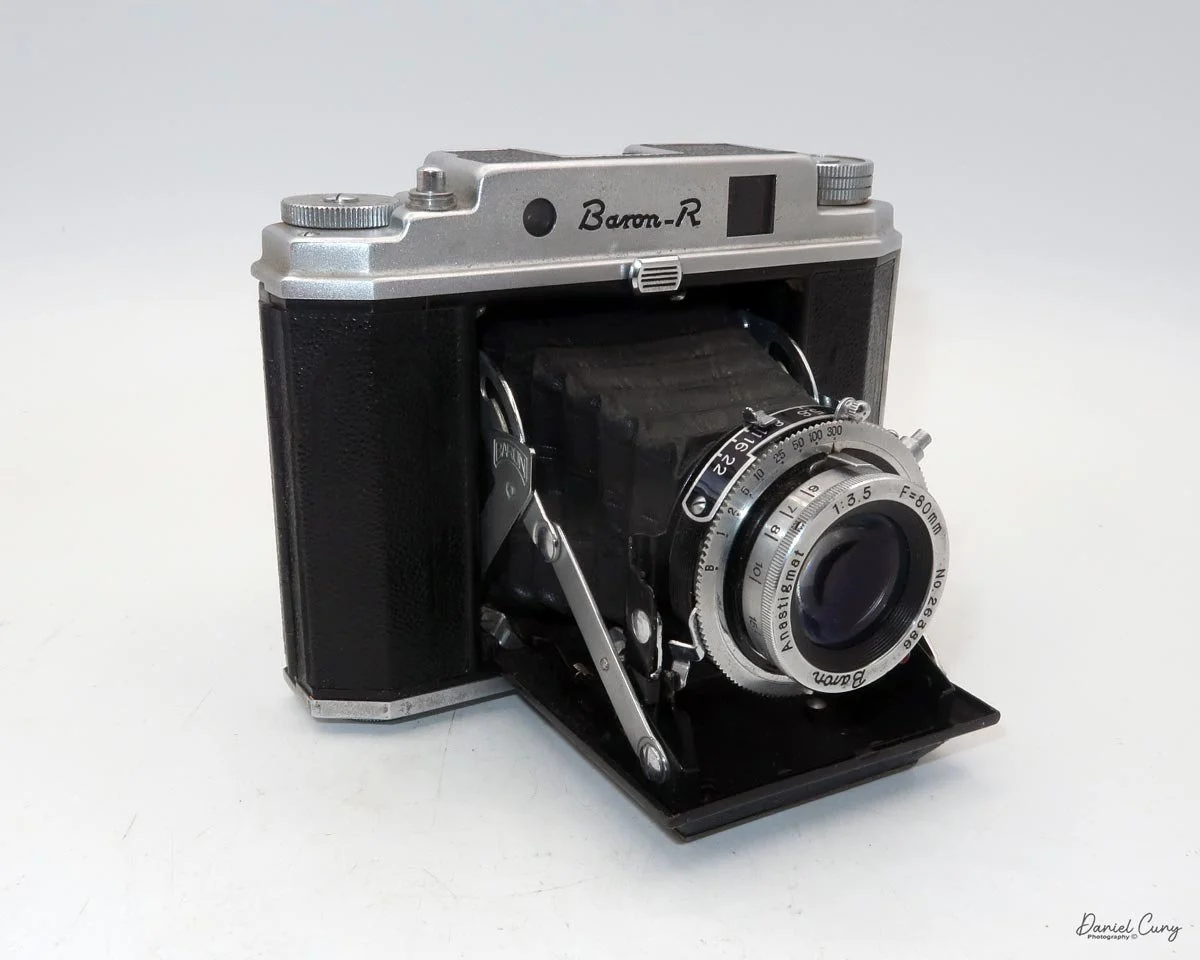
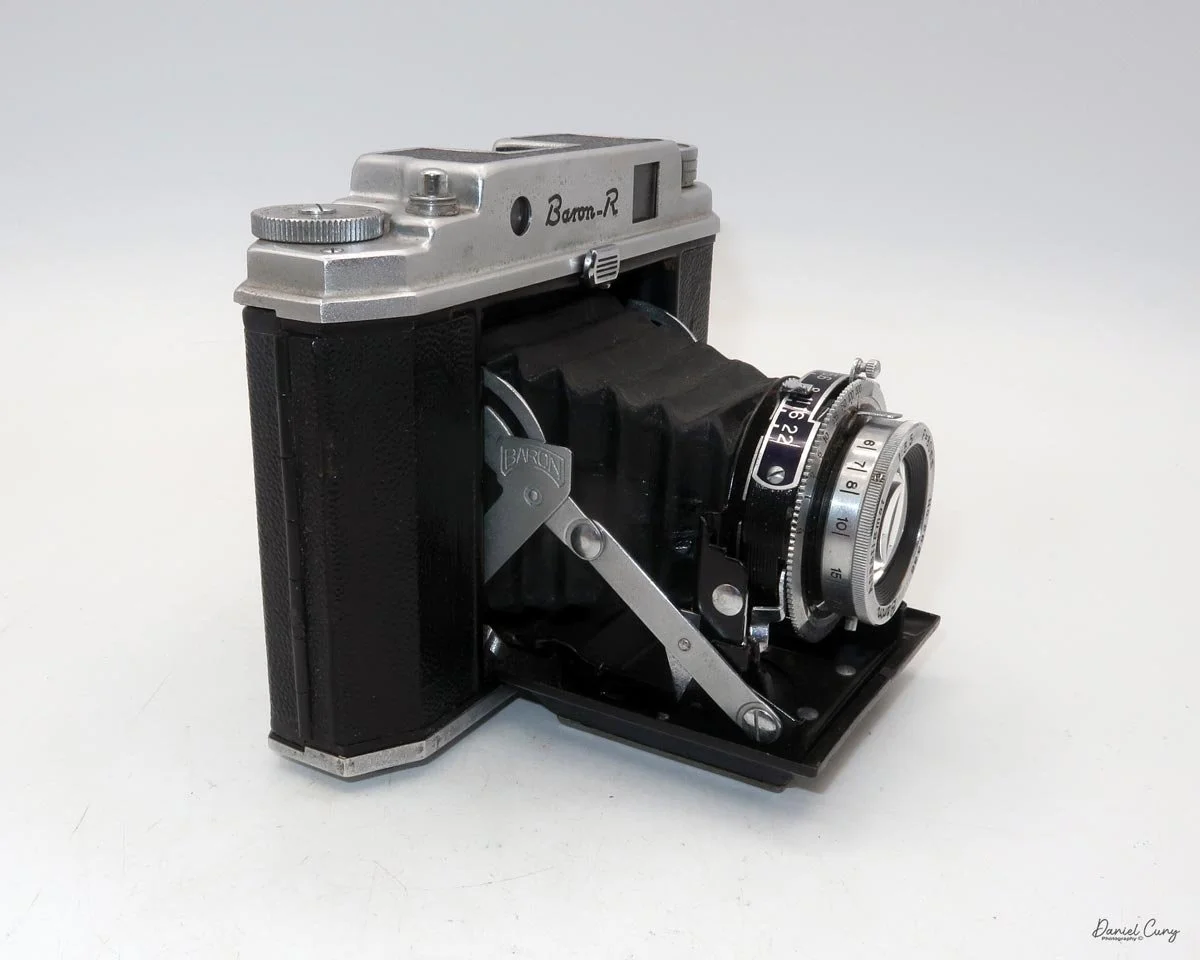
The aperture range is from F/3.5 to f/22. The aperture is set by sliding the lever on top of the lens to the desired aperture setting. To the side of the aperture settings is a PC sync used for flash. There are no settings for "X" of "FP," though, so I'm unsure if this is for electronic or bulb flash.
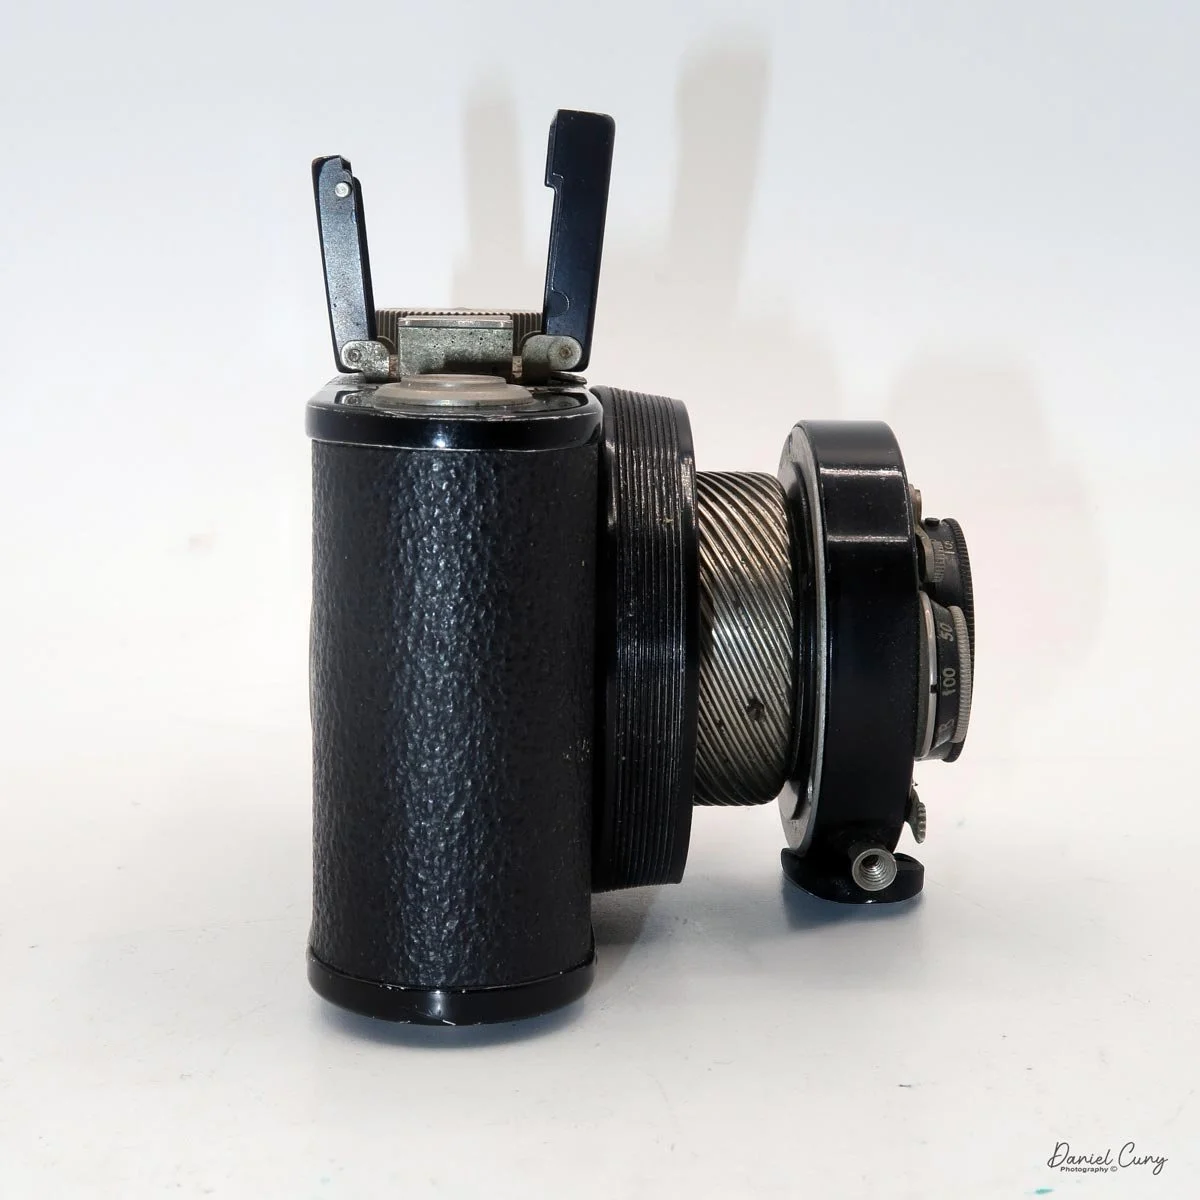
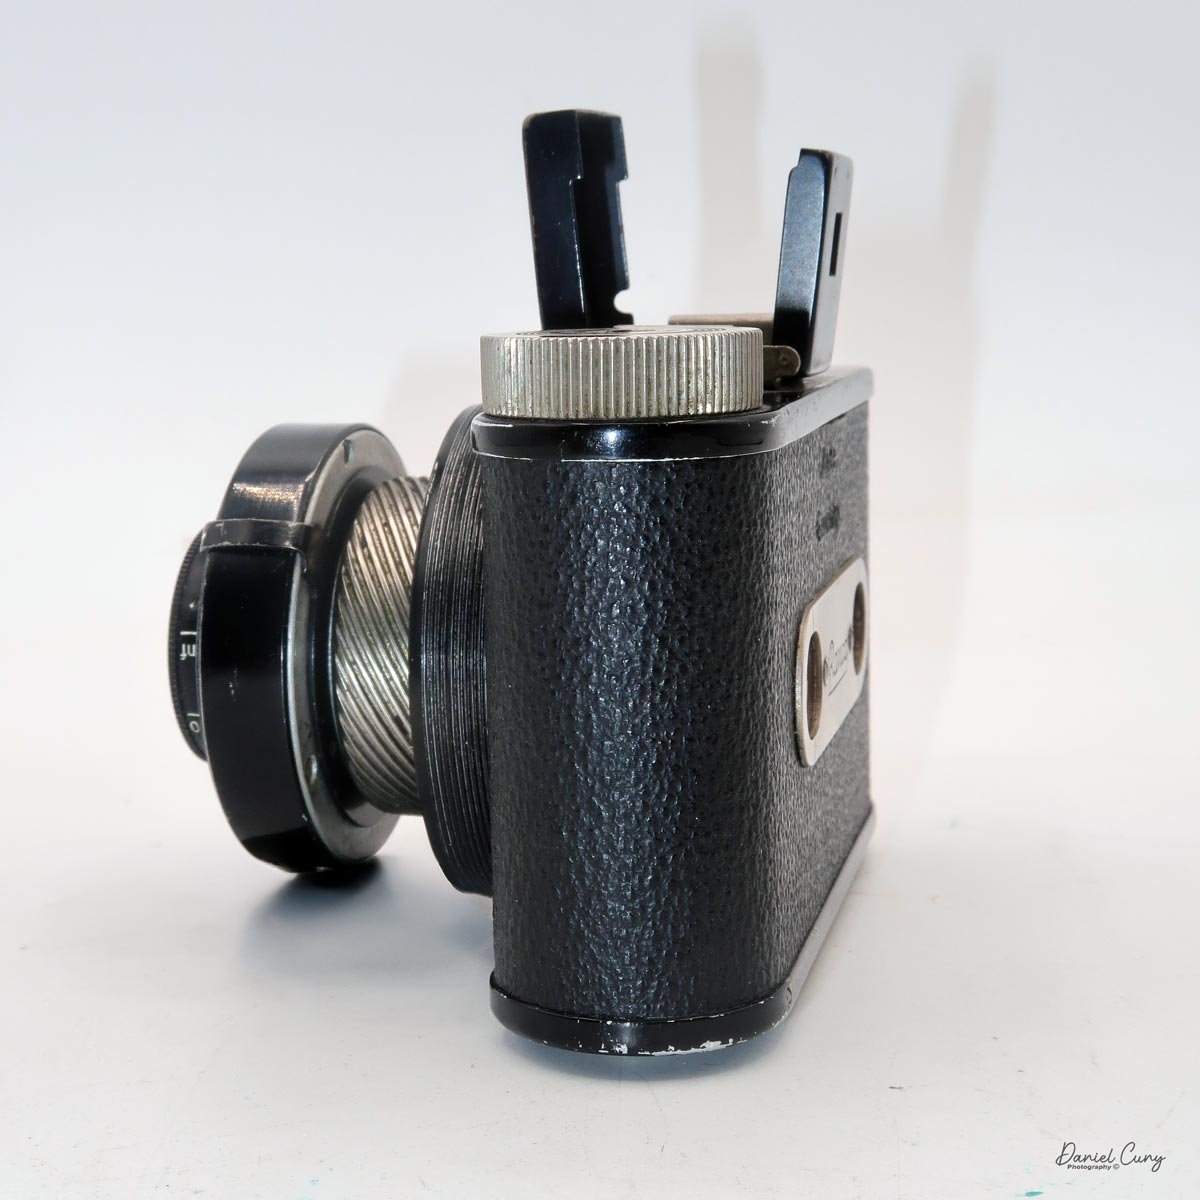
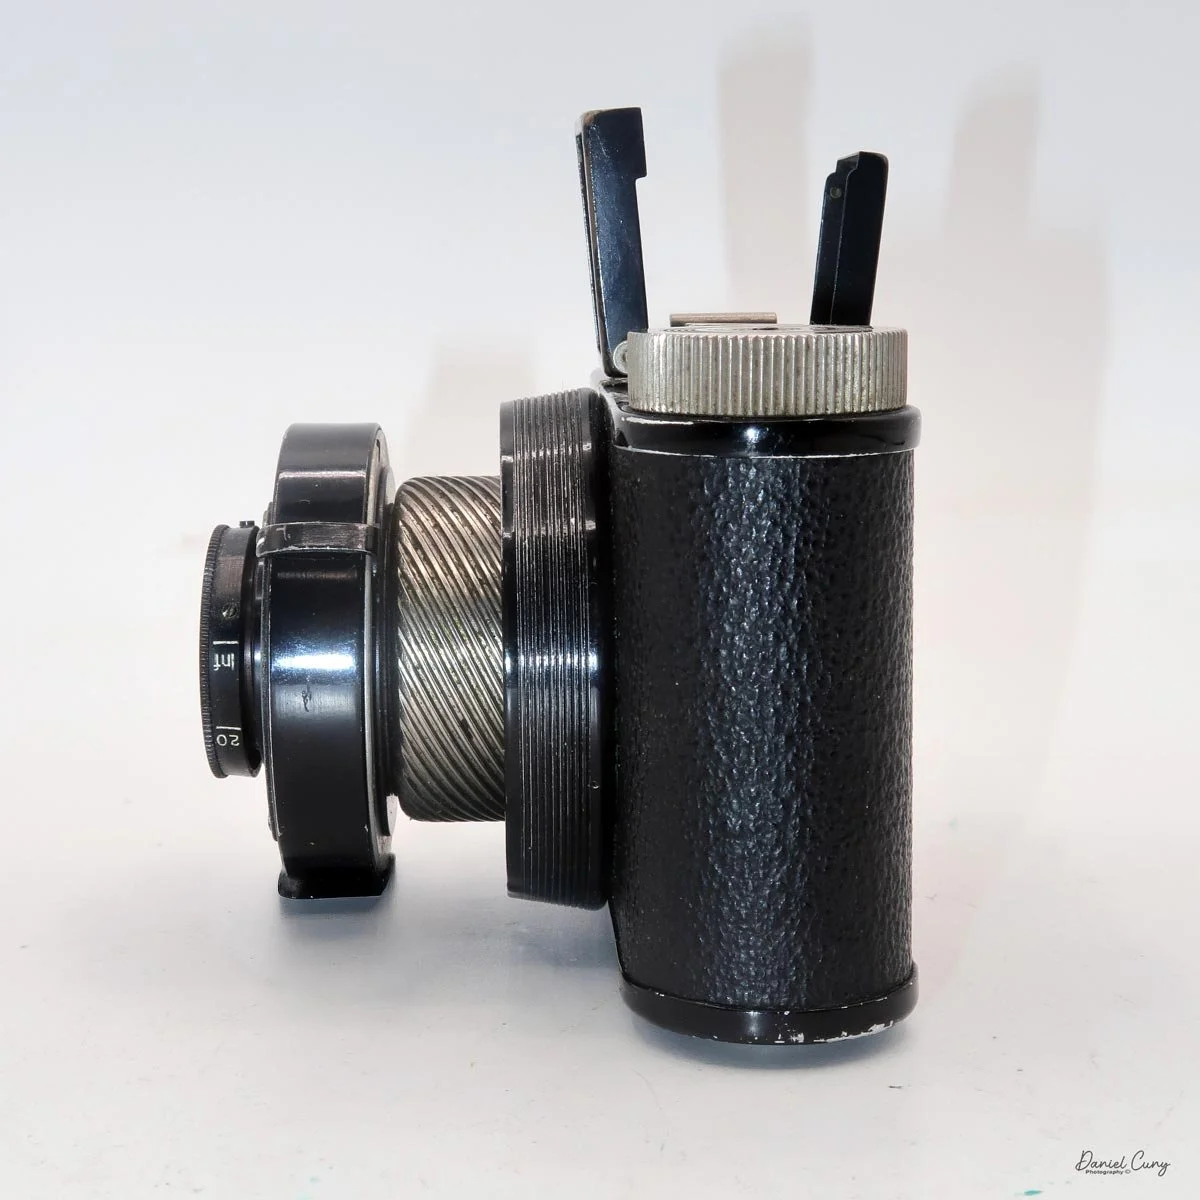
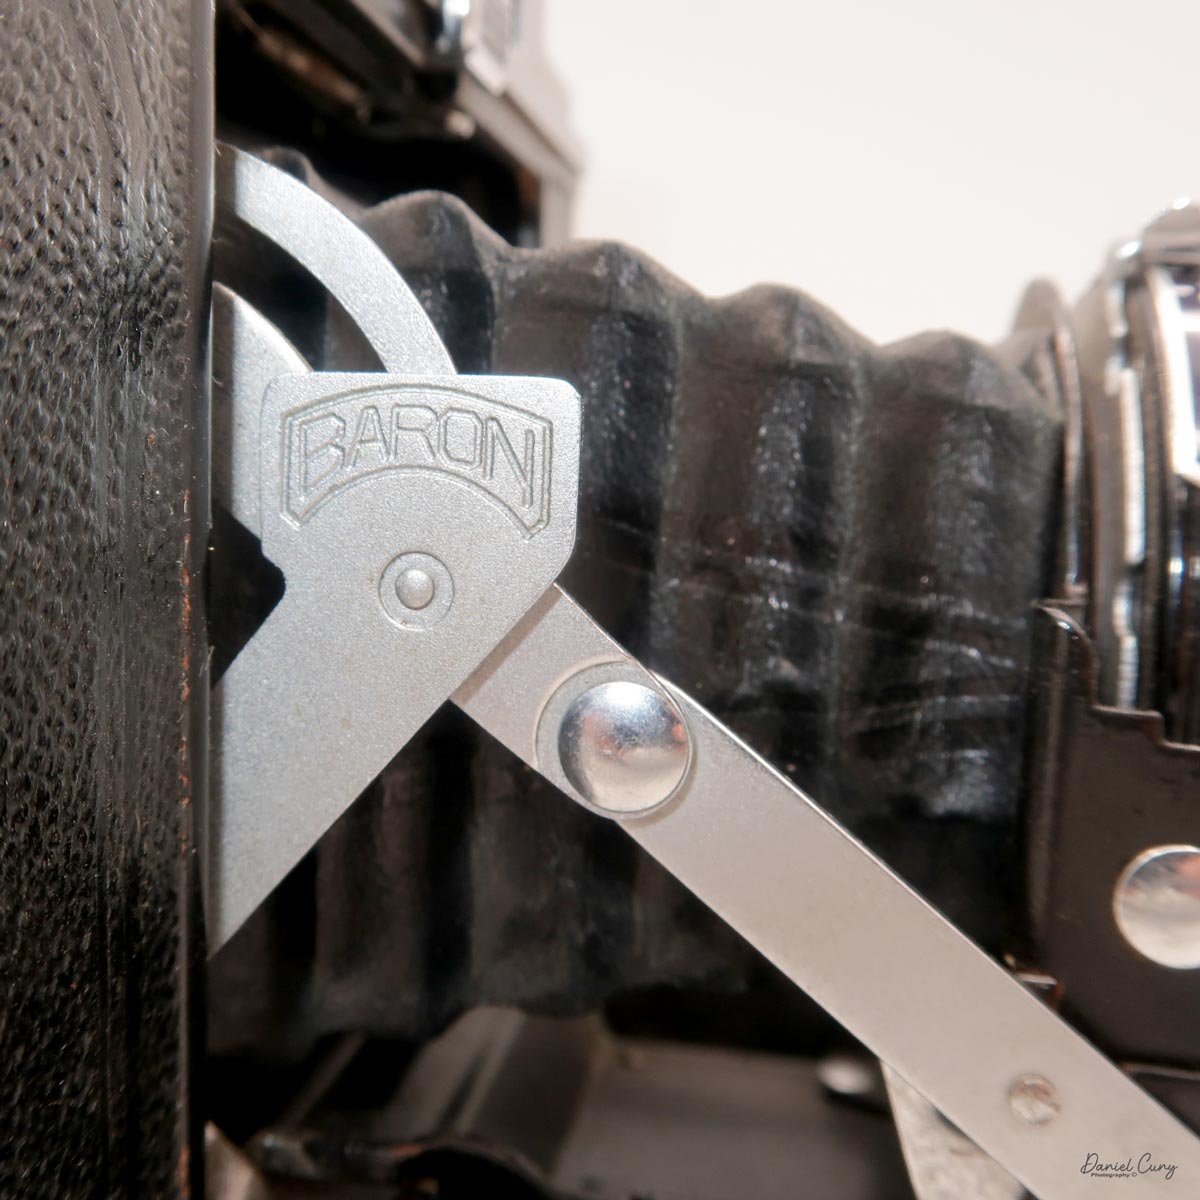
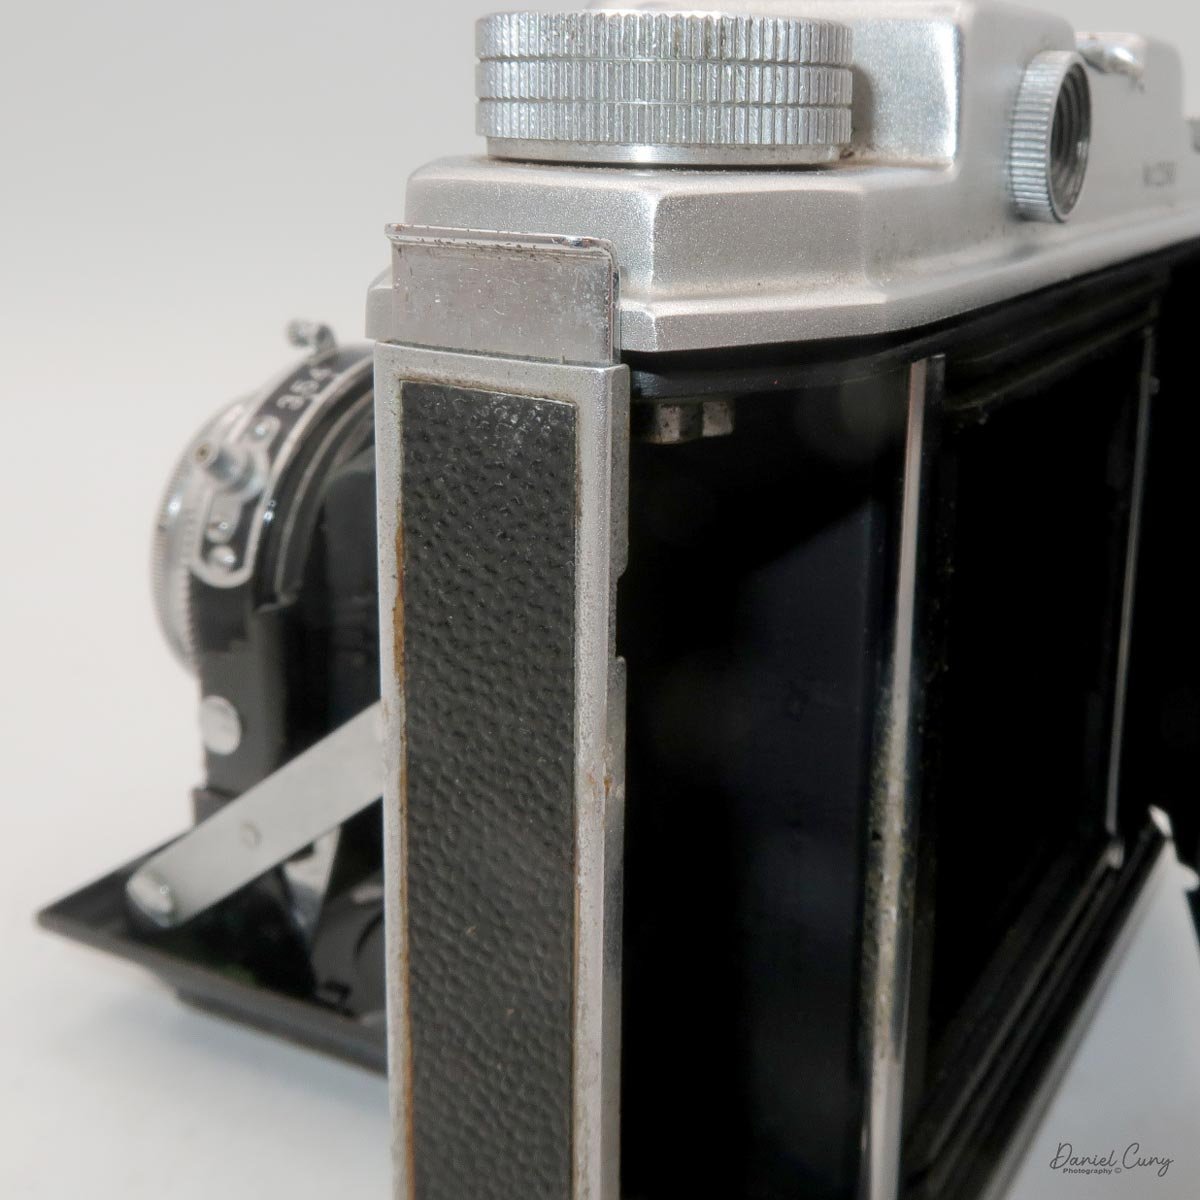
To close the lens bed, you press back on the two sides of the struts, which have "Baron" embossed into them, and press back into the camera body, which collapses the lens door and allows it to fold back into the camera body. Pressing in will lock the lens door into the normal transporting position and allow the camera case to close.
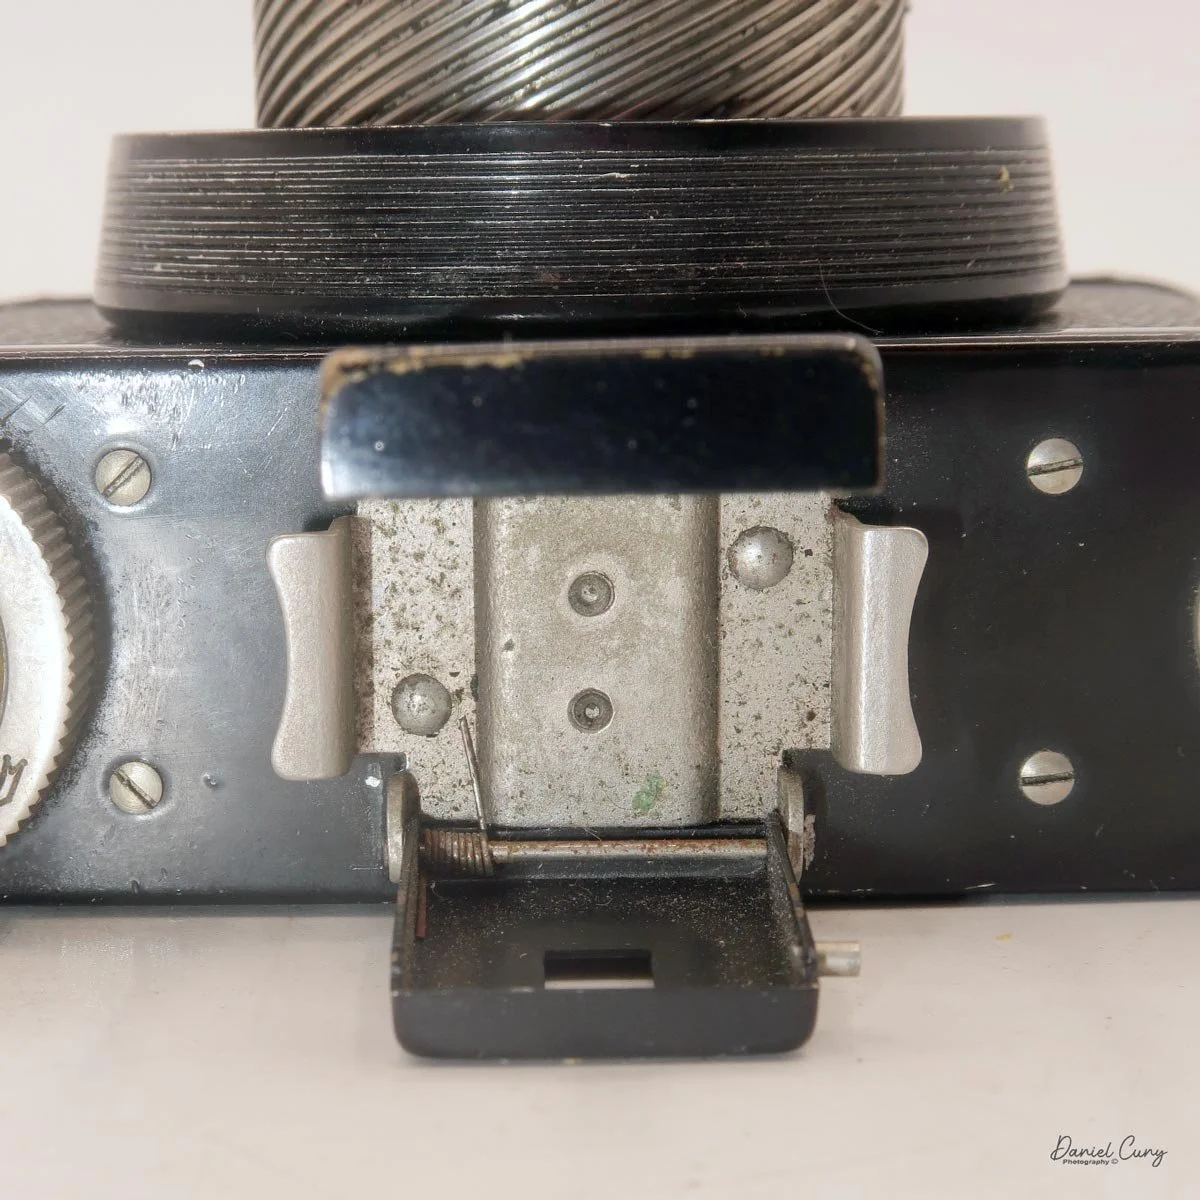
My Baron-RI camera does have a couple of issues. I'm confident that's why I paid so little for it. None of the issues are deal-breakers for me purchasing the camera. The main item, the accessory or cold shoe, is missing from the camera. That's not a huge deal, as I generally don't use them. I did put black fabric tape over the spot where the accessory shoe goes, to give the camera a better appearance.
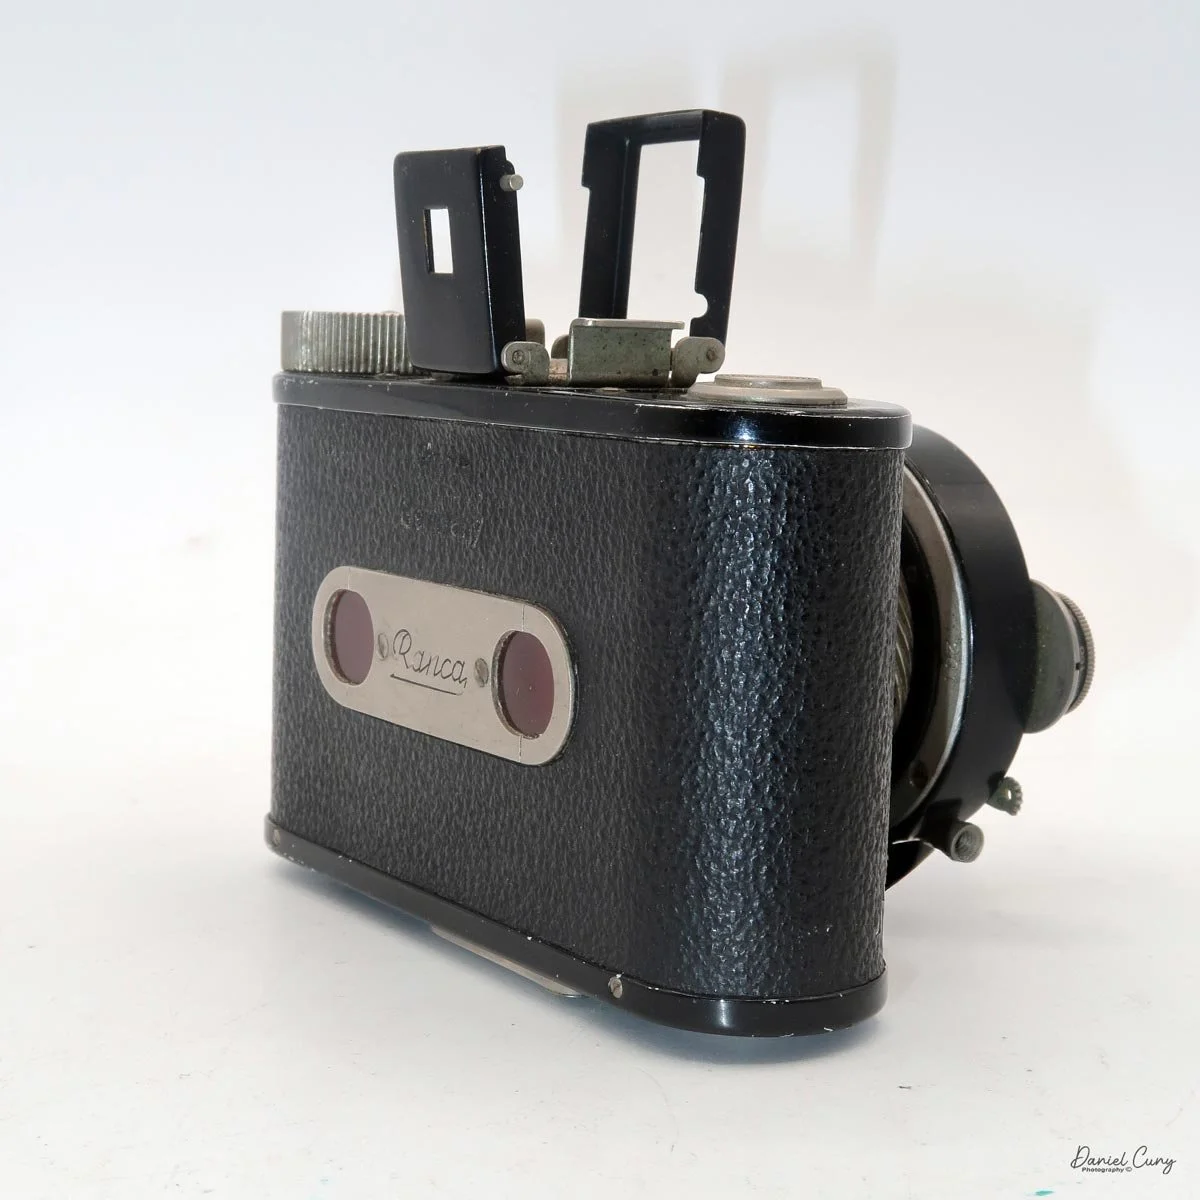
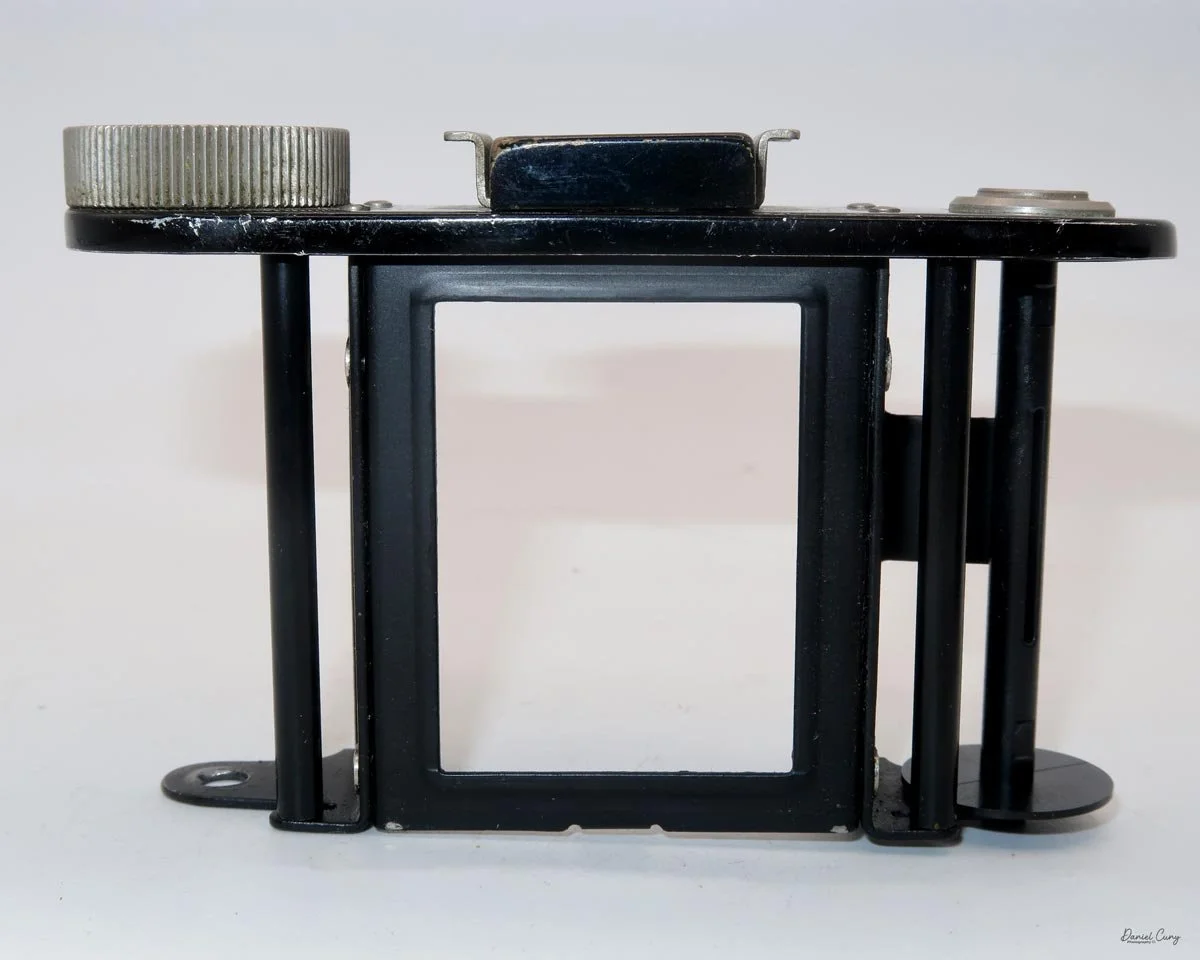
There is another item about the camera I'm not certain about. On the back of the camera, there are red windows with sliding covers for both 4.5x6 and 6x6 formats. I'm not sure whether the camera came with a mask for both formats, or if the company offered two different formats and only made one back for both cameras. Also stamped on the back of the camera, below the red windows, is "Baron-Six" embossed into the leather.
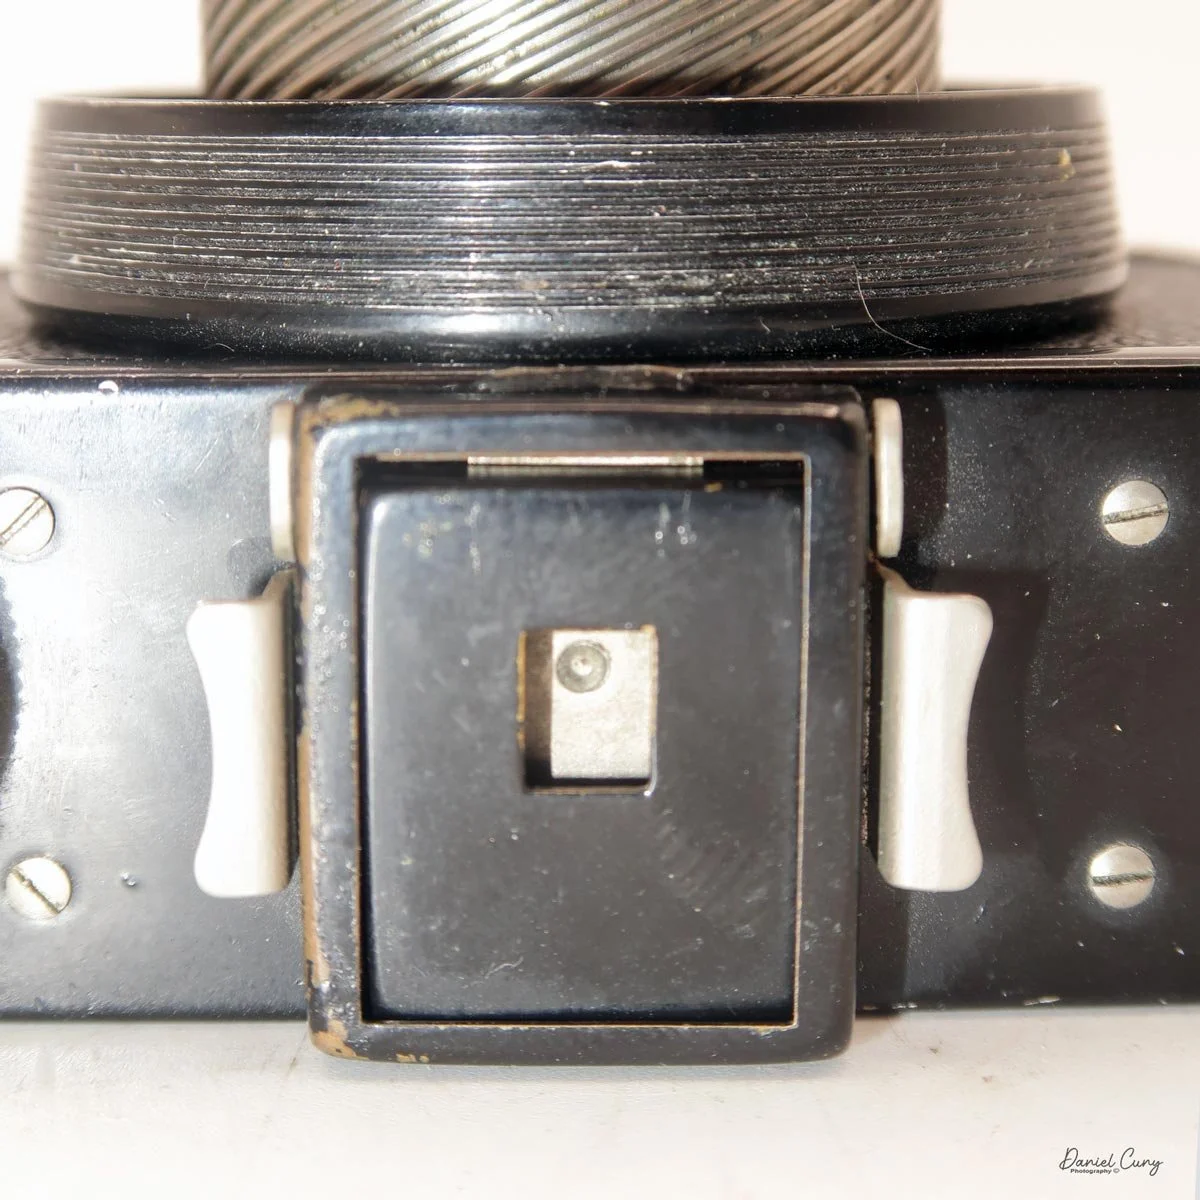
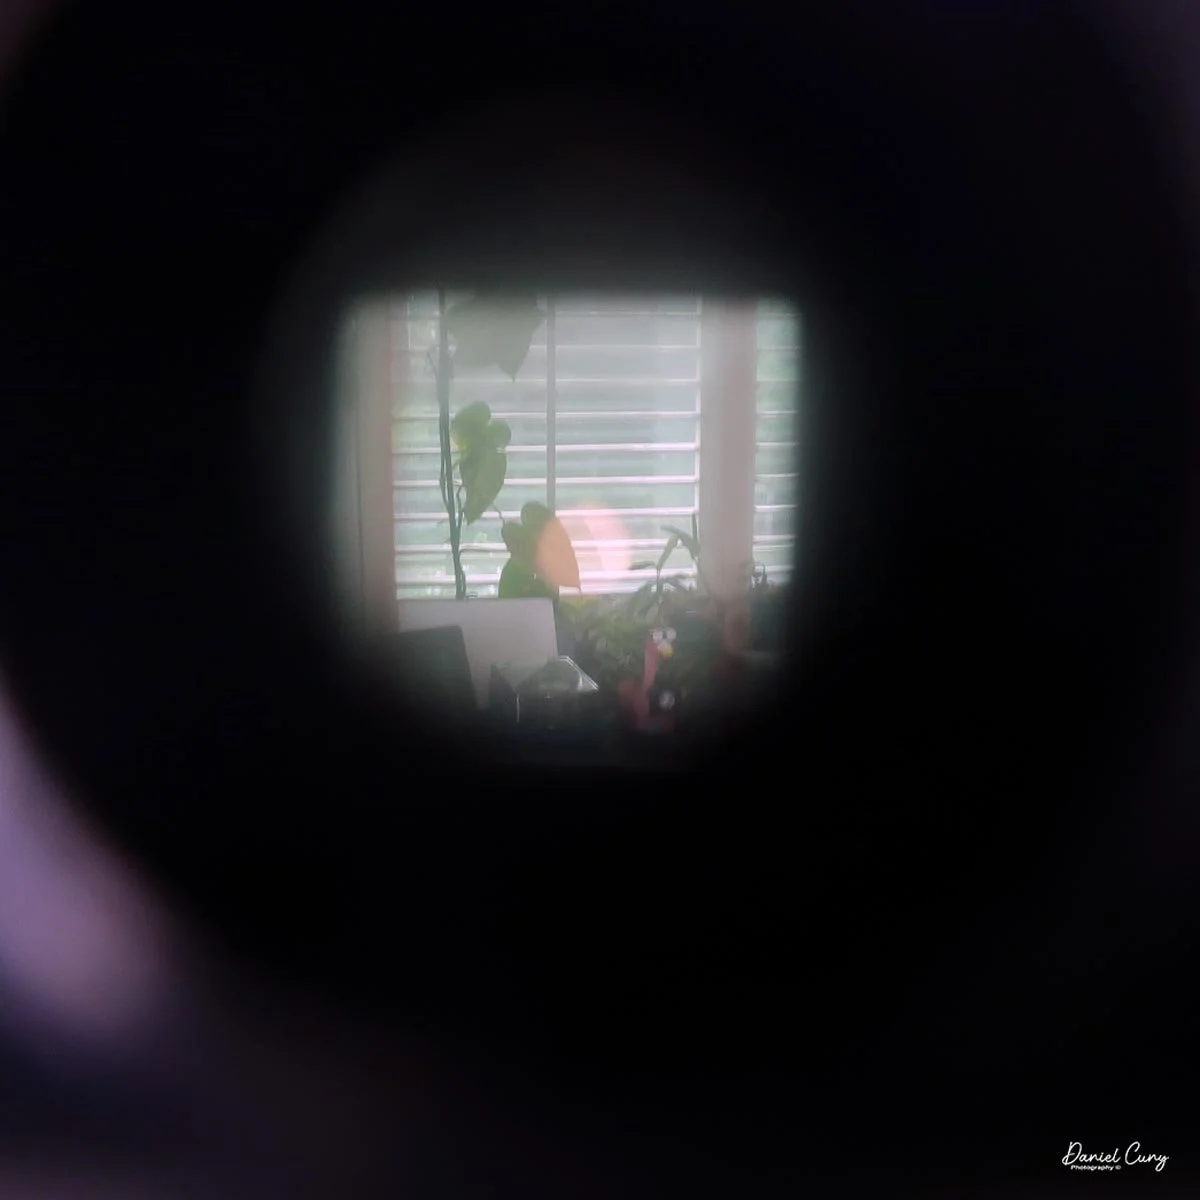
An item on the Baron RI that I've never seen in a camera is an uncoupled rangefinder. When you look through the viewfinder on the rear of the camera, you view the rangefinder. On the right side, as you're holding the camera, there's a wheel that rotates, allowing you to focus the rangefinder. On my camera, it's bright and clear. You then transfer the distance from the internal rangefinder to the lens and set the distance to the subject. I'm confident that building an integrated rangefinder, which would focus the lens, would have added much more intricacy to the camera, but they either didn't want to bother or just wanted to keep the costs down. It's an interesting item built into the camera.
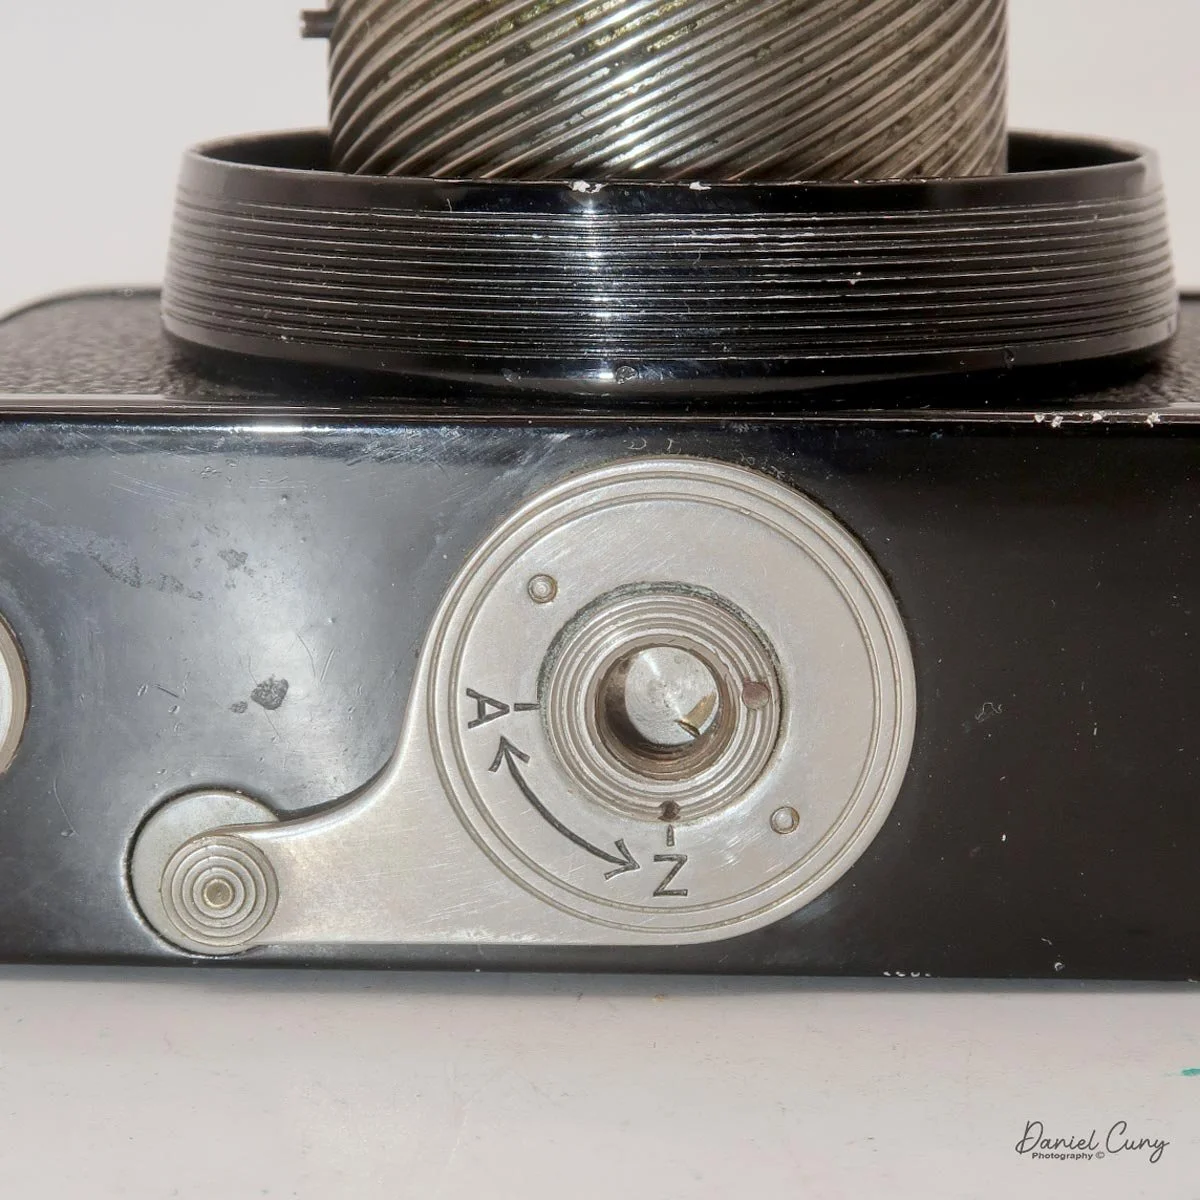
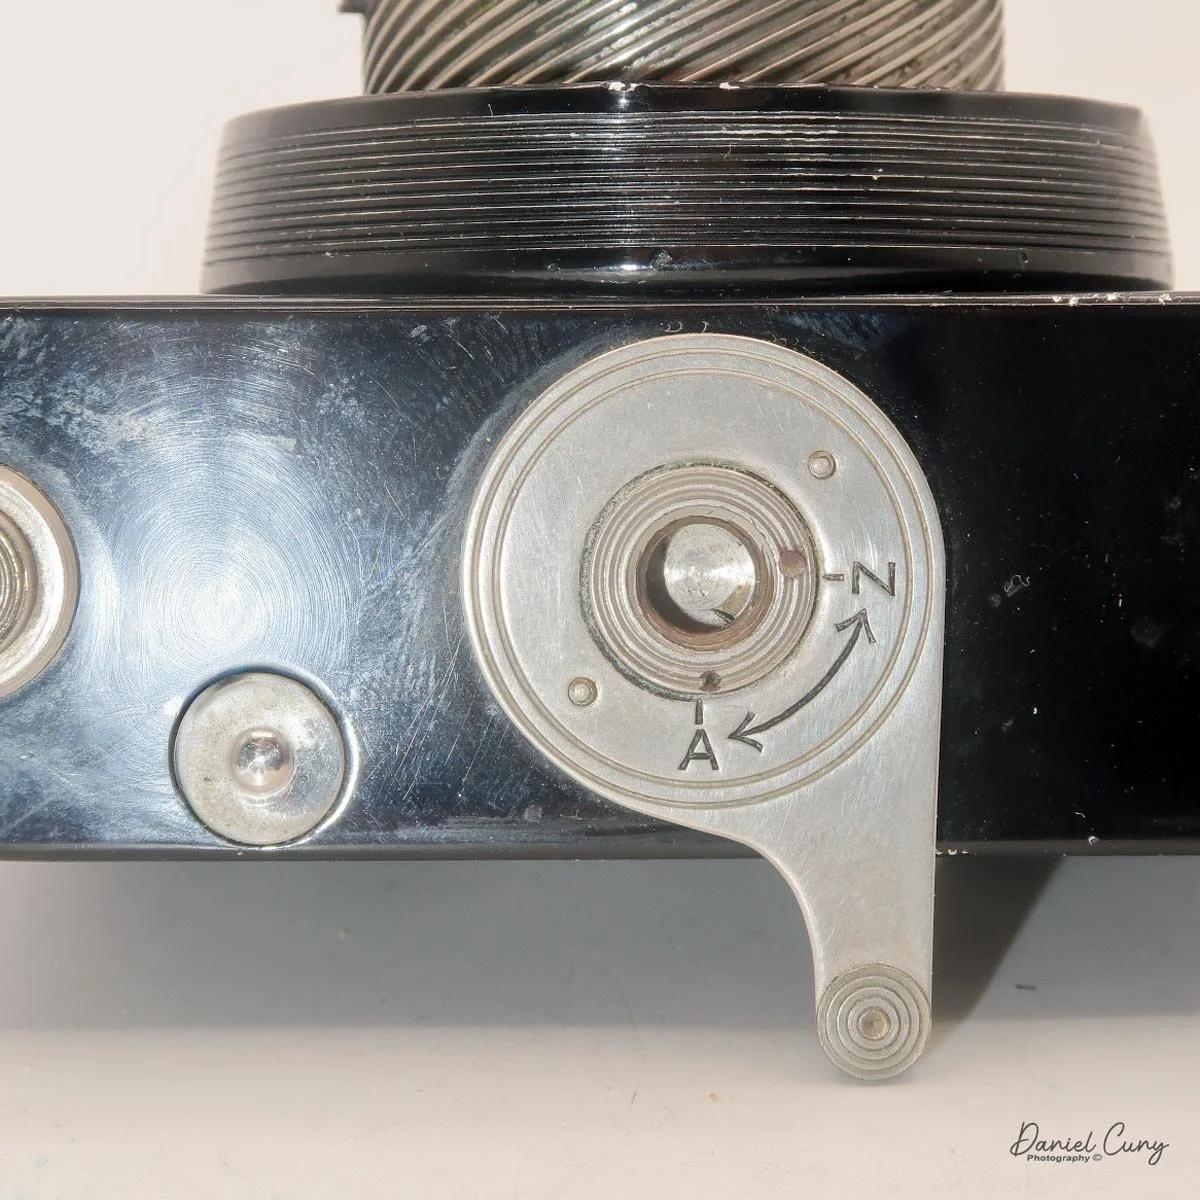
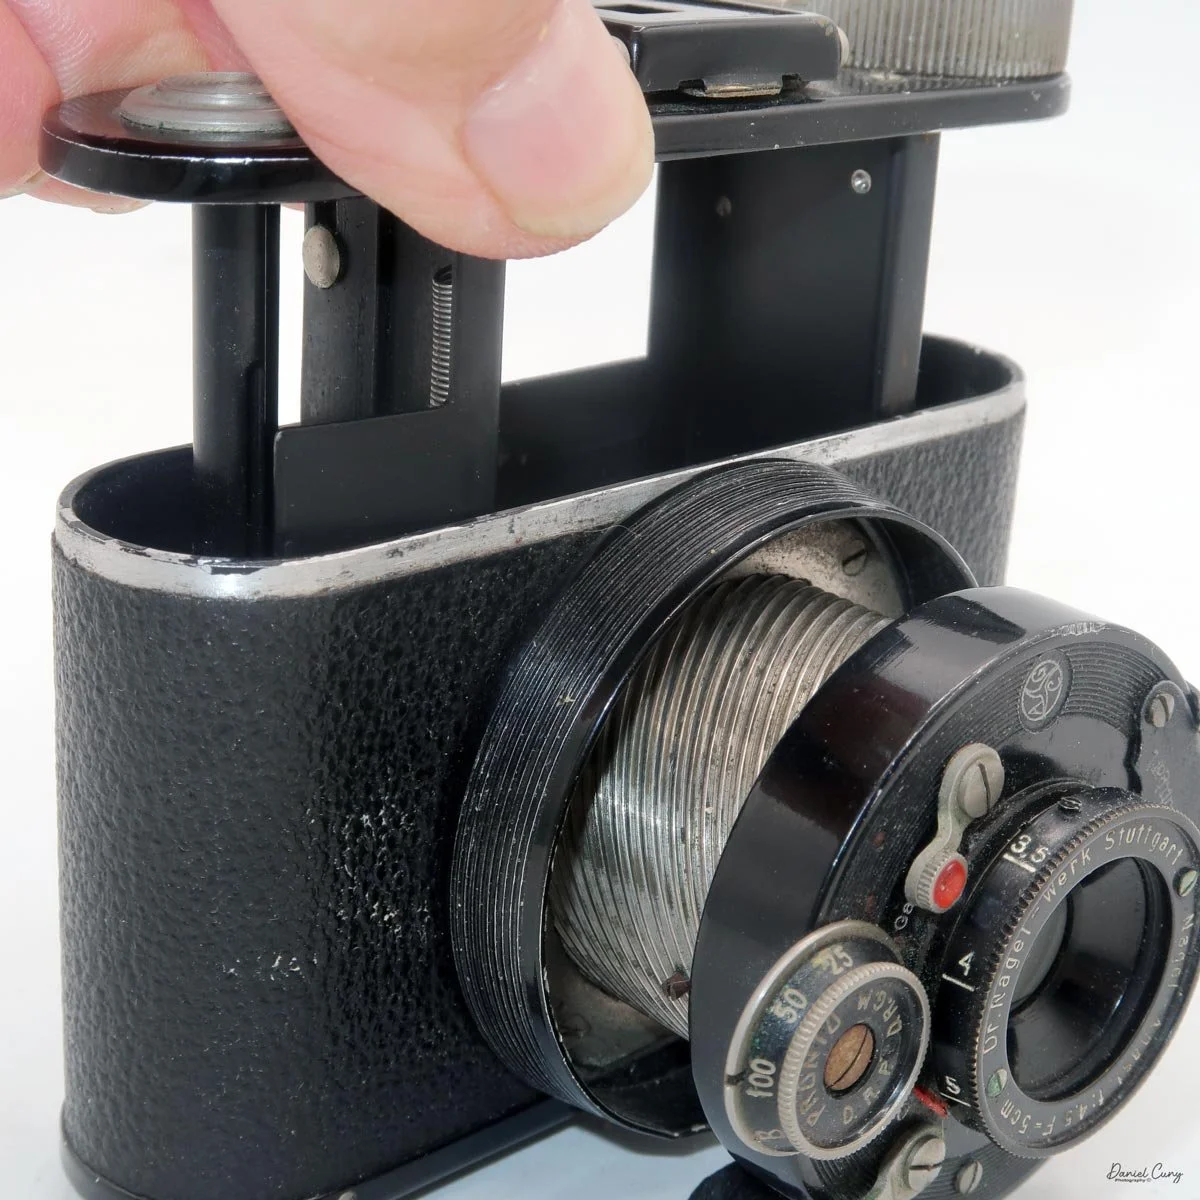
To load film into the Baron RI, on the left side of the camera is a lever you pull up, which opens the door to the right, exposing a standard roll film chamber. Load film as you would with any roll film camera by placing the take-up spool on the transport side and pulling down the knobs at the bottom of the camera. Put in the fresh roll in the empty area and bring the leader to the take-up spool. Thread the lead into the slot on the take-up spool and wind until you see the film is engaged and rolling onto the spool. Wait until you see the "arrows" pointing outward, close the back of the camera, and press down the locking bar, then wind the film advance knob until you see the #1 in the red window. Take your photo, and wind until you see the #2, and so on through the roll of film.

Now that I have film in the camera. Let's go around the neighborhood and see how the camera performs.

My Results:
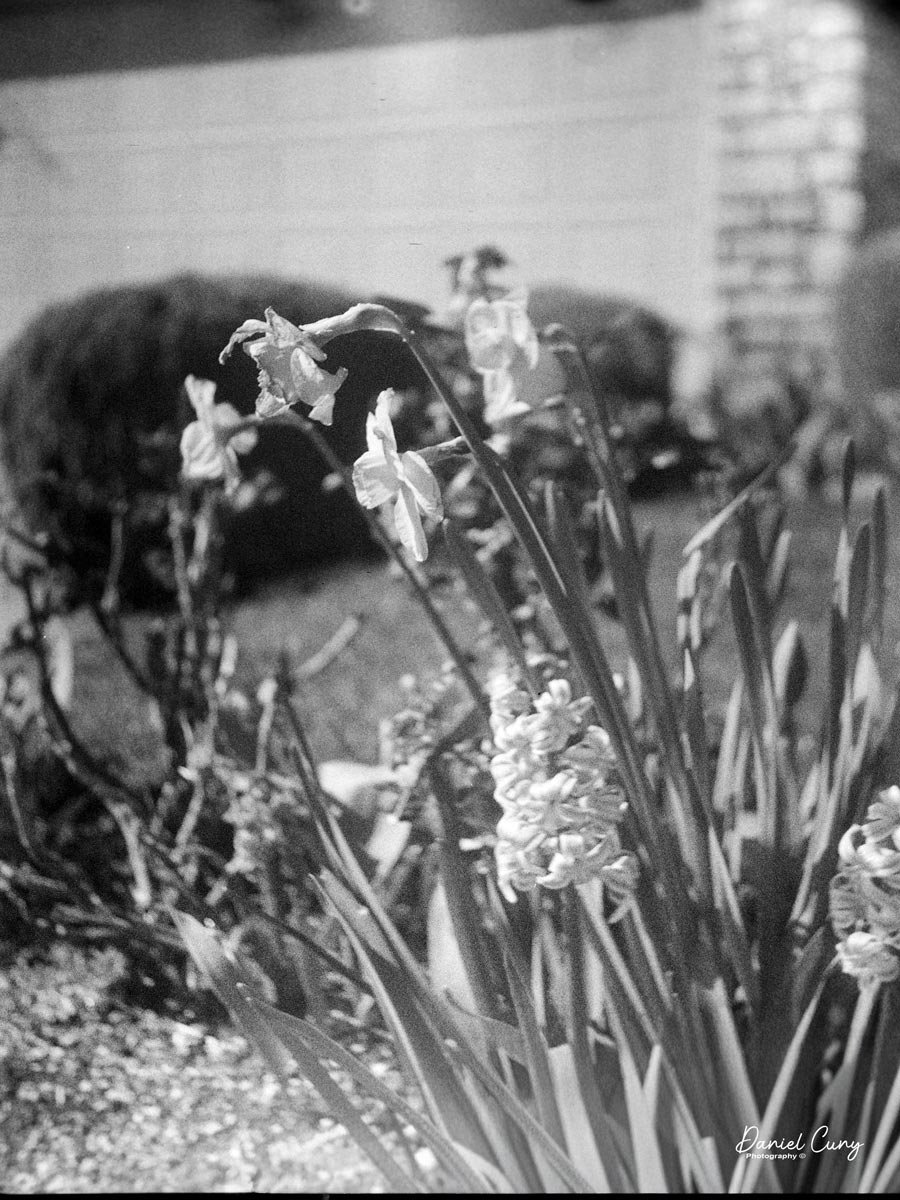
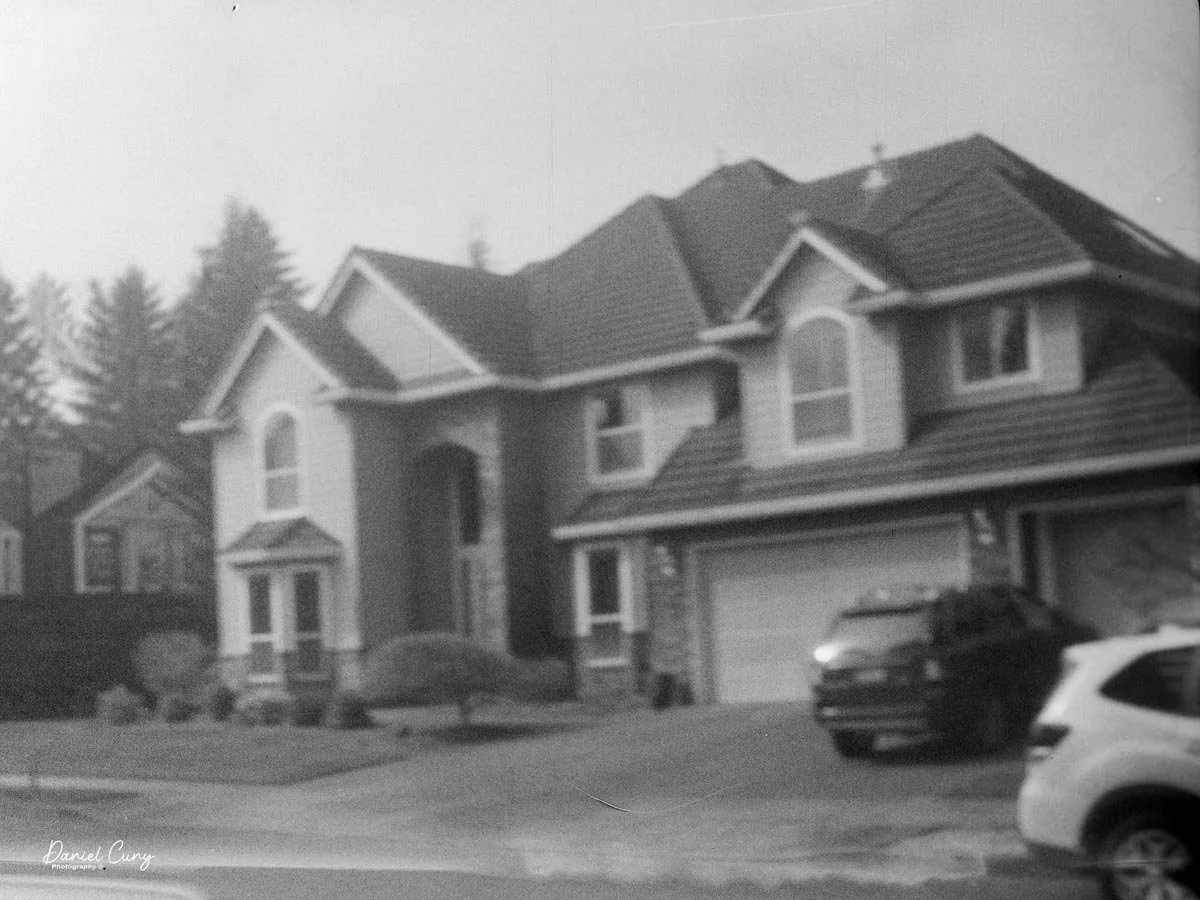
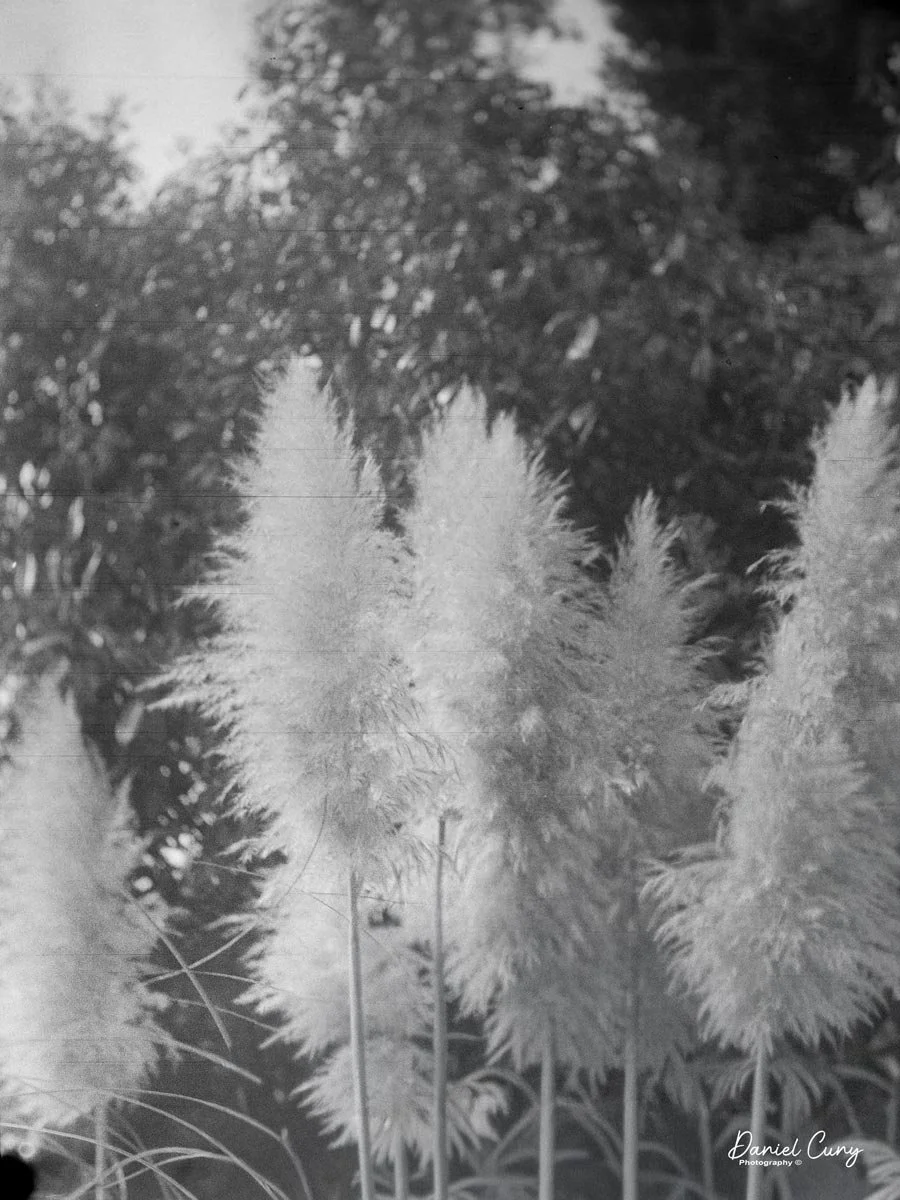
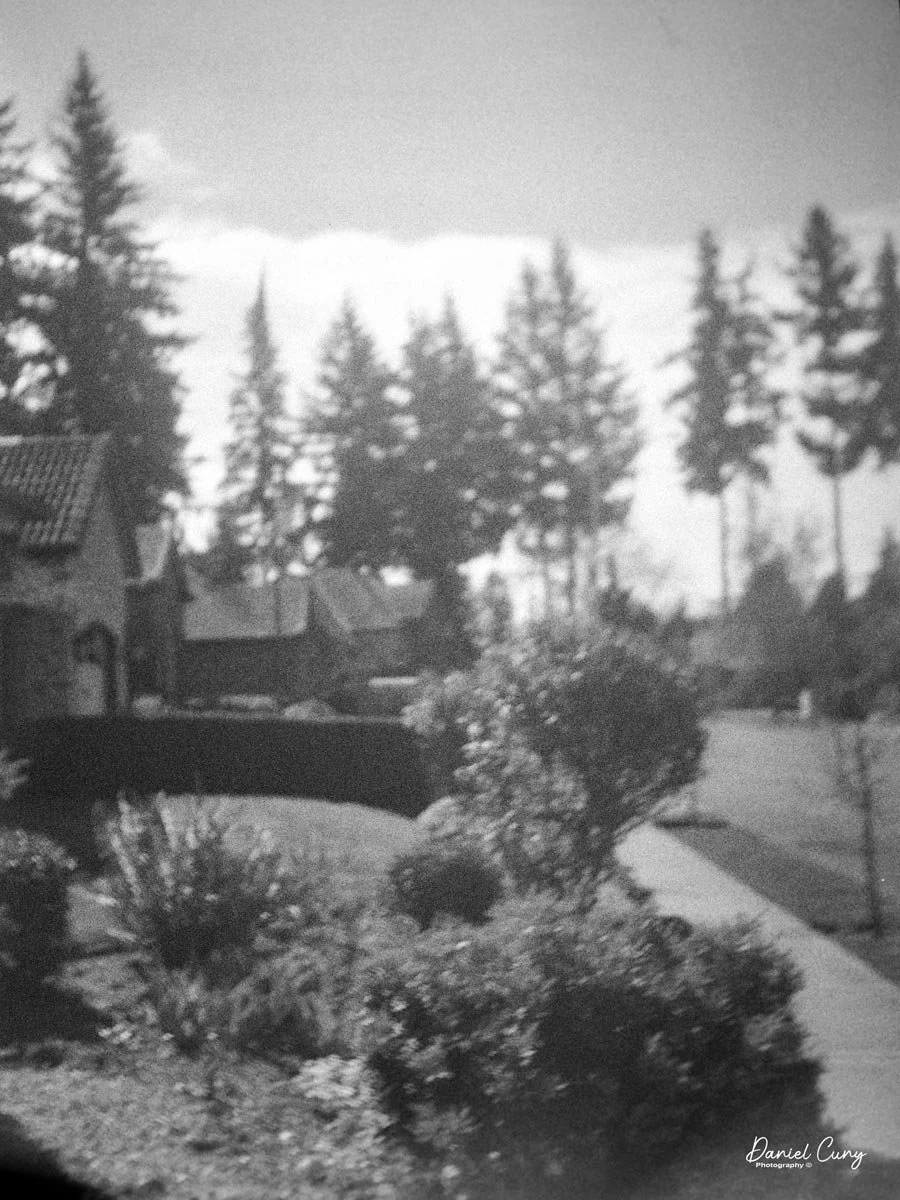
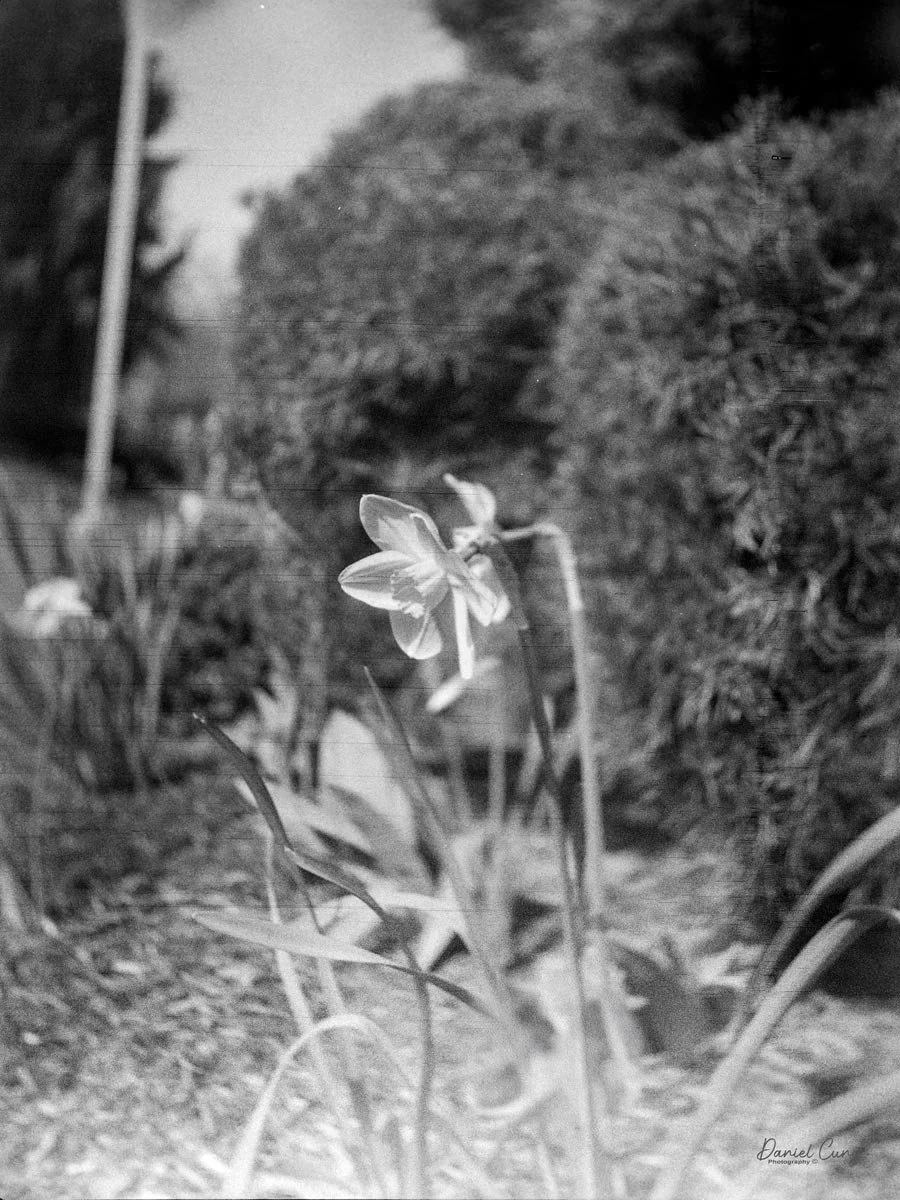
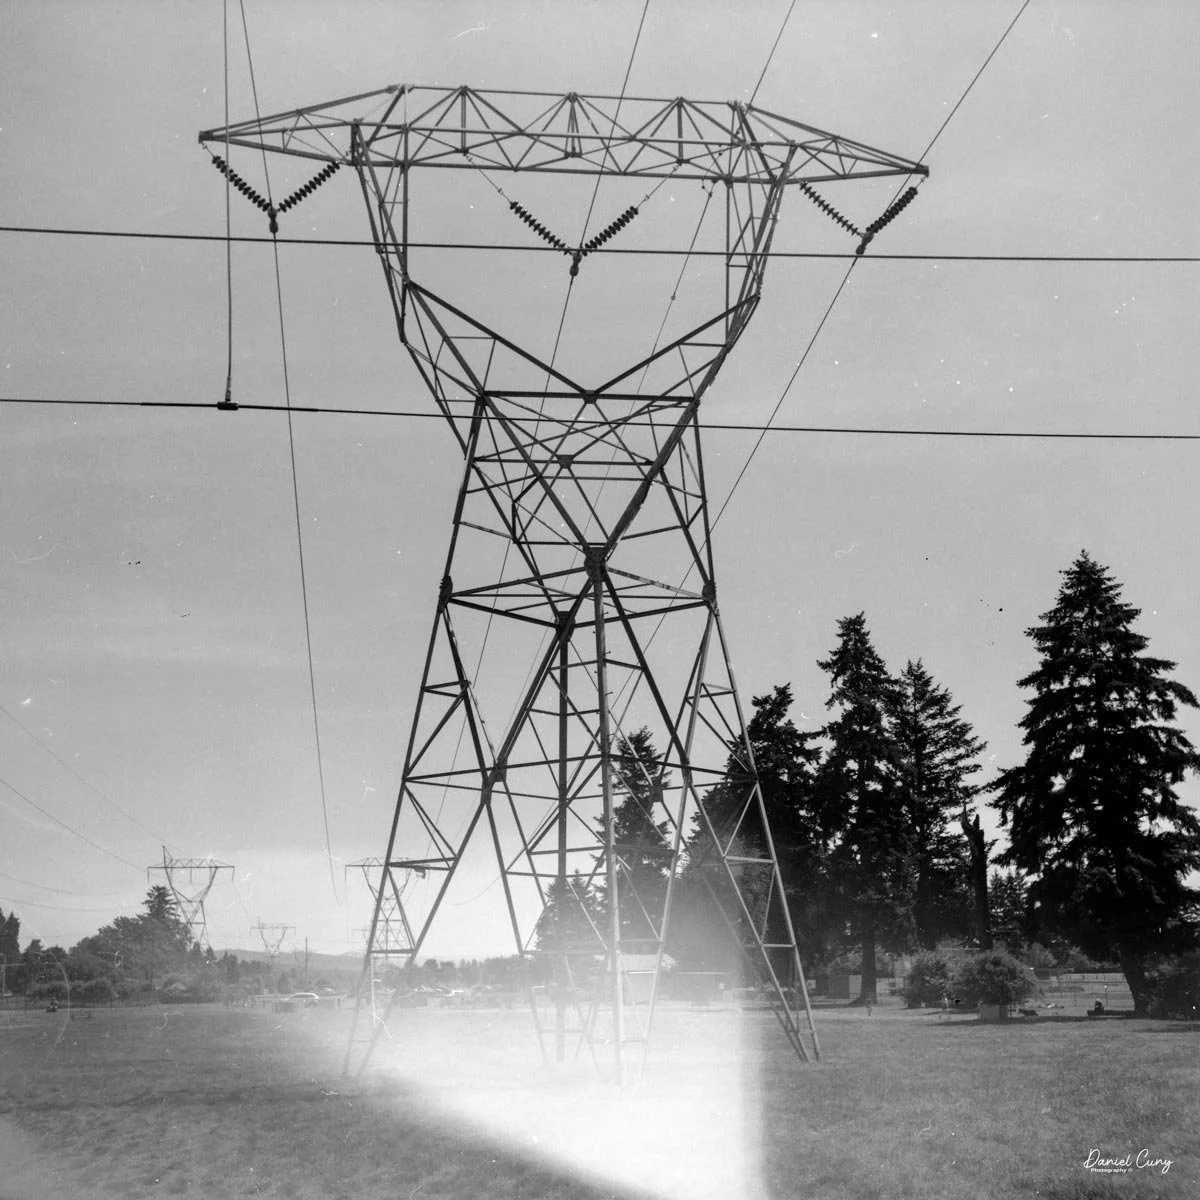
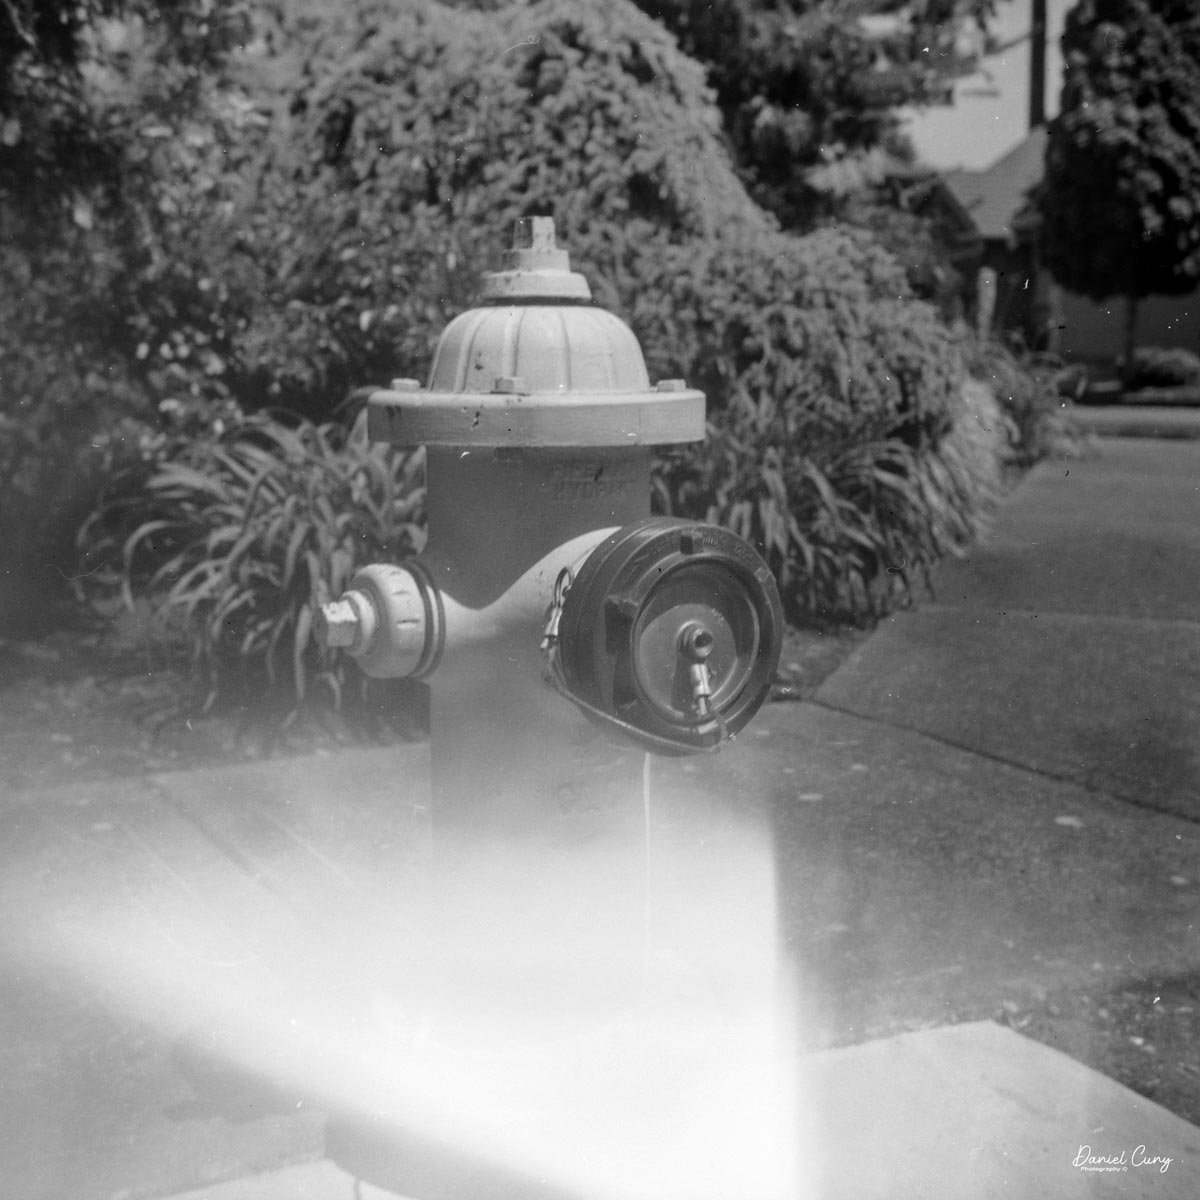
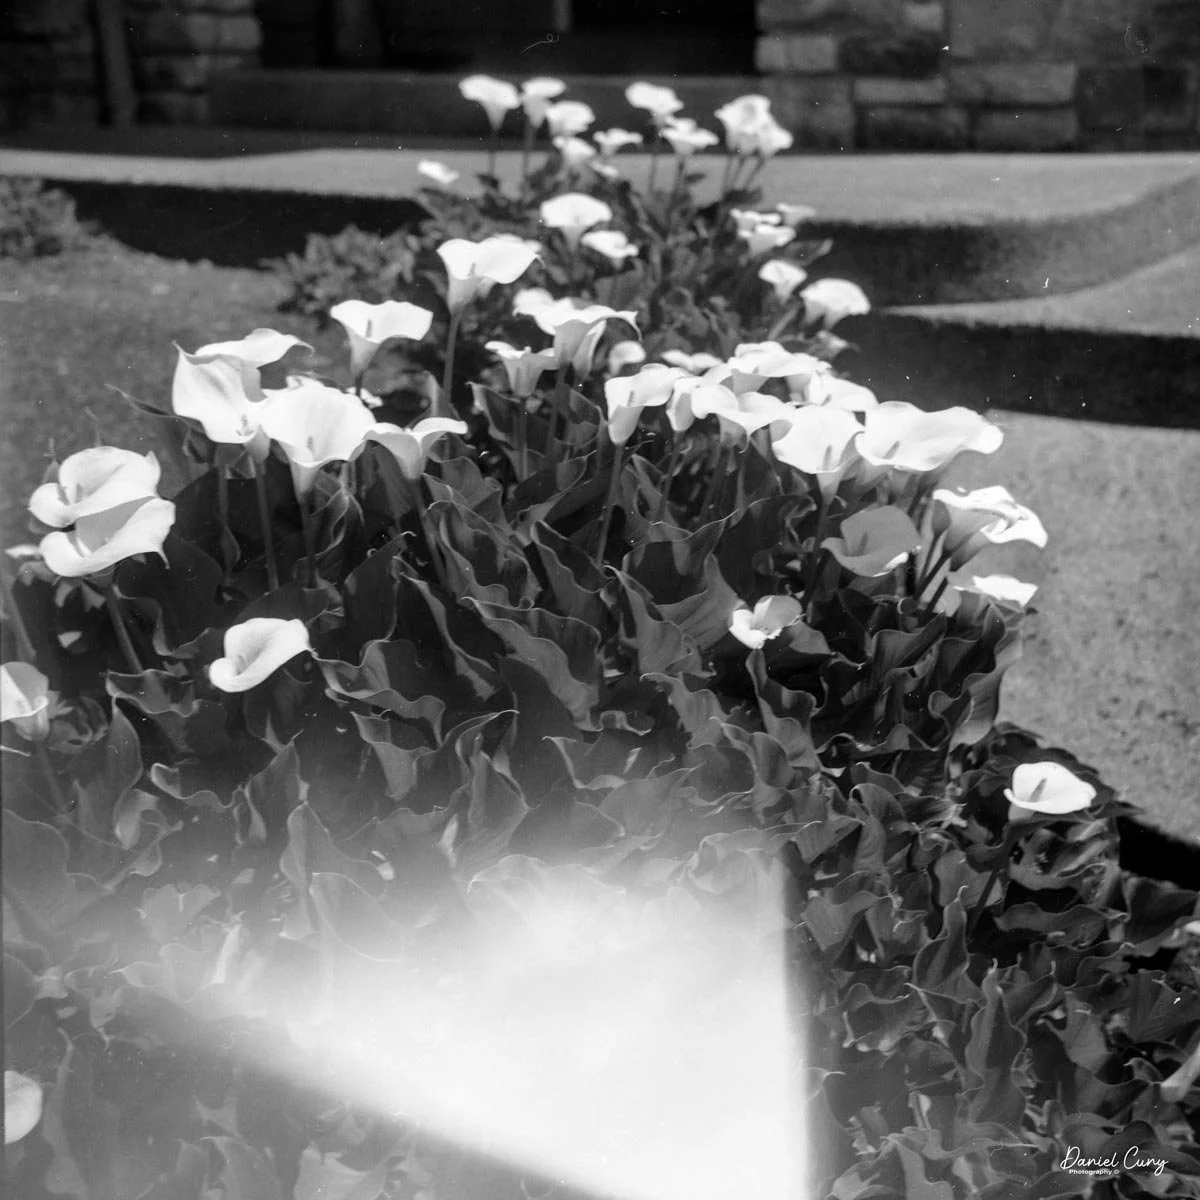
I gave the camera a very quick look over. All the shutter speeds were working, and the aperture moved as it should. I loaded a roll of Ilford 125 film into the camera, went to the Dog Park with my daughter, and walked around the block, looking for flowers and other subjects to photograph.
Here are the results.
Conclusion:
Overall, the camera was easy to use and fun to shoot with.
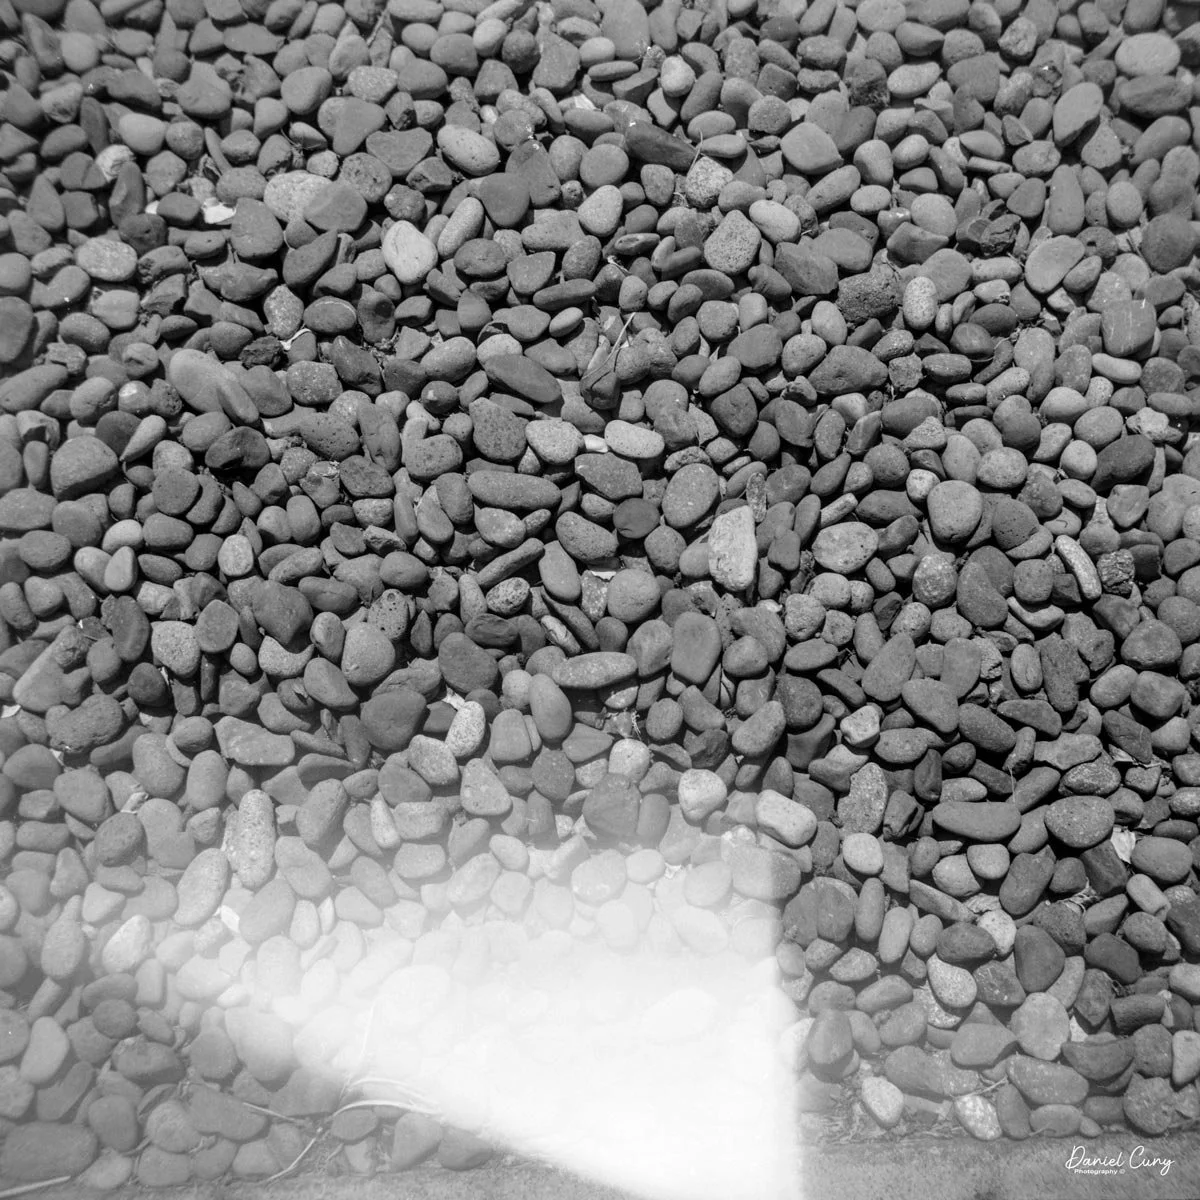
It wasn't until I processed the film that I dug further and noticed a pinhole in the camera's bellows. That's why the photos have this light streak, and not just a light streak, but a gush of light on the bottom of the images, consistent in all the photos taken.
I liked the rangefinder, which was easy to use and much easier for me than guessing distance. After focusing, I then transferred the distance to the lens, which was fun, and produced sharp images. I'll need to go in and add some thin fabric tape and black liquid fabric to the bellows to eliminate the annoying light leaks. It's a camera I purchased on my trip to Tokyo, and I will keep it for the time being.
Thank you for taking some time to read about this little-known camera at the beginning of the Japanese camera revolution in the early to mid-1950s.
I'd like to hear from you if you have questions, or even if you have a Baron camera or one of the many similar-style cameras made in Japan during this timeframe.
Please take a moment to look at some of my other Camera Reviews.
Cuny's Cameras and Photos is my online eBay store where you'll see some of the cameras I've reviewed, along with many other lenses, and vintage camera accessories I have for sale.
Until next week, please be safe.