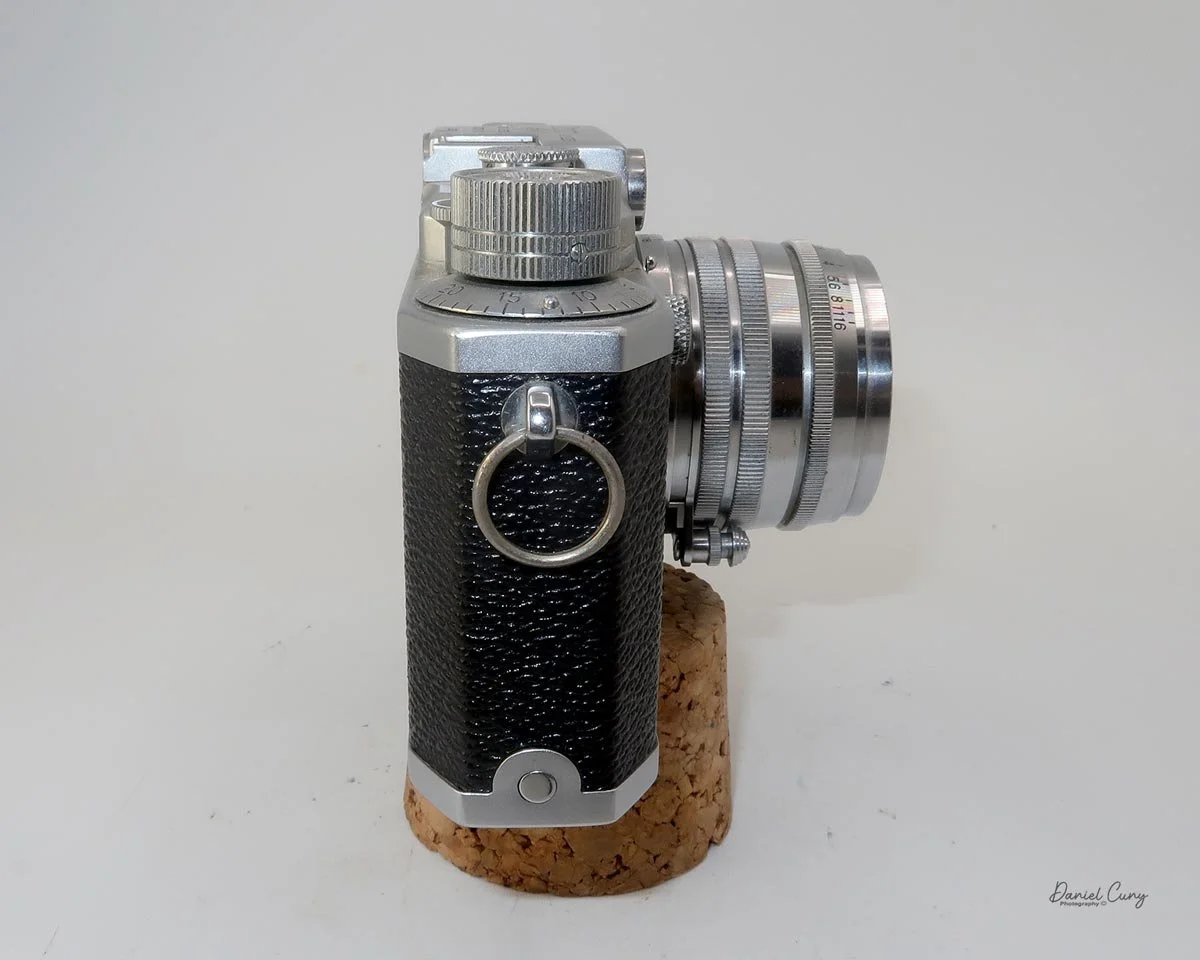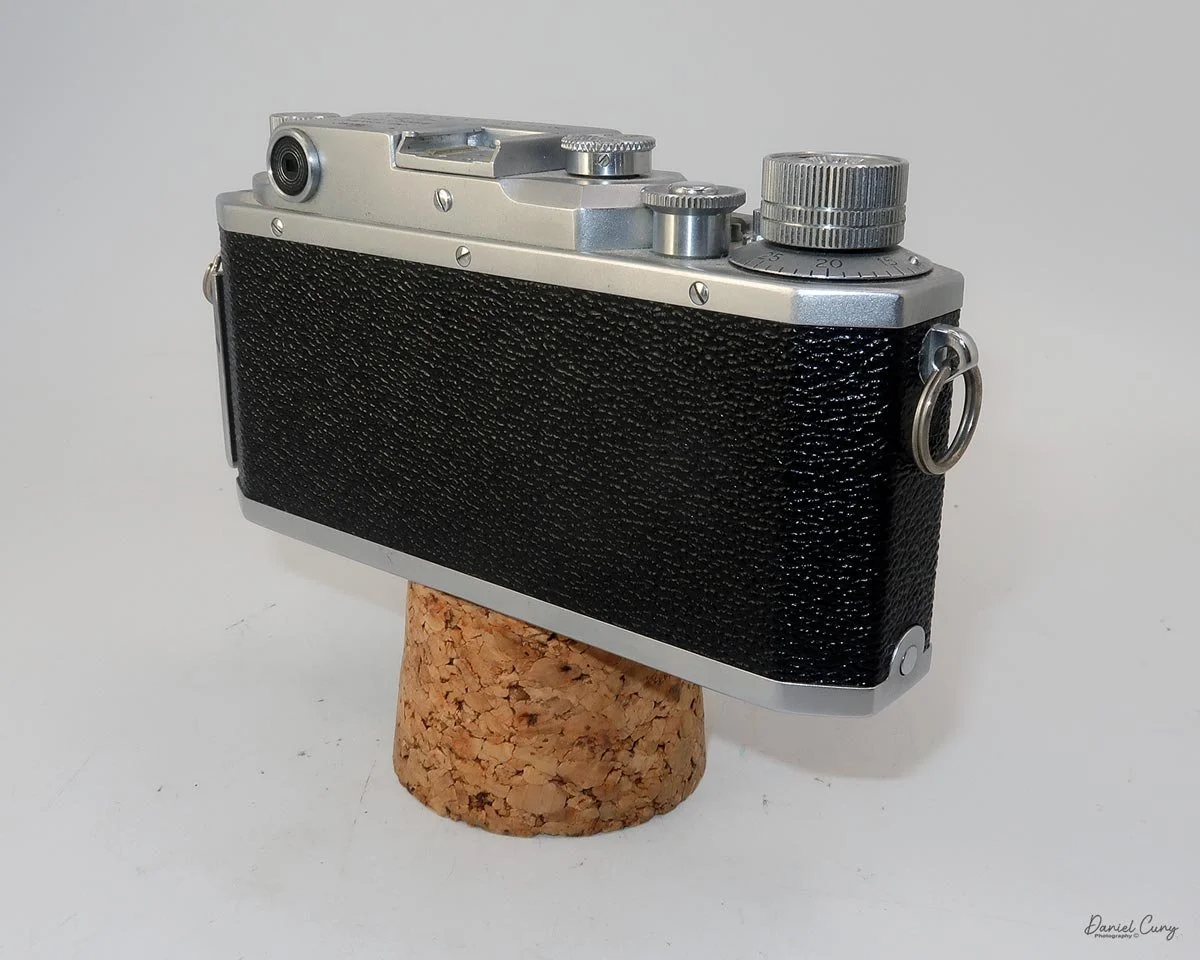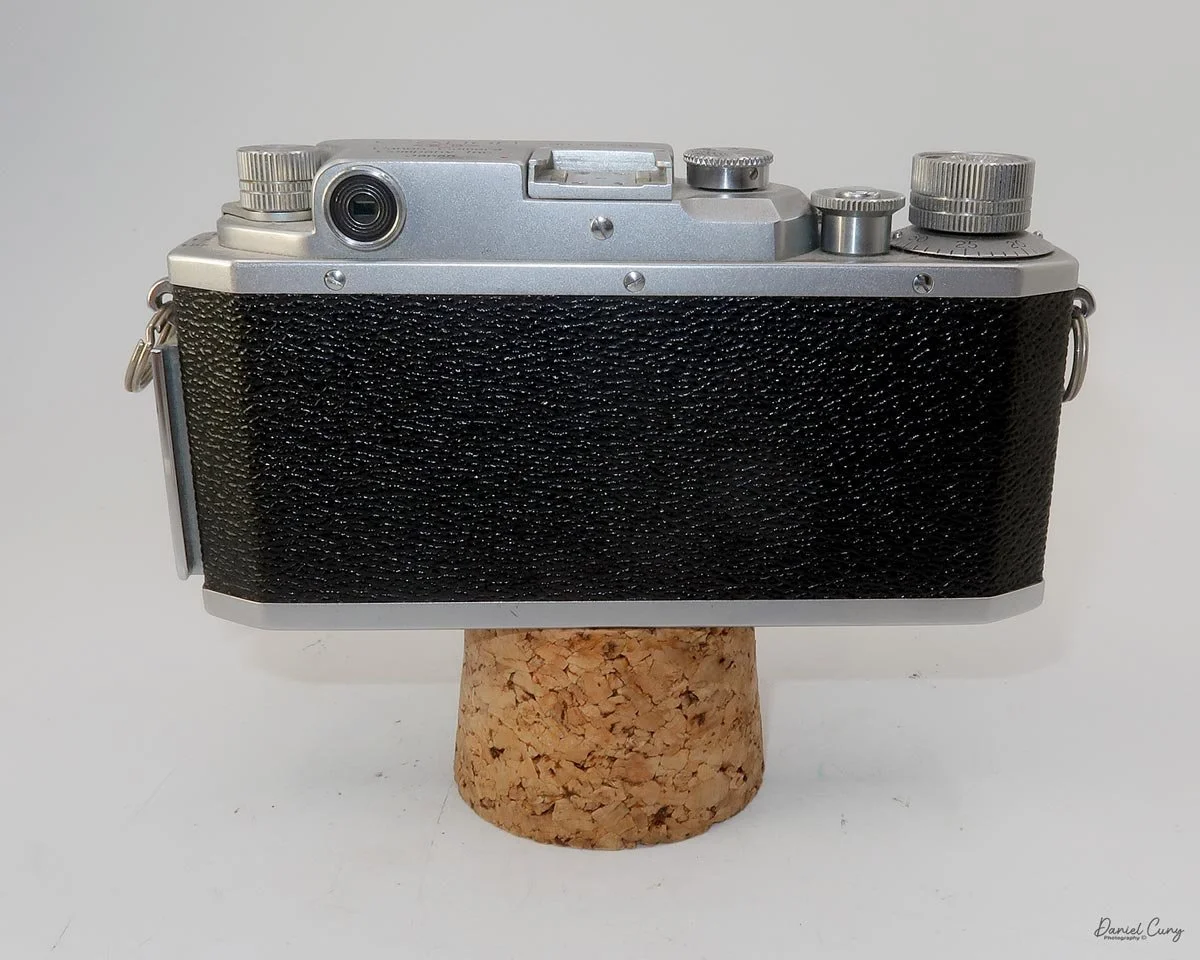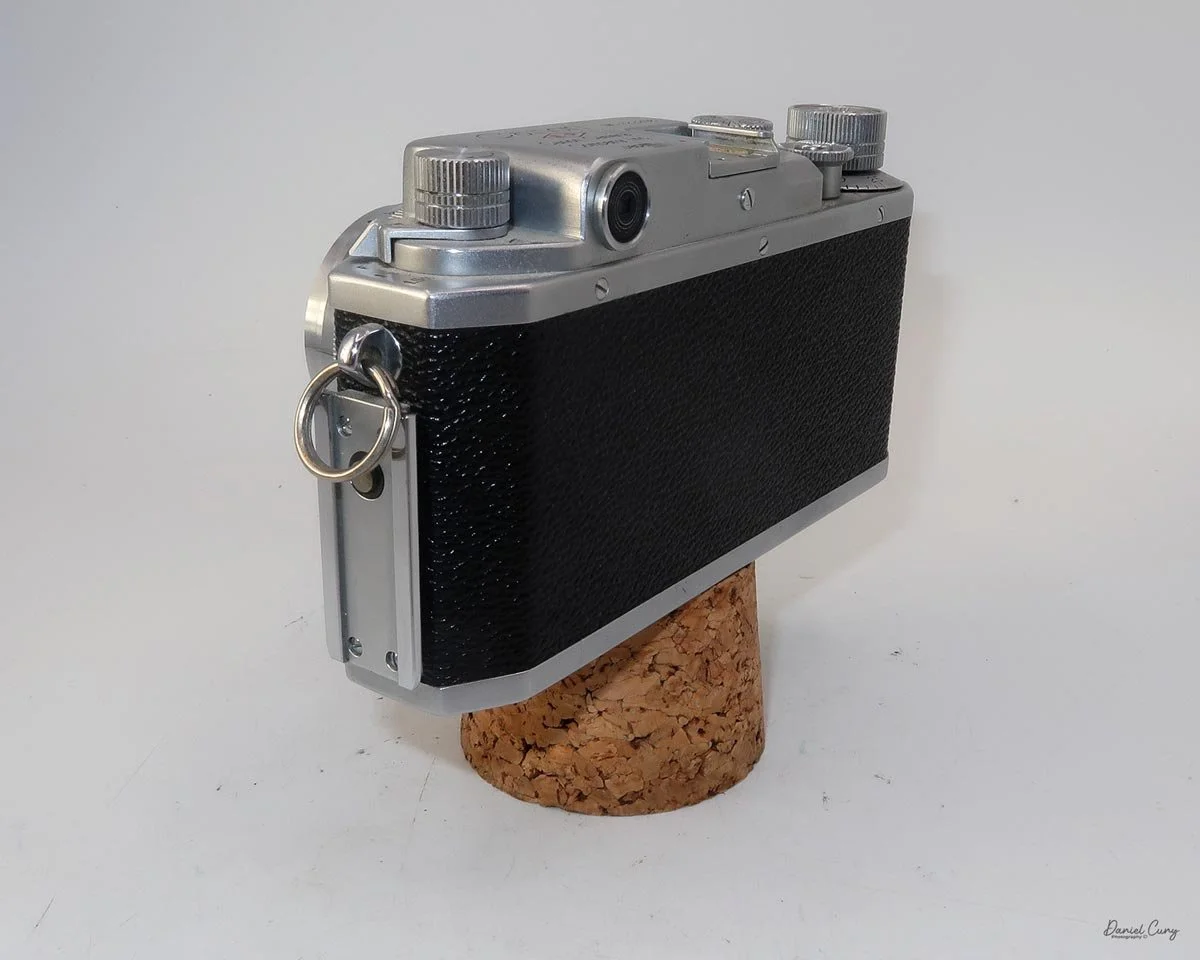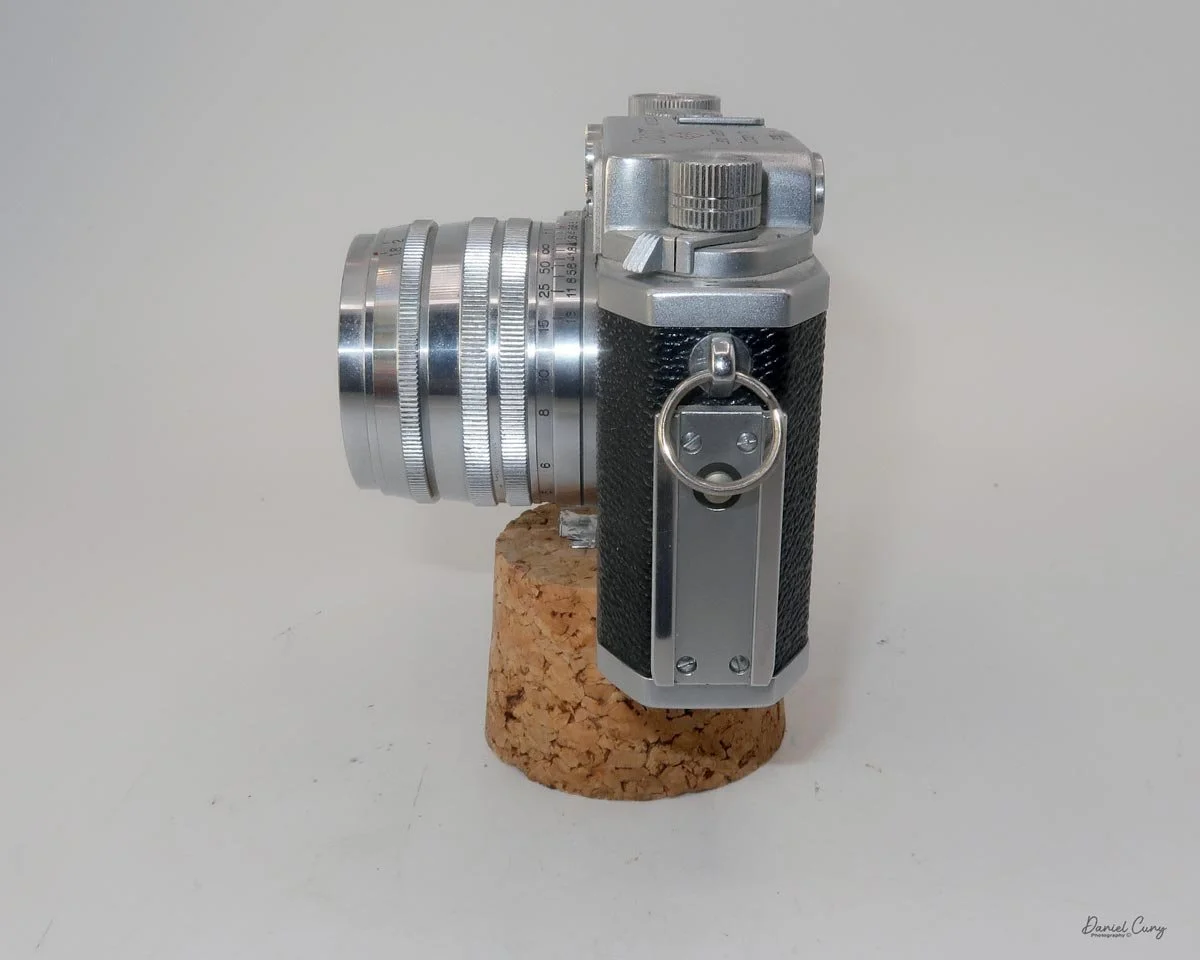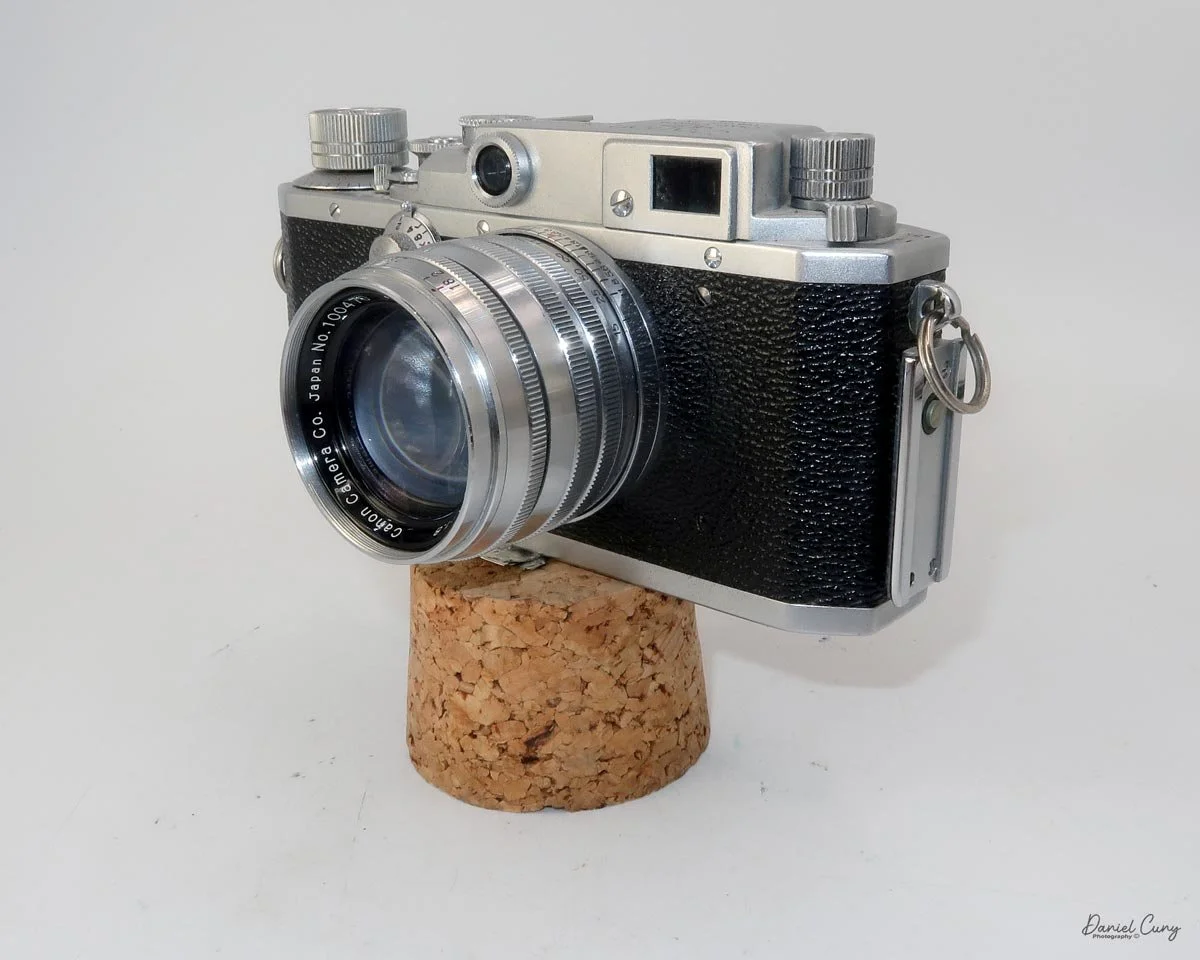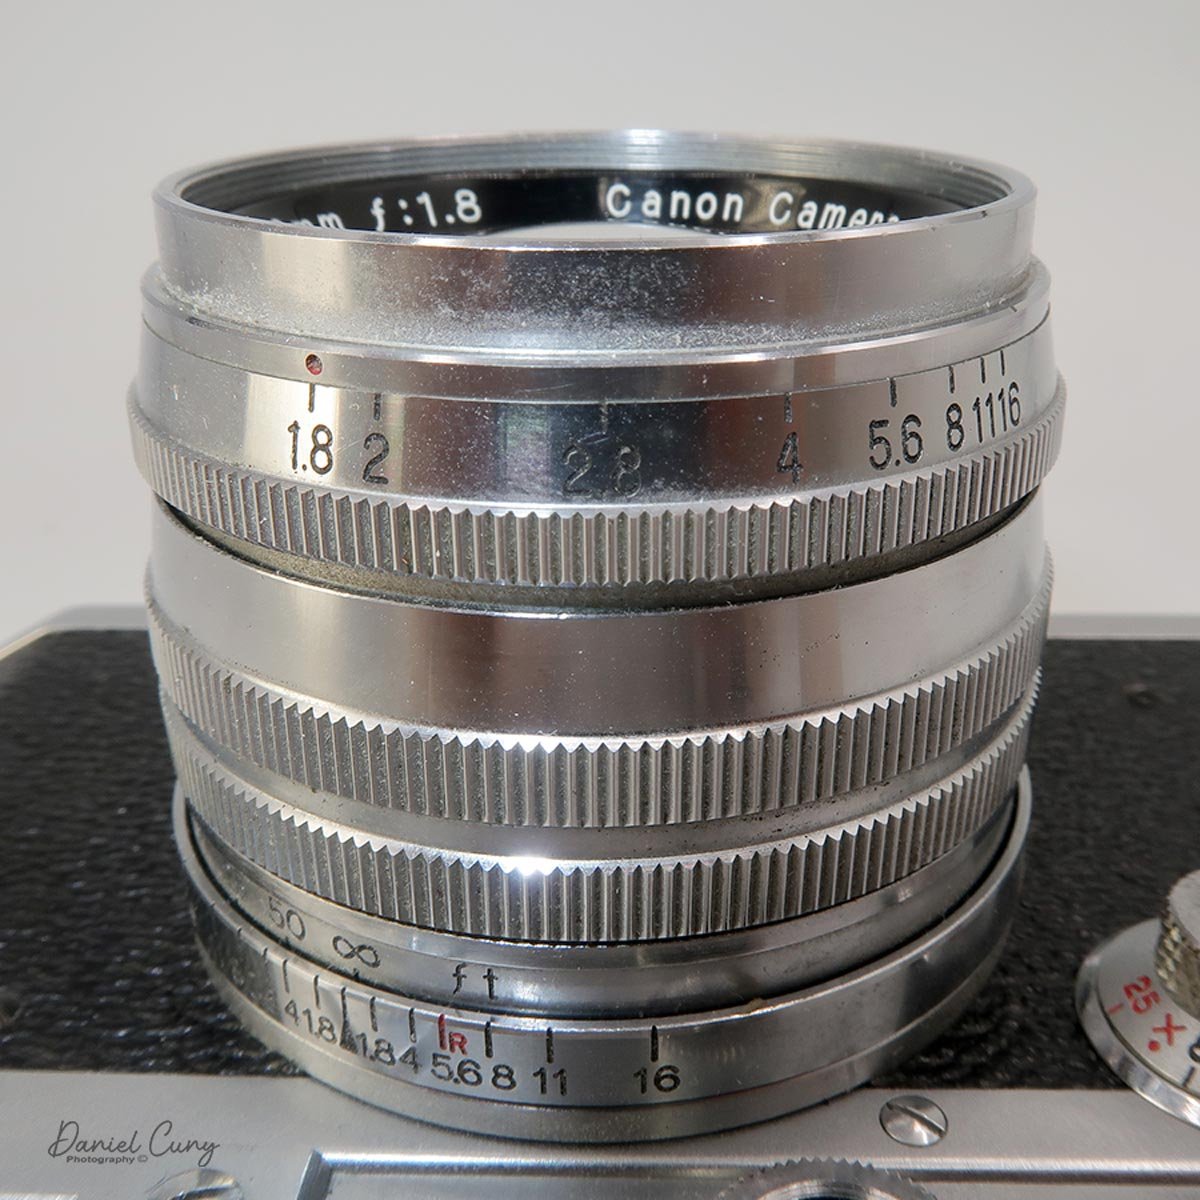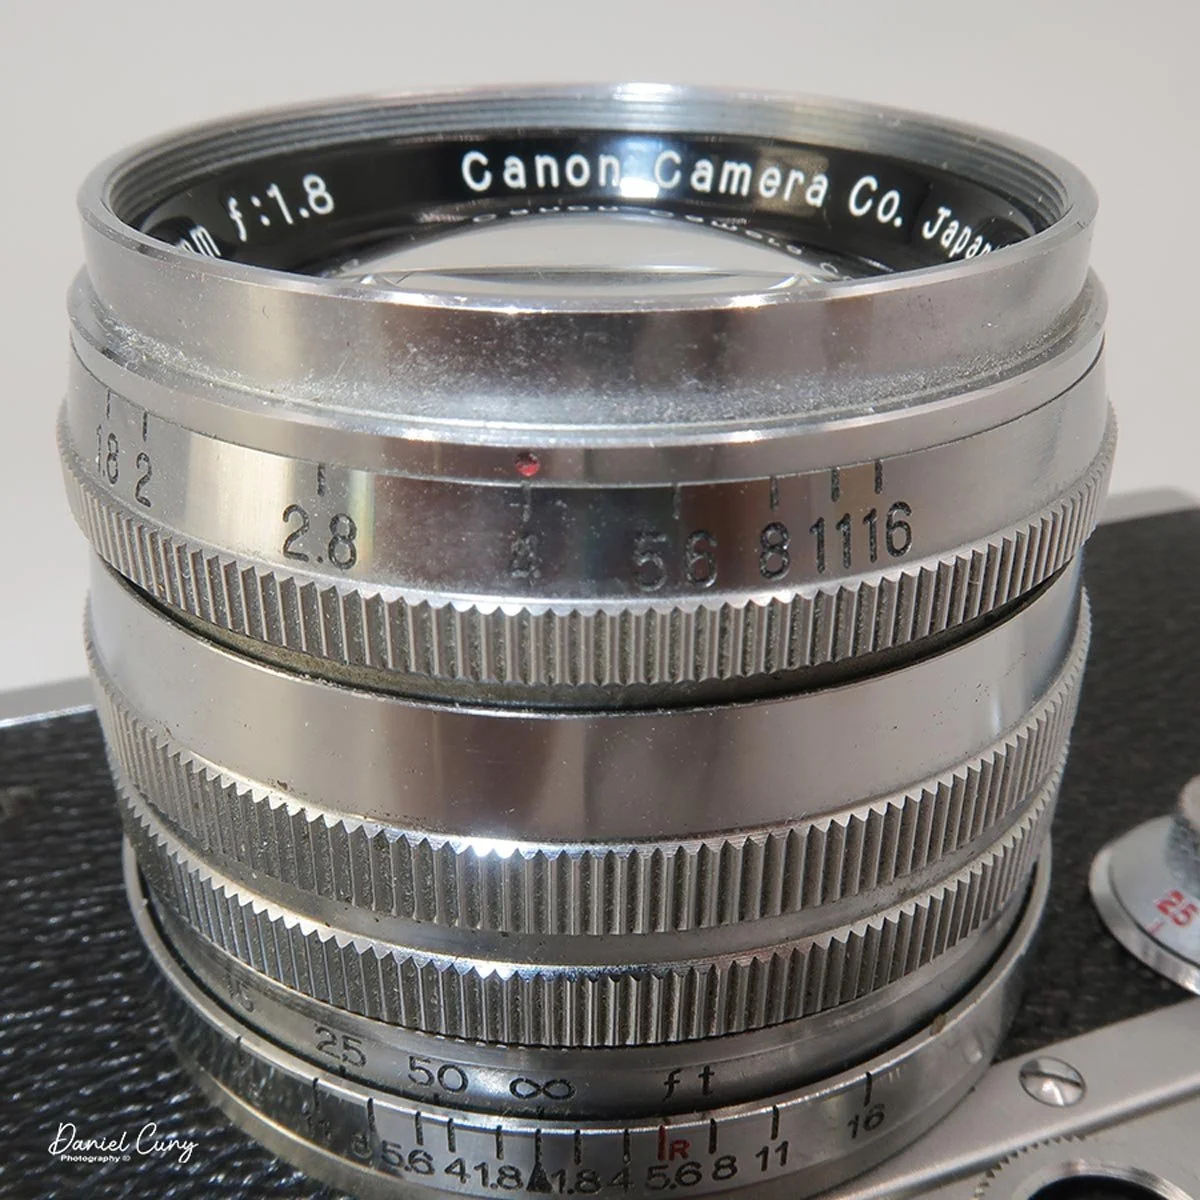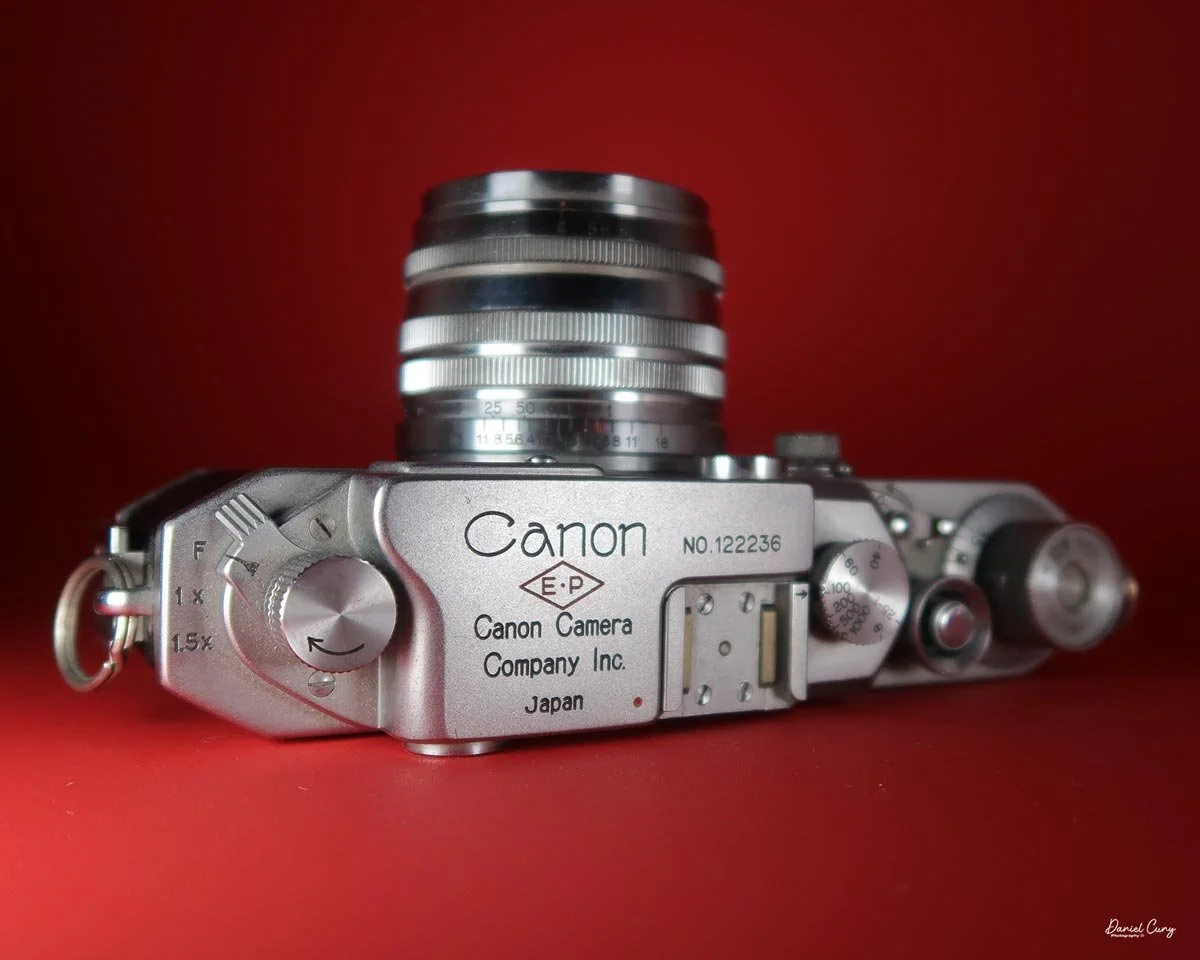
Canon IV Sb camera

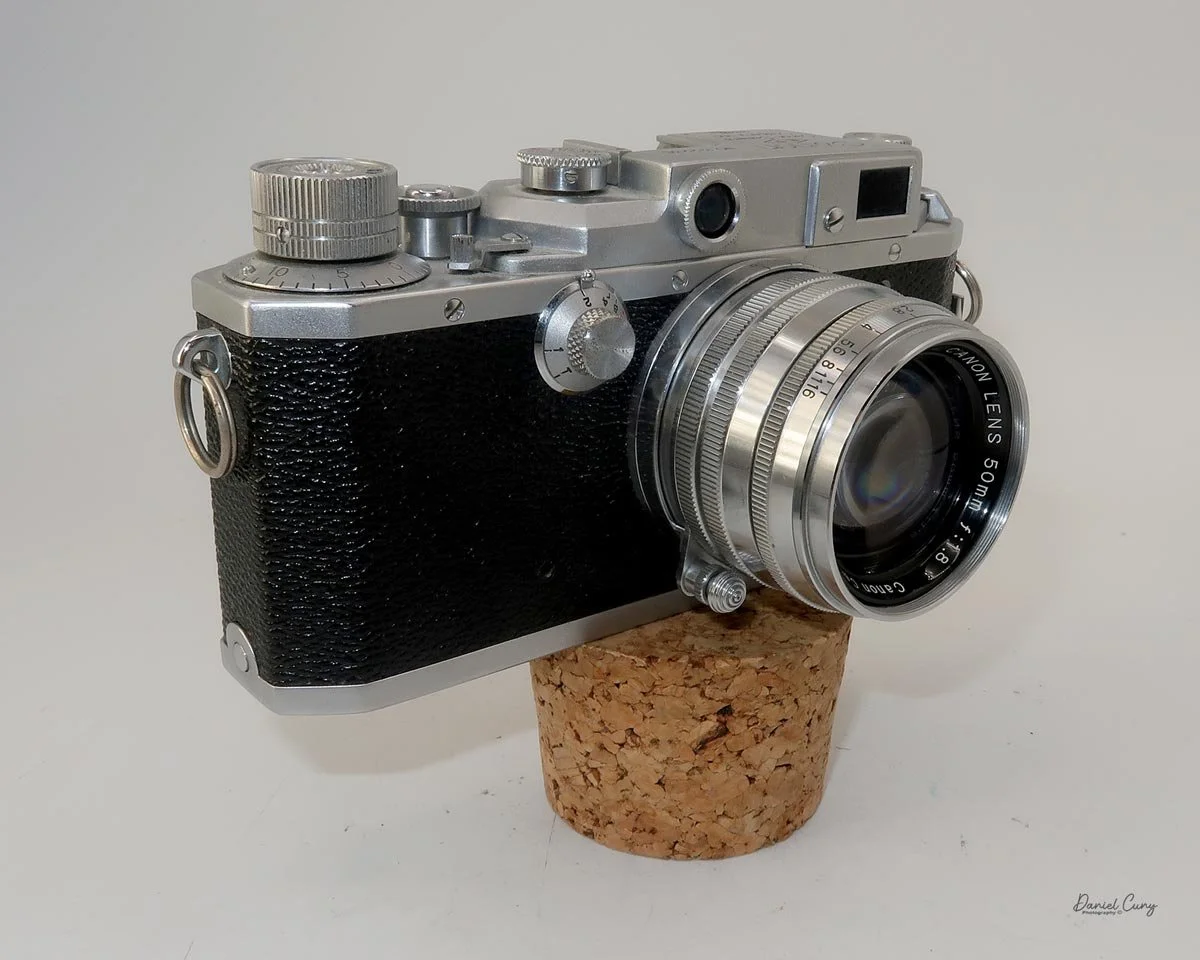
My Canon IV Sb camera

Being a lifelong Nikon shooter, along with working in the retail photo industry for nearly 20 years during the 1970s, I became very tired of Canon's dominance and marketing strategy around the Canon AE-1, which was the "hottest" camera around when it was released in 1976.

The Canon AE-1 was under restricted distribution, meaning demand far outstripped supply, and the camera was extremely sought after. There were people waiting months to get the camera. I say this because, as someone who was hounded almost daily for the camera, I started to dislike the brand.

Don't get me wrong, their cameras are decent, and even when they dominated the digital world with the 5D, 5D Mark II, and other cameras, it still irked me that they sold so many units. I was tired of them—especially as a member of the gold-and-black team (Nikon).

In Canon's early years, they made some extremely well-made and sought-after cameras, the Canon IV Sb being one of them. Companies like Nikon, Nicca, Minolta, and Leotax made some of the better rangefinder cameras coming from Japan during this timeframe. They competed well with the more sought-after German companies of Leica, Zeiss, and Voigtländer.
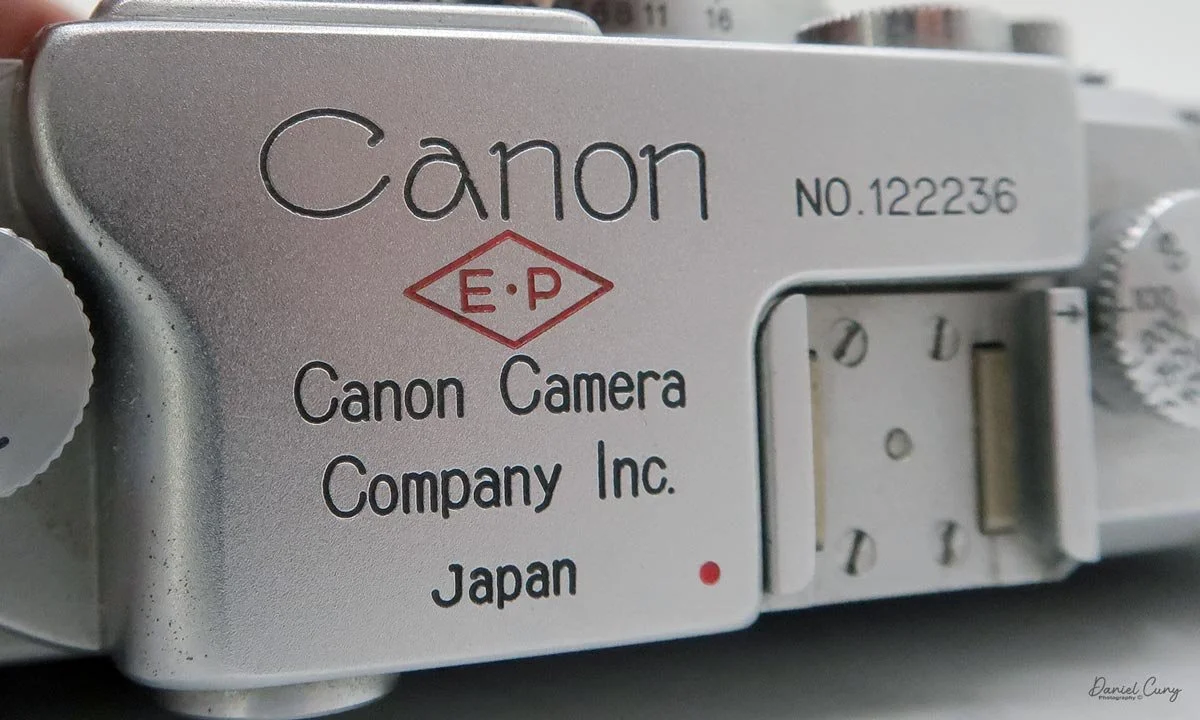
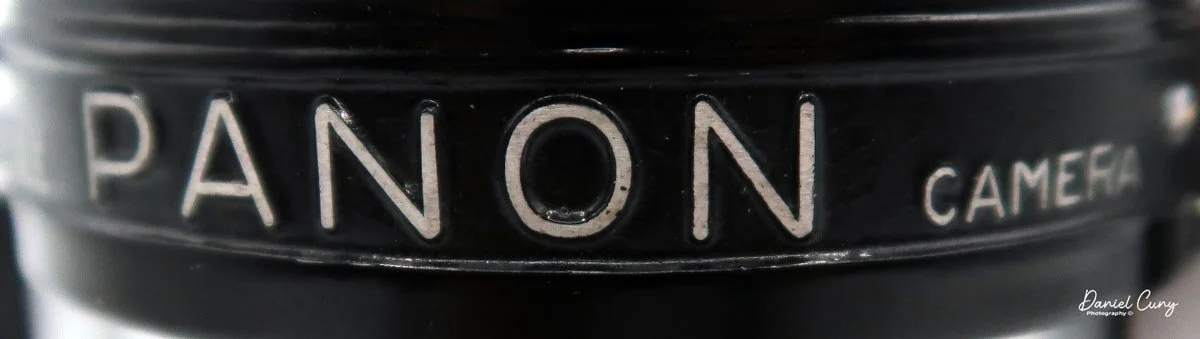
I enjoy the early font on the Canon name.

I say this because I've owned Canon rangefinder cameras in the past. Still, because of my past biases, I rarely look for them unless one comes up at a very good price or is included in a group lot I've purchased.

It's interesting that while Canon rangefinders have produced some amazing products—especially the extremely fast Canon 50mm f/0.95 lens—their cameras are generally priced less than their Nikon counterparts, which produced more "professional" products during the 1950s–1990s.

Fast forward to this week's blog on cameras in my collection: the Canon IV Sb, included in the camera lot I purchased in Las Vegas about a month ago. The camera is in very good condition, except for a repaired blemish on the second shutter curtain. The lens is bright and clear; the rangefinder is clean, bright, and seems accurate; the chrome shows no tarnish; and all shutter speeds sound accurate, even the slower ones.

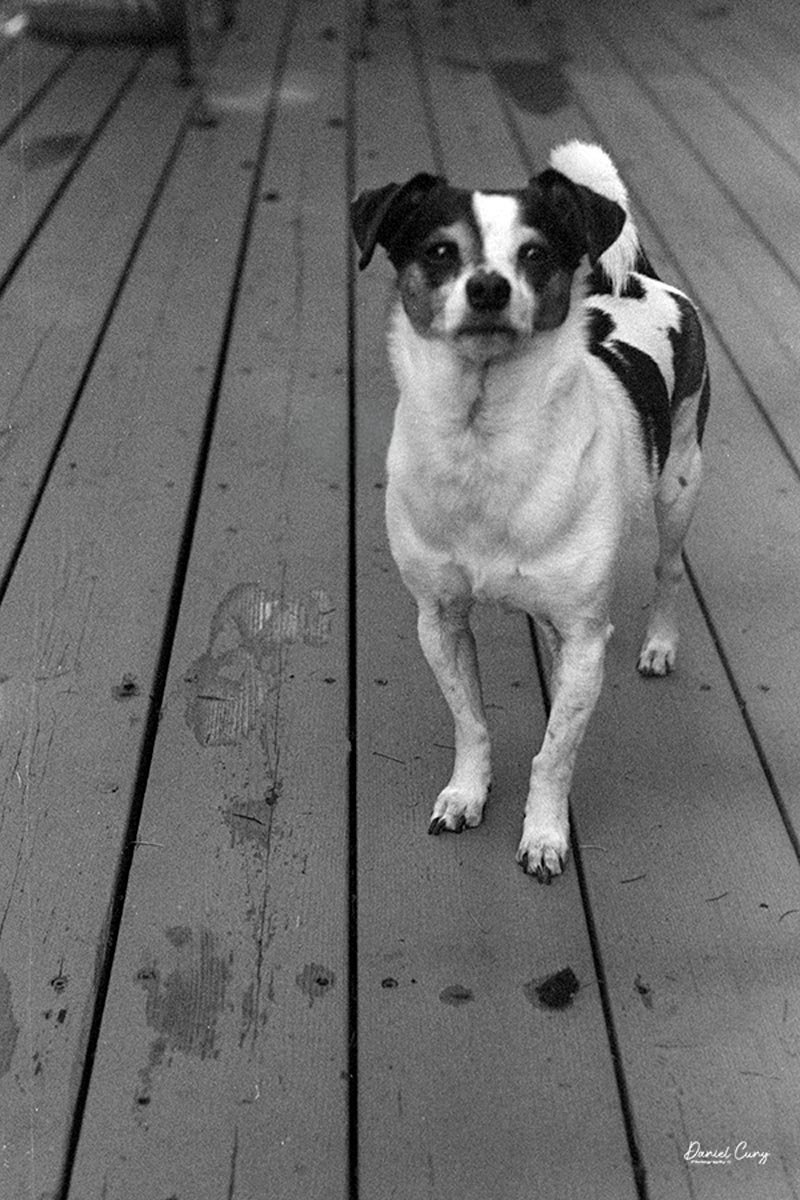
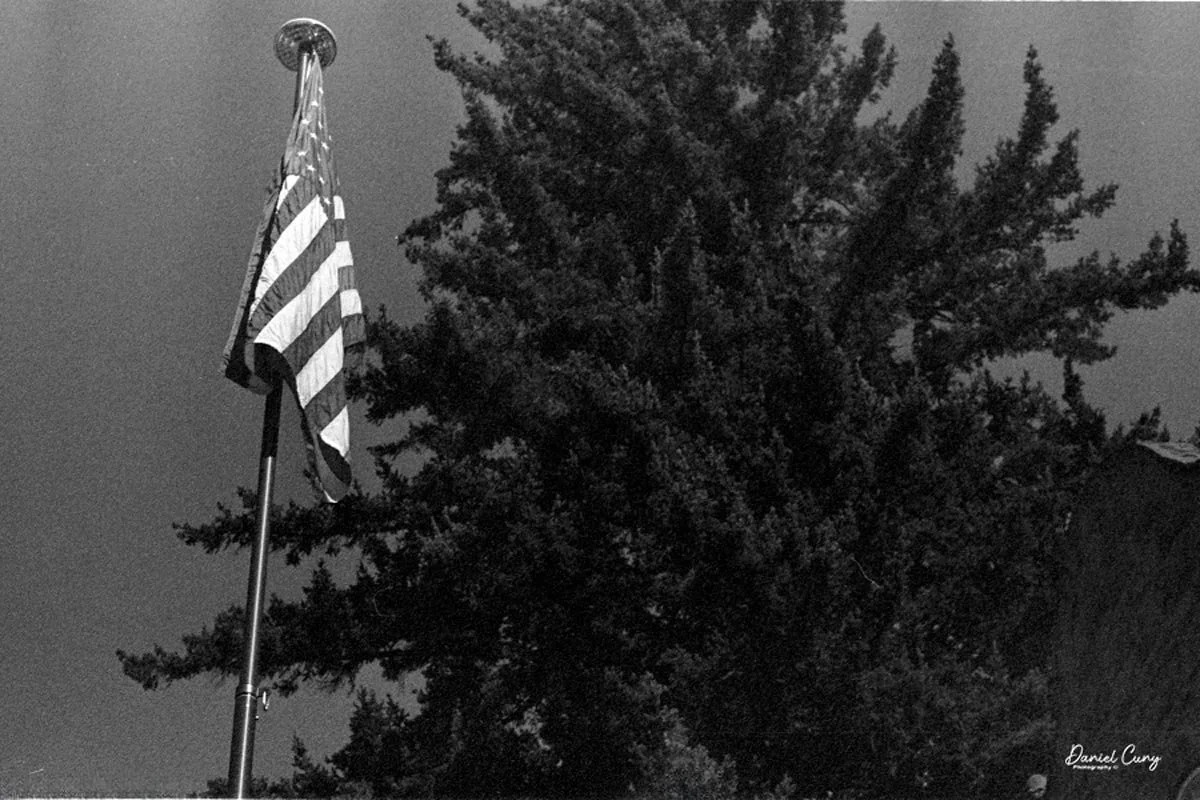
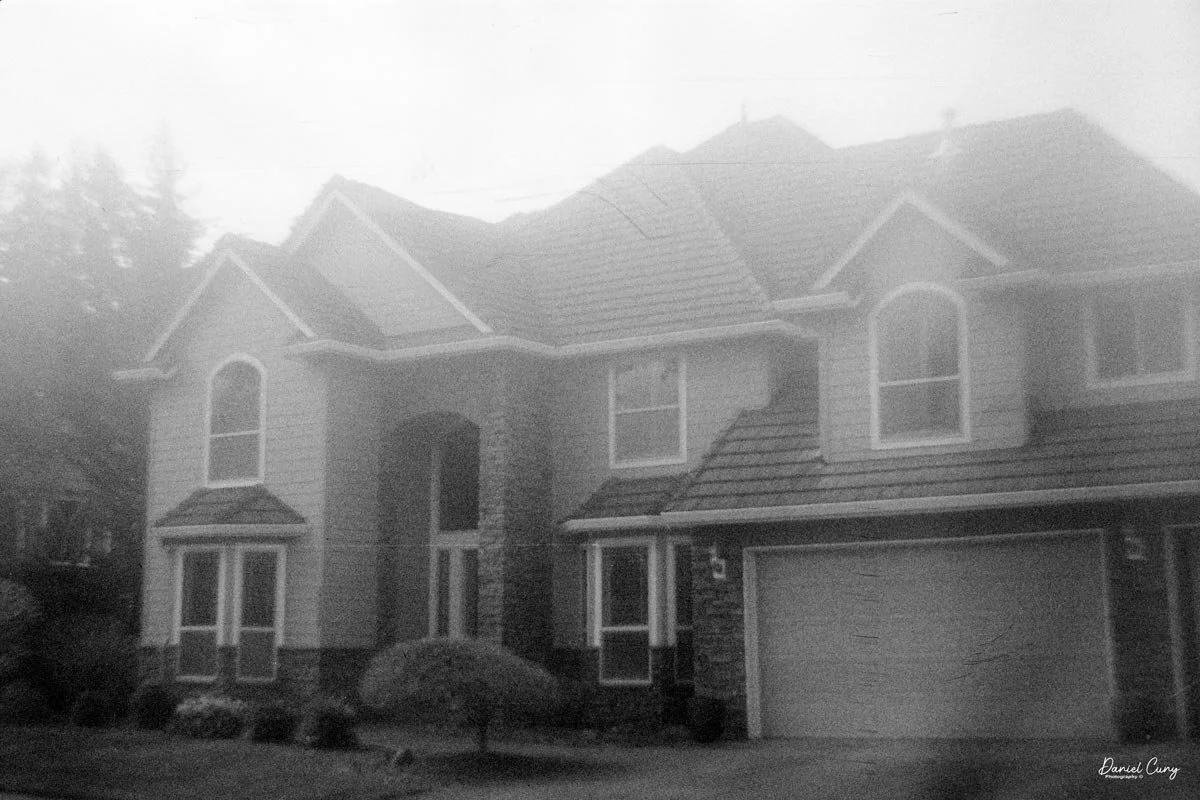
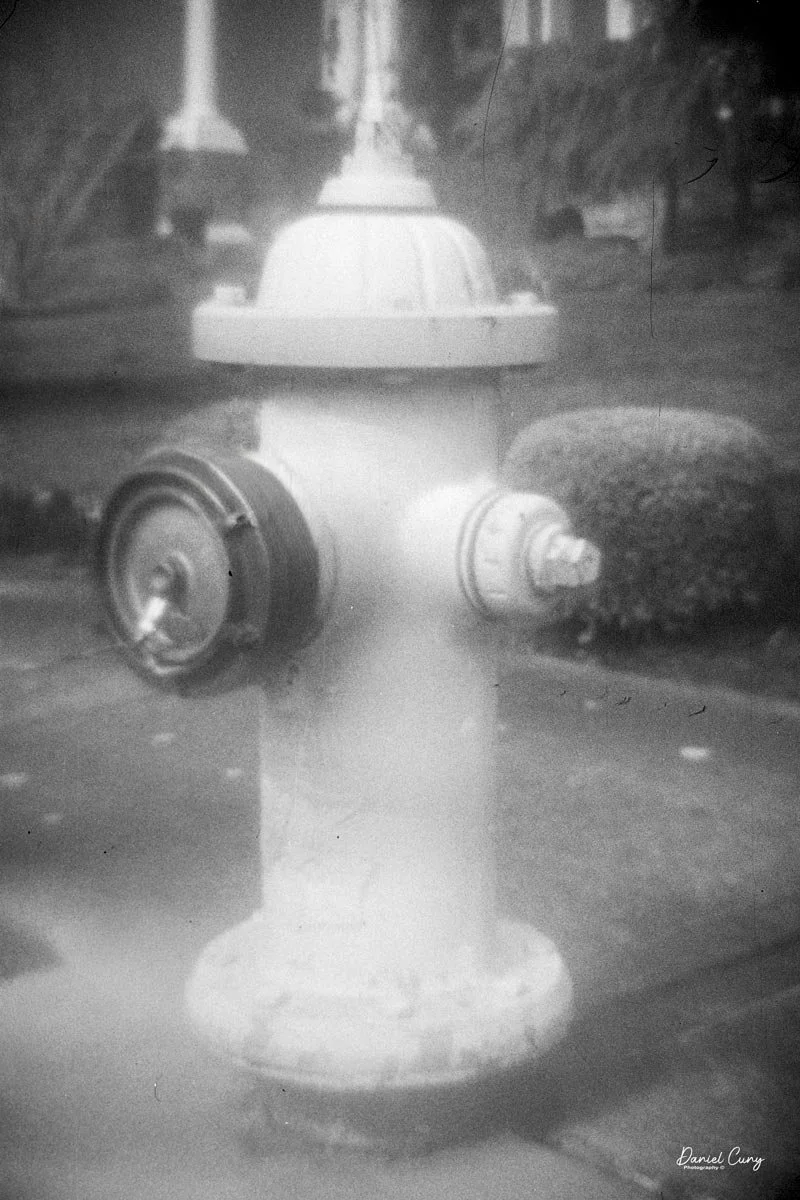
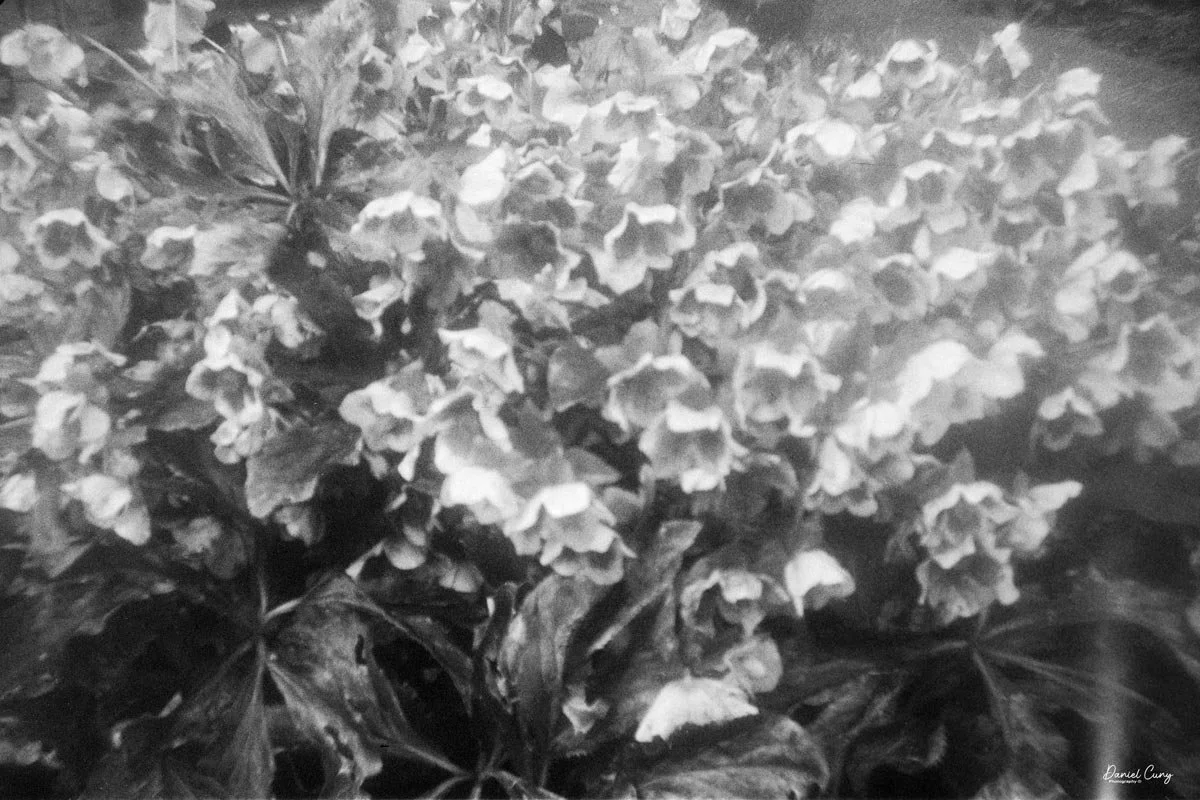
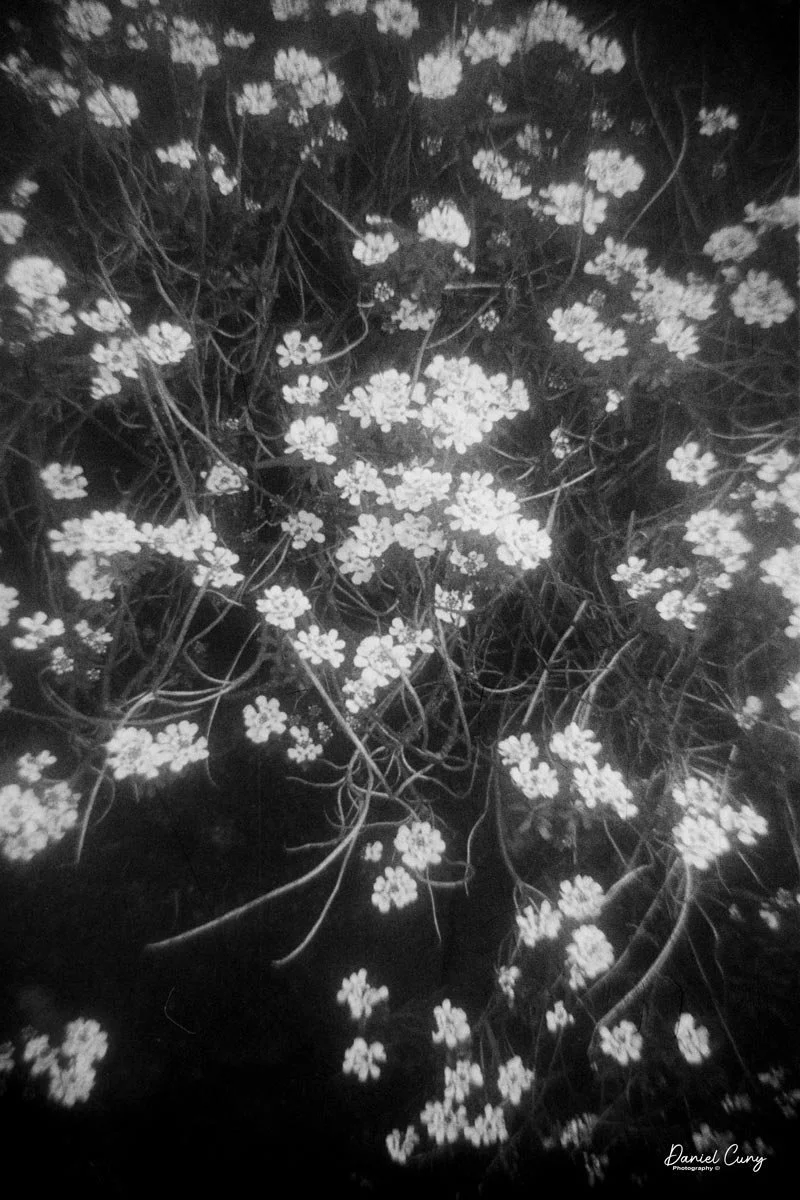
It's been quite some time since I ran film through one, so I figured now was a good time to put a roll of expired Plus-X 20-exposure film from my gaggle of film in, walk through the neighborhood, and take some photos.

History:

Canon started in 1933 in a small room in Tokyo's Roppongi district, where four men—Goro Yoshida, Saburo Uchida, Takeshi Mitarai, and Takeo Maeda—founded the Precision Optical Instruments Laboratory. Their goal was simple and ambitious: build a Japanese camera that could stand up to Germany's best. At the time, all the fine cameras came from Europe.
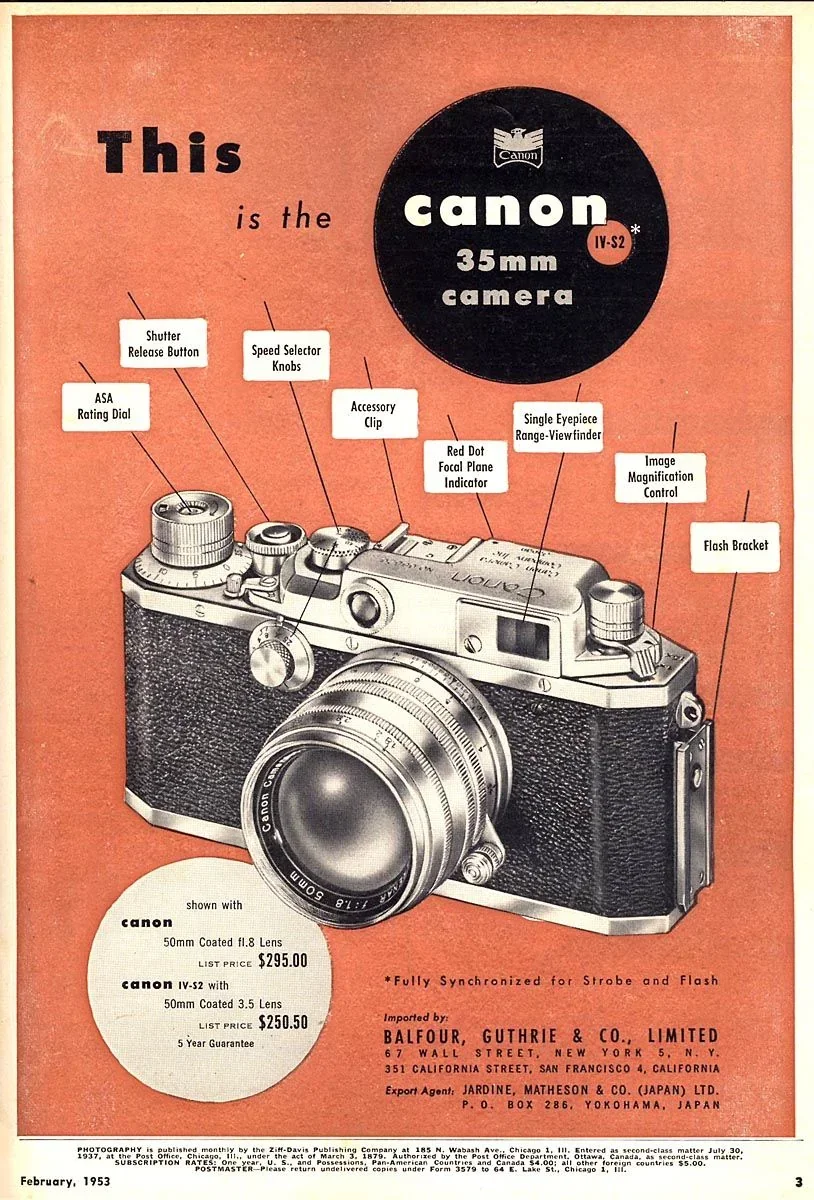
Canon IV Sb advertisment.

Their first effort, built in 1934, was the Kwanon, named after the Buddhist goddess of mercy. It was Japan's first 35mm focal-plane-shutter camera and only a prototype—it never went on sale. Yoshida had studied a Leica II to figure out how it all worked. In 1936, the company released its first commercial camera, the Hansa Canon, which became known by the name we'd all come to know. Since the little company couldn't make its own lenses yet, the earliest Canons shipped with Nikkor lenses from Nippon Kogaku—yes, Nikon. The two companies that would become lifelong rivals started as customer and supplier.

The company became Canon Camera Co. in 1947, and just Canon Inc. in 1969. Through the 1950s, it built fine rangefinders, but the future was the SLR. Canon's first one, the Canonflex, arrived in 1959. Then, in 1961, the Canonet arrived: a fixed-lens rangefinder that became one of the best-selling cameras of its day—a real people's camera.

The 1970s were Canon's big decade. The F-1 of 1971 was its first true professional system camera, and the new FD lens mount gave it its own mount. But the camera that changed everything was the AE-1 in 1976—the first 35mm SLR with a microprocessor inside. It was cheap, easy to use, and sold in the millions, putting real SLRs into the hands of ordinary shooters.

In 1987, Canon made its boldest move: the EOS system and the all-electronic EF mount. The old FD lenses wouldn't fit, which angered plenty of loyalists. Still, the clean-slate design let Canon leap ahead in autofocus. It was the right bet. Canon rode the autofocus era into the digital age with the EOS D30 in 2000, then broke new ground in 2005 with the EOS 5D, the first affordable full-frame digital camera.

Today, Canon's EF mount has given way to the RF mirrorless mount, introduced with the EOS R in 2018. From a four-person workshop in Roppongi to a photography giant, Canon got there by doing what its founders set out to do: build cameras for everyone, not just professionals.

The Camera:

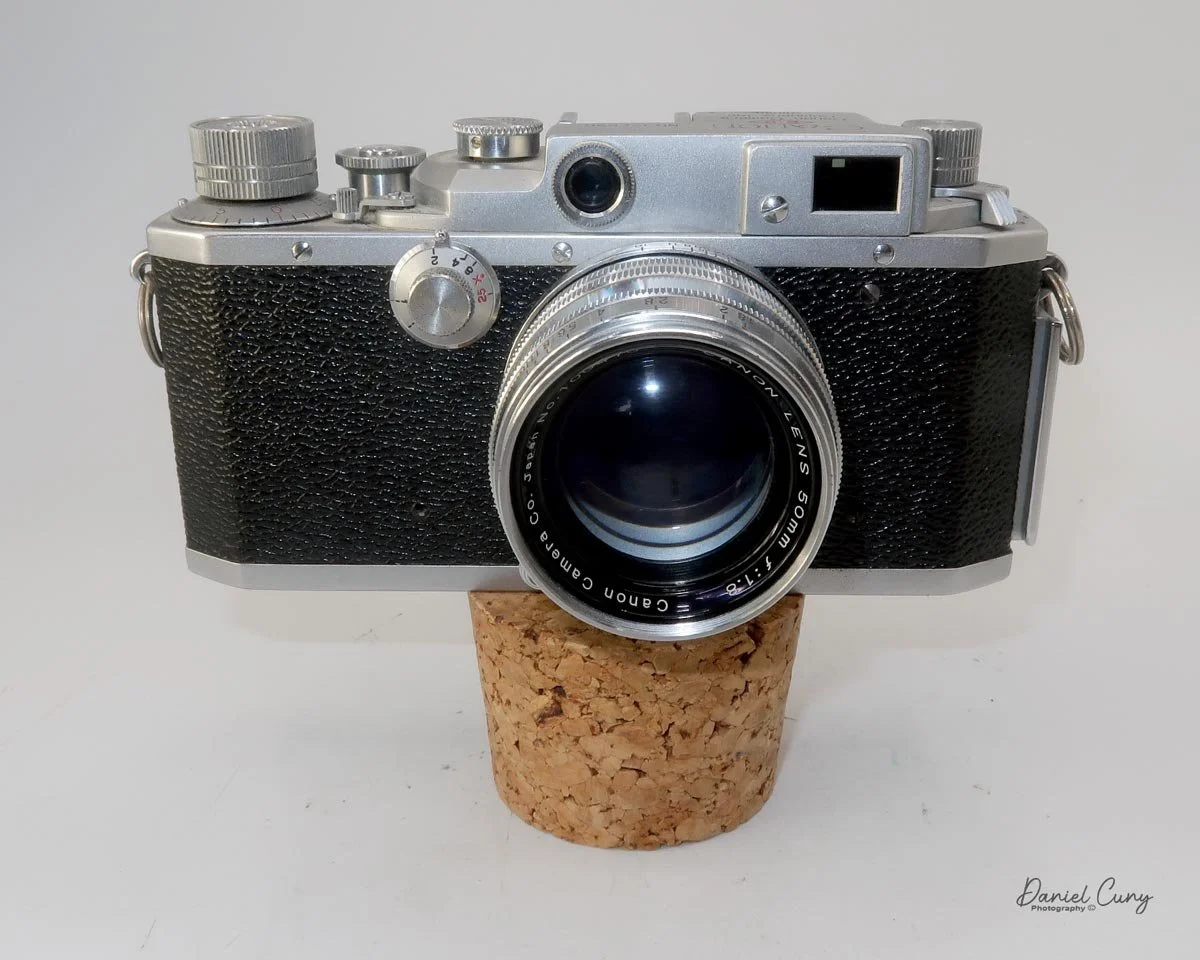
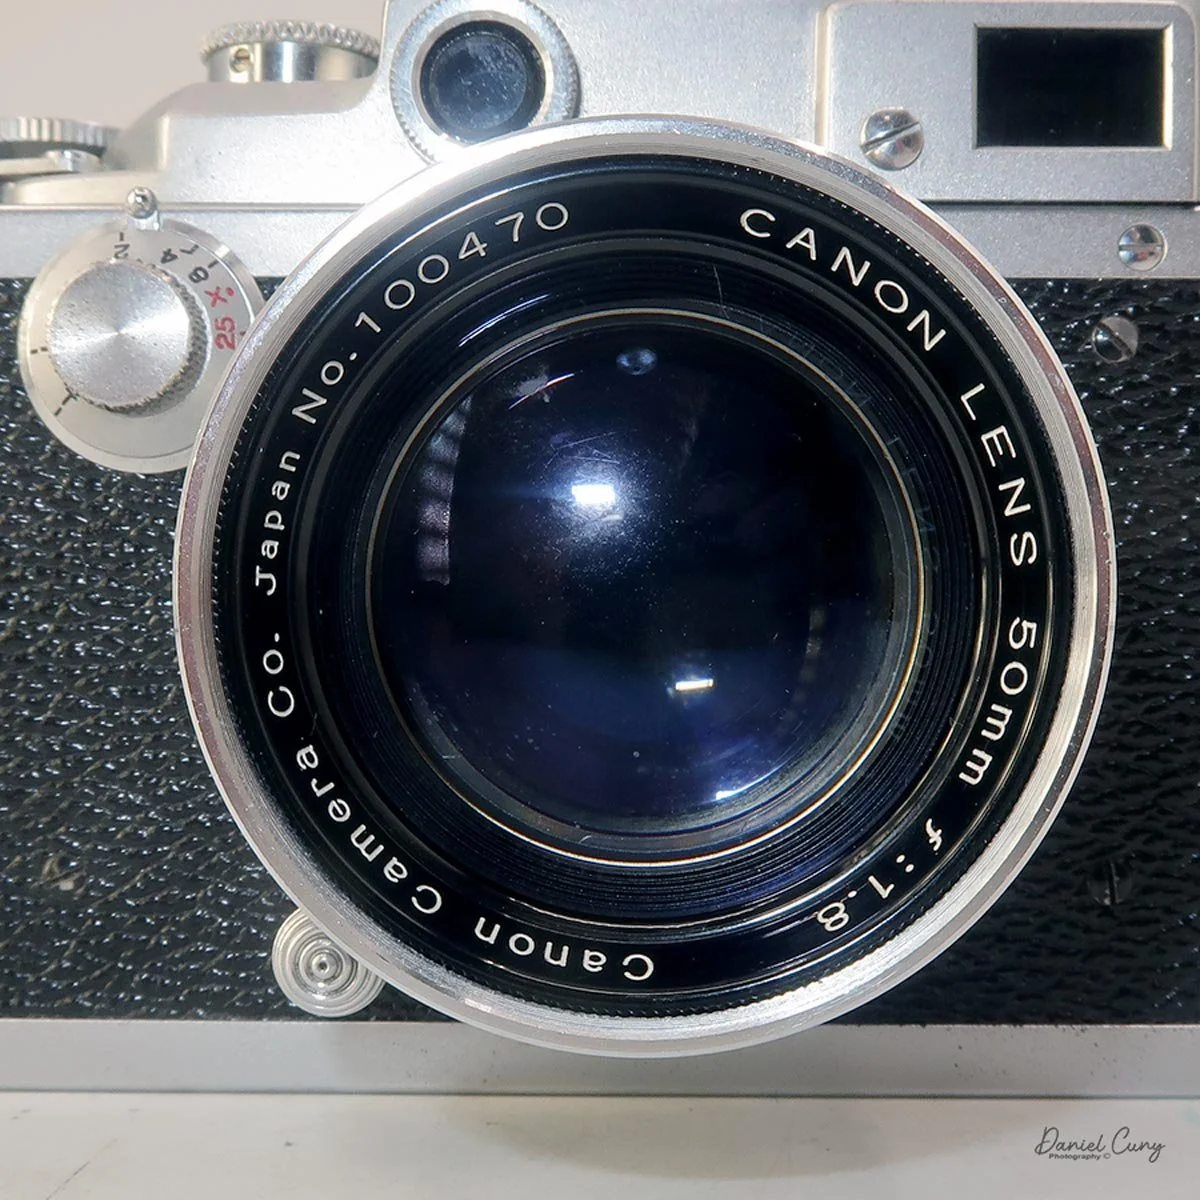
My Canon IV Sb came with a Canon 50mm f/1.8 lens and is similar in size to some Leicas, like the IIIB and others from the same era. The camera measures 5.5 inches wide by 3.75 inches tall and 2.75 inches deep, and weighs 1 pound, 11.7 ounces. The serial number on my body is 122236, and the lens is 100470.
My camera is marked "E.P." in red, surrounded by a red diamond on the top plate. This doesn't necessarily make the camera more or less valuable than others. Still, it marks the camera as most likely purchased at a U.S. military base, identifying the camera and lens as duty-free or tax-free when imported into the U.S.

The Canon IV Sb was introduced in December 1952 and was available until the upgraded IV Sb2 was marketed in March 1954. The camera has an M39/LTM lens mount and offered either a Serenar or Canon f/1.8 or f/1.5 lens as a standard option.

The 50mm lens I have features the aperture ring on the outer knurled ring, with settings from f/1.8 to f/16. It has a locking lever, like other LTM lenses, that locks when focused at infinity, with a minimum focusing distance of 3.5 feet.
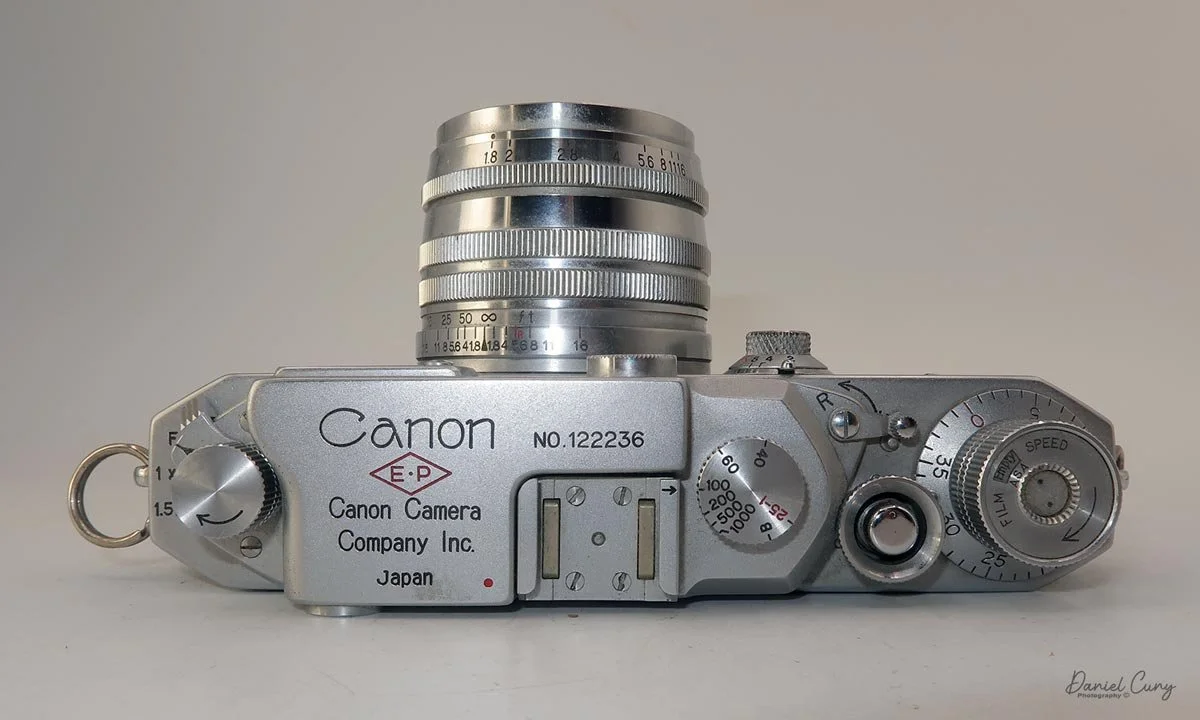
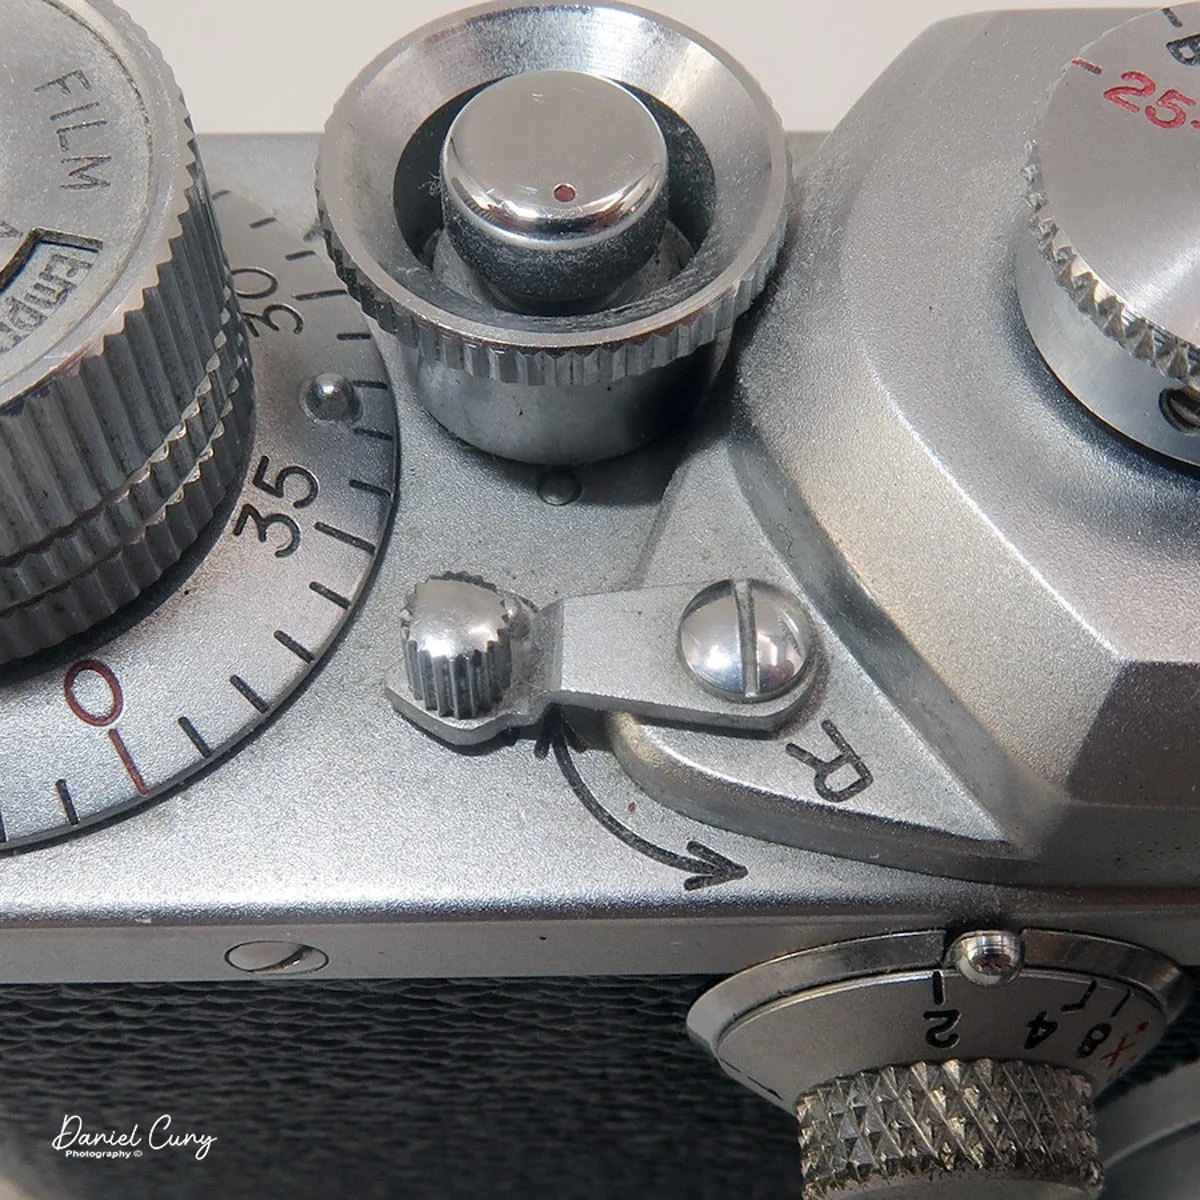
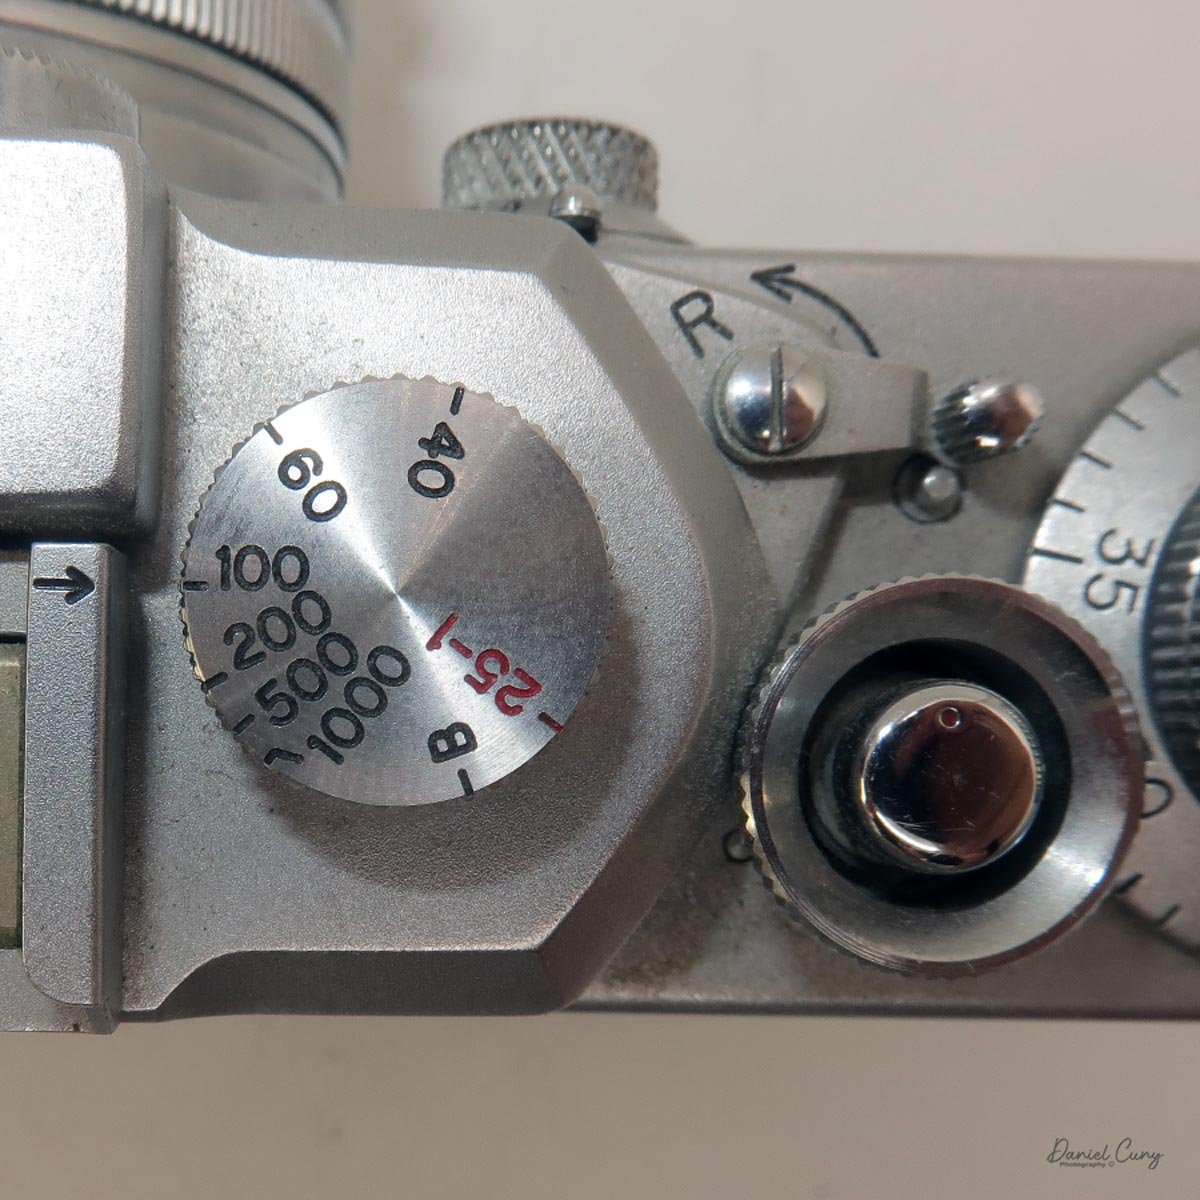
The camera has a vertical-traveling cloth shutter, with speeds from 1/1000 to 1/25 on the top shutter speed dial, and from 1/25 to 1 second (plus "B" for time exposures) on the secondary shutter speed dial on the front face of the camera. One distinguishing feature of the Canon IV Sb is the ability to lock the front secondary shutter speed dial with a small tab on top.

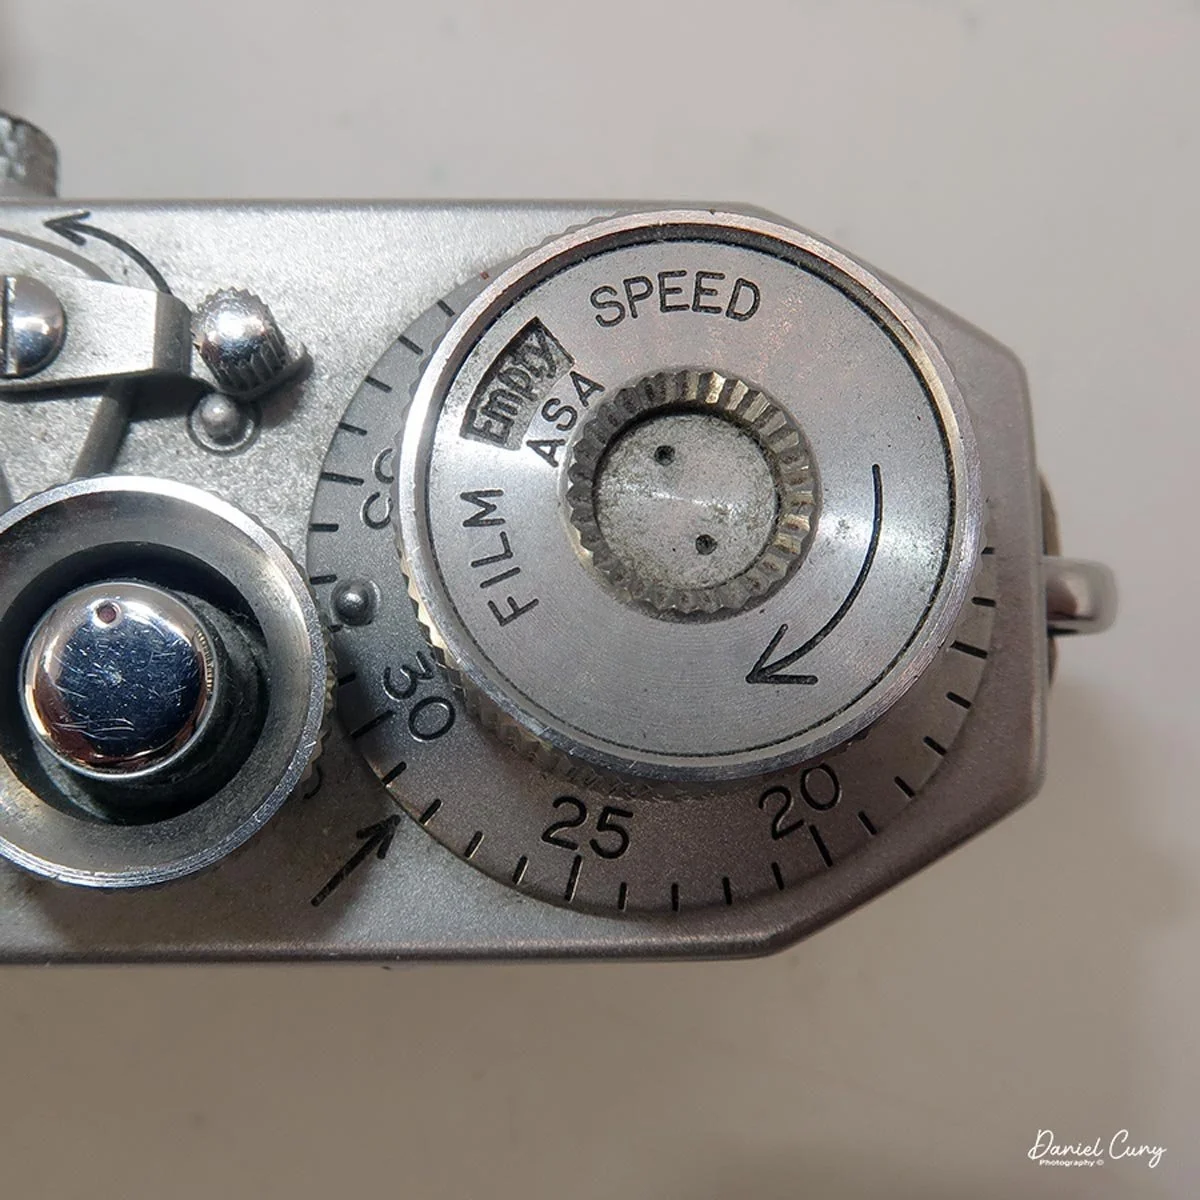
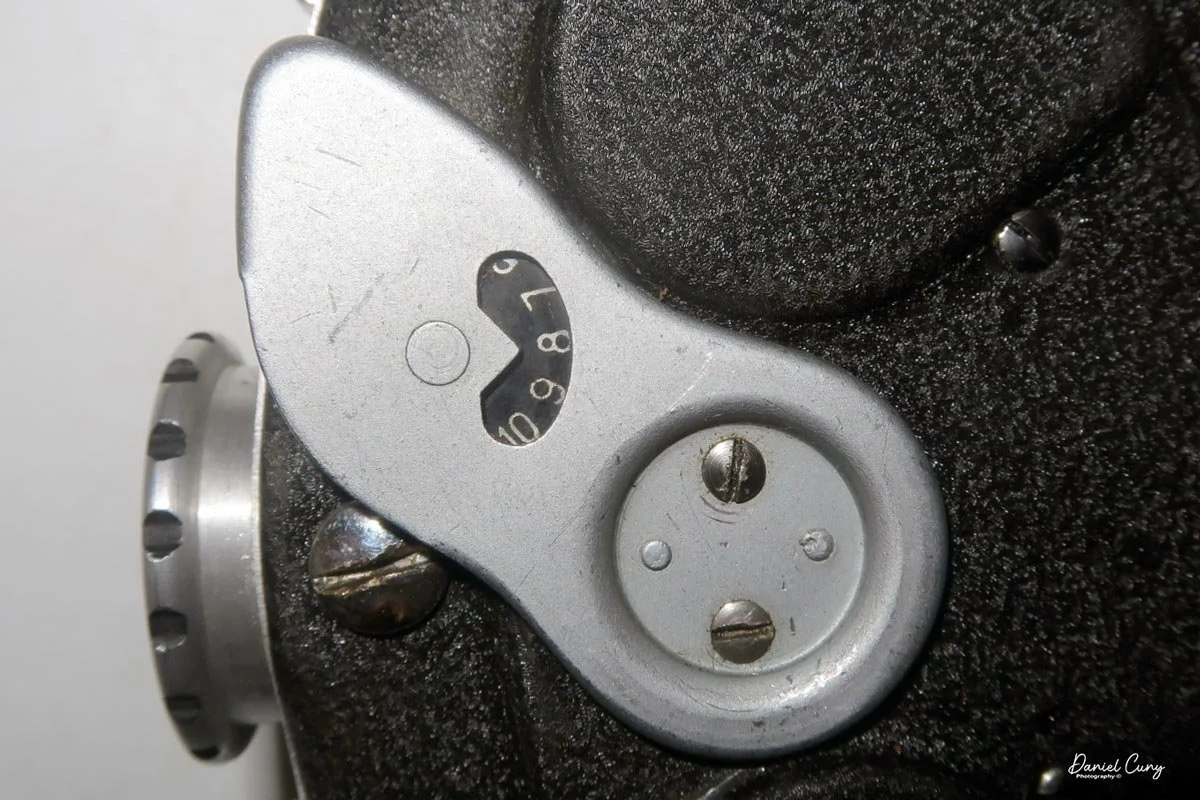
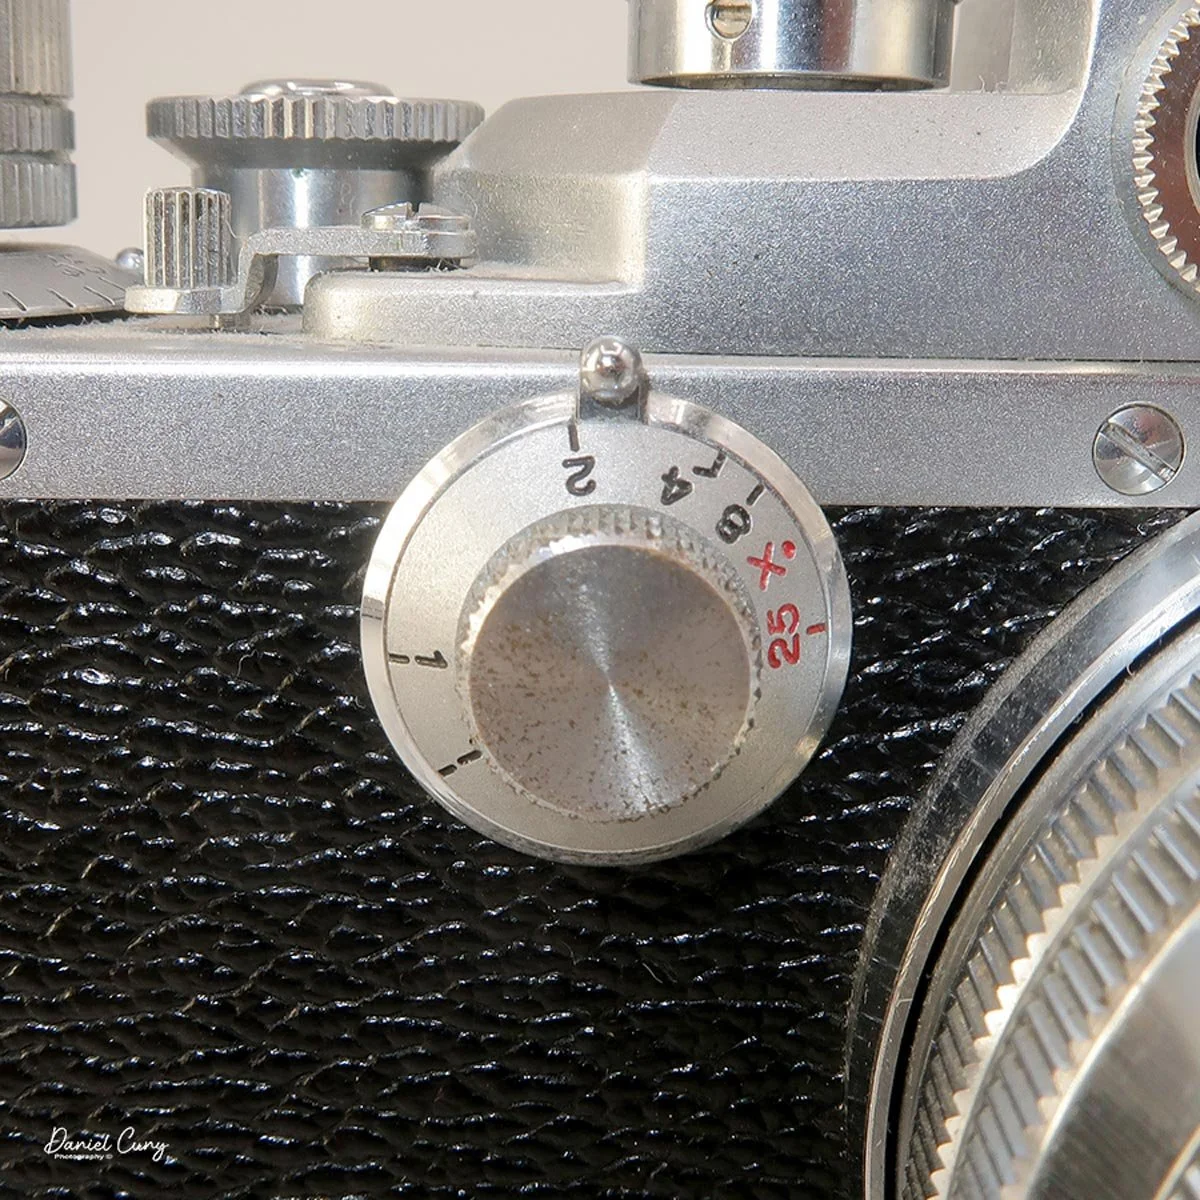
Like other cameras from this period, the film advance is a round knob that rotates clockwise to cock the shutter and advance the film to the next frame. Inside the film winding knob is a reminder dial to set the film speed (there is no meter in the camera, so this is just a personal reminder). The frame counter is on the bottom of the film advance knob and must be set manually when you load a roll of film into the camera.

The shutter release is on top of the camera, just left of the film advance knob. Above the shutter release is the film rewind lever, which is lowered for normal film operation and flipped up to the "R" position to rewind the roll into the cassette when it's finished.

The Canon IV Sb also has an accessory shoe on top for auxiliary viewfinders. On the far left side of the camera is the film rewind knob, which can be pulled up to make the rewind process easier when you've exhausted the full roll of film.
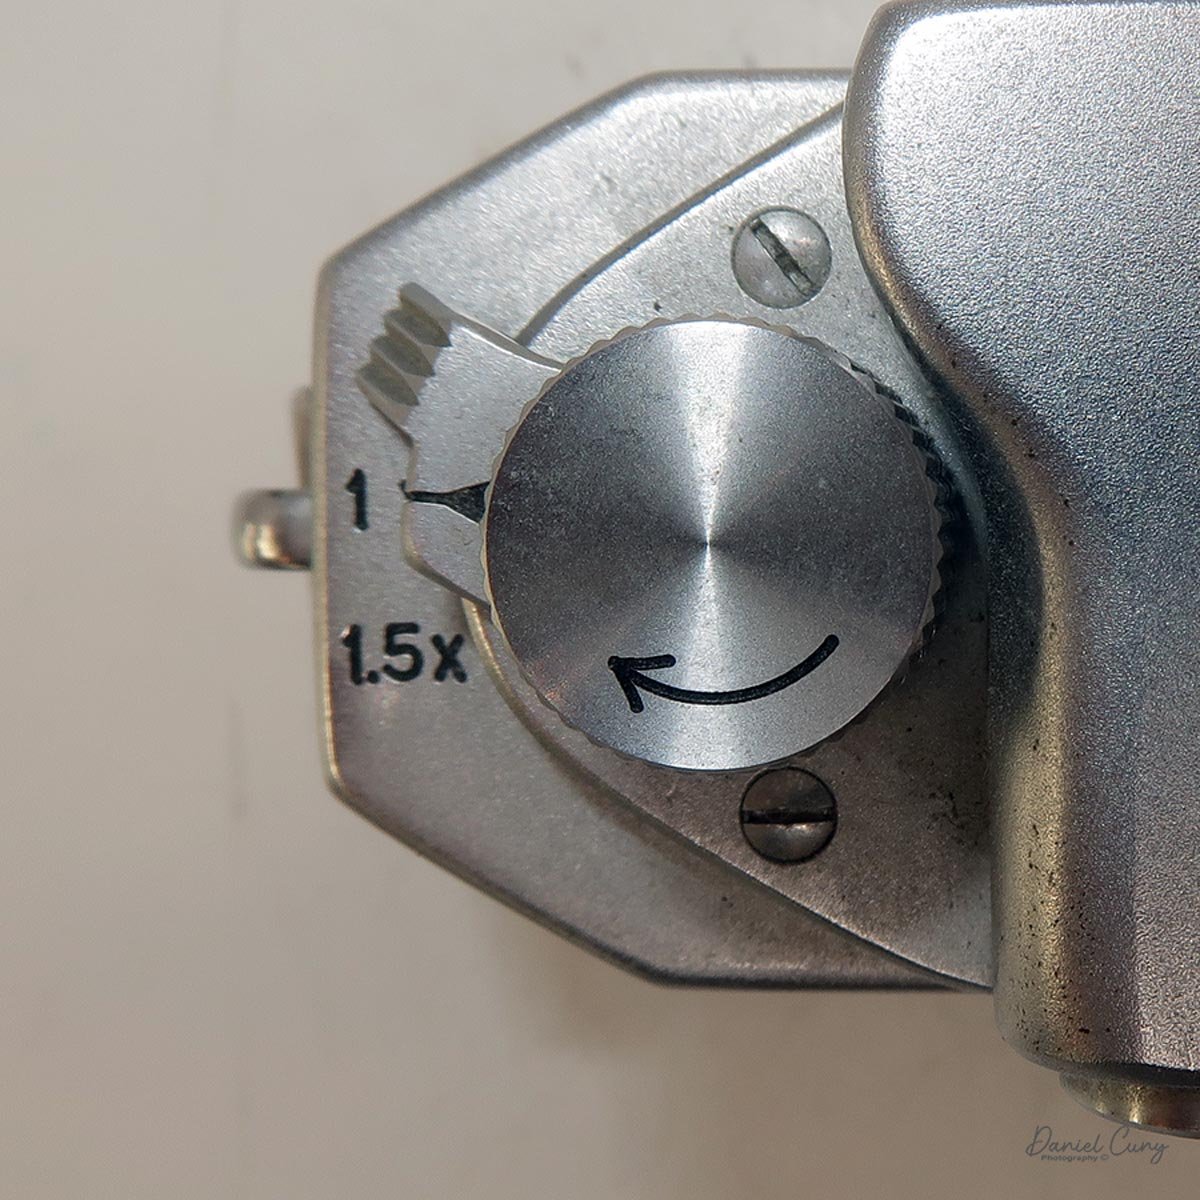
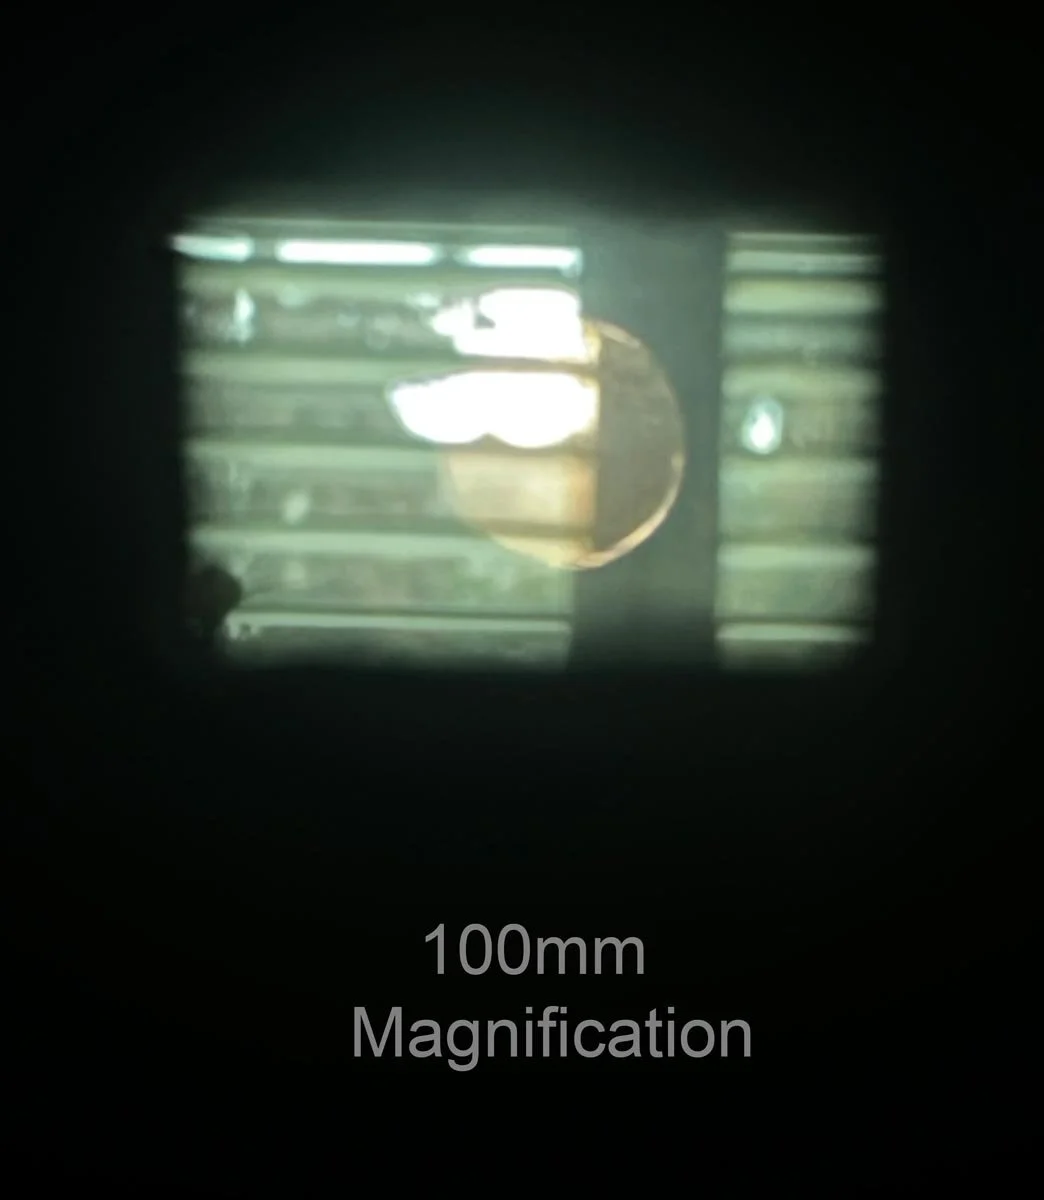
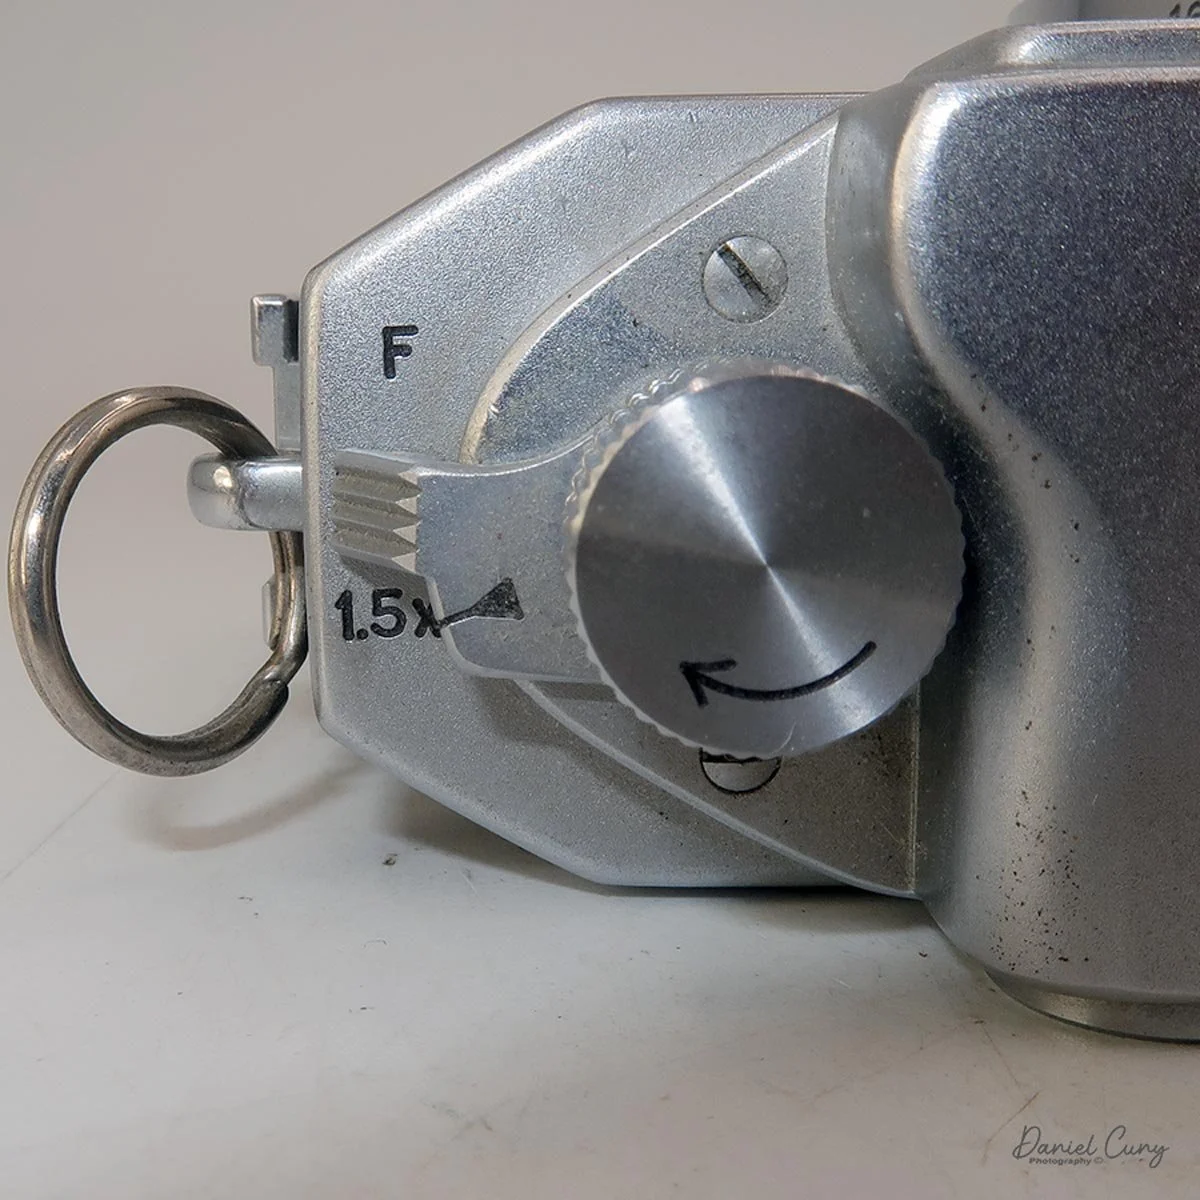
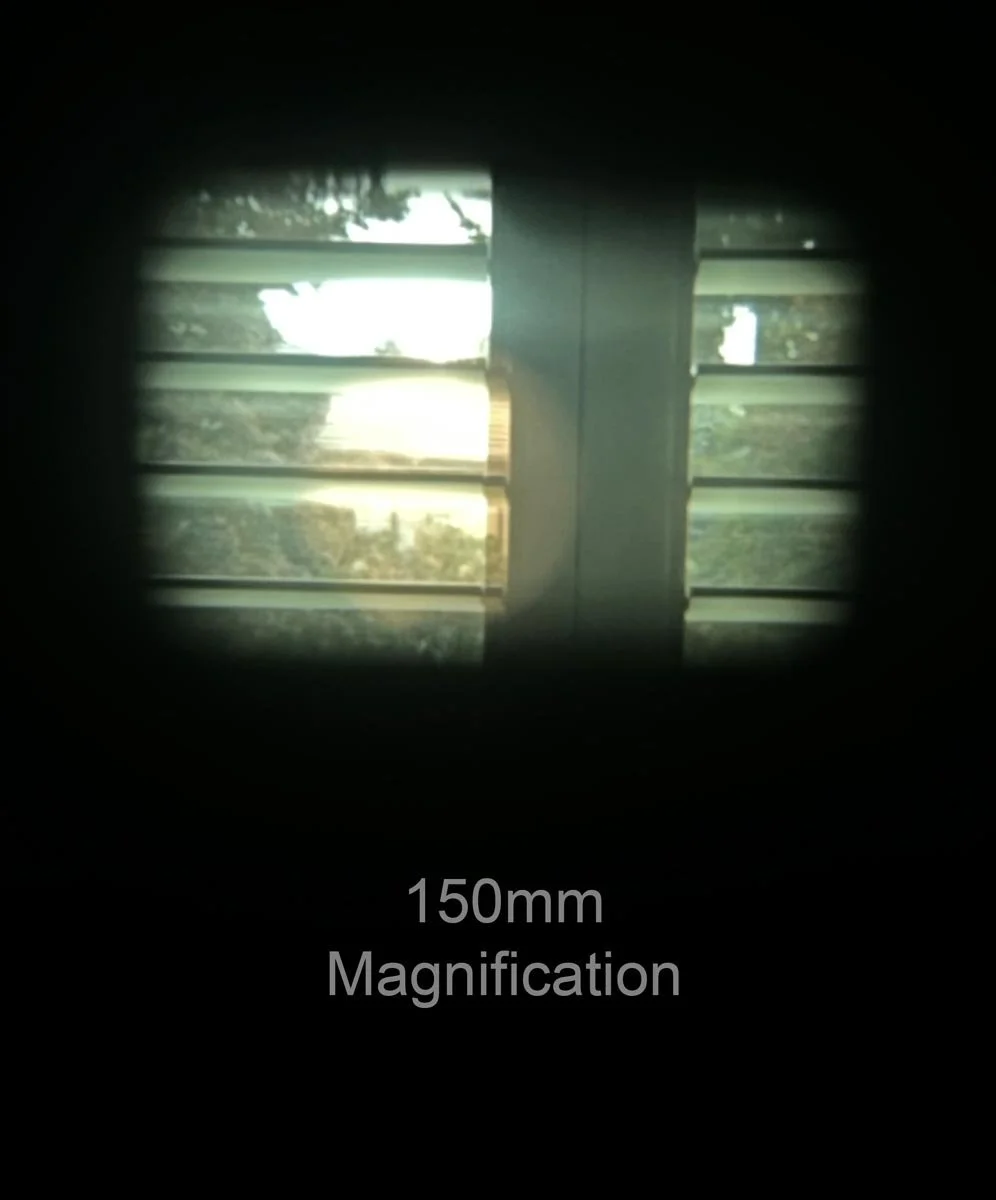
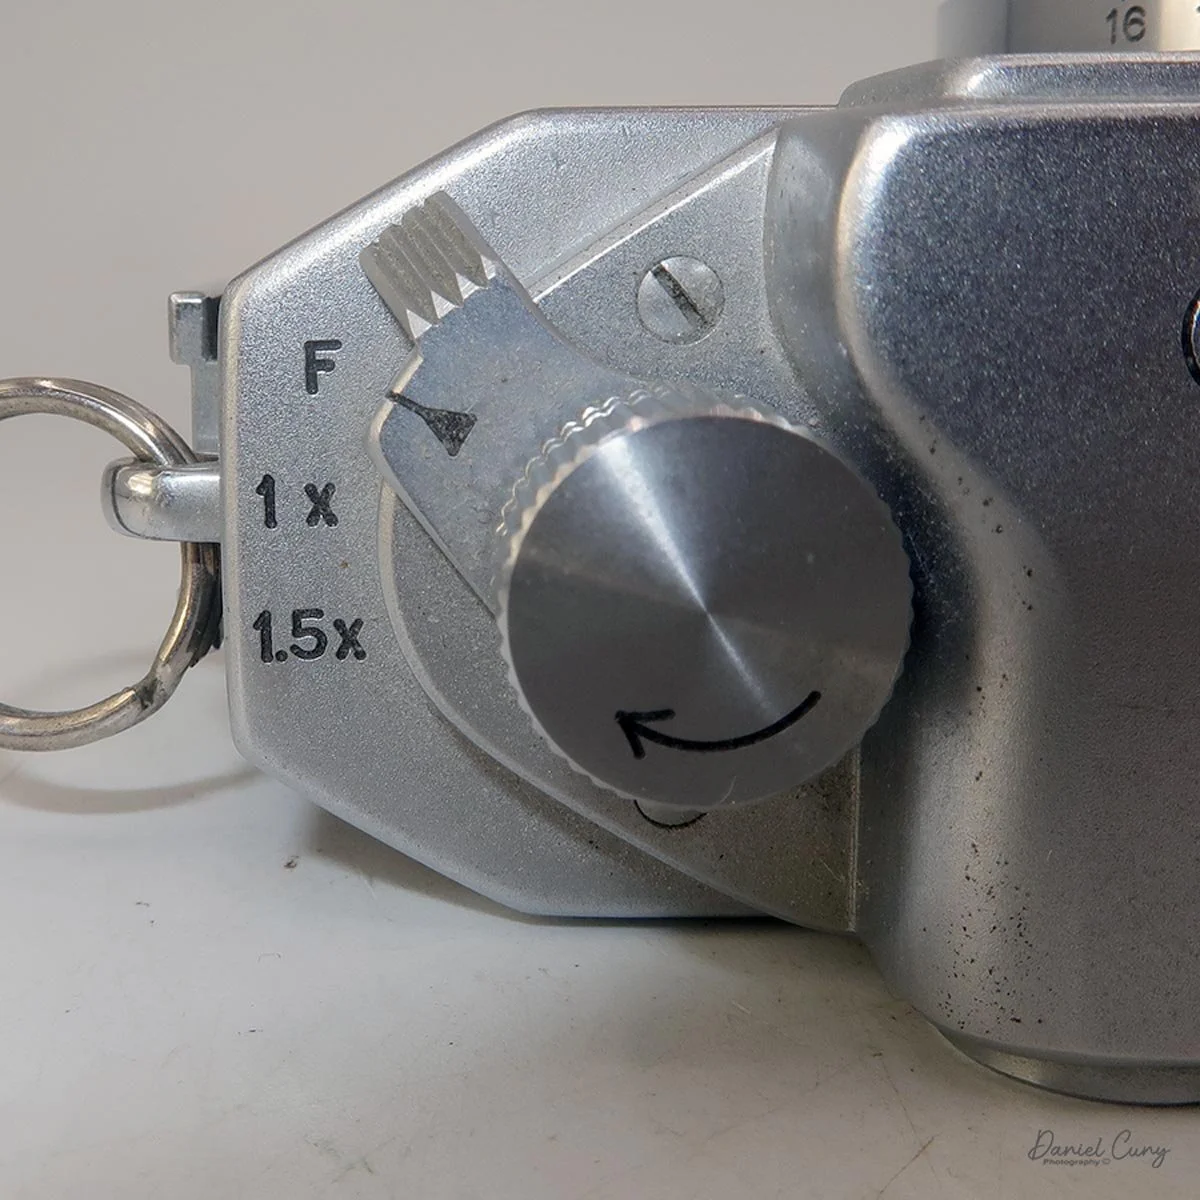
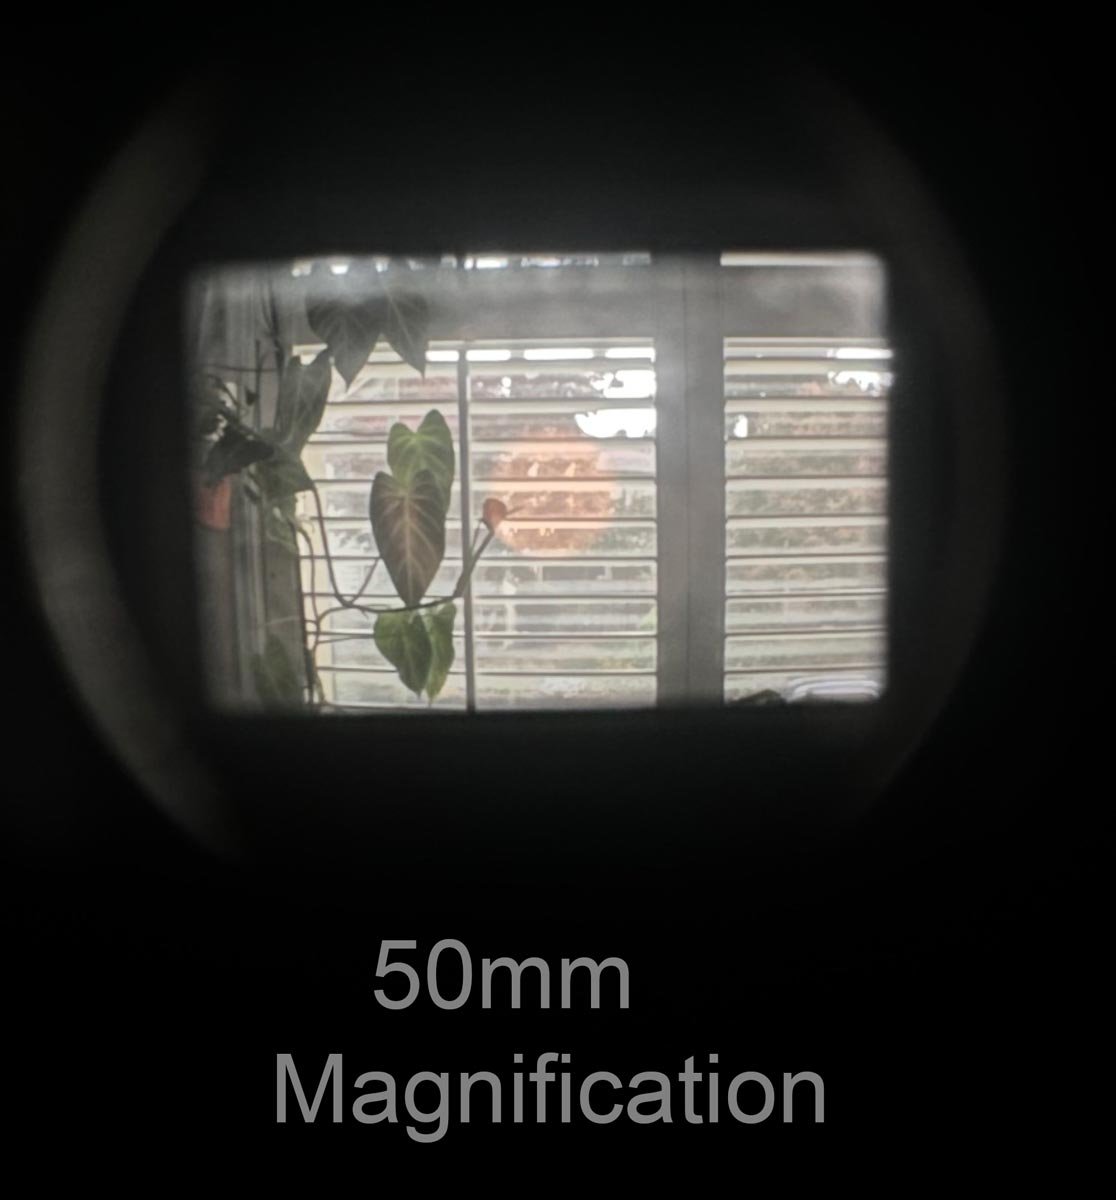
Just below the rewind knob is the viewfinder selector lever with F, 1x, and 1.5x settings, allowing you to magnify the viewfinder for use with 50mm, 100mm, or 150mm lenses. By choosing different magnifications, it slides a magnifying lens into the finder to replicate the crop for your chosen focal length. It's a great feature, and I really enjoyed it.
The camera body has no standard flash sync port, as the Canon IV Sb uses a proprietary flash connection system for bulb or electronic flash. The downside is that all contacts are made through a sliding bar on the camera's left side. Without the Canon Flash Unit Model Y and its accessories, traditional flash isn't readily available.
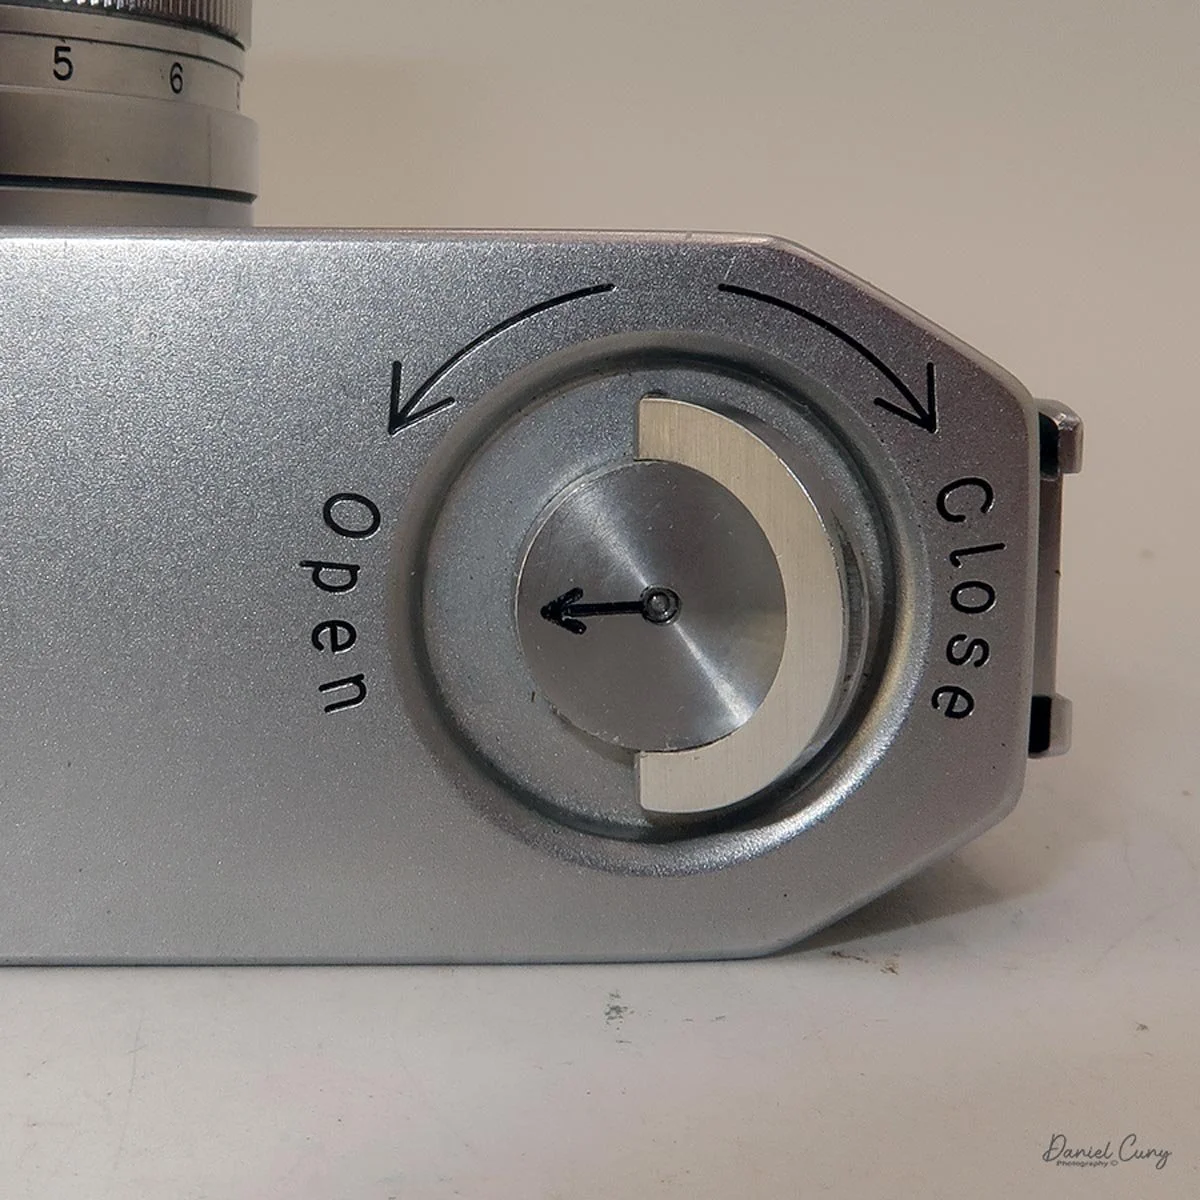
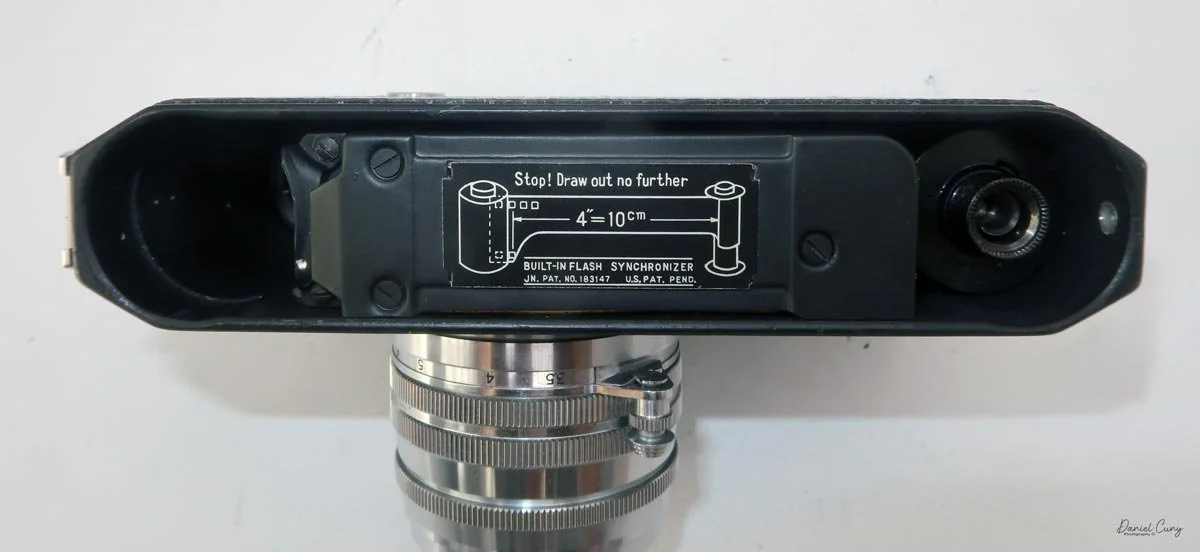
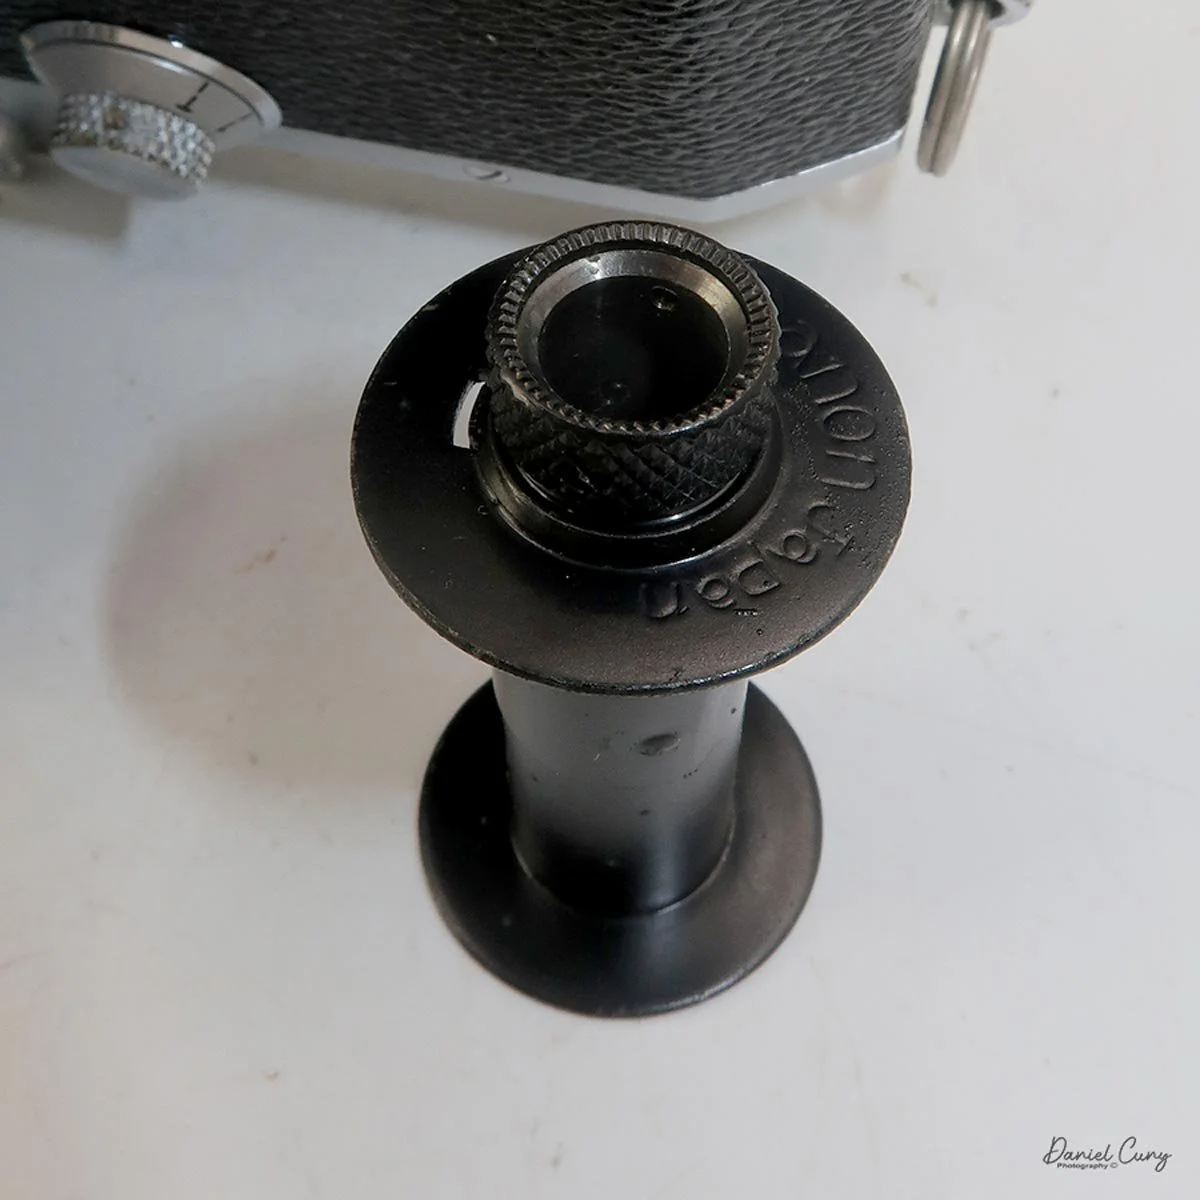
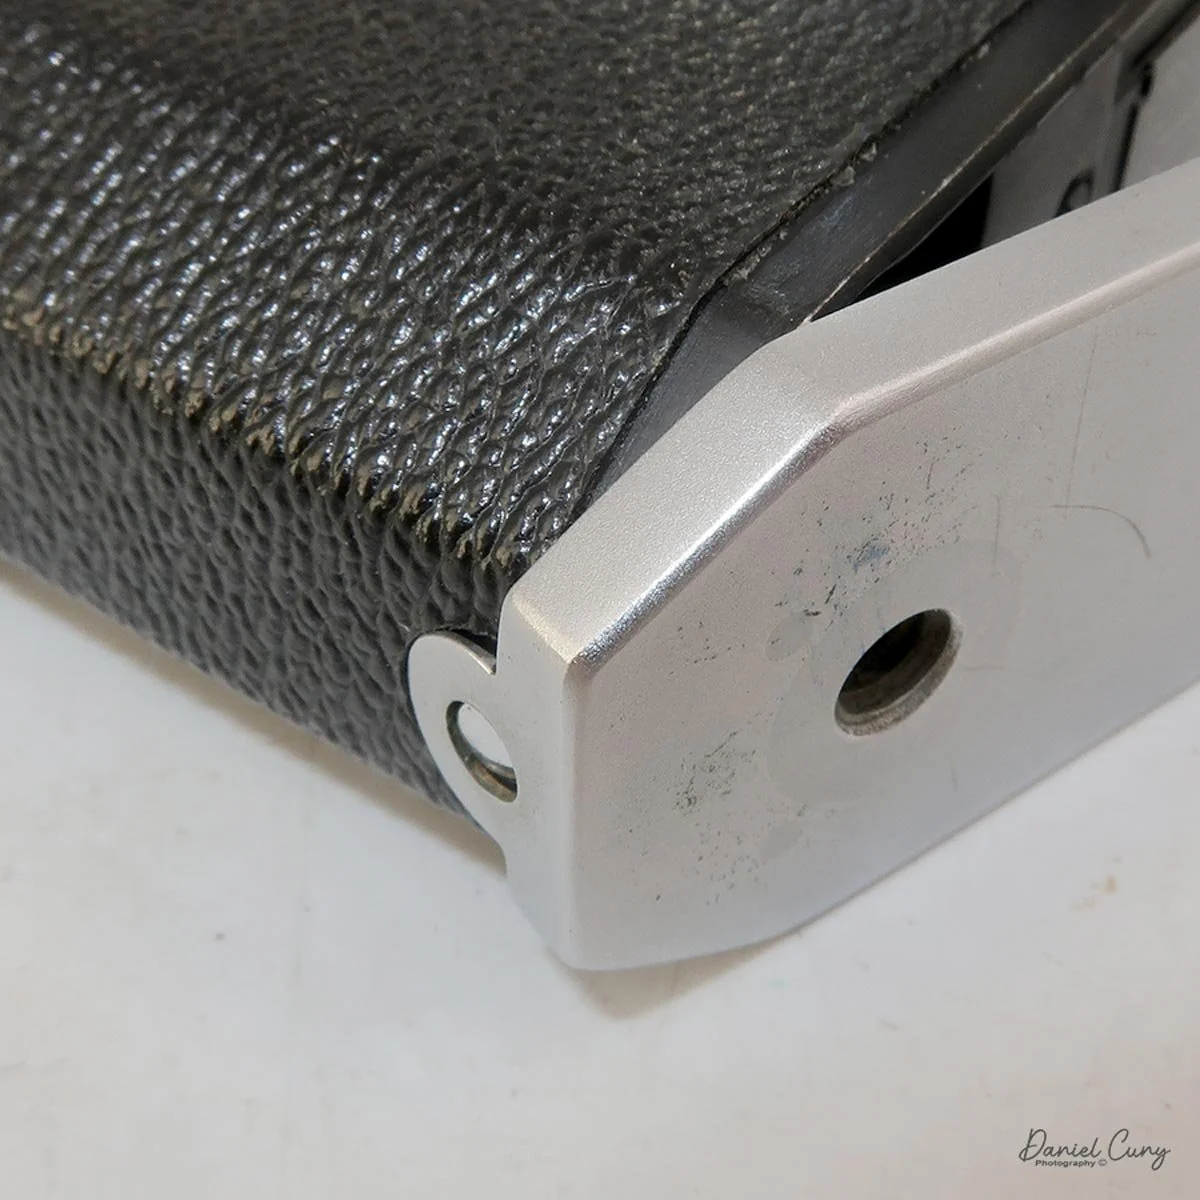
To load film into the camera—similar to other rangefinders of this era—unlatch the lock on the bottom plate and pull it off, exposing the film chamber and take-up spool. Pull out the take-up spool, thread the lead from a fresh roll of film into it, and slide both the spool and the film canister into the camera body. Take up the slack of the film with the film rewind lever and advance the film to the first frame. Reset the frame counter to one and start taking photos.

My Results:

I loaded the camera with an expired roll of Plus-X that expired in June 1976. I like shooting this film because it has only 20 exposures, so I don't waste extra film when shooting for the blog.
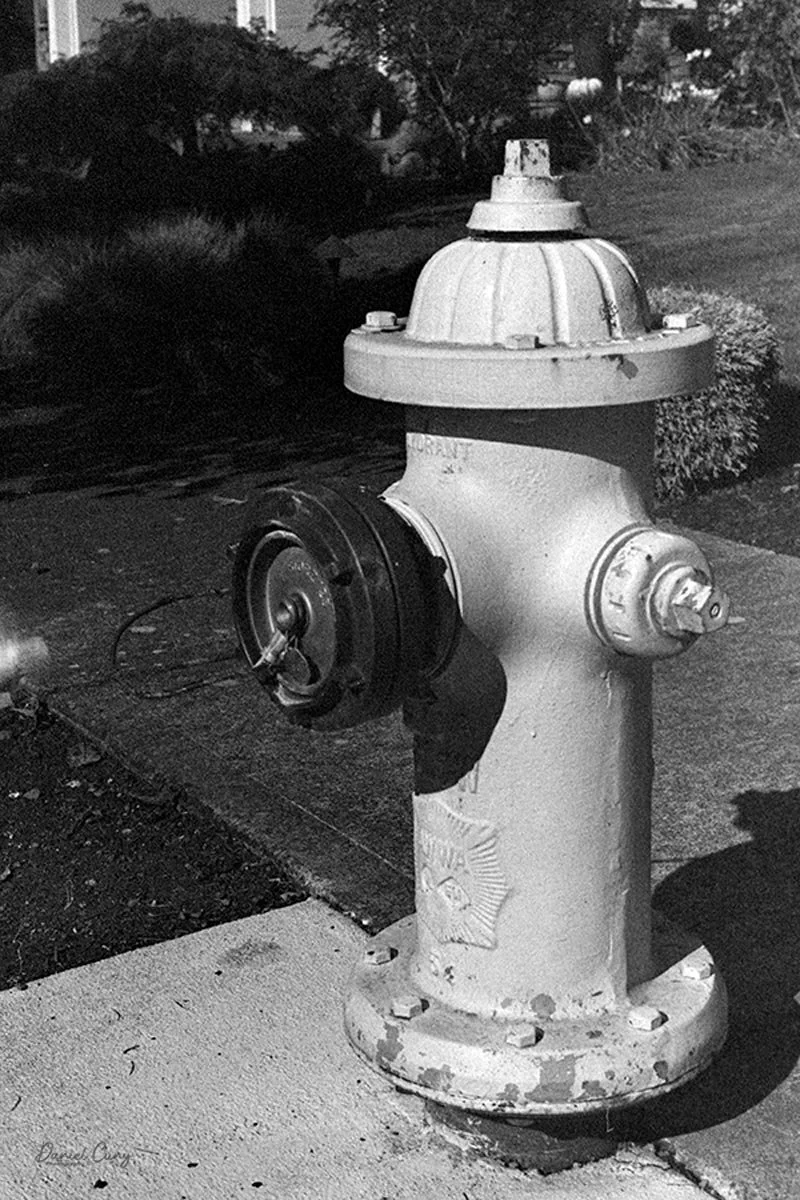
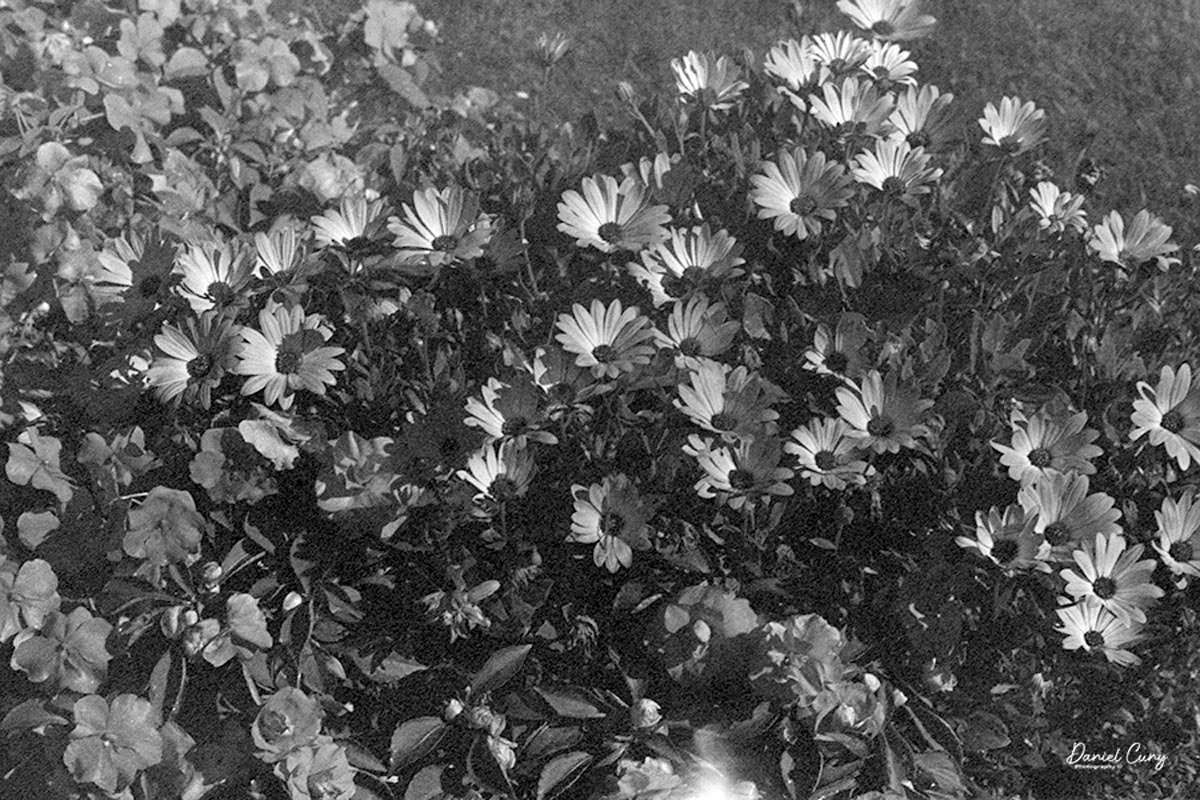
Conclusion:

The camera did a wonderful job and was fun to use. I really enjoyed the bright rangefinder focusing, and the ability to magnify the image through the viewfinder for the 100mm and 150mm lenses makes this a wonderful user camera. It would have been great if they'd also included a wider viewfinder window for wide-angle lenses, but that may be asking too much, especially for a camera made over 70 years ago.

For this period, I still prefer Nikon rangefinder cameras and completely understand why professionals chose them alongside Leica. While the Canon IV Sb is easy to use, its flash system is unusual for the time and forces photographers to use its proprietary ecosystem.

Are you interested in other cameras? Check out some of my other Camera Reviews.

Also, check out my Cuny's Camera Collection YouTube channel, where I'm putting together video overviews of the cameras I write about. Be sure to subscribe and like the channel!

You can also visit Cuny's Cameras and Photos, my online eBay store, where you'll find some of the cameras I've reviewed, along with a wide range of other cameras, lenses, and photography items from my collection that I'm thinning out.

Until next week, please be safe.
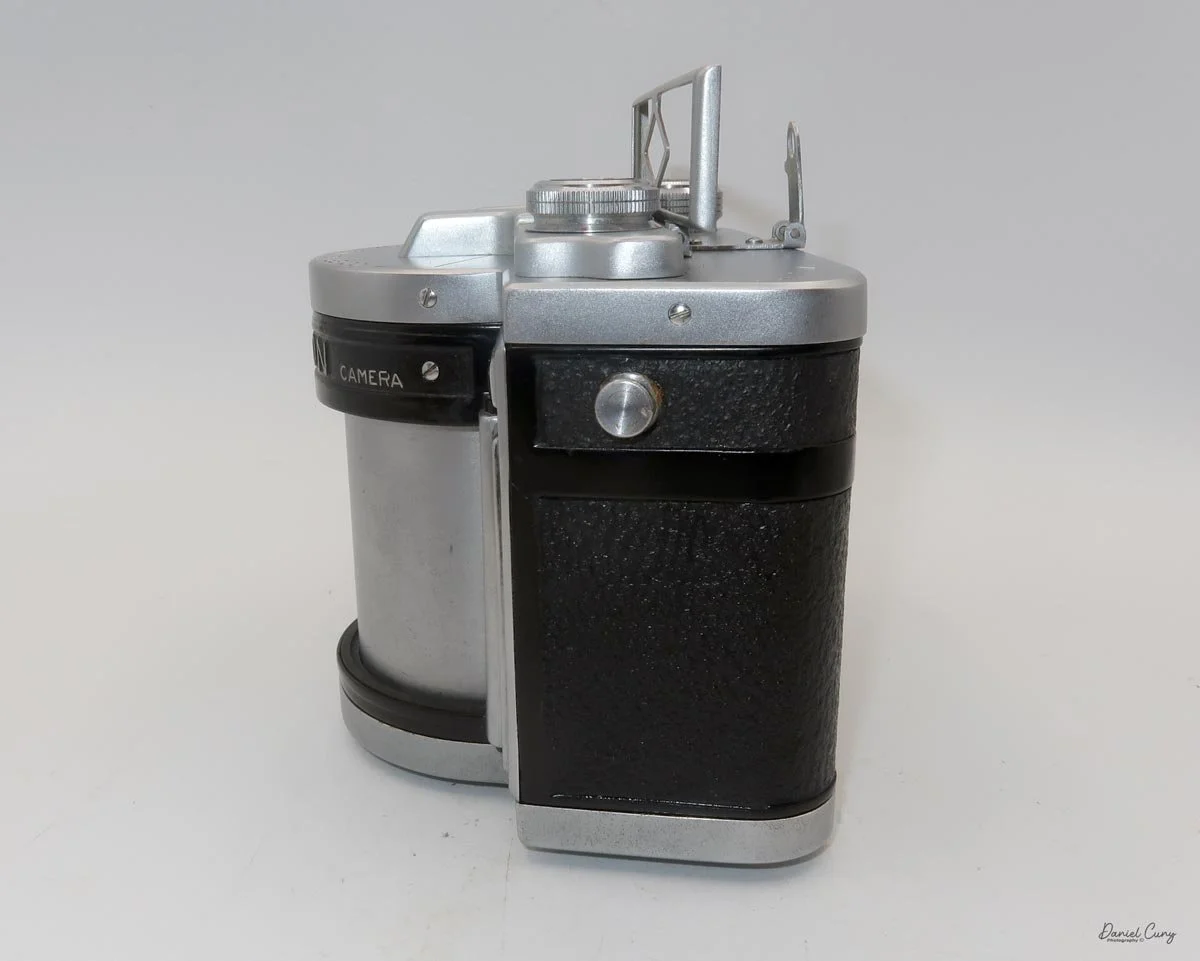
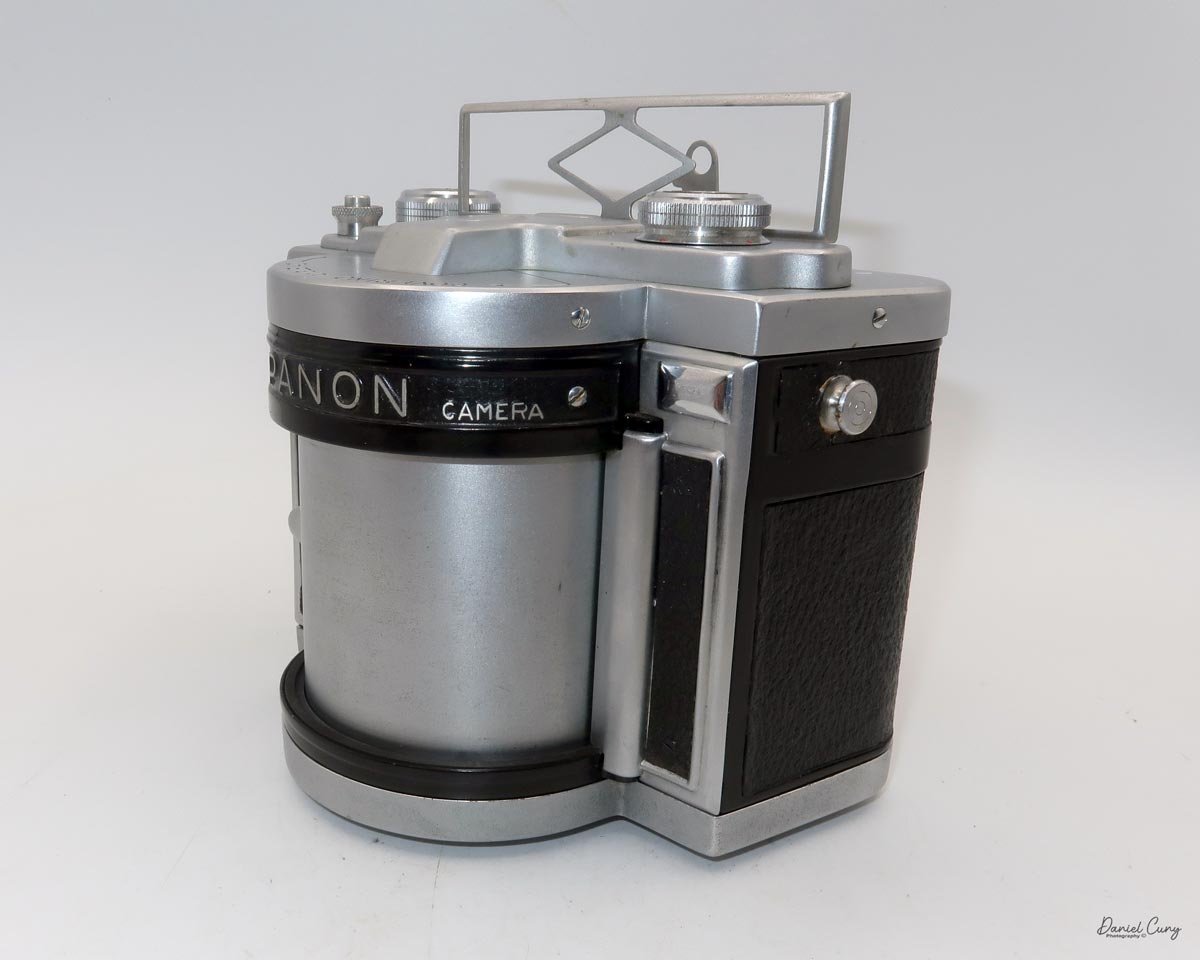
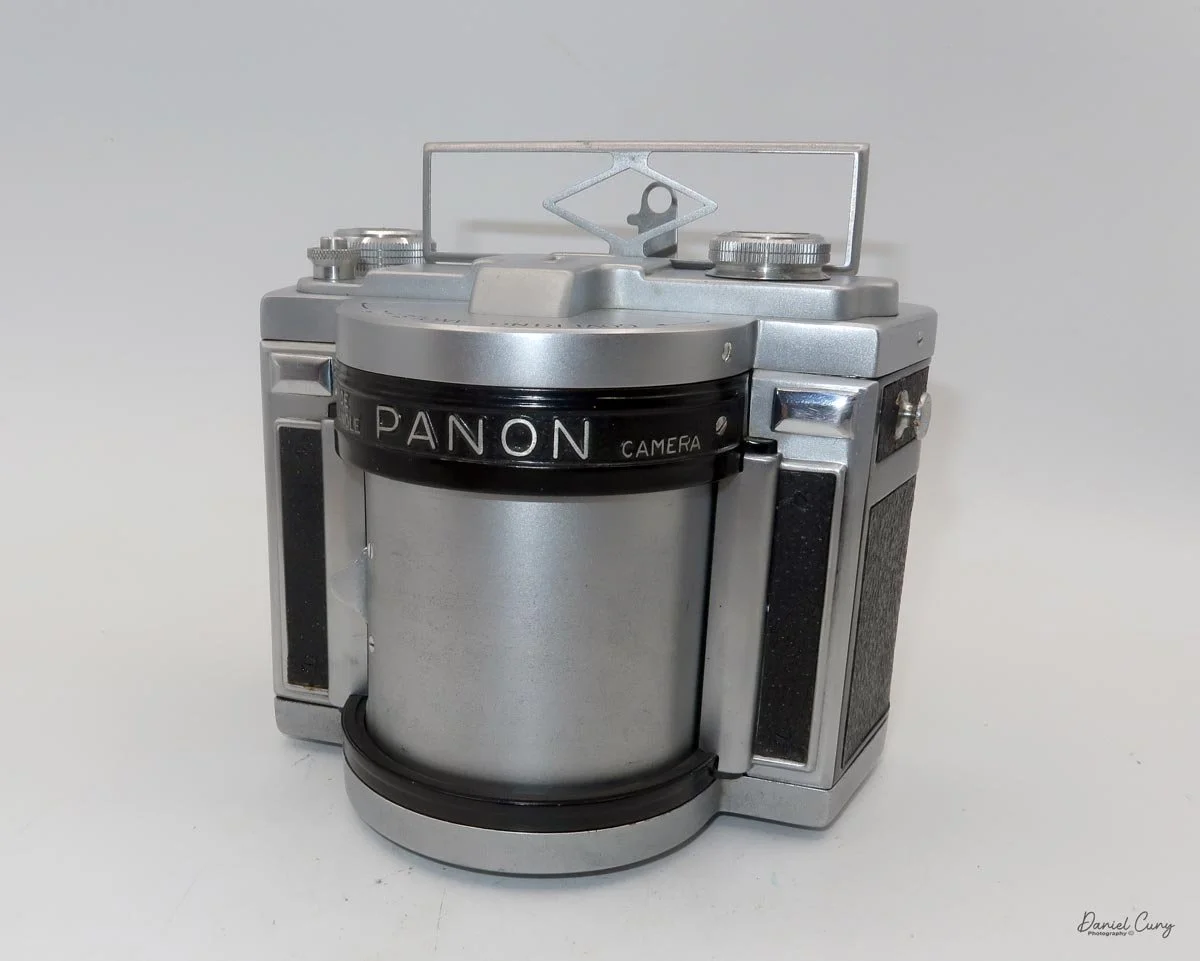
Panon 120 Panoramic Camera-Update

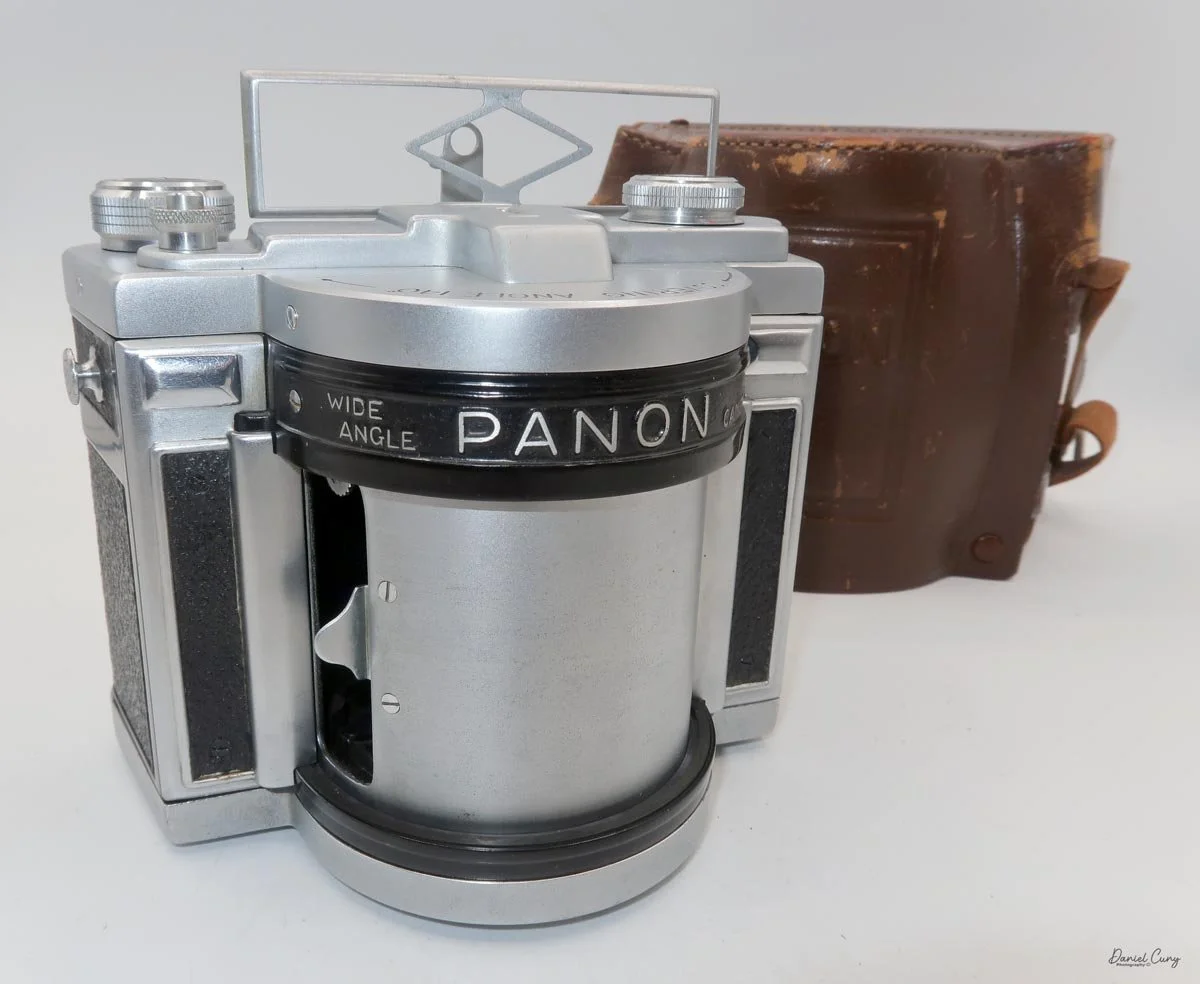
My Panon 120 camera with case.

It's interesting how cameras can just stop working, especially when they haven't been used for a while. I wanted to do an update on the Panon 120 camera post I wrote a few years ago. It's a camera I really enjoy shooting with due to the panoramic format and its ability to use 120 film as opposed to 35mm.

 I'm updating my blog post for two main reasons. First, when I initially planned to go to Japan for camera shopping, I wanted to take the Panon 120 with me. But when I picked it up after about a year of not using it, the camera wouldn't fire.

 I sent the camera off to Precision Camera Works in Austin, TX—they did a wonderful job overhauling my Widelux F7, so I wanted them to do the same for the Panon 120. To my surprise, the lead technician at Precision hurt his hand and the repair took longer than anticipated, but they were kind enough to get my camera back to me right before my trip. The camera is now in outstanding condition, so one of the reasons for this blog update was to take some fresh photos to update the website.

 The second reason for the update happened while I was browsing an online auction. In one of the photos, I spotted what appeared to be a Panon lens assembly resting on its side, along with a box of parts in a separate image. There were a few large-format lenses in the lot as well, so I took a gamble, put in a bid I thought was fair, and to my surprise, I won the auction.

 When the package arrived, the "parts" Panon 120 seemed surprisingly complete. The lens assembly was in what appeared to be good condition. The body, back, and film loading cartridge were all intact with no damage, and the gearing system looked solid. I sent another note to Precision to ask for a quote on getting what appeared to be a 90 to 95% complete camera up and running.

 After a few weeks, I received a note from Precision stating that the camera was going to require much more than their standard overhaul service. While I was still interested in getting it put together into a working model, they explained that they would need to charge by the hour, bringing the total cost higher than I was willing to spend.

 With that said, I'm planning on listing the parts camera on my eBay store soon. I'm hoping to find someone willing to take their time, put the pieces together, and end up with a wonderful Panon 120 to use or sell.

A Quirky Strap Dilemma

Another oddity of the Panon 120 is that the strap lugs are larger than those on a Mamiya, Hasselblad, or Rollei, making it very difficult to find a strap that fits. I've tried about seven or eight different standard straps that clip onto camera lugs, but they were all too small. Because of this, I've resorted to using a guitar strap.

 The issue with the guitar strap—and this is just my own insecurity—is the lingering thought that the camera might slip out of the strap and fall to the ground. I know this is completely irrational and very unlikely to happen, especially since guitars are often more expensive than many cameras, and I shouldn't worry about it. But hey, that's just how my brain works!

My Camera

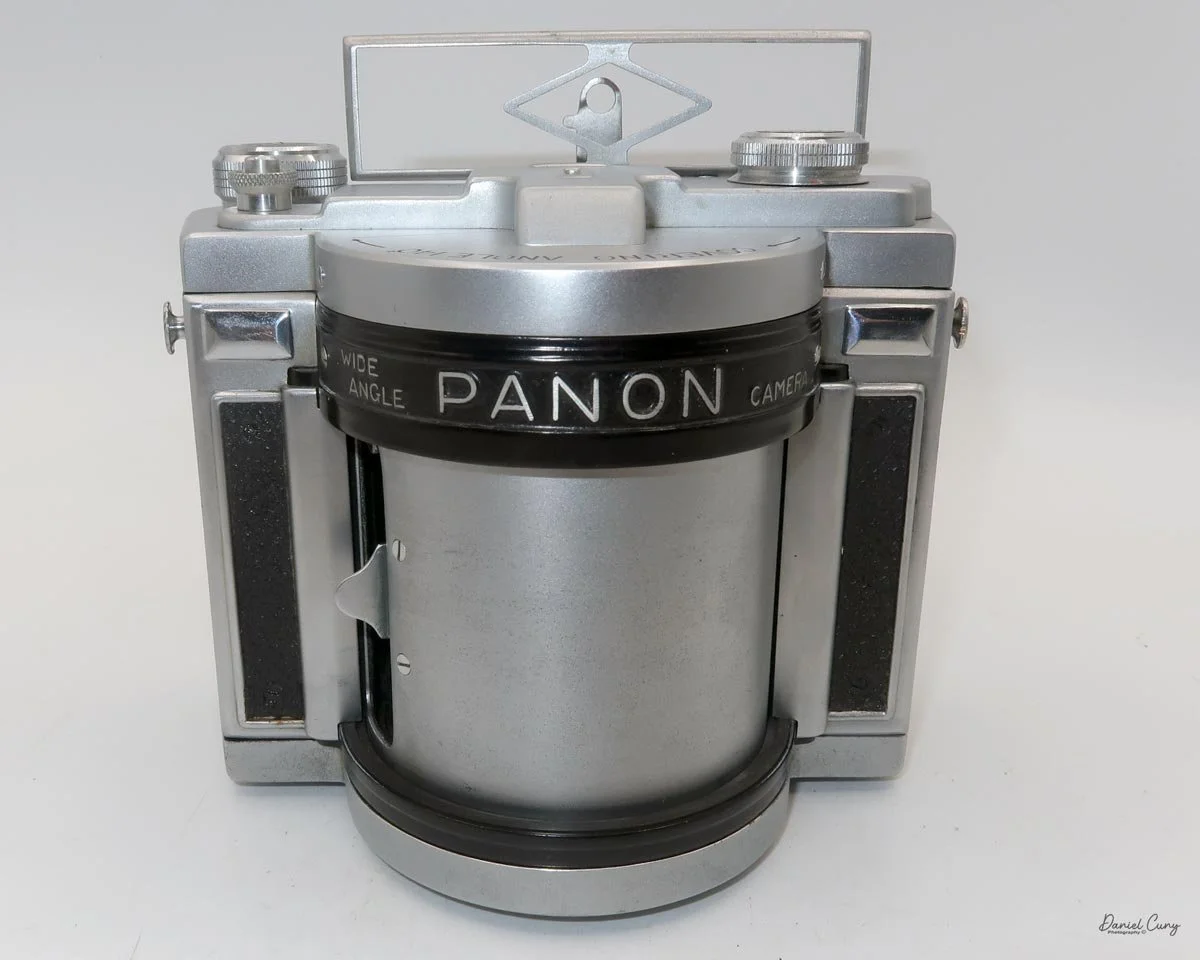
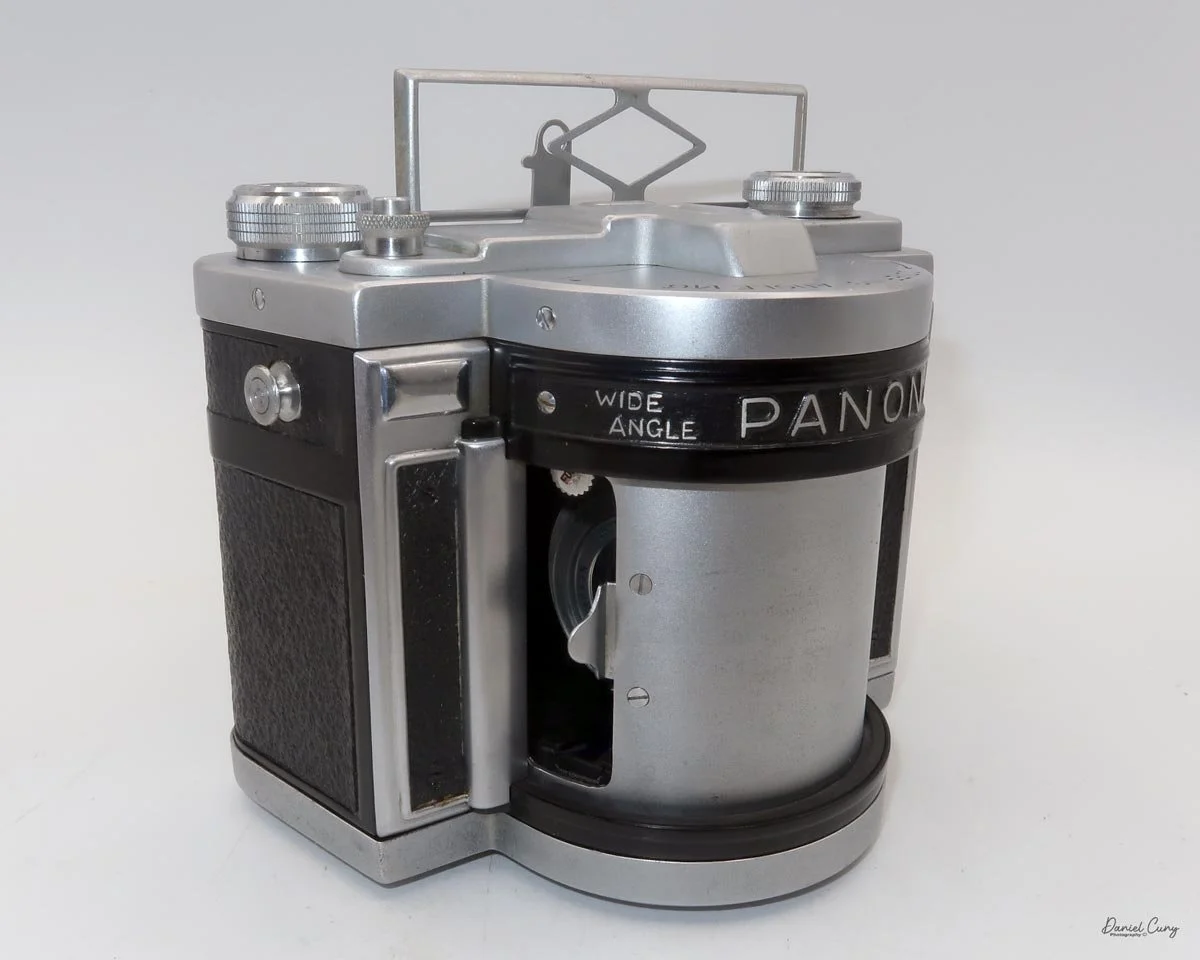
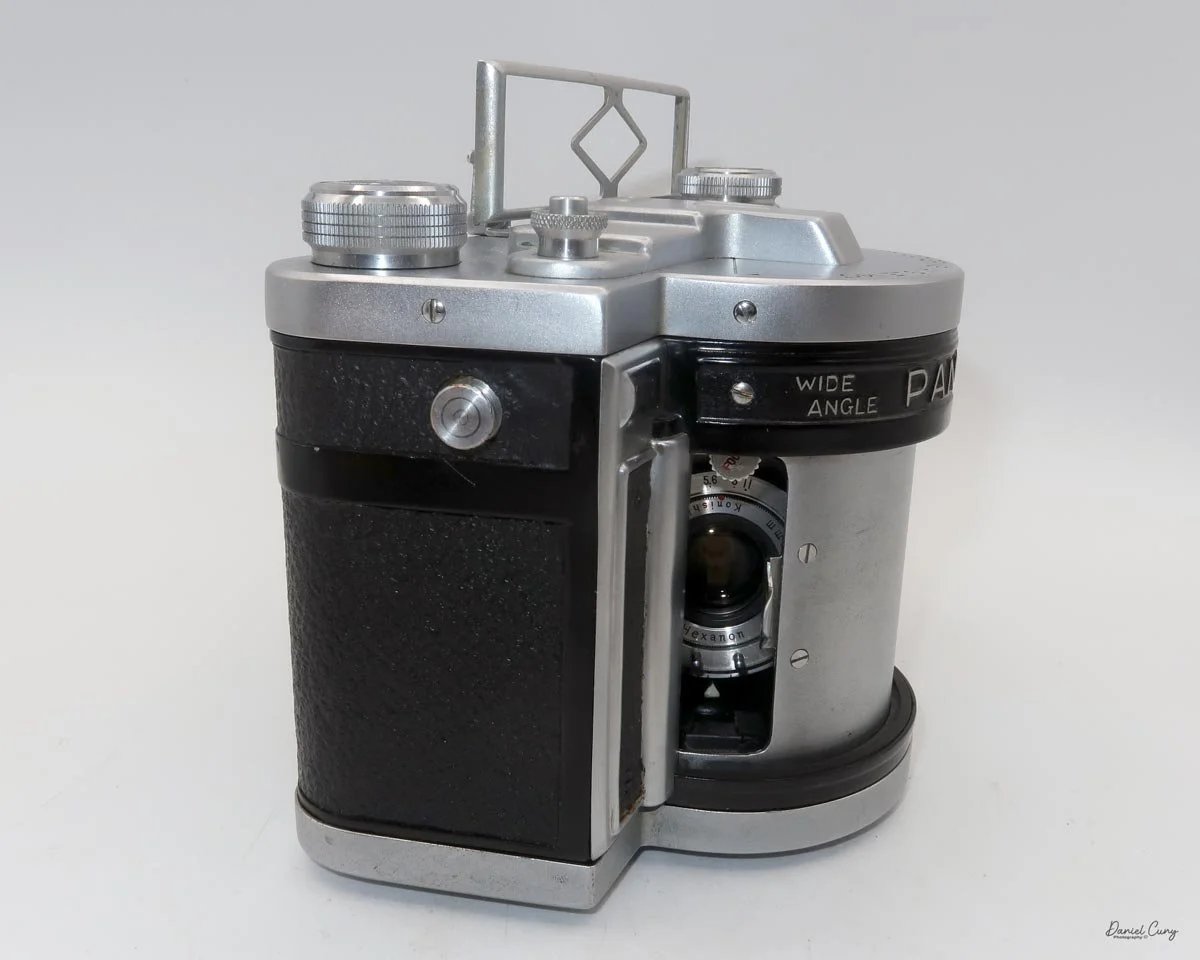
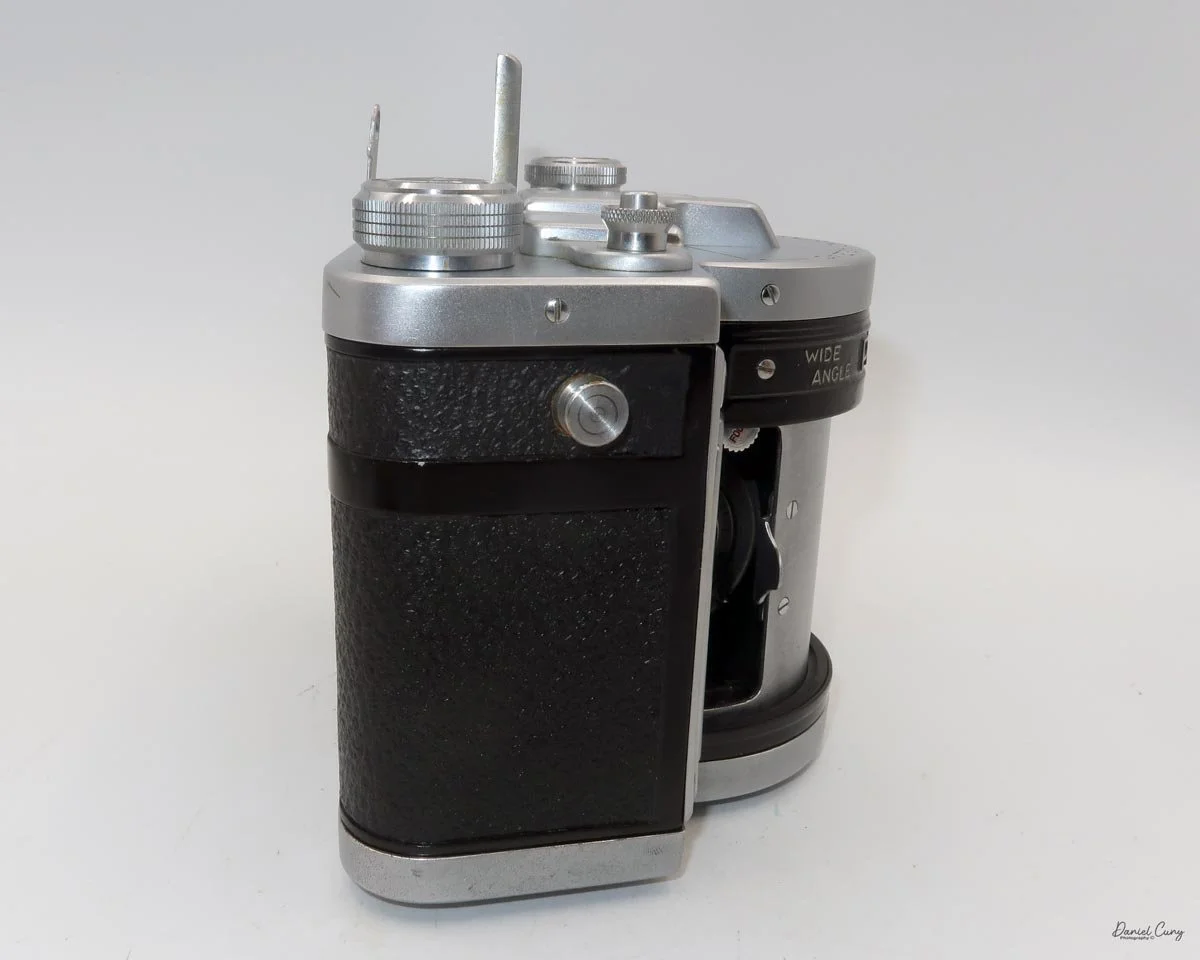
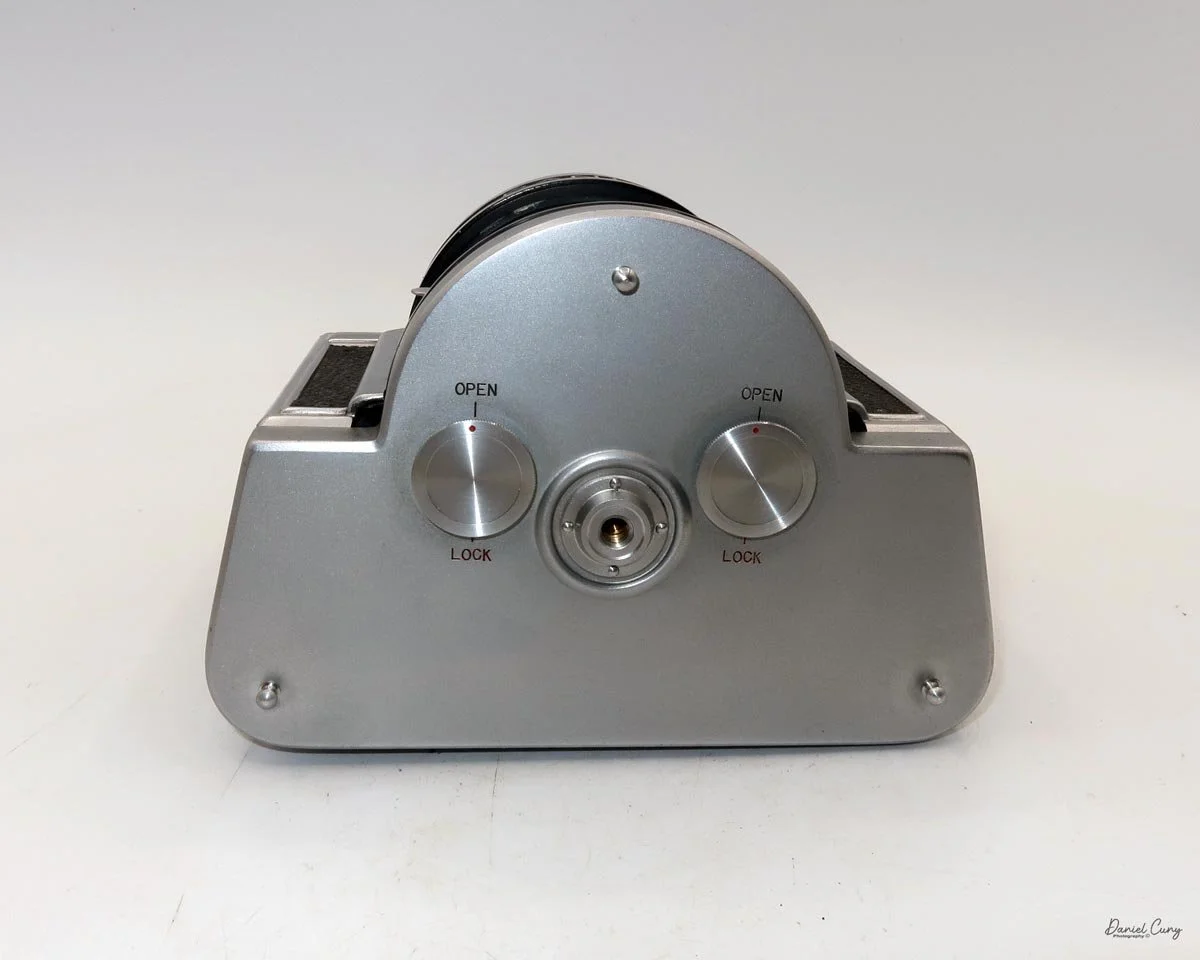
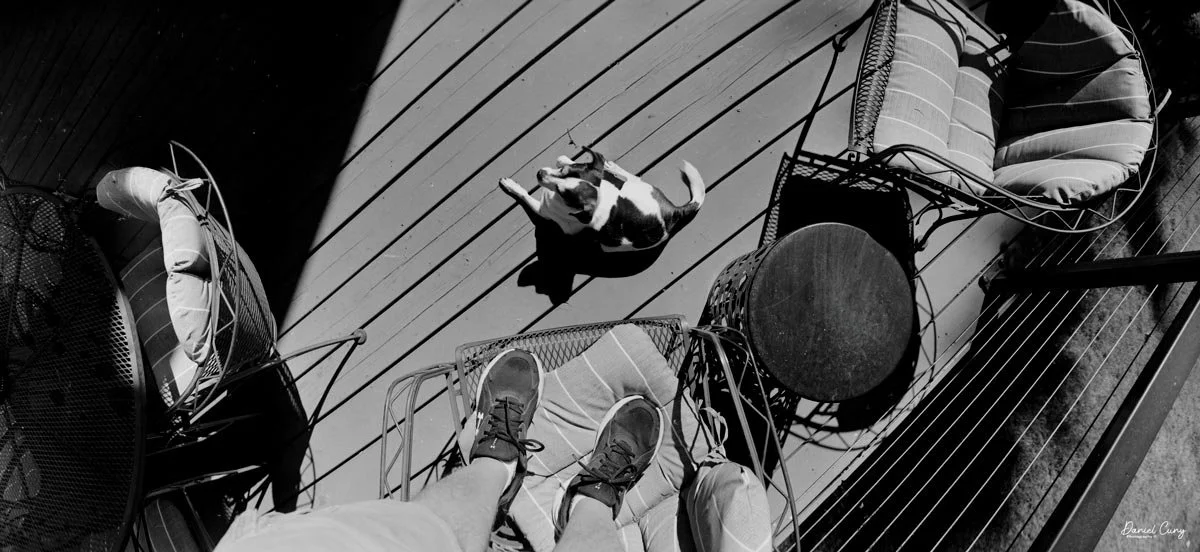
The Panon 120 camera is a beast in size and weight. The camera measures 4.75” tall by 6” wide at the widest part the rear) by 4.25” deep, and weighs a whopping 4 pounds 2 ounces without film or the fitted leather case. The camera produces a whopping 6x14 negative due to the curved film plane and rotating lens.

Unlike the Widelux camera which rotates the lens and cock the shutter when you advance the film, the Panon 120 you need to manually pull the lens from one side to the other to cock the shutter. That’s what the pull area on the side of the lens is for.

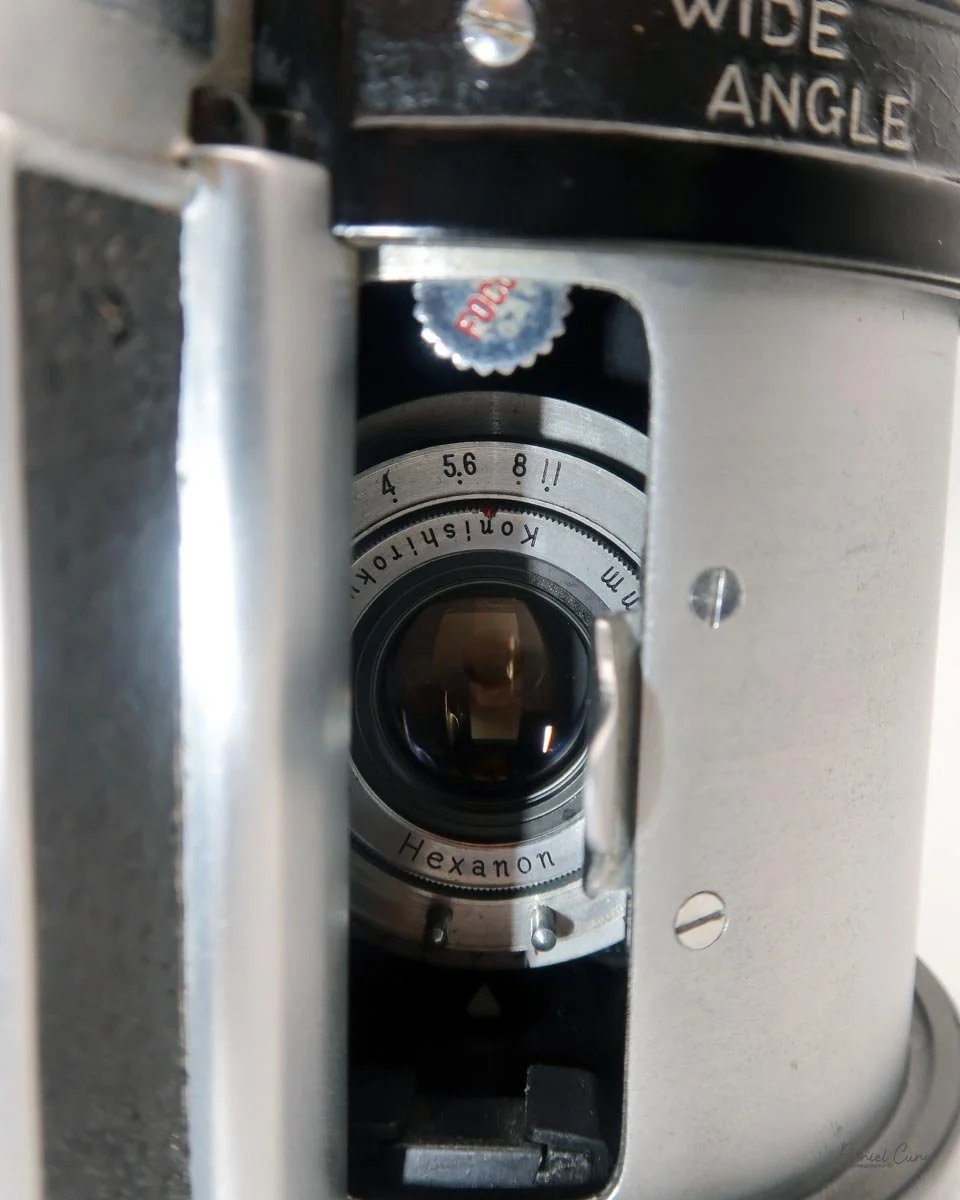
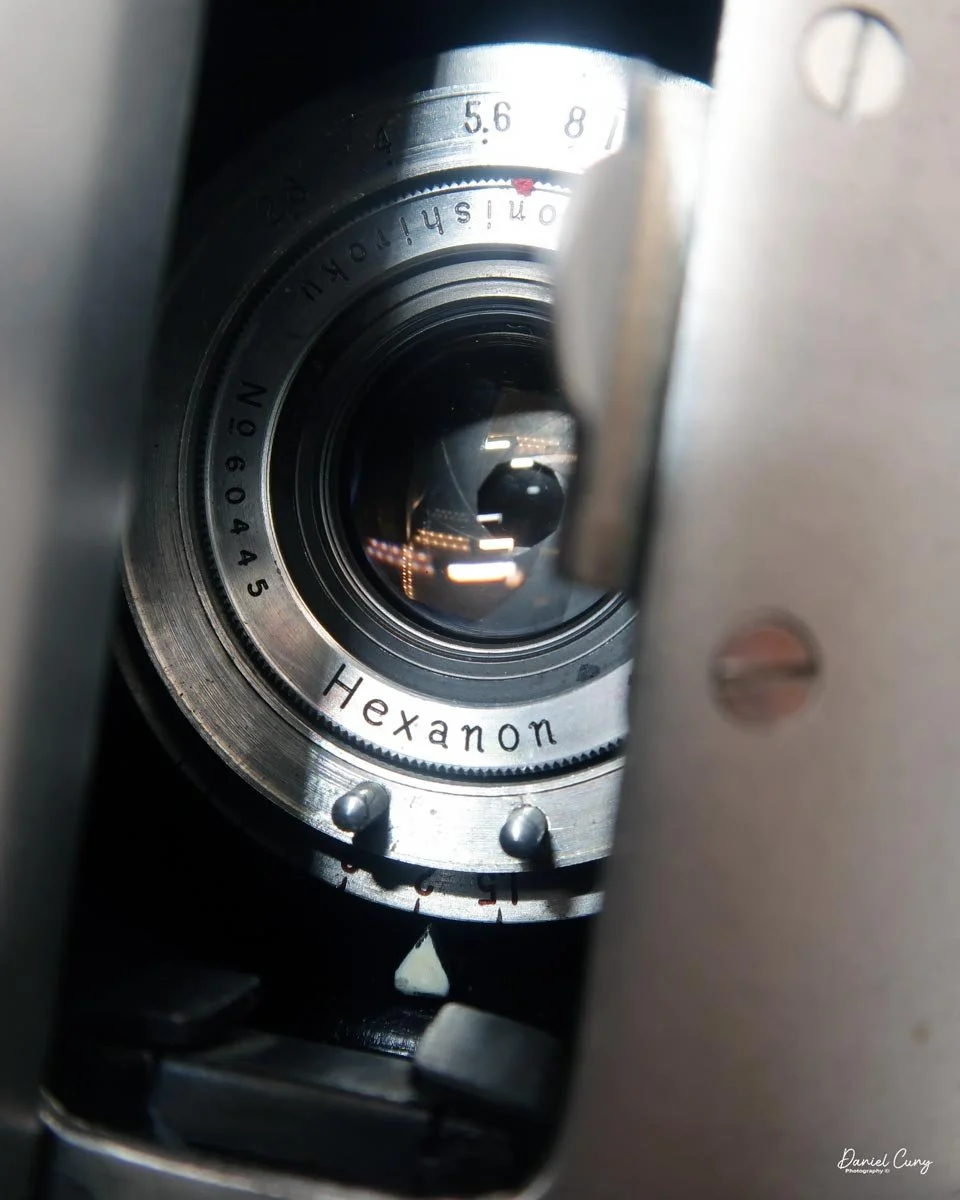
The lens on the Panon 120 is a 50mm f/2.8 Konishiroku Hexanon (Konica) lens with aperture settings from F/2.8 to f/11. You set the aperture manually by sliding a lever inside the lens chamber to the desired setting.

Focusing is done manually too on the Panon 120 camera. On top of the lens chamber is a wheel with “focus” written on it. Turn the wheel and look at the lens to find the distance to your subject.

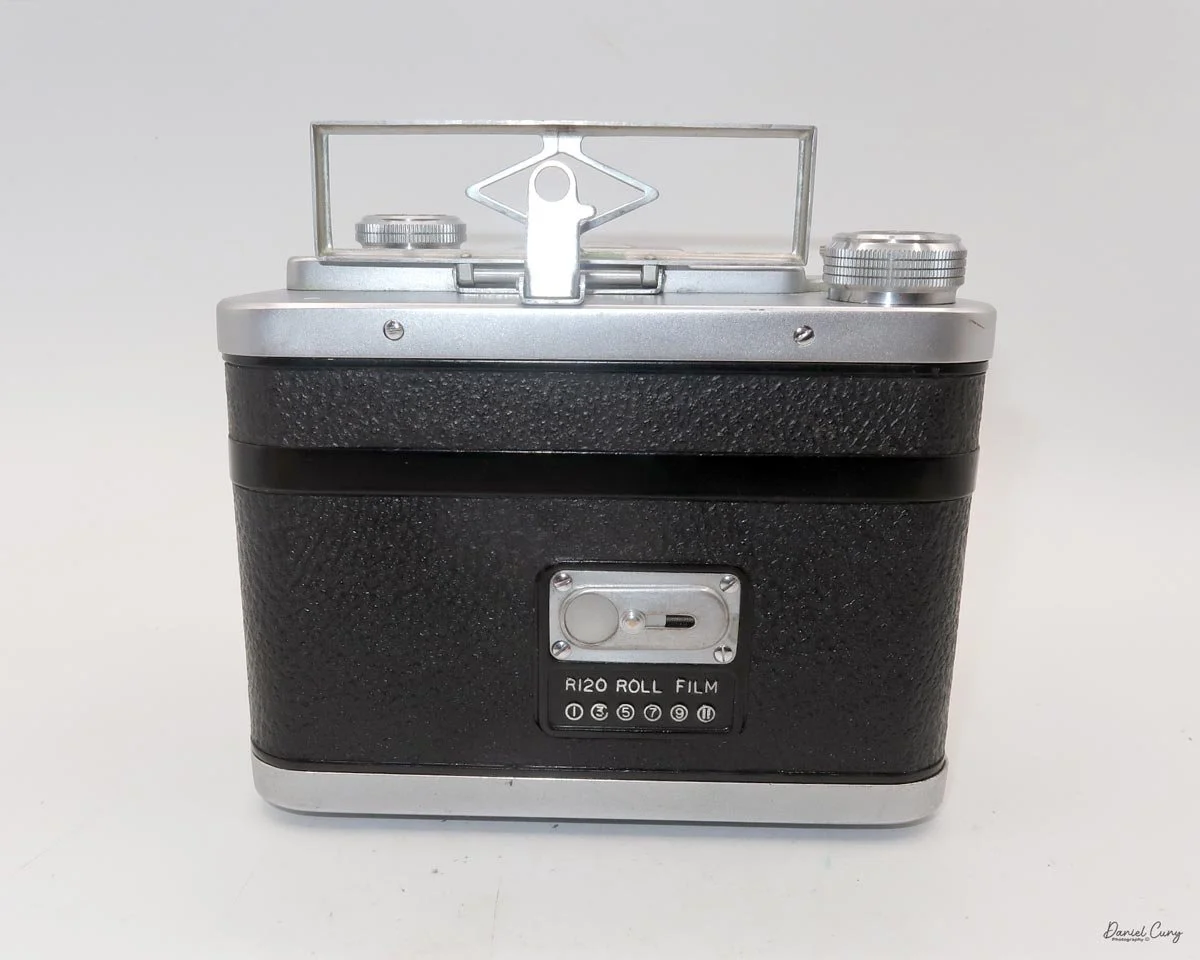
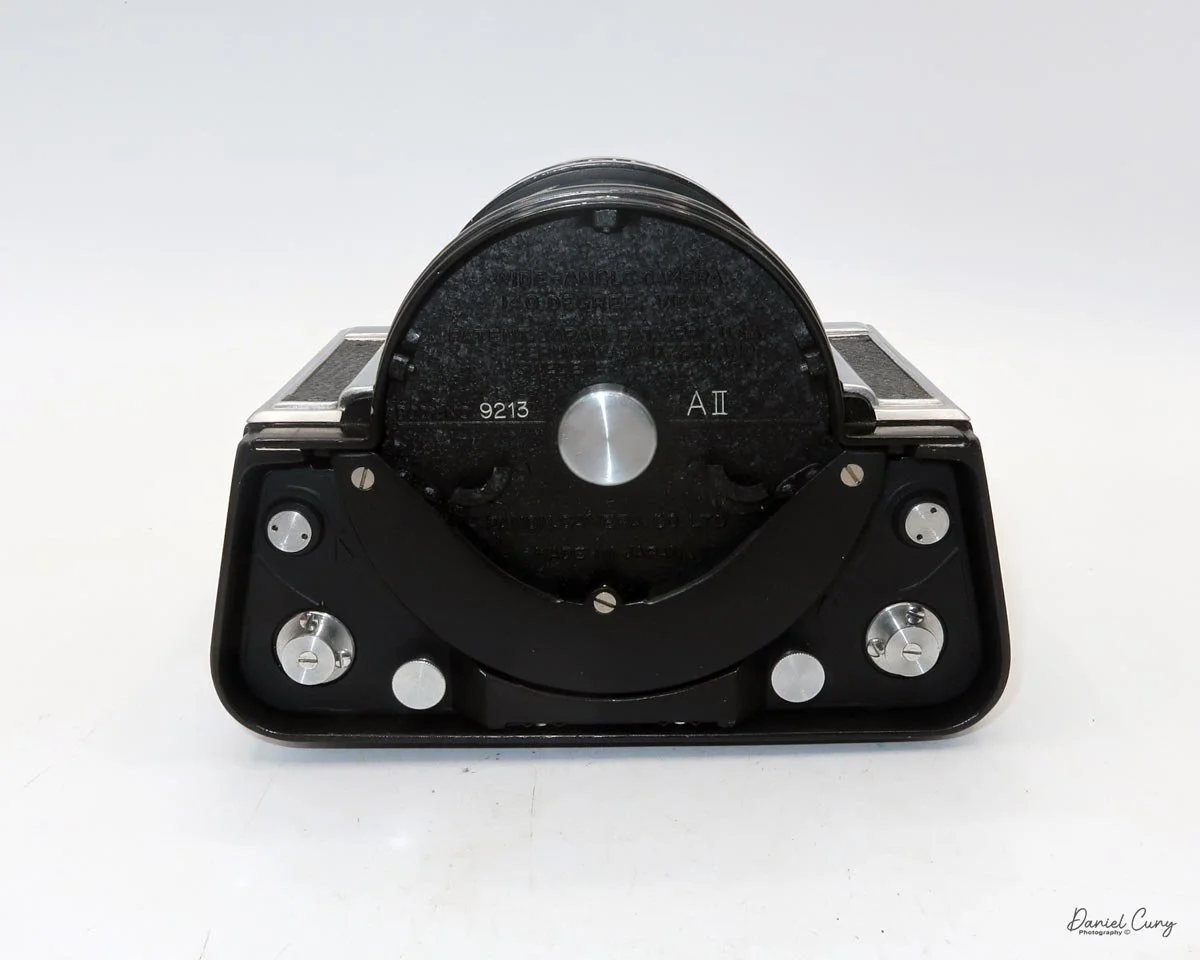
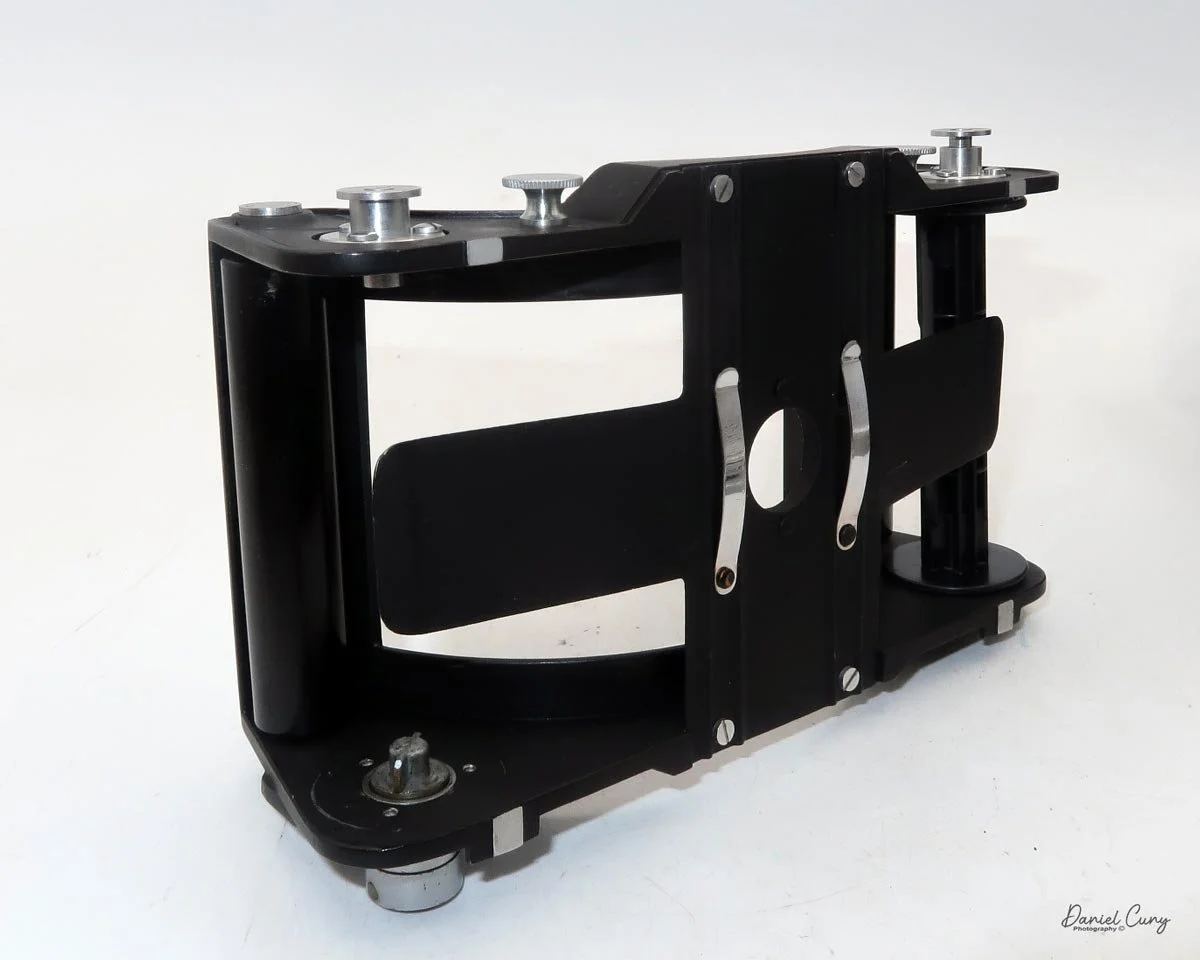
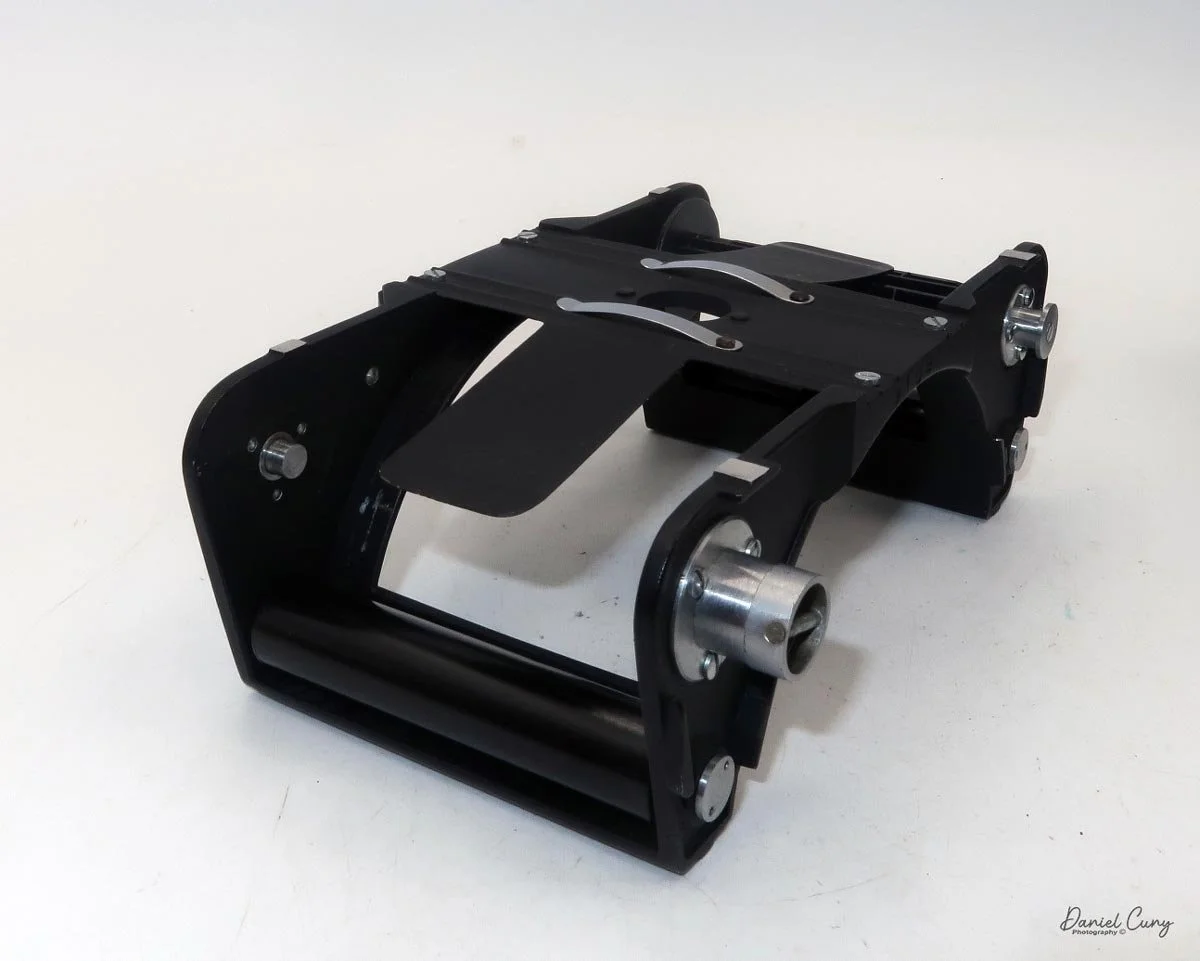
Loading the film is done by removing the bottom of the camera by unlocking two wheels on the bottom, then sliding out the film holder which is curved to match the rotating lens.

The hardest part of loading the film is making sure the film is behind the curved wall, then placing the film insert back into the camera the right way. If the insert is backwards, the winding wheel sticks up and the film door cannot be placed back onto the camera. Just reverse the insert, and the film will fit properly.

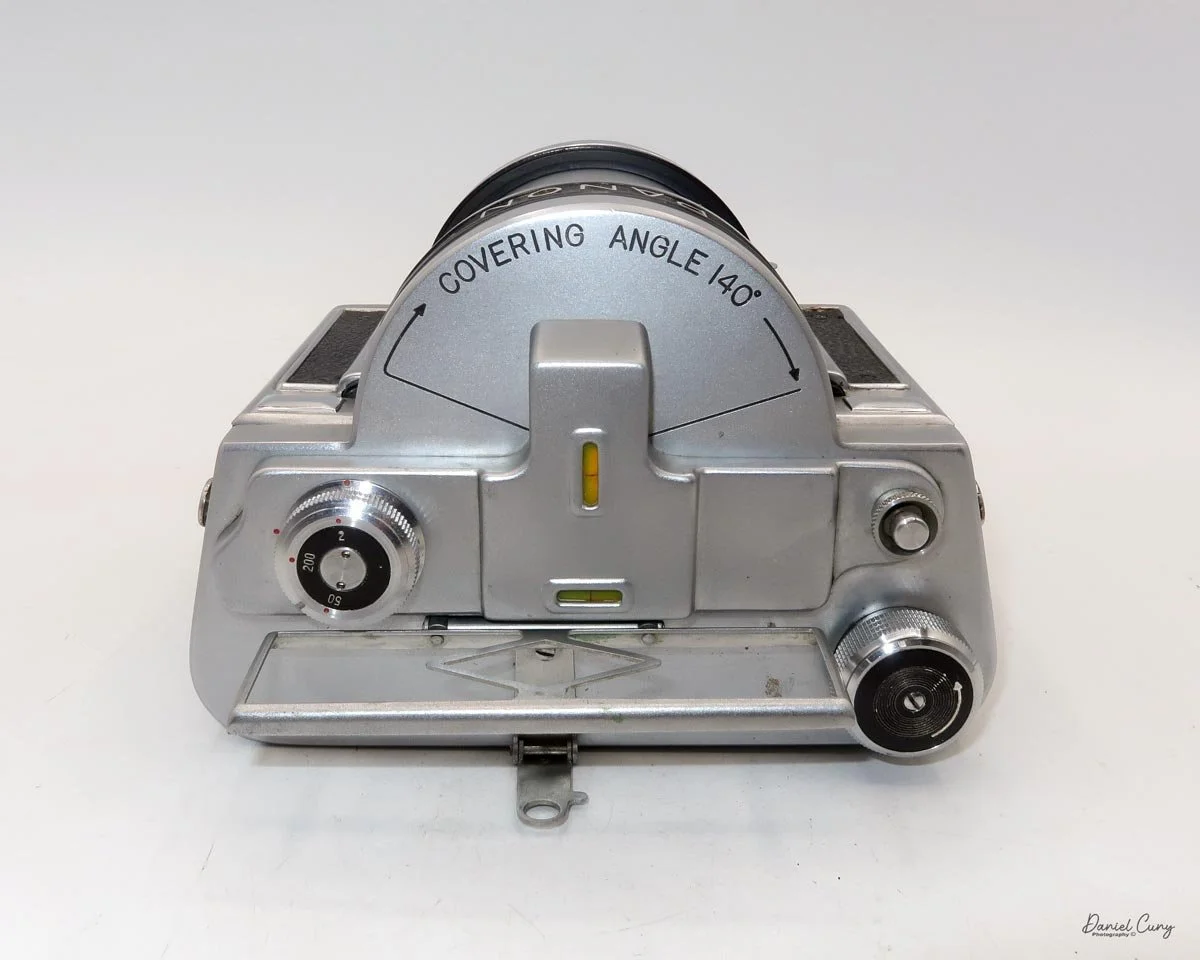
There are onle 3 shutter speeds on the Panon 120, 1/200, 1/50 and 1/2. The shutter speeds are set by turning a wheel on the top of the camera. Also on the top of the camera are two bubble levels, one for vertical, and one for horizontal. The flip up viewfinder is alo on the top of the camera.

Top view of the Panon 120 camera

My Results

Now that I've had the camera serviced, I loaded up a fresh roll of 120 film and walked through the neighborhood to take some photos for the blog.

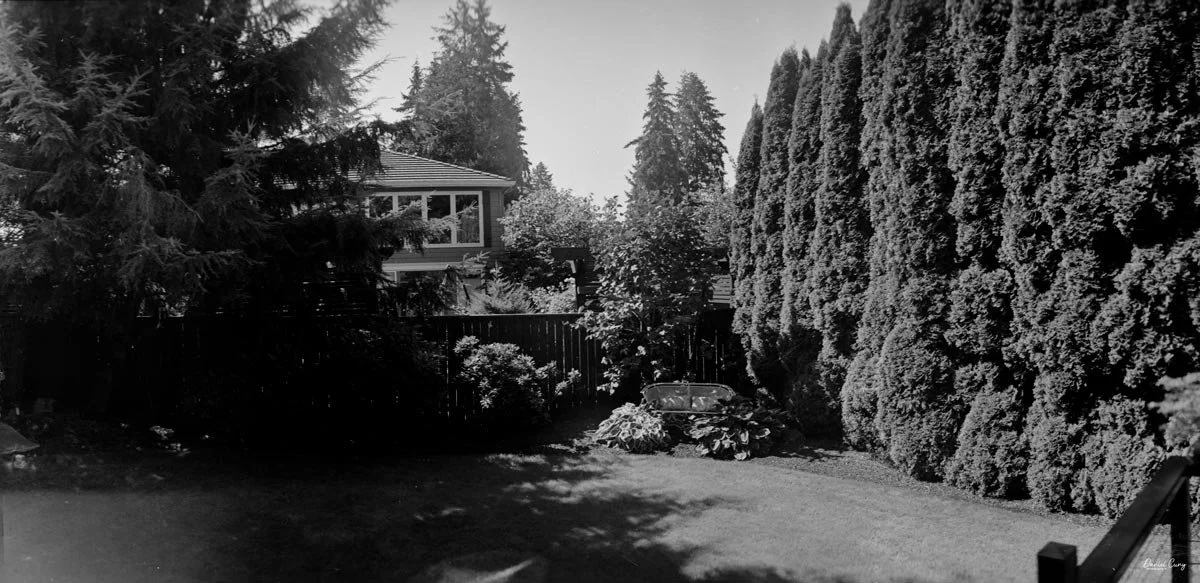
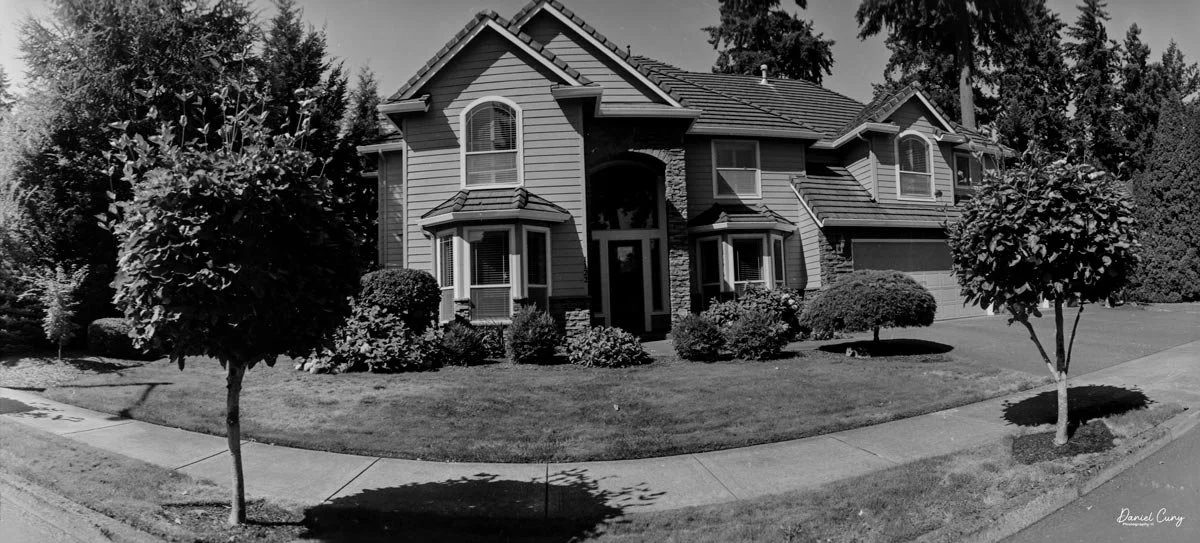
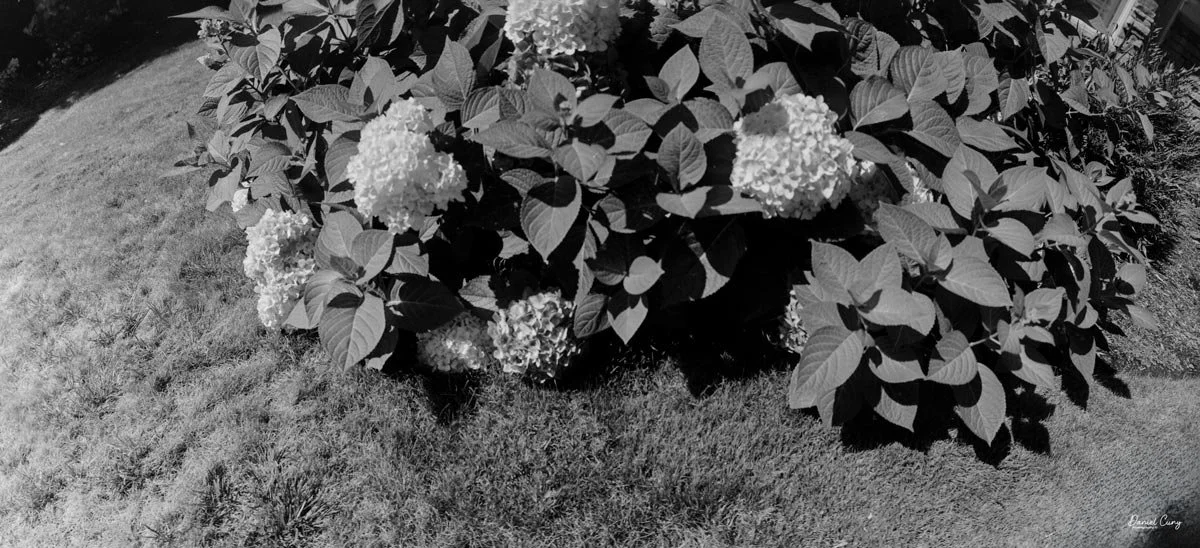
 Here are some of the recent photos taken with the Panon 120.

Conclusion

I have a real internal conflict with this camera. On one hand, I love that it's essentially a medium-format version of the Widelux (which is my go-to camera that I shoot with around 90% of the time). On the other hand, the sheer size and weight of the Panon always give me second thoughts about taking it out.

 There are things I just need to resolve in my head so I can start using the Panon 120 more often. Beyond the size and weight, the main operational differences are having to manually focus the Panon 120 (whereas the Widelux is fixed-focus), dealing with different shutter speeds, and having to manually set the lens before firing the shutter, unlike the Widelux, which cocks the shutter automatically when you advance the film.

 Thank you for taking the time to read this updated review of the Panon 120 camera!

Are you interested in other vintage gear? Be sure to check out some of my other Camera Reviews.

 Check out my Cuny's Camera Collection YouTube channel, where I'm putting together video overviews of the cameras I write about. Be sure to subscribe and like the channel, too!

 Cuny's Cameras and Photos is my online eBay store, where you'll find some of the cameras I've reviewed, along with a wide range of other cameras, lenses, and gear from my personal collection that I am thinning out.

 Until next week, please be safe!

Durst Duca

A Tiny Full‑Frame Surprise: Shooting the Durst Duca

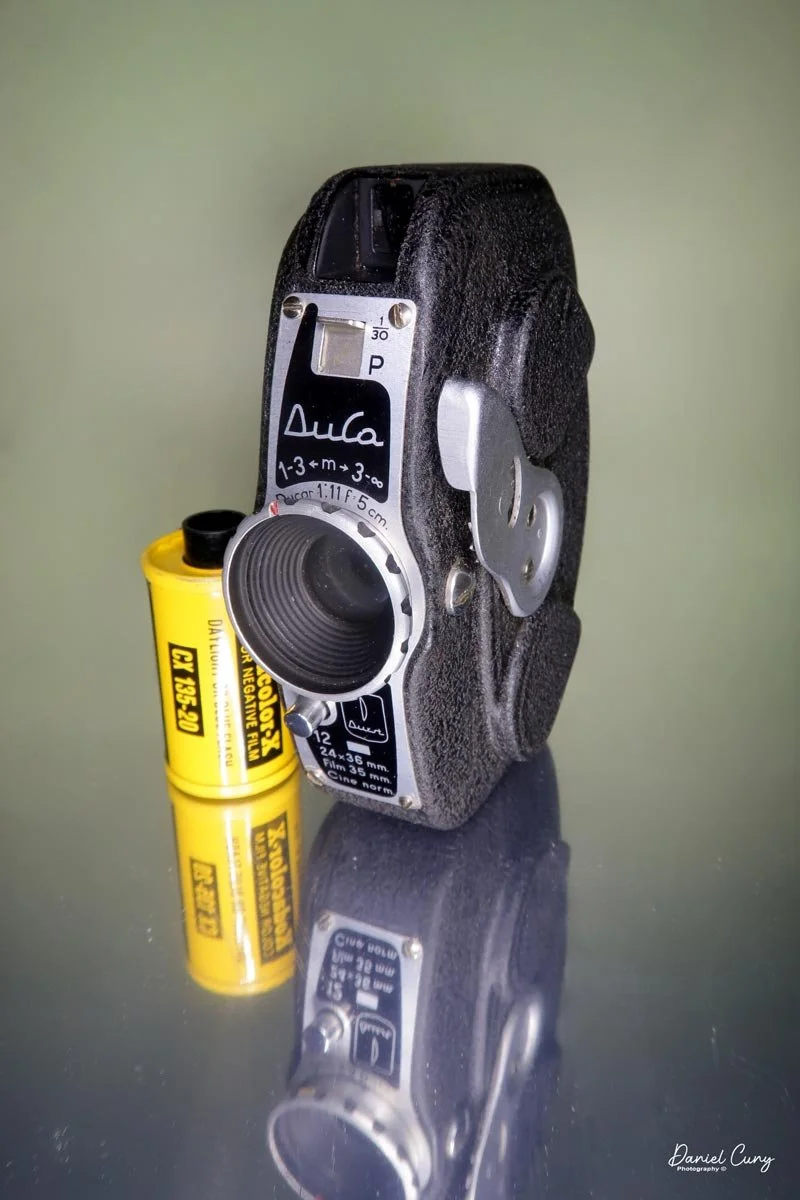
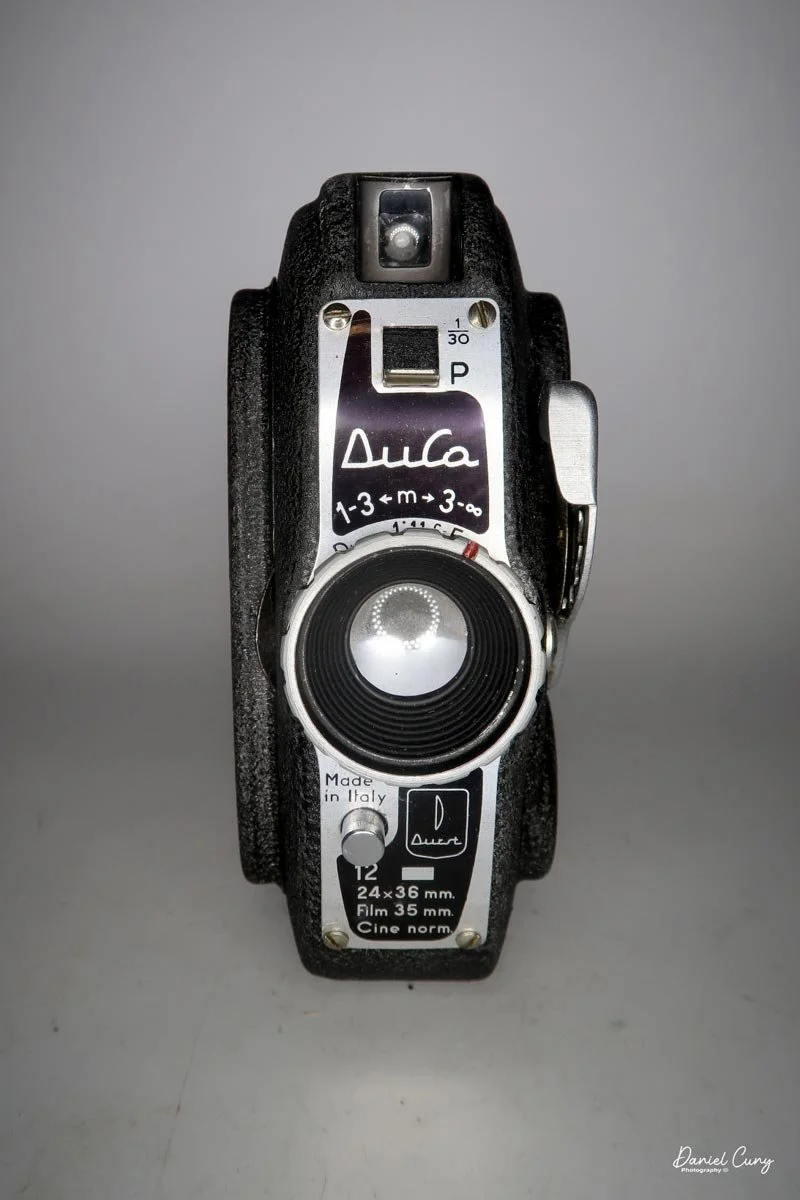
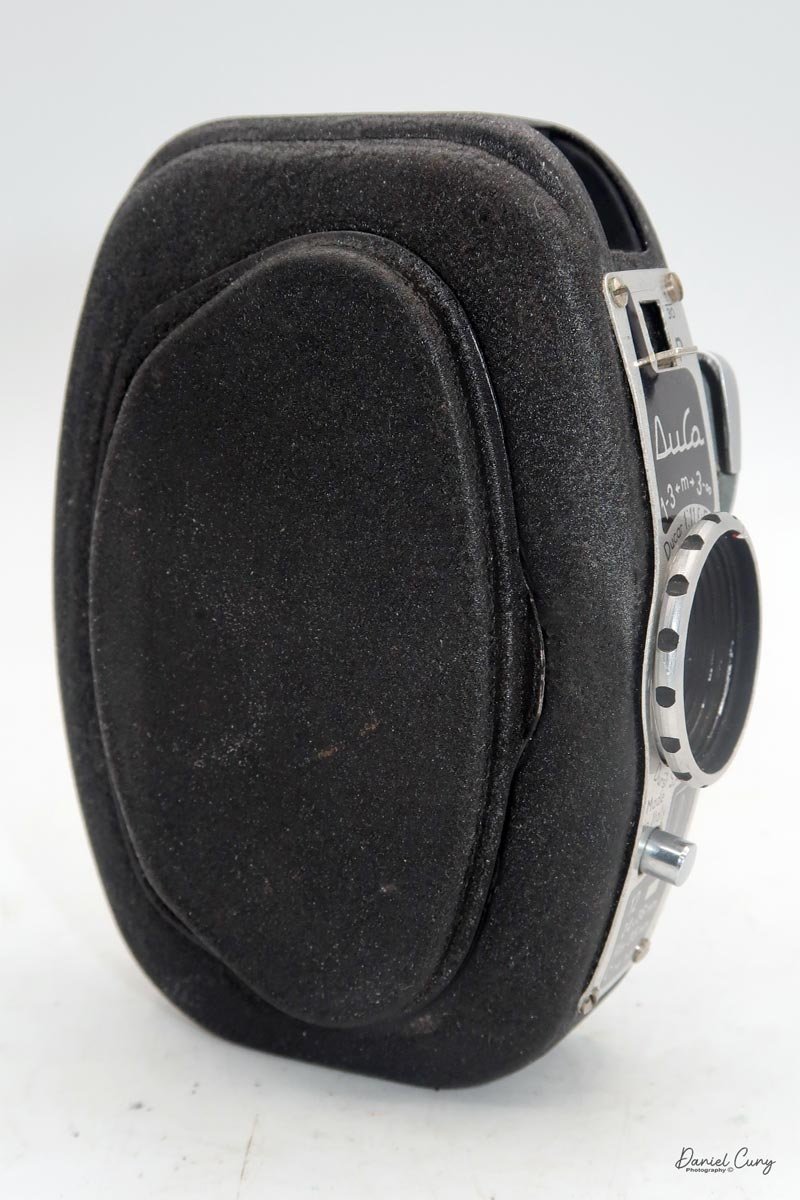
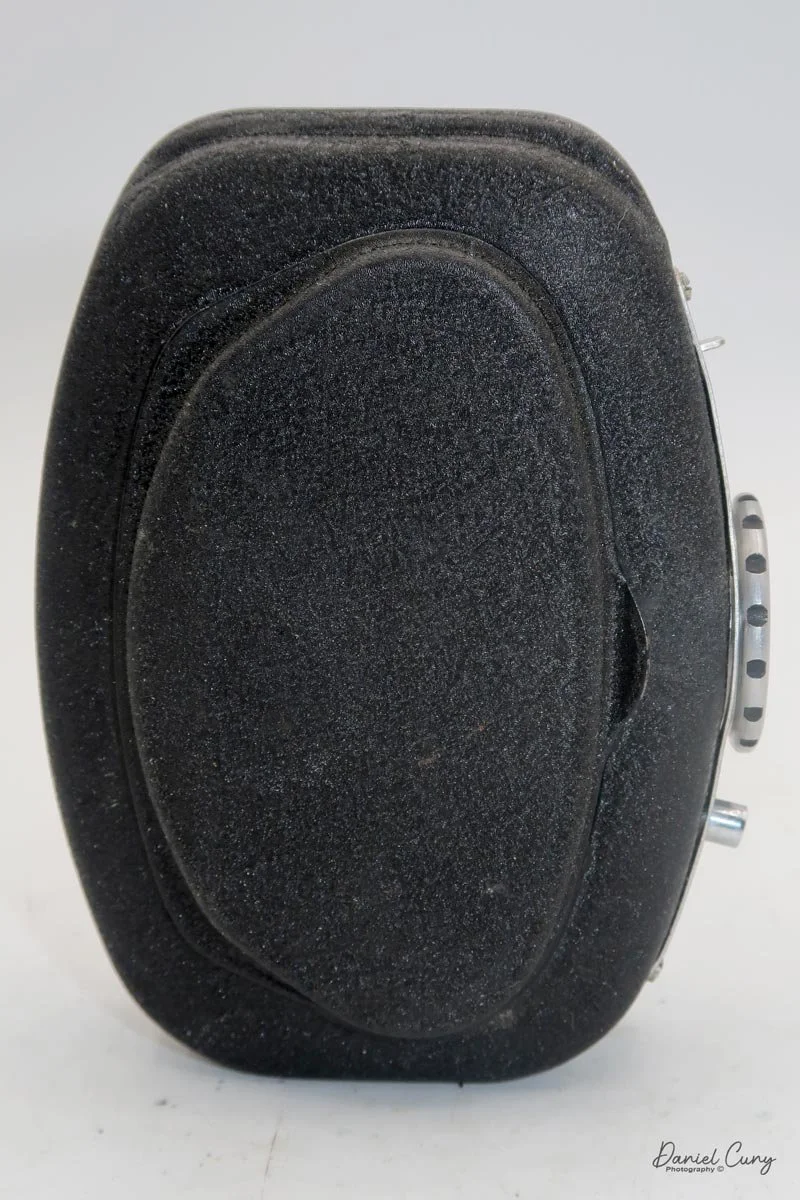
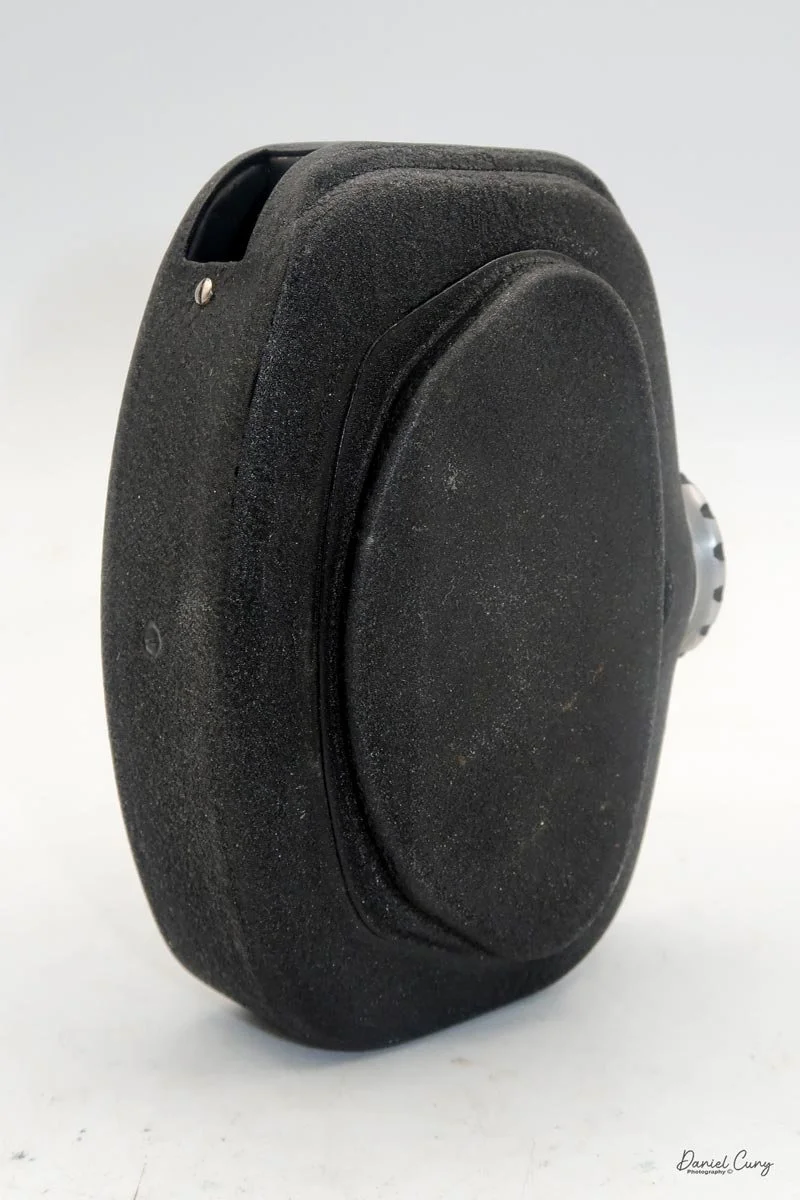
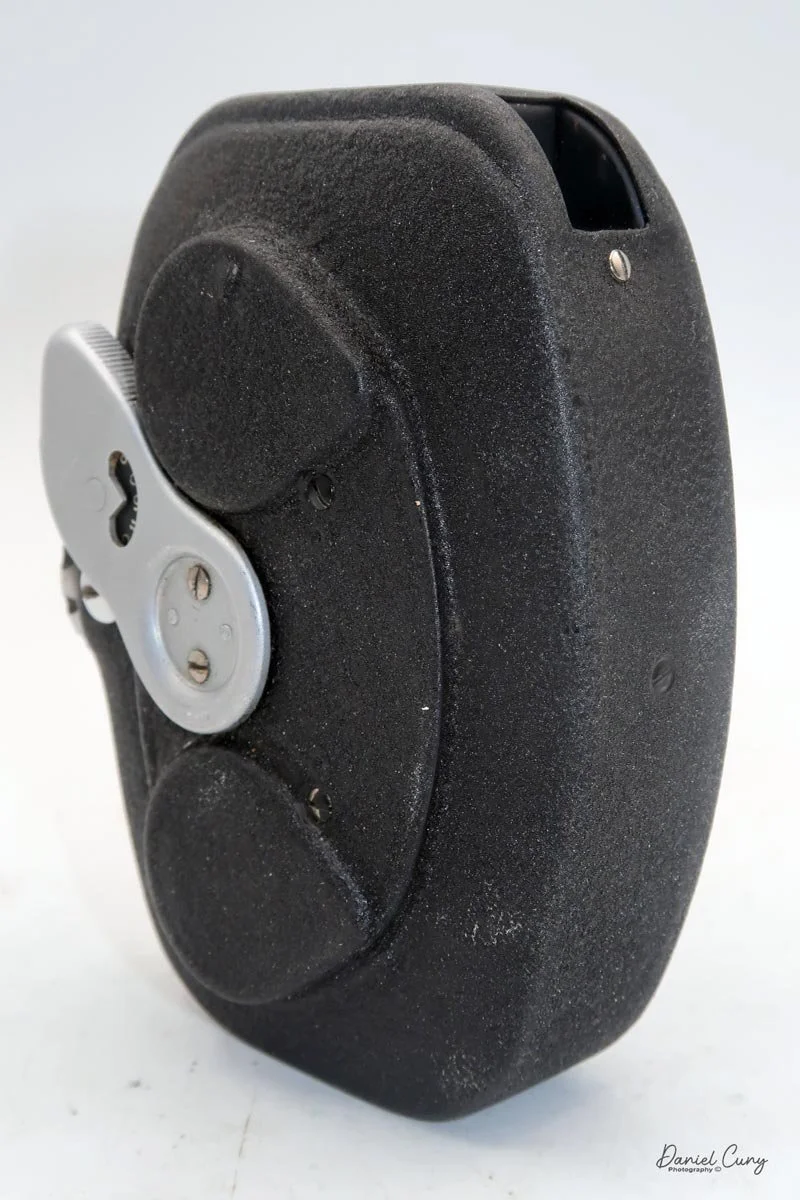
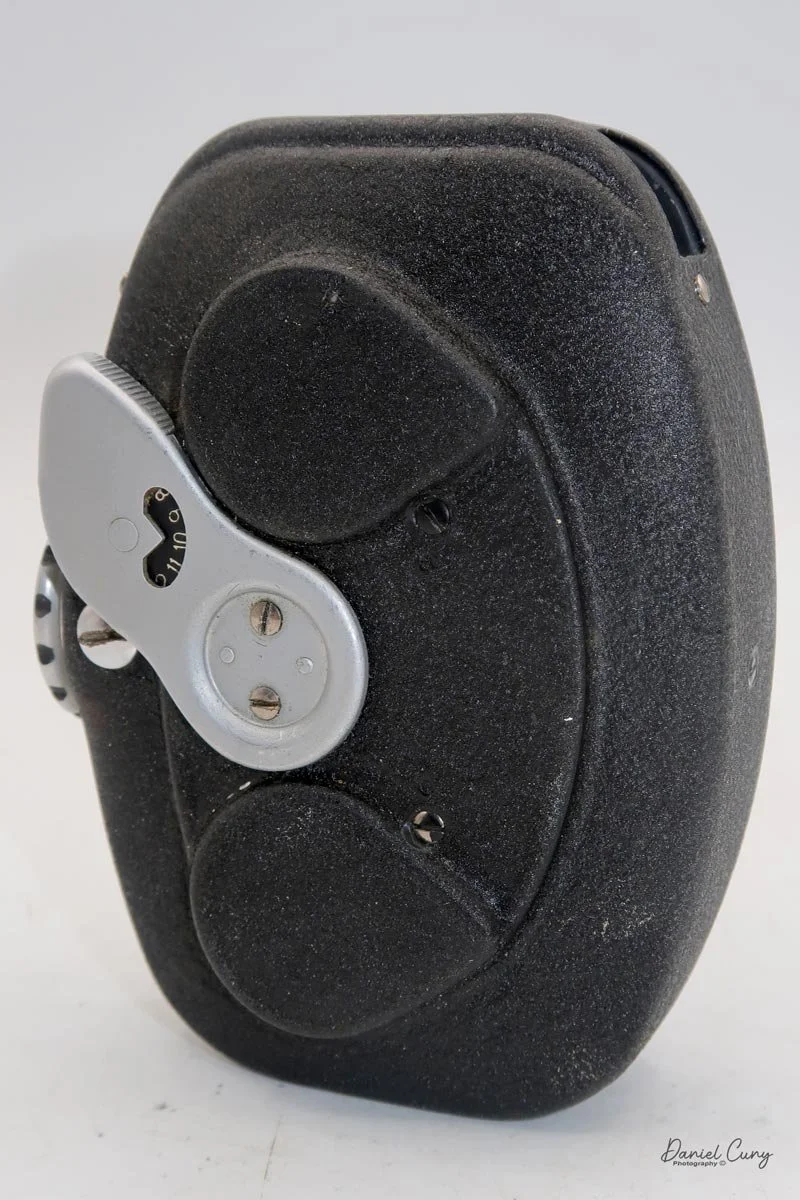
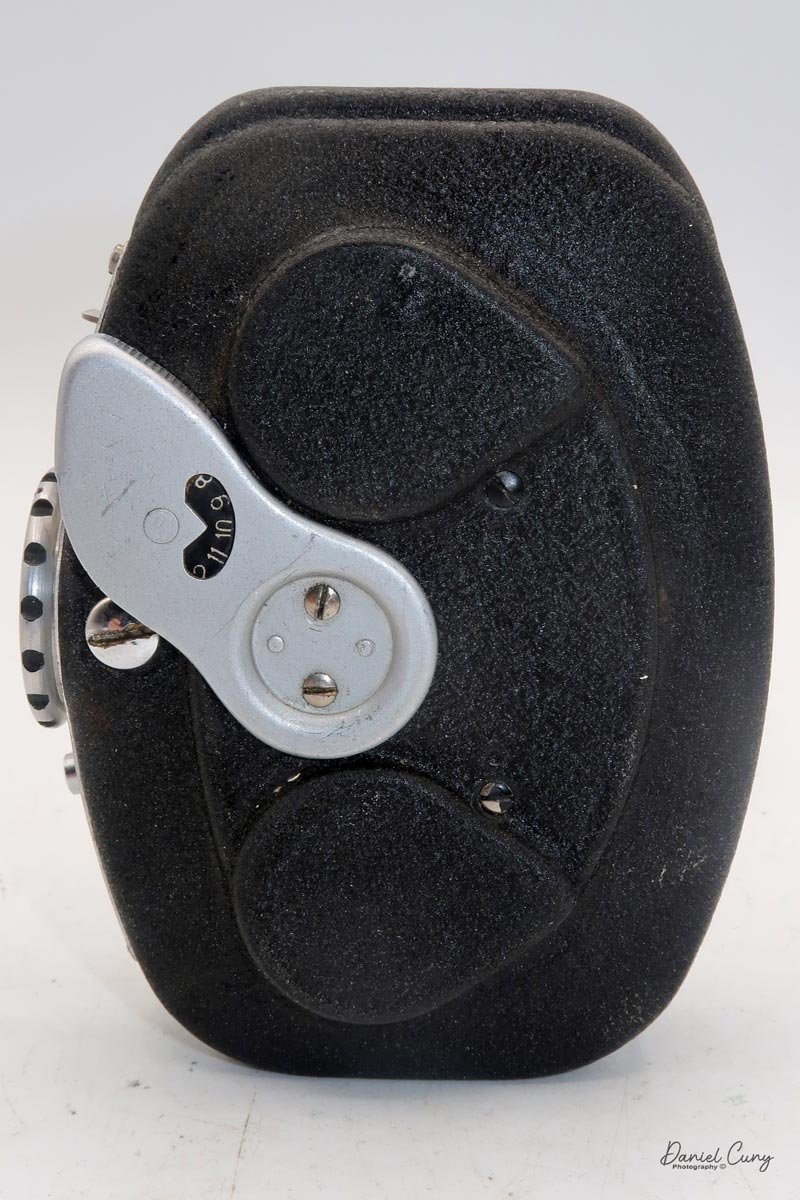
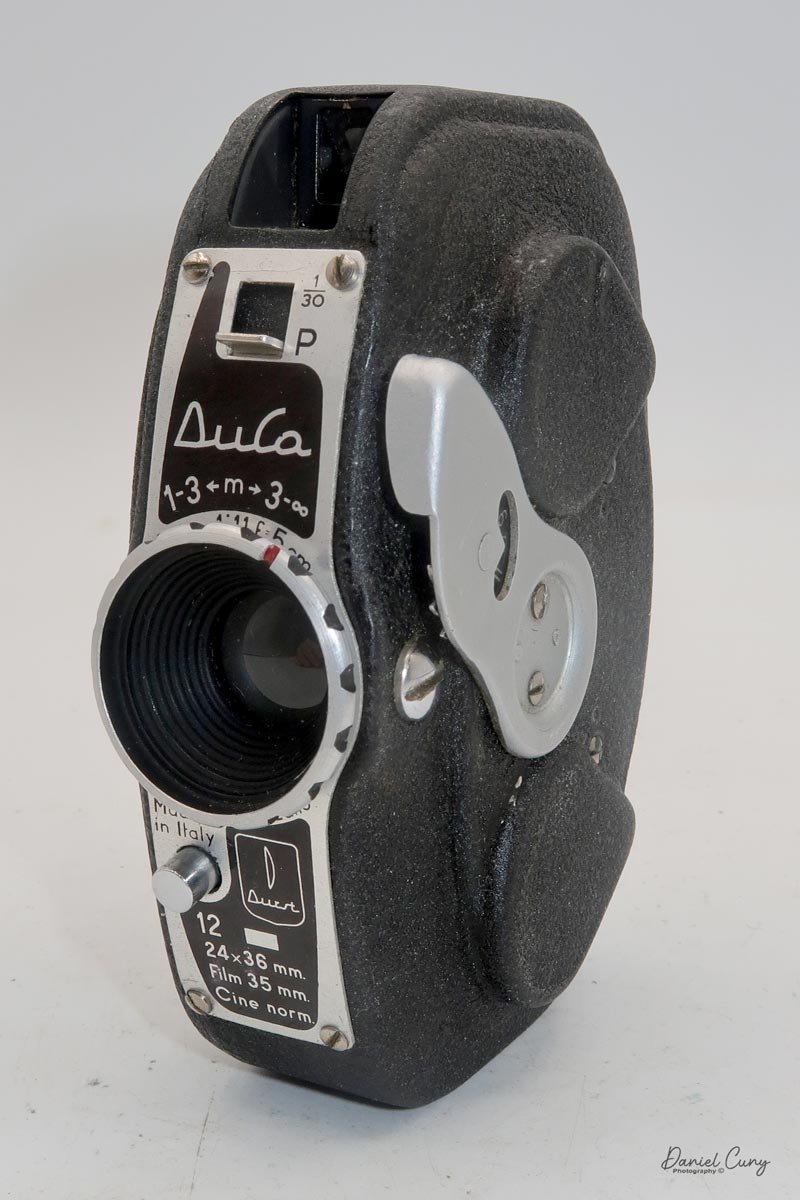
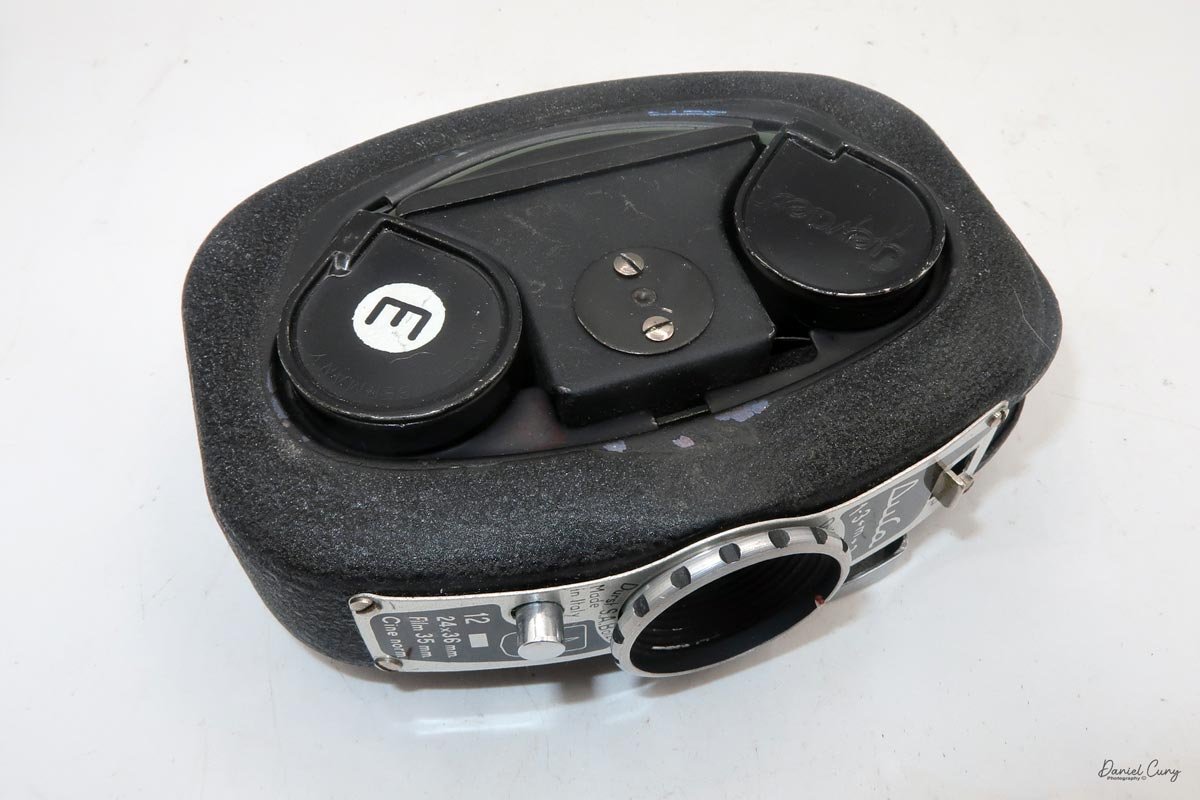
My Durst Duca camera.

I first saw the Durst Duca in McKeown's Camera Guide probably 30 years ago, and I can still remember my first instinct: this had to be a miniature camera. The tall, narrow body looked more like a tiny cine camera than anything that could handle standard 35mm film. With its vertical form, I assumed it used a 16mm cassette like a Minolta 16. So when I read that the Duca is actually a full‑frame 35mm camera, I was shocked.

 It just didn't seem possible. The camera looked too small and too skinny to hide a 35mm cassette sideways, especially with that unusual vertical format. For years, it stayed in the back of my mind as one of those oddball cameras I never expected to actually run across.

Finding My Duca

Being in the U.S., this little Italian camera rarely shows up at the usual places I haunt for gear—flea markets, garage sales, estate sales. On the big auction sites, I do see them once in a while. Still, they're usually priced higher than I'm willing to pay, especially once you tack on international shipping.

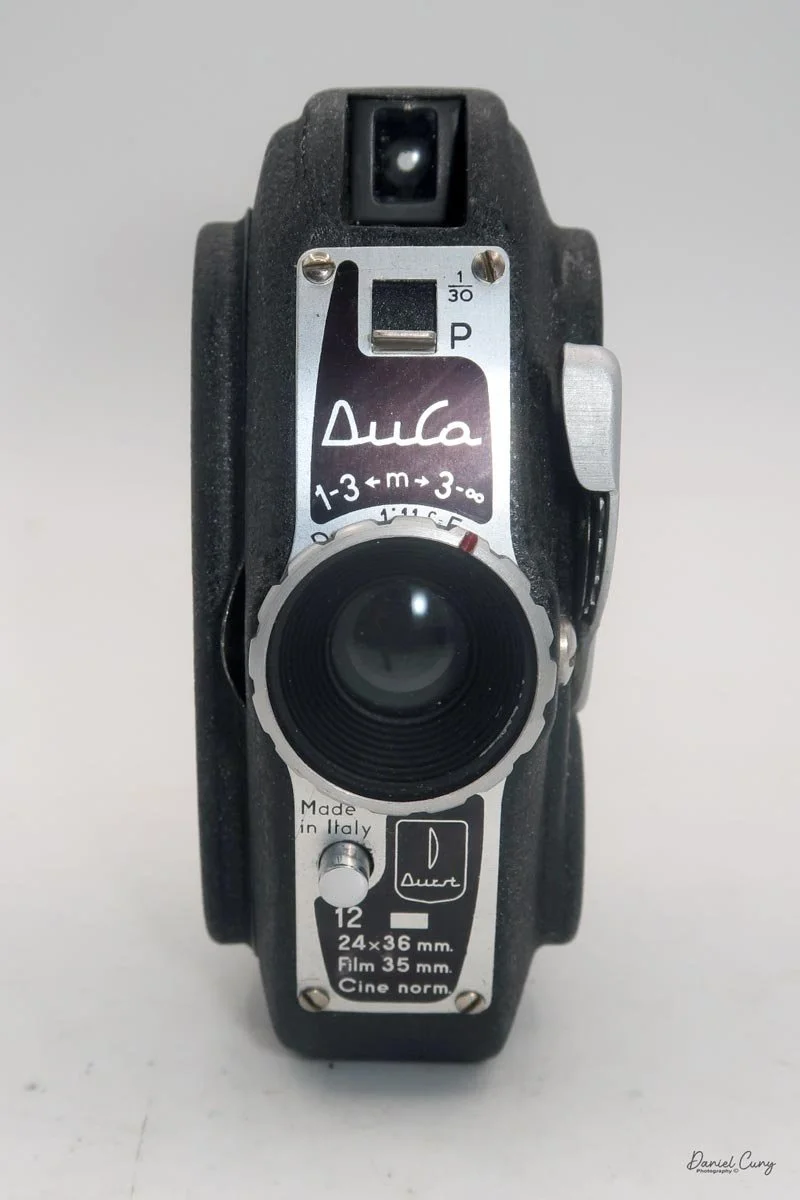
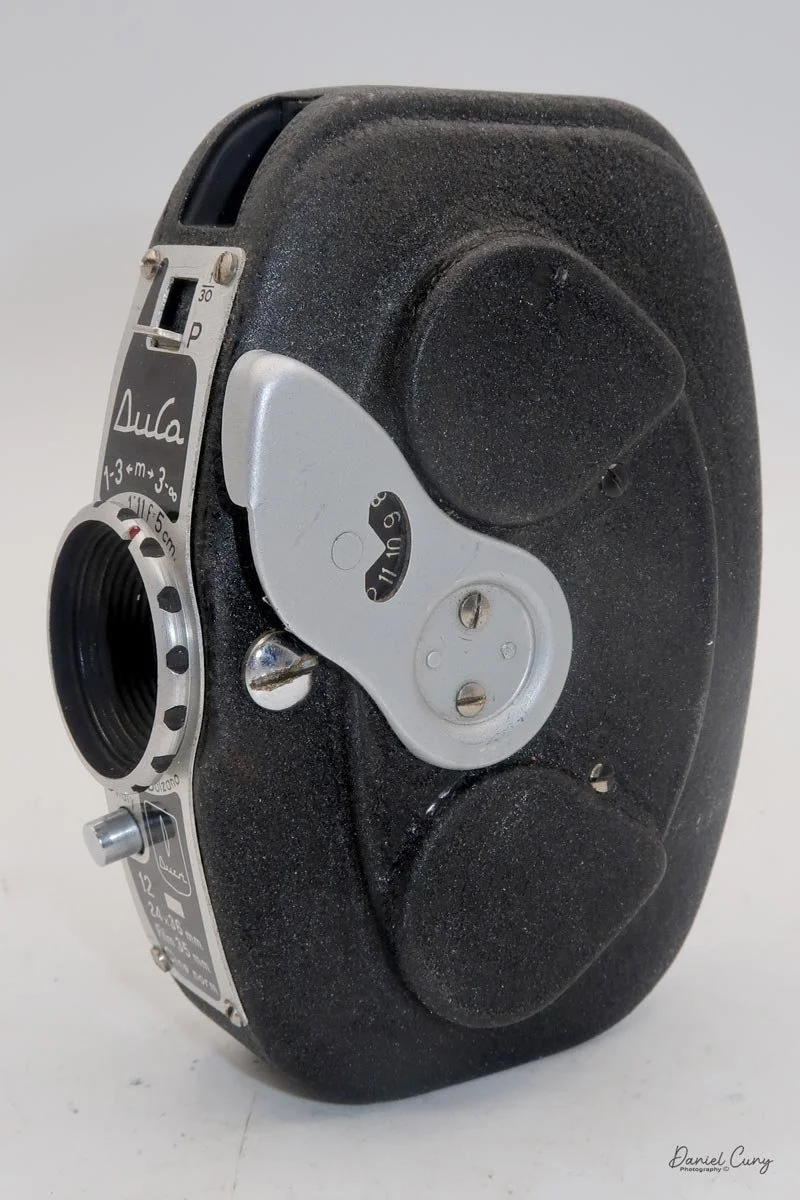
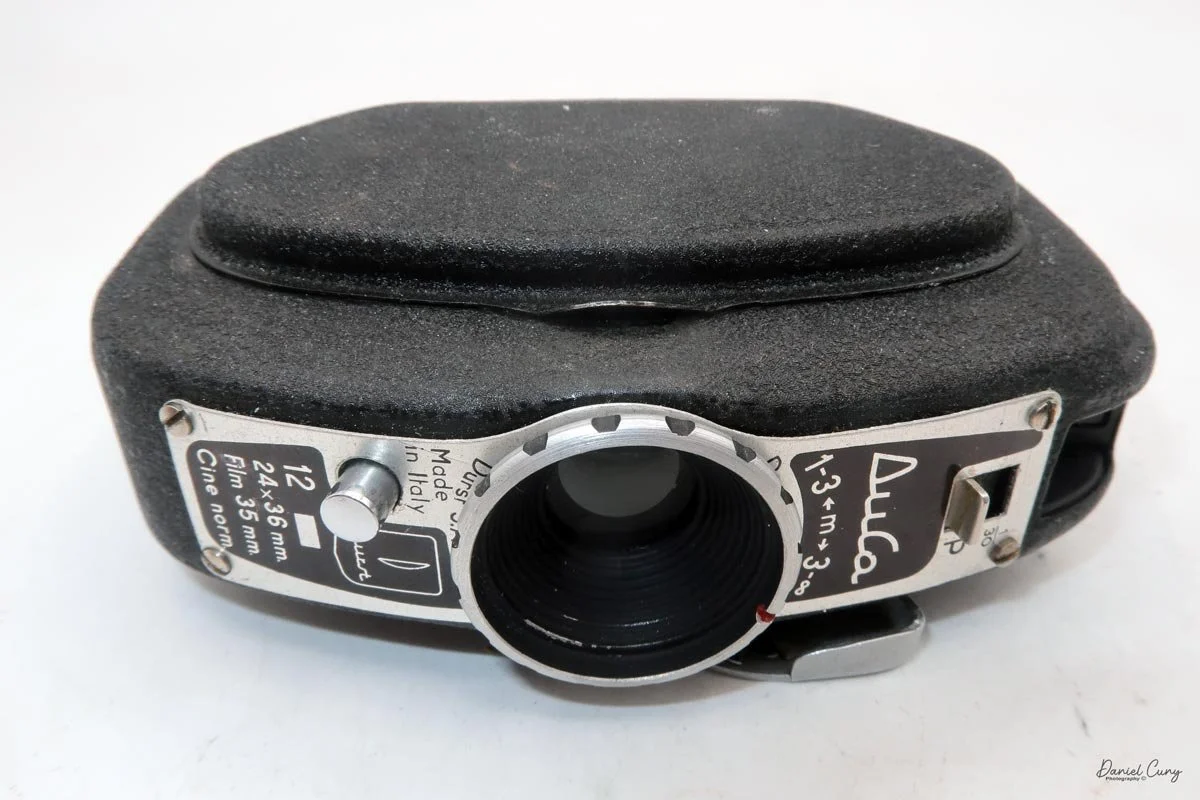
Front view of Durst Duca camera.

 When the auction was about to end, I logged in about 10 minutes before the finish. The price on the Duca had jumped up a bit, and I was outbid, so I nudged my max up—still on the low side—and watched the timer count down. No one else jumped in, and I ended up winning the camera.

The auction house shipped quickly. When I opened the box, I was still surprised by how small the camera is in person. It was even smaller than I'd pictured. I started to check it over, winding the advance lever on the side and cocking the shutter. I heard a faint click, but it was so quiet I wasn't sure the shutter was actually opening and closing.

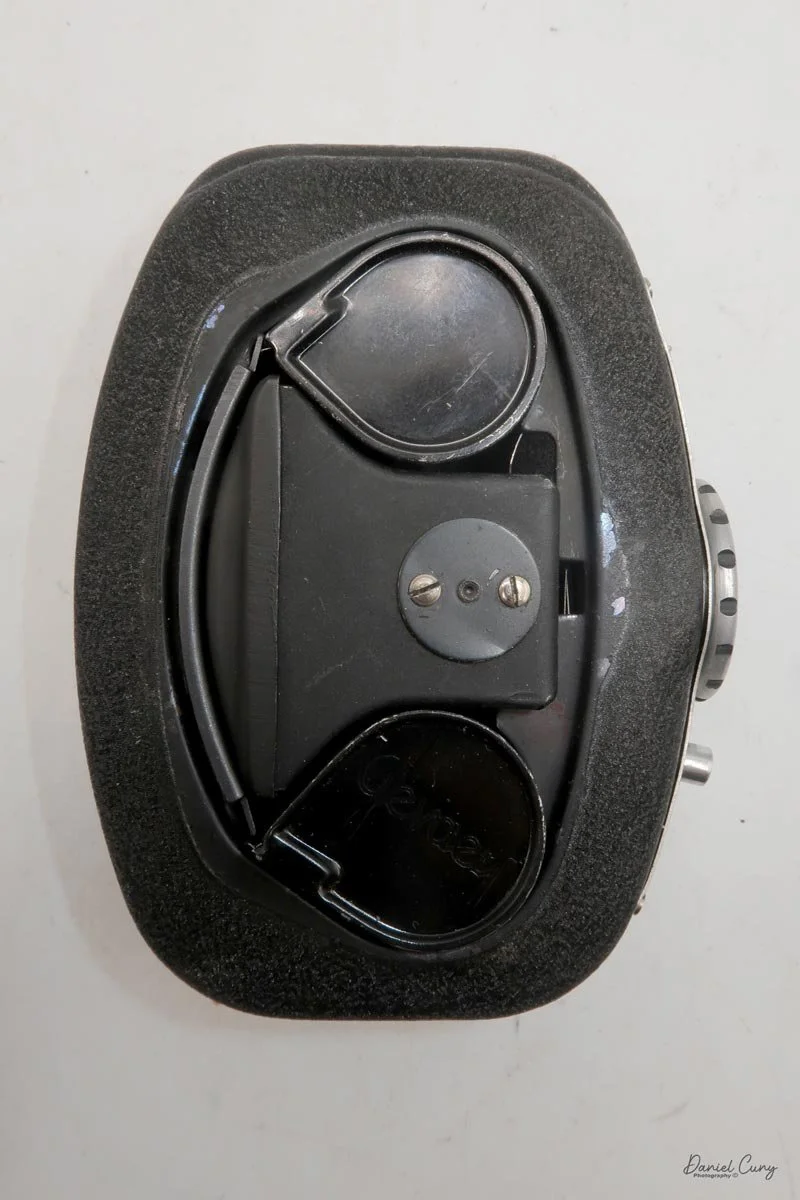
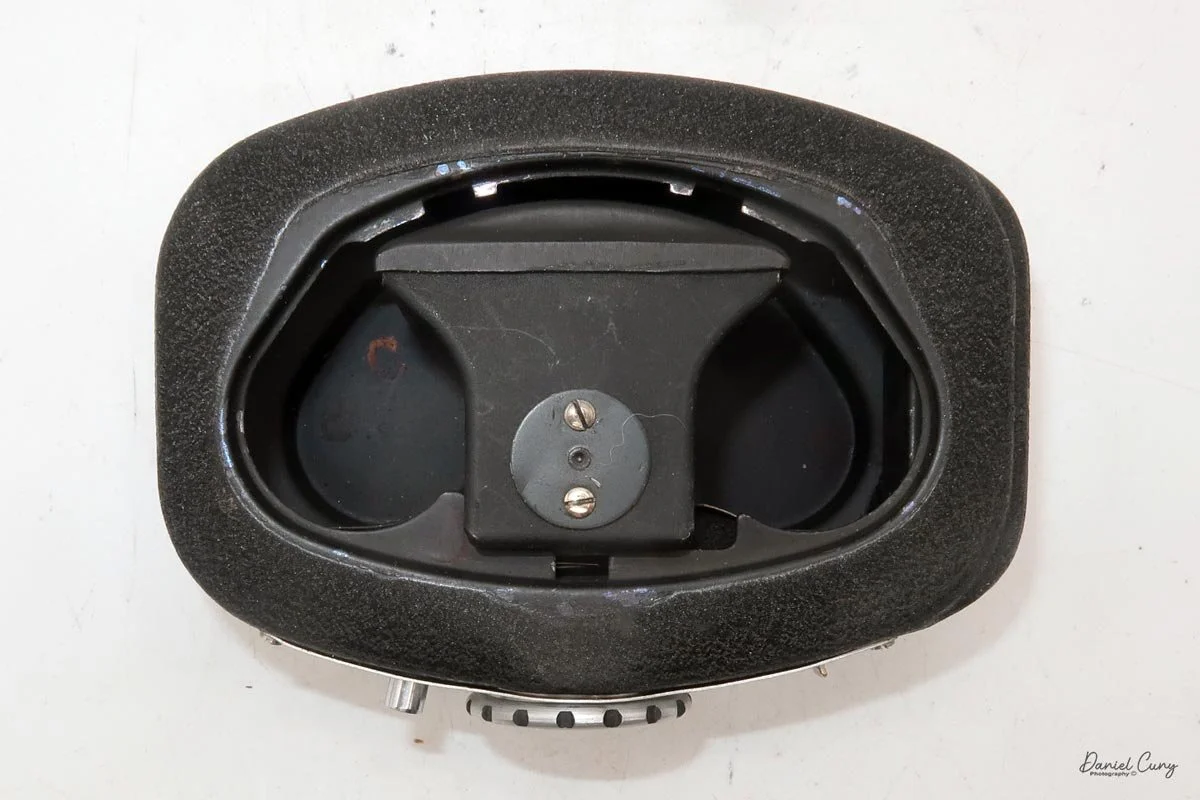
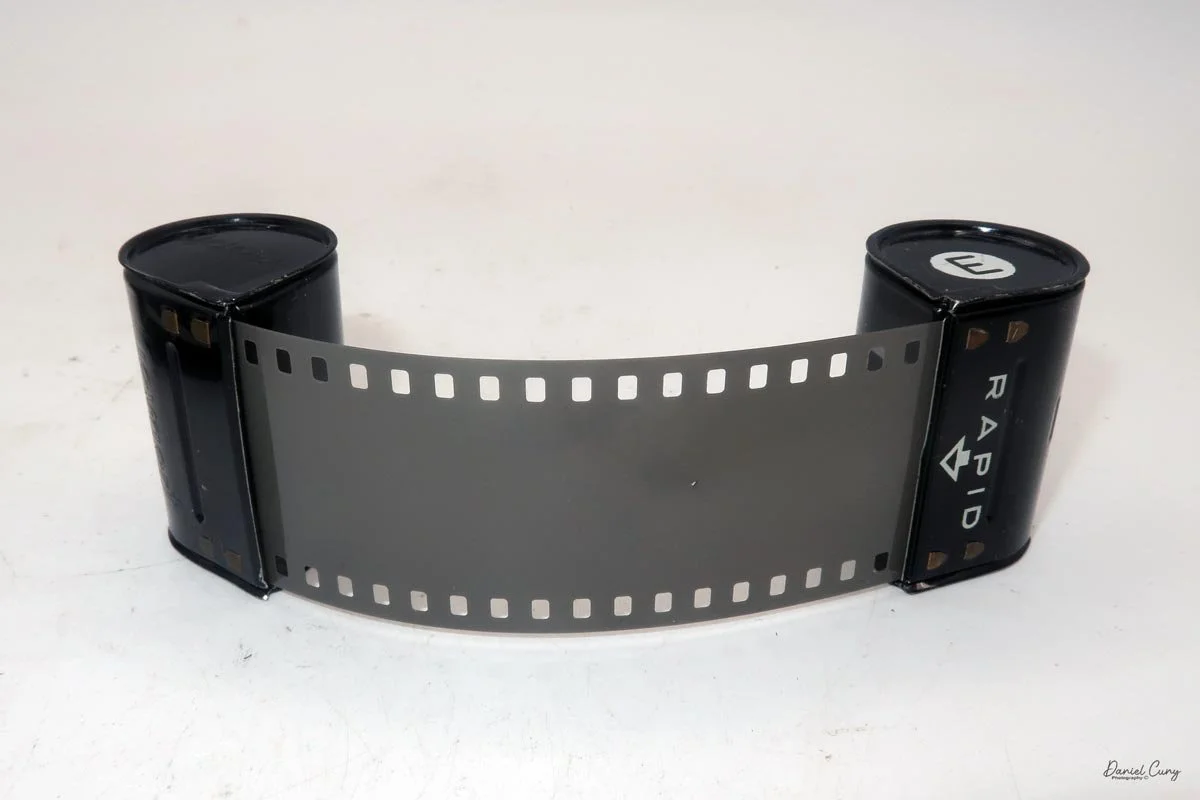
 I pulled the side of the camera off to get at the film chamber and saw that one of the two film cassettes was still inside—that was a nice bonus, since it meant I only needed to scare up one more cassette. Digging around in the drawer where I keep odds and ends of camera accessories, I found another cassette that would work.

 In my darkroom, I shone a flashlight through the lens and fired the shutter. At first, I saw no light at all, and my heart sank; I figured the camera might be dead. Then I noticed the pressure plate that holds the film flat against the rails. I pulled the pressure plate out, pointed the flashlight into the front of the lens again, and tripped the shutter. This time, I saw a brief flash of light through the gate—success. The shutter was working. That was the moment I decided the Durst Duca would be the camera I'd write about for this week's blog.

A Little Durst History

Durst is best known today for its darkroom enlargers. Still, for about 25 years, the company also made a small, innovative line of cameras that reflected the same experimental mindset they brought to the darkroom. Founded in 1936 in northern Italy by brothers Julius and Gilbert Durst, the firm quickly gravitated toward photographic equipment, especially enlargers, which eventually became its main business.

 Durst's camera story starts with the Gil, a simple 120 roll‑film box camera introduced in 1938 for the growing amateur market. After World War II, Durst resumed production of the Gil and then shifted toward more compact designs, setting the stage for its 35mm experiments.

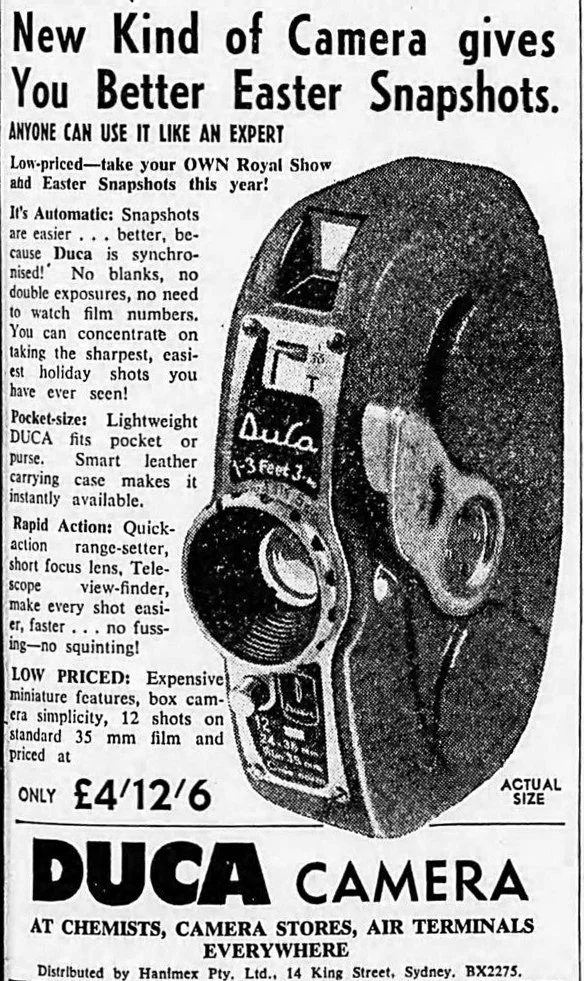
Australian Ad for Durst Duca camera

The Duca followed as a tiny 35mm still camera that used Agfa Karat cassettes instead of standard 35mm cartridges. That choice let Durst play with miniaturized body shapes: an oval, cine‑style form in a pocketable size, offered in several colors. This focus on unusual styling and packaging mirrored their enlargers, which often looked different from competitors but emphasized precision and usability.

 Next came the Durst 66, a modestly specified camera with an unconventional shutter and a quirky way of measuring exposure. You can already see Durst thinking outside the box, trying to rethink mechanisms rather than just copying others' work.

 All of that leads to the Durst Automatica, made from 1956 to 1963 and often regarded as the first 35mm camera with aperture‑priority automatic exposure. It used a pneumatic shutter derived from the Durst 66 and wrapped it in a very elegant body. For such a small camera line, it was an ambitious finale and shows how far Durst was willing to push design and automation.

My Durst Duca

The Durst Duca was introduced at the Milan Trade Fair in September 1946 and stayed in production until around 1952. It's a vertical‑format, full‑frame 35mm camera that uses Agfa Karat cassettes, and it was available in five colors: black, blue, red, white, and brown. I've only ever seen the black, blue, and red versions in photos. Still, now that I know more are out there, I'll keep an eye out—even if I suspect the more unusual colors will be priced higher than I'm willing to pay.

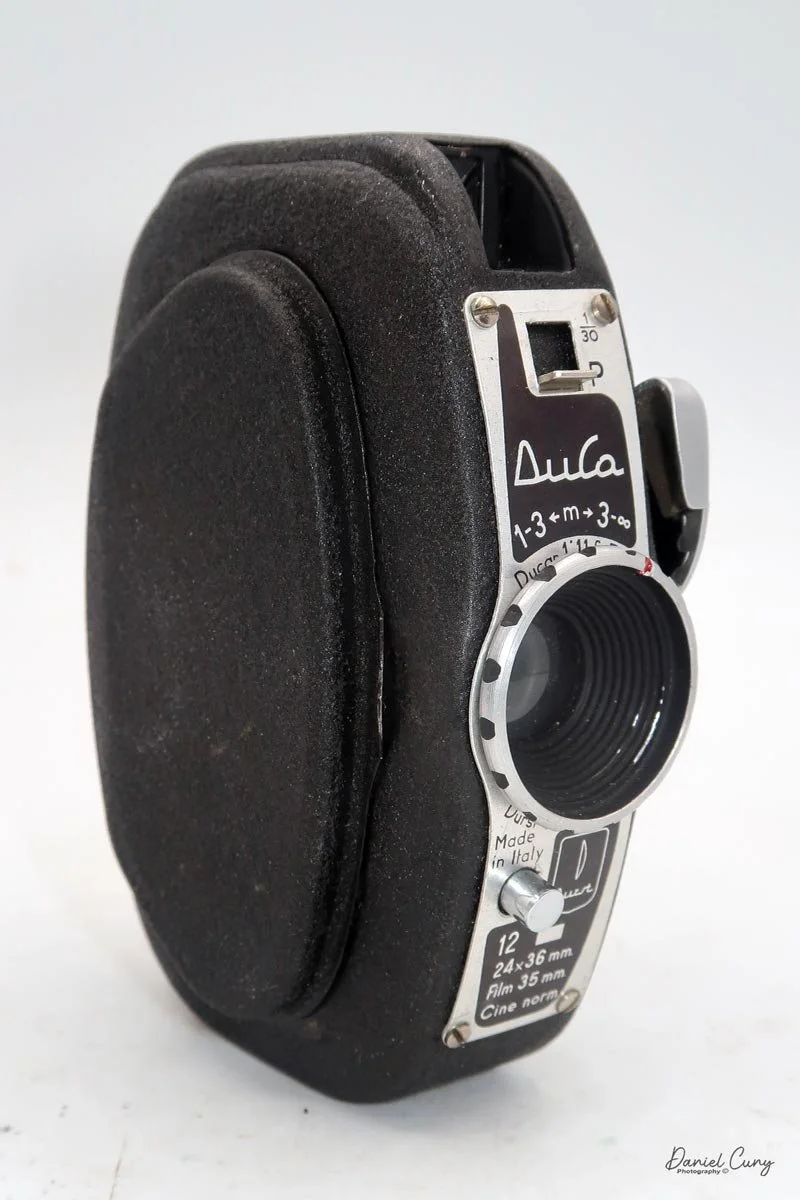
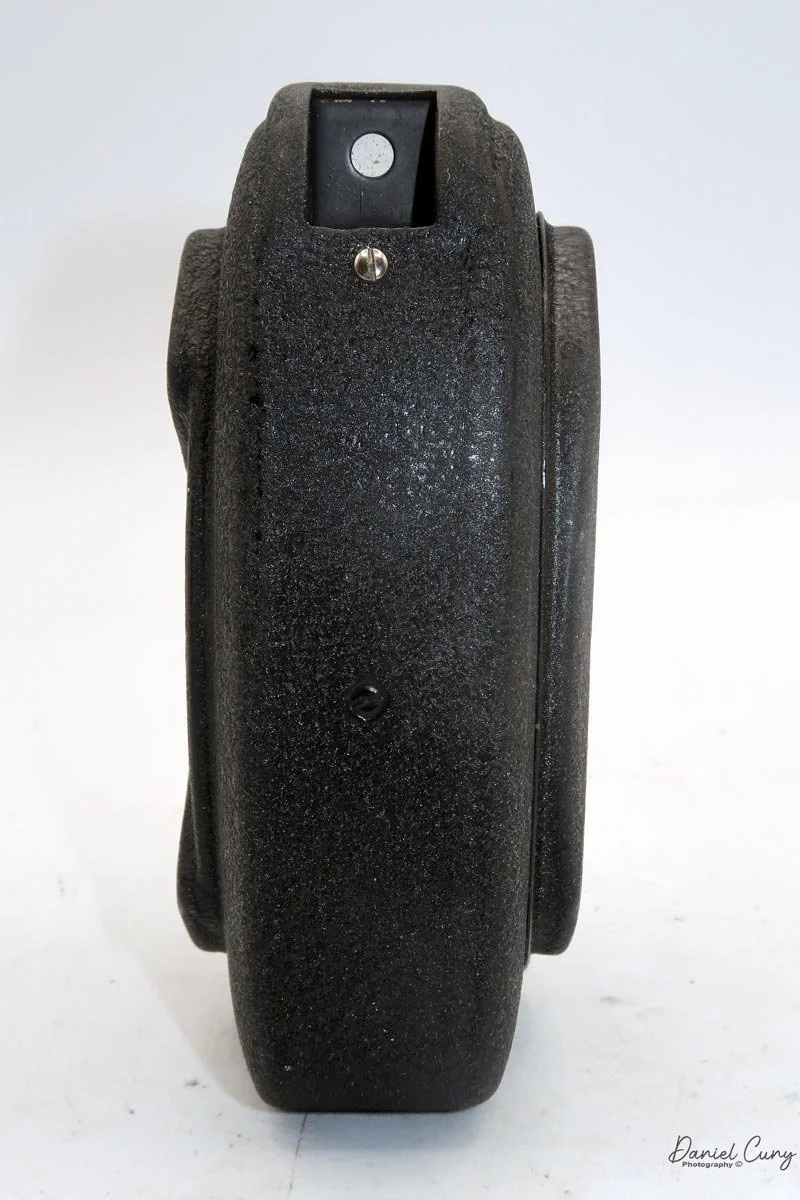
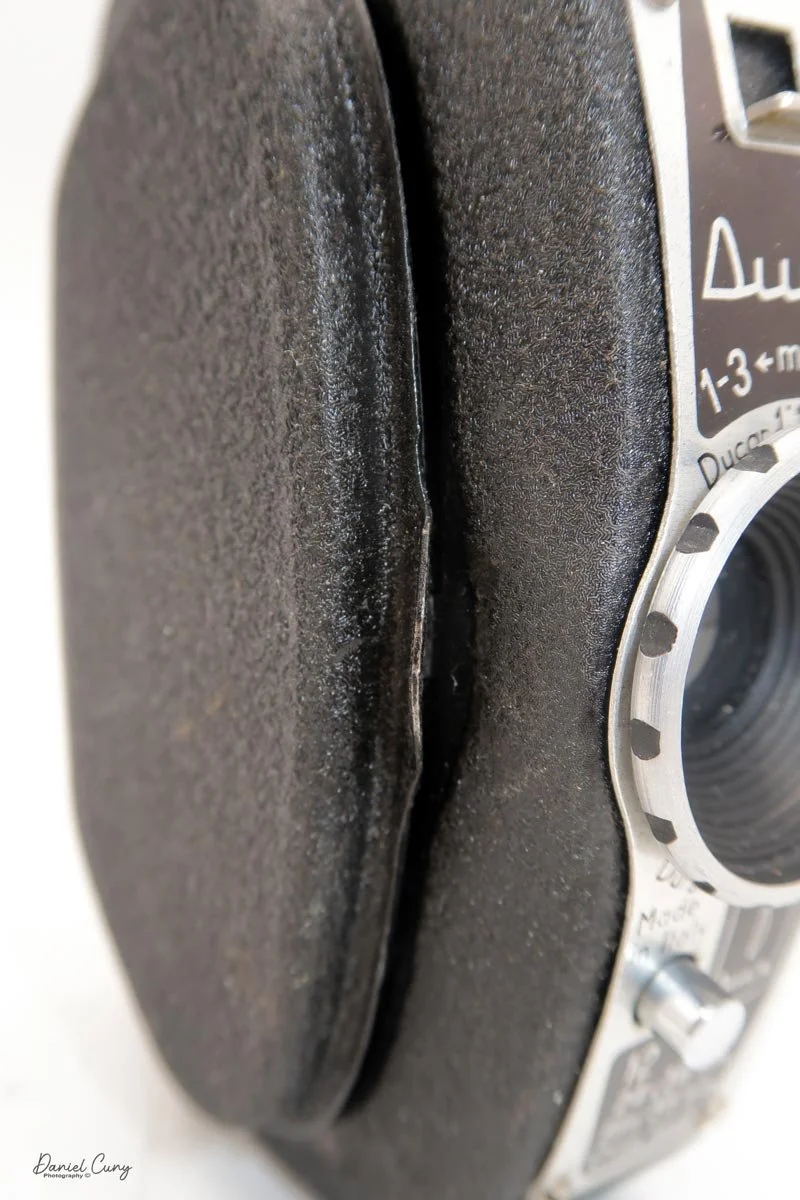
Physically, the Duca is tiny: only about 4 inches tall by 3.25 inches deep and just over 1.5 inches wide, and it weighs 10.1 ounces with the cassettes in place. The body is nicely rounded and fits well in the hand—definitely a camera you could drop in a coat pocket and forget about until you need it.

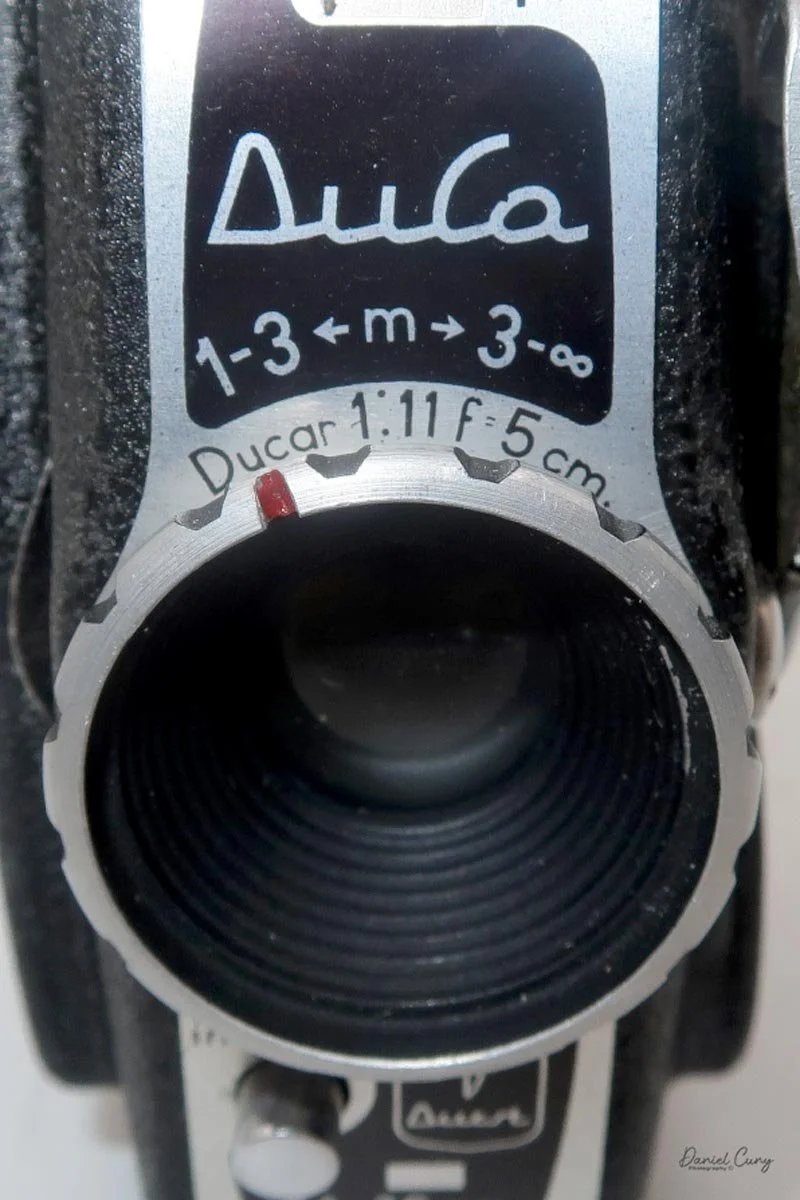
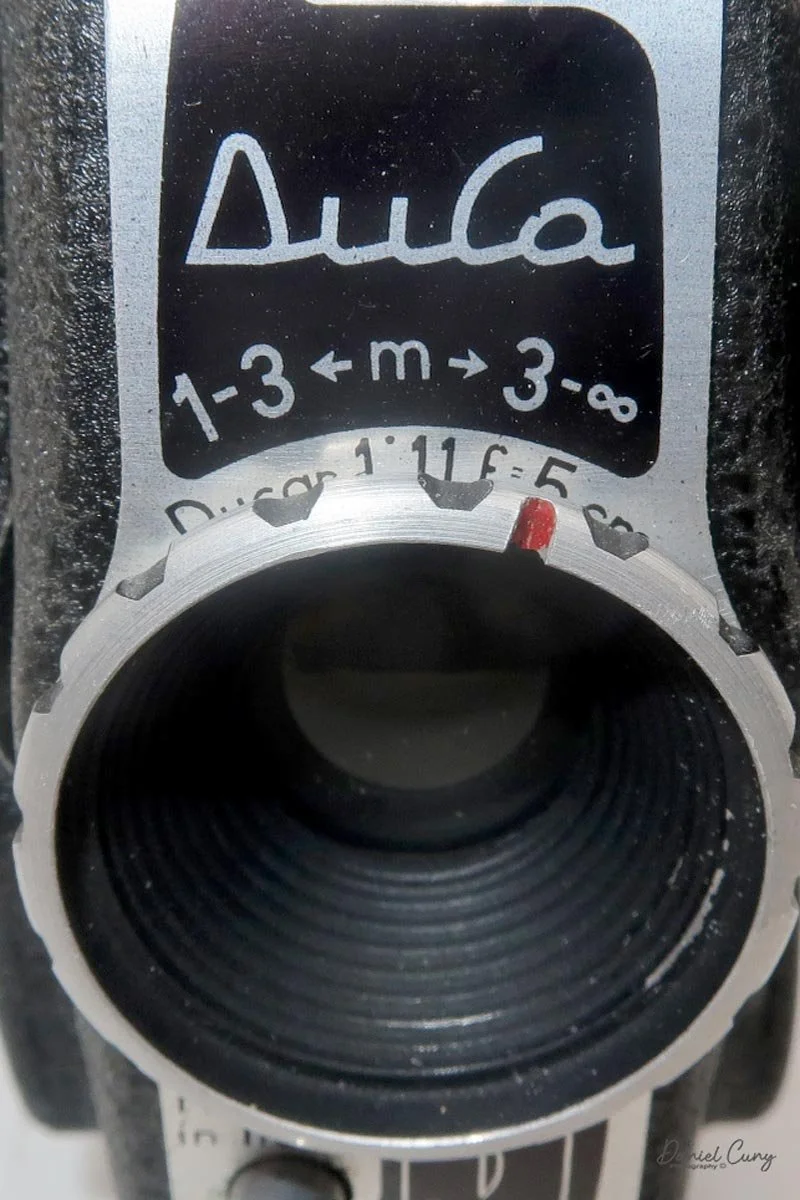
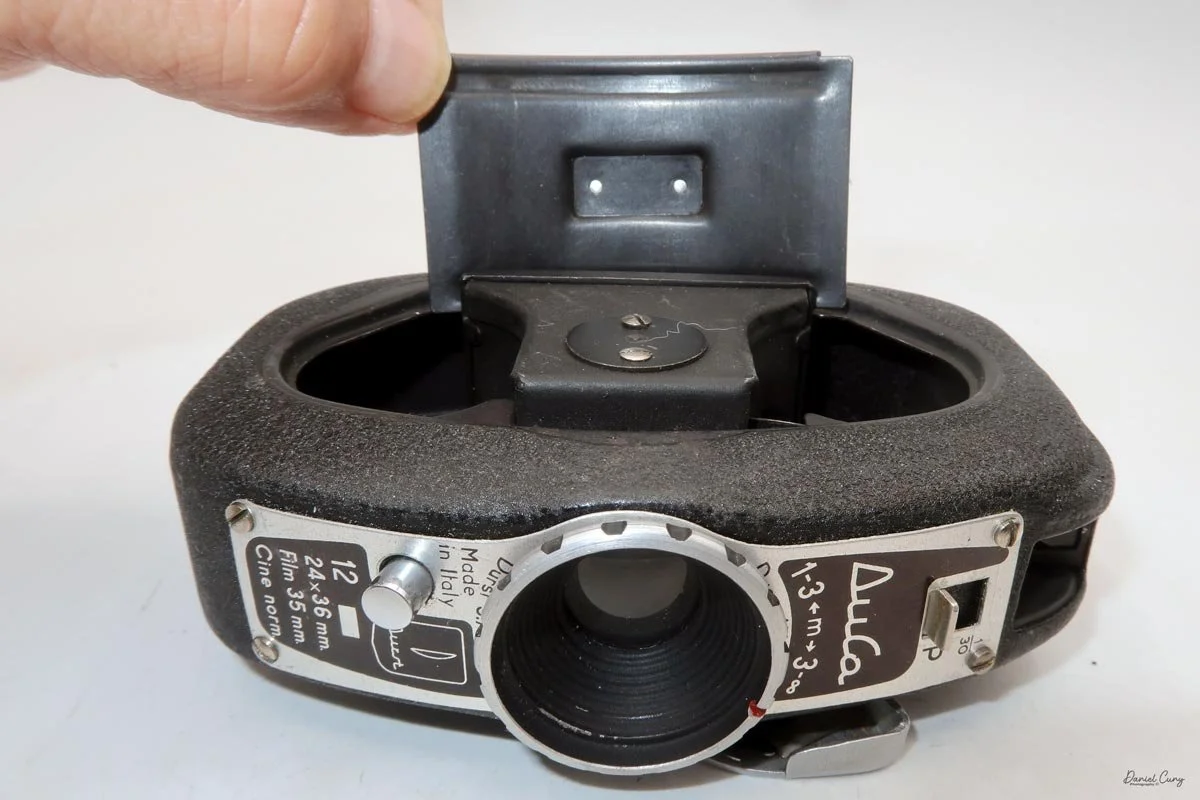
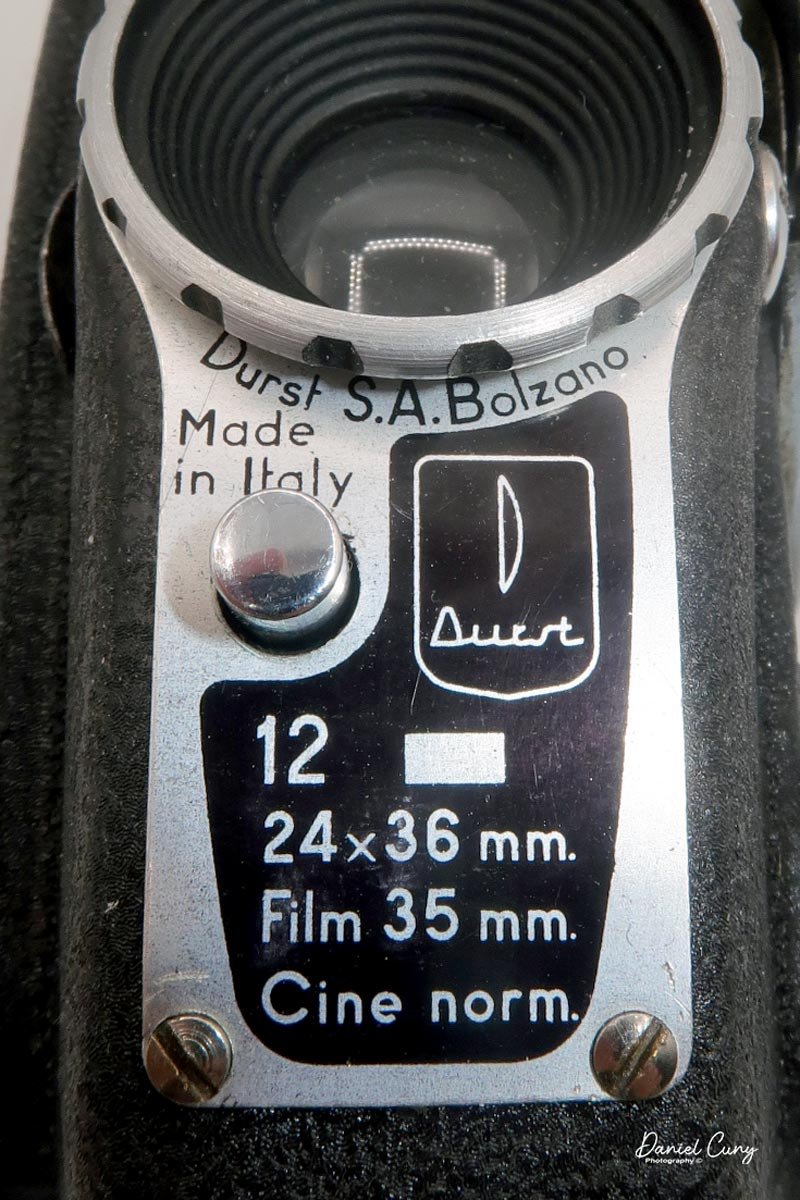
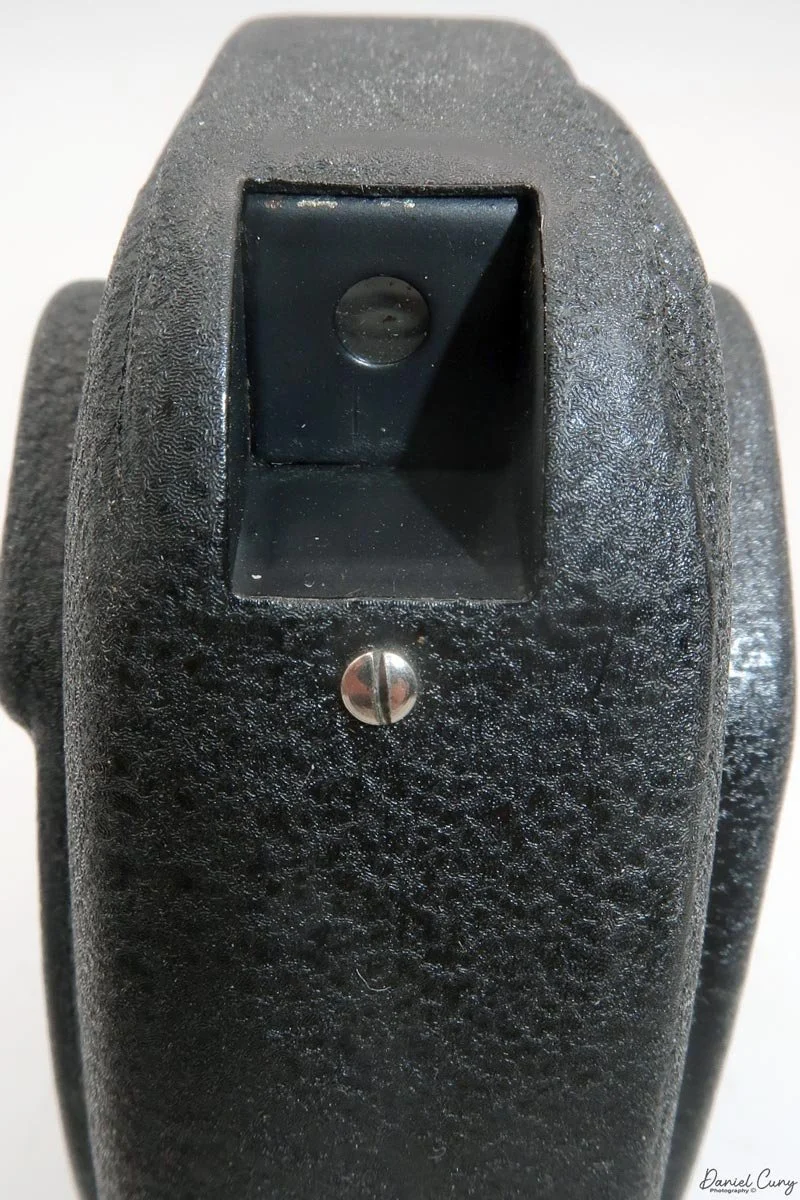
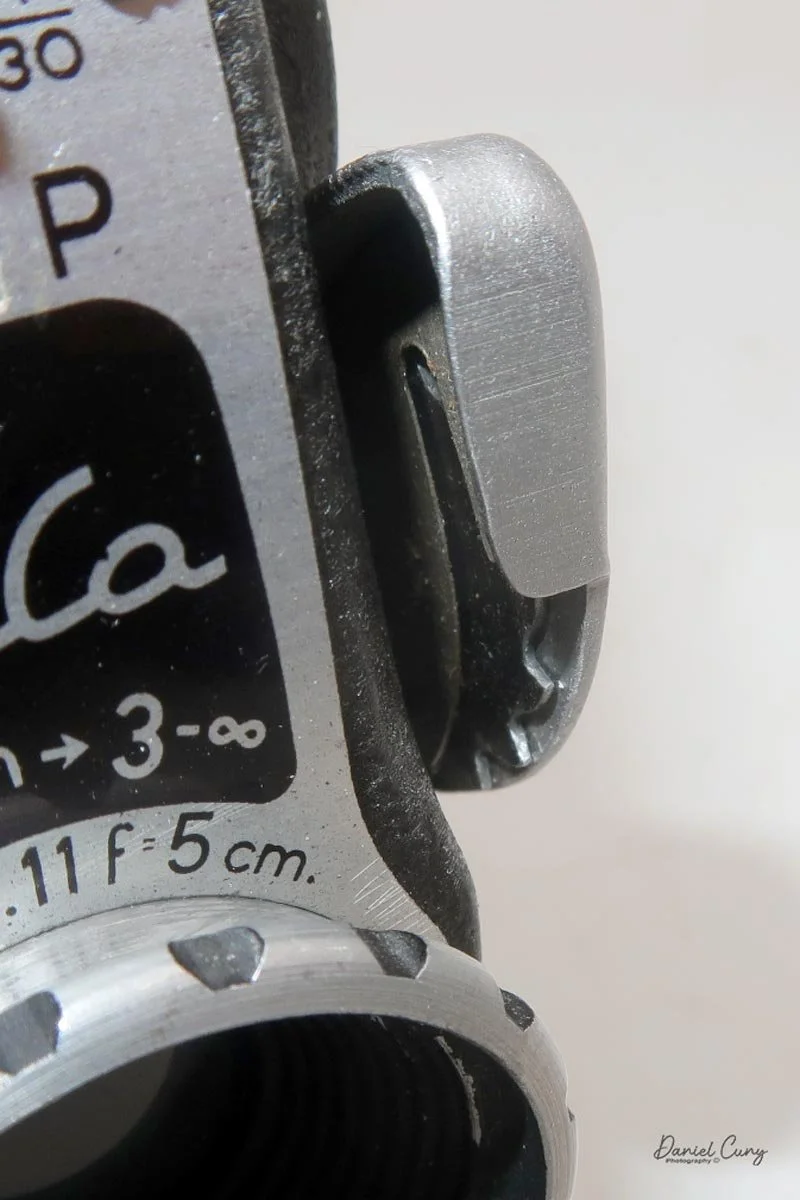
 The camera is very basic. The lens is a fixed 5 cm, f/11 meniscus design, though a rarer f/8 version is supposed to exist. Shutter speeds are limited to just two settings: 1/30 of a second and "P" for timed exposures. A small switch on the camera's faceplate, just below the viewfinder, sets the speed. I've also seen a version where the speeds are marked "I" for instant and "T" for timed. My guess is that mine is a later version, but I can't say that for sure.

 Focusing is done in only two zones. You can set the lens for 1–3 meters or 3 meters to infinity. To focus, you turn the outer ring of the lens until the red line points to the distance you want.

Loading Film and Getting the Duca Ready

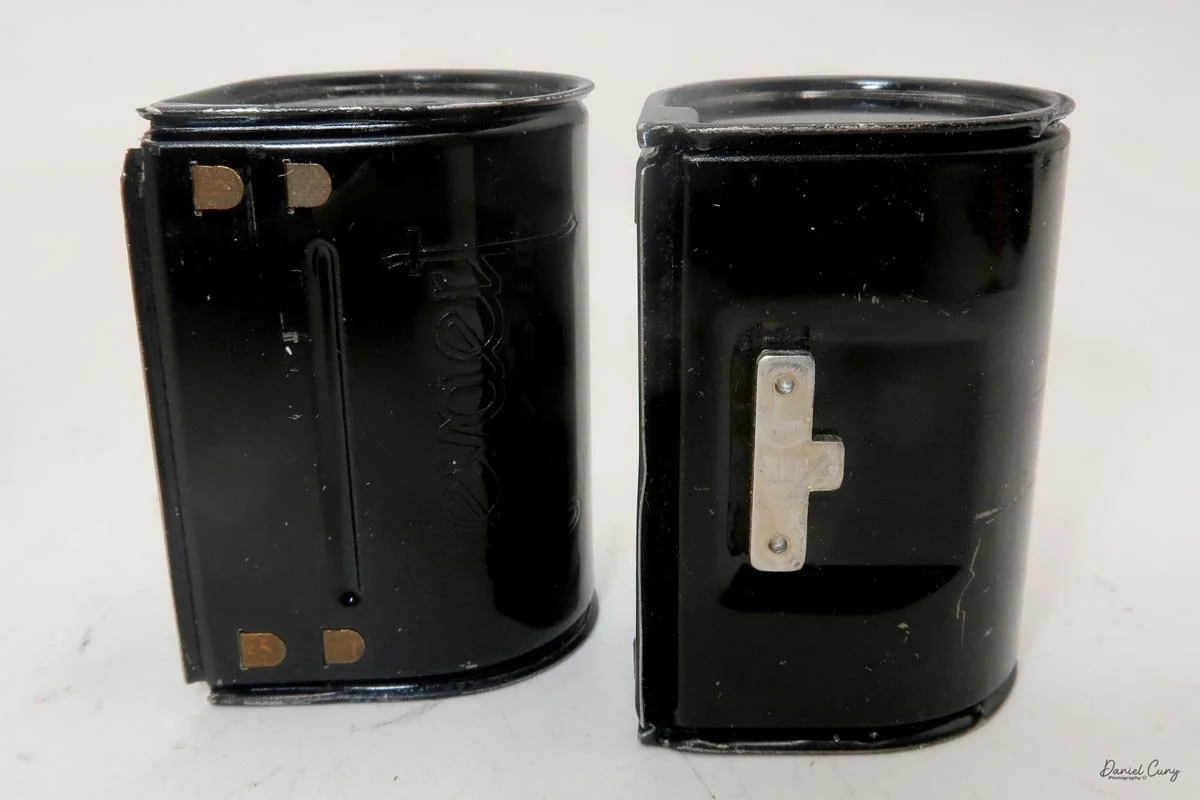
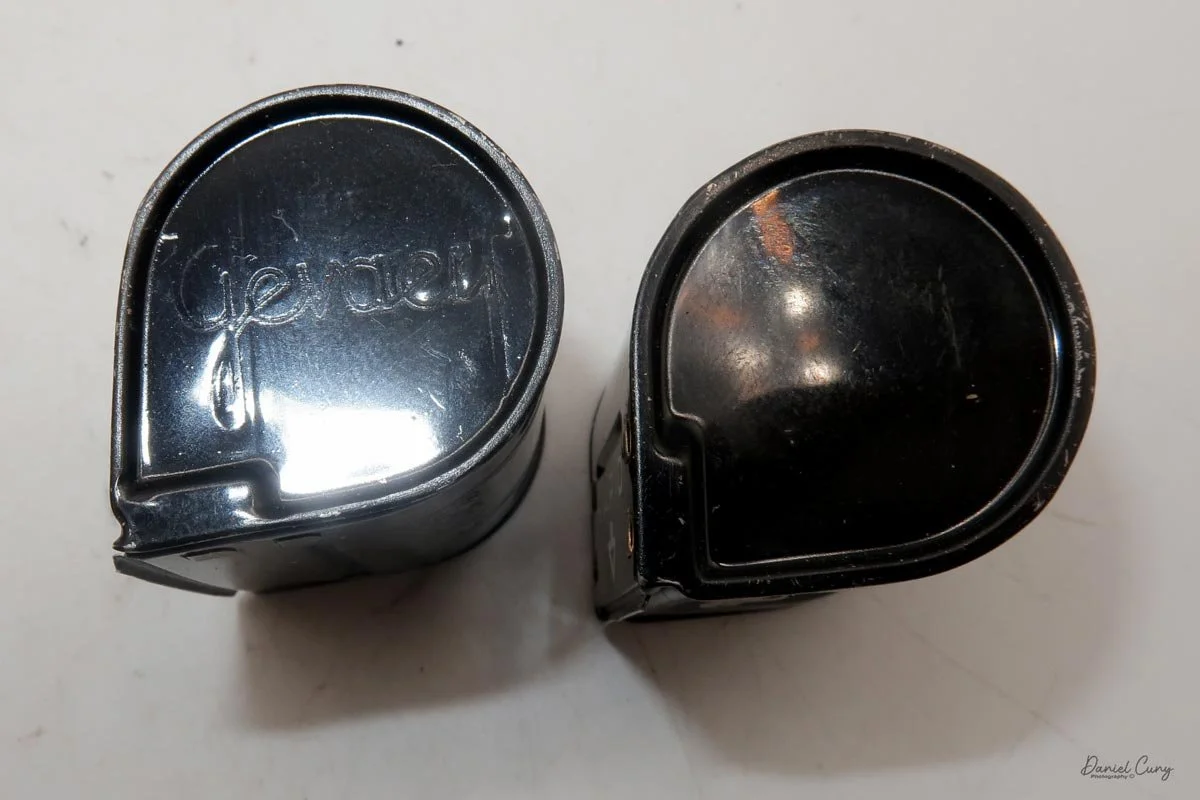
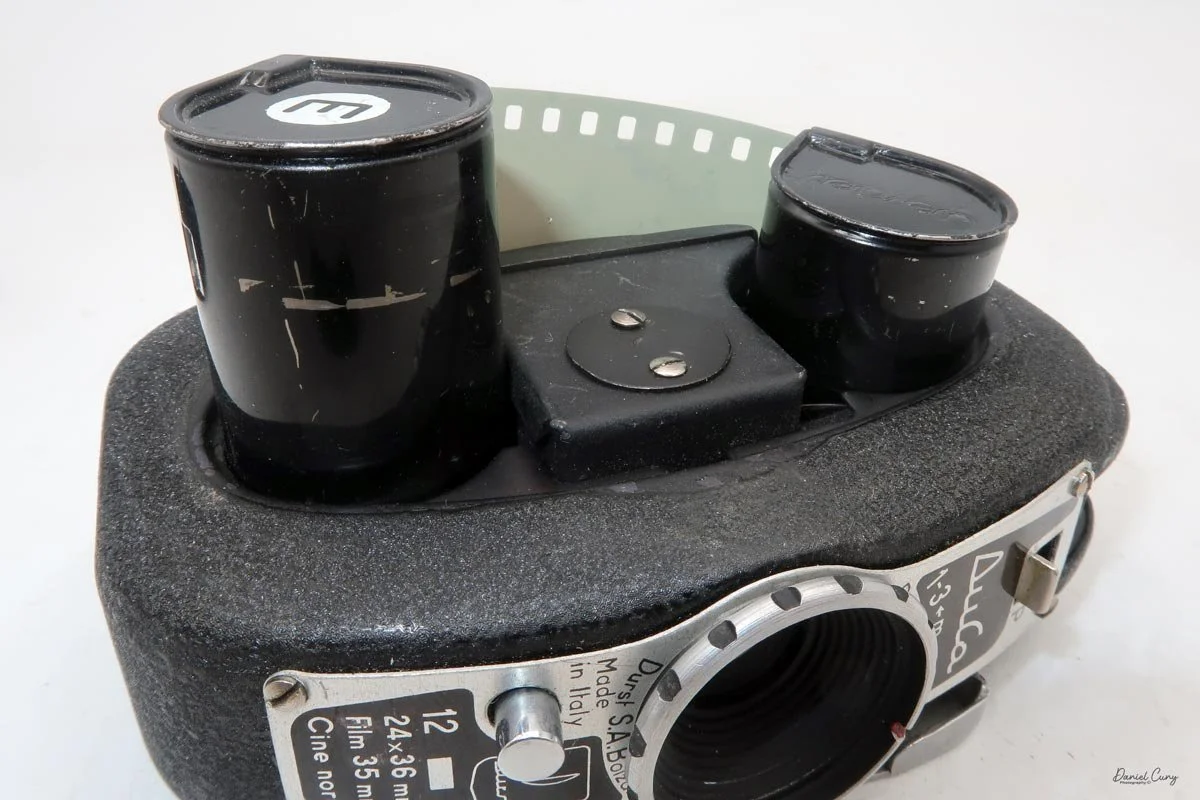
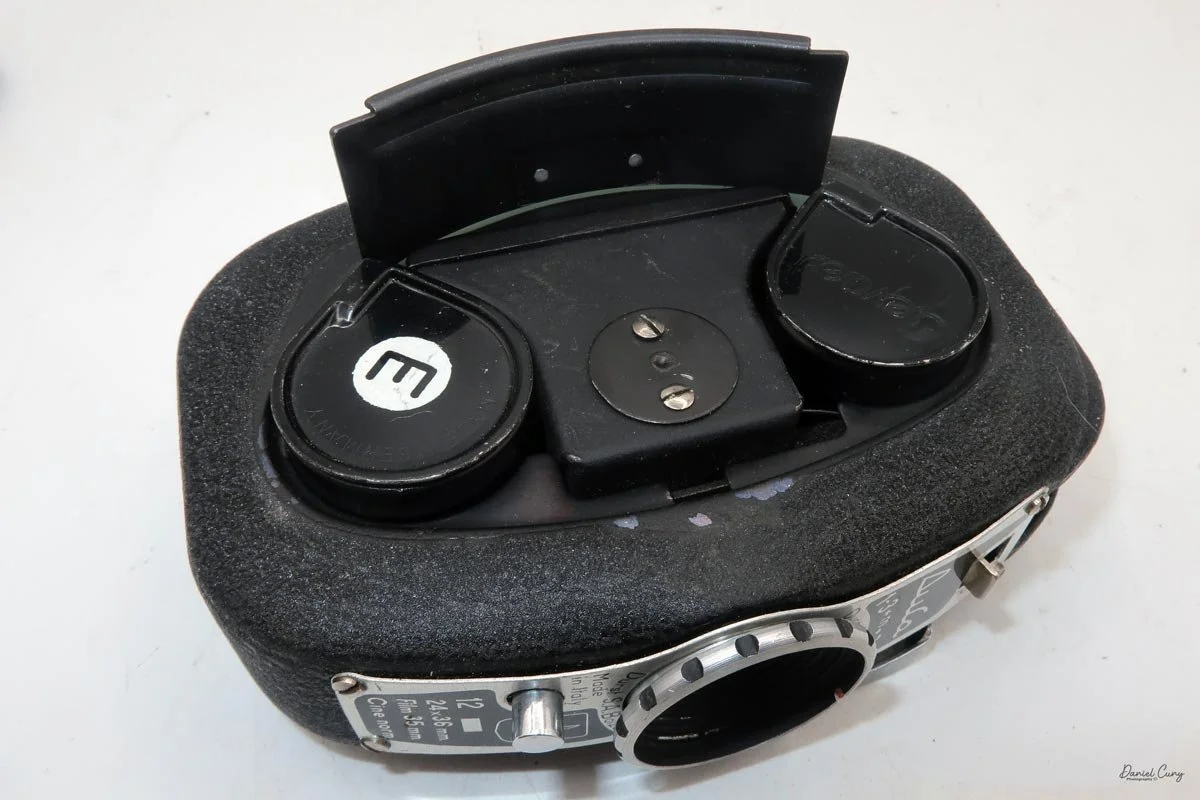
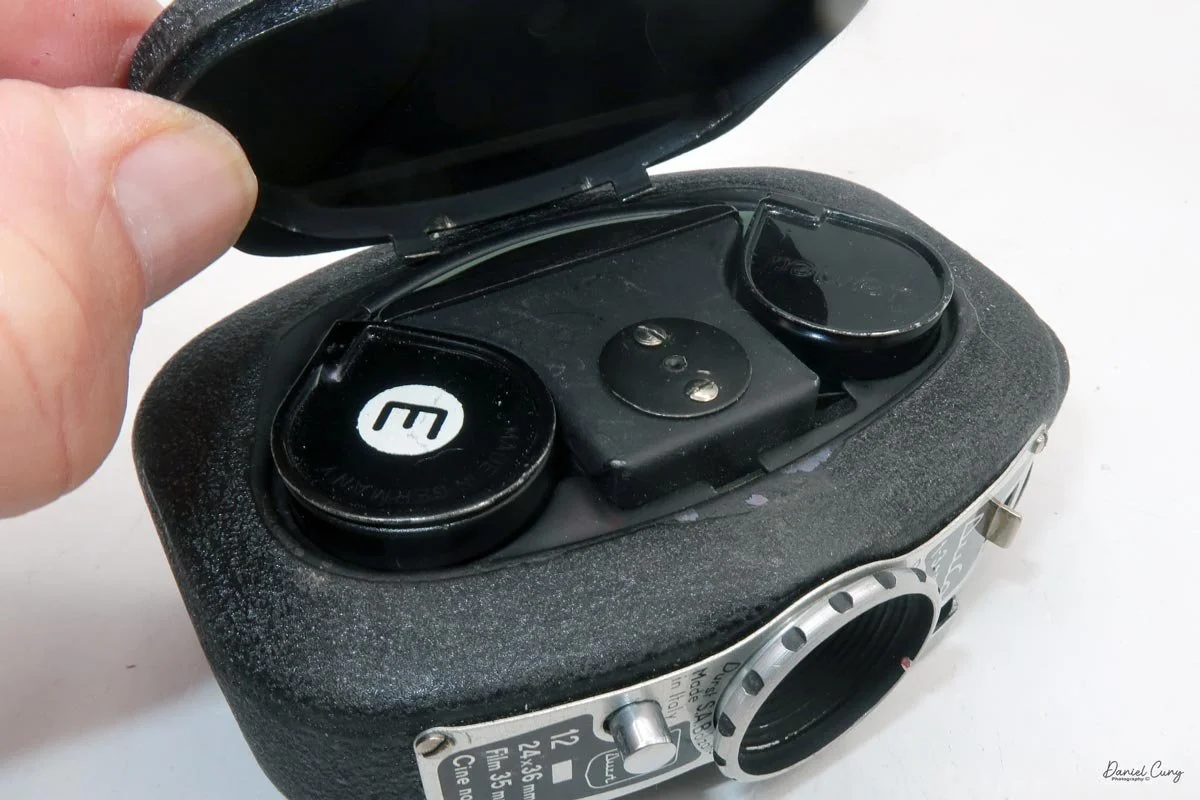
To open the camera for loading, there's a small curled‑up lip on the right side of the body that you lift to swing open the film door. Inside, you'll see the two Agfa Karat cassettes. They pop out along with the pressure plate, which sits just behind the film gate and pulls straight up and out for loading.

 As mentioned, the camera takes Agfa Karat cassettes. When these were sold new, each roll of 35mm film was cut for 12 exposures, and the front of the camera proudly states that it takes 12 photos per roll. Since I have bulk 35mm film and two cassettes, I loaded my own.

I put one of the cassettes and my bulk loader into a dark bag. Inside the bag, I opened the loader, pulled out what I guessed would be enough film for 12 exposures, and added a bit more to be safe. I fed the film into the first cassette and closed up the loader, leaving a short length to thread into the second cassette. Then I unzipped the dark bag and removed the loaded cassette.
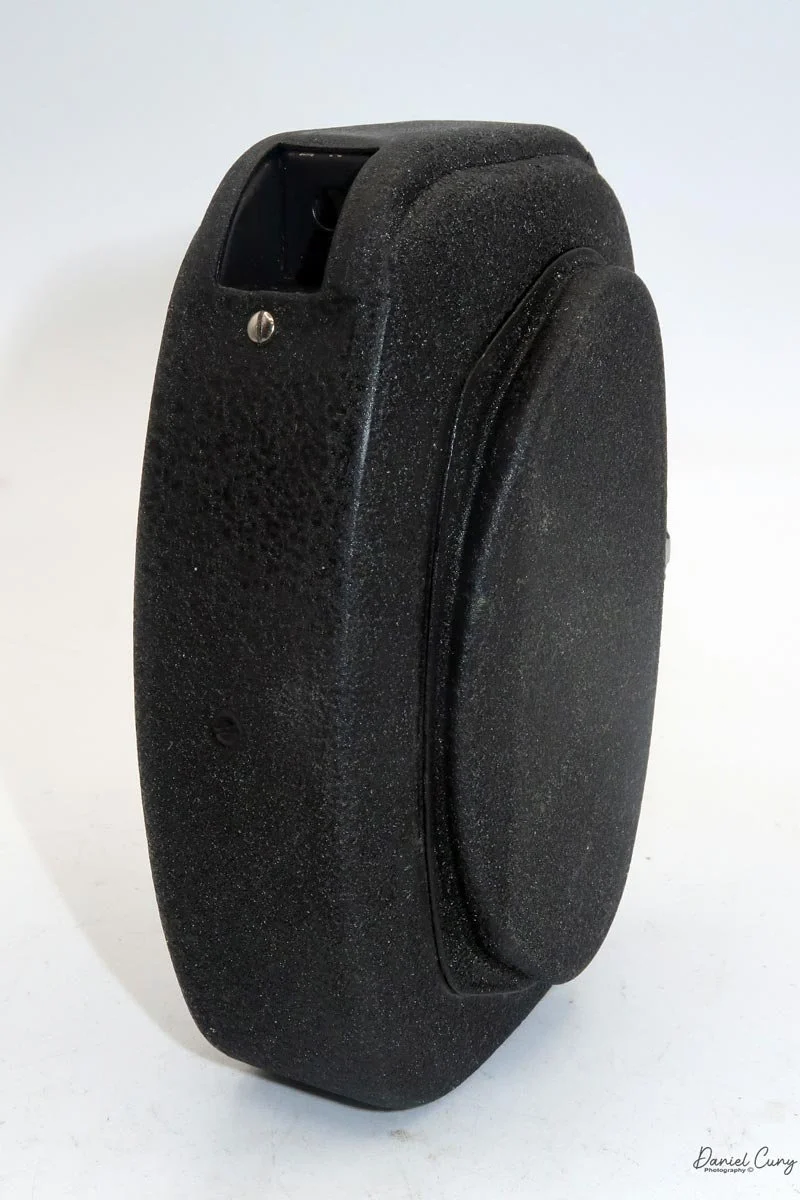
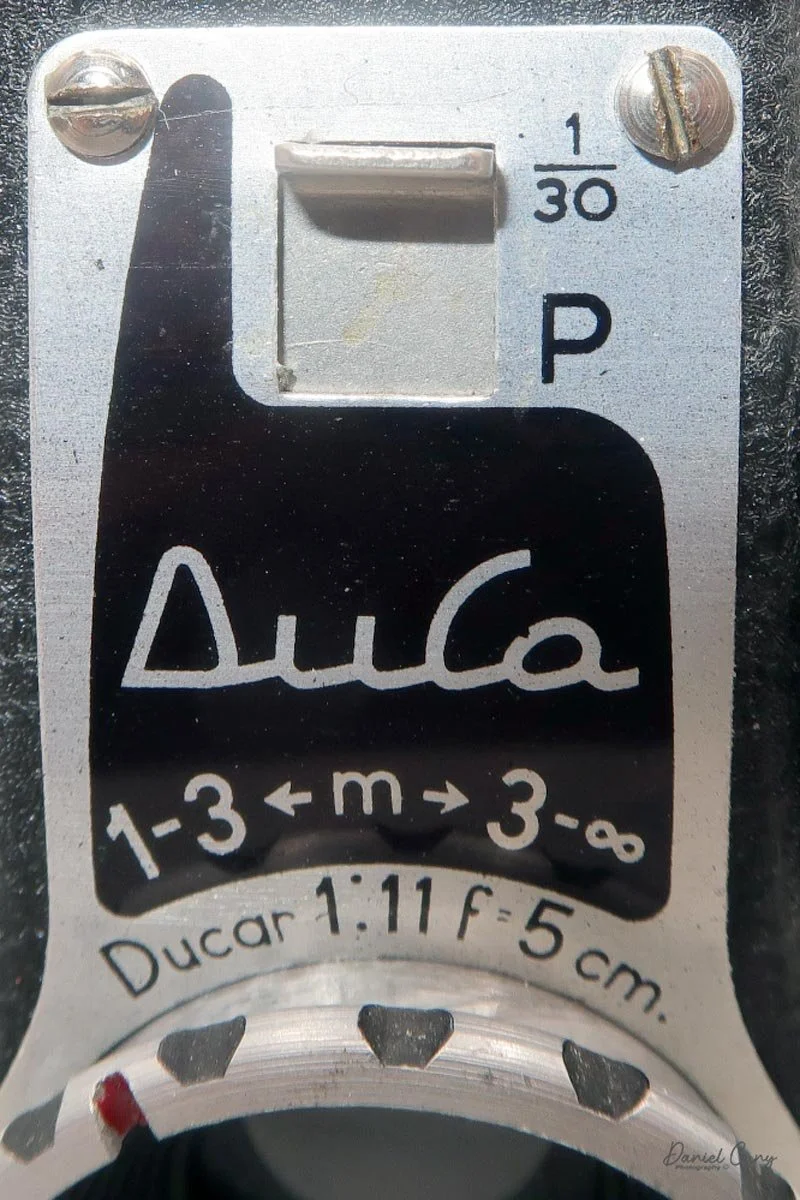
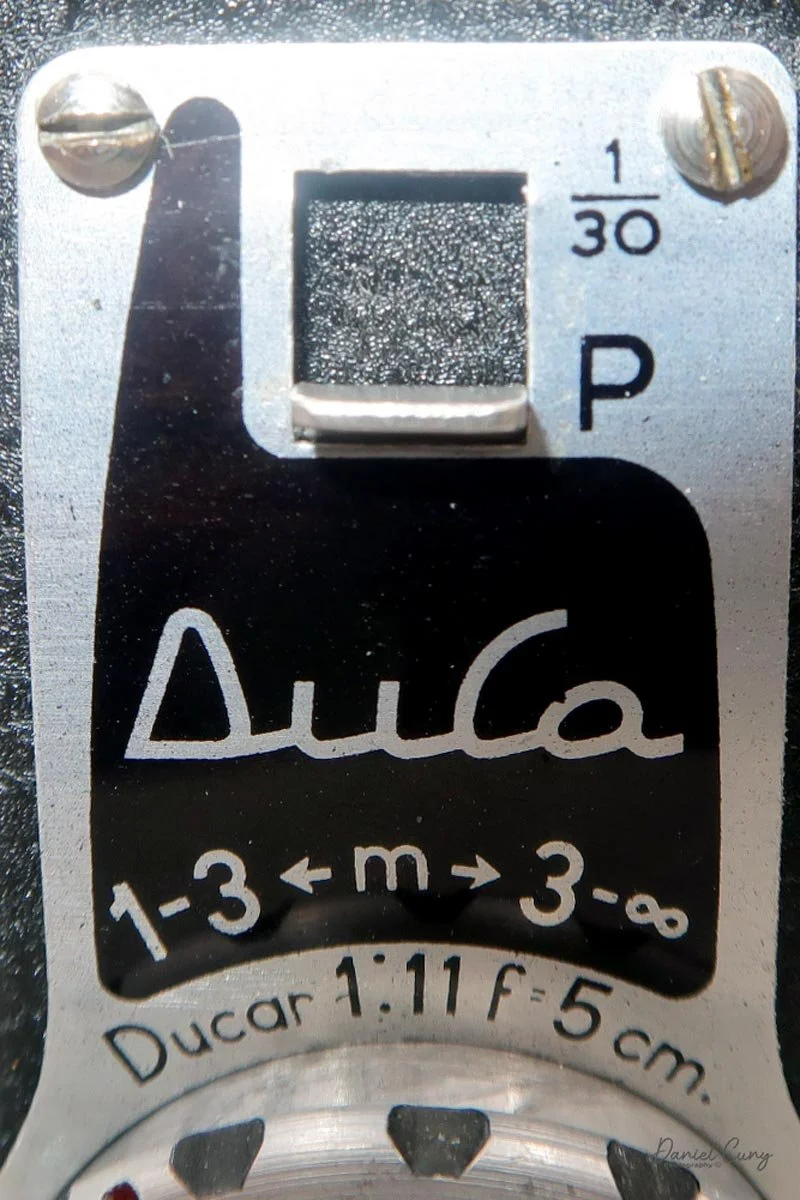
In the light, I could now feed the end of the film from the first cassette into the second one, slide both cassettes into the side of the camera, and drop the pressure plate back into place, making sure the film sat flat against the gate. Before closing the door, I advanced the film a bit to confirm that it was transporting. With the cassettes and pressure plate removed earlier, I'd noticed a small brass pin—very similar to the one in the Ansco Memo—that pops out, grabs a film sprocket, and moves up to advance the film.

Once everything looked right, I swung the back door into position and pressed it firmly against the body. Two small notches on the back have to line up with the body; if they're off even a little, the door won't sit snugly.

 Before heading out, I took a look at the lens and saw that the front element was pretty grimy. With some lens cleaner and tissues, I managed to clean the front, but because the camera is built the way it is, I couldn't get to the rear element at all. With the film loaded and the transport confirmed, I was ready to go for a walk through the neighborhood.


Shooting with a Vertical 35mm

With film in the camera, I headed out around the neighborhood, trying to photograph some of the same subjects I usually shoot—houses, parked cars, trees, little details I run across on my walks.

 The camera's faceplate shows a horizontal rectangle next to the number 12, while the viewfinder is vertical. I found that confusing at first. Was this meant to be a horizontal or a vertical camera? With only 12 exposures per roll, it seemed logical that they'd be in a horizontal orientation to match most 35mm cameras. Still, the vertical viewfinder was telling me otherwise. I wasn't sure, so I shot in both orientations early on, turning the camera back and forth.

 Once I processed the film and looked through the negatives, it was obvious: the Duca is a vertical‑format camera. If you want a horizontal image, you turn the whole camera on its side. It's not complicated, but it does take a little mental adjustment when you're used to most 35mm cameras being the other way around.

Results and Thoughts

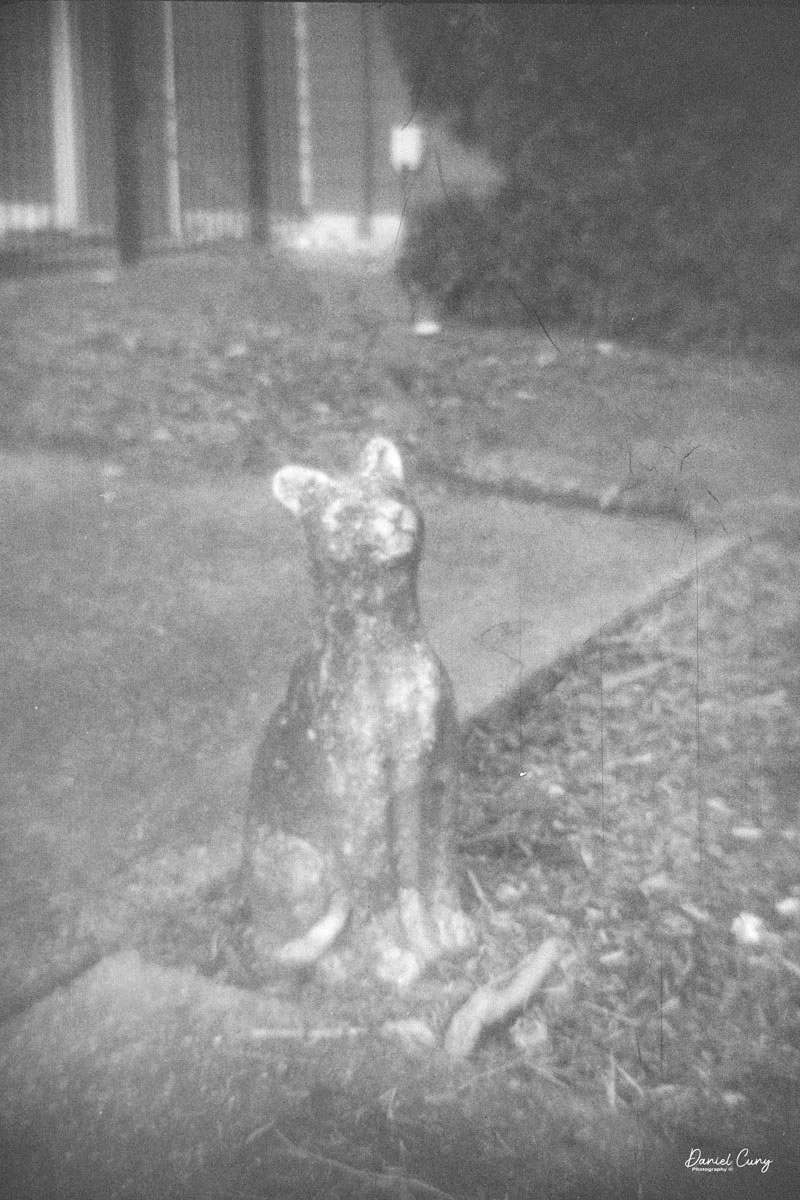
Some of the images turned out great, and some didn't. There are a few reasons for that. One is focus—I didn't always remember to switch between the two focus zones when I changed subject distance. The other is exposure. With only one shutter speed and one aperture, you're basically at the mercy of the light. The negatives showed some variation, but nothing I couldn't deal with in post‑processing. It reminded me a lot of shooting with an Instamatic: pick a film with a wide exposure latitude and let it do the heavy lifting.

 I got 14 frames on the roll before the film refused to advance into the second cassette, which tells me my length estimate in the dark bag was close. The camera itself handled well. The viewfinder is on the small side and can be difficult to look through, especially if you wear glasses, but it's usable once you get used to it.

 The transport worked smoothly, and the shutter opened and closed as it should. The lens, however, is still dirty on the rear element, and there's really no easy way to clean it without taking the camera apart. That shows up in the photos as a general softness, almost like shooting with a soft‑focus filter. On some subjects, the look can actually be pleasant; on others, it just makes things a bit mushy.

 Overall, the Duca was a fun camera to use, and I'll definitely shoot it again. The whole process—from loading the Karat cassettes, to working with the vertical format, to seeing the results—was enjoyable. It's the kind of camera you could toss in a pocket when you head out on a trip and forget about until something catches your eye. I like that it's doing all of this as a full‑frame 35mm camera in such a tiny body.

 Thanks for taking the time to read about my experience with this little Italian wonder of a camera.

 If you'd like to see more of my camera adventures, here's a link to my other camera reviews. And if you're interested in cameras, lenses, or other photo gear I'm letting go of as I thin the collection, you can visit my Cuny's Cameras and Photos online store.

 Until next week, please be safe.